Patterns for Pirates

P4P stylish, modern, wearable patterns

  • Home
  • Blog
    • Frequently Asked Questions
    • Pattern Releases
      • Free Patterns
    • P4P University
      • Fitting
      • Sewing with Stretch, Knit Fabrics
      • Sewing with Woven Fabrics
      • Sewing Machines
    • Sew-A-Longs
    • Fabric for Pirates
    • Pattern Hacks
    • Announcement
      • Blog Tours
      • Contest/Giveaway
  • Shop
  • Bundle Discounts
  • Flash Friday
  • Gift Cards
  • My Account
  • Cart

2019 Holiday Freebies :: Hooded Blanket

December 4, 2019

Alas, we have arrived to the final day of the 2019 Holiday Freebies.  But do not fret, my friends.  Because what we’ve got in store for you today is super fun!

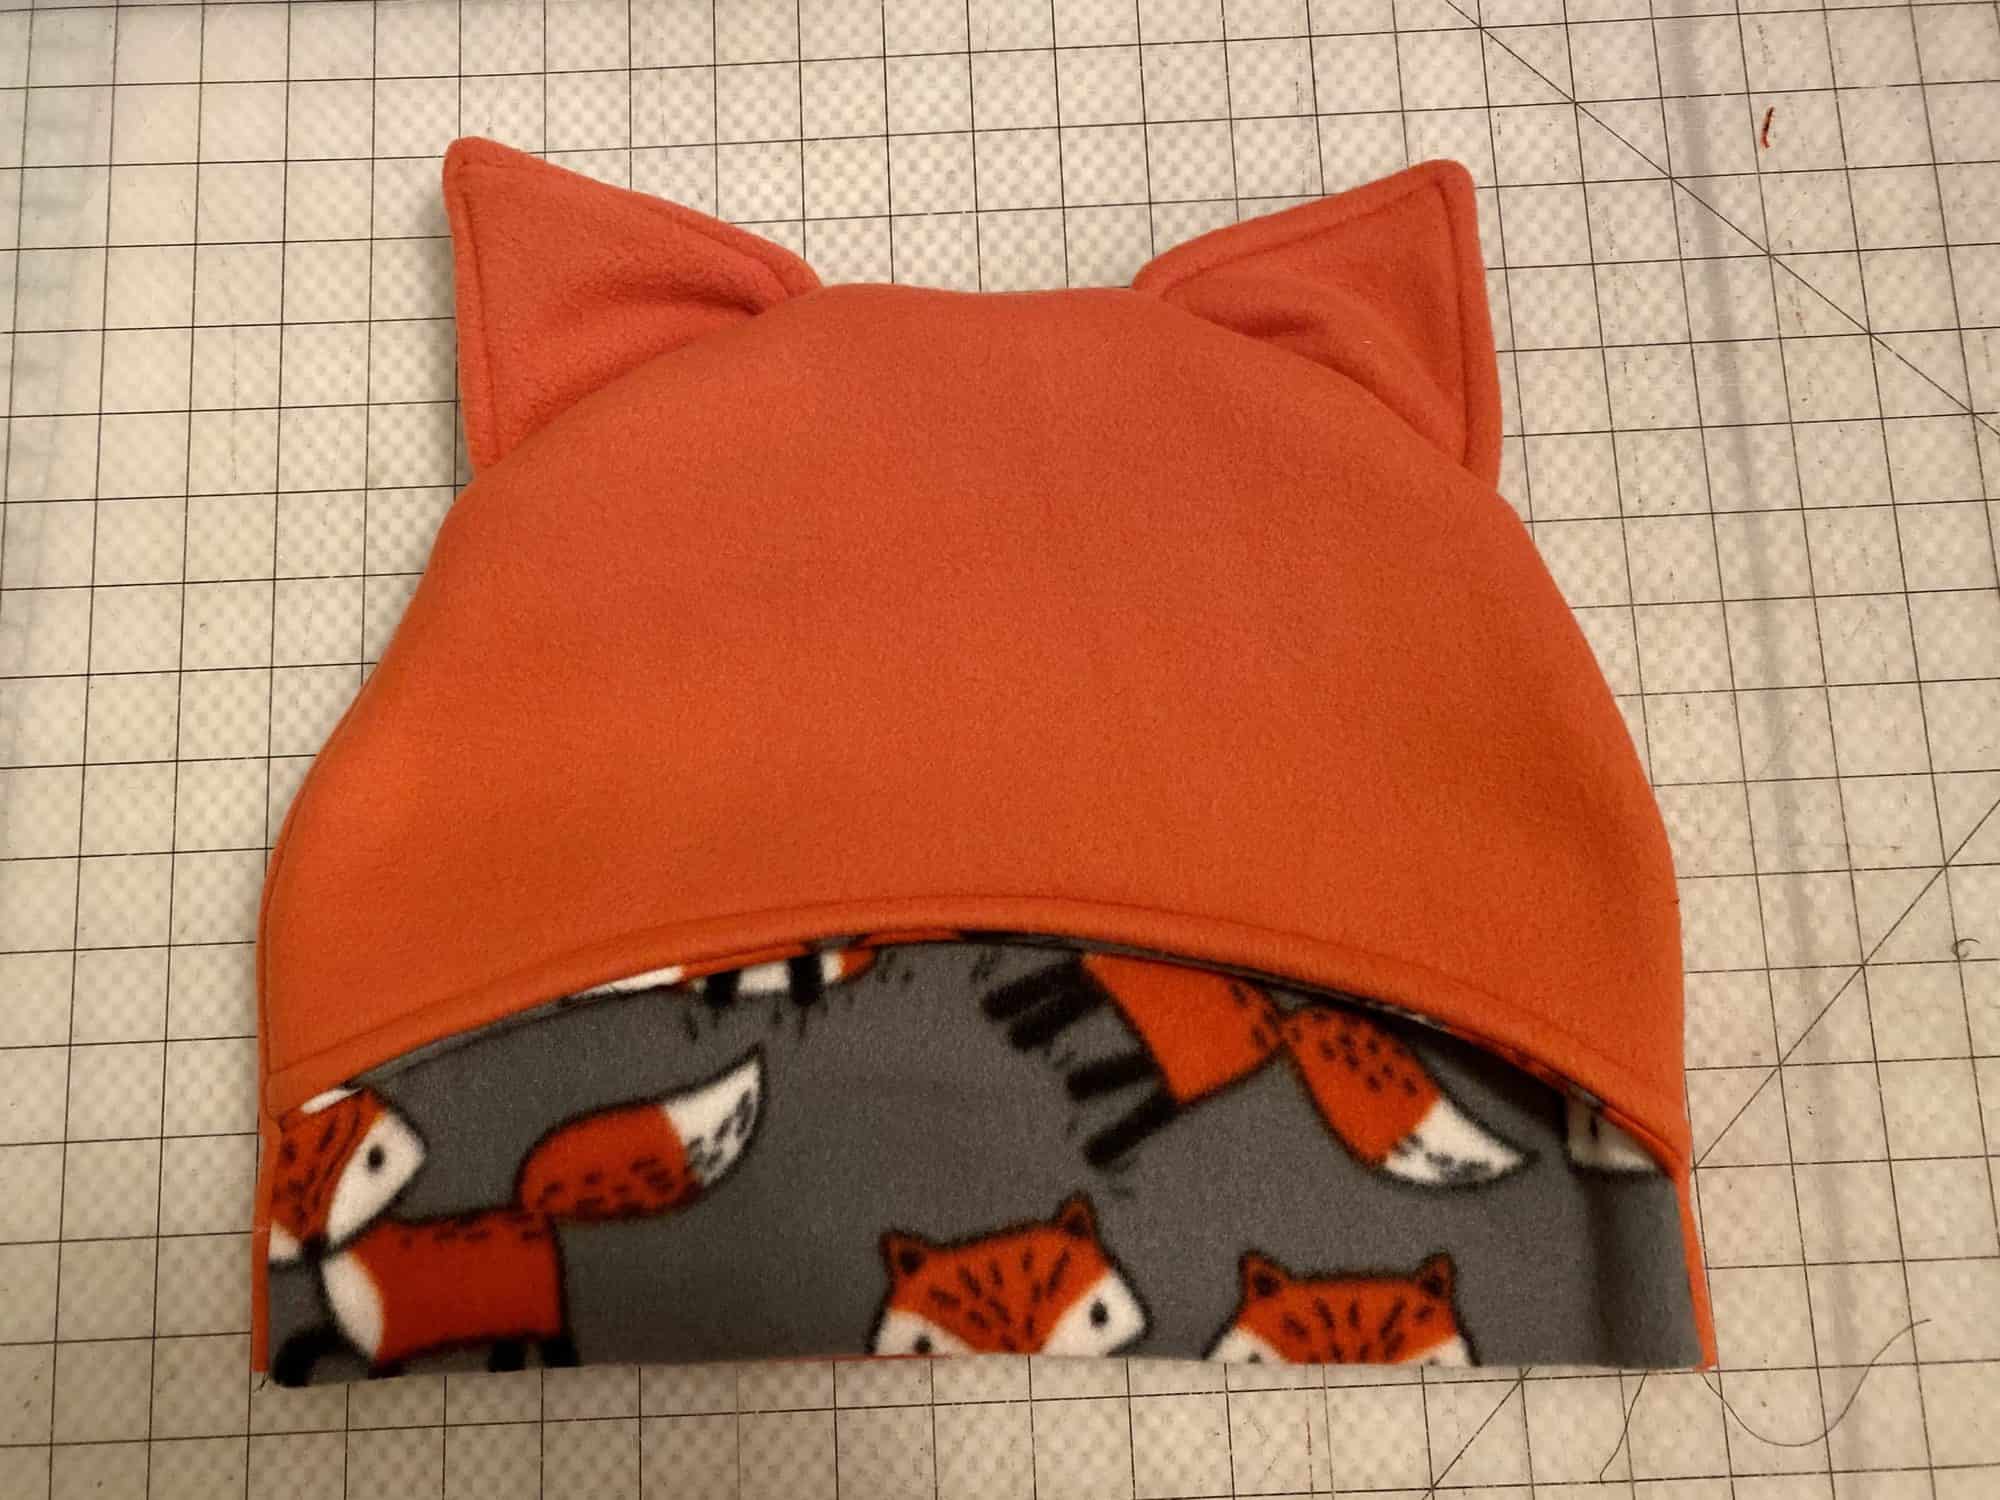
Blankets are a hot commodity in our household.  At least between my son and I.  We love to snuggle on the couch under all the cozy blankets that we can, while catching up on our favorite Netflix movie or series.  I mean, who doesn’t?  We upped the blanket coziness a little by adding a hood.  And some hand pockets.  And then gave them some ears so we could be cute and cuddly at the same time.  It’s really the best thing ever!

Grab your “HOODED BLANKET” pattern pieces here!

Fabric Requirements (Most fabrics work great for this! My favorites are fleece and minky.):

  • 1.5 yards of lining
  • 1.5 yards main fabric

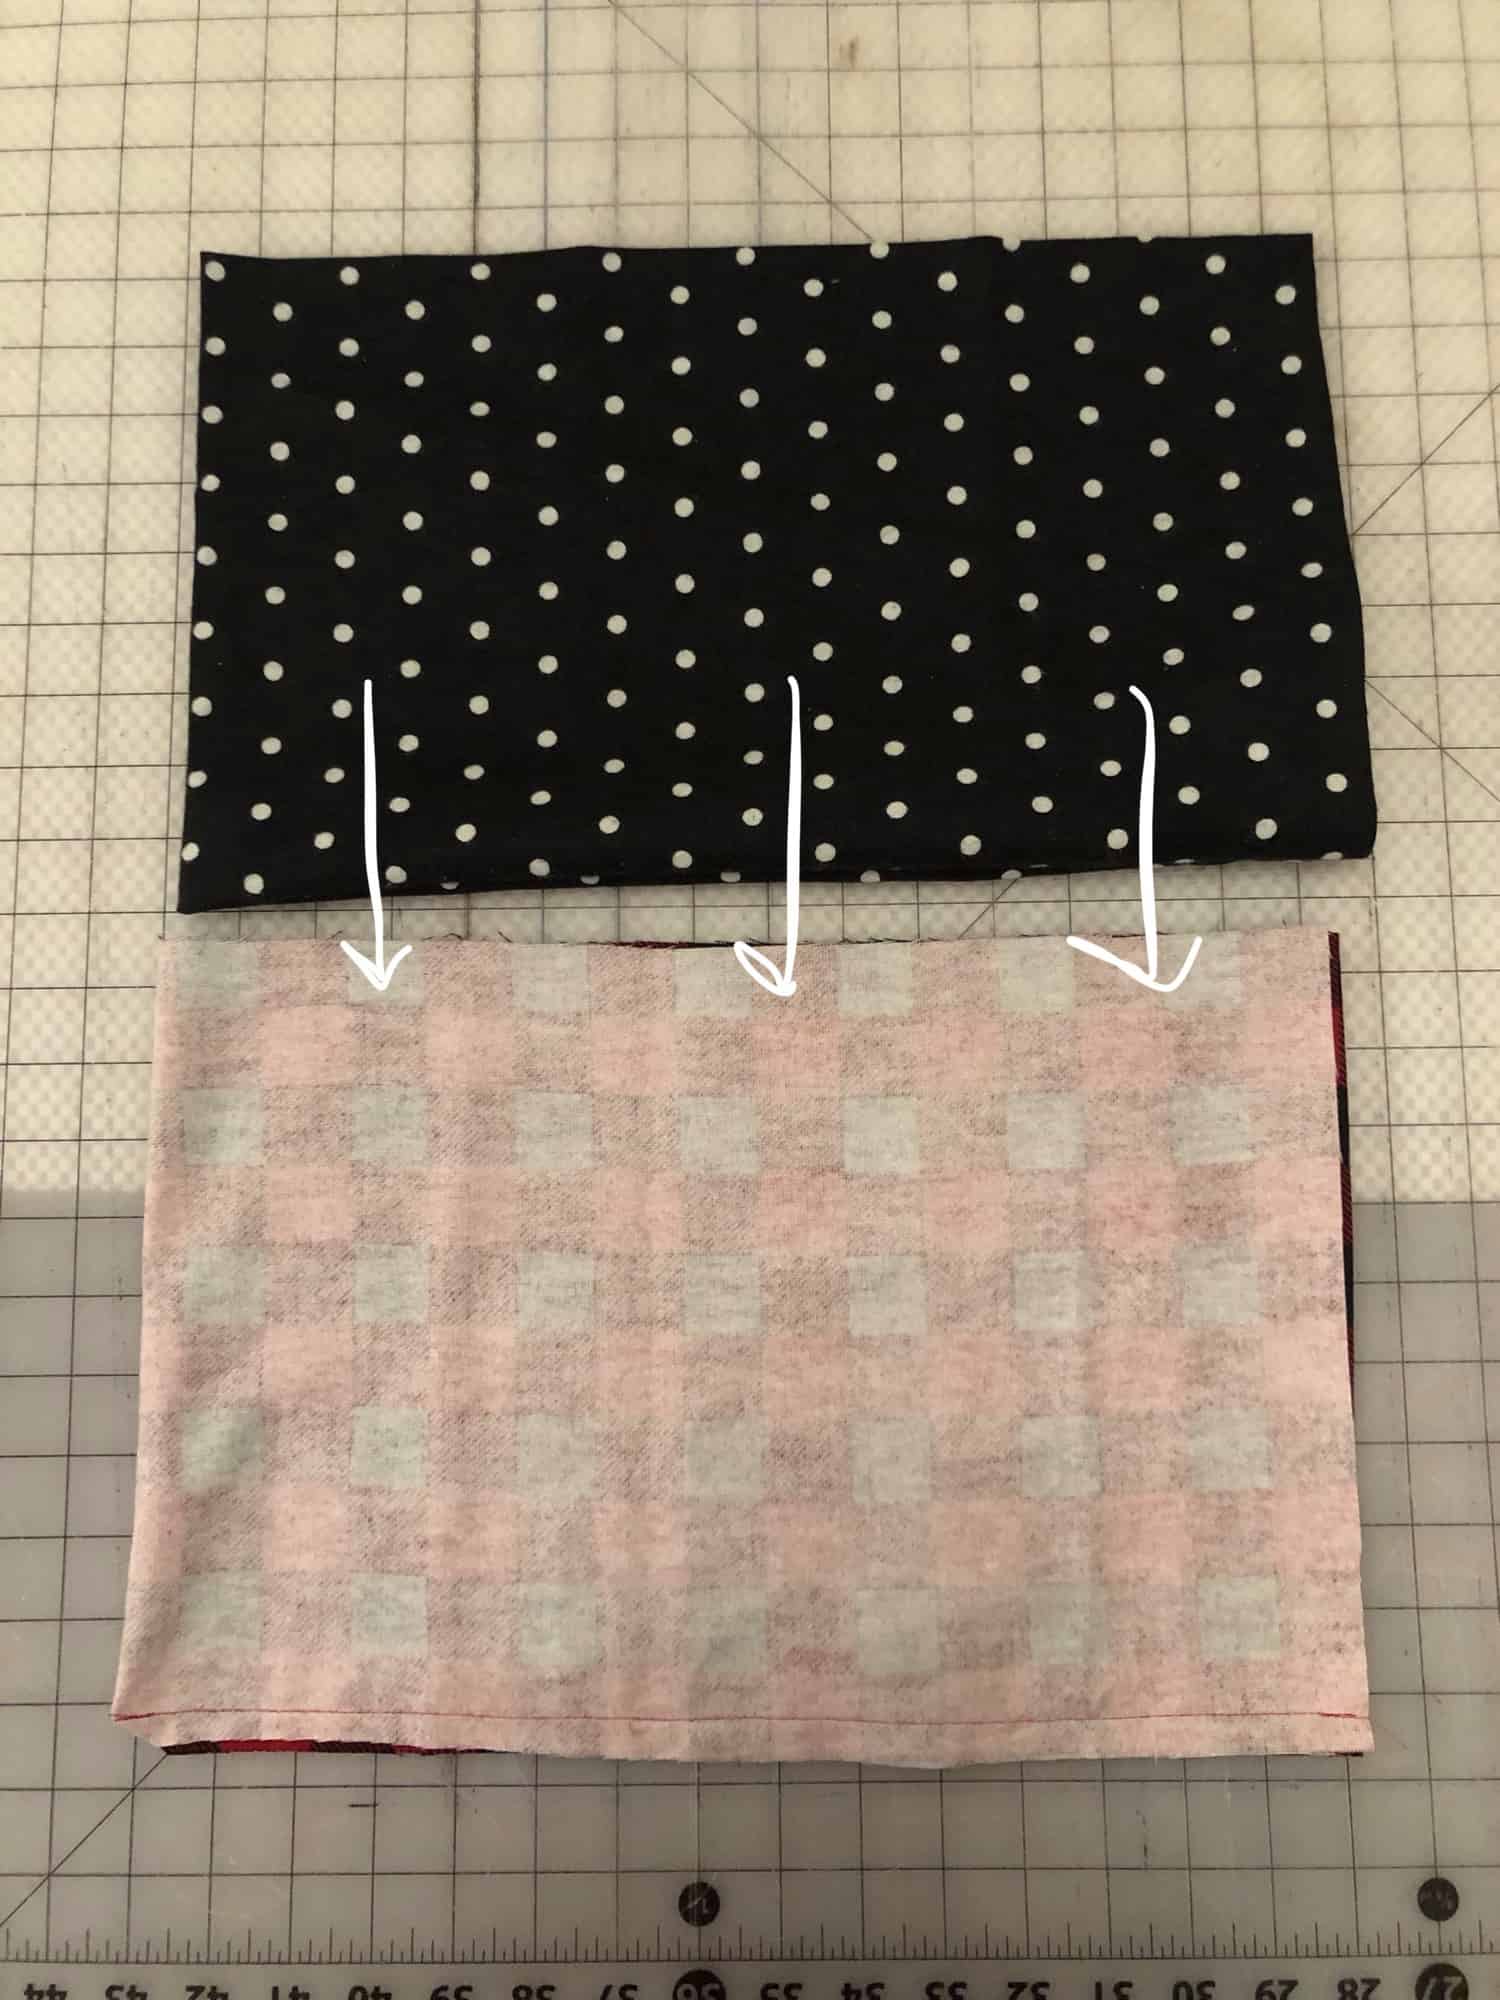
For blanket pieces, you will need 1 main + 1 lining fabric 54″w x 40″t
The great thing about this pattern is that you can adjust the height and width of your blanket to your own liking!  If you want it larger or smaller….go for it!  Just remember that you may need additional yardage if you do.

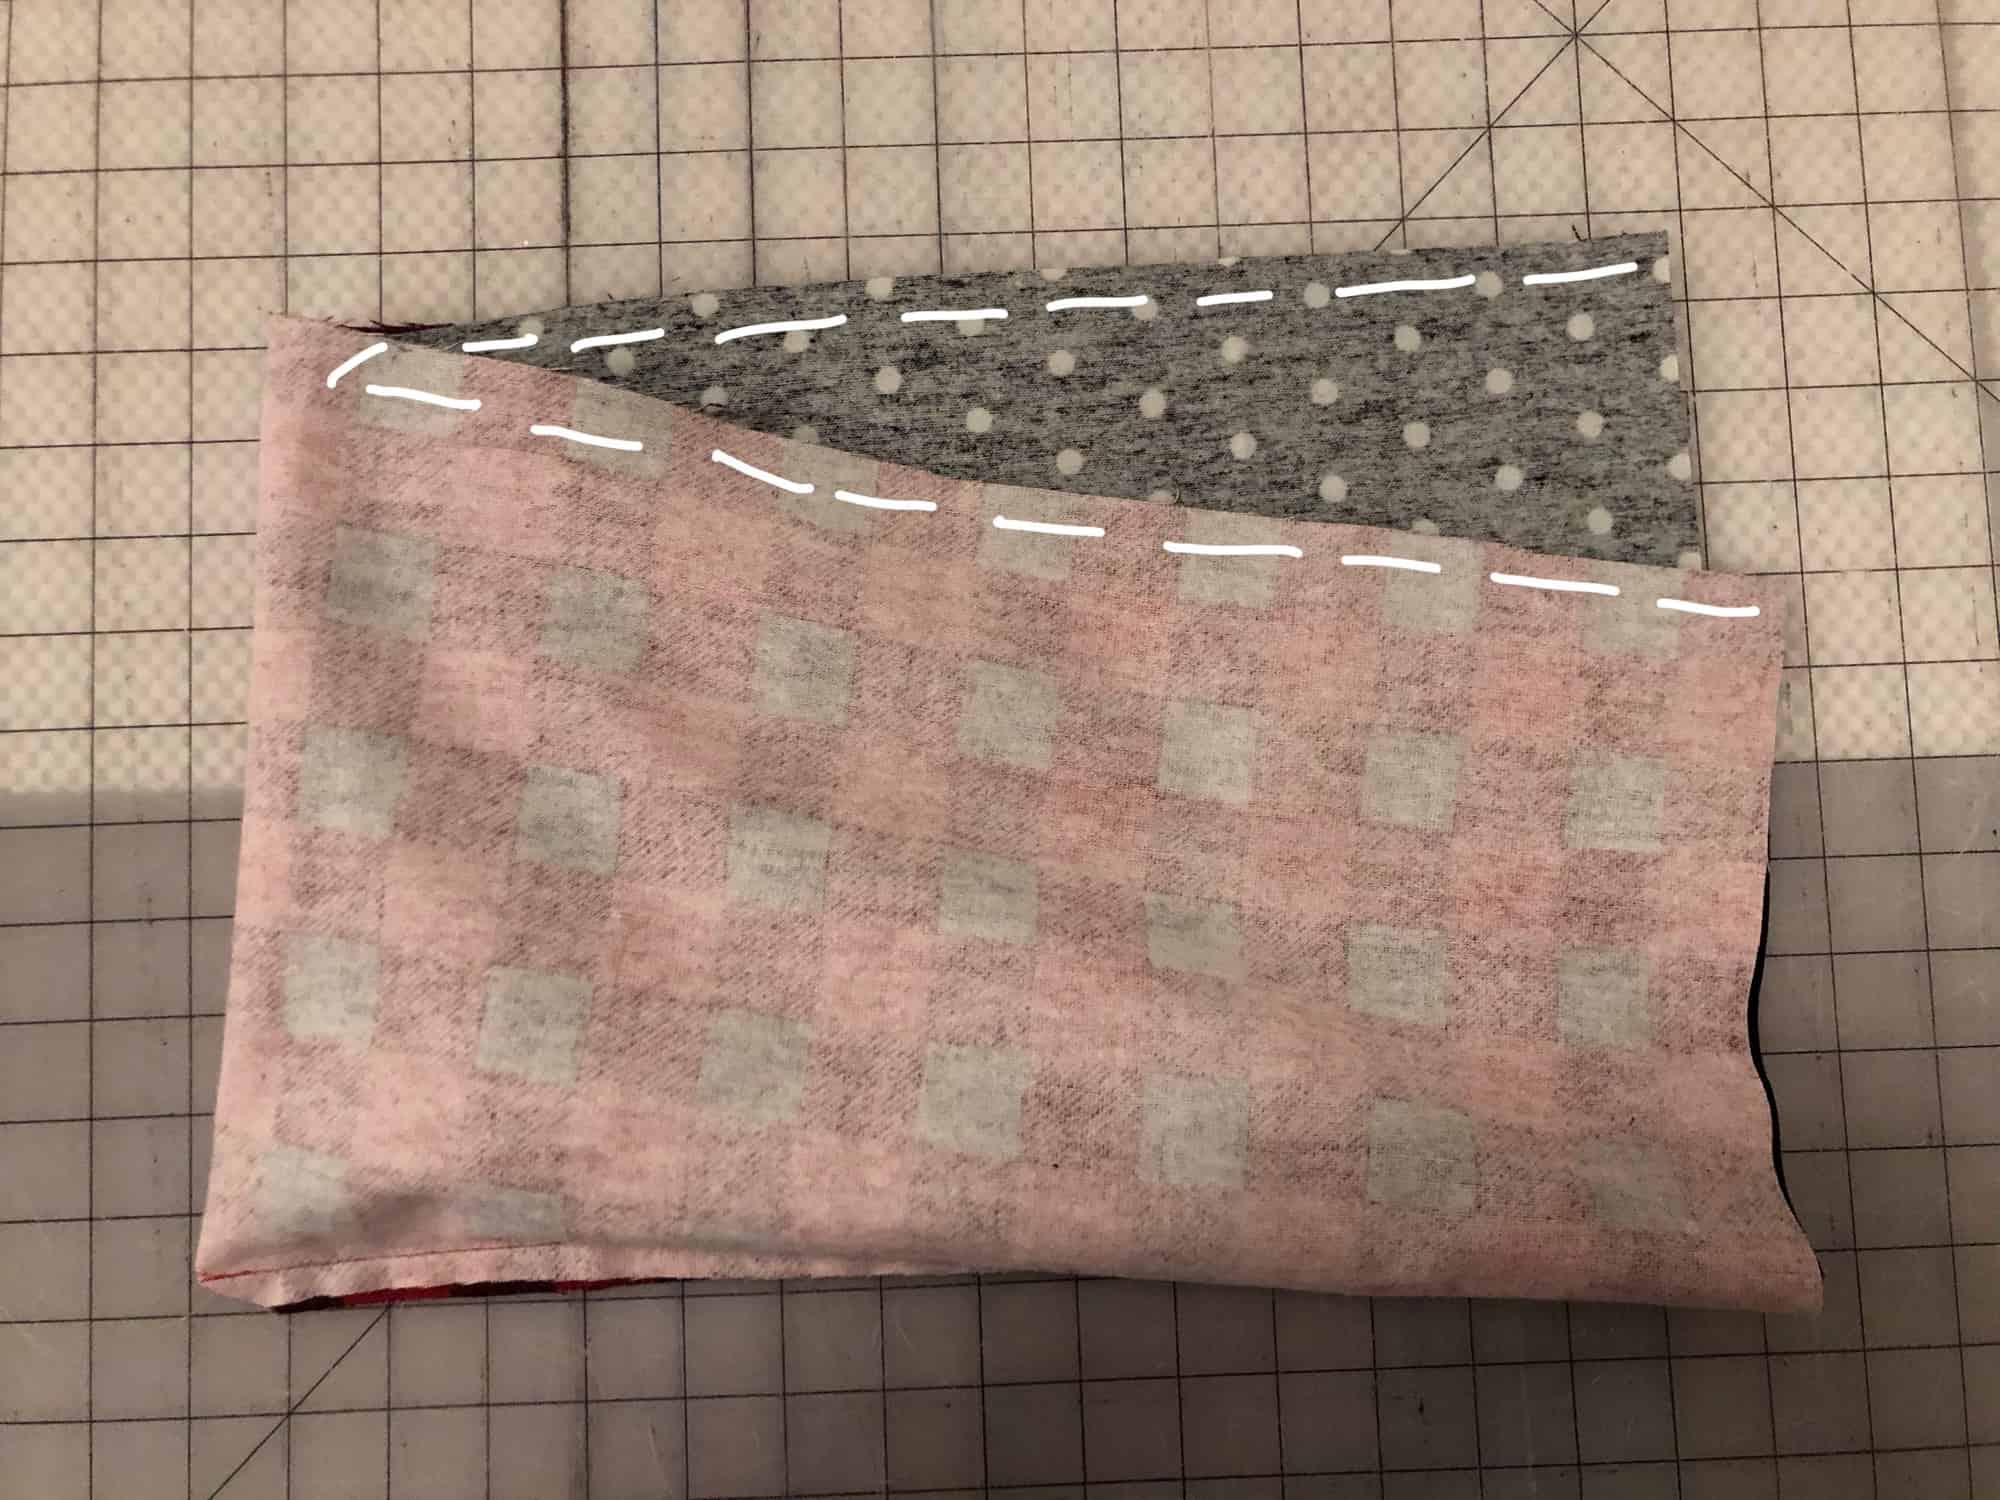
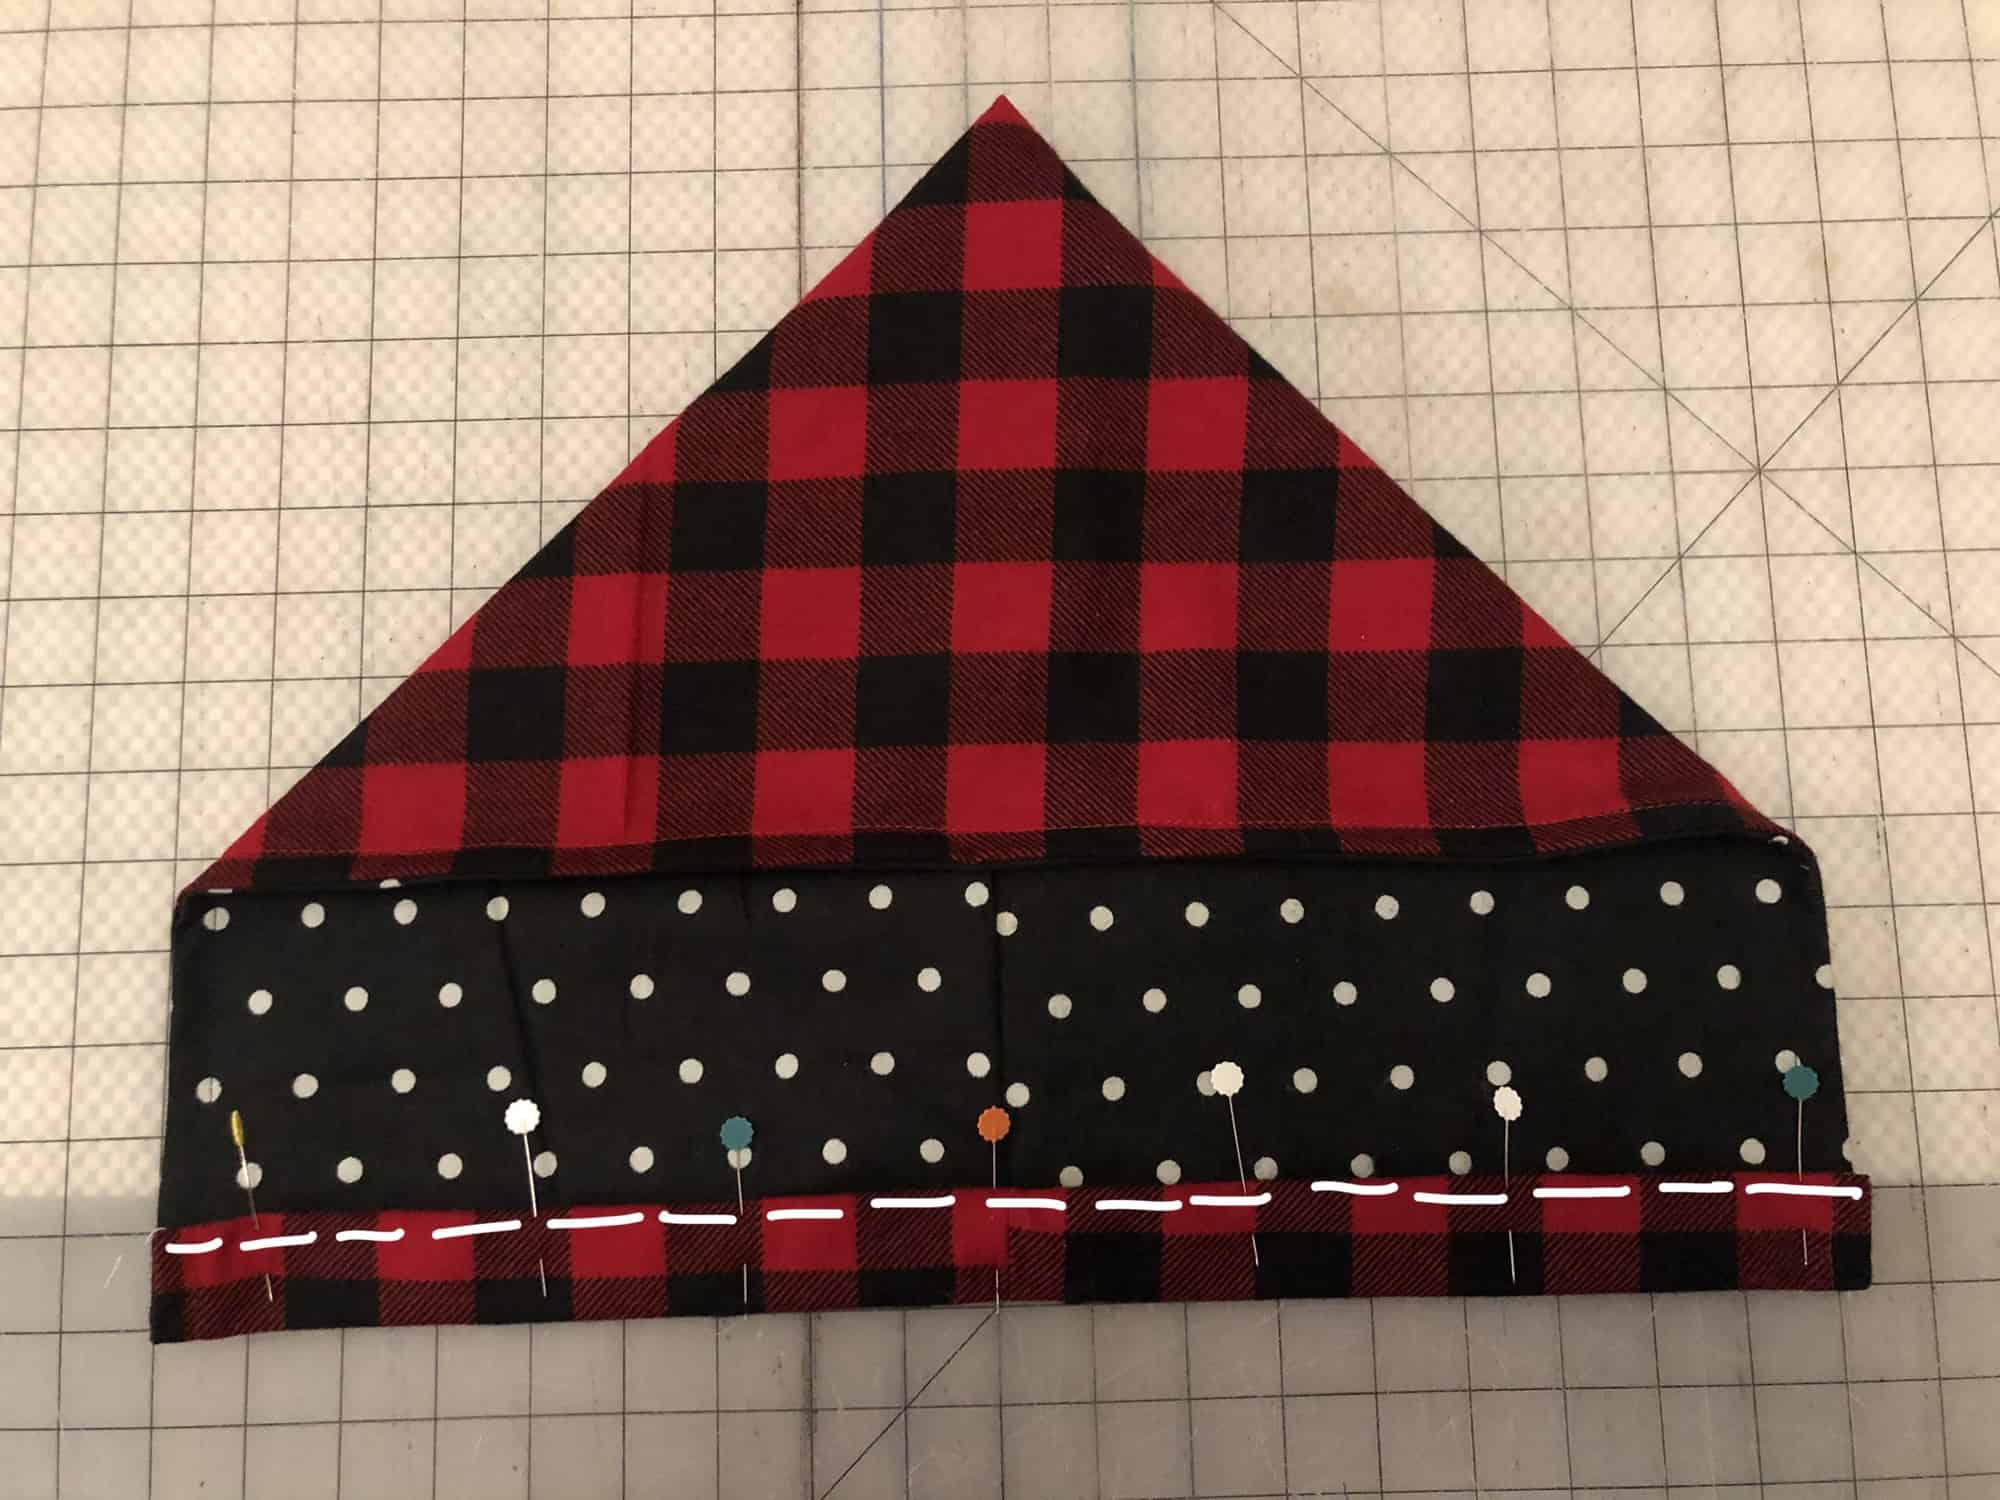
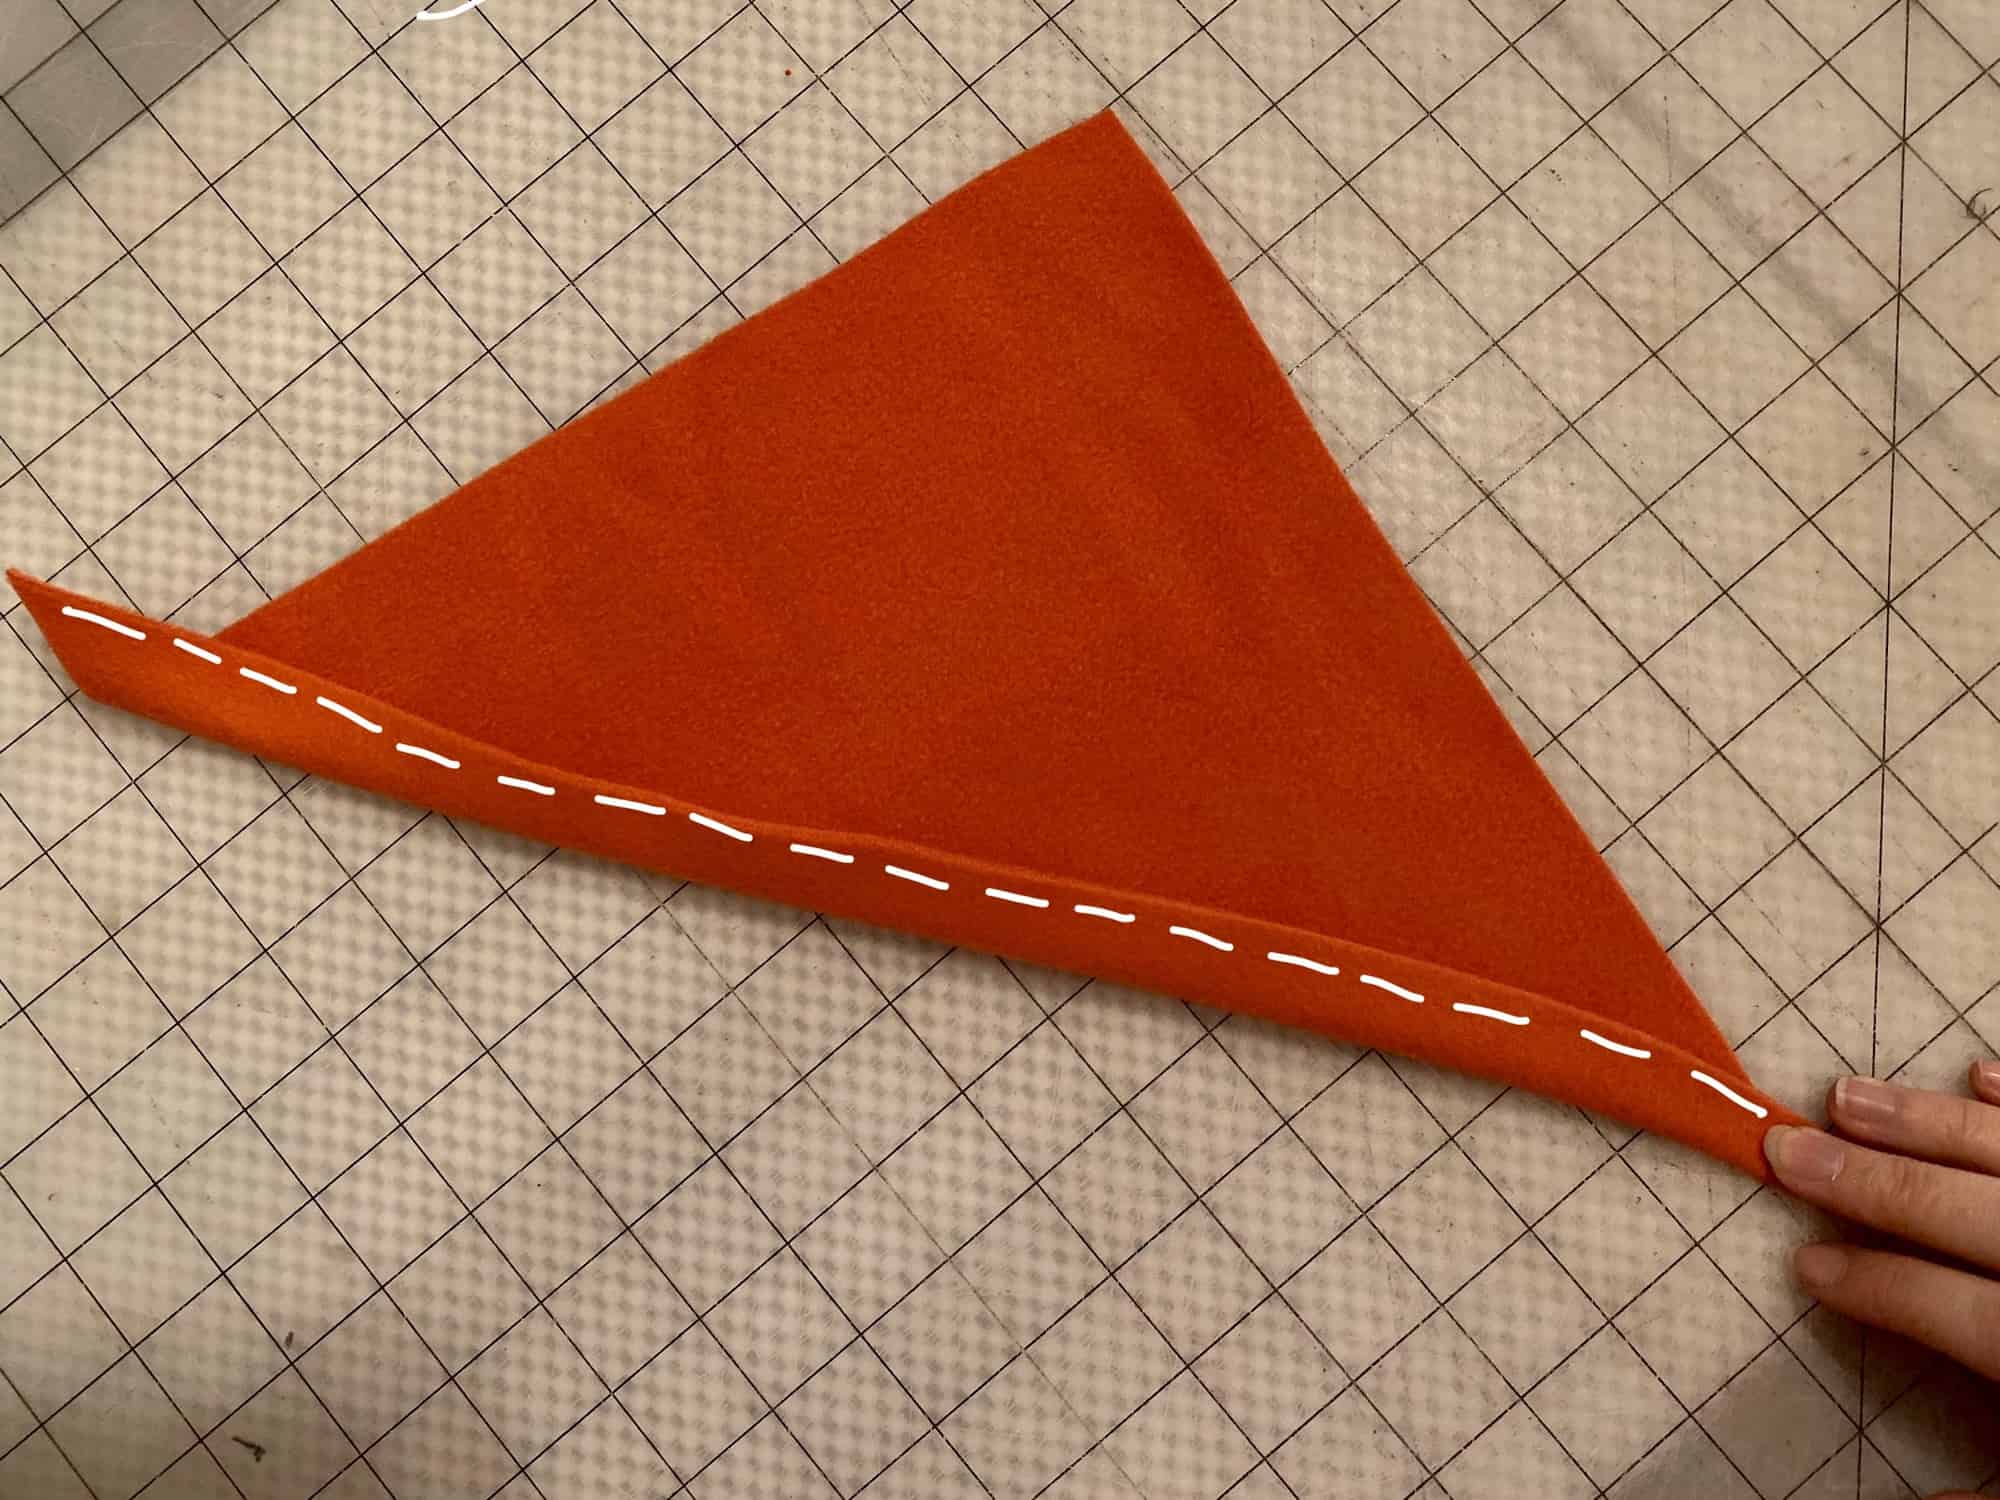
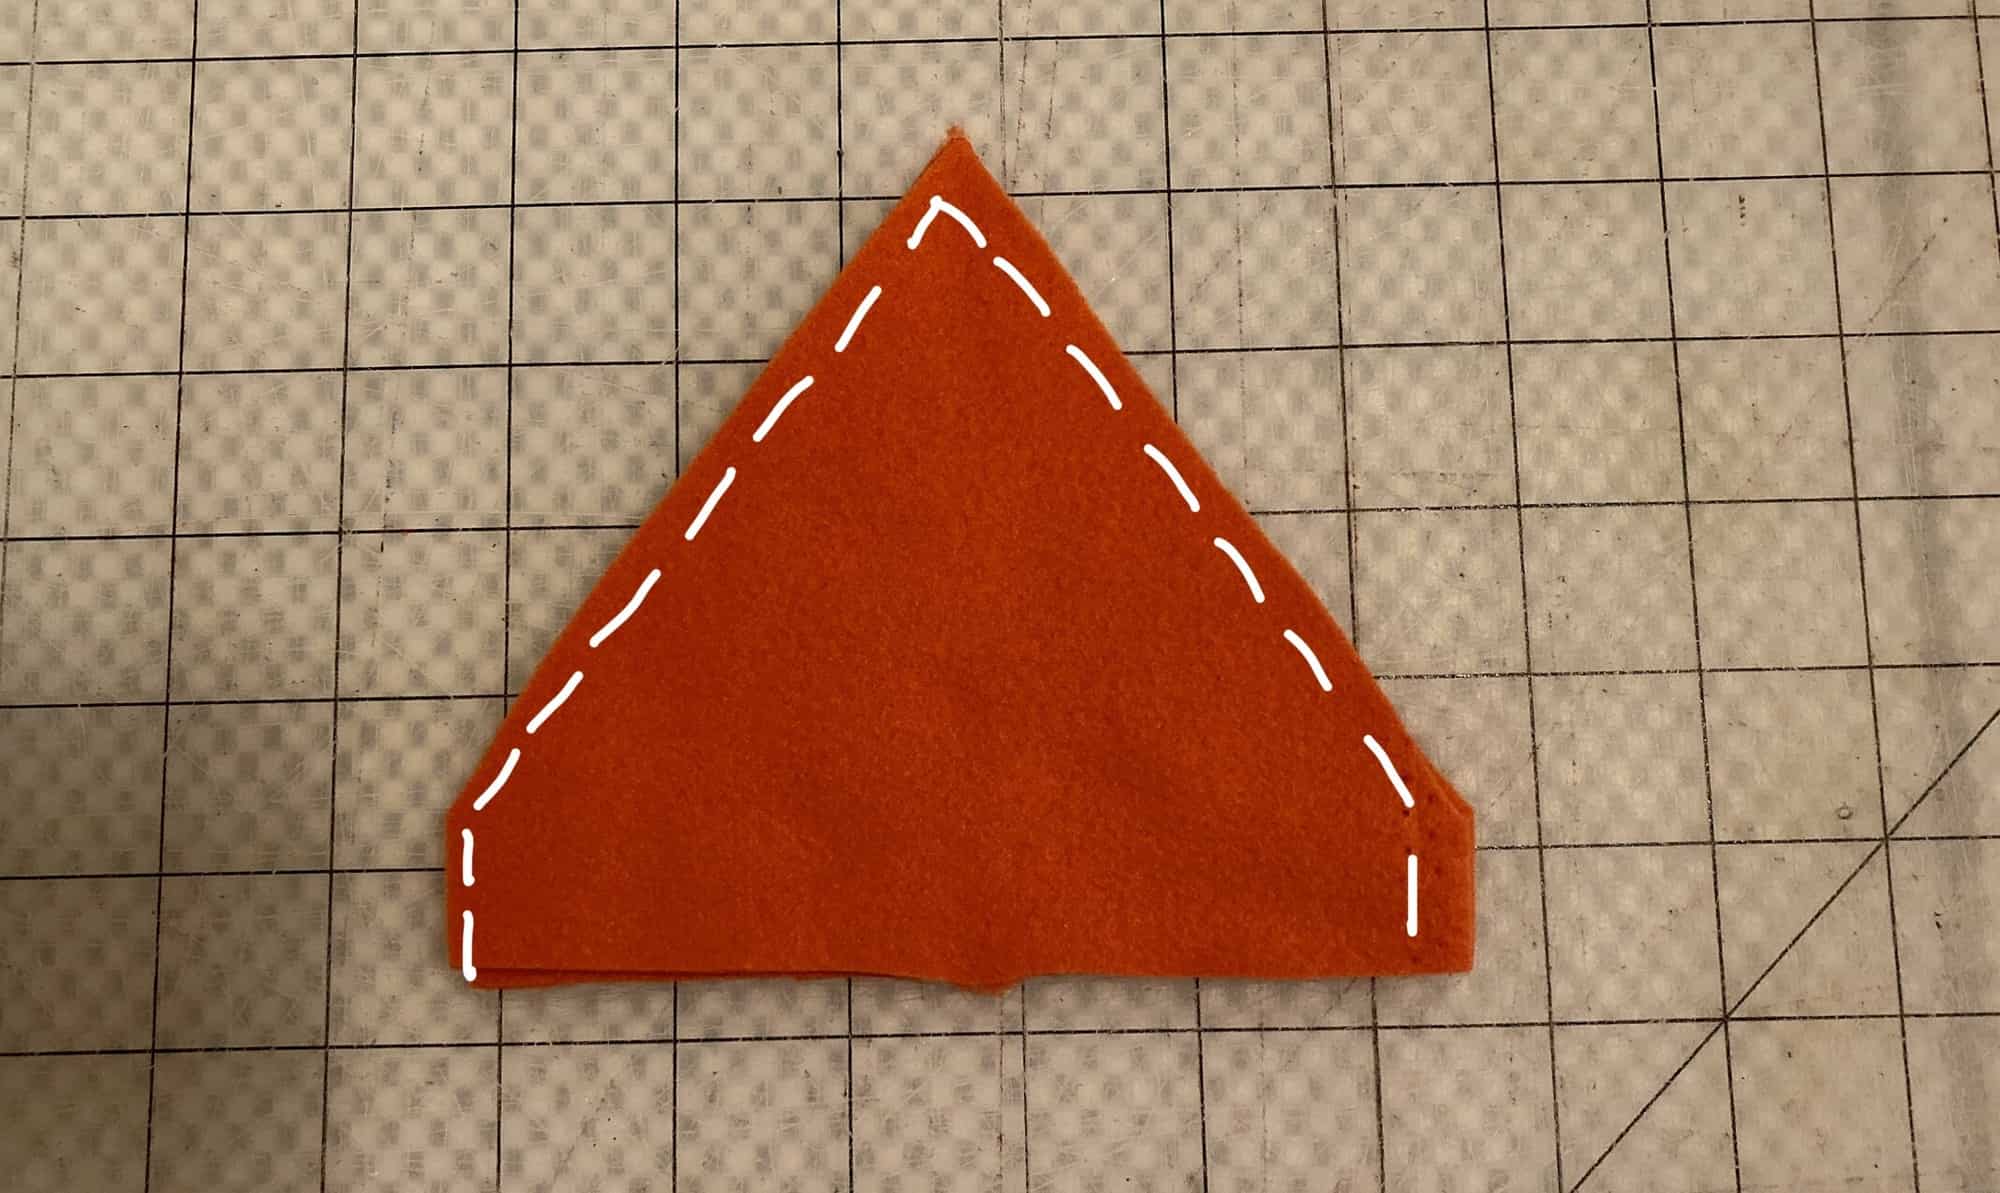
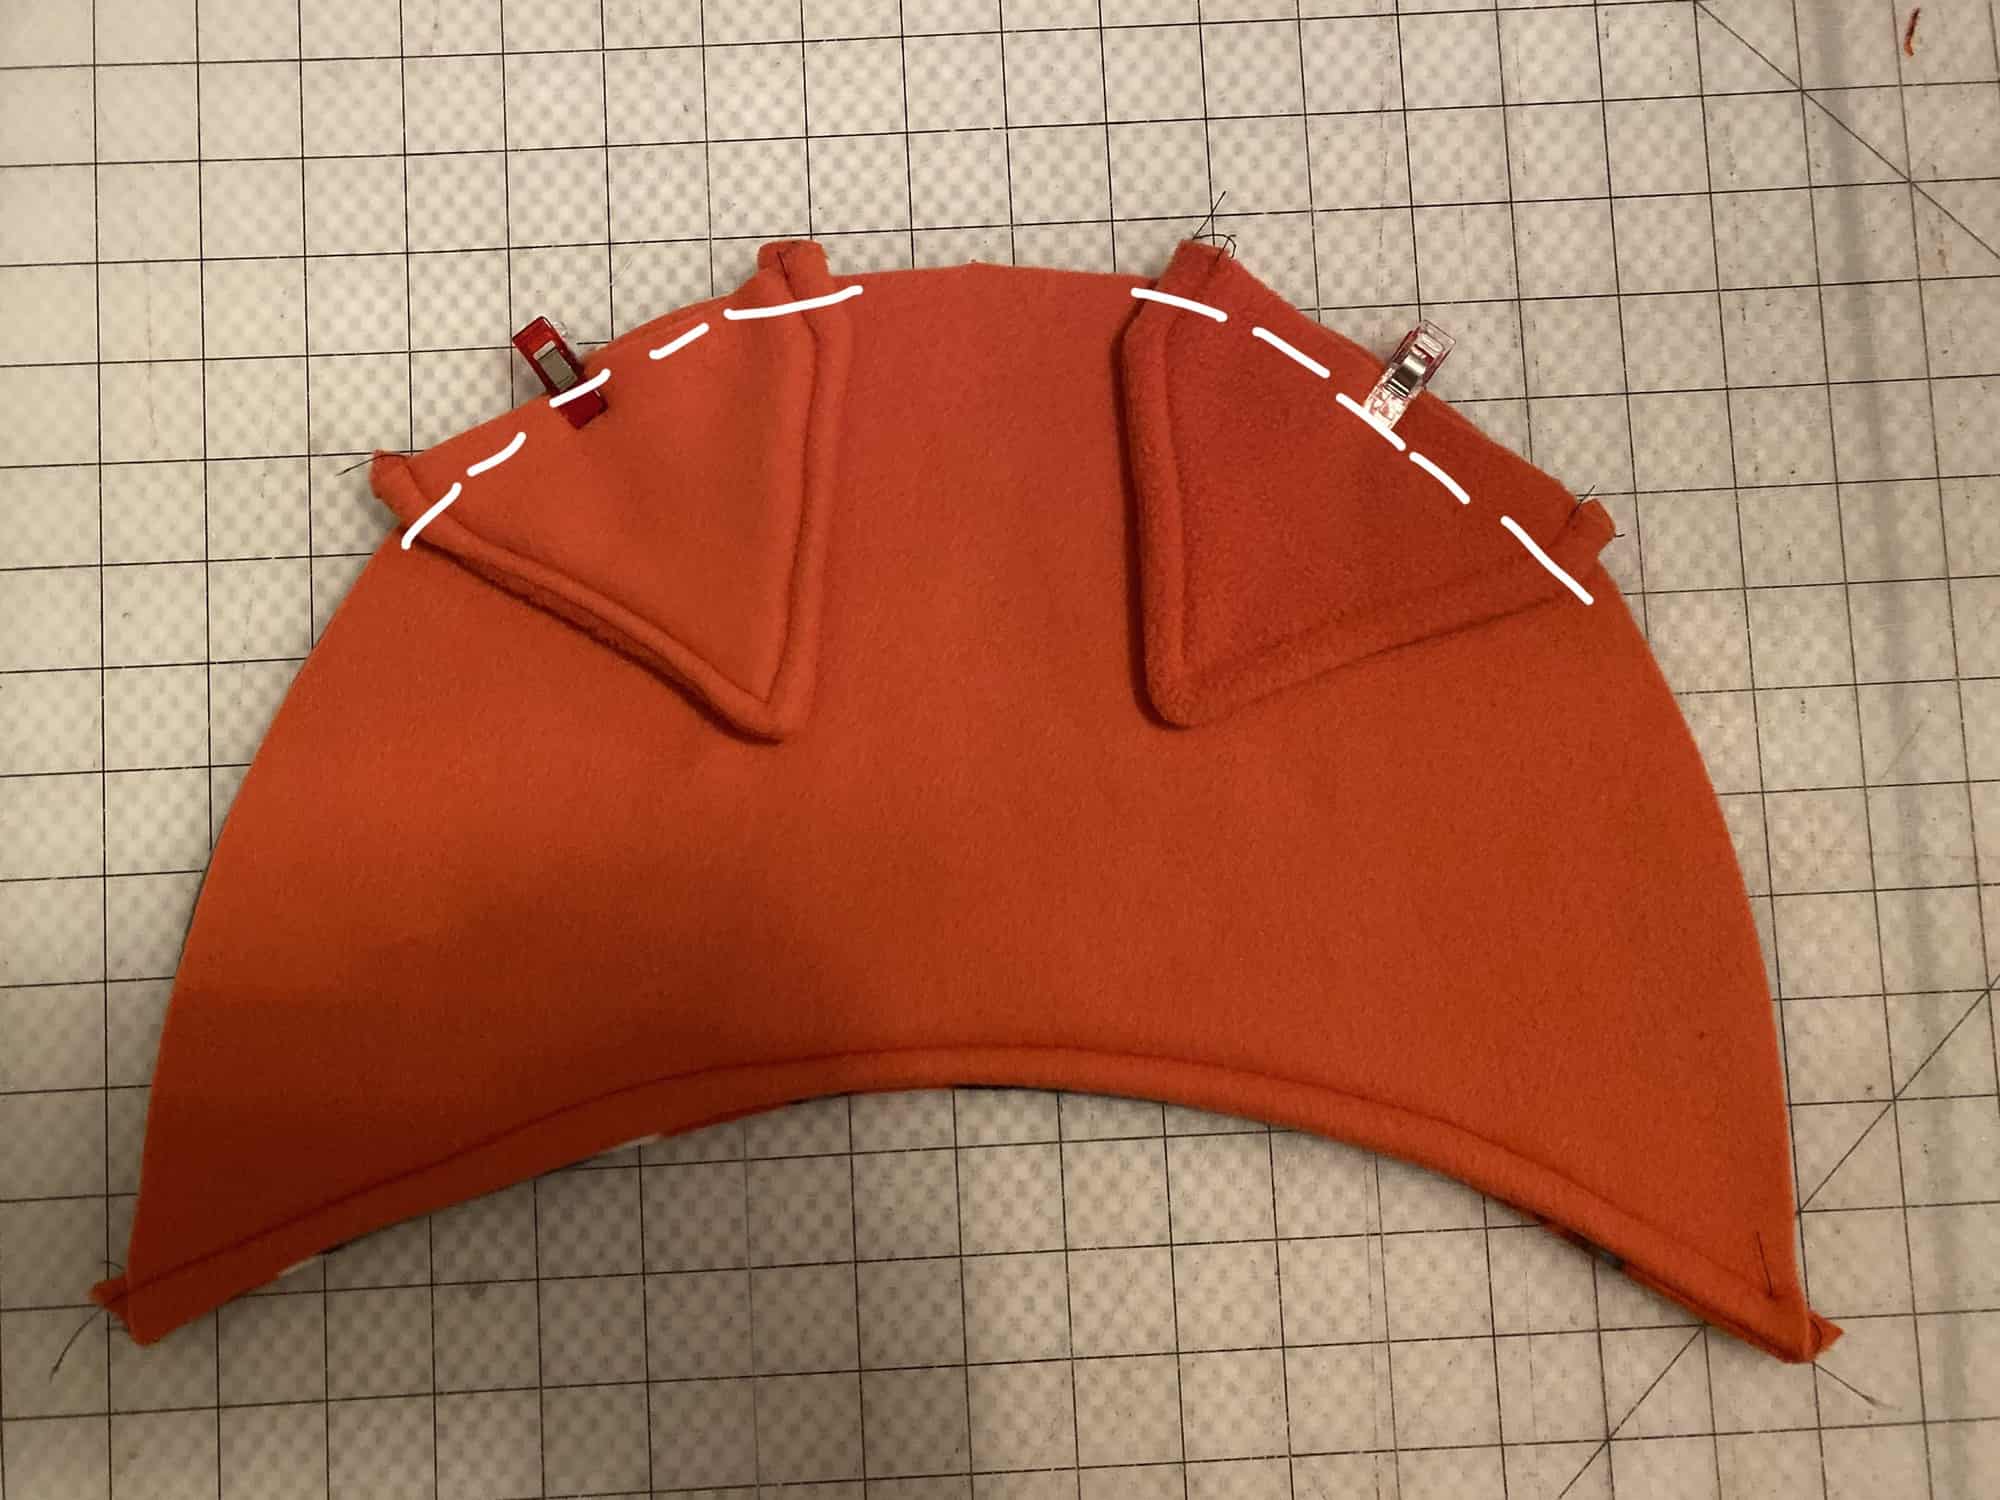
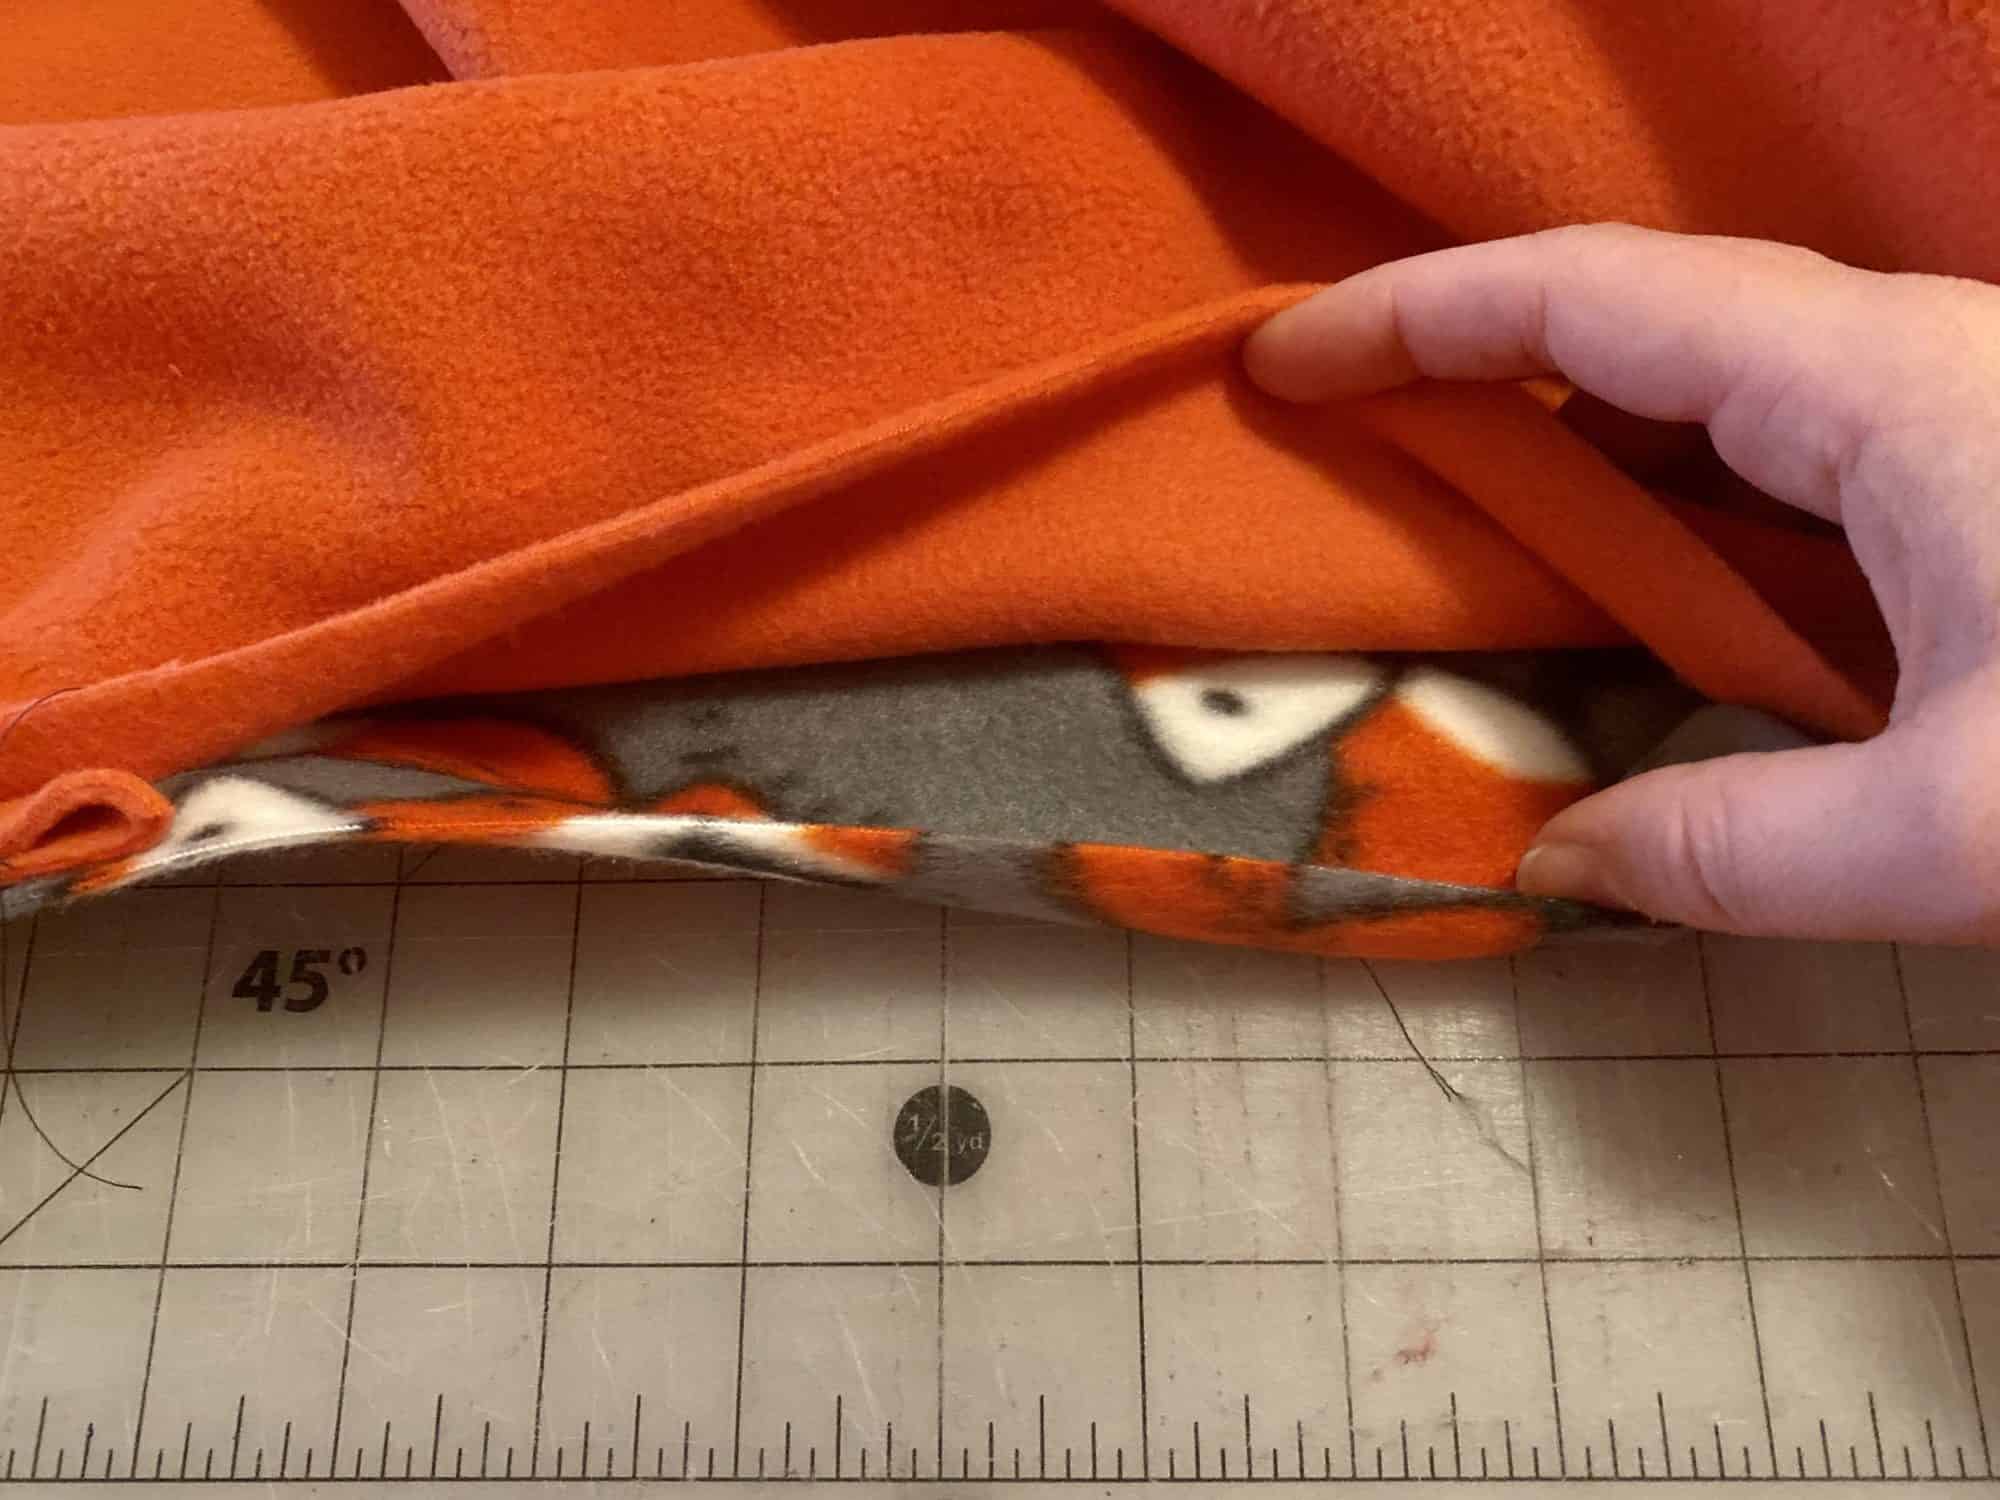
1. Hem long, angled edge of hand pockets by folding under 1/2″ (toward wrong side) and edge stitching.

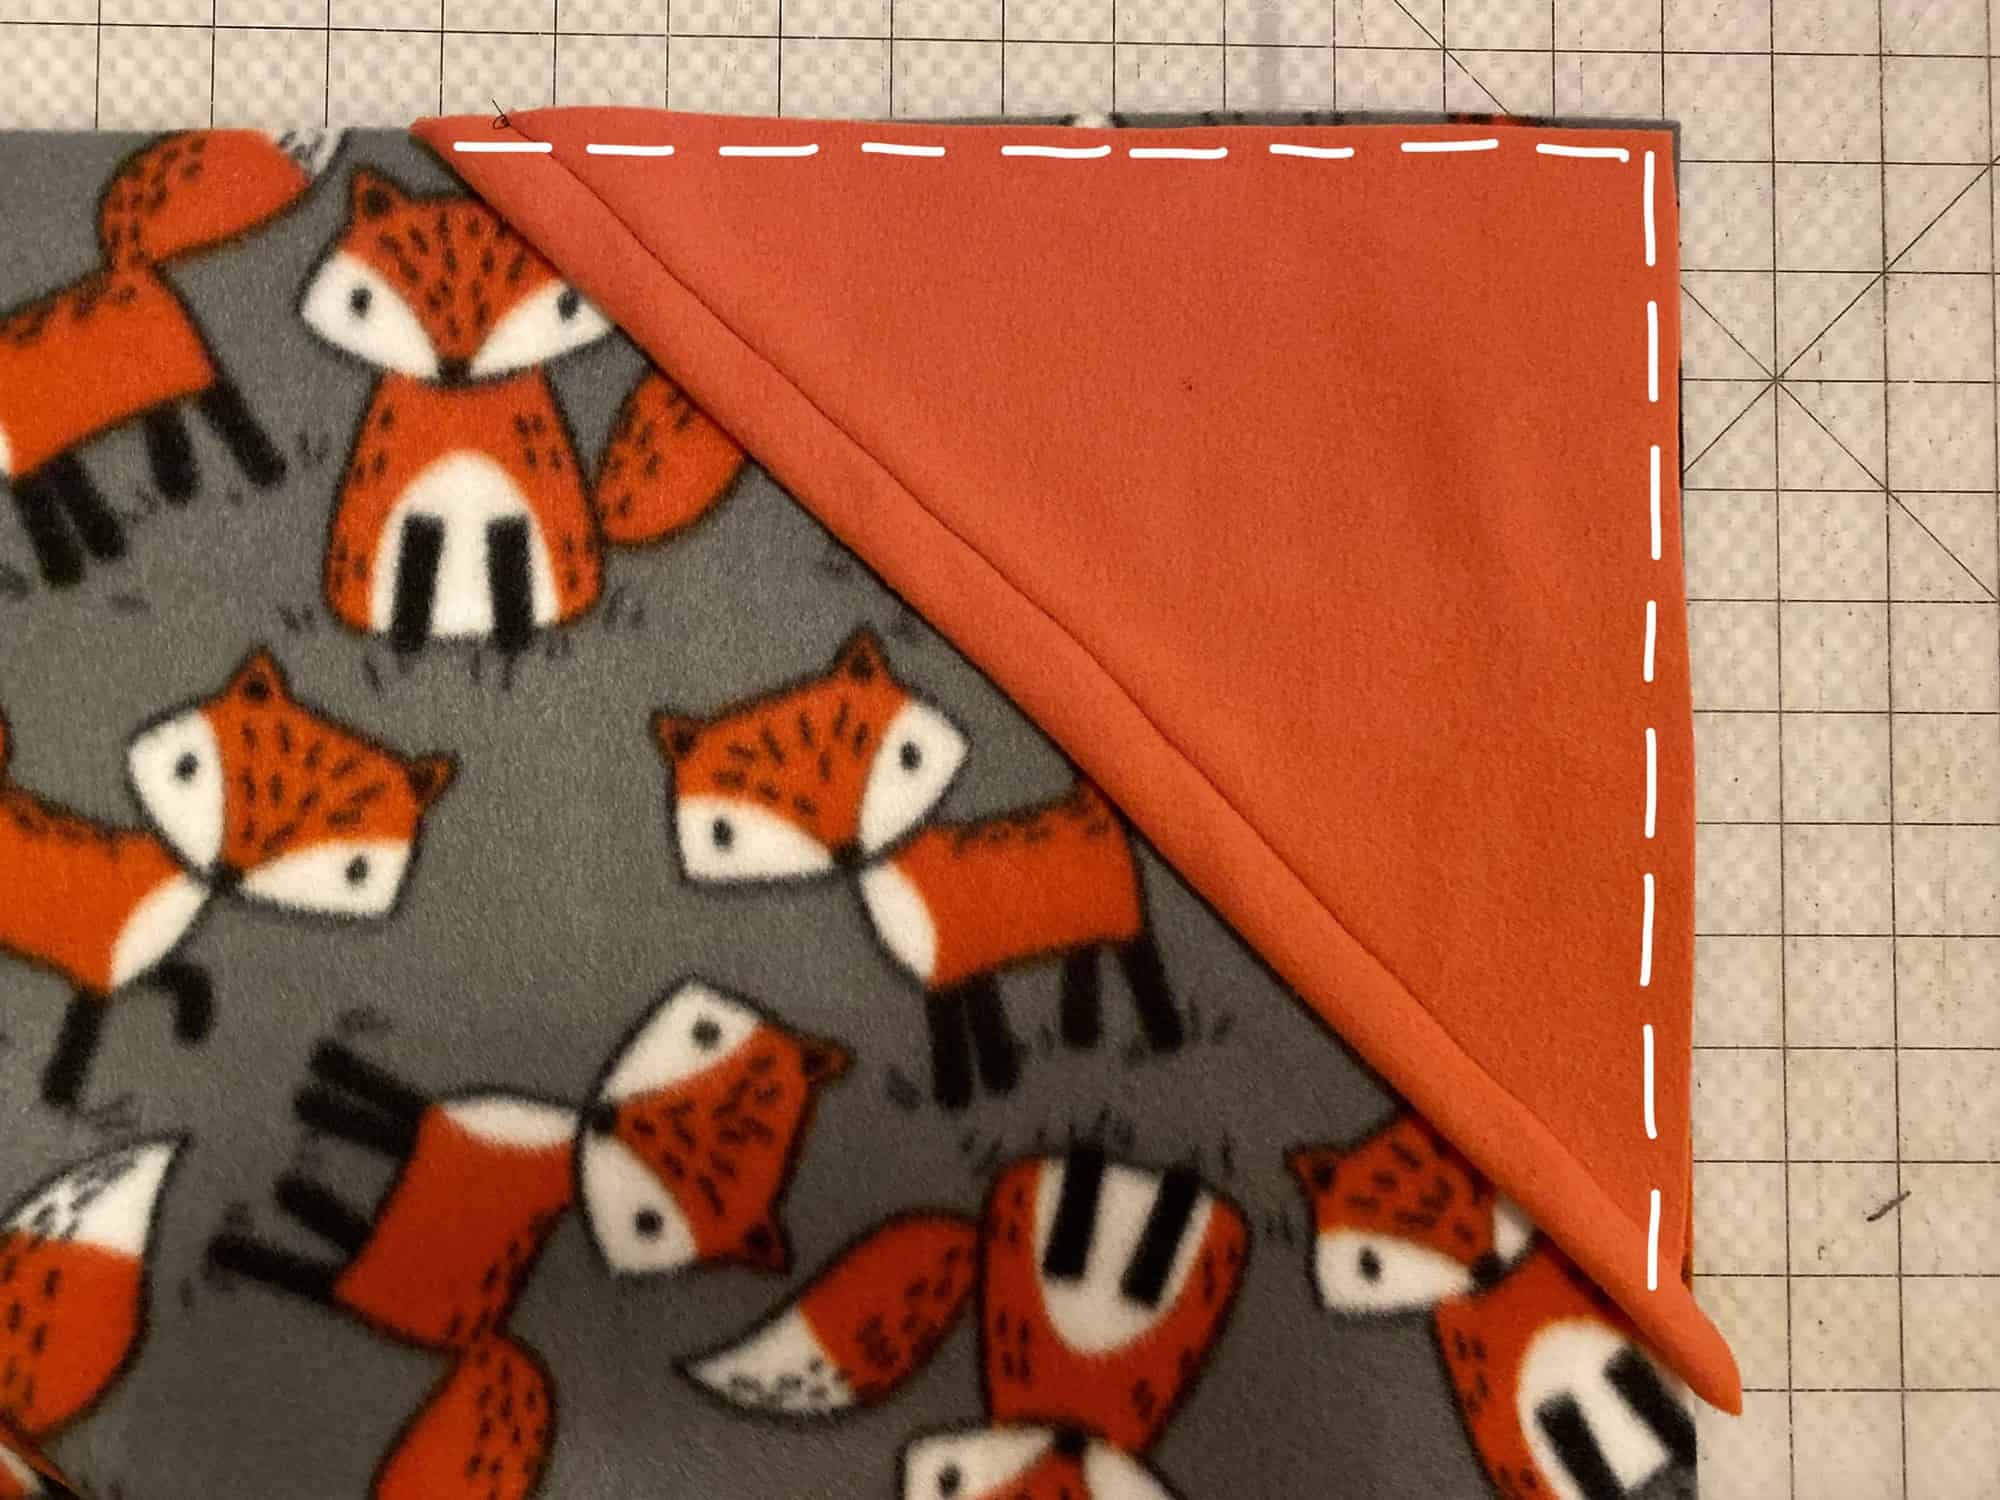
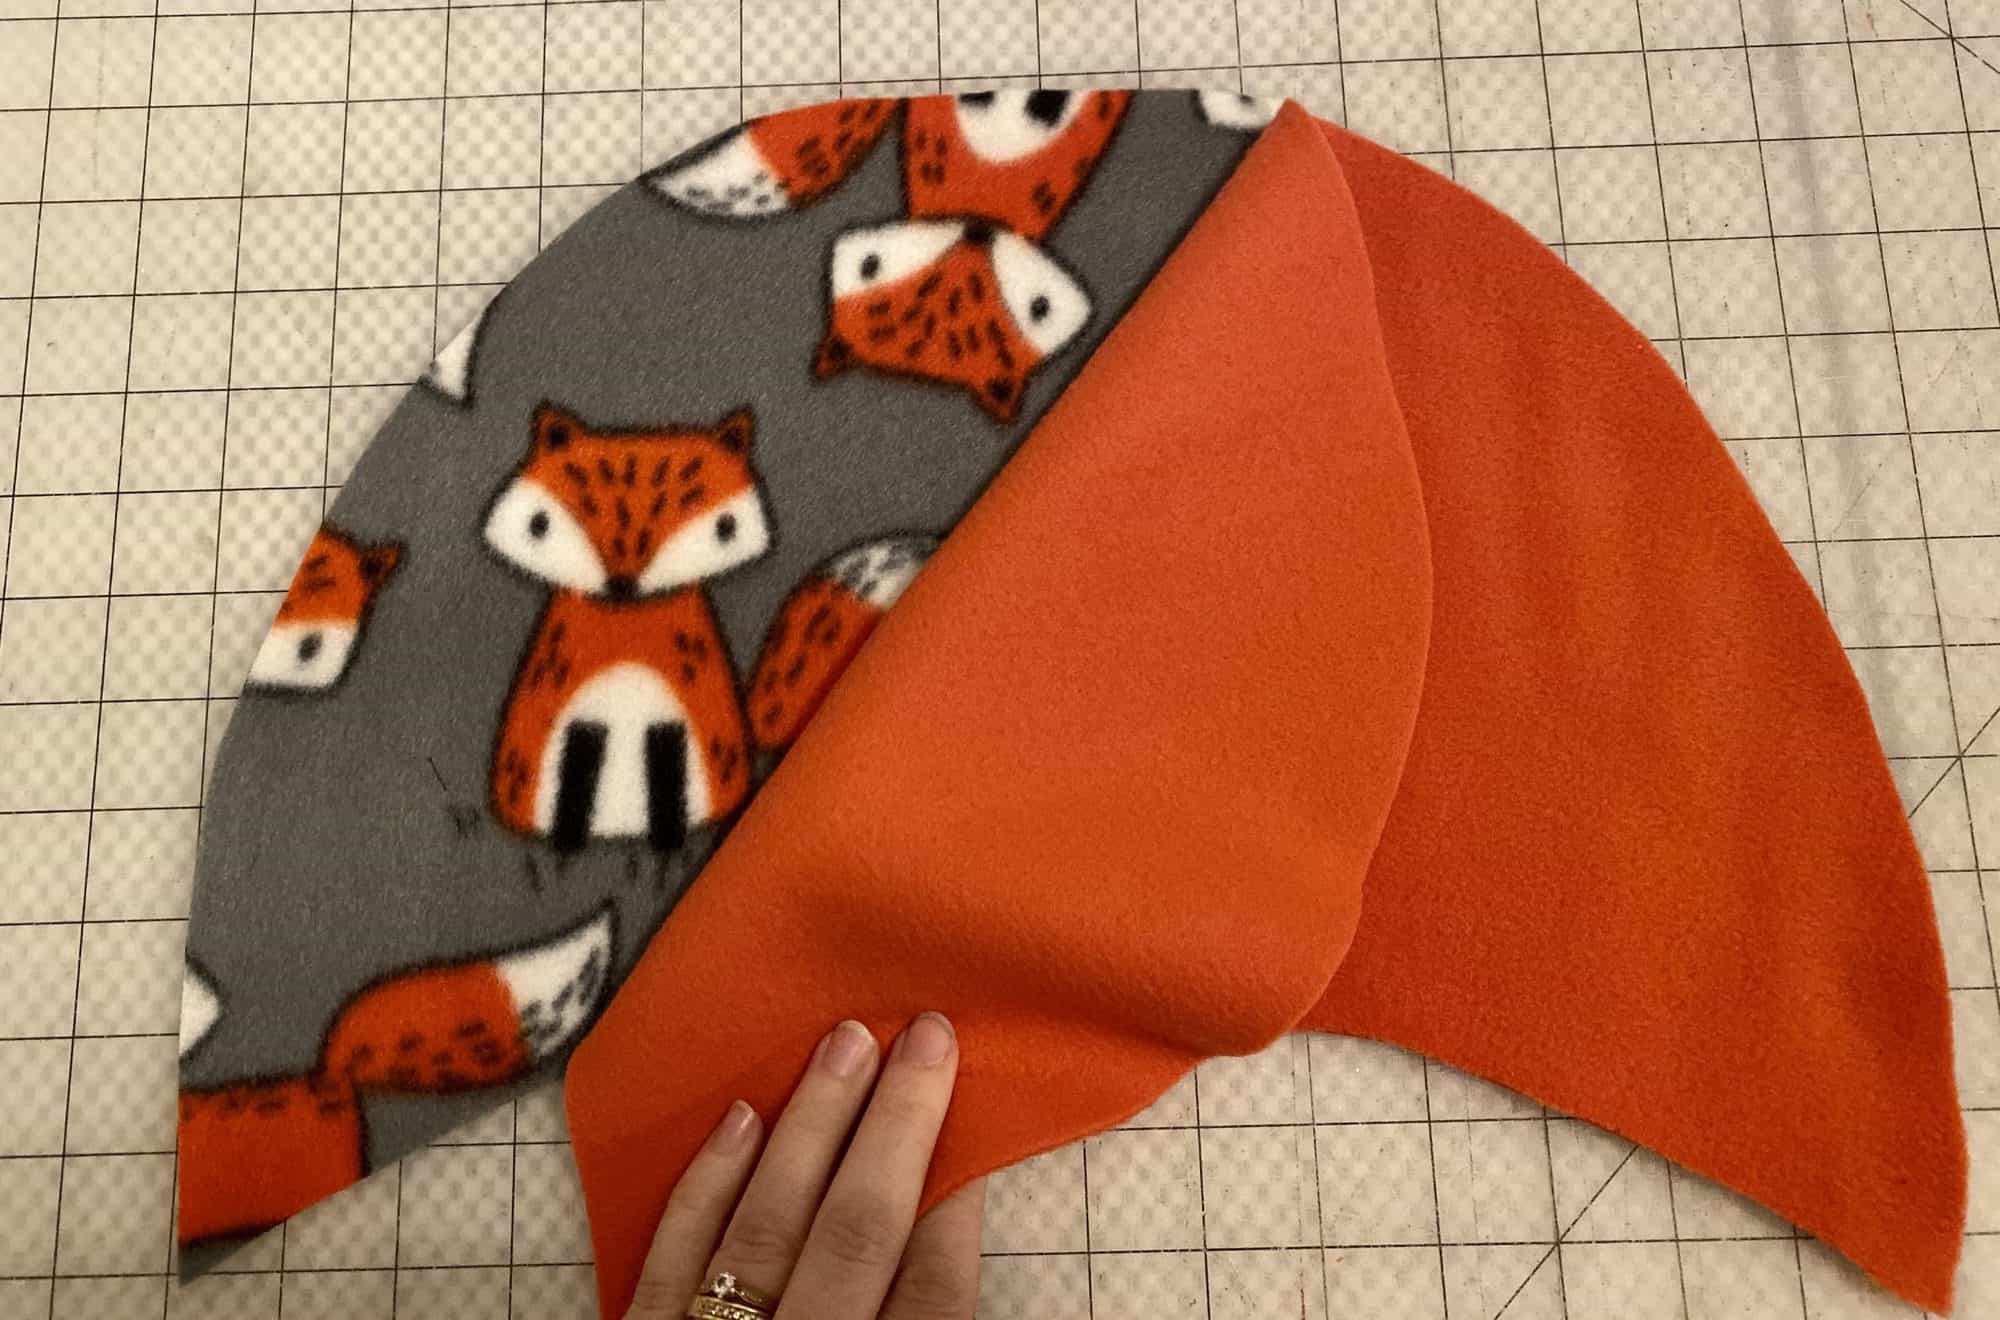
2. Align at top two corners of blanket lining piece and baste in place. Both lining and hand pocket fabrics will be right sides facing up.

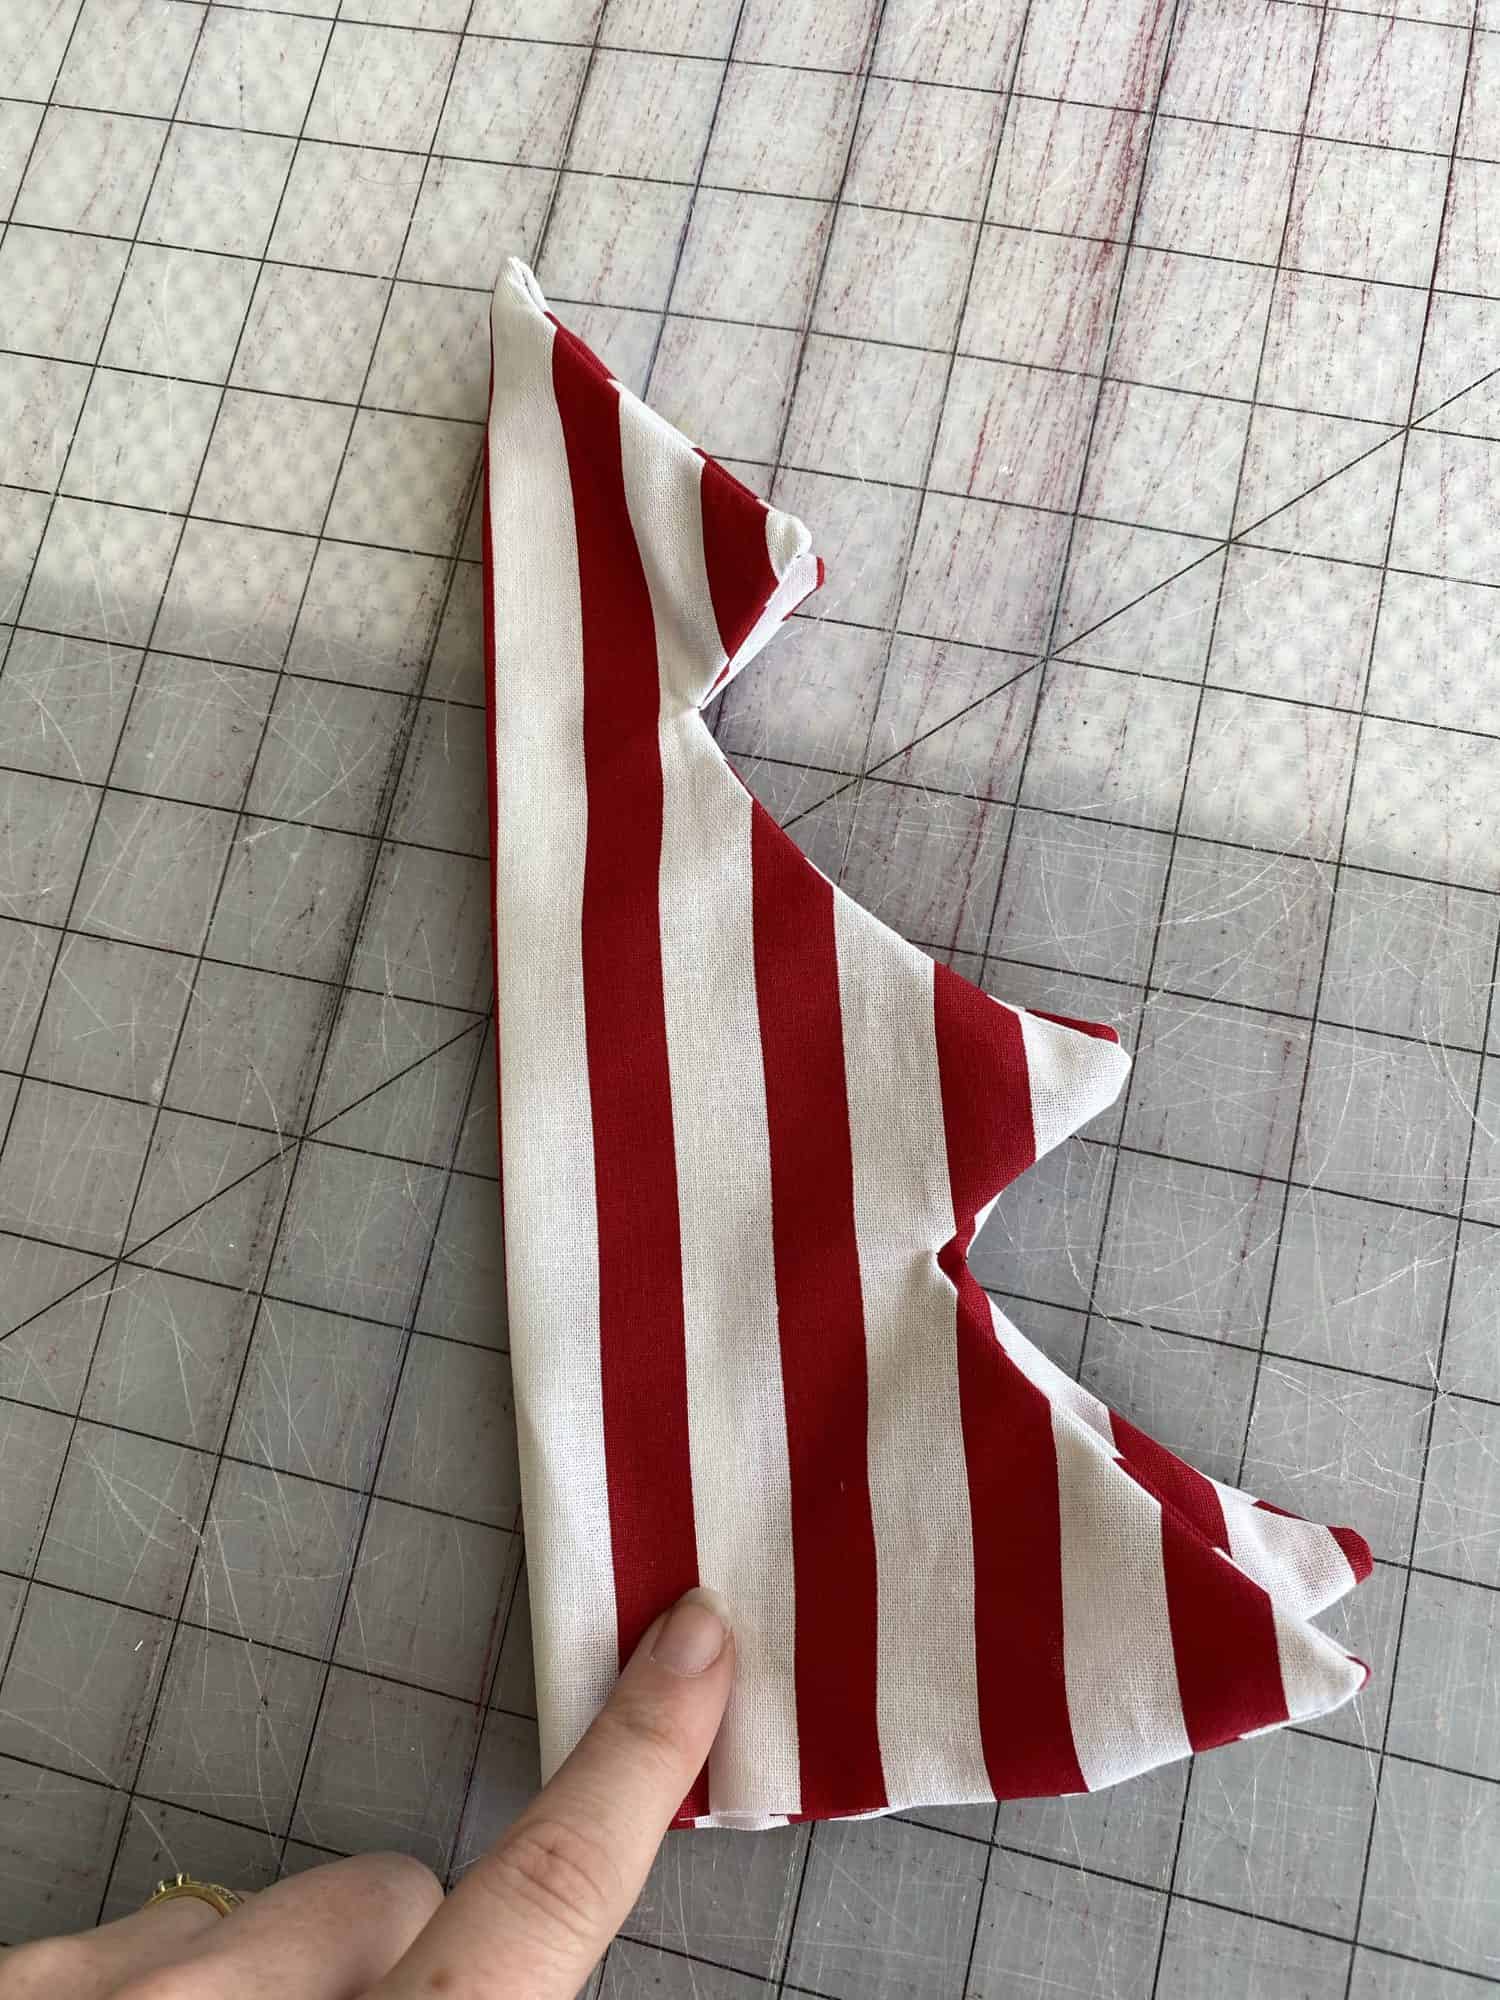
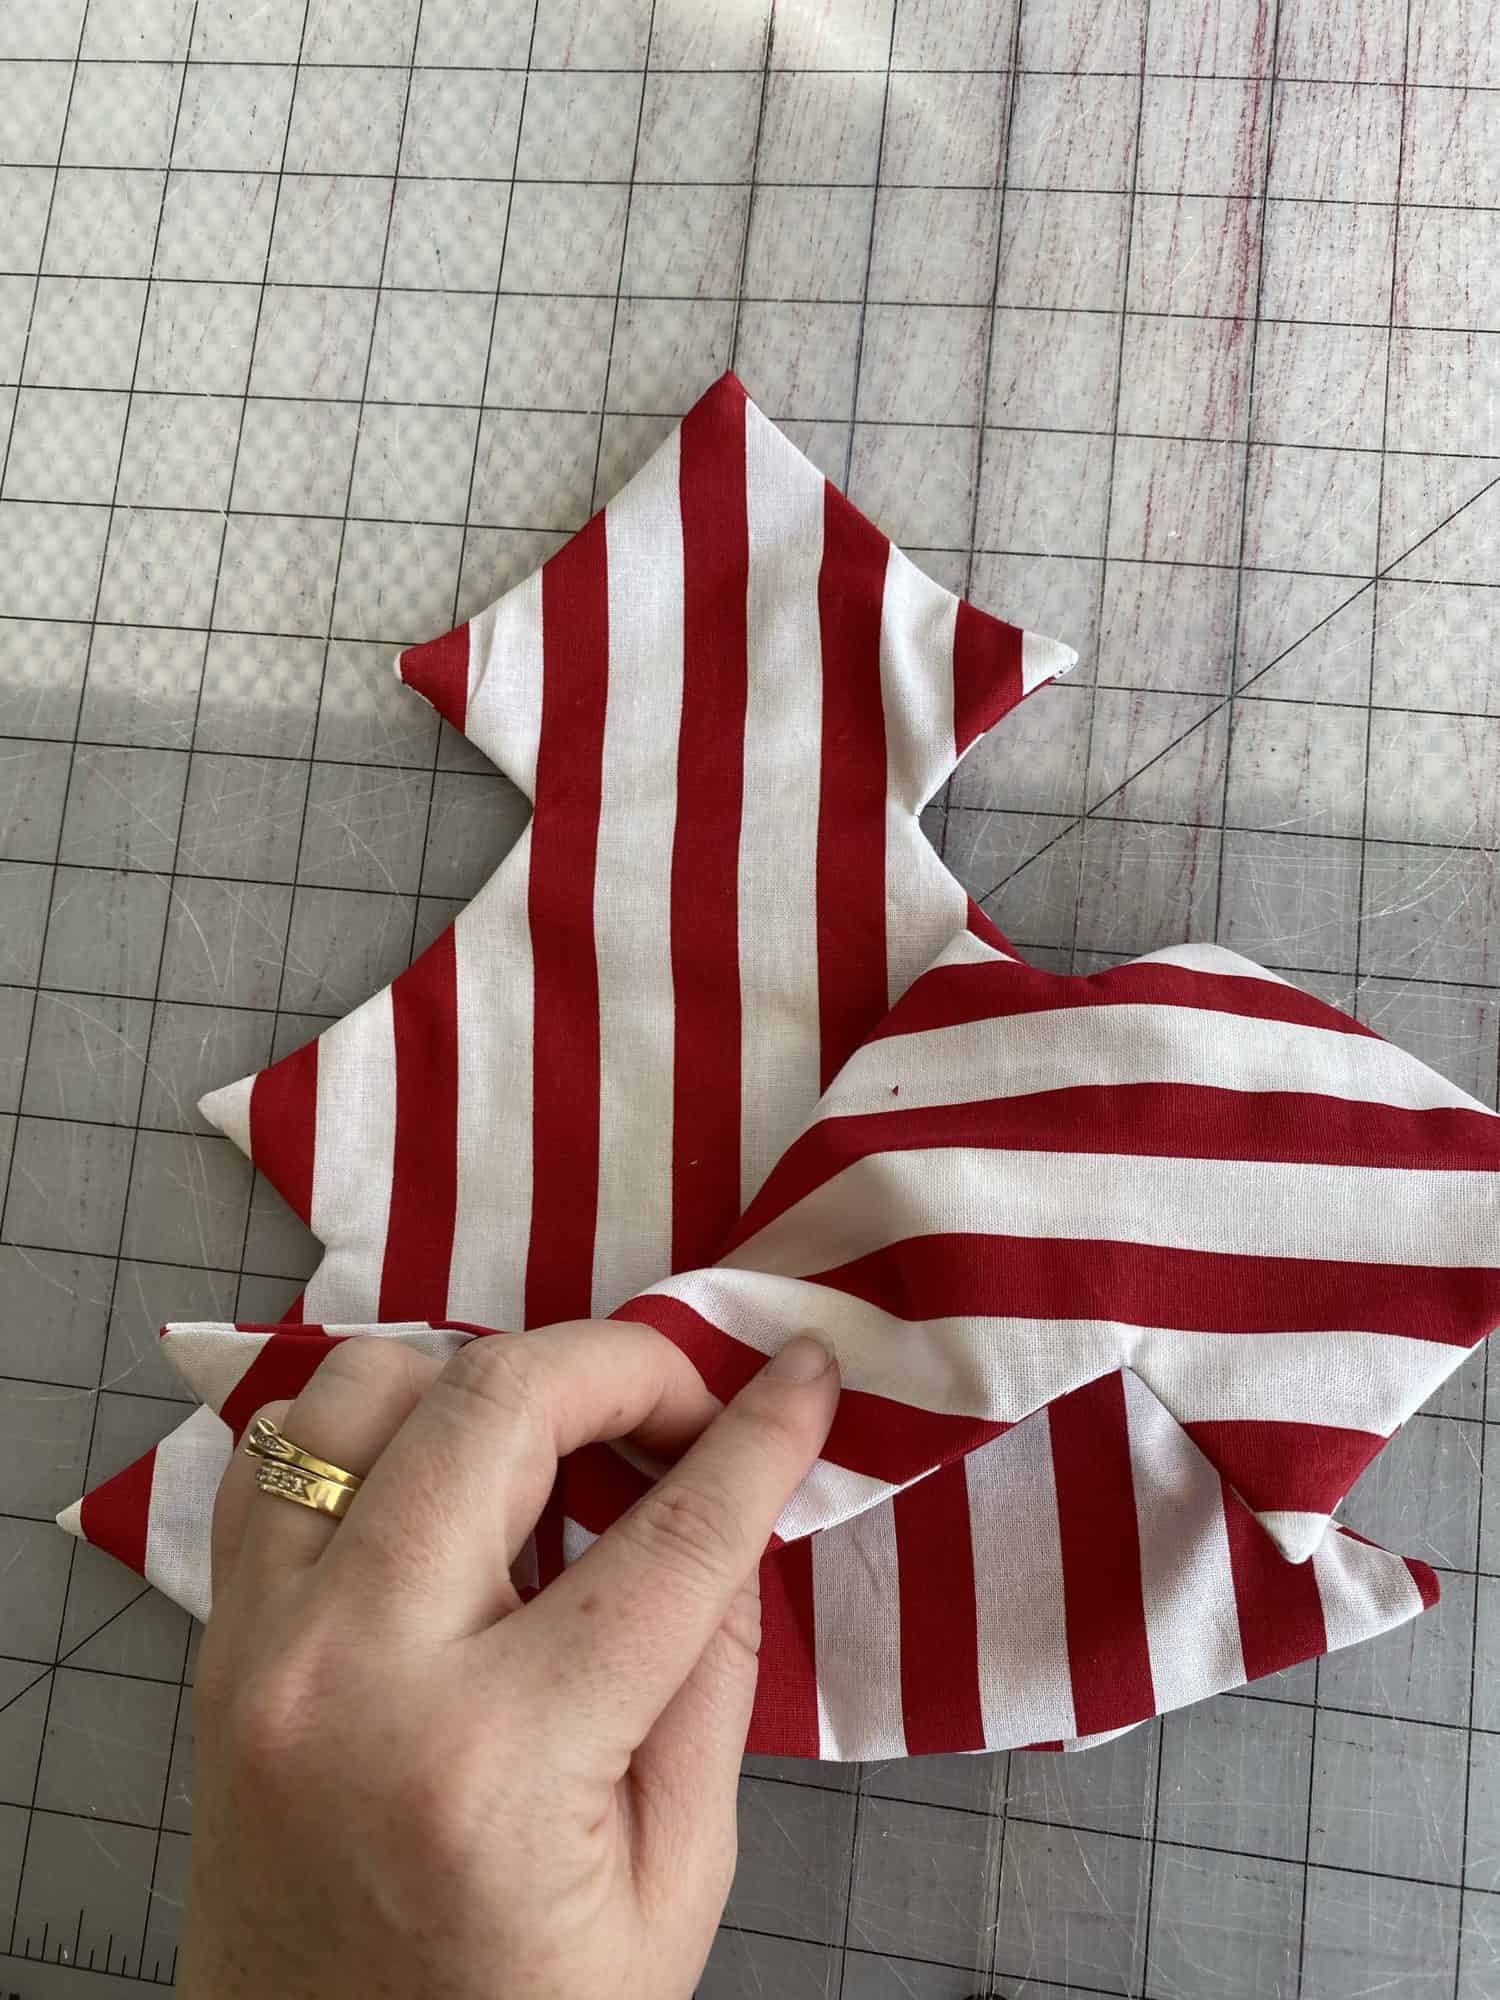
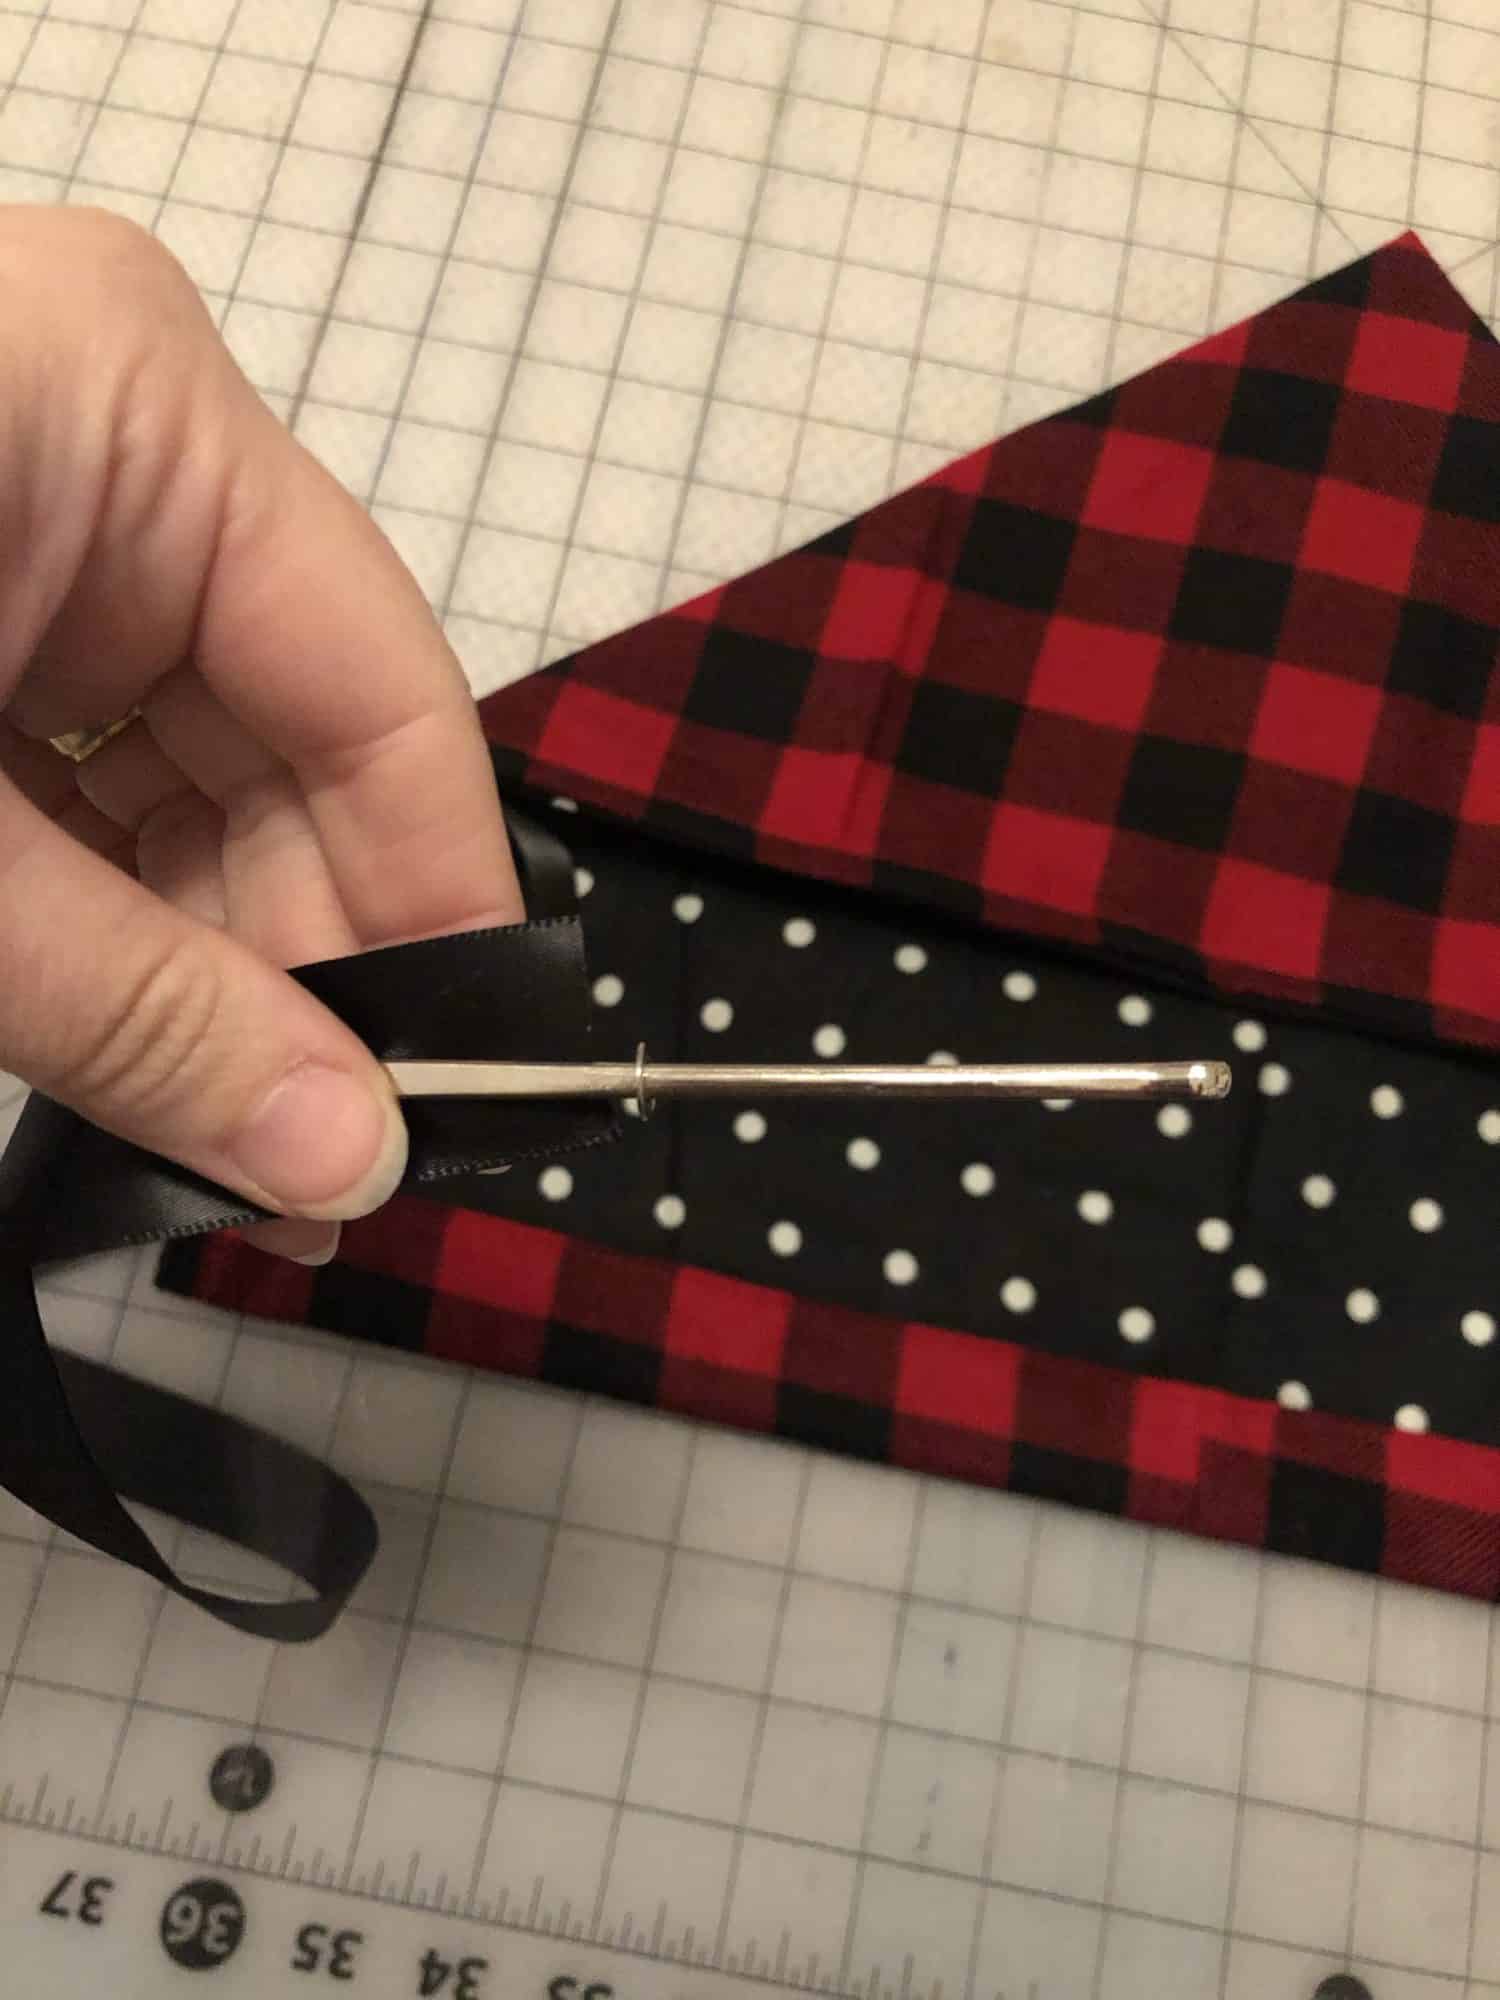
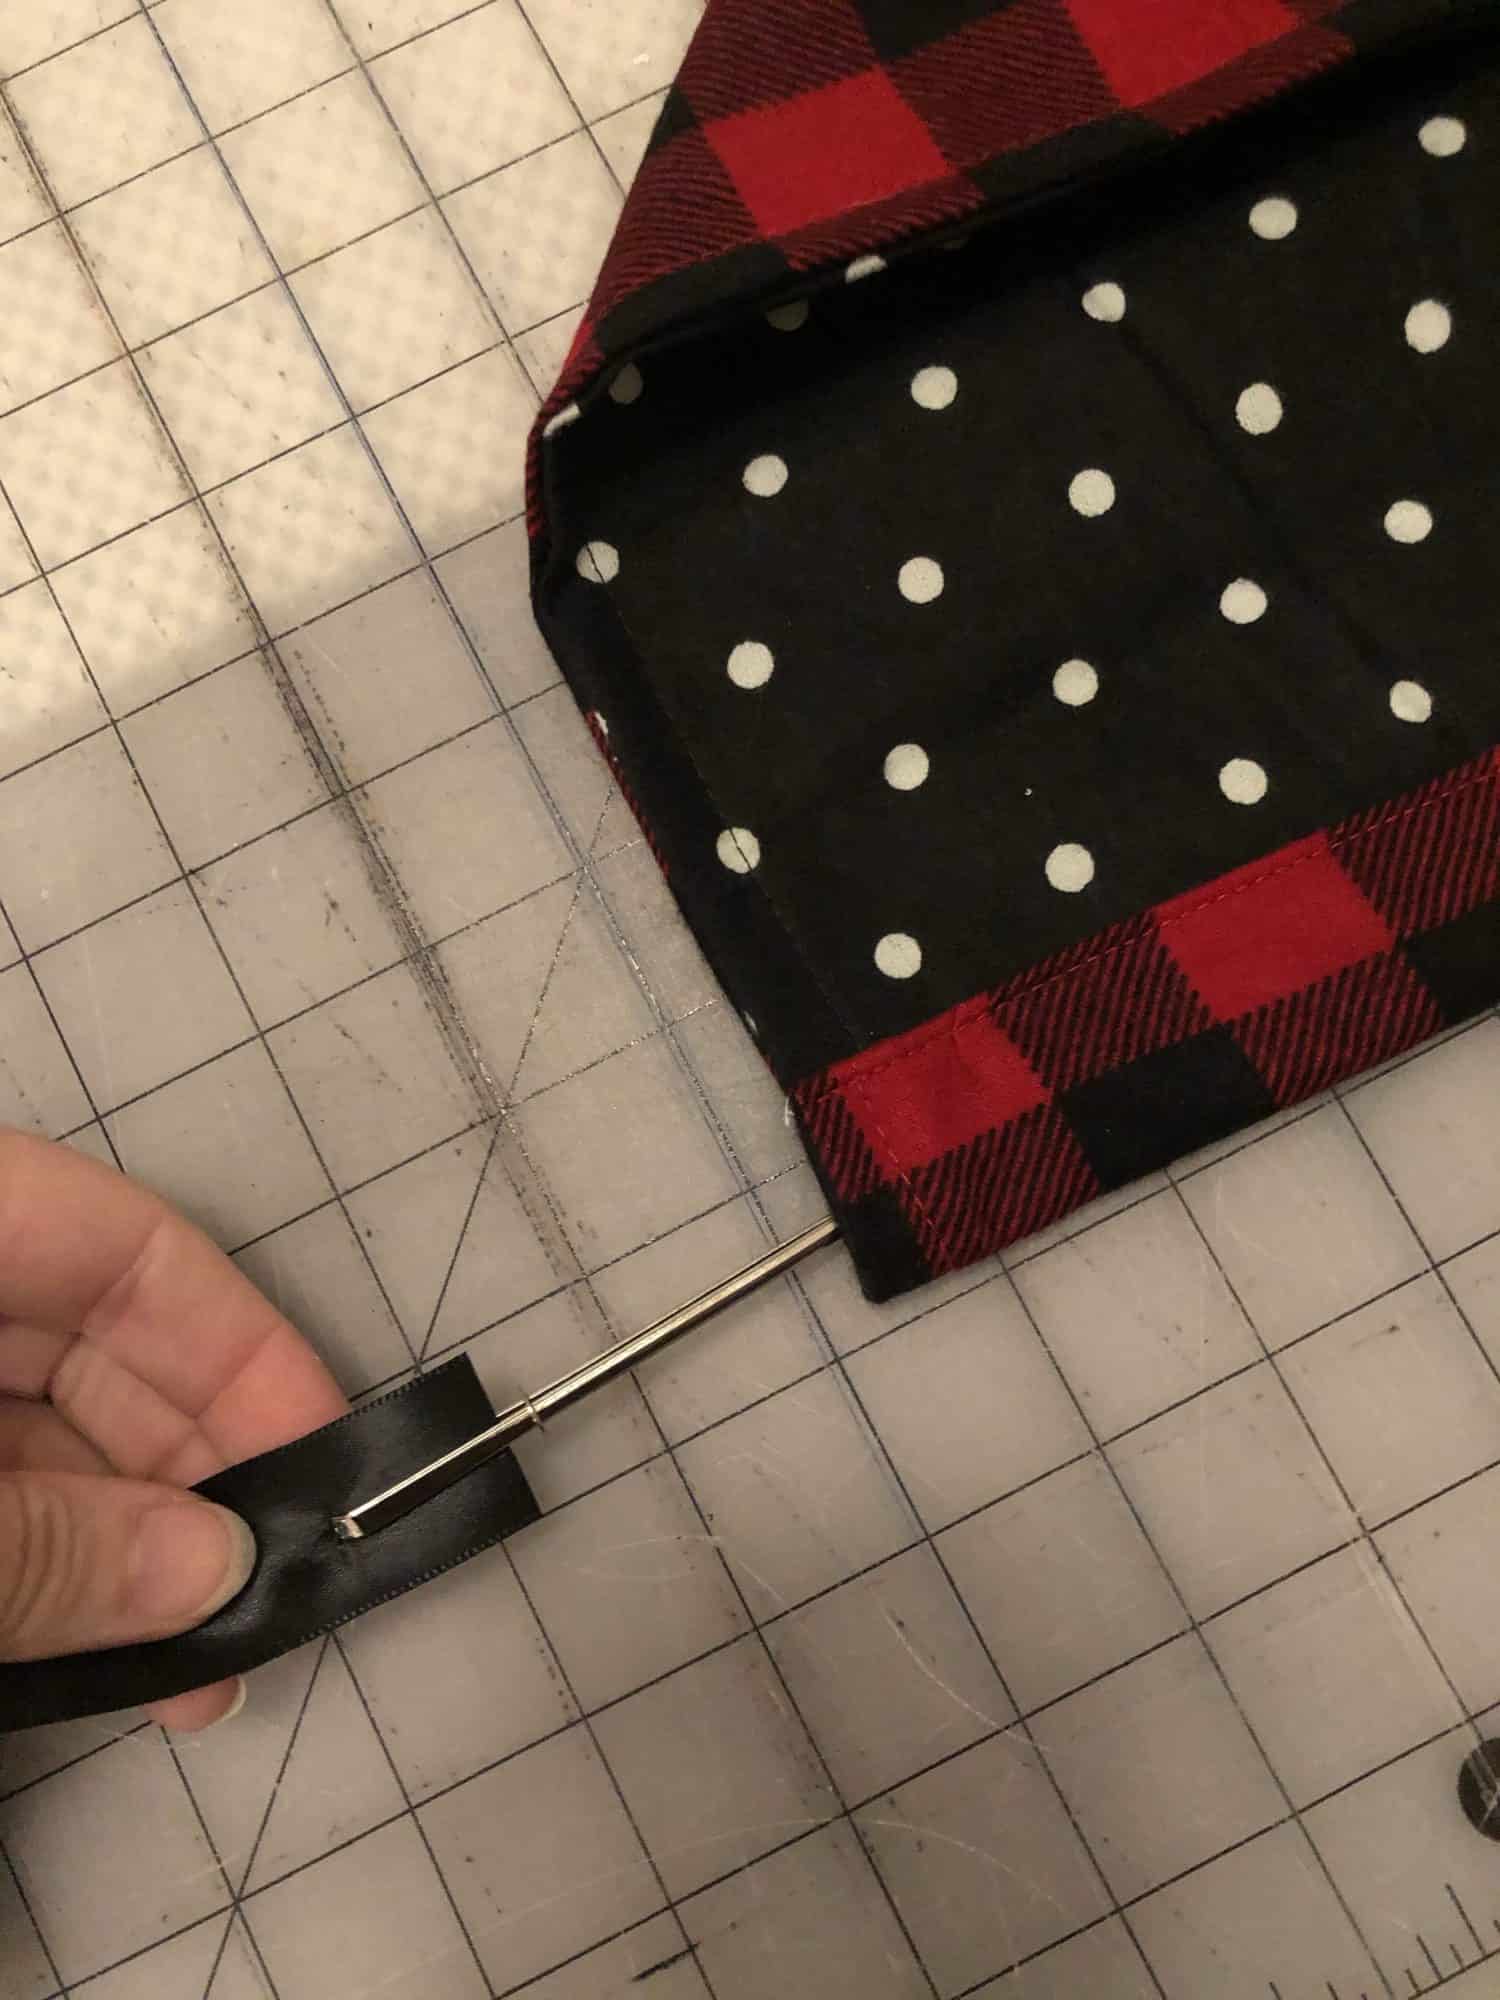
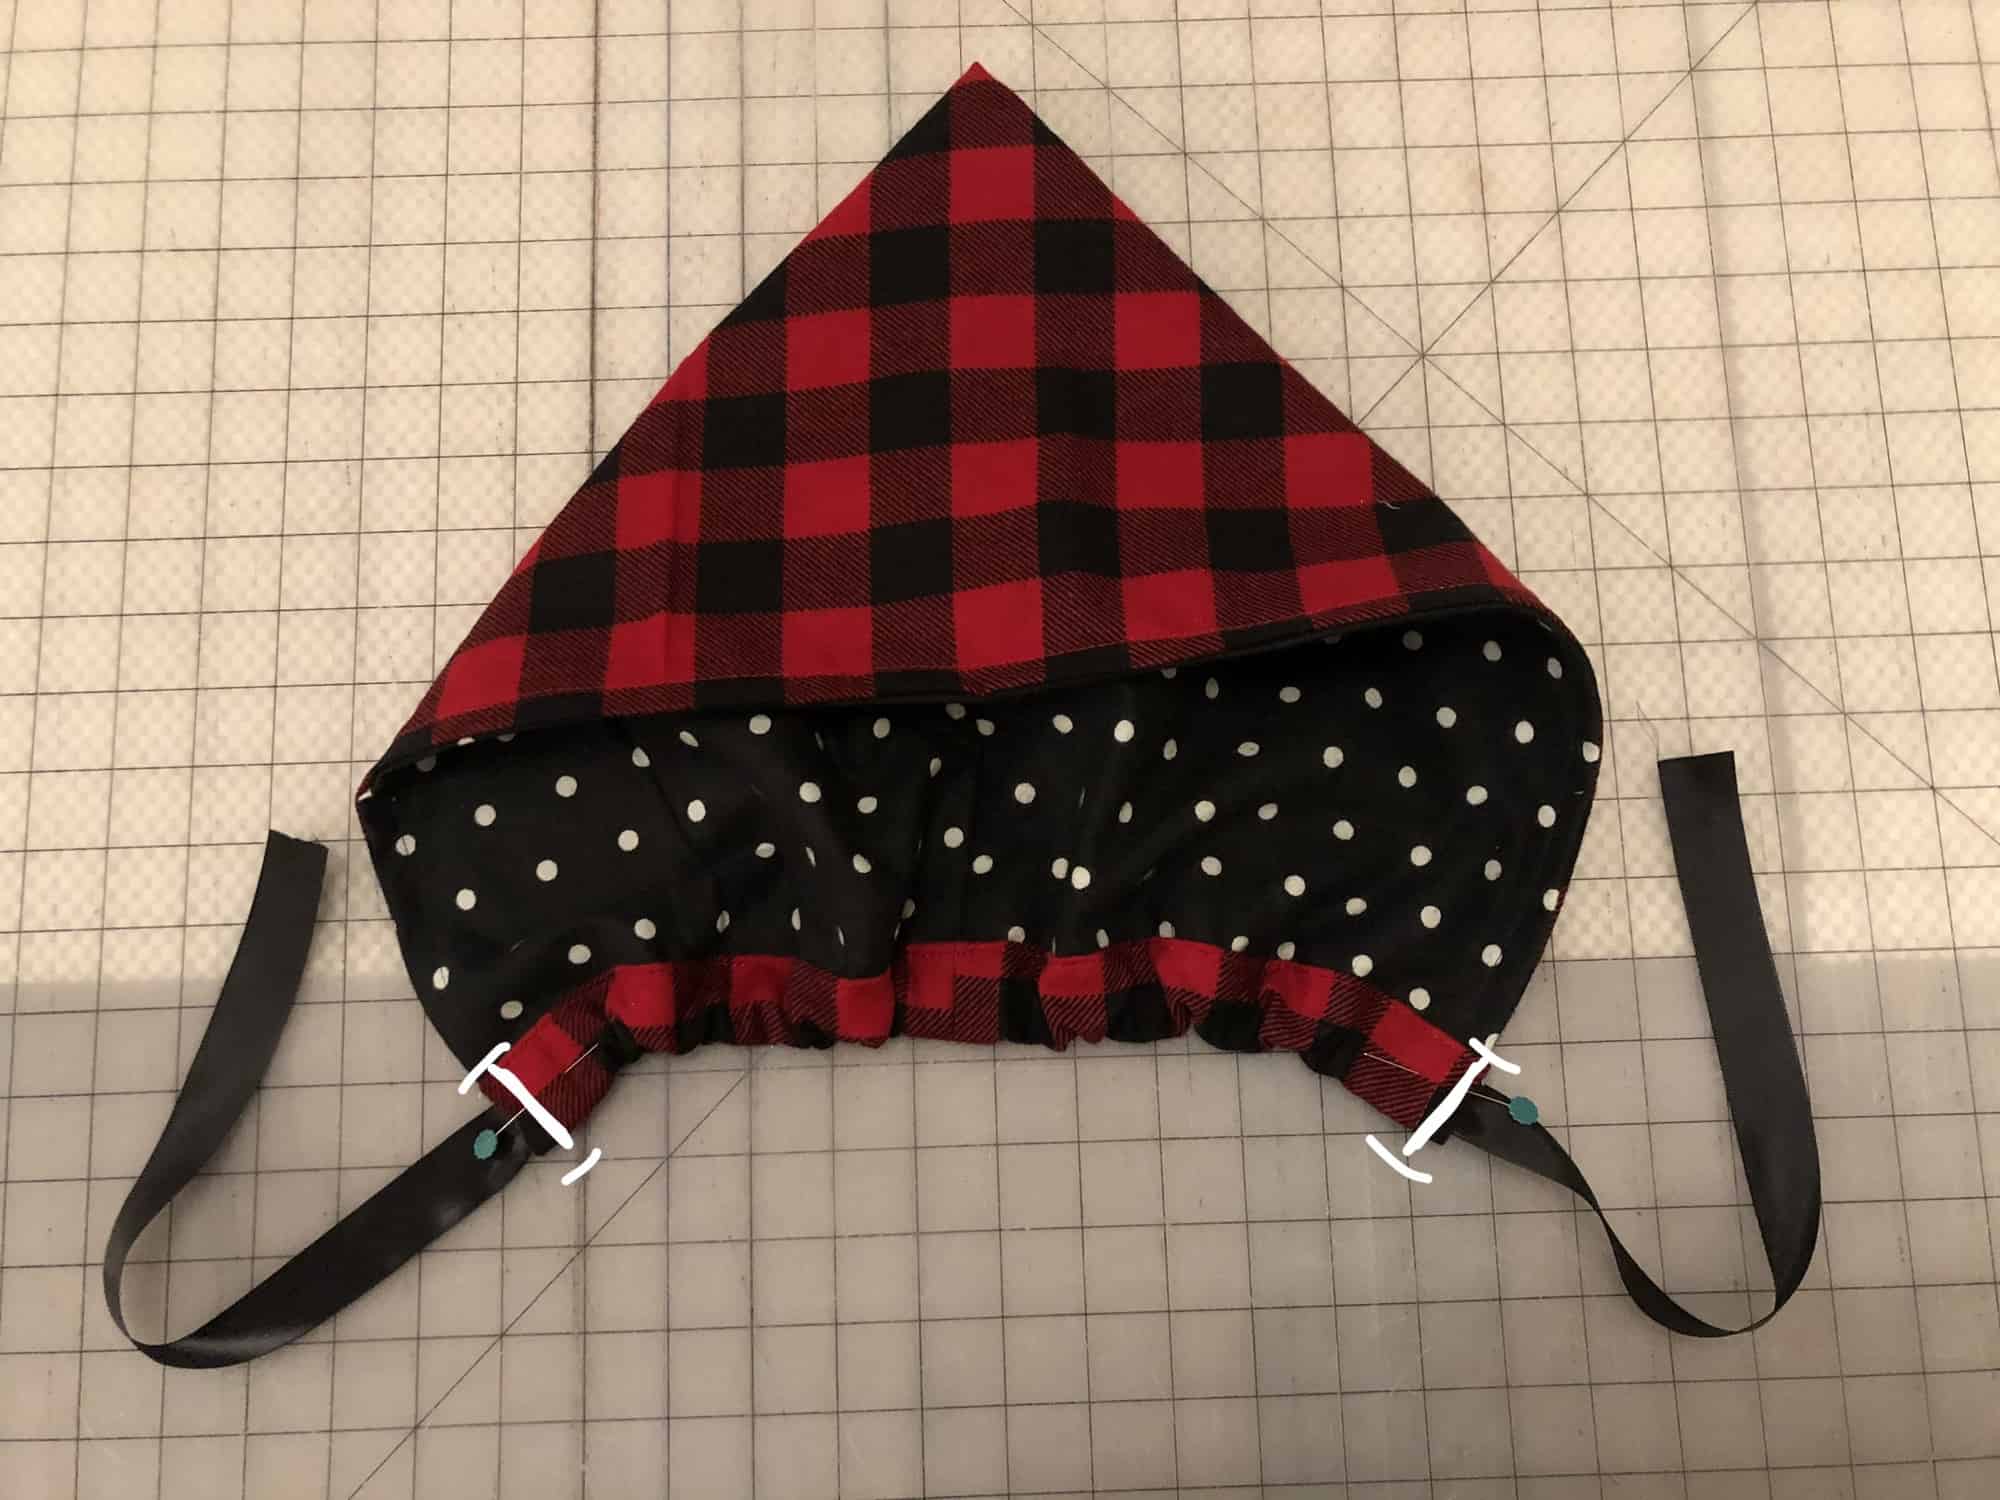
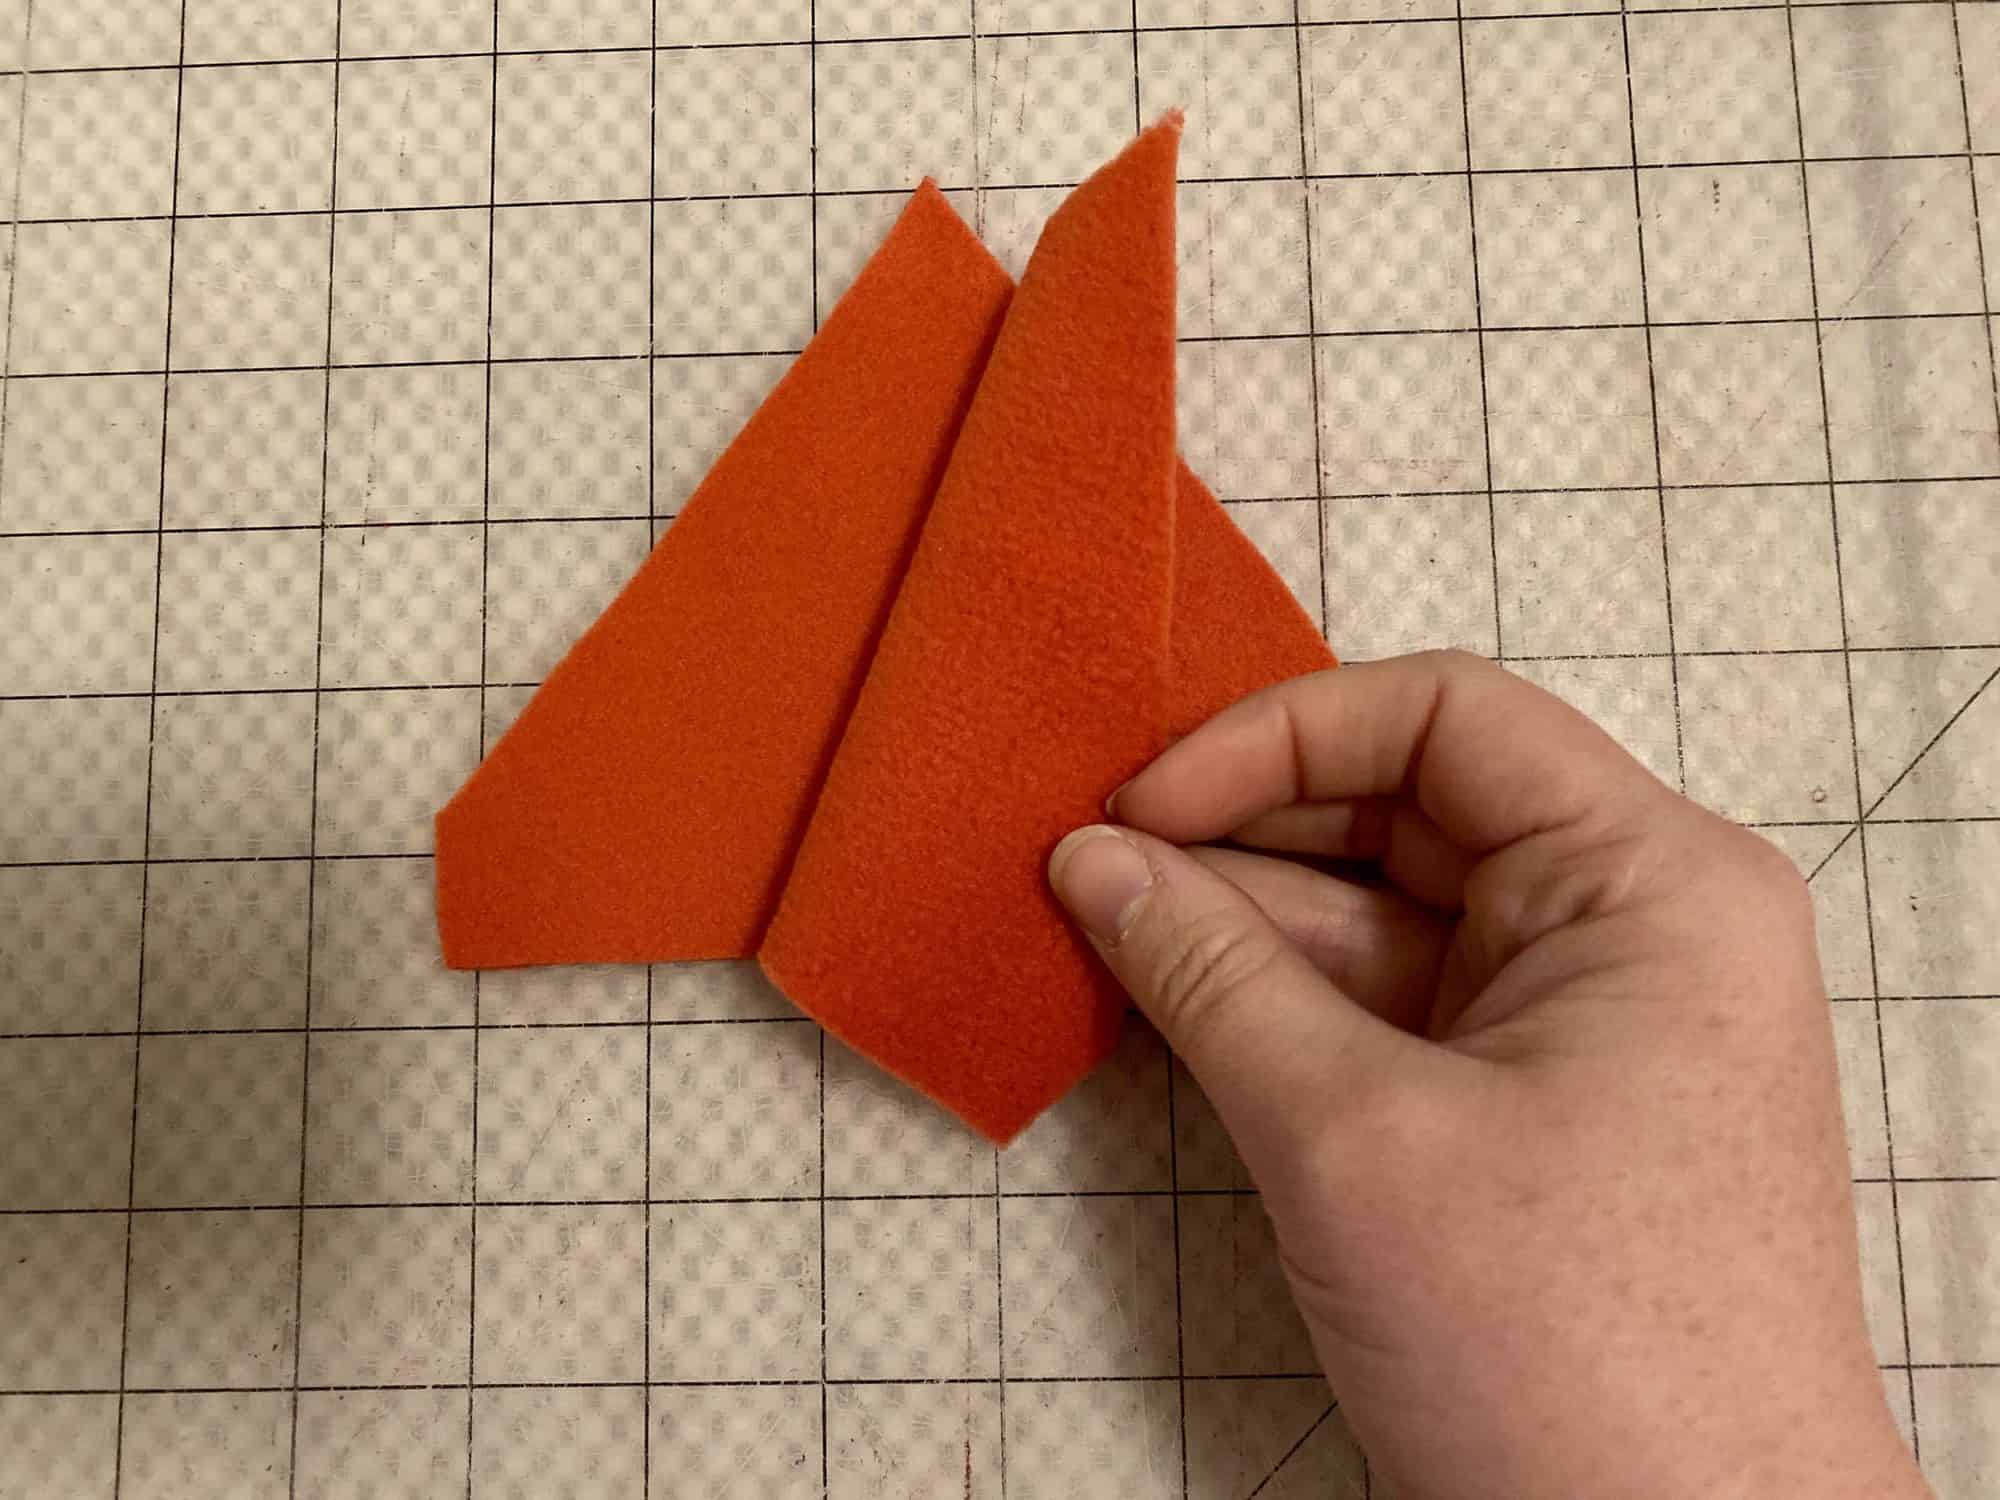
3. Optional ears: Sew ear pieces, right sides together, leaving bottom edge open. Repeat with other ear.  Turn right-sides-out and top stitch if desired.

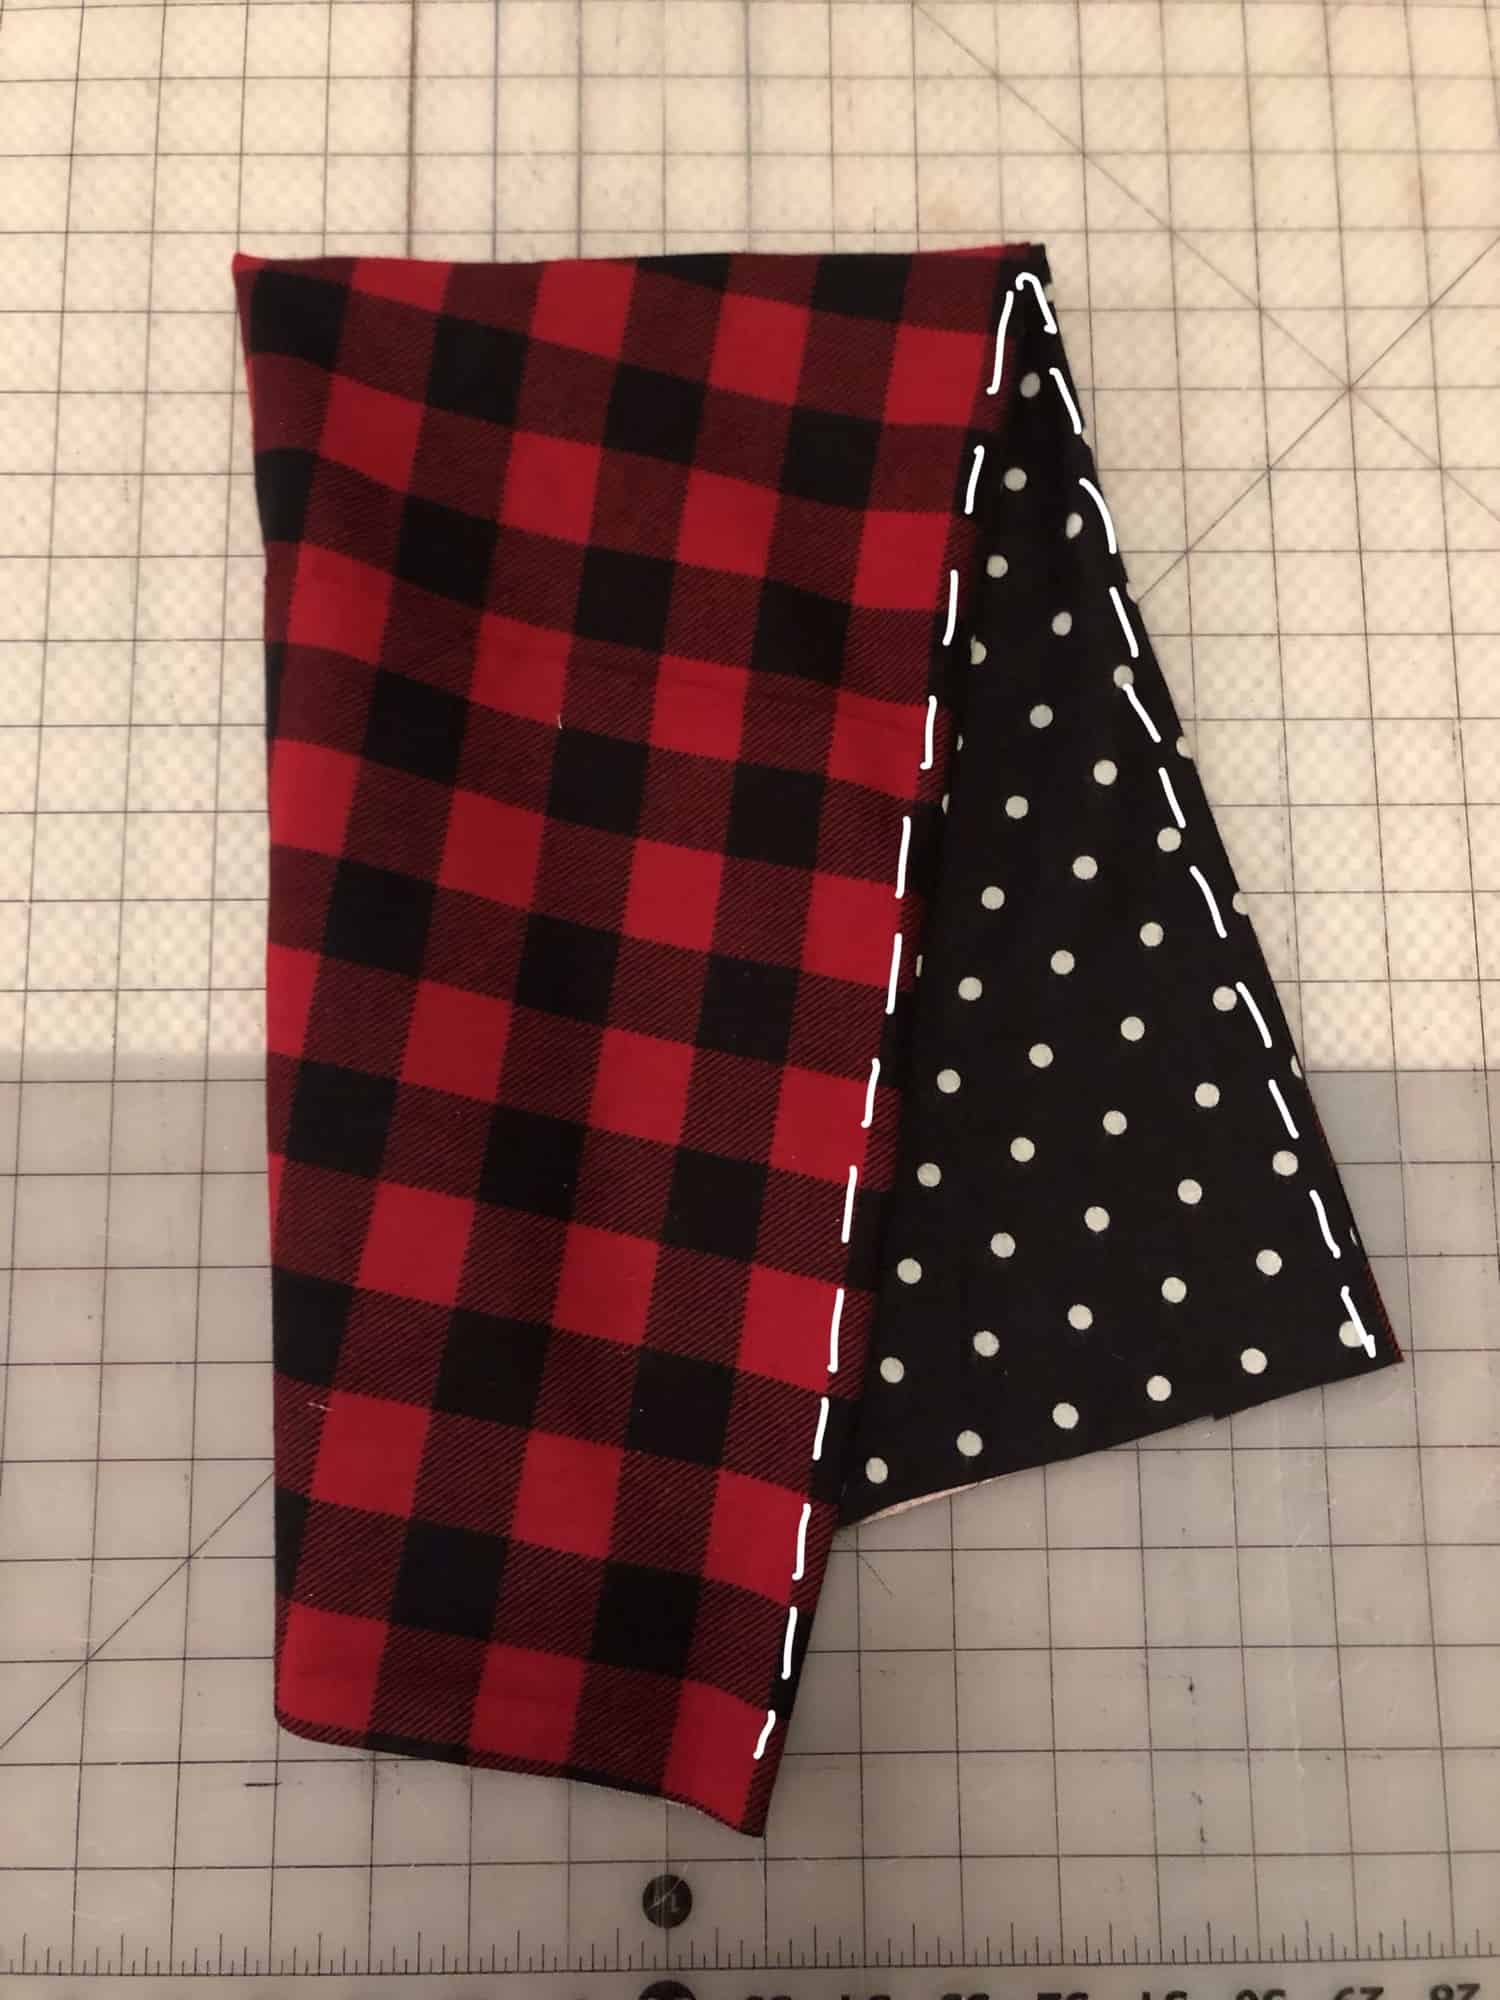
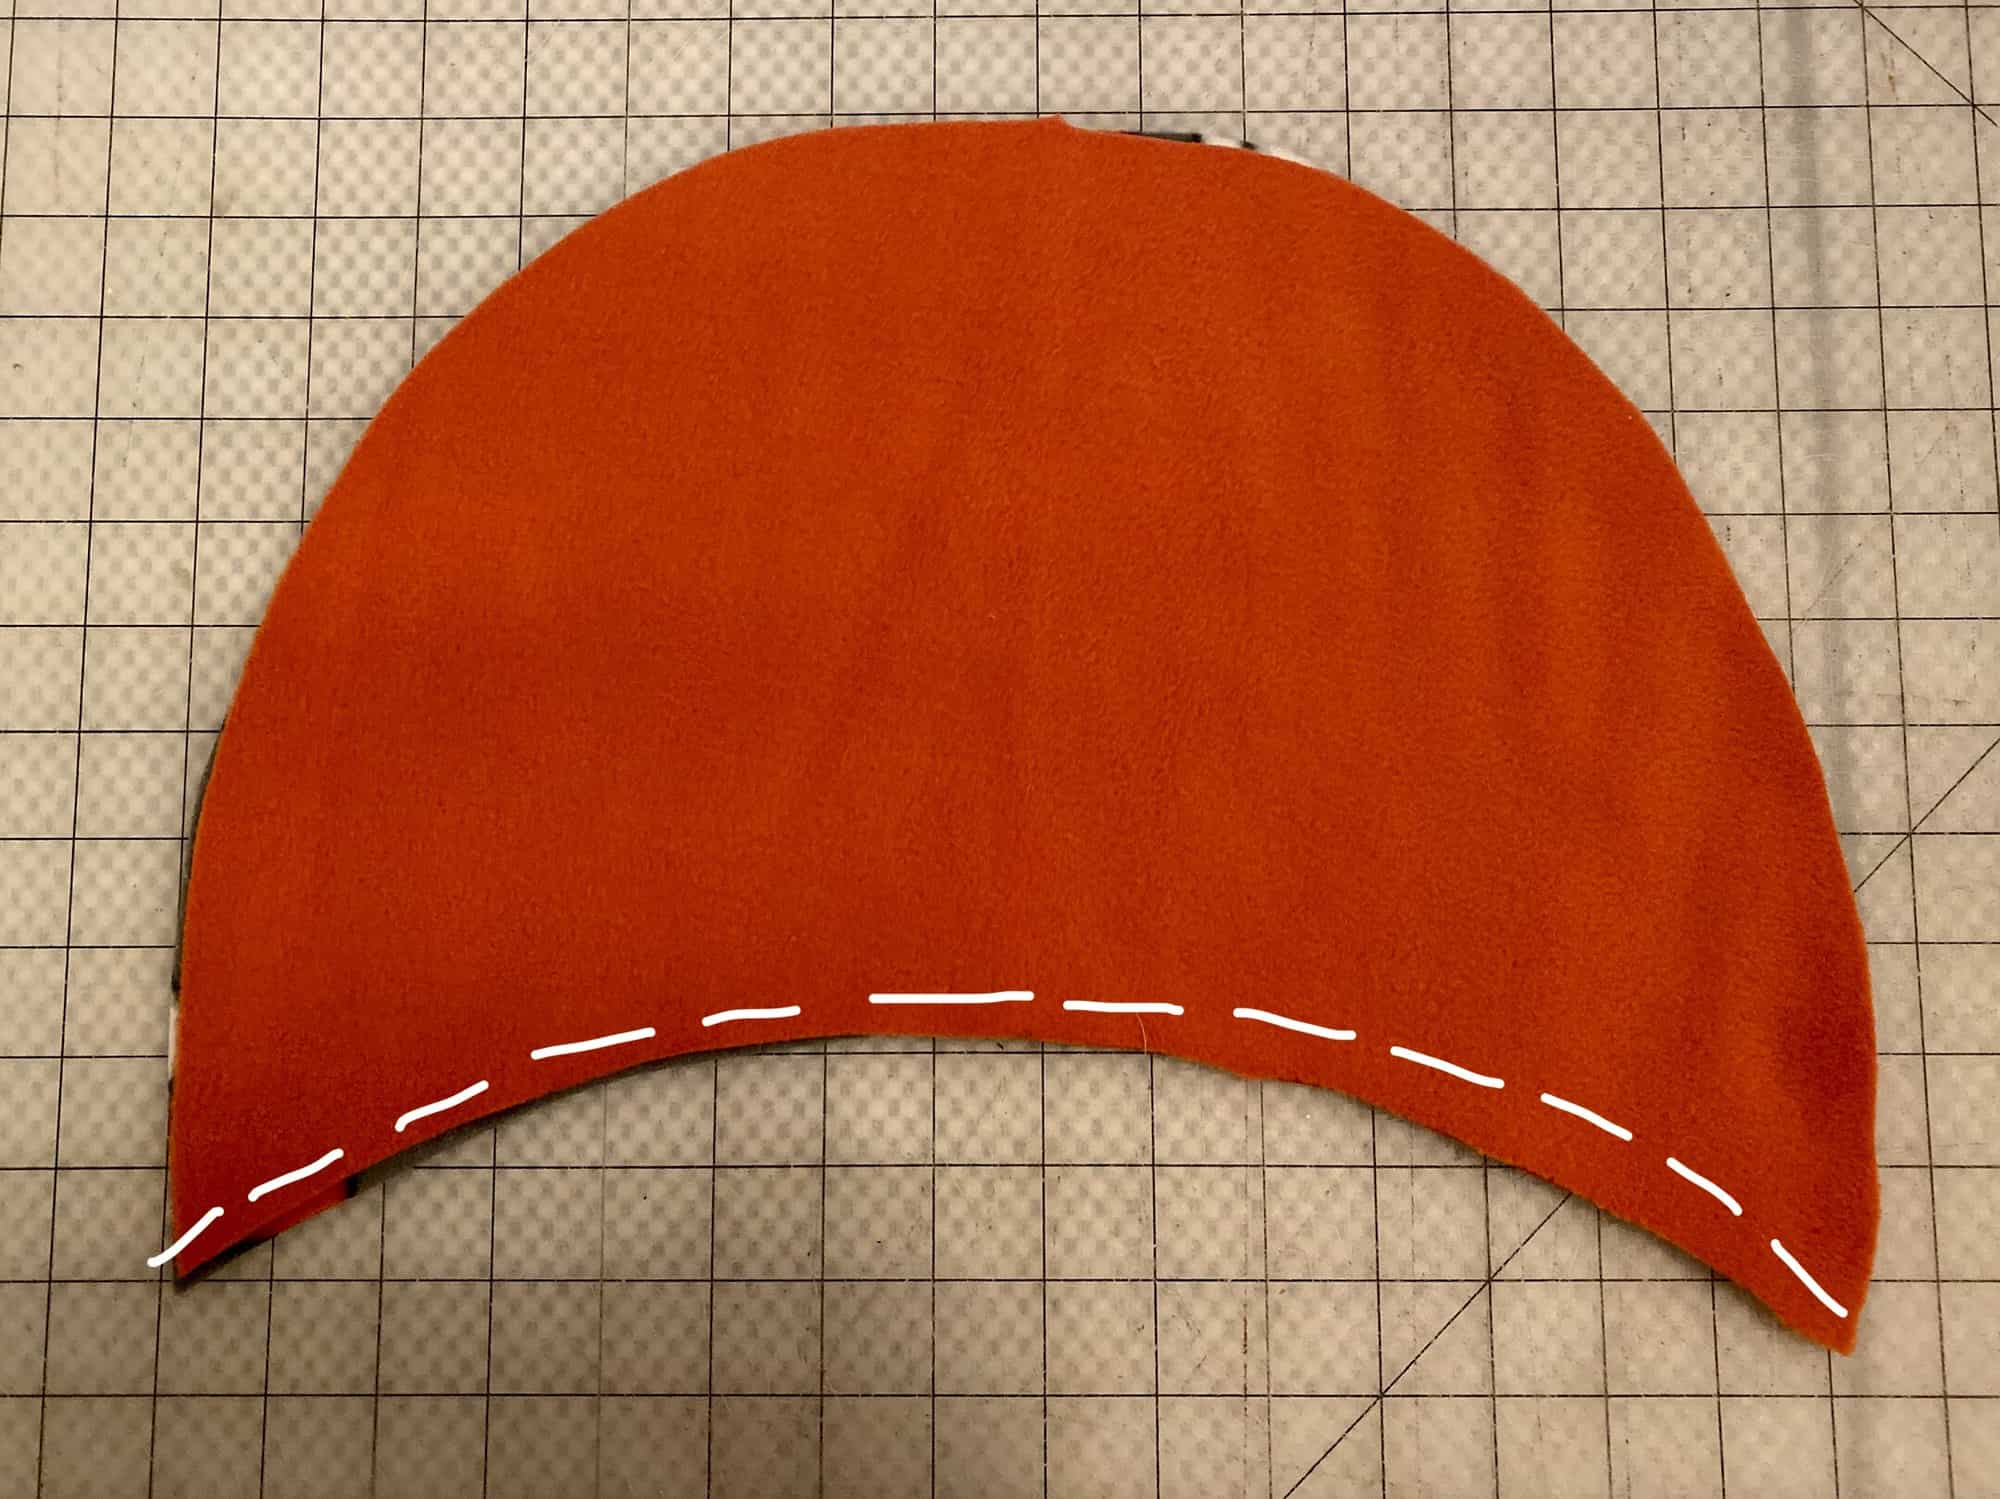
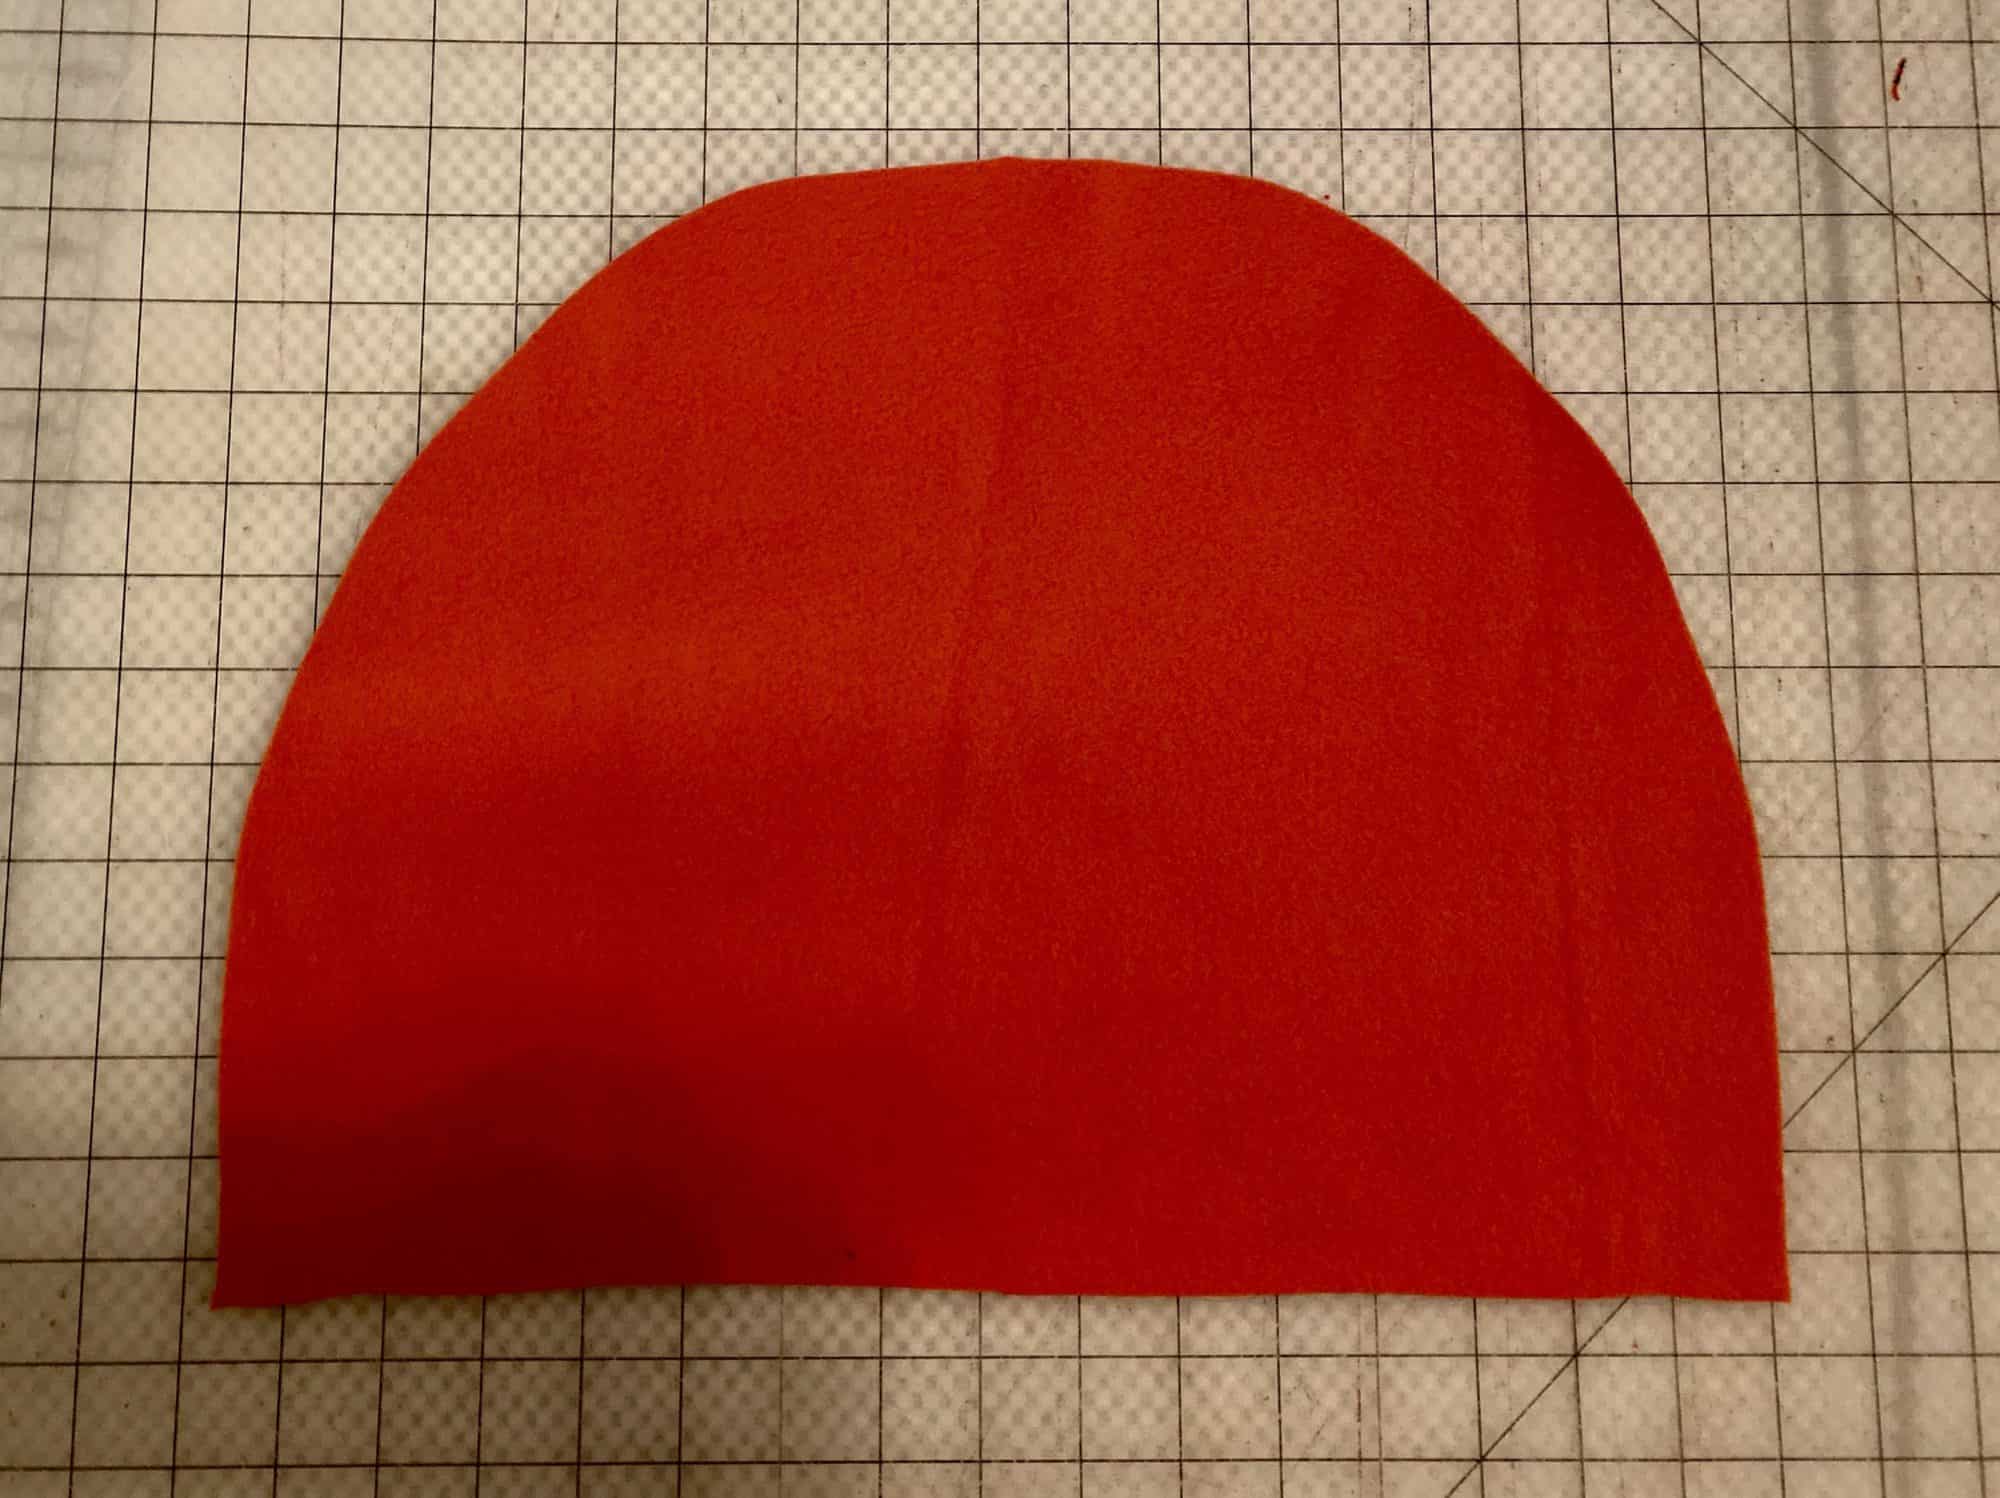
4. Place front hood pieces, right sides together.  Stitch along bottom curve.

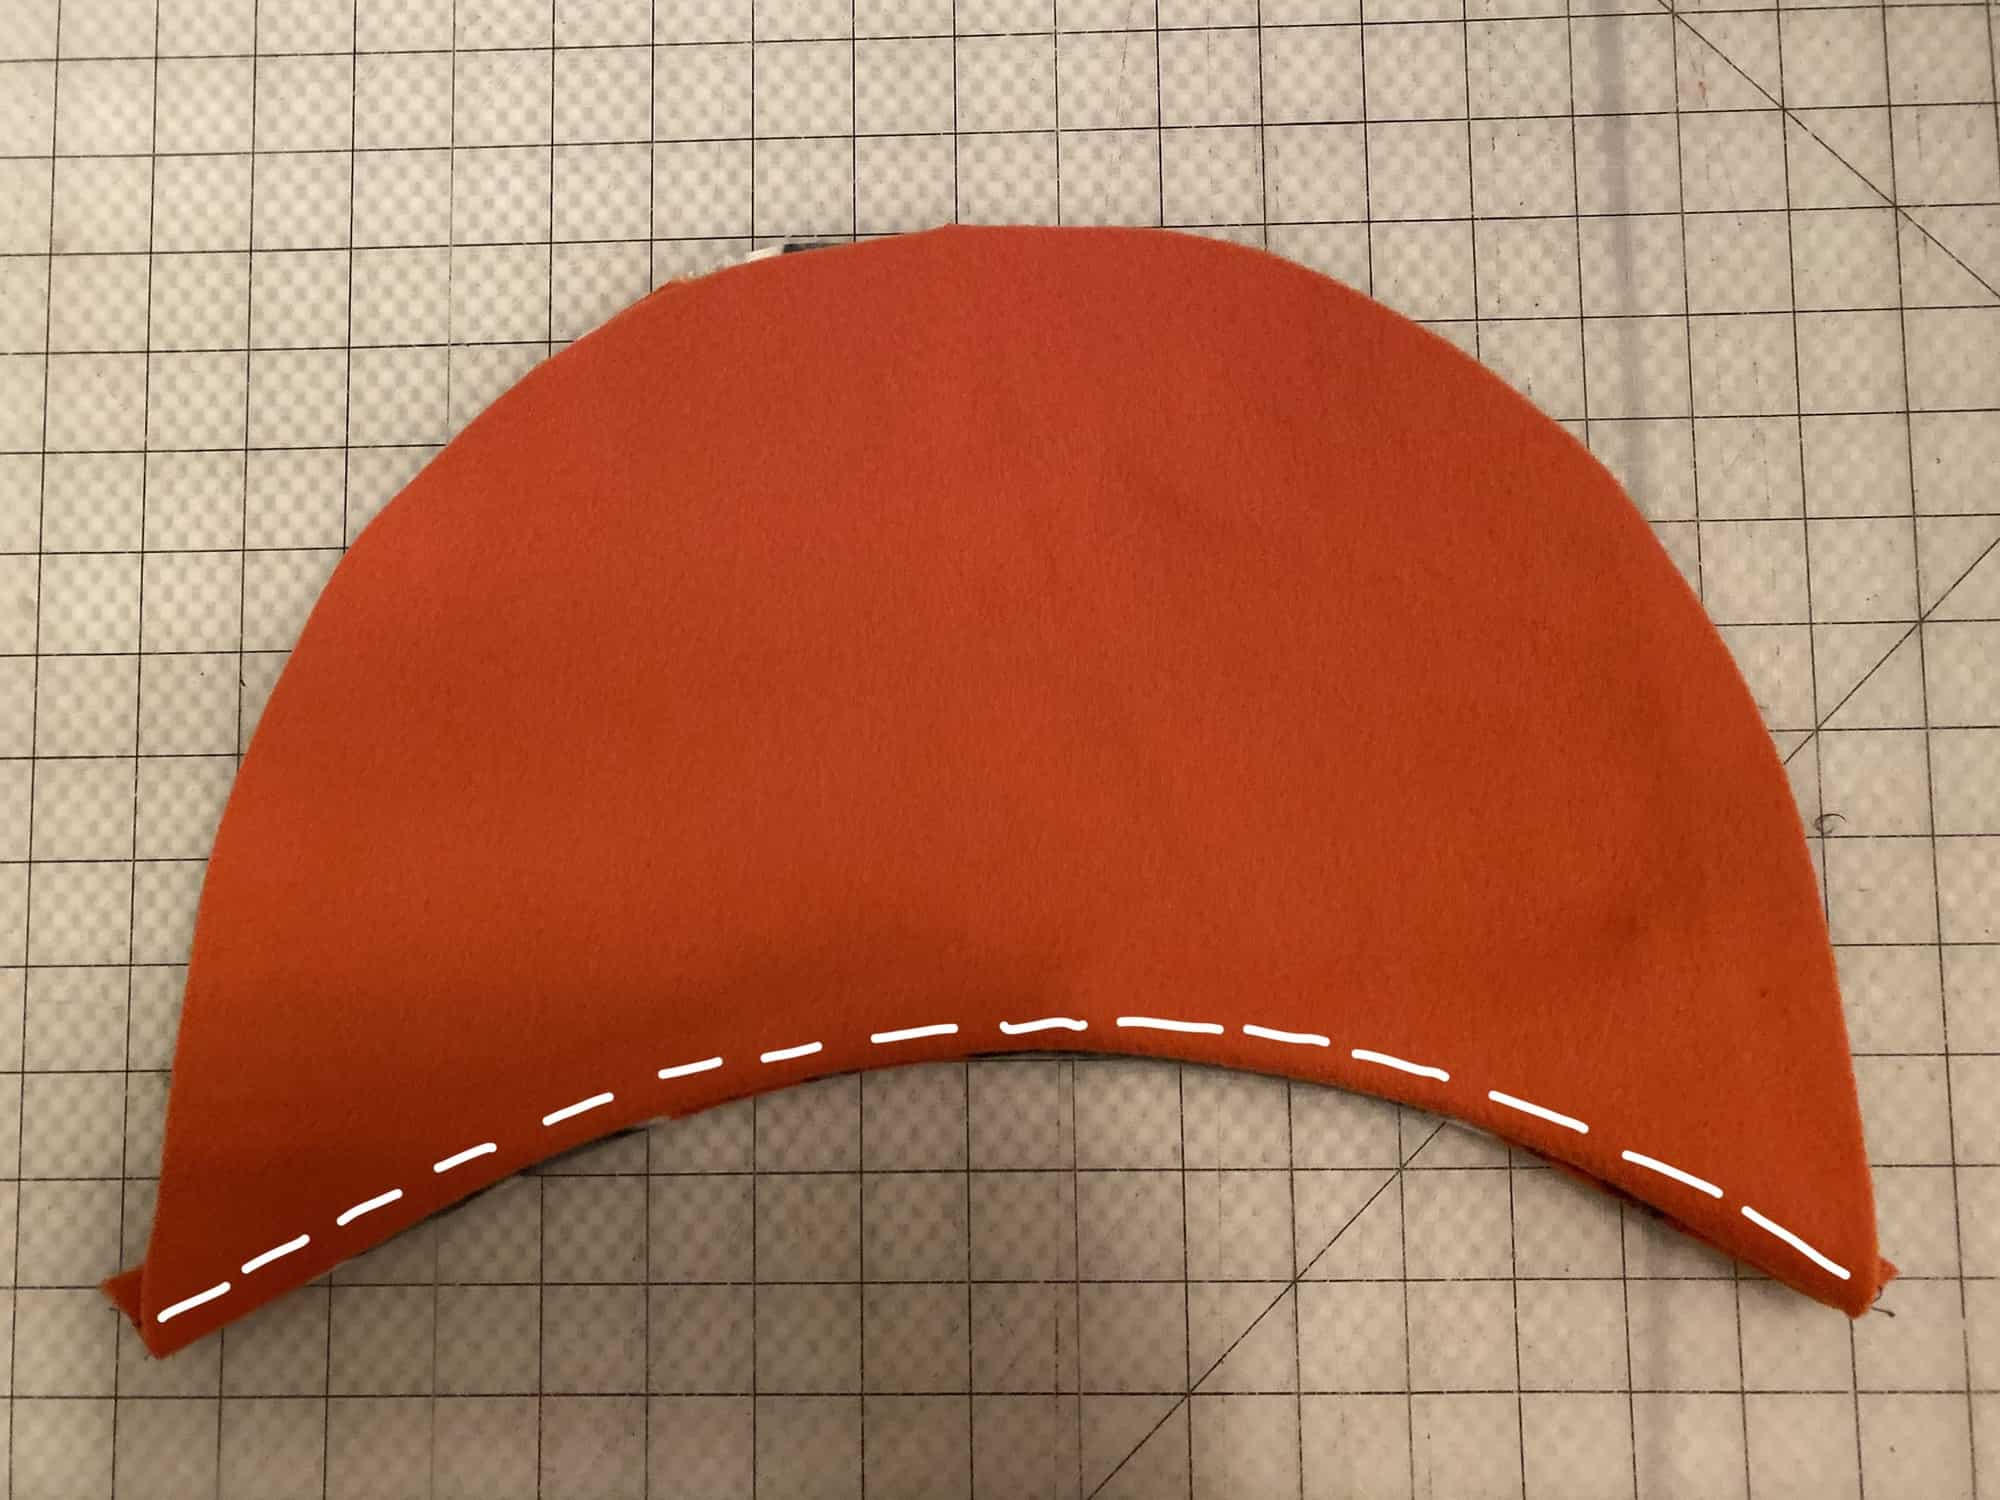
5.  Turn right side out.  Top stitch if desired.

6. Align ear notch to marked point on the hood front. Baste place. Repeat with second ear.

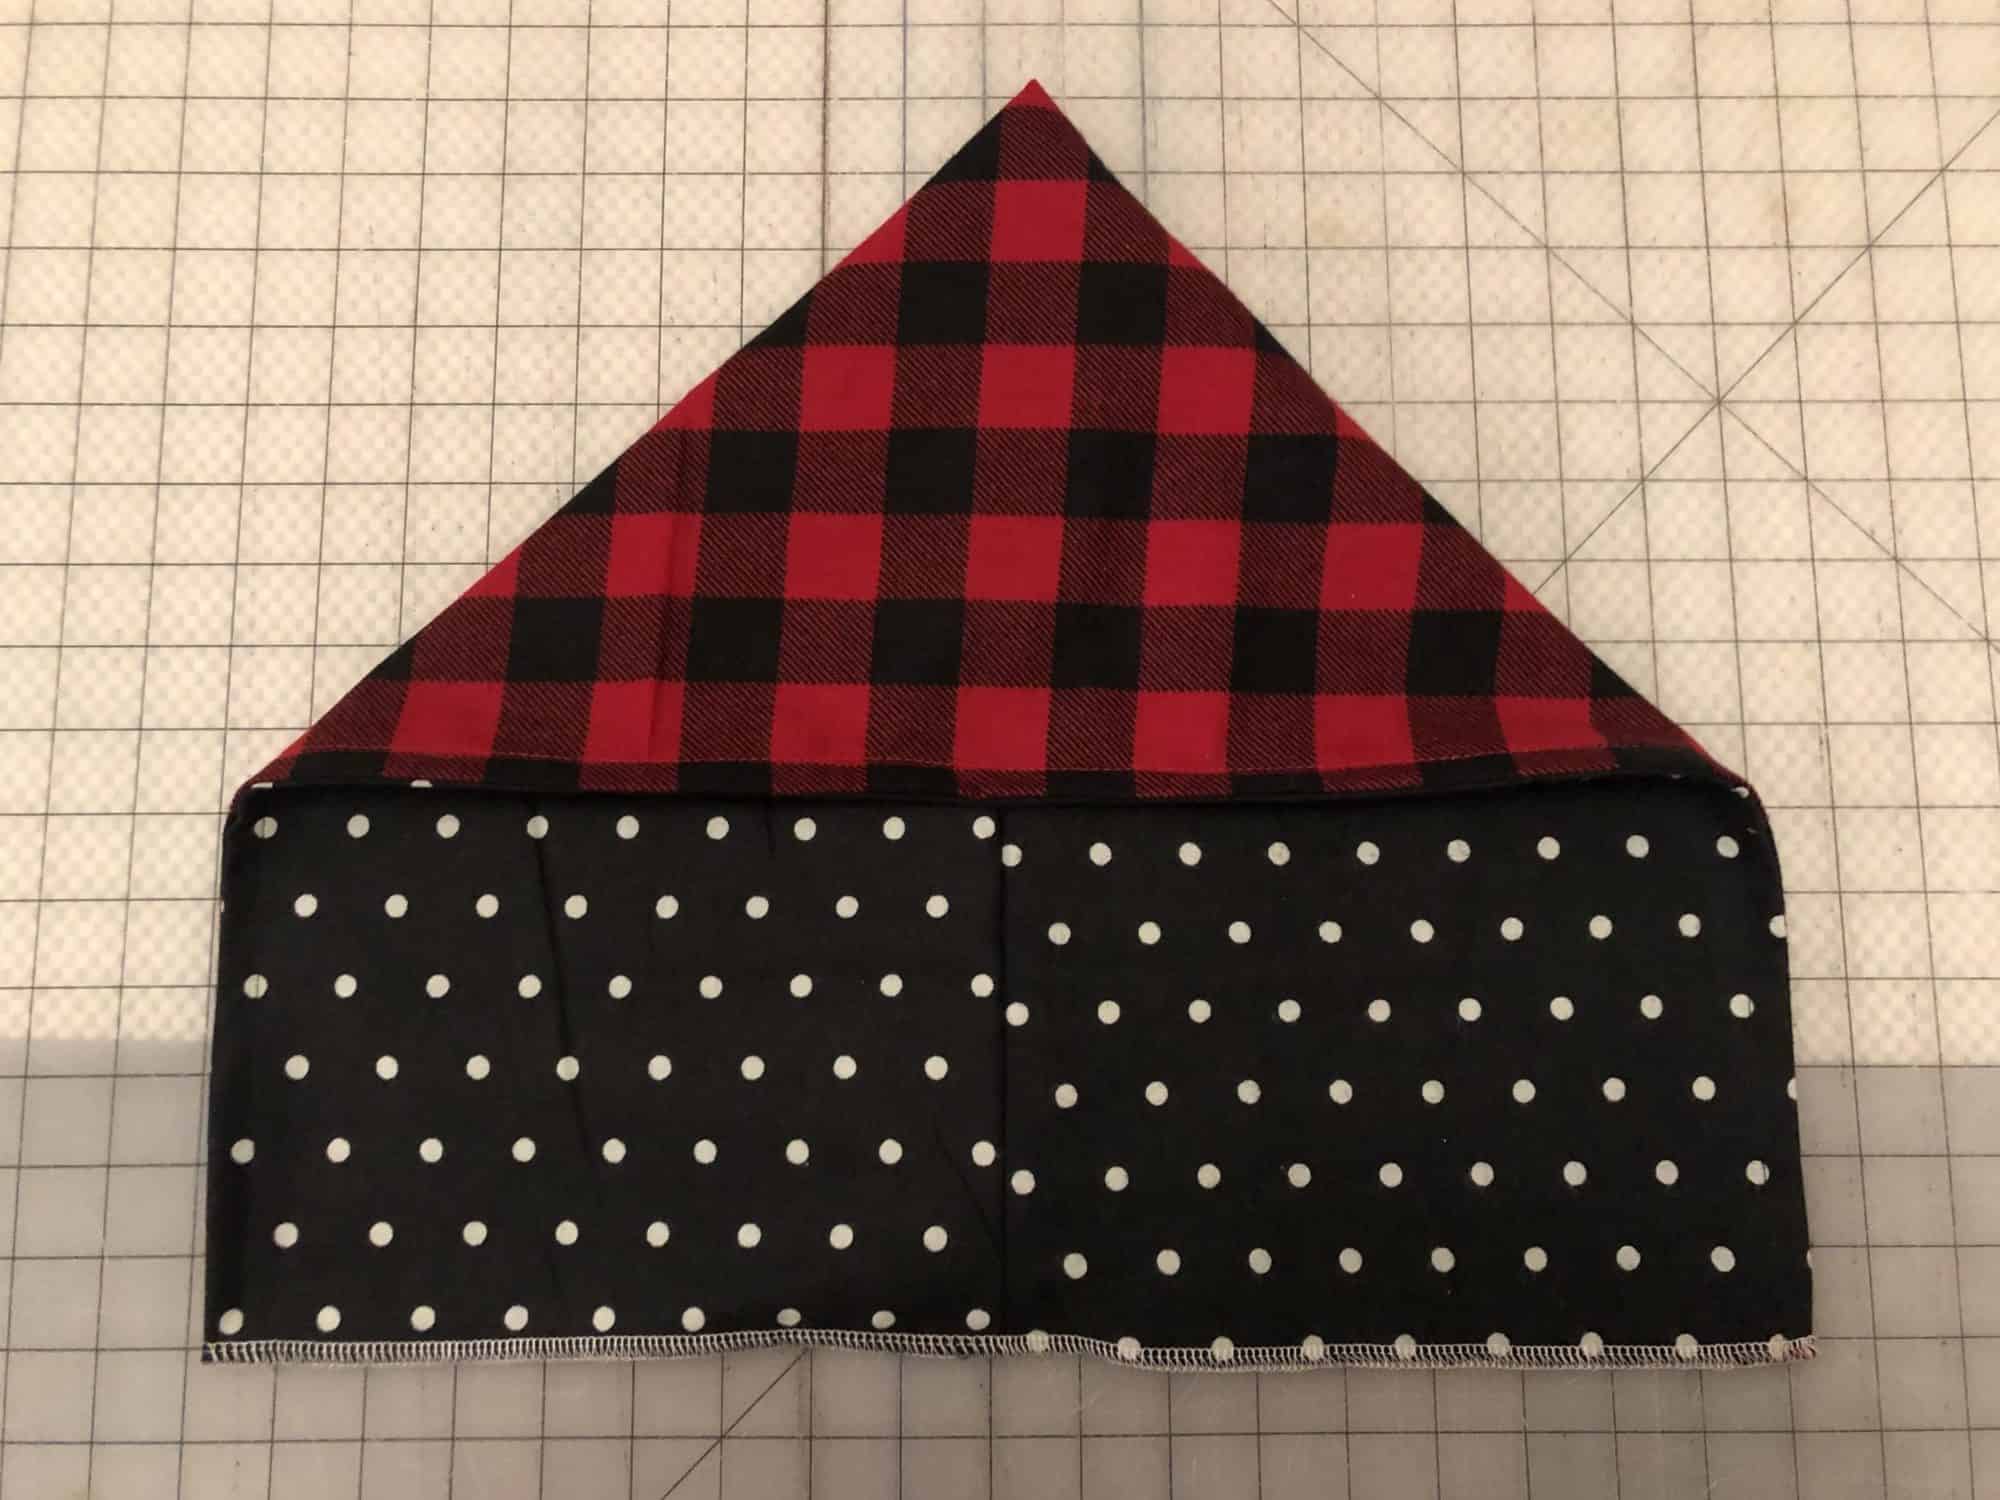
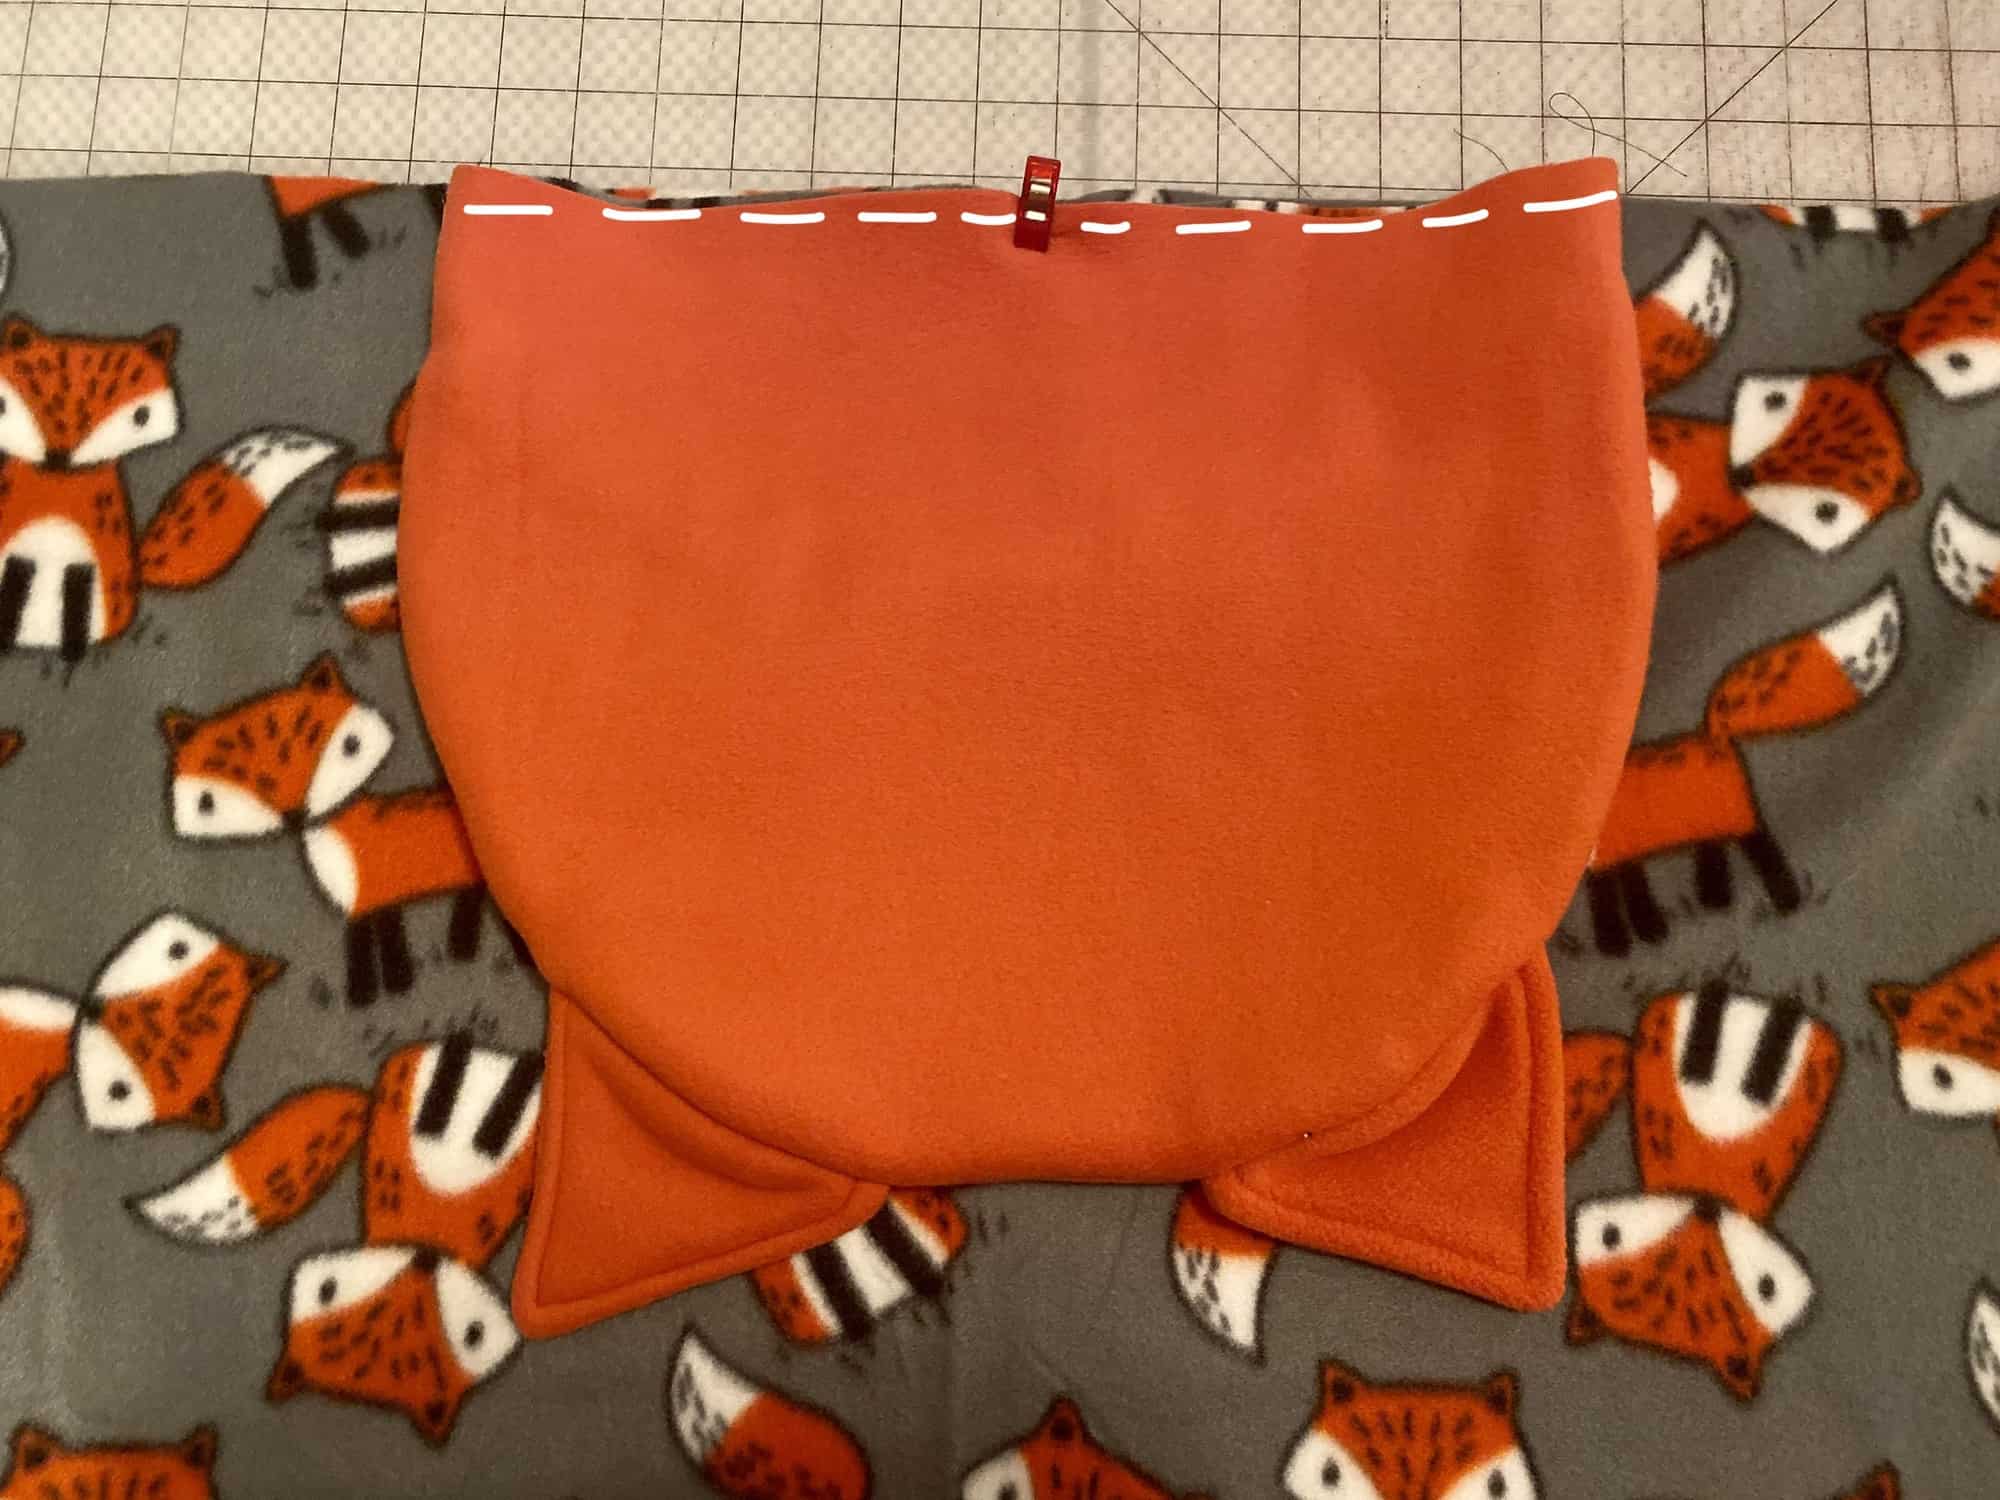
7. Place the main back hood piece, right sides up.

8. Place the front piece sections on top, main fabrics together.

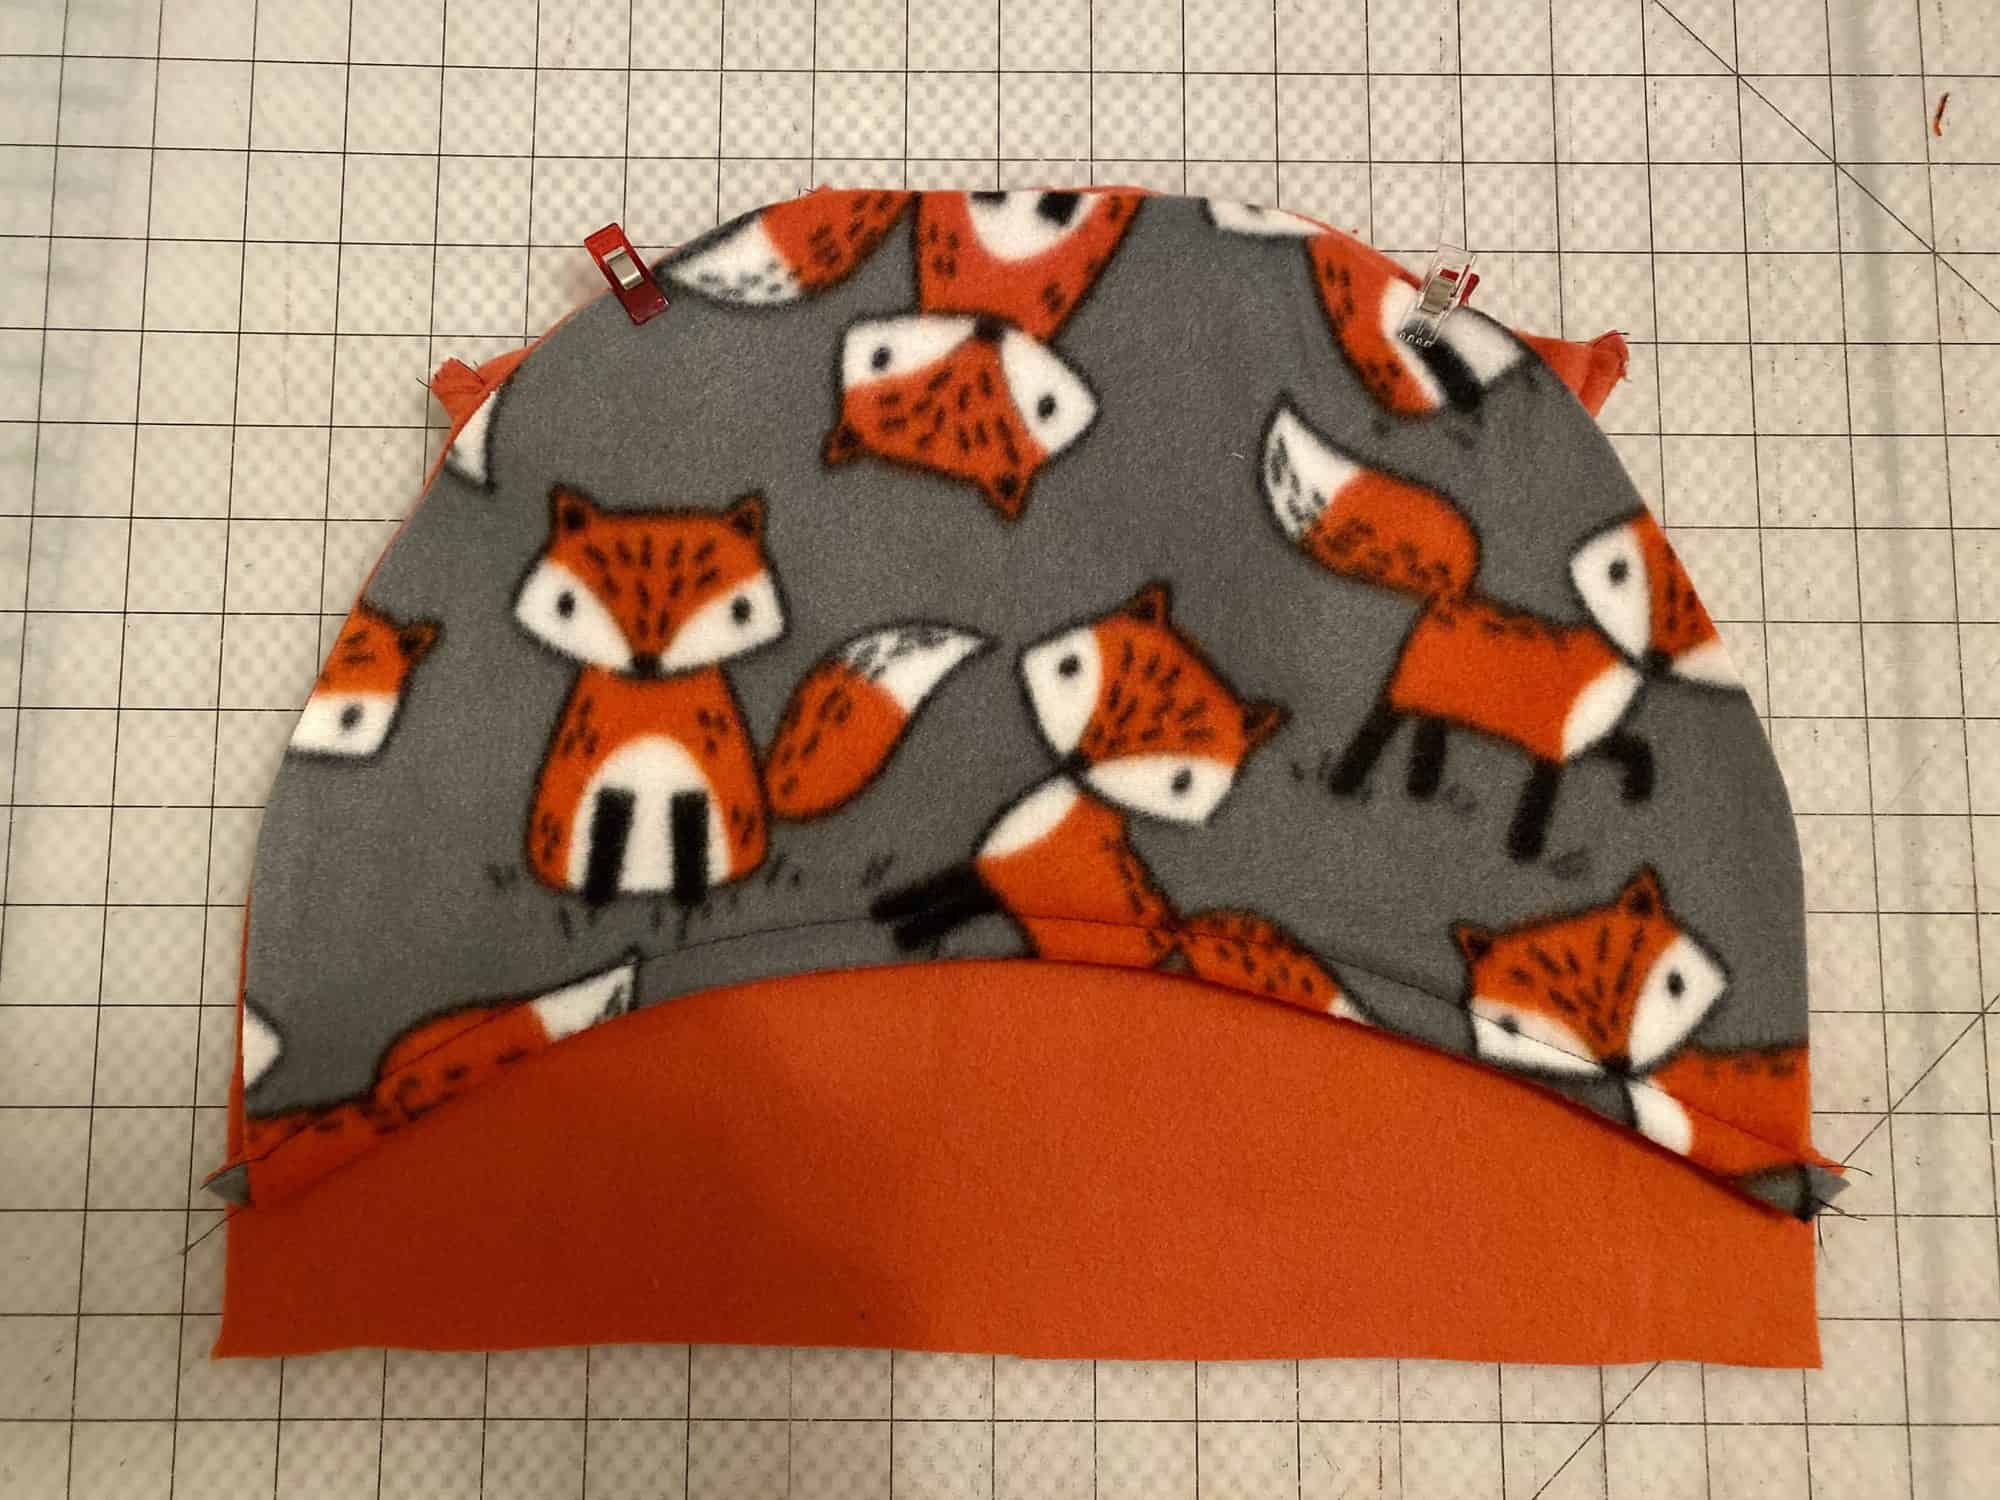
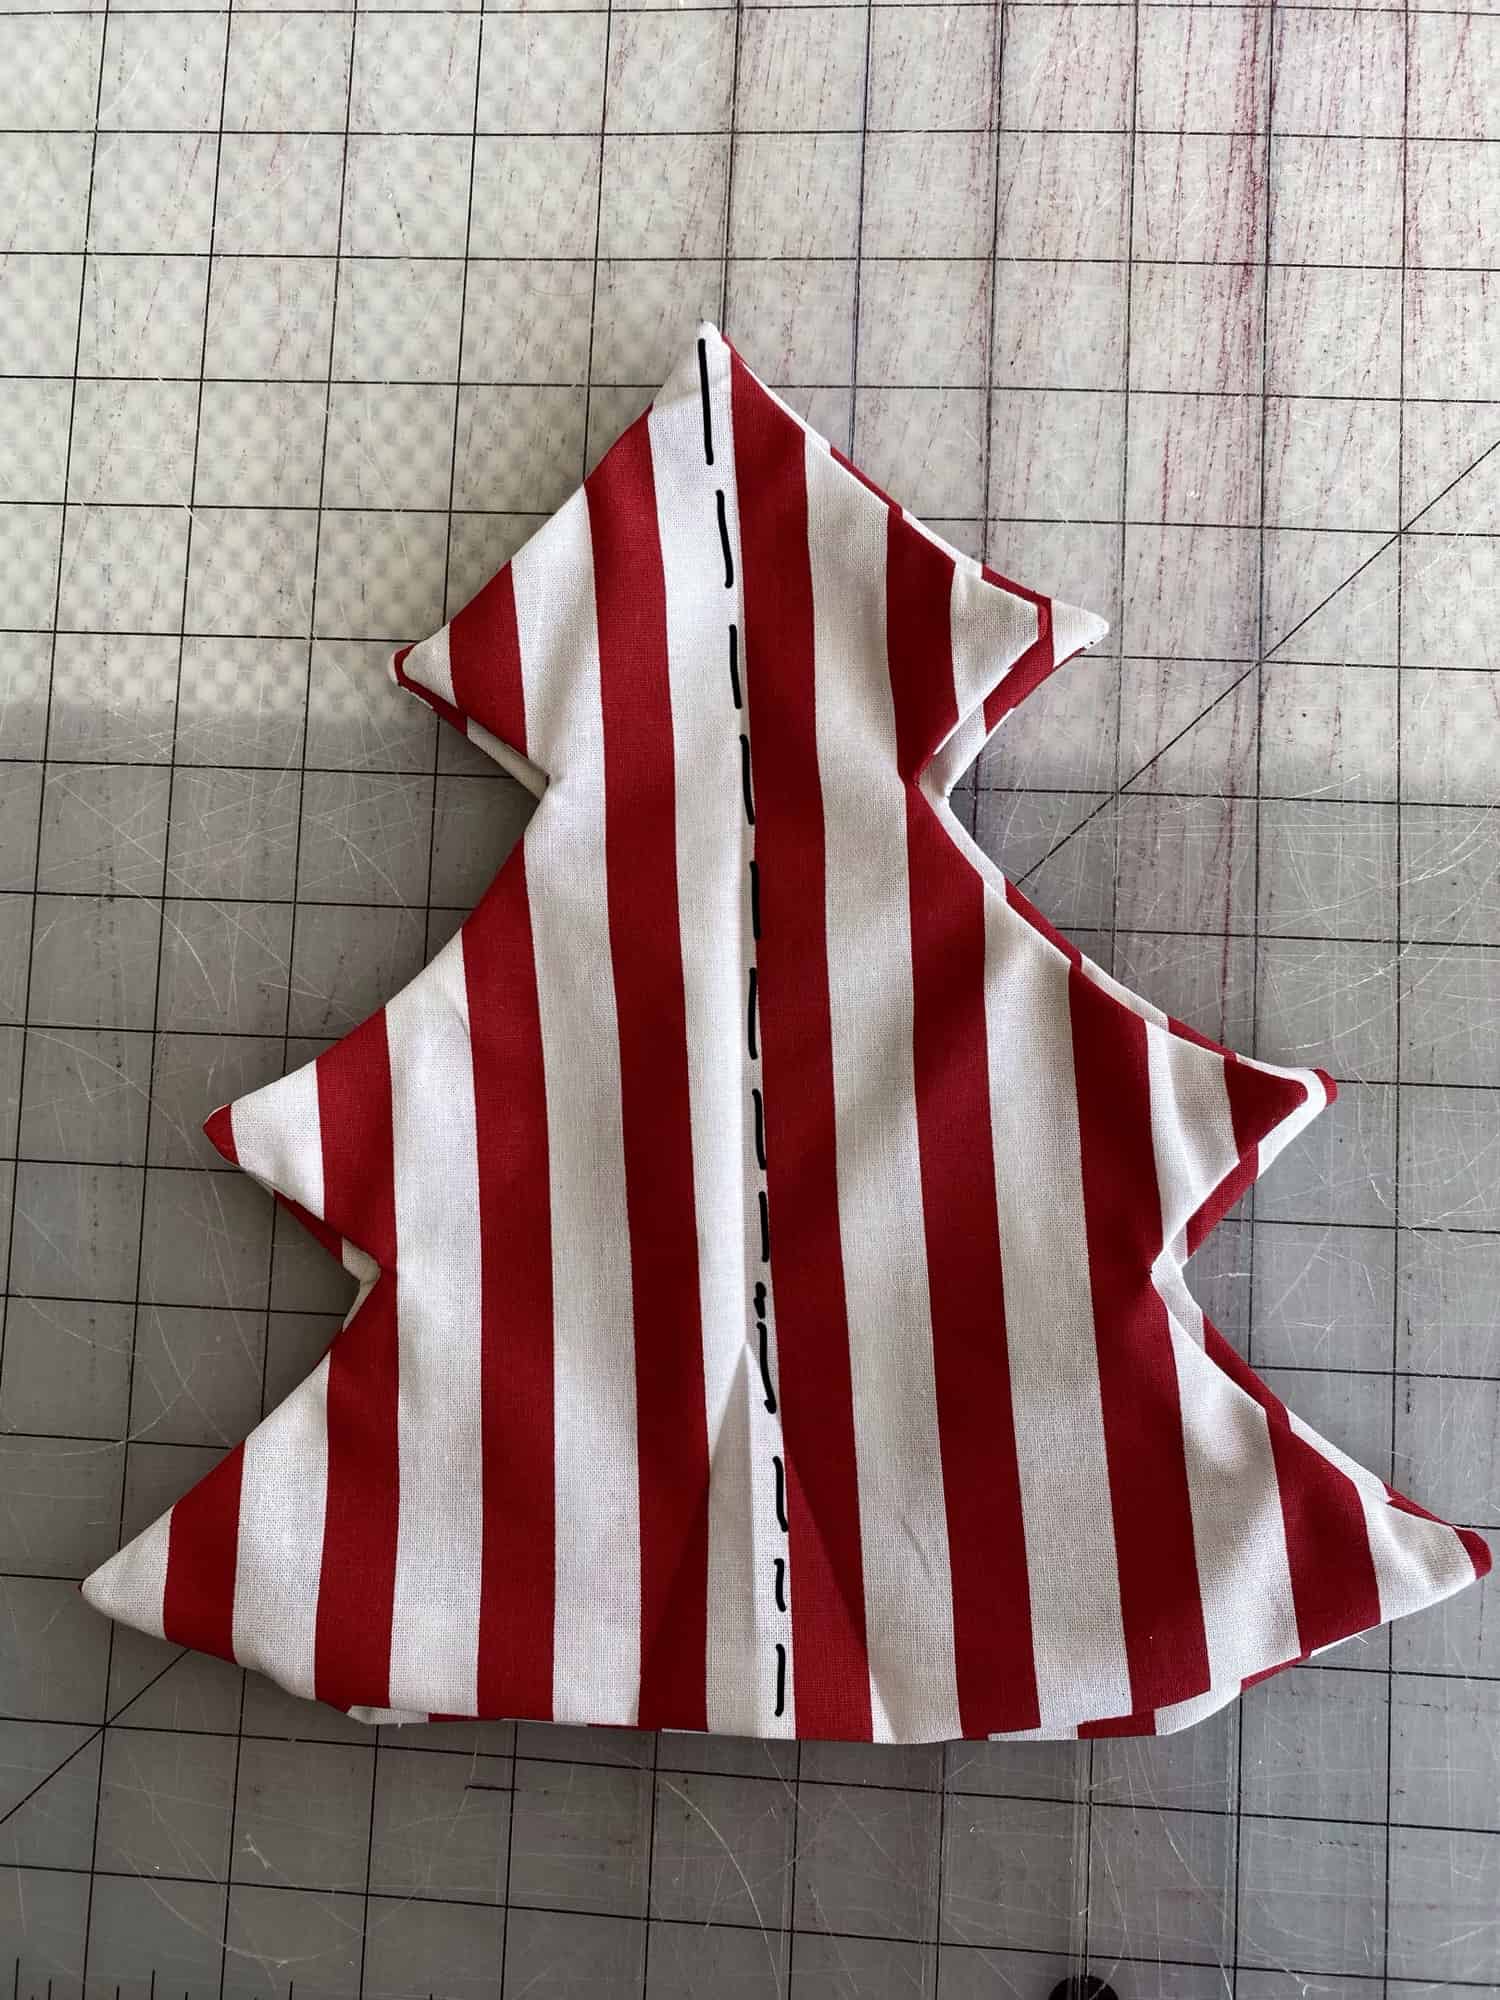
9. Place lining back hood on top, right sides down.  Sew along entire top curve.

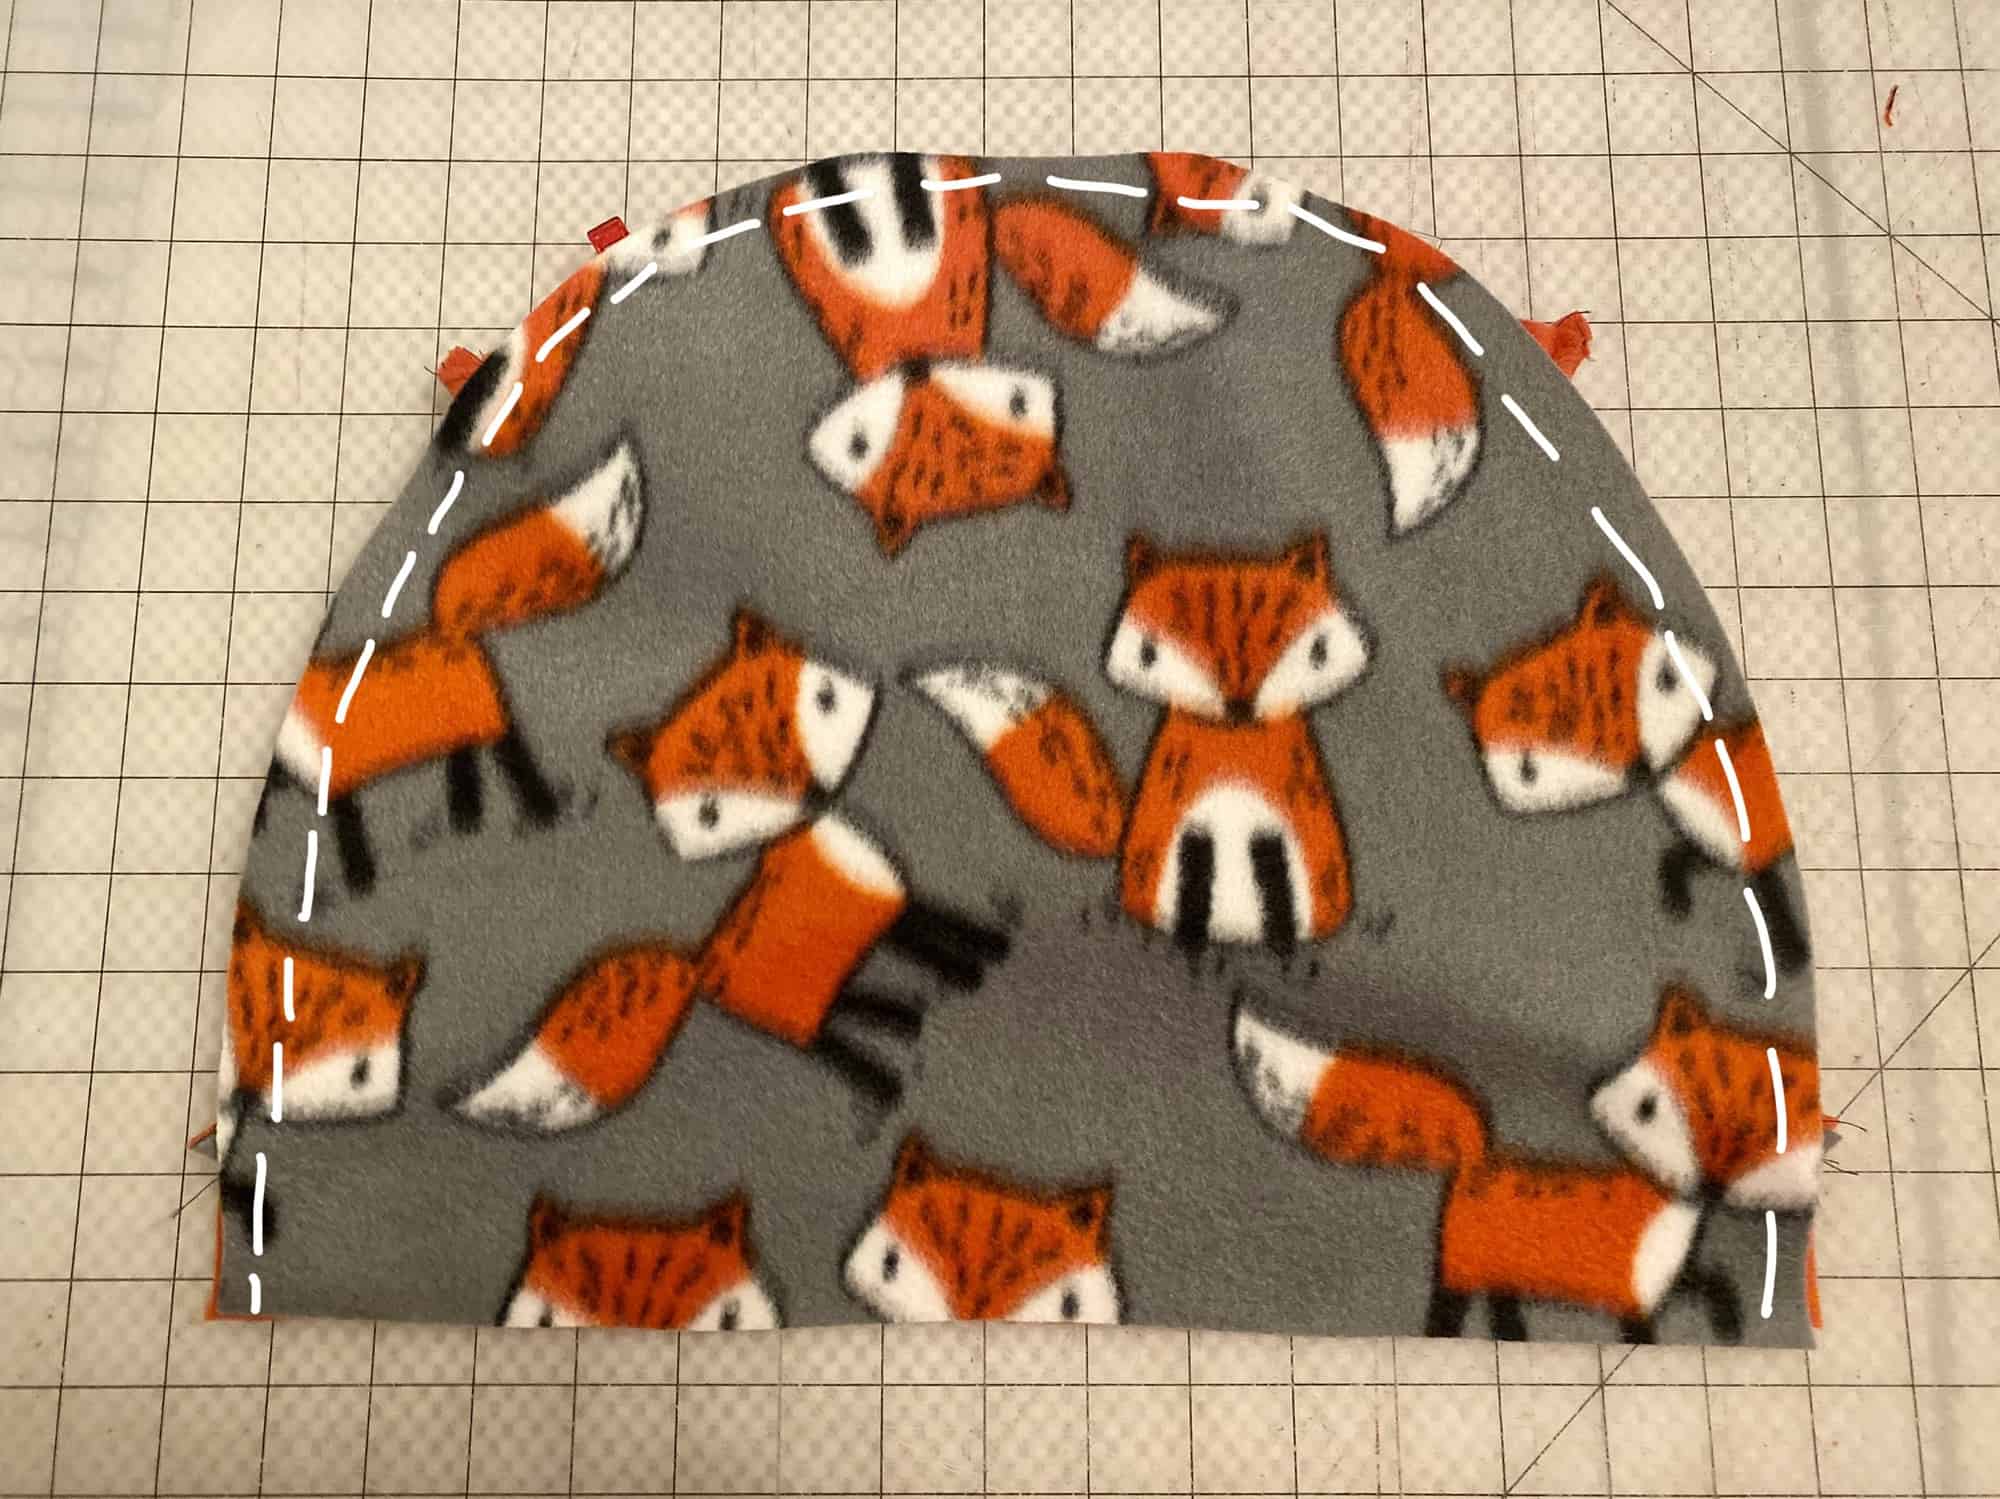
10. Turn right sides out.

11.  Mark middle points of hood and blanket lining piece.  Baste hood in place, with hood opening facing down towards lining piece.

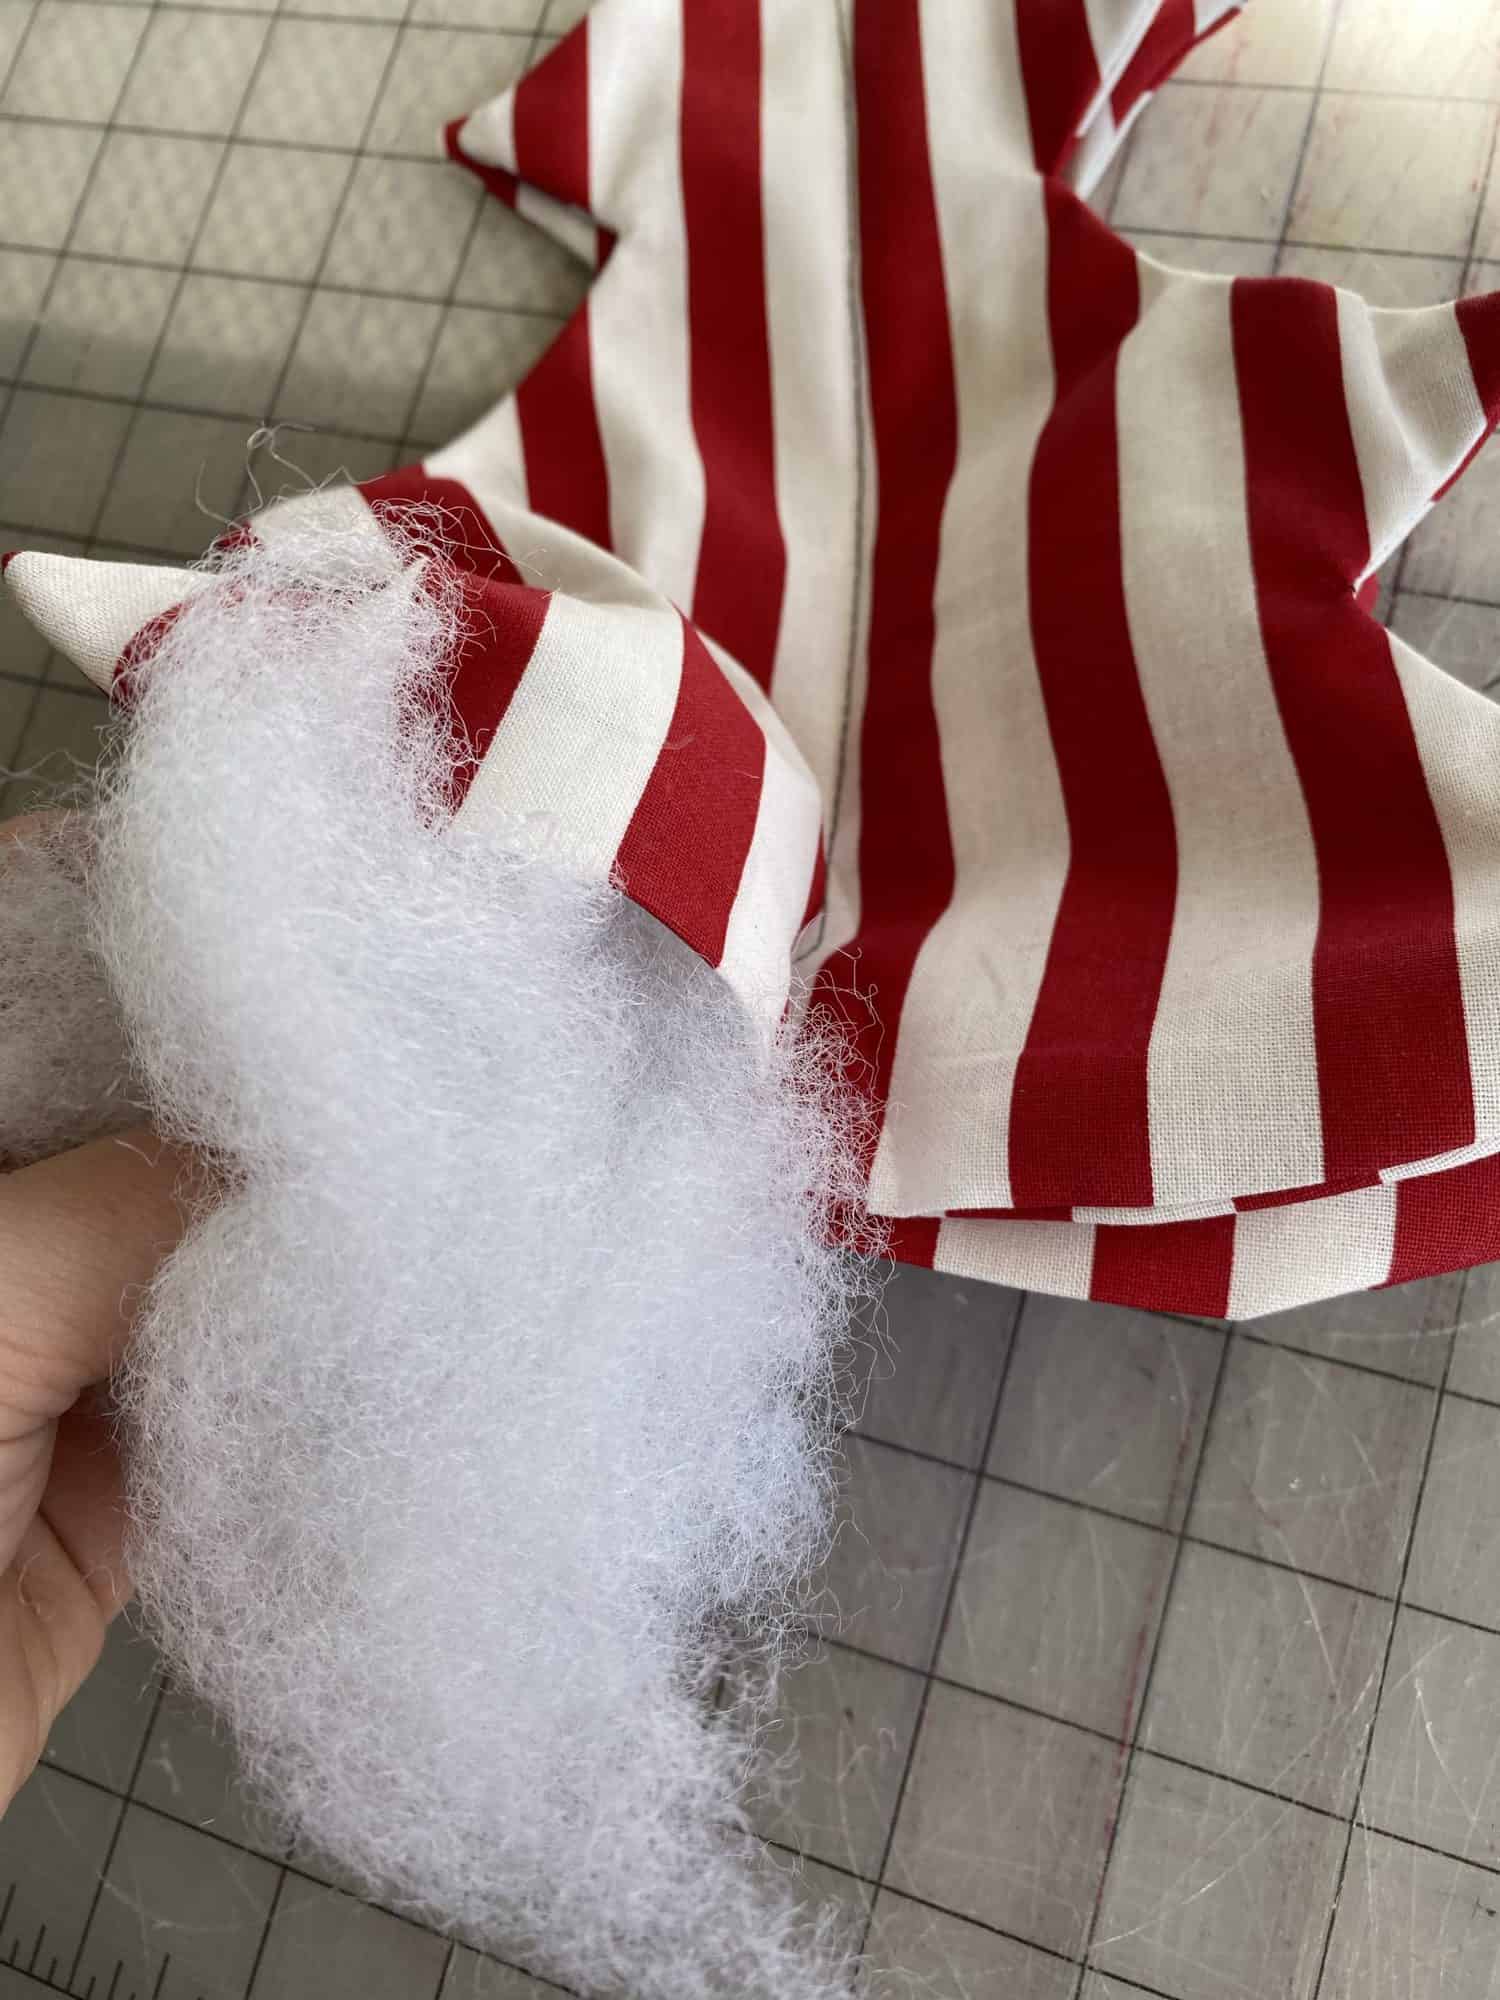
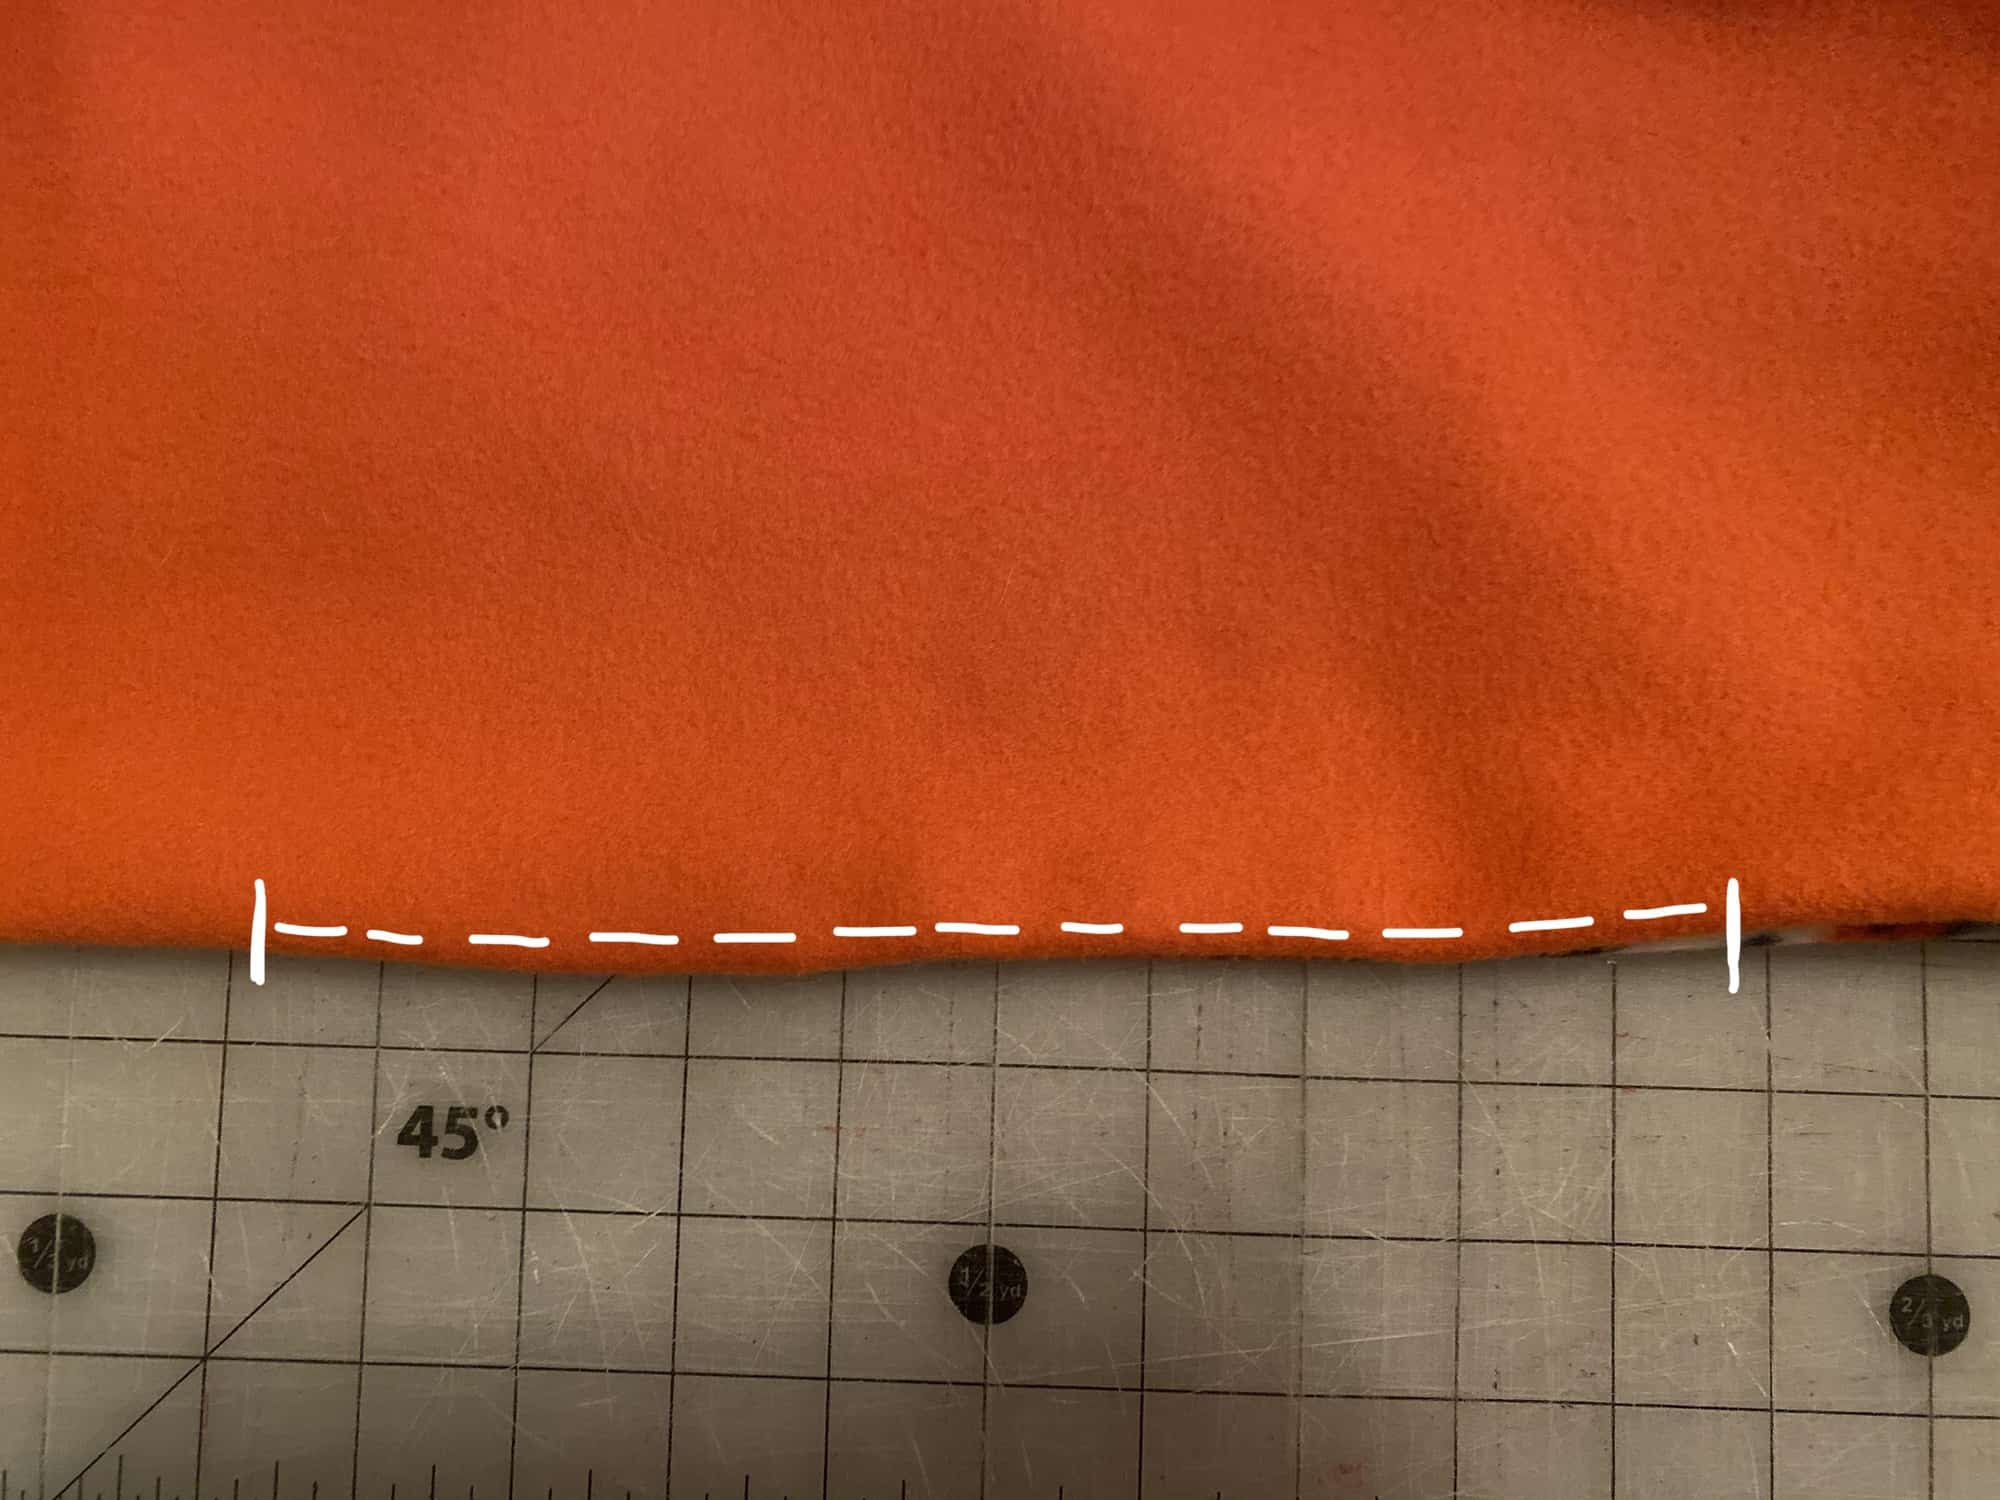
12. Place main blanket piece on top, right sides facing down.  Sew along all four outer edges, leaving 6-8″ opening for turning.

13. Turn right sides out. Press. Sew the opening closed, using your favorite method.
Optional: Top stitch along entire outer edge.

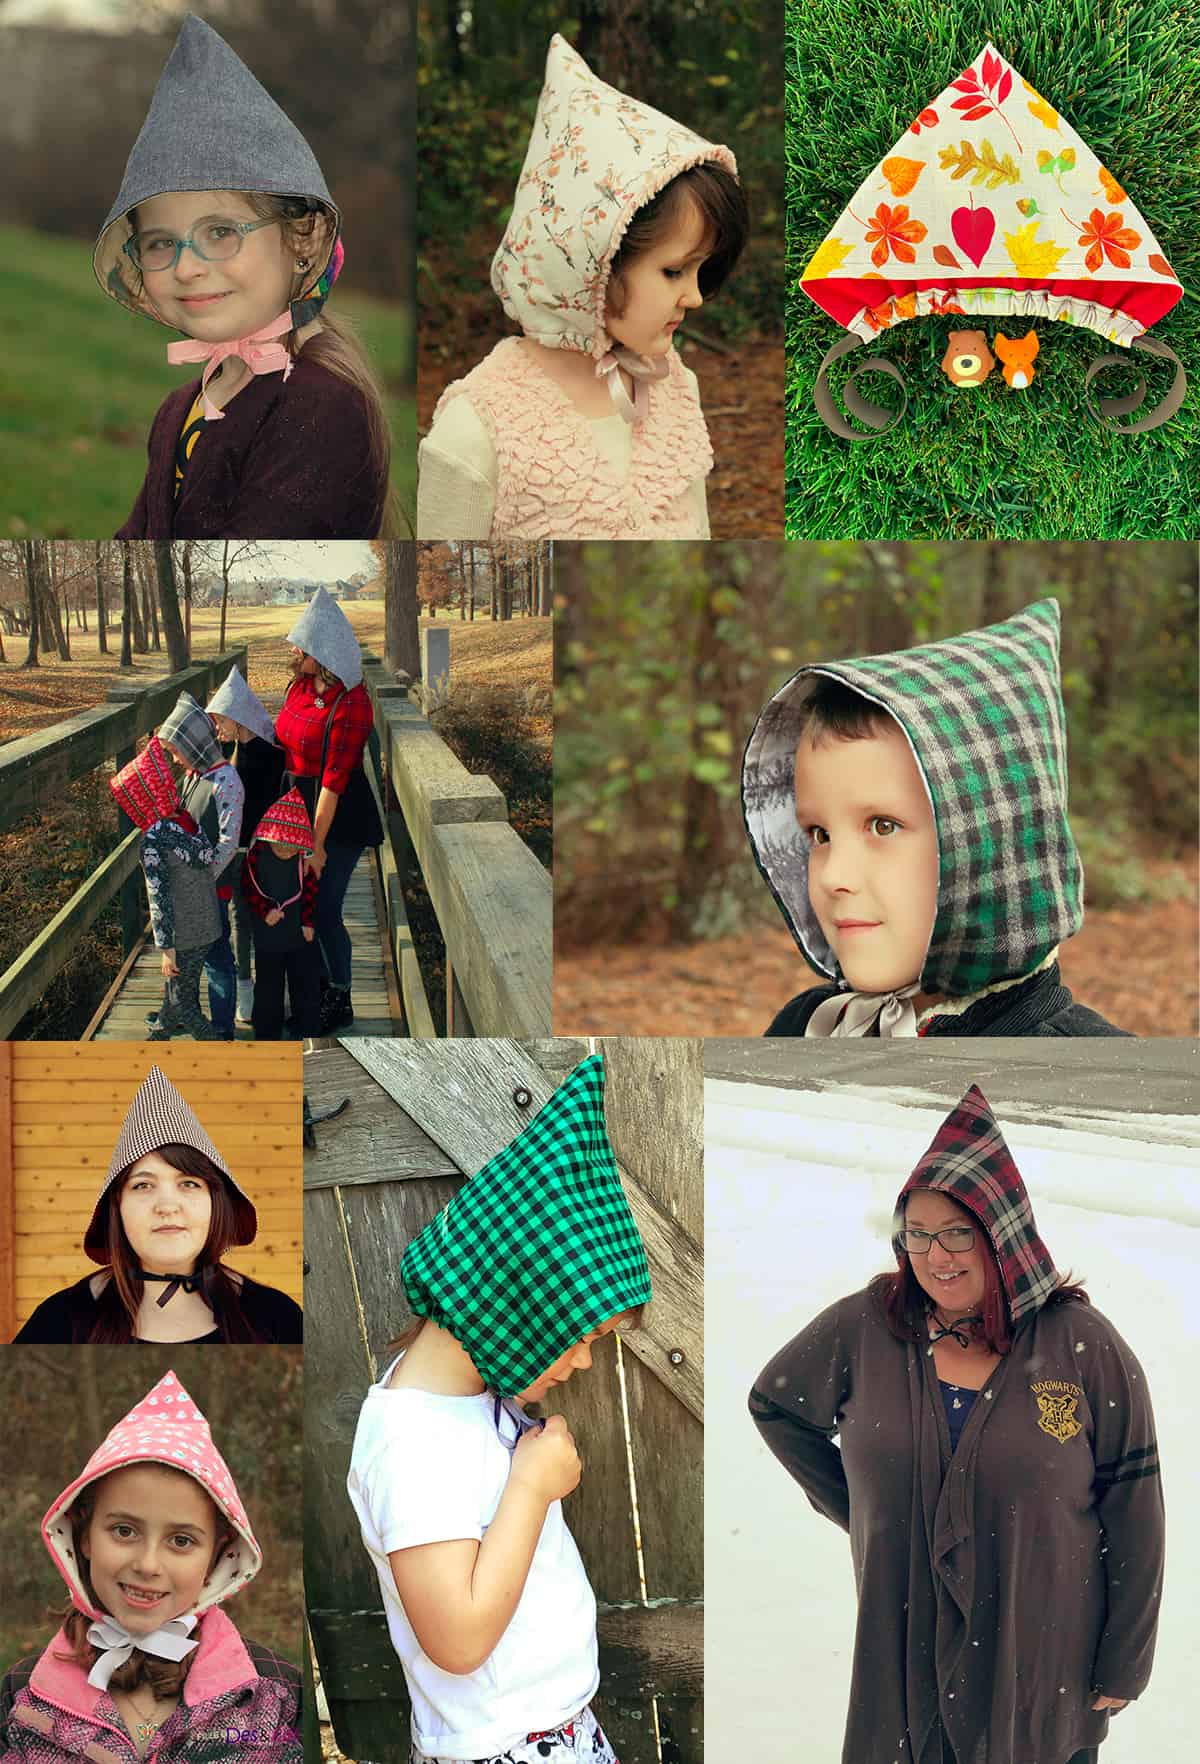
Need some inspiration for your very own Hooded Blanket?  Check out what our testers sewed up for themselves:


I la-la-love when you share your photos with me!  Head over to the Patterns for Pirates Facebook Group and show us what you’ve made!

Happy Holidays, Pirates!

Filed Under: Free Pattern, Pattern Release 6 Comments

2019 Holiday Freebies :: Festive Fabric Trees

December 2, 2019

Woohoo!  We are rolling into another day of our 2019 Holiday Freebies!  Get ready to make a million of these cuties…they’re really fun to make and are fabulous scrap busters.  Our testers just kept making more and more for their own homes, teacher gifts, and to fill their craft booths this holiday season.

Let’s get to making some happy little trees!

Grab your “FESTIVE FABRIC TREES” pattern pieces here!

Fabric Requirements (based upon 44″ quilting cottons):

  • 1/3 Yard Fabric
  • Fiber Fill, affiliate link

Prep your pieces.  You will need four total tree pieces for one tree.

Place two of the pieces, right sides together.

Sew around outer edge.  Only sew an inch or two along the bottom curve, on both sides, to leave space for turning and adding the fiber fill.

Clip as close as you can to the seam allowance without going through it, and trim points.  This will allow for sharper points.

Turn right sides out and press, making sure to press under the seam allowance.  **Repeat with remaining pieces.

Press one of the sets in half, to create your guide line for sewing in the next step.

Align both sets on top of each other, keeping the one that you pressed on top.

Sew a line straight down the middle of all layers.

Fill all four openings with poly fill.

Hand stitch the openings shut on the bottom, using your favorite stitch.

You’re finished!  Sit back, enjoy your adorable new tree….and then go make a hundred more!  Here are a couple of cute ones from our testers!

As always, we love when you share what you’ve made with us.  Head over to the Patterns for Pirates Facebook group and show off the fabulous Festive Fabric Trees that you’ve managed to make from our freebie pattern!  Happy Holidays, friends!

Filed Under: Free Pattern, Pattern Release 6 Comments

2019 Holiday Freebies :: Pixie Hat

December 1, 2019

Are you ready for another super fun day of freebies for the 2019 Holiday Freebies with Patterns for Pirates?  Because I am!!

Today’s free pattern for you is a super, duper easy one.  And such a fun sew!  Let’s get to the Pixie Hat, shall we?

Grab your “PIXIE HAT” pattern pieces here!

Check the size chart before sewing to know which size you need to make!

Fabric Requirements (based upon 44″ quilting cottons):

  • – 3/4” or 7/8” ribbon (34″ for Toddler size, 35″ for Youth size, 36″ for Teen/Adult size)
    – 2/3 yard each lining + main. I like flannel for this!

Lay your piece with right side of the fabric up, facing you.

Meeting the short ends, fold the piece in half, with right sides together.
With 1/2” seam allowance, sew along one of the long edges.
Repeat with lining piece.


With the lining piece right sides out, and the main piece wrong sides out, put the lining piece inside of the main.

Align all edges and sew long, raw edge, using 1/2” seam allowance.

Turn right sides out. And top stitch along long edge, if desired.

If desired, baste/serge the bottom edge of the hat.

Press 1/4” and then 1” toward lining, to create ribbon casing. Top stitch along top edge of the fold.

Using a bodkin / safety pin, thread ribbon through casing.

**Quick reminder time!  To prevent fraying, you will want to seal the edges of your ribbon with heat.

Allow for only 12” of ribbon to be on either side of casing. Secure with stitches. It will gather to about 2/3 of the width of your hat bottom.
You’re done!

And just in case you’re in need of some inspirations, here are a few photos from our fabulous testers!

As always, our favorite thing is when you share what you’ve made from our patterns!  Head over to the Patterns for Pirates Facebook Group and let us “oooh” and “aaah” over what you’ve created!

Happy Holidays, Pirates!

Filed Under: Free Pattern, Pattern Release 1 Comment

Featured Patterns

  • Loosey Goosey Loosey Goosey $12.00 Original price was: $12.00.$10.50Current price is: $10.50.
  • Loosey Goosey- Youth Loosey Goosey- Youth $10.00 Original price was: $10.00.$8.50Current price is: $8.50.
  • Loosey Goosey - Bundle Loosey Goosey - Bundle $20.00 Original price was: $20.00.$18.00Current price is: $18.00.
  • Everyday Shirt Everyday Shirt $12.00
  • Everyday Shirt- Youth Everyday Shirt- Youth $10.00
  • Privacy Policy
  • Refund Policy
  • Affliliate Program
  • Contact Us
  • About

Copyright © 2025 Patterns for Pirates

Copyright © 2025 · Genesis Framework · WordPress · Log in