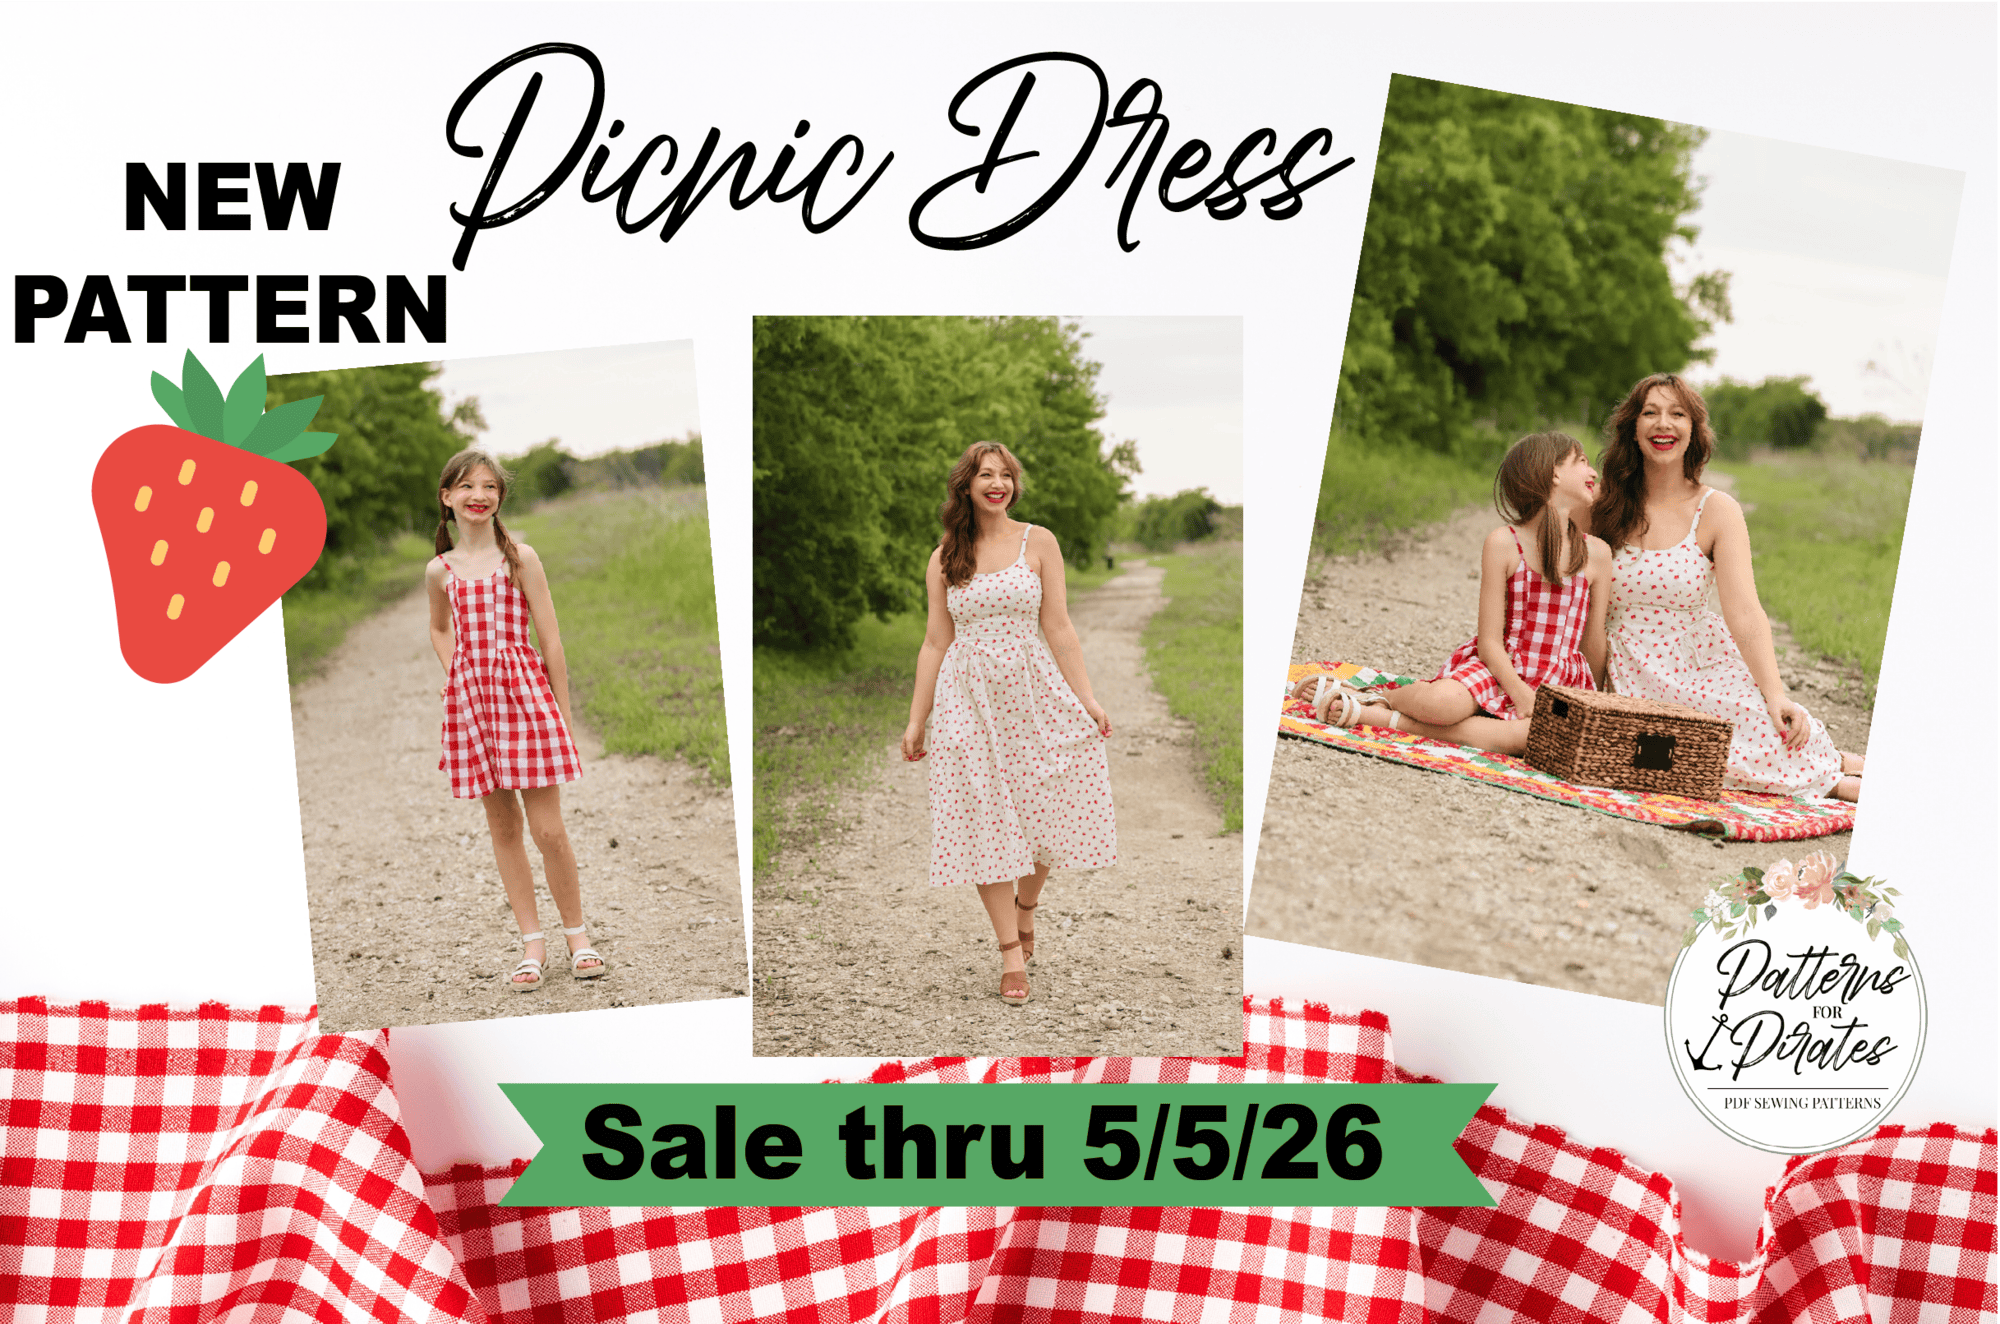
Get ready to feel easy, breezy and beautiful in our newest pattern- the Picnic Dress!
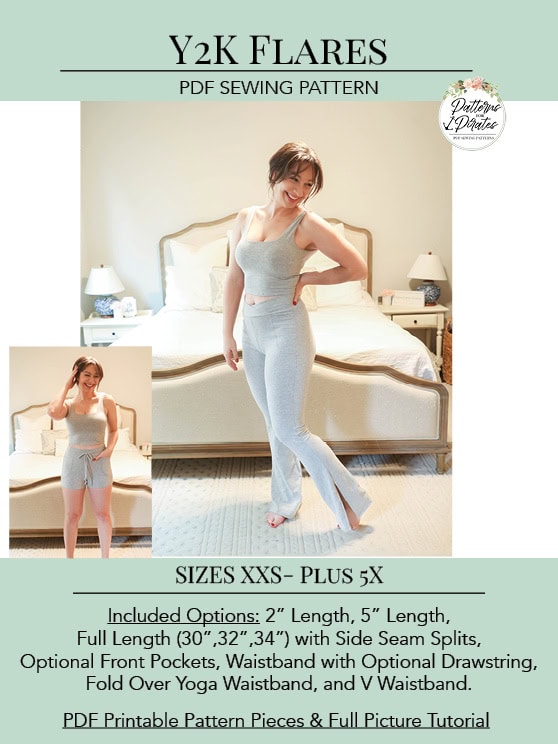
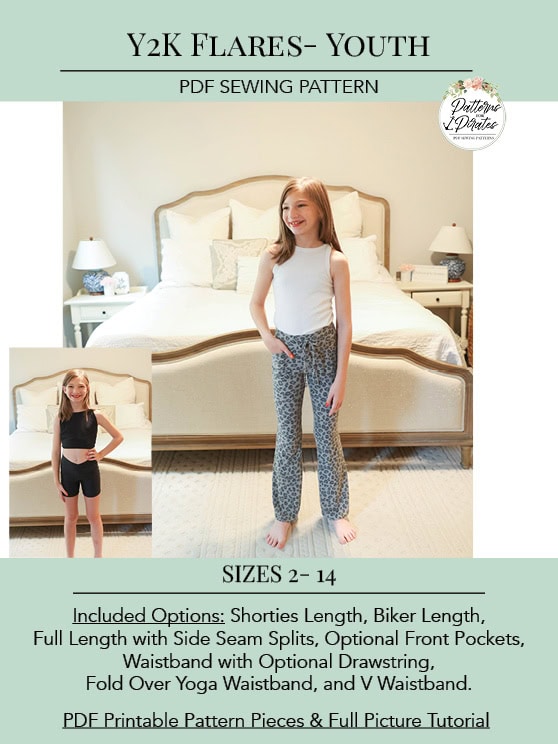
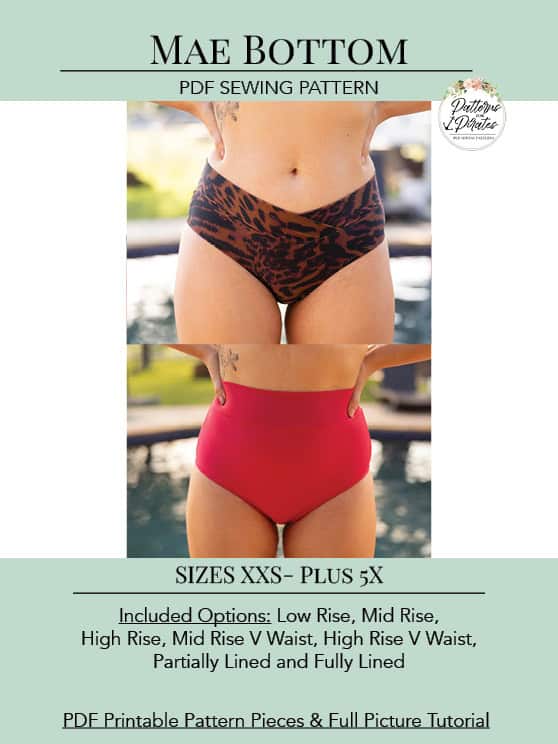
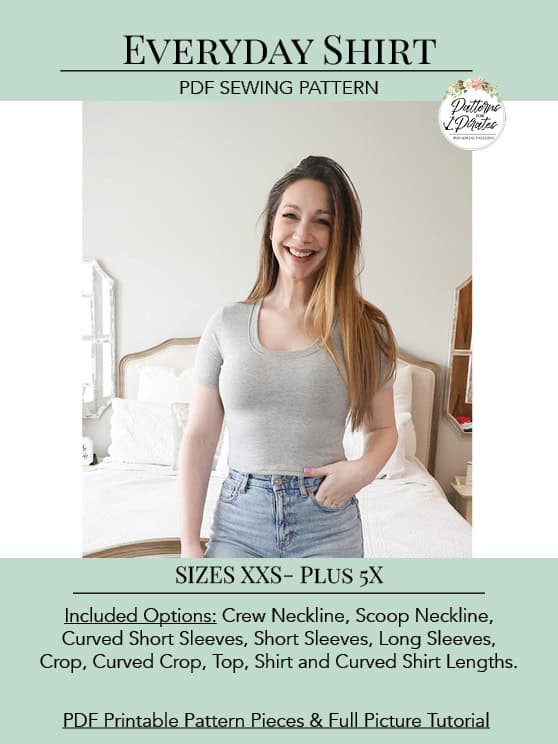
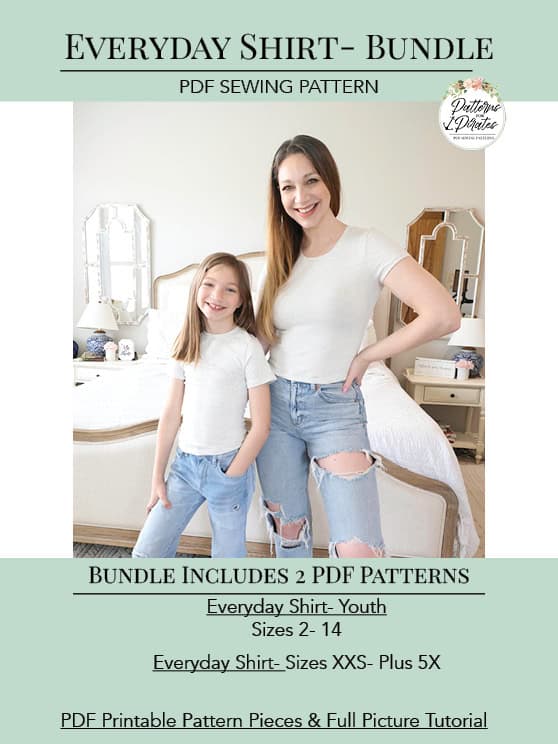
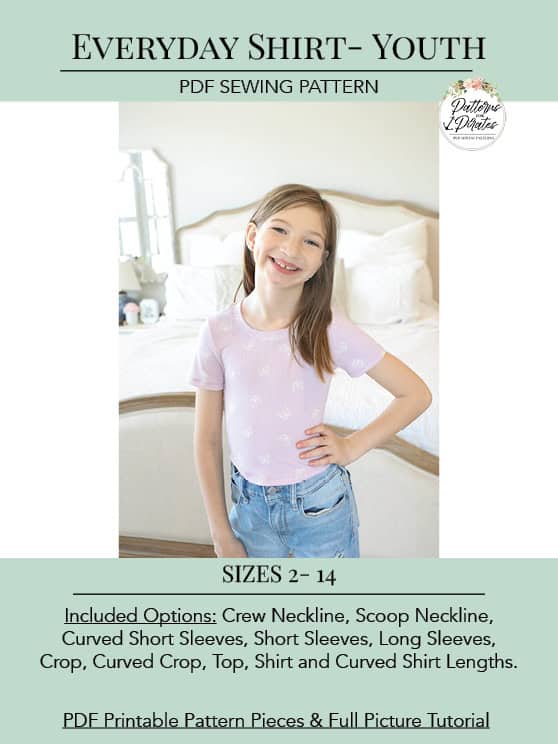
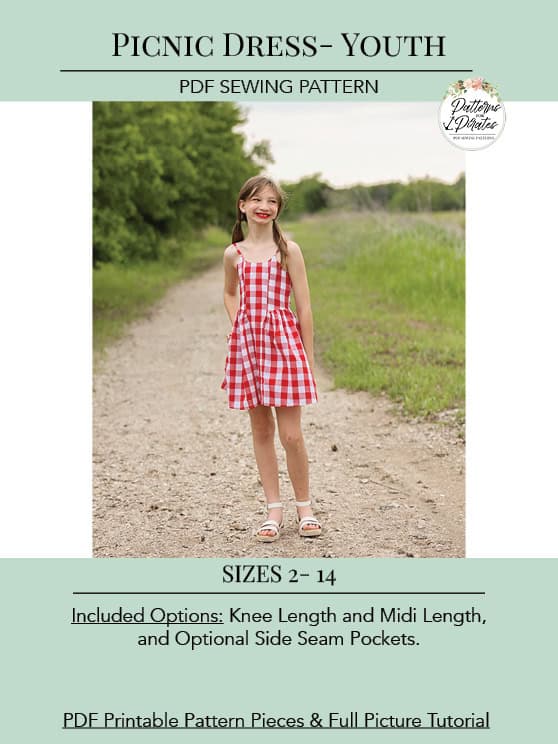
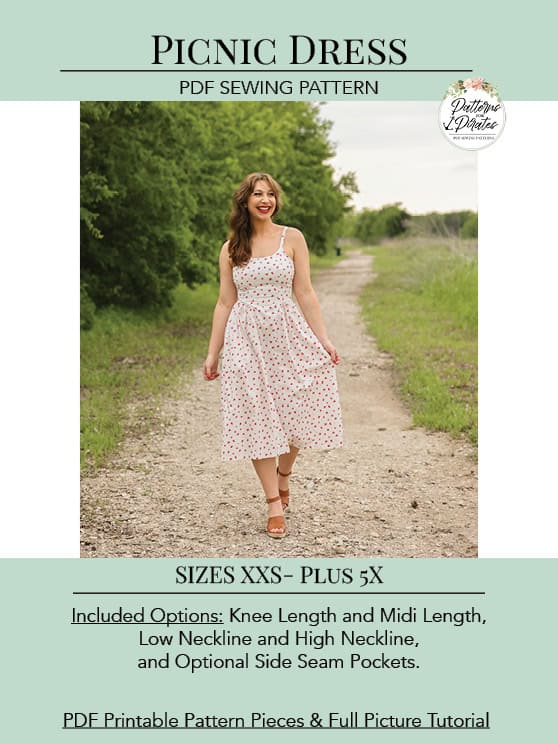
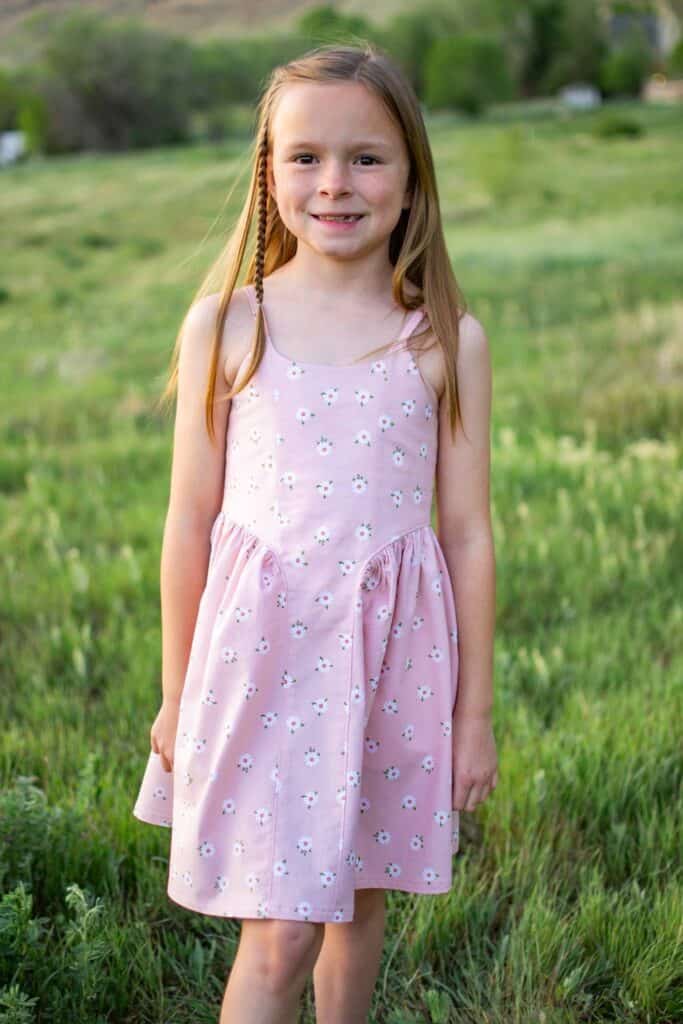
The youth sizes range from 2 – 14 and the adult sizes are XXS – Plus 5X for the Adult Hourglass Figure.
- *Want to learn more about how to measure yourself for these pattern? We’ve got you covered with an in-depth blog HERE. And for even more helpful fun, we have a free* printable that you can use to help record your measurements as you take them.
- And in case you’re new to Patterns for Pirates and PDF patterns in general, we have a great blog full of new-user tips HERE to help you get started!
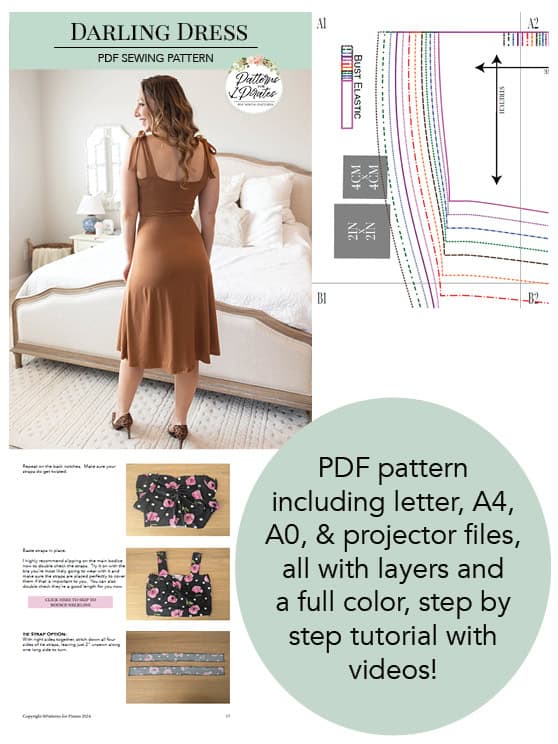
- As with all of our current releases and updates, the pdfs now include our layers feature and can be found in Letter, A4, A0 and projector sizes.
- We’ve also got an excellent planning tool for you with our Coloring Pages. It’s a resource that is updated with every new pattern addition, this pattern included!
- Need a way to keep track of the P4P patterns you have? We’ve gone through all of our patterns and created an interactive PDF for you! Grab your copy HERE.
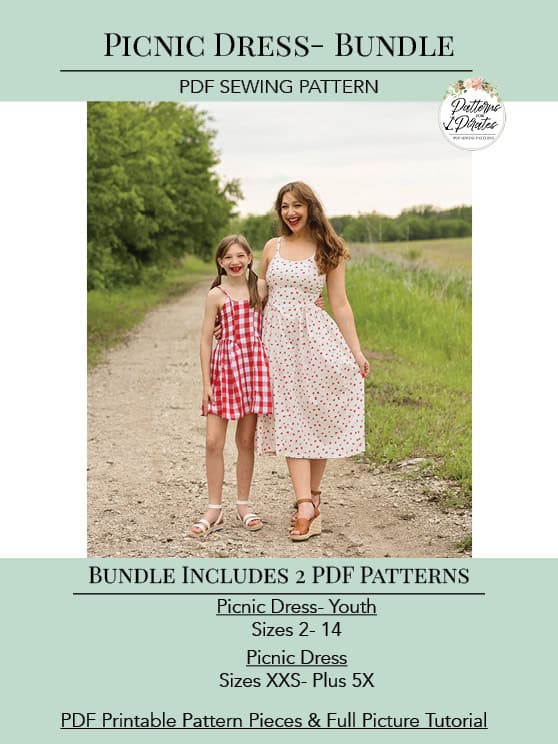
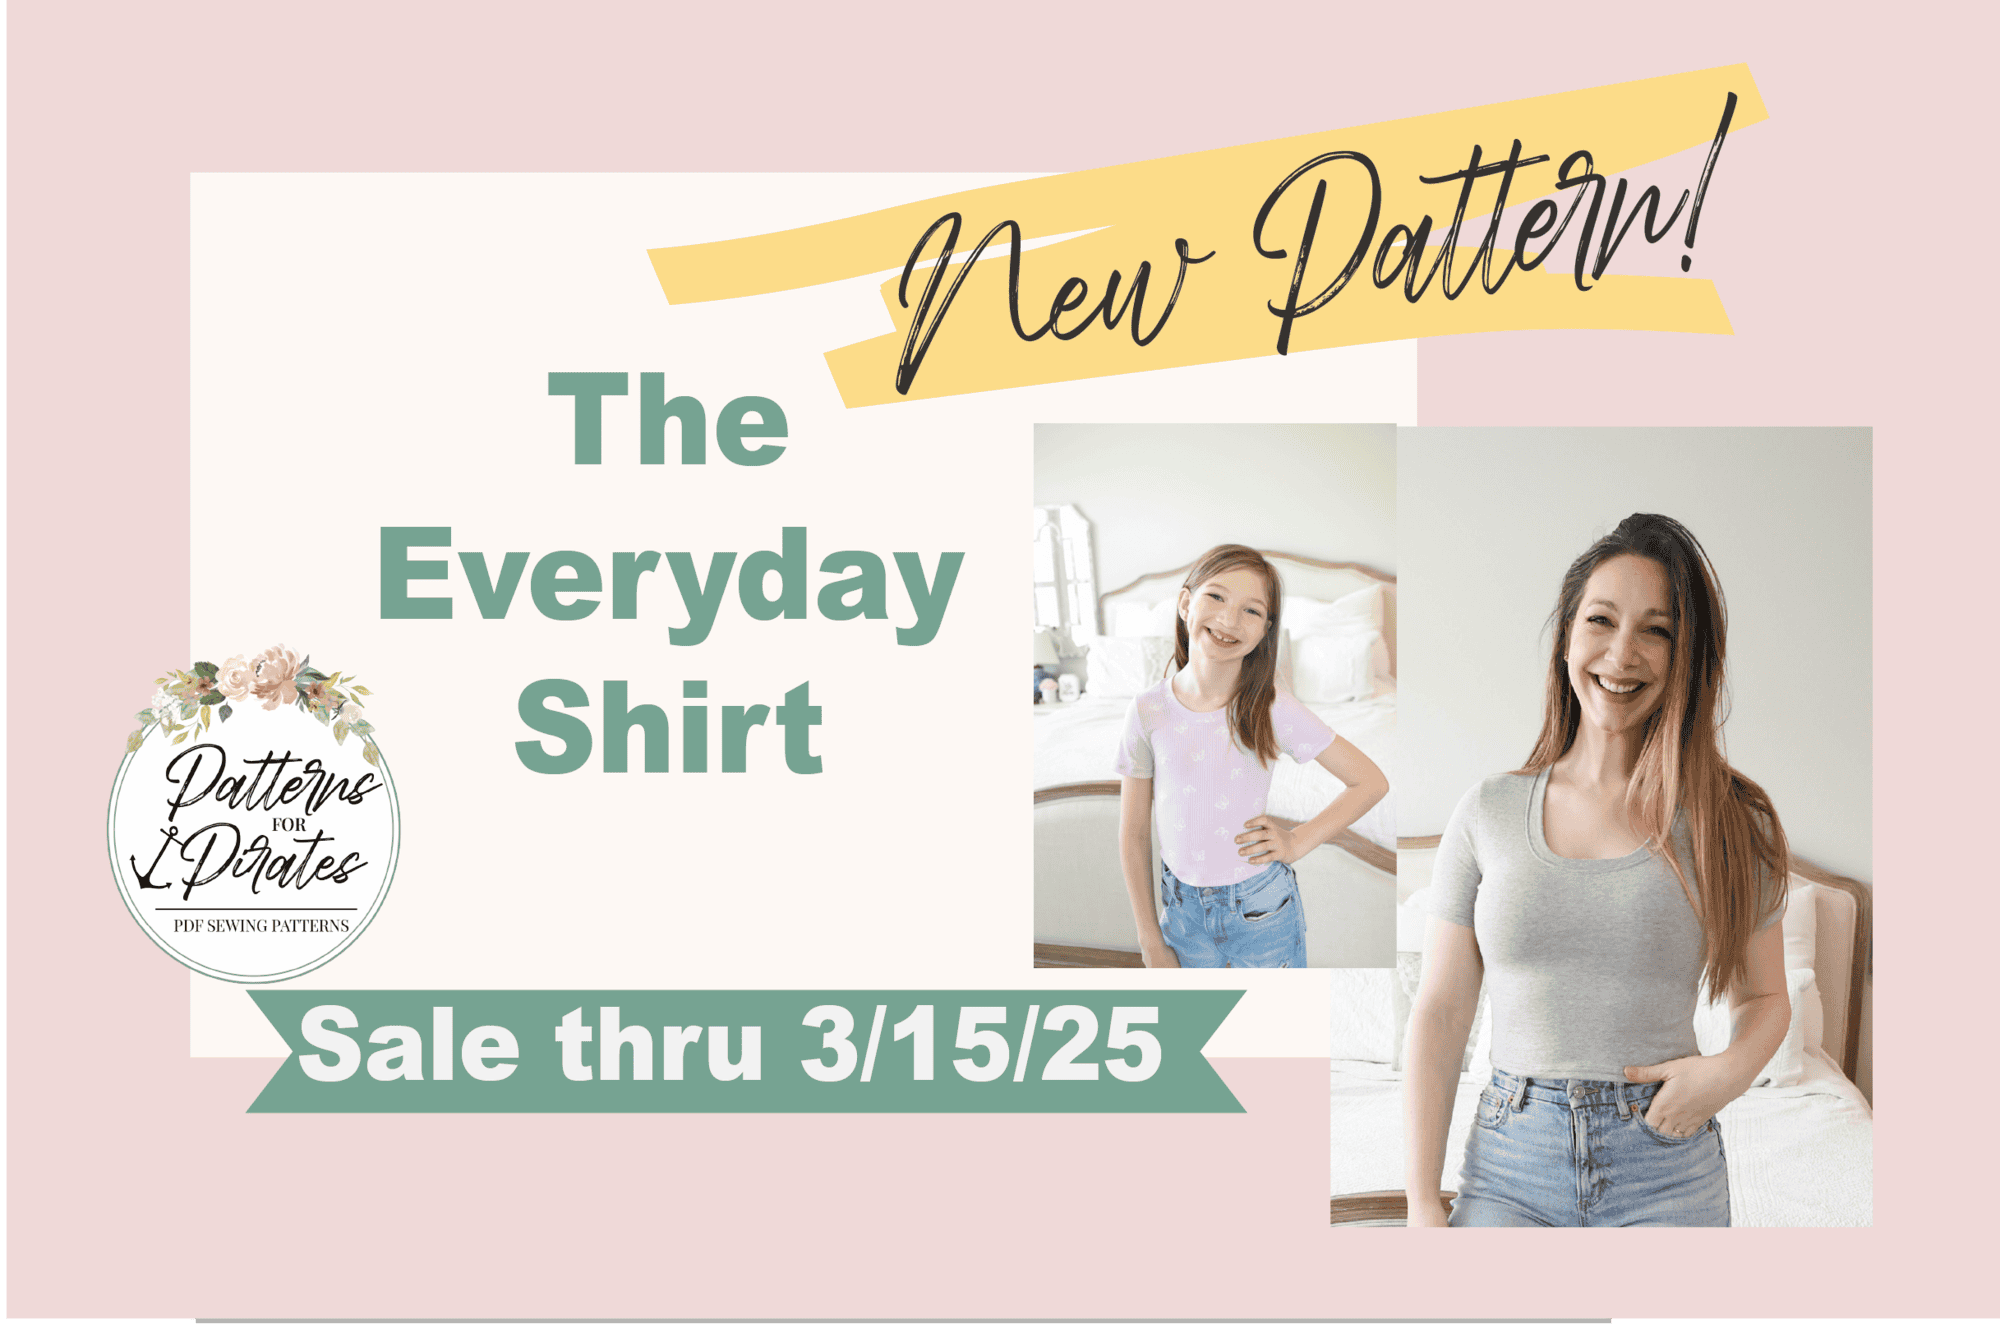
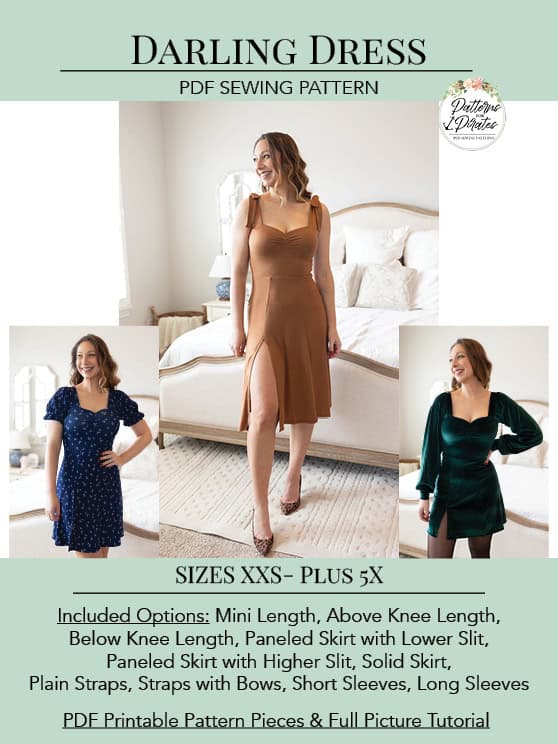
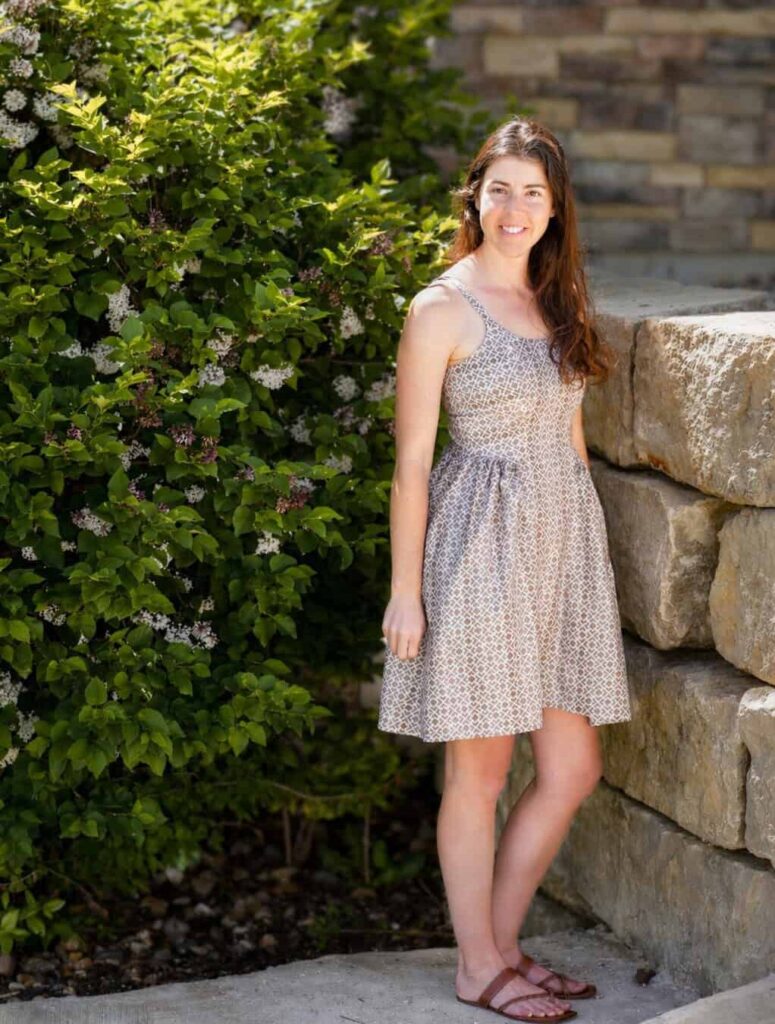
The Picnic Dress is the perfect sundress. With a fitted tank bodice that curves down into the dress and the lovely gathered skirt you will have a sundress that you can make again and again.
This pattern is stylish and can easily be dressed up or down for a more casual look. Choose from two lengths: knee length that hits just above knee or midi that hits mid calf. For the adult pattern you can choose from a classic higher neckline or a scoop neckline that shows off a little more skin.
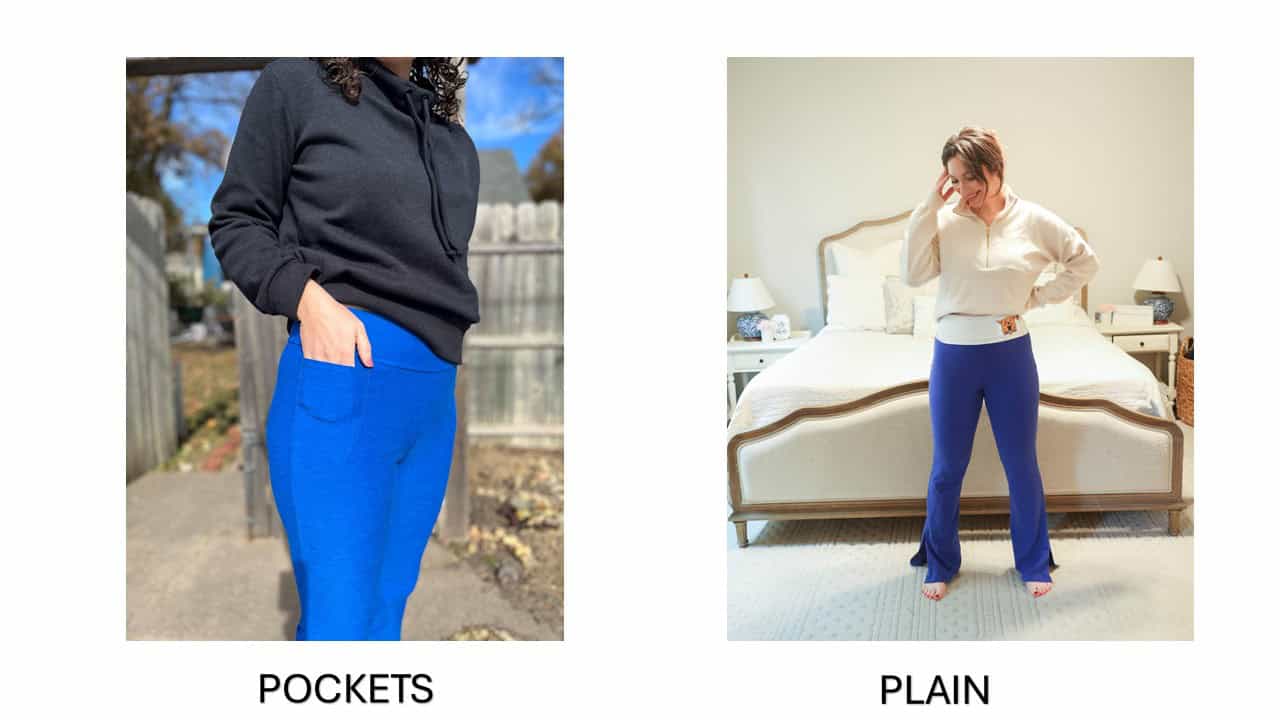
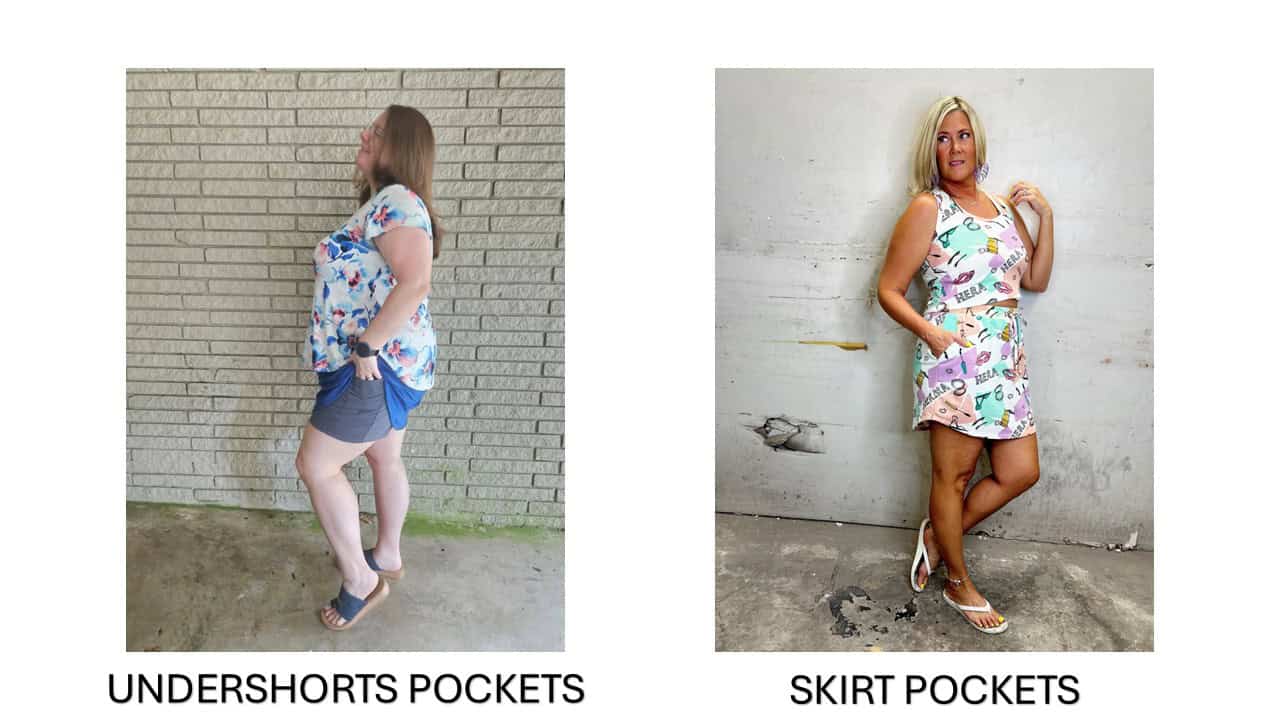
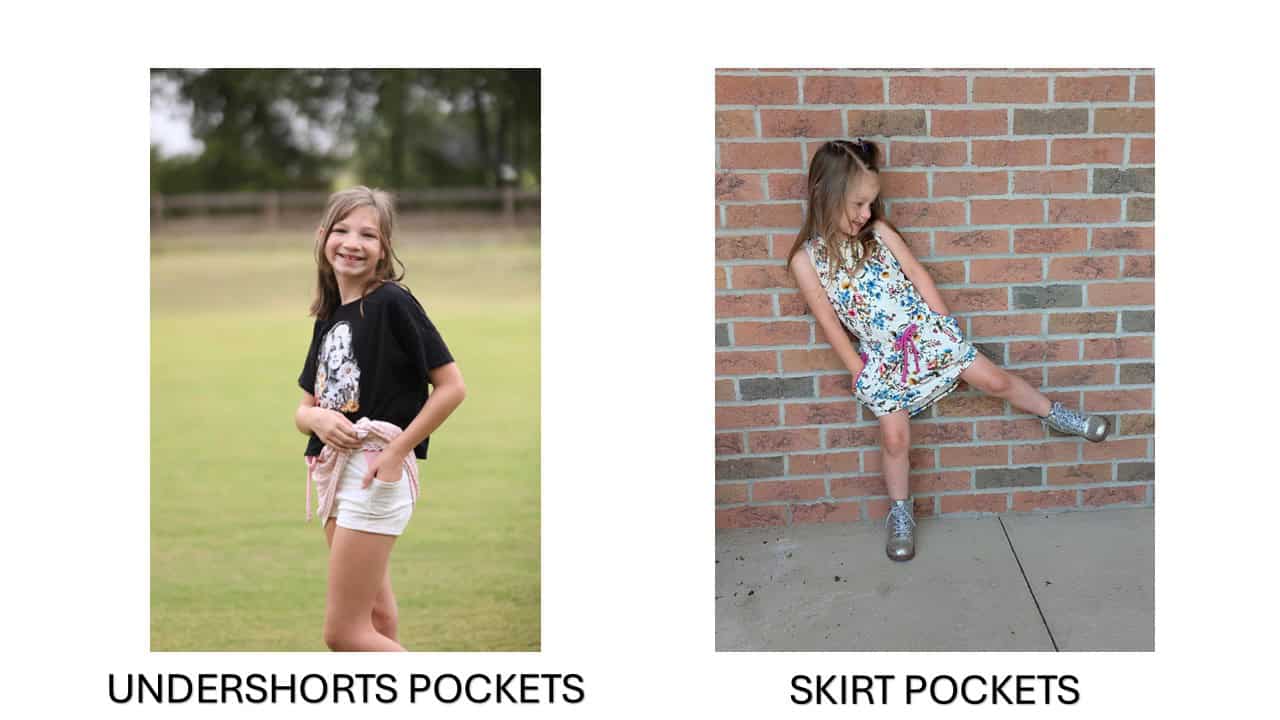
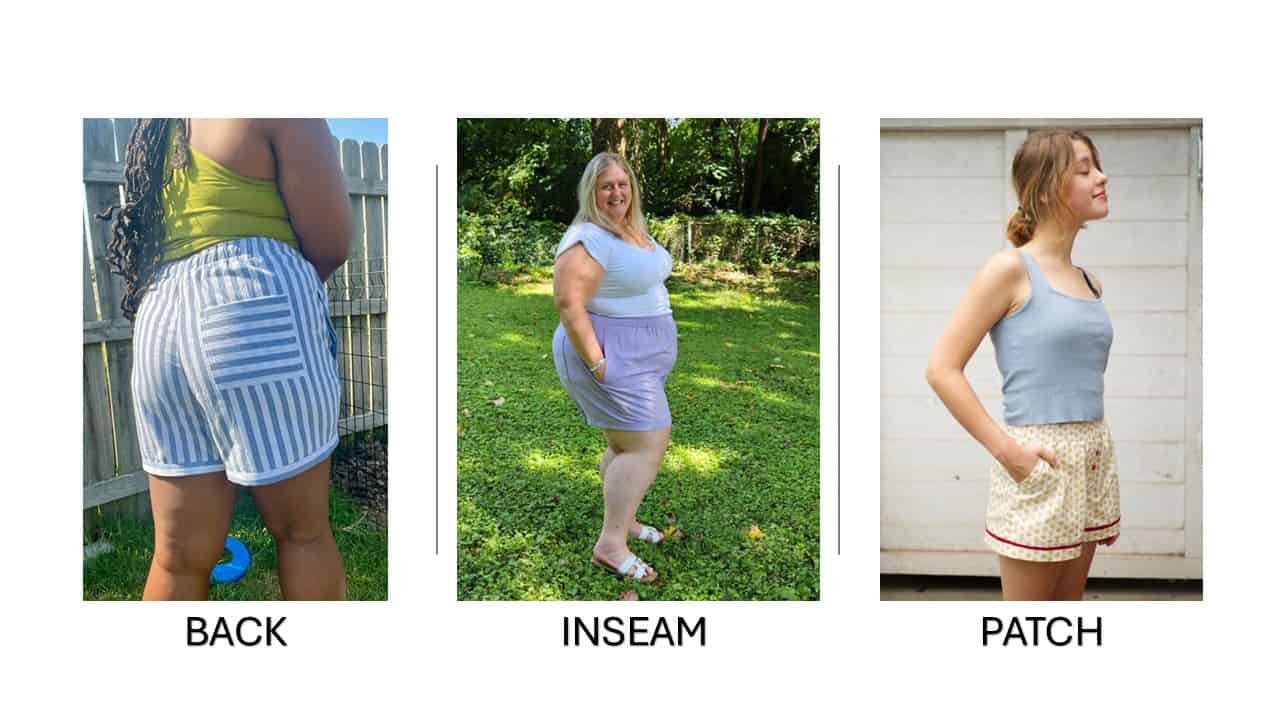
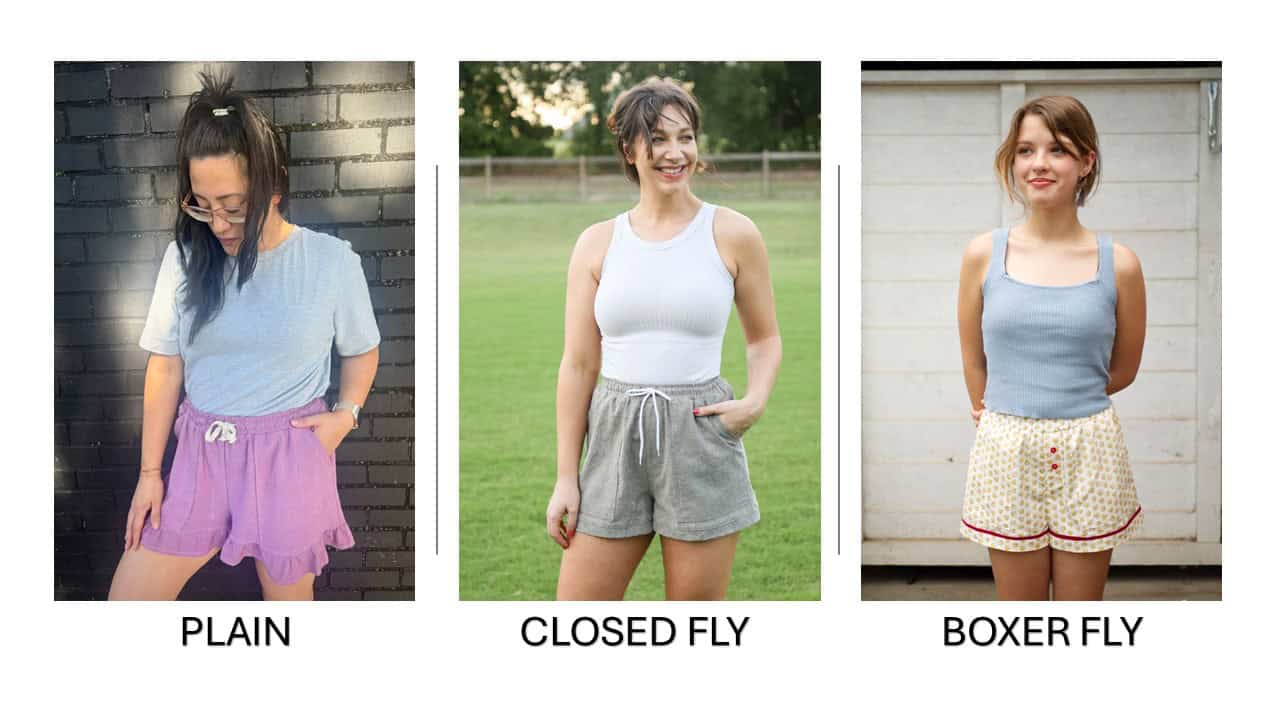
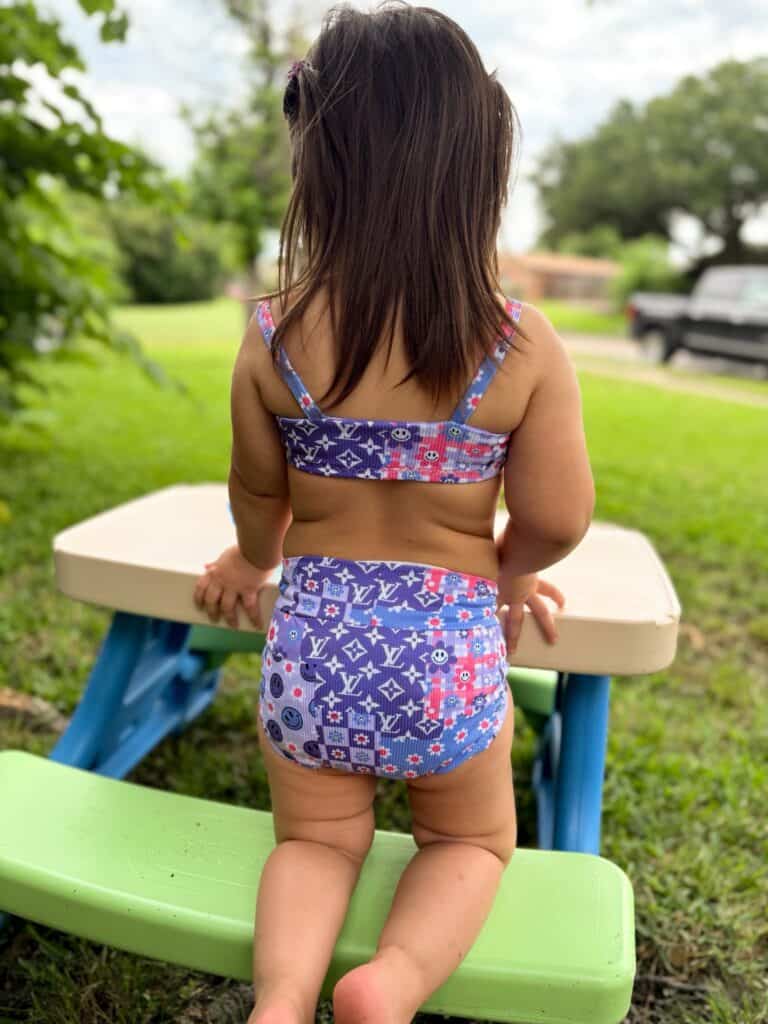
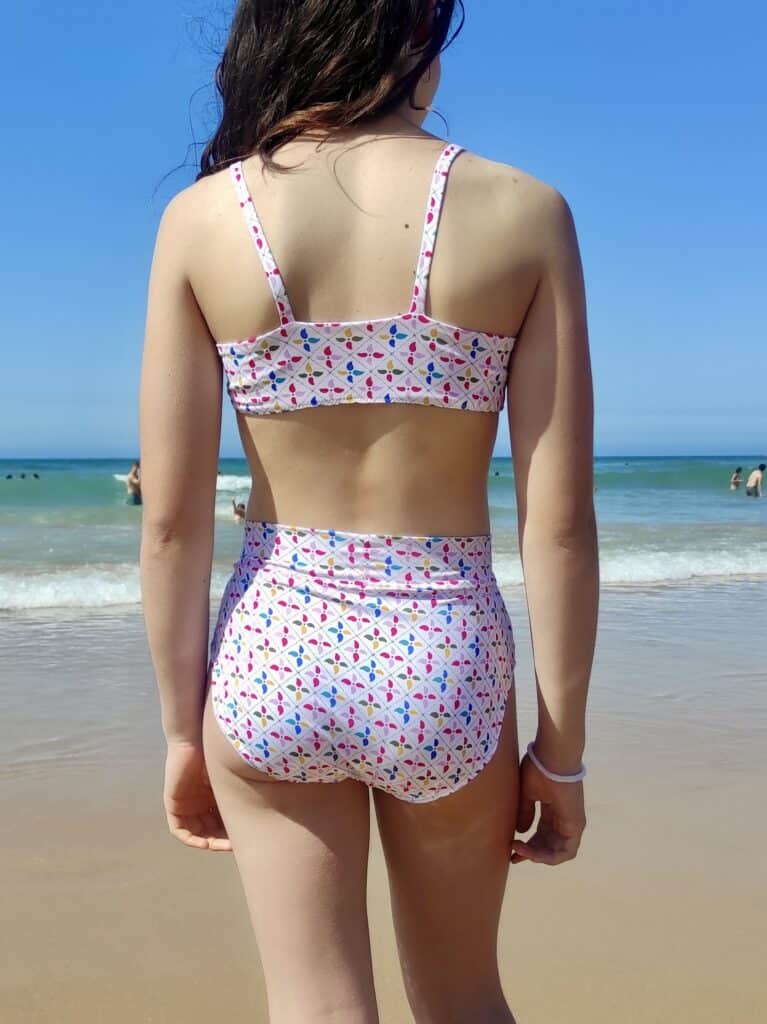
No matter what options you’re sewing up don’t forget those pockets! Deep side seam pockets mean you can carry around your phone, wallet, snacks, and other treasures without worrying.
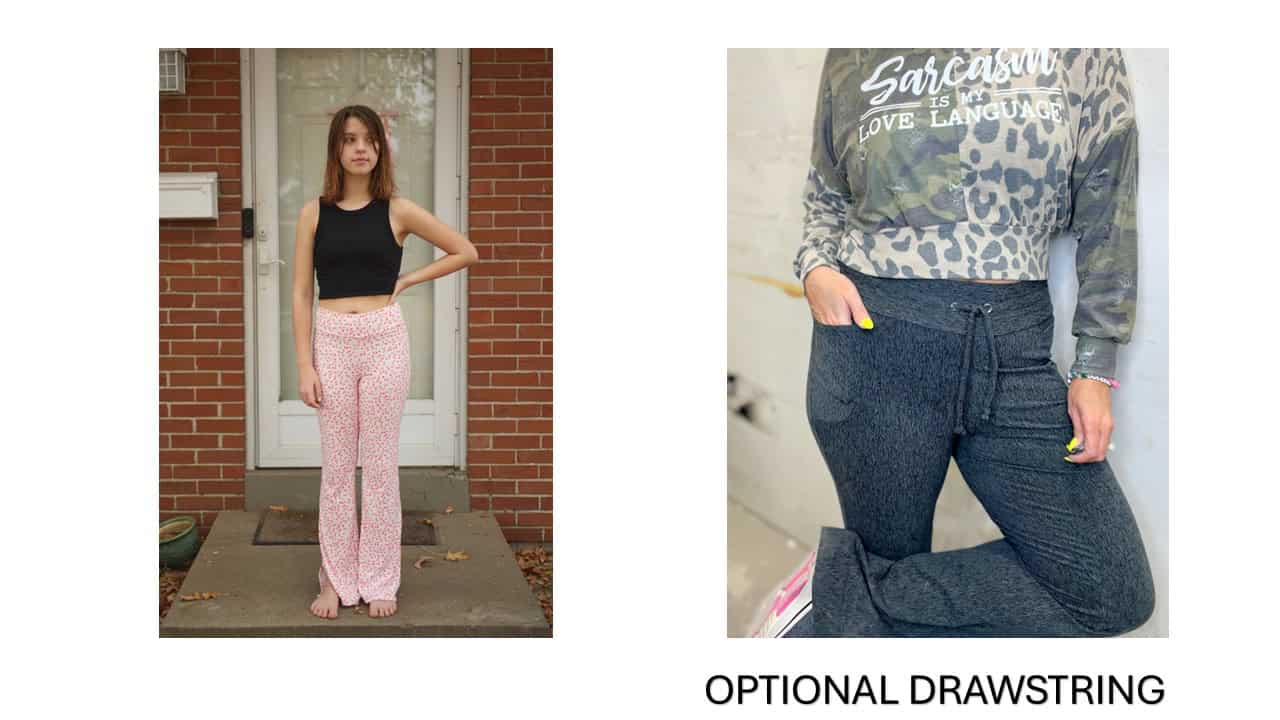
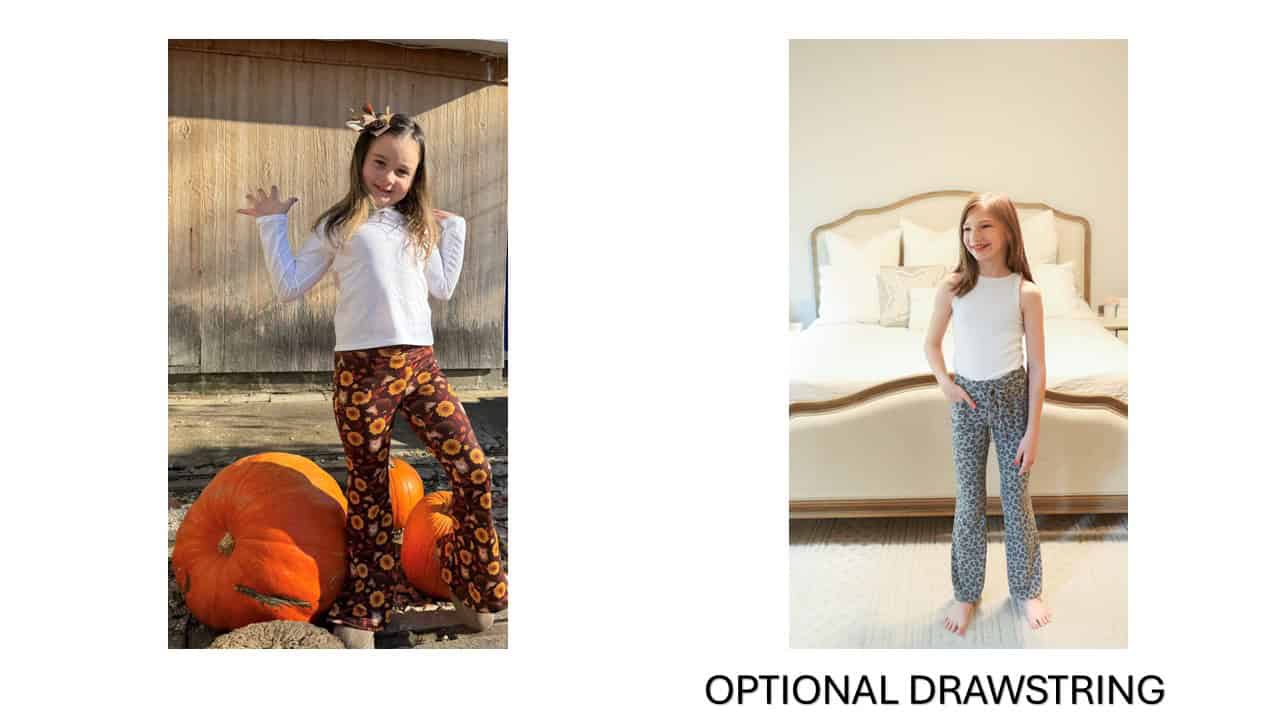
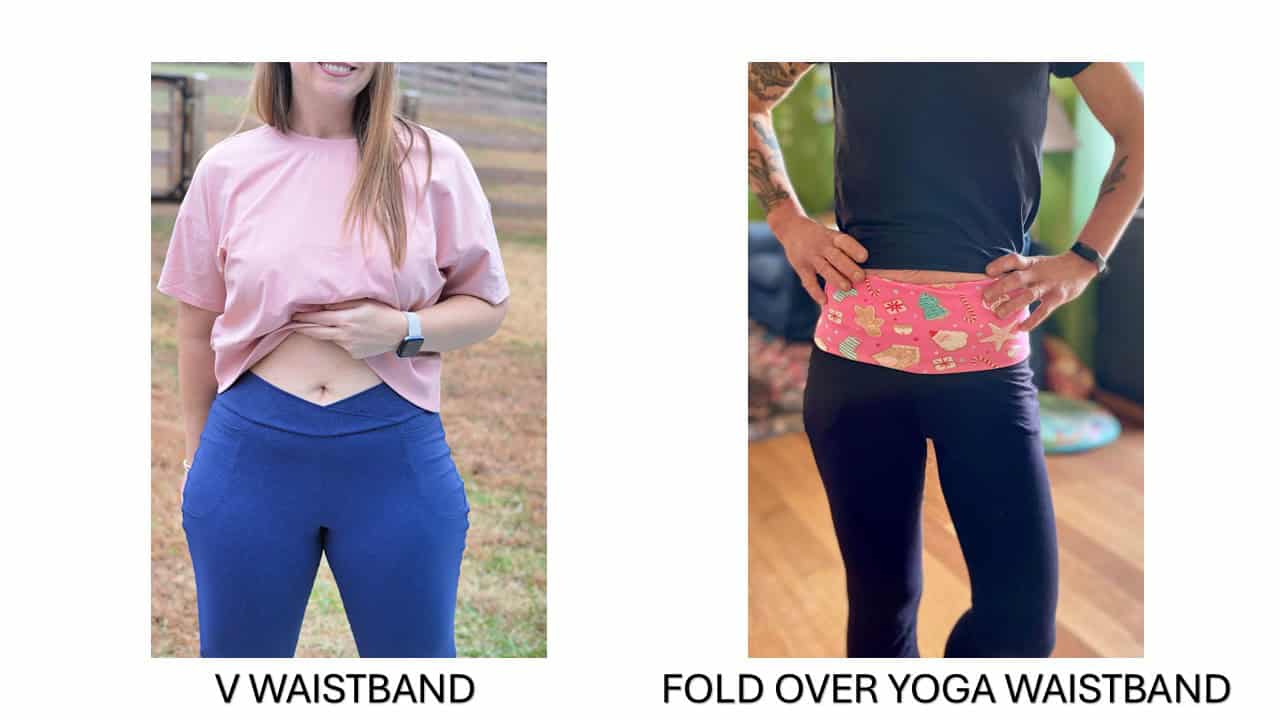
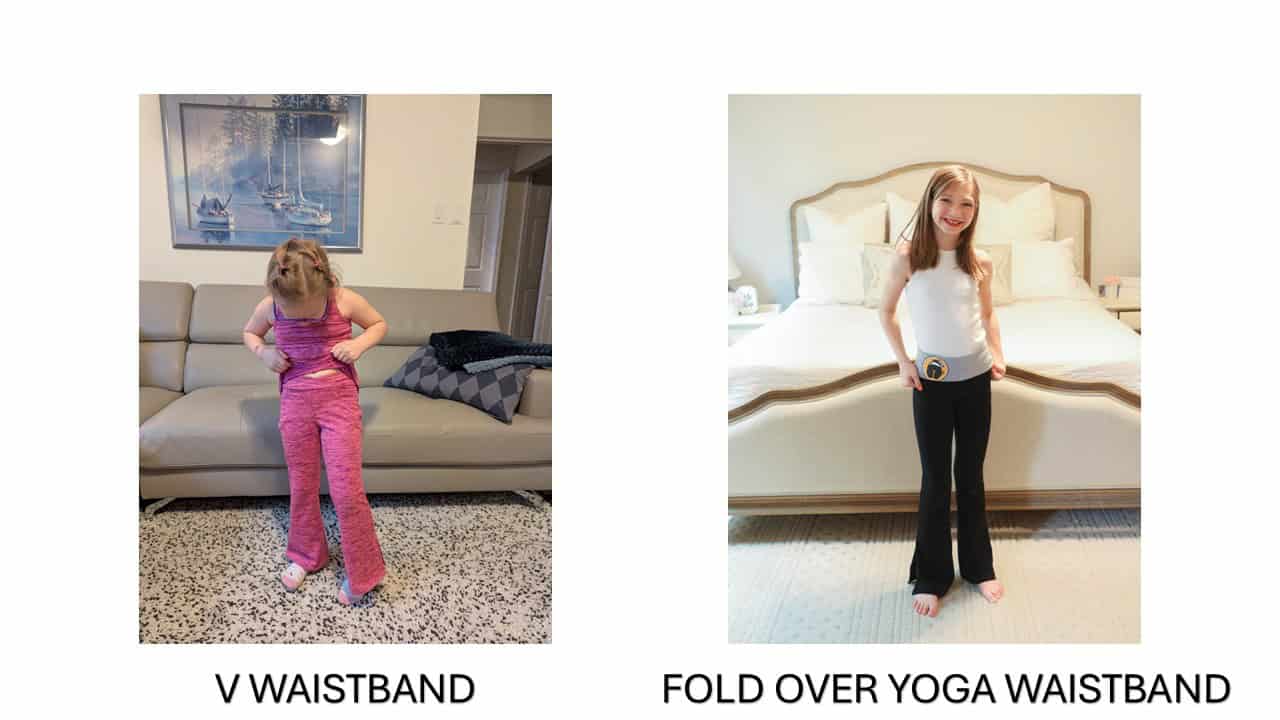
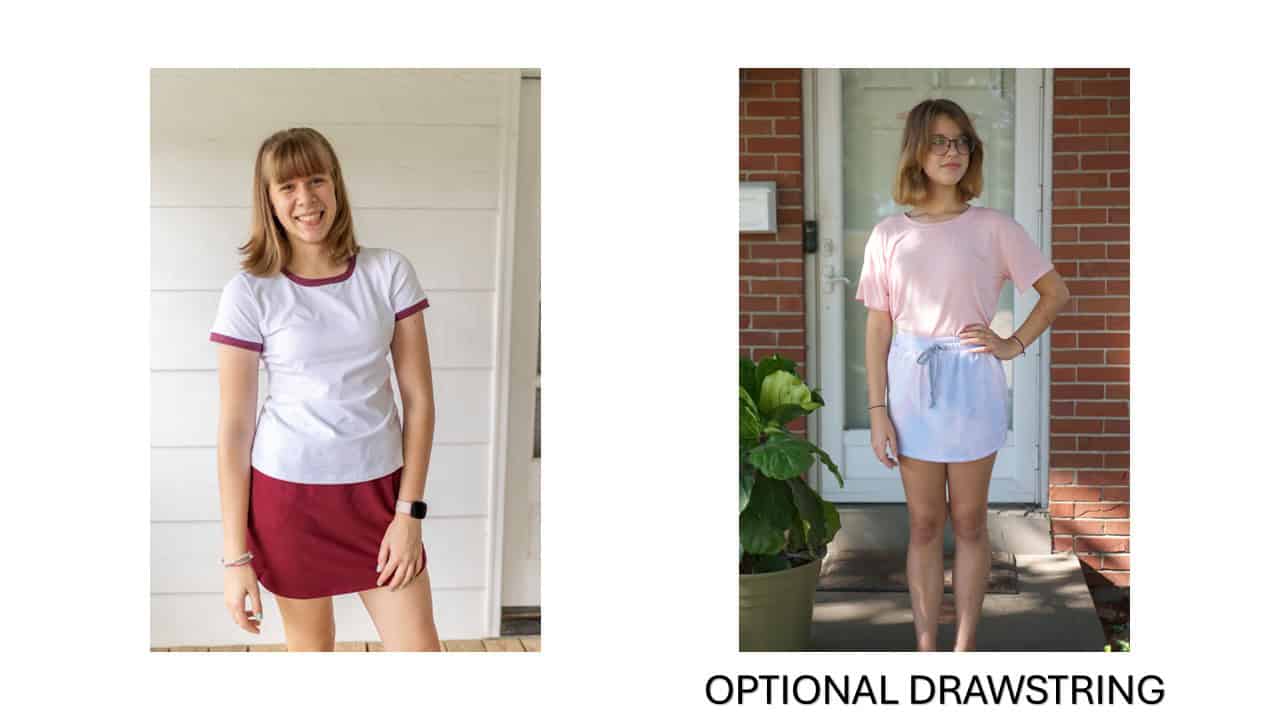
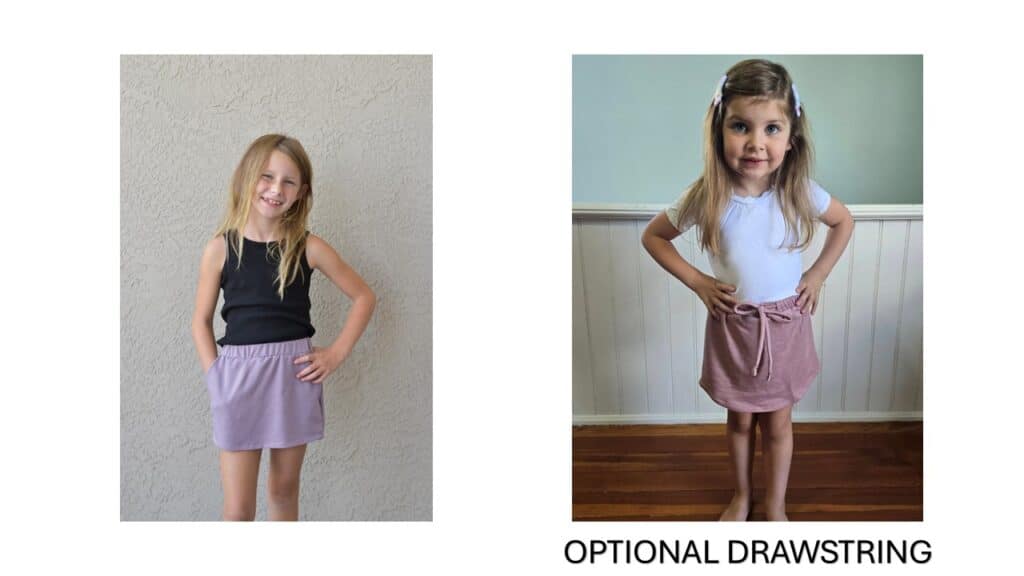
The back center section is created with casings and normal elastic. If you love shirring and would prefer that you can shirr that back section instead, but don’t worry if you do not have that skill set yet. The tutorial includes links to several YouTube videos if you’re unsure of the skill level needed, you can watch them before purchasing and again for help throughout the process or just a sew a long buddy.
Pattern options for the Picnic Dress include:
- Lengths: Knee / Midi
- Pocket: Optional Side Seam Pockets
- Necklines: Regular/ Adult Only- Lower Scoop
The Picnic Dress pattern is drafted for non-stretch woven apparel fabrics that are light to medium weight.
Specific Fabric Suggestions: chambray, linen blends, seersucker, airflow, rayon challis, poplin, etc.
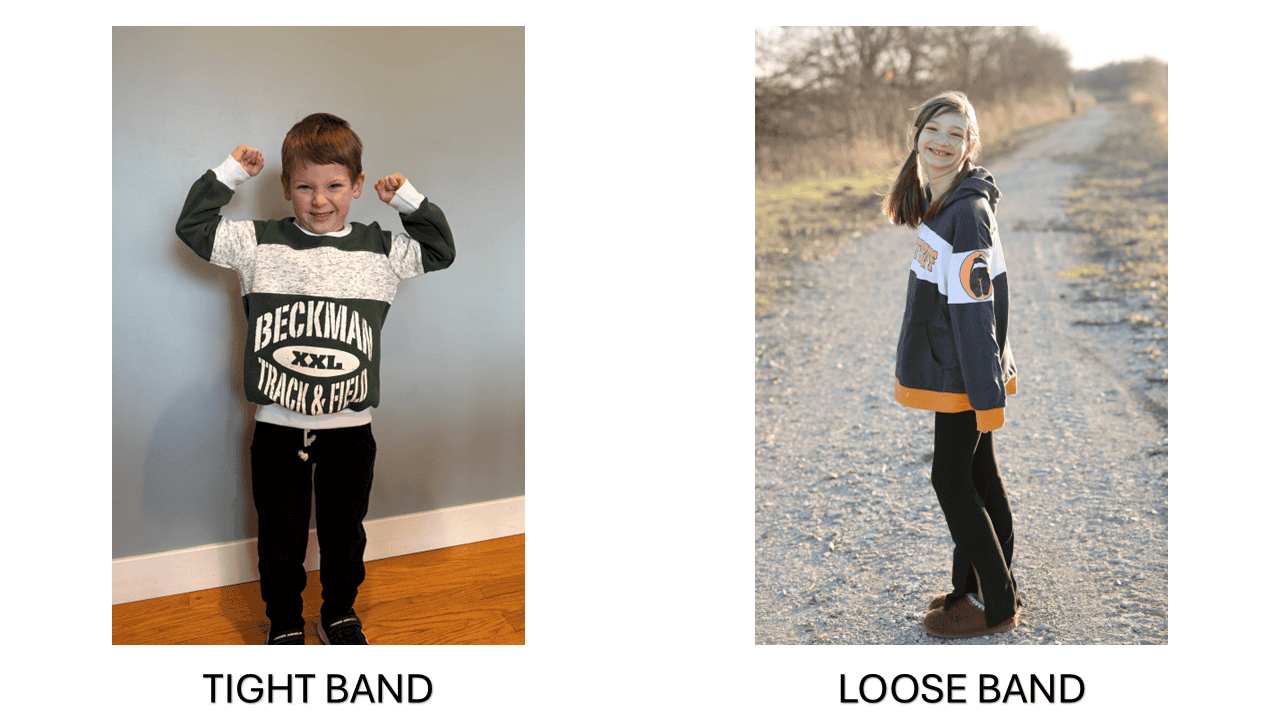
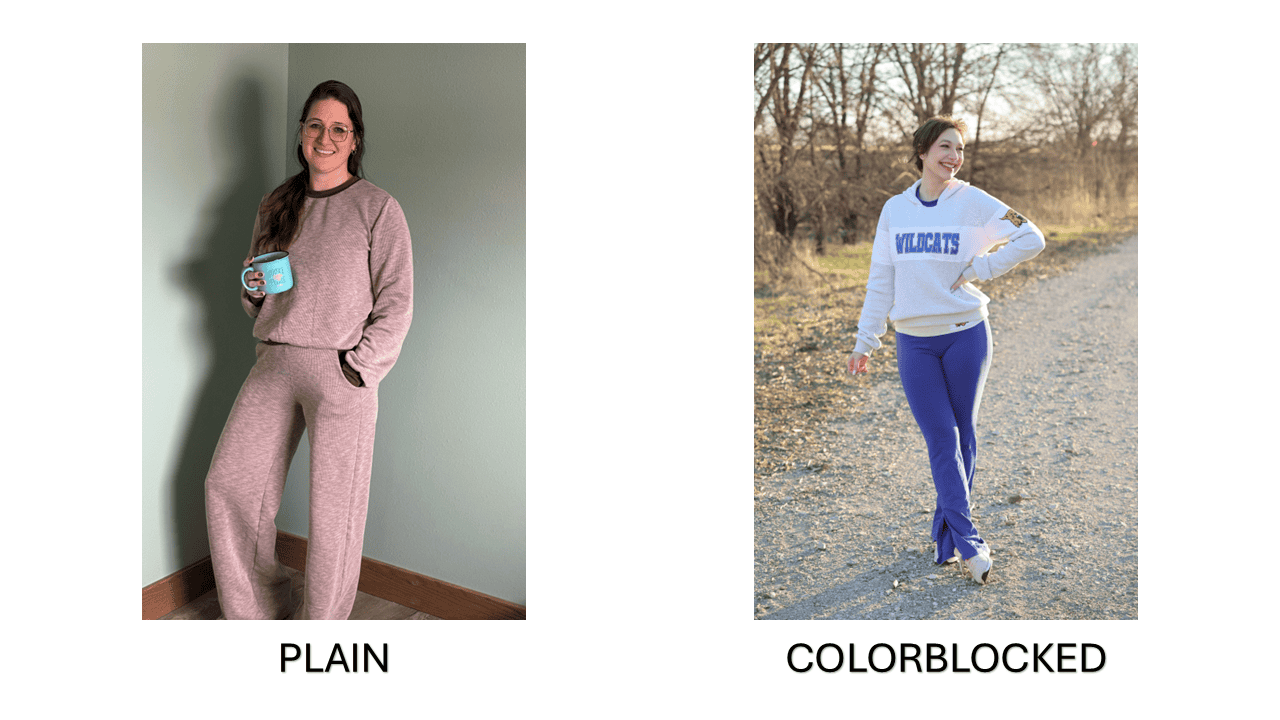
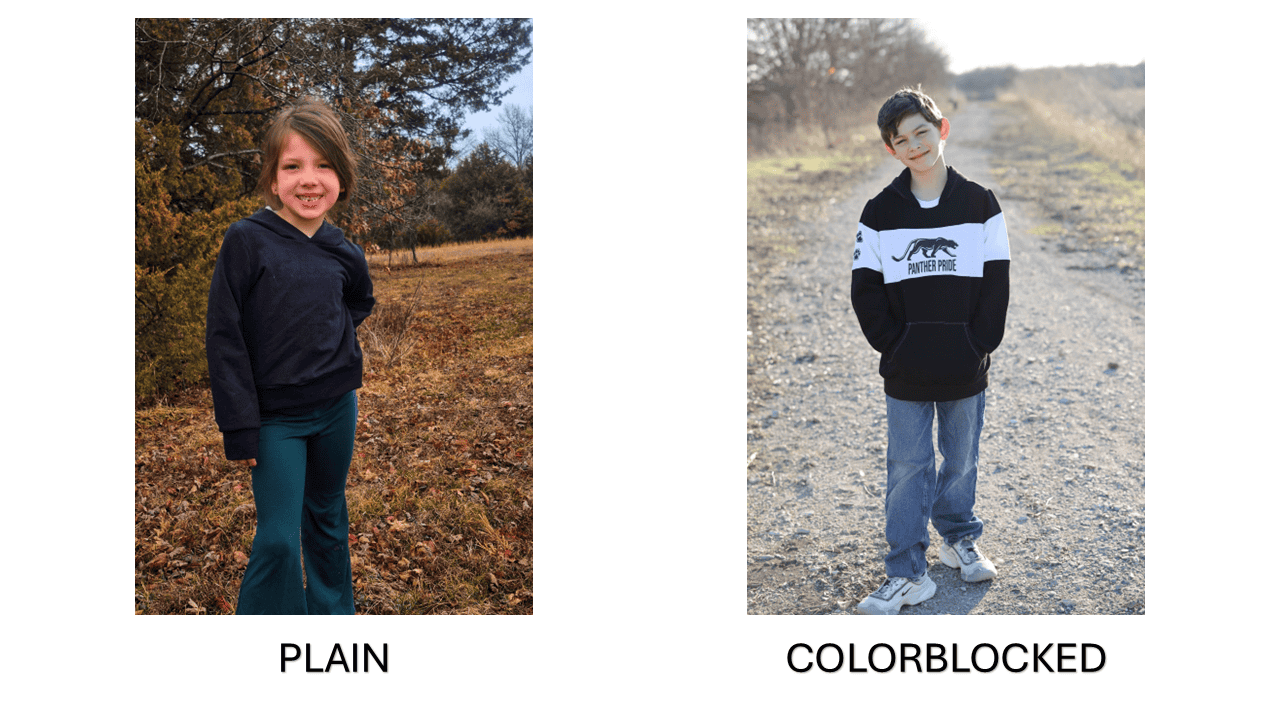
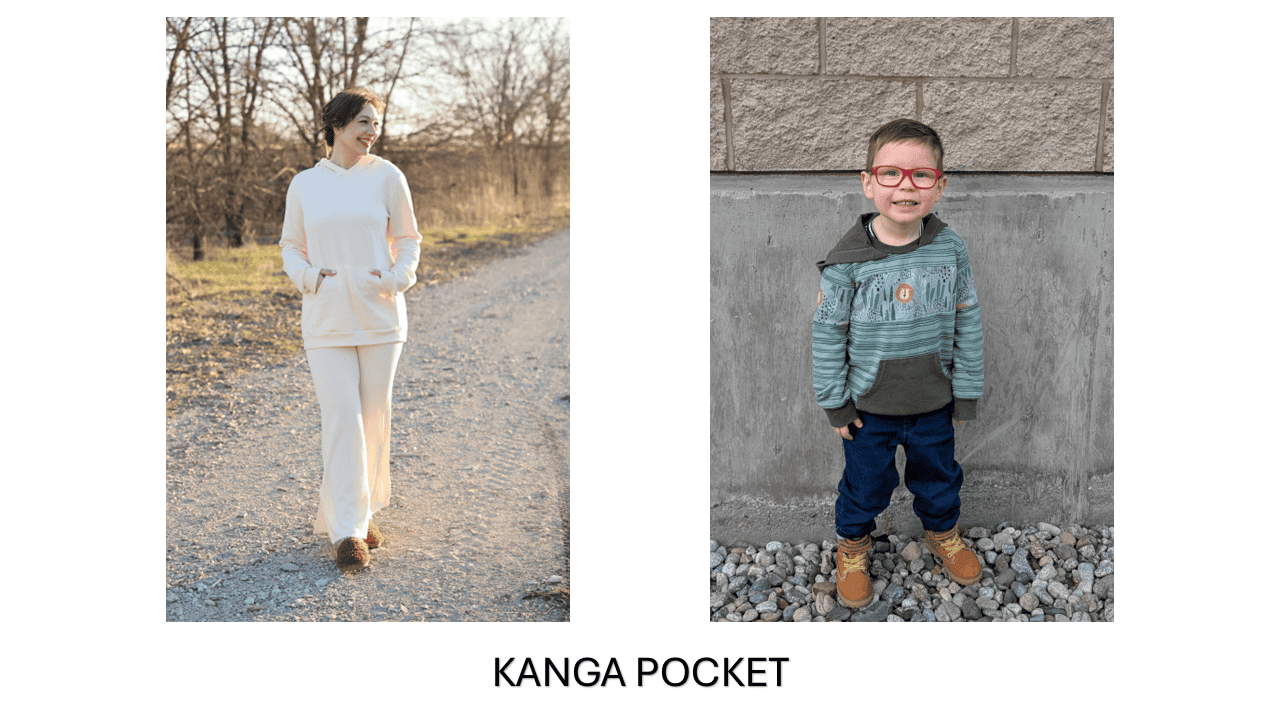
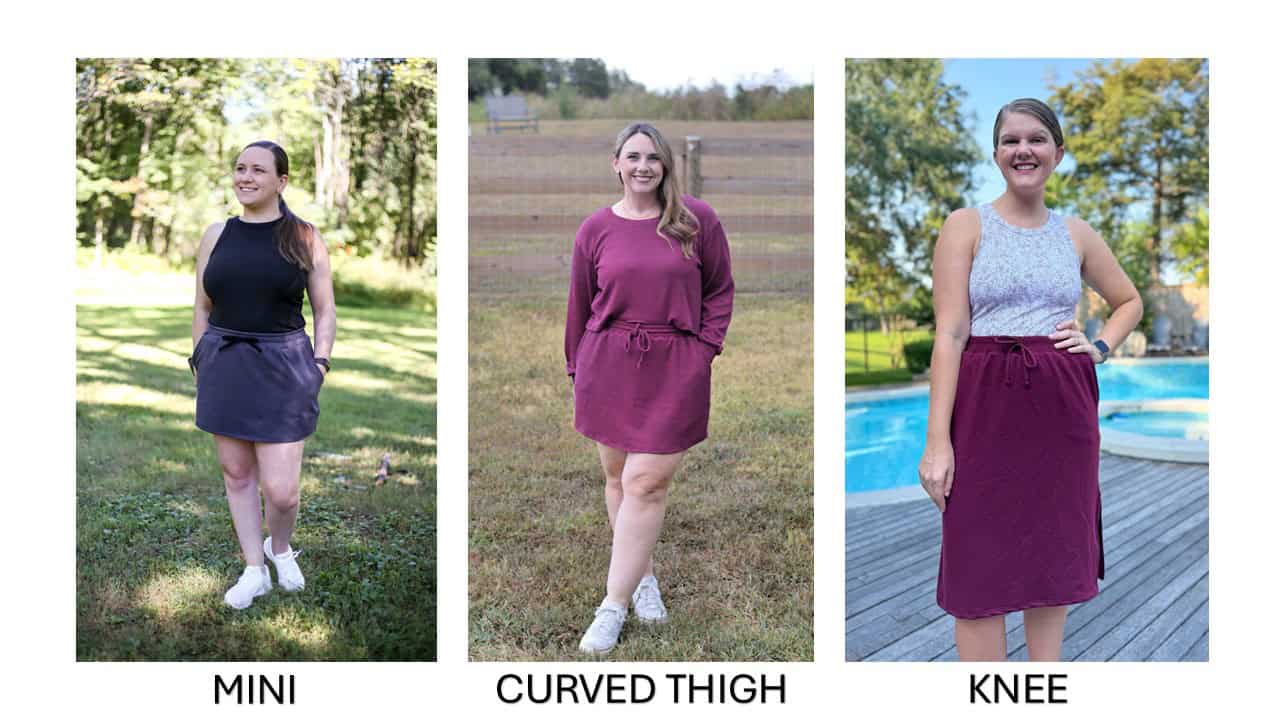
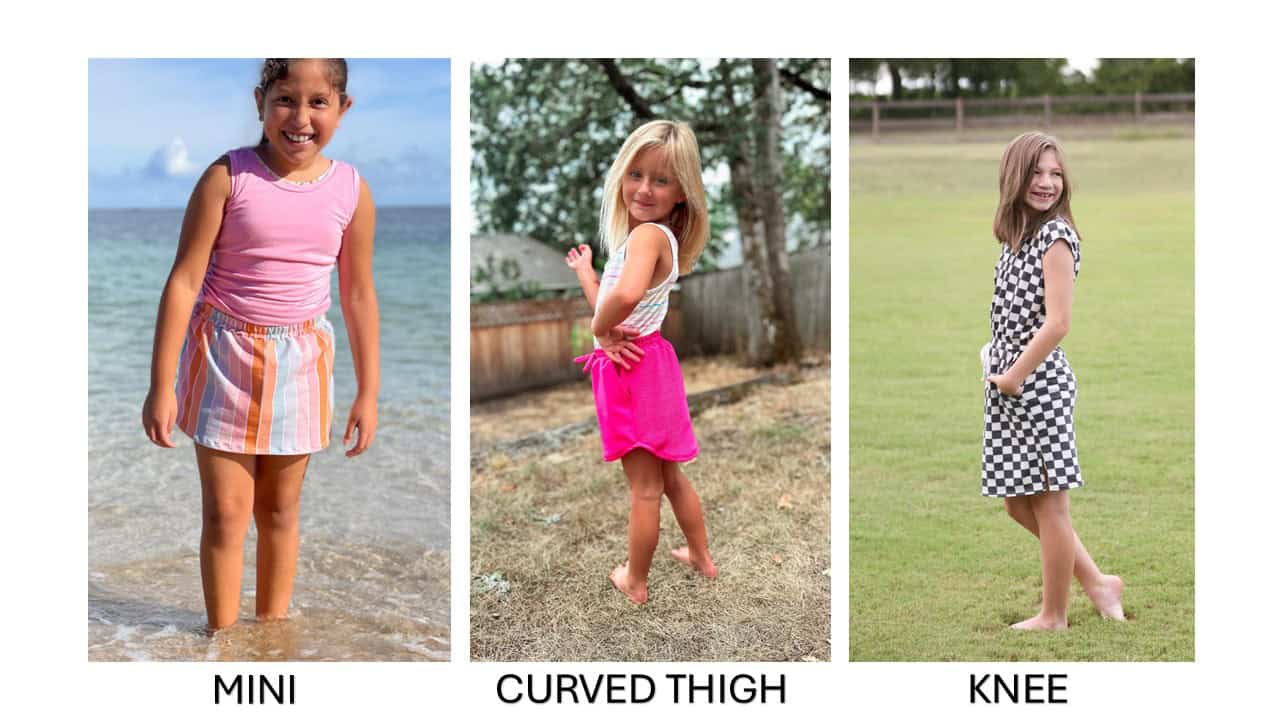
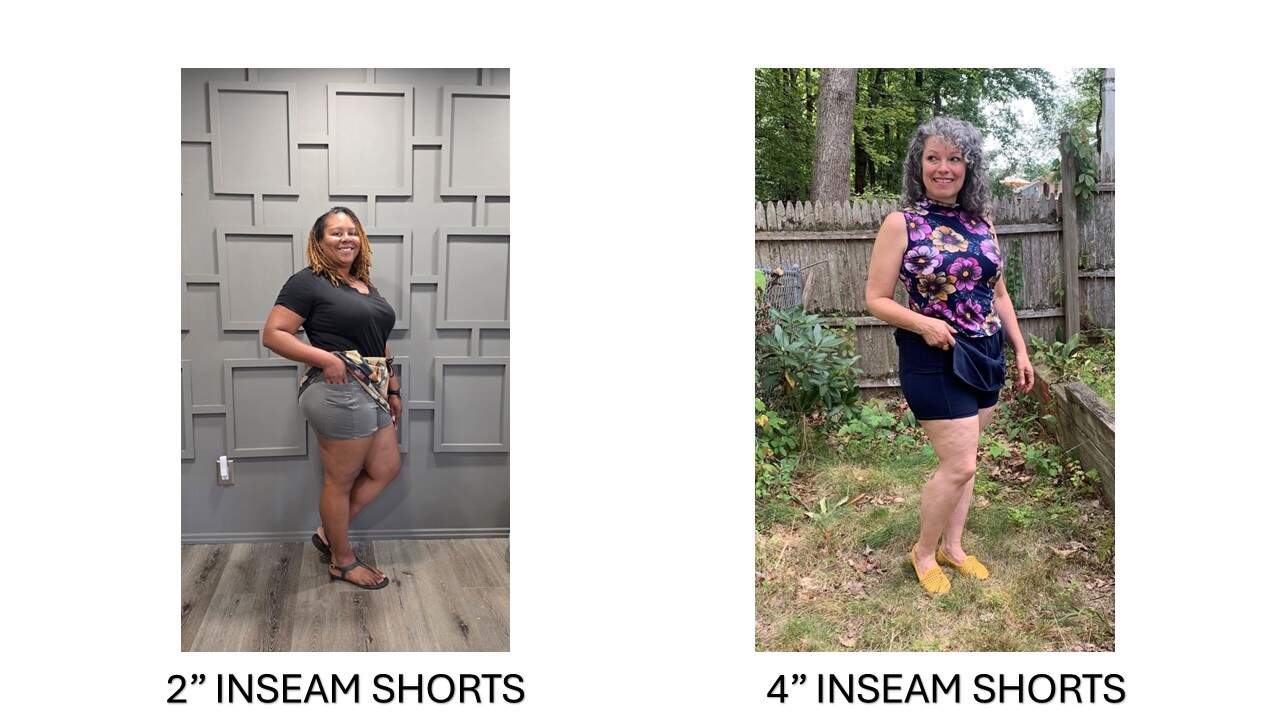
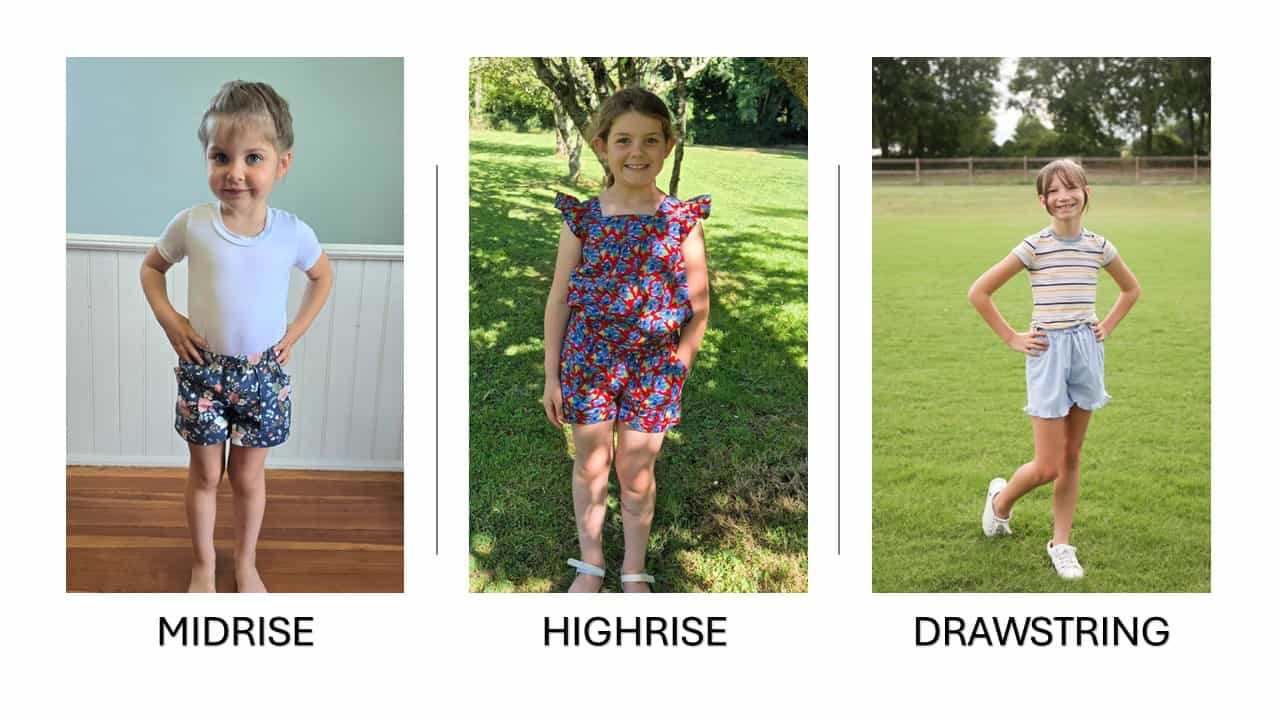
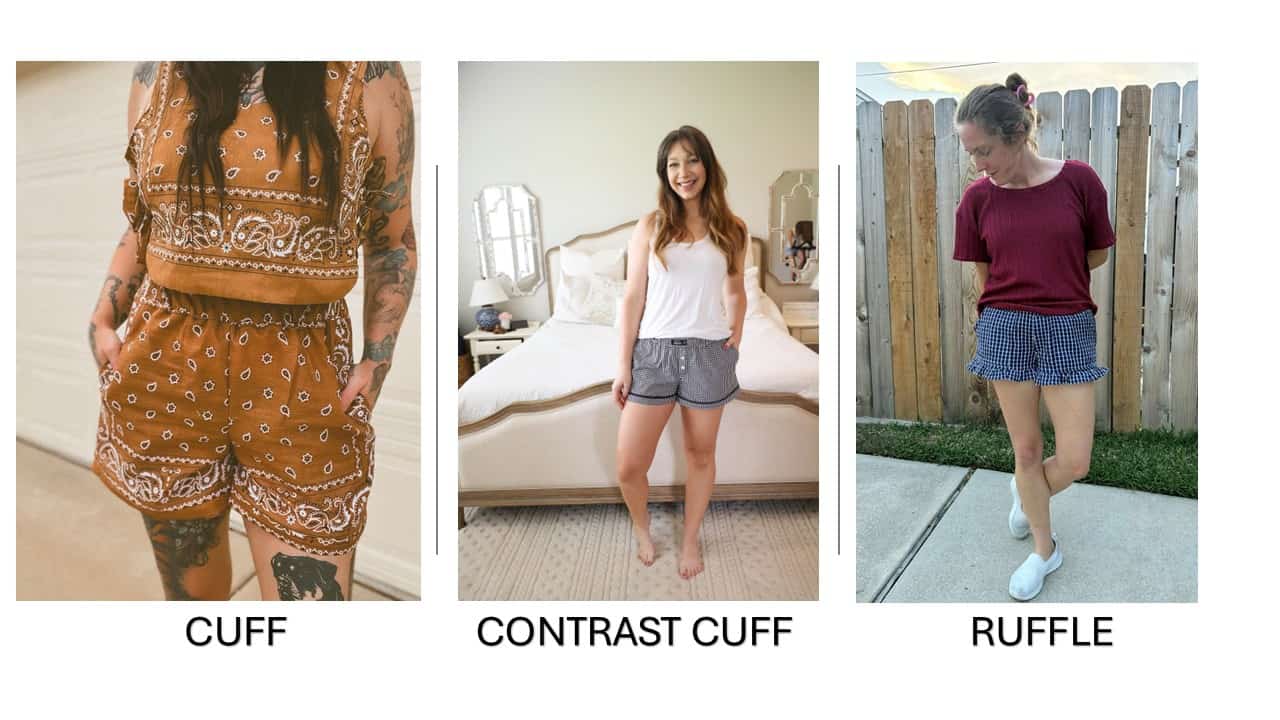
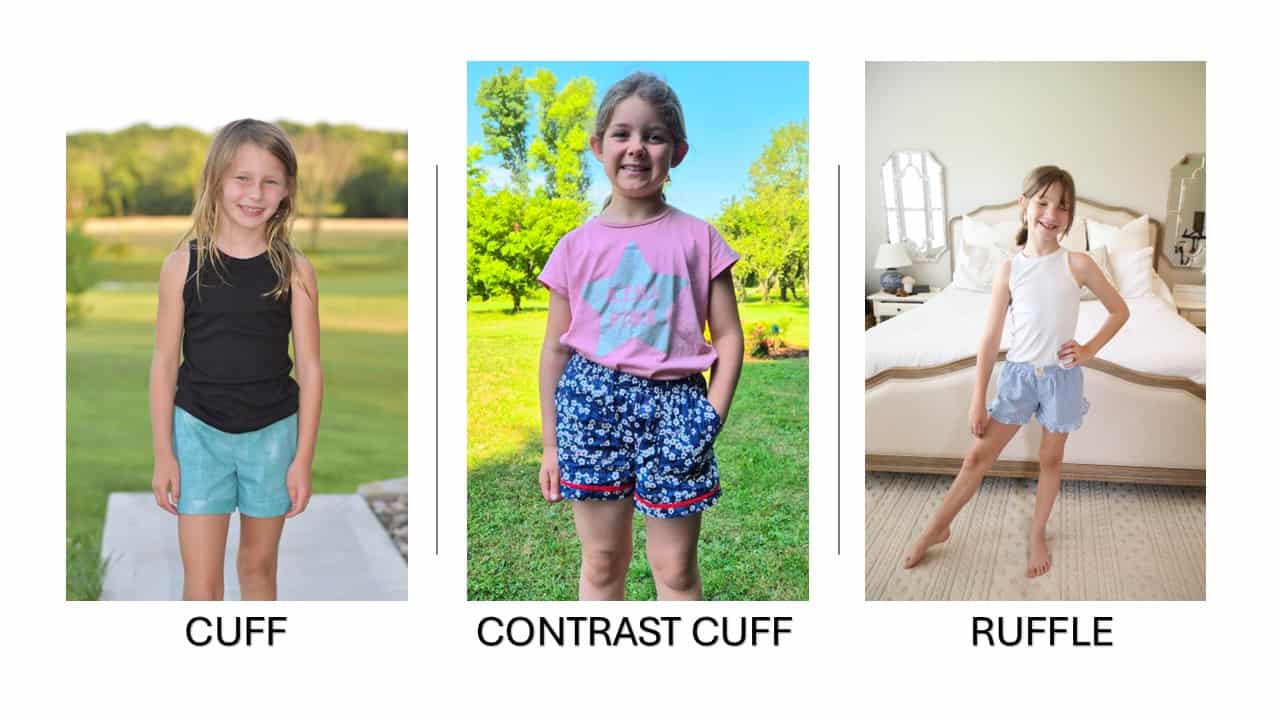
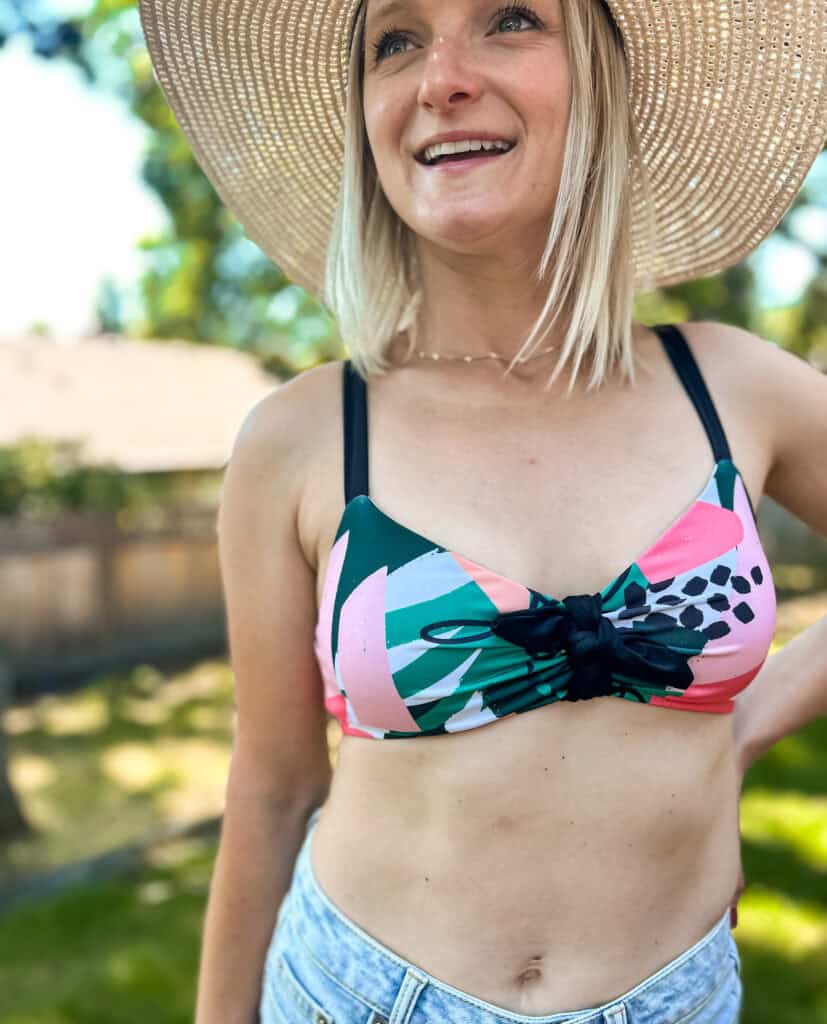
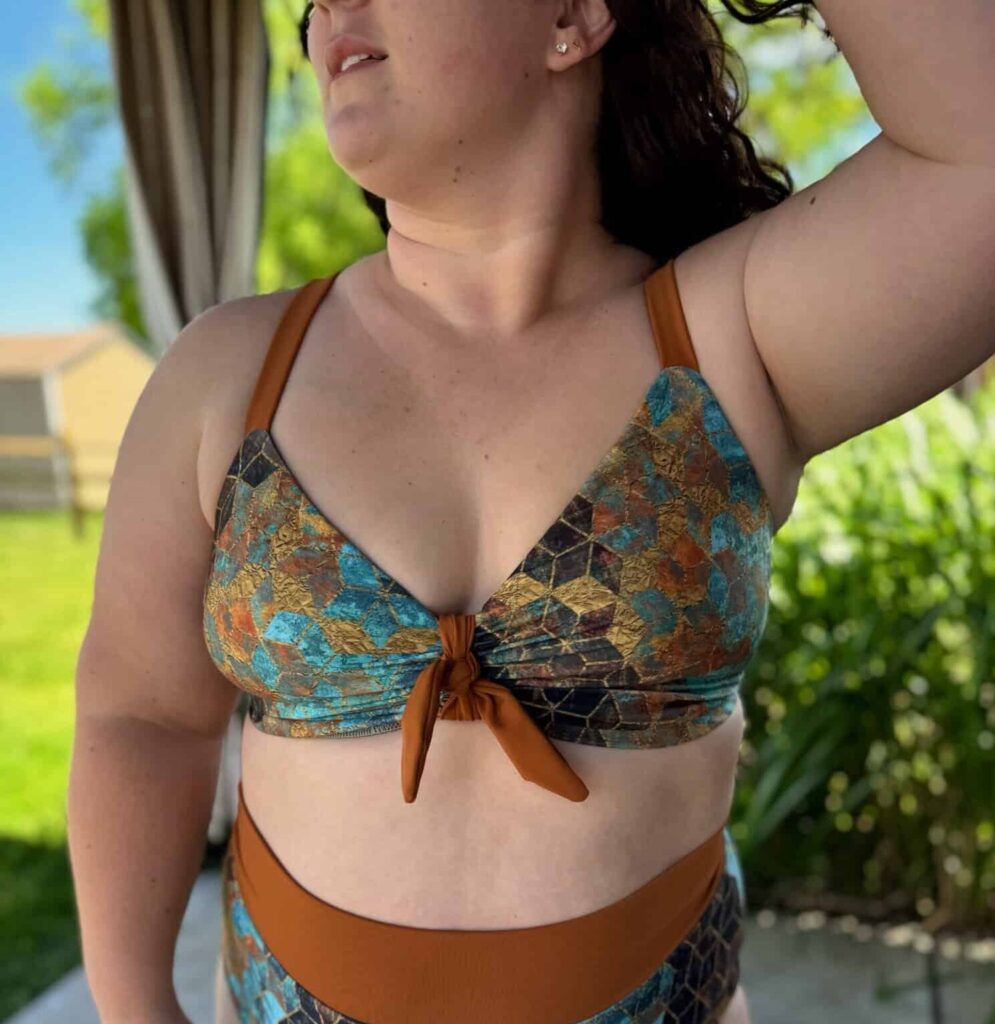
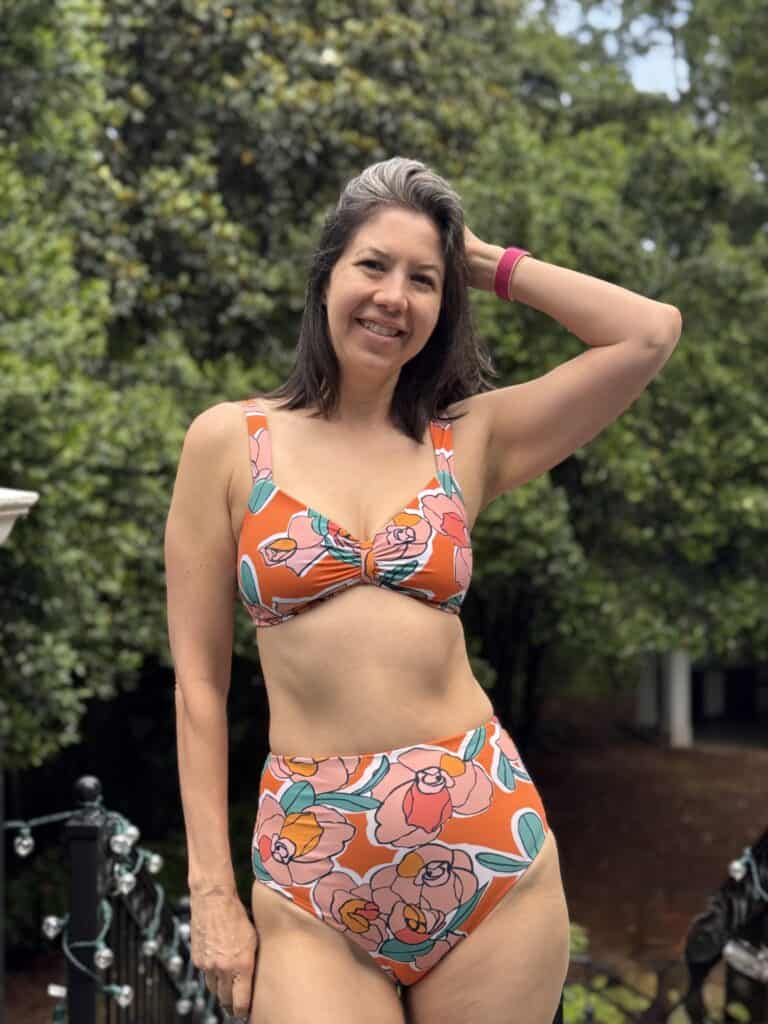
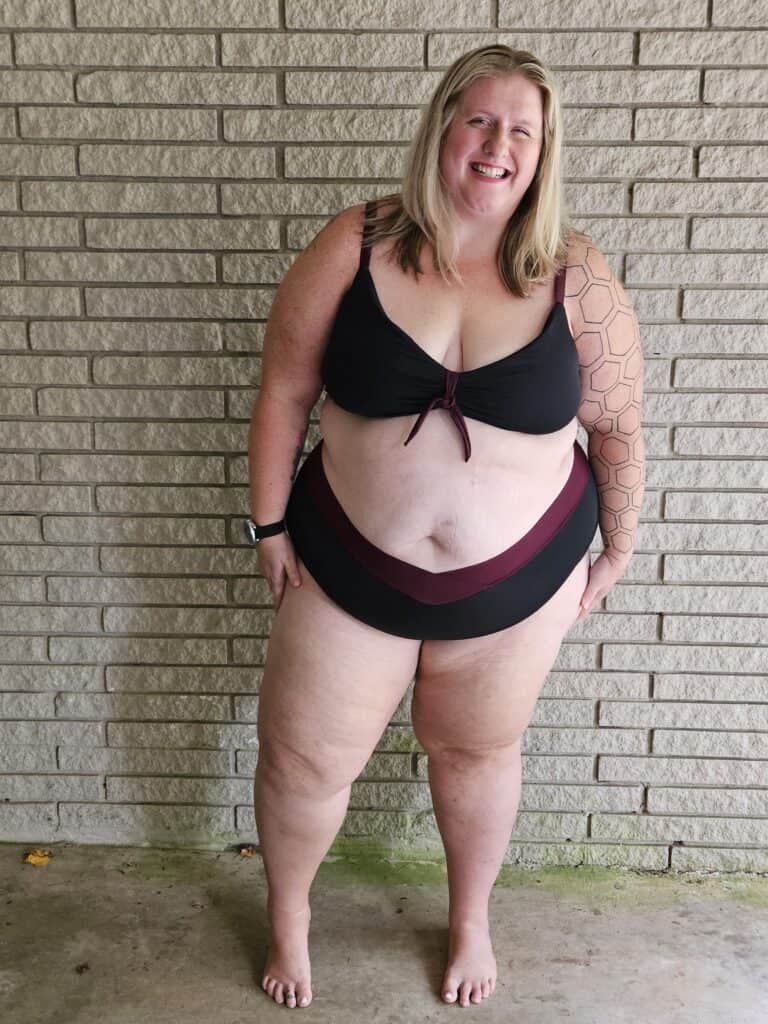
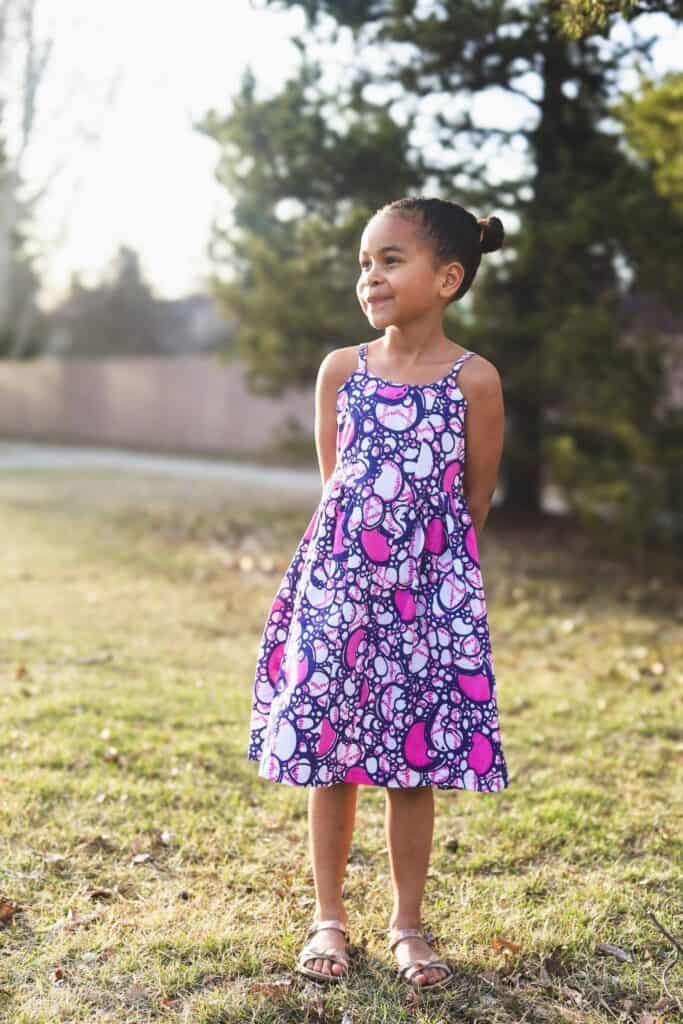
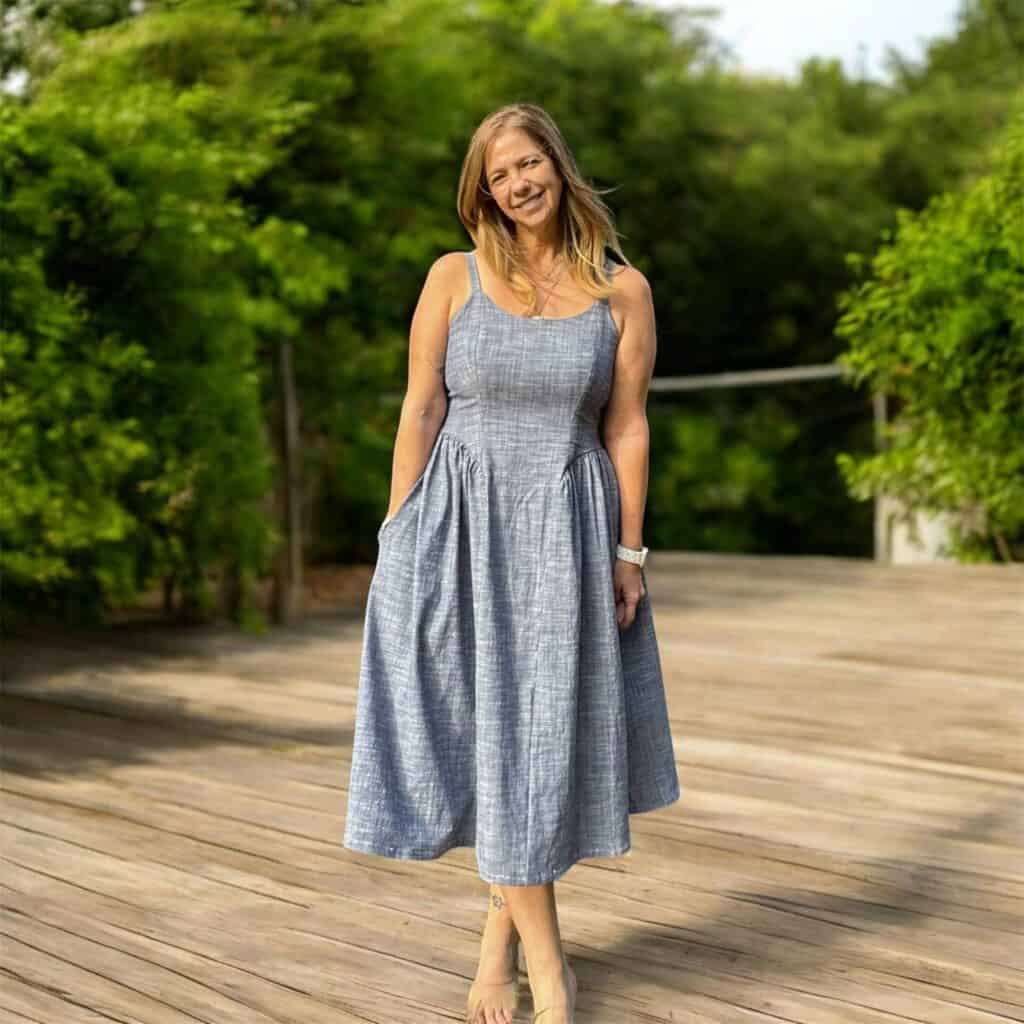
Here are a few shots from our amazing pattern testers of the different options.
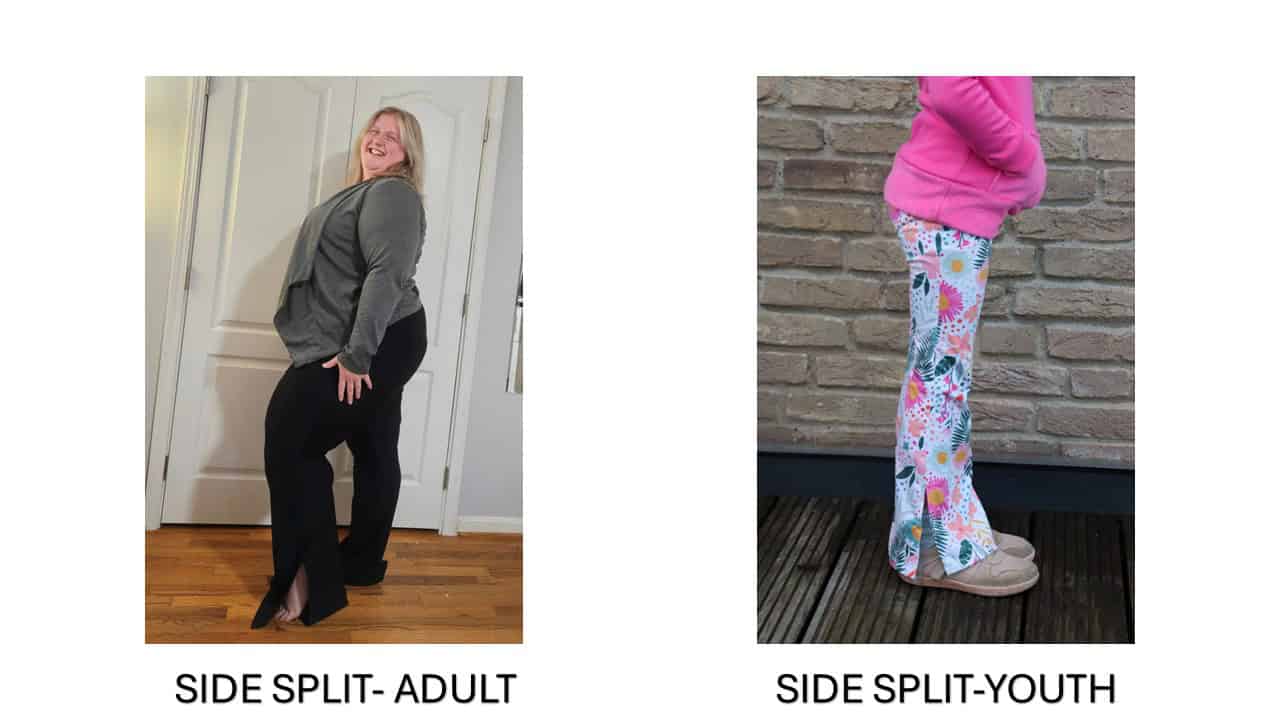
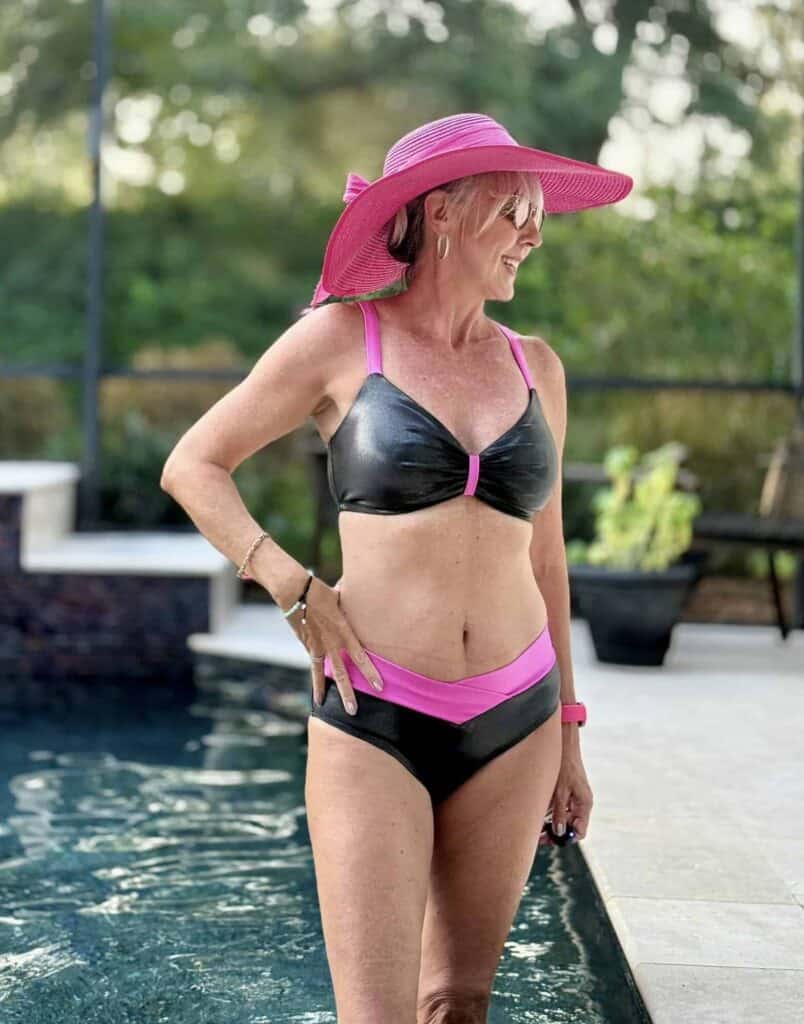
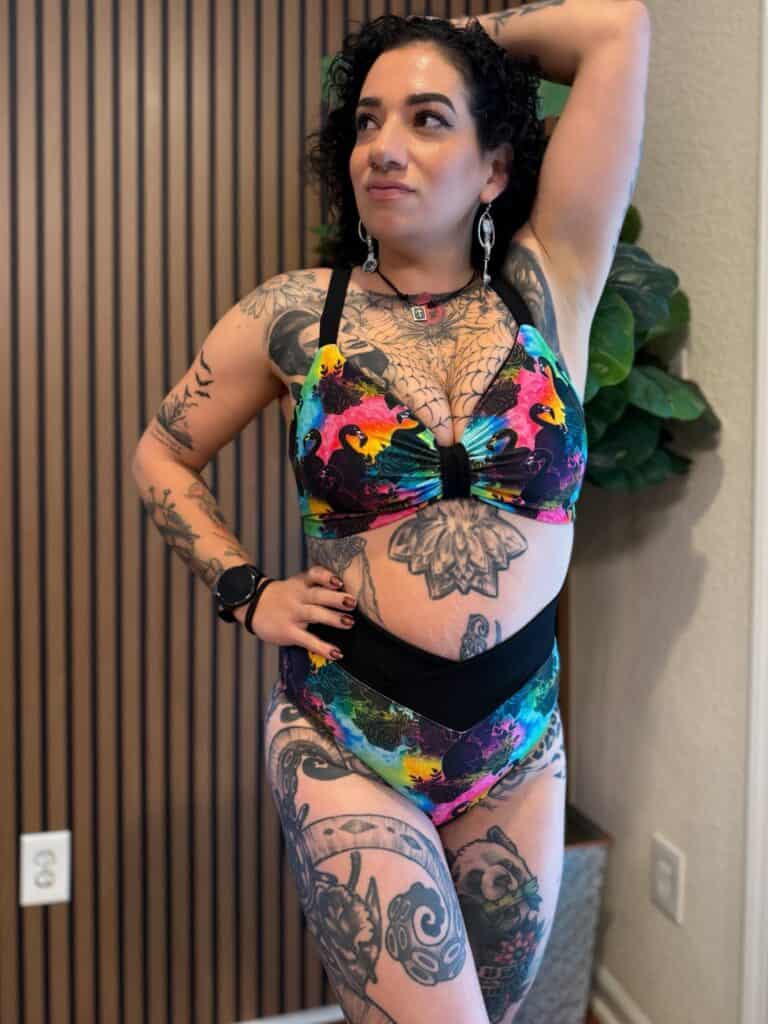
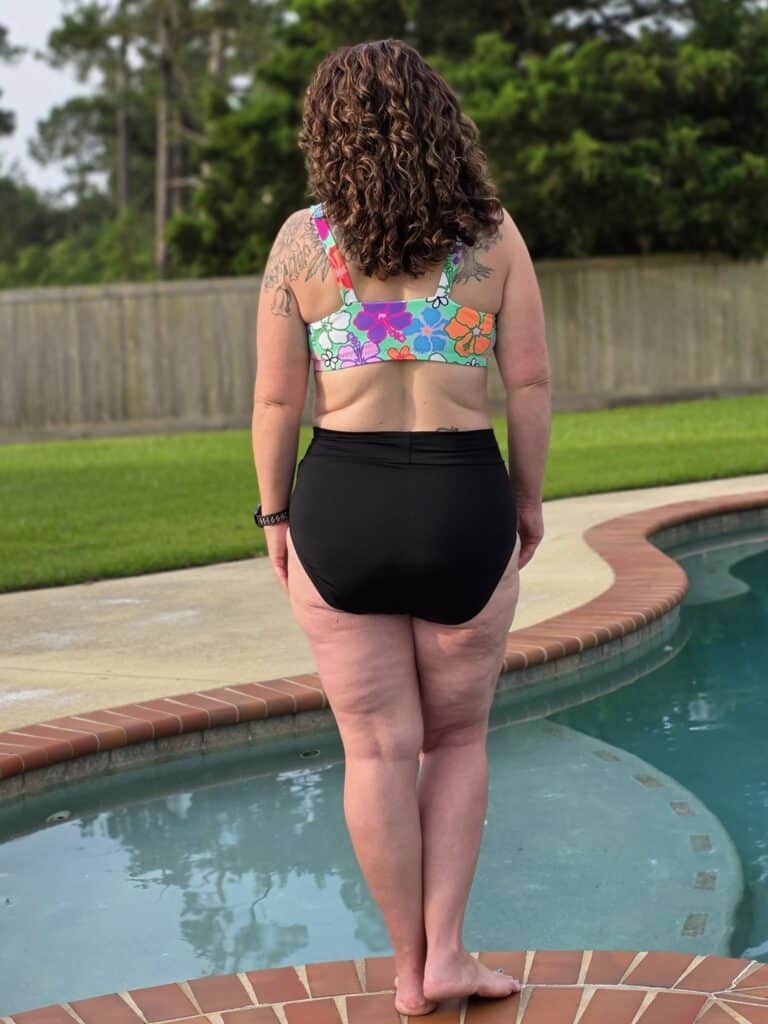
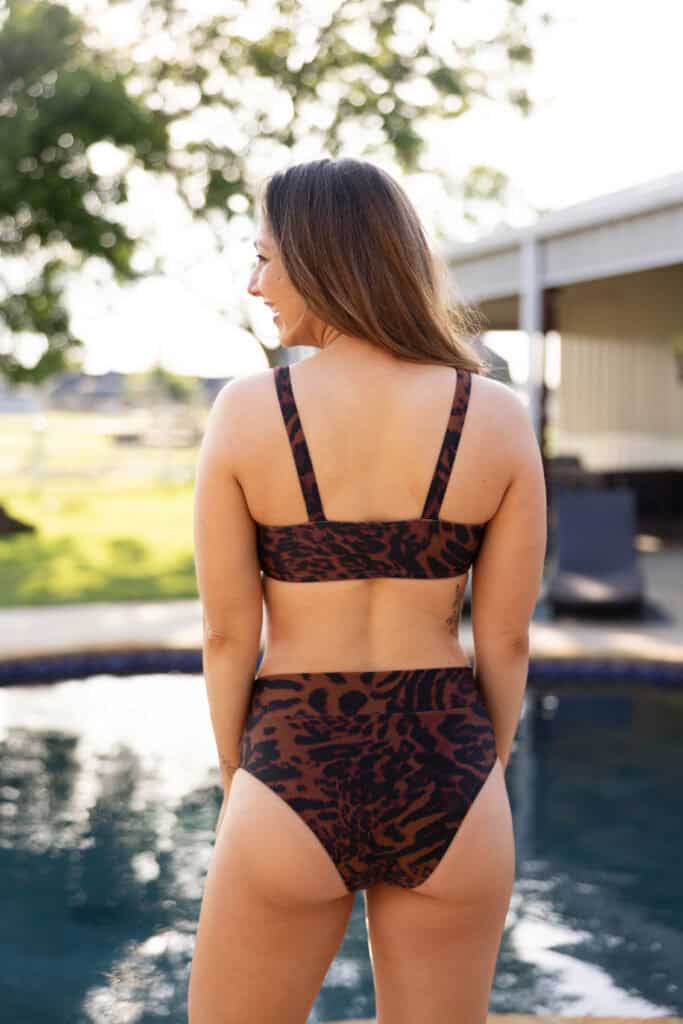
LENGTHS : ADULT :
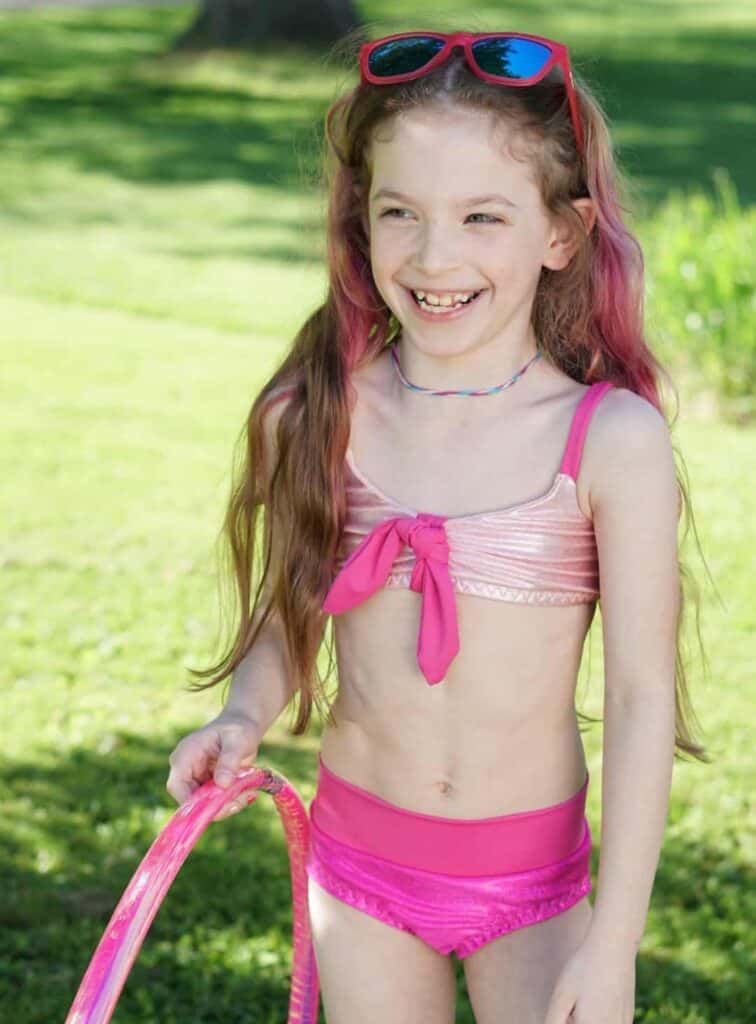
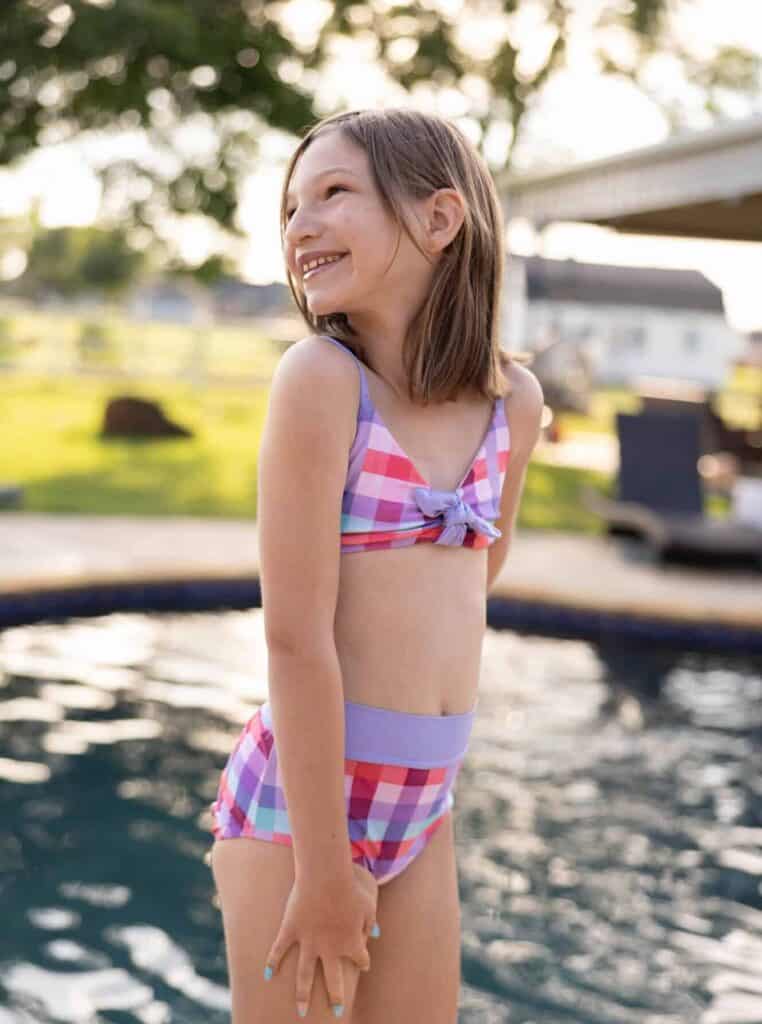
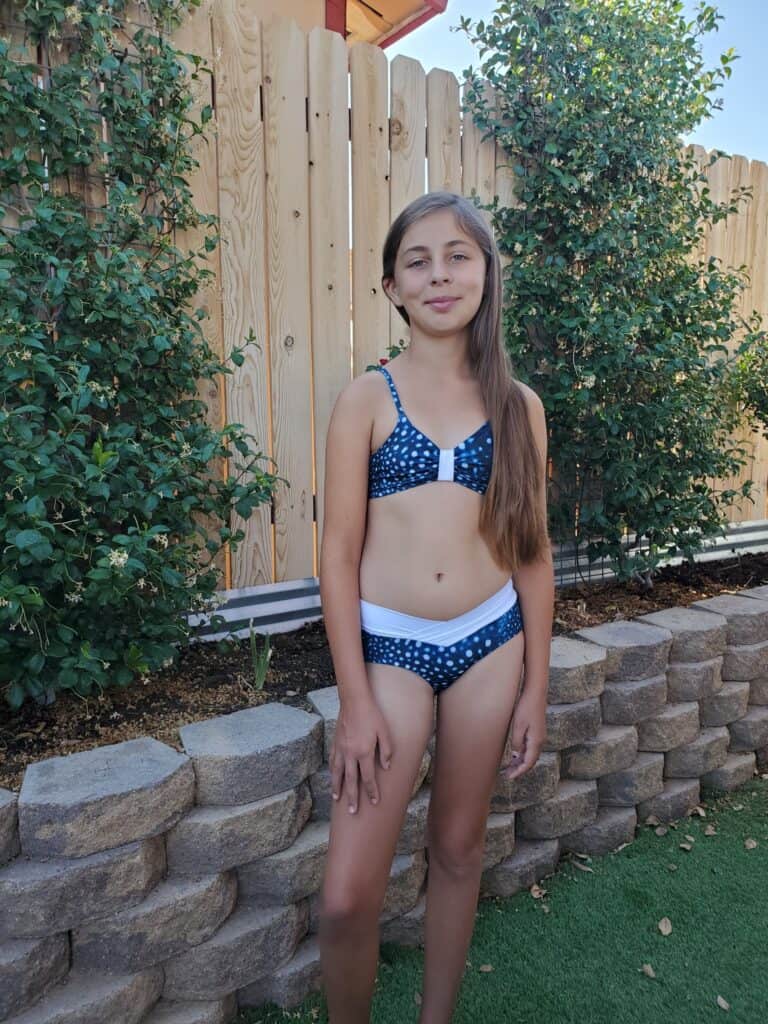
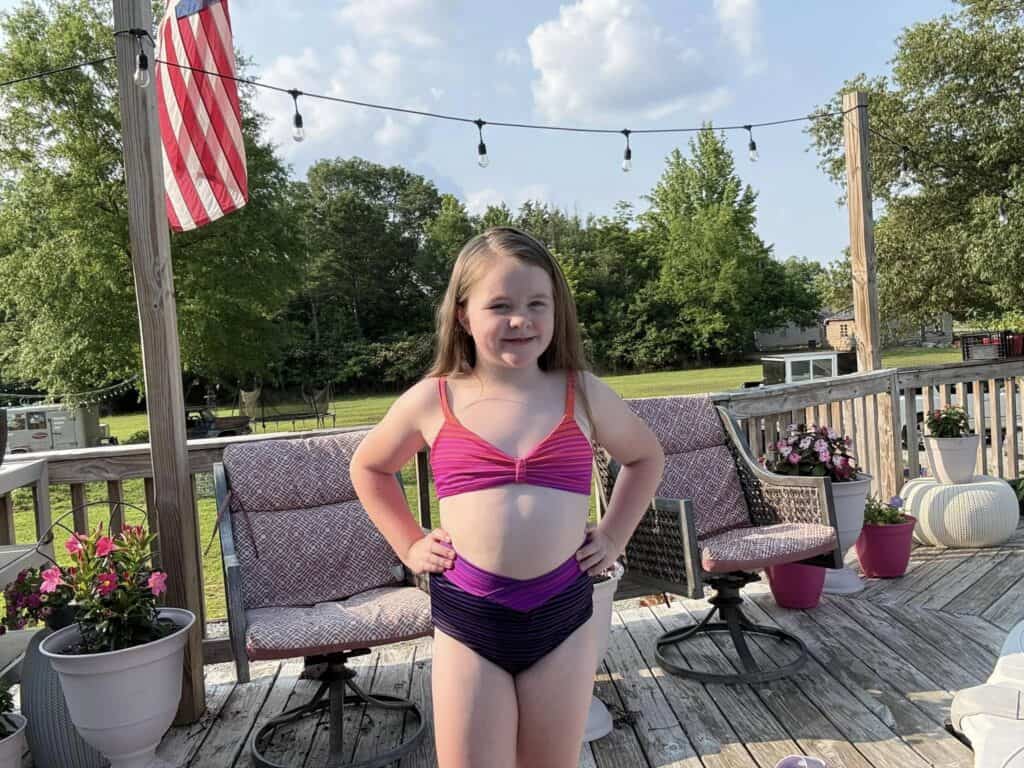
LENGTHS : YOUTH :
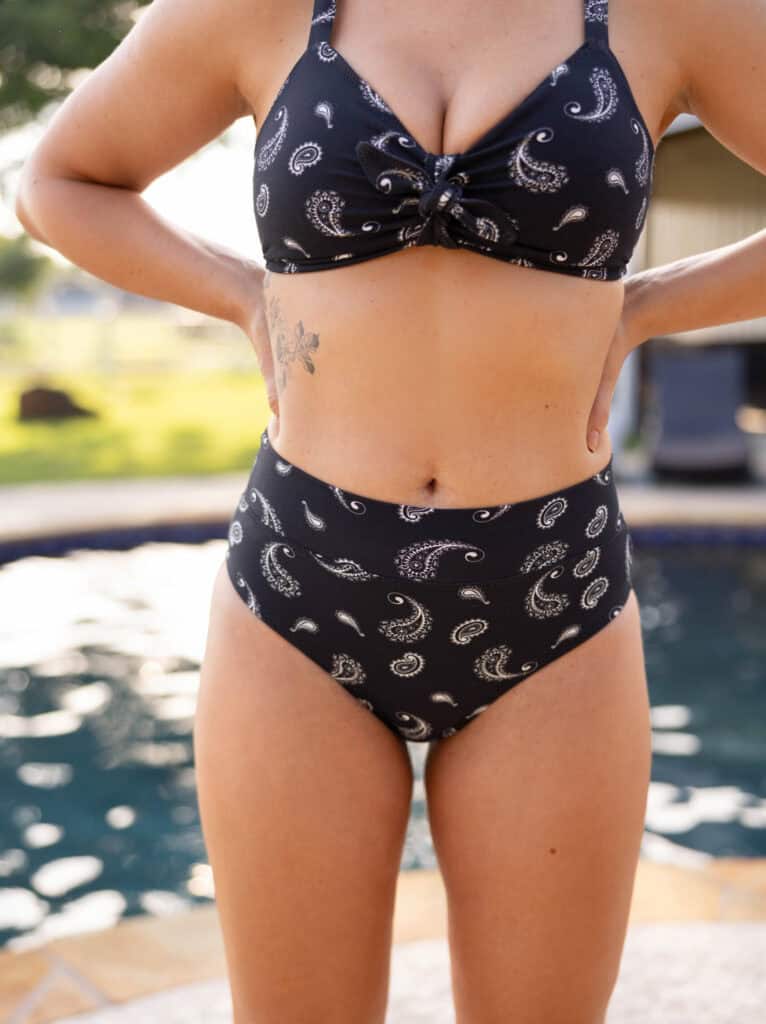
NECKLINES: ADULT

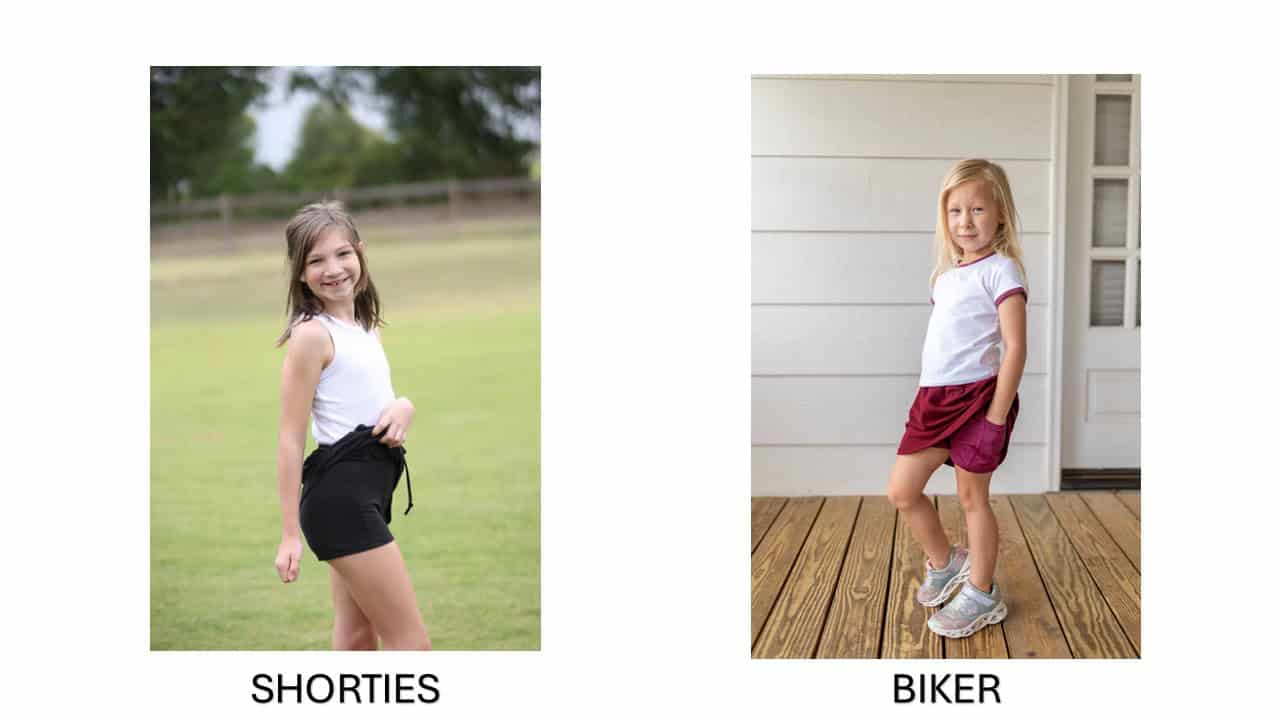
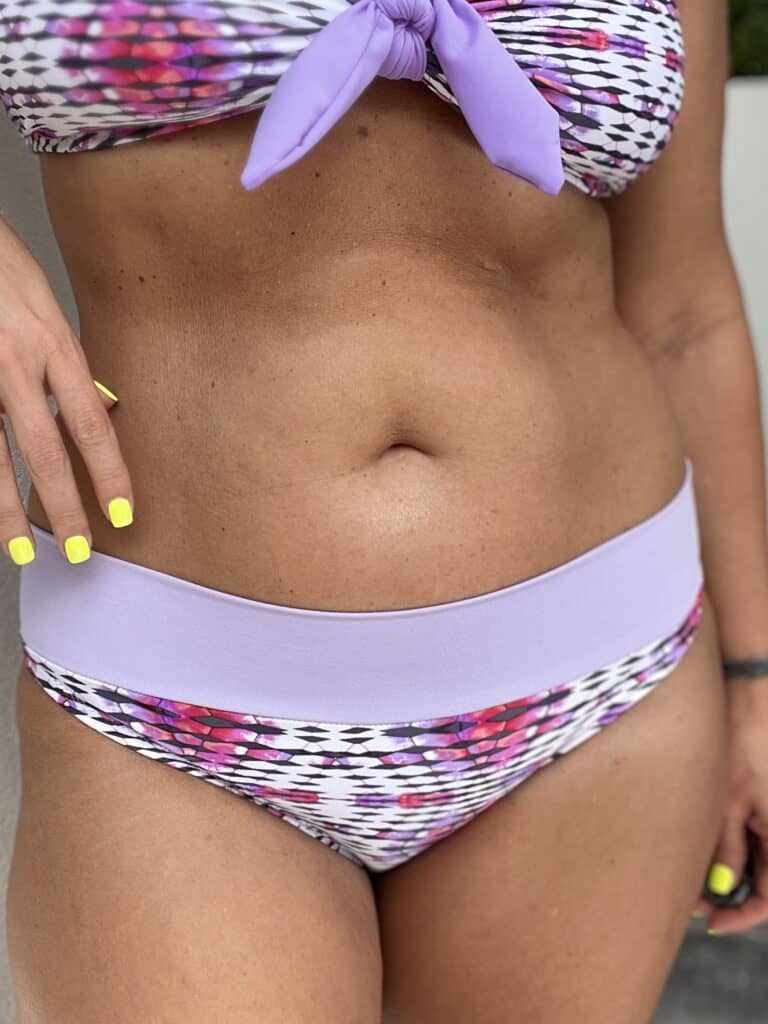
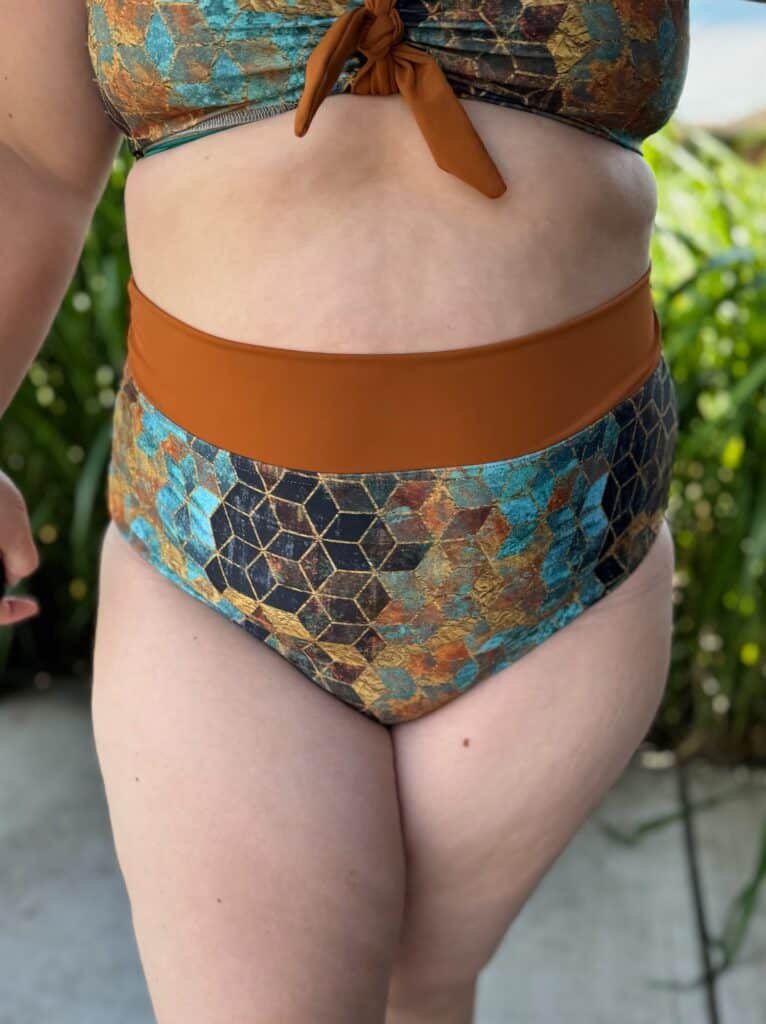
POCKETS:
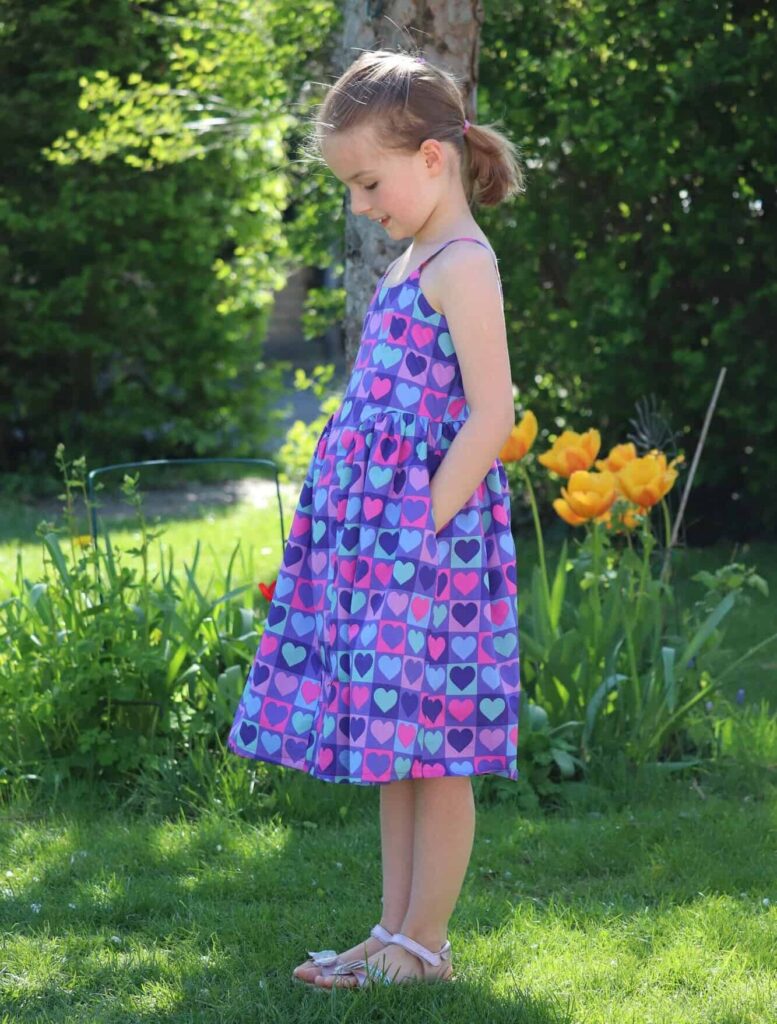
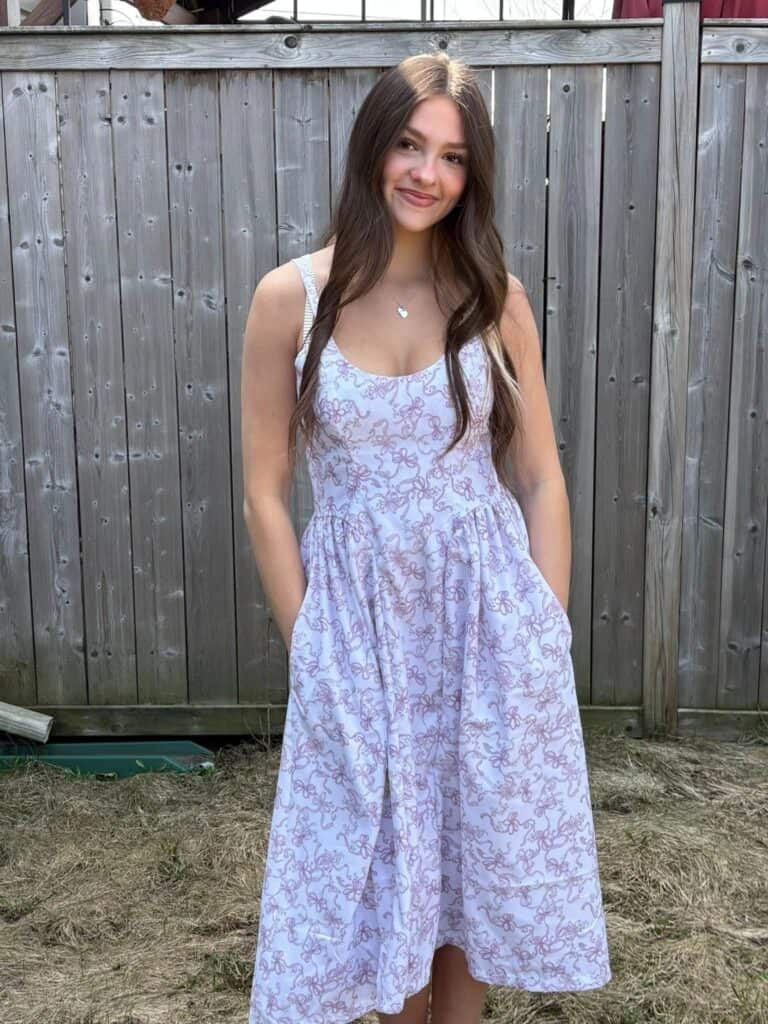
Whether you’re sewing for a twirly toddler, picky preteen or adult the Picnic Dress is such a classic look with an on trend twist. Sew up a perfect little black dress or a fun princess dress depending on the fabrics!
Patterns are available now and on sale (no code needed) through 11:59pm CST, May 5, 2026.
Grab your copy of the Picnic Dress patterns here: Picnic Dress- Youth Picnic Dress Picnic Dress-BUNDLE
As always, we’ve got more photos for you to use as inspiration! Head over to the Facebook group to browse our albums full of gorgeous photos, compliments of our tester team! Adult Album Youth Album