Patterns for Pirates

P4P stylish, modern, wearable patterns

  • Home
  • Blog
    • Frequently Asked Questions
    • Pattern Releases
      • Free Patterns
    • P4P University
      • Fitting
      • Sewing with Stretch, Knit Fabrics
      • Sewing with Woven Fabrics
      • Sewing Machines
    • Sew-A-Longs
    • Fabric for Pirates
    • Pattern Hacks
    • Announcement
      • Blog Tours
      • Contest/Giveaway
  • Shop
  • Bundle Discounts
  • Gift Cards
  • My Account
  • Cart

P4P University – Interfacing for Garment Sewing

May 17, 2021


The correct use of interfacing is one of the main things that takes your garment sewing to the next level.  Today we will be talking about different types of interfacing, why you might want to use it and how to correctly apply it.


The first thing we need to clarify is the difference between stabiliser and interfacing.  Getting these two confused is easy to do, and people can often buy the wrong one for their needs, but their uses are quite different.


STABILISER

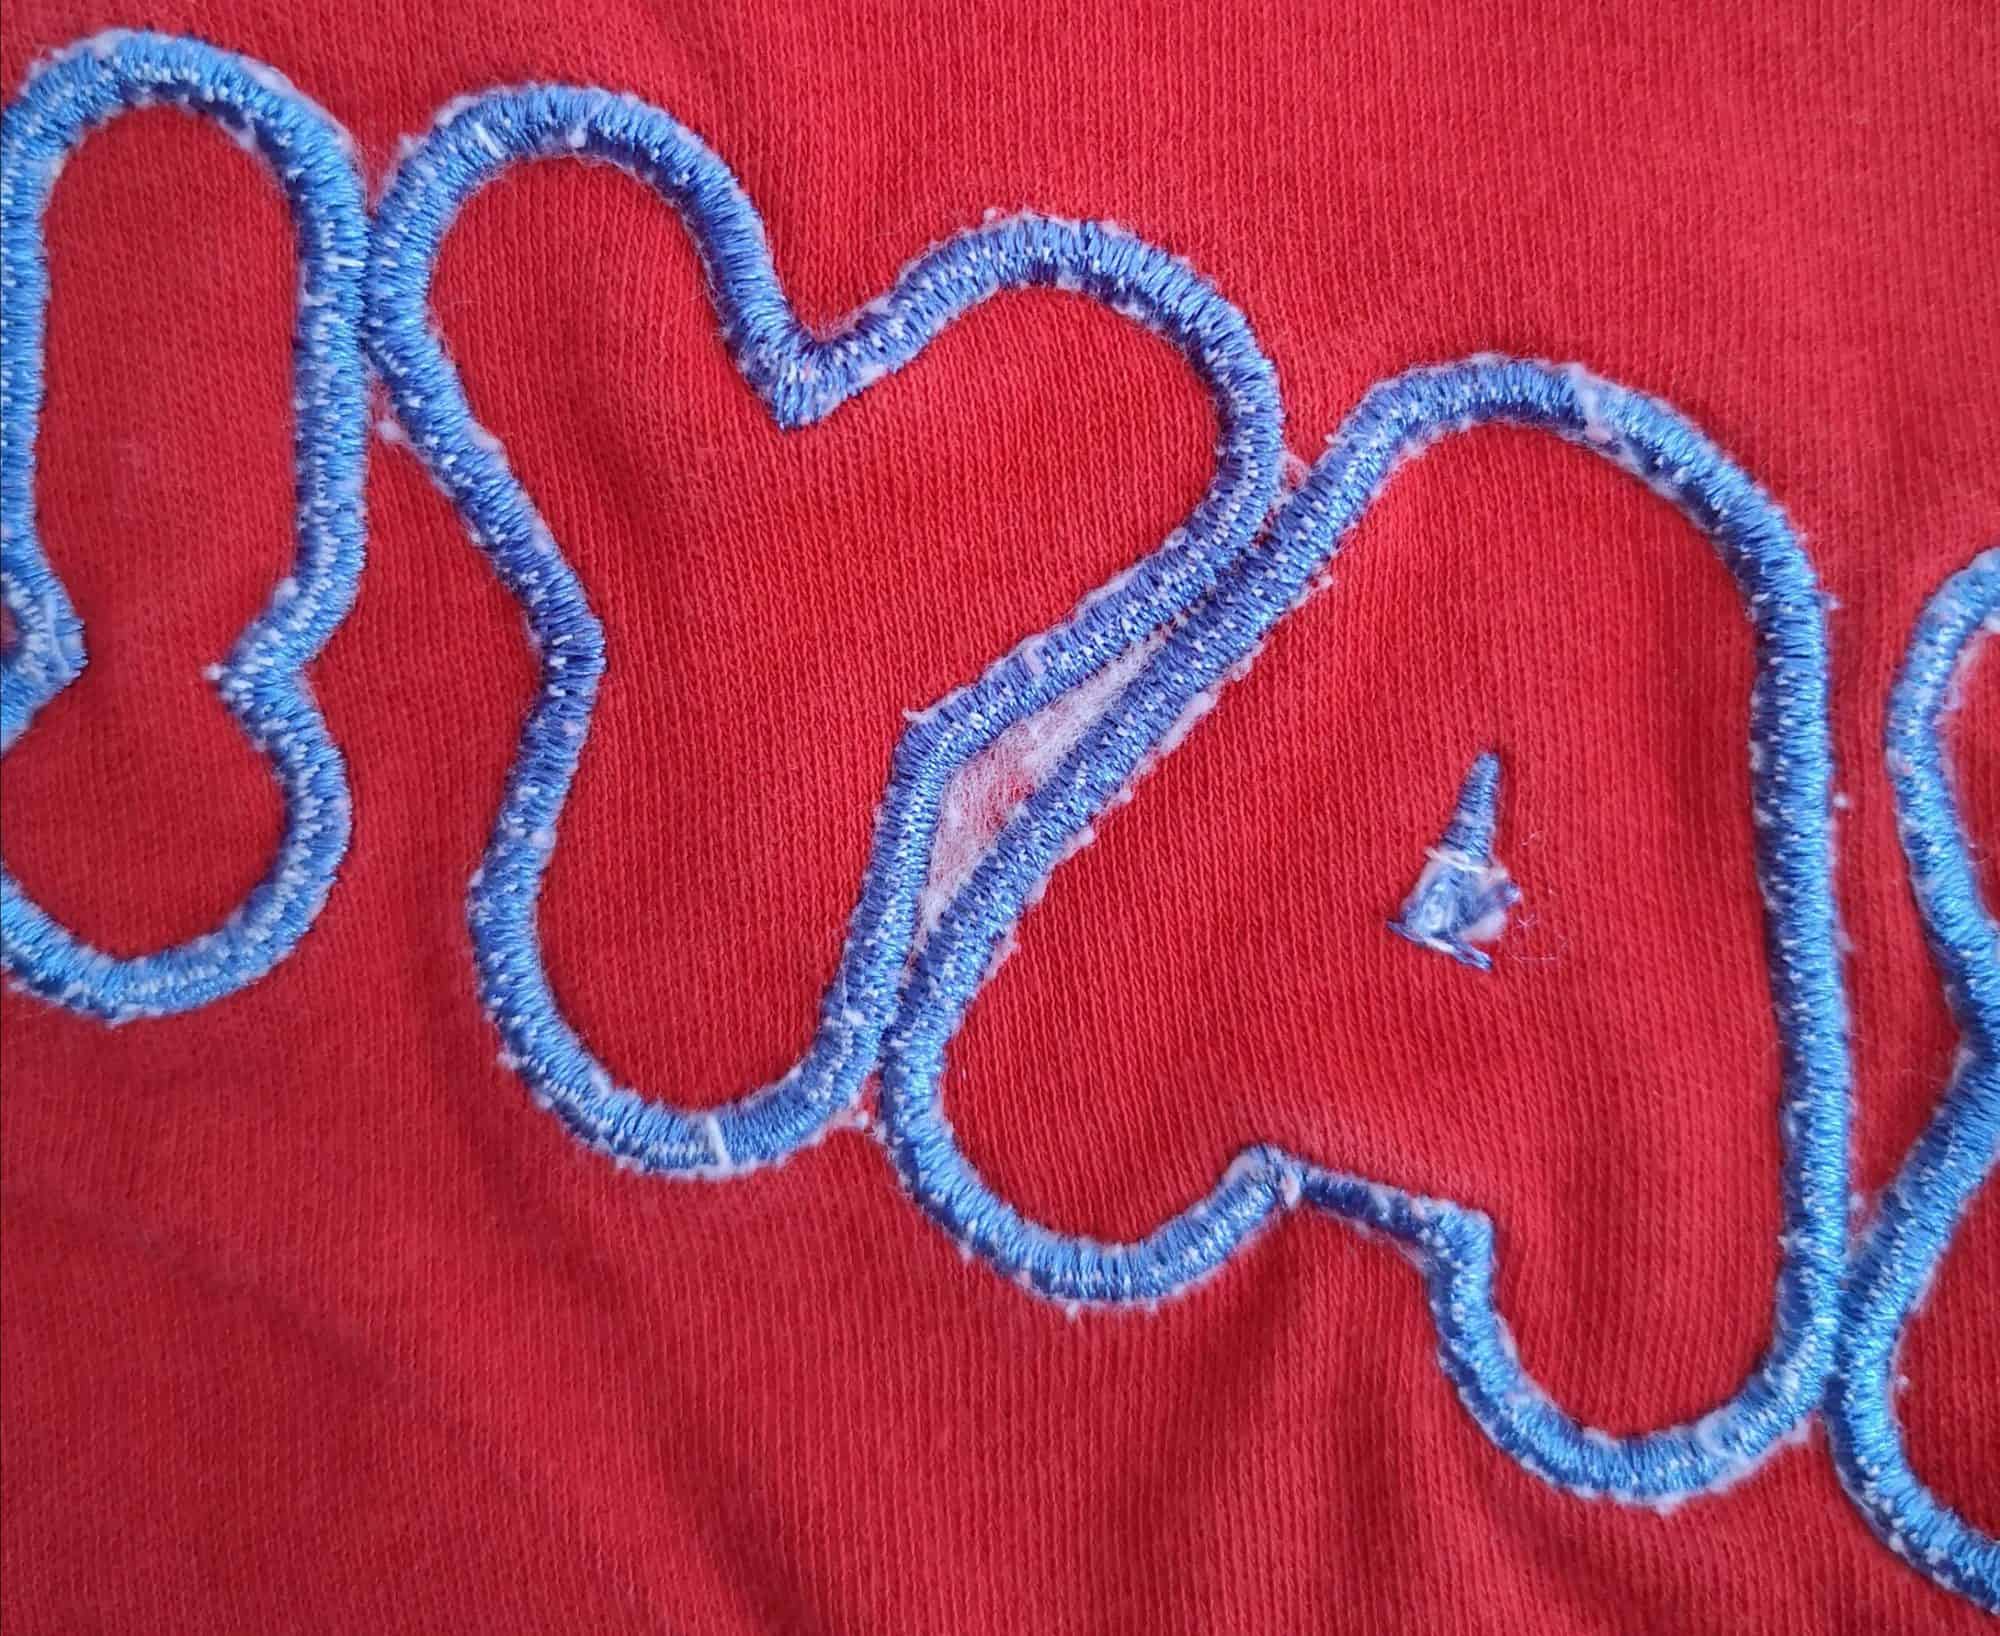
Stabiliser is a type of textile used to add extra weight to a particular part of a piece of fabric, usually so some sort of decorative work can be added to that section.  For example, you might add stabiliser to the wrong side of the front of a pair of children’s pyjamas to add some embroidery or applique to the bodice.  The stabiliser helps keep the fabric from distorting when adding the decoration to it.  It can be left on, trimmed down or torn off after use, depending on it’s type.  The picture below shows some embroidery on the reverse of a pair of pyjamas.  You can see the tear-away stabiliser still sitting between the A and the Y, after the rest has been removed.


INTERFACING

Interfacing is a type of textile used on the wrong side of a fabric to make that particular area stronger/more weighty.  For example it is often used in shirt collars to help them stand upright.  The interfacing gives the fabric more rigidity and is not removed, it is permanently attached. 


There are two types of interfacing, differentiated by the way you attach them to your fabric.  ‘Sew In’ interfacing is sewn onto the wrong side of your main fabric, within the seam allowance so it is not visible when the garment is finished.  Alternatively it can be quilted on in a particular pattern of your choice, so that it is visible when completed.  It seems to be less popular these days, but is the traditional, couture interfacing.

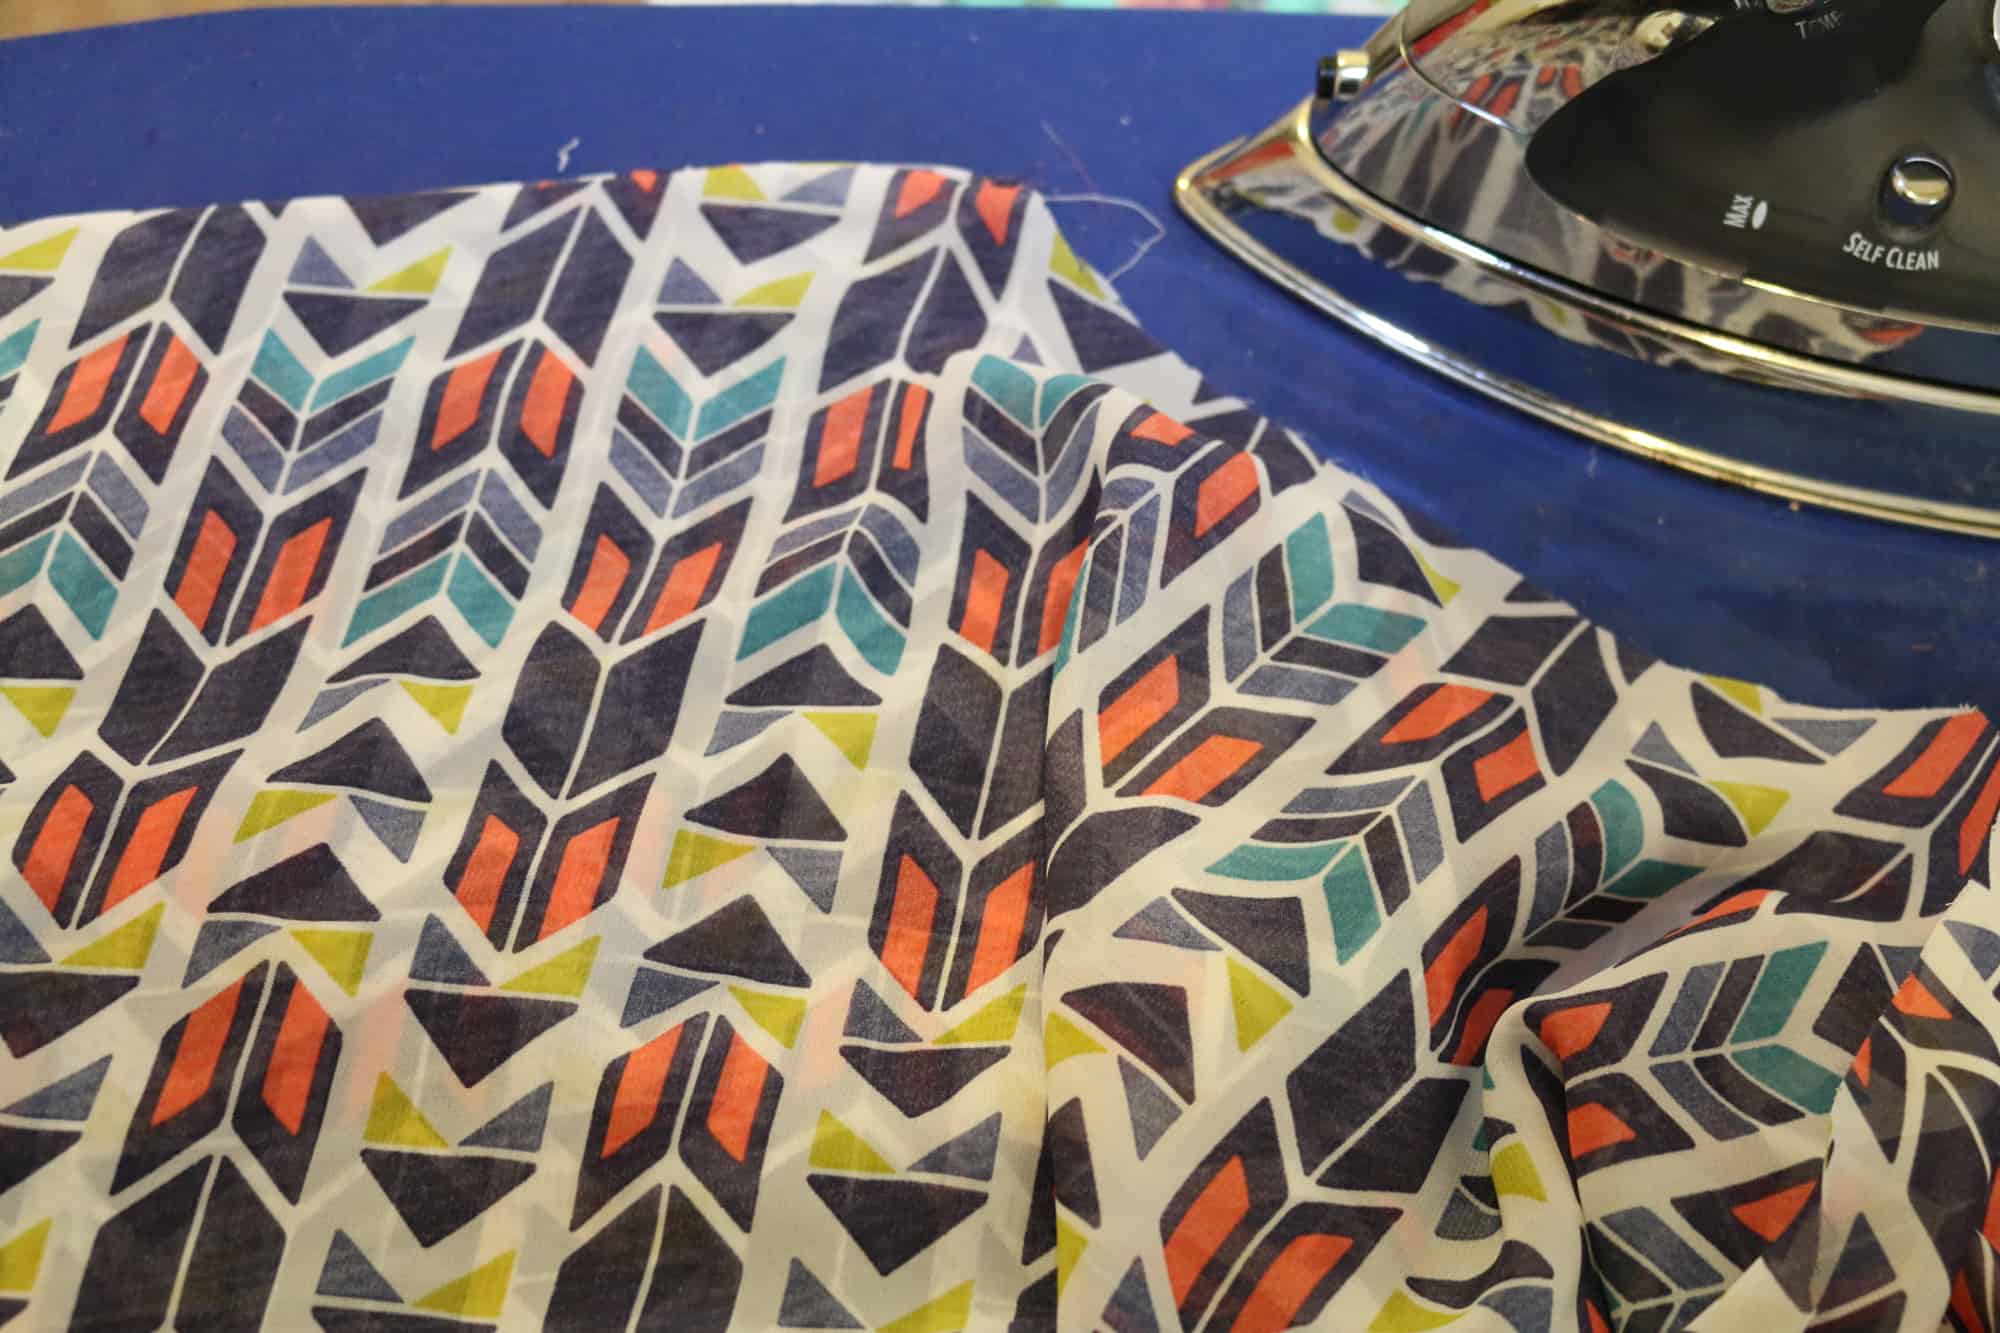
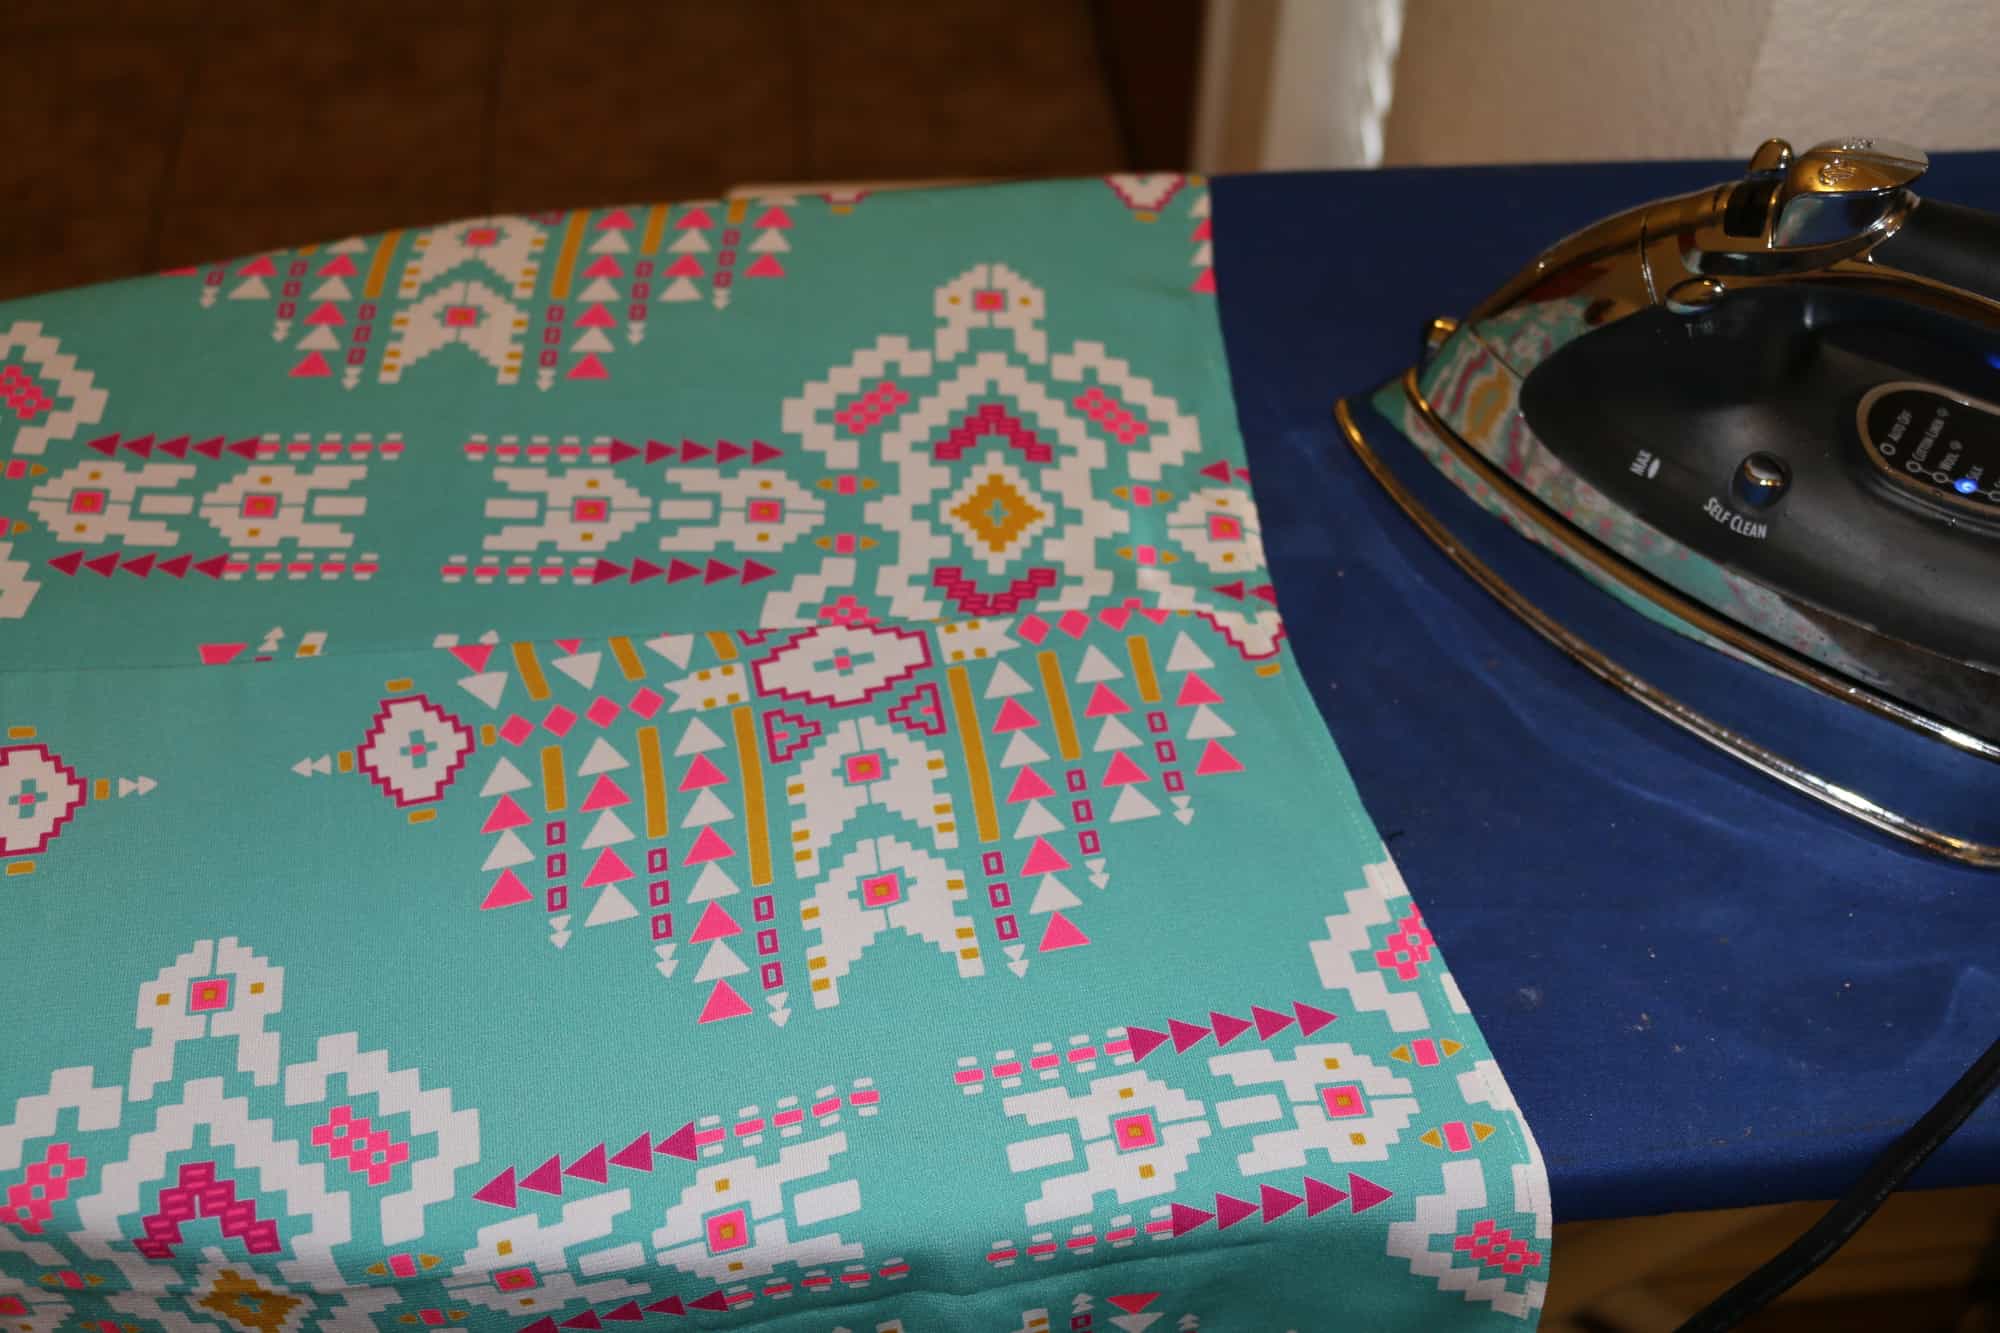
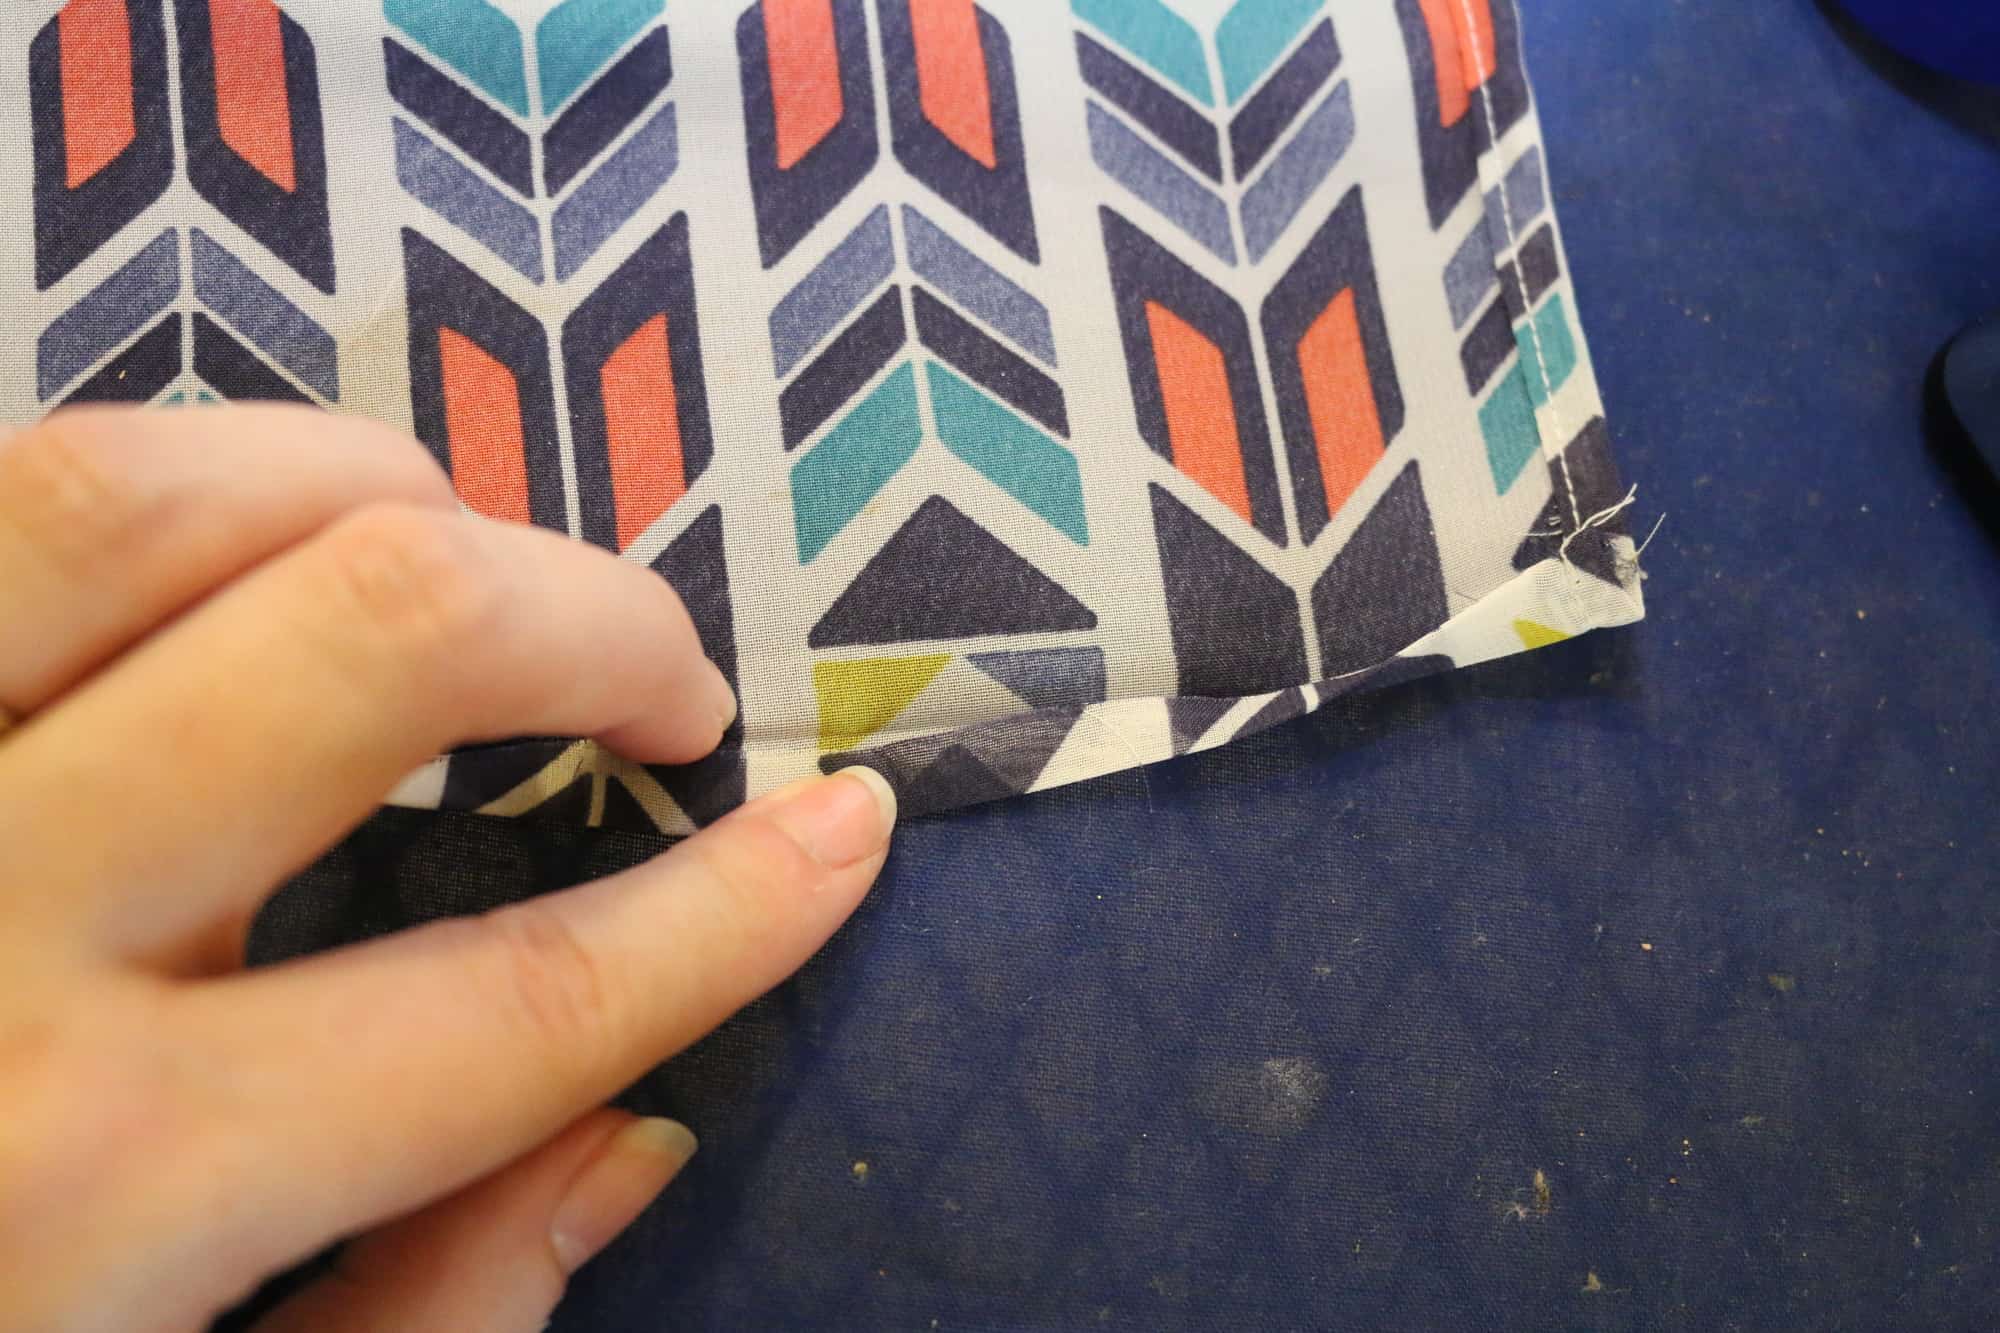
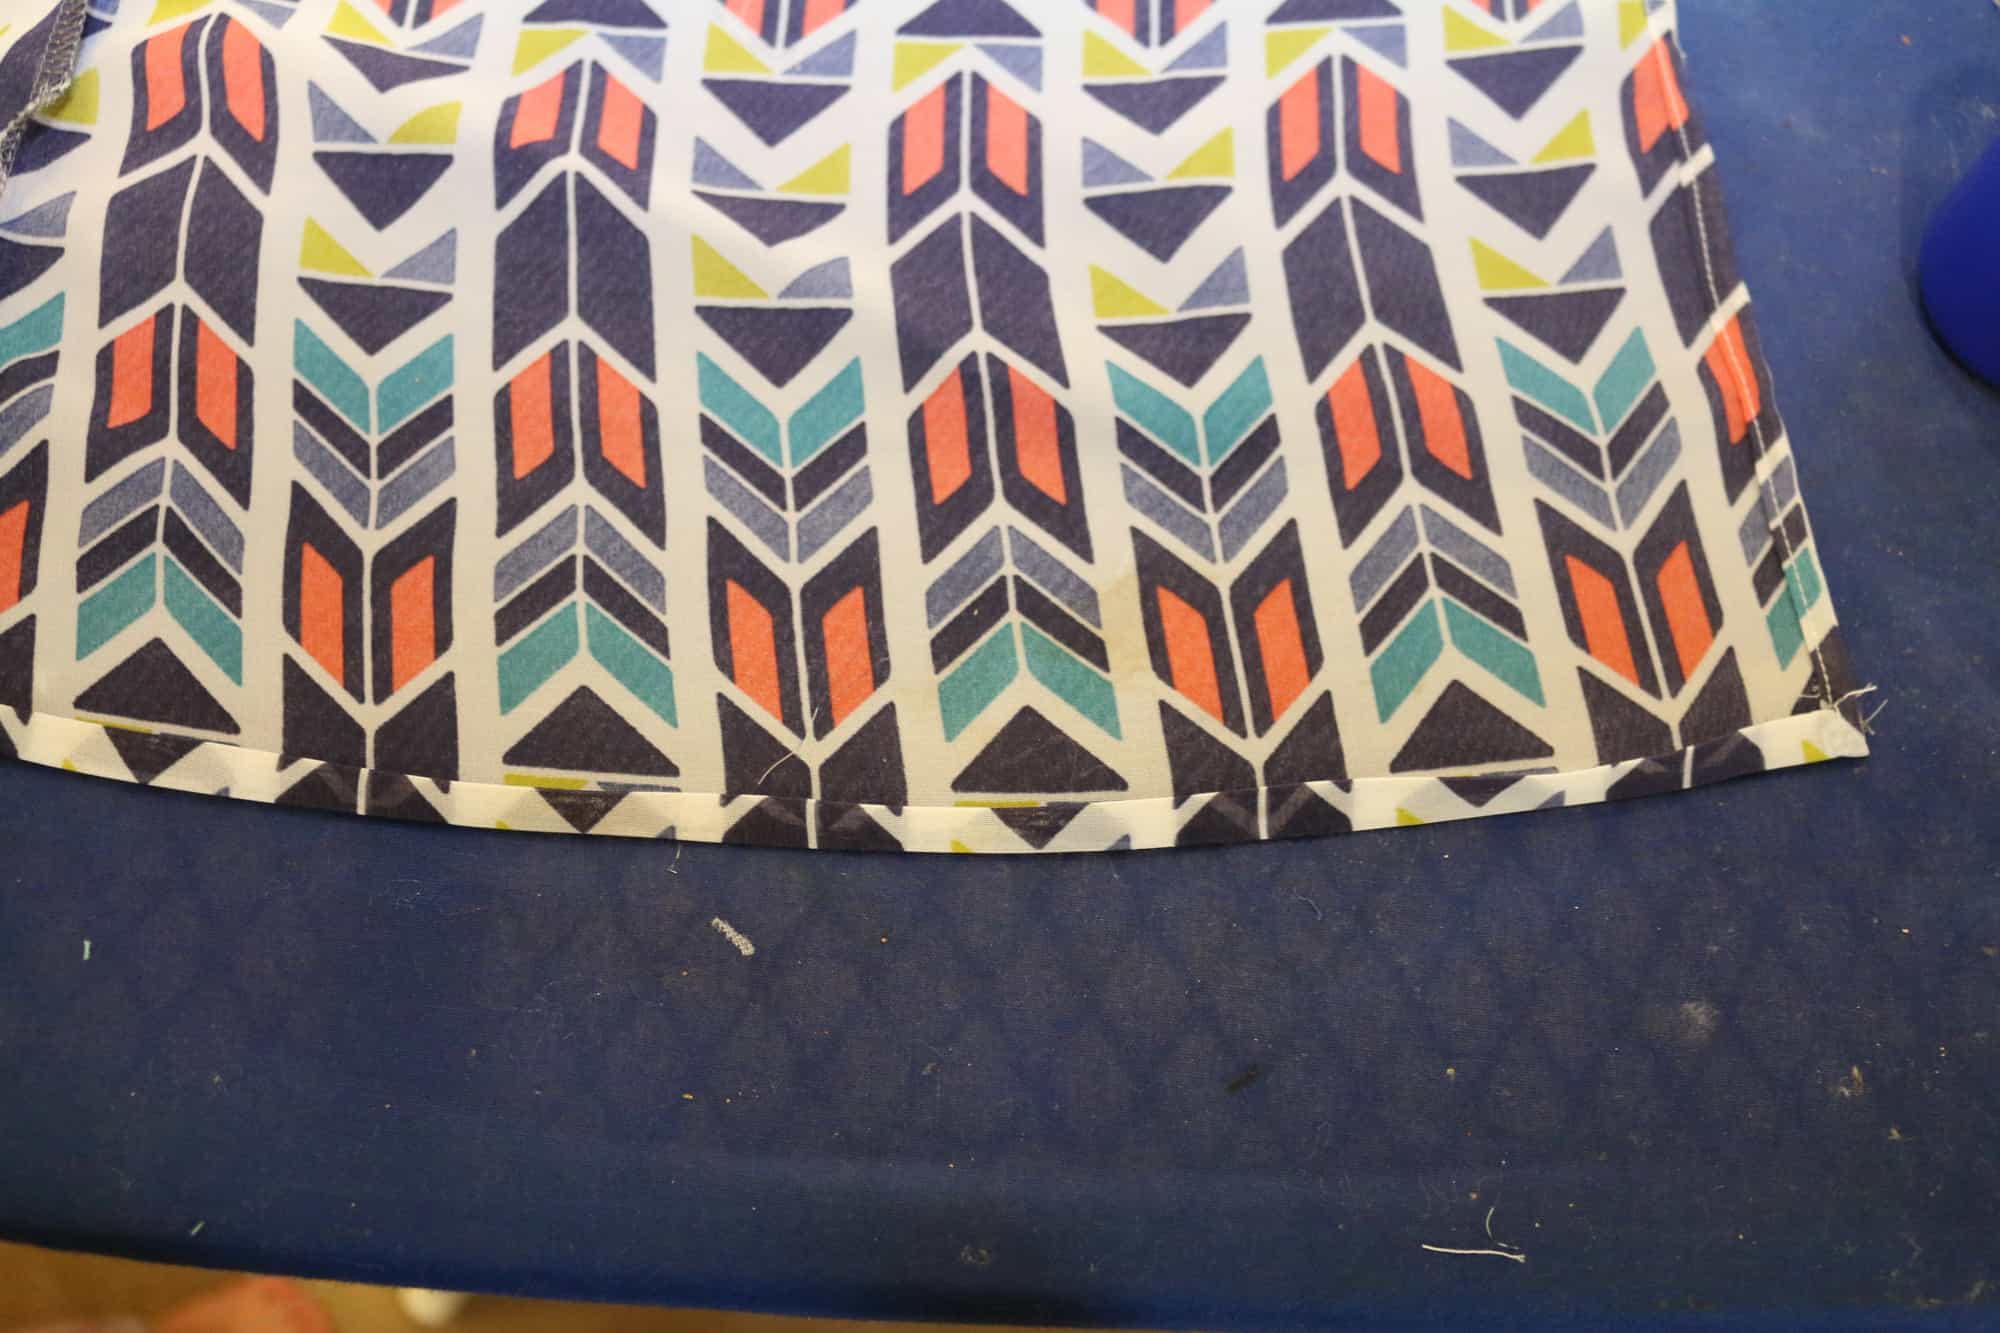
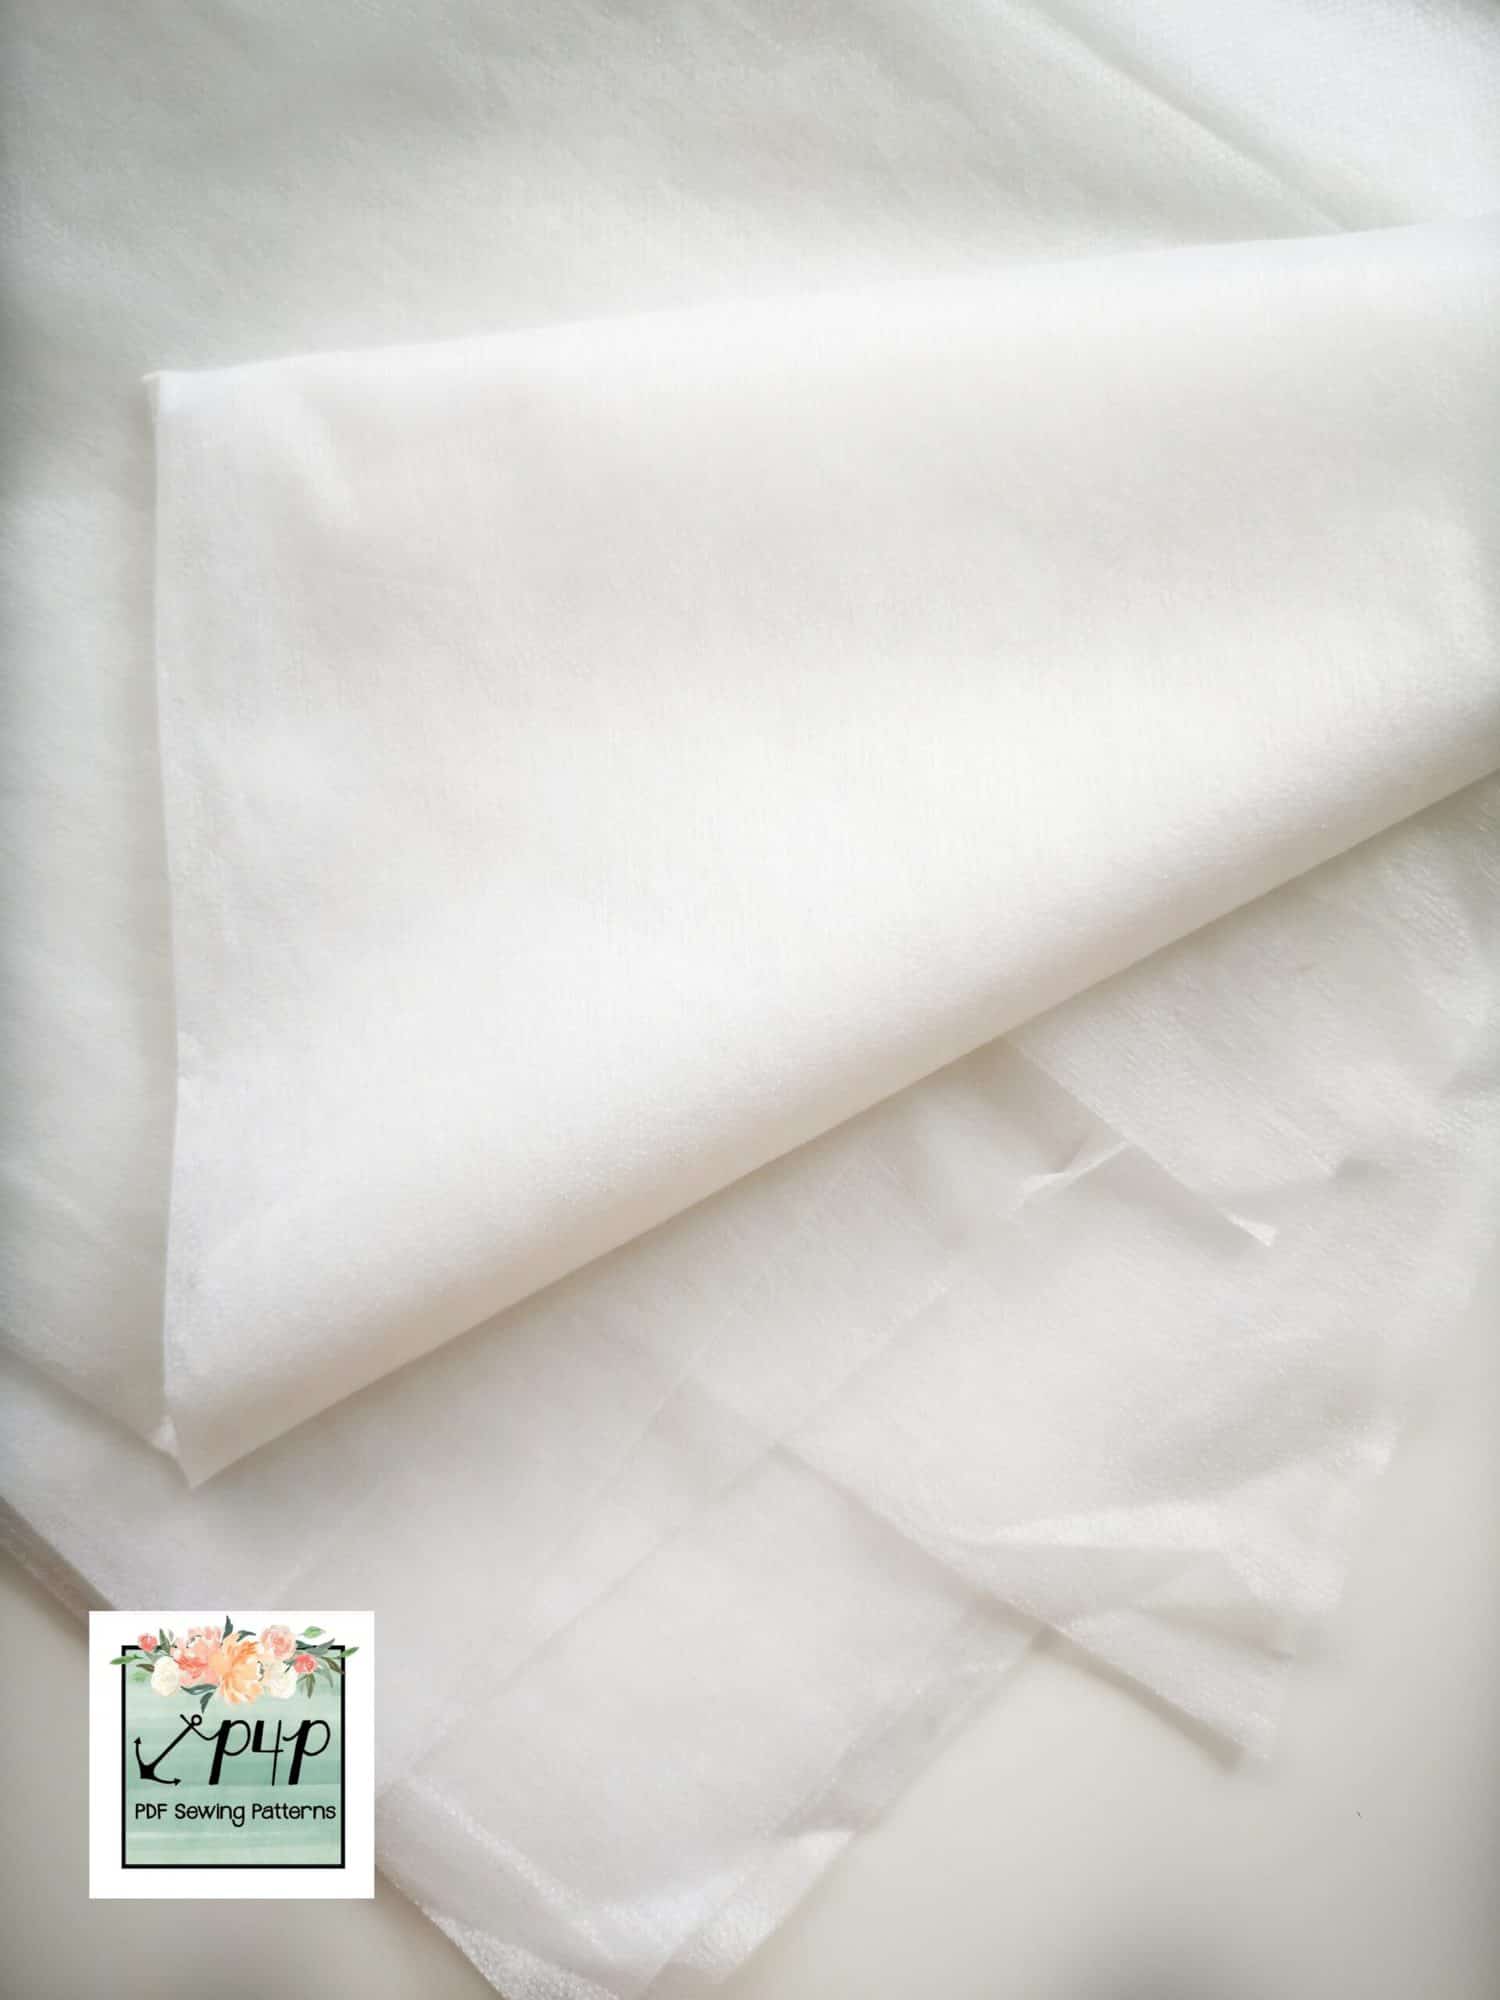
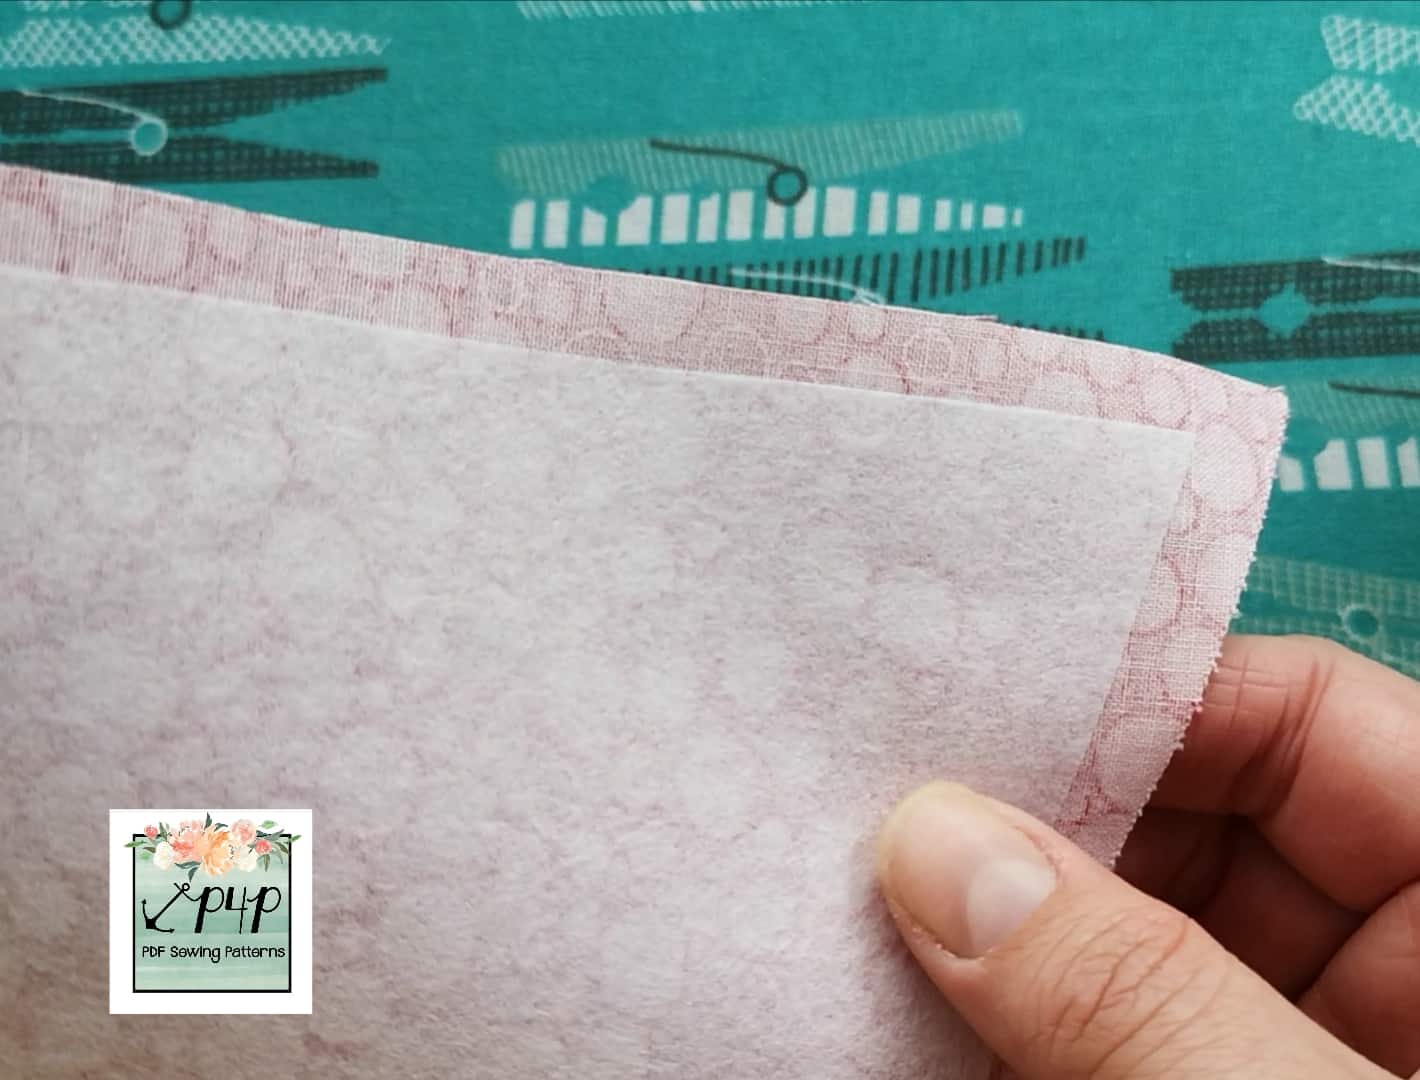
More popular is ‘Fusible’ interfacing.  This is the same as ‘Sew In’ but it has a layer of heat activated adhesive on the wrong side, which means it can be ironed directly onto the wrong side of your main fabric and adheres permanently.  The instructions for ironing will either be printed on the selvedge, if you have bought it by the metre, or they will be on the packet if you have bought it bagged.  It is important that you ensure the interfacing is fully adhered before sewing the garment together because otherwise it can start to peel off and look messy. This picture below shows an example of an iron-on interfacing attached to the wrong side of a piece of cotton.


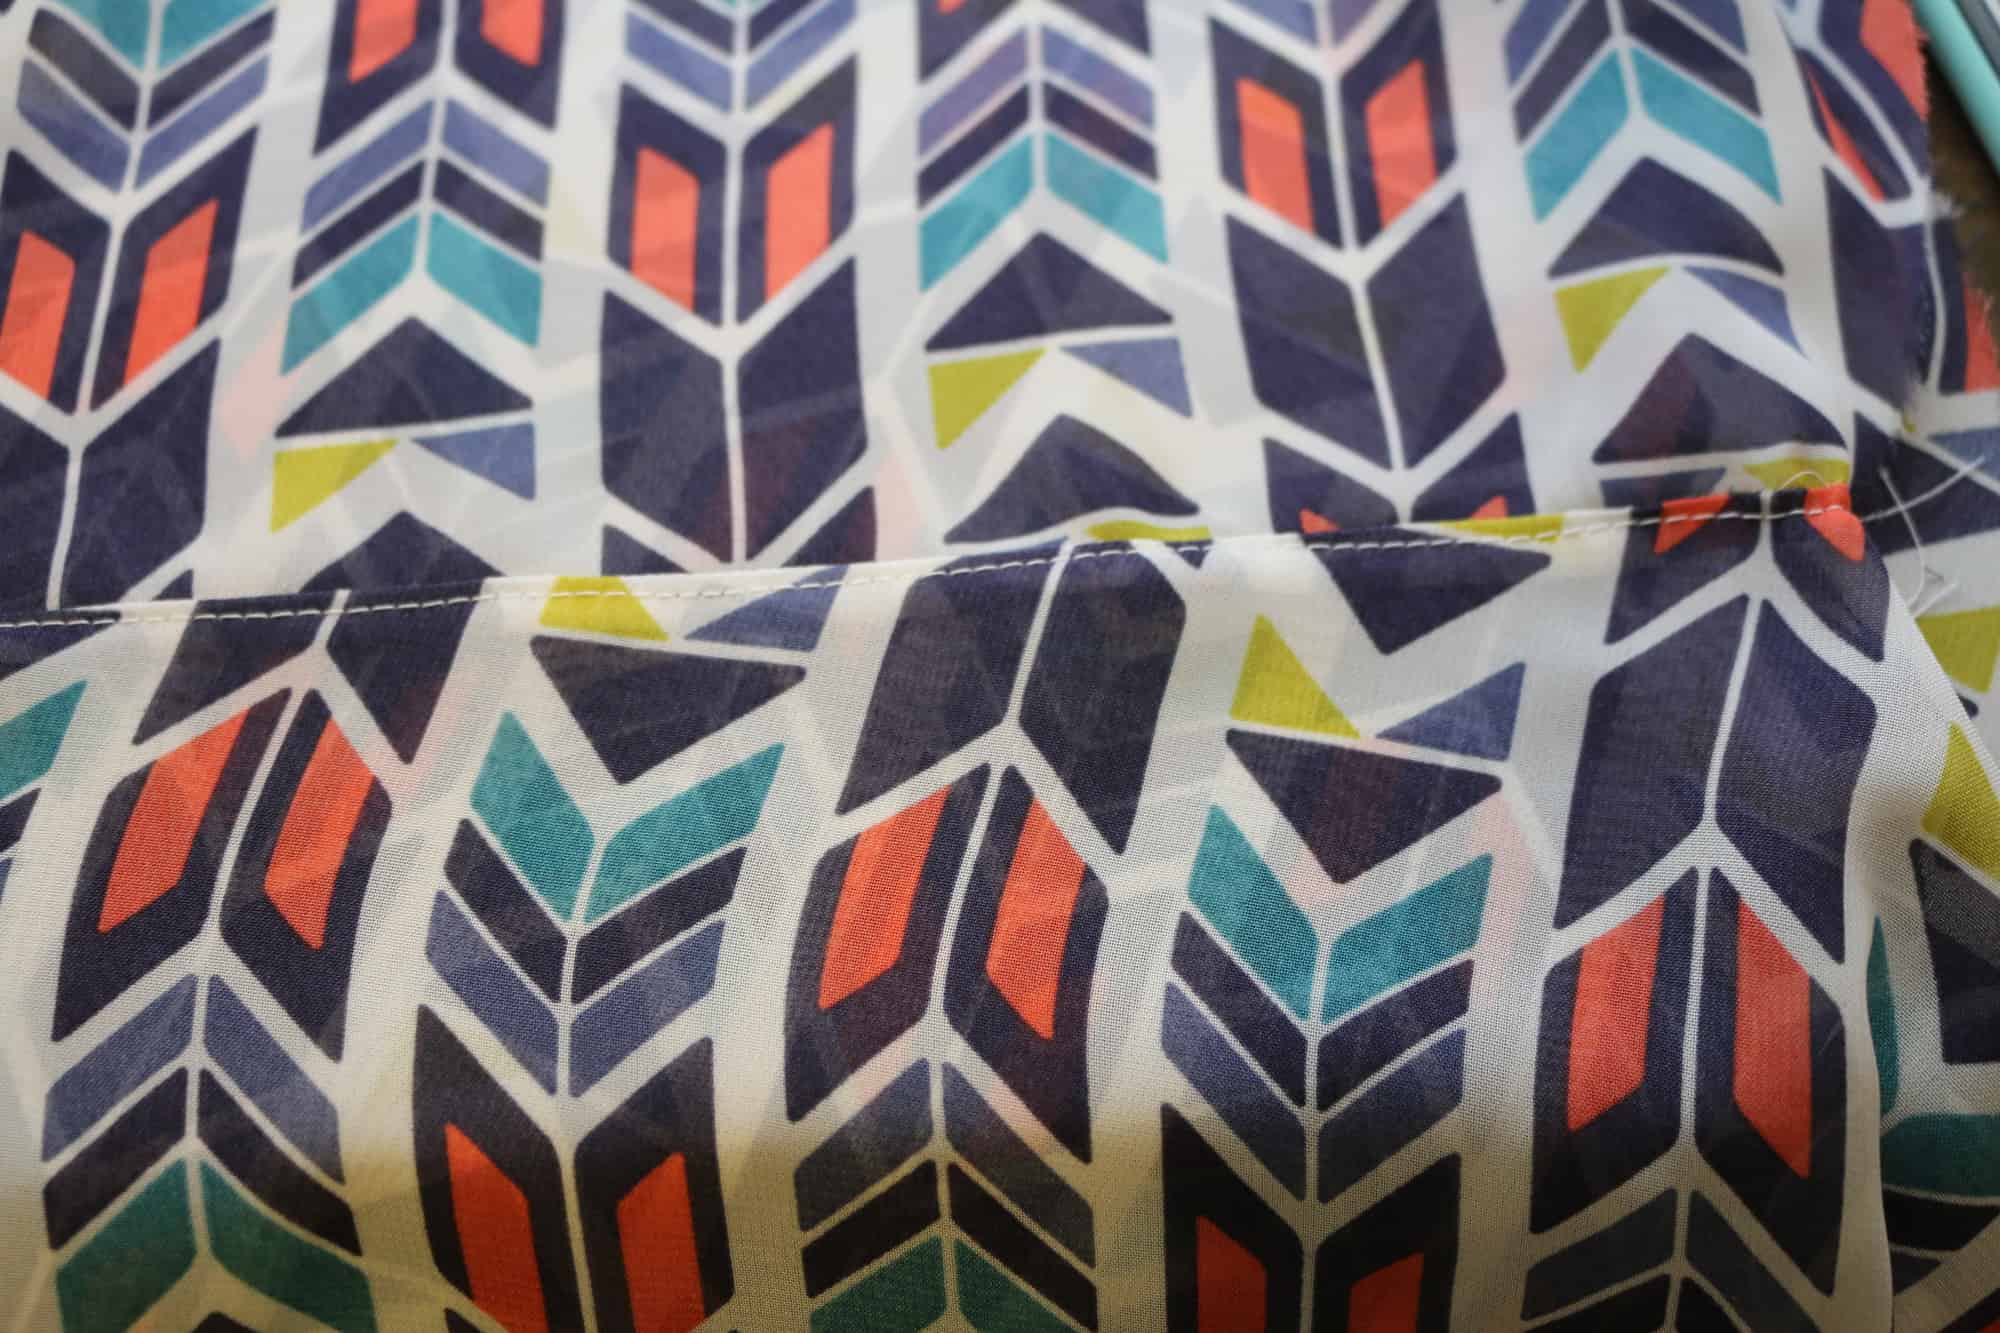
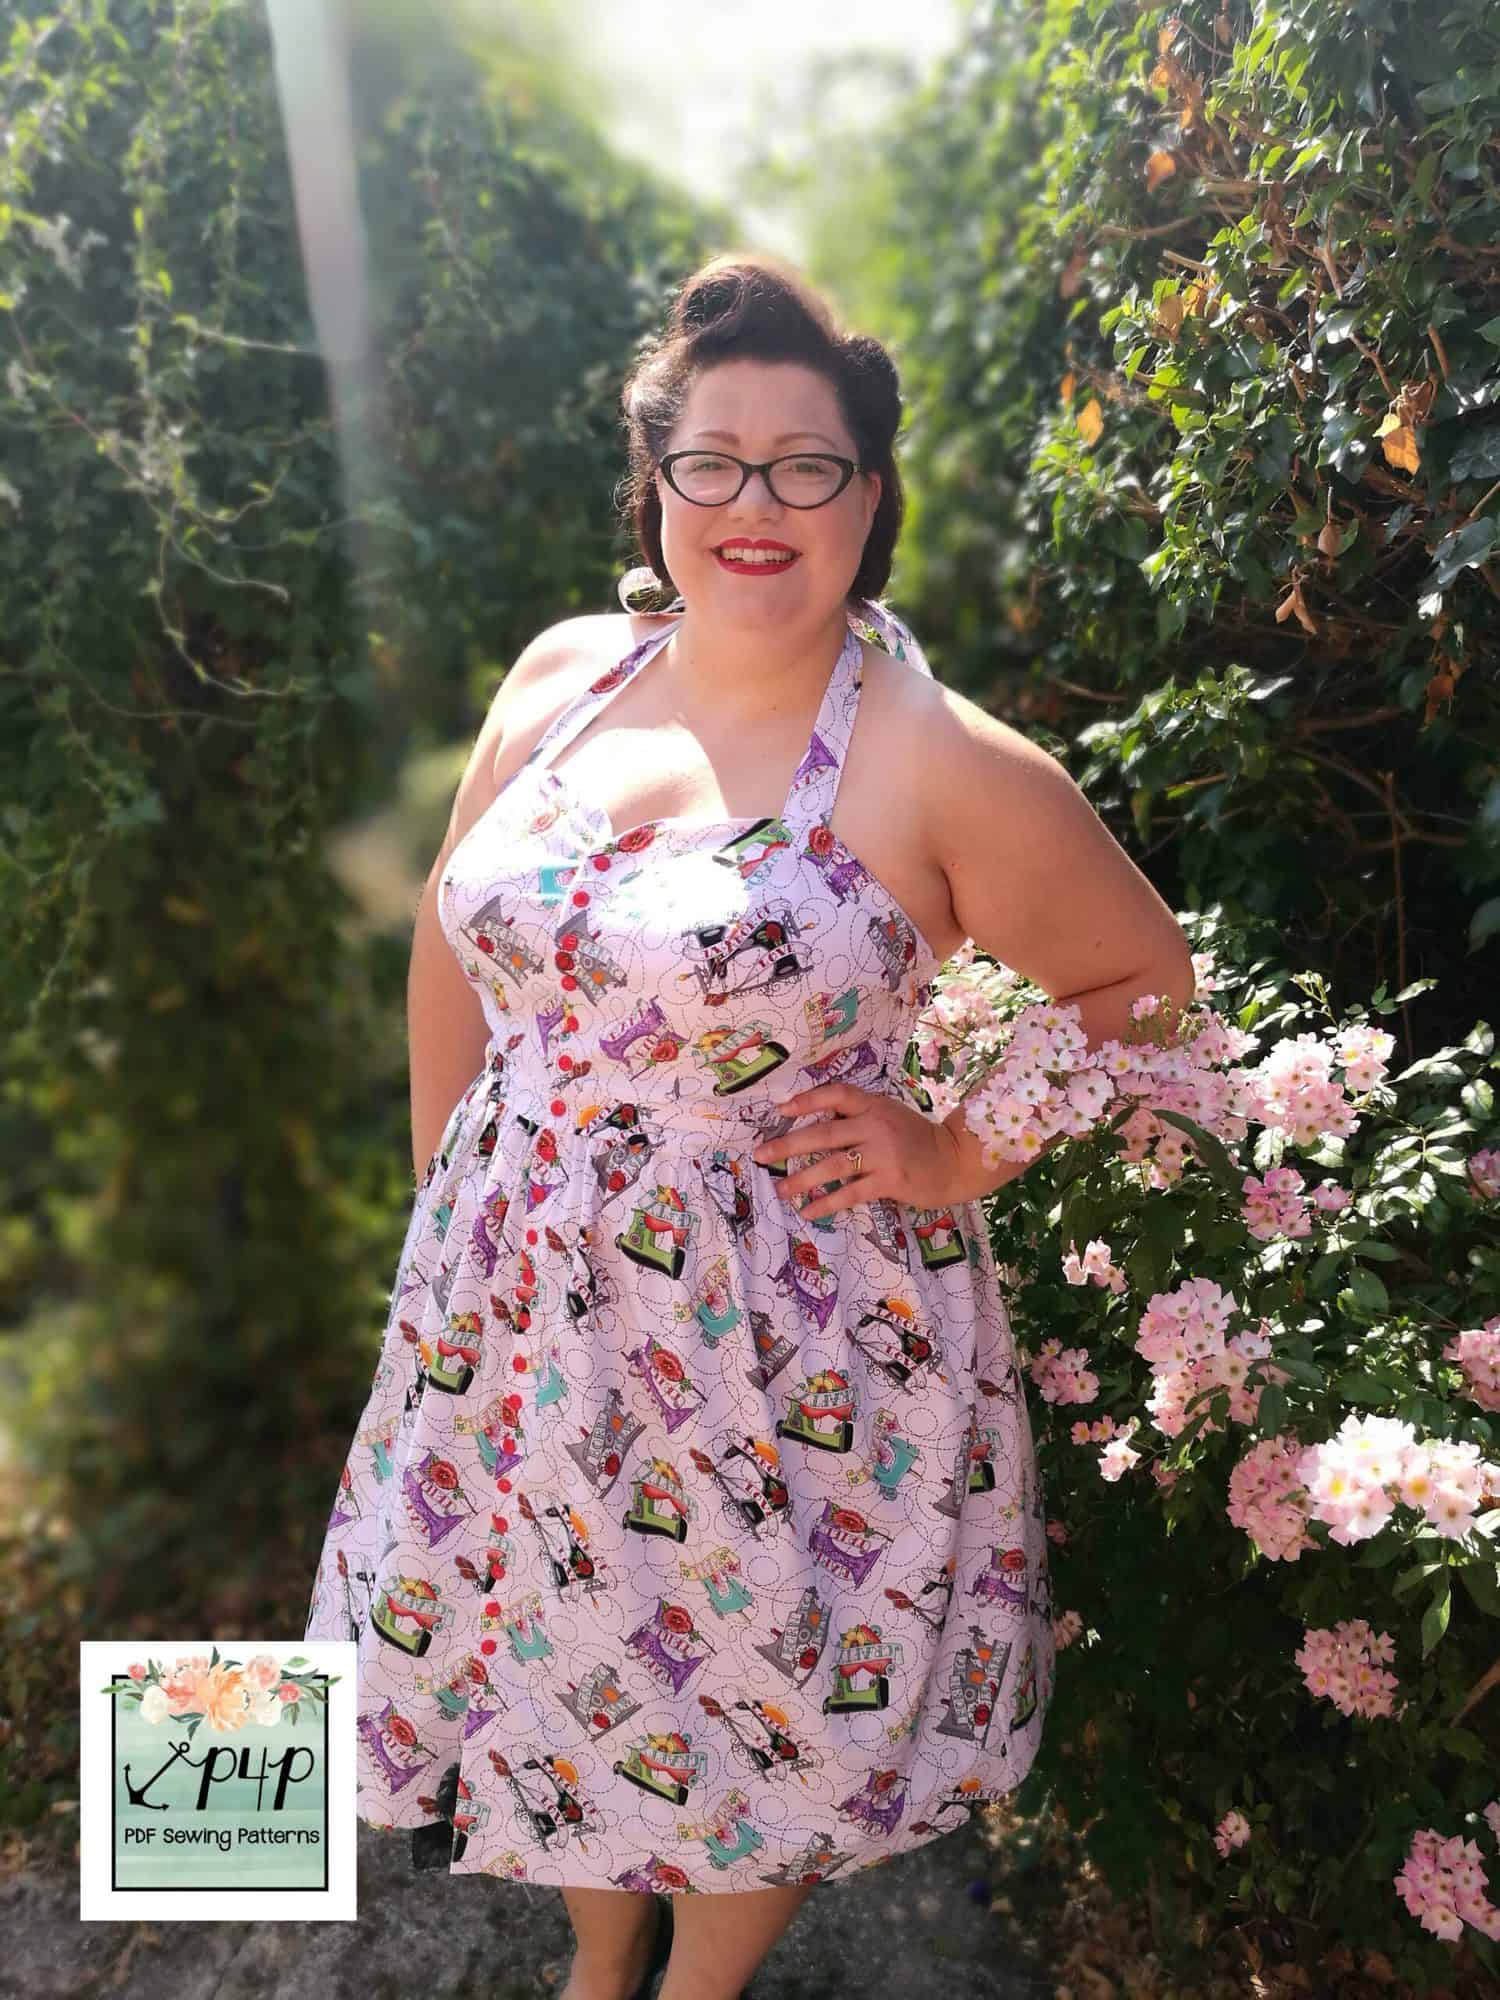
Interfacing comes in many different weights, from a light weight interfacing used to add a little extra body to the facing on a silk blouse, to a very heavy weight interfacing used to reinforce the brim of a cap/hat.  I used a medium weight interfacing along the placket of my So Classic Sundress to give added support for the poppers and stop it distorting with wear.

Pattern instructions will advise you which weight of interfacing you will need, so that you can ensure you purchase the type needed to get the finish shown in the pattern listing pictures. For example, the Timeless Tunic notions require a lightweight interfacing for adding body to the neckline facing to help it keep the correct shape.

You will also find interfacing used in woven patterns to add body/structure/strength to shoulder seams, around pocket openings, along plackets, in collars, and even over entire bodice and sleeve pieces in jackets and coats.

KNIT/STRETCH INTERFACING

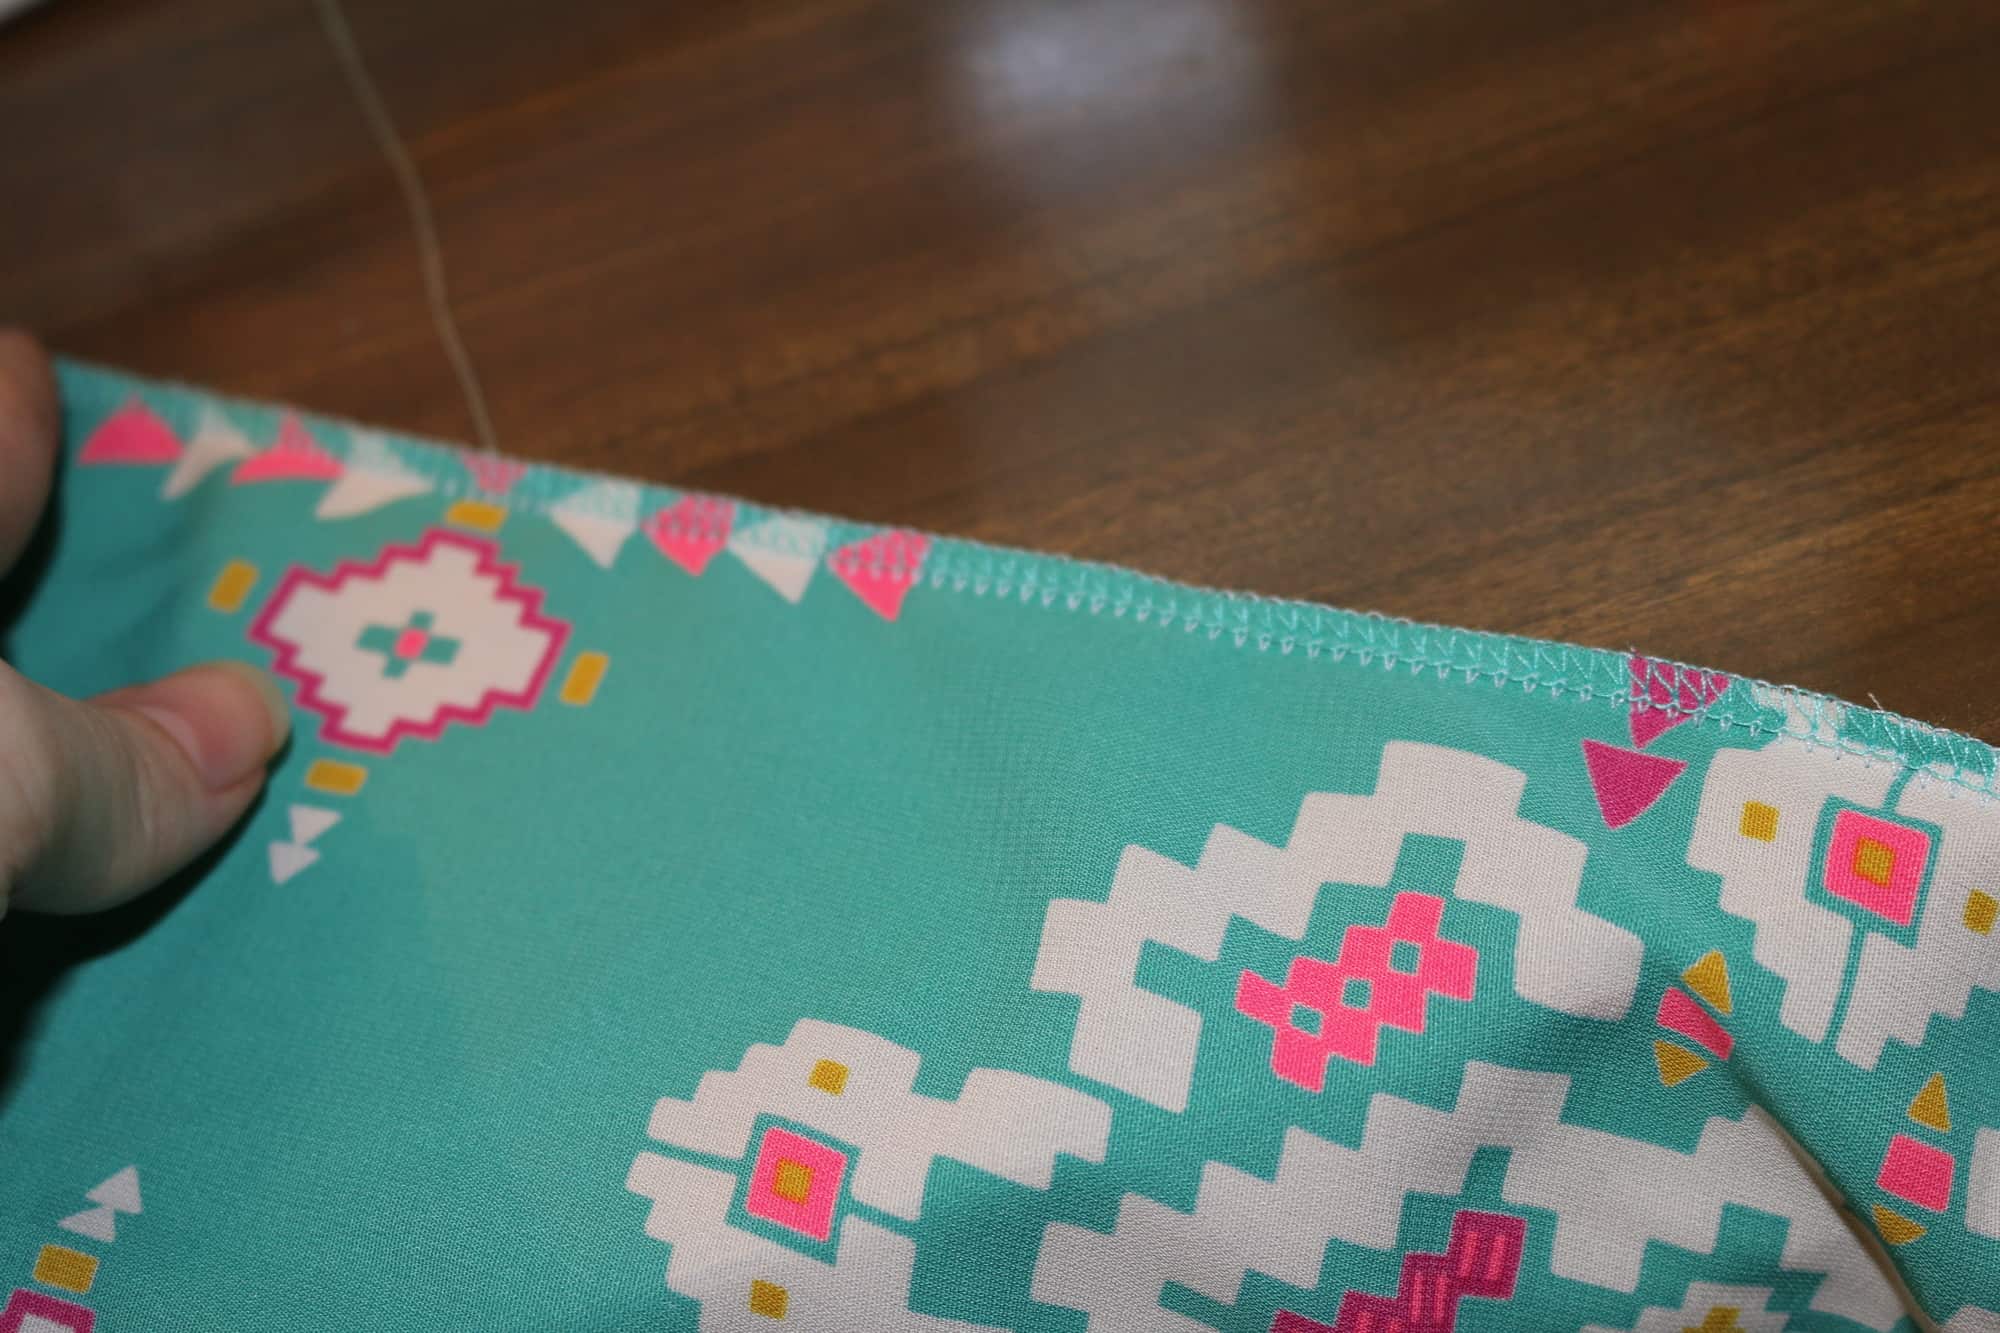
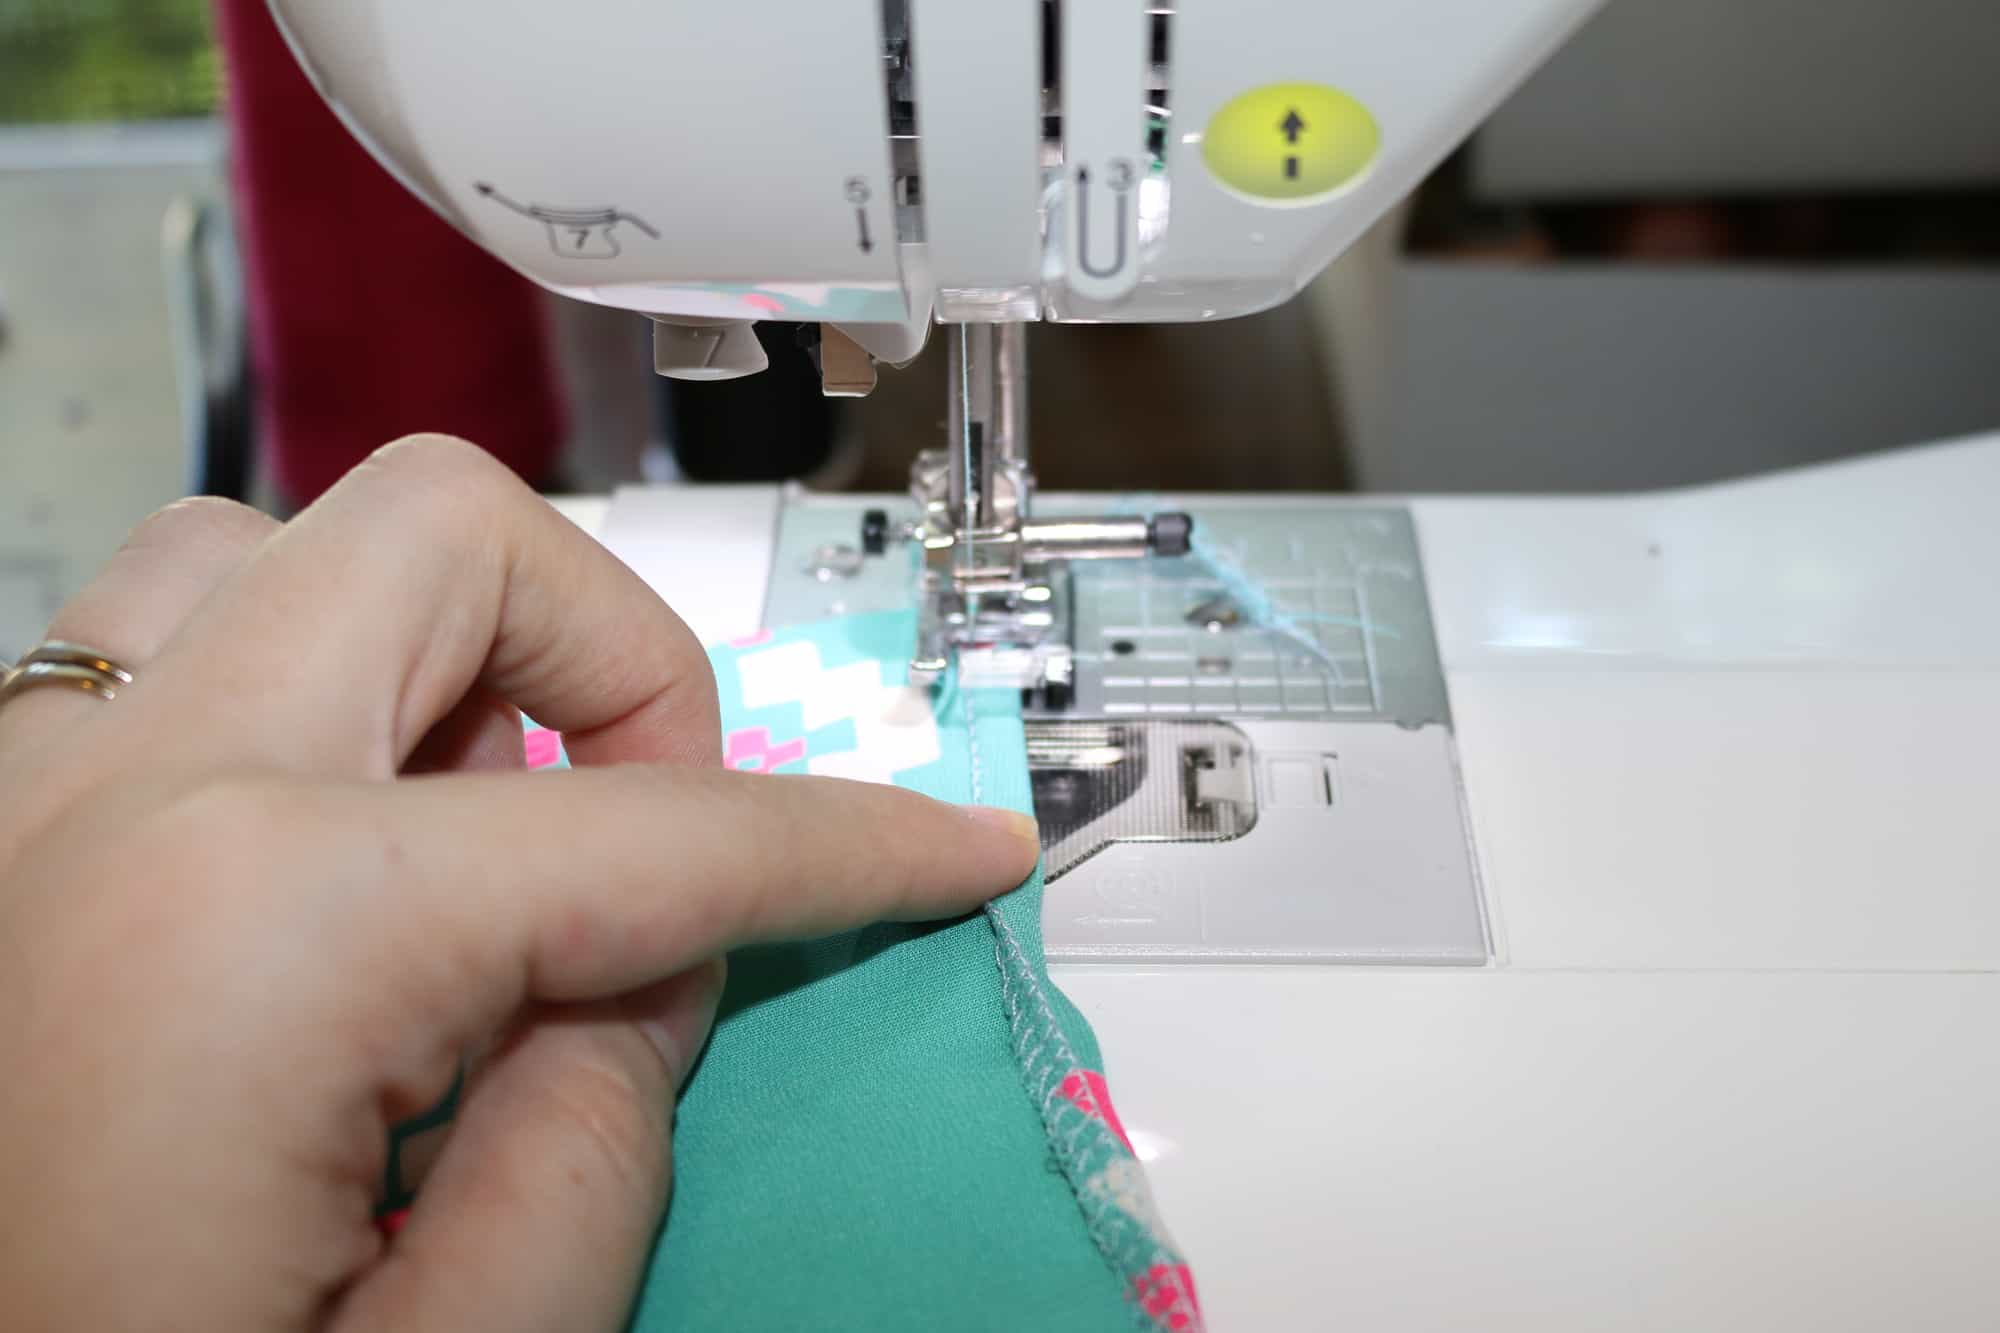
As well as woven interfacing, you can also find knit/stretch interfacing used for adding greater structure or strength to knit fabrics.  It can be used to stop these fabrics from stretching out too far, for example it is often used around pockets in a knit dress, so that the dress doesn’t become misshapen with use.  I like to use it to add greater structure to the front of my Go To Jacket before sewing on the zipper, as it helps stop the fabric stretching out when attaching the non-stretch zipper to the stretch fabric.


In this video I discuss a few different types of interfacing and show how they are adhered to fabric.  Sometimes seeing the fabrics being handled can give you a much clearer idea of what they would be like to use in real life.

Whichever type or weight of interfacing you need, the pattern you are using will give you details of what you need and when you need to use it.


Now that you know more about how to use interfacing, why not take a look at one of these patterns above or the Timeless Tunic or Tiny Timeless and put your new found skills to use.


Happy Sewing!

Dana x


Filed Under: P4P University, Sewing Techniques, Sewing with Stretch, Knit Fabrics, Sewing with Woven Fabrics Leave a Comment

Woven Apparel Fabrics

September 22, 2017

Since we did the blog post about Knit Fabrics and included a printable cheat sheet for those diving into the world of garment sewing- we’ve been asked to do a Woven Apparel Fabrics one as well! As part of our Summer of Wovens I’d like to present

I worked hard on a Woven Fabric Cheat Sheet that you can download and look through when trying to pick the perfect fabric to pair with your woven patterns.

I also did a show and tell with the woven apparel fabrics I had in my stash in our Facebook Group. But you can watch it here as well:

I hope this helps you pick the perfect fabric for the P4P patterns drafted for woven fabrics!

Filed Under: Frequently Asked Questions, P4P University, Sewing with Woven Fabrics Leave a Comment

Tips on sewing with silky fabrics

July 24, 2015

I have two patterns that I suggest using a lightweight woven with a very soft drape (Everyday Elegance Top and the Summer Cover Up).  I often get asked for “tips and tricks” to working with this kinds of fabrics!  So, here is a compiled list of a few tips I have for working with slippery wovens like chiffon, peach skin, rayon, satin, challis, ect.

I think the most difficult part of sewing something up in this fabric is the cutting.  I almost always use pattern weights like these:

But with any kind of slippery fabric they’re a MUST! If you don’t have any, use any kind of paper weight, heavy object that isn’t too tall.  The silver paper weights are from this Etsy Shop if you’re looking to buy.  She has several options in her shop, I prefer the shorter version to be able to get my scissors closer to them! The pink were hand-me-downs from my mama <3.

Some specialty wovens are harder then others– if you’re cutting anything that needs to be precise (collar piece) then I recommend only cutting ONE layer at a time.  With something as loose and forgiving as the kimono though, I don’t personally bother with it. 🙂

So, lets get started sewing! I recommend using a nice, new, sharp needle for these.  

I also like to tighten my stitch length down one notch to keep away from puckers.

When sewing my BIGGEST TIP is to not OVERWORK the fabric.  Although it is a non-stretch woven they will get “wonky” and pull out of shape if you do.  Don’t pull or “man-handle” the fabric to make anything match! If your pieces aren’t lining up perfectly it is almost always a cutting mistake (remember I said that was the most difficult part!).  

The good thing is most clothing made from these drapey fabrics are loose fitting and forgiving :).  Trim and let it go 😉

After I sew, I PRESS.  It takes a little more time, but it makes your end product much more professional.

French seams:

I had a lot of questions about using french seams.  I don’t tend to care what the inside of my clothes look like a TON.  But for nicer items in specialty wovens french seams would be nice.  Here is my quick how to:

You will place your pieces WRONG side together and make the first stitch. For my patterns with 1/2″ seam allowances I do the first stitch at 1/4″.  Then trim it to 1/8″.  I press the seam on both the wrong and right sides of the garment flat, then fold at the seam and press again.

Now with RIGHT sides together and first seam pressed inside stitch again at 1/4″ from fold/seamline.  This should enclose your raw edge from the first seam allowance and put you at your 1/2″ seam allowance total for the seam.

Again press from wrong and right sides of garment.  I tend to always press to the back.  You can top-stitch here if you prefer.  I do lengthen my stitch length back out to 3 for top-stitching.  Press again 🙂 Do you see an important trend in this? lol!

Hemming:

My prefered way to hem is to serge the edge—- I loosen my tension a tad to fight the puckering.

Then I press the serged edge over twice for a nice even narrow hem. Okay, most the time I don’t press…but you SHOULD press, I can hear my mom telling me to take my time and press every time I don’t 😉 

Now I DO press after EVERY TIME! I see a lot of seamstresses complain their hems are “wonky” on specialty wovens, two things cause this- over working your fabric/pulling it as you sew and not pressing! A good press after can really change the way your hem looks!

I got asked to show how to hem without a serger; so here is how I hemmed without a serger.  I pressed WITH LOTS OF STARTCH (don’t be scared to use some or lots 😉 ) a 1/2″ to wrong side.

Then I opened the 1/2″ hem and folded the raw edge to the fold line.  This creates a 1/4″ narrow hem fold. Press again.

Tada! You can sew with specialty wovens! The biggest tips are: cut carefully, don’t pull your fabric as you sew and press, press and press again 🙂

Filed Under: P4P University, Sewing with Woven Fabrics, Uncategorized 2 Comments

Tips and Tricks on How to Up-Cycle Jeans/Denim

June 13, 2015

Making jeans can be a little intimidating for some… and we’ve already had a post here about making jeans look more like store bought jeans with details like top-stitching thread and distressing.

But, a really easy way to get your jeans looking professional is to use an old pair that an adult is throwing/giving away! This means a lot less work for you distressing and top-stitching if you’re smart about laying out your pattern pieces! So here it goes…my tips on using pre-existing jeans:

1- Making a few cuts along the seams can really make cutting your pieces much easier! I like to cut along the inside legs/crotch, cut off the waistband and beltloops, and the back pockets.

IMG_9003IMG_9001 IMG_9004

2- Be cautious about distressed/washed jeans and laying out your pattern pieces… meaning, if your jeans have a very obvious fade/wash/distress pattern on them then you need to make sure you like where it will be placed and that it will match when you sew up your jeans. For this pair, I wanted the distressed area of the original jeans, so I laid my patterns around that.  Notice that my two pieces are very close to the same area horizontally, and that the back yoke is placed above the back piece.  All of this will ensure that the distressing and wash look natural on my finished jeans.

IMG_7758

You can also use the original hem line if you prefer to get that instead. Remember to account for hem allowance. I did that with this pair, because my jeans didn’t have a very noticeable distressing.

IMG_9000

Use the back pockets when cutting your new pockets, Remember to account for the hem allowance at the top.

IMG_9005

If you’d like to use the waistband and belt loops you can…. but warning, unpicking those belt loop stiches is not fun 😉

If you pattern calls for elastic in the waistband, like my Cpt. Comfort Jeans, then you will have to cut a slit on the wrong side of the waistband to slip your elastic through- I just use a wide zigzag to mend the slit after (I hide the zigzag stitches behind a belt loop!).  Make sure when overlapping that you line up your jeans button and button hole, you can see here on mine they overlapped much more then the pattern called for.  Then you will tack down the bottom of the belt loops 🙂

IMG_9006IMG_9012IMG_9213

3- Now that you have your pieces cut you will continue to sew them just like the pattern calls for  matching the store bought top-stitching thread as best you can. And although they have a wash and distressing, I STILL distress along the way! That way my finished jeans will have the distressing where store bought jeans do, like along pocket lines.

IMG_7260 IMG_9009

IMG_9010

Now you have a great fitting (no plumbers crack!) pair of jeans that cost you nothing but the thread and time <3 and plus they look amazing!

IMG_9218   IMG_9422IMG_9403

Filed Under: Pattern Hacks, Sewing Techniques, Sewing with Woven Fabrics, Uncategorized 1 Comment

Newest Patterns

  • Uptown Joggers - Youth $10.00 $8.50
  • Uptown Joggers $12.00 $10.50
  • Uptown Joggers - Bundle $20.00 $18.00
  • Notch Top & Dress $12.00
  • Notch Top & Dress - Youth $10.00
  • Privacy Policy
  • Refund Policy
  • Affliliate Program
  • Contact Us
  • About

Copyright © 2023 Patterns for Pirates

Copyright © 2023 · Genesis Framework · WordPress · Log in