Collaborative post provided by Rachel of Always a Project.

If fabric has never made you cry, you’ve probably never sewn with stretch velvet. Ha-ha! That beautifully soft texture can certainly work against you if you don’t understand what you’ve gotten yourself into.
I’m obviously being a **touch** dramatic, but maybe not?
If you’ve never sewn with velvet of any kind, it definitely helps to do your research. And learning from others’ (hi, it’s me!!) mistakes. Here are a few tips and tricks to get you off to the right start!
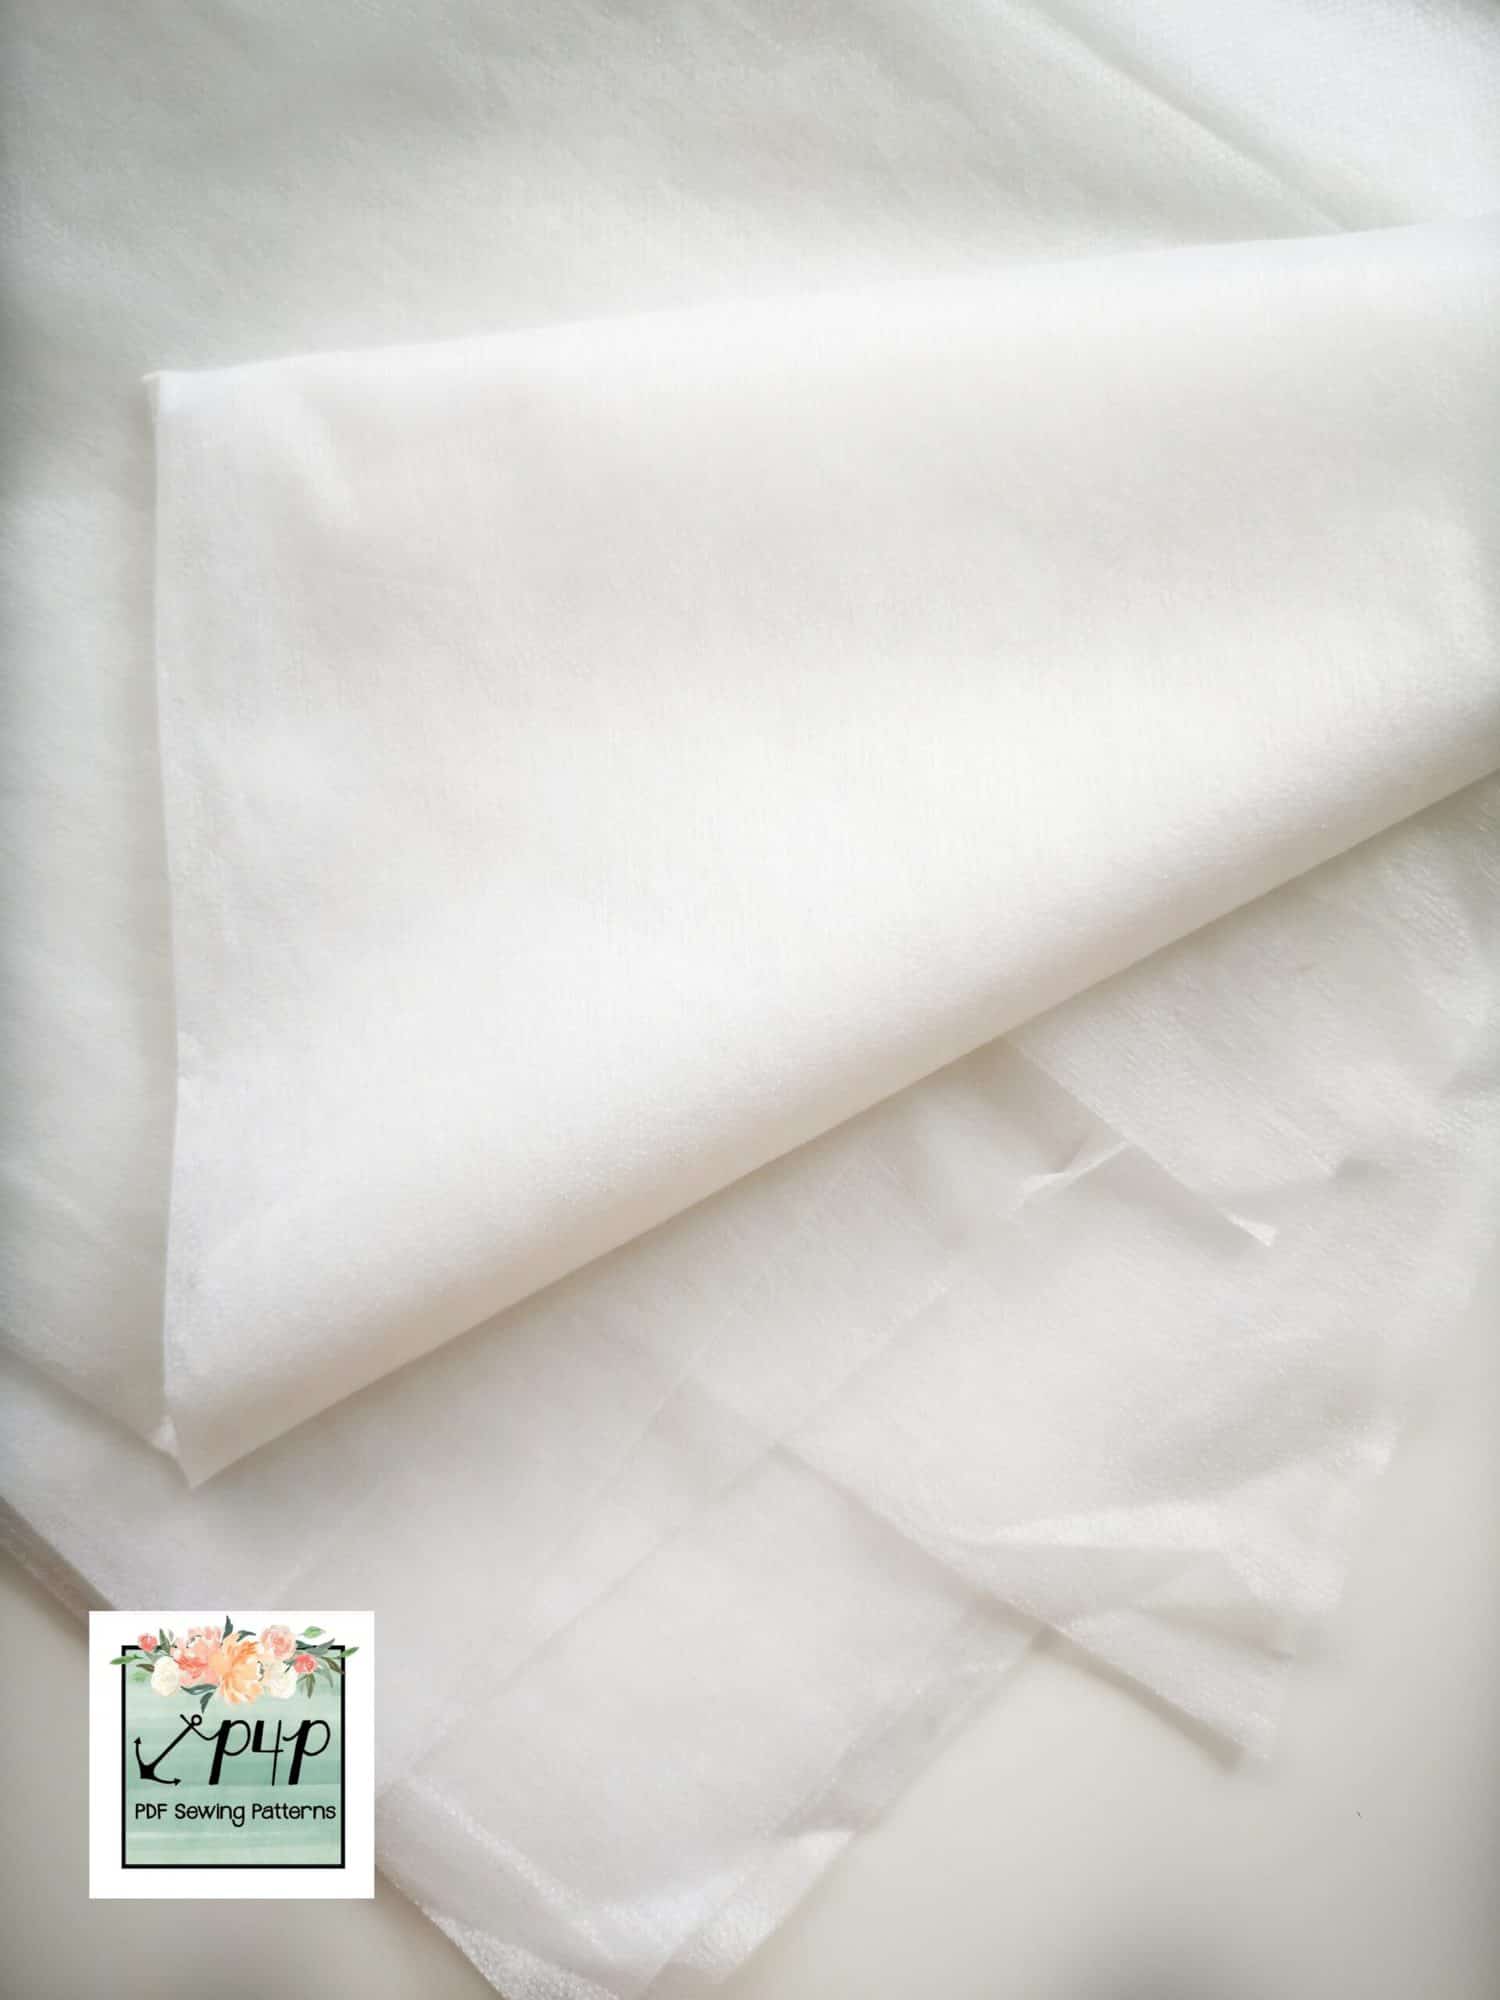
Nap
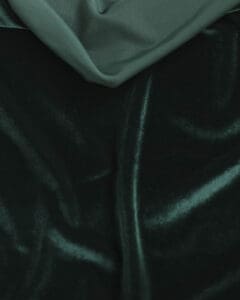
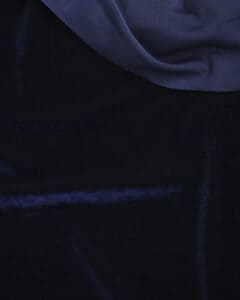
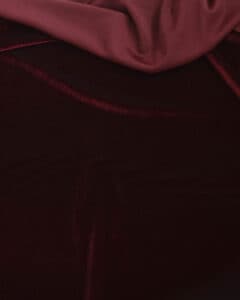
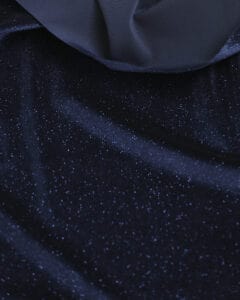
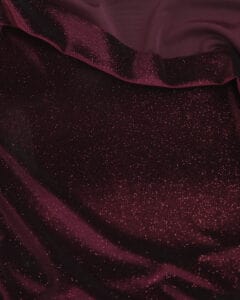
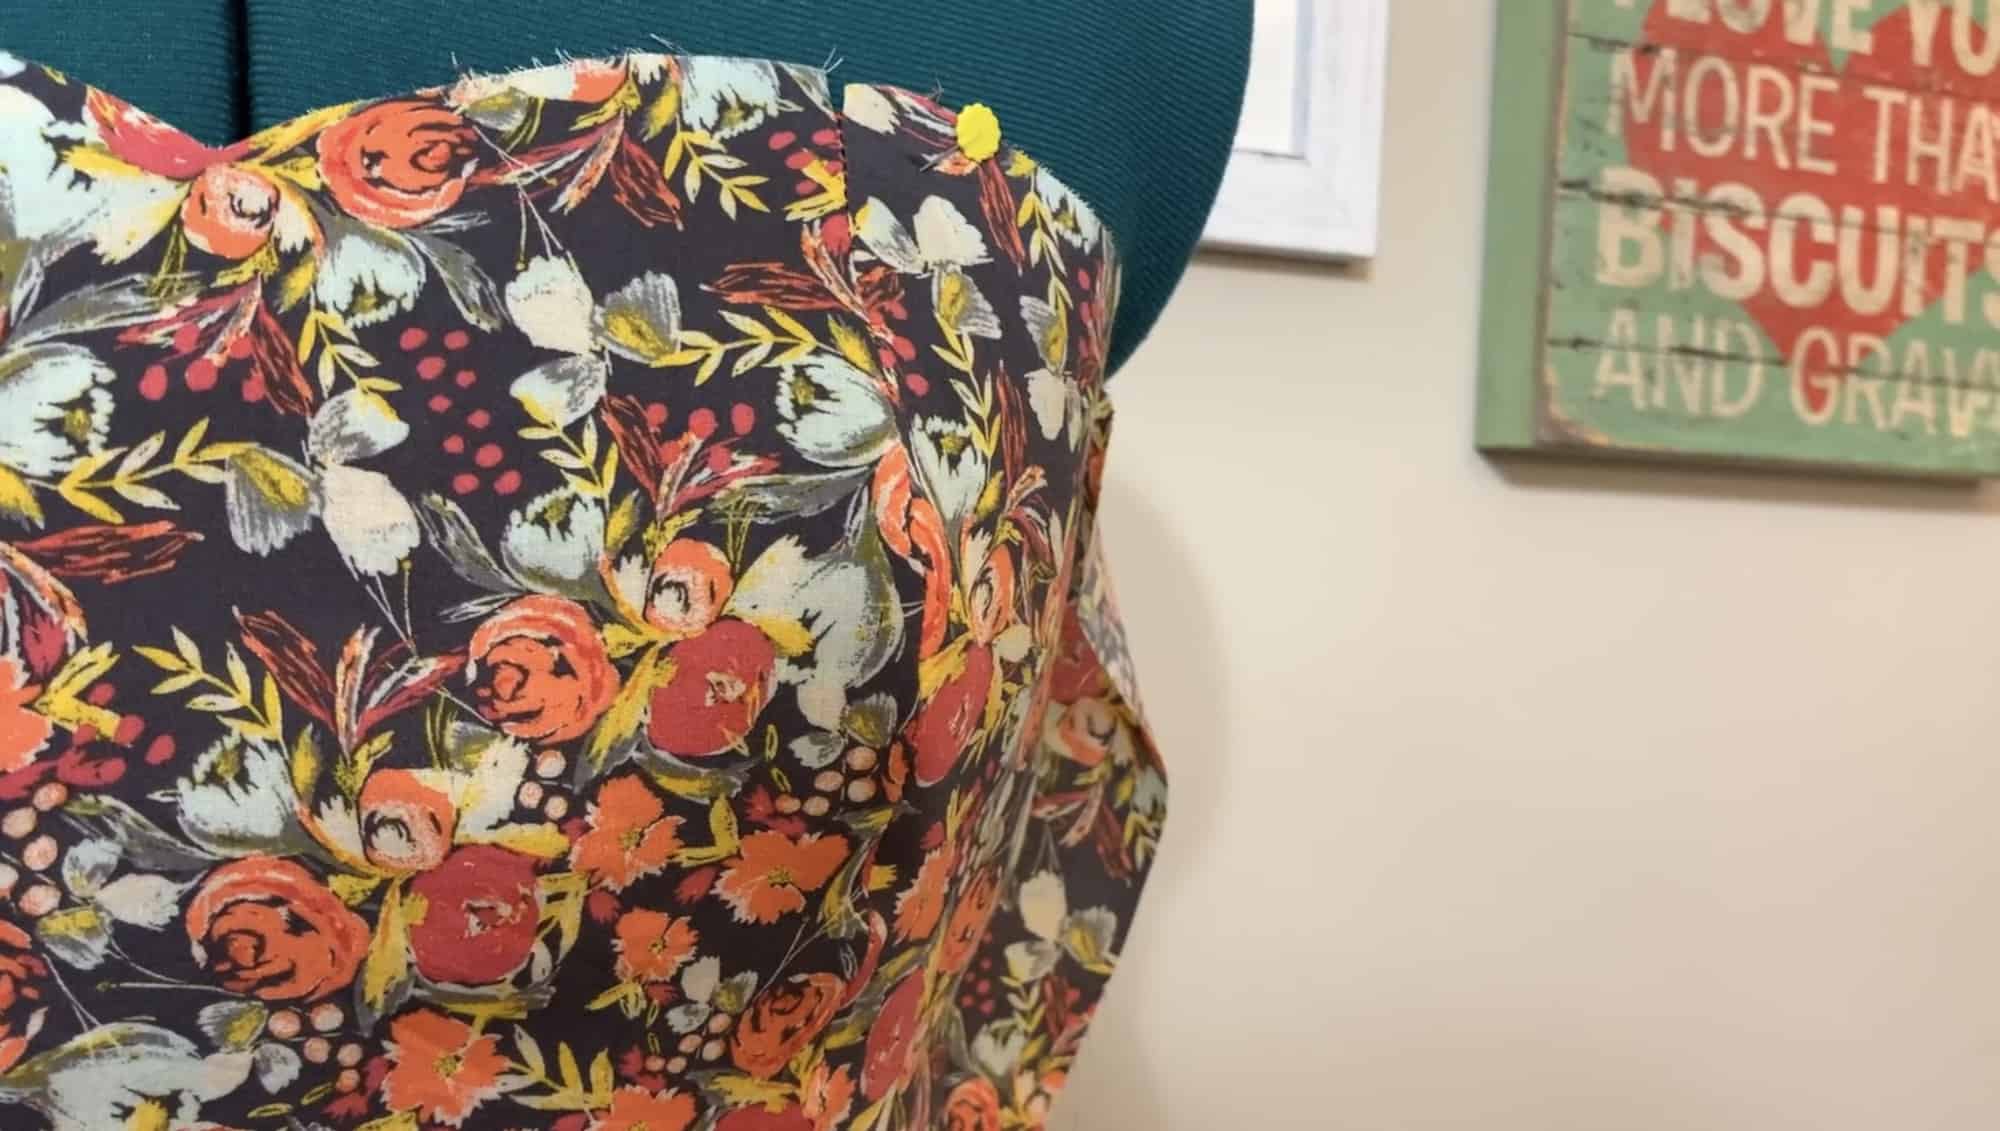
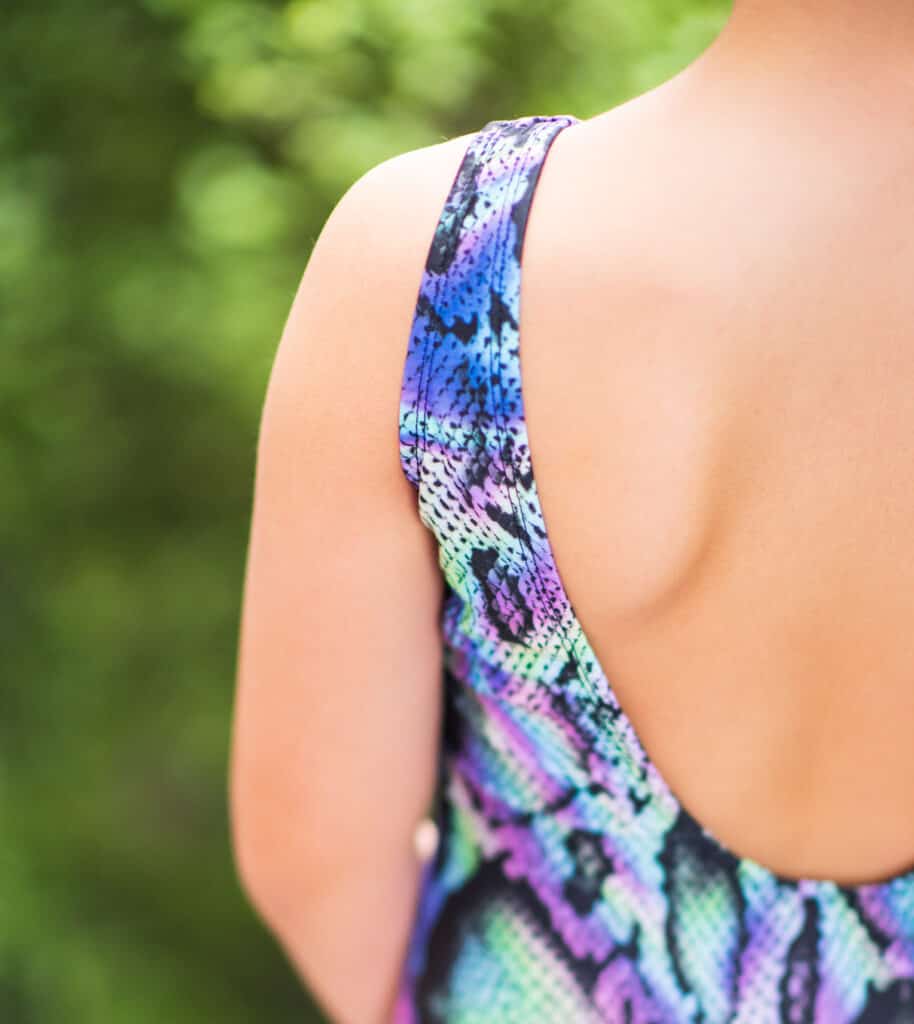
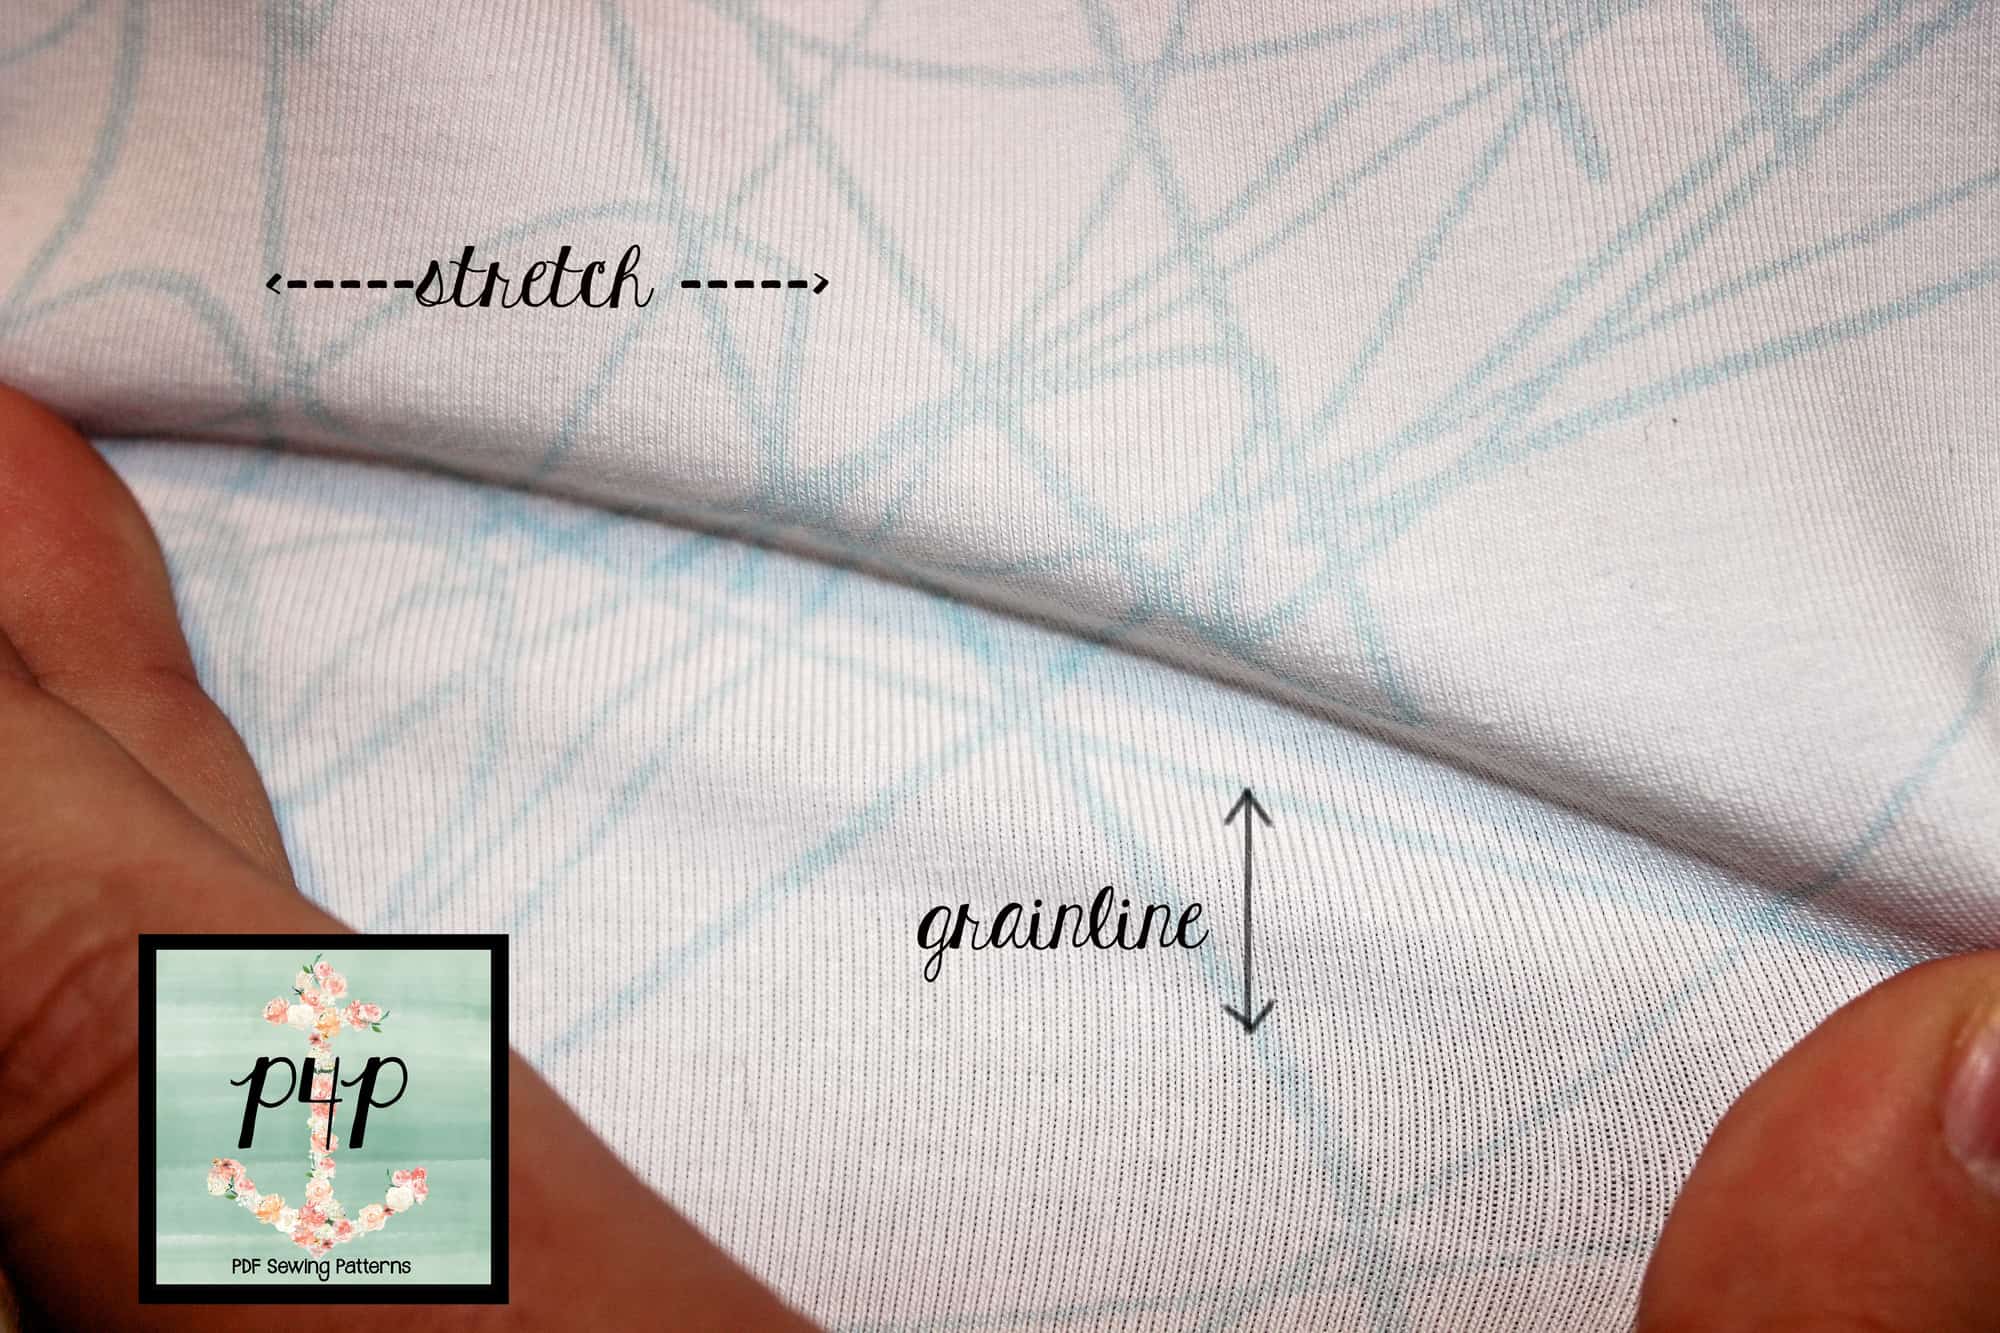
One of our favorite things to do is run our hands over the surface of velvet, do you agree? If you notice, when you brush your hand one way, the fibers are smooth and reflective. When you brush your hand in the opposite direction, the fibers stand up and appear darker in color. This is the “nap” or “pile” of the velvet.
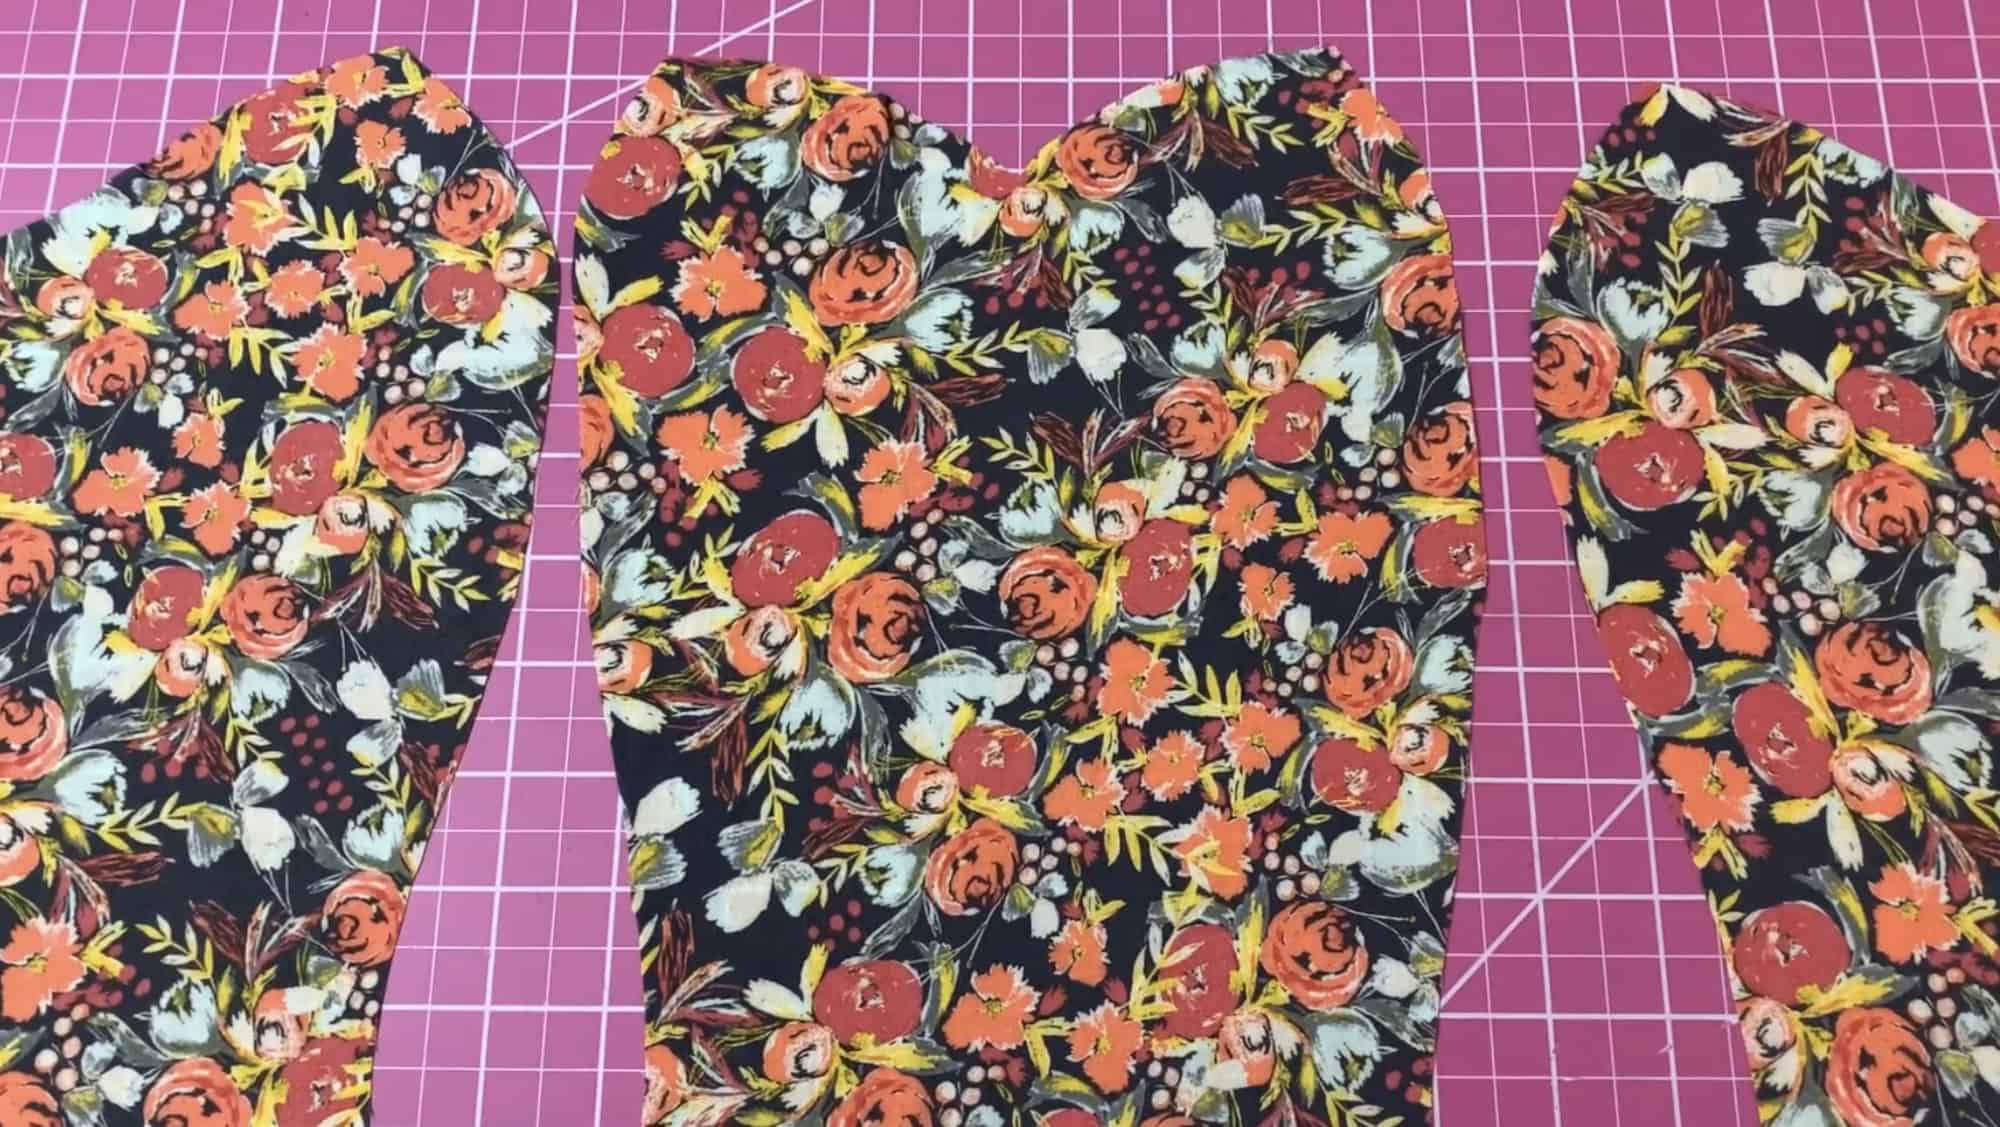
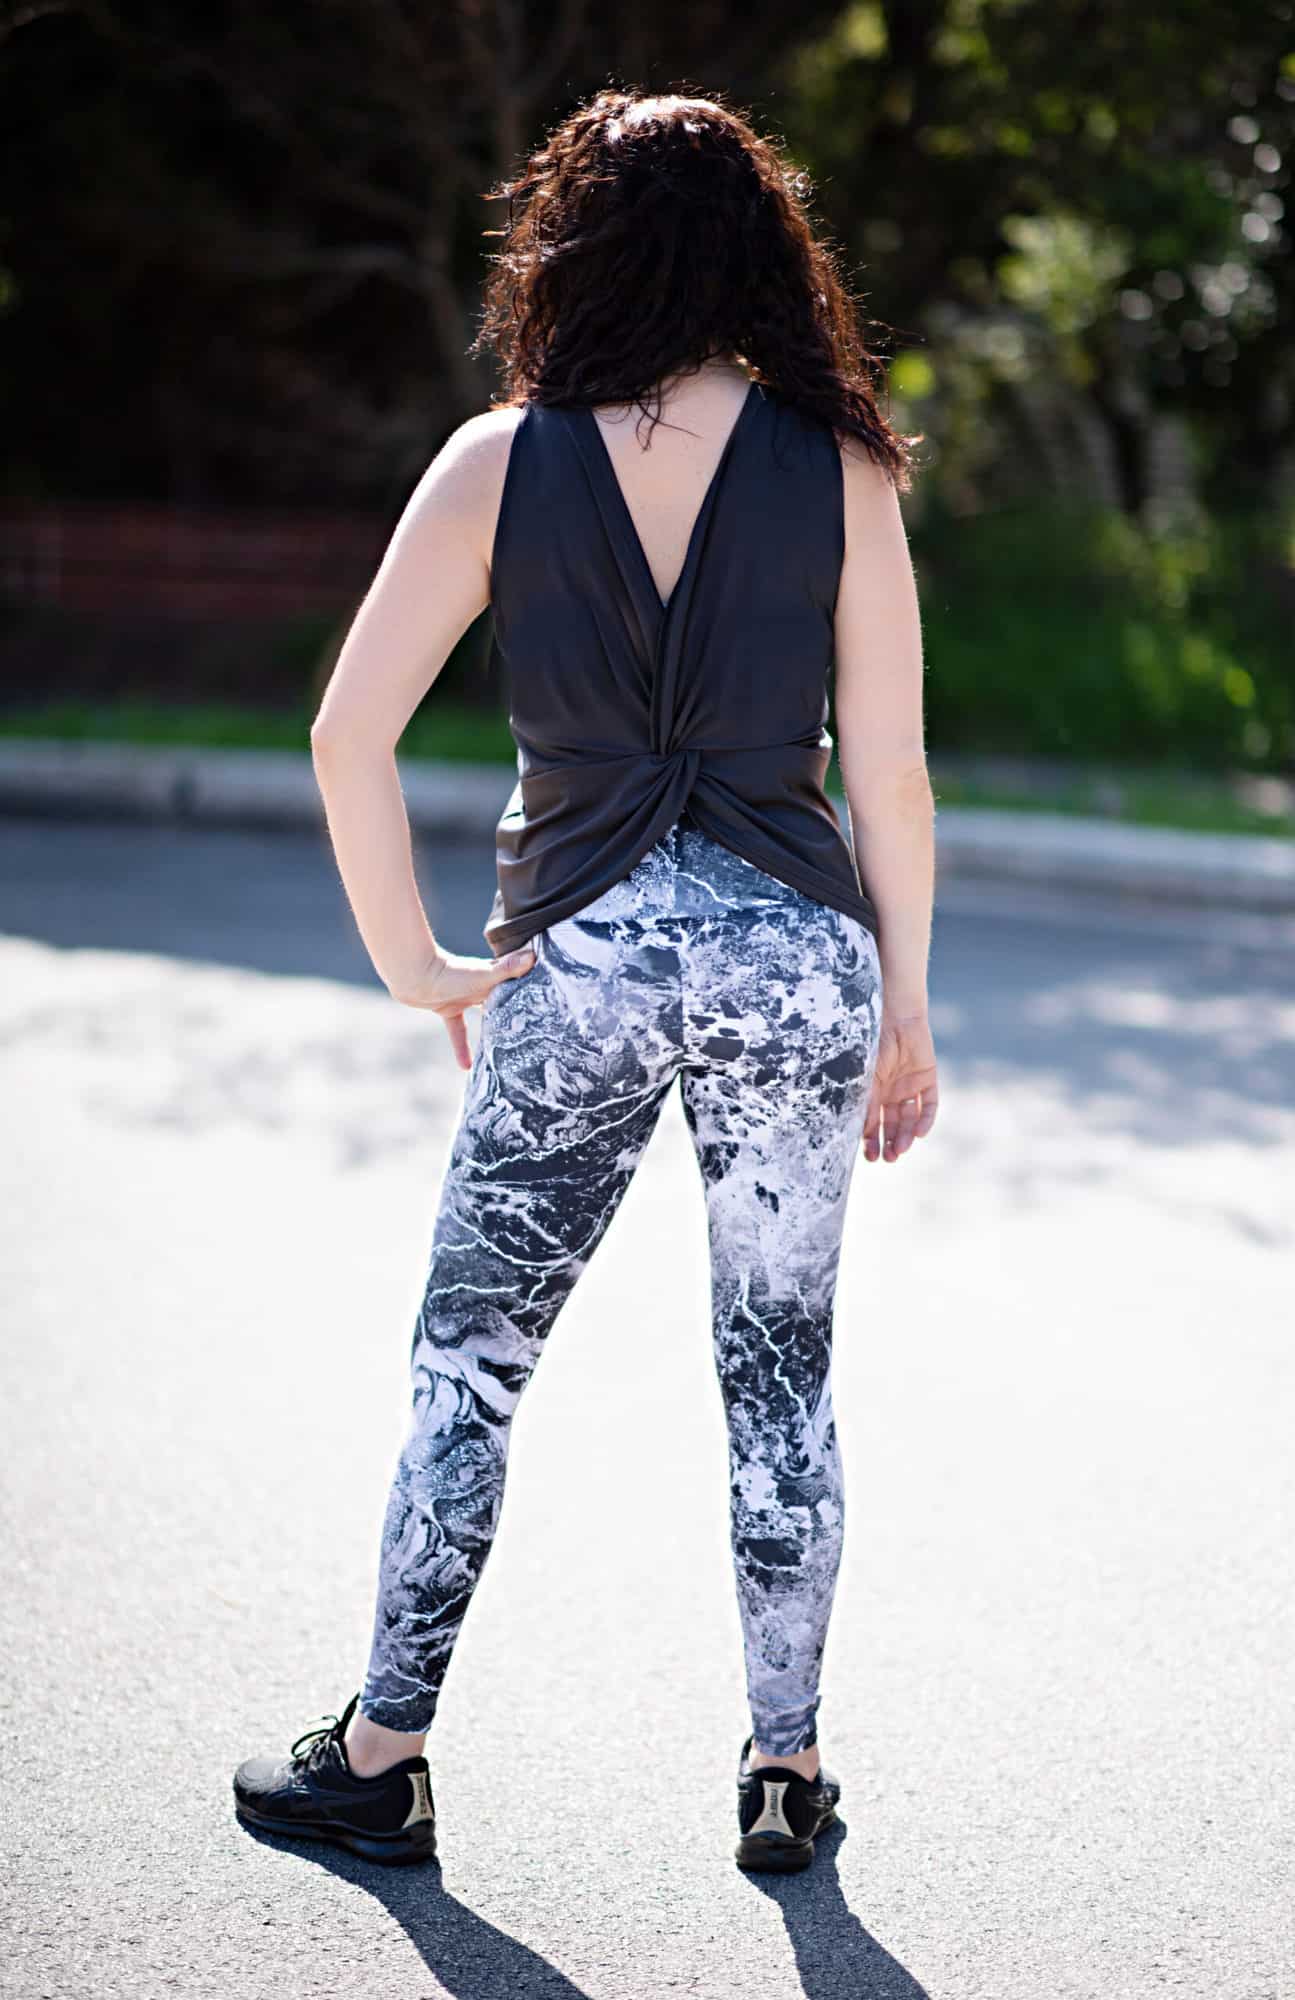
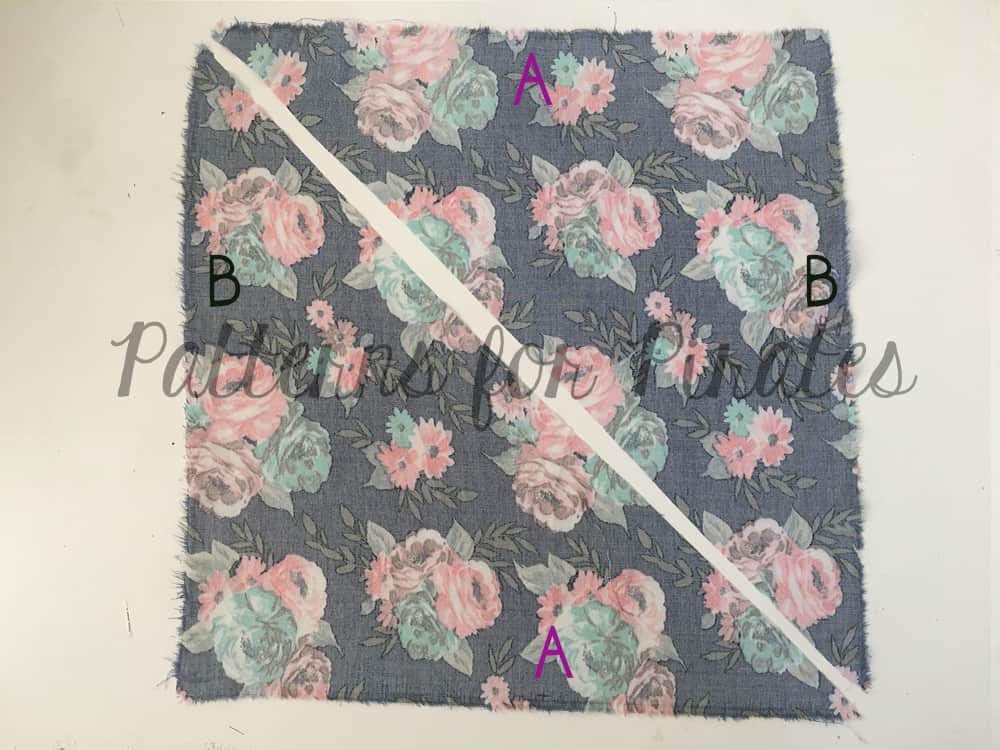
When cutting your pattern pieces, it is VERY IMPORTANT to cut pieces with the nap in the same direction – typically fibers laying downward. If you don’t, you’ll encounter a lot of friction when sewing your seams and you’re end result will look like it’s color-blocked, like my pants below.

Don’t be me. Check your nap.
Yardage Requirements
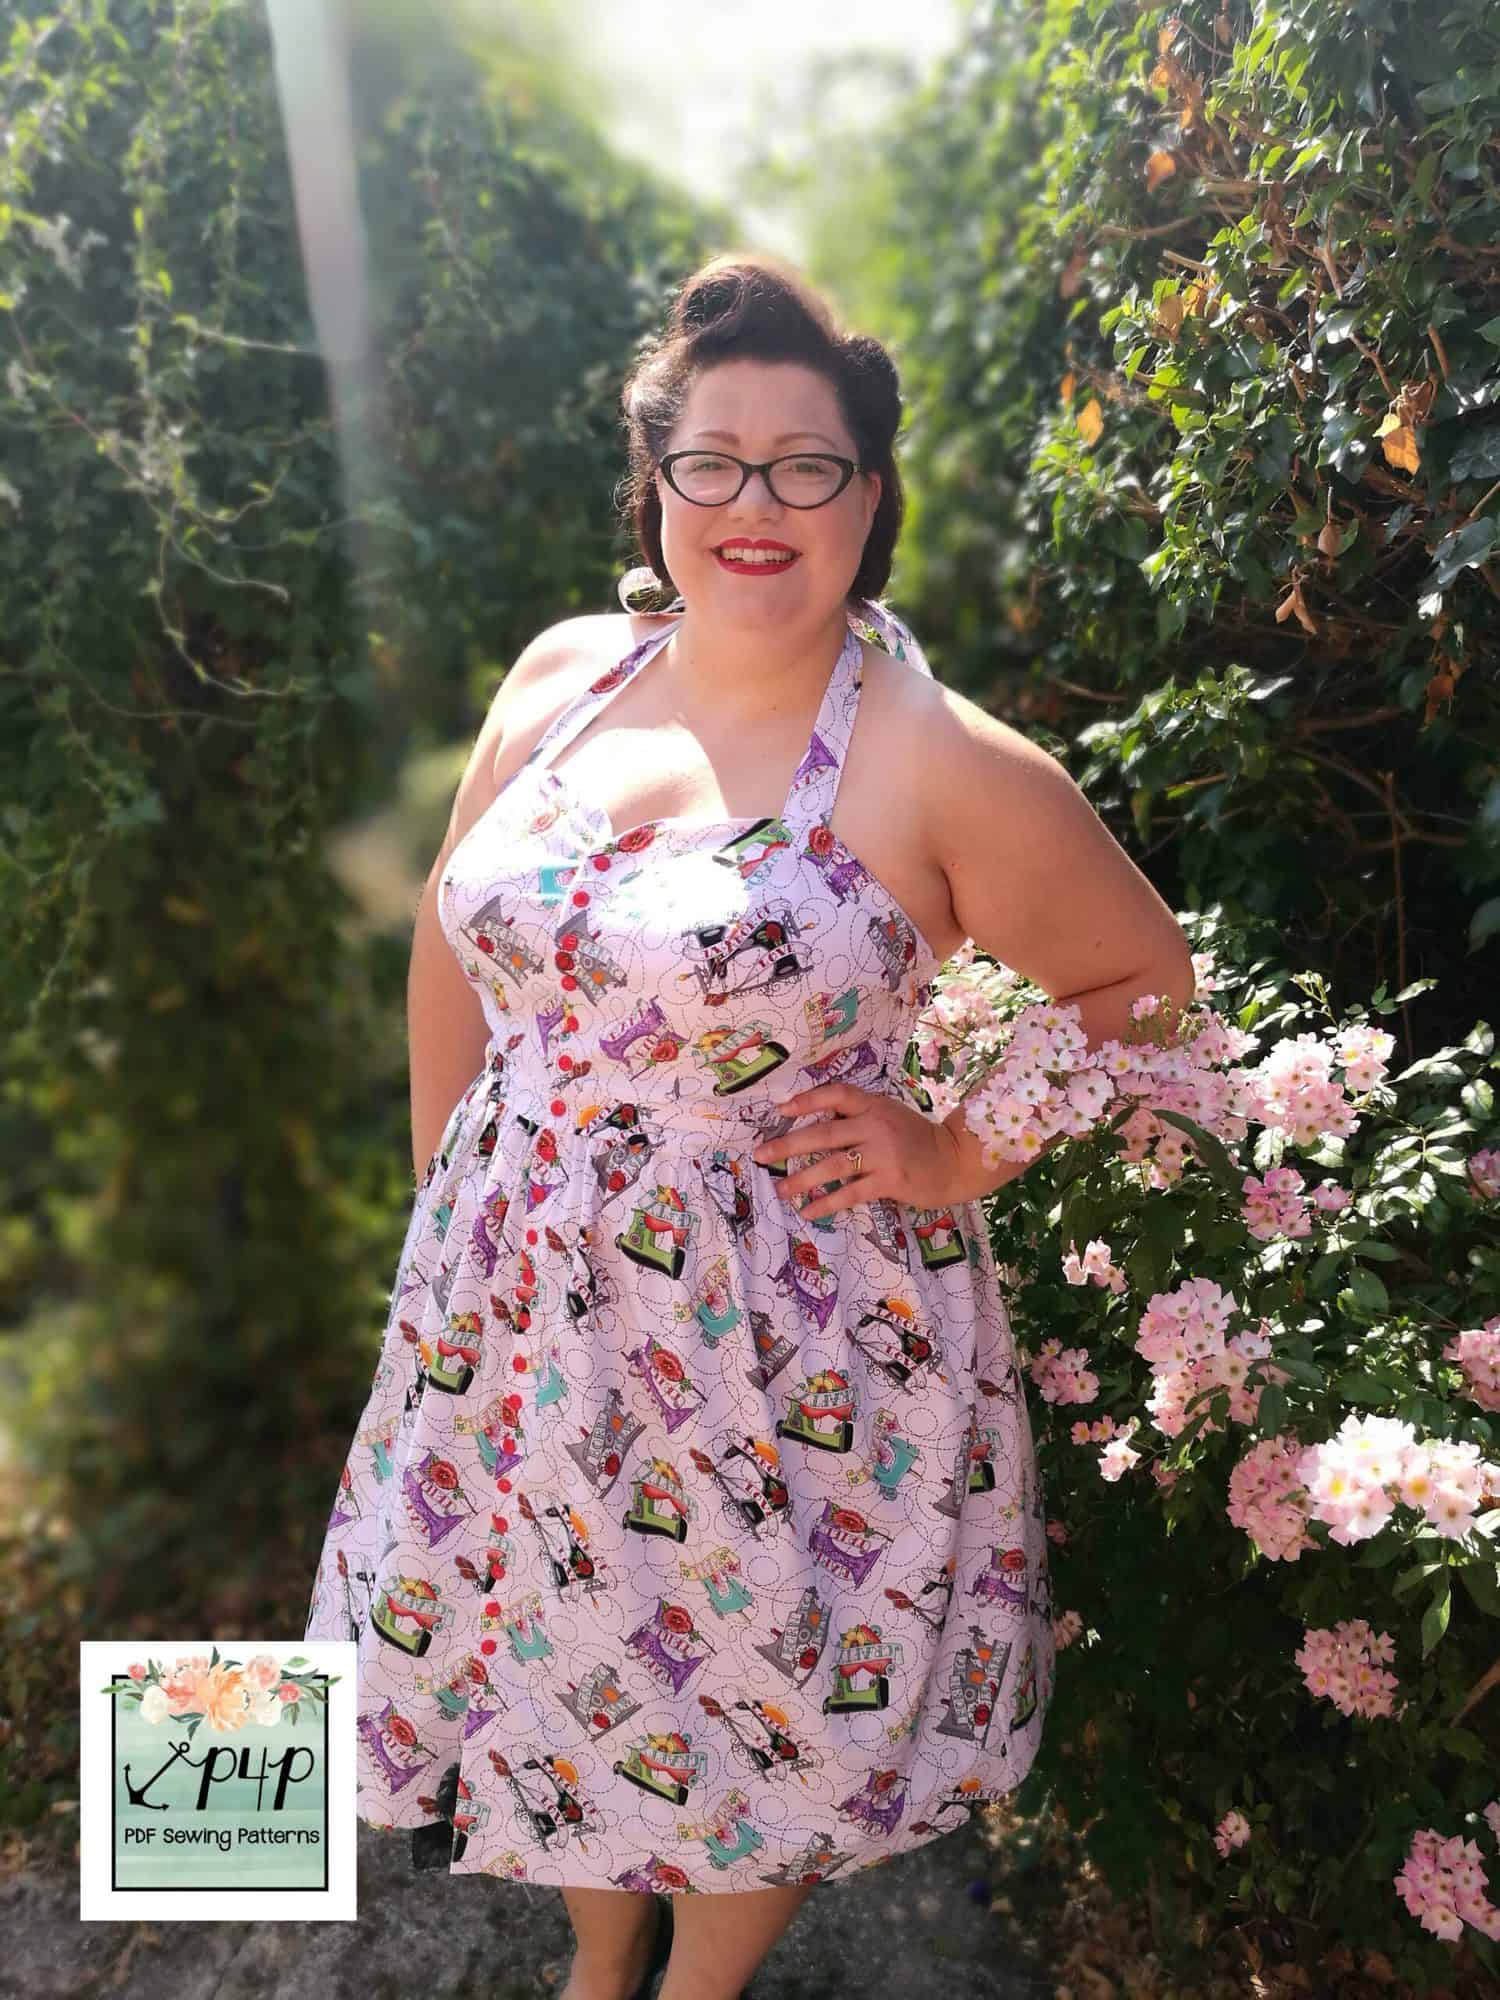
Stretch velvet is heavy so it really works better for simpler patterns. Tops, shorter dresses, simple silhouettes… The more velvet you’re wearing, the more weight that your seams are supporting. Heavy garments will sag and lose shape. It also helps to add clear elastic to your weight-bearing seams.
I once made a dress with a fitted bodice and long, fully pleated maxi skirt out of stretch velvet. It was awful. The skirt pulled down the bodice in the wrong places and the fabric hung like it had given up on trying… it was so sad. And so was I.

Don’t be me. Keep your patterns simple and your seams supported!
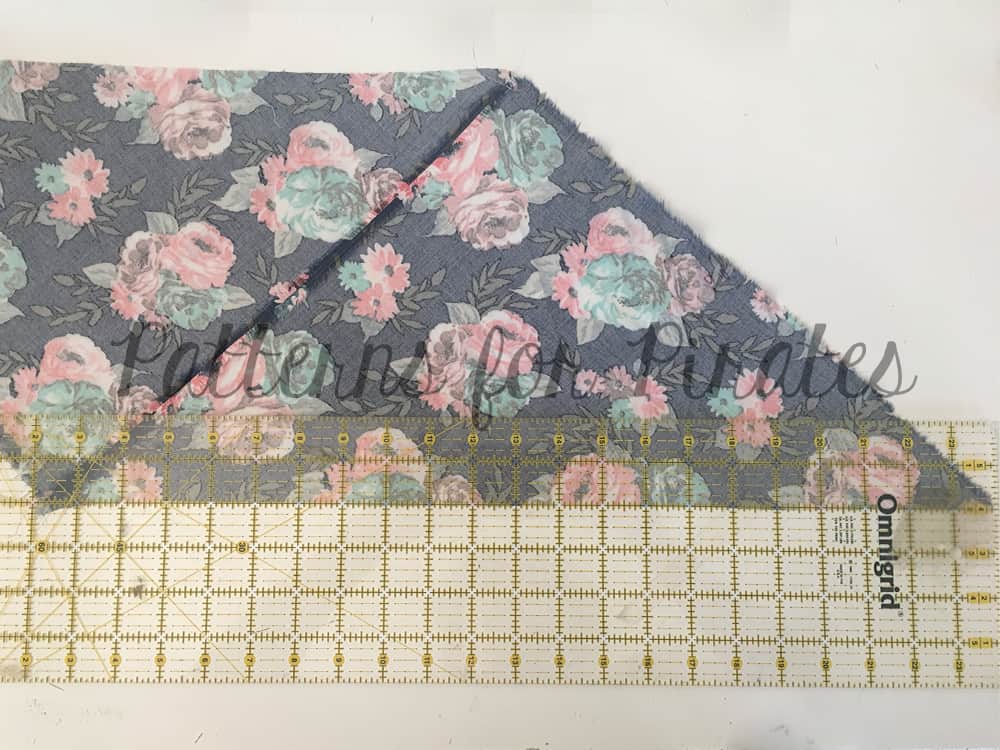
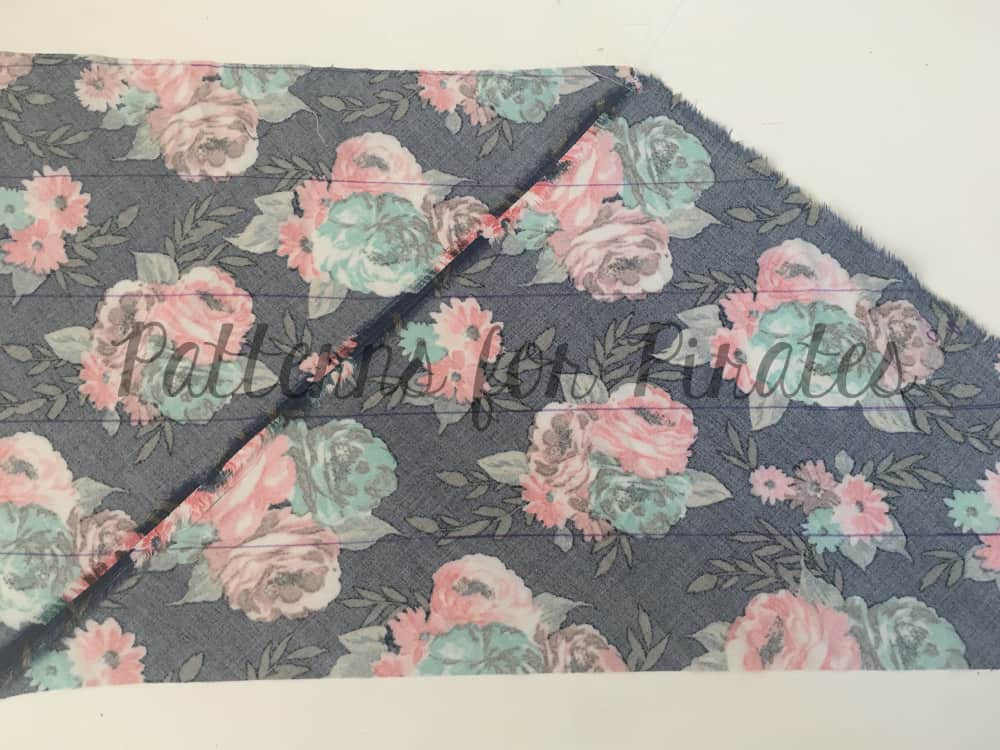
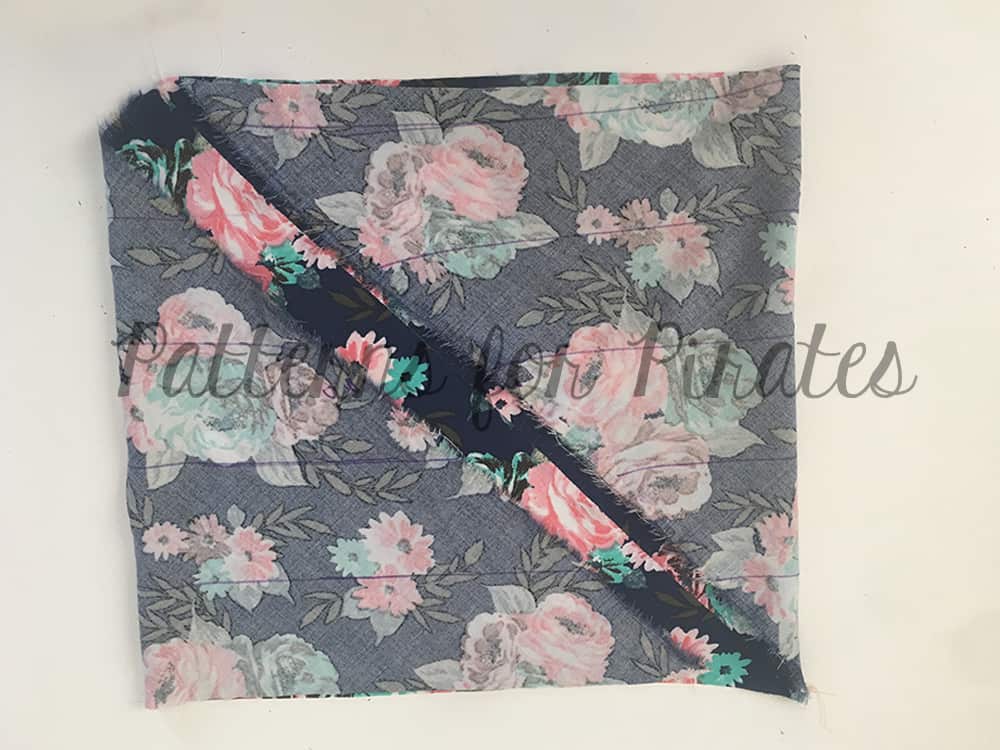
Cutting
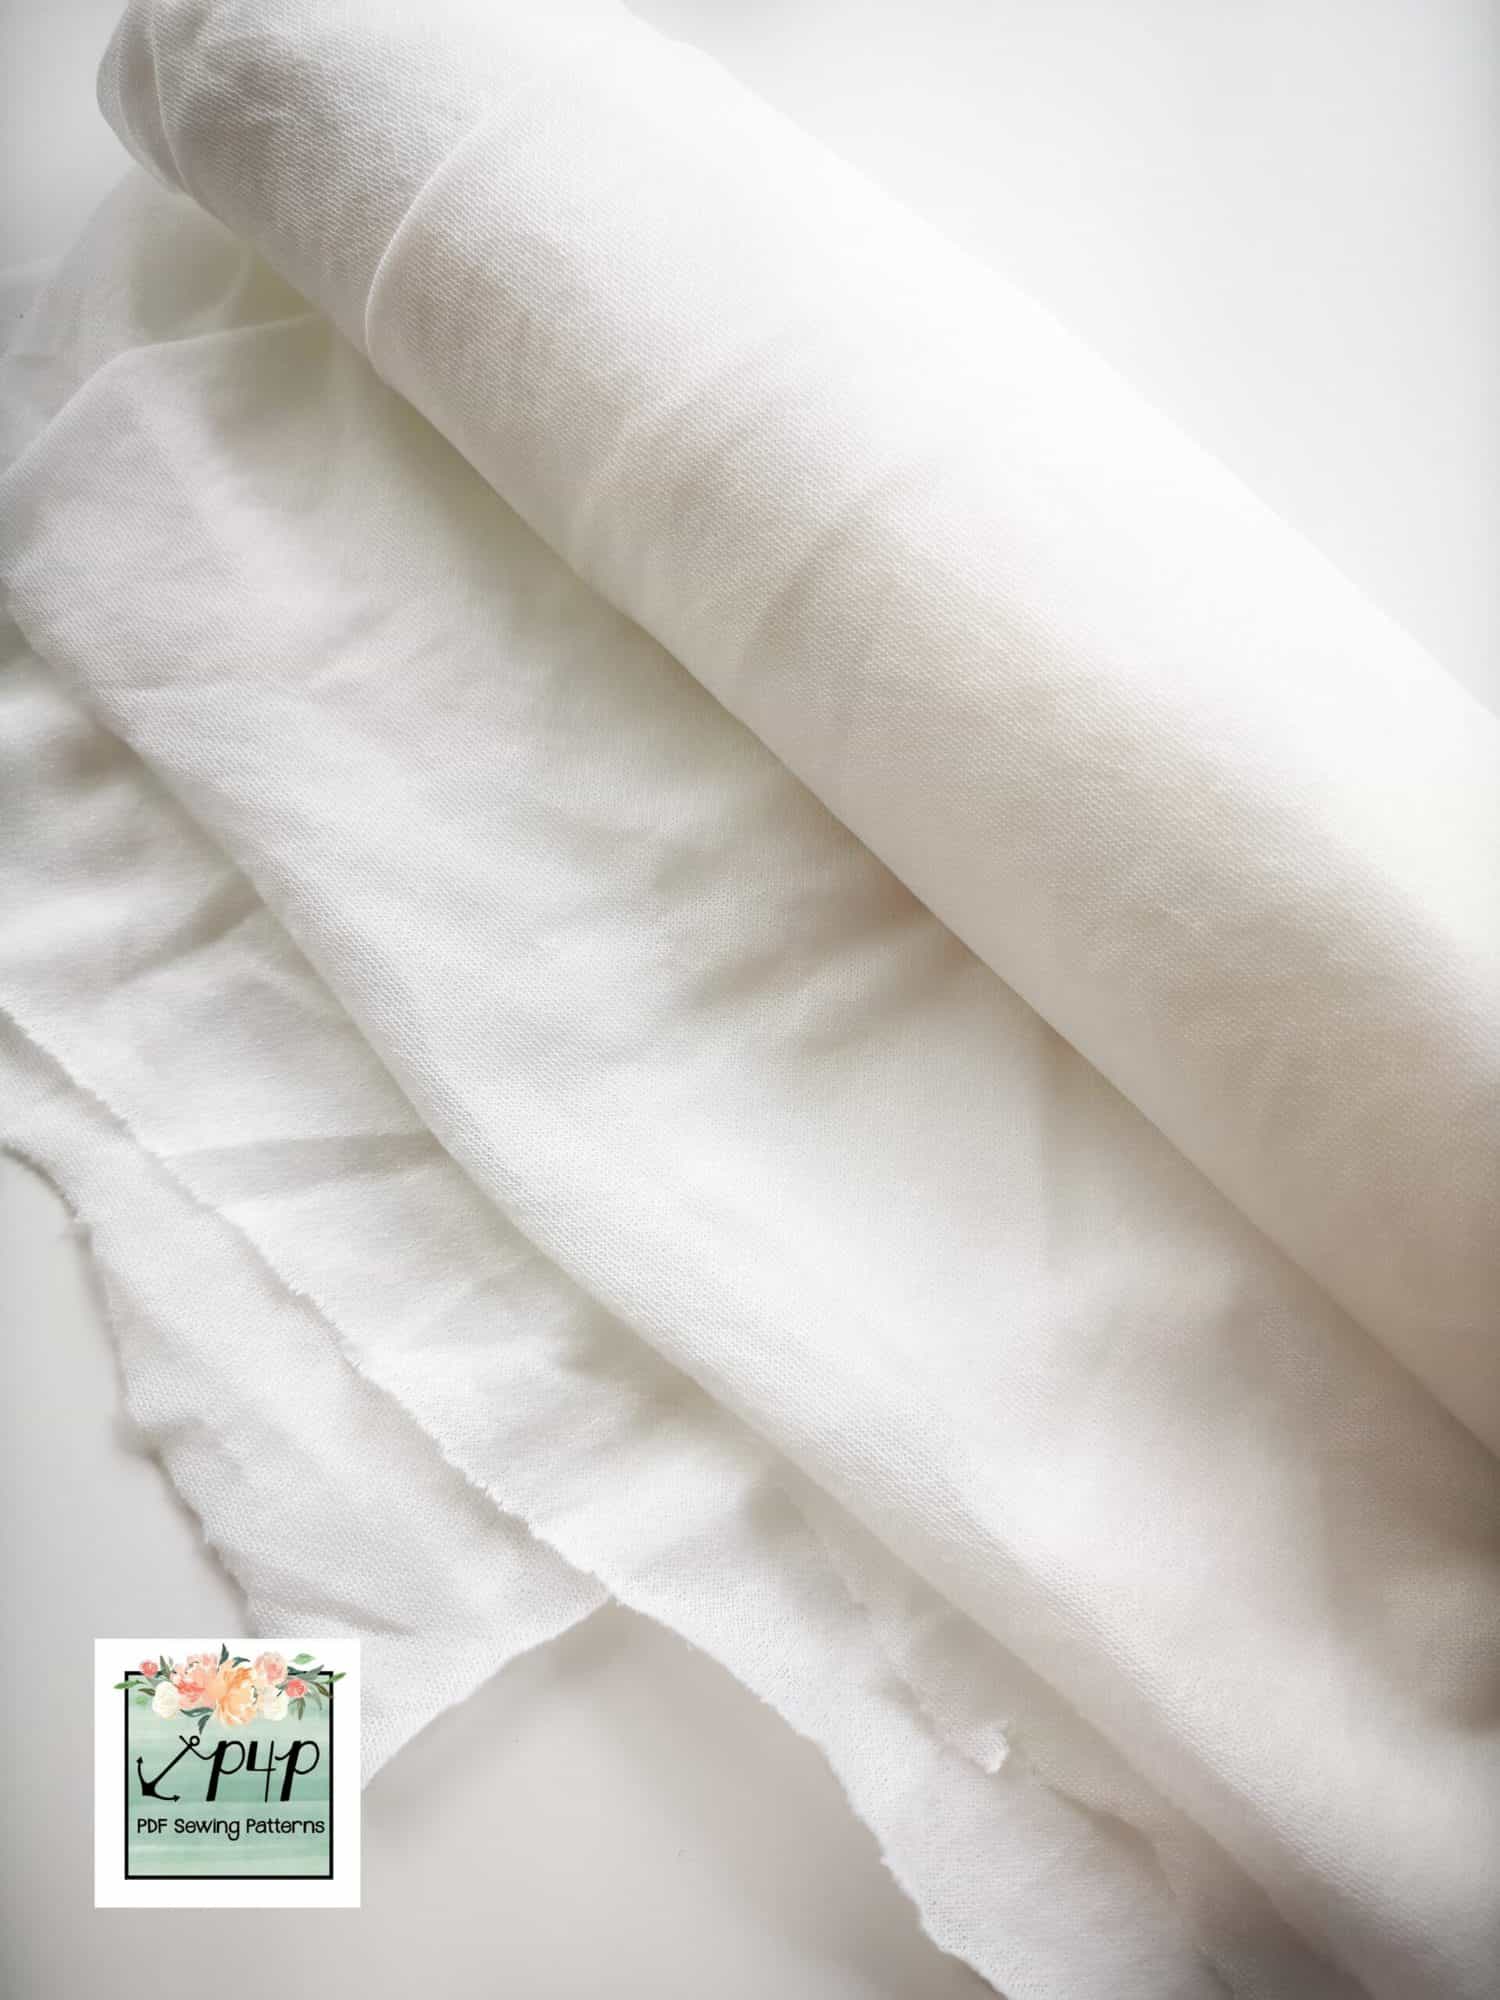
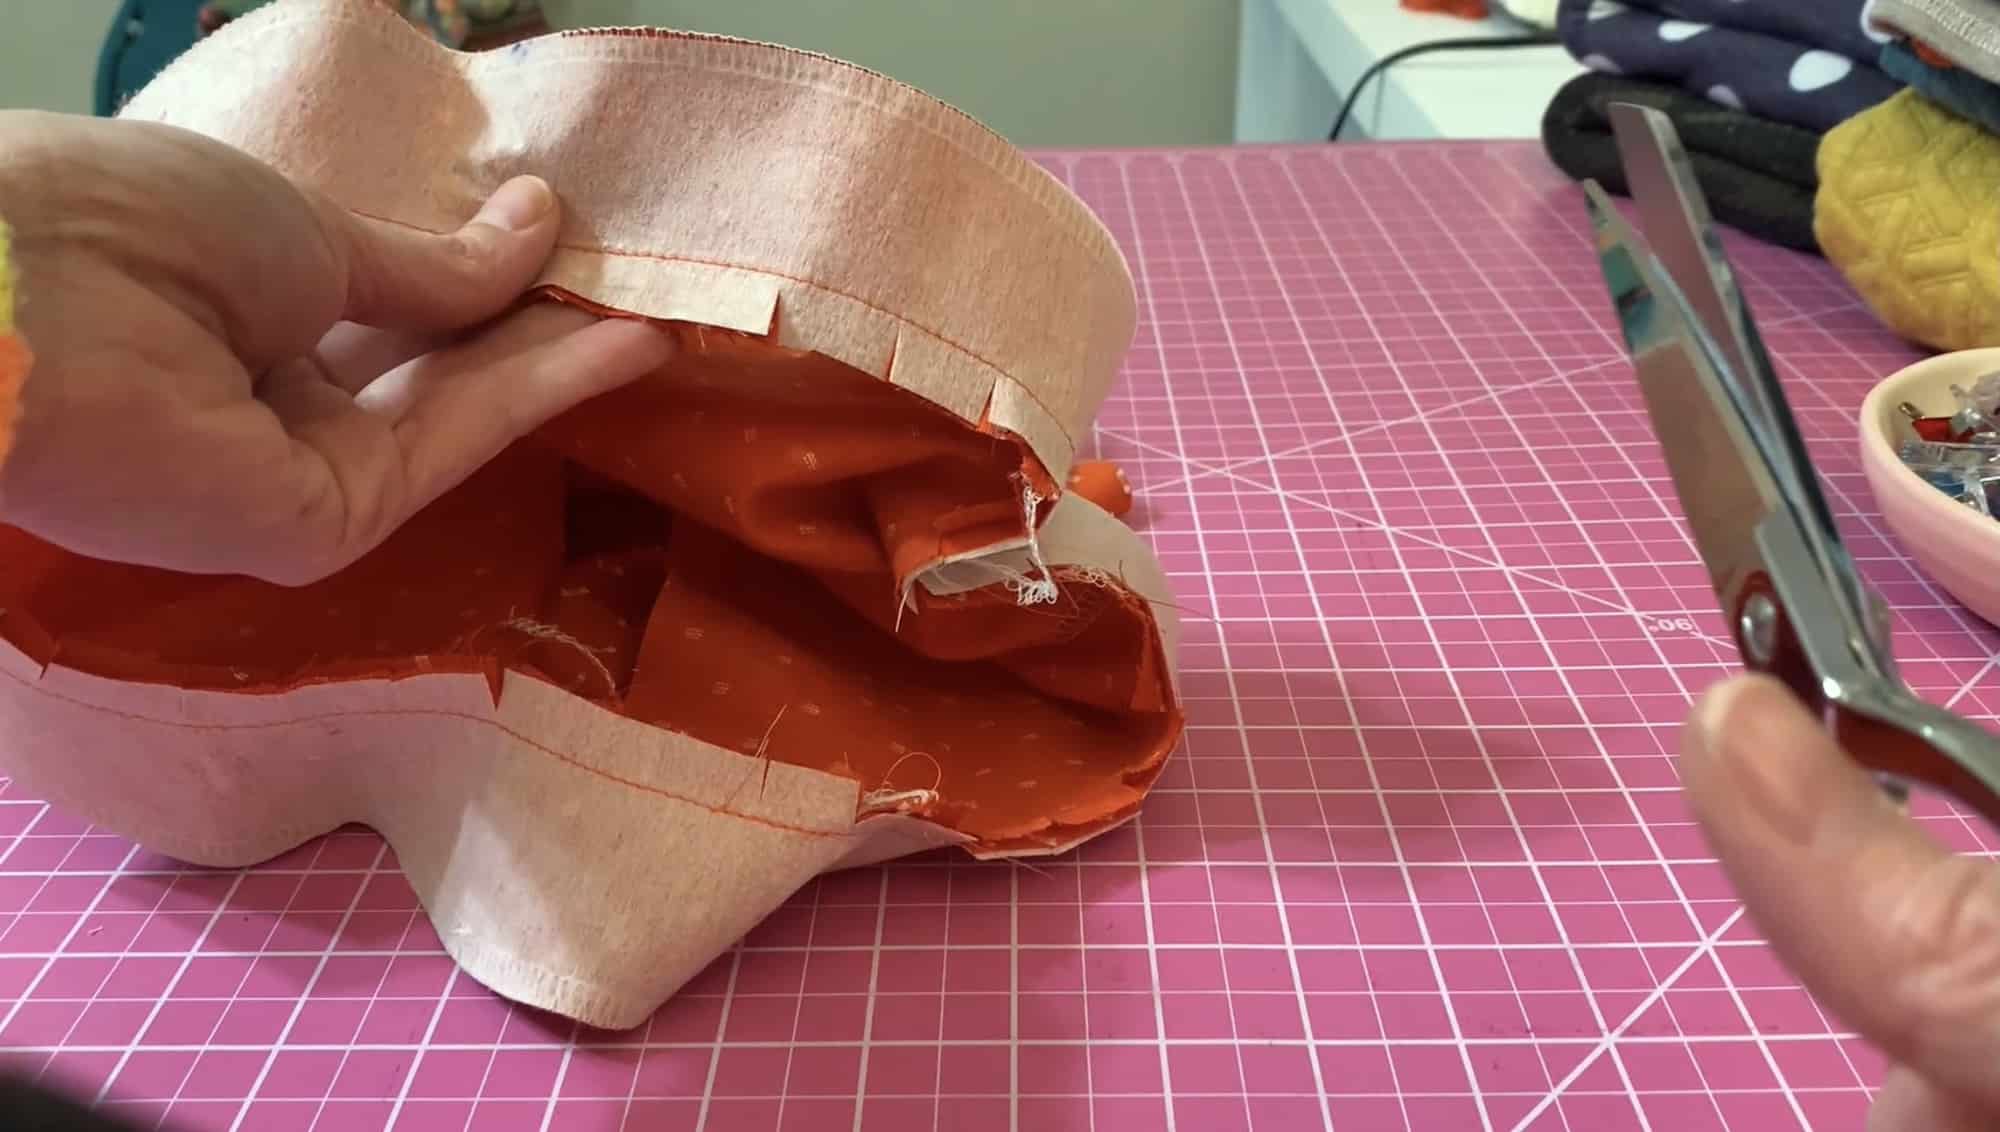
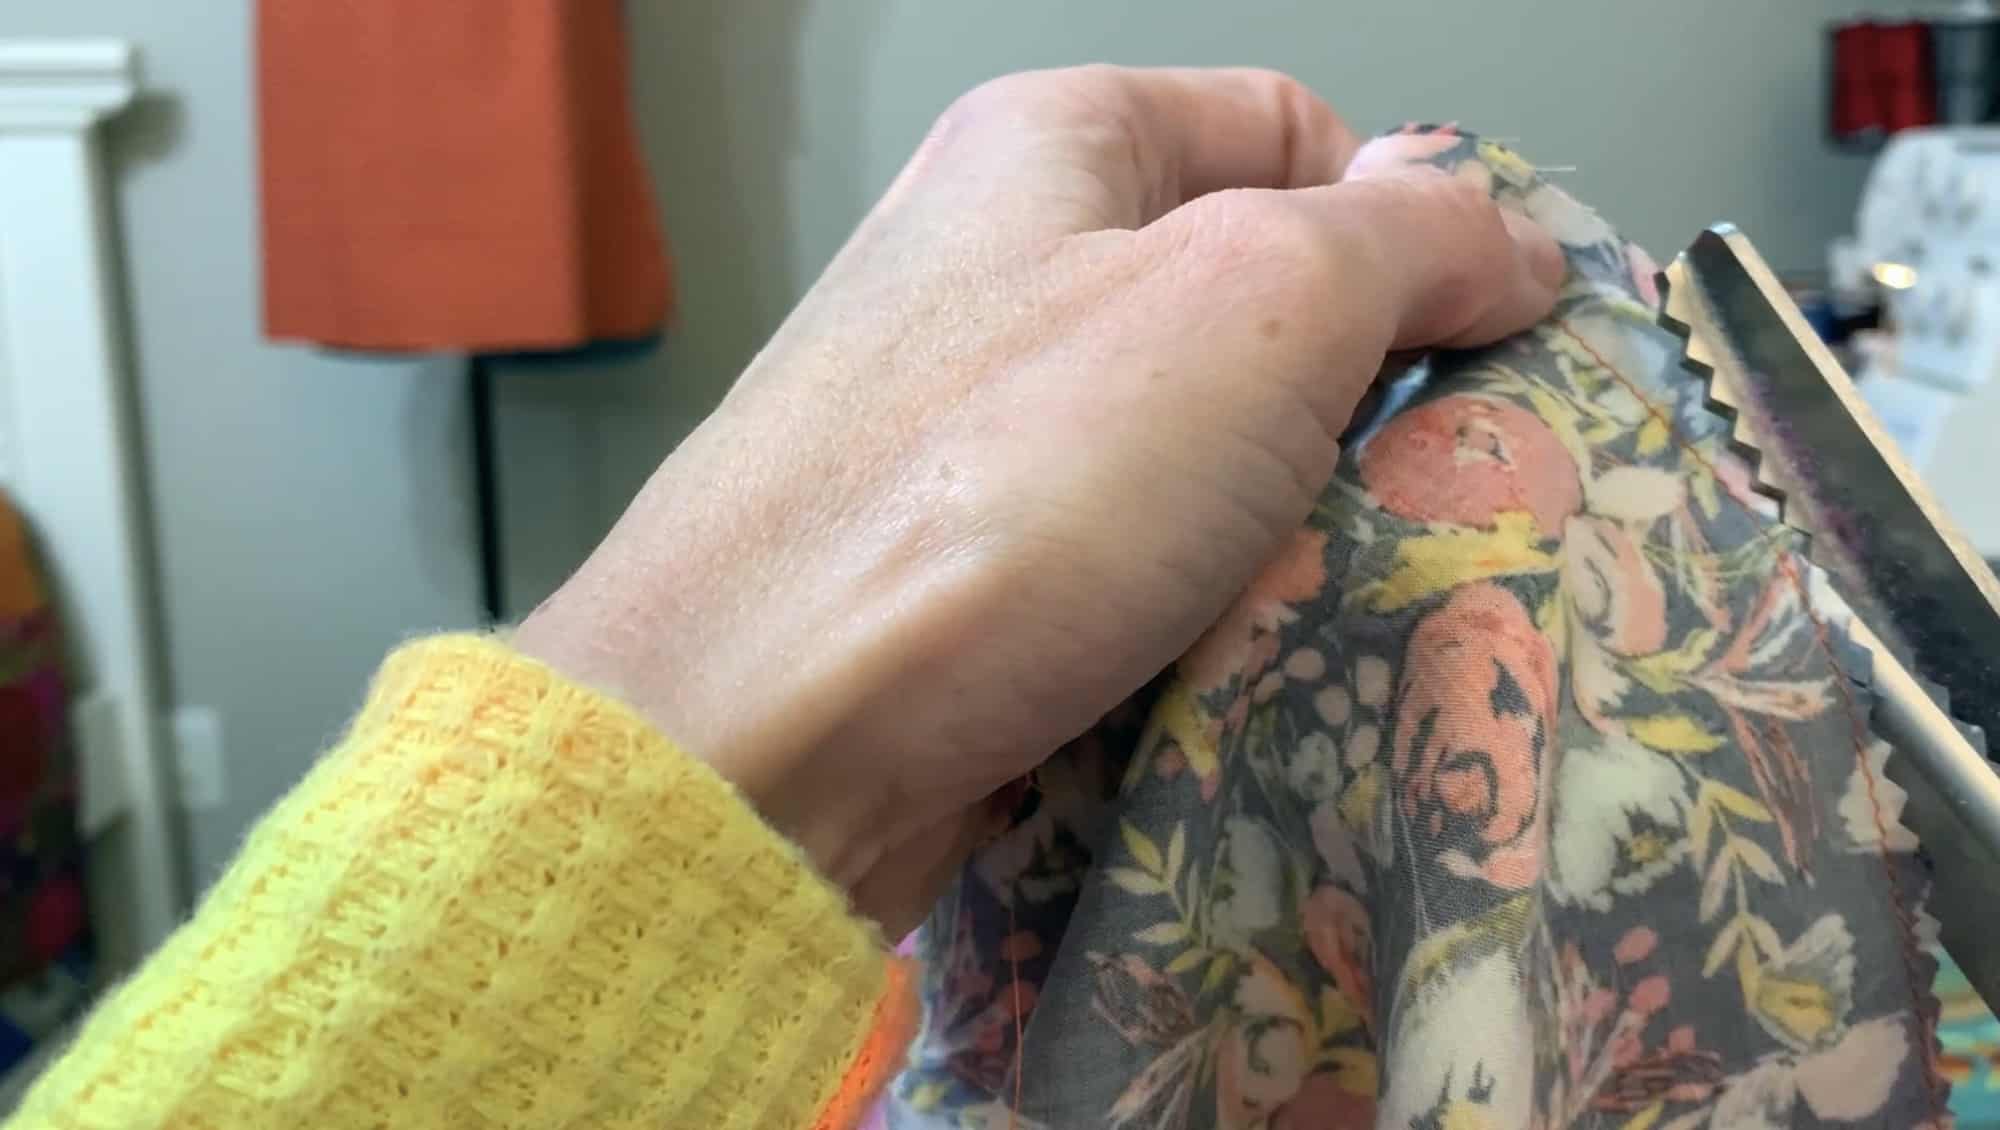
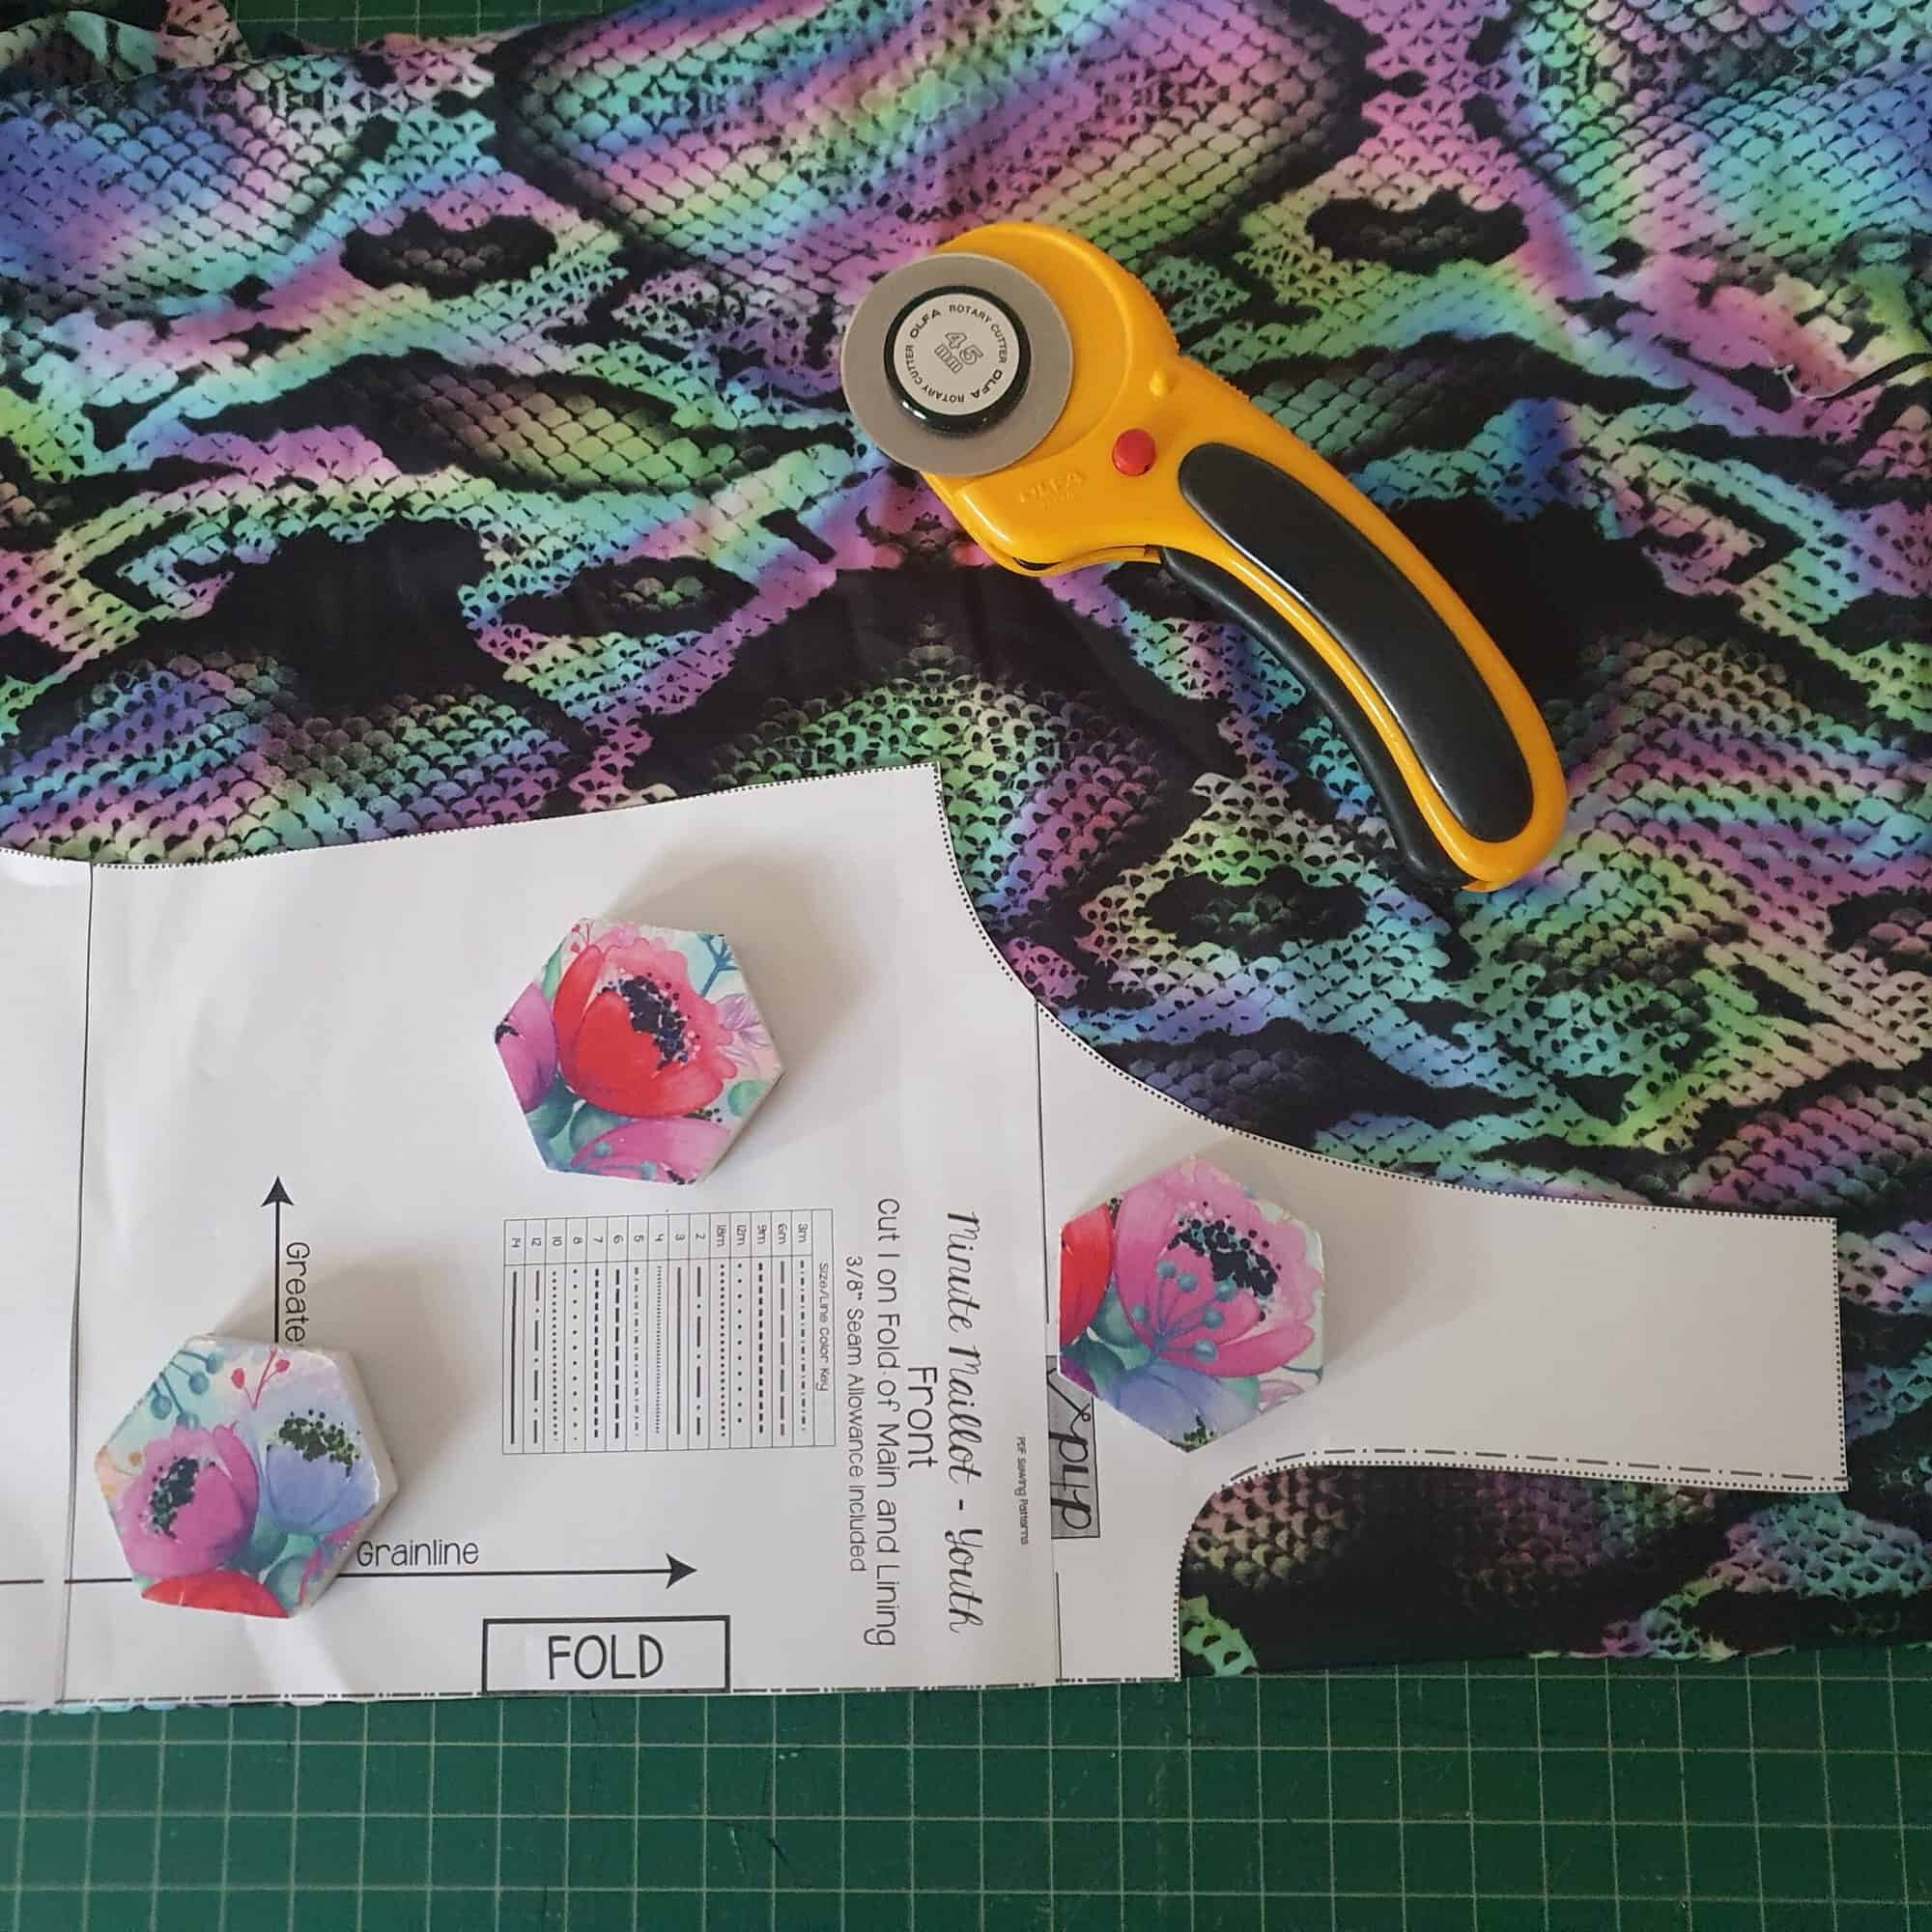
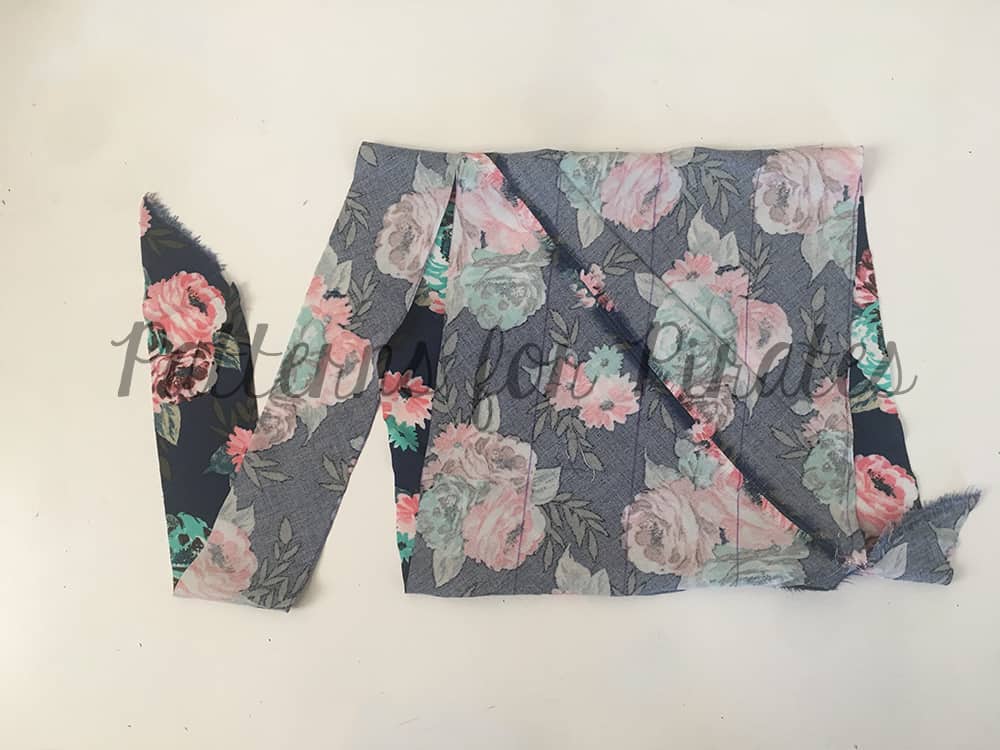
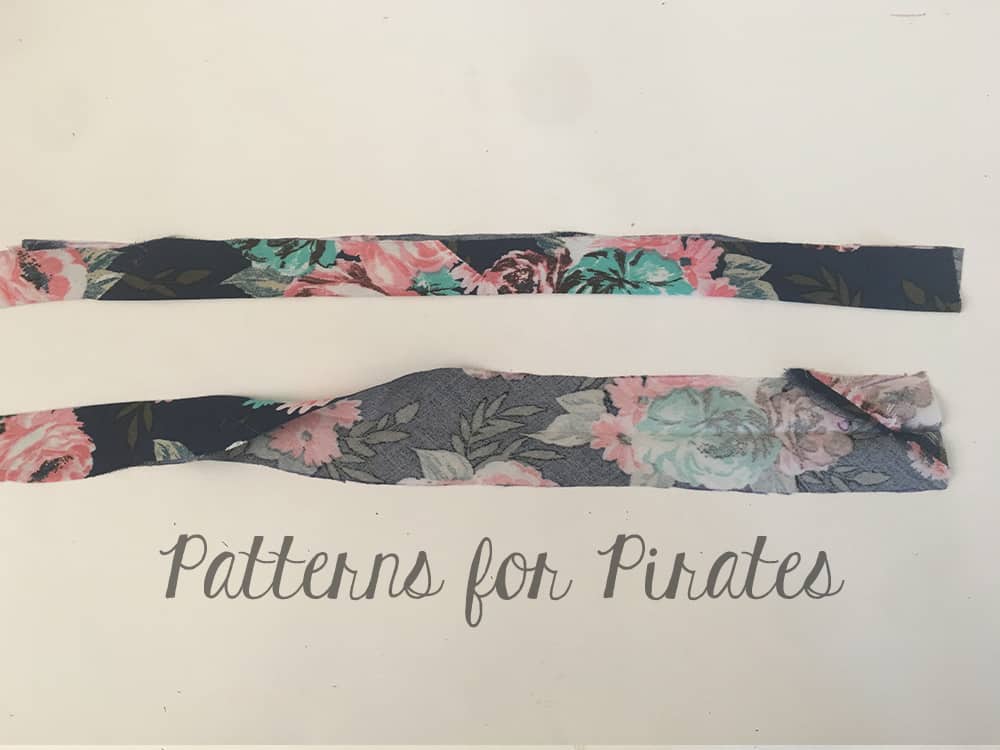
Because so many of us work with knits, we’re used to cutting our pattern pieces on the fold… or even cutting more than one piece at a time. Avoid layering your fabric at all times when cutting velvet. No matter how you fold it or how many pattern weights you’re using, velvet tends to shift. It’s best to cut your pattern pieces out in a single layer for more accurate cutting.
Velvet tends to shed a lot when you cut it. It’s best to wear a mask so you don’t inhale those fibers. You may not notice it immediately, but it can impact your sinuses.

Don’t skip cleaning up afterwards or you’ll have velvet fibers on e-v-e-r-y-t-h-i-n-g until the end of time.
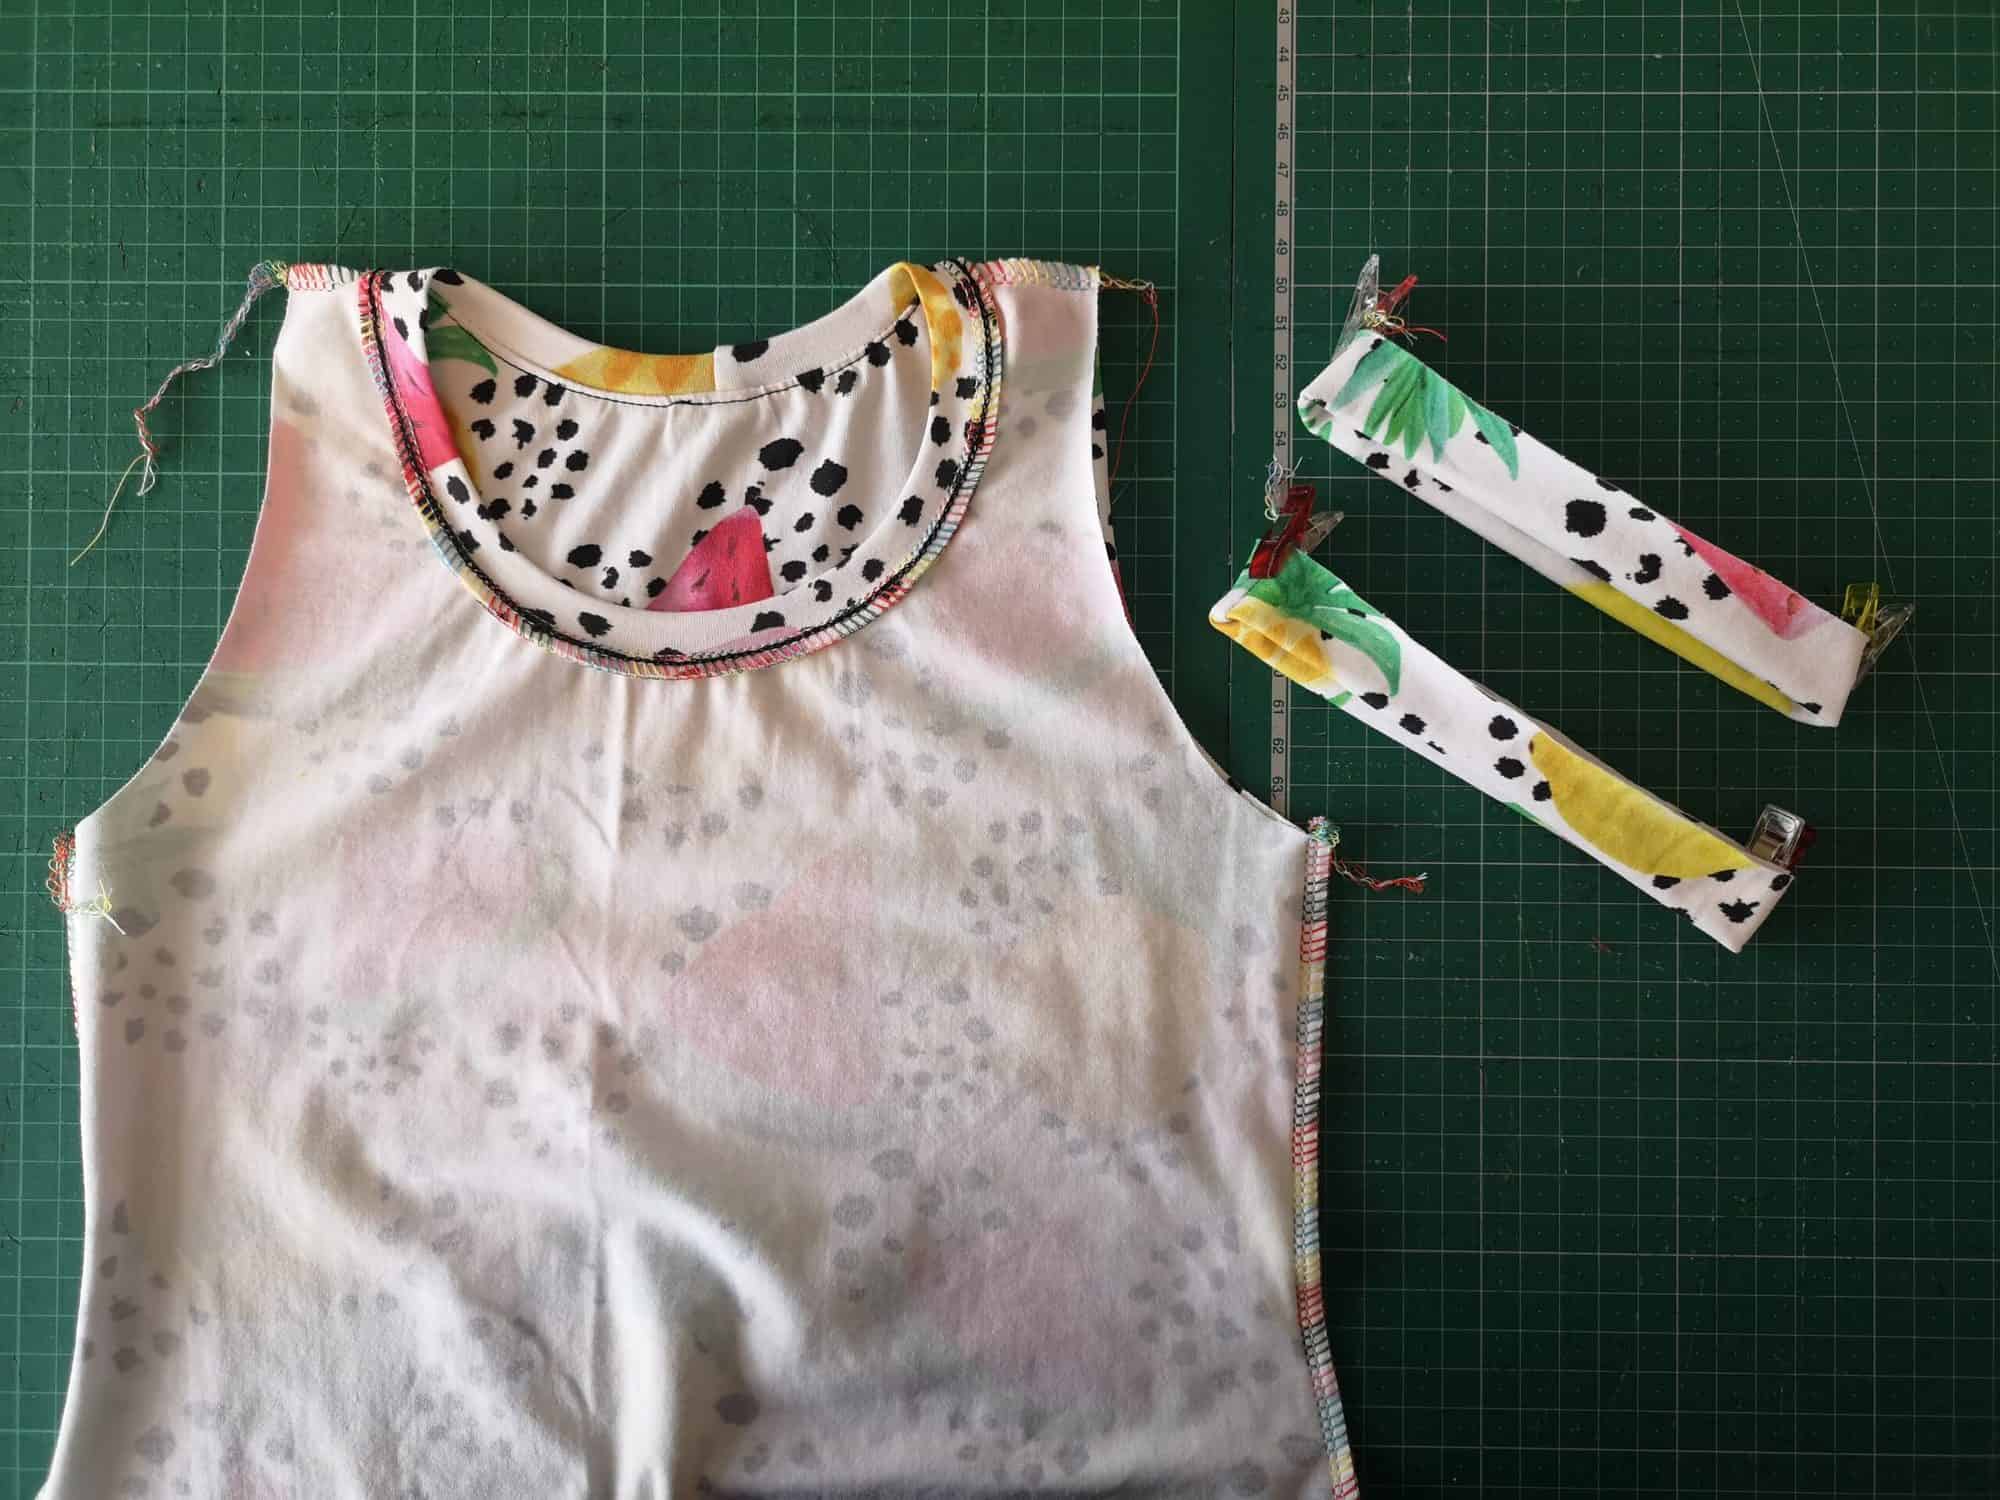
Sewing
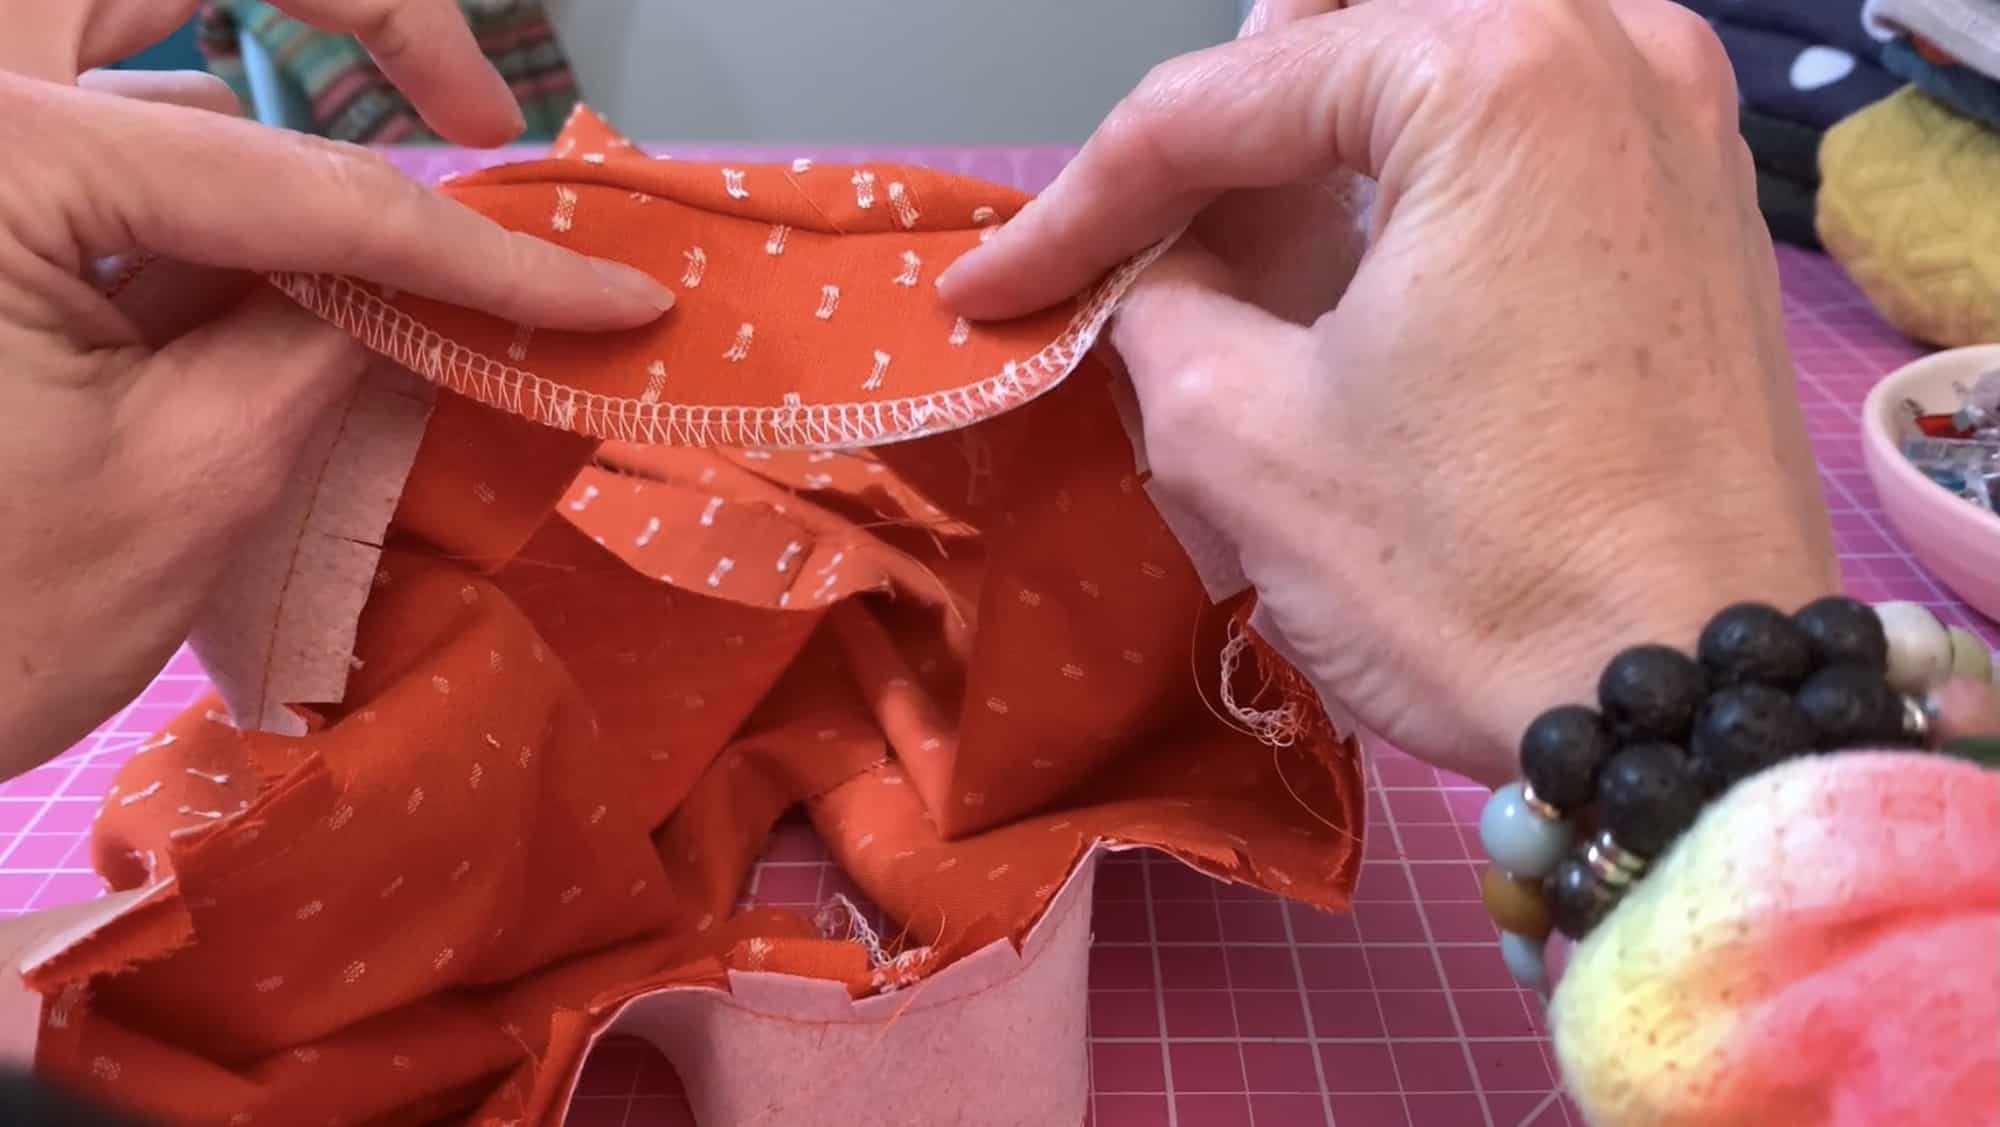
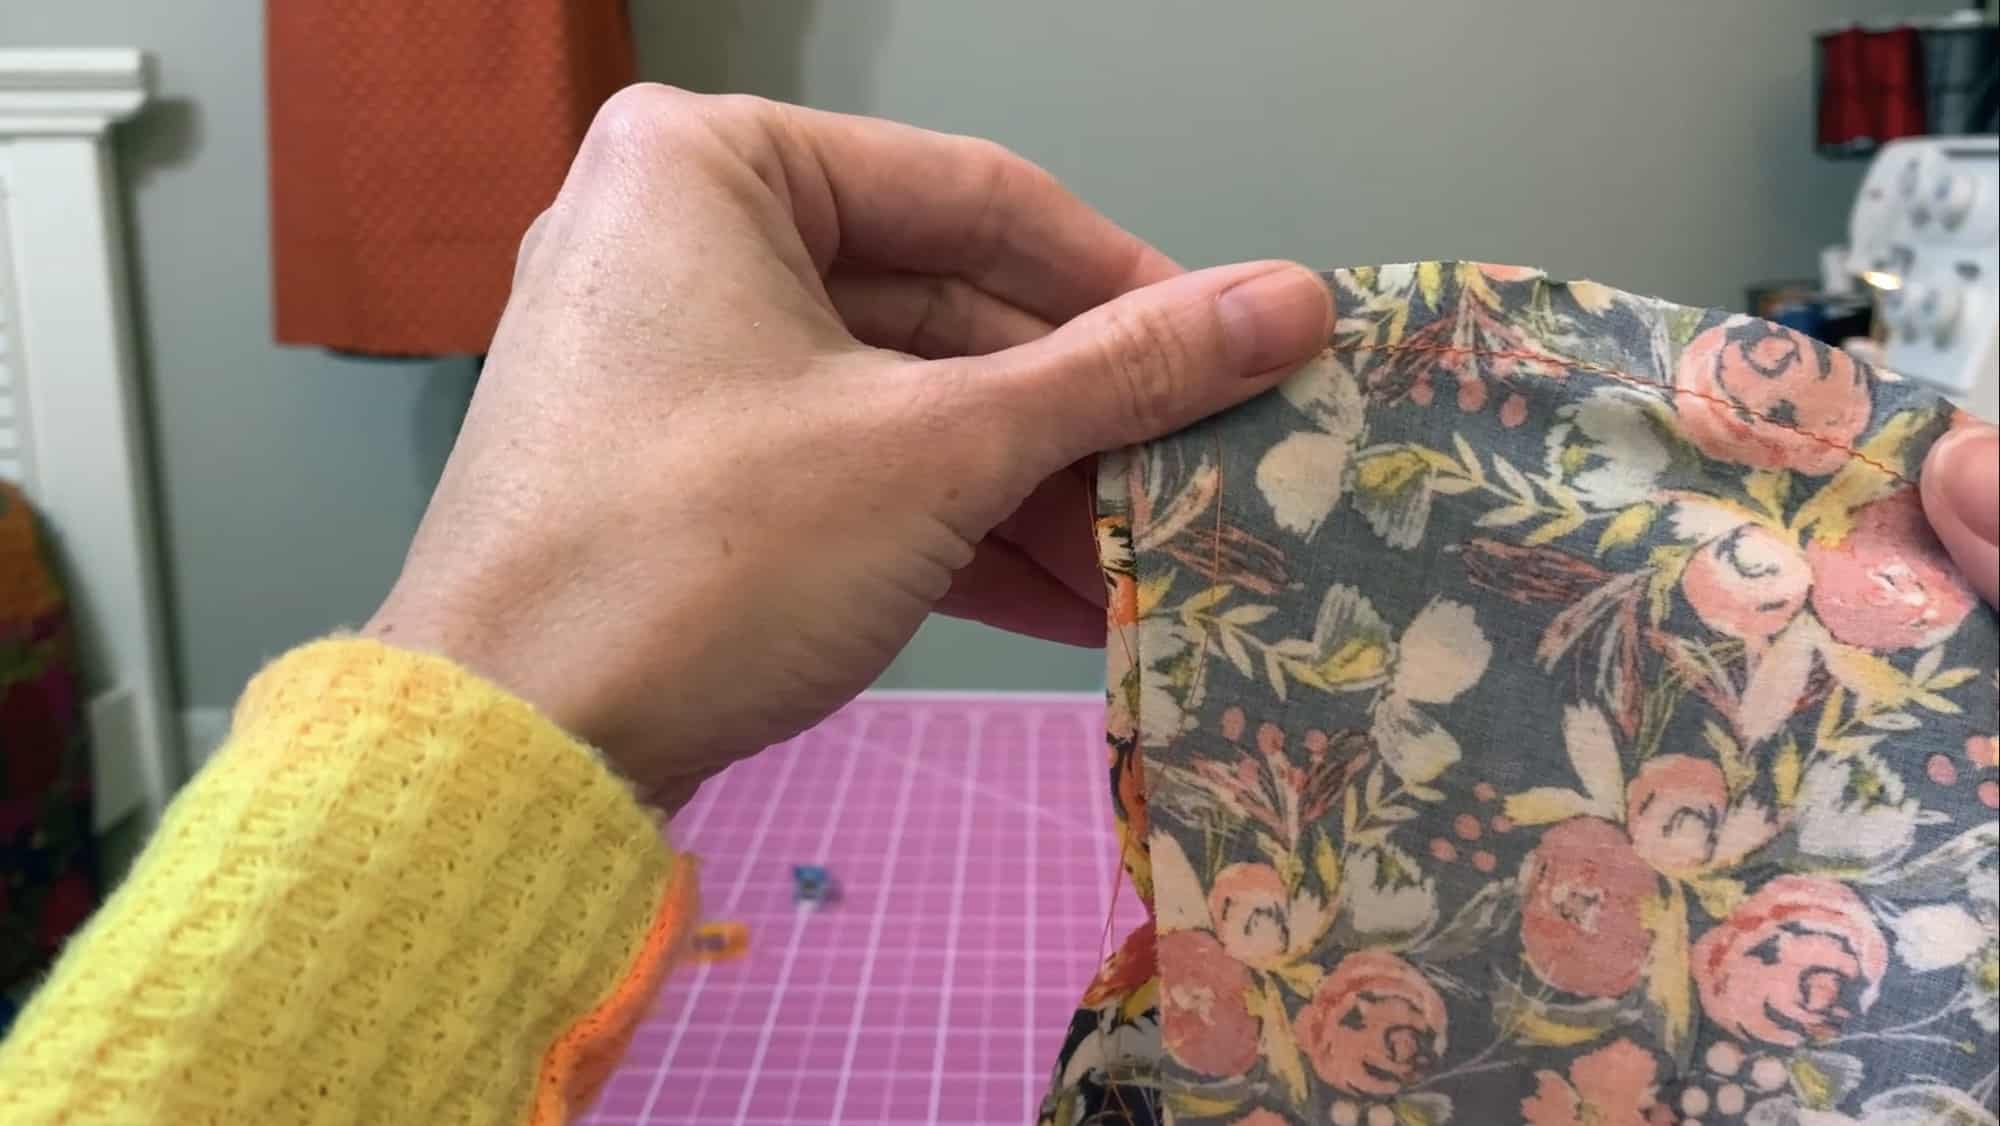
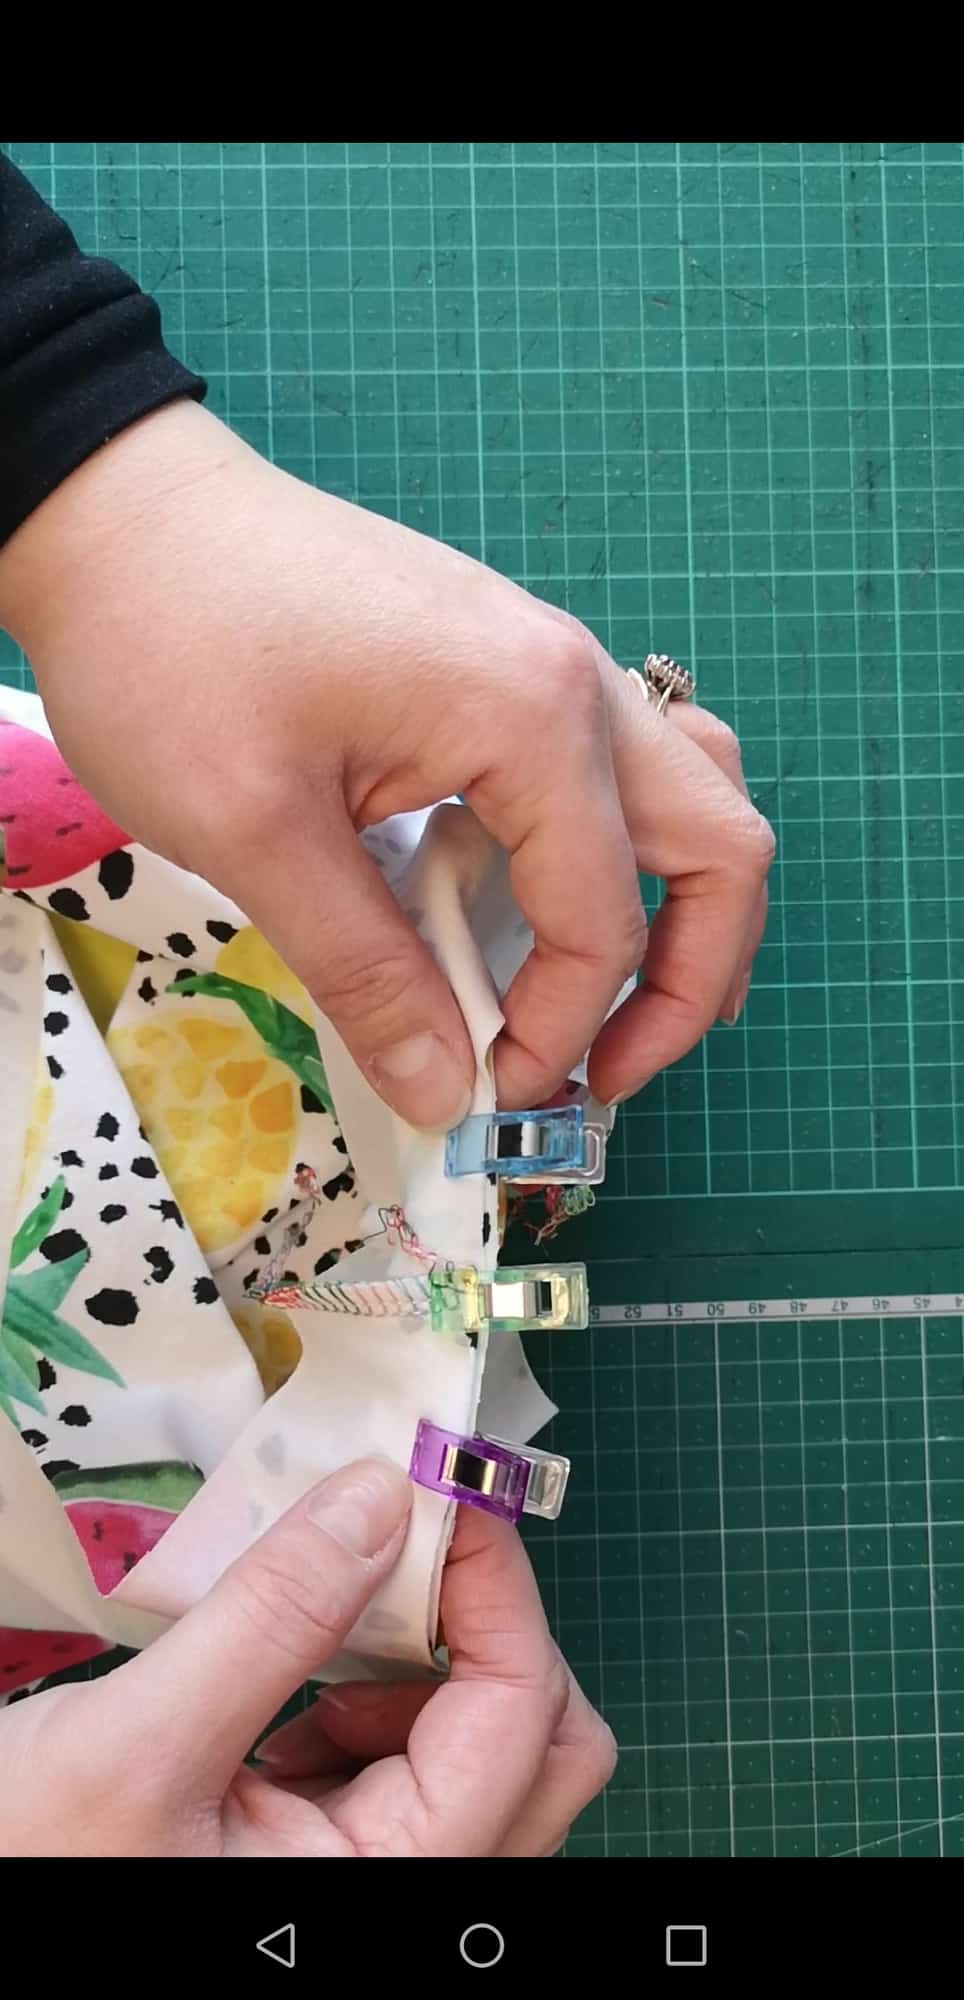
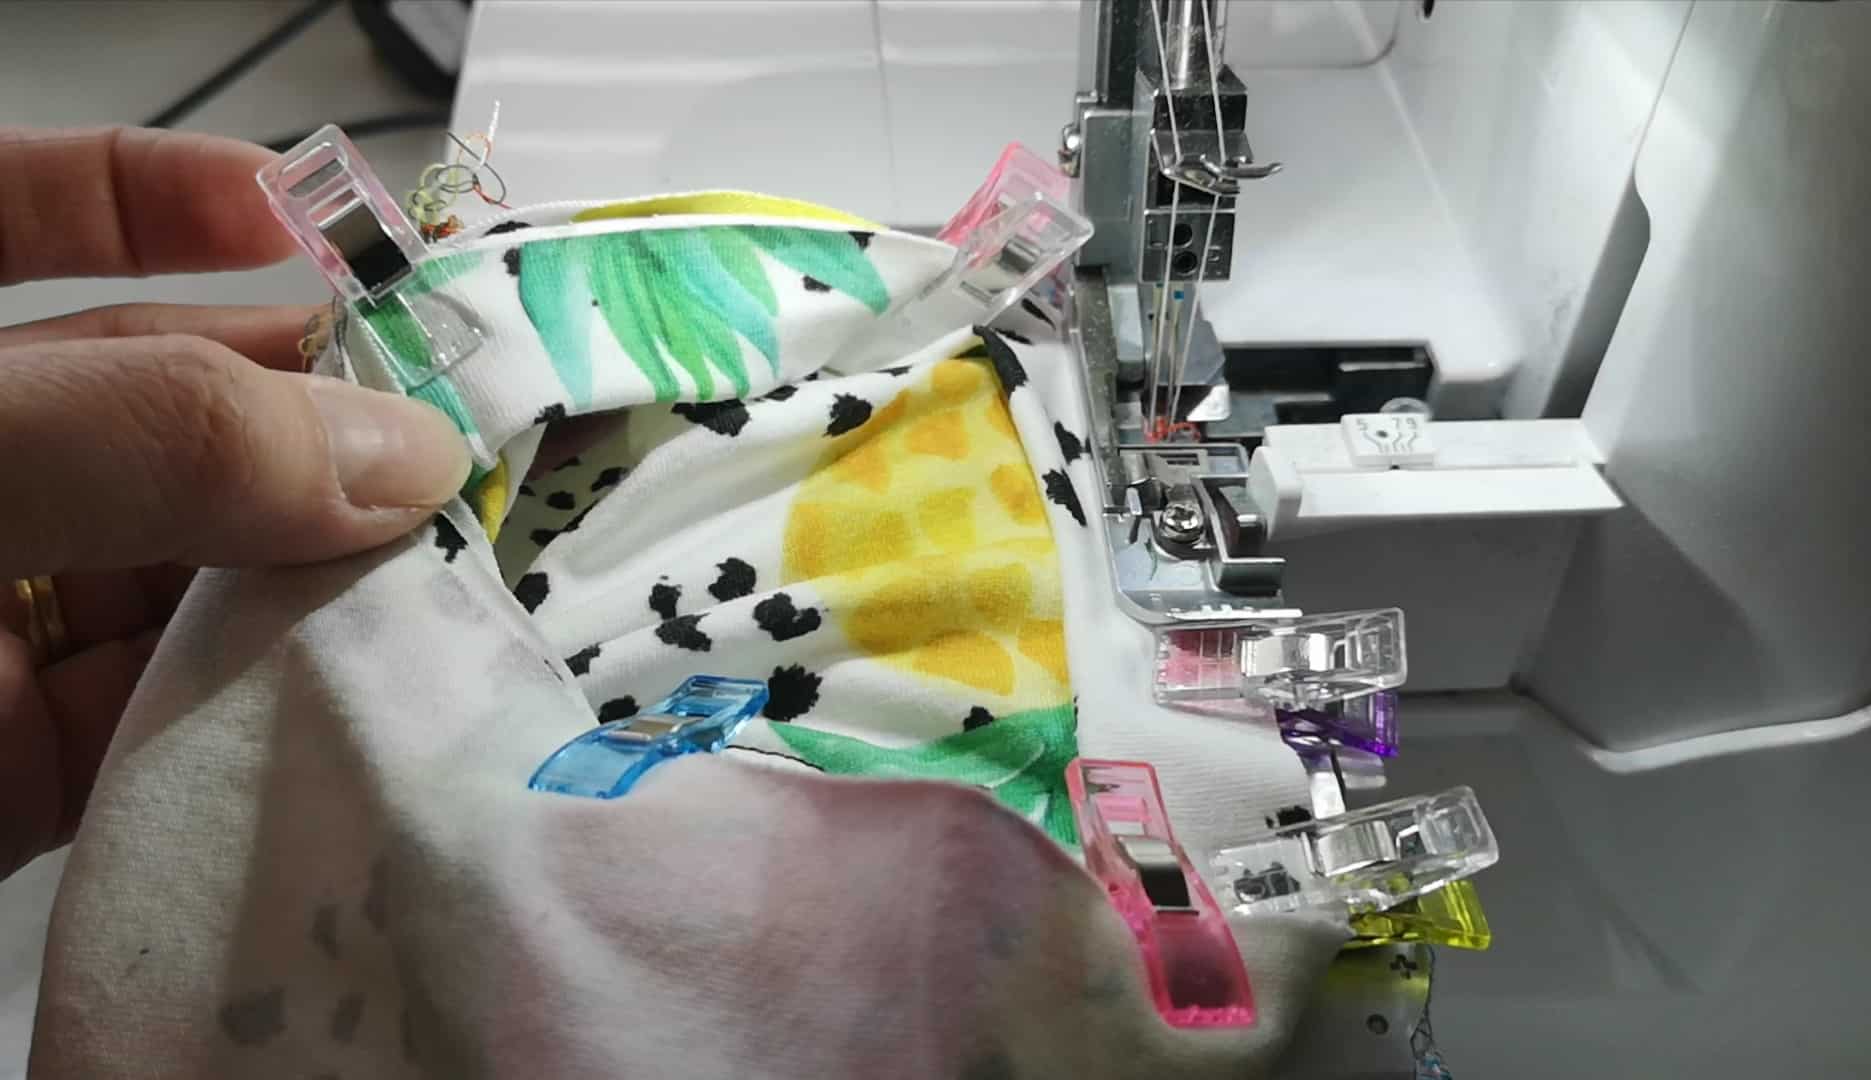
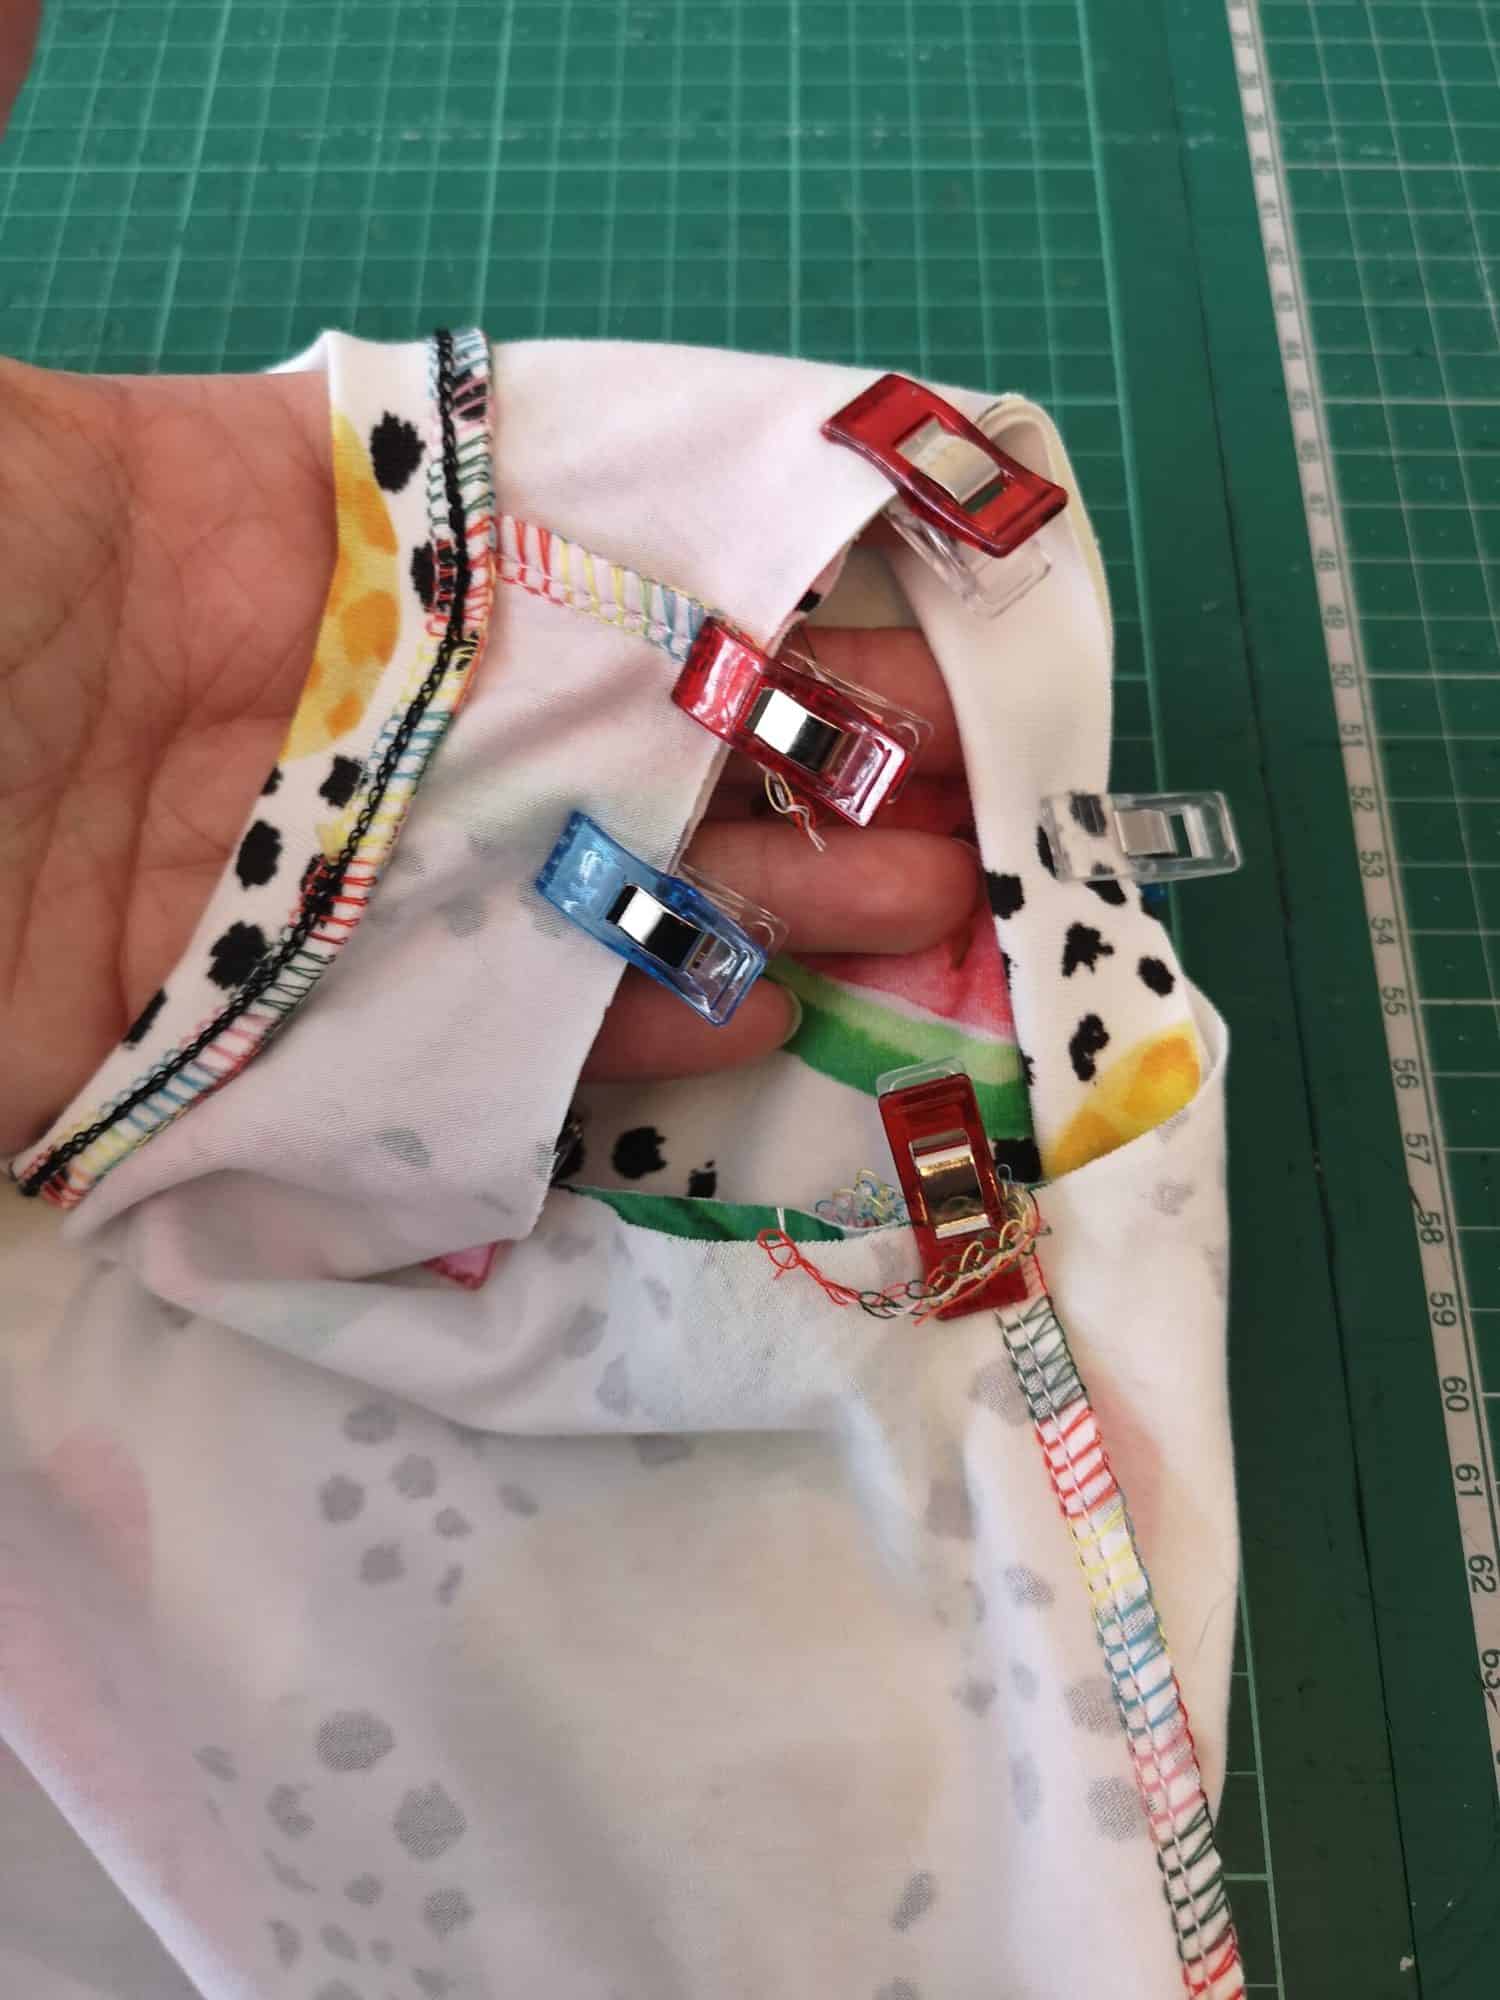
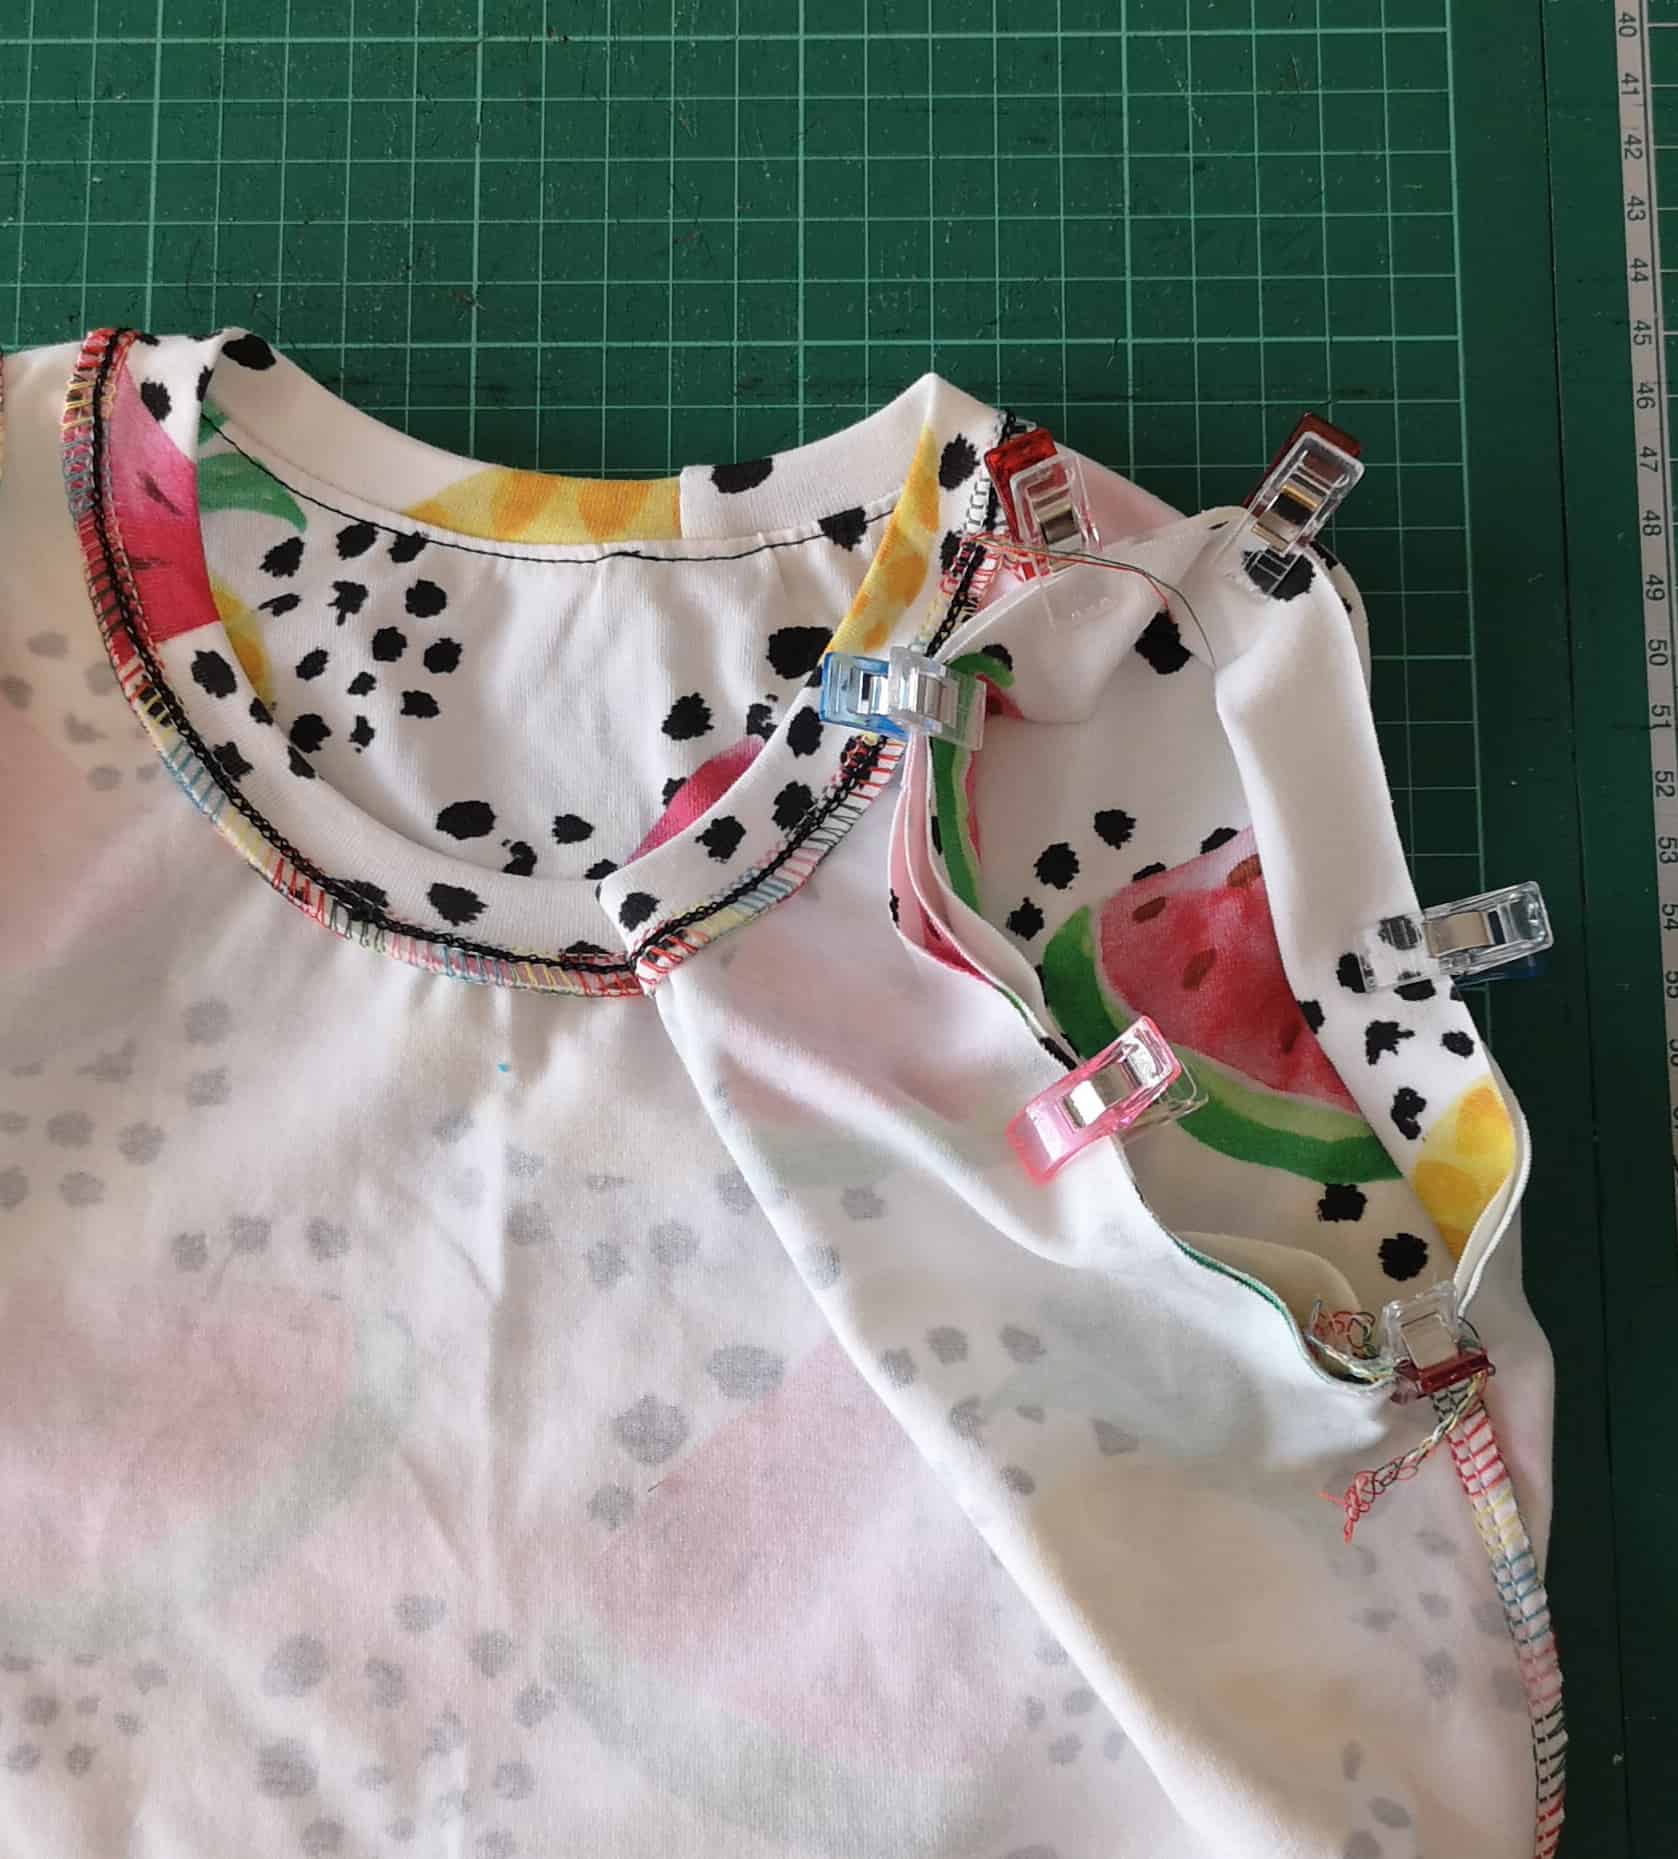
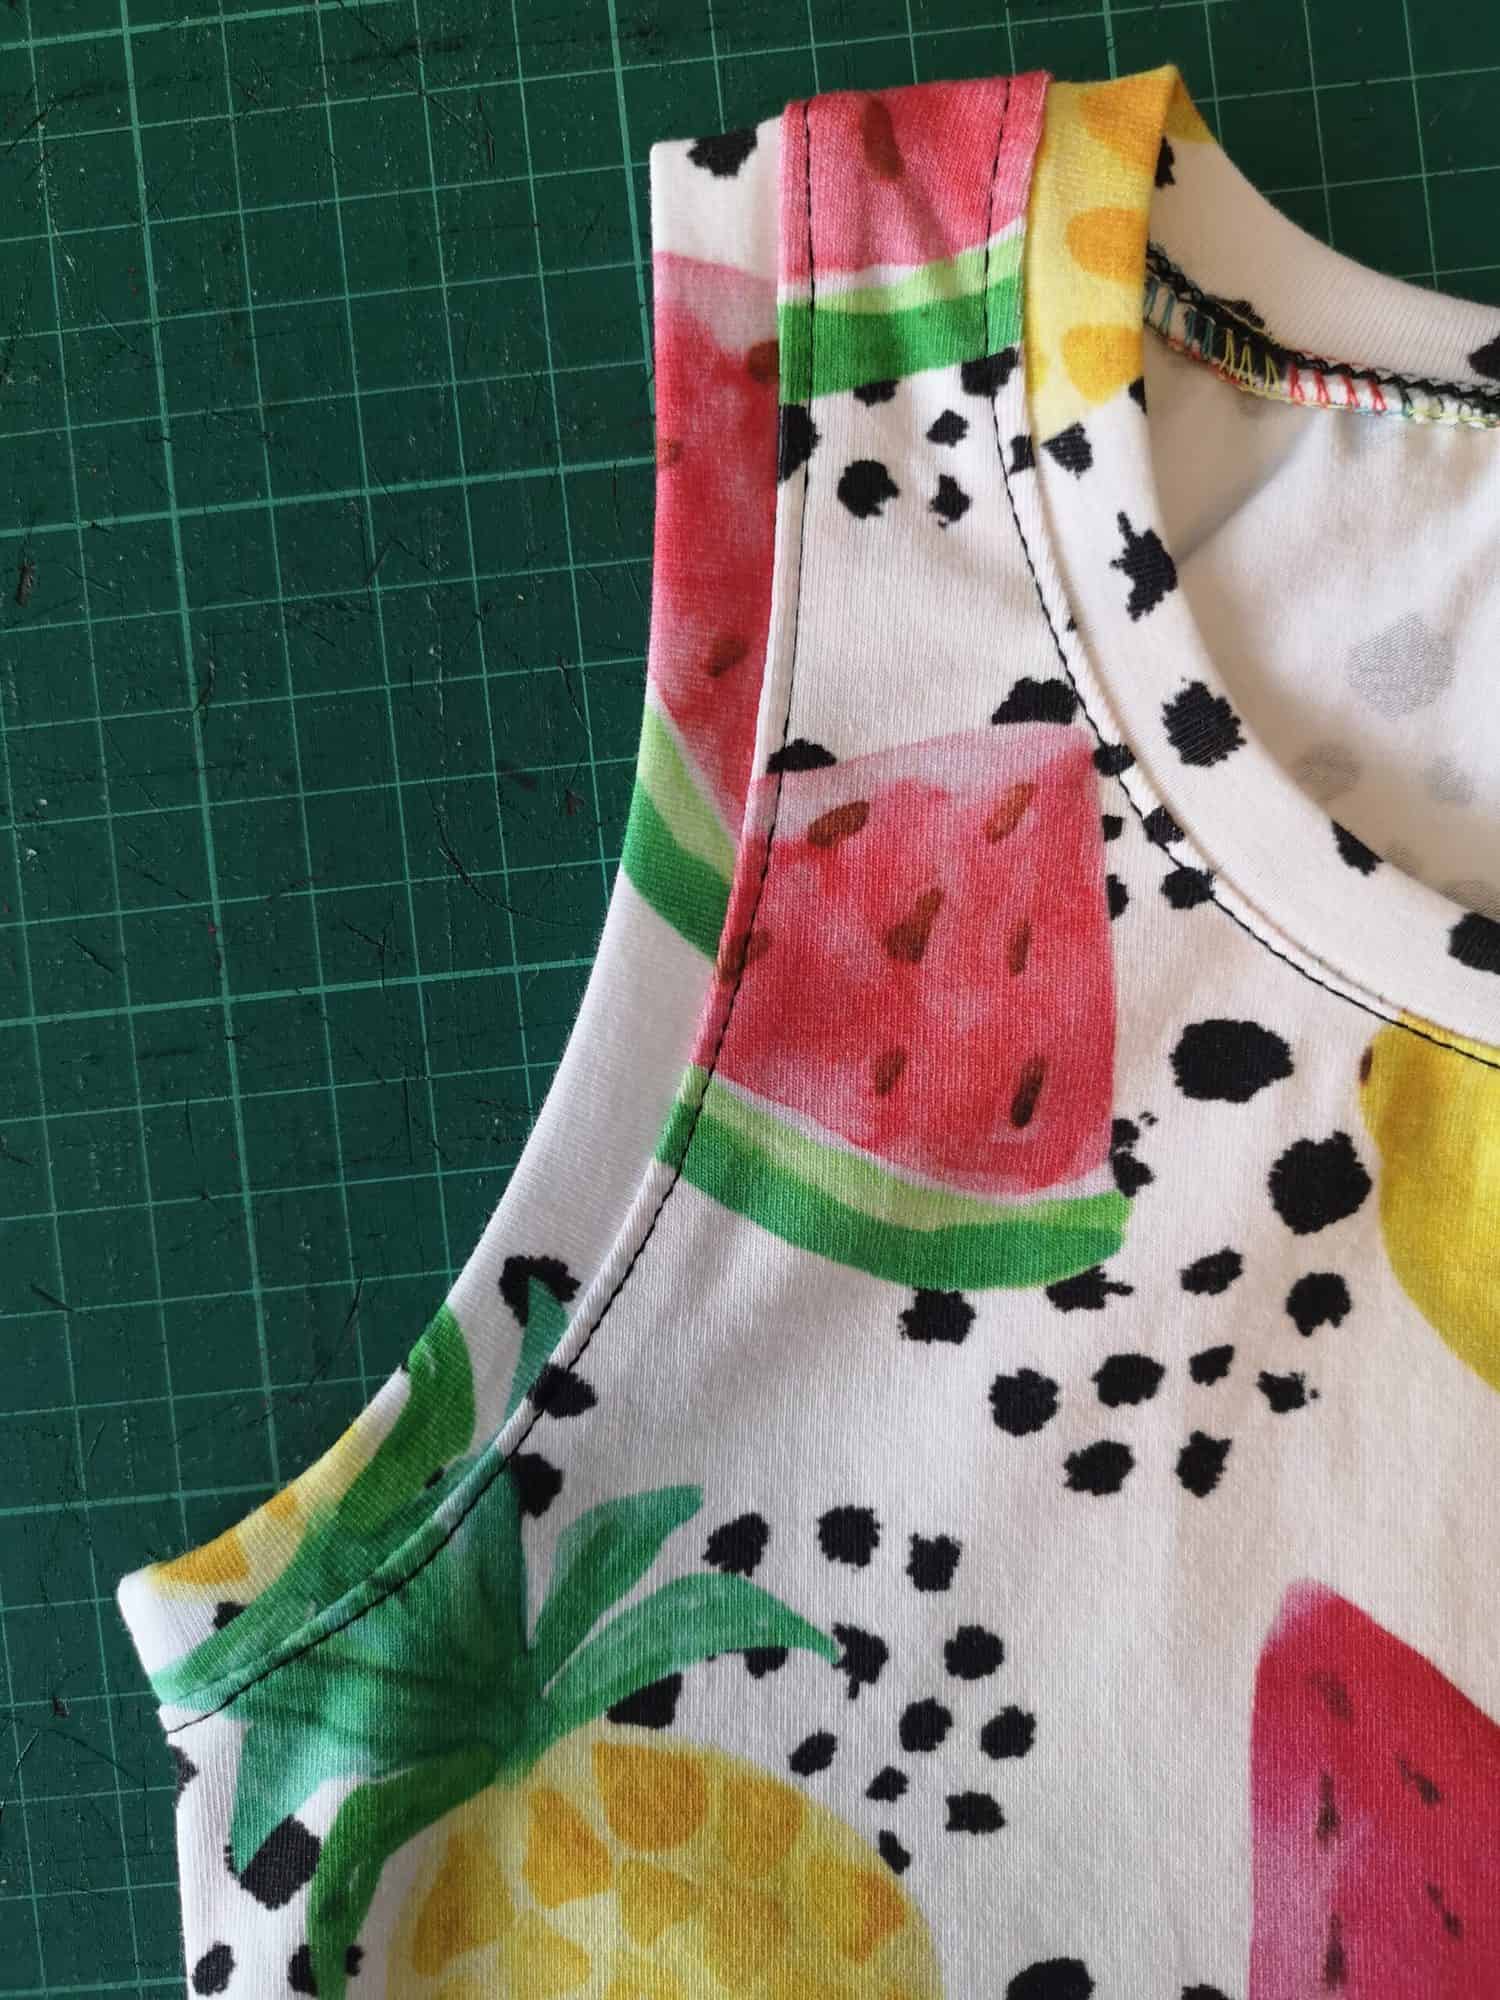
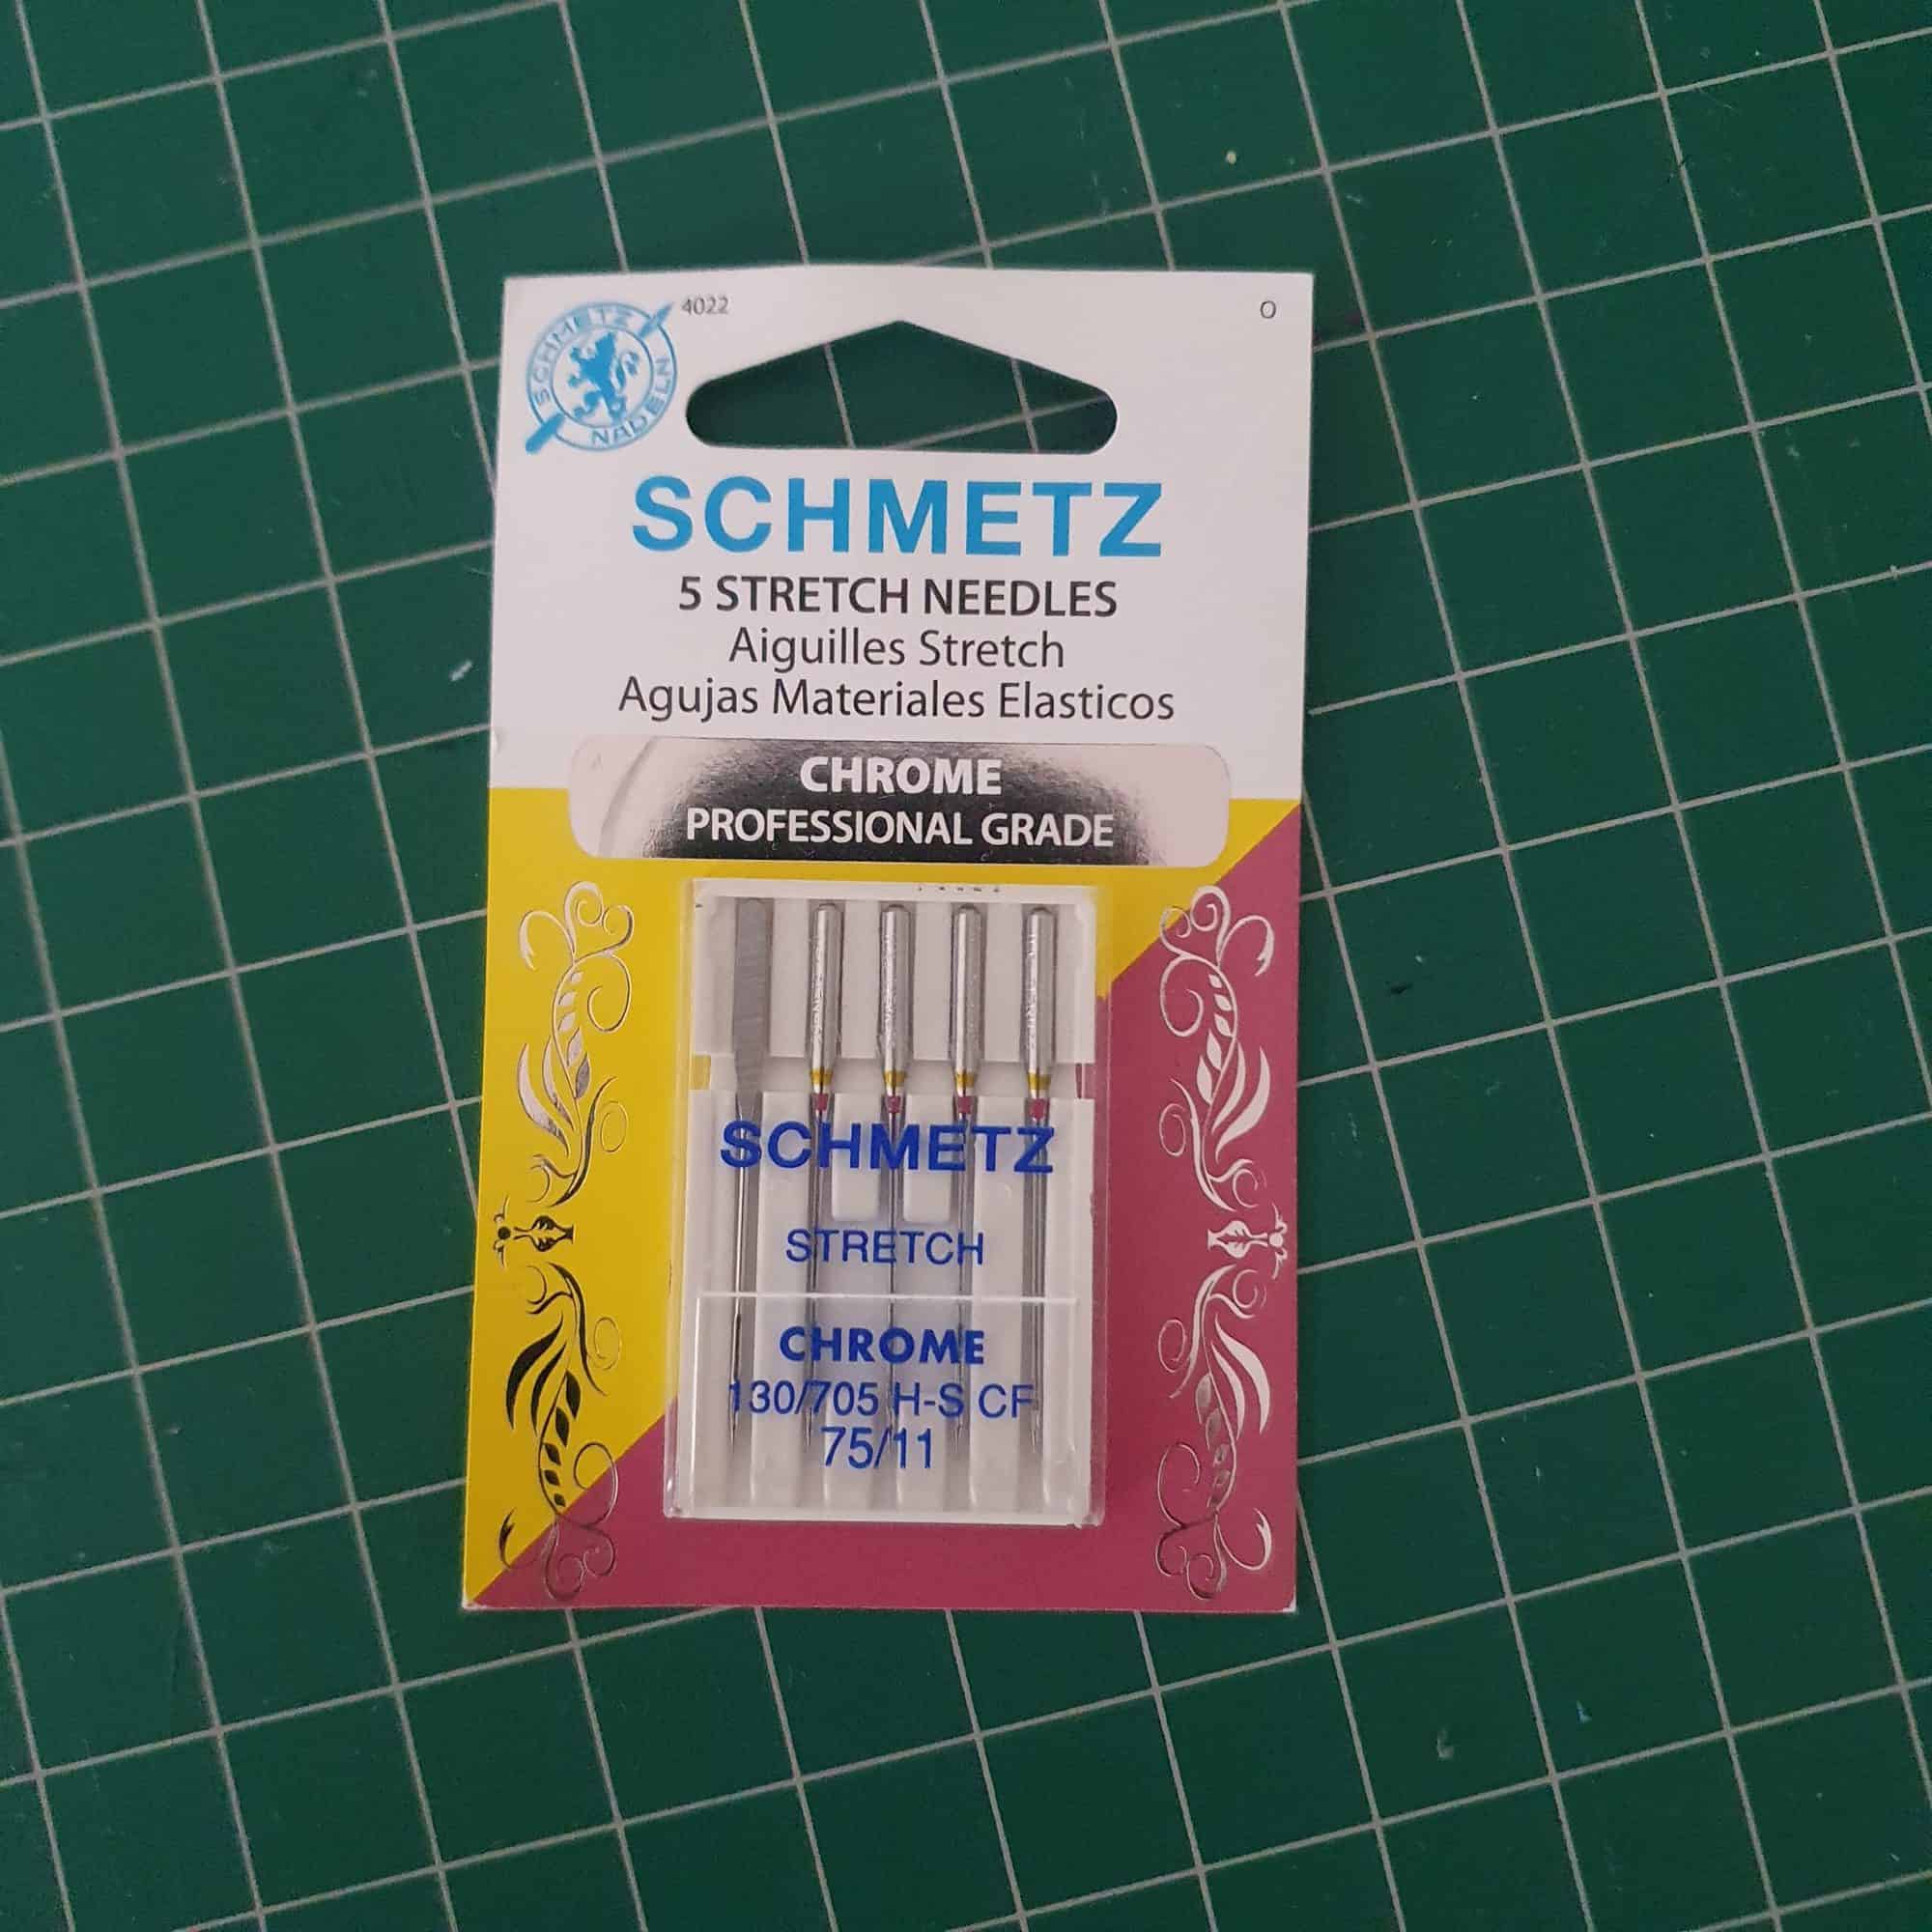
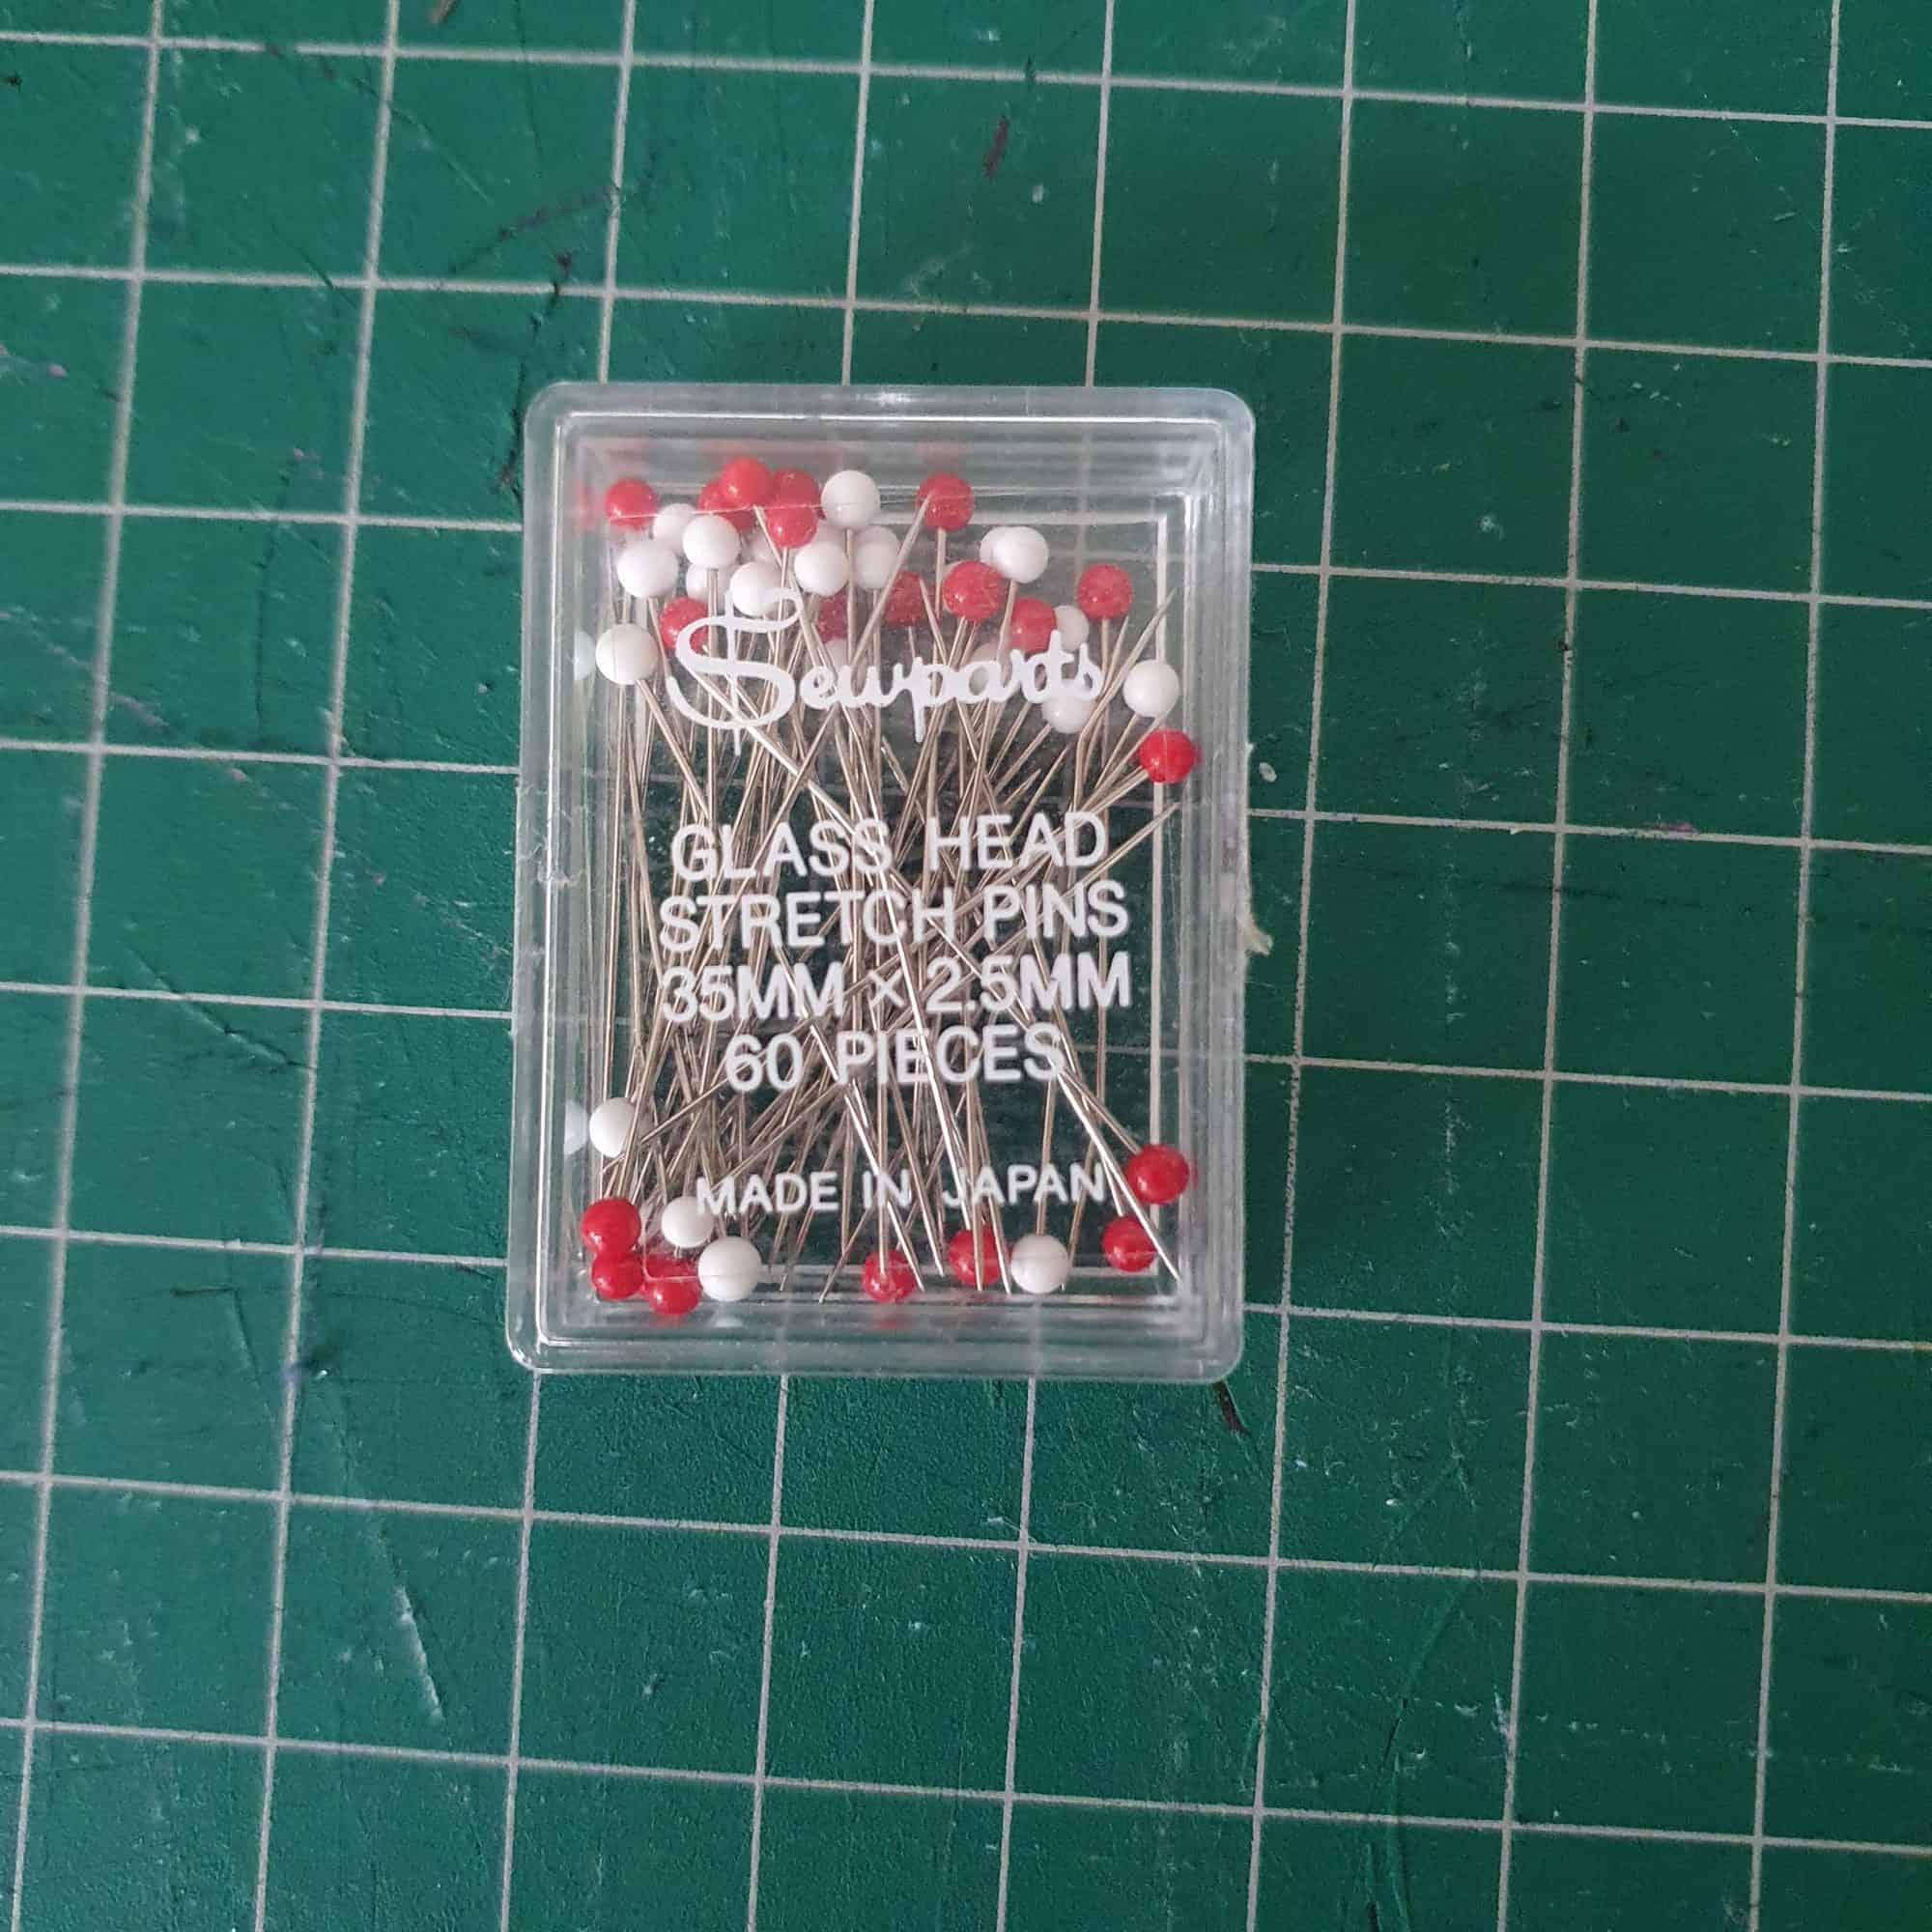
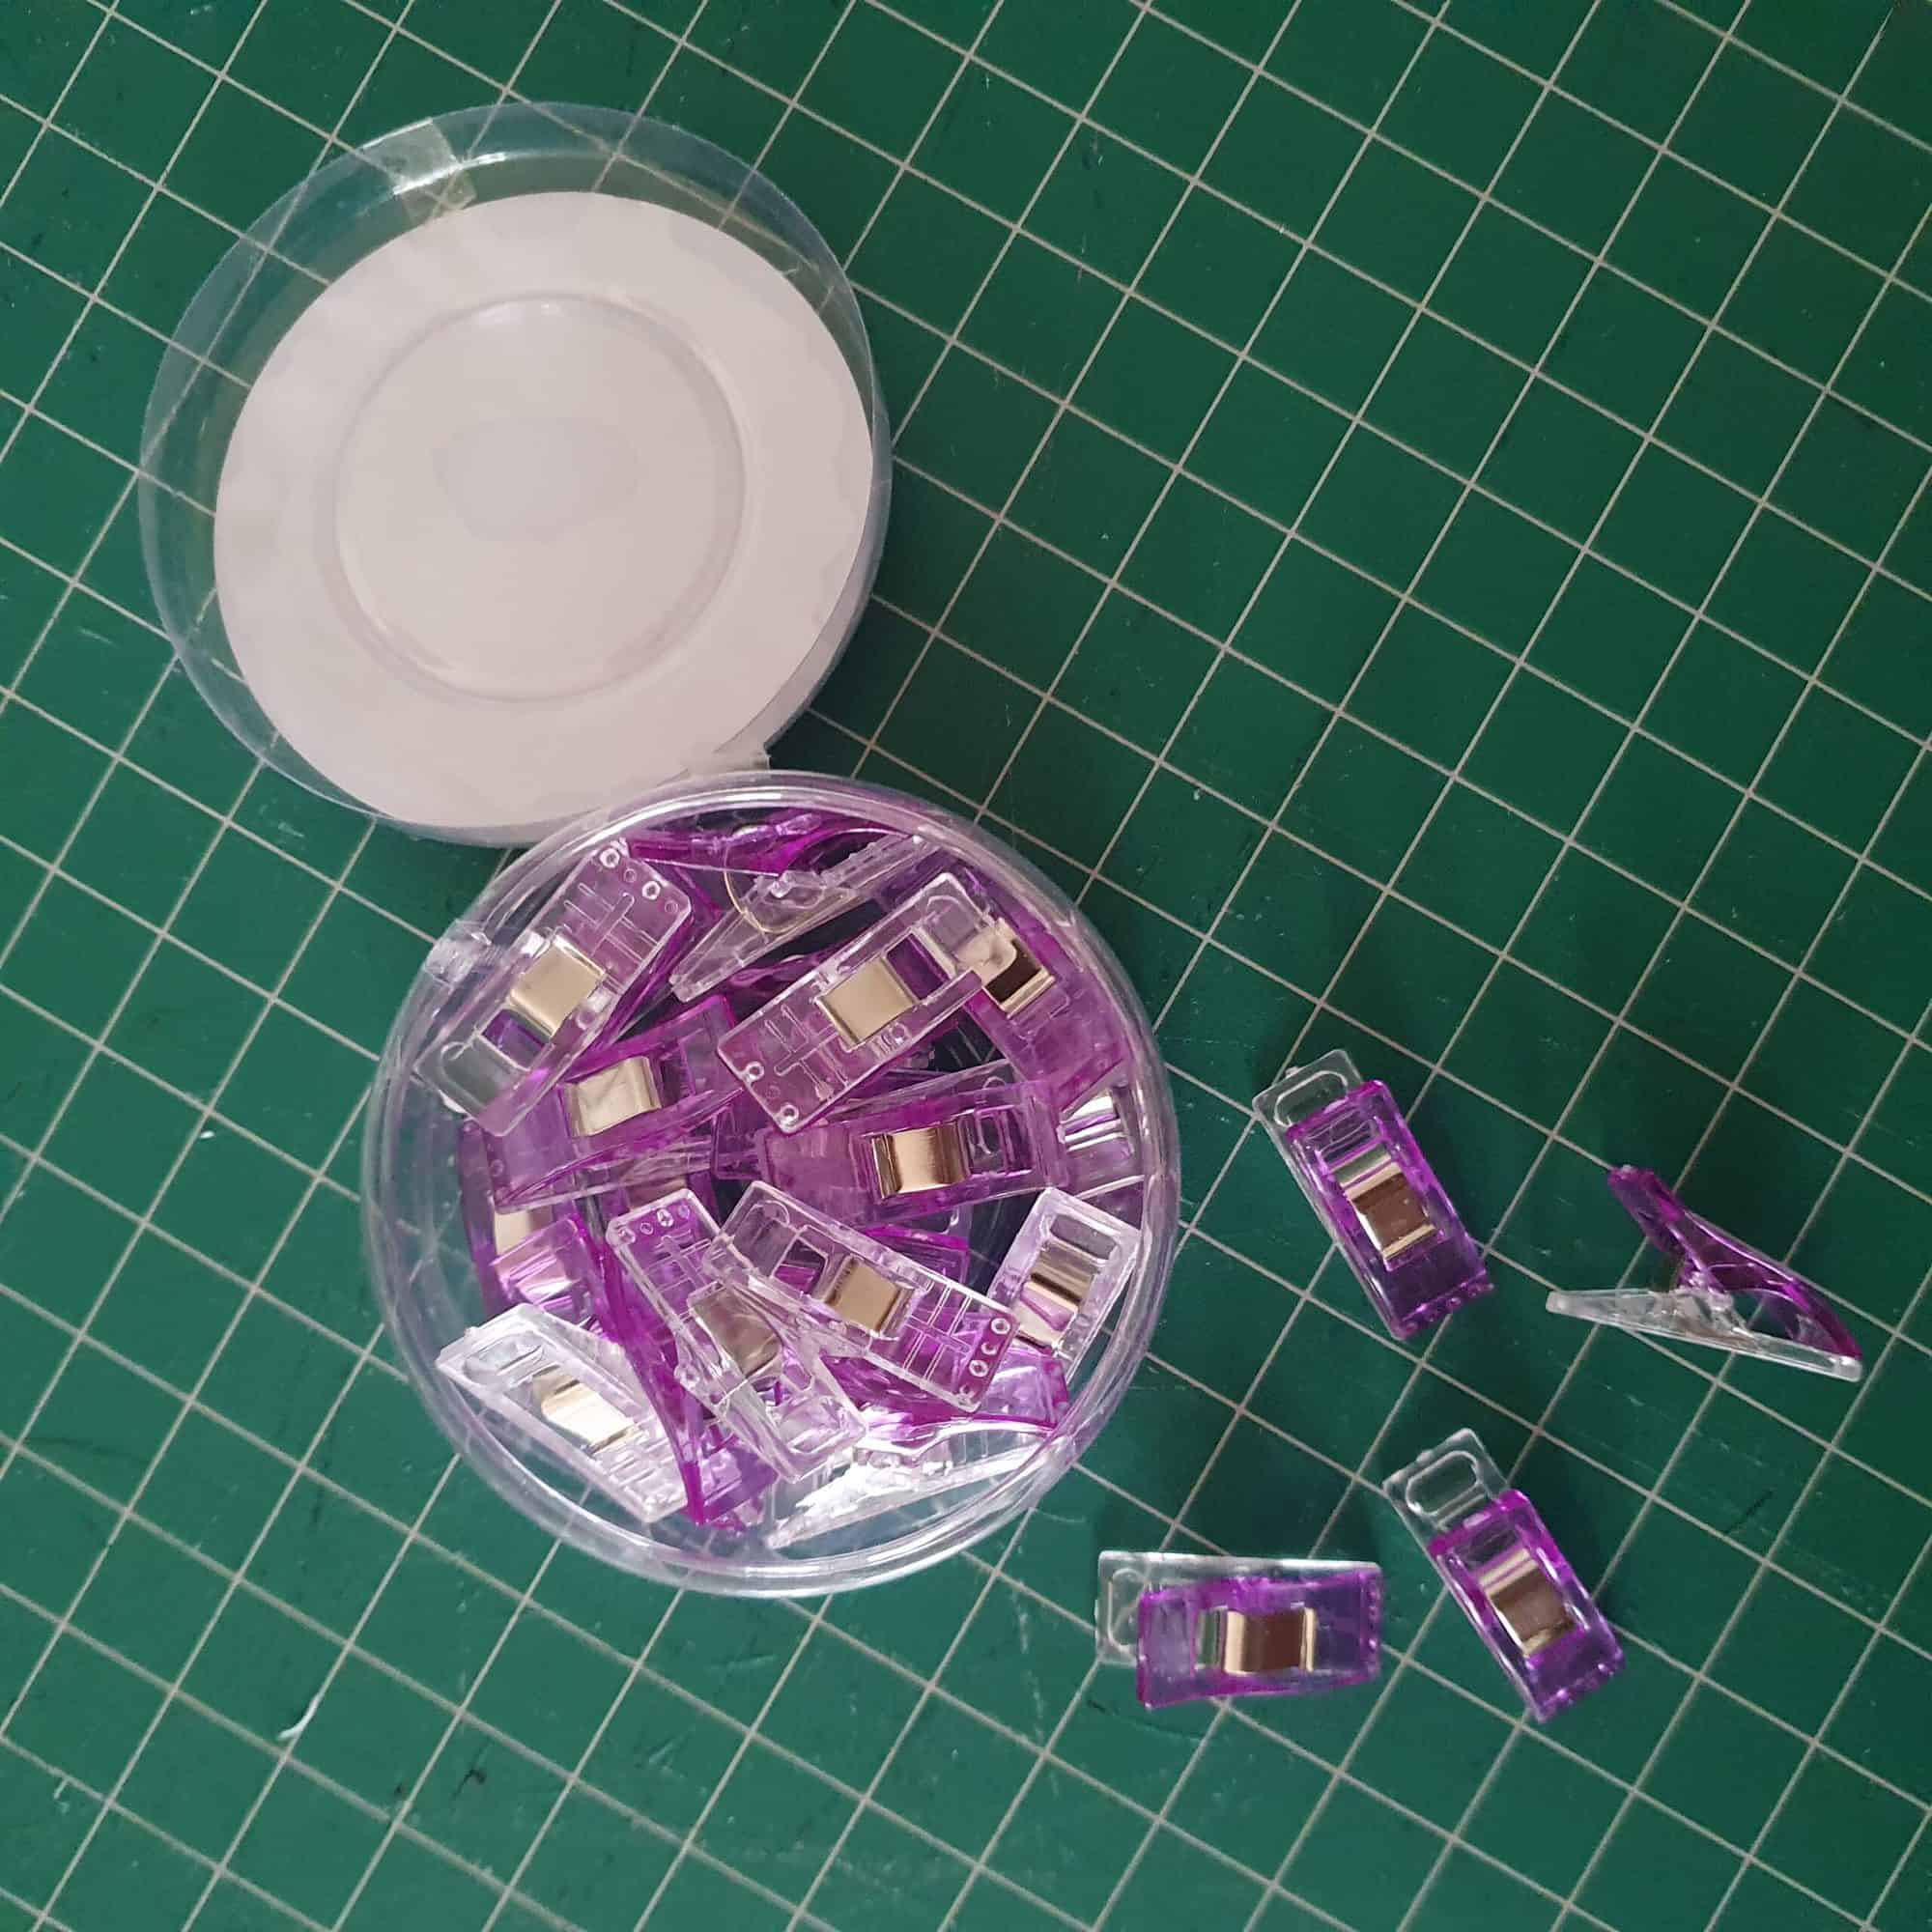
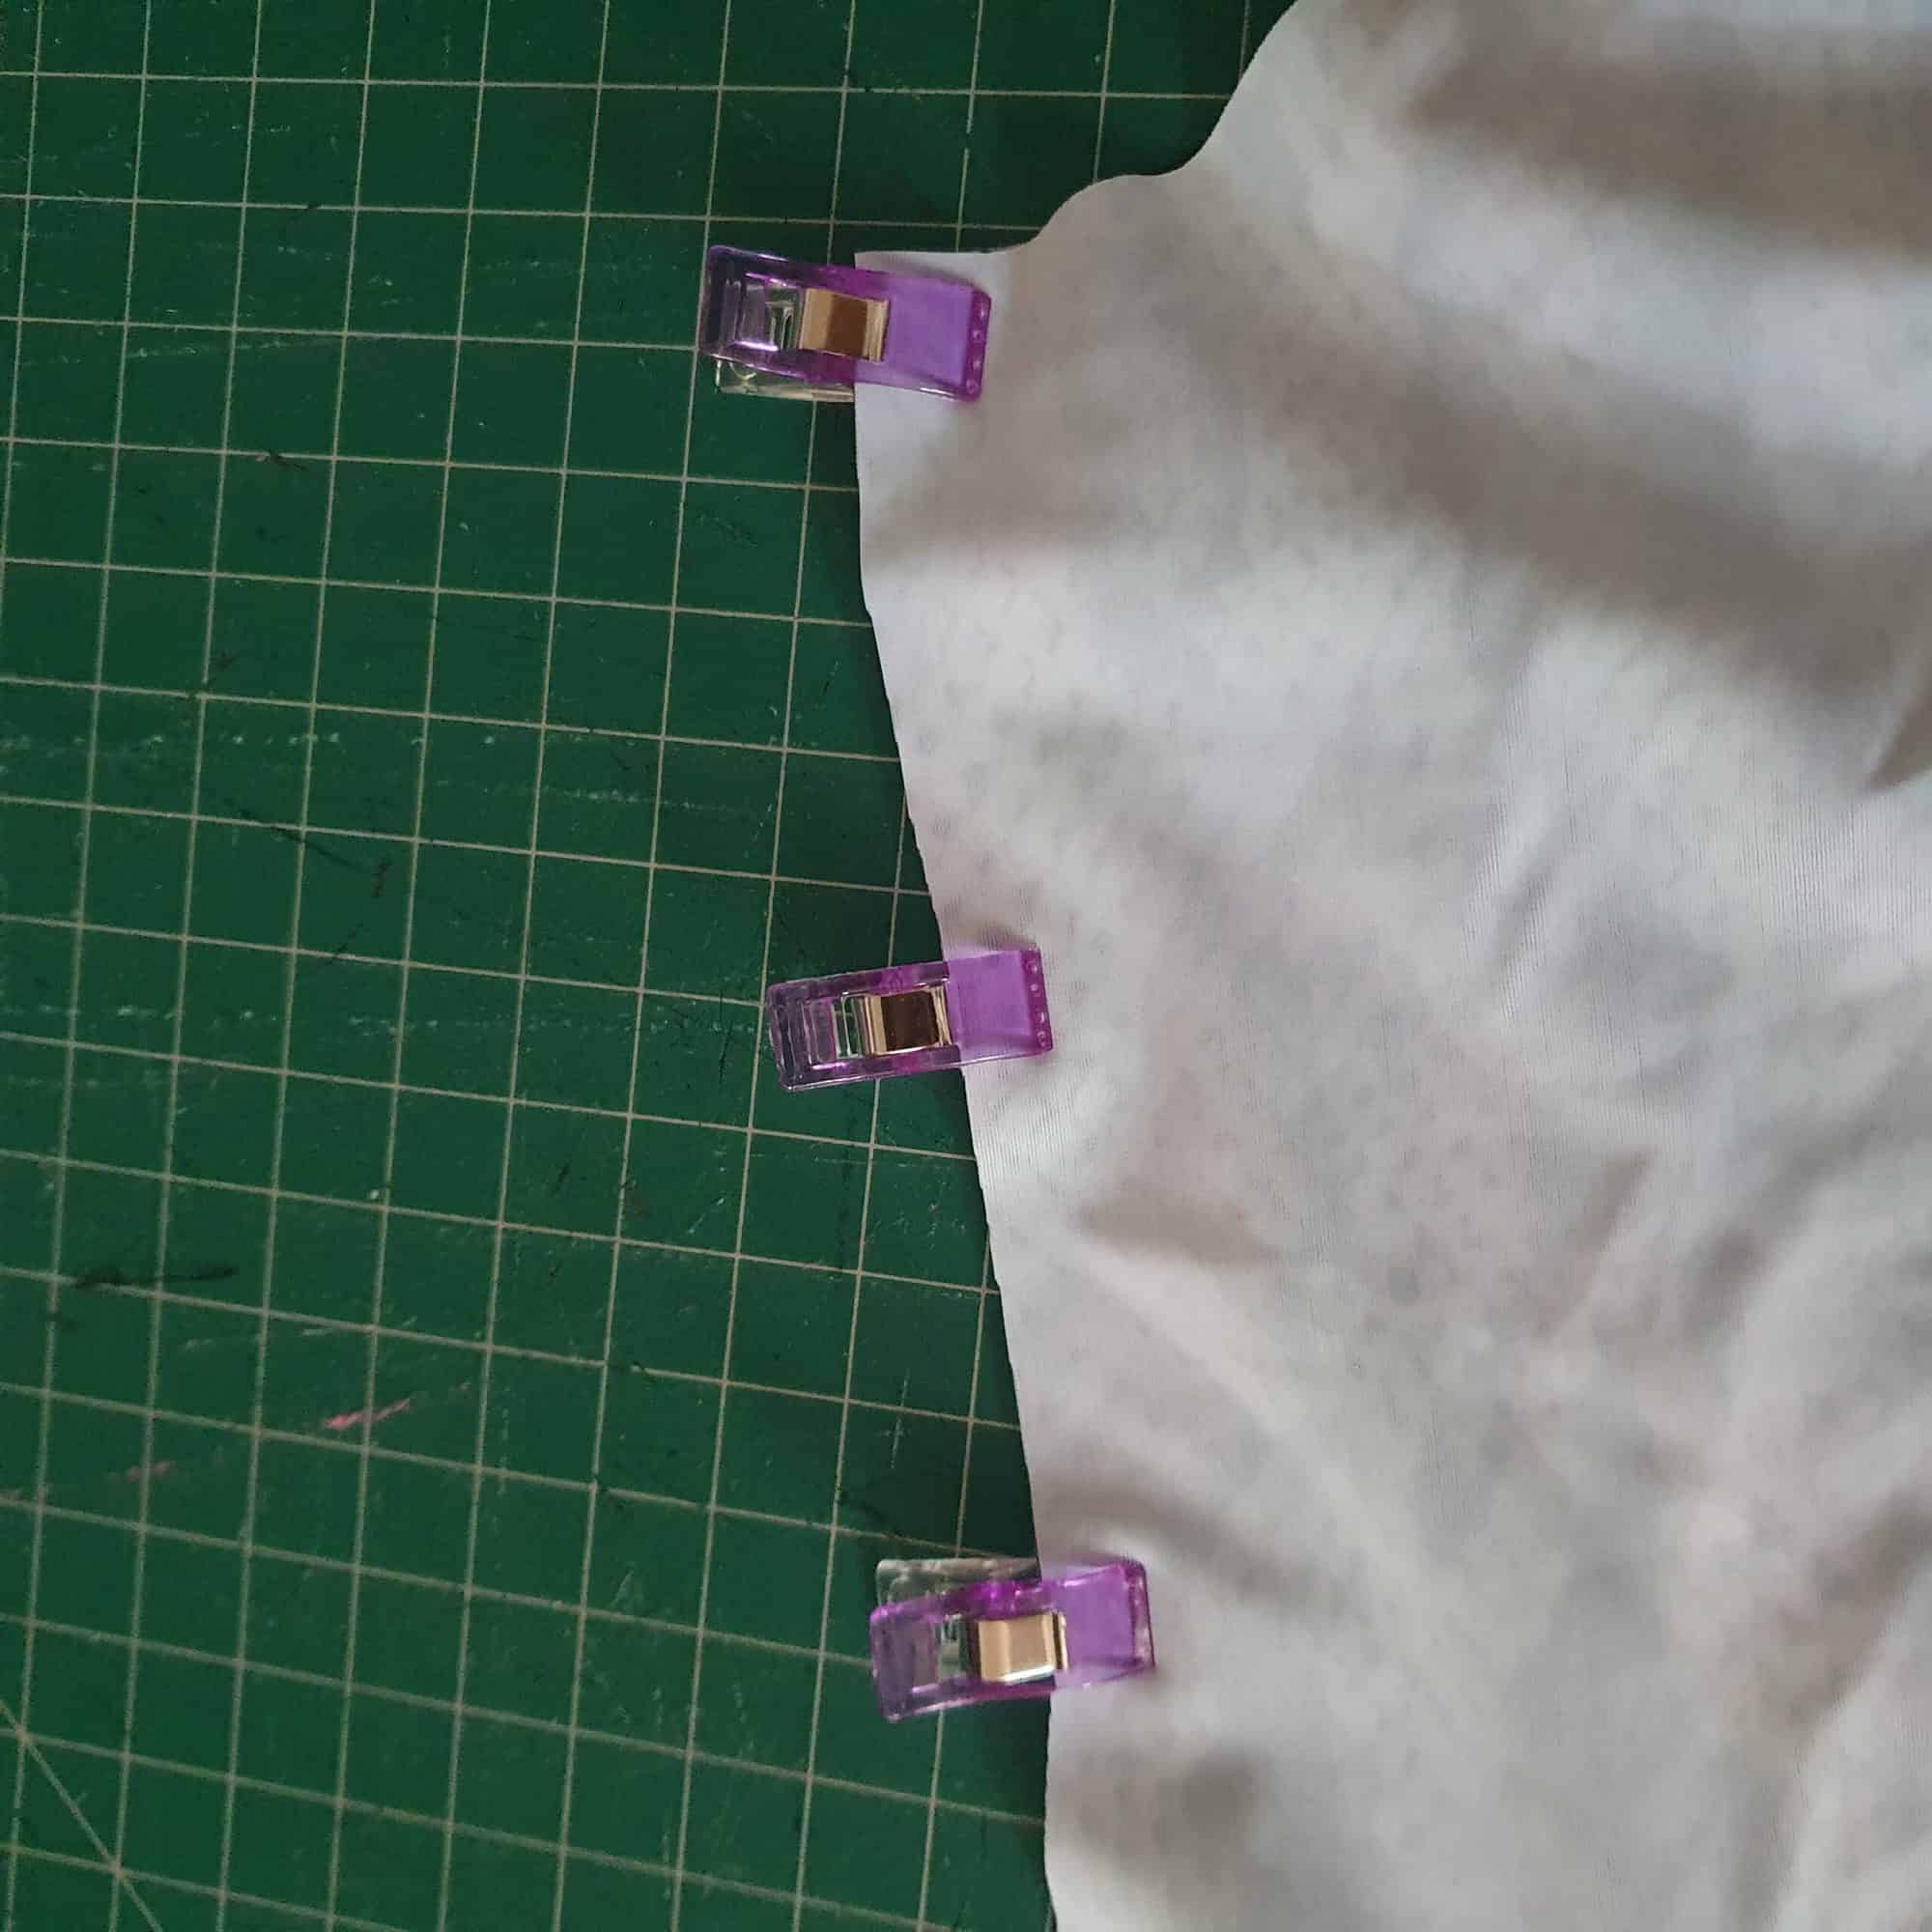
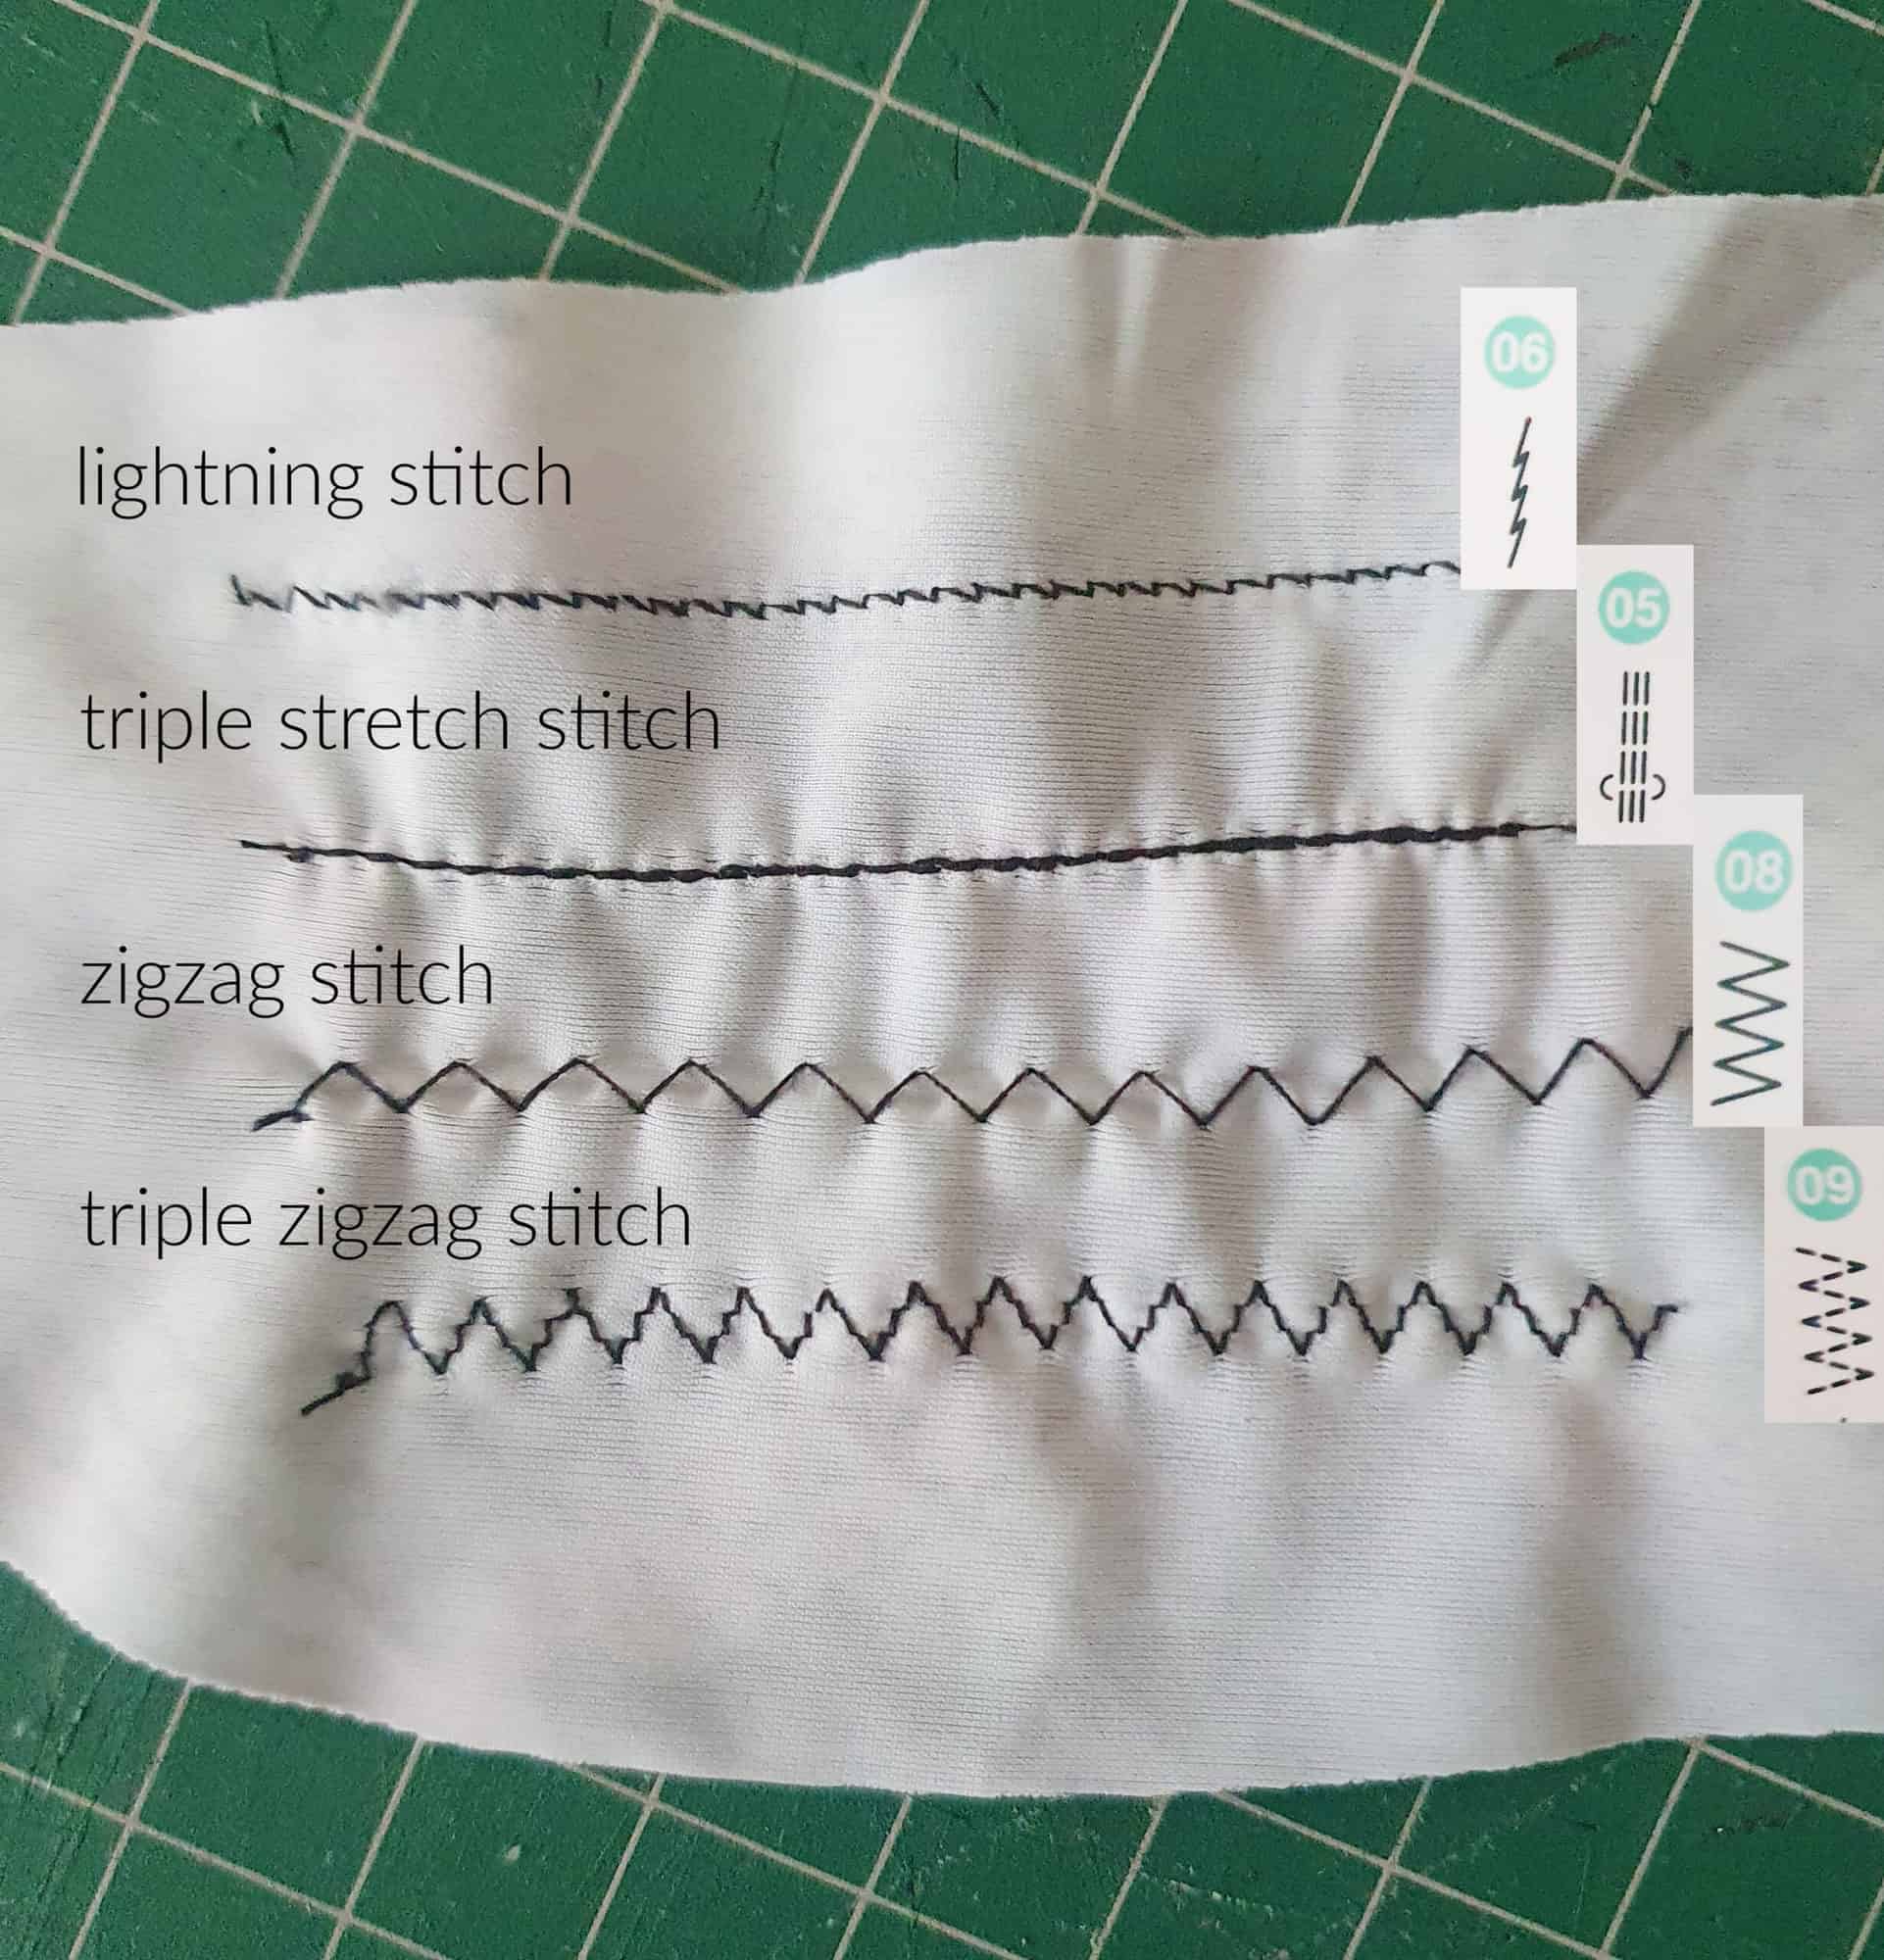
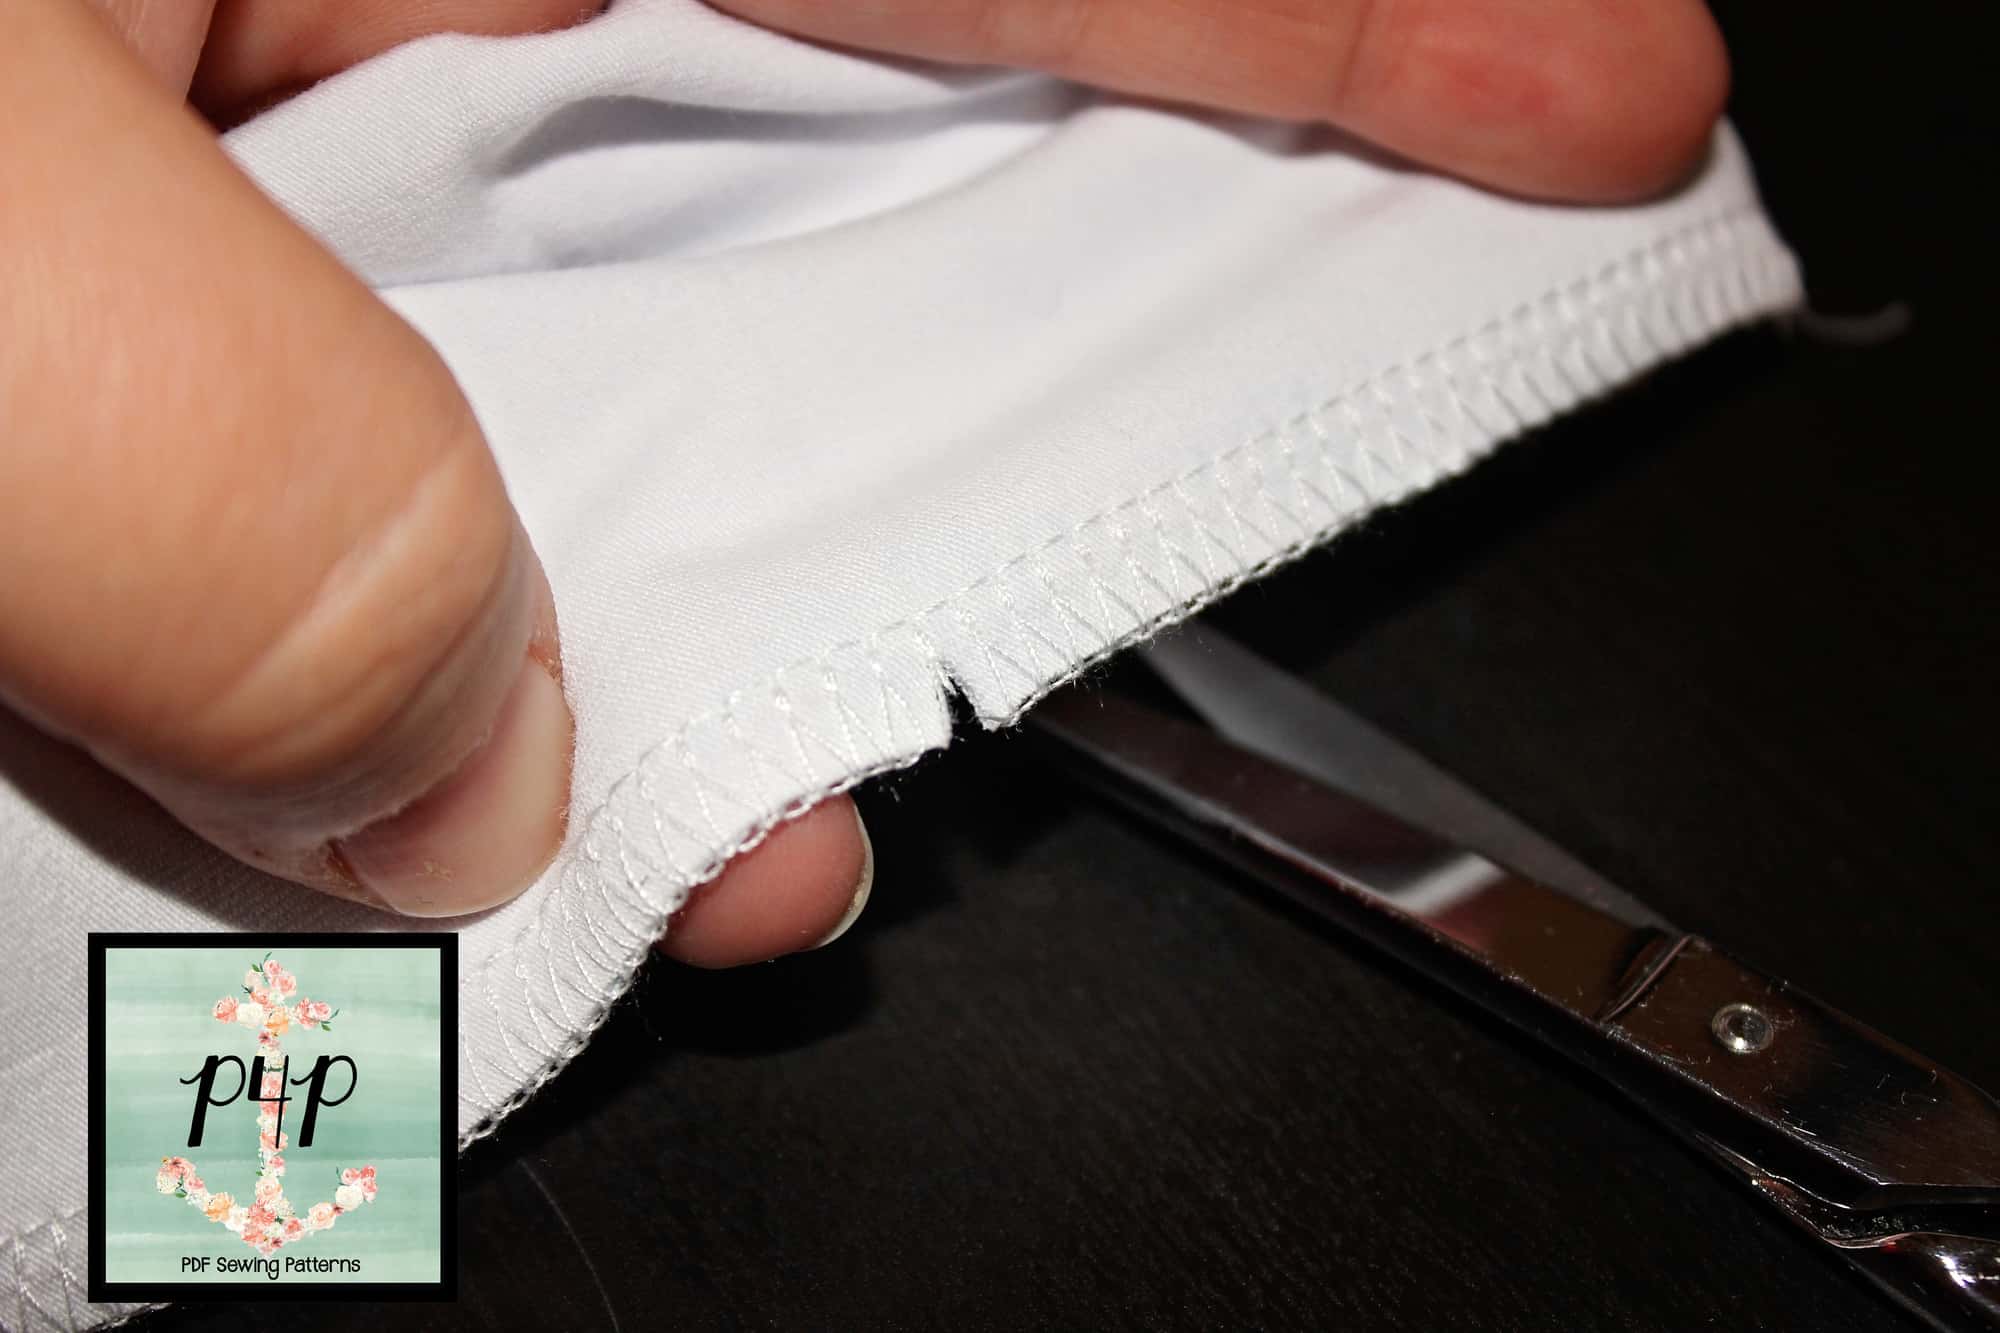
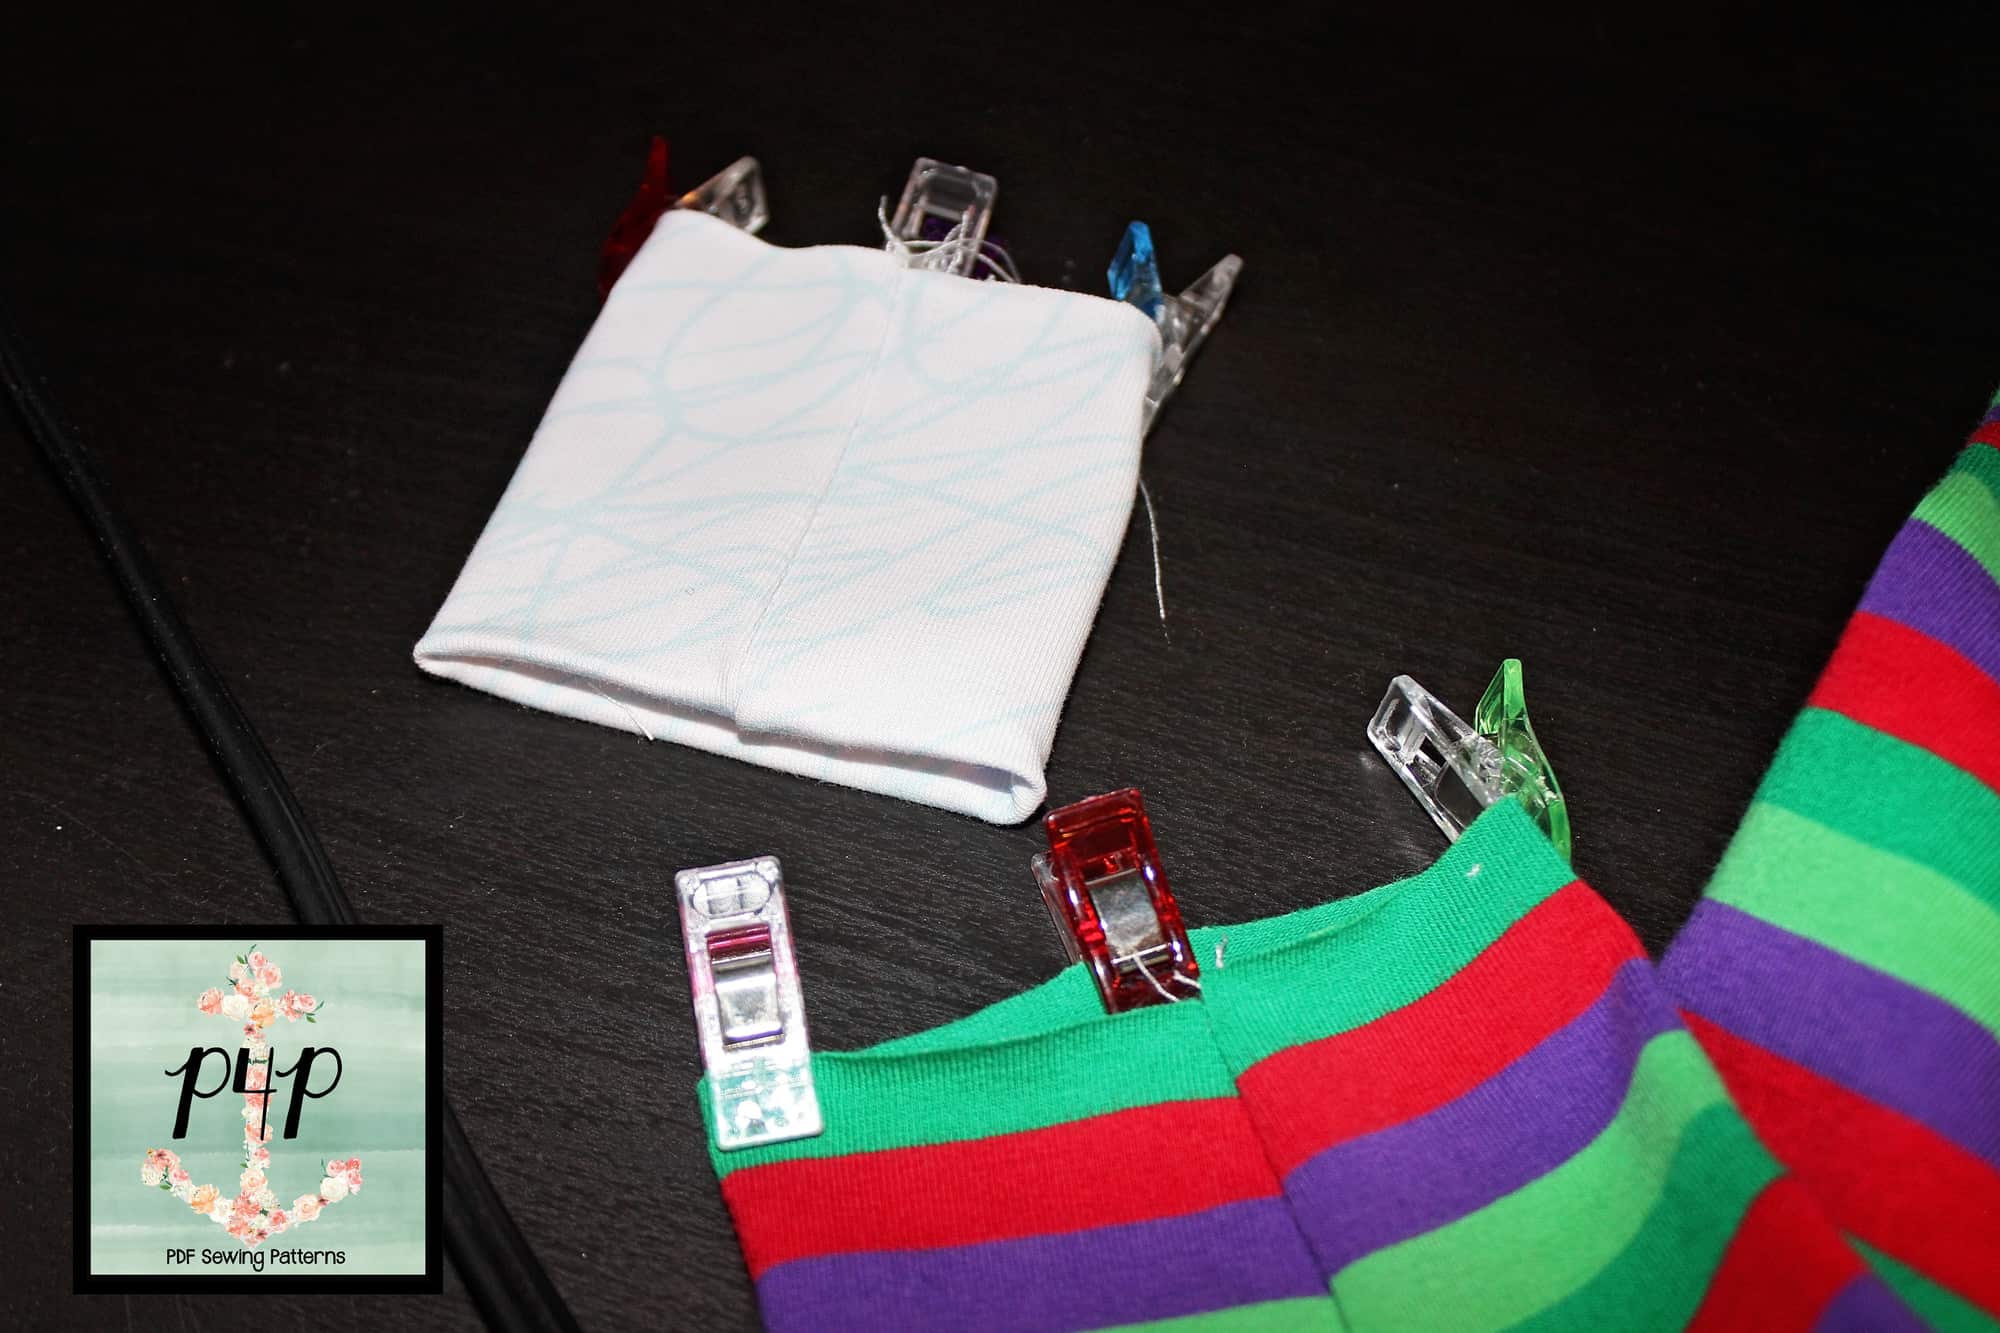
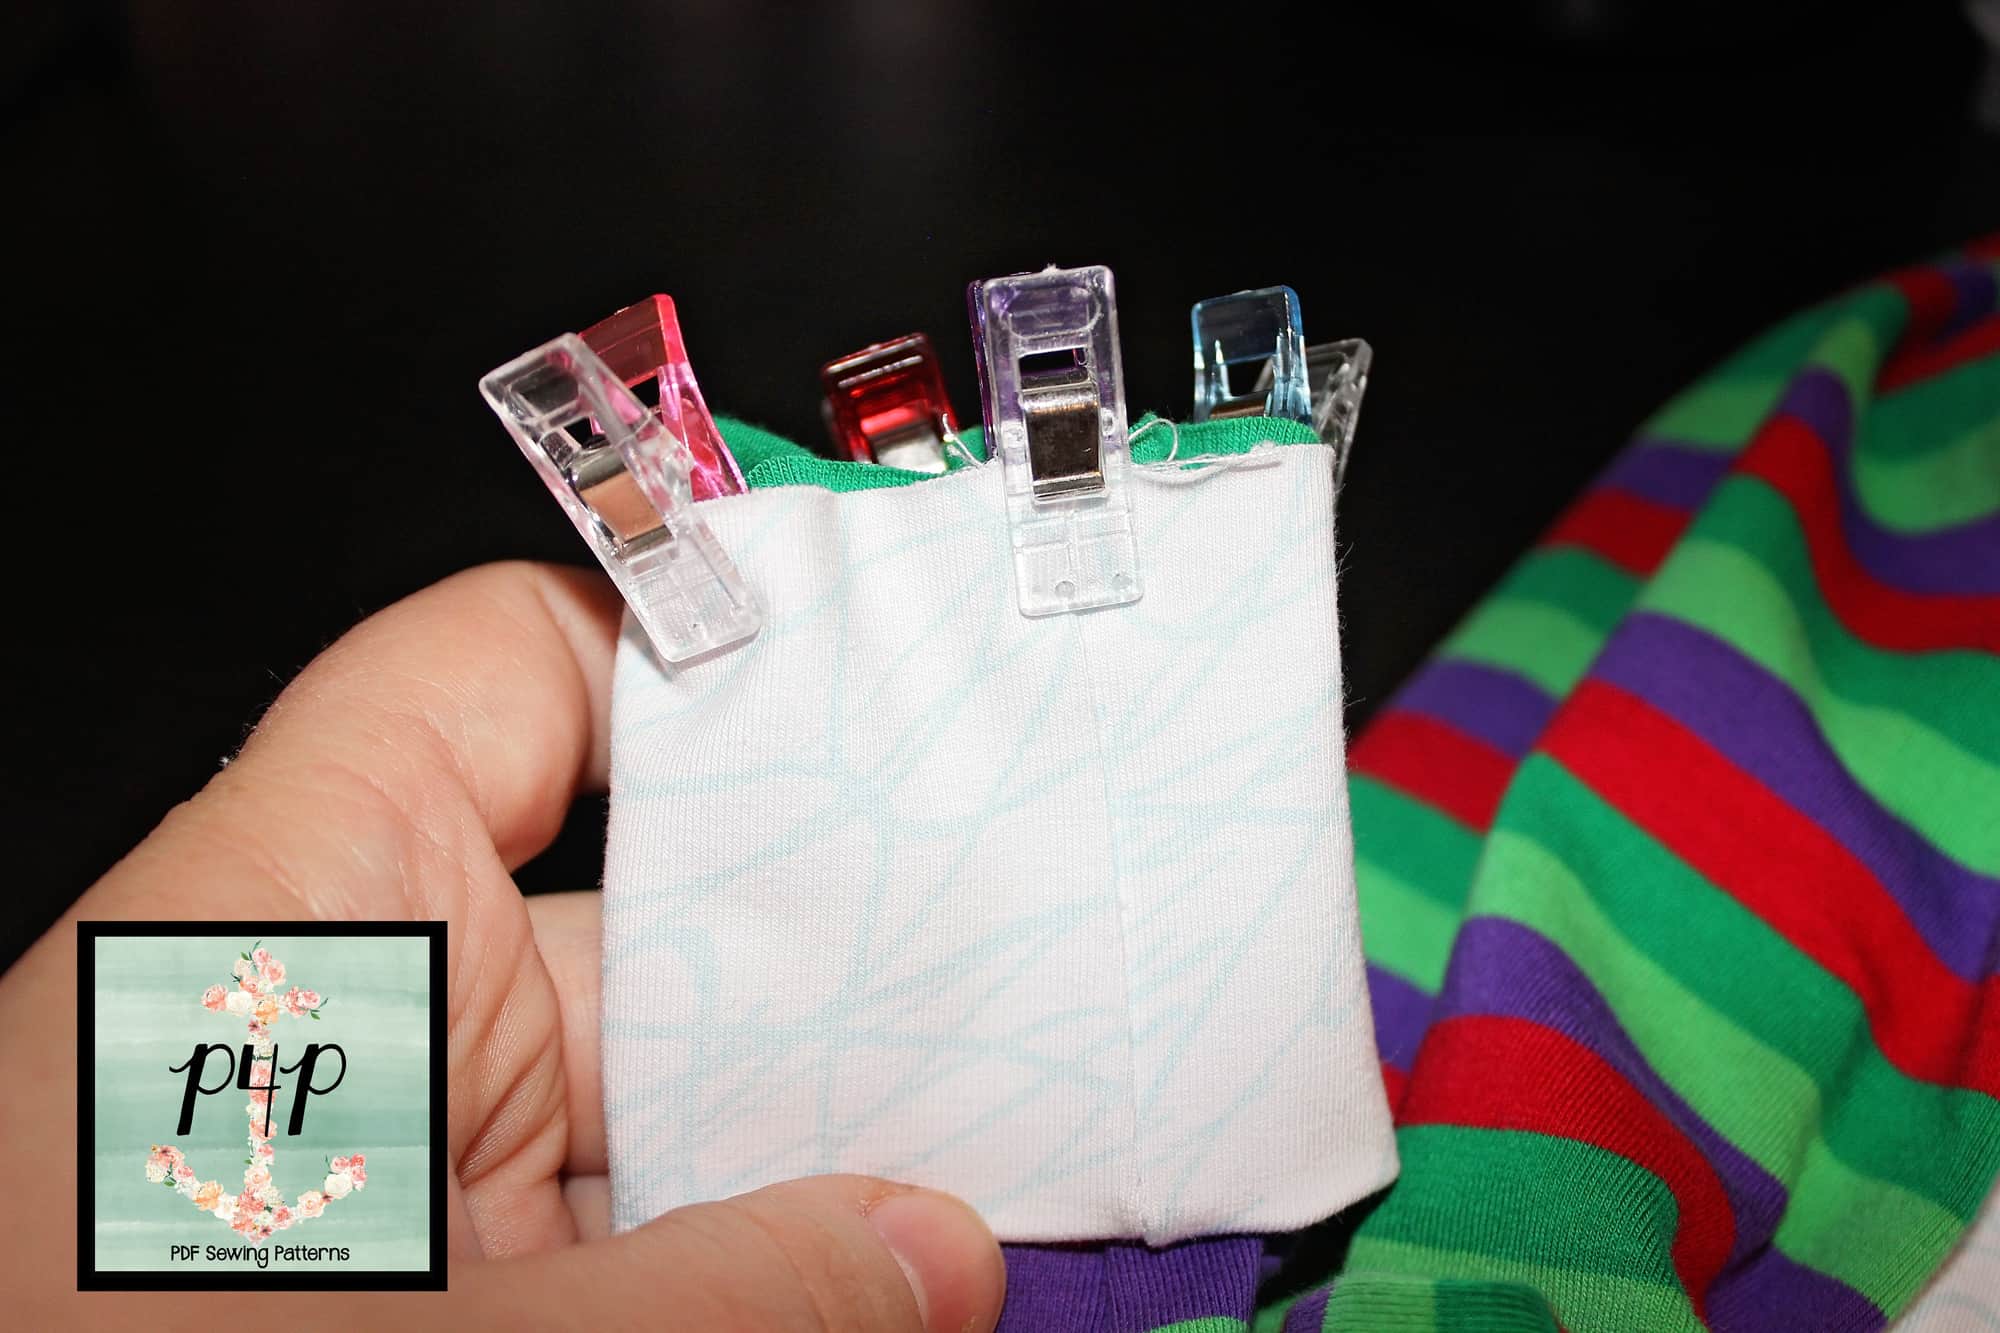
Because velvet can be shifty, pins are your best friend. You can use those coveted Wonder Clips, but make sure they don’t leave permanent impressions in your nap. Regardless of preference, use more pins or clips than you usually do to prevent the fabric from shifting.

Use a walking foot. It will help to feed your fabric through without creating tension or stretching.
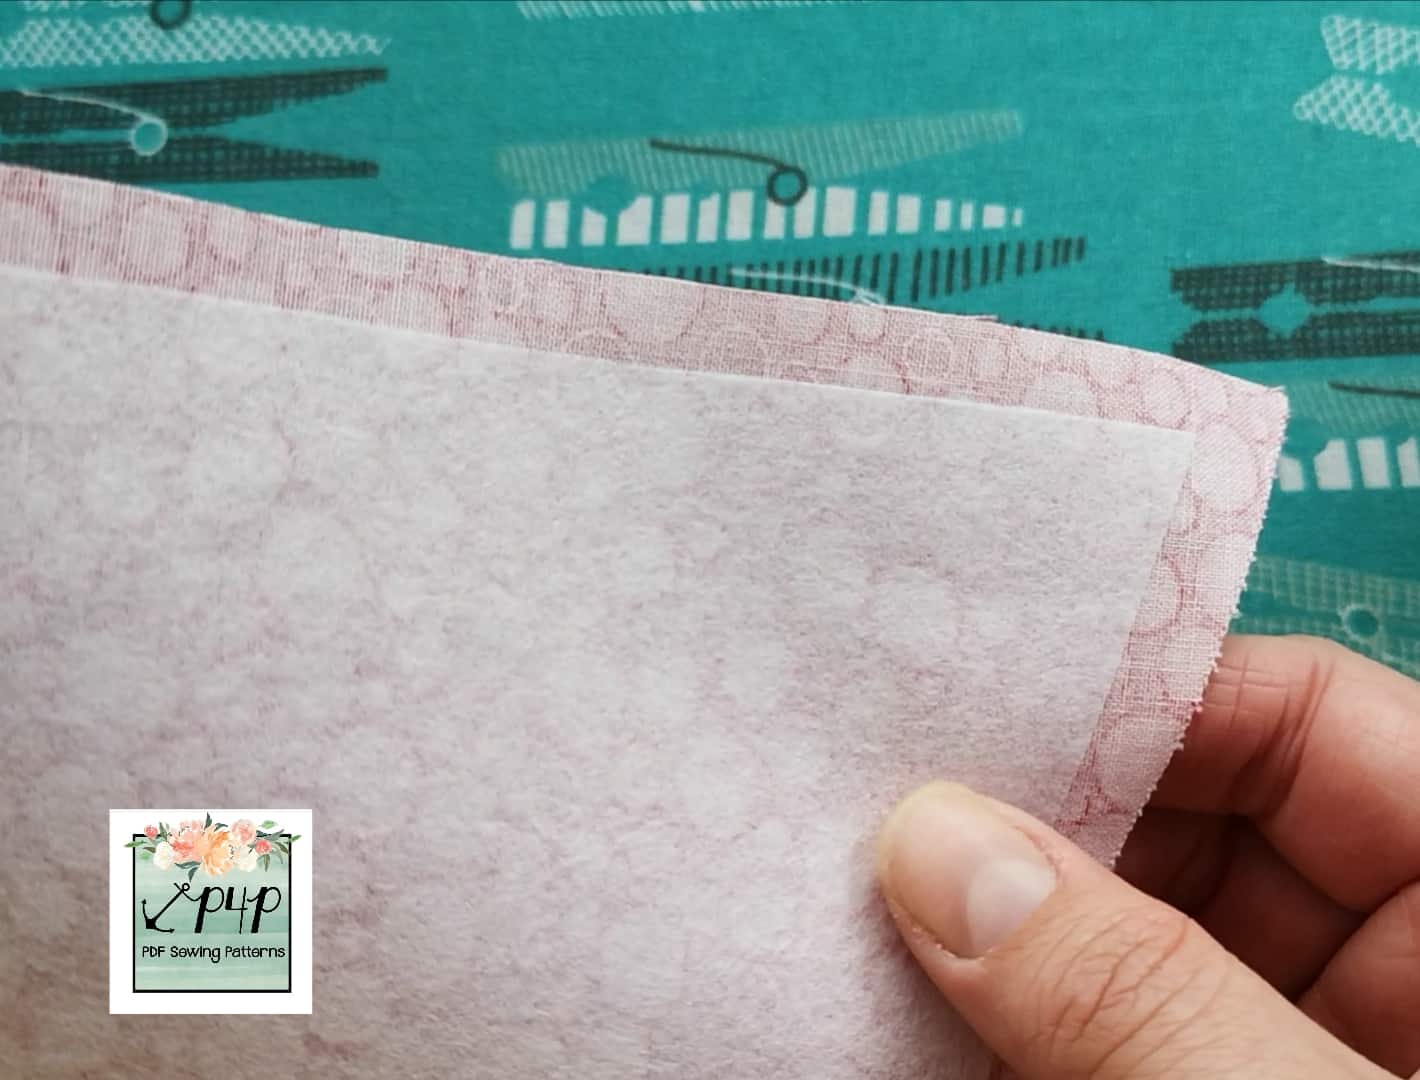
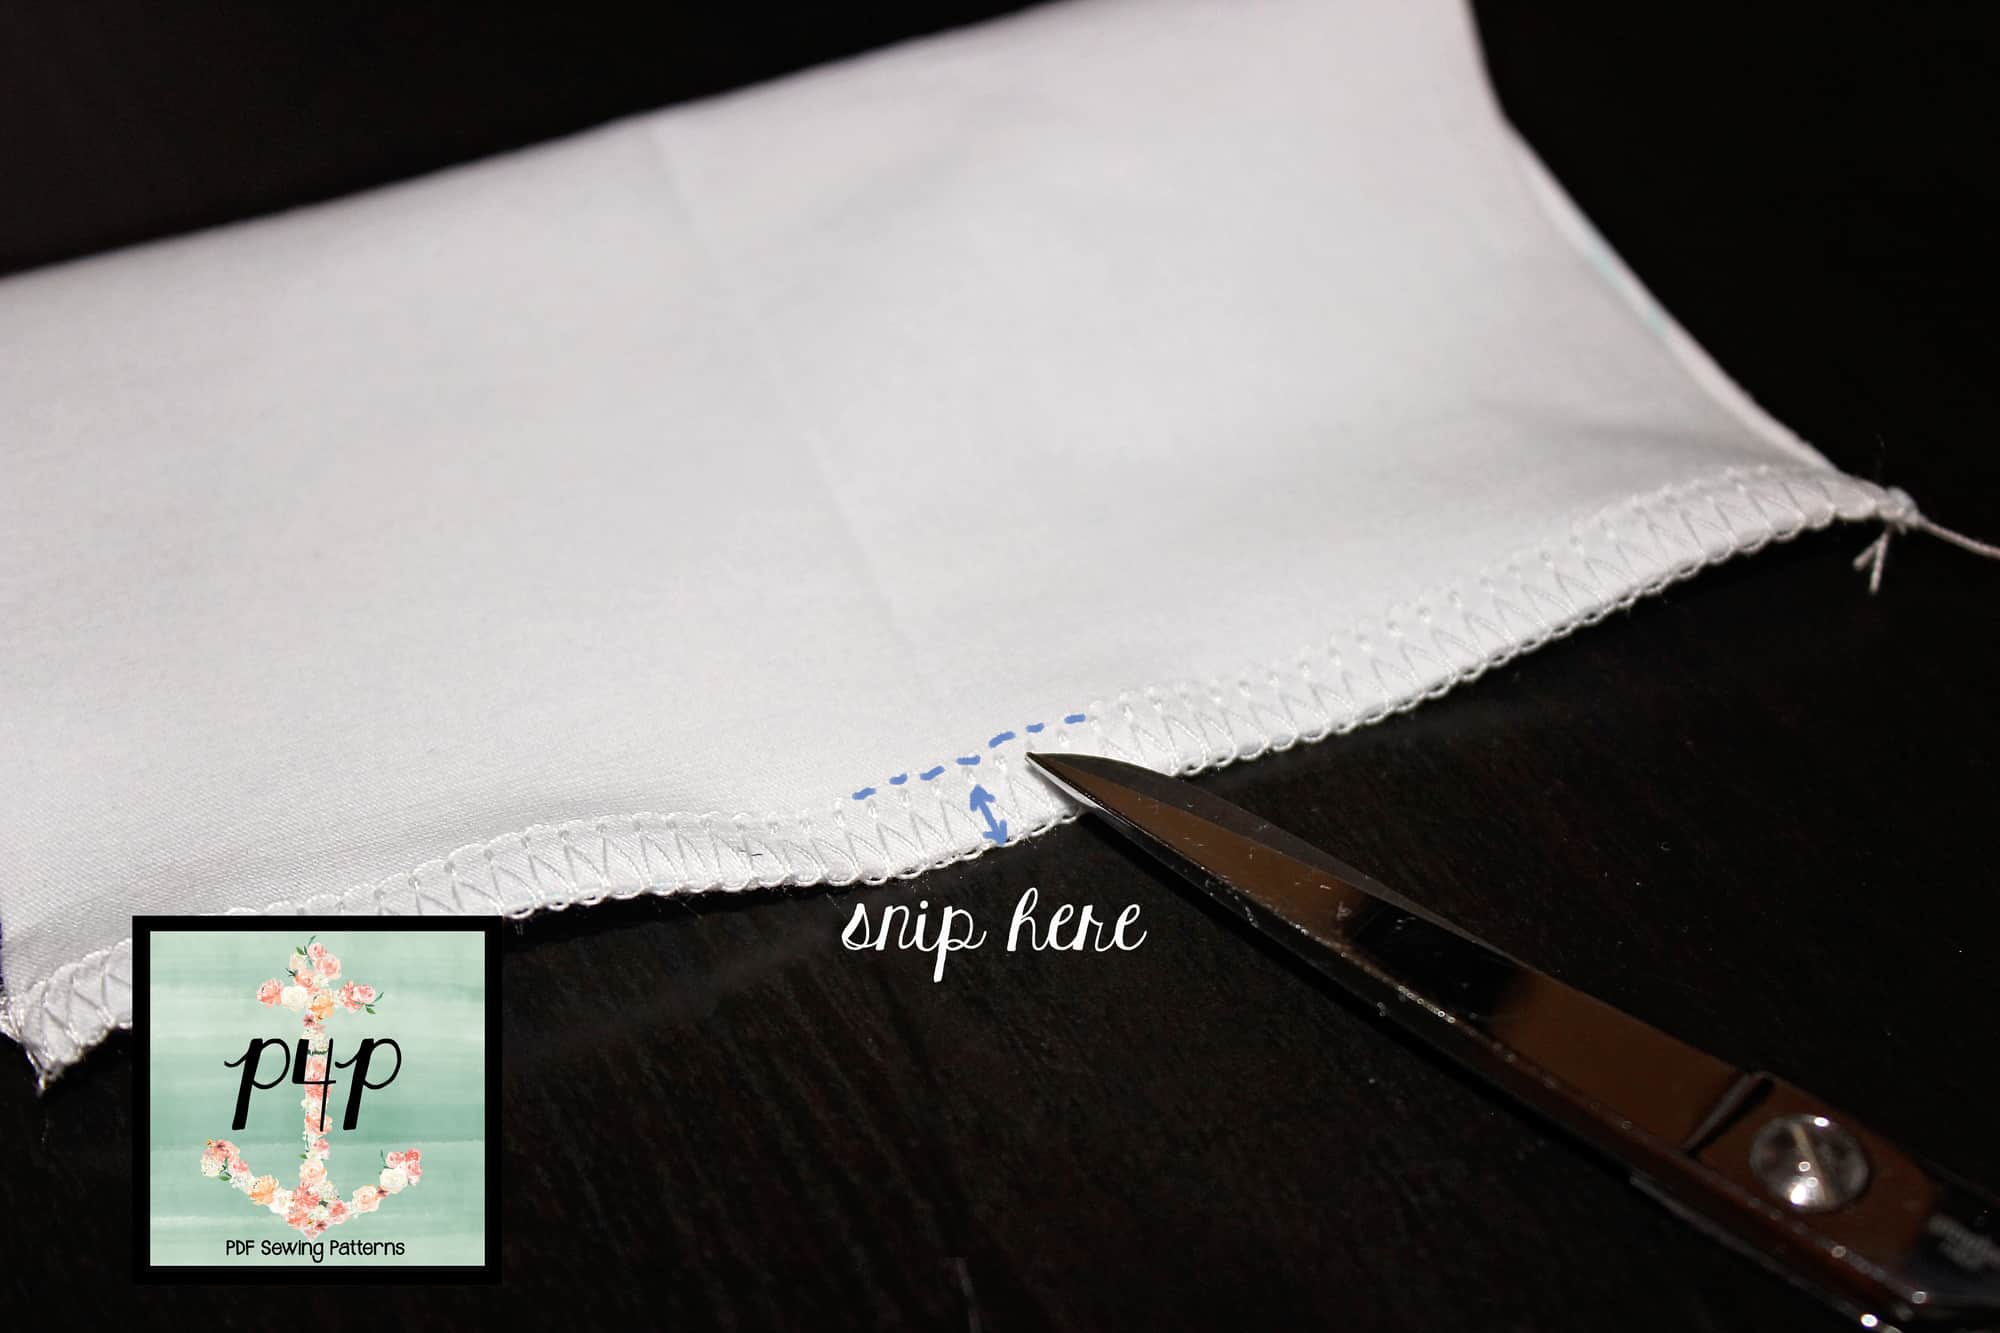
It helps to baste your seams first. You may need to rip out a section and ease in again to eliminate some wrinkles. Alternatively, you can also use seam tapeThis extra step will ensure your fabric lays as beautifully as you planned.
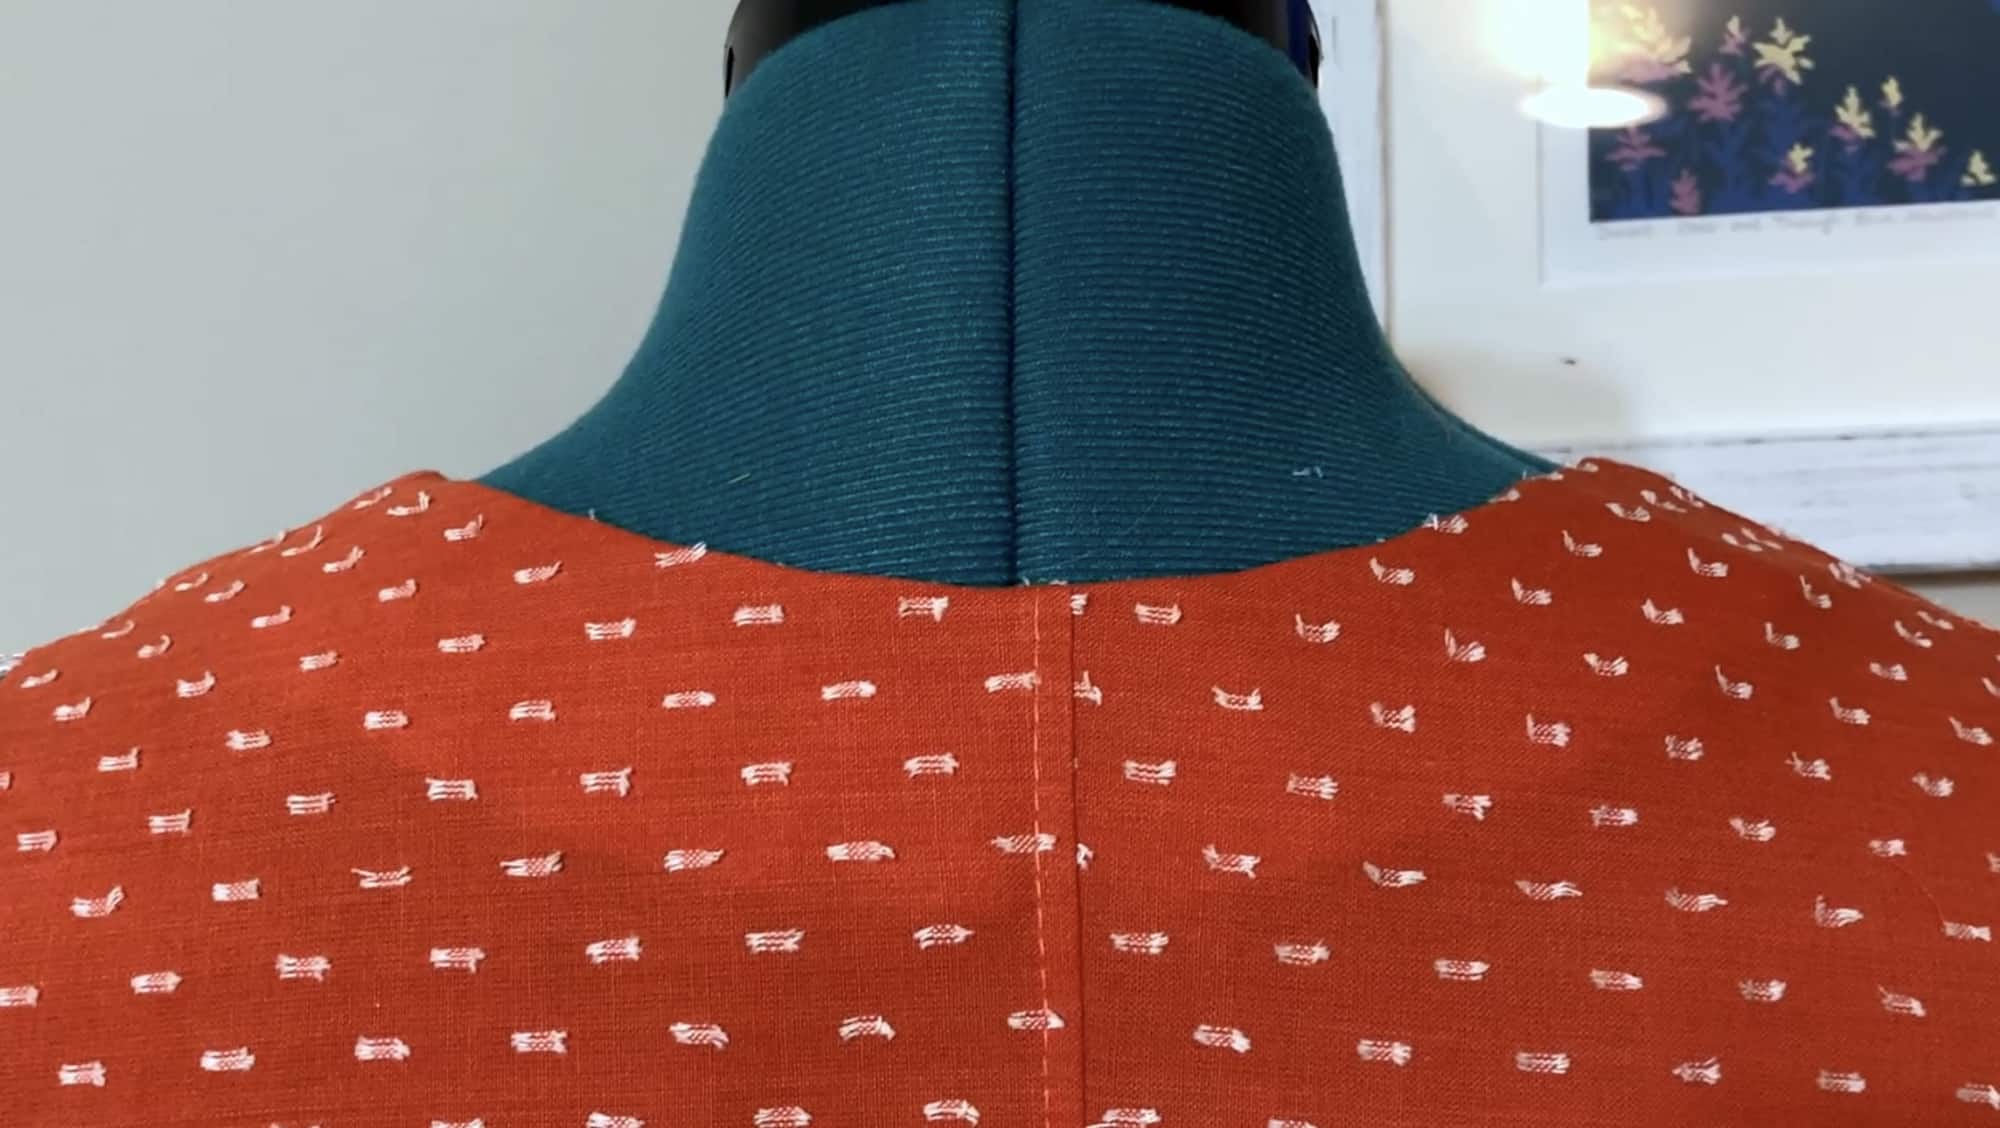
Start sewing from the bottom of your garment and work your way up. That will help to eliminate some of those draglines that tend to show off.
Avoid topstitching. Your fabric will continue to slide around and you may wind up with puckers in your seams.
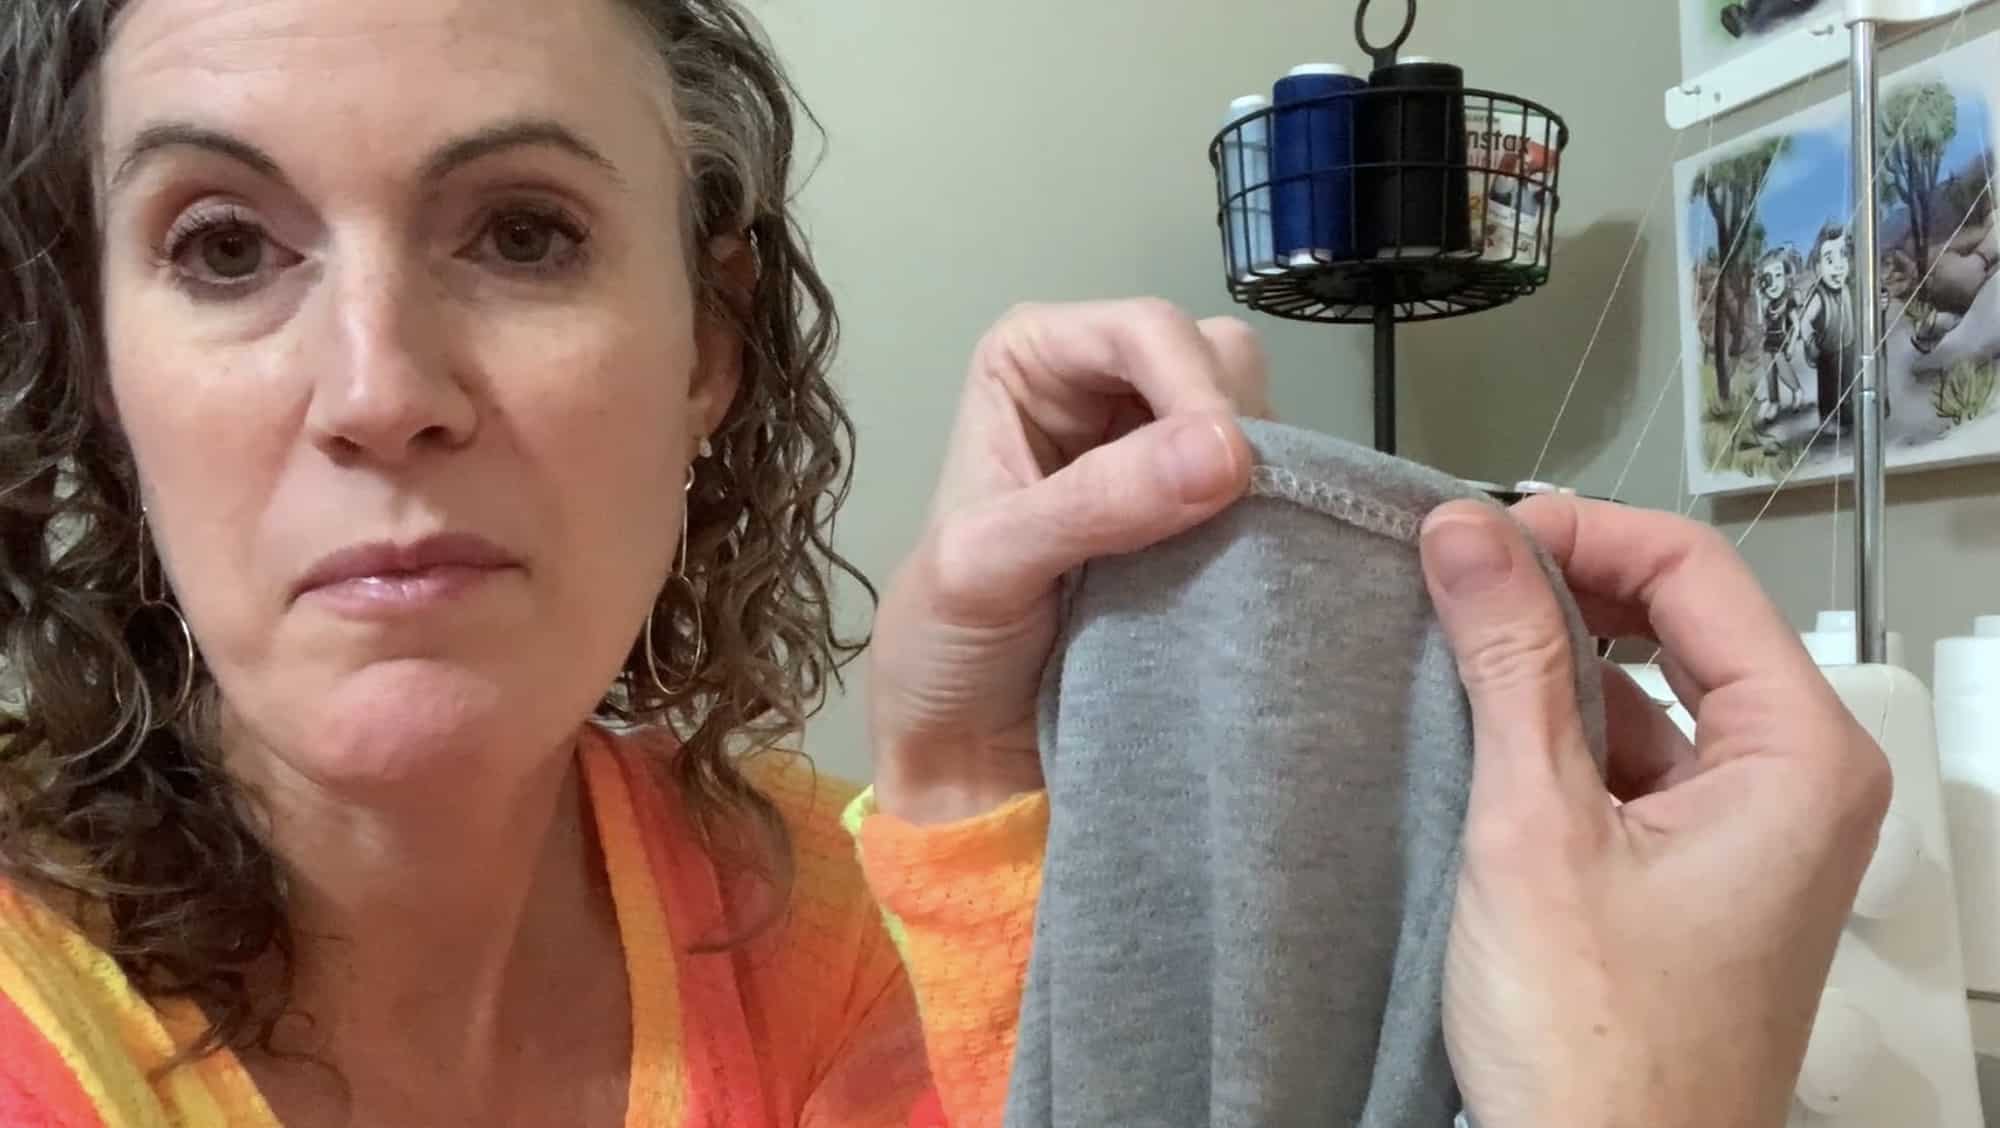
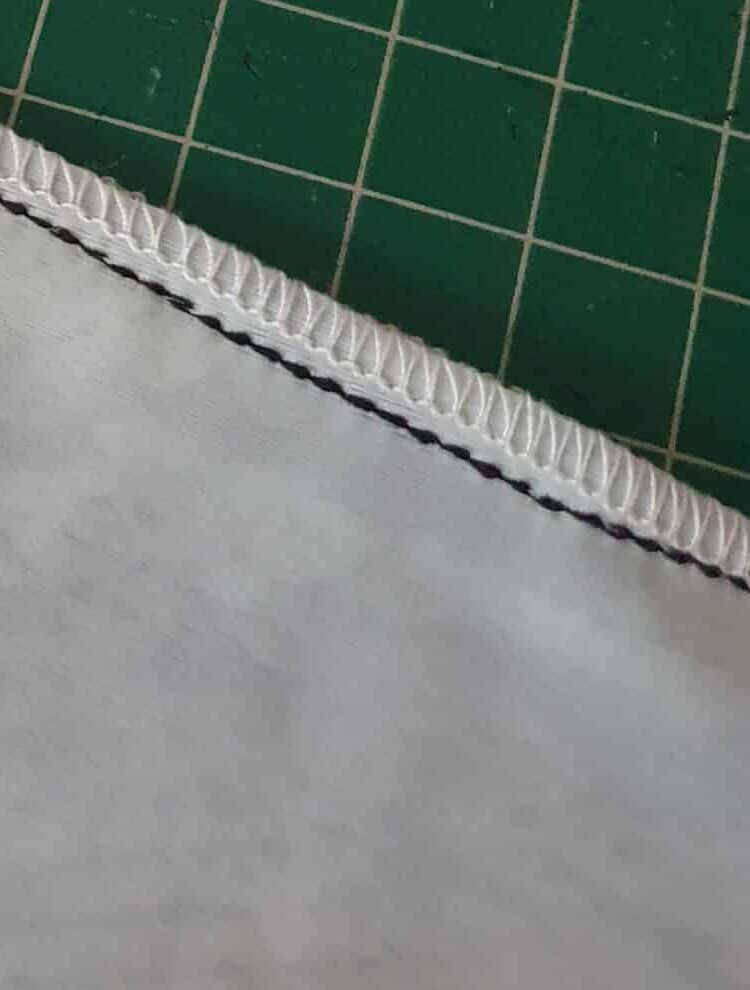
Use hem tape before hemming. I only use hem tape when I’m sewing with velvet. It makes a huge difference in the neatness of your hemline.
Pressing
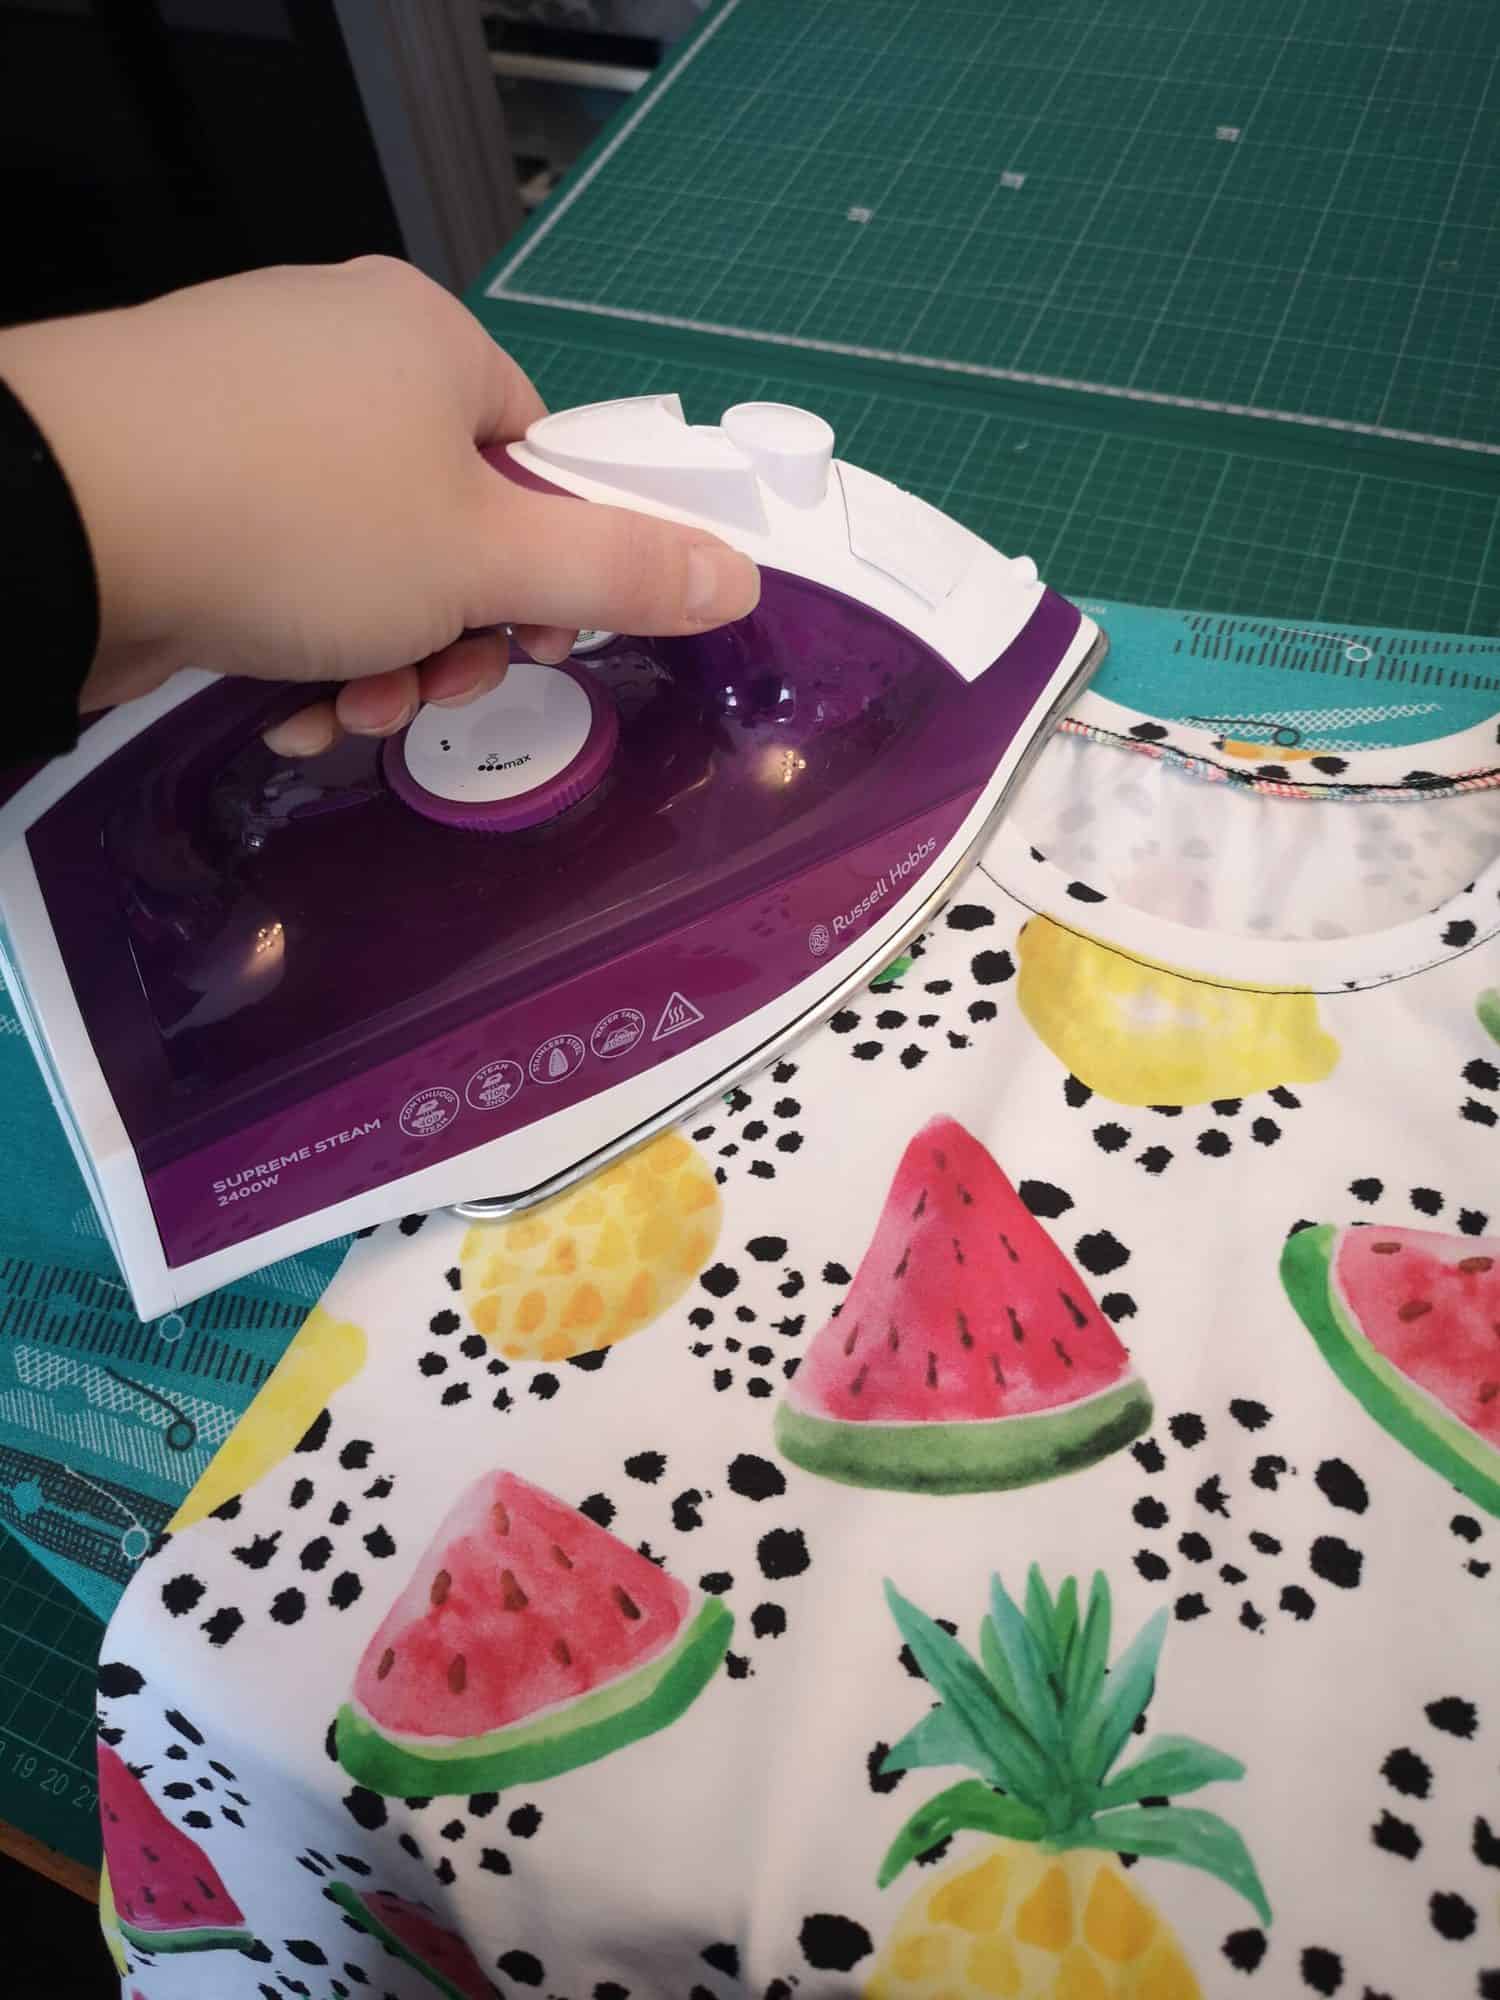
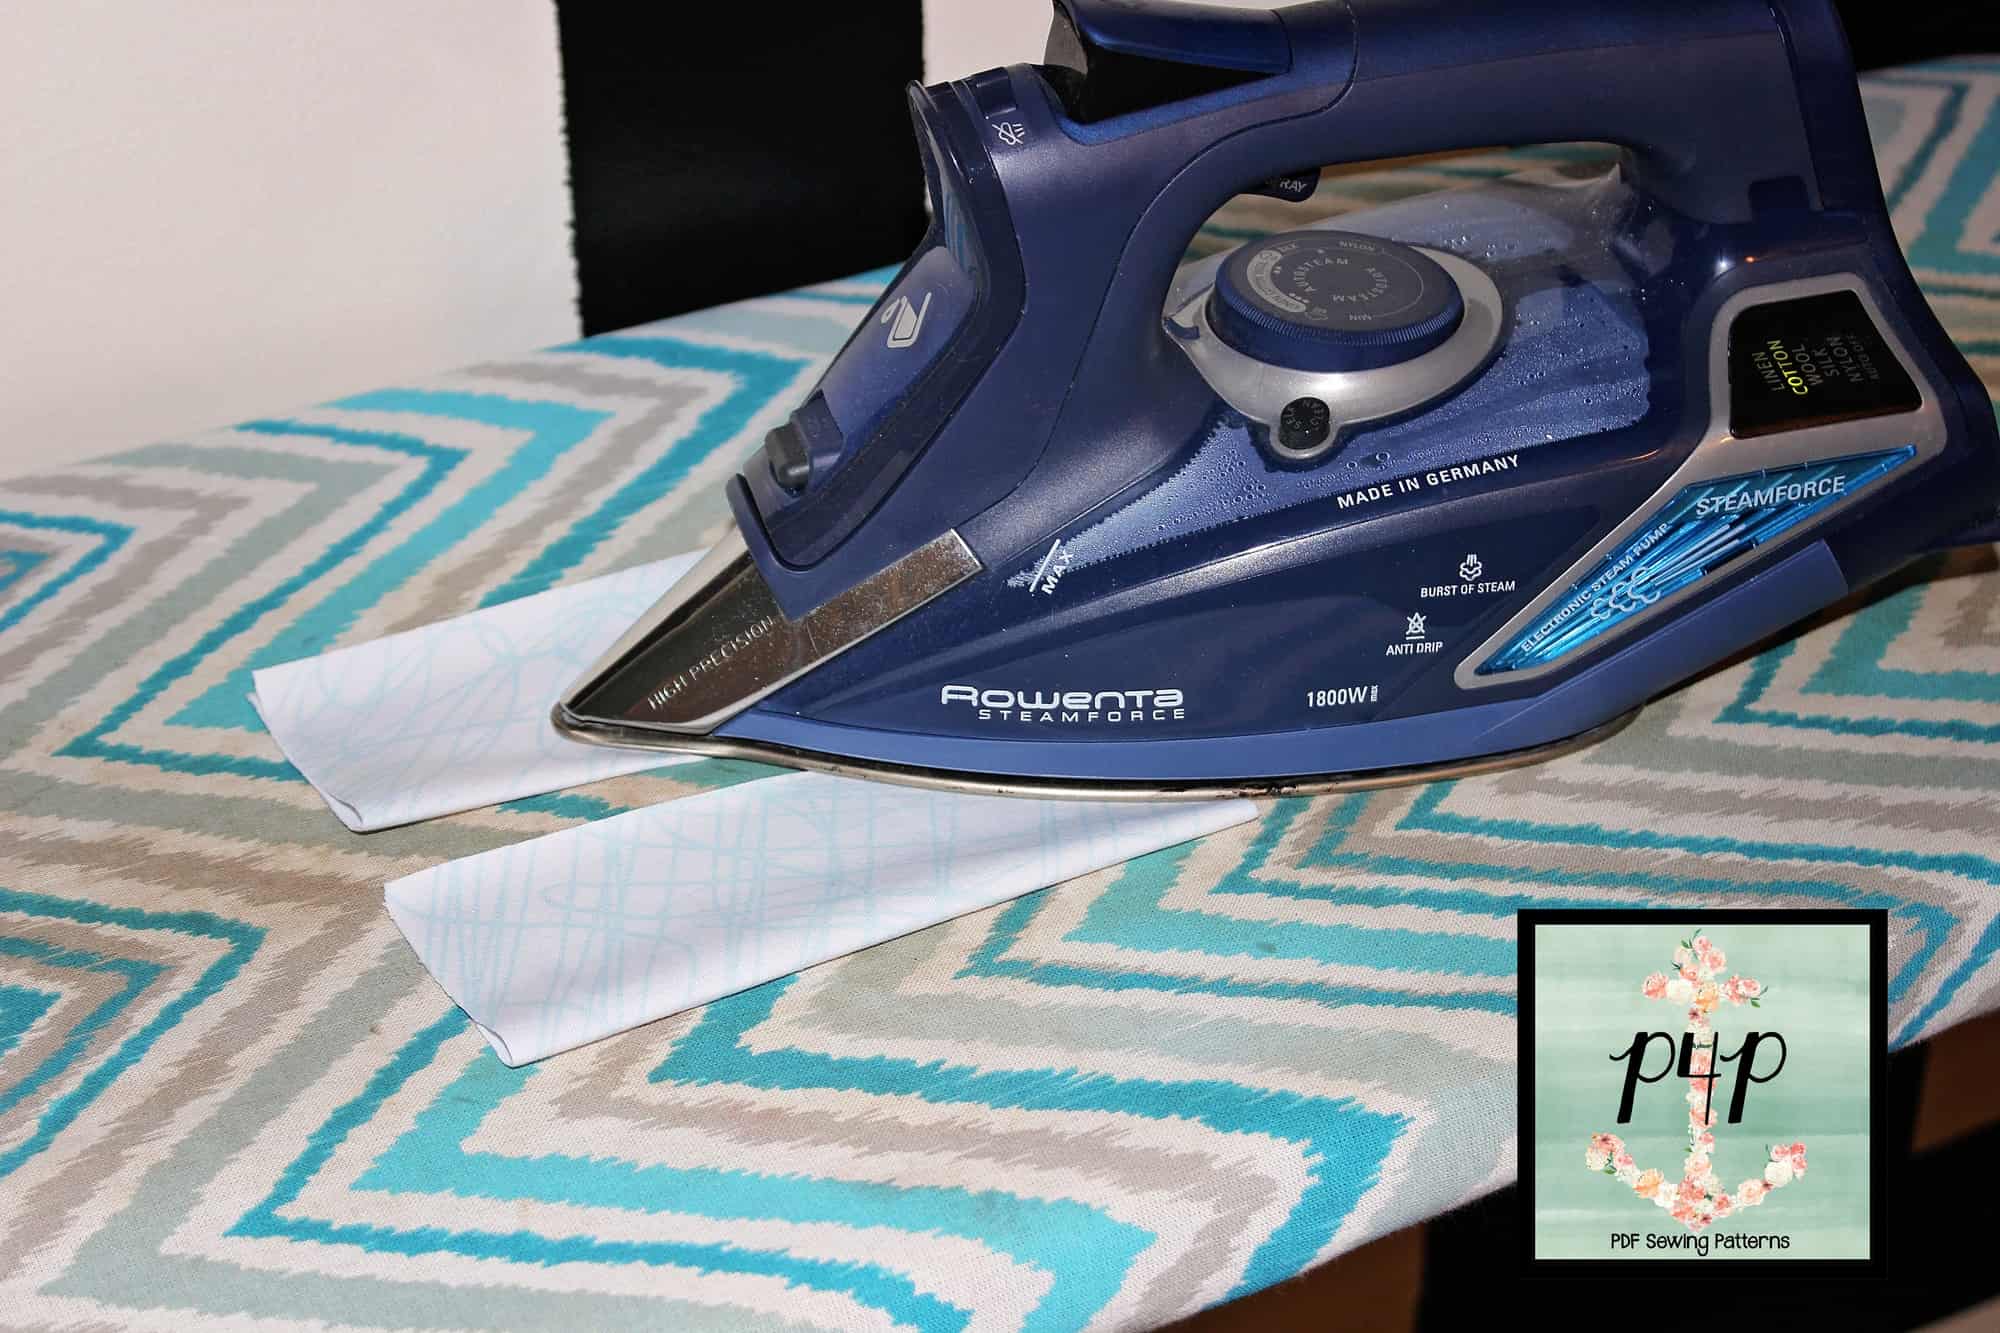
Heat can crush your velvet so press with caution. Use a lot of steam, lower temps, and a pressing cloth on the wrong side of your fabric. This will protect the fibers on the right side.
Or finger press. Or use a clapper (my fave!).

You have options… just don’t ruin your garment with heat!
And remember…
Don’t be afraid of velvet! It’s a beautiful and versatile textile. There is a slight learning curve, but it’s totally worth the effort.