Sewing Machine vs. Serger: The Who, What, When, Where and Why of each.

When it comes to sewing, there are obviously a lot of tools of the trade. The most commonly thought of item would probably be a sewing machine I would imagine. We are all familiar with sewing machines and their general functions. But have you really thought of ALL the ways you can use a sewing machine? And what about a serger? What is its function and how does its use differ from a regular sewing machine? I’ll go over the functions of each, and show you examples of when you would use these on a couple specific Patterns for Pirates sewing patterns!
First and foremost, it is important to note that most sewing machines can do all of the same functions of a serger, but maybe not as efficiently or quickly as a serger can do them. A sewing machine can sew in a wide variety of stitches and placements, finish raw edges, create buttonholes, topstitch, hem, sew on buttons, sew on a zipper, and baste. A serger on the other hand, can really only sew and finish raw edges (but do so all in one step no less!) A serger can also be used as an alternative way to gather, and can do a rolled hem, but these are much less common uses for a serger. So, lets look at each machine more in depth!
Sewing Machine:
A sewing machine can sew two (or more!) pieces of fabric together to construct clothing, quilts, bags, or other textile arts. They usually have at least a handful of different stitch types to do this. There are straight stitches, zig zag stitches and sometimes even some fancy decorative stitches. When sewing fabric together, a sewing machine can sew along the edge of the fabric following the seam allowance of the pattern, or it can sew across the middle of a piece of fabric, several inches in from the edge. It is only limited by the throat space, but it is a imporant distinction over a serger to note that there is a lot of flexibility of where a sewing machine can sew on a piece of fabric. A sewing machine can usually also be used to finish (also known as overlock) the raw edges of fabric, either using a simple zigzag stitch or even a specific overlocking stitch (which uses a different overlocking foot.) This is necessary to keep woven fabrics from fraying, to neaten the raw edges of knit fabrics, and to just give a more professional look to a seam. Sewing machines are also used to baste while sewing. Basting is the process of using the longest stitch length available to temporarily hold pieces of fabric together, or to gather or ruffle a length of fabric. Another important use of a sewing machine is creating hems, either with a single needle or some machines can even accommodate a double needle for hemming.

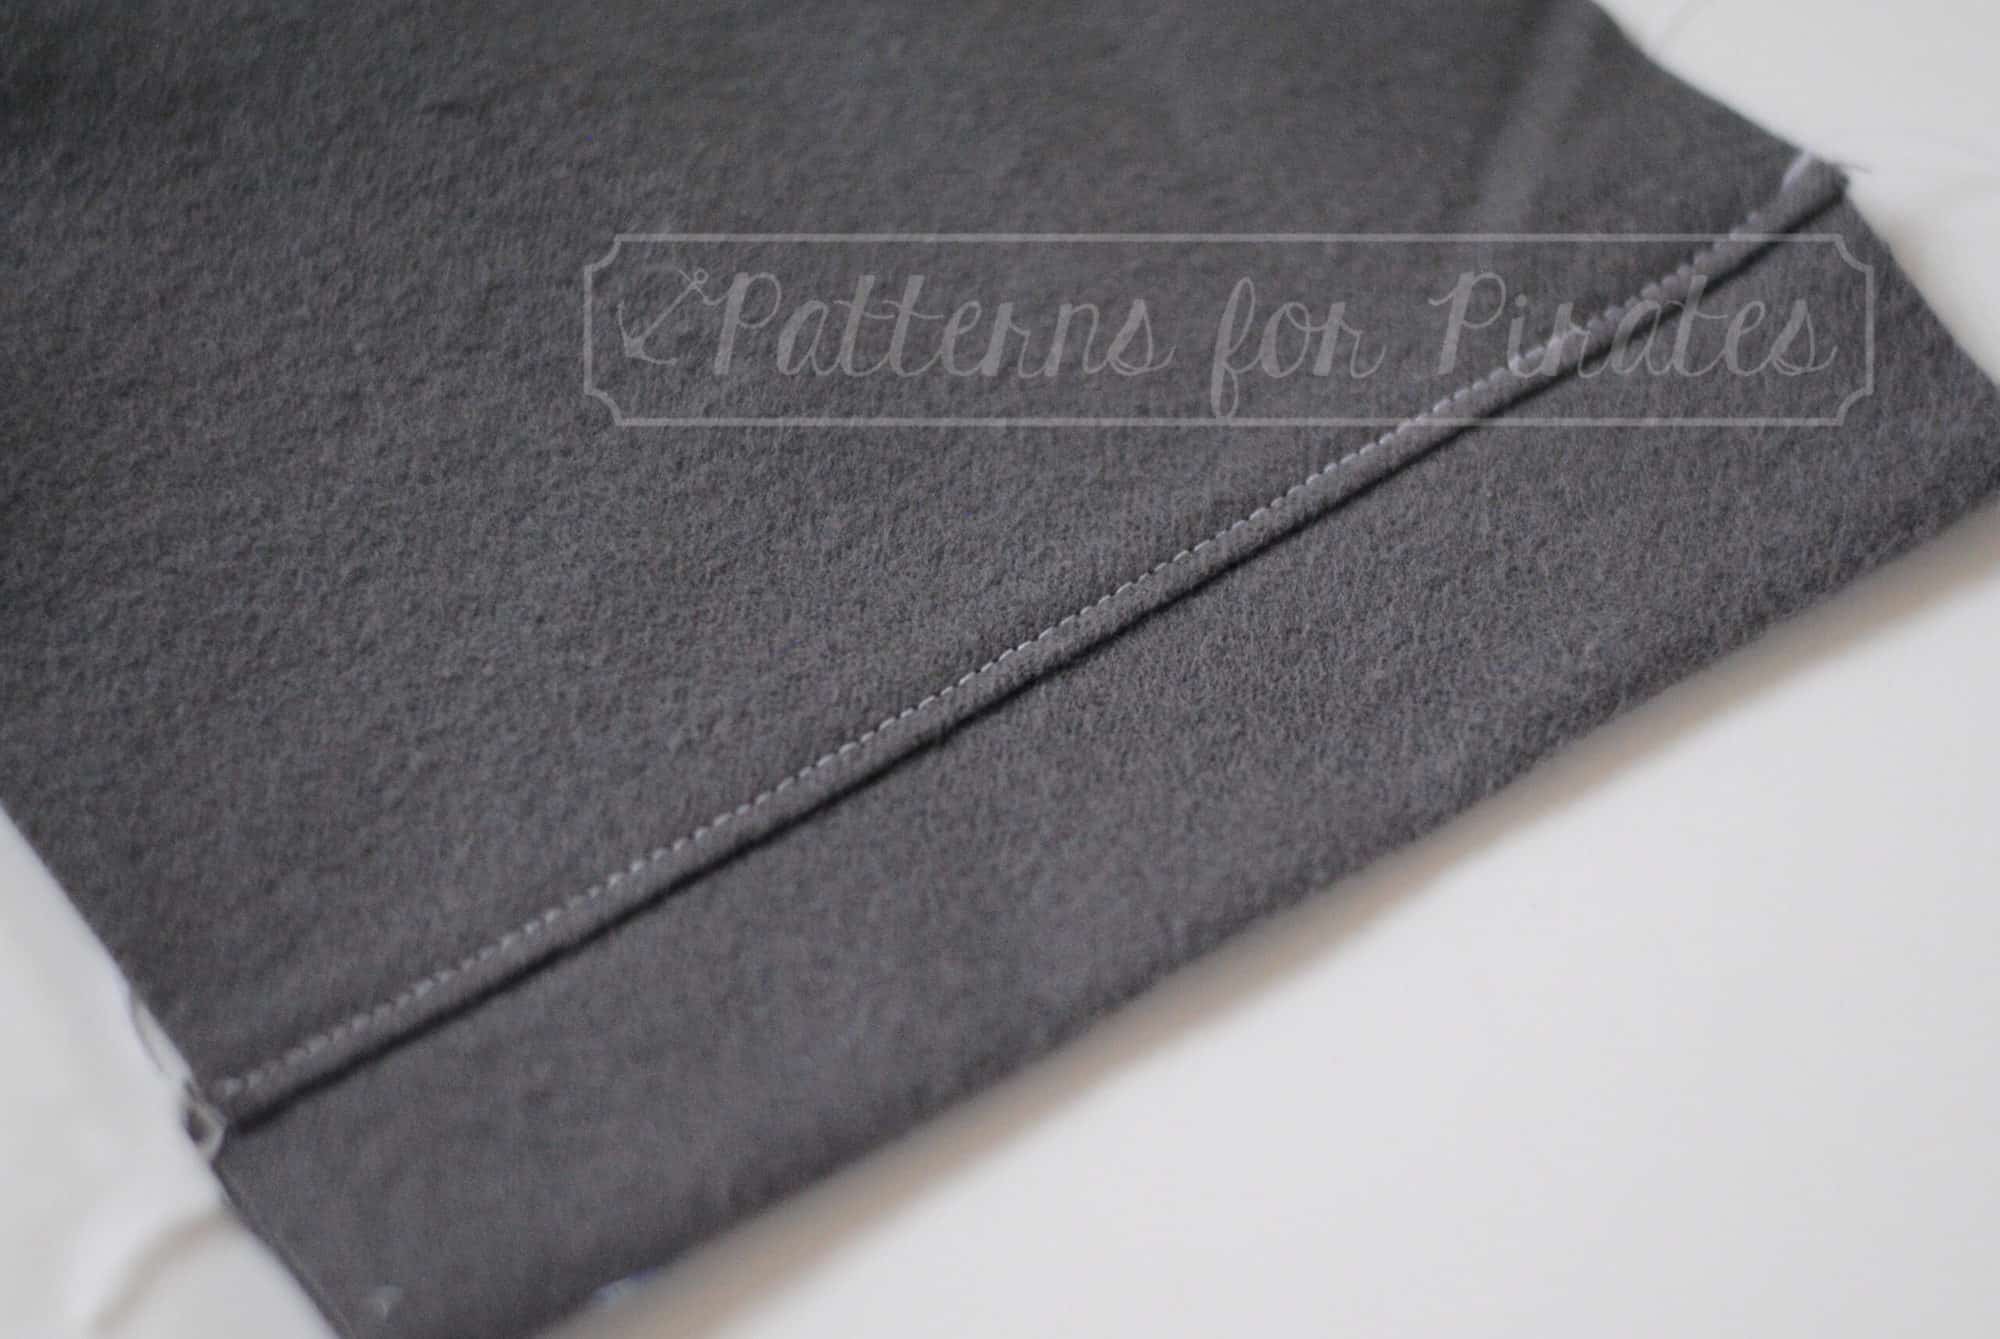
Hemed edge with double needle
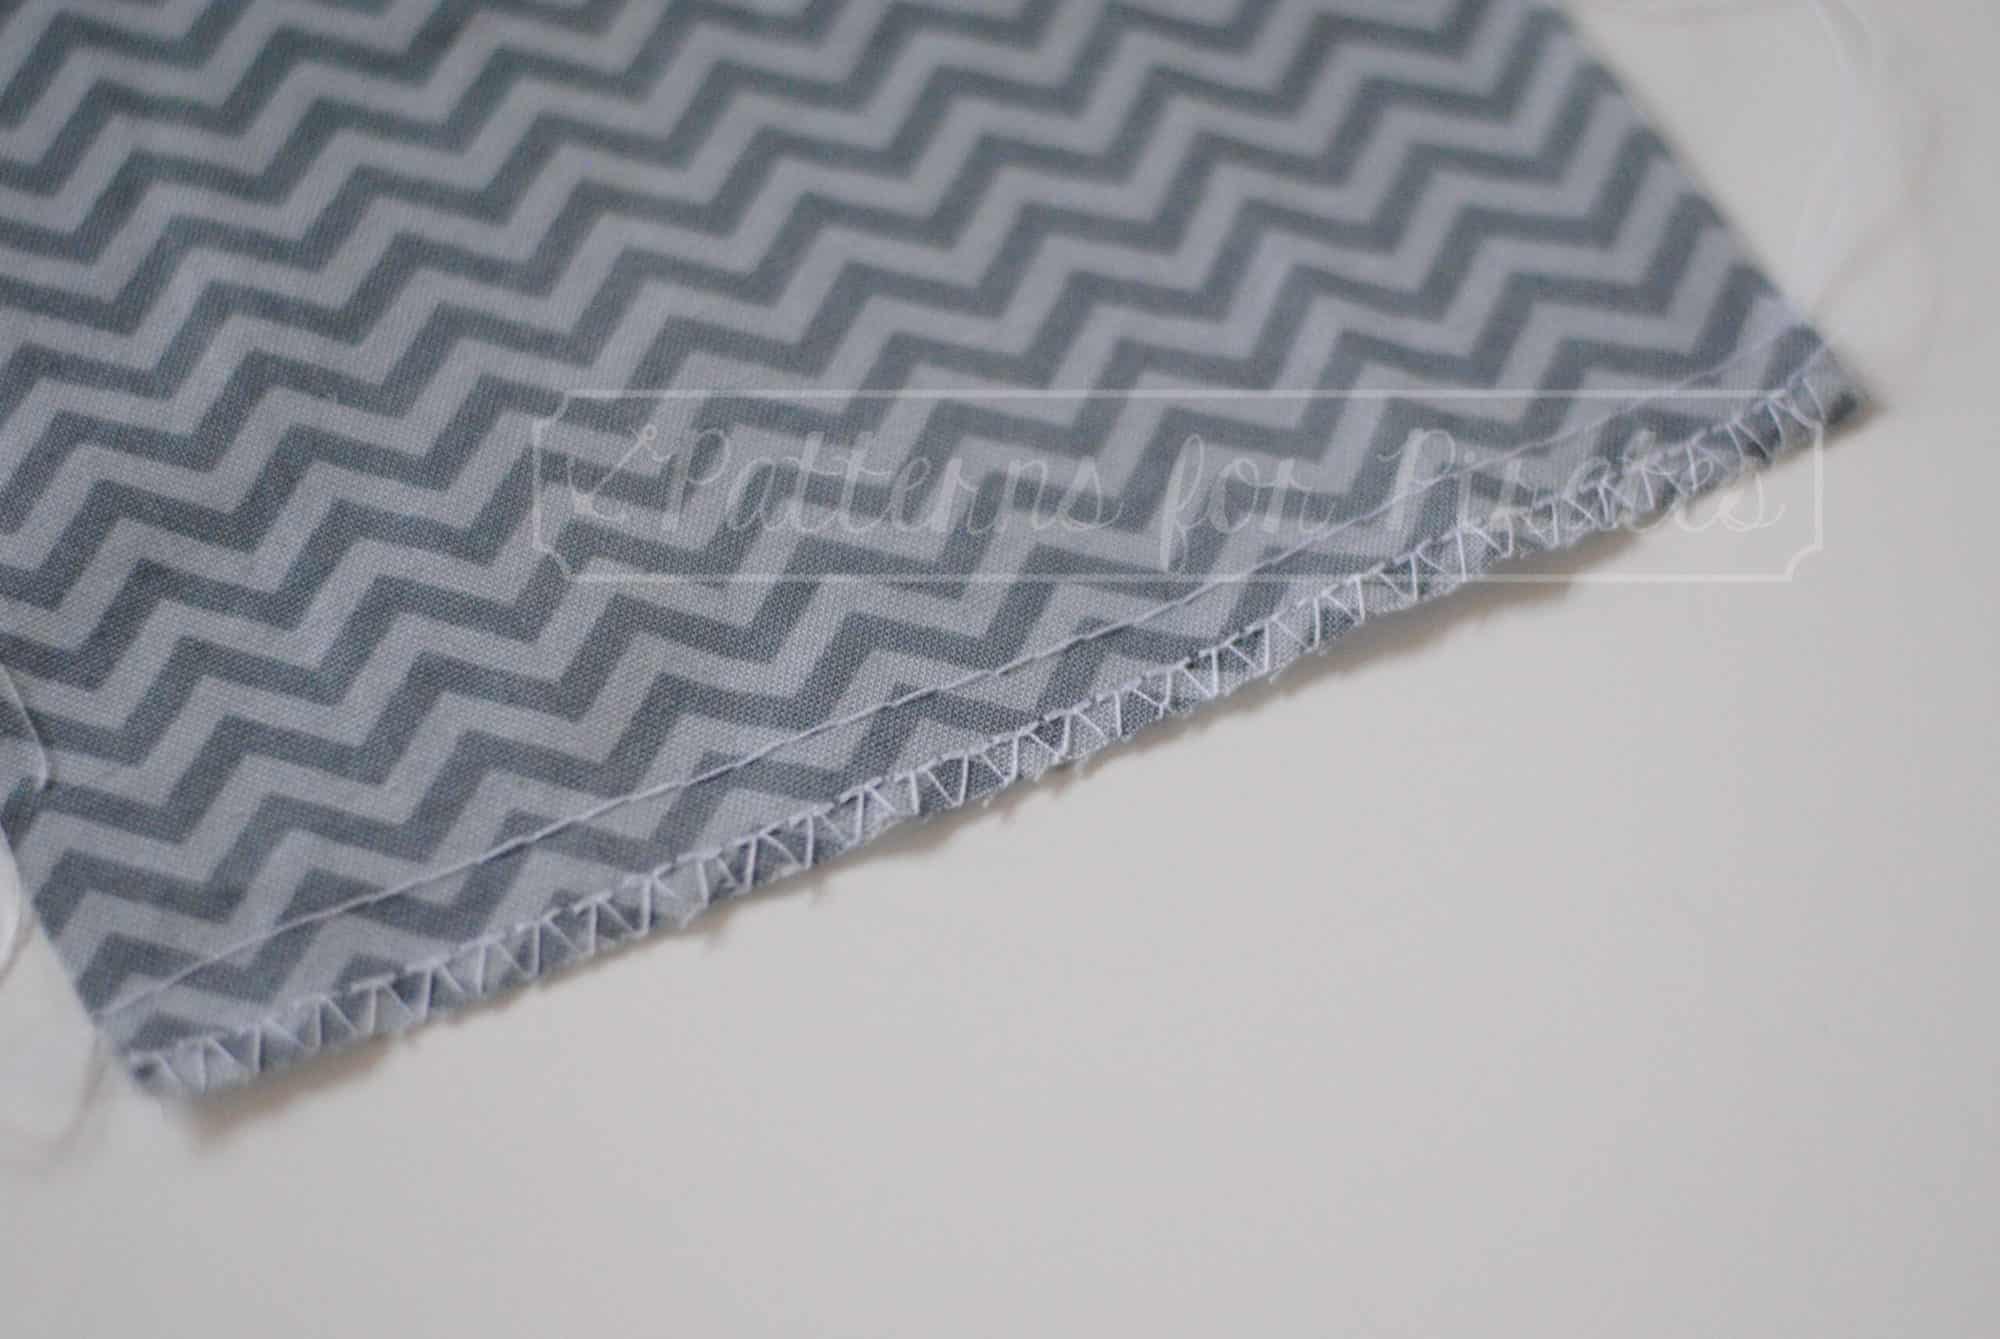
edges finished on sewing machine with an overlock stictch, and a basting stitch sewn above it
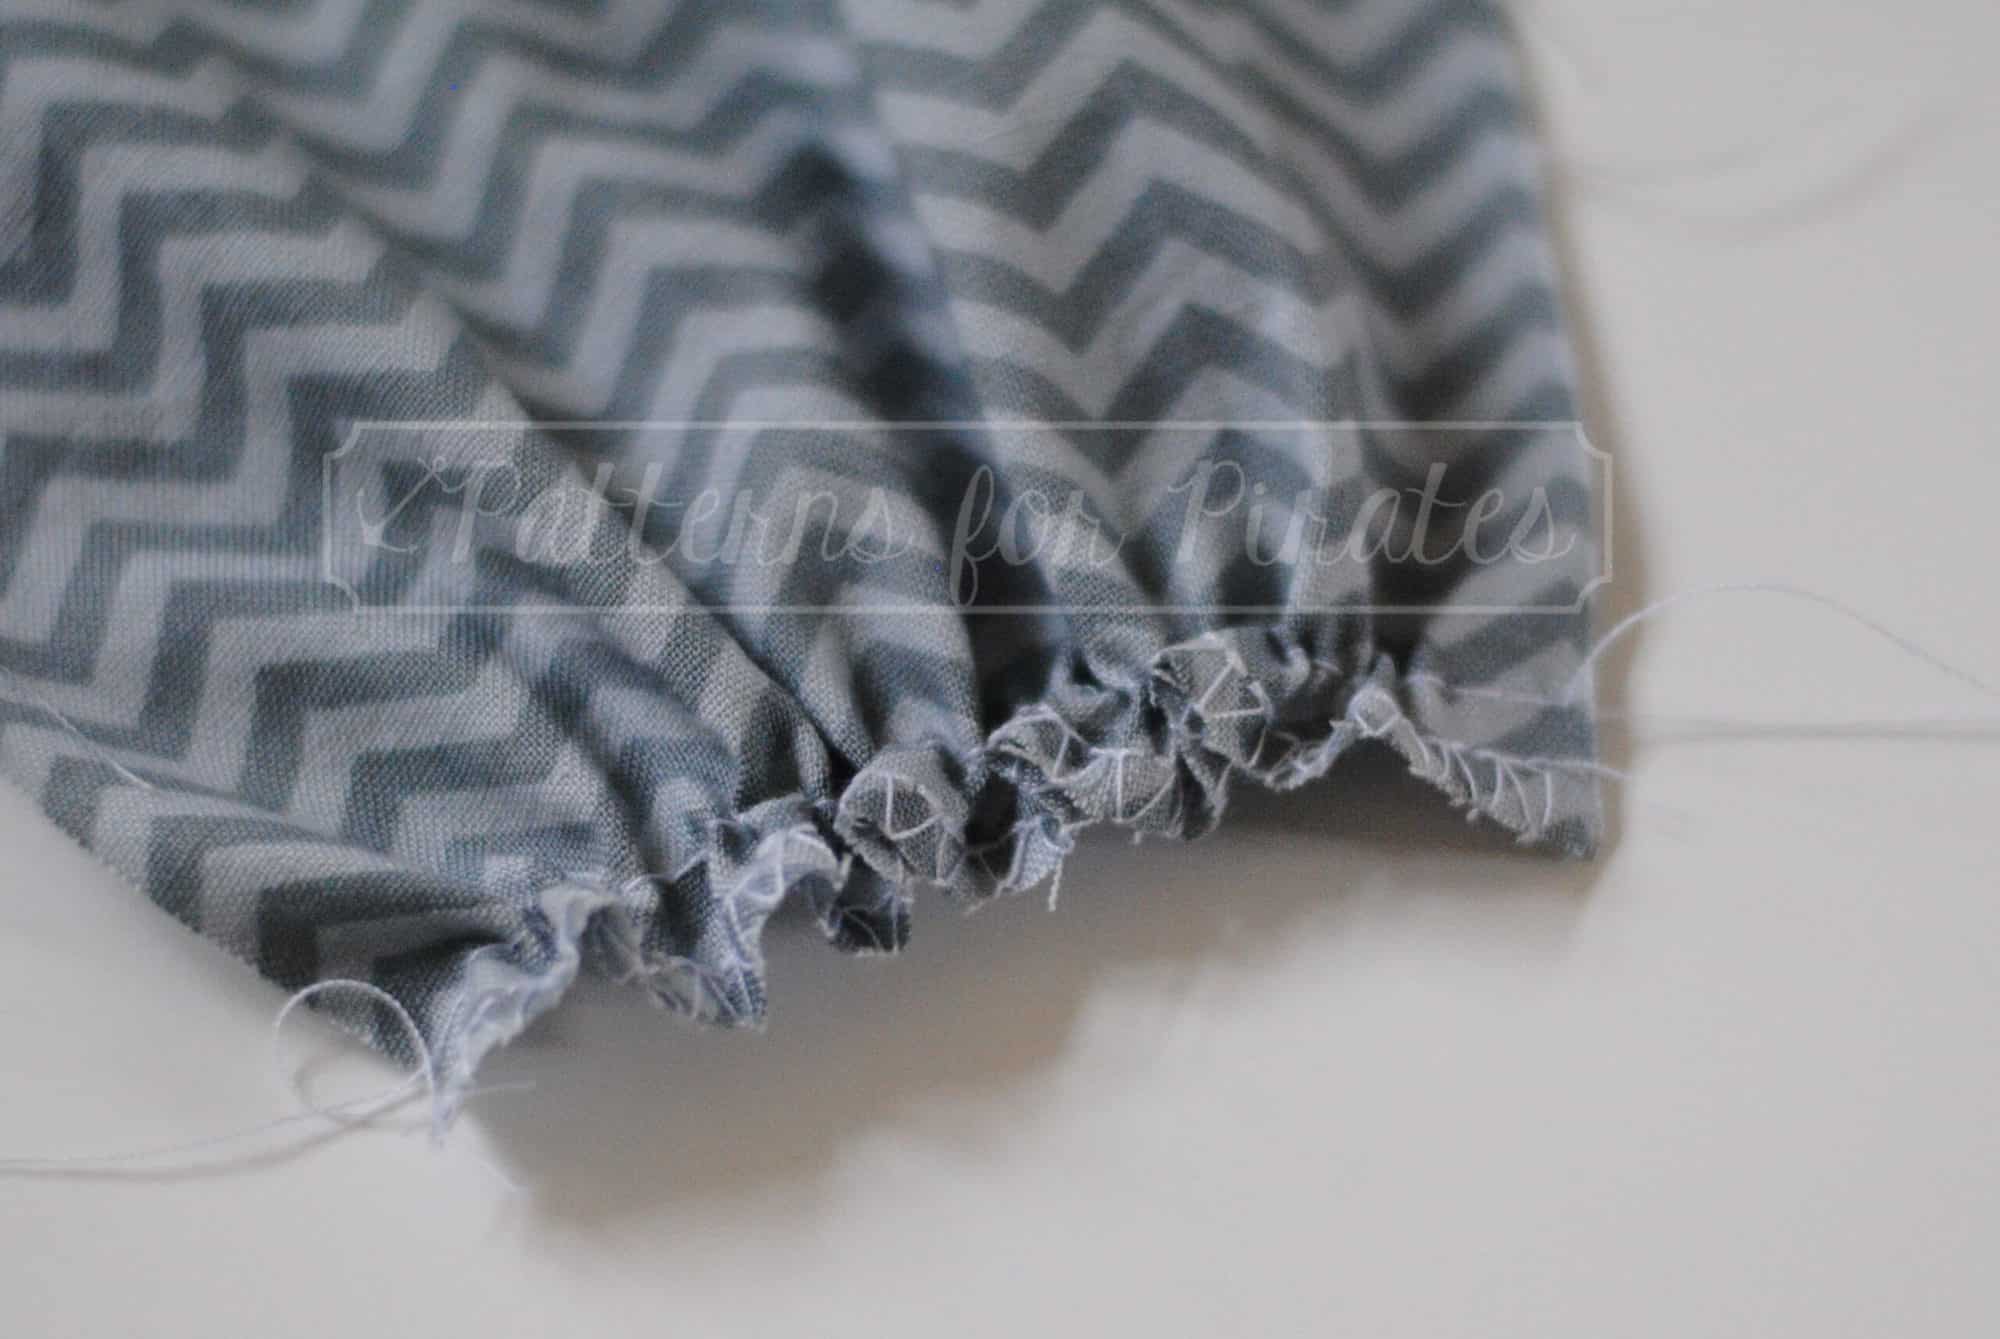
gathering done using basting stitch from sewing machine
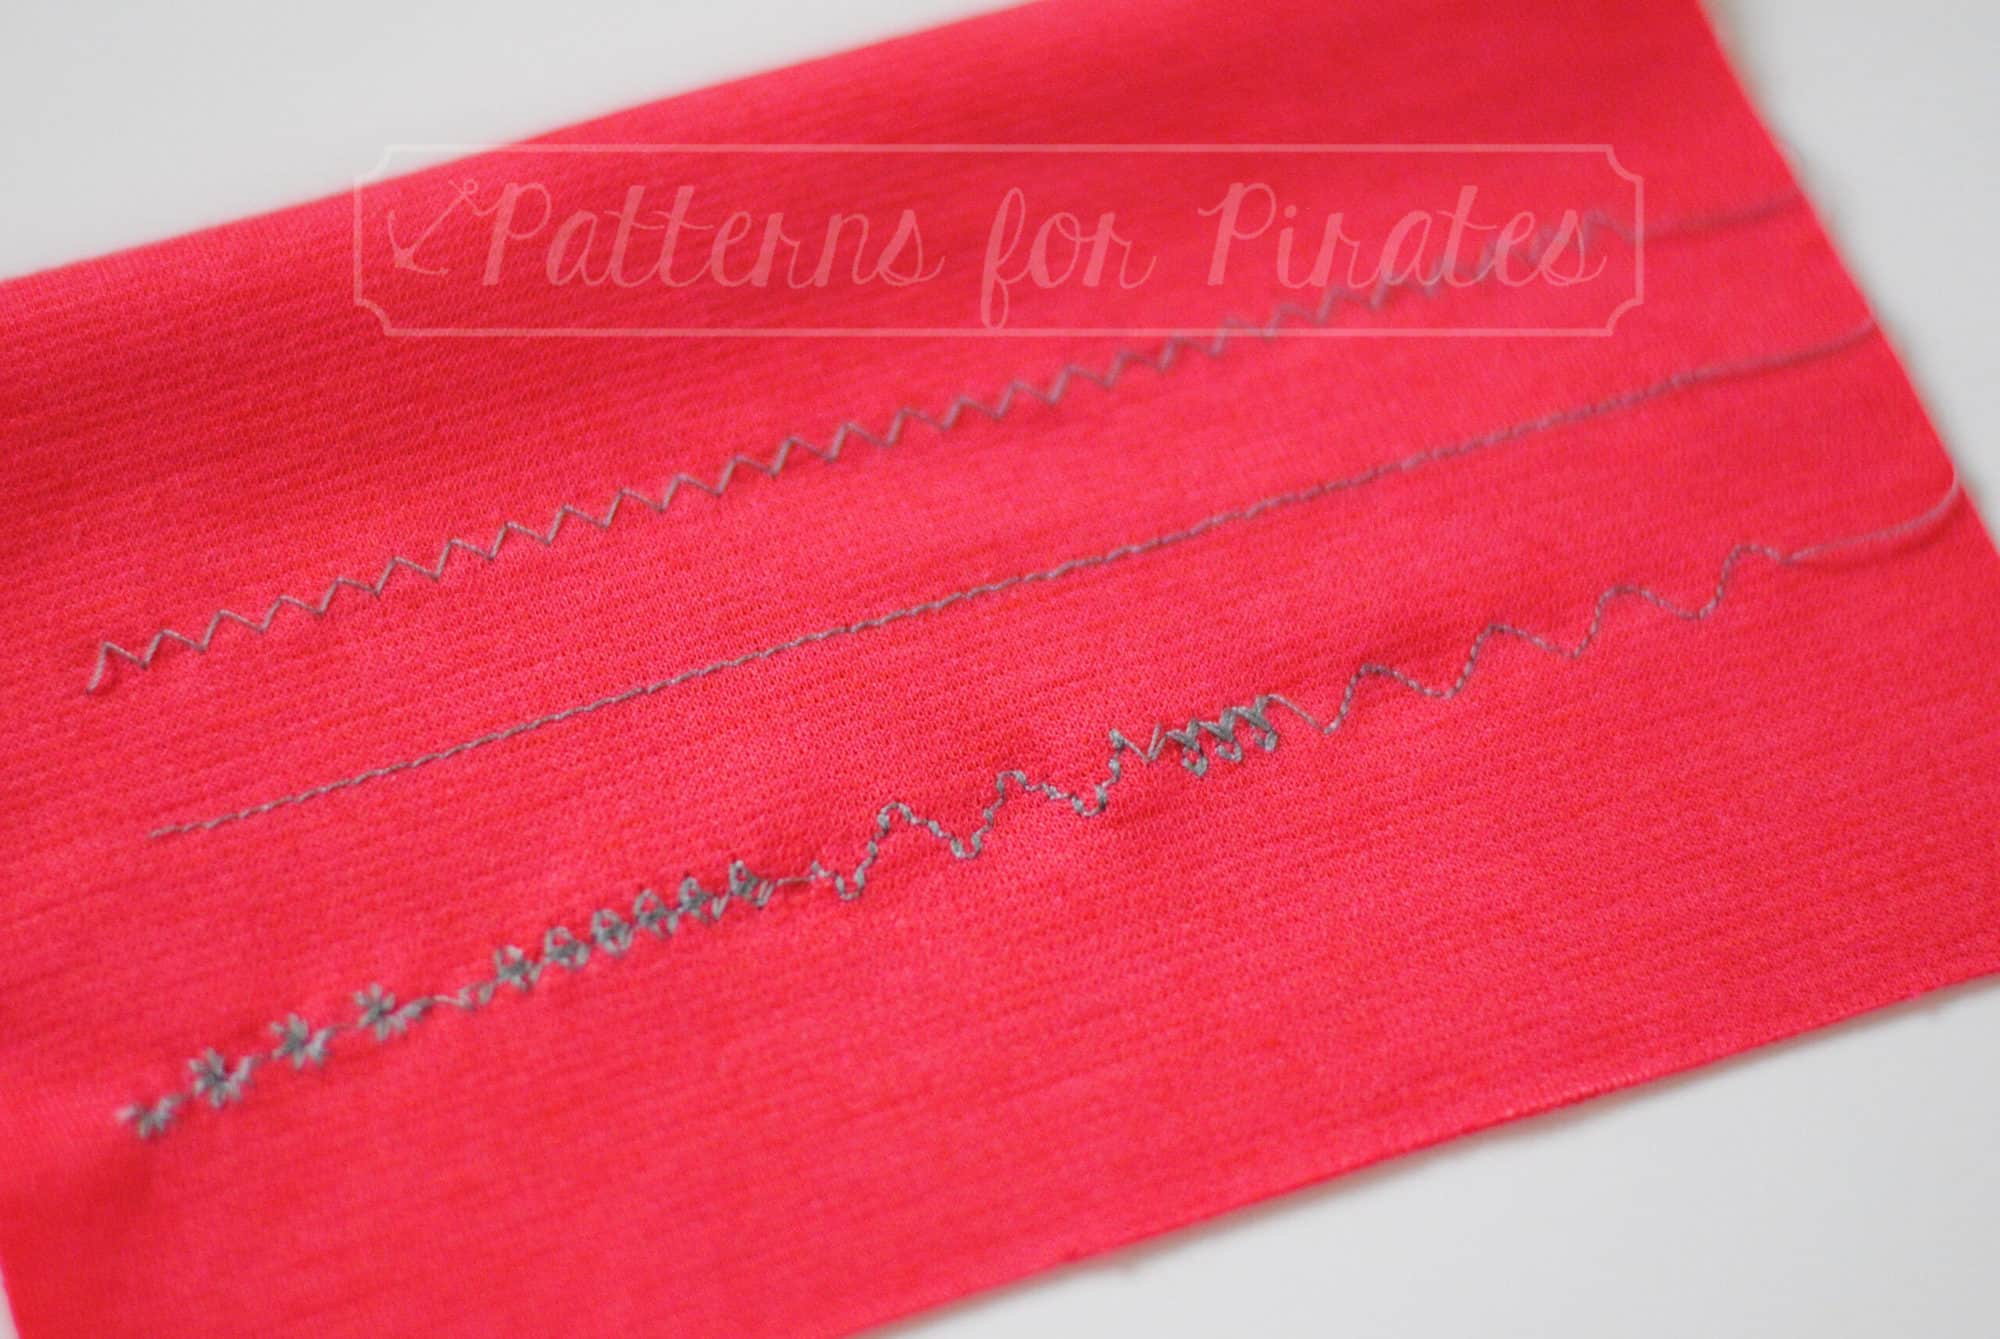
straight, zig zag, and decorative stitches from a sewing machine
topstitching
Sewing machines are also necessary for sewing on zippers to garments and bags, and some sewing machines also have other useful functions like creating buttonholes and sewing on buttons!
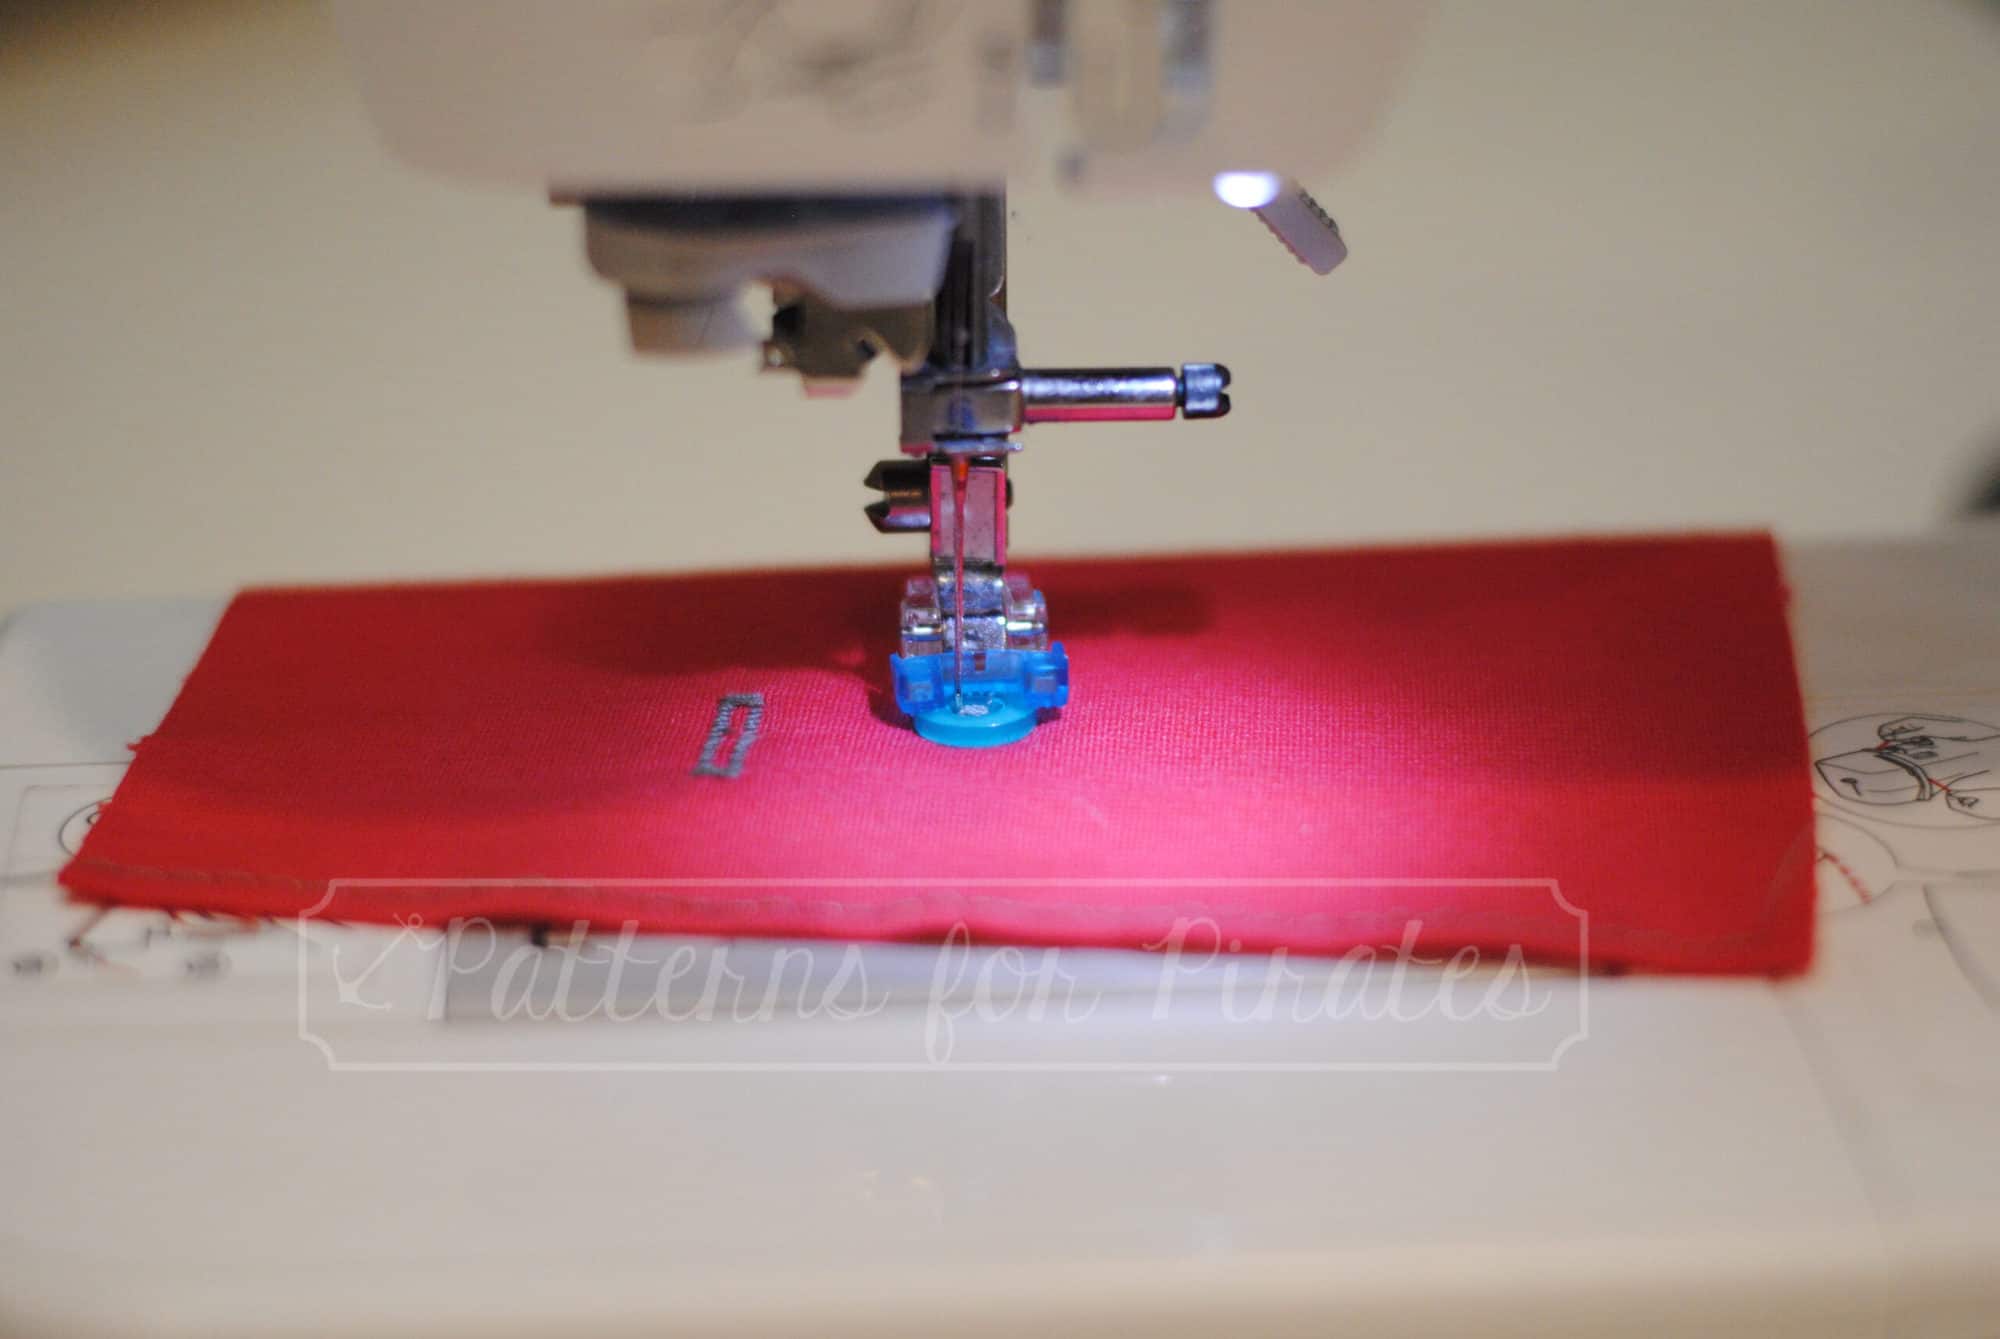
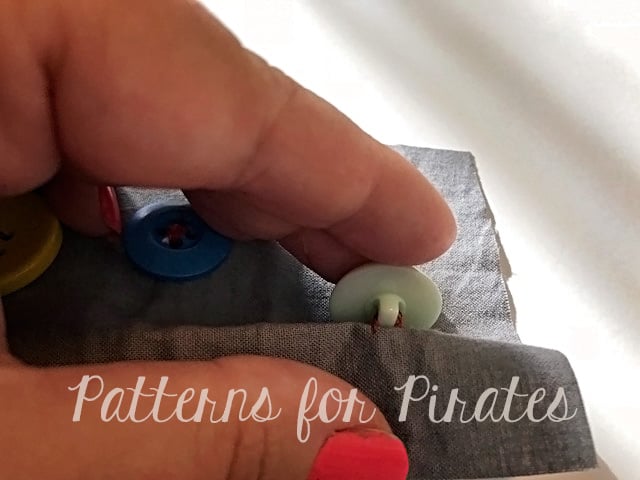
Sewing machine sewing on a button
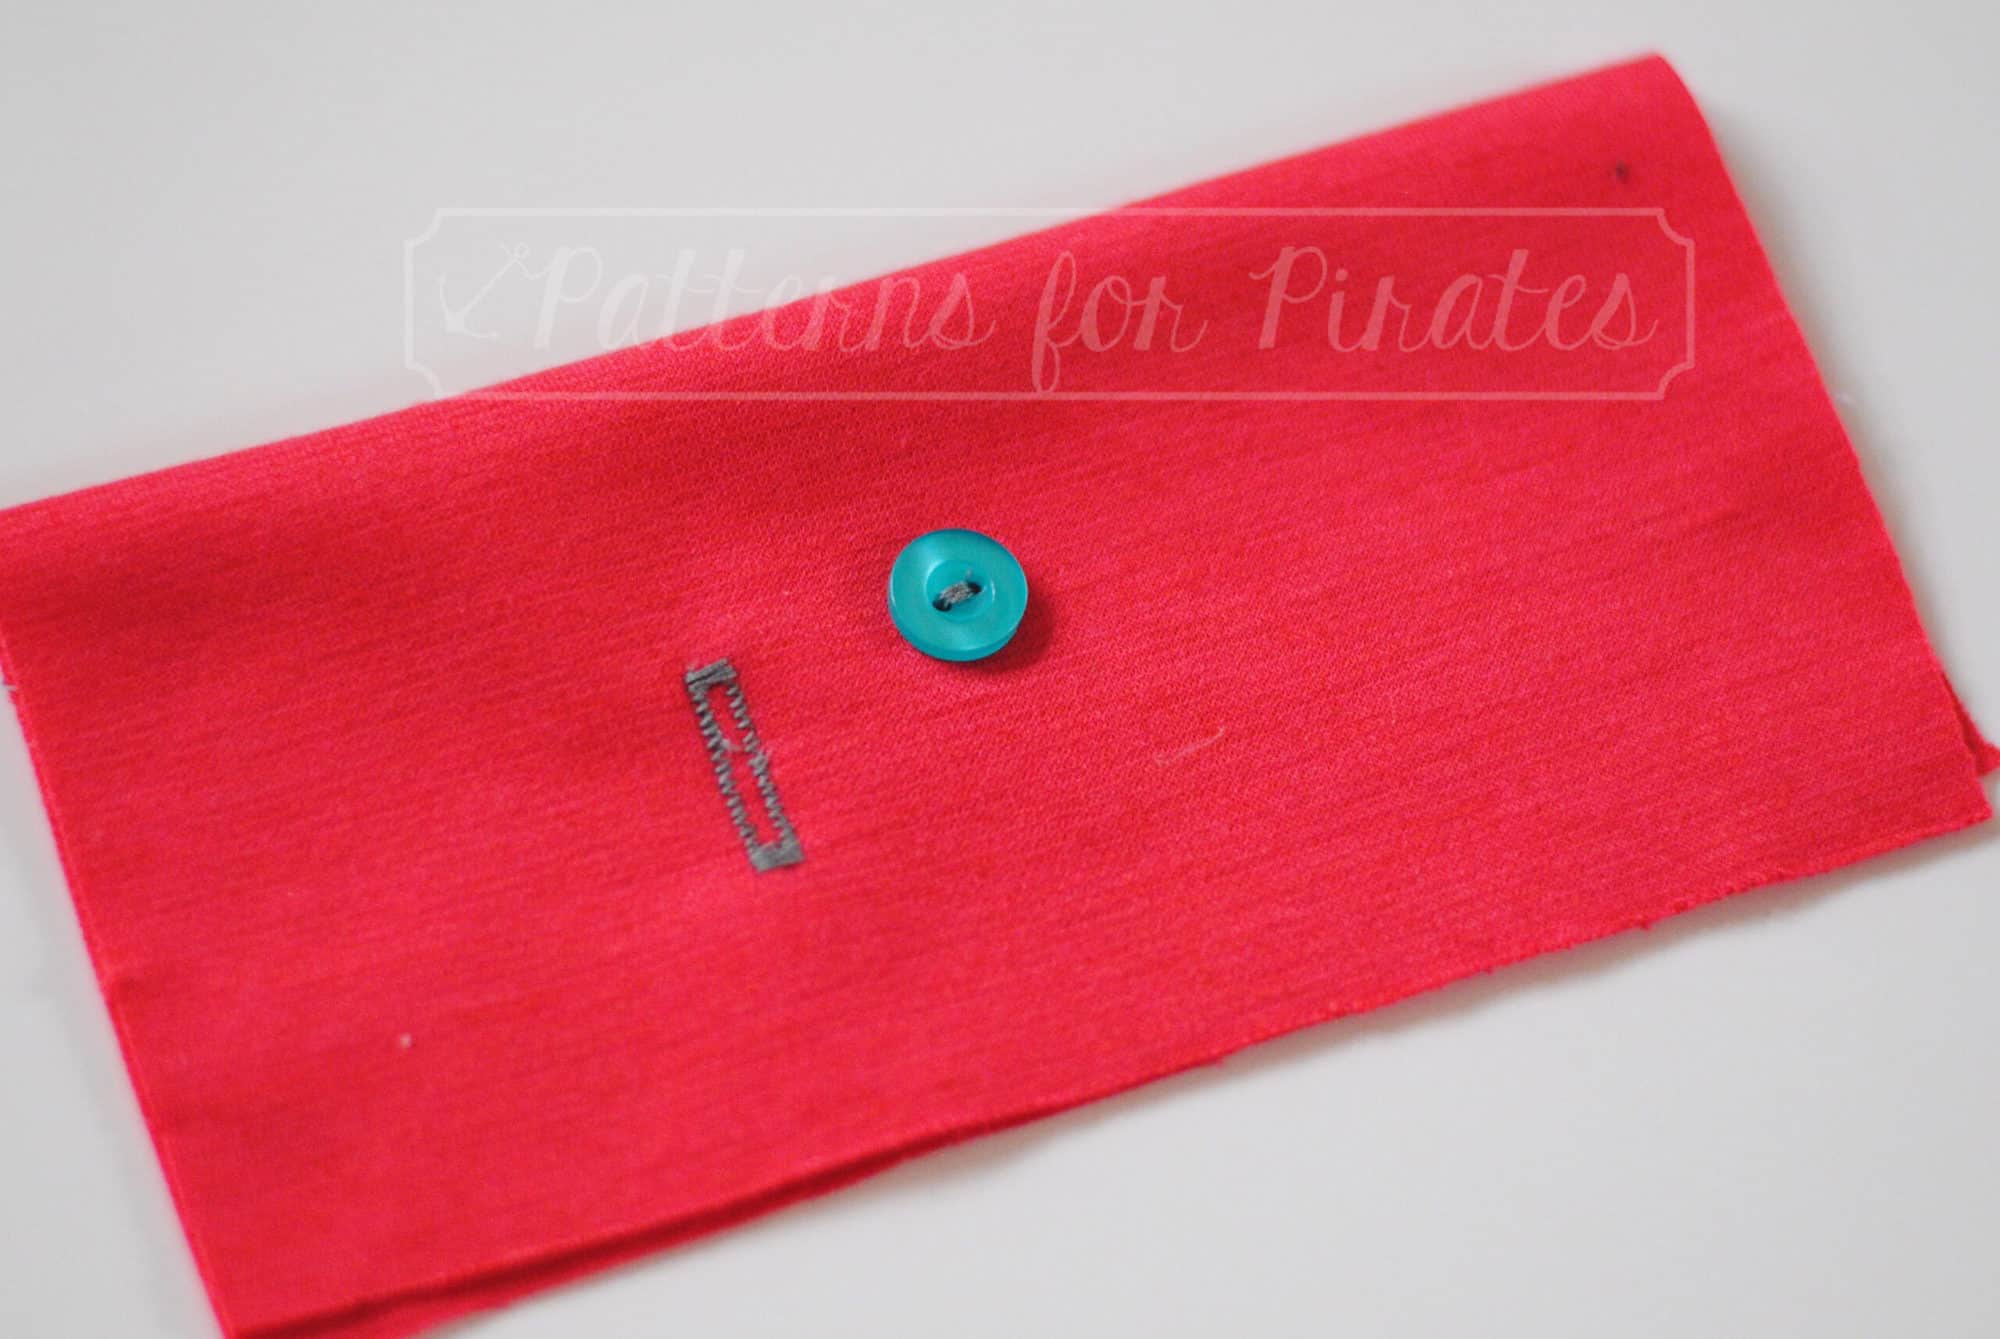
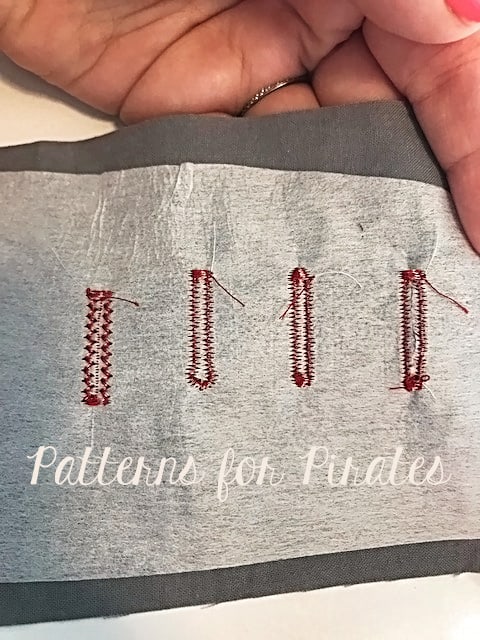
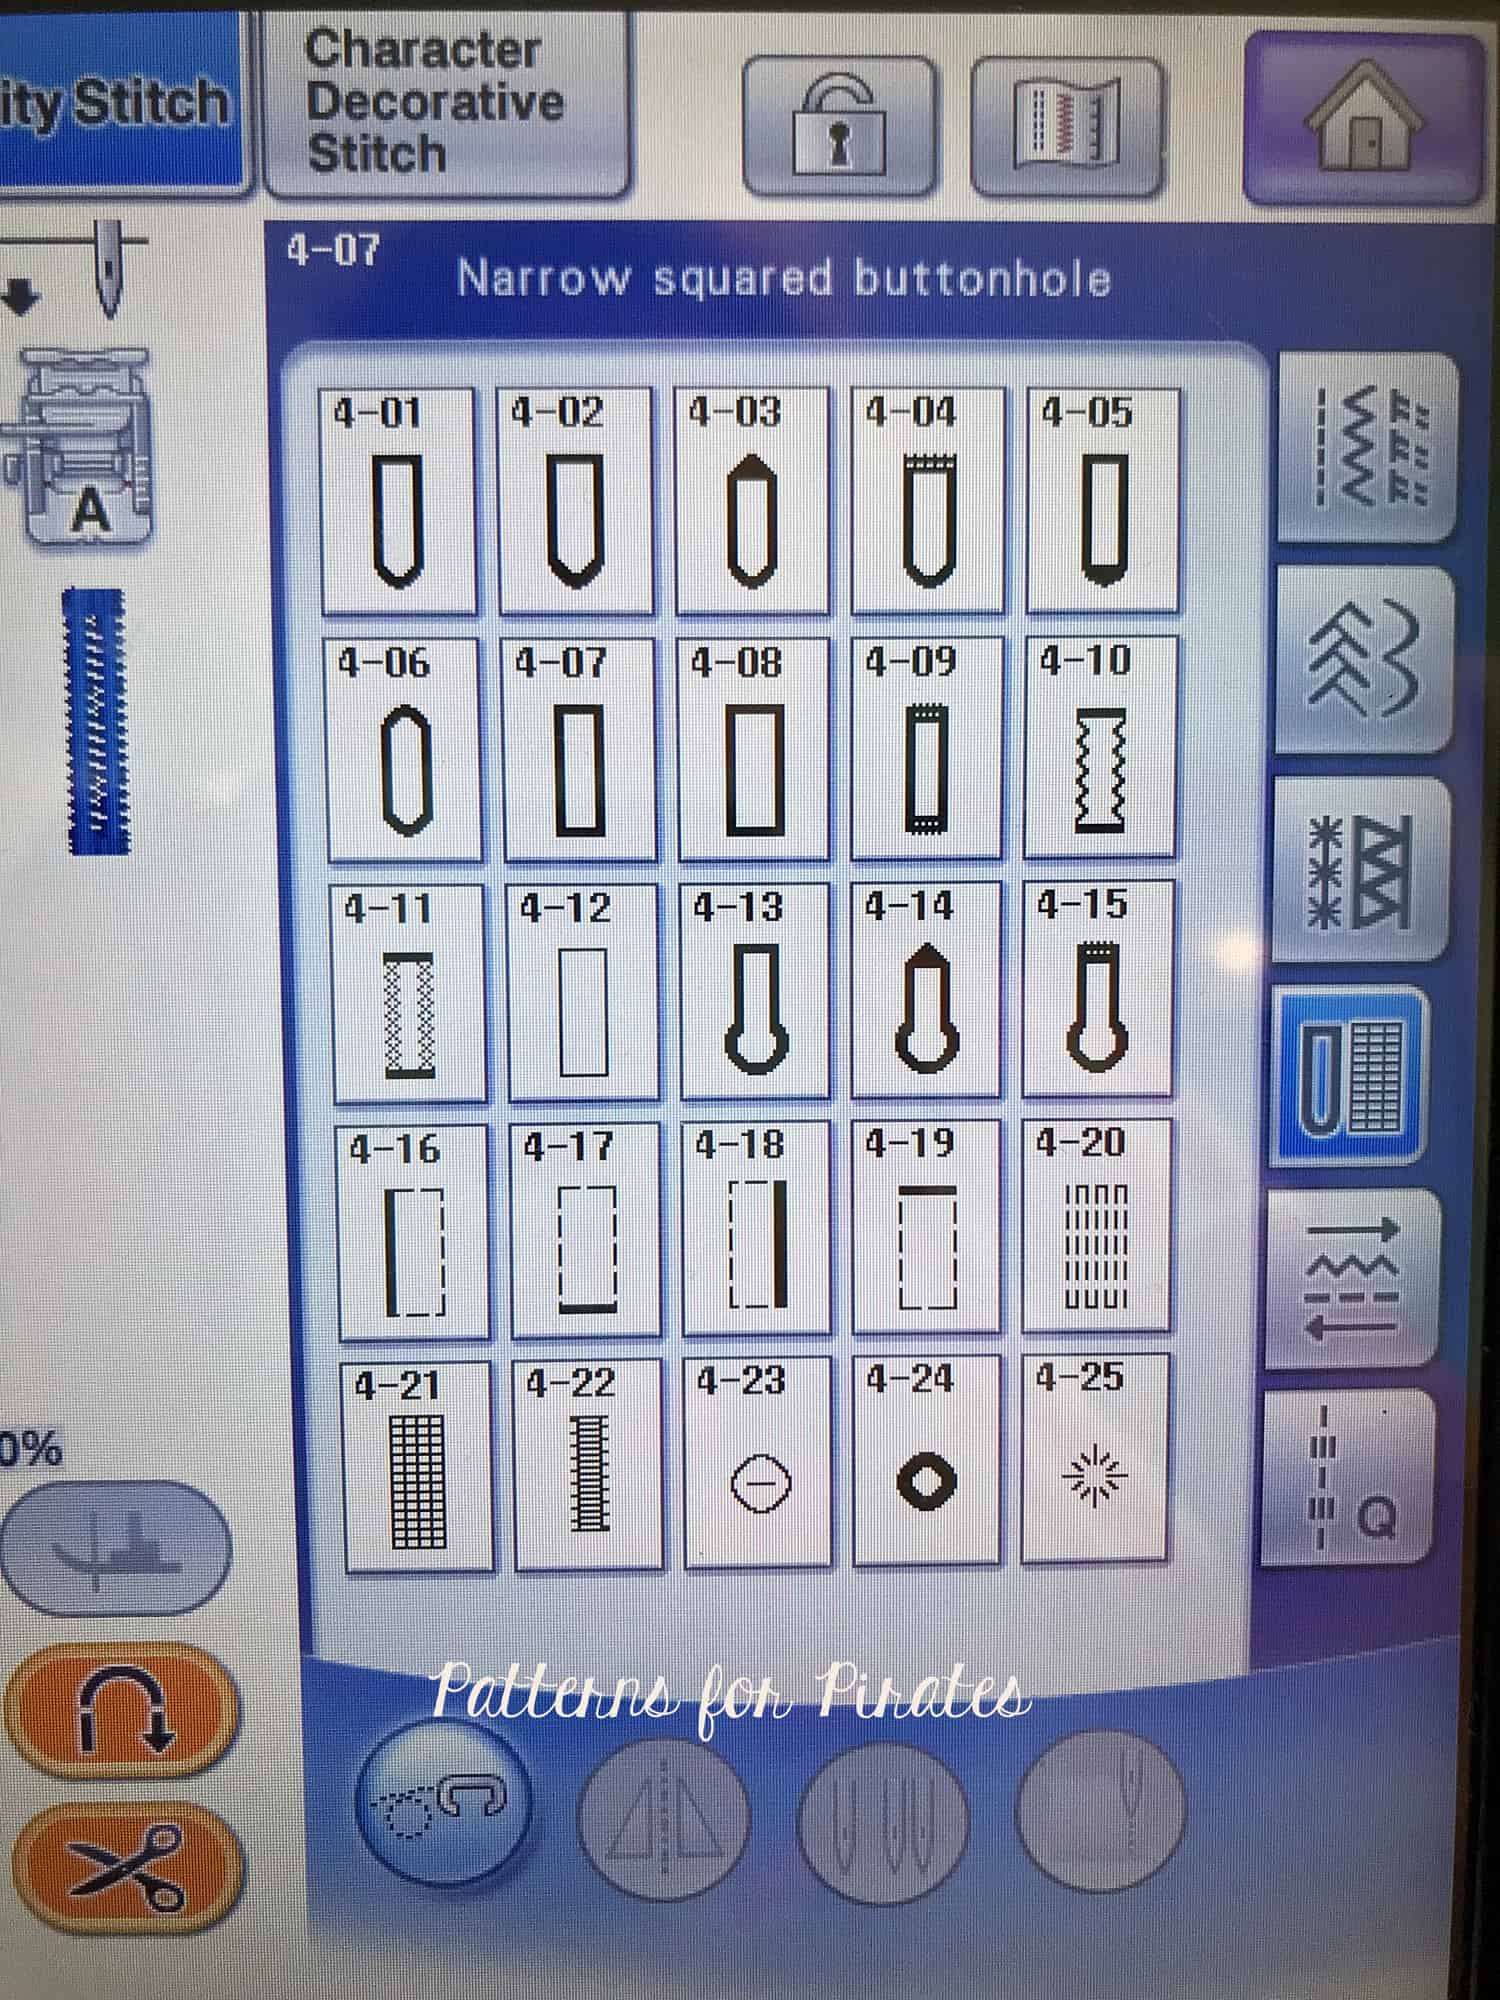
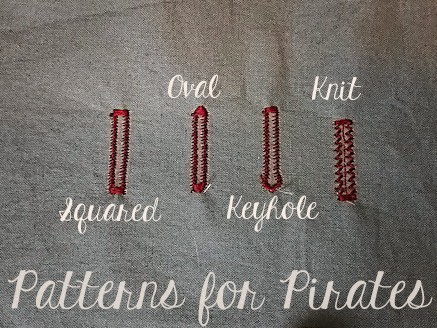
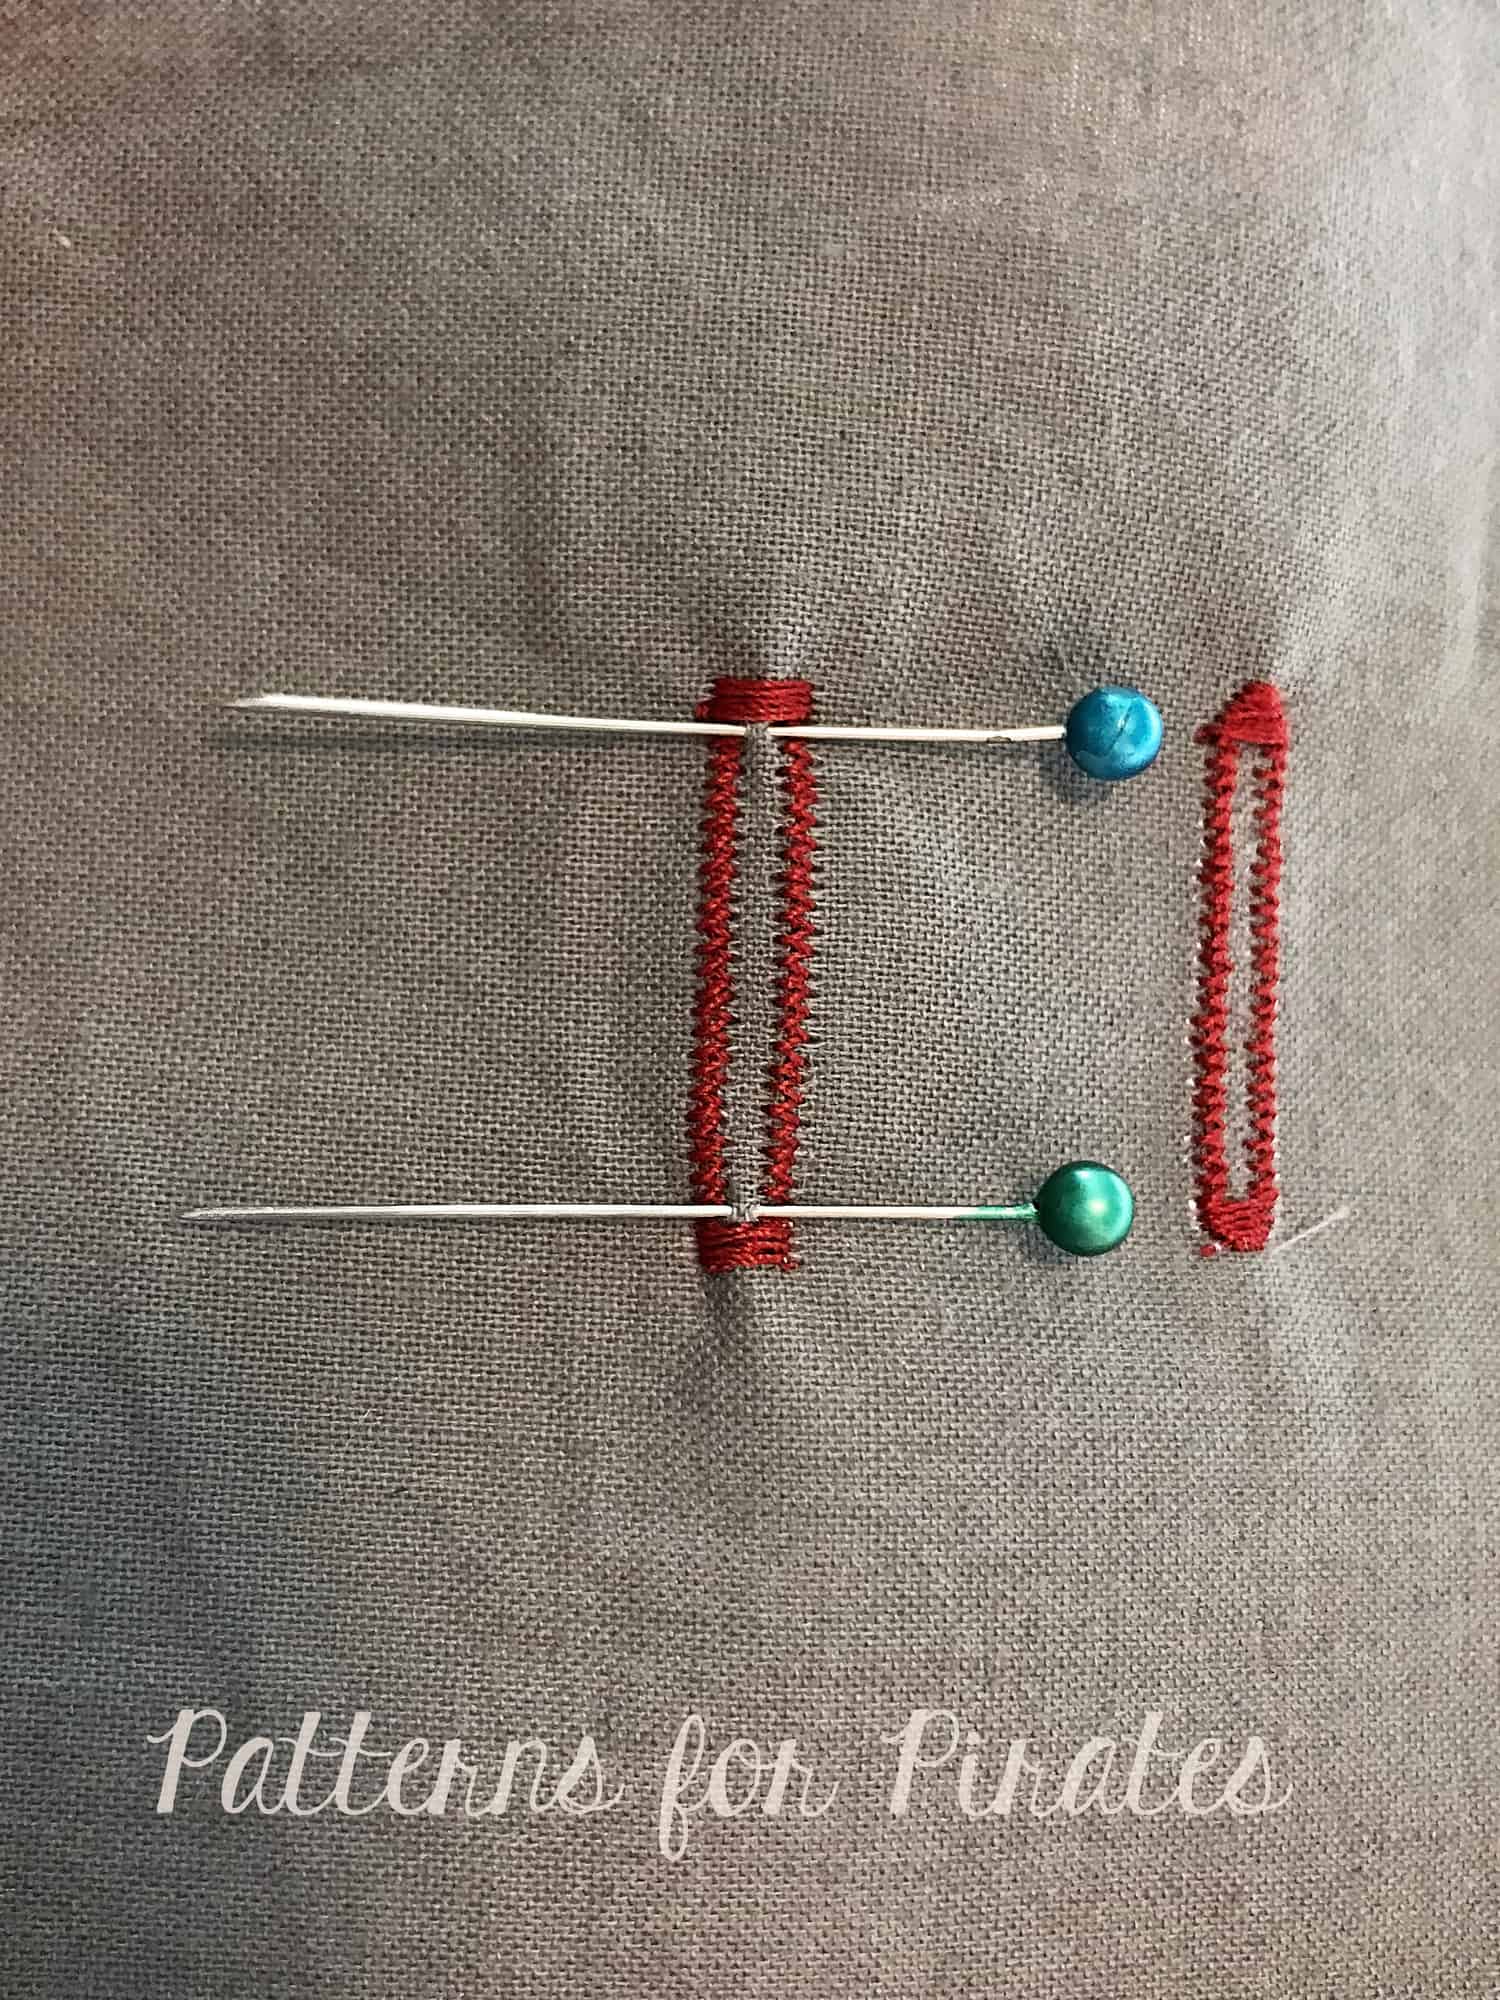
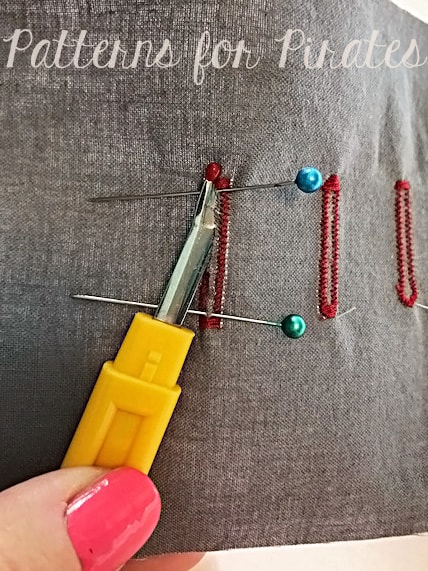
Button holes and button
Serger
Now lets look at what a serger does. A serger can also sew two or more pieces of fabric together, but it is limited to ONLY sewing along the edge of fabric. The reason for this is that it also finishes, or overlocks, the edges of the fabric as it is sewing, creating a nice clean looking edge. So while a serger may be limited in what it can “do” its usefulness comes in how quickly and efficiently it does those things. For knit garments, a serger can be used to quickly construct an article of clothing. Woven fabric on the other hand, needs to first be constructed on a sewing machine, then have the seams finished on an overlocker (that’s another name for a serger by the way!) Some lesser known uses of sergers can be accomplished by changing some of the settings. You can use it to gather a length of fabric by adjusting tension and differential feed, or create a narrow rolled hem by removing one of the needles and essentially having the loopers tightly wrap the edge of the fabric to finish it neatly.
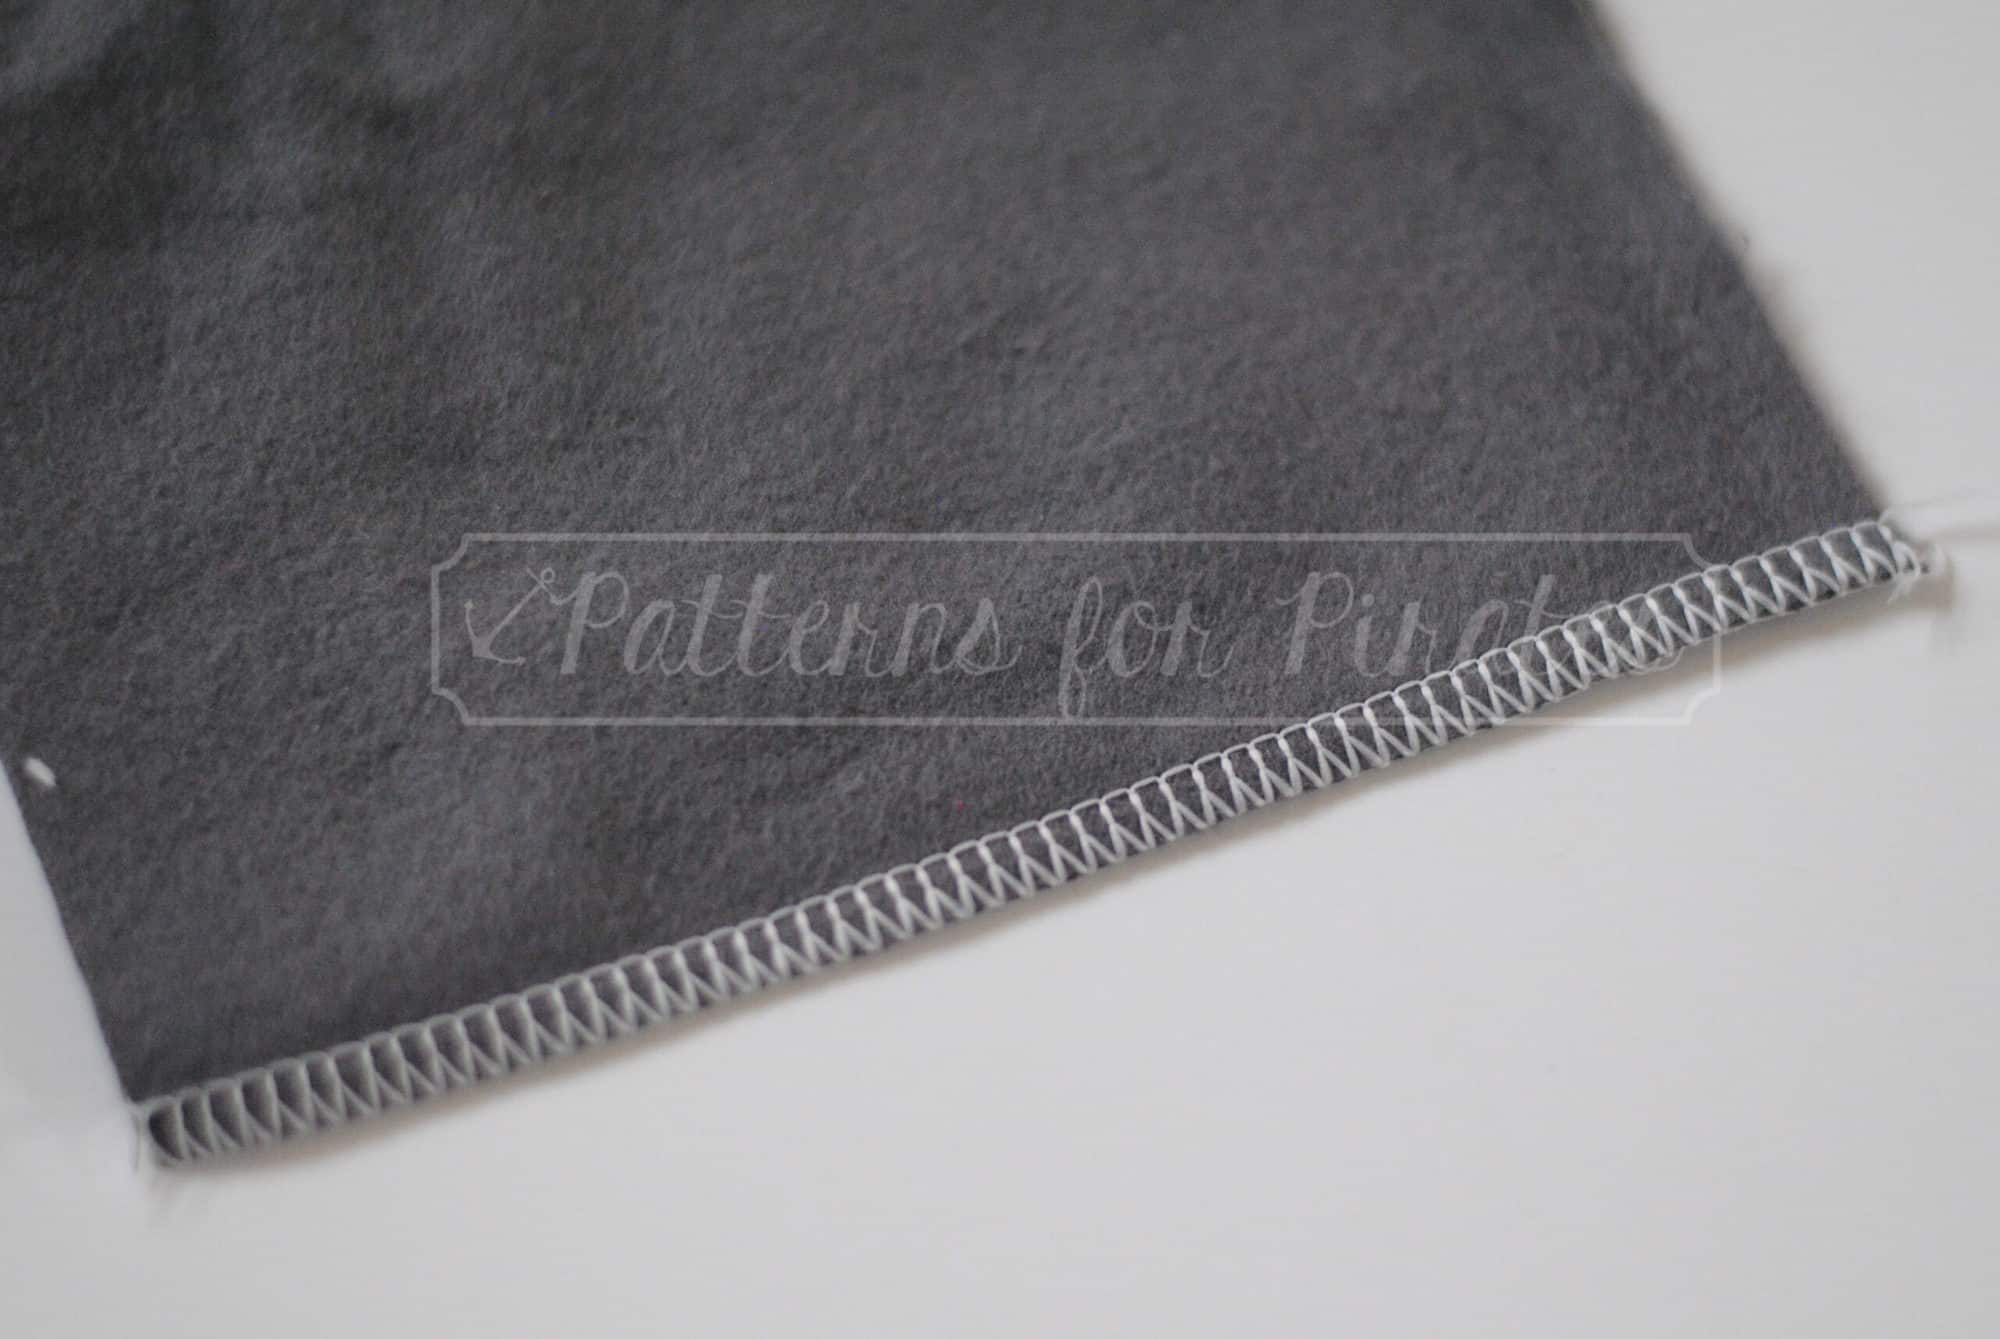
Neatly finished edges
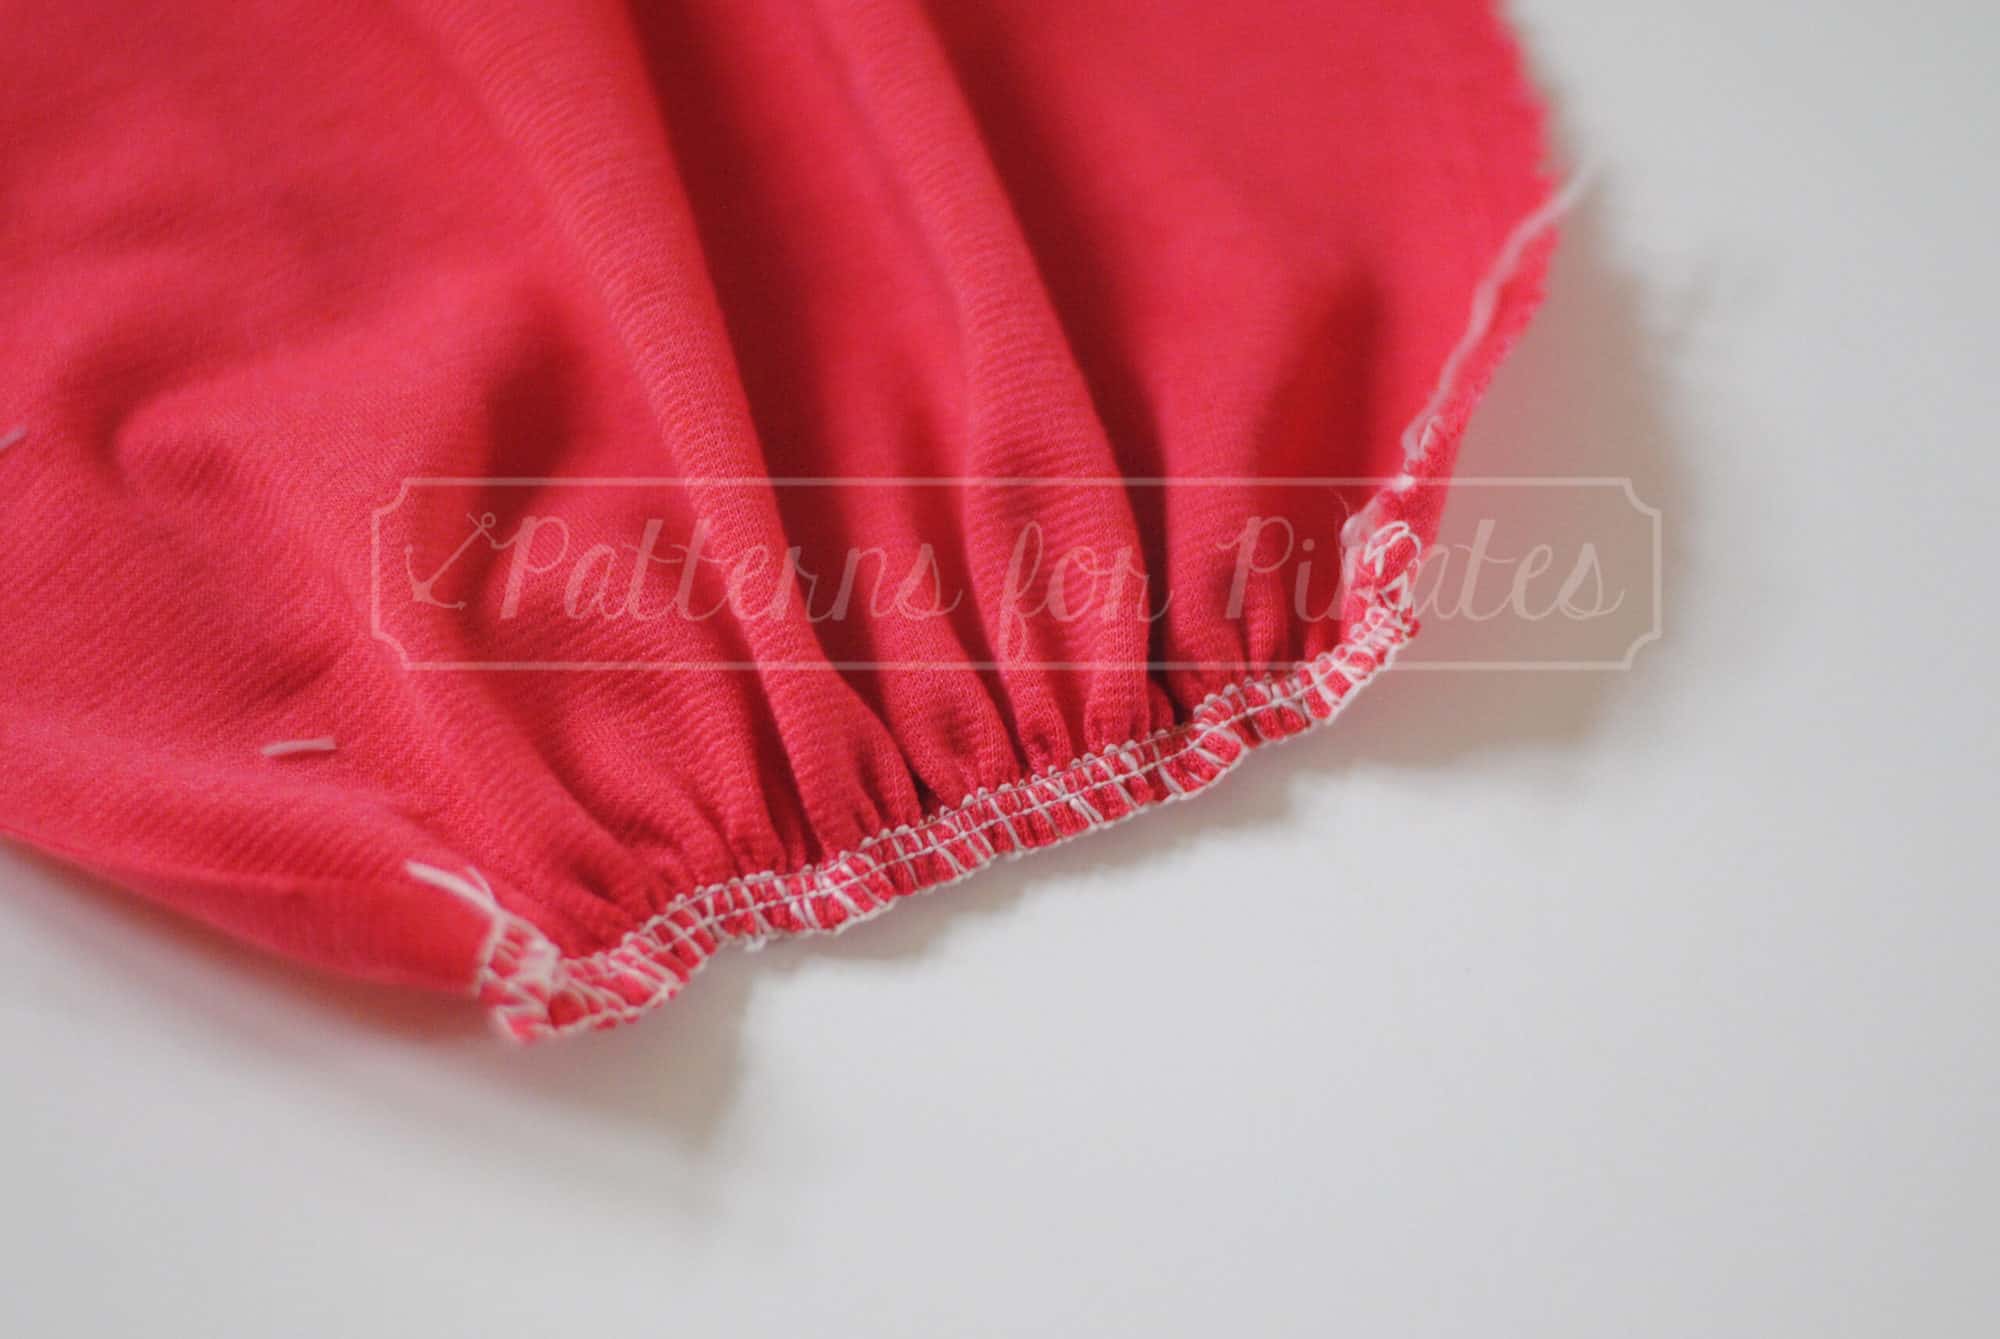
Gathers created on a serger

Rolled Hem done on a serger
When to use one vs. the other:
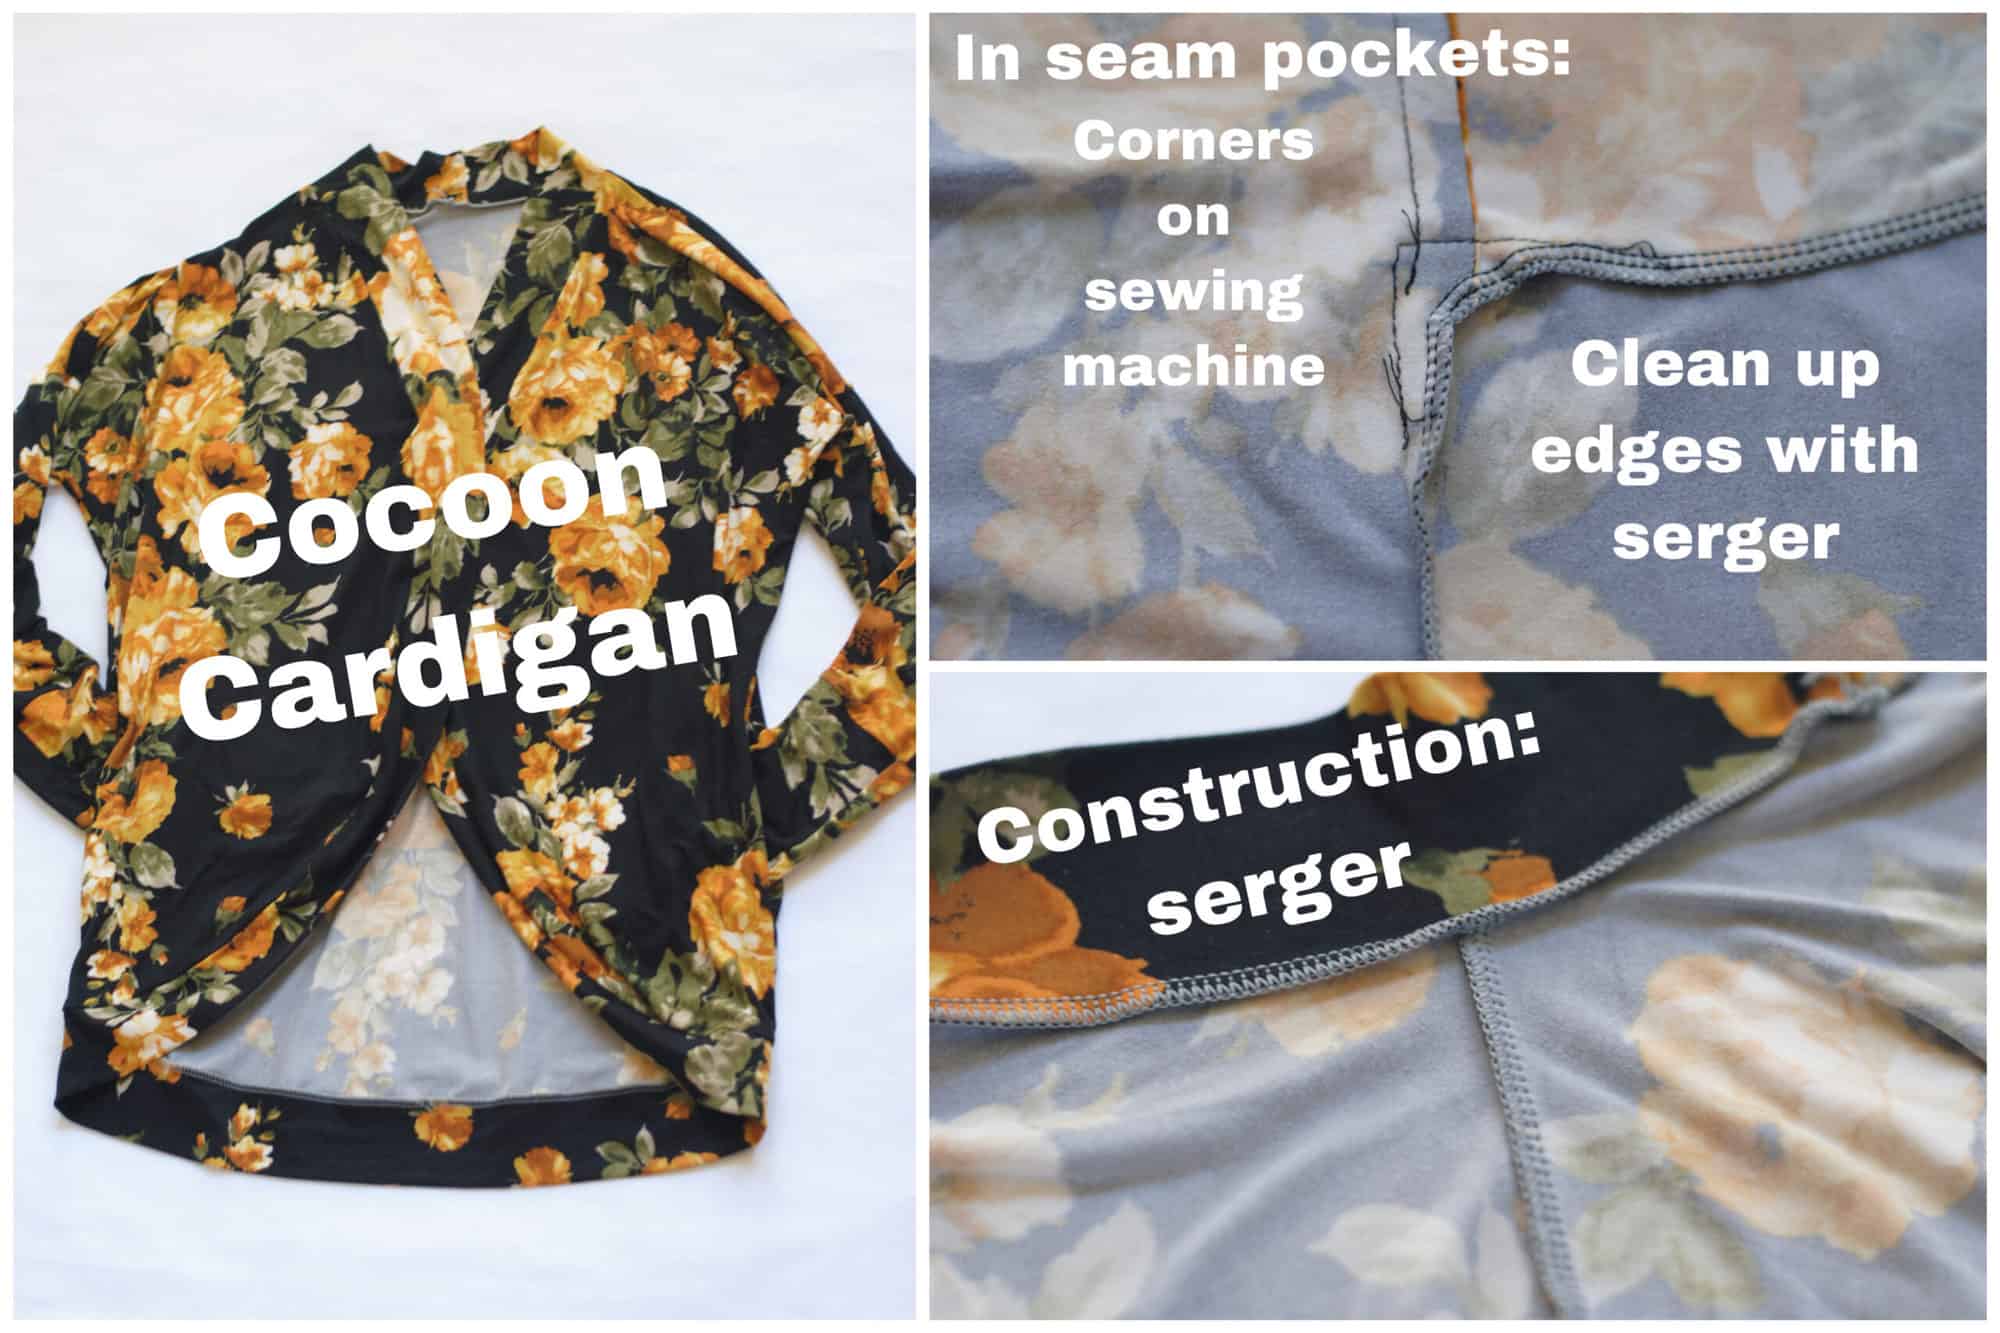
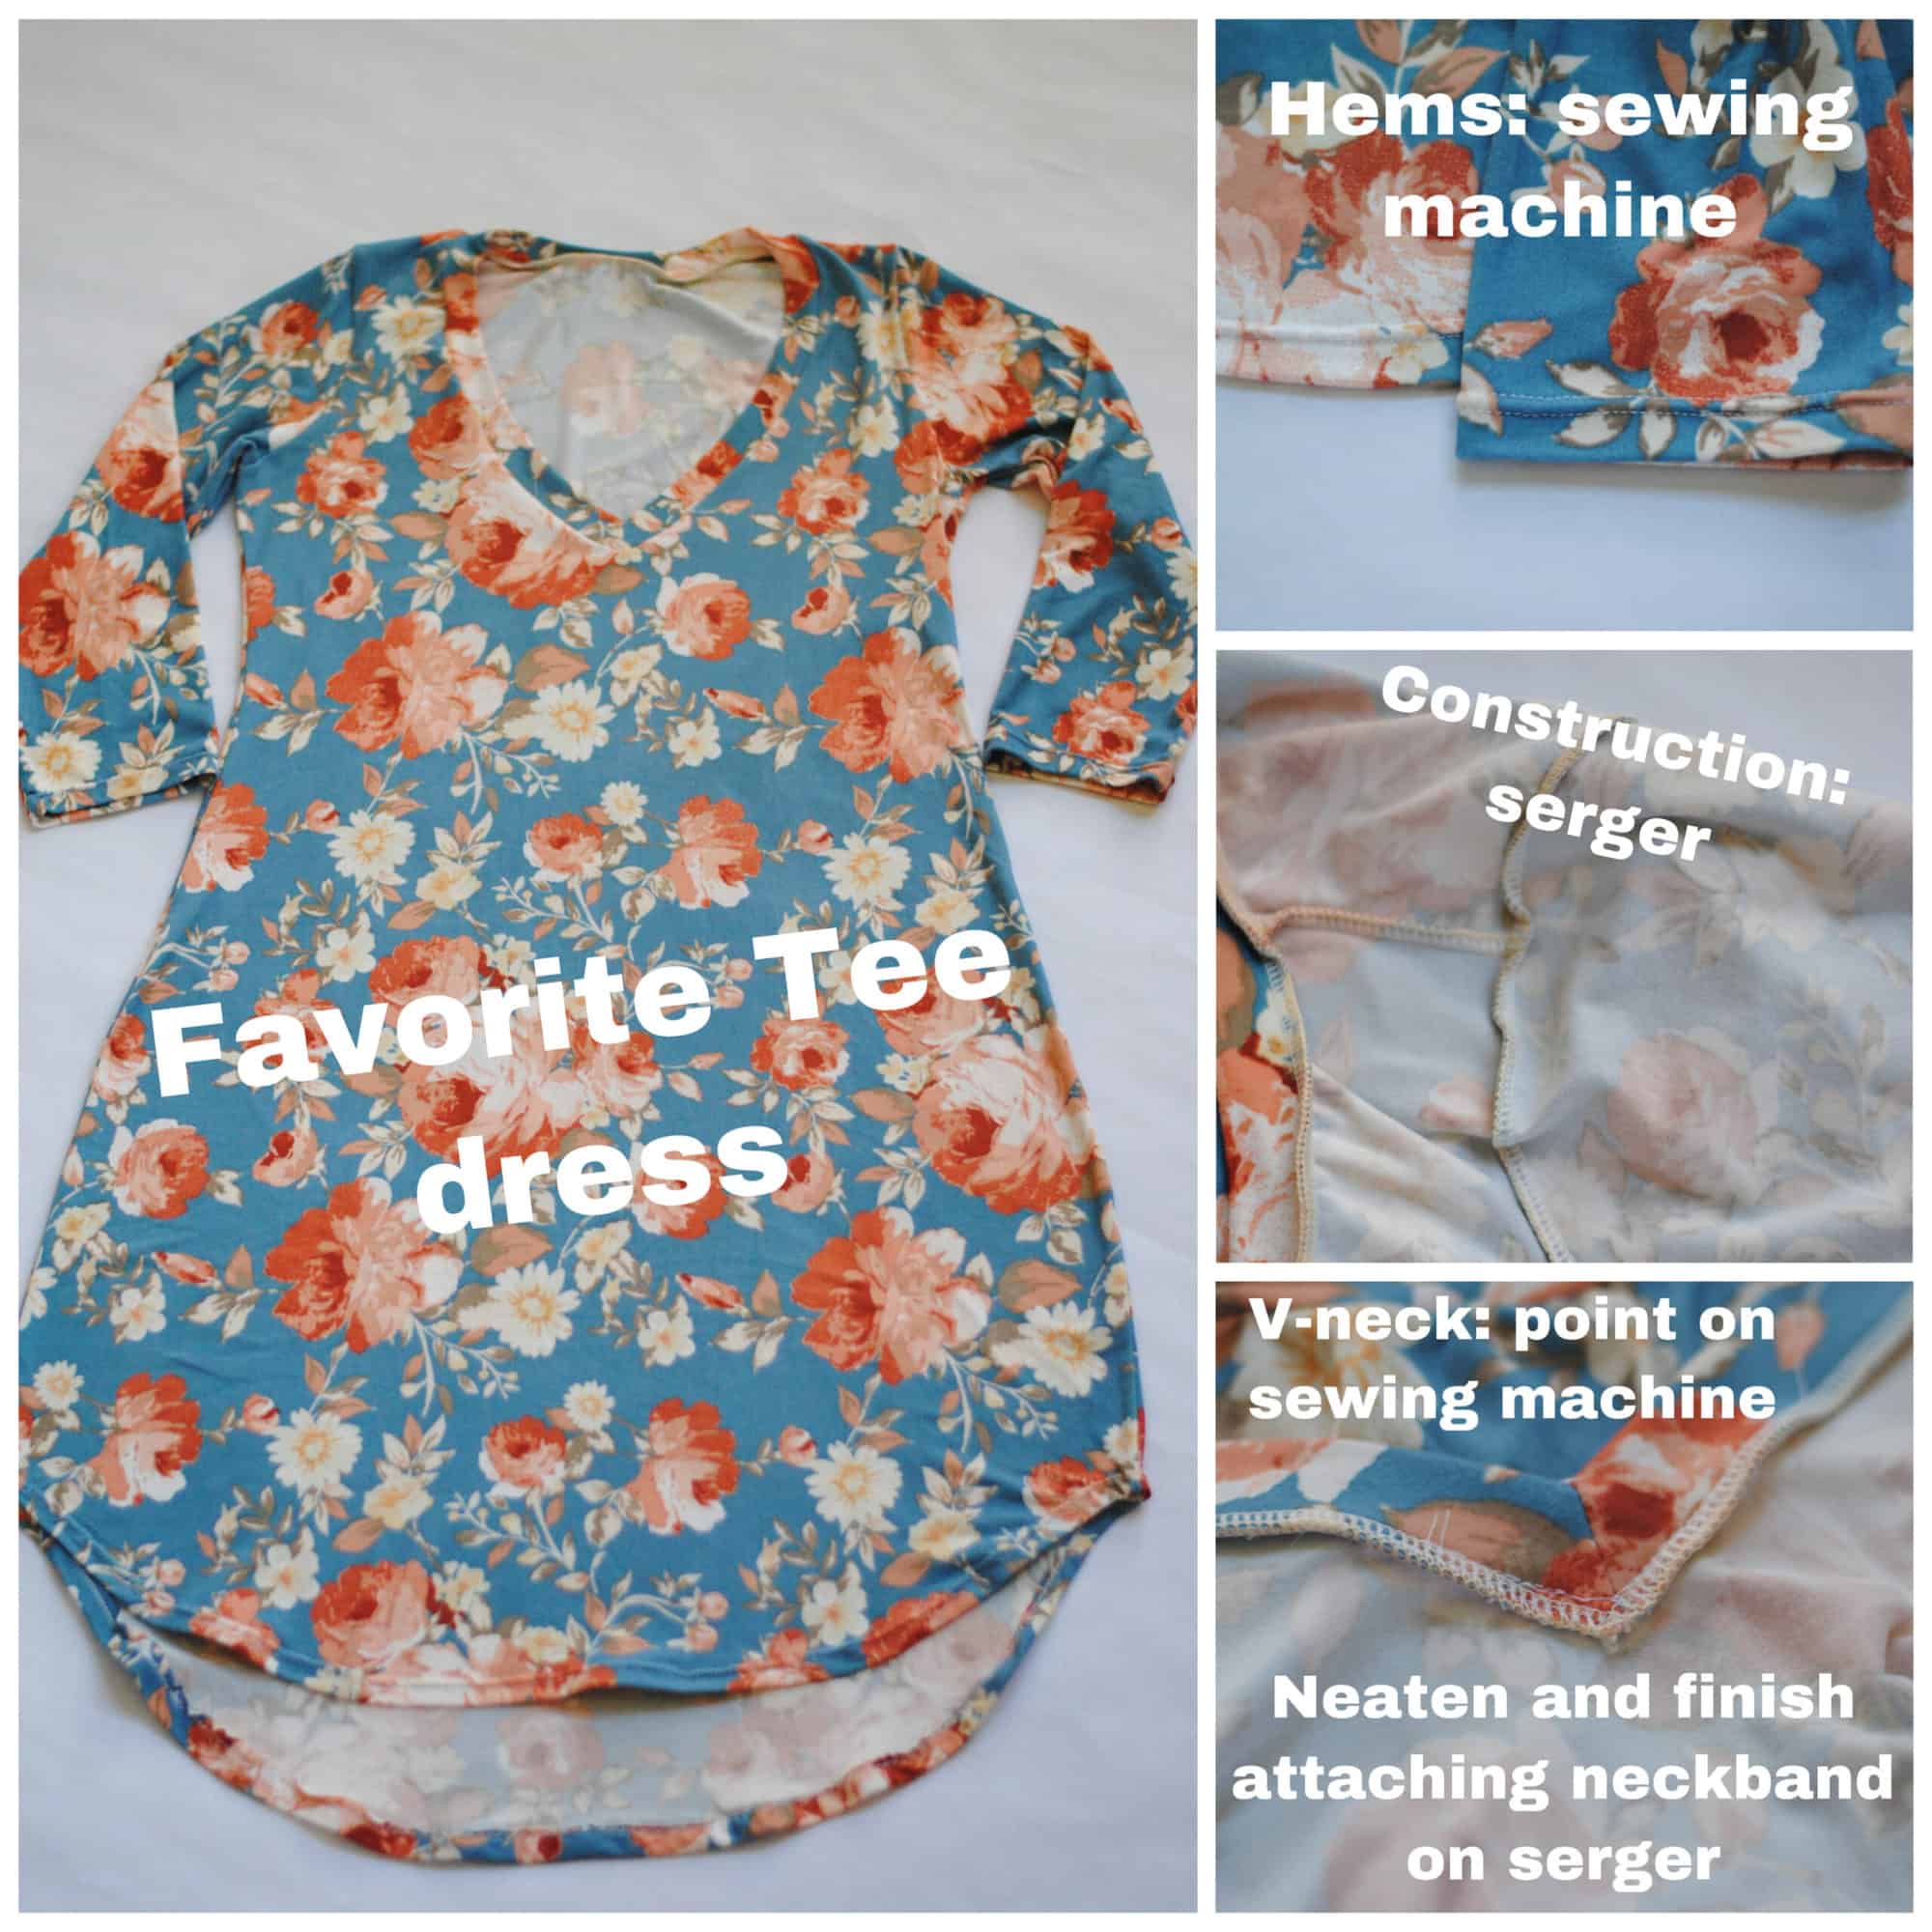
While it may seem like there is often a lot of bouncing back and forth between a regular sewing machine and a serger during a sewing project, each machine has its benefits for creating great things! I want to mention a few specific steps you will come across during sewing, and which machine you should use for each. First up, lets say we are making a v-neck, knit shirt pattern like the Favorite tee. The main garment construction like the shoulder seams, side seams, sleeves, etc., would best be done on a serger. It would come together very quickly this way. This then leaves the steps of hemming the garment and attaching the neckband. Hemming of the sleeves and bottom is best done on a sewing machine since a standard serger does not have that functionality. Next, while many neckbands can be attached using a serger only, a v-neck will look neater and cause you less frustration, if you use your sewing machine on the v-neck point. Basting and slowly working on the “V” on your sewing machine will get you that crisp point. After the point has been created on your sewing machine, you can bounce back over to your serger to neaten the edges and attach the remainder of the neckband. Another aspect of constructing knit garments that you should use the regular sewing machine for would be inseam pockets. Just like for a neckband, the best way to get sharp corners on inseam pockets is with a sewing machine. You can then go back and finish the edges with a serger.
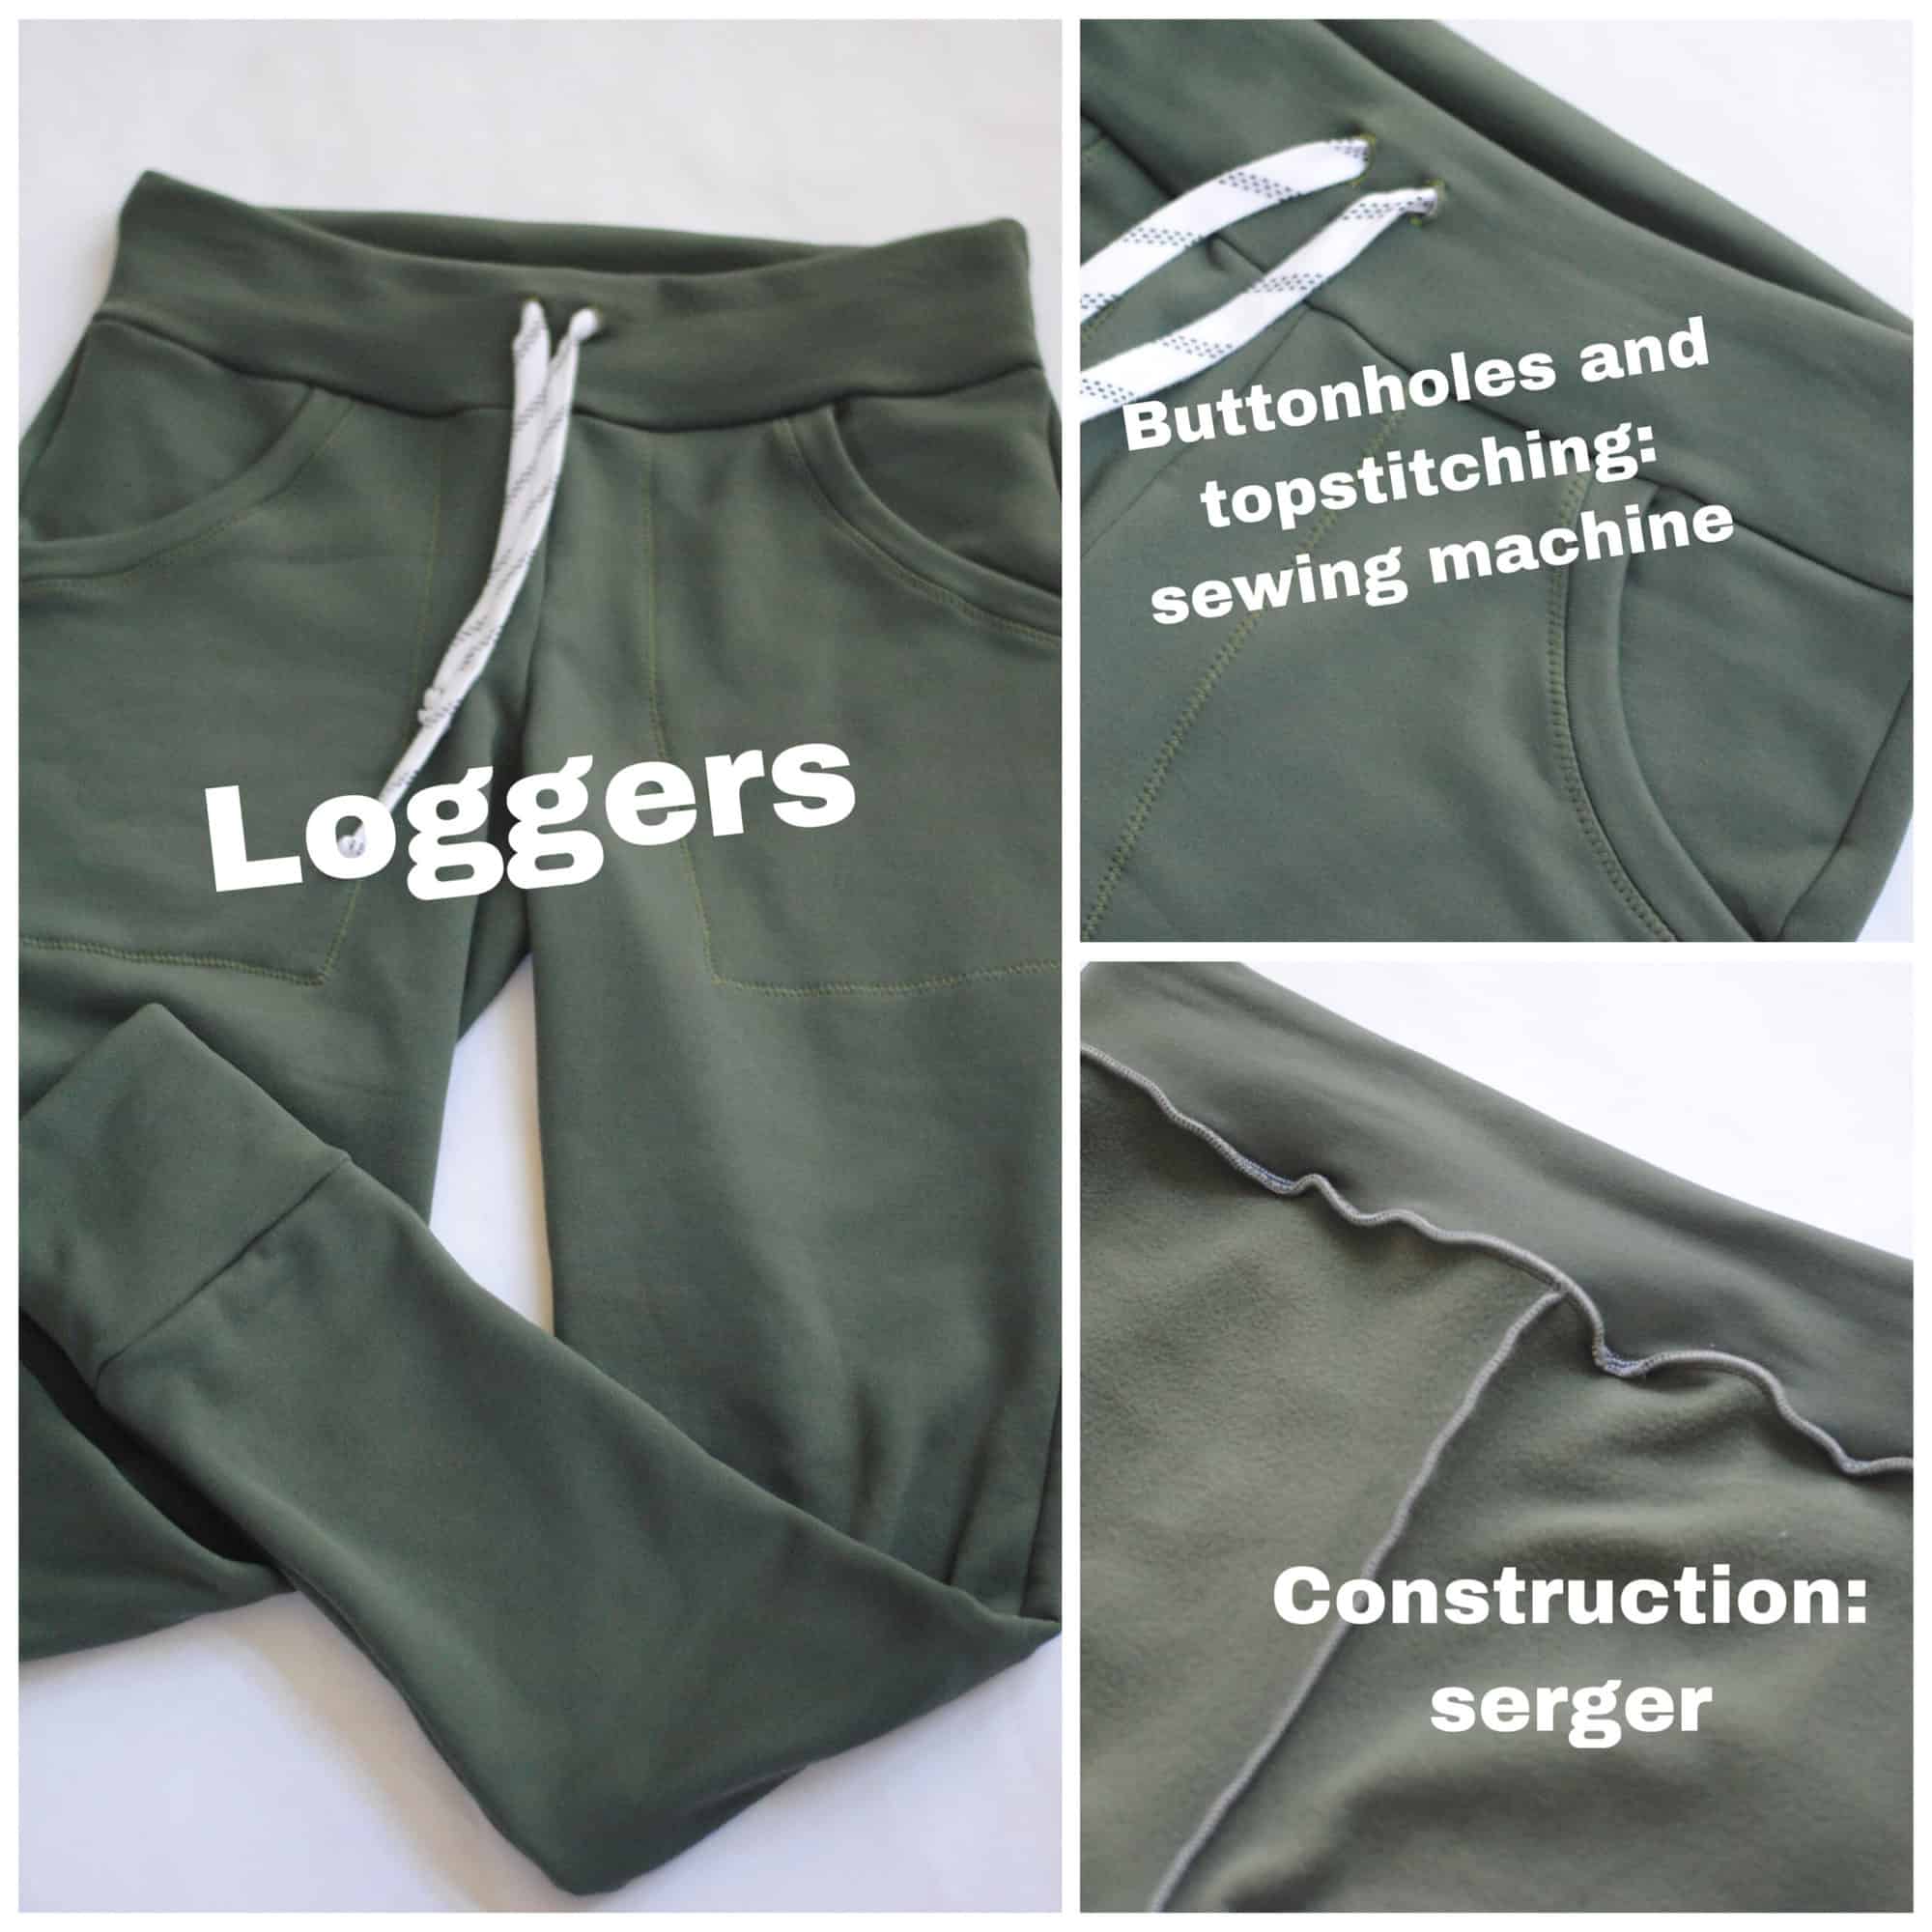
While you may find yourself using your serger a lot when creating knit garments, there are lots of other special circumstances that you may come across that you will need to go back to your regular sewing machine for, such as sewing on patch pockets, any type of topstitching, making buttonholes for either buttons or drawstrings, and sewing zippers.
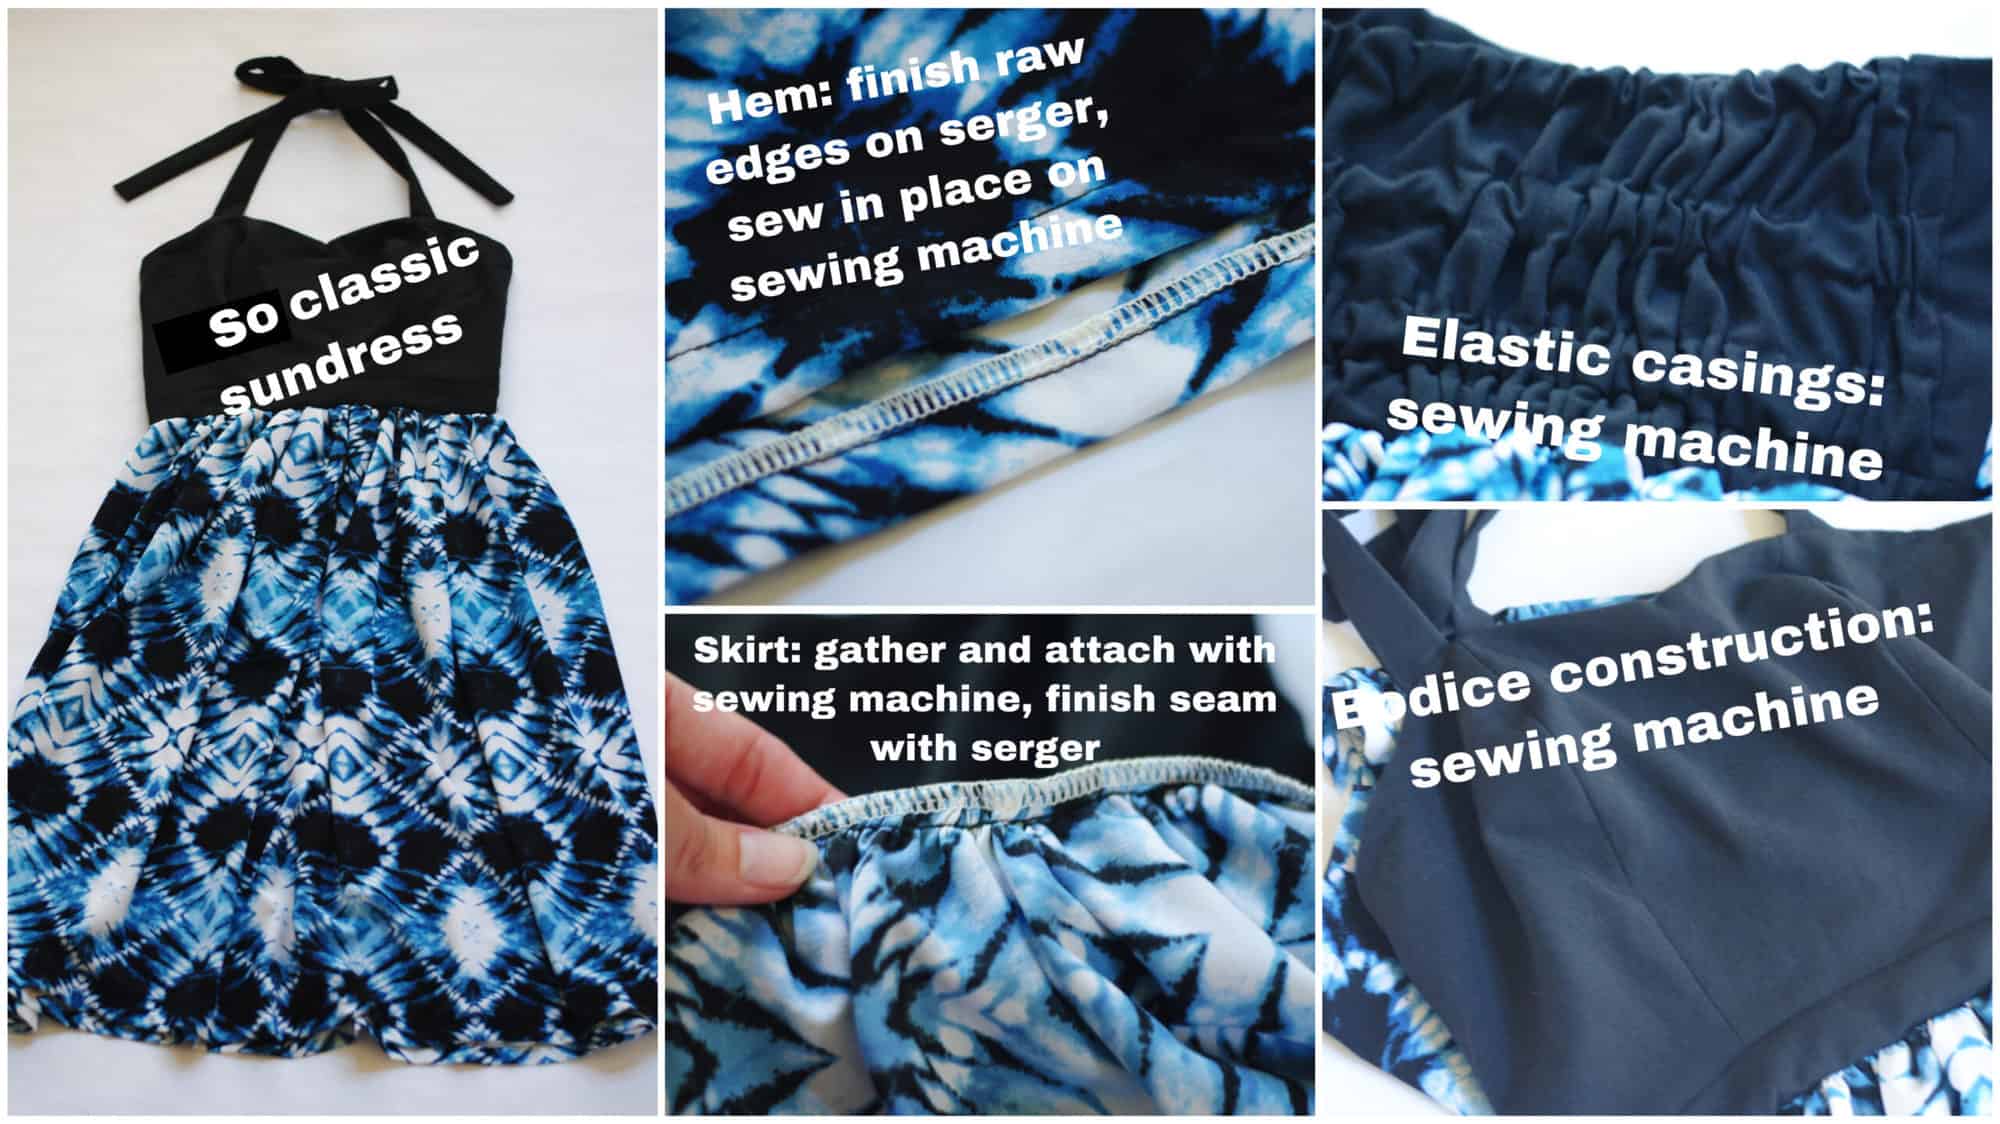
When it comes to sewing patterns that are designed for woven fabrics on the other hand, your sewing machine will be doing the bulk of the work here! The seams should all be sewn on your sewing machine, and then the seam can be finished (aka overlocked) on the serger. Sewing first on the sewing machine may seem like an extra step or feel excessive, but it will make your garment stronger, and minimize your risk of busting out a seam.
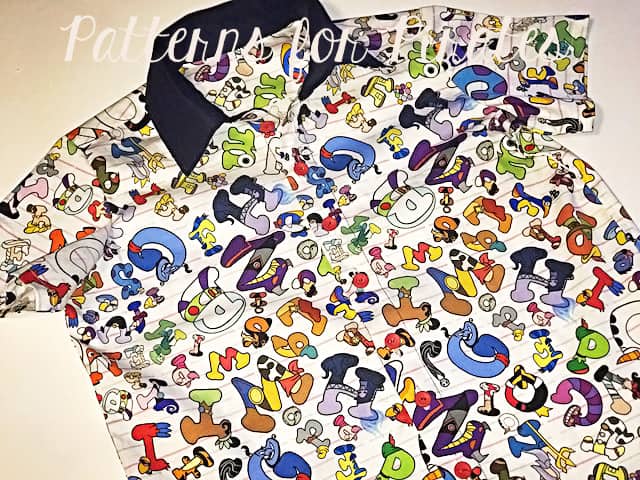
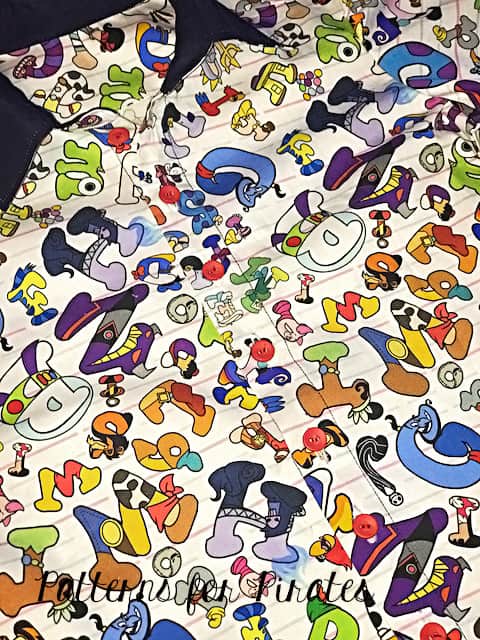
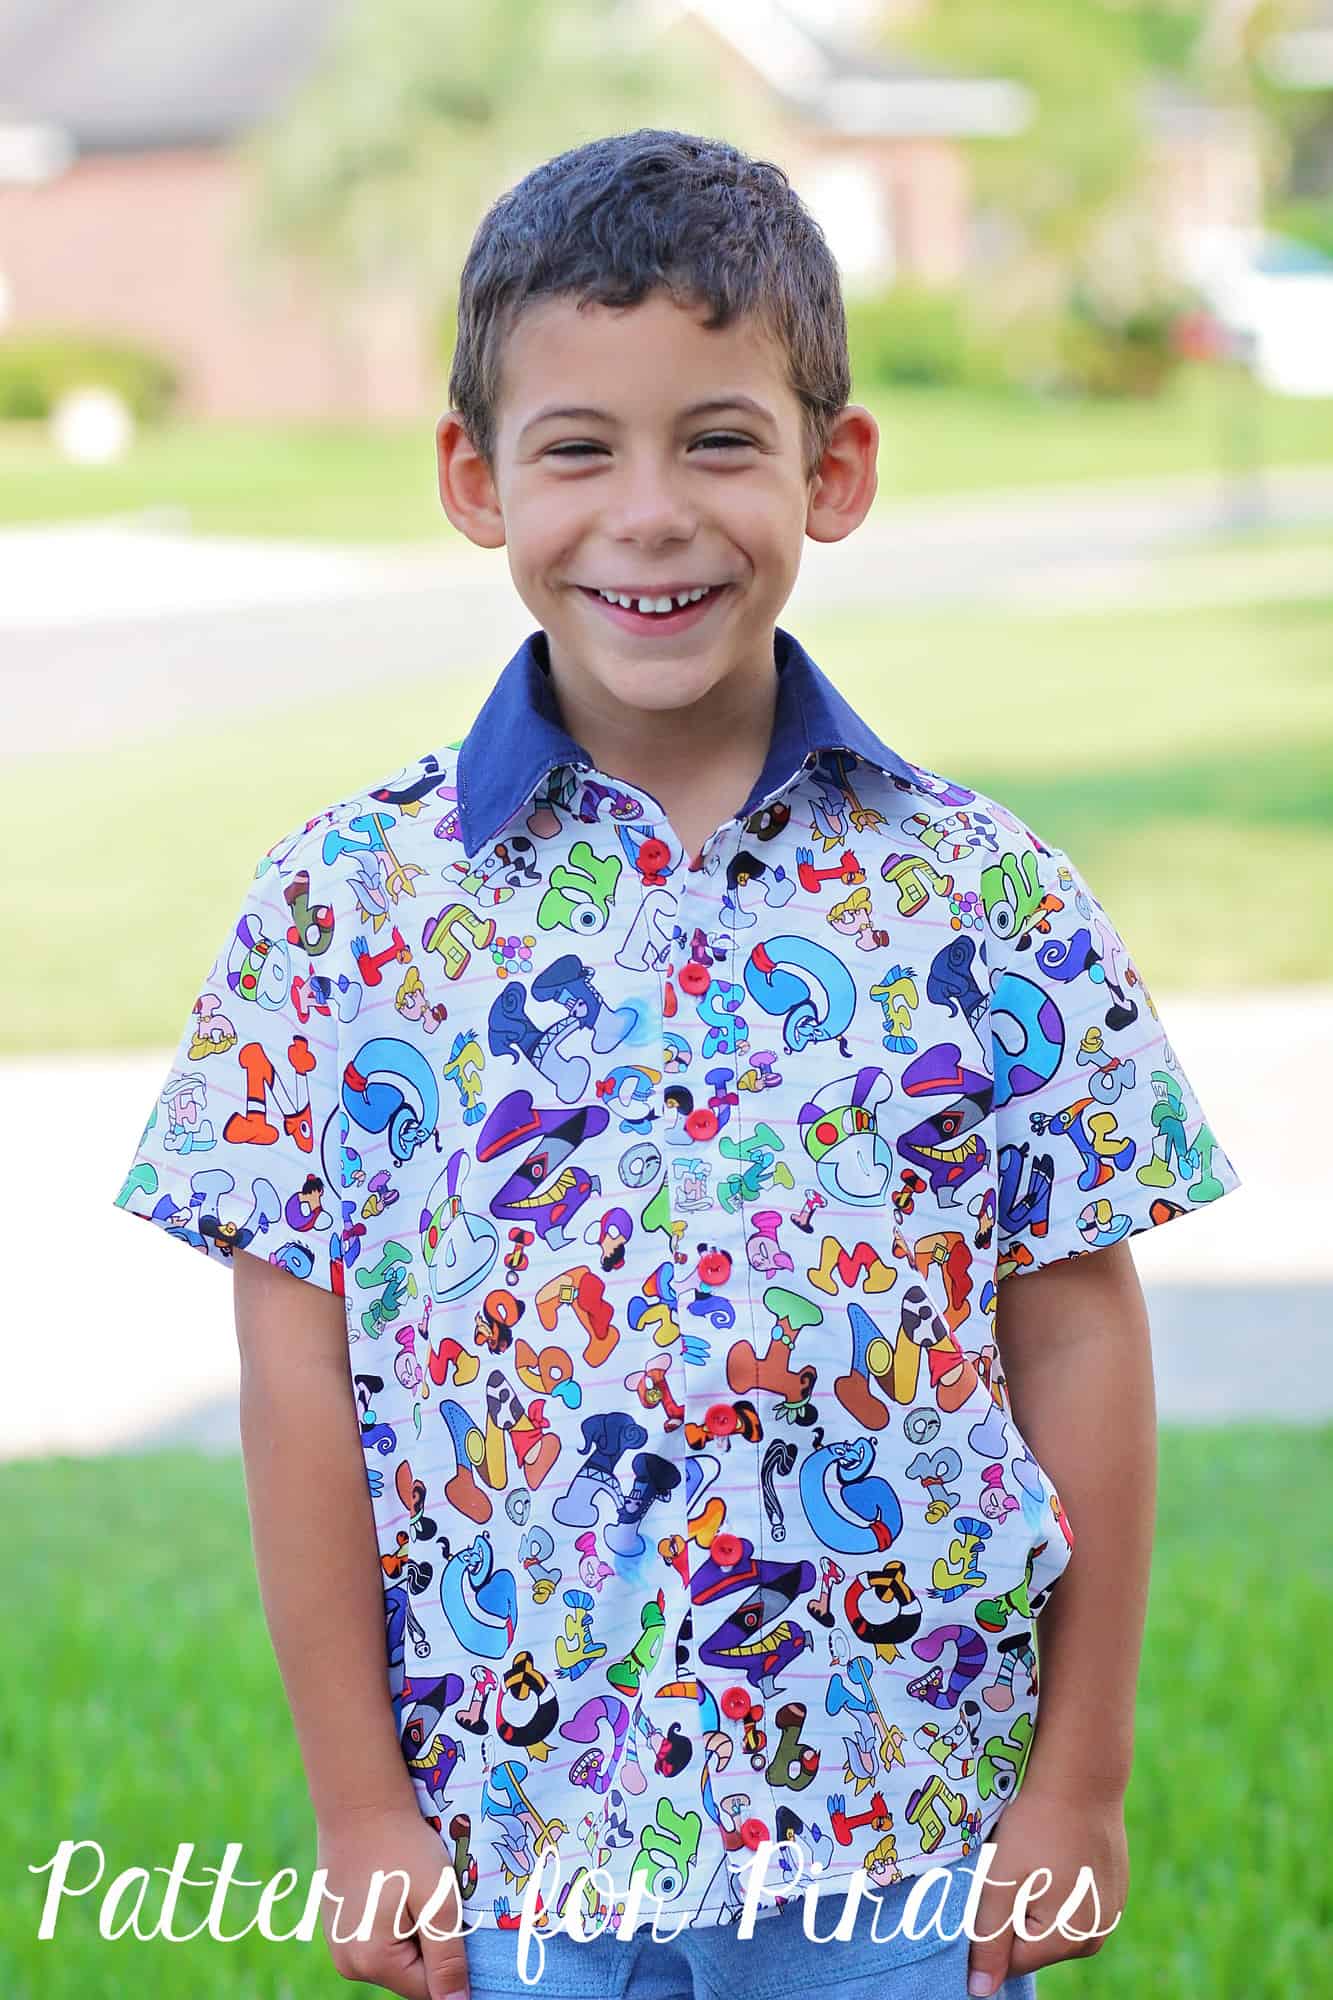
Below are some examples of some P4P makes with details on which machine was used to create them!
Happy Sewing!
-Jody