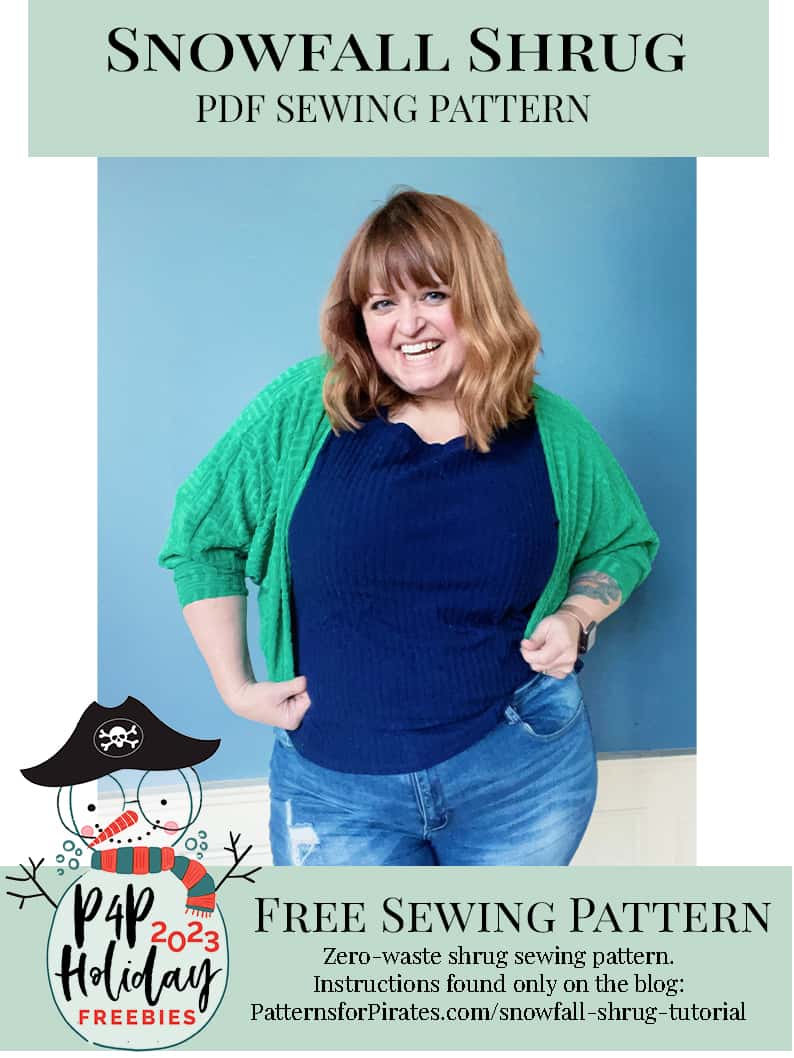
I have something for you! <3

The sizes are XXS – Plus 5X for the Adult Hourglass Figure.
- *Want to learn more about how to measure yourself for these pattern? We’ve got you covered with an in-depth blog HERE. And for even more helpful fun, we have a free* printable that you can use to help record your measurements as you take them.
- And in case you’re new to Patterns for Pirates and PDF patterns in general, we have a great blog full of new-user tips HERE to help you get started!
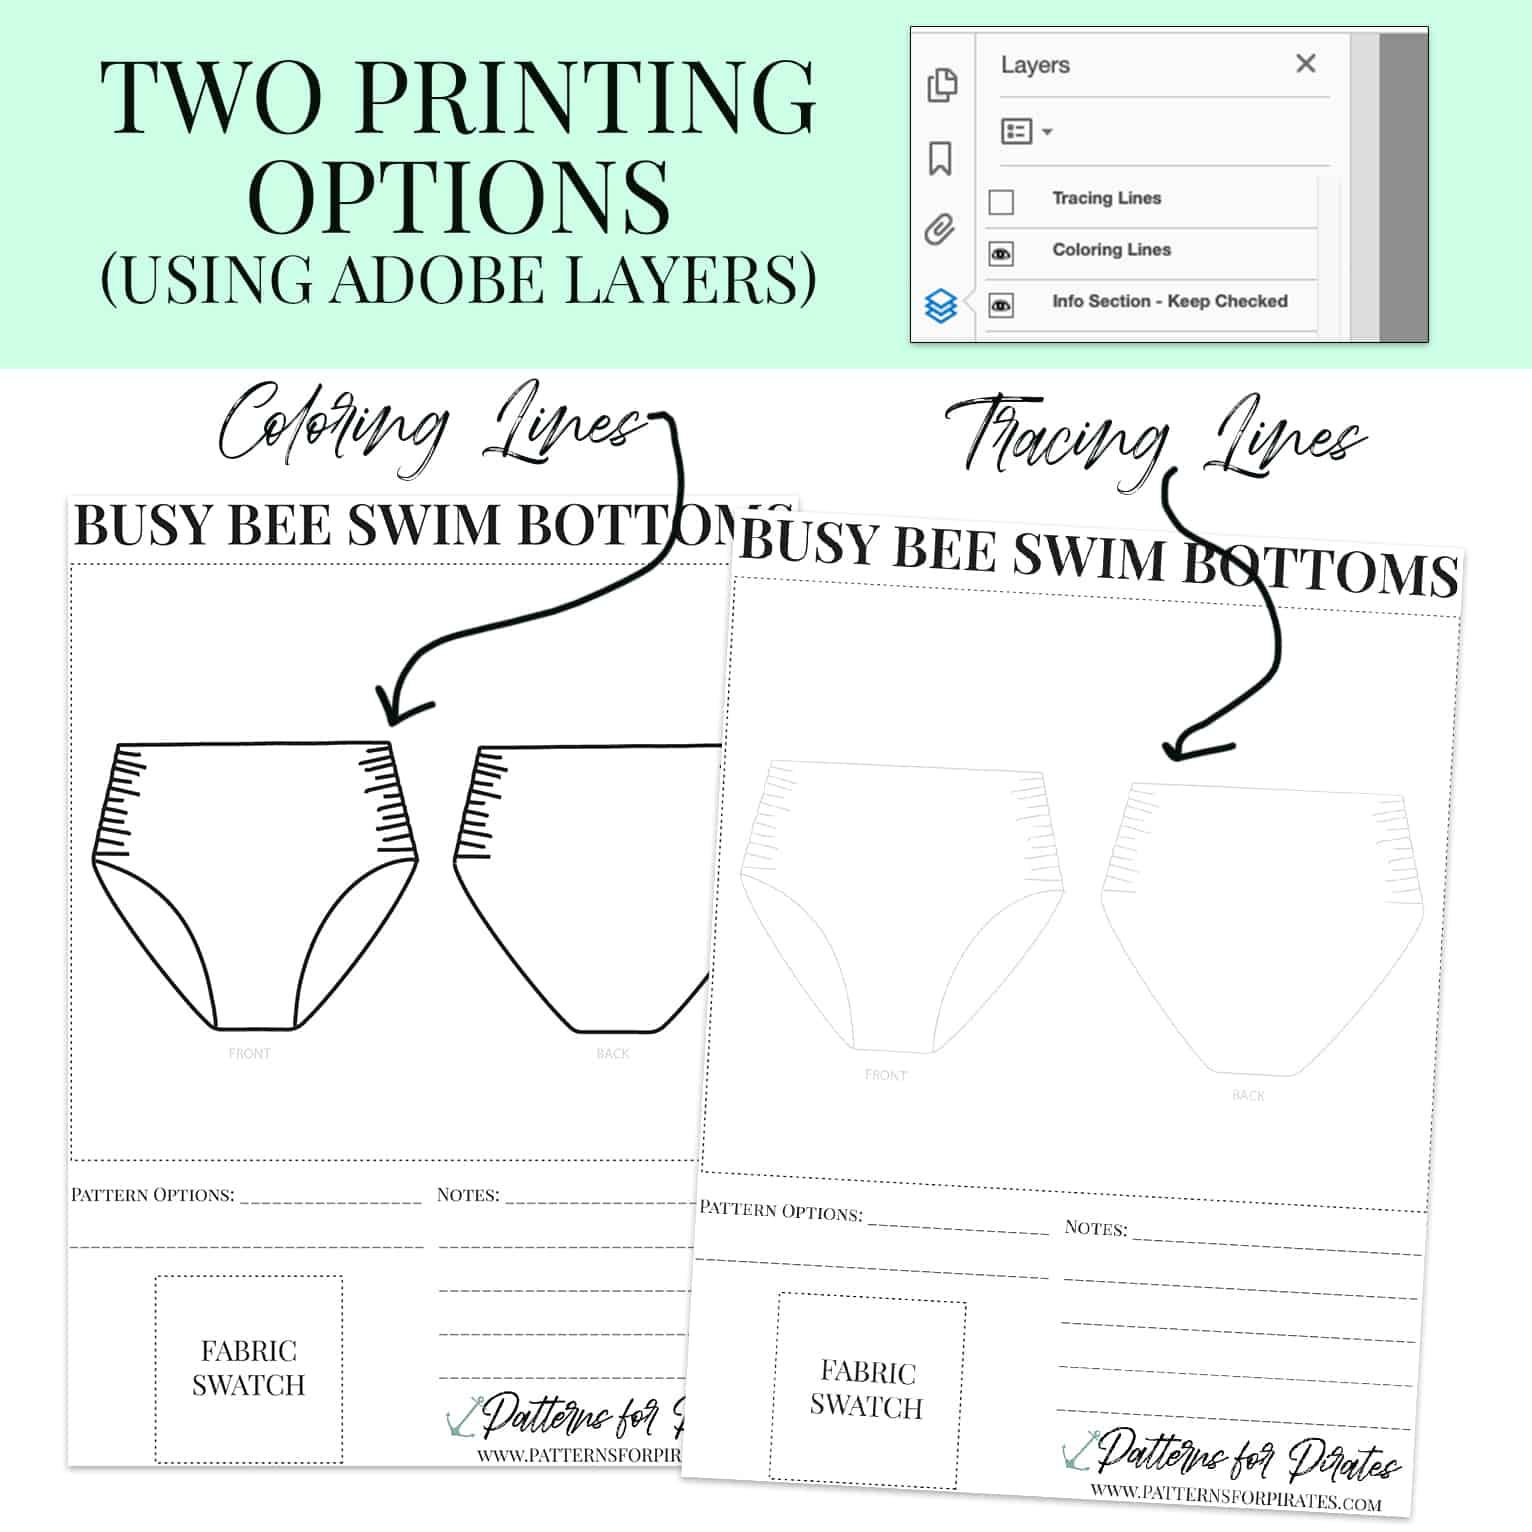
- As with all of our current releases and updates, the pdfs now include our layers feature and can be found in Letter, A4, A0 and projector sizes.
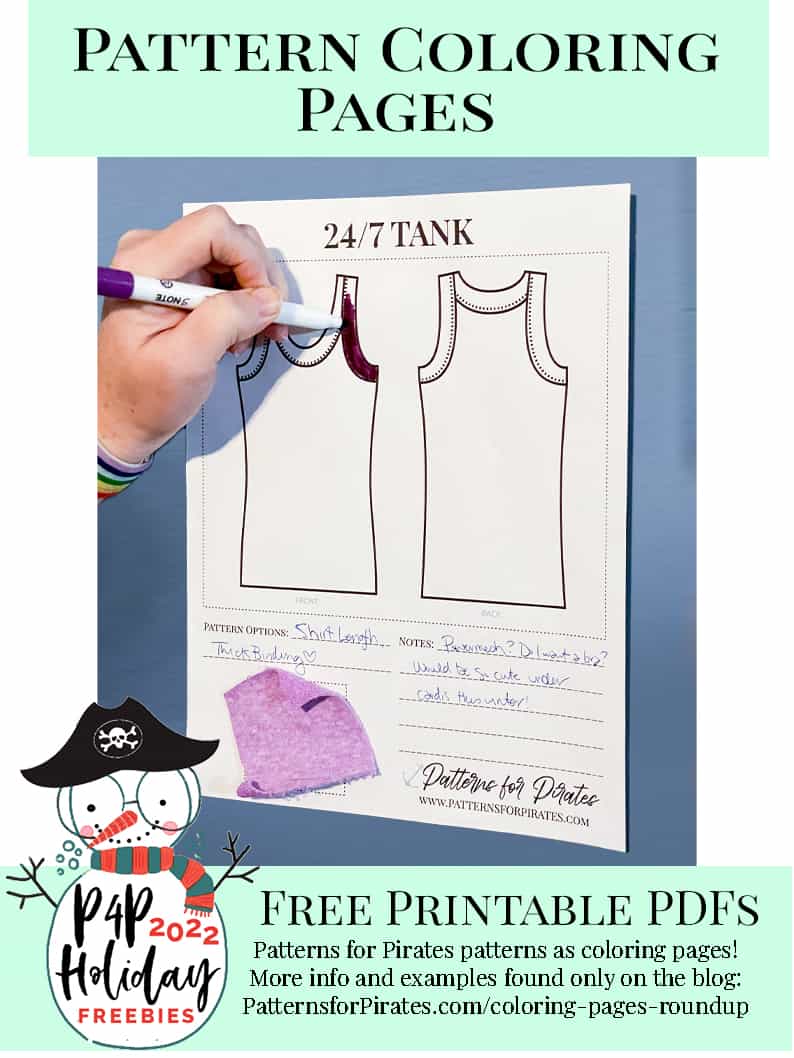
- We’ve also got an excellent planning tool for you with our Coloring Pages. It’s a resource that is updated with every new pattern addition, this pattern included!
- Need a way to keep track of the P4P patterns you have? We’ve gone through all of our patterns and created an interactive PDF for you! Grab your copy HERE.
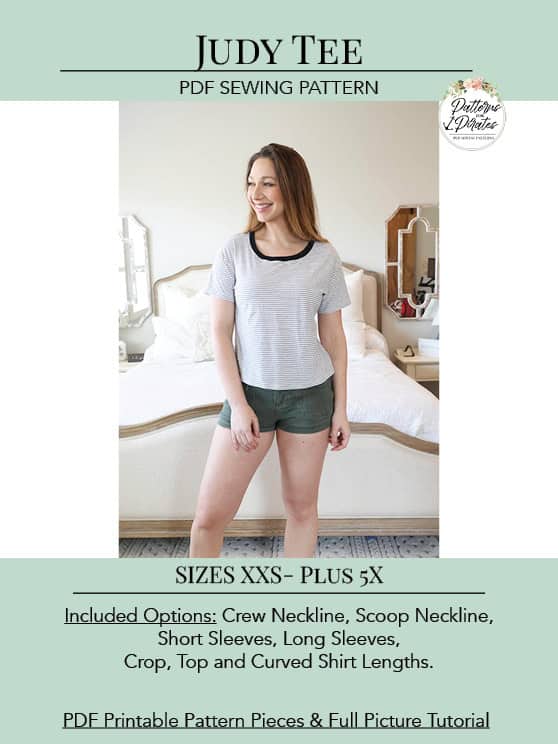
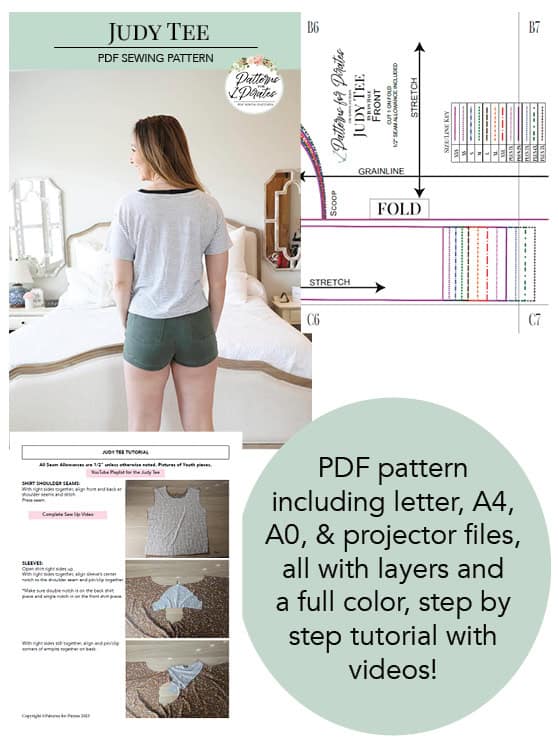
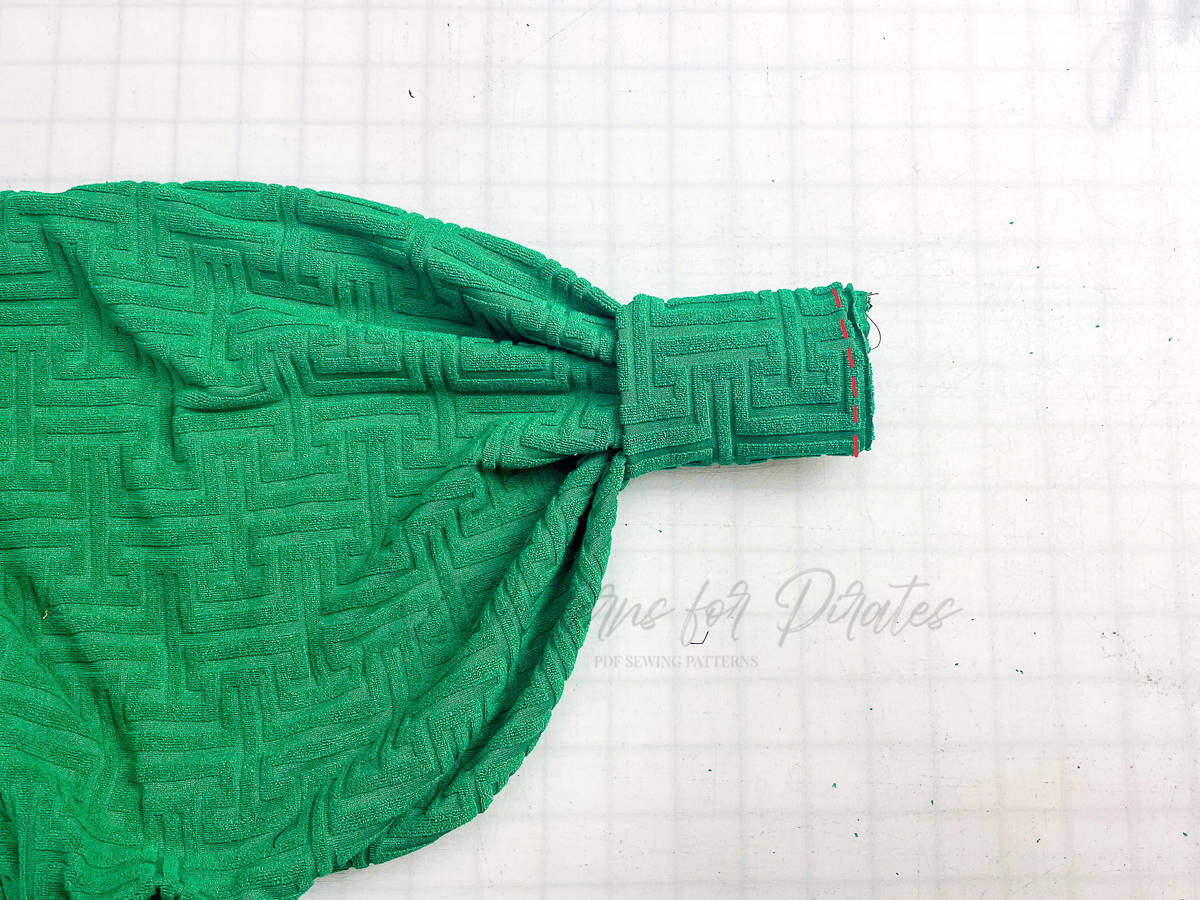
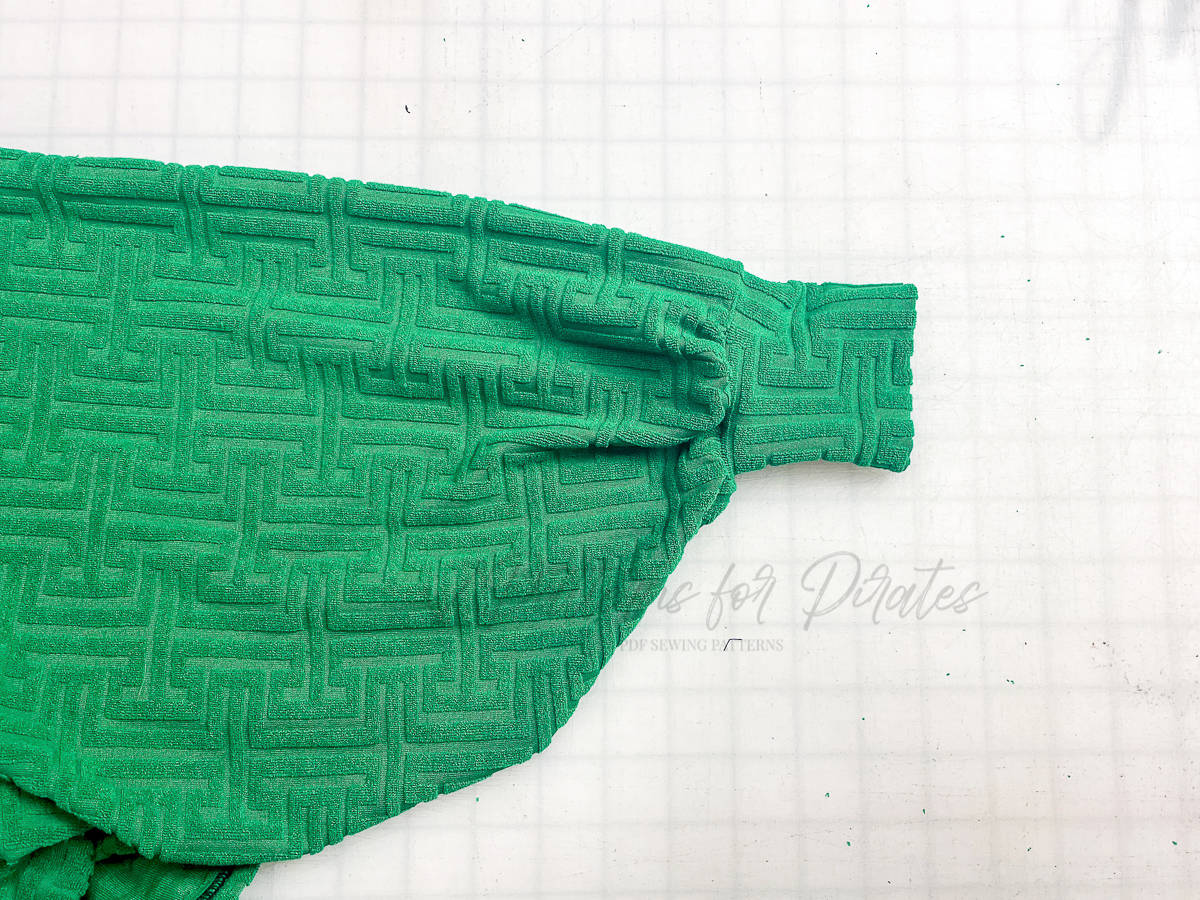
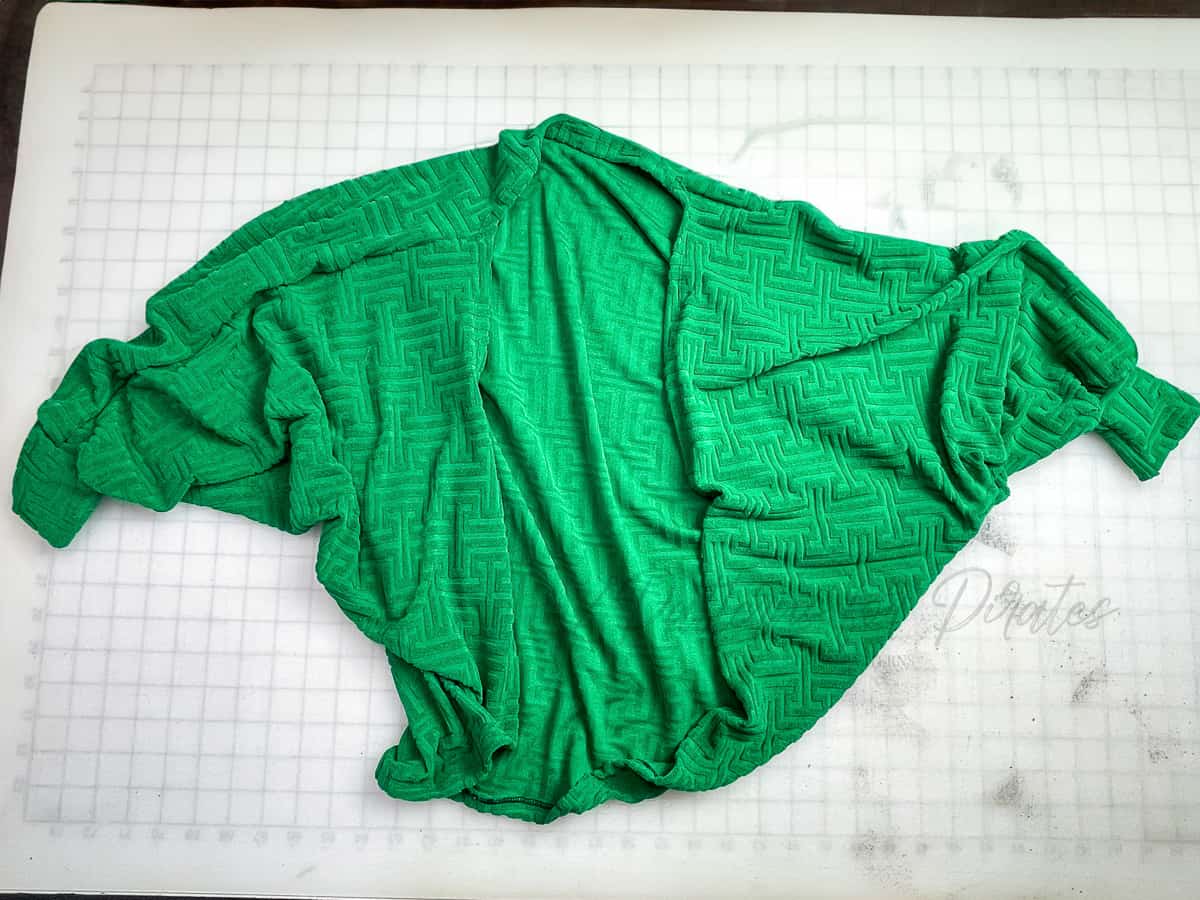
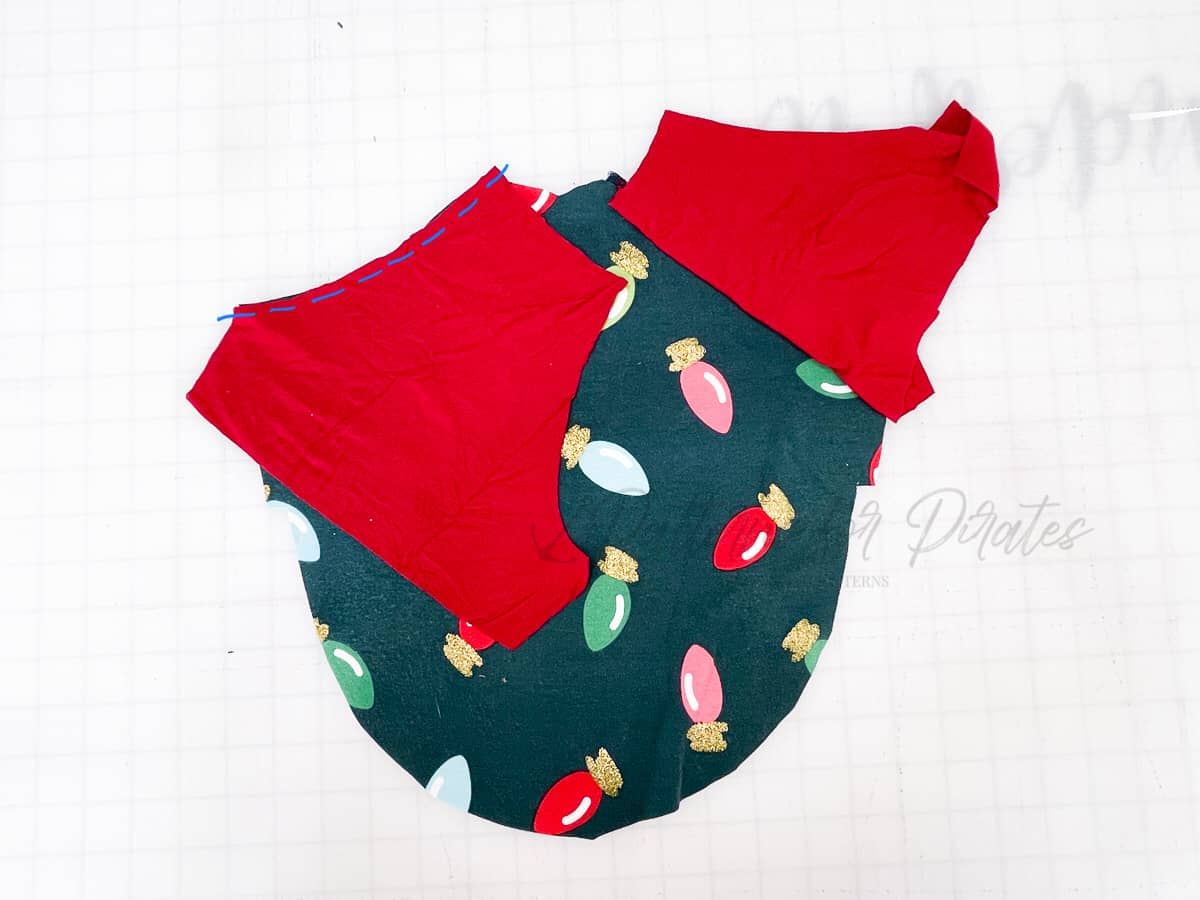
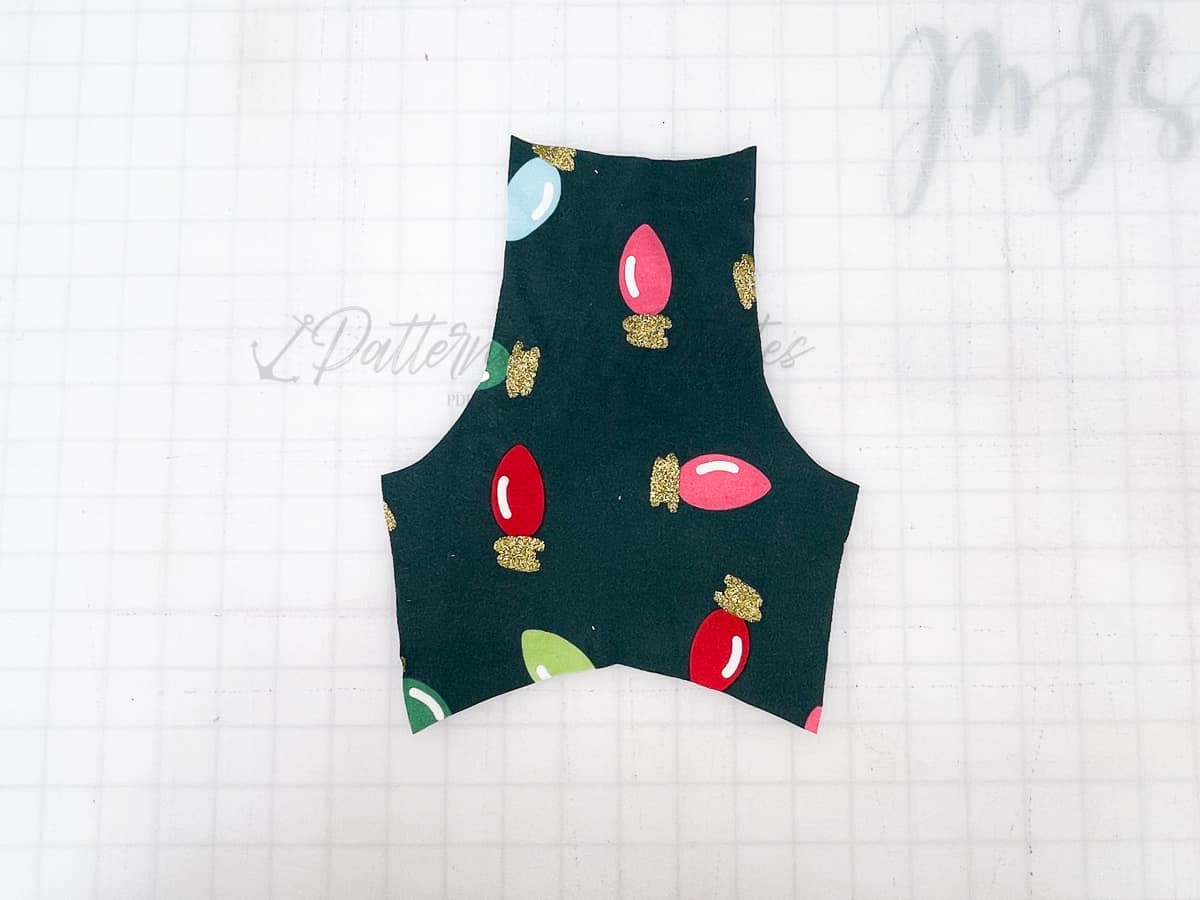
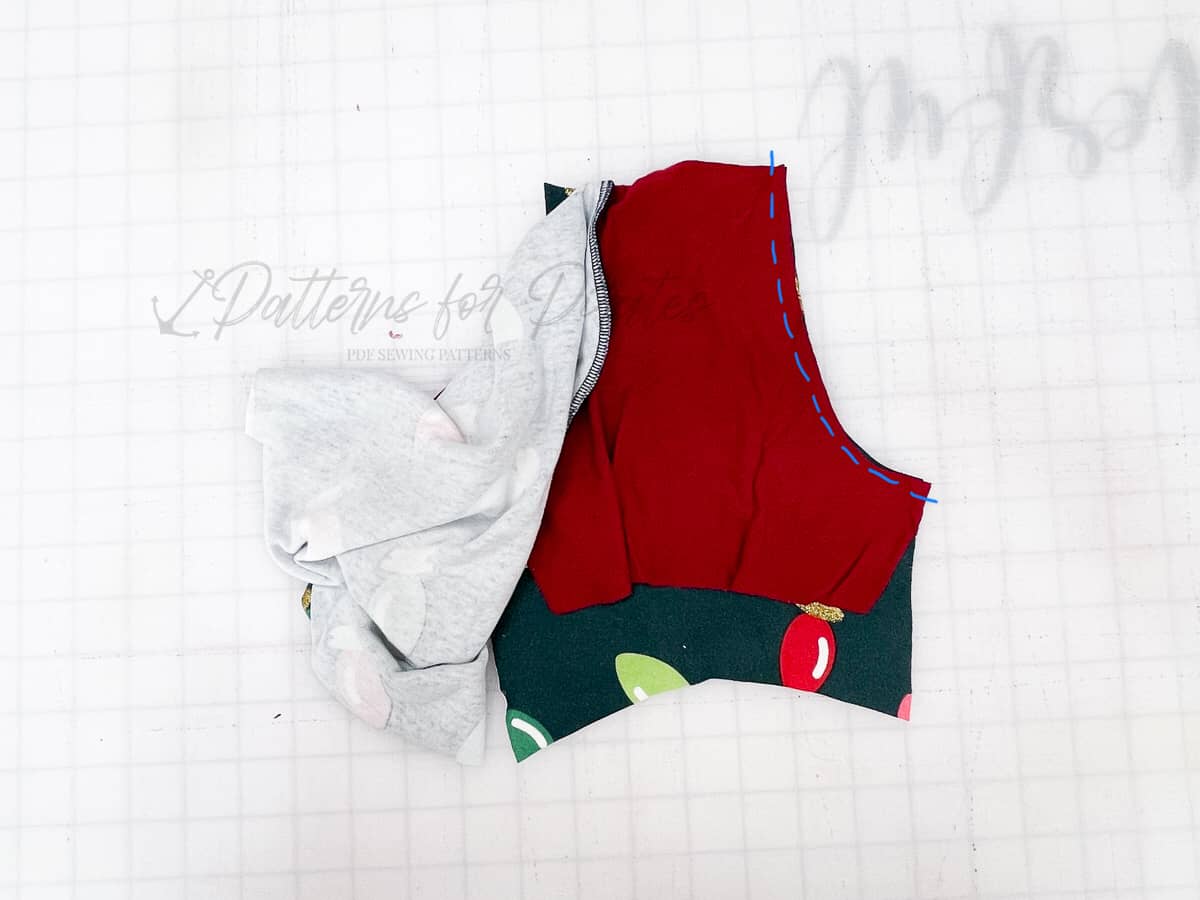
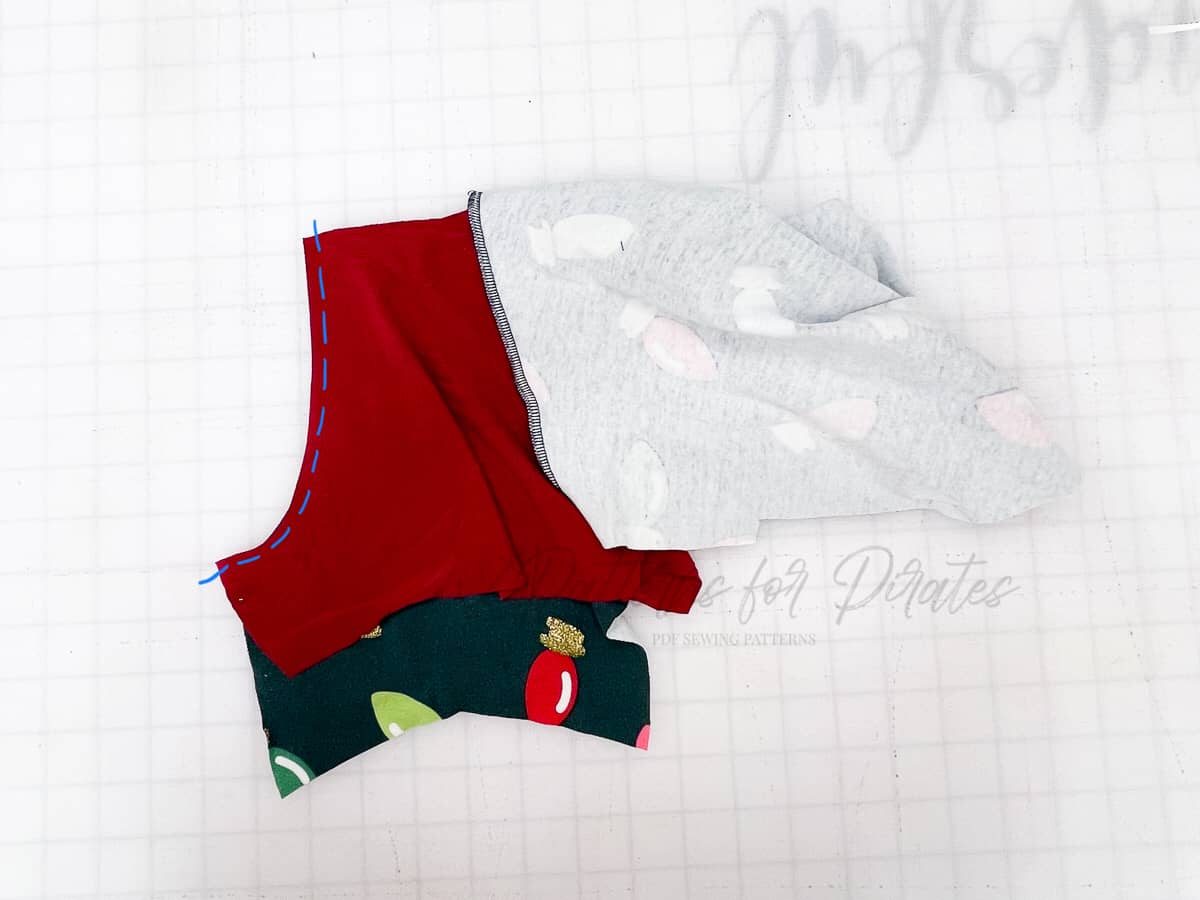
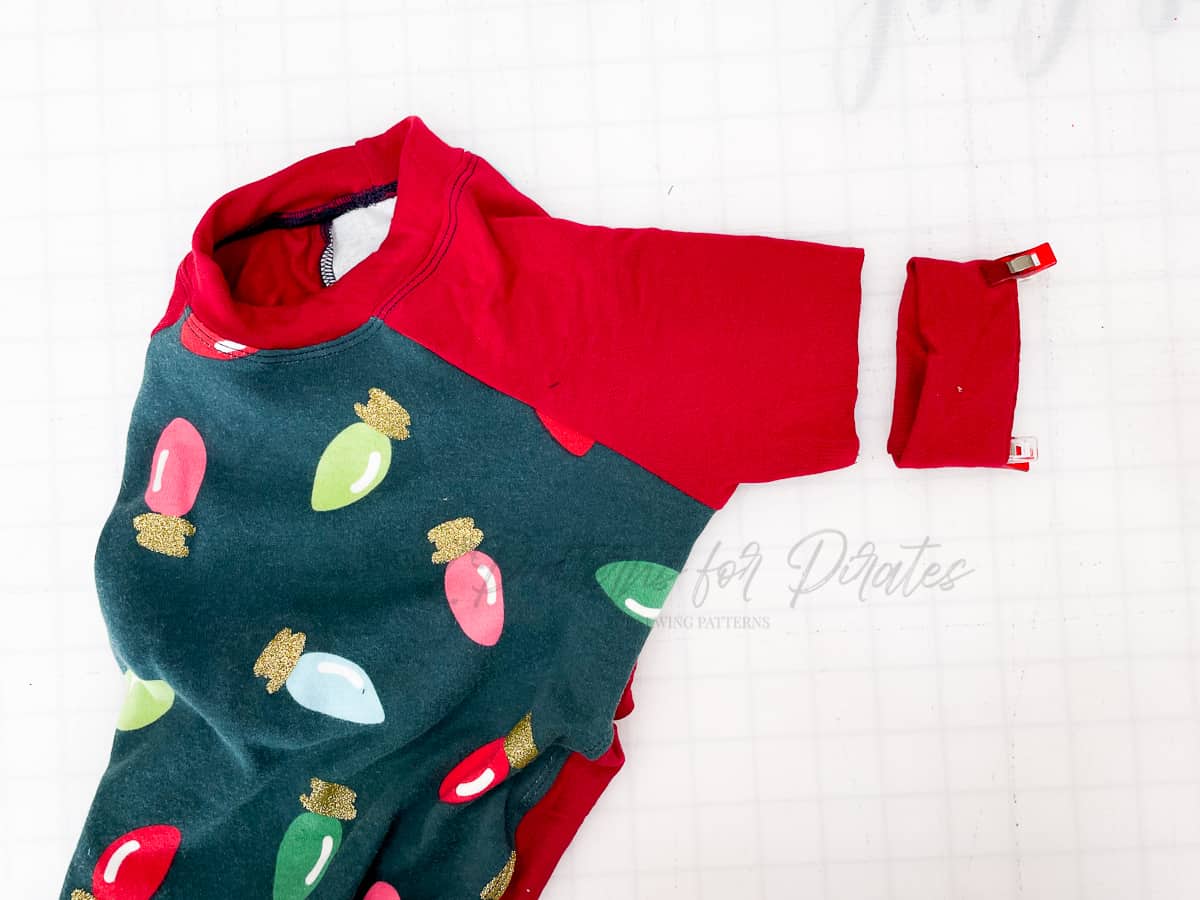
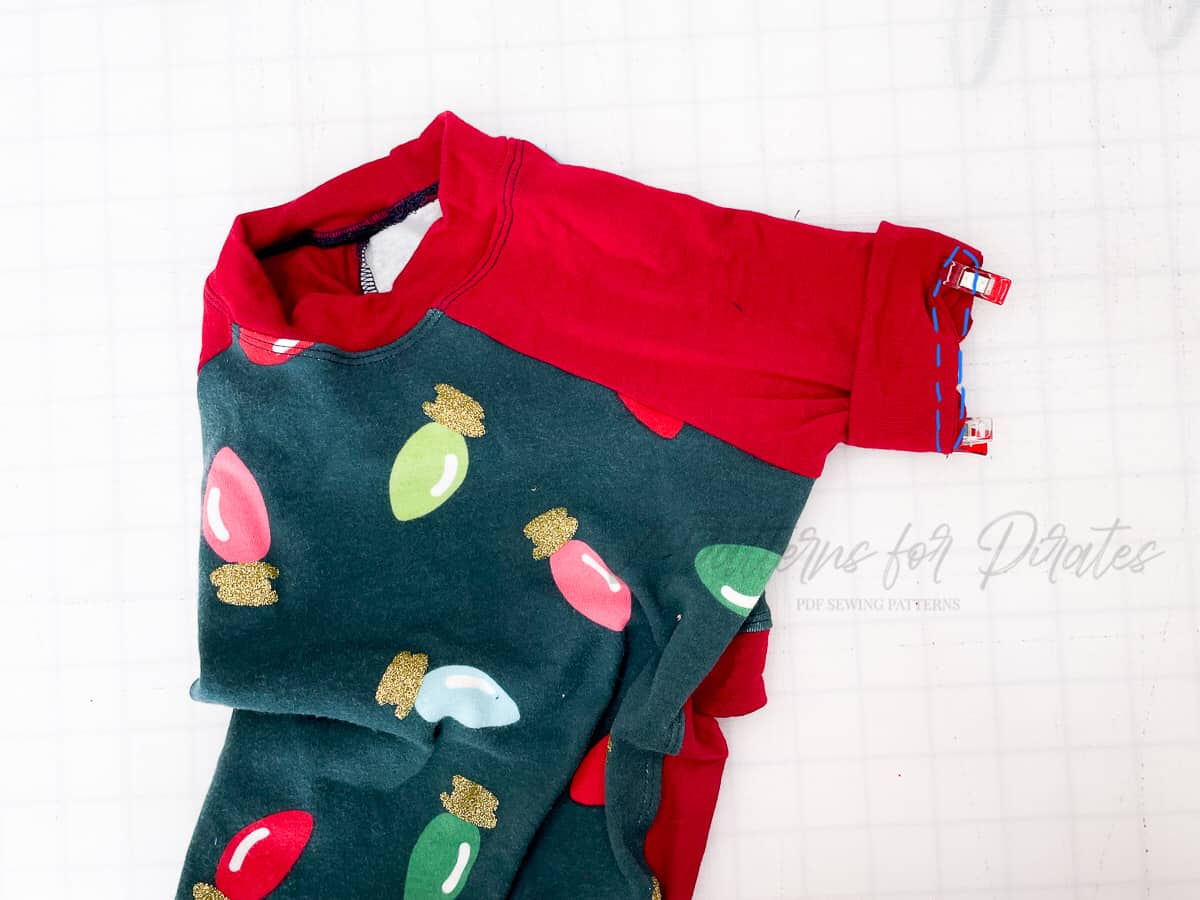
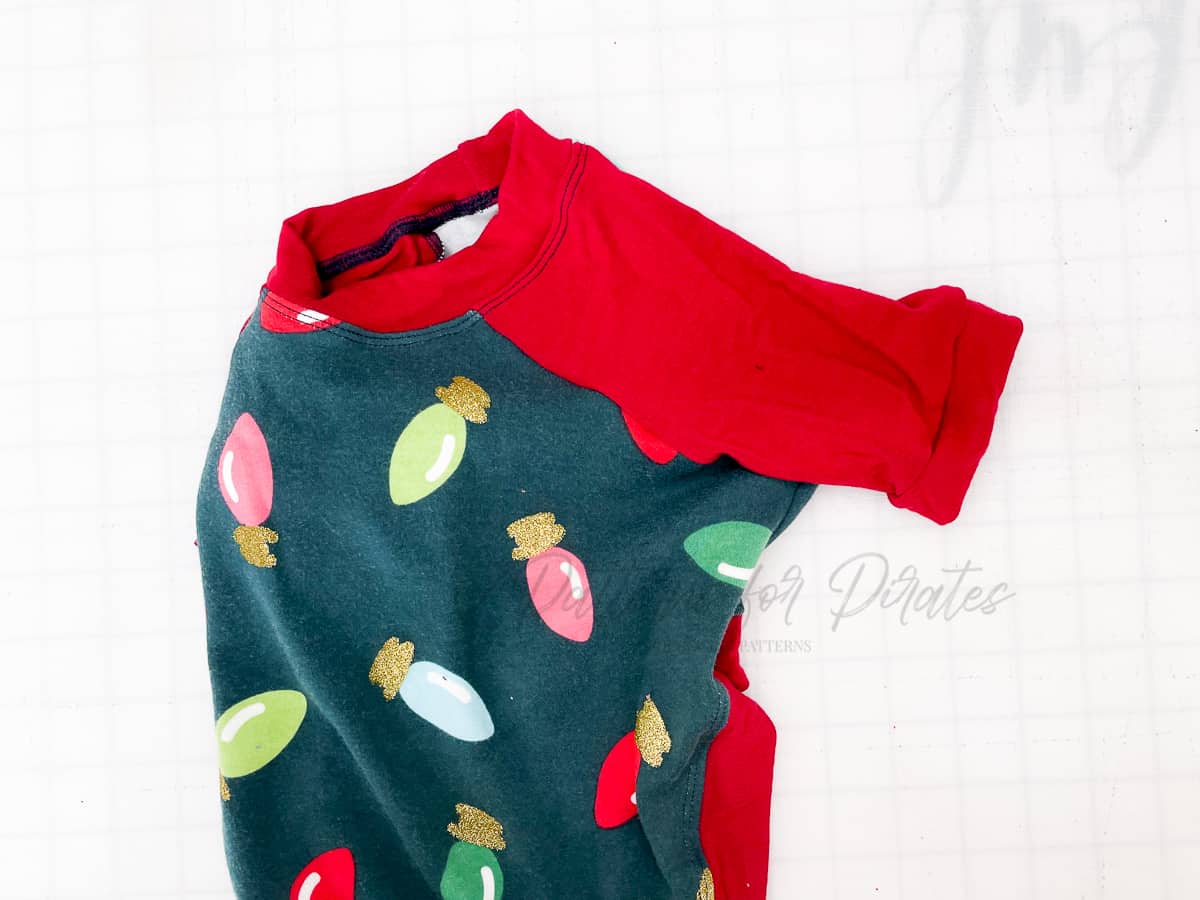
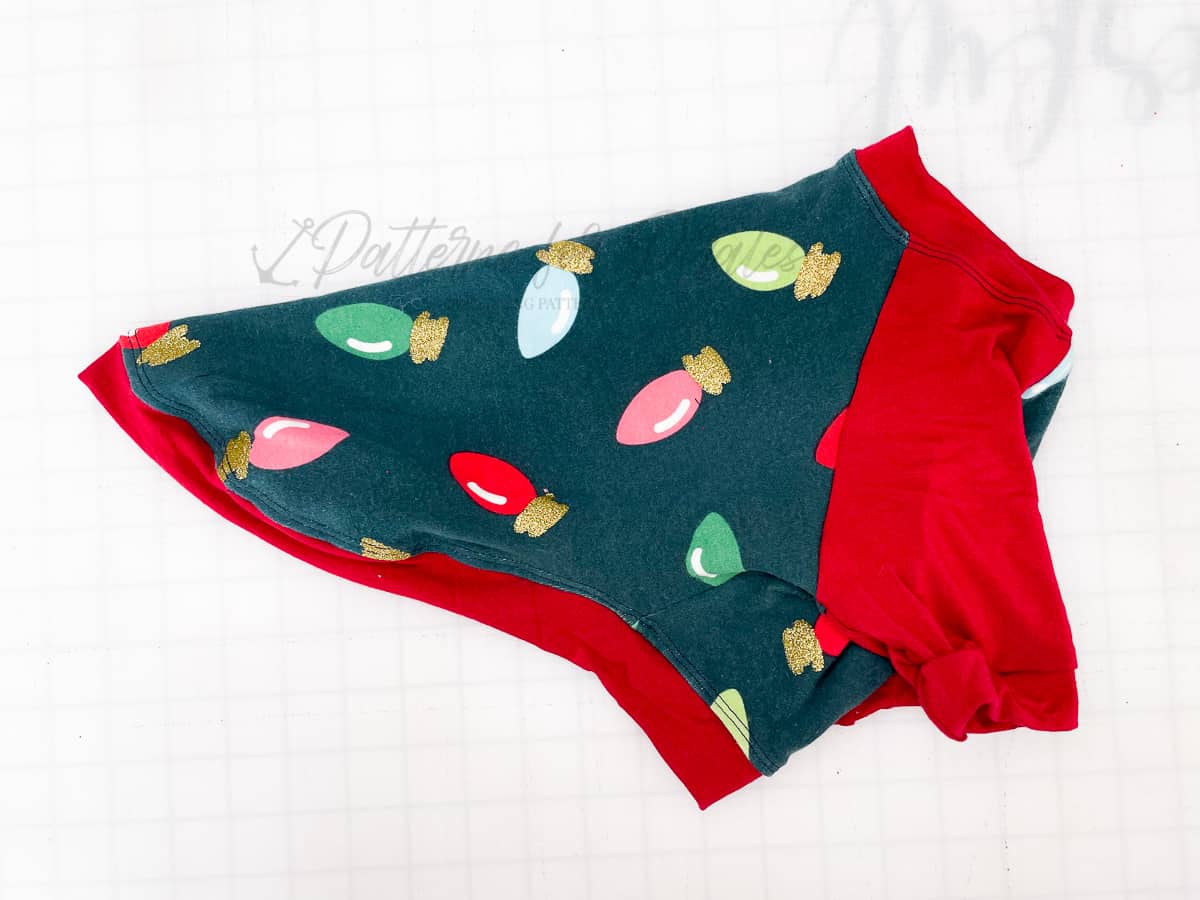
The Judy Tee pattern is the perfect quick and casual tee. It features a dropped shoulder and loose, boxy shape. You can choose from a classic crew neckline or a scoop neckline. Lengths include a short crop option, a top option that hits about high hip and a shirt length with a curved hemline. You can opt for short sleeves or long sleeves to make this pattern work all year long.
Pattern options for the Judy Tee pattern include:
- Lengths: Crop/ Top / Shirt
- Neckline: Crew / Scoop
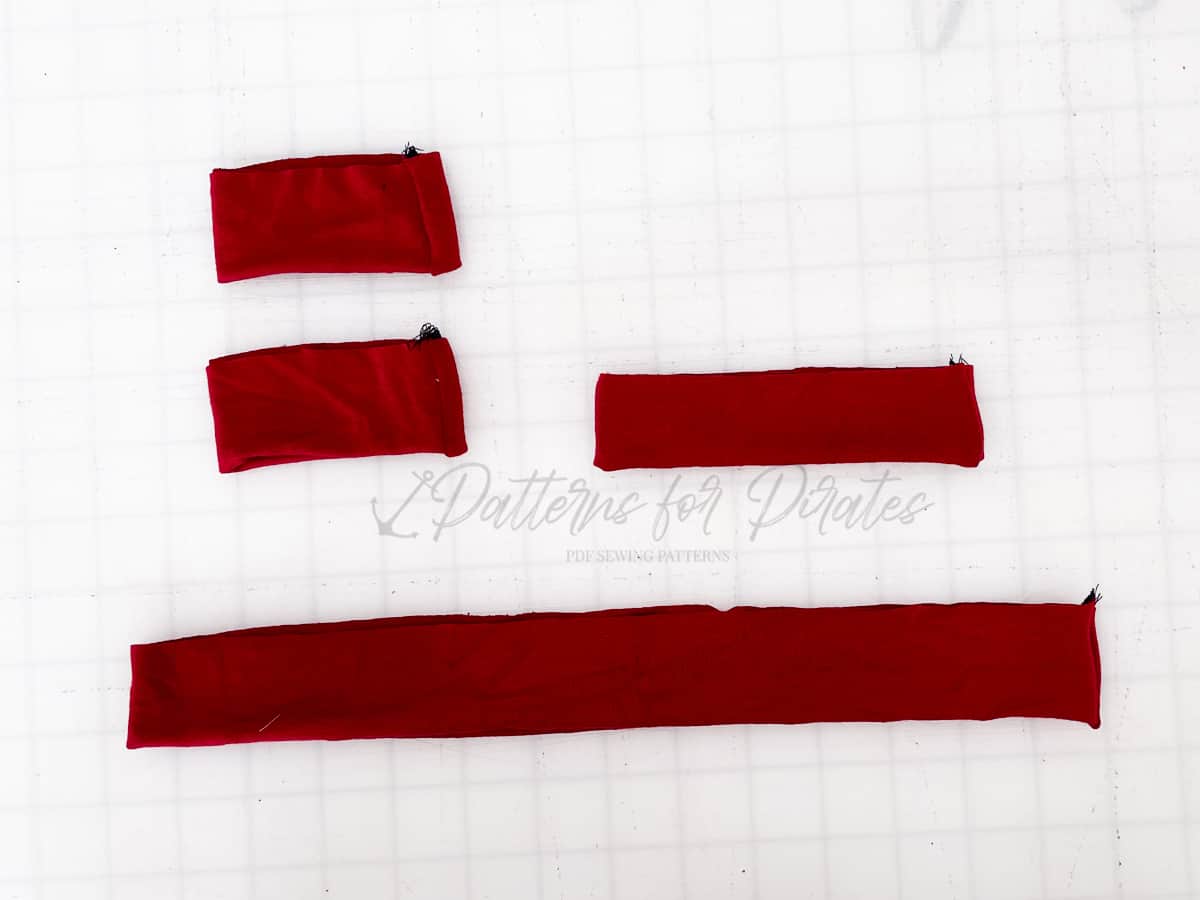
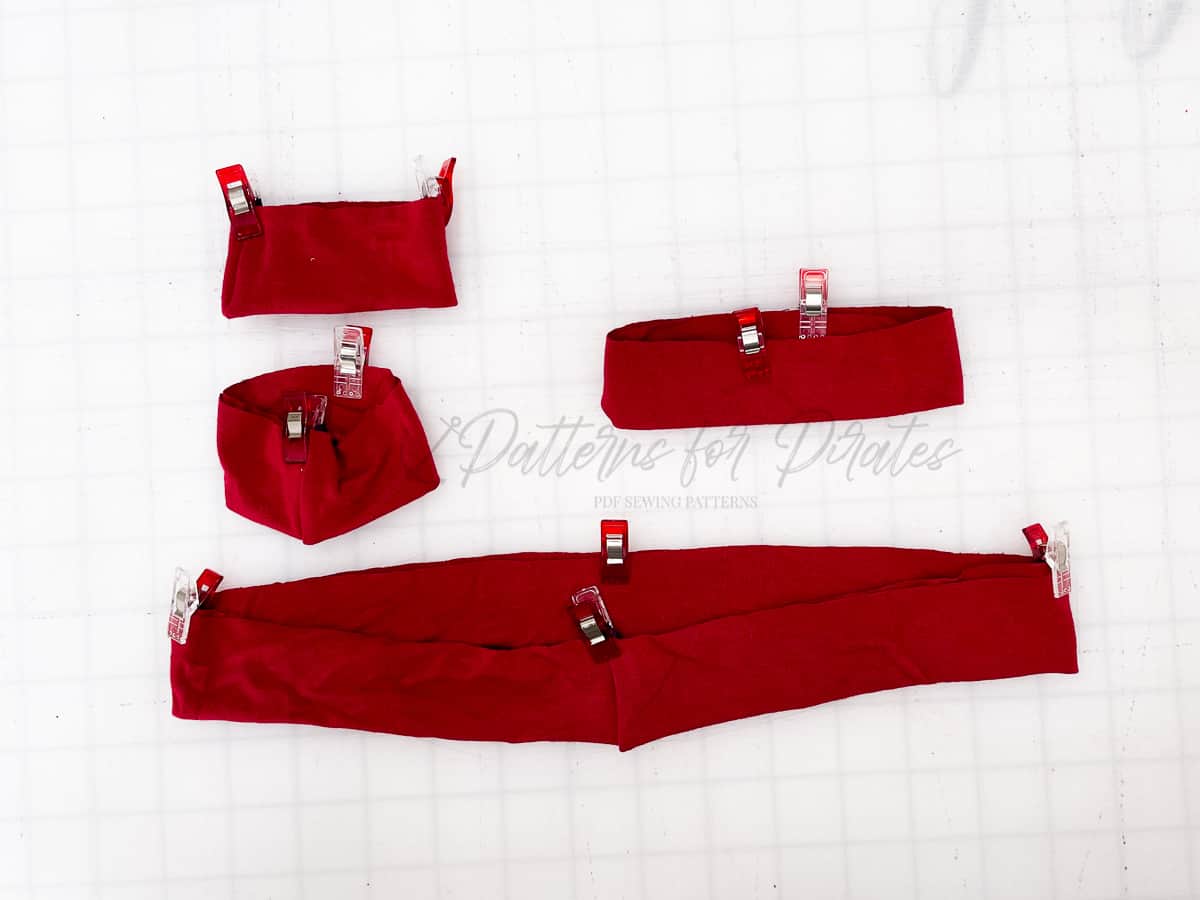
- Sleeves: Short/ Long Sleeves
- All Versions Feature a Dropped Shoulder
The Judy Tee pattern is drafted for t-shirt jersey knits.
Specific fabric suggestions: triblend jerseys, cotton jersey, ribbed knits, sweater knit, modal/bamboo/rayon spandex blends, etc.
Like to watch videos? We’ve got you! The tutorial includes a link to a full sew along sew up.
I can’t wait to see everyone’s Judy Tee and I hope ya’ll love it as much as I do!
The pattern will be free to all. Remember that ALL FREE patterns on the site expire after 30 days of purchasing. So, make sure to purchase when you’re ready to download and sew it up… or make sure to save your download somewhere safe. You can always check out again if you misplace your file though.
Grab your copy of the Judy Tee pattern here: Judy Tee
As always, we’ve got more photos for you to use as inspiration! Head over to the Facebook group to browse our albums full of gorgeous photos, compliments of our tester team! Judy Tee Facebook Group Album