Patterns for Pirates

P4P stylish, modern, wearable patterns

  • Home
  • Blog
    • Frequently Asked Questions
    • Pattern Releases
      • Free Patterns
    • P4P University
      • Fitting
      • Sewing with Stretch, Knit Fabrics
      • Sewing with Woven Fabrics
      • Sewing Machines
    • Sew-A-Longs
    • Fabric for Pirates
    • Pattern Hacks
    • Announcement
      • Blog Tours
      • Contest/Giveaway
  • Shop
  • Bundle Discounts
  • Gift Cards
  • My Account
  • Cart

And the Winner is…. P4P Sew it, Win it, Build it Giveaway!

October 24, 2016

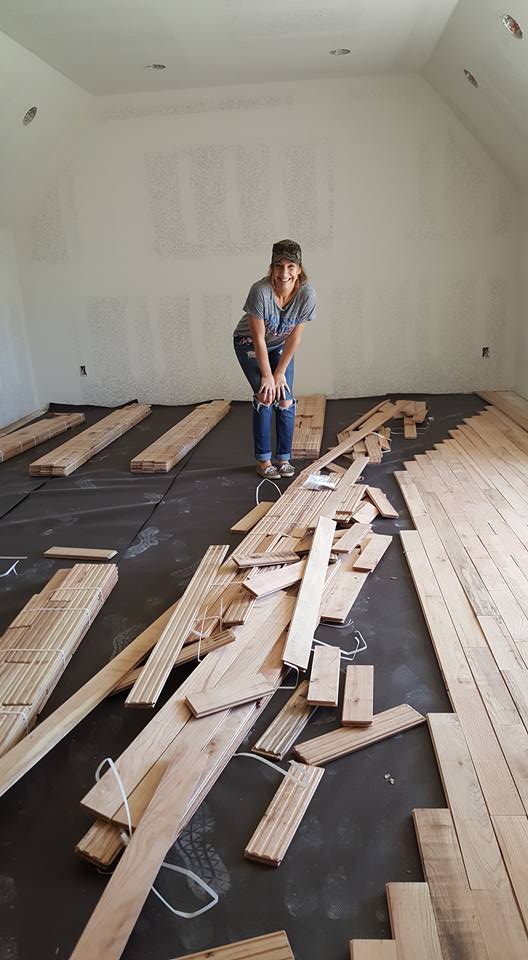
I truly enjoyed this past couple weeks with my newsfeed on the P4P Facebook Group, Pinterest and Instagram all filled with the P4P Sew it, Win it, Build it Giveaway entries! I loved seeing your sewing spaces big and small, messy and tidy, and sparse or packed full! It’s so fun to see how everyone sews! But, lets get to it, because I know everyone is ready to see who won the biggest giveaway we’ve ever done!

slide1

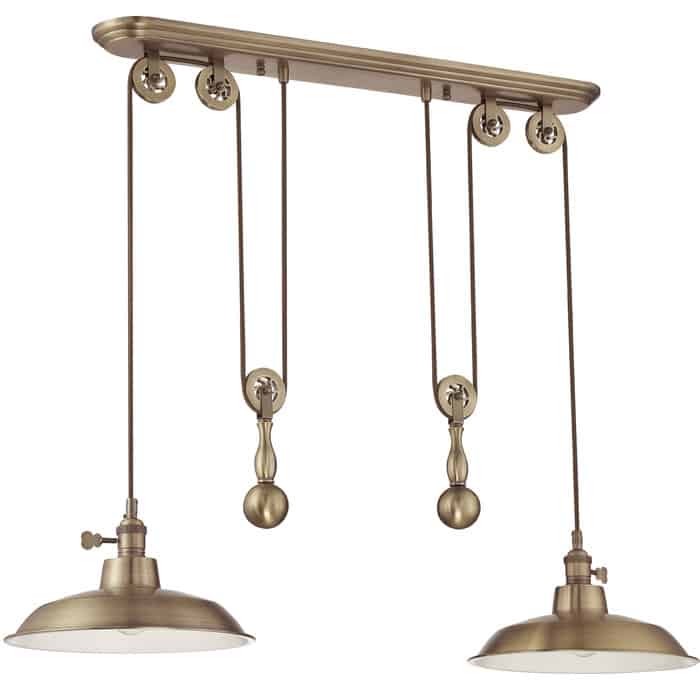
Who will get this amazing grand prize???

slide4

slide4

Okay okay…without anymore suspense… the random lottery winner from ALL the entries (there were a lot ladies!!)

slide7

screenshot_20161024-091521

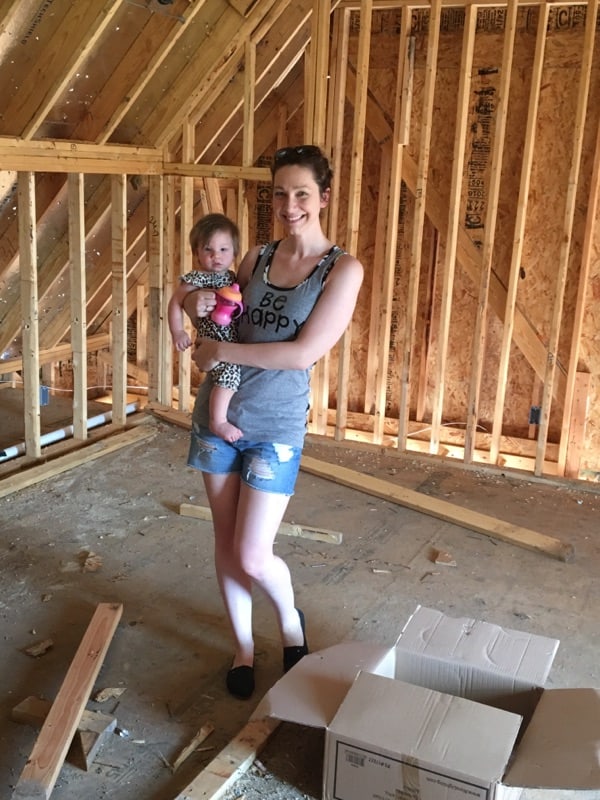
From our Instagram feed!  I will be sending you, livingyoungfitness a private message on Instagram!


Thank you all for participated and cheering each other on! I love to see the friendship and camaraderie the P4P Facebook Group is filled with! <3 We’re all just a bunch of ladies and gentlemen who have a love for sewing!

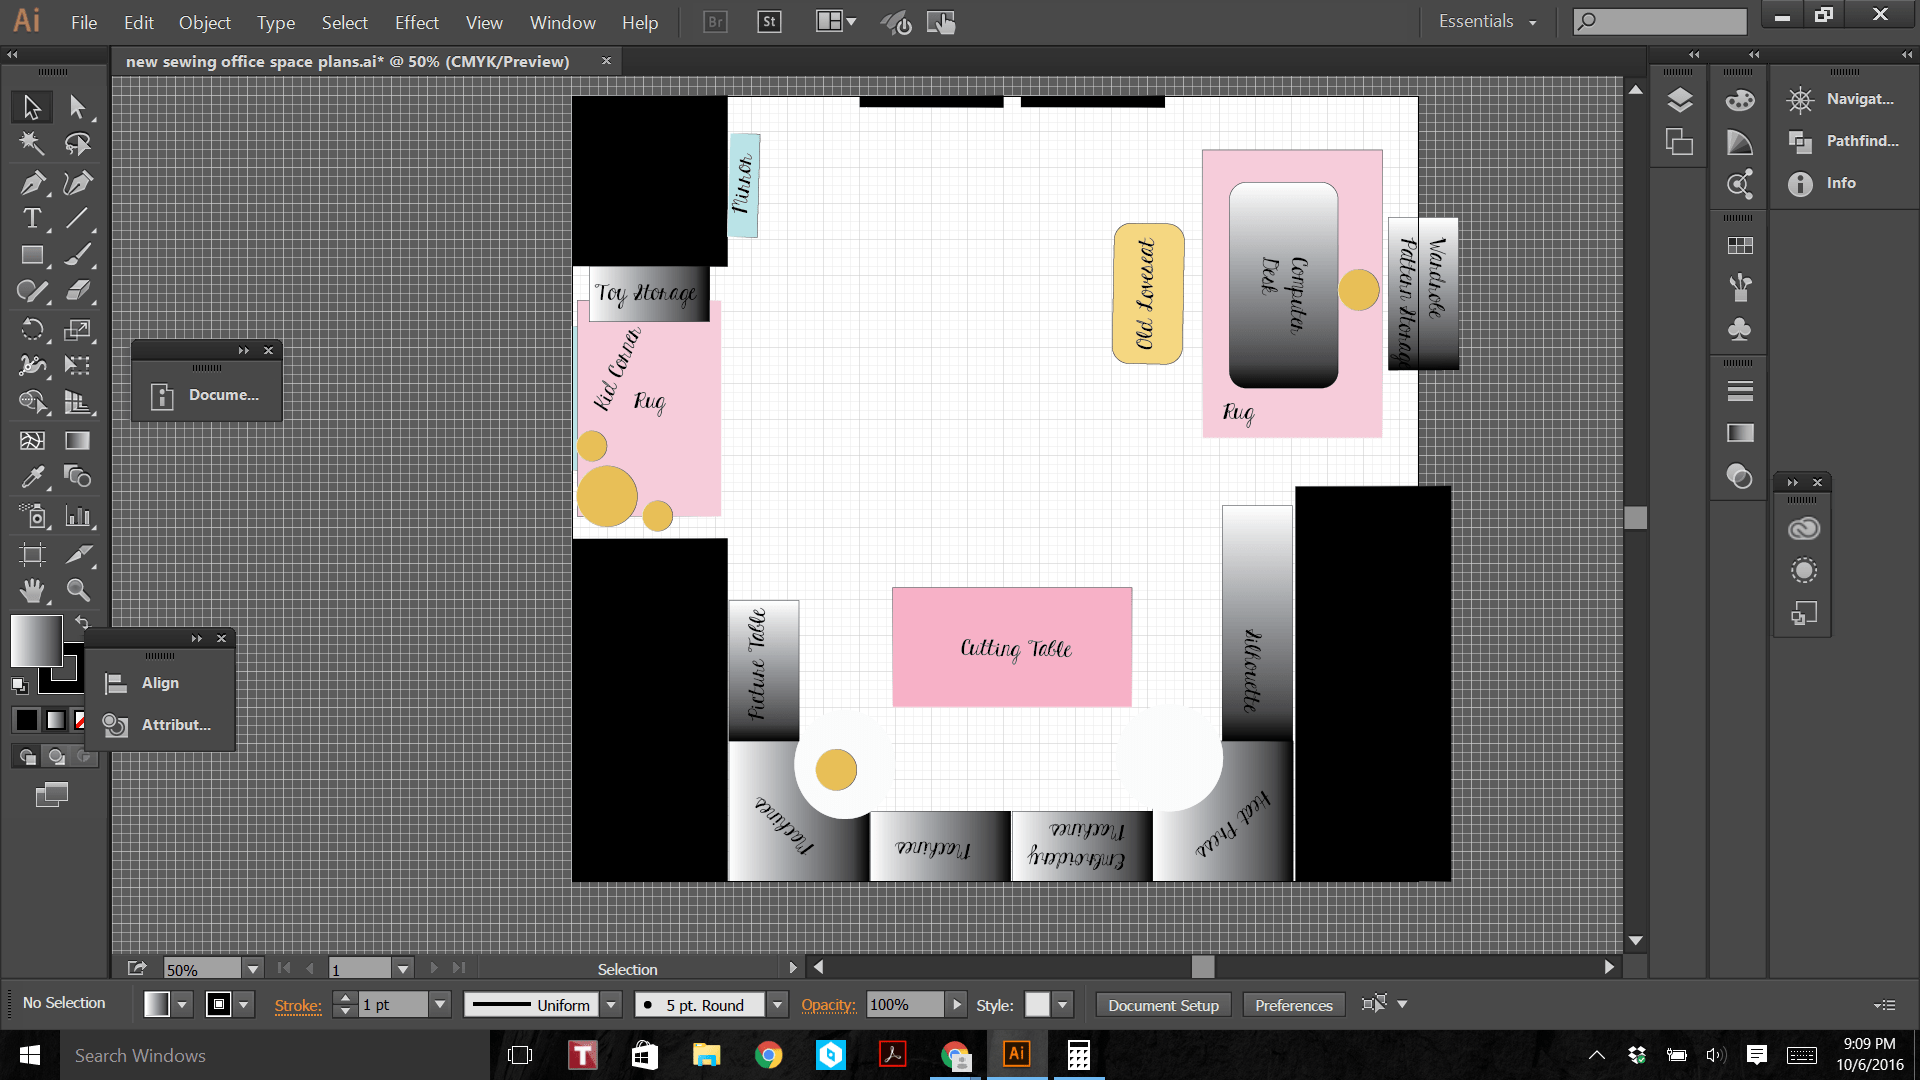
Thank you so much for letting me share the love of sewing with such a lovely group and I hope livingyoungfitness can build the sewing space she’s been dreaming of since the start of the giveaway!  If you weren’t the lucky winner I hope you got some great sewing done with the motivation and have some ideas for your holiday wishlist for your sewing space too! 😉 I know I do!!

Filed Under: Announcement, Contest/Giveaway 4 Comments

Last Call for Entries- Sew it, Win it, Build it Giveaway by P4P

October 23, 2016

I hope you’ve read and entered into our biggest giveaway ever!

The Sew it, Win it, Build it Giveaway- the chance to win a sewing room make-over!

slide1 slide4

We wrote a week full of posts all about planning, filling, organizing a great sewing space- rather you’re in the dining room, bedroom, or lucky enough to have a sewing shack we hope they helped you find the perfect storage solution, find the best tools, and plan a great layout that works for you!

slide7

We are also having our LAST sale of the year with a huge 30% site wide sale through tonight, use this code below for the discount at check out:30kcouponcode

Today is the LAST day to enter or grab patterns with the sale code!

Contest  and sale will end tonight at midnight. So last entries can be posted until 11:59PM Sunday October 23rd US Central Time Zone. (So you have about 8 hours to get somethings sewn up and post from now!)

Good Luck! Winner will be a random lottery winner- so everyone has a chance!

We will announce the winner tomorrow 🙂

Make sure to read through those entry rules here!

One last THANK YOU for all your support and giving me the pleasure of helping 30k members of our Facebook Group sewing up P4P patterns!

slide3

Filed Under: Announcement, Contest/Giveaway Leave a Comment

Sewing and Craft Room Storage Idea- Sew it, Win it, Build it- from P4P

October 23, 2016

We’ve been talking this week about building a better sewing space.  We’ve talked about how to plan one, what our favorite tools are to have it one, how to store our fabric and patterns and now we’ll get into storing all the other sewing supplies that most of us have or want in our craft rooms.

storage

We’ll start out with general organizing and move into specific areas.

I love to have little “station boxes” in my craft room.  I have a storage box at my cutting table with my pattern prepping and fabric cutting tools.  I used to have a mismatch collections until I got this matching little set from Hancocks while they were all going through their “going out of business sale”.

img_0957

Another storage box next to my machines with those tools I need while I’m sewing like my tube turner, seam ripper, snippers, ect.

img_0954

And again on my ironing board with my tools I use there like starch, hem tape, scissors, ect.

img_0956

I love them because they’re convenient and I can close it up quickly when I’m done (or frantically tidying up because someone is coming 😉 )

If you are in a small space something like Roberta uses on the back of a door is a great space saver and you can keep a lot of smaller tools and supplies within an easy reach.

14600937_10207509614800390_3237359928966891579_n


Thread storage!

I keep mine on a boring thread peg organizer.  It works pretty well, it’s a little unstable since I just have it sitting on my desk rather that hanging.  I also quickly filled it up! I plan on using a peg system, but much larger and on the wall on the new sewing space.  I like that I don’t have to open anything, I can easily see all the colors I have instantly.

71xwvrquo9l-_sl1500_

My sister and mom both keep their thread in a drawer container sorted by rainbow colors.  They both love their system as well, easy in and out, and easy to compare the different shade when color matching.

14573026_10154040652958214_7735218279999663423_n

I currently keep my serger thread in my desk drawers.  It is convenient to grab at my machines and the shallow drawer works great.

img_0965

My deeper drawer is more difficult to use this method and I end up digging a lot to find the set of colors I’m looking for (I keep the stretch thread inside the bucket within the deep drawer).  So I will be planning on some kind of bigger peg board in the new sewing space!

img_0966

Here is how my sister Nicole stores her serger threads in bins that look like the perfect height!  PS- One day I’ll have all those color of serger thread 😉 #goals

14523294_10154040671563214_3011230984374042374_n

I keep my bobbins in a little container like this. I love that I can close it and keep it from getting caught on anything as I’m reaching or sewing and pulling out a thread and trailing it!

img_0959

Roberta loves the open circle bobbin holders like these:

71zc4nuddwl-_sl1200_

Pin and Clip Storage!

My sister Nicole made this awesome pin cushion and basket for me last year and I LOVE it! It is meant to be a pin cushion on top and trash/thread scrap basket on bottom.  But, I use the bottom basket for my wonder clips! That way I have both pins and clips right next to me at my desk easy and quick in and out while sewing.

img_0955

I also have one of these classic pin cushions in my ironing station and in my cutting station as well!

618wnalenal-_sl1200_


A lot of ladies love to use a magnetic bowl of sorts to store pins. The magnetic helps grab and hold onto the pins.

81t62yqlzl-_sl1500_


Sewing Machine Pieces/Tools!

I am super boring here ladies.  I keep all my parts/tools in the little ziplock bag that comes with the machine! Lazy? My sister Nicole has made an adorable zipper pouch for each of her machines to hold their extra parts, feet, tools, ect..

14563540_10154040651153214_184386886942086471_n


Buttons!

I feel like buttons are one of the sewing supplies that most are able to organize fairly easily.  You can find so many little organizers with smaller compartments that work great for rainbow sorting.  The only thing you have to worry about is little fingers coming along and “helping” you reorganize them… my Little Guy LOVES doing that!!

14568061_10154040651708214_4978178783814012292_n


Stuffing!

If you have a big bag of stuffing laying around you can make a big, simple drawstring bag to keep looking tidy and easy to get in and out when you’re using it.

14606312_10154040672353214_776283661535778272_n 14656294_10154040672148214_7145349198556381583_n


I’m sure I left some supplies out, some we didn’t have a great way we were happy with! But, I hope this helps you find the right storage for your craft and sewing supplies in your sewing space!

Don’t forget to enter into our Sew it, Win it, Build it Giveaway! Today is the last day for entries- until tonight (Sunday October 23rd) before midnight- 11:59pm US Central Time Zone.

slide7

Filed Under: Contest/Giveaway Leave a Comment

How to Plan the Perfect Craft/Sewing Room- Sew it, Win it, Build it- from P4P

October 18, 2016

When my husband was trying to sweet talk me into building a new house his biggest selling point was a bigger sewing space… eventually he won me over and I’ve been planning that sewing room since!! I’ve had a lot of fun researching and planning it, so much, that we’re giving away the chance for someone else to get a new sewing room!  If you haven’t read our “Sew it, Win it, Build it” Giveaway post make sure you stop by and read how to enter for your chance to win! 

slide6

Flooring-

I started with the basics first. I wanted NO carpet.  And ladies, this first decision was a biggie, because it’s an expensive choice! But, after years of killing vacuums I was getting some floors that weren’t carpet! It took me months of persuading my husband, but as you can see…. I got my way! 😉 I was so excited to see those floors going in that day!!!

14469697_10102930910234283_7101480442136359089_n

I looked into A LOT of flooring options (besides carpet).  There is laminate wood, vinyl, tile, and hardwoods to name the most popular.  I even looked into much crazier kinds, but none were very price effective that I found (like rubber, cork, ect.).

Furniture Arrangement-

I really love this little trick to plan a room!  I use Adobe Illustrator, but you could use any drawing program, or just a piece of grid paper would work perfectly as well to draw my room out with it all proportioned correctly on a smaller scale.  I prefer the digital program since you can easily change and move things around as you plan.

I drew the basic shape of my room using one inch as one foot.  Then, I added the furniture I was planning on putting in there all to scale.  This took time! But, I know the furniture I want will fit in nicely, what size cutting table I can fit in there with enough walking space around it (average is usually about 3 feet between furniture pieces), and where I needed my lighting! In the end it’s so much easier to take the time to create a template than to be measuring the actual room and furniture and trying to imagine if it will fit okay, if it will feel cramped, if you can make if even with this and that across the room, ect.  I highly recommend this little step to planning your craft room!

You also want to keep in mind what you use most, as well as what you use together.  Meaning, I use my sewing machines, iron/iron board together while I’m constructing.  So, I want those two “stations” close together in my room.  It’s almost like a kitchen where you typically have a triangle between sink, oven, fridge… but you have sewing machine, ironing board, cutting table!

screenshot-2016-10-06-21-09-22

Lighting-

I only had one window in my sewing space. I tried my best to add windows, but the way the house was set up it just wasn’t possible.  If you have the option to have more windows… the more the merrier in my eyes! I love a lot of light when I’m sewing!


I put pot lights all along the U shape desks where my machine are going so I could see well while sewing.  I also put a pot light above my computer desk because I read a lot there. Last I placed a hanging fixture above my cutting table in the center of the room.  And let me tell you, I had GRAND plans of doing a dramatic lighting fixture like a chandelier, but I”ll save you the heart-ache of planning that because in a craft room you really need good lighting and something fancy like that isn’t great.  They’re gorgeous and stunning and I wanted it so bad! But, in the end they gave off terrible light with rainbows and shadows everywhere 🙁 So… after realizing that I needed functional lighting I went with a pendant.  Since I had a single fixture in my mind and had it wired for that I choose this one that meant I didn’t need to have it re-wired for another fixture, but still got 2 pendants for better lighting along my big cutting table!

b2610b3297a44043506bc5605490c5ea

Outlets-

When we did our electrical walk I added quite a few electrical outlets to my sewing room.  Why not right? So now instead of having to have a bunch of giant cords running everywhere I’ll have an electrical outlet where I plan on having my machines.

I also added a floor outlet right where I plan on having my desk.  You really only need this if you don’t want your desk along a wall.  For whatever reason I was dead set on not looking at a wall while I work! I wanted to look towards the window!  So, I again used my drawing of my room to scale to plop in my computer desk where I wanted it and then told the builders exactly where so I wouldn’t have to run my computer cords to the wall.  (My husband thought this was great and used it in his office too!)

14183971_10102883630937373_5359873050865180300_n

Furniture-

I’m not going to get TOO much into furniture today, because we have a separate post with our favorite sewing storage coming up!  But, for my desks I plan on getting very simple desks with nothing under the table tops.  I want to be able to move my legs freely  and roll from machine to machine as easily and quickly as possible.  And even though you want a lot of storage in a craft room function has to be number one! So, I will find storage other placed besides under my machines!

I plan on getting an Ikea “system” so that I can mix and match open desks for under my machines with some desks with storage drawers or shelving under others.  So under my silhouette machine and heat press I will use that under storage space.  Here are 2 desks systems I’ve been eyeing at Ikea: the Micke and the Linnmon.

If you only have 1 or 2 machines a system isn’t that important.  I have enough machines that I really needed that corner unit! I use my sewing machine, serger and coverstitch together on a garment quite often.  So I wanted them close enough to swivel between, but not so close I couldn’t fit my arms/garments between while working.  I also wanted a little growing room 😉 just in case another machine finds it way into that room down the road… you know what I mean ladies!!

7c108480edf0dbd7200bdc1766fdea75 68399f12c144fec4842eefc7067ec188

Decor-

This is of course a huge personal preference.  But, I will say a sewing/craft room if it is JUST yours go all out!  Don’t worry about doing what’s on trend, what your partner likes, what is kid friendly… if it is just for you and your hobbies then making it your little slice of decorating heaven! I plan on going full on GIRLY! Pastels, gold, antiques, lace, florals, you name it! Anything I want that I usually get a, “no way”, “are you kidding me”, “too girly” reaction to… that’s what I”ll be putting in my room! So have fun and celebrate a space that’s just for you!

bdaa8c44c70a5d6786a0e7688cb5ddbf goldsequin 311621

Next up we’ll be talking about our favorite storage pieces in a craft/sewing room to finish planning it out! Don’t miss out on our other great posts all about sewing craft rooms!

schedule


Filed Under: Contest/Giveaway 5 Comments

Newest Patterns

  • Uptown Joggers - Youth $10.00
  • Uptown Joggers $12.00
  • Uptown Joggers - Bundle $20.00
  • Notch Top & Dress $12.00
  • Notch Top & Dress - Youth $10.00
  • Privacy Policy
  • Refund Policy
  • Affliliate Program
  • Contact Us
  • About

Copyright © 2023 Patterns for Pirates

Copyright © 2023 · Genesis Framework · WordPress · Log in