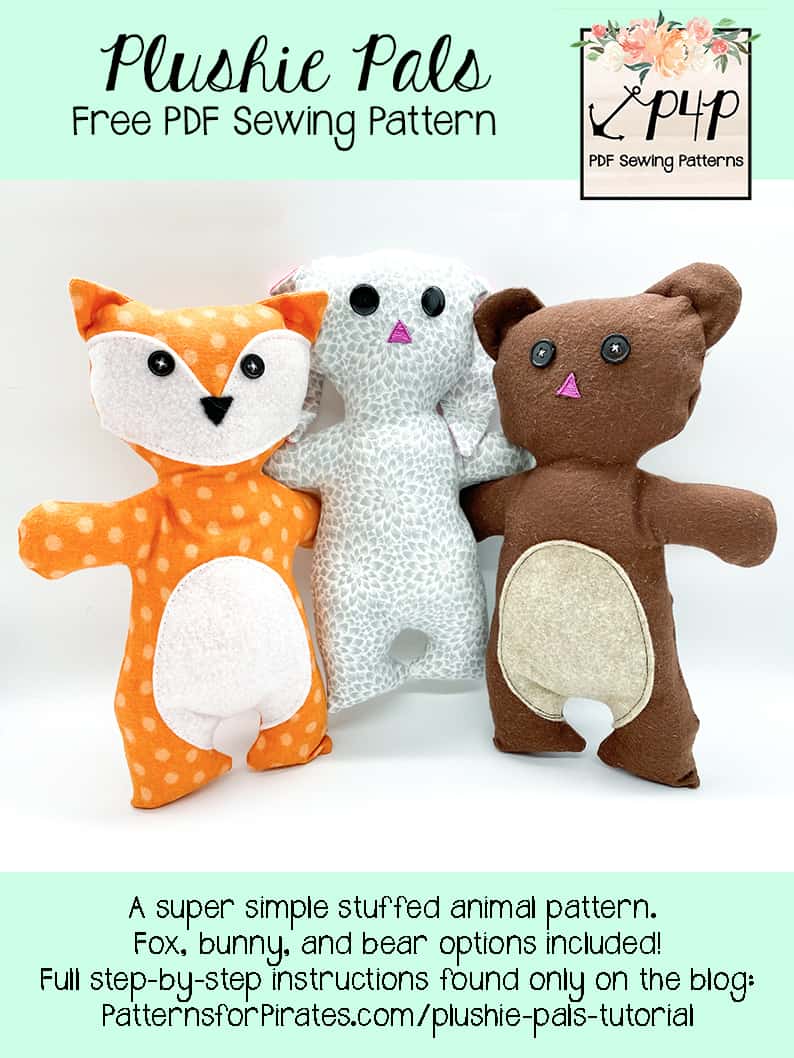
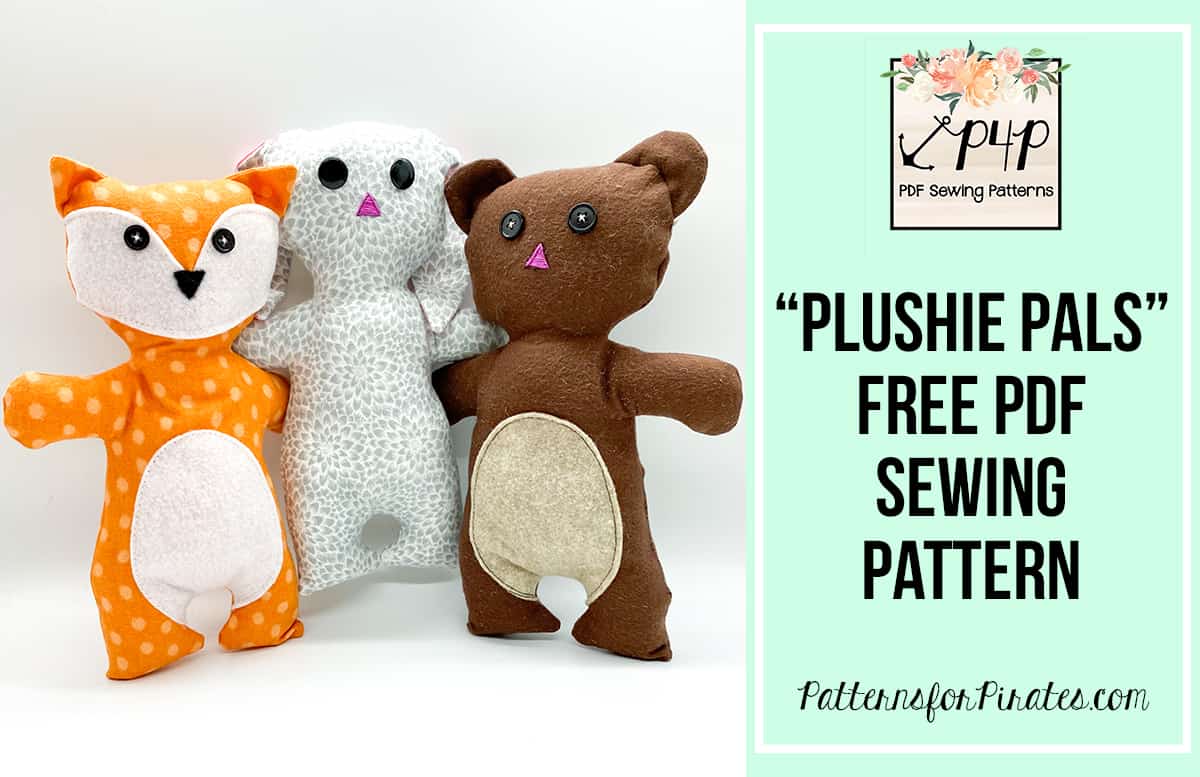
It’s February, which means I’m already brainstorming cute gift ideas for Valentine’s Day for the kiddos in my life. I love sending little packages of things to my niece and nephew up north, and including something handmade is always at the top of my list. And that’s exactly why these Plushie Pals were born!
We are bringing our newest pattern to you today, keeping in mind that you’re probably short on time like the rest of us. The Plushie Pals are super duper fast to sew, and end with the cutest results! The fox, bunny and bear pattern pieces are all included, but the pattern itself would be incredibly easy to adjust into just about any animal or character that you could think of! Let’s get to sewing, shall we?
Grab your “PLUSHIE PALS” pattern pieces here!
Oh! This time around, I loaded the pieces onto Cricut Design Space so you could cut them with your Maker. Find them here: Plushie Pals for Cricut Maker
Fabric Requirements (based upon 44″ wide fabrics):
– 1/3 yard main body fabric. Directional prints will require more. (I like to use flannel, but quilting cottons / kona cottons / felt will all work for this!)
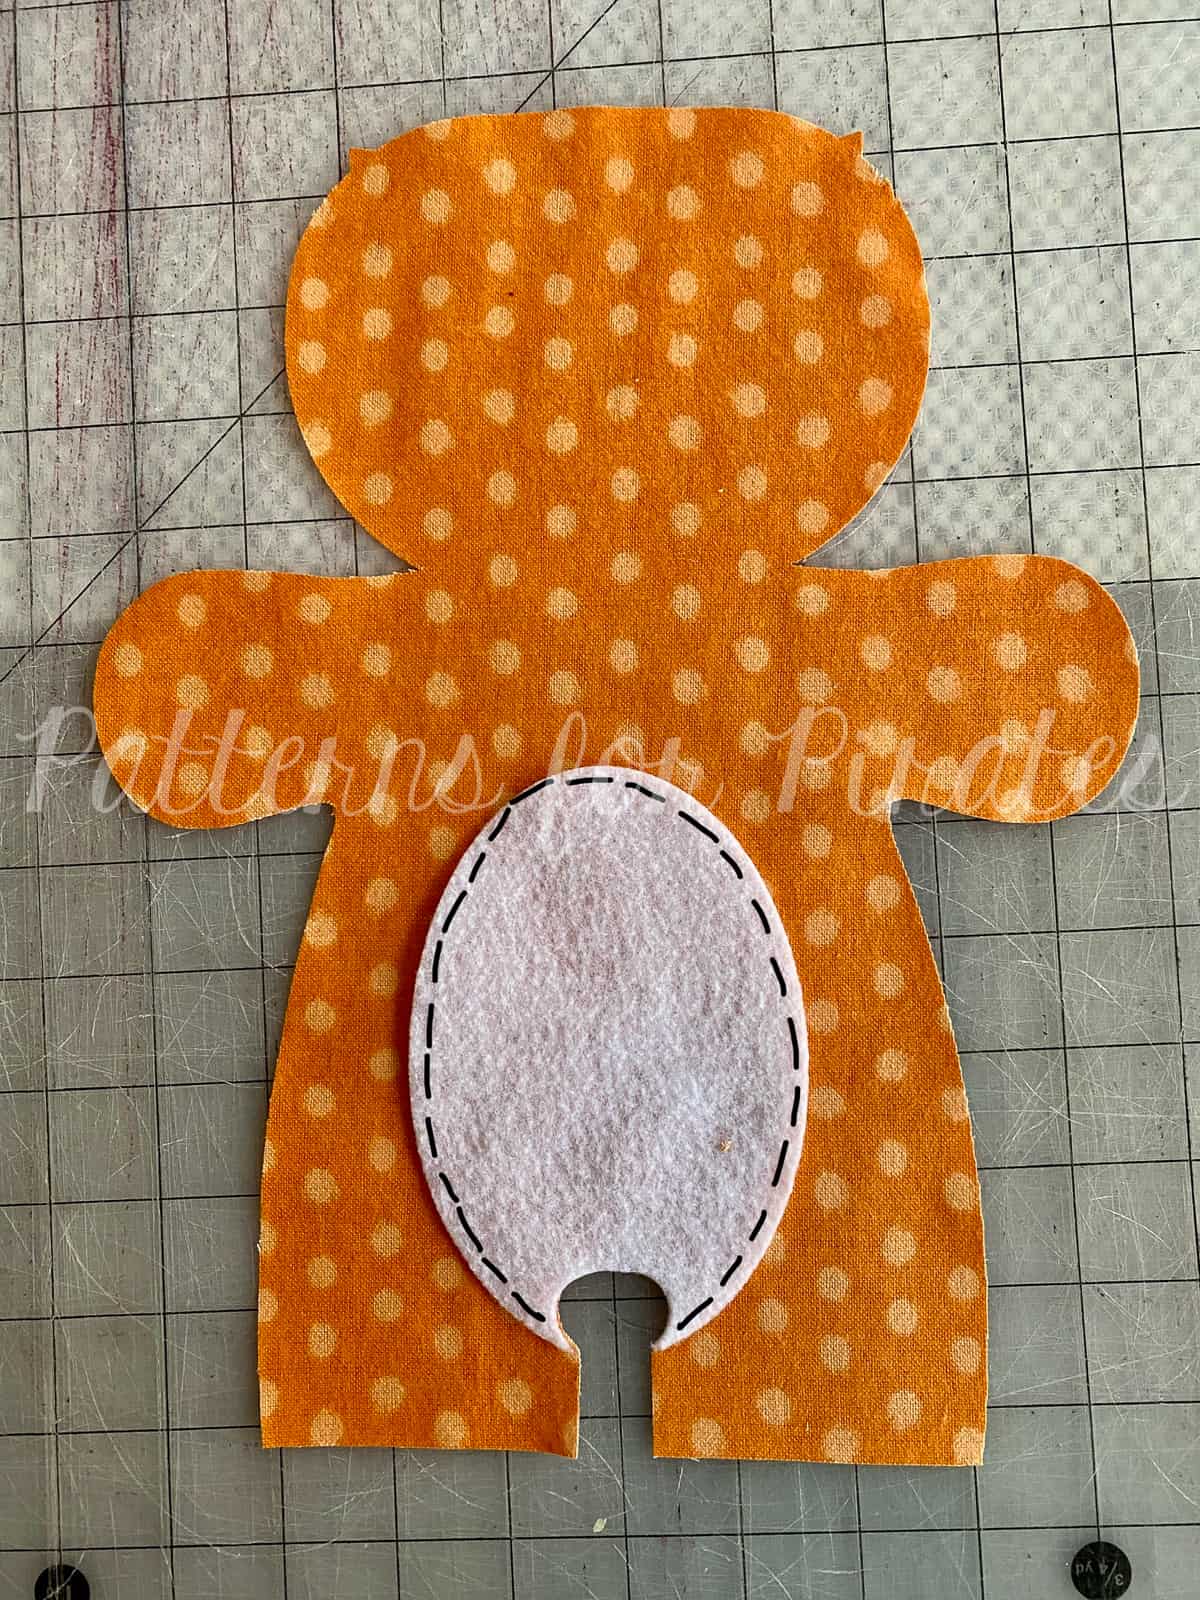
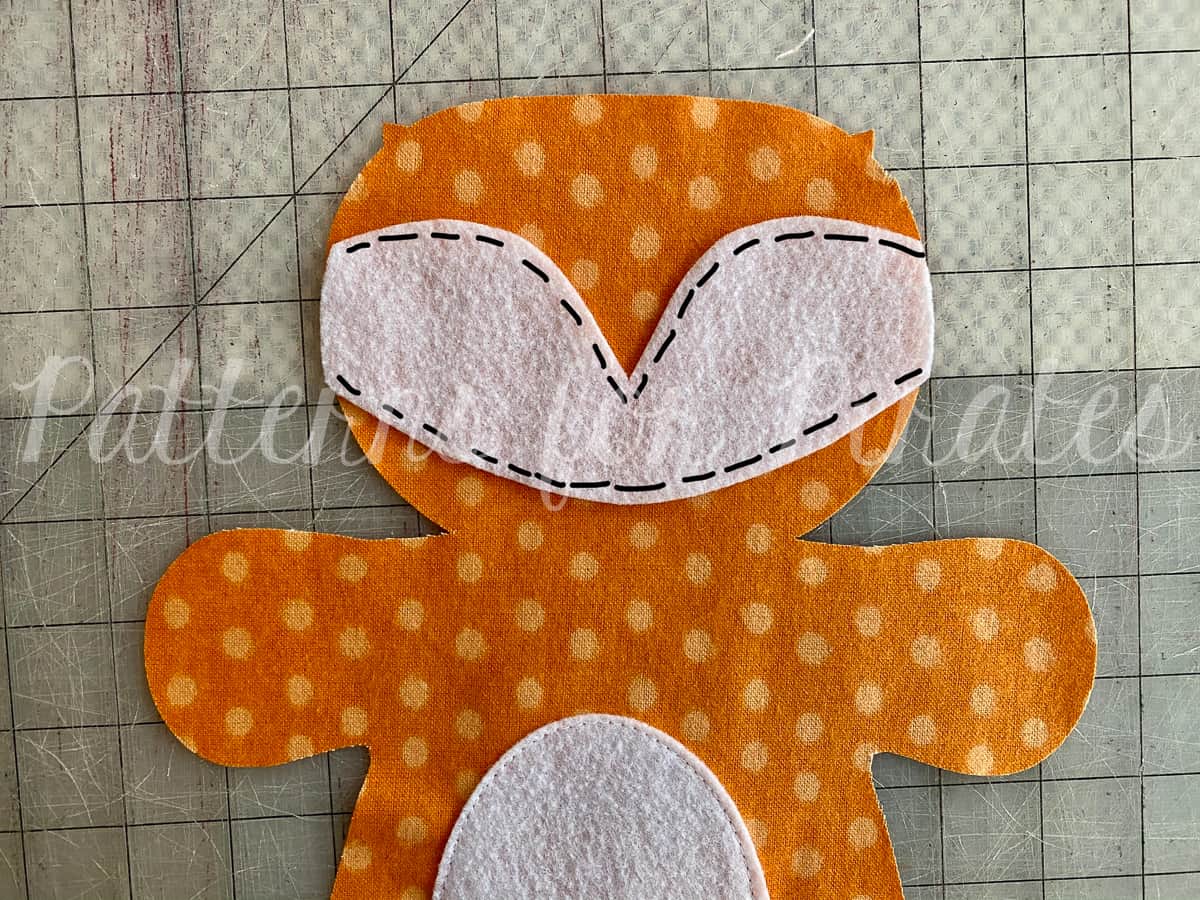
– Felt for fox face and bear/fox bellies. The edges are left raw on these pieces, so you’ll want to use something that won’t fray.
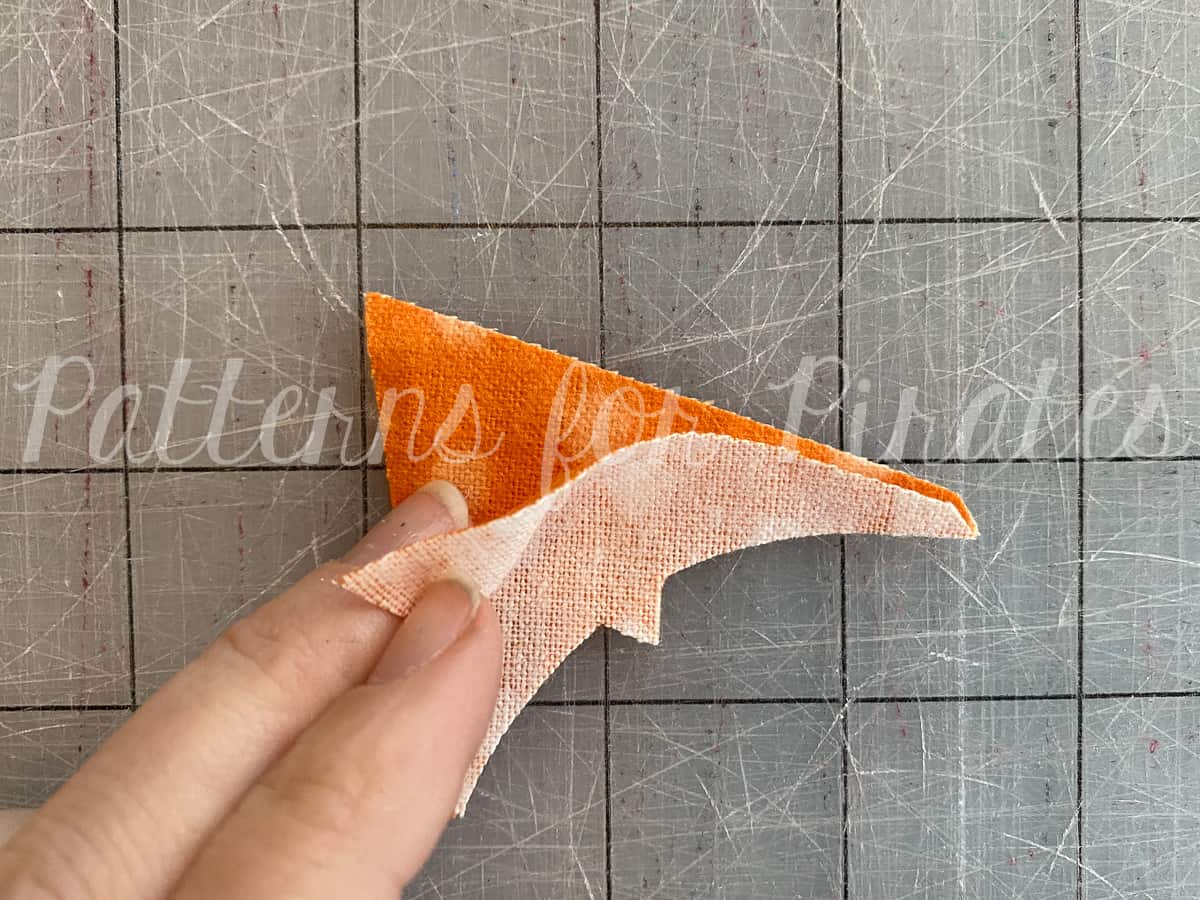
– Scrap sizes of fabrics for ear accent colors.
– Buttons, embroidery thread for facial features.
– Fiberfill.
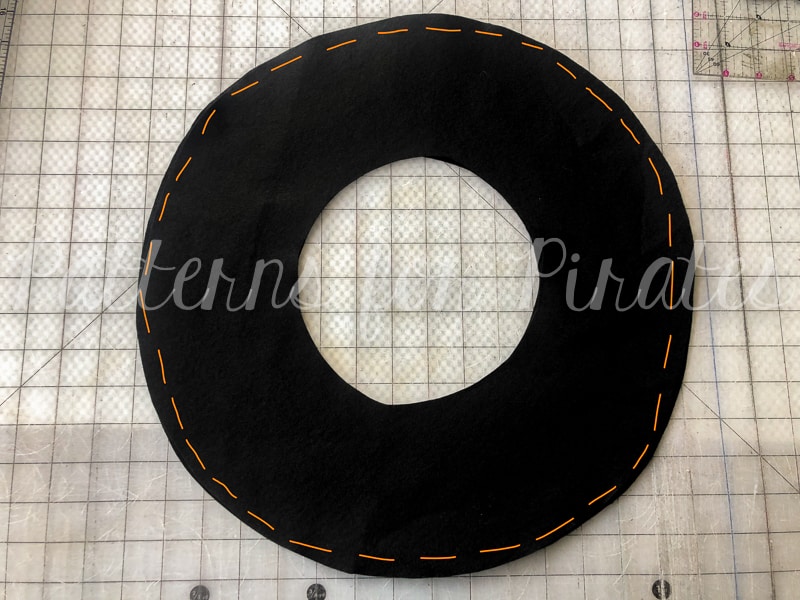
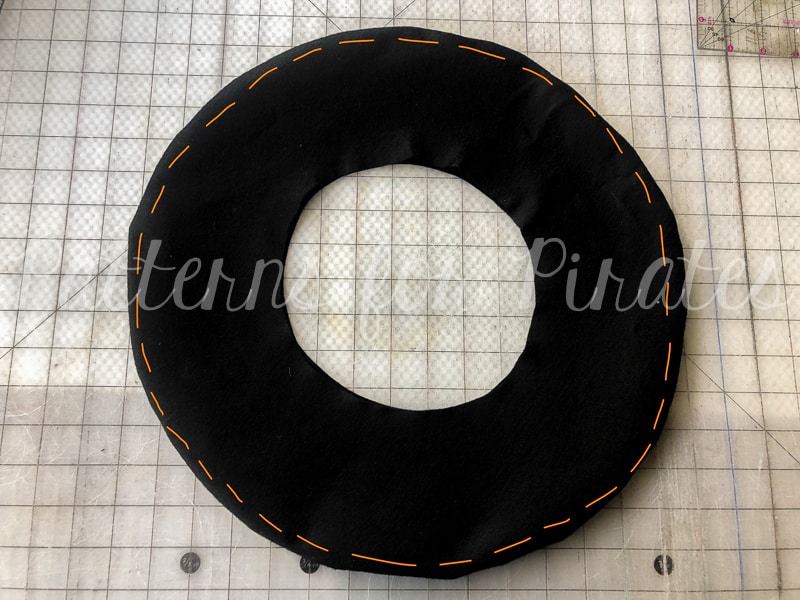
1/4″ seam allowance used throughout pattern, unless otherwise indicated.
- For Fox/Bear options: With both fabrics facing up, align the belly piece to one of the main body pieces and stitch along long, outer curve, at around 1/8″ inch.
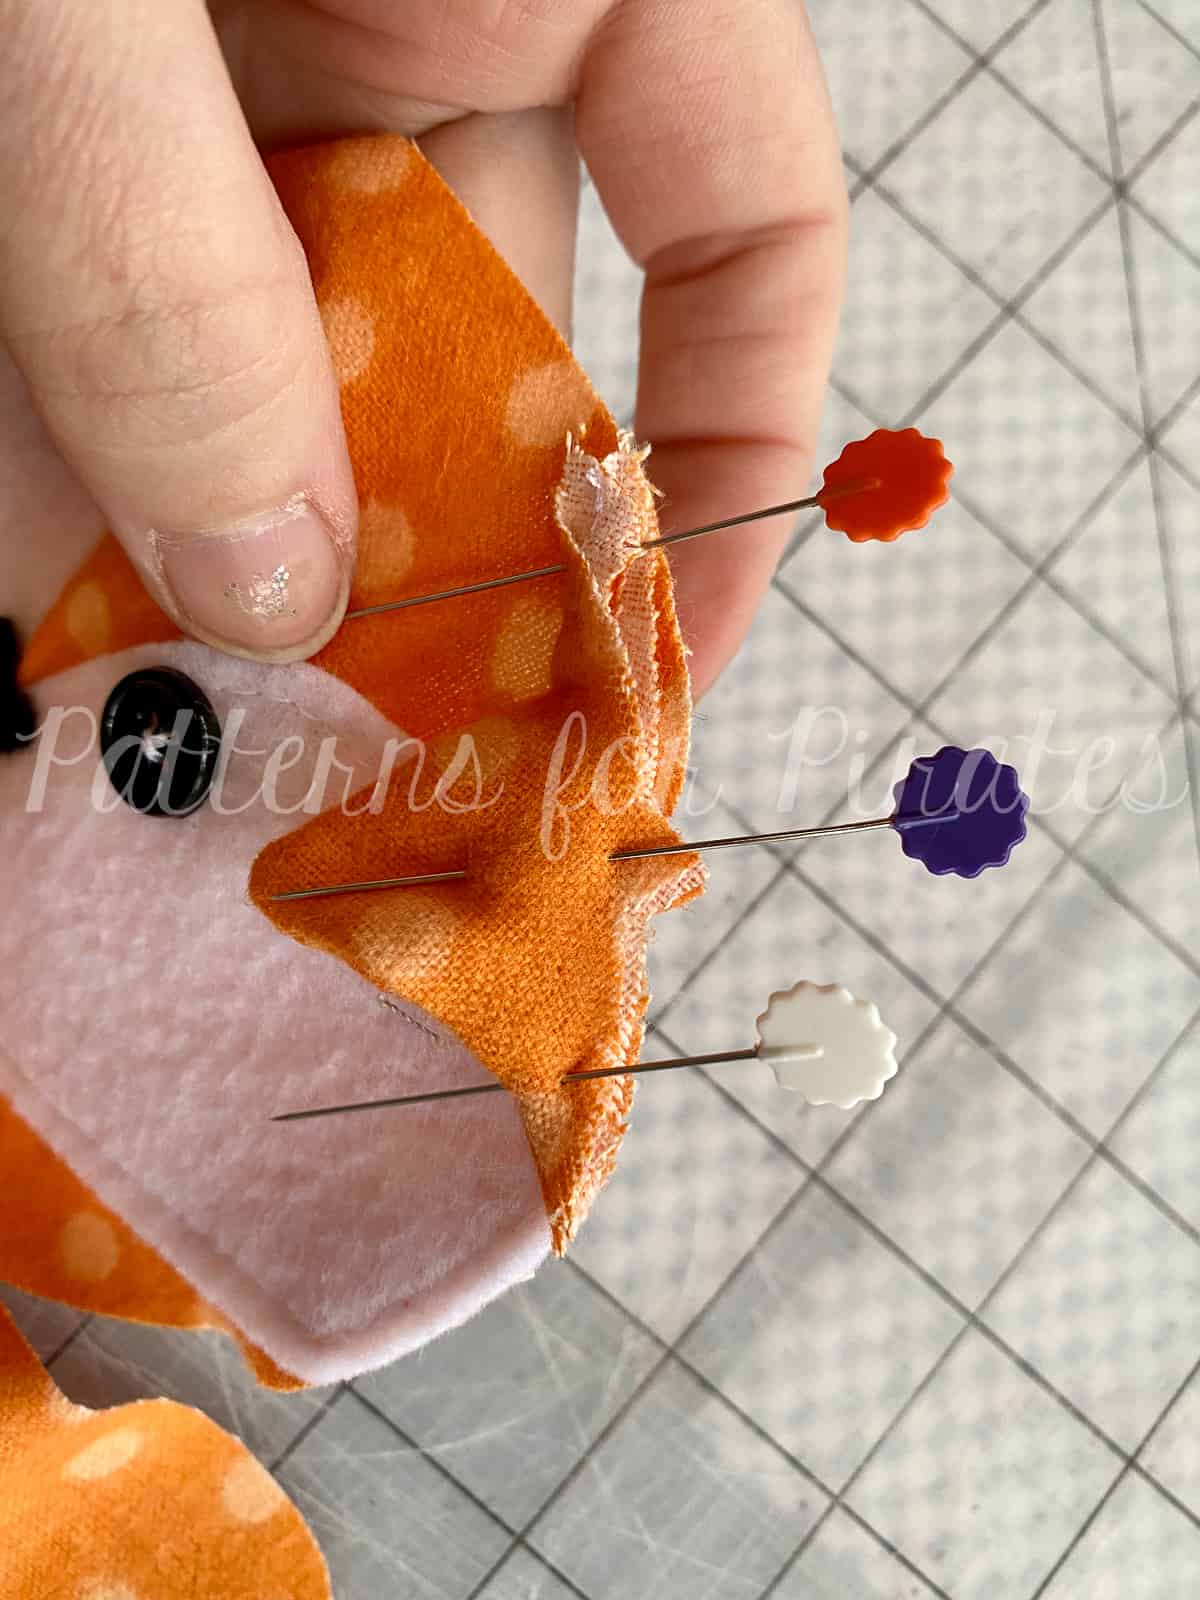
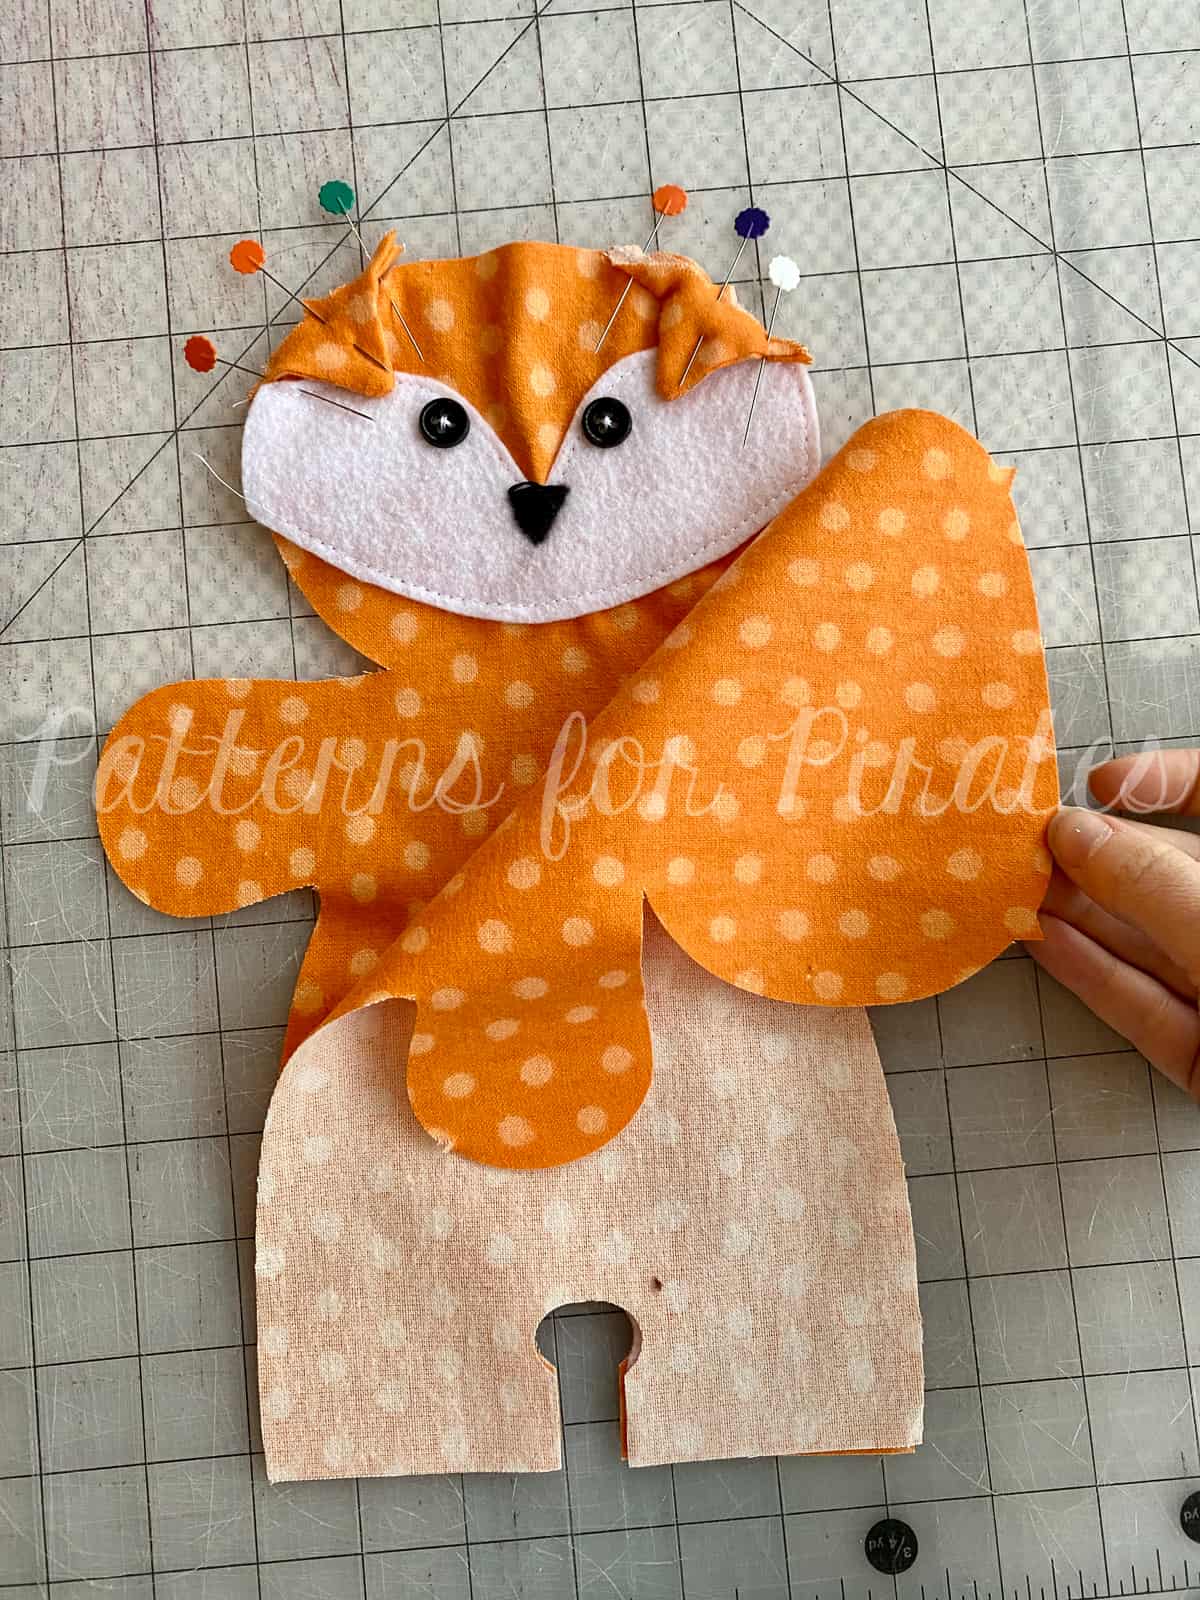
- For Fox option only: With both fabrics facing up, align the face piece to main body piece and stitch along top and bottom edges, at around 1/8″ inch.
- For all options: This is the best time to add facial features to your Plushie Pal. Using a fabric marker (I used a permanent one so it would show easier in photos), draw a triangular nose shape to help guide your stitches, if choosing to embroider the details. Details could also be applied and look adorable in fabric paints or using HTV. We didn’t include any specific facial details in the pattern because there are so many different ways to make a face. 🙂

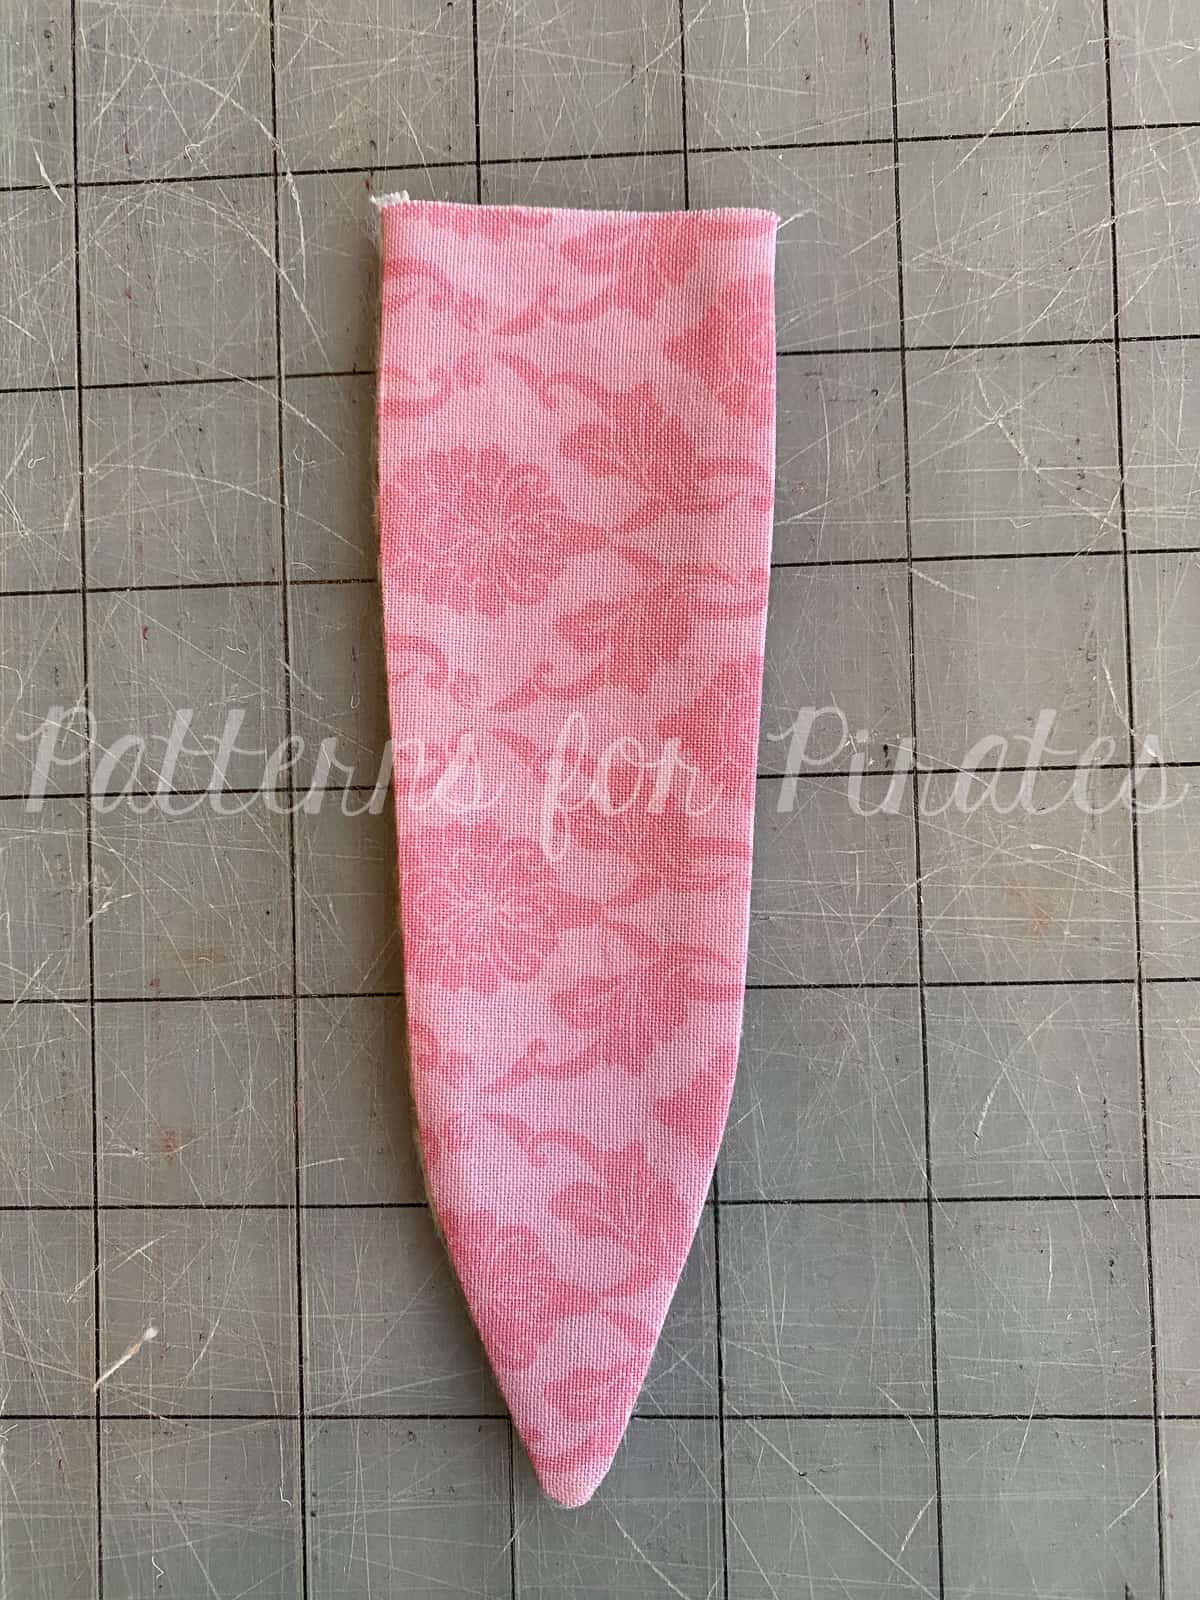
- For Fox/Bear options: Place two ear pieces, right sides together.
- Sew along outer edge(s).
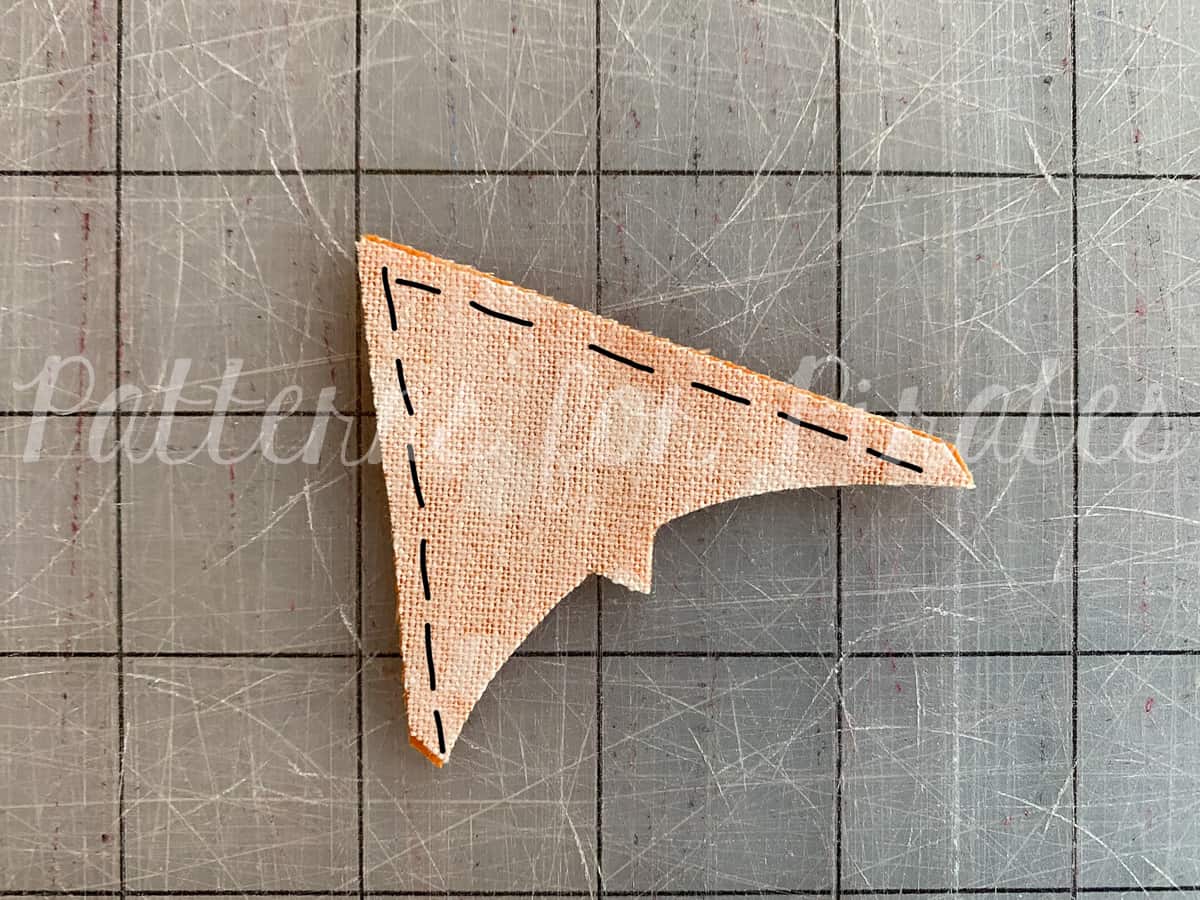
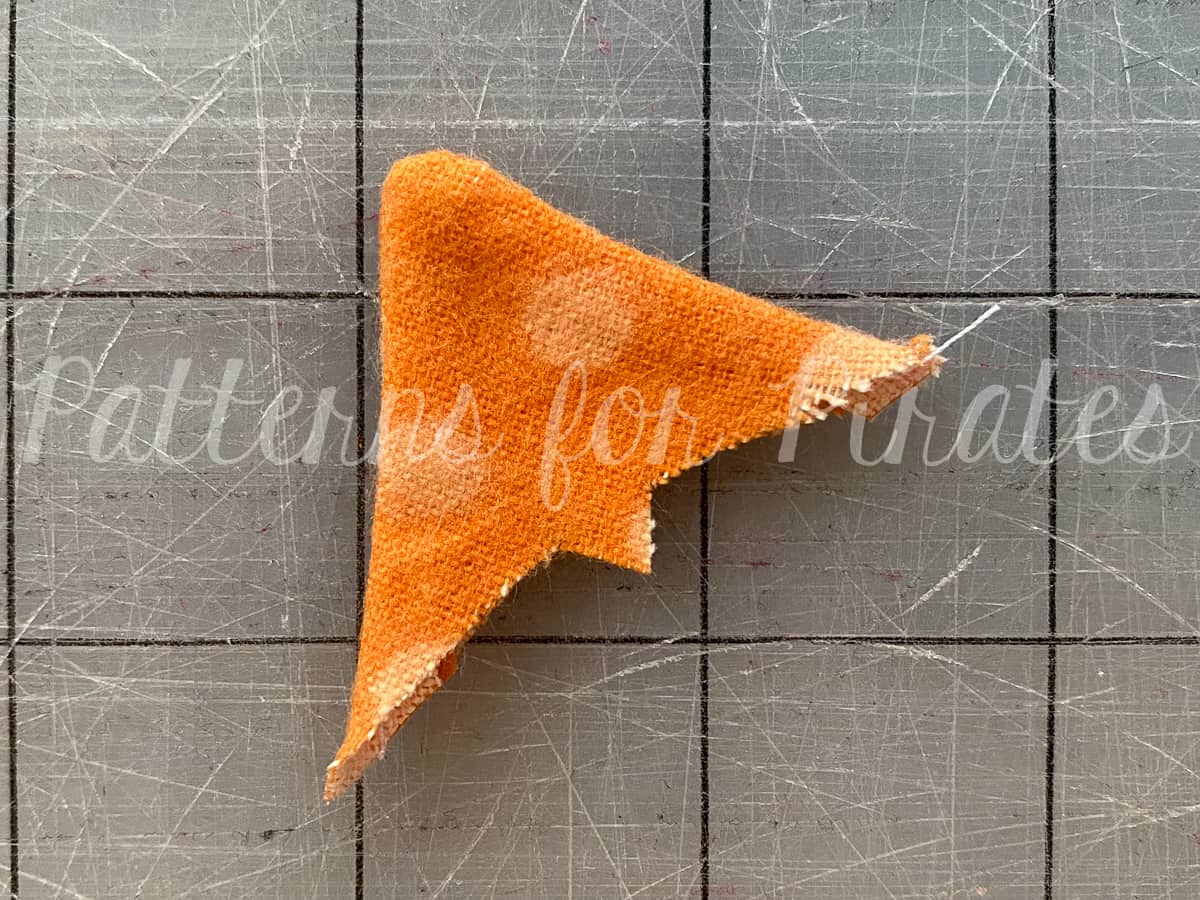
- Clip seam allowances and turn ears right sides out. Press. Topstitch if desired. *repeat with second ear.
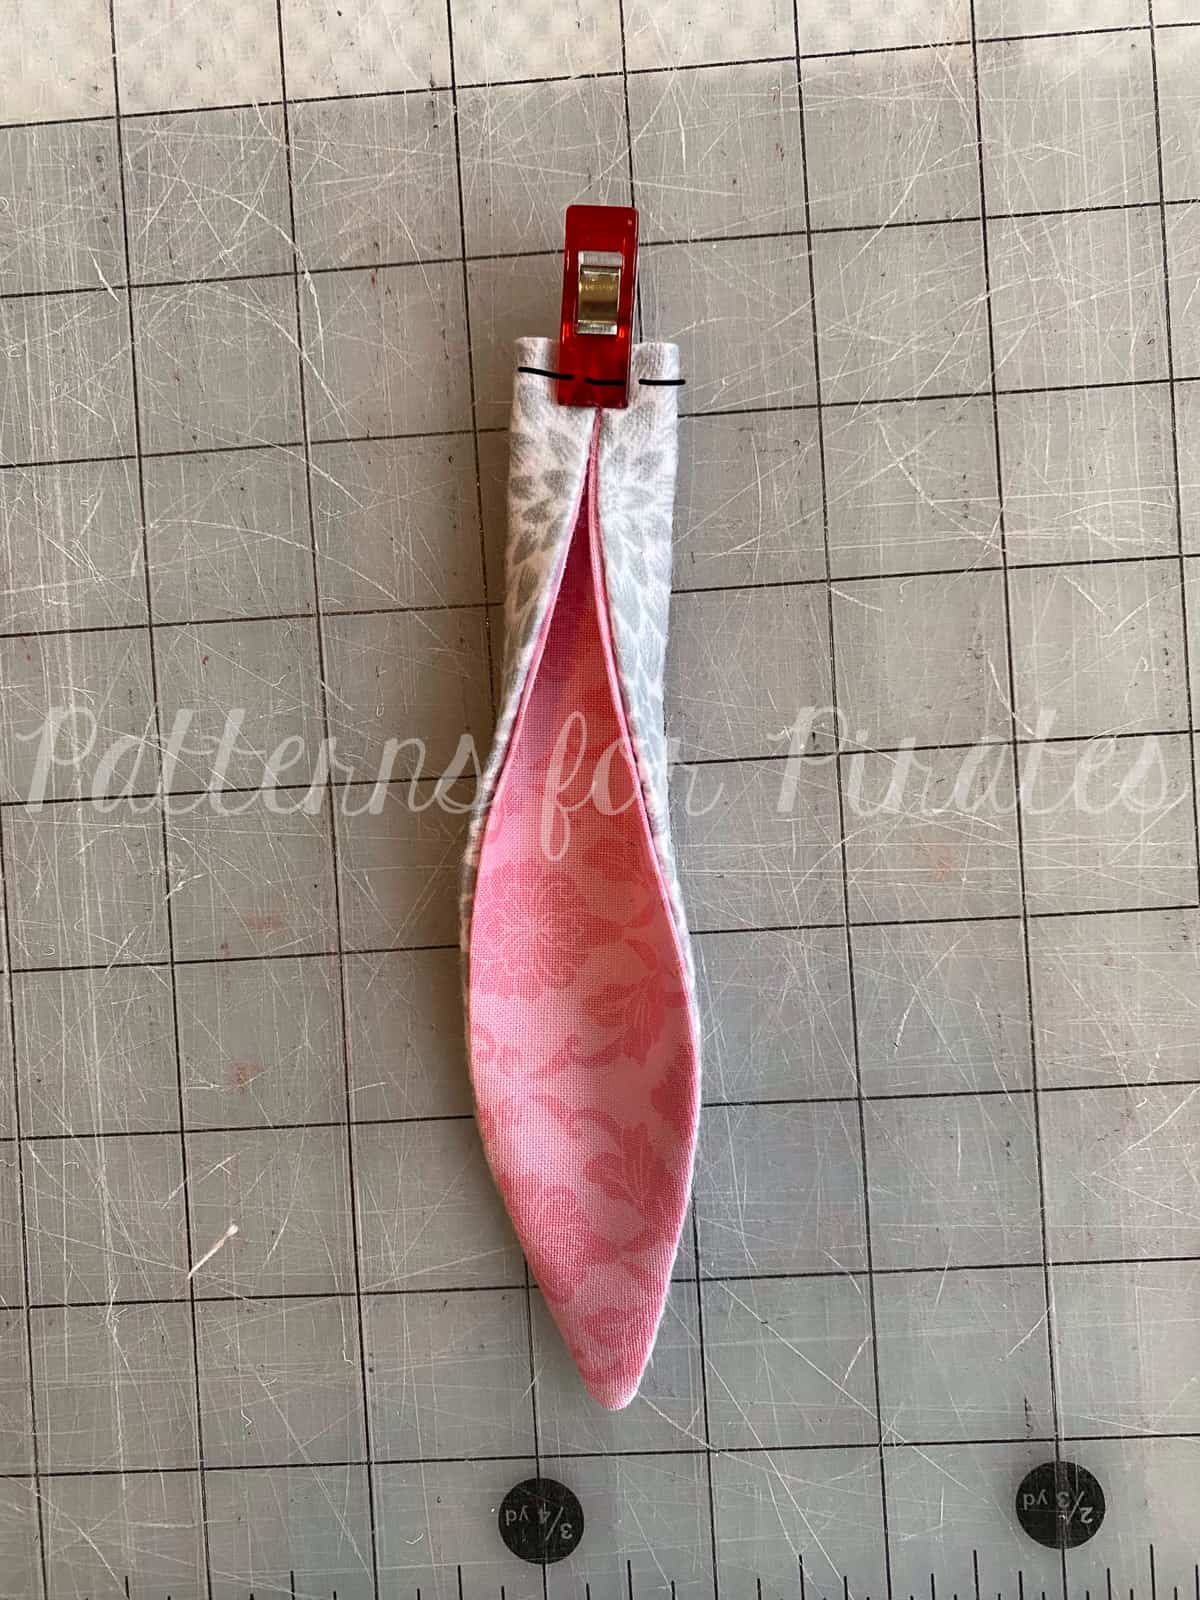
- For Bunny option: Place two ear pieces, right sides together.
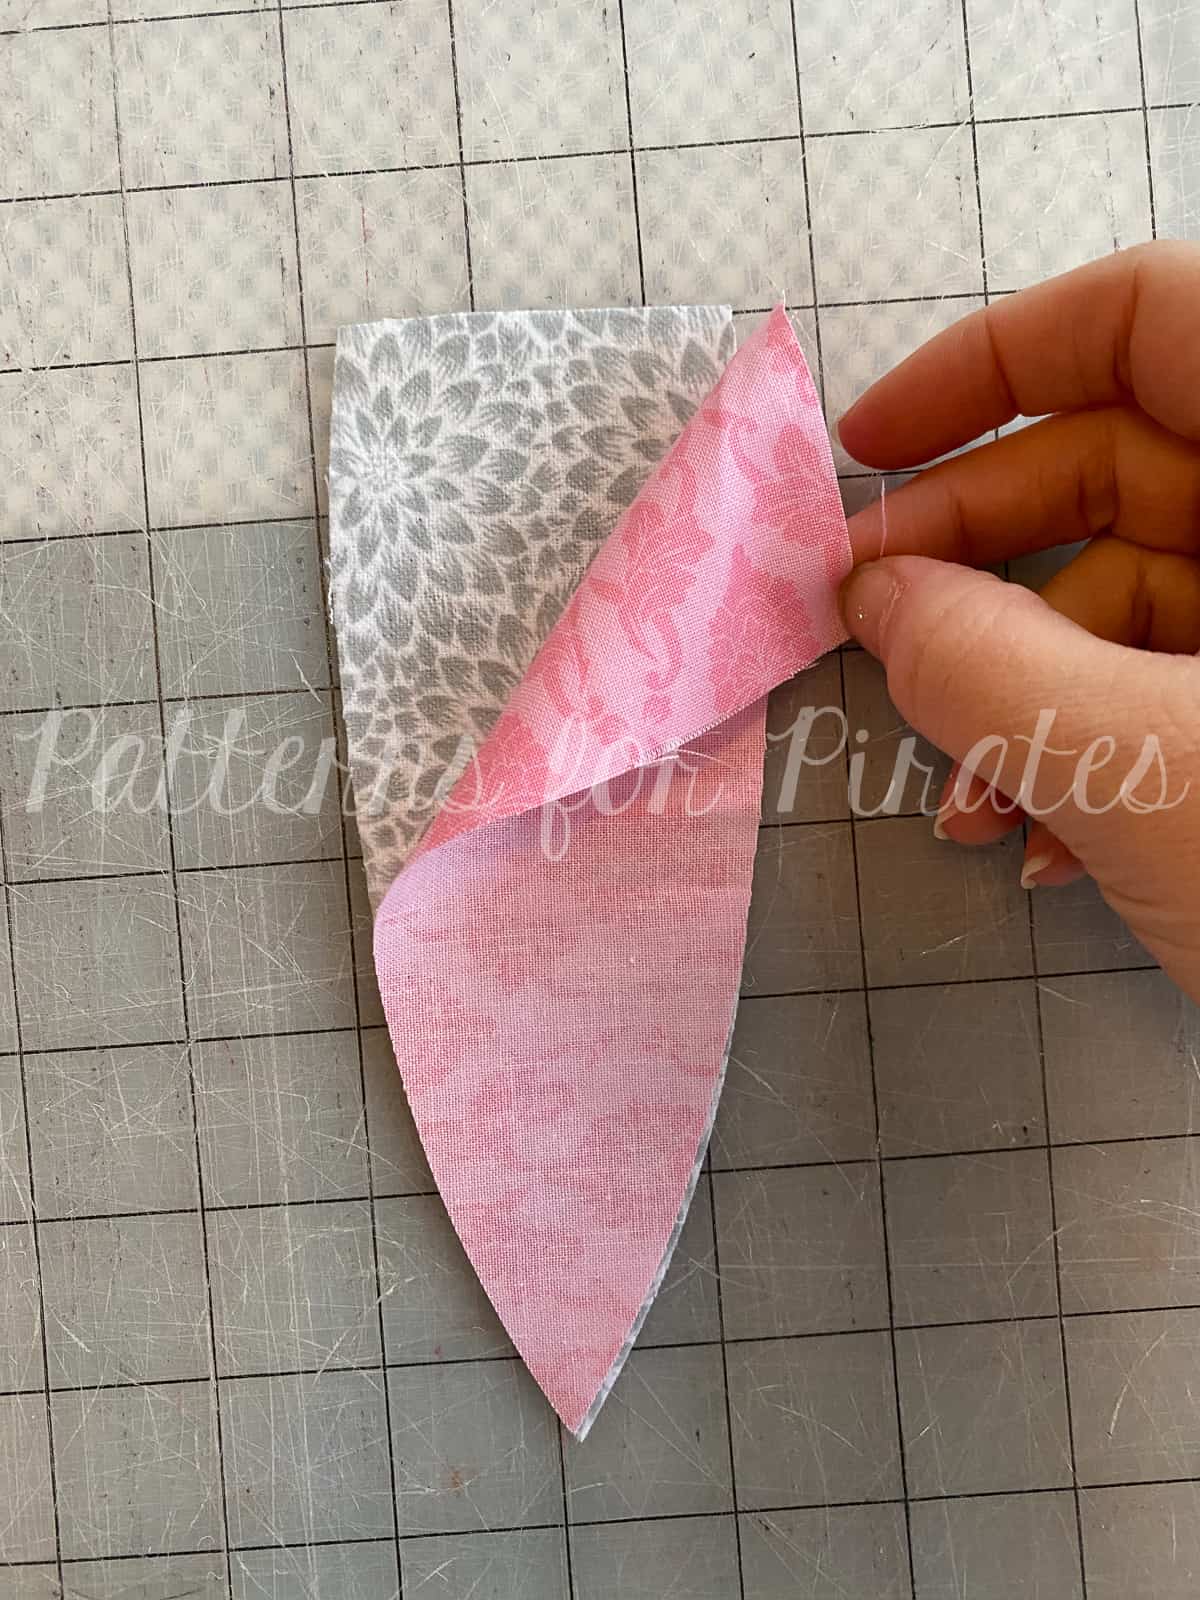
- Sew along outer curved edges.
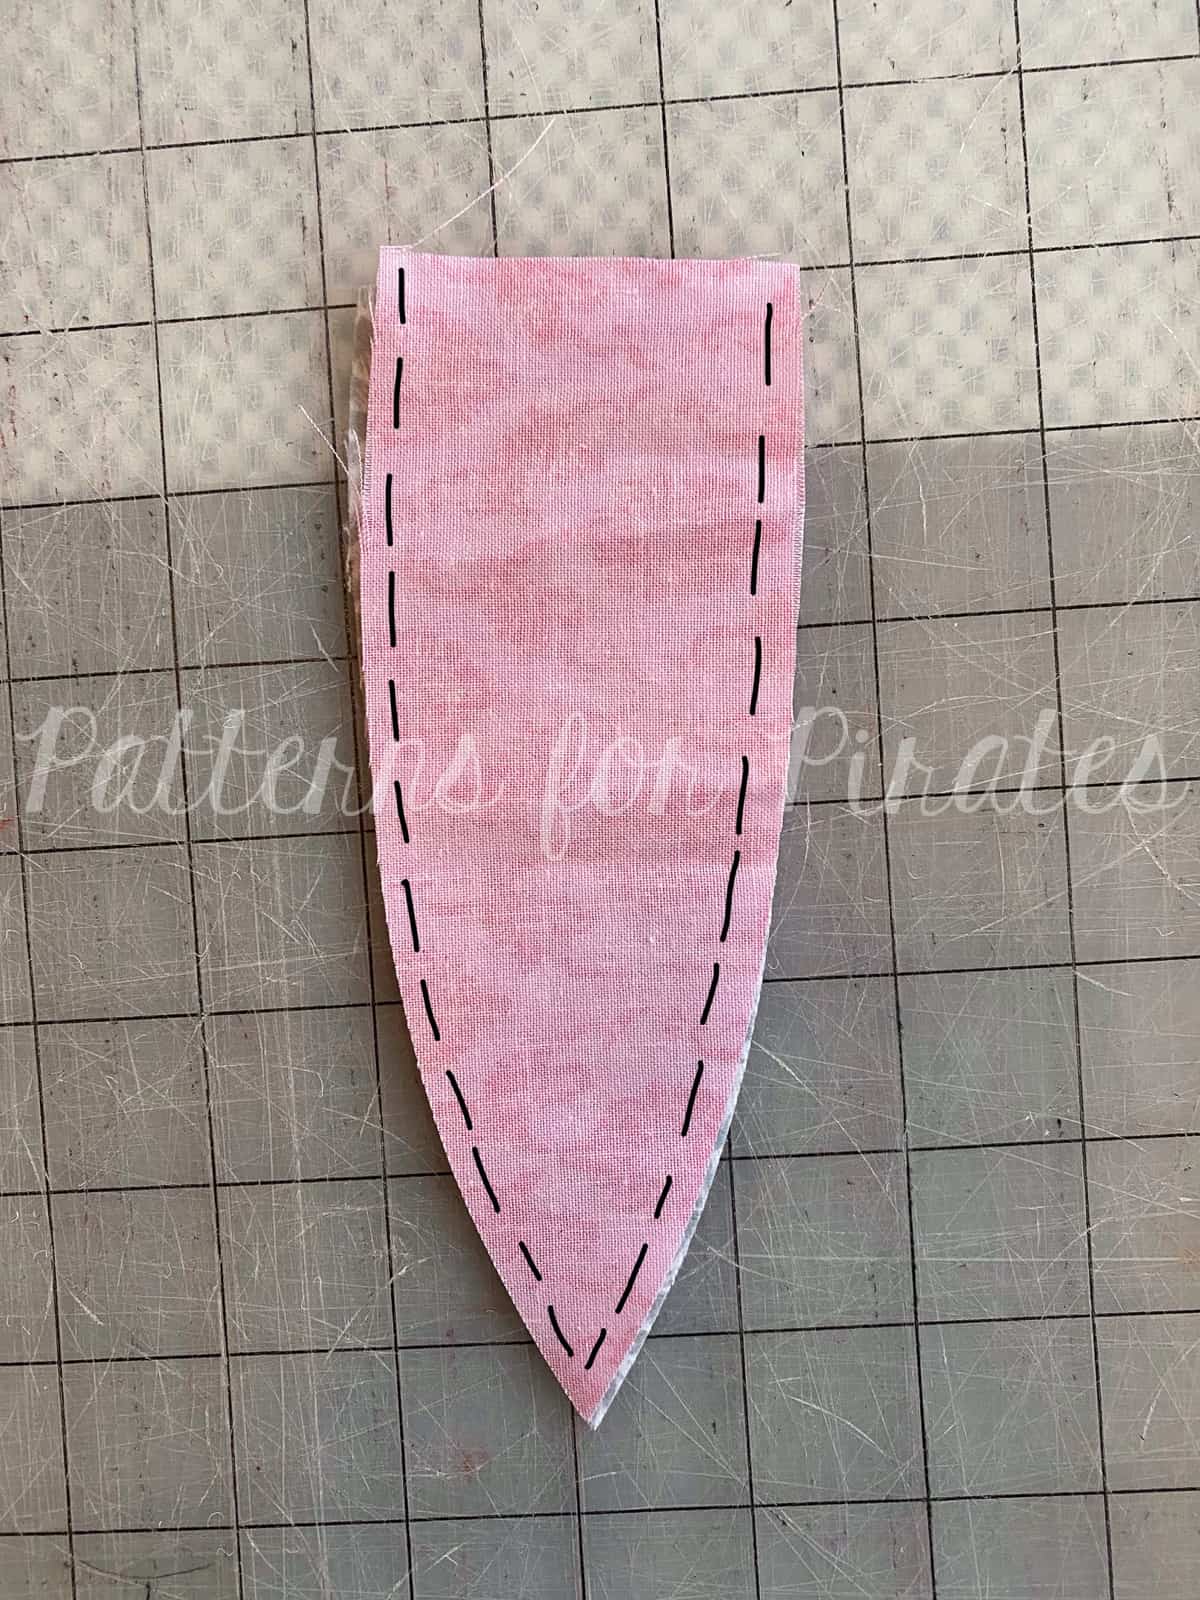
- Clip seam allowances and turn ears right sides out. Press. Topstitch if desired.
- Fold along the top, raw edge, meeting the corners together. Clip or baste top edge in place. Repeat with other ear.
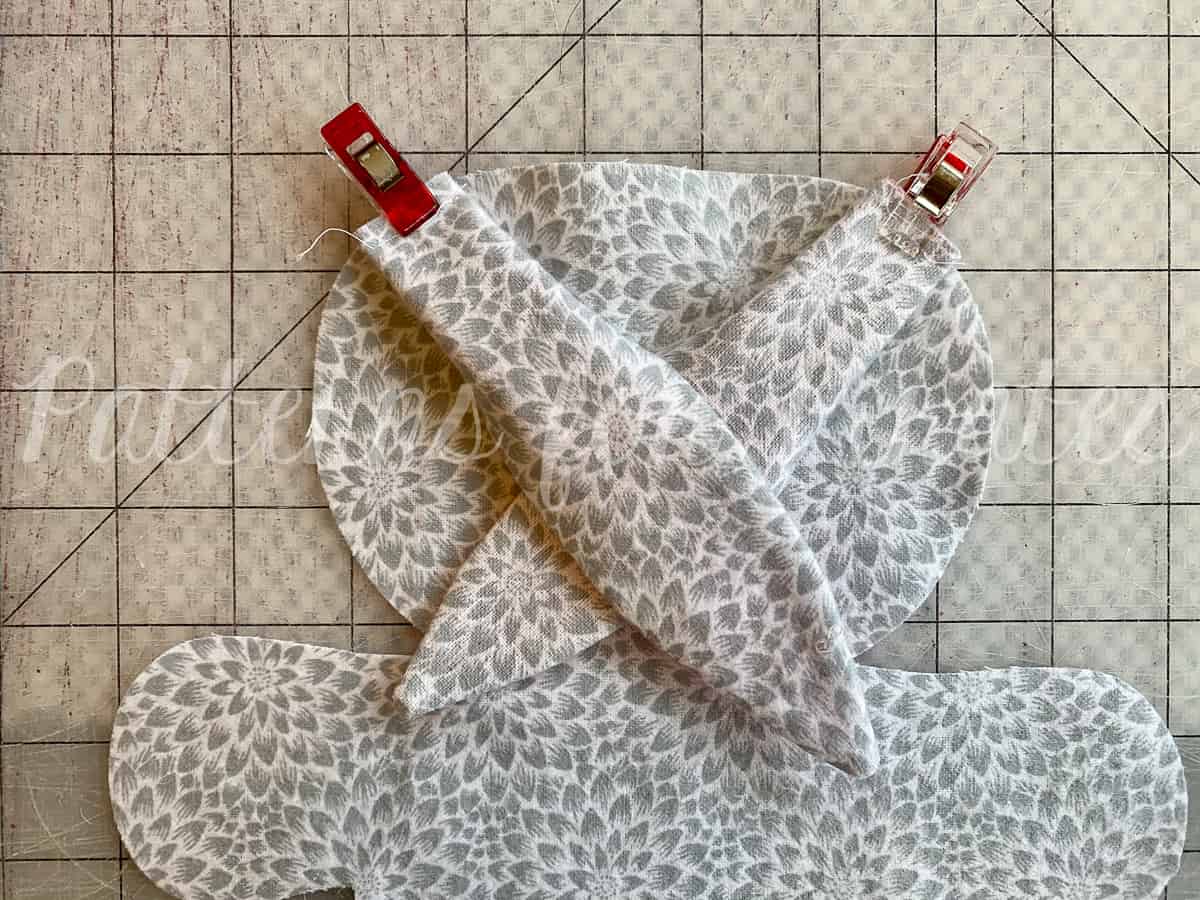
- For all options: With right sides together, align ears using the markings on the pattern pieces.

**Note: The bear and fox ears will need to be eased in along the curved edges. While the bunny ears will simply be centered against the marking on the body piece, be sure to tuck them out of the way while sewing so you don’t catch them in the next steps.
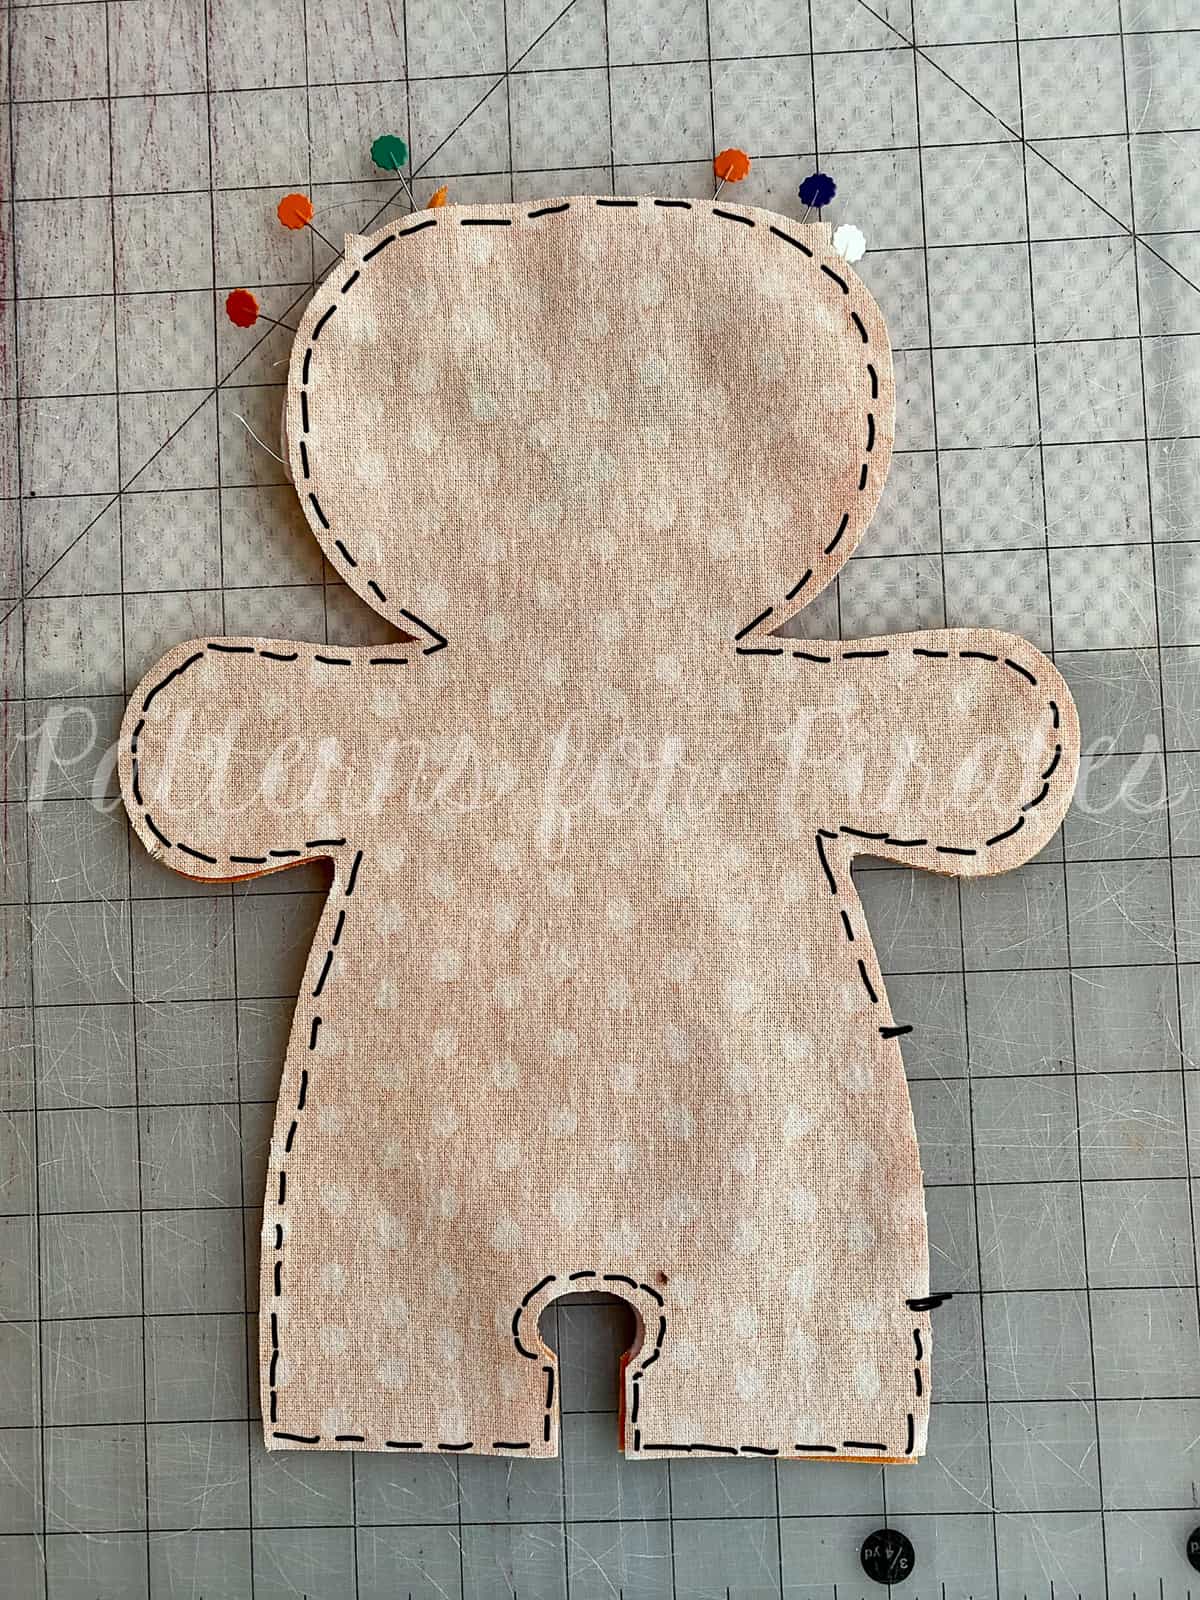
- With the front body piece facing upwards, place the back body piece on top (right sides together).
- Sew along entire outer edge, leaving only about a 3″ opening along one of the sides for turning.
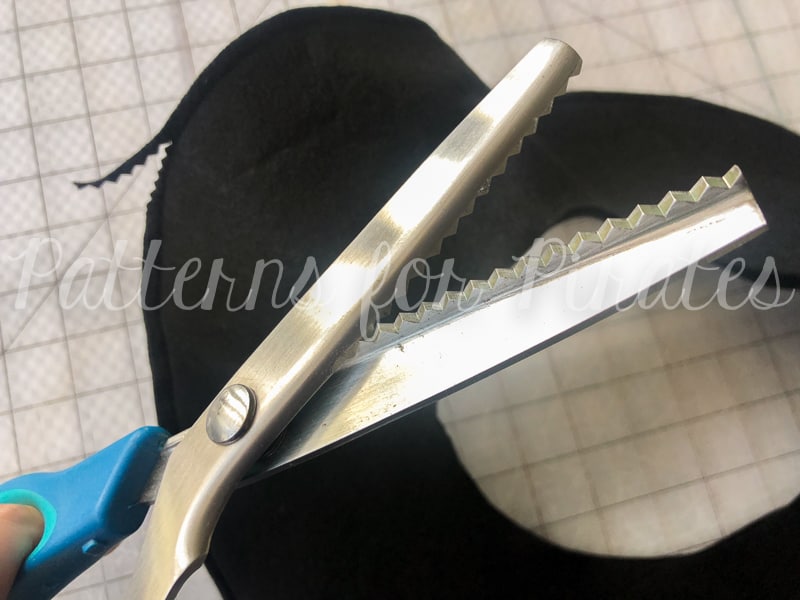
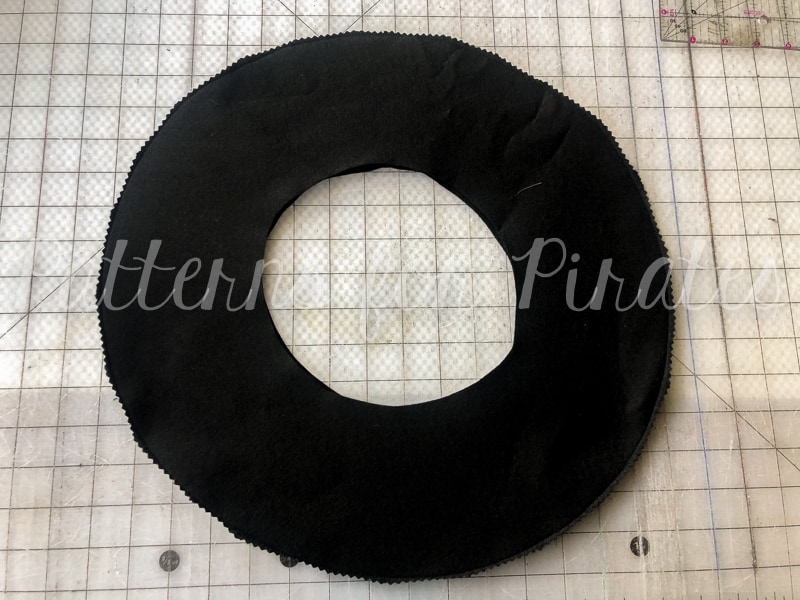
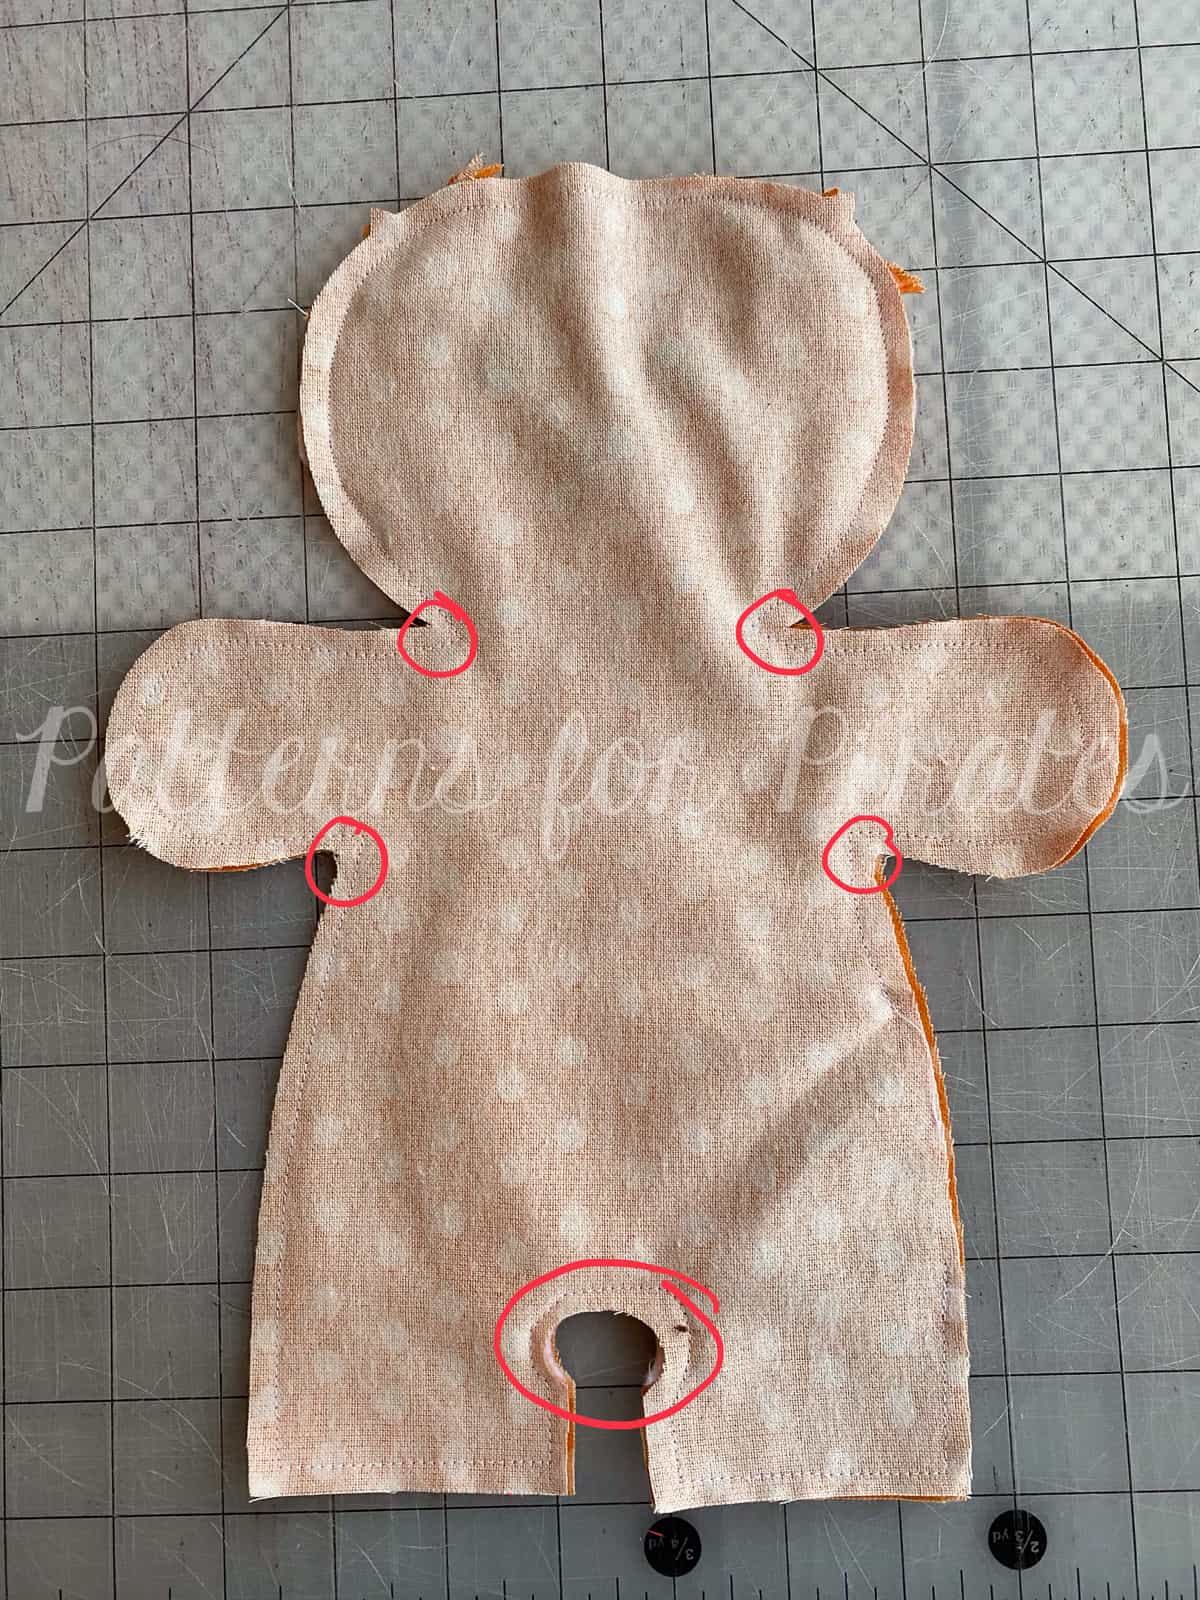
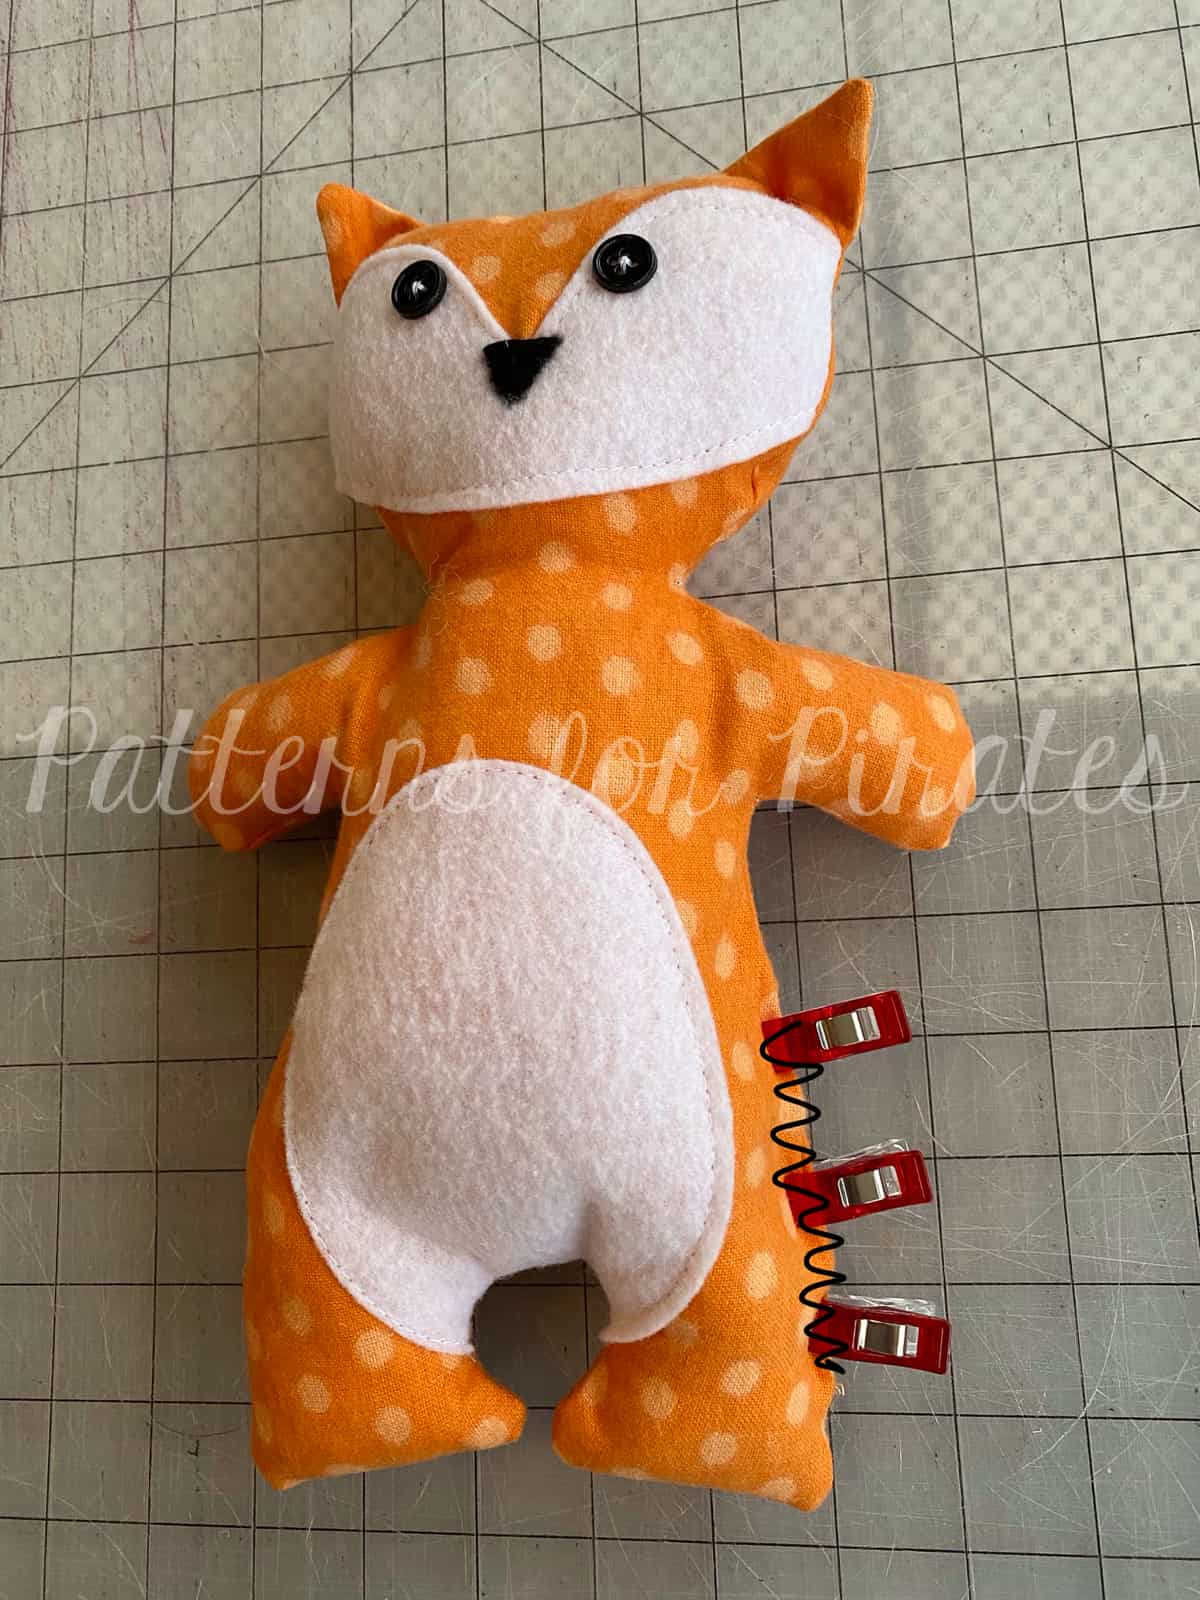
- Clip corners and seam allowances before turning. It is recommended to use pinking shears around all of the curved edges for a cleaner look once turned and stuffed. I circled the most important parts to make sure to clip, in order to avoid wrinkles or pulling at the “joints” of the arms and legs.
- Turn your Plushie Pal right sides out, through the opening you left in the previous step.
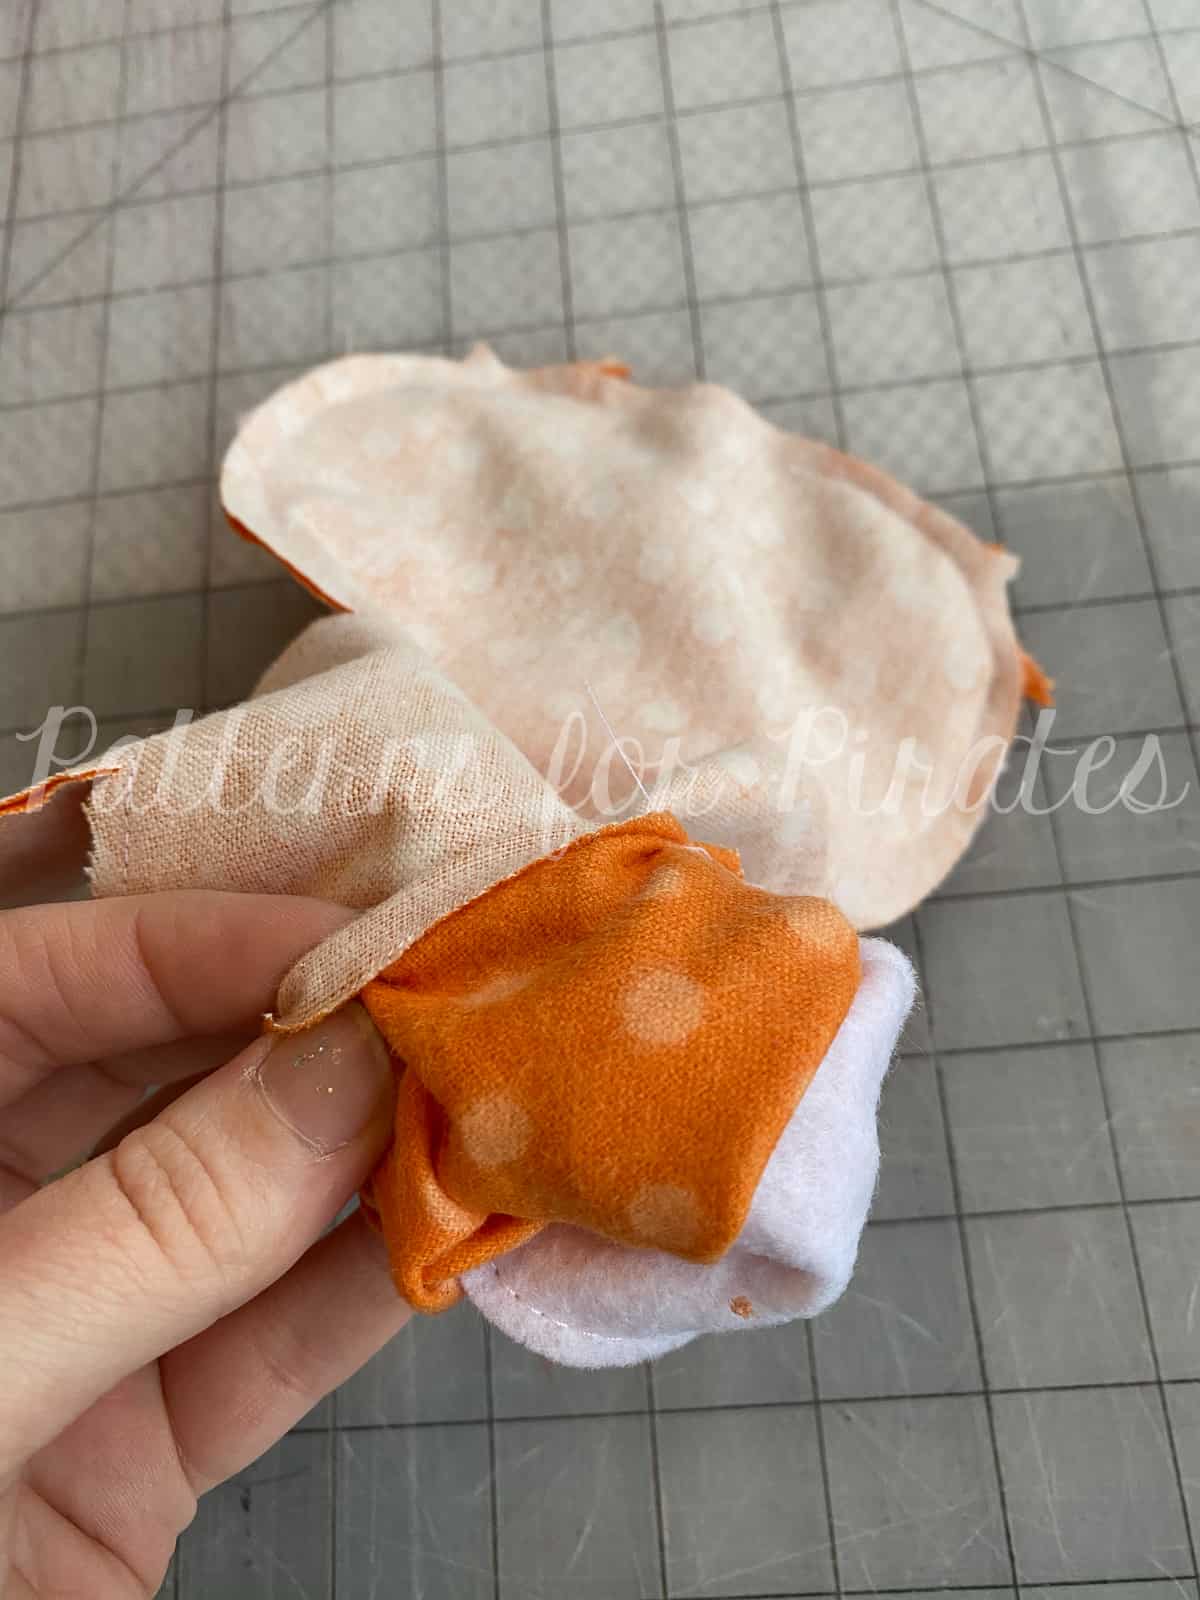
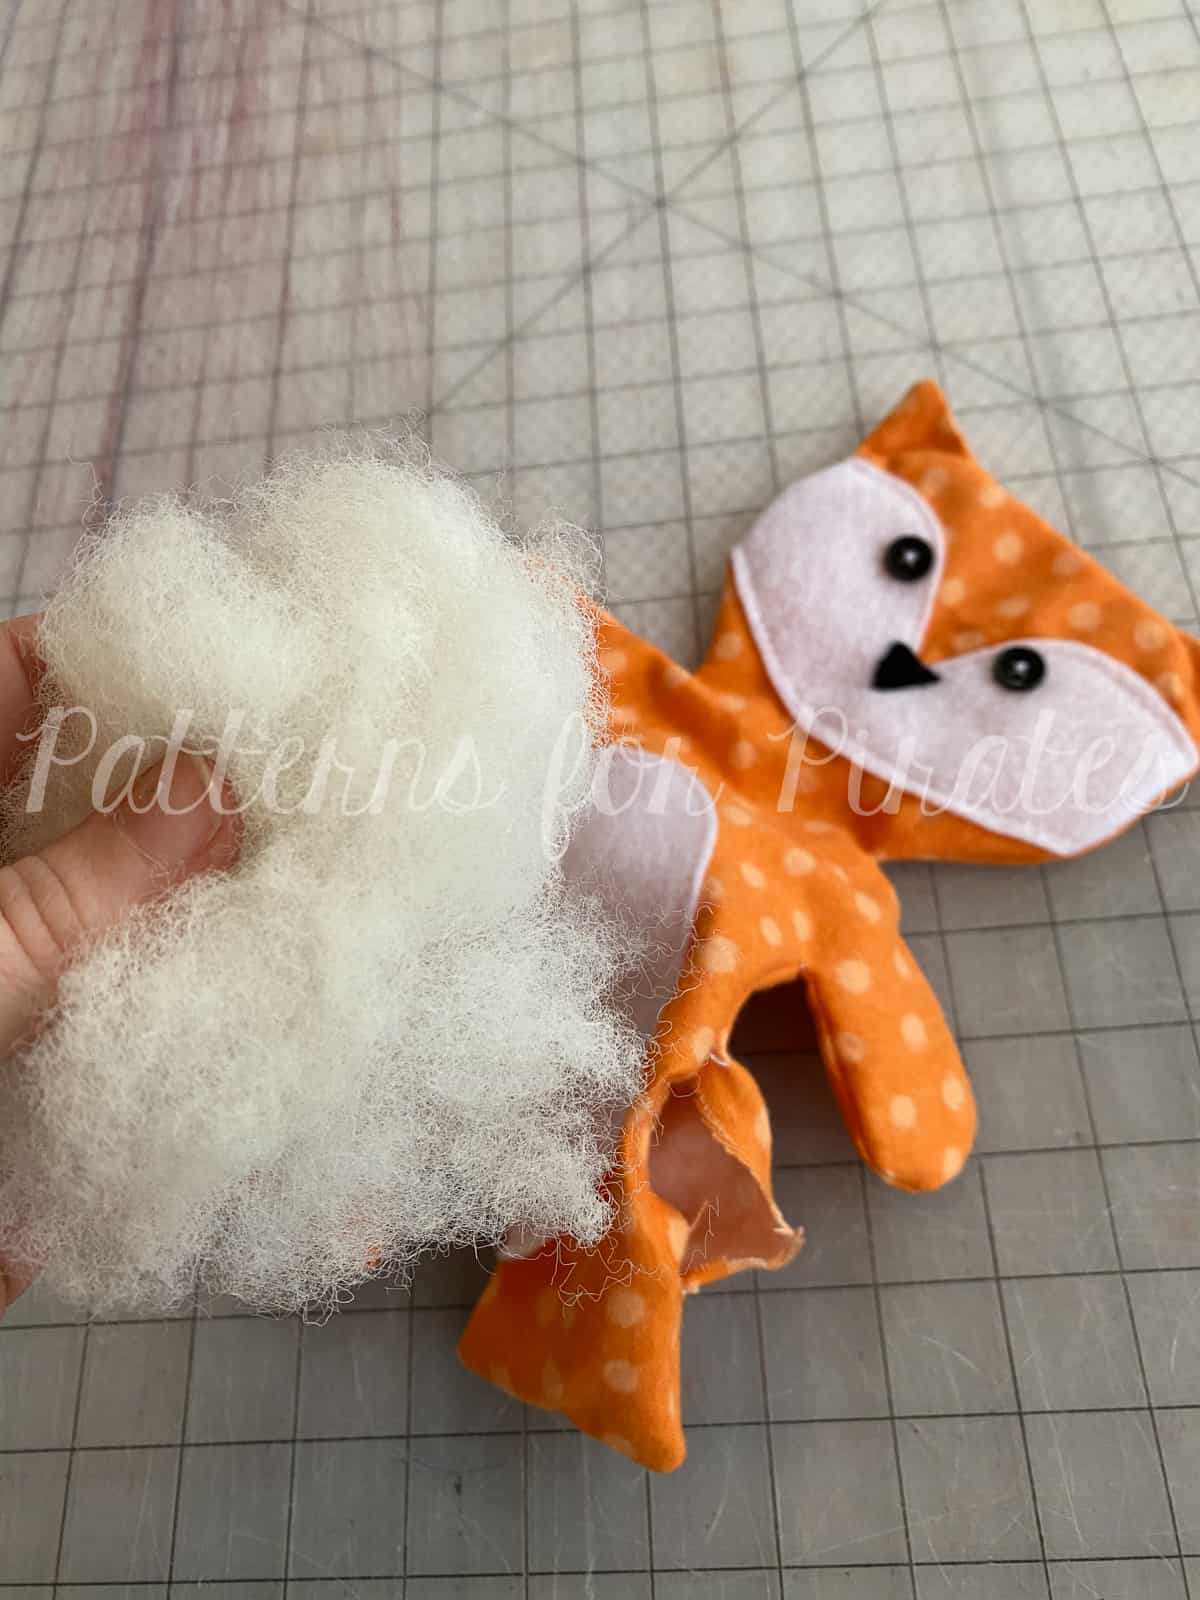
- Using fiberfil, stuff your Pal to your liking. Be careful not to overstuff. And using a tool like a chopstick / bodkin is incredibly helpful for filling the arms and legs and getting the stuffing into the corners easily.
- Tuck your seam allowance back into the opening. Pin or clip. And using your favorite method, stitch it shut.
You’re all done! Be careful — once you make one, you’re going to want to make ten more! (Ask me how I know…..) They’re just so darn cute!
As always, we love when you share what you’ve made with us. Head over to the Patterns for Pirates Facebook group and show off the fabulous Plushie Pals that you’ve managed to make from our freebie pattern! Happy Valentine’s Day, friends!