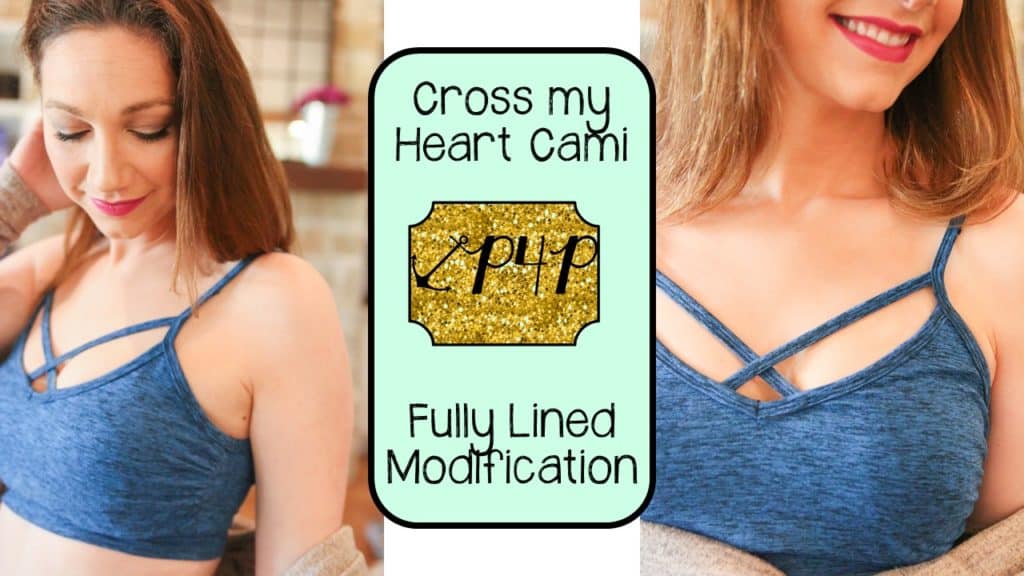
The Cross my Heart Cami just released and I know a lot of ladies are asking about how much support the cropped length has. It is not drafted or designed to offer any support like a real bra. But, here are some tips in lining it and adding a touch more support if you’d like it.
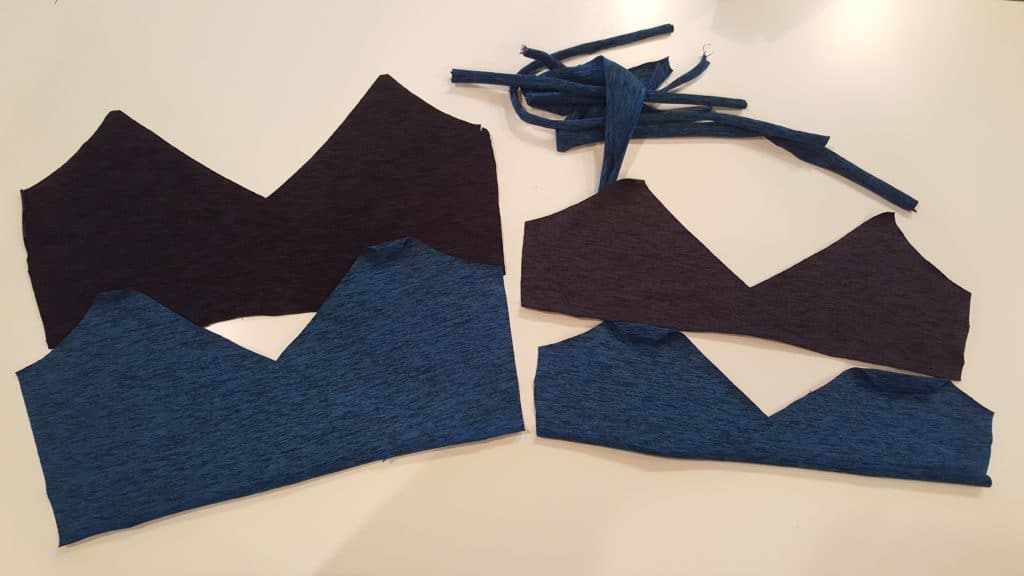
To line I cut 2 fronts, 2 backs and 1 set of the binding pieces and band. I used the blue for my main fabric and black for the lining. I also cut 1 size down from my measurements on everything but the band and used a more stable, thicker athletic knit for both main and lining.
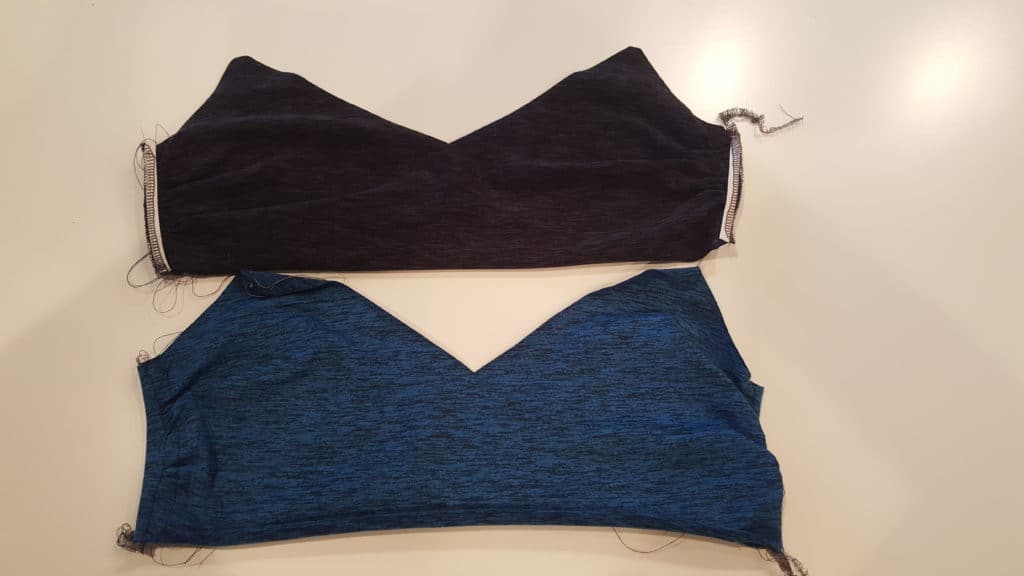
I sewed the top a little out of order to line. First I gathered my front and sewed the side seams to both my main and lining fabric. I added some 1/4″ elastic into the side seams on the lining to help add a bit more support.
Then I attached one side of the band RST to my main fabric top. (My underbust is a size smaller, so mine will look a little smaller and more gathered than most 🙂 )
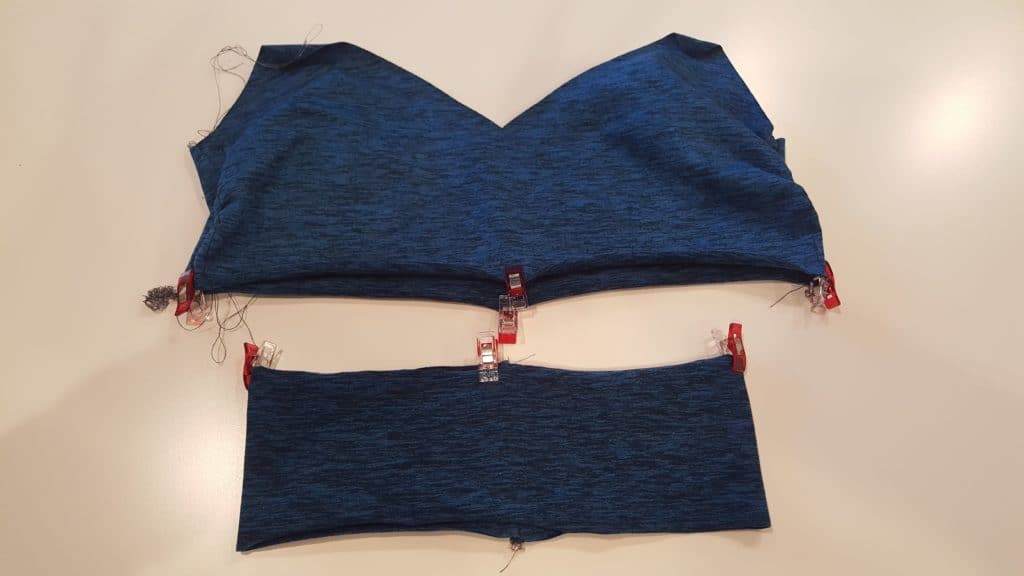
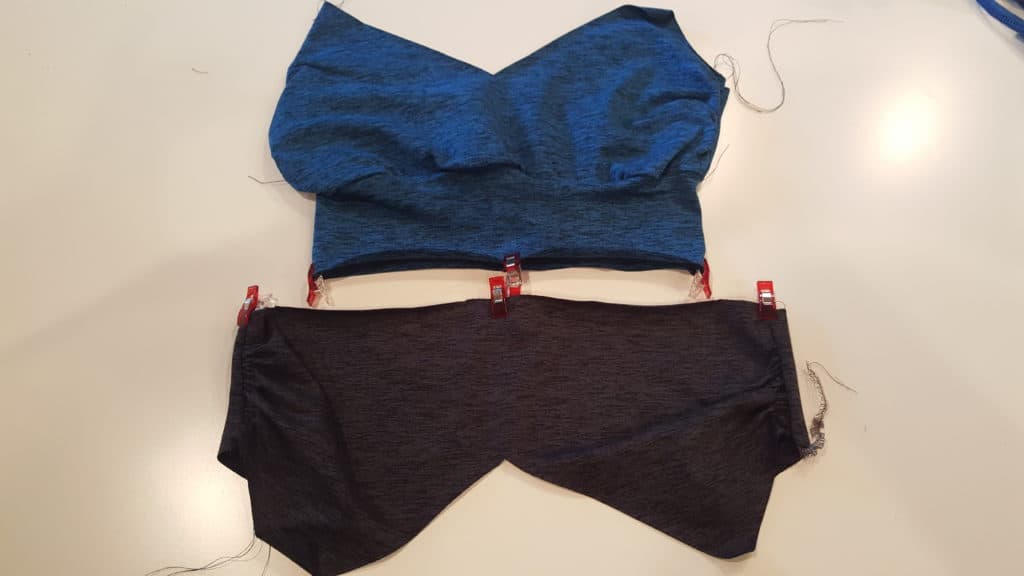 Attached the other side of the band RST to the lining top.
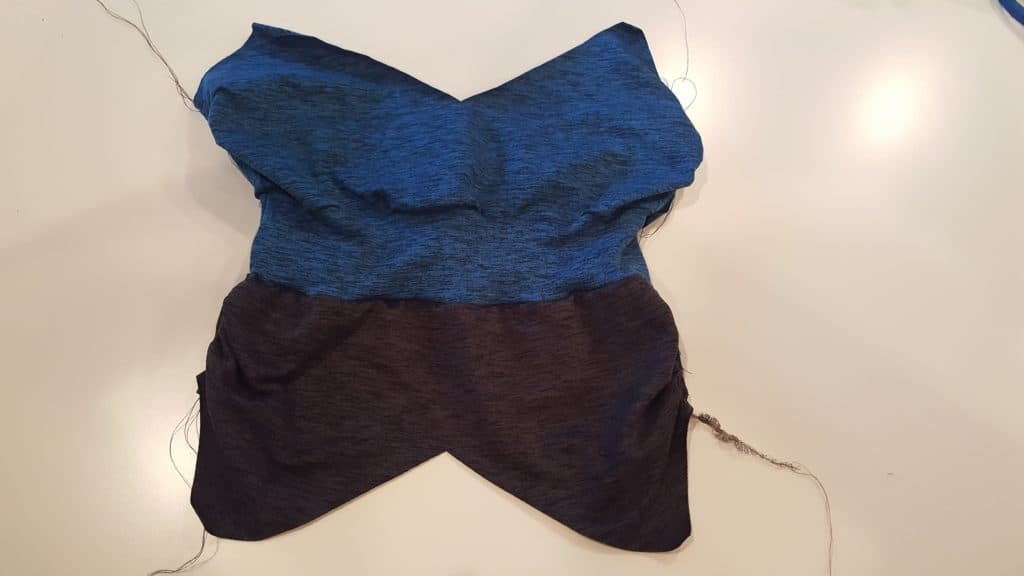
Now fold the band in half and put main and lining wrong sides together. You can baste along the top edges of the top here to help keep them all in place.
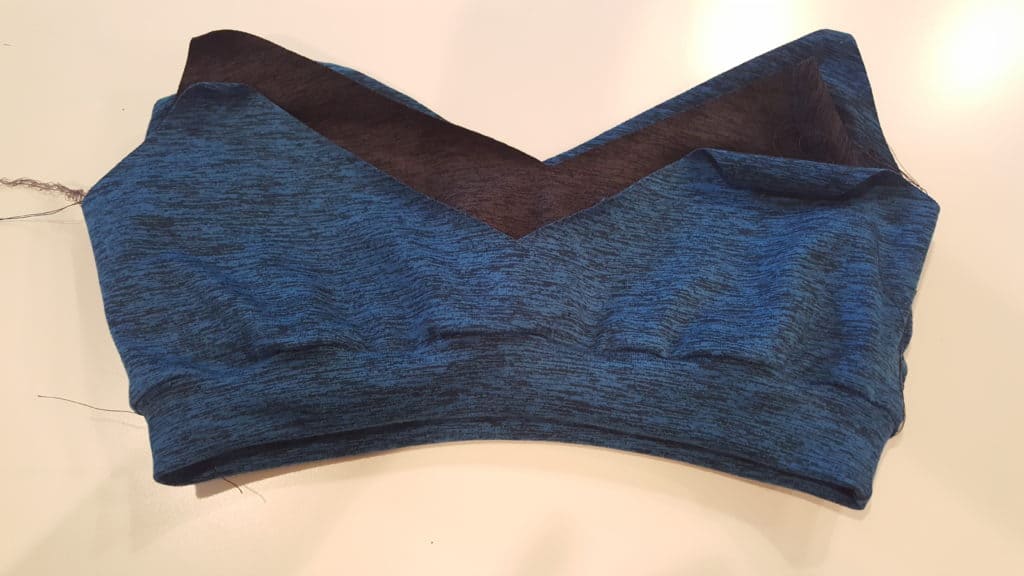
Attach neckline binding exactly the same, treating the 2 top edges as 1.
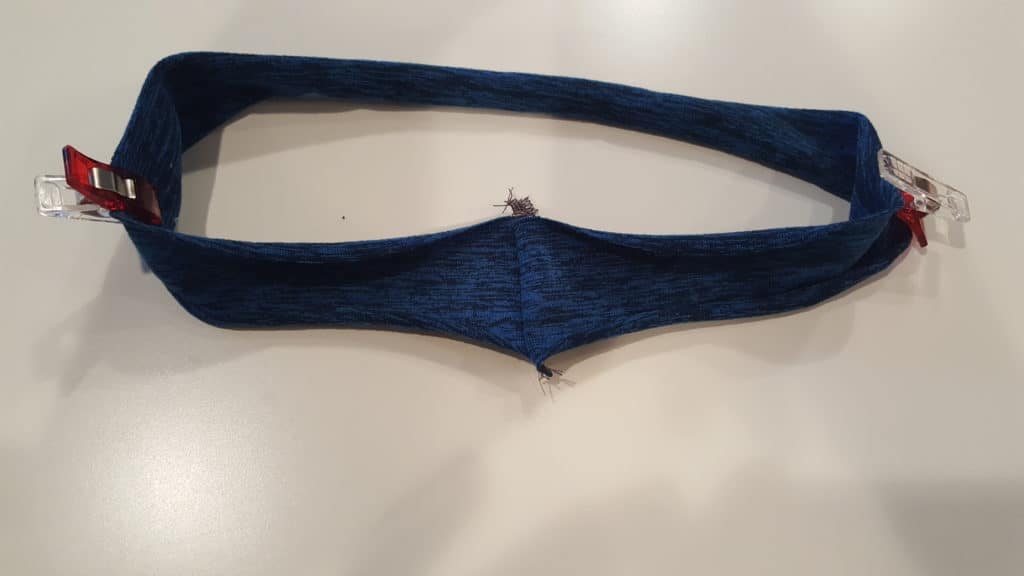
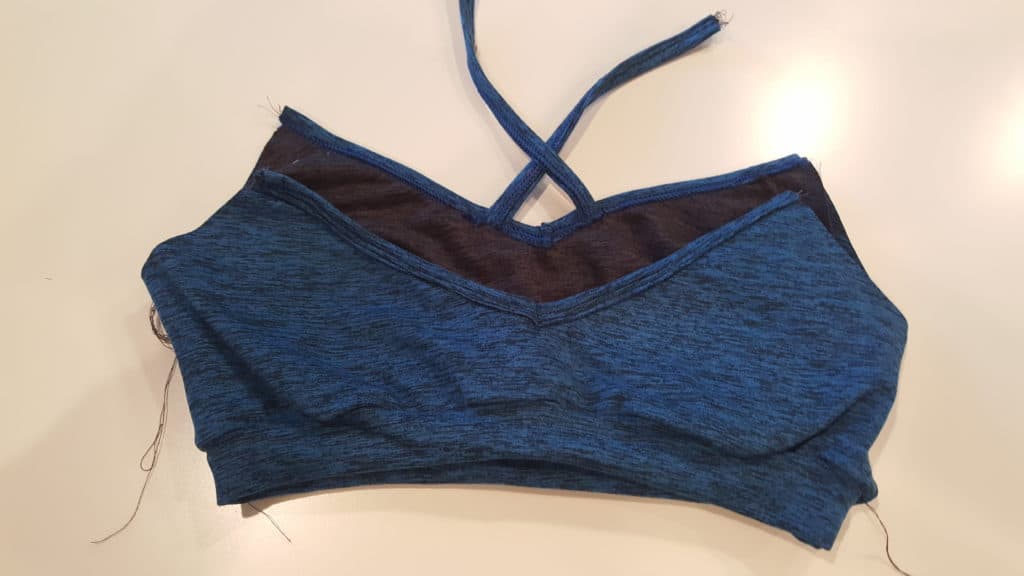 After stitching the neckline bindings on you will stitch the shoulder strap bindings in the round. With shoulder strap marked from pattern pieces, fold in half widthwise and stitch short ends creating a circle.
Attach binding piece exactly per the tutorial, aligning your stitch line on the binding with the side seam of the top.
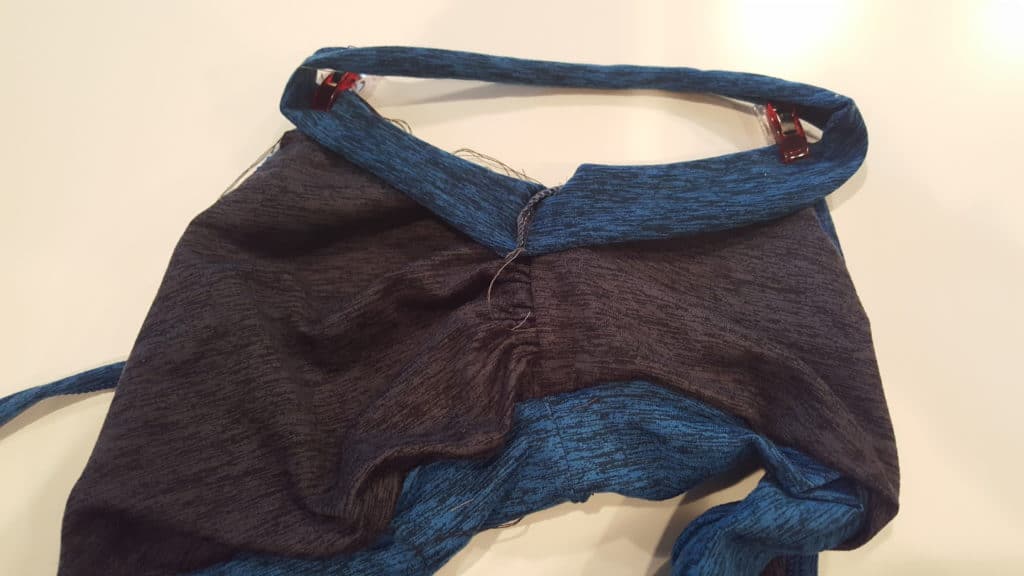
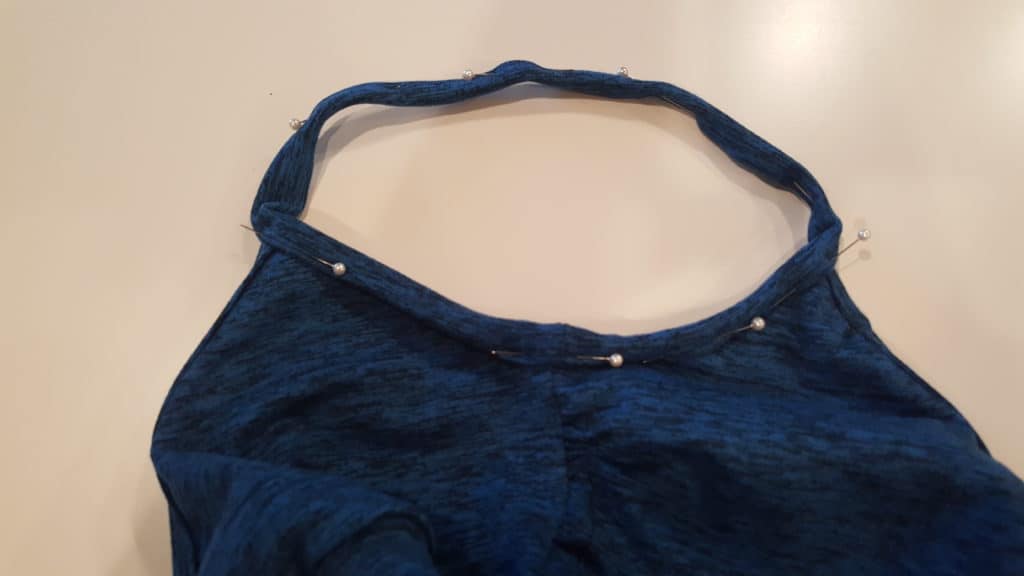
Now you have a fully lined, no seams exposed cropped length cami 🙂
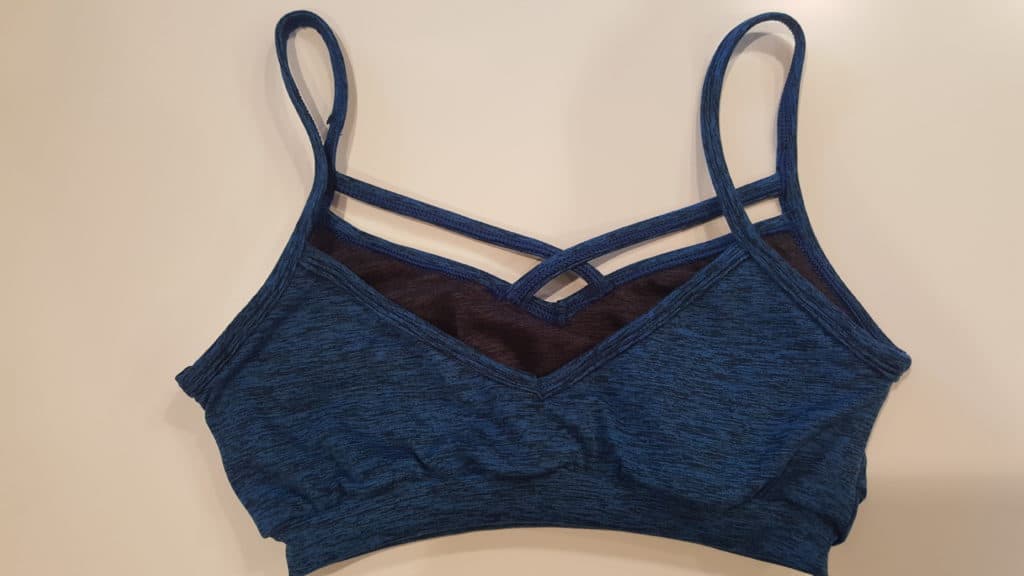 Although I could wear this around the house very comfortably I wouldn’t venture out in it still. Personally, I’m much more comfortable in something with cups of some sort. You can definitely add cups into the lining as well if you’re wanting that too, but I didn’t have any of hand to throw in there 😉 I wouldn’t consider it enough support to use as a sports bra either. If you’re wanting more of a sports bra I would recommend adding some power mesh inner lining to help hold the ladies in place.
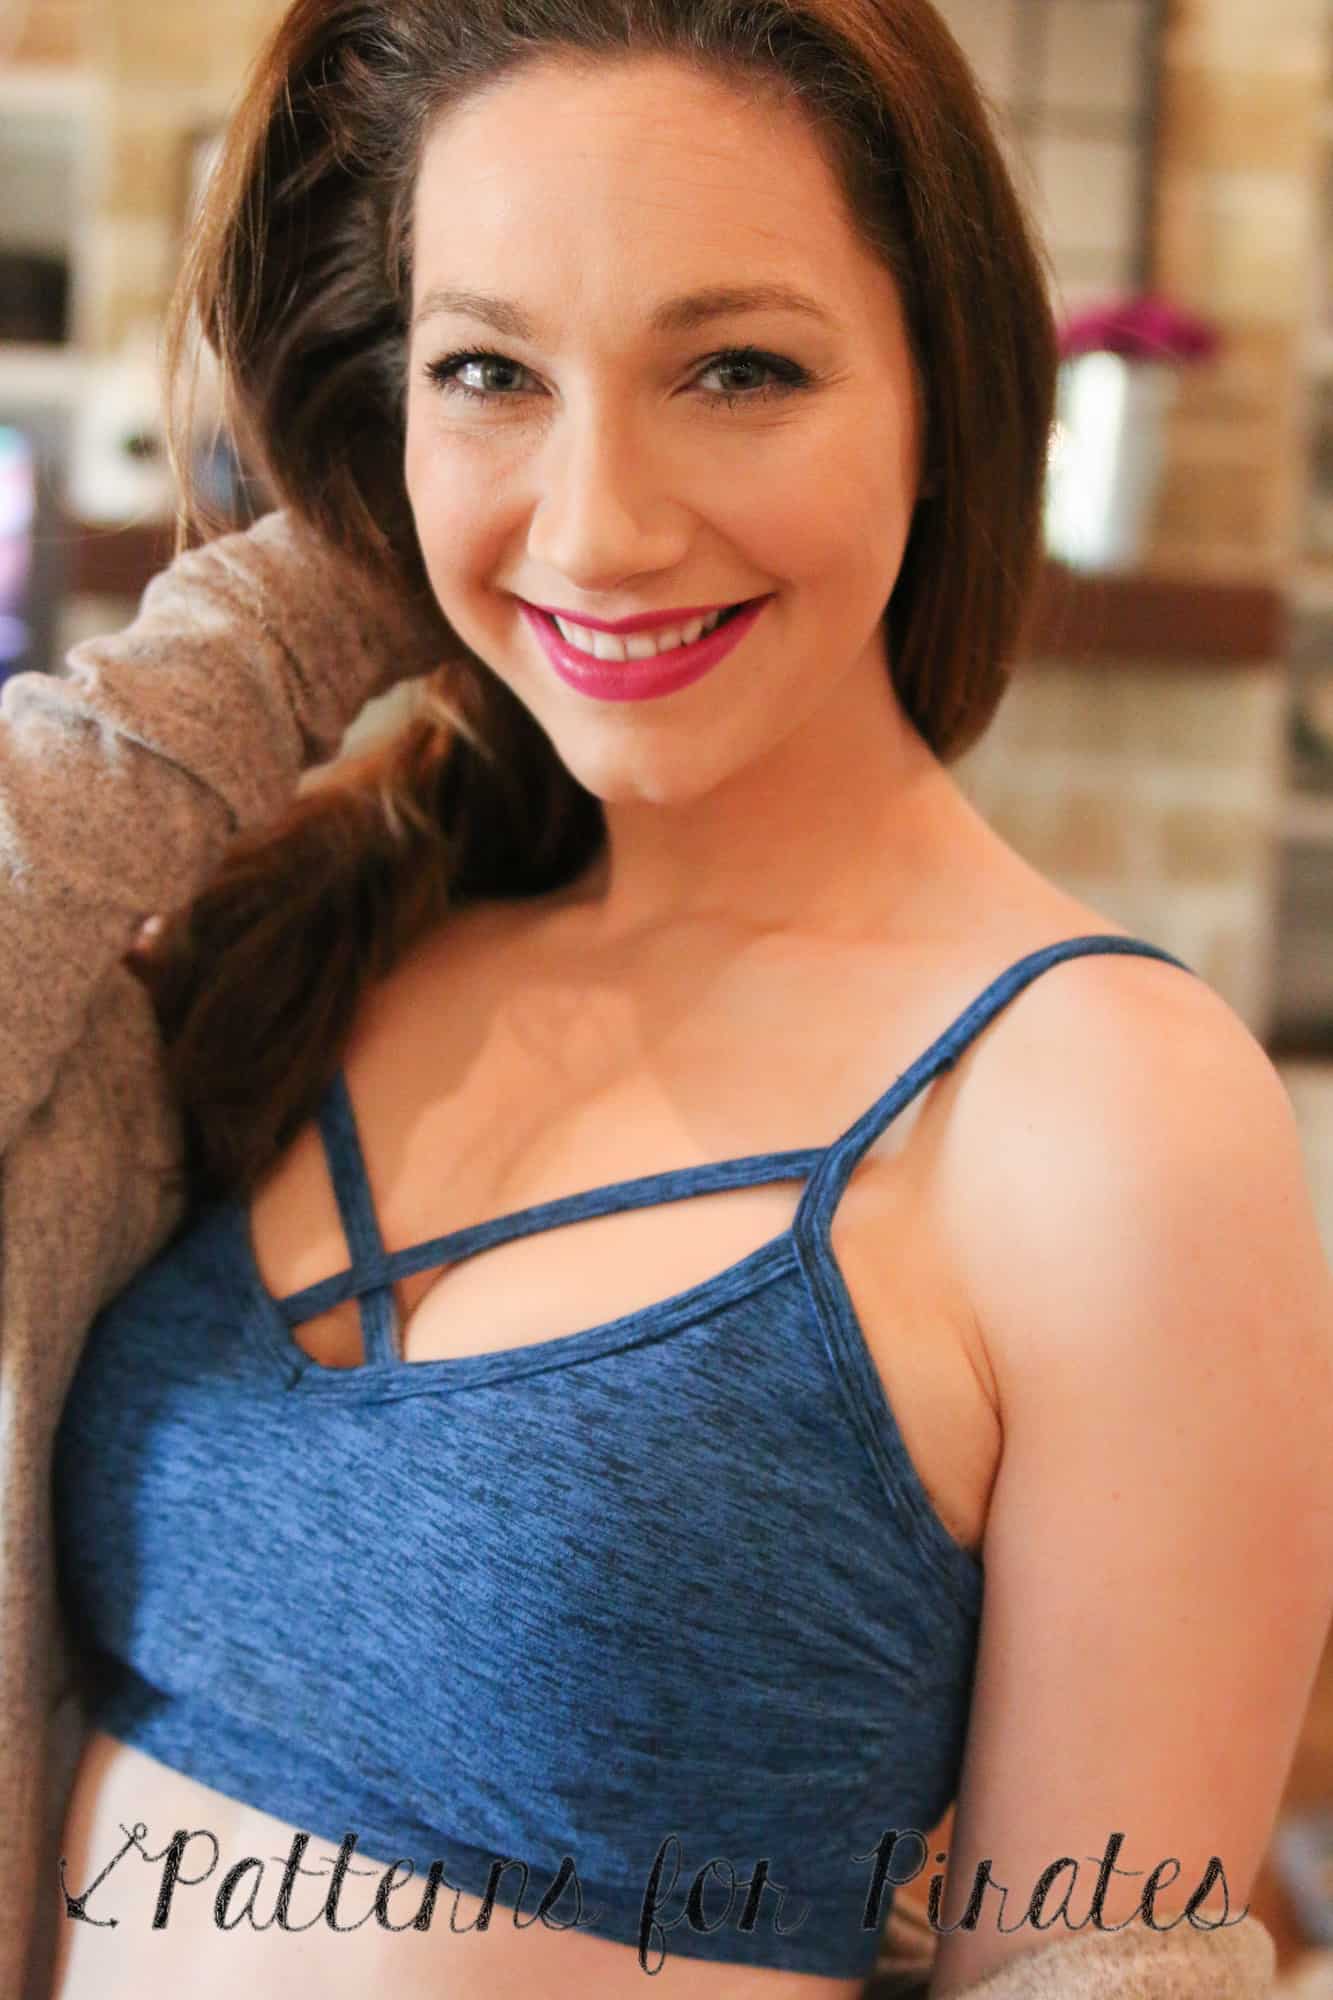
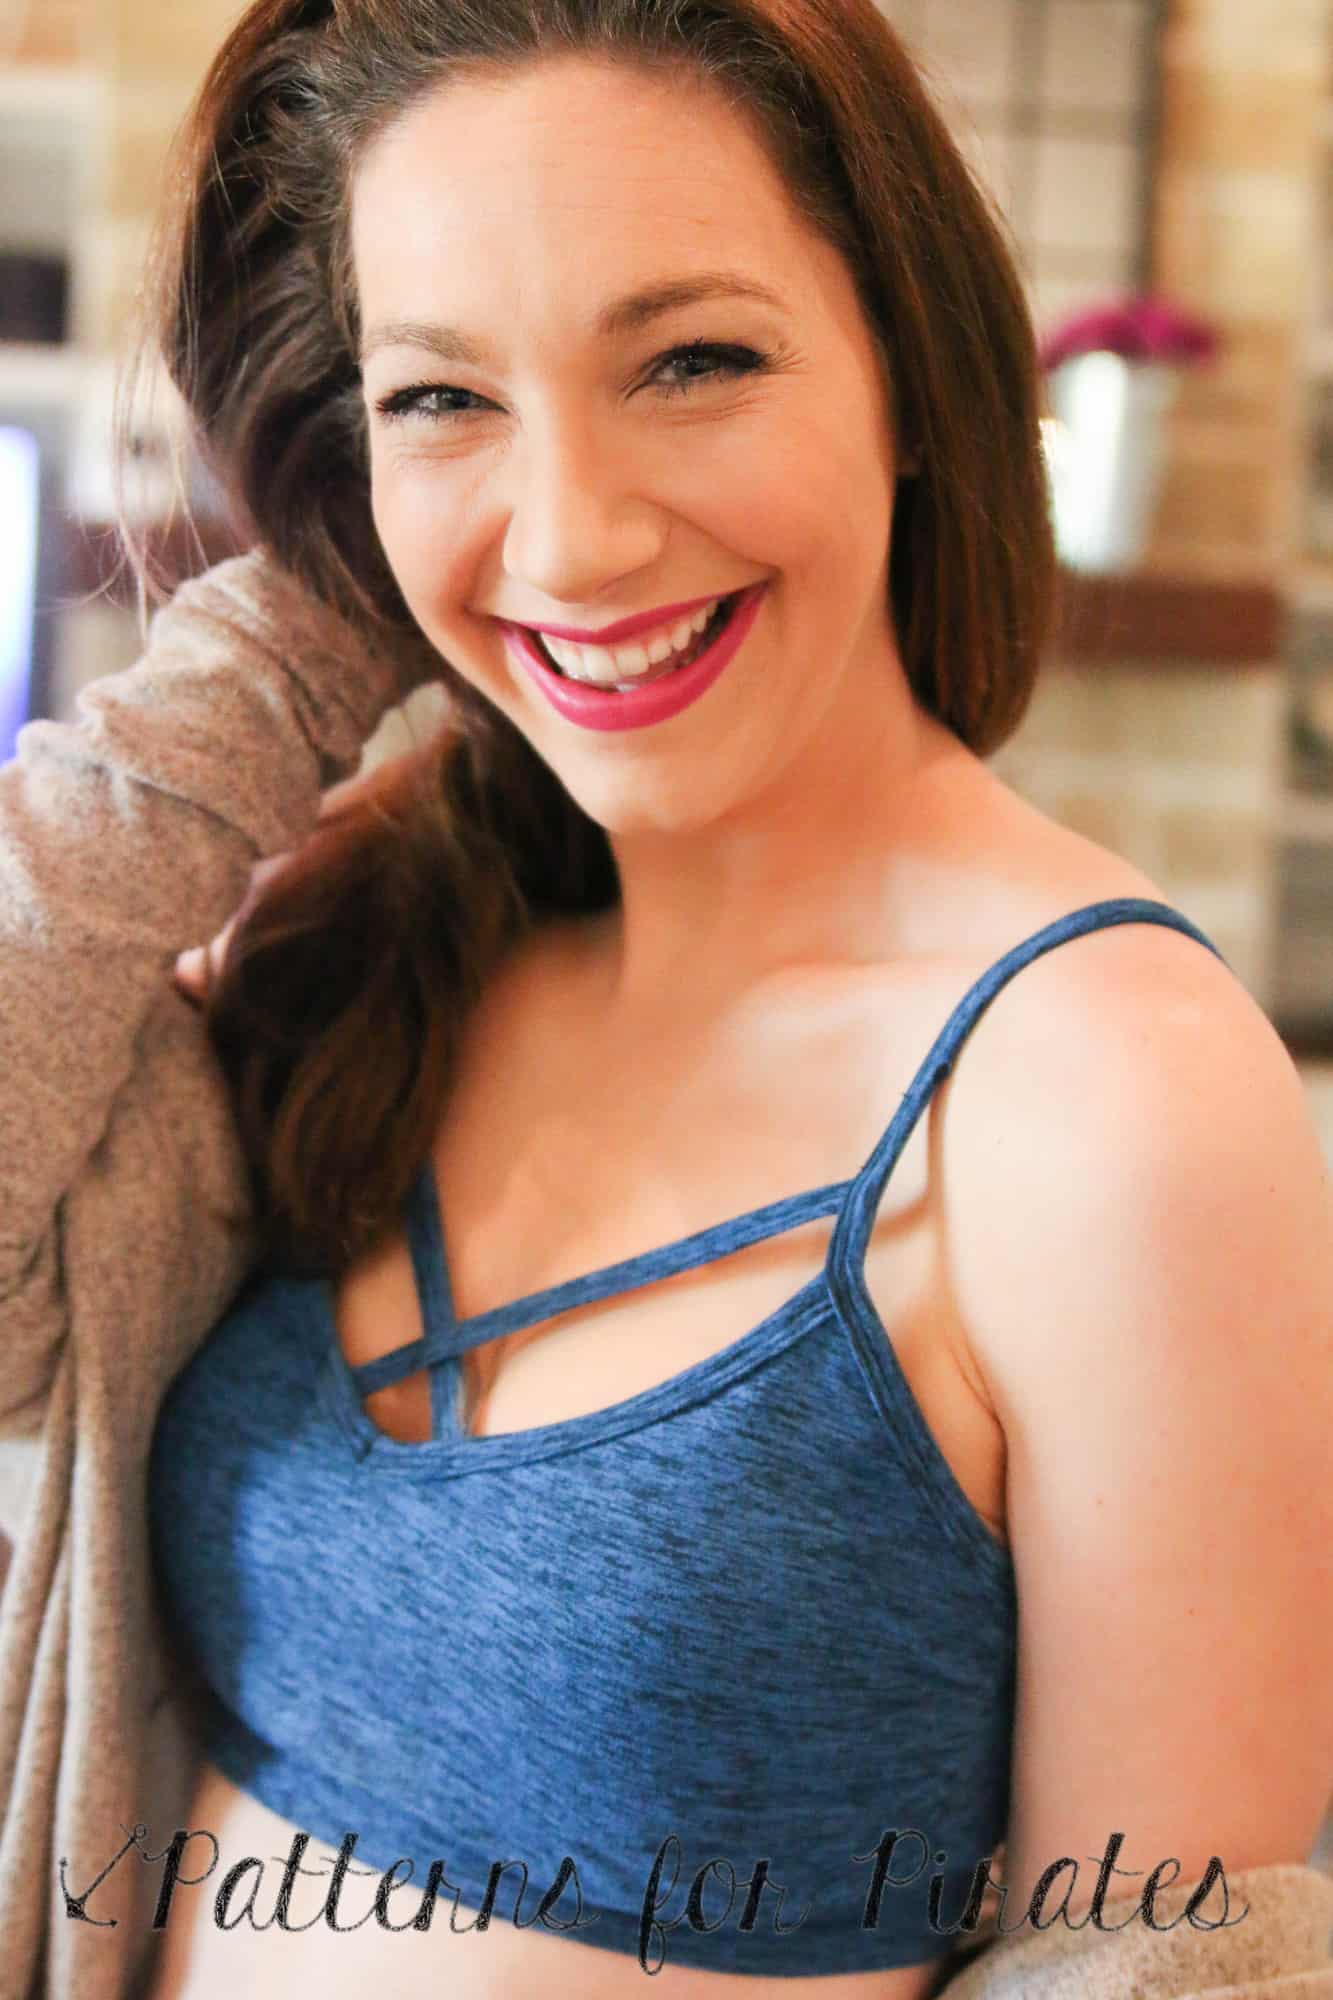
Mine will still be worn around the house all the time, layered over a sports bra (I often wear 2 to help hold those girls), and layered over a bra as well in those hot months when I’d rather not have 2 full layers on!
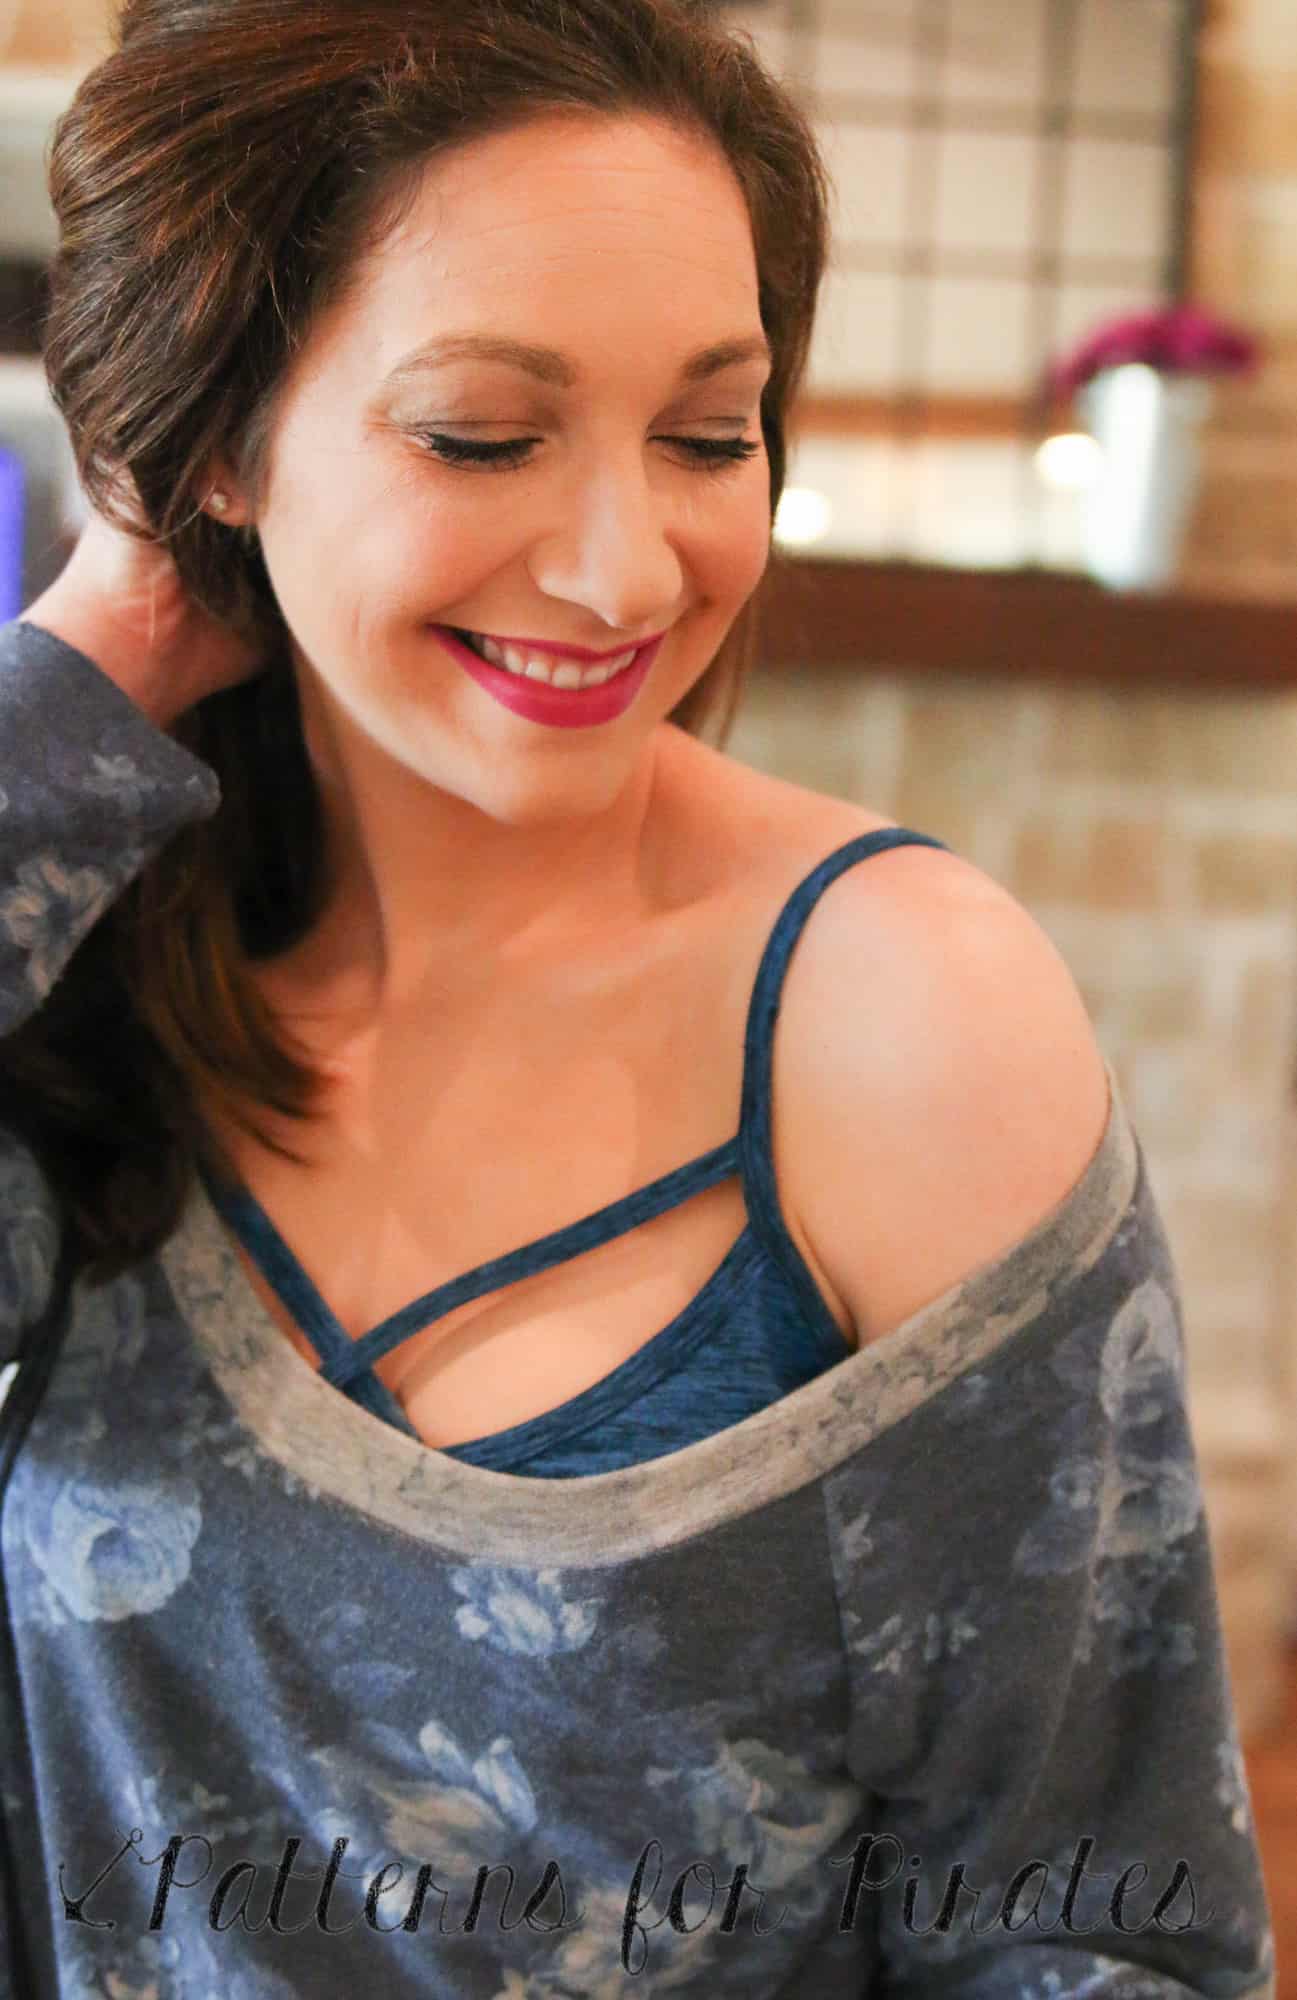
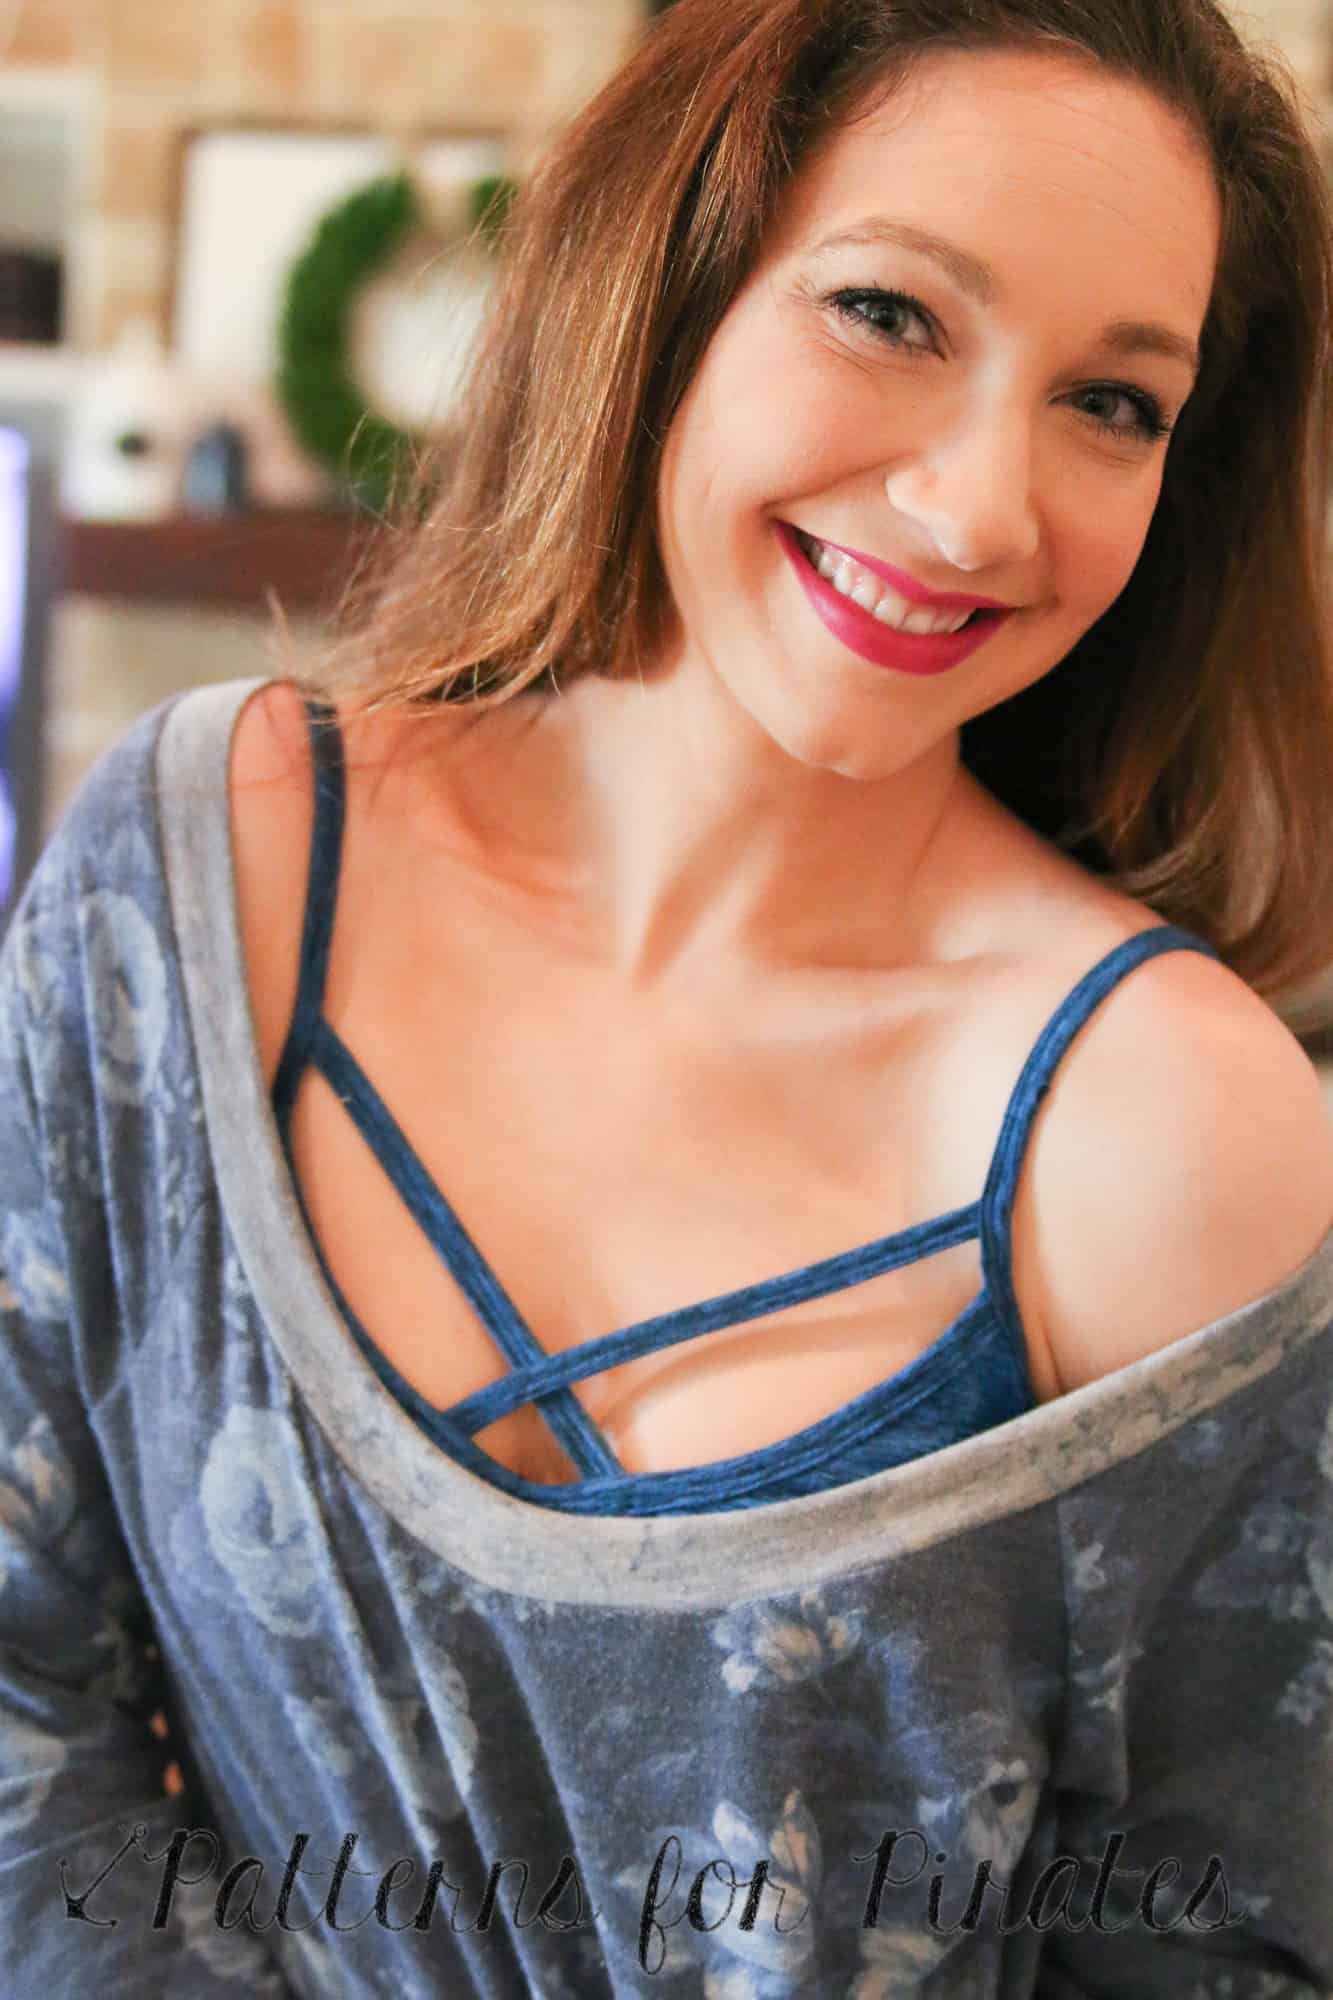
I can’t wait to see what all you lovely and creative ladies do with this pattern!
<3 Judy