Patterns for Pirates

P4P stylish, modern, wearable patterns

  • Home
  • Blog
    • Frequently Asked Questions
    • Pattern Releases
      • Free Patterns
    • P4P University
      • Fitting
      • Sewing with Stretch, Knit Fabrics
      • Sewing with Woven Fabrics
      • Sewing Machines
    • Sew-A-Longs
    • Fabric for Pirates
    • Pattern Hacks
    • Announcement
      • Blog Tours
      • Contest/Giveaway
  • Shop
  • Bundle Discounts
  • Gift Cards
  • My Account
  • Cart

Witch Hat :: Free Sewing Pattern + Tutorial!

October 8, 2019

Something wicked this way comes!

It’s officially October, which means the kickoff of my favorite holiday ever.  The candy, the pumpkin everything, the creative costumes, the decorations…..I love it all!  We wanted to help you with your costume making this year, with a super quick and easy pattern for the witches, wizards and warlocks in need of some new headgear.  And the best part about this pattern?  It’s FREE!  Our Halloween treat for you!

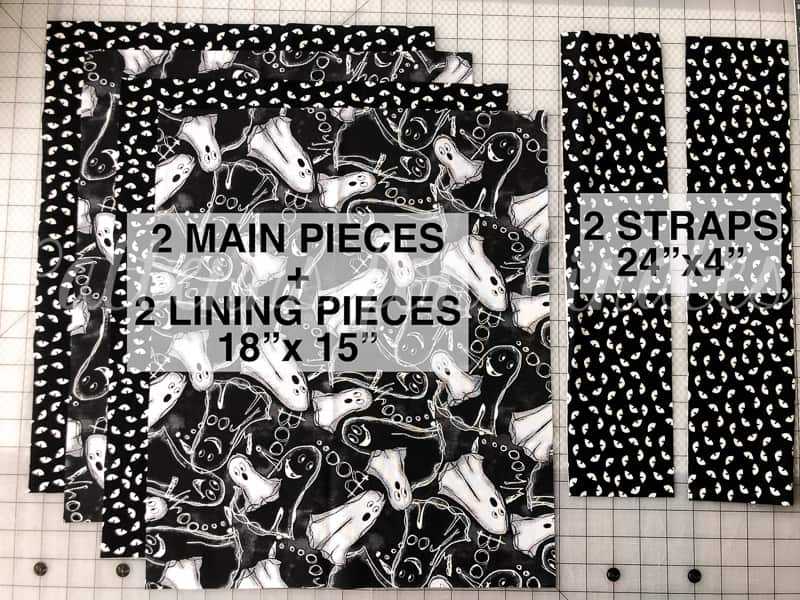
Before we get started, here are some things you’ll need:

  • Free Witch Hat Pattern Pieces (found in the store HERE)
  • 2/3 yard Premium Felt

**I highly recommend the thickest felt you can find, to get the ultimate stiff point and brim on your hat!  I found mine on a 72″ wide bolt at JoAnn Fabrics, which left me a lot of extra fabric to make even more hats!

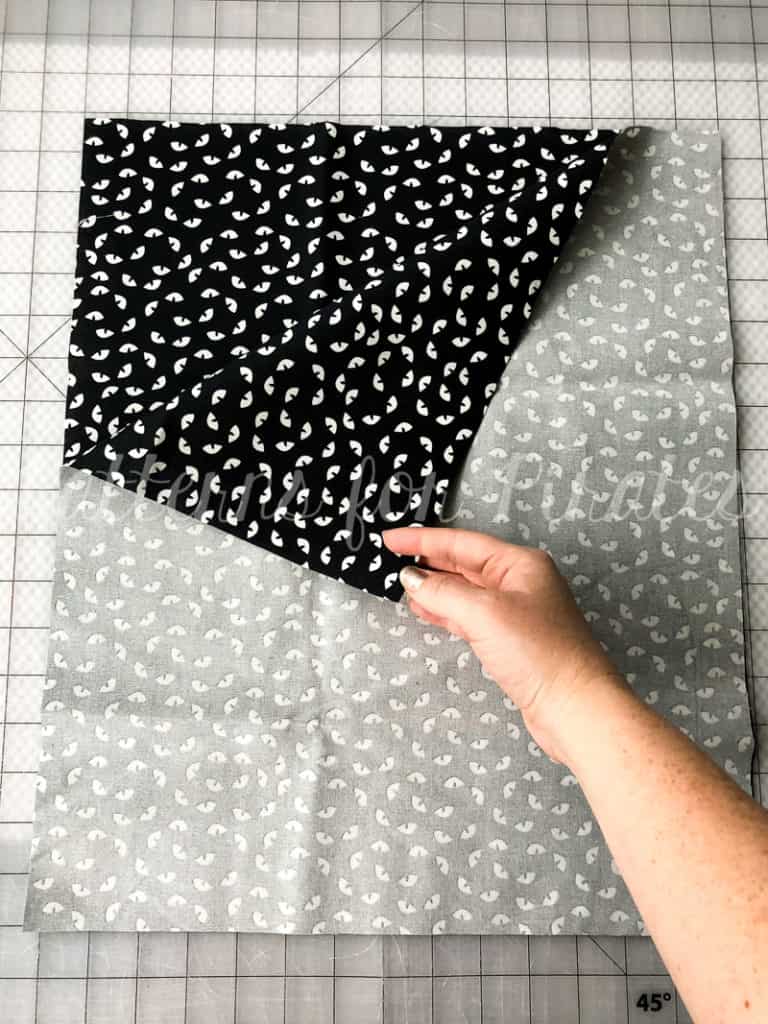
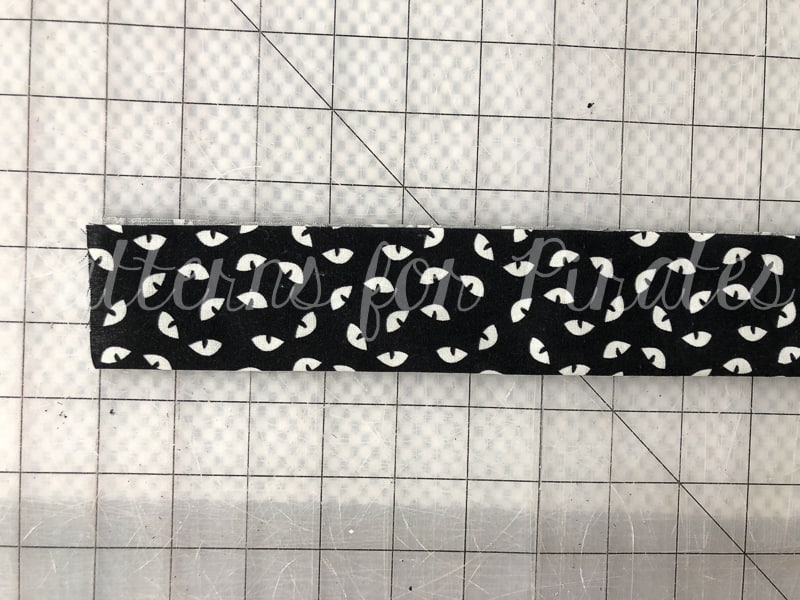
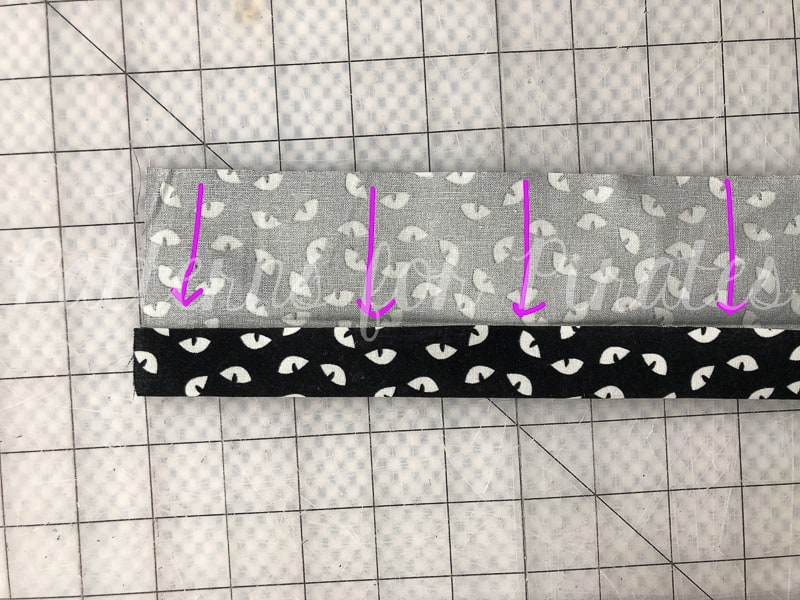
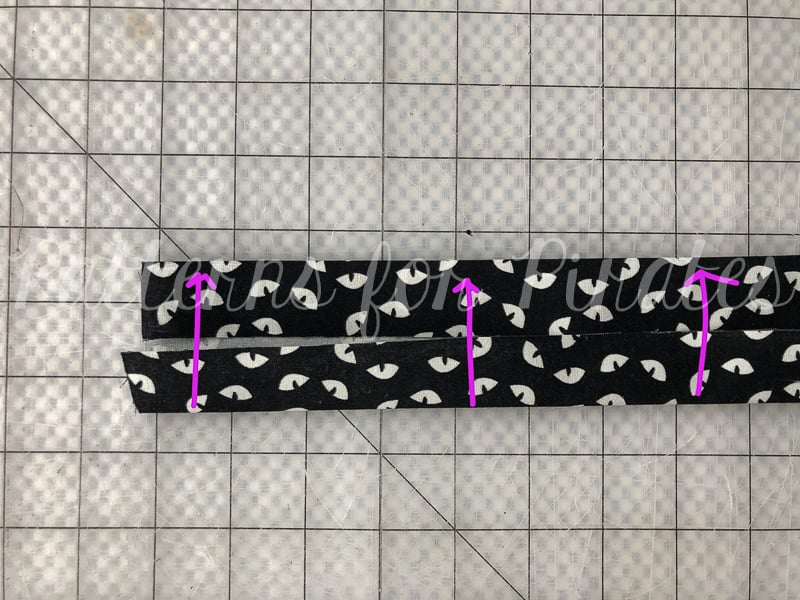
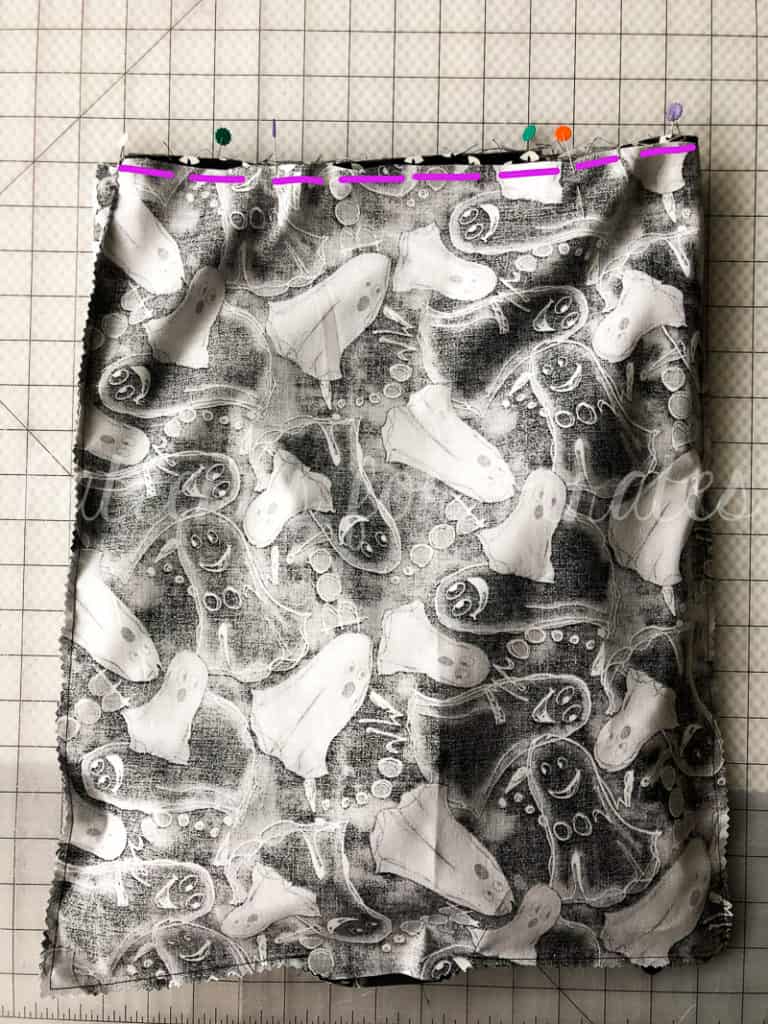
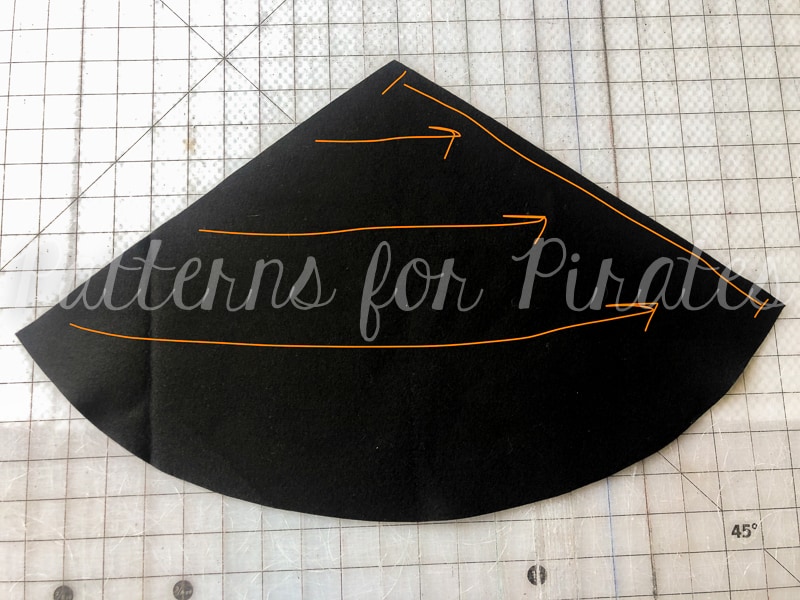
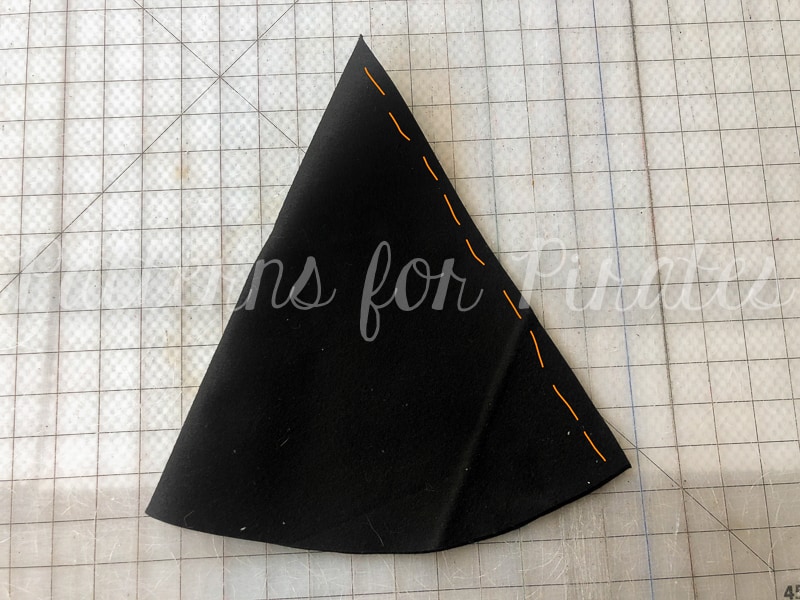
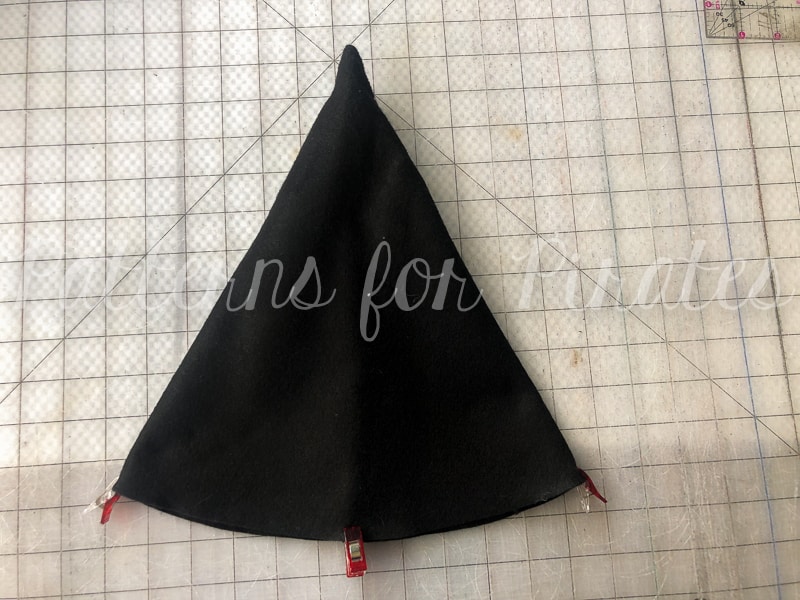
Step 1: With right sides together, fold the cone piece in half — aligning along the long, straight edges.  Using 1/4″ seam allowance, sew along long edge.

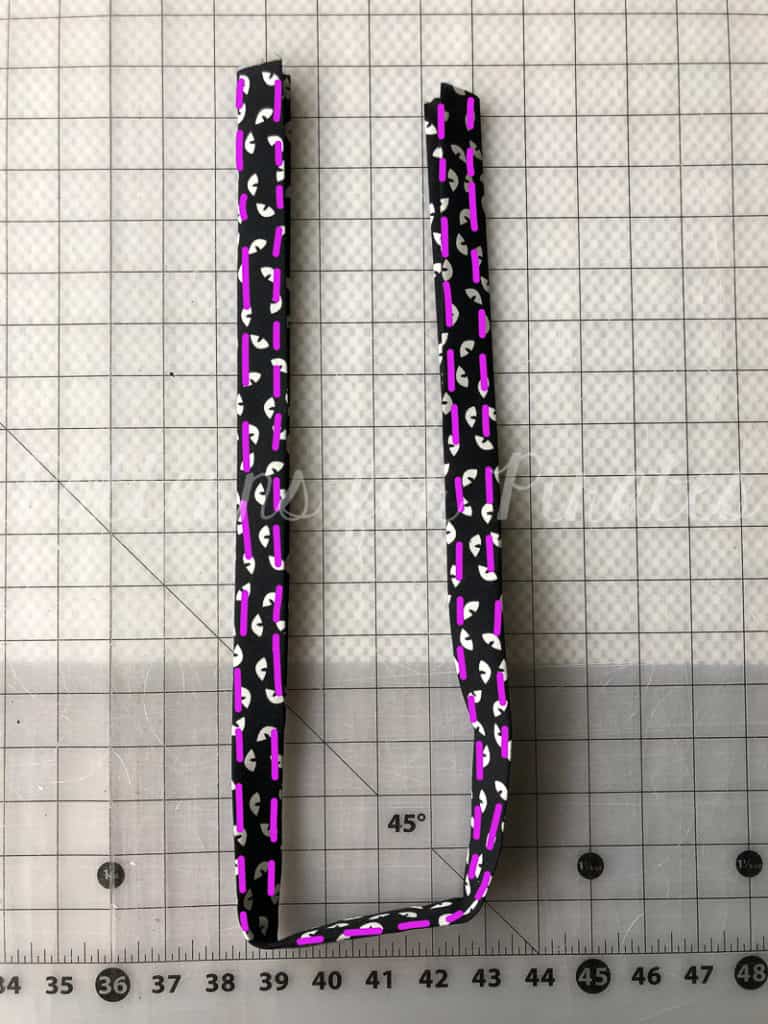
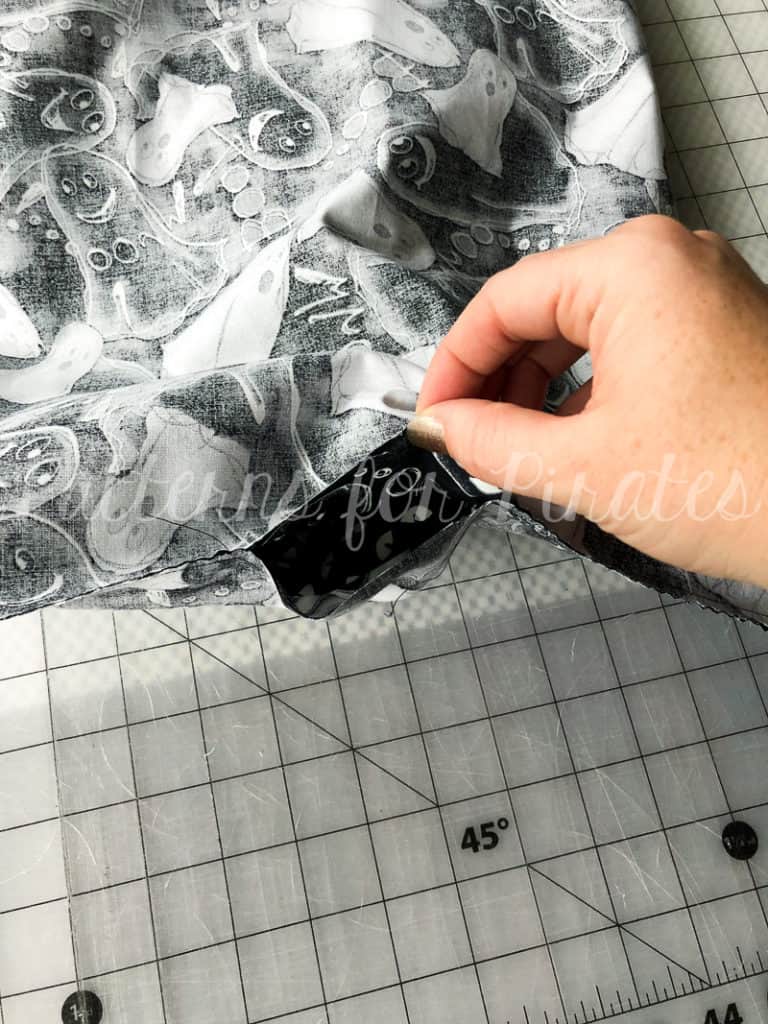
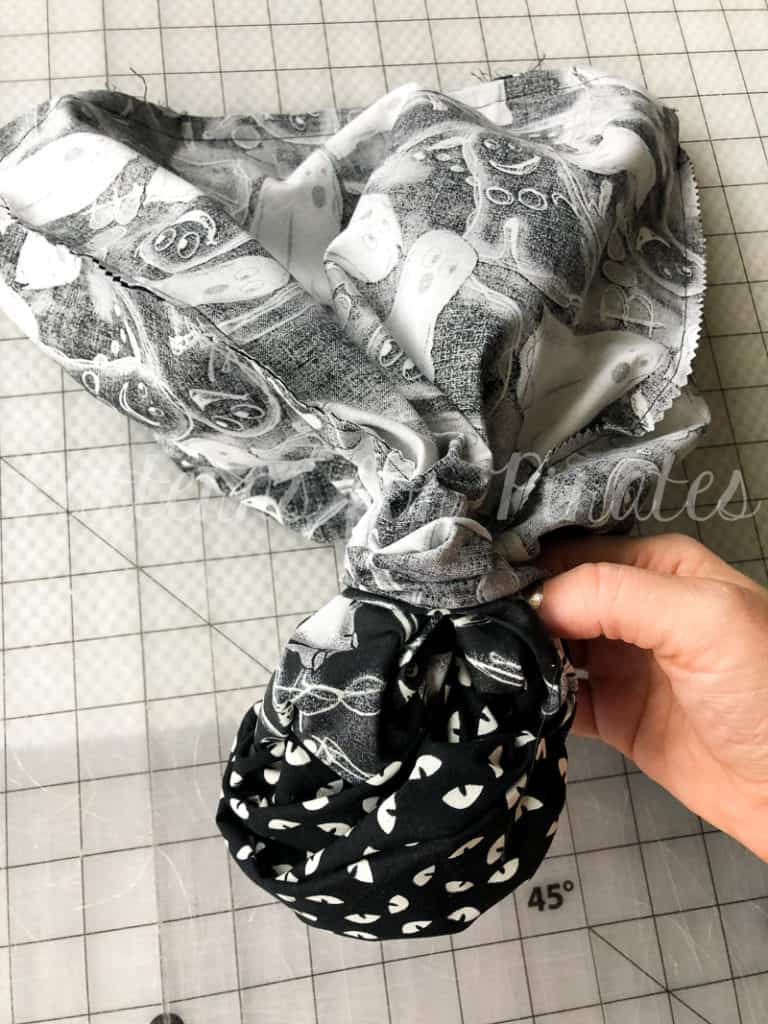
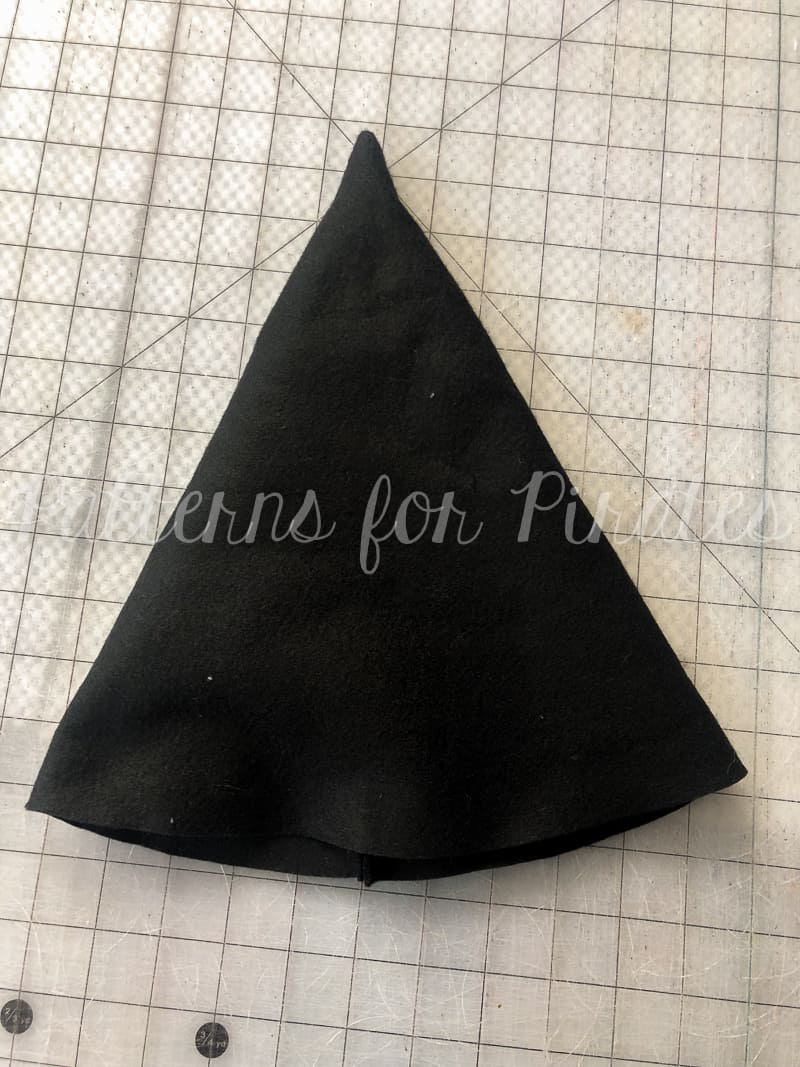
Step 2: Turn cone piece right side out and set aside.

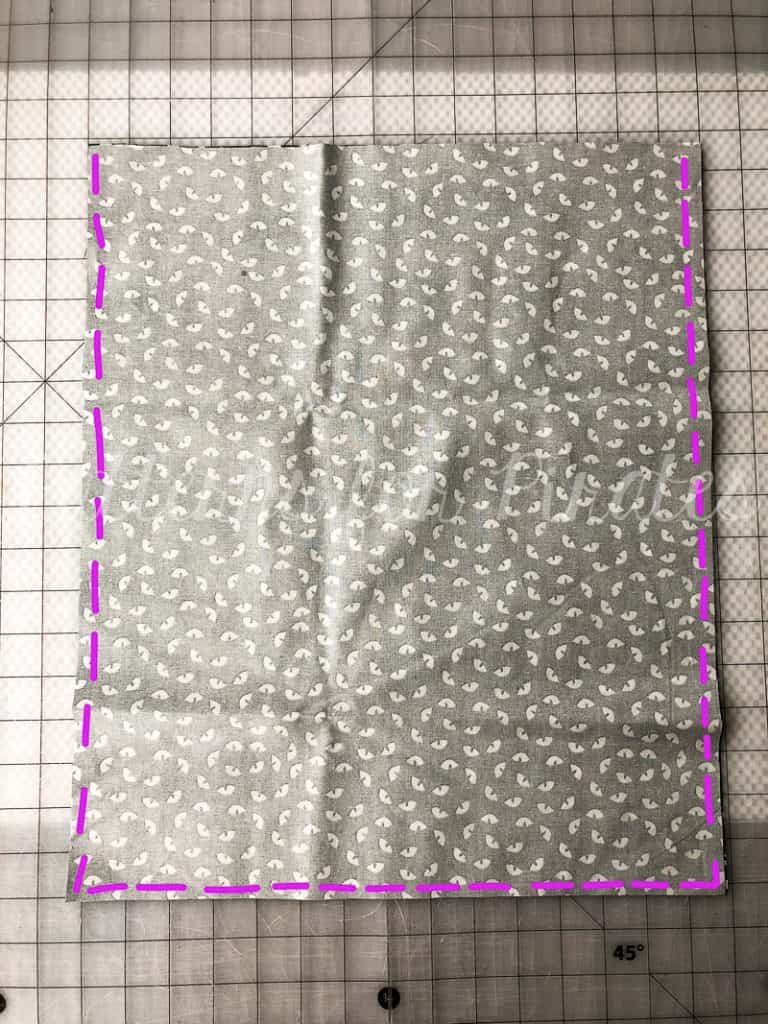
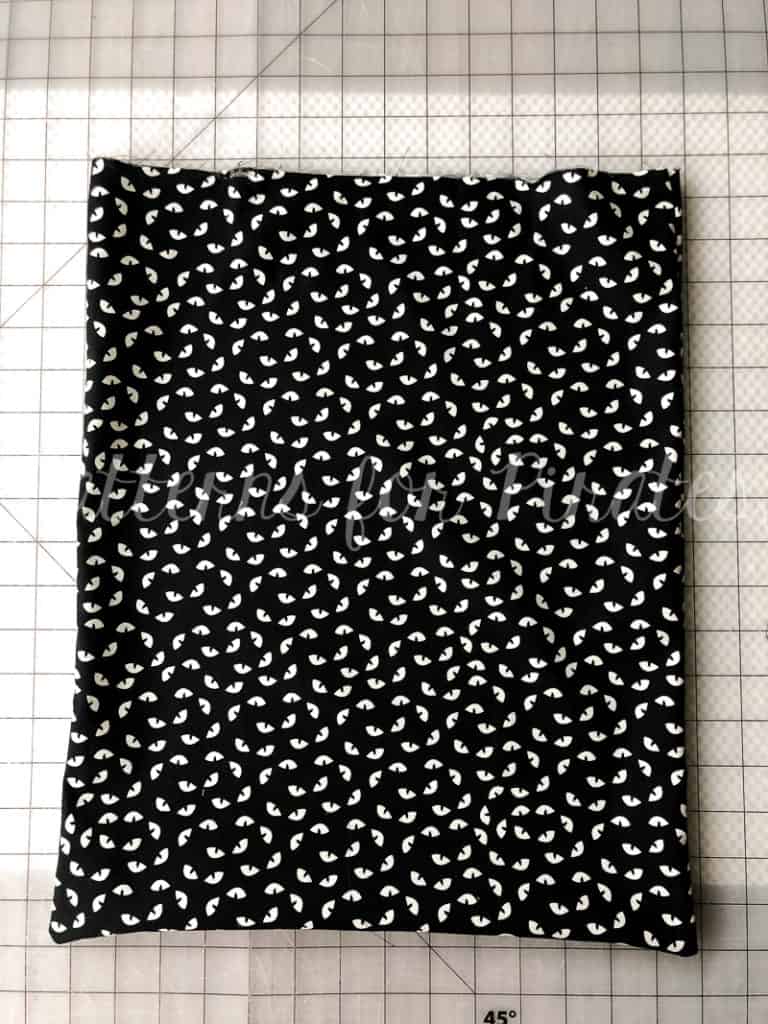
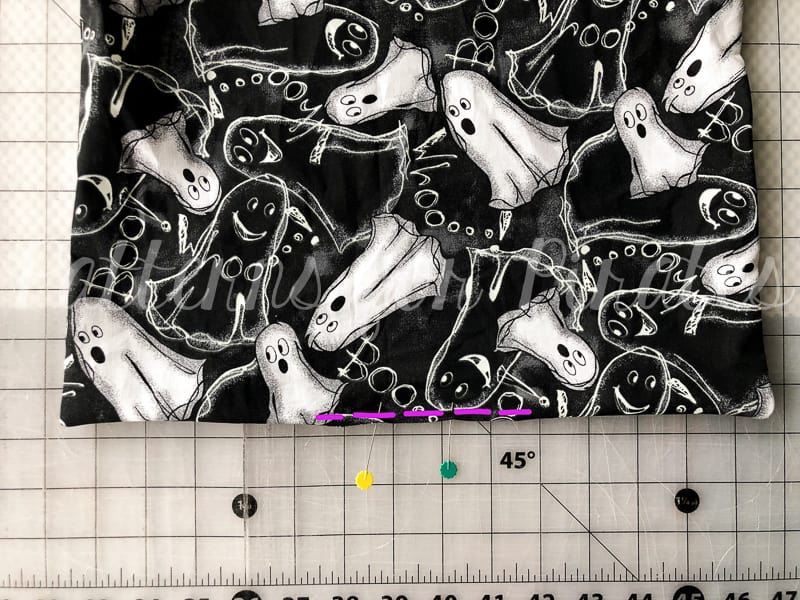
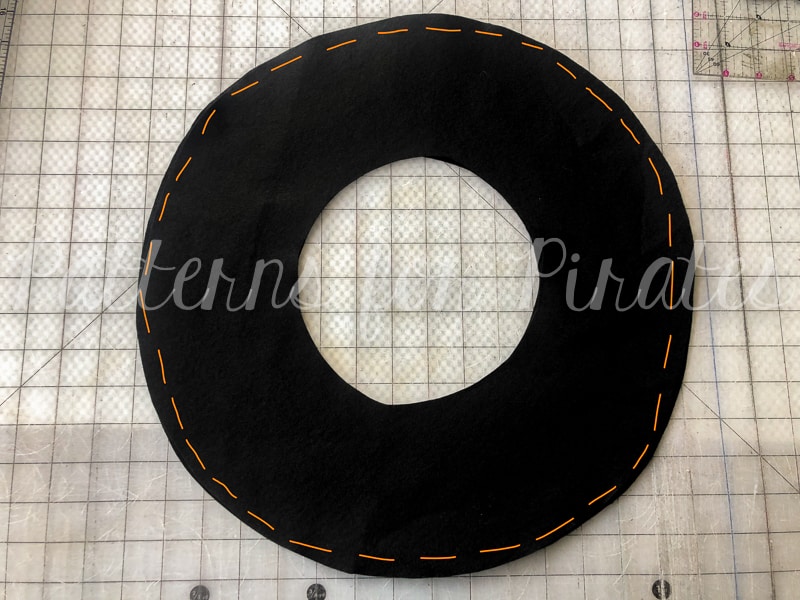
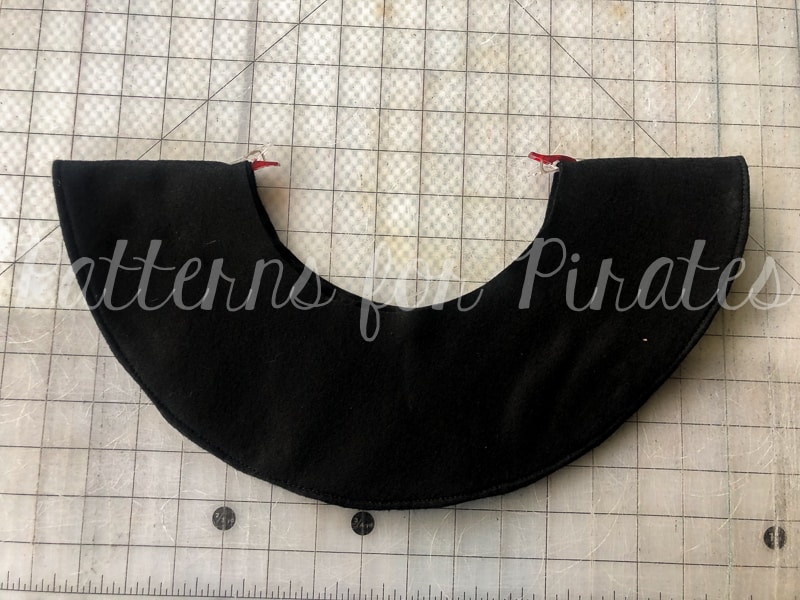
Step 3: With right sides together, align brim pieces on top of each other.

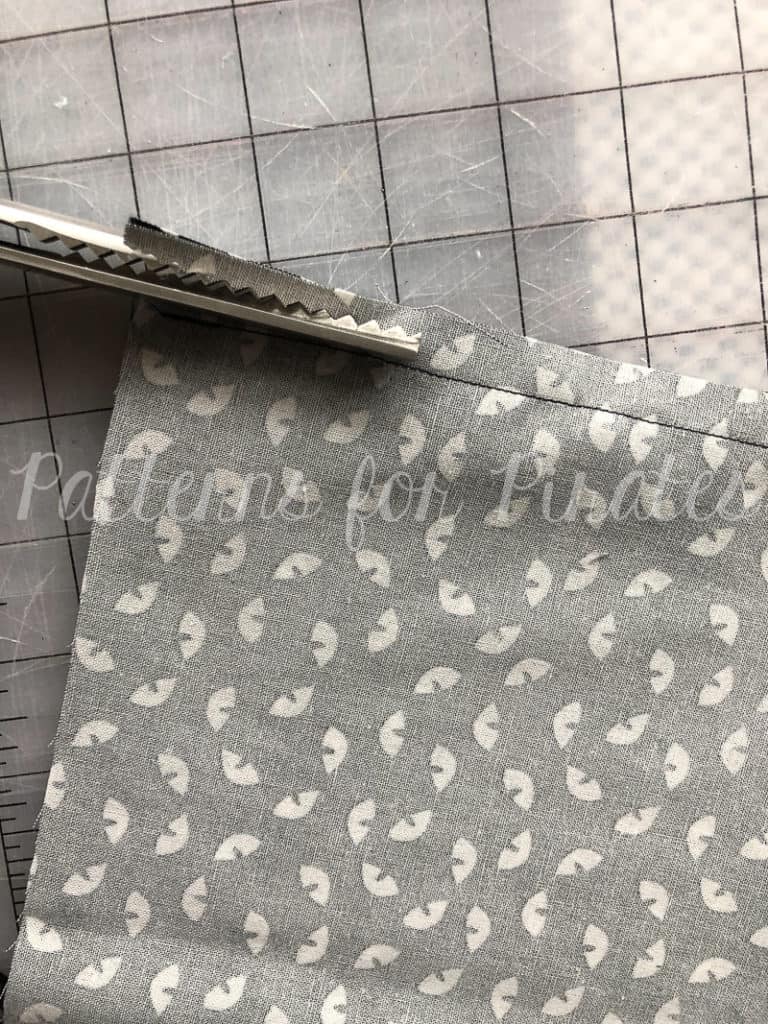
Step 4: Sew around outer edge, using 1/4″ seam allowance.

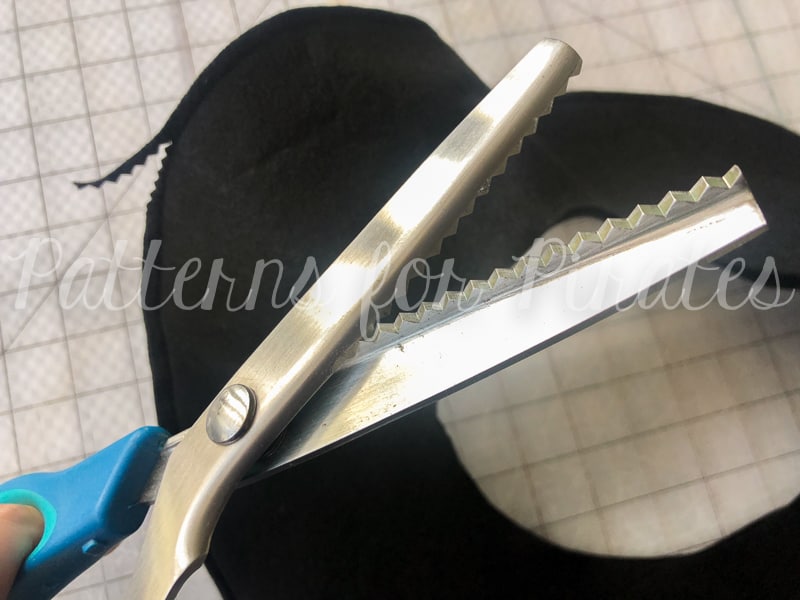
Step 5: For cleaner curved edges, use pinking shears trim excess fabric (making sure to not cut through your stitches).

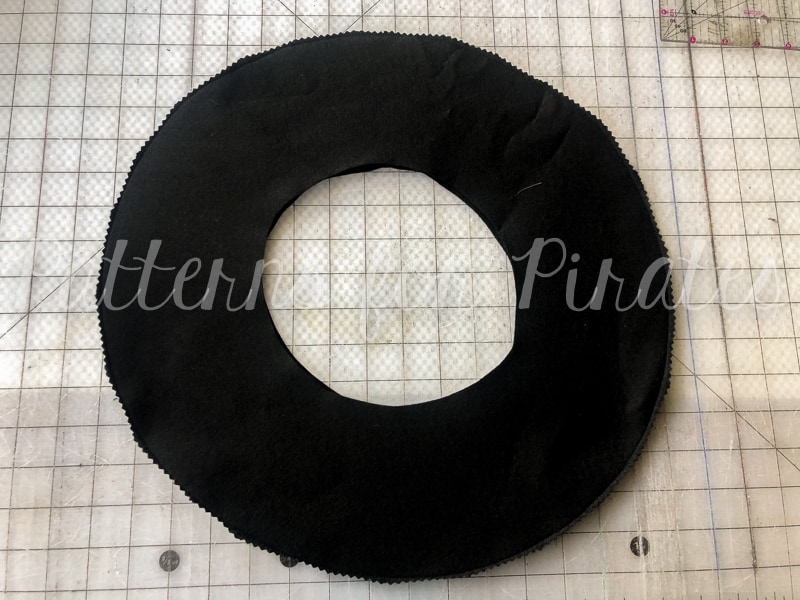
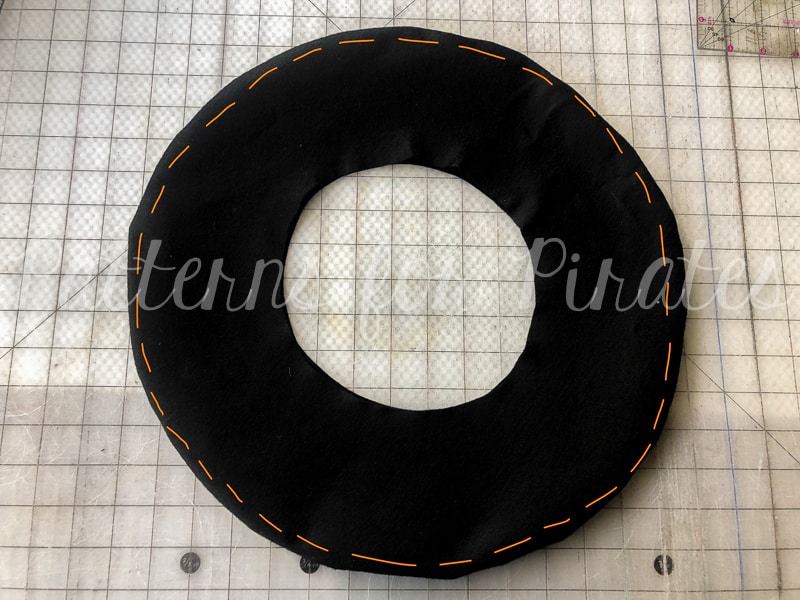
Step 6: Turn brim right sides out.  Press.  If desired, top stitch along outer brim edge.

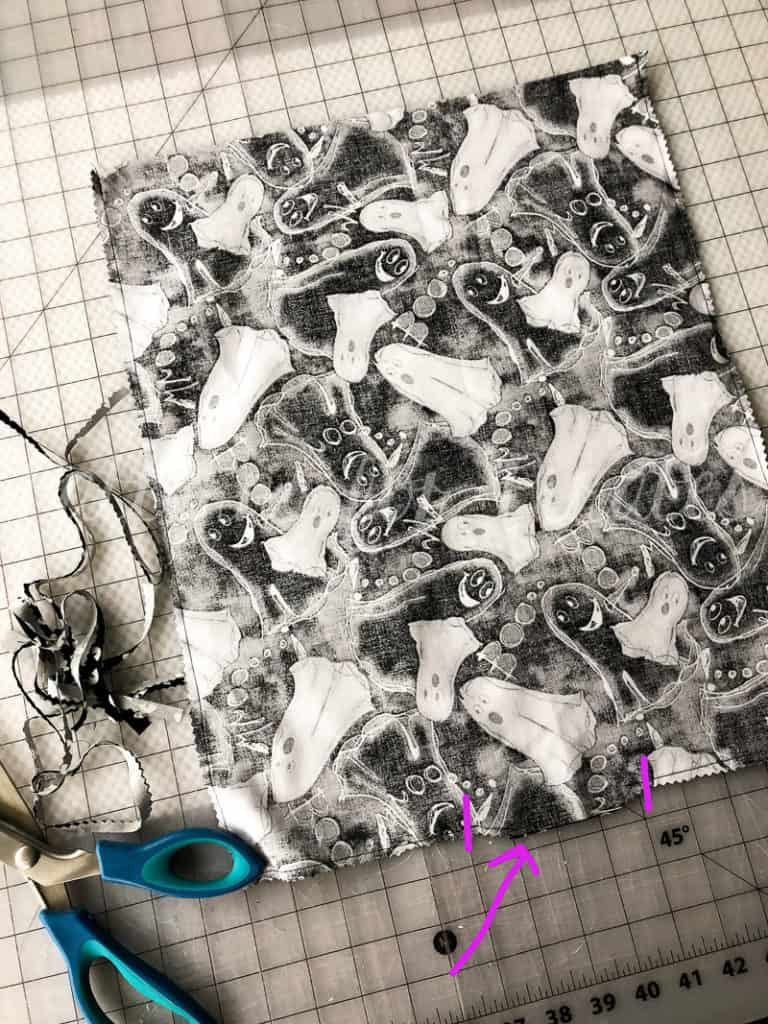
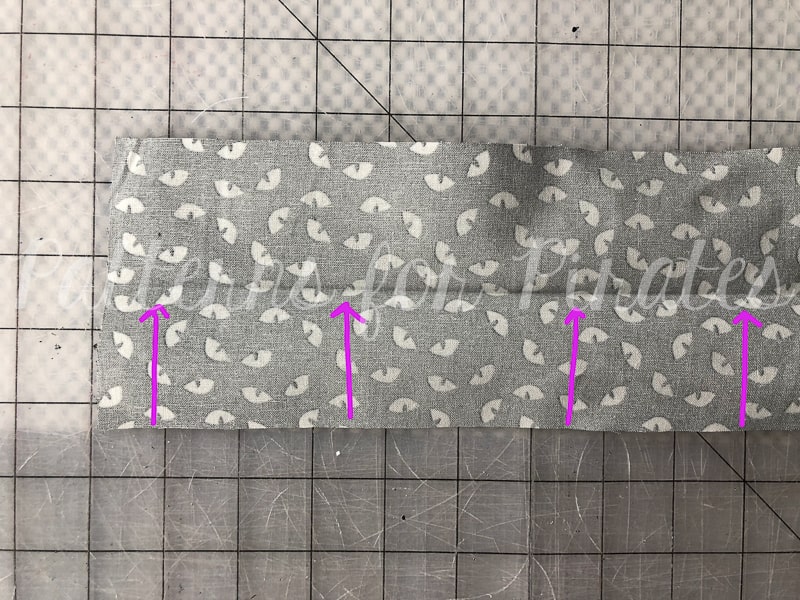
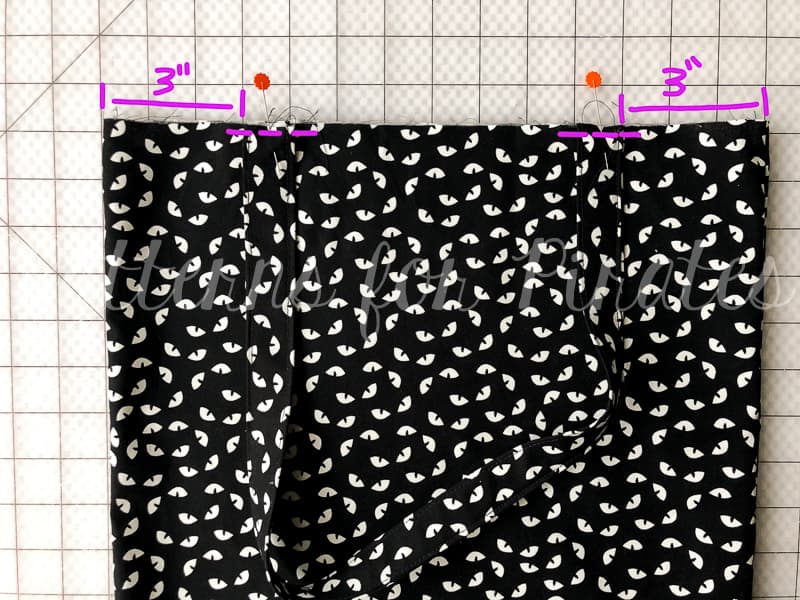
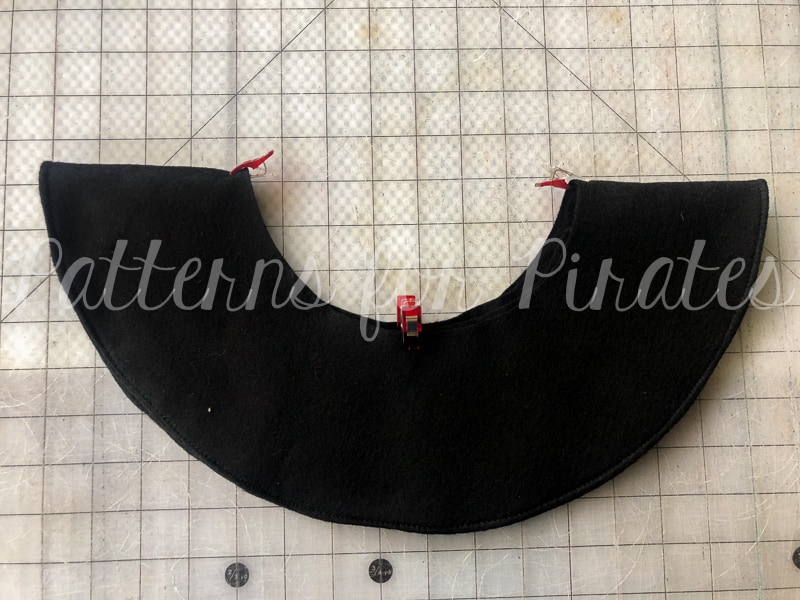
Step 7: Fold brim piece to mark quarter points along inner, raw circle.

Step 8: Repeat with cone piece.

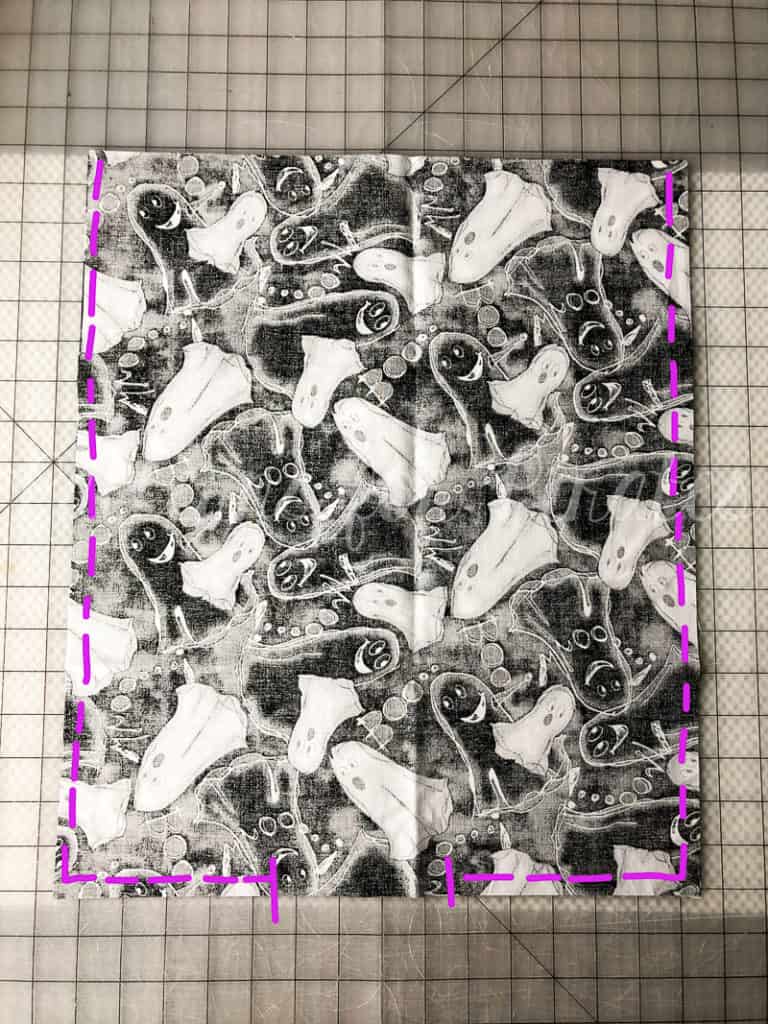
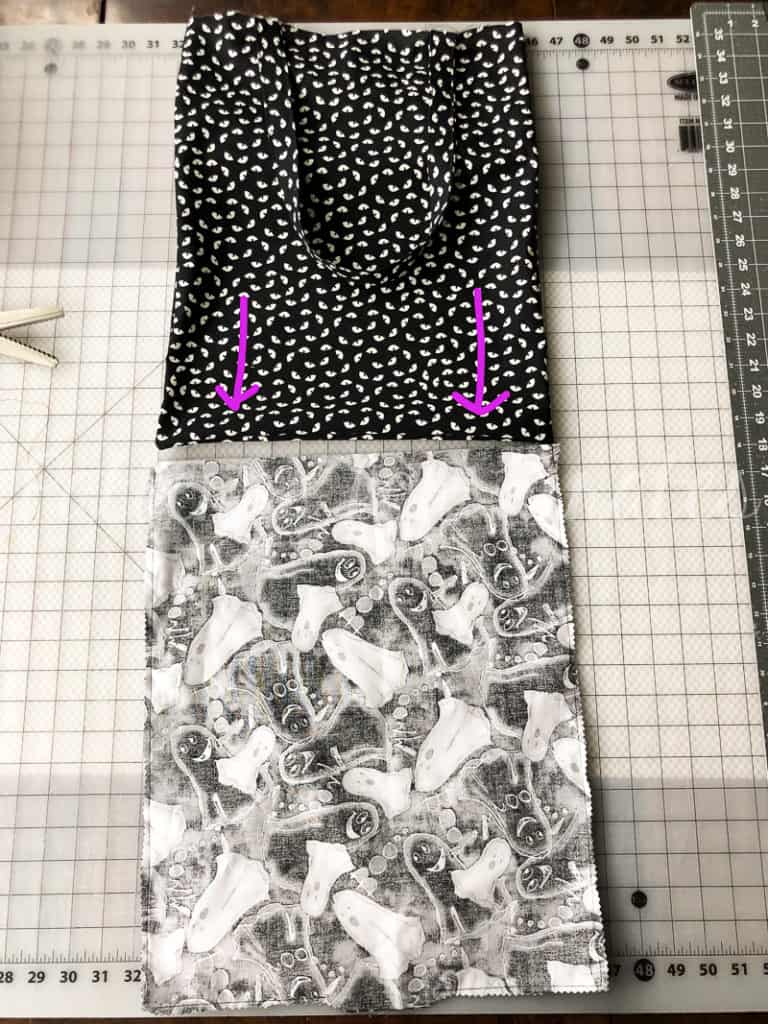
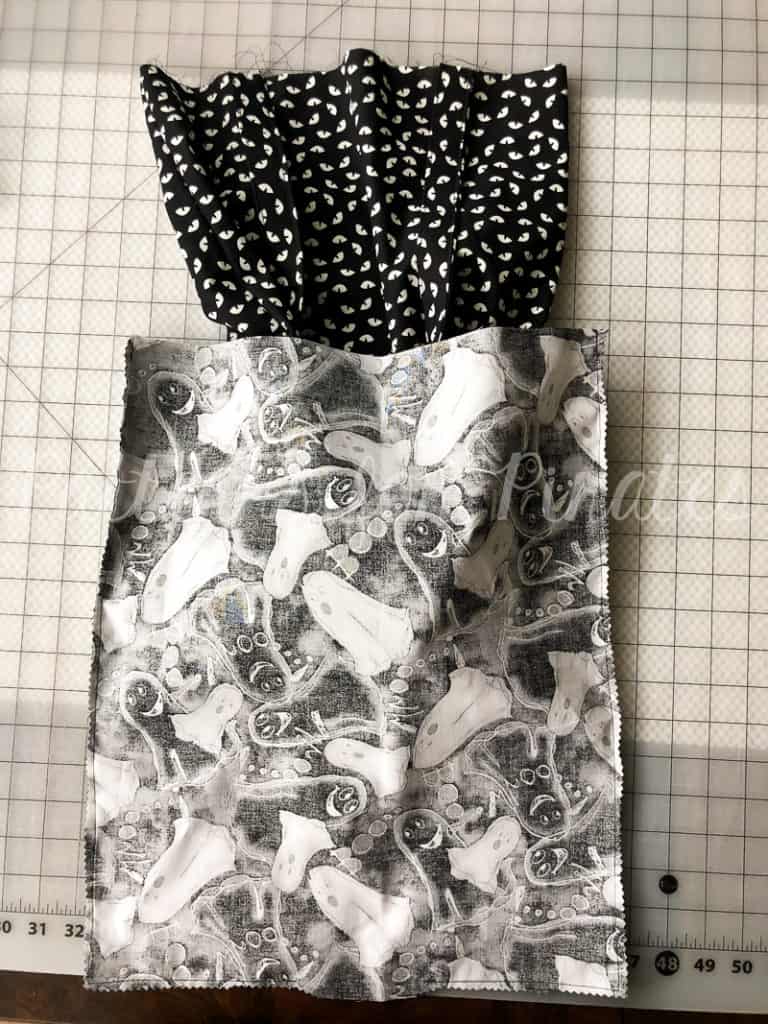
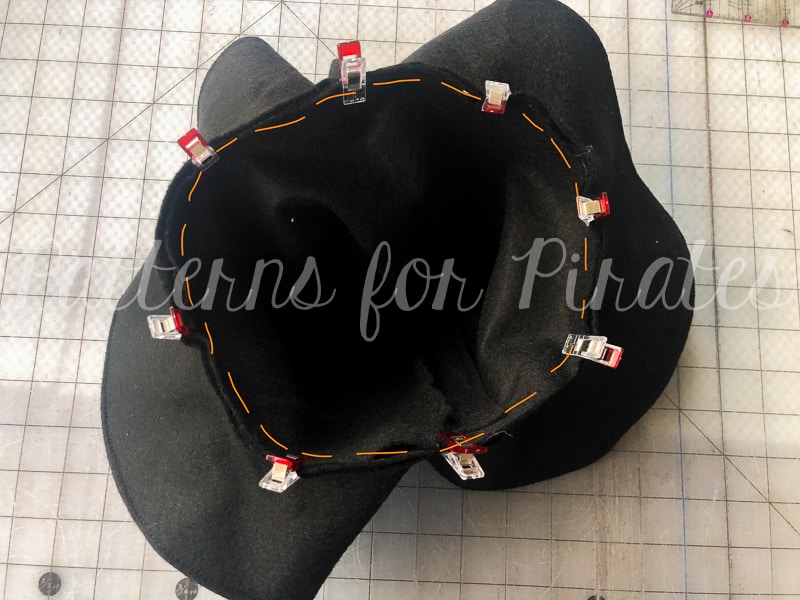
Step 9: With right sides together, match the quarter points on your brim and cone pieces.

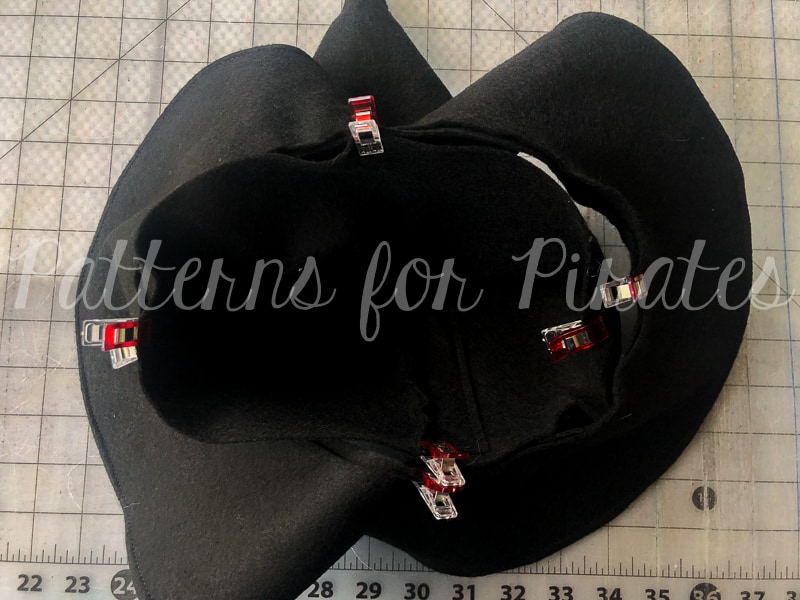
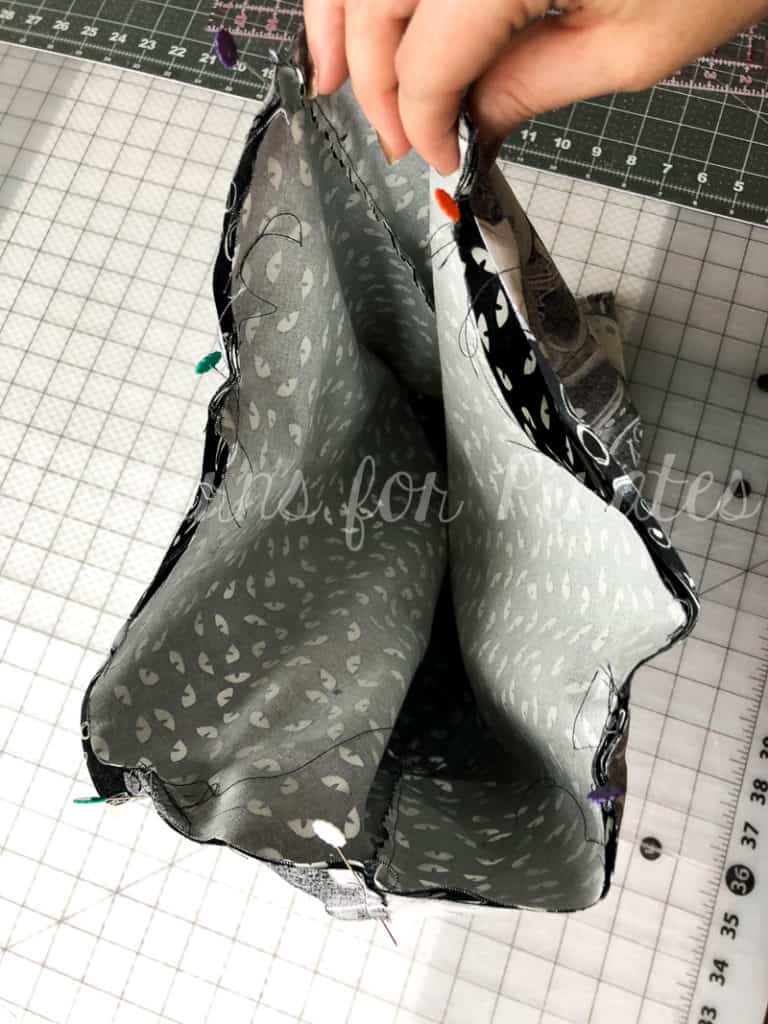
Step 10: Ease the remainder of the raw edges together, and secure with pins/clips.  Sew using 1/4″ seam allowance.

Step 11: Flip the brim down, press if needed, and enjoy your wicked new hat!

As always, we love when you share what you’ve made with us.  Head over to the Patterns for Pirates Facebook group and show off the amazing pointy hats that you’ve managed to make from our free pattern!

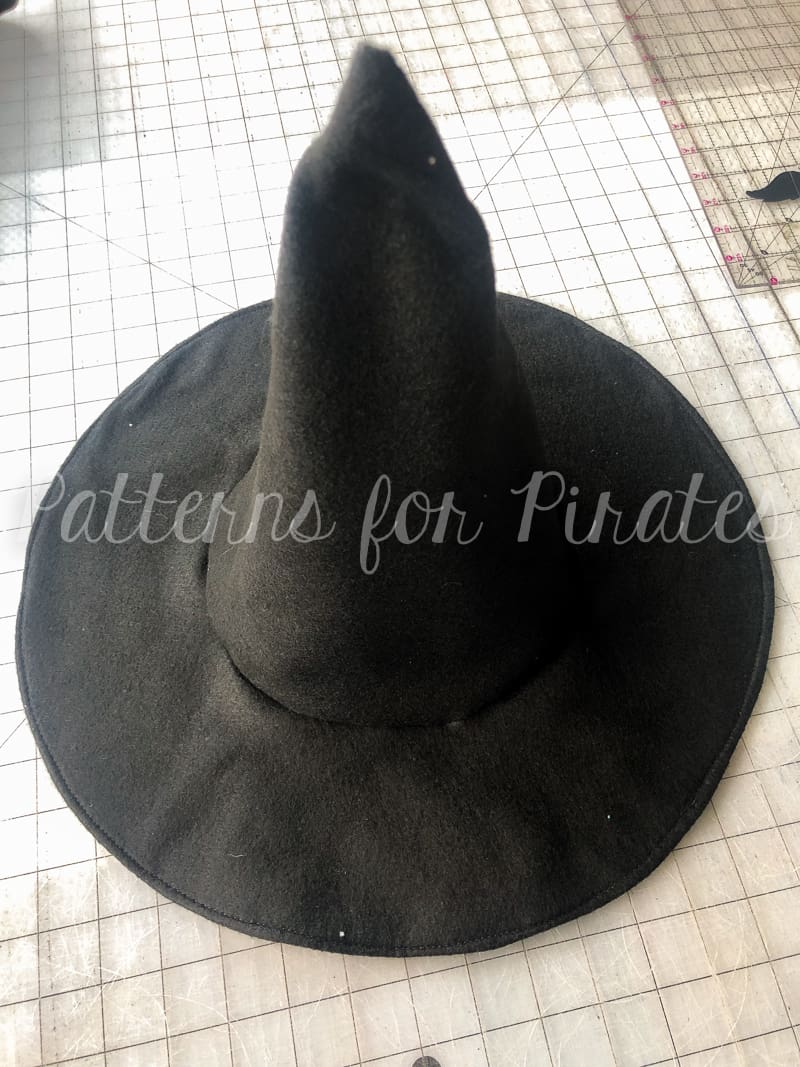
Happy Halloween, Pirate Friends!

Filed Under: Free Pattern, Pattern Release 12 Comments

2018 Halloween Costume Contest :: The Winners!

November 2, 2018

Hi friends!  It’s me, Katy, your Halloween-loving Pirate Crew Member!  And I’m here to announce the winners of this year’s Halloween Costume Contest.

We asked our fellow sewists to share their costume creations from this year — and you can see the entire album in our P4P Facebook Group HERE.  They were all amazing and I couldn’t help but pick a few winners, instead of just one.  Because how do you really choose from all of these incredible feats of creativity?

No automatic alt text available.

I almost chose everyone as a winner.  But that’s not allowed, so here are the top three that stood out to me:

Simply Robo-dorable: Erika Tatiana Maldonado
Her Rosie Robot was created using almost only Patterns for Pirates patterns: Relaxed Raglan, Wiggle Skirt, & Peg Leg Leggings.

Image may contain: one or more people and people standing

The Ghost With the Most: Cecsalea Shae Buhles‎
This adorable mini-Beetlejuice was created using the Lumberjack Shirt, Yo Ho Henley, Little Loungers patterns.

Image may contain: 1 person, standing, stripes and outdoor

How Delightfully Tragic: Taryn Renae‎
I love a good family ensemble!  Tish Addams was brought to life by Taryn using the Wiggle Dress.

Image may contain: 5 people, people smiling, people standing and outdoor

Thank you so much to everyone that shared their creations with us!  I can’t wait to see what next year brings!

Filed Under: Contest/Giveaway 3 Comments

Trick or Treat Bag :: Free Sewing Tutorial + Pattern!

October 28, 2018

Let’s get to it, my Pirate friends!  This my favorite time of the year: HALLOWEEN!!  It’s full of kitchy decorations, creative costumes, and lots of sewing (at least for me!) and is also the start of the holiday season.

We are all treats and no tricks this year, by giving you a quick and easy Trick or Treat Bag that you can whip up in no time for your littles — or yourself!  It doesn’t take much fabric and is a great way to finally use up all of that fun cotton woven that you keep buying while browsing the fabric store, without any actual plan of what you’re going to make with it.

This tote is meant to be made with woven (non-stretch) fabrics.  You will need a little under 3/4 Yard of the main fabric, and 1/2 Yard of the lining fabric.  This bag ends up being reversible — so if you can’t decide between fabrics (which we couldn’t at all….the prints this time of year are SO CUTE!!), you can use it one way, and then turn it inside out and use it again.  It’s like two bags in one!

Step 1: Cut 2 Main Fabric pieces and 2 Lining Pieces 18″ long x 15″ wide.  Cut 2 Straps 24″ long x 4″ wide.

Step 2: Lay main bag pieces, right sides together.

Step 3: Using 1/2″ seam allowance, sew along the side and bottom edges.

Step 4: Repeat Steps 2 + 3 with lining fabric, only this time leaving a 3-4″ opening in the middle bottom for turning.

Step 5: Trim seam allowances and corners on both main and lining pieces.  Be careful not to clip through your seams, and leave the allowance on the opening of the lining piece.  Set aside main and lining bag pieces for now.

Step 6: With one of your strap pieces, lay with wrong side facing you.  Fold in half, meeting the long edges together.  Press.

Step 7: Open up your piece and fold one of the raw edges toward the middle crease you just made.

Step 8: Repeat with the second raw edge. Press.

Step 9: Fold along middle crease, meeting both folded edges. All of your raw edges will be fully enclosed now.

Step 10: Press you strap piece.  Then edge stitch along both long, outer edges.  Repeat with second strap.

Step 11: Grab your main bag piece and turn right sides out.

Step 12: Careful not to twist your strap, pin raw edges in place, measuring 3″ from the edge of your bag.  Baste, using 1/4″ allowance.  Repeat on other side of main bag piece, using the other strap.

Step 13: With your main bag piece (with straps now basted onto it) right sides out, and lining piece wrong sides out, slide the main bag inside of the lining.

Step 14:  Align raw edges and seams, and pin in place.

Step 15: Using 1/2″ seam allowance, stitch around entire top edge of bag.

Step 16: Through the opening that we left in the bottom of the lining piece, turn your bag right sides out.

Step 17: Using your favorite stitch (I recommend doing a blind hand stitch), close the opening in the bottom of the lining piece.

Step 18: Push lining inside of the main bag piece, press, and admire your new handiwork before your littles steal it and fill it with candy this Halloween!

Happy Halloween, friends!  I’m loving all of the costume photos that have been rolling in so far.  Can’t wait to see the rest of them (hopefully with some new P4P Trick or Treat bags in tow!)

Filed Under: Free Pattern 4 Comments

P4P Halloween Costume Contest: The Winners!

November 3, 2016

Halloween costume sewing is basically my (Katy) favorite type of sewing.  It’s allowed to be over-the-top, silly, and super creative.  And I feel like it pushes sewists out of their usual comfort zones.  We held a costume contest in a thread on the Patterns for Pirates Facebook group!  If you were curious about all of the costumes shared, head HERE to find all of the amazing sews.

costume-contest

I have a hard time choosing just one winner.  So I decided to let my husband and son pick their favorites too this time around!  Here are our picks!

Louis’ Favorite (in the least surprising choice…from my Pokemon obsessed 6-year old): Jennifer Rowe with her Pikachu, made from the P4P Jolly Roger Raglan + Add-Ons, and the Pirate Playground Pants!

14695579_10211083149336893_9114943008414542237_n

Bennett’s Favorite (another non-surprise from my Star Wars nerdy husband): Jennifer Richardson with her Darth Vader / Rebel Pilot dresses using the Me Hearties Peplum/Dress pattern.

14902904_1120397181411499_9071670995202499178_o

Katy’s Favorite (I couldn’t help but die a little bit over this unicorn.  I think the hooves sold me.): Jamie Grey with her Unicorn made from the Sweet Tee and Peg Legs.

14900463_10209583853211881_6198337319903692706_n

Congratulations to the winners!  I’ll be contacting you about your winnings!

And thank you so much to everyone who shared their amazing creations.  I’ve now got a lot of new ideas for next year’s costume sewing extravaganza!

Filed Under: Contest/Giveaway Leave a Comment

Newest Patterns

  • Uptown Joggers - Youth $10.00
  • Uptown Joggers $12.00
  • Uptown Joggers - Bundle $20.00
  • Notch Top & Dress $12.00
  • Notch Top & Dress - Youth $10.00
  • Privacy Policy
  • Refund Policy
  • Affliliate Program
  • Contact Us
  • About

Copyright © 2023 Patterns for Pirates

Copyright © 2023 · Genesis Framework · WordPress · Log in