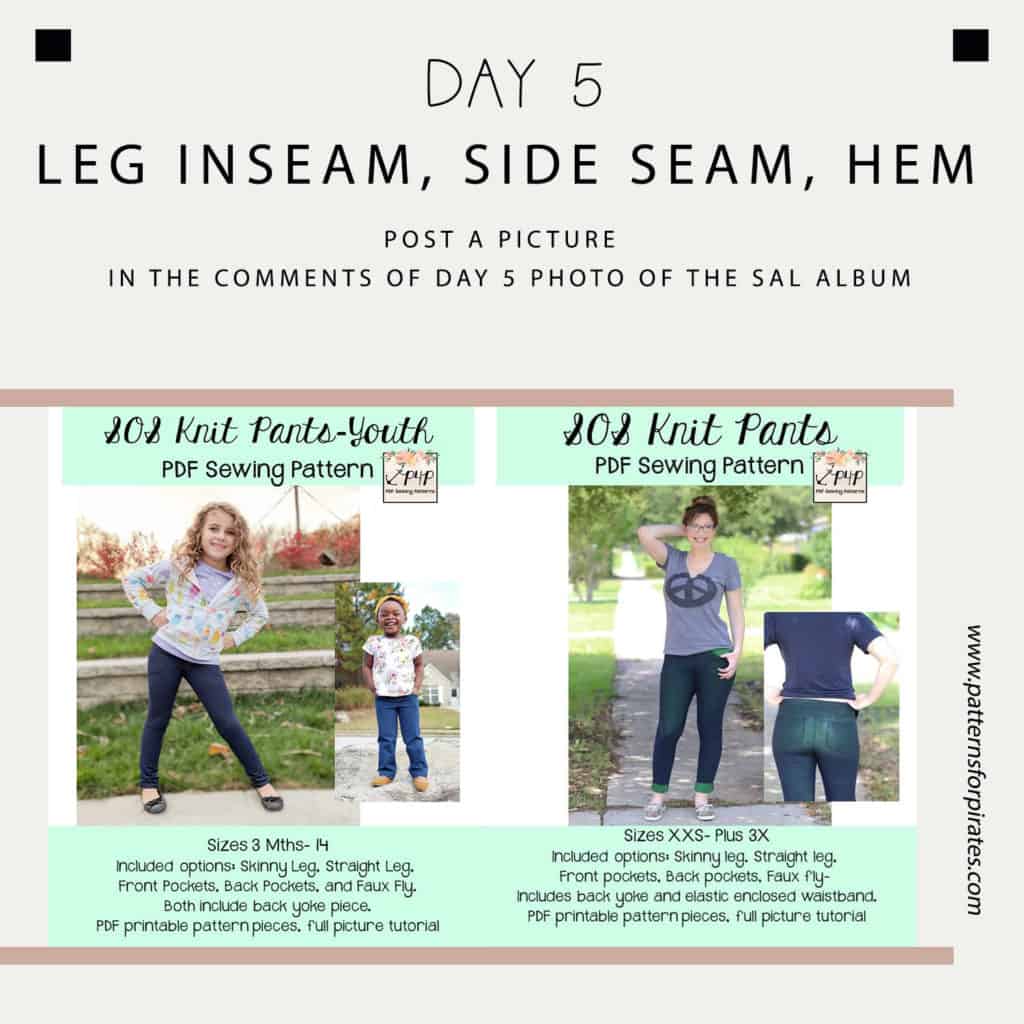
Ahoy, matey! Today our project will start to take the shape of pants 😉 Whether you have opted for the skinny, straight, youth or adult option, you will be sewing the inseam and the side seam. The video below shows you how my preferred technique. I like to pin the front to the back at the inseam, the side seams and lastly sew them.
The pattern follows a 1/2″ seam allowance so if you are using your serger, remember to remove 1/4″ with the serger blade.
Hem the bottom of each leg by folding 1″ and stitching it with a STRETCH stitch. It is very important that you do use either a zig zag, a triple stretch or a coverstitch when sewing the hem. There will be tension and stretching applied to it when putting the SOS knit pants on and wearing them so a straight stitch may pop.
Take a look over the Day 5 video below and when you complete your step, post a picture of your progress in the comments of day 5 photo of the SOS sew along album.
SOS sew along | Day 1 – Print and cut pattern
SOS sew along | Day 2 – Cut fabric
SOS sew along | Day 3 – Back: pocket, yoke, inseam
SOS sew along | Day 4 – Front: pocket, inseam
SOS sew along | Day 5 – Leg inseam, side seam, hem
SOS sew along | Day 6 – Waistband


