Patterns for Pirates

P4P stylish, modern, wearable patterns

  • Home
  • Blog
    • Frequently Asked Questions
    • Pattern Releases
      • Free Patterns
    • P4P University
      • Fitting
      • Sewing with Stretch, Knit Fabrics
      • Sewing with Woven Fabrics
      • Sewing Machines
    • Sew-A-Longs
    • Fabric for Pirates
    • Pattern Hacks
    • Announcement
      • Blog Tours
      • Contest/Giveaway
  • Shop
  • Bundle Discounts
  • Gift Cards
  • My Account
  • Cart

FREE Printable Measurement Charts

August 14, 2017


I am excited to be sharing this new FREEBIE with you today!  The biggest/best part of sewing for yourself or your family is being able to create custom clothing for exactly the unique size and shape that you are.  But that’s a lot of numbers to remember.  So we are here to make it a little easier on you by sharing these measurement charts.

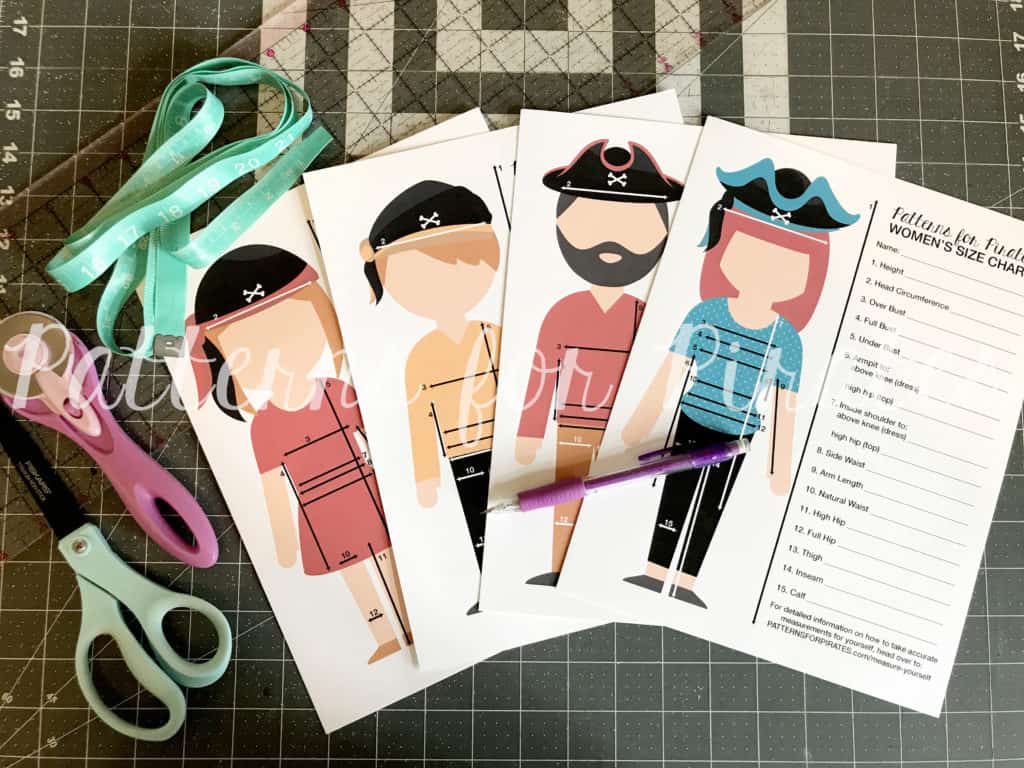
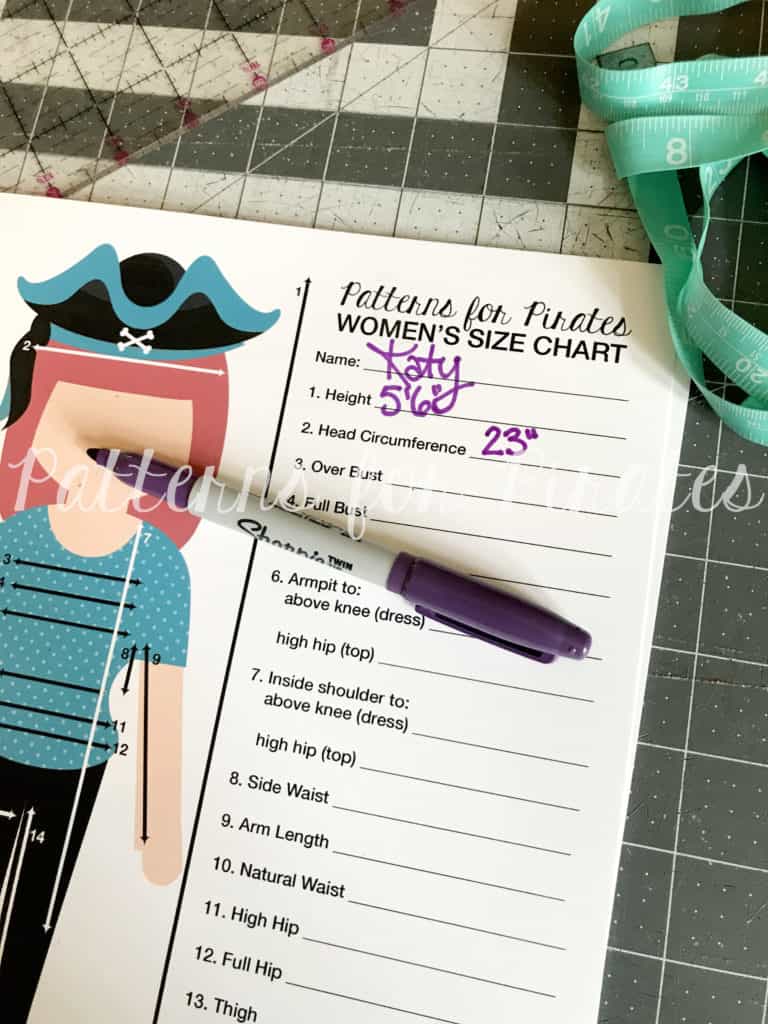
There is a fill-in chart for each member of your family.  Simply print, measure, write it down, and get to sewing!

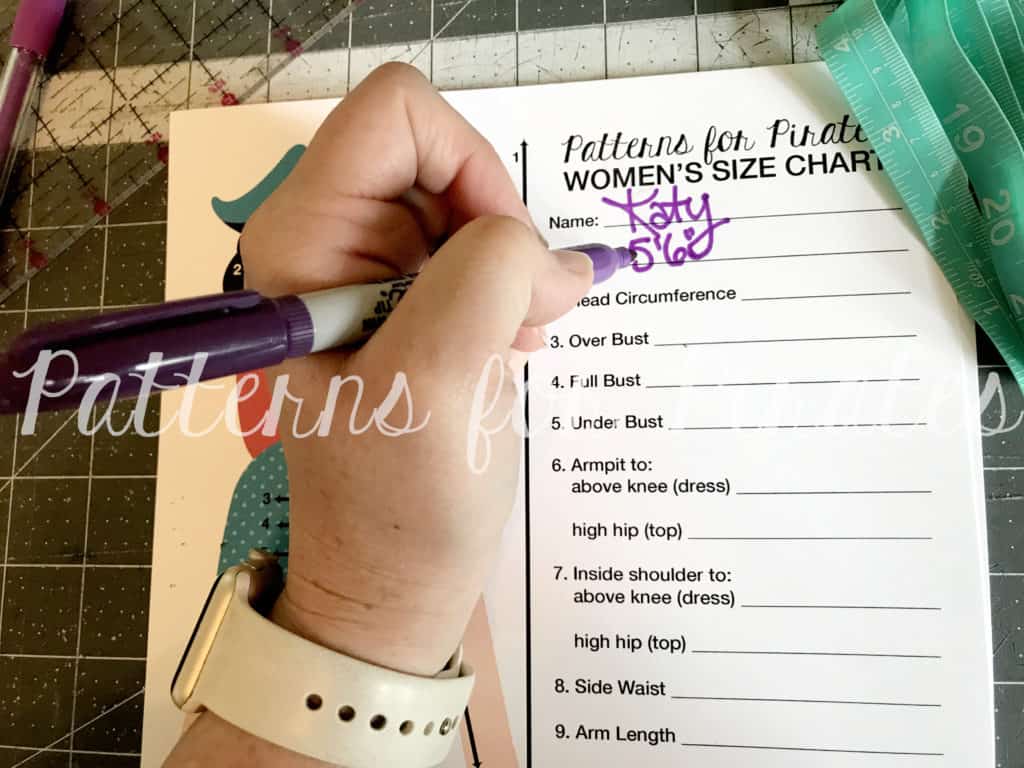
Need help figuring out some of these measurements?  We’ve already got you covered!  Head over to Judy’s post about “How To Measure Yourself” to see where to place the measuring tape and how to get the most accurate numbers.

What are you waiting for?  Go grab a copy of these PDFs and make life a little easier on yourself!
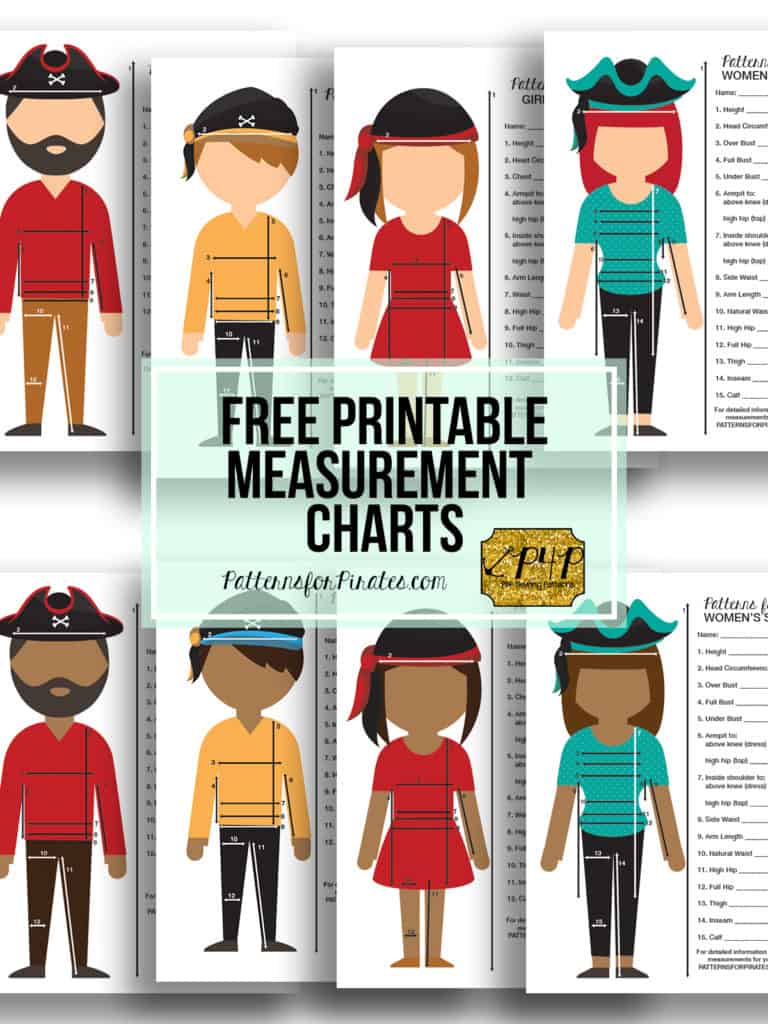
FREE PRINTABLE MEASUREMENT CHARTS

Happy sewing, friends!

Filed Under: Free Pattern 7 Comments

How to Measure Yourself

February 8, 2016


how to measure yourself by patterns for pirates

One of the most important things in sewing for yourself is to get accurate measurements! It is also much harder than it sounds.  I had my sister take a few quick pictures of me measuring so I could explain and give a few tips.

I took my pictures in a tight tank.  I recommend taking your measurements in a thin/tight shirt or even just in the bra you are going to normally wear. (This is especially important if you are going to be making a more formal garment and plan on wearing a different bra for it- think strapless, push up, etc).

I HIGHLY recommend measuring in front of a mirror! This helps you really see where you are measuring and if you are holding it evenly around your body.  It can mean a big difference!

On all measurements breath normally! Most people want to take a big breathe in and then take them— no need! Patterns are drafted with ease to breathe and move normally 🙂 So breathe in and out, then measure. You want to hold the tape snug to your body, but not squeezing.


Here are some common measurements needed for a pattern:

Bust— Full bust is around the fullest/biggest part of your bust.  You want the tape as even horizontally as possible.

IMG_7952

Over Bust– This is taken around upper back, under arms and over your bust.

IMG_7954 IMG_7956

Under Bust– This is taken directly under your bust around back. Try to keep your tape as even horizontally as possible.

IMG_7957

High Hip– This is taken around  your hip bones (this is where I like to wear my pants 😉 and most youth patterns are drafted to hit)

IMG_7964

Hip– This is a deceiving name.  It is measured around your fullest/biggest part, which is usually your booty. Most definitely my booty is my biggest part 😉  Try to keep your tape as even horizontally as possible (a mirror really helps on this one!)

IMG_7966 IMG_7967

Waist– This is your natural waistline.  Contrary to most belief, it is NOT your belly button or where you wear your pants (even though you might like high waisted pants).  It is taken at the smallest part of your mid section.  if you don’t have a very defined natural waist there is a very easy way to find it.

Take any kind of stretch trim, fold over elastic, thin elastic, even a strip of knit will work, and tie it snuggly around your mid section.  Now MOVE around, bend walk around, sit down, it will naturally settle on  your smallest part.

This is your natural waist 🙂

IMG_7969  IMG_8011

Side Waist Length– Taken from your armpit vertically down to your natural waist.  This measurement is vital in any pattern that should hit as your natural waist like the Sweetheart Dress or Boundless Knit Dress.  Making sure this measurement is accurate will give you the most flattering fit.  If the seam doesn’t hit you at that smallest point then you’re not using it to your advantage 😉

You can see here mine is about 8.75″.  For reference the avg is 8″.  I’m 5’10” :).

IMG_8008

*Updated* I had a few more questions about the side waist length.  So I’ve added a couple more pictures— THIS is how much I LOVE my group, I’m willing to put up pictures in my sports bra 4 months after I had a baby!!!! They are cropped very well 😉

Start with your arms DOWN. You want your tape to start where your crease naturally lies— not all the up to your arm.  Think where you’d like your shirt to be (if it’s all the way up as tight as possible then it is uncomfortable and you can’t move your arms around).

This was such a hard picture to get! But here are the best we could get to explain… yes, I taped the tape to myself lol!!!

IMG_8167IMG_8157 IMG_8159

Thigh- Taken around thigh close to crotch, keeping the measuring tape flat horizontally around.

13091958_10100478273624567_4302024944200204478_n

Total Crotch Length- Taken from back center natural waist, under booty, through legs, and up to center front natural waist.  You will want the tape pulled taut.  The easiest way I think is to tape the center back and then pull through front and read at the front.  These are measured with tight, high waisted yoga pants here:

13082514_10100478273534747_8944216357528044133_n13015562_10100478273554707_4080644557401189276_n

Inseam- Taken from crotch to where you’d like hem of pants. Notice the close up of my ankle here.  The difference between ankle height (for skinny leg options like Peg Legs and SOS pants) and a floor length is 3″ on me! That’s a big difference!

IMG_8175 IMG_8179

Arm length-from armpit to hem of shirt.  Most P4P patterns are meant to hit at the base of thumb, so past the wrist.  It’s just a personal preference of mine– so if you prefer the traditional wrist length here is where you’d want to measure against the finished measurement in the pattern.


IMG_8213

Finished lengths- I will use “inside shoulder to hem” on some shirts and “armpit to hem” on others depending on which is easiest to measure on that particular pattern. Here are both:

IMG_8196

IMG_8205

Take your time measuring yourself to ensure great fit! It will make a big difference in how happy you are with the outcome!

Filed Under: Fitting, P4P University 107 Comments

Newest Patterns

  • Uptown Joggers - Youth $10.00
  • Uptown Joggers $12.00
  • Uptown Joggers - Bundle $20.00
  • Notch Top & Dress $12.00
  • Notch Top & Dress - Youth $10.00
  • Privacy Policy
  • Refund Policy
  • Affliliate Program
  • Contact Us
  • About

Copyright © 2023 Patterns for Pirates

Copyright © 2023 · Genesis Framework · WordPress · Log in