…..
Drawstring
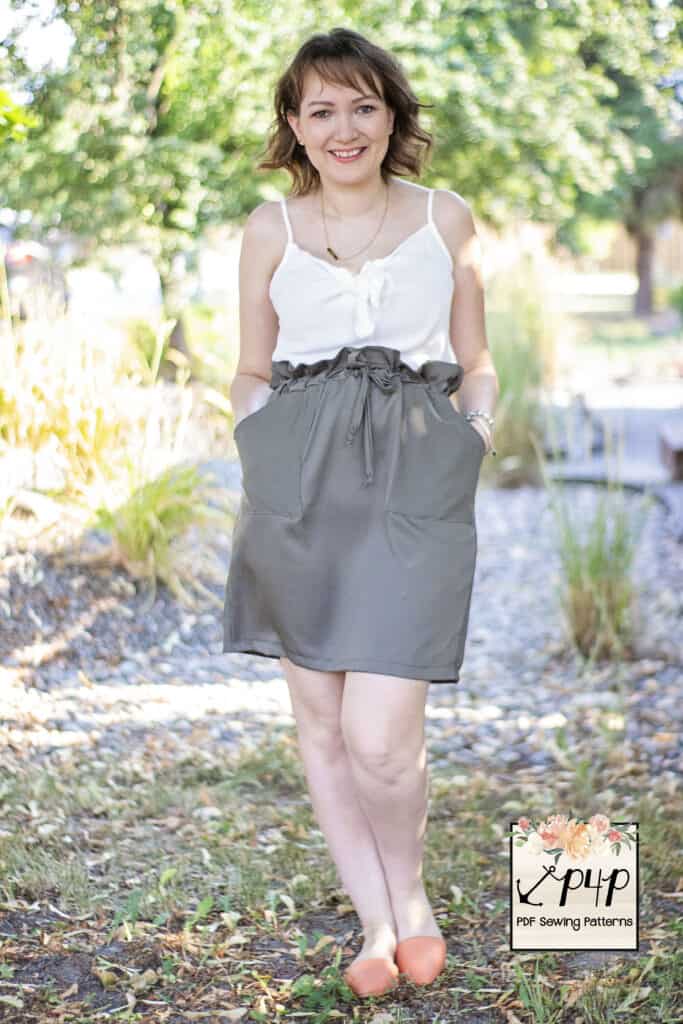
No elastic on hand, no problem you can still sew up your Paperbag pants, shorts or skirts and just add a drawstring instead! Lets get started!
All pieces will be the same with the exception of the belt, if you are wanting to make your own drawstring you will cut 2 belt pieces instead of 4 as we are not going to use the lining pieces. You can also used premade drawstring if you don’t want to make your own, you will just need to cut it the length of two belt pieces.
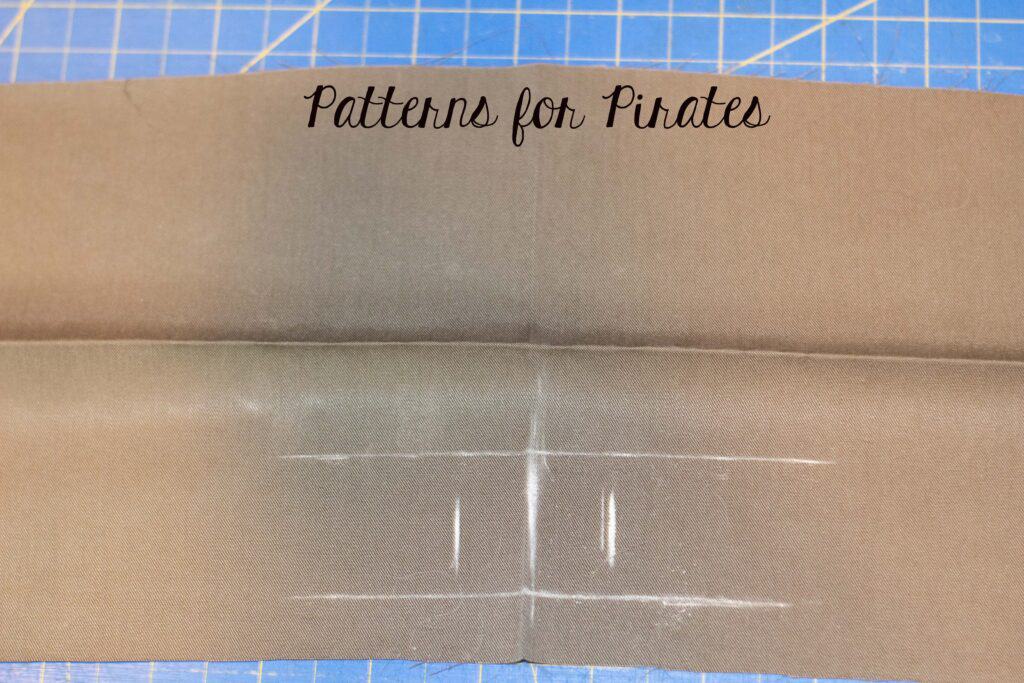
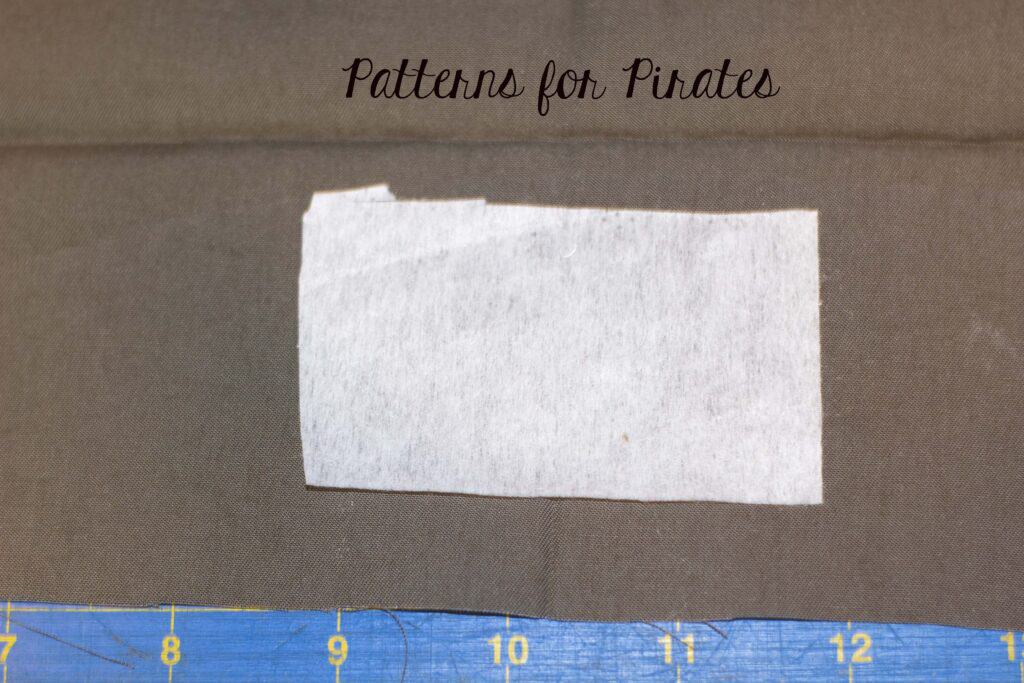
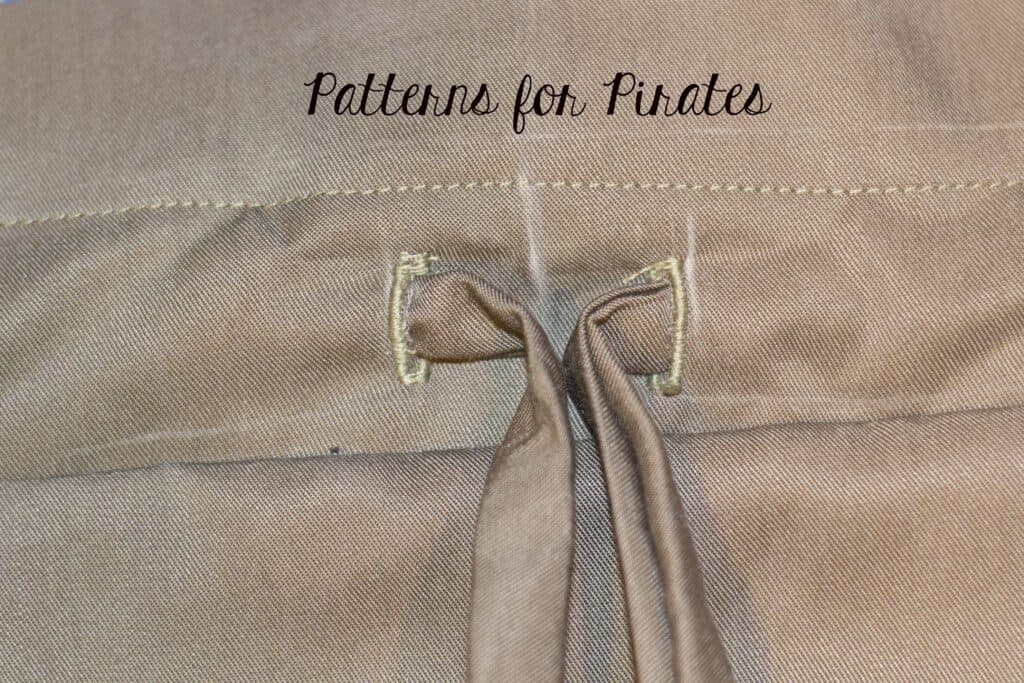
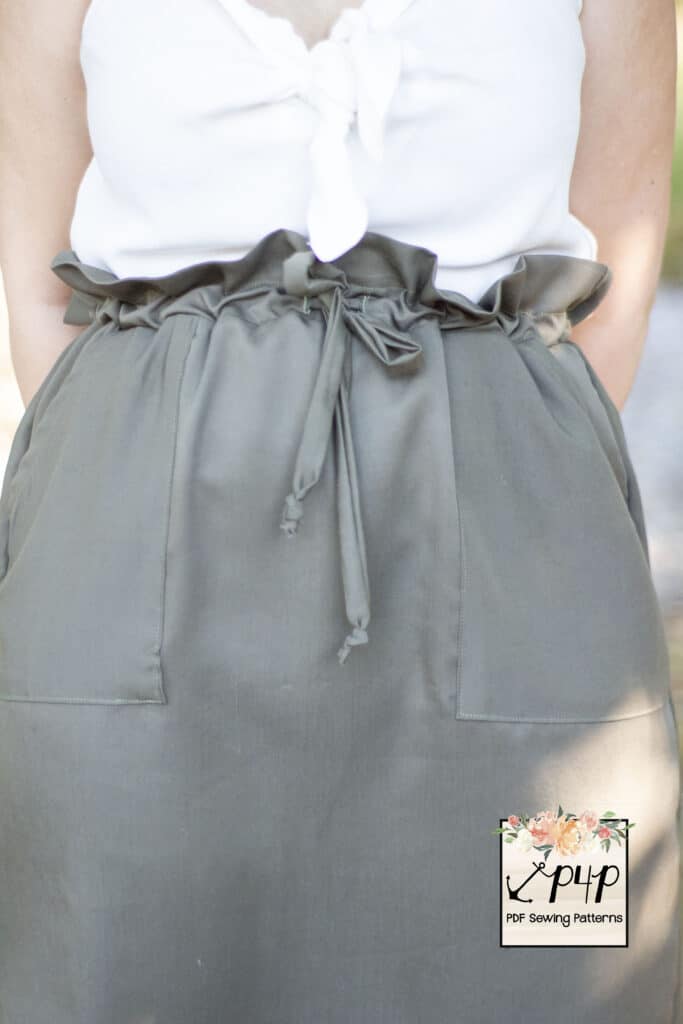
You are going to sew up your pants or skirt exactly as shown in the pattern until you get to your waist band. Take your front waistband piece, iron it lengthwise in half and mark the center front and both your seam allowances and casing. You will also want to mark two buttonholes on either side of your center front. I placed mine about 3/4 of a inch from the center front on both sides, centering them in the middle of the casing section. (the middle section) I would also recommend adding interfacing to the back of your fabric where you are planning on sewing your buttonholes to add some stability.
Next you will sew your buttonholes on your sewing machine, make sure you are only sewing them through the one layer of fabric on the front waistband where you have marked. Now you can finish your waistband as indicated in the pattern and attach it to your pants or skirt. Tip: instead of buttonholes you could add grommets for a different look.
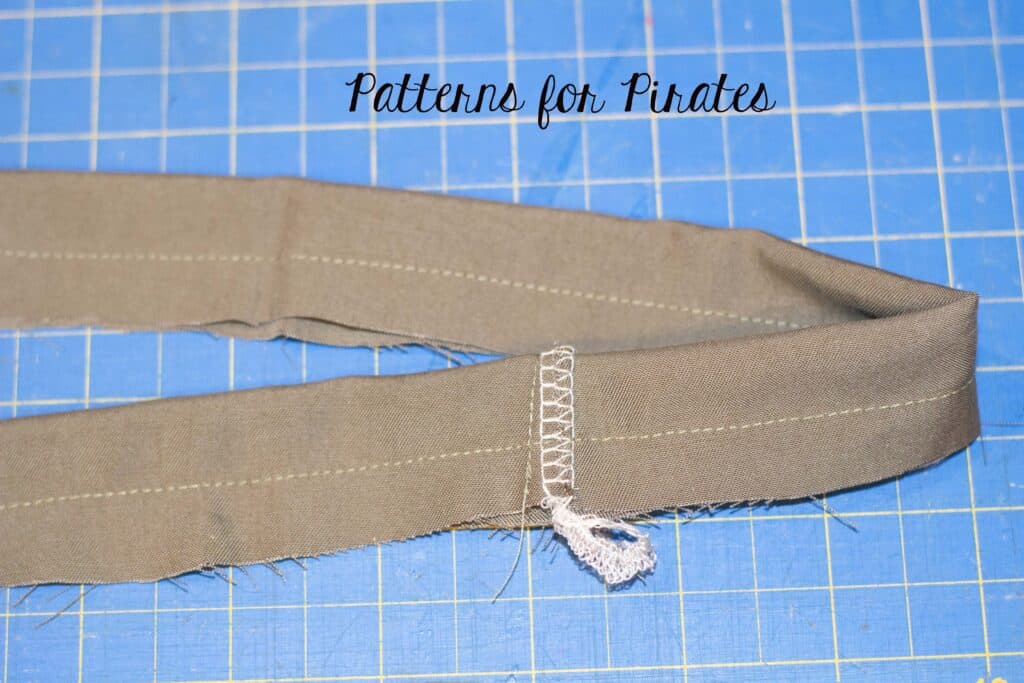
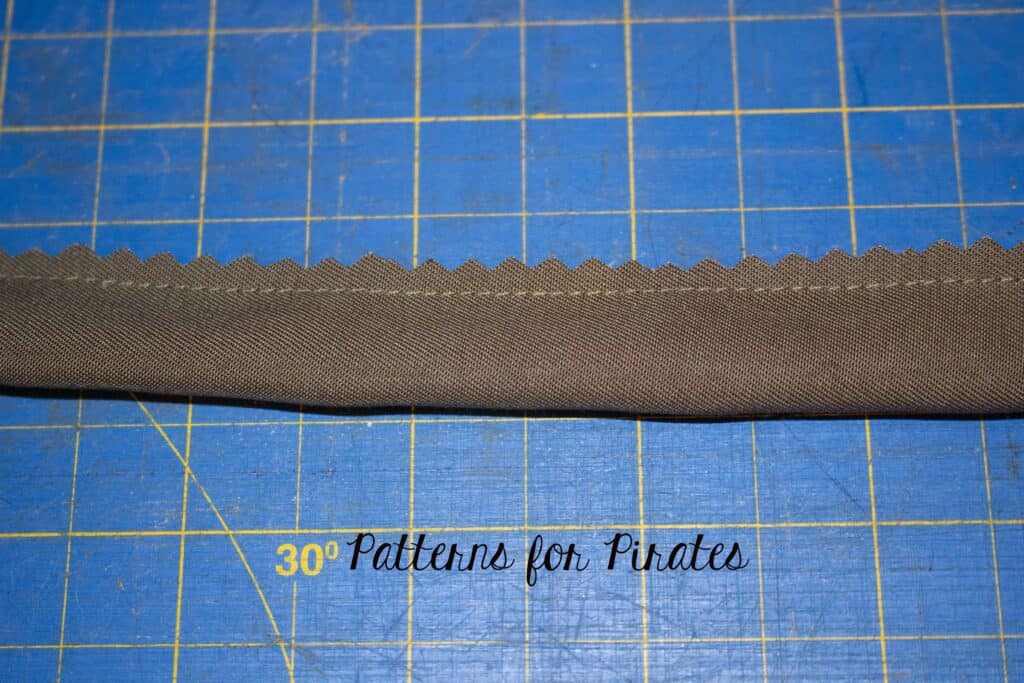
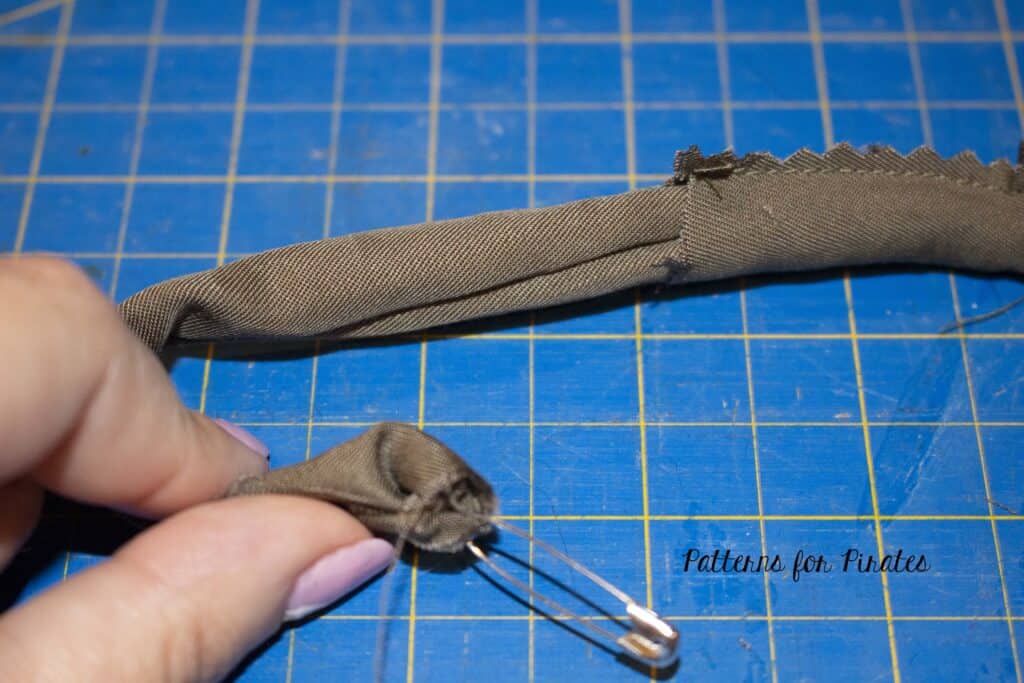
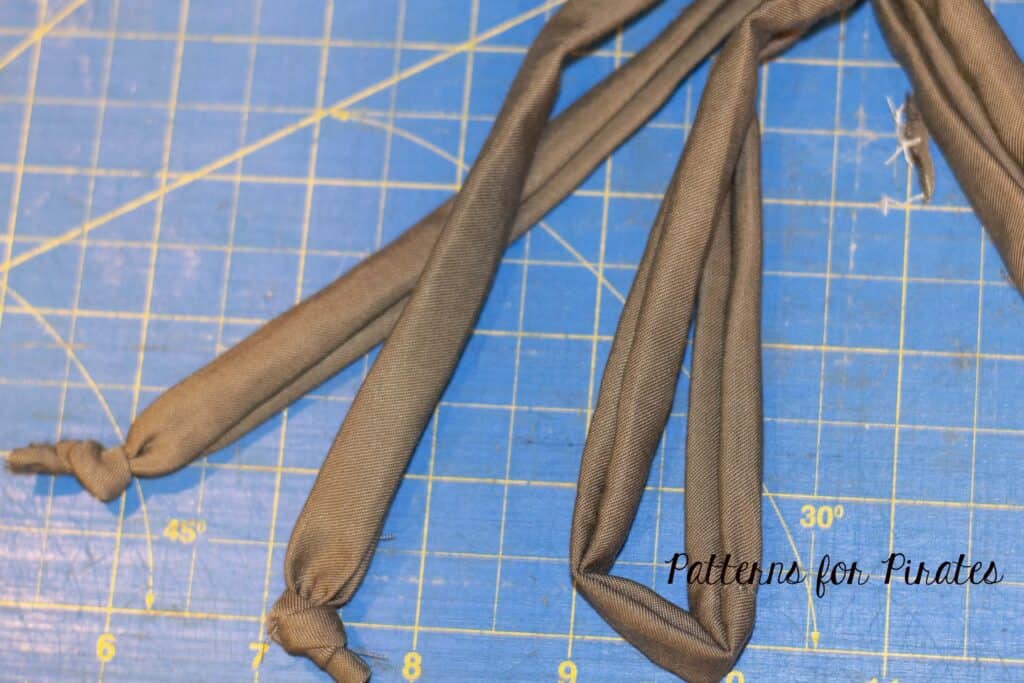
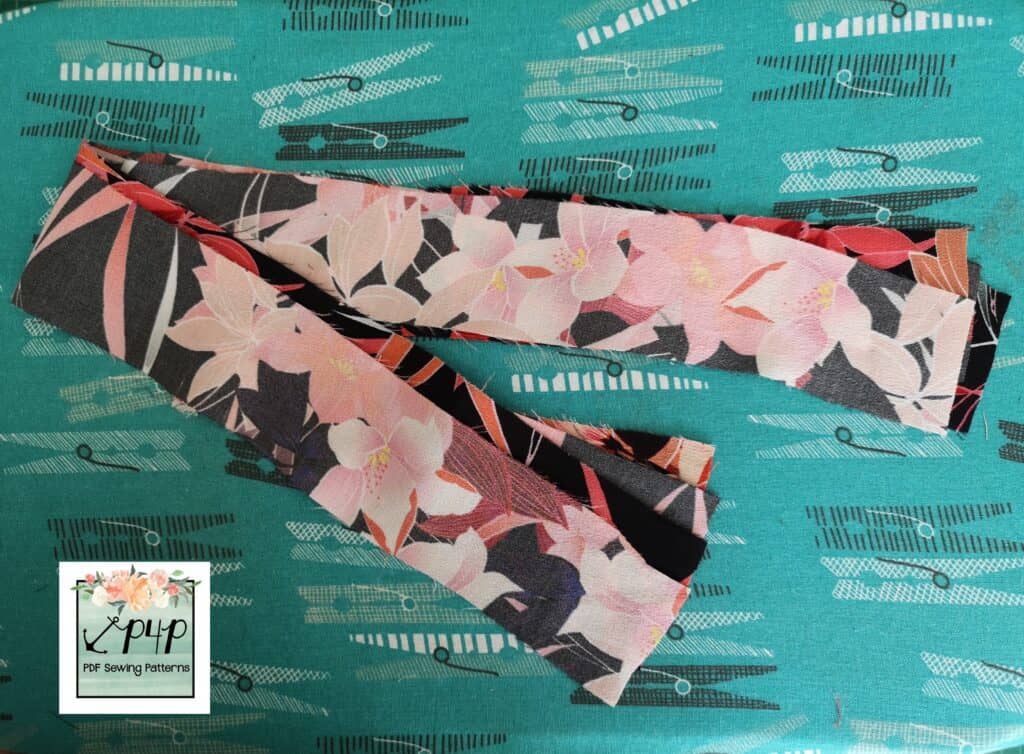
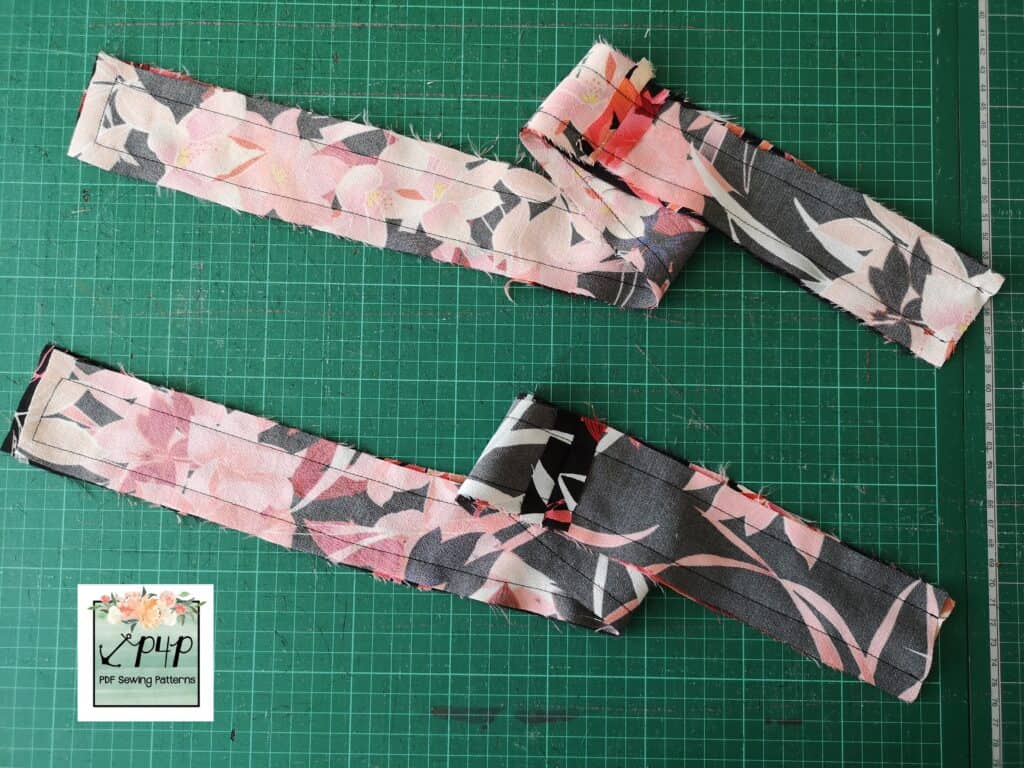
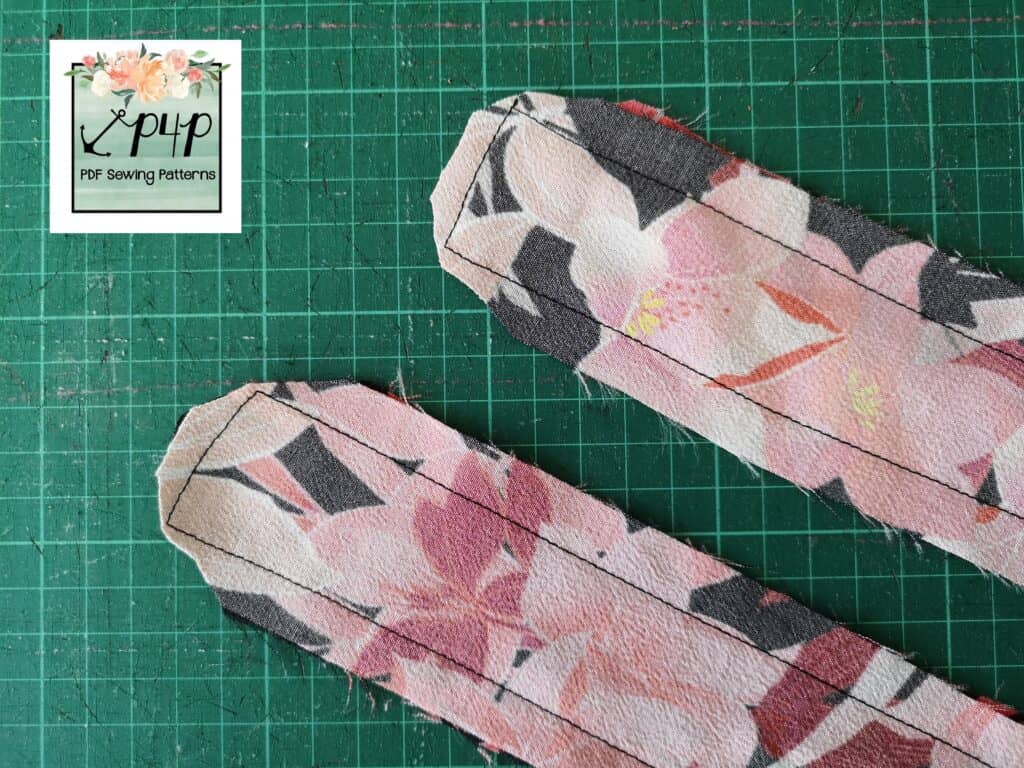
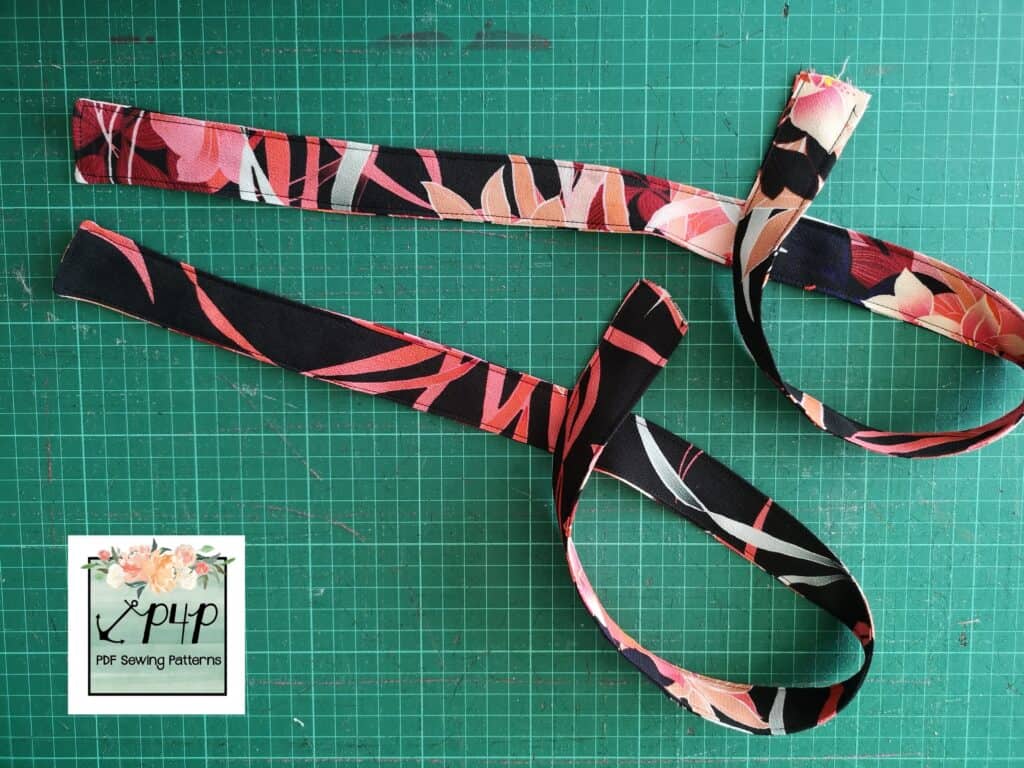
If you are using premade drawstring you will just thread your drawstring through your buttonhole into the casing. If you are wanting to make a matching drawstring you will sew your two belt pieces together along the short ends just like the instructions state for the belt, finish the seam or trim with pinking sheers. Next fold the belt in half, long edges together and sew down the long edge with a 1/2 inch seam allowance. Trim the seam allowance close to the seam but not through and turn your tube inside out to form your drawstring and press well. I just use a safety pin to turn my drawstring inside out but you can use whatever method you find easiest. If you would like you can topstitch the drawstring as well. You can also finish the ends or just knot the ends as I have done here. Insert your drawstring into your casing and you are done!
Angela
…..
Half ties
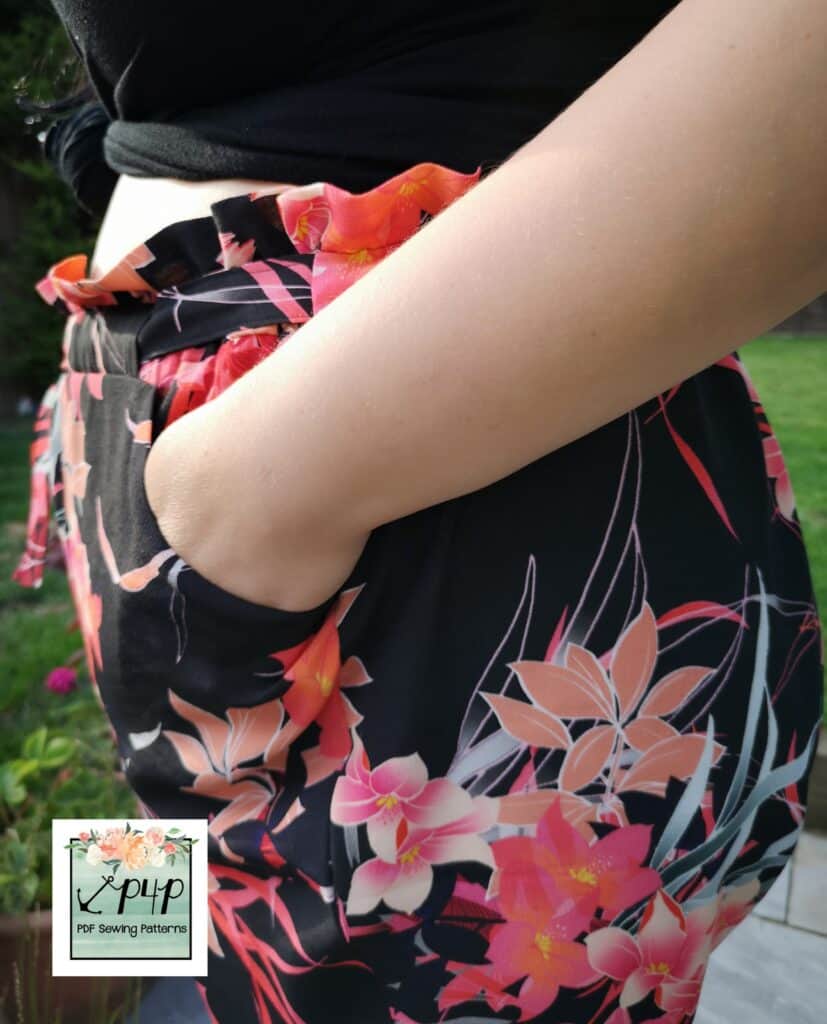
If you like the idea of a belt but are a bit short on fabric, or like me, constantly lose separate belts, then this hack will show you how to make a half-belt, sewn into the side seams of the new Paperbag Pants.
First of all you will cut out your pattern pieces as usual, except for the belt pieces. For the belt you will simply cut out 3 belt pieces, instead of 4; and only 2 belt loops, instead of 3.
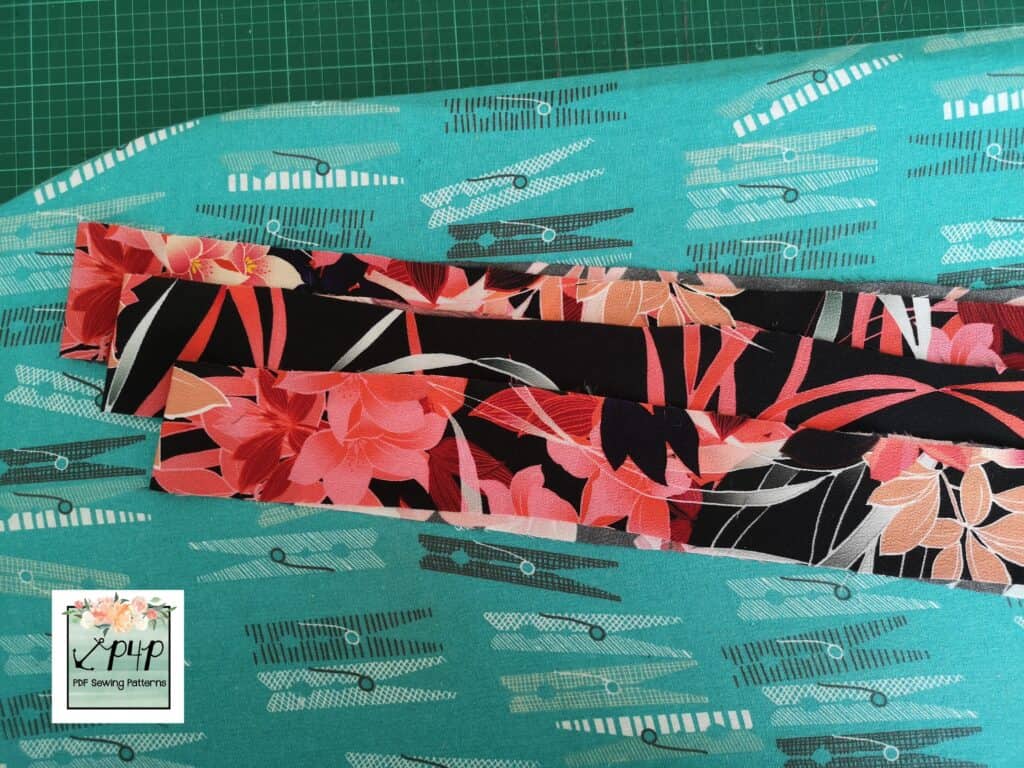
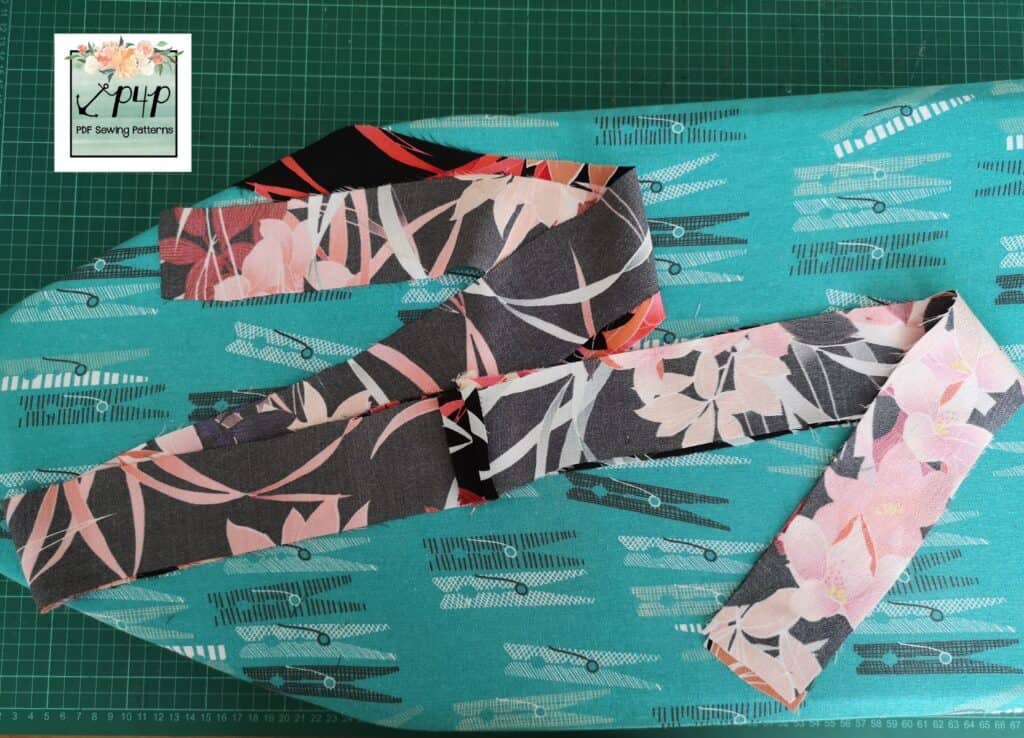
Construct your trousers/shorts as per the tutorial until you come to the waistband and belt pieces. Then take your 3 belt pieces and sew the short sides together until you have one long piece. Fold it in half and cut to make 2 pieces, then take each of those 2 pieces and cut them in half until you have 4 pieces of even length.
- Short sides sewn together
- Cut into 4 even pieces
You will have two pieces without a seam and 2 pieces that have a seam in the middle. Take one piece without a seam and one piece with a seam and sew them right sides together, starting from the short edge nearest the seam, up one long edge, across the top and back down the other long edge, leaving the bottom short edge open. Clip the corners and turn through. Press and top stitch.
- two pieces, RST x2
- sew and clip corners
- turn, press, topstitch
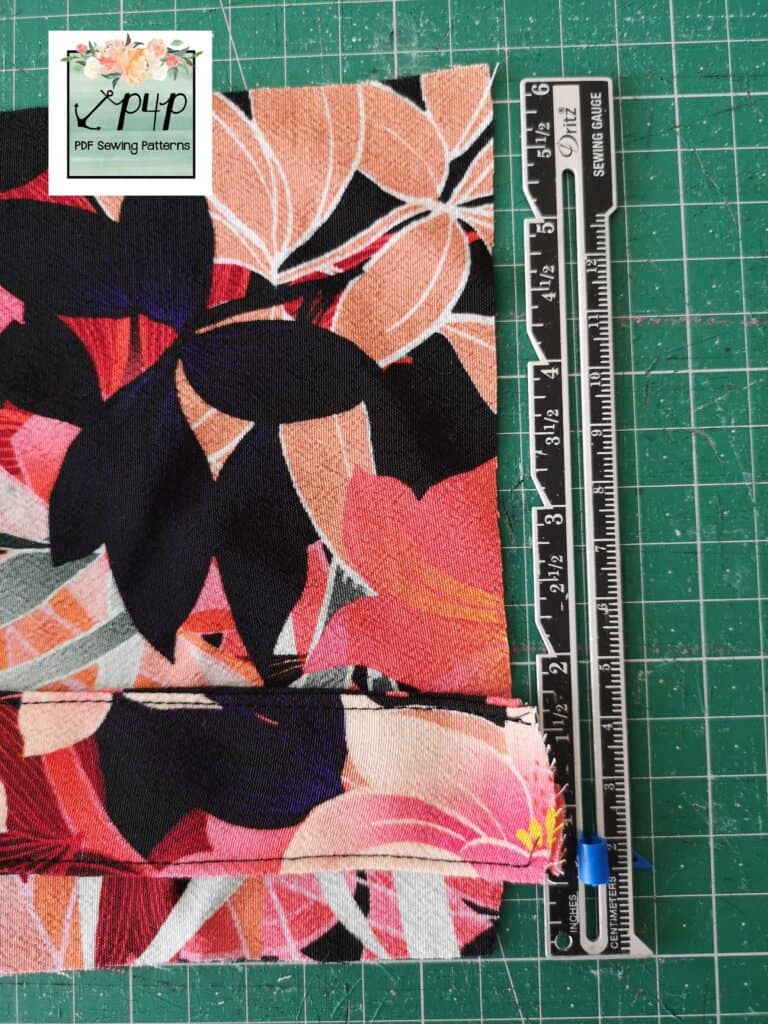
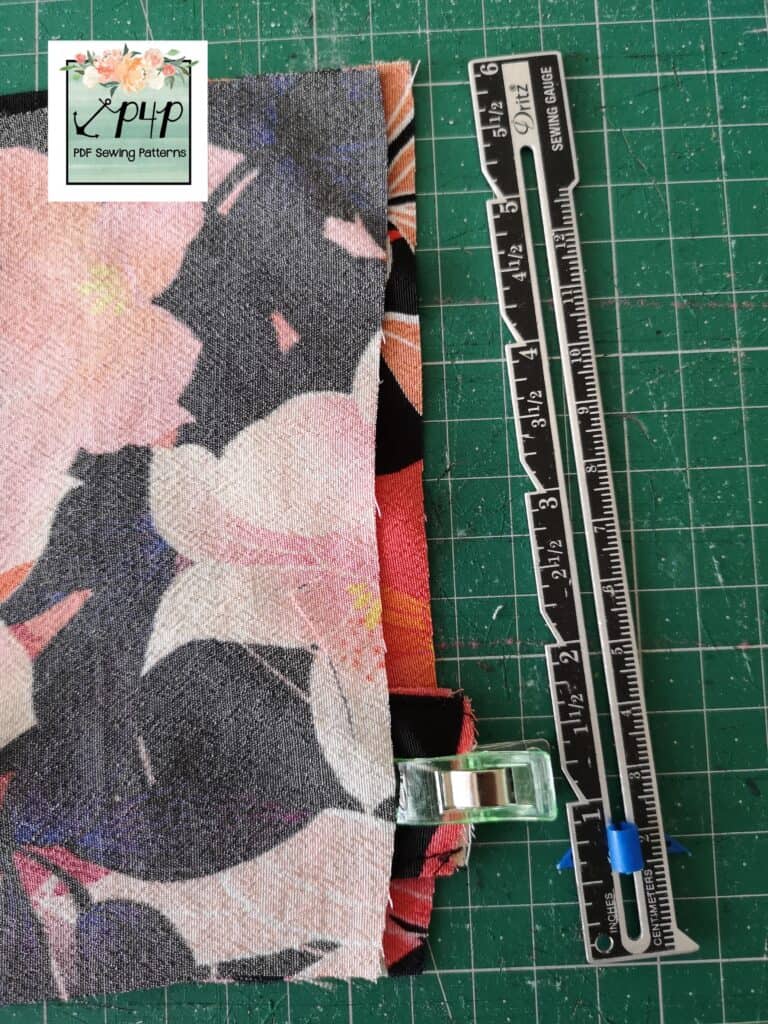
Next, take your waistband pieces and lay the back piece out facing up, then measure ½” from the bottom edge and lay one of your waist ties on it, with the side that has the seam facing up. Lay the front waistband piece, facing down, on top of it. Pin/clip and sew down the short side of the waistband, sandwiching the waist tie in the centre. Repeat for the other side.
- waist tie 1/2″ above bottom edge
- front waistband RST on top
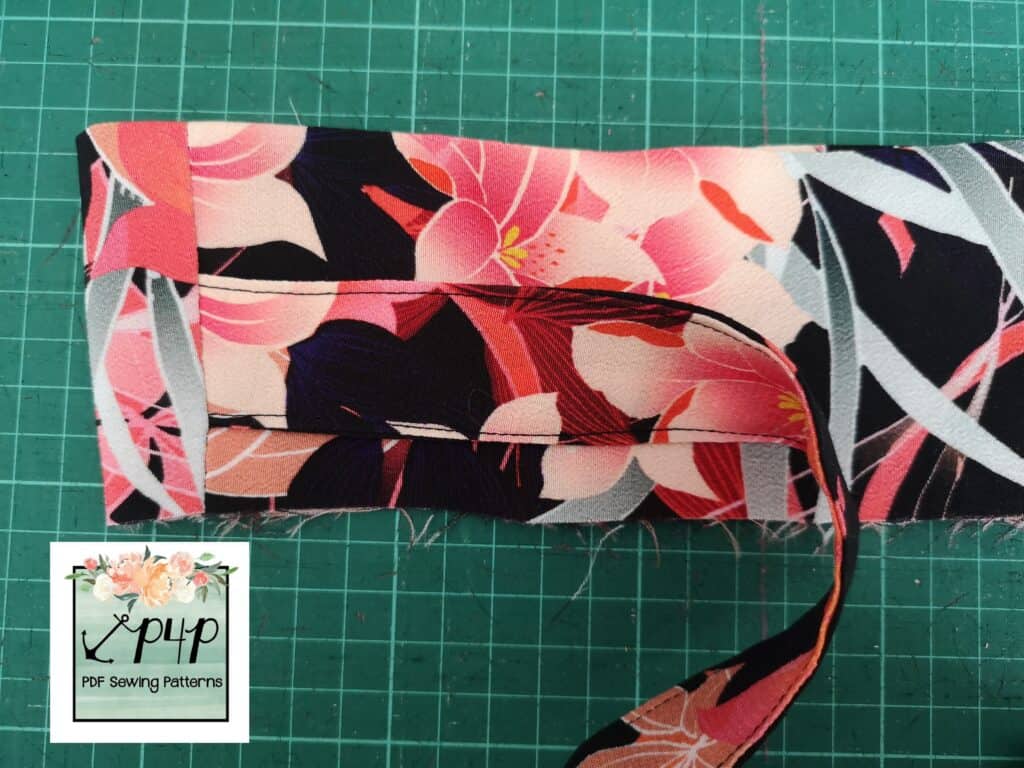
Fold the waistband wrong sides together and press. Sew your channel for the elastic, as instructed in the tutorial, being careful to move your waist ties out of the way as you come to the side seams so that you don’t catch them in the stitching.
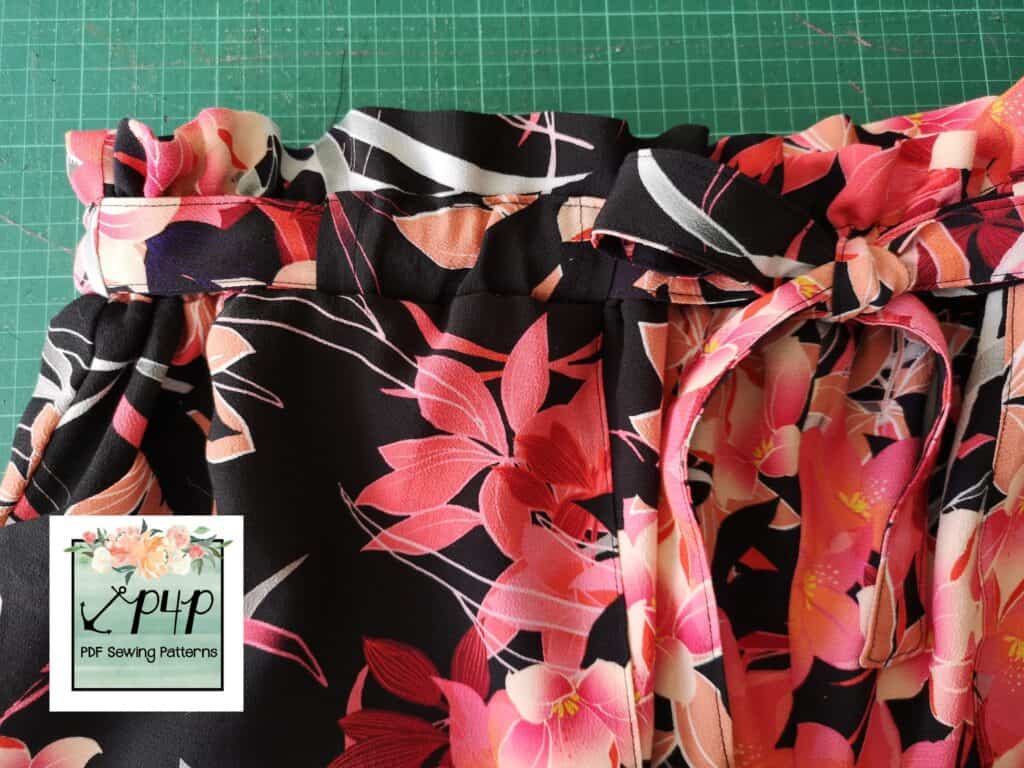
Sew the waistband on as normal, the only difference is that you will only be using the front belt loops (2 in total), thread in your elastic, and you can finish off by tying your waist ties in a bow!
Enjoy your new garment and never have to worry about losing those waist ties again.
Happy Sewing!
Dana x
