It’s a Gala Hacks party! In true P4P fashion, our amazing blog team has some fun, easy hacks and mash ups ready for you.
…..
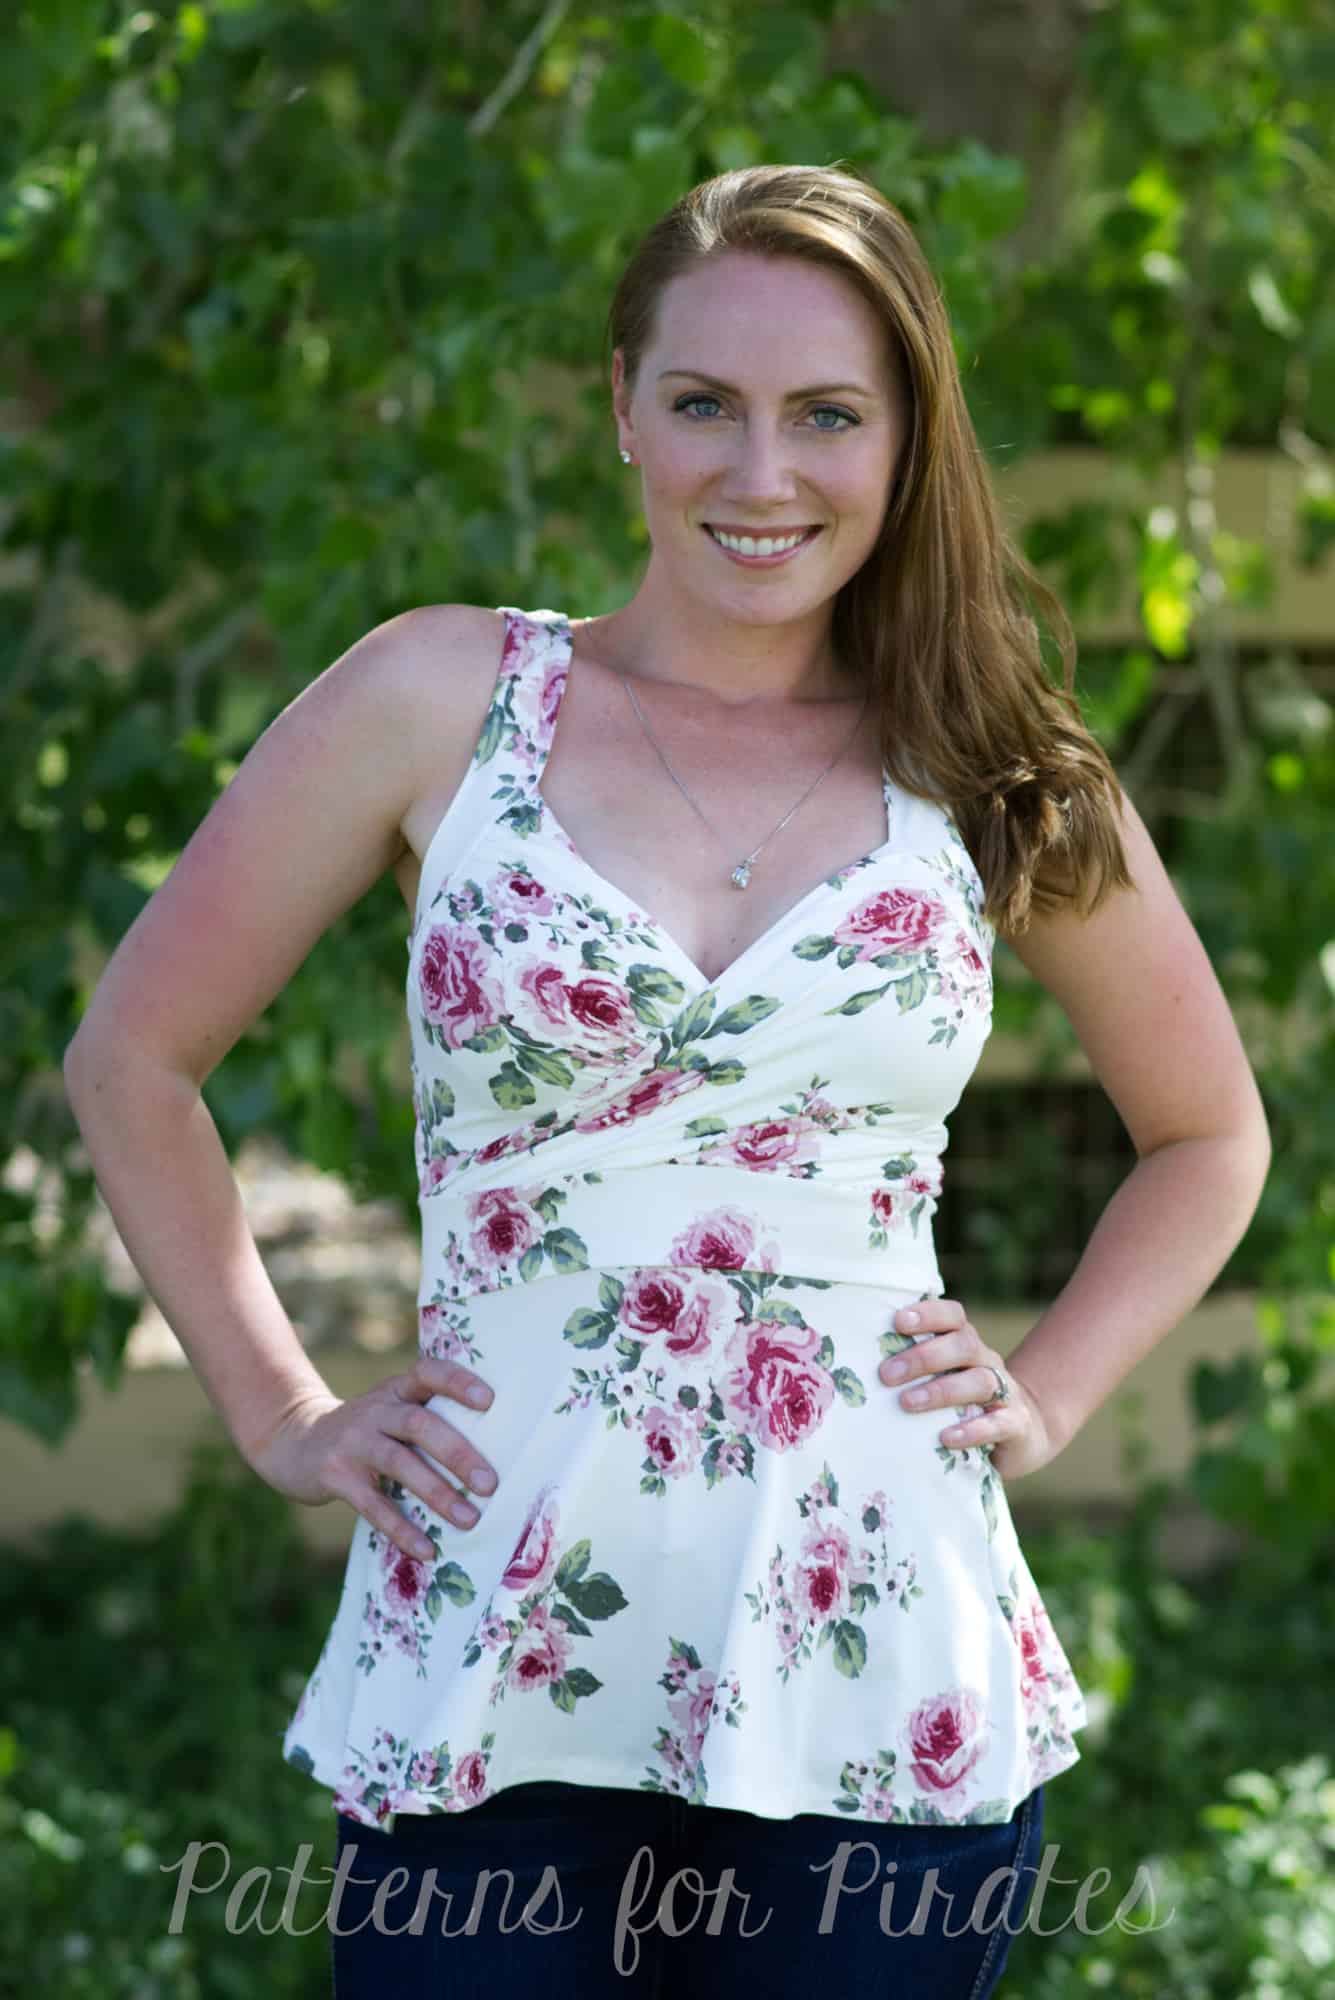
Gala – Sweetheart mash up
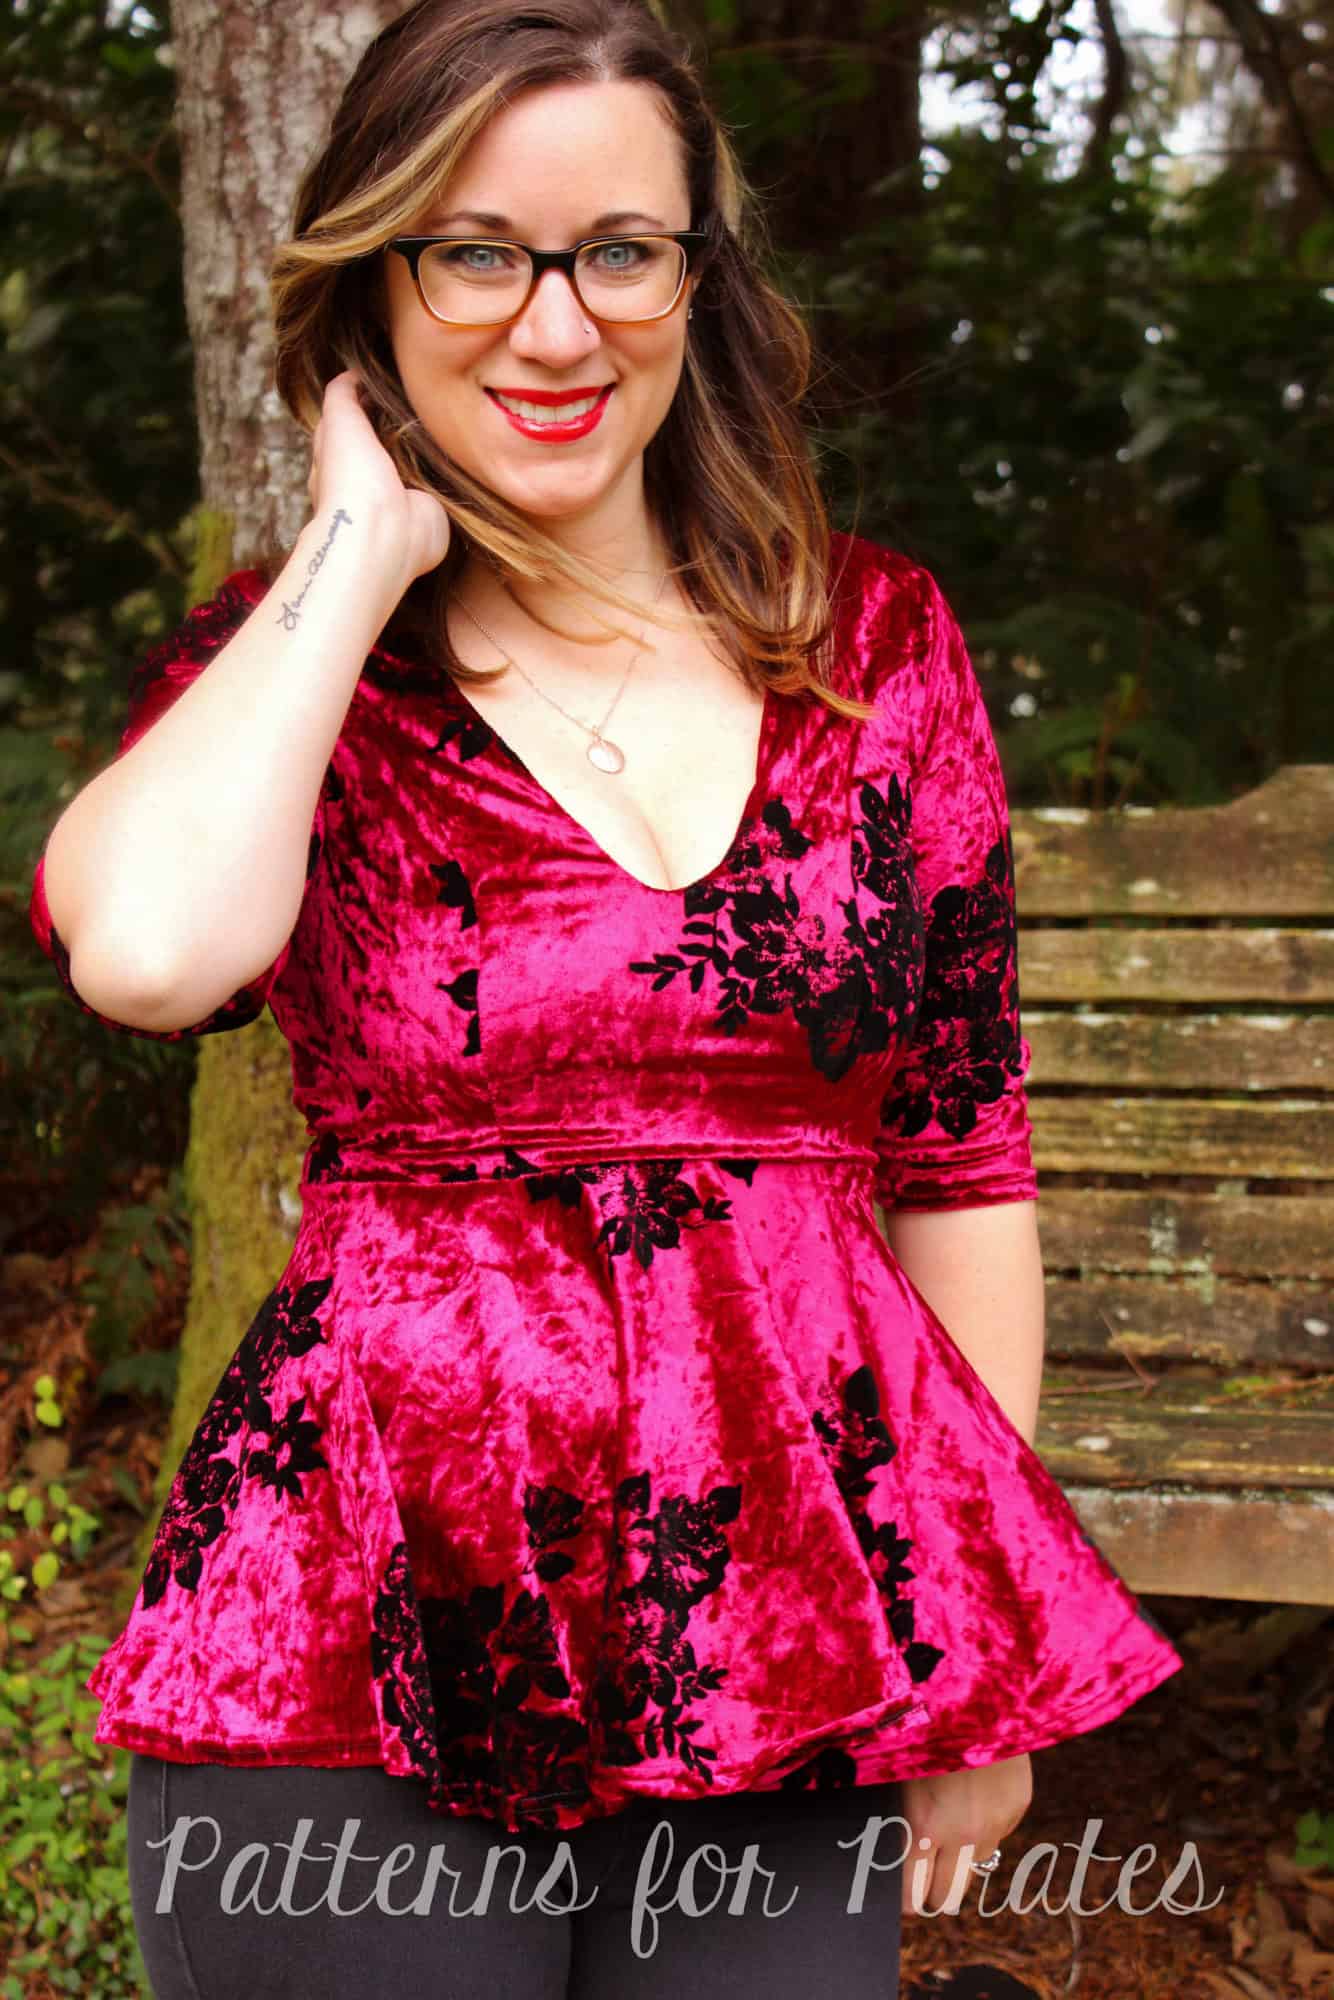
There’s no denying that the Gala Gown has all of the drama and beauty needed for all of those amazing times in our life. However, it can also be transformed into a fun little top with very little effort! I used the bodice of the Gala Gown for this look, however I paired it with the peplum skirt option from the Sweetheart Dress.
To create this look, cut and assemble your bodice from the Gala Gown as directed in the tutorial. You will then want to use the peplum skirt option from the Sweetheart Dress. Mark the quarter points on both the bodice and the skirt. Slip the skirt over the bodice, right sides together, and match quarter points. Attach using a ½” SA. Finish your peplum by hemming and you’re all done!
~ Erinn
…..
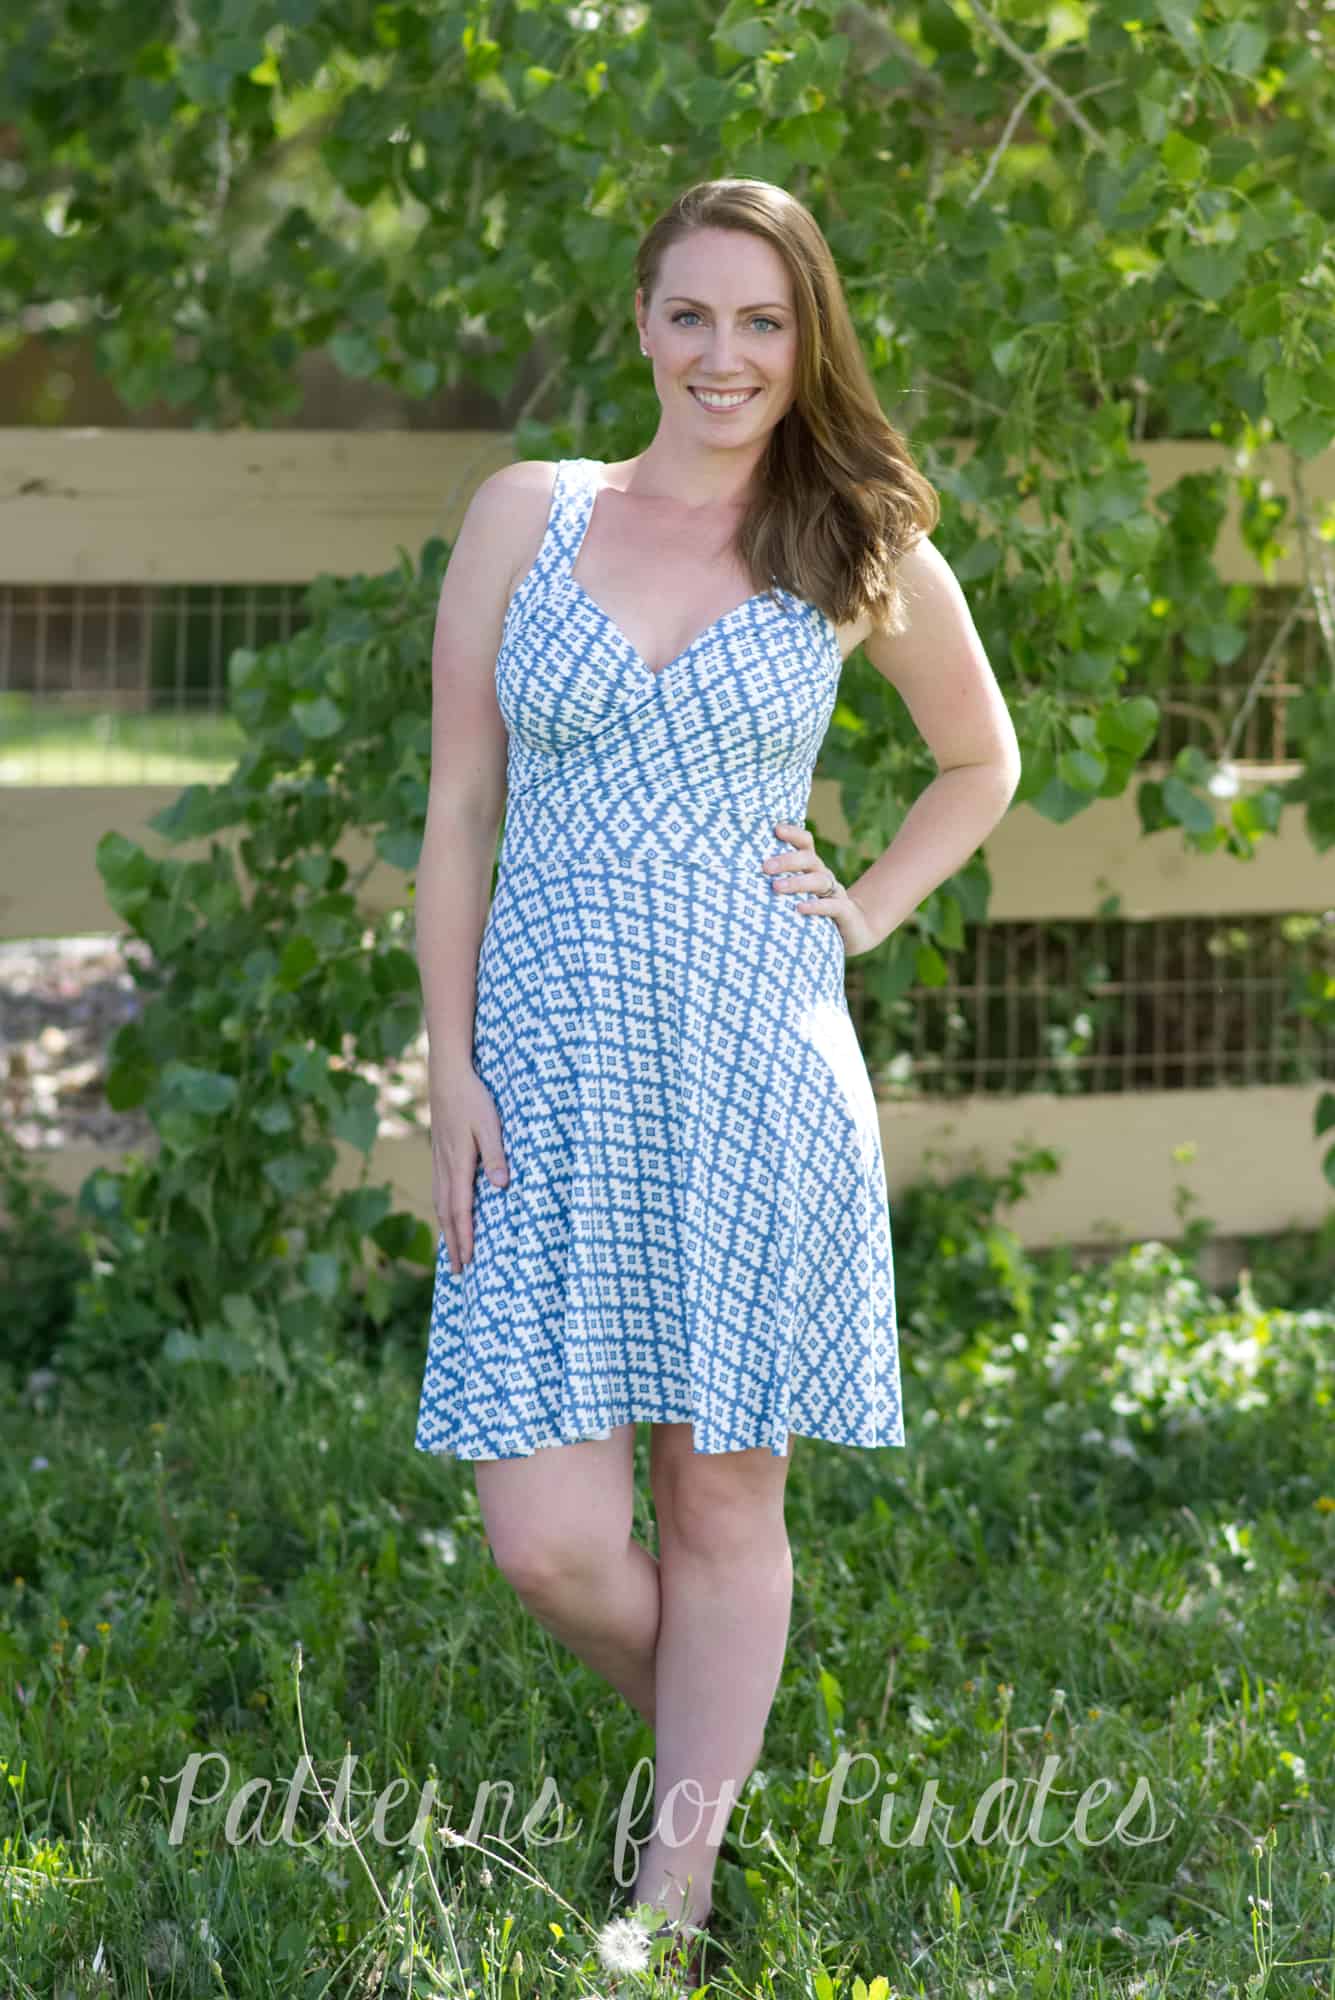
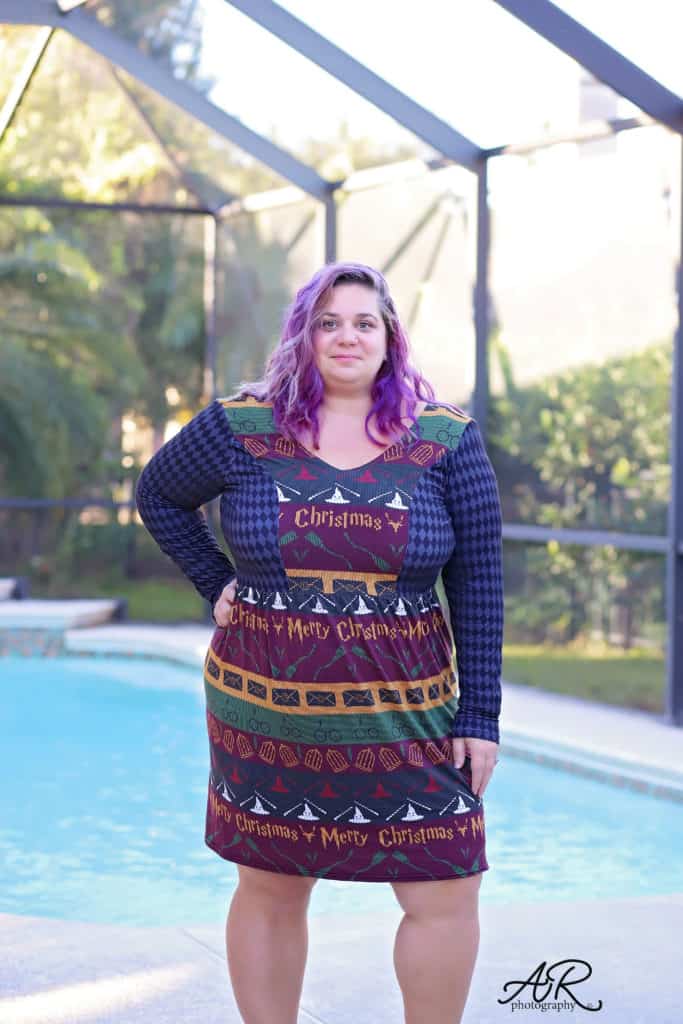
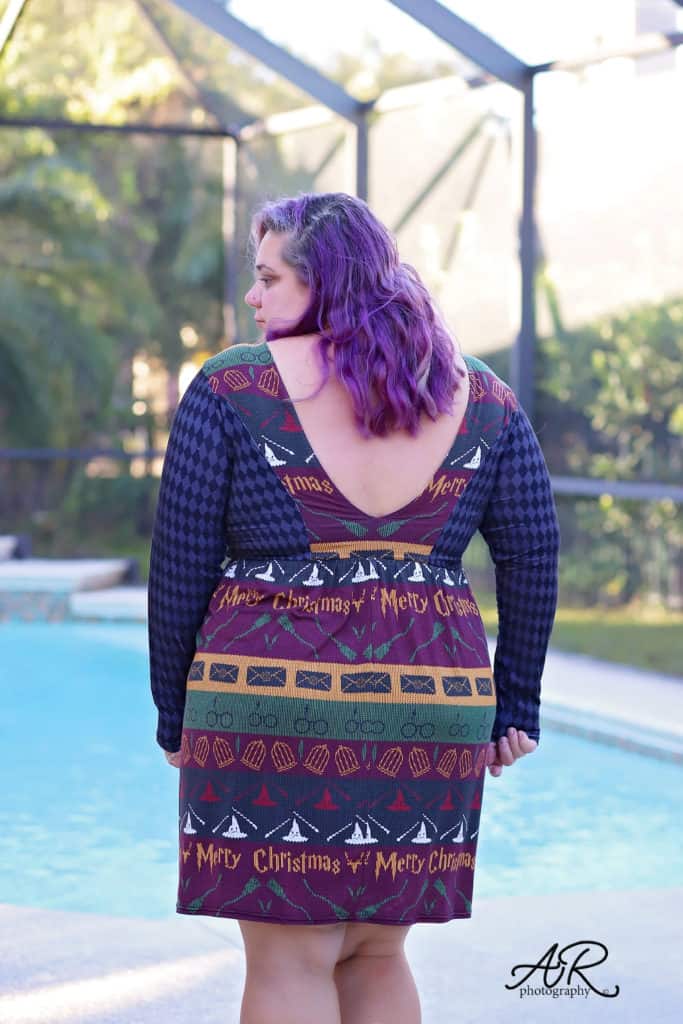
Gala – Pencil Skirt mash up
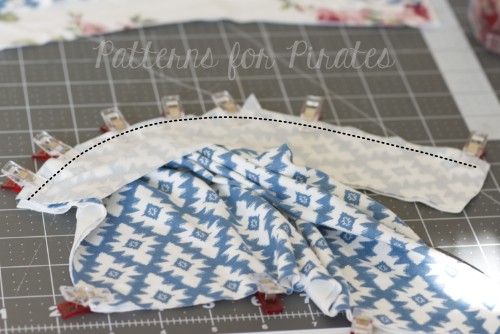
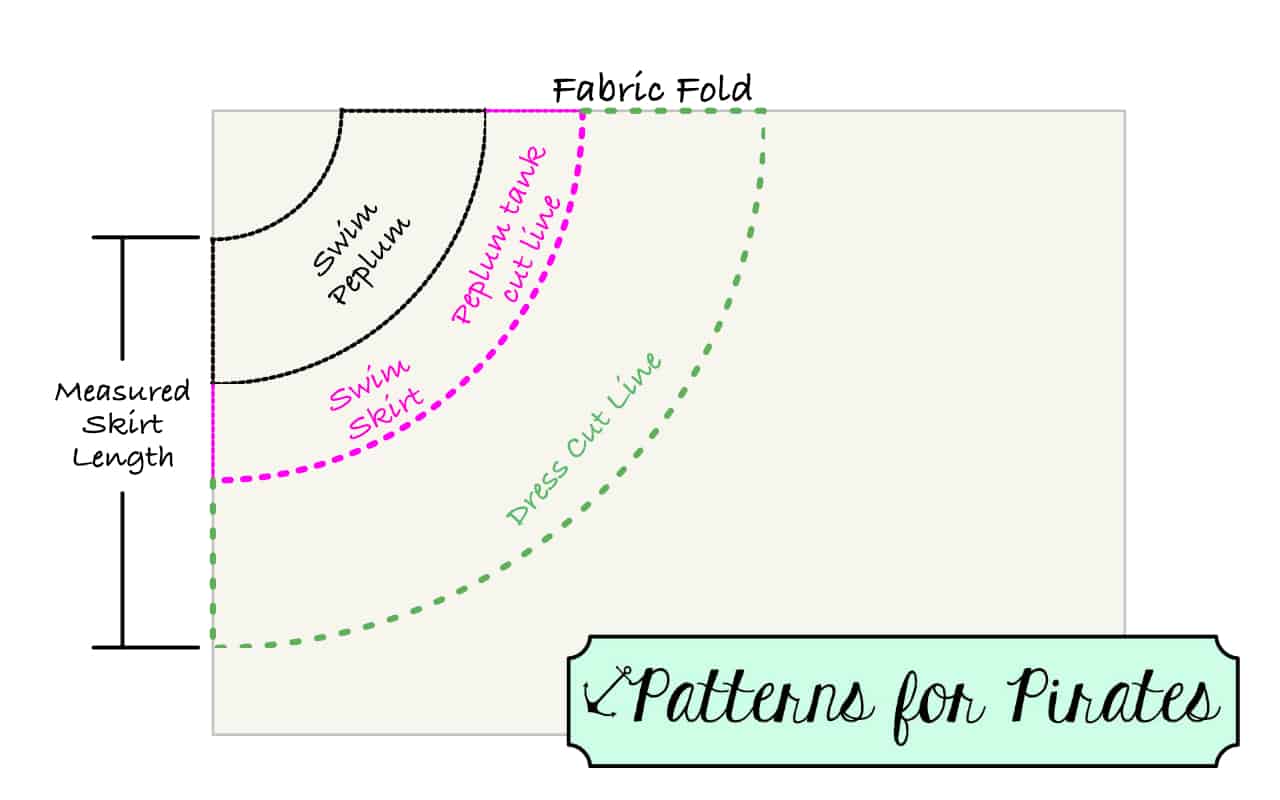
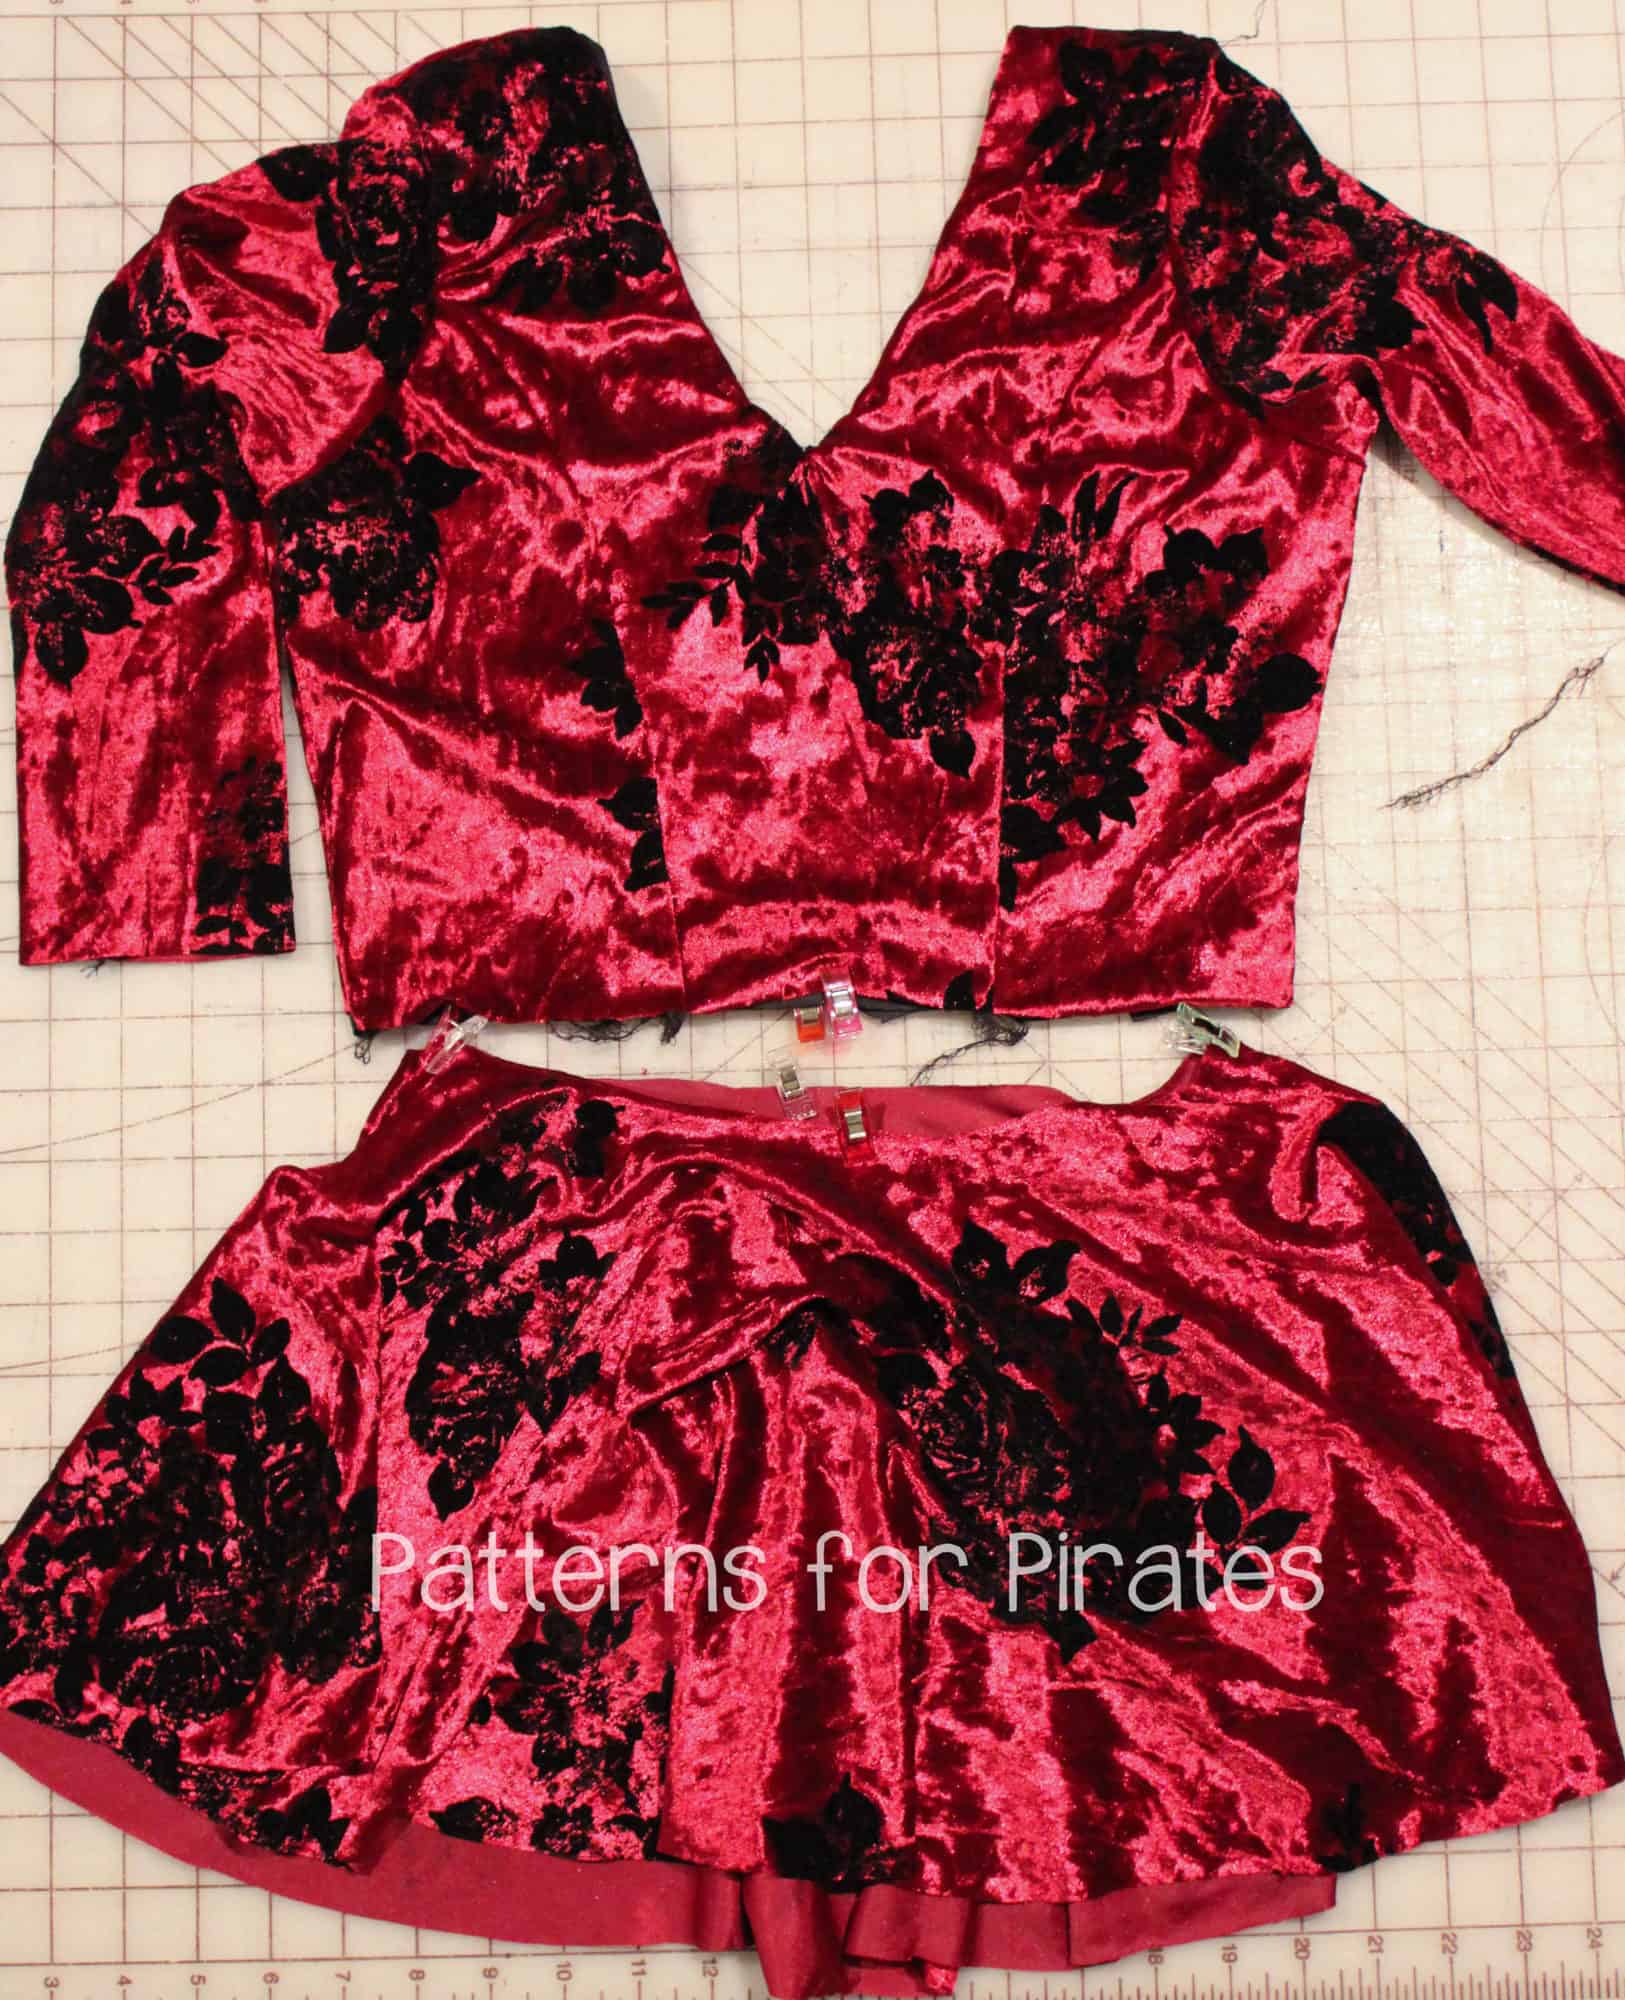
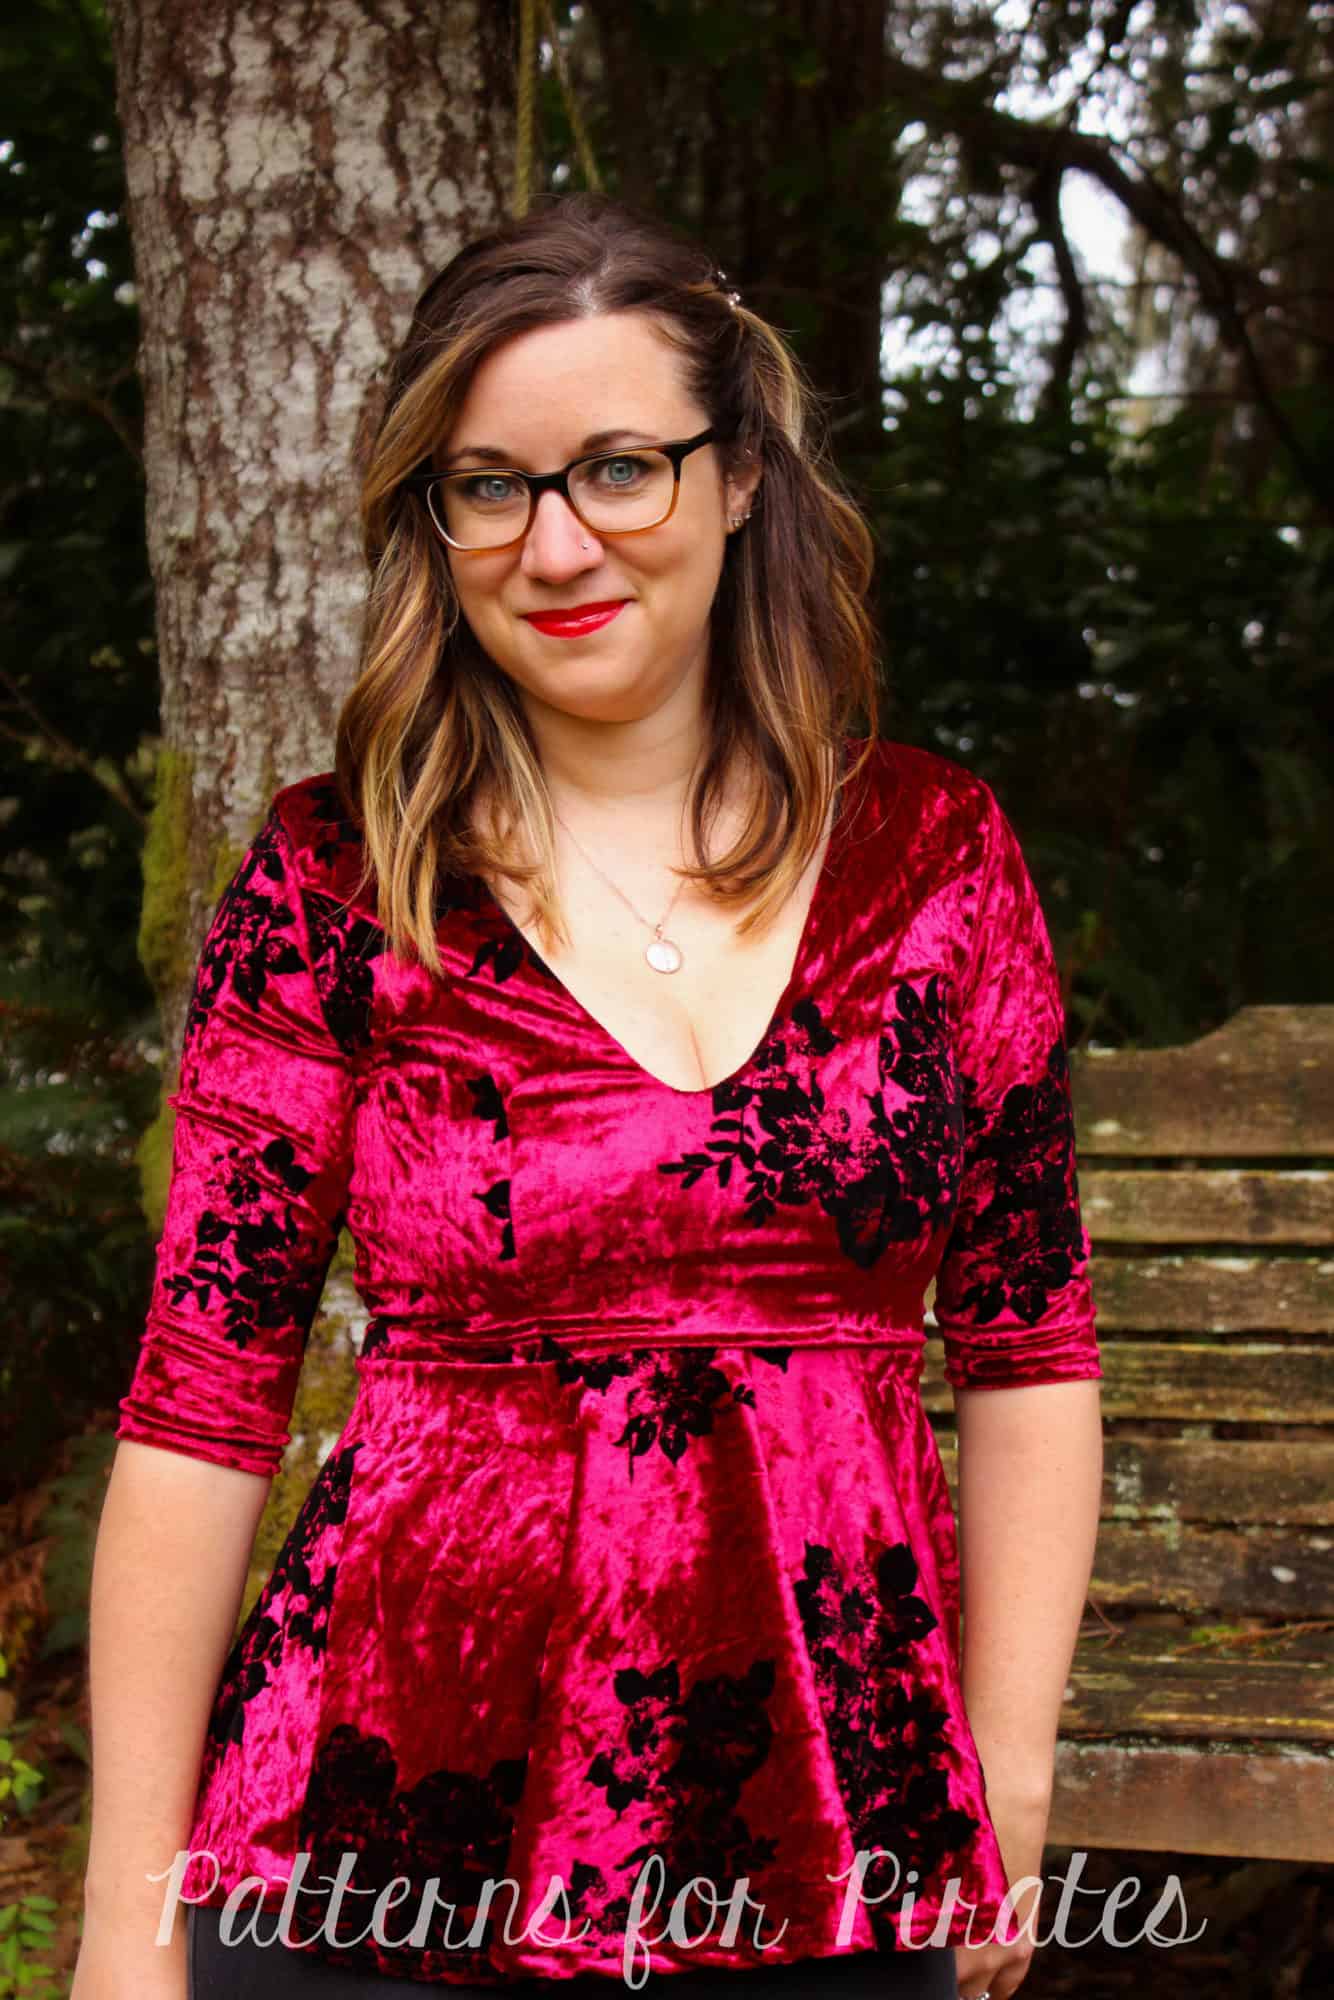
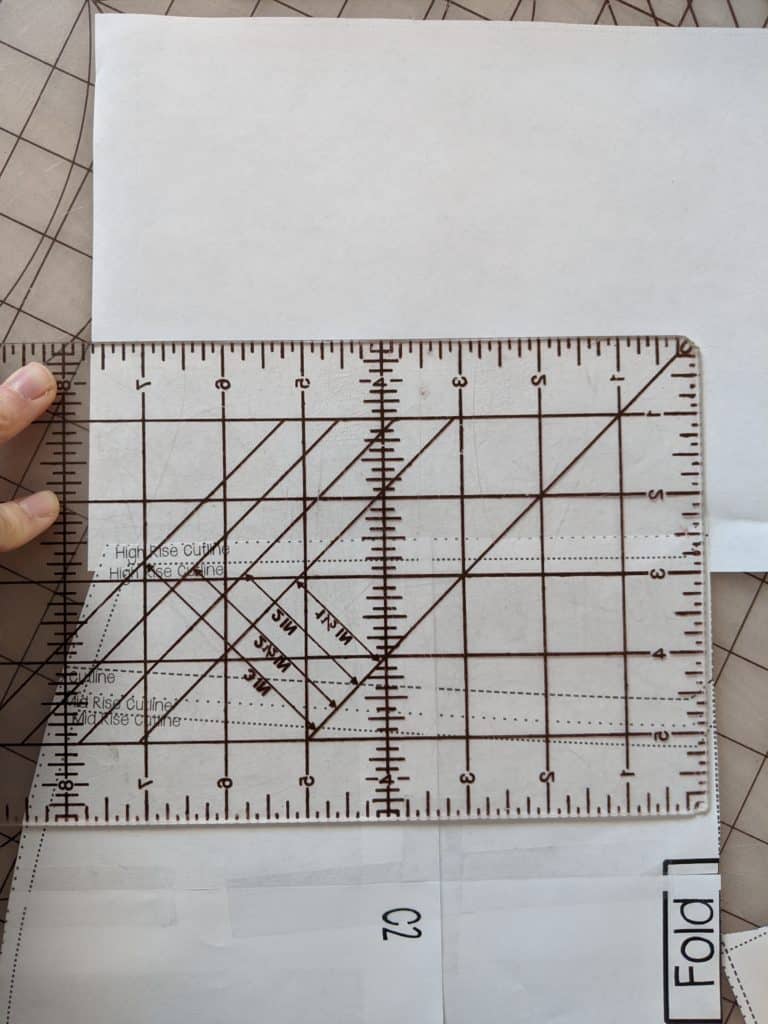
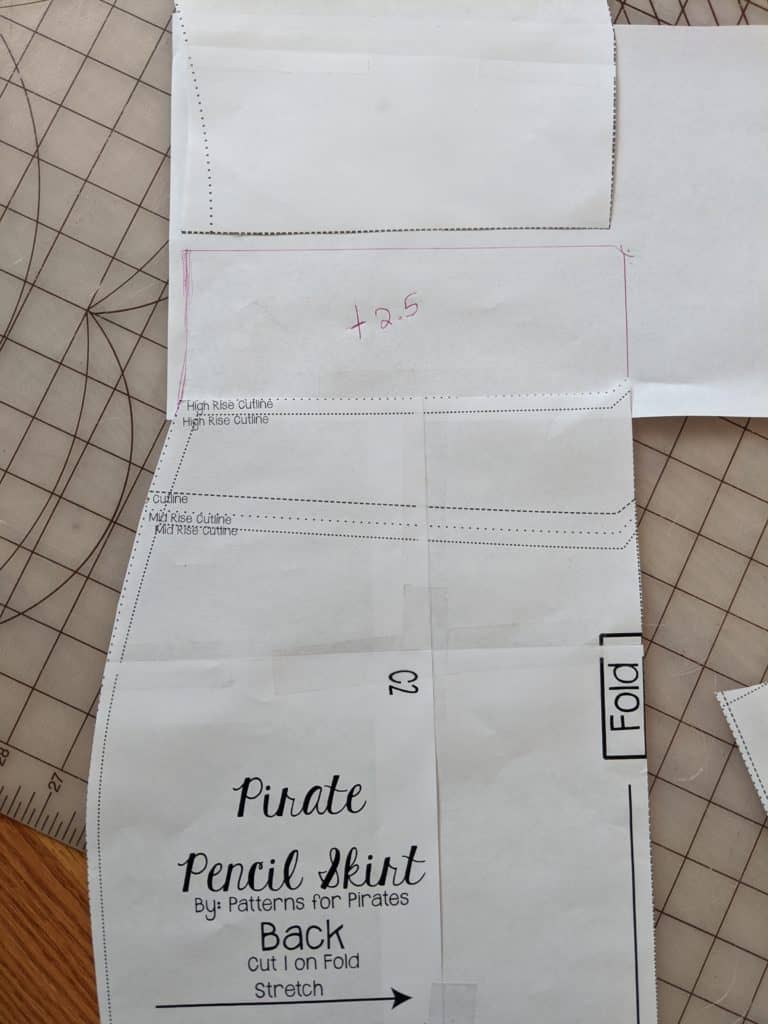
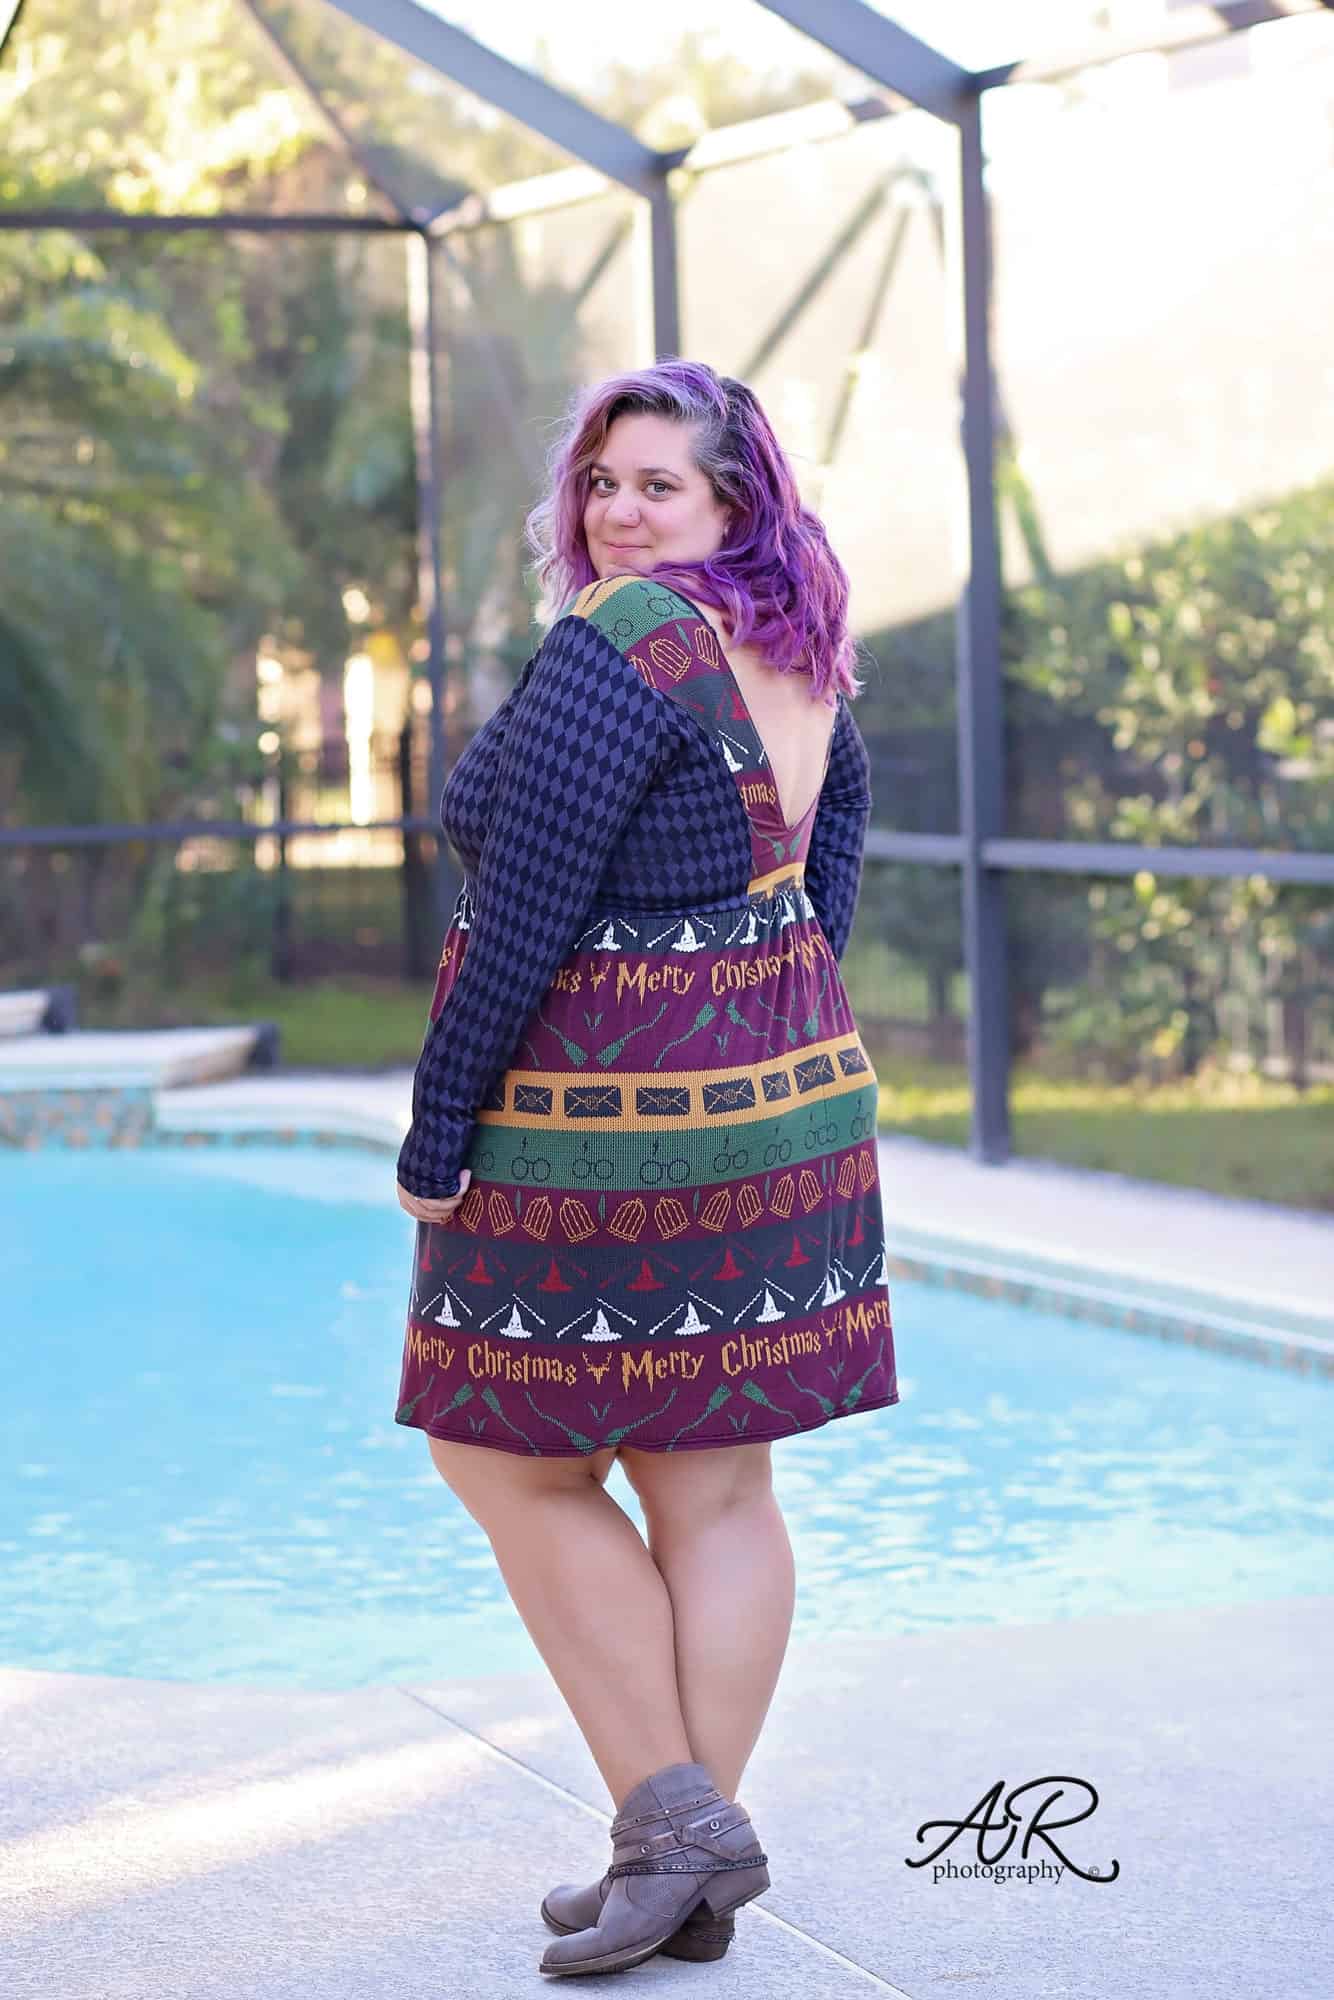
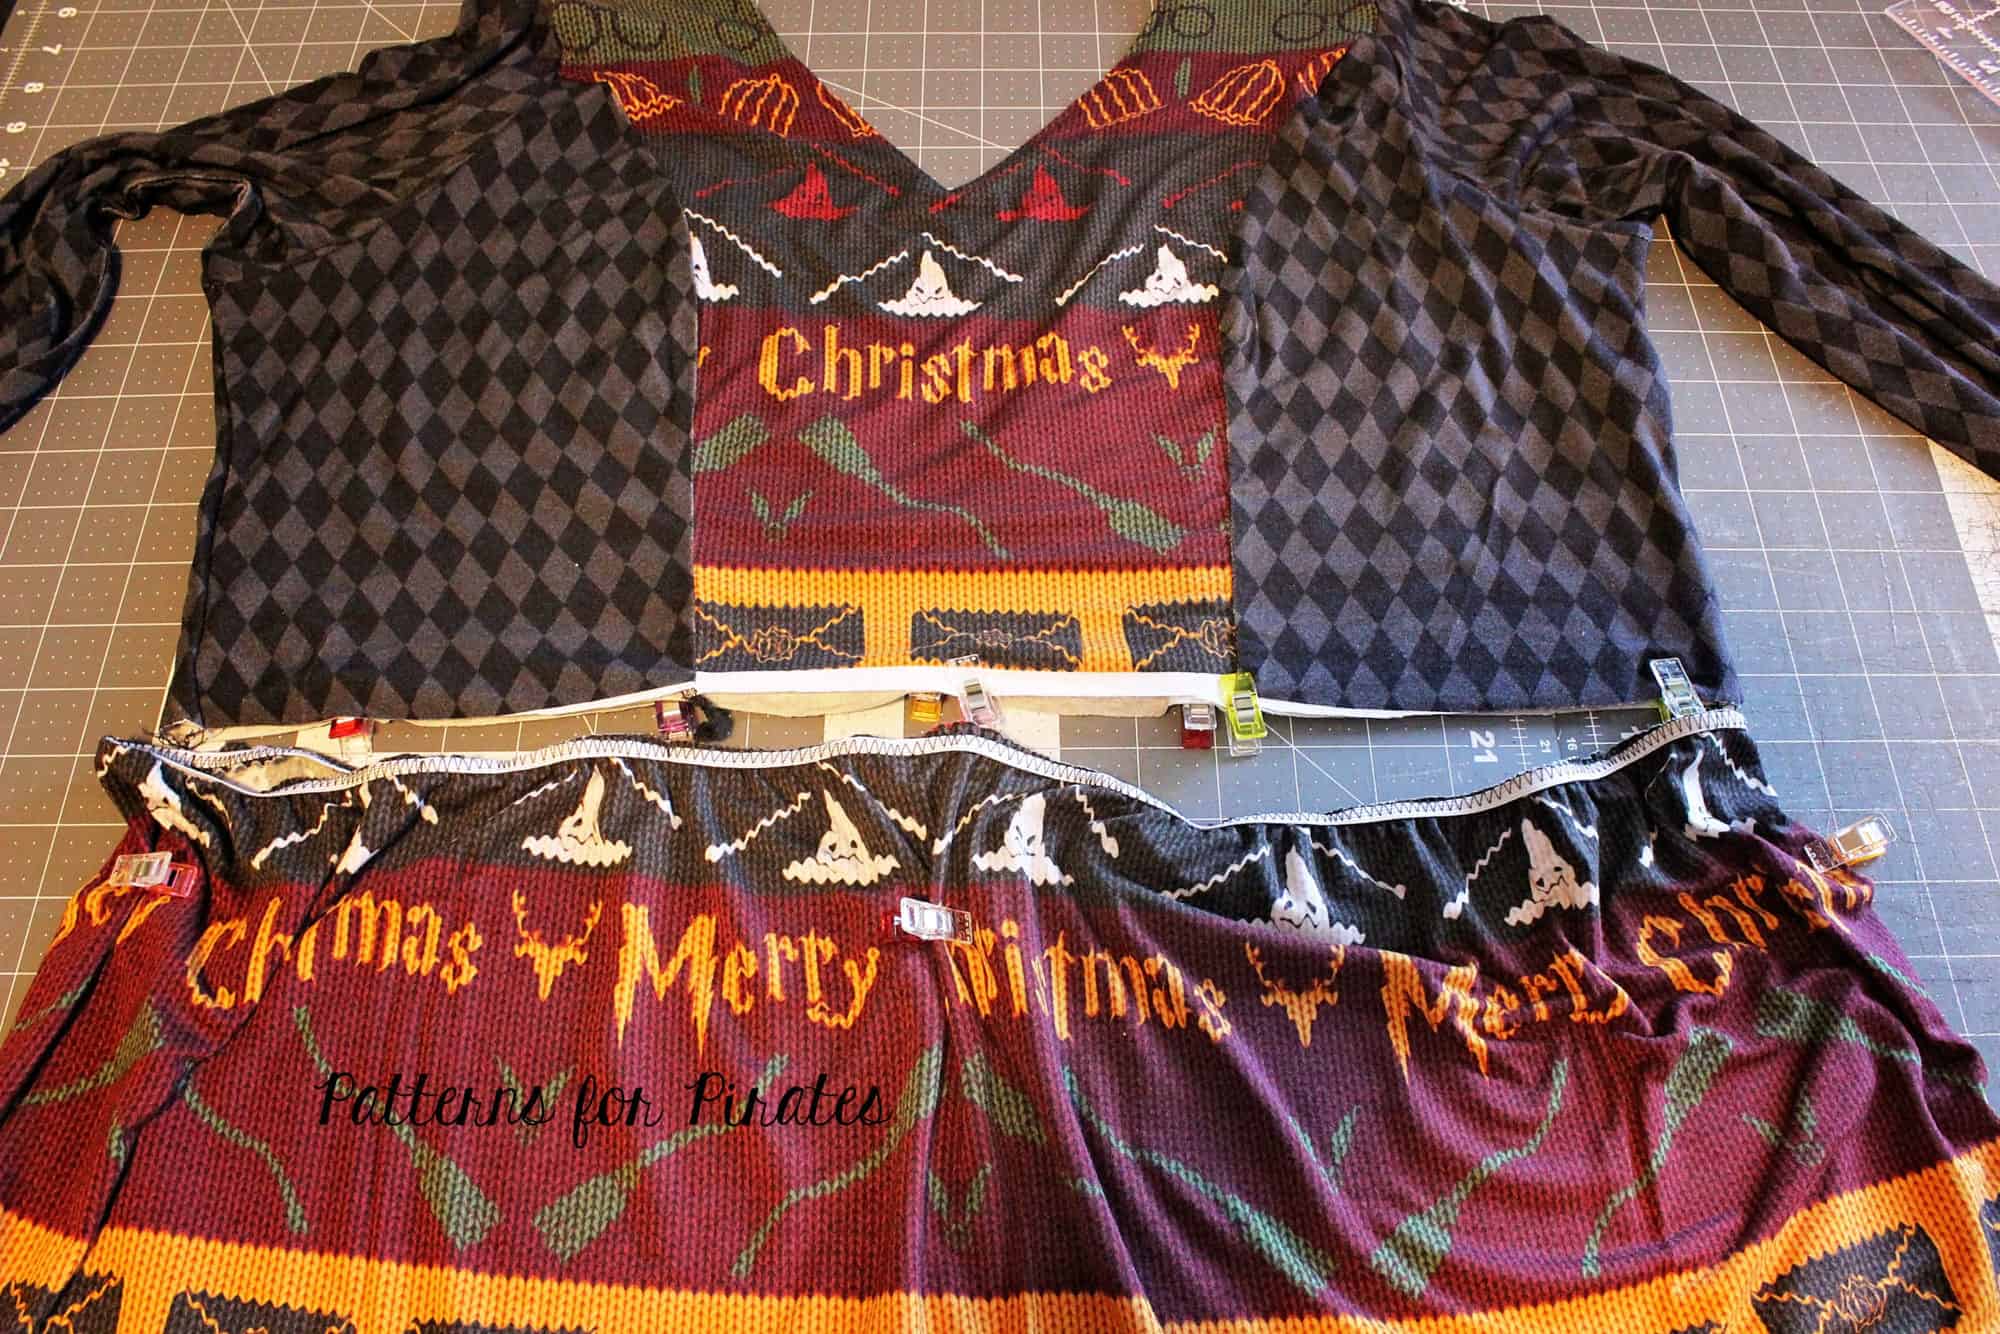
Loving the new Gala top but looking for something a little more form-fitted through the hips? I’m going to take you through a super quick and easy mash with the Freebie Pirate Pencil Skirt that’ll give you a totally different look. Go ahead and grab your Gala Bodice Lining and your Pencil Skirt Pattern (high rise height) pieces. You’ll want to make sure the bodice bottom is close to the same width as your pencil skirt top for mashing (based on your sizing it should be). You may have to grade your pencil skirt pieces slightly to match the Gala Bodice. I did this through the added waistband height.
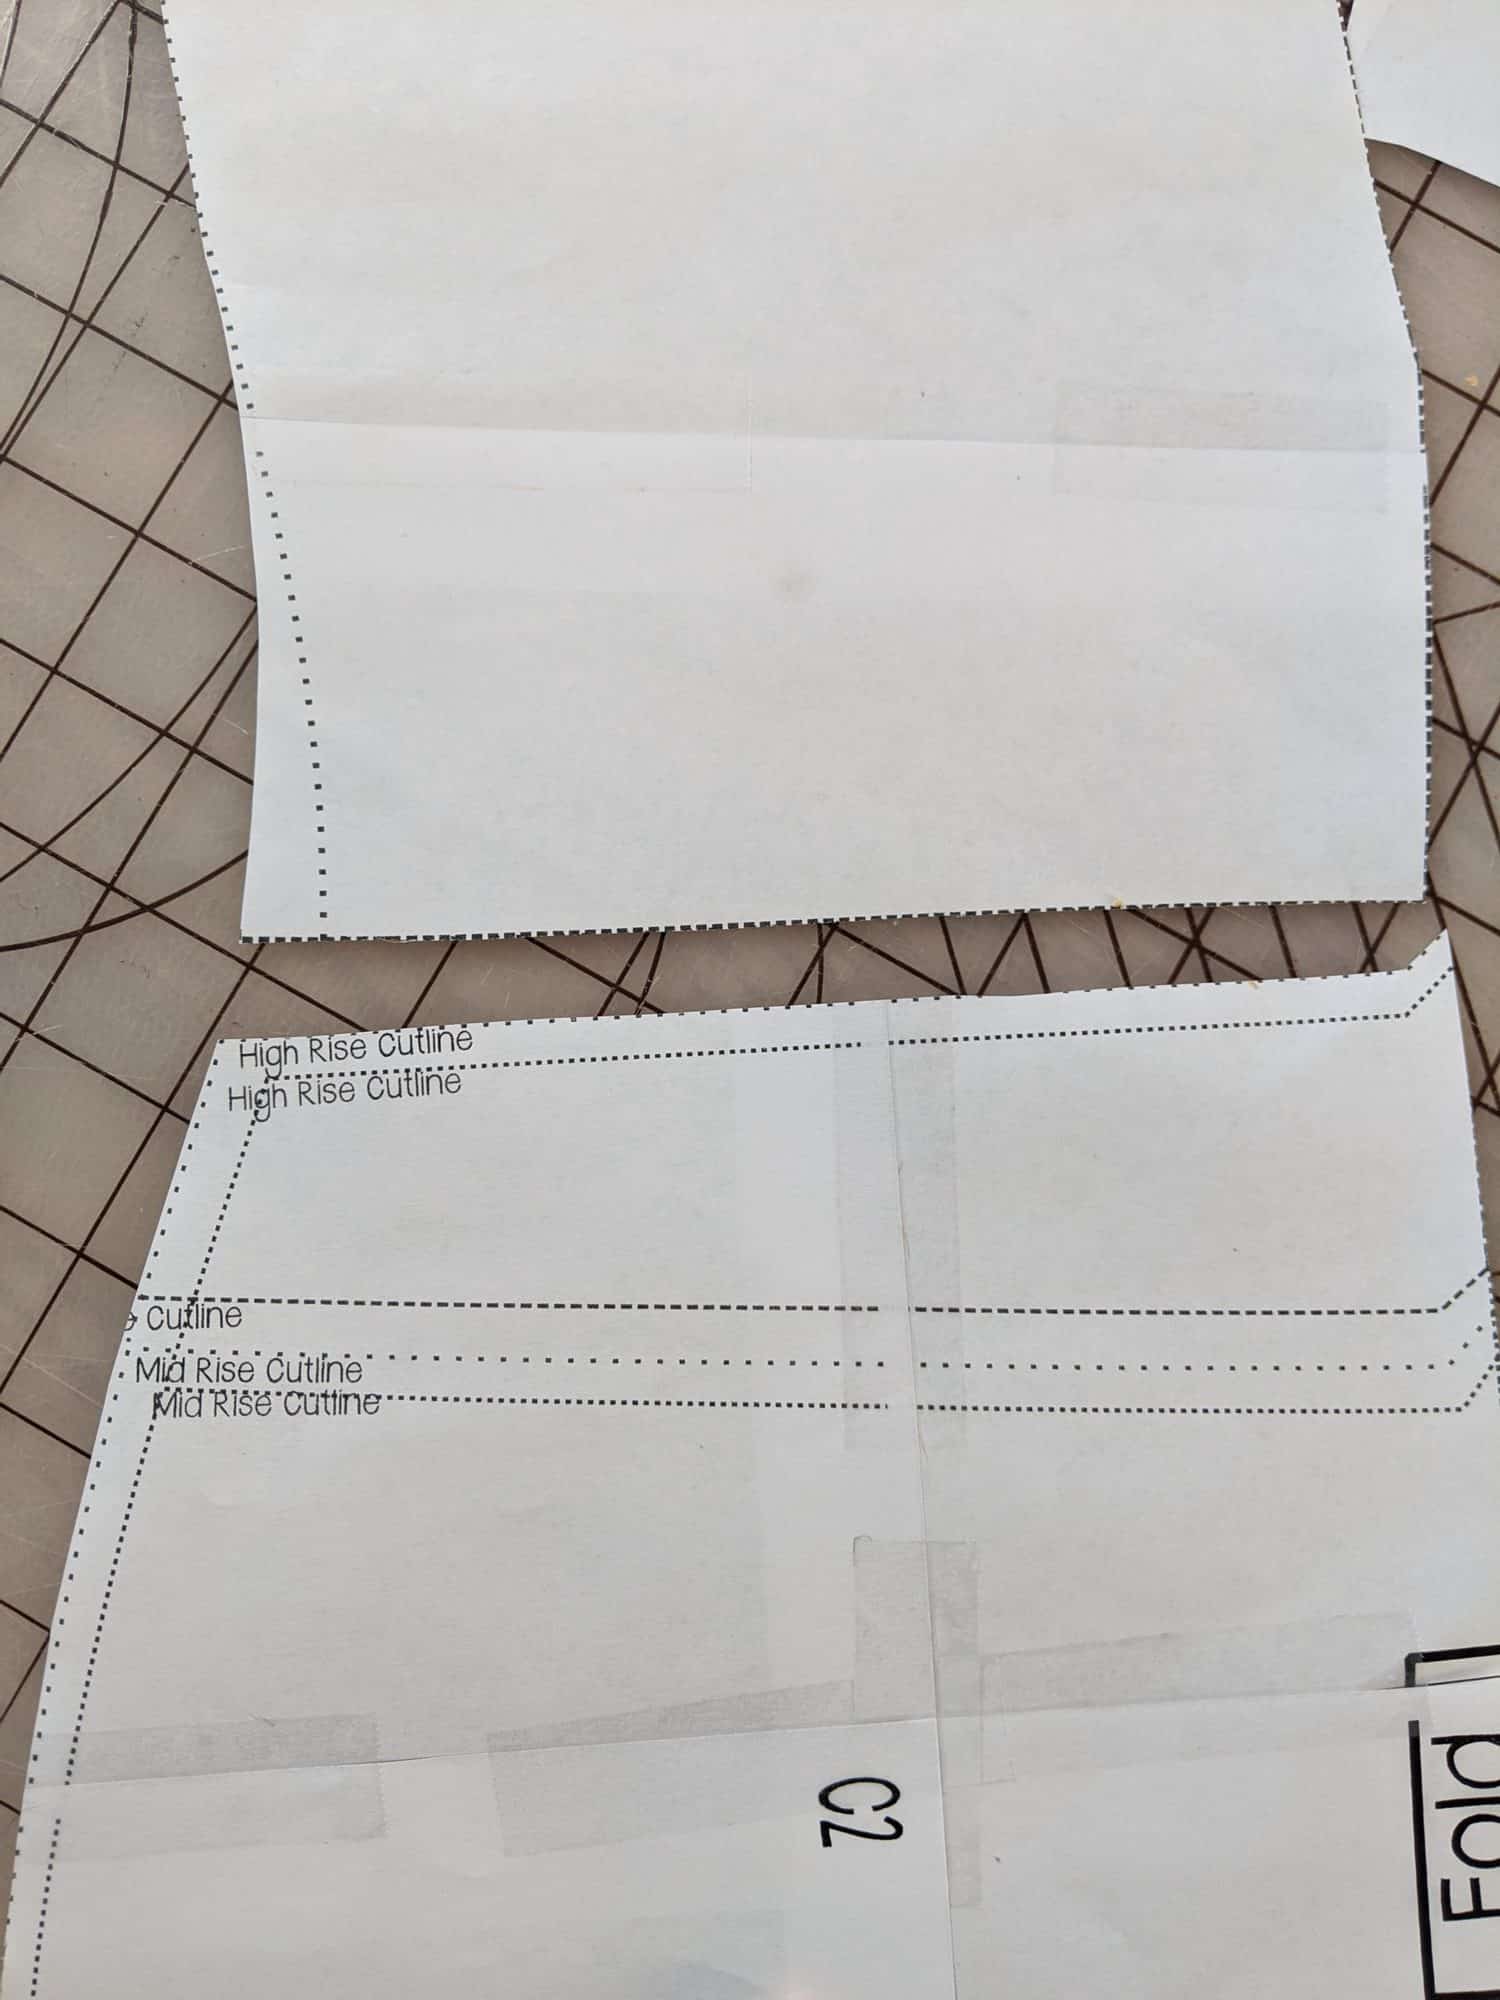
Next, you’ll need need to add the Pencil Skirt band height to your pencil skirt pattern. You’ll take the given band height and divide it by 2 and then add that to the top of your pattern pieces. For example- the band height on mine called for 5 inches so I added 2.5 to my pattern piece ( since the band is folded in half for the actual skirt height). This is what you’ll cut for the bottom of your dress.
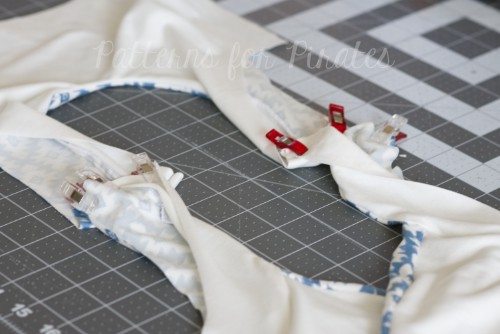
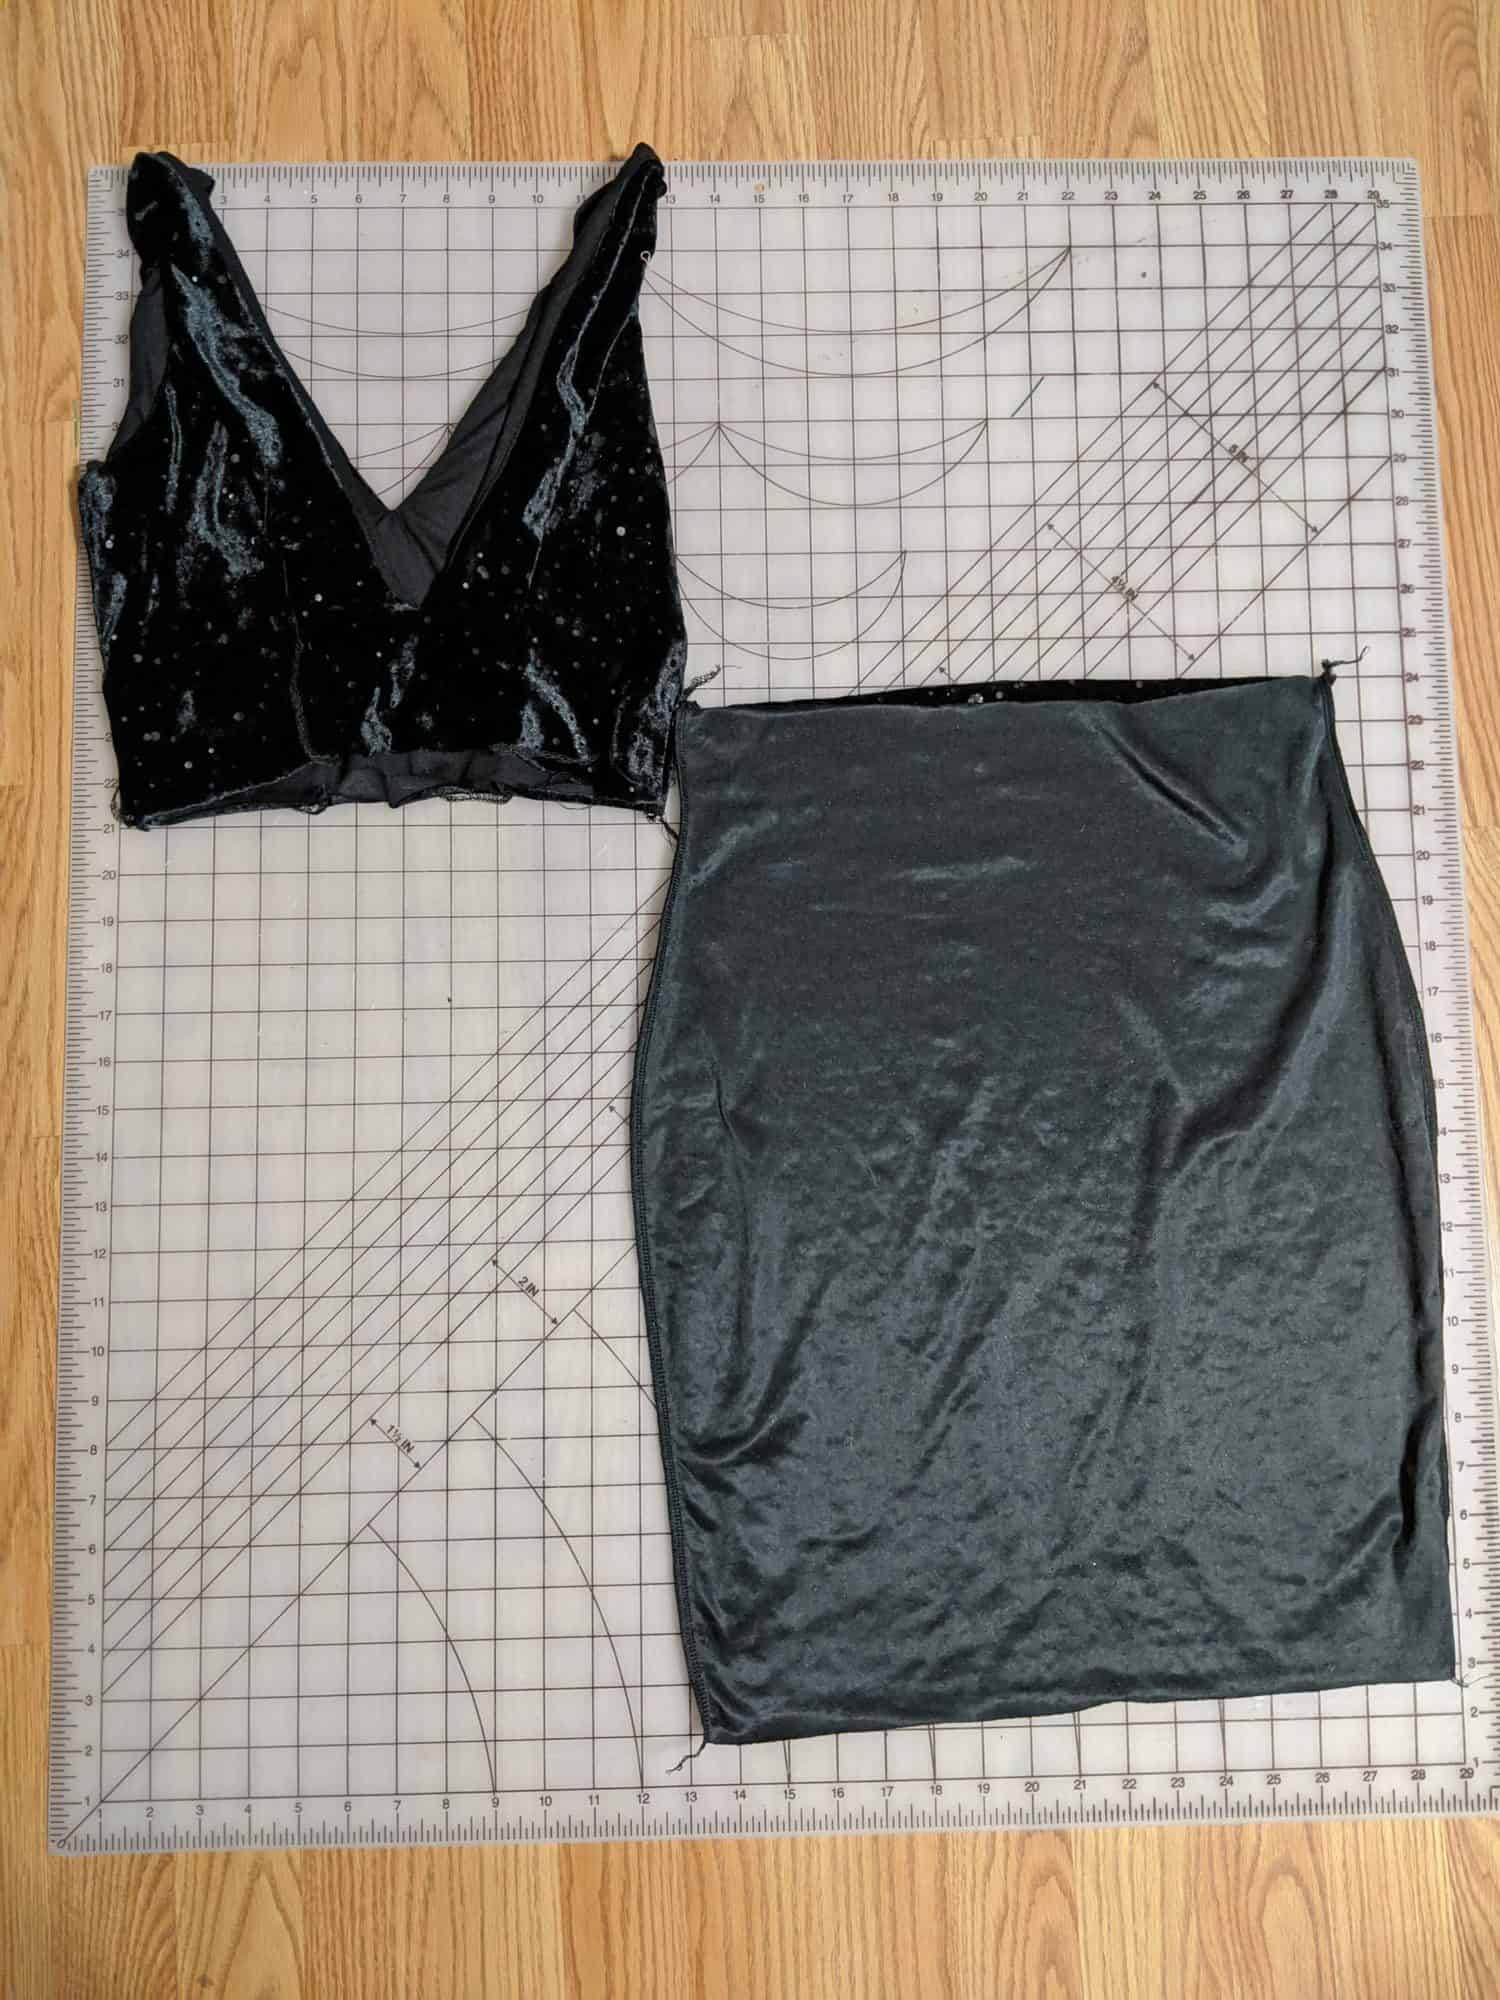
Now, sew your bodice as directed in the pattern and the side seams of your pencil skirt. You’ll end up with two separate pieces that look like the photo below.
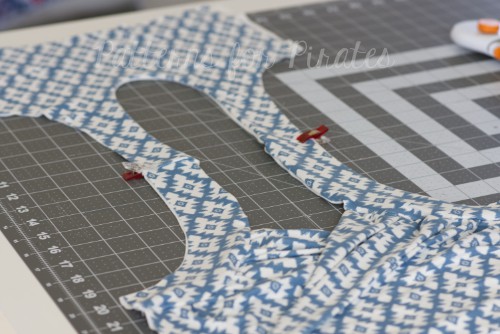
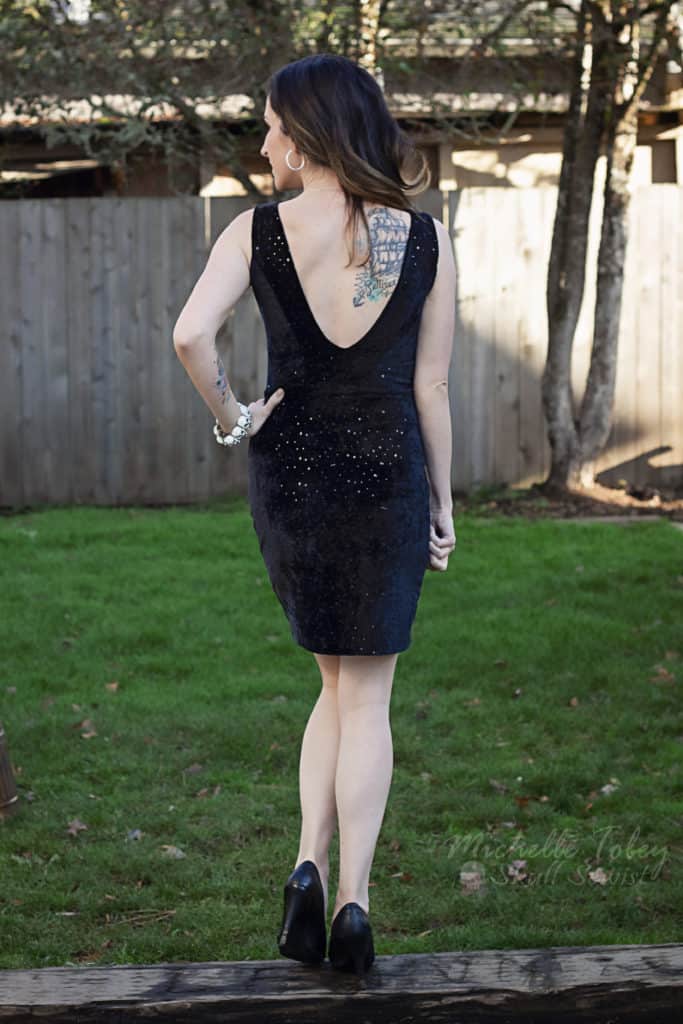
Finish your dress by sewing your bodice to your skirt piece just like you would if you were sewing the standard Gala skirt and you’re done! Totally new look- perfect for New Years’ Eve fun!

Happy Sewing and Cheers,
Michelle
…..
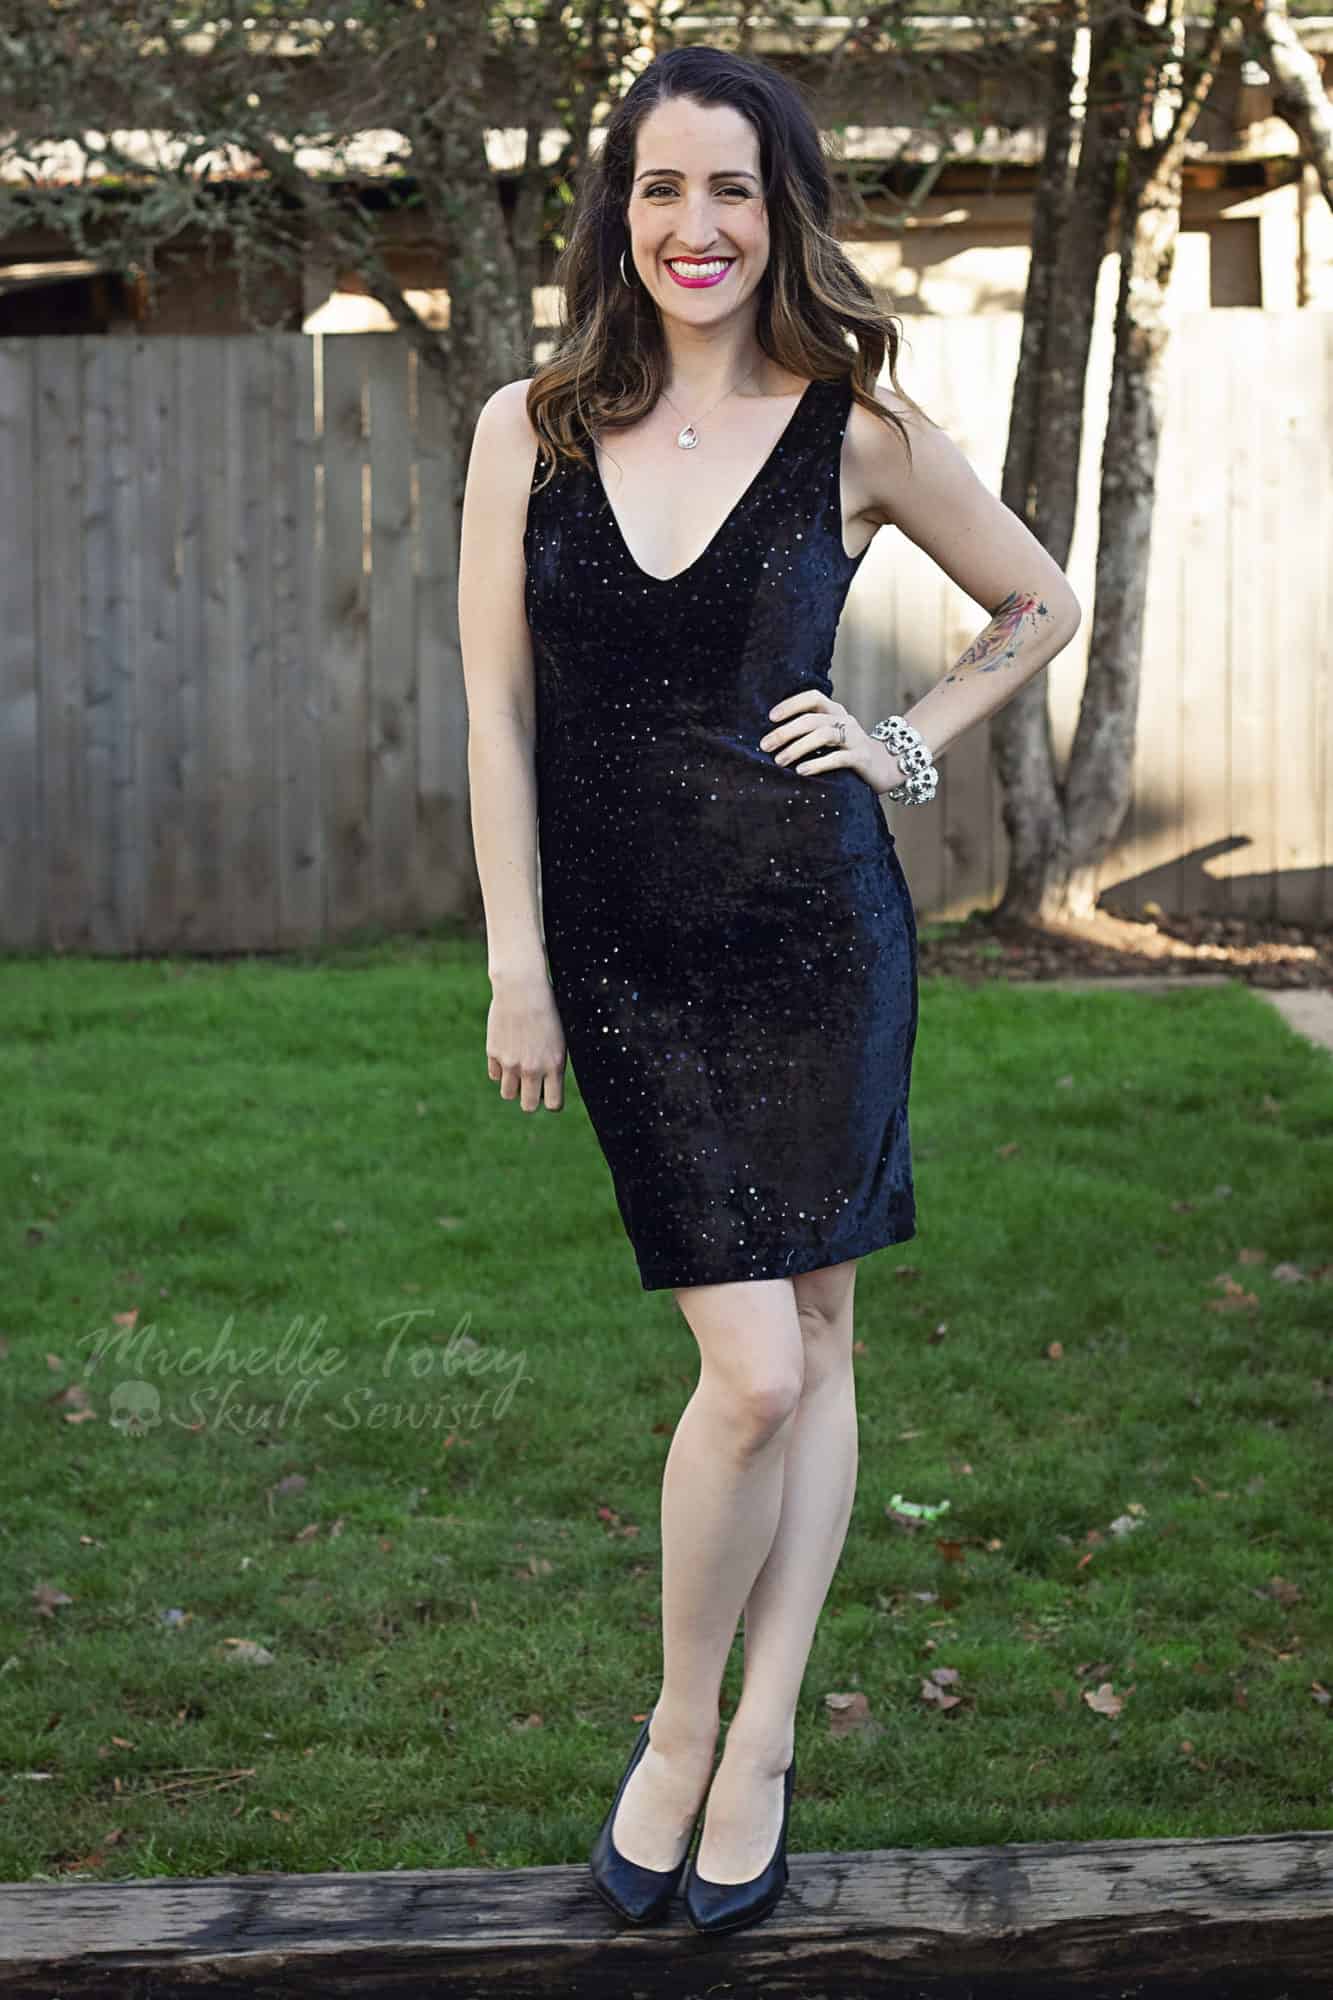
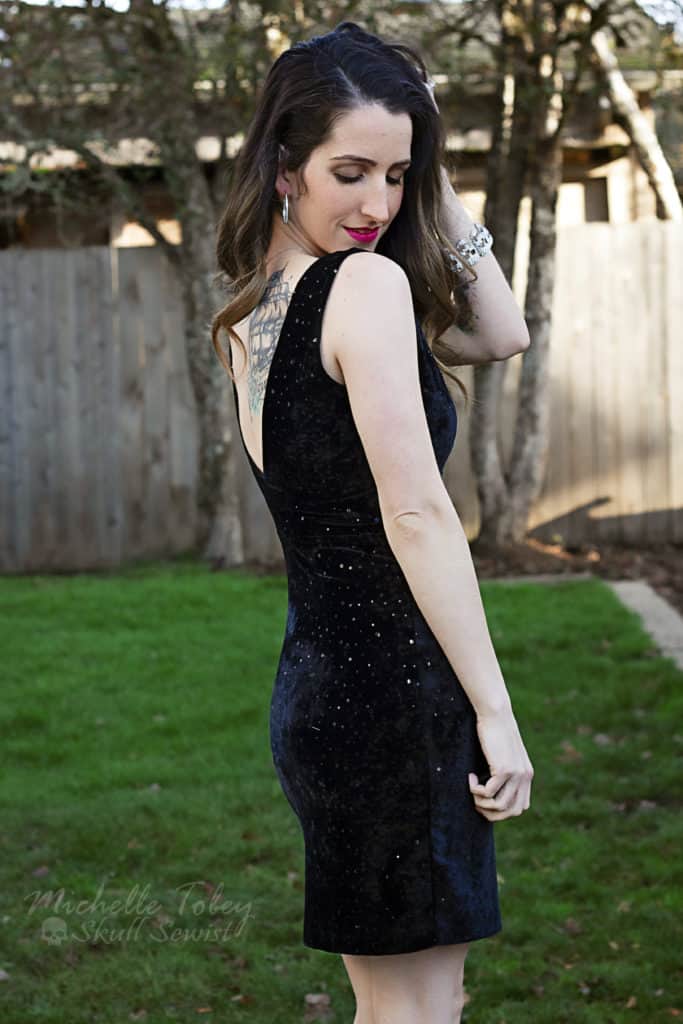
Gala – Boundless mash up
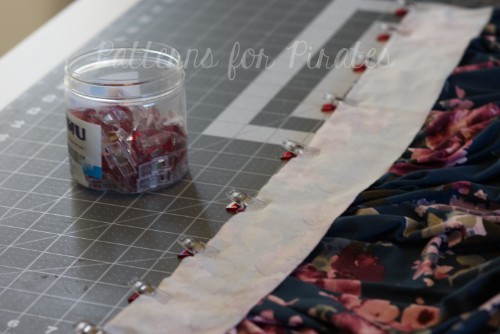
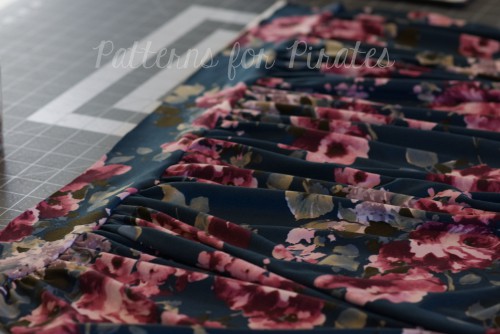
It’s no secret that the Boundless dress is one of my favorite P4P dresses so it was only natural that I would mash the Gala Gown bodice with the Boundless skirt. This is a super easy hack.
All you have to do is cut the Gala Gown bodice and sleeves and the Boundless skirt. I used bamboo knit for my whole dress but if you used stable knits for the top, I encourage you to use fabric with great drape for the skirt.
Sew the top and the skirt as instructed in the patterns. You will be adding the skirt as in the Boundless tutorial, using elastic to stabilize the waist.
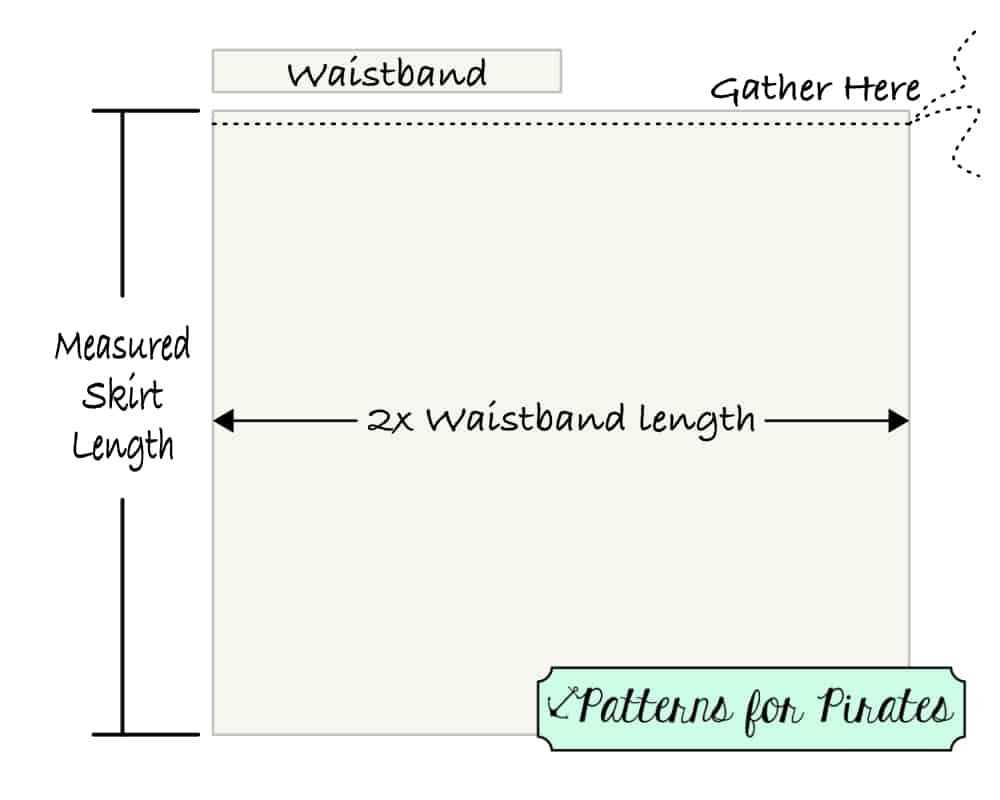
Hack: I used the width of the fabric and stitched the skirt in a loop. I marked the sides and front of my skirt and attached it to the bodice with the seam in the back.


…
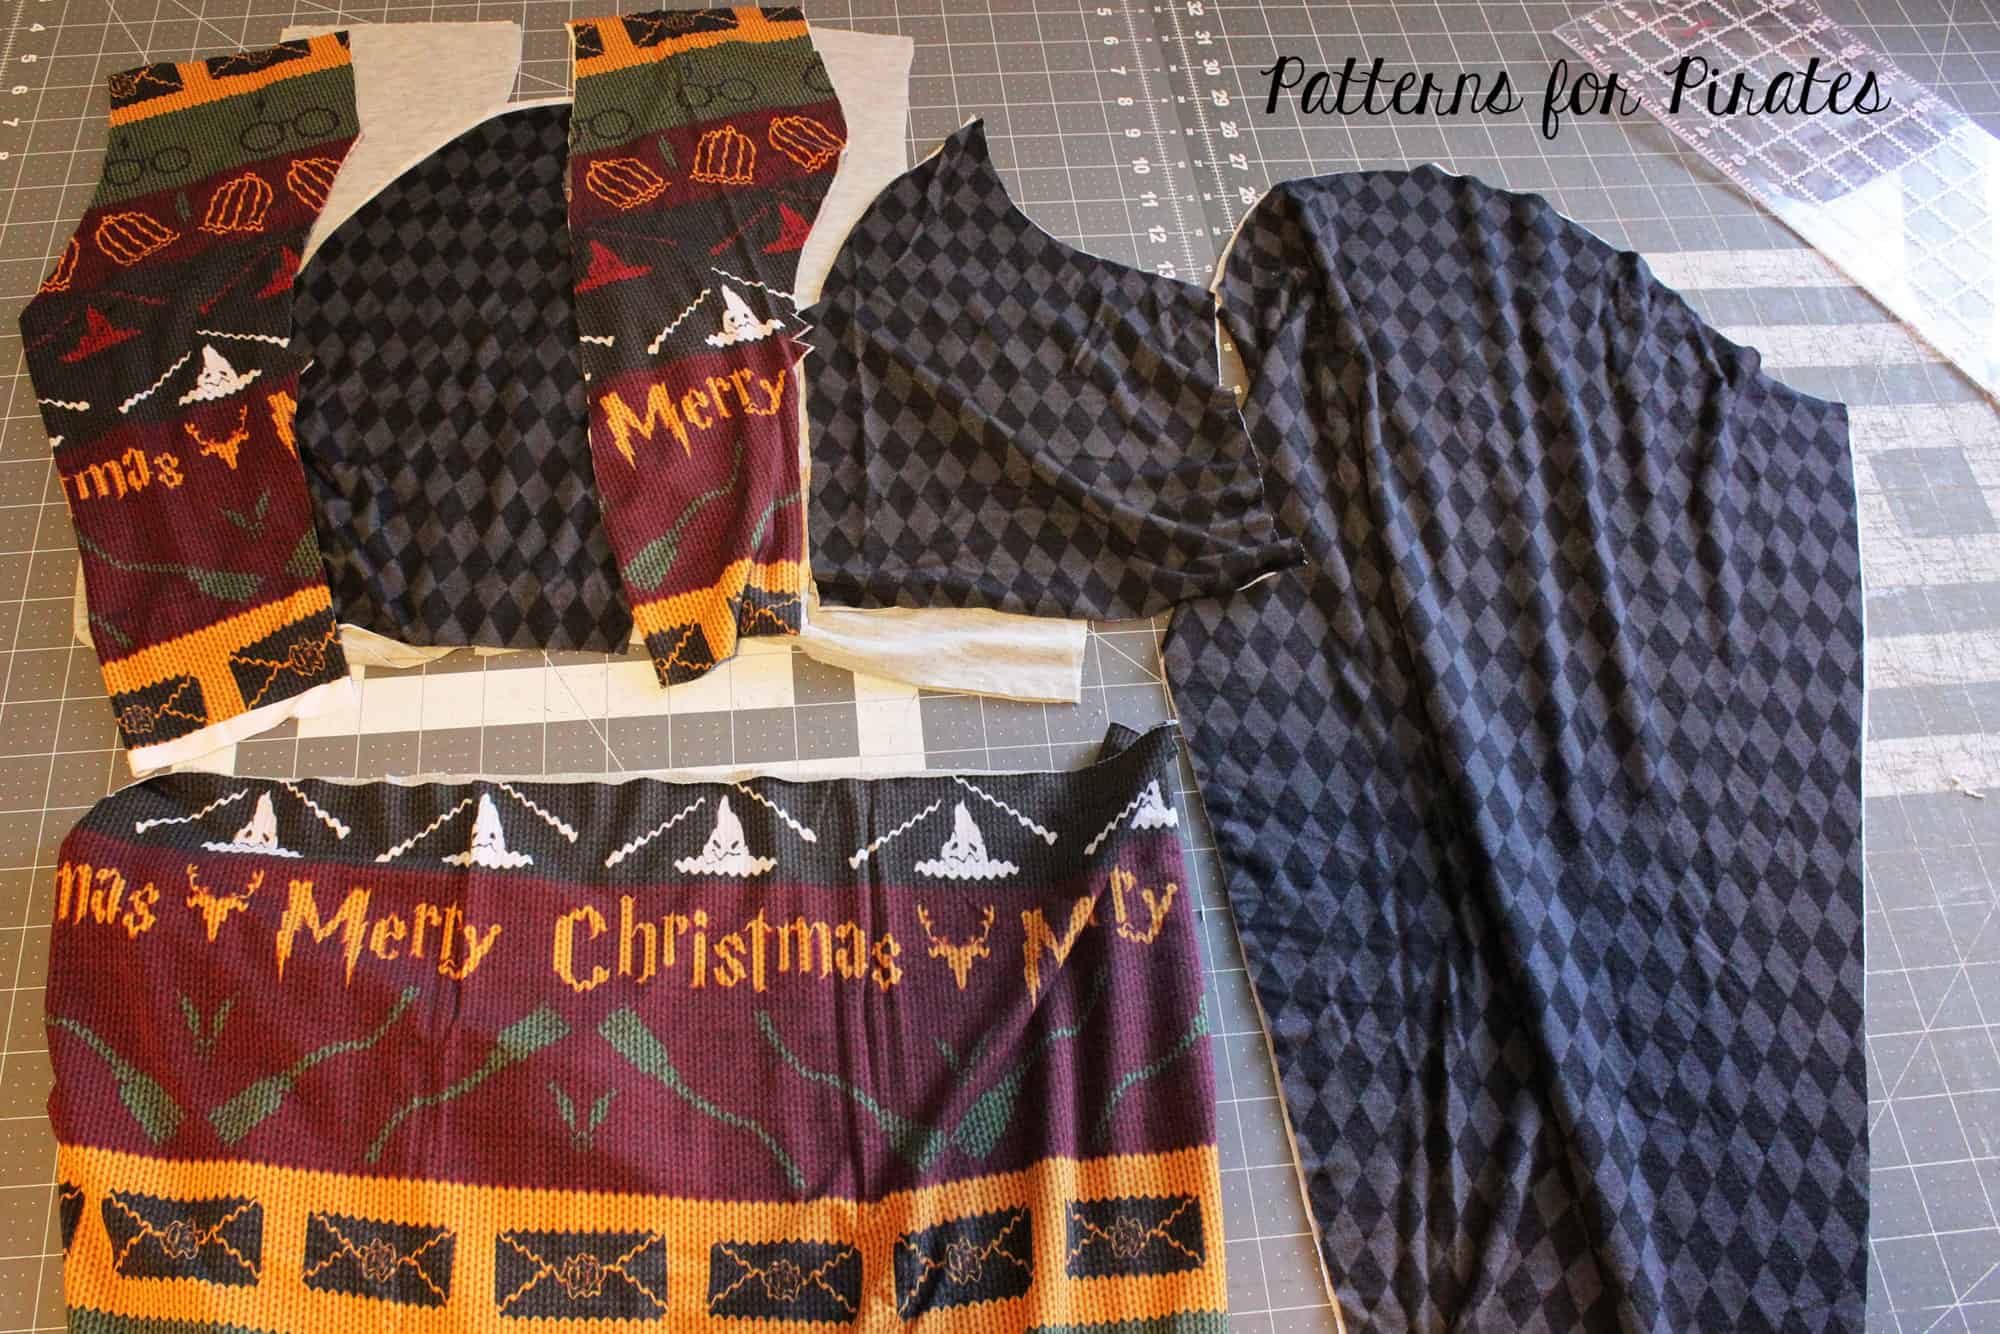
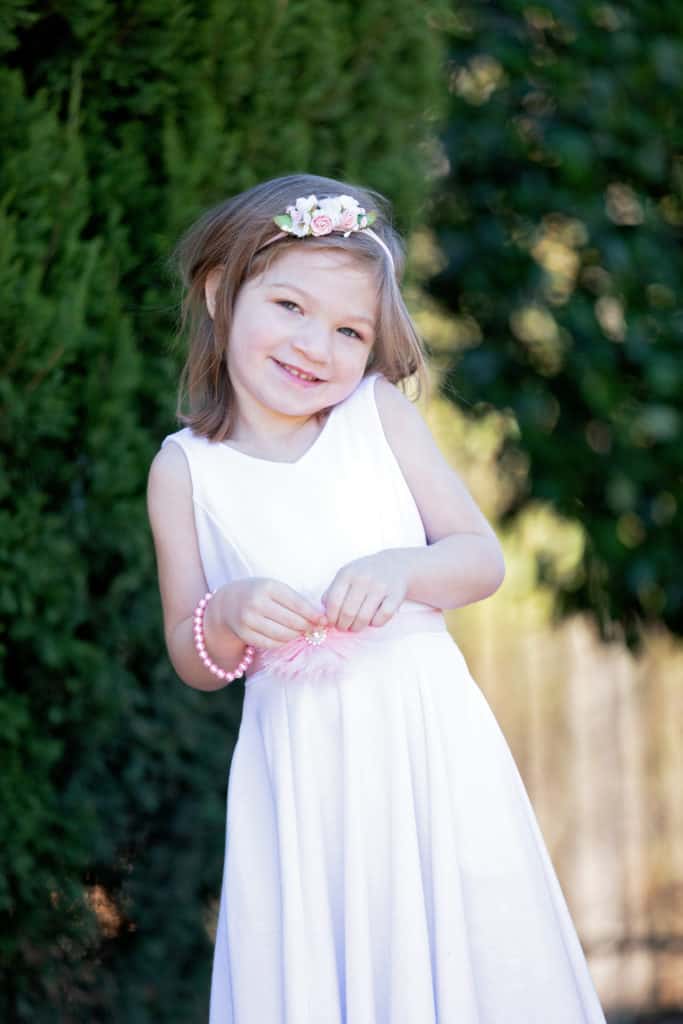
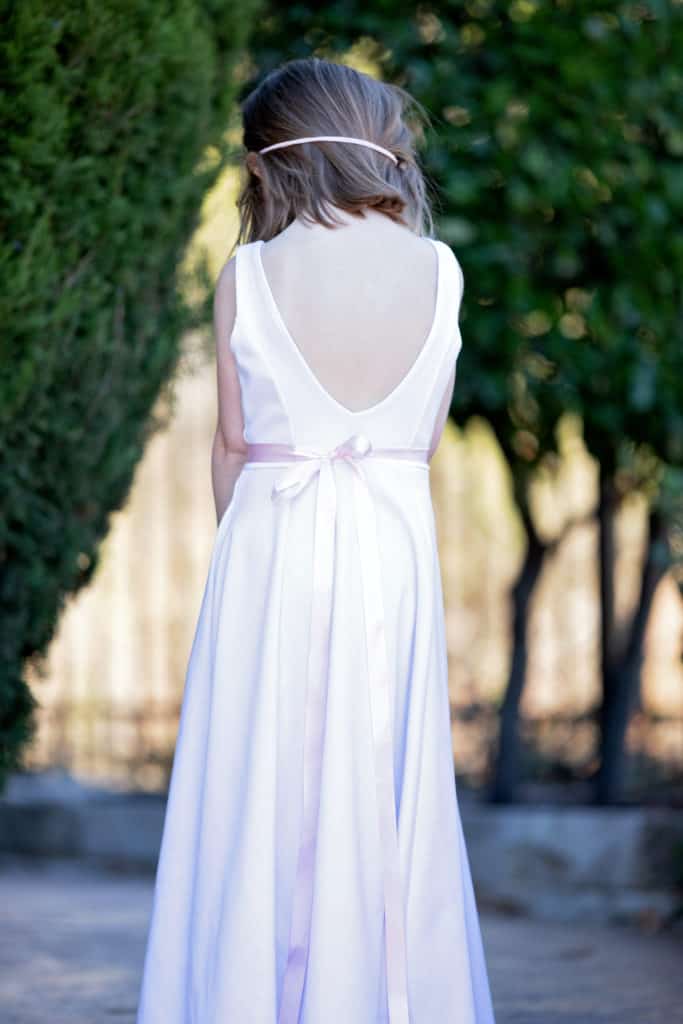
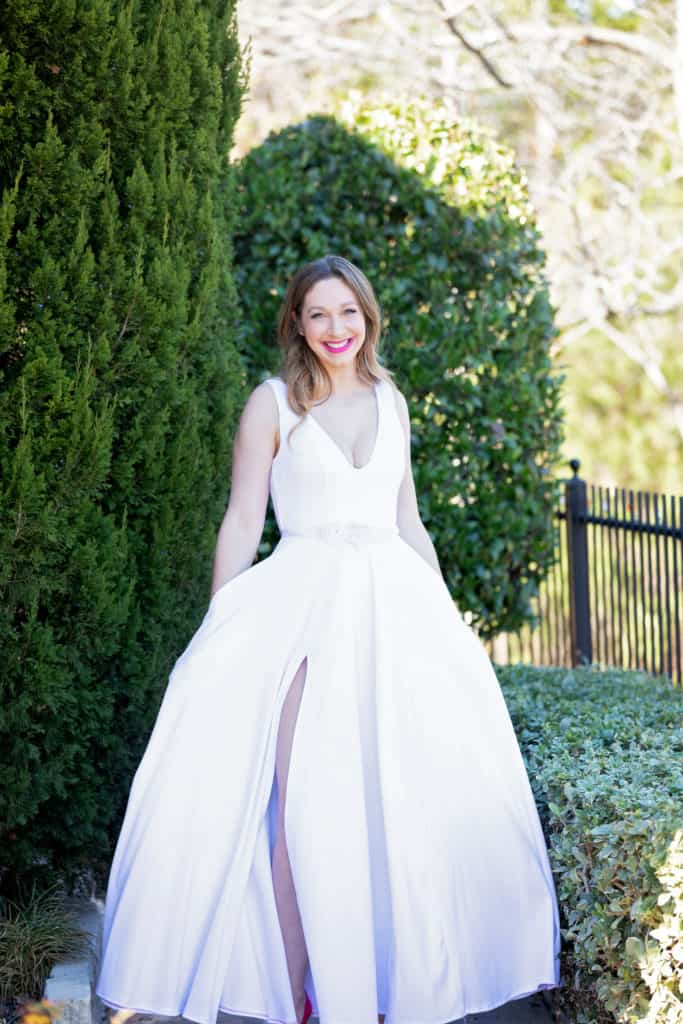
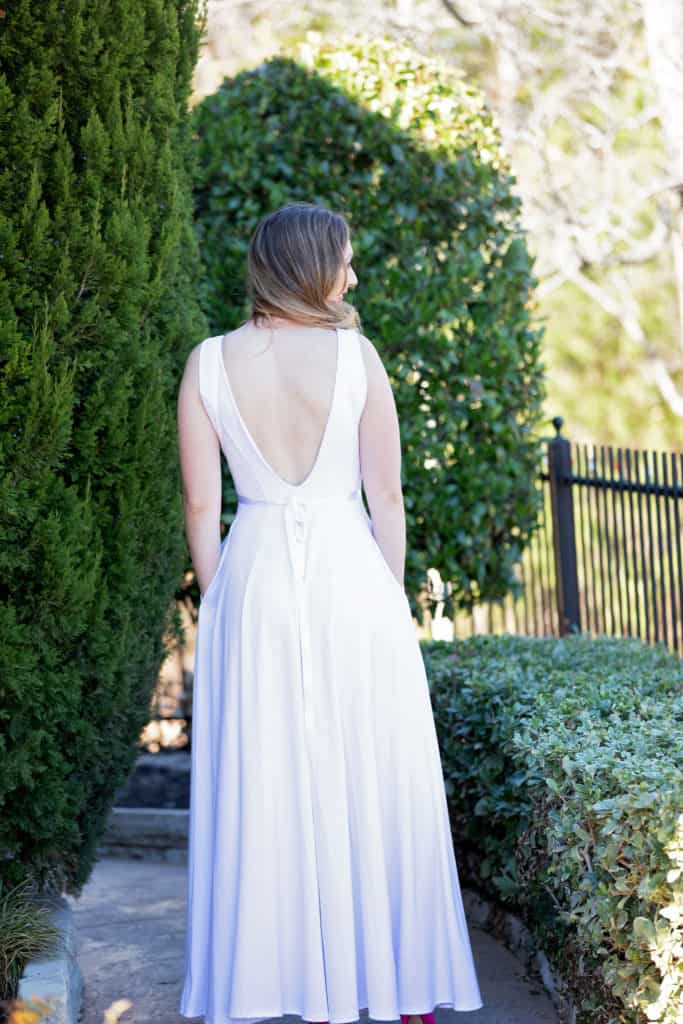
Ribbon Belt
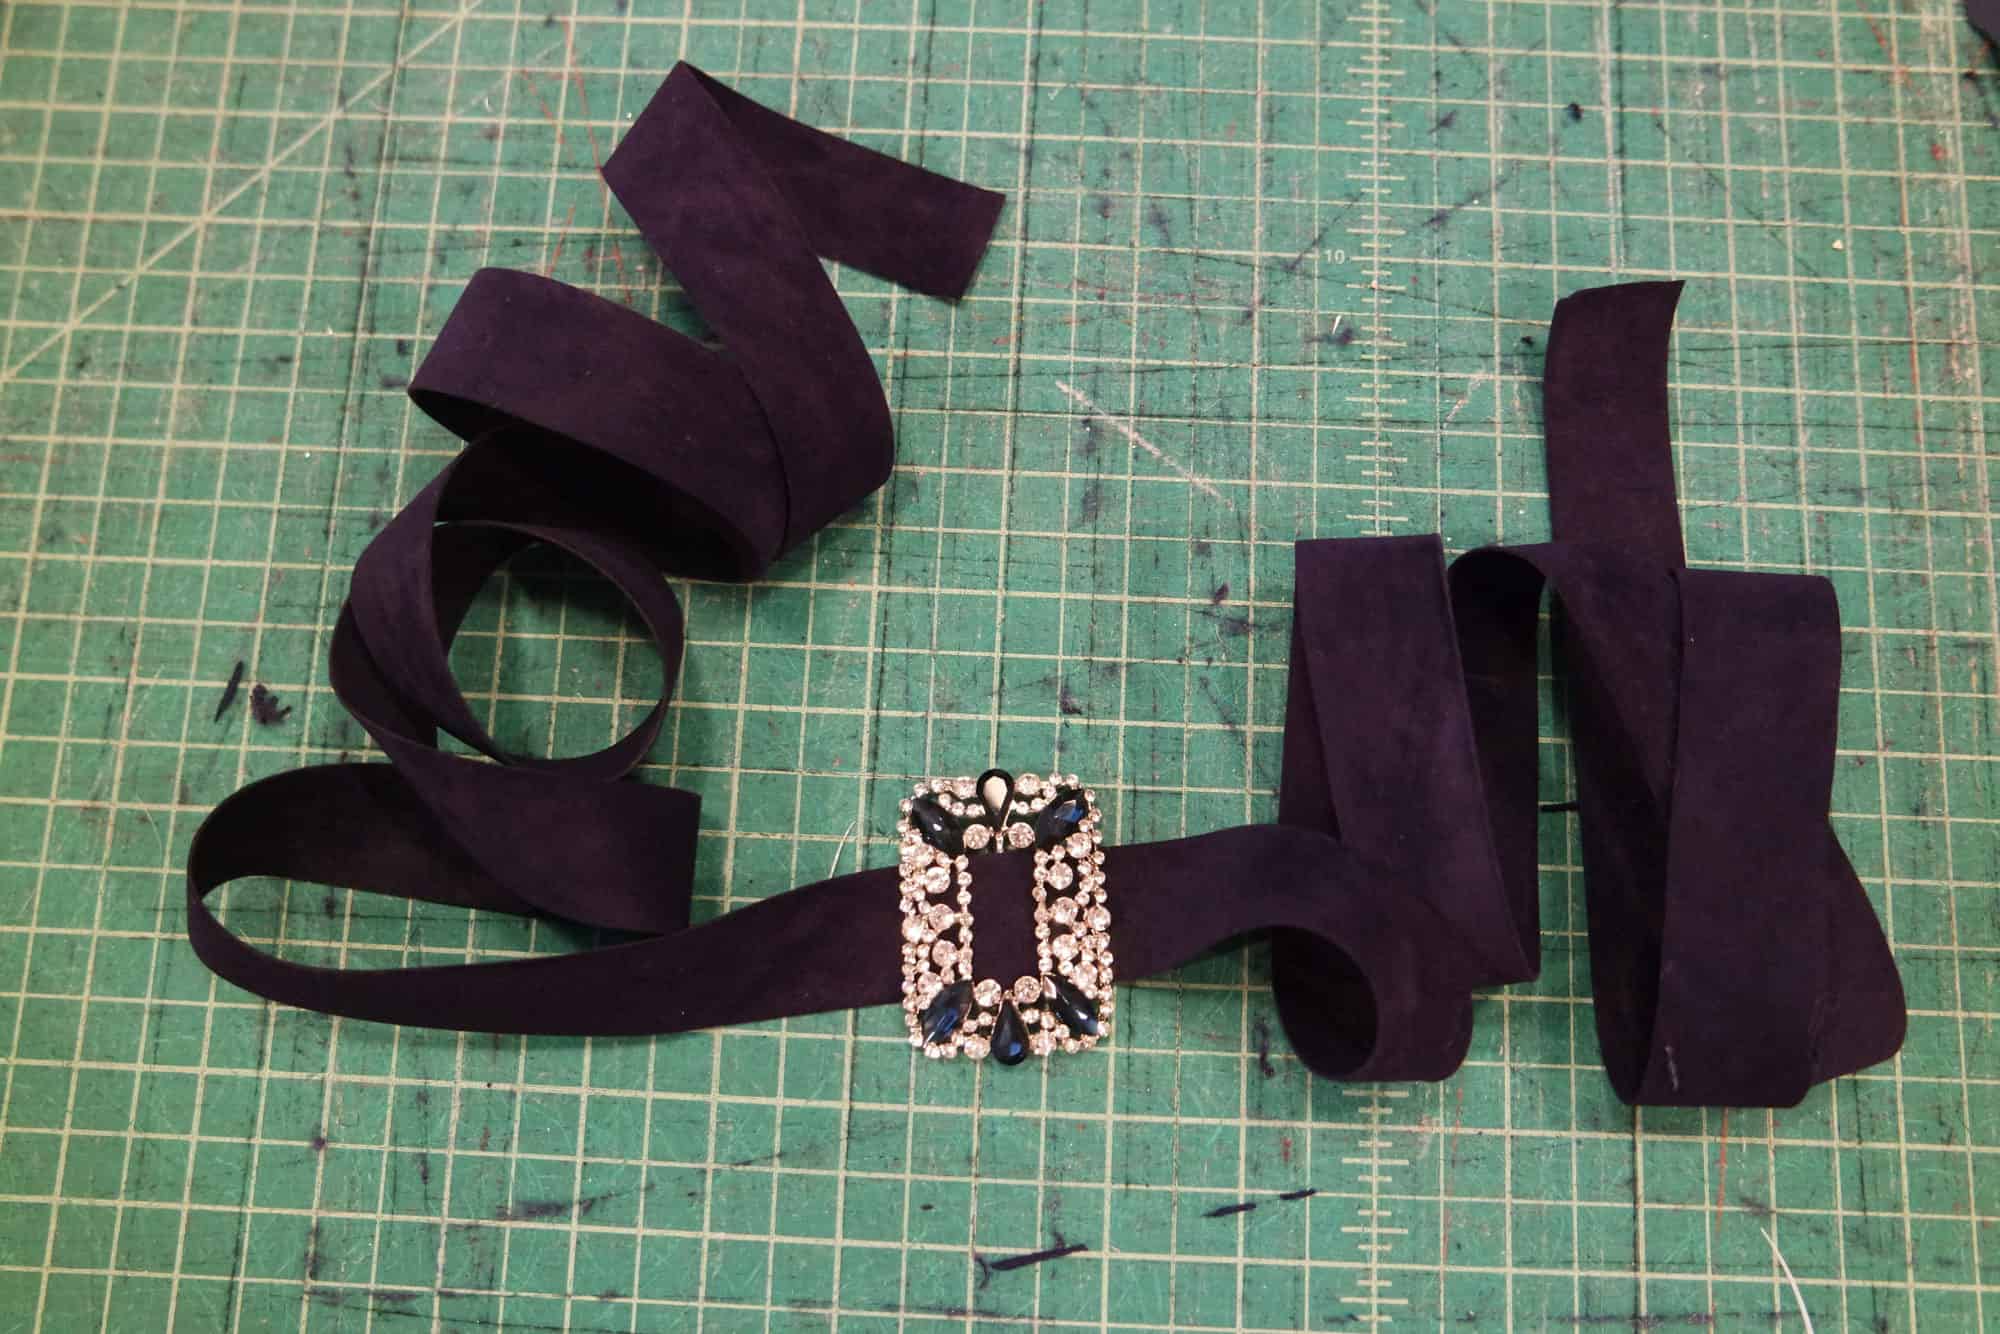
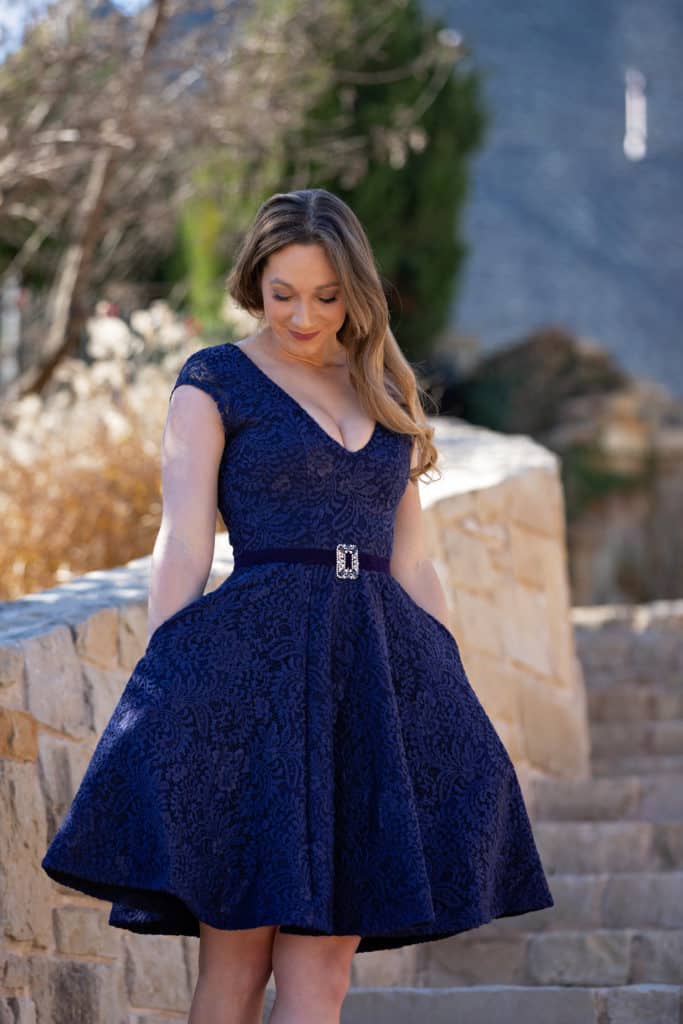
I see a lot of posts wanting something to really highlight the waist when wearing a dress, but if you’re wearing a more formal dress you might not have a belt that goes! A ribbon belt can be very elegant and simple to create to give yourself a little more definition or attention to your waistline. You can grab any ribbon style you’re drawn to that coordinates with your dress and attach whatever embellishment you find that makes your heart sing!
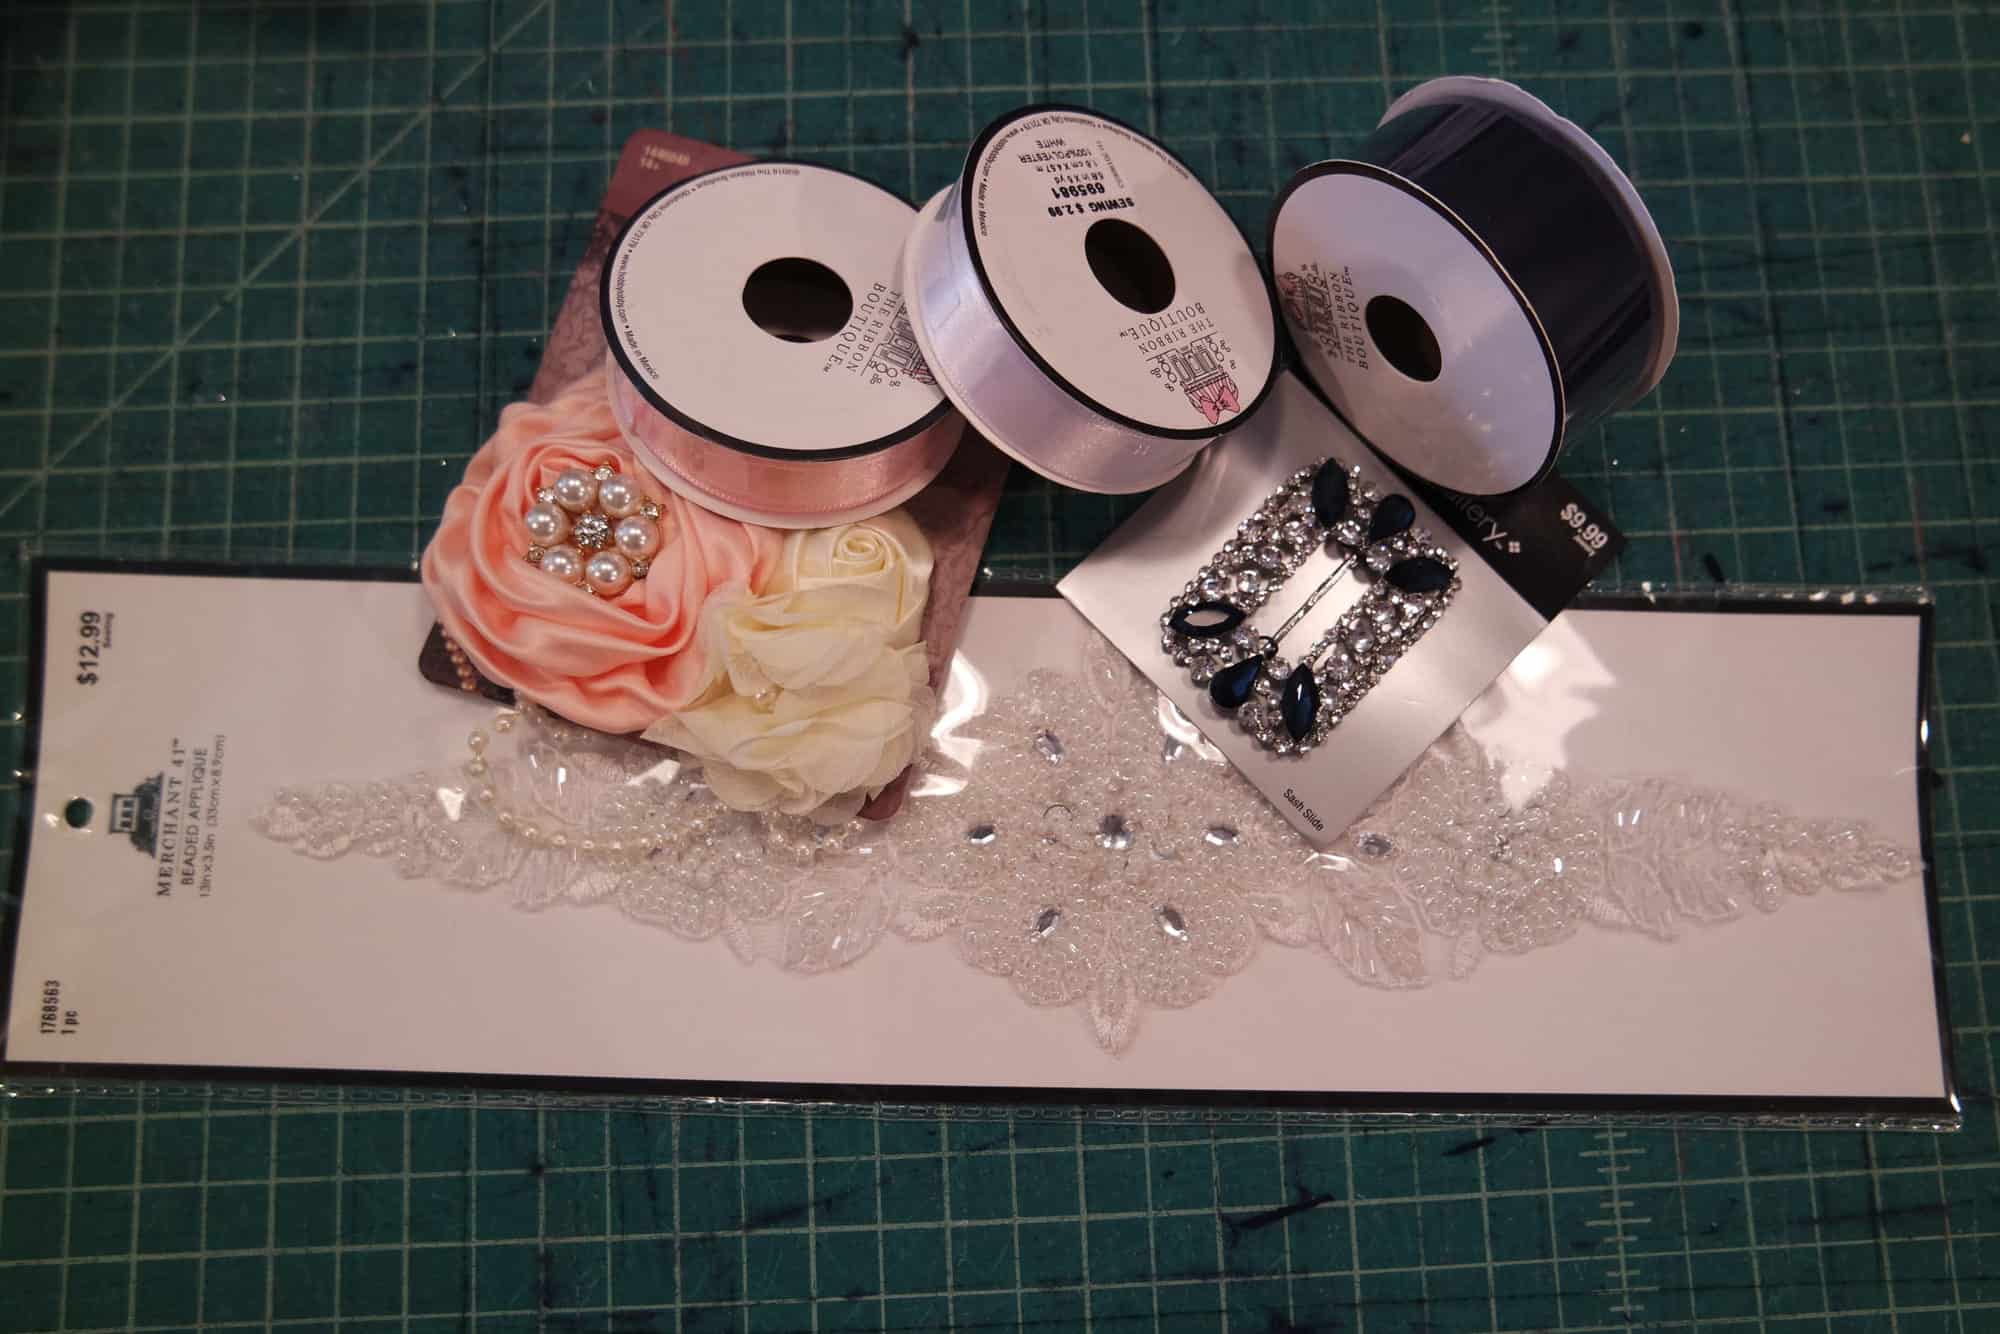
Some ideas would be appliques, belt buckles, brooches, fabric flowers, hair-clips, bows, etc. I picked up satin ribbon and some great velvet ribbon as well.
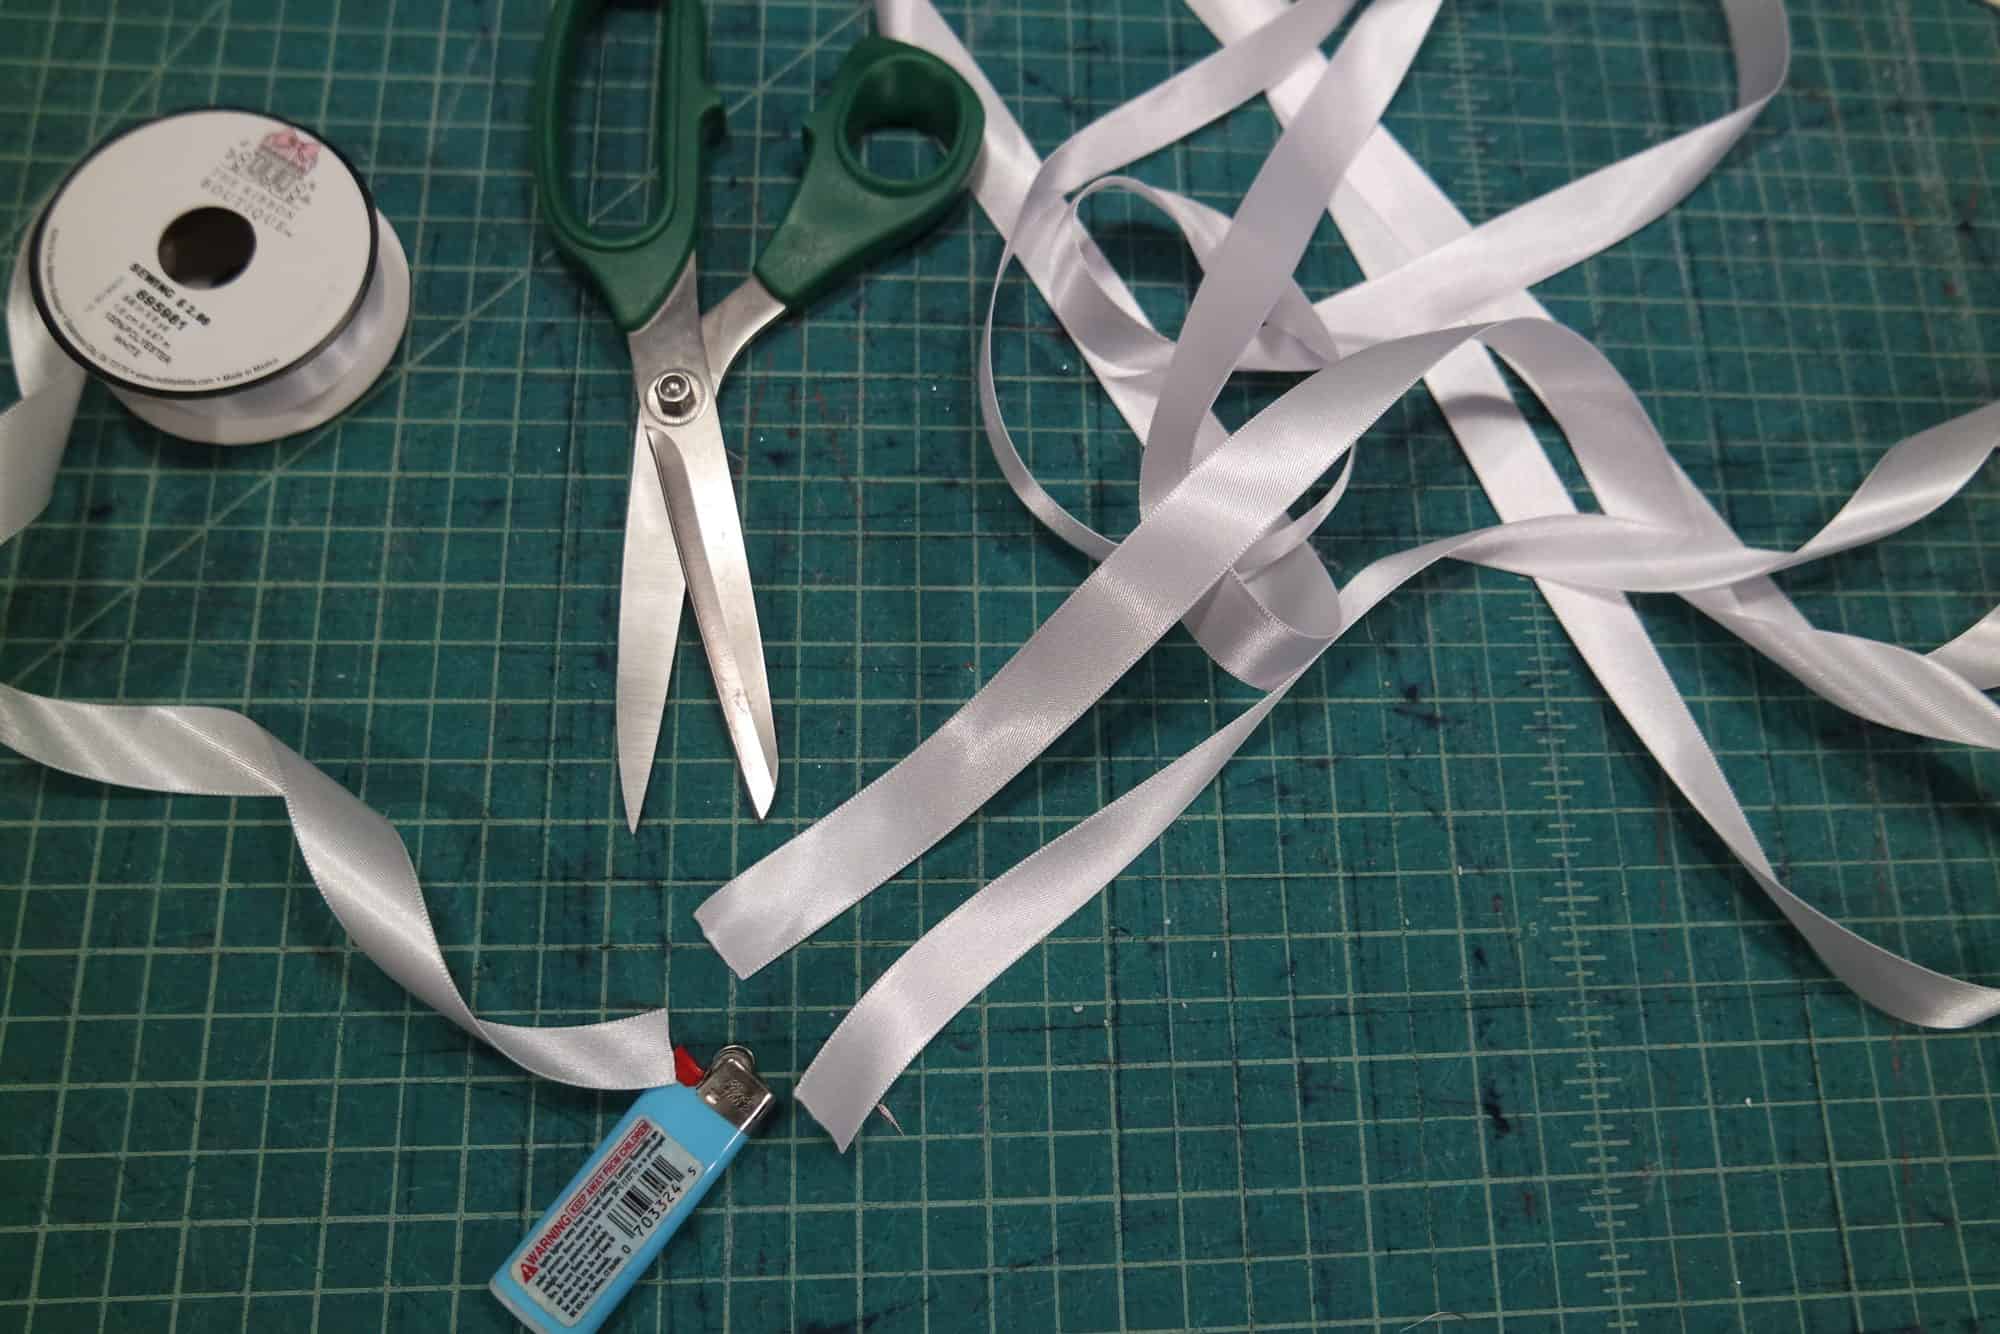
To create it you just need to cut your ribbon as long as you’d like- so the waist measurement plus enough to tie a bow and however long you want your tails. I like to have my tails go to almost the very bottom of my hem personally, but that’s just personal preference. Make sure you finish the edges if you pick a ribbon that frays. Satin ribbon I prefer to heat seal with a flame.
Find the center of your cut ribbon and attach your embellishment with hand stitching.
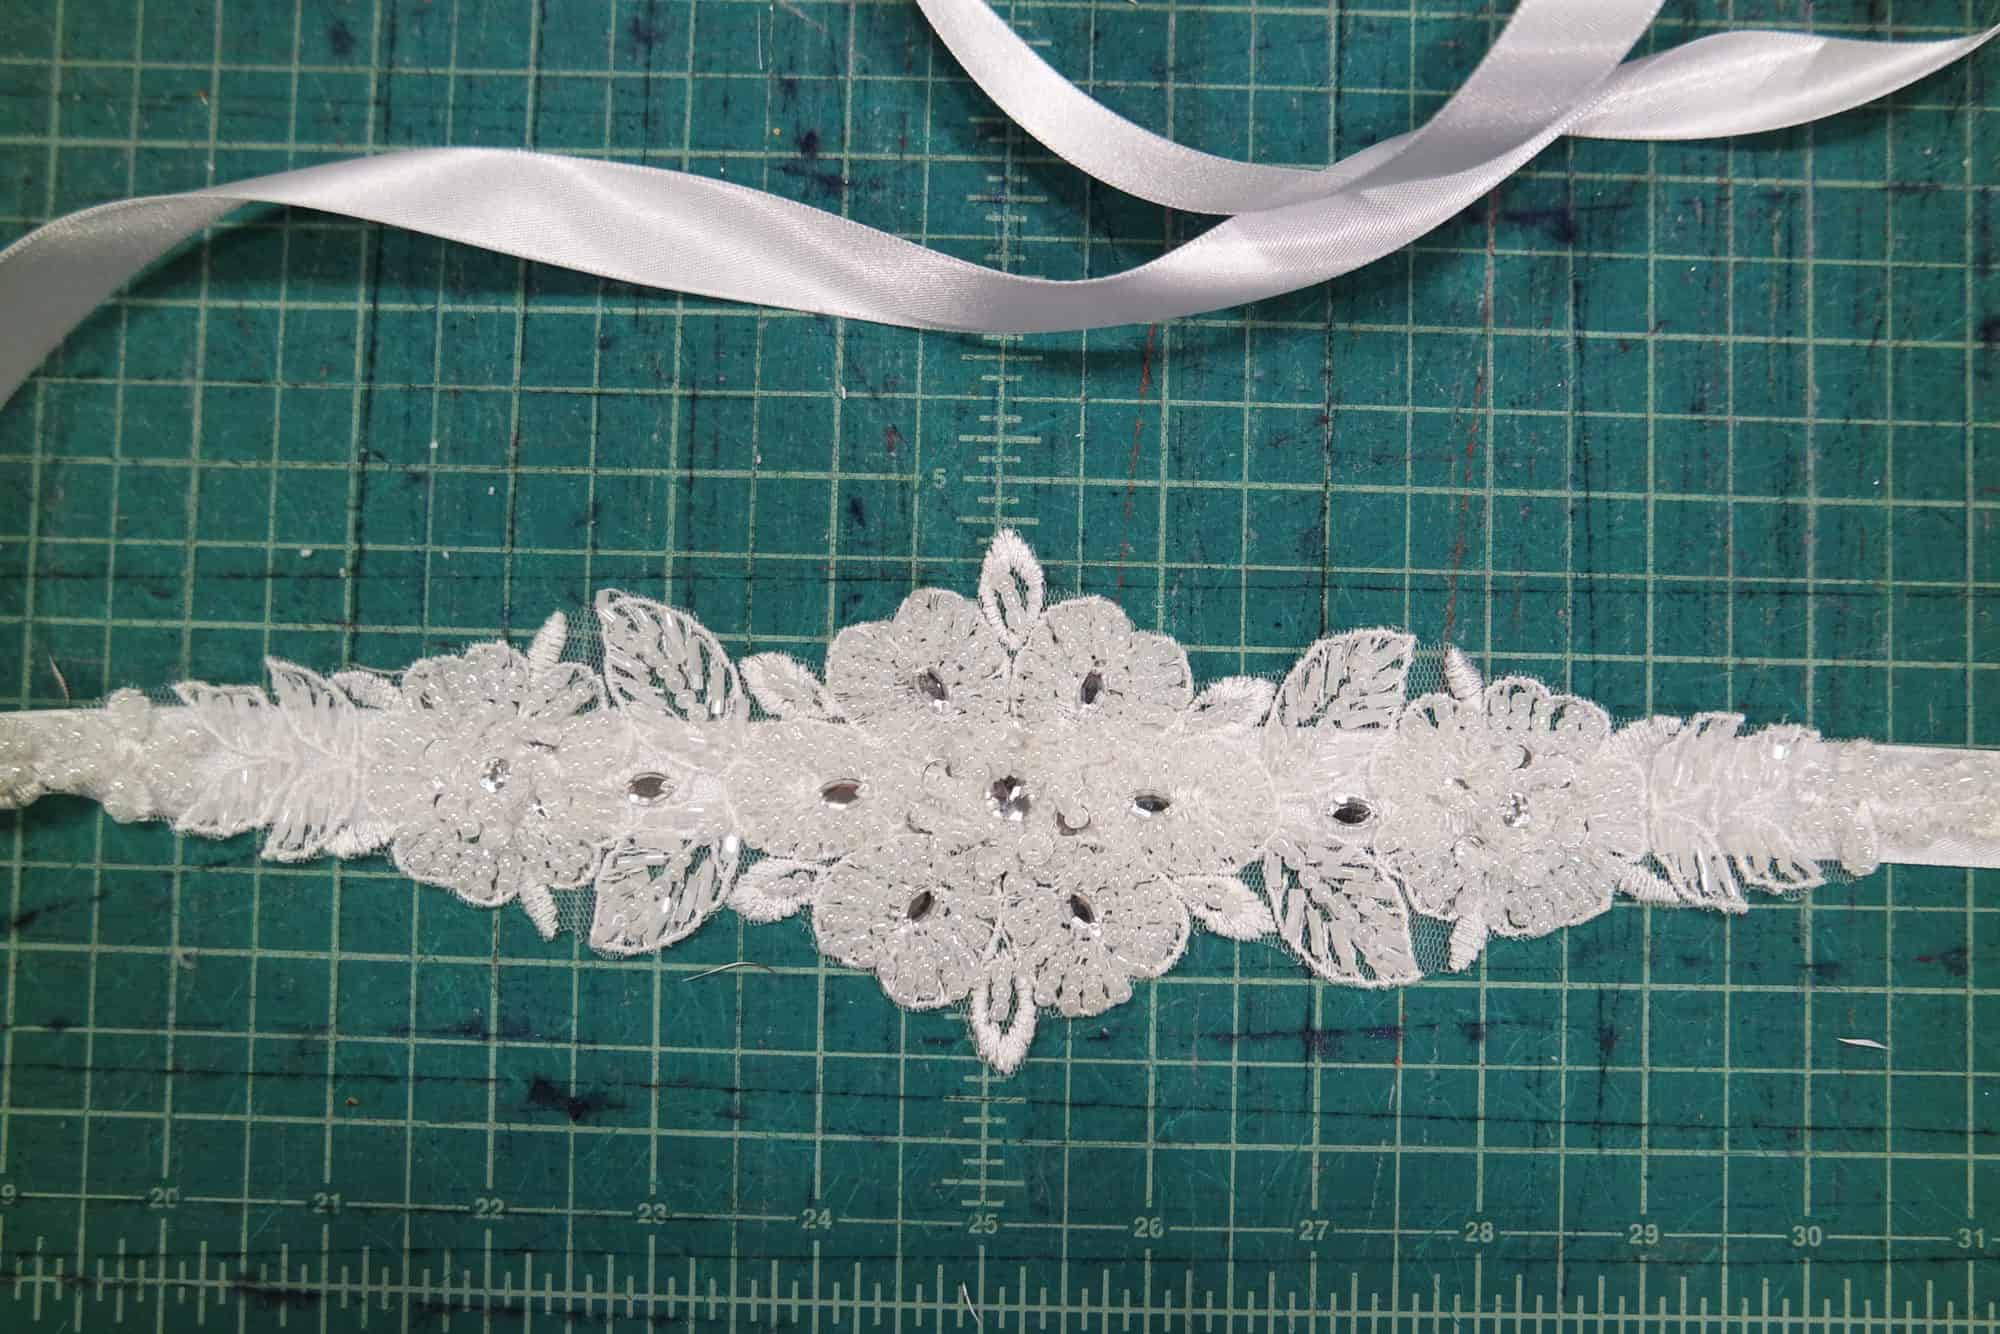
There! You now have a beautiful belt that will look stunning on your more formal dresses! It’s quick and simple for such a fabulous add on and the possibilities are endless!
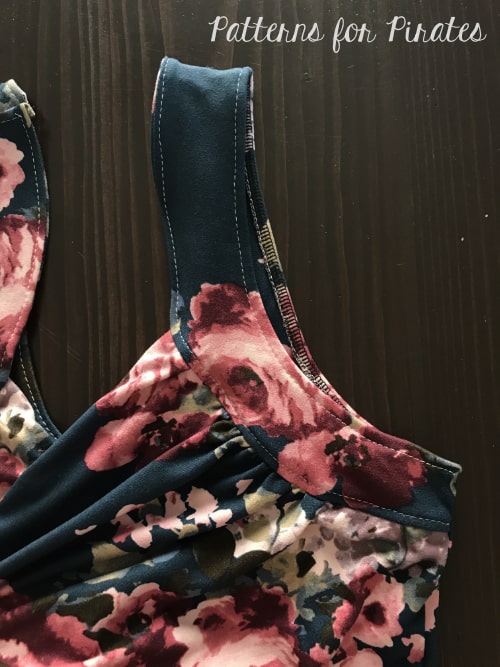
Here a a few modeled with the Gala Gown.


Judy