When my husband was trying to sweet talk me into building a new house his biggest selling point was a bigger sewing space… eventually he won me over and I’ve been planning that sewing room since!! I’ve had a lot of fun researching and planning it, so much, that we’re giving away the chance for someone else to get a new sewing room! If you haven’t read our “Sew it, Win it, Build it” Giveaway post make sure you stop by and read how to enter for your chance to win!
Flooring-
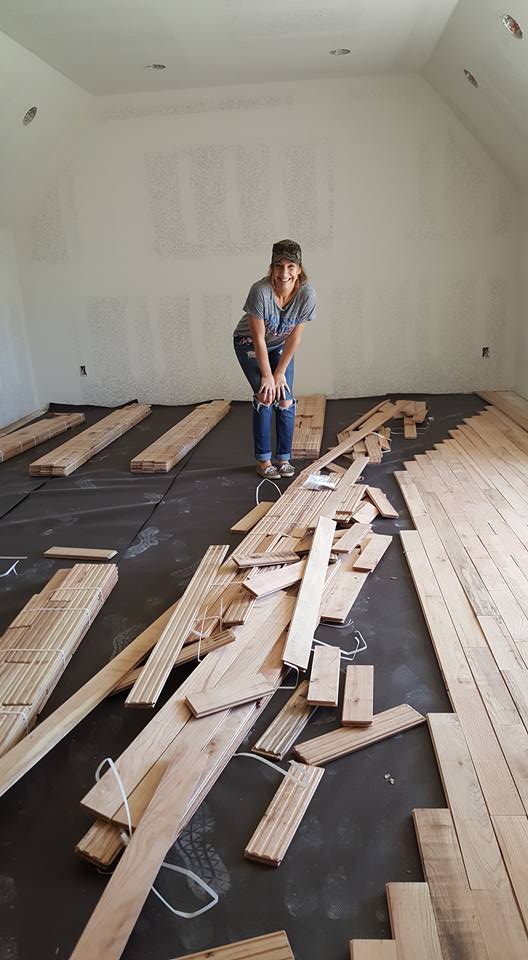
I started with the basics first. I wanted NO carpet. And ladies, this first decision was a biggie, because it’s an expensive choice! But, after years of killing vacuums I was getting some floors that weren’t carpet! It took me months of persuading my husband, but as you can see…. I got my way! 😉 I was so excited to see those floors going in that day!!!
I looked into A LOT of flooring options (besides carpet). There is laminate wood, vinyl, tile, and hardwoods to name the most popular. I even looked into much crazier kinds, but none were very price effective that I found (like rubber, cork, ect.).
Furniture Arrangement-
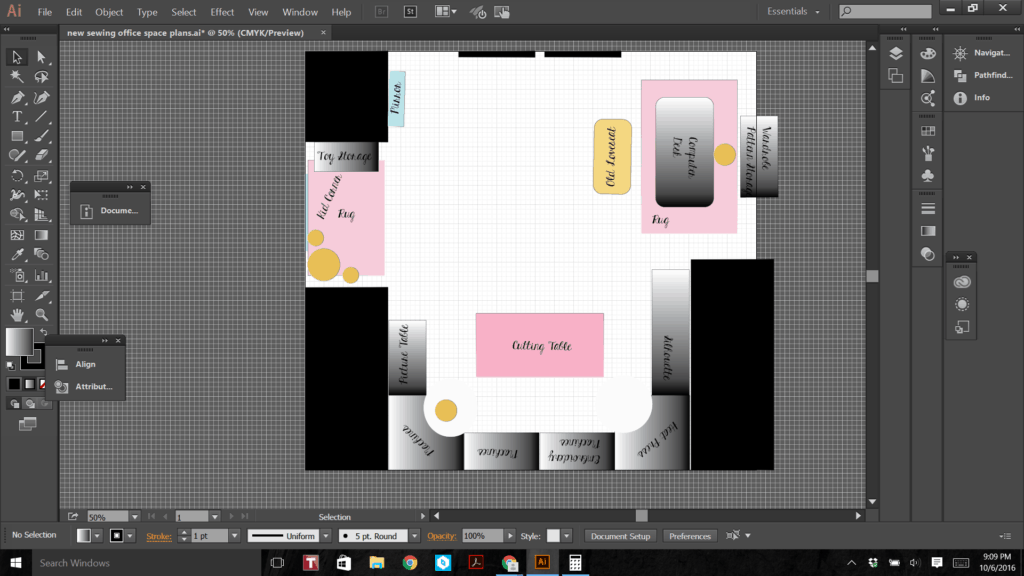
I really love this little trick to plan a room! I use Adobe Illustrator, but you could use any drawing program, or just a piece of grid paper would work perfectly as well to draw my room out with it all proportioned correctly on a smaller scale. I prefer the digital program since you can easily change and move things around as you plan.
I drew the basic shape of my room using one inch as one foot. Then, I added the furniture I was planning on putting in there all to scale. This took time! But, I know the furniture I want will fit in nicely, what size cutting table I can fit in there with enough walking space around it (average is usually about 3 feet between furniture pieces), and where I needed my lighting! In the end it’s so much easier to take the time to create a template than to be measuring the actual room and furniture and trying to imagine if it will fit okay, if it will feel cramped, if you can make if even with this and that across the room, ect. I highly recommend this little step to planning your craft room!
You also want to keep in mind what you use most, as well as what you use together. Meaning, I use my sewing machines, iron/iron board together while I’m constructing. So, I want those two “stations” close together in my room. It’s almost like a kitchen where you typically have a triangle between sink, oven, fridge… but you have sewing machine, ironing board, cutting table!
Lighting-
I only had one window in my sewing space. I tried my best to add windows, but the way the house was set up it just wasn’t possible. If you have the option to have more windows… the more the merrier in my eyes! I love a lot of light when I’m sewing!
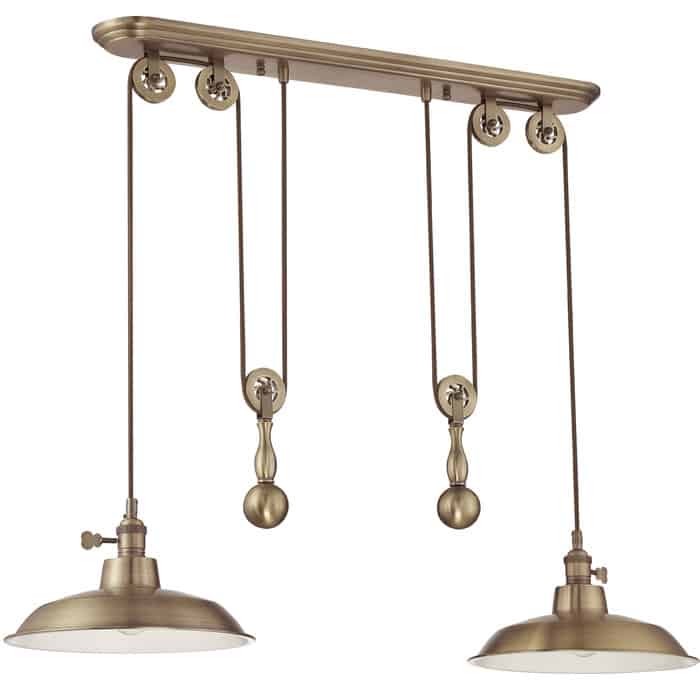
I put pot lights all along the U shape desks where my machine are going so I could see well while sewing. I also put a pot light above my computer desk because I read a lot there. Last I placed a hanging fixture above my cutting table in the center of the room. And let me tell you, I had GRAND plans of doing a dramatic lighting fixture like a chandelier, but I”ll save you the heart-ache of planning that because in a craft room you really need good lighting and something fancy like that isn’t great. They’re gorgeous and stunning and I wanted it so bad! But, in the end they gave off terrible light with rainbows and shadows everywhere 🙁 So… after realizing that I needed functional lighting I went with a pendant. Since I had a single fixture in my mind and had it wired for that I choose this one that meant I didn’t need to have it re-wired for another fixture, but still got 2 pendants for better lighting along my big cutting table!
Outlets-
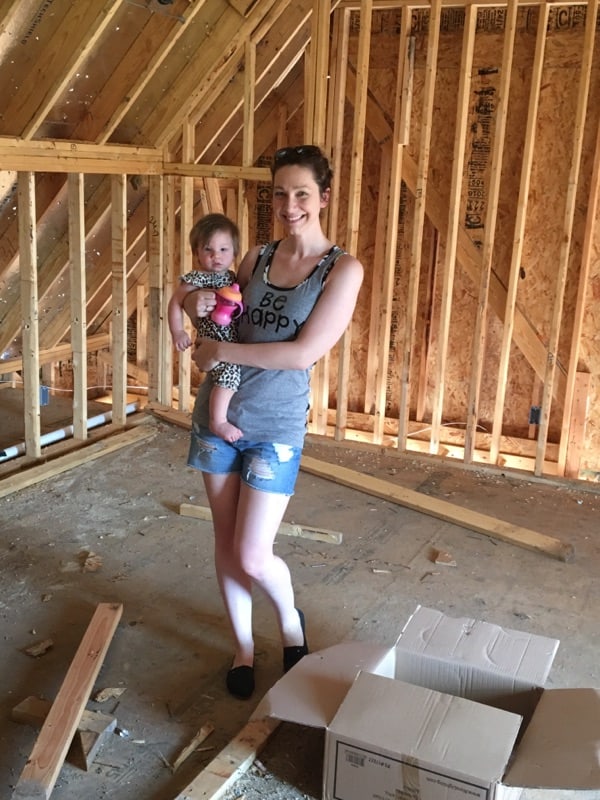
When we did our electrical walk I added quite a few electrical outlets to my sewing room. Why not right? So now instead of having to have a bunch of giant cords running everywhere I’ll have an electrical outlet where I plan on having my machines.
I also added a floor outlet right where I plan on having my desk. You really only need this if you don’t want your desk along a wall. For whatever reason I was dead set on not looking at a wall while I work! I wanted to look towards the window! So, I again used my drawing of my room to scale to plop in my computer desk where I wanted it and then told the builders exactly where so I wouldn’t have to run my computer cords to the wall. (My husband thought this was great and used it in his office too!)
Furniture-
I’m not going to get TOO much into furniture today, because we have a separate post with our favorite sewing storage coming up! But, for my desks I plan on getting very simple desks with nothing under the table tops. I want to be able to move my legs freely and roll from machine to machine as easily and quickly as possible. And even though you want a lot of storage in a craft room function has to be number one! So, I will find storage other placed besides under my machines!
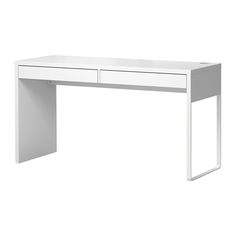
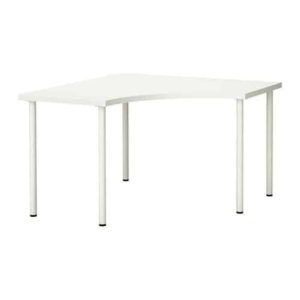
I plan on getting an Ikea “system” so that I can mix and match open desks for under my machines with some desks with storage drawers or shelving under others. So under my silhouette machine and heat press I will use that under storage space. Here are 2 desks systems I’ve been eyeing at Ikea: the Micke and the Linnmon.
If you only have 1 or 2 machines a system isn’t that important. I have enough machines that I really needed that corner unit! I use my sewing machine, serger and coverstitch together on a garment quite often. So I wanted them close enough to swivel between, but not so close I couldn’t fit my arms/garments between while working. I also wanted a little growing room 😉 just in case another machine finds it way into that room down the road… you know what I mean ladies!!
Decor-
This is of course a huge personal preference. But, I will say a sewing/craft room if it is JUST yours go all out! Don’t worry about doing what’s on trend, what your partner likes, what is kid friendly… if it is just for you and your hobbies then making it your little slice of decorating heaven! I plan on going full on GIRLY! Pastels, gold, antiques, lace, florals, you name it! Anything I want that I usually get a, “no way”, “are you kidding me”, “too girly” reaction to… that’s what I”ll be putting in my room! So have fun and celebrate a space that’s just for you!
Next up we’ll be talking about our favorite storage pieces in a craft/sewing room to finish planning it out! Don’t miss out on our other great posts all about sewing craft rooms!

