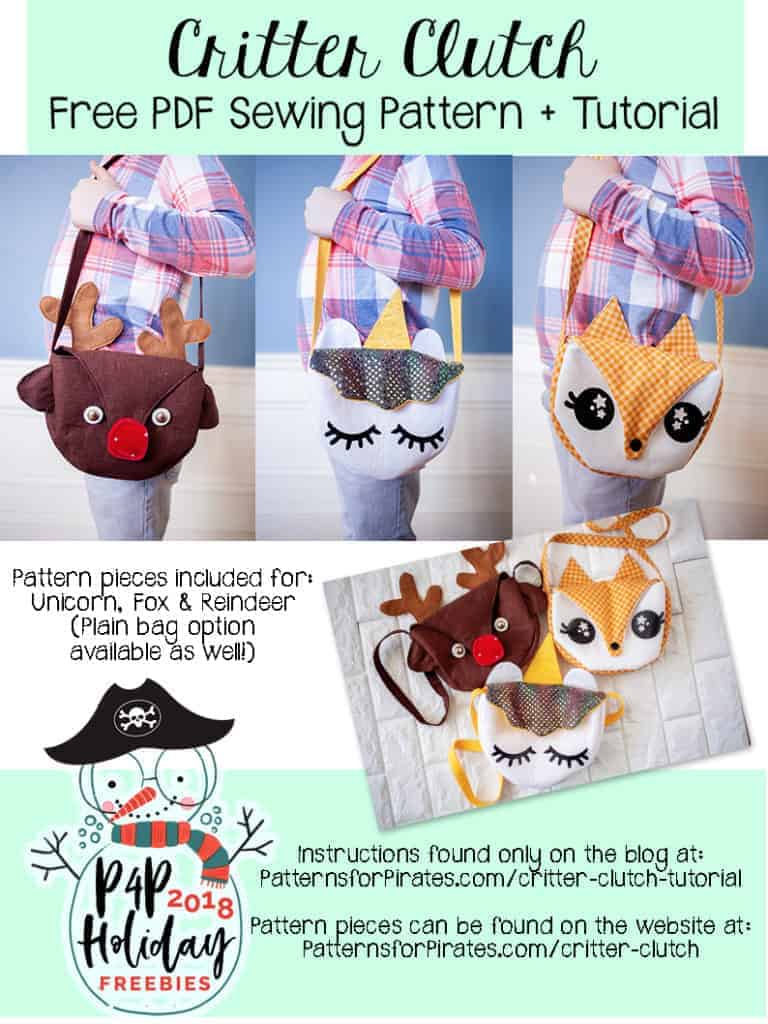
Happy Holidays, Pirate Friends! We are excitedly back for another year and another round of holiday freebies to share with you! Since 2016, we’ve compiled different tutorials and patterns that we think would make *perfect* gifts for your friends and family. Curious about what we’ve already released in the way of holiday freebies? Head right here to see all of them: Holiday Freebies Roundup.
Today, we are bringing you the: Holiday Hair Bows!
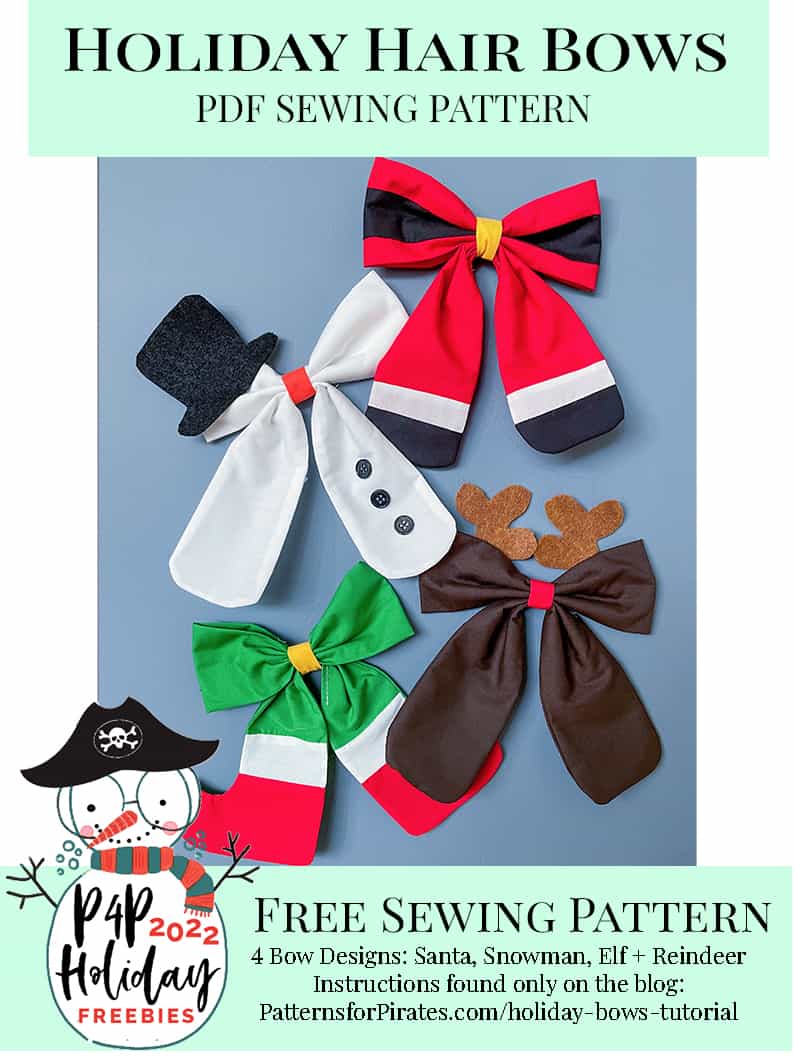
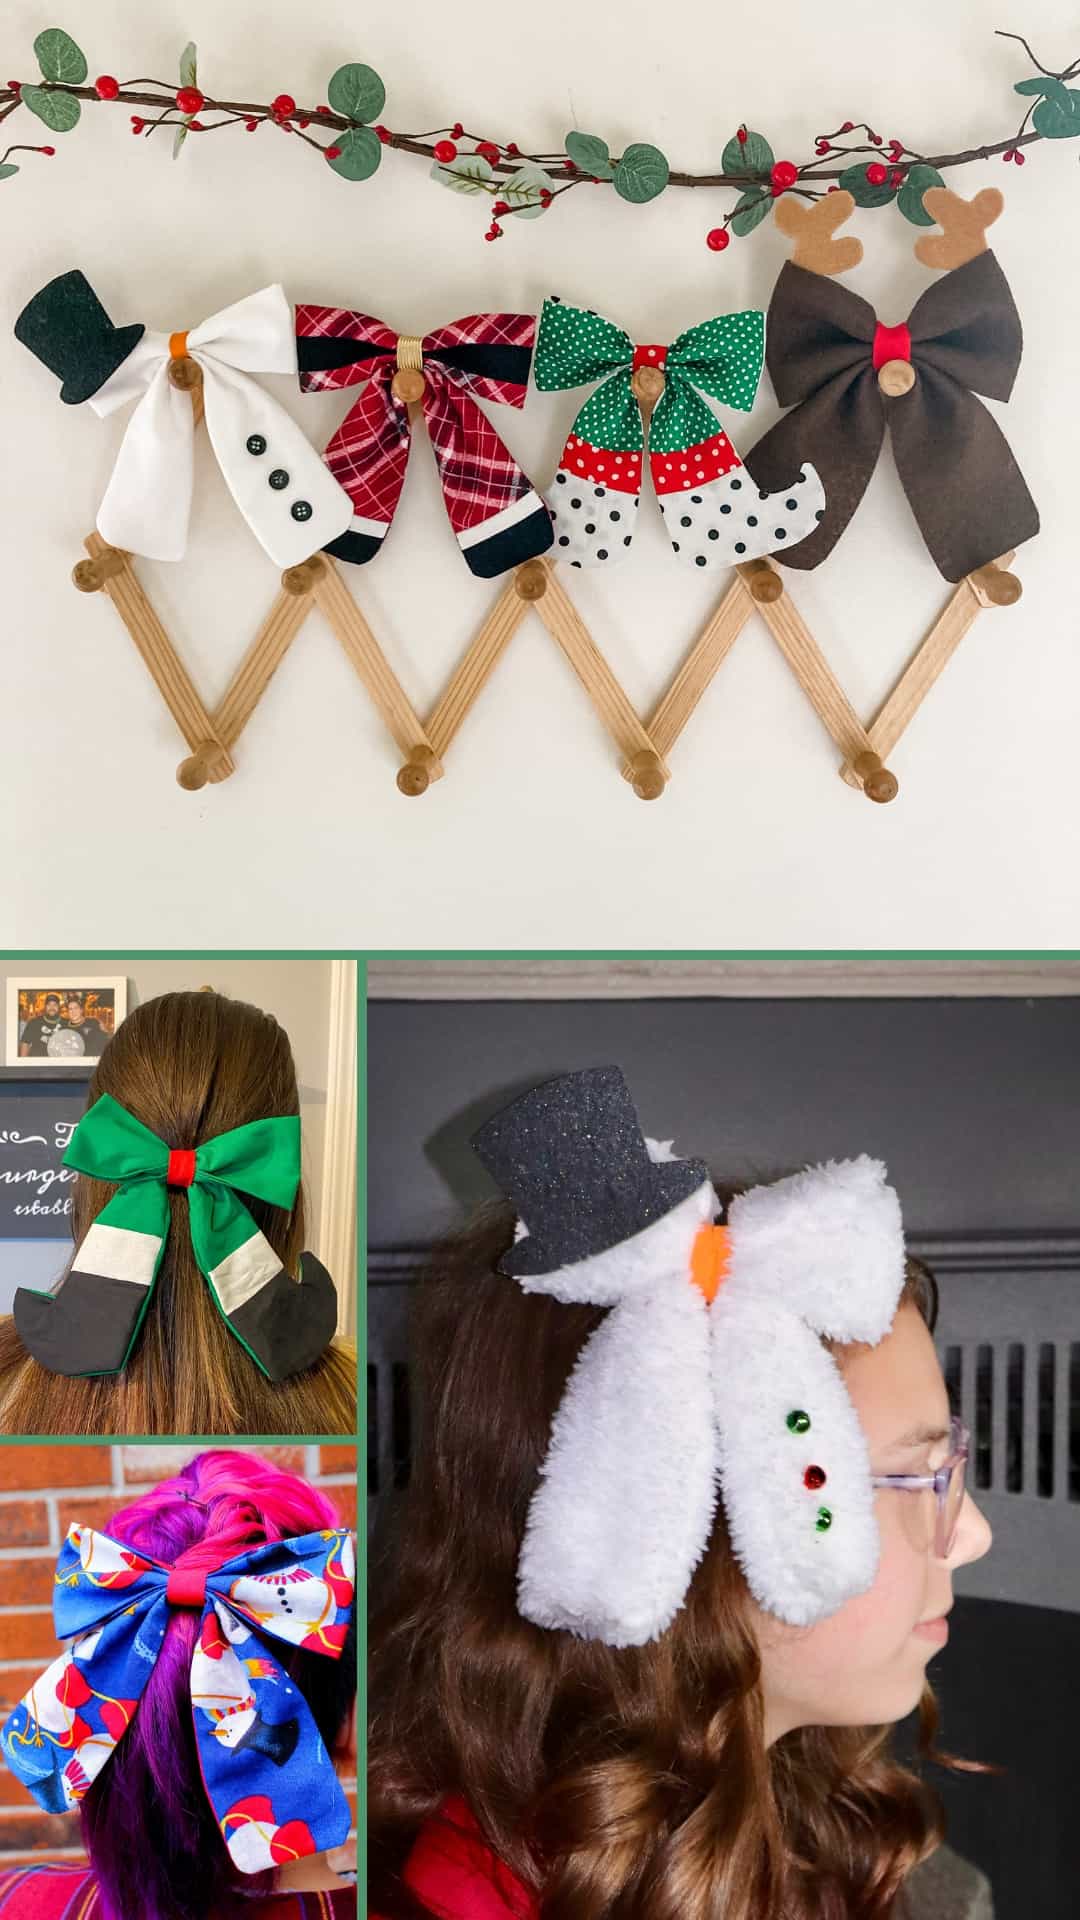
The Holiday Hair Bows are the cutest and most festive things you’ll probably make this holiday season! Each bow finishes at 6″ wide and can be attached to hair ties / barrettes, be turned into an ornament for your tree, be used as decoration for your packages….or any other decorative use you can come up with!
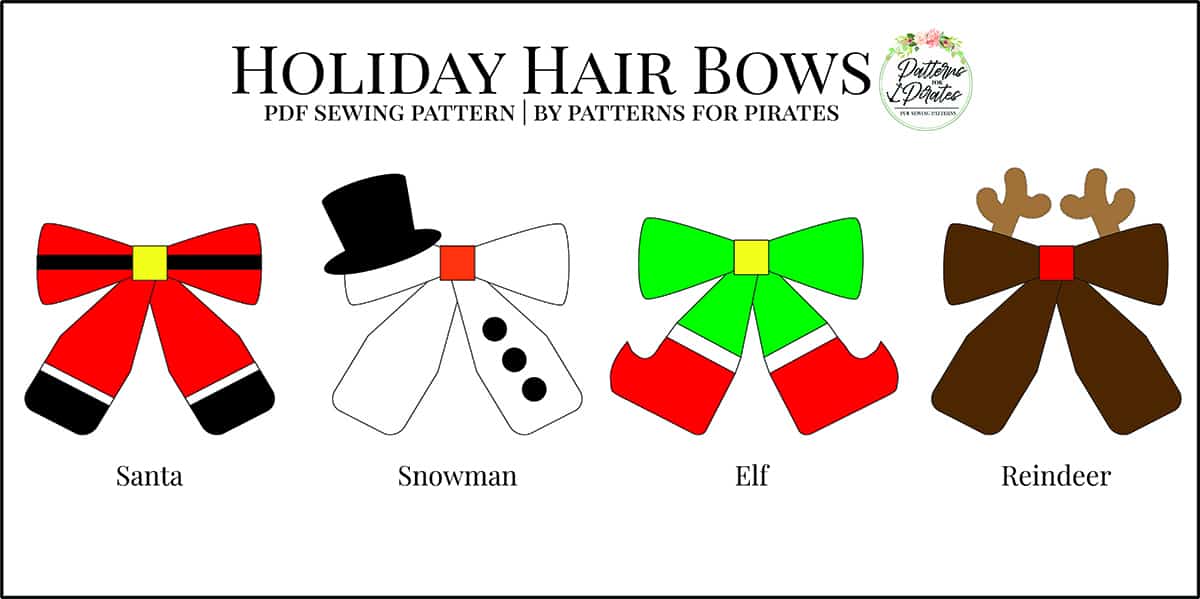
There are four different bow designs included in this one free pattern: Santa, Snowman, Elf and Reindeer. The construction is super simple and quick and you’ll be able to make a bunch of these Holiday Hair Bows in no time!
Fabric Requirements / Recommendations: Small Amounts of Quilting Cotton Fabrics for Bows / Felt for Reindeer Antlers + Snowman Tophat
Other supplies needed:
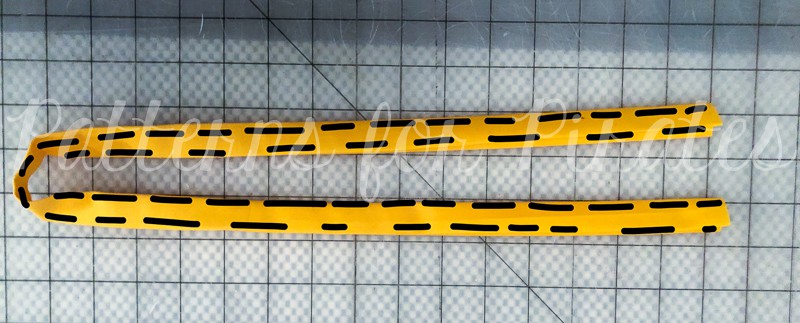
- Lightweight Fusible Interfacing, if desired I like Pellon SF101, or Heat & Bond 3336
- Hot Glue or Fabri-Tac
- Yarn / small elastic / thread
- An alligator clip / headband / hairtie / whatever you plan to attach to your bow.
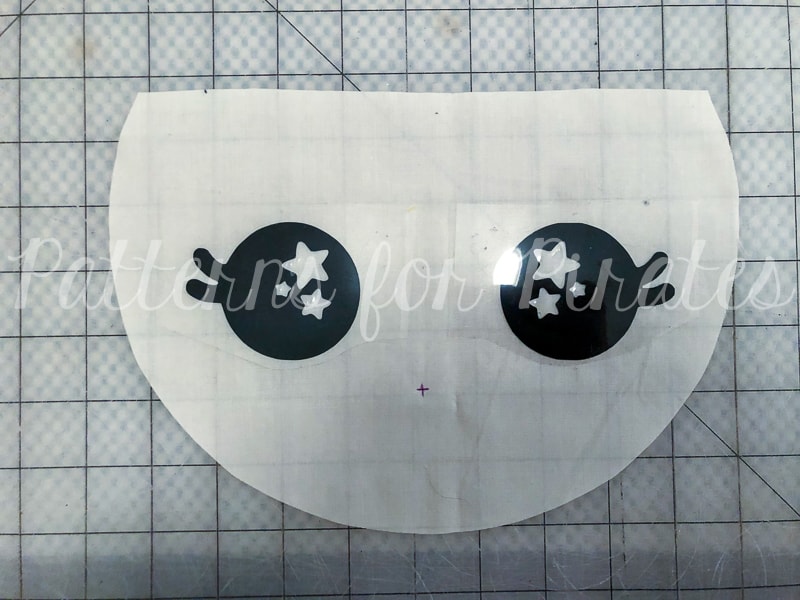
Grab Your Pattern Pieces Here: Holiday Hair Bow pattern pieces
PATTERN PIECES NEEDED:
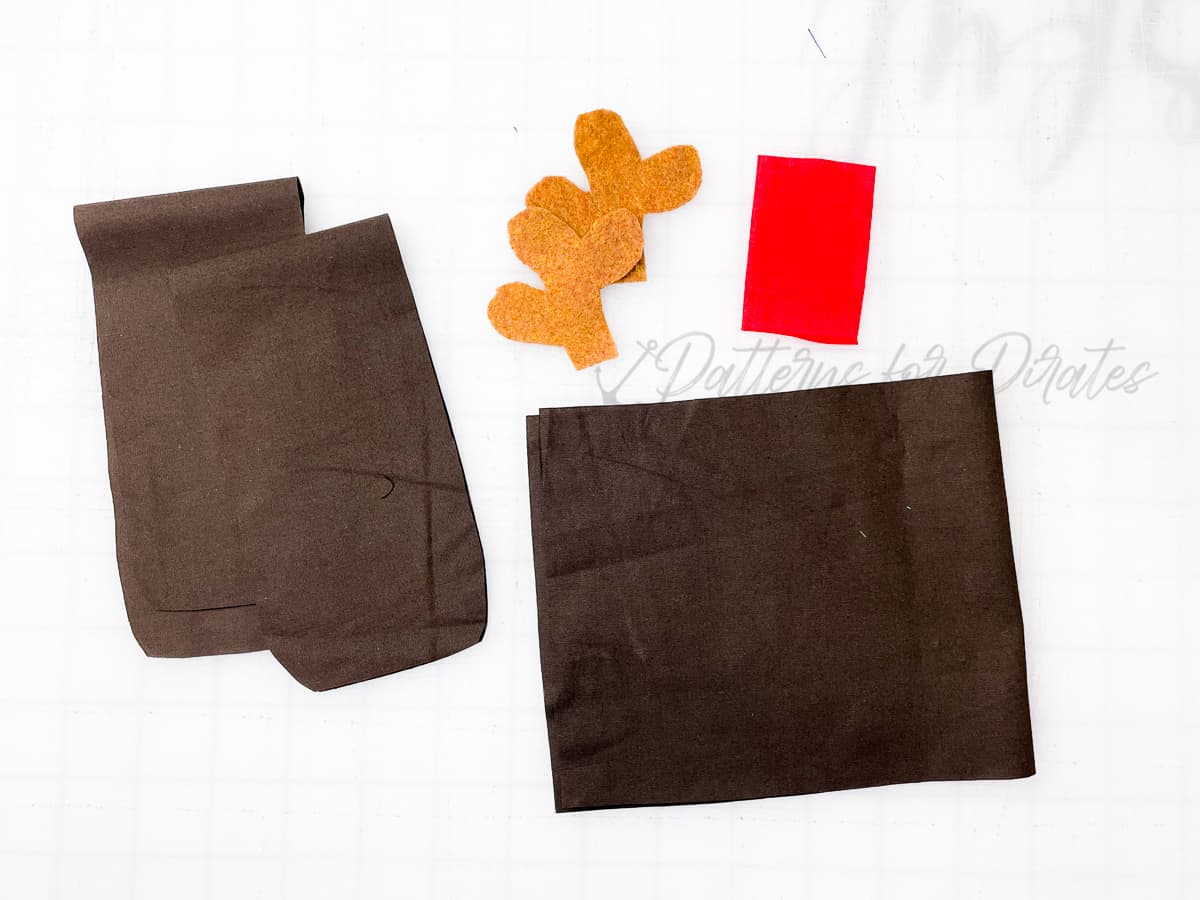
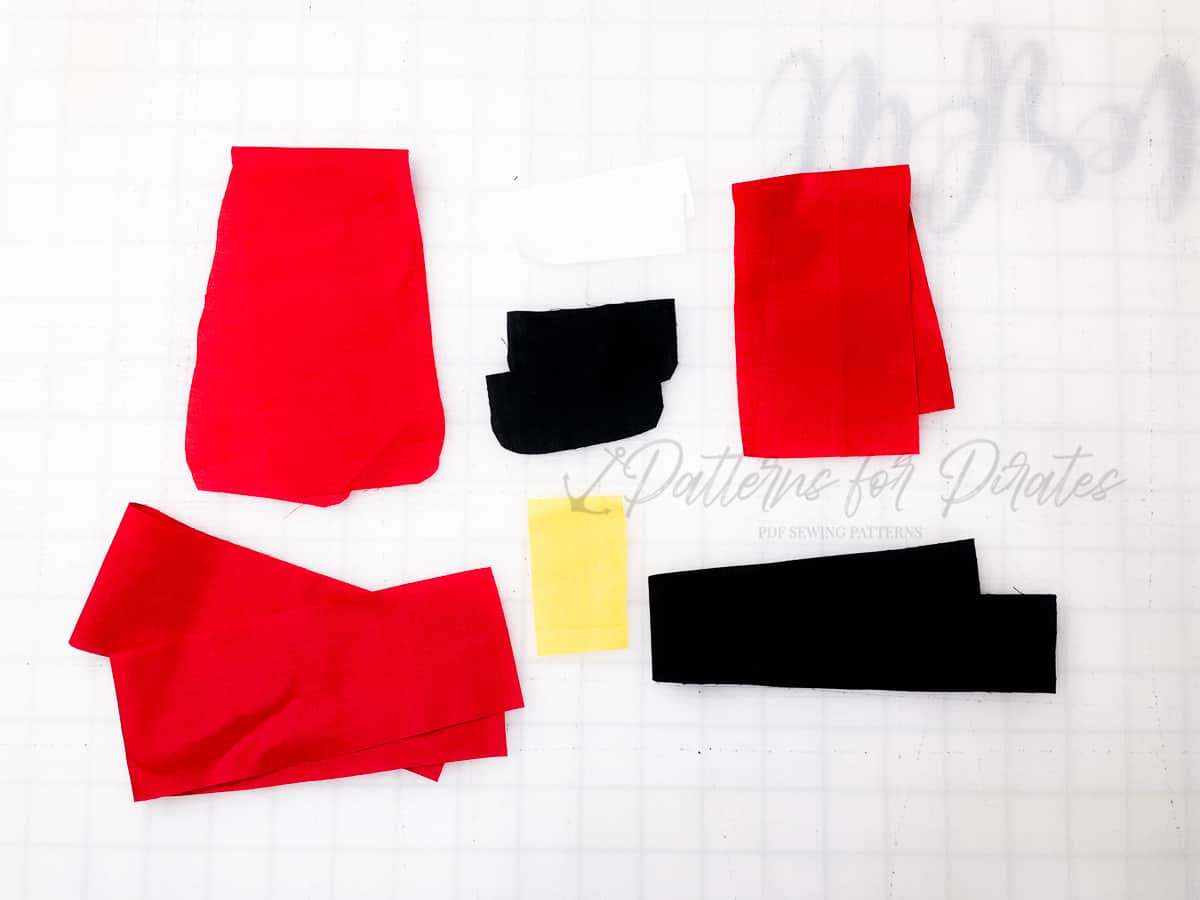
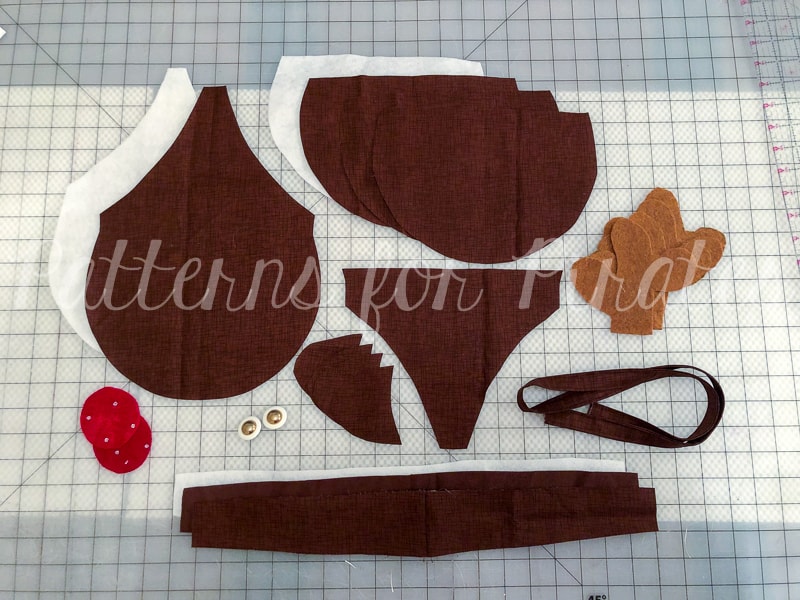
Reindeer Bow pieces needed:
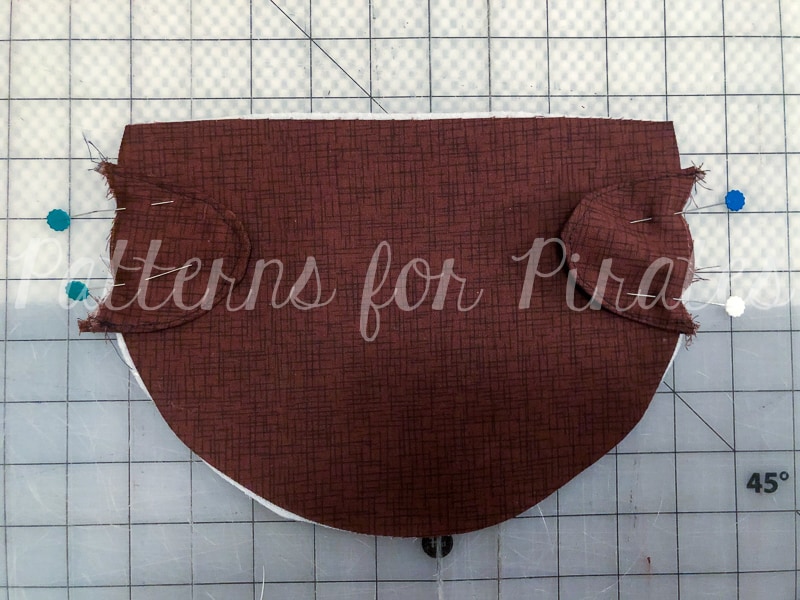
– 2 Bow Tails, cut on fold
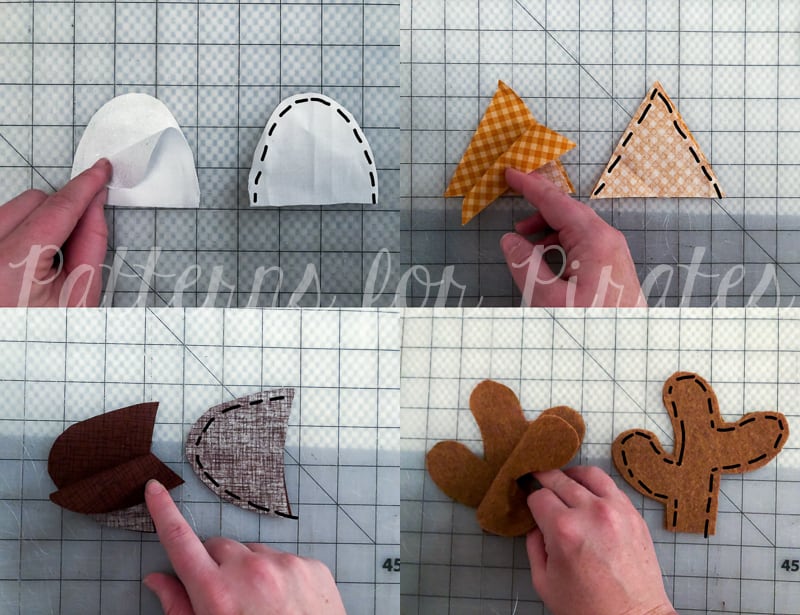
– 2 Antlers, mirror images (cut from felt)
– 1 Bow Center
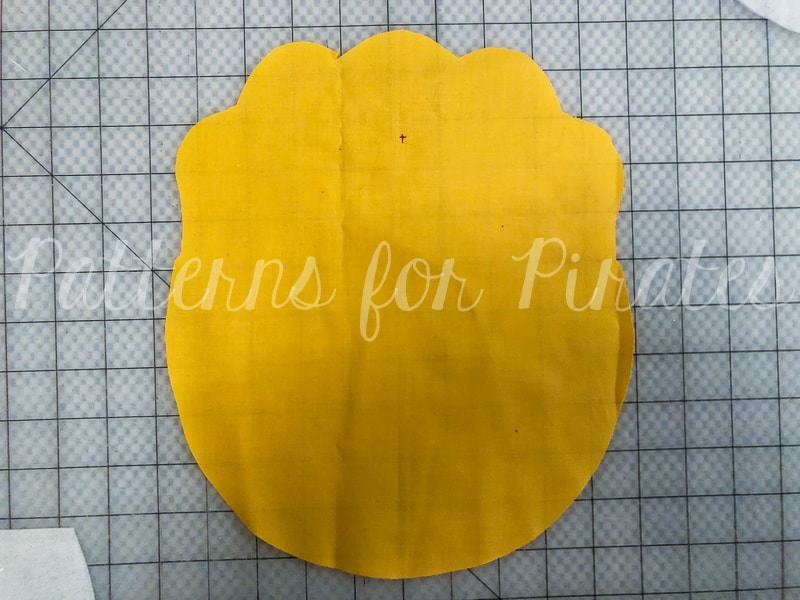
– 1 Main Bow, cut on fold
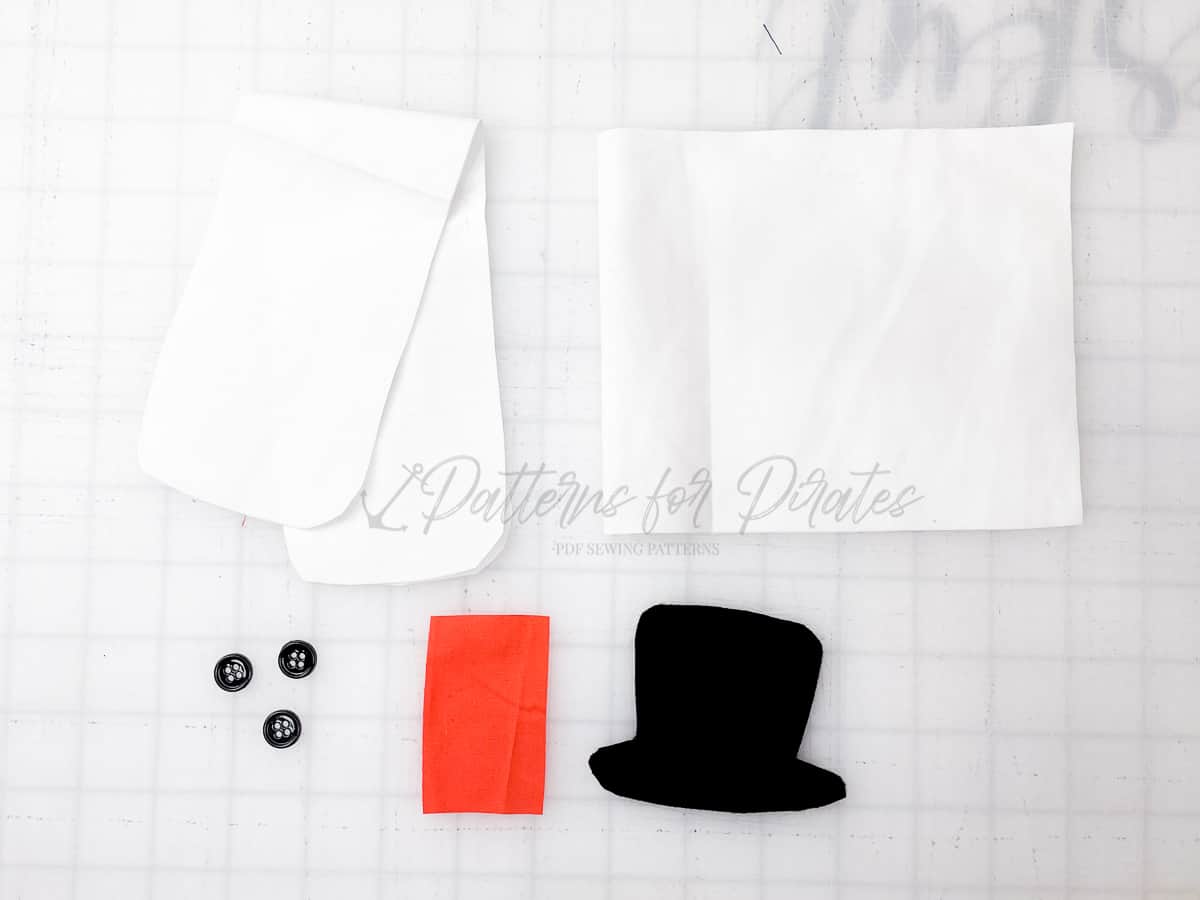
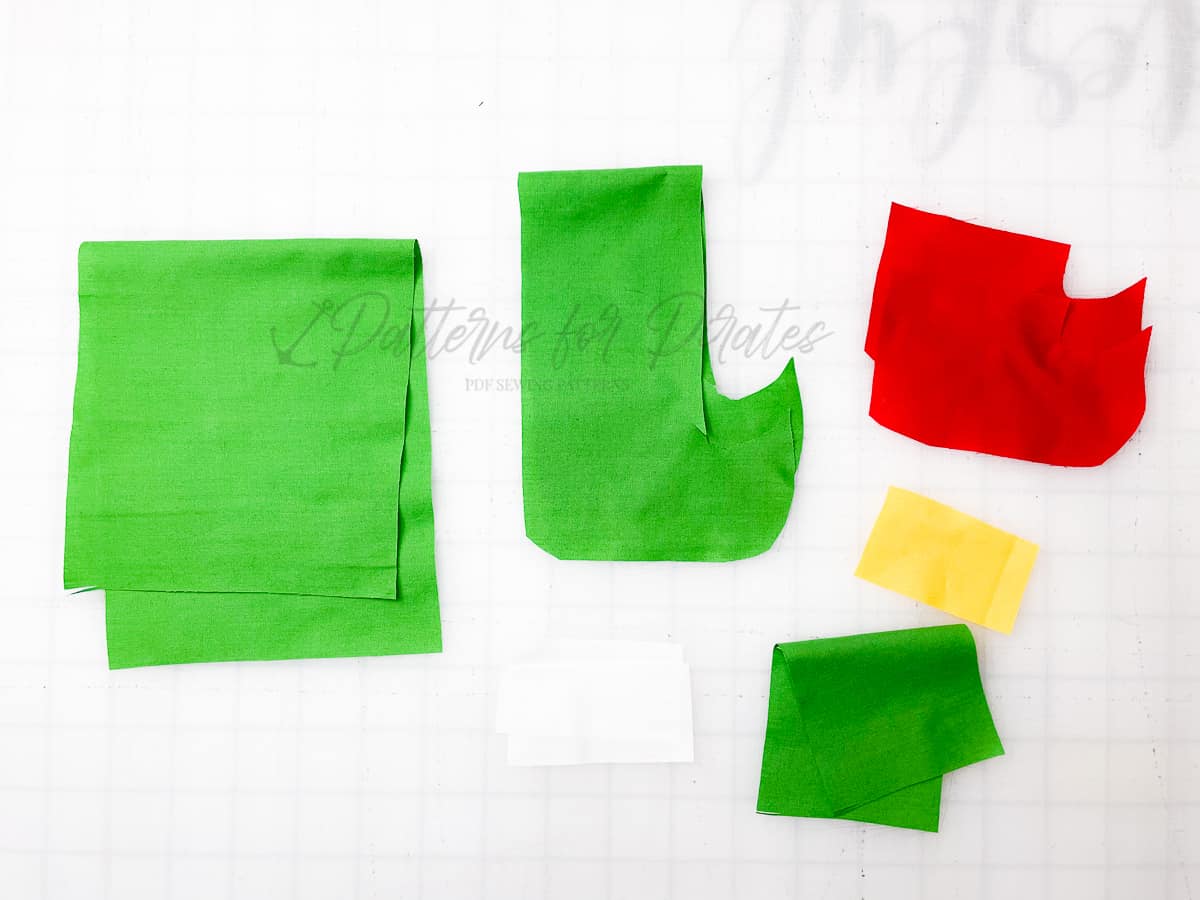
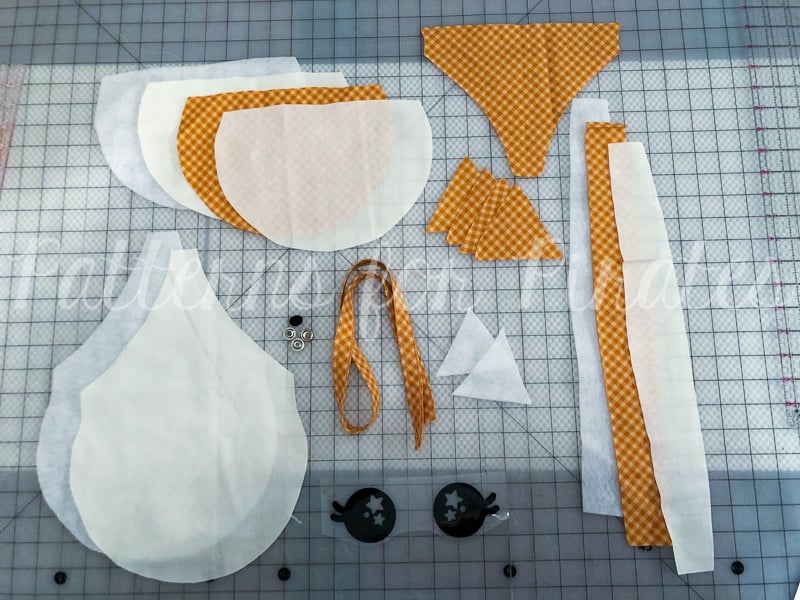
Snowman Bow pieces needed:
– 2 Bow Tails, cut on fold
– 1 Main Bow, cut on fold
– 1 Bow Center
– 3 buttons
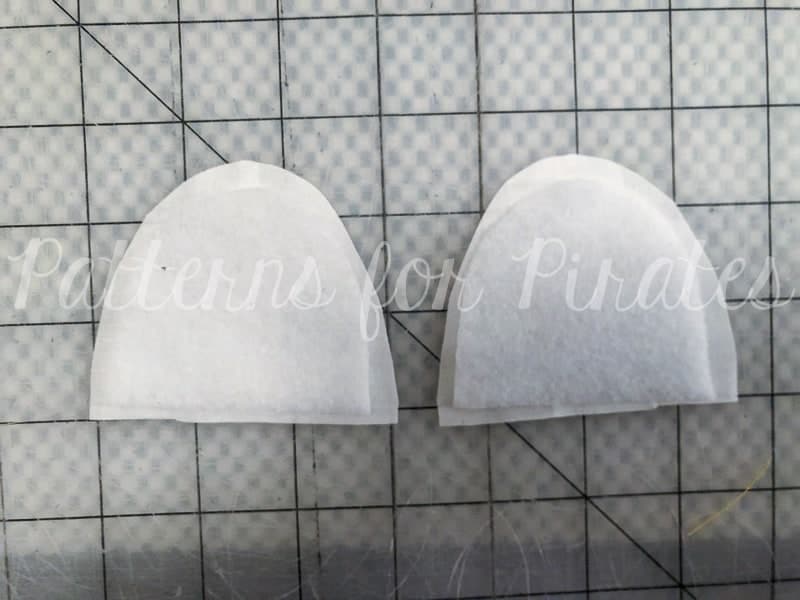
– 1 Tophat (cut from felt)
Santa Bow pieces needed:
– 1 Bow Tail, cut on fold
– 1 Bow Tail (piece 1), cut on fold
– 2 Bow Tail (piece 2)
– 2 Bow Tail (piece 3)
– 1 Bow Center
– 2 Main Bow (piece 1), cut on fold
– 1 Main Bow (piece 2), cut on fold
Elf Bow pieces needed:
– 1 main Bow, cut on fold
– 1 Bow Tail (back), cut on fold
– 1 Bow Tail (piece 1), cut on fold
– 2 Bow Tail (piece 2)
– 2 Bow Tail (piece 3), mirror
– 1 Bow Center
Now that we’ve got our pieces all cut and ready, let’s get to sewing up these cuties!
TUTORIAL
Basic Bow Construction:
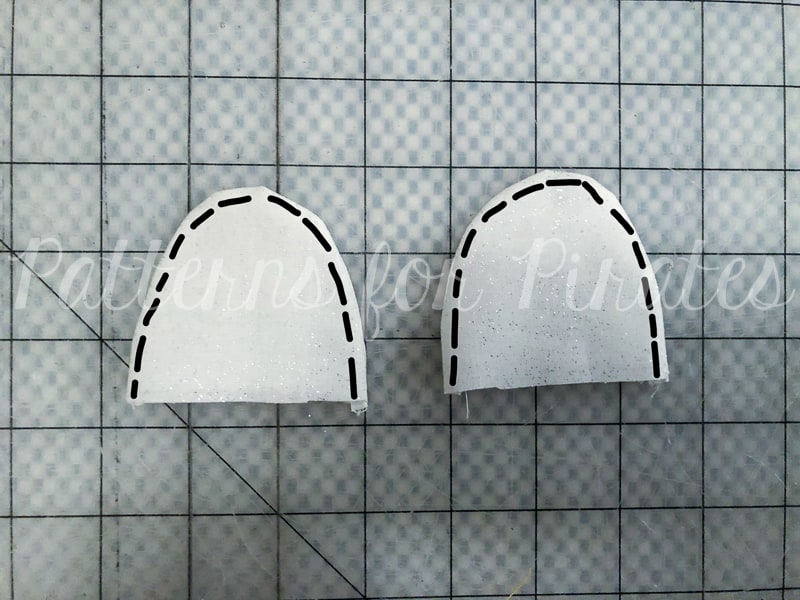
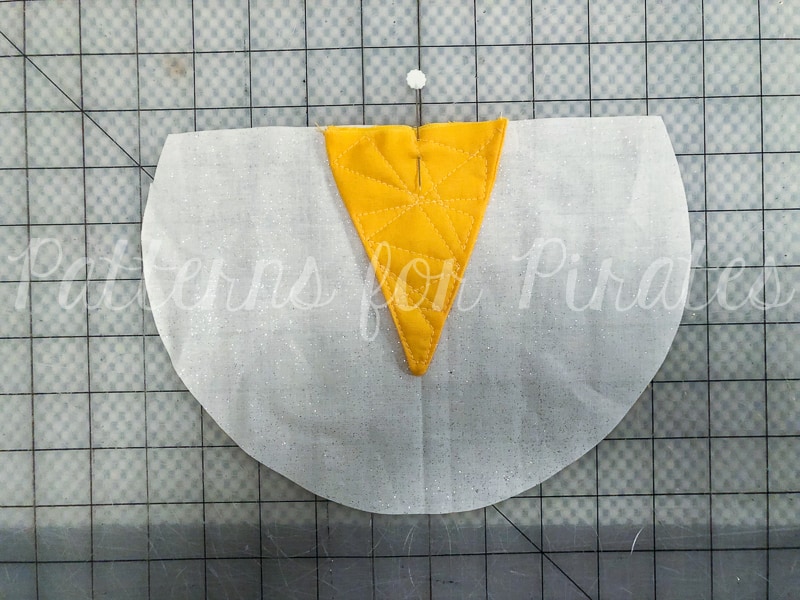
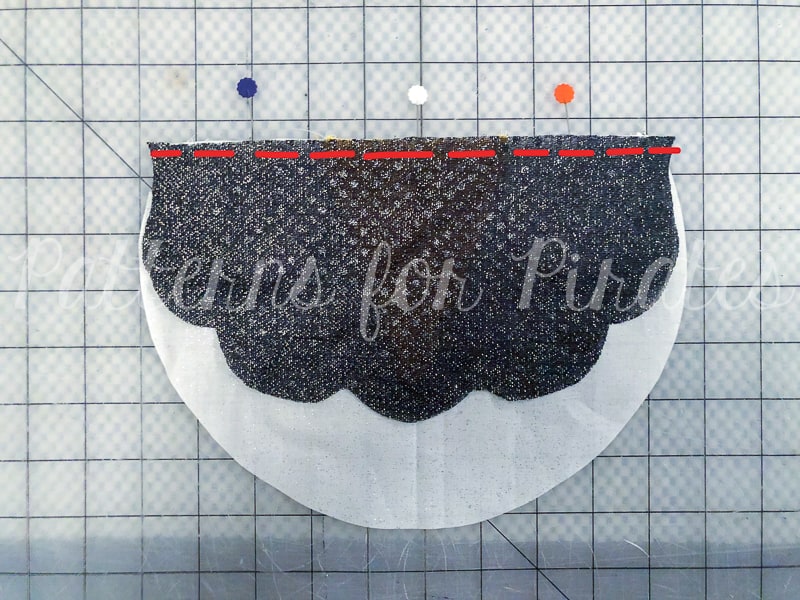
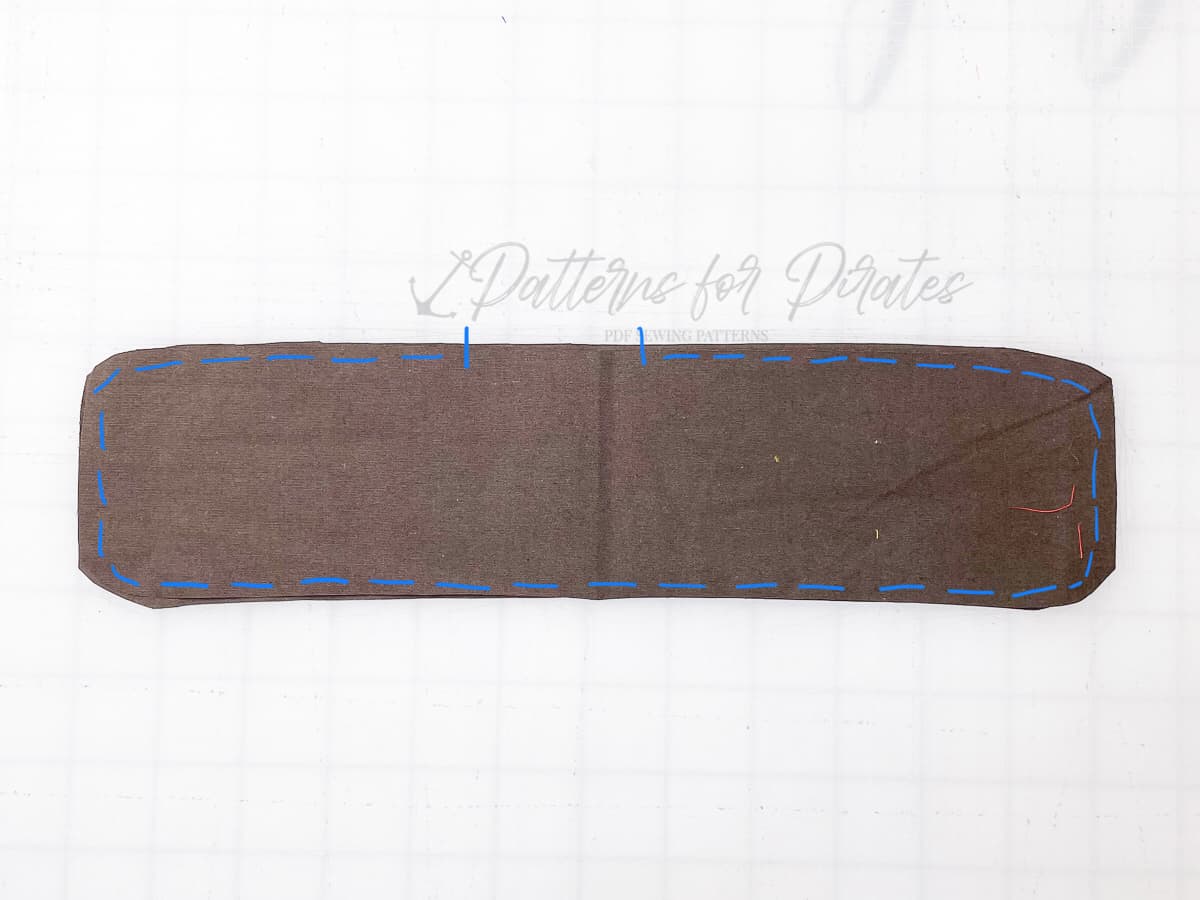
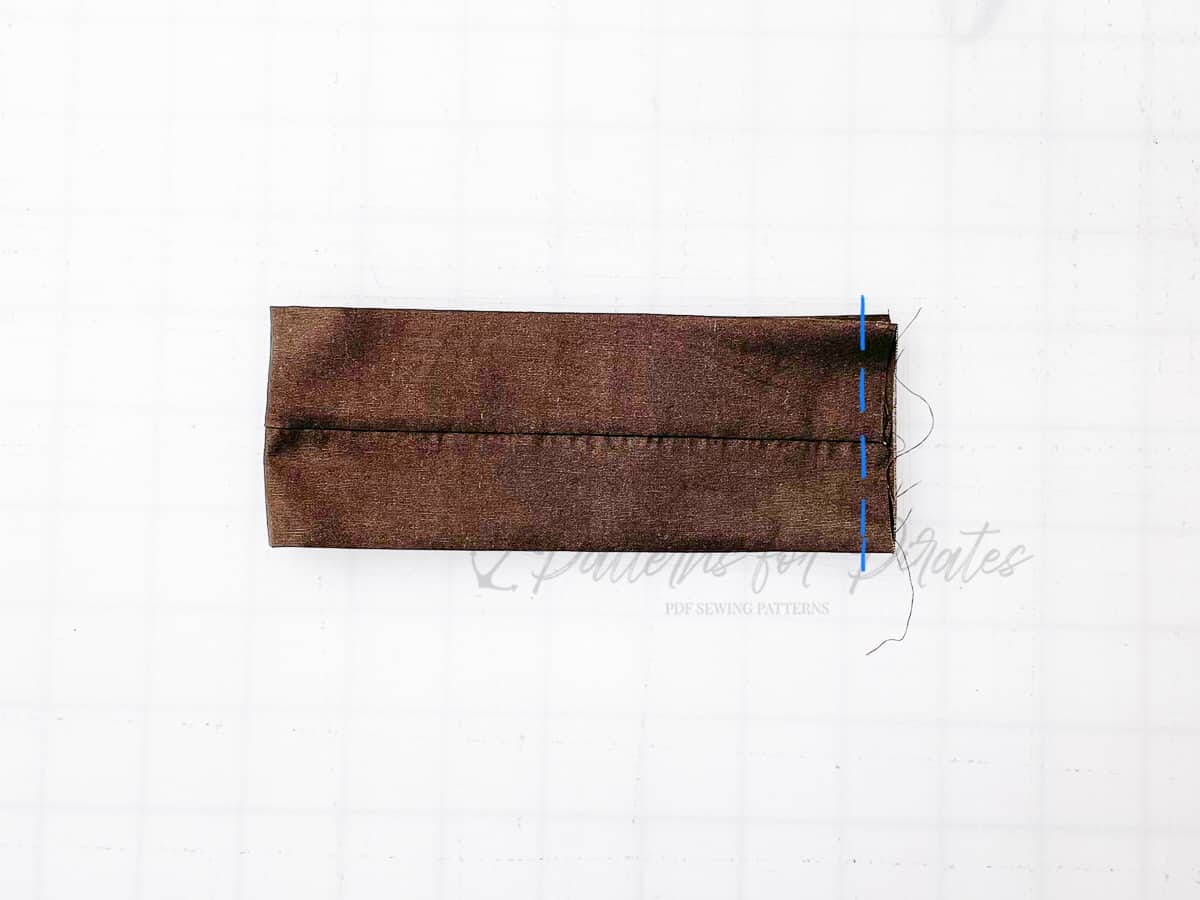
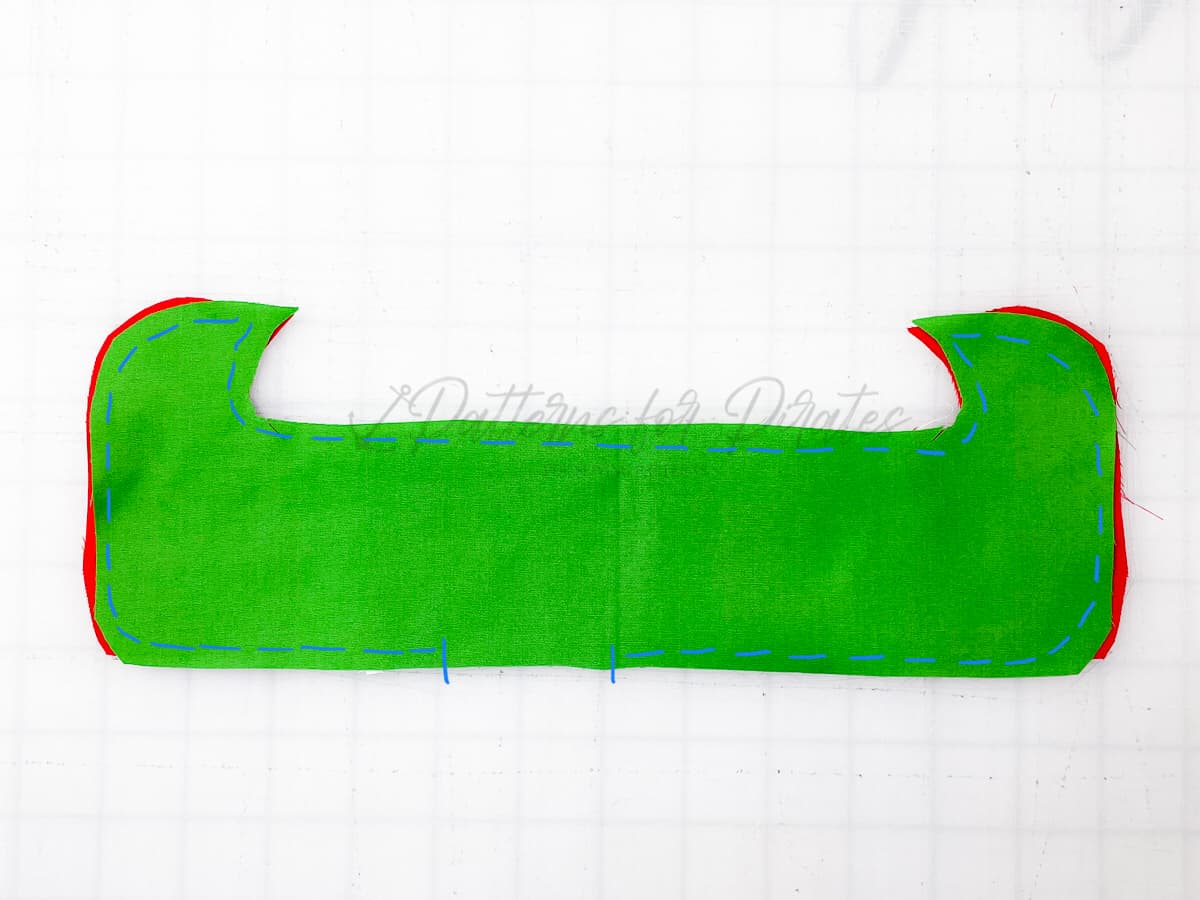
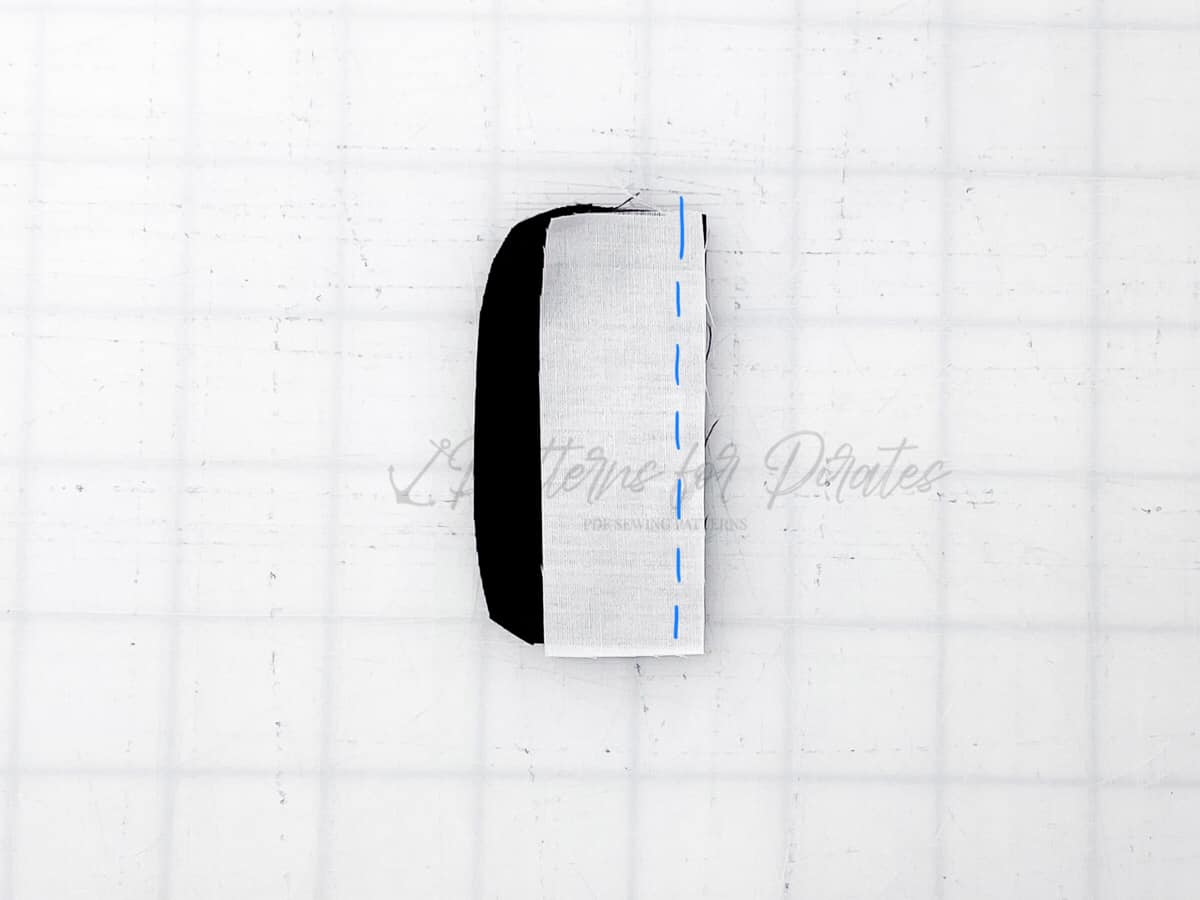
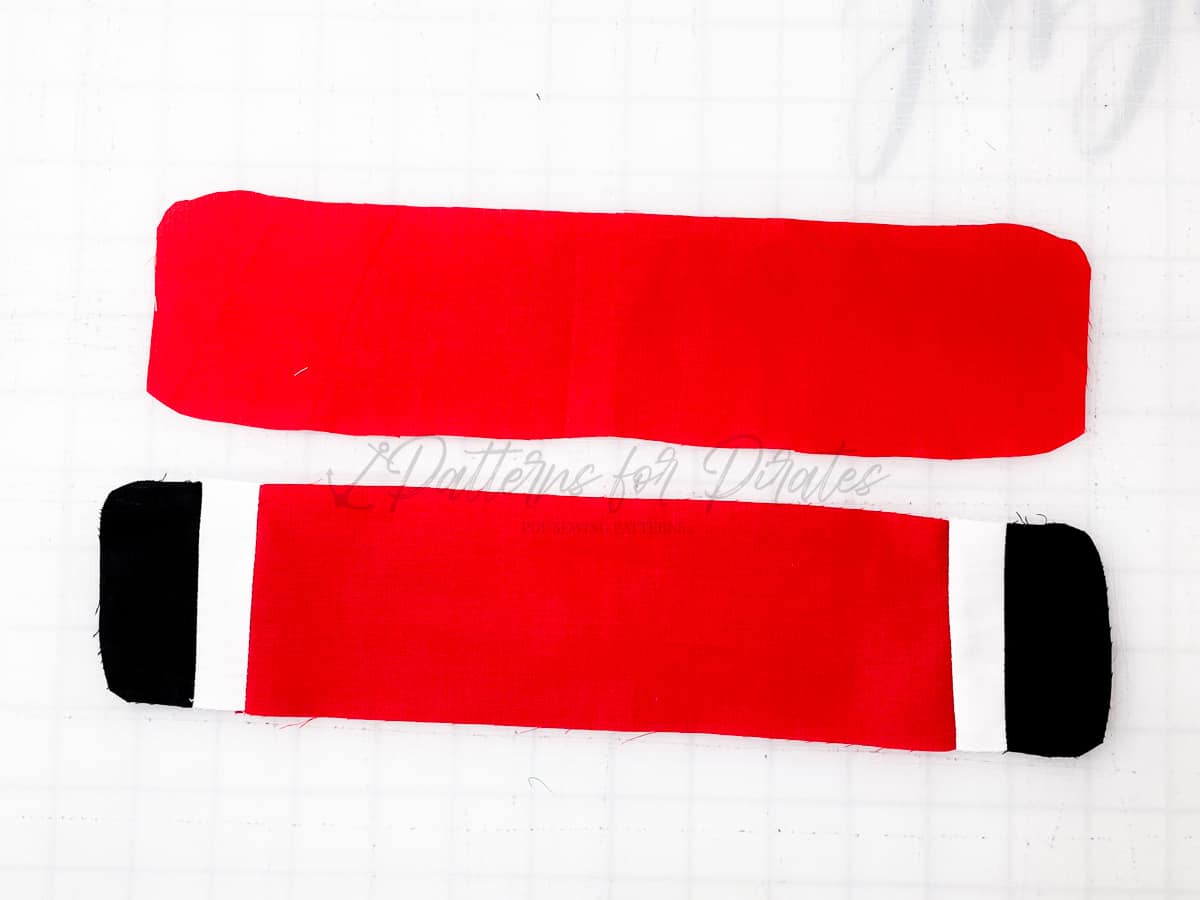
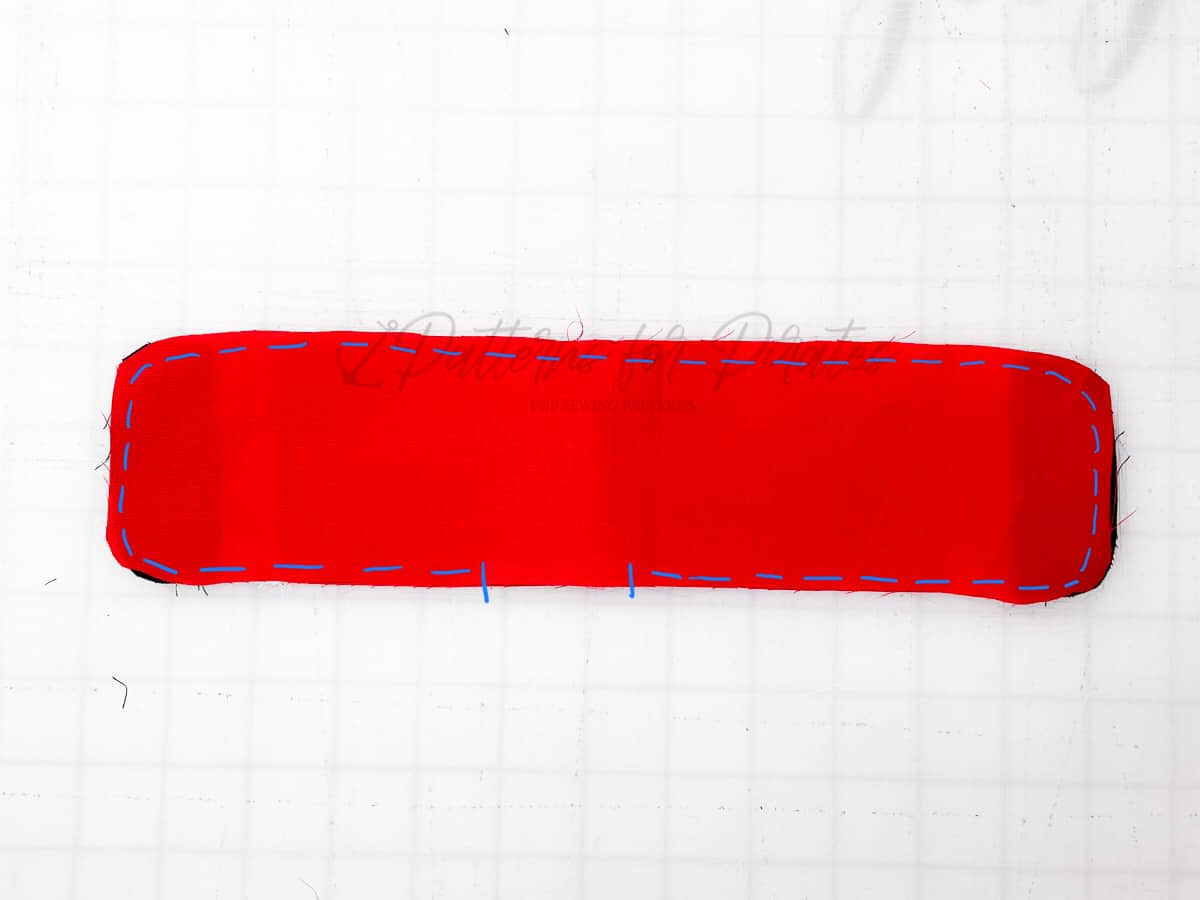
Step 1: Place Bow Tails together, with right sides facing each other.
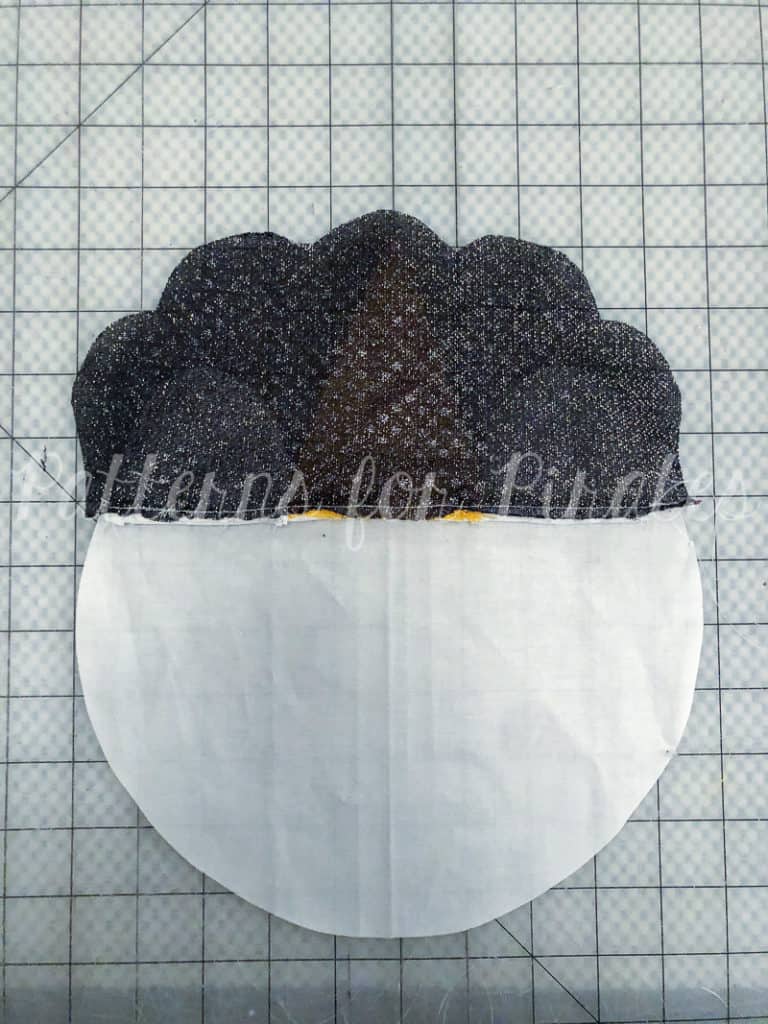
Sew along entire outer edge, using 1/4″ seam allowance. Be sure to leave 1.5-2″ opening for turning.
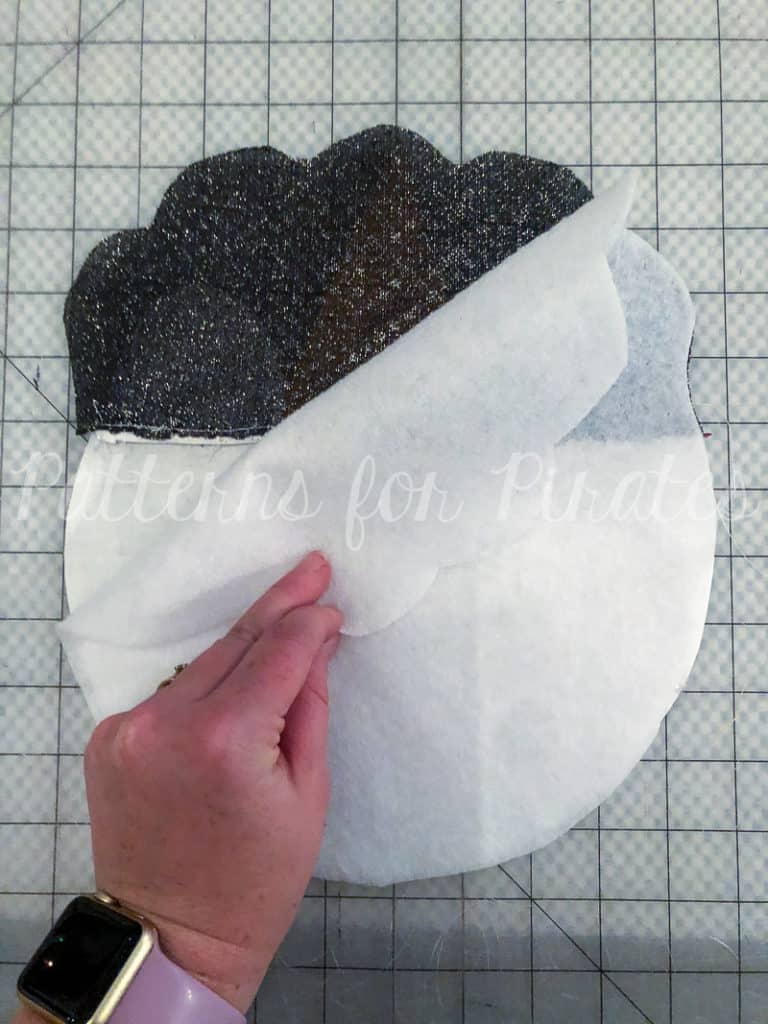
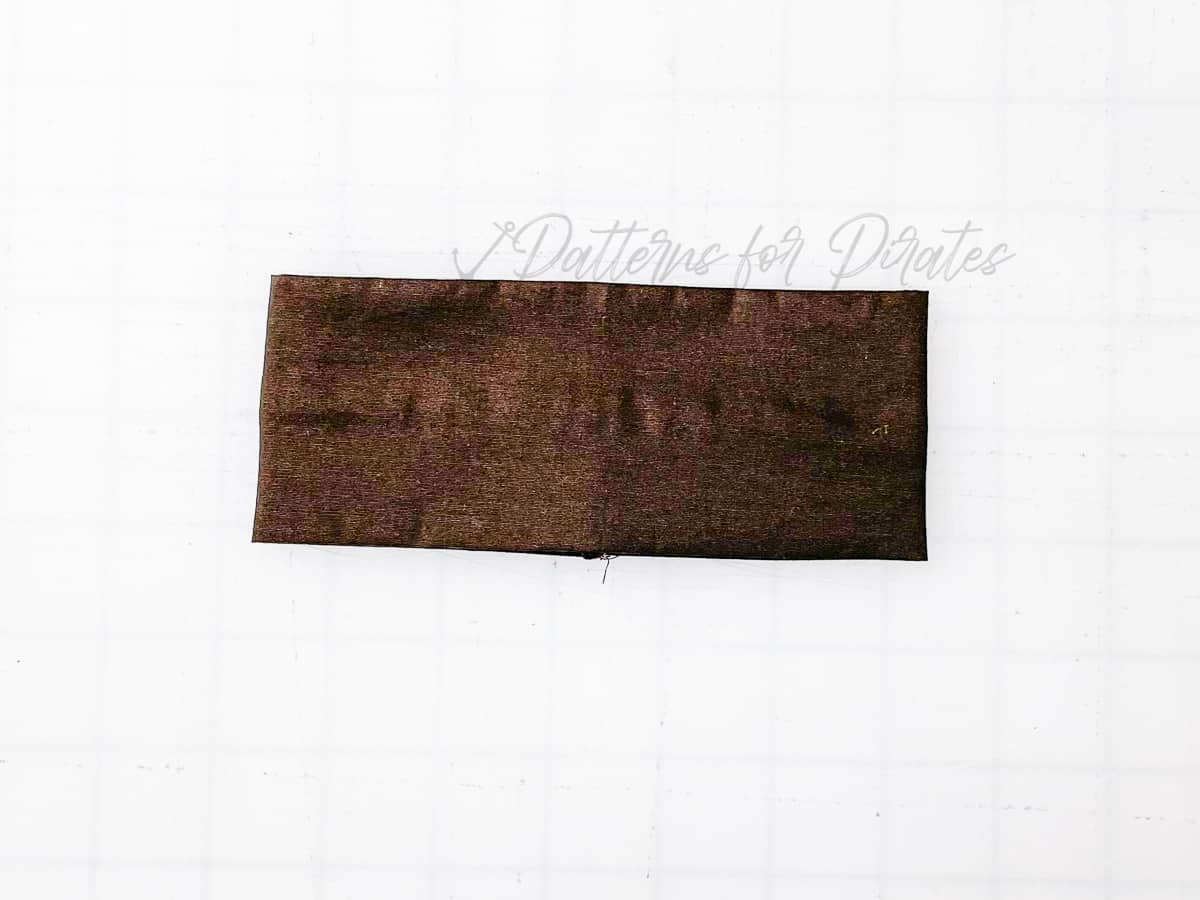
Step 2: Trim seam allowances for cleaner curves, turn Bow Tail right sides out through the opening you left.
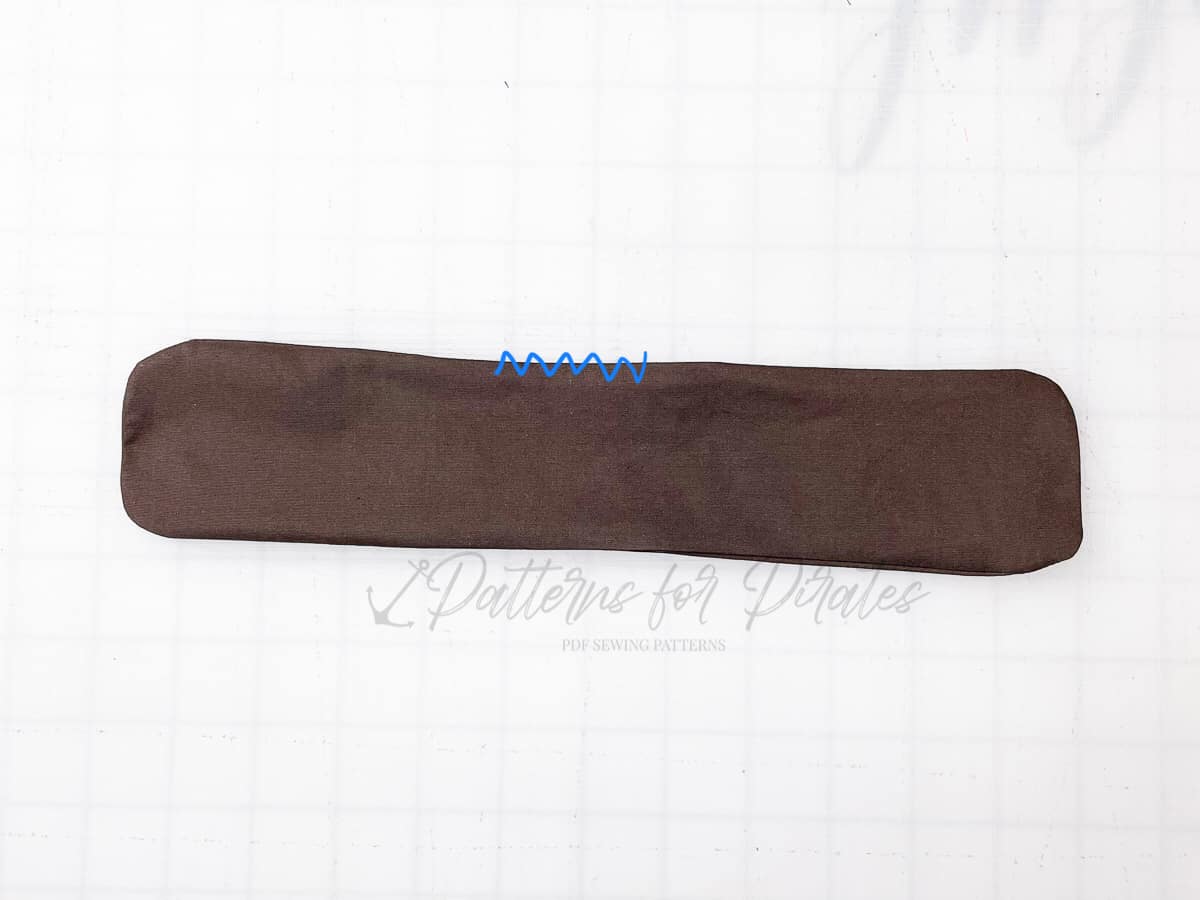
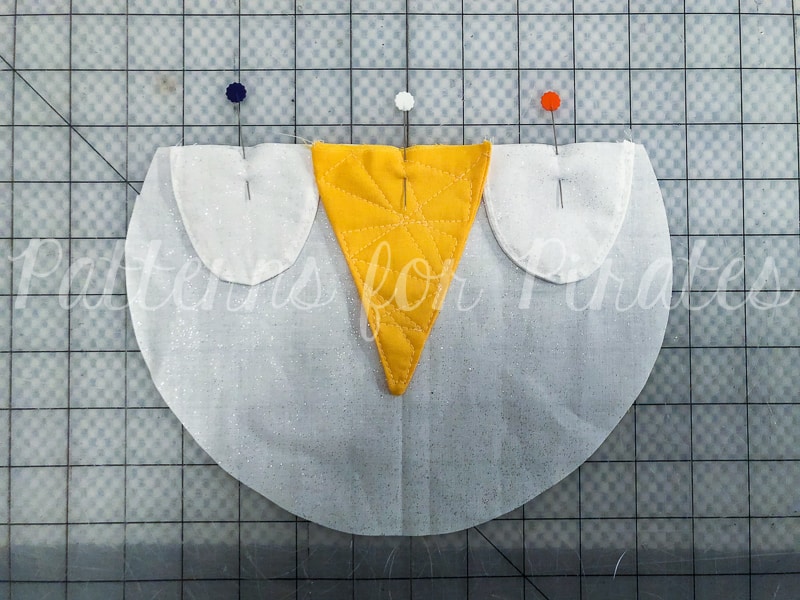
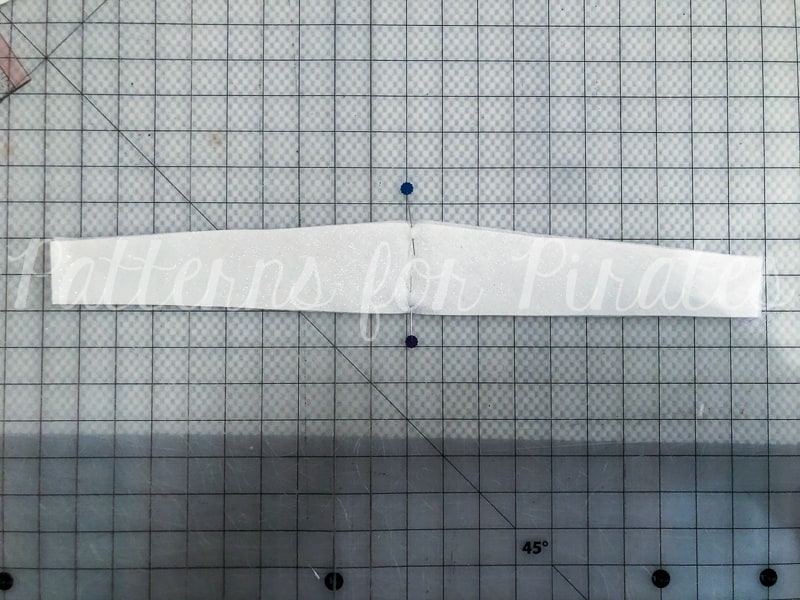
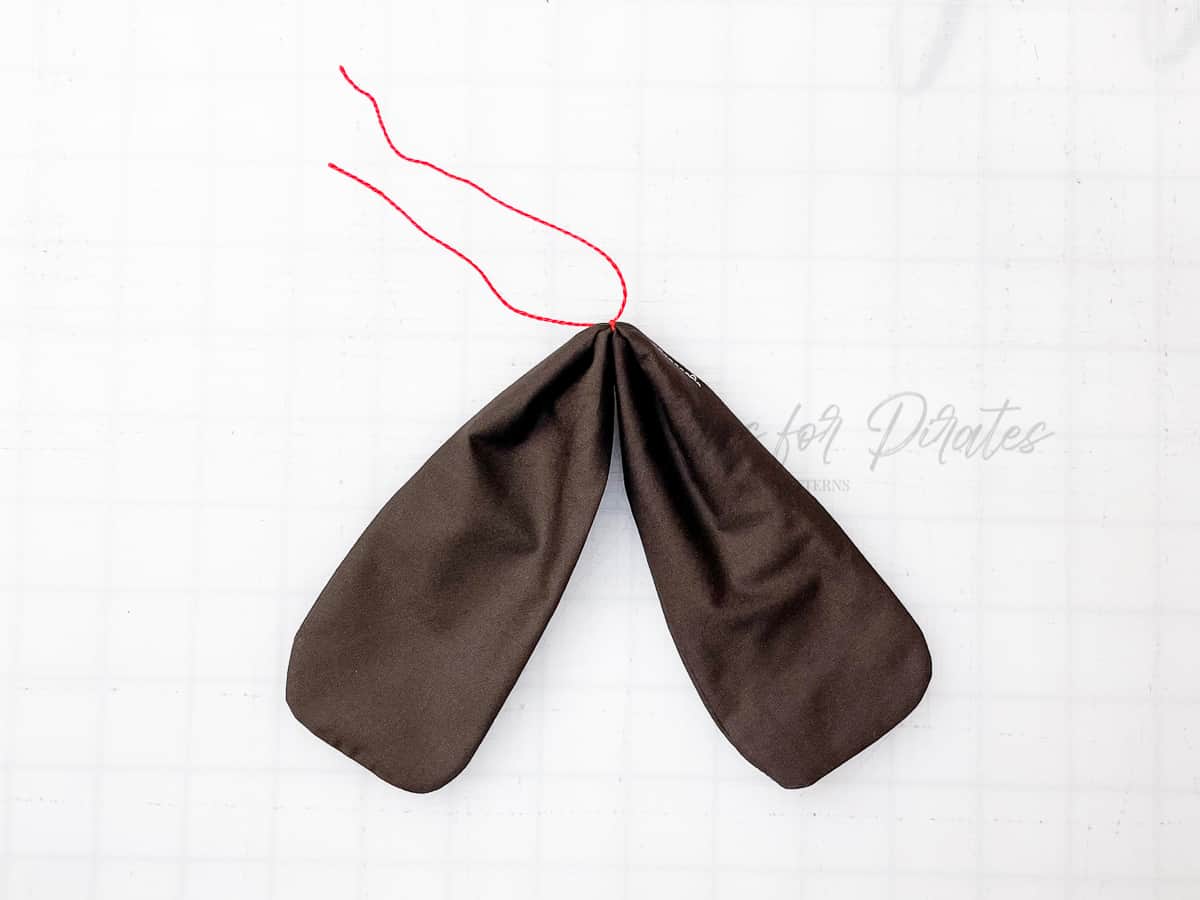
Step 3: Using thread / yarn, tie off and cinch the center of Bow Tail. Set aside.
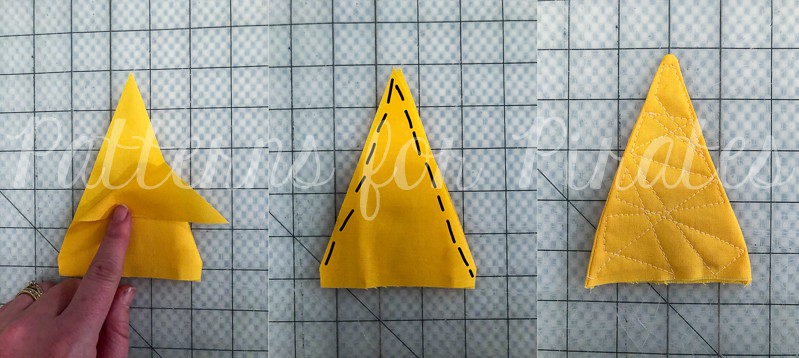
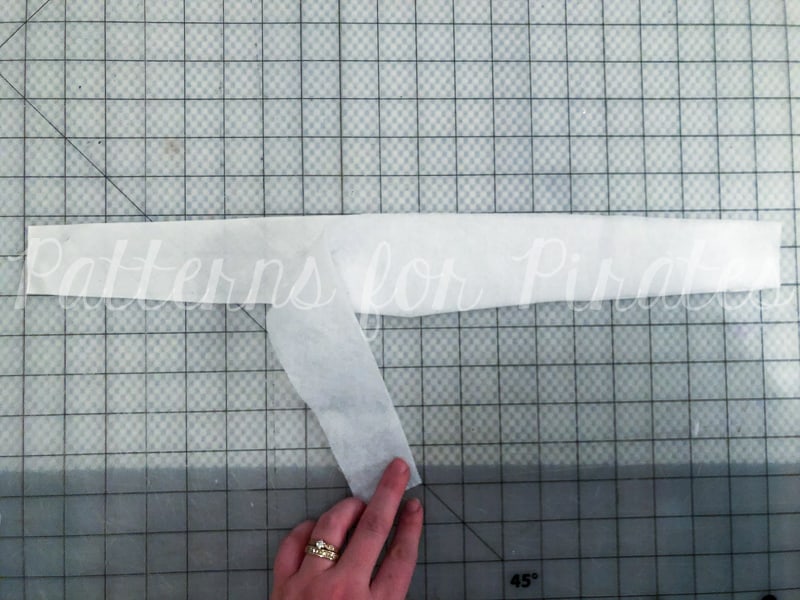
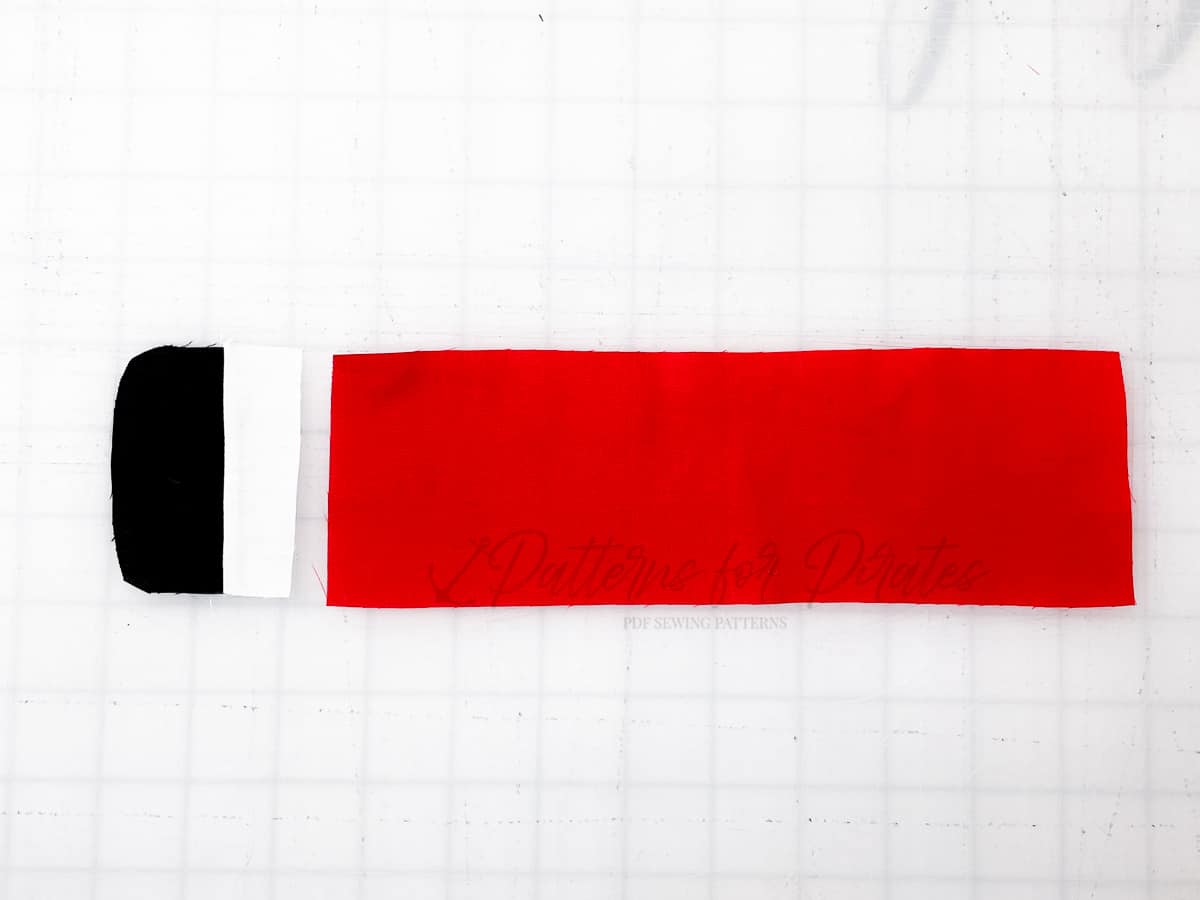
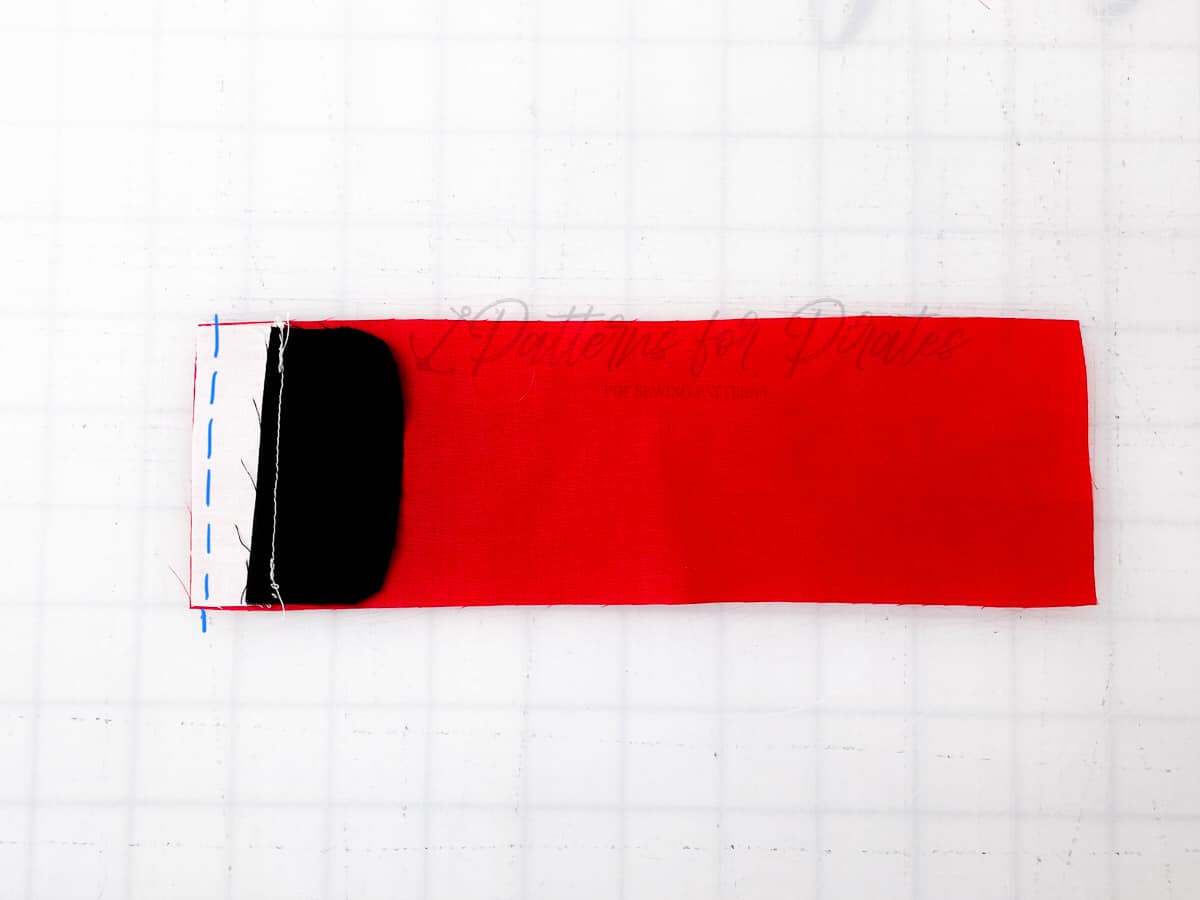
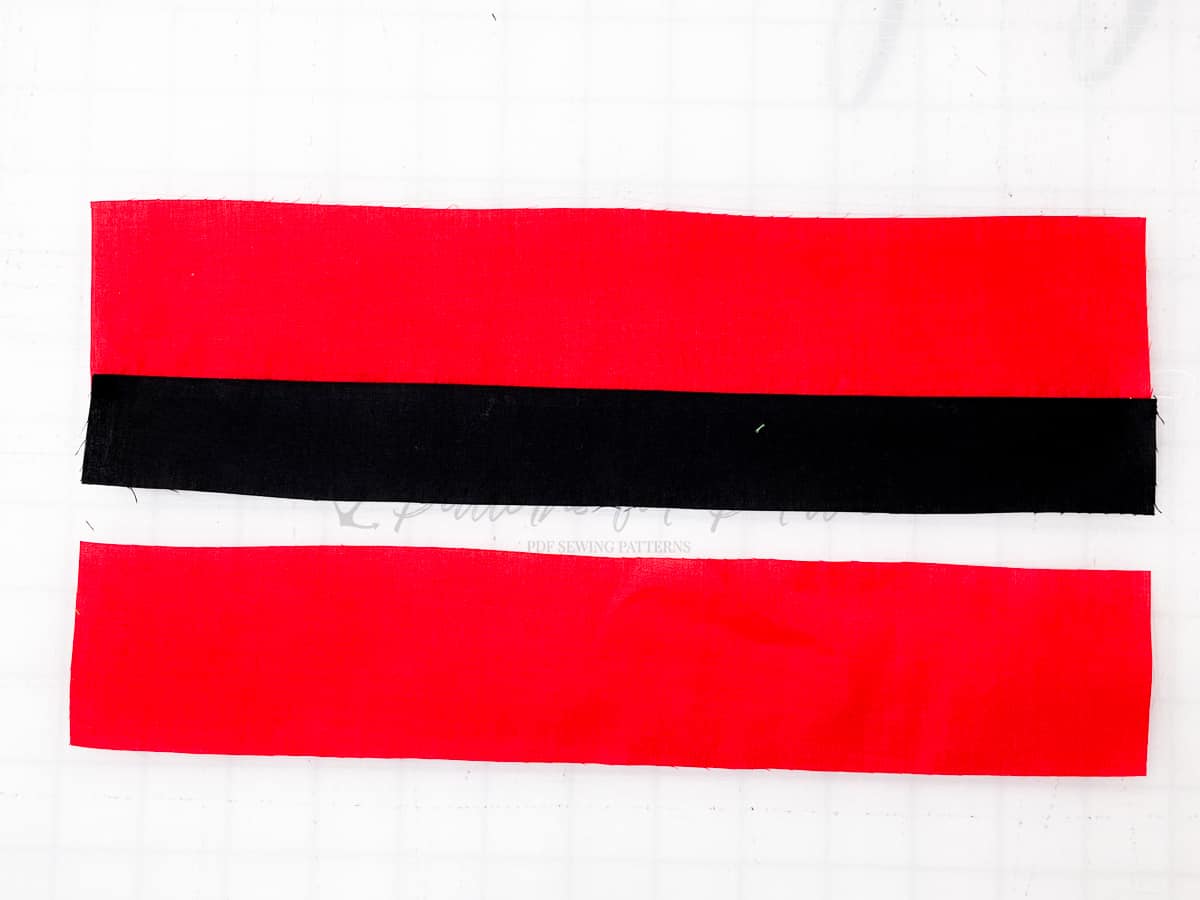
Step 4: Place main bow piece right sides. up. Fold in half, with right sides together, matching the long edges.
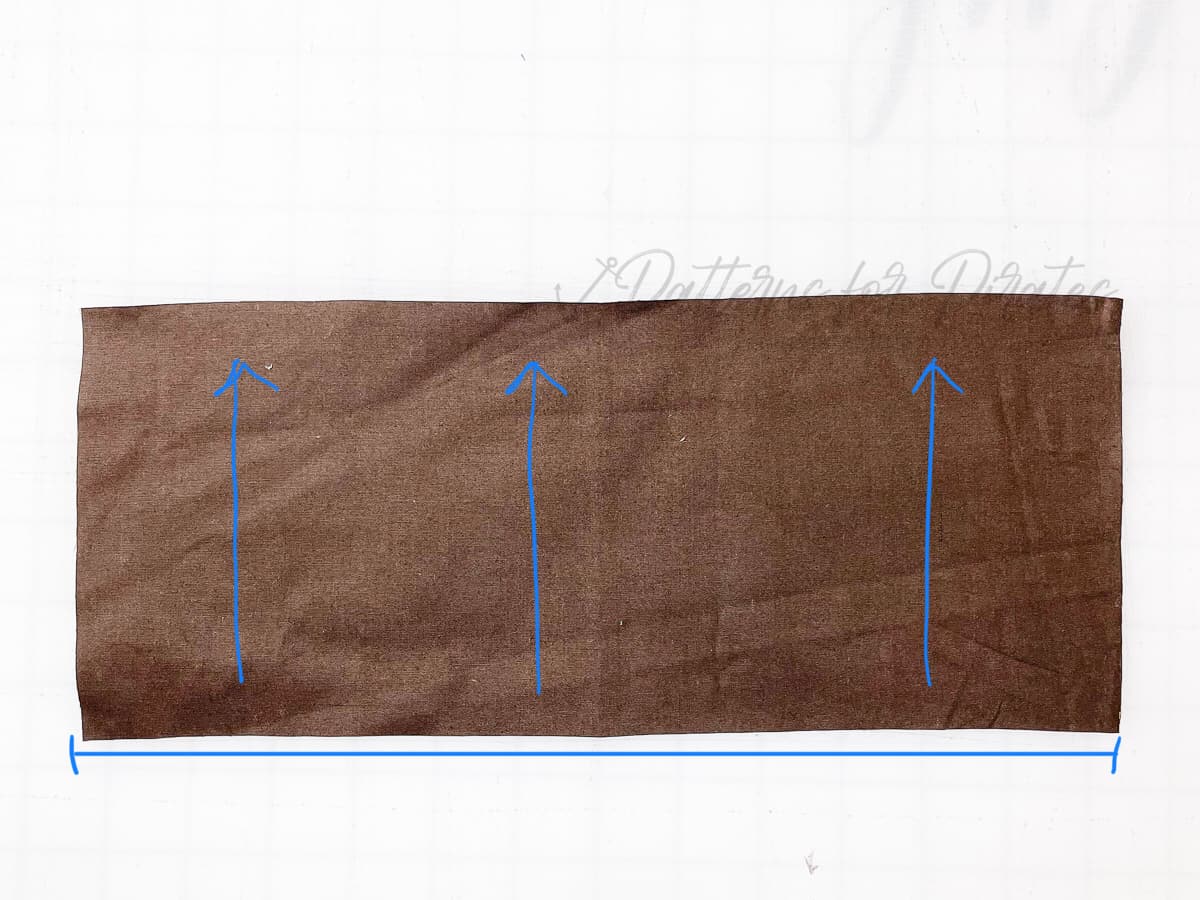
Step 5: Sew using 1/4″ seam allowance.
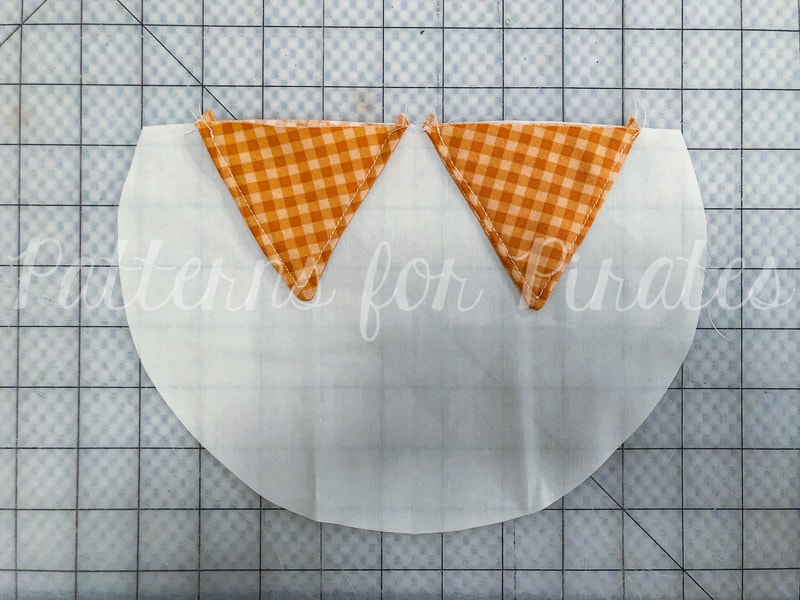
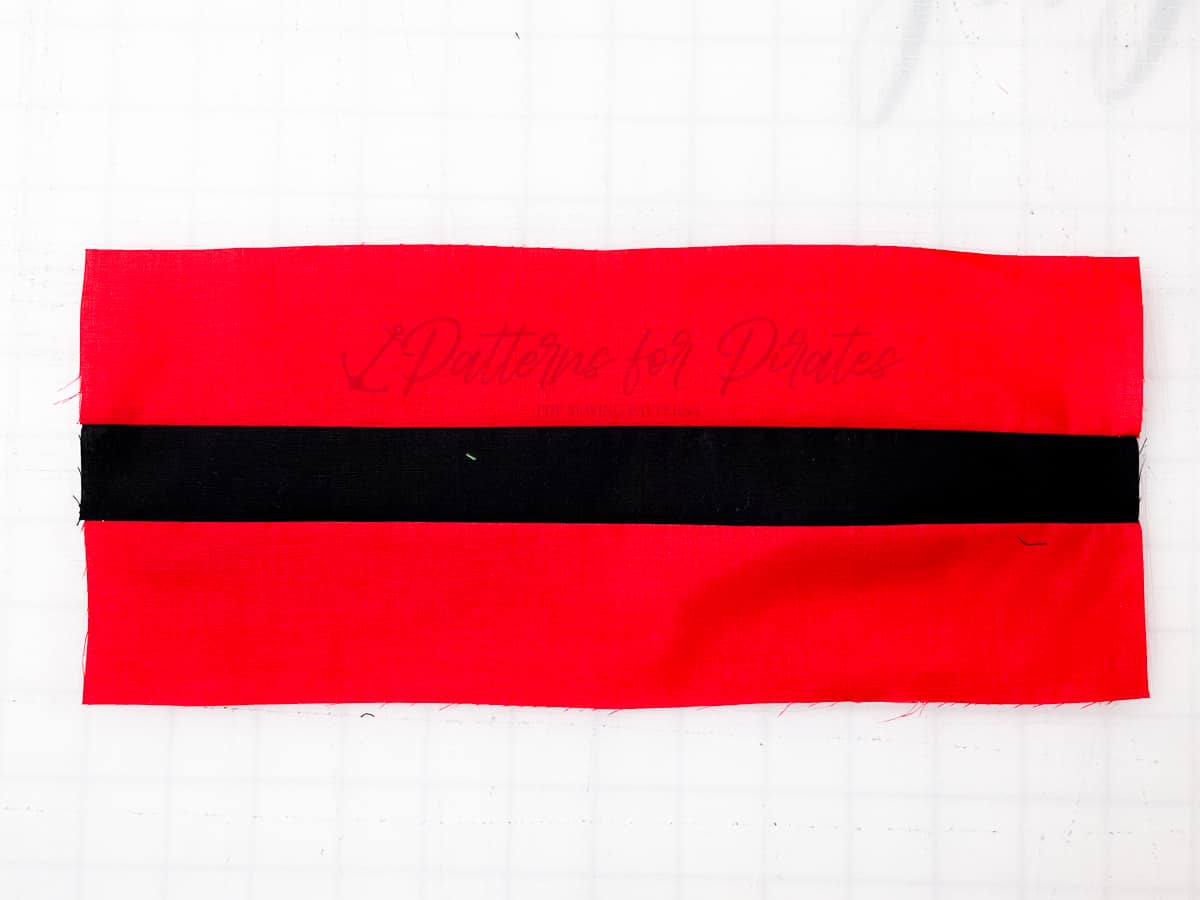
Step 6: Turn tube right sides out and press, with the seam moved to the center back.

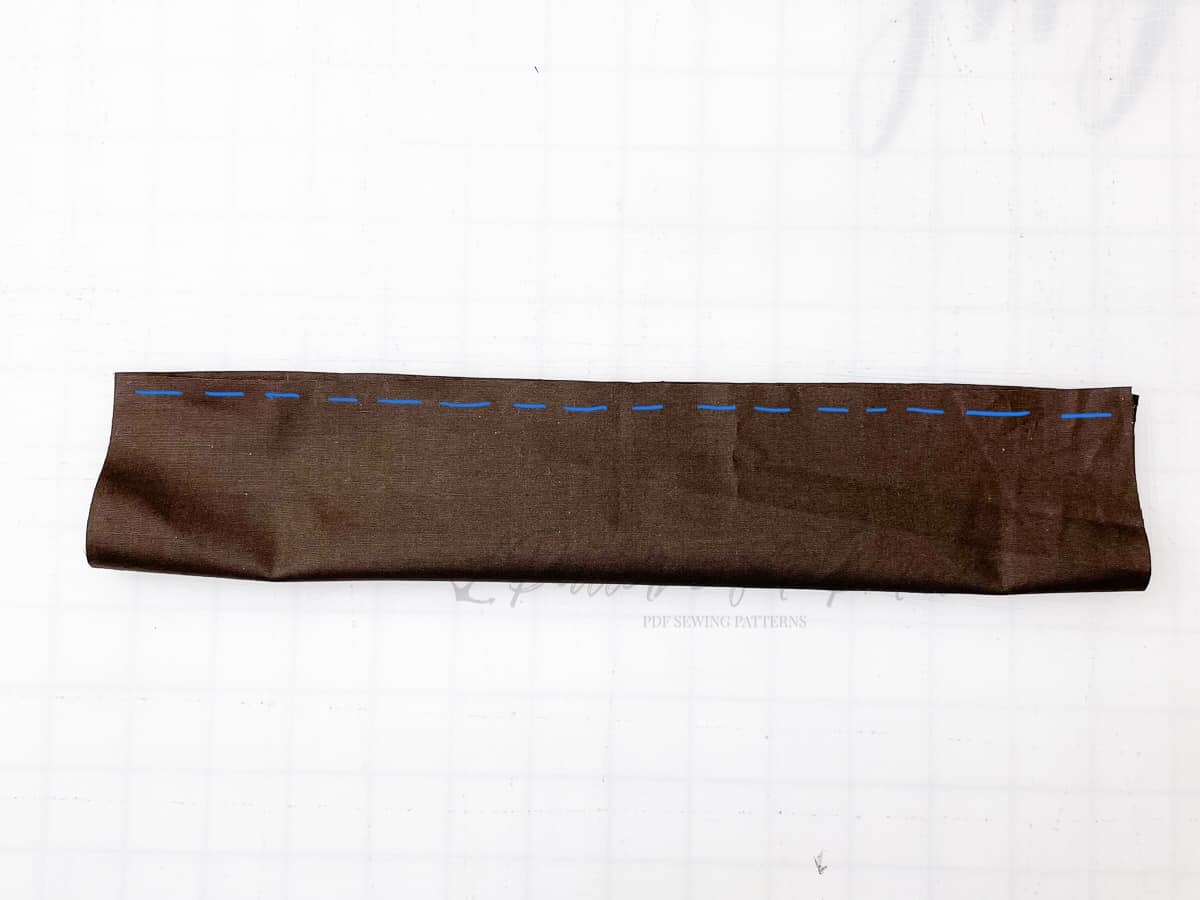
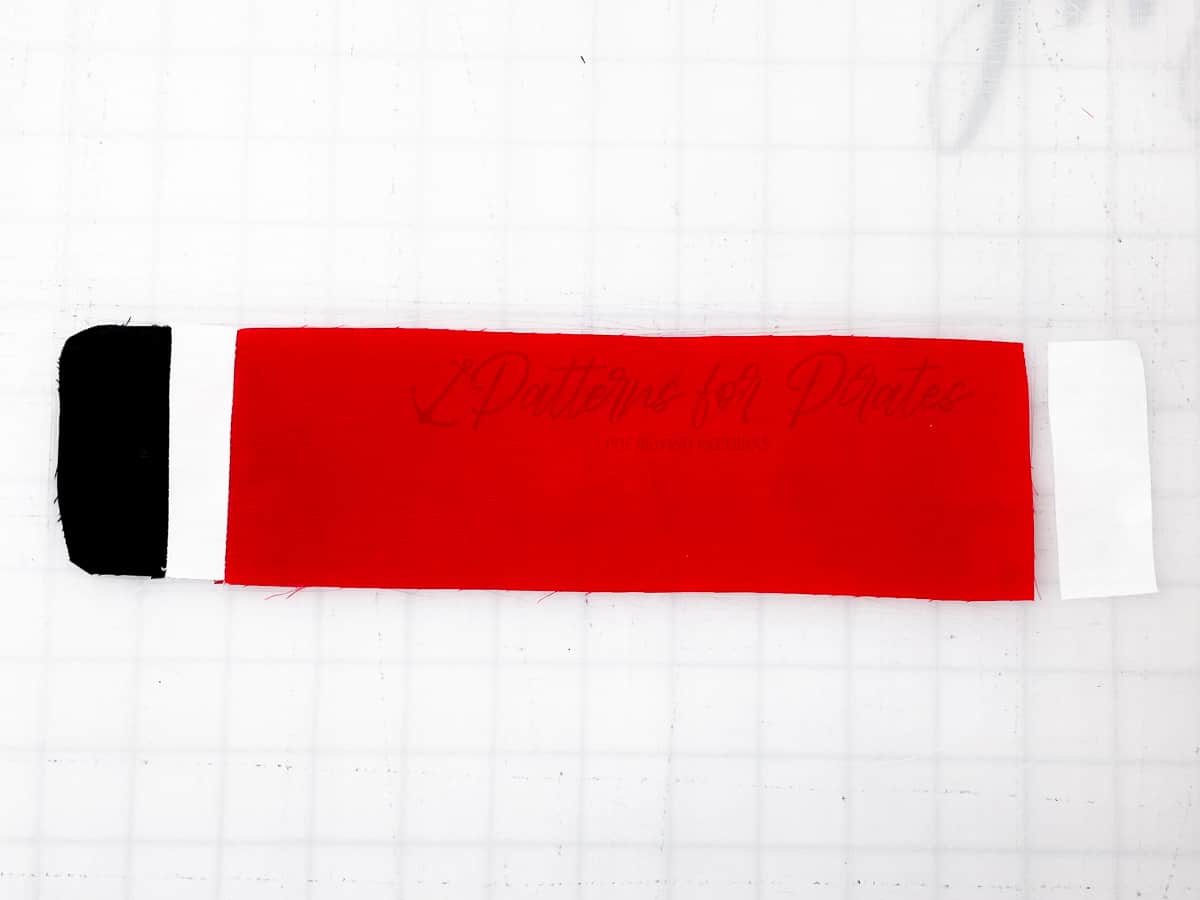
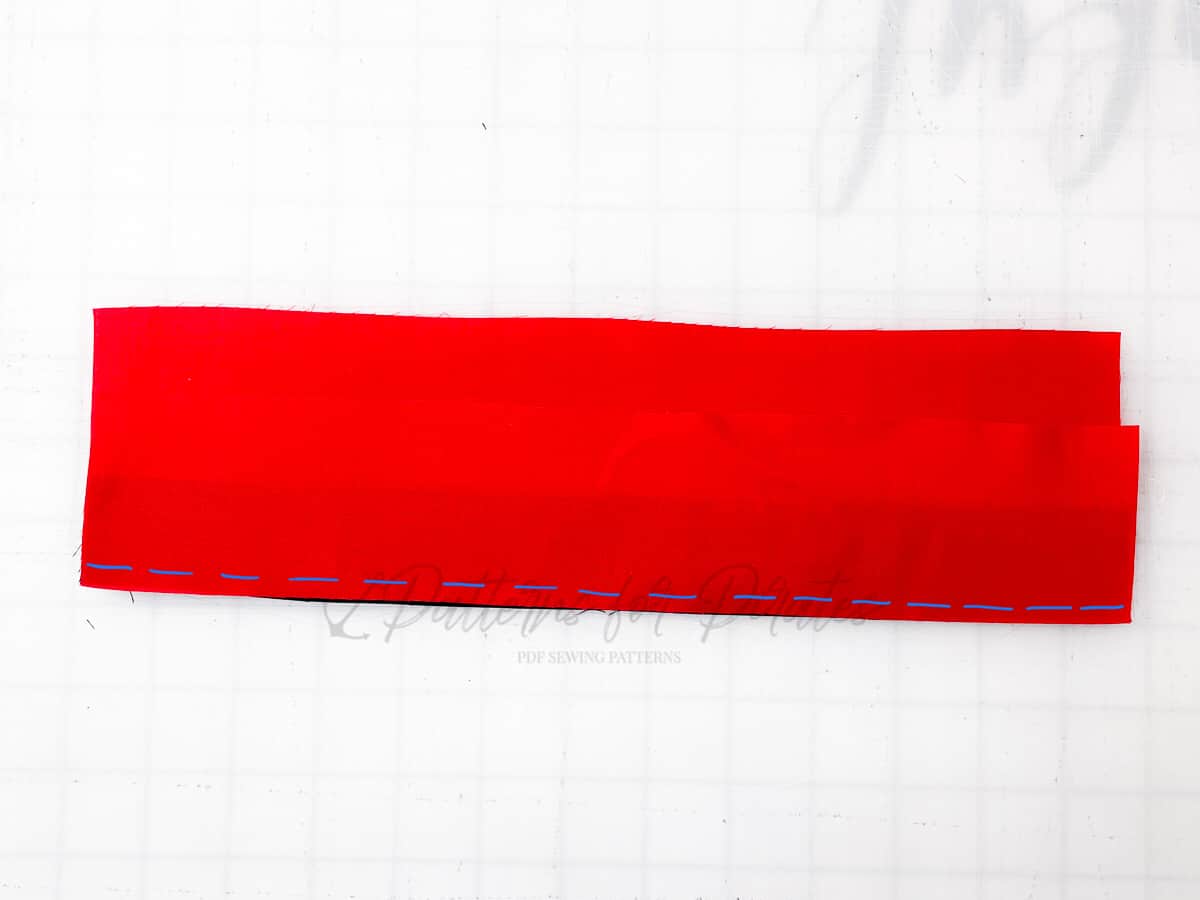
Step 7: Place the main bow piece with right sides up. Fold in half, right sides together, meeting the short raw edges.
Step 8: Sew using 1/4″ seam allowance.
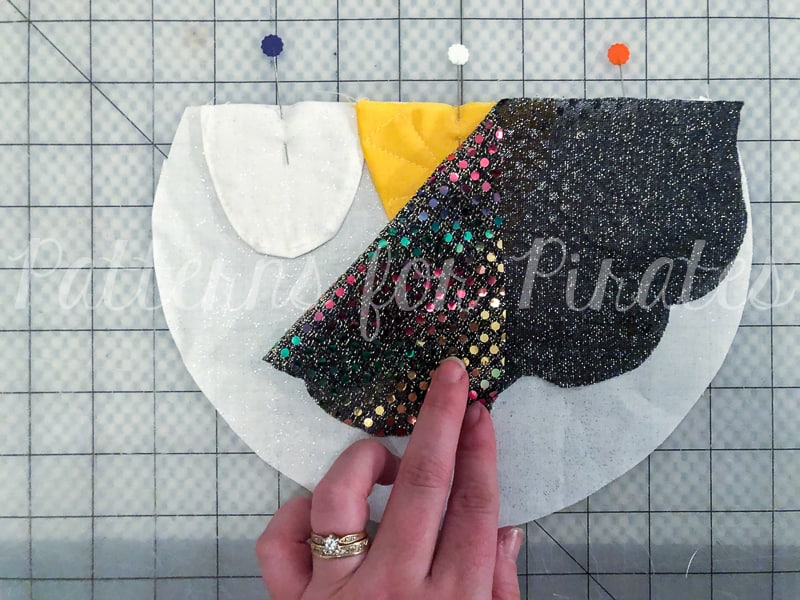
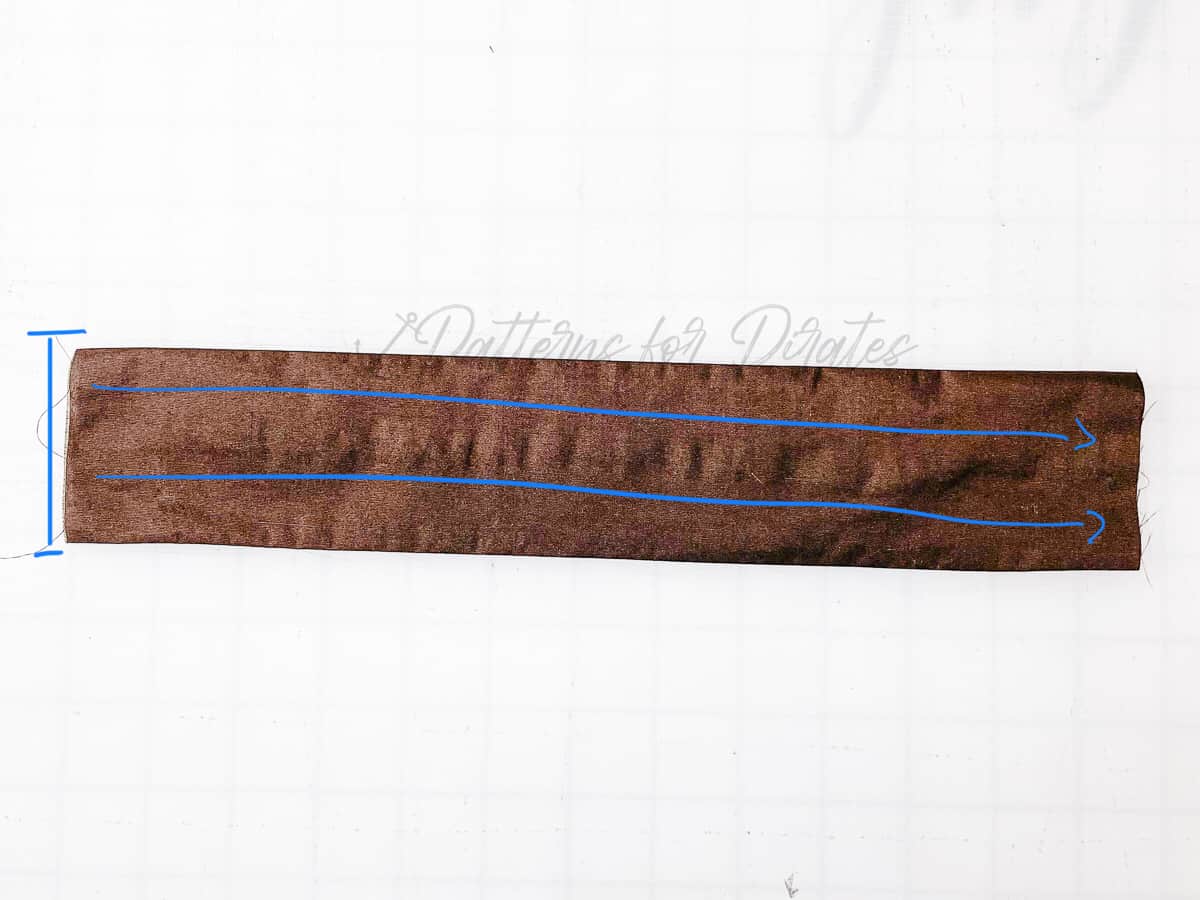
Step 10: Turn right sides out, hiding your seam allowance in the center of this new bow loop you’ve created. Center the seam in the middle back of the pattern piece.
Step 11: Using thread / yarn, tie off and cinch the center of the main bow piece.
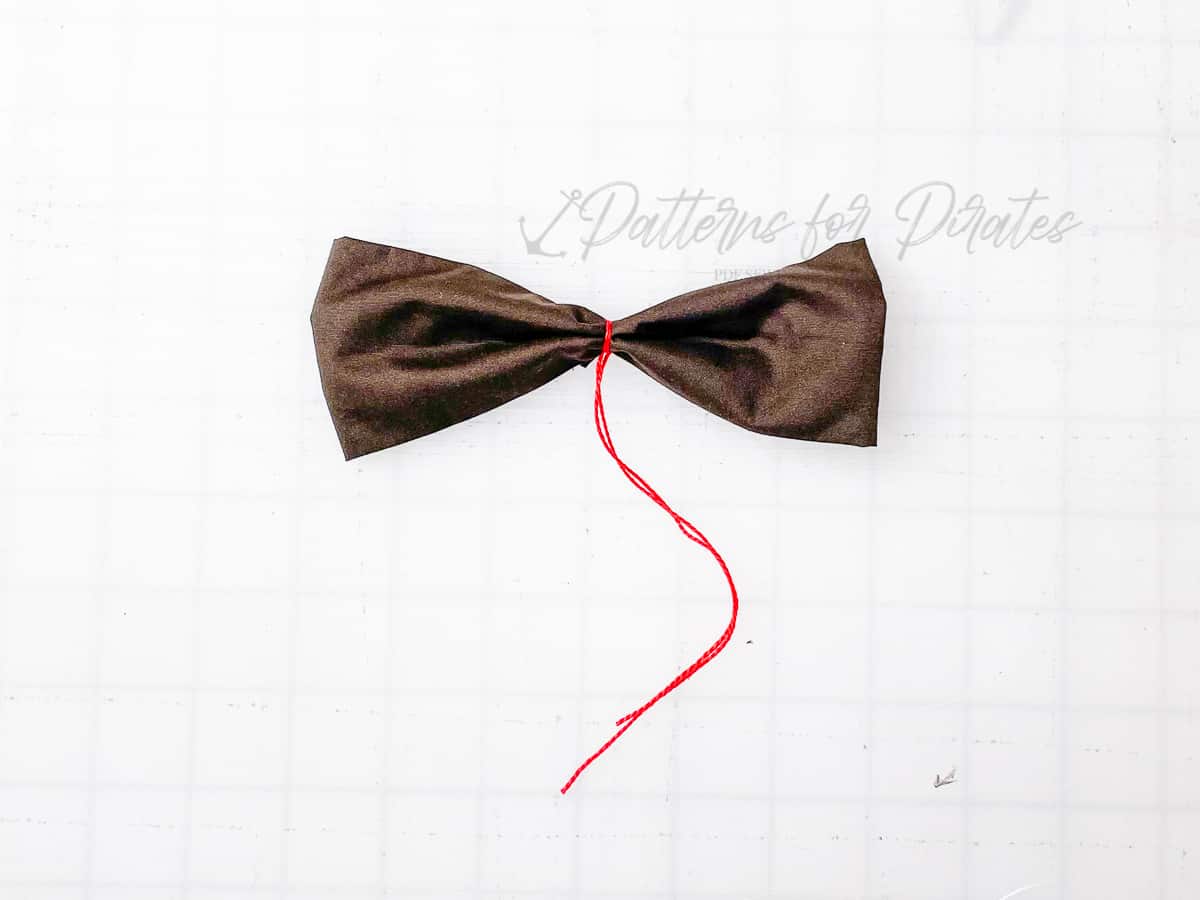
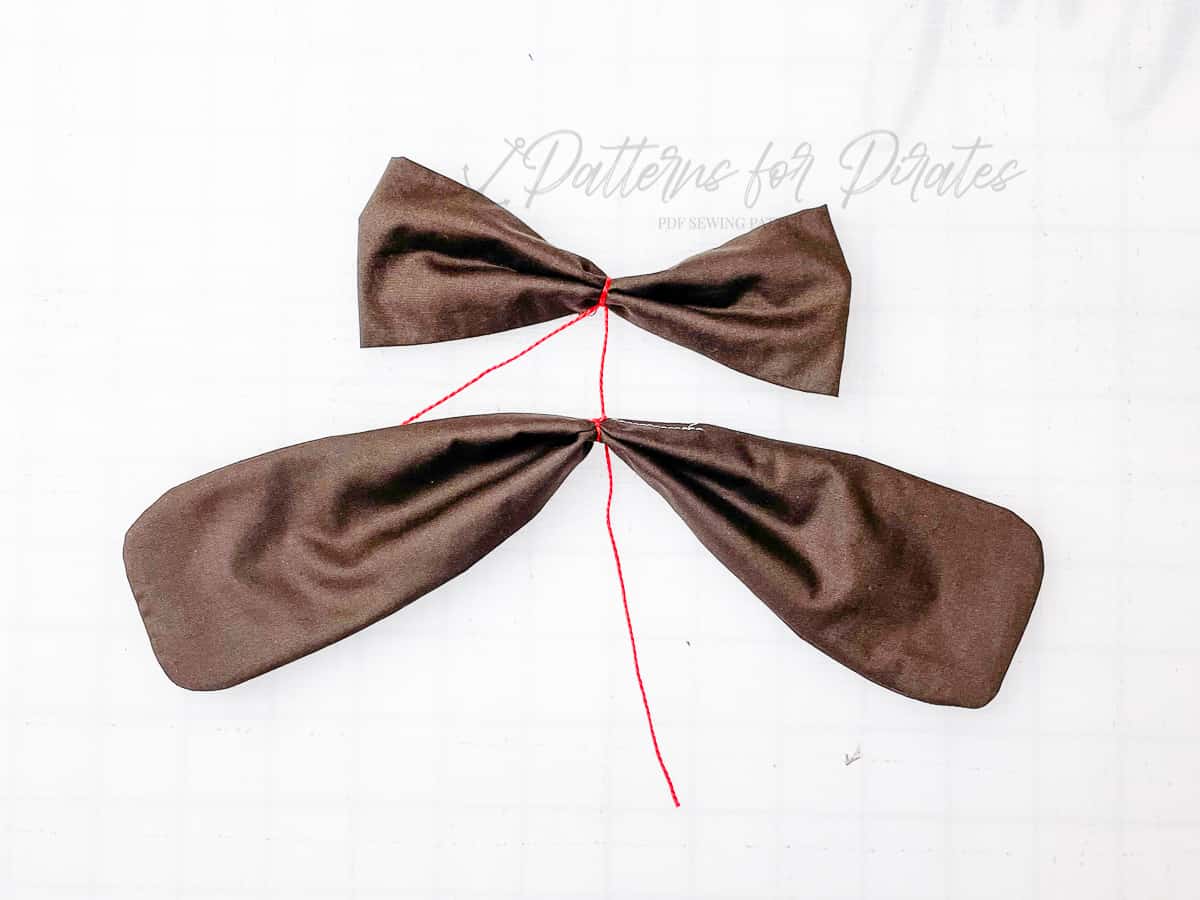
Step 12: Attach the main bow to the bow tail, tying them together at their centers.
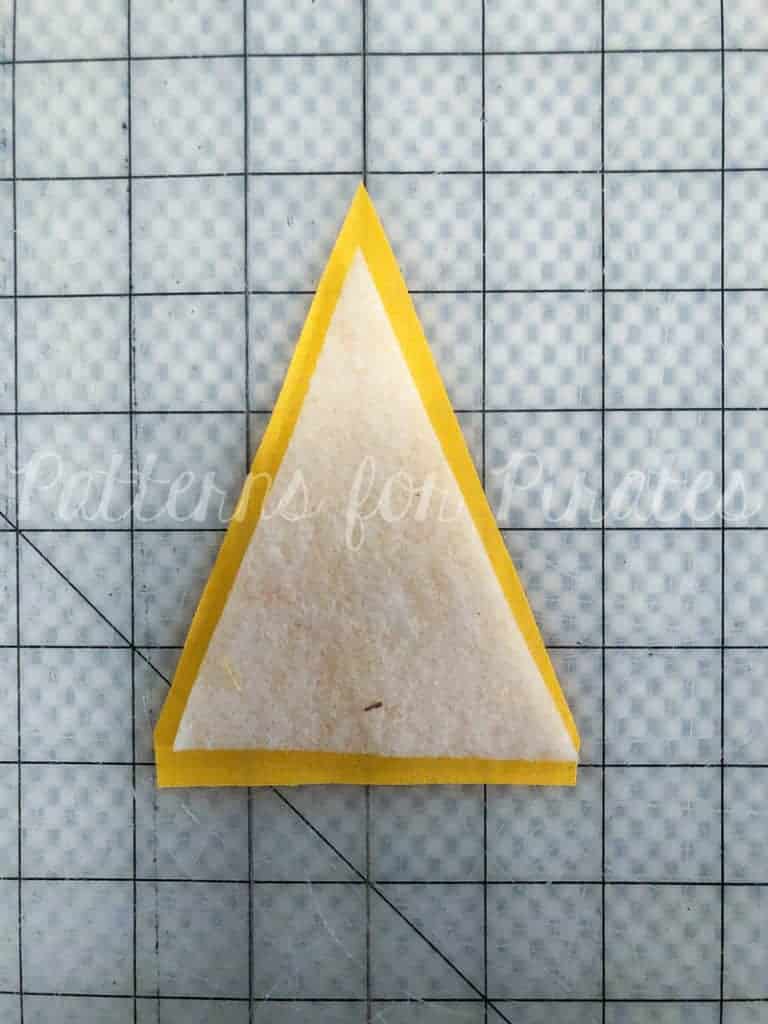
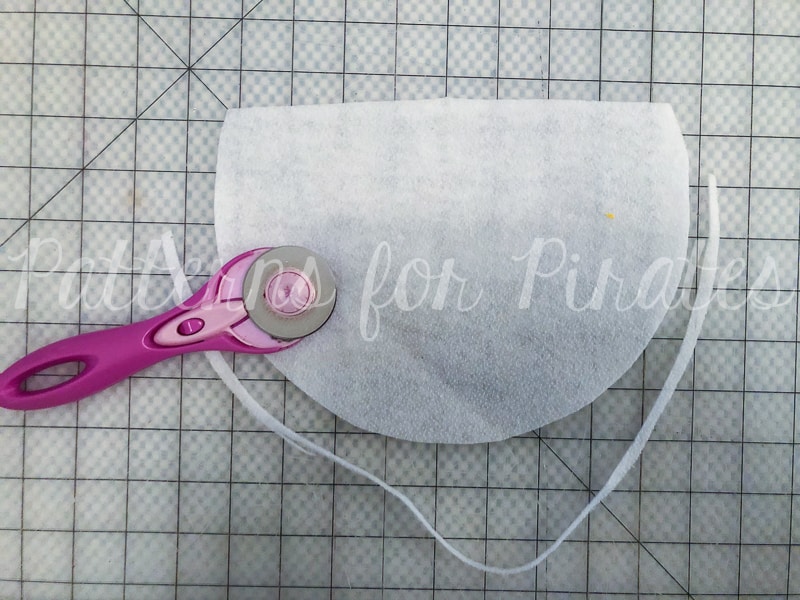
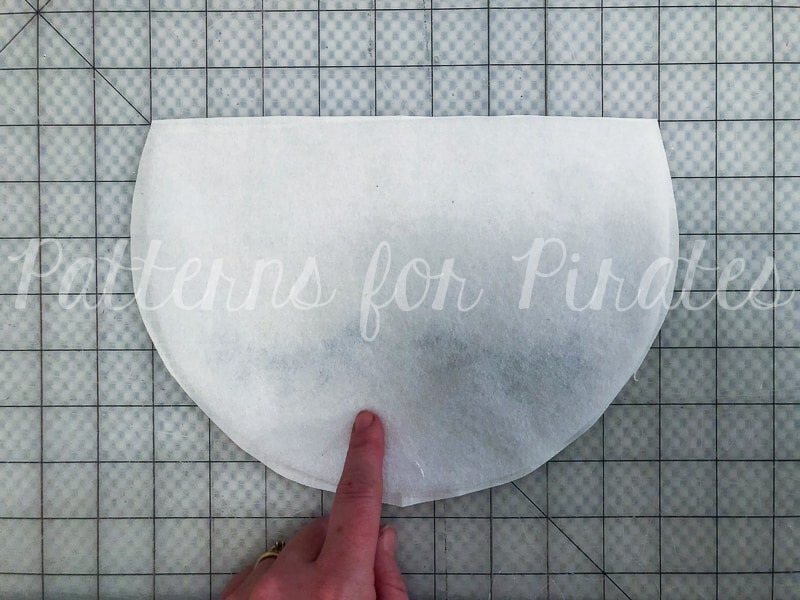
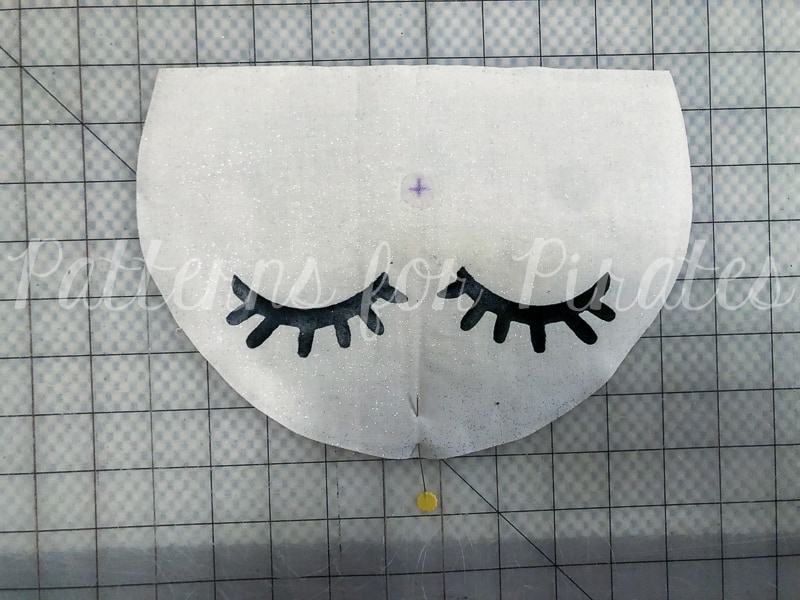
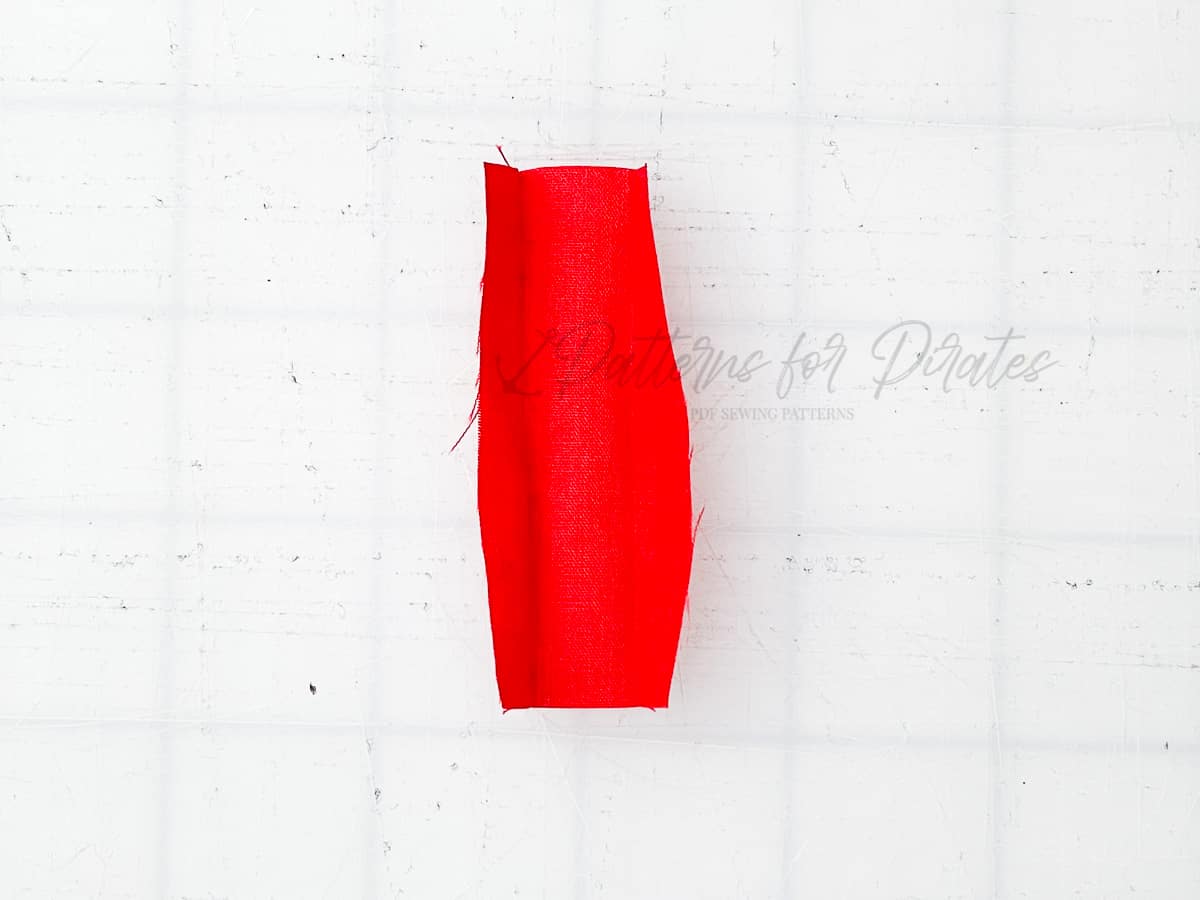
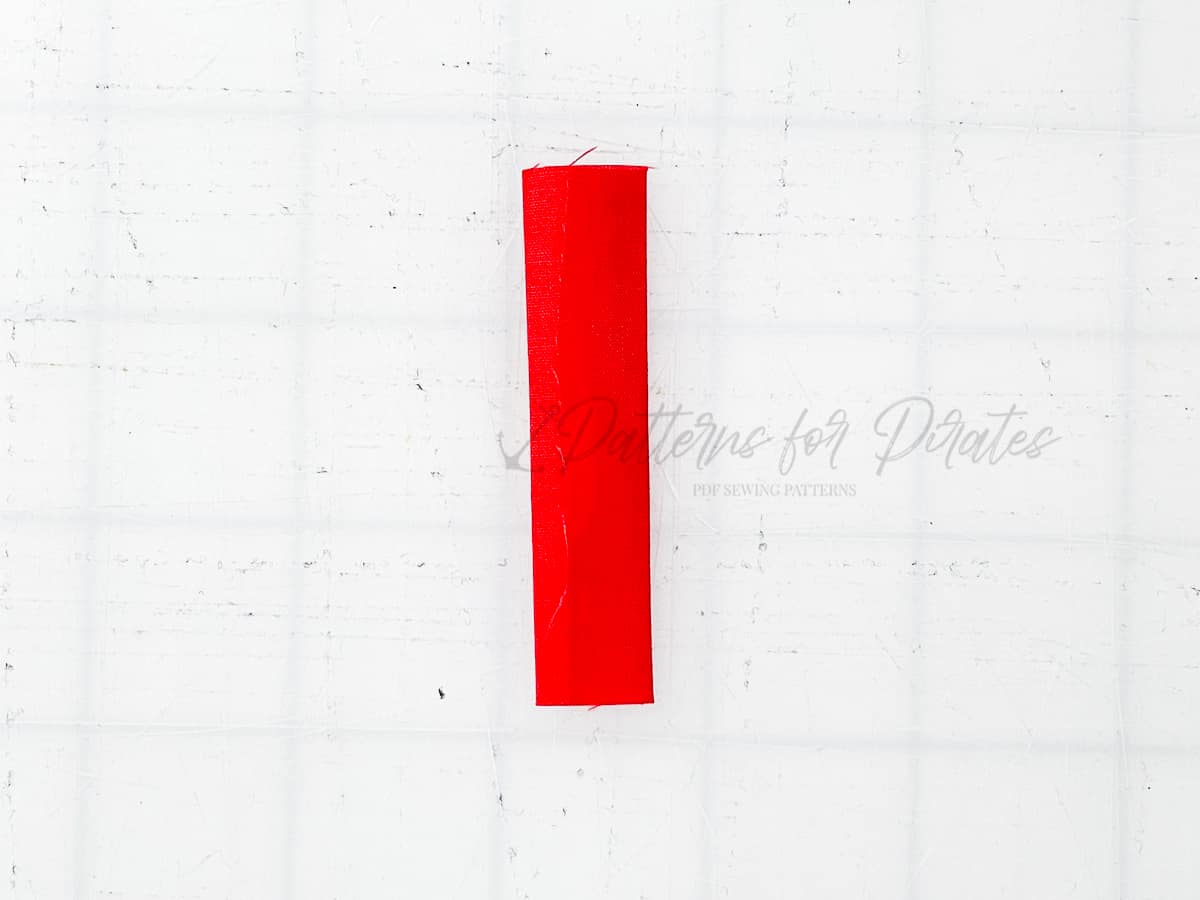
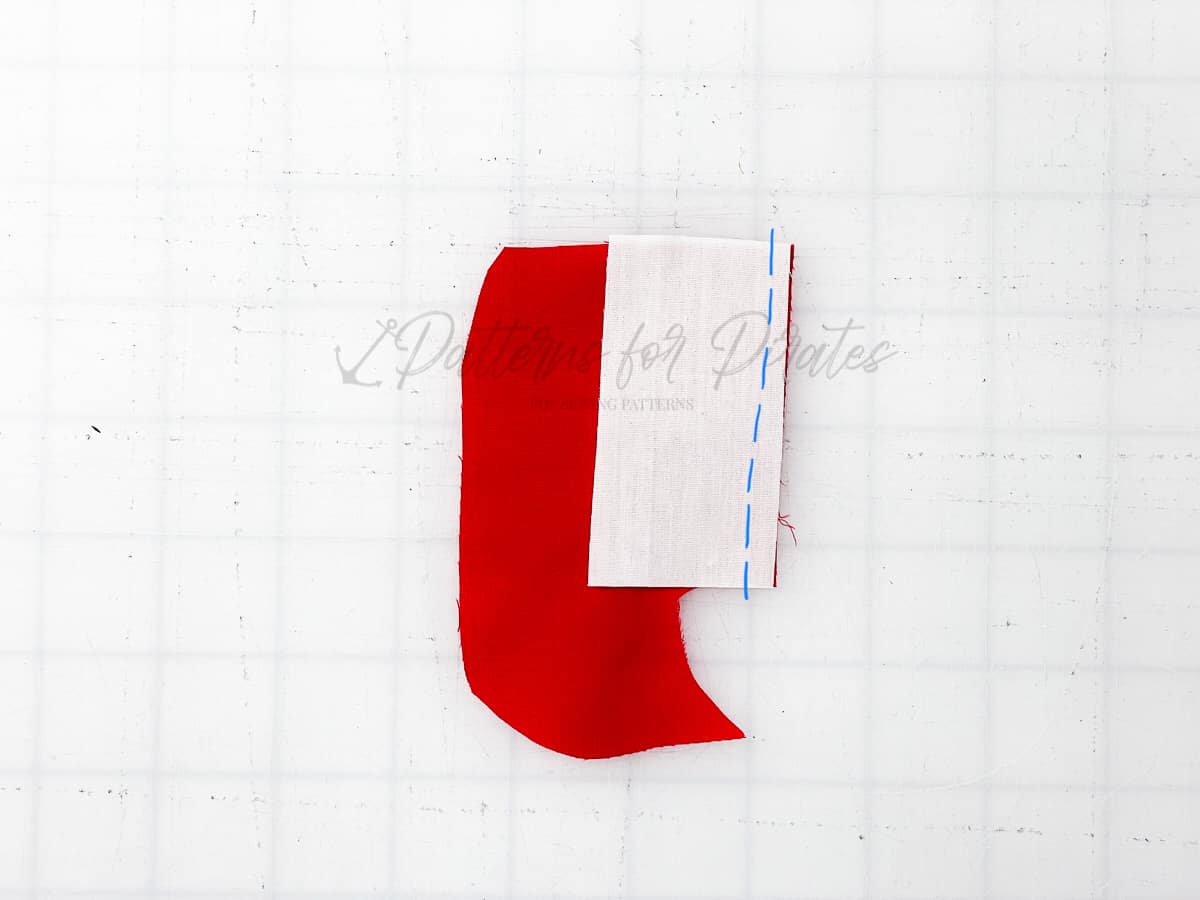
Step 13: Fold bow center into thirds and press.
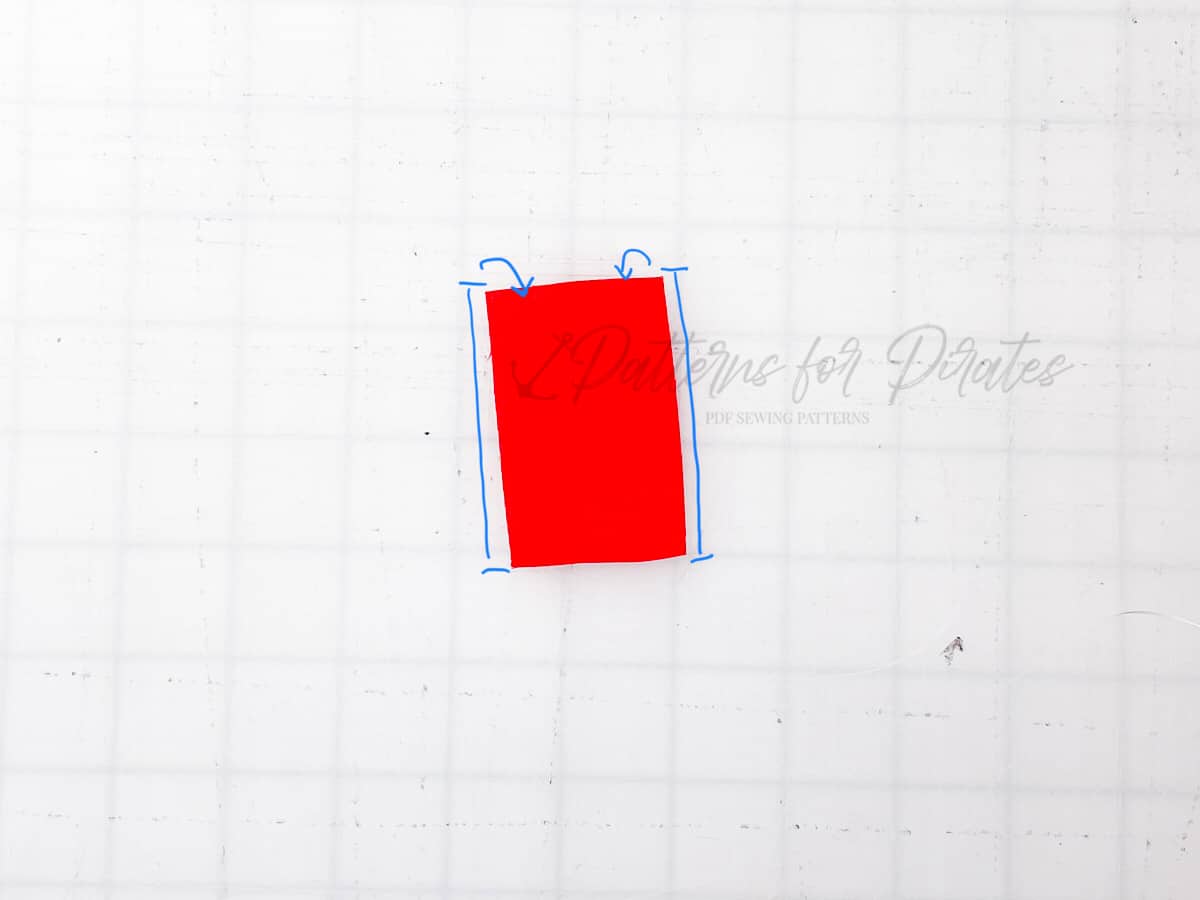
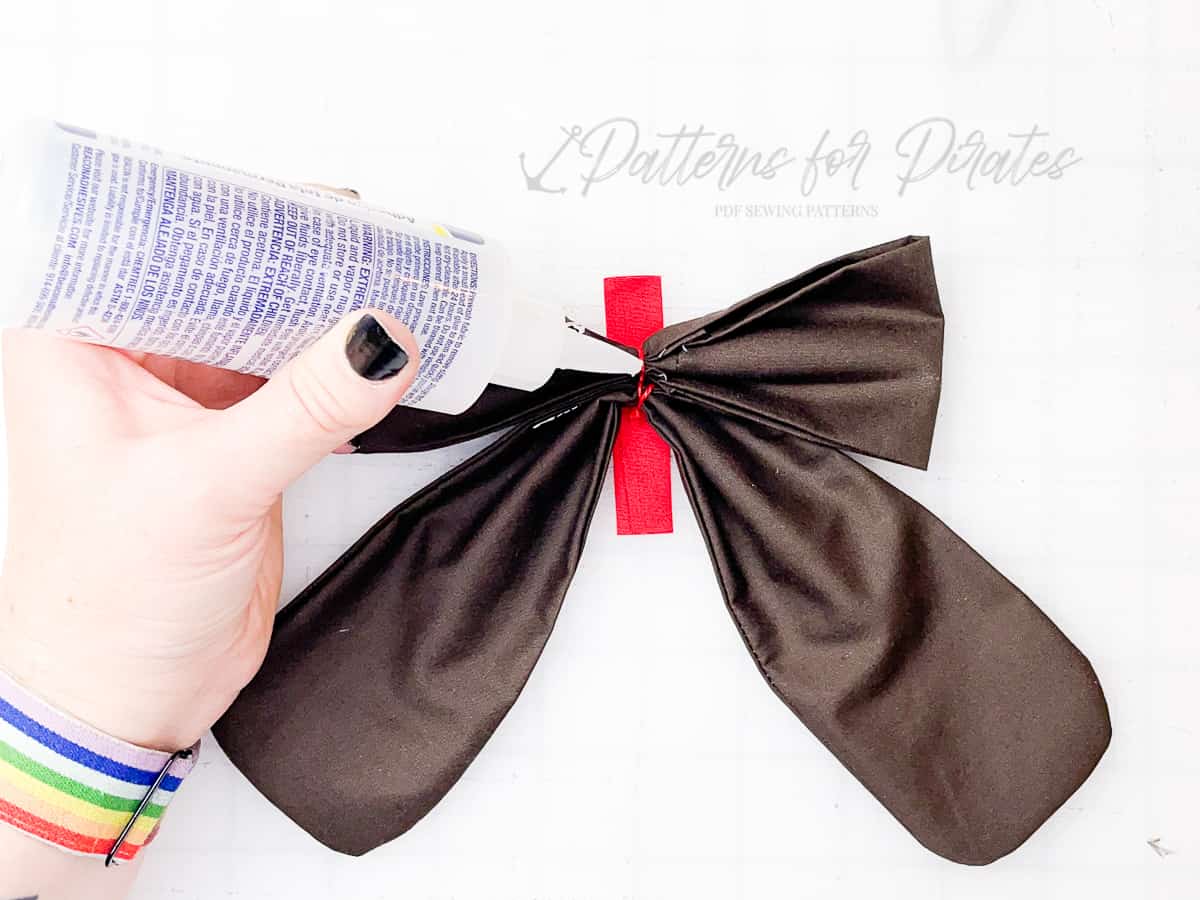
Step 14: With bow center facing down, center the bow (also facing down) and place a dab of glue. Wrap bow center around bow, securing with glue. Be sure to tuck the raw edges under before securing, to prohibit any fraying while in use.
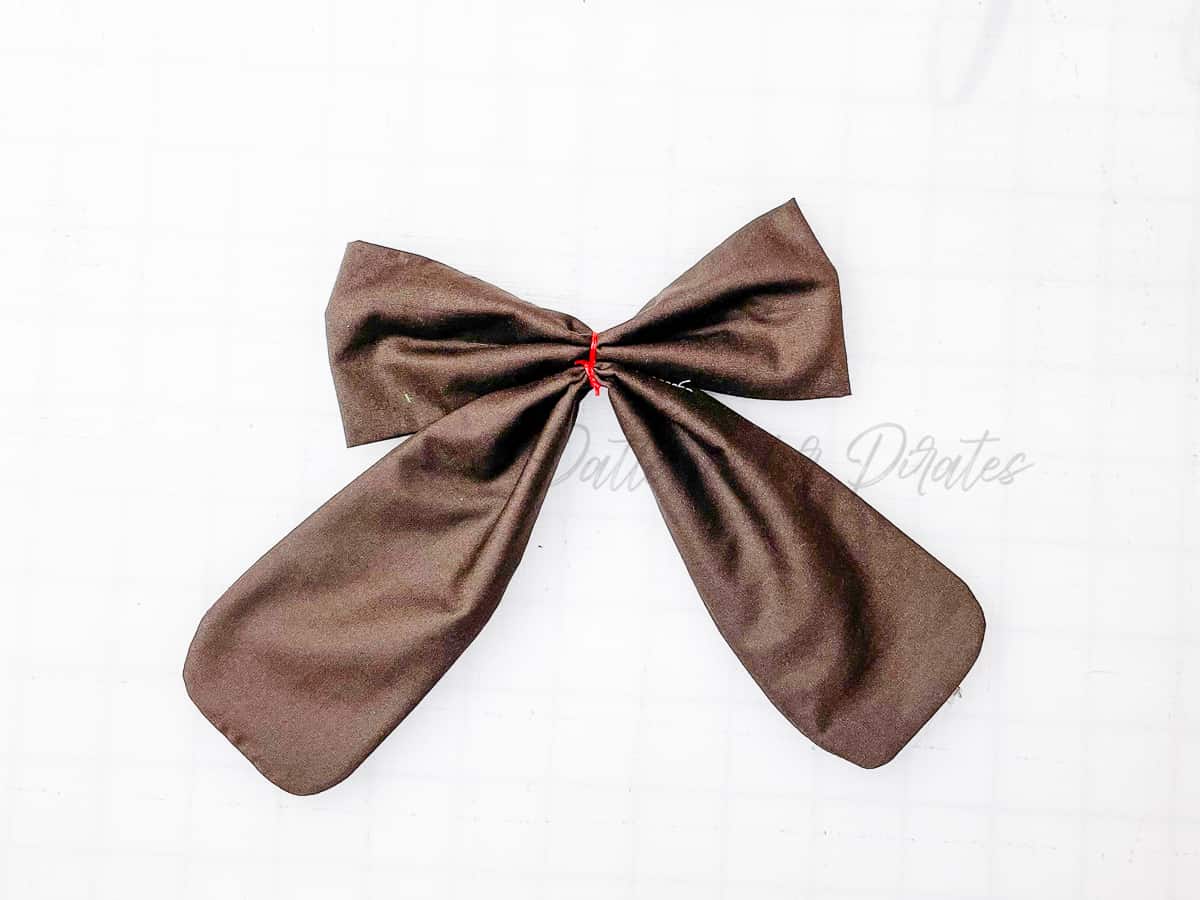
You did it! Your basic bow is complete!
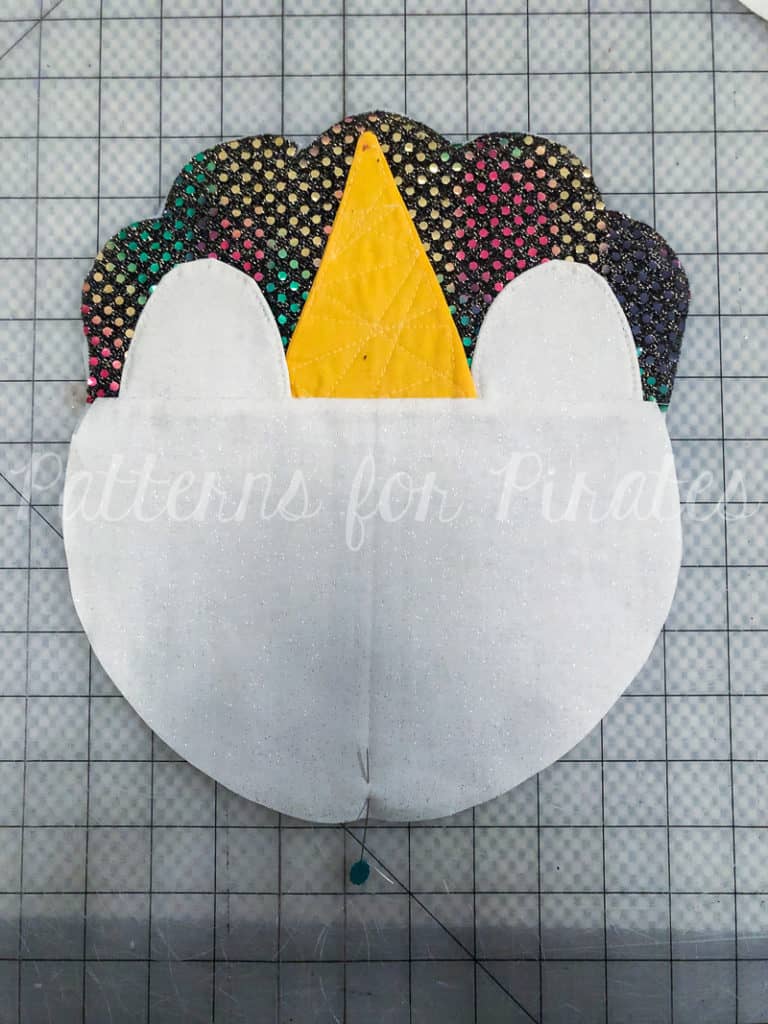
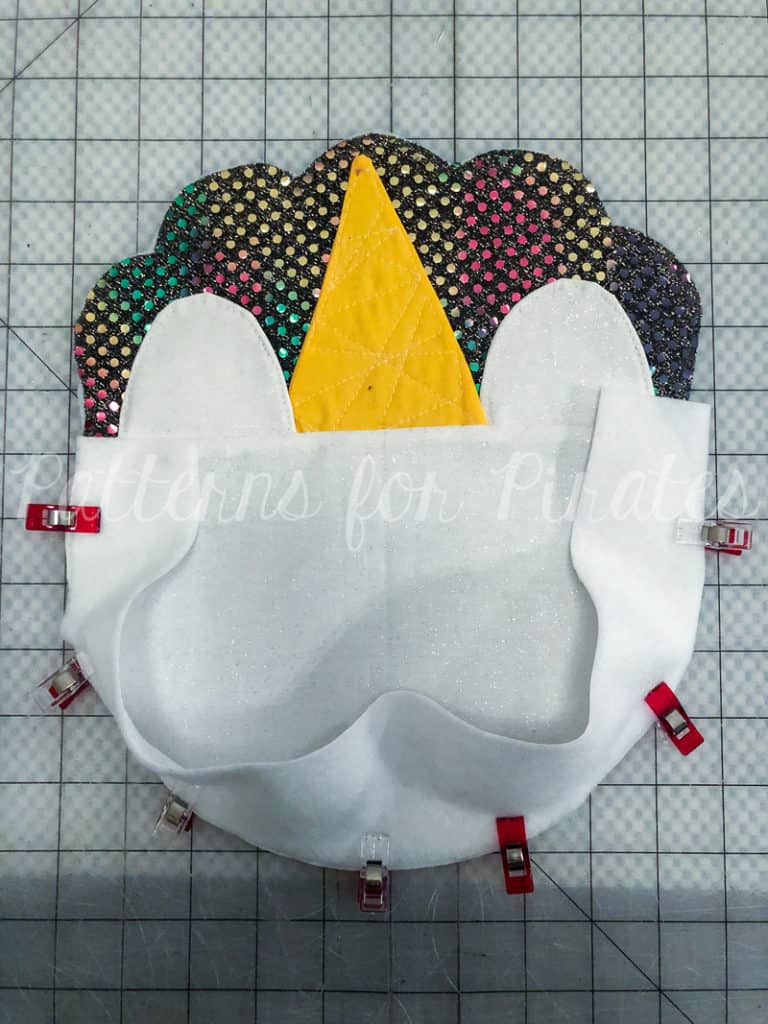
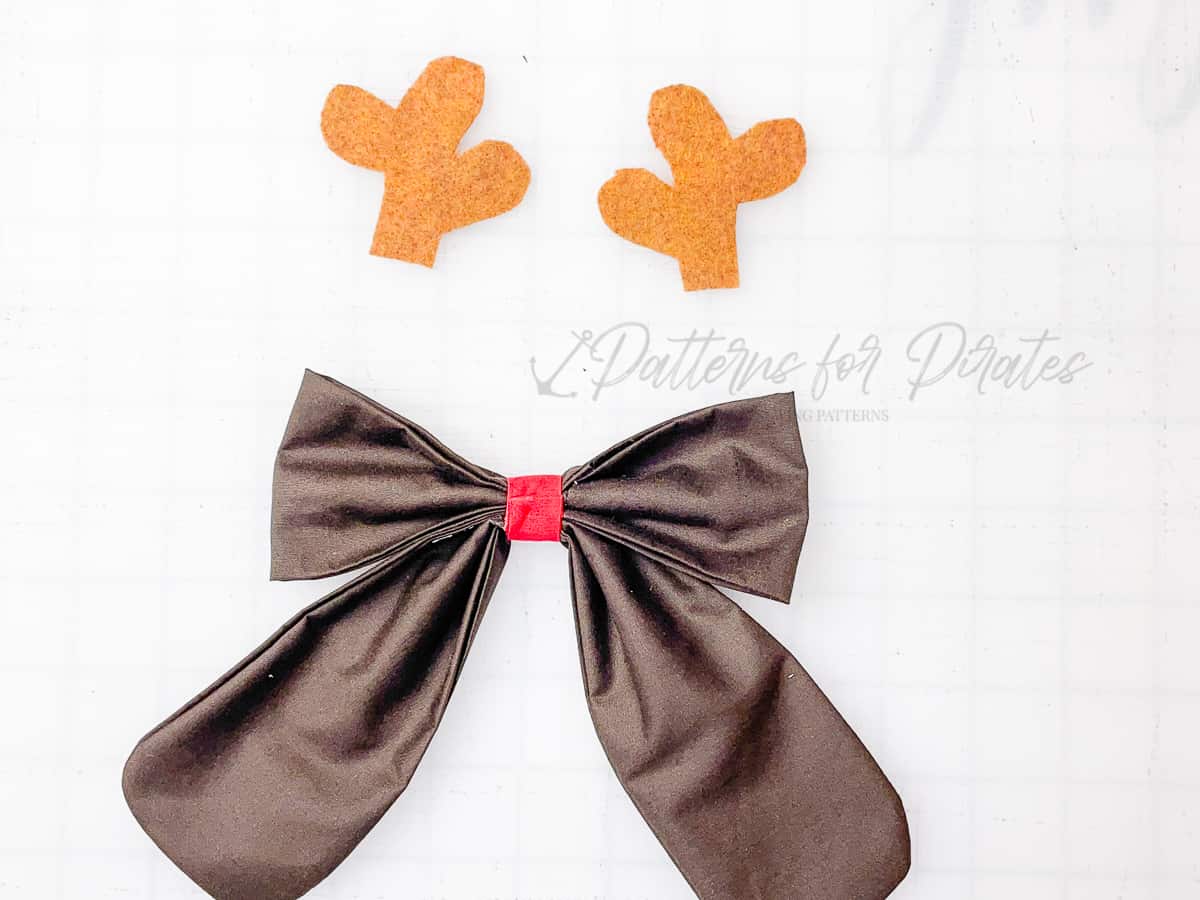
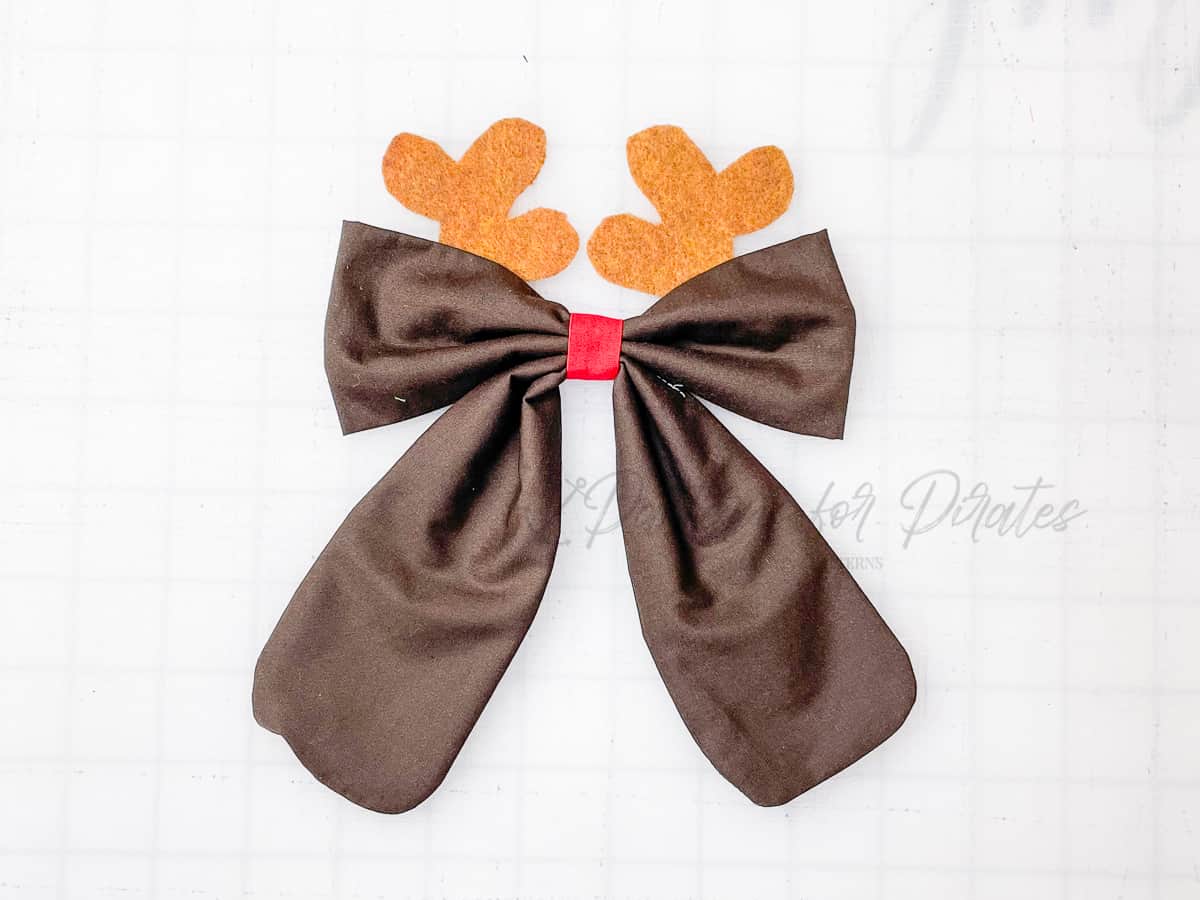
To make the Reindeer Bow:
– Complete steps 1-14 of basic construction.
– Glue / hand stitch the antlers to the back side of the main bow.
All done! Rudolph will be pleased!
To make the Elf Bow:
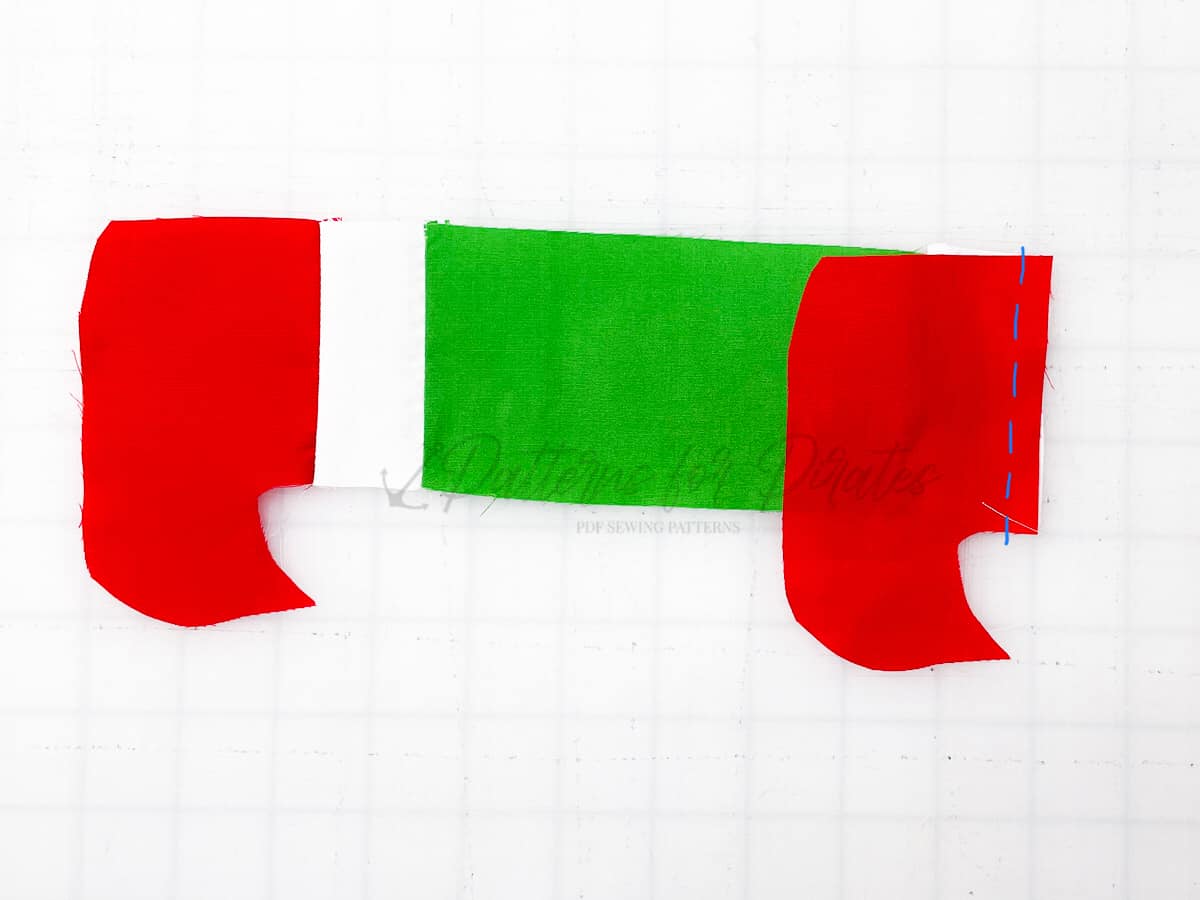
– Align elf bow tail piece 3 and piece 2 along straight edge.

– Sew using 1/4″ seam allowances. Press open.
– Align elf bow tail pieces to the tail piece 1, right sides together.
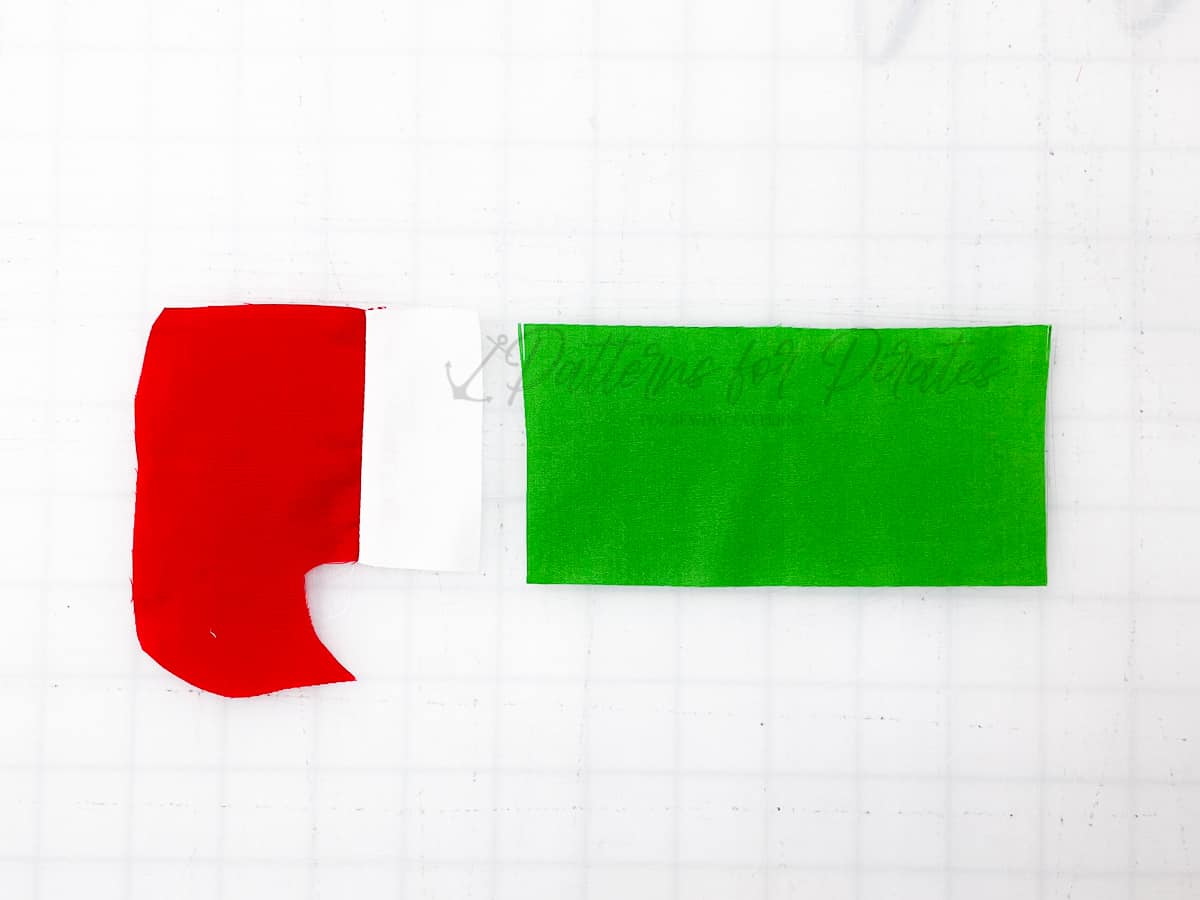
– Sew using 1/4″ seam allowances. Press open.
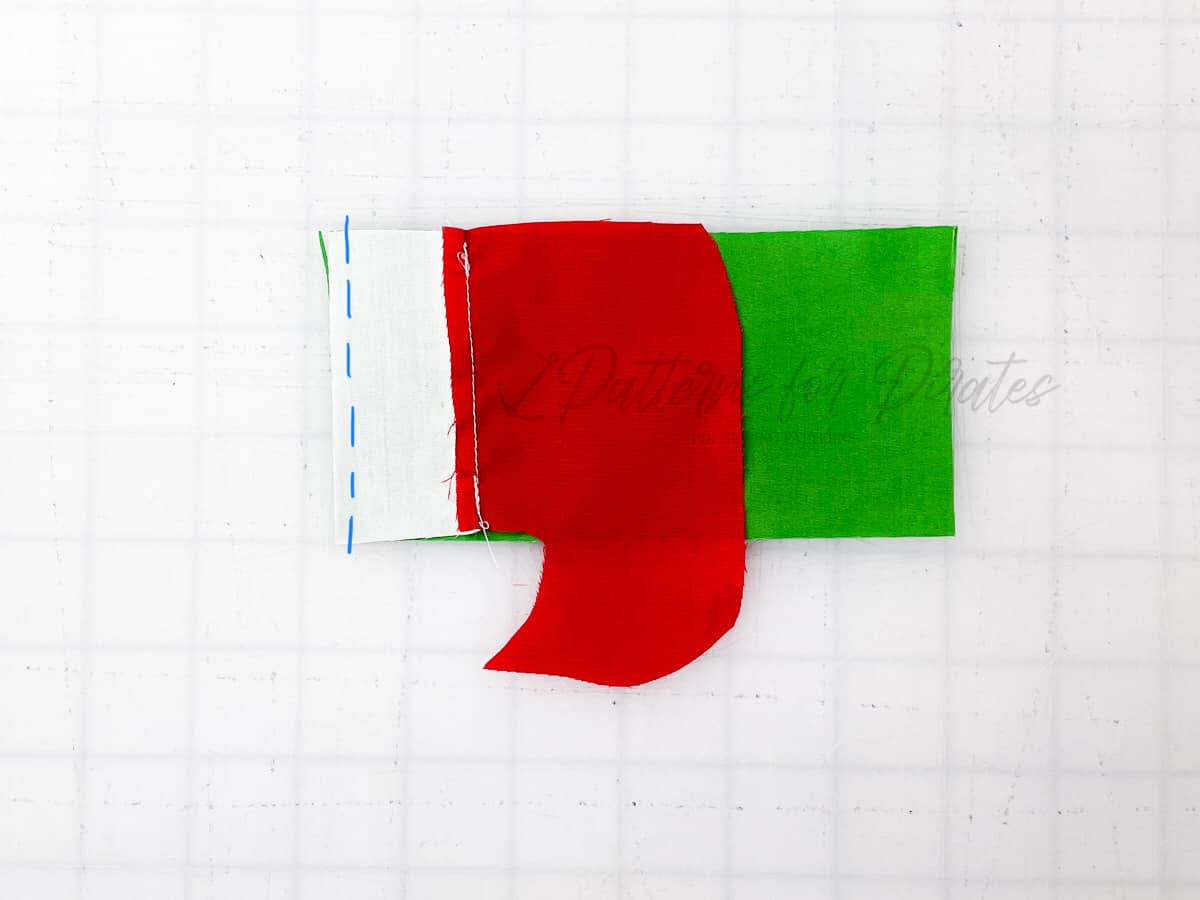
– Align elf bow tail pieces to the other Piece 2, right sides together. Sew using 1/4″ seam allowances. Press open.
– Align elf bow tail pieces to the final Piece 2, right sides together.
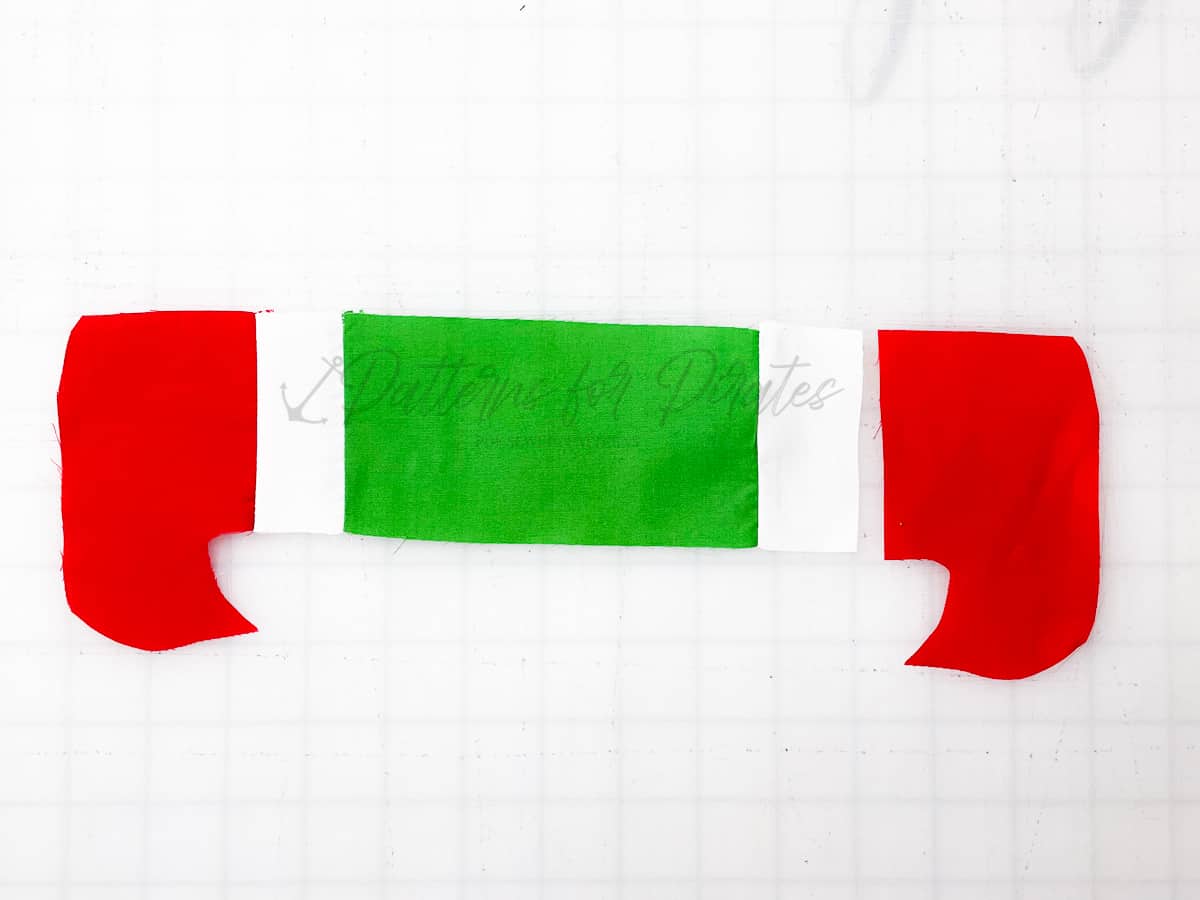
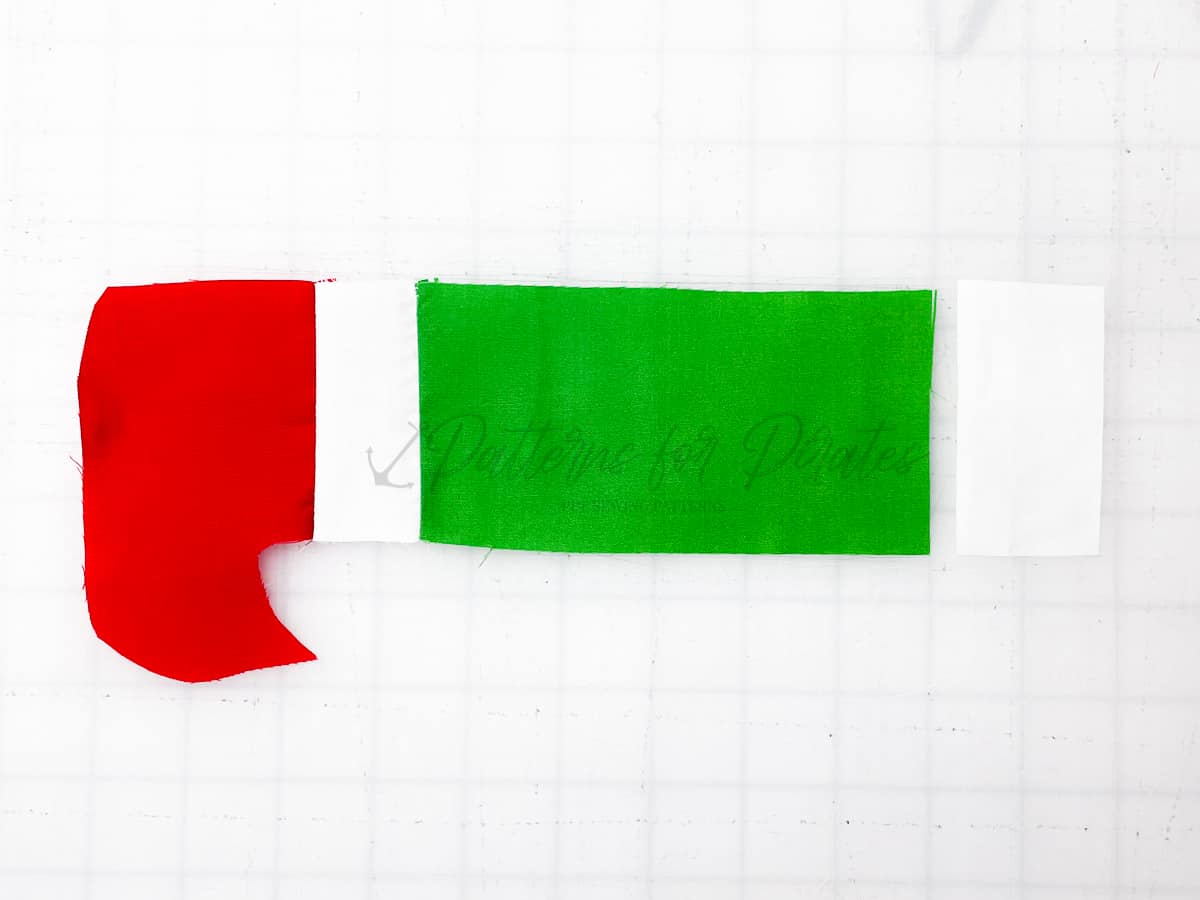
– Sew using 1/4″ seam allowances. Press open.
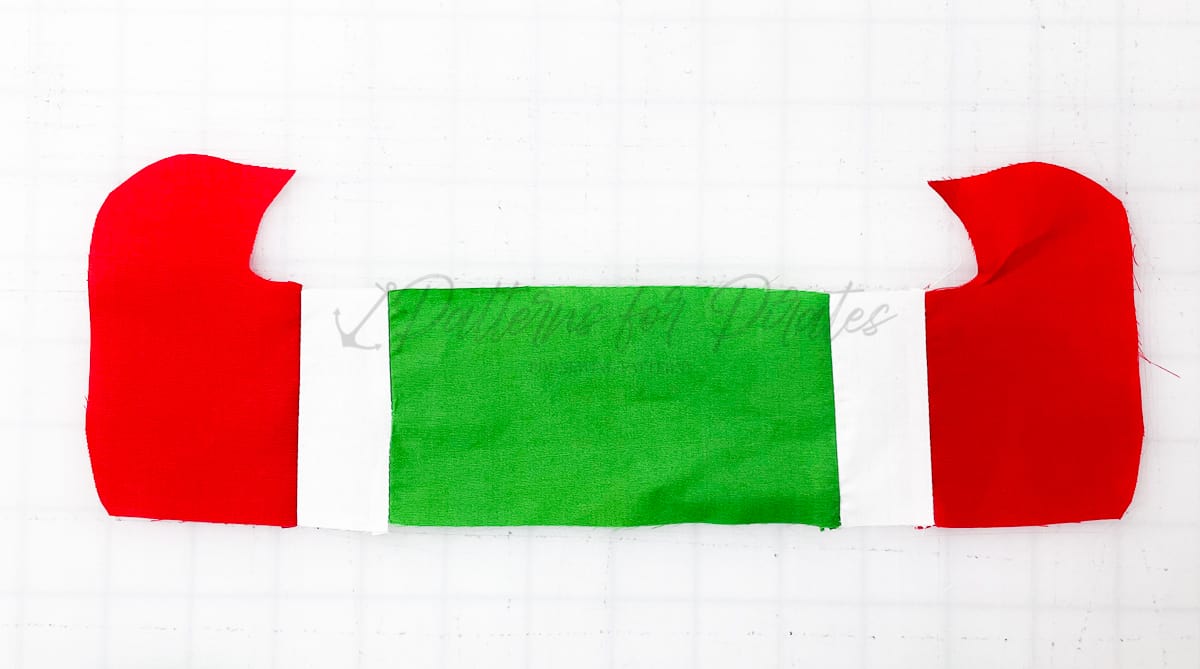
– Complete steps 1-14 of basic construction.
You’re done! Buddy the Elf would be proud!

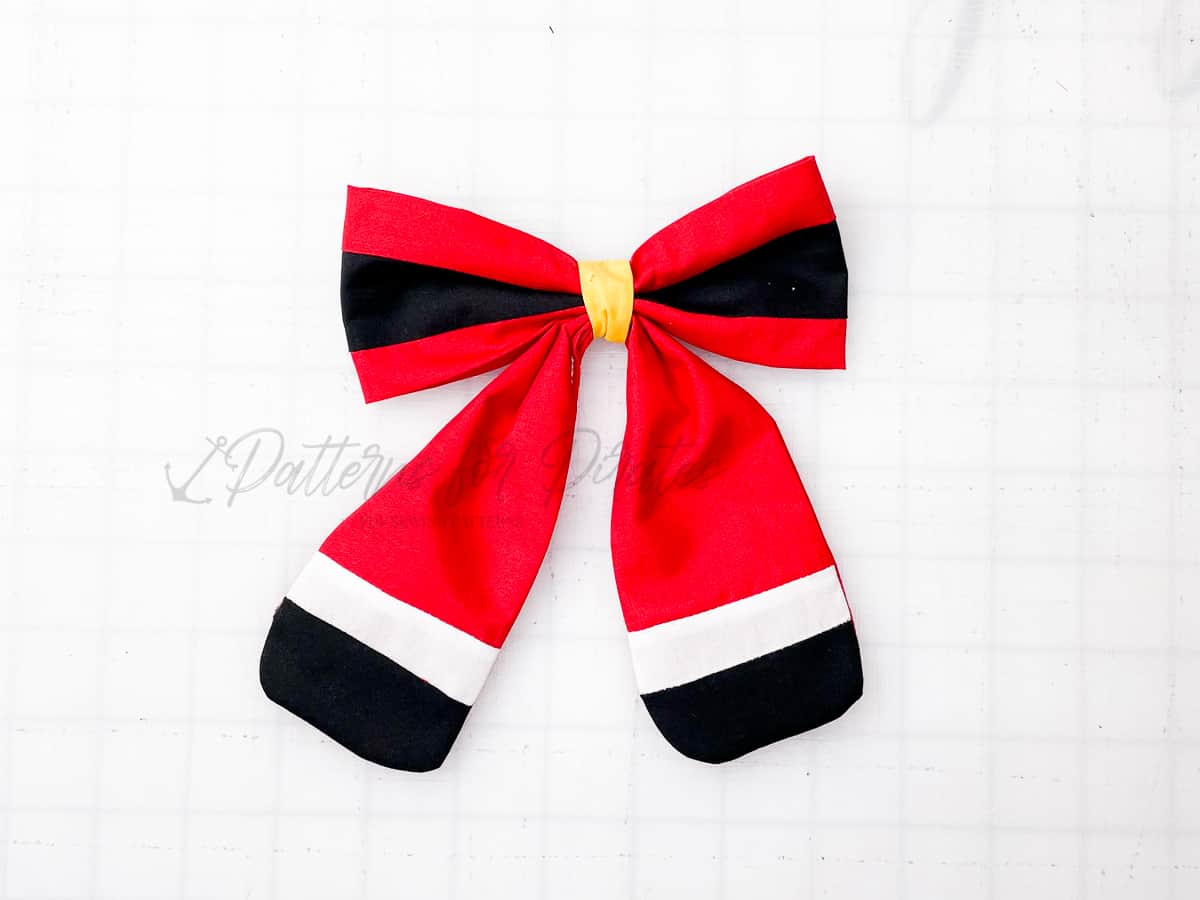
To make the Santa Bow:
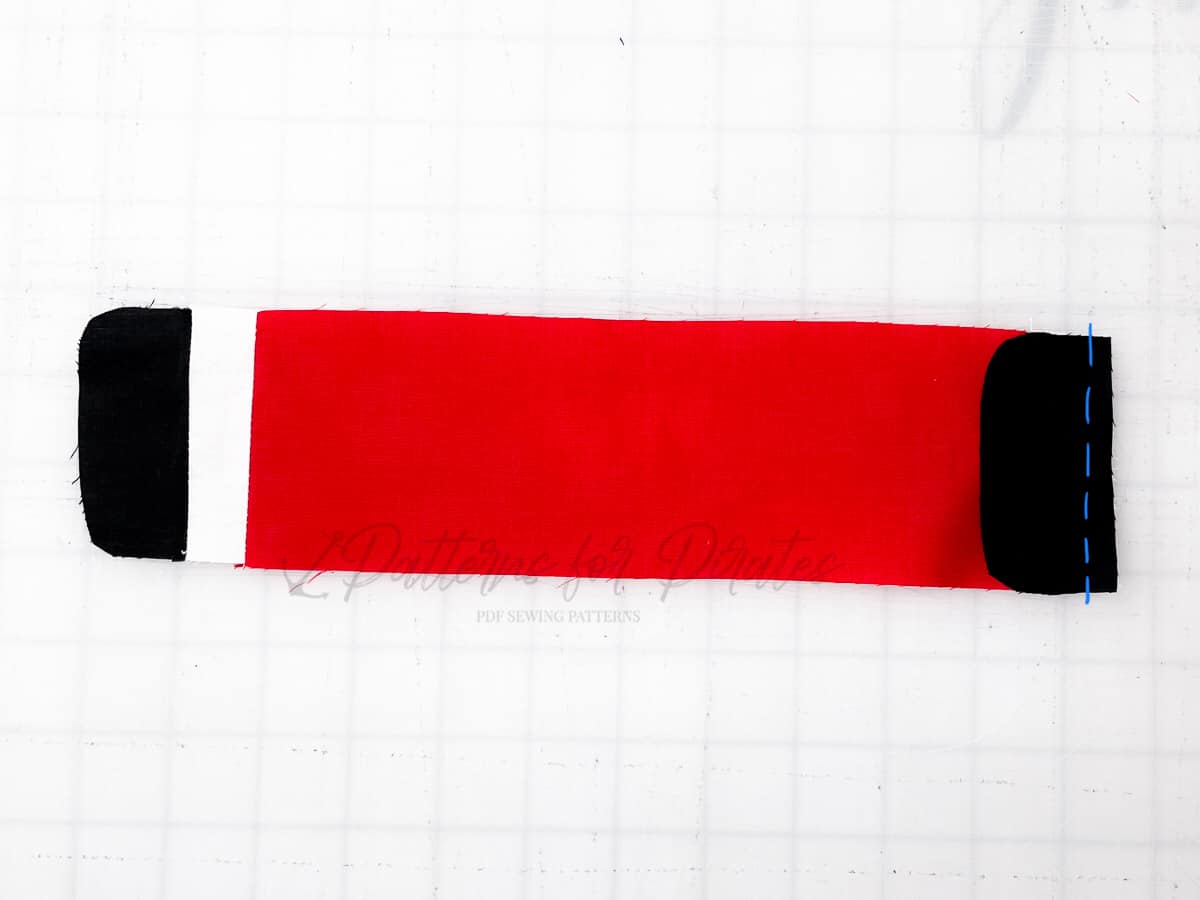
– Align santa bow tail piece 3 and piece 2 along straight edge.
– Sew using 1/4″ seam allowances. Press open.
– Align Santa bow tail pieces to the tail piece 1, right sides together.
– Sew using 1/4″ seam allowances. Press open.
– Align Santa bow tail pieces to the other Piece 2, right sides together.
– Sew using 1/4″ seam allowances. Press open.
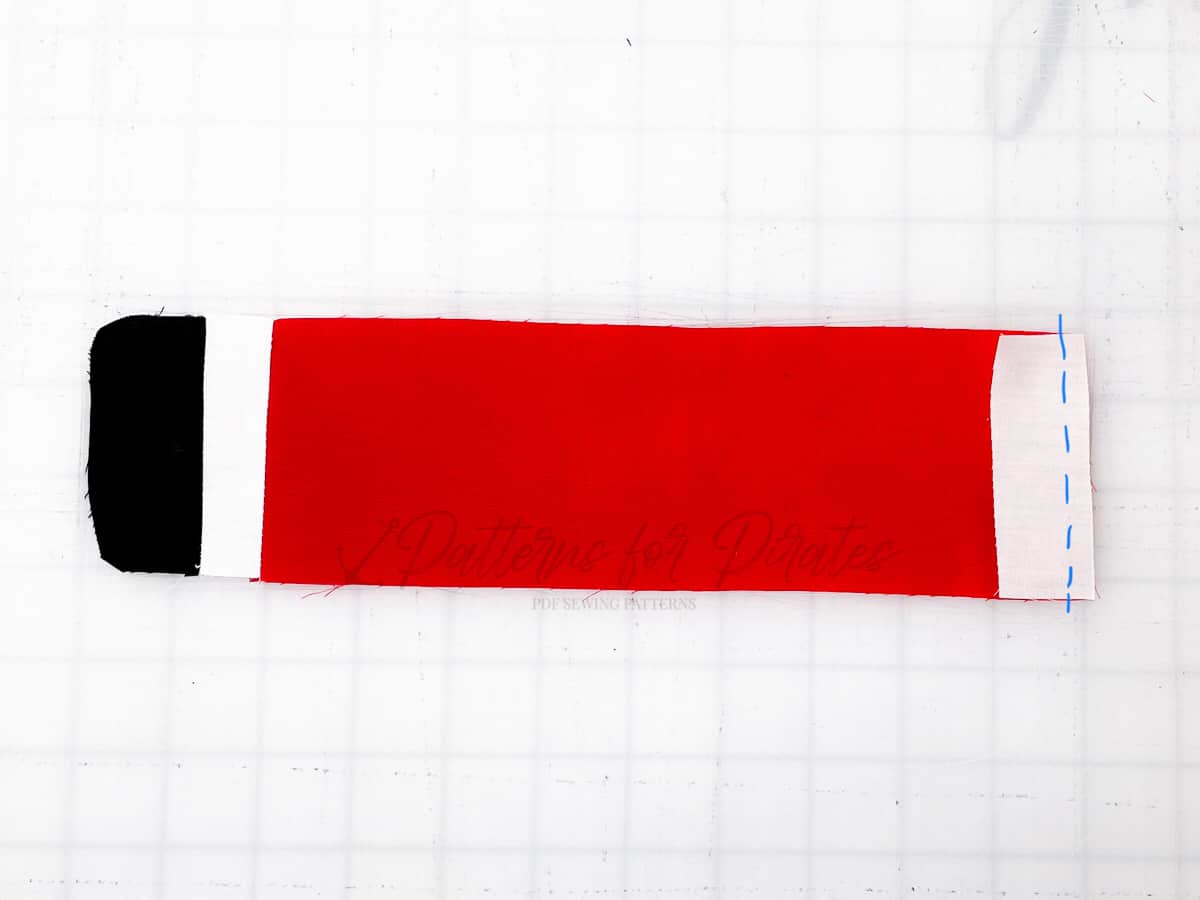
– Align Santa bow tail pieces to the final Piece 2, right sides together.
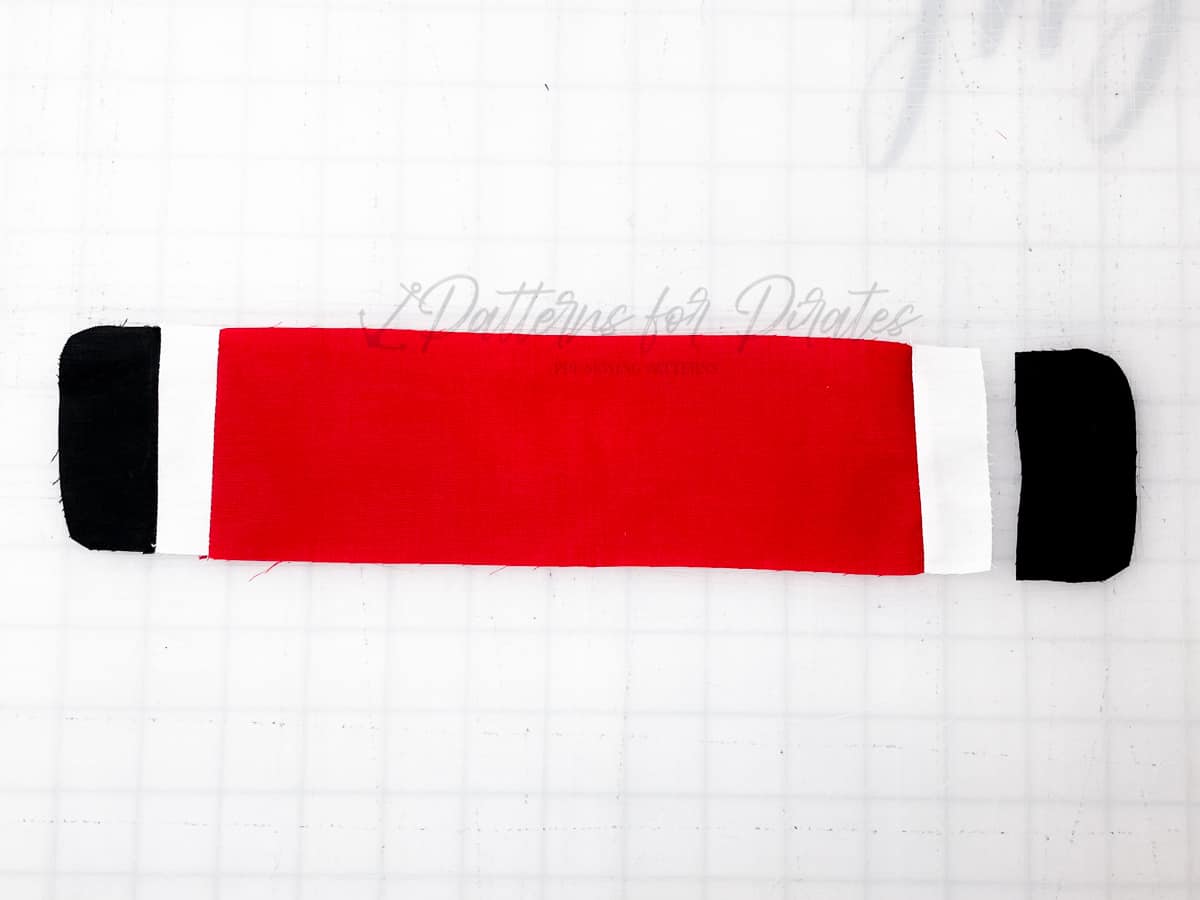
– Sew using 1/4″ seam allowances. Press open.
– Complete steps 1-3 of basic construction.
– Align Santa main bow pieces, using one Piece 1 and Piece 2.

– Sew using 1/4″ seam allowances along long edge. Press open.

– Align remaining Santa Main Bow Piece 1 with already sewn main bow pieces, right sides together.
– Sew using 1/4″ seam allowances along long edge. Press open.
– Complete Santa bow using steps 4-14 of basic construction.
You’re finished! The Jolly guy will be tickled!
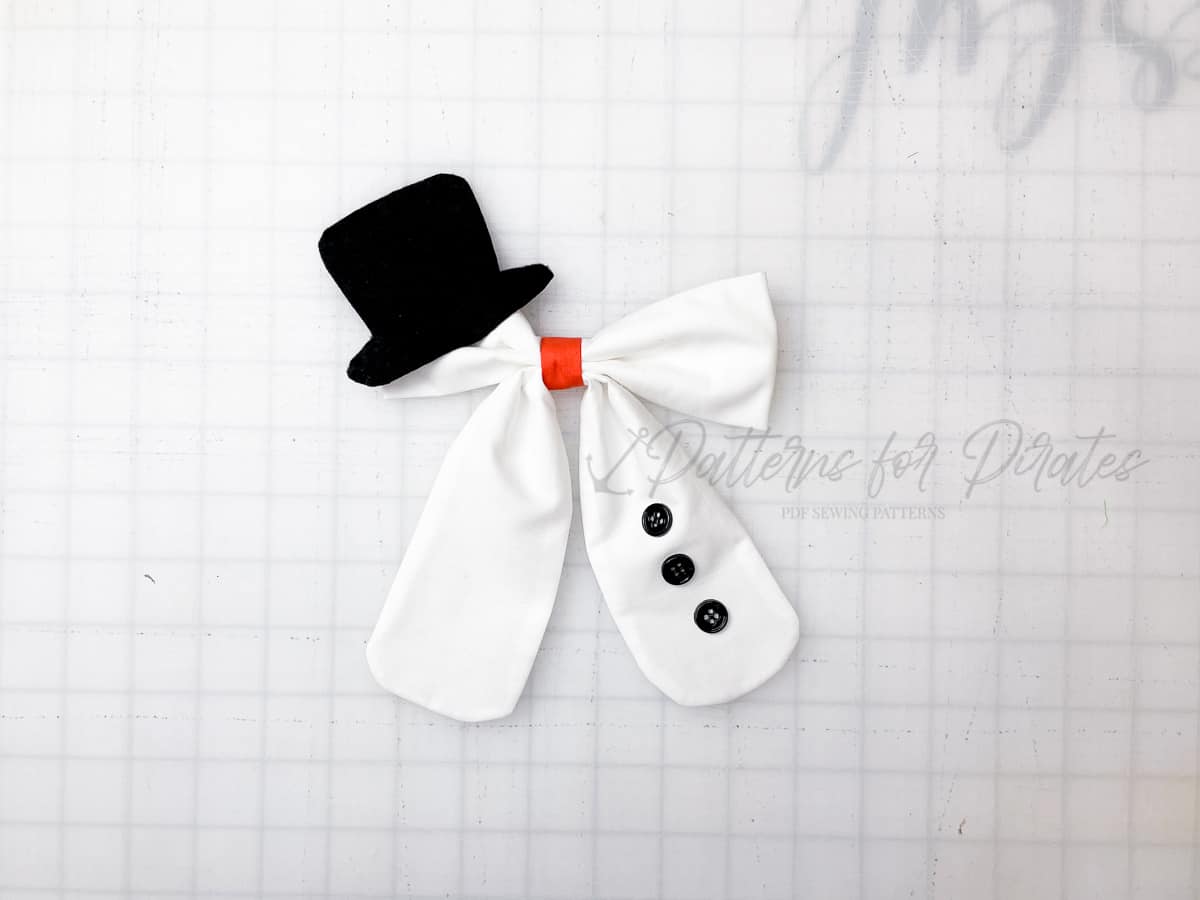
To make the Snowman Bow:
– Complete steps 1-14 of basic construction.
– Glue / hand stitch three buttons to one of the bow tails.
– Glue / hand stitch the tophat to the opposite side of the main bow.
You’re all set! Frosty would approve!
In case you consider yourself a more “visual learner” here’s a video tutorial that walks you through the entire tutorial, start-to-finish.
Before you go, take a look at what our jolly holiday testers made using the Holiday Hair Bows pattern!!
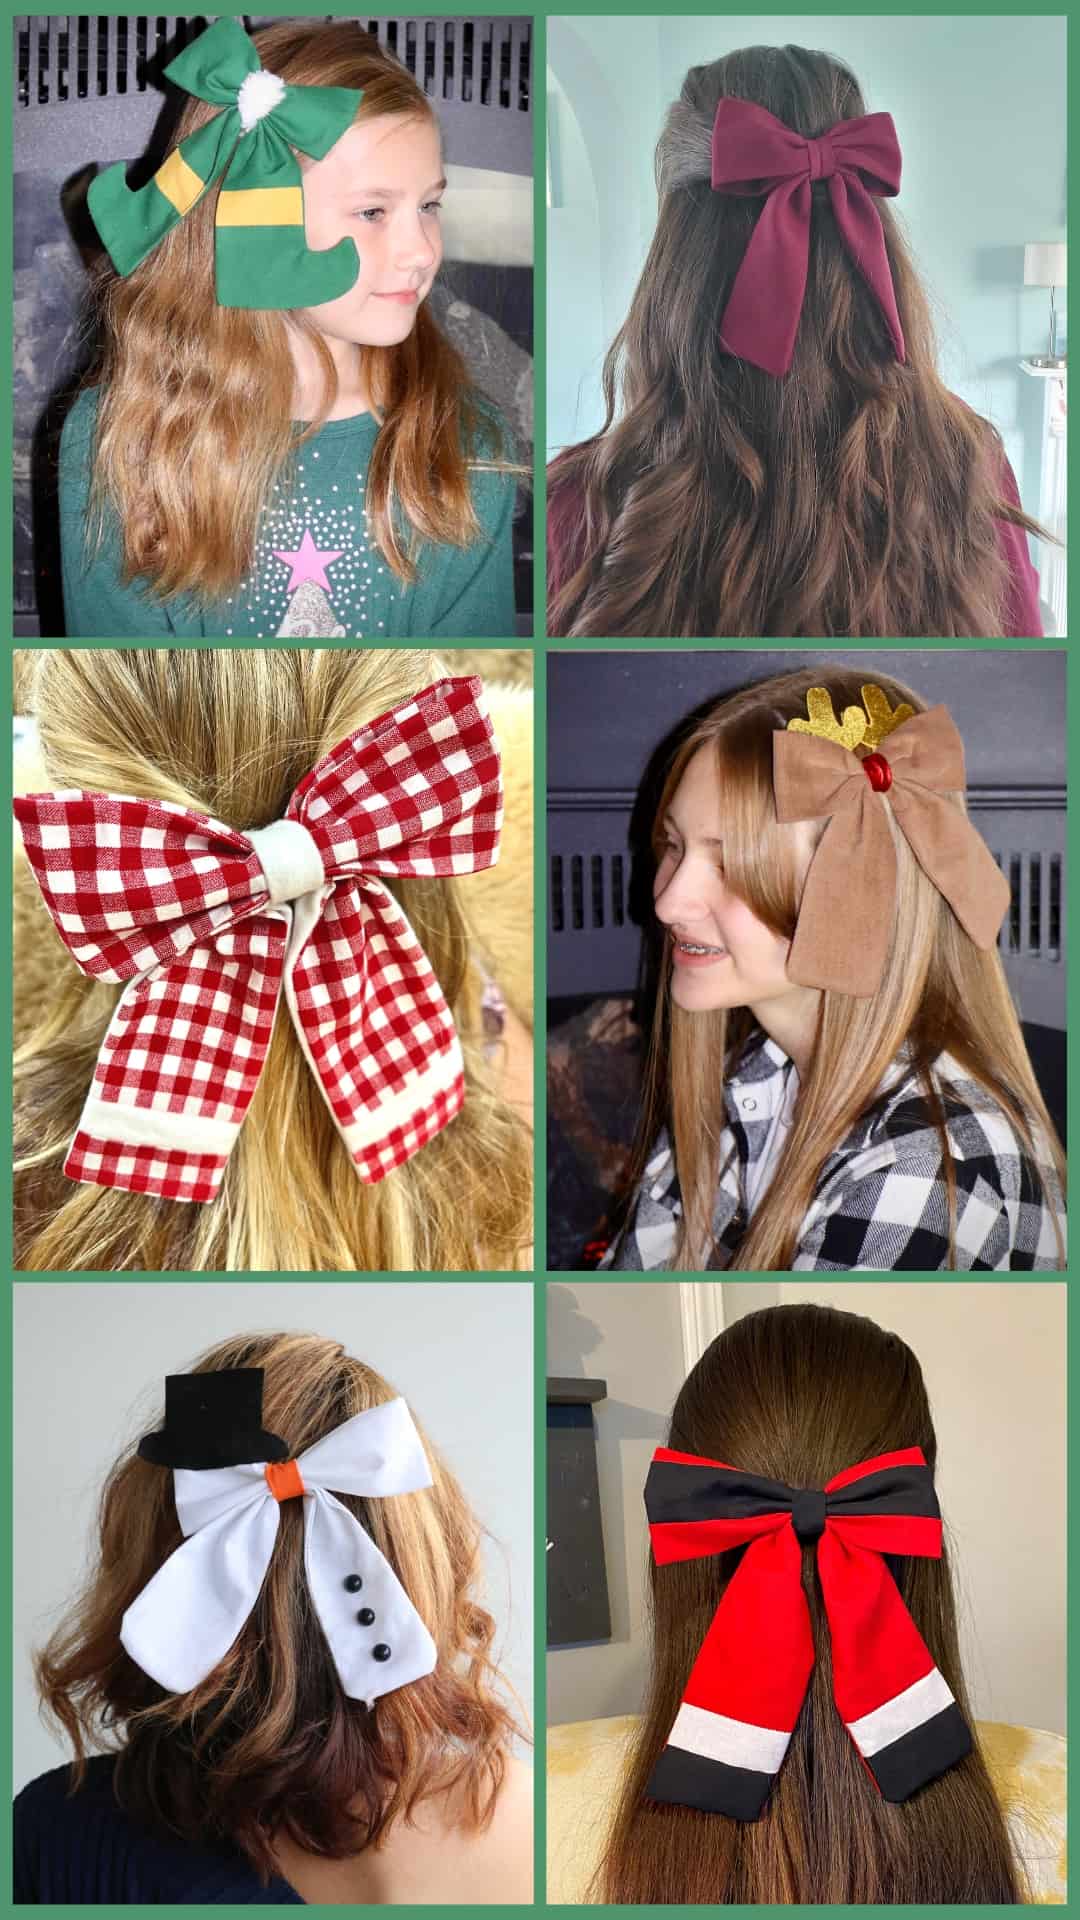
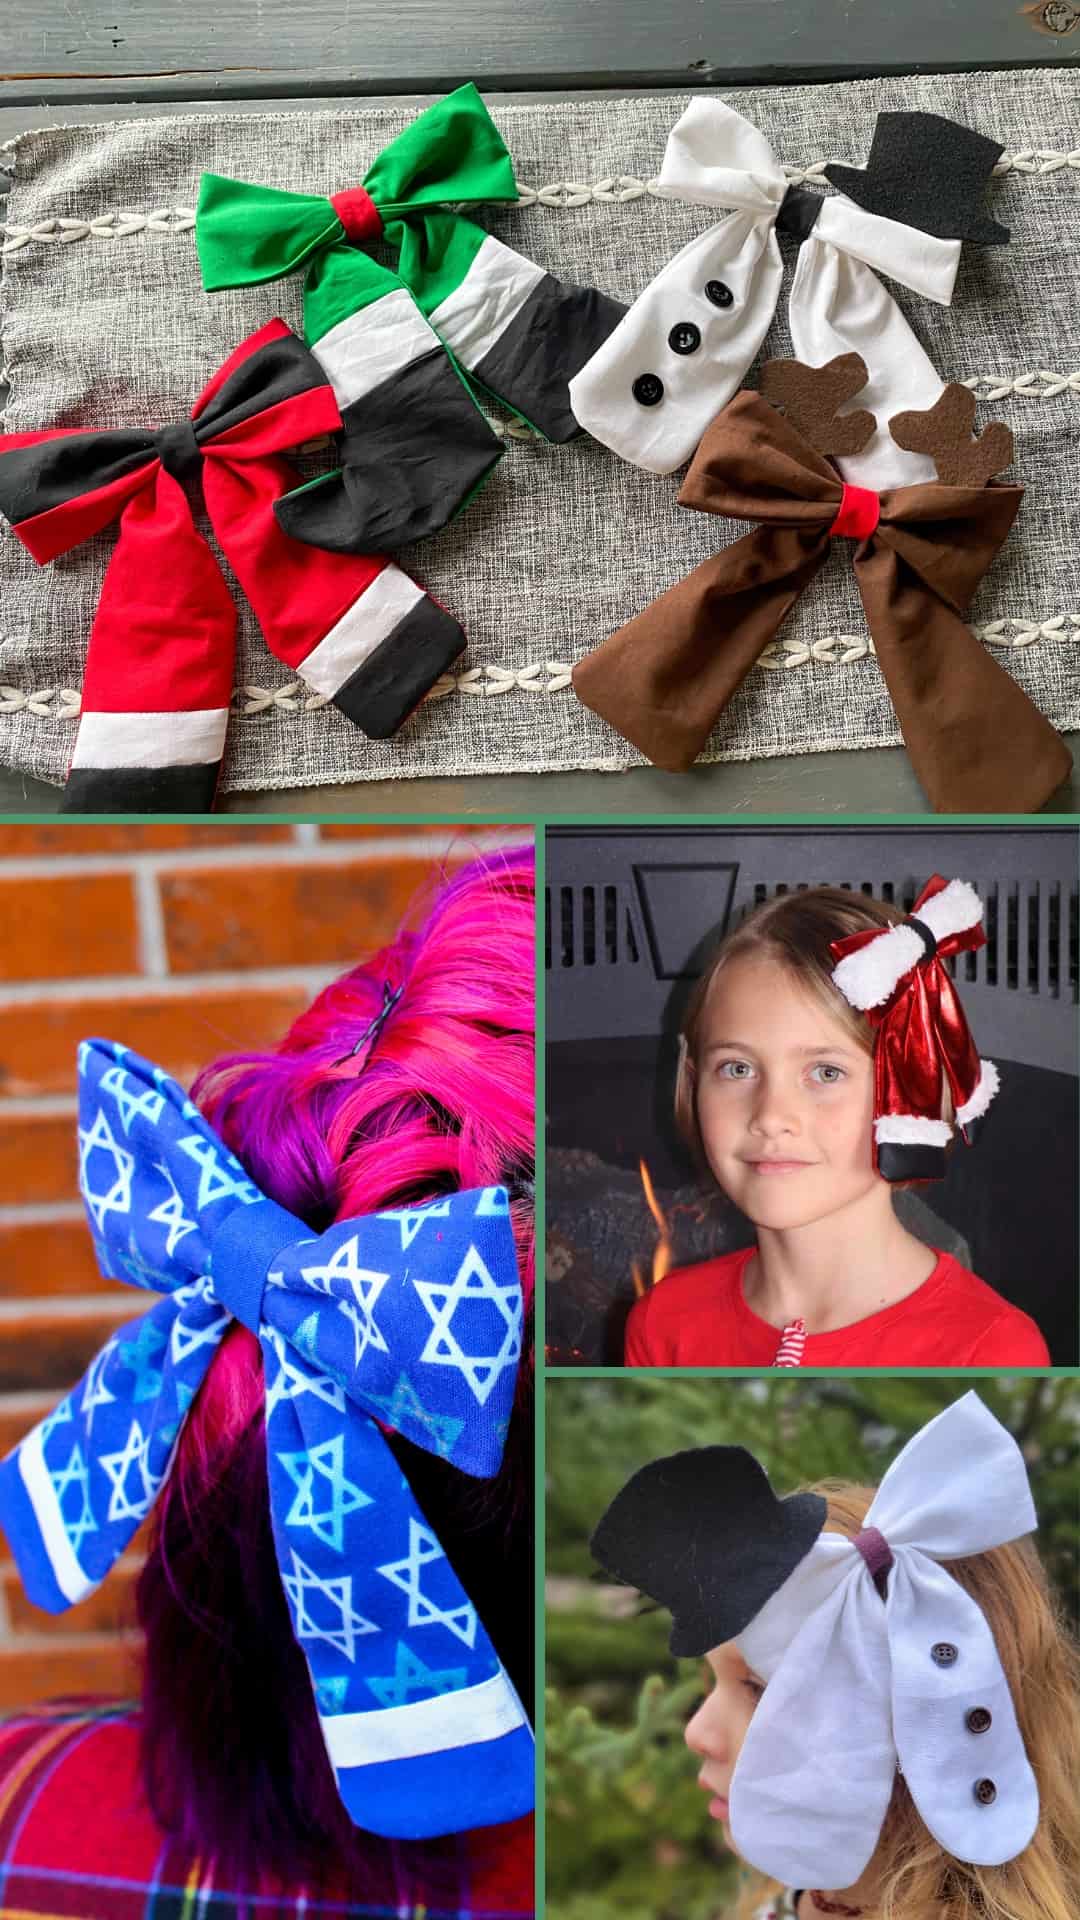
I la-la-love when you share your photos with me! Head over to the Patterns for Pirates Facebook Group and show us what you’ve made!
Happy Holidays, Pirates!
 You will need:
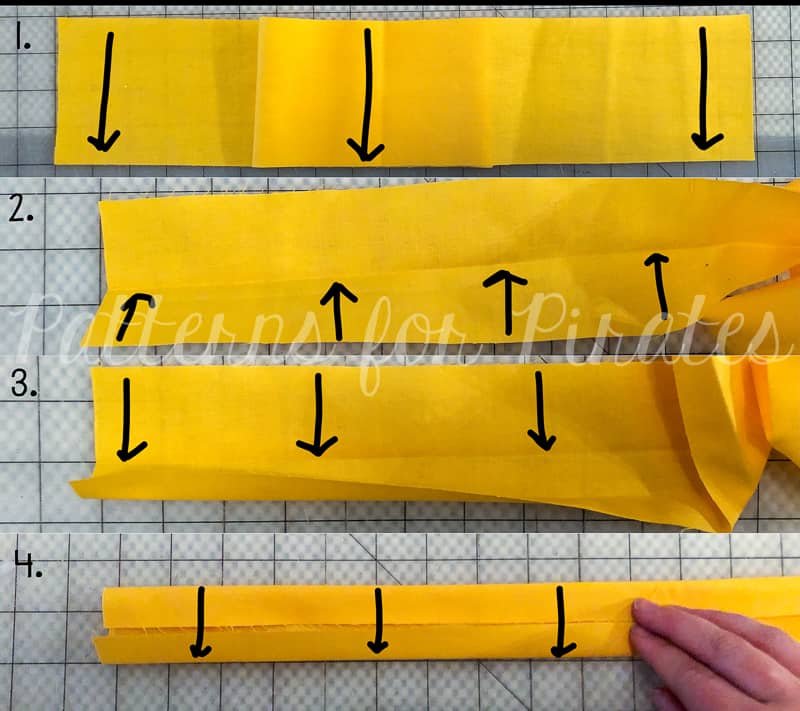 1. Fold in half, with long edges touching, wrong sides together. Press.