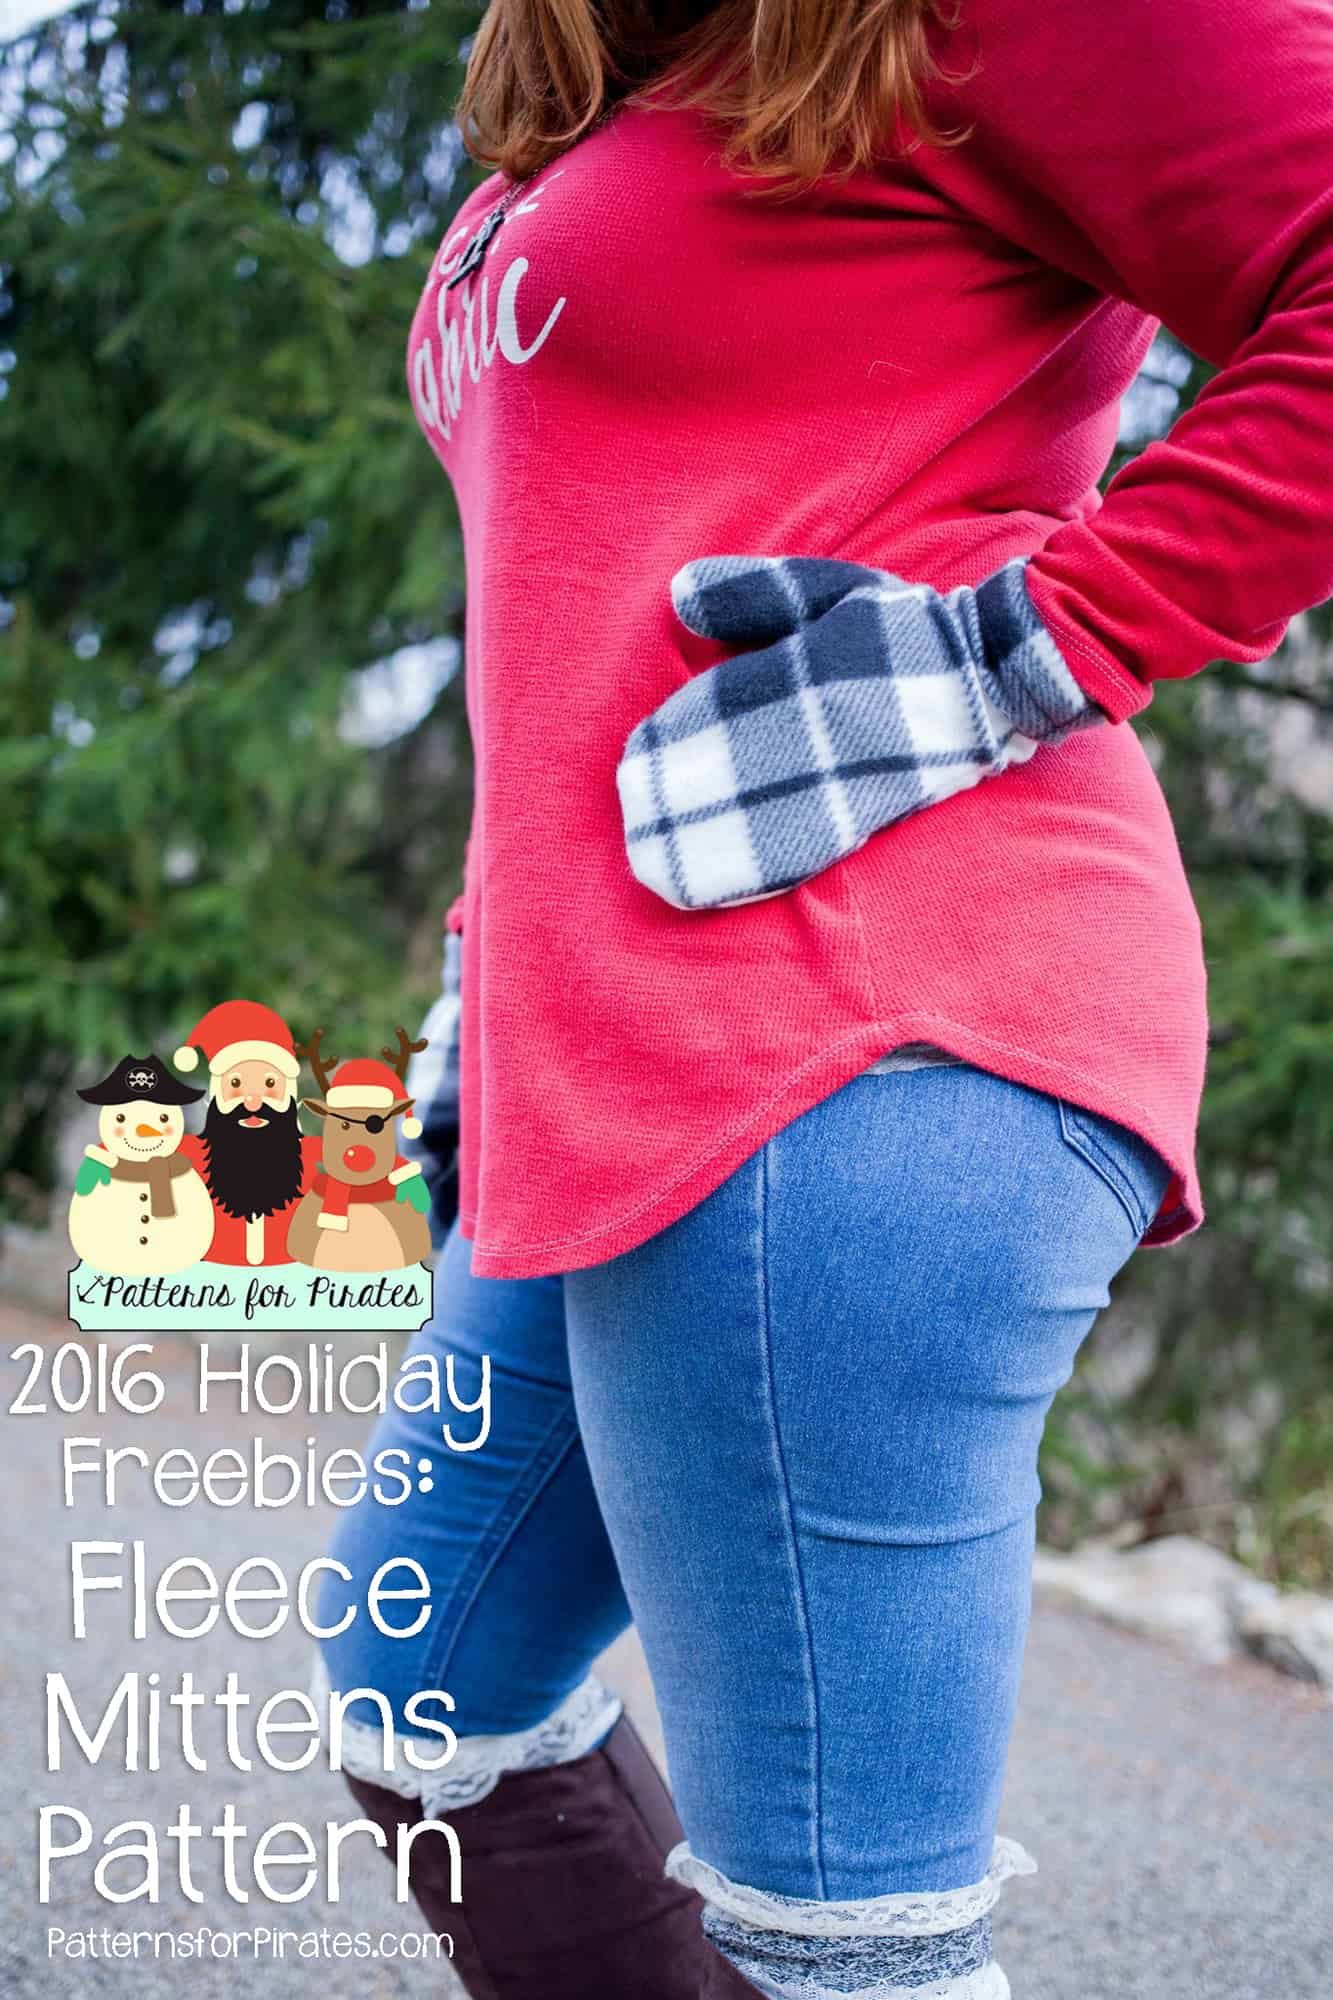
The Pirate Crew is here to bring a little more “yo ho ho” into your holiday with some freebies! Today is the first of three patterns we are releasing, for FREE! In case you were stumped on Christmas sewing ideas, here is the first of our scrap-busting, super quick, free patterns.

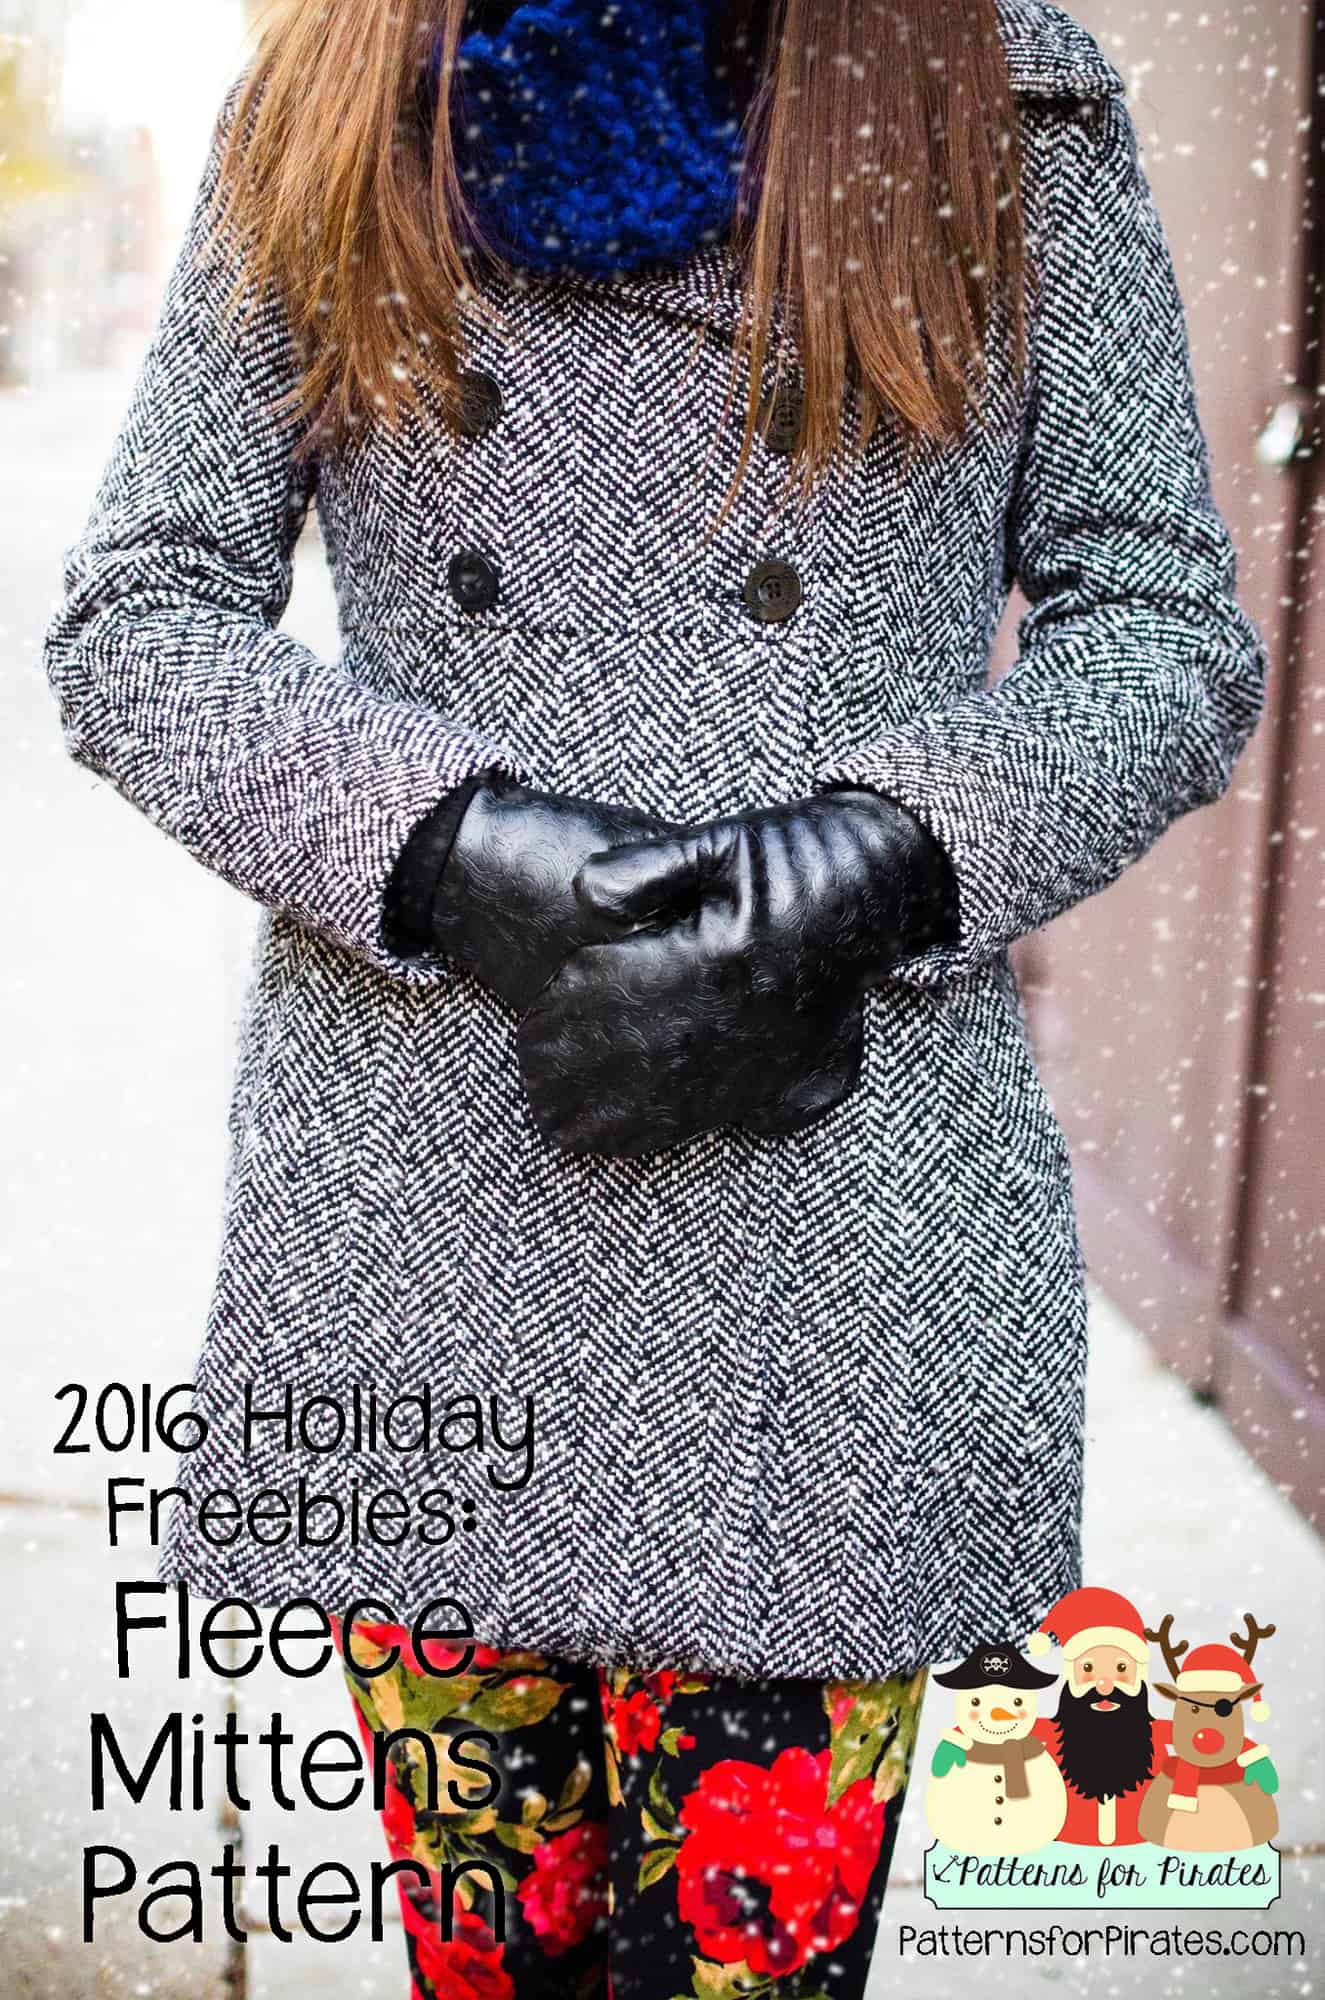
These mittens are a one-size fits most. We’ve also provided a cuff and a non-cuff version, so you can mix other fabrics into these easily if you’d like. The pattern is written for a basic fleece fabric, though some of our testers have had success with sweater knits and other various fabrics.
Grab your free pattern pieces here. If you need help putting the pattern together, pop over to the First Time Users Tips page or ask in our facebook group .
Note: I use my sewing machine for the construction of the mitten body, because the thumb area can be really tricky if you’re using a serger. When using fleece, it helps to use a walking foot in your machine to help reduce pulling. It also makes feeding the fleece through your machine a more even process.
Recommended fabrics: Fleece, cuddle/minky, sweatshirt fleece, upcycled sweaters, etc. I suggest washing your fabric before you begin to pre-shrink & help prevent color bleeding in the future.
(Optional cuff) Any knits with at least a 20% stretch.
Supplies needed:
1/3 yard Fleece fabric
(optional cuff) less than 1/4 yard required
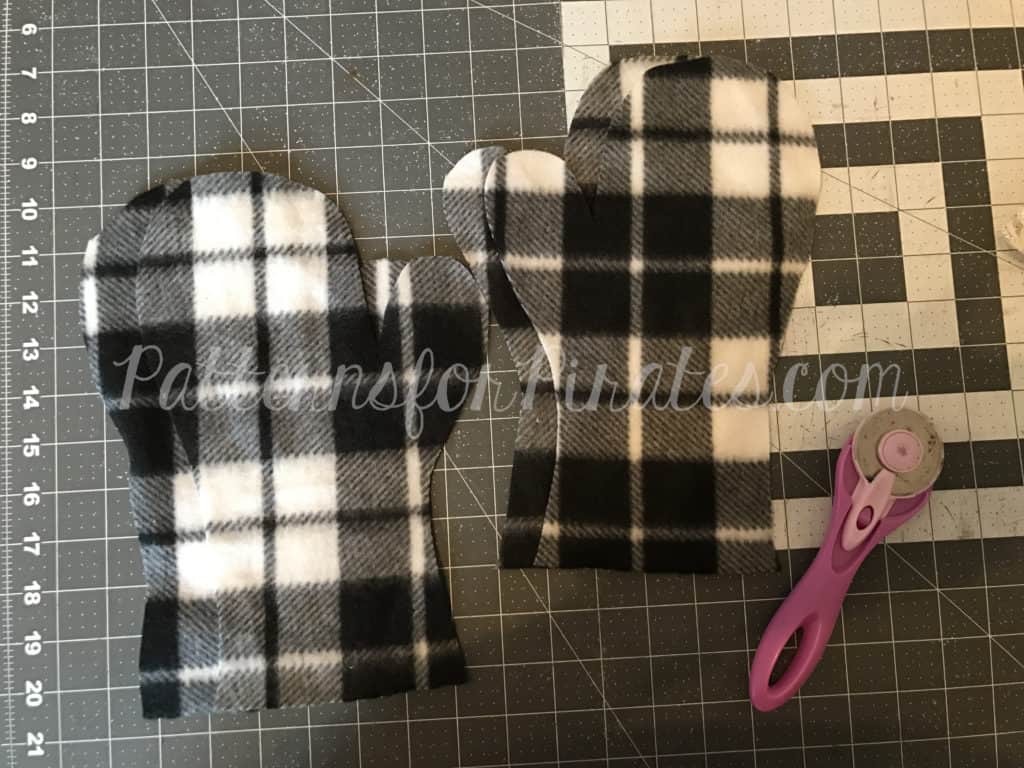
Step 1: Assemble your pattern and cut your pieces out. You will need two sets of mirror images of the main body pieces.
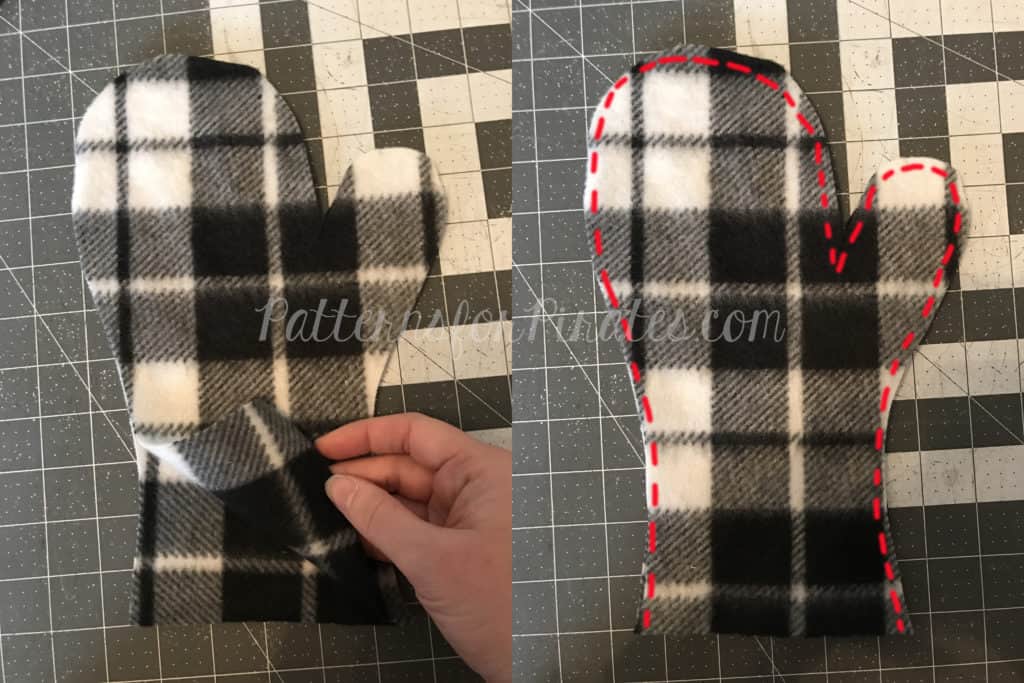
Step 2: Lay two mirror images, right sides together. Using 1/2″ seam allowance, sew around the entire outside of the mitten body. Make sure to leave the bottom open.
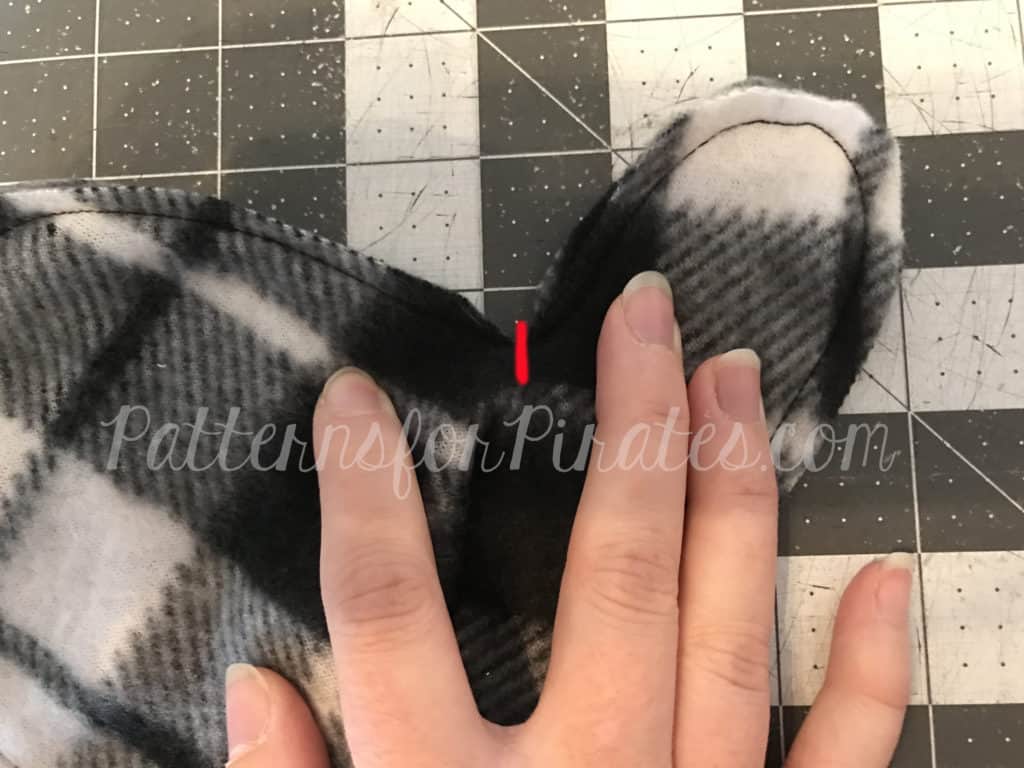
Step 3: Clip the corner between the thumb and fingers, making sure not to cut into your stitching, but getting as close as you can to it. This step is super important, otherwise the mitten will fit really strange in the thumb and it’ll be super uncomfortable.
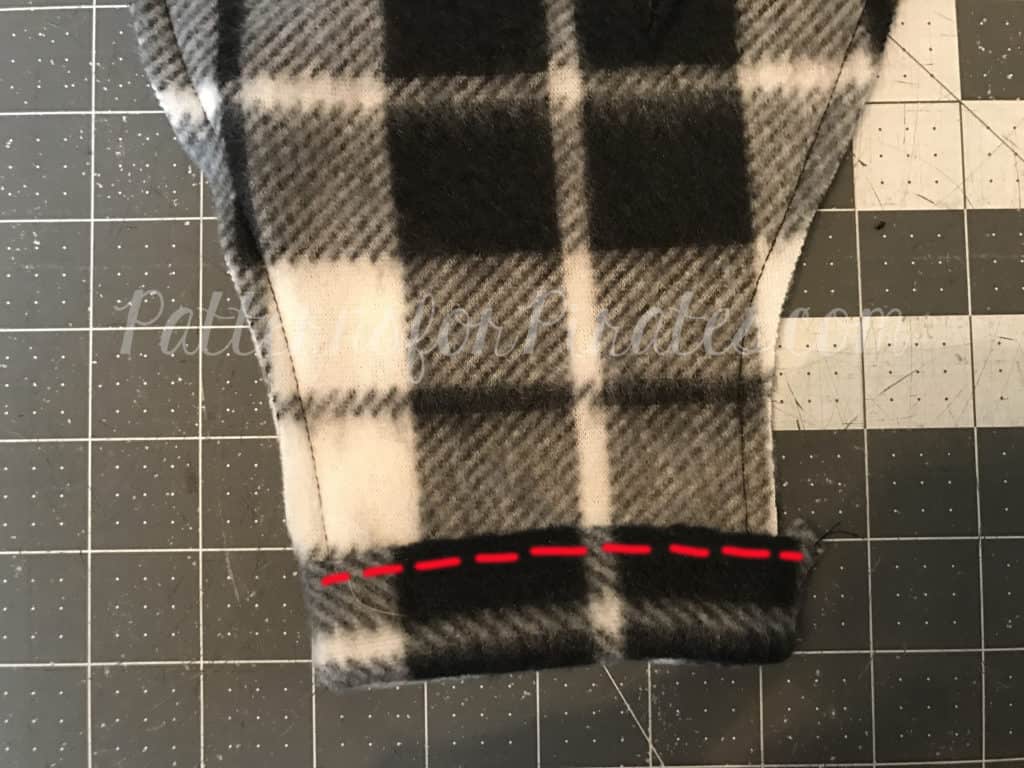
Step 4: [If doing the cuff version, skip to step 6] Turn the opening up 1″ and hem. (Optional: turn 1/2″ and then another 1/2″ to enclose raw edge.)
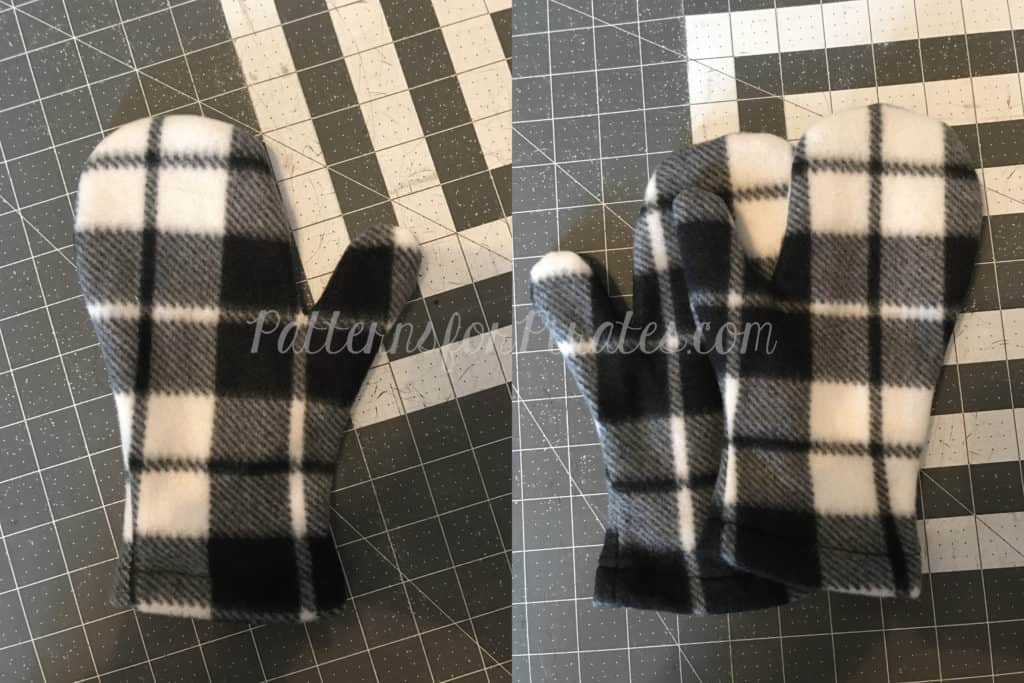
Step 5: Turn mitten right-side-out. Repeat with second mitten.
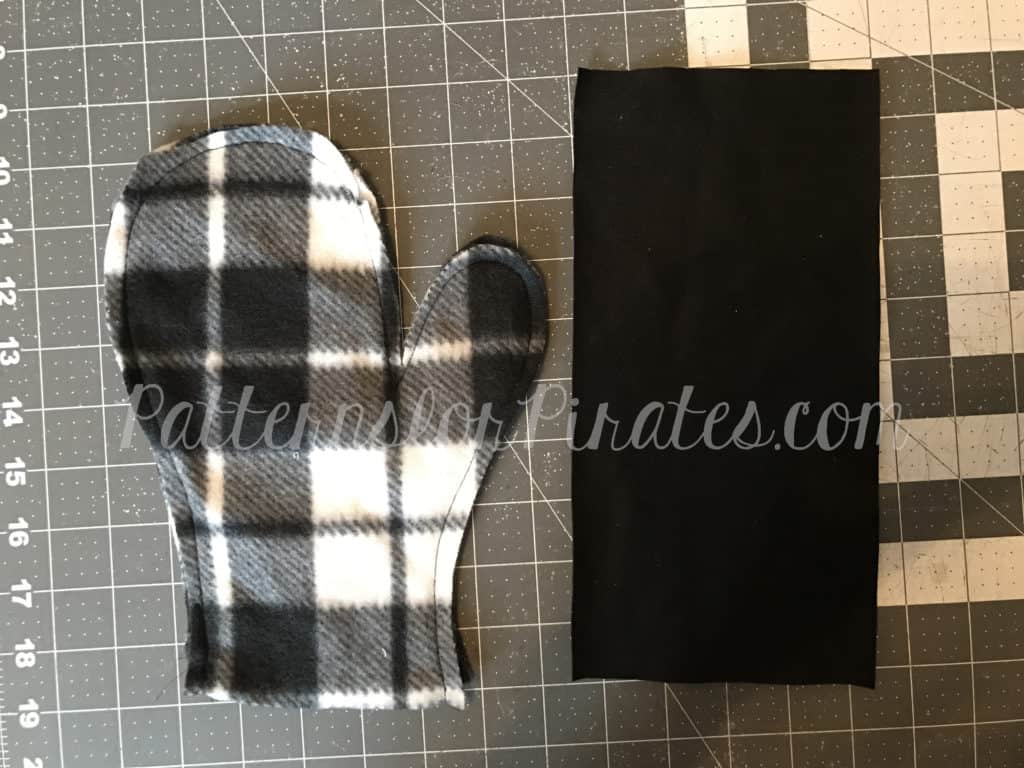
Step 6: CUFF VERSION ONLY Complete steps 1-3. Also cut 2 cuff pieces, one for each mitten.
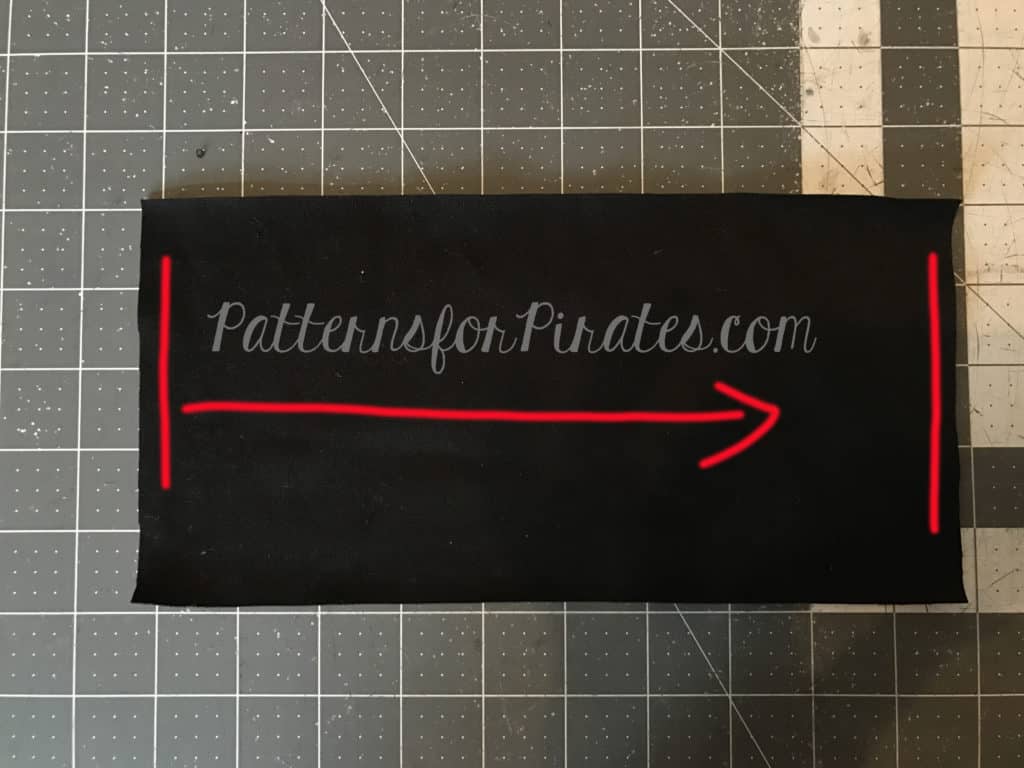
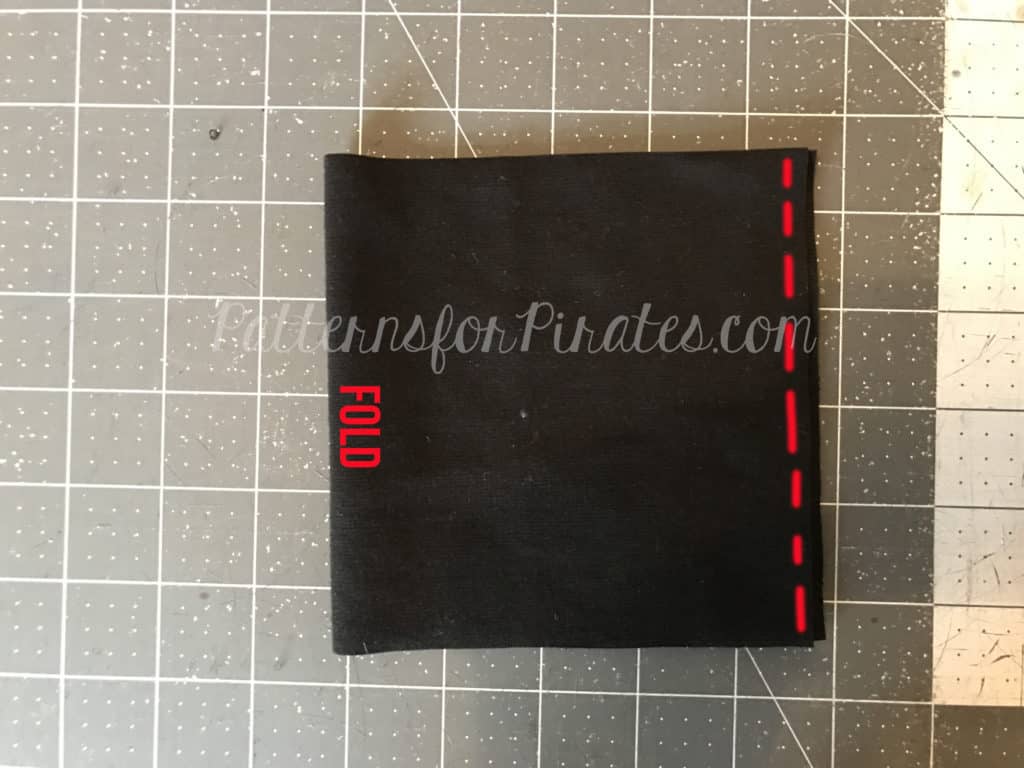
Step 7: Fold your cuff piece, right sides together, meeting the shorter ends together.
Step 8: Stitch (using 1/2″ seam allowance) short ends together.
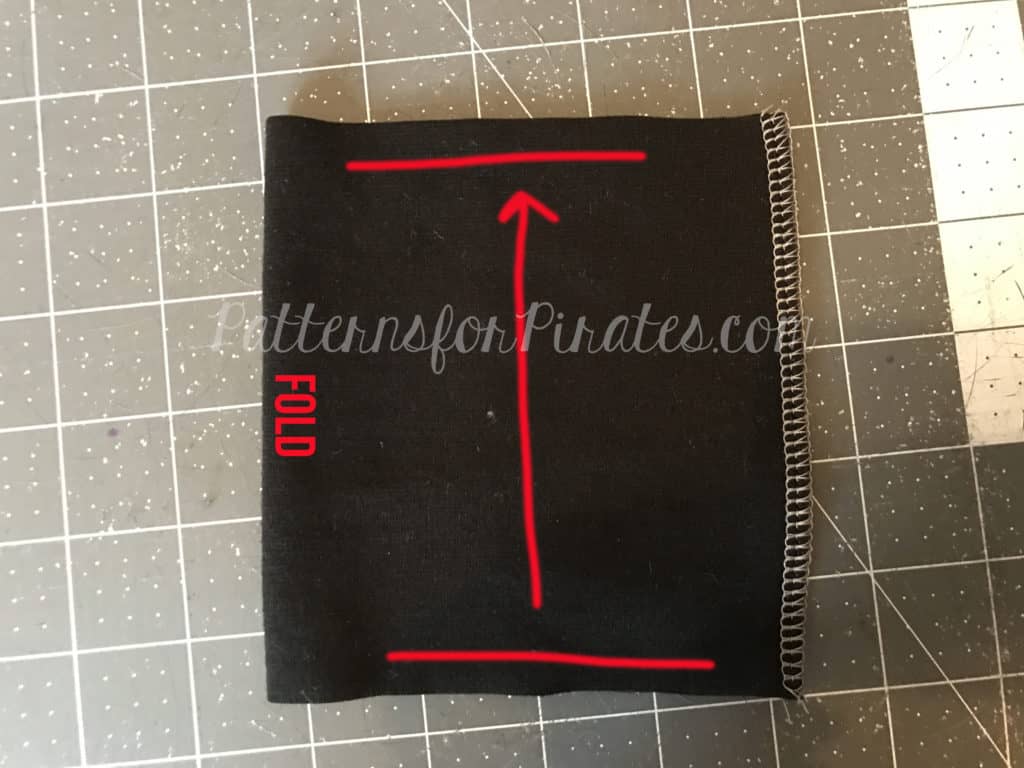
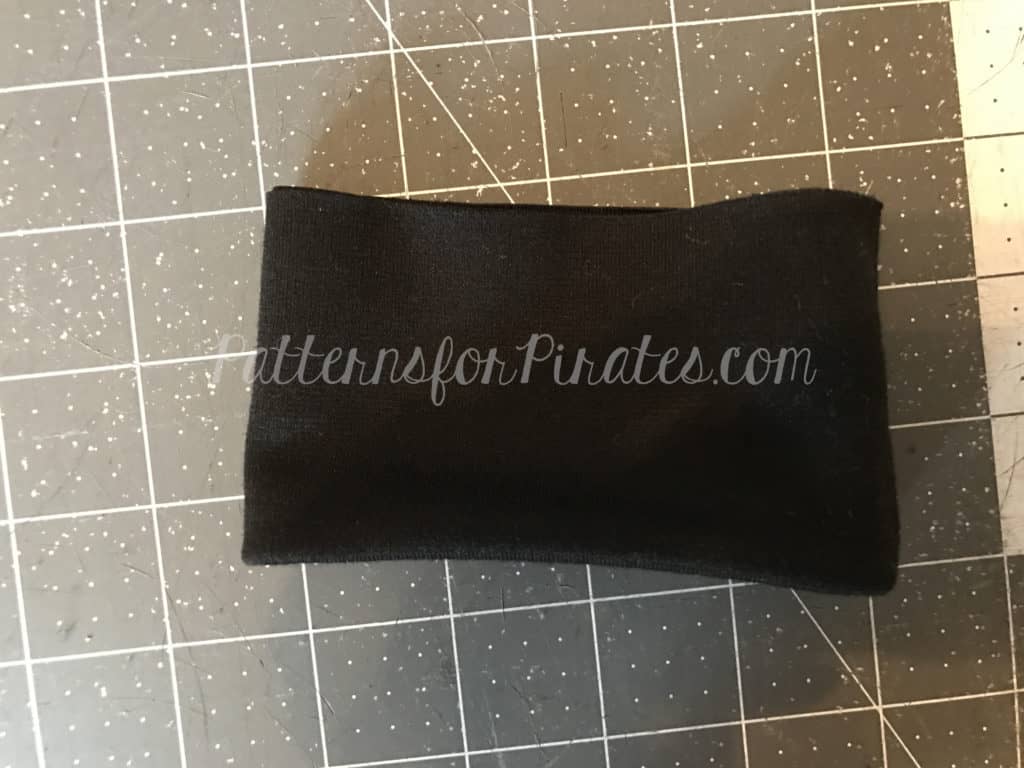
Step 9: With wrong sides together, fold the raw edges together to meet each other.
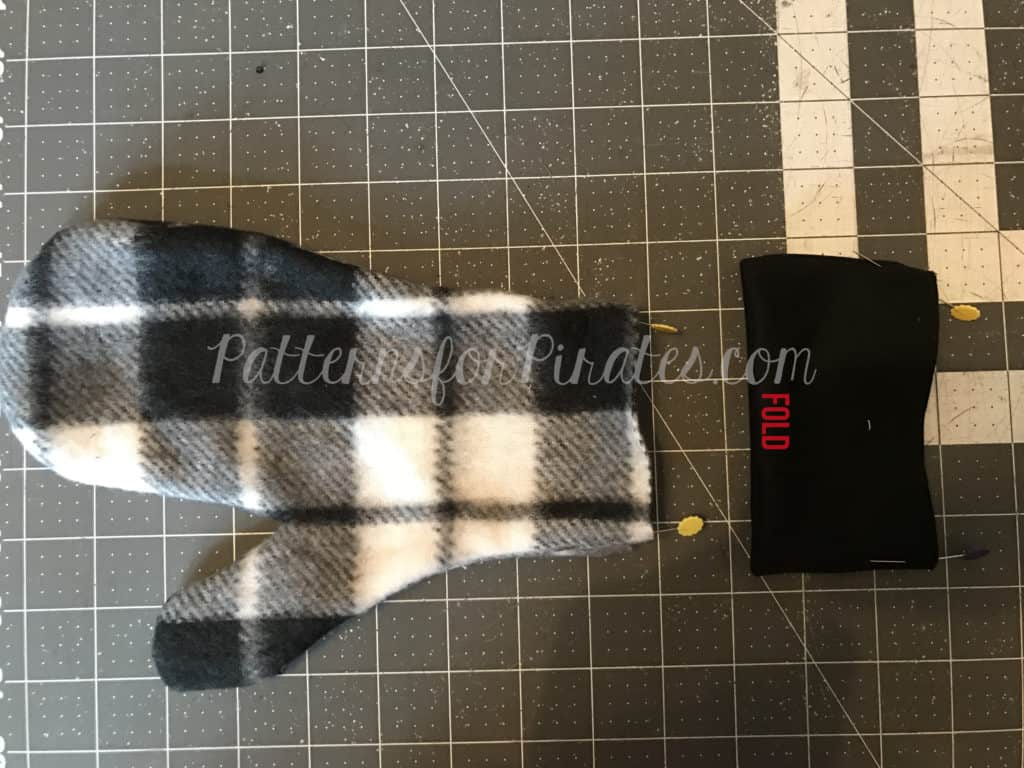
Step 10: On both your mitten body and cuff pieces, mark raw edges into halves. (The mitten body will be the two seams. The cuff will be one seam and the halfway point on the opposite side.)
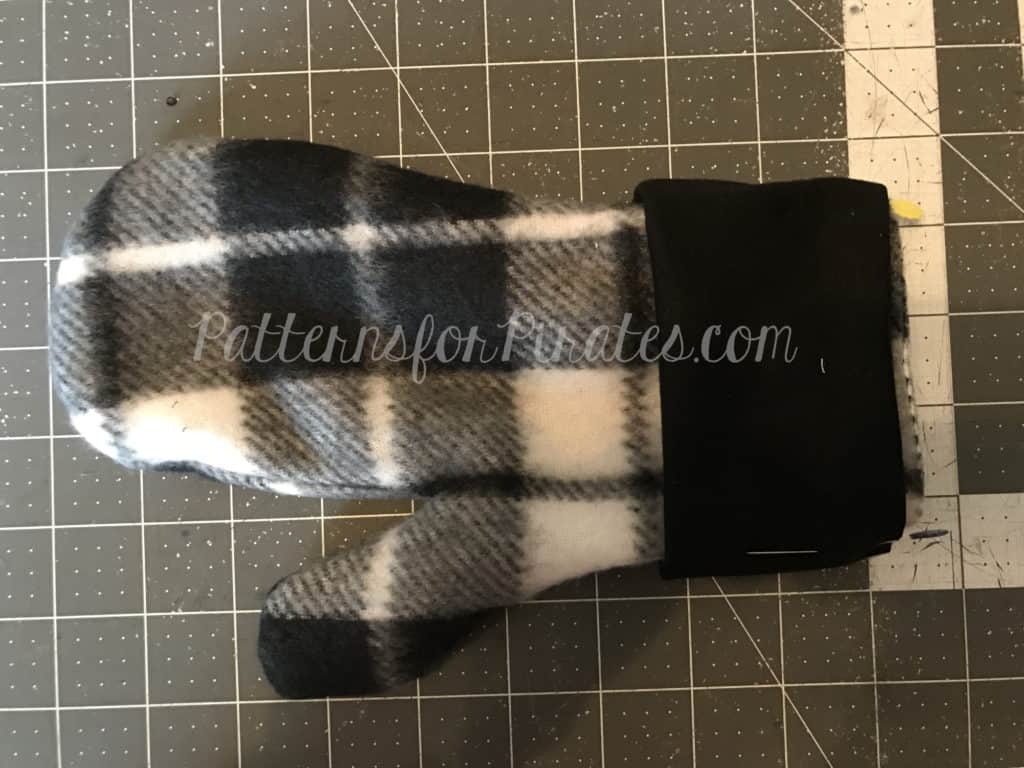
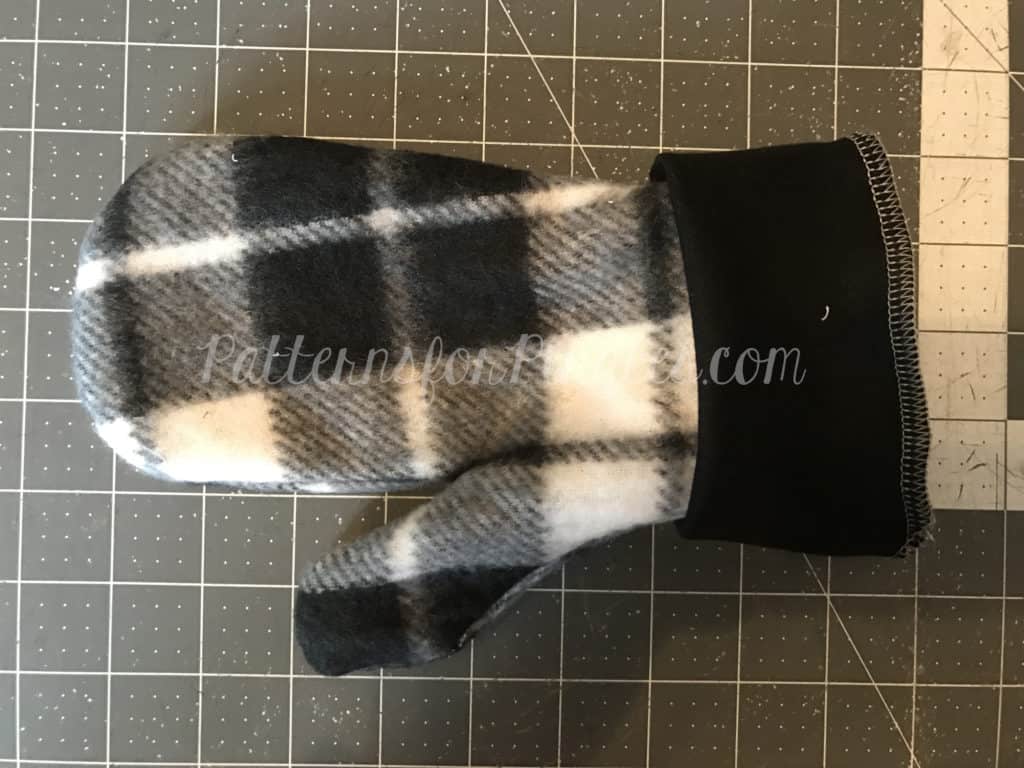
Step 11: Slide the cuff over the mitten body, aligning the raw edges and matching the half-marked points. Note: The cuff is slightly smaller than the mitten body.
Step 12: Stretching the cuff only, stitch through all three layers of raw edges.
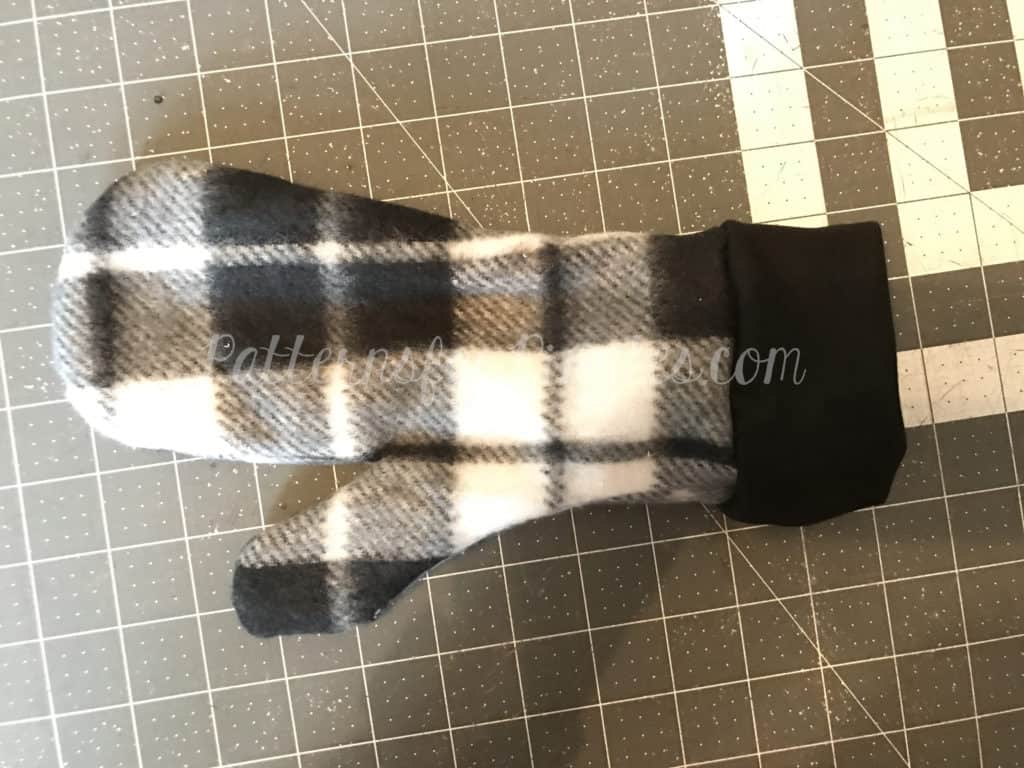
Step 13: Flip cuffs down. Repeat with other mitten.
Step 14: Sit back long enough to admire your handiwork, and then go sew a million more pairs of these comfy mittens!
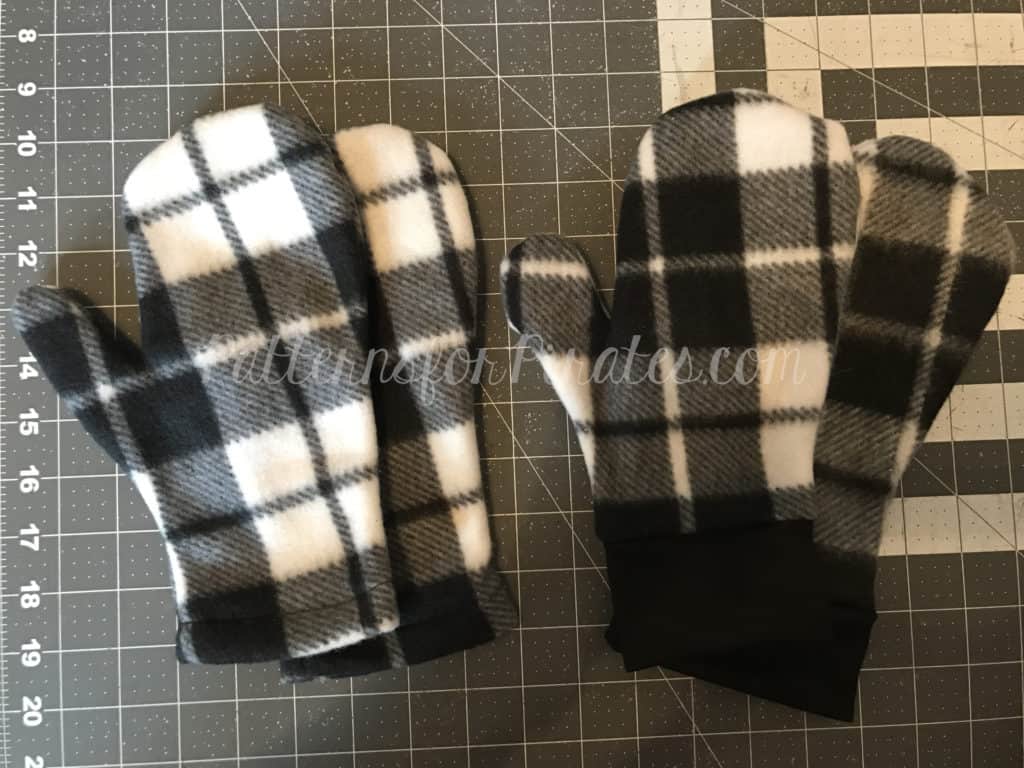
Check out the adorable mittens that our gorgeous testers made! (And check back with us next week, because we’ve got more freebies coming your way!)
As always, we love when you share what you’ve made with us. Head over to the Patterns for Pirates Facebook group and show off the fabulous mittens you’ve managed to make from our freebie pattern!
