We are so excited to share the Timeless Tunic with you guys that we couldn’t help but share just a few easy mods you can do to have even more fun with this new woven pattern!

First up is the Crop Length: This is a super easy mod that is great for pairing with high-waisted bottoms.


Cut bodice pieces and skip the 2 skirt pieces. Sew up the bodice following the tutorial like normal. When you’re at the point of attaching the skirt you will instead create a casing with just the bottom edge of the bodice (just like the 3/4 and long sleeve options).

Fold up the bottom raw edge 1/2″ to wrong side, and again another 1/2″ hiding raw edge.
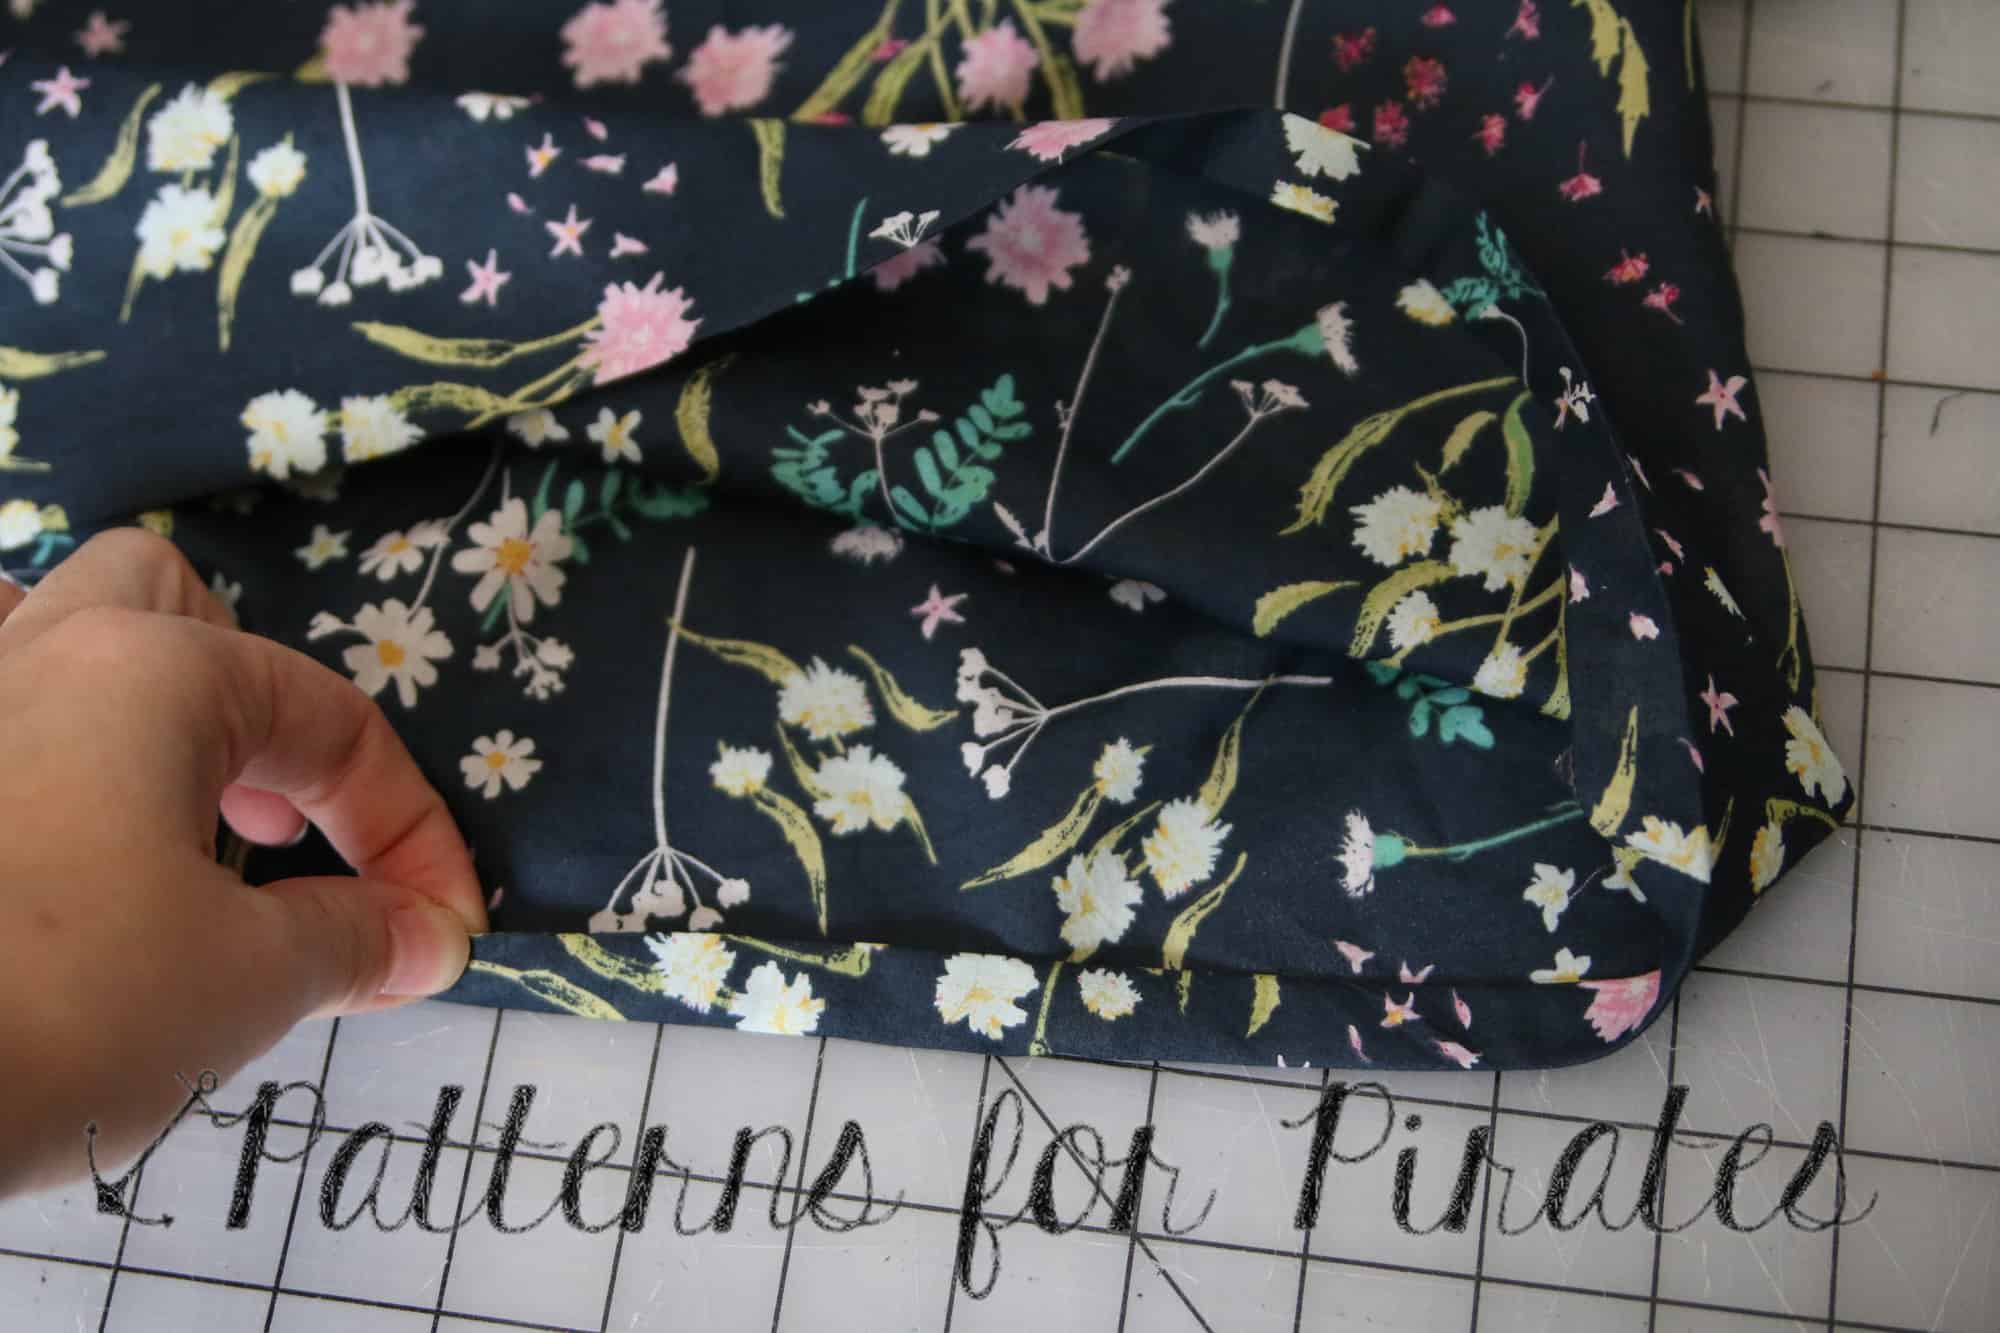
Edge stitch along top fold, leaving about 1.5″ un-stitched. Feed your waist elastic in, around and out of the casing using a safety pin or other tool.

Stitch elastic ends together using a wide zigzag (Make sure not to flip or twist your elastic as you’re guiding it through and stitching into a circle).

Pull elastic all the way into the casing. Stitch remaining 1.5″ closed.

Wah-Lah!

Now you have an adorable crop length that you can pair with your favorite high-waisted bottoms and not have to worry about tucking i in and getting any lumps and bumps from the bottom. I paired mine with the Pirate Pencil Skirt in the high waist and midi length option.


Split Sleeve and Curved Dress Hemline by Angela.

A big fashion trend that I’ve been seeing recently is a pretty split sleeve and the new Timeless Tunic and dress is the perfect pattern to easily add a split sleeve. I’m also a big fan of a curved hem, so I’m also going to show you how to add the curved hem to the dress length. Let’s get started!
First thing we are going to do is draw a line from the shoulder seam directly down the middle all the way down to the bottom of our sleeve piece. This is going to be our extra cut line to create 4 pieces. Now, if you’re lazy like me, you can just cut your sleeve out as normal and then cut down the center line that you created right thru your pattern and fabric. Make sure you don’t forget your notches!! It’s really easy to make a mistake without those notches as you will now have 4 sleeve pieces. Next you’re are going to need to create your binding strips. To do this, I just measured that line we created on the pattern to determine how long the binding needs to be and I added a inch extra just to be safe. As we are binding a straight piece you don’t have to worry about cutting your binding on the bias. I just cut mine the length of my piece by 1.5 inches wide.

Next you’re going to press your binding just like you would any other binding or bias tape. Fold in half lengthwise and press and then press the edges into the center.

You’re going to pin the right side of the binding to the wrong side of your sleeve and sew in the first pressed line which is a 3/8″ seam.

Once you have sewn the seam, press the seam allowance up towards the binding and then fold your binding down and repin so that the fold on your binding meets the seam line. I like to pull mine just slightly over the seam so that when you edge stitch you don’t see the seam underneath. You will then edge stitch your binding down. You are going to do this on all 4 of your sleeve pieces.


Time to sew the sleeves on! Easy peesy- you just match the top of your binding to the top center of your sleeve and make sure that your sleeve binding are right against each other. Make double sure that your notches match here too, ask me how I know! Now you will continue constructing as shown. When you get to your sleeve casings you can sew your casing flat and insert your elastic. I then sewed the elastic together to form your circle and then pull your casing over the elastic so you can’t see it.


On to the curved hem! This is super simple too. I started by tracing off the tunic curve on the front skirt and then lined up the curve to the side seam so that the bottom of the curve was at the bottom of of the dress length and traced it on. You will need to extend your line just a tad at the center as the dress is aline so it doesn’t match on both edges. (This is going to make your dress length a bit shorter on the sides so if you are worried about that add a little length) I then cut my new curved hem. For the back you want to also trace off your tunic curved hem but as it is a different curve then the front you want to make sure that your side seams are going to match. The back hem will dip a bit lower then the dress length so you will need to tape some paper onto the bottom of your back piece so that you can trace your curve easily. I found the easiest way to get your hems to match was to take your front piece and place it on your back piece, matching the side seams and mark where your front curve starts on the back piece and then place you back curve on that mark and trace. Cut your new hem line and continue constructing as normal.


Hope you enjoyed these easy hacks and please share your creations in the Patterns for Pirates Facebook group, we love seeing what you make!
V Neck Modification by Alex.

The much anticipated woven tunic and dress is finally here! The Timeless Tunic includes 3 sleeve lengths, a sleeveless option and two hem lengths. So why not add a V-neckline to the mix? 😉 I am a very big fan of V-necklines, I find them flattering on all sizes and shapes so today I will show you how I hacked the Timeless Tunic to get a V-neck look.
First of all print your pattern in the size needed, grab a ruler, a marker and some paper because we’ll do some light drafting. Ready?

Tape your pattern as per the instructions and set aside the front facing. We will draft another front facing shortly. Grab the front bodice piece and mark 3 inches. You can do less or more depending on how deep you’d like the cleavage. For my example I lowered the neckline about 3 inches. Once you mark that point on the center fold line, draw a straight line from where the neckline begins to curve to your marked point. Cut along the line and discard the little pieces.
TIP: If you prefer to save the original front bodice piece, then just fold along the marked line and tuck the little piece under the pattern. This way you can re-use this pattern for the regular curved neckline again simply by unfolding it.

Now that you have your front bodice piece ready, all we have to do is draft the front bodice facing. My V-neck Timeless dress is the sleeve option so you’ll see the sleeve facing throughout this tutorial. You can use the same suggestions and draft the sleeveless front facing option, too. Grab the original front facing, lay it over the front bodice and mark the shoulder width on it.

Now lay a piece of paper (preferably tracing paper but good ole printer paper will do, too, as you can see) over the V-neck front bodice. Trace the shoulder and the V-neckline on the paper. Mark about 2.75 inches down where the fold line will be. Using a French Curve (or drawing very slowly), draw a curve from the outer shoulder point to the bottom point of the center fold. That’s it! You’ve now drafted a new V-neck front facing.


Cut the fabric (and interfacing) using the V-neck bodice and the new V-neck front facing you just created. The rest of the pattern pieces and elastic will remain the same as the original pattern.

Sew your dress or tunic following the pattern’s directions. When sewing the bodice to the facing around the neckline, I prefer to start from the V point, sew around the neckline and end at the V point where I started. If you start at the shoulder seam, make sure to pivot when you get to the V point of the neckline.

TIP: When you snip the seam allowance around the neckline, don’t forget to cut a little V piece at the pointed spot. It will make your neckline lay nice and flat once you press it.

Finish sewing the tunic or dress as per the pattern tutorial. Now you have your very own Timeless Tunic with a V-neckline. As always, I can’t wait to see your creations in the group . Sew like a pirate!
Sheer Overlay by Nicole

There are some gorgeous woven fabrics available but some may be a little too sheer to wear sans under-layer or finish the neck and armholes with the facings method found in the pattern. With a couple of easy changes, you can use fabrics like chiffon or lace. I chose to use a chiffon and left my sleeves sheer but needed the extra coverage in the bodice and skirt.
Once you decide on your fabrics (that’s the hard part, right? 😉 ) you will cut the following:
(1) Main fabric bodice – front and back, (1) Main fabric skirt – front and back, (1) lining – front and back, (1) lining skirt – front and back ( I shortened the hem by 1″ as I used a rolled hem on the edges and did not want it to peek out the bottom edge) (1) front and back facing (2) main fabric sleeve mirror image. Note: Lightweight woven fabrics like chiffon are delicate. When ironing the fusible interfacing, proceed with caution and use a pressing cloth.


For assembly of the bodice, you will treat your front and back as one piece. Place main fabric and lining right sides up (wrong side of main fabric touching right side of lining) and baste along the edges or using a washable basting spray to keep the two layers together. Construct main bodice as shown in pattern.

For the skirt, I did not want them attached at the side seam so I stitched the side seams of both the main fabric and lining separately, creating two skirts. Slip your lining skirt inside your main fabric with right sides out (wrong side of main fabric touching right side of lining). I serged my two skirt together at the top edge to make attaching them to the bodice a little easier. Continue construction as shown in the pattern.


Easy enough….right?! The constructions doesn’t change any and should not be any more difficult to put together. Working with slinky fabrics is the hard part but with a little patience you’ll get through it in no time.


Make it in knit!
We all love the quick and ease of sewing up a knit, right?! You can sew this pattern in a knit with no modifying! Here is Alex’s in a rayon spandex with no modifications other than about 1.5″ added to skirt length for a personal preference on skirt length. She kept the dart and facings as is in the pattern exactly and sewed her size on the measurement chart. With knits you can have less wearing ease and be comfortable, so you could size down if you wanted a more fitted look compared to the woven option. She looks fabulous and she didn’t have to iron it 😉 lol!

