Patterns for Pirates

P4P stylish, modern, wearable patterns

  • Home
  • Blog
    • Frequently Asked Questions
    • Pattern Releases
      • Free Patterns
    • P4P University
      • Fitting
      • Sewing with Stretch, Knit Fabrics
      • Sewing with Woven Fabrics
      • Sewing Machines
    • Sew-A-Longs
    • Fabric for Pirates
    • Pattern Hacks
    • Announcement
      • Blog Tours
      • Contest/Giveaway
  • Shop
  • Bundle Discounts
  • Flash Friday
  • Gift Cards
  • My Account
  • Cart

Sugar Maple Skirt :: Easy Hacks

April 12, 2022

Have you heard the news?  P4P just dropped our latest pattern and it’s the swishiest, twirliest thing we’ve put out in a while!

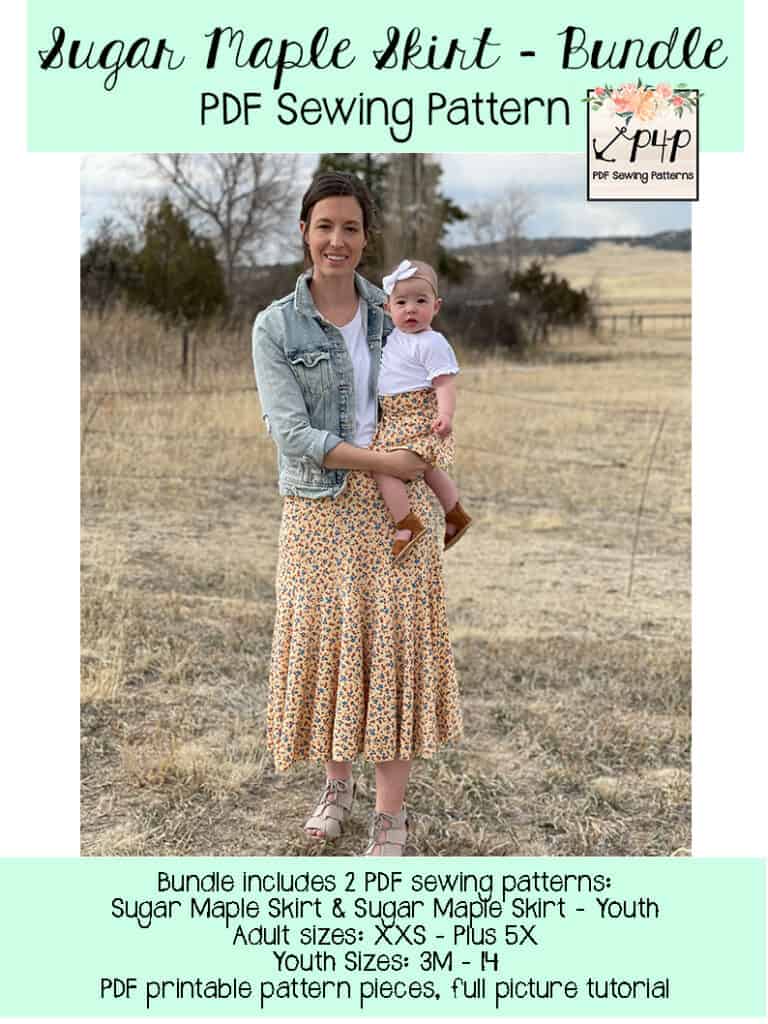
The Sugar Maple Skirt is an a-line skirt with a full circle drop yoke.  It is designed to be worn at the natural waist and comes in four lengths: mini, knee, tea and maxi.  The top yoke has a flattering, body skimming silhouette, while the fuller part of the skirt joins just below the booty.

Whichever length you choose, each provides for ALL the swishy, twirly goodness that you could hope for in a skirt. The Sugar Maple is a great basic skirt pattern to have, an excellent sewing project for beginners, and it comes together so quickly that you’ll end up making multiple before you even know what happened!


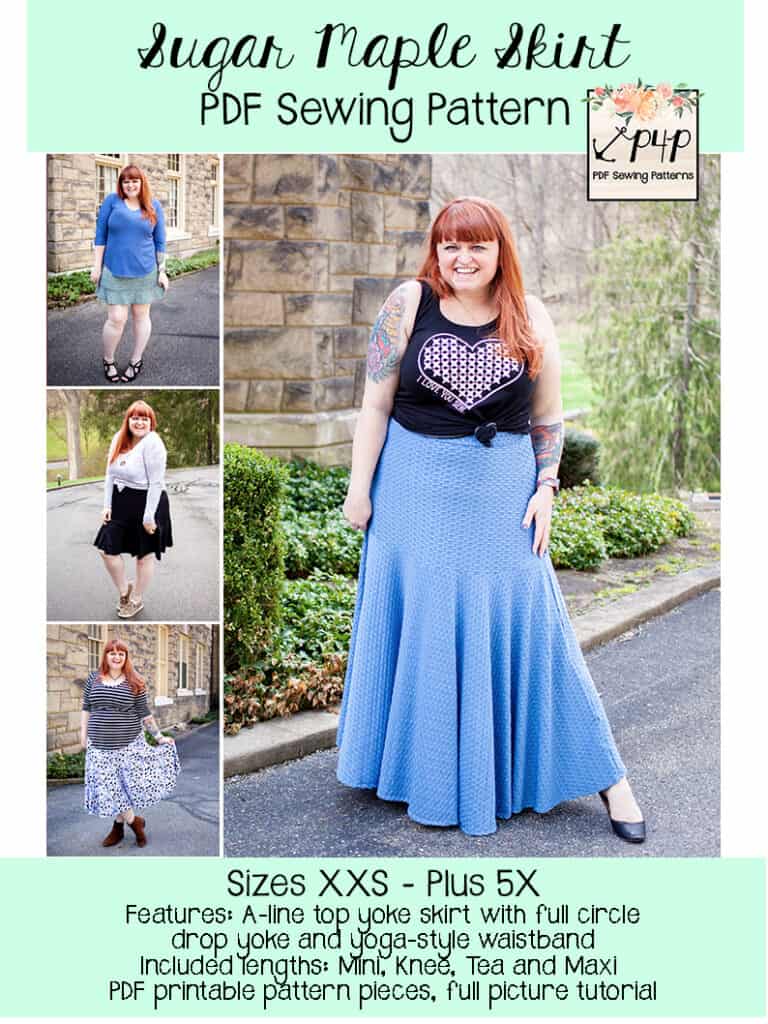
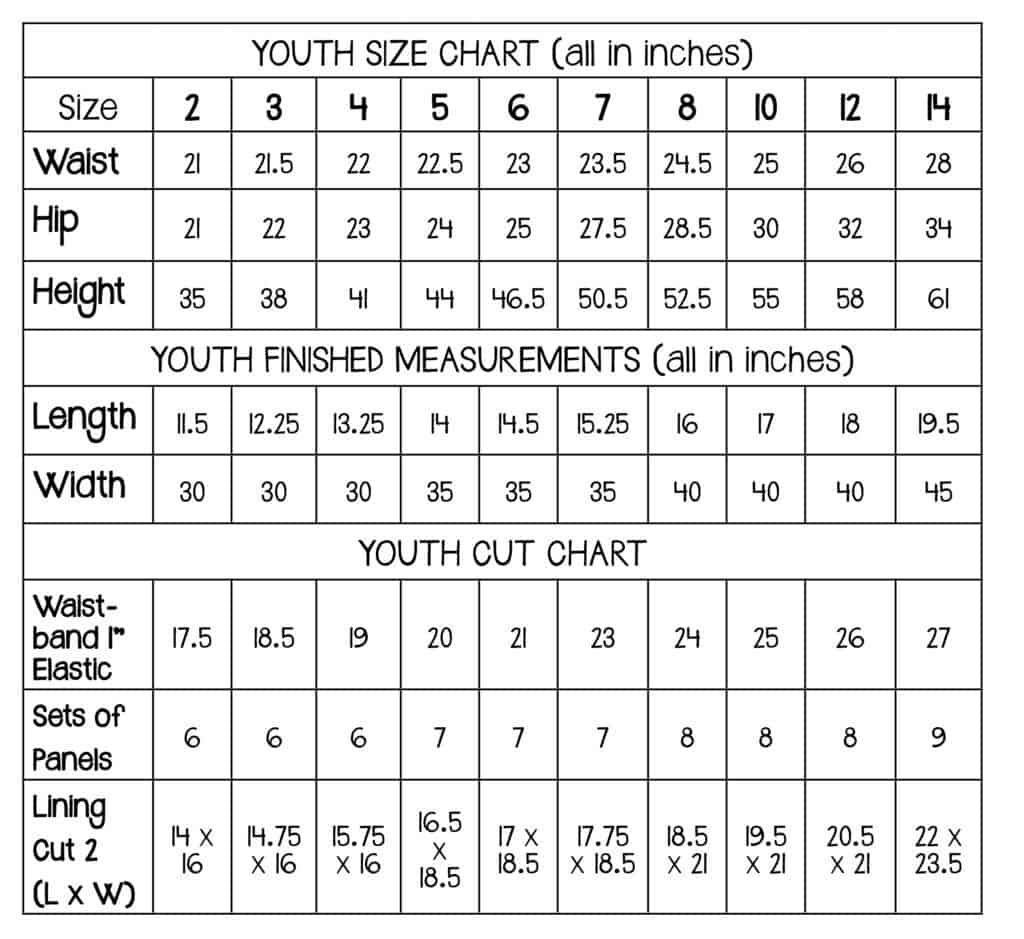
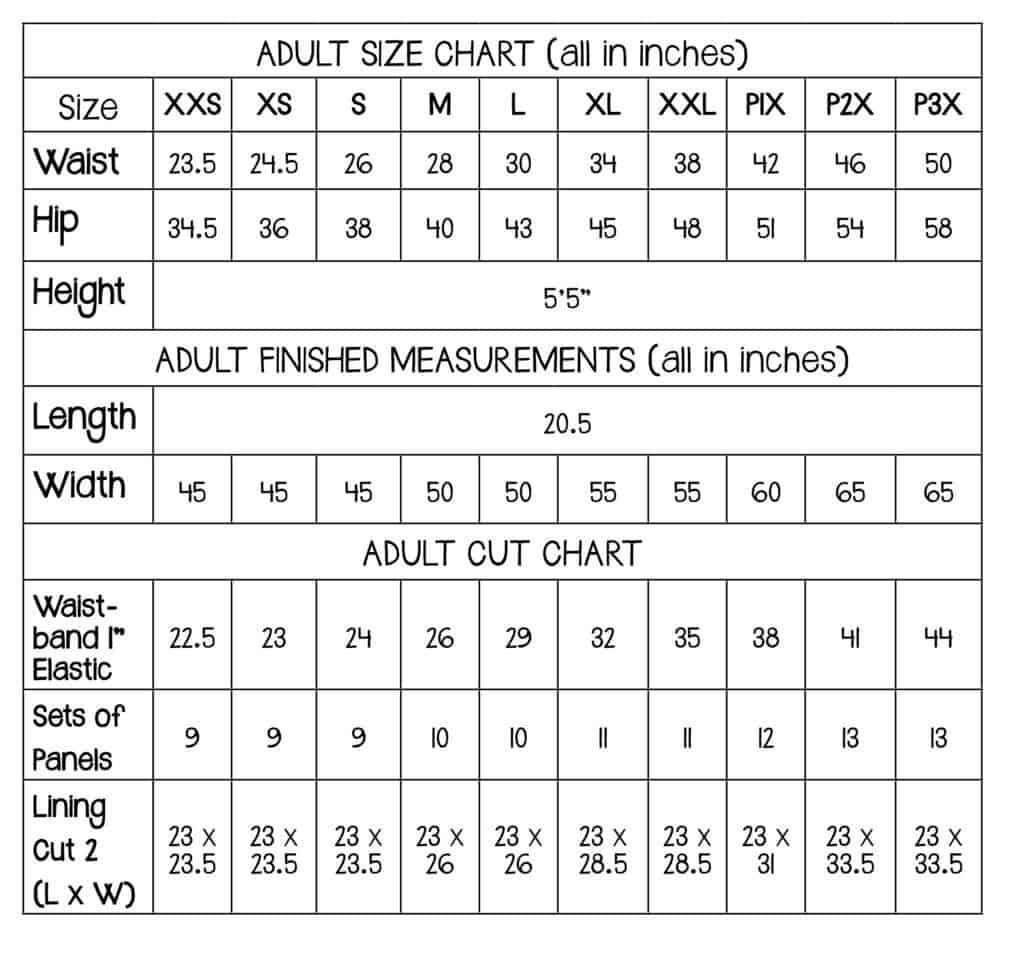
Before you do anything else, go read all about the newest pattern: the Sugar Maple Skirt!  It’s available in Adult – Hourglass and Youth sizes and is just the sweetest.

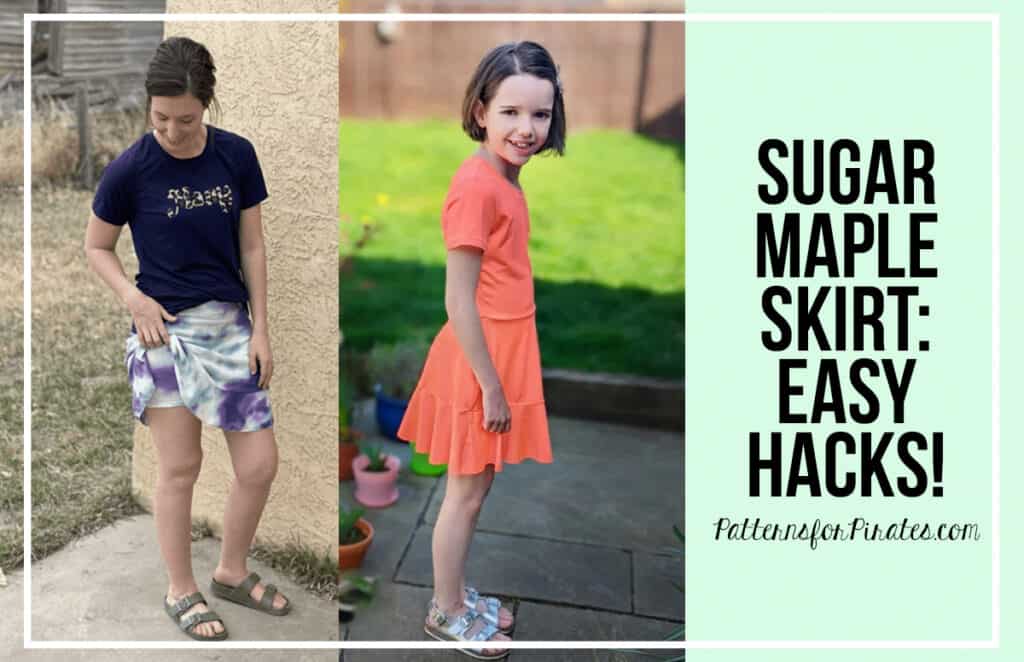
But guess what we went and did?  We made it even sweeter by giving you some super easy, super fun pattern hacks to take the pattern a little further!

Dress Hack

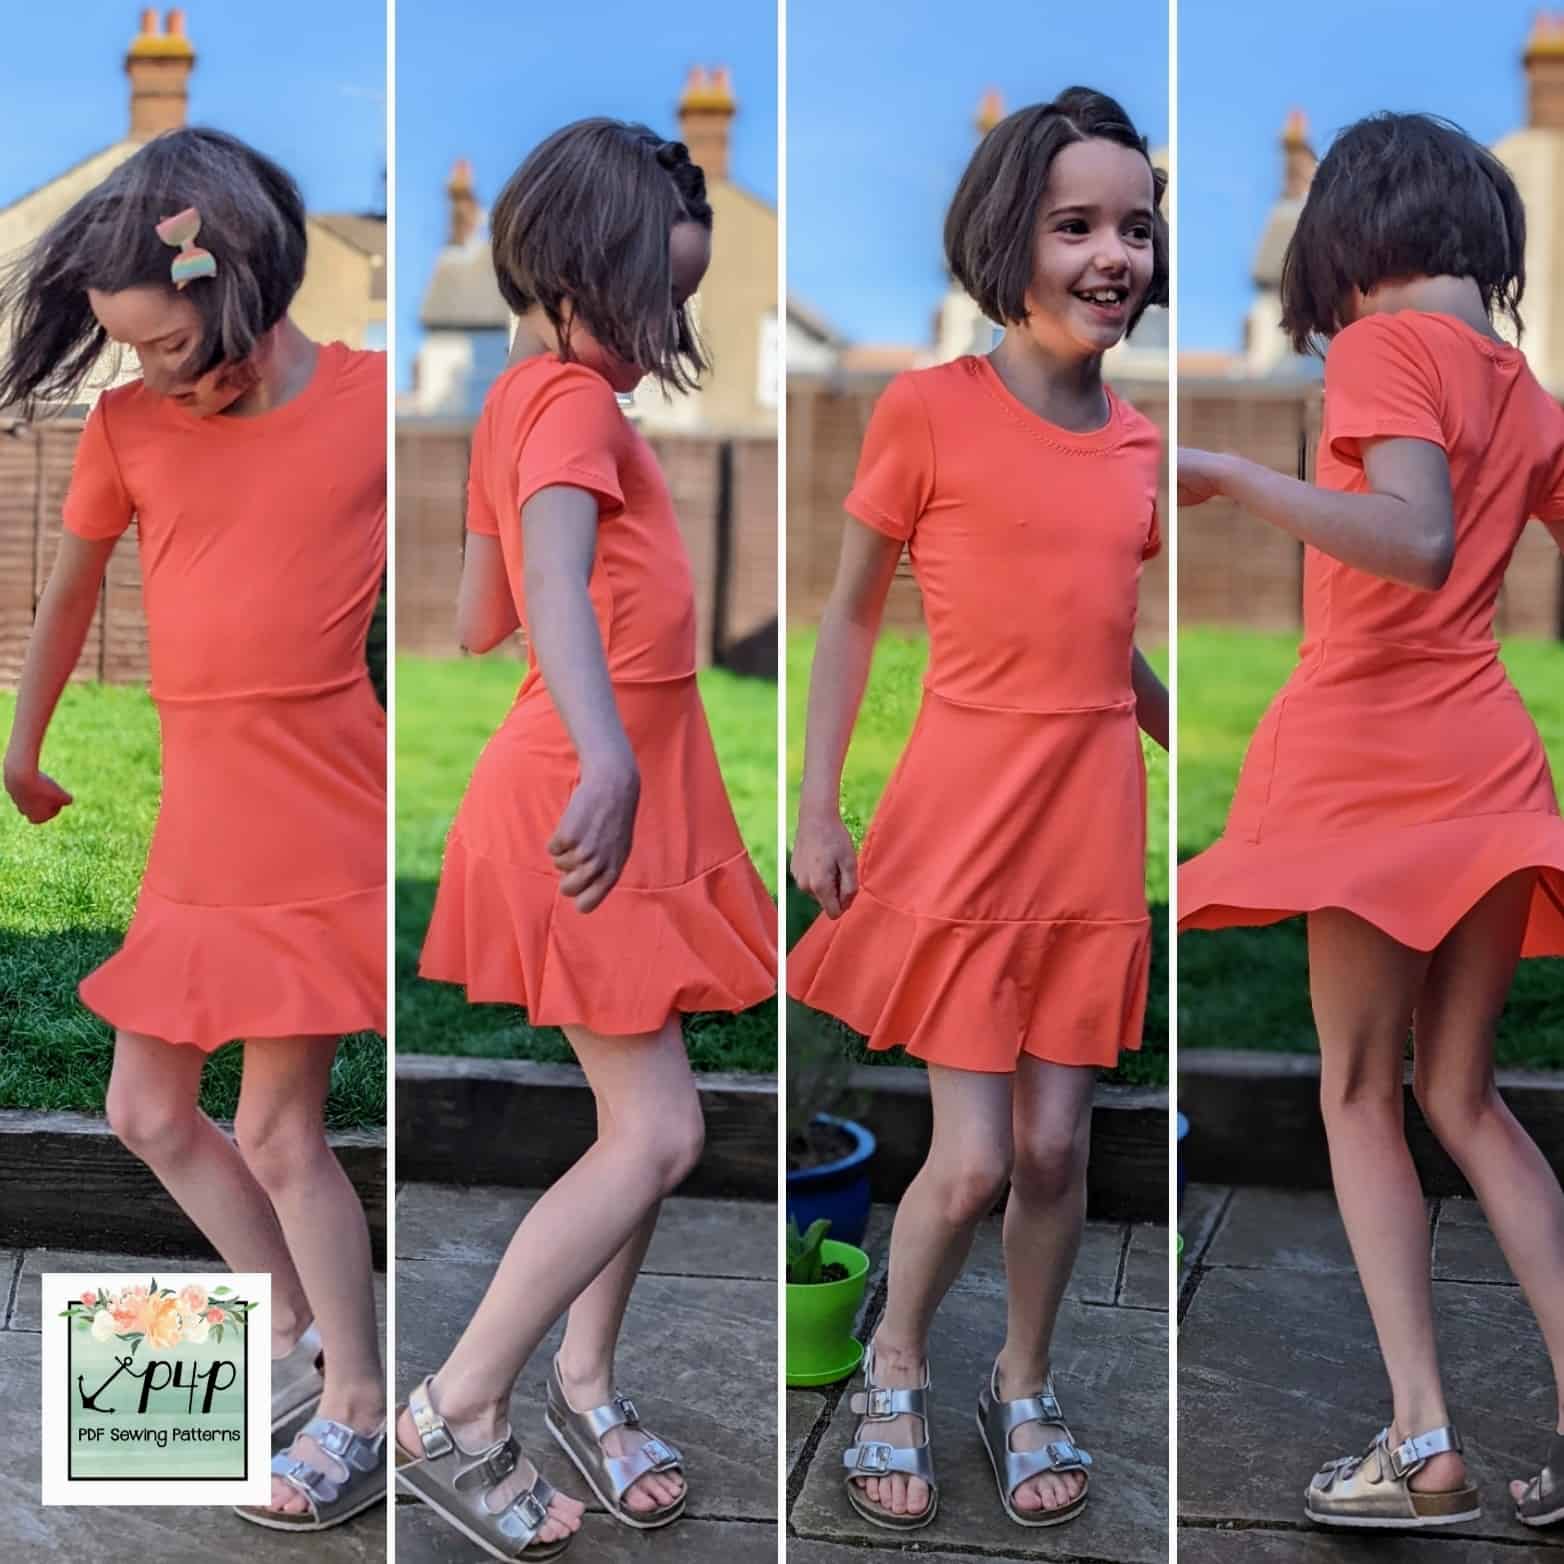
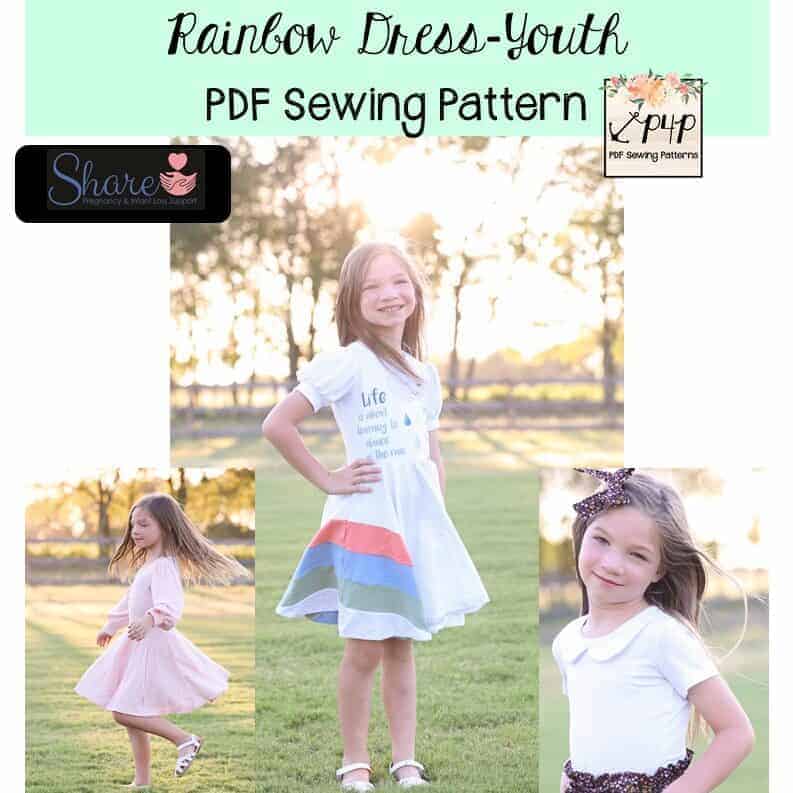
The best way to get a little bit of twirl into your life is with the new Sugar Maple Skirt, I think we can all agree on that! If you love the twirly, whirly skirt but like the ease of a dress then this hack is for you. My daughter is now 8 and insists on picking her own outfits, but some of her choices can be pretty adventurous and she loves a colour clash. For me, a dress is the easiest option every time. I matched the Sugar Maple Skirt with the bodice of the Rainbow Dress Youth

They meshed together perfectly!

Sugar Maple Skirt
Rainbow Dress bodice

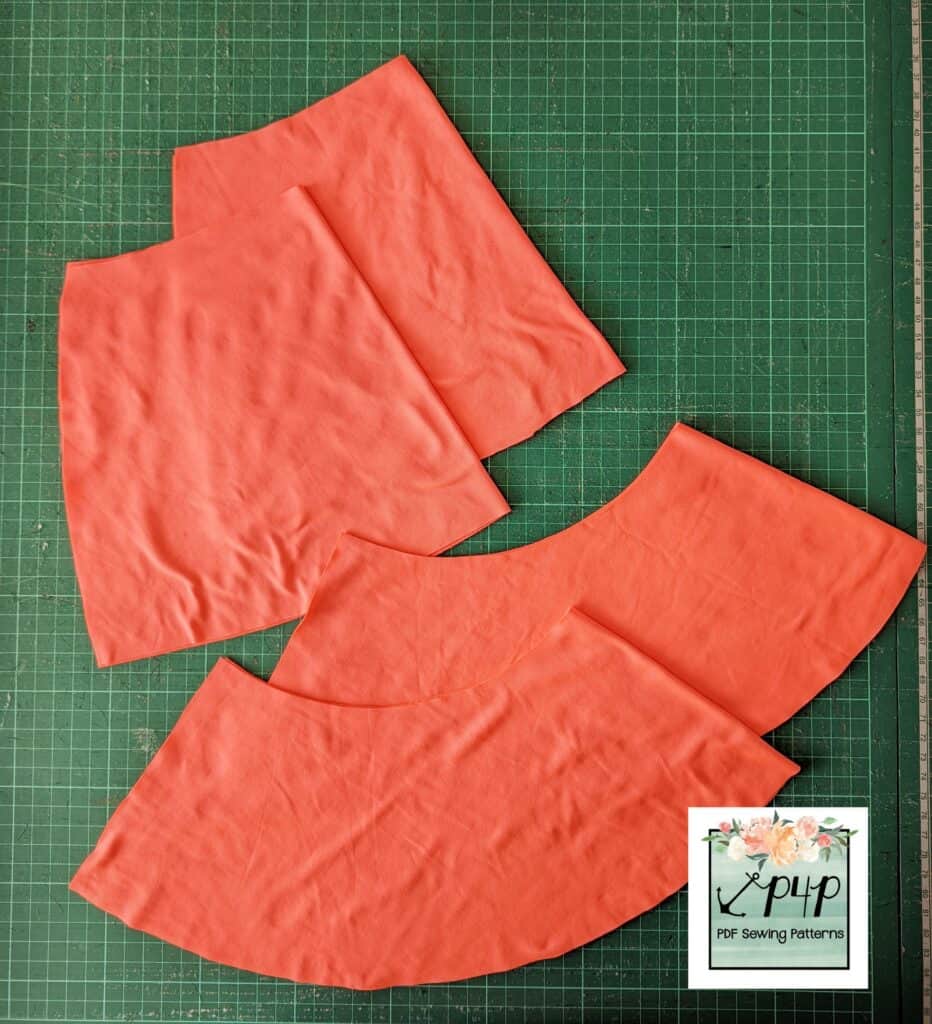
All I had to do was cut out the bodice of the Rainbow Dress and Sugar Maple Skirt as normal and just omit the waistband for the skirt.  I sewed them each up individually as per their instructions and then laid them down next to each other to check they would fit together nicely at the waist.

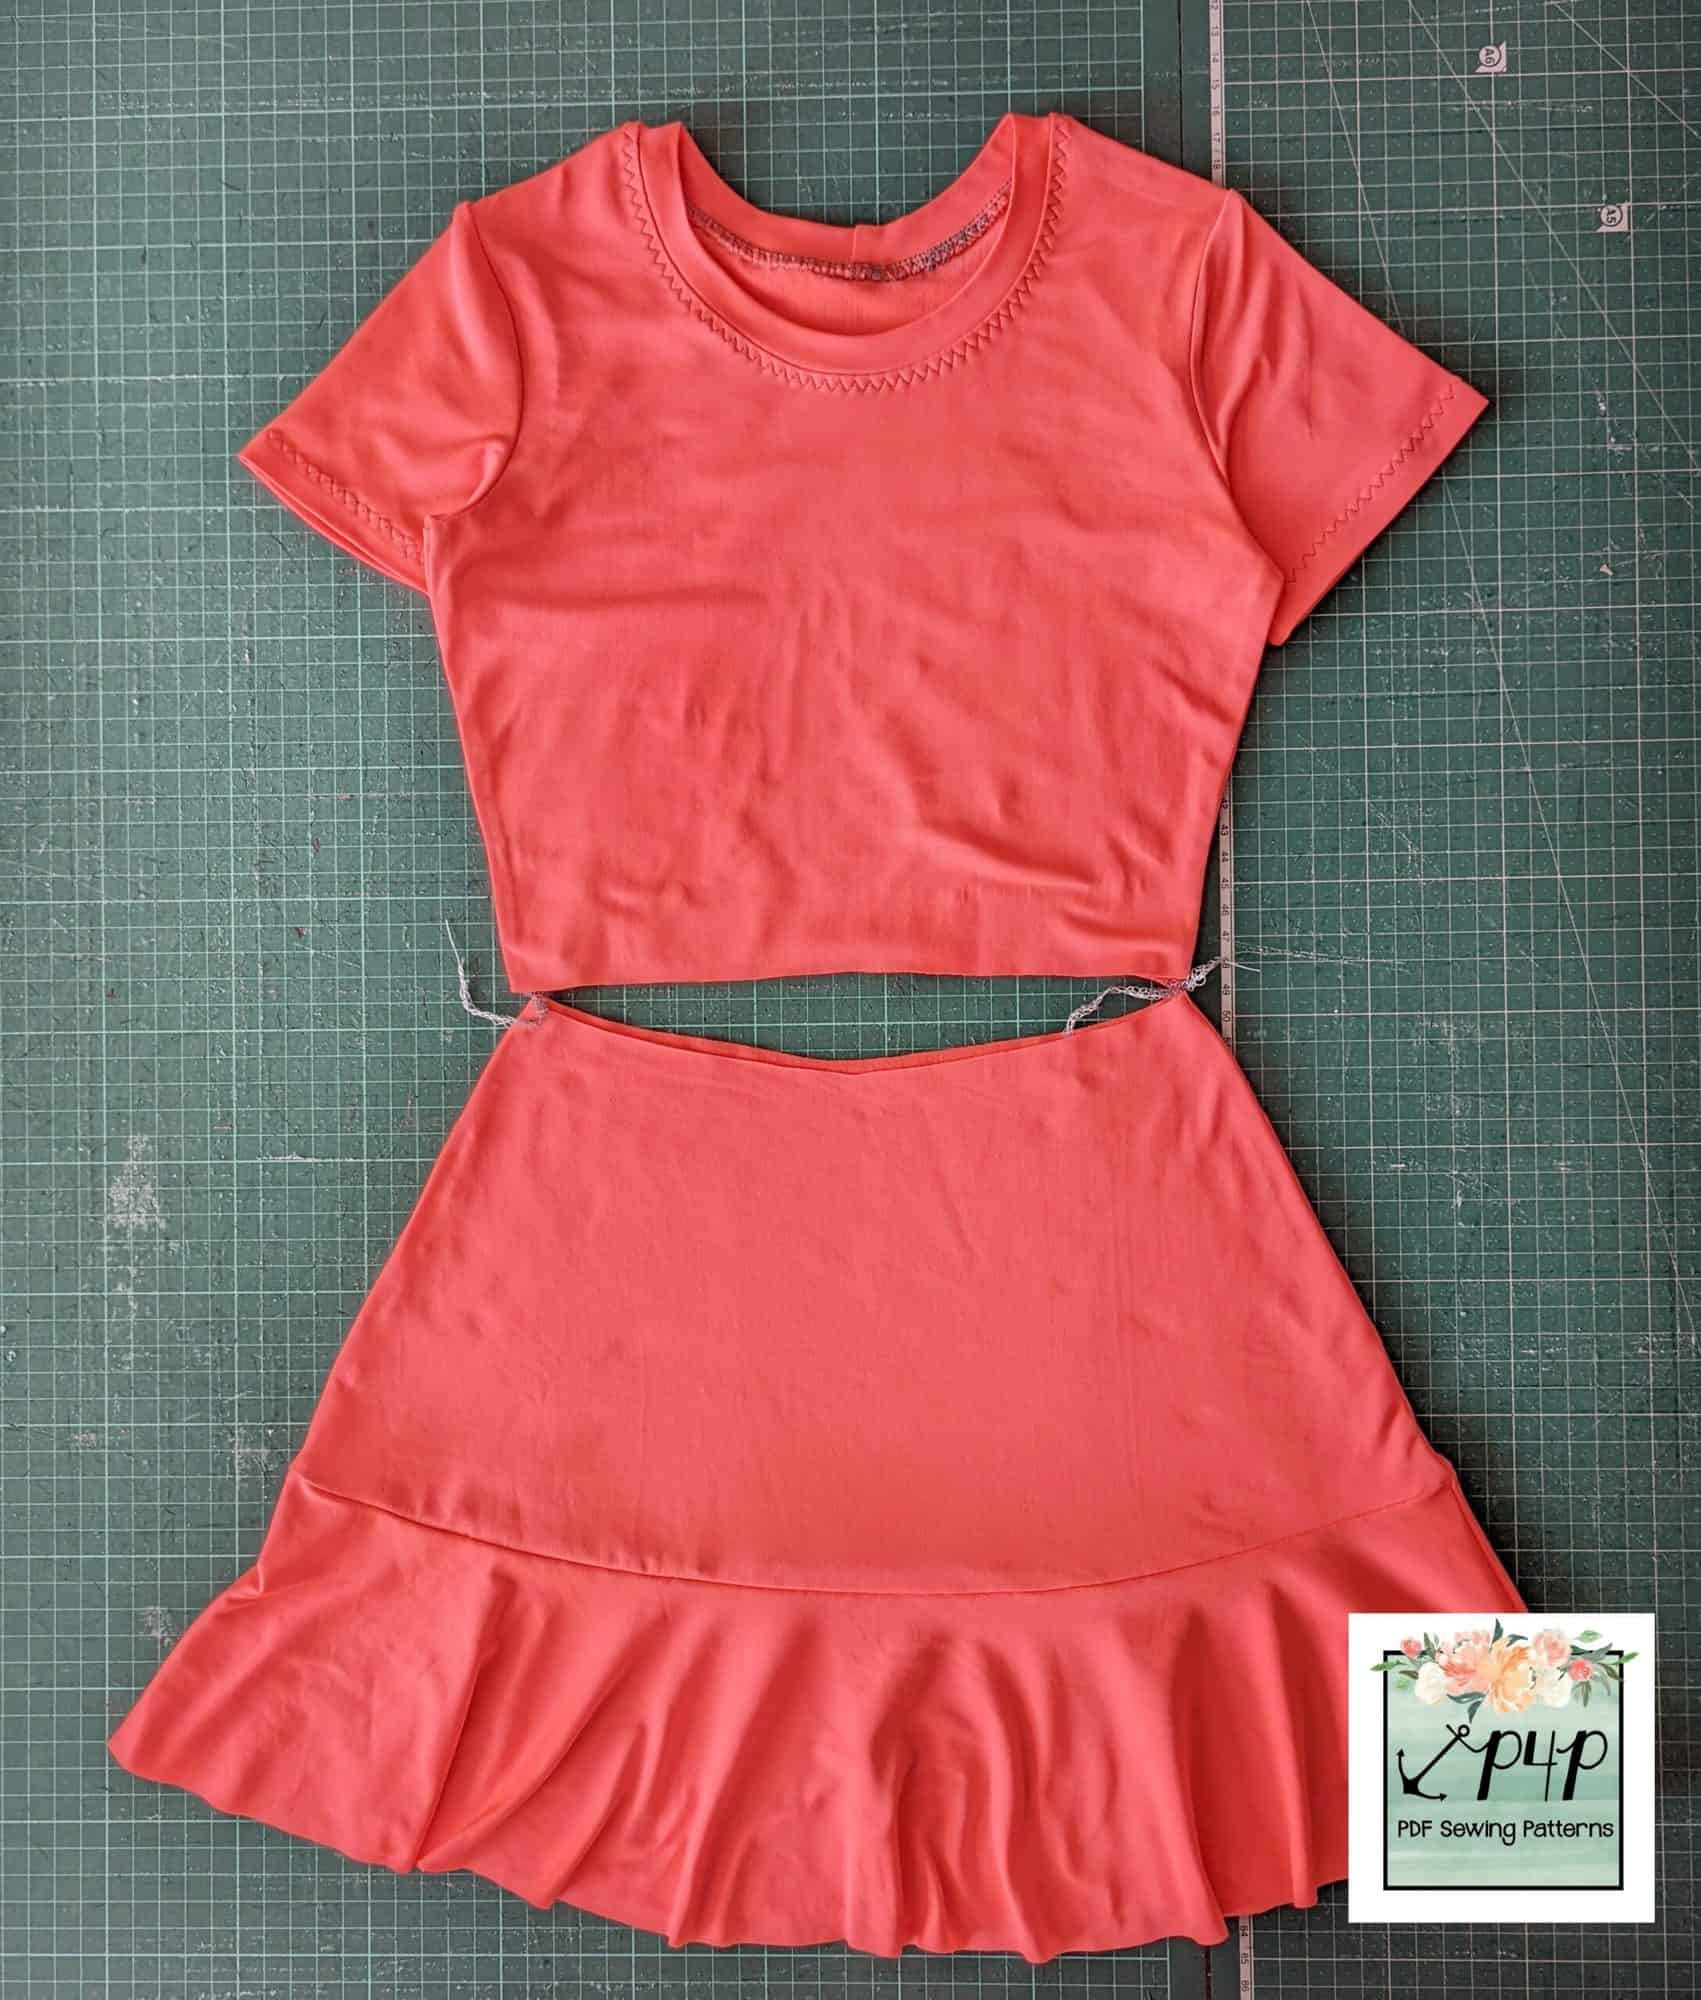
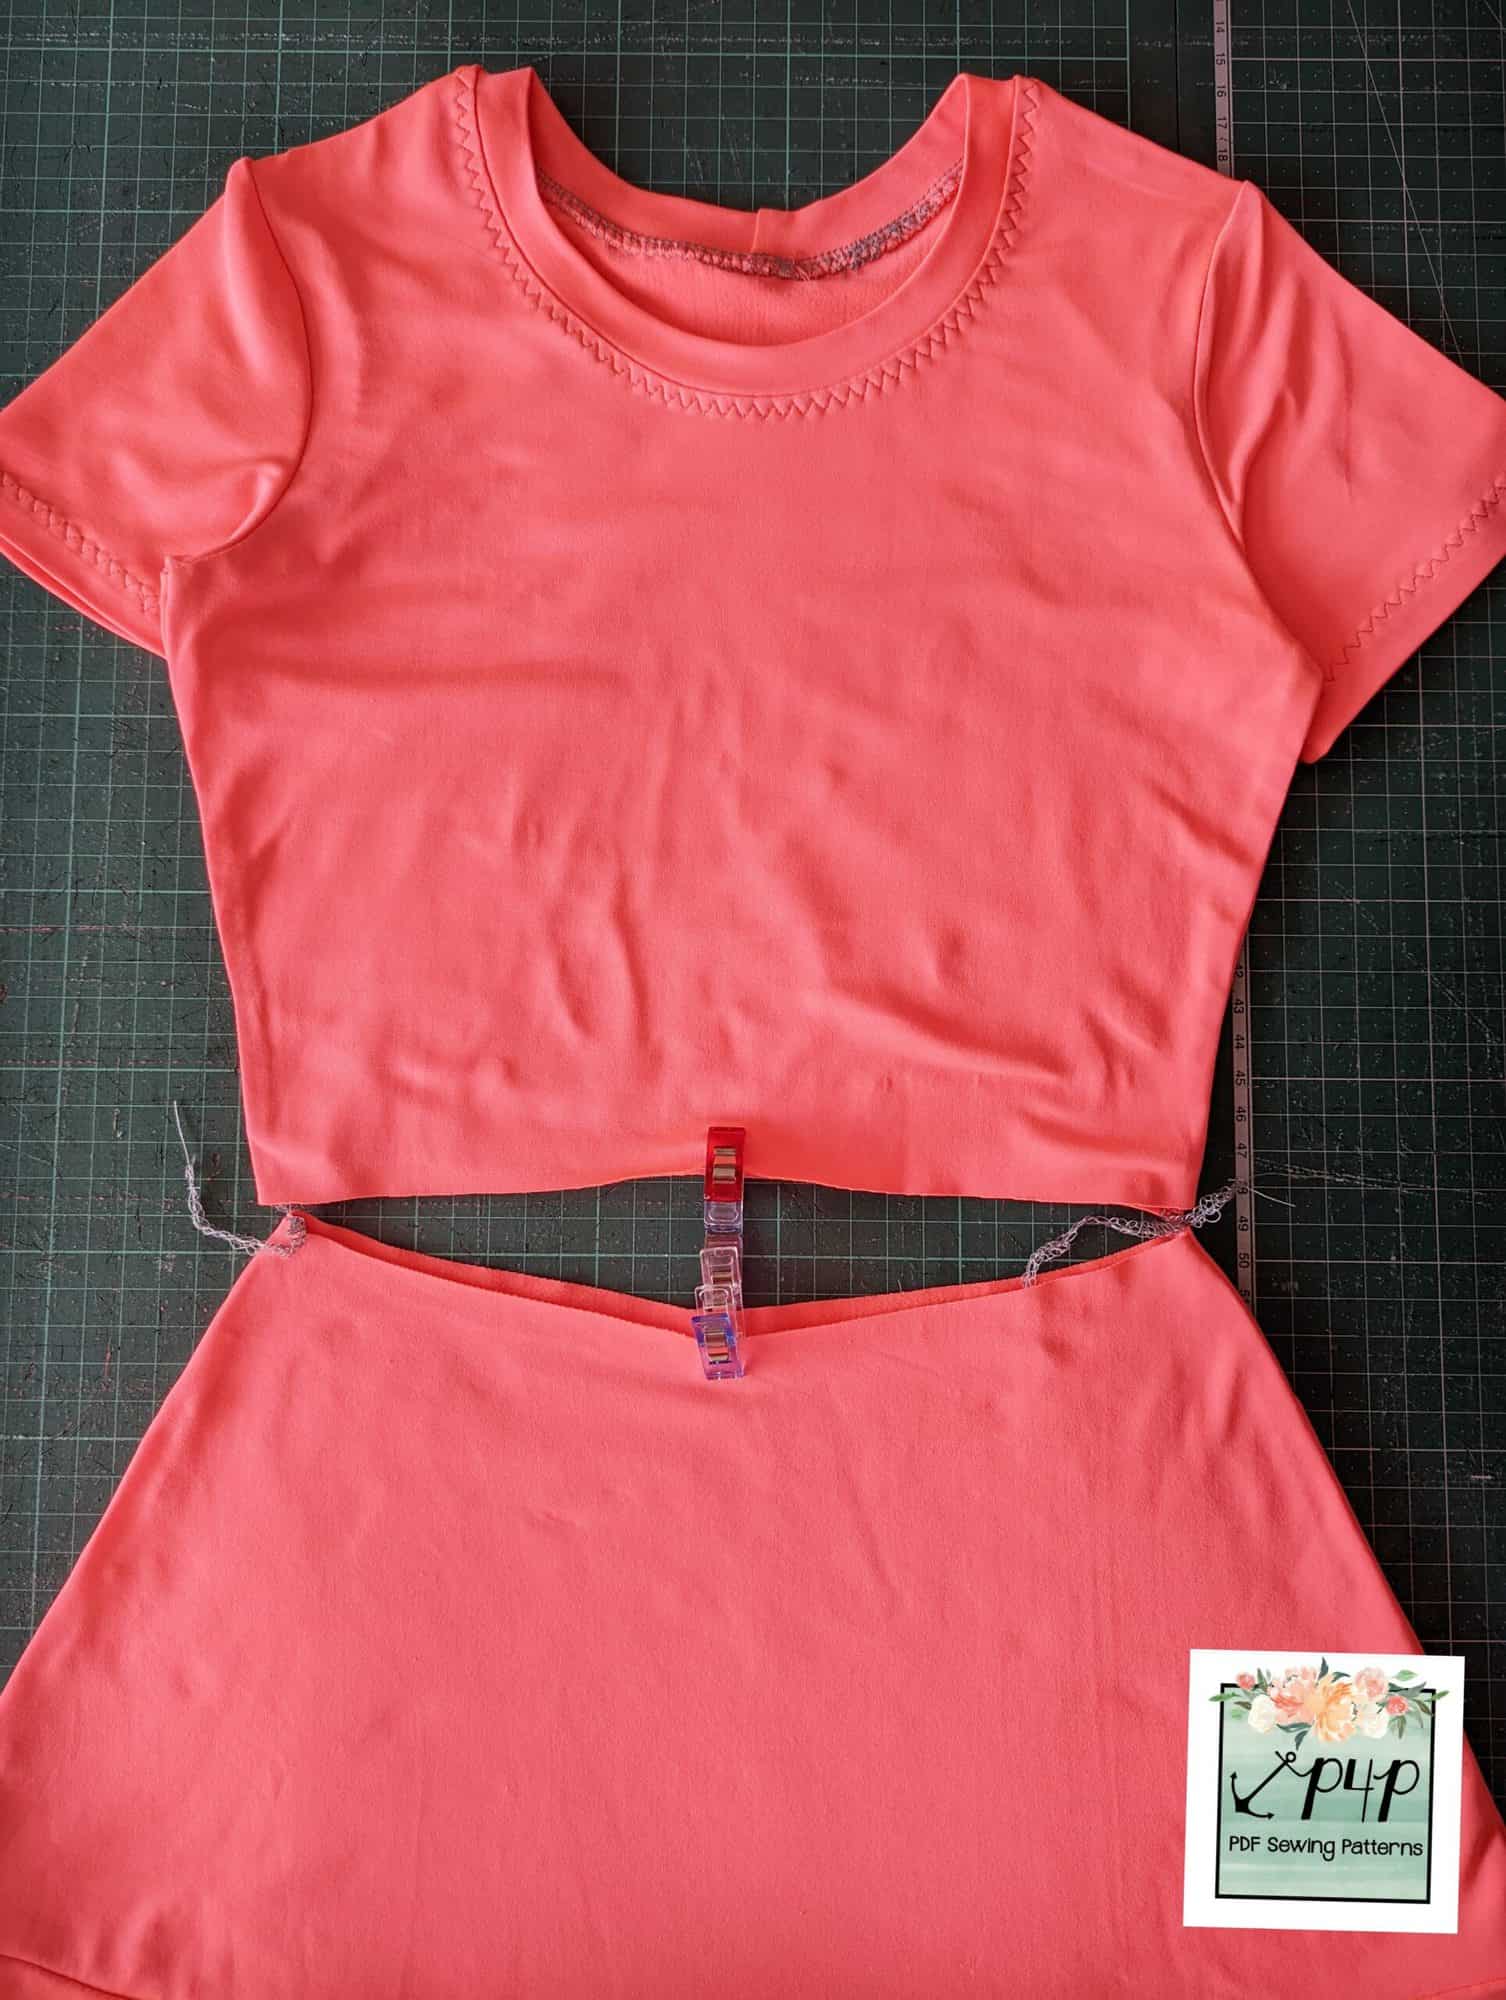
I had to shave a smidge off the side seams at the waist of the bodice to get a perfect fit, but it was only 1/4″ either side.  Then quarter your bodice and skirt pieces at the waist, using clips or pins.

Flip the skirt up and over the bodice so they are right sides together, and clip them together.

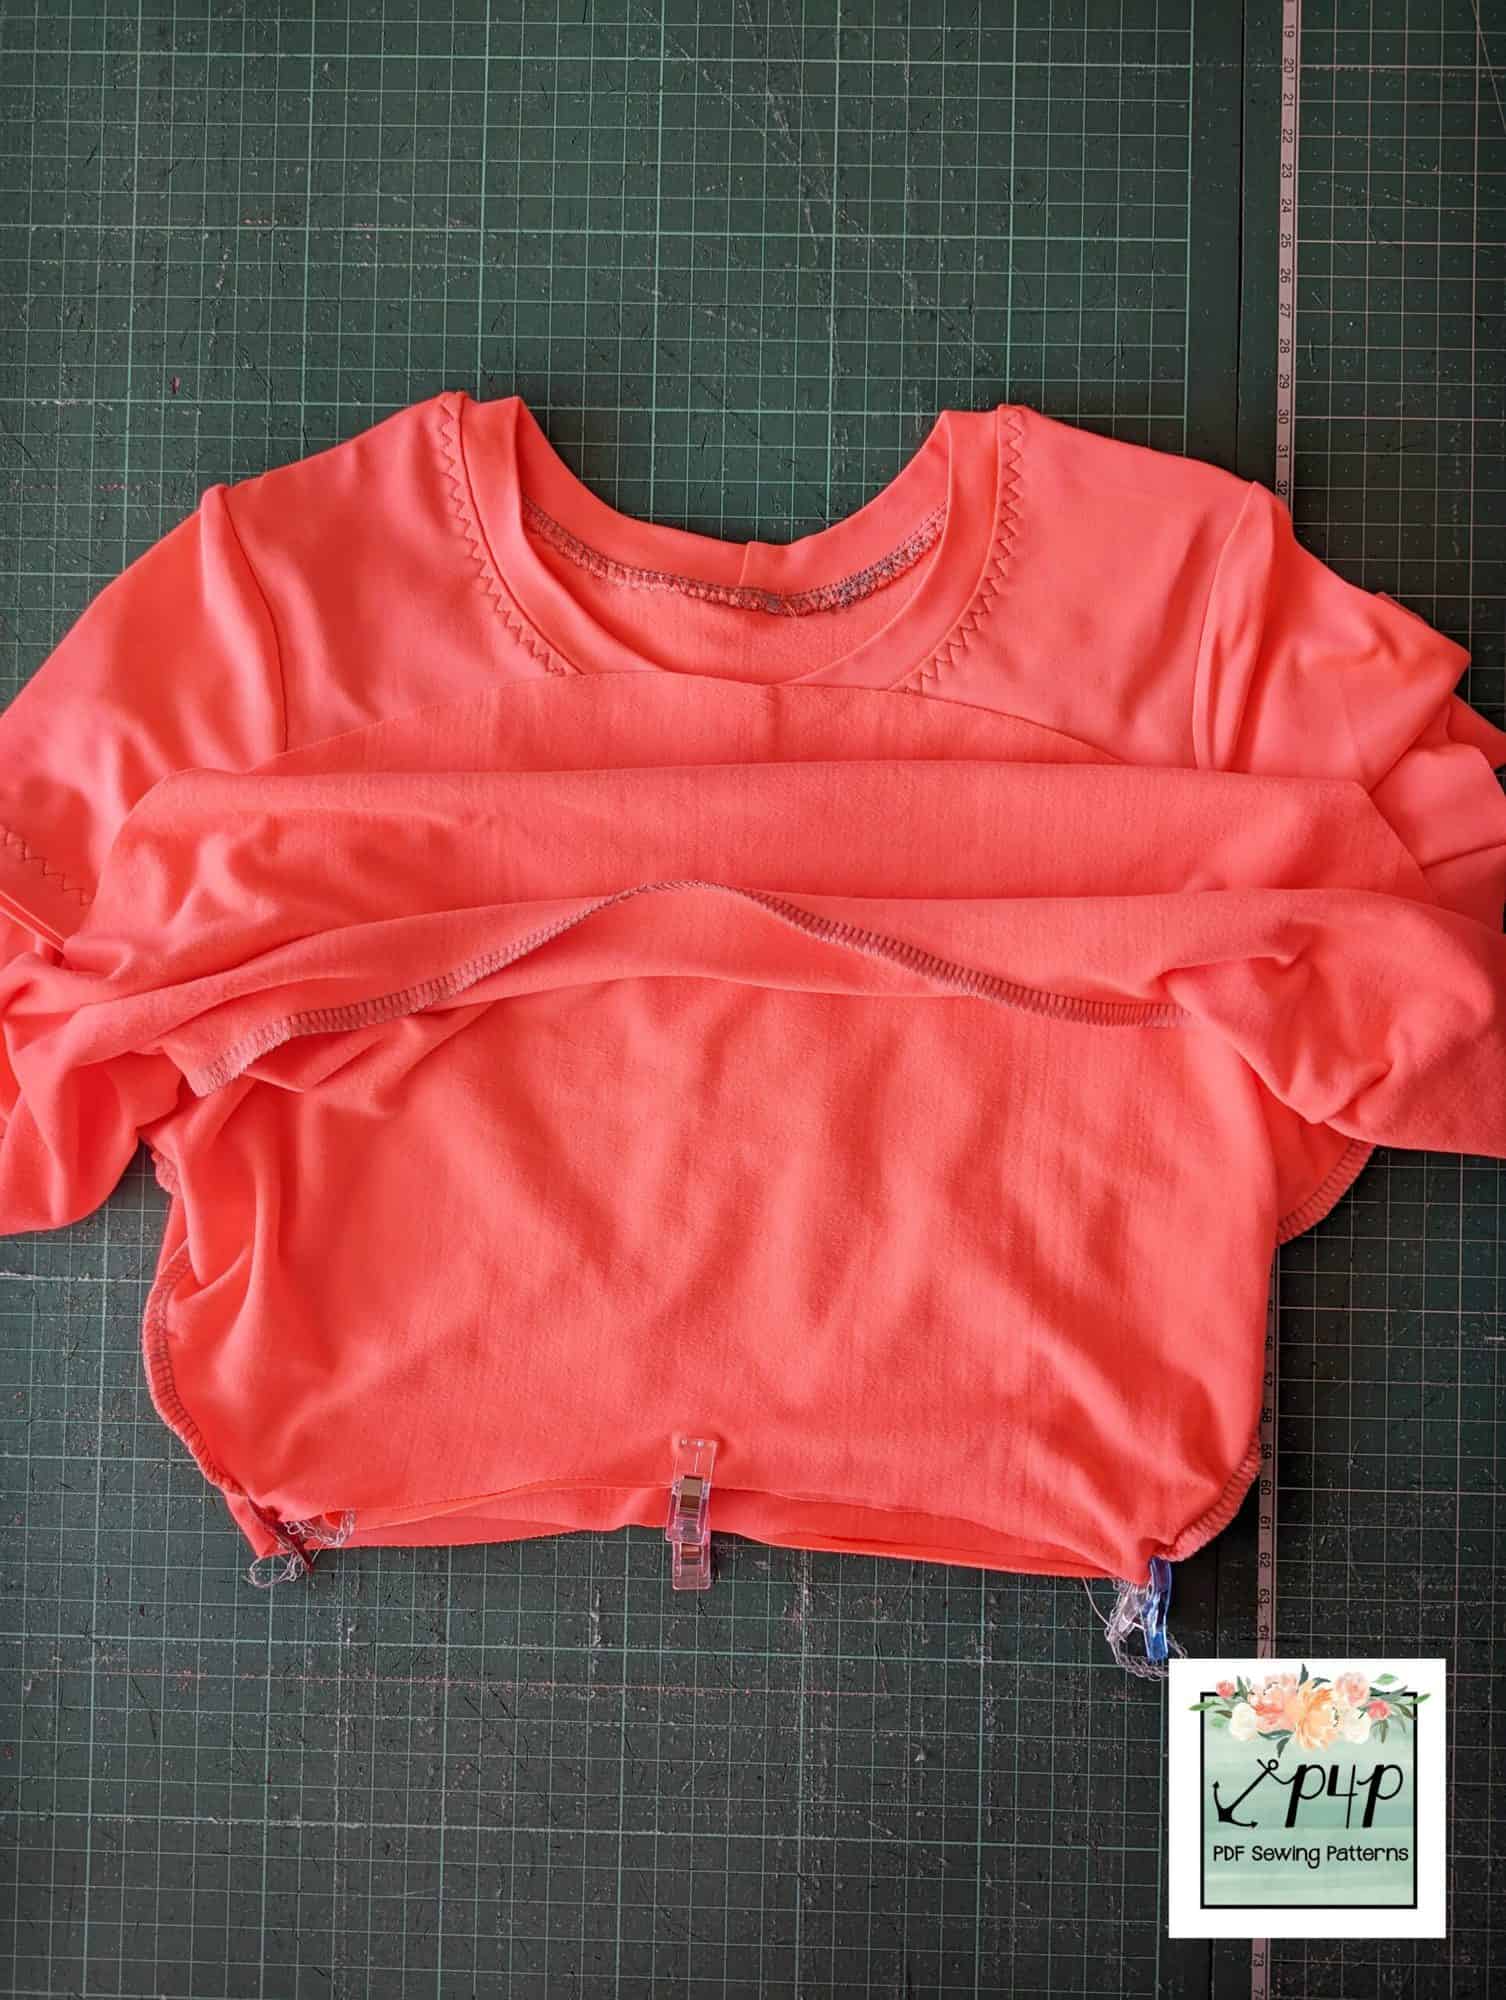
Finally, just sew the skirt to the bodice and you’re done.  It’s as easy as that!

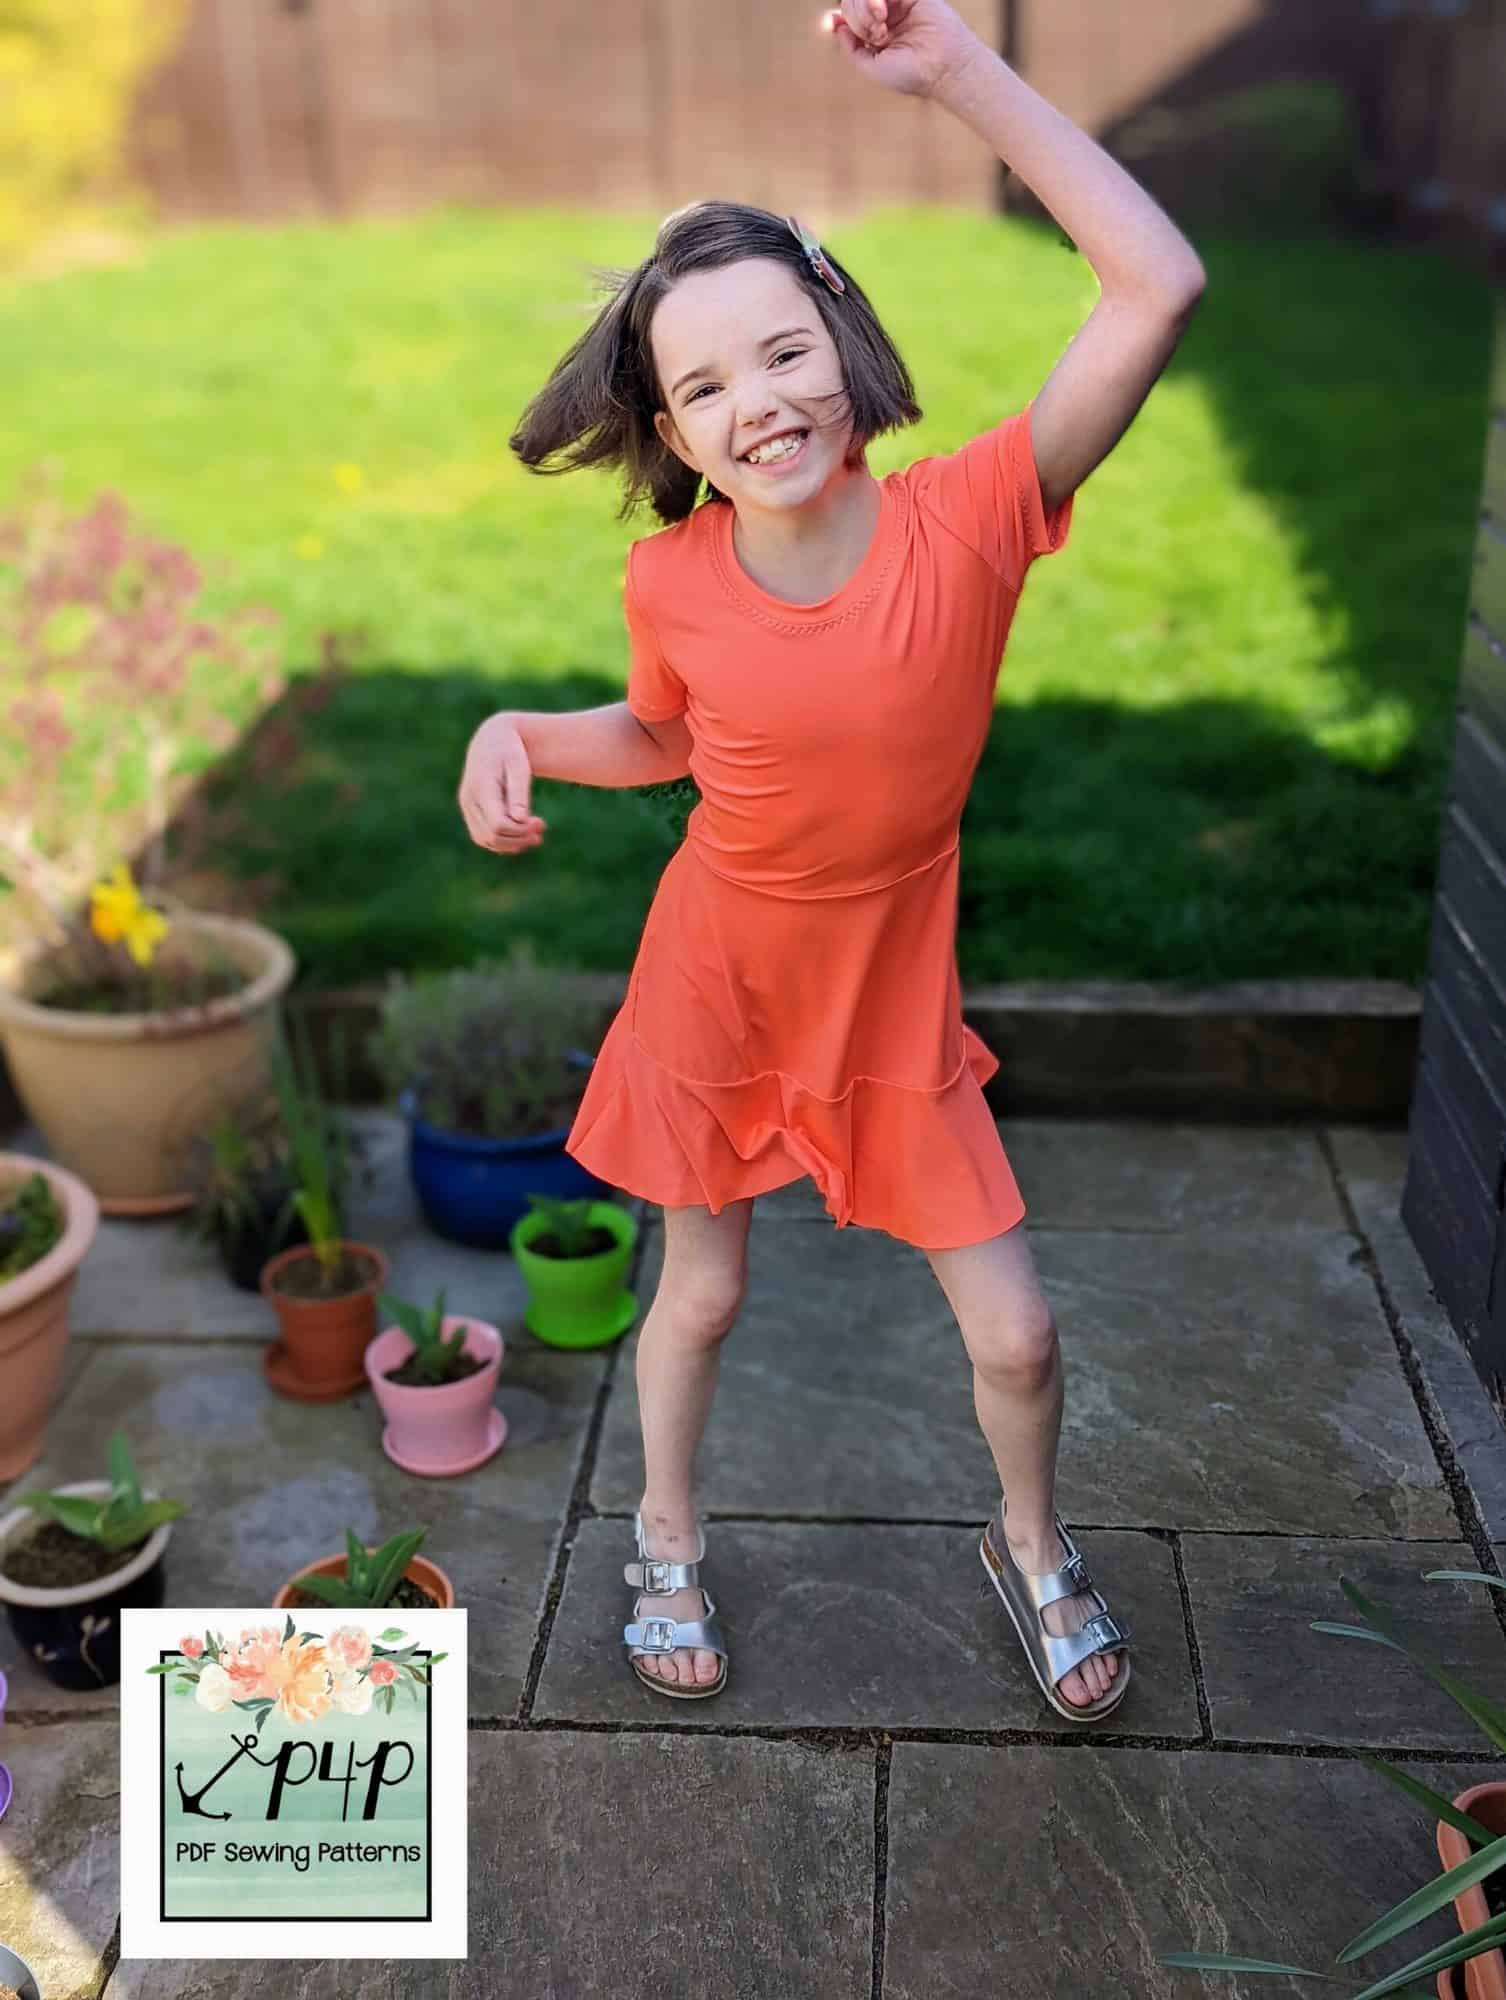
Twirl away to your heart’s content.  I hope you love your new dress as much as we do. Happy Sewing! Dana xx
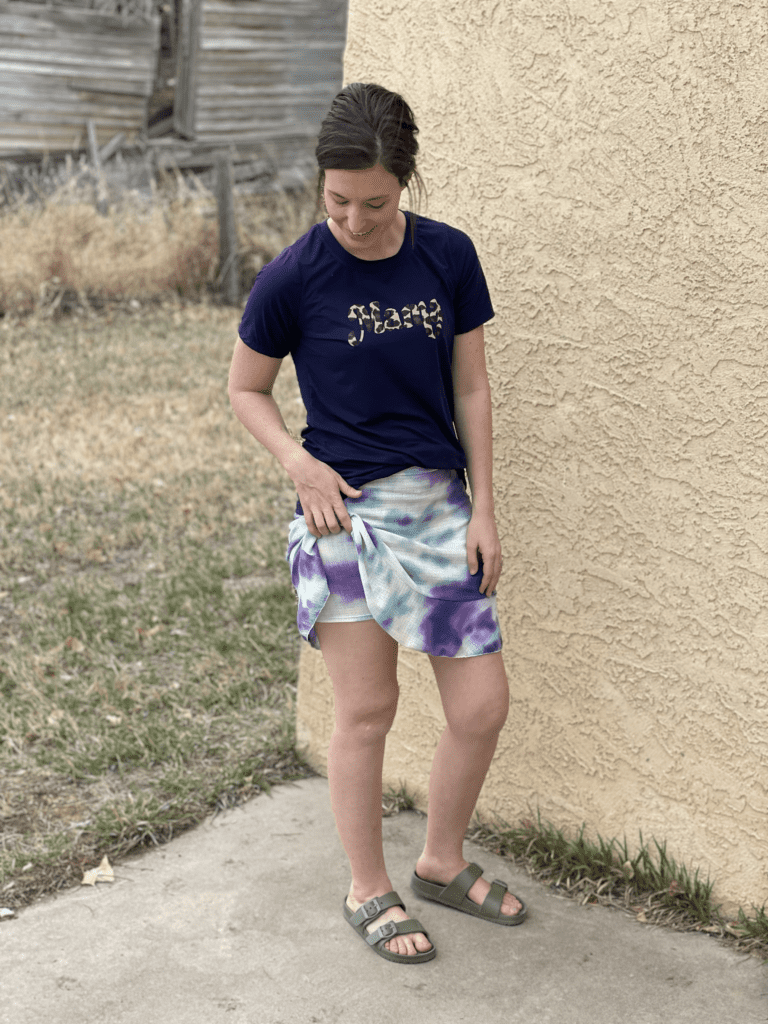
Skort Hack

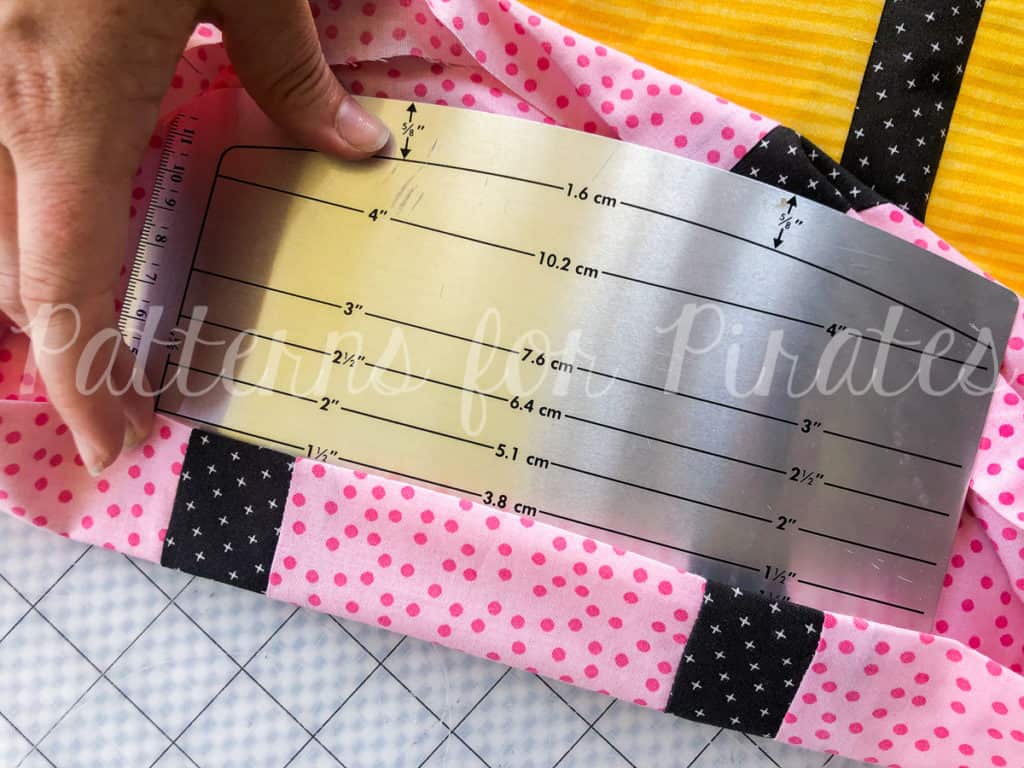
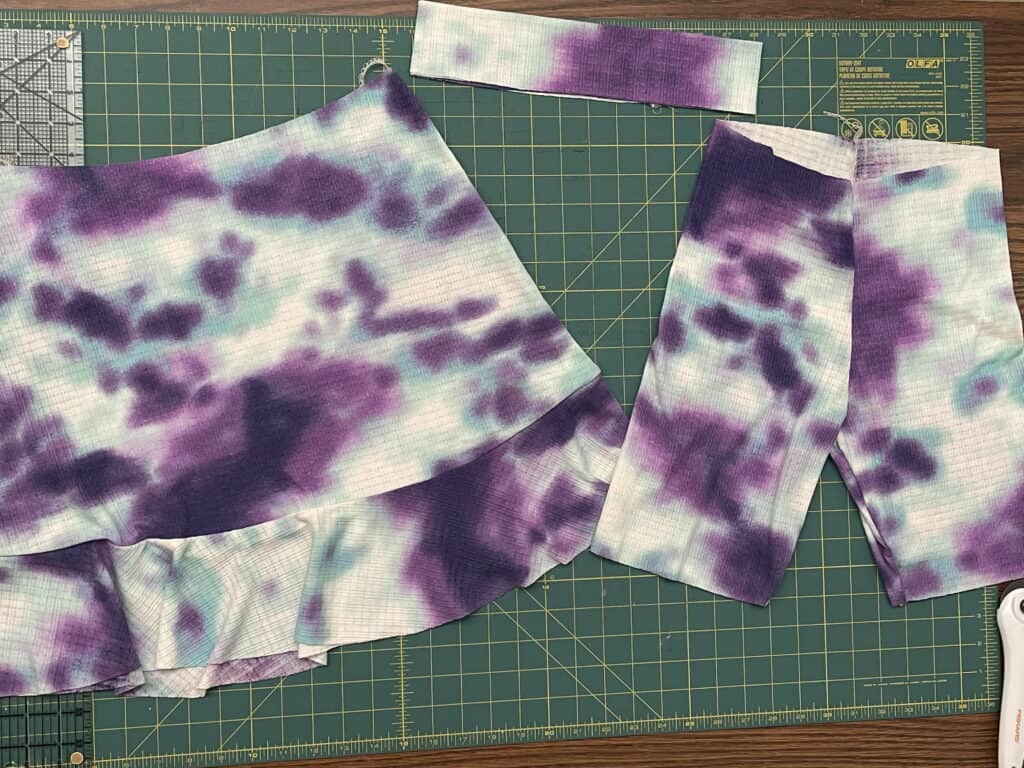
As soon as the testers started talking about their plans for the Sugar Maple Skirt, many of them decided that it’d be the perfect skirt to turn into a skort — and we have the perfect pattern to help create that with the Peg Leg Leggings!  Many thanks to Kalene Bartlett, our tester extraordinare, who photographed her steps of making the ::perfect:: skort! My sisters-in-law are big runners and I think they’d adore a running skirt like this!  But I’ve also heard that plenty of mommas would love to have some added coverage for chasing littles around during the warmer months….not to mention it’s a perfect solution for fighting off that dreaded thigh chafing experience while rocking skirts. Because the Sugar Maple Skirt is meant to sit at the high waist, you’ll want to cut the Peg Legs pattern at the high-waisted cut line. You’ll need:

  • Peg Legs Leggings, in shortie / biker length…depending on the length of your skirt (assembled per the pattern instructions)
  • Sugar Maple Waistband
  • Sugar Maple Skirt top + drop yokes (assembled per the pattern instructions)

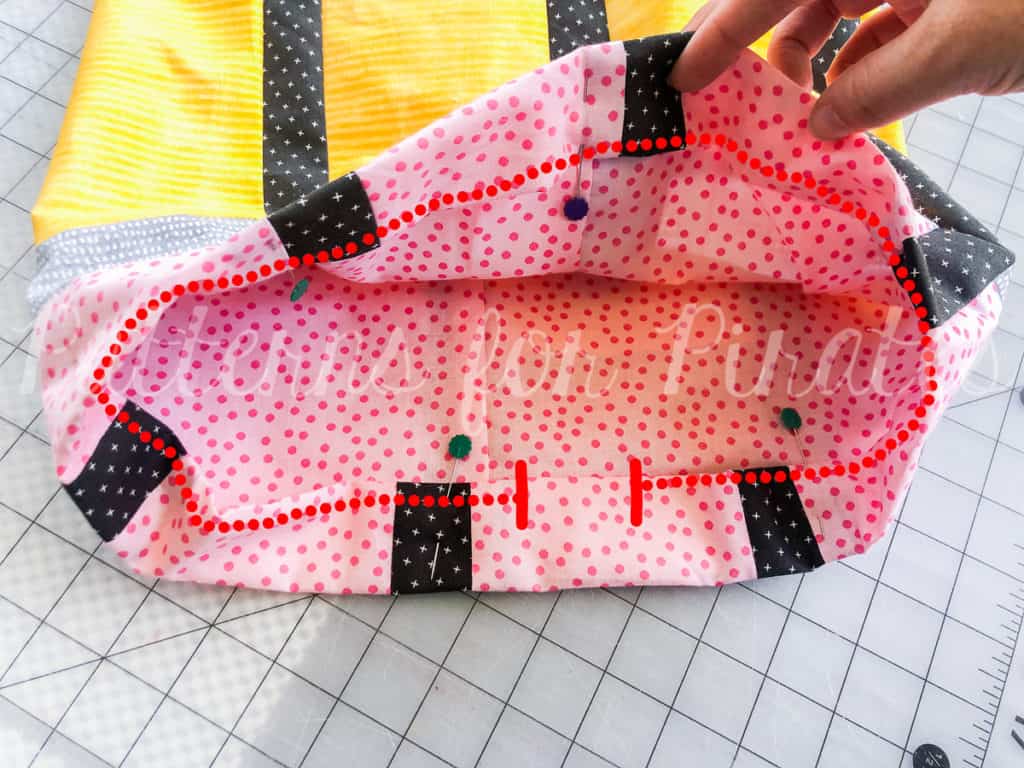
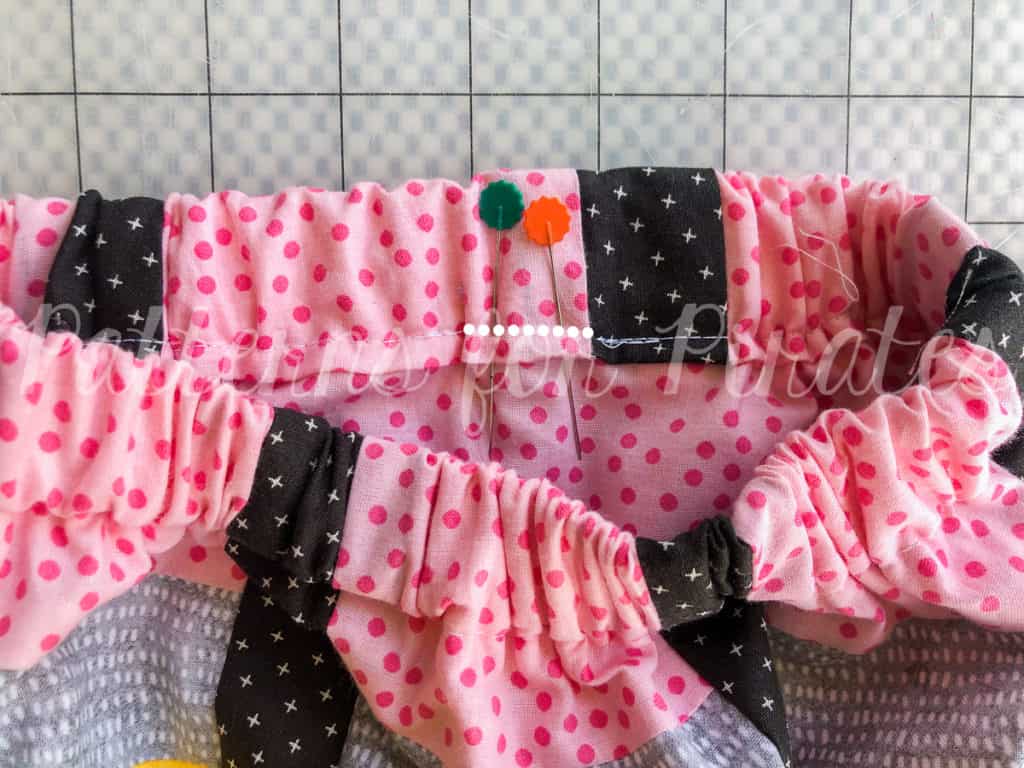
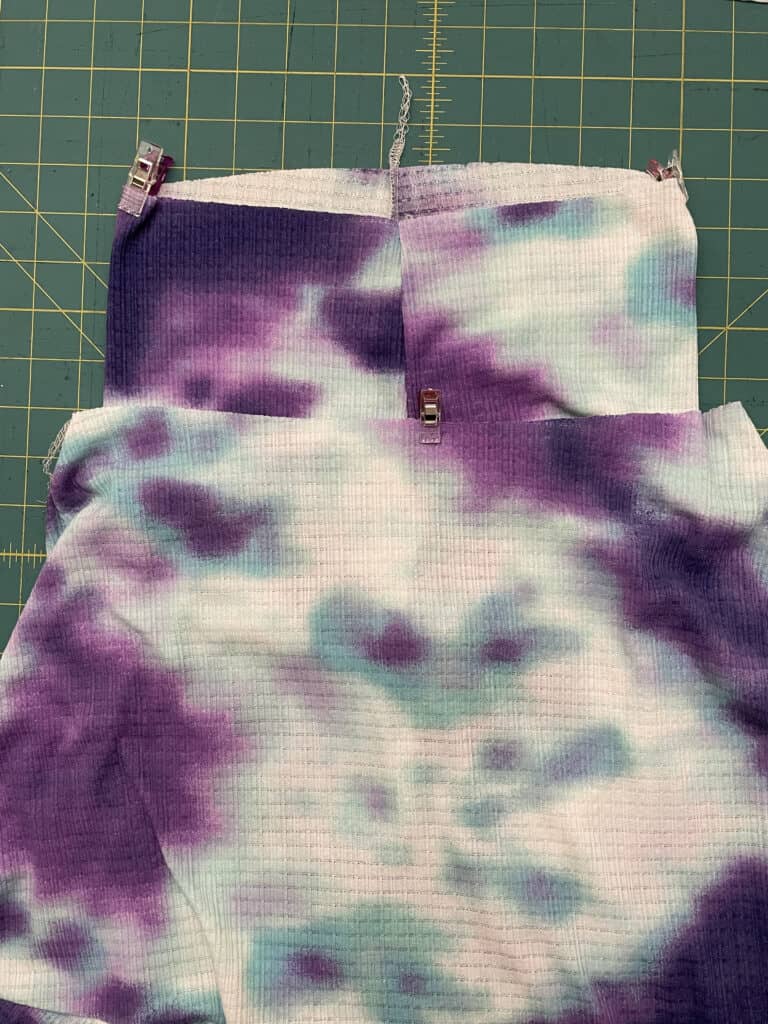
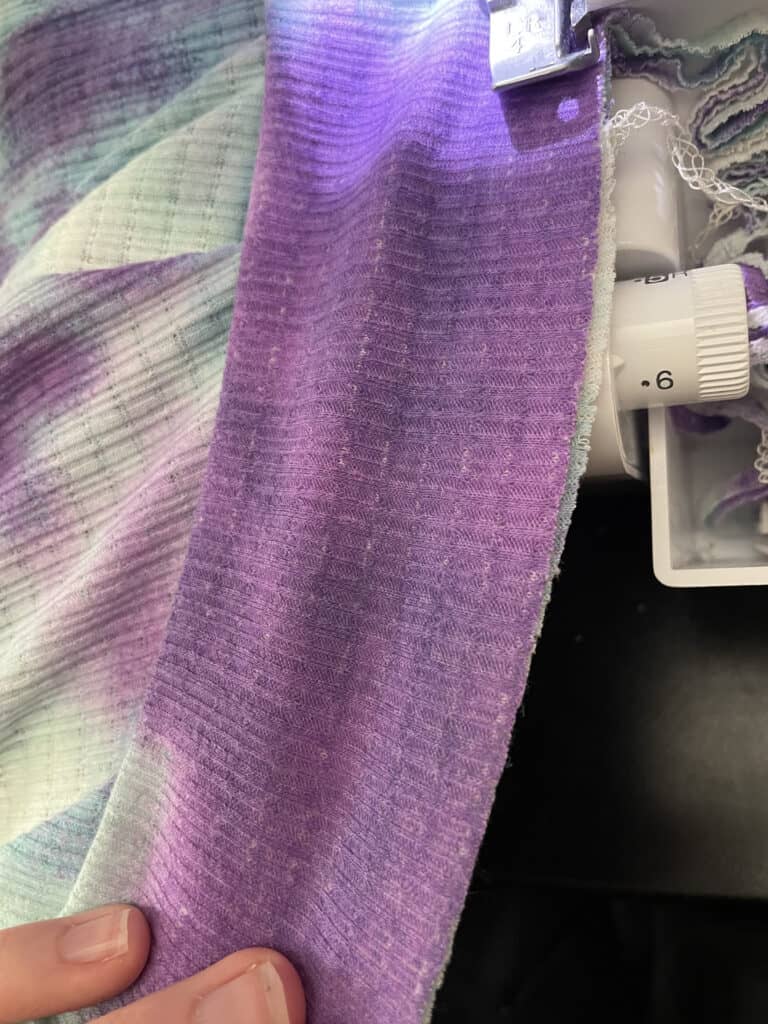
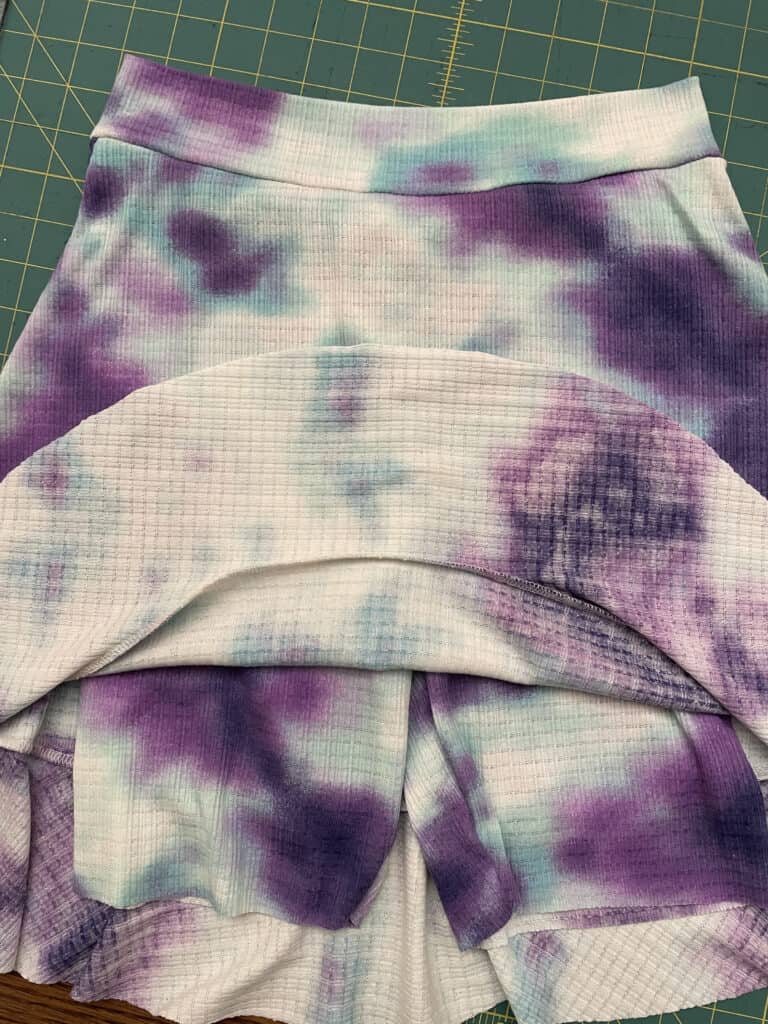
Mark the quarter points on both the Peg Legs and Sugar Maple skirt.  Slide the Peg Legs inside of the skirt, right side of the Pegs facing the wrong side of the Sugar Maple.  Pin/clip in place.

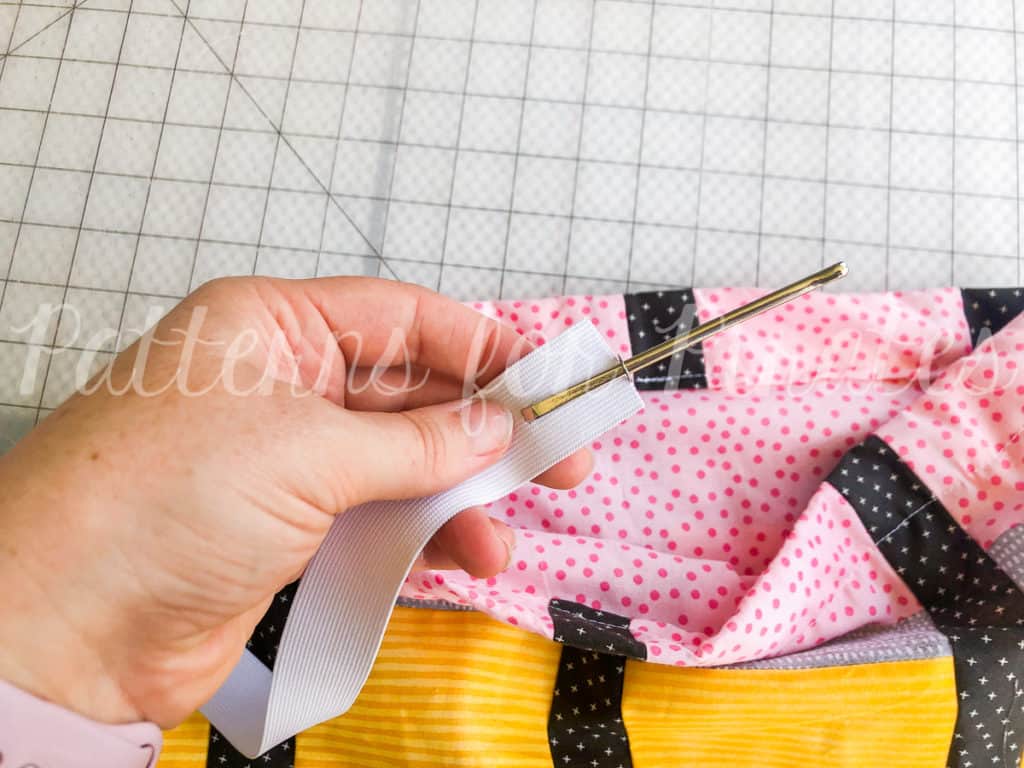
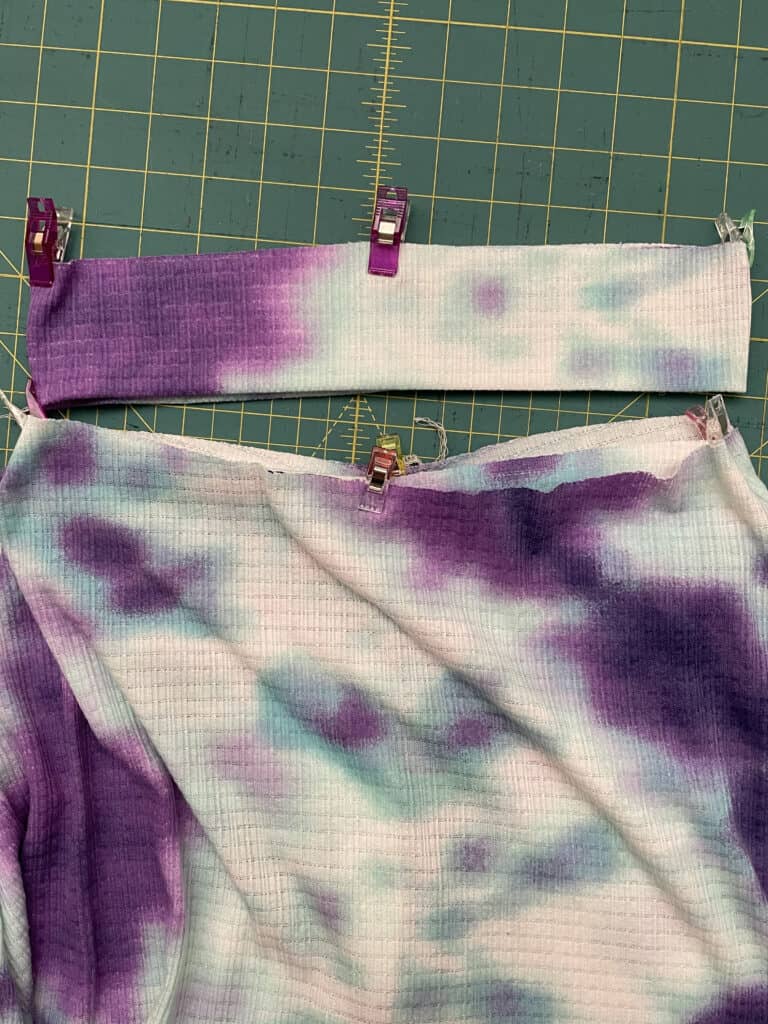
Find the quarter points of the waistband, and slide over the Sugar Maple / Peg Legs pieces…matching previously marked quarter points.

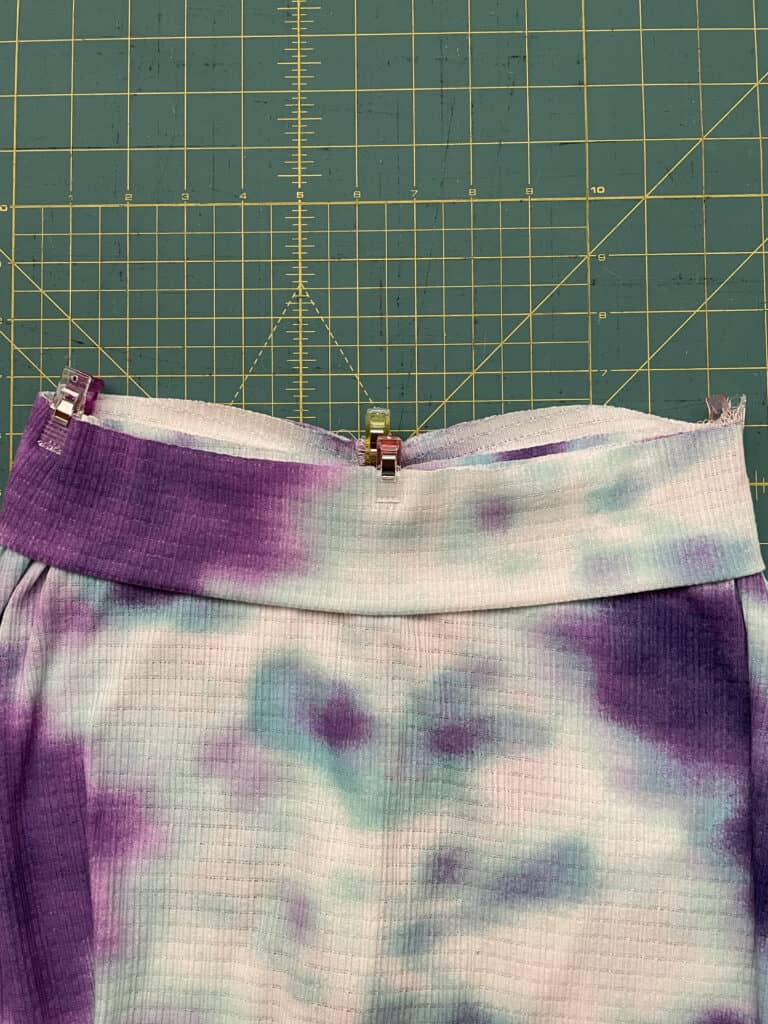
Sew all 3 pieces together, stretching the waistband and Peg Legs slightly to match — careful not to stretch the skirt opening.

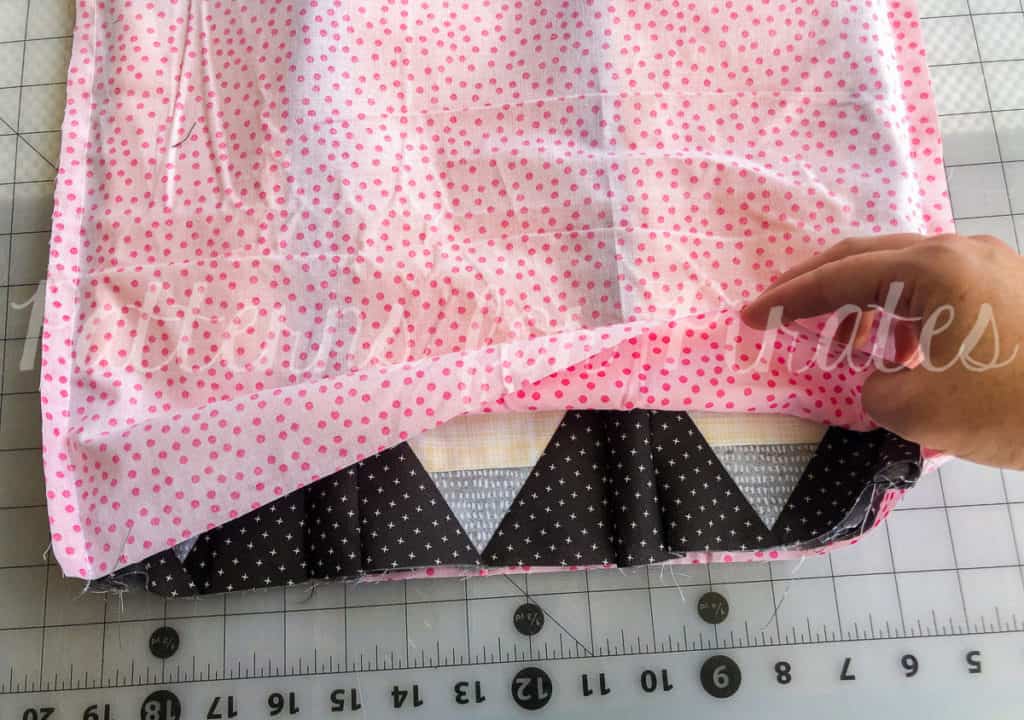
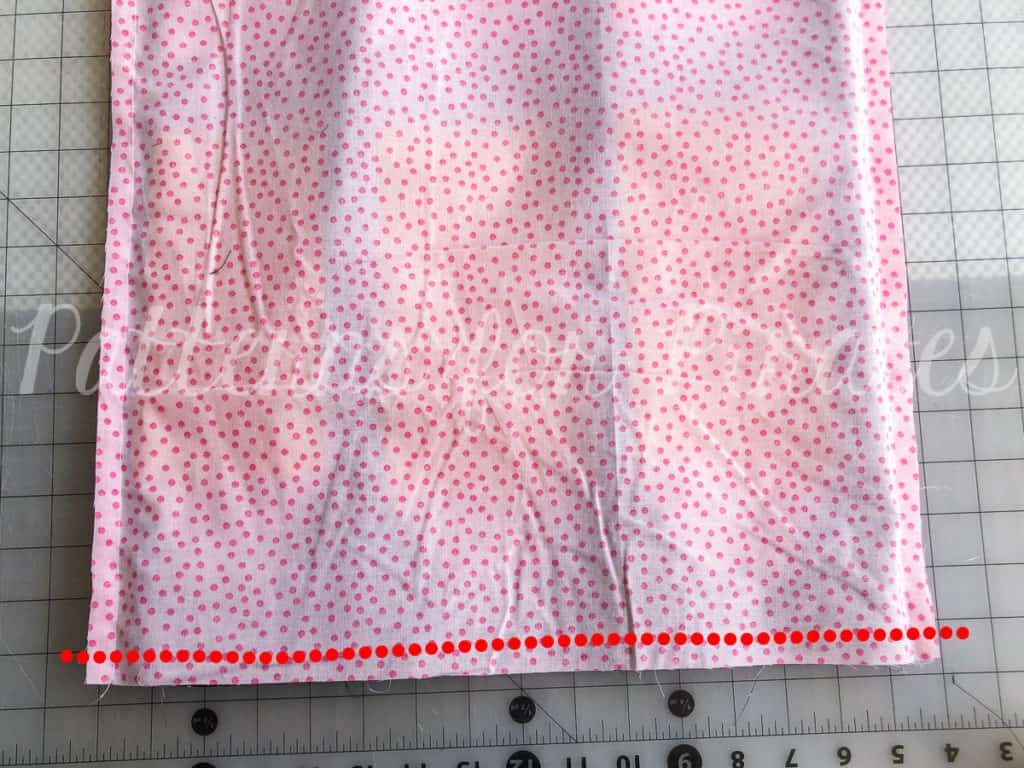
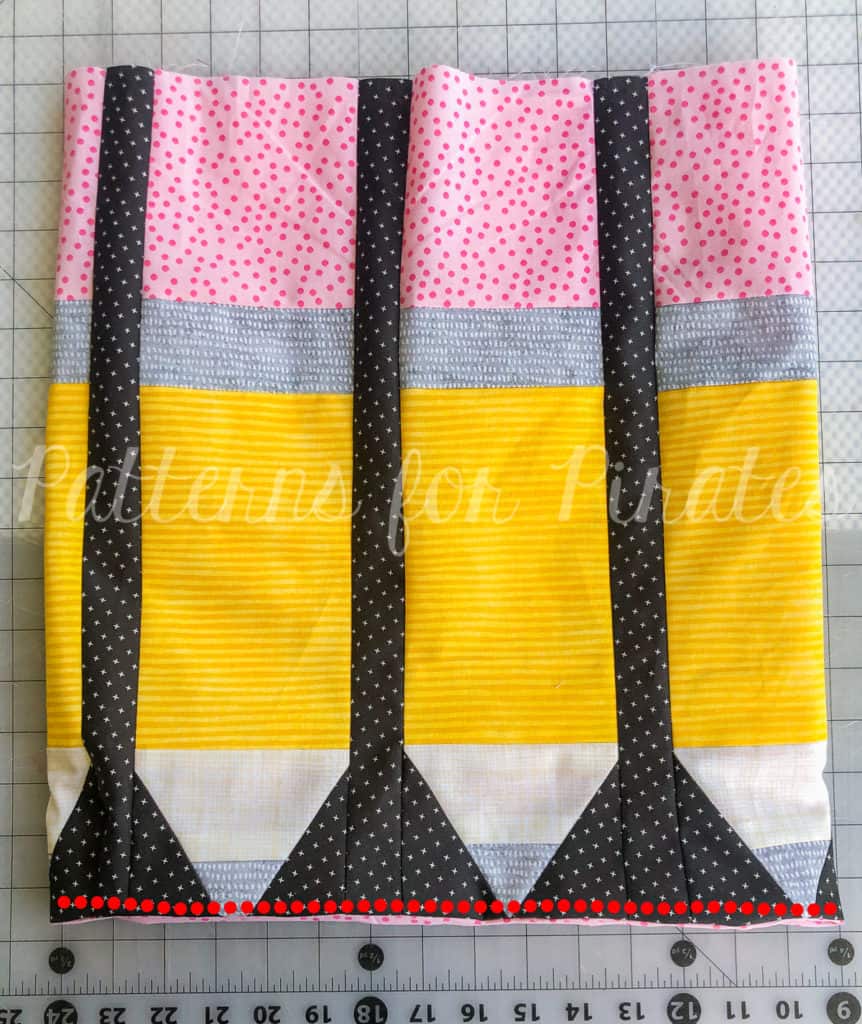
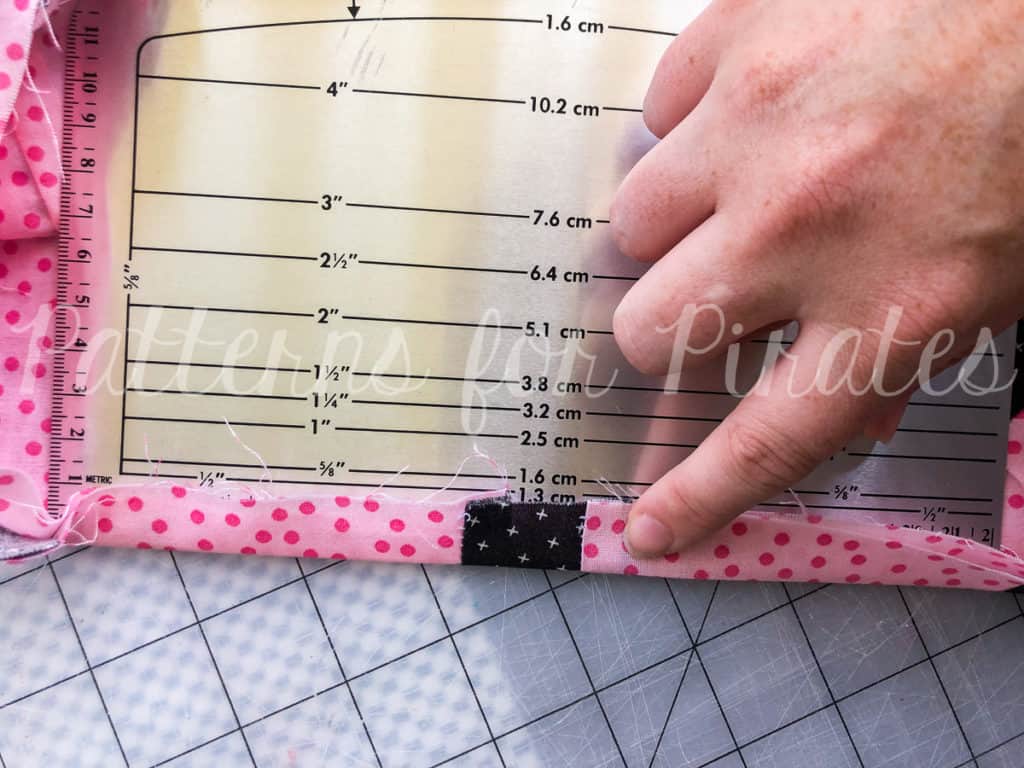
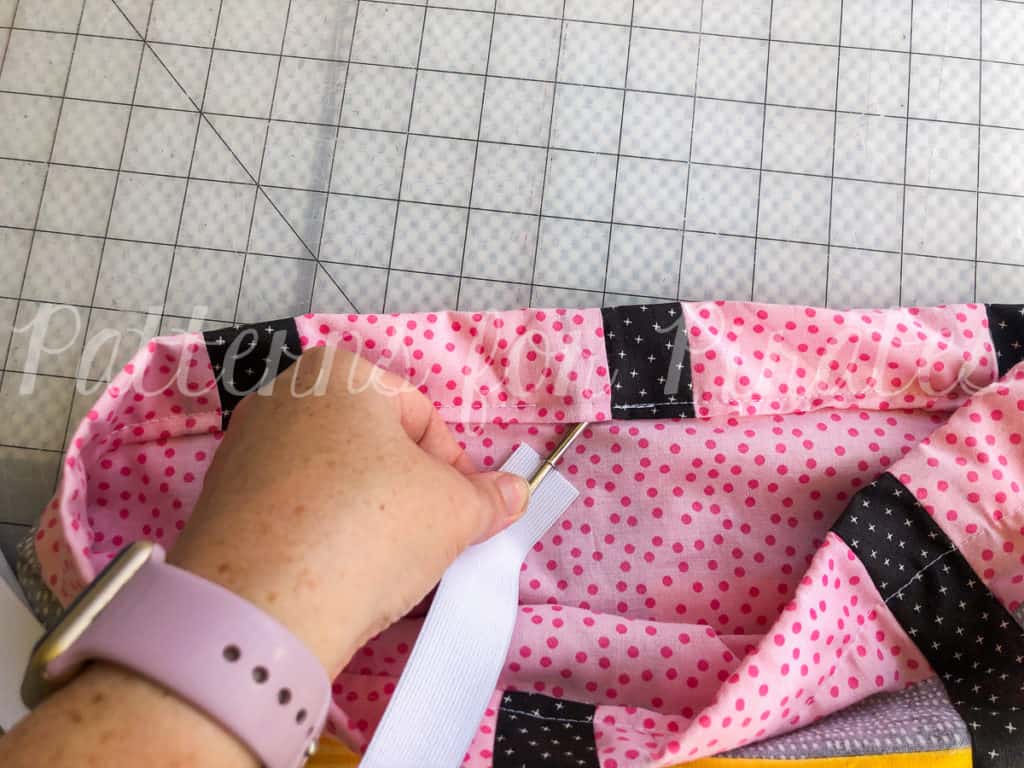
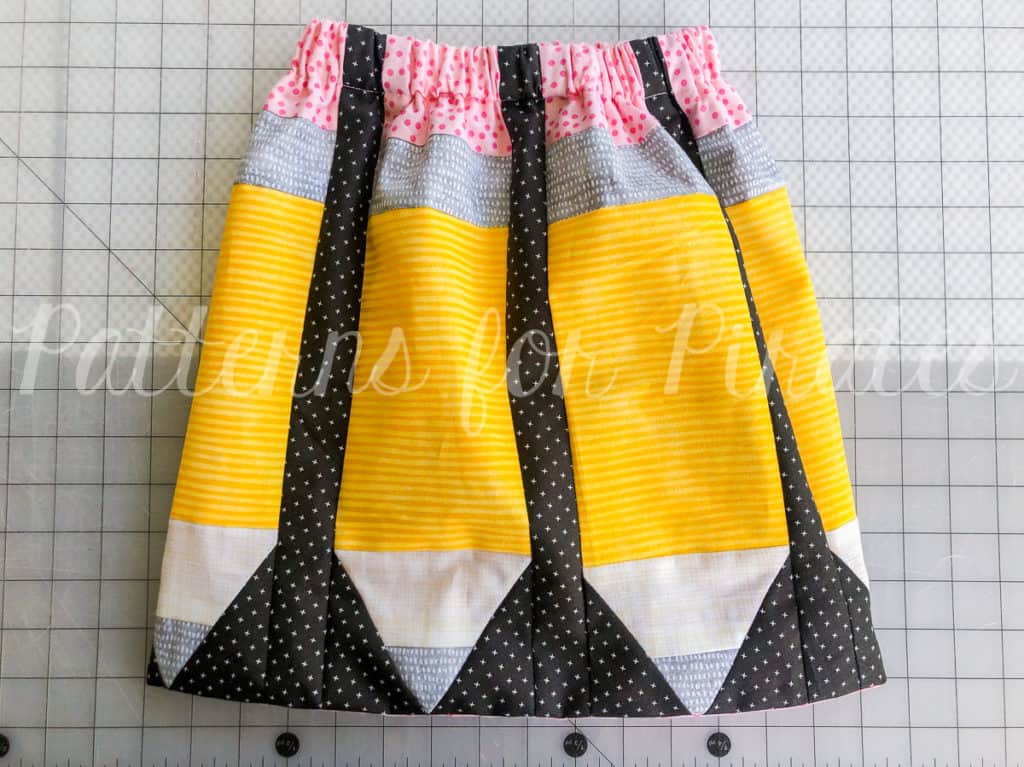
Flip waistband up.  Hem skirt and shorts.

You’re finished!  Now go be like Kalene and be cut, comfortable AND covered in your new Peg Legs / Sugar Maple Skort!

I am beyond excited to see the Sugar Maple Skirts that you make!  Head on over to the shop and grab yourself a copy of these new patterns!  They are available on sale (no code needed) through 11:59pm CST, April 17, 2022.

Sugar Maple Skirt – Adult | Sugar Maple Skirt – Youth | Sugar Maple Skirt BUNDLE

Hoping for a little inspiration before diving into some Sugar Maple sewing?  Head over to our Facebook group where you can see tester albums full of amazing images!

Sugar Maple Skirt: Adult Album | Sugar Maple Skirt: Youth Album

Filed Under: Pattern Hacks, Pattern Release 2 Comments

Just Write Skirt :: FREE Sewing Pattern + Tutorial!

July 31, 2019

Unbelievably so, it’s time to start thinking about Back-to-School season.  Which means that stores are filled to the brim with tempting school supplies.  Is anyone else a pen / notebook / planner nerd like me?  I could spend hours in those aisles.  Life just got a little better for me because now I can really let people know about my undying love for school supplies by wearing it on my sleeve….er skirt!!  Pirate friends, meet the Just Write Skirt!

Before we get started, here are some things you’ll need:

  • Just Write Skirt free Pattern Pieces (found in the store HERE)
  • 1″ Waistband Elastic.  See cut chart for length needed.
  • YouTube Video Tutorial for assembling a pencil panel set (also found at the bottom of this tutorial)
Fabric Requirements (in Yards, rounded to nearest 1/8)
Sizes 2-7 8-12 14 XXS-P1X P2X-P3X
Lining 1/2 5/8 1-1/4 1-1/3 1-1/3
Pencil (yellow) 1/4 1/3 3/4 7/8 7/8
Accent Panel (black) 1/2 5/8 5/8 2/3 2/3
Point Accent (black) 1/4 1/4 1/4 1/4 1/3
Lead (grey) 1/8 1/8 1/8 1/8 1/4
Ferrule (grey) 1/8 1/8 1/4 1/4 1/4
Eraser (pink) 1/4 1/4 1/3 1/3 1/3
Pencil Wood (off-white) 1/8 1/4 1/4 1/4 1/4

**While the skirt is meant to sit at your natural waist, you will want to choose your size based upon your hip measurement.  Wanting a fuller skirt?  The more pencil panel sets you add, the fuller your skirt becomes.  Just keep in mind that each panel finishes at 5″, and you will need to adjust your lining fabric to account for any extra panels in your awesome skirt!

Sewing for a child who is a blend of sizes?  No sweat!  Just sew up the number of panel sets that is required for their waist/hip measurement, and use the pattern pieces for their height.

And now, onto the tutorial!

Step 1: For each pencil panel, you will need:
– 1 Ferrule piece (grey)
– 1 Eraser piece (pink)
– 1 Pencil body (yellow)
– 1 Pencil wood (off white)
– 1 Pencil lead (grey)
– 2 mirrored Point accents (black)
– 1 Accent panel (black)

Step 2: Lay your “pencil wood” piece, right side up.

Step 3: Lay your “pencil lead” piece on top of your wood piece with right sides together, matching the notches. Sew with 1/2″ seam allowance.

Step 4: Open up the pieces and press.

Step 5: Lay out your new pencil point, with one of “point accents” next to it.

Step 6: With right sides together, align the “point accent” along the long angled edge. Sew with 1/2″ seam allowance.

**Note, there will be around 1/2″ of overhang on the top and bottom of the “point accent” piece.

Step 7: Open up the pieces and press.

Step 8: Repeat with the other “point accent”.

Step 9: Open up the pieces and press.

Step 10: Trim off the excess fabric.

Step 11: Lay the piece right side up, and place the “pencil body” right sides together. Align the short edges.

Step 12: Stitch, using 1/2″ seam allowance.

Step 13: Open up pieces and press.

Step 14: Align the “ferrule” piece along the top, shorter edge, right sides together, and sew with 1/2″ seam allowance. Open up the pieces and press.

Step 15: Align the “eraser” piece along the top, shorter edge, right sides together, and sew with 1/2″ seam allowance.

Step 16: Open up the pieces and press.

Step 17: Align the “accent panel” along the long edge of both pieces, right sides together. Sew using 1/2″ seam allowance.

Step 18: Open up pieces and press.

Repeat according to the number of “sets of panels” required for the size skirt being sewn.

Step 19: Begin to join the panels to form a skirt.

Step 20: With right sides together, align each panel along the long edge and sew using 1/2″ seam allowance.

Step 21: Continue until all of the panels are sewn together.

Step 22: Fold your set in half, right sides together, and sew to create a tube.

Step 23: You should now have a circle of pencils.

Step 24: Align your lining fabric with right sides together.

Step 25: Sew along both sides, using 1/2″ seam allowance.

Step 26: Turn your main skirt right sides facing outwards, and keep your lining fabric with the right sides facing in.

Step 27: Slide your main skirt inside of the lining, with the right sides together.

Step 28: Sew along the bottom edge opening, careful to sew only one layer of lining to one layer of the main skirt.

Step 29: Open up the pieces, so they are right sides out.

Step 30: Slide the lining inside of the main skirt, wrong sides together, completely enclosing all of your seams.

If desired, edge stitch along the bottom of the skirt.

Step 31: Treating your main and lining fabrics as one, press 1/2″ along the entire top, raw edge, toward the lining side.

**Quick tip: You might find it easier to manage the double layers if you serge / zig-zag stitch around the top raw edge before folding and pressing.

Step 32: Press an additional 1-1/2″, creating a casing.

Step 33: Pin and sew along the entire skirt, edge stitching close to the fold in the casing. Leave a 2-3″ opening for elastic.

Step 34: Using a pin or bodkin, thread your elastic through the opening you left in the casing.

Be careful not to twist your elastic.

Step 35: Pull the elastic out the other side of your casing, overlap at 1″ and secure the ends together.

Step 36: Pin and stitch closed the opening in your casing.

Step 37: Press and admire your new “Just Write” skirt!
Are more of a “learn by watching” type?  If so, here’s a video to walk you through the steps of creating the pencil panels:

As always, we love when you share what you’ve made with us.  Head over to the Patterns for Pirates Facebook group and show off super awesome Just Write things that you’ve managed to make from our freebie pattern!

In case you were looking for a little inspiration on your own Just Write Skirt, check out our tester album and take a look at all of the gorgeous items our creative friends have made!

Happy Back-to-School season, Pirate Friends!

Filed Under: Free Pattern, Pattern Release 3 Comments

Featured Patterns

  • Mae Top - Bundle Mae Top - Bundle $20.00 Original price was: $20.00.$18.00Current price is: $18.00.
  • Mae Bottom - Bundle Mae Bottom - Bundle $20.00 Original price was: $20.00.$18.00Current price is: $18.00.
  • Loosey Goosey - Bundle Loosey Goosey - Bundle $20.00
  • Bacall Bodysuit Bacall Bodysuit $12.00
  • Privacy Policy
  • Refund Policy
  • Affliliate Program
  • Contact Us
  • About

Copyright © 2025 Patterns for Pirates

Copyright © 2025 · Genesis Framework · WordPress · Log in