Ready for our second holiday present to you this year? This one is for the entire family!


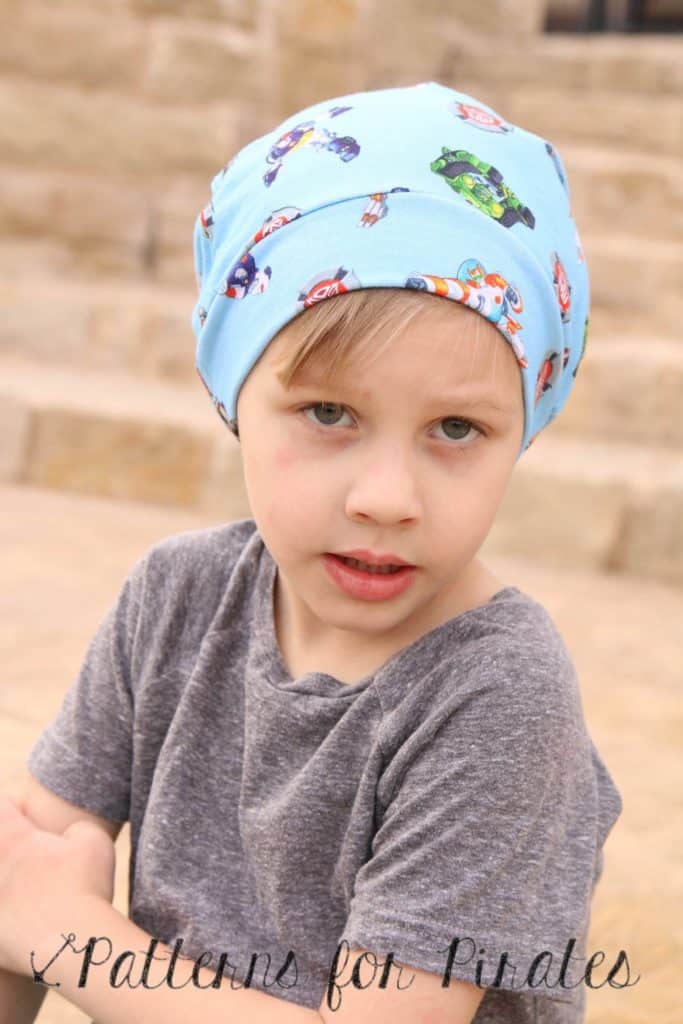
This slouchy hat pattern comes in four sizes, which should cover the heads of the majority of your family!
XSmall (fits 17″ – 18″ head circumference) – Toddler
Small (fits 19″ – 20″ head circumference) – Child
Medium (fits 21″ – 22″ head circumference) – Teen/Adult
Large (fits 23″ – 24″ head circumference) – Adult
Grab your free pattern pieces here. If you need help putting the pattern together, pop over to the First Time Users Tips page or ask in our facebook group .
Recommended fabrics: Ponte, sweater knits, liverpool, brushed poly, rayon blends, tshirt knits, upcycled sweaters, etc. Anything with a decent amount of drape to it works best, otherwise the “slouch” won’t happen as well. I suggest washing your fabric before you begin to pre-shrink & help prevent color bleeding in the future.
Cuff piece: Any knits with at least a 20% stretch.
Supplies needed:
Main Fabric: 1/3 yard
Cuff: less than 1/4 yard required
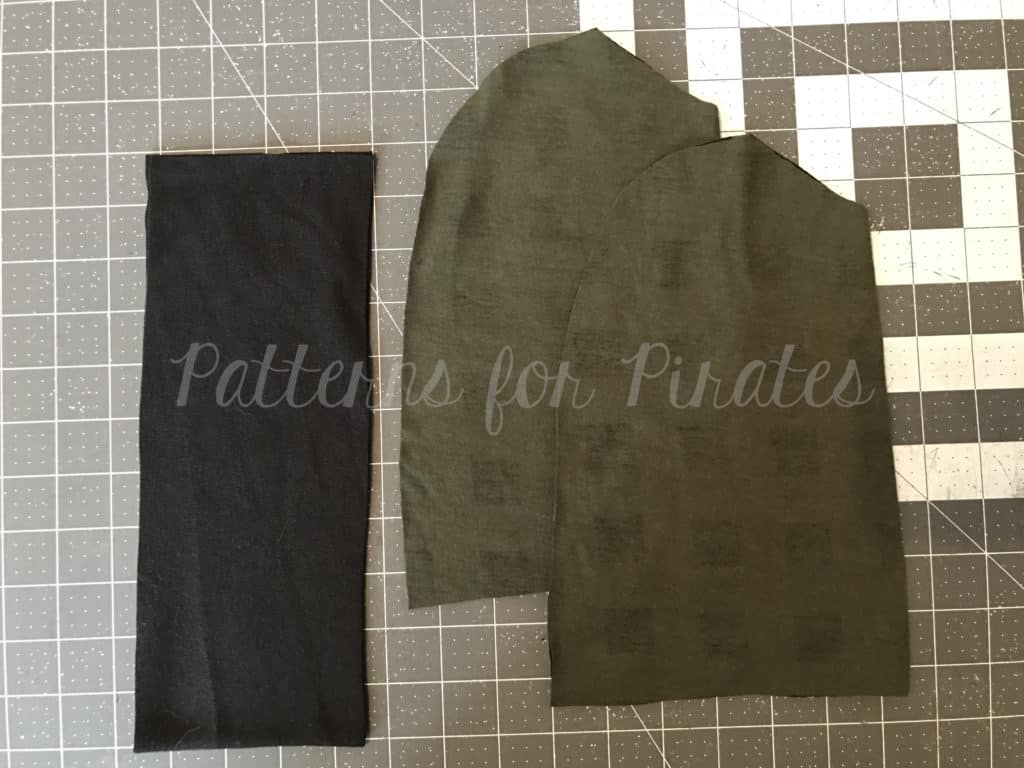
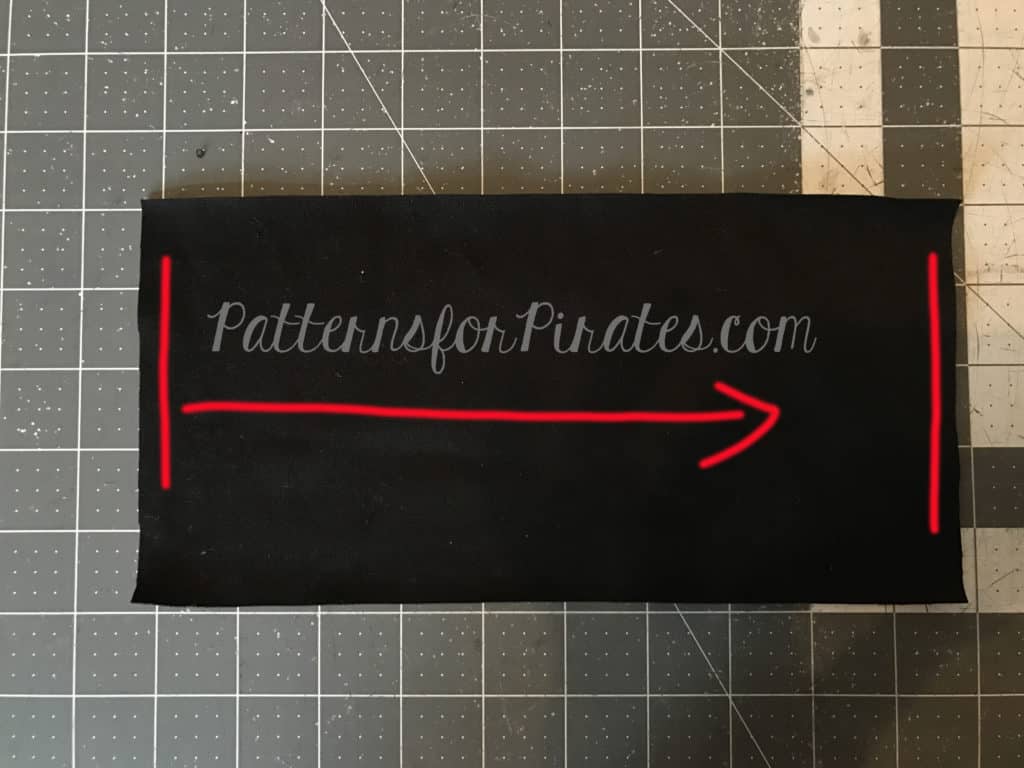
Step 1: Assemble your pattern and cut your pieces out. You will need two of the main hat, cut on the fold. And one cuff piece, cut on the fold.
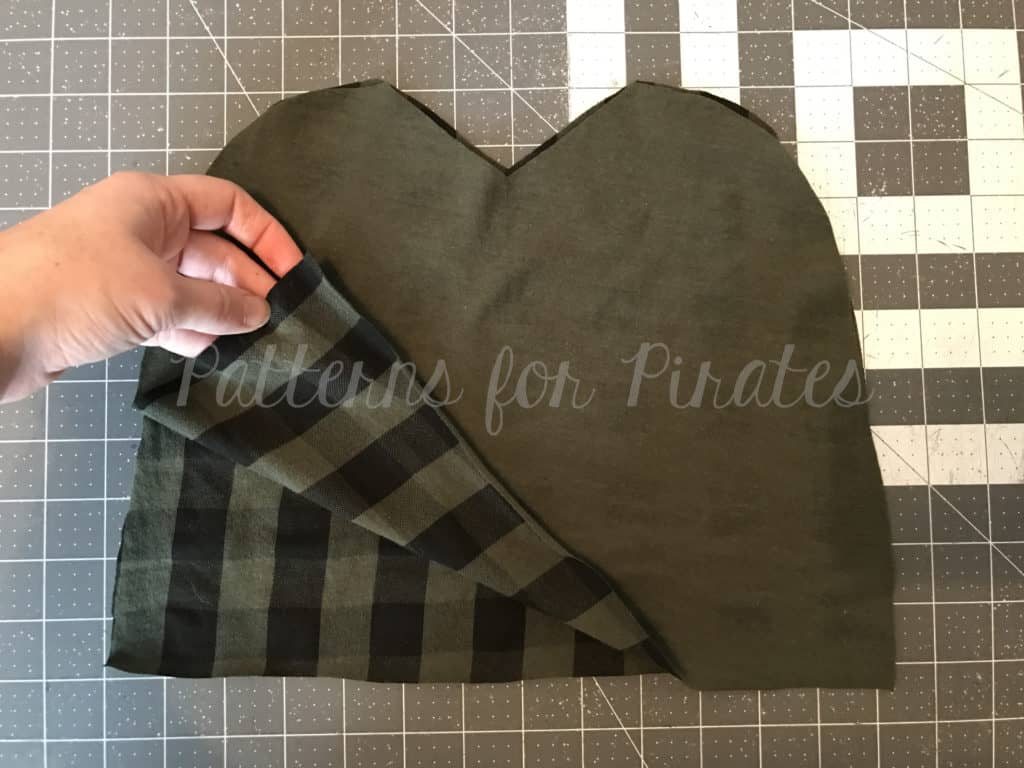
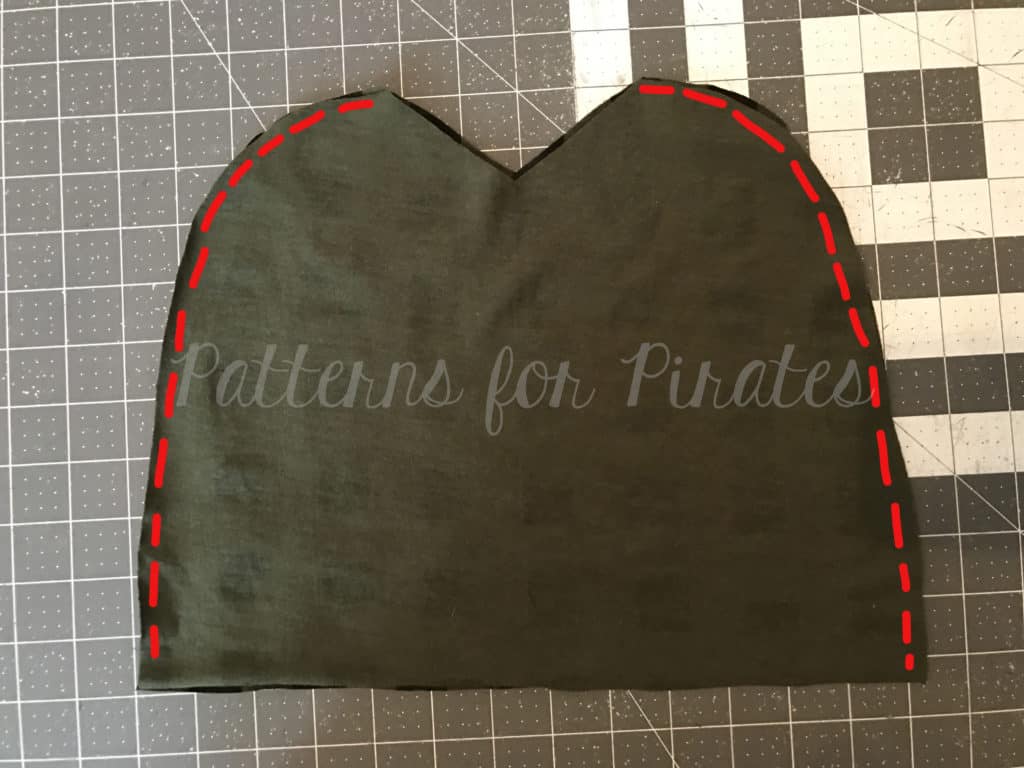
Step 2: Lay two mirror images, right sides together. Using 1/2″ seam allowance, sew around the two outer edges. Make sure to leave the bottom and the top “v” open.
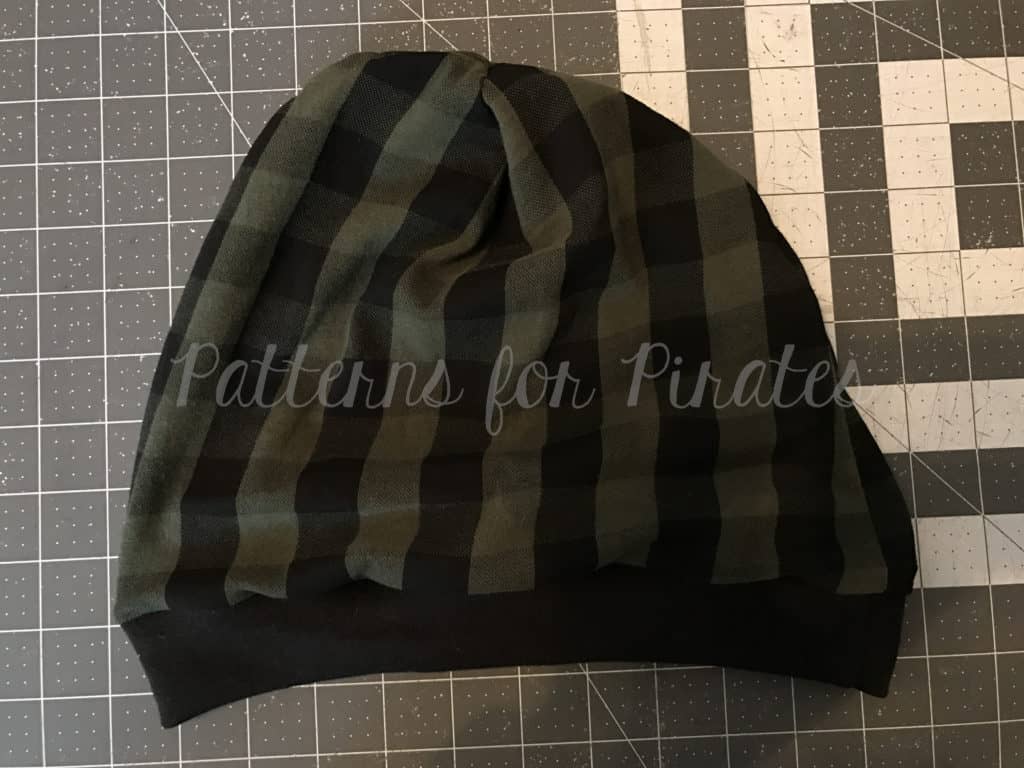
Step 3: Open up the hat and fold it (right sides still remaining together) so the “v” lays flat, and the two side seams are meeting in the middle. Stitch the top opening shut.
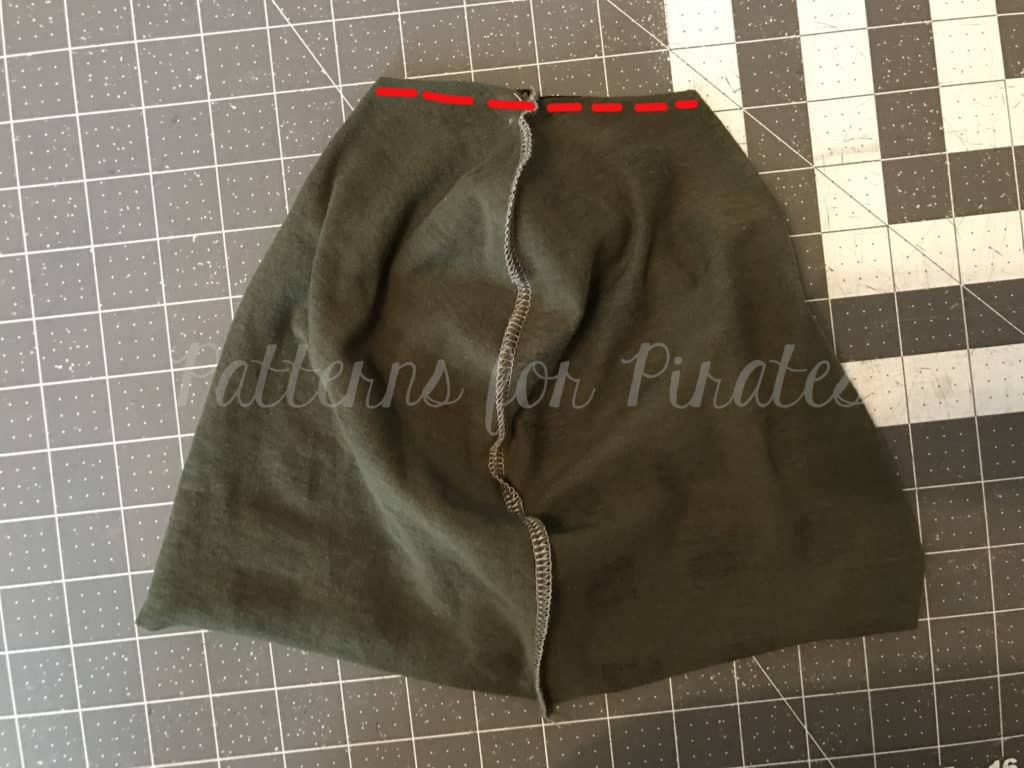
The top of your hat should now look like this. You’ll have an X of one long seam (going from bottom edge to bottom edge) and one short seam.

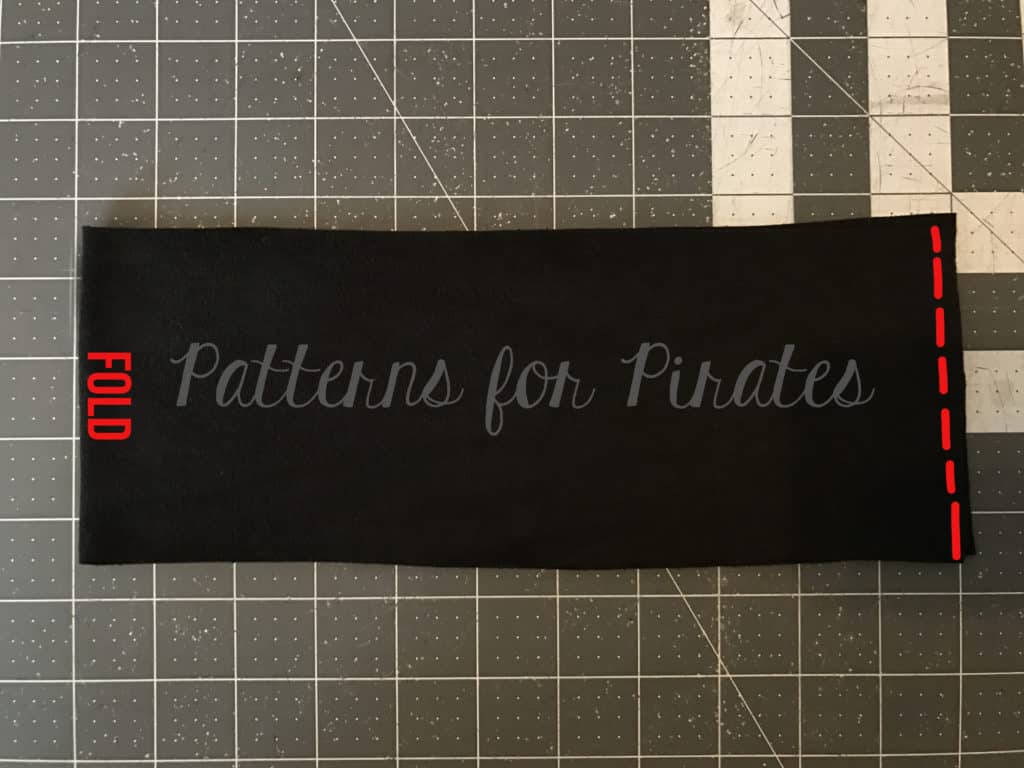
Step 4: Fold your cuff piece, right sides together, meeting the shorter ends together.
Step 5: Stitch (using 1/2″ seam allowance) short ends together.
Step 6: With wrong sides together, fold the raw edges together to meet each other.
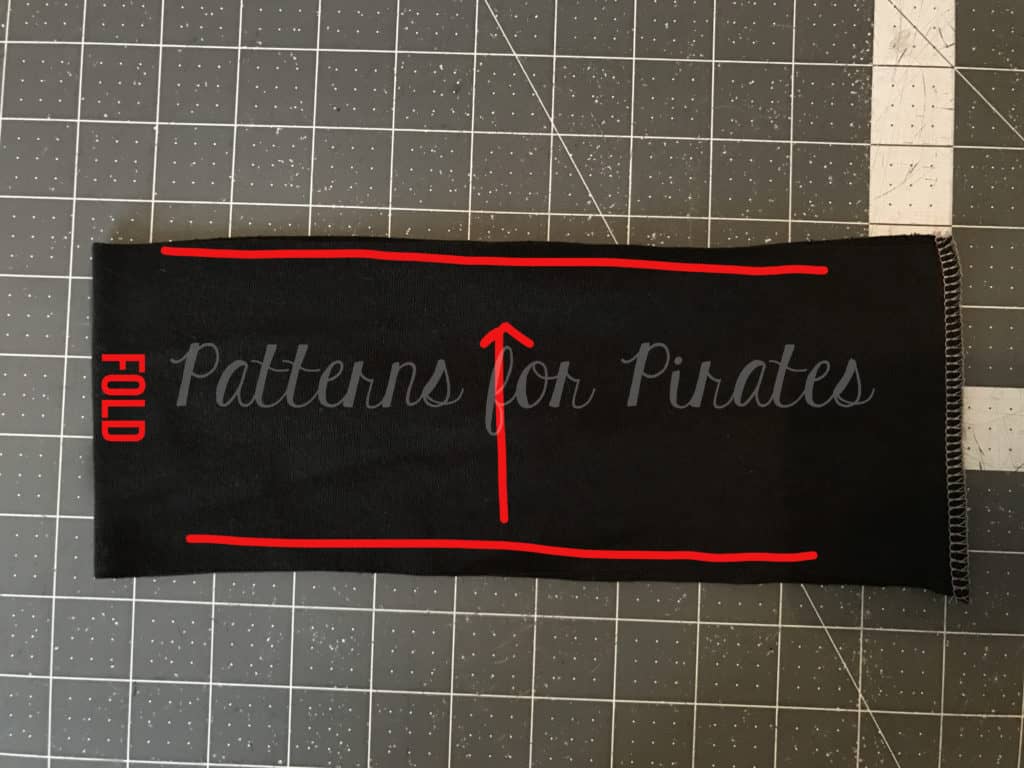
Step 7: On both your hat body and cuff pieces, mark raw edges into halves. (The hat body will be the two seams. The cuff will be one seam and the halfway point on the opposite side.)
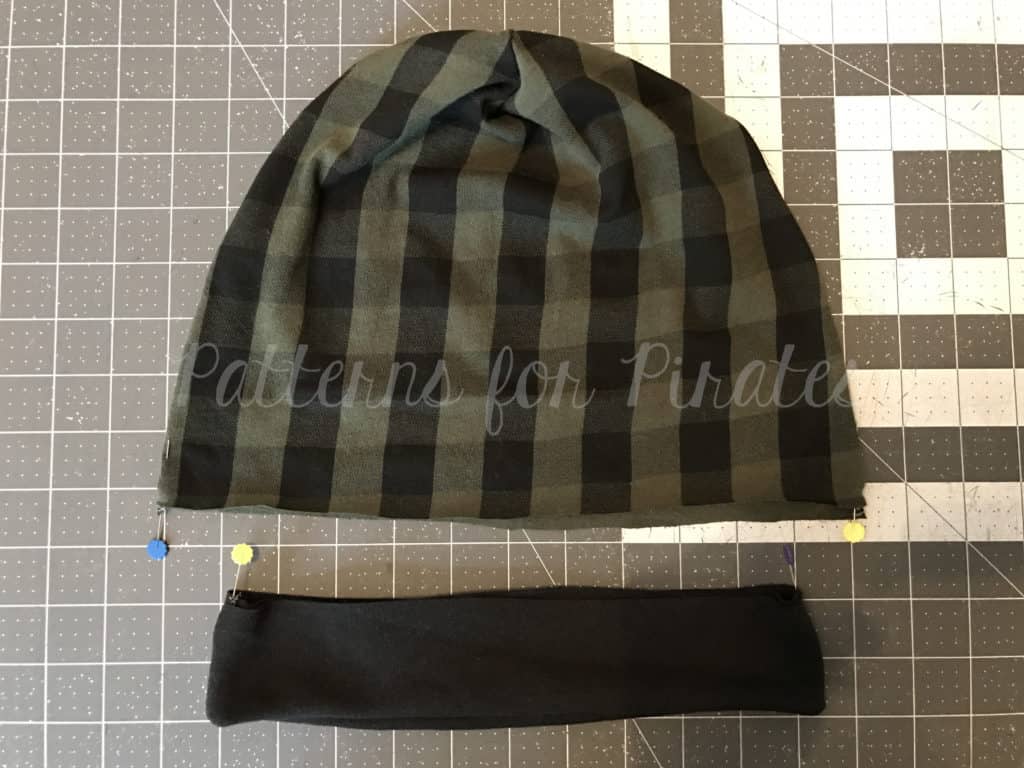
Step 8: Slide the cuff over the hat body, aligning the raw edges and matching the half-marked points. Note: The cuff is slightly smaller than the hat body. Stretching the cuff only, stitch through all three layers of raw edges.
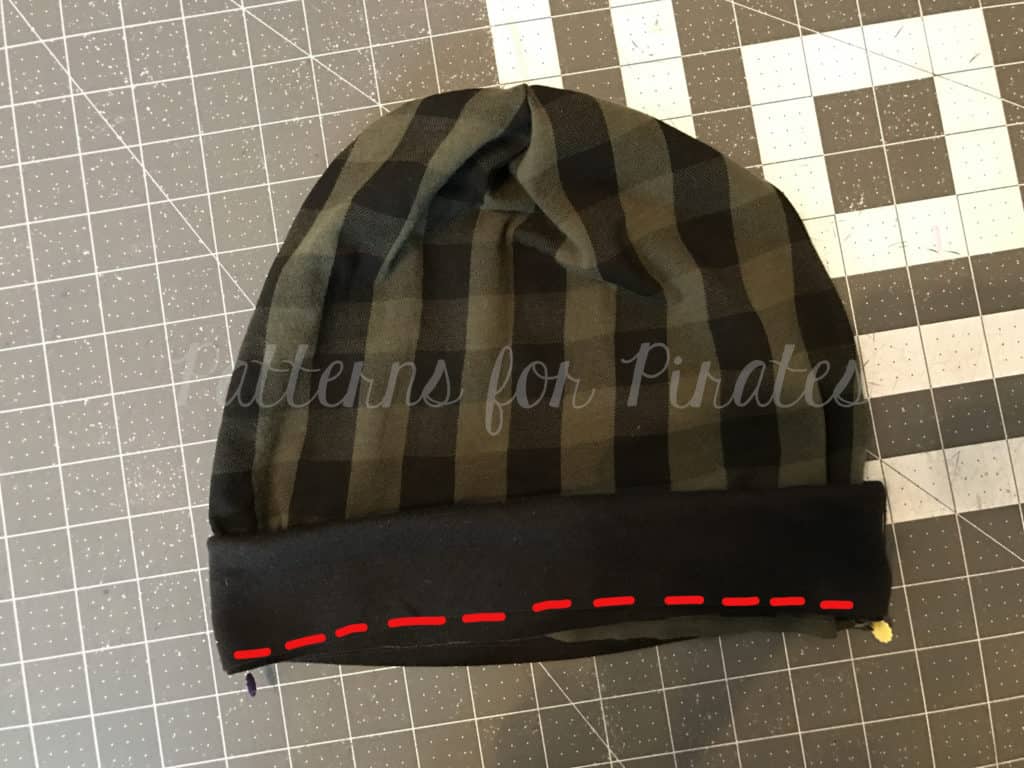
Step 13: Flip cuff down. You’re finished!
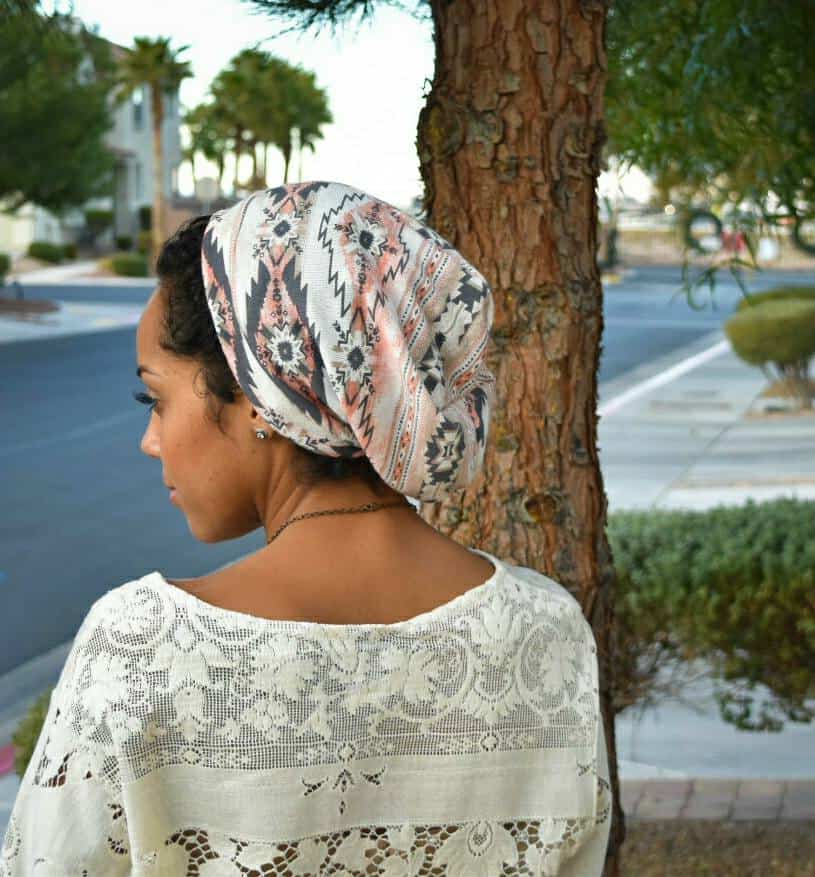
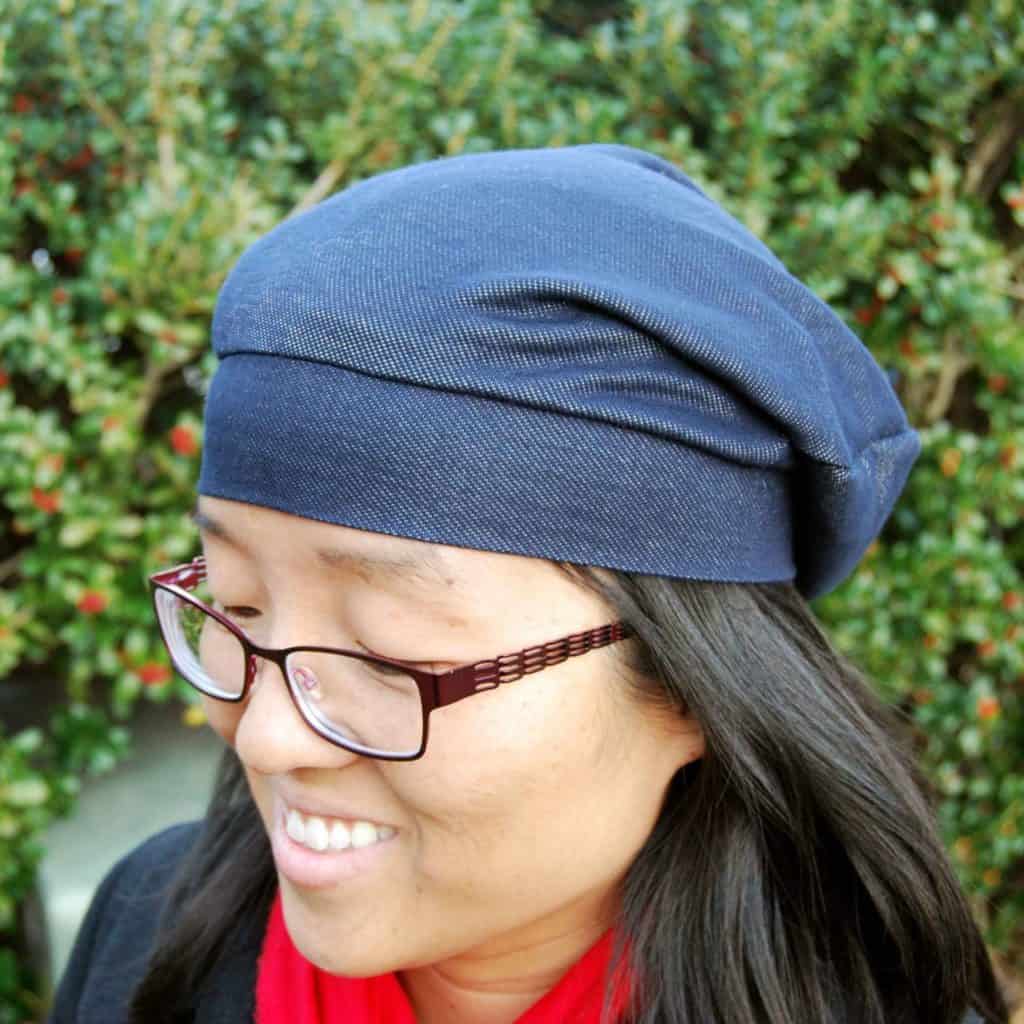
Need some inspiration? Take a look at the fabulous hats that our gorgeous testers made!


As always, we love when you share what you’ve made with us. Head over to the Patterns for Pirates Facebook group and show off the fabulous mittens you’ve managed to make from our freebie pattern!