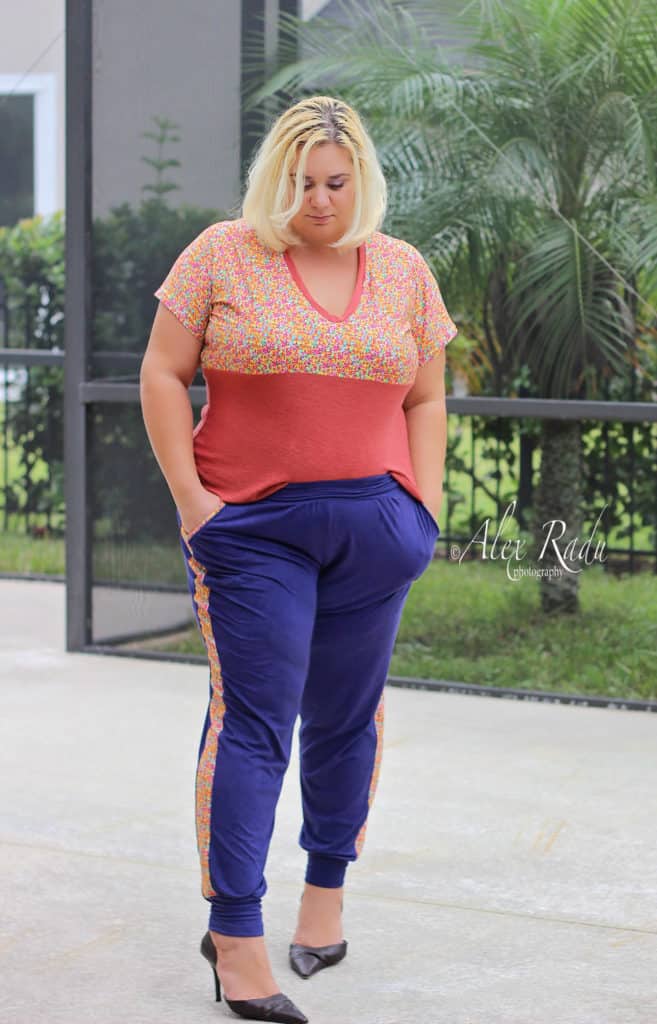
The Mama Bear Joggers were just released and are packed with options. I have already made myself a few pairs so I was browsing Pinterest for styling ideas (don’t we all?). I came across a cute pair of joggers that had a tuxedo stripe on the side so I just had to make myself a pair like that. In today’s blog I’ll show you how I did the tuxedo stripe and an accent slat pocket band.
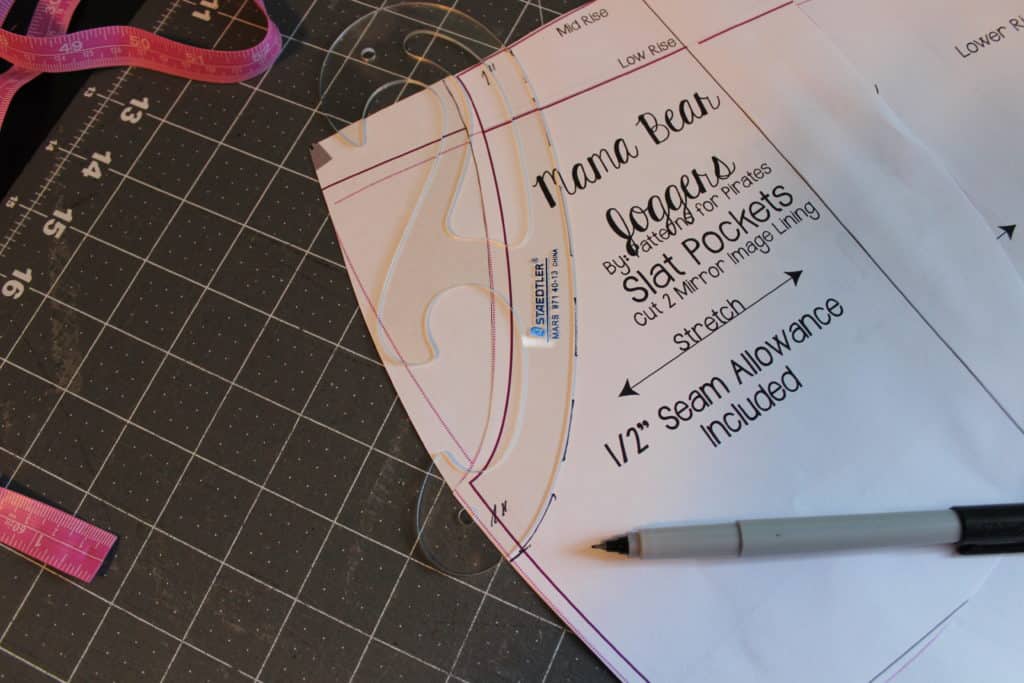
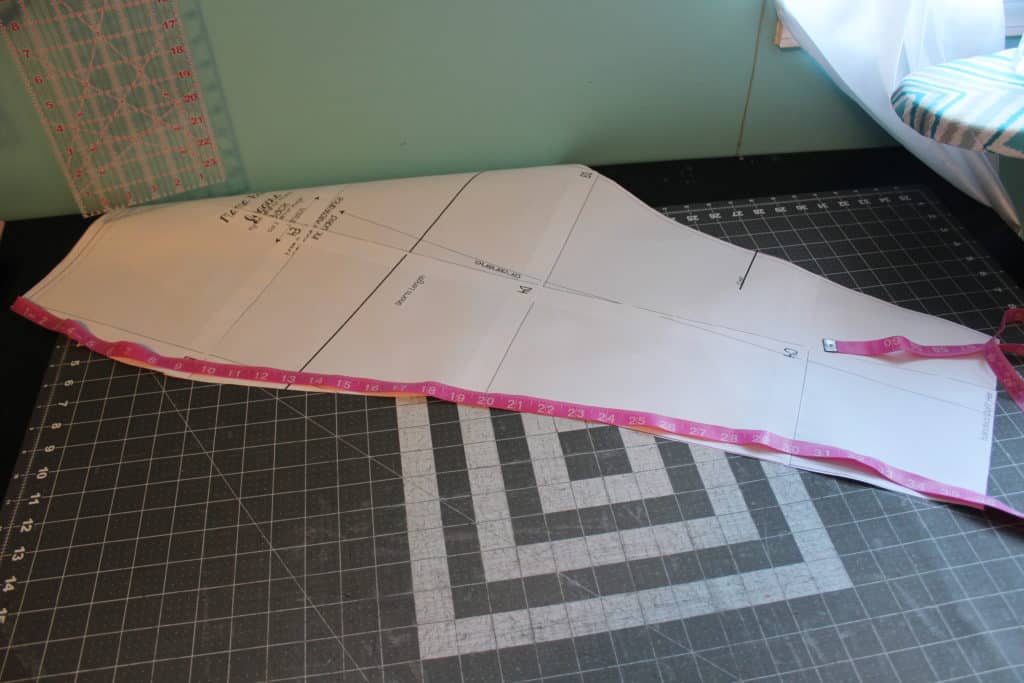
Start by printing and cutting the pattern in your size. (I grade mine in for the waist that’s why you’ll see two lines instead of one). Don’t cut the fabric just yet. If you’d like to do just the accent pocket band you’ll nee to place the pocket lining over your front piece and remove 1 inch from the curve. That can be done easily if using a French Curve.
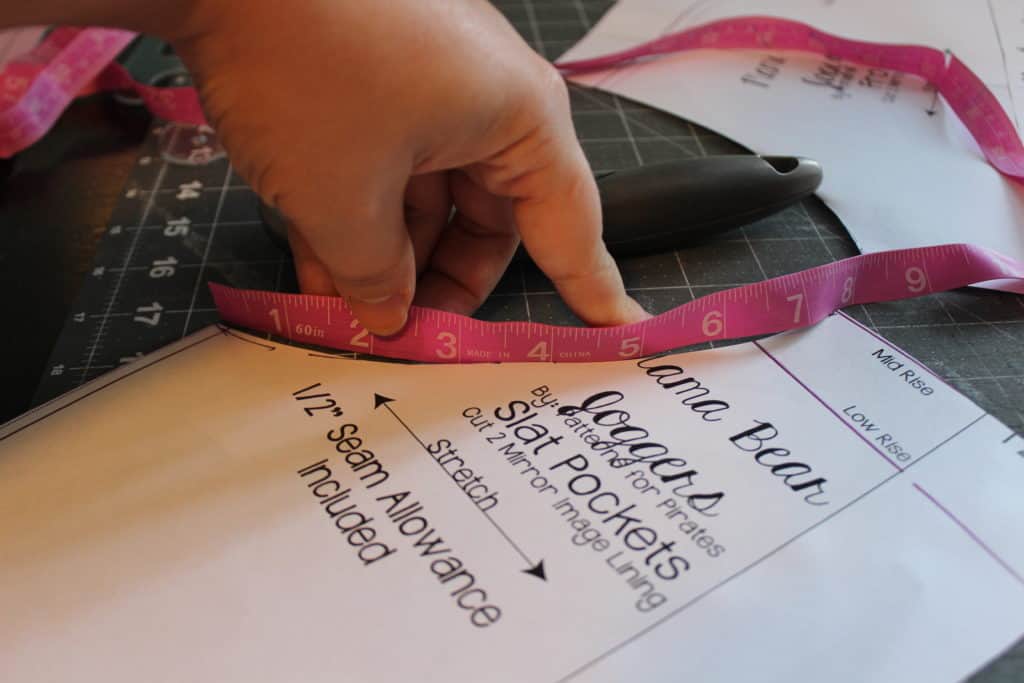
Now take your measuring tape and measure the new pocket opening. You will be cutting your accent band to be 2″ by 95% of the opening.
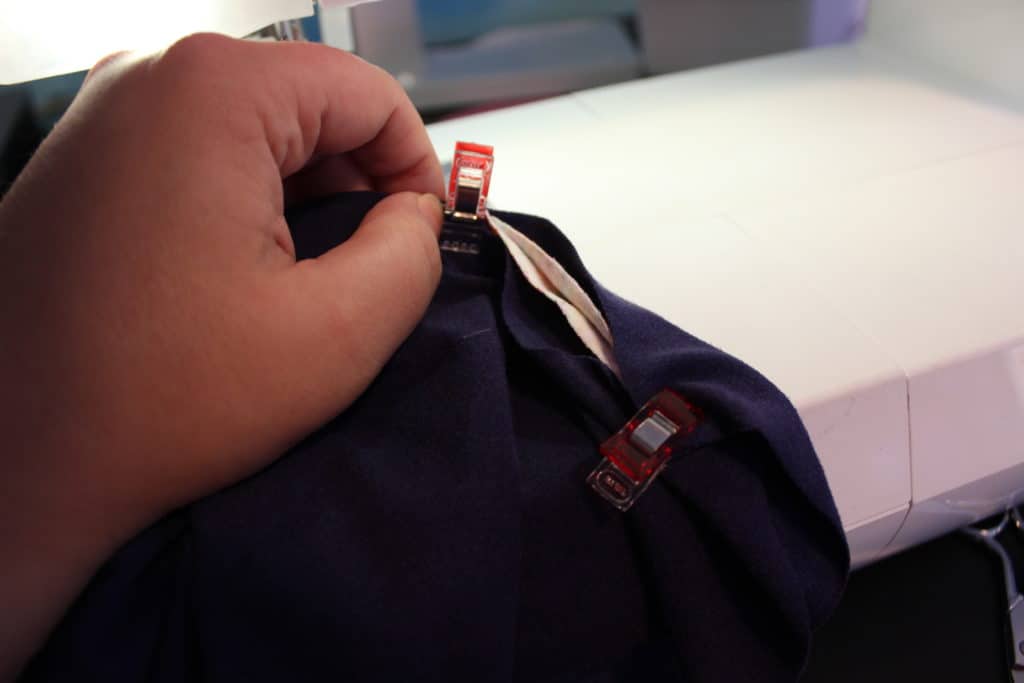
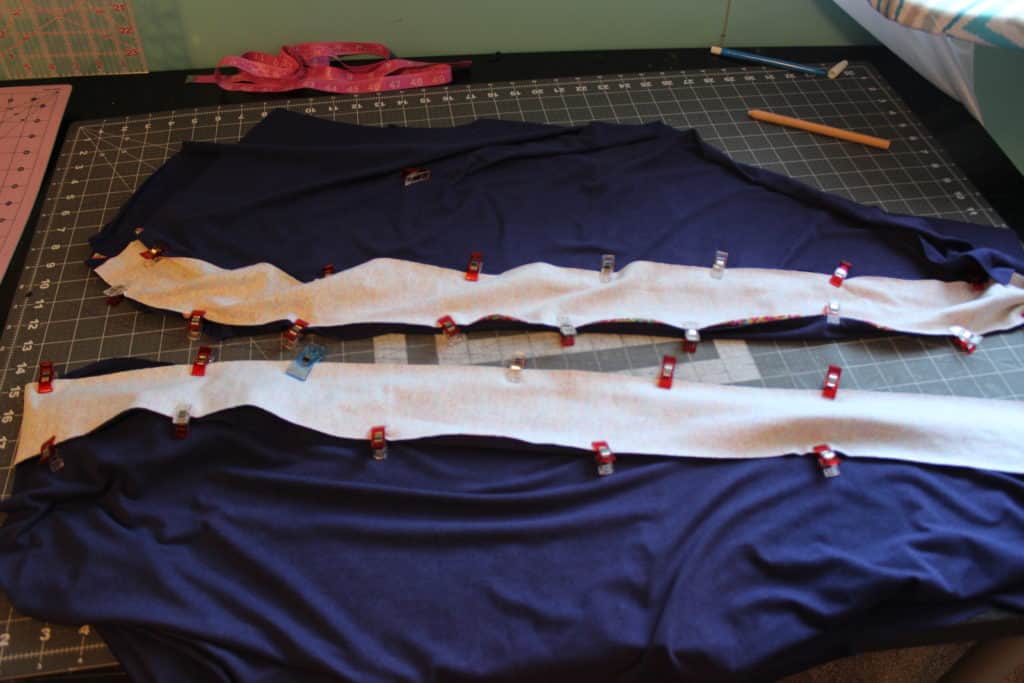
Fold the band wrong sides together and give it a good press. Sandwich the folded band between the right side of the front of the pants and the right side of the pocket lining. You will be stretching JUST the band slightly. Sew the 4 layers together.
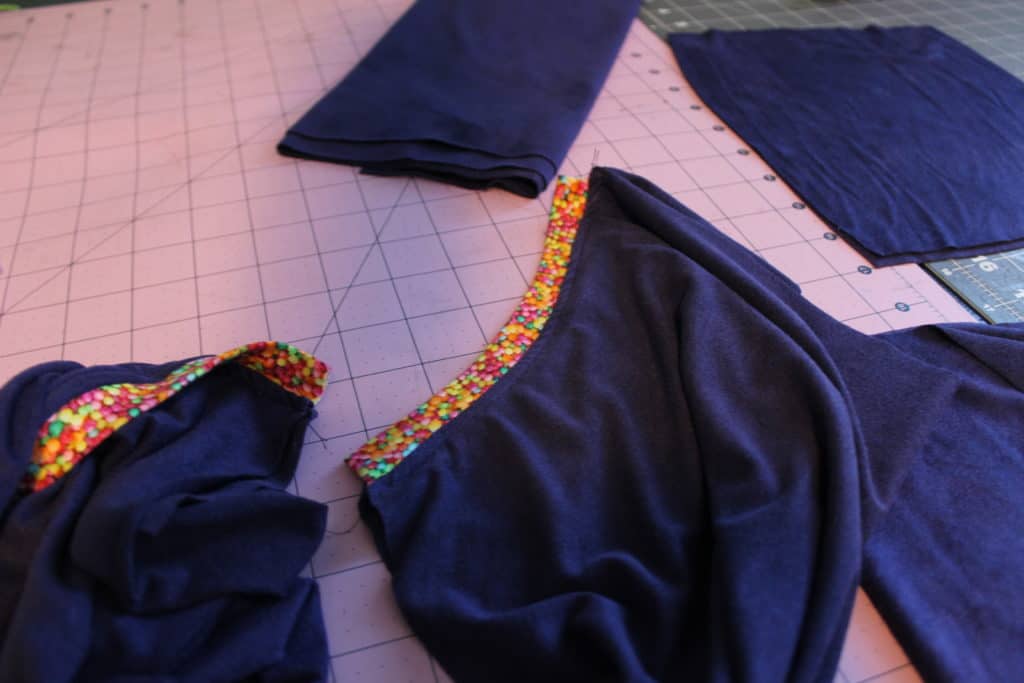
Turn the pocket over so its wrong side is on the wrong side of the front leg. You can now top stitch along the curve. Tadah! You’ve added a decorative band to the slat pocket. If you do not add the side strip proceed with sewing the joggers according to the pattern tutorial.
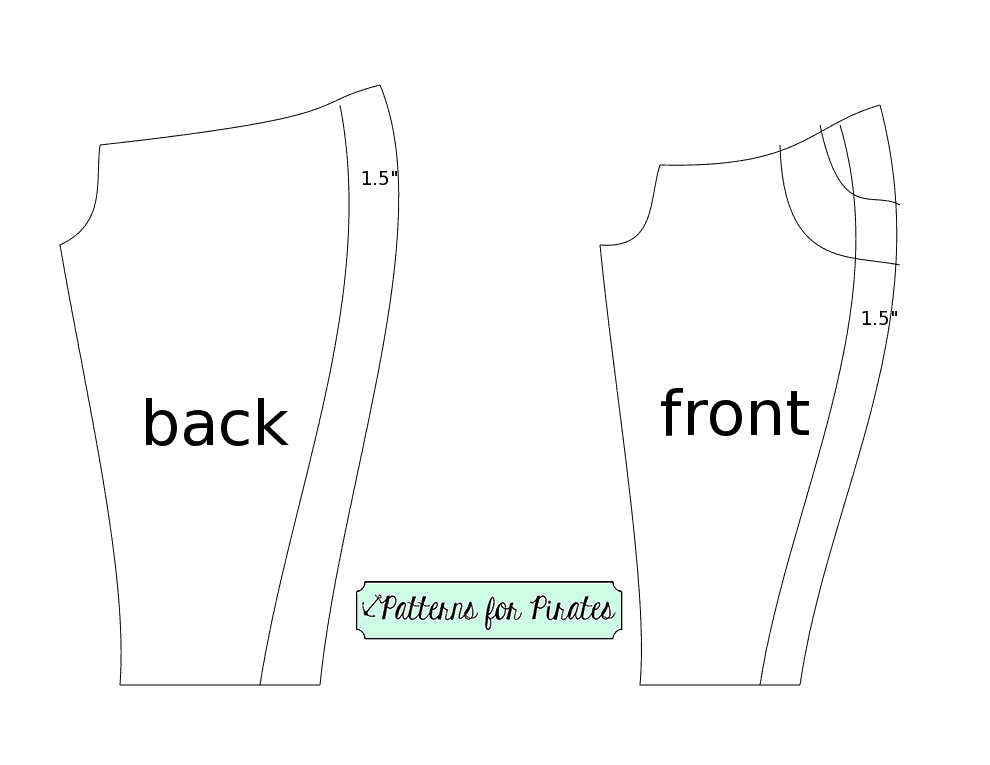
If you add the stripe, we will be making some pattern alteration prior to cutting the fabric. Place your pocket lining and back on top of the front of the pants matching the top and side lines. We will be removing 1.5 inches from the side of the front of the pants. Following the side curve draw a line parallel to the side, 1.5″ away.
Cut along the new line. Now grab the back of your pants and repeat the process on the side. You now have 4 new pattern pieces, front and back, pocket and pocket lining. We will measure the new side length with a measuring tape because it’s flexible. The tuxedo stripe will be 3″ by the new measured side. See? That wasn’t so bad.
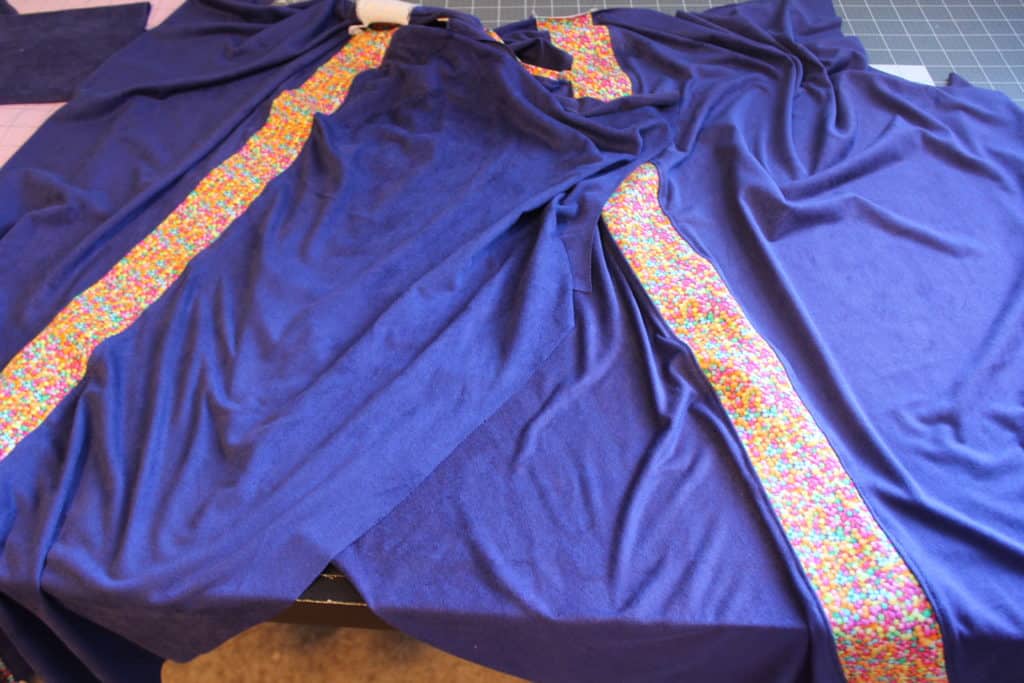
Add the pocket according to the tutorial. We will now sew RST the front piece with one side of the strip. Then attach the other side of the strip to the back of the leg, right sides together. Repeat with the the other leg.
That’s it! Those are the only changes we made to the pattern. You can now finish your joggers according to the tutorial. You can add the strip to either one of the leg options, cuffs, elastic or rolled.
Get creative with all these joggers hacks and as always post your pretties in the group.
Alex
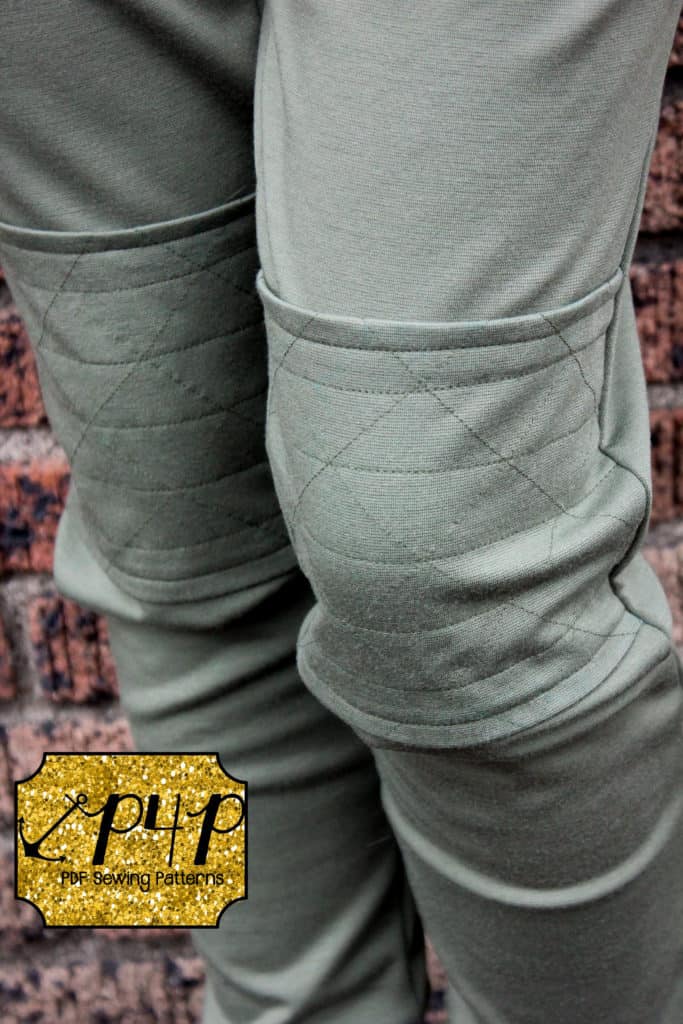
Let’s face it- everyone loves a jogger and the Patterns for Pirates Joggers are perfect! One of the things that I love about joggers is that there are so many different ways to style them. One of my favorite looks is the addition of a moto patch. This simple detail can add an extra bit of edge and flair to your joggers and help take an already awesome look to the next level! So let’s get started…
Creating Patch Piece
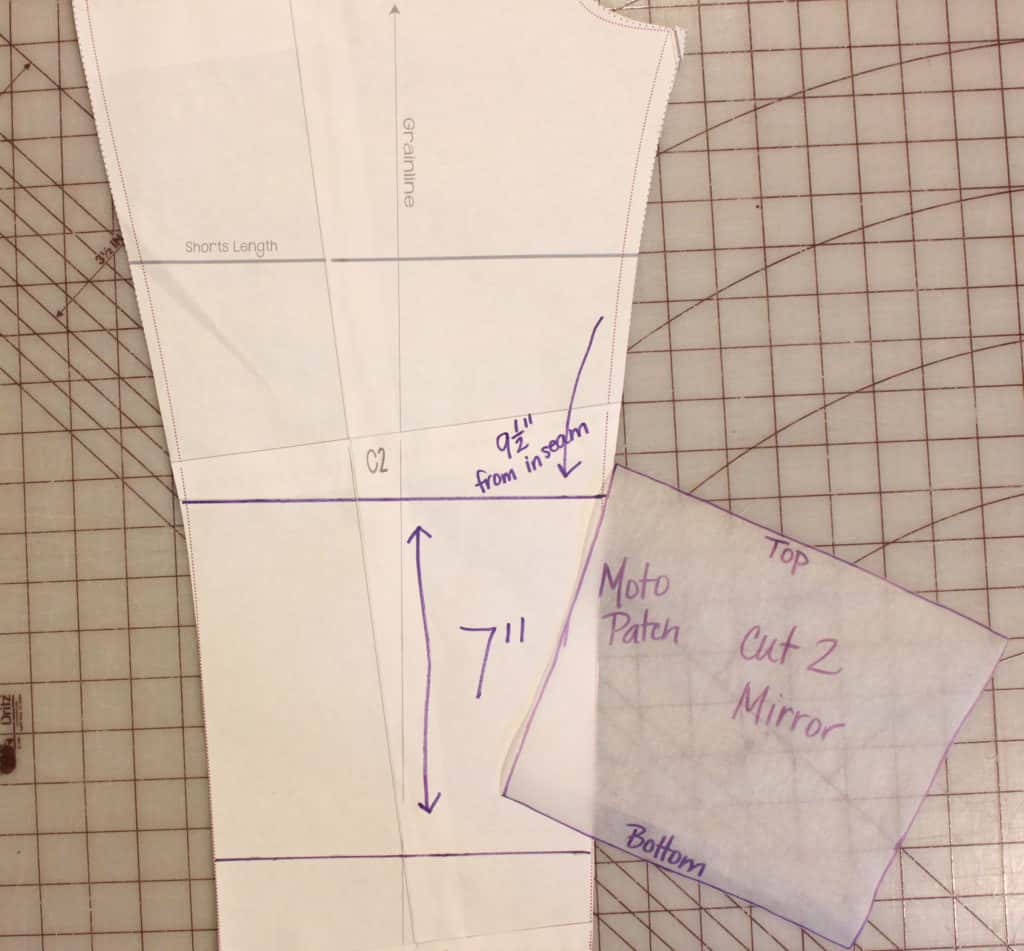
To start with, you will need to determine how far down to attach the patch. You will want to measure from your inseam to the top of where you want to attach the patch. As you can see in the picture below, mine measured 9.5″. Draw a line across your pattern piece at this measurement. Next, you will draw the bottom line for your patch- your next line should be 7″ down from this line (your finished patch will be at total of 6″). Using tracing paper, copy this section of your pattern to create your moto-patch.
Quilting the Patch
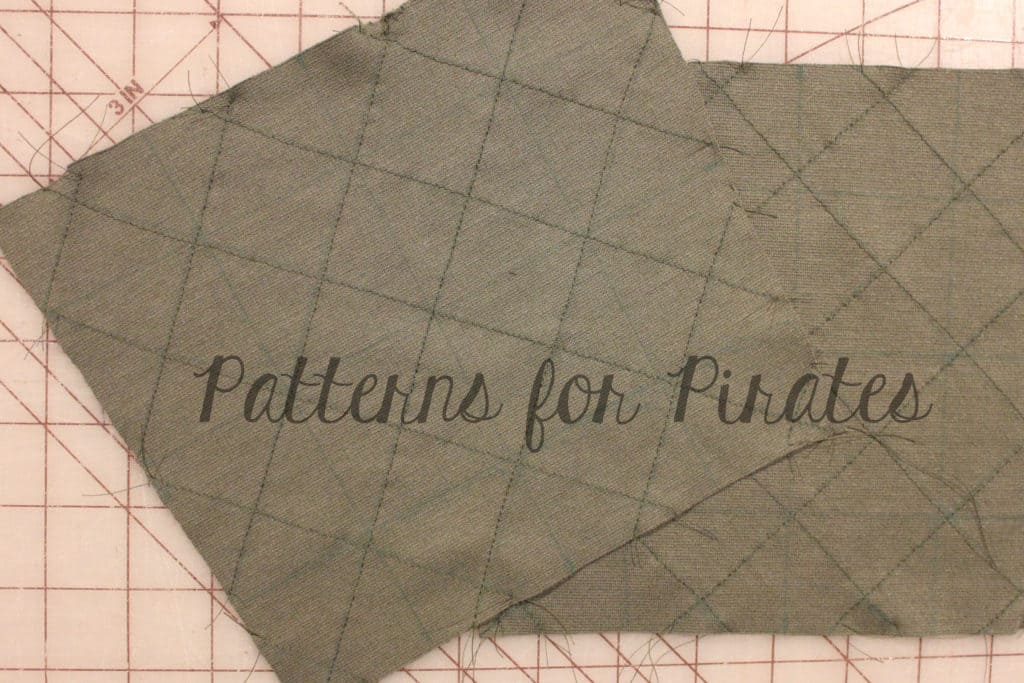
You will need to cut out two mirror image pieces. Next, you will trace your quilting lines on each piece (make sure to do mirror images!). Begin by marking both the horizontal and vertical centers of your piece (if you don’t have a quilters ruler- this mod is a GREAT excuse to go purchase one!!). After marking centers, draw lines every 2 inches in both directions. The final markings will be on the diagonals- connecting your squares. Repeat on the other patch.
After completing your markings, stitch across all of the diagonal marks only. Then, take a few minutes and admire all of the hard work you just did— Ok! Moment over, because now you get to repeat all of that beautiful stitching on the other patch!
Finishing and Attaching Patch
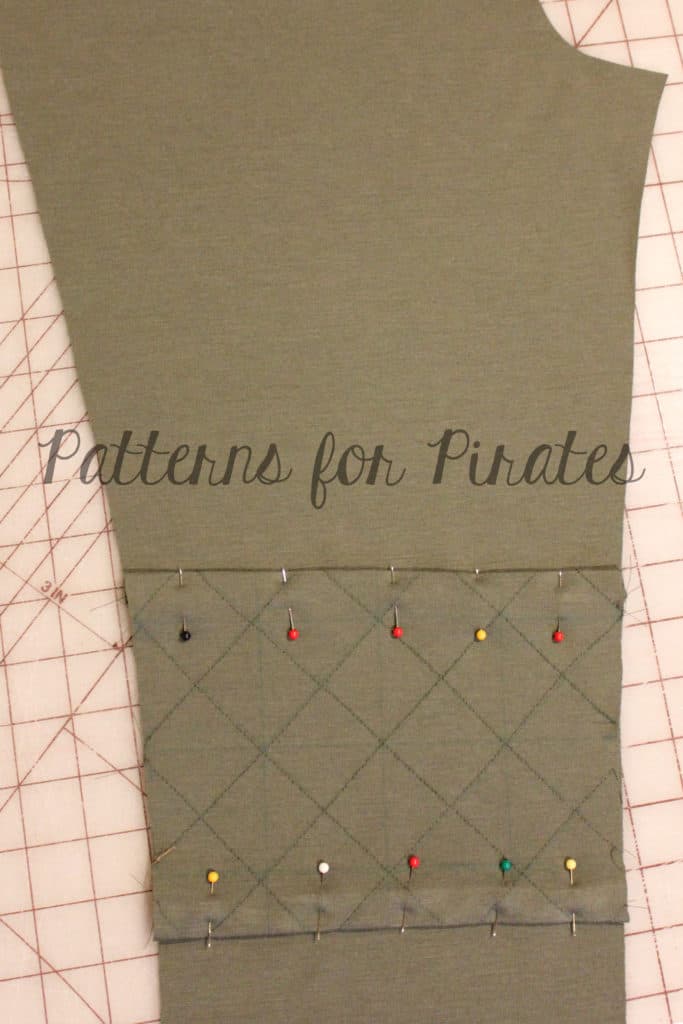
Press both the top and bottom of your patch, using a 0.5″ allowance to create a finished edge. Taking your front leg piece, place patch piece 0.5″ lower than original line (to account for your pressed seam… ex. Mine was at 9.5″ and I placed the patch at 10″ down) and pin in place.
Using a 0.25″ seam allowance, stitch the top and bottom into place. Then stitch over the horizontal lines only to finish creating your quilted look. 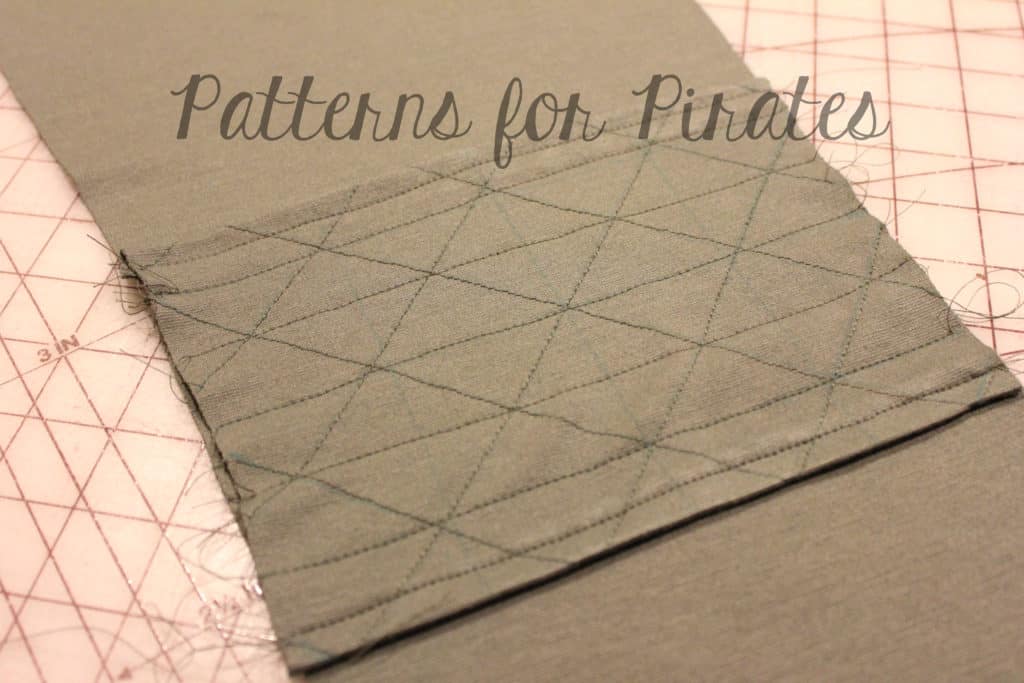
And if you needed a few other ideas for you patches, you could also…
- Cut your patches at angles
- Place patches on thighs
- Mix and match fabric patterns
- Use fabrics that are already quilted (Yes- They exist and would be a huge time saver for this!)
I can’t wait to see how your patches (and joggers!) turn out. Make sure to share all of your creations on the P4P Facebook page!
~Erinn
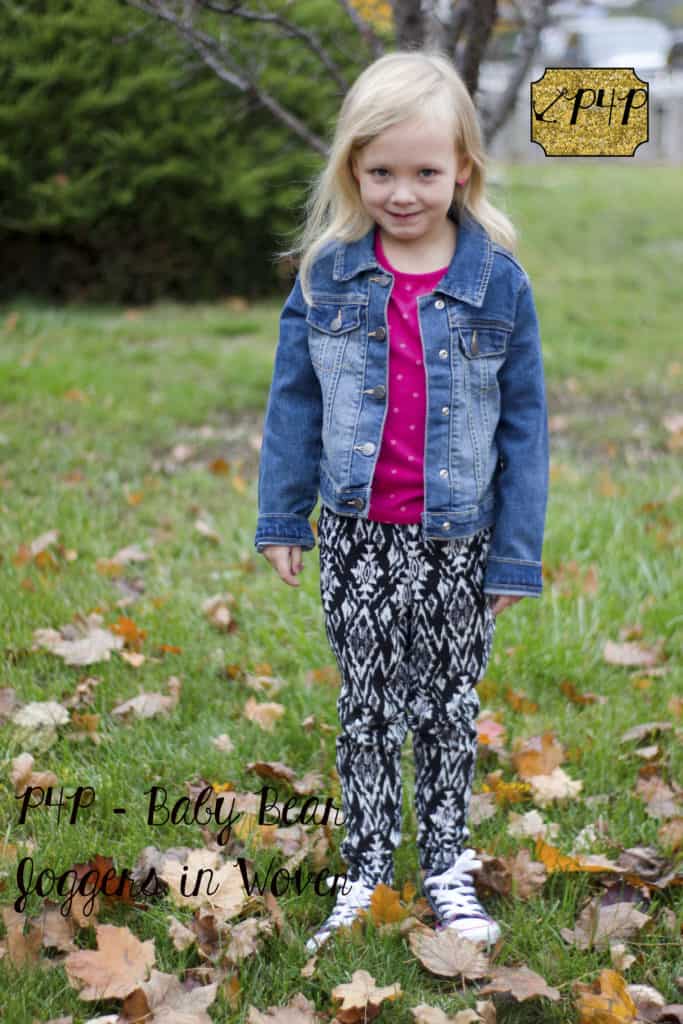
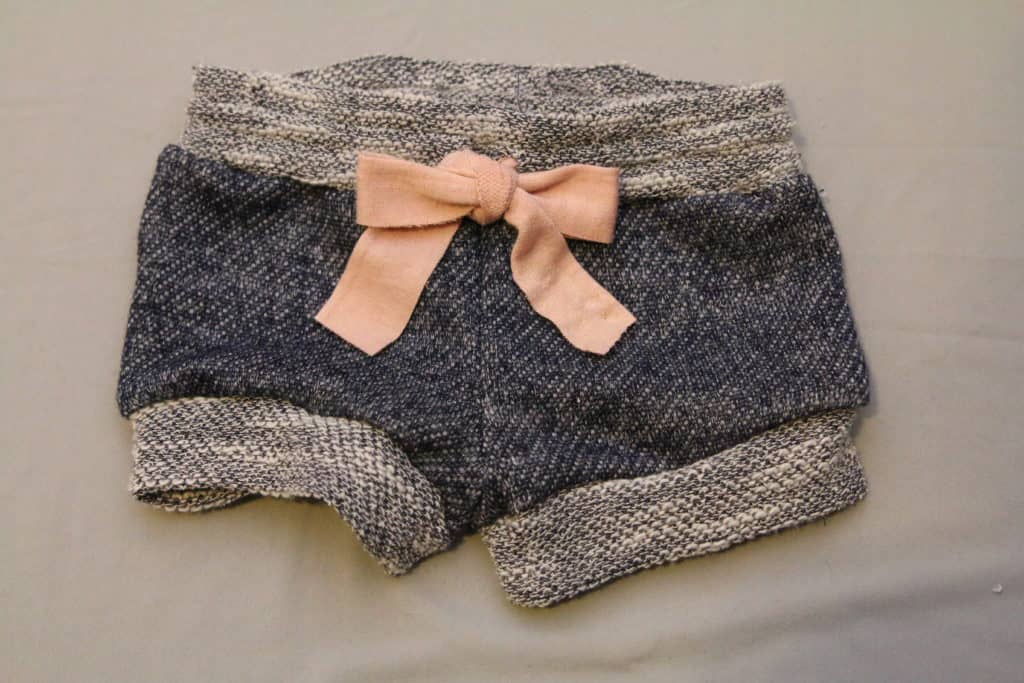
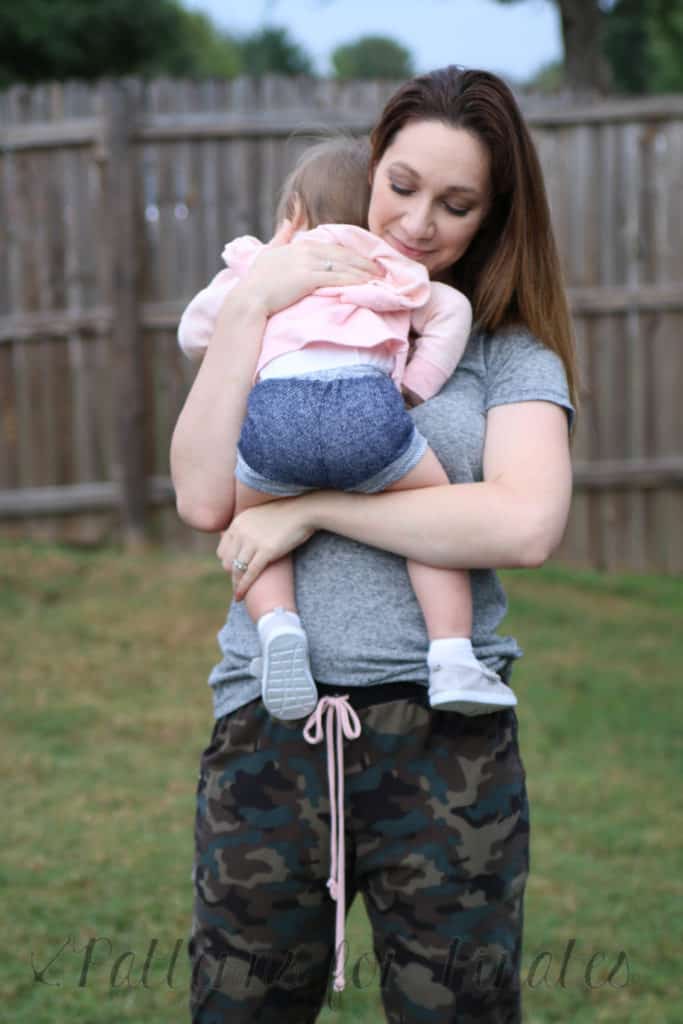
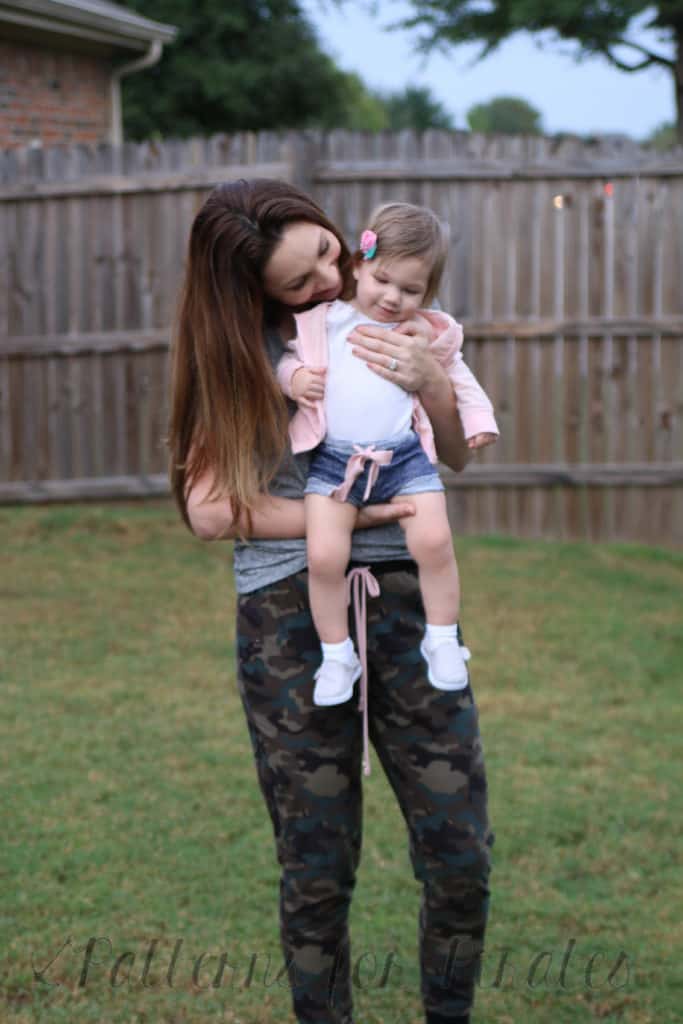
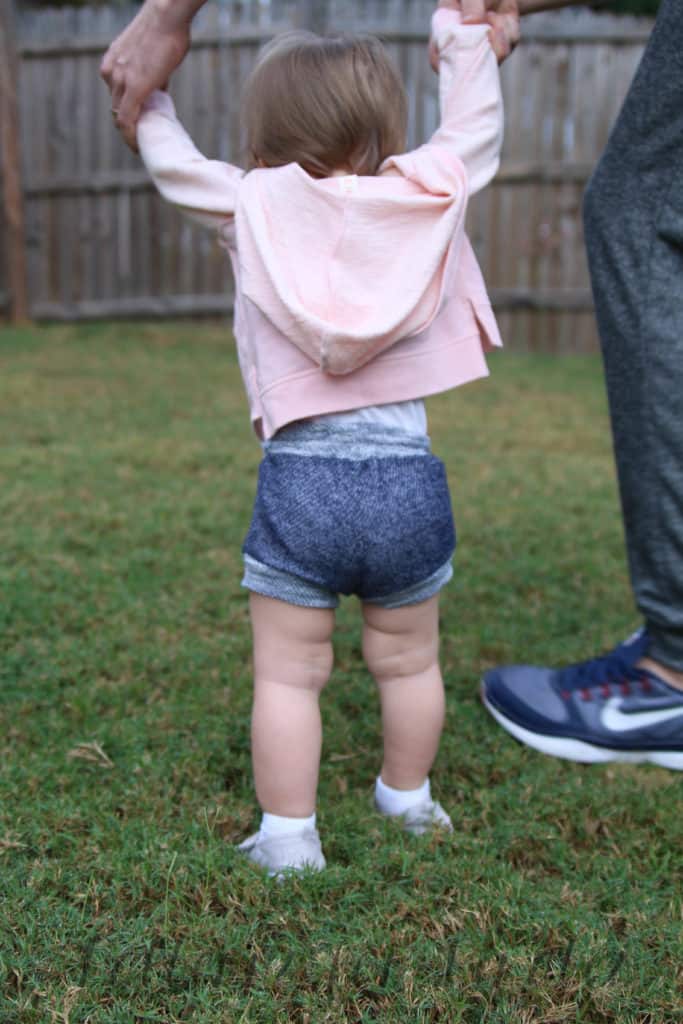
I love the little shorties or bloomers look for my Baby Girl. Show off those rolls on her legs that I love so much! It’s very simple to use the new Baby Bear Joggers to create this cute, trendy look!
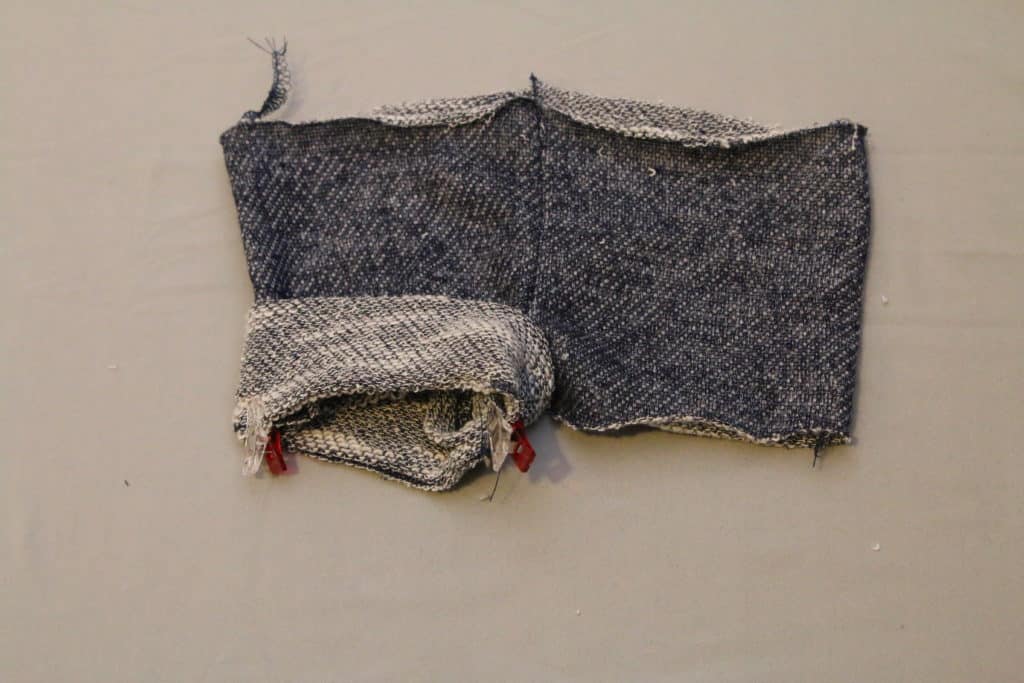
I determined the inseam by estimating how wide I would need it to cover her diaper. I made hers about 1″ before bands…they could’ve used another 1/2″ really though. I marked this on the inseam of back and front pieces. The side seam length I determined by thinking about how long I needed it to cover the diaper. I curved the bottom hem up towards the outer leg seam by about 2″ on both the back and front pieces.
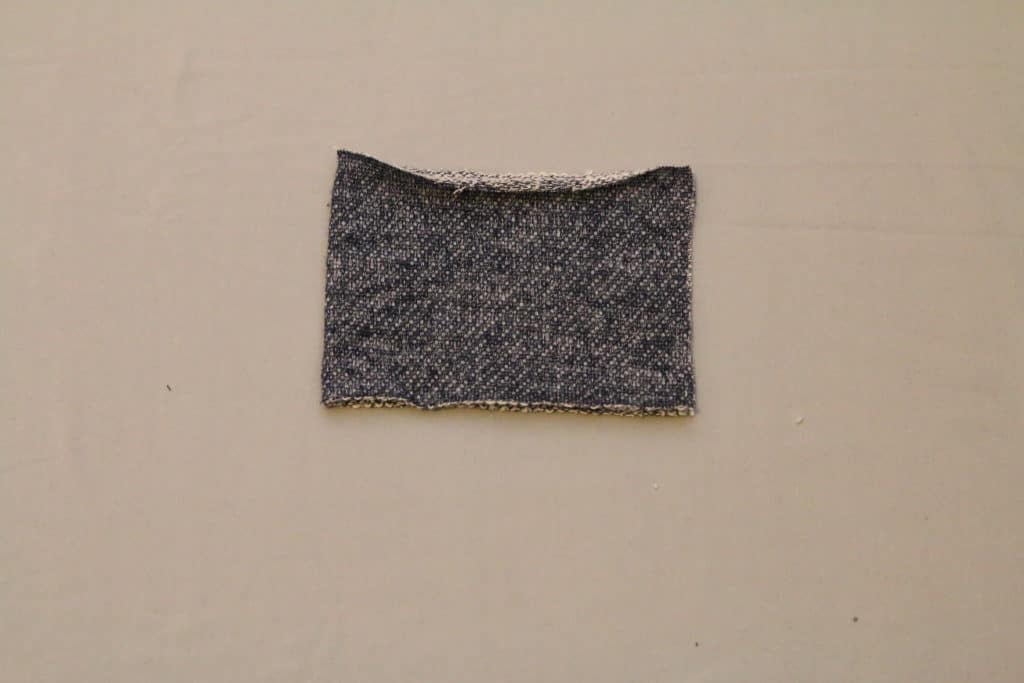
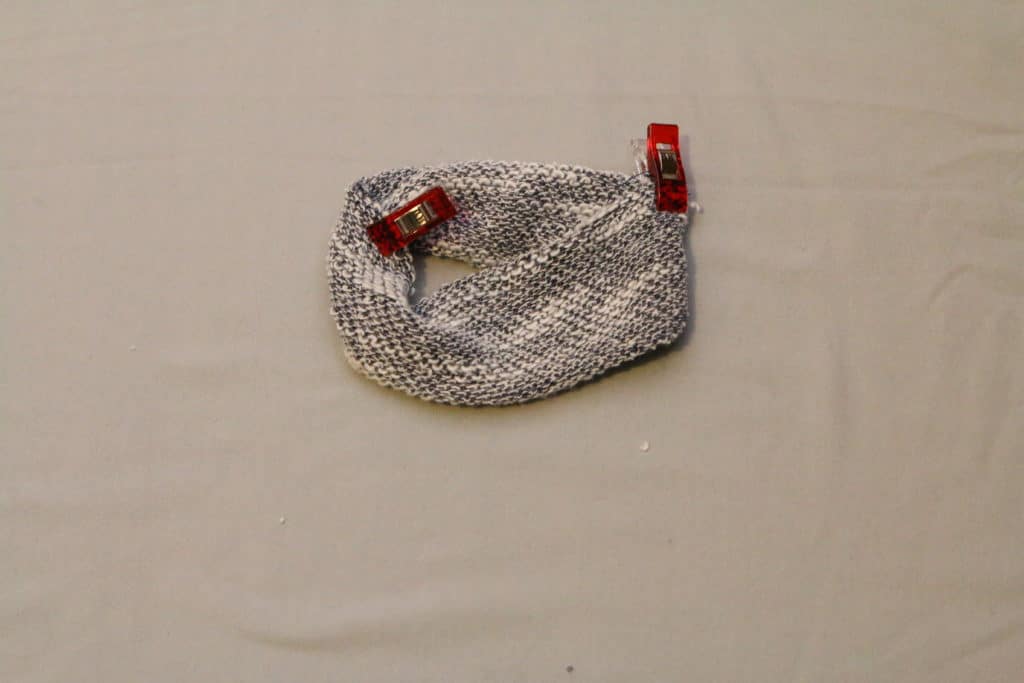
I sewed the pattern up per the directions. To finish the bottom hem I added thick bands. I made them finish 1.5″ matching the waistband thickness. So, I cut 4″ by slightly shorter than my leg opening. You want to stretch the bands to fit the leg openings so that your bands are snug to their thighs.
Fold the bands in half width wise with right sides together (I wanted the “wrong side” to show on my bands.
Fold the band in half lengthwise with wrong sides together.
Align raw edges with raw edges of shorts and stitch, stretching band only as you sew all three layers together. Then flip band down with seam inside shorts.
I think they’re so precious! My Baby Girl has been sick and wasn’t really up for pictures, but we snapped just a couple to show them a bit. 