Woohoo! We’ve made it to the fourth day of the 2019 Holiday Freebies! I’ve been having a blast sharing with you all week!
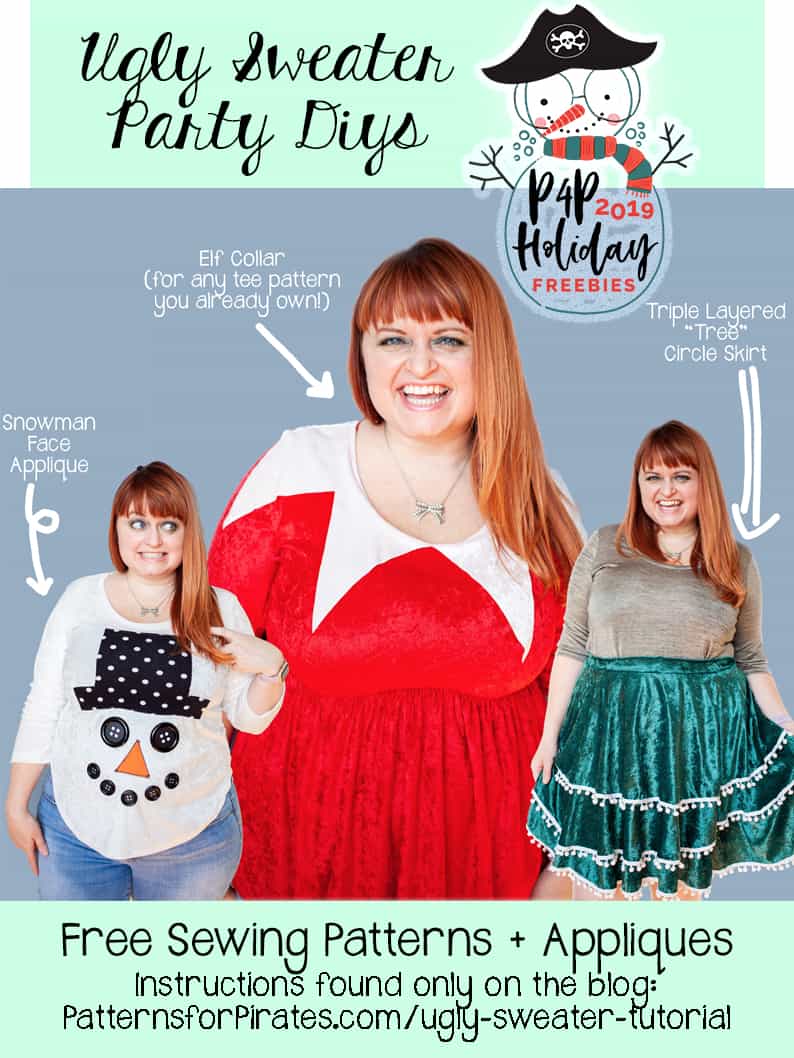
Today’s freebie is a little different than the rest, but so. stinking. fun. This time of year is constantly filled with invites to “Ugly Sweater parties”. I thought it might be fun to give you some DIY ideas to make something to wear to them!
There are three things we are going to make today, and you’ll need pattern pieces for all of them.
Grab your “UGLY SWEATER PARTY DIYs” pattern pieces here!
TREE CIRCLE SKIRT
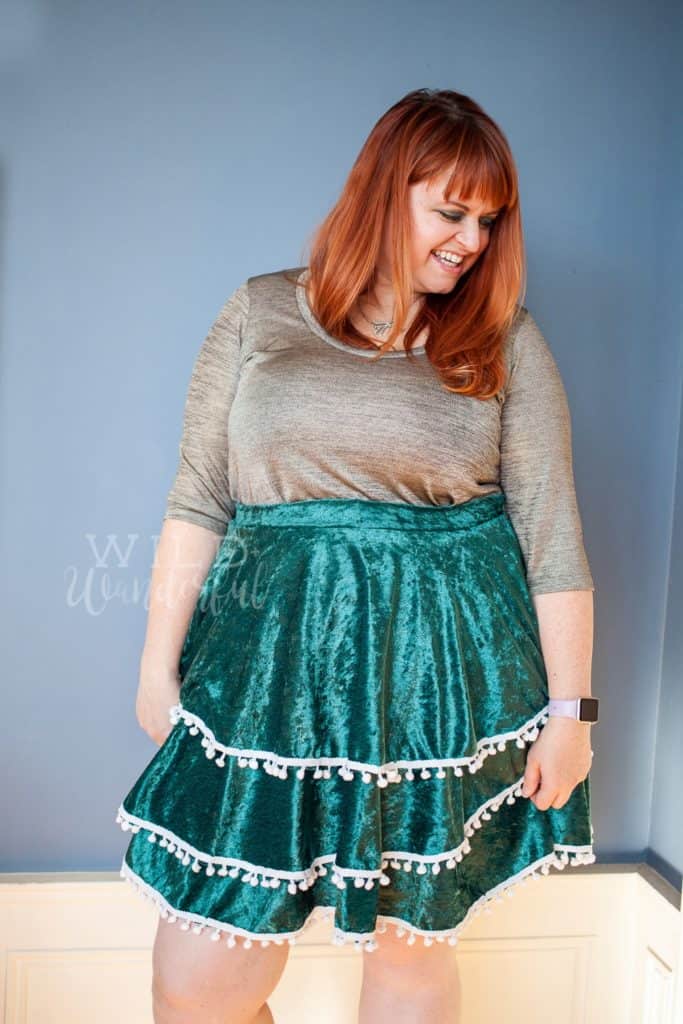
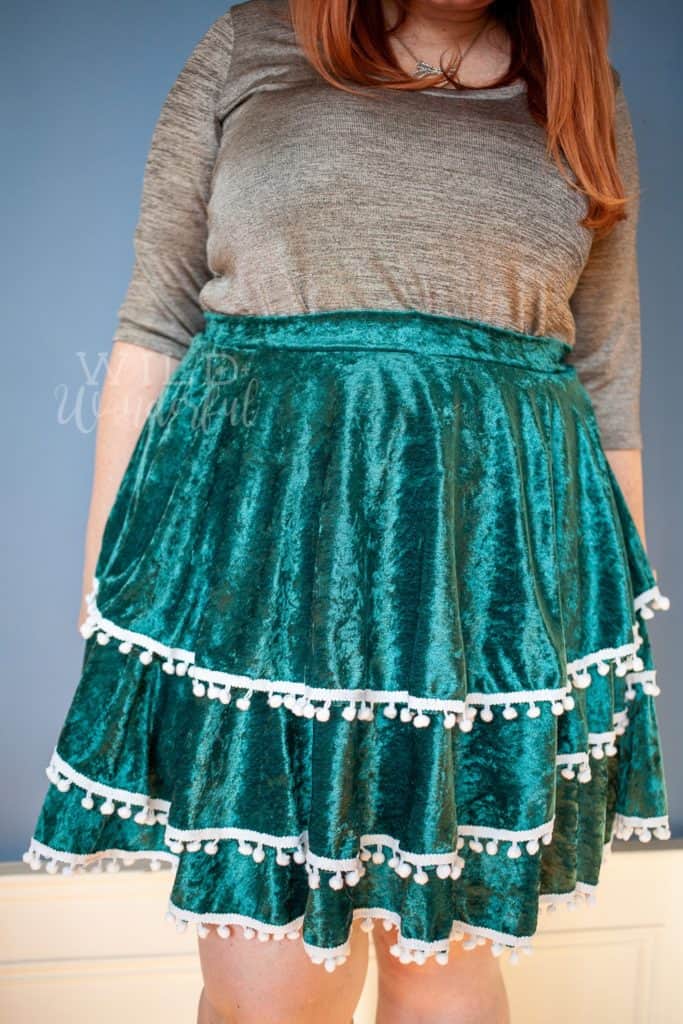
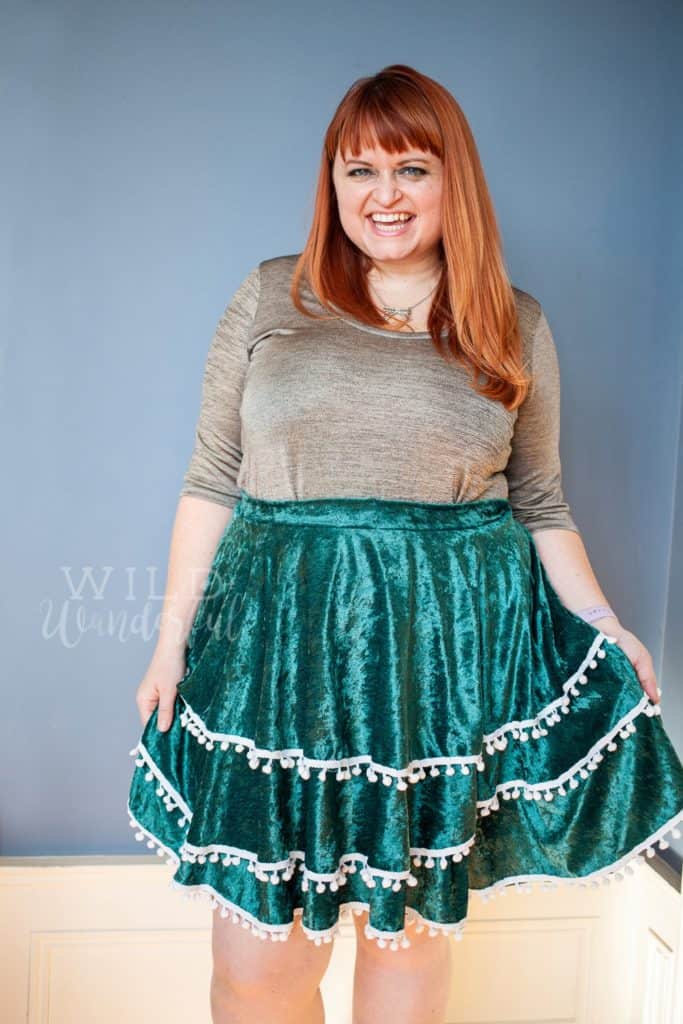
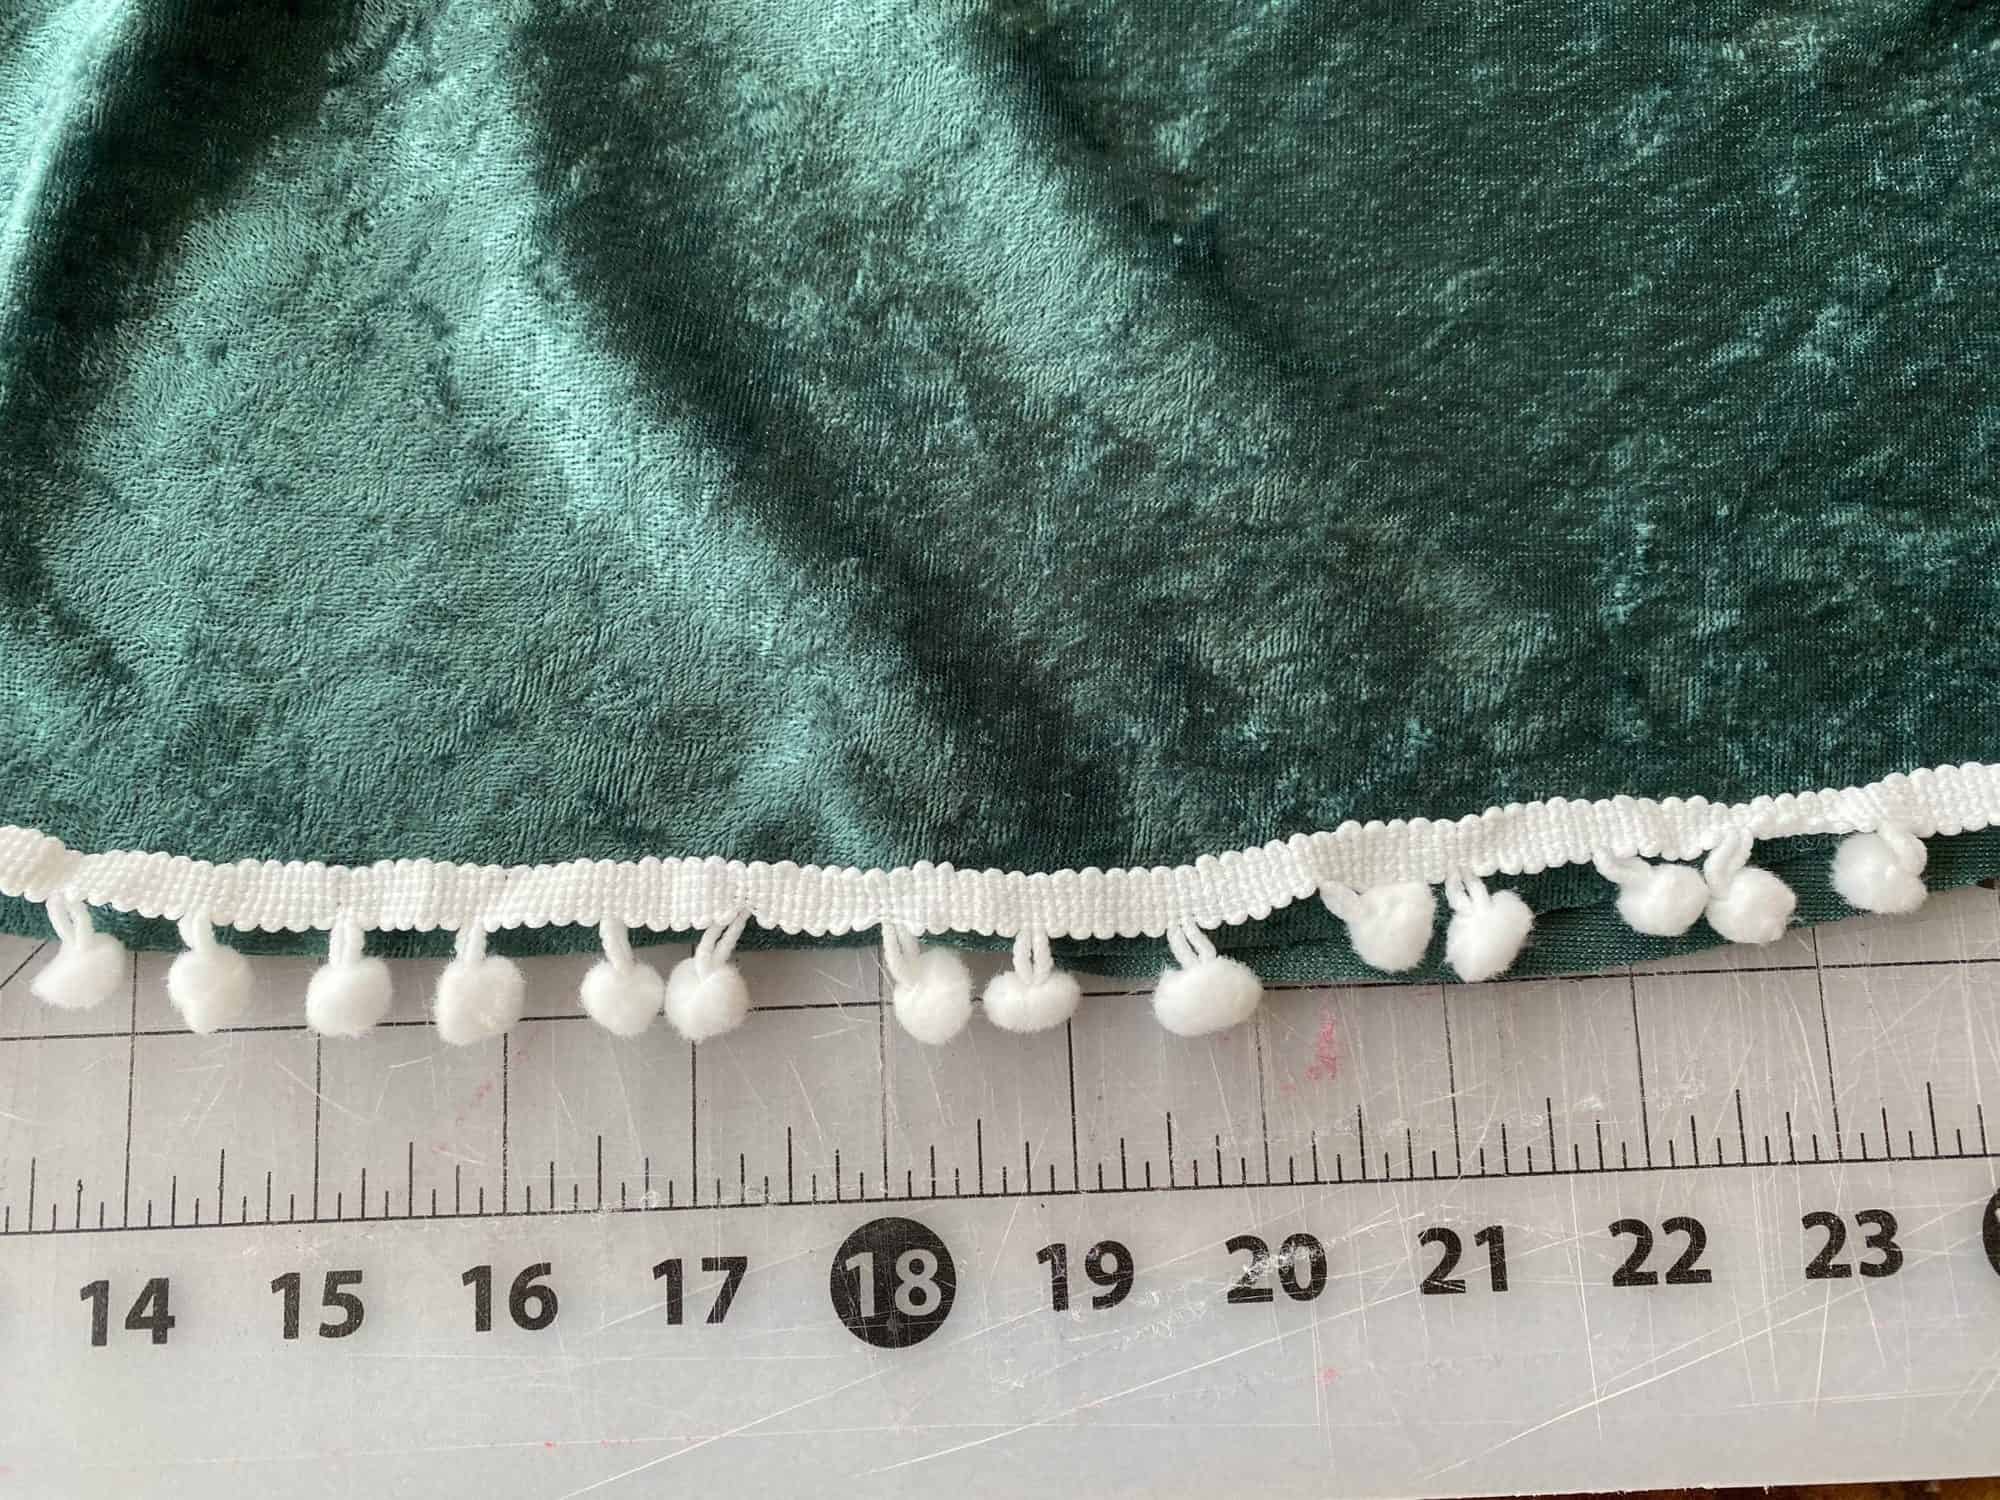
When I created this, I was picturing turning myself into a Christmas tree – but doing it in a semi-cute way. This pattern is three circle skirts layered on top of each other, completely hemmed in a white pom pom trim. Sweet. Simple. A little on the tacky side still. But totally holiday party worthy.
Check the size chart before sewing to know which skirt size you need to make!
Fabric Requirements in yards (based upon 54″ knit fabrics):
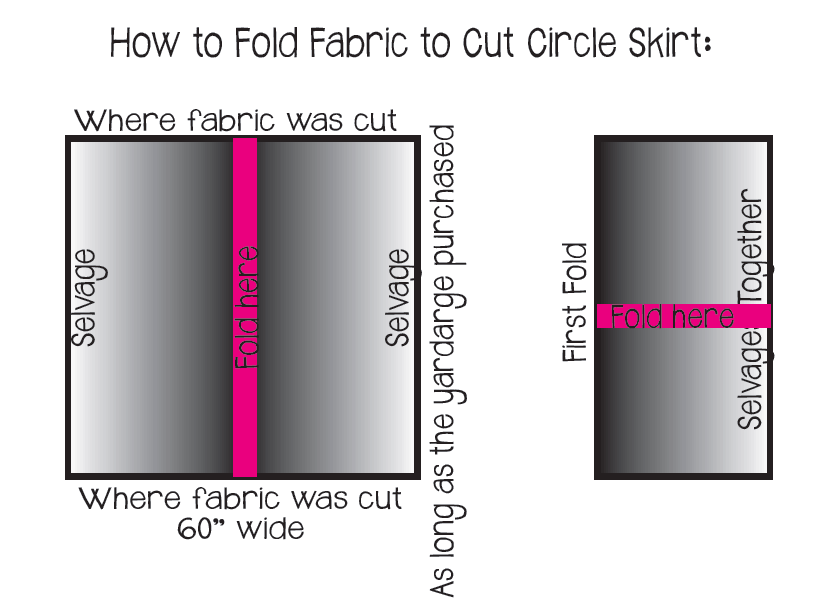
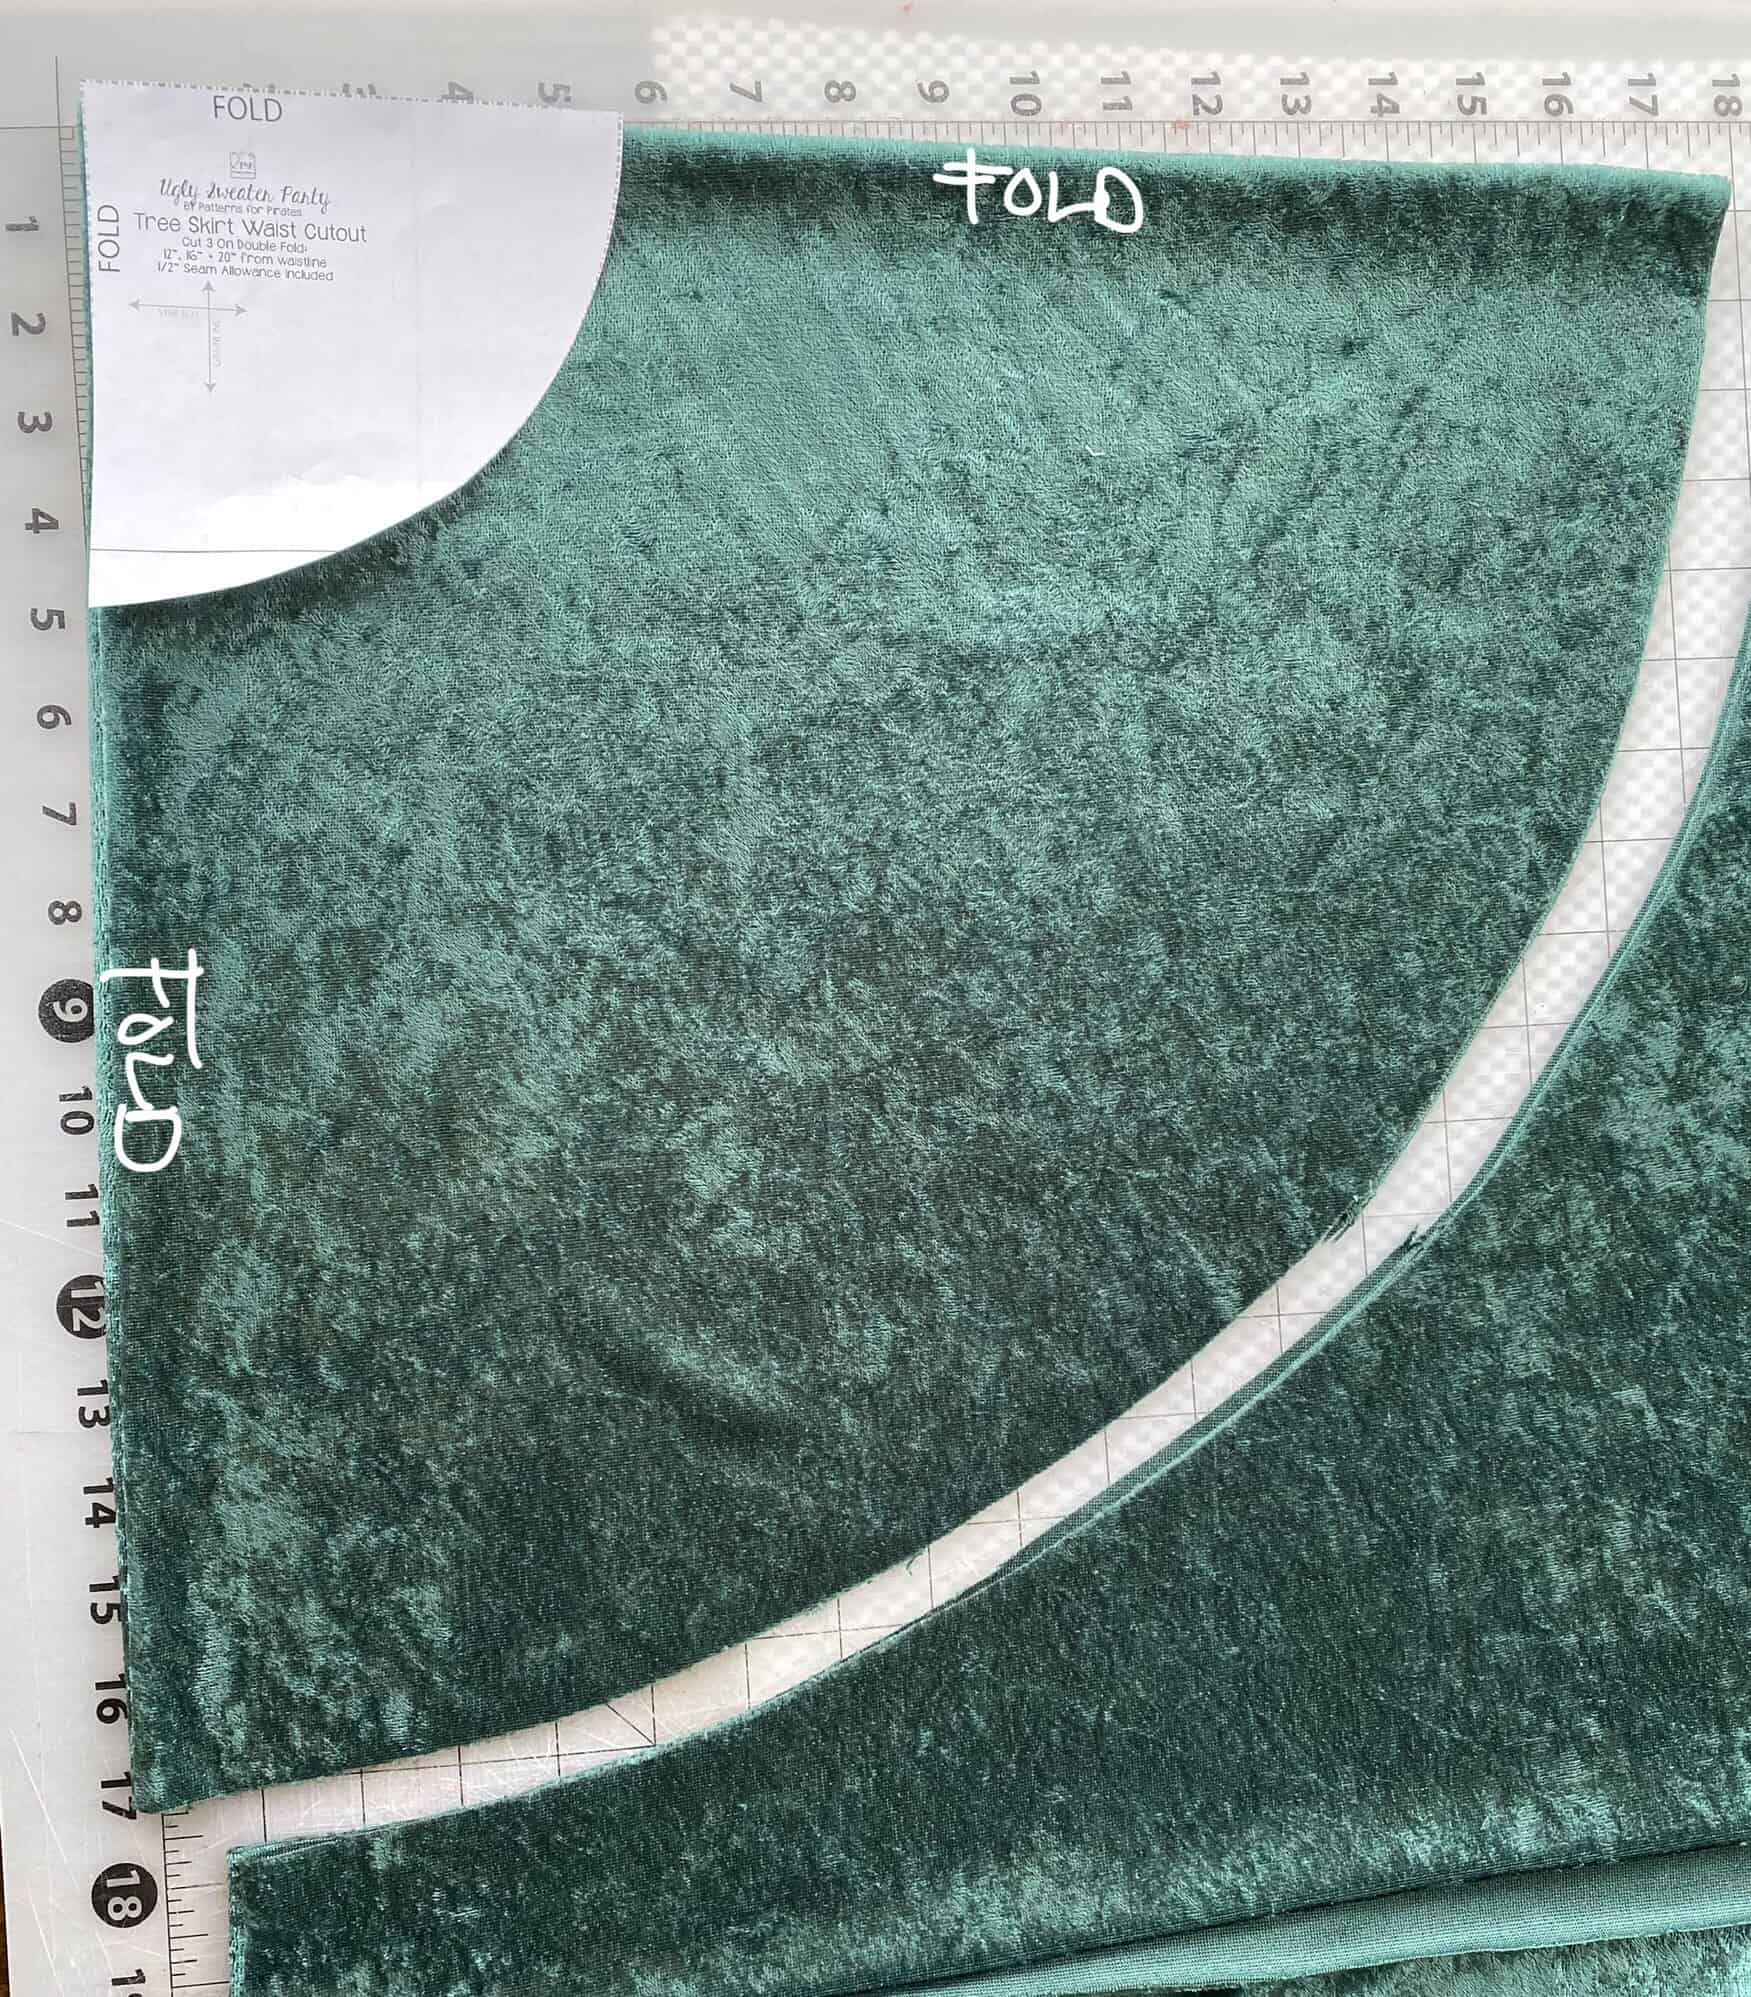
To get a full circle skirt, we will be cutting three layers of skirts on the double fold, using the cutout piece.
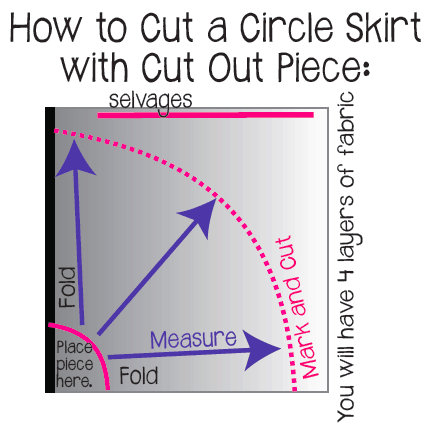
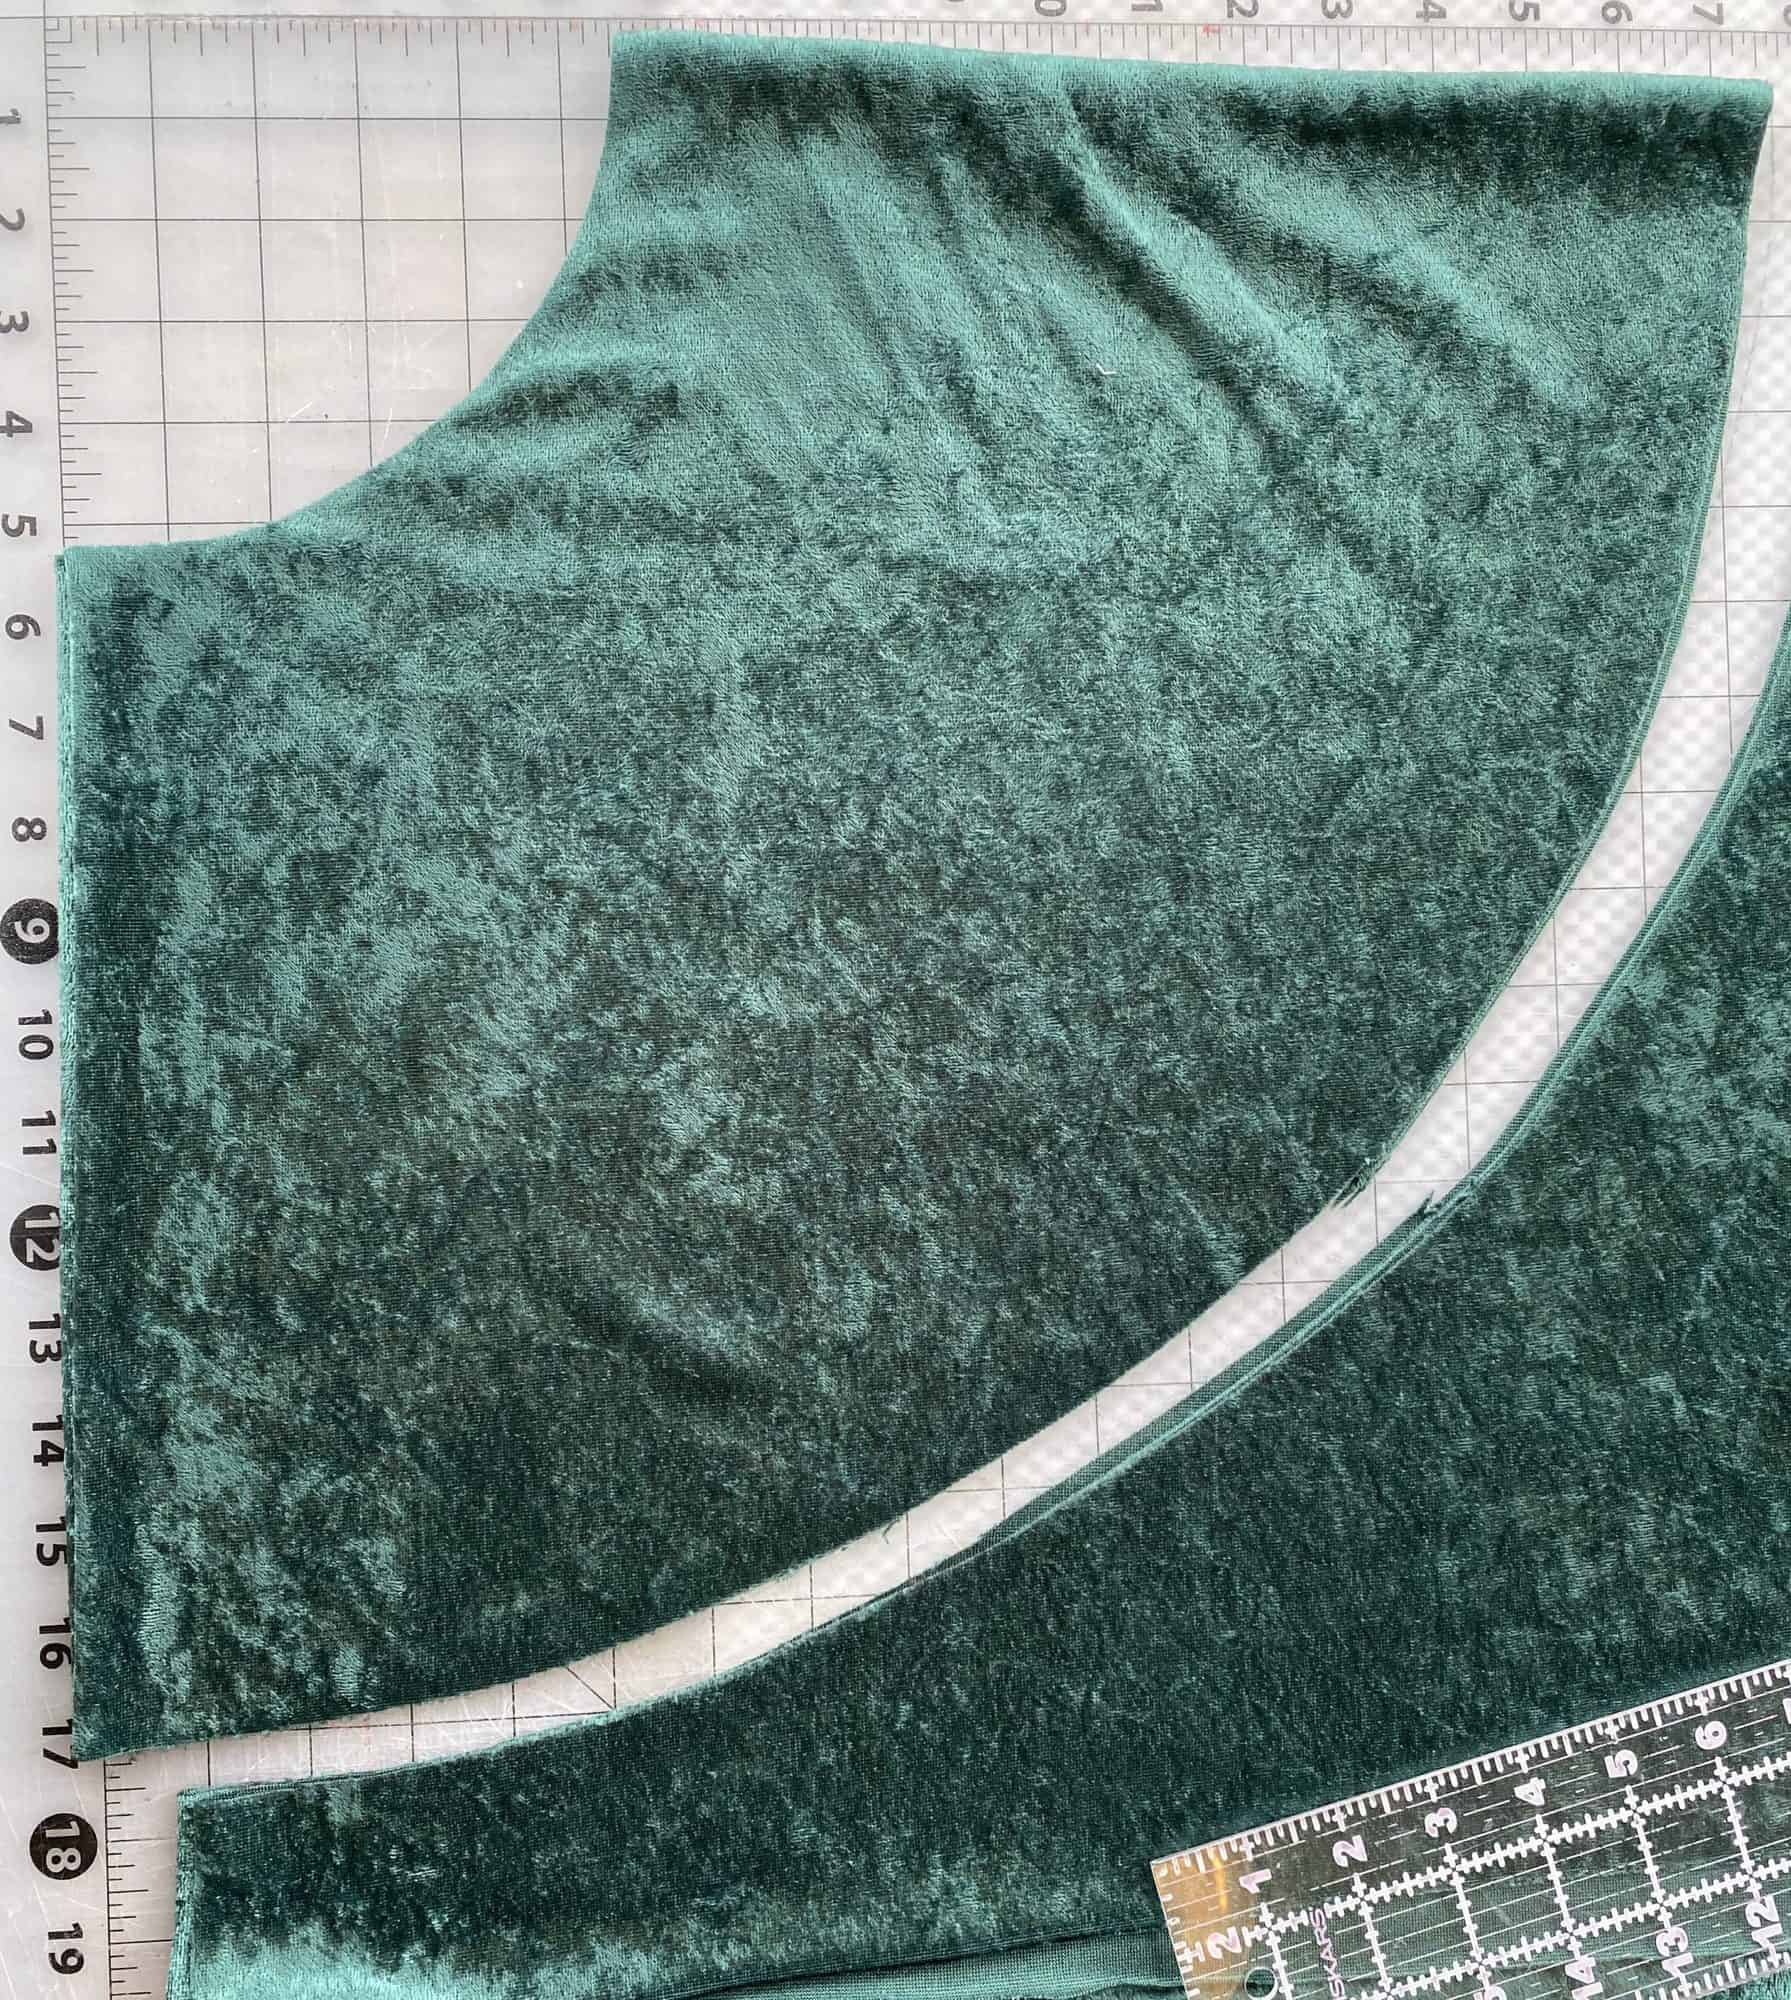
2. Cut out the middle circle along the pattern piece.
3. If desired, add your trim / hem each layer of the skirt pieces.
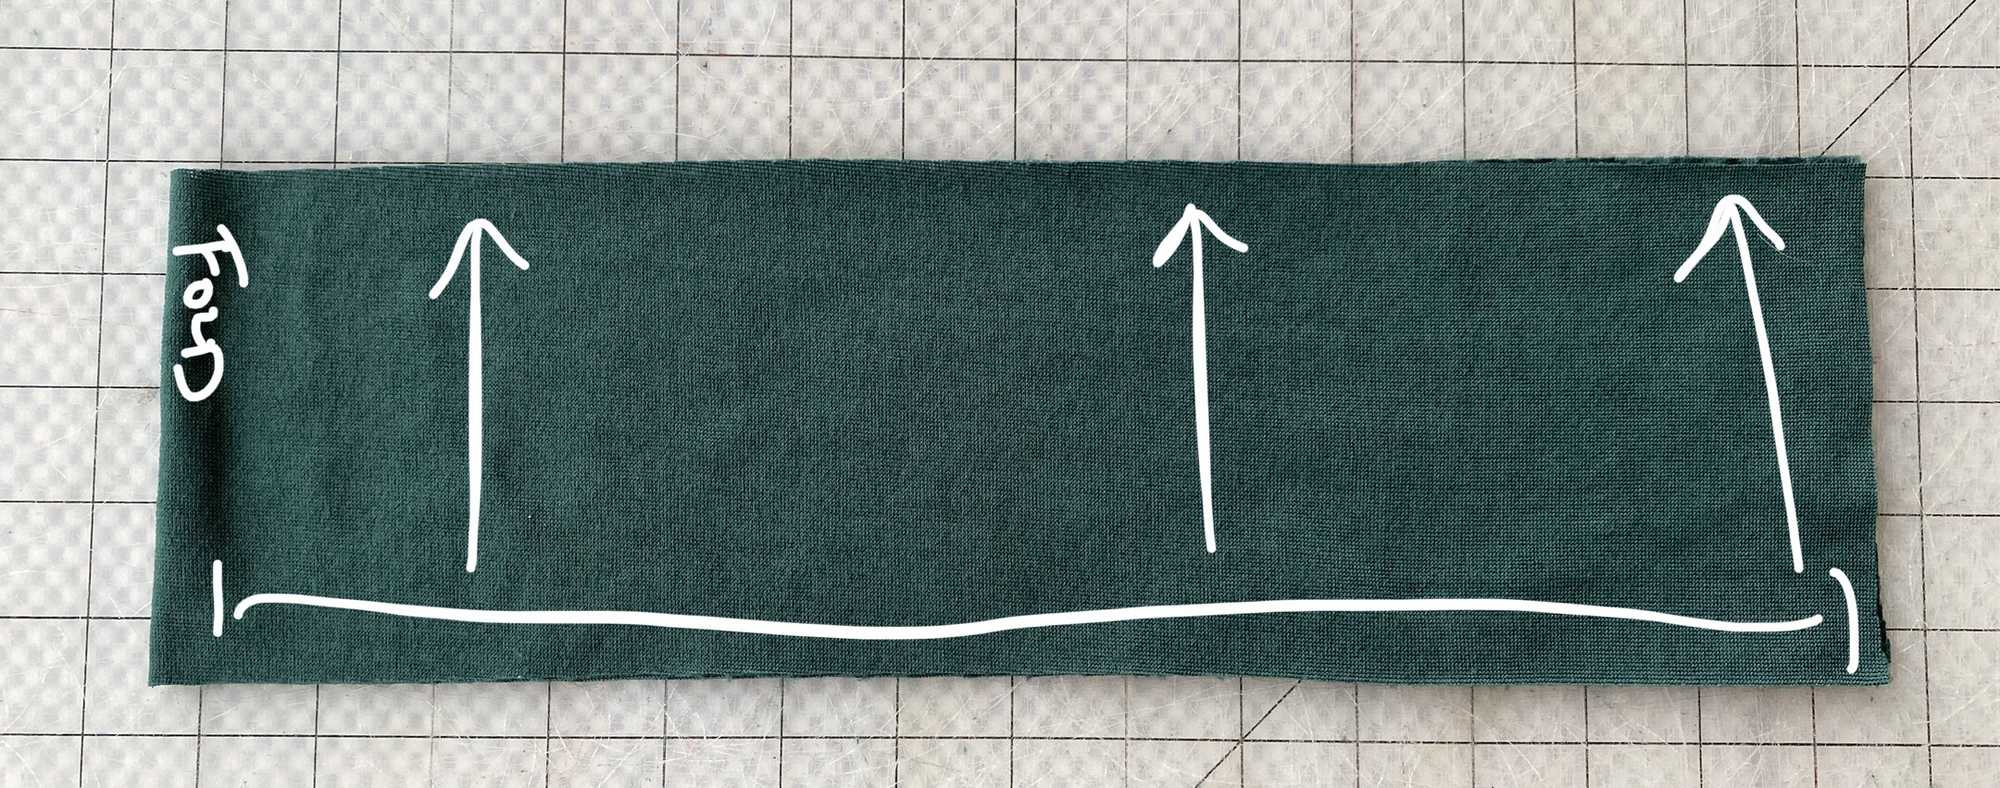
4. Meeting the short ends together, fold the waistband piece right sides together.
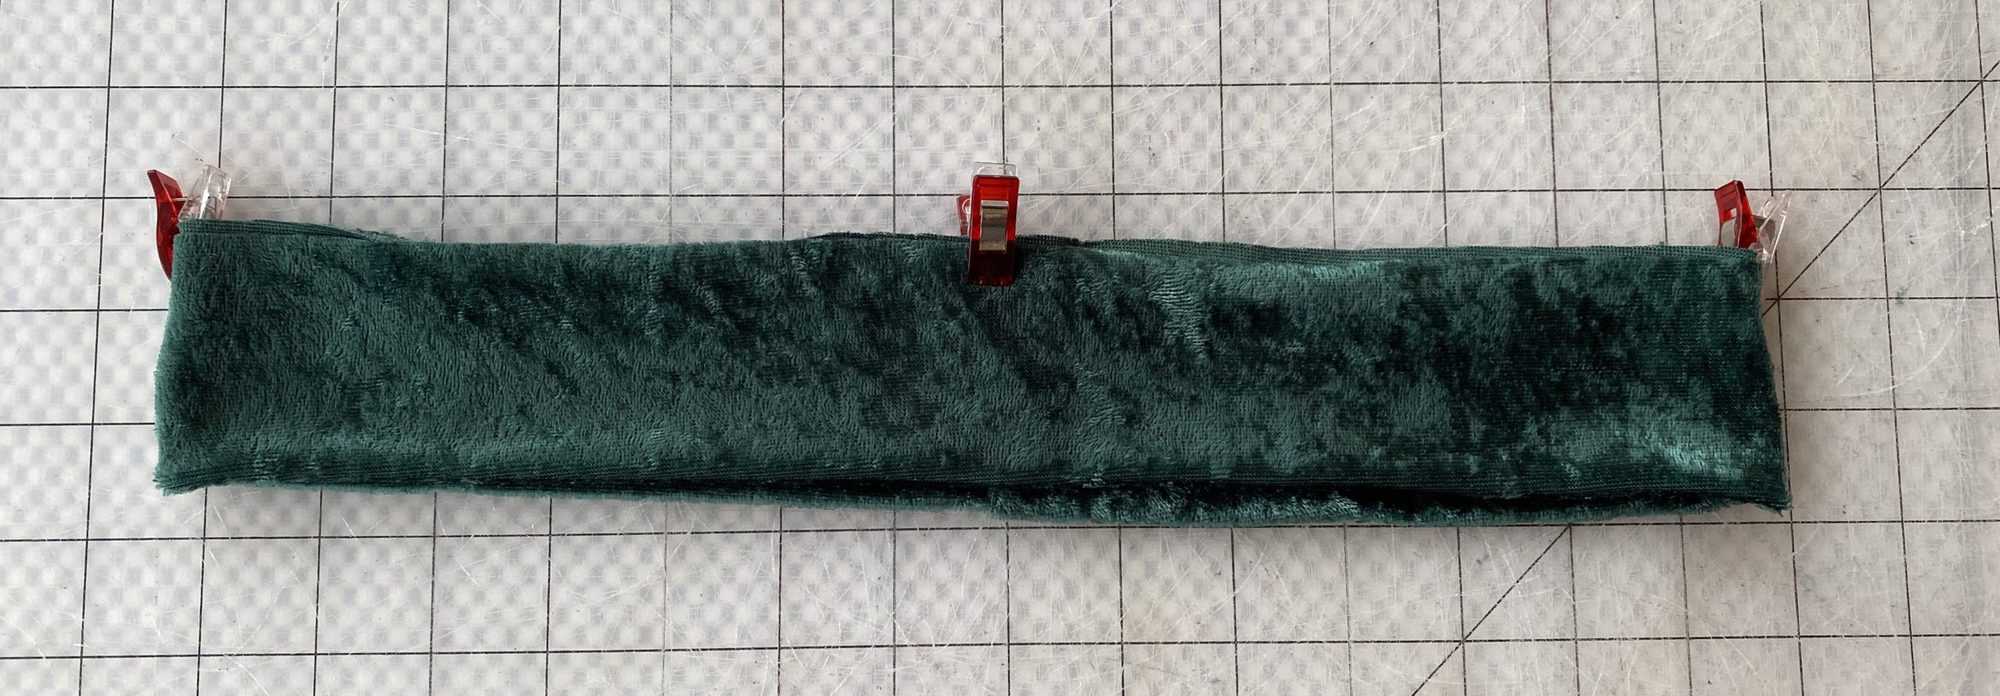
5. Now meeting the long ends together, fold the waistband piece a second time. You’ll have a fold along one of the sides and the bottom.
6. Sew along raw, short edge. And then flip to right sides out.
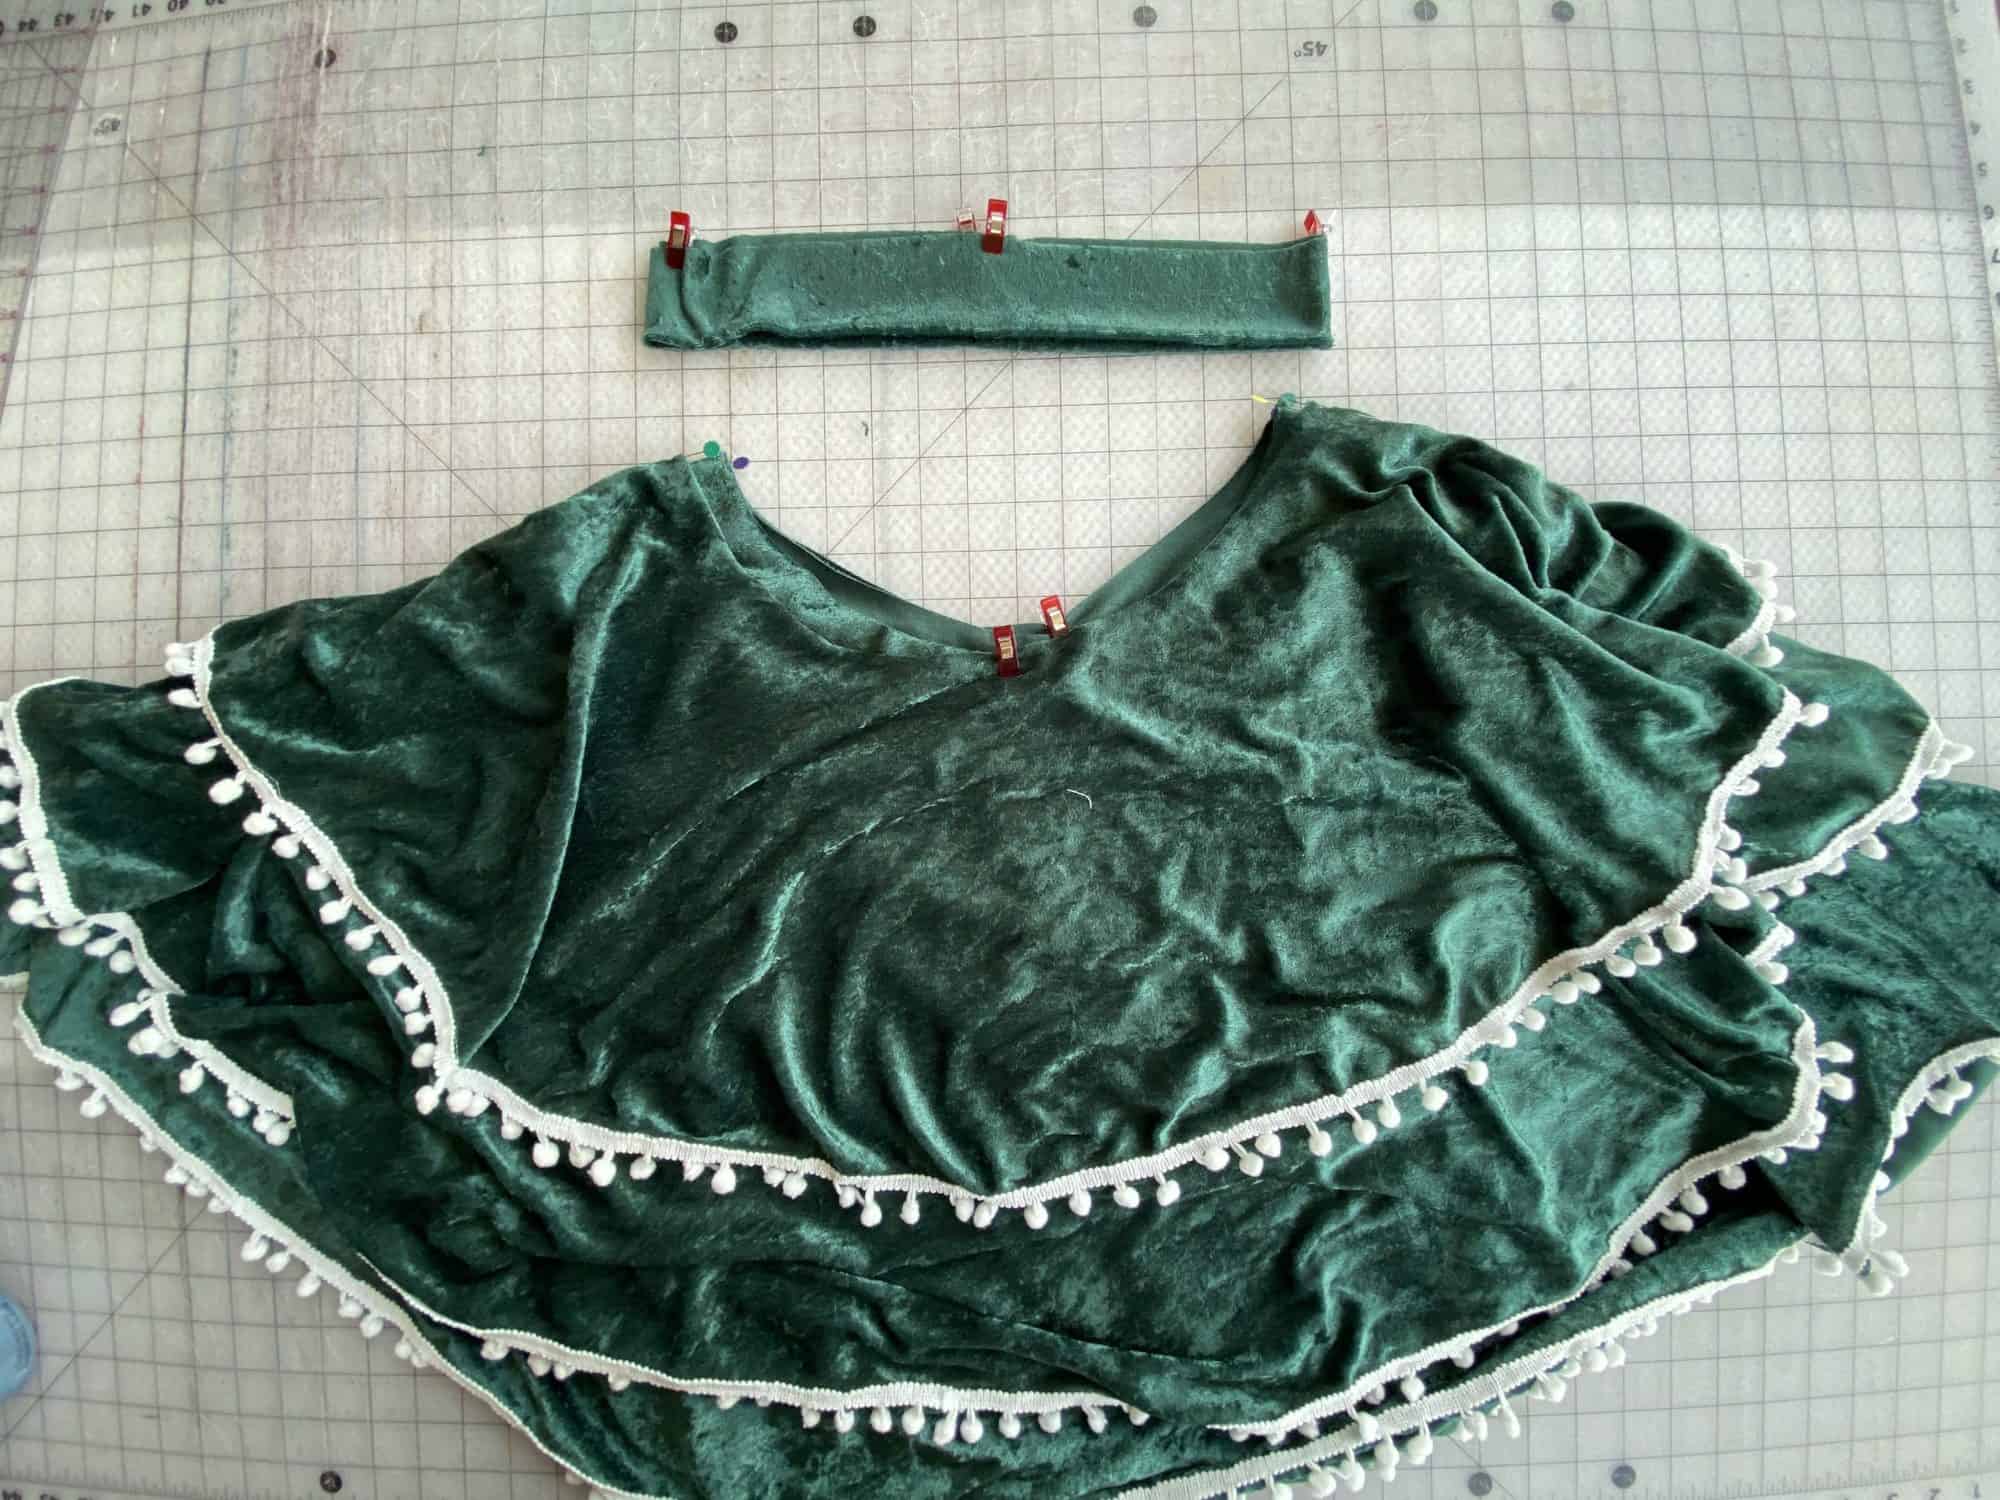
7. Mark the quarter points on your waistband piece.
8. With all three layers of the skirt aligned at the waist opening, mark the quarter points of the skirt as well.
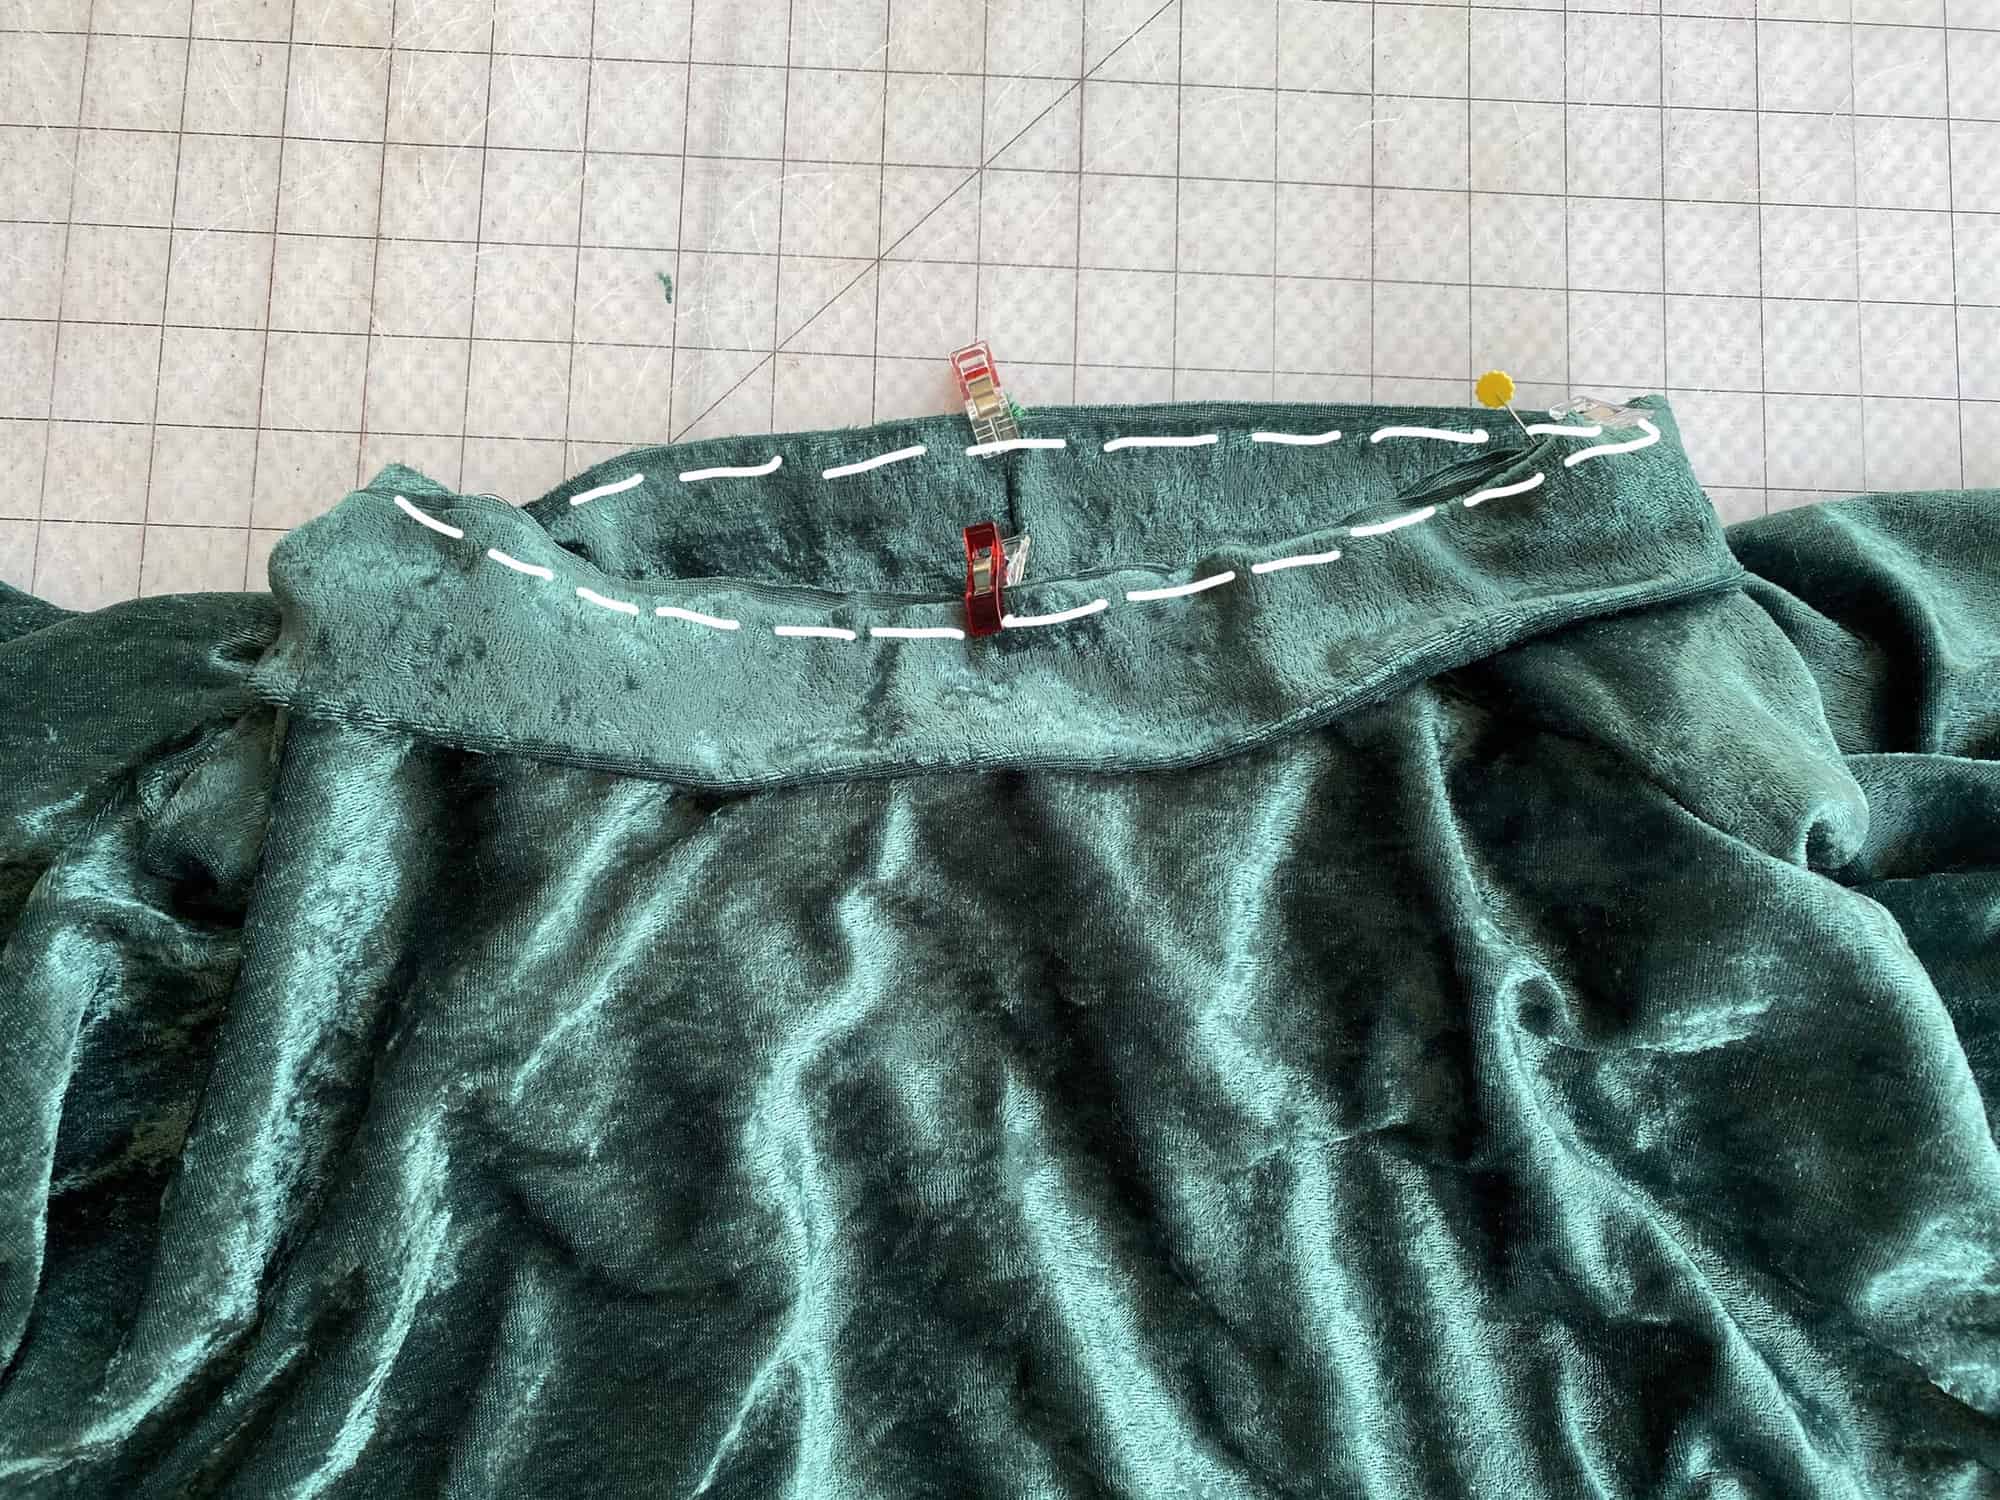
9. Aligning all raw edges and quarter points, sew through all 5 layers of fabric, attaching the waistband to the three layers of the skirt. Flip up the waistband and wear your new tree inspired skirt!
ELF COLLAR
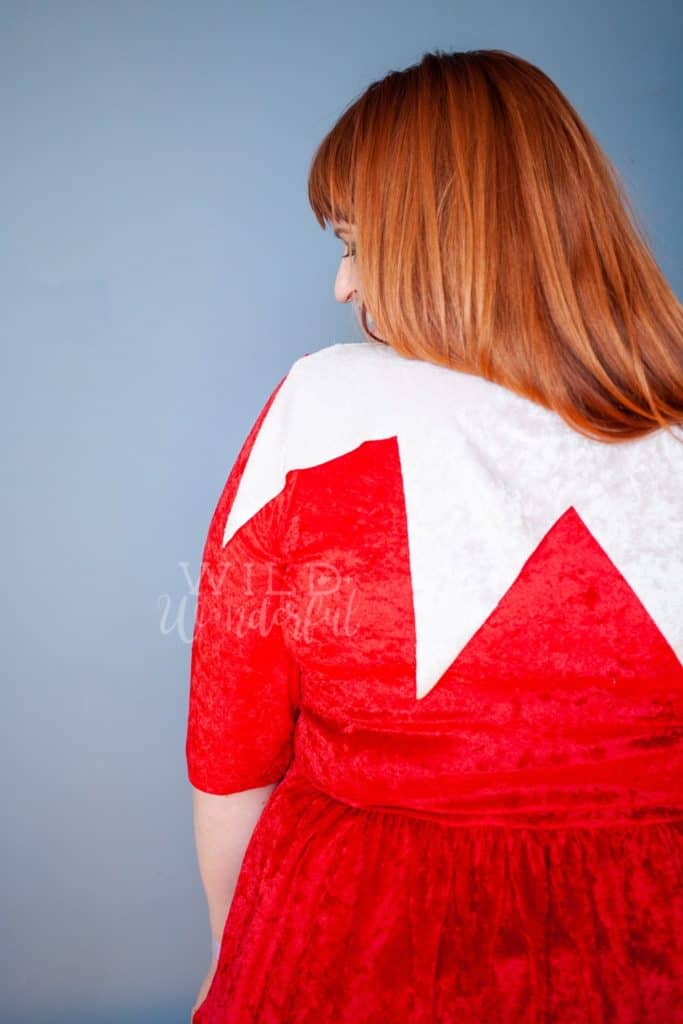
You can use this on pretty much any tshirt pattern you might already own. While my tutorial is using the Boho Babydoll, it can be used on most adult and youth patterns and sizes. You can be your very own Elf on the Shelf, in case that’s been your lifelong dream!
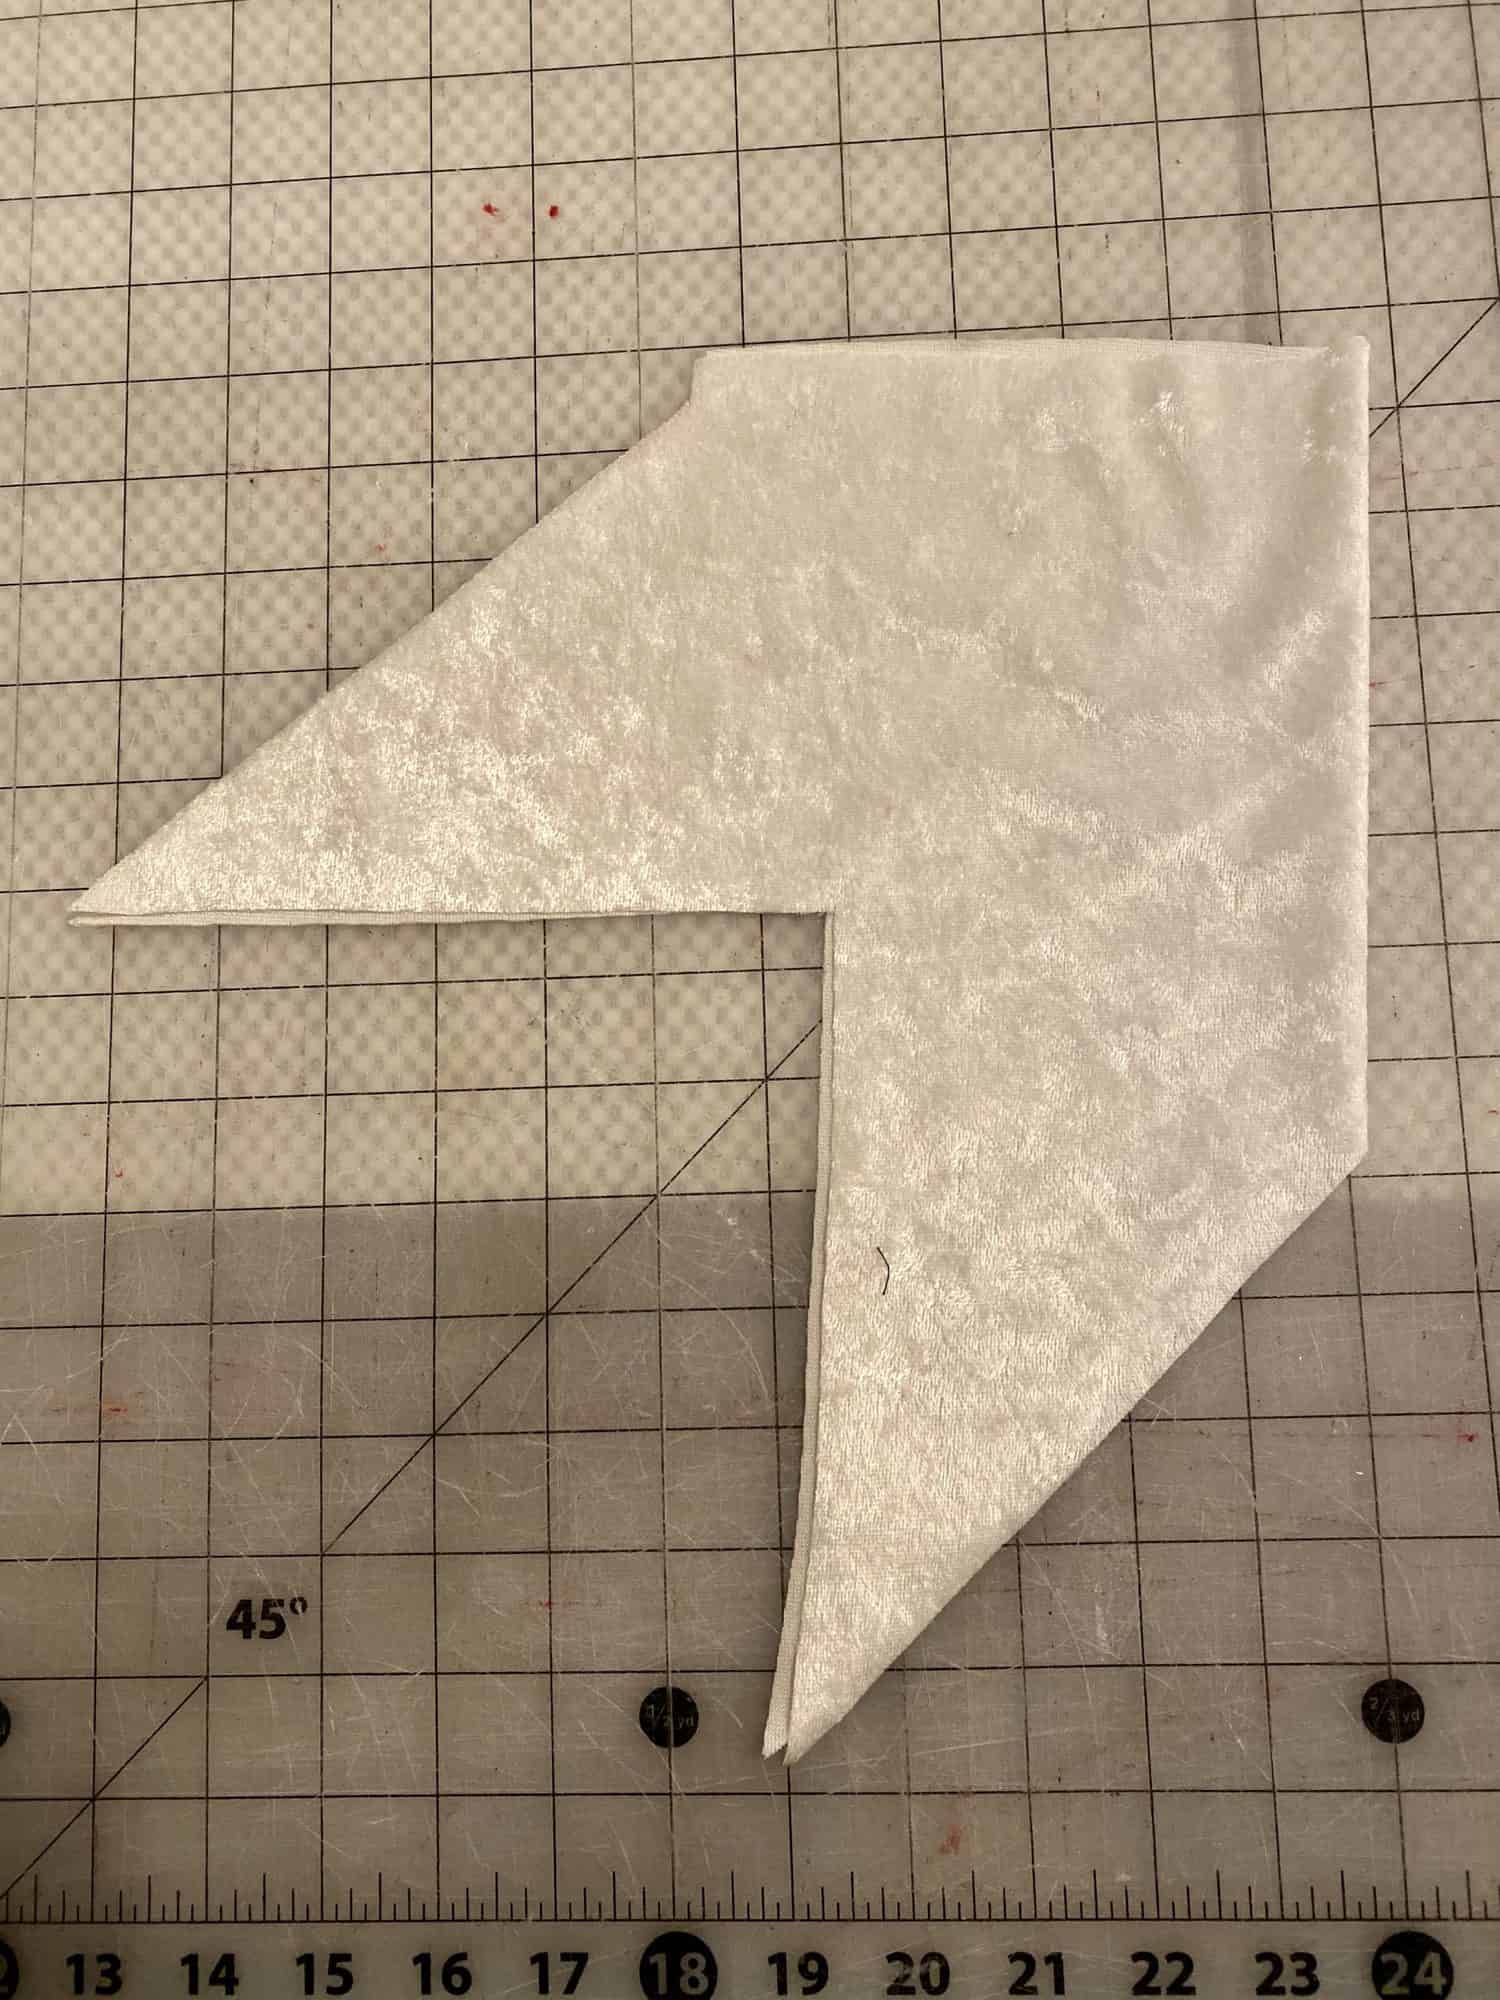
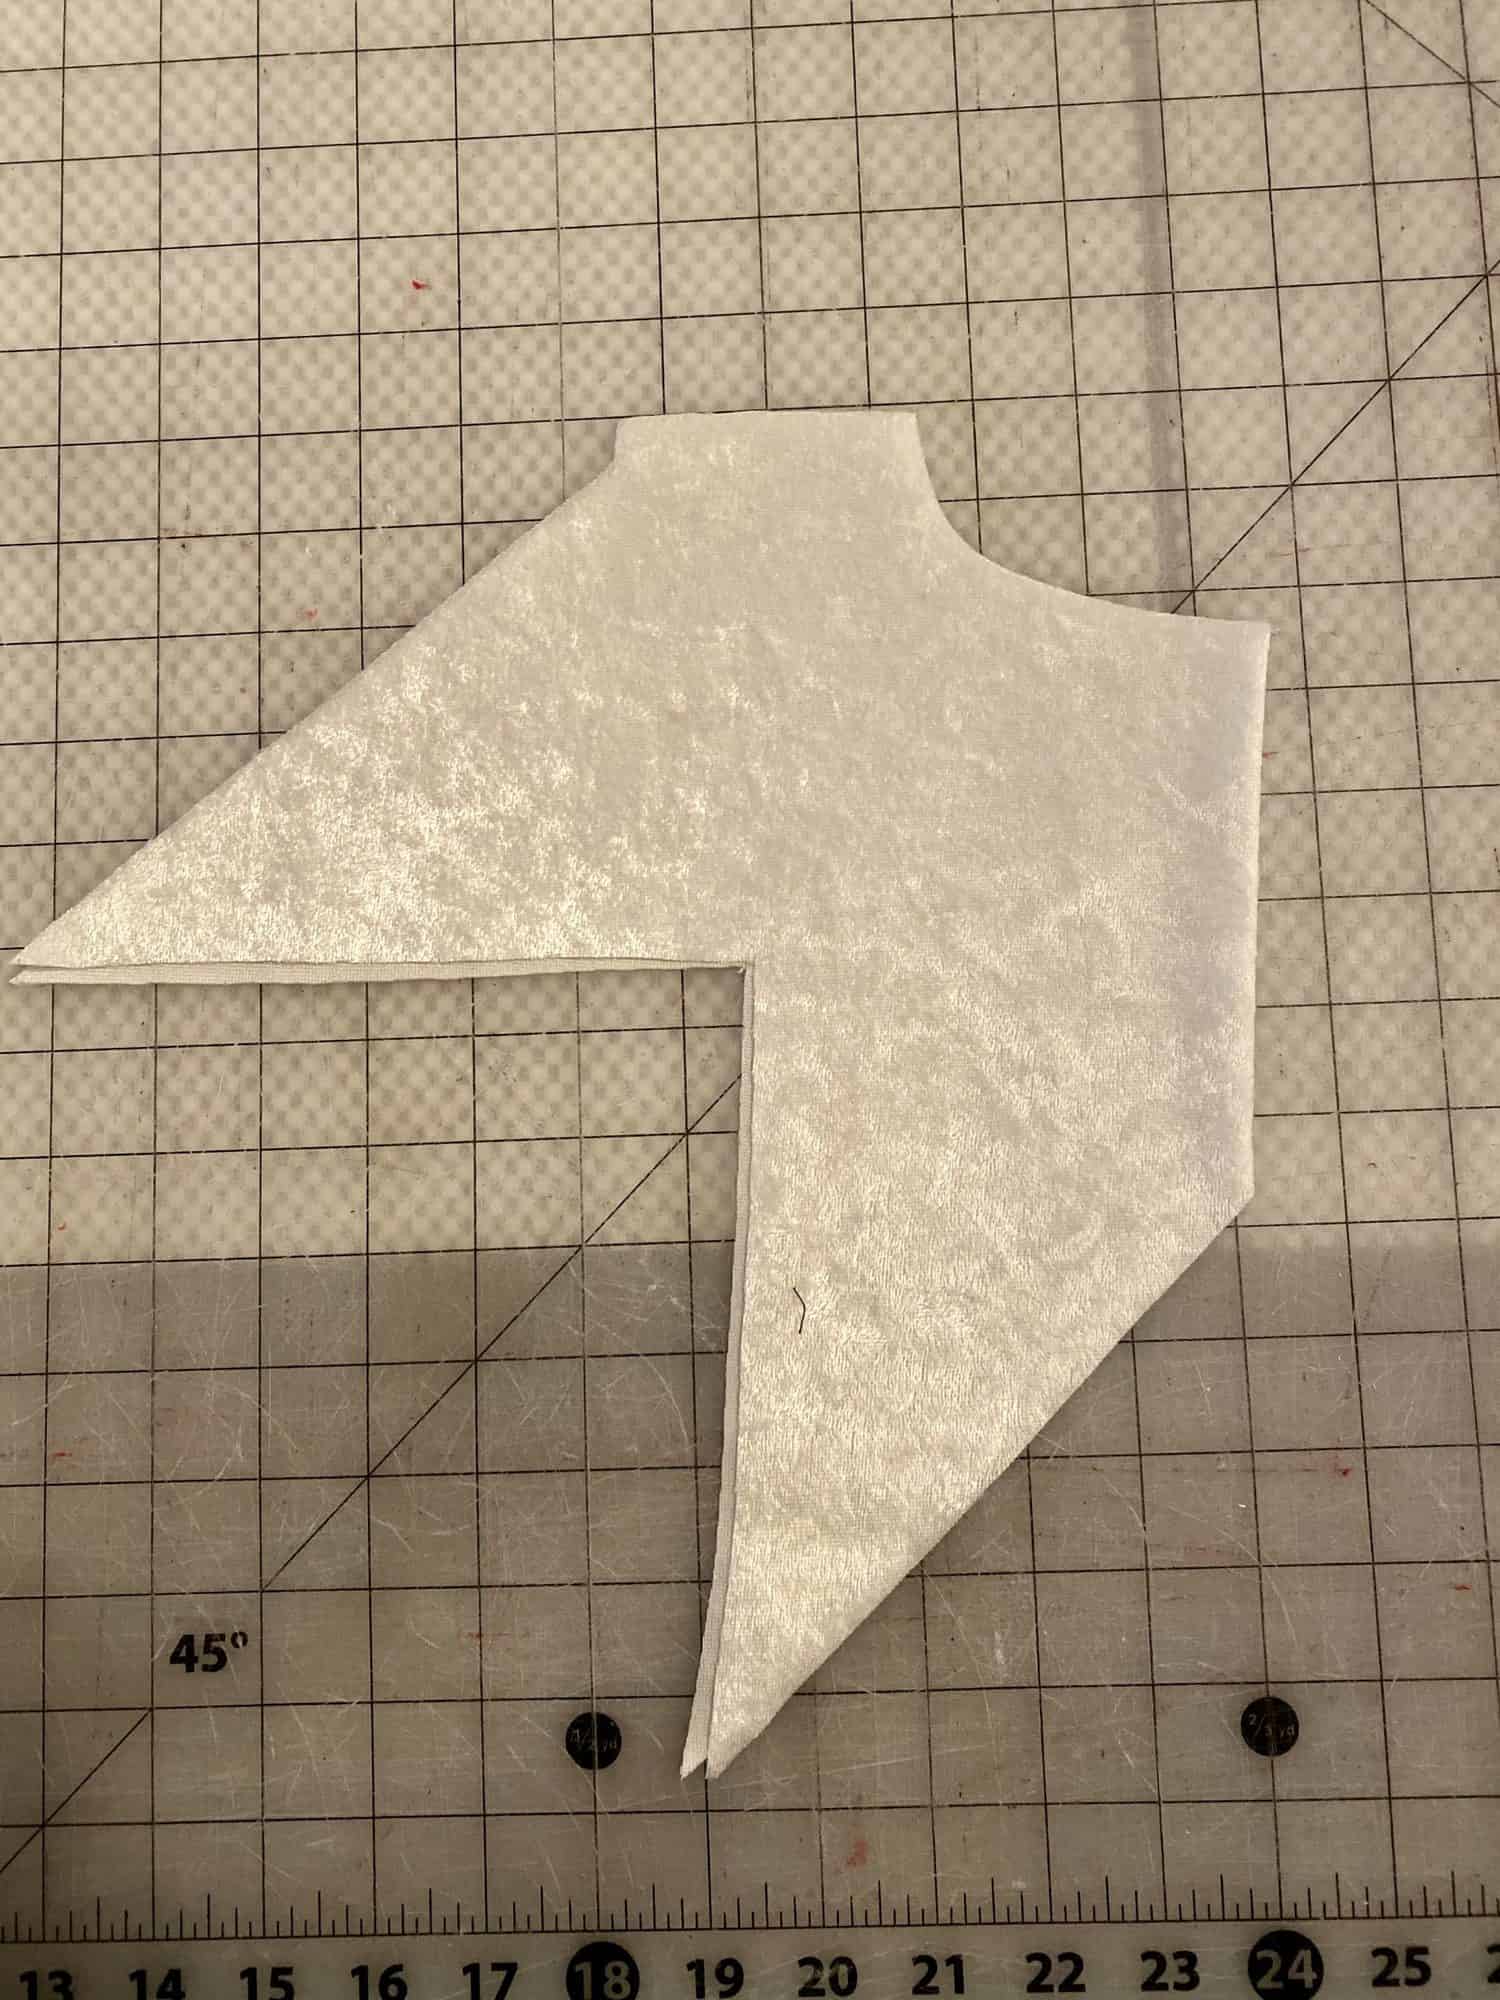
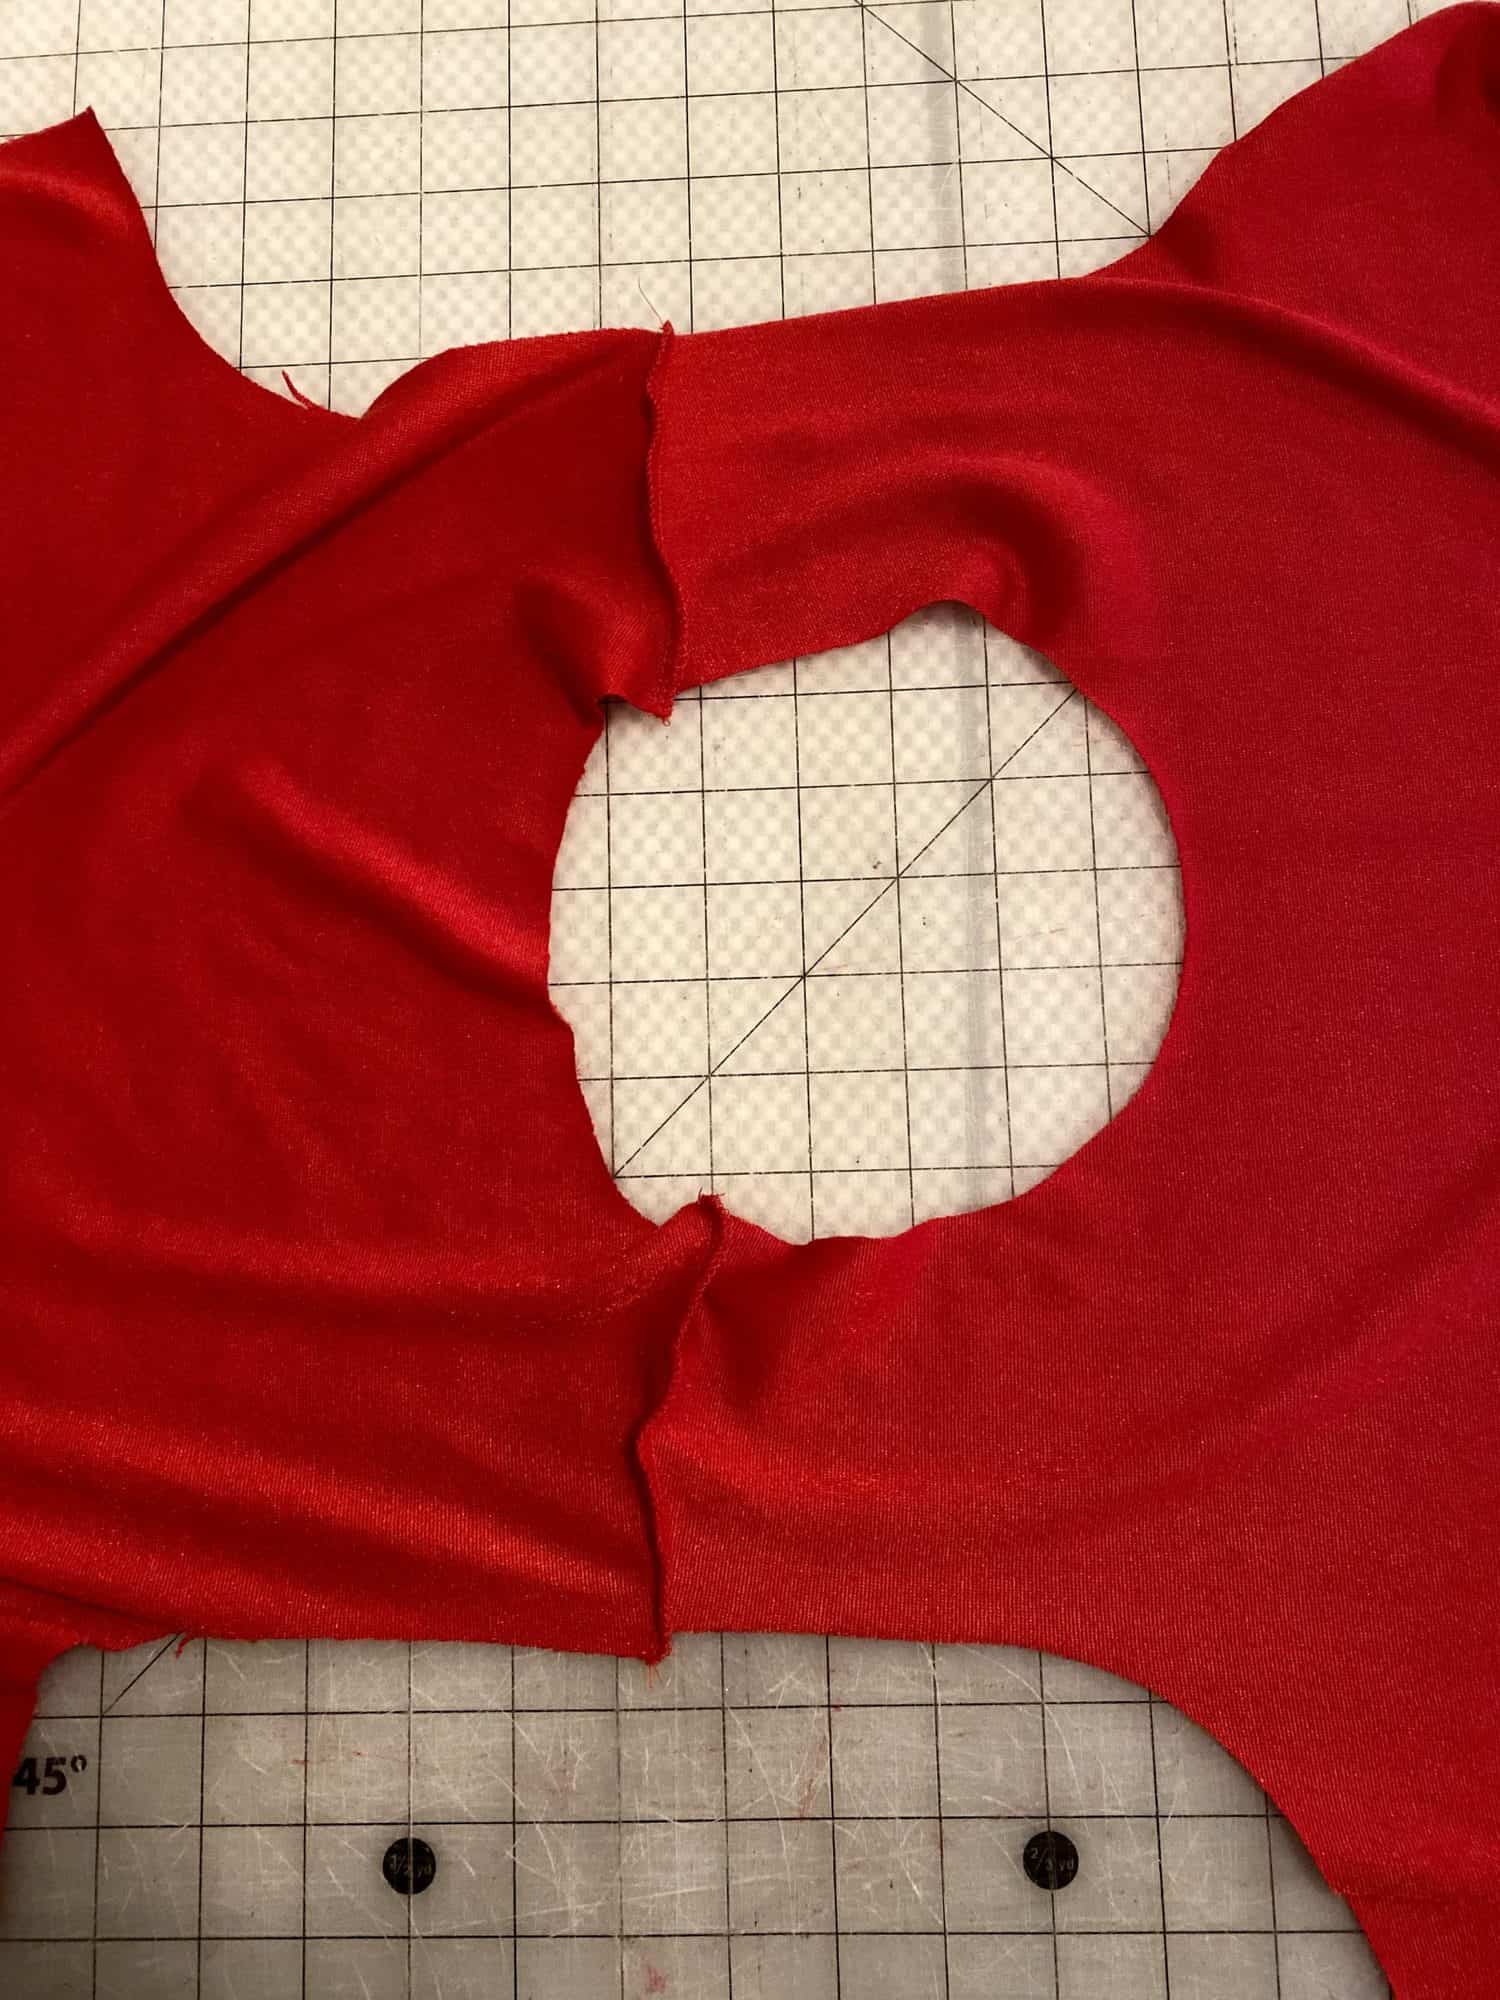
1. Keeping the collar piece folded, lay one of the pieces out in front of you.
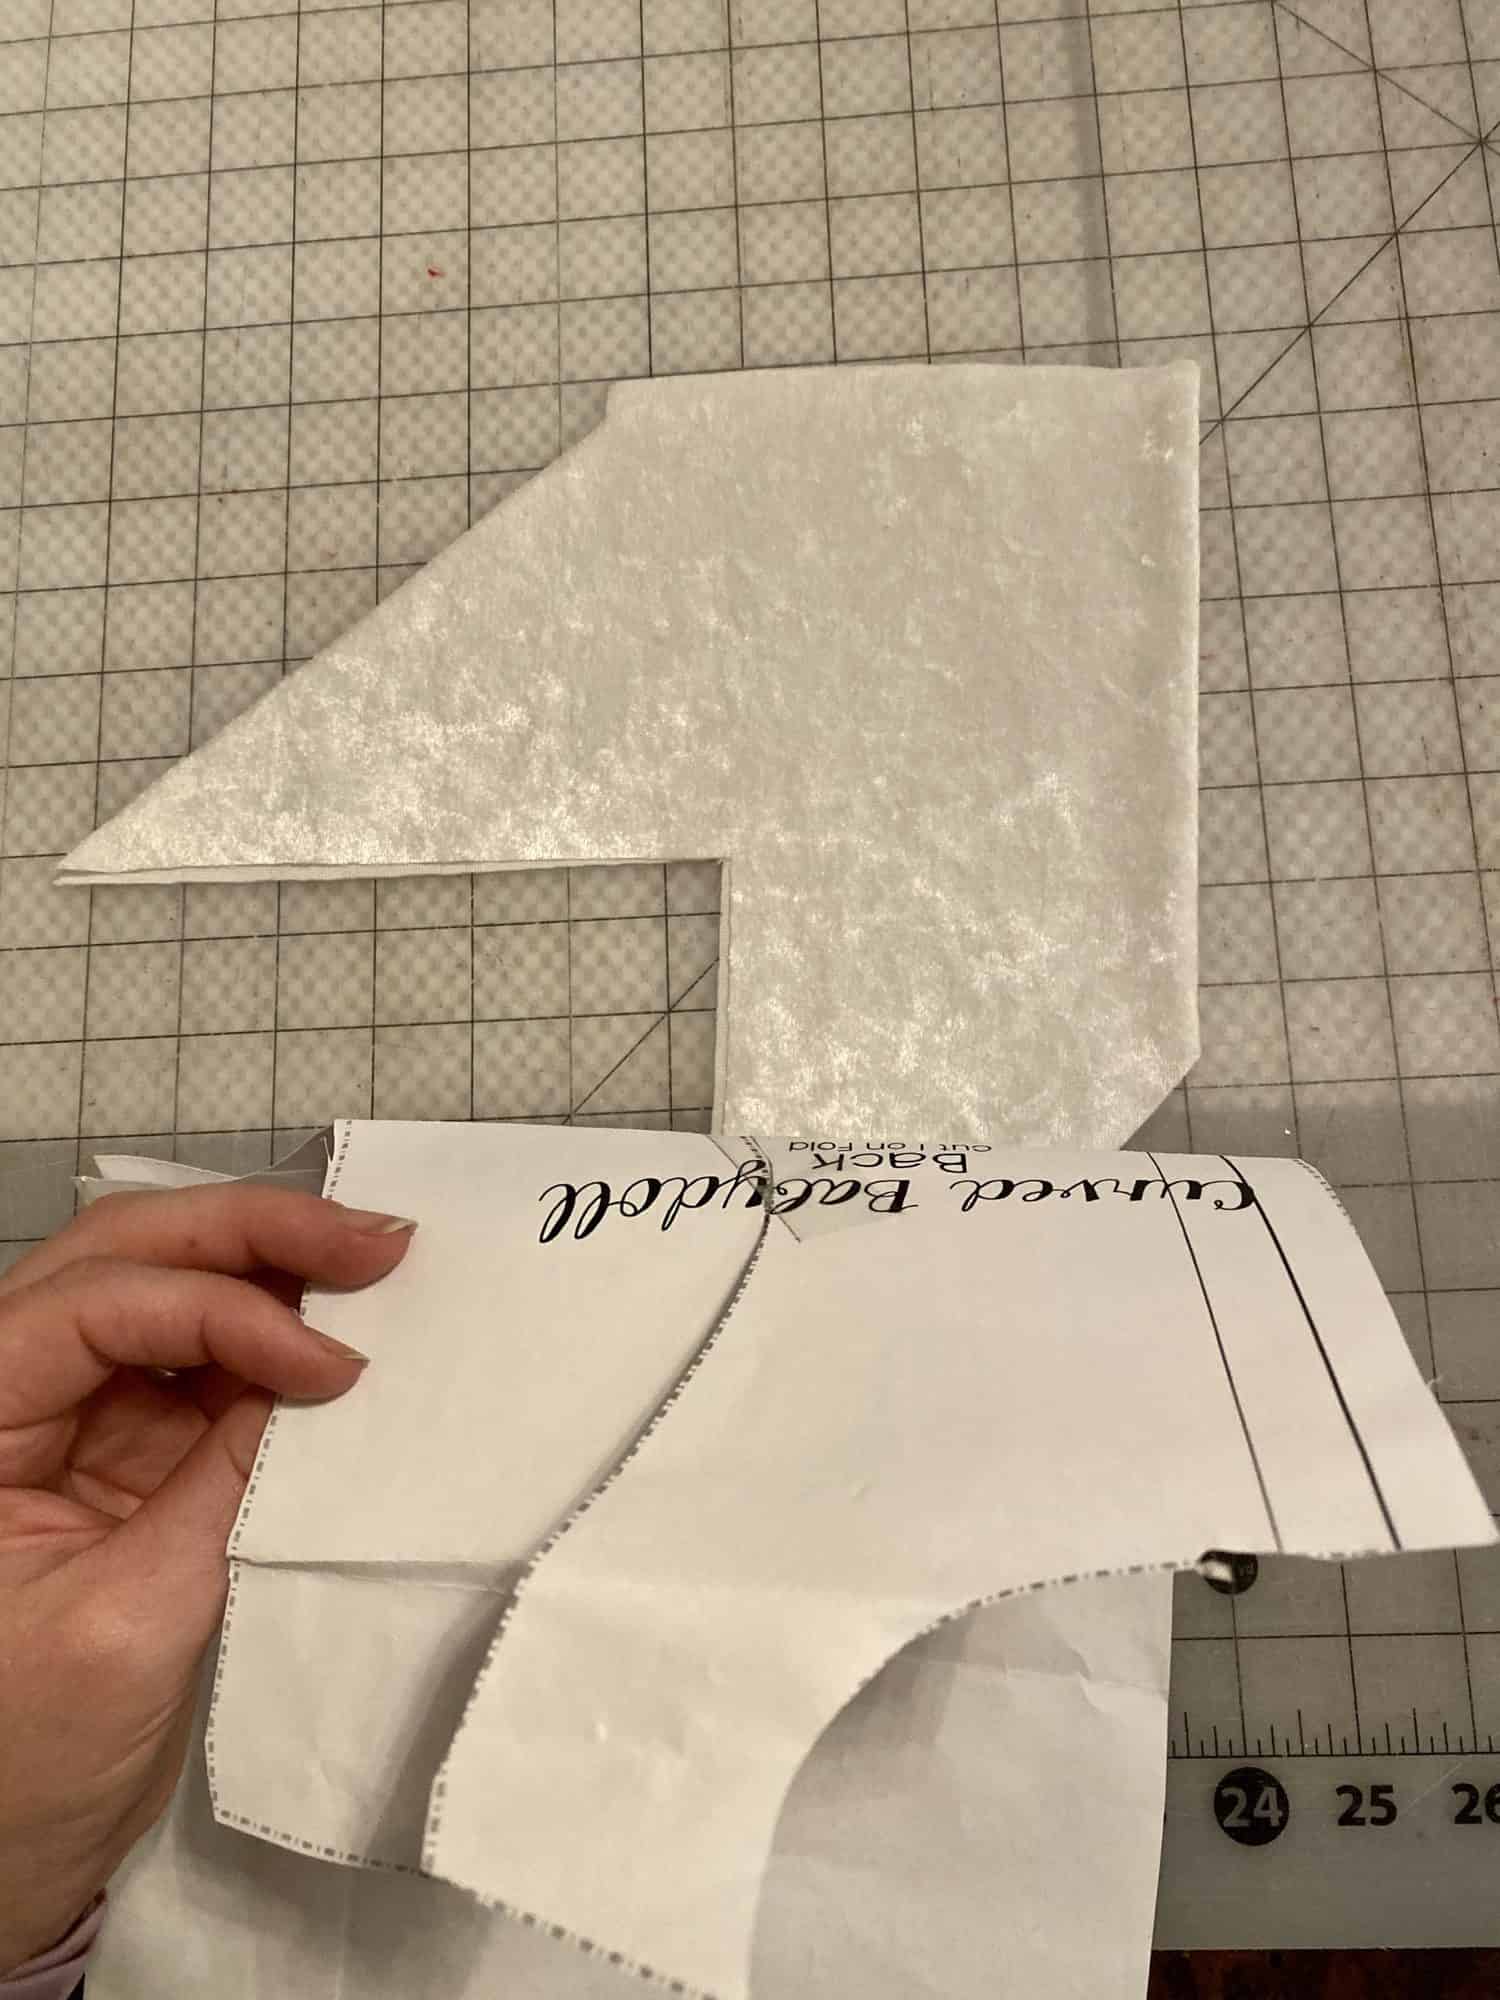
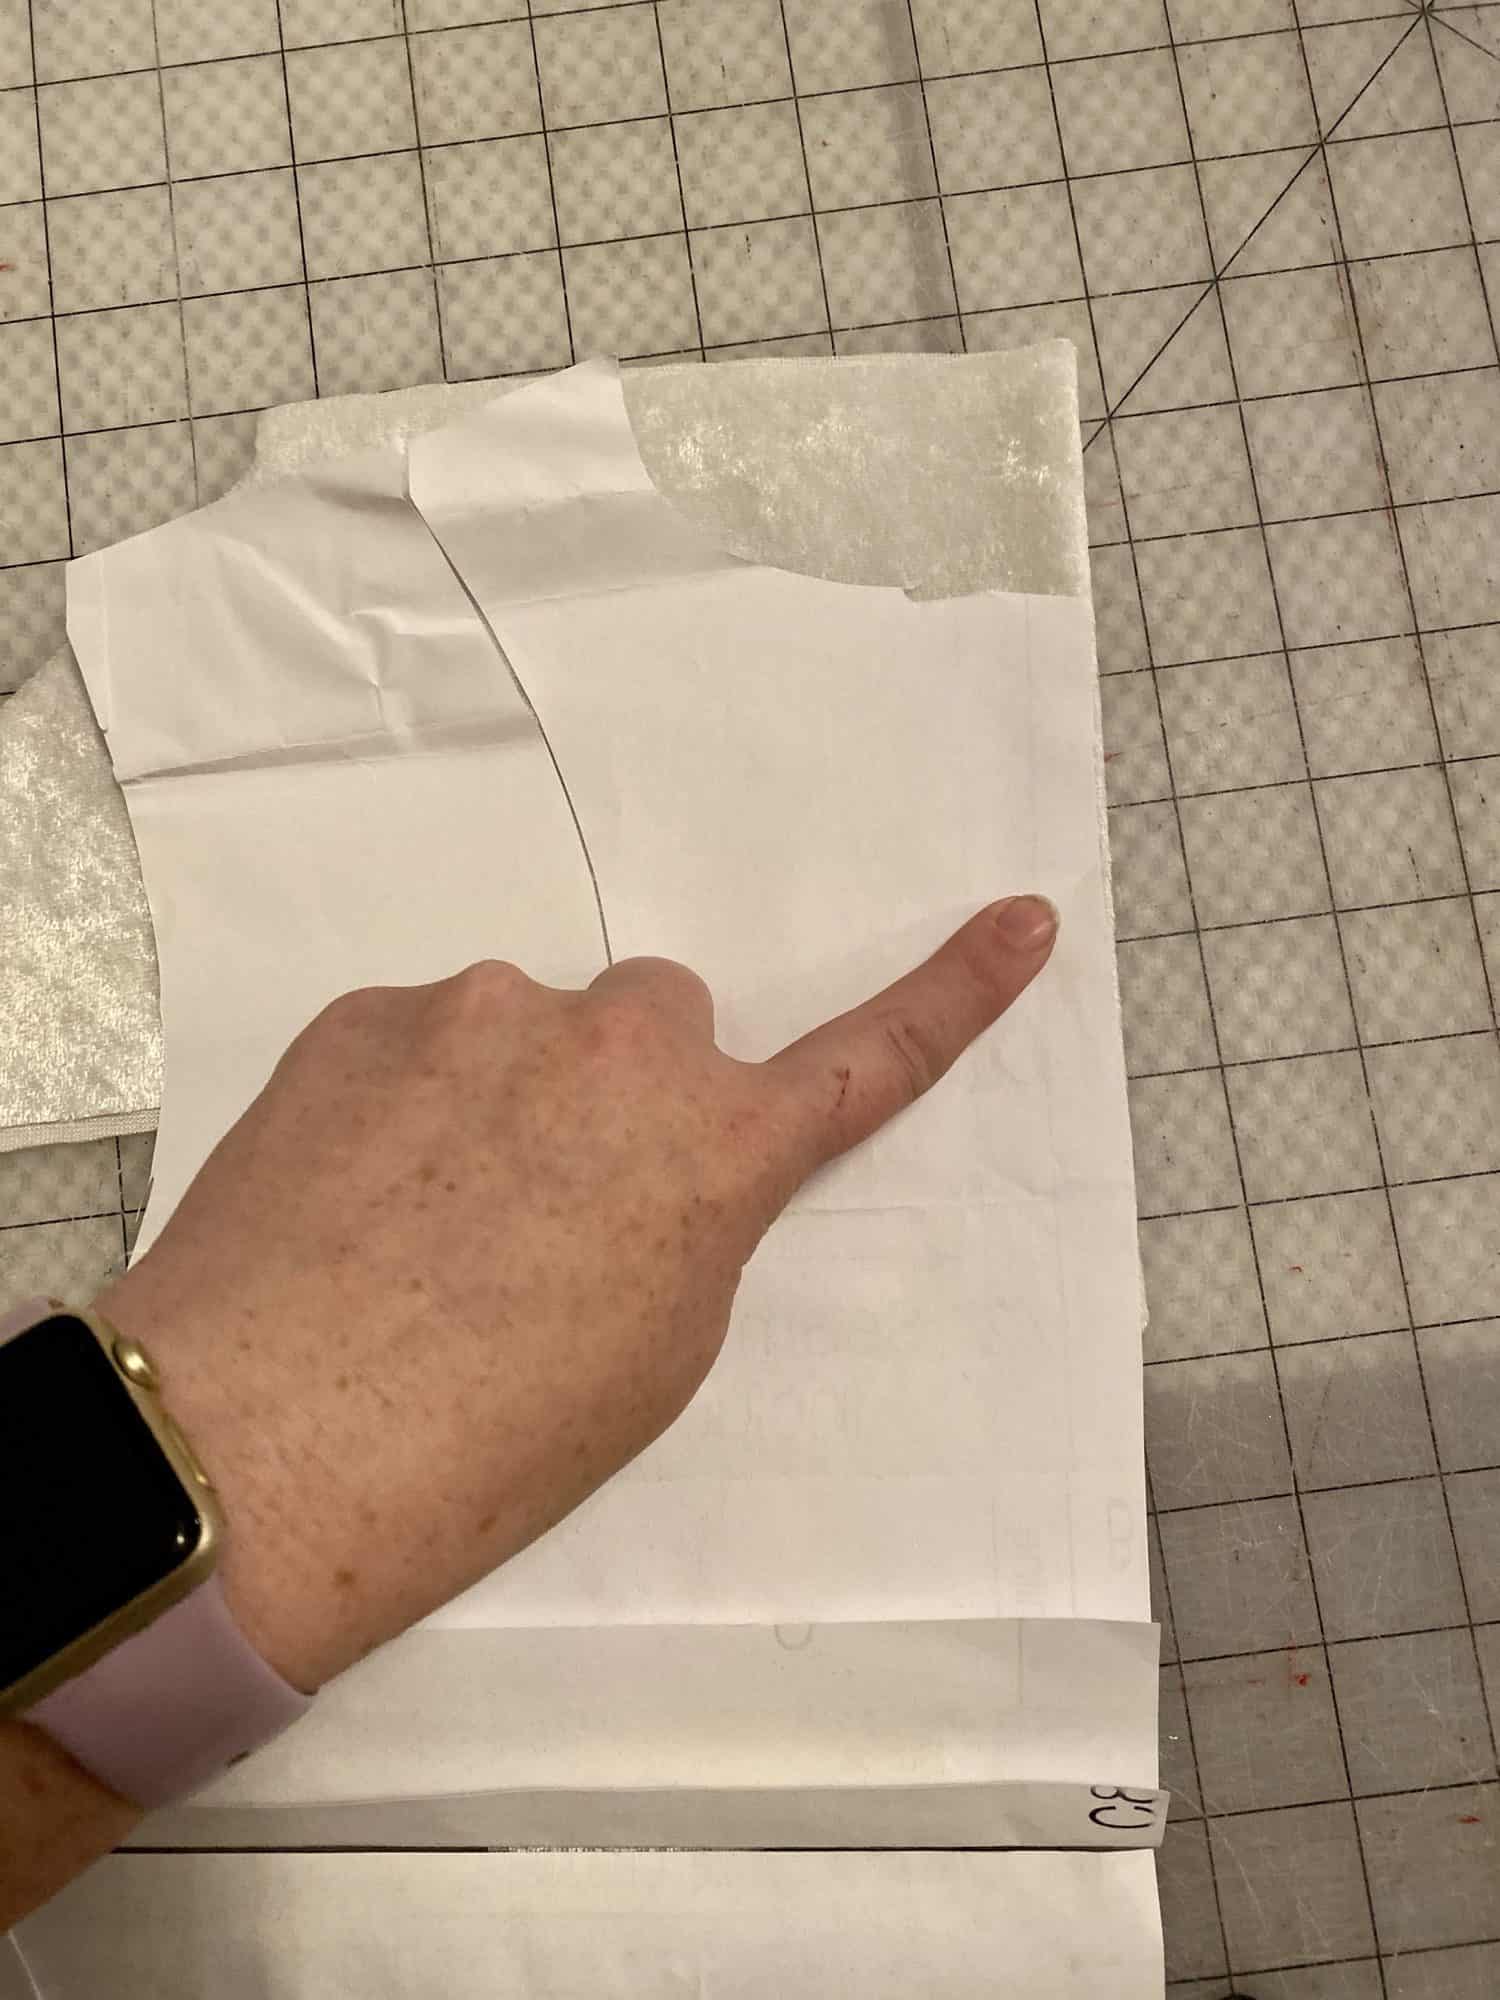
2. Place the back bodice pattern piecs on top, aligning the shoulder point and fold.
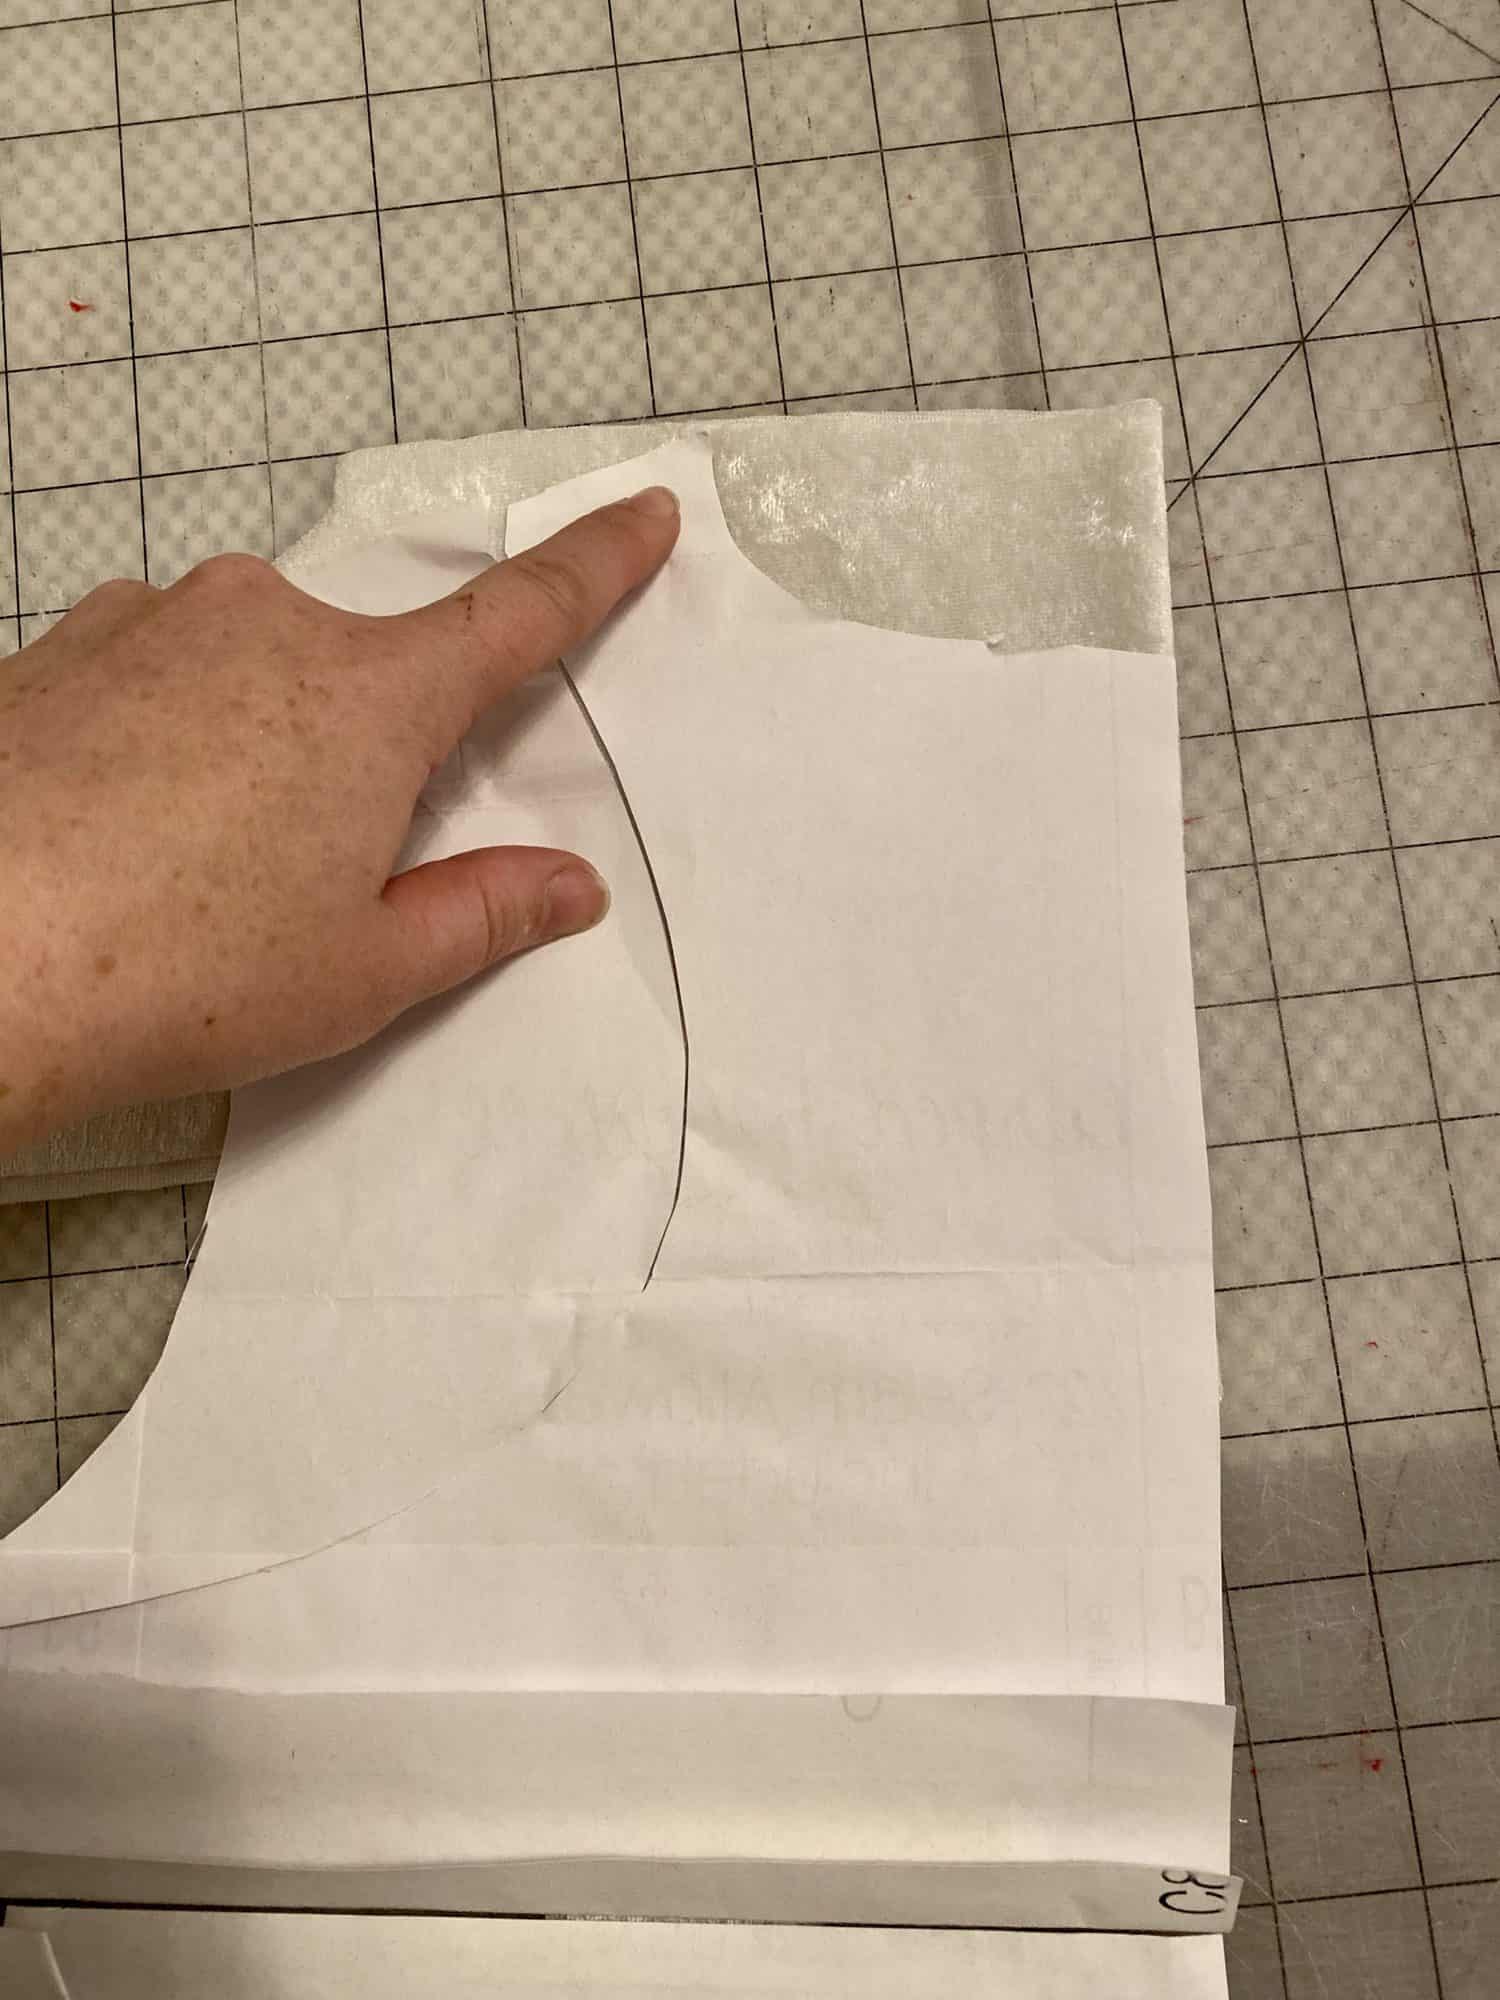
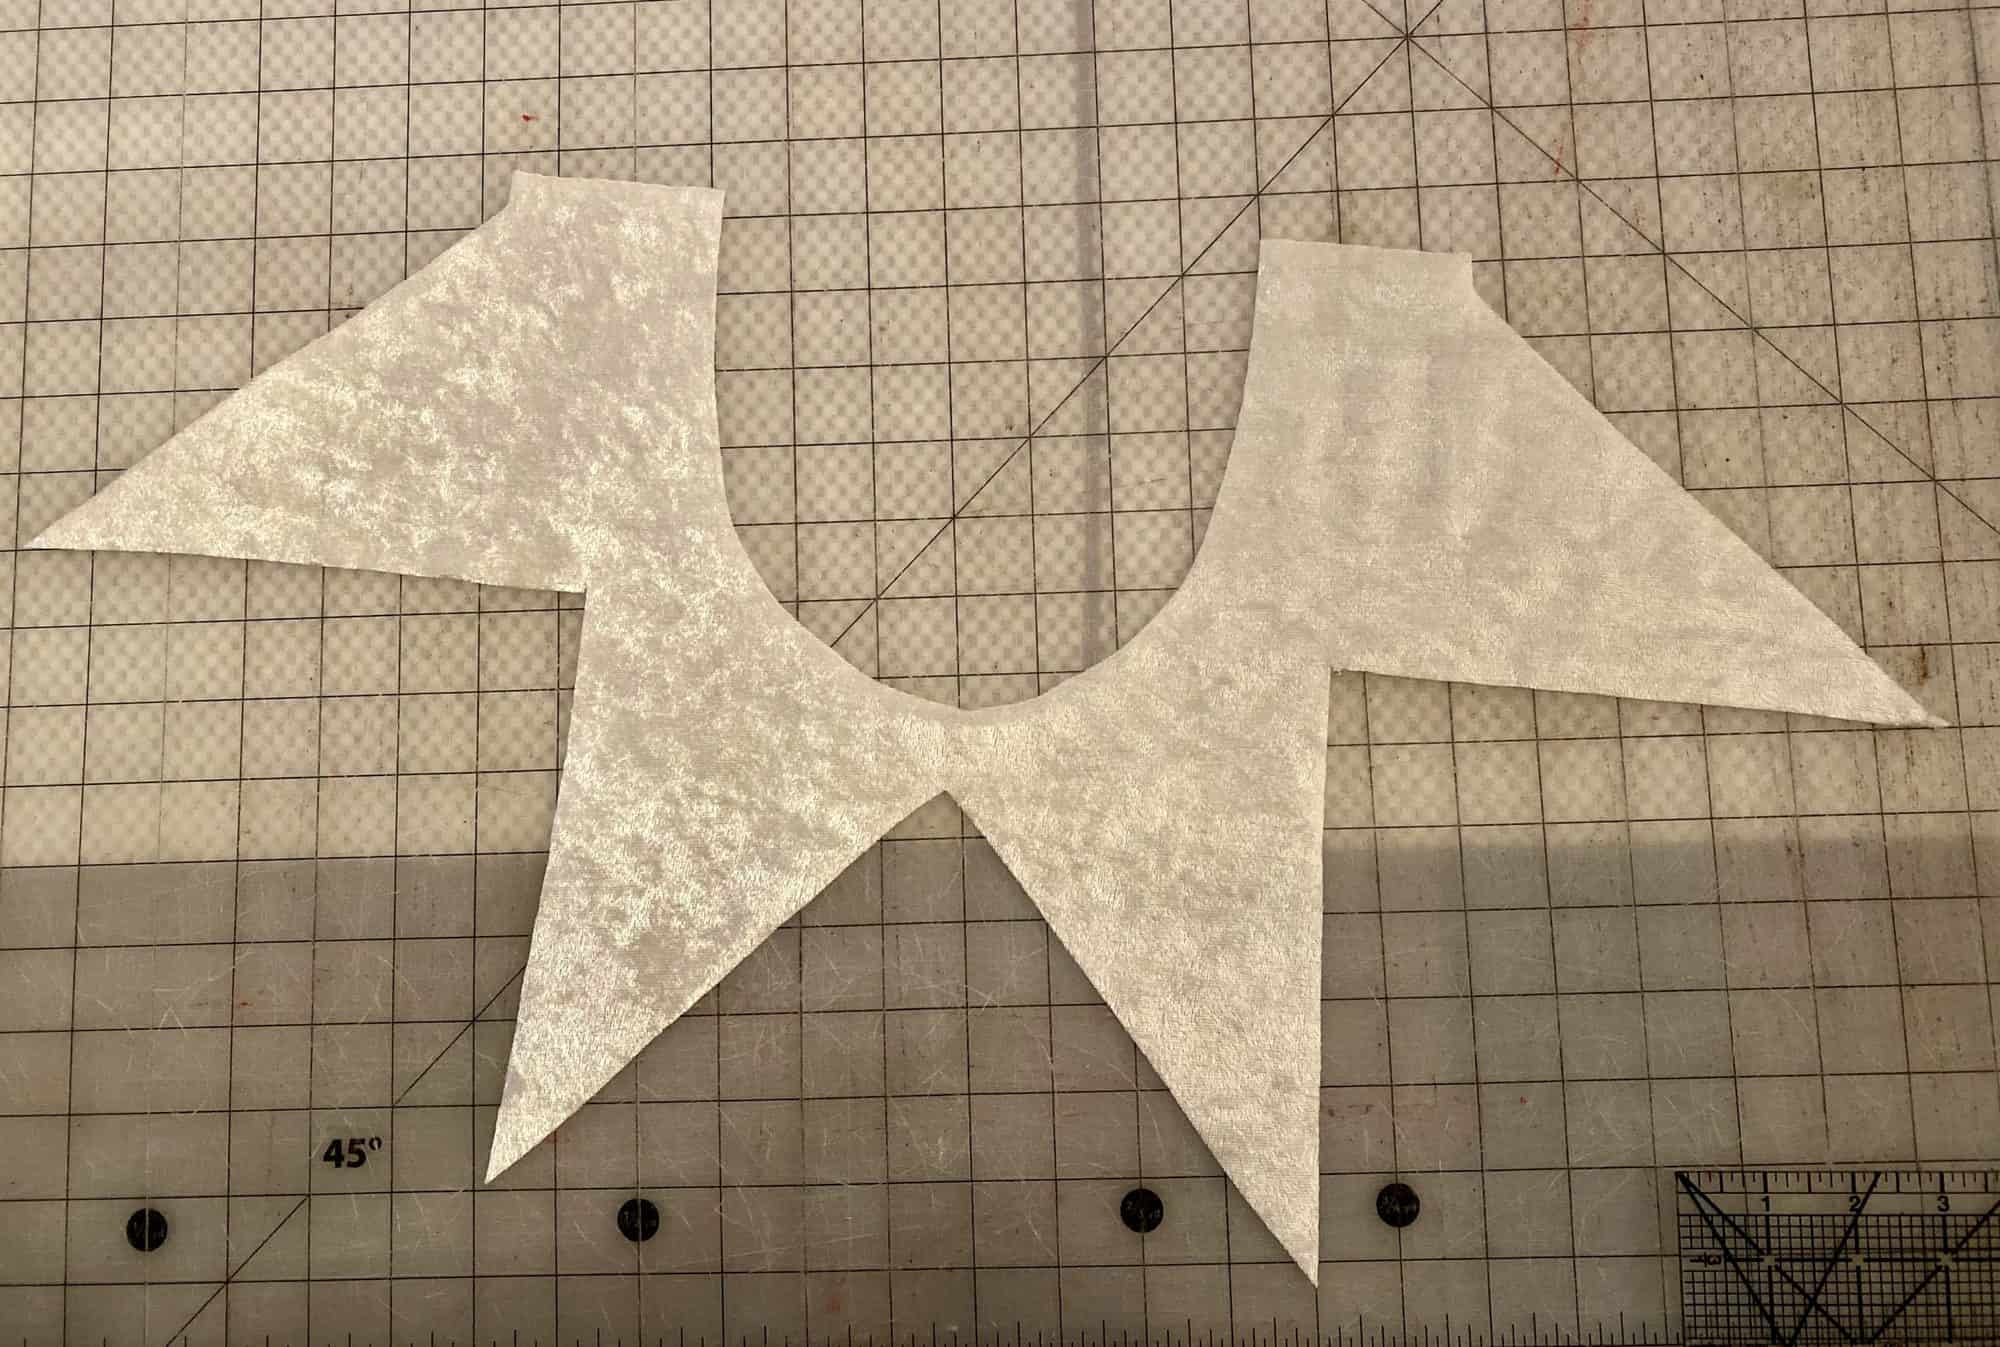
3. Cut the neckline into the collar piece. And repeat with the other collar piece, this time using the front bodice pattern piece.
4. Place one collar piece on surface, with right side facing toward you.
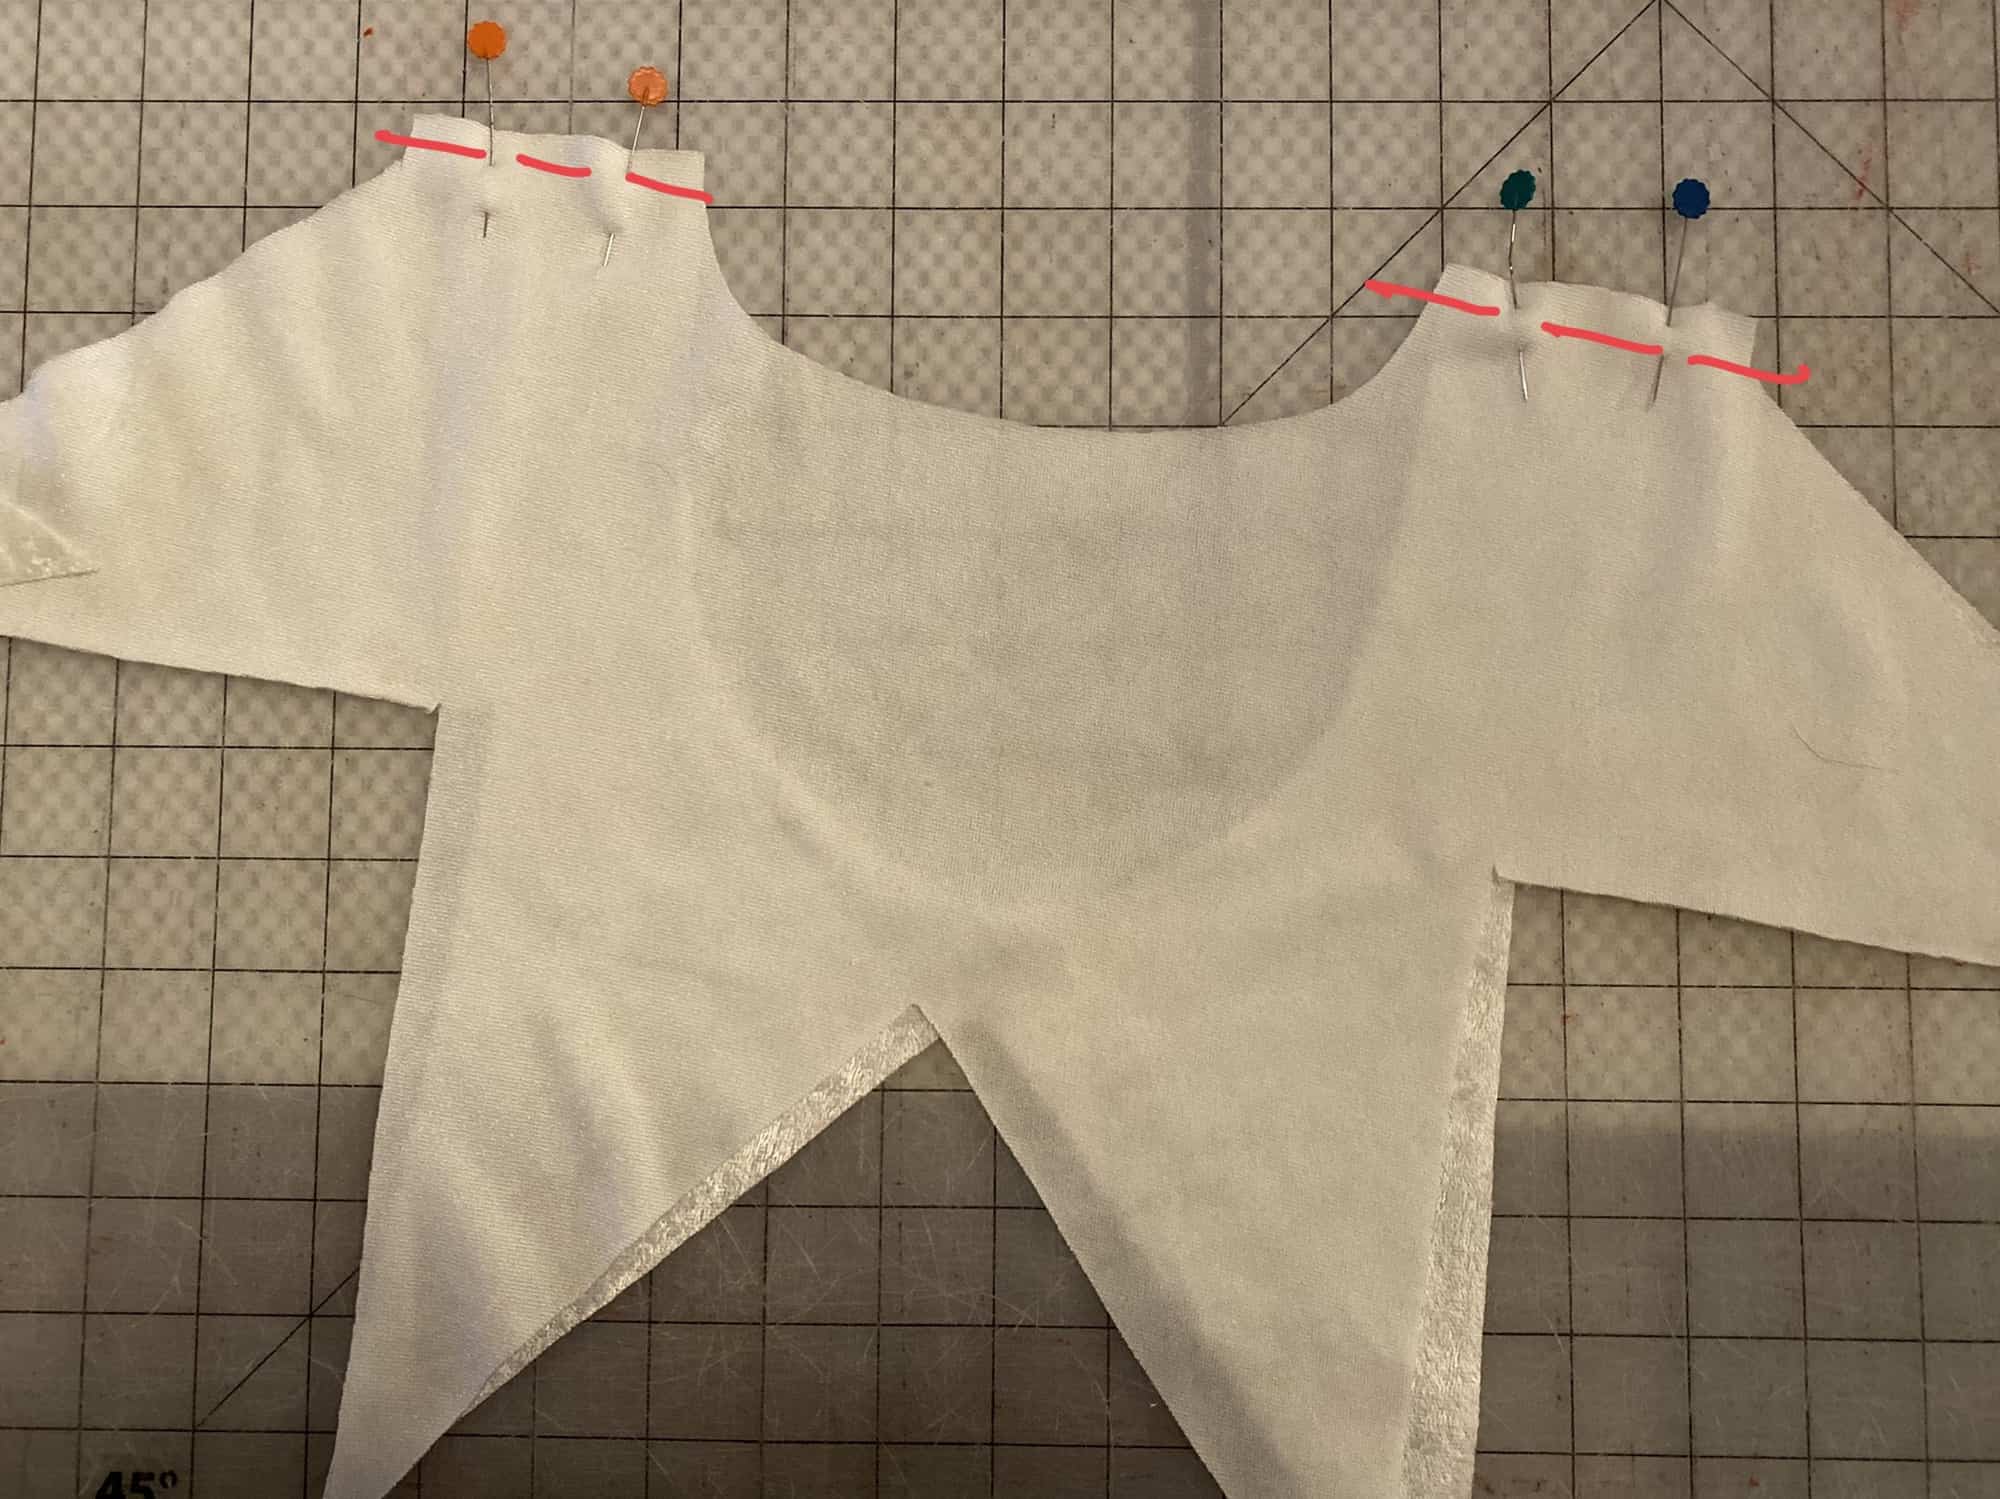
5. With right sides together, place other collar piece on top. Sew, using same seam allowance as the pattern you are attaching it to. (In my case, it is 1/2″.)
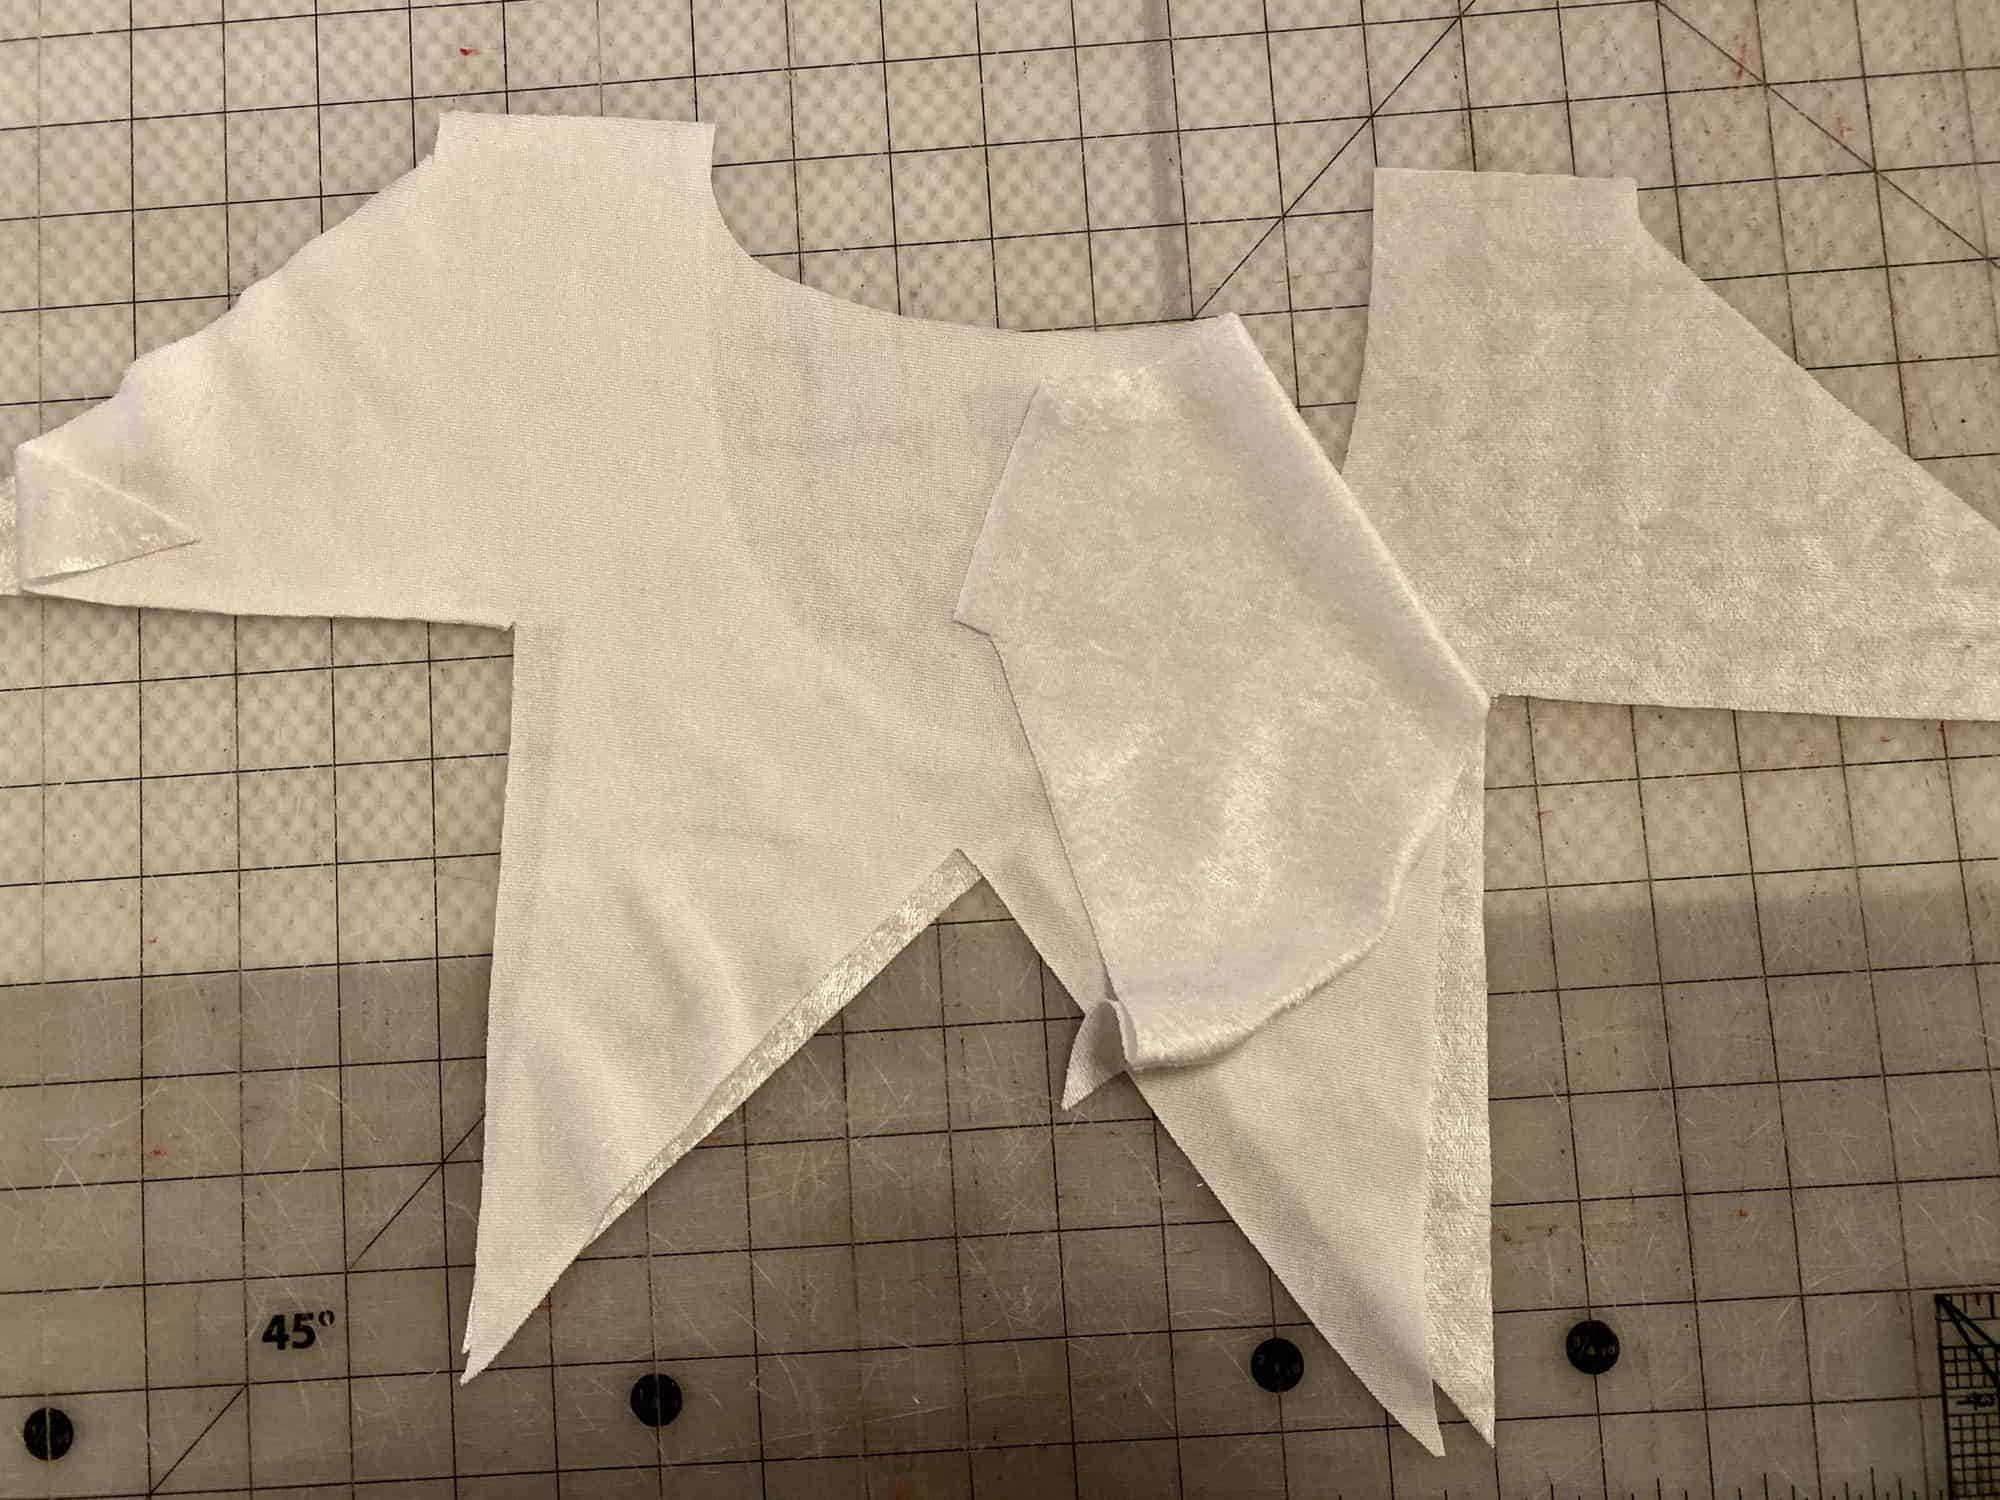
6. Sew shoulder seams of your tee pattern.
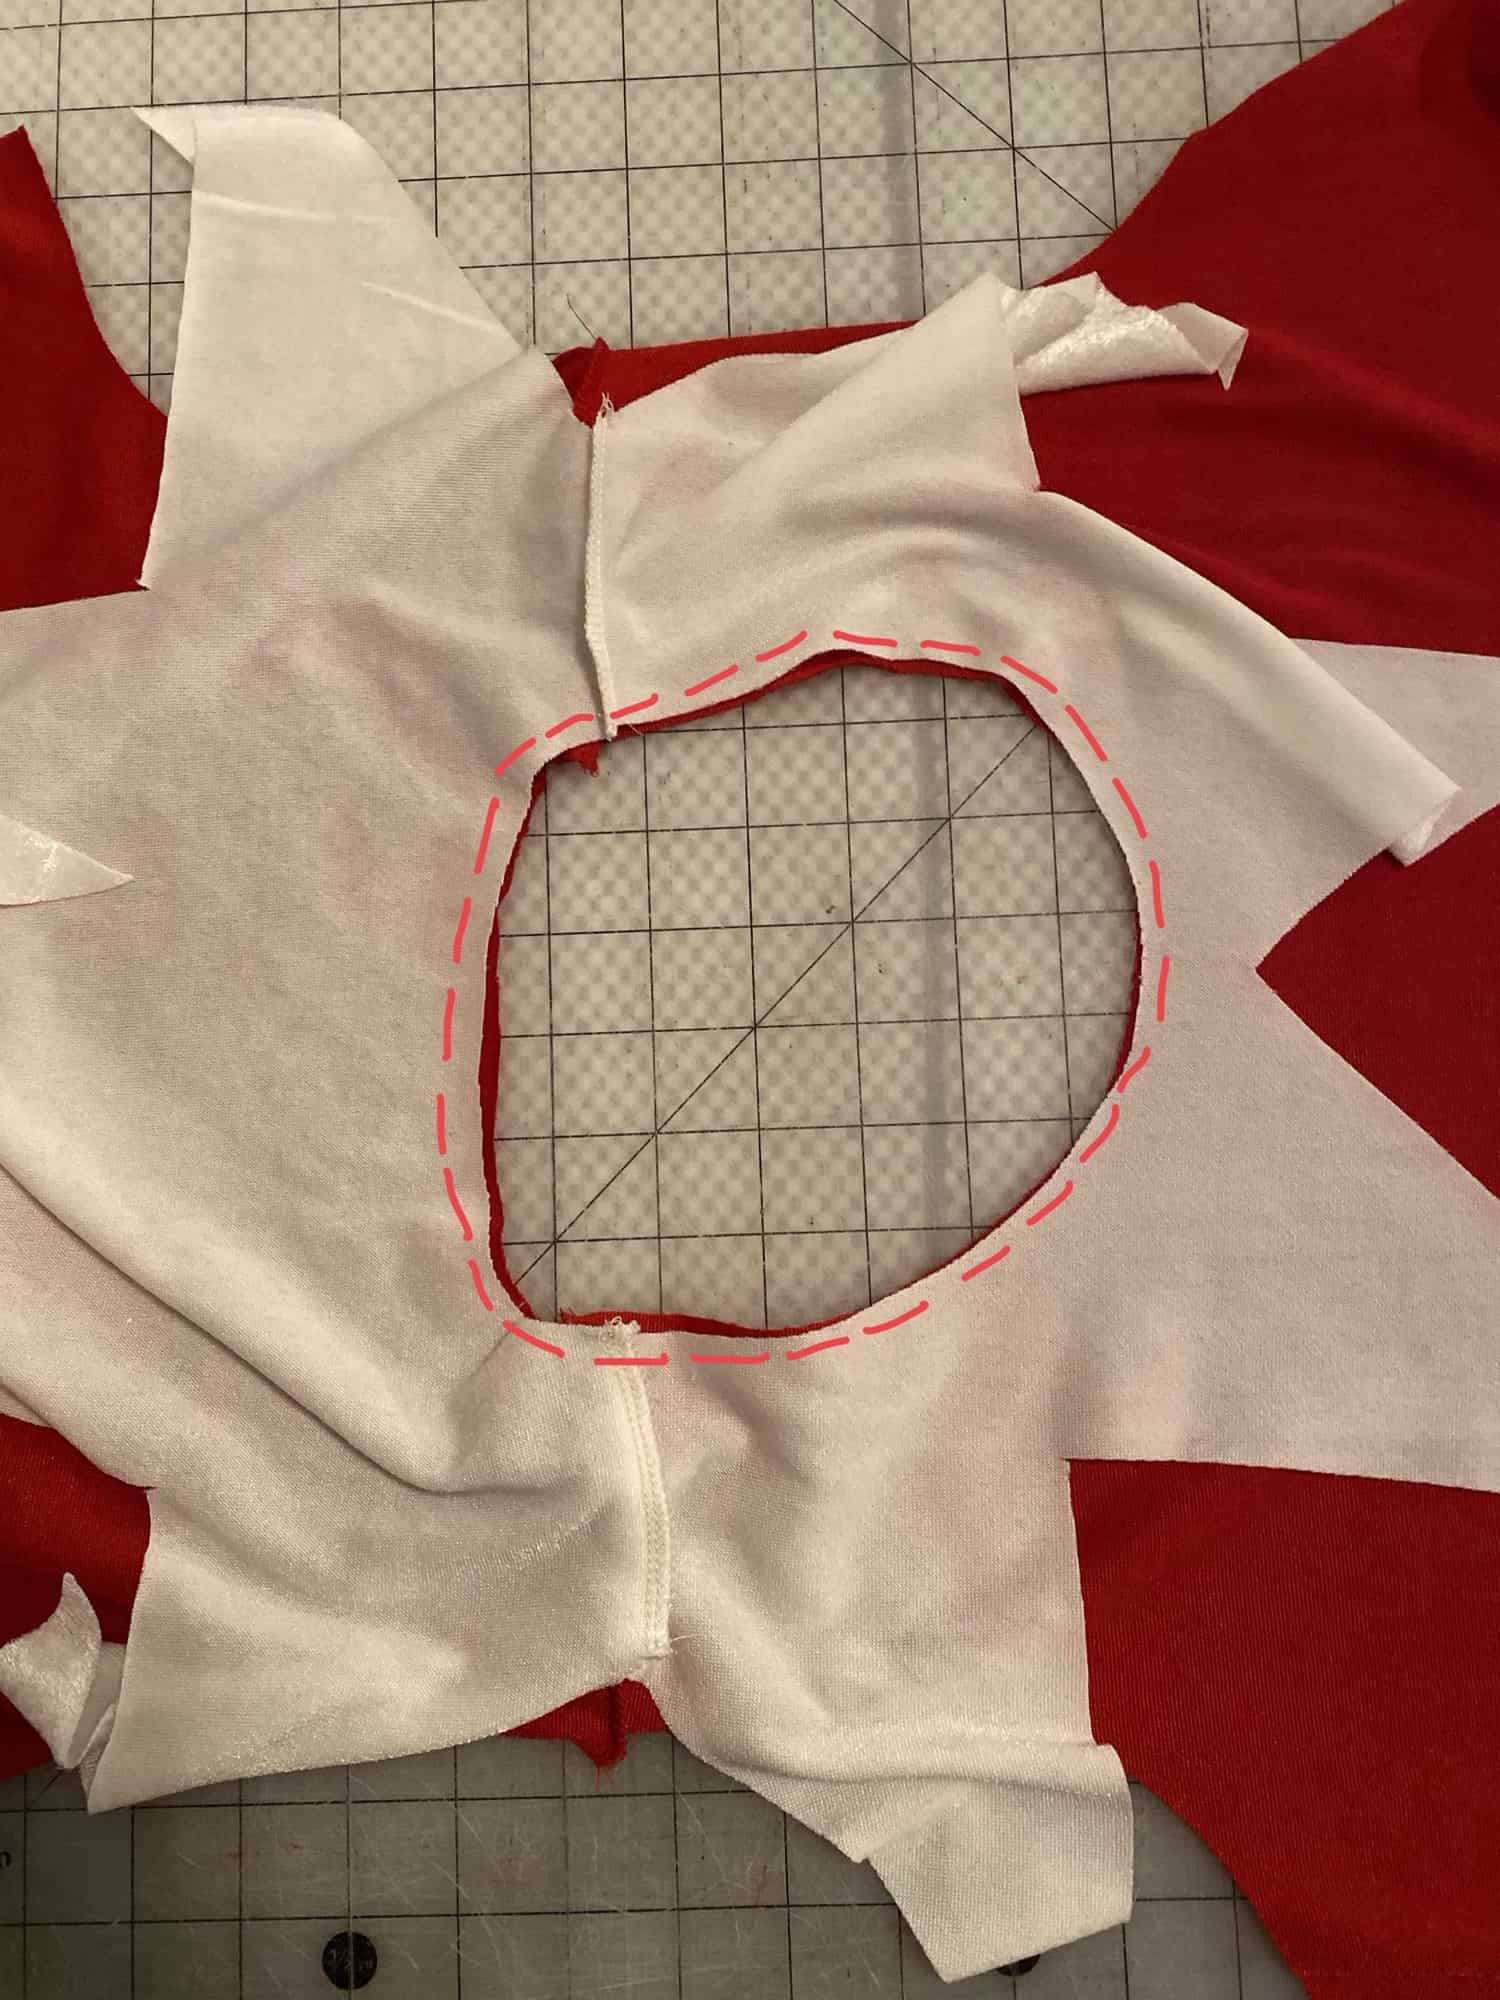
7. Open up and lay flat on surface, with the wrong side facing up.
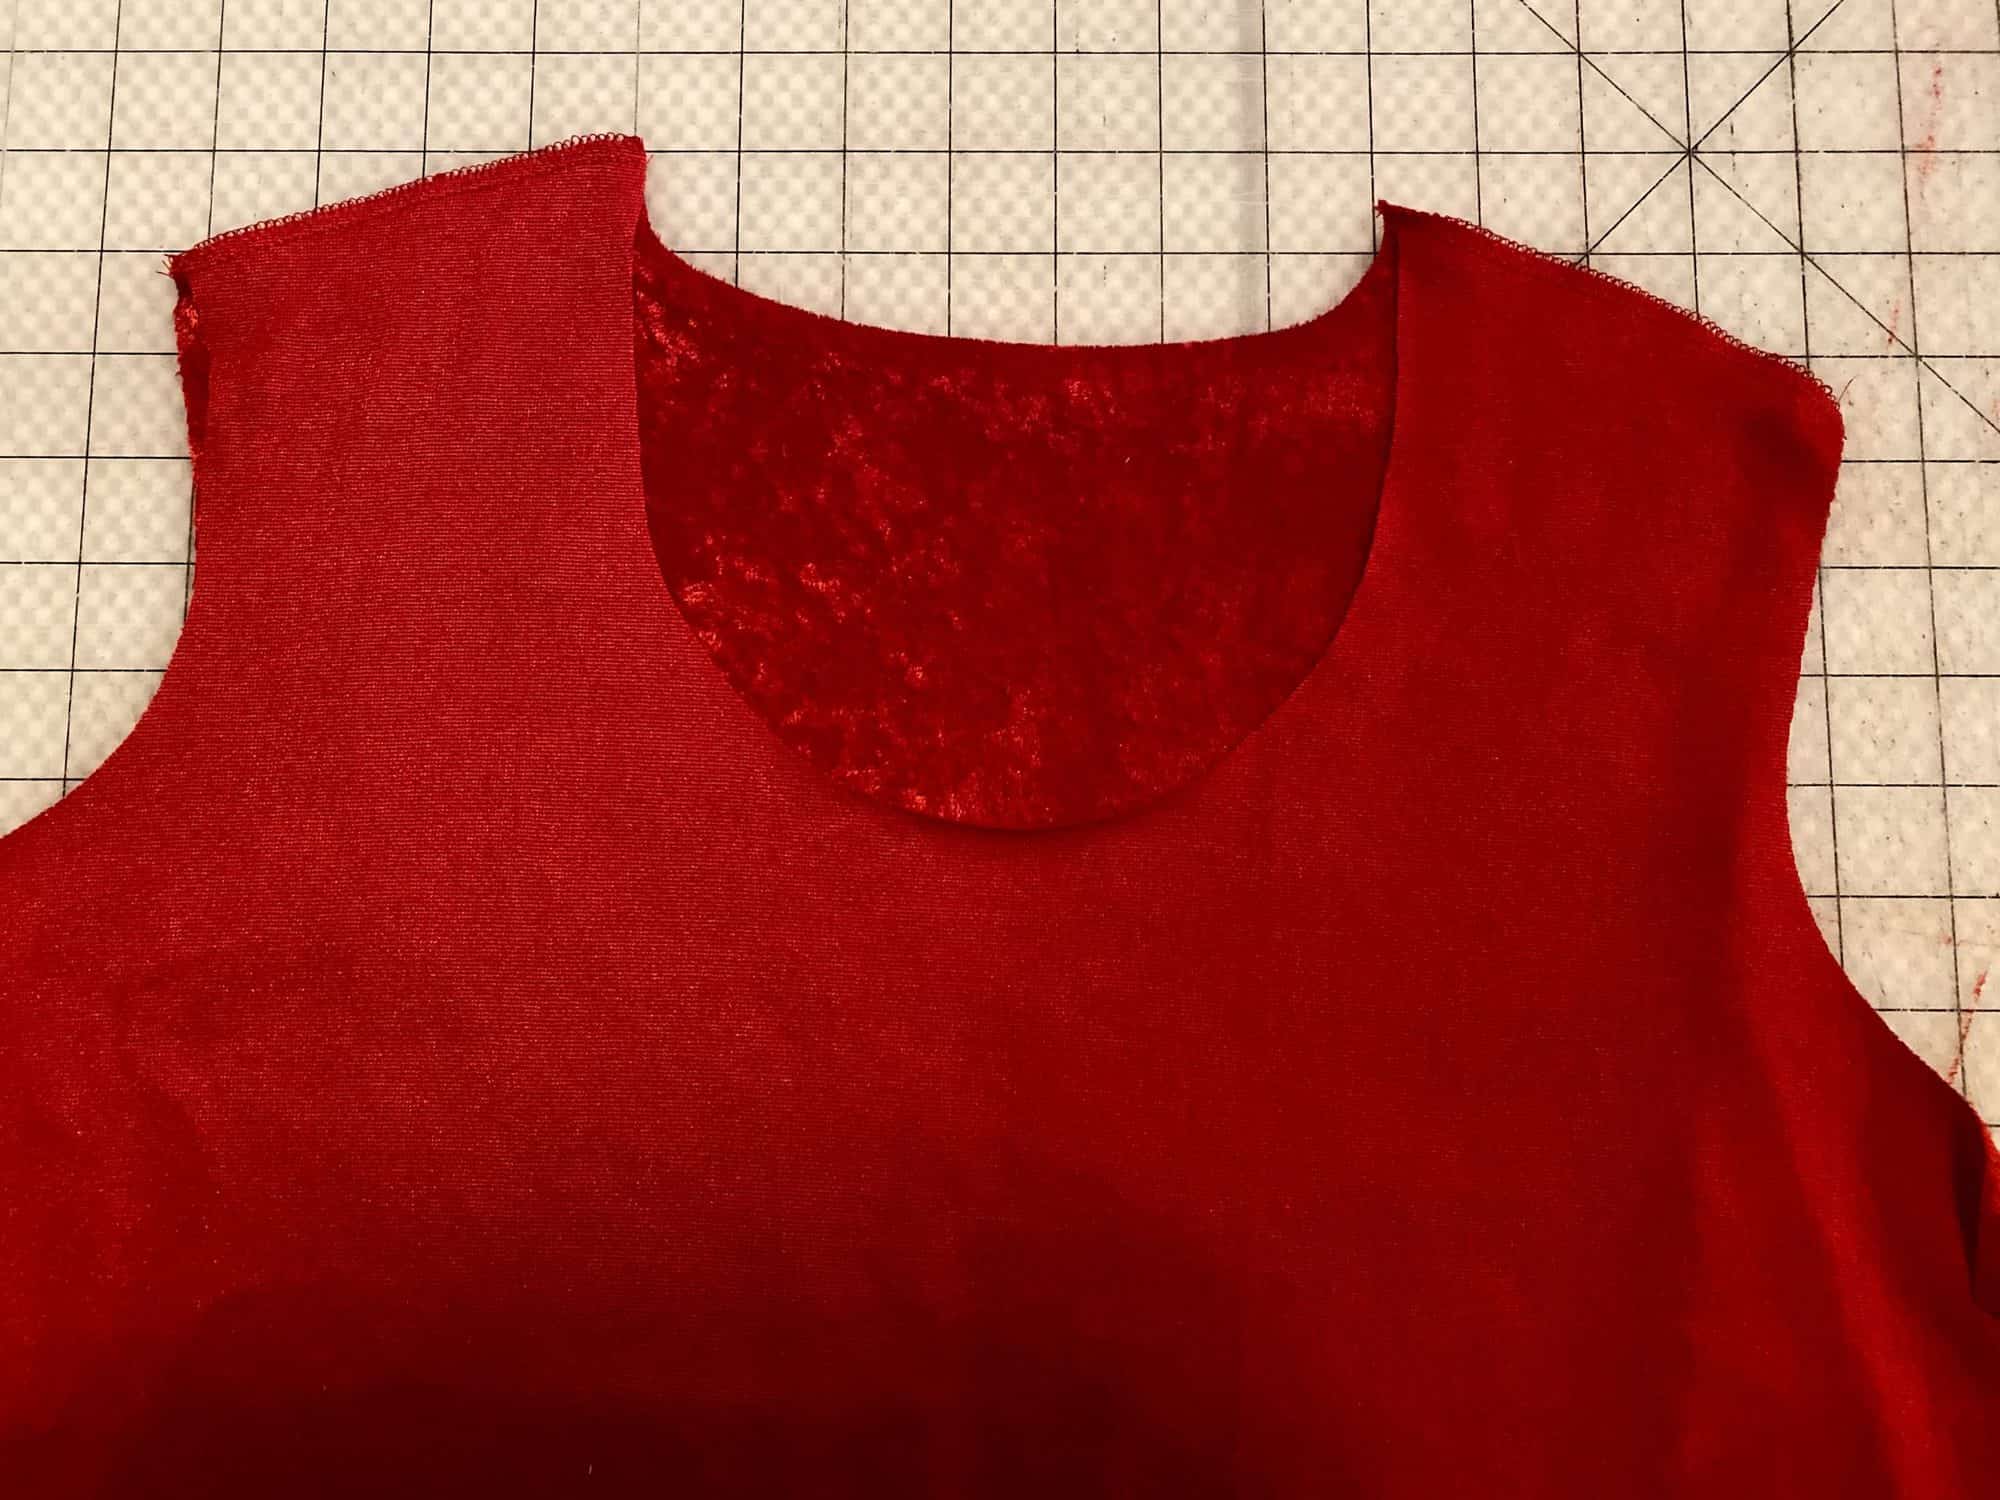
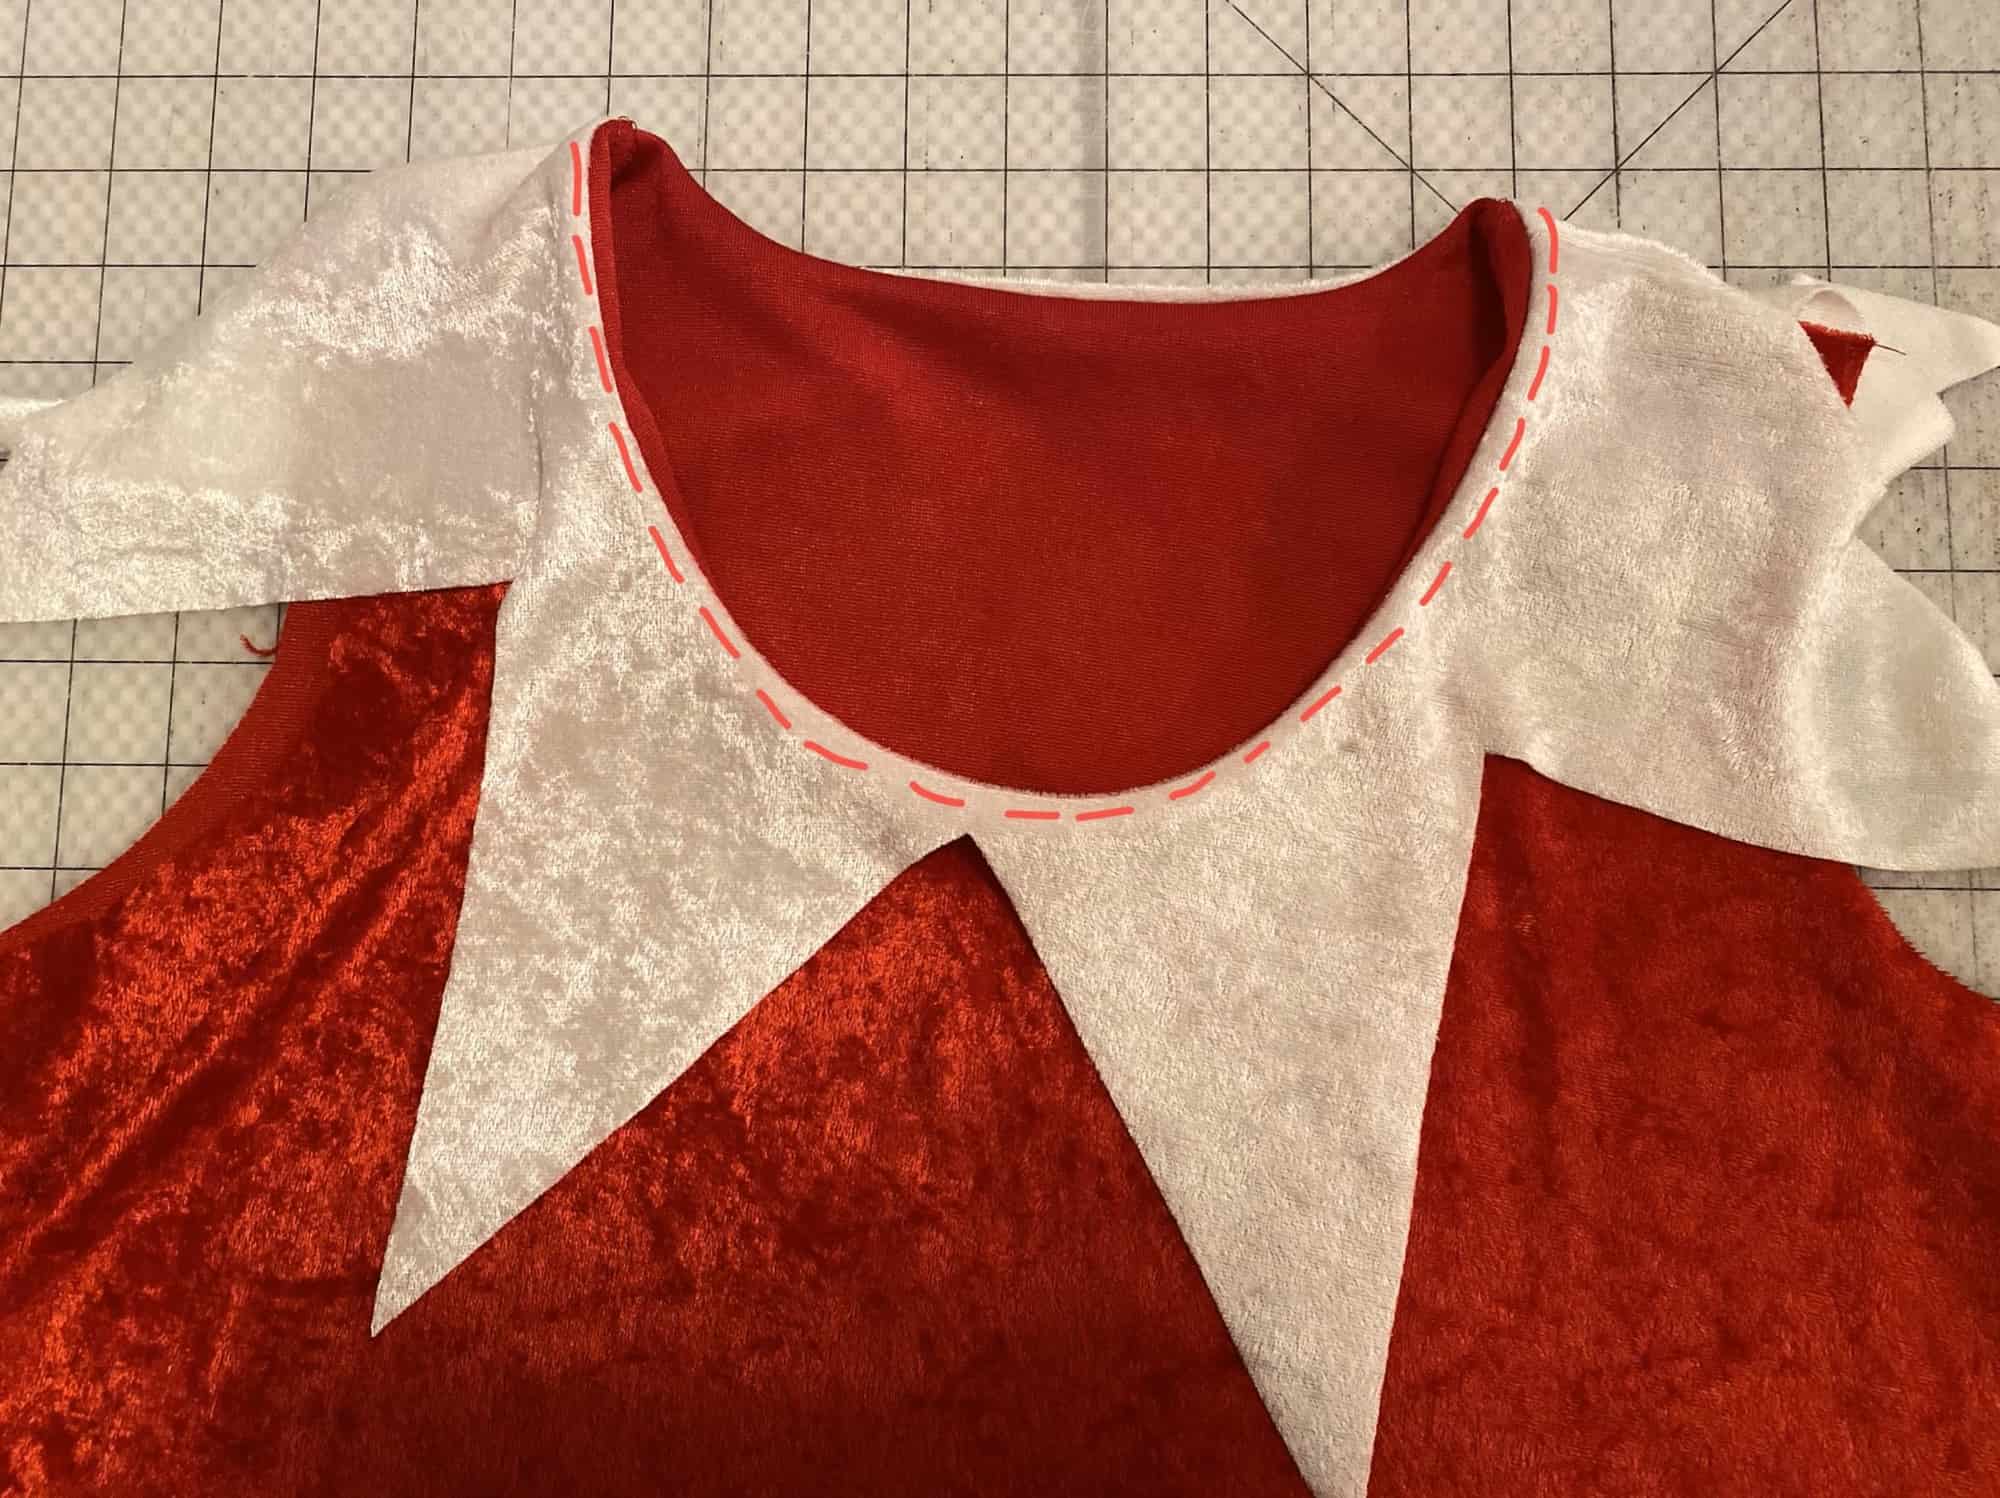
8. Place collar on top with wrong sides facing up, aligning raw edges. Sew along entire neck opening, using 1/2″ seam allowance.
9. Flip collar through, turning right sides out. Top stitch along entire opening, if desired. Assemble the remainder of your top pattern.
SNOWMAN APPLIQUE
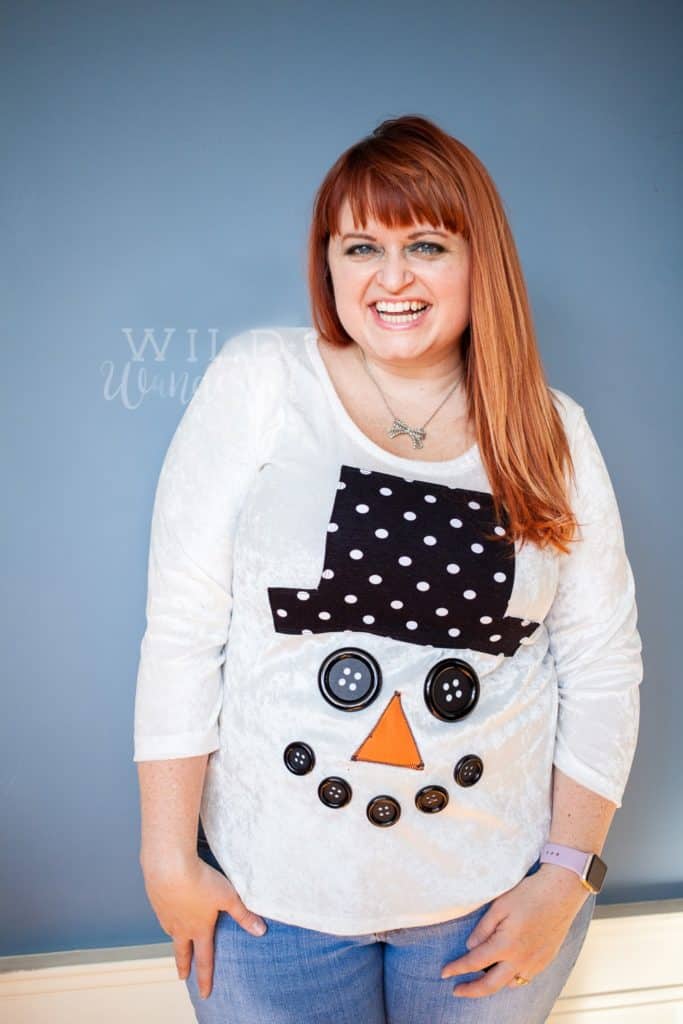
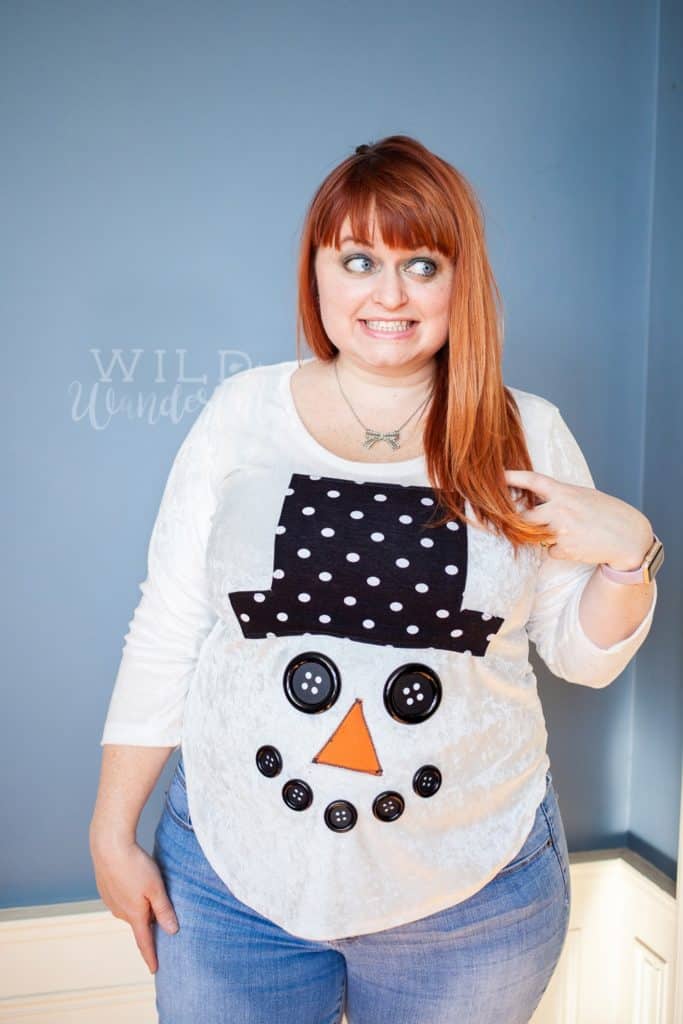
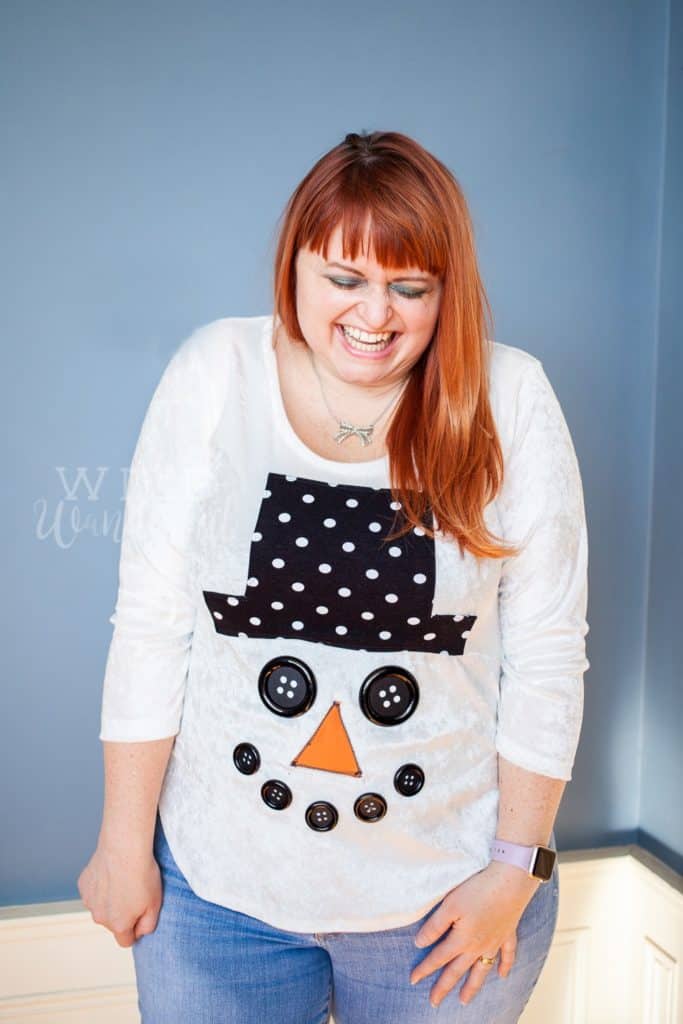
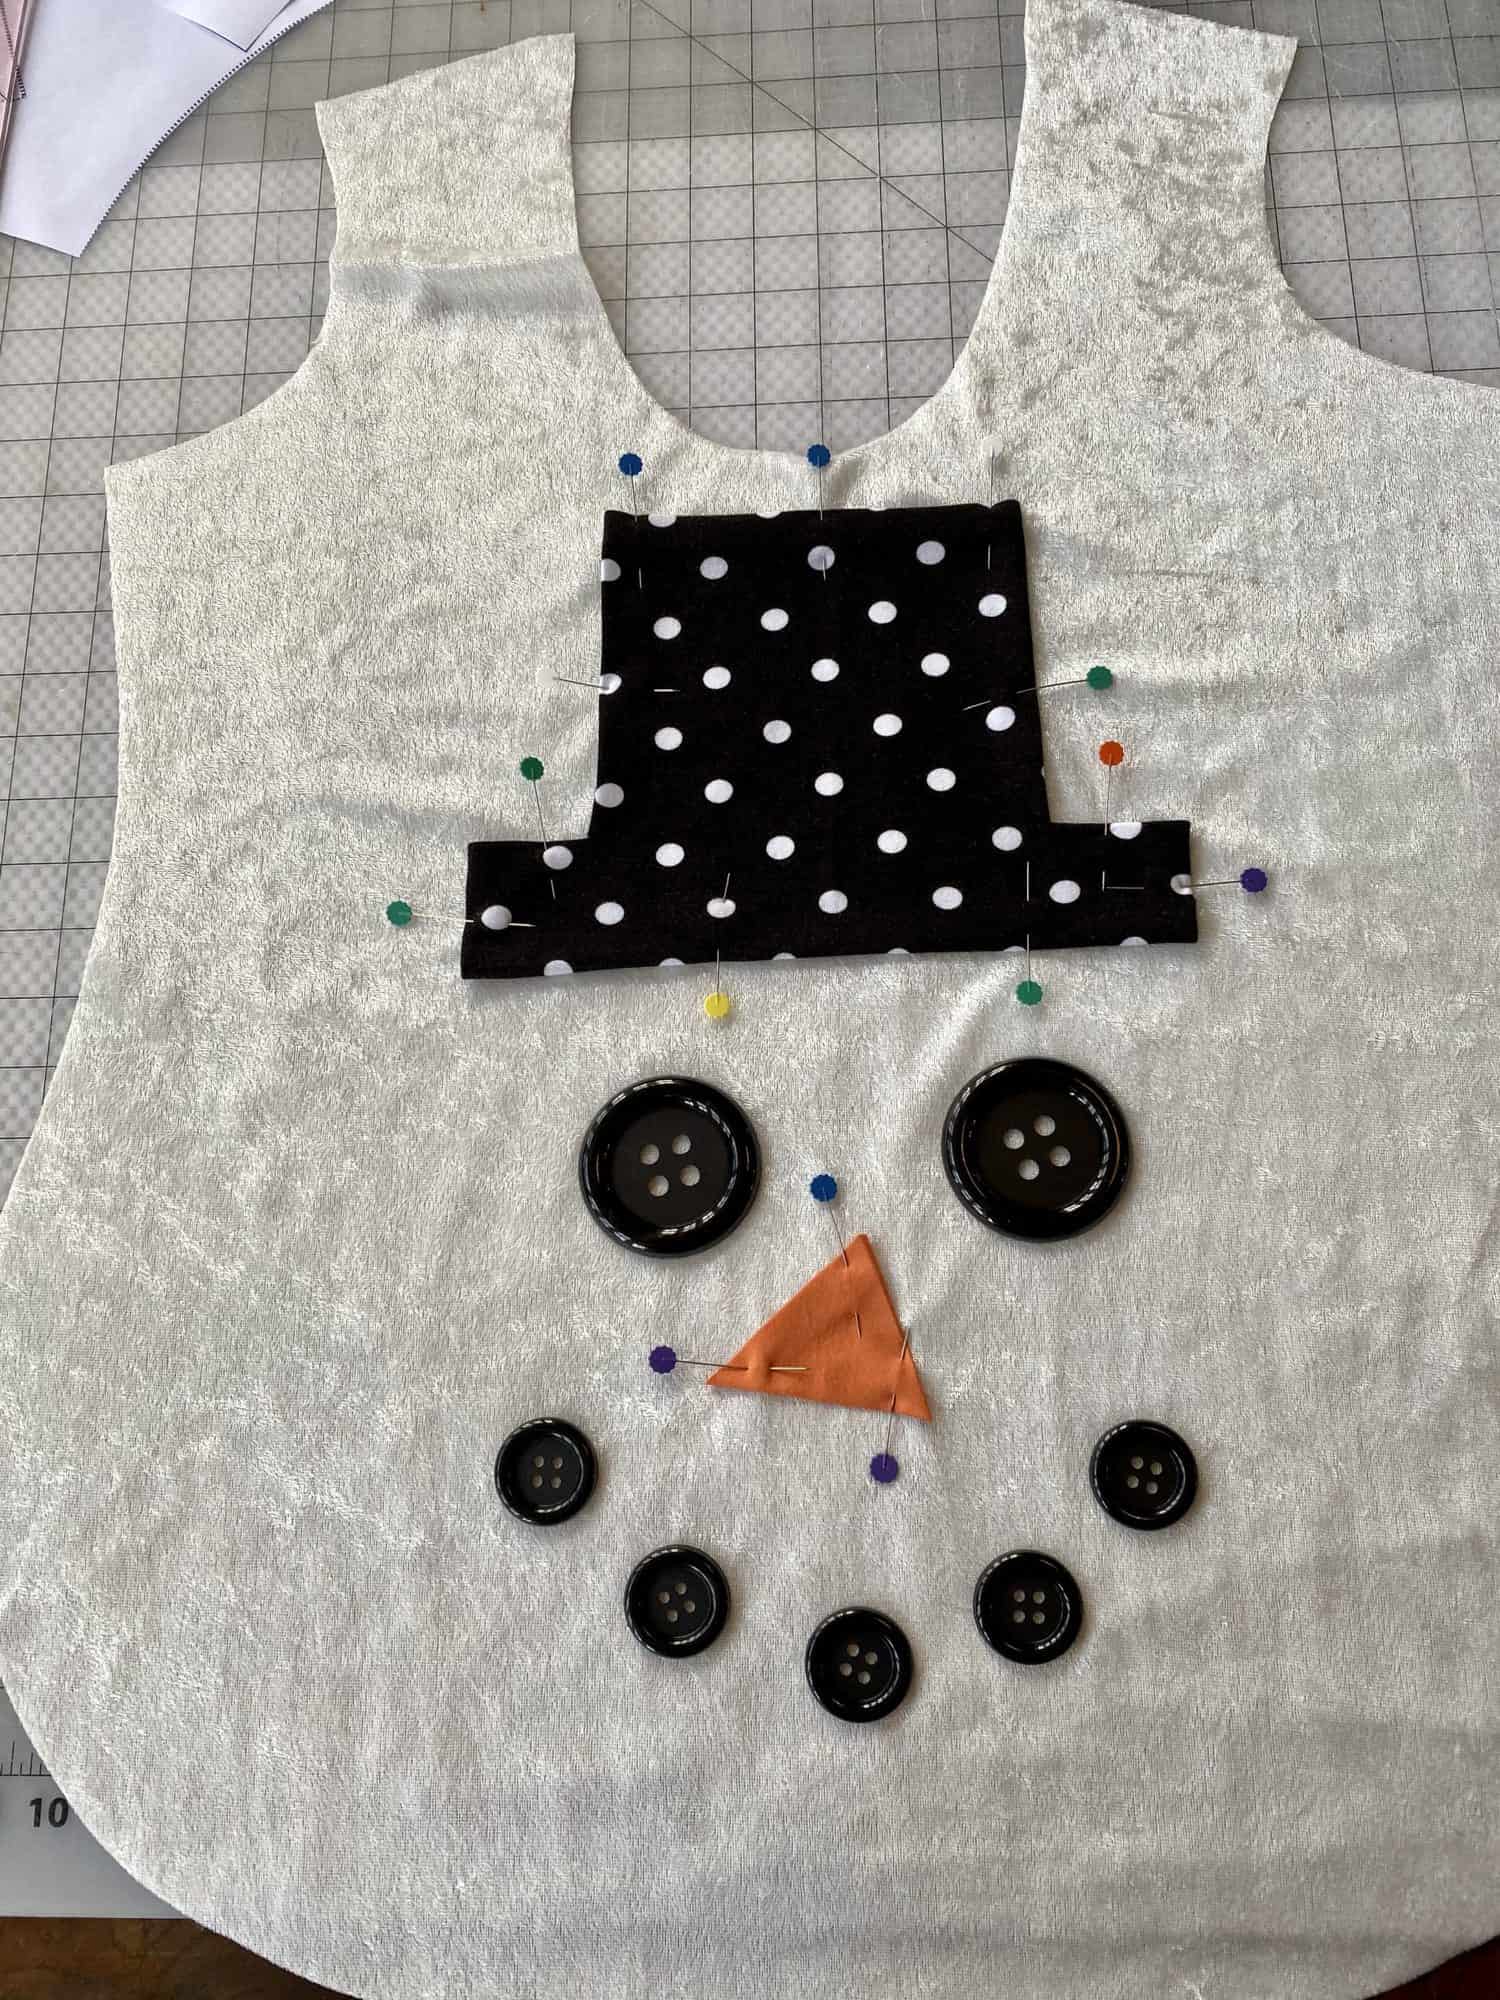
Frosty and you might be BFFs and you need to put his face on a tee. I’m the last person to judge, trust me. This applique is super easy to attach, and I would highly recommend doing so *before* sewing up your entire top…it might be easier for you to add all of the facial features on a front bodice piece, rather than the entire shirt.
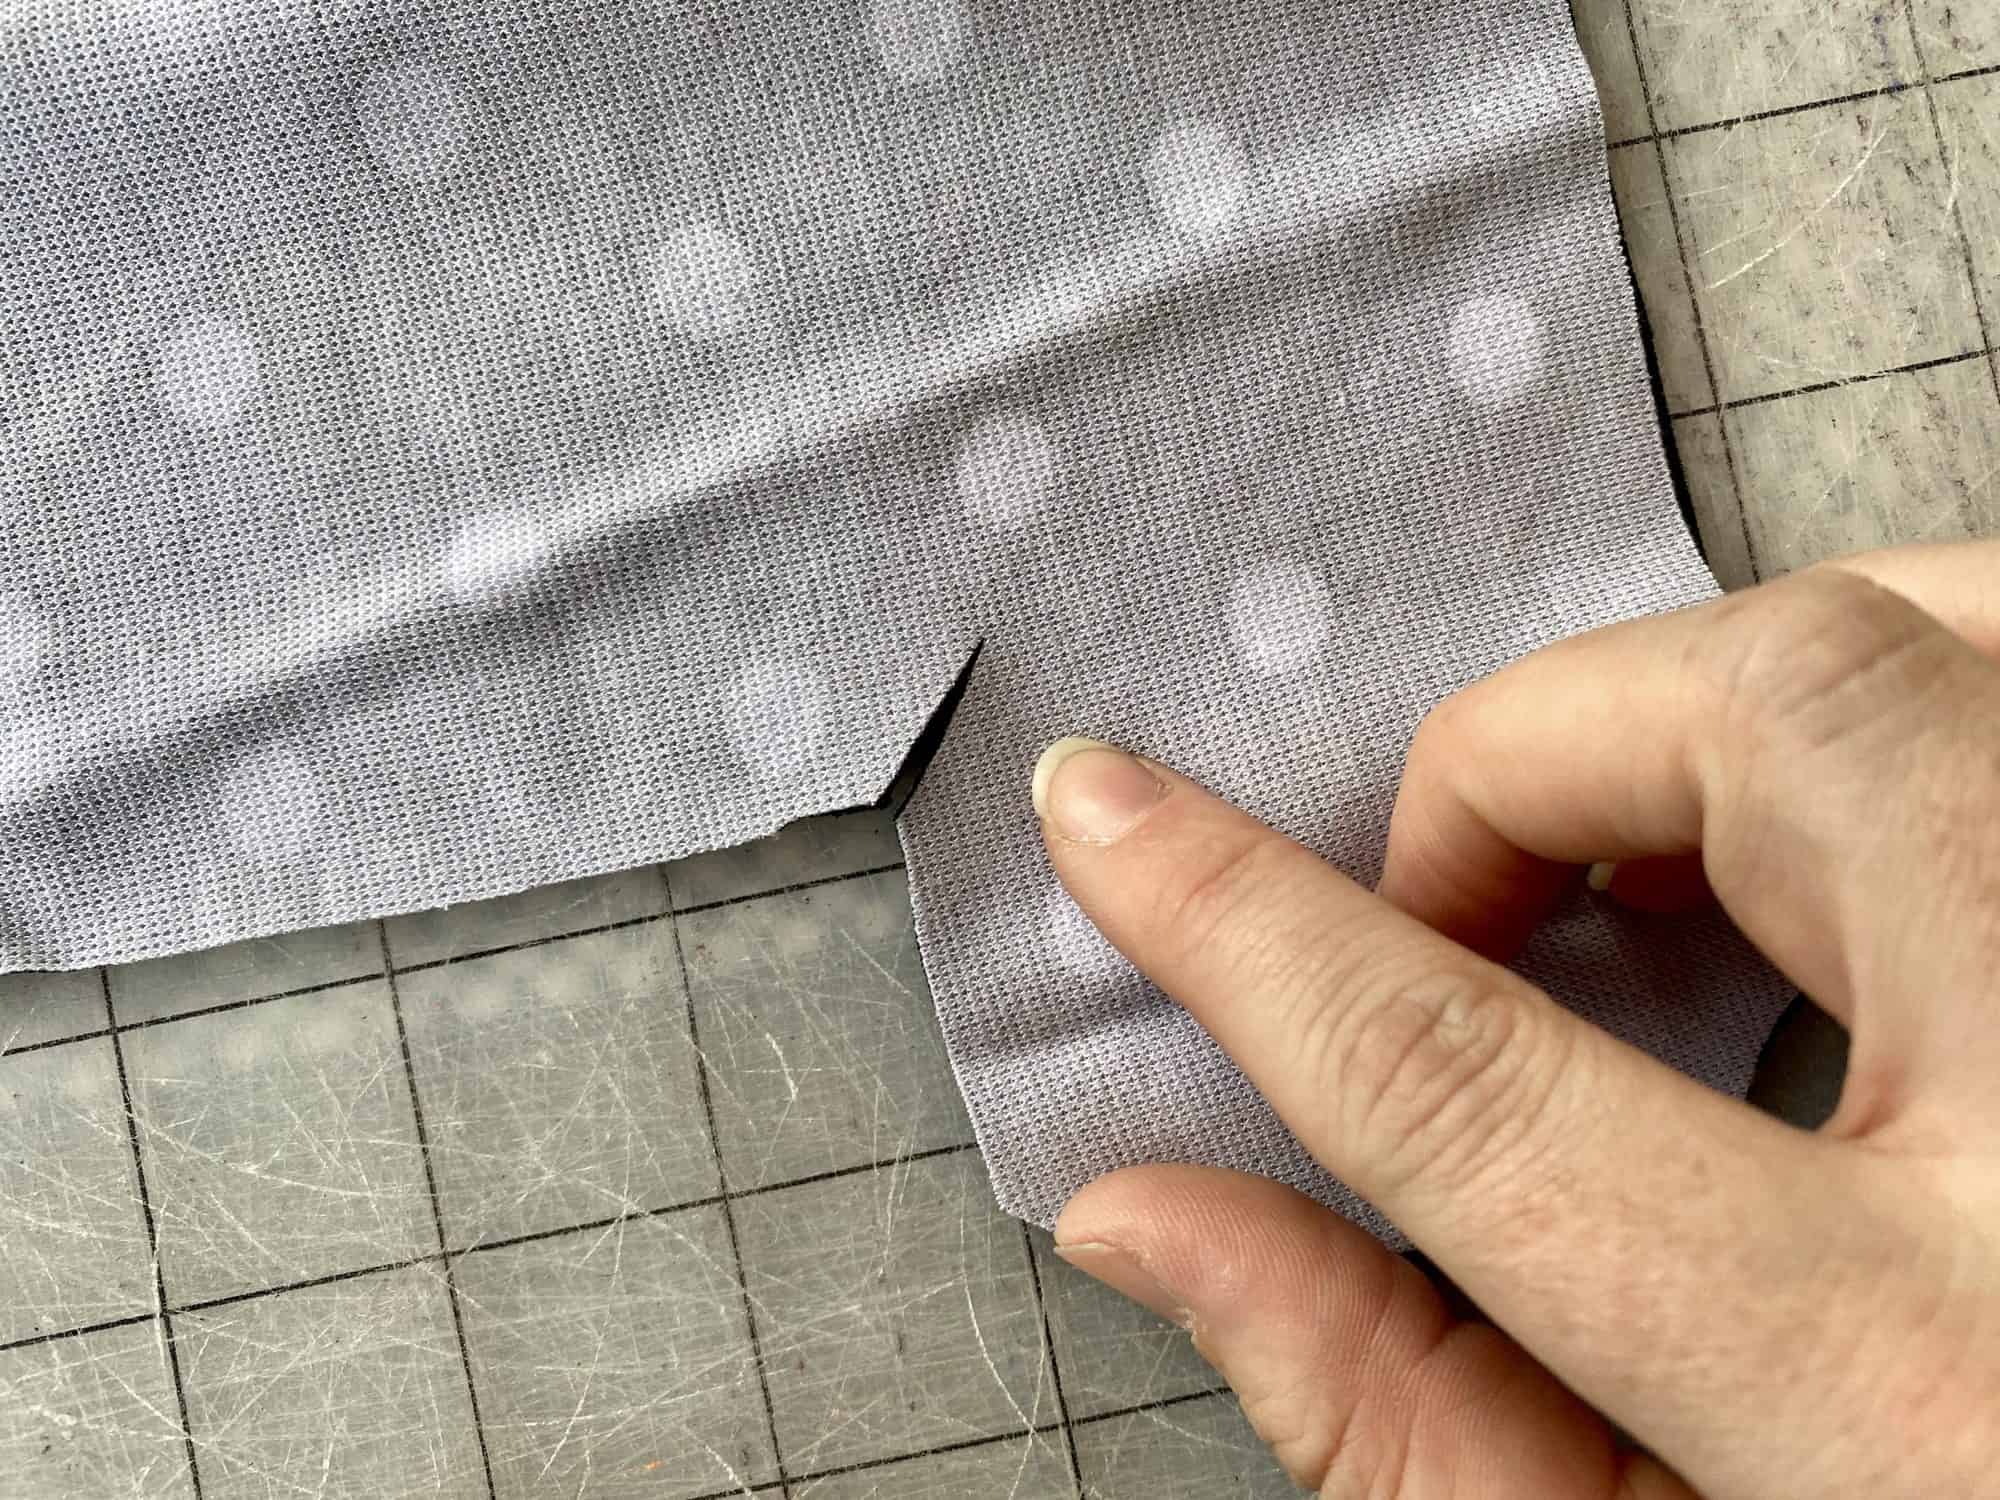
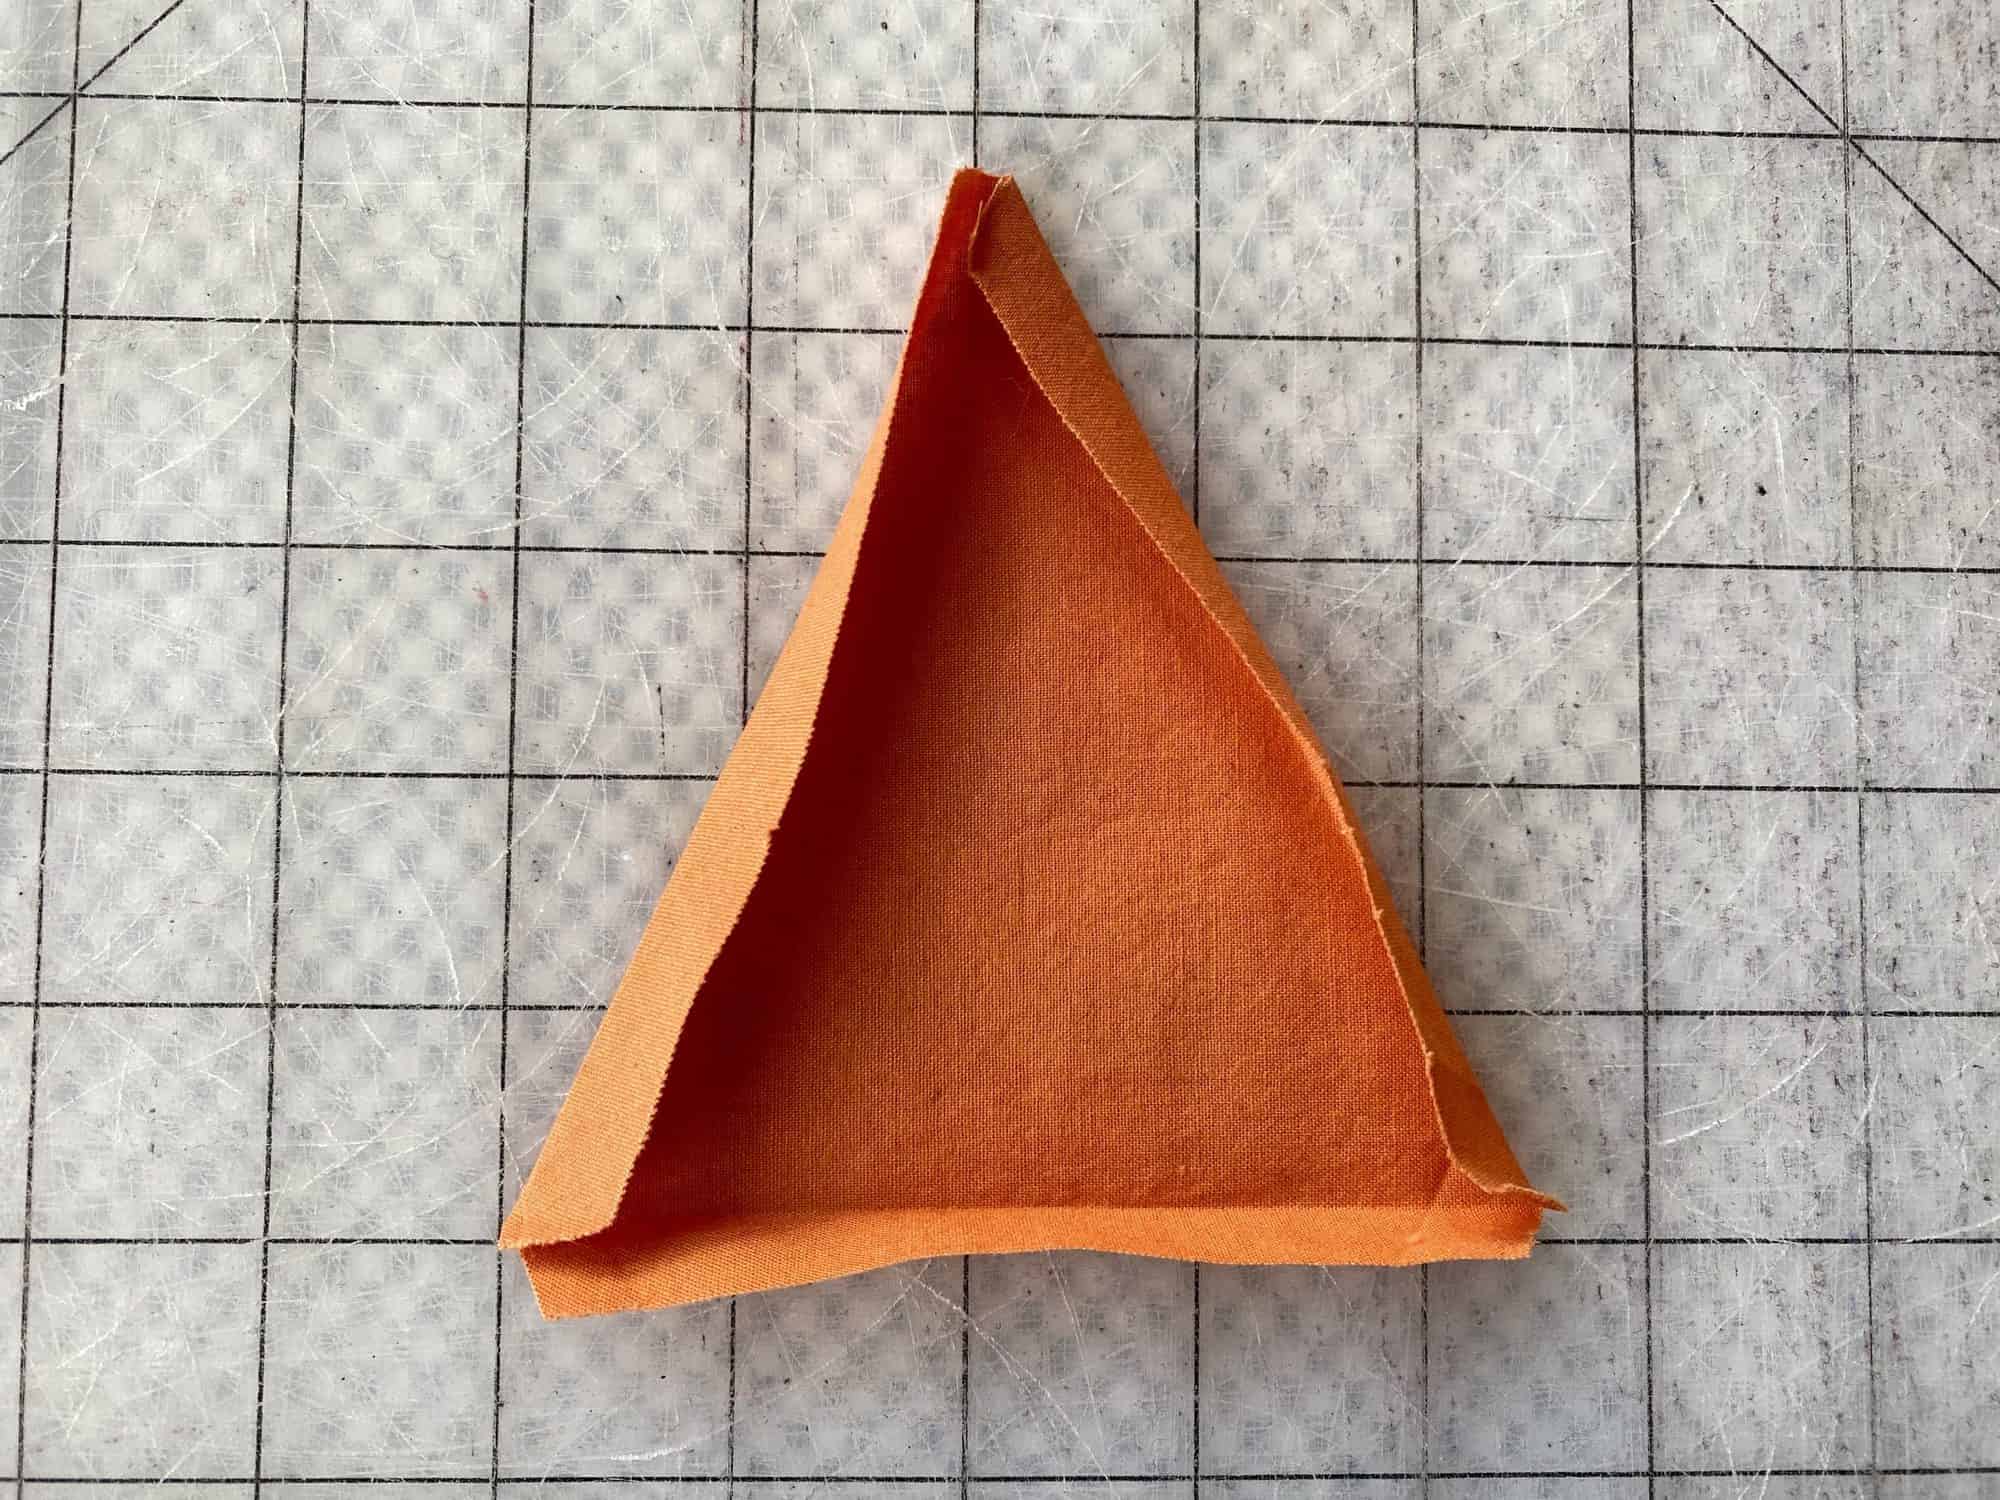
1. For the top hat, use the guidelines to clip into the seam allowance in the corners.
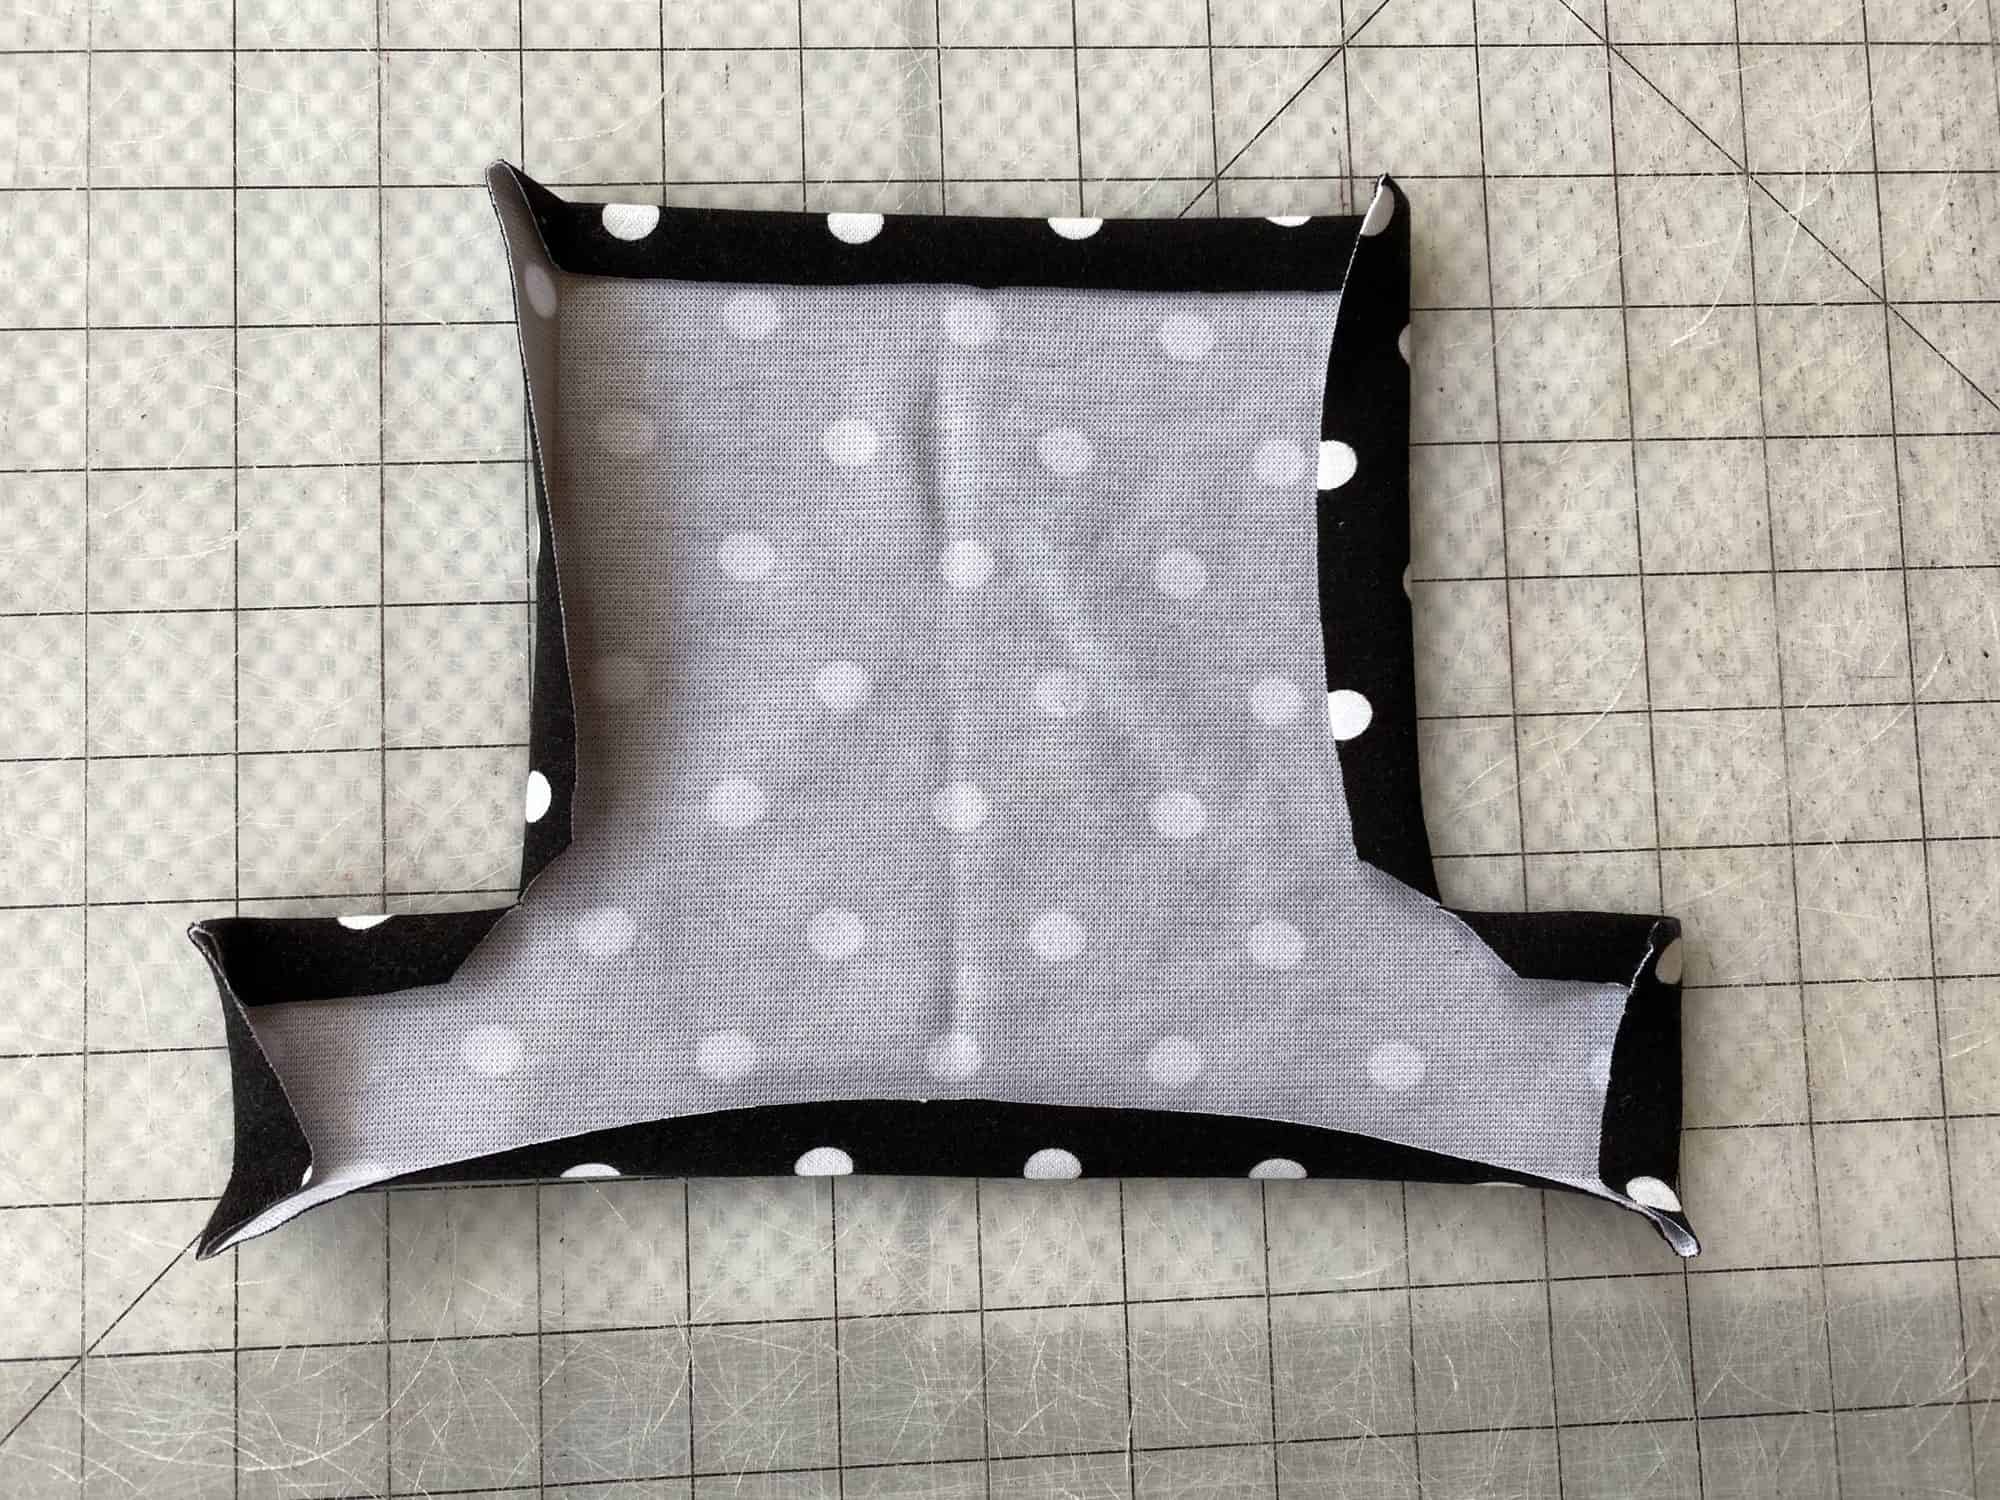
2. Press, wrong sides together, 1/2″ seam allowance, allowing all raw edges to be folded under.
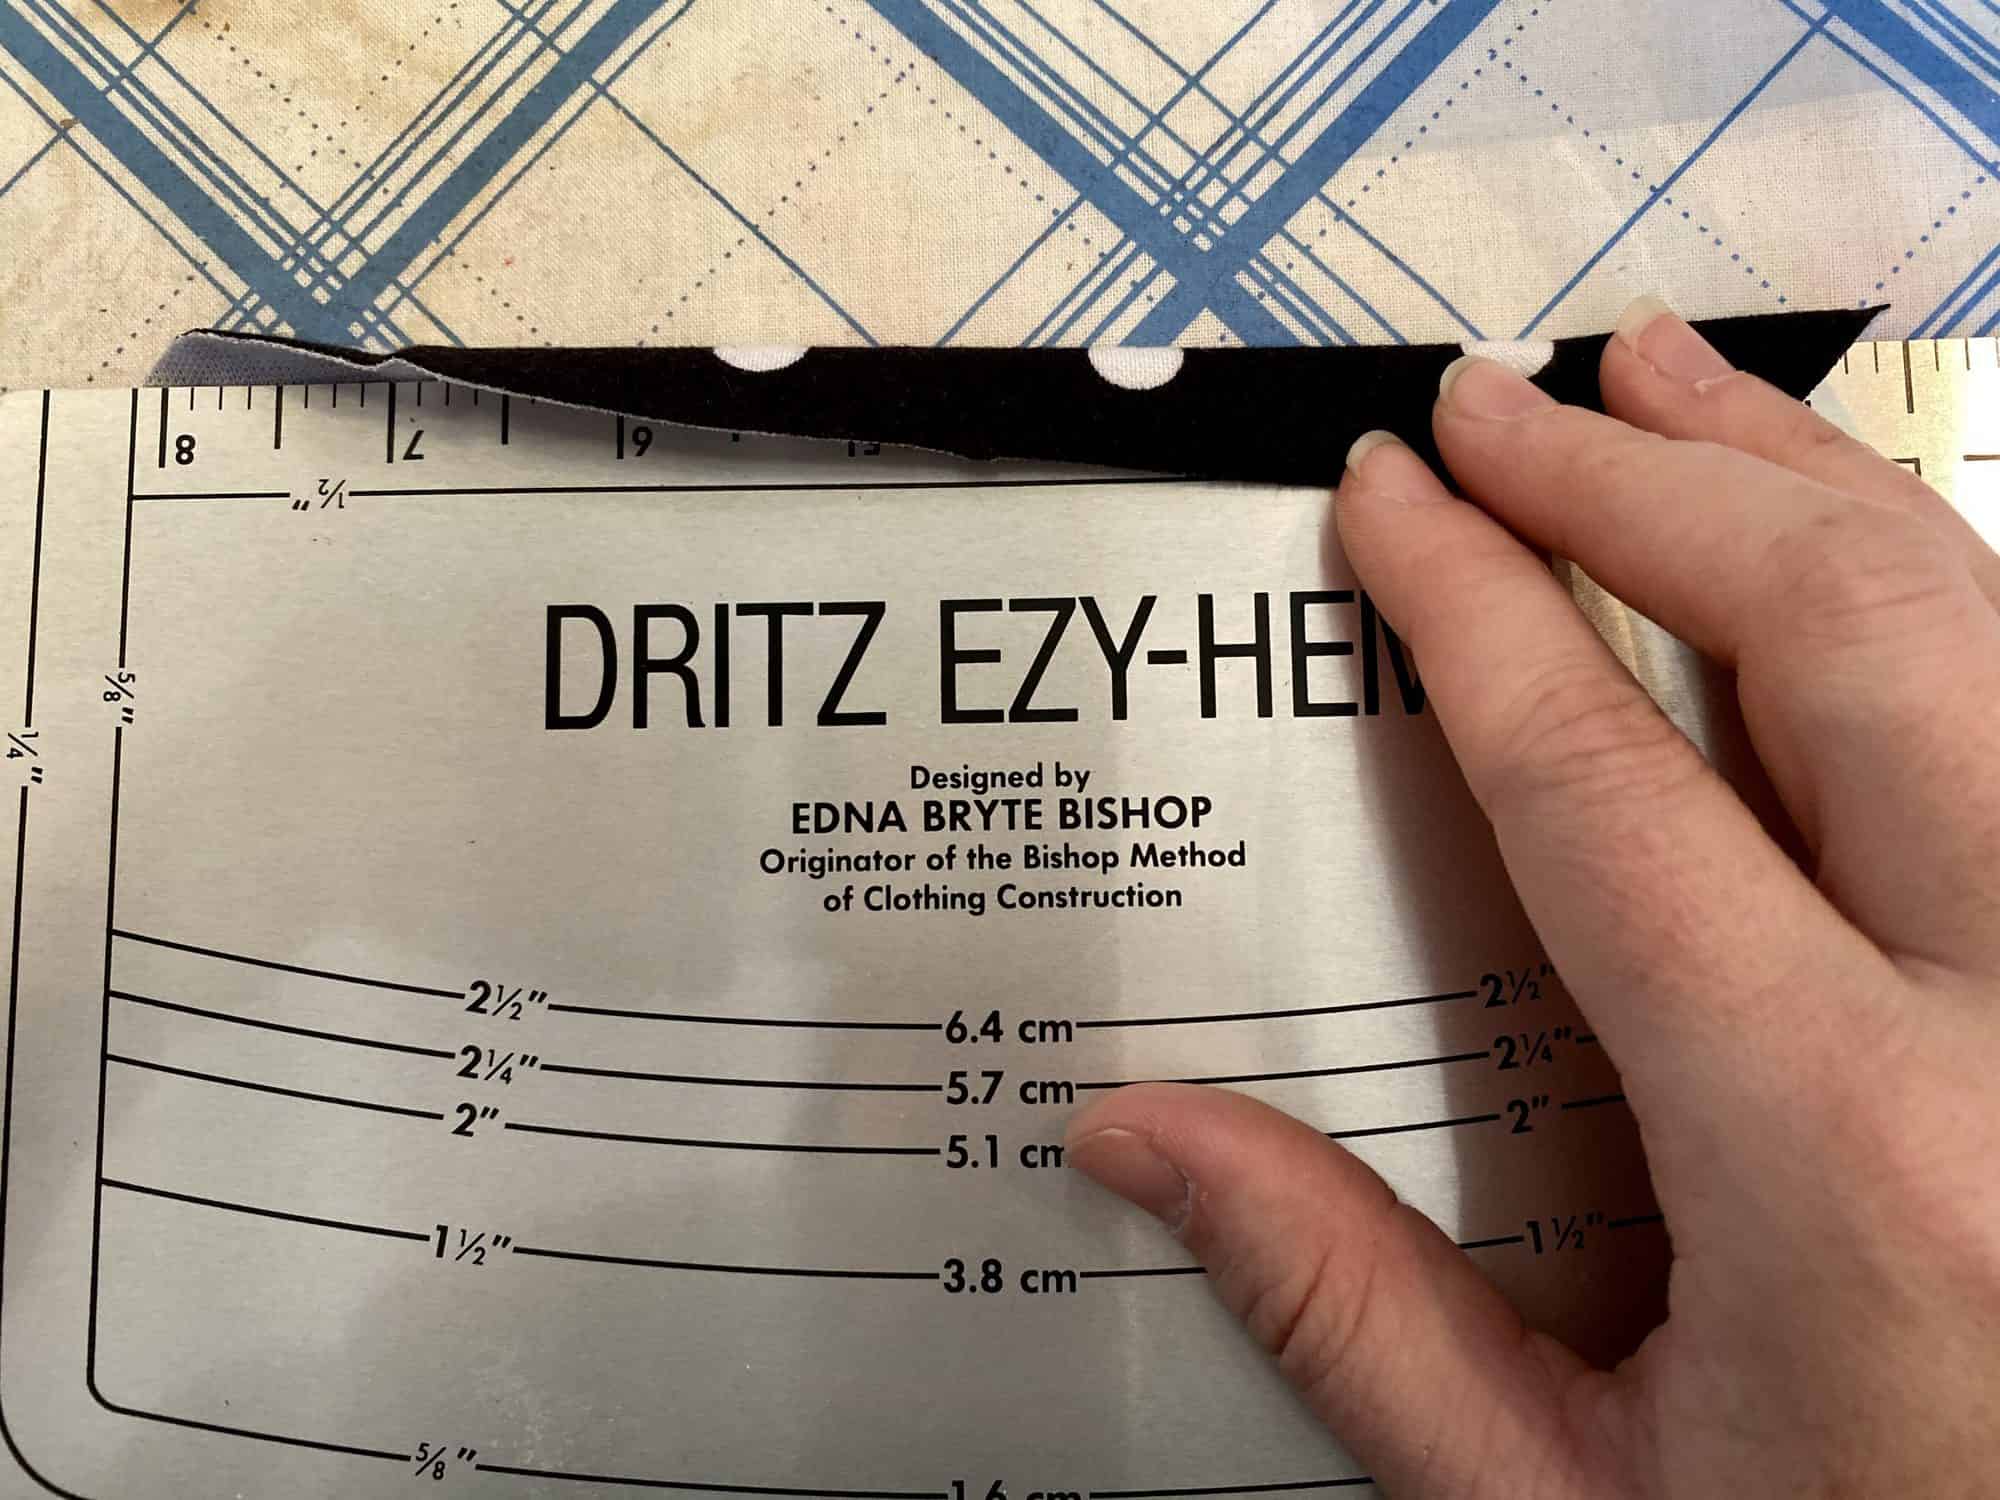
3. Repeat with Nose piece.
4. Pin and applique / zig zag stitch along entire outer edges of top hat and nose. Add button eyes and mouth. Finish assembling your top pattern, as directed.
As always, we love when you share what you’ve made with us. Head over to the Patterns for Pirates Facebook group and show off the fabulously dorky and “ugly” things that you’ve managed to make from our freebie pattern! Happy Holidays, friends!
