Patterns for Pirates

P4P stylish, modern, wearable patterns

  • Home
  • Blog
    • Frequently Asked Questions
    • Pattern Releases
      • Free Patterns
    • P4P University
      • Fitting
      • Sewing with Stretch, Knit Fabrics
      • Sewing with Woven Fabrics
      • Sewing Machines
    • Sew-A-Longs
    • Fabric for Pirates
    • Pattern Hacks
    • Announcement
      • Blog Tours
      • Contest/Giveaway
  • Shop
  • Bundle Discounts
  • Flash Friday
  • Gift Cards
  • My Account
  • Cart

P4P University- Adjusting a Top Pattern for Height

July 21, 2021

P4P University- Adjusting a Top Pattern for Height

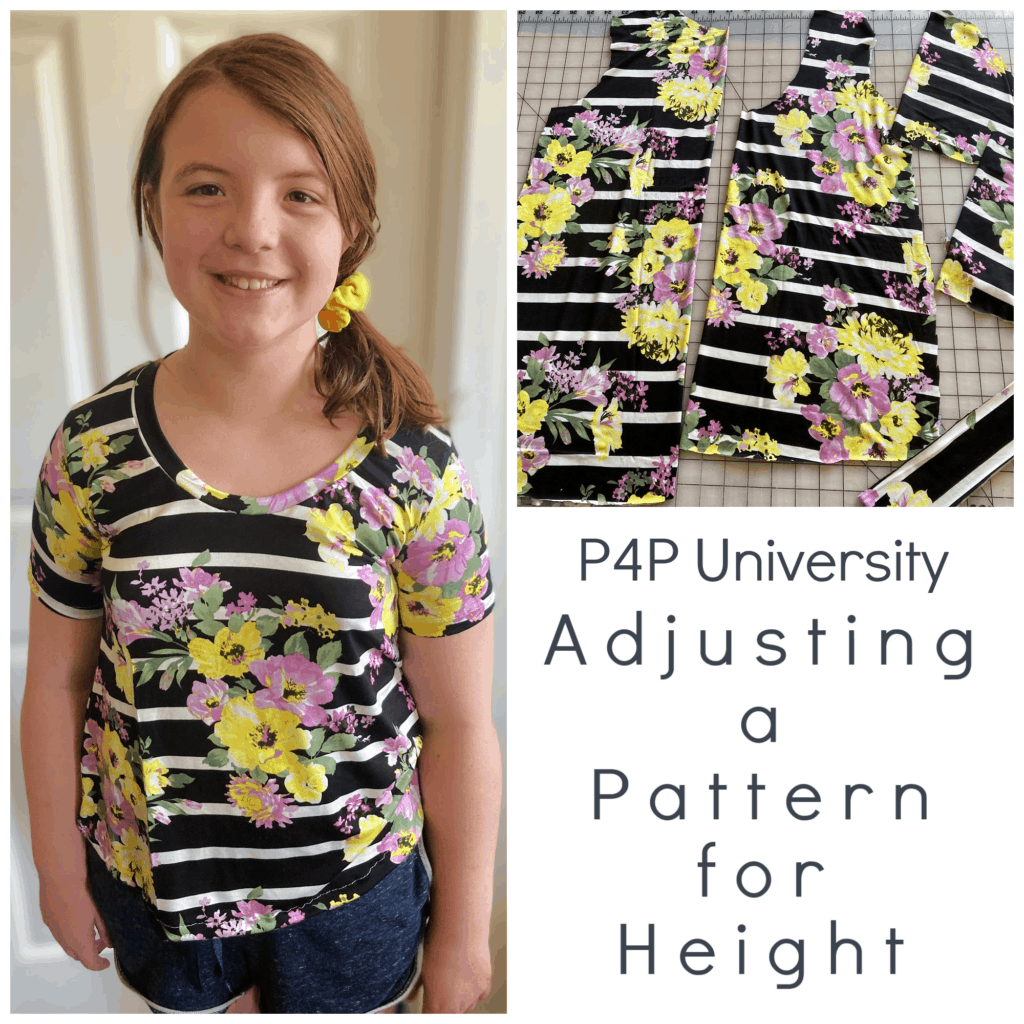
Today’s P4P University is all about adjusting a top pattern for height. We will take a look about the best practices for adjusting a pattern’s length, and how to create the best fit for your height.

Patterns for Pirates patterns are drafted for average height. That means in women’s patterns, they’re drafted for someone with the height of 5’5″. In this post, we will show you how to subtract or add length to a women’s top pattern to create the perfect fit.


DECIDING HOW MUCH TO ADD OR SUBTRACT TO A TOP PATTERN

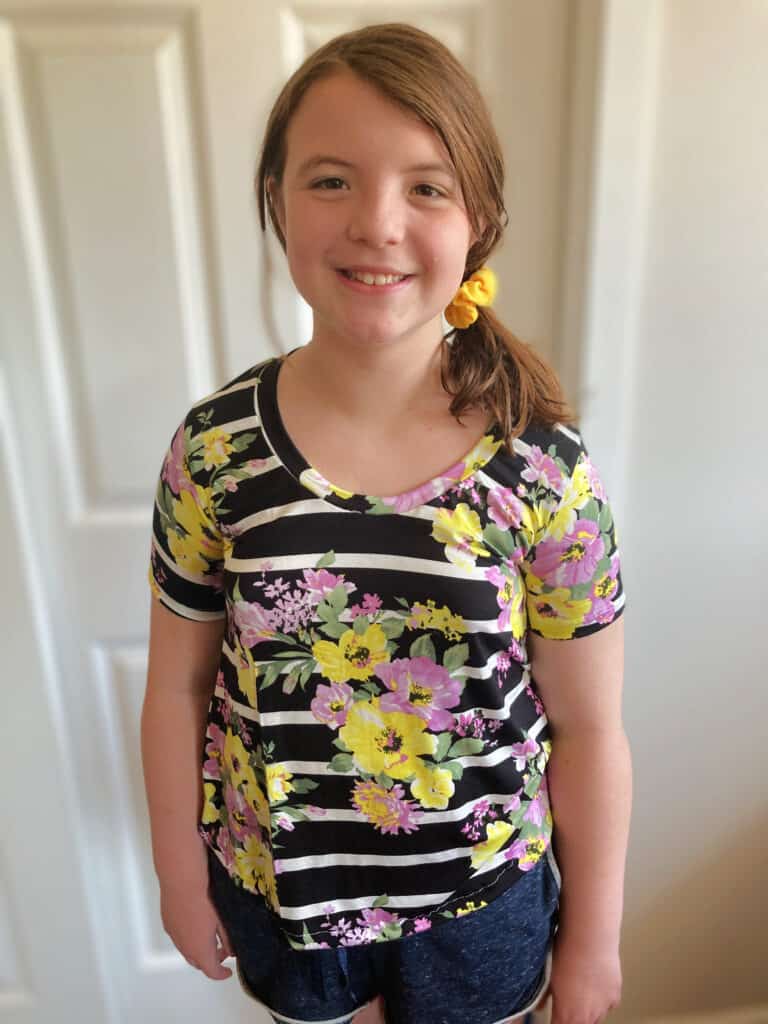
When adjusting for height in a top pattern, it can feel a little daunting deciding how much to adjust by. But really, it’s just a little simple math. As a general rule of thumb, in women’s top patterns, you will want to add or subtract .5 inch for every inch you are off of the base of 5’5″. In our example today, we are making a Favorite Tee for someone measuring at a size XS, and is 5’1″. To determine how much length to subtract from the pattern, we simply find the difference between 5’5″ and 5’1″. That difference is 4 inches total. Now, keeping in mind our rule of thumb that for every inch difference in the wearer’s height from 5’5″, we take away .5 inches from the pattern, we will multiply 4 times .5 to get a total of 2 inches subtracted total.

Here it is written out:

5″5″-5’1″= 4″

4″ x .5 = 2″ subtracted from the pattern’s length

Conversely, if you are above the average 5’5″ the pattern is drafted for, you will find out how much to add to the pattern’s length by finding the difference in height, multiplying by .5 and ADDING it to the pattern’s length. It’s as simple as that!

WHERE TO SUBTRACT FROM/ ADD TO THE PATTERN

A common misconception is that one can simply add or subtract length to the bottom of a top to account for a difference in height. This is not usually the best course of action, as it can very often change the overall shape and intended fit of the garment. The most important thing to do is to spread the changes you make throughout the length of the bodice. This can be done to suit your preferences, but four good places to start are at armscye,  just under the bust line, just under the waistline, and just above the bottom hemline.

Adding throughout the pattern like this helps to ensure that the bust, waist, and hip of the garment stay where they actually are on the wearer’s body. Patterns for Pirates uses a standard side waist length of 8″ and a waist to hip length of 8.25″, so if you know your specific length measurements between those points, you will want to add/remove the exact amount in those areas. For our purposes today, we are equally spreading our change in length throughout the pattern.

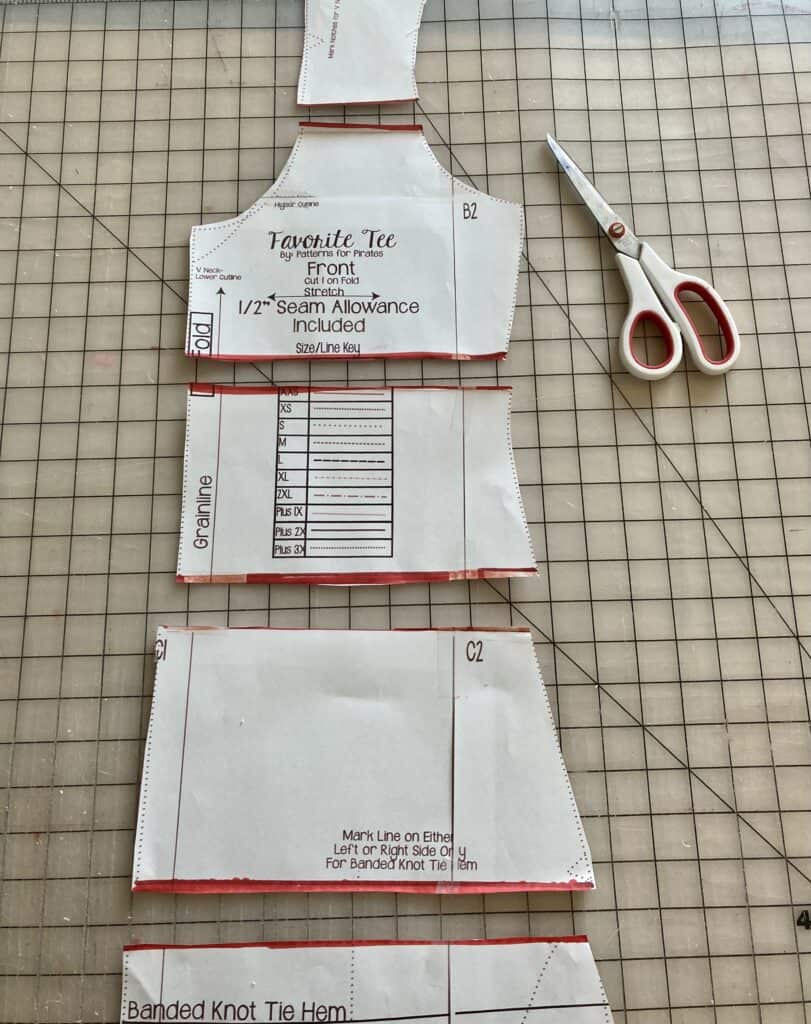
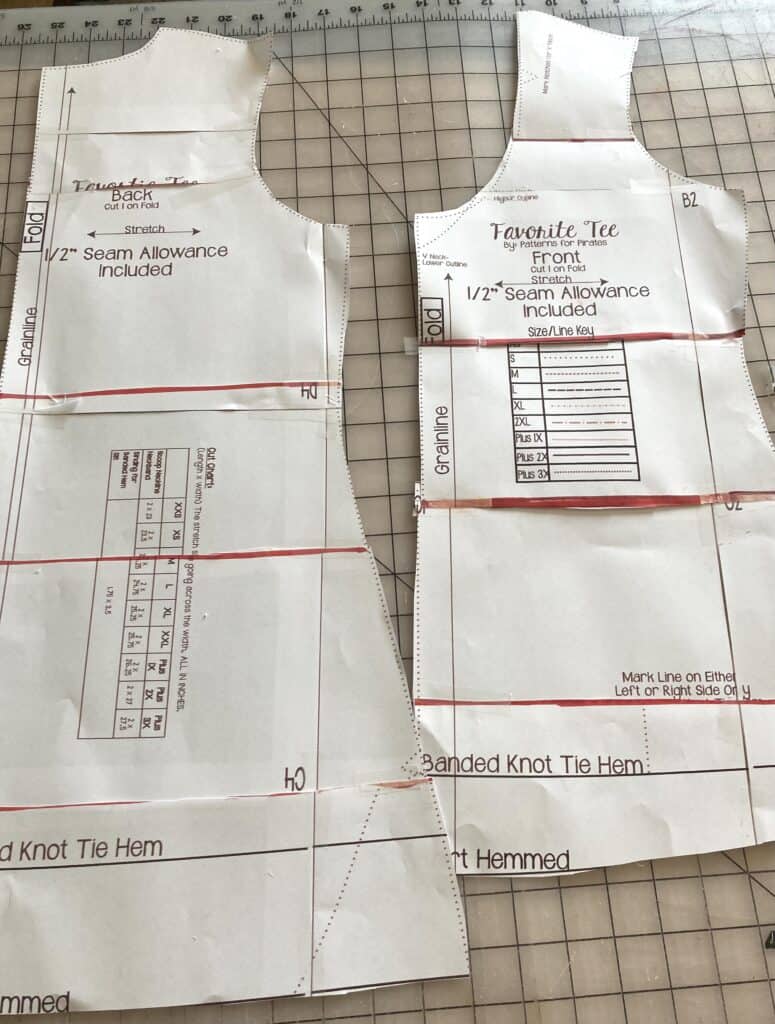
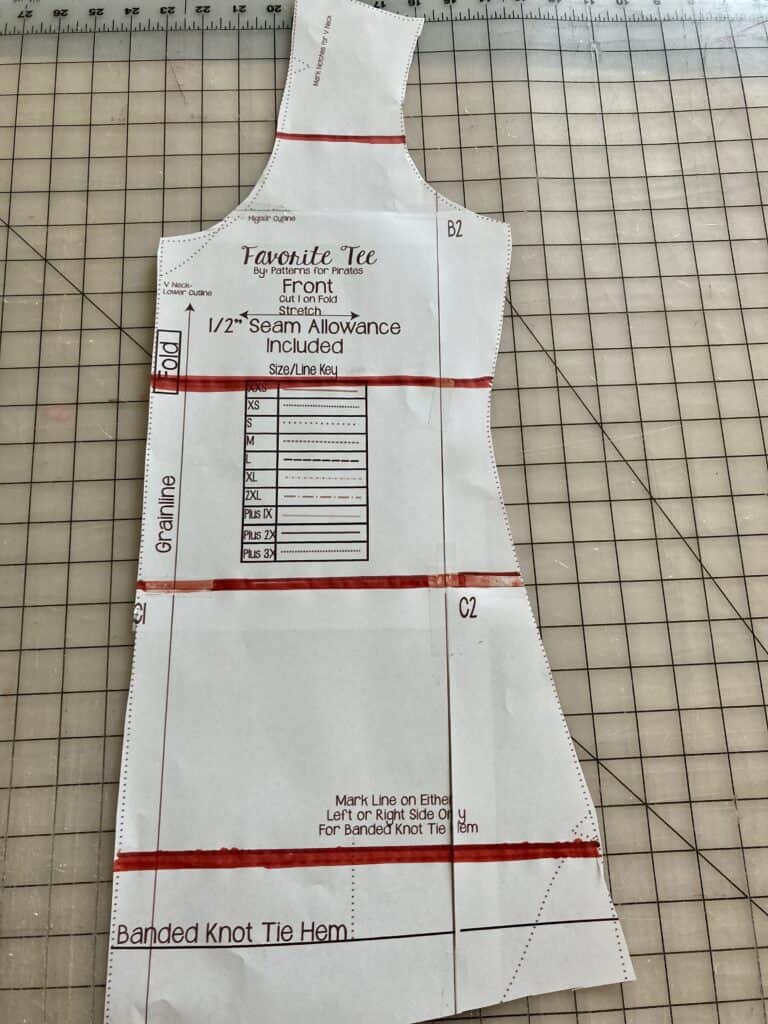
Take both your front and bodice pattern pieces, and mark with a line where you will be adding or subtracting length, such as we have, pictured below:


The next step is to cut the pattern pieces along those lines, so that these pieces can either be shortened or lengthened, depending on your fitting needs.

ADJUSTING THE TOP PATTERN PIECES TO EITHER LENGTHEN OR SHORTEN

In our example today, we will be subtracting length across the cuts in our pattern pieces to create the perfect fit for our wearer. Because we will taking away length in FOUR places (armscye, under the bustline, under the waistline, and  just above the hemline) we will be dividing our total amount to be taken from the pattern’s length by 4.

2″ total needed to be taken from the pattern’s length

2″ divided by 4 = .5″

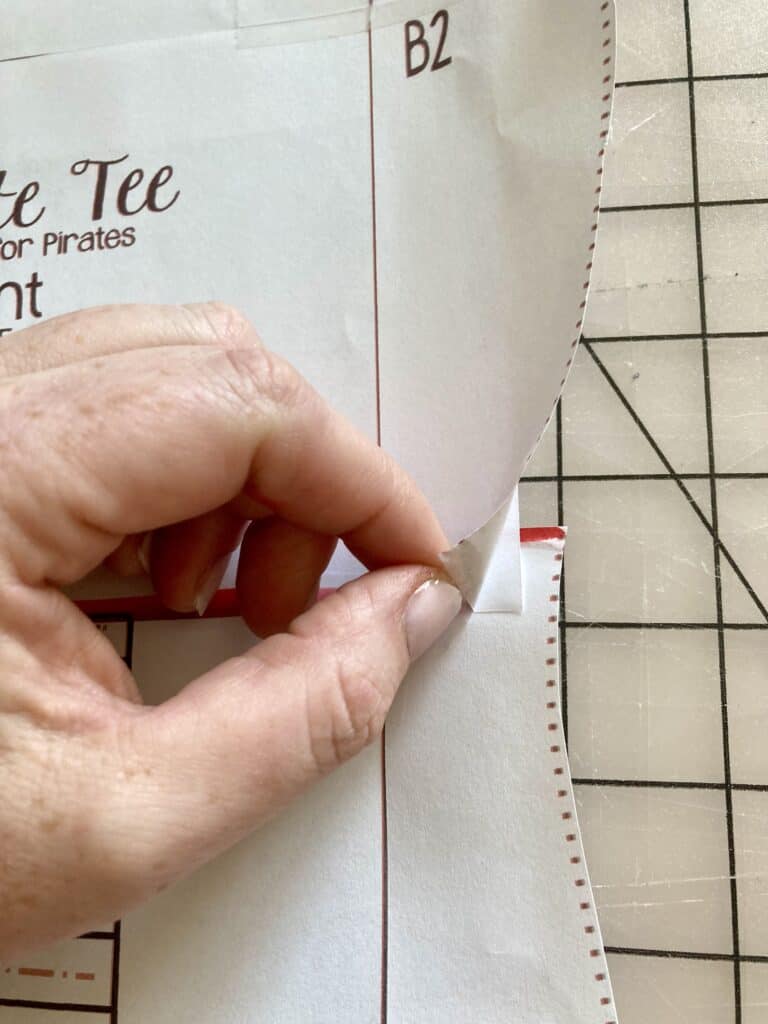
Therefore, we will be subtracting .5″ from the four different places in the pattern mentioned above.  To do this, we will reposition our pattern pieces to overlap by .5″ each, and tape in place. Remember: you will want to do this to both the front and back bodice pieces of your top pattern.

If you are adding length to a pattern, you will want to spread your pattern pieces by the required measurement to create more length. When you are done re-taping, you will have two new bodice pieces adjusted for your height!

SEW UP YOUR TOP AS USUAL

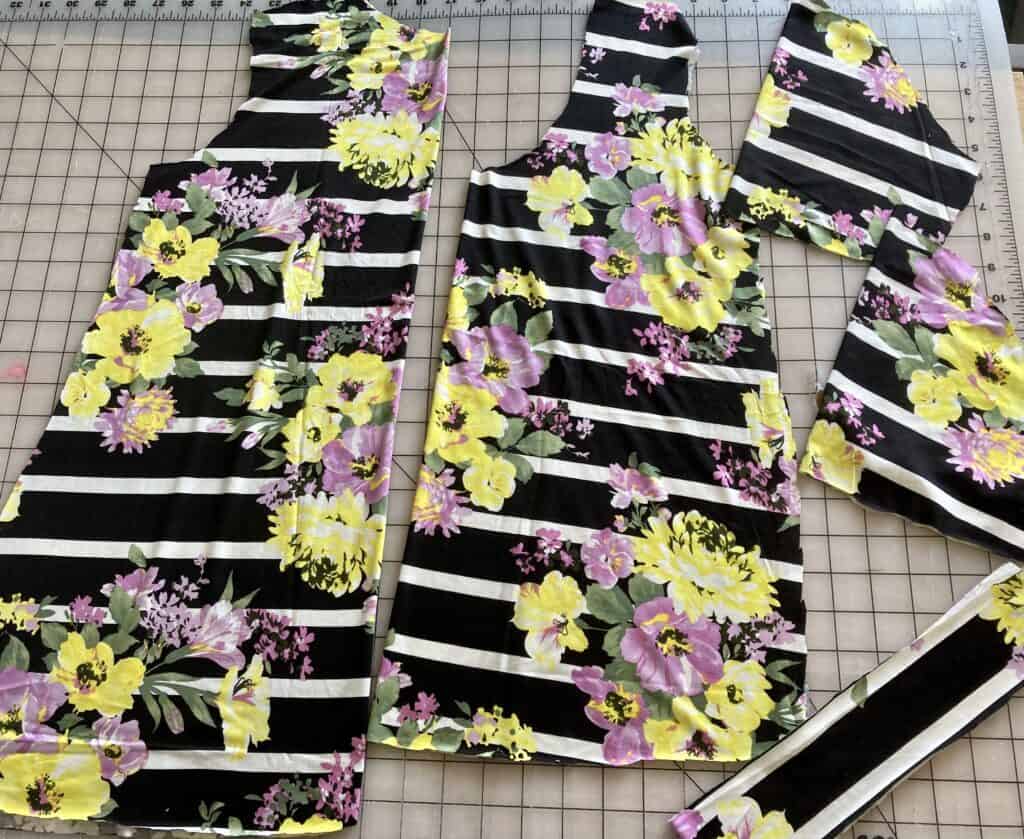
Now that we’ve adjusted the front and back bodice pieces of our top, we can go ahead and sew as usual. Using your newly adjusted pattern pieces, cut your fabric and sew away.

And it’s as simple as that! Keep in mind that every body is different, and it may take a little practice to get the perfect fit when adjusting for height in a top. But with these simple beginning steps and general rules of thumb, we hope that you can adjust your patterns easily to create that perfect fit every time!
 

Filed Under: Fitting, P4P University Leave a Comment

P4P University- Waistbands

September 21, 2020

Ahoy Pirates! Today, we’re talking waistbands. We’ll cover some of the different types of waistbands that you’ll generally see in P4P patterns, the best fabrics and materials for constructing them, and some helpful tricks and tips to getting the very best results.

Types of Waistbands

There are many different types of waistbands out there in the wide world, but today I’ll cover some of the most common ones you’ll see in apparel sewing and in many P4P patterns.

First off, let’s talk about knit waistbands. These waistbands can be normal or high-rise, and are stretched to fit a garment’s waist.  Knit waistbands will need to be made with knits with excellent stretch and good recovery. You’ll want to look for fabrics like brushed polyester, cotton lycra, or cotton ribbing to make these. This type of waistband is easy to sew, with no casings, elastic or fancy stitching required. Hurray!

Generally with this type of waistband, you’ll line up the short ends of the waistband piece, right sides together, and stitch. Next, flip the waistband so the right side is up, then fold in half lengthwise, wrong sides together, and press. From there, you will quarter the band with pins and attach (more on quartering waistbands and other tips later)!


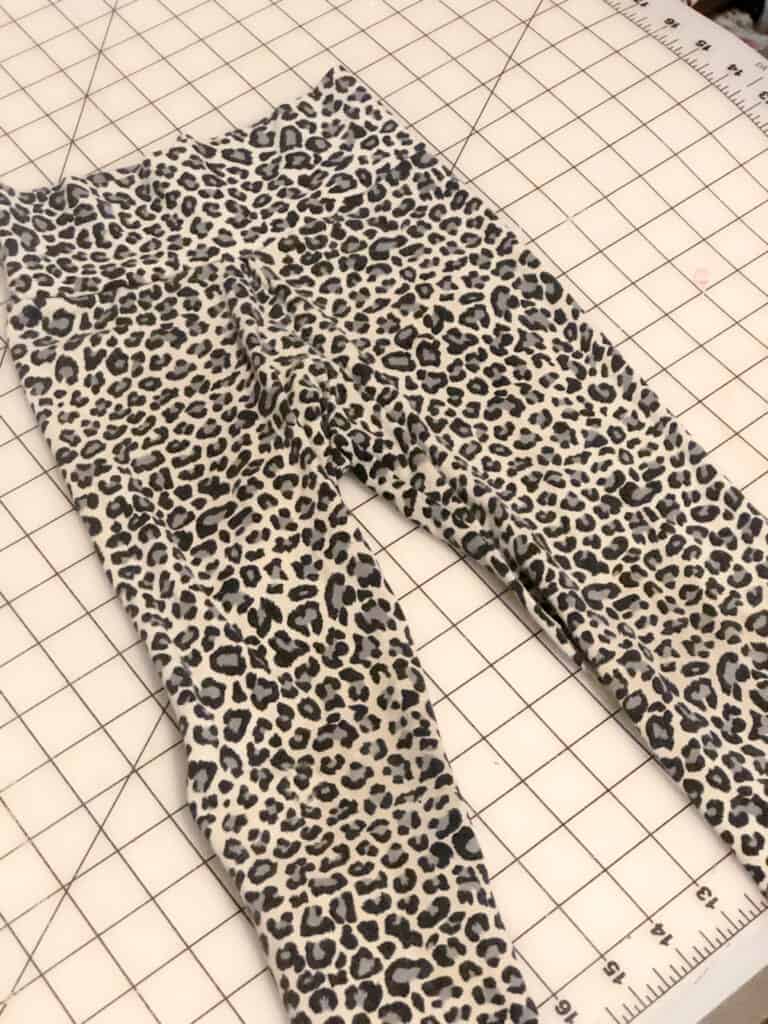
Here, I’ve used double brushed poly to sew a knit waistband onto a pair of Peg Legs. I’ve simply attached it by stretching it evenly, and sewing it to the garment with my serger, although a sewing machine will work just as well. Make sure to use a stretch stitch, like the lightening bolt, at the longest length setting!


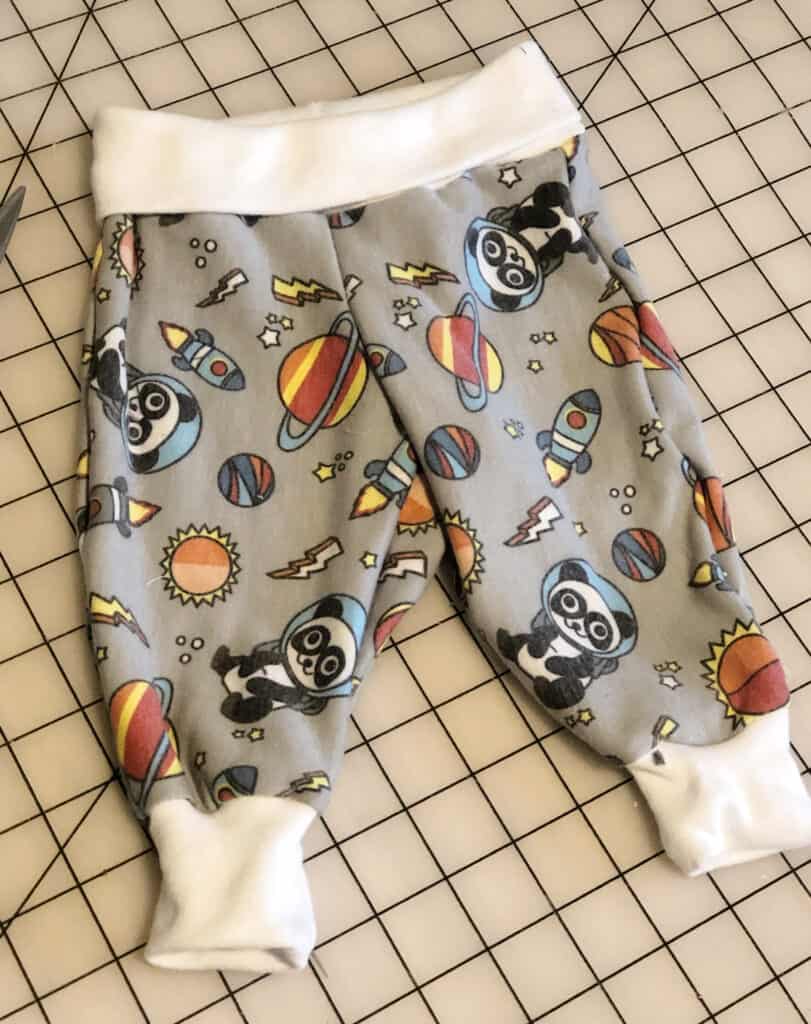
Next up, we have  tall/yoga waistbands. Yoga waistbands are made and constructed similarly to regular knit waistbands, but are simply “taller” and meant to be folded over for a even more comfortable fit. I especially like using yoga waistbands on clothing for children, as they are super comfy to wear! Brushed polyester and cotton lycra are excellent choices for these. I’ve used a yoga waistband here on a pair of Baby Bear Joggers, using brushed polyester.


Next,  we have enclosed elastic waistbands. Generally, this type of waistband is used for knit garments that have a little less vertical stretch or recovery and need a little “help” holding the garment up around the wearer’s waist.

To construct, you will sew together the short ends of the waistband casing, right sides together. Next fold lengthwise, wrong sides together, and press. Set aside. Take your elastic piece, and sew short ends together, using instructions for the specific pattern being used. Generally, you will be instructed to either overlap the two short ends and sew, or “butt up” the ends- pushing them together and sewing with a wide zig-zag stitch, but not overlapping. Next you will slip the elastic loop into your knit waistband casing, and sew together as one piece onto your garment. You may topstitch this seam afterwards, if desired.

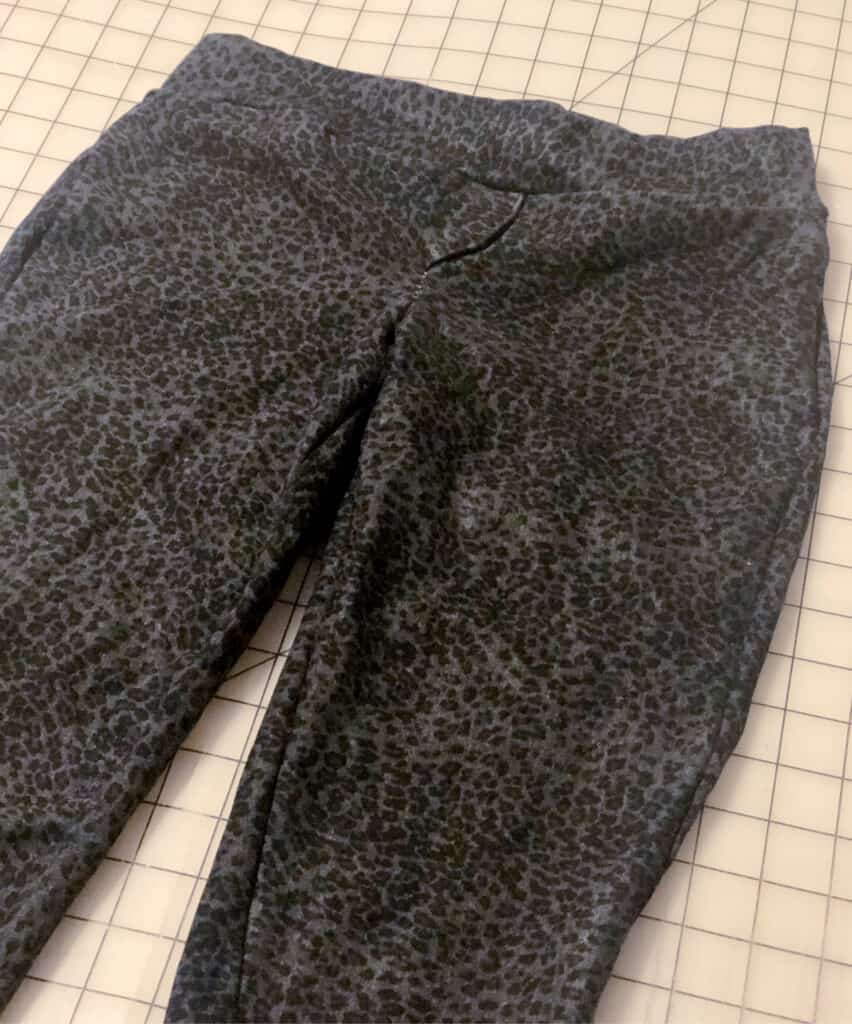
Here, I’ve made a pair of SOS Knit Pants with an enclosed elastic waistband. Although the fabric I used was a jegging material with little vertical stretch, the added elastic I used helps give the little bit of extra “oomph” needed to keep the pants up around my waist and snug-fitting.


Another style of waistband you’ll see often in apparel sewing is exposed elastic waistbands. These are waistbands that you’ll see in many applications, such as athletic shorts or undergarments. These will be generally created using plush back, underwear, or soft waistband elastics. It’s important to use these types of elastic, especially for undergarments, as they are much more comfortable and soft, and elastic will be up directly against the wearer’s skin.

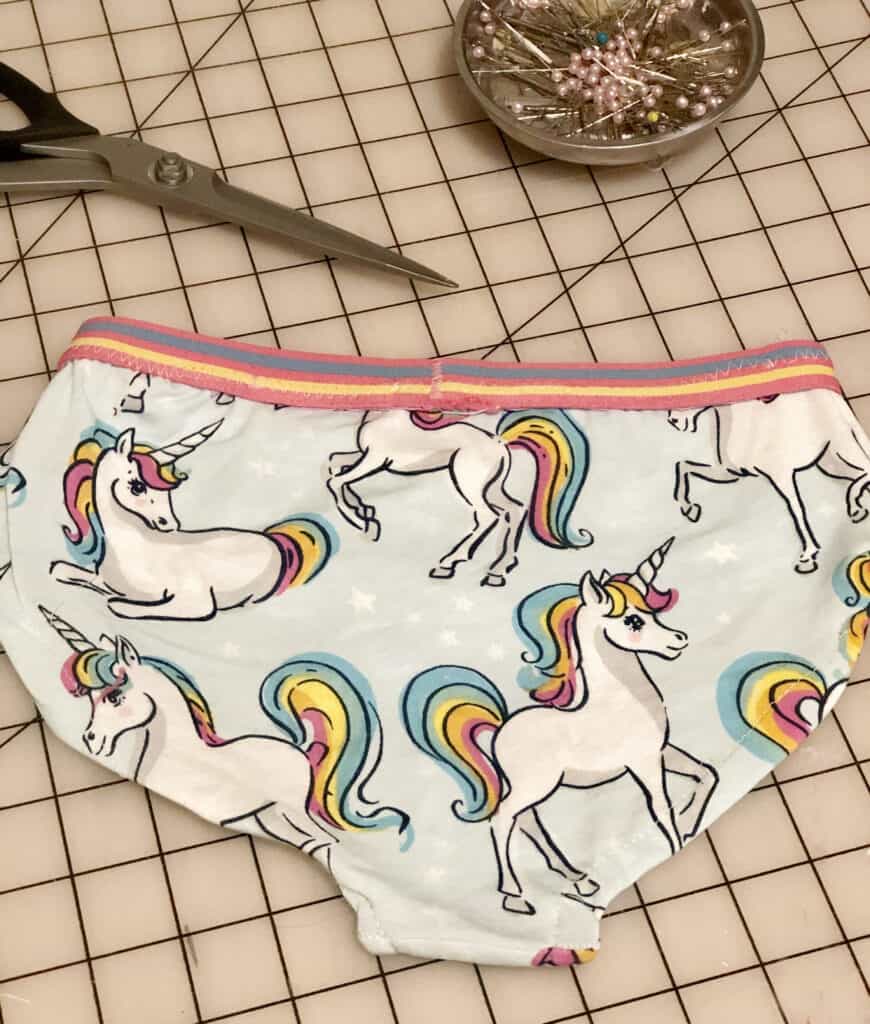
On patterns such as the Fierce Undies pictured here, the elastic used will be “butted” together before being sewn, not overlapped. This is because overlapping will make the exposed elastic waistband too bulky.


Tips and Tricks

Just as there are many different types of waistbands out there in the sewing world, there are just as many tips to make sewing them easier! Here are just a few to help you along the way:

1. With knit, yoga, and enclosed elastic waistbands, serge or baste the raw edges together once you’ve folded lengthwise, wrong sides together, and before attaching to the garment. This will essentially take those two layers of fabric of the folded waistband and turn them into one, making it easier to attach them to the garment in a clean and professional-looking way. Remember, if you serge the raw edges of your waistband before attaching it to your garment, DO NOT CUT ANY OFF!

2. ALWAYS quarter your waistbands before attaching them to a garment! What is quartering? It’s equally dividing the waistband into fourths, so you can better ensure that the waistband will be evenly stretched across the garment’s waist.  It’s easy to do:

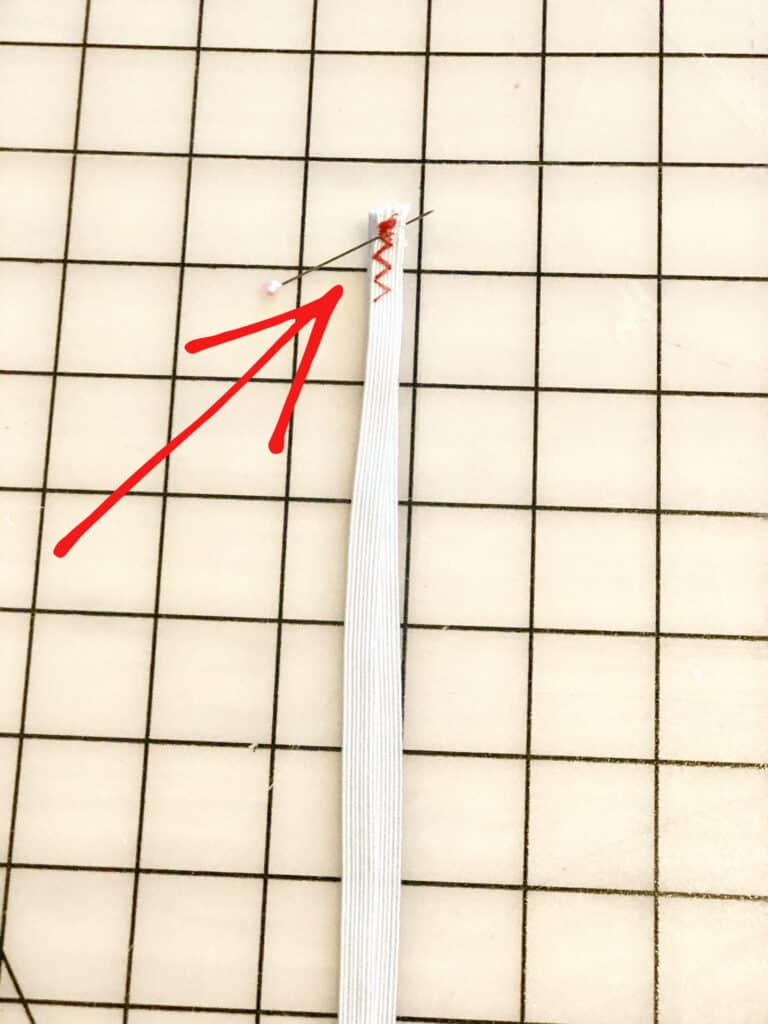
 First, sew the waistband or elastic together at the short ends, as directed by the pattern. Pin or mark the point of the seam.

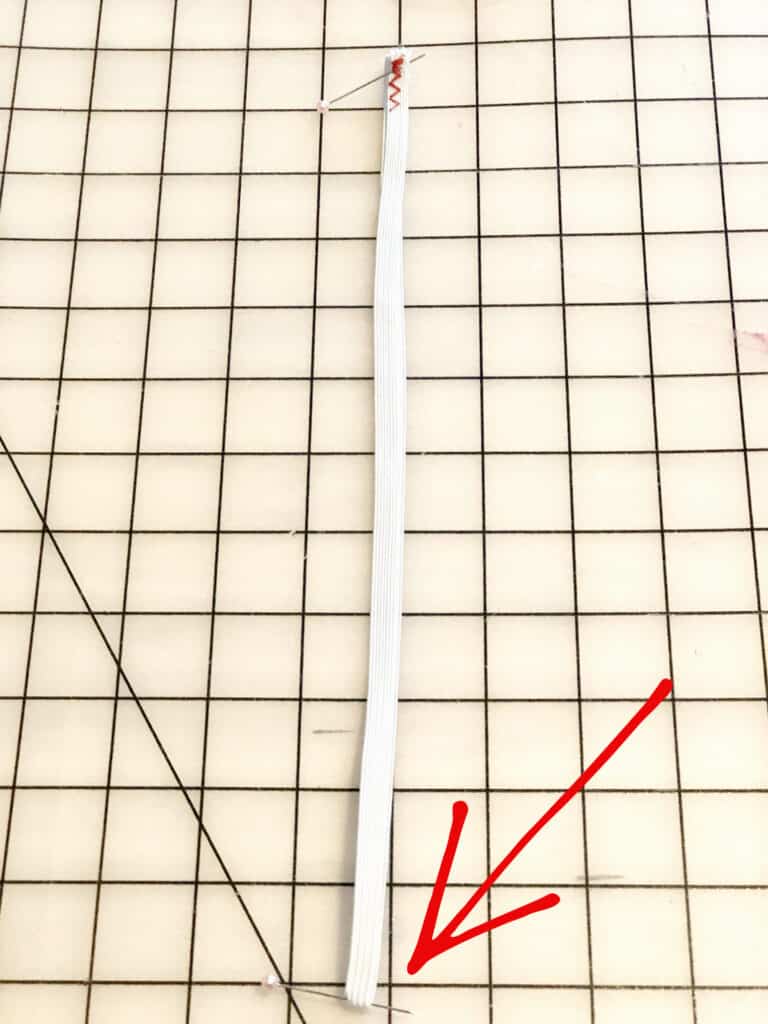
Next,  fold in half to find the half point. Pin or mark the half point.

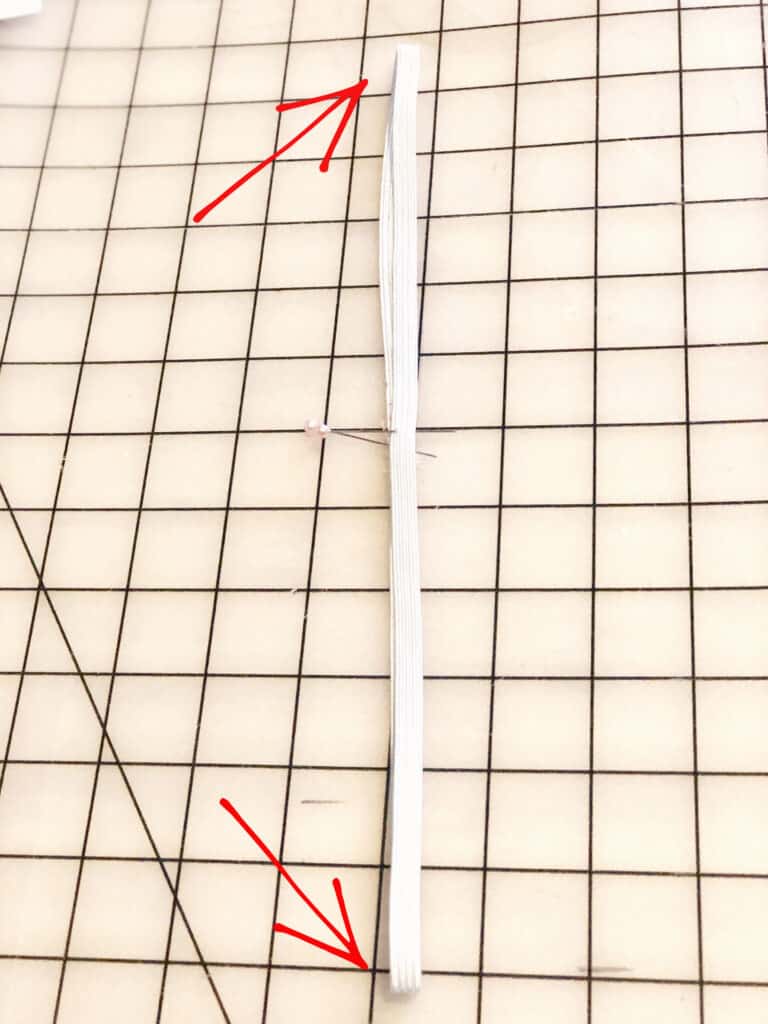
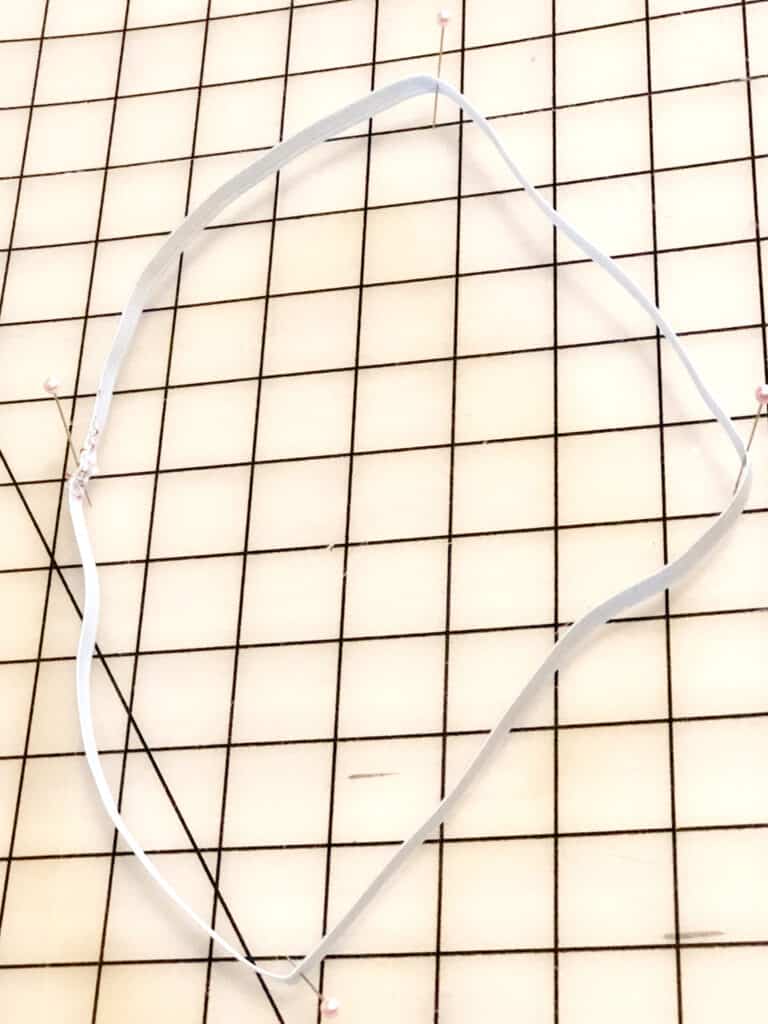
Now, take the two marked points (the seam and half point) and fold the waistband or elastic so that they meet in the center. Pin or mark the folded edges on either side to find the quarter points.

And there you have an evenly quartered waistband! This might sound like an extra step, but trust me, it’s one that will save you time by                          ensuring that you don’t have an unevenly stretched waistband (hello, seam ripper!) and will give you the most professional- looking finish.


3. SAVE your scraps! Especially with youth apparel, waistbands usually take very little fabric, and can be excellent scrap-busters. So next time you make something with a stretchy fabric with great recovery, make sure to stash those extras away for a rainy day!


That’s it for now! Just a few examples of some of the waistbands you’ll encounter while sewing some gorgeous, handmade apparel. No matter which waistband is required for your pattern, always make sure to quarter those bands, have fun, and share your beautiful makes with us over at Patterns for Pirates’ Facebook page!

Caitlin

Filed Under: Frequently Asked Questions, P4P University, Uncategorized Leave a Comment

Featured Patterns

  • Loosey Goosey Loosey Goosey $12.00 Original price was: $12.00.$10.50Current price is: $10.50.
  • Loosey Goosey- Youth Loosey Goosey- Youth $10.00 Original price was: $10.00.$8.50Current price is: $8.50.
  • Loosey Goosey - Bundle Loosey Goosey - Bundle $20.00 Original price was: $20.00.$18.00Current price is: $18.00.
  • Everyday Shirt Everyday Shirt $12.00
  • Everyday Shirt- Youth Everyday Shirt- Youth $10.00
  • Privacy Policy
  • Refund Policy
  • Affliliate Program
  • Contact Us
  • About

Copyright © 2025 Patterns for Pirates

Copyright © 2025 · Genesis Framework · WordPress · Log in