It’s that time of year again… when we have a big site wide sale. I’m always thinking it helps those needing to add some new spring and summer clothes to their wardrobes. I know my daughter is needing a new swimsuit and I’m hoping for some more shorts for upcoming months! I hope this sale helps get all the patterns you want in your account so you can create the wardrobe of your dreams!
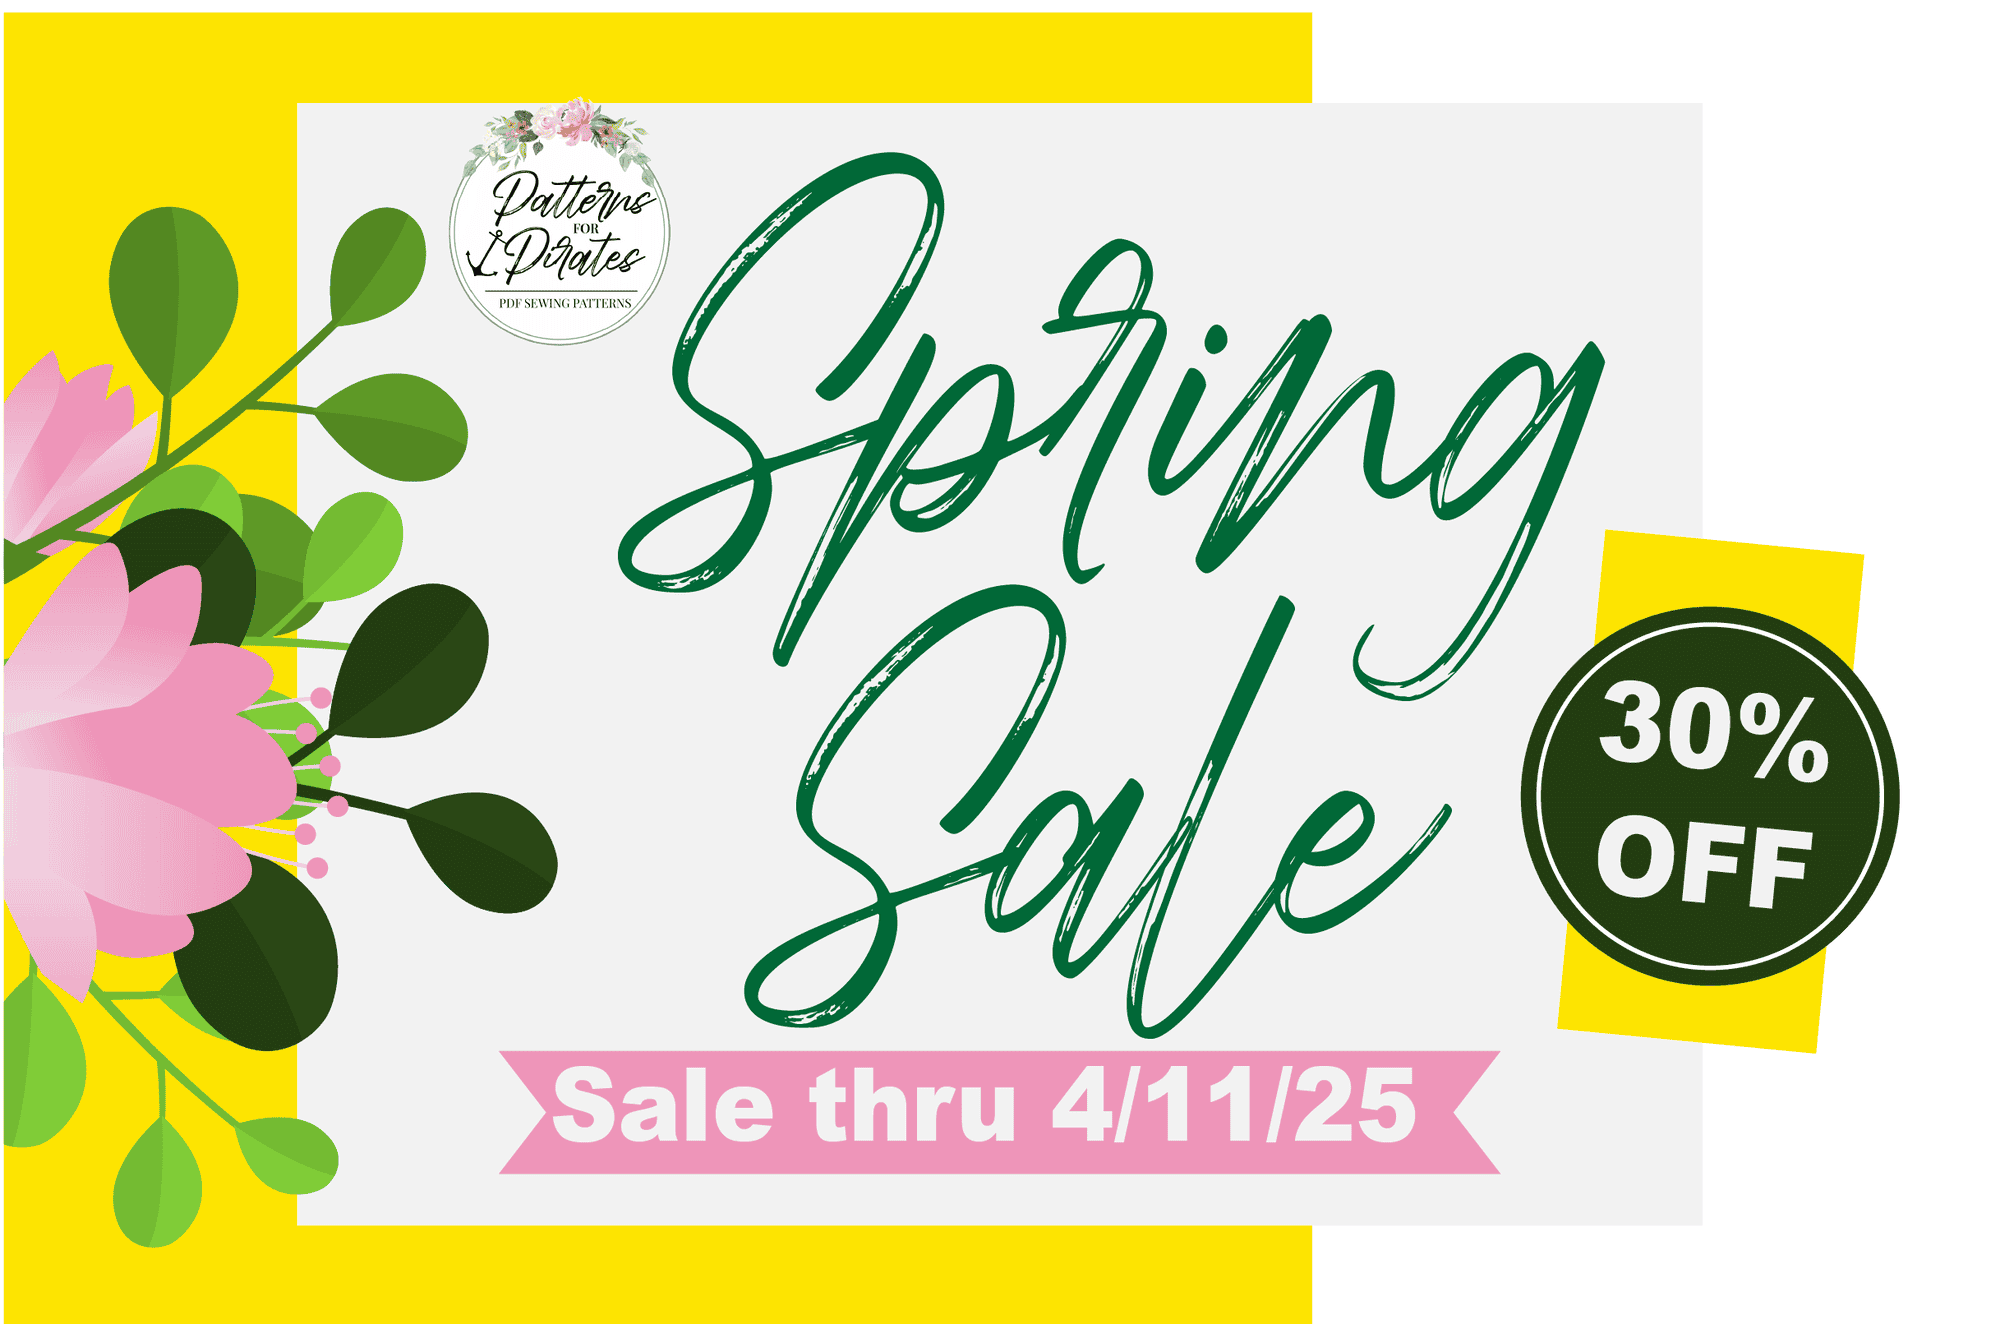
Click to the shop here 🙂