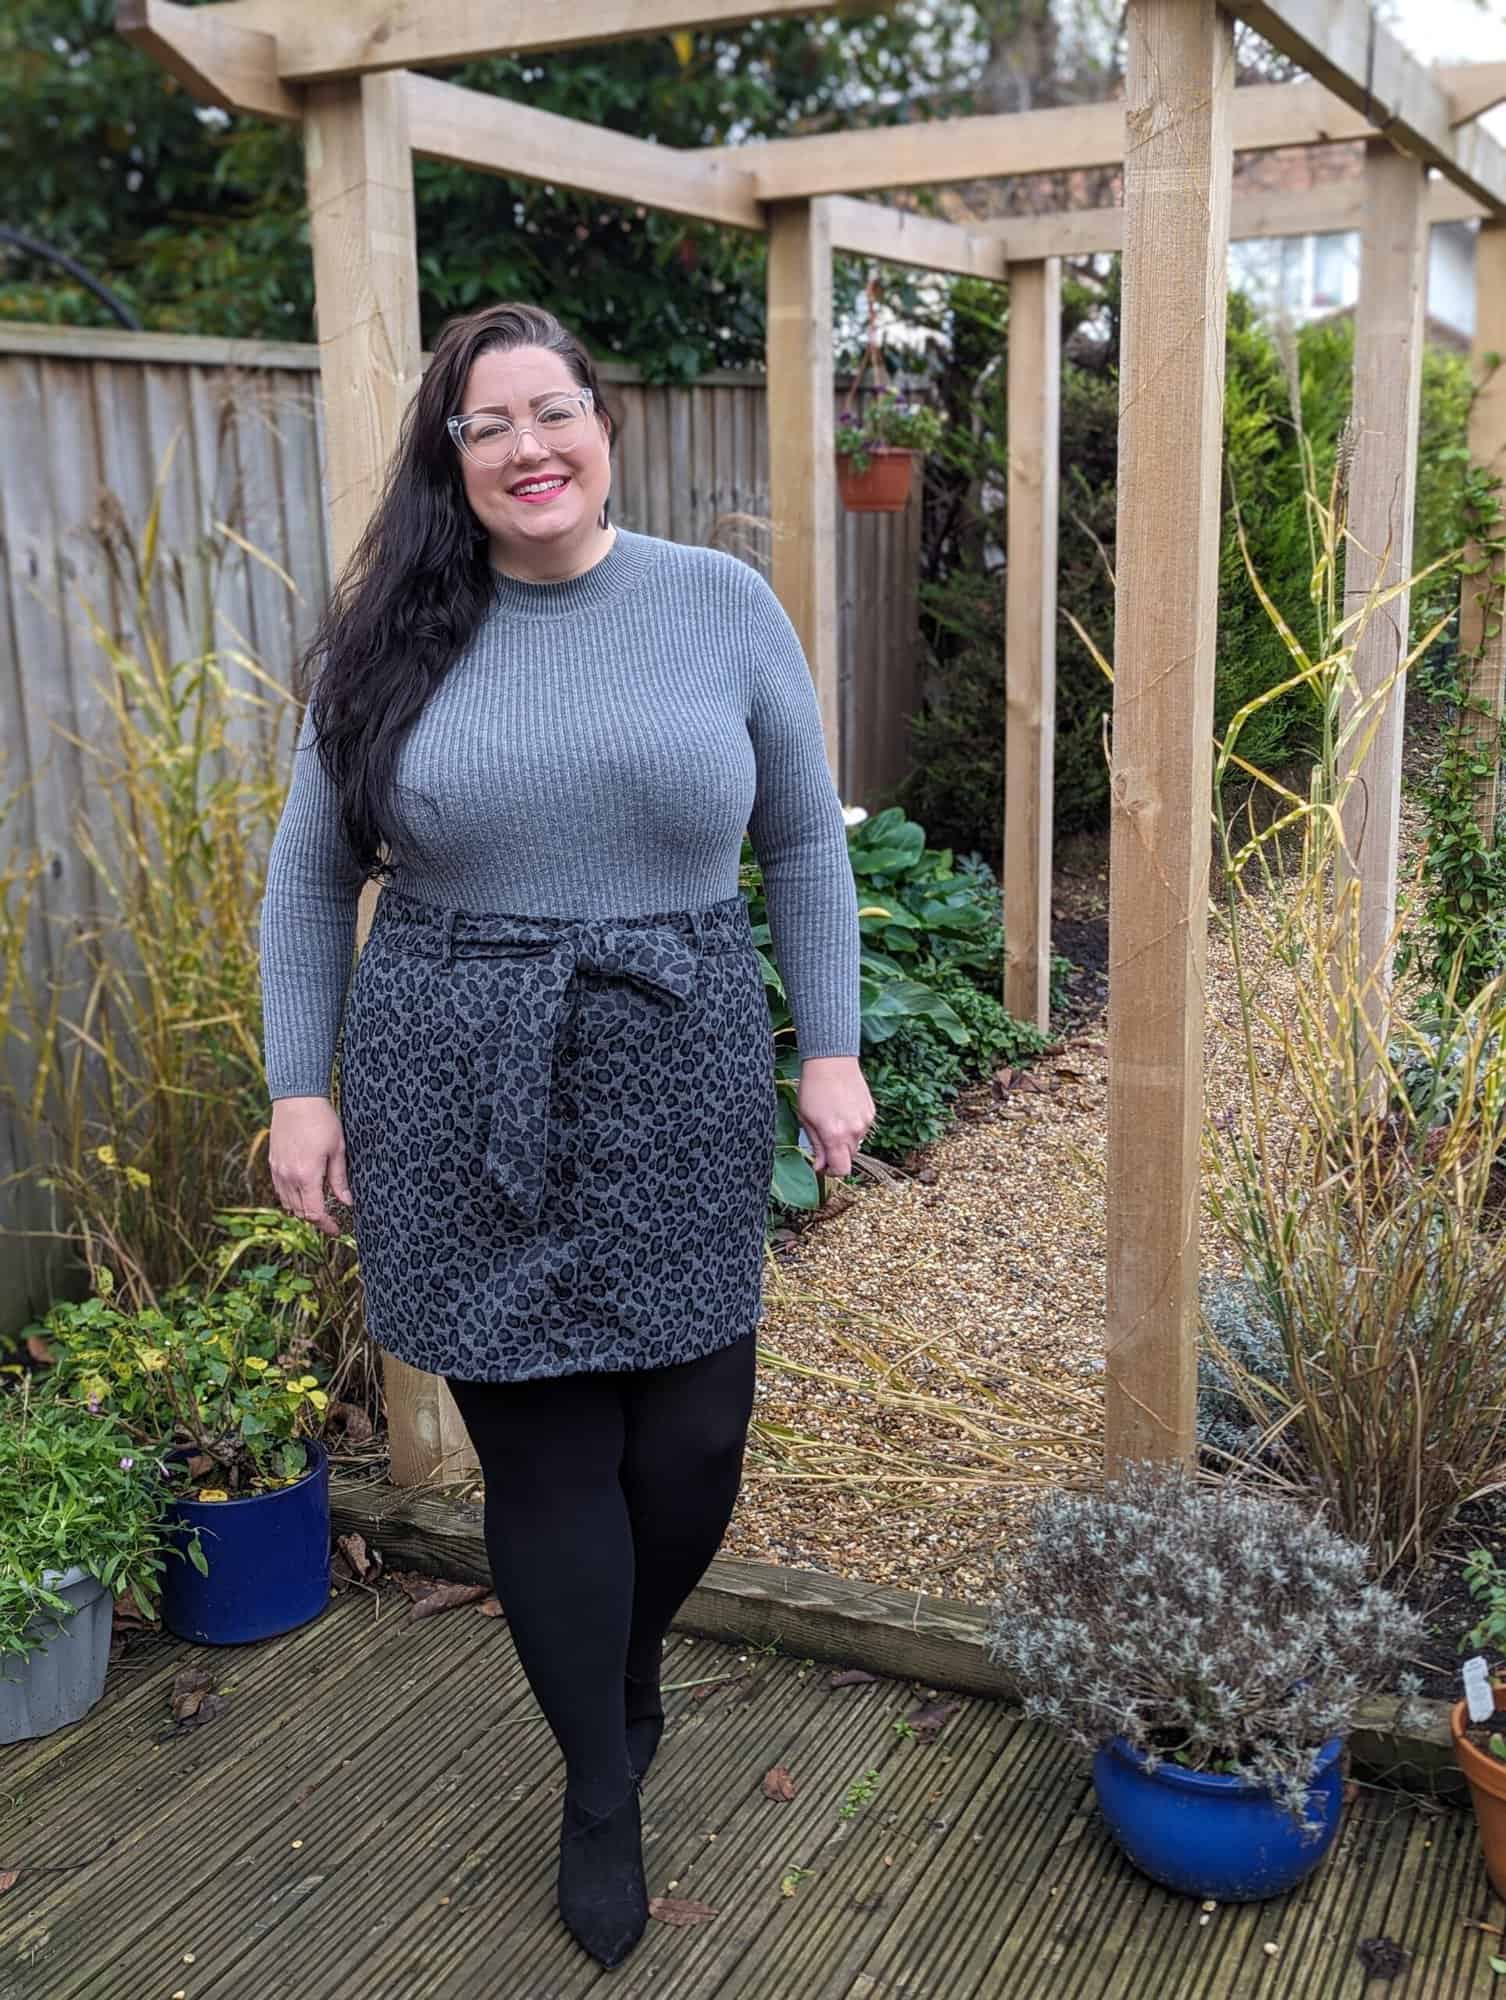
Get ready to elevate your sewing game with our “easy hacks” post for the Sophia Pencil Skirt pattern. We’re sharing three ingenious ways to take this pattern a little further!
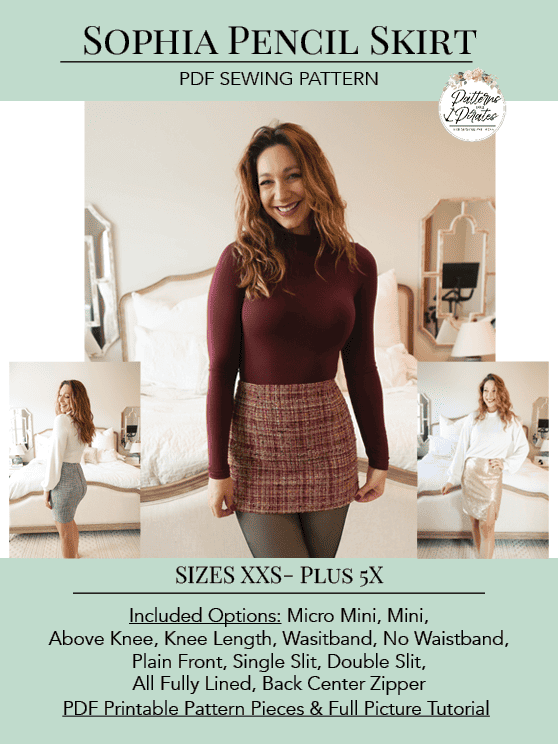
You’ll this pattern to complete these super fun sewing hacks: SOPHIA PENCIL SKIRT
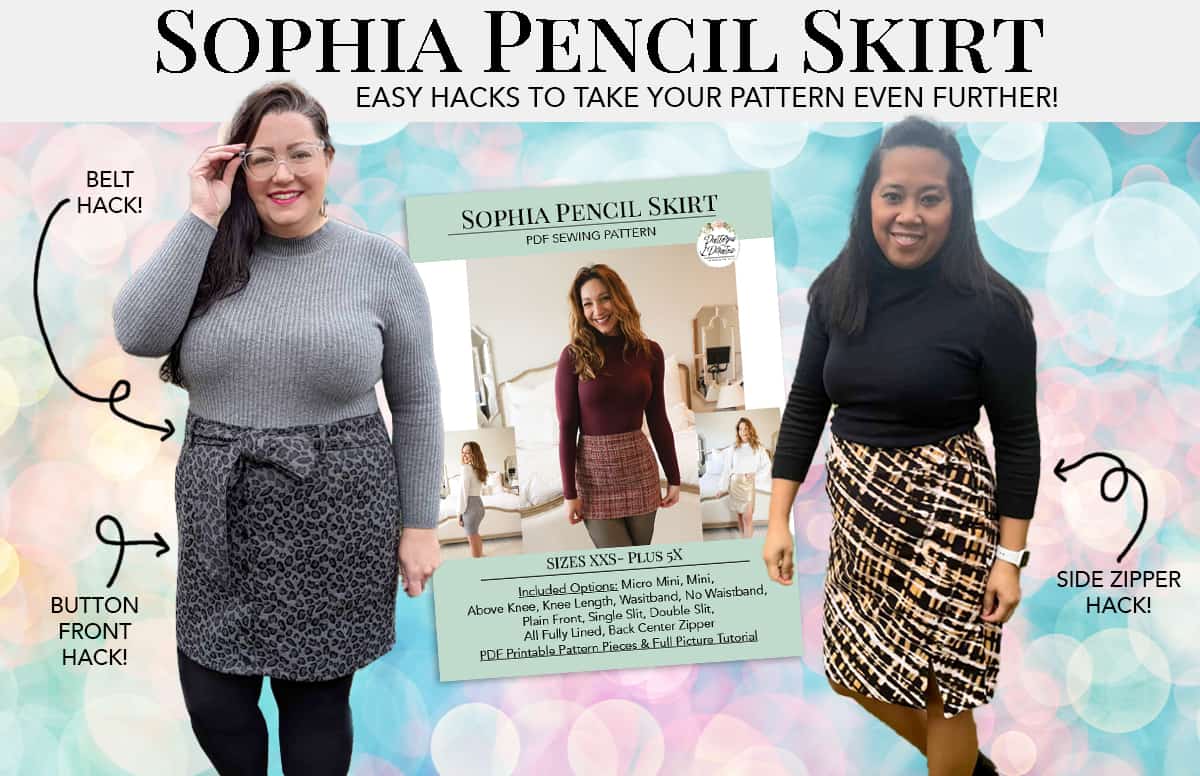
Side Zipper Hack
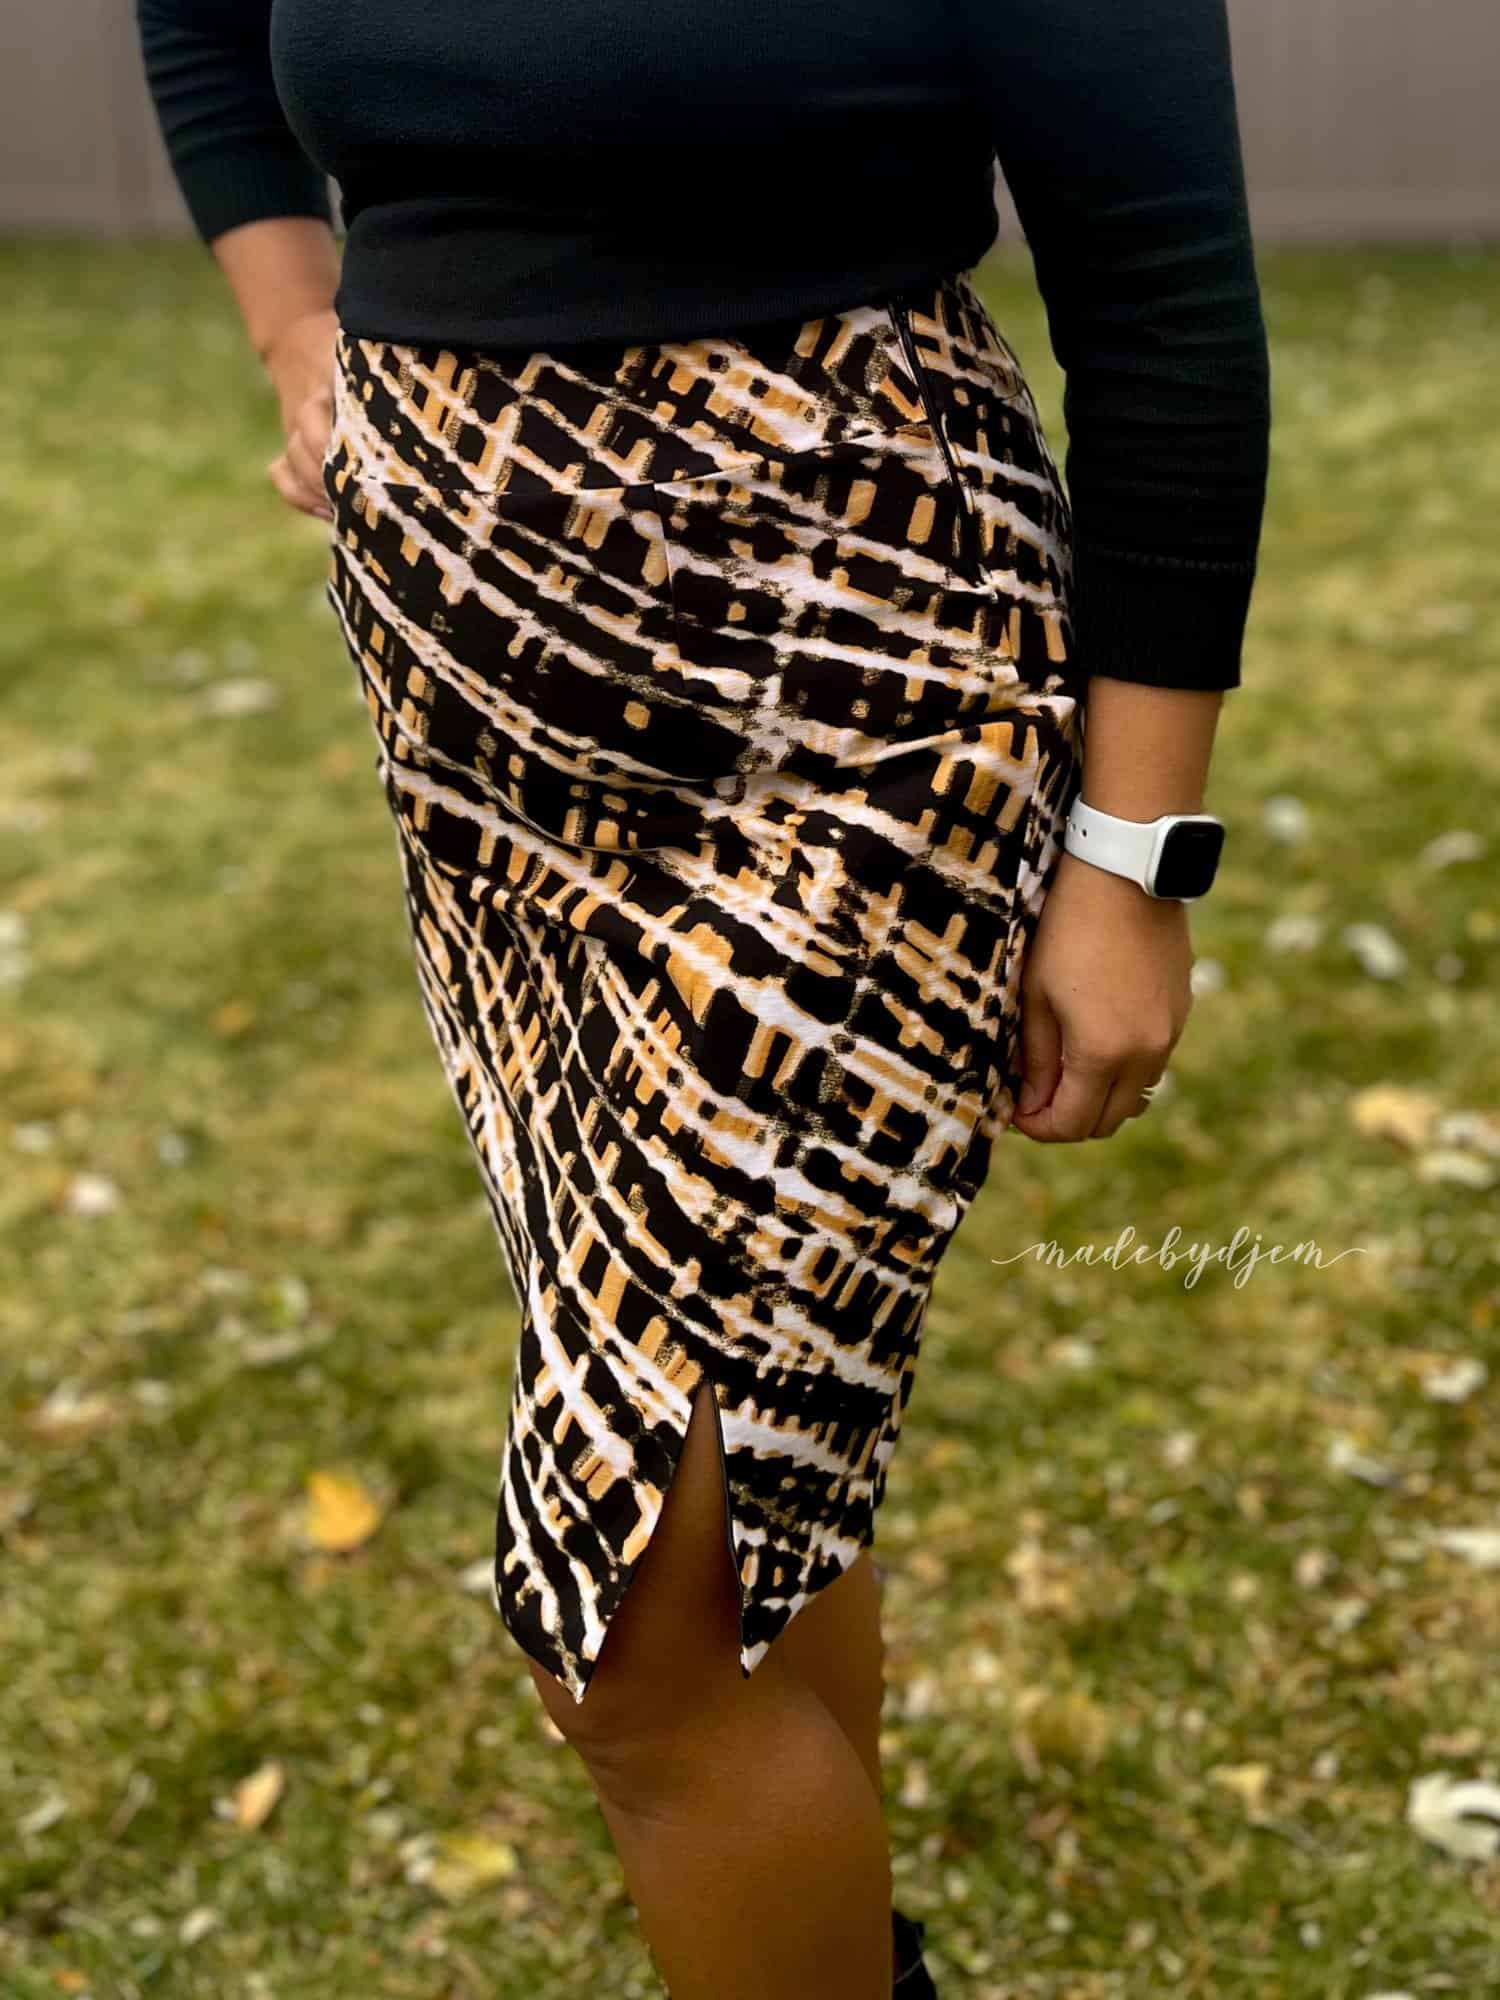
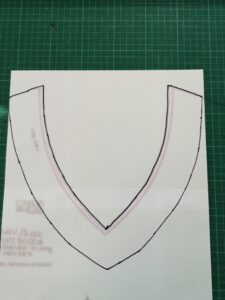
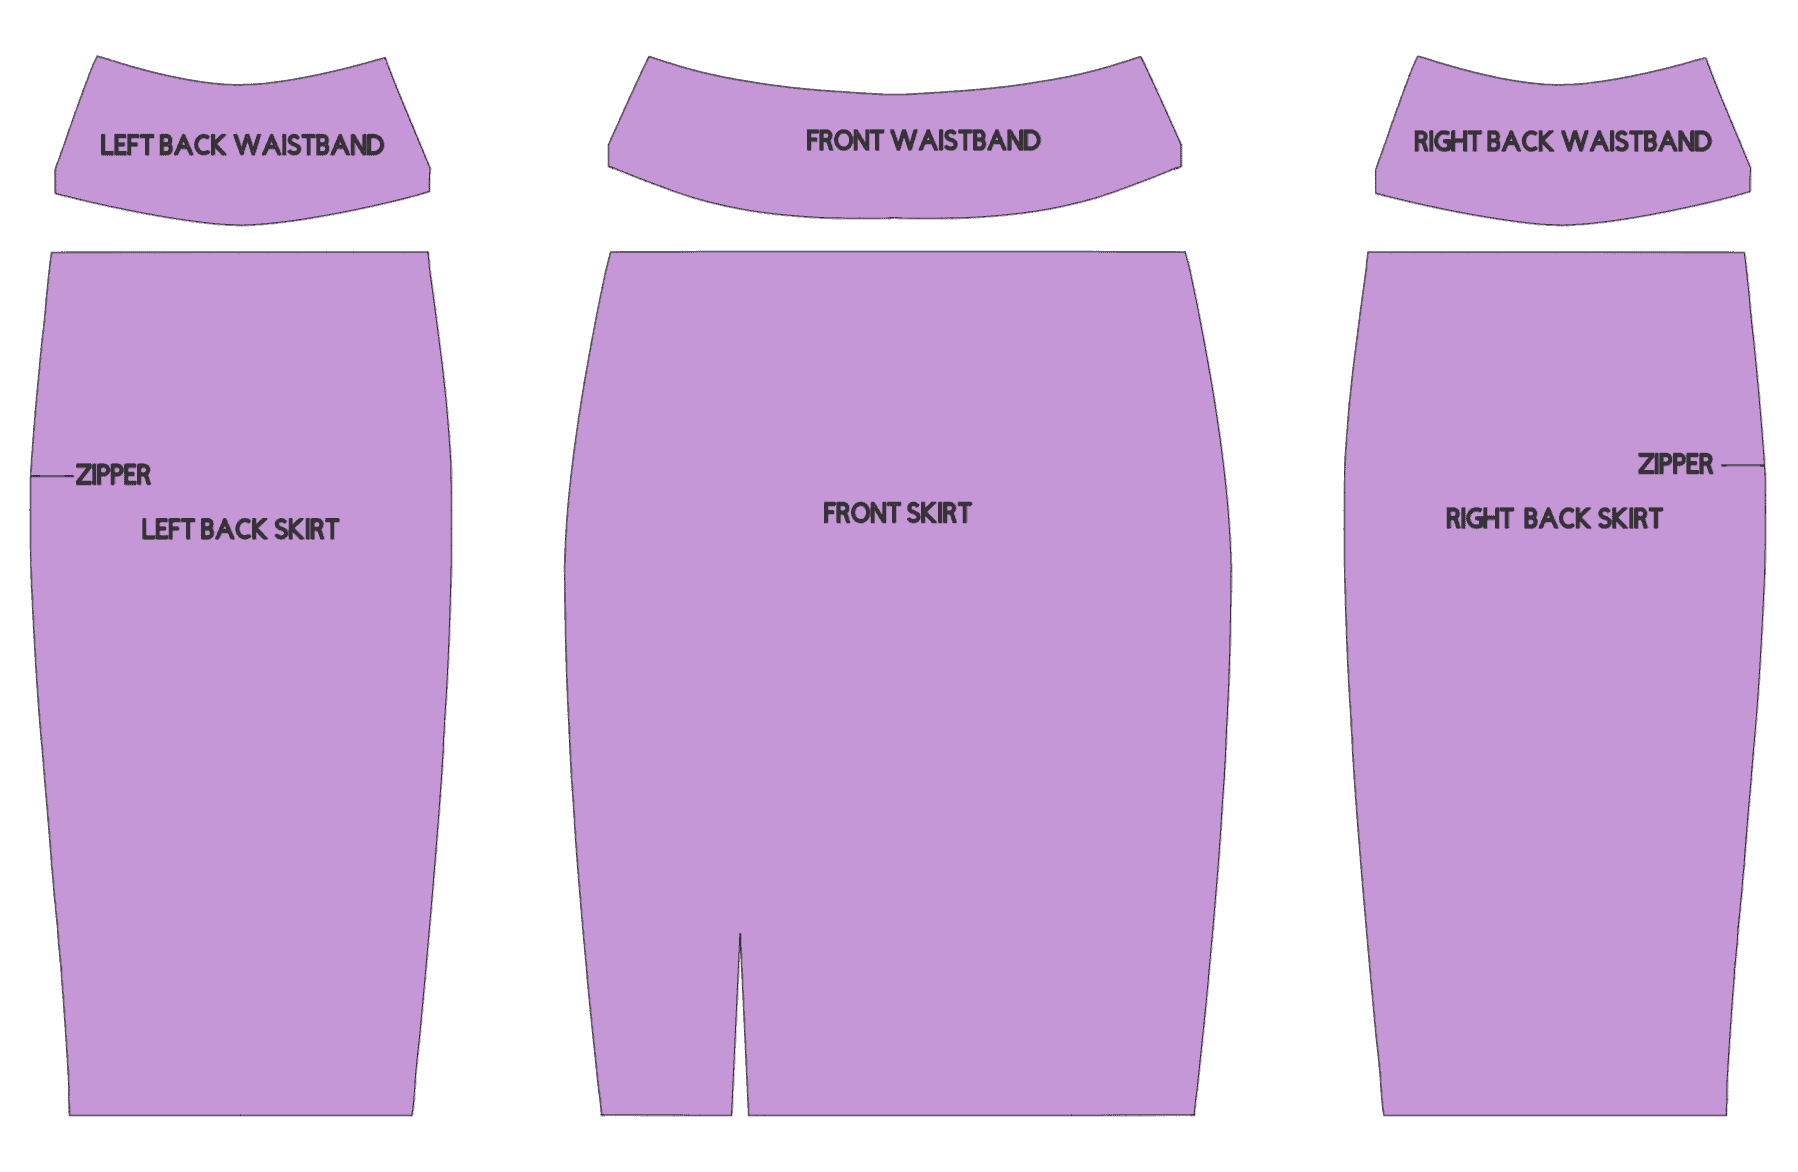
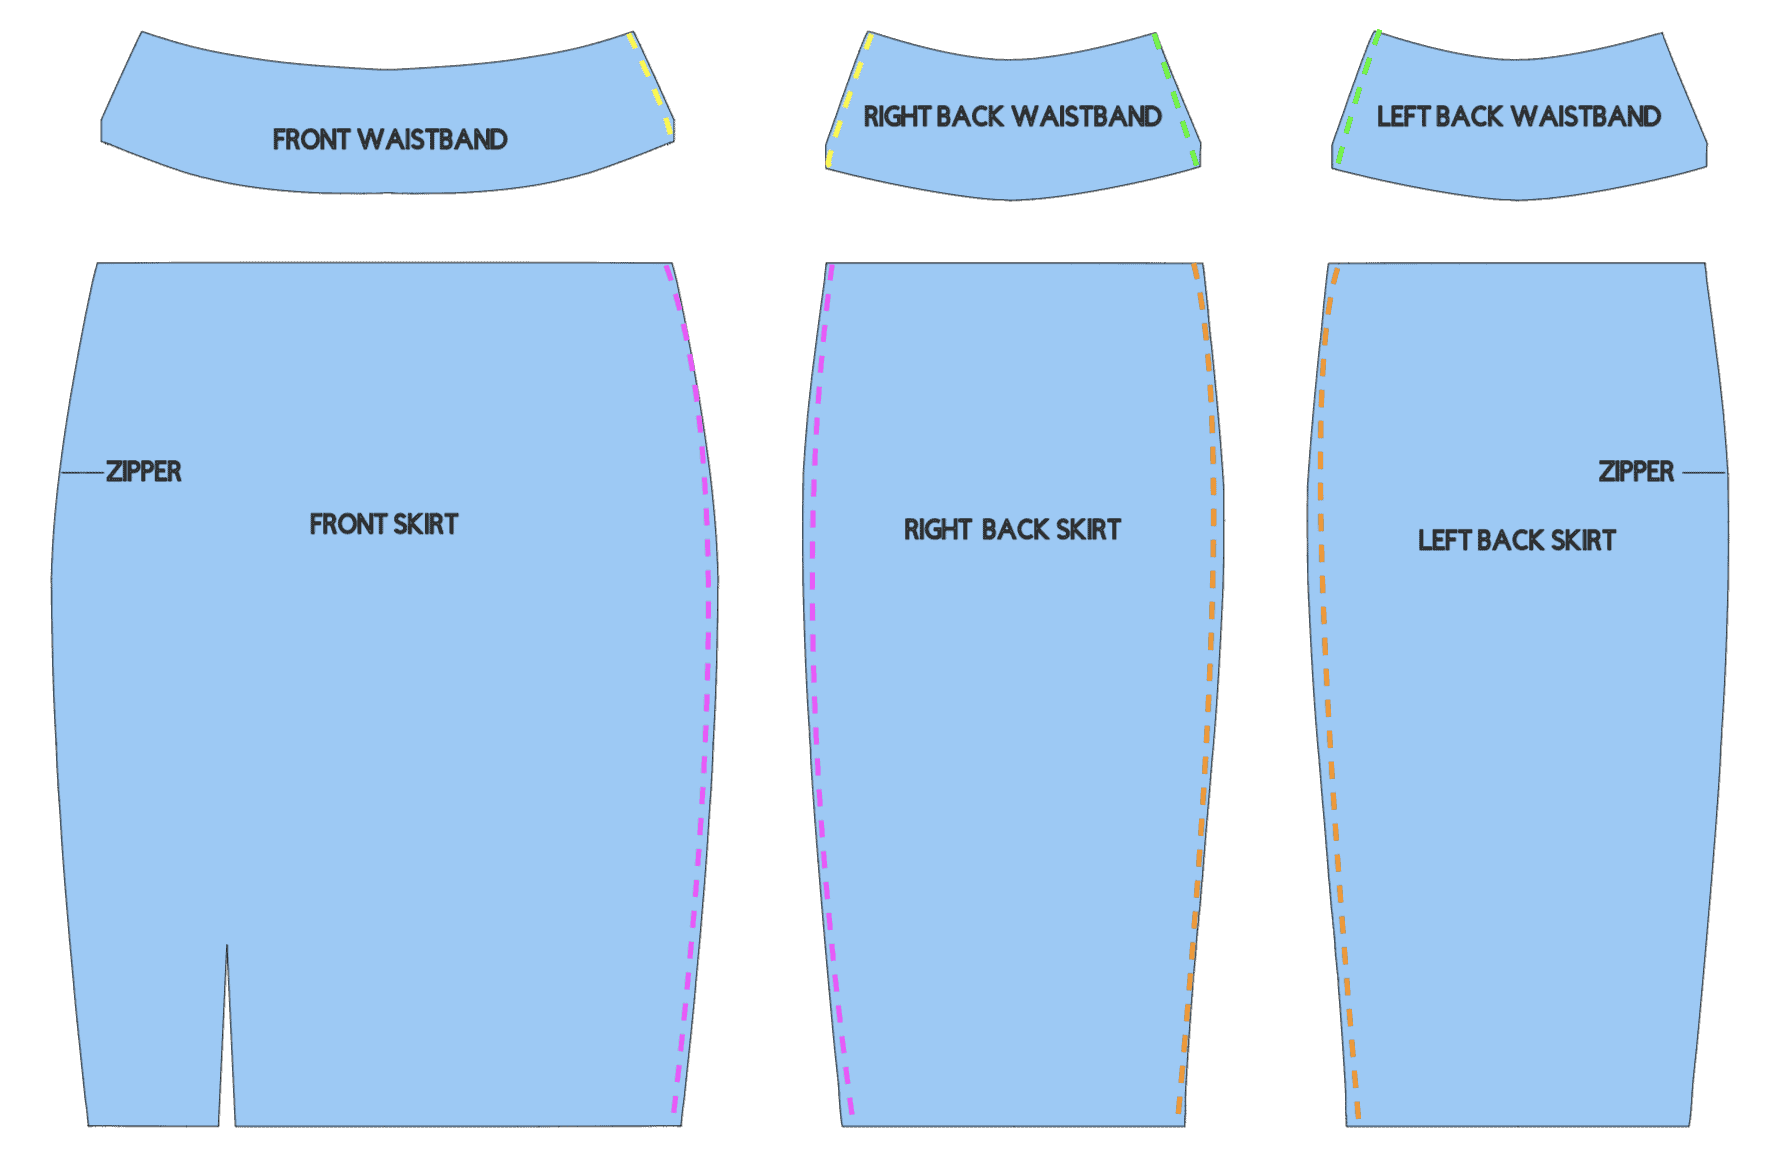
Here is a super simple way to move the zipper from the back of the Sophia Pencil skirt to the side! Cut your fabric according to the instructions. Note that the zipper in the purple illustration below is the original pattern placement.
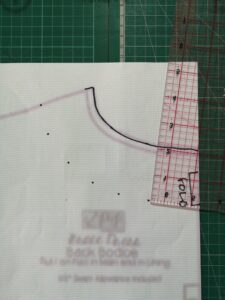
Next, transfer the zipper markings to the Front skirt and Left back skirt, using the original pattern pieces. I installed the zipper on the same side as my slit.
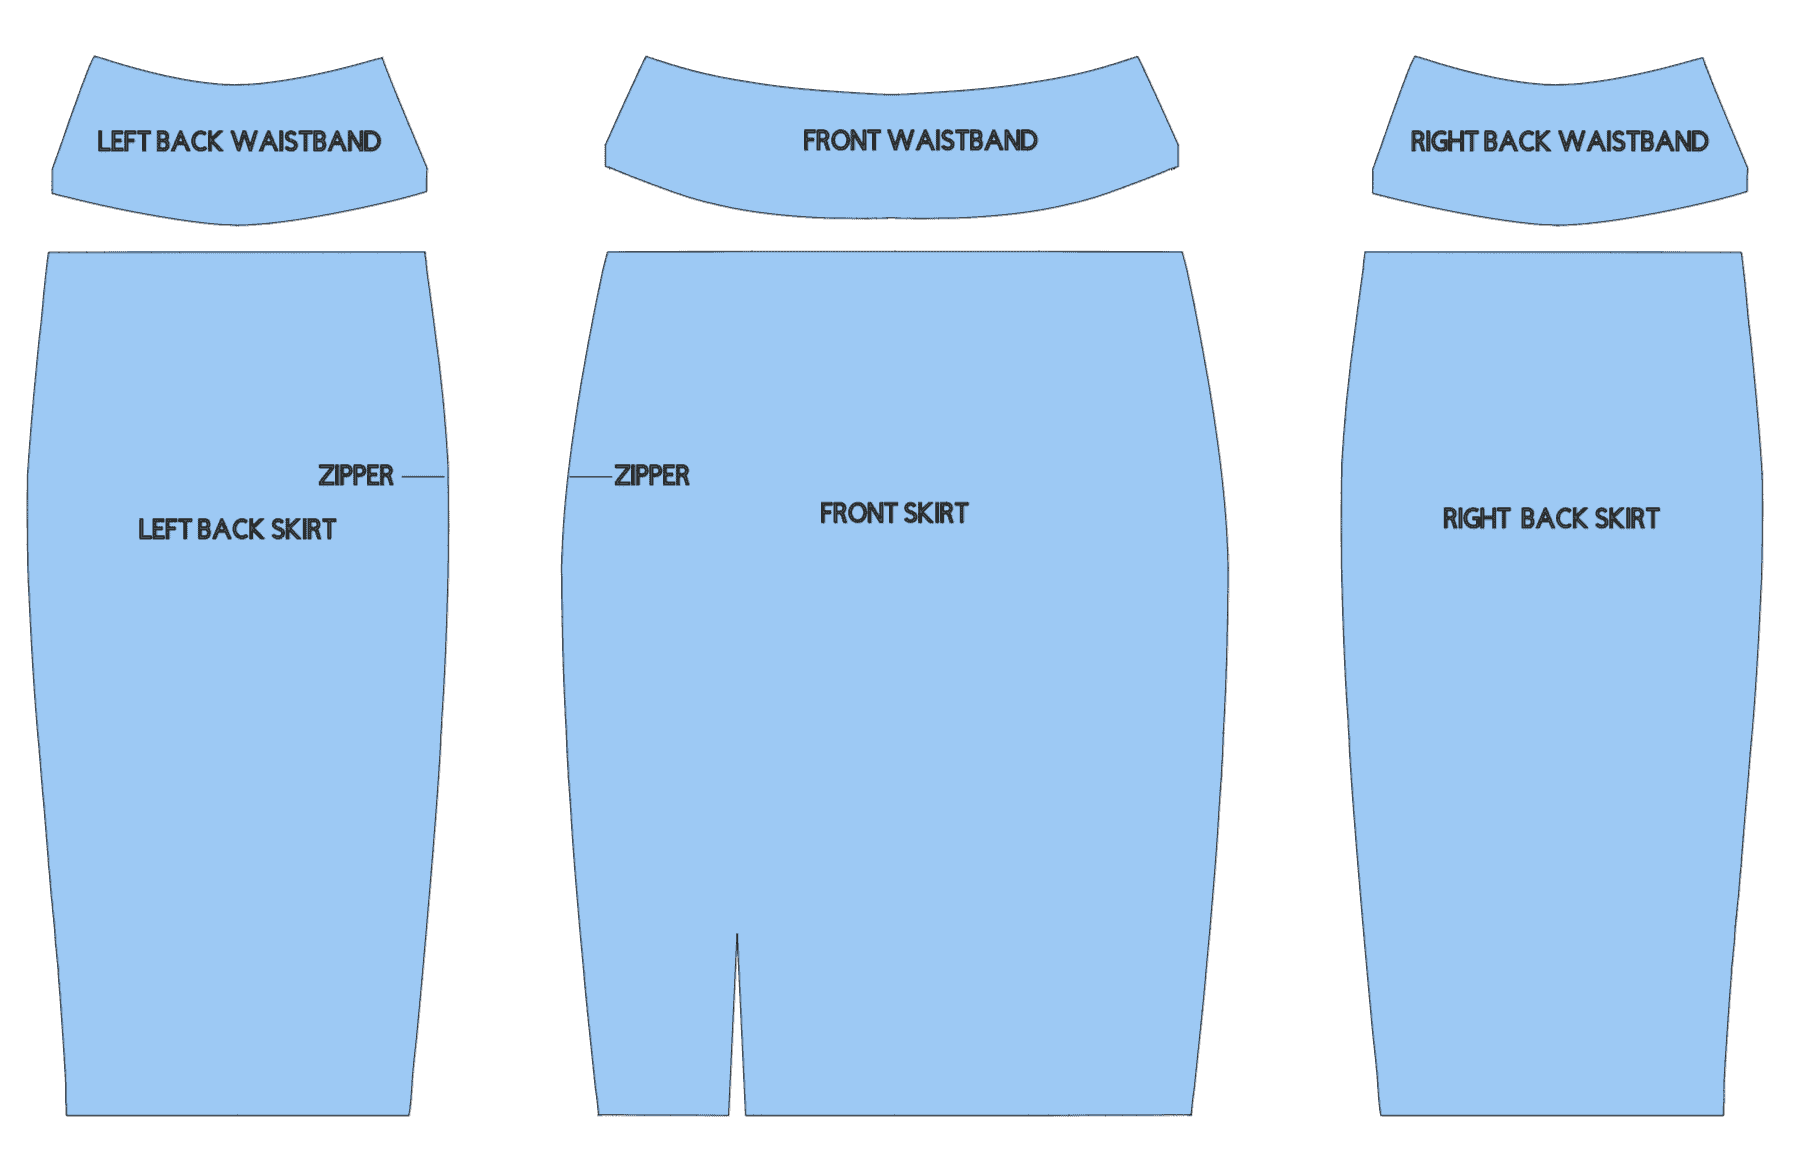
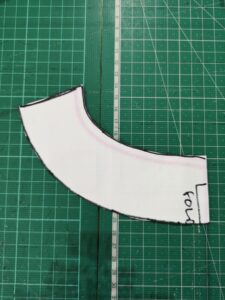
Re-arrange your pattern pieces, to match the below illustration with the pieces needing zippers on the outside. I color coded which seams need to be sewn together with dashed lines in the illustration below. Match the colored seams, right sides together, and sew. You’ll want to do this construction with the right side of your main fabric facing up and repeat with your lining but with the right side facing down.
Continue the construction of the skirt as listed in the tutorial! Easy, peasy!
Happy Sewing!
Djem
Button Front Hack
We are all loving our new Sophia Pencil Skirts, but if you love the look but want to make it without the zipper, then we have a simple hack to add a button front instead. Not only does it look great but it means you haven’t got to install the zipper – win win!
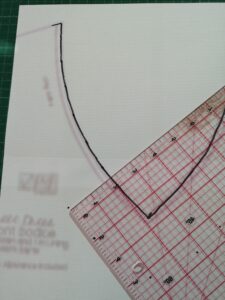
For this hack we are using the skirt without the separate waistband. We will start by adding 2” extra width to the centre of the front main piece, and then cutting 2 x mirrored front skirts, rather than cutting on the fold. This extra 2” will give us a ½” extra on each skirt piece for a 1” overlap, and a button placket.
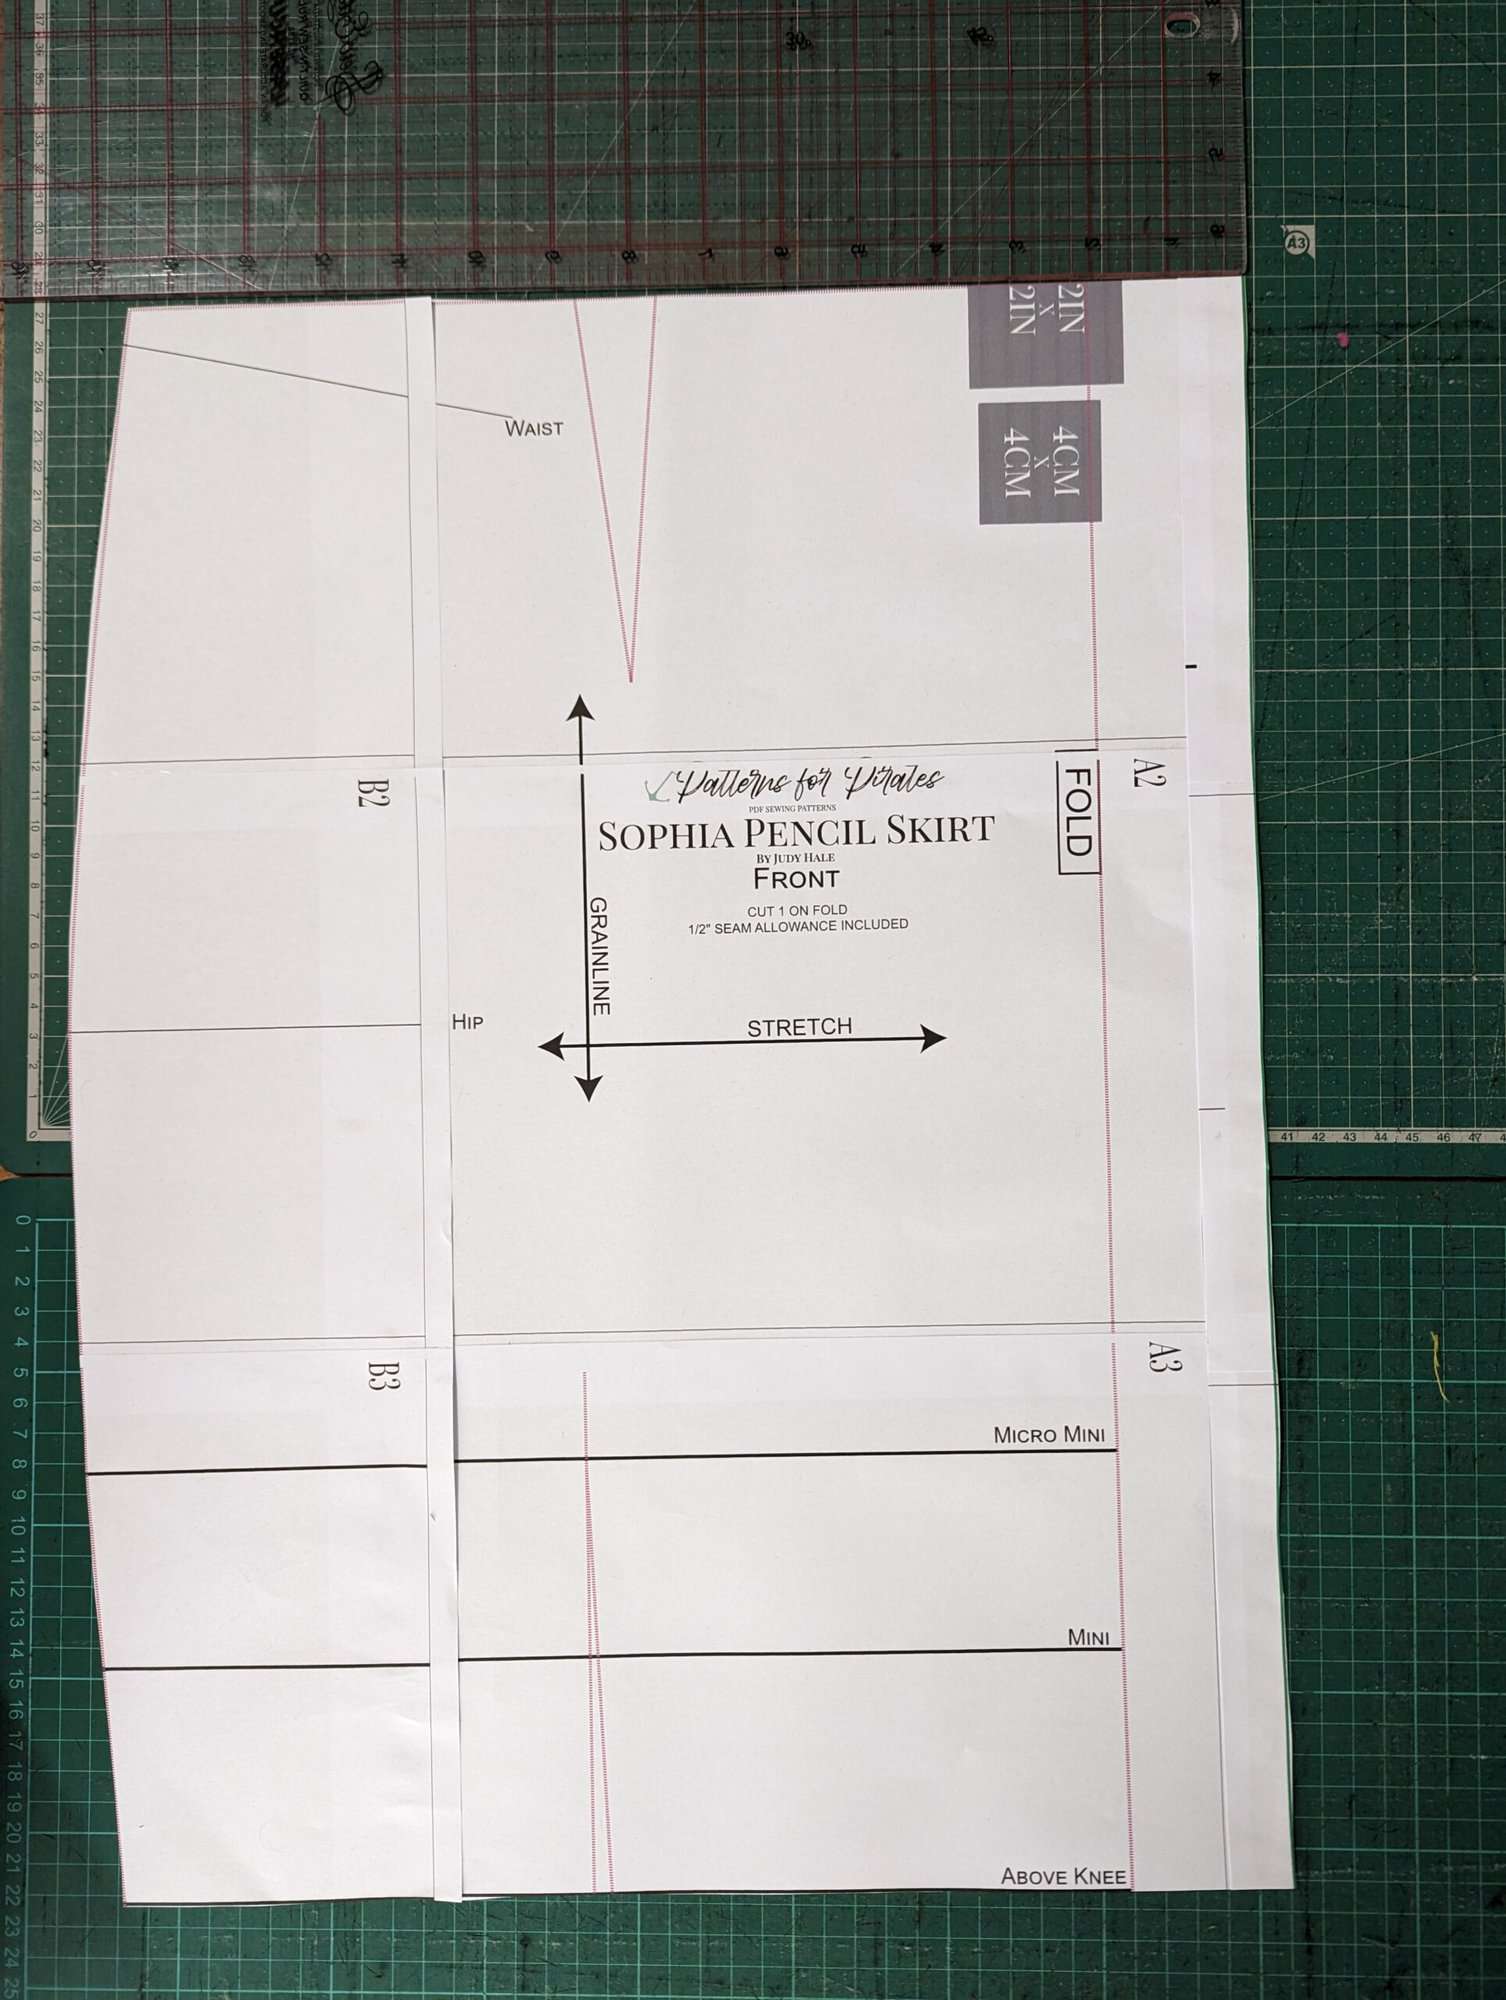
Front skirt piece with 2 inch extra width added to fold line
For the lining we will add an additional ½” to the centre front of the lining piece.
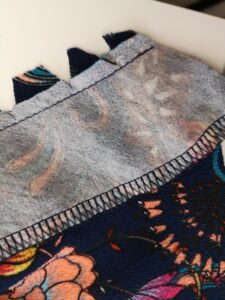
With your main fabric, construct your darts and side seams as per the tutorial and then also sew the centre back seam too. Repeat for your lining.
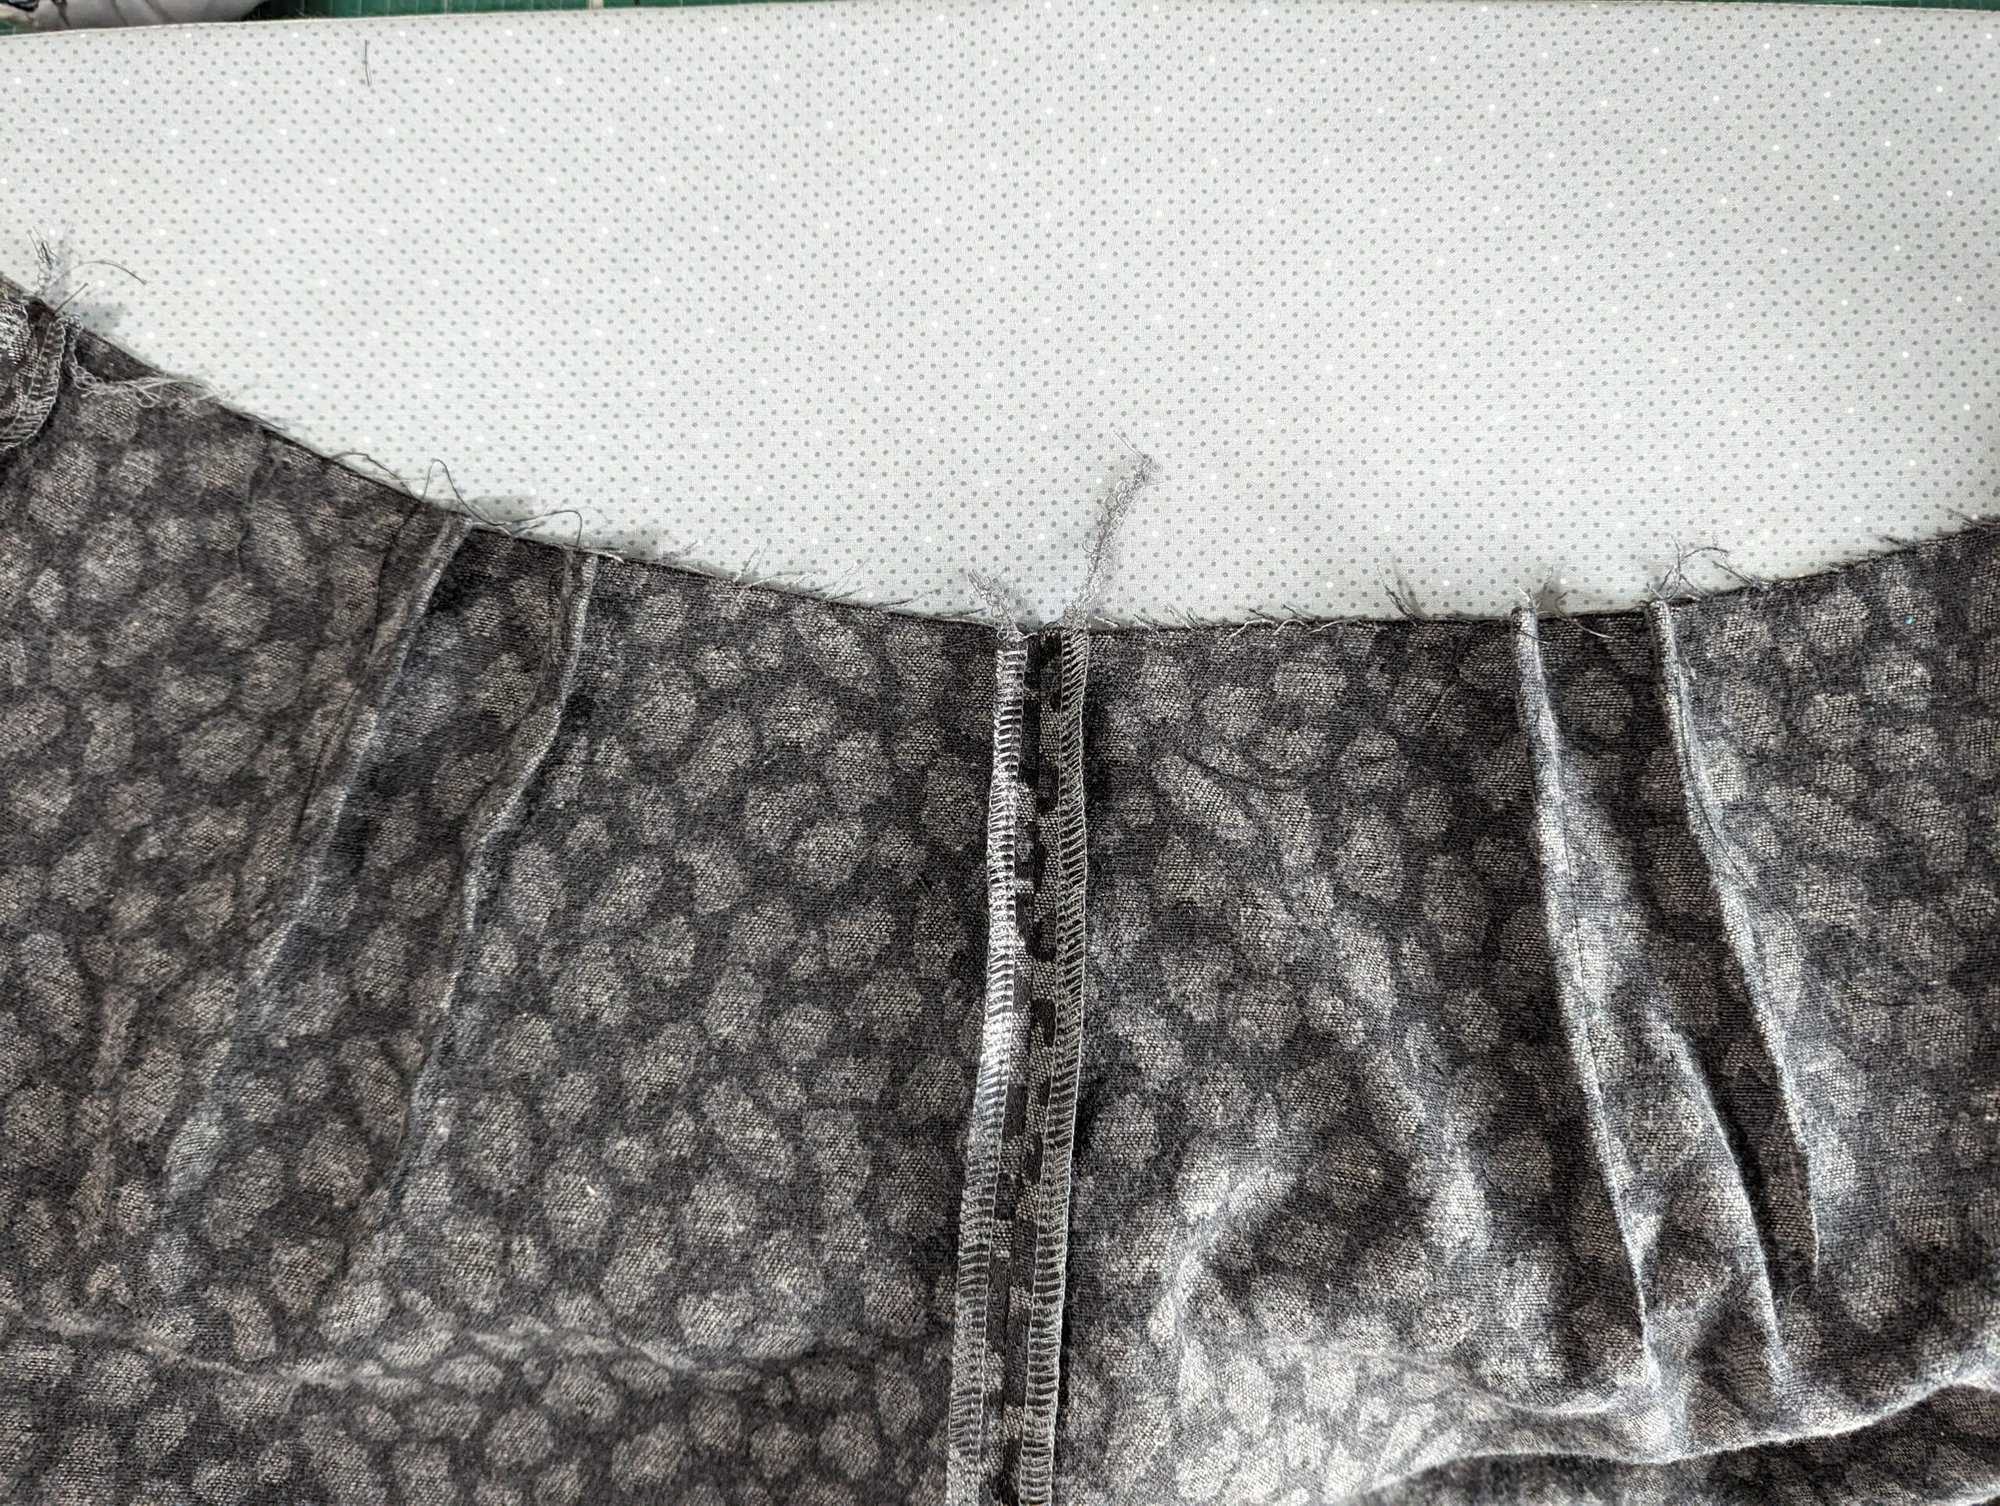
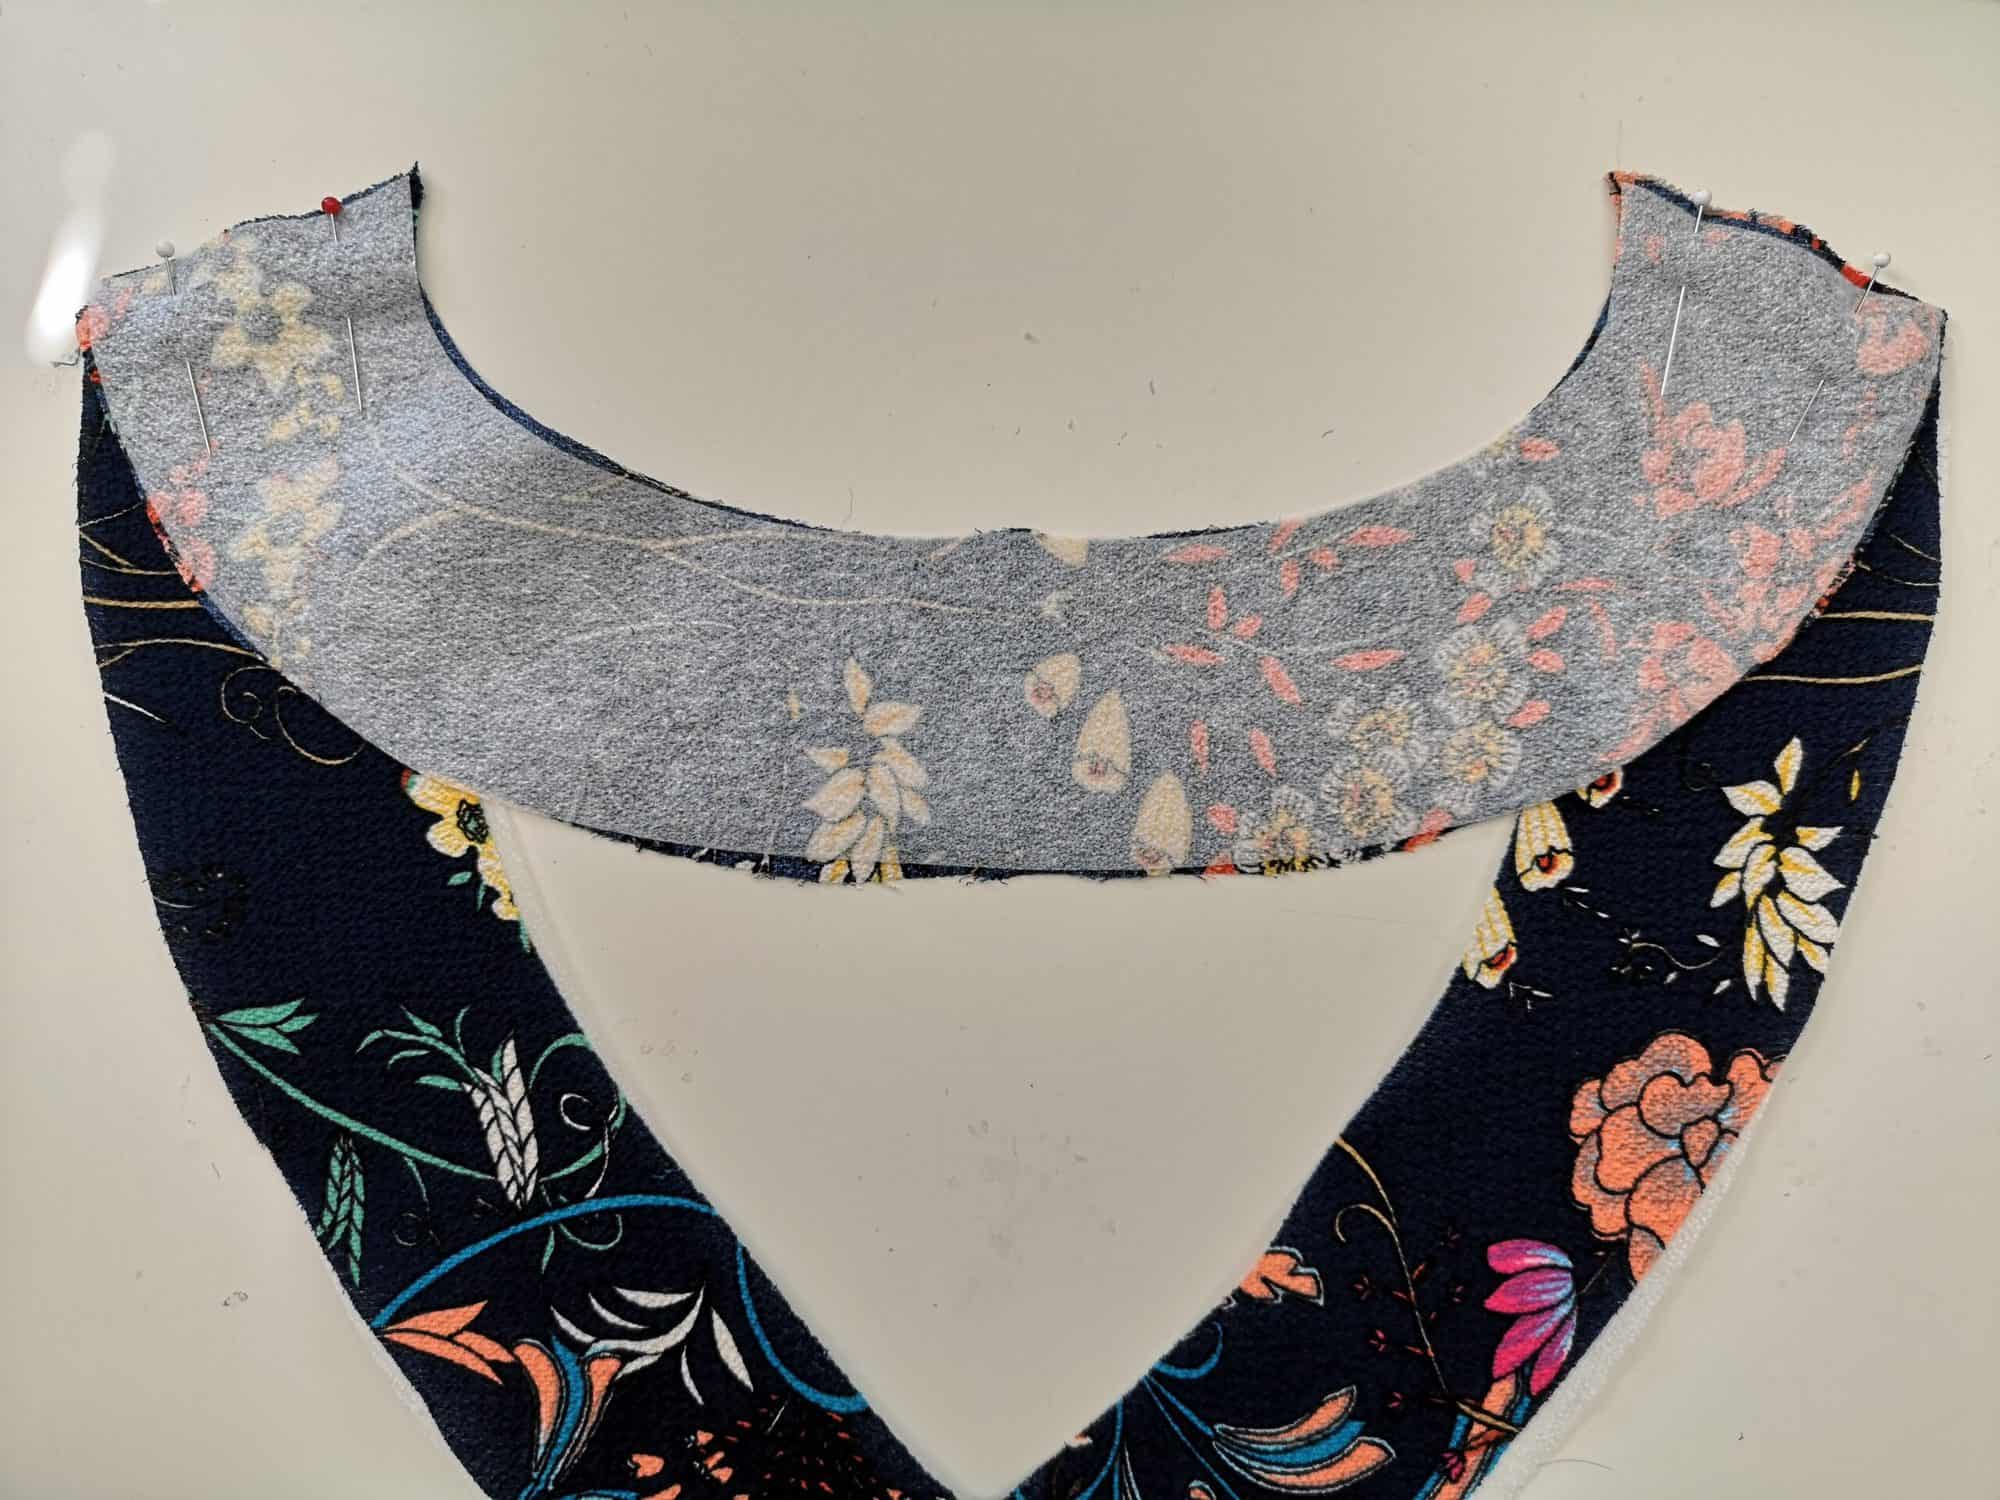
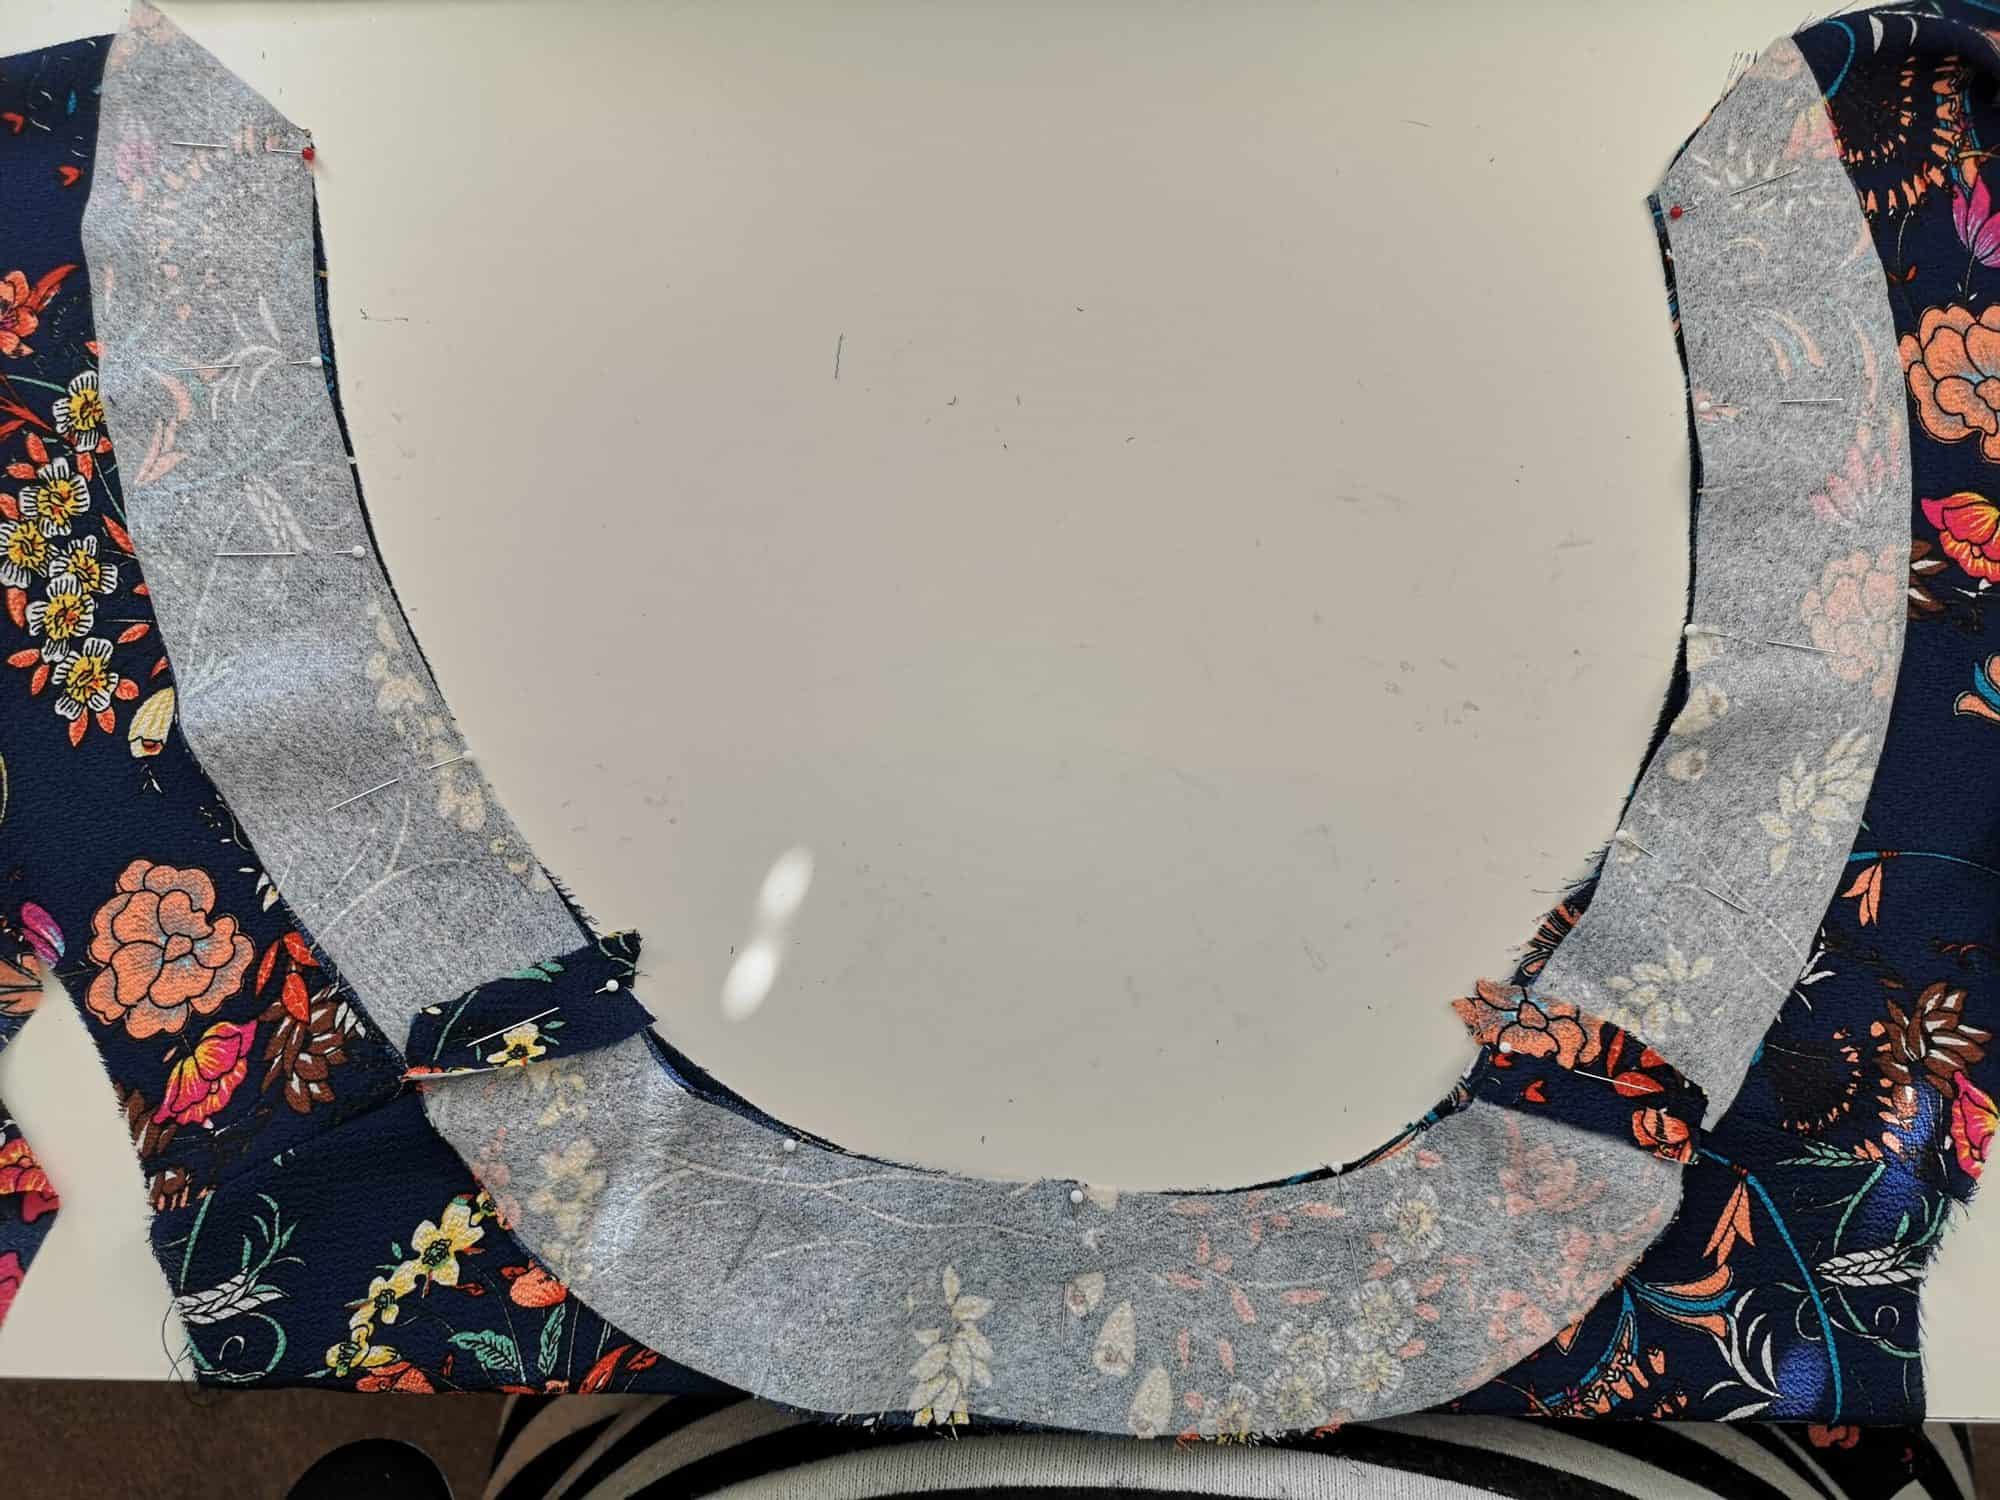
Right sides together, sew the main to the lining along the top, matching up your seams and darts. Your lining will be shorter than your main at either end.
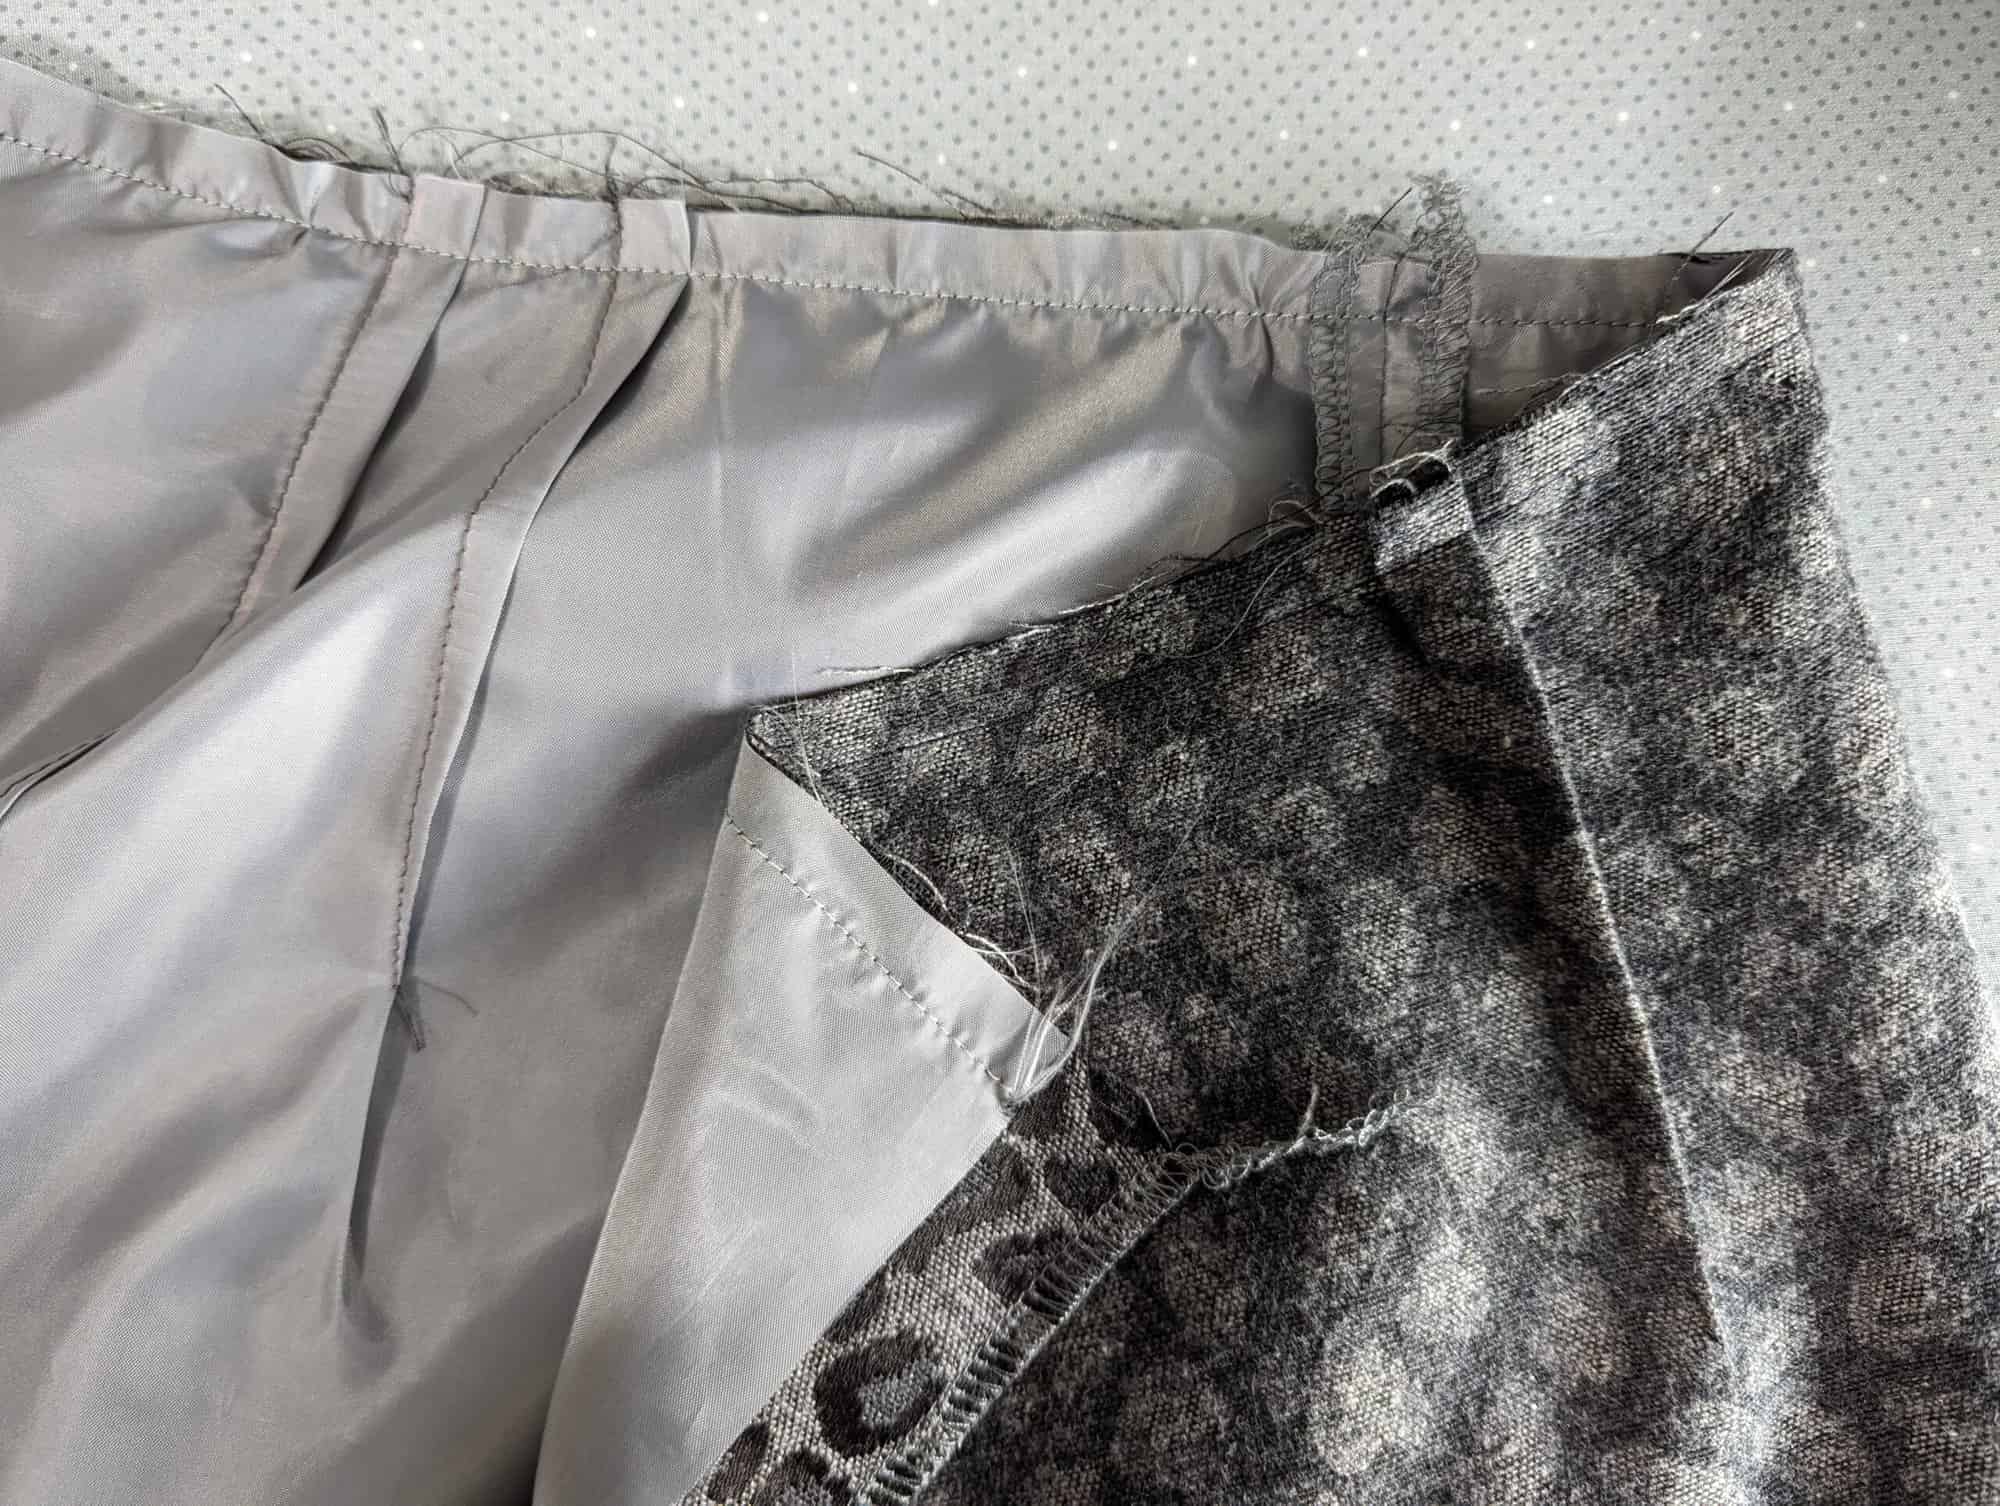
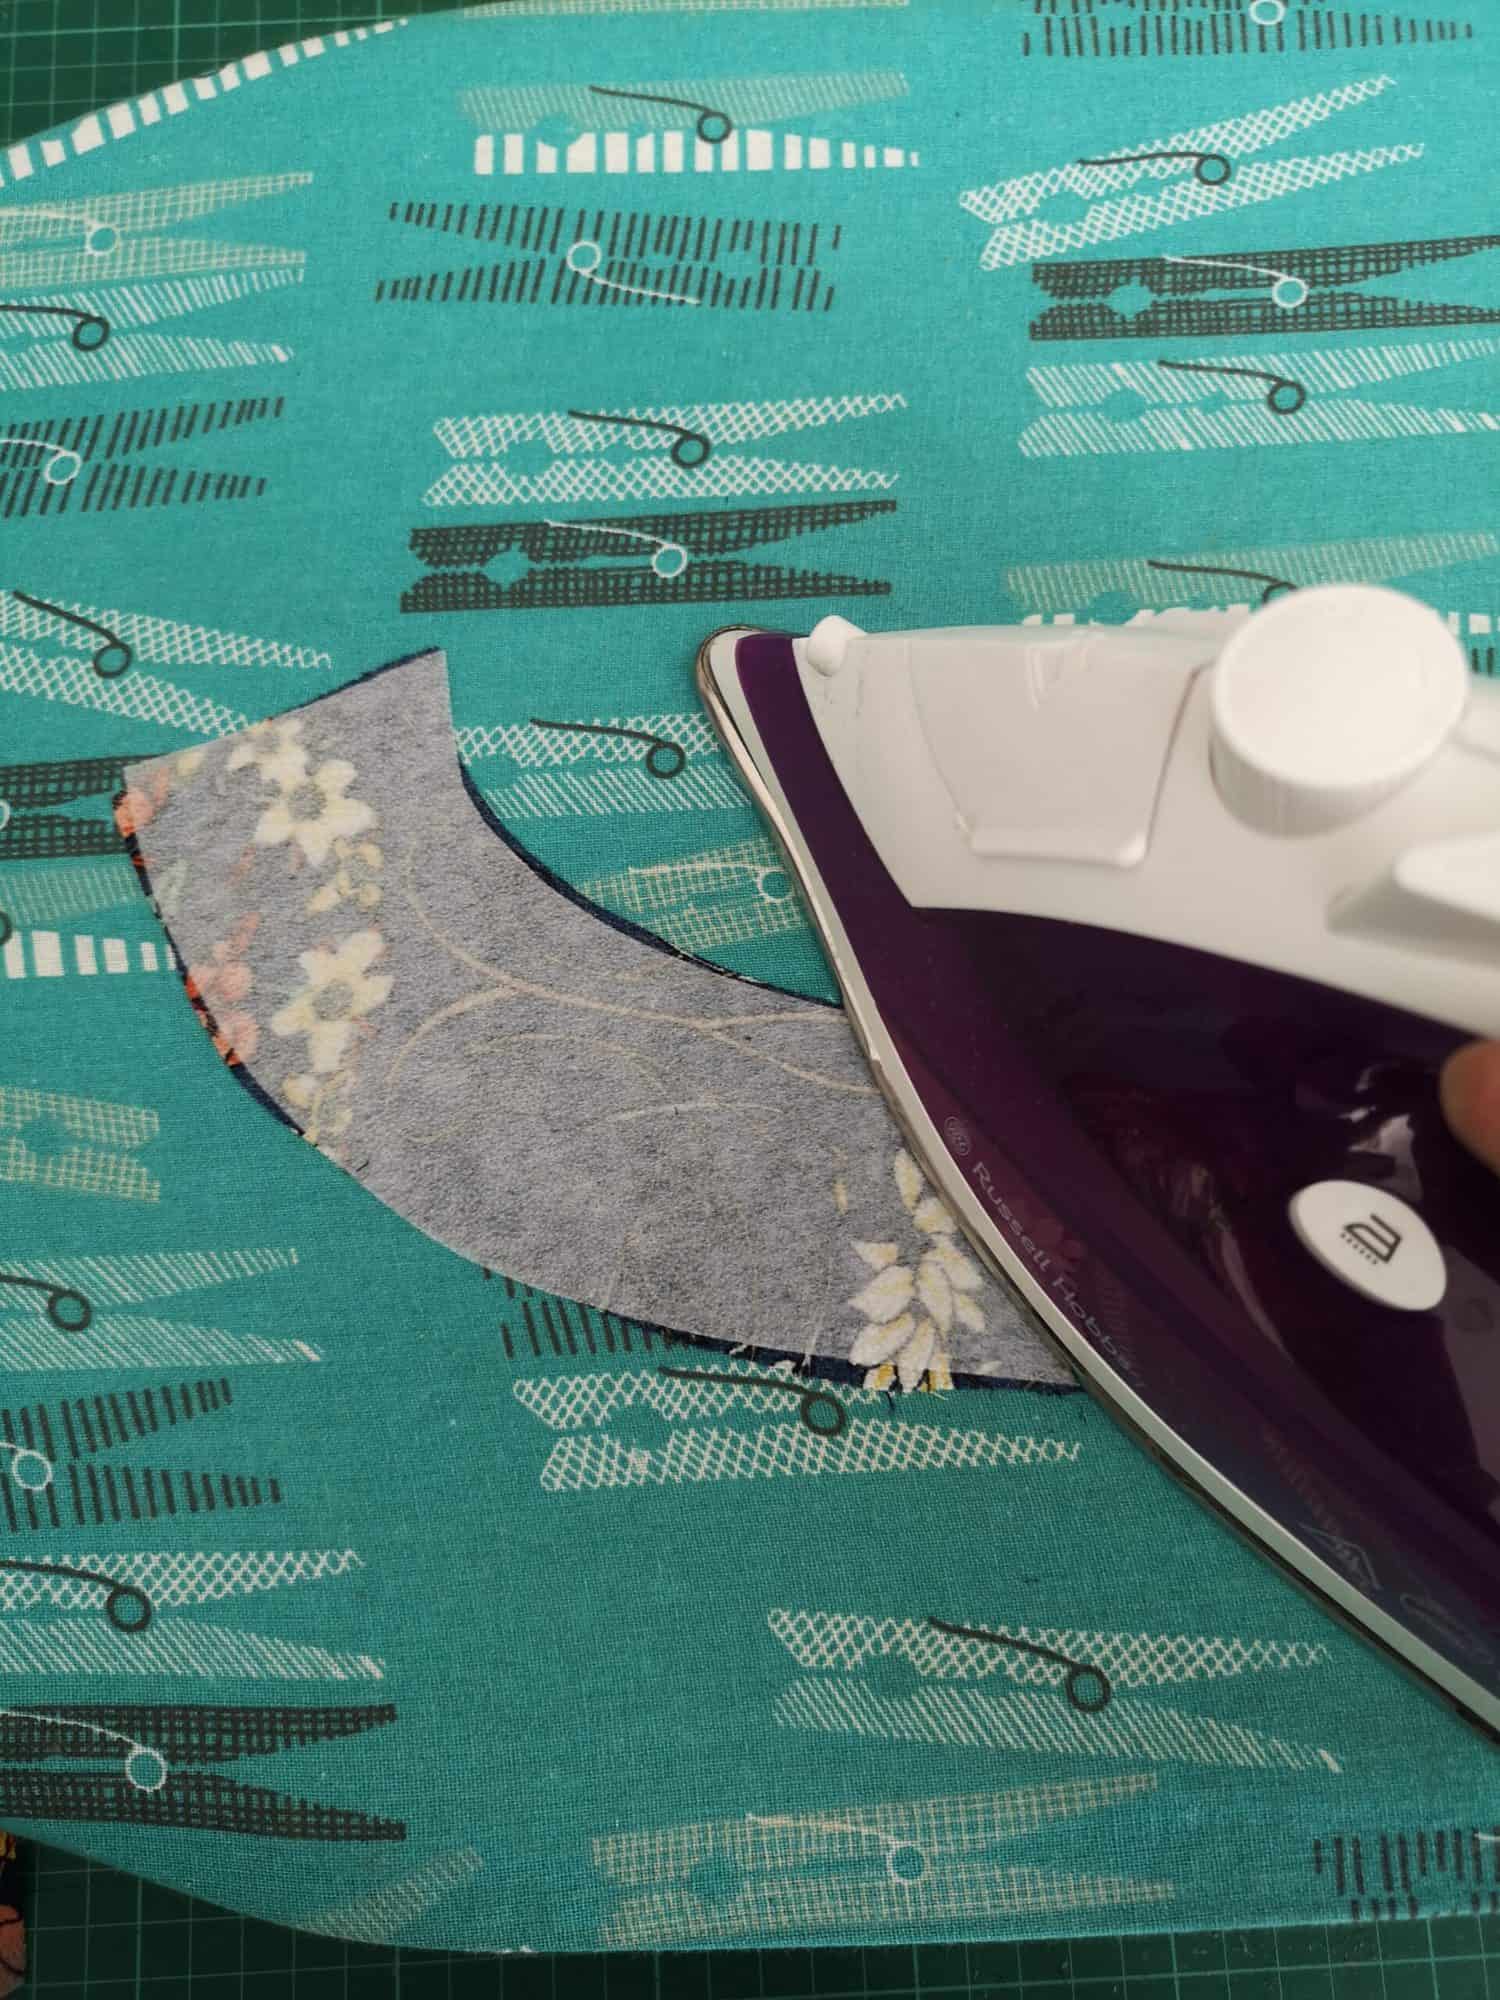
Flip the lining round to the inside. Press the seam allowance towards the lining. It is a good idea to understitch the skirt lining to the seam allowance to help stop it creeping out to the outside. Give this top seam a good press with steam to help it lay flat.

We will be finishing the hems separately, so turn the lining hem to the wrong side by a ¼”, and then again by another ¼” . Press, then stitch hem with an edgestitch.
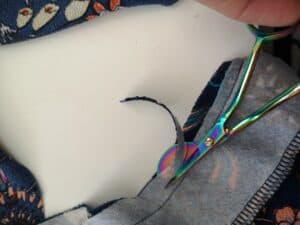
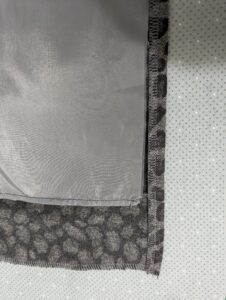
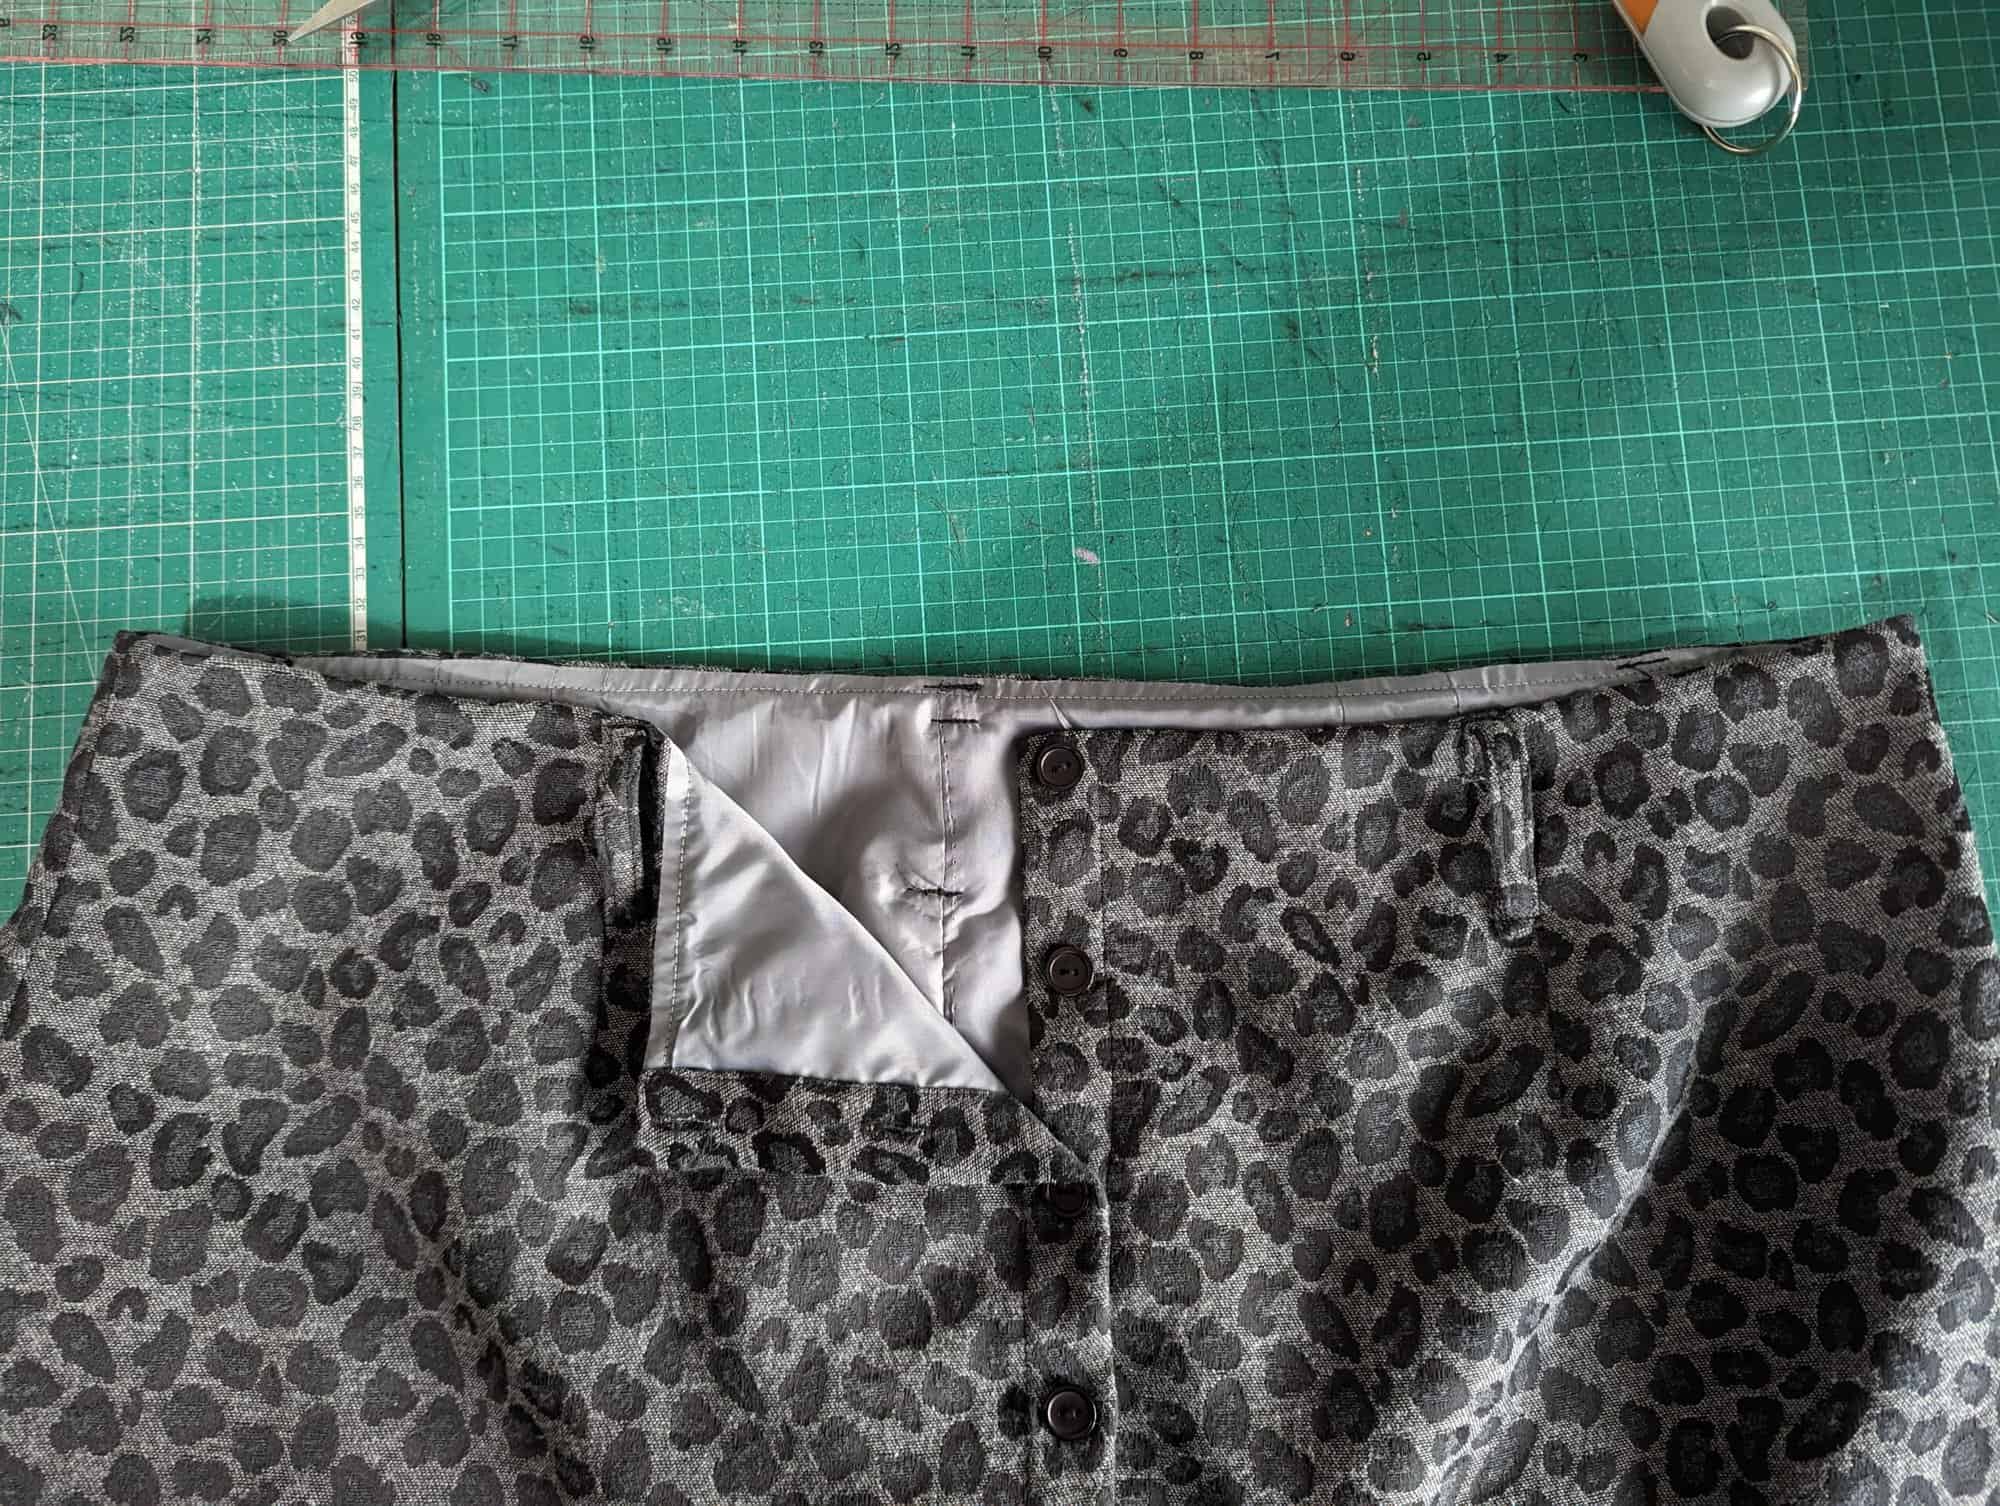
Moving back to the centre front seam, turn the front edge to the wrong side by ½” and press. Then turn to the wrong side again by 1” and press. This forms the button placket. Your lining should fit nicely inside the placket, concealing the raw edge. Stitch with an edgestitch – take your time to get a good straight stitch here as it will be visible at the front of your garment. Repeat with the other front edge.
-

- Fold 1/2″ to wrong side
-
- Fold a further 1″ to the wrong side, covering the lining.

Turn the bottom hem up by ½” and hem. Alternatively, you could hem by turning ¼” twice, again.
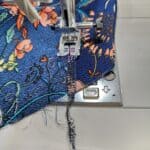
Sew on your button holes and buttons. I like to place them fairly close together to prevent gaping.
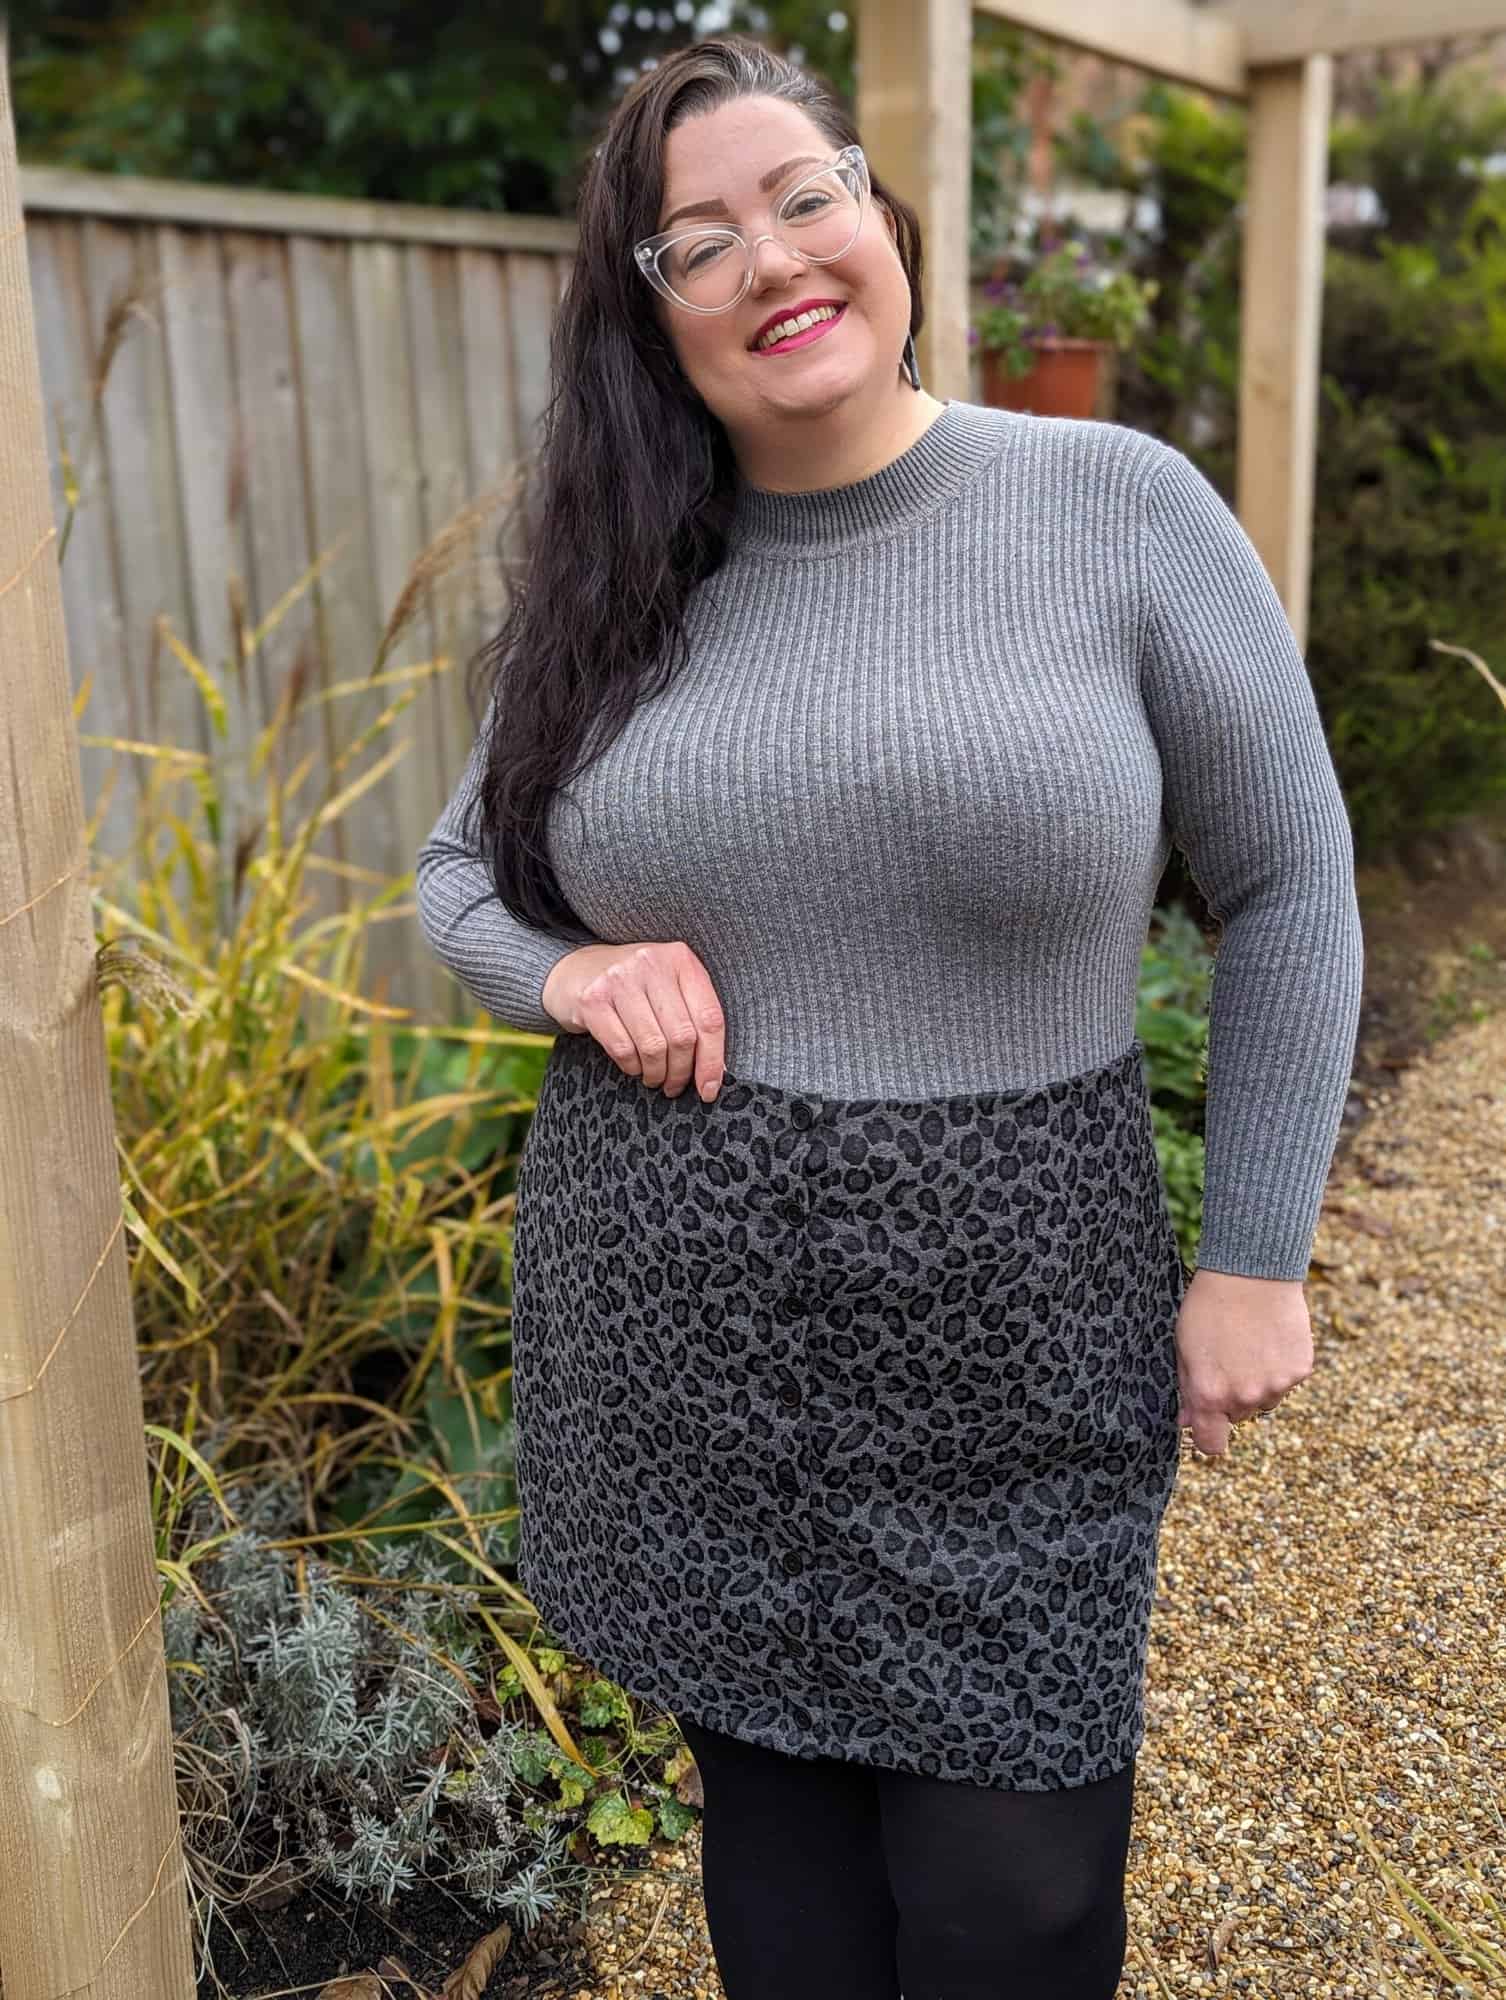
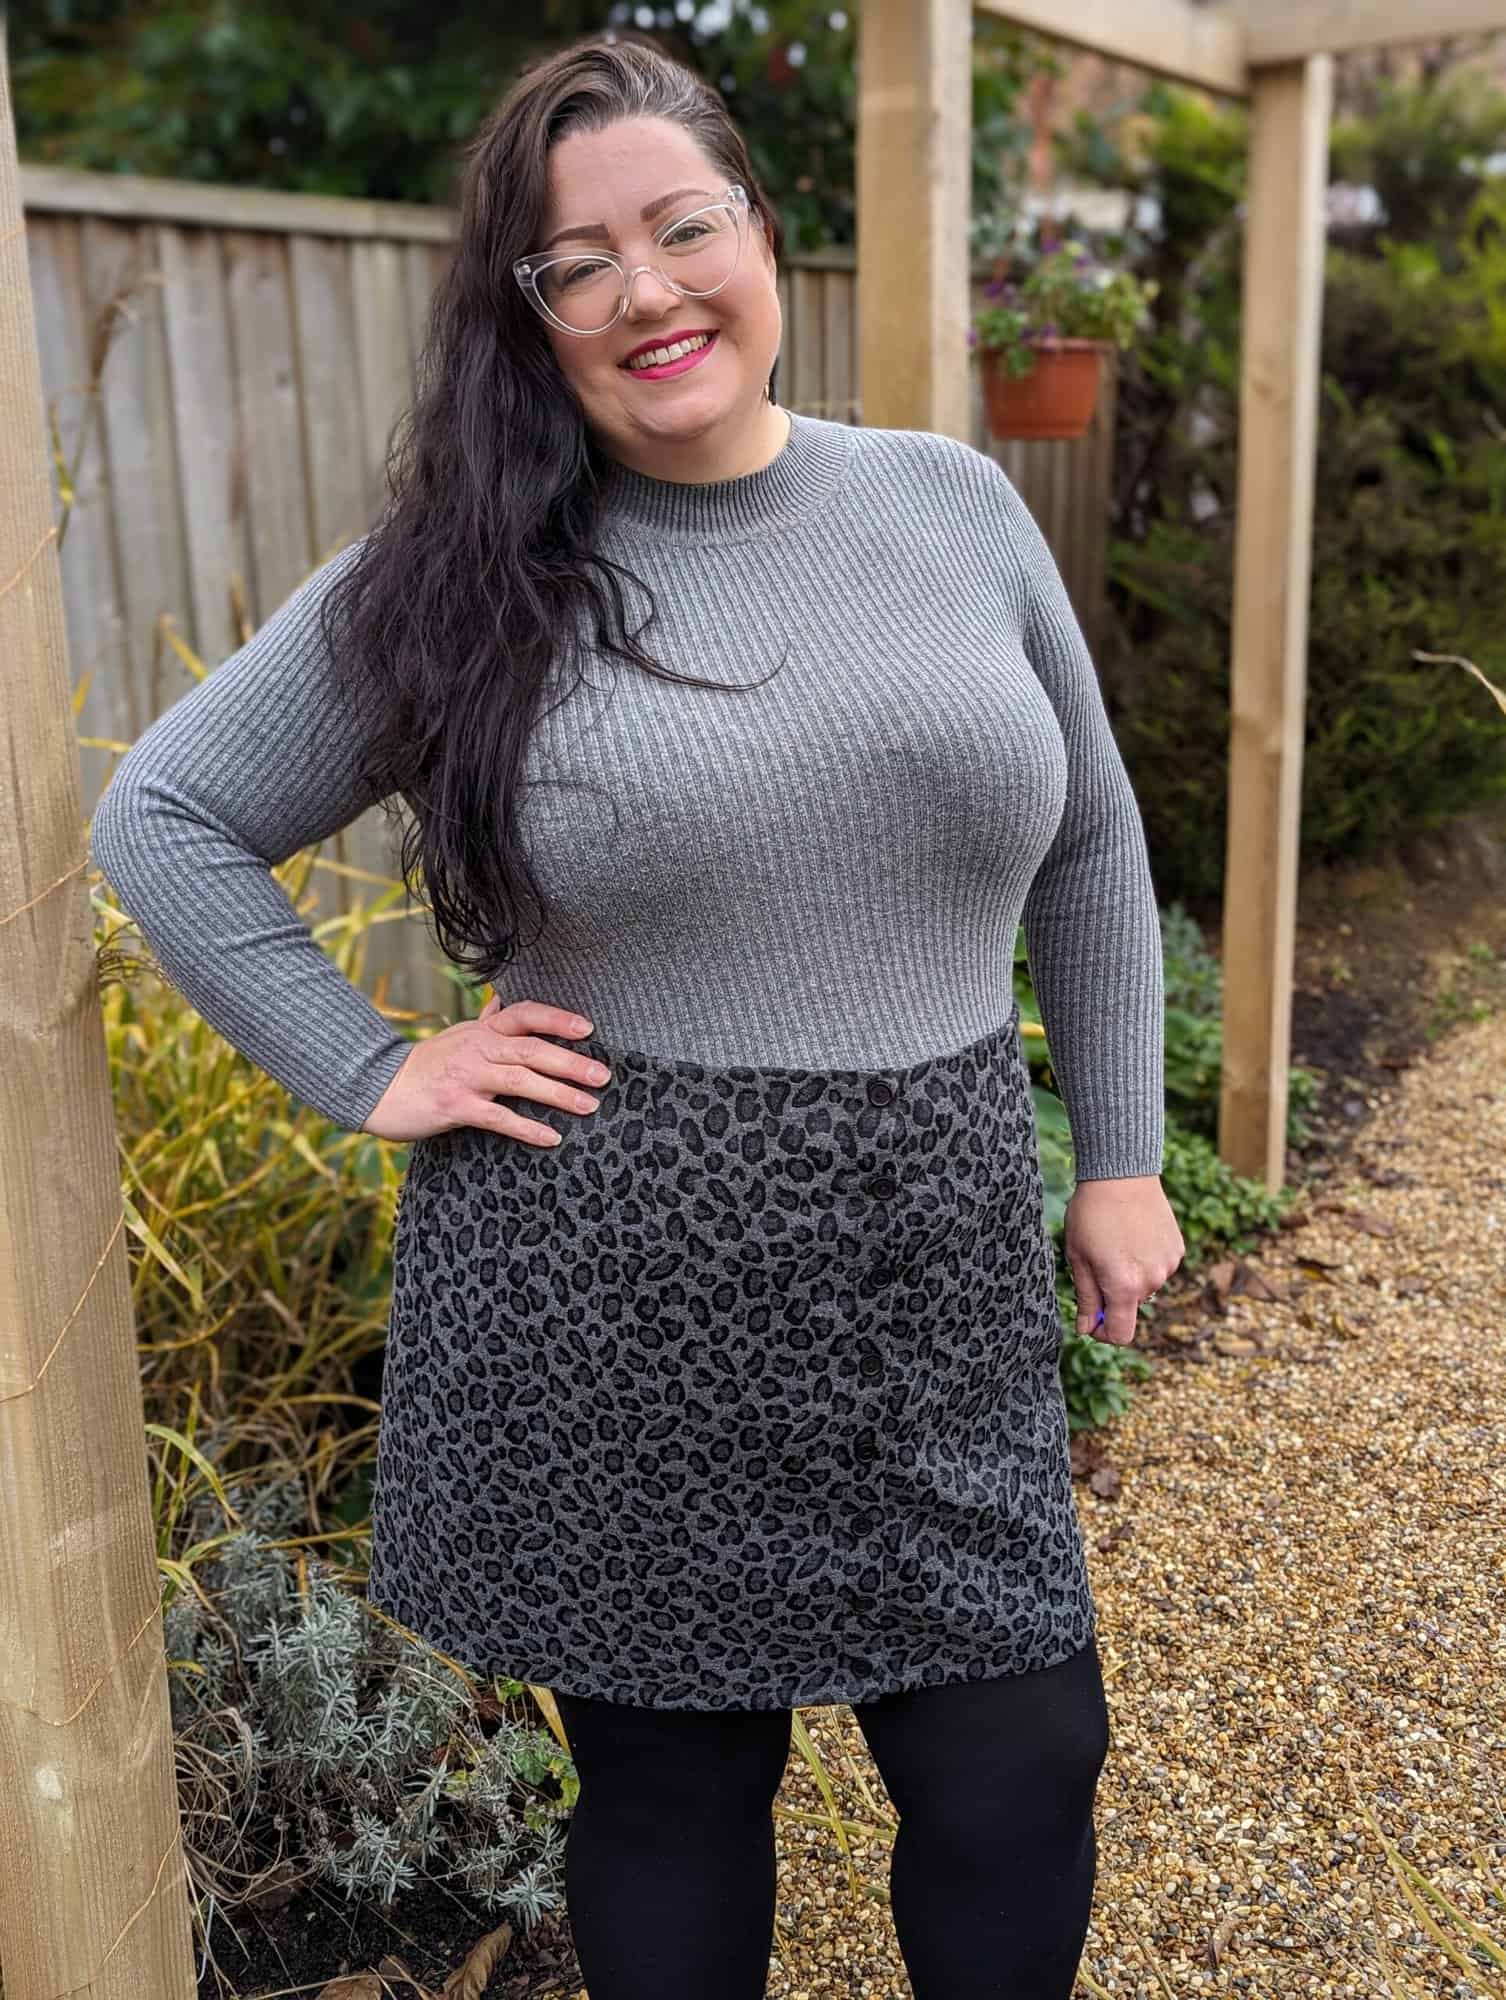
You’re done! A nice and simple sew and a total wardrobe classic.
Happy sewing!
Dana xx
Belt Hack
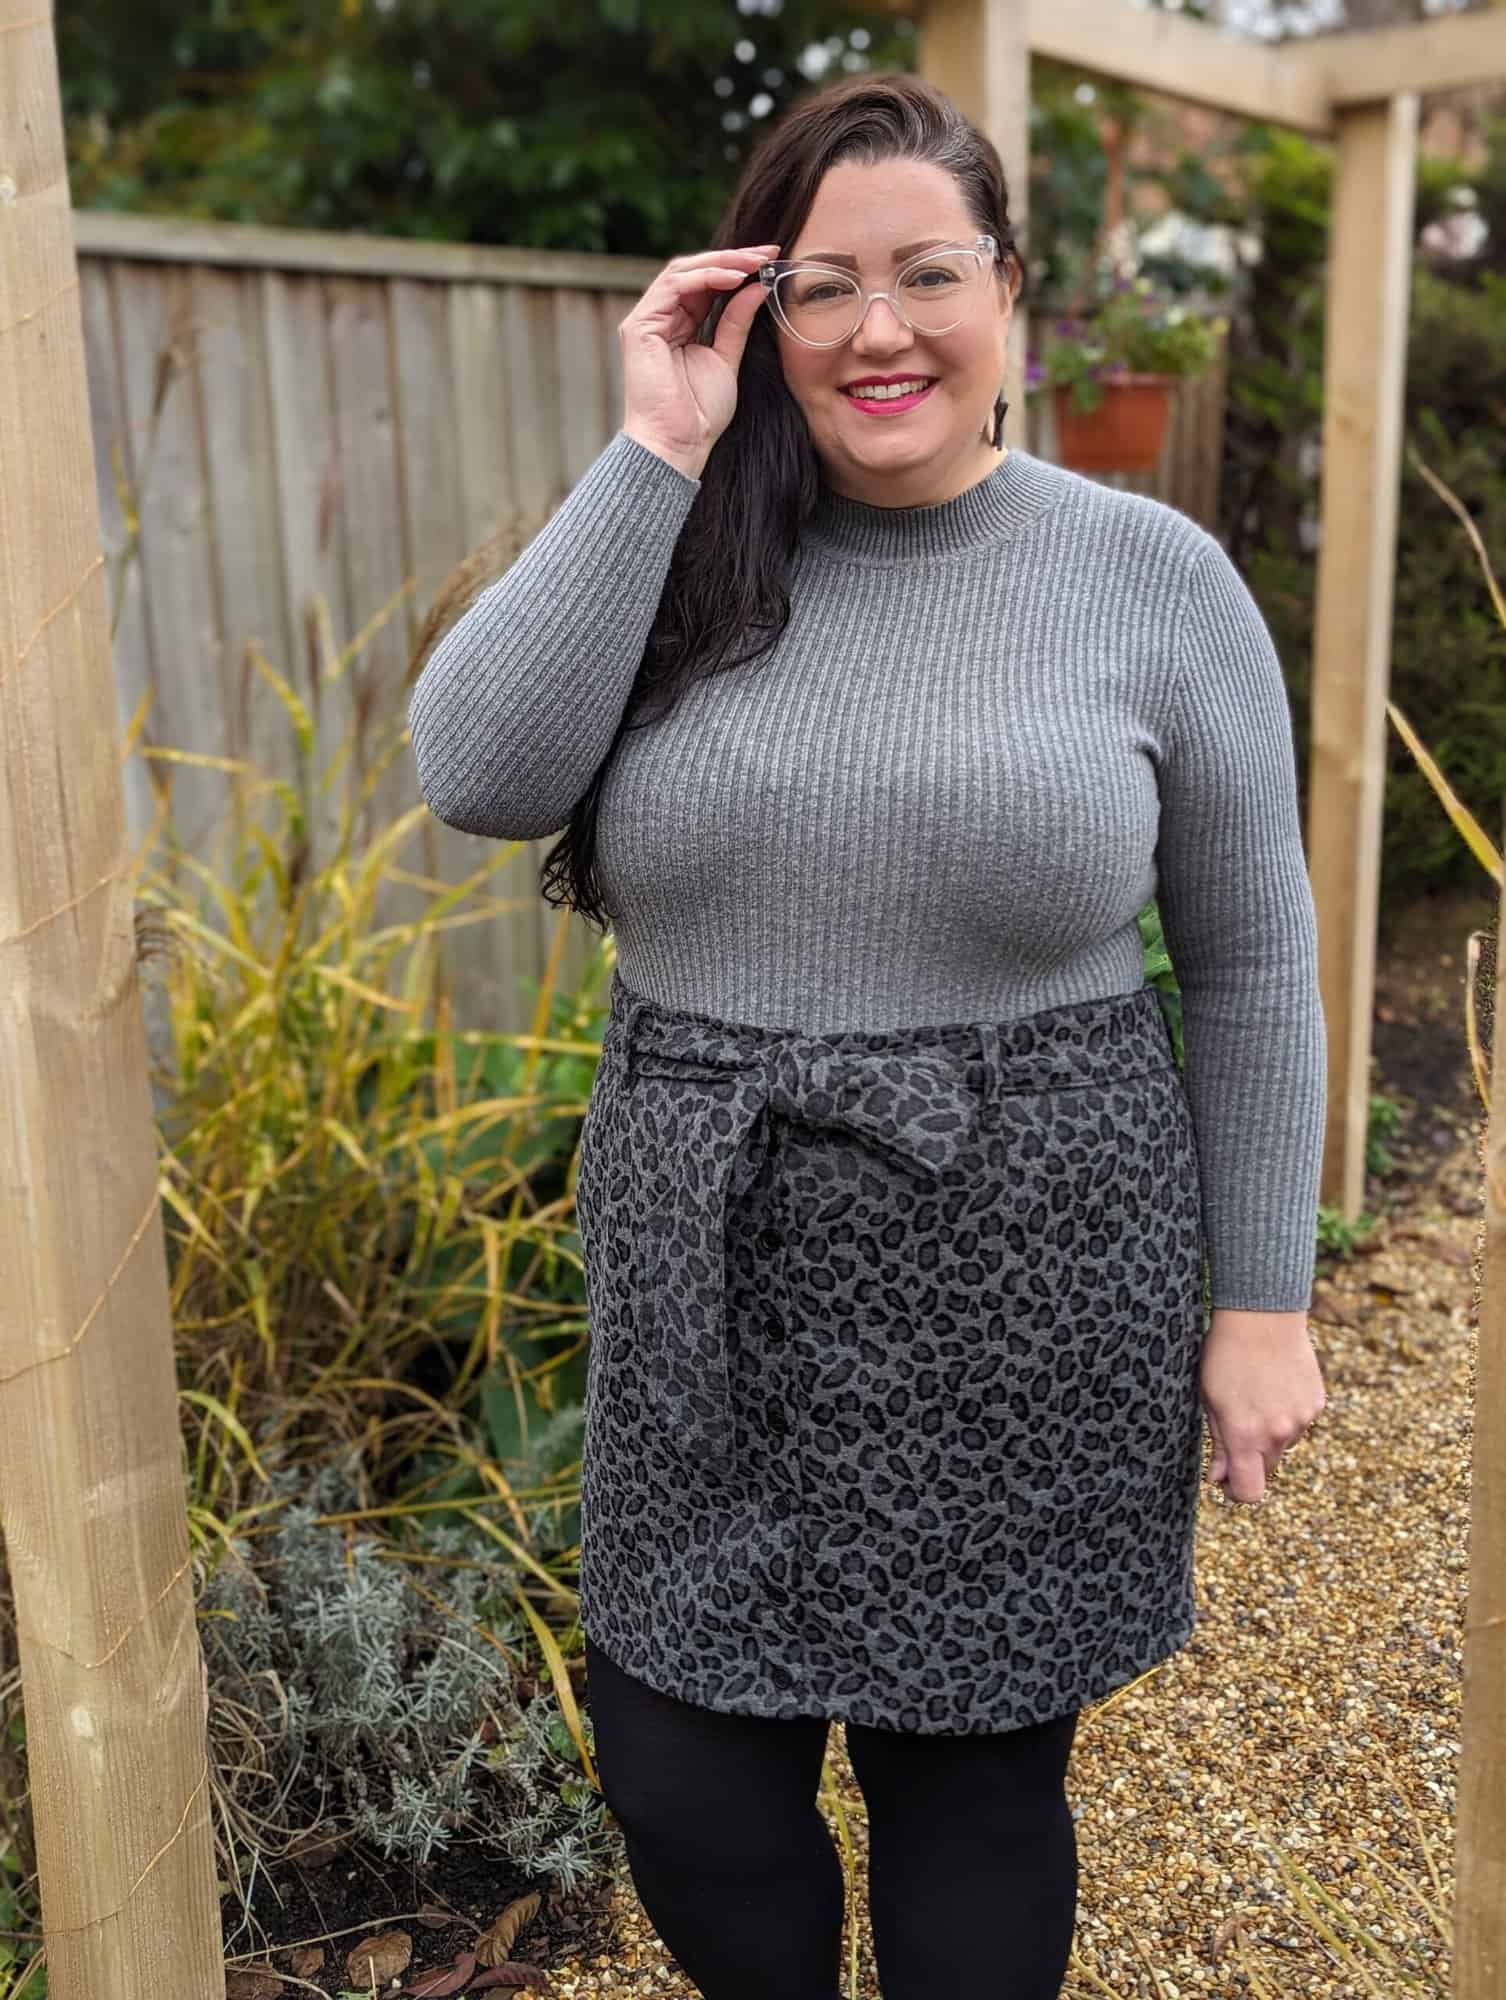
I’ll admit, I got totally Pinspired with this one after seeing a really cute belted pencil skirt online, and had to further hack my button front skirt. I knew it would be an easy hack on the new Sophia, so I got to it!
I wanted a fairly wide belt and decided on a finished width of 2.5”. With an added ½” seam allowance that gave me a measurement of 3.5” for the belt width. Then for the length I took a piece of ribbon and tied it round my waist with a decent sized bow. This was 84” long ( I wear the plus 1X with a waist measurement of 42”, for reference). This was too long for my fabric so I split it in two and added seam allowance. My final measurements for the ties were 3.5” x 43”; cut 4.
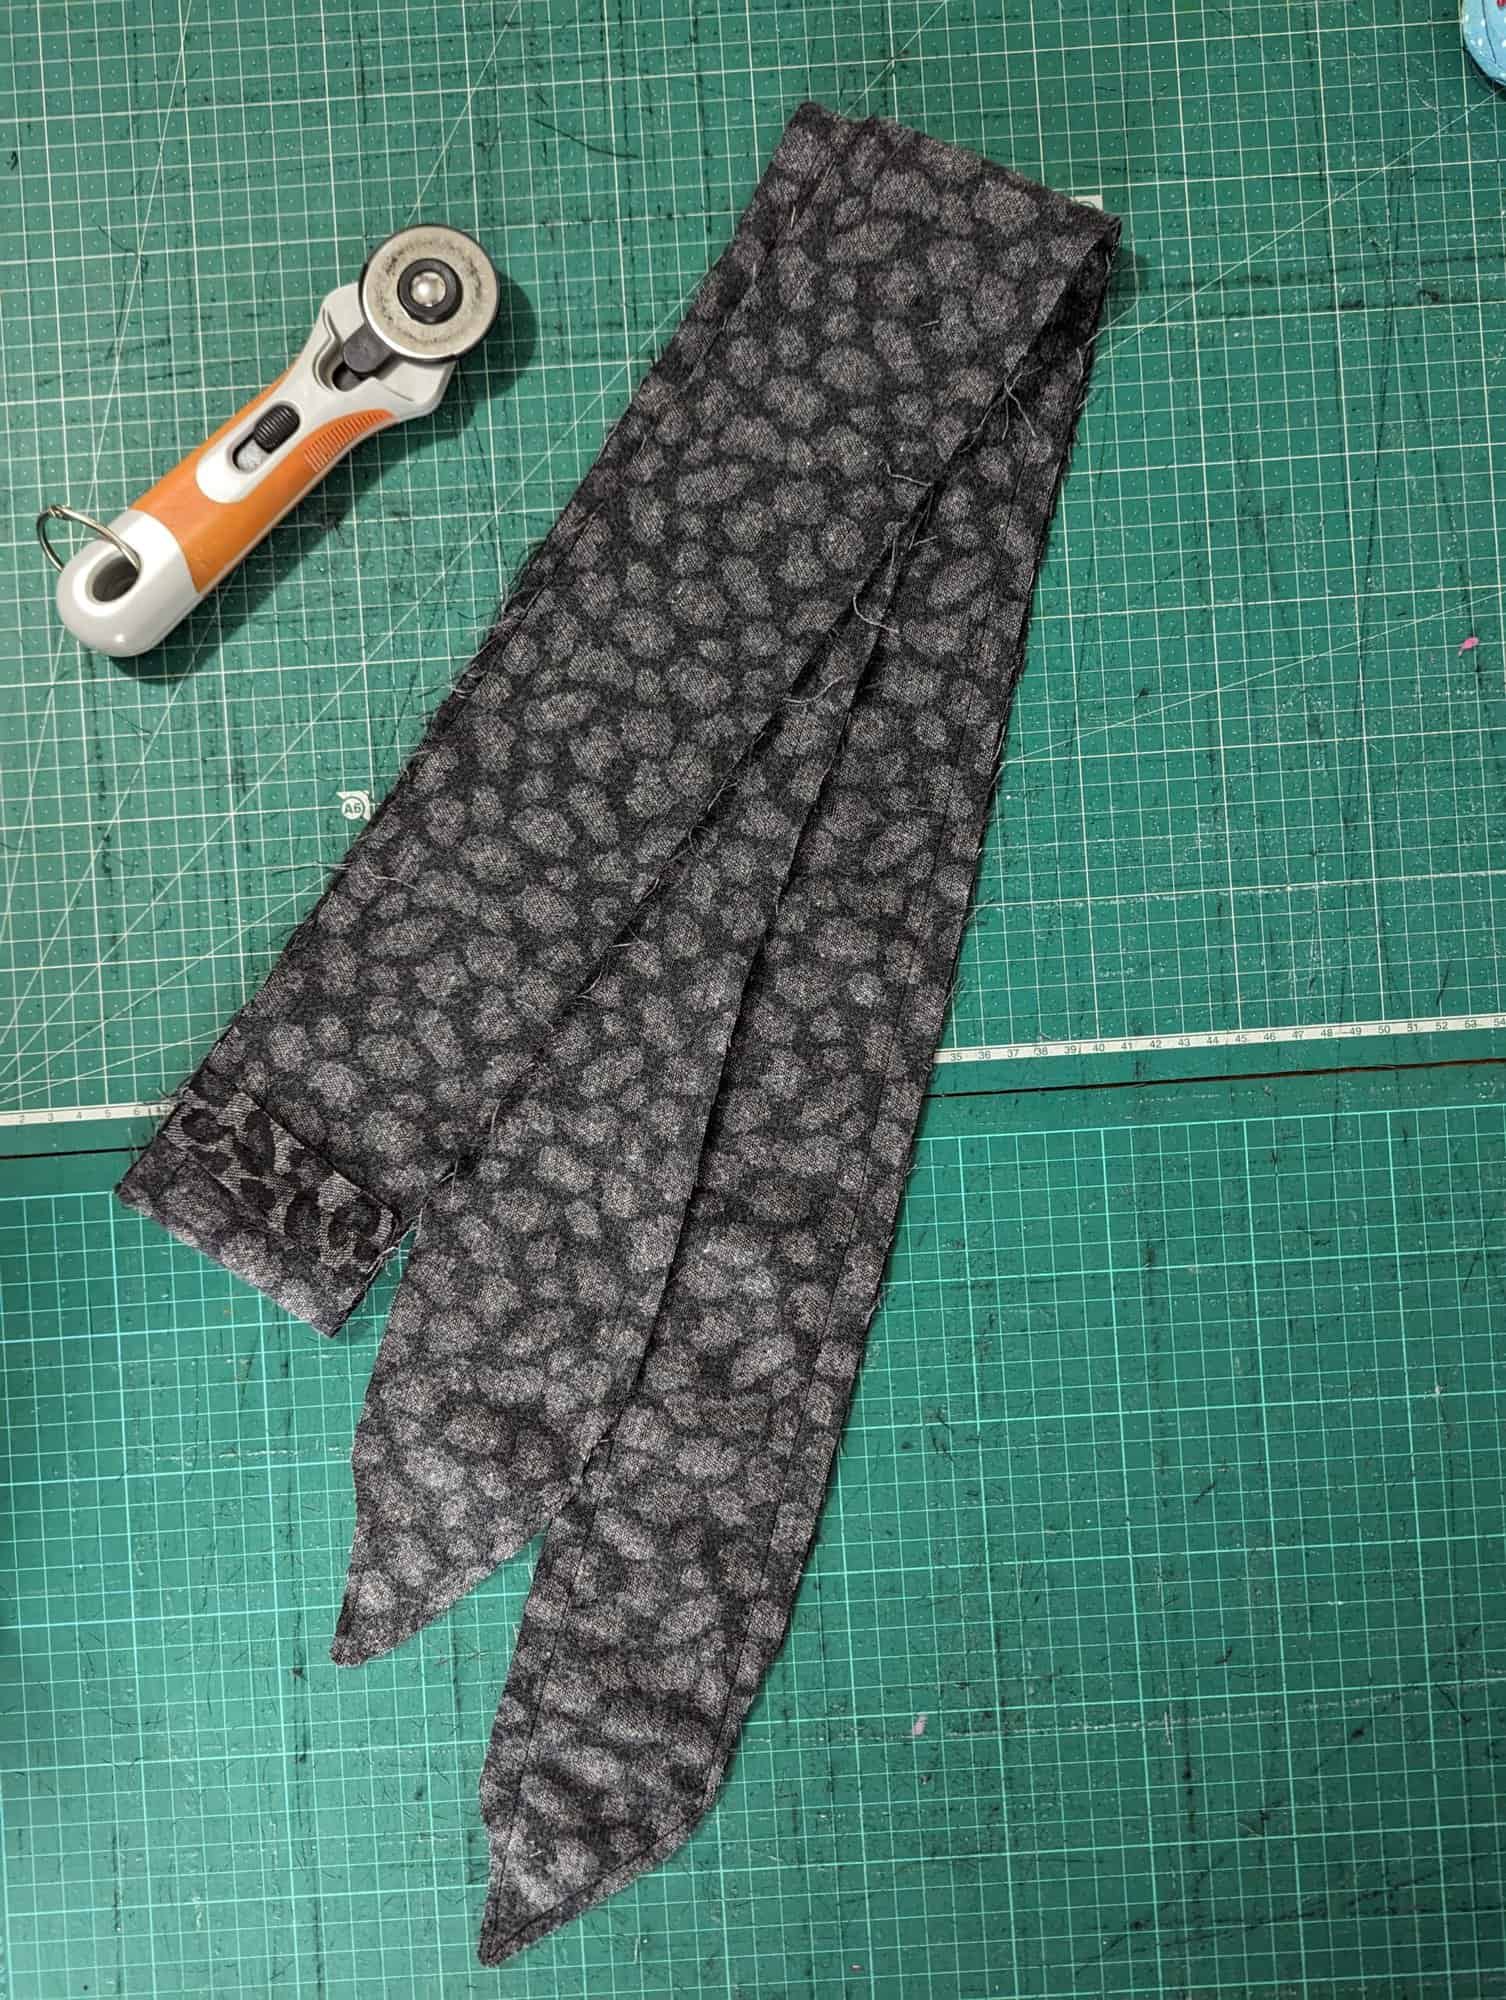
You will have 4 tie pieces. Sew two of these tie pieces together along the short sides using a ½” seam allowance, repeat for the other two tie pieces. Press the seam allowances open. Place these two tie pieces right sides together and sew using a ½” seam allowance, making sure you leave a 2-3” gap in the centre of the tie for turning through. I wanted a diagonal angle at the ends of my ties so I tapered in towards the ends of the ties to create this.
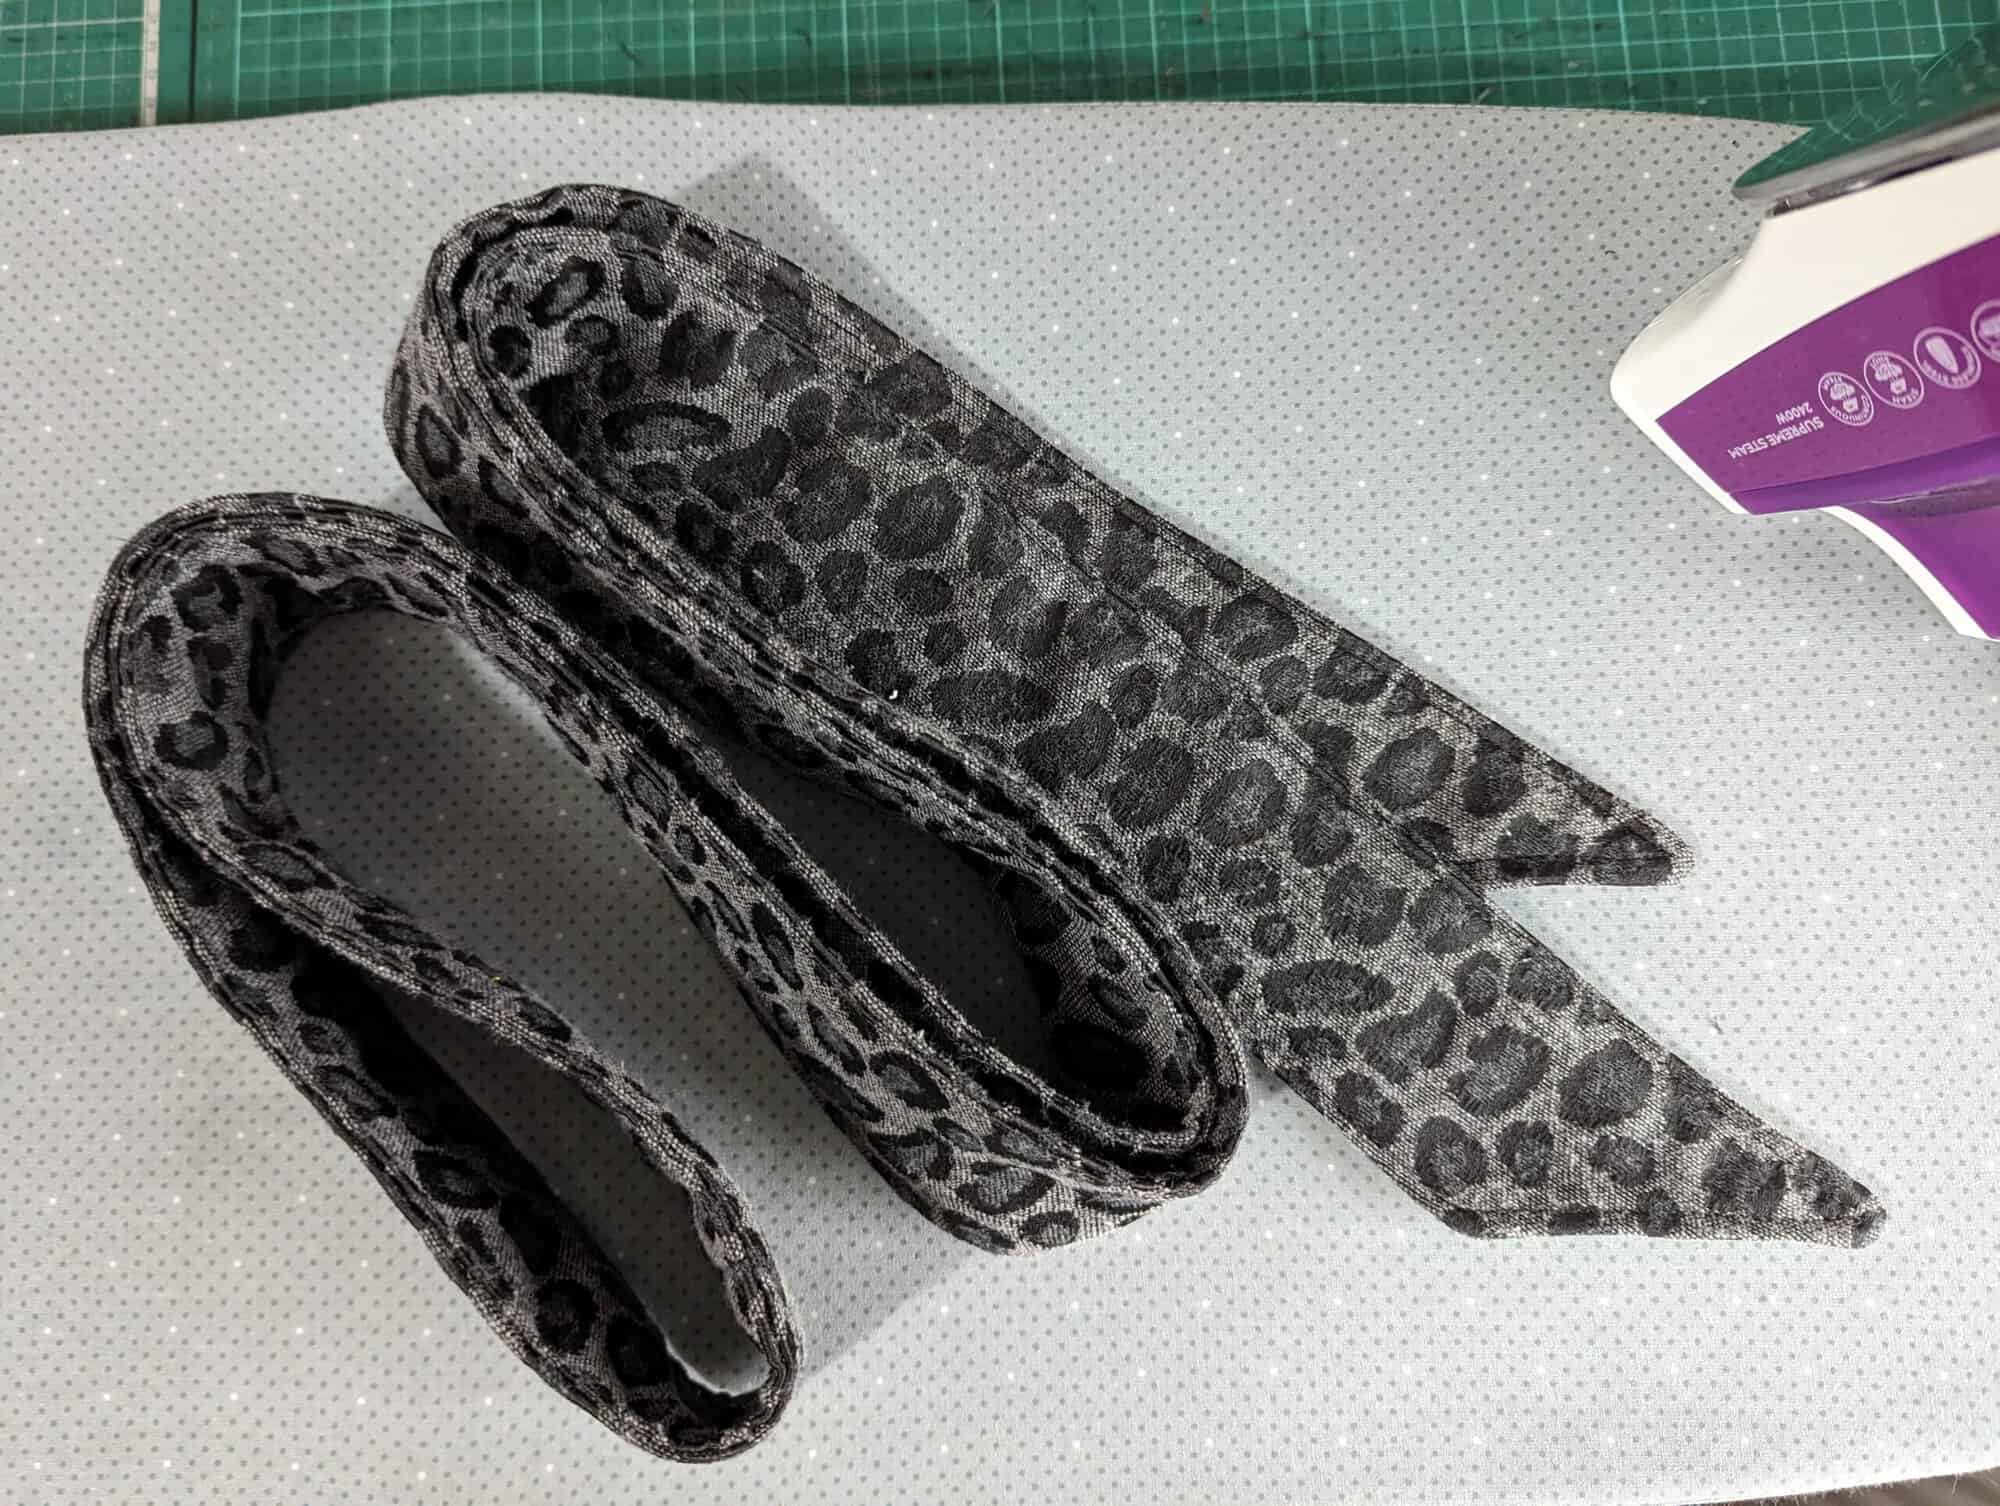
Trim corners and turn through. Press well and top stitch around entire length of belt.
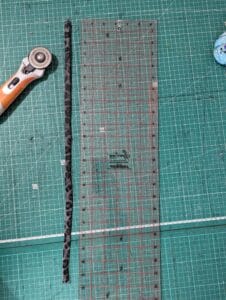
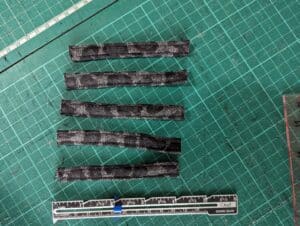
For the belt loops, I cut a strip of fabric measuring 1.5” wide by 20” long (ish). Then I folded the fabric together right sides together along the long edge, and sewed it together with a ¼” seam allowance. Turn the tube through ( a tube turner of safety pin is helpful for this), then press. Edge stitch down both sides of the ties, then cut it into 5 pieces measuring 4” in length. These will be your 5 belt loops.
One belt loop will be placed at the centre back, two loops will be placed next to both of the centre front darts, and then the last two loops will be evenly spaced on either side between the previous two points.
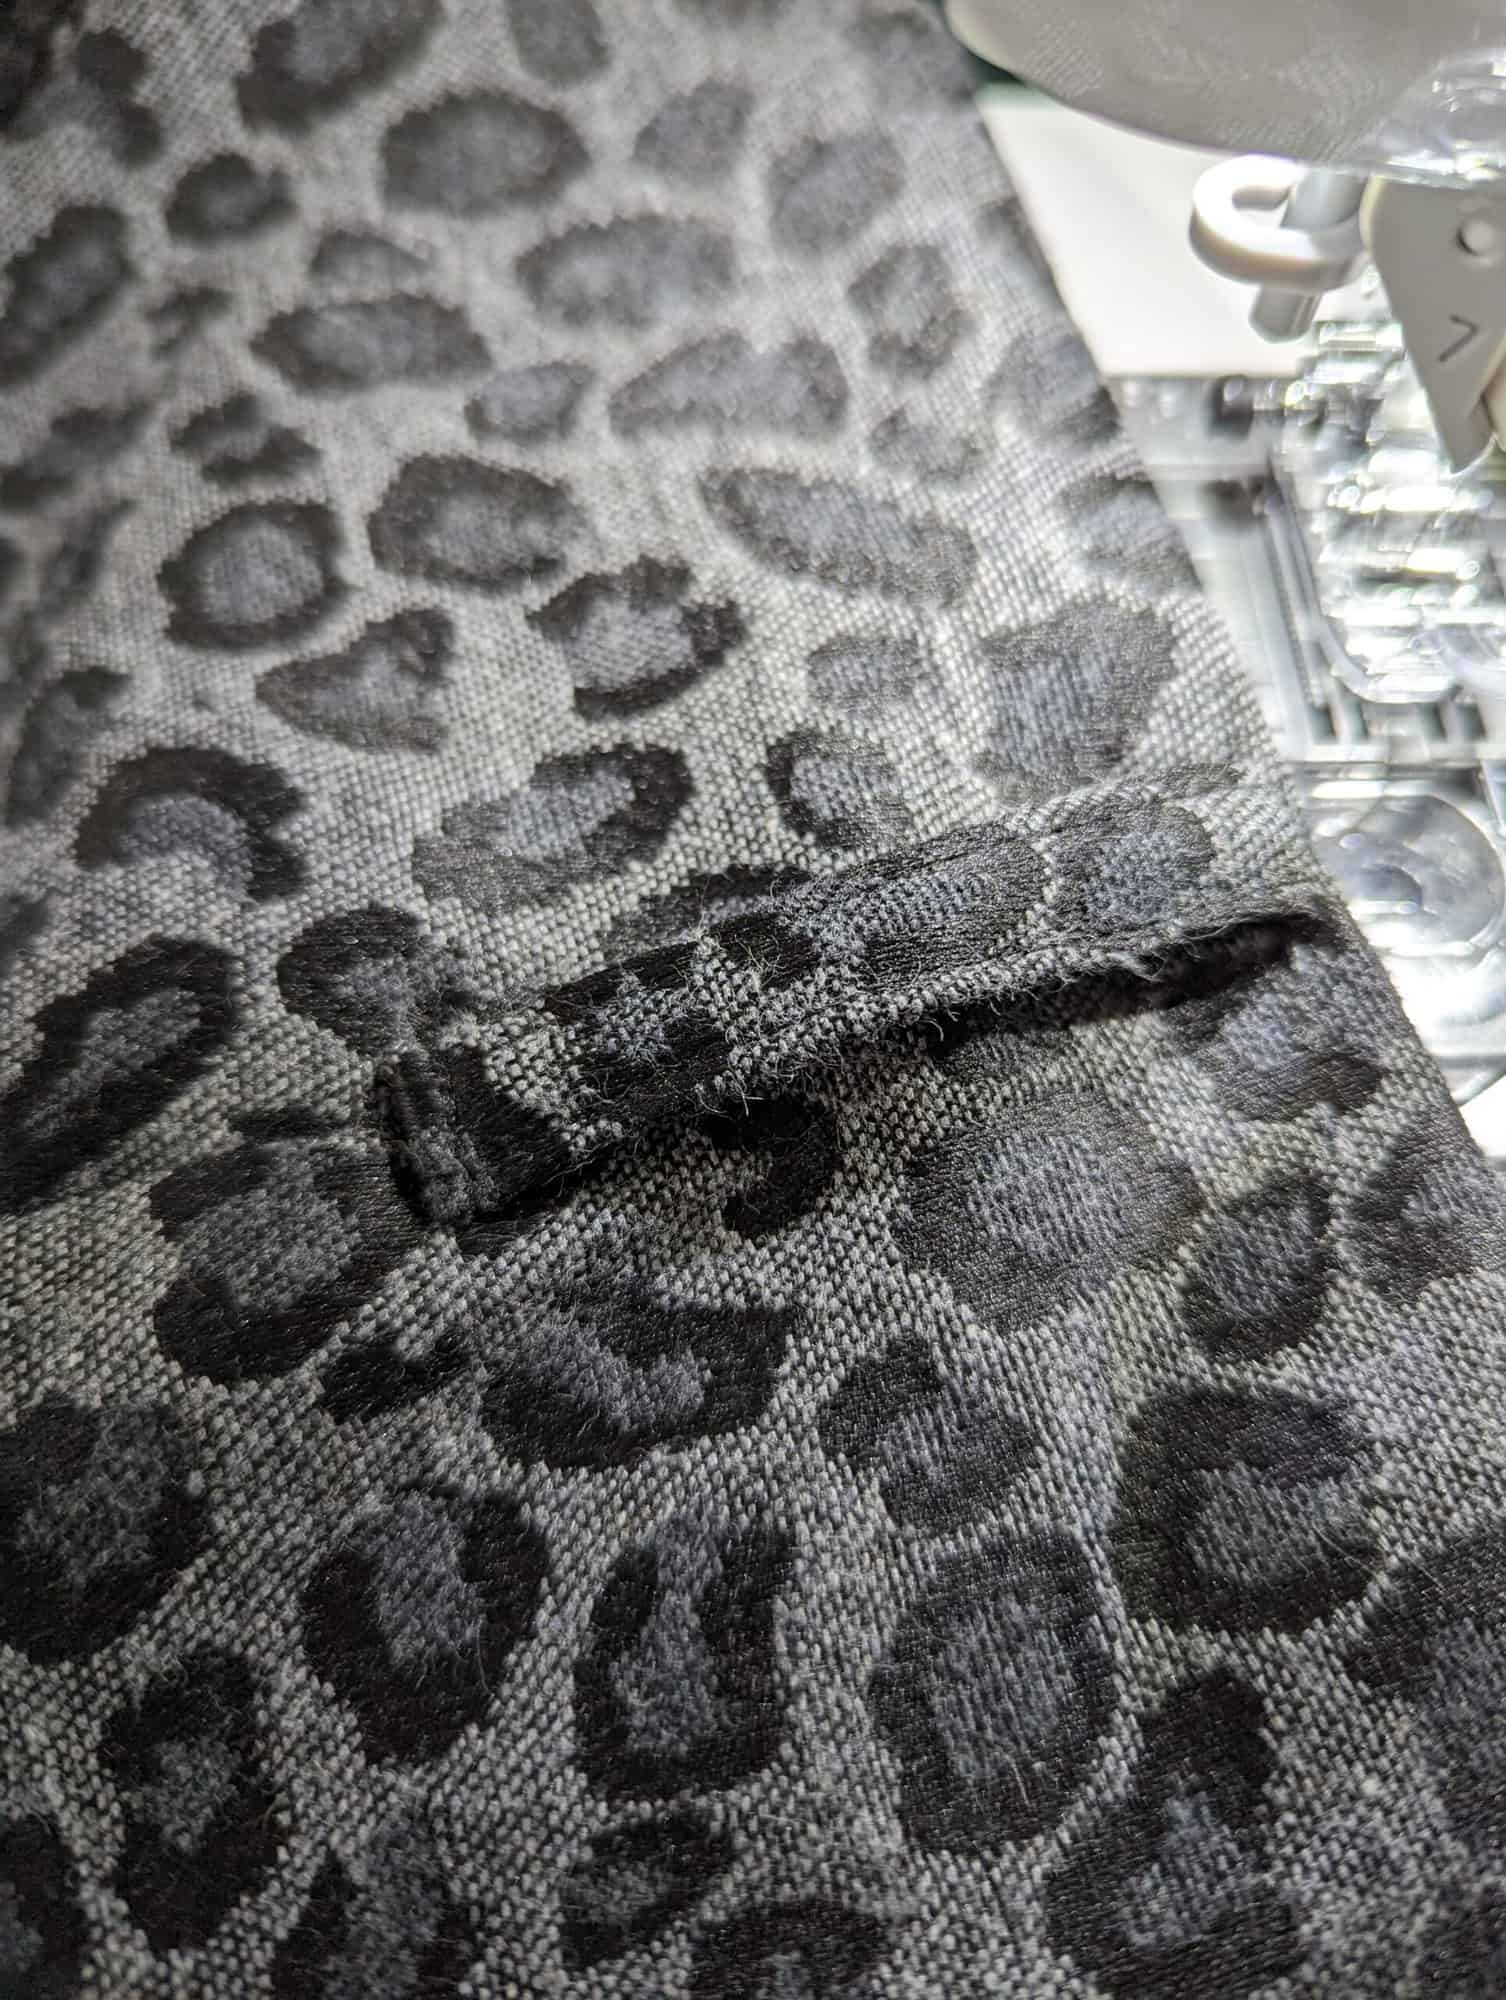
Place the loops at the top of the skirt, about ½” from the top edge. Sew across the belt loops twice, once at the bottom and once just below the top.
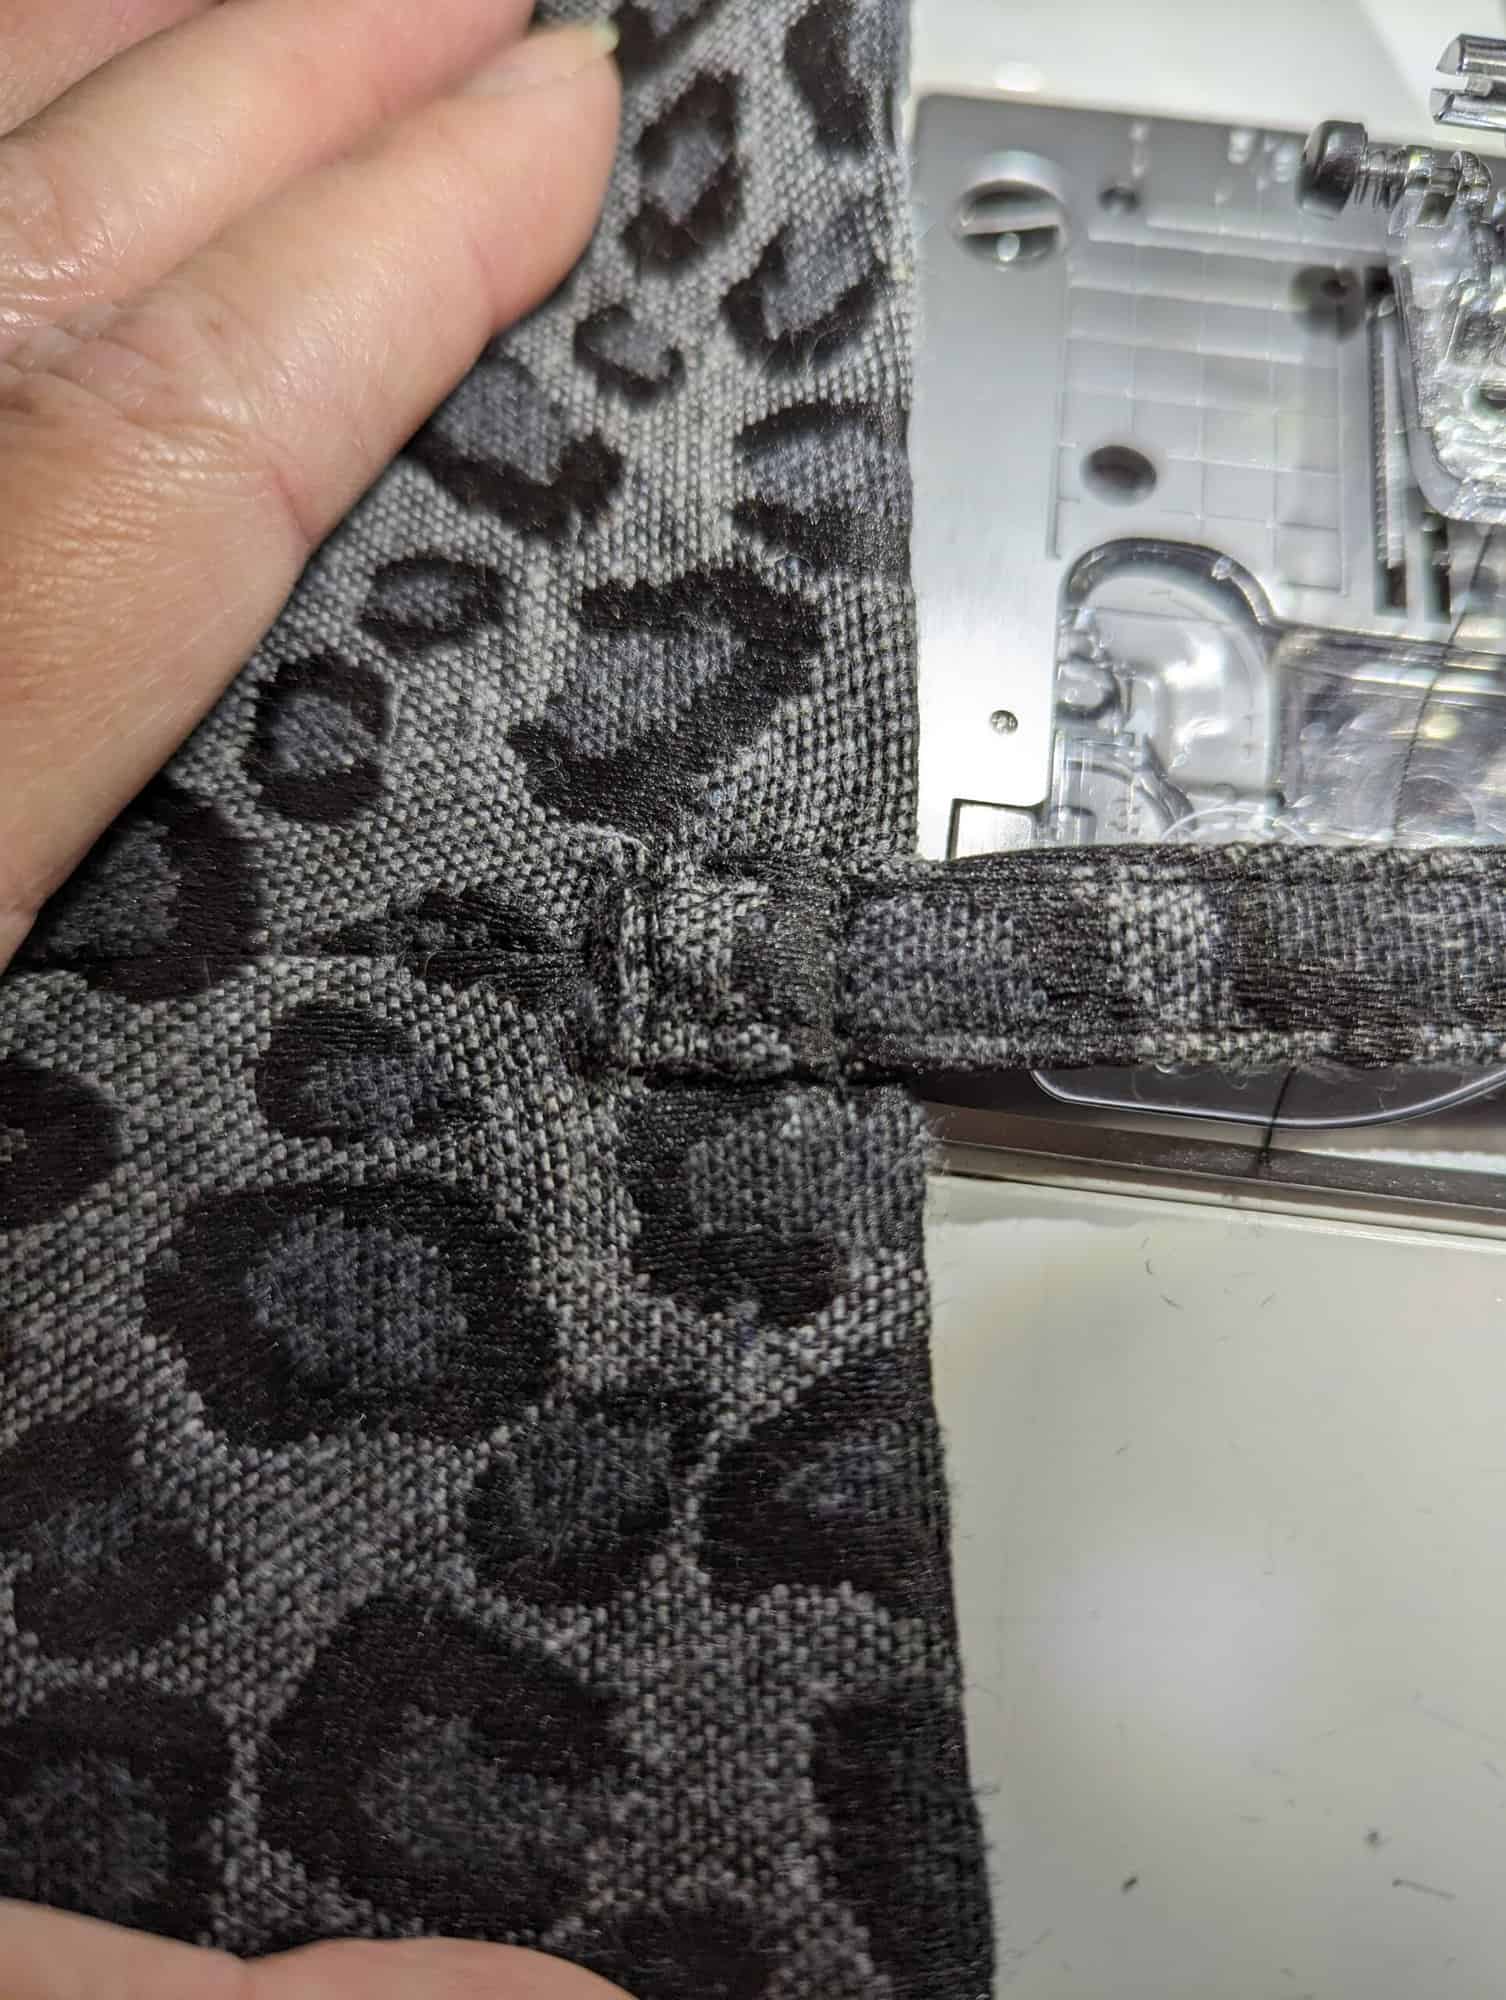
Then fold the belt loop down towards the body of the skirt, tuck the raw edge under by ½” and top stitch down across the bottom.
Repeat for the other 4 belt loops. Thread through your belt, tie and enjoy your new skirt!
Happy Sewing!
Dana xx
We are thrilled to see what you sew for yourself using the Bacall Bodysuit + Sophia Pencil Skirt patterns! They are available on sale (no code needed) through 11:59pm CST, December 12, 2023.
Here are some links to the patterns: BACALL BODYSUIT | SOPHIA PENCIL SKIRT

As always, we’ve got more photos for you to use as inspiration! Head over to the Facebook group to browse our albums full of gorgeous photos, compliments of our tester team!
Bacall Bodysuit Facebook Album | Sophia Pencil Skirt Facebook Album