Patterns for Pirates

P4P stylish, modern, wearable patterns

  • Home
  • Blog
    • Frequently Asked Questions
    • Pattern Releases
      • Free Patterns
    • P4P University
      • Fitting
      • Sewing with Stretch, Knit Fabrics
      • Sewing with Woven Fabrics
      • Sewing Machines
    • Sew-A-Longs
    • Fabric for Pirates
    • Pattern Hacks
    • Announcement
      • Blog Tours
      • Contest/Giveaway
  • Shop
  • Bundle Discounts
  • Flash Friday
  • Gift Cards
  • My Account
  • Cart

Pattern Markings 101

December 19, 2017

Many moons ago, I can remember calling my mom in a panic. I had printed out my first pattern for a garment, assembled it, and then just stared at all of the markings! Even though I’d sewn quilts for years before, this was my first attempt at making clothes and the pattern looked like a map in which I had no clue how to follow. After my “what did I get myself into” talk with her, she slowly walked me through each question I had and now after all these years we’ve come full circle and I’m making clothes for her!

Like many people, you will probably experience (or already have!) the “What have I done?” moment in sewing and question why you started a project to begin with. Have no fear! We’re here to help. We decided it was time to break that map down for you and help you learn how to navigate through the amazing world of garment sewing. In this post, you’ll find a description of all the key terms and symbols you might expect to see when starting your sewing adventures! So let’s get those patterns printed, assembled and let the fun begin! (If you’re staring at all of those pages you’ve just printed- don’t worry there either! Click here for our First Time User Tips, which includes how to assemble patterns).

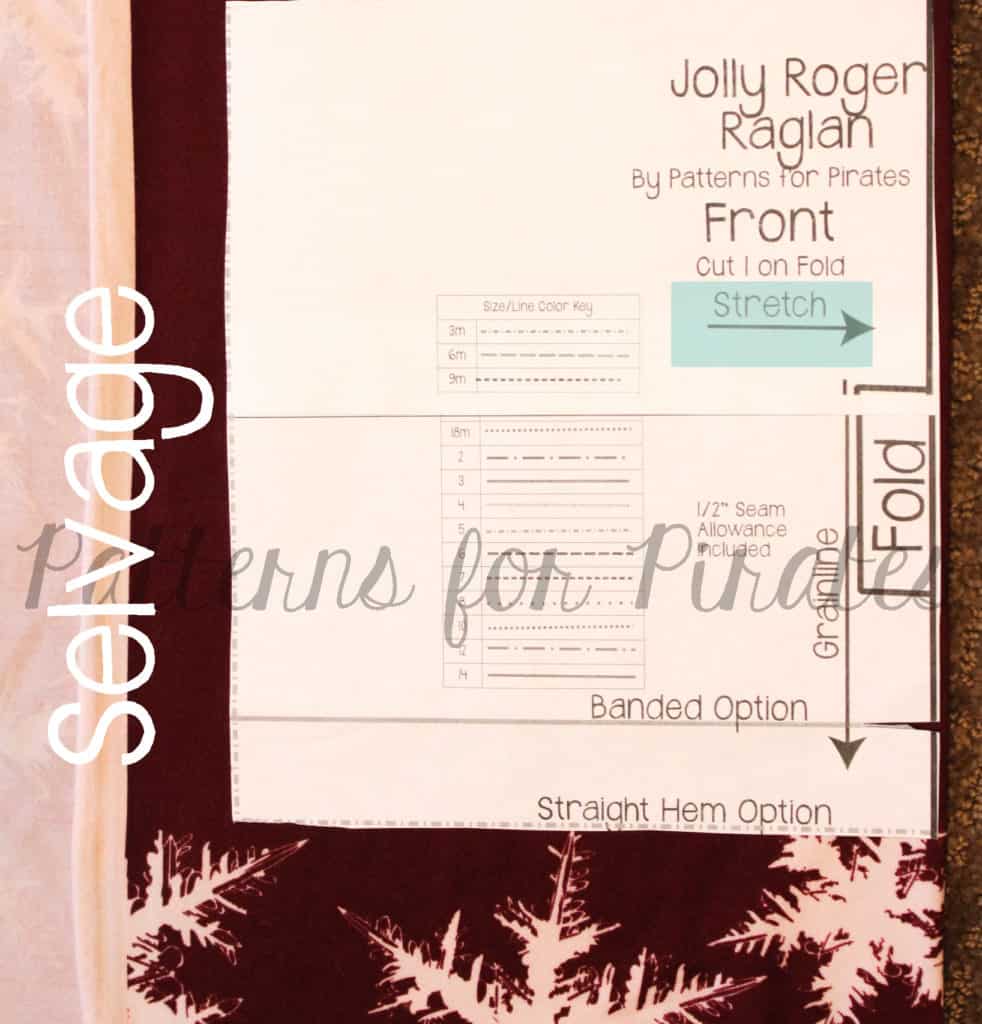
Grainline

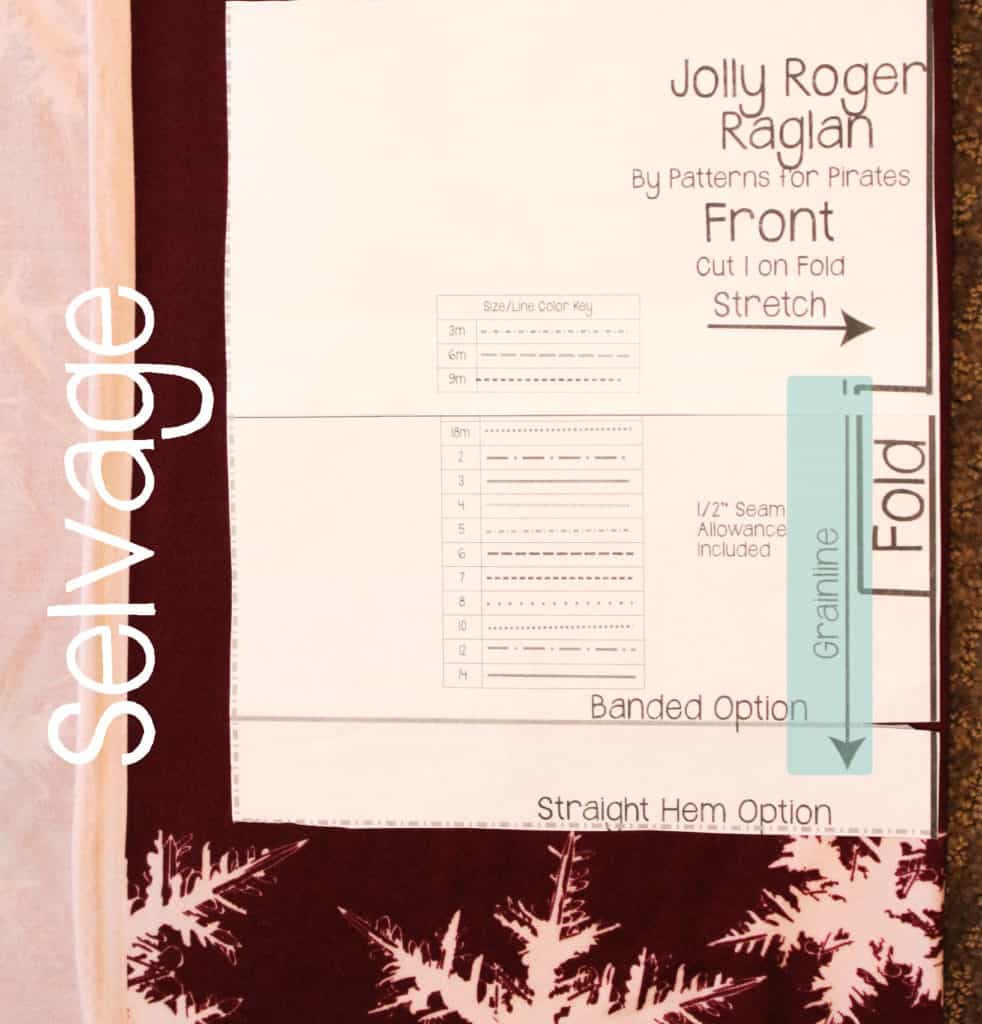
The grainline tells you which direction the grain of your fabric should run. The grainline will run parallel between the selvages, or finished edges of your fabric. There are usually printer markings, contrasting trims, solid colors, etc found on the selvage. Typically, your grainline will have the less amount of stretch in knit fabric. A few weeks ago, Roberta shared some details and information about grainlines, why they’re important, and much more. You can check that out here. 

Stretch

The stretch of your fabric will run perpendicular to the grainline/selvage and will be the direction with the most stretch. As you can see in the picture below, the stretch is running the opposite way as the grainline. It is extremely important to have the right direction of stretch when it comes to the fit of your garment. The stretch will go around your body for most pattern pieces and is accounted for when the ease of a pattern is drafted (read more about ease here). For example, if a pattern is drafted with negative ease (finished measurements are smaller than your body) and you have the stretch going in the wrong direction, chances are, it won’t fit.

Fold

If a pattern piece is symmetrical on both sides, you will notice the center with a “FOLD” marking. This is commonly found on pieces such as the bodice, back, or sleeve in which both the left and right sides have the same appearance. You will want to fold your fabric wide enough for your pattern piece and align this marking to the fold of the fabric. To help conserve fabric, I like to fold it just wide enough for the pattern piece (shown above). A common error can be to fold the fabric exactly down the middle, leaving wasted material.

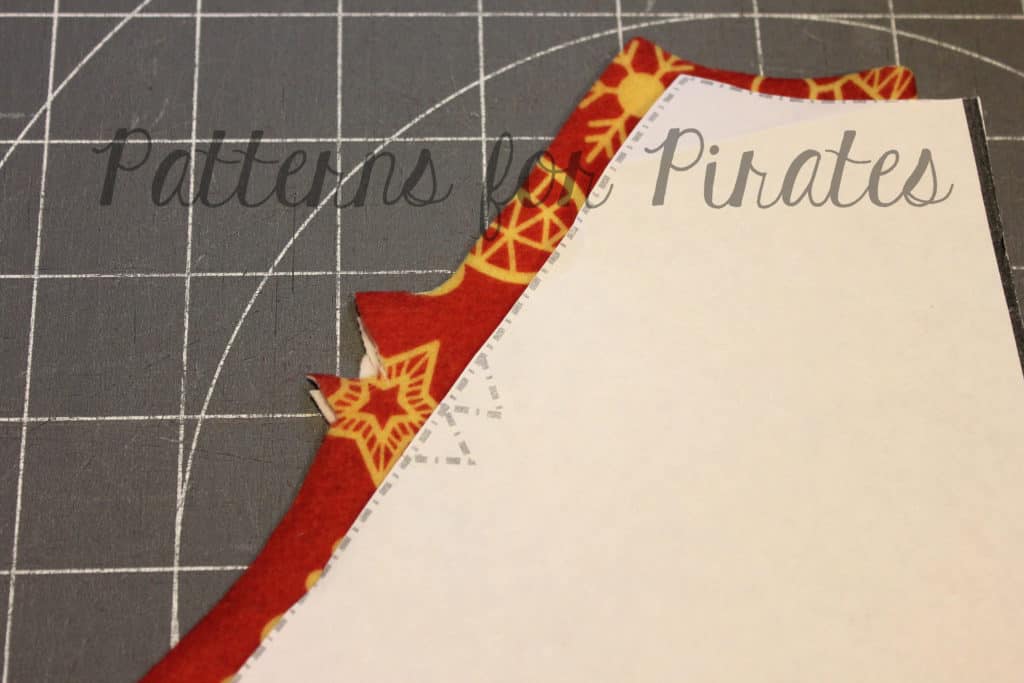
Notches

You might have noticed small triangles on some pattern pieces. These notches serve several different purposes. One of the purposes is to help distinguish the back from the front. For example, something like a raglan style top can easily get mixed up when assembling. These notches will help keep the front  with the front and back with the back. The second purpose is to help with alignment. By matching these notches up, your pieces will be in the correct position.

TIP: I always cut my notches out rather than in as to avoid accidentally cutting too far into the seam allowance.

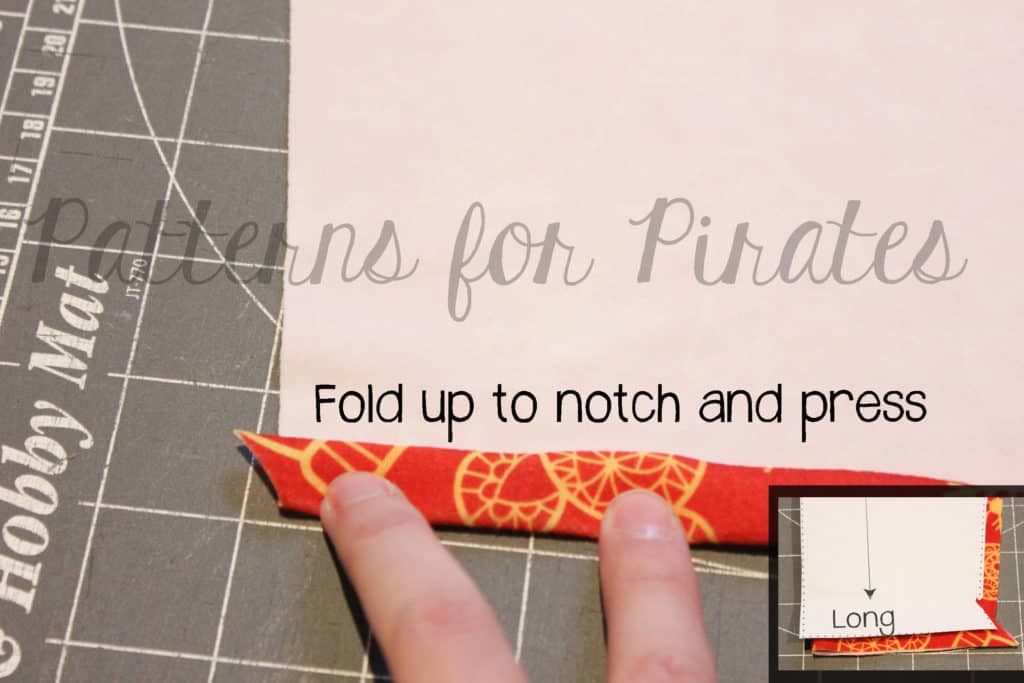
Hem Gauge

You will typically find a hem gauge on both the sleeves and bottom edges. This is usually a triangular shape that notches out. It will mark the correct allowance for your hem. This is particularly useful when creating a memory hem. All you will need to do is fold your fabric up to this notch, press and unfold. Once you’ve sewn the seams, you will still have your pressed fold in place with the correct seam allowance.


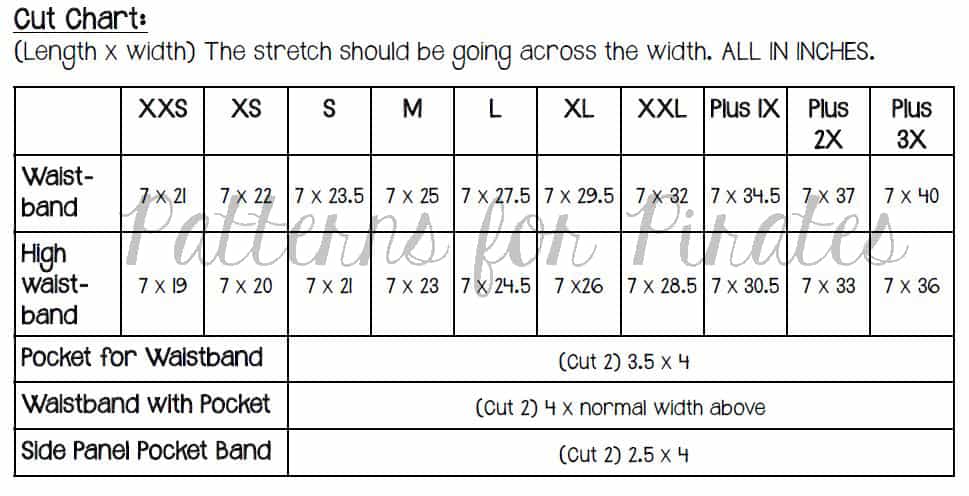
Cut Chart

Most Patterns for Pirates patterns will include a cut chart. The cut chart is typically found within the first few pages of the tutorial and will give measurements for any rectangular pieces. For example, items like neckbands, cuffs, waistbands and elastic would all be found here. Some designers will included these as actual pattern pieces, however by providing a cut chart, you are able to save on both paper and ink. When cutting these pieces, I find it easiest to do so using a quilters ruler and rotary cutter.

Hopefully these tips help! Remember that we are always here to help, especially in our Facebook group. If you’re not a already a member, be sure to join so that you can ask questions and share all of your amazing Patterns for Pirates creations!

~ Erinn
Filed Under: Frequently Asked Questions, P4P University, Sewing Techniques, Uncategorized 2 Comments

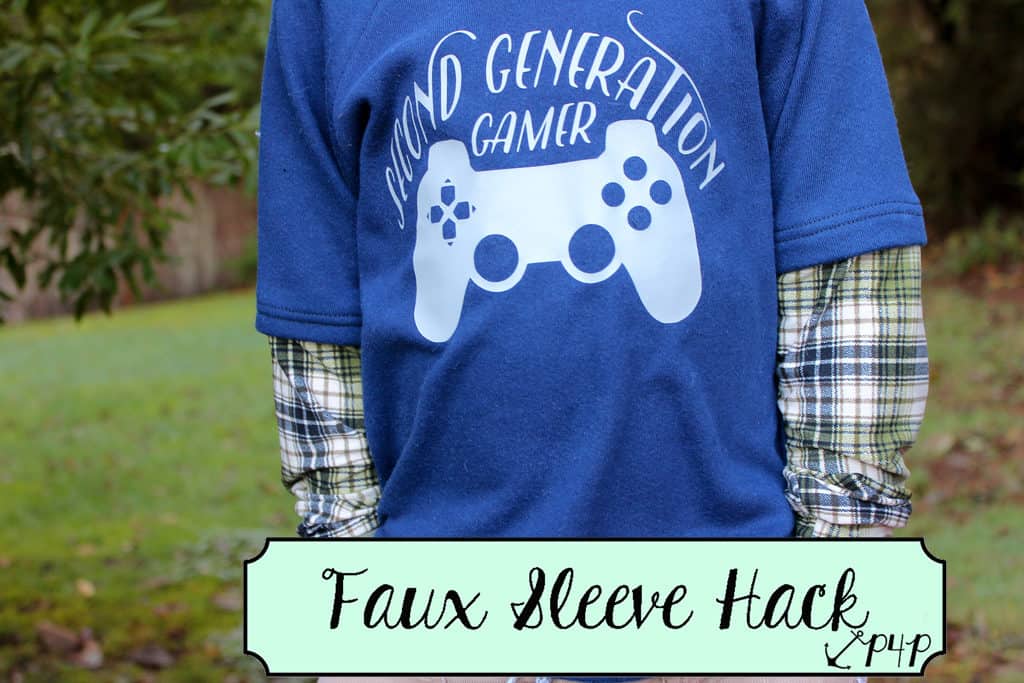
Faux Sleeve Hack

December 12, 2017

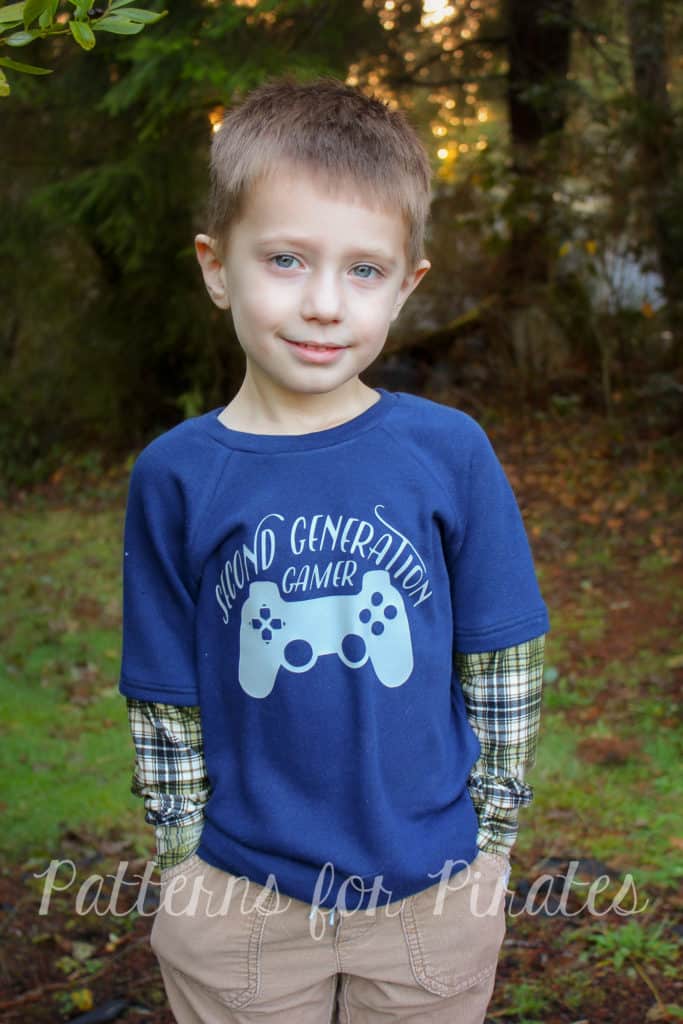
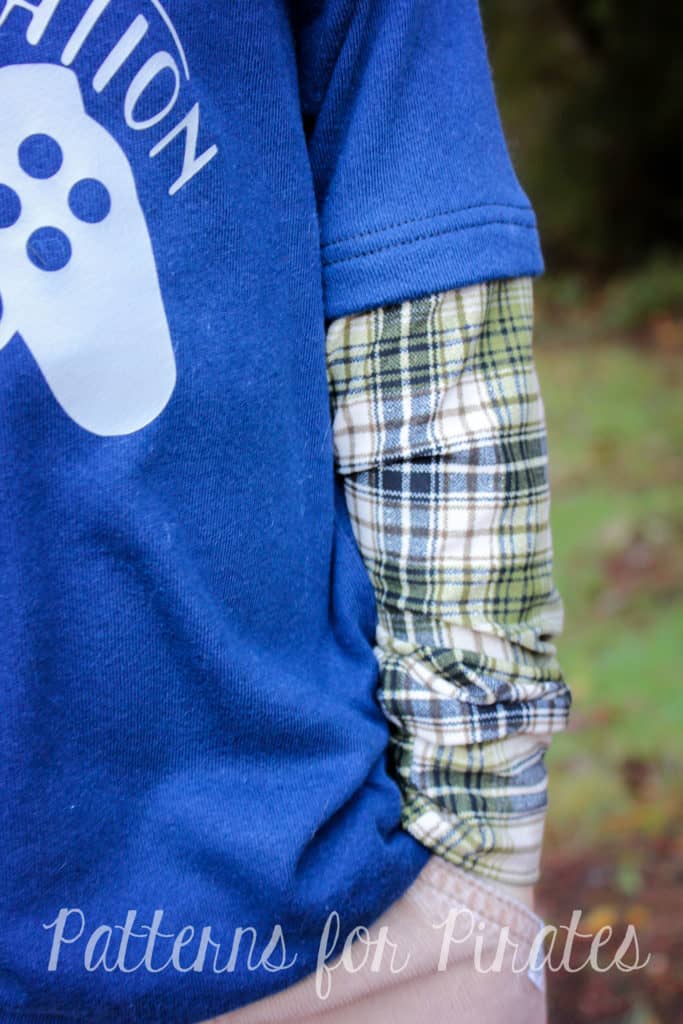
The Jolly Roger is probably one of the most used patterns in my son’s wardrobe! It’s fast, easy, and has lots of option to mix it up with the add-on pack. However, one of my favorite looks is a layered sleeve, which can be hard to accomplish when my son always wants to wear a sweatshirt! Enter- the faux sleeve! This hack is very easy to do and can also be used with other long sleeve patterns, including the Yo-ho Henley and Relaxed Raglan.

The only modification you will need to complete to achieve this look is to alter the sleeve. All other pieces will be cut out as directed and sewn as per the tutorial.

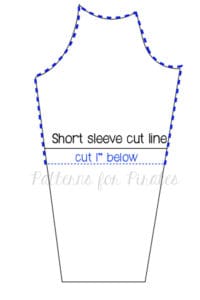
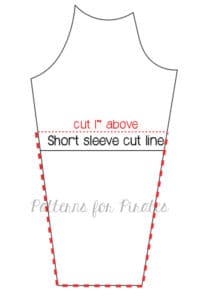
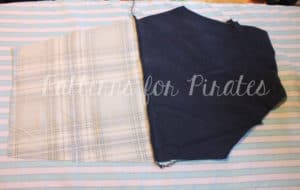
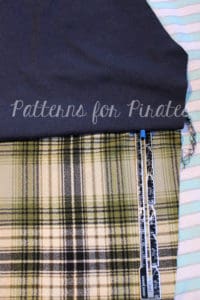
The first thing you will need to do is cut the upper sleeve piece. To do so, use the short sleeve cut line, however you will want to cut 1″ BELOW this line.  Don’t forget to cut two MIRROR image upper sleeve pieces! After cutting the upper sleeve pieces, you will cut out the bottom pieces. Using the same method, use the short sleeve cut line again, however cut 1″ above this line. Again, don’t forget to cut two MIRROR images. You will now assemble your sleeve pieces. Place right sides together and stitch using a 1/2″ seam allowance. Press your seam towards the upper sleeve piece.

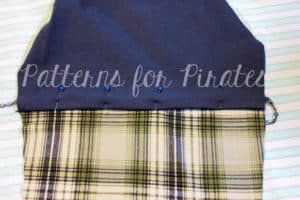
Lastly, you are going to create your faux hem where the two pieces are connected. Using a hem gauge, overlap the two pieces by 1/2″ to create the hem and press, press, press with your iron. 

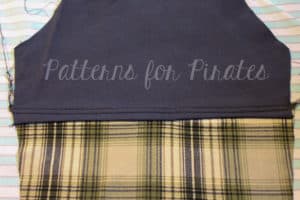
Pin the hem in place, then stitch using your favorite hemming stitch. 

You will now complete the rest of your Jolly Roger Raglan (or other shirt) according to the directions. Make sure that when you are sewing the sleeve and side seam, to align the faux hem as well.

Be sure to share your creations with us in our Facebook group and I can’t wait to see what kind of fun layering ideas you come up with!
~Erinn

Filed Under: Pattern Hacks Leave a Comment

P4P Professional Looks

November 18, 2016

“How can I make this look more professional?” “Is this okay to wear for an interview?” These are just a few of the questions that we see asked all the time about P4P patterns. Well, Angela and I are here to help give you some ways of how you can make and wear Patterns for Pirates a part of your professional wardrobe- and trust us, it’s possible.  Angela works in the insurance world and I am a teacher and both of us admit to wearing P4P almost everyday! So here are a few tips and tricks from to help make you the envy of your office!

Fabric Content Choice
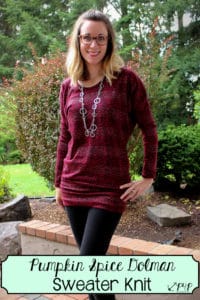
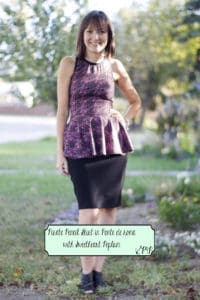
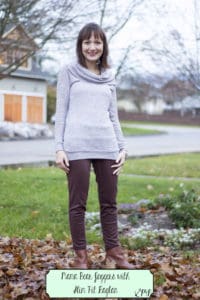
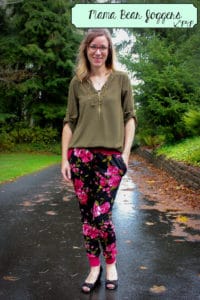
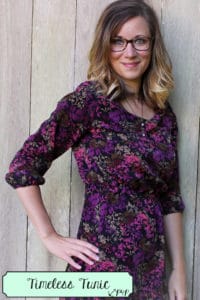
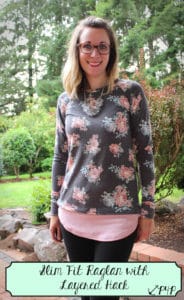
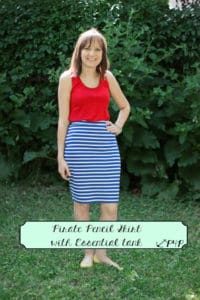
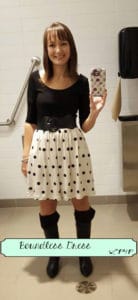
Every pattern will have a different look depending on which type of fabric you use. Some of our favorite contents for workwear are liverpool, ity, sweater knit, ponte de roma and brushed poly. It is important to be aware of the pattern you are using, as each fabric has a different drape and some are more suitable for different patterns. Liverpool is a more structured, textured fabric with great stretch. It is wonderful for patterns such as the Sweetheart, Sweet Tee, and SOS Knit Pants. Ity fabric is a very soft fabric with amazing drape and a smooth, soft texture. It comes in a variety of patterns and is great for making tops look more “dressy” and its a great choice for dresses like the Boundless Dress. Sweater knit is a very easy way to make patterns such as the Pumpkin Spice Dolman and the Grandpa Cardigan look professional for work. It can be found in a variety of weaves (loose to tight), textures, and weight. Another great option is ponte de roma, it is a nice weight and again is more structured so works well for the Pirate Pencil Skirt and bottoms like the SOS Knit Pants, Palazzo Pants and it really dresses up the Mama Bear Jogger shown below with a sweater knit Slim Fit Raglan with the cowl from the Add on Pack.  Another great fabric that seems to be popping up everywhere is brushed poly and it can be used for so much more than peglegs!  Brushed poly comes in various weights and can be single or double brushed and it has a great drape to it so it works well for tops and dresses.  Rayon spandex and bamboo spandex blends are another great choice for tops and dresses.

img_4825_edited-2img_57861img_60961


Fabric Pattern Choice
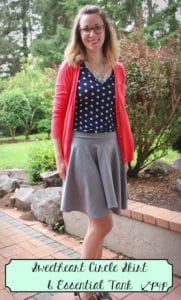
In the professional world, it is very easy to play it safe with neutral colors. Neutral colors can be a great base for any outfit- as you can see with most of ours. We both tend to have a solid color somewhere in an outfit and then will pair this with something more bold. For example, I used the Sweetheart skirt hack to create a circle skirt in a solid gray. I then paired this with a polka dot Essential Tank and a cardi. I have also paired the Mama Bear Joggers in a floral french terry with a solid top. And Angela has paired a solid black ponte de roma Pirate Pencil Skirt with a patterned brush poly Sweetheart Peplum.


img_5158_edited-1img_4816_edited-1img_61002

Adding Details
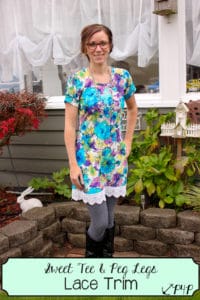
Adding details such as lace, trims, even a belt can help elevate a pattern to the next level. Lace is one of my favorite things to add to make an outfit look more professional. As you can see below, I used the Sweet Tee in the dress length, however added a lace trim to the hem. Angela added a belt to the Everyday Elegance to dress it up a bit. Or even just adding some jewelry like a necklace on a Pumpkin Spice Dolman. What shoes or boots your wear also can make such a difference on making your outfit look casual or office appropriate.

img_5273ee12105747_10153206085671033_1156641344939810881_n

Every office is going to be a bit different in what they allow and don’t allow. Some office will allow Peg Legs where as other office won’t allow any type of leggings, some won’t allow a skinny pant where as others will.  Patterns for Pirates have all your bases covered. Both Erinn and I get away with peg legs at the office but you will notice in pictures you see of us in our work attire we stick to solids for leggings. A lot of these looks would also pair nicely with a blazer for a more corporate look or try adding a Grandpa or Carefree Cardigan if your office is cold.  I know both of us have plans to sew a lot of the new Cocoon Cardigans for work as well.

And now that you’ve read some of the basics for becoming a “Professional Pirate”, here are a few more pictures for some inspiration!  And you know getting photo’s of your office attire isn’t easy so I’ve included some bathroom selfies cause I know that you all love seeing bathroom selfies 😉 Happy sewing and make sure to share your professional looks in the P4P Facebook group! ~ Erinn and Angela

img_46072img_4821_edited-1img_3606 14939622_10154070693911033_1112729001056391089_o10353639_10153256696556033_8649728710252151176_nimg_55351flatlay-sweetheartpepluem

Filed Under: Blog Tours, Uncategorized Leave a Comment

#p4pRaglanWeek Winner

September 29, 2016

Well, ya’ll ROCKED IT during #p4pRaglanWeek! From the all littles looking adorable in their new Jolly Rogers to you stylish ladies in your gorgeous Relaxed and Slim Fit Raglans– you gals (and maybe a few gentlemen?) knocked it out of the park this week. But compliments aside, it’s now time to get down to business and announce the winner. This was not easy to pick just one, so we had to include some of our favorites first…

Most Pumpkin Spice and Everything Nice aka Fall is Here: Elisabeth Breckly

untitled-2

Best Real-Life Models: Amanda Hinson

14440997_889206687847350_9061598357926943898_n

Most Enthusiasm: Britina Gilkey

14484810_10157503660185553_3151021561467655695_n

Best Use of Blog Hacks: Brenna Rassmann

untitled-2

Annnnnnnnnnnnd now, drumroll please! The winner of #p4pRaglanWeek is…

Most Ohhh’s and Ahhh’s: Tasha Gray

14469568_10103829457213868_2583563692514009873_n

Girl- you nailed #p4pRaglanweek! You were the clear winner not only on Facebook with your insane amount of “likes”, but more importantly, in the eyes of your little girl… Just look at the smile as she’s looking up at you! Congrats on being our winner for Raglan Week. Thank you to everyone who entered. It was so great to see your creations. And just because Raglan Week is over, it doesn’t mean you have to stop sharing- we love seeing what you come up with. So keep posting those raglans!

~Erinn

Filed Under: Announcement, Contest/Giveaway 1 Comment

Featured Patterns

  • Mae Top - Bundle Mae Top - Bundle $20.00 Original price was: $20.00.$18.00Current price is: $18.00.
  • Mae Bottom - Bundle Mae Bottom - Bundle $20.00 Original price was: $20.00.$18.00Current price is: $18.00.
  • Loosey Goosey - Bundle Loosey Goosey - Bundle $20.00
  • Bacall Bodysuit Bacall Bodysuit $12.00
  • Privacy Policy
  • Refund Policy
  • Affliliate Program
  • Contact Us
  • About

Copyright © 2025 Patterns for Pirates

Copyright © 2025 · Genesis Framework · WordPress · Log in