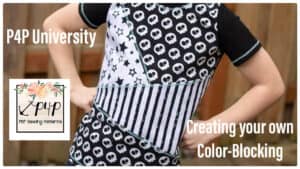
Hello, fellow sewing friends! I’m super excited to talk to you today about color blocking. As long as I’ve been in the sewing world color blocking has always been really popular. A lot of patterns even include it! But what if your favorite p4p pattern doesn’t have any color blocking options? Well, today I’m going to teach how to easily do it yourself! If you aren’t familiar with color blocking, it’s basically just adding interesting unique blocks of different fabrics to your pattern without altering the fit. It’s a great way to spice up a regular t-shirt, use up some scraps, and make for some fun visual art. You can color block anything from sleeves, front bodice, back bodice, legs, hoods, if it has a pattern piece- you can color block it. Now, let’s get started!
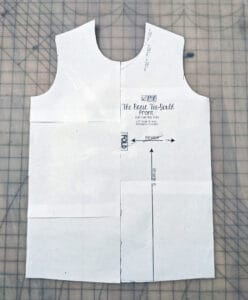
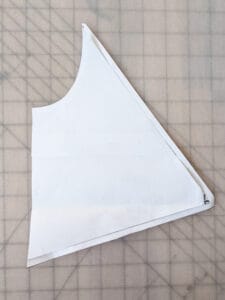
First, you’ll want to pick your pattern and print out your chosen size. (If you are using a projector you can do it but I highly recommend printing whatever piece you want to color block. For my example, I color-blocked just the front bodice so I printed that and then used my projector to cut the rest of my pieces. ) Now if you plan on doing any “angled” color blocks and your pattern piece is on a fold- I recommend tracing the mirror image and attaching it to your piece so you have the “full piece”. I used The Basic tee for my son and chose to only block the front of the shirt.
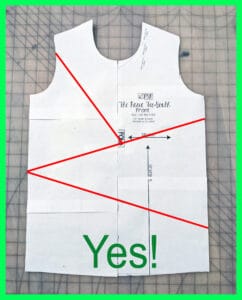
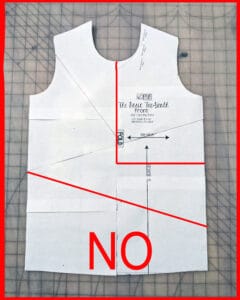
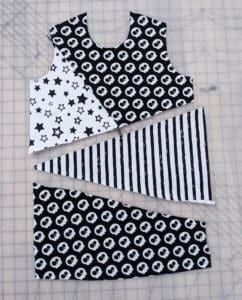
Now the fun part- Choosing your color block! Honestly, you can really do anything so just start drawing! I use a straight edge to make sure my lines are nice and tidy (easier to sew that way). The only thing I would avoid is really complicated shapes or anything like a floating “v-point” that doesn’t reach an end (you can see my example below in the red no box). If you are new to this technique I’d start simple to get the hang of it and then you can expand from there. This is what I drew out and what will be the final “look” of my shirt.
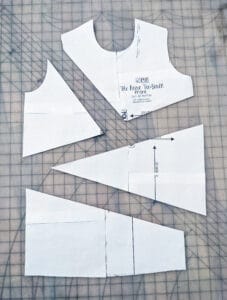
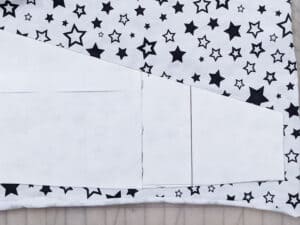
Once you’ve drawn your color-blocked lines you’ll want to cut them all out and these are your new pieces. Decide which fabric you want for what piece and it’s time to start cutting.
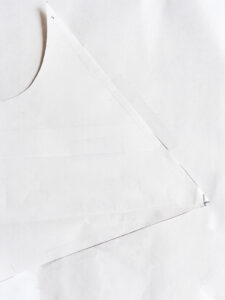
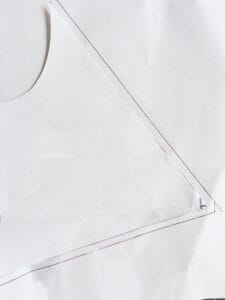
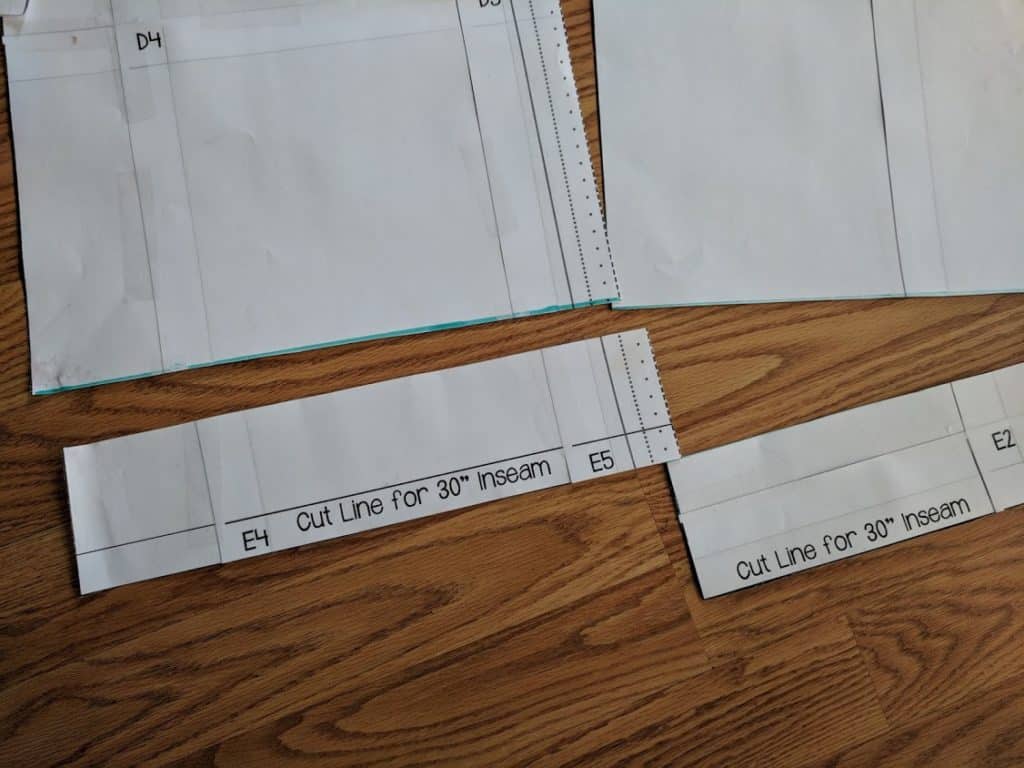
Now here’s the most important part- You’ll need to add seam allowance to those pieces. You can choose whatever amount but I usually go with 1/4 inch. Now you can either do this by laying your new pieces on a piece of paper and adding it to that piece so it becomes part of your pattern piece.
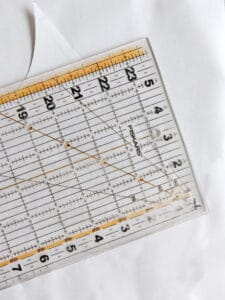
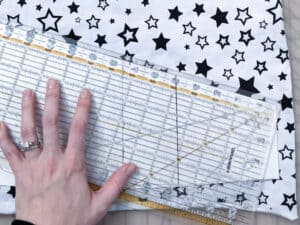
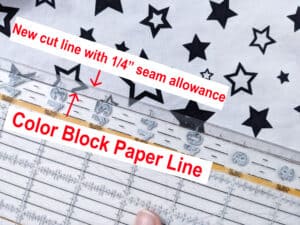
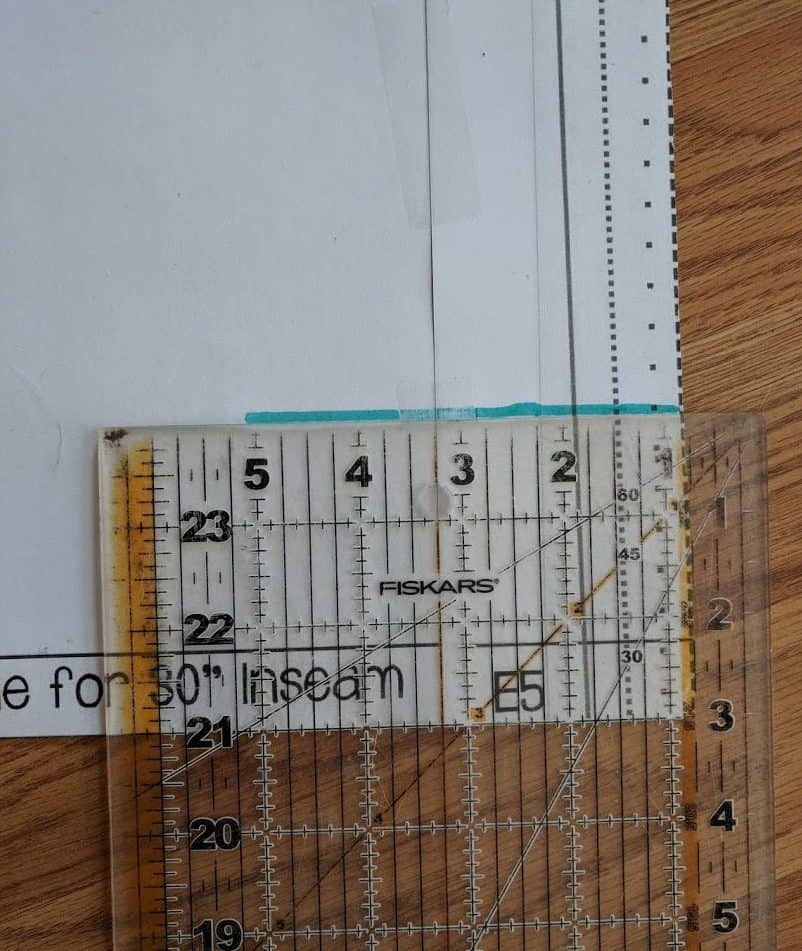
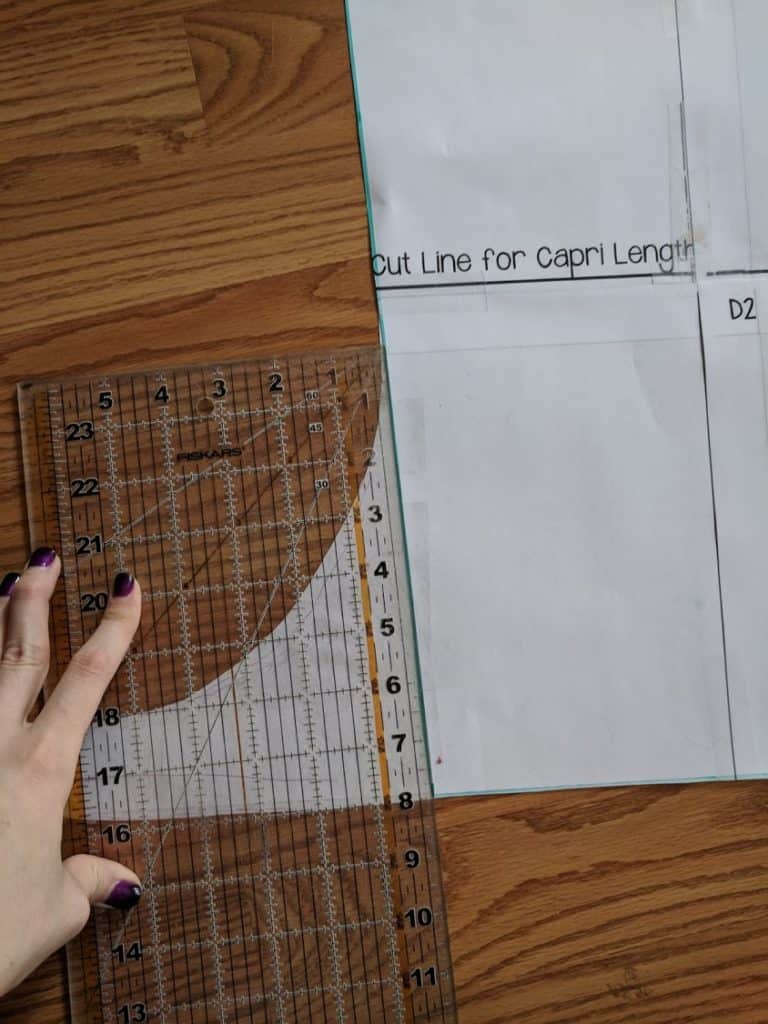
Or what I do is simply use my quilting ruler while cutting to add it to my piece. So for the cut part of my piece that needs seam allowance, I just line my quilting ruler 1/4 over my cut paper line and then use my rotary blade to cut that line instead of my paper line.
Make sure you add seam allowance to every place that you cut out a color block line on your pattern piece.
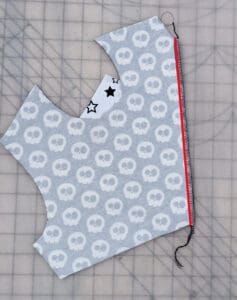
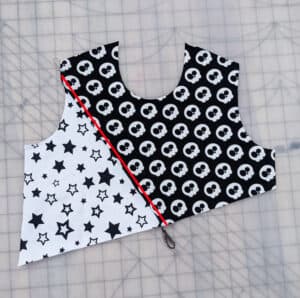
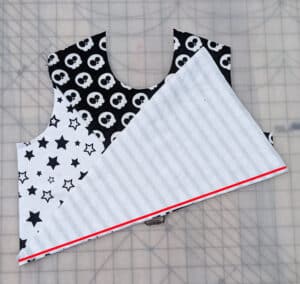
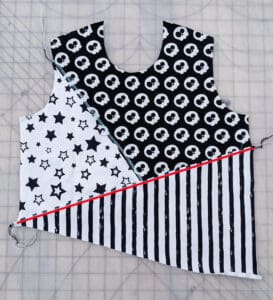
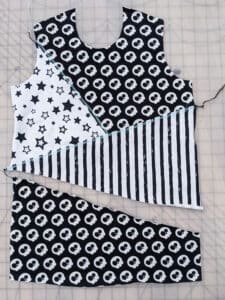
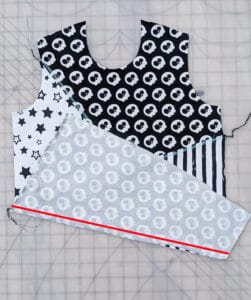
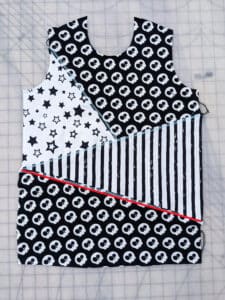
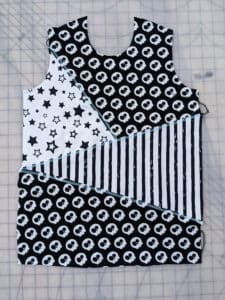
Now it’s time to sew! If you decided to do any intersecting lines like this one I did. You’ll want to sew those pieces together first. So line up your piece edges right sides together and sew with the seam allowance you chose. You’ll then want to topstitch your seam allowance down.
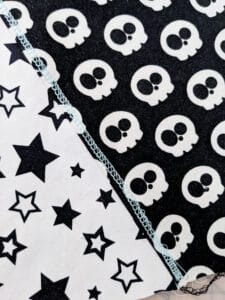
(Tip- if you are using a coverstitch I like to do a reverse coverstitch on the seam allowances with a fun color to add some extra “pop” to my color blocking).
Now repeat this with your other pieces until they all come back together. It should finish at the same size as your initial pattern piece before you added color blocking.
Finally, you can sew your garment together as recommended by the pattern. The only difference is you have a cool color-blocked piece instead of a plain piece!
Yay! All done!! Can’t wait to see what you all create!
Happy Sewing,
Michelle
