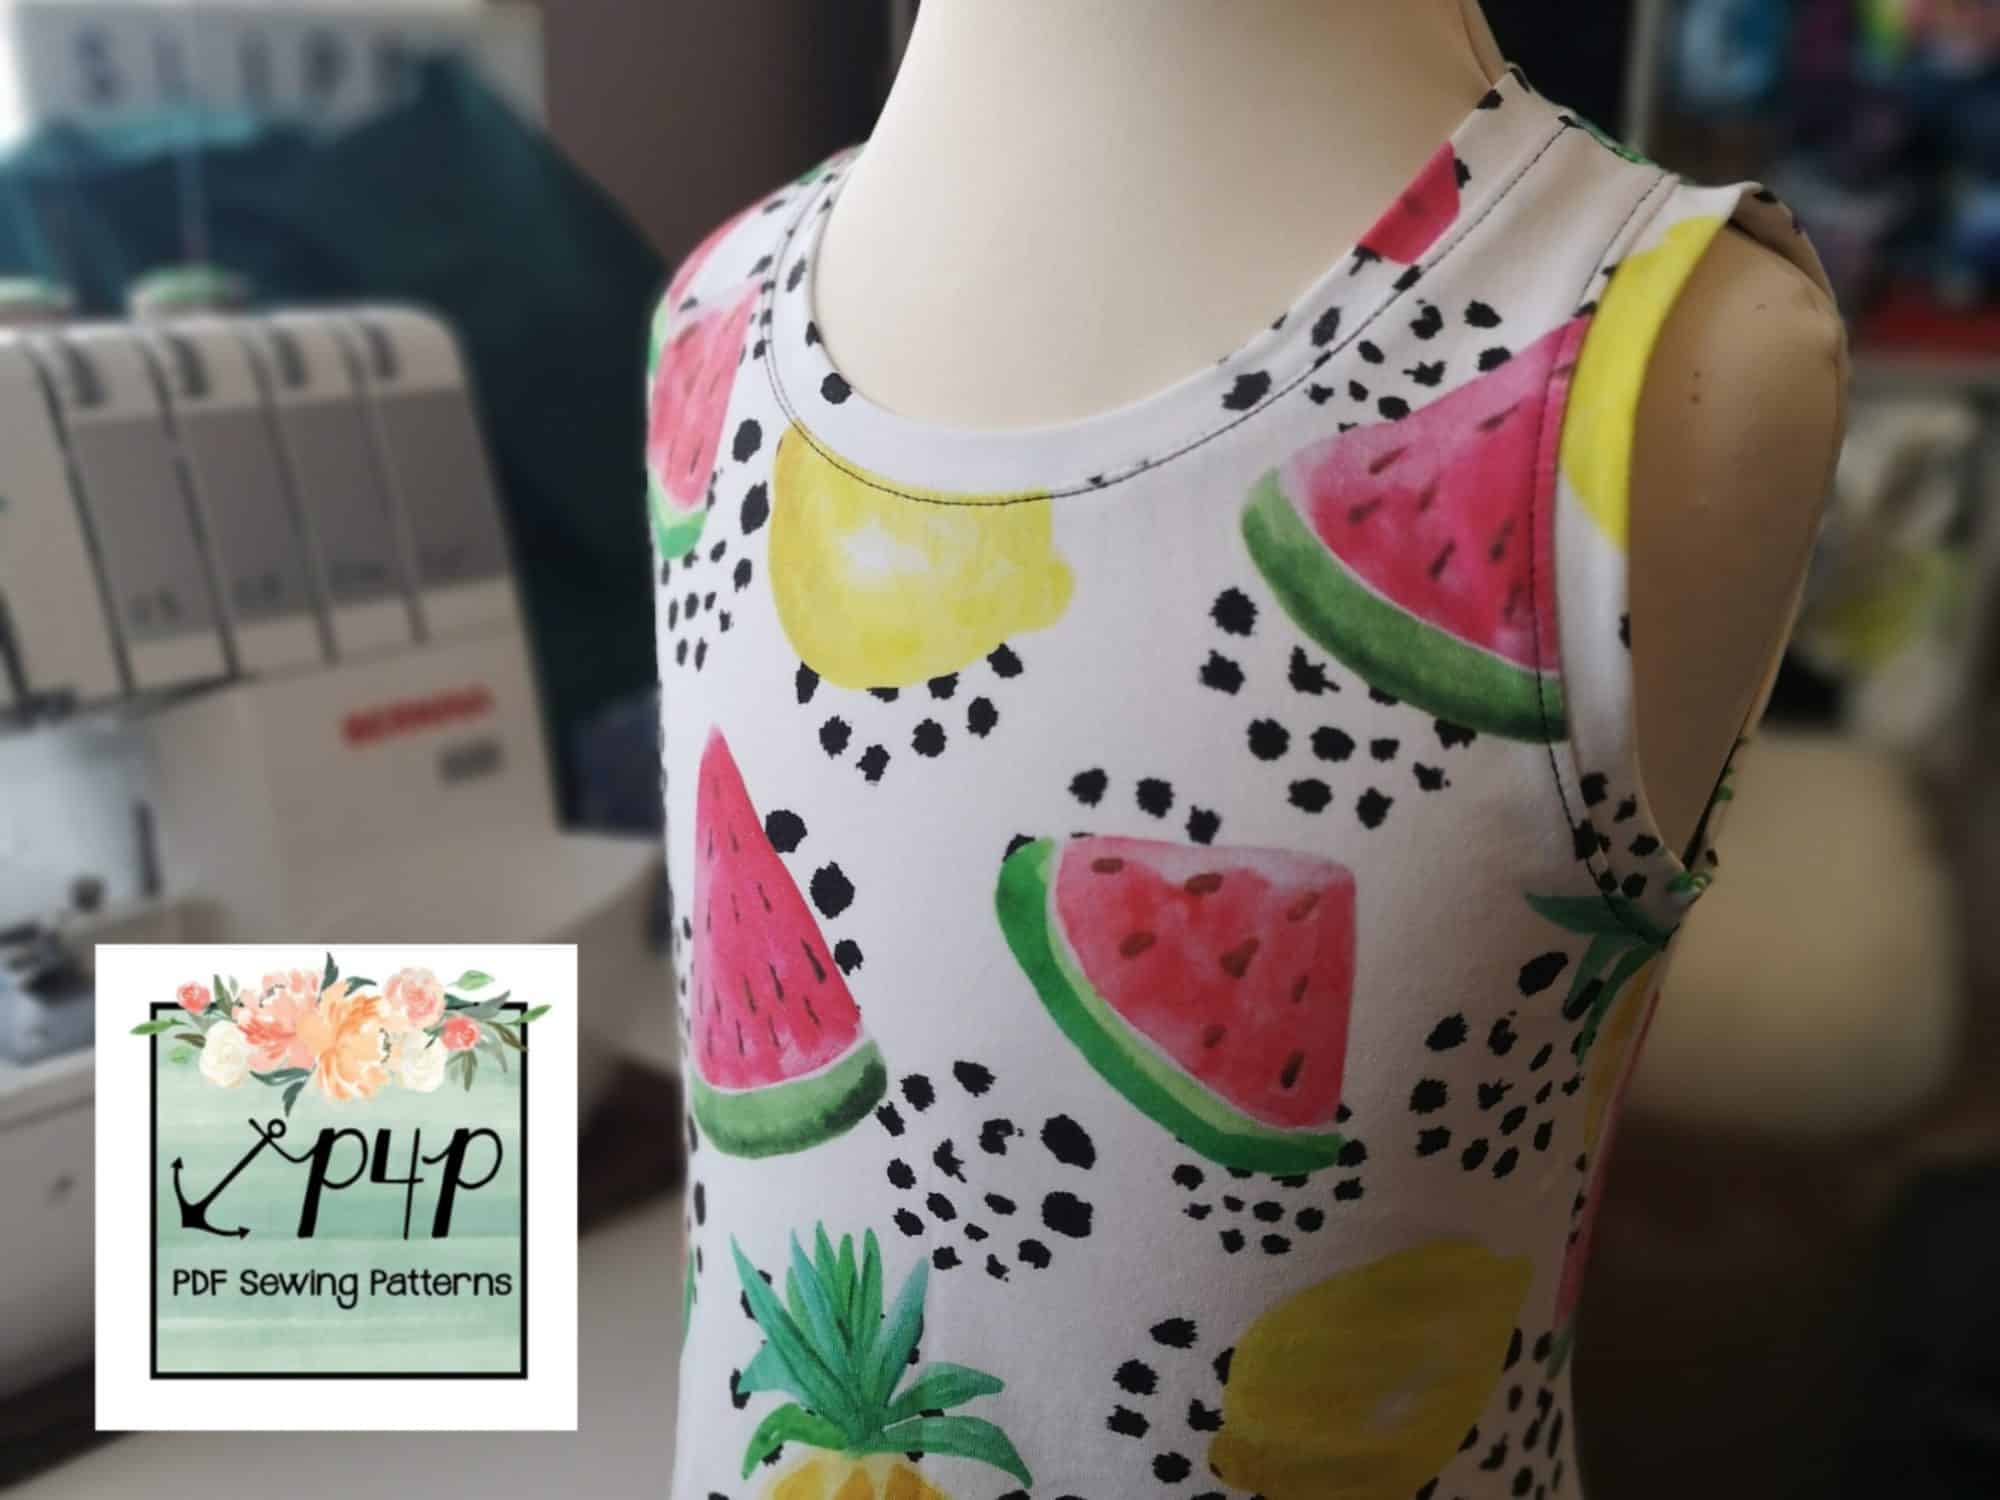
Get ready to elevate your sewing game with our “easy hacks” post for the Hale Half Zip pattern. We’re sharing three ingenious ways to take this pattern a little further!
You’ll need one of these patterns to complete these brilliant sewing hacks:
Hale Half Zip – Adult Hourglass | Hale Half Zip – Adult V Figure | Hale Half Zip – Youth | Hale Half Zip – Bundle

NO ZIPPER HACK

Let’s be honest, not all of us like zippers. When I teach sewing classes they are one of the things people are most fearful about sewing, so you’re not alone if you don’t like them. Or, maybe you just don’t have any to hand and still want to sew up a Hale Half Zip for yourself? Well, we’ve got you covered.
Now for this option you’re going to have to pick the hood, rather than the collar as the neckline finish, as the collar won’t work without a zip. You could also draft a neckband to finish the neckline with instead of the hood, and I’ll cover that at the end, but for the main tutorial I will be using the hood.
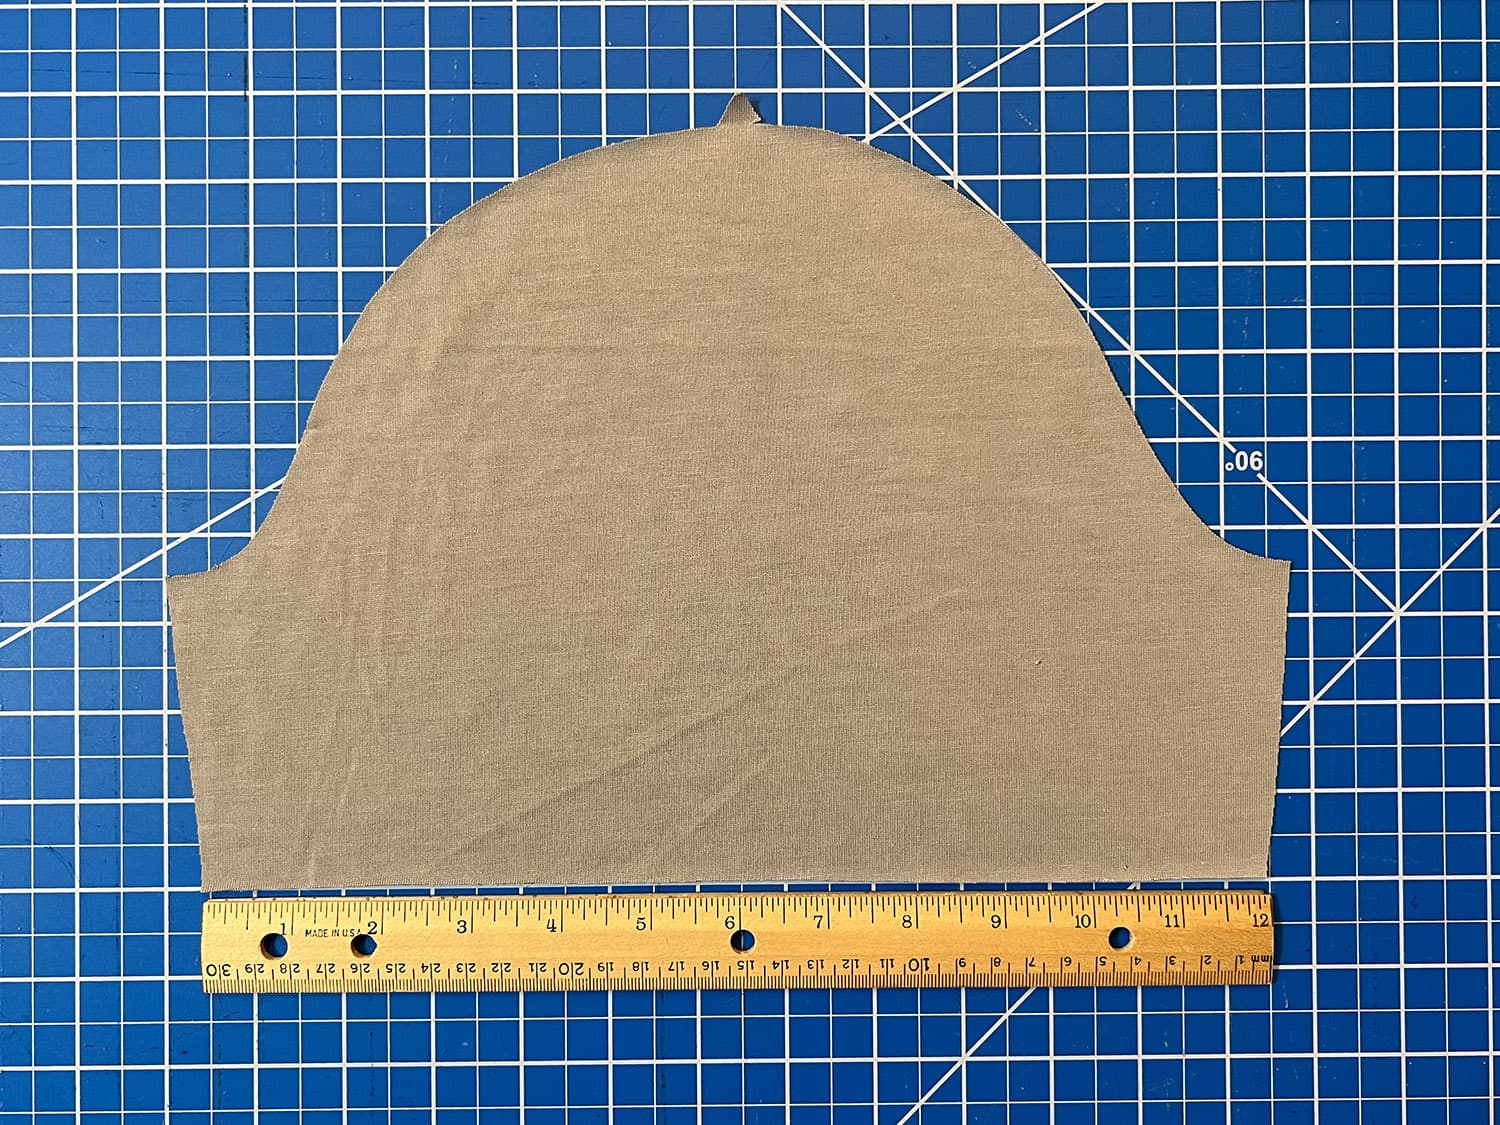
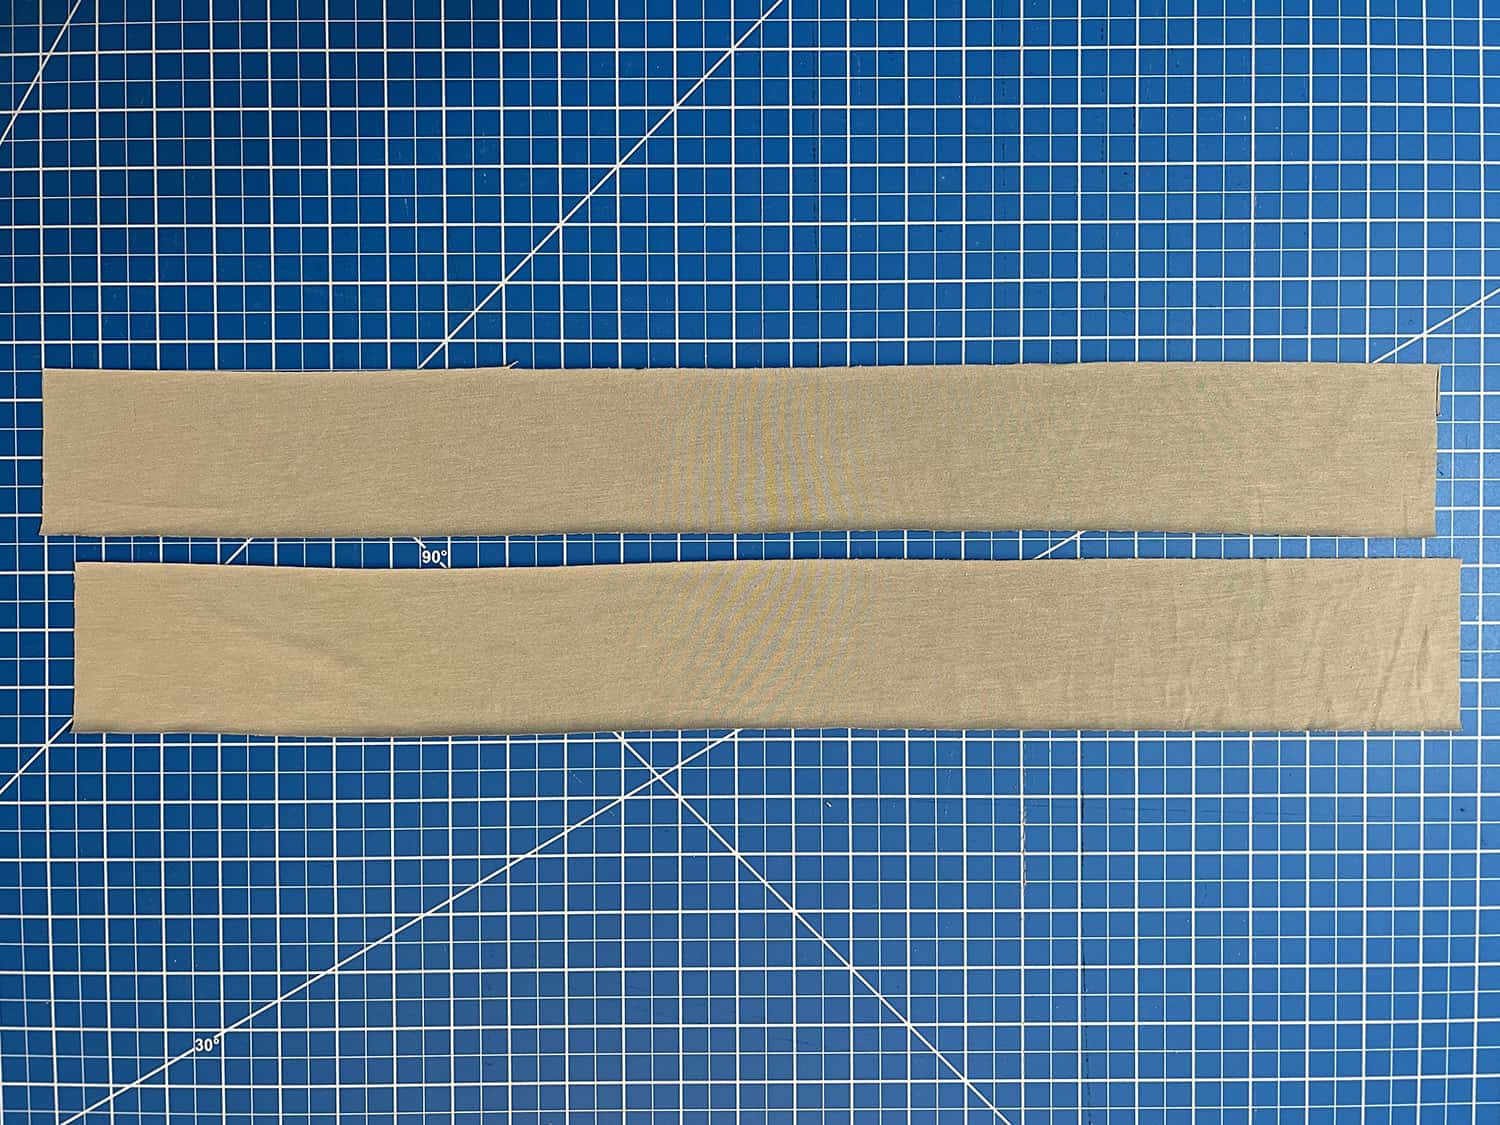
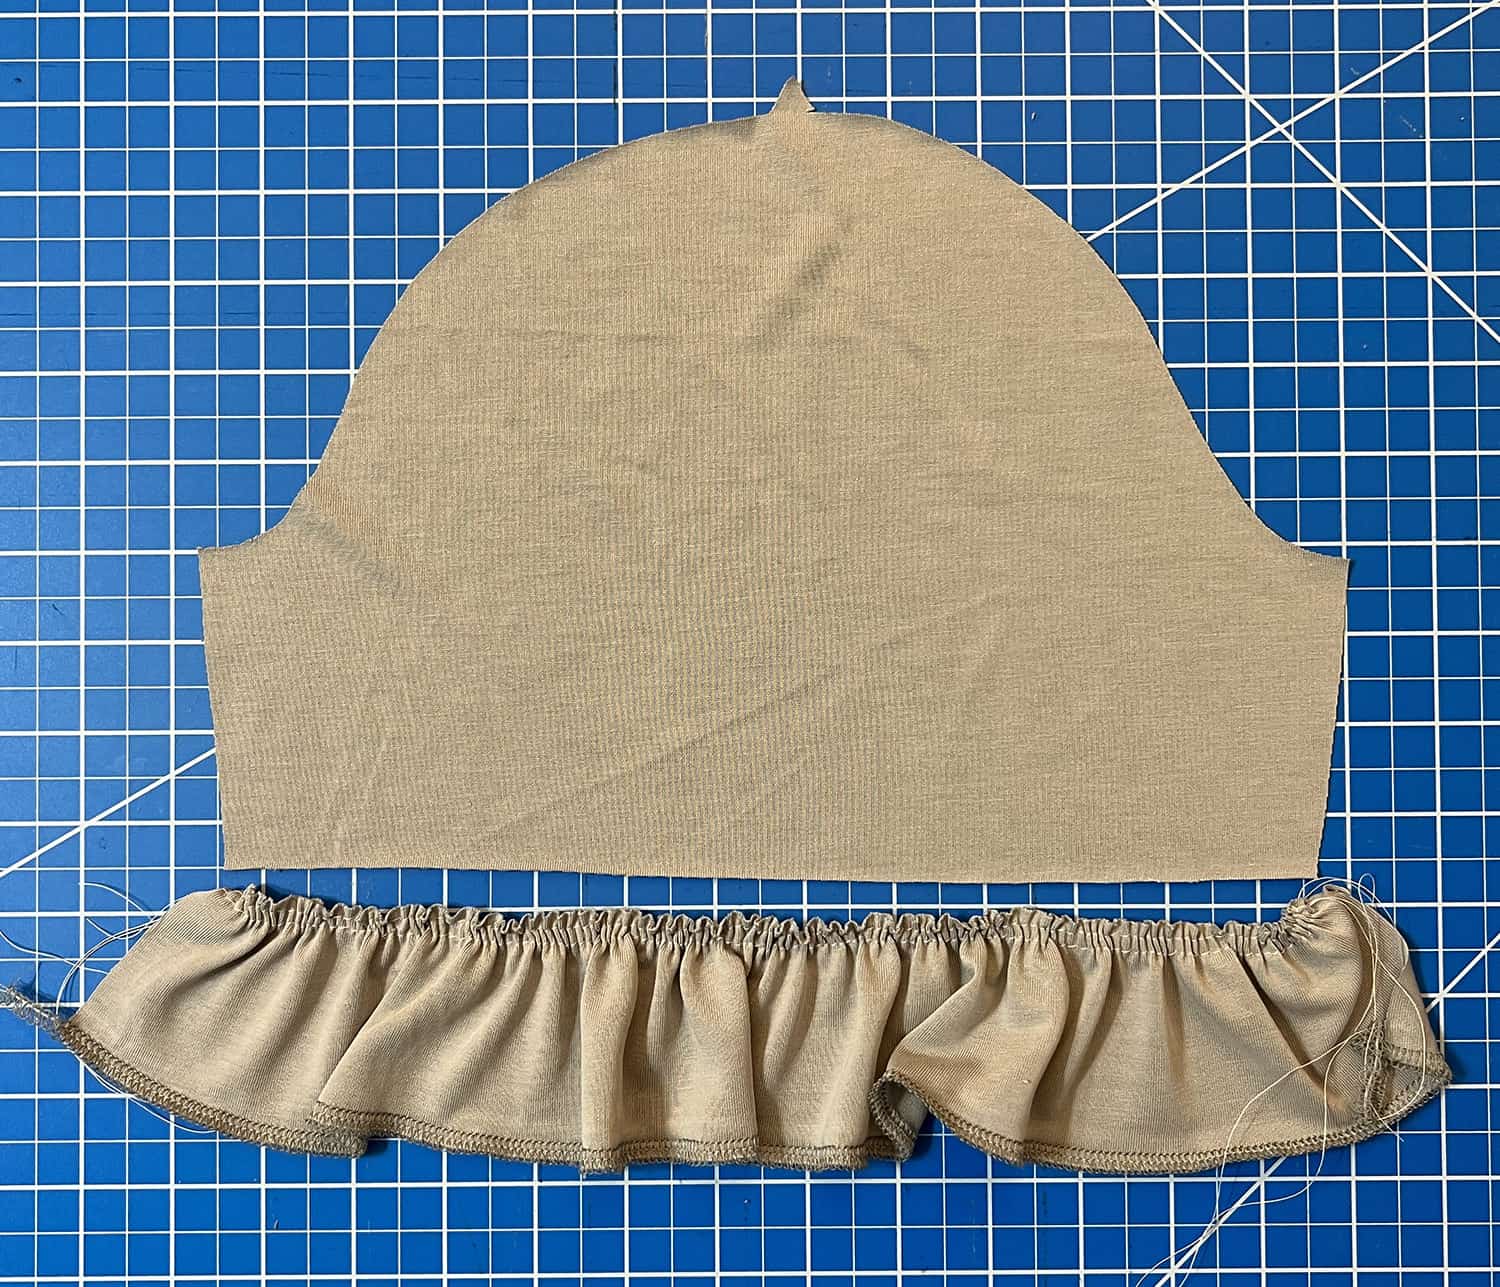
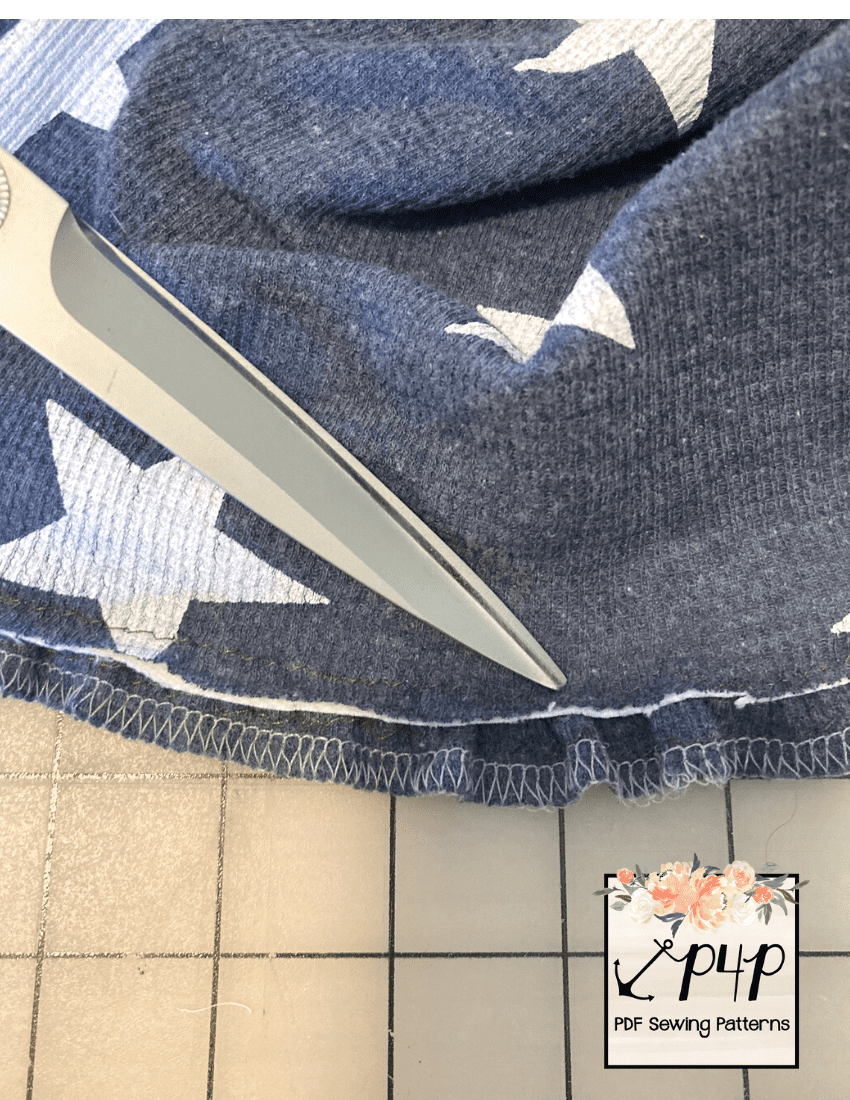
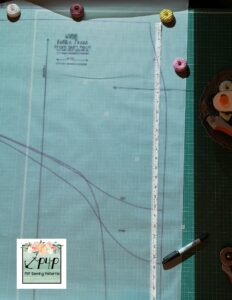
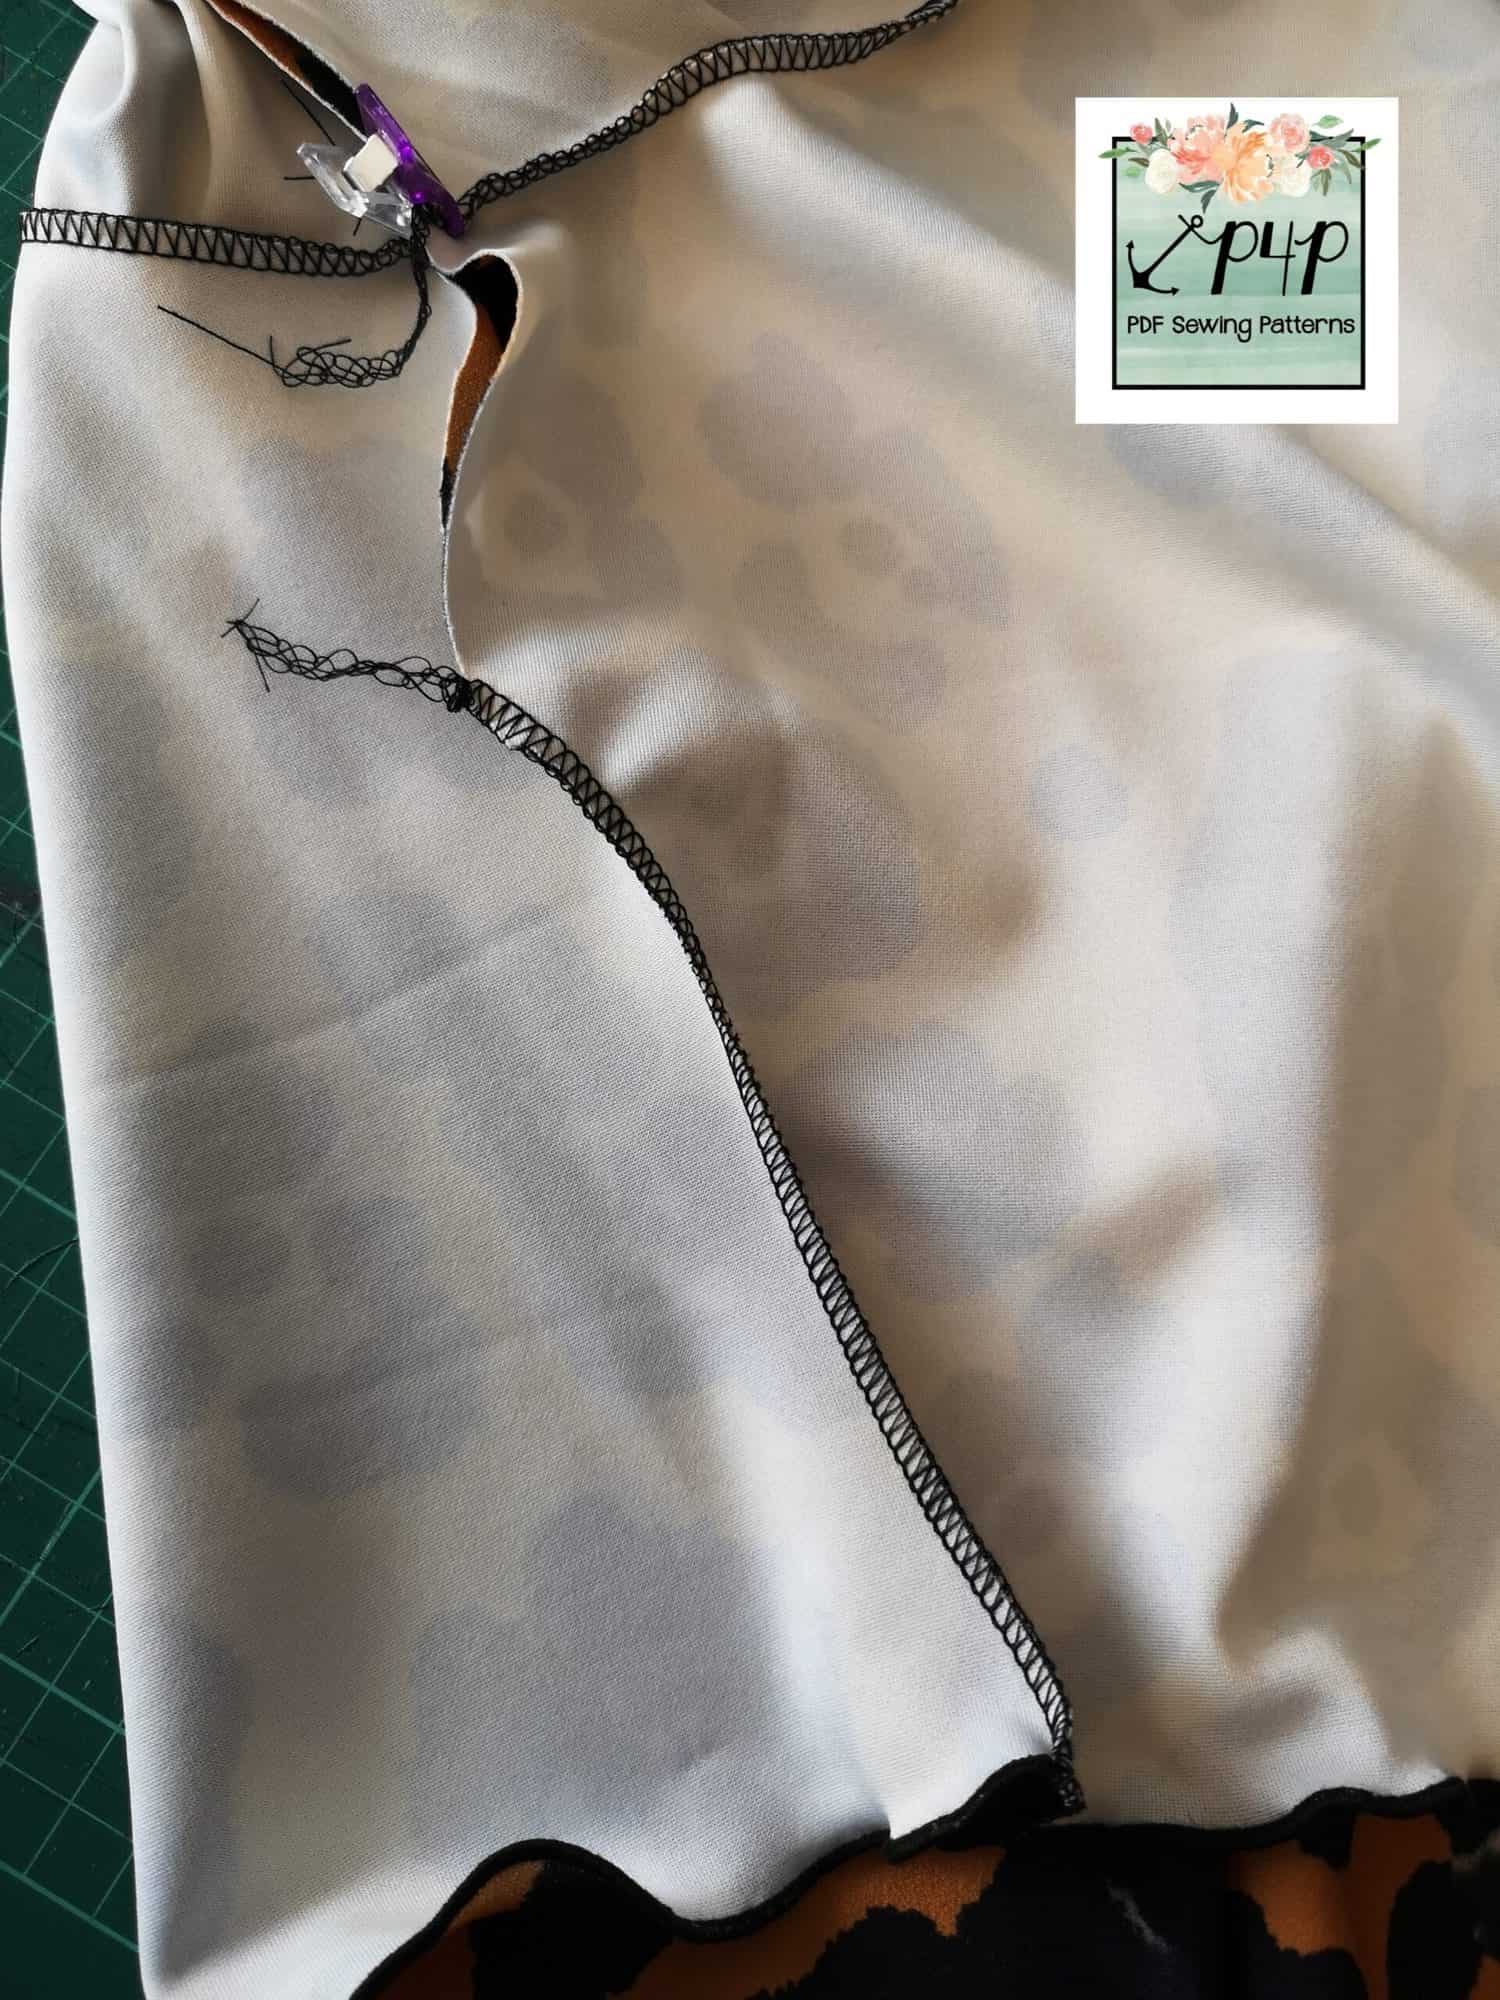
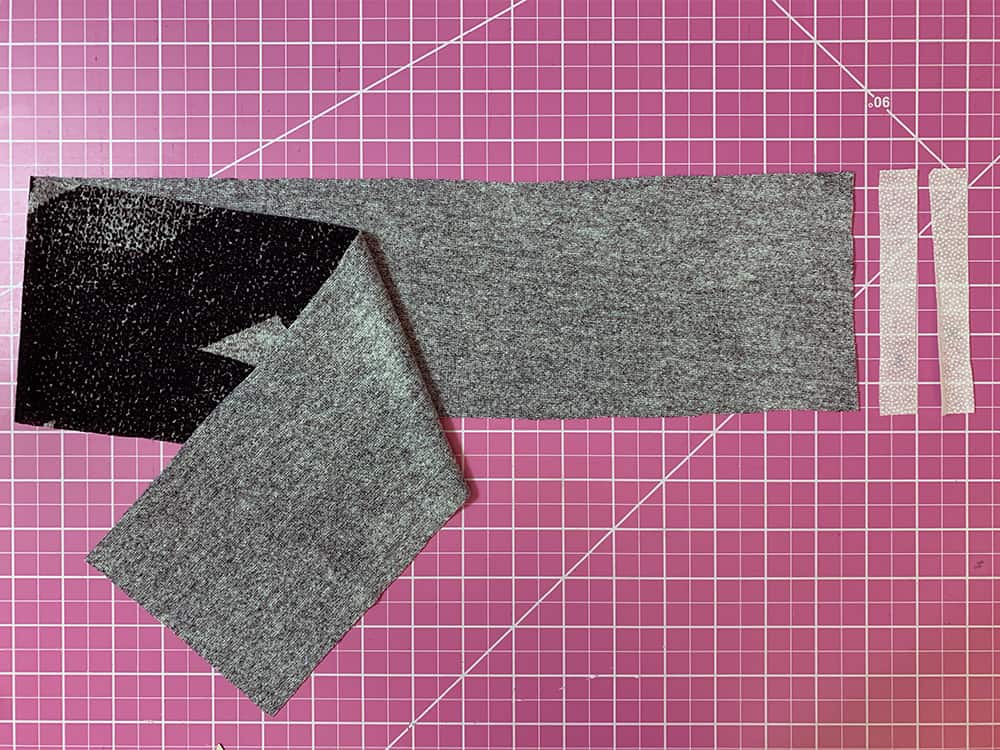
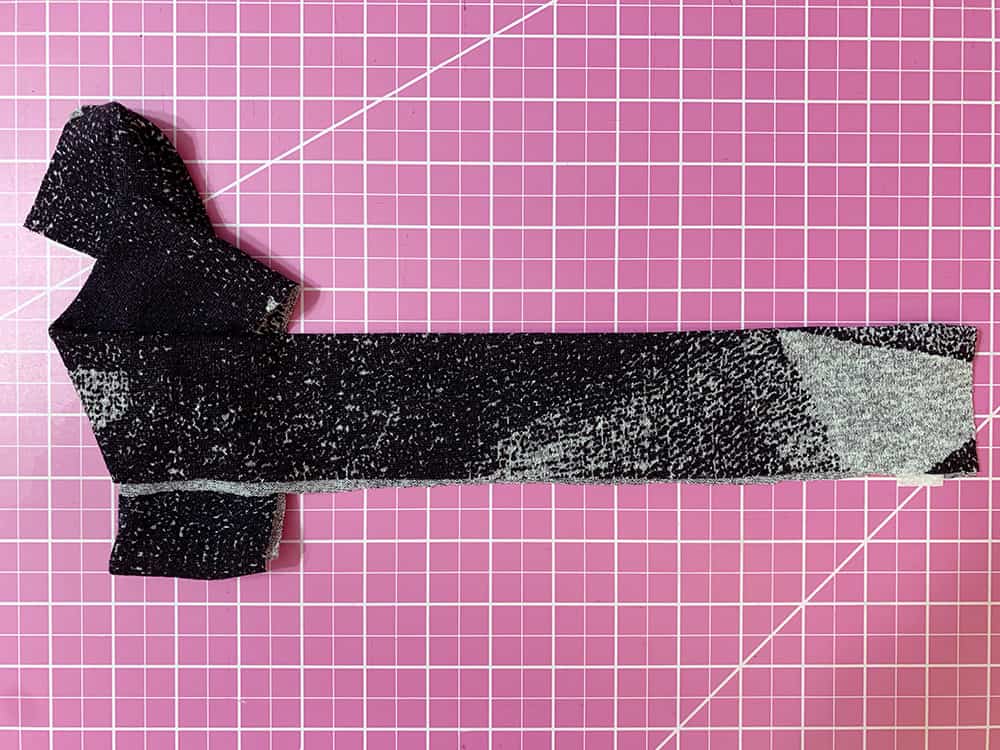
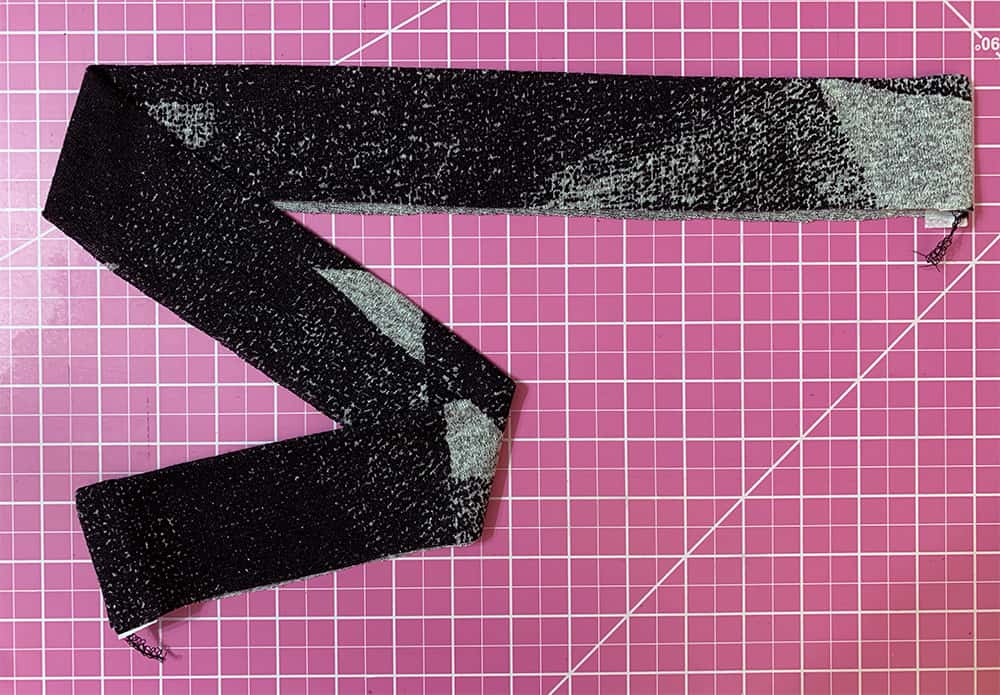
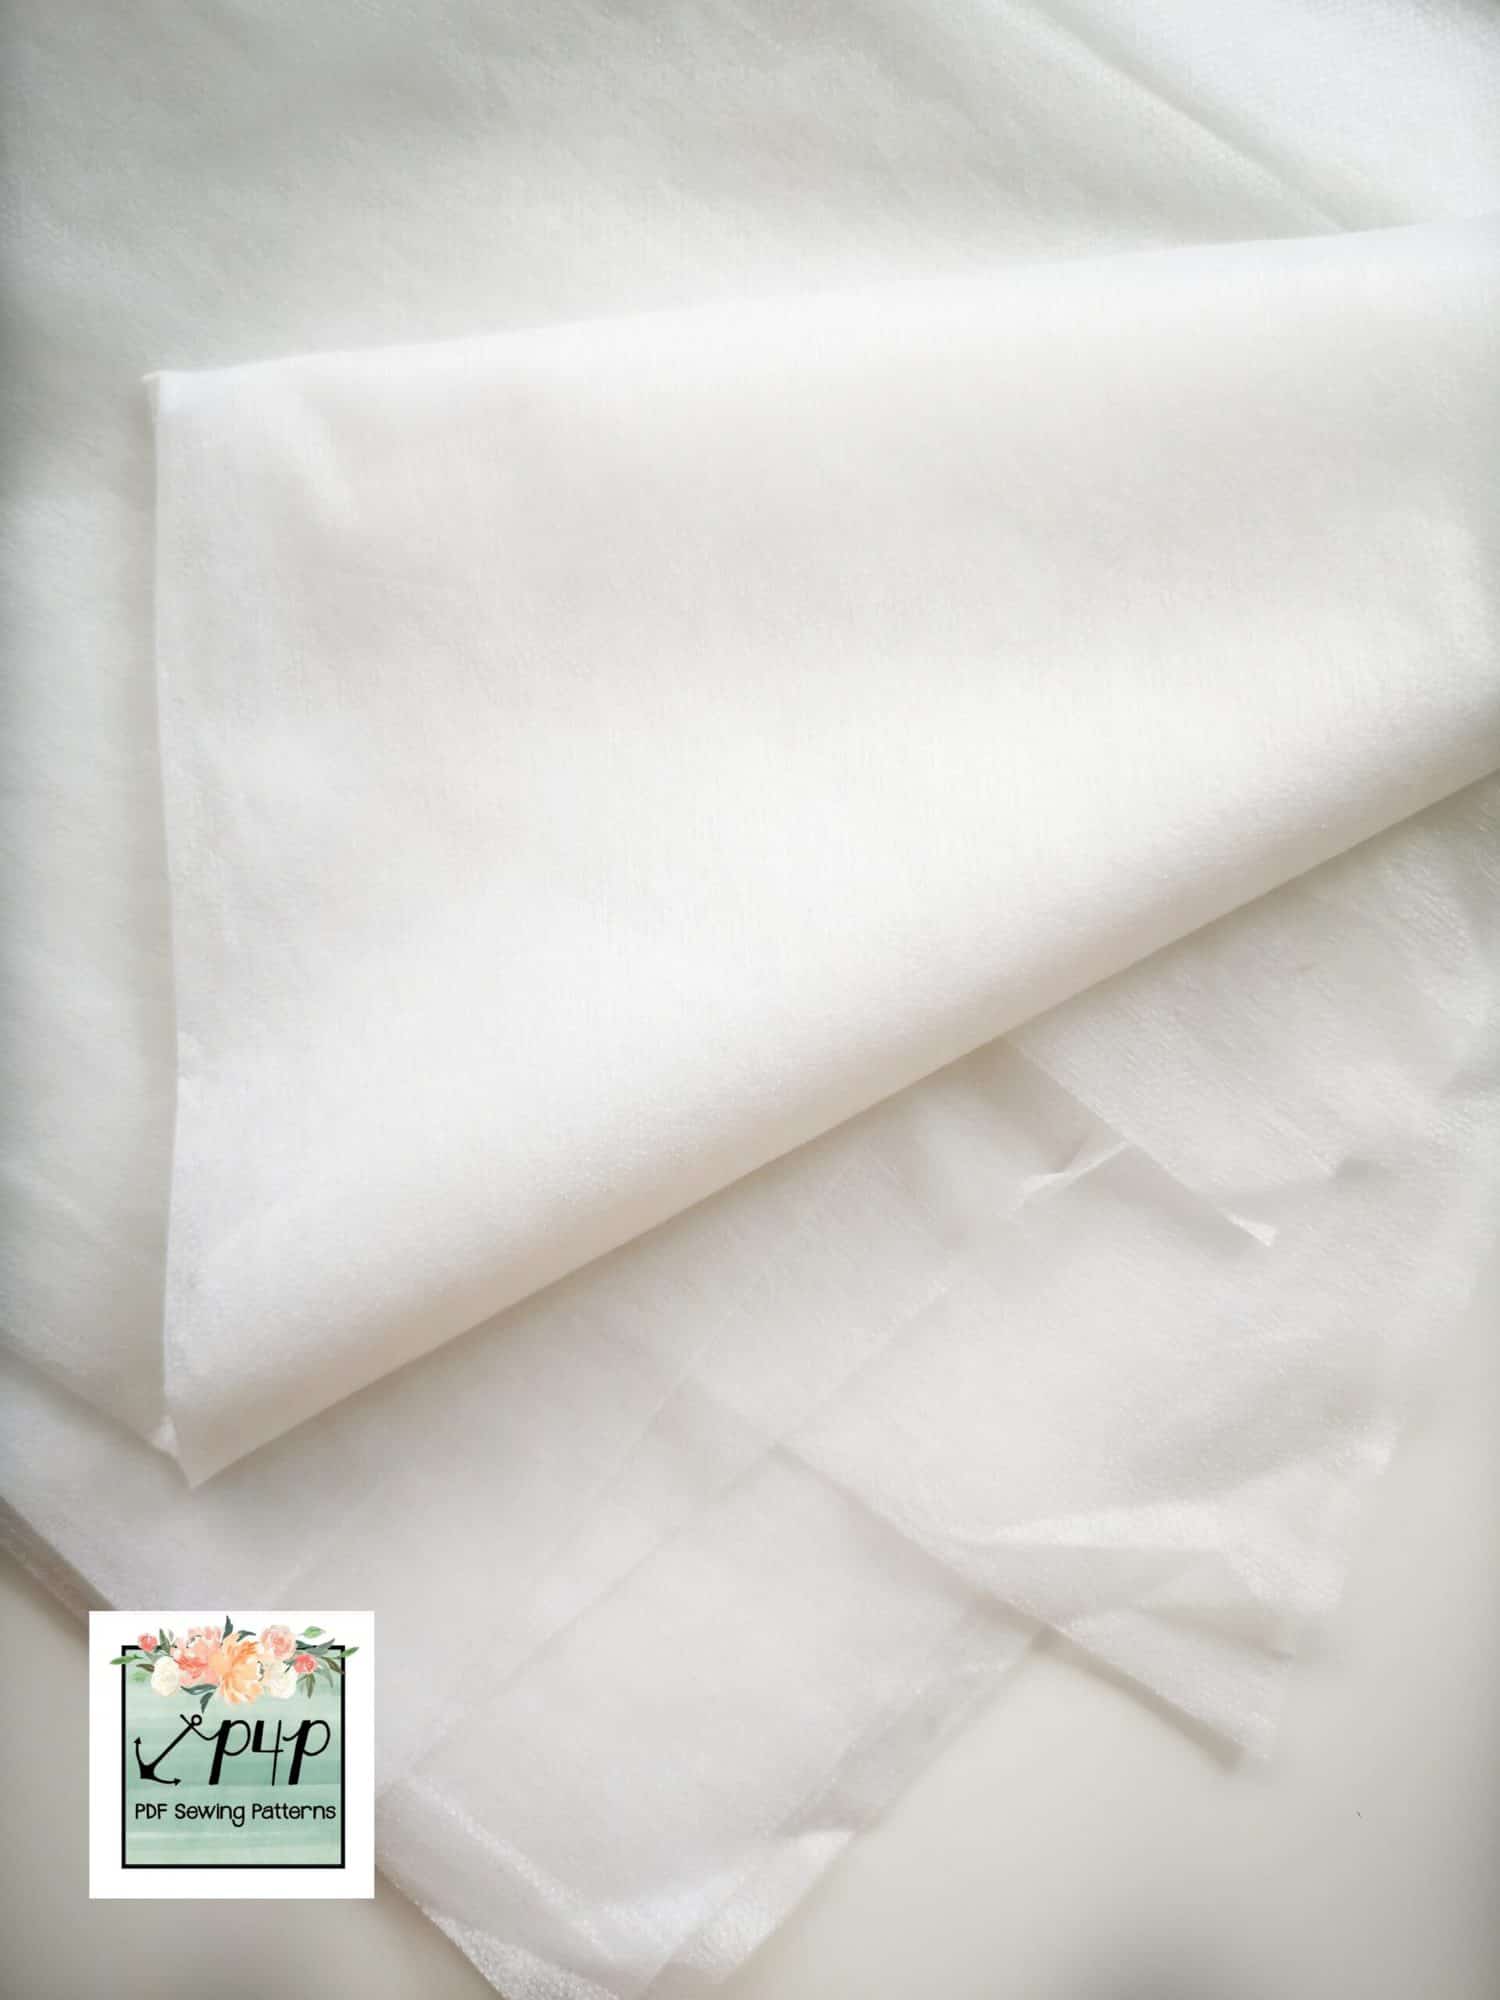
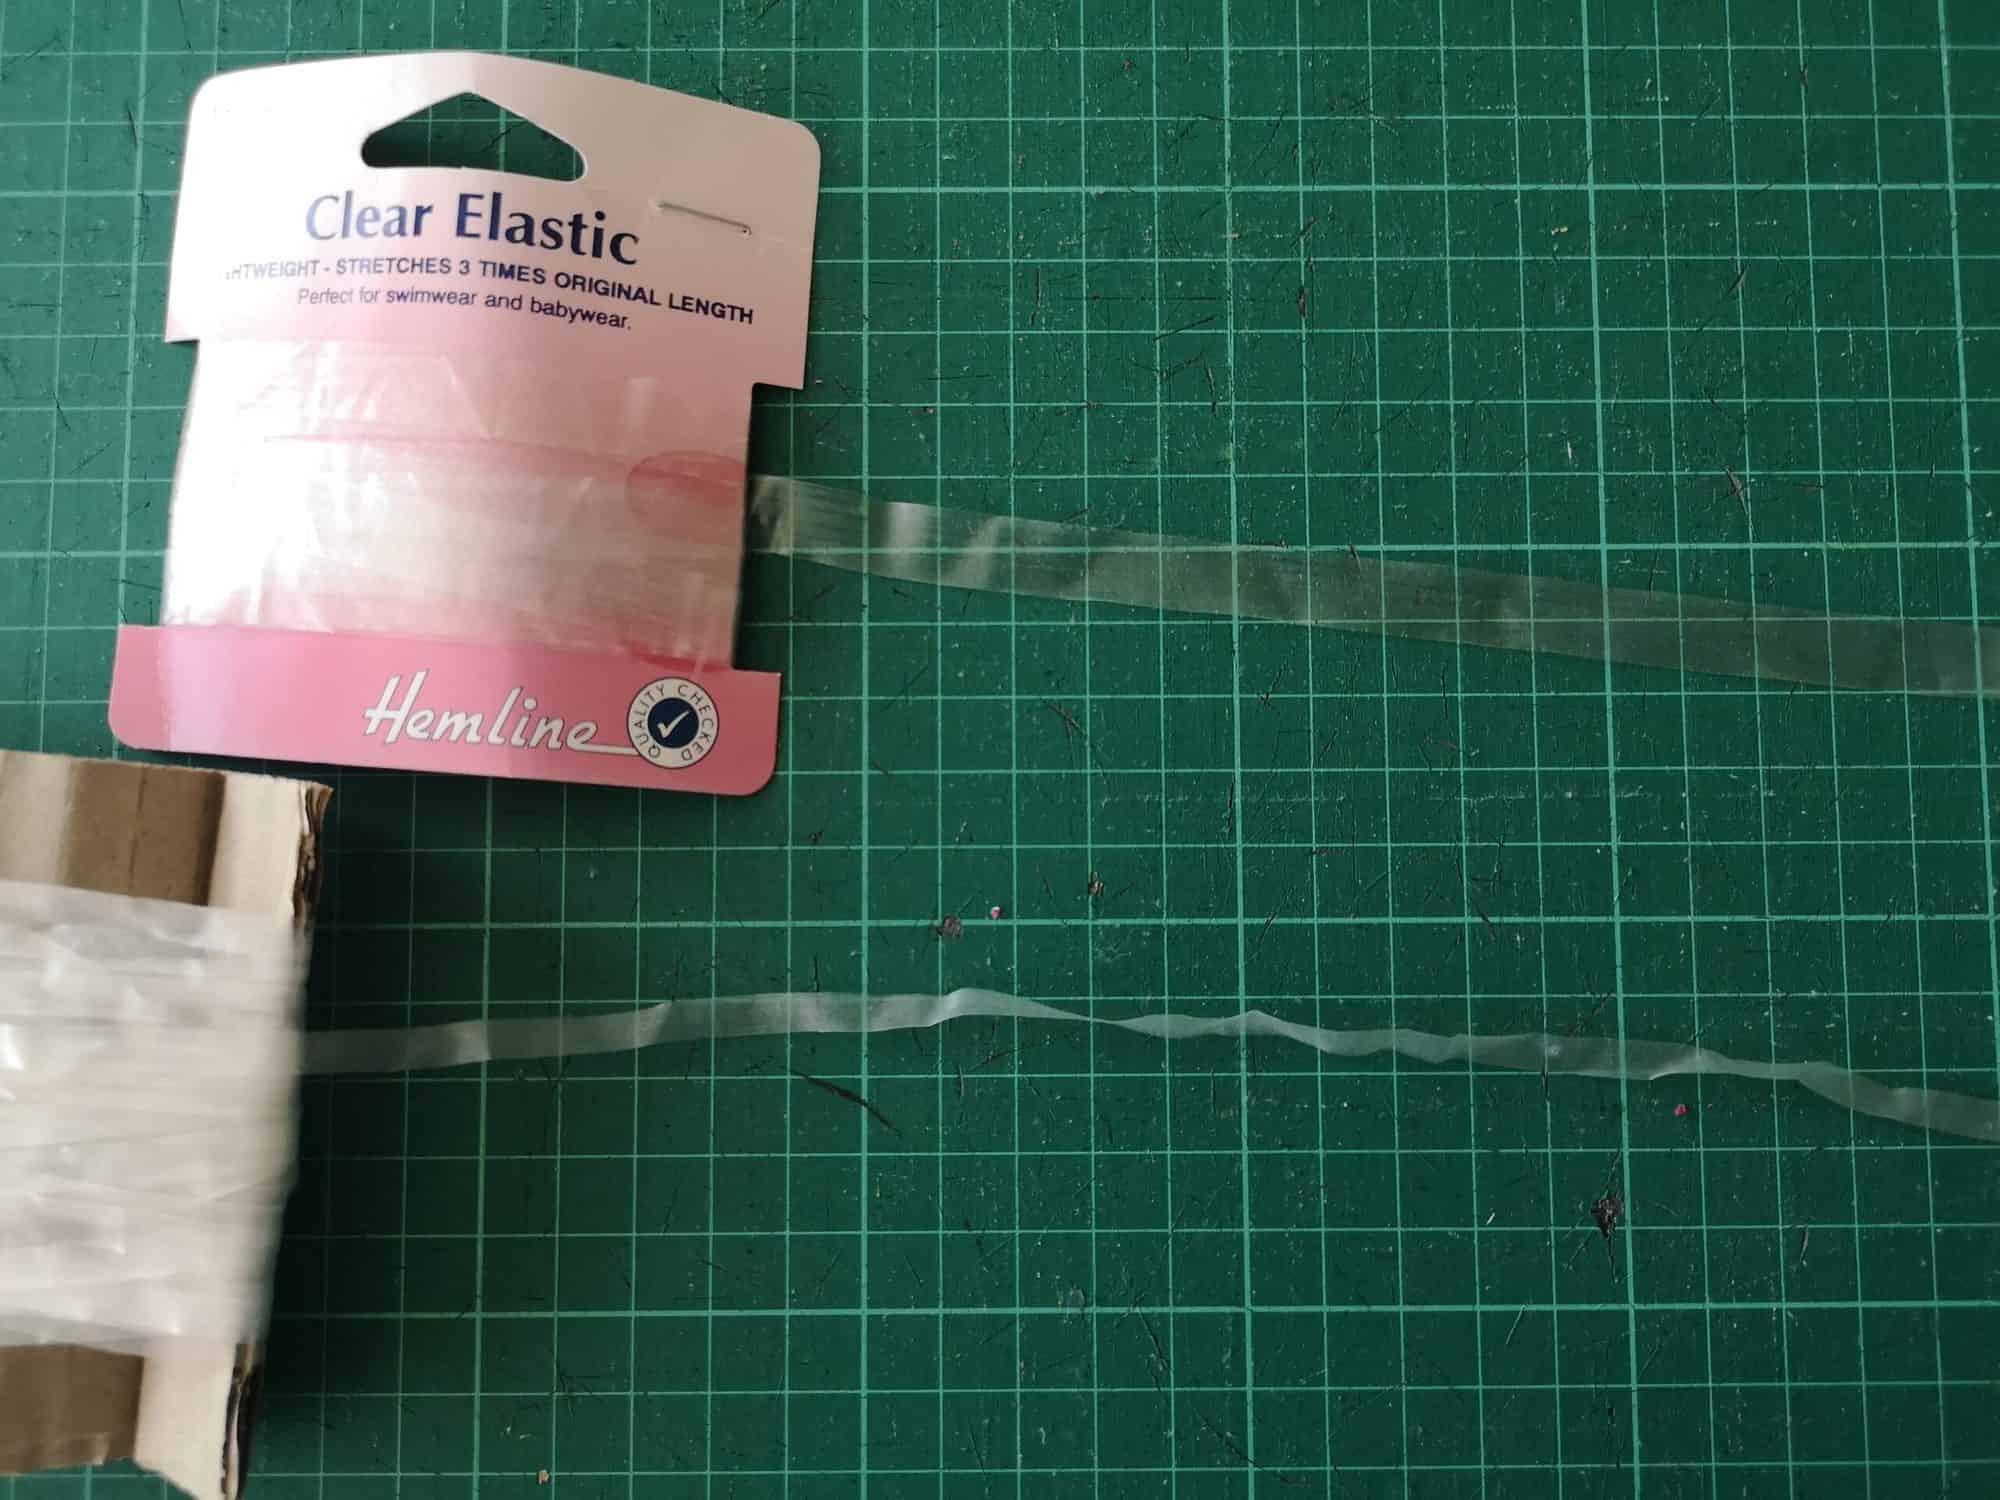
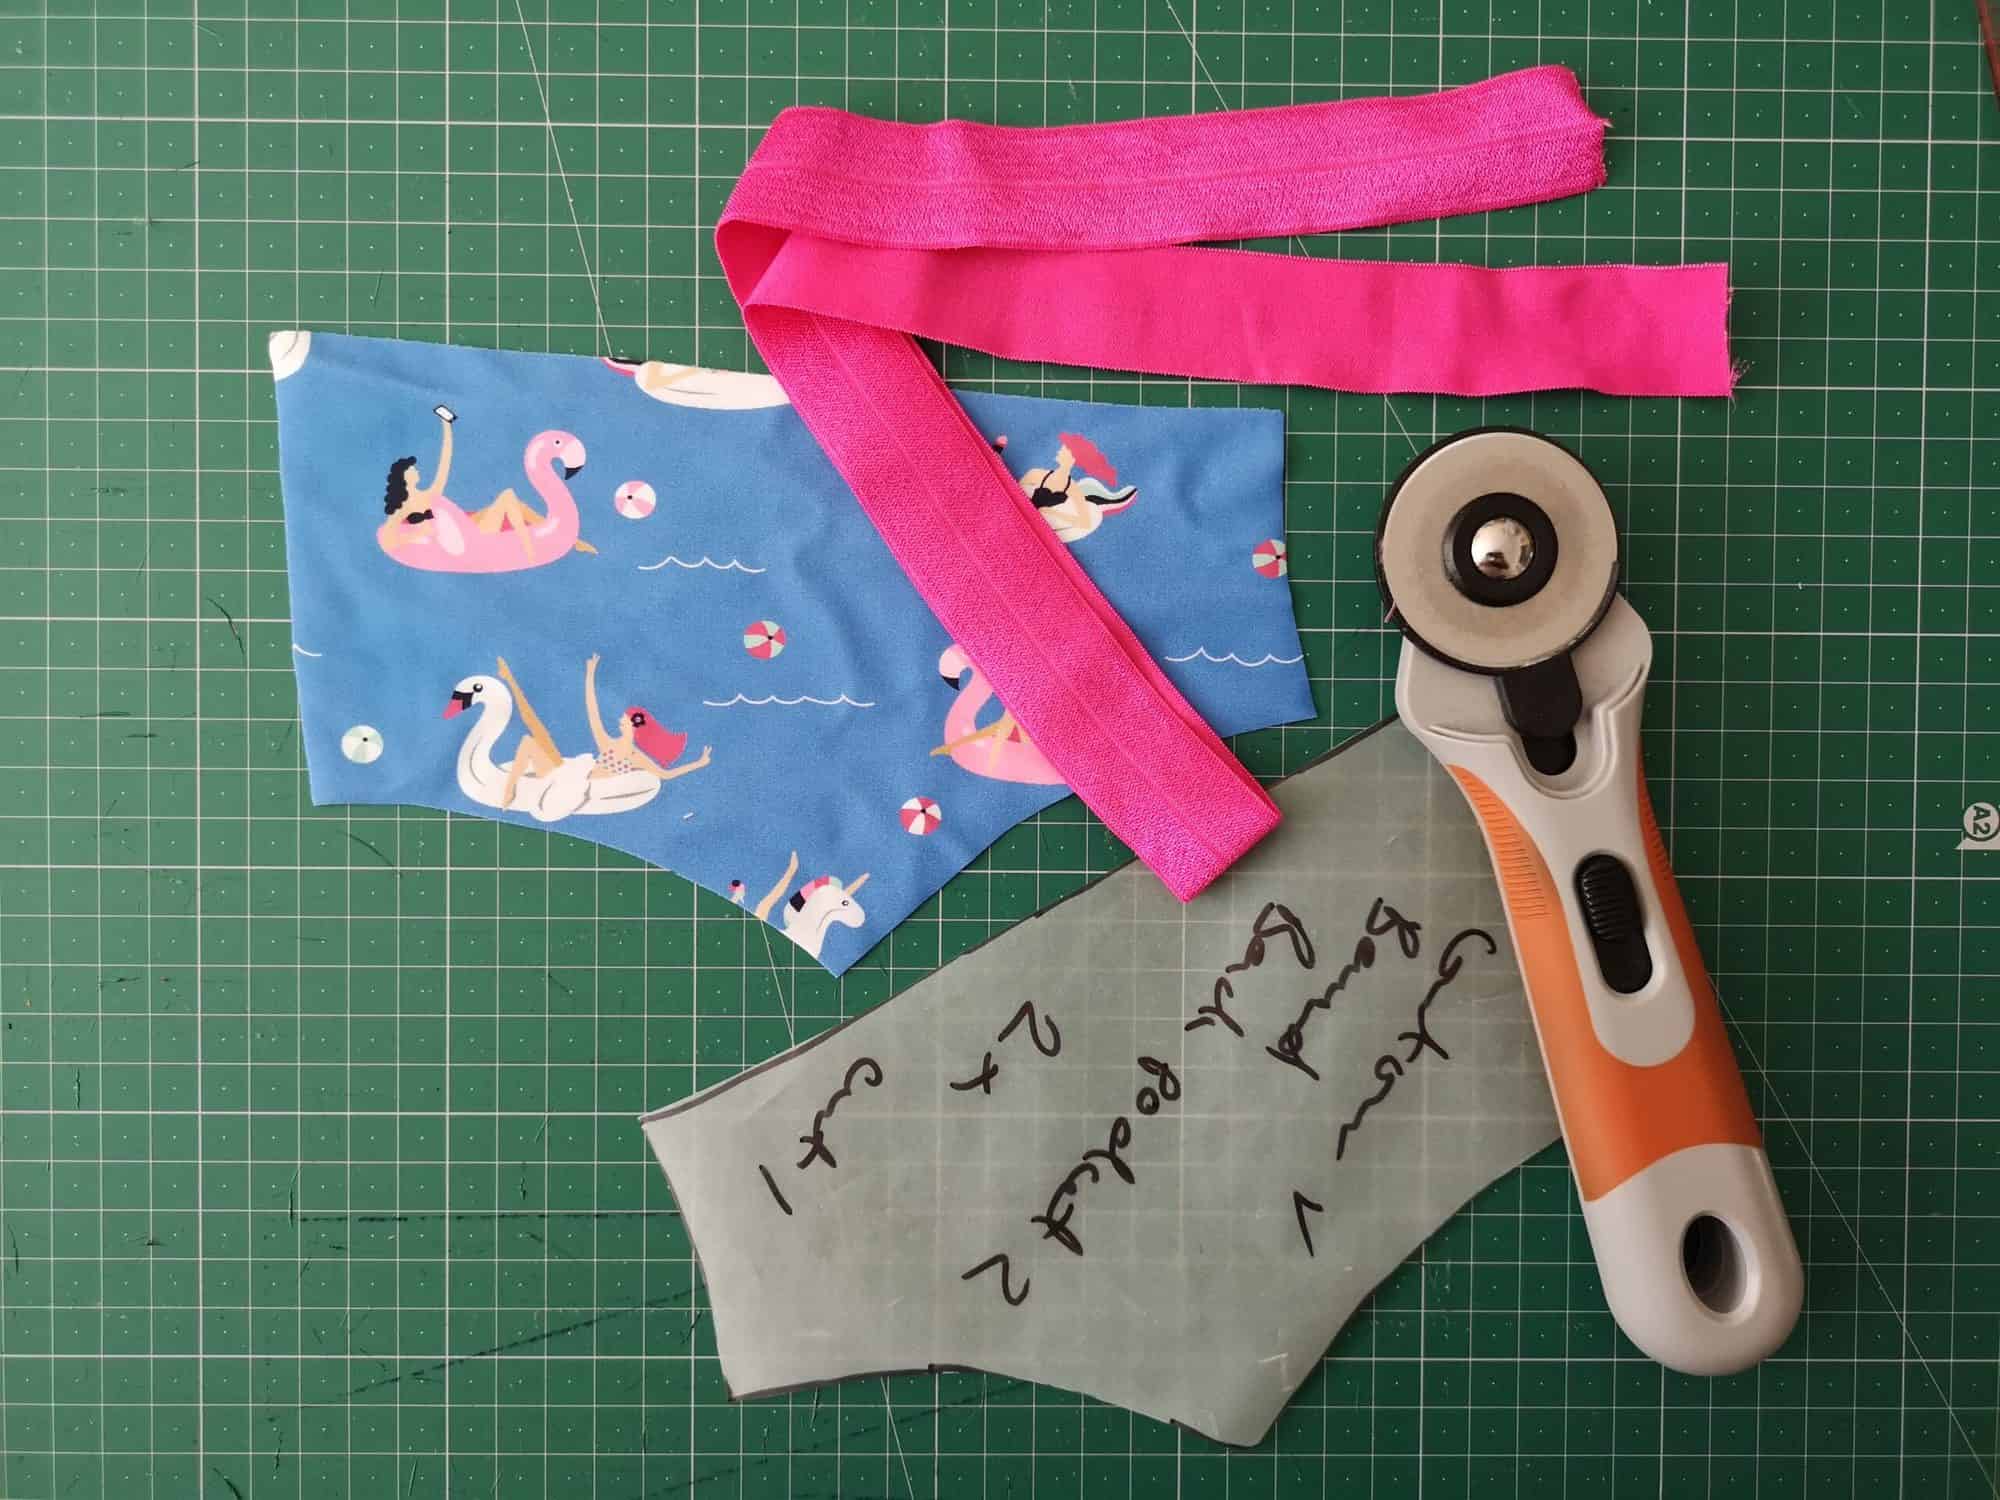
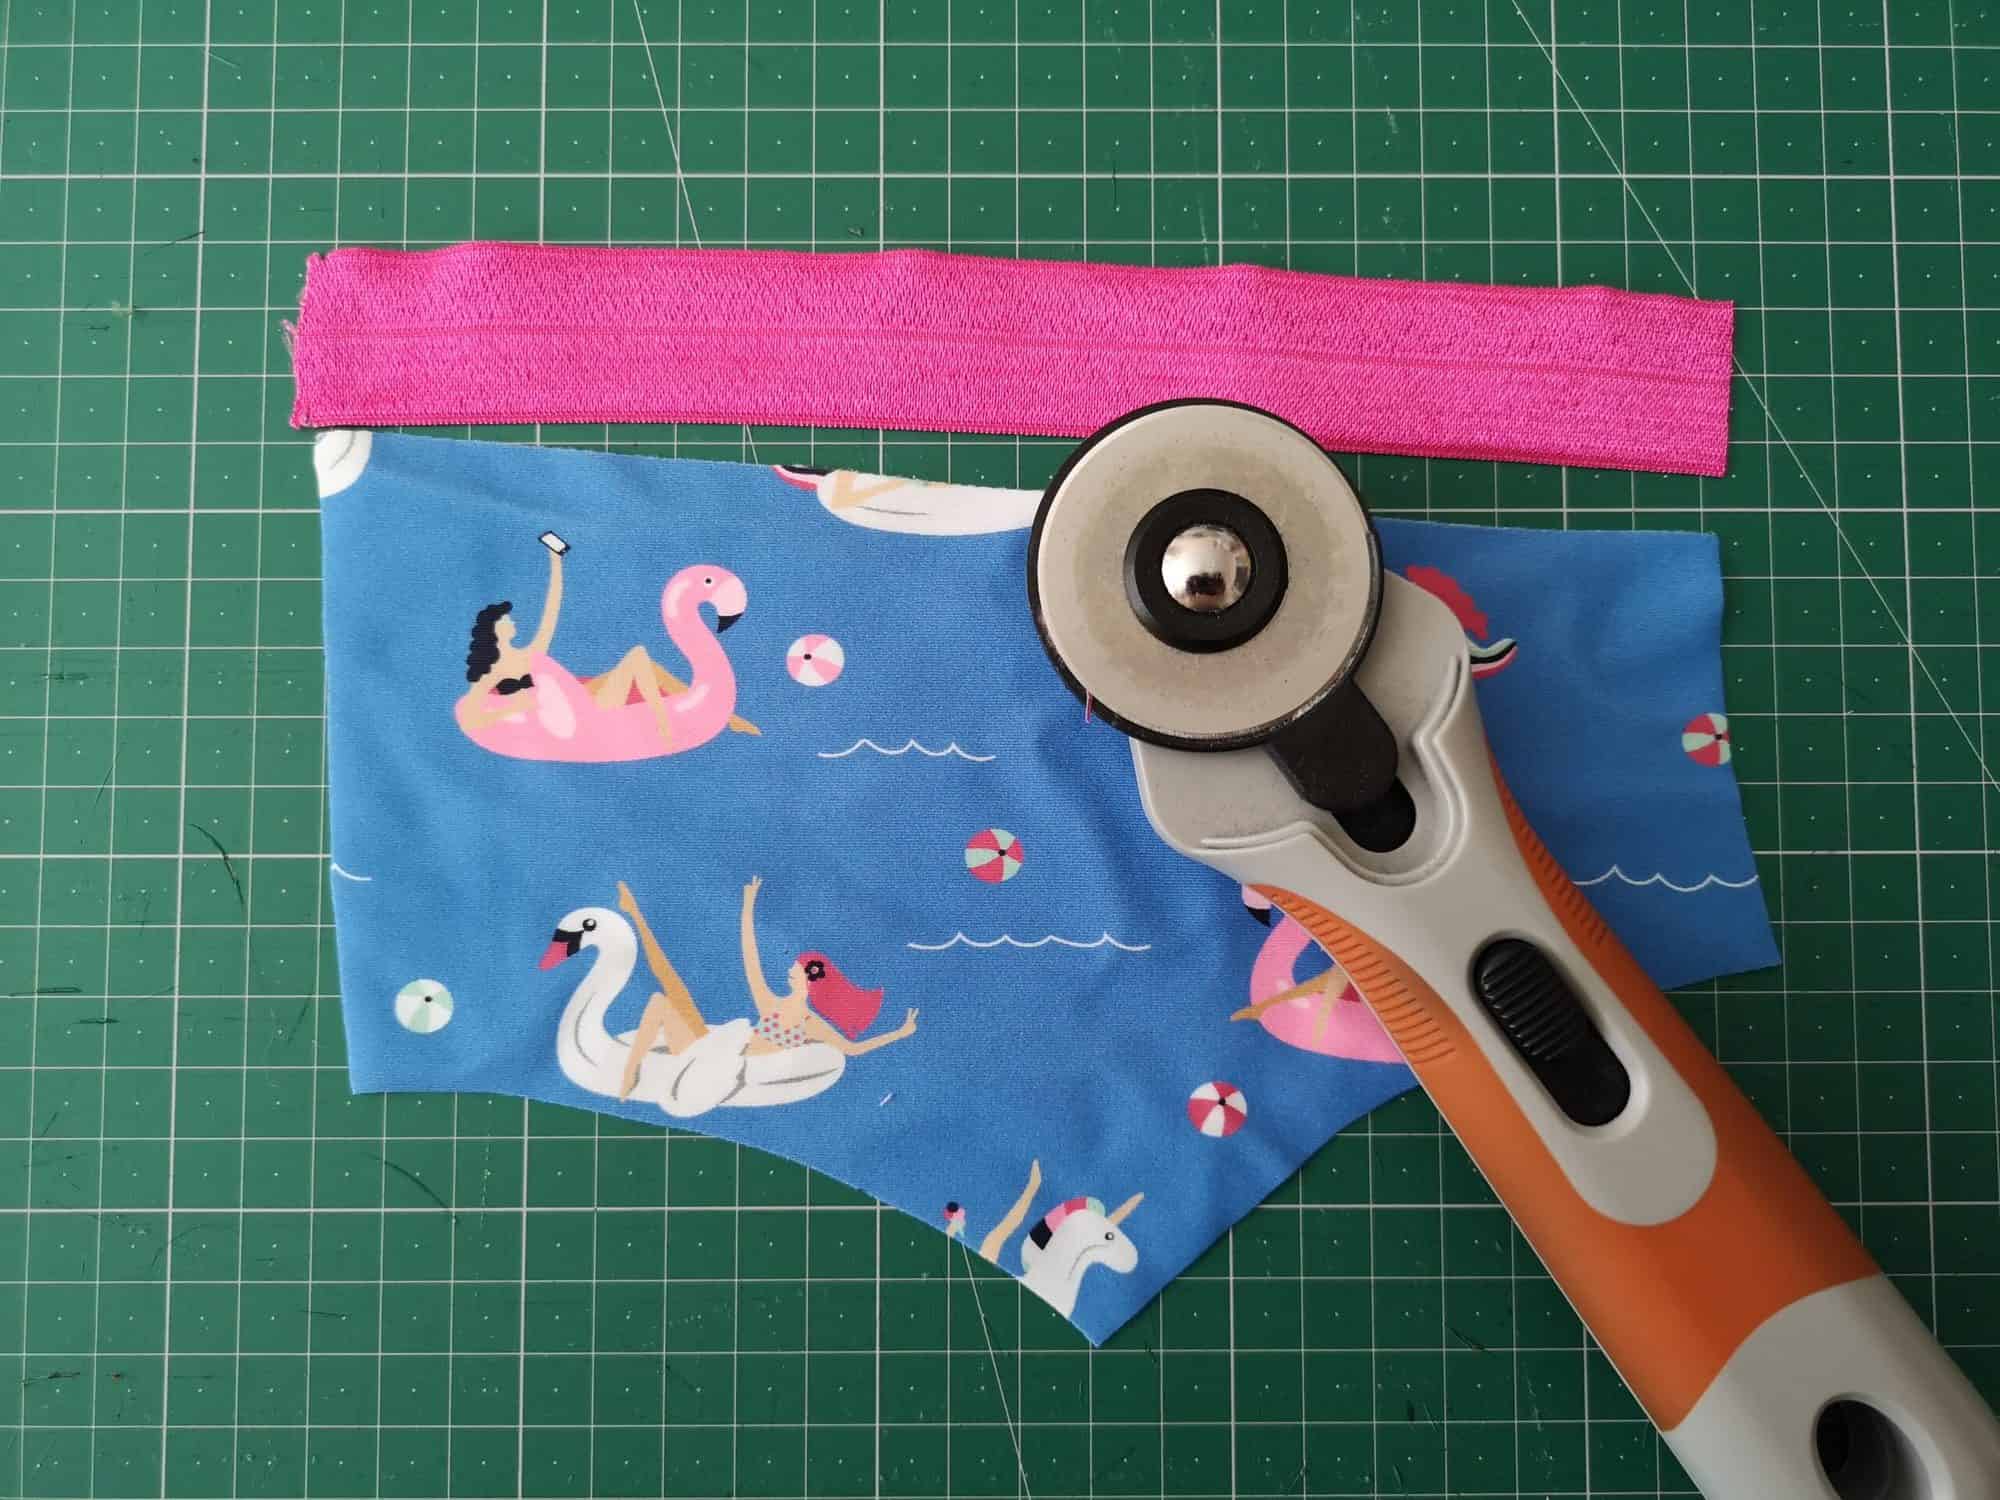
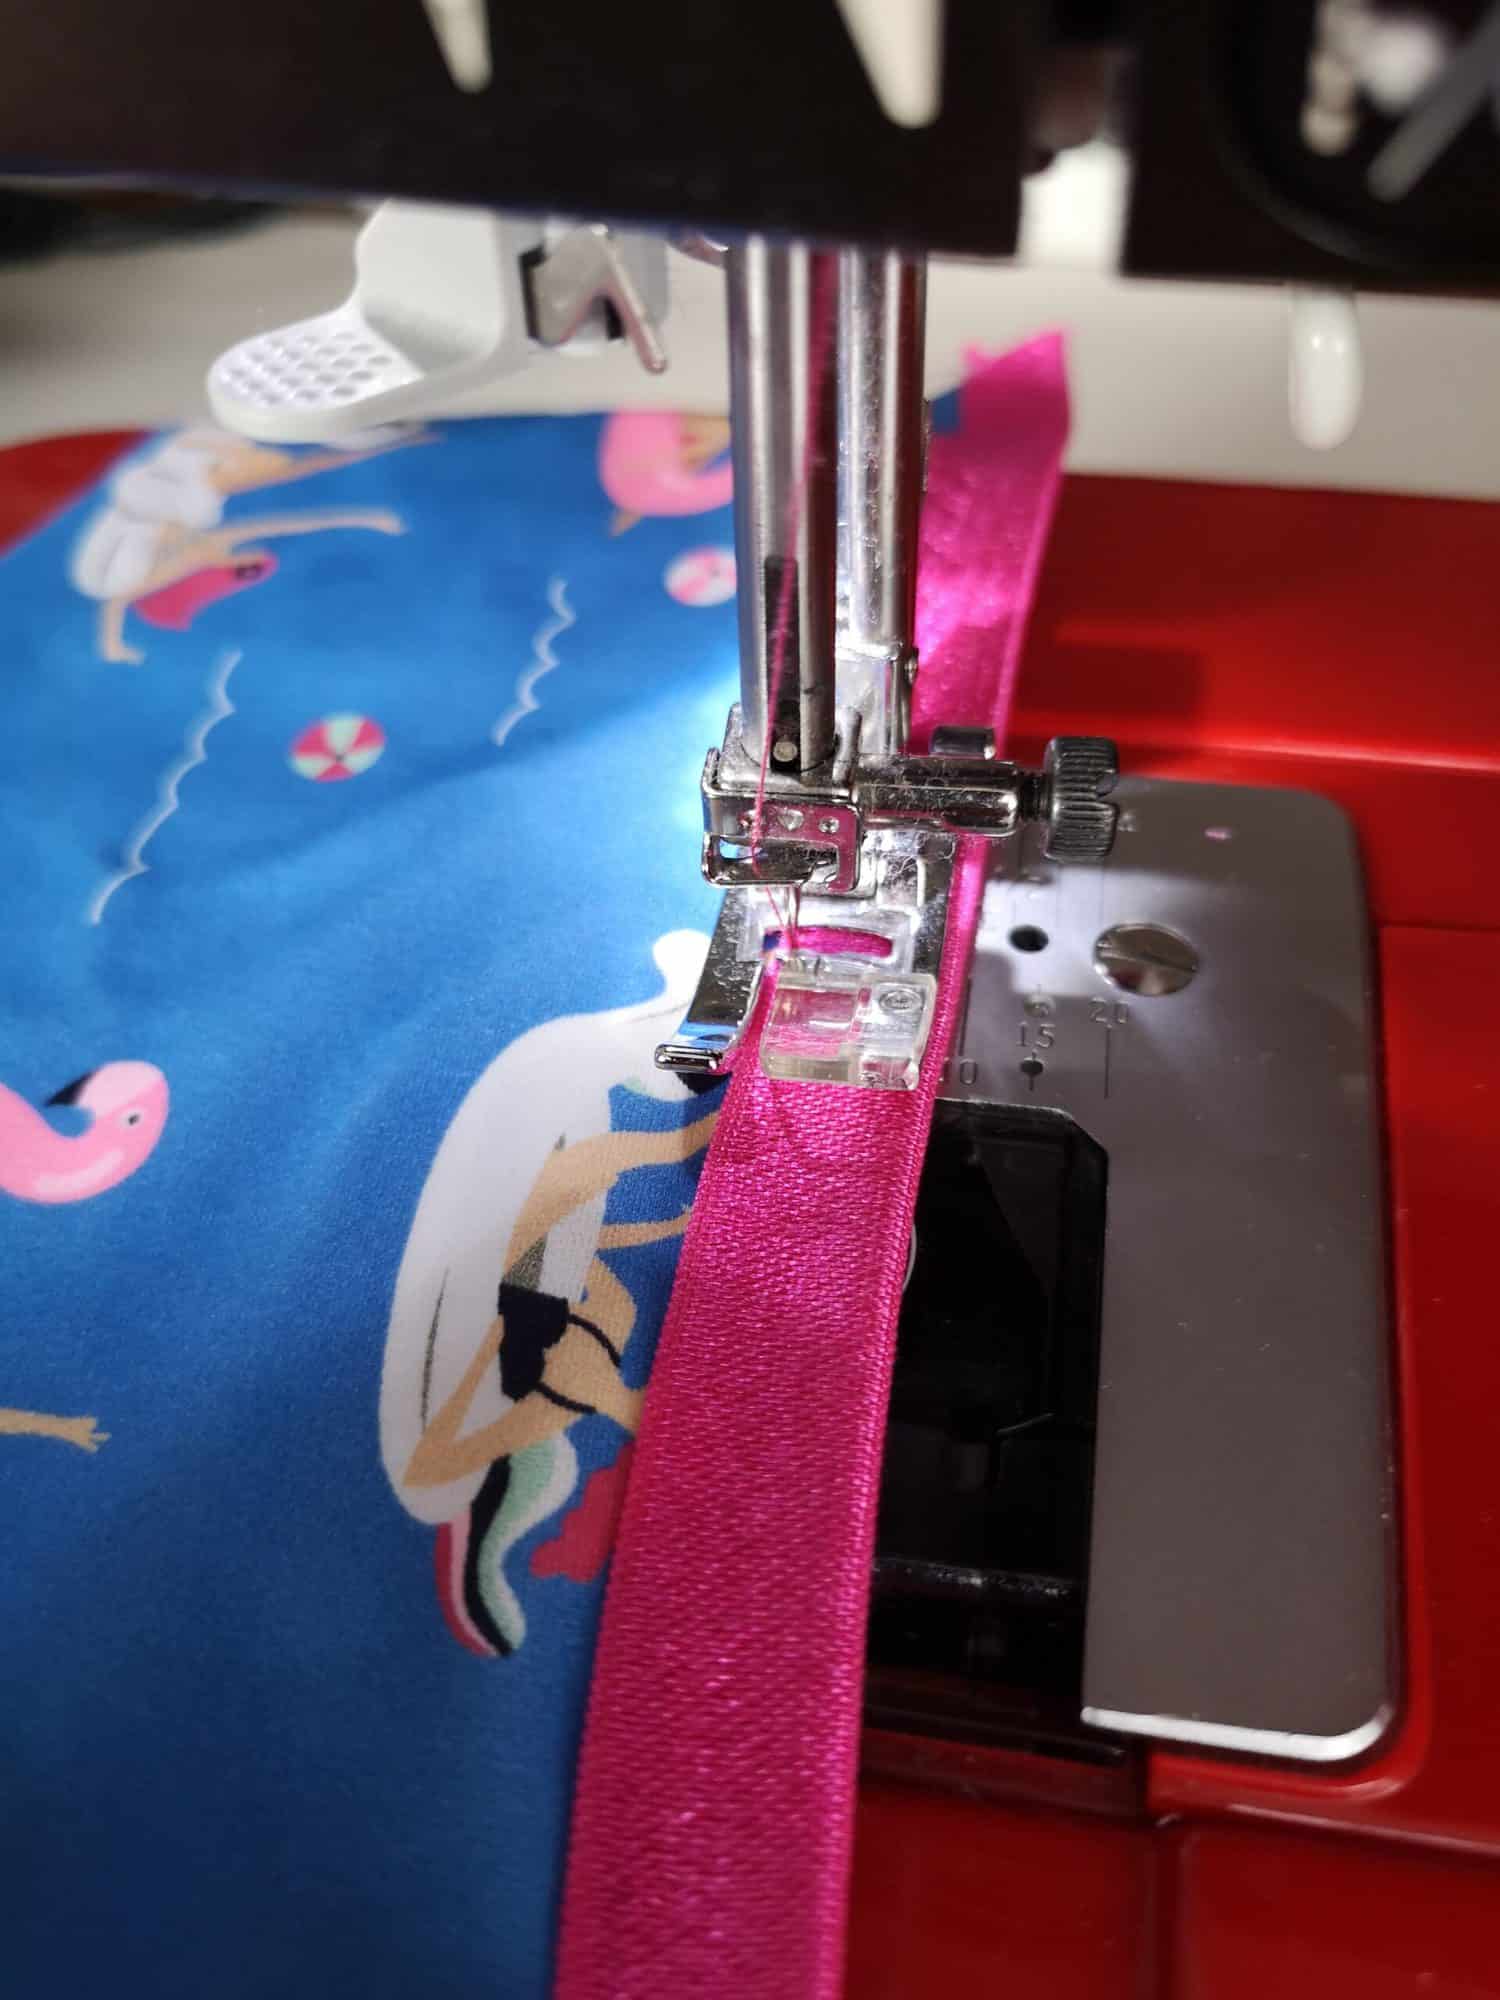
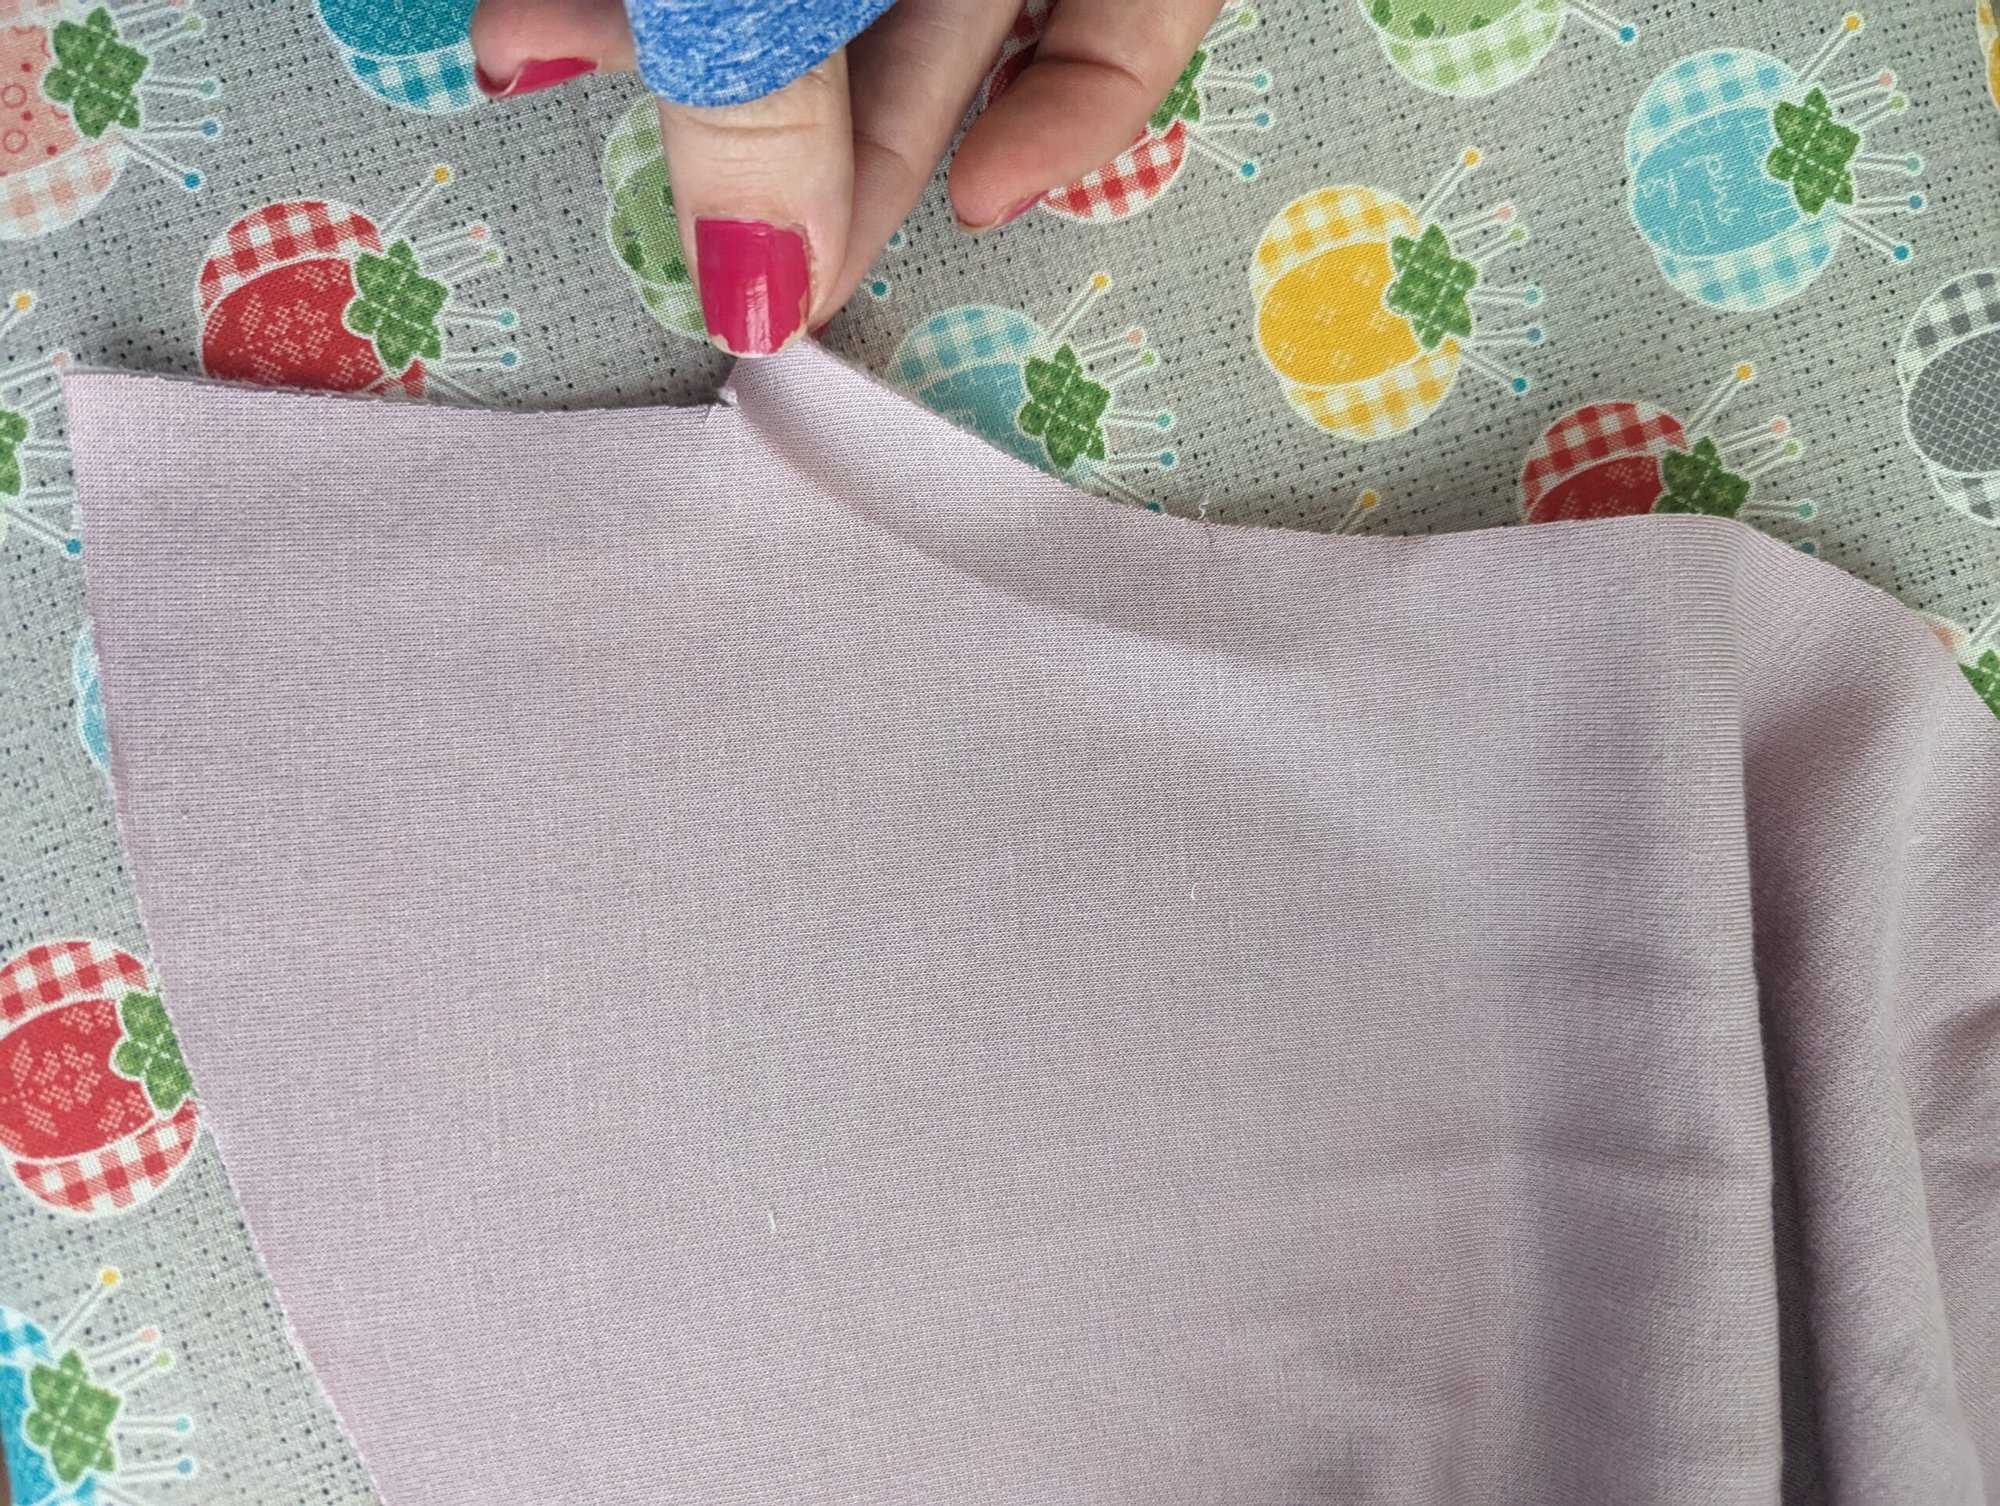
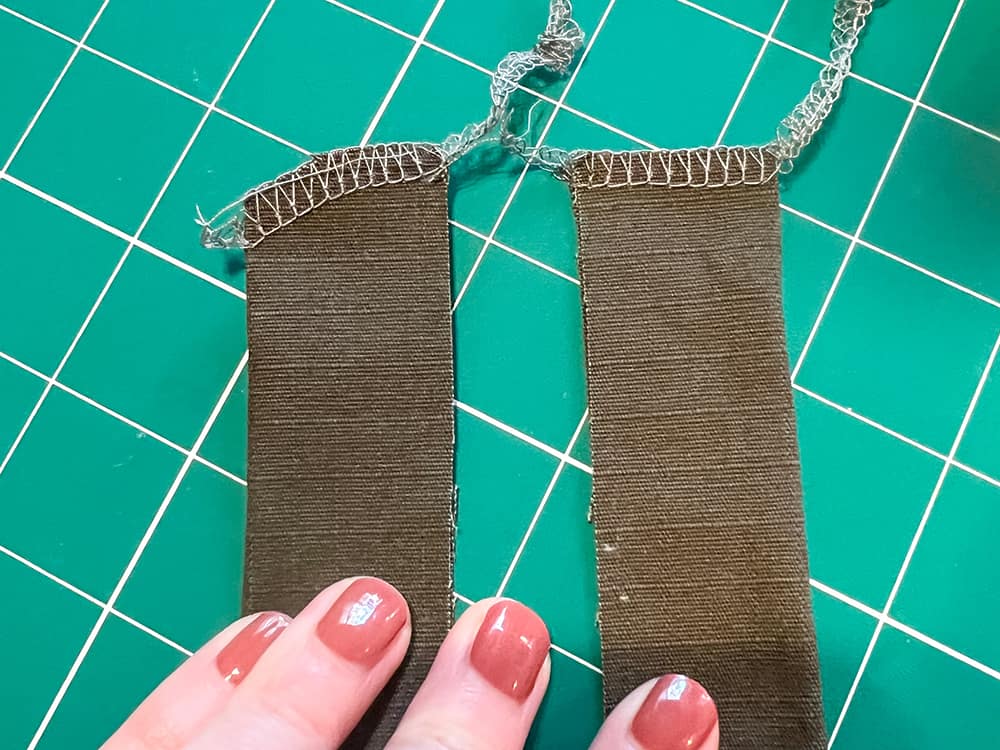
First you will cut out all your pieces as normal, except the front yoke. This is ‘cut x 2 mirrored’ in the tutorial, but we will be removing seam allowance and cutting on the fold. To begin, we need to work out how much seam allowance to remove. Now, the seam allowance used for attaching the zipper is 3/8″, like this.
![]()
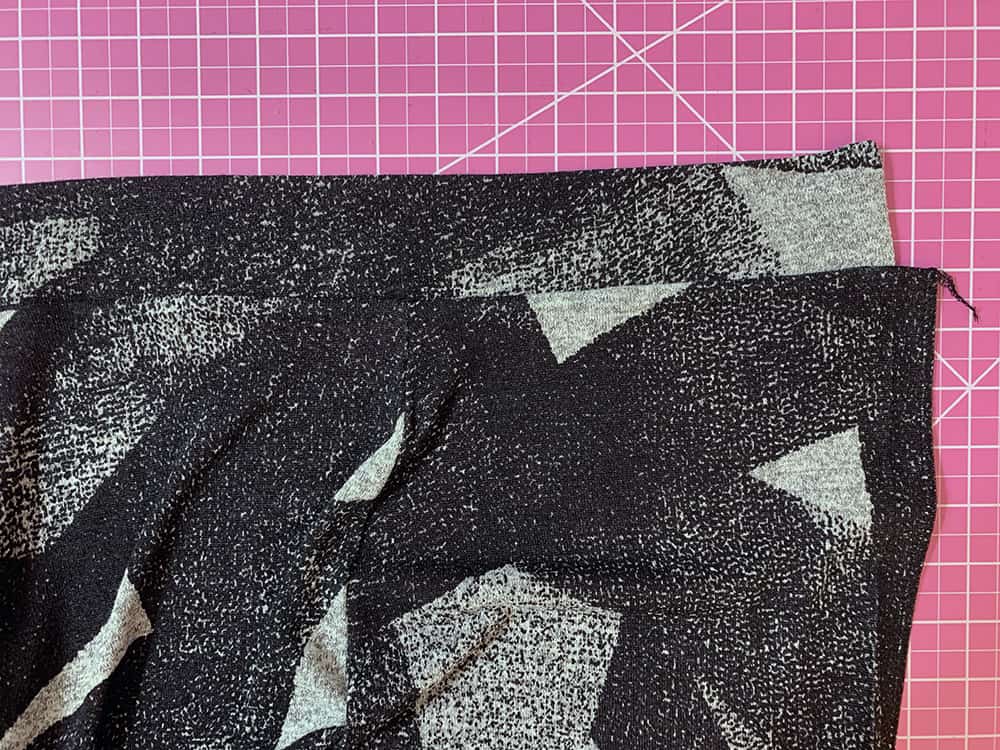
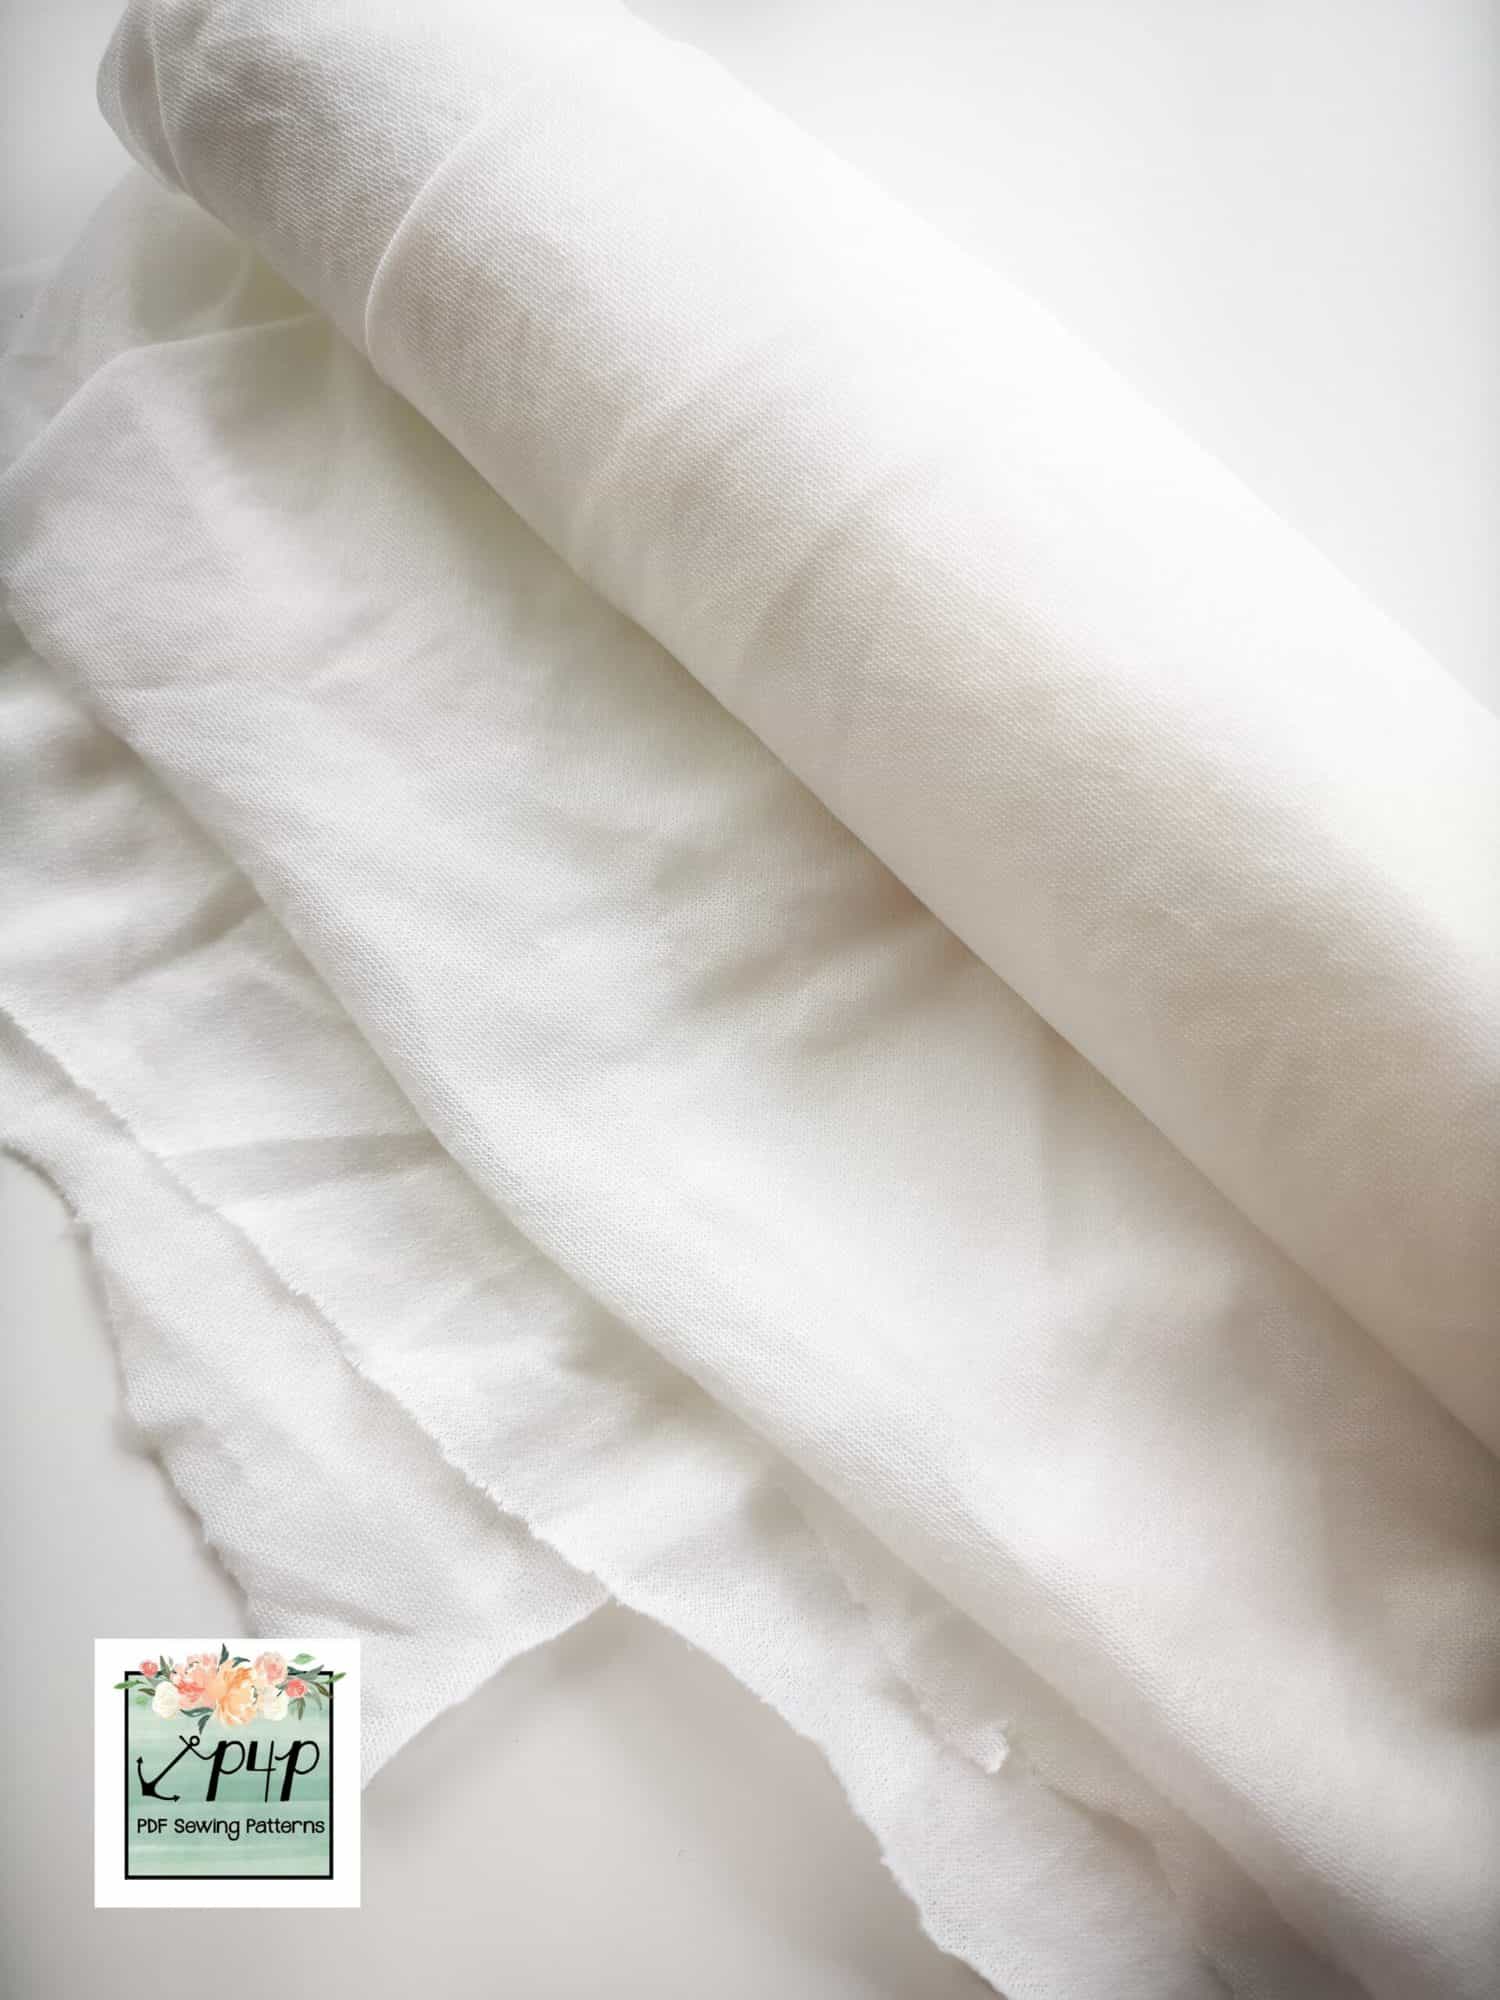
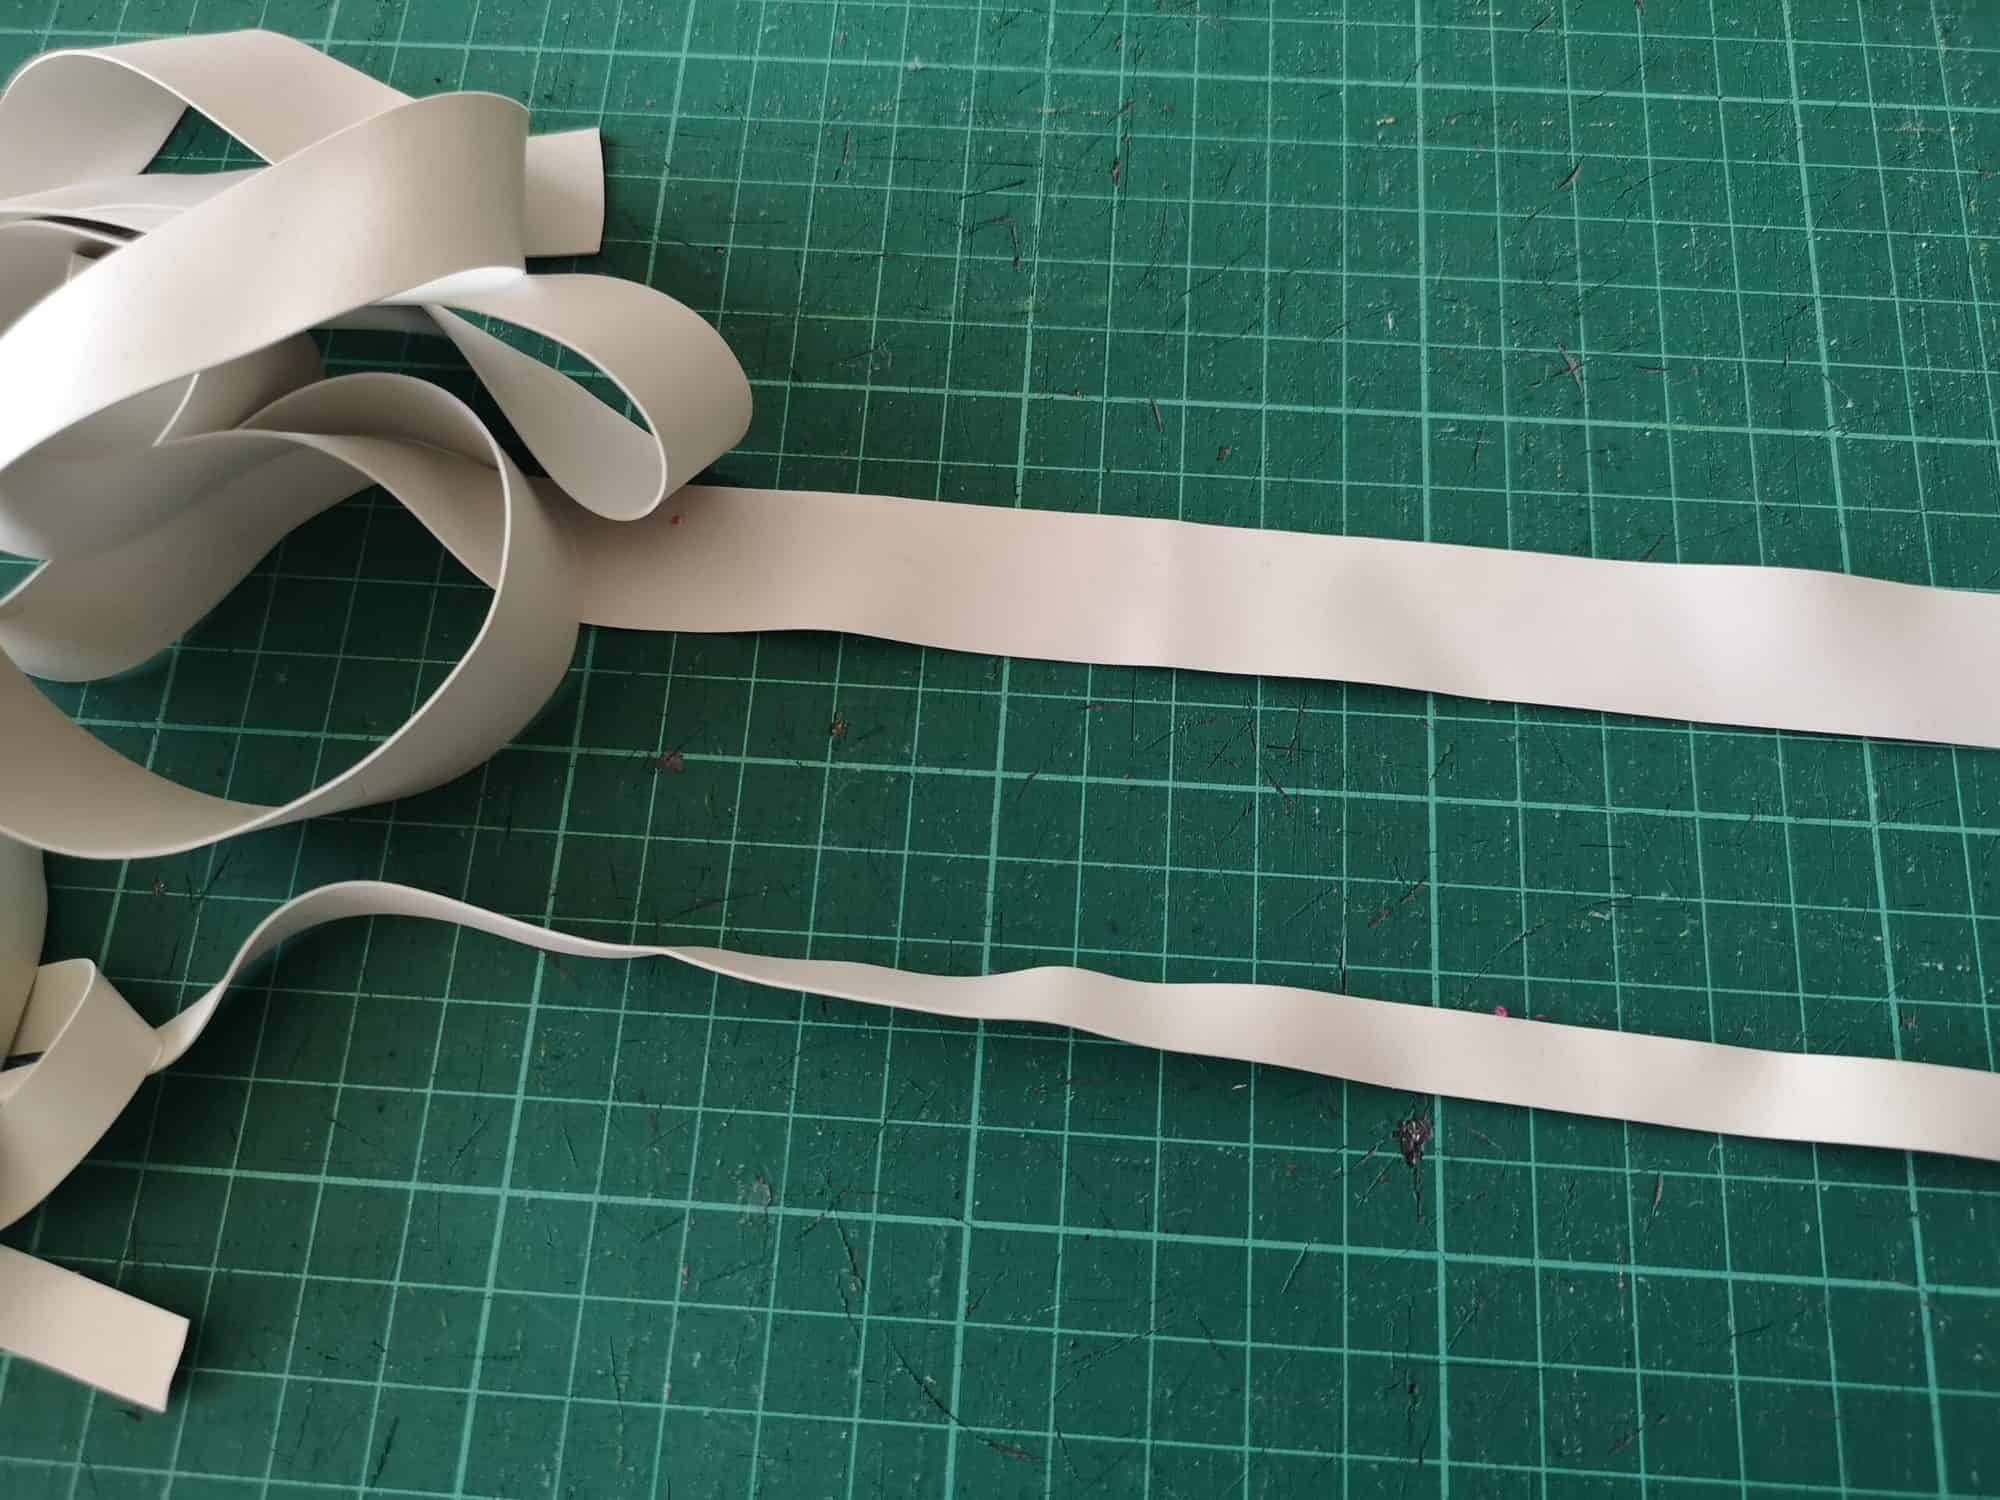
However, don’t forget in the finished garment we have the width of a zipper to account for too, like this.
![]()
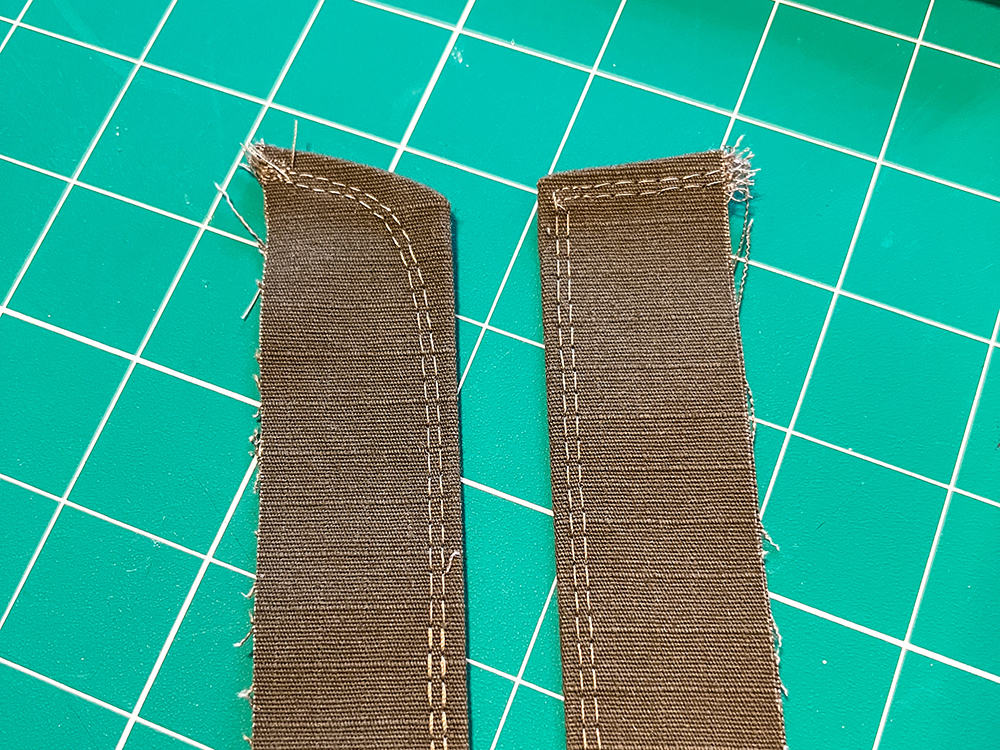
So, I will be taking off an extra 1/8″ to account for half the width of the zipper teeth. That means our full seam allowance to remove will be 1/2″. I simply mark it on the pattern piece and fold it over, that means you still have the full pattern piece to use again in the future if you wanted to.
![]()
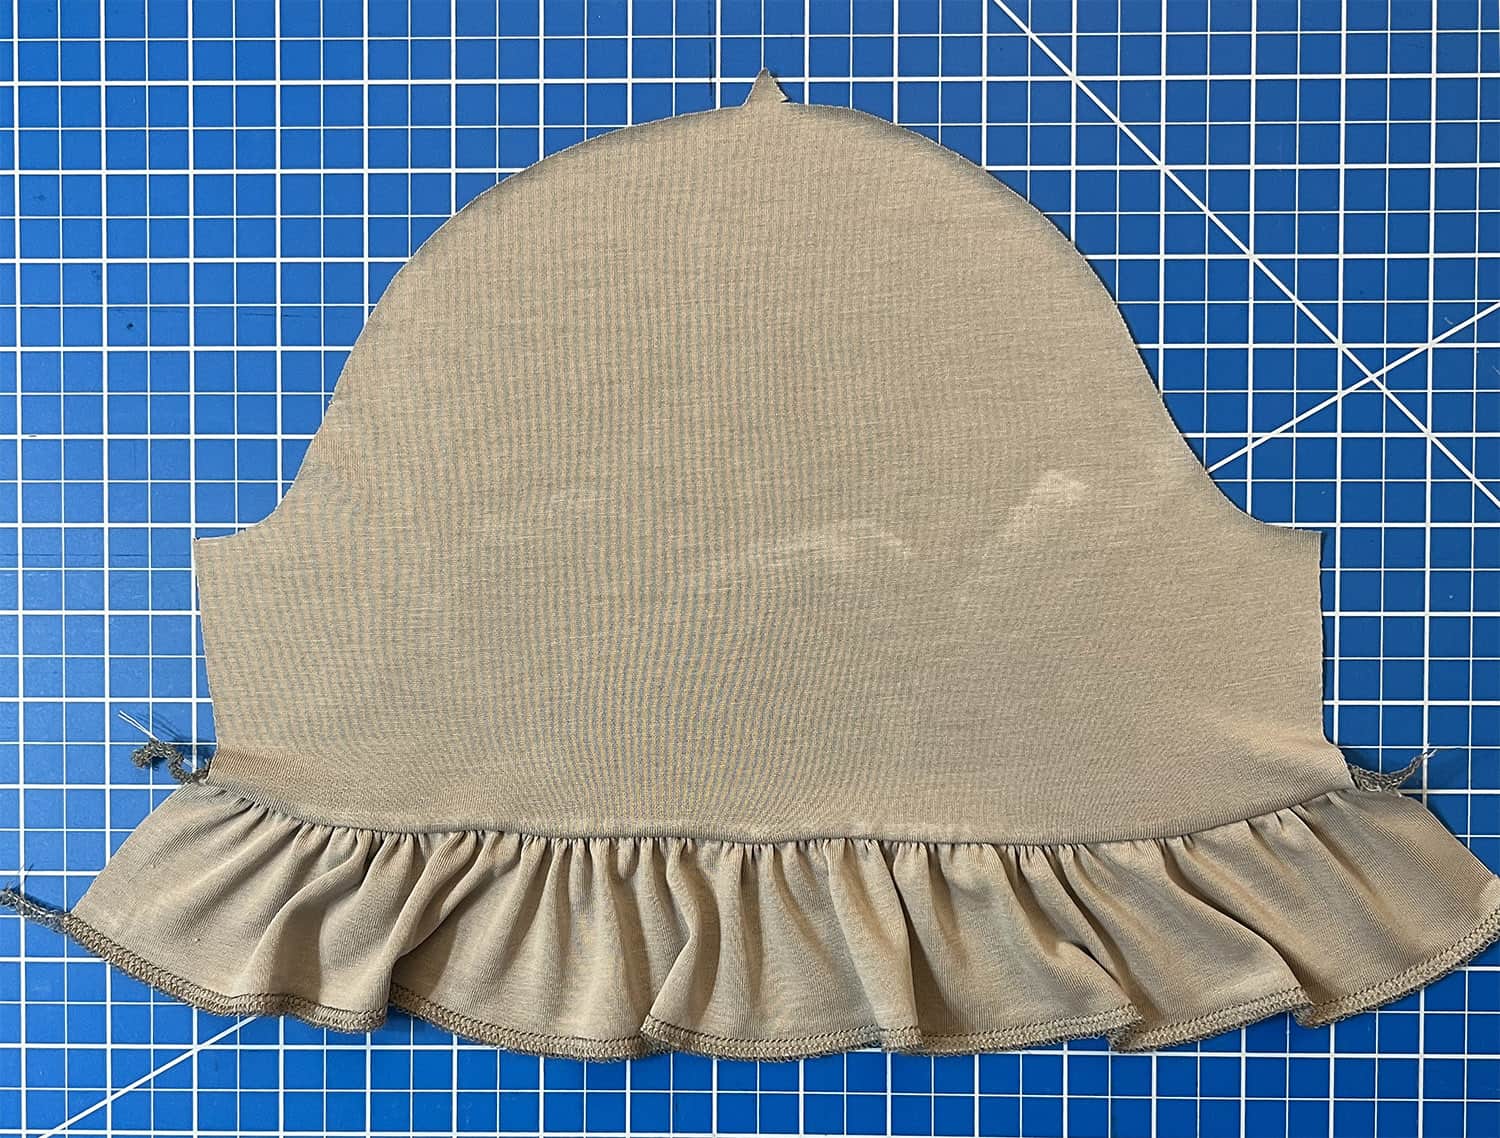
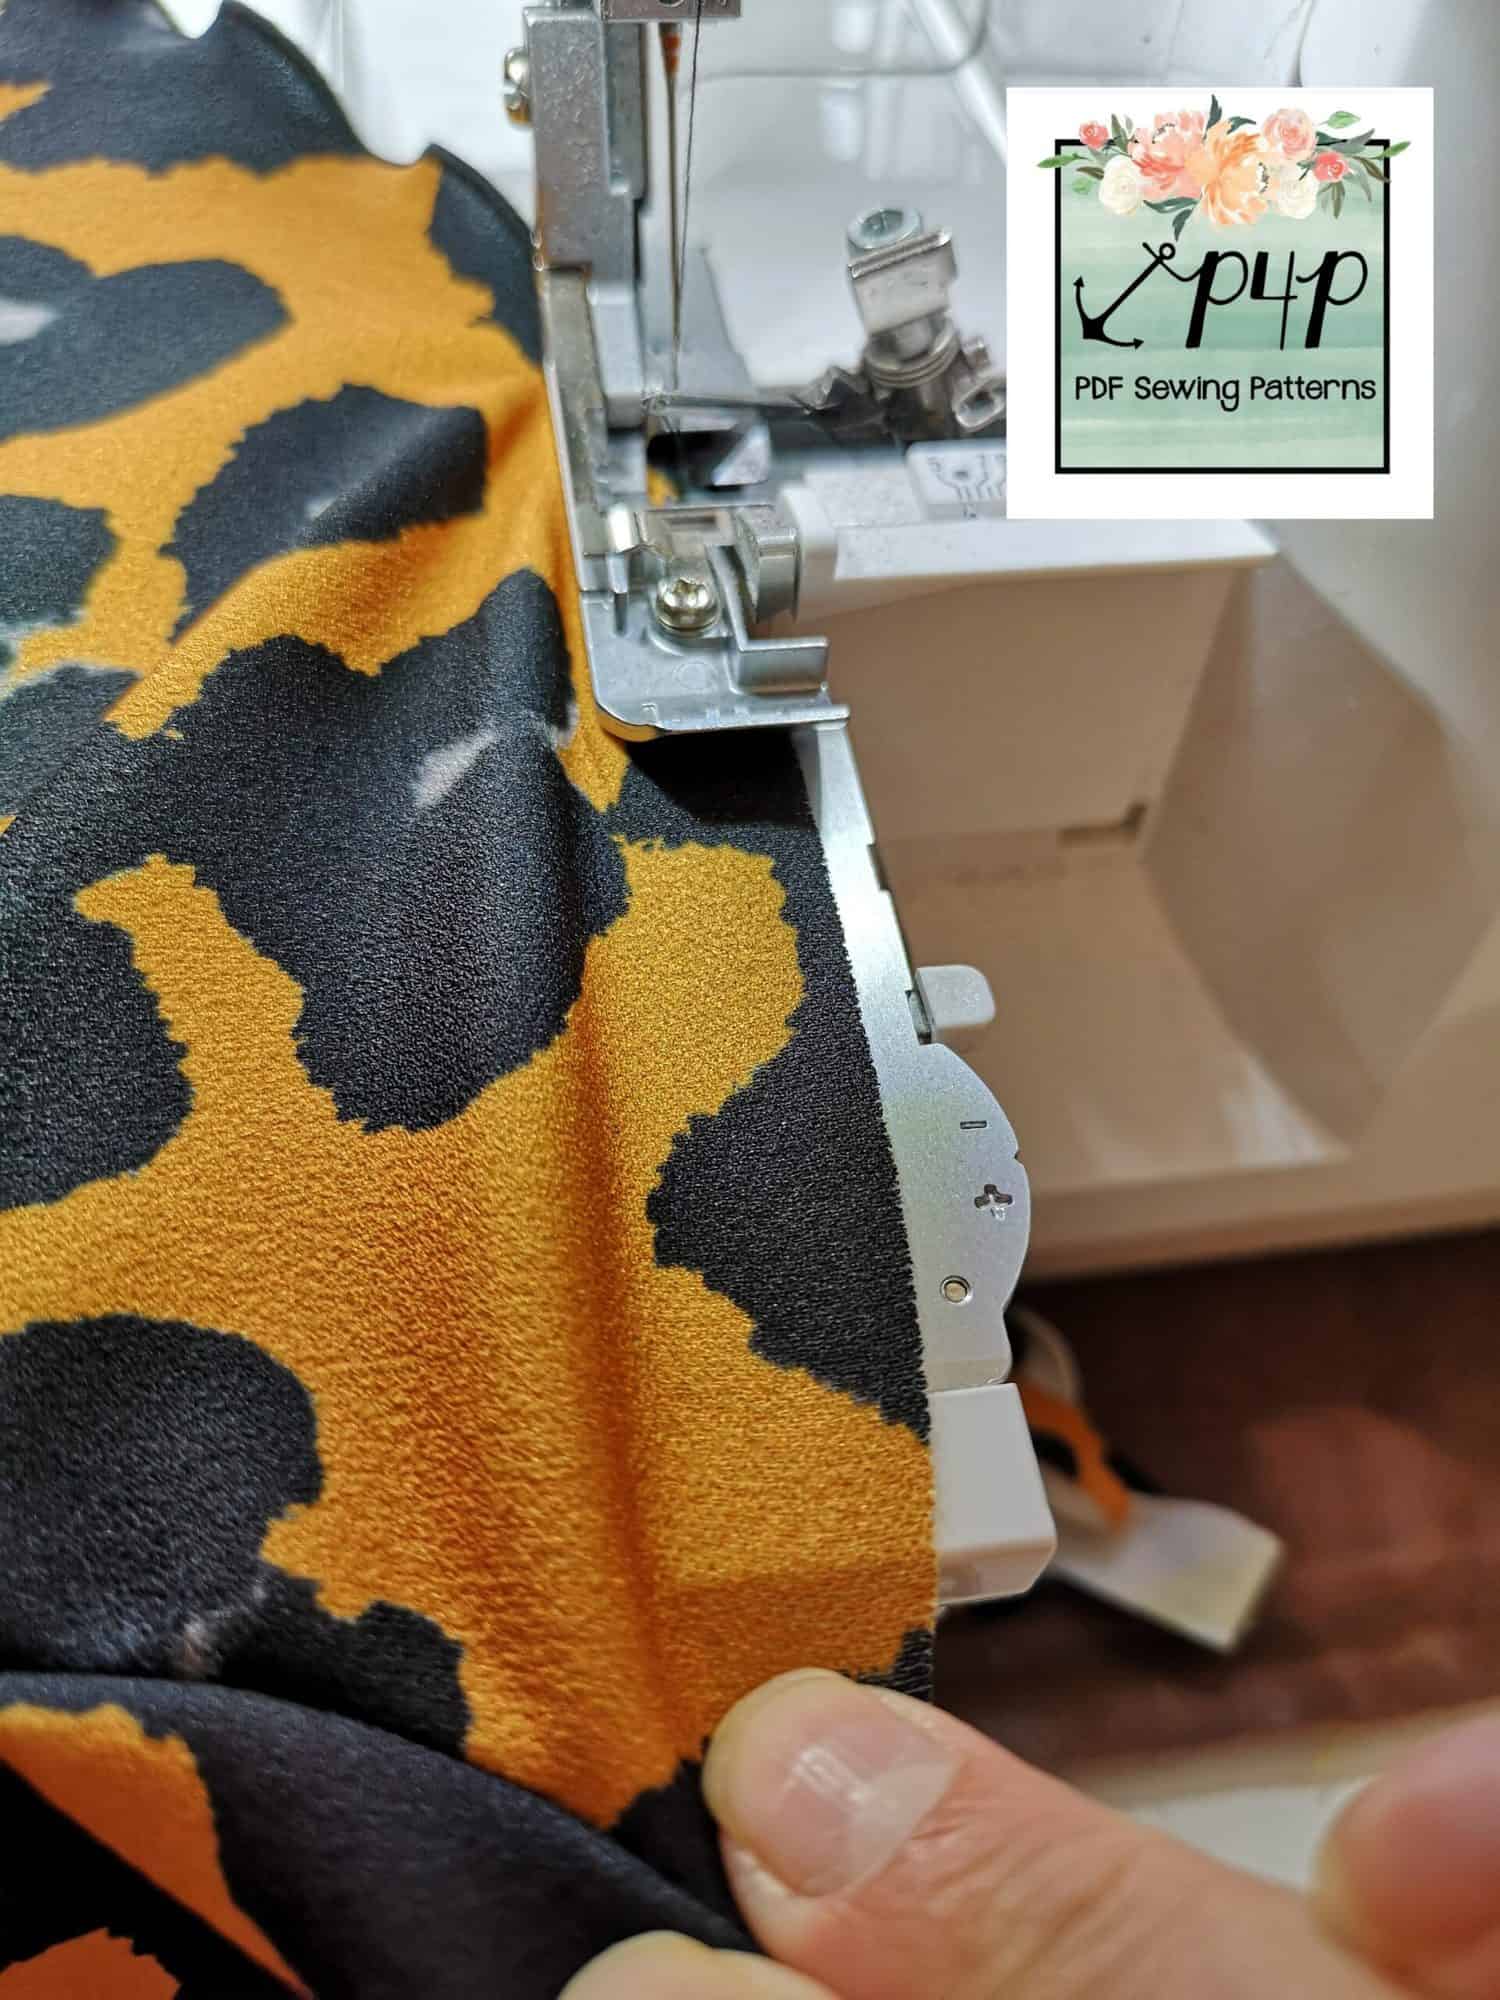
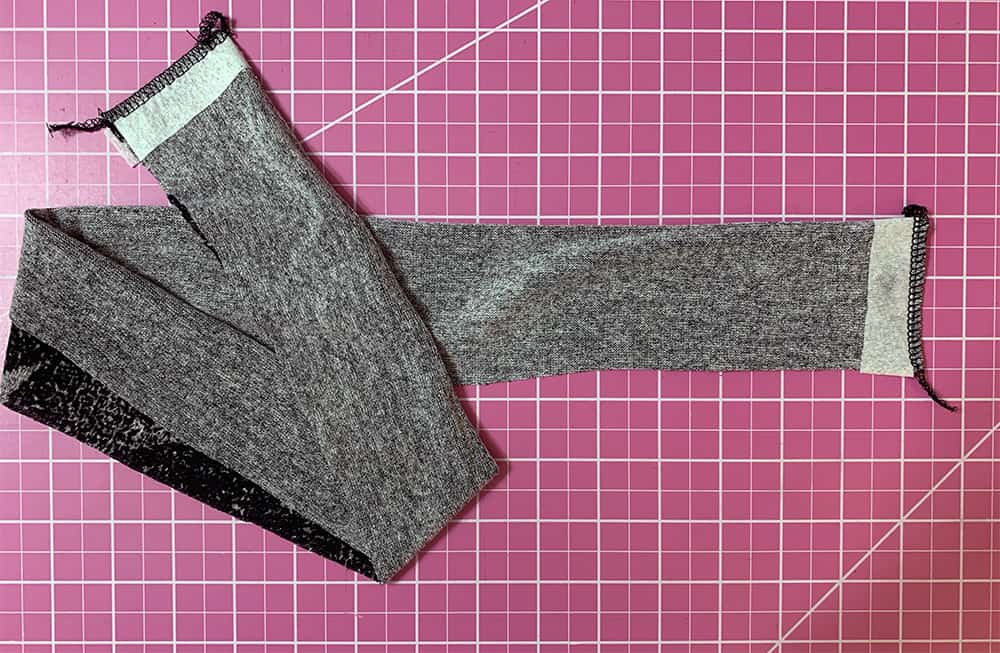
Then cut your front yoke on the fold.
![]()
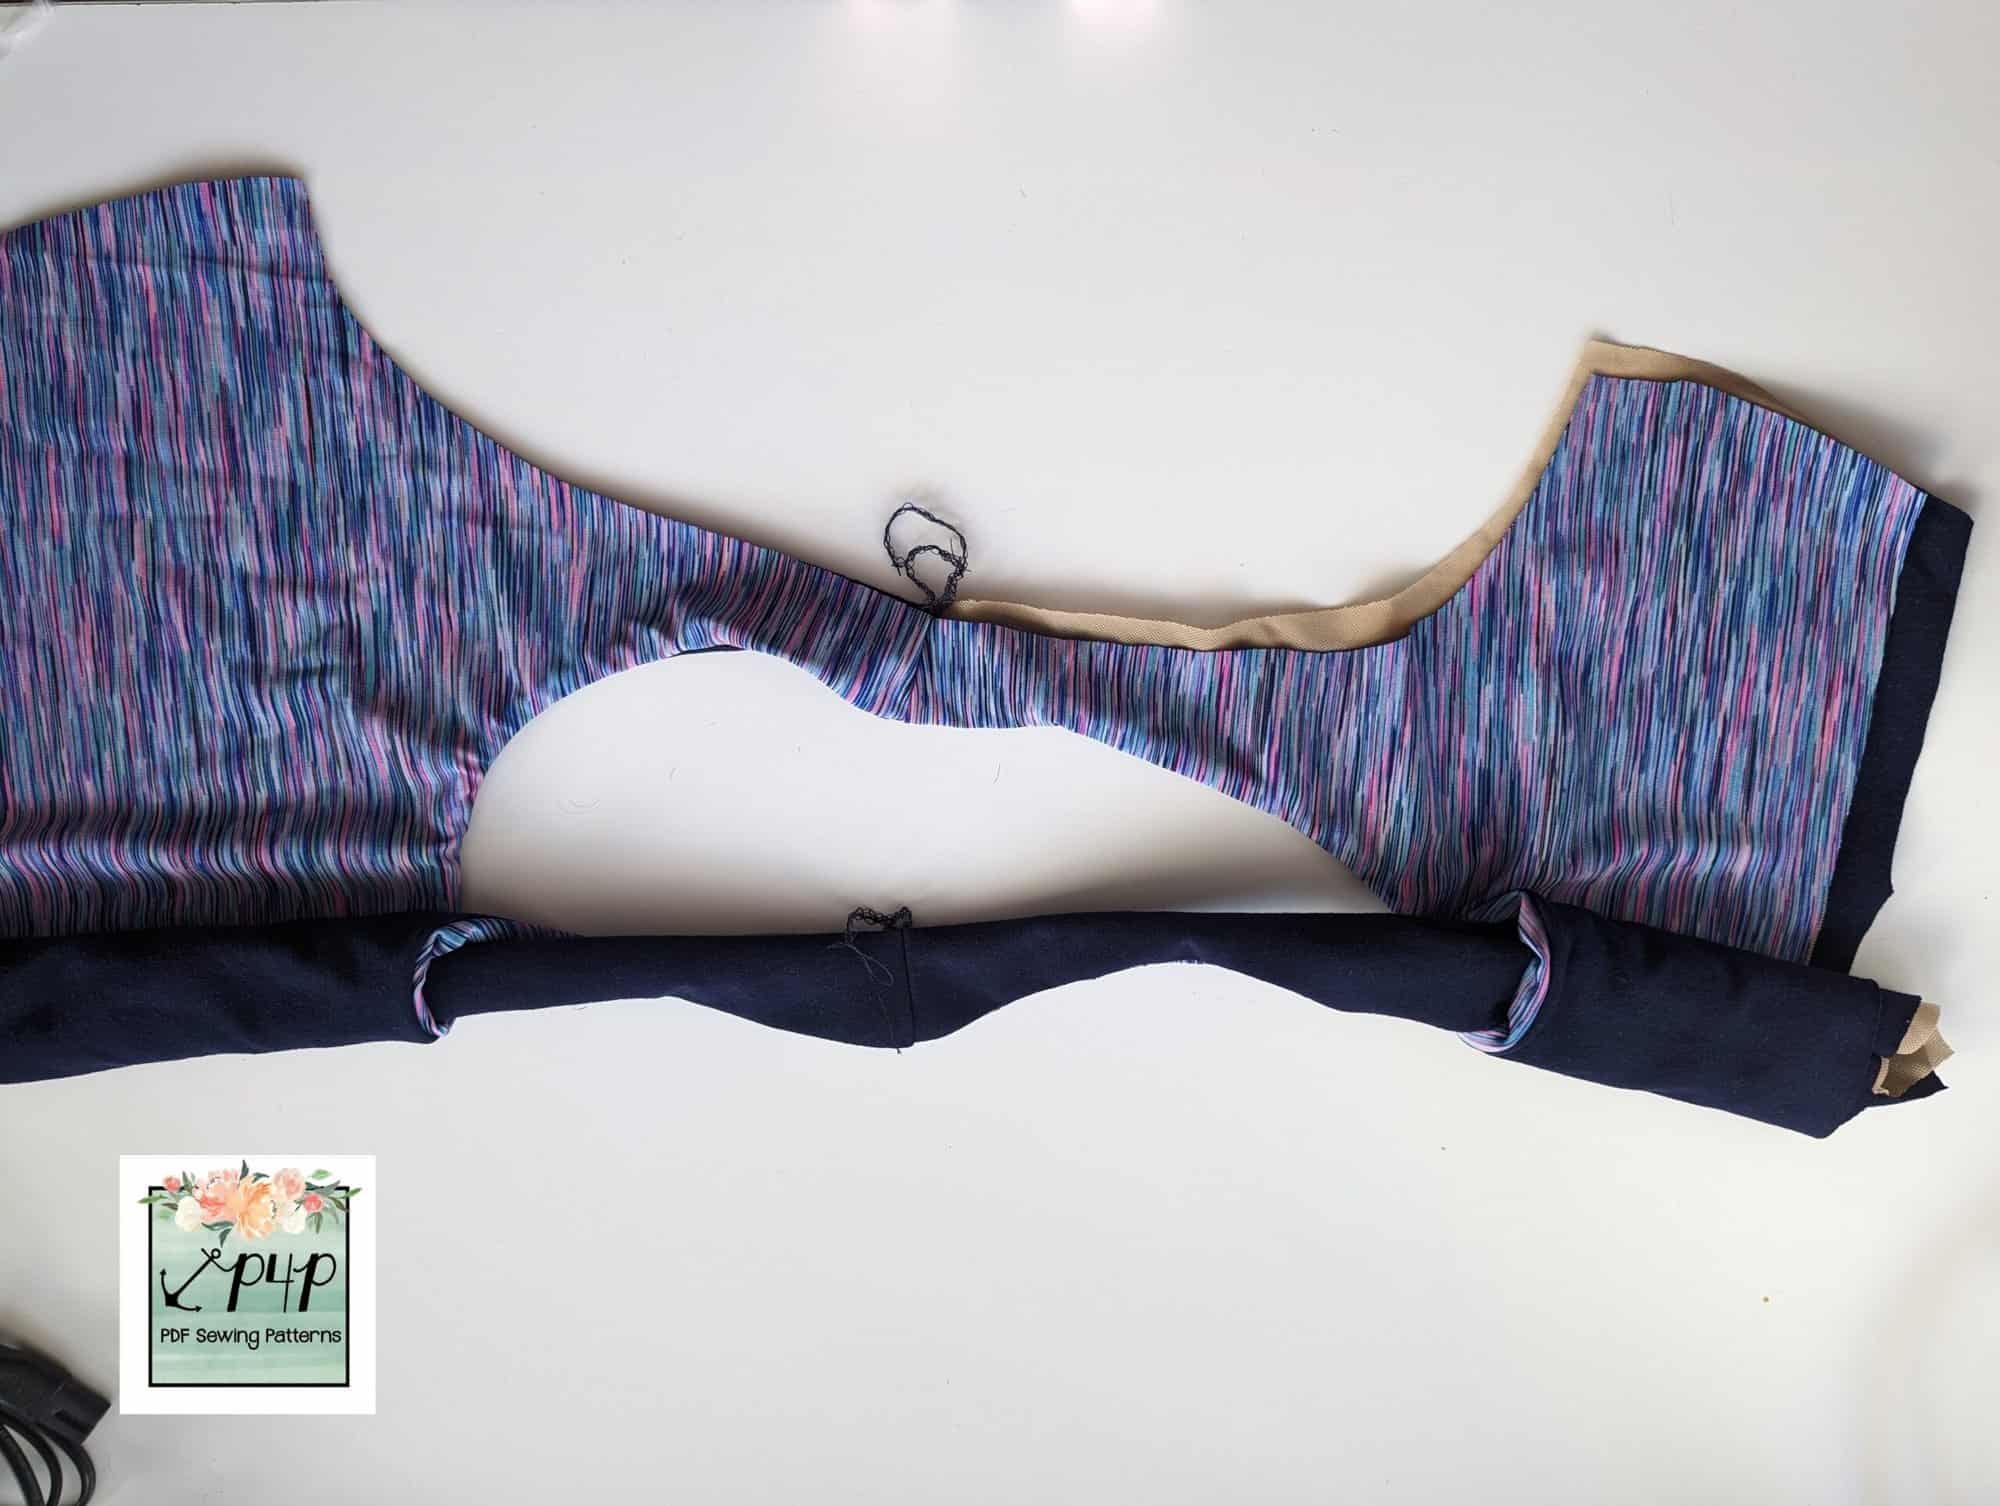
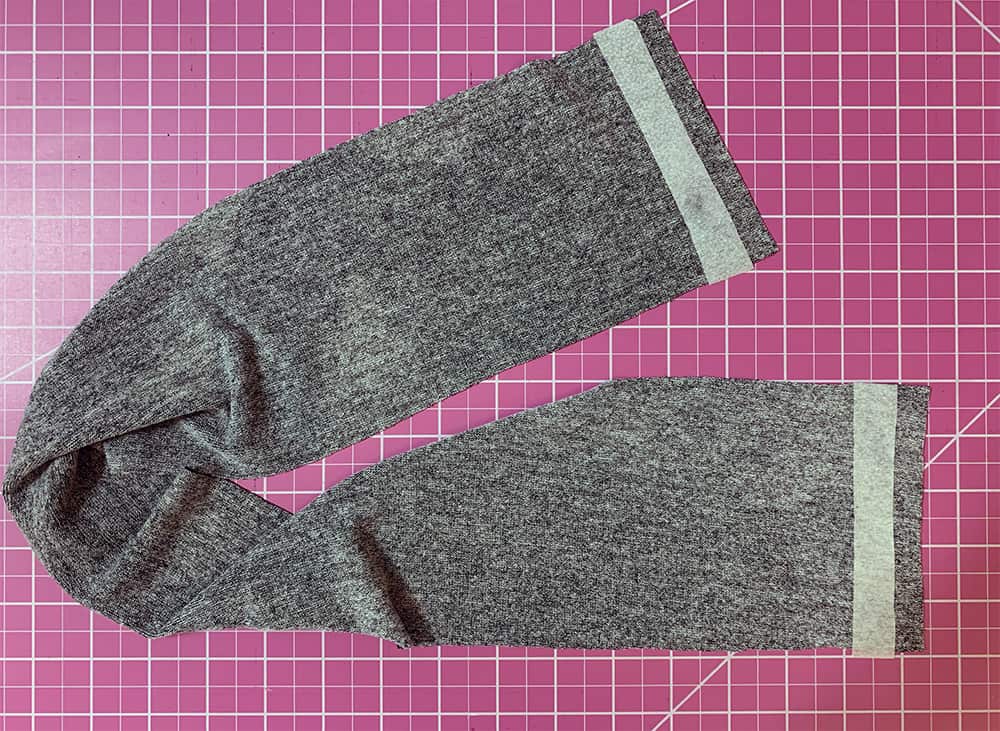
We assemble the garment now according to the tutorial instructions, but I like to leave the neckline to the end, so I did it in this order:
Front centre yoke to front sides
Front yoke to back yoke at shoulder seams.
Kanga pocket to front bottom.
Front yoke to front bottom.
Back yoke to back bottom.
Assemble sleeves. Attach to body of garment.
Side Seams.
Cuffs and waistband.
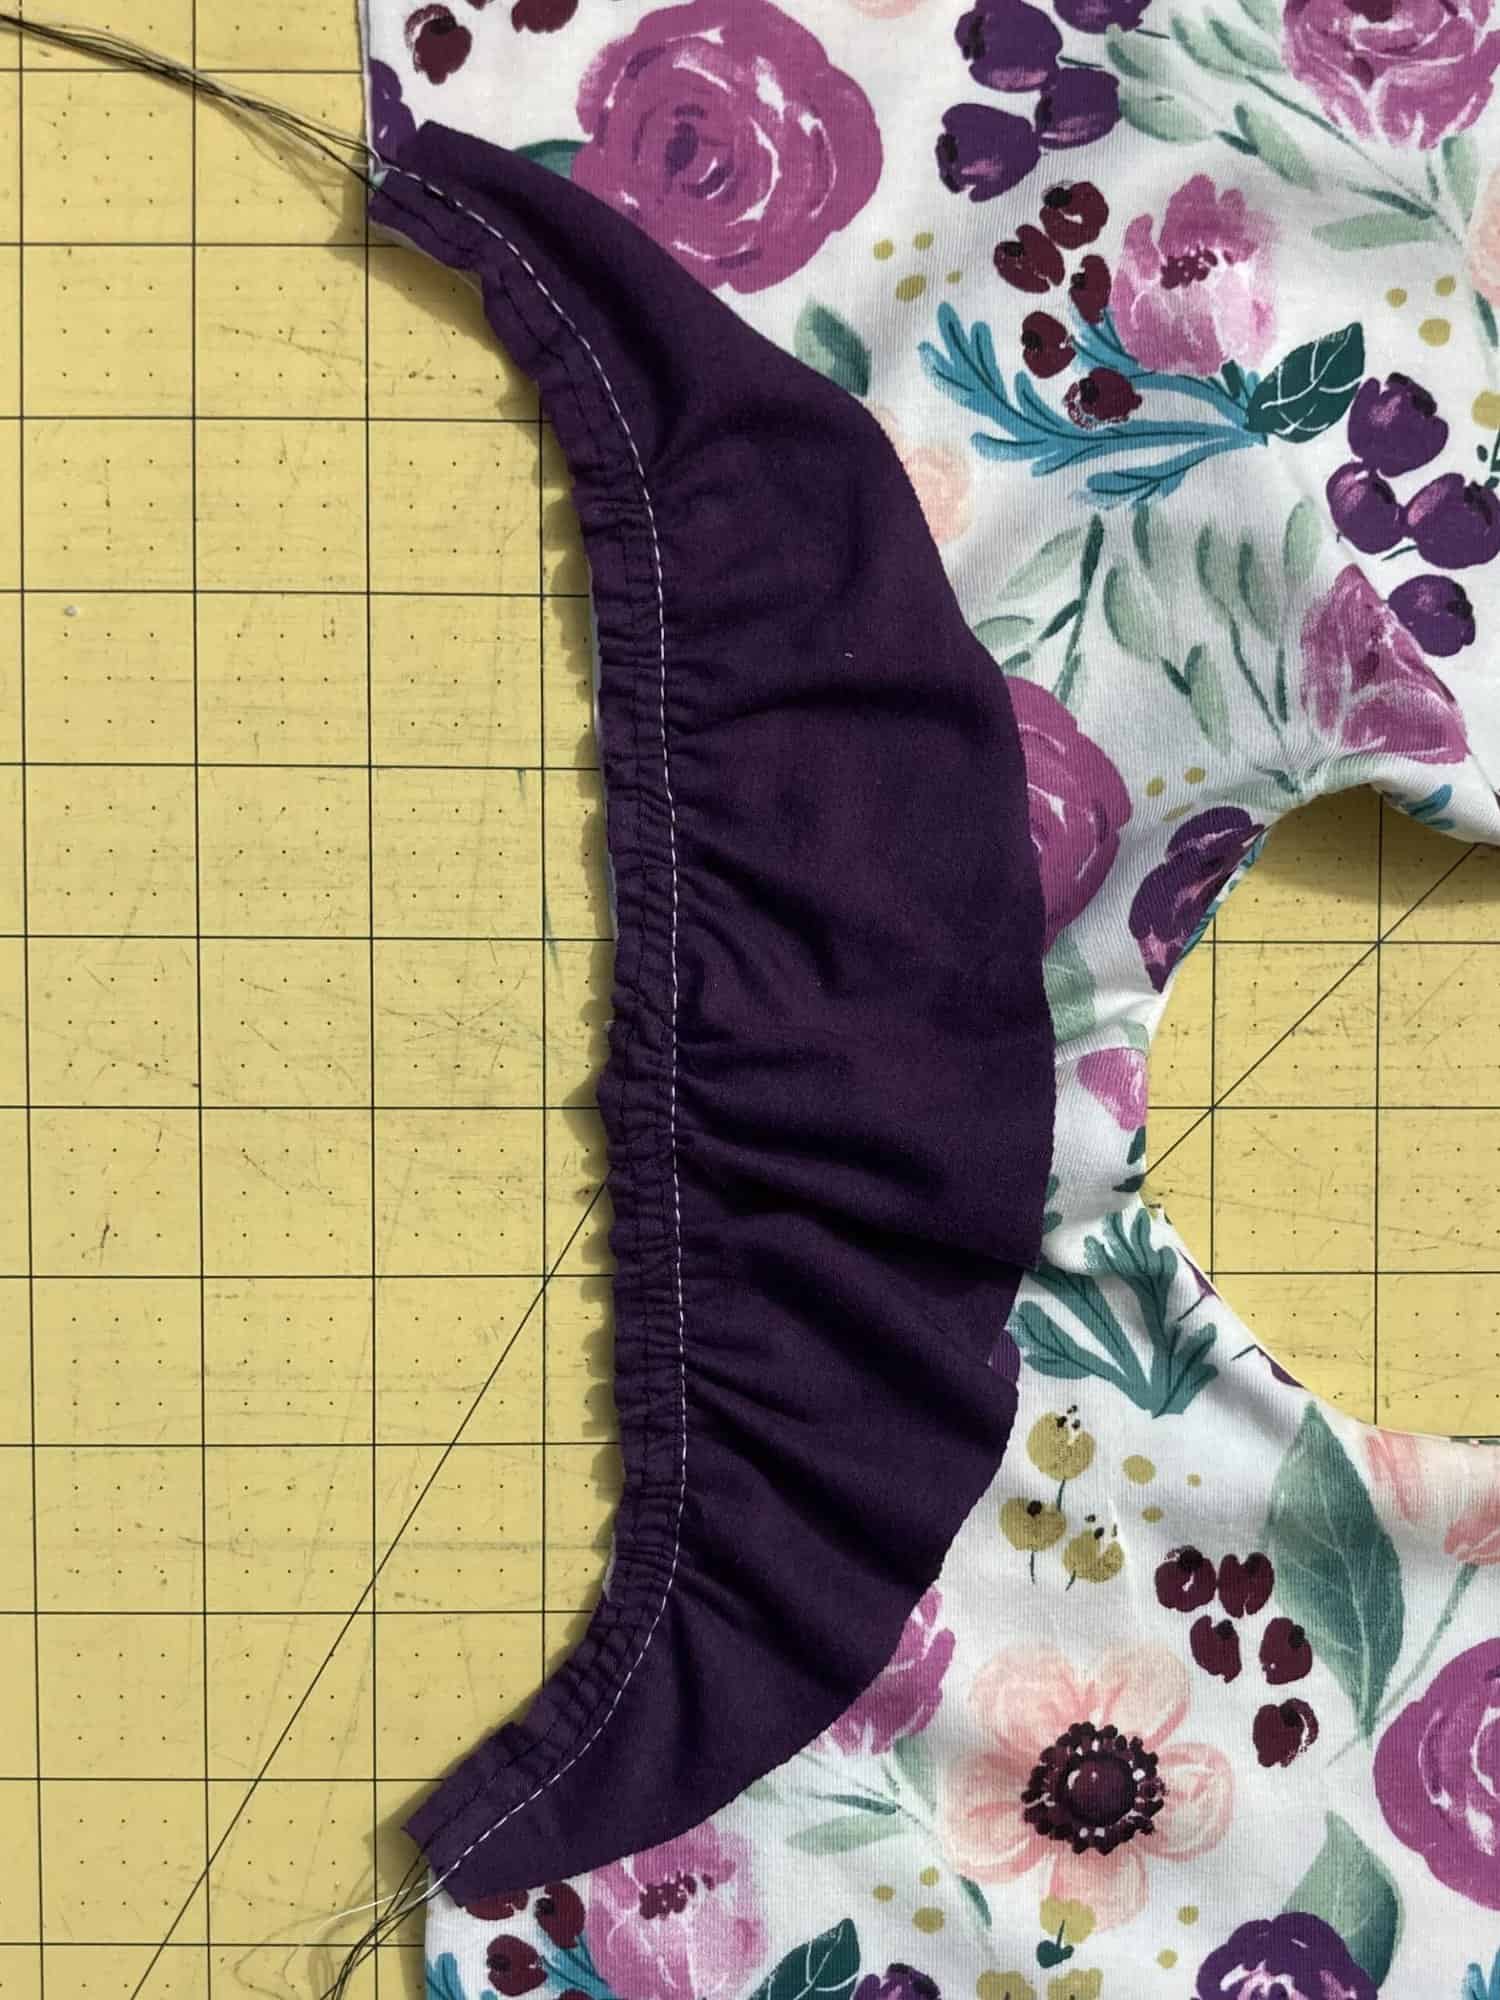
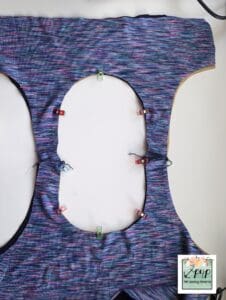
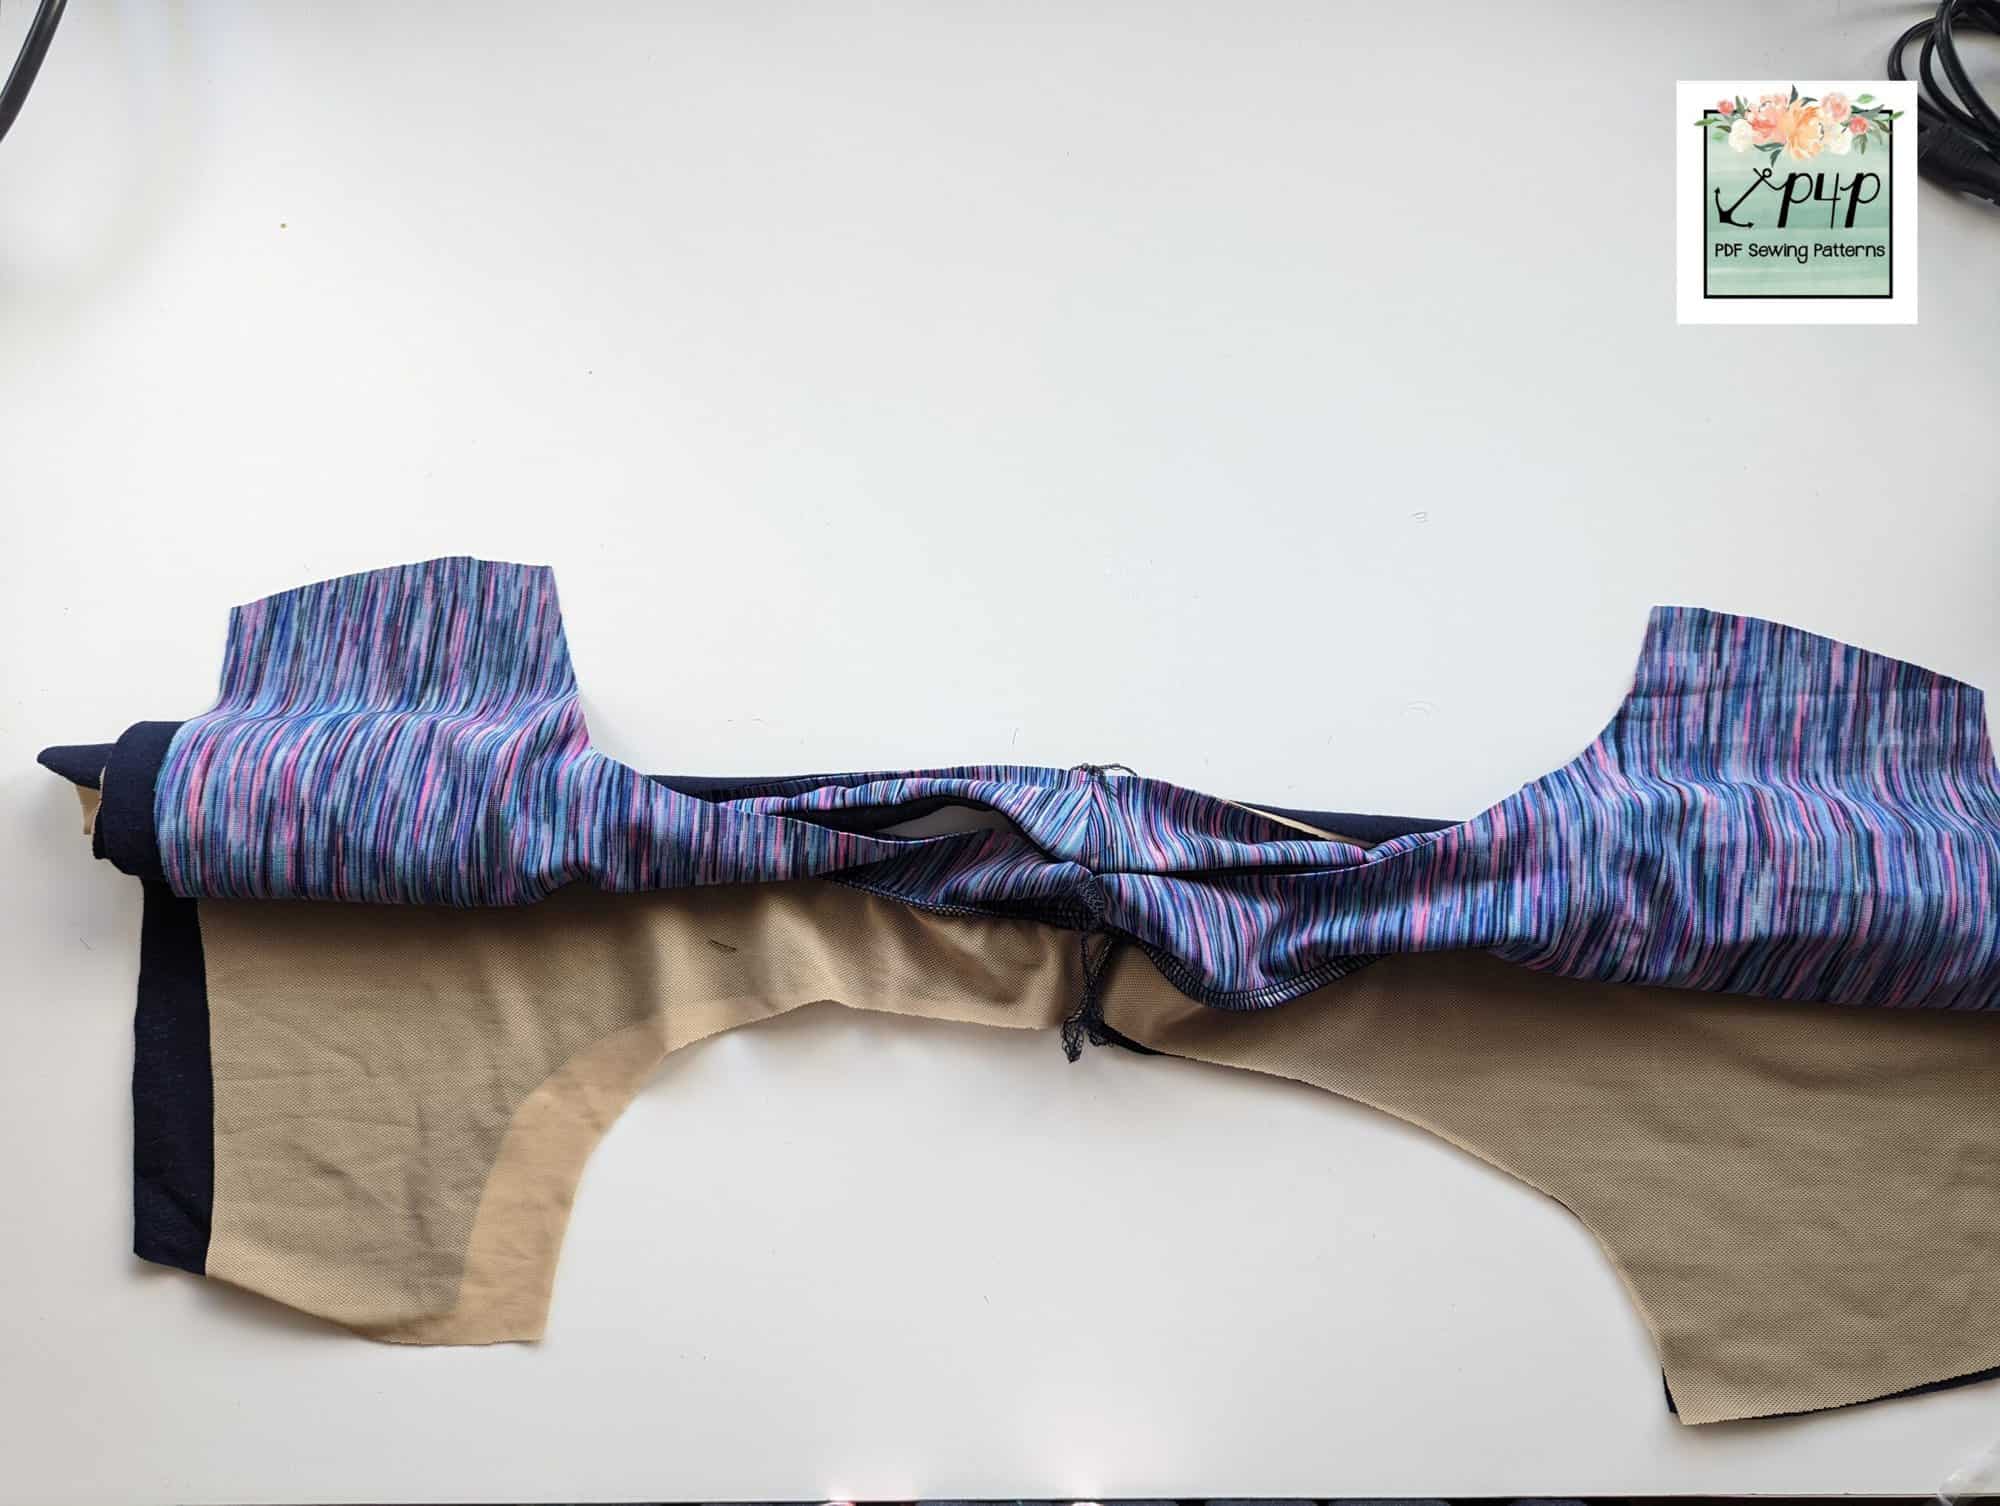
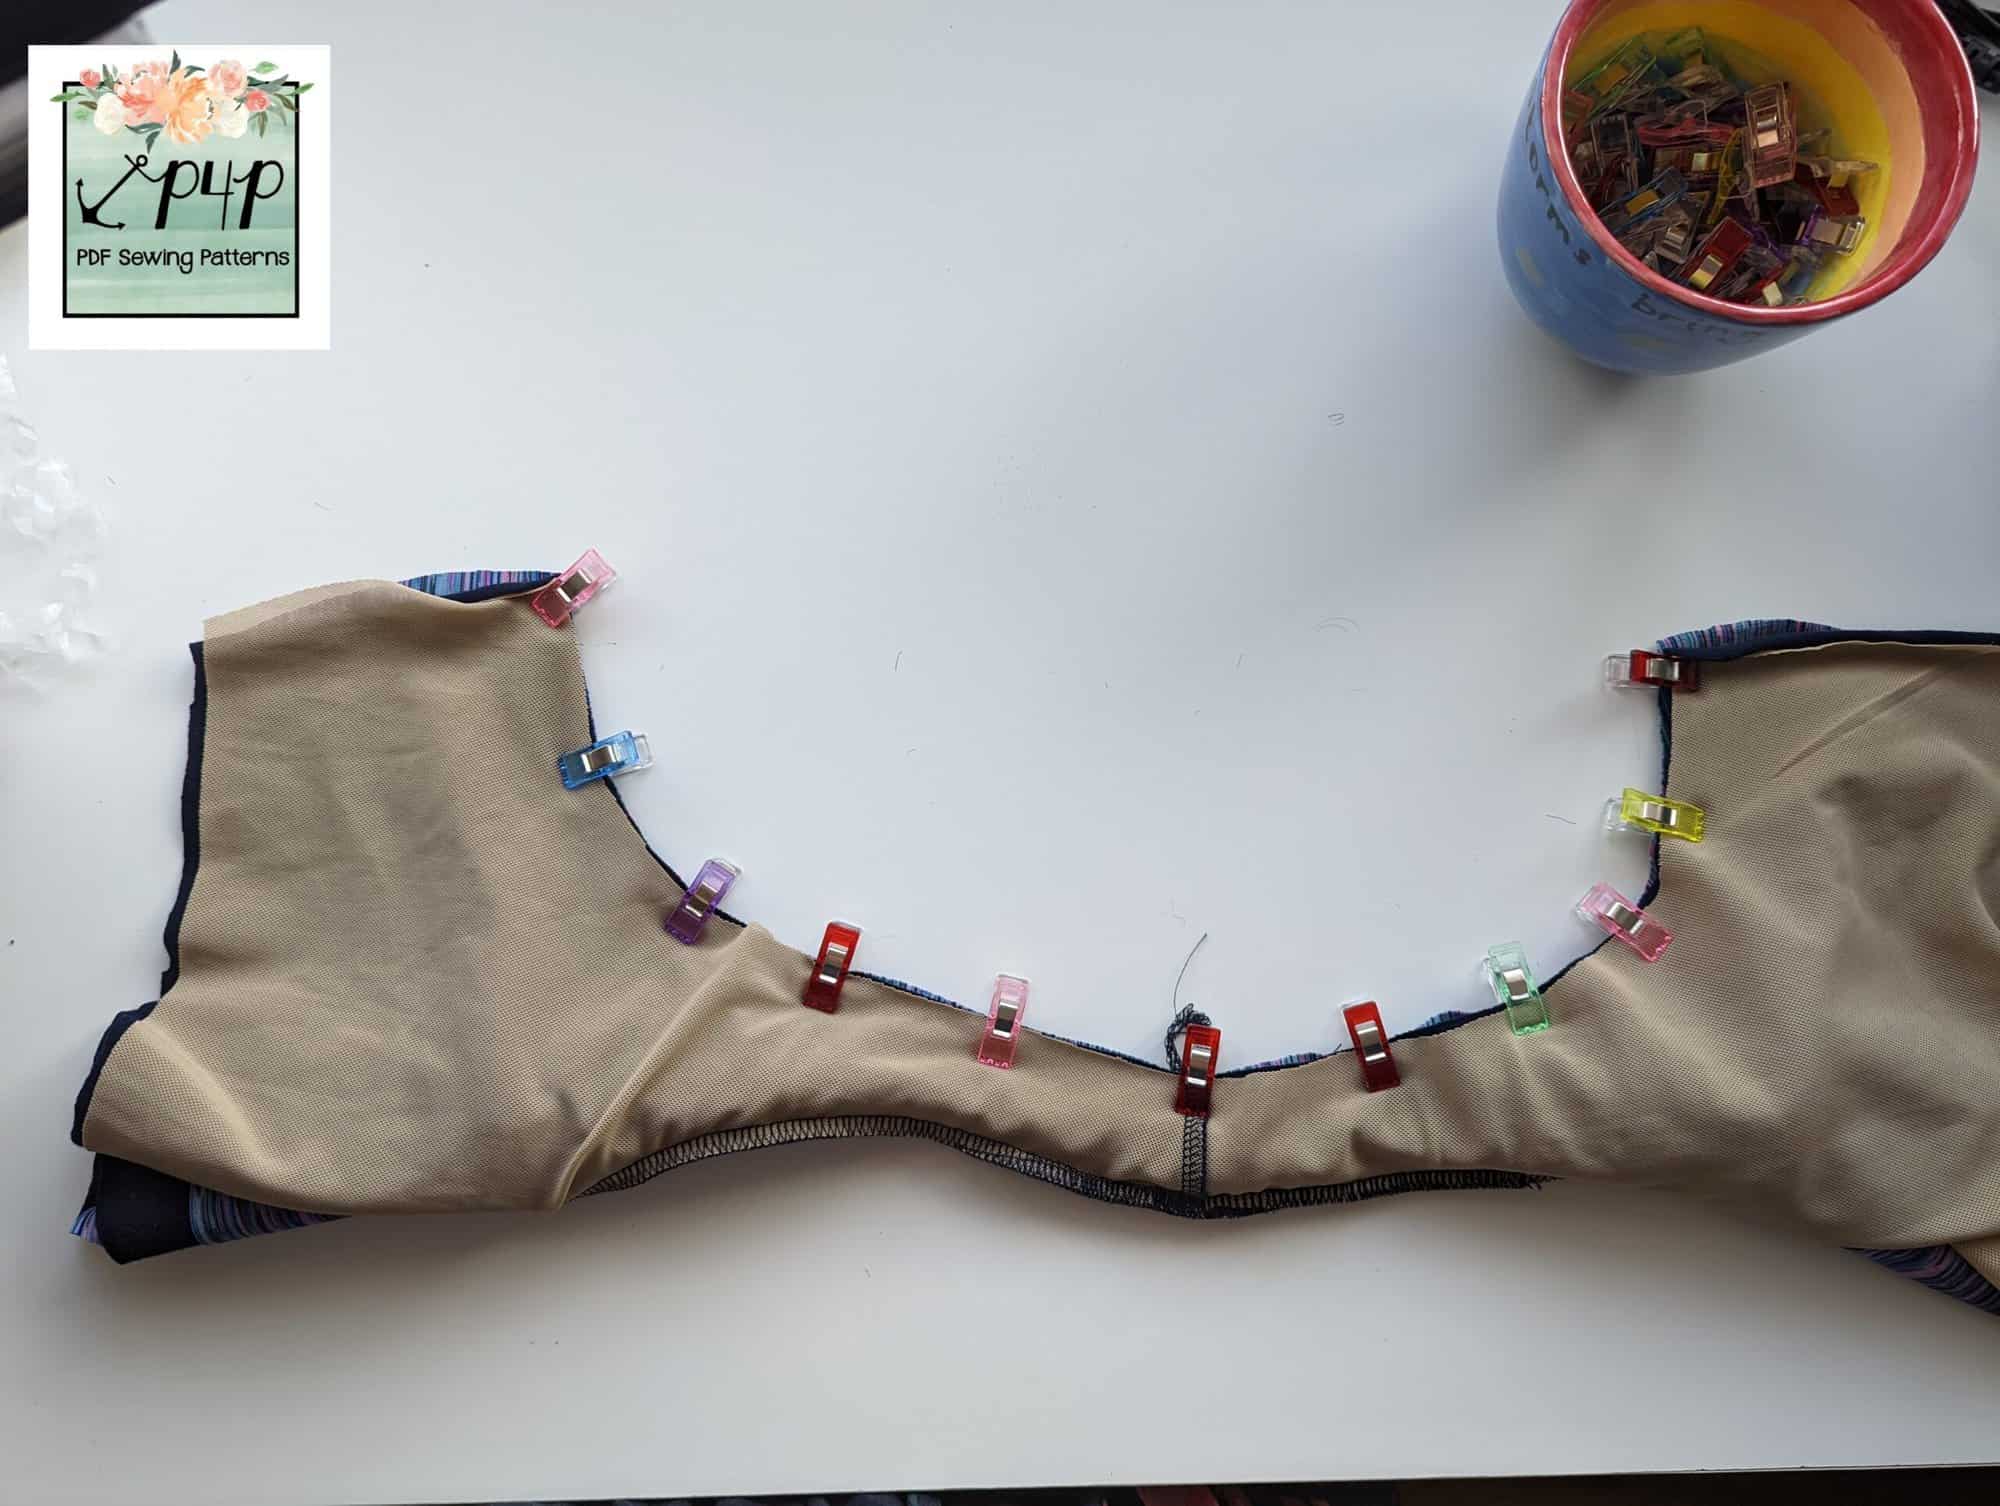
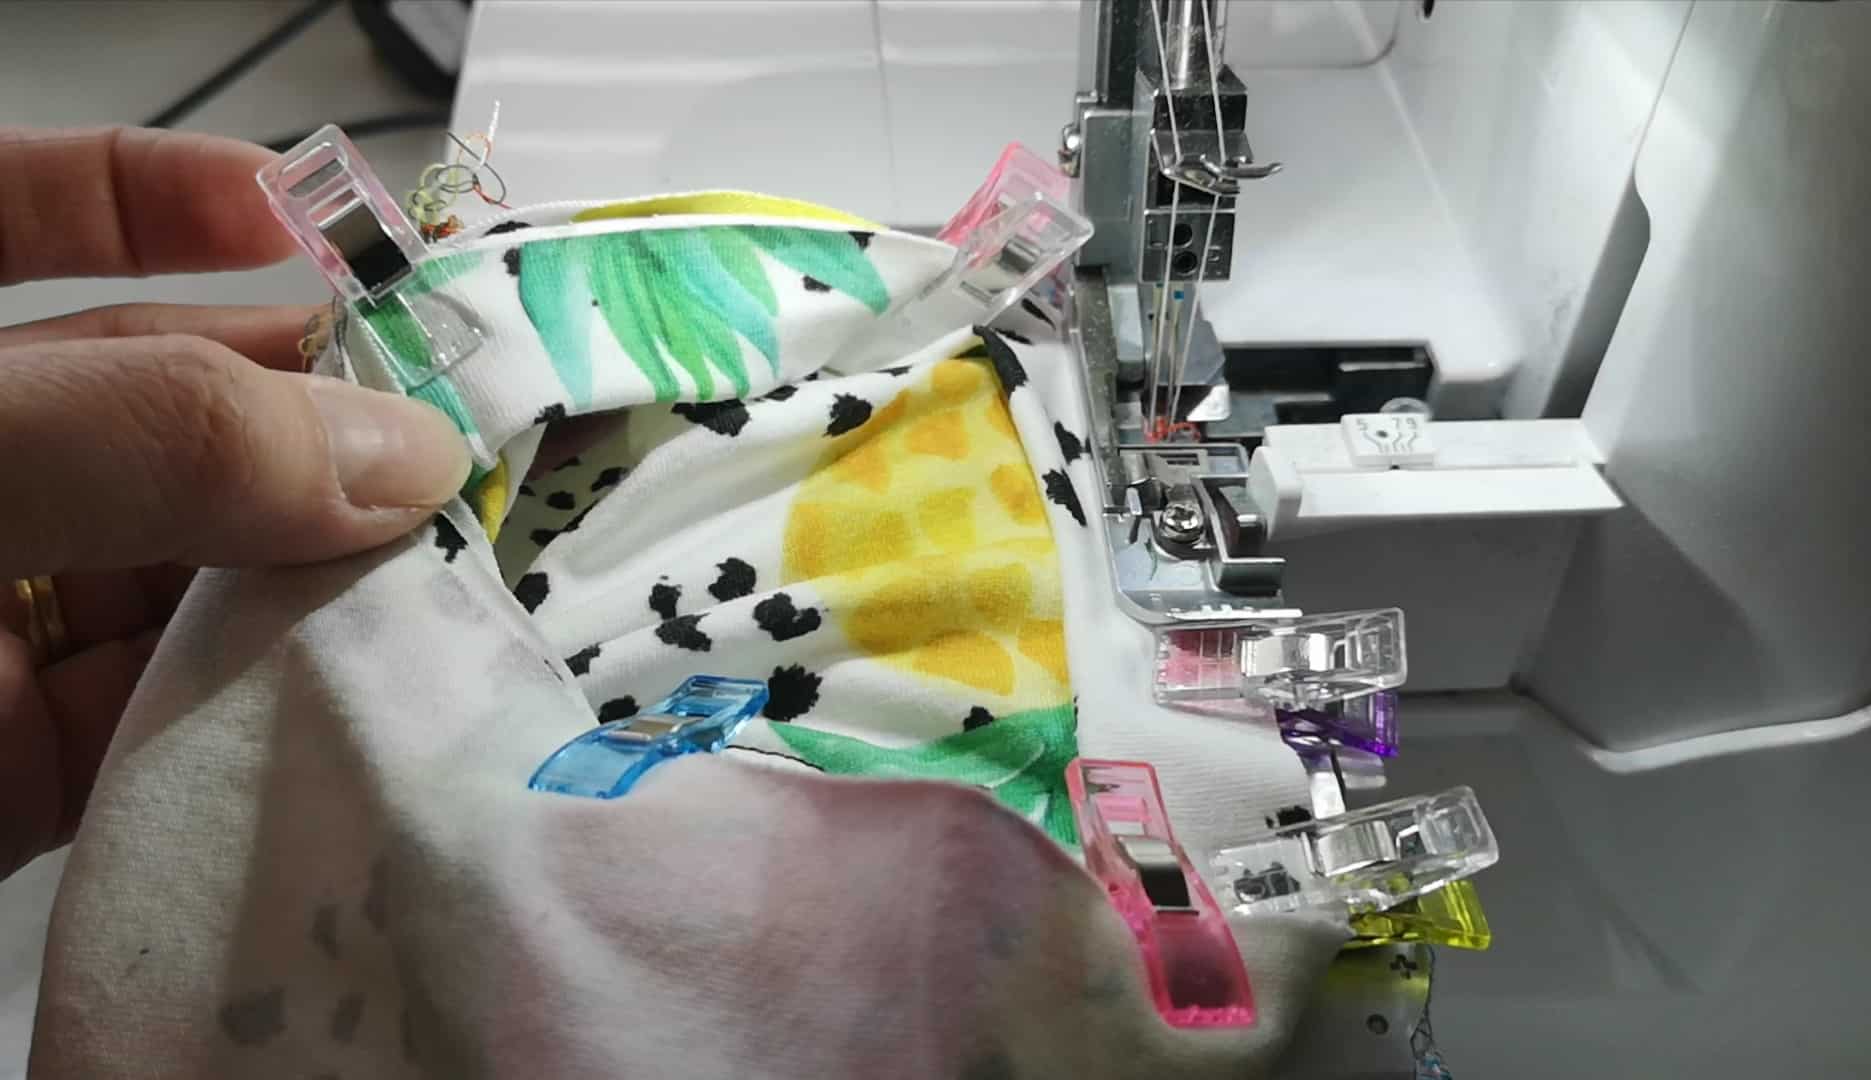
Then we start again with the neckline. Sew the back curved seam of your main hood, right sides together. Then repeat for your lining.
![]()
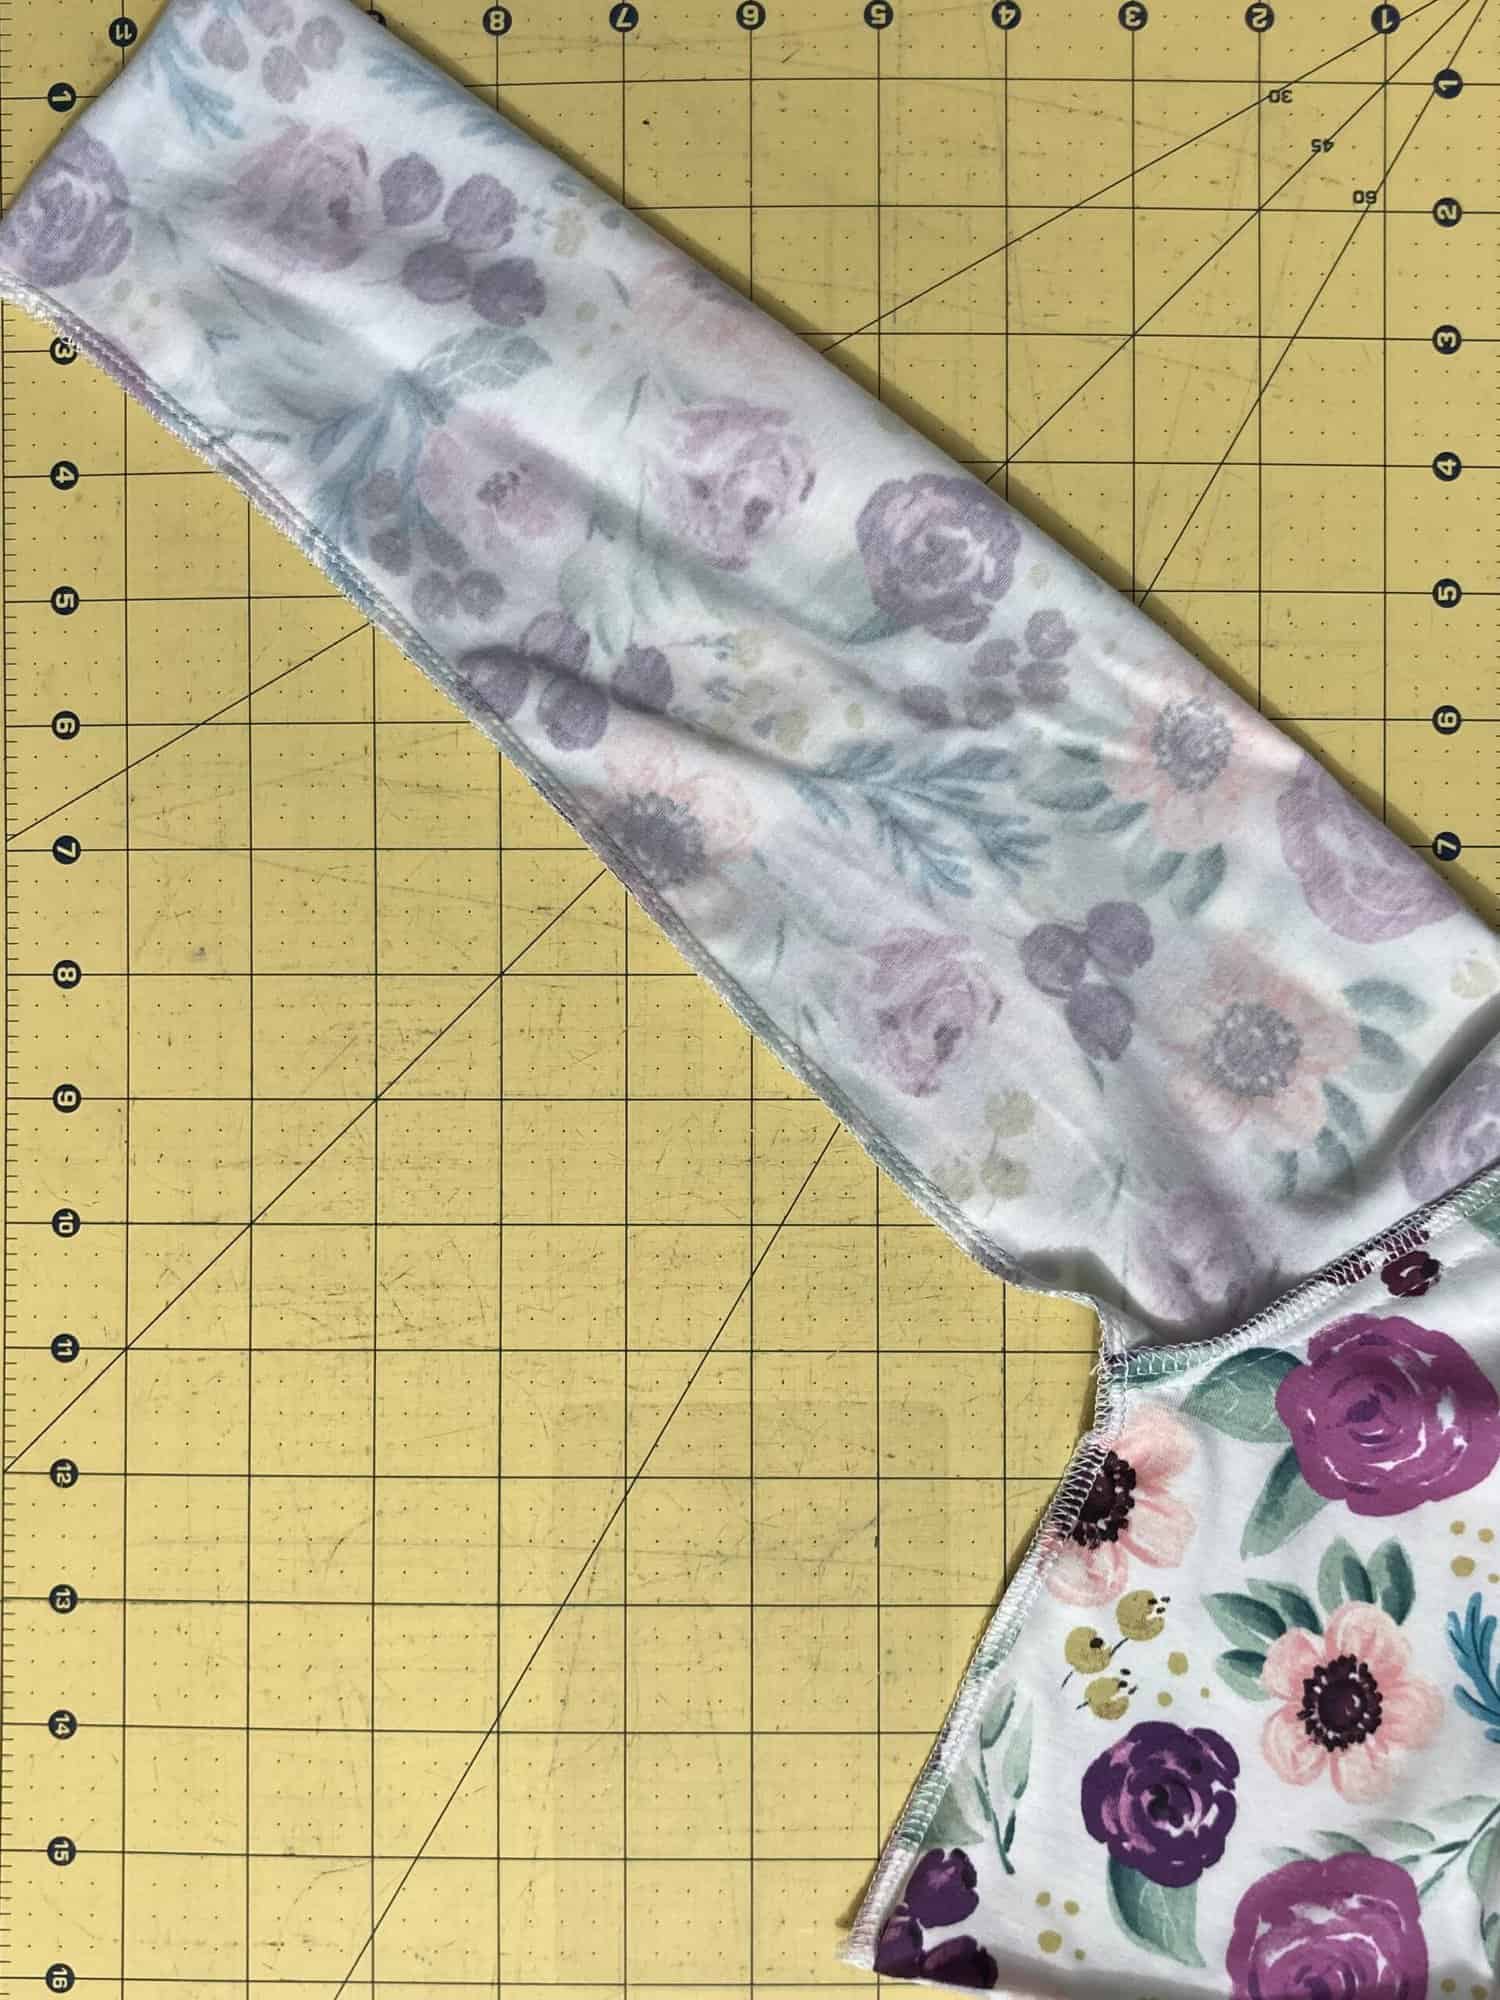
Sew the front chin curve for your main right sides together, then again for your lining.
![]()
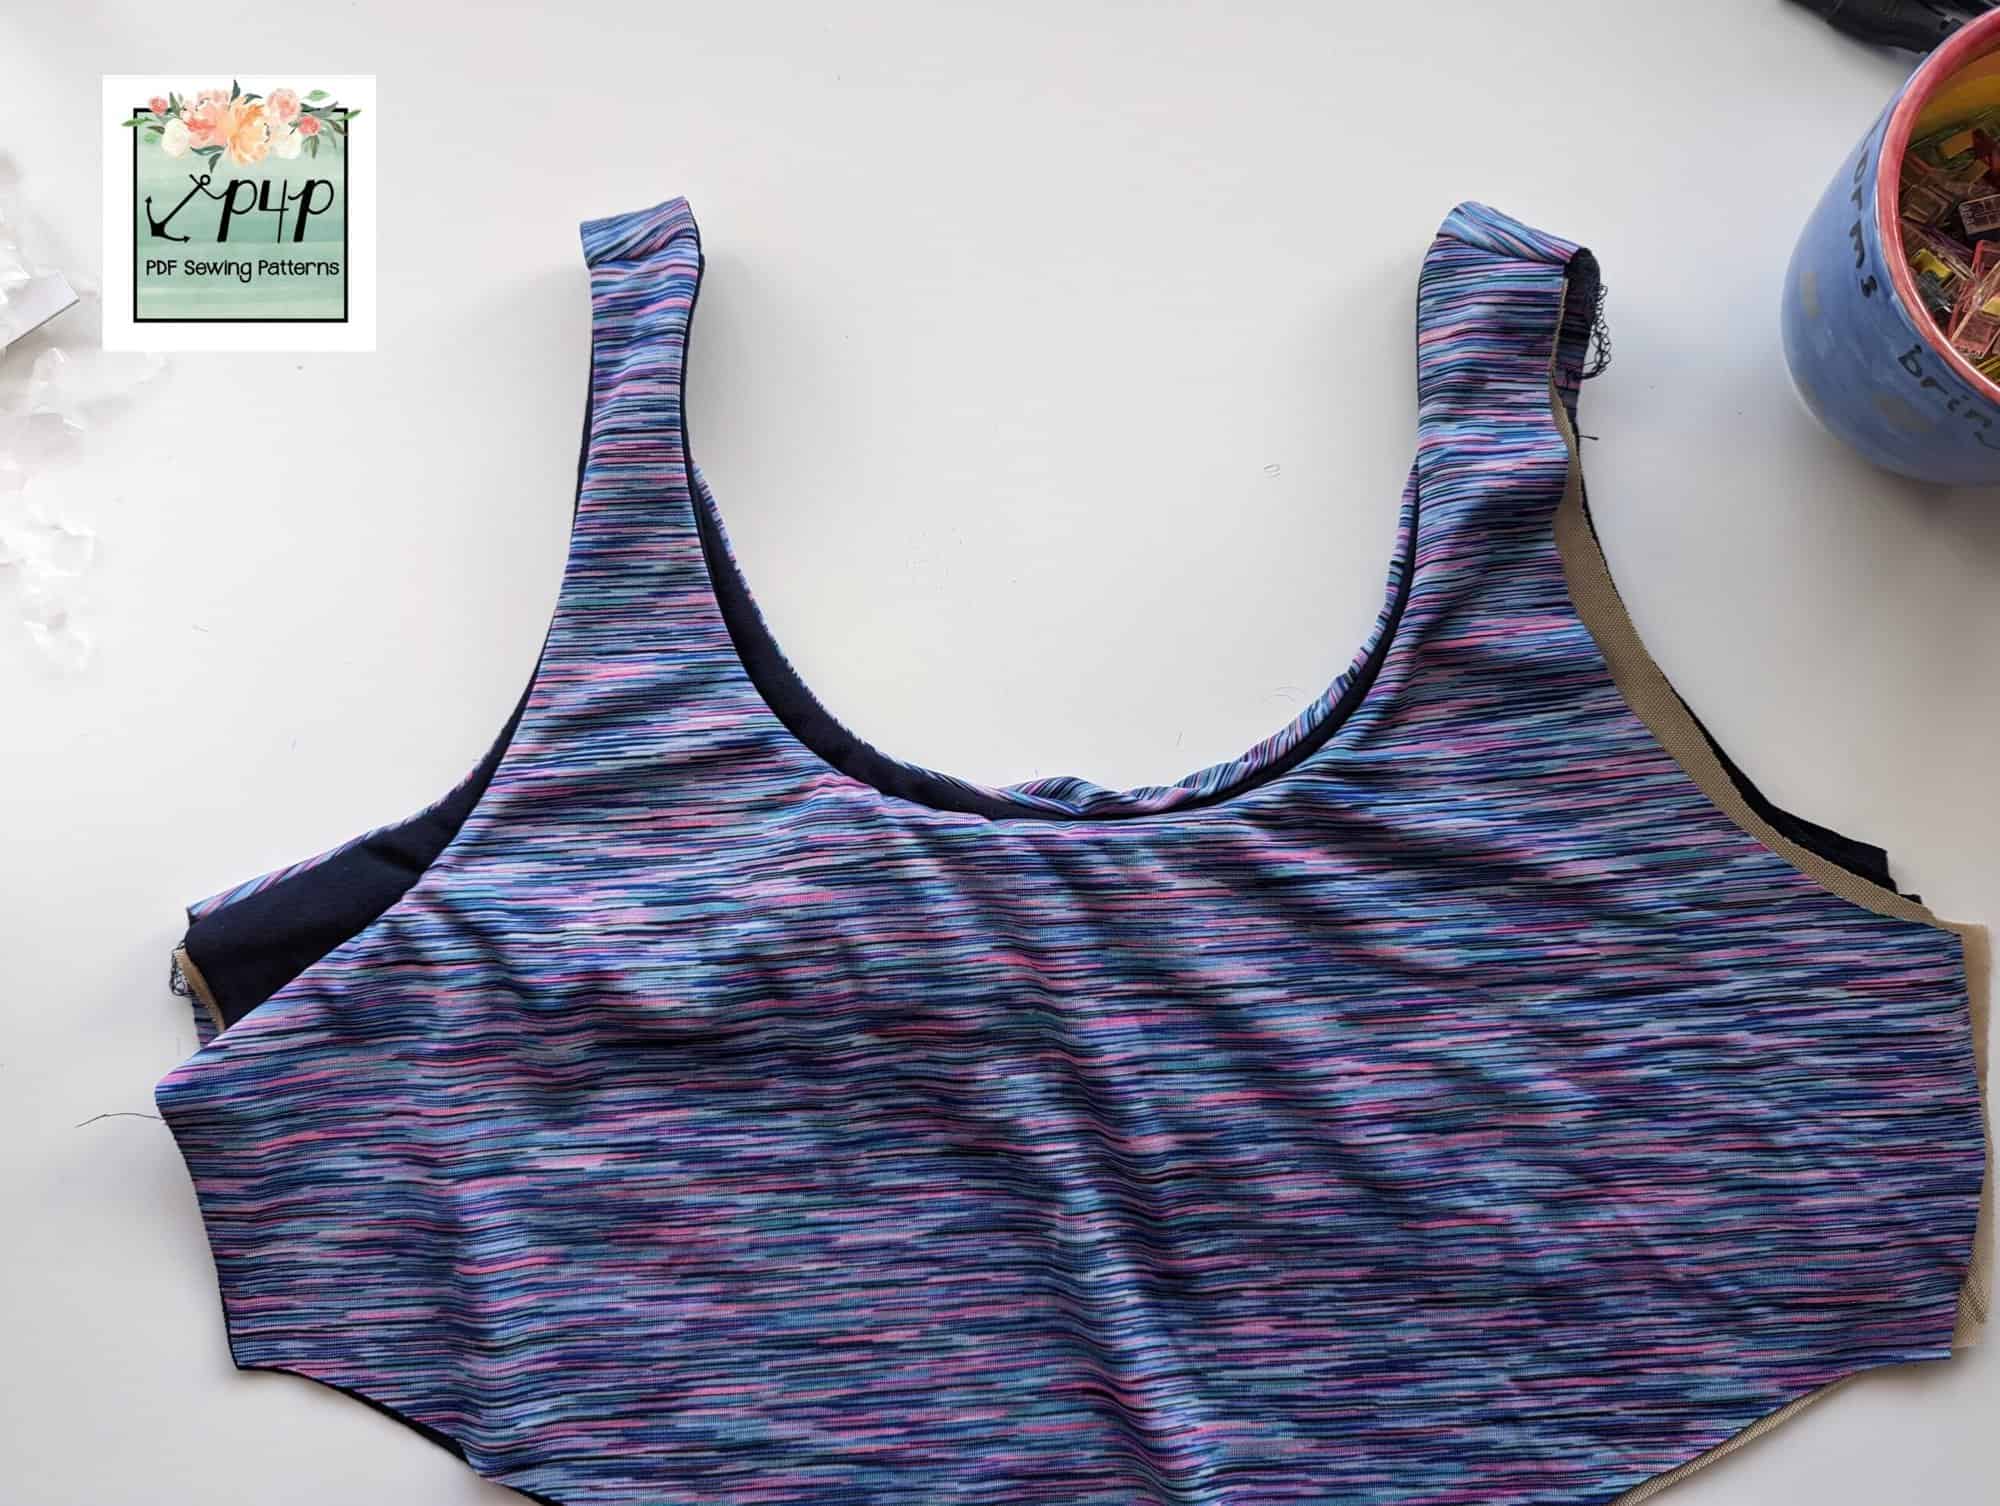
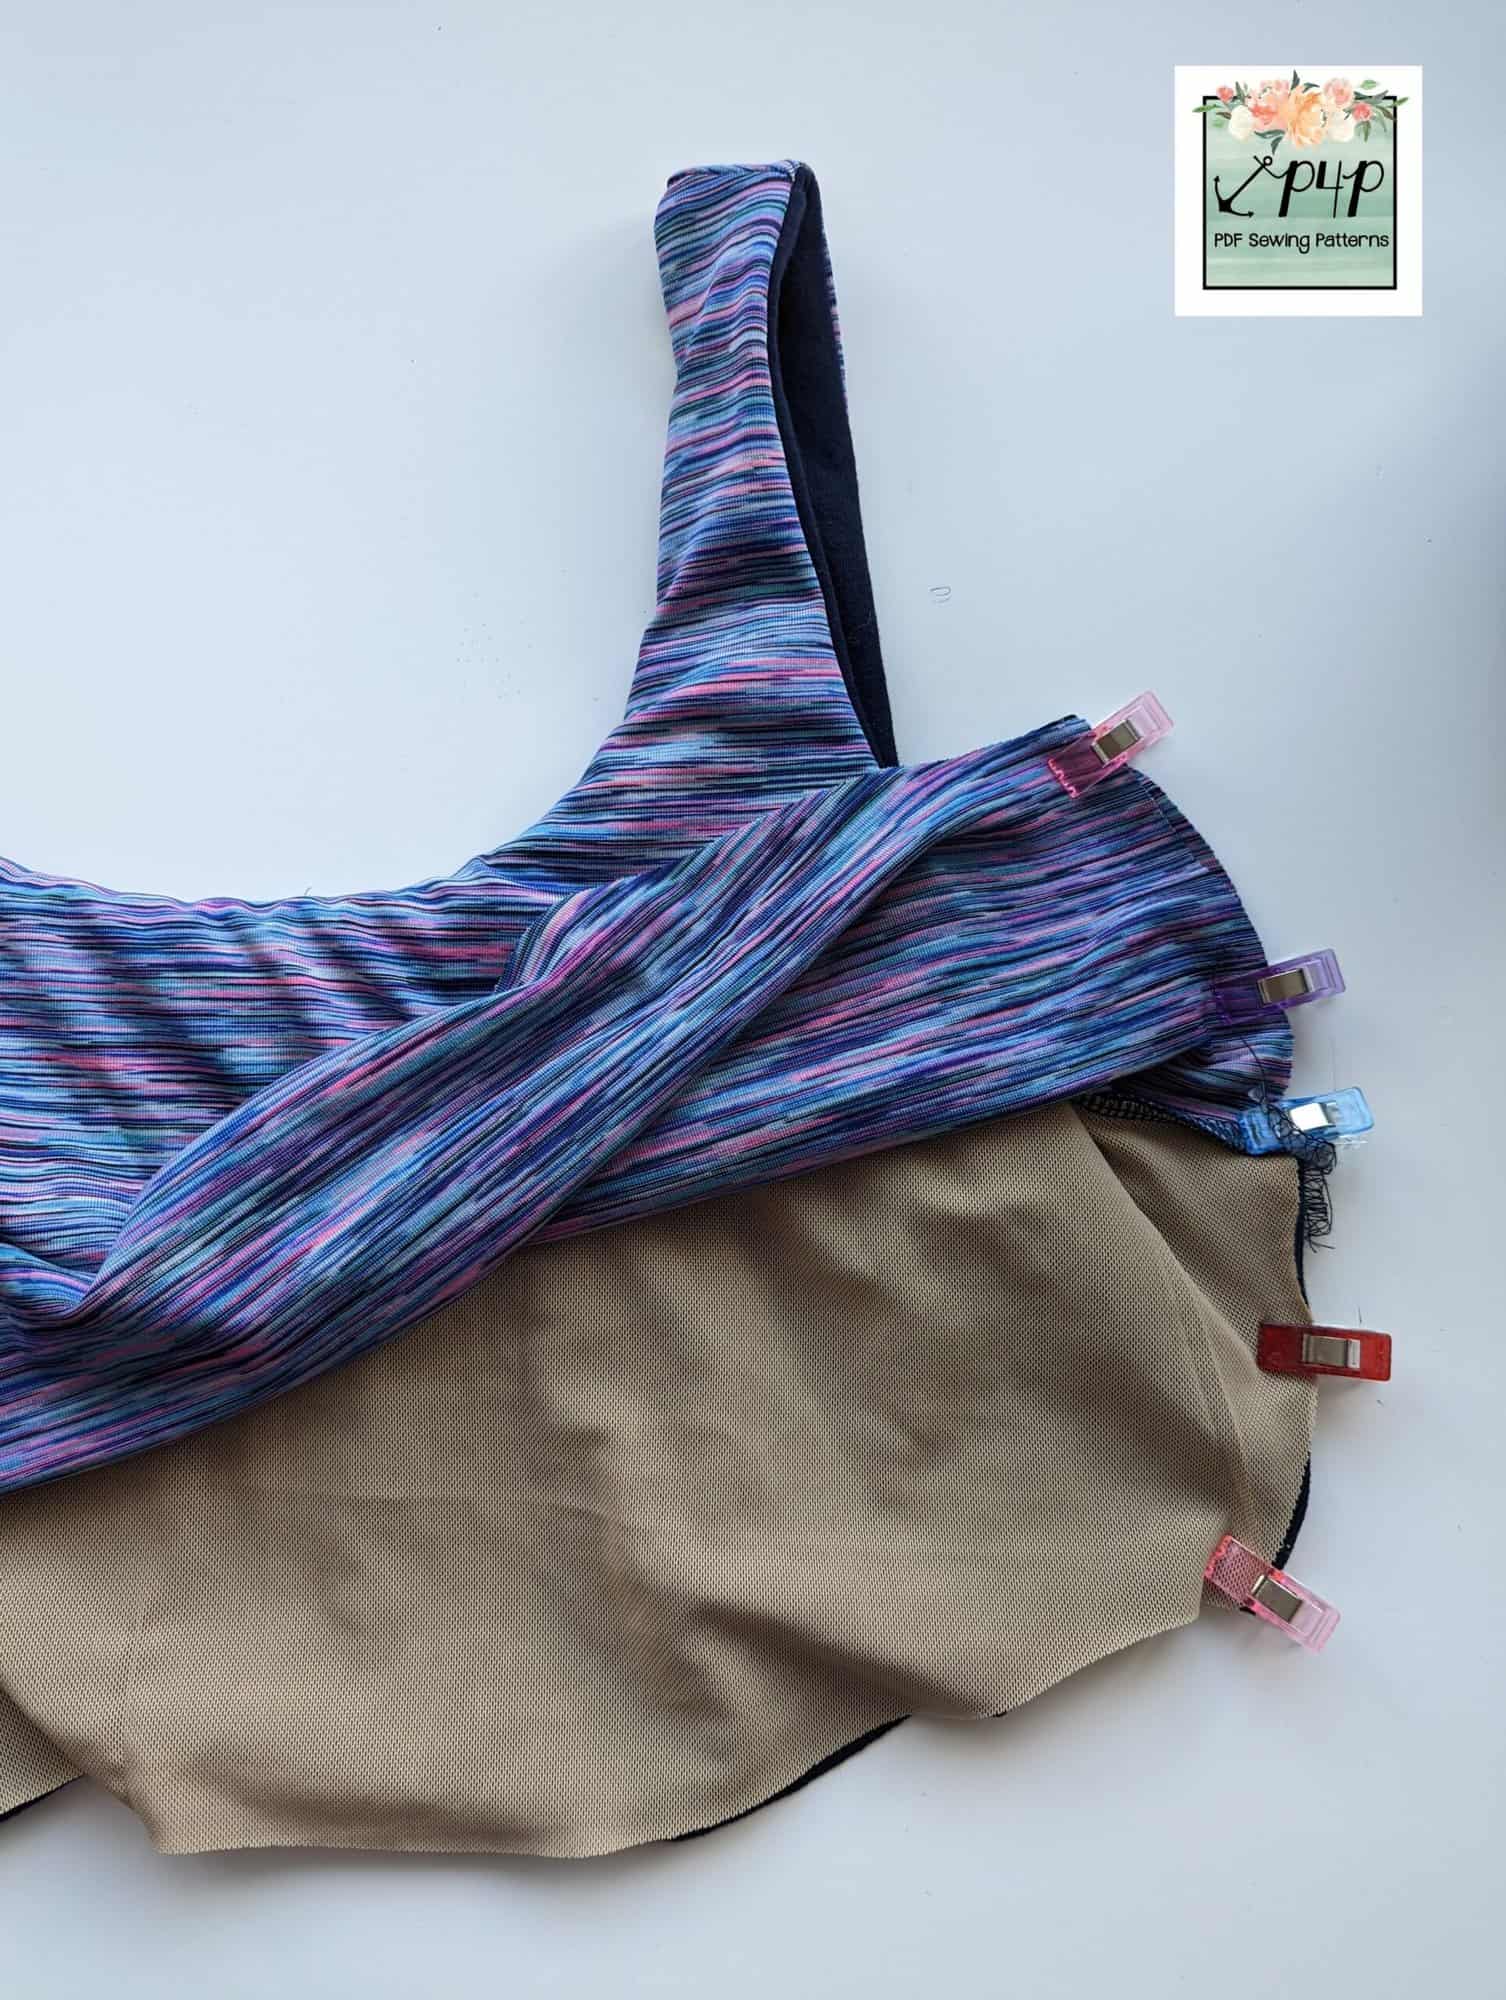
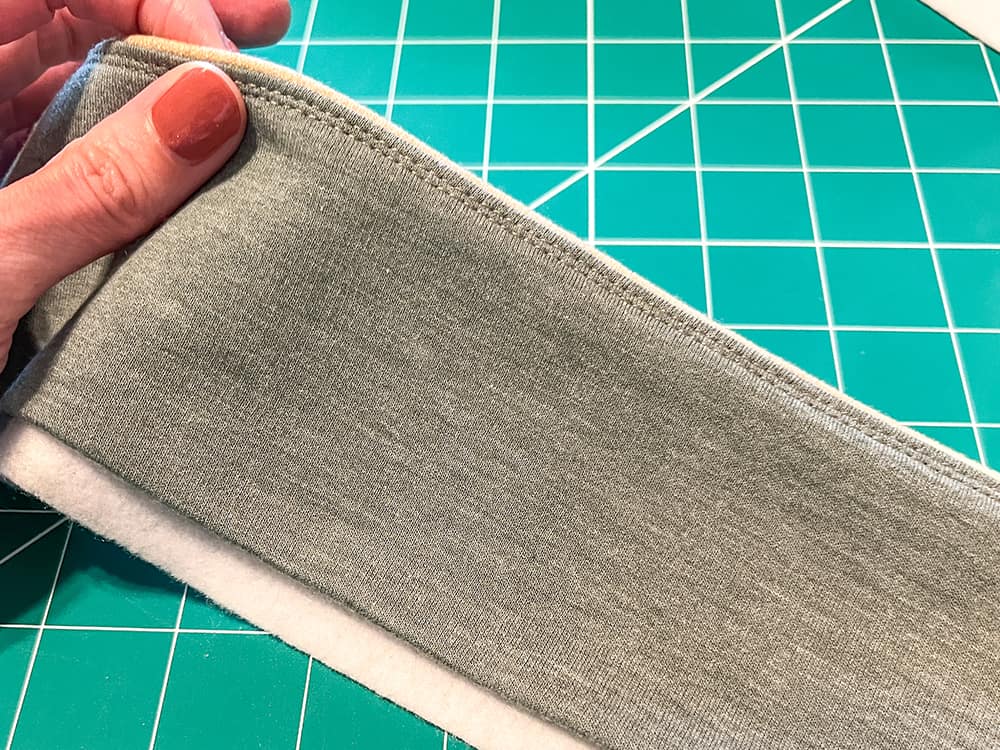
Turn the lining right side out, and slip it inside your main. These should now be right sides together.
![]()
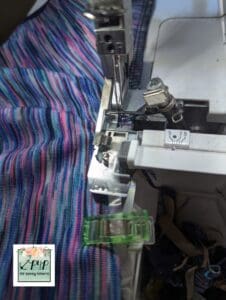
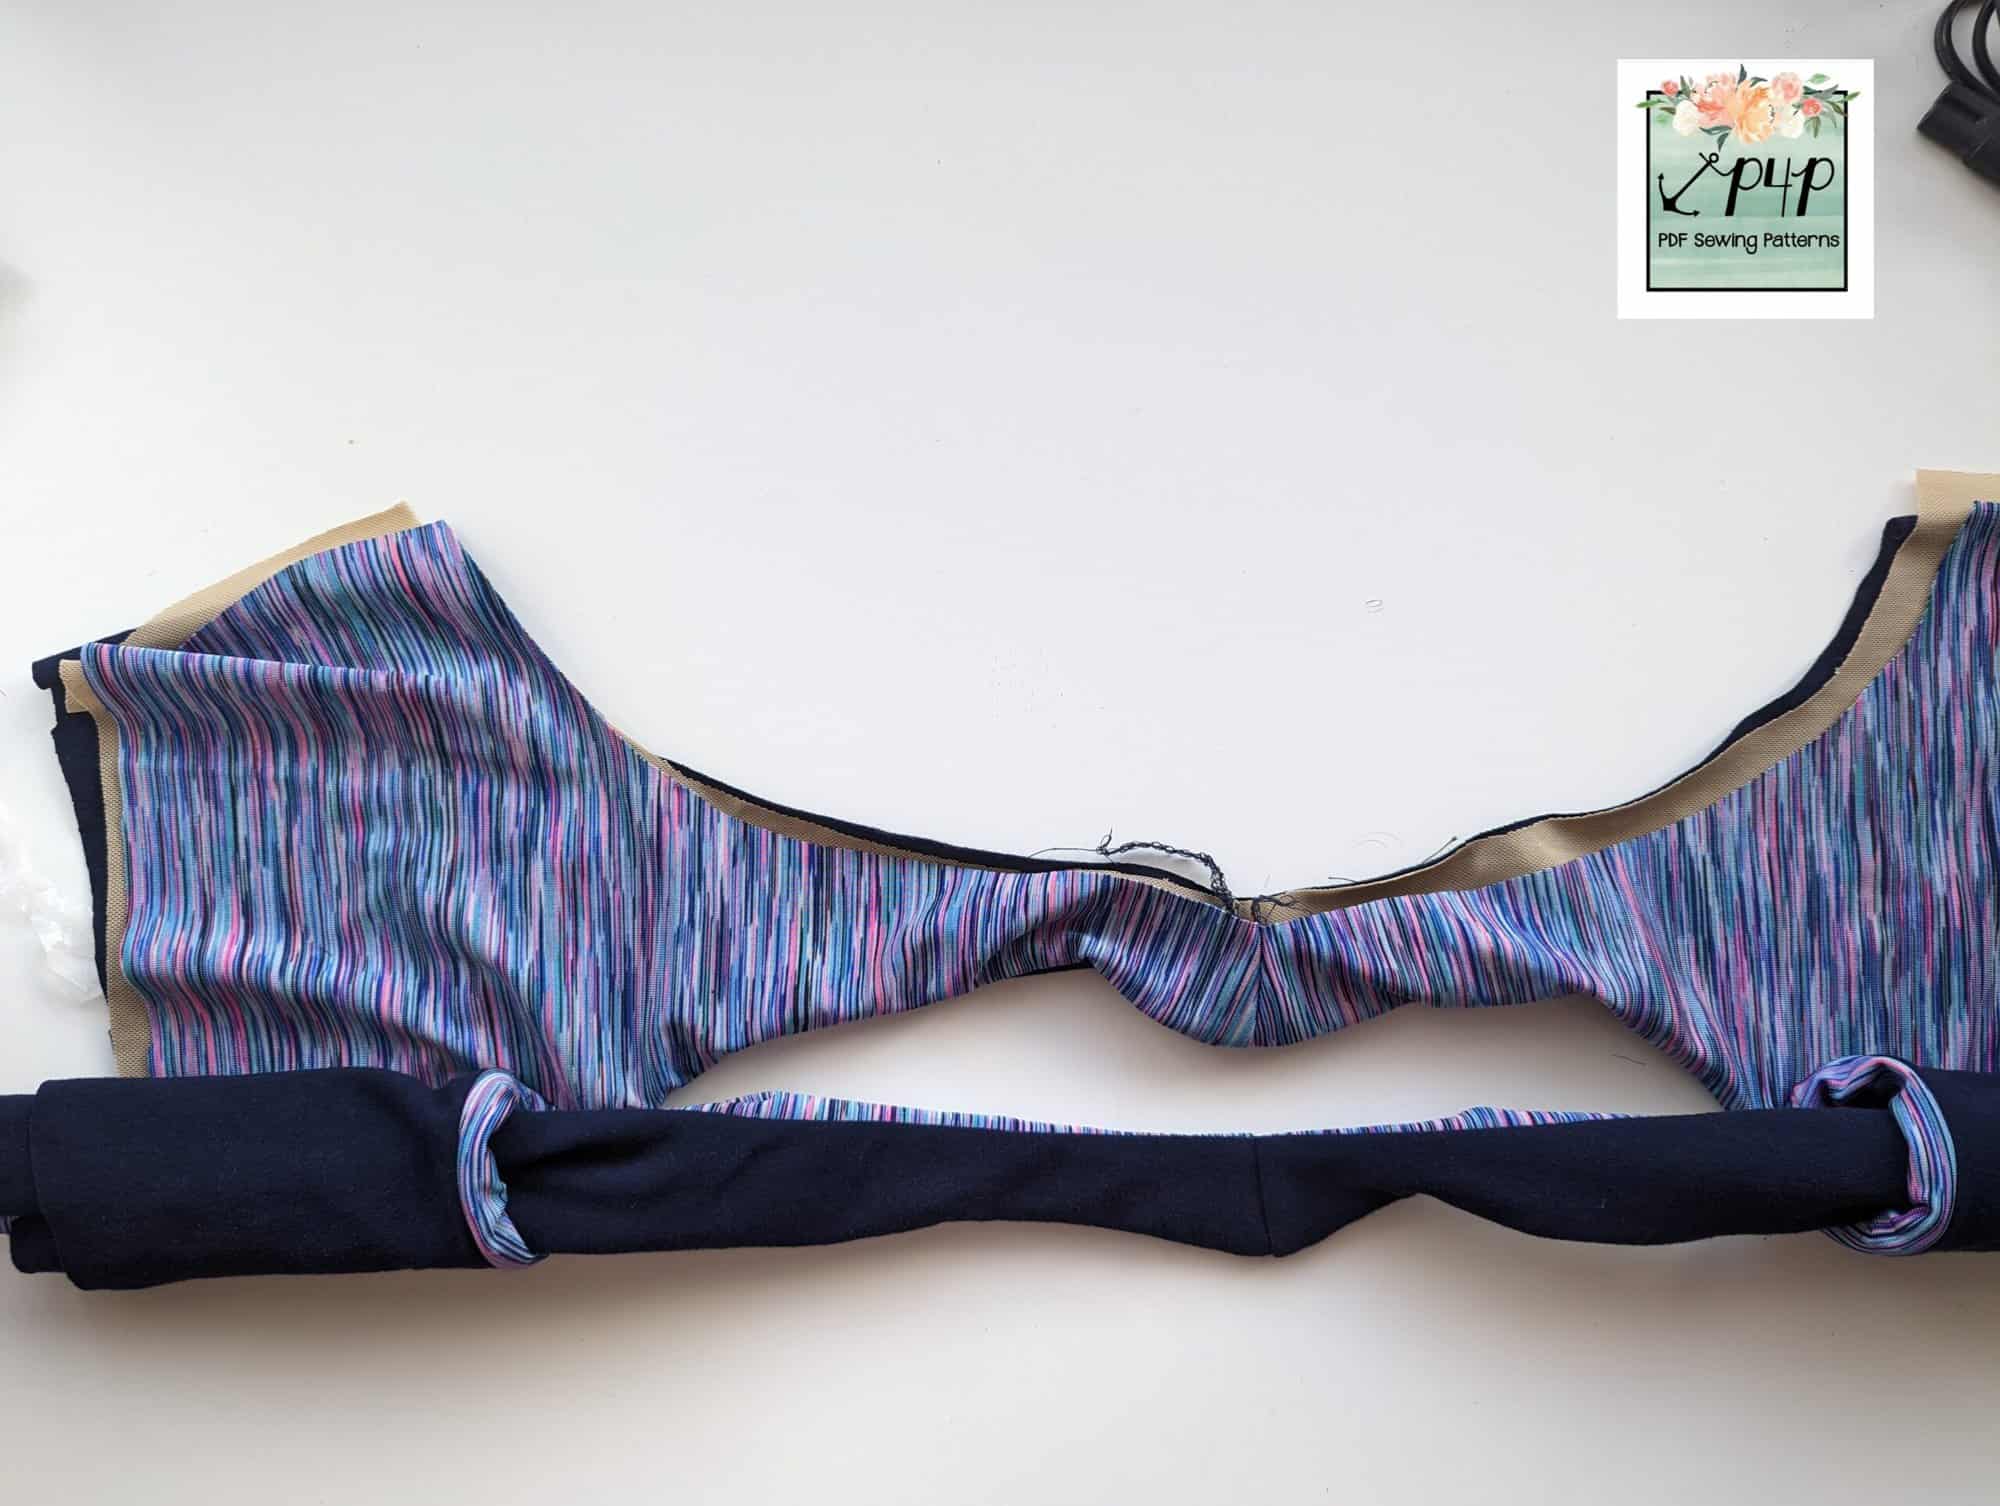
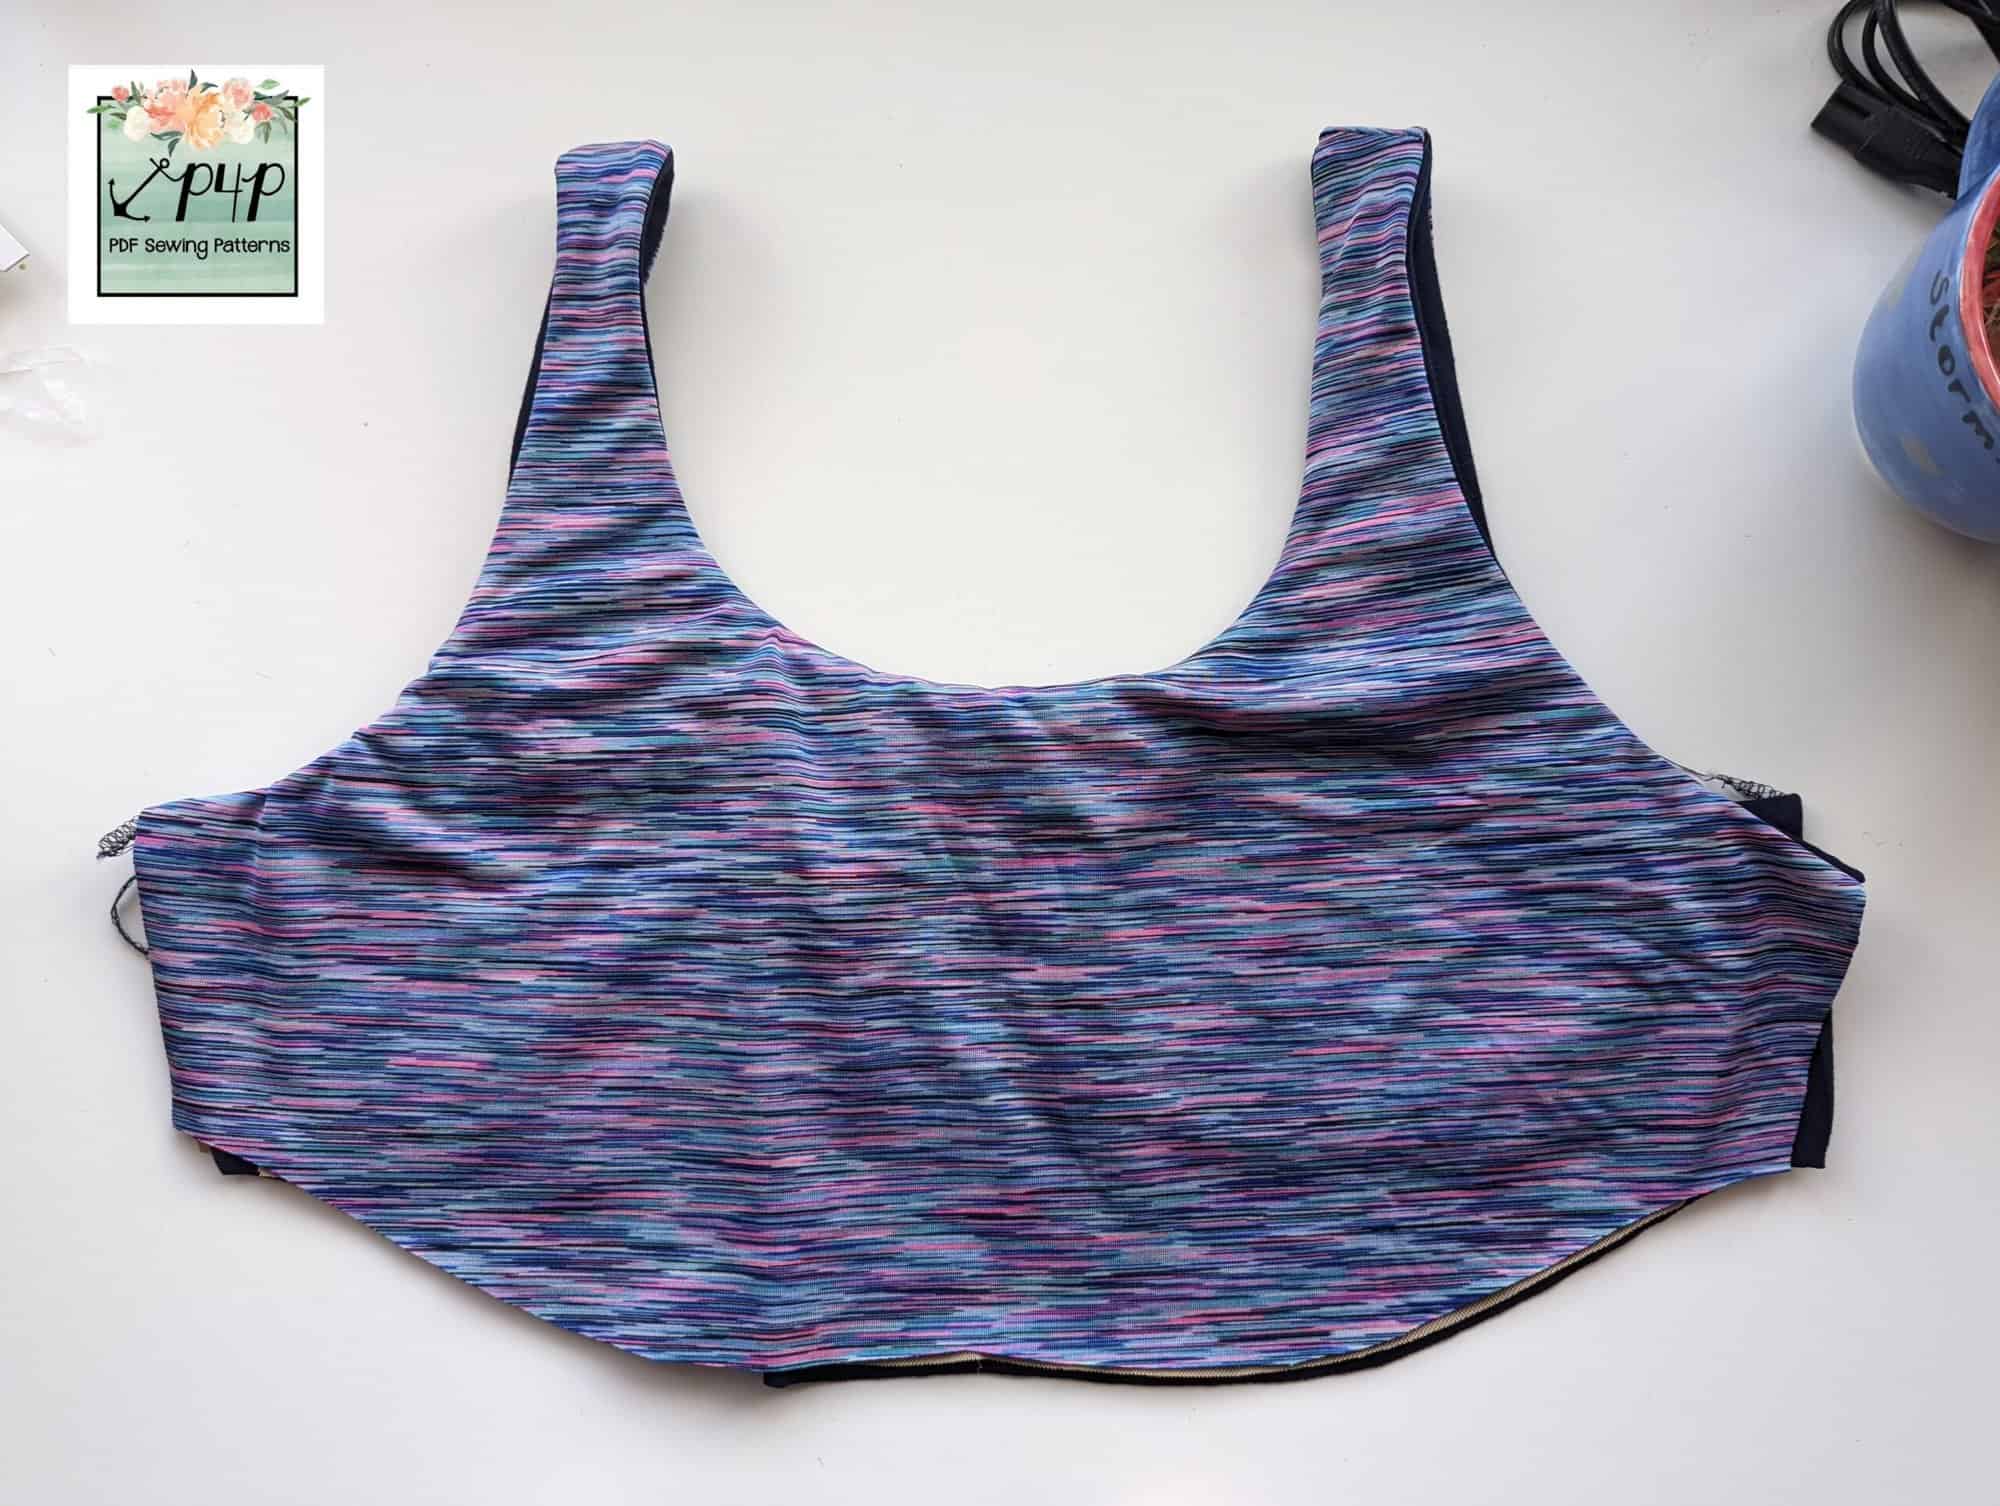
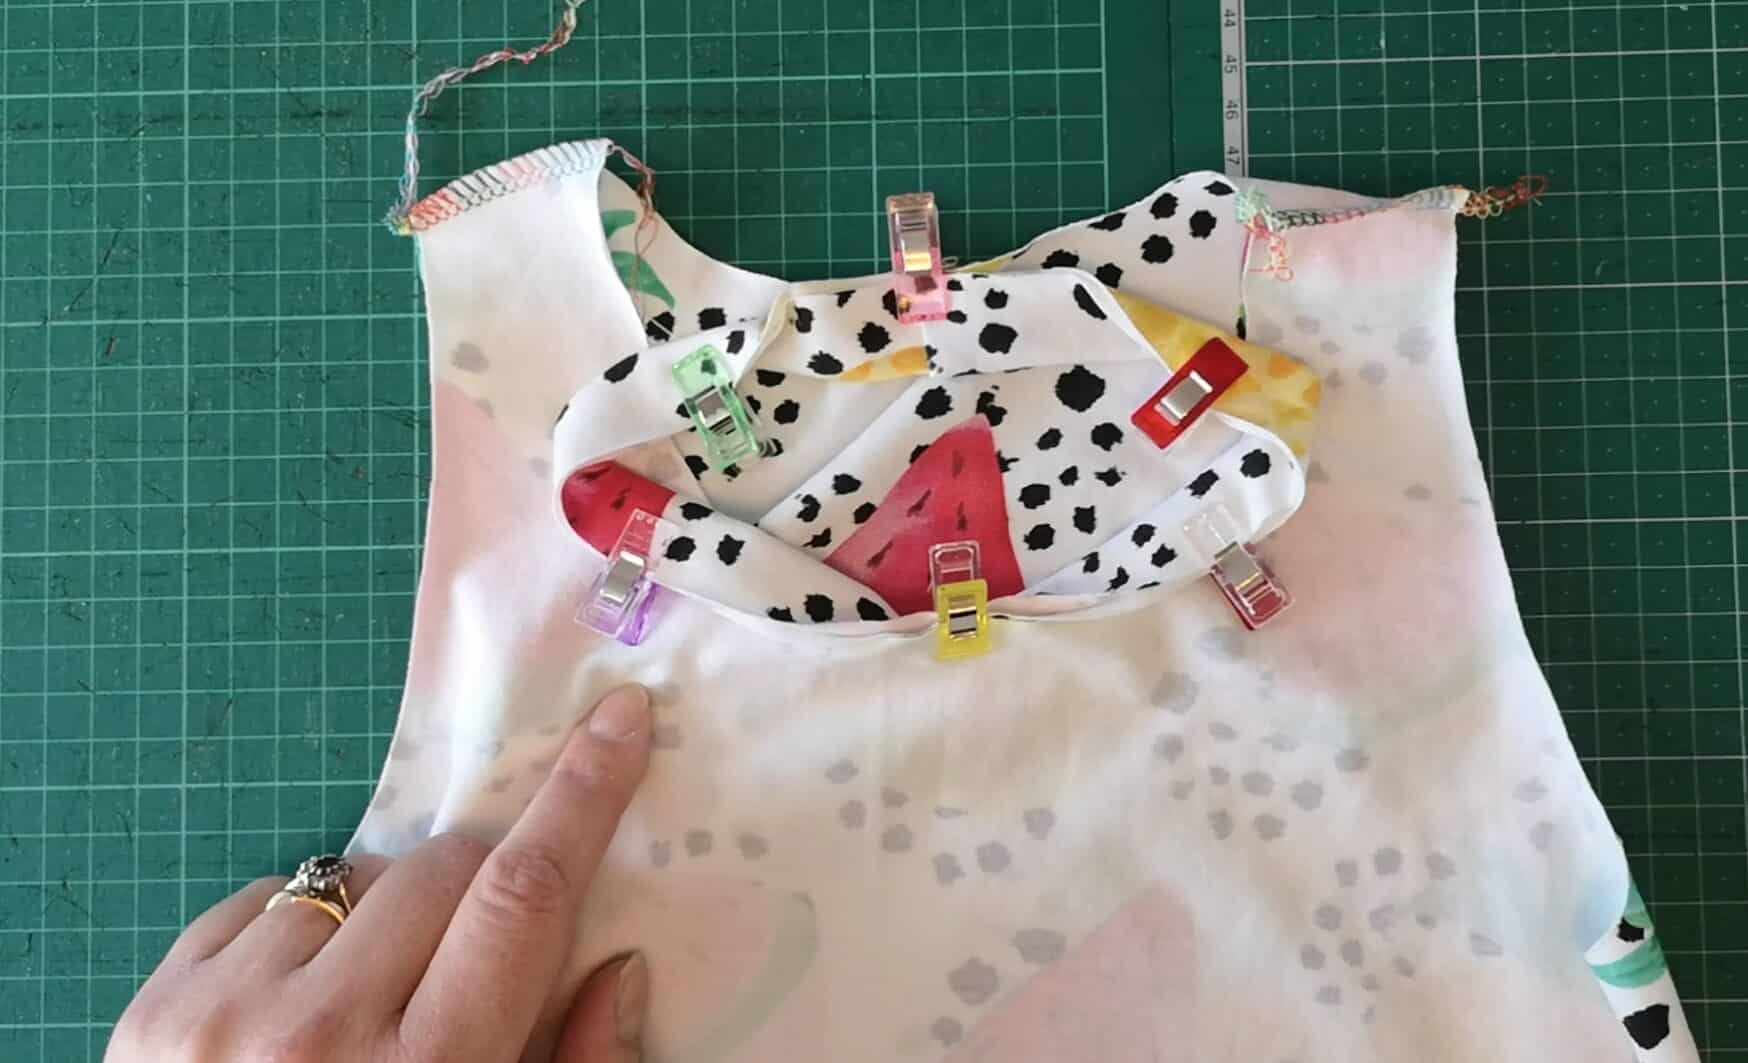
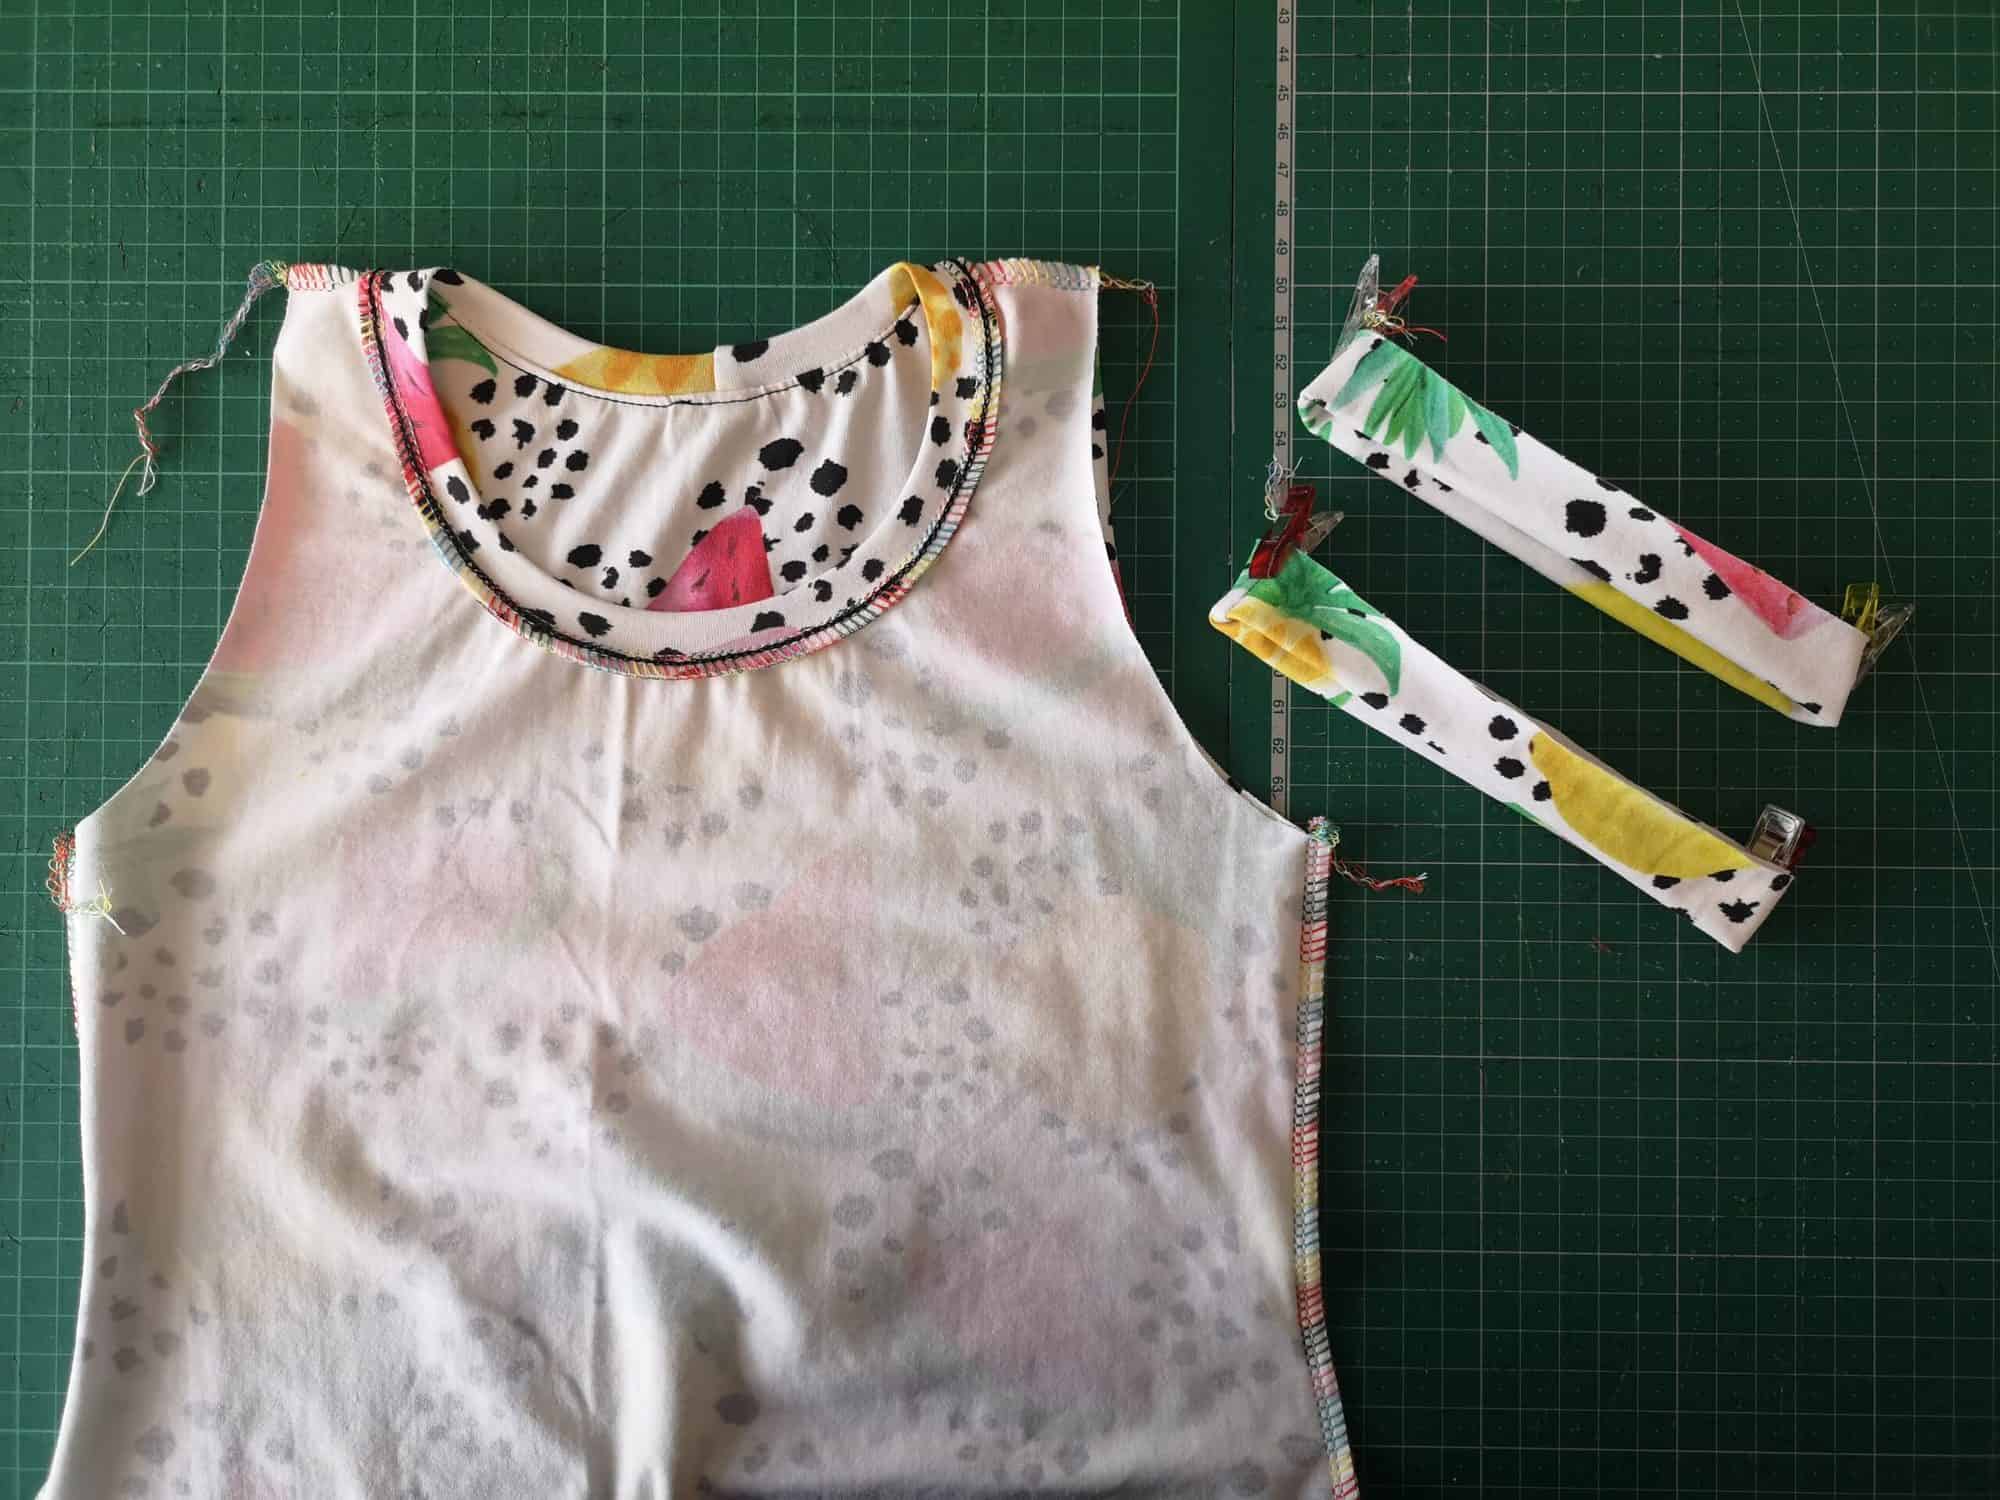
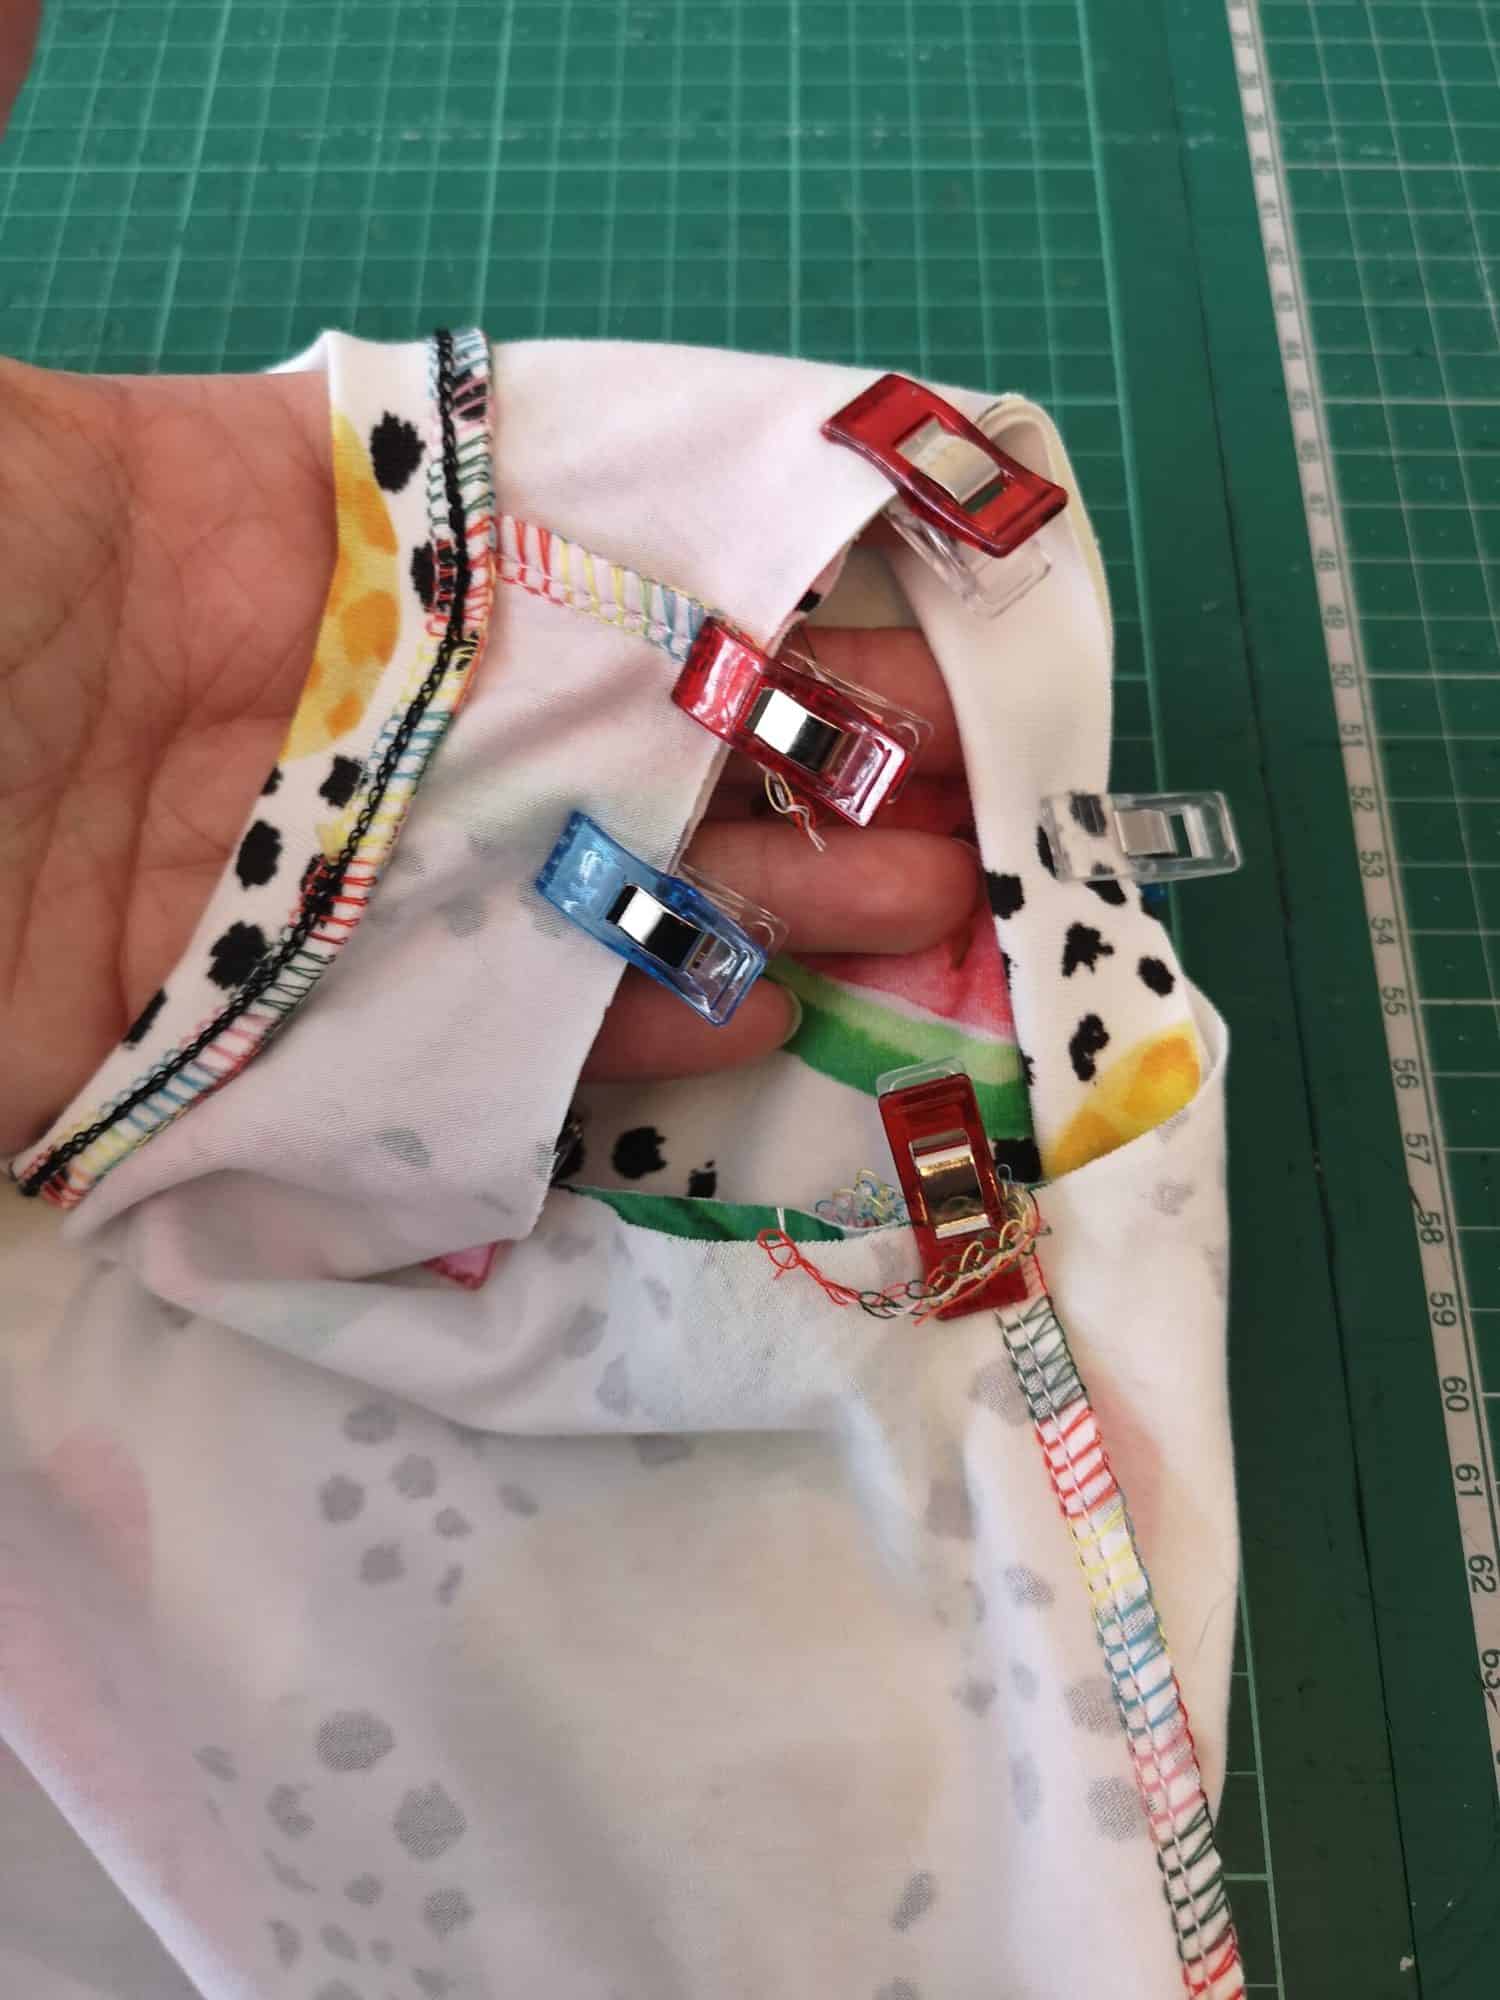
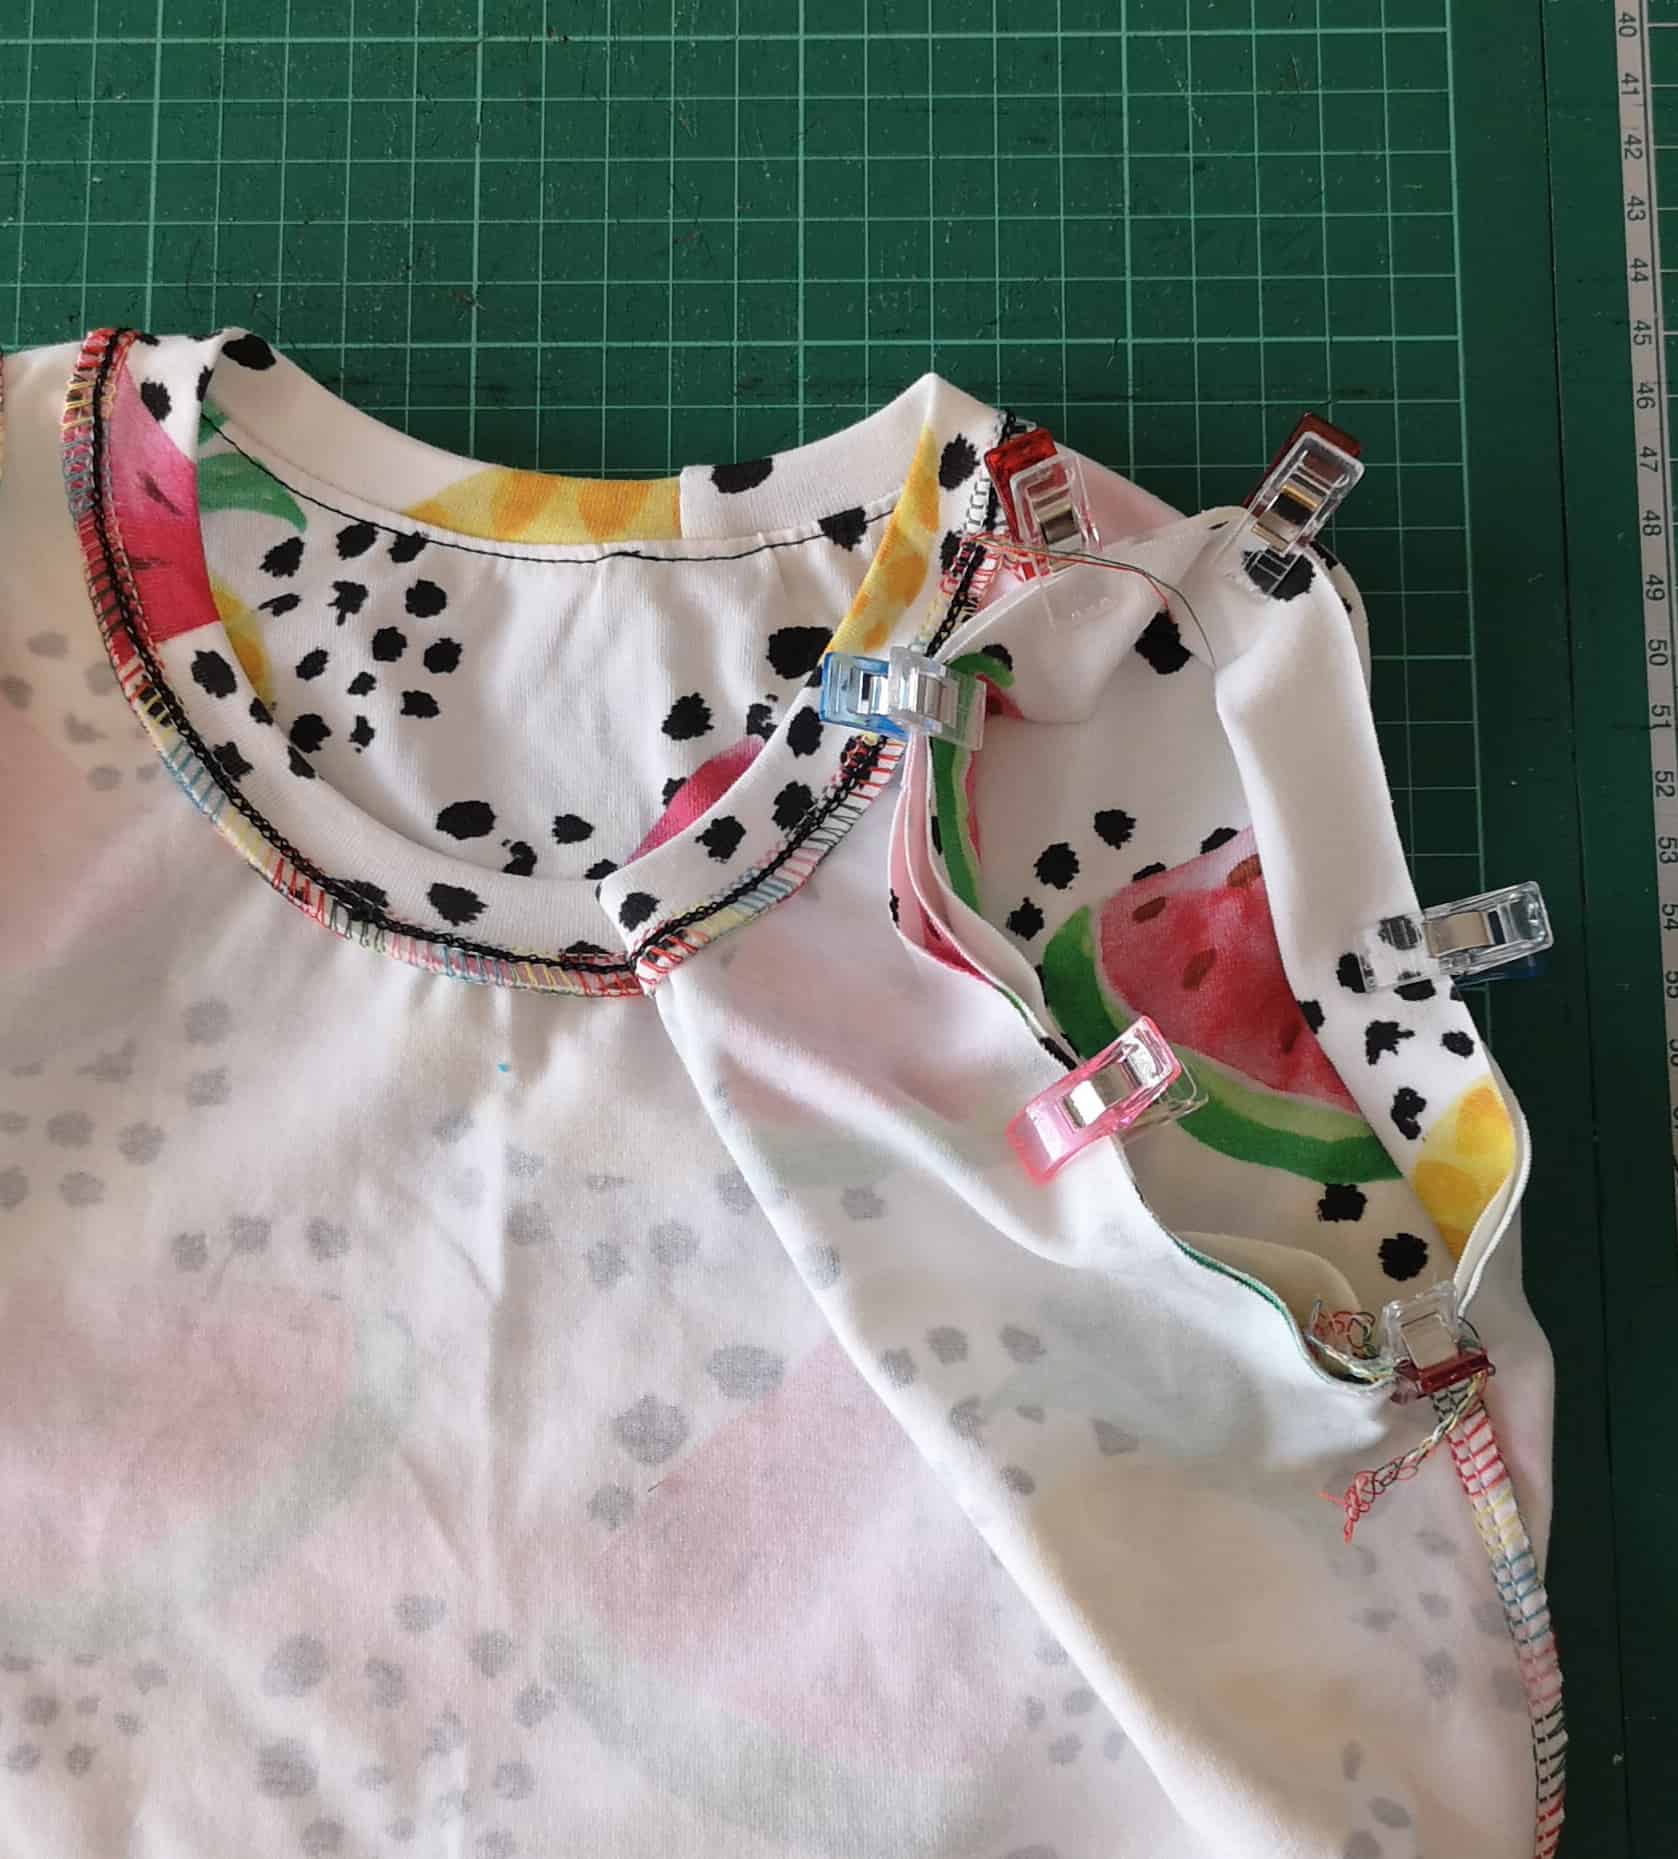
Sew around the hood face opening to join the hoods together. Clip your seam allowance if necessary, then turn right sides out and top stitch if you wish (it gives a great, professional finish and stops the hood slipping around).
Then quarter your neckline, and quarter your hood. Turn the main garment inside out and drop the hood into the neckline right sides together, matching the quarter points. The hood should fit nicely into the neckline. Sew them together, and you’re done!
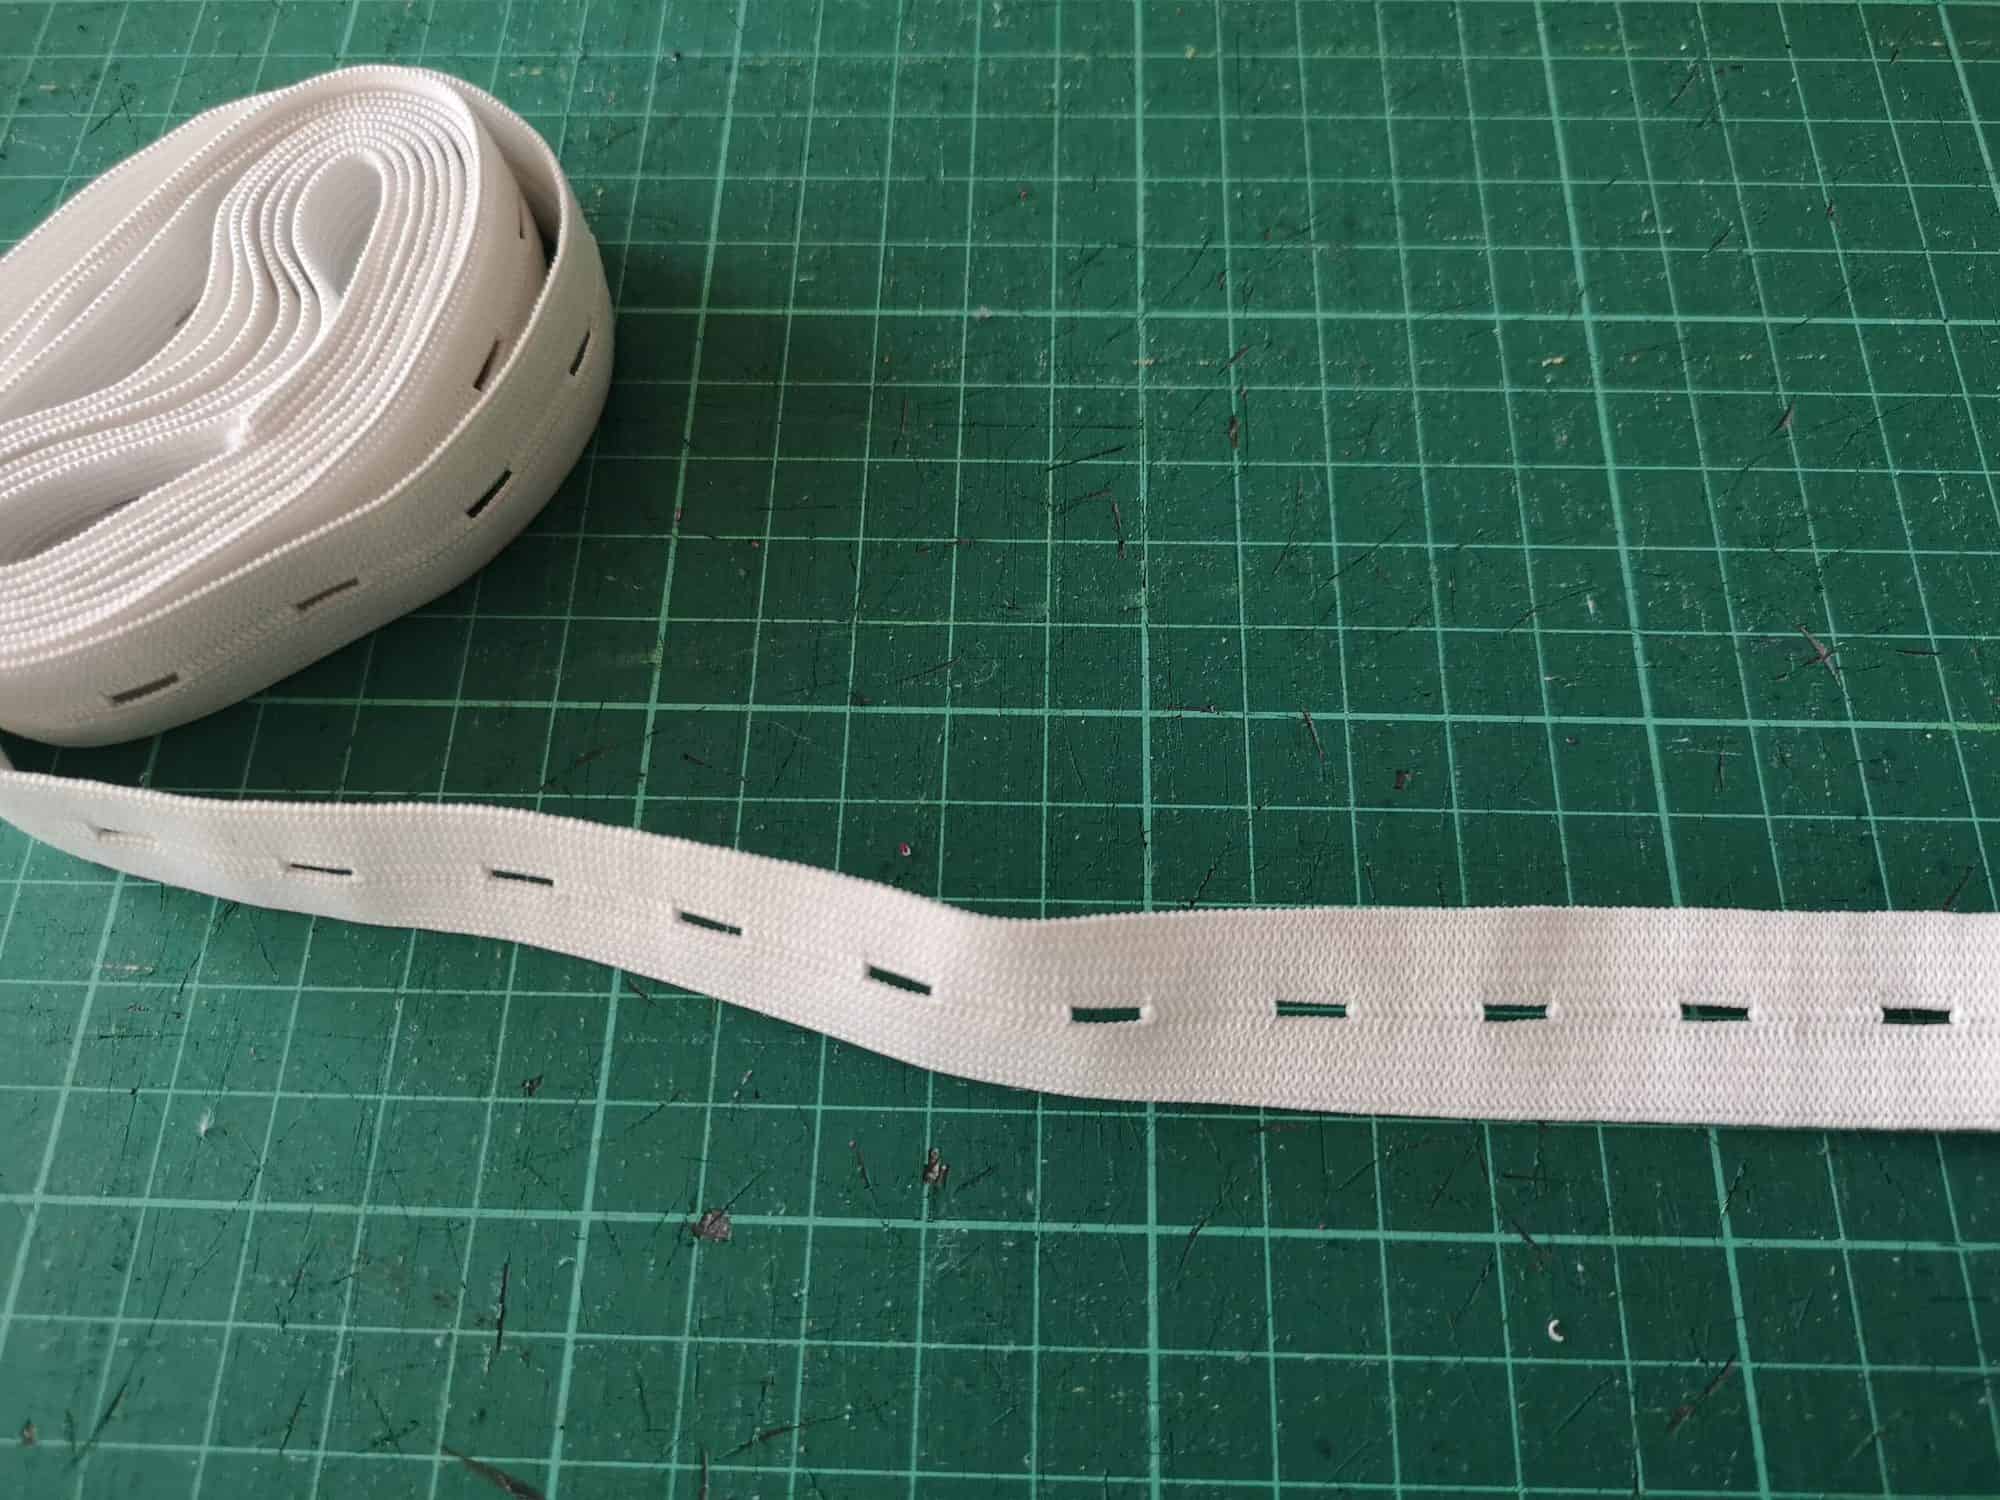
If you want to use a traditional neckband instead of the hood, then you can measure your neckline opening like this
![]()
Then calculate your neckband. I used a ribbing and therefore used a calculation of 75%, but for a fabric with less stretch you could use 80 or 85%.
So, the neckline for my daughter’s age 10 measured 8.75″ across, x 2 for the full circumference is 17.5″. Then multiply by 75% gives us 13″, plus 1/2″ seam allowance at either end gives us 14″. I used a width of 2.5″ for a final neckband depth of 3/4″. So my neckband is cut at 14 x 2.5″.
![]()
Sew the short ends together, press in half longways and then attach as you do the hood, by quartering both the neckband and the neckhole and sewing them together, matching the quarter points.
![]()
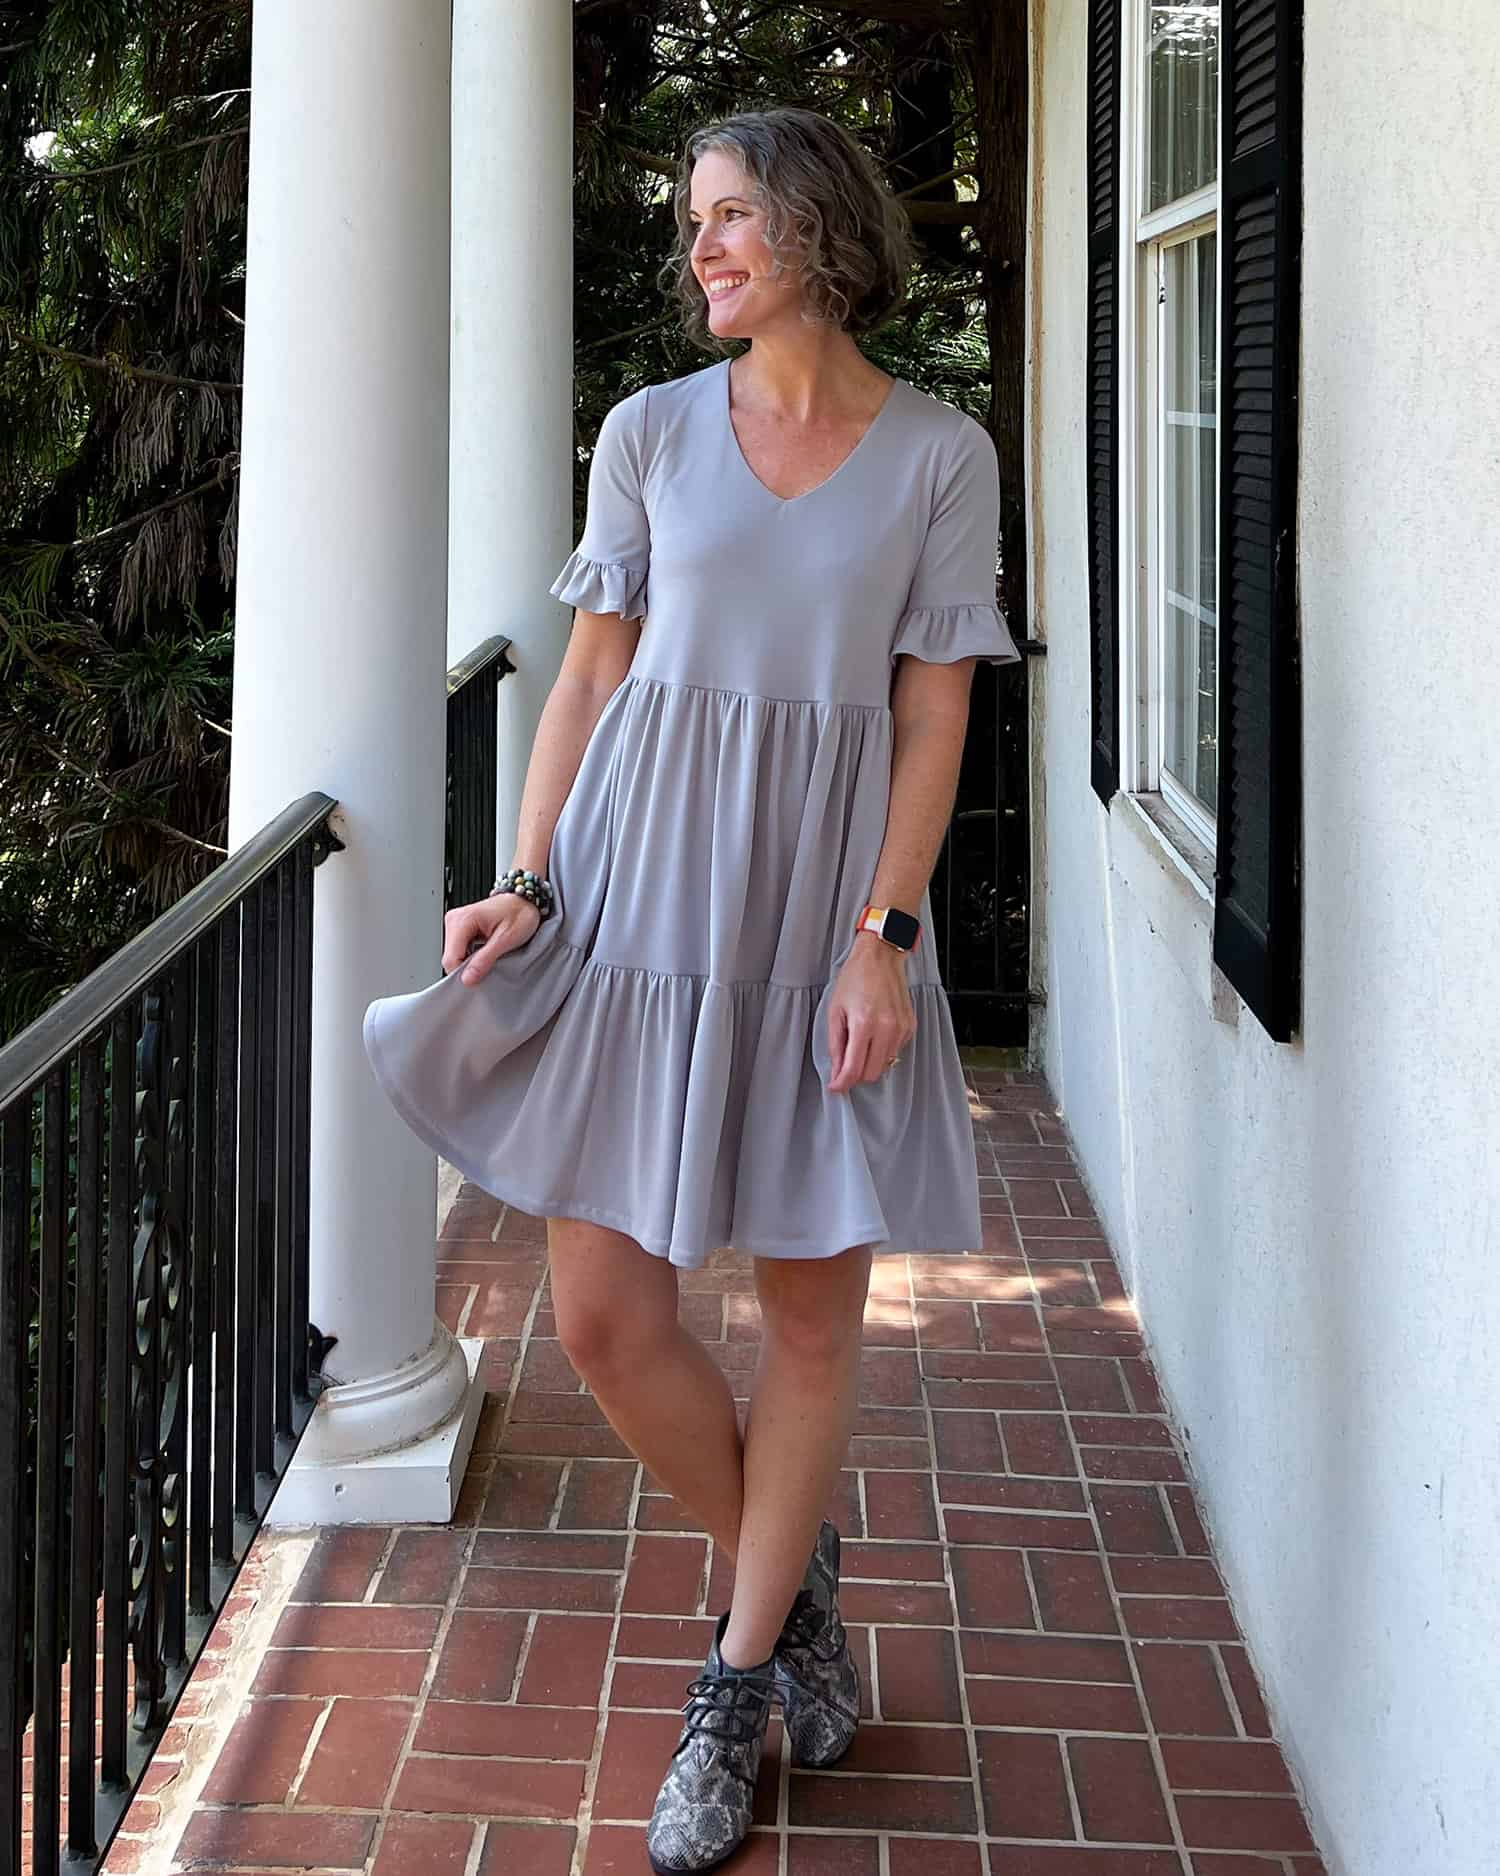
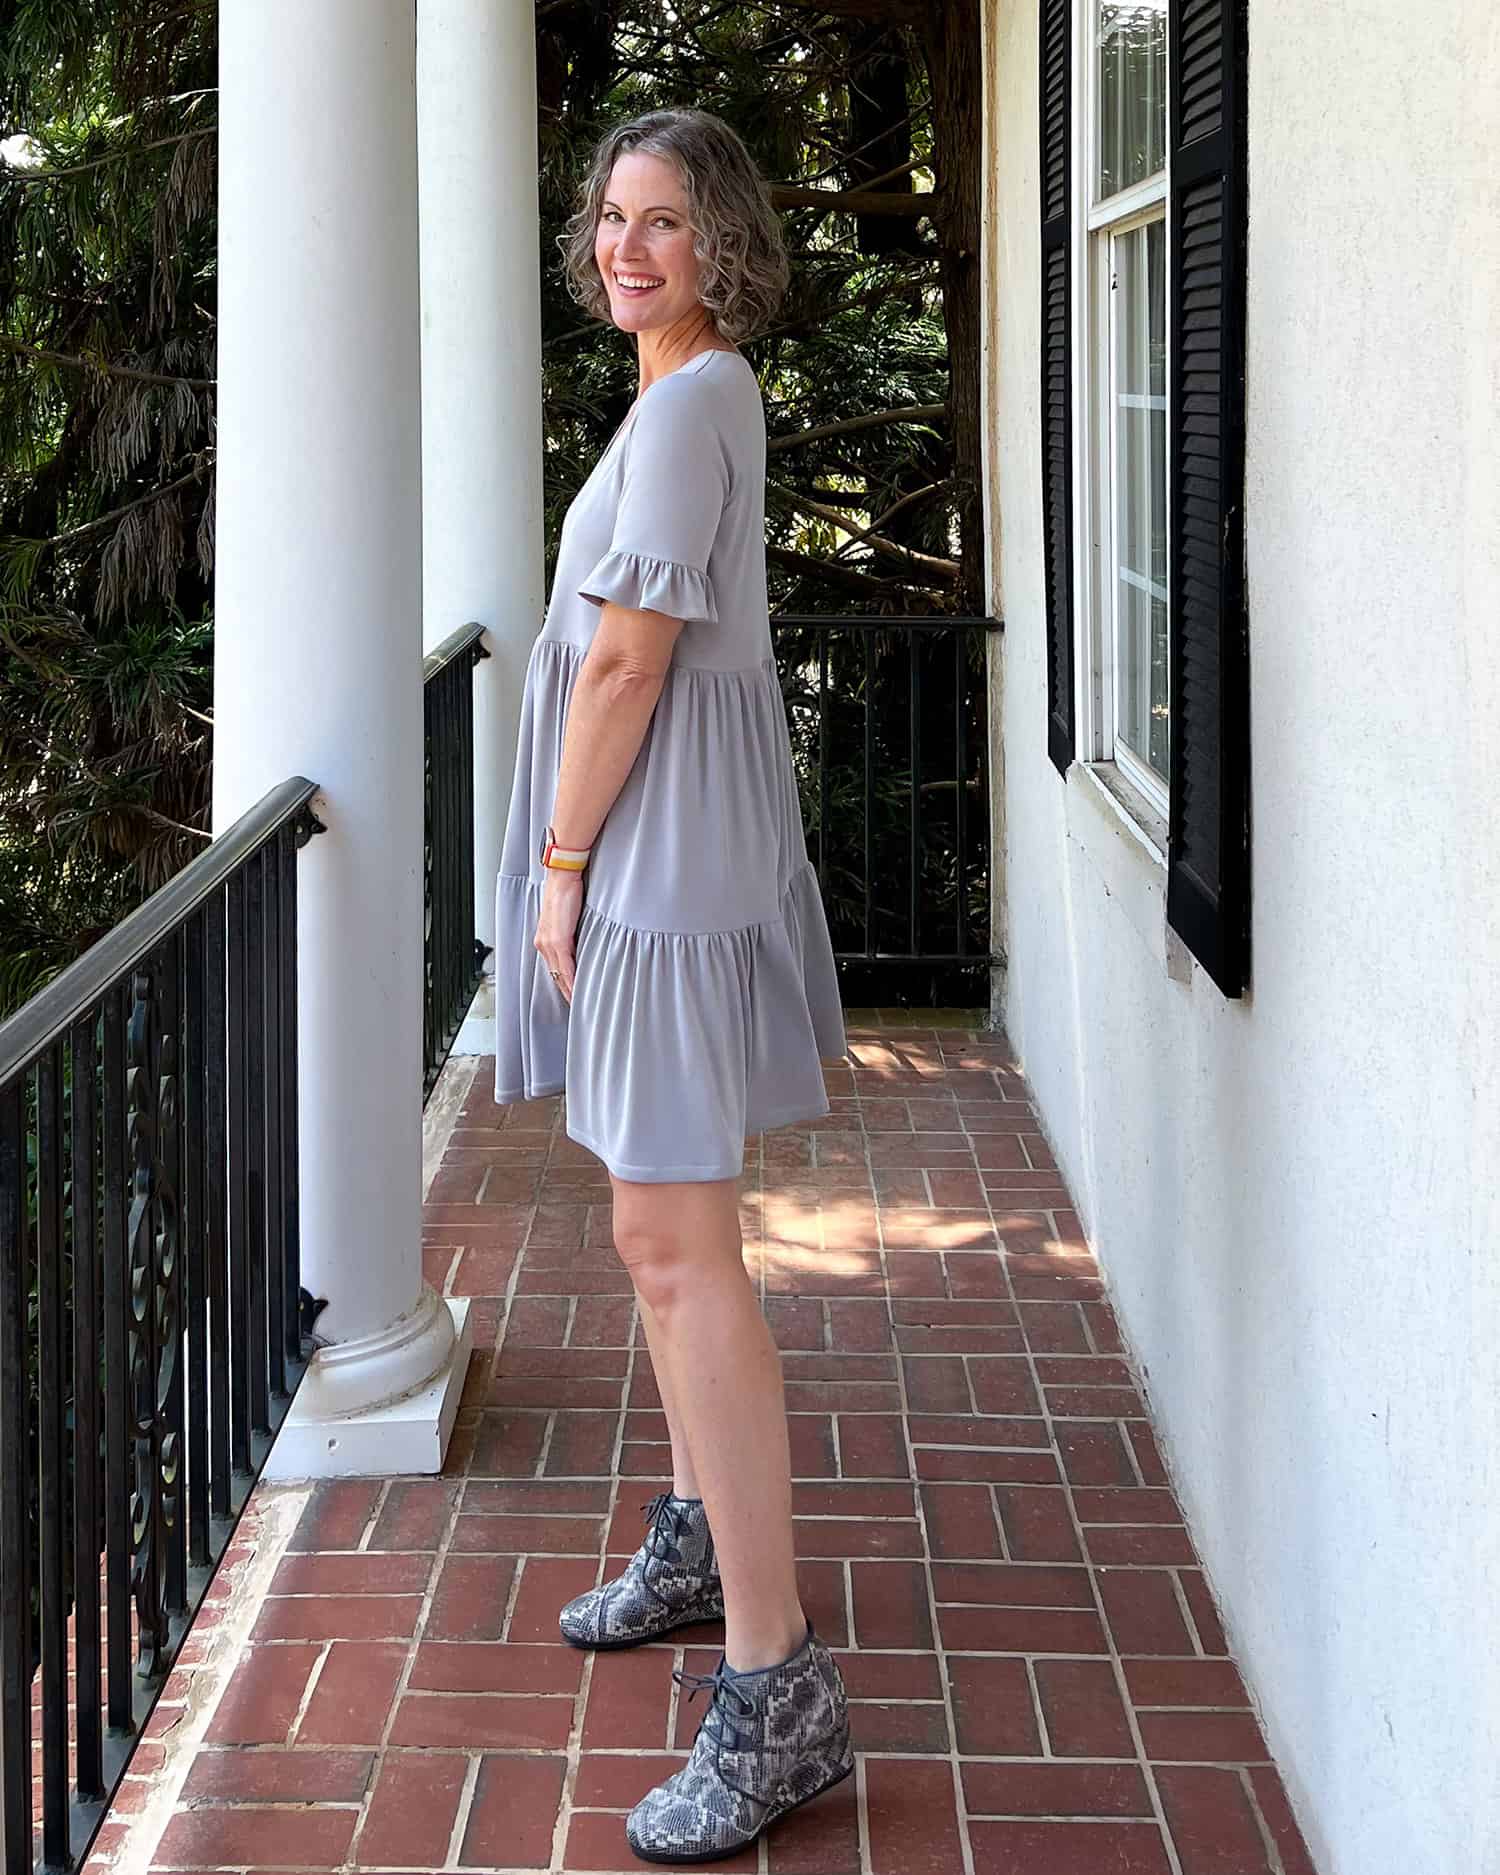
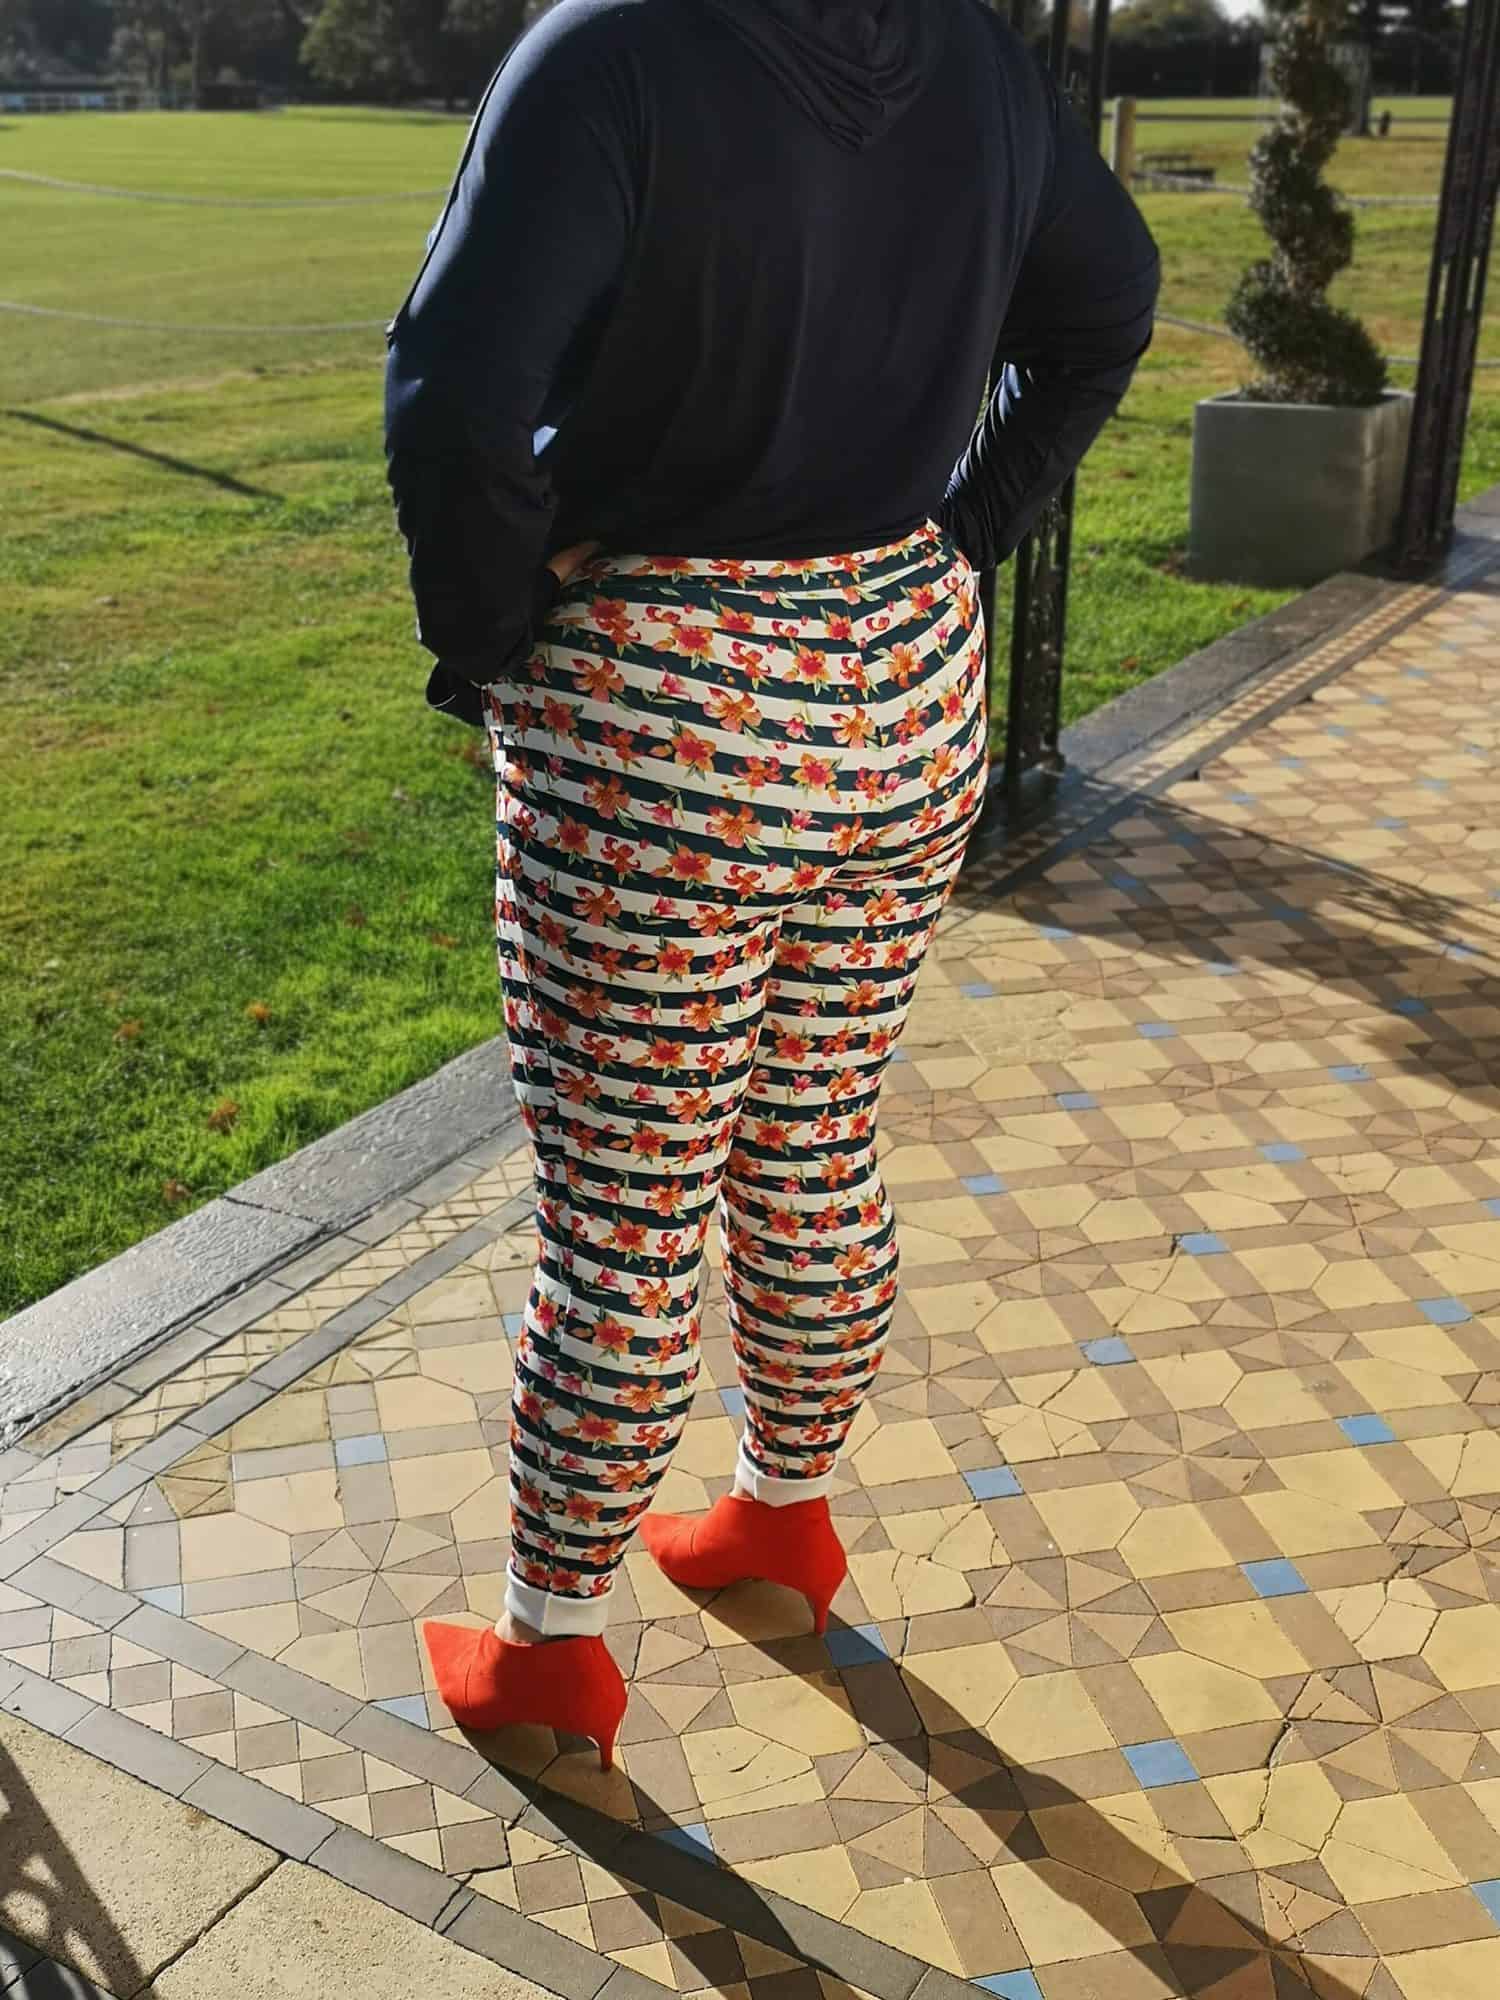
Give it a press, pop it on and show off to all your friends!
![]()
Happy sewing!
Dana xxx
CORDING

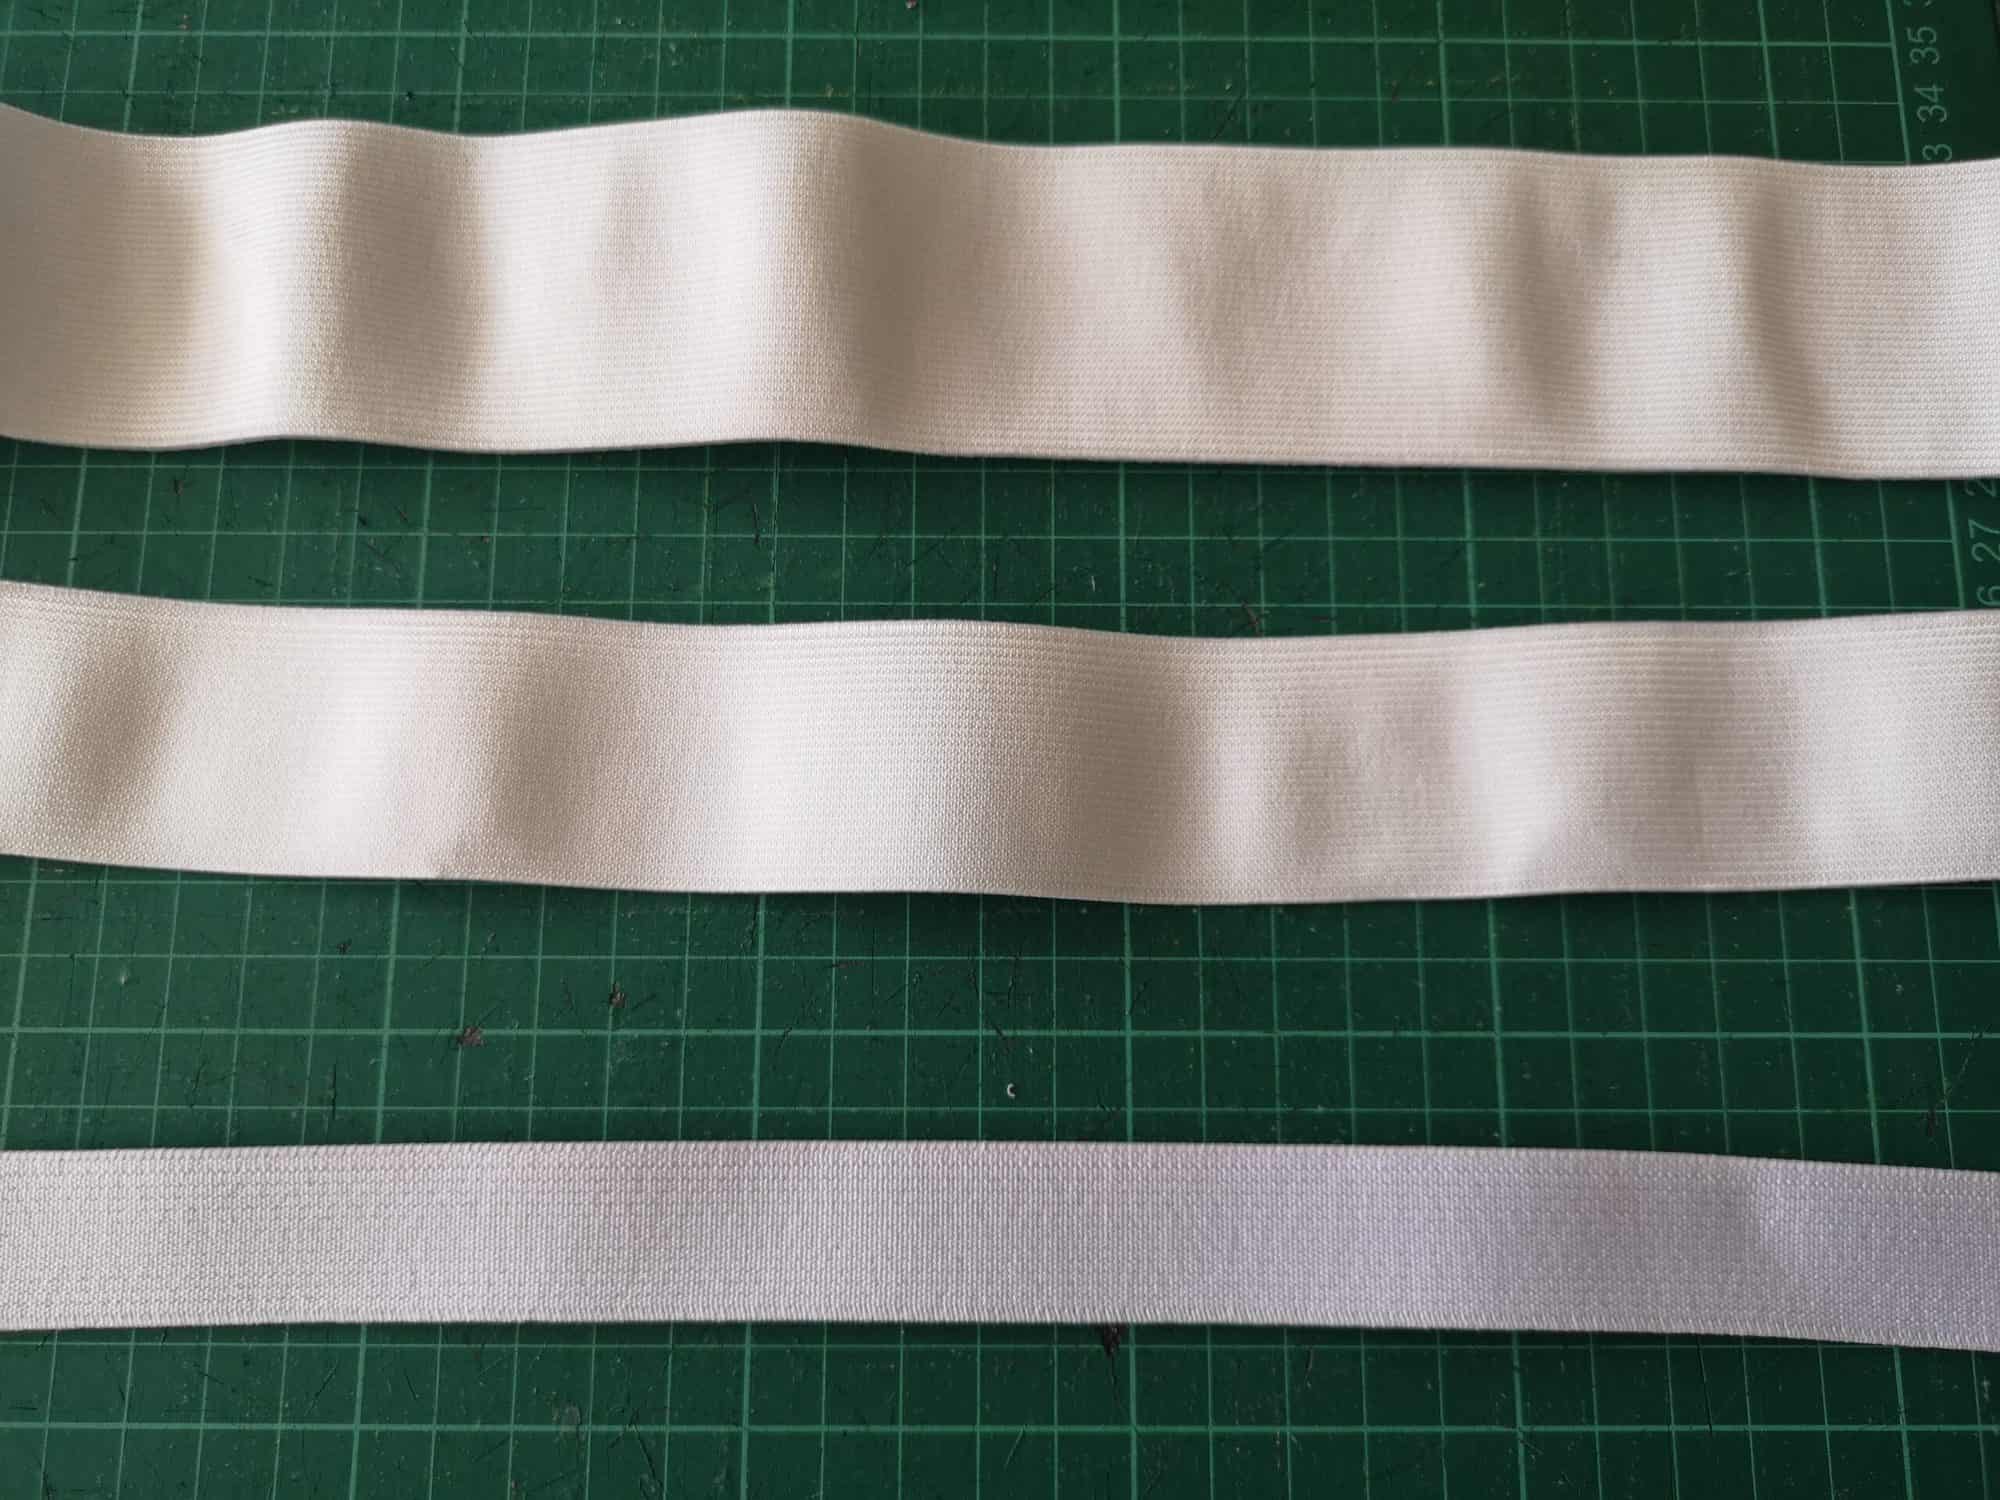
Adding some cording along the hood or along the top of the collar is simple and quick.
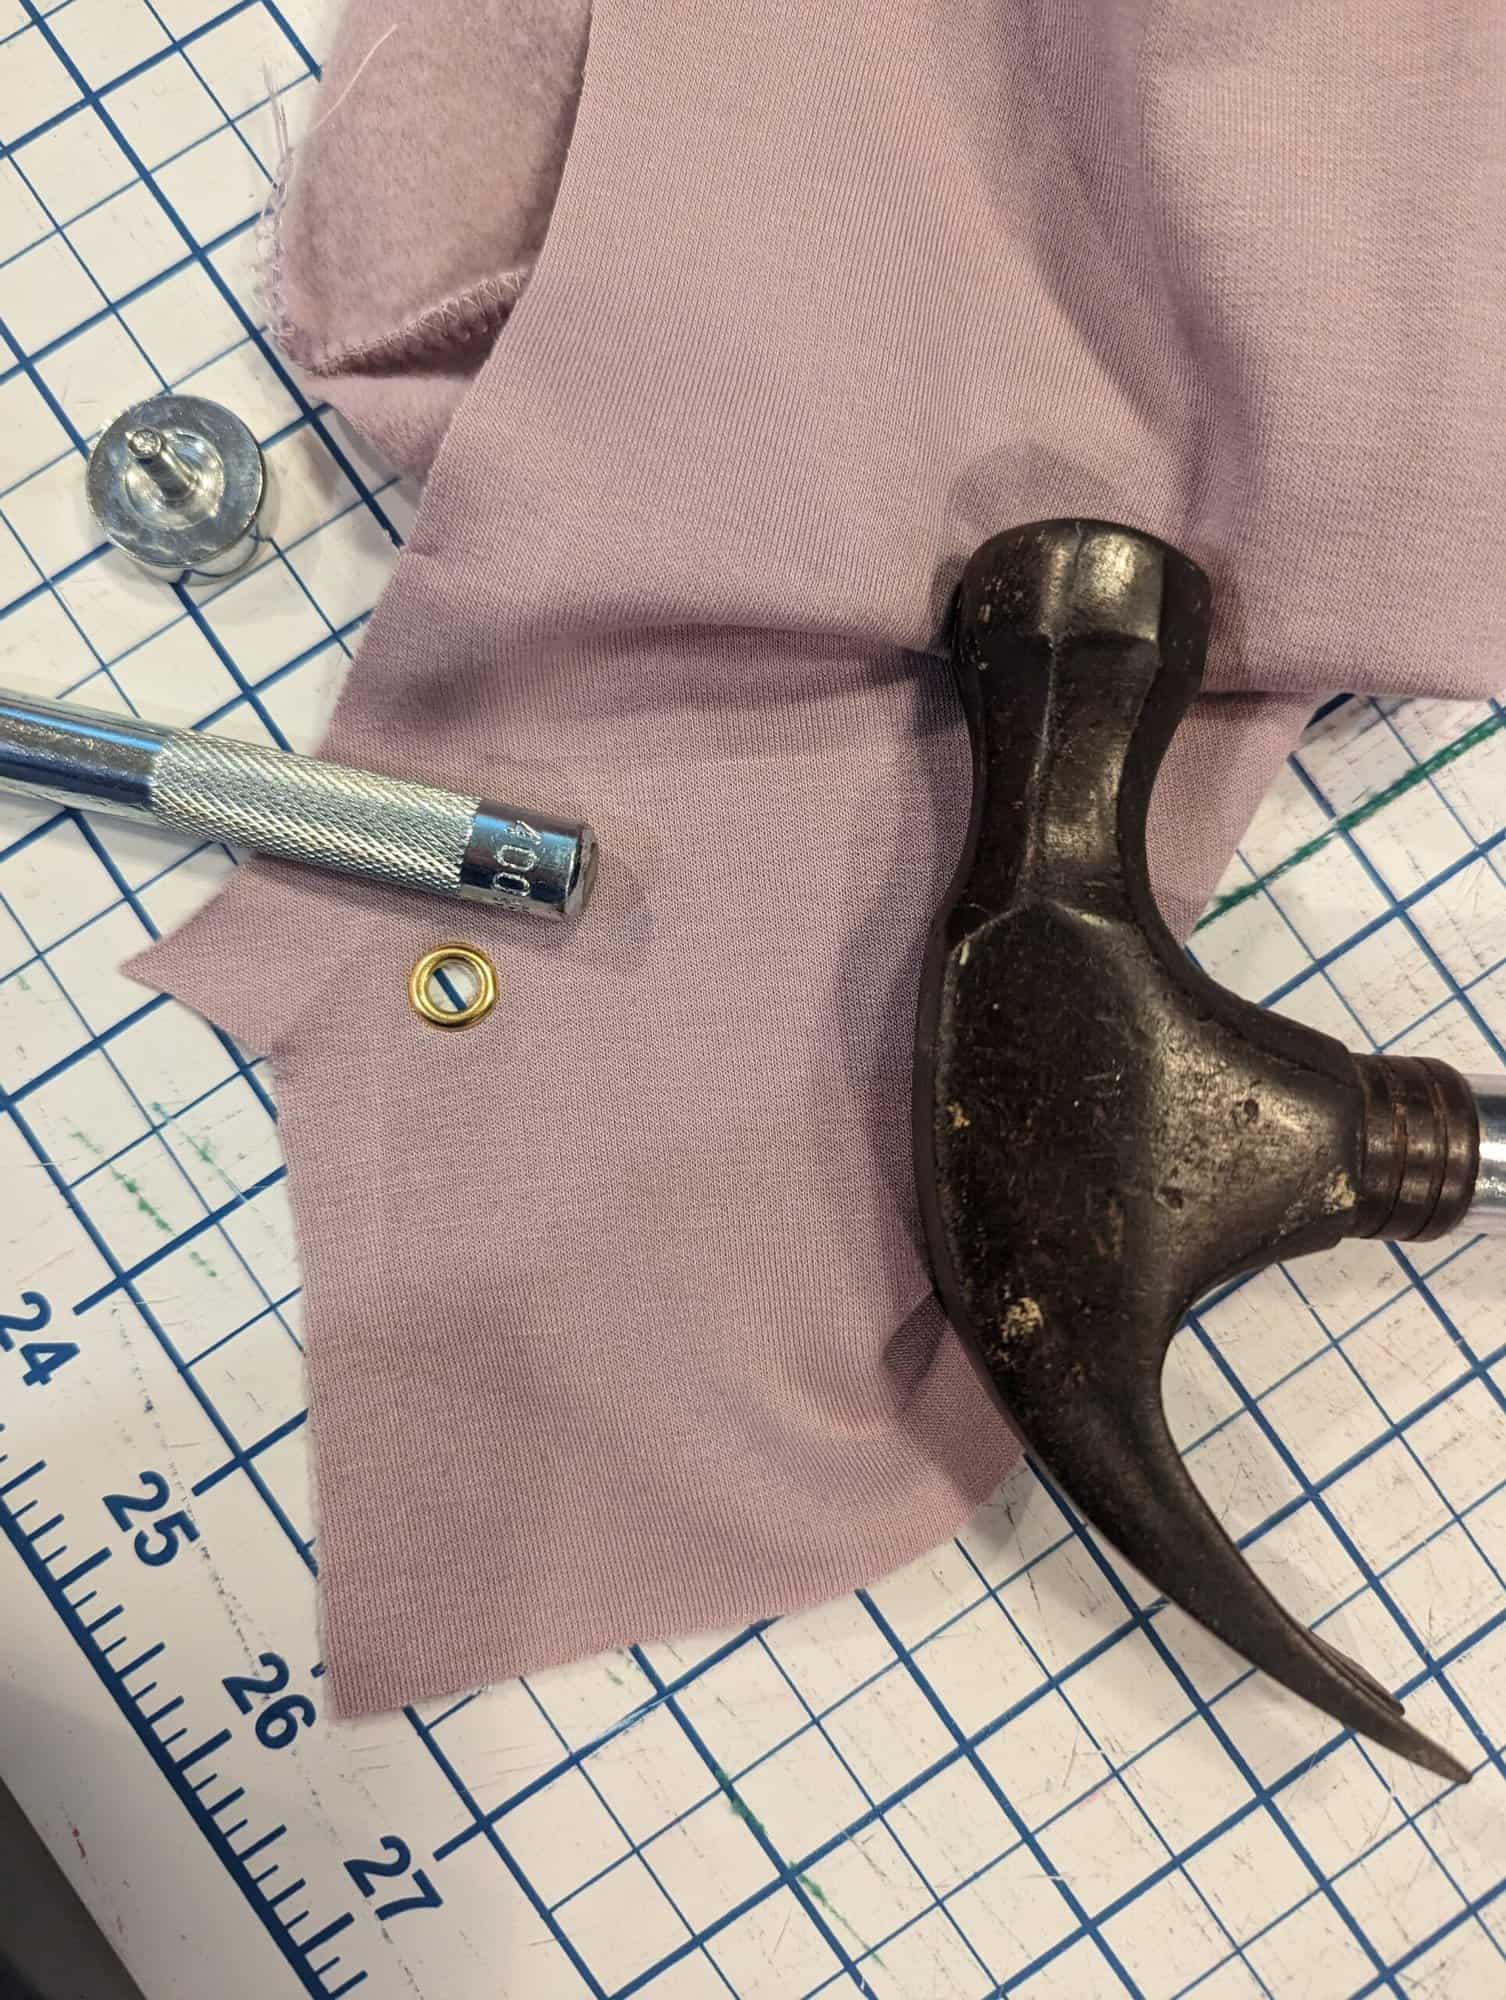
Mark where you would like your button hole or grommets. Take into account the 1/2″ seam allowances and the zipper. I like to just press all my seamlines to easily see them.
Put little pieces of interfacing where the grommets or button holes will be. You want the interfacing to be bigger than your grommet or button hole.

Put your buttonholes or grommets in on the main fabric piece only.
Sew up normally. If you’re lining your hood or doing the collar option, you’ll need to sew a casing stitch. Just a stitch that will hold your cording along the edge. It can be whatever width/seam allowance you like the look of as long as it’s wide enough to fit your cording and grommets/buttonholes inside.
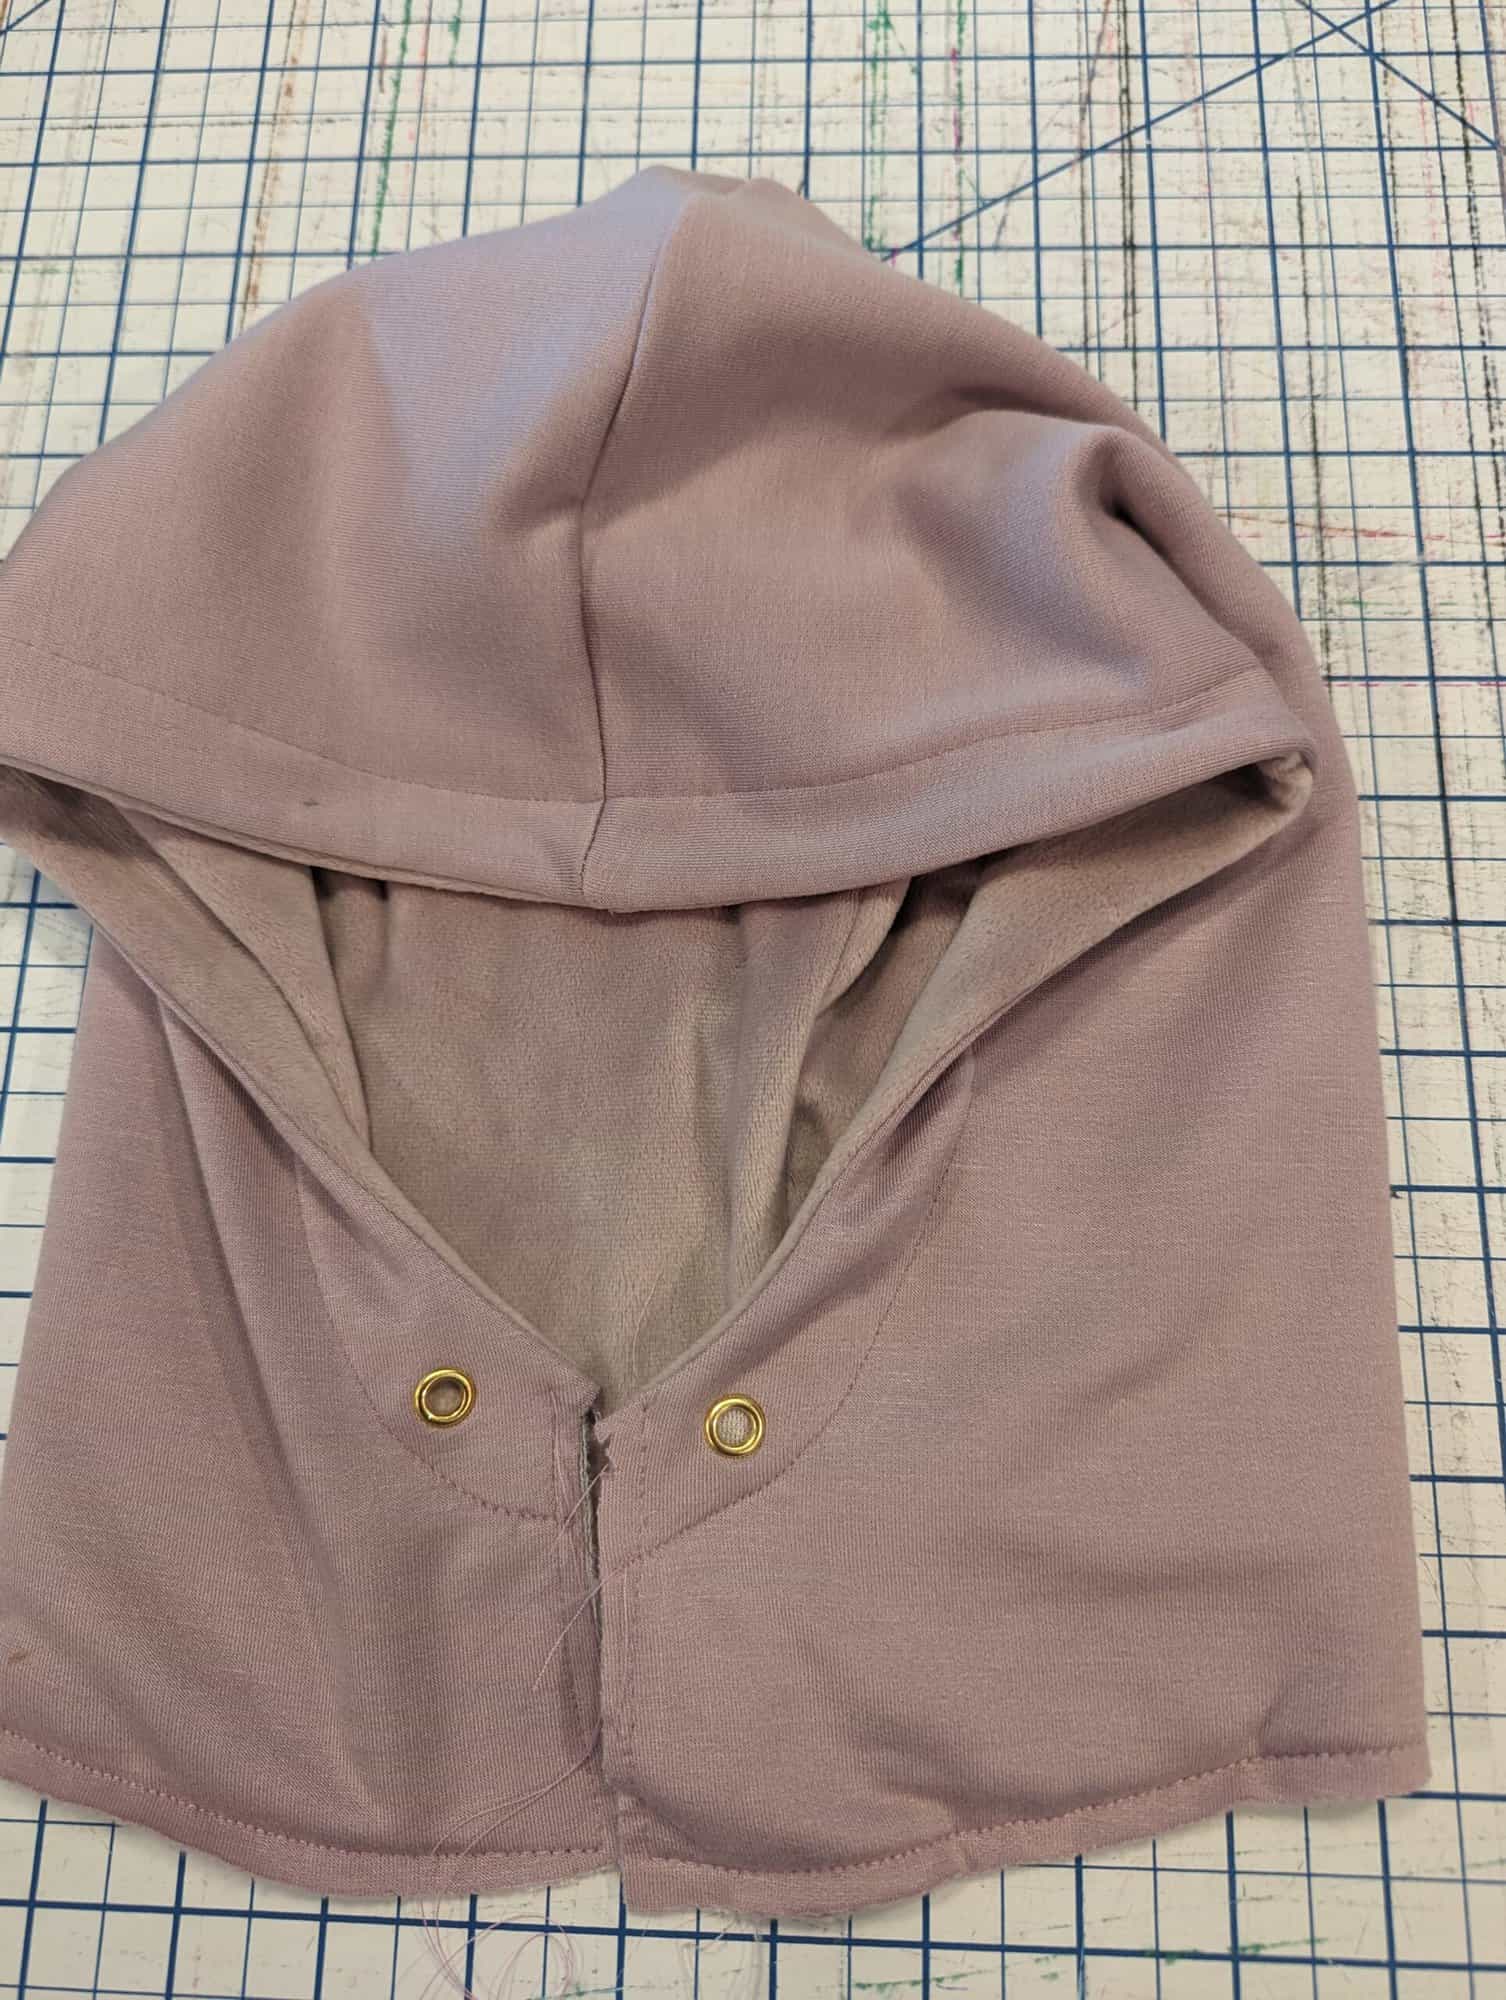
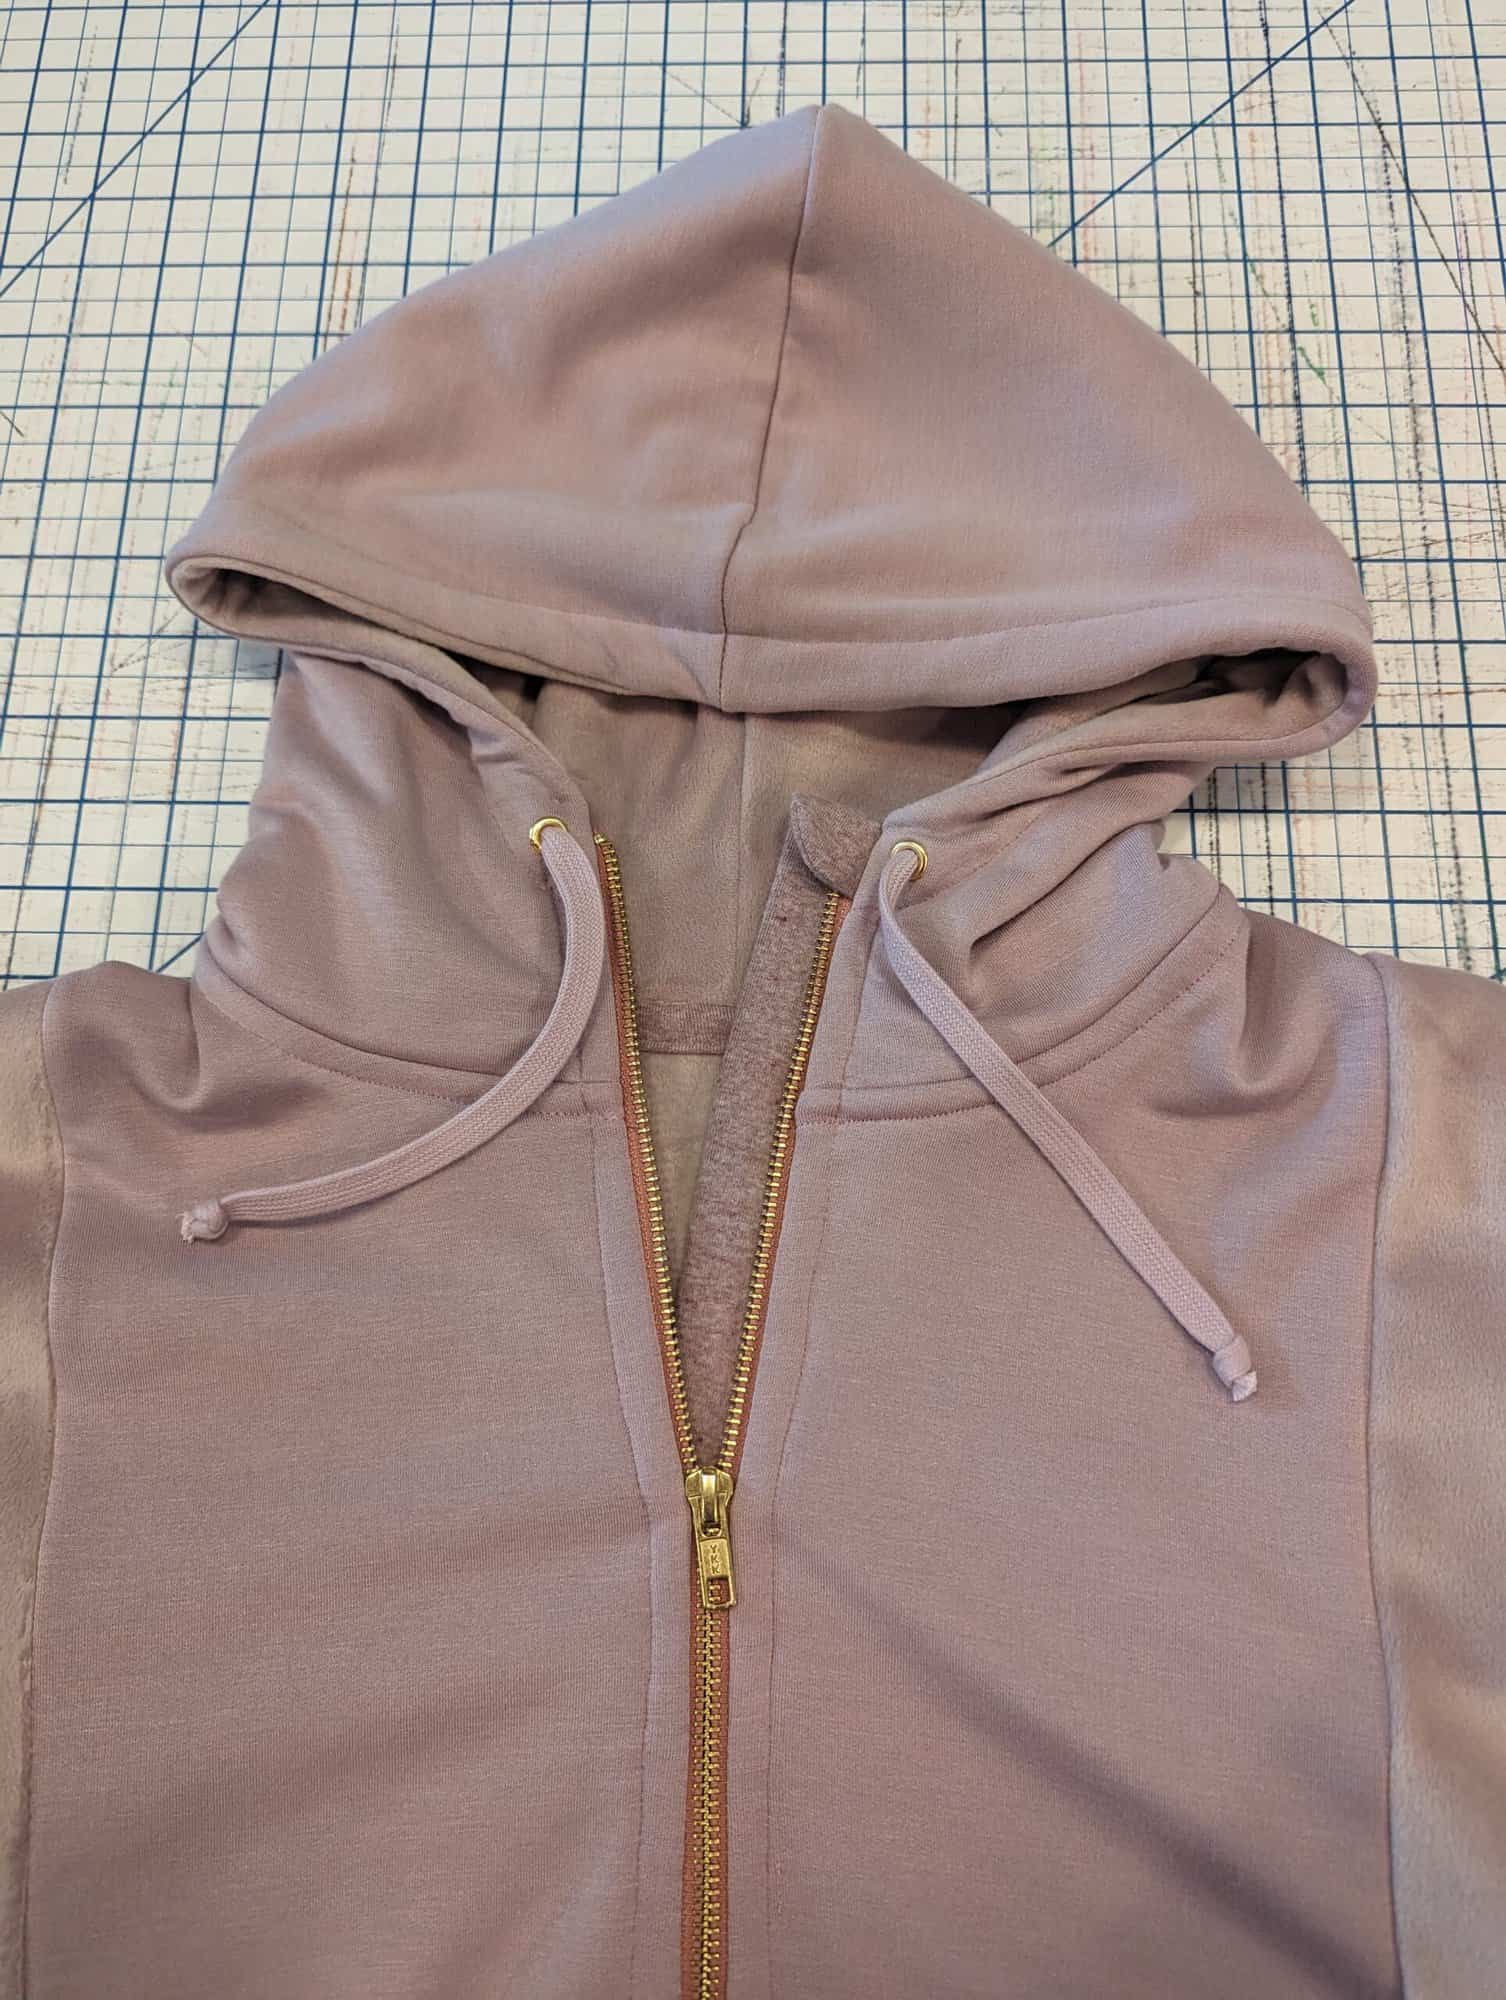
Thread your cording through when finished.
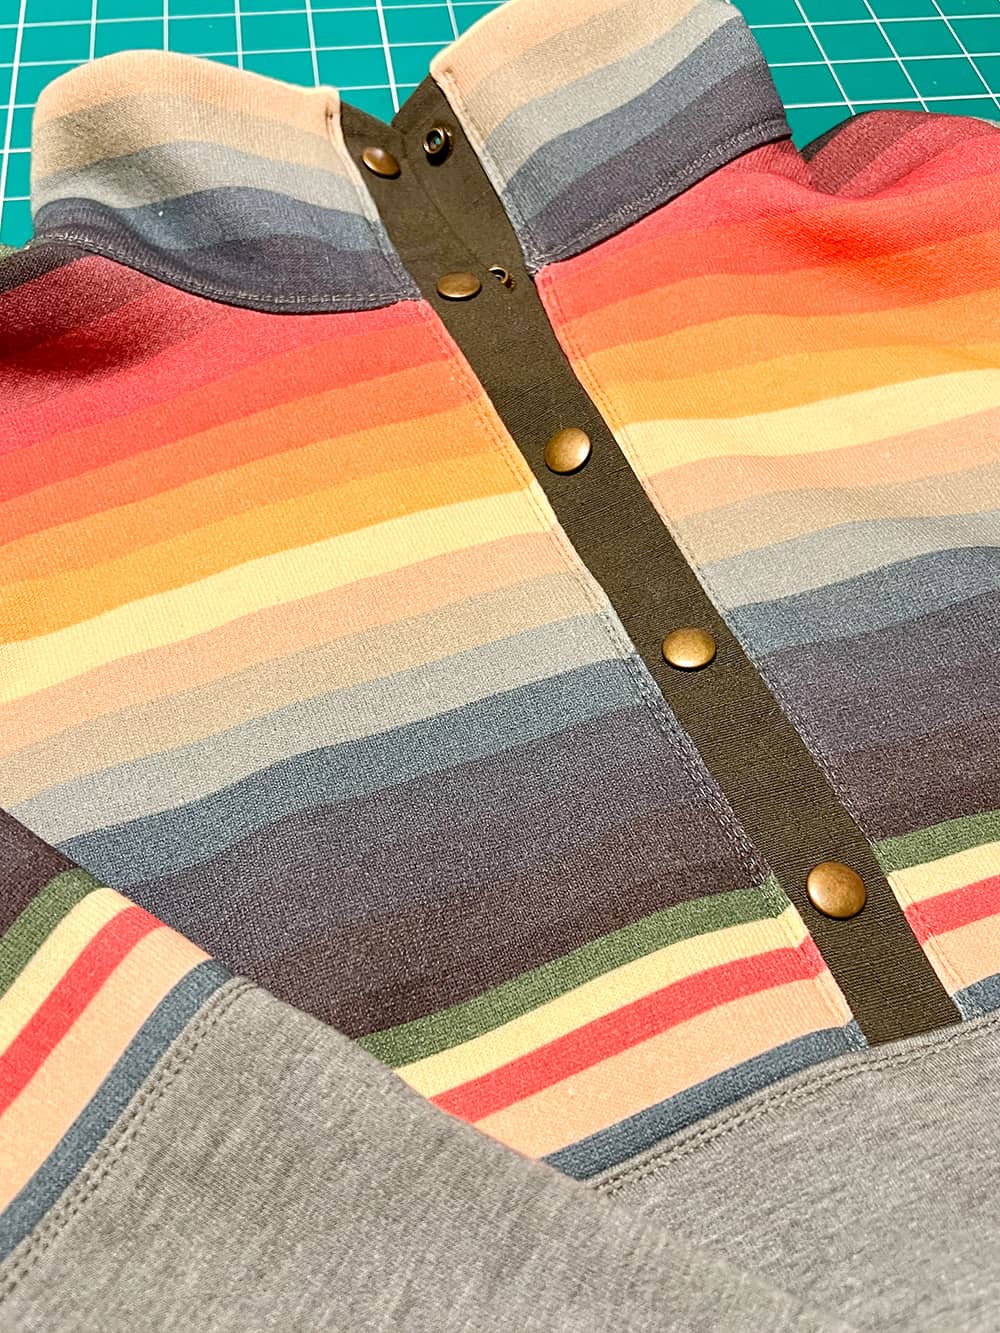
Snap Placket Hack

If zippers intimidate you, consider a snap placket for your Hale Half Zip Pullover! It’s an easy hack that can be accomplished with the pattern pieces you already have.
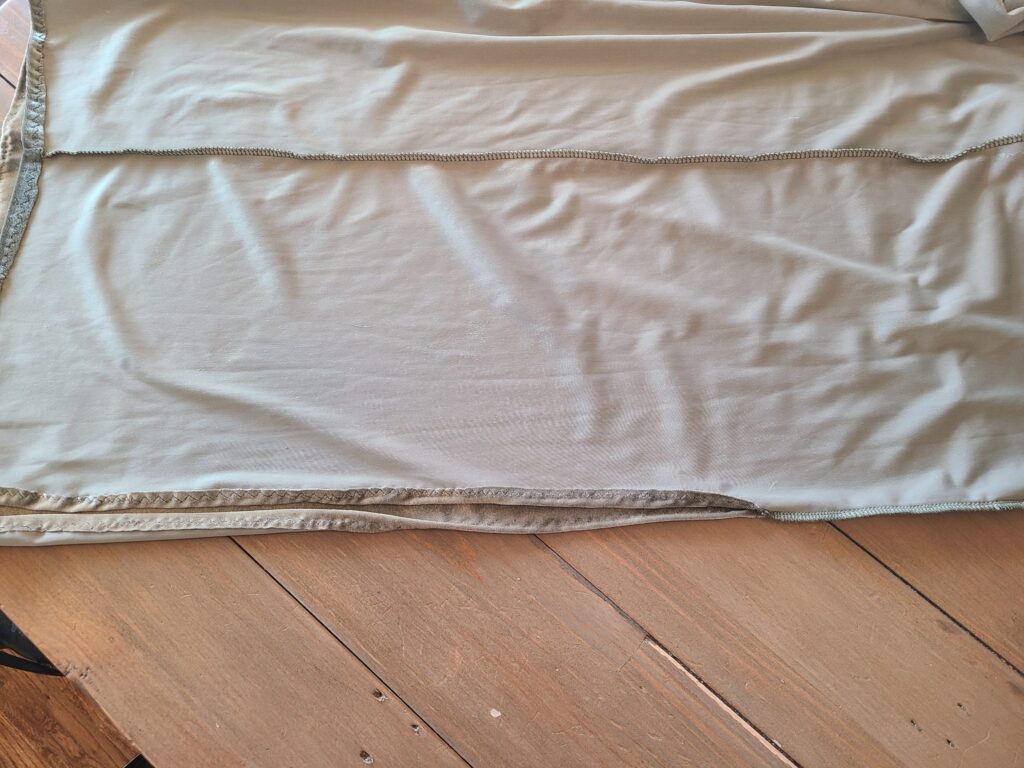
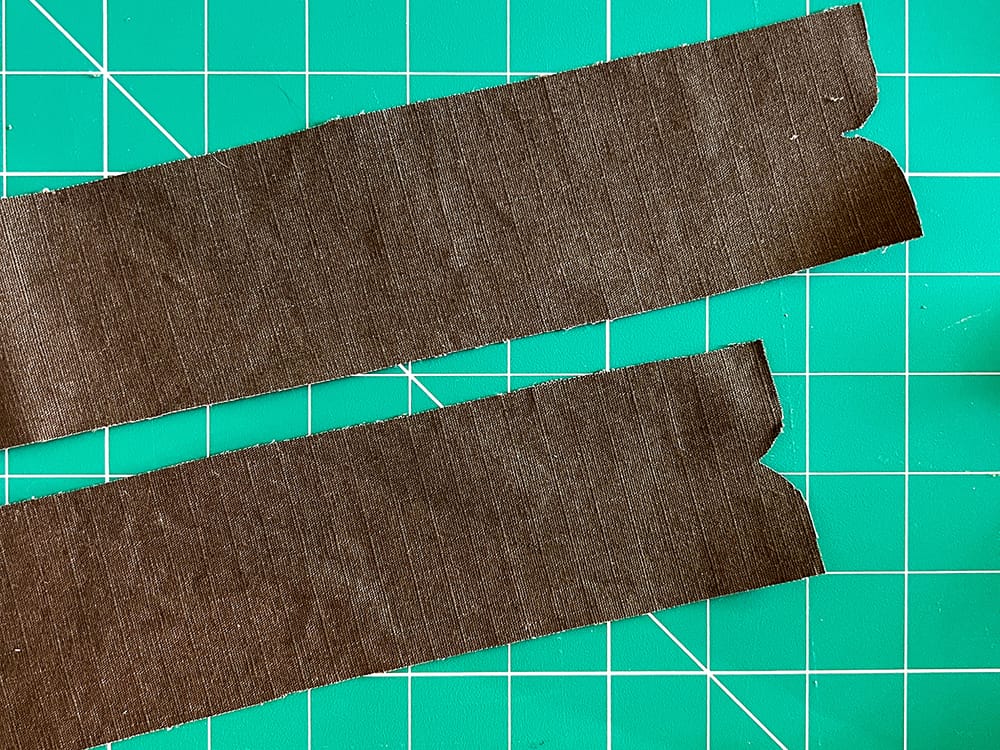
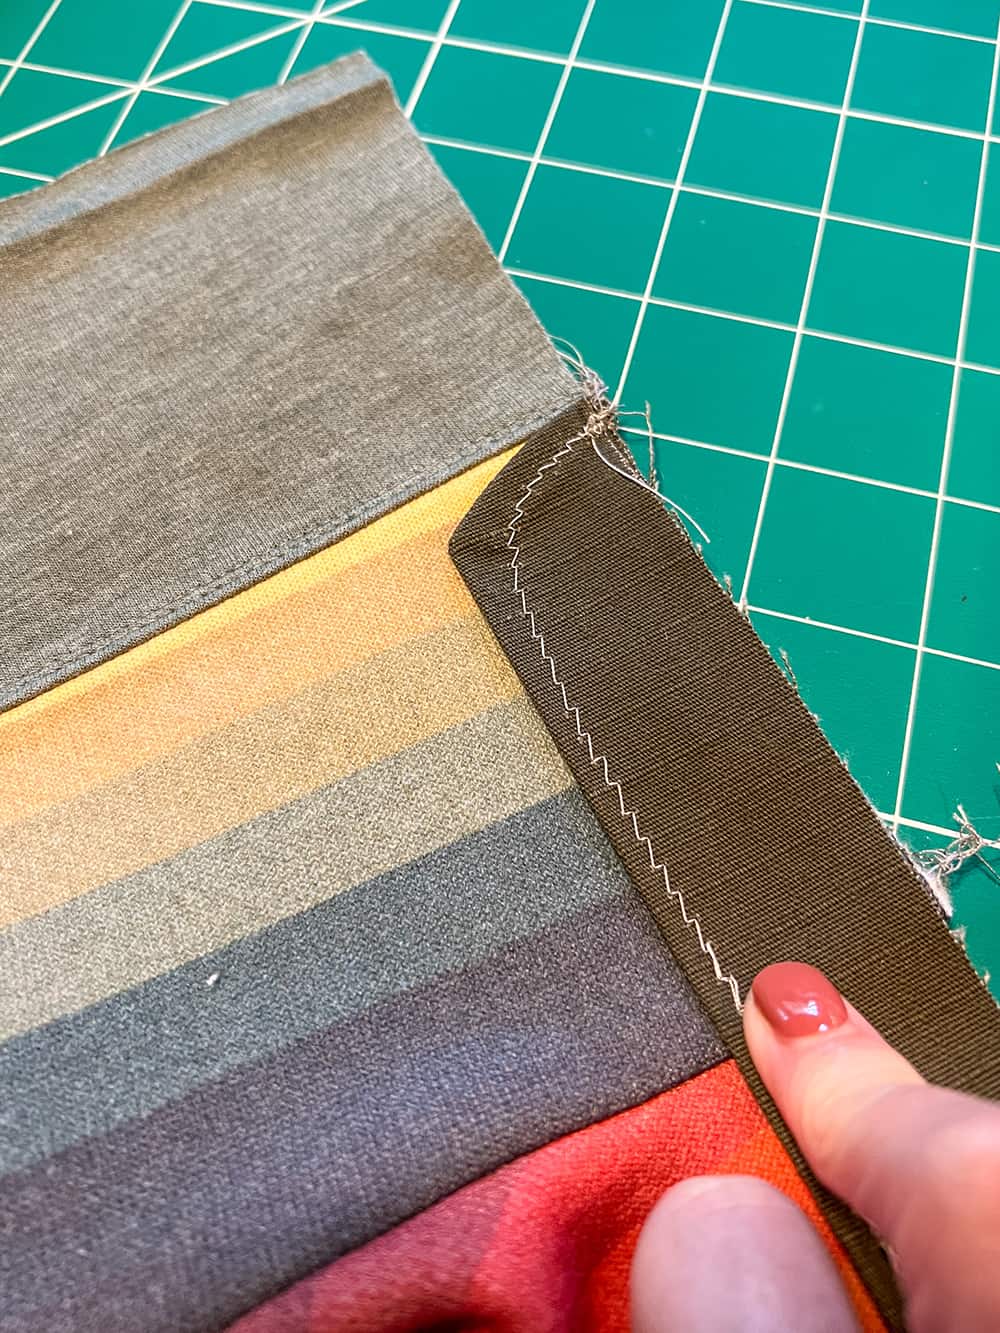
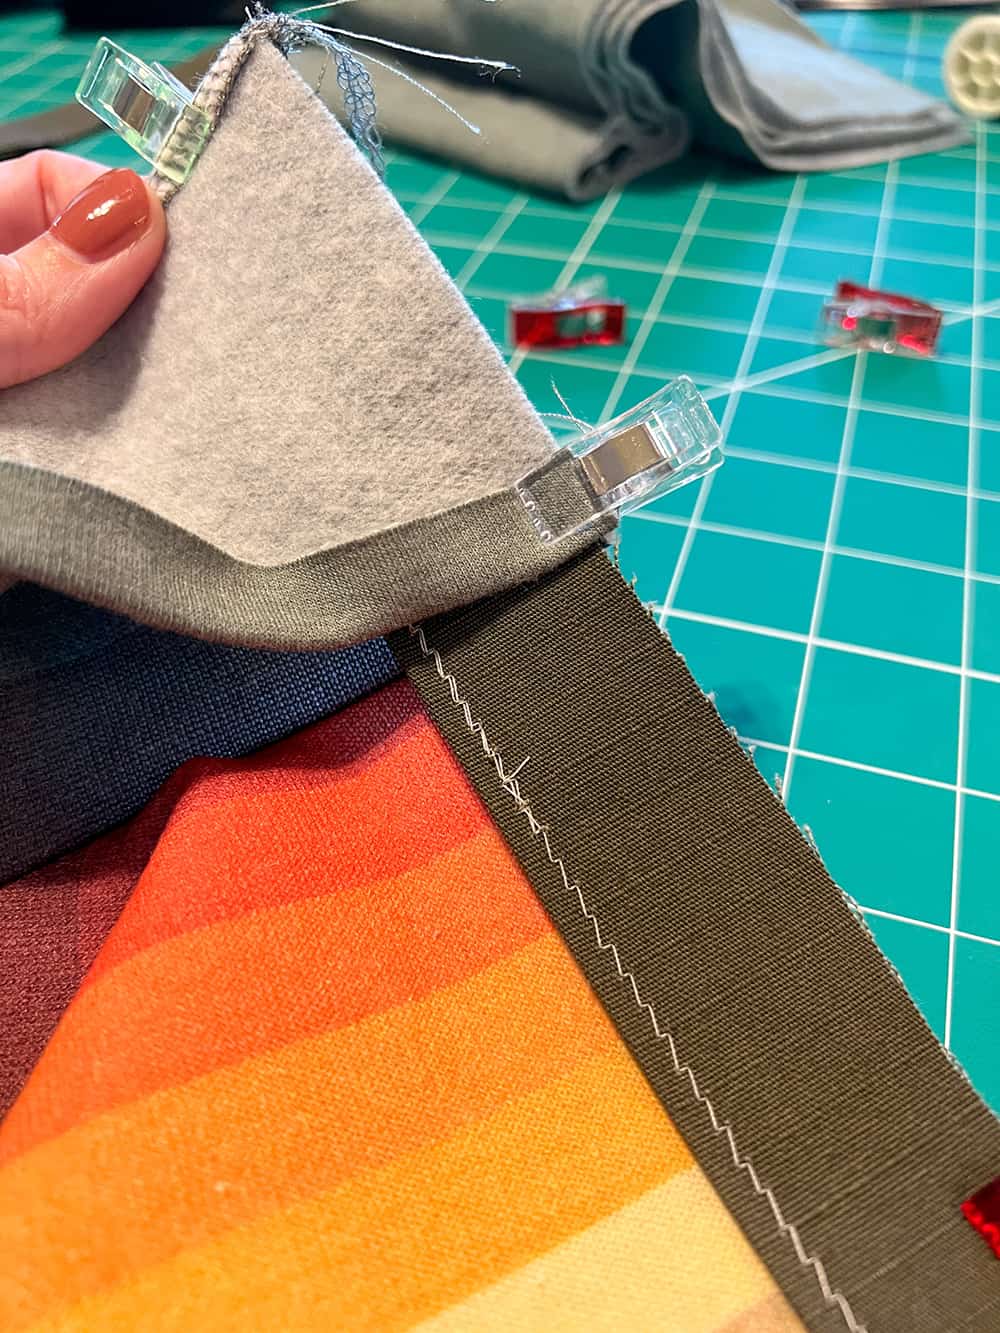
Cut 2 zipper guards from your fabric – they are now opposite sides of your snap placket. I used a ripstop canvas for stability and looks. If you’re using a knit or any other woven, it is best to interface both pieces to ensure that your snaps are secure.
For this make, I chose to use the rounded end of one guard and the squared end of the other. Totally up to you what you choose!
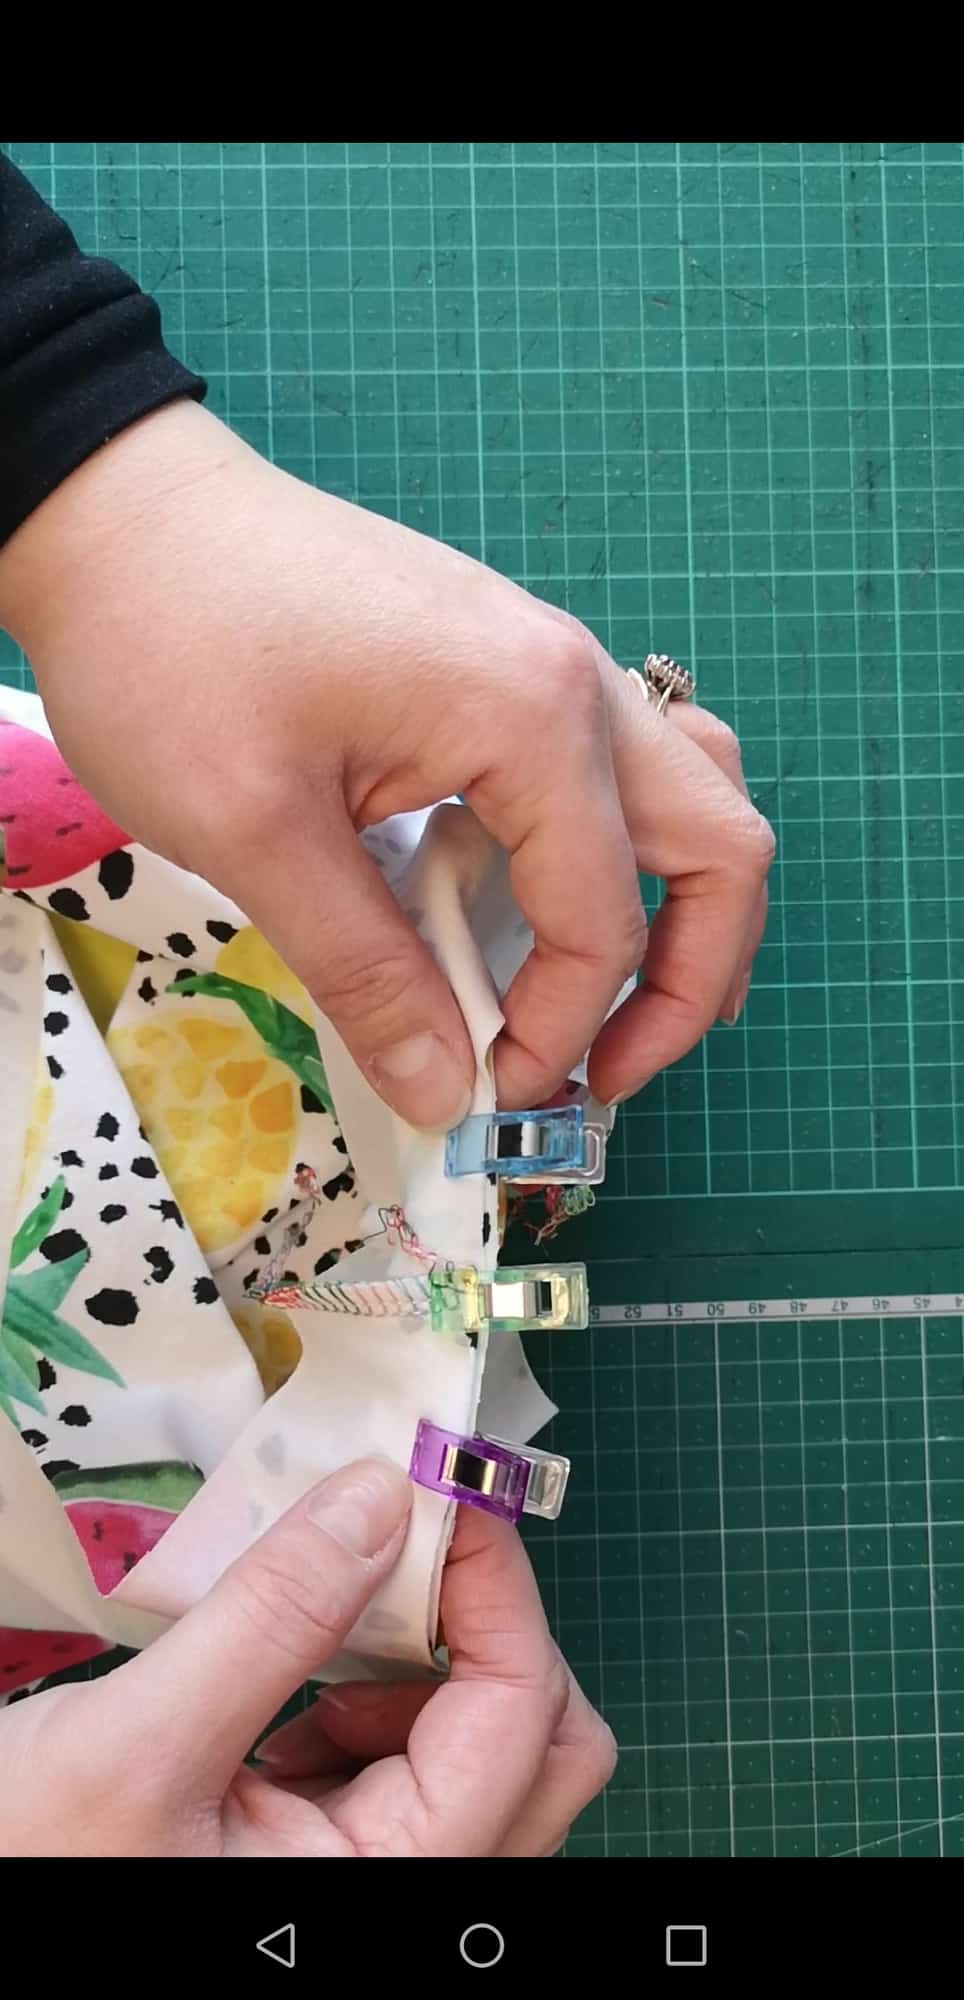
Press both of your placket pieces with wrong sides together.
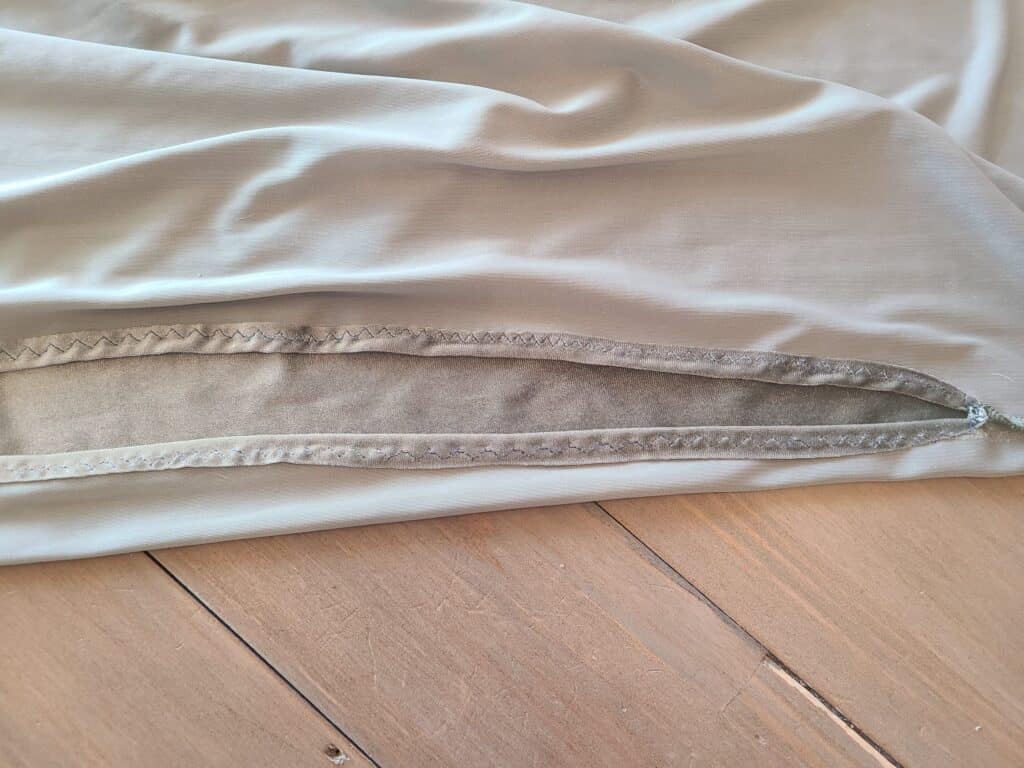
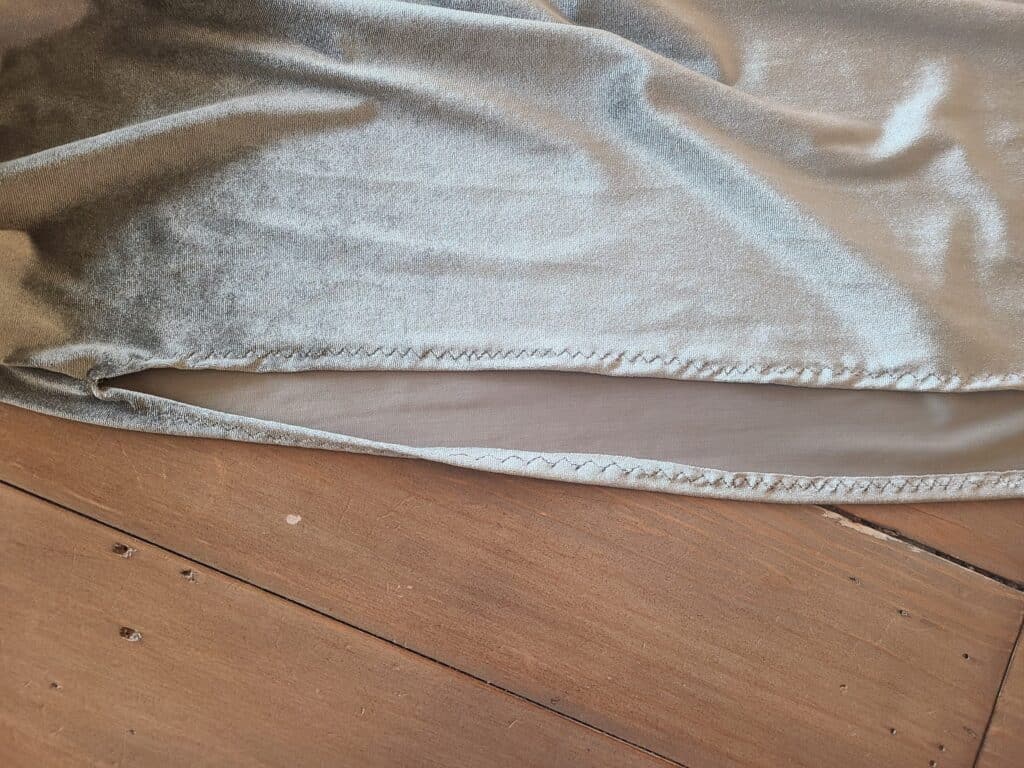
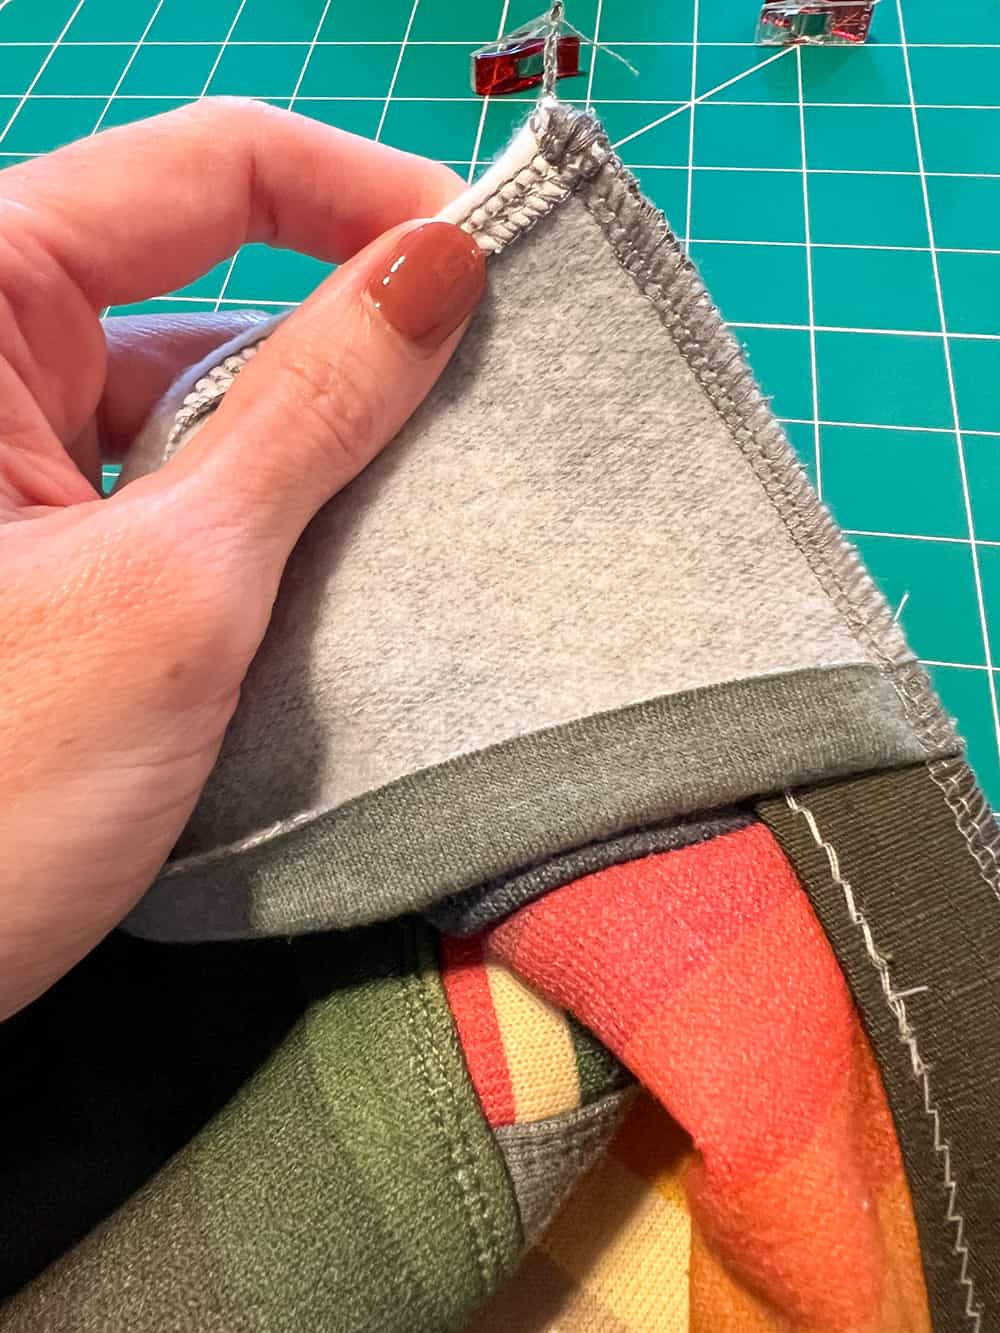
Open up and fold right sides together and stitch across one short end on both pieces.
Turn right sides out and topstitch along the folded edge, if you prefer.
I actually ripped out my topstitching after these pics because I didn’t like it!
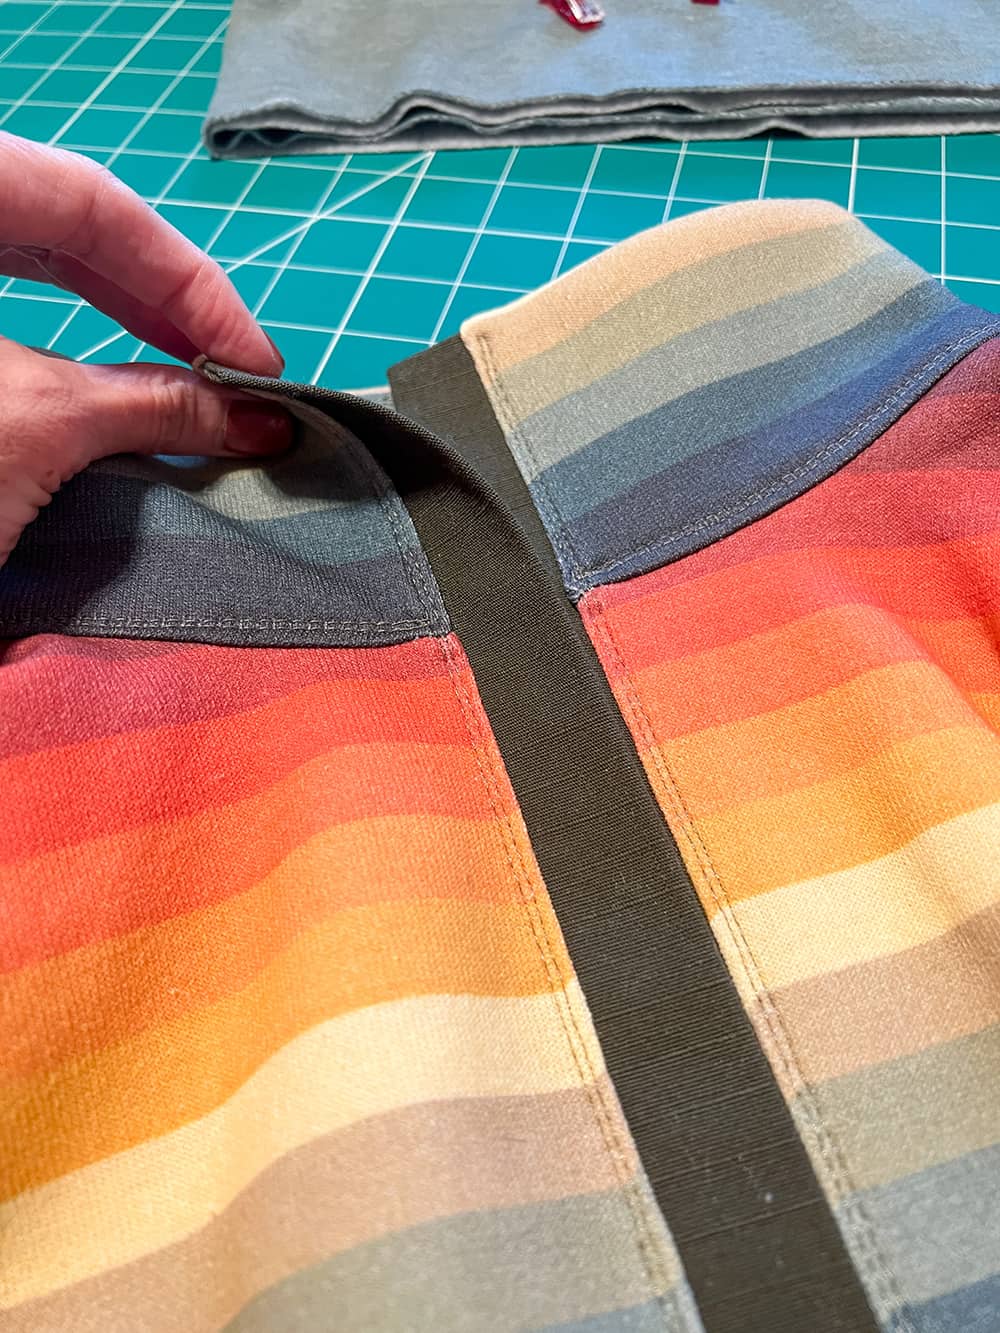
Sew your collar pieces, right sides together, along the top edge of the collar.
Sew the collar main to the neckline of your bodice.
Line up one of your placket pieces with the raw edge of your bodice front and fold the collar lining over to sandwich the placket between the right sides of the collar main and collar lining.
Fold up the seam allowance of the collar lining.
Sew the length of the bodice front, securing the collar layers and placket.
Turn the collar right side out and topstitch the seam allowance down the front.
Secure the collar lining per pattern instructions.
Lay one side of the placket on top of the other – I stacked the right side on top of the left – and baste the bottom edge together.
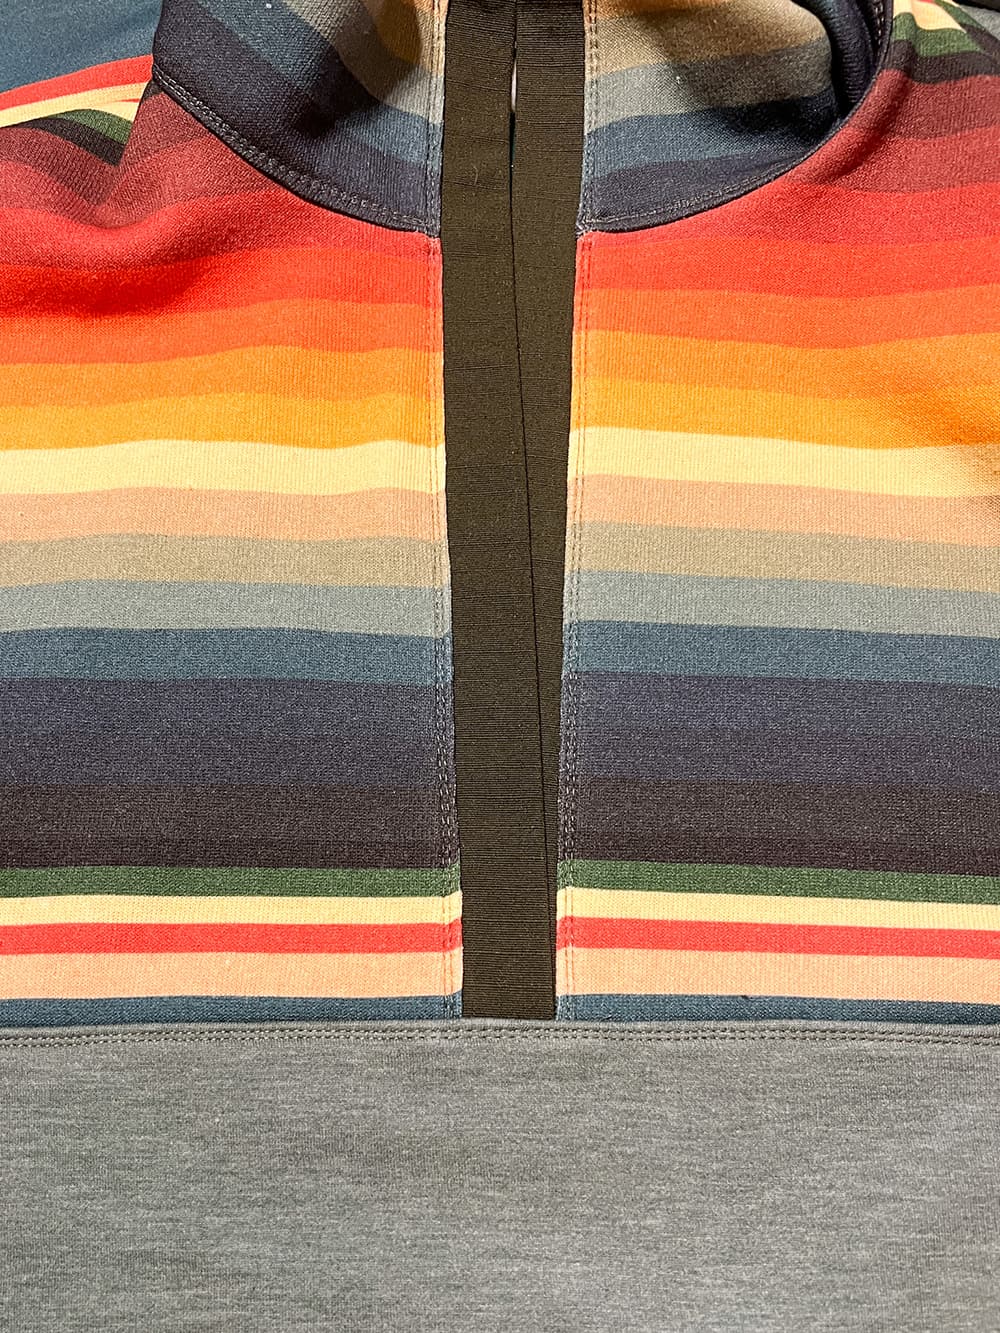
At this point, you can decide to add your snaps or wait until the end of construction (like I did).
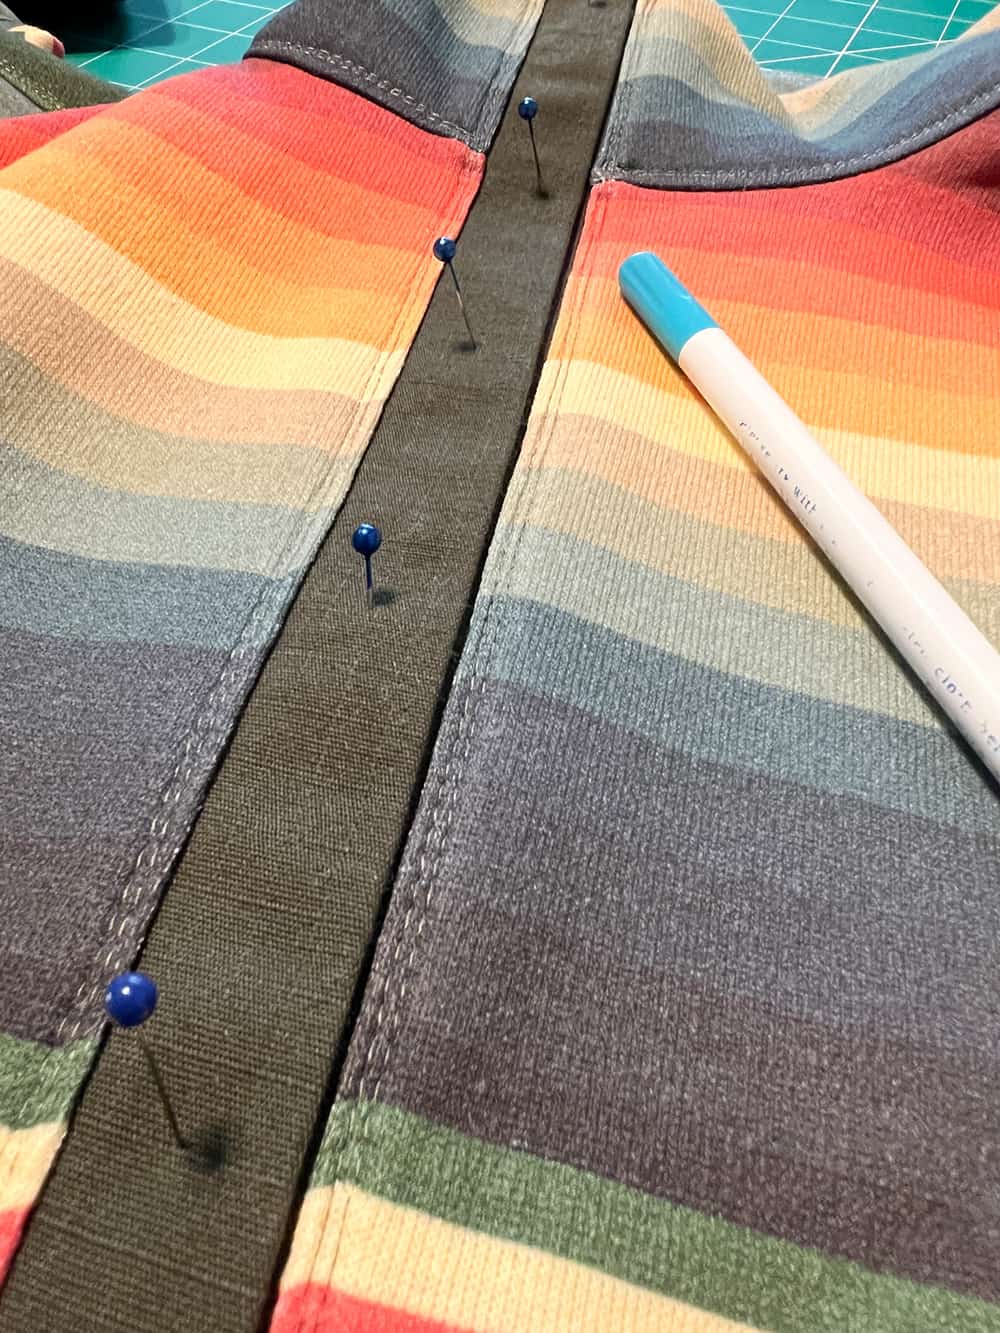
When marking for snaps, I like to line up the placket and push a pin through the layers. I use a fabric pen to mark the pin points on both sides of the placket.
Add your snaps and enjoy your new pullover!
Can’t wait to see what you make!
Rachel
Don’t miss out on the opportunity to create cozy, stylish half-zip sweaters and hoodies for yourself and your loved ones. The Hale Half Zip patterns are available and on sale (no code needed) through 11:59pm CST, Friday, October 6, 2023.
Hale Half Zip – Adult Hourglass | Hale Half Zip – Adult V Figure | Hale Half Zip – Youth | Hale Half Zip – Bundle
As always, we’ve got more photos for you to use as inspiration! Head over to the Facebook group to browse our albums full of gorgeous photos, compliments of our tester team!
Adult Hourglass Album | Adult V Figure Album | Youth Album
Stay warm, stay stylish, and stay comfortable all season long! We can’t wait to see what you create for yourself!