Welcome back! So far, we’ve learned how to pick the perfect fabrics and get the perfect fit. Today, we are diving right in and cutting into your beautiful fabrics. We’re also sharing two new hacks so before you cut into your pretties, check them out first!
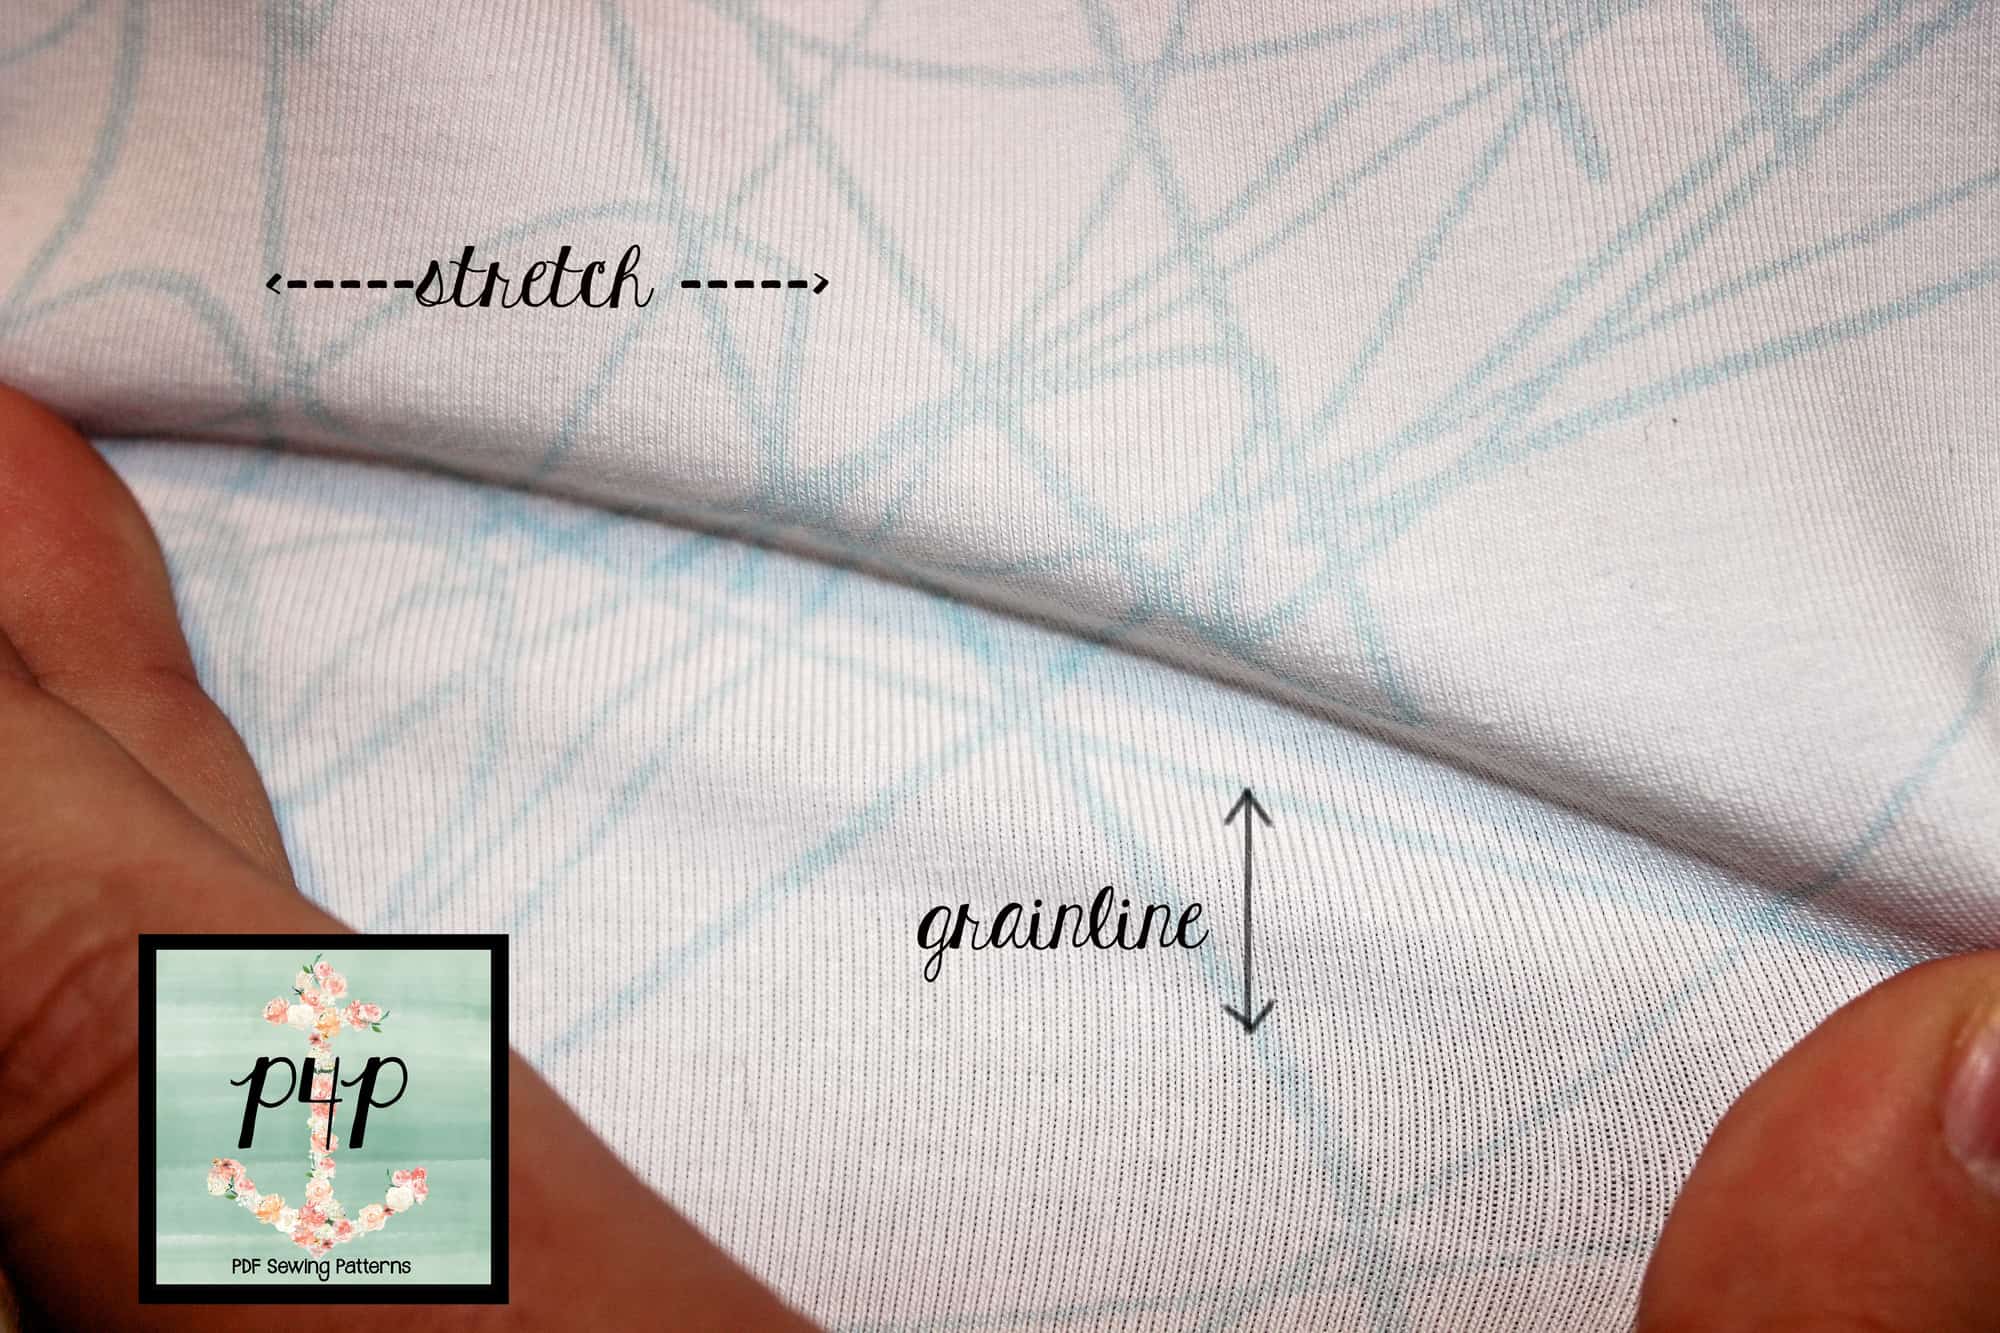
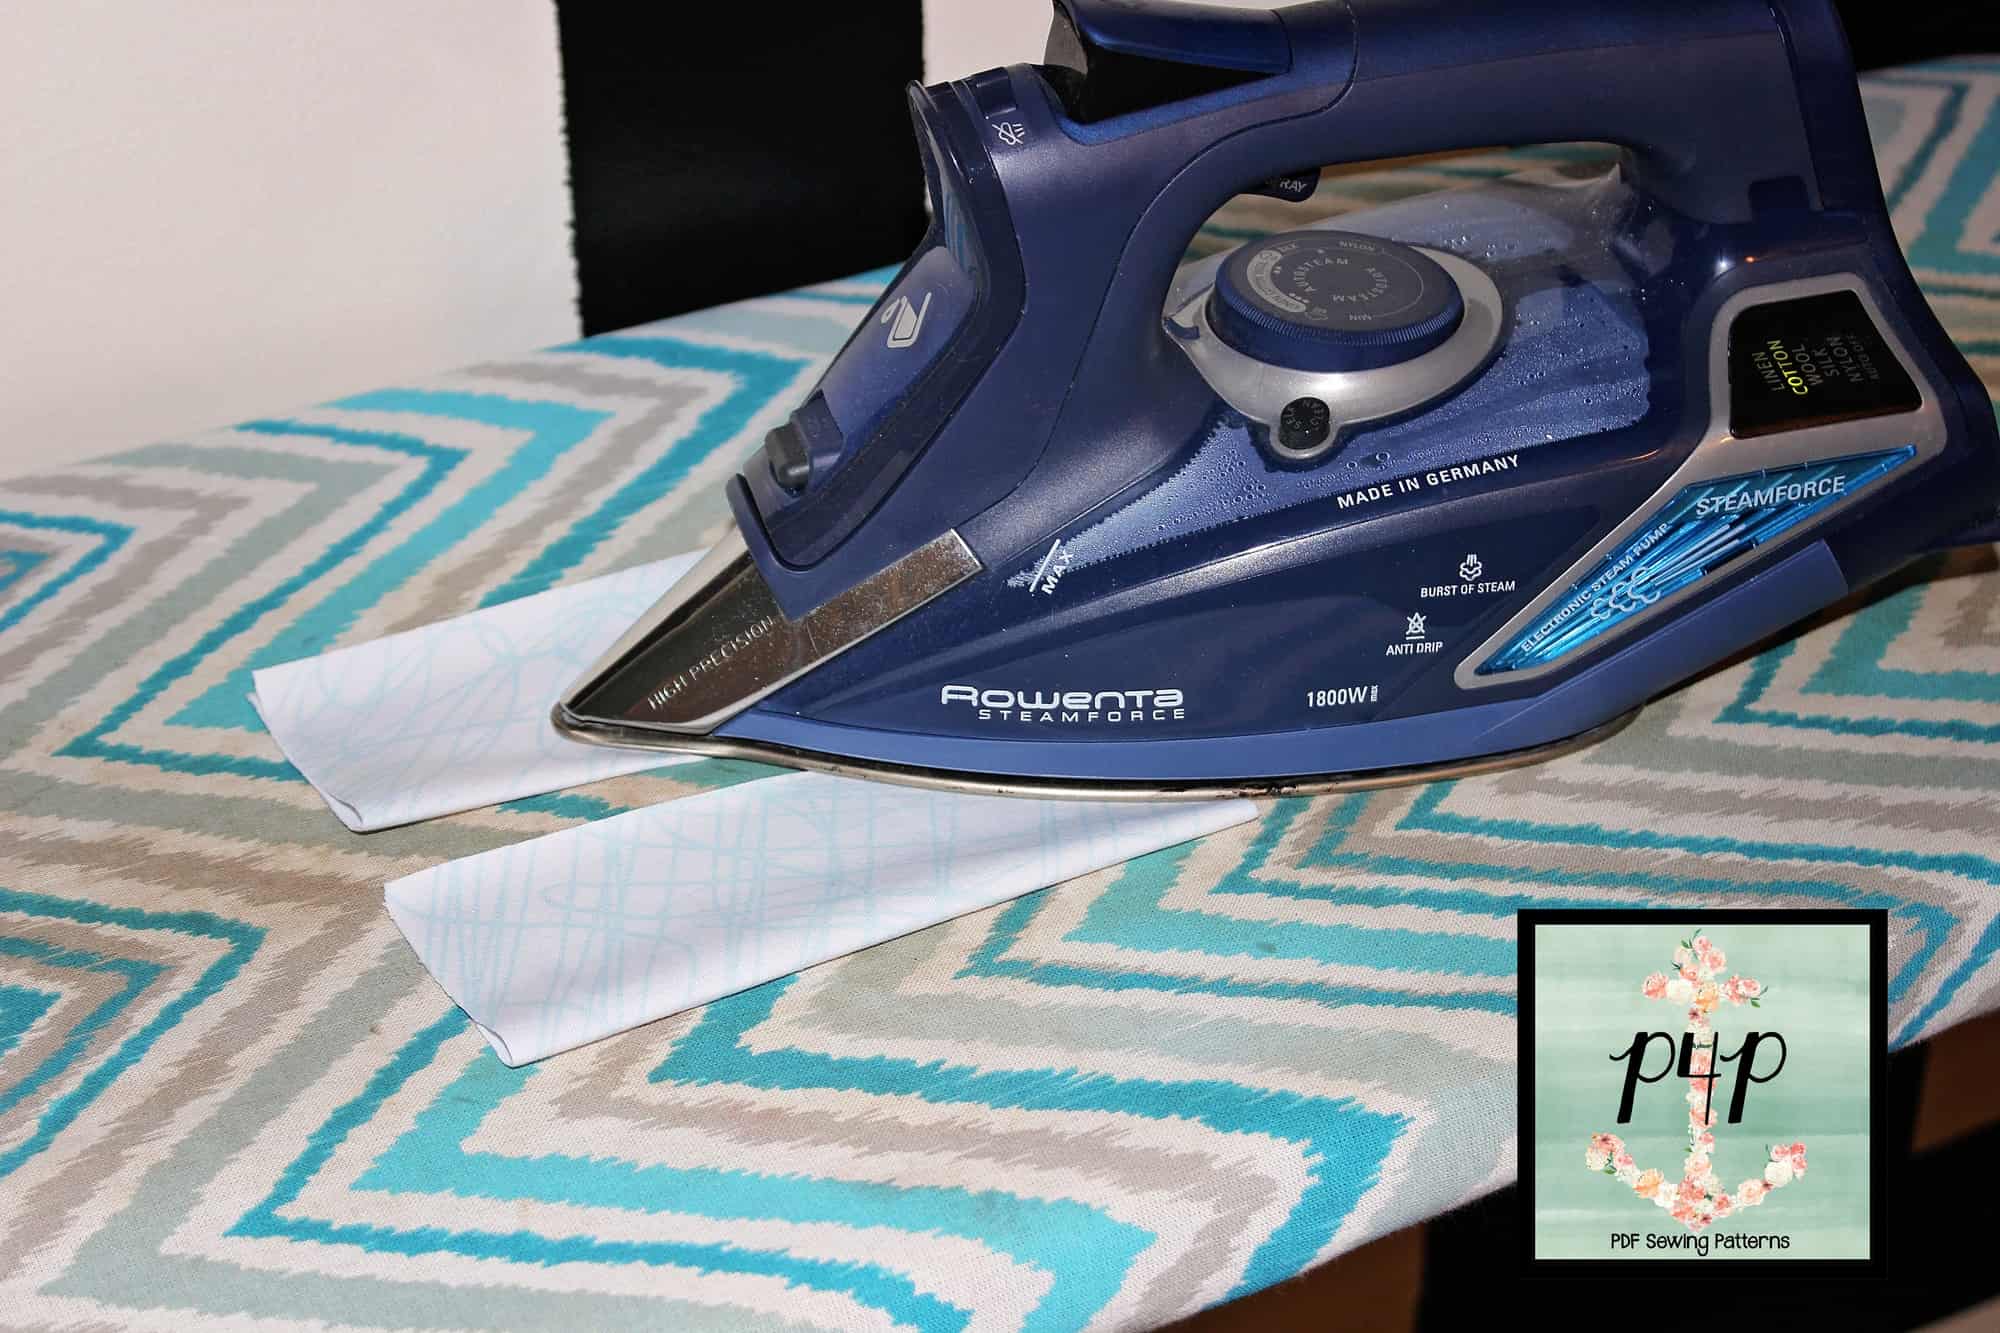
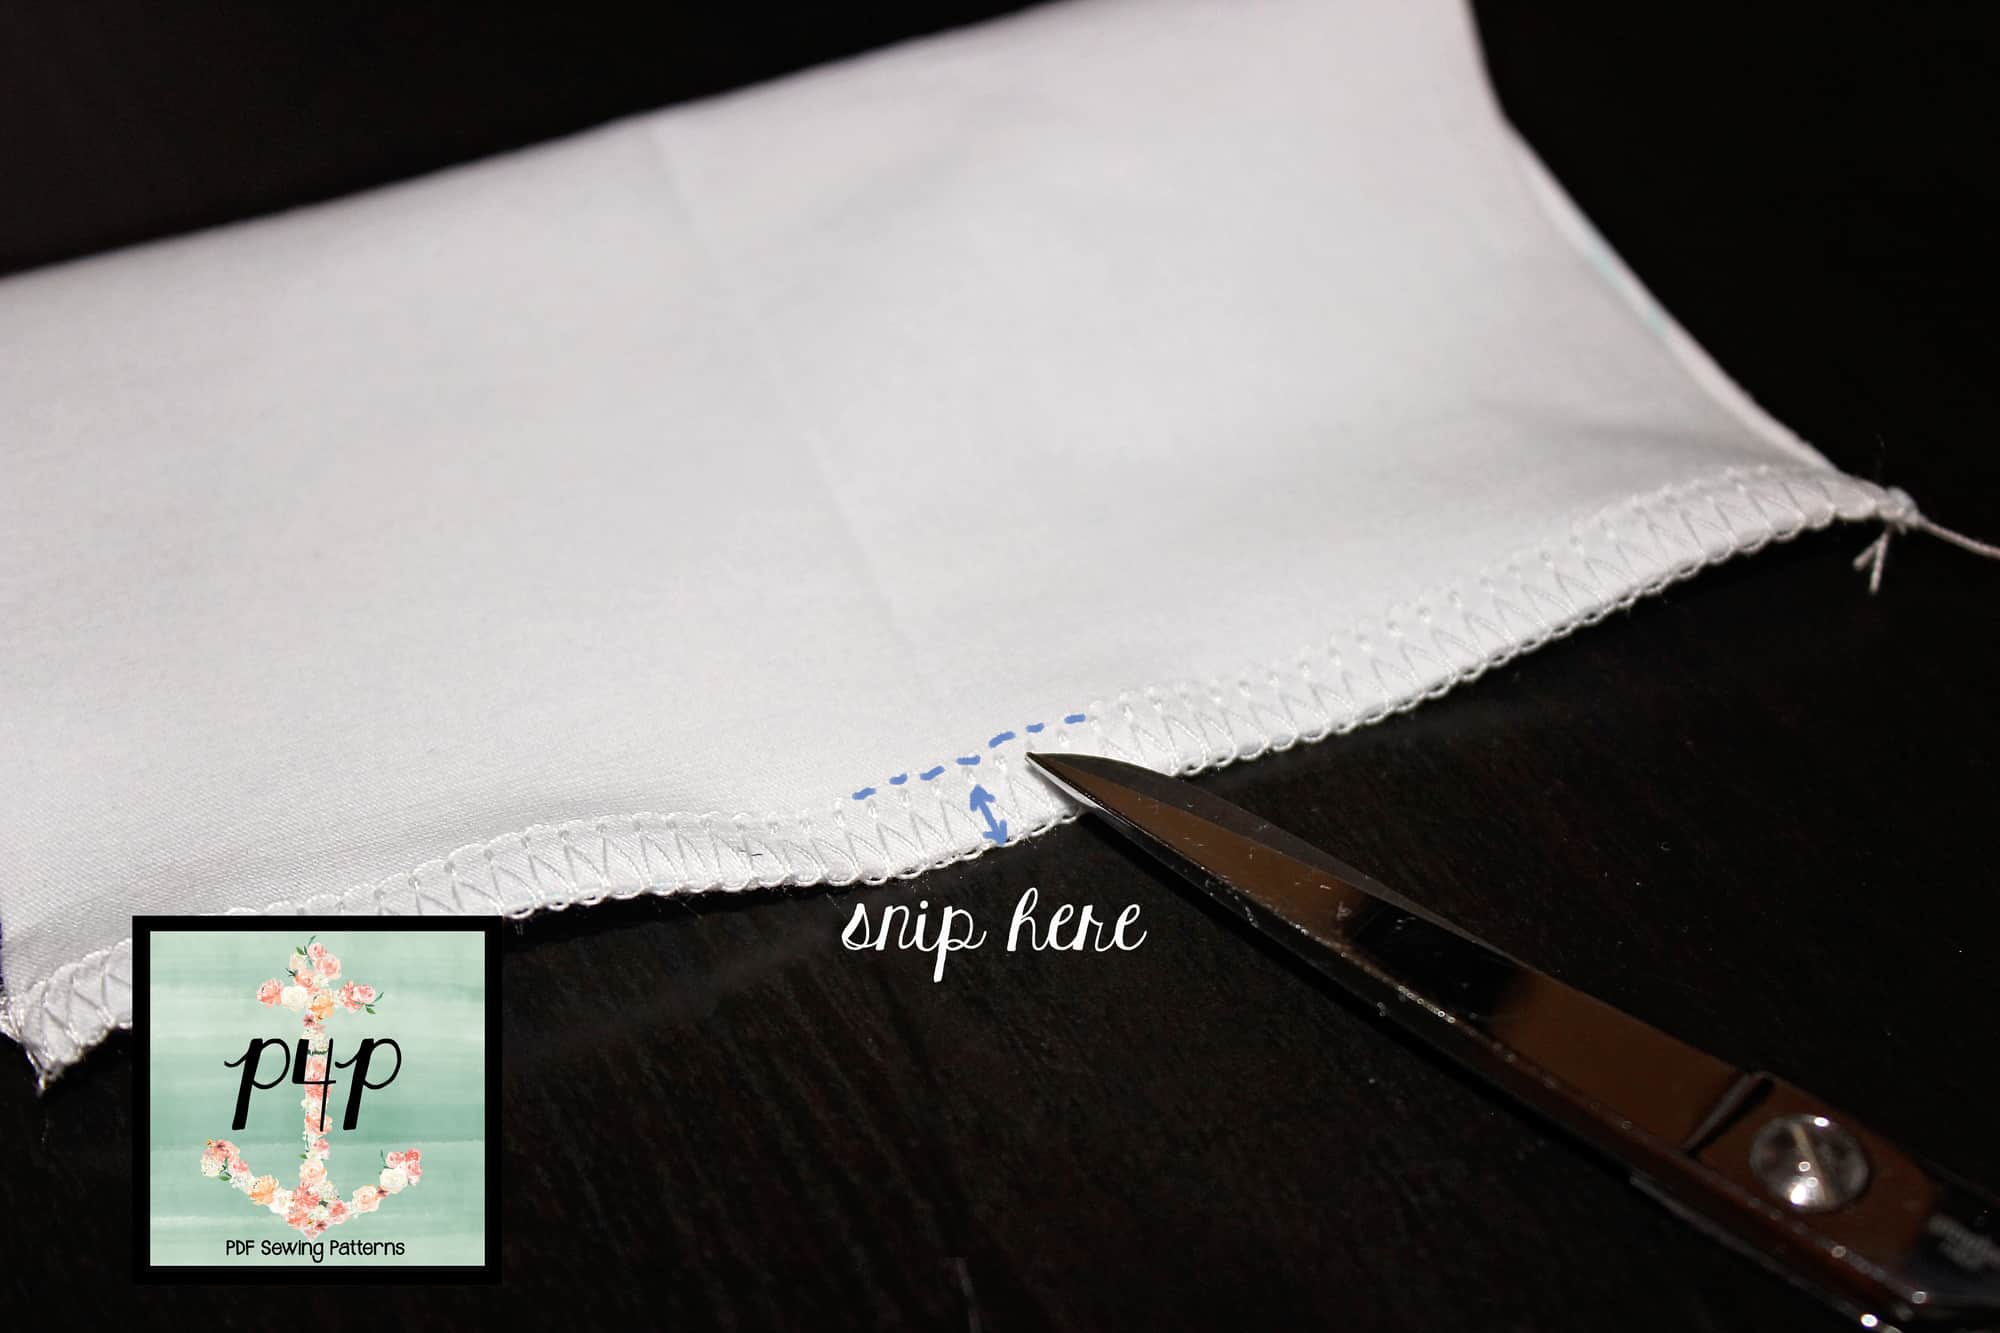
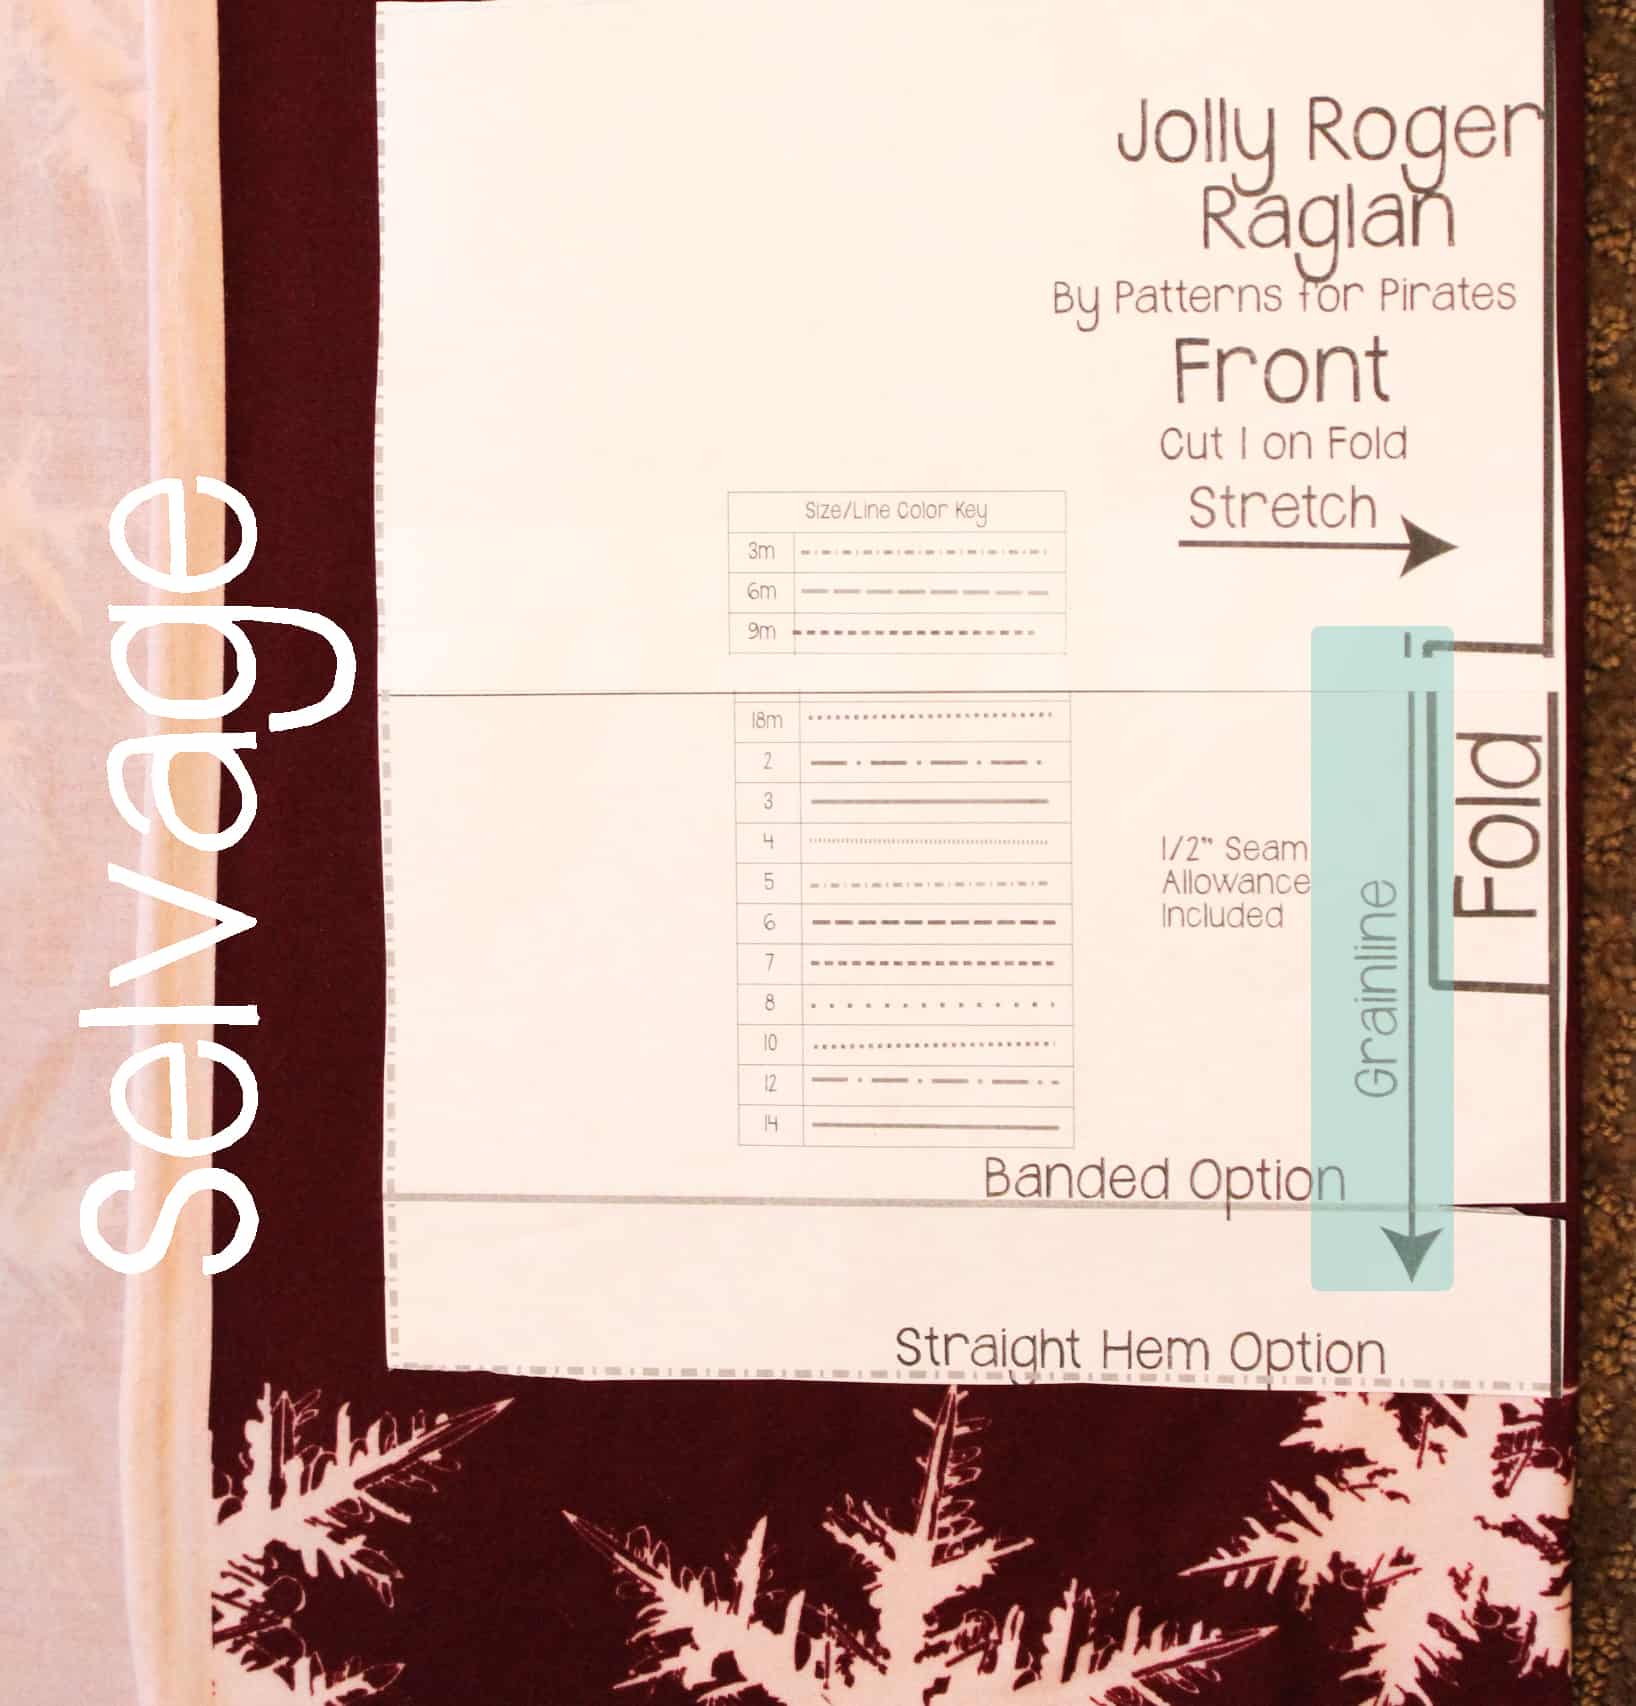
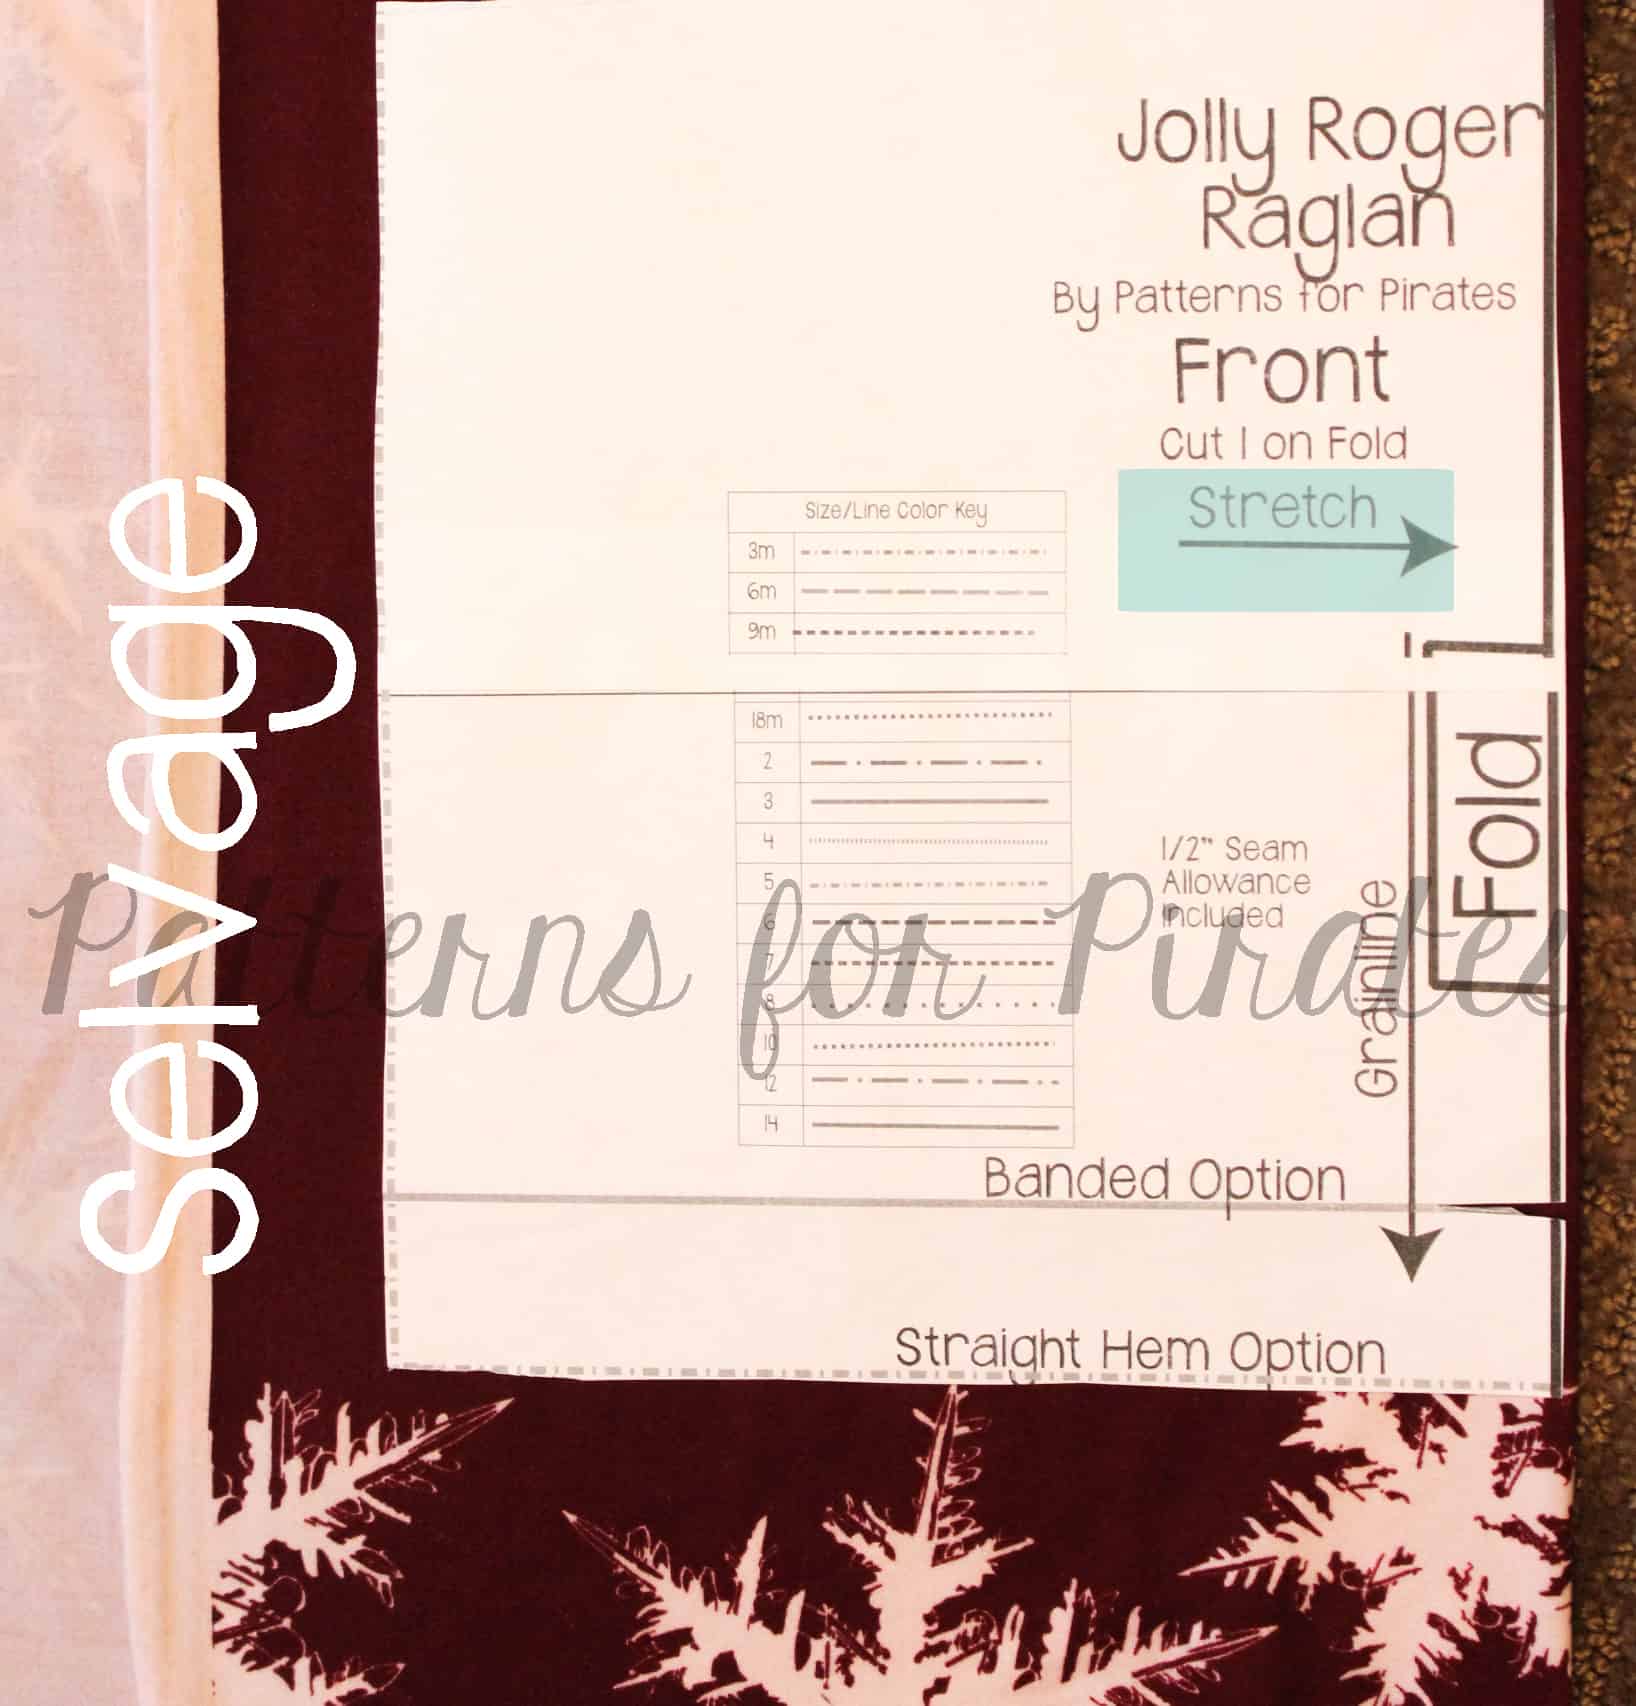
Is this your first time using one of our patterns? Check out our Pattern Markings 101 and Grainline blog posts for more tips about cutting out your fabric correctly. Now, on to the hacks…..
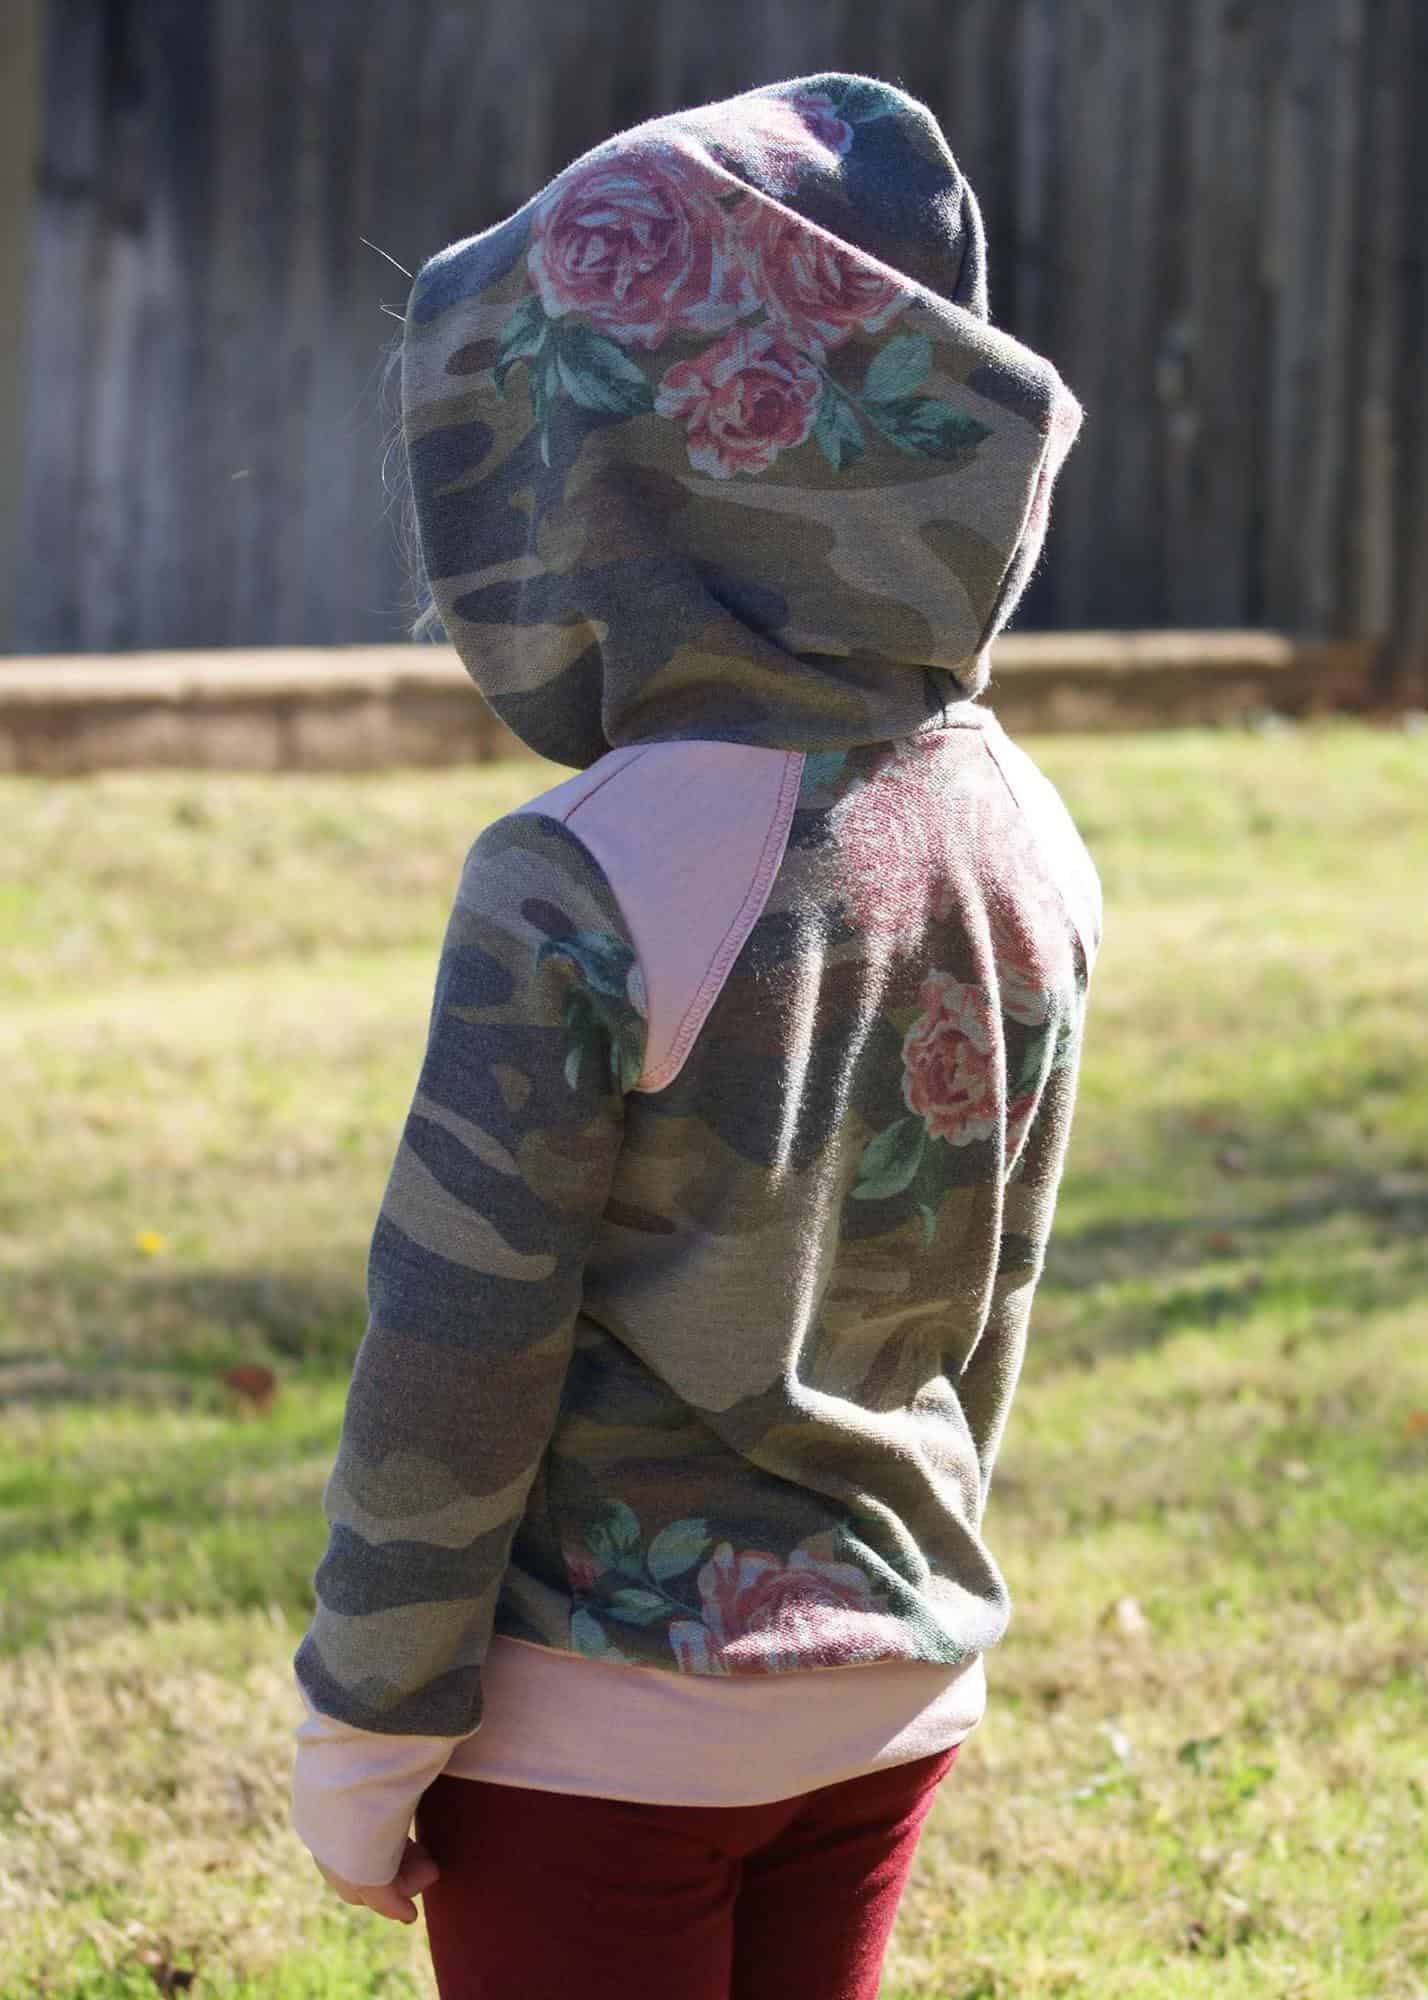
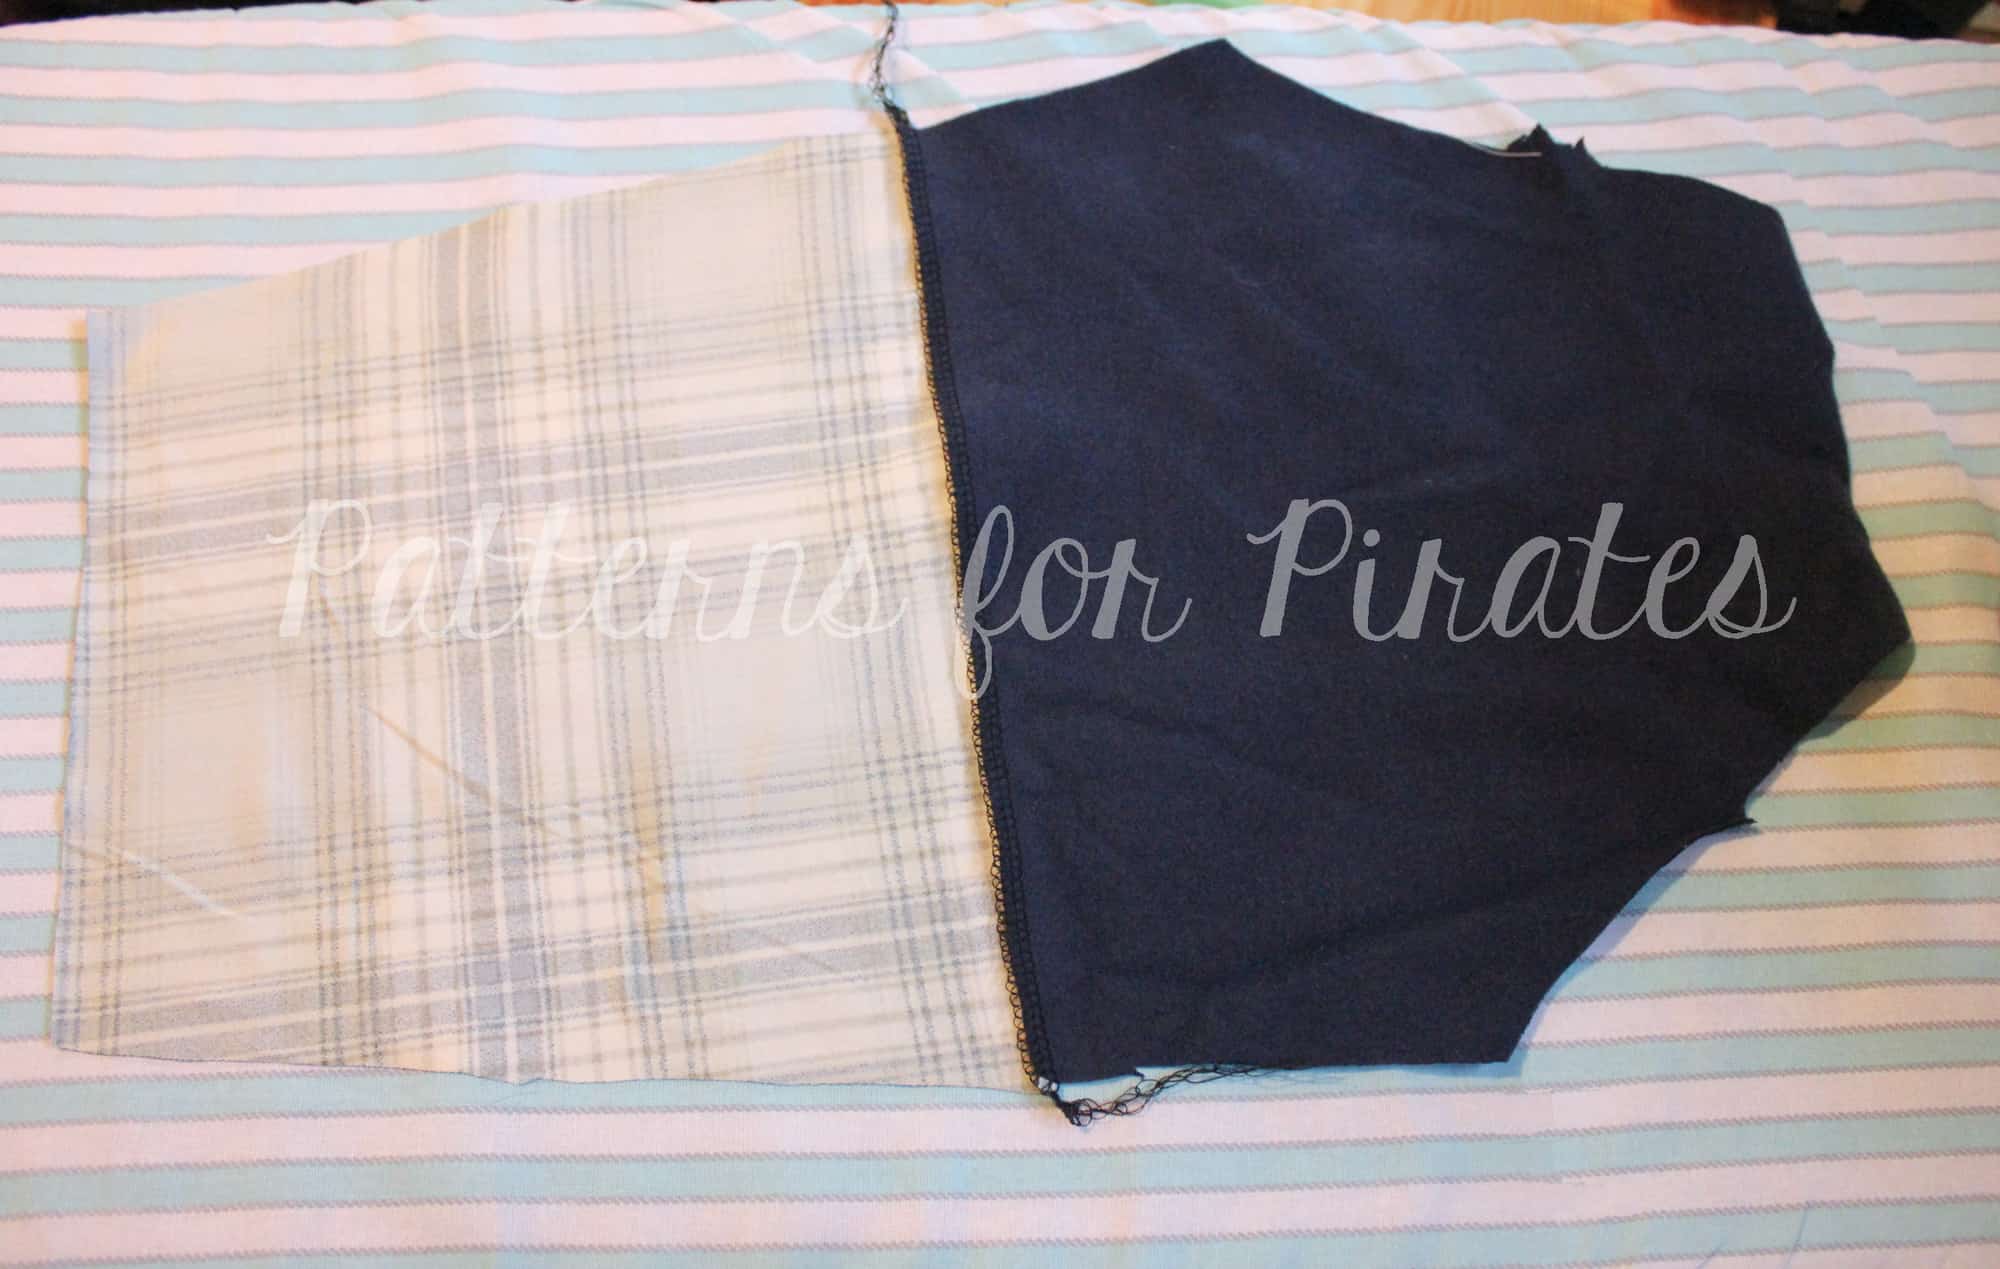
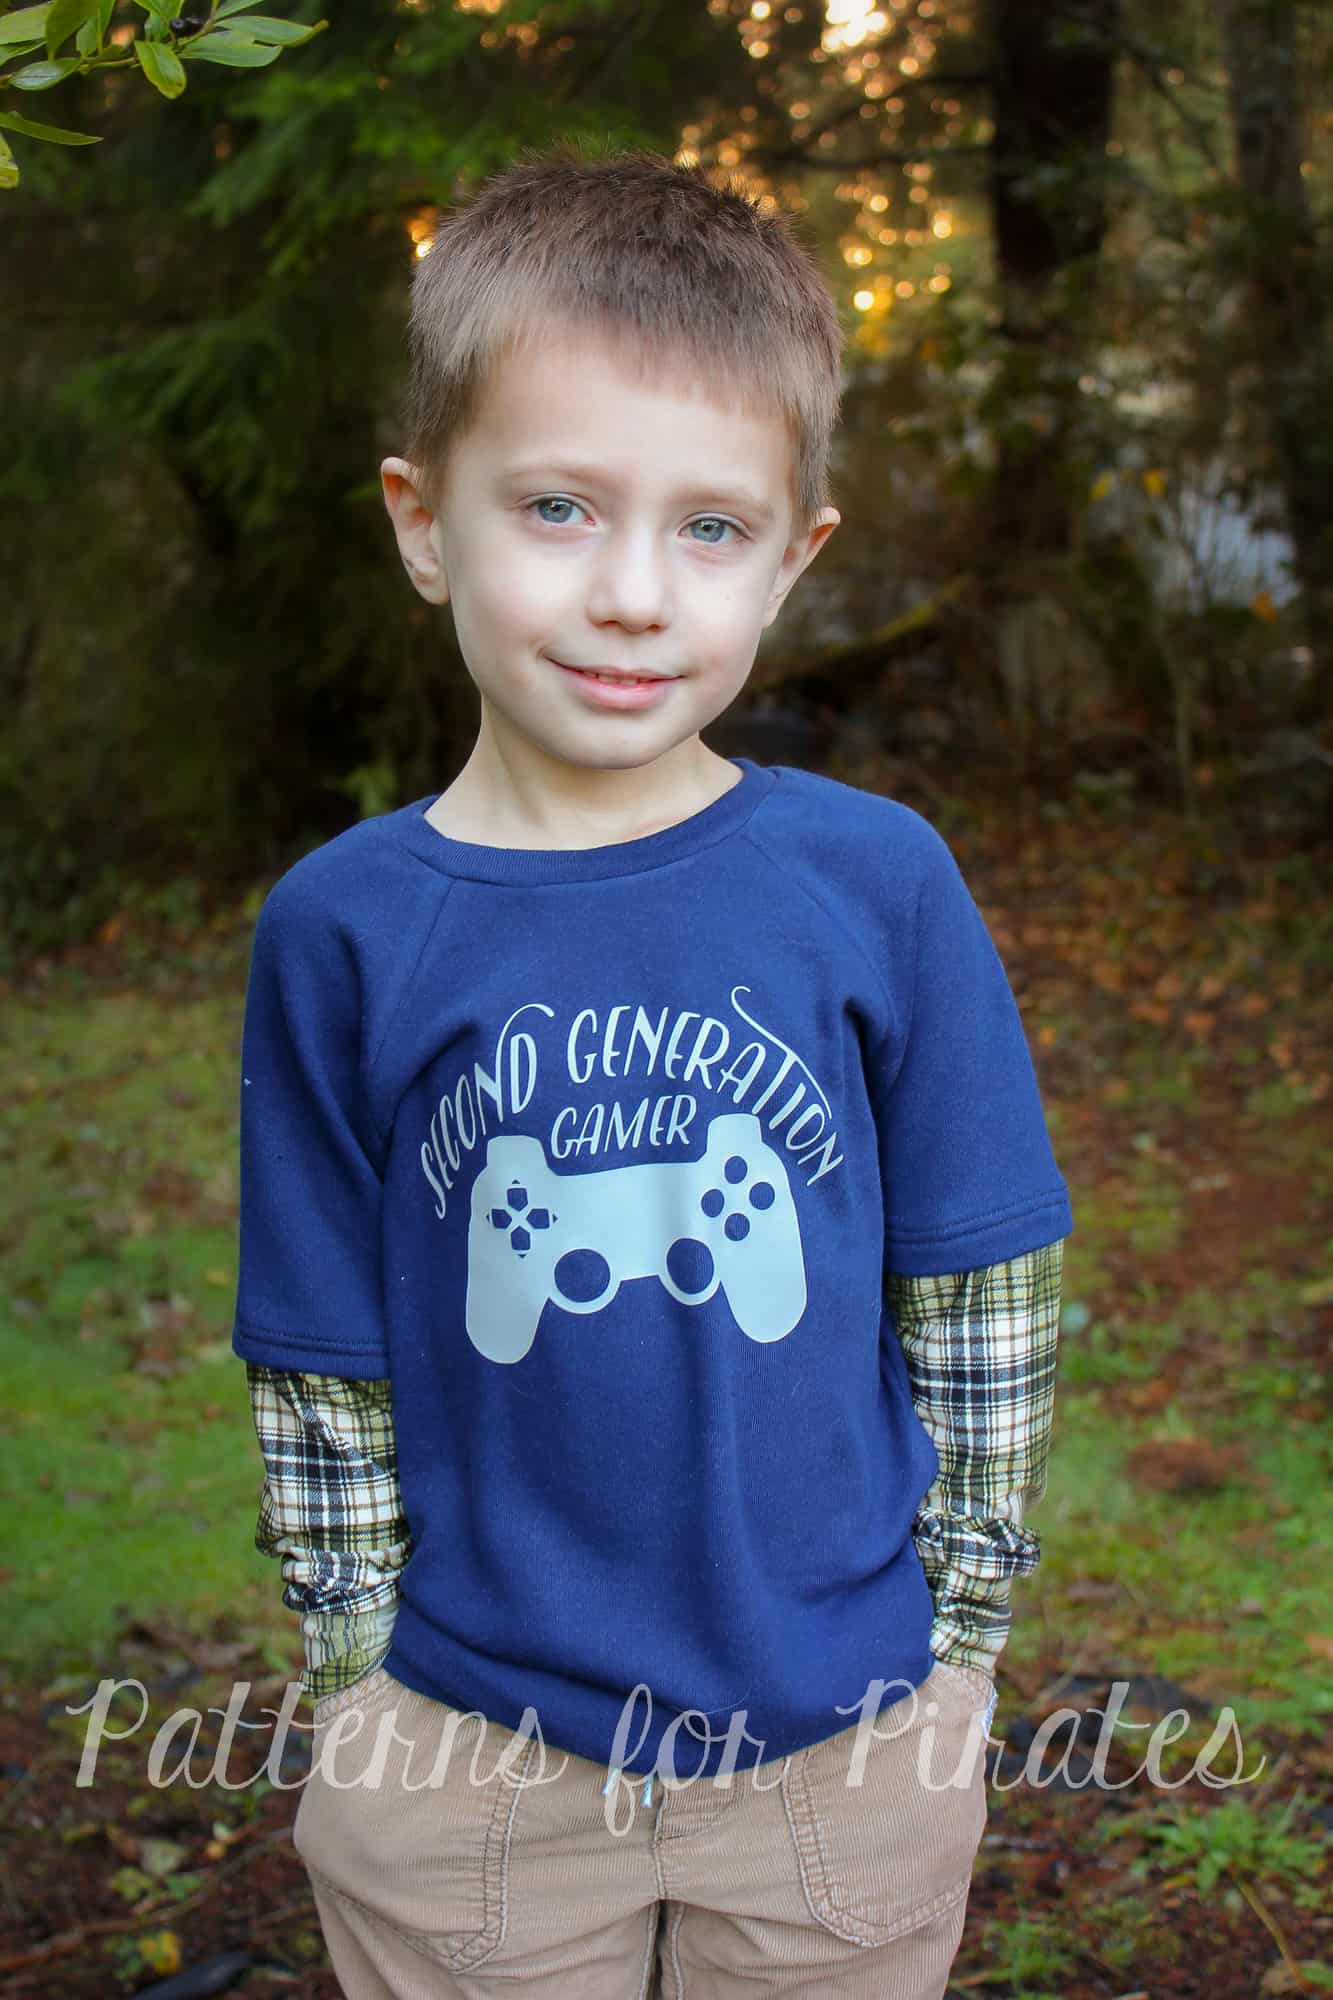
Henley Raglan Color Block Hack
Download the Color Block Pieces for the Women’s Henley and Yo Ho Henley HERE.
-

- French Terry
-

- Sweater Knit and Suede accents


Here we go!
-

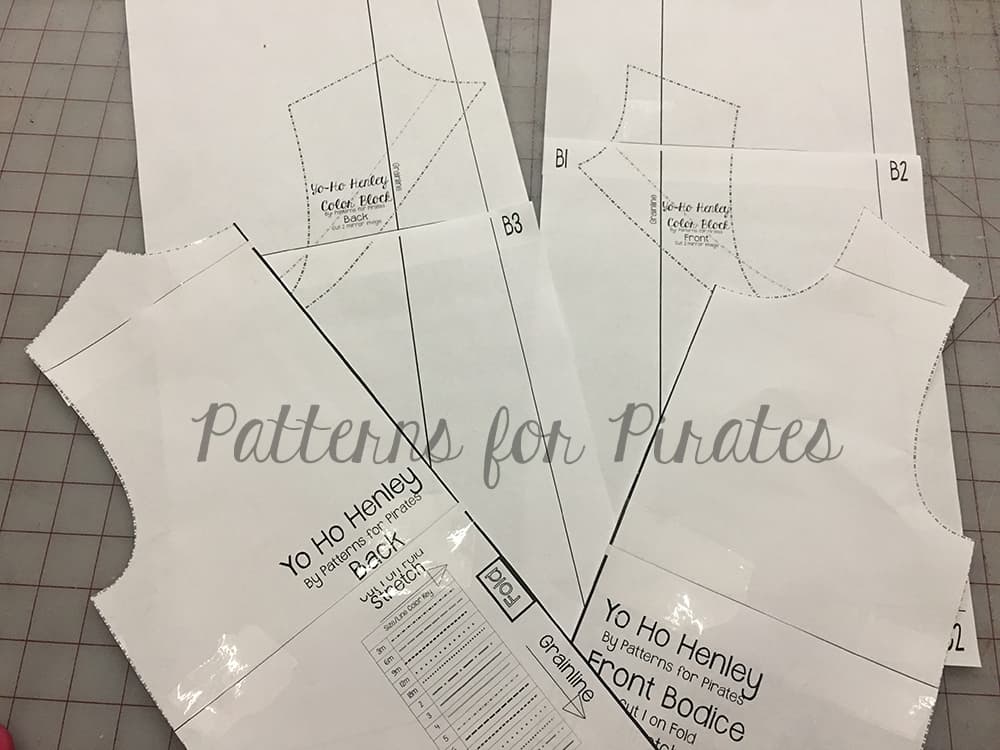
- Print out the Henley Main and Color Block pieces
-
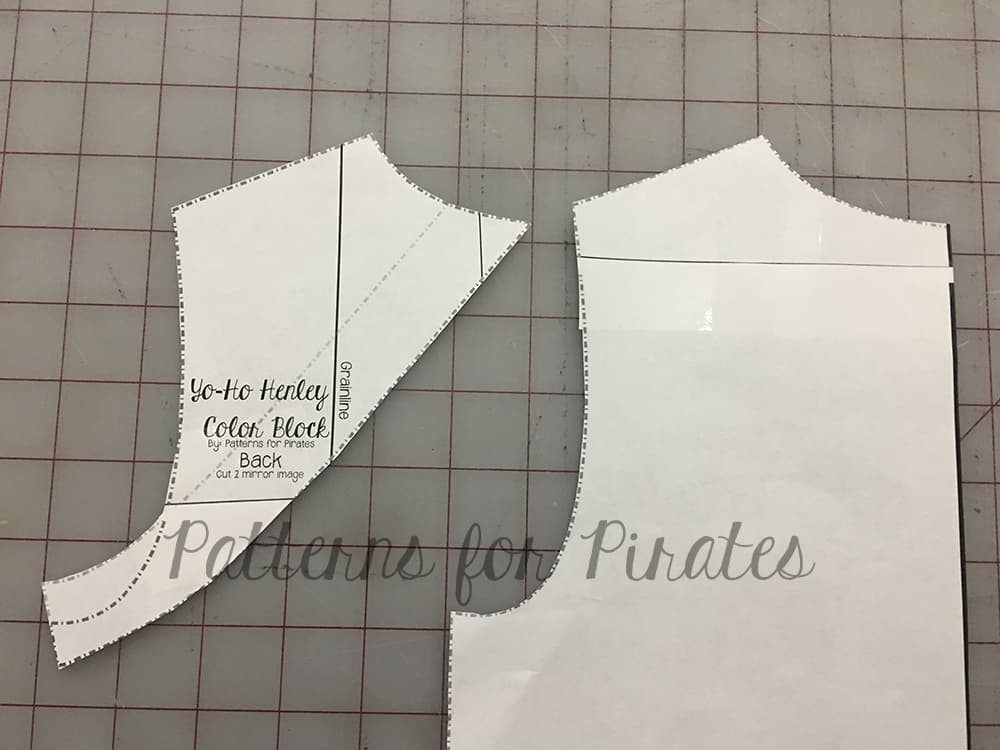
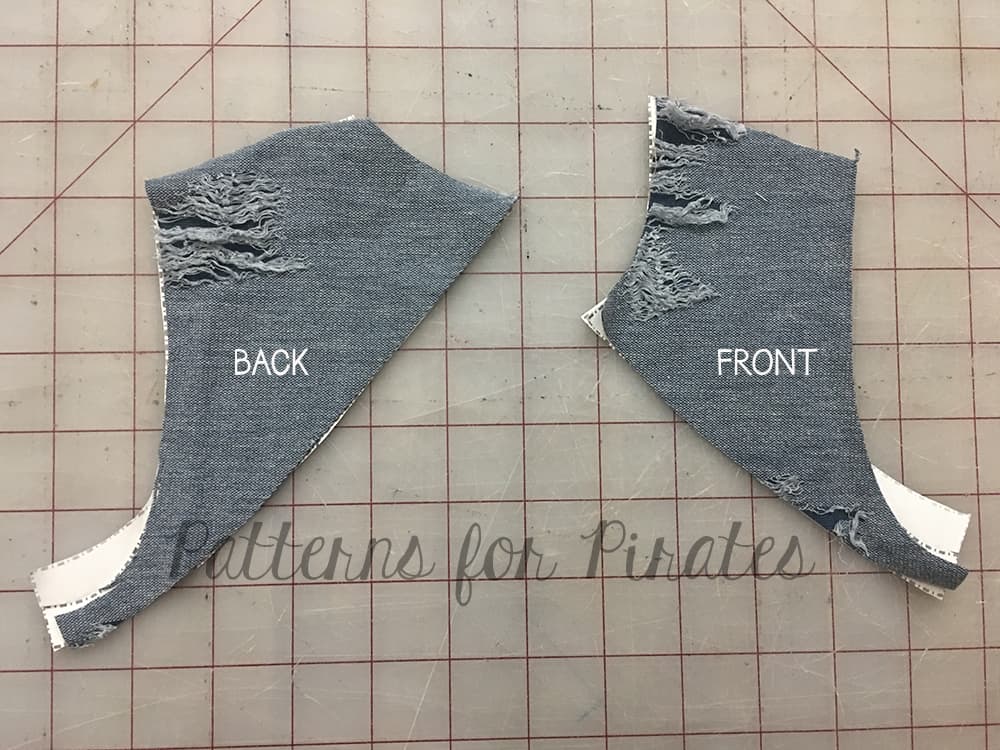
- Picture of Back Main and Color Block Pieces
-
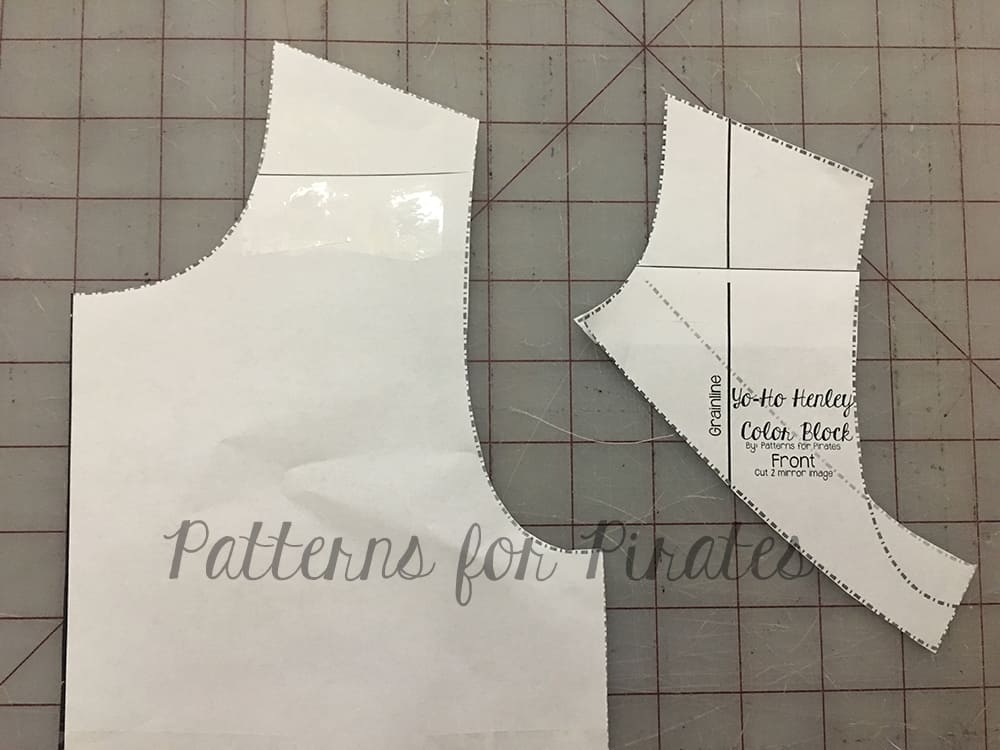
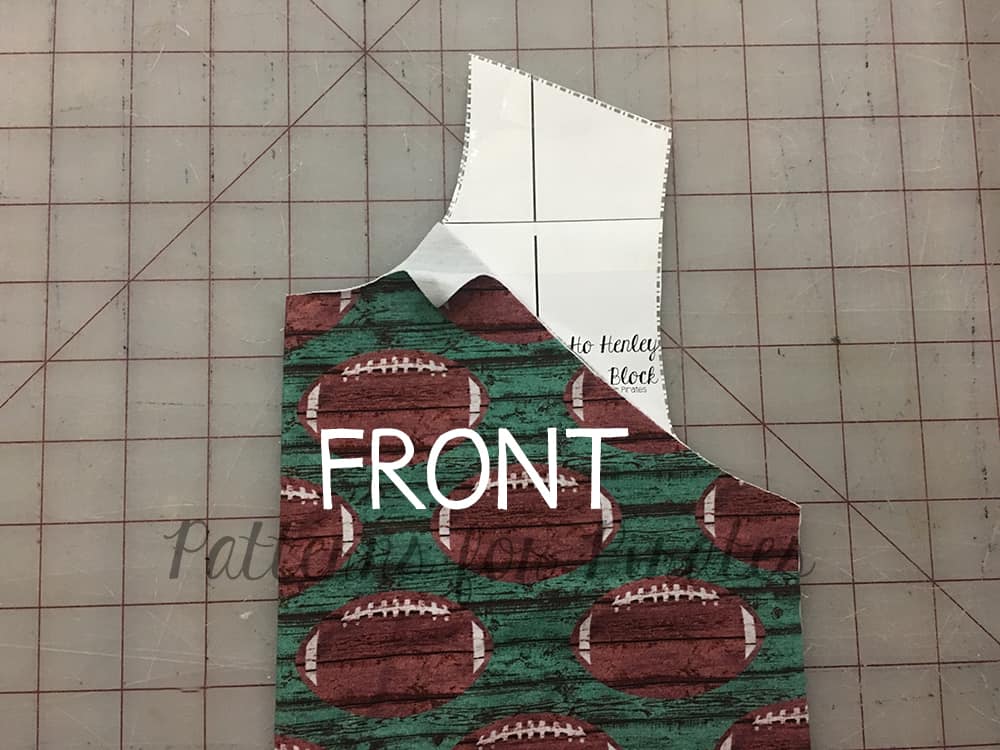
- Picture of Front Main and Color Block Pieces
-
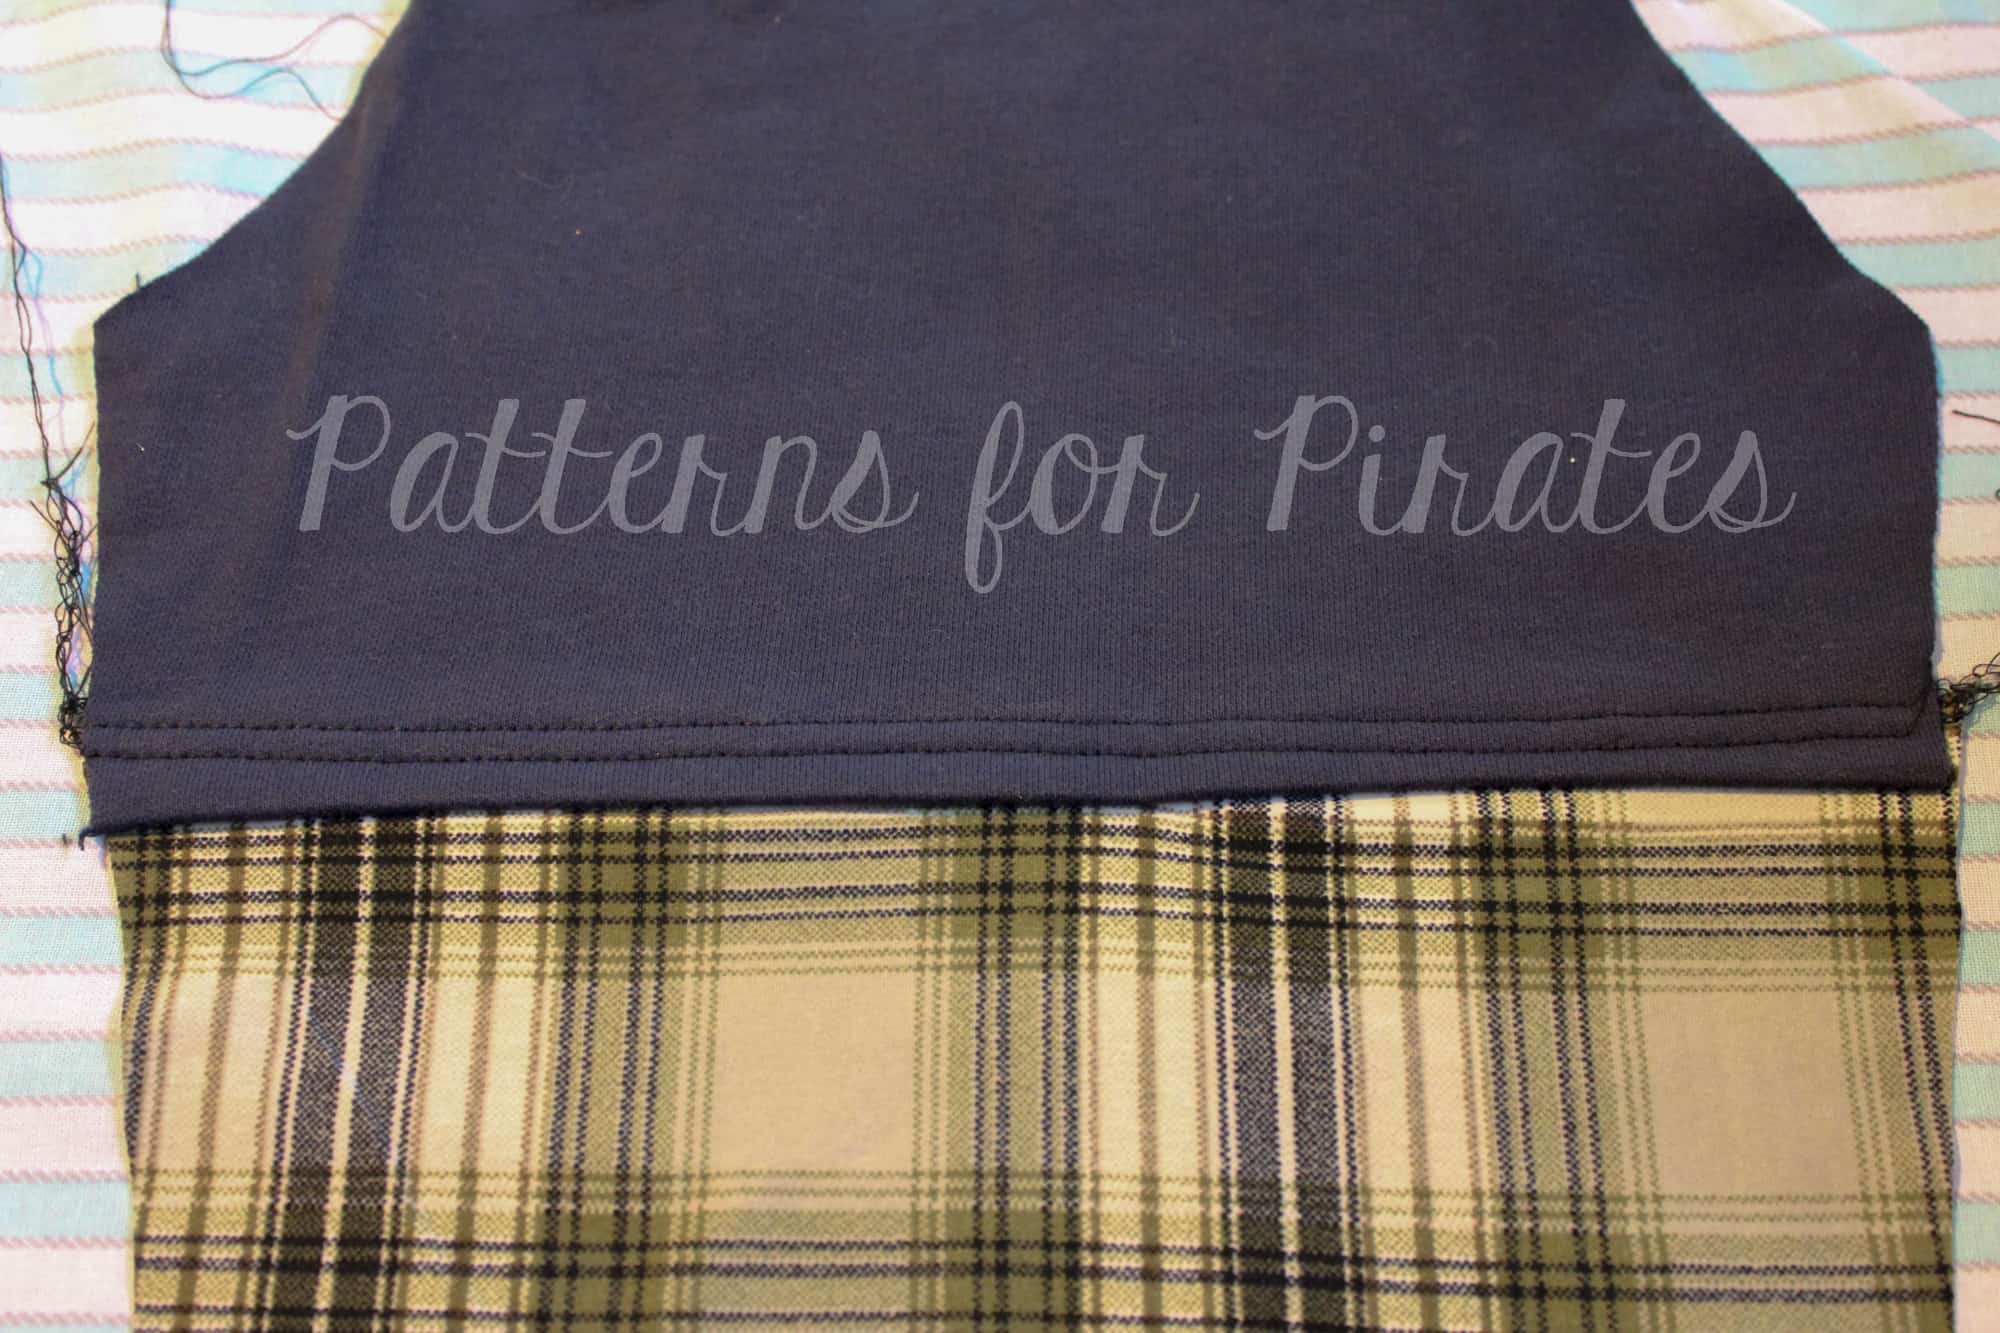
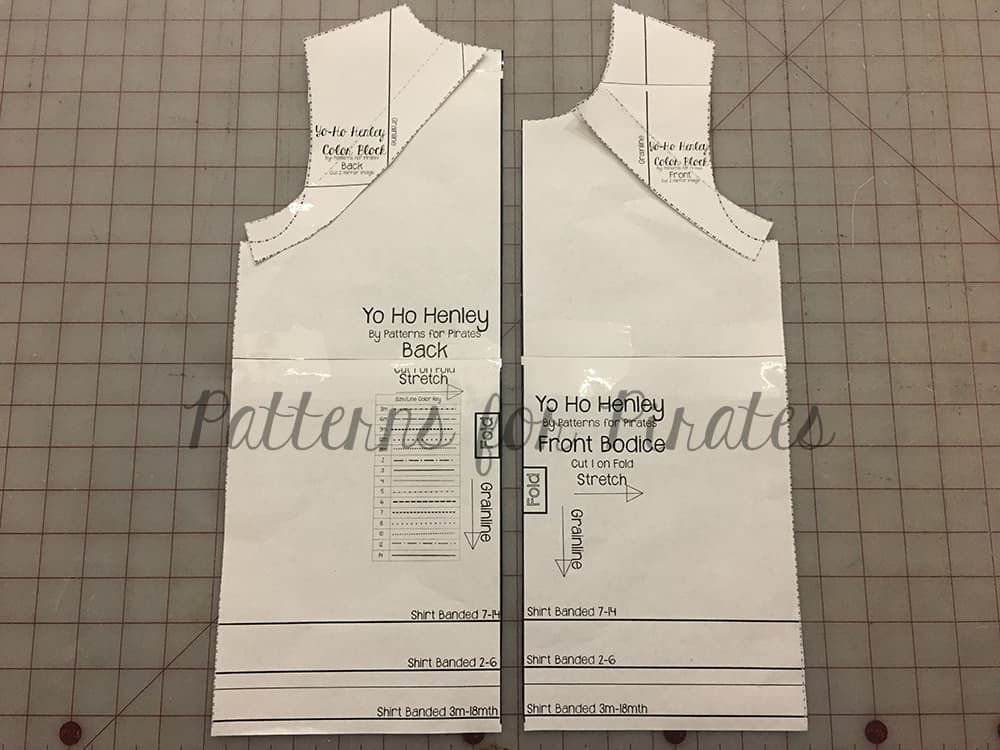
- The Color Block Pieces should line up at the shoulder seam with the main body.
-
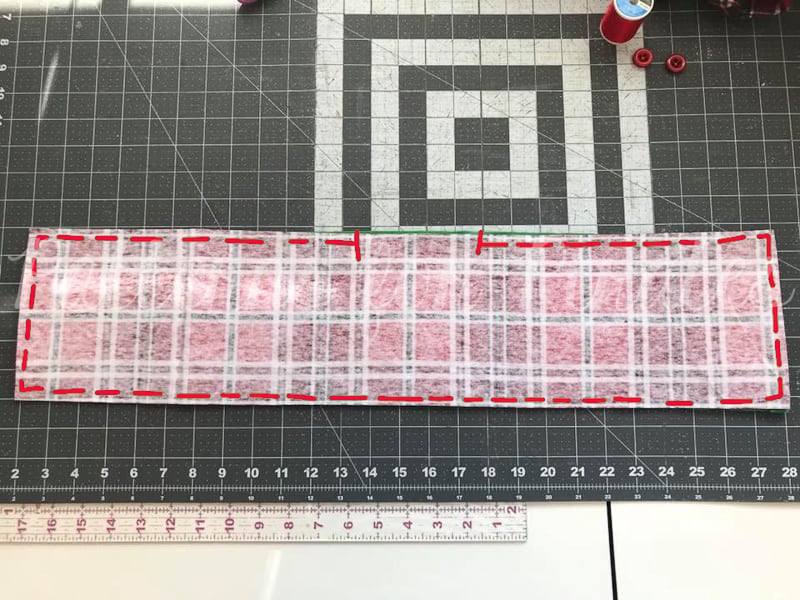
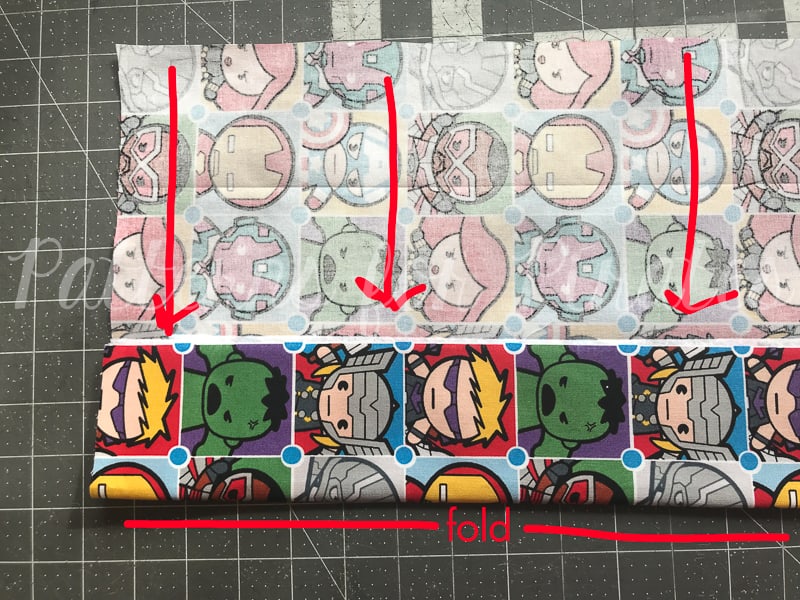
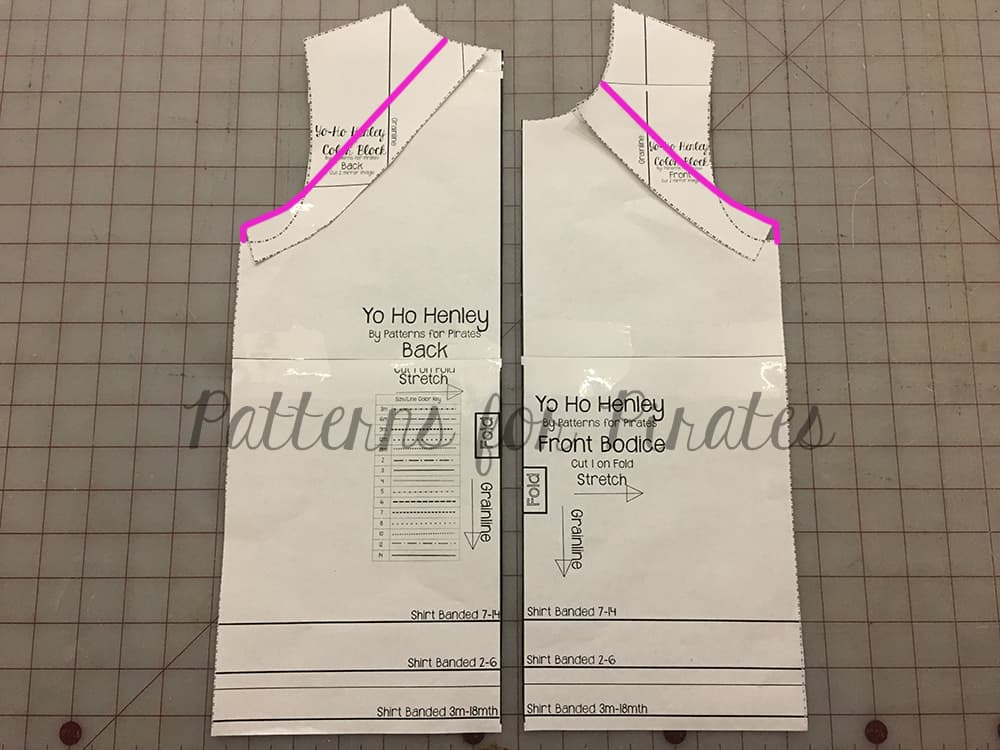
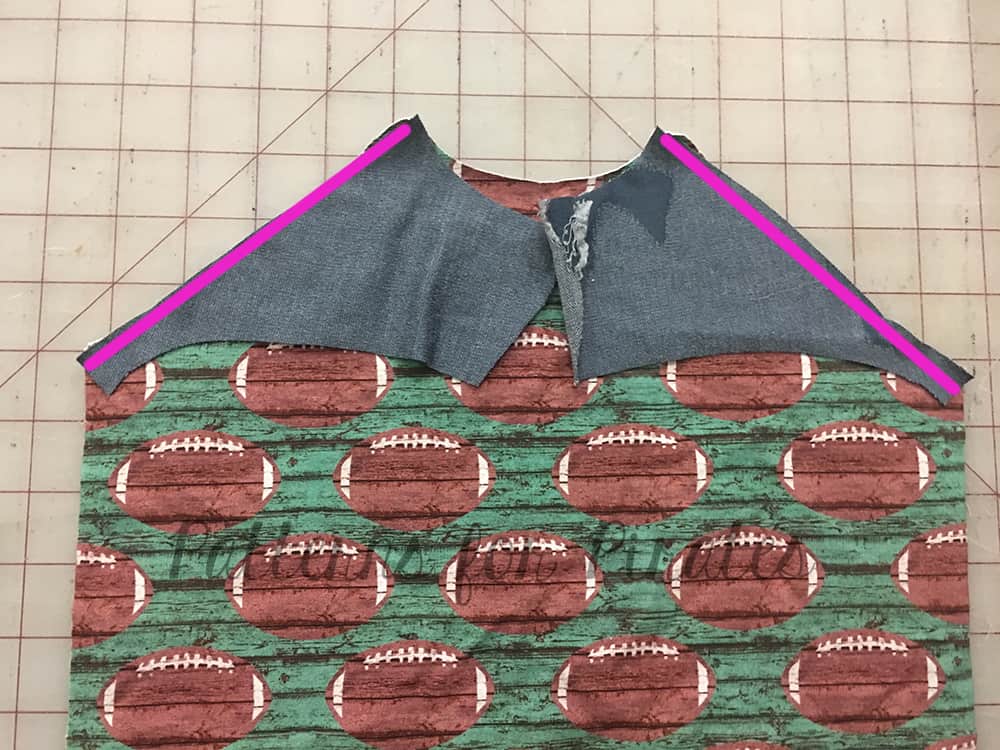
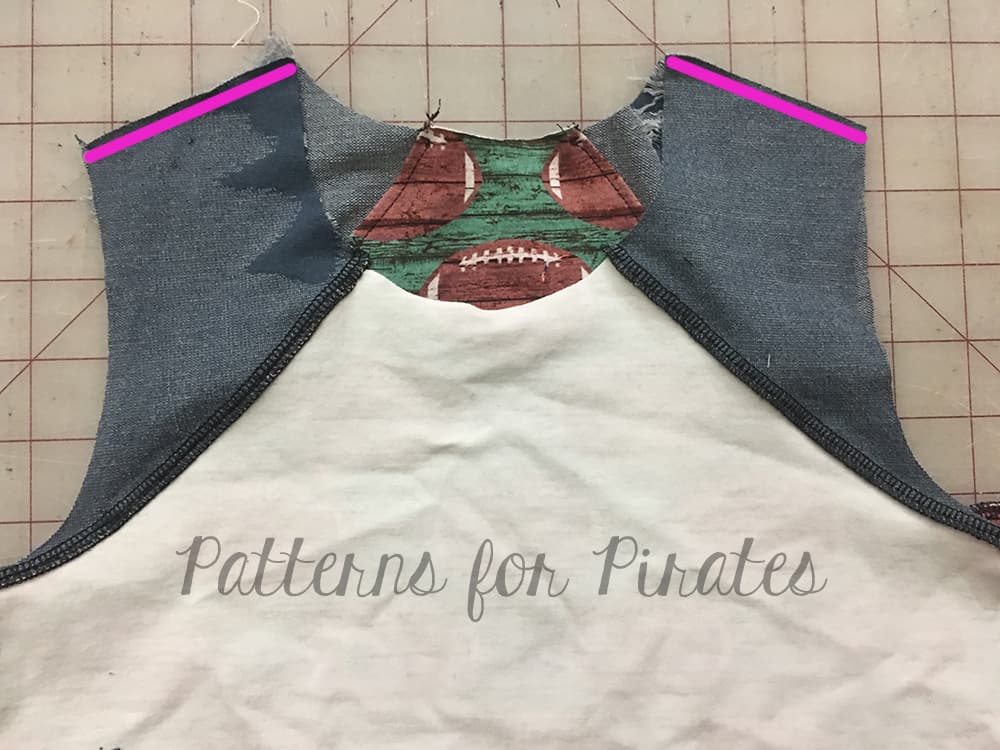
- Transfer the faded line (shown in pink here) to your main body as this will be your new bottom color block. If you do not want to cut your main pattern piece you can also fold it along that line when you cut your fabric.
-
- Cut 2 (mirror image) of the top color block. Follow the darker size line along the armscye.
-
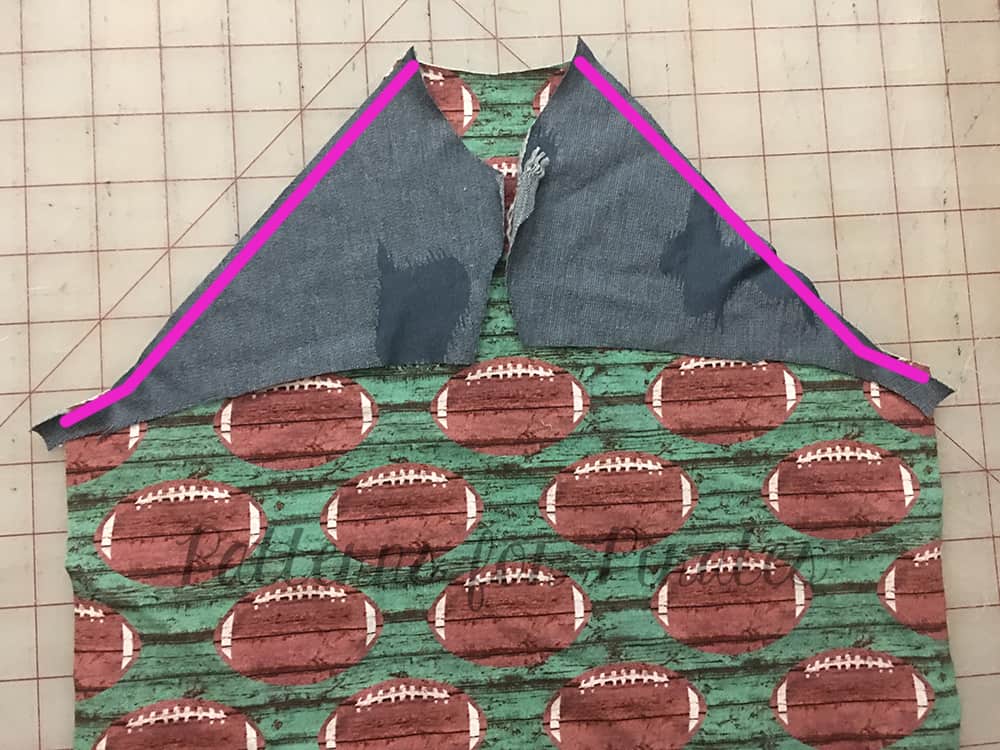
- Cut 1 Front on the fold along the line you transferred in the previous step.
-
- Cut 1 Back on the fold along the line you transferred in the previous step.

-
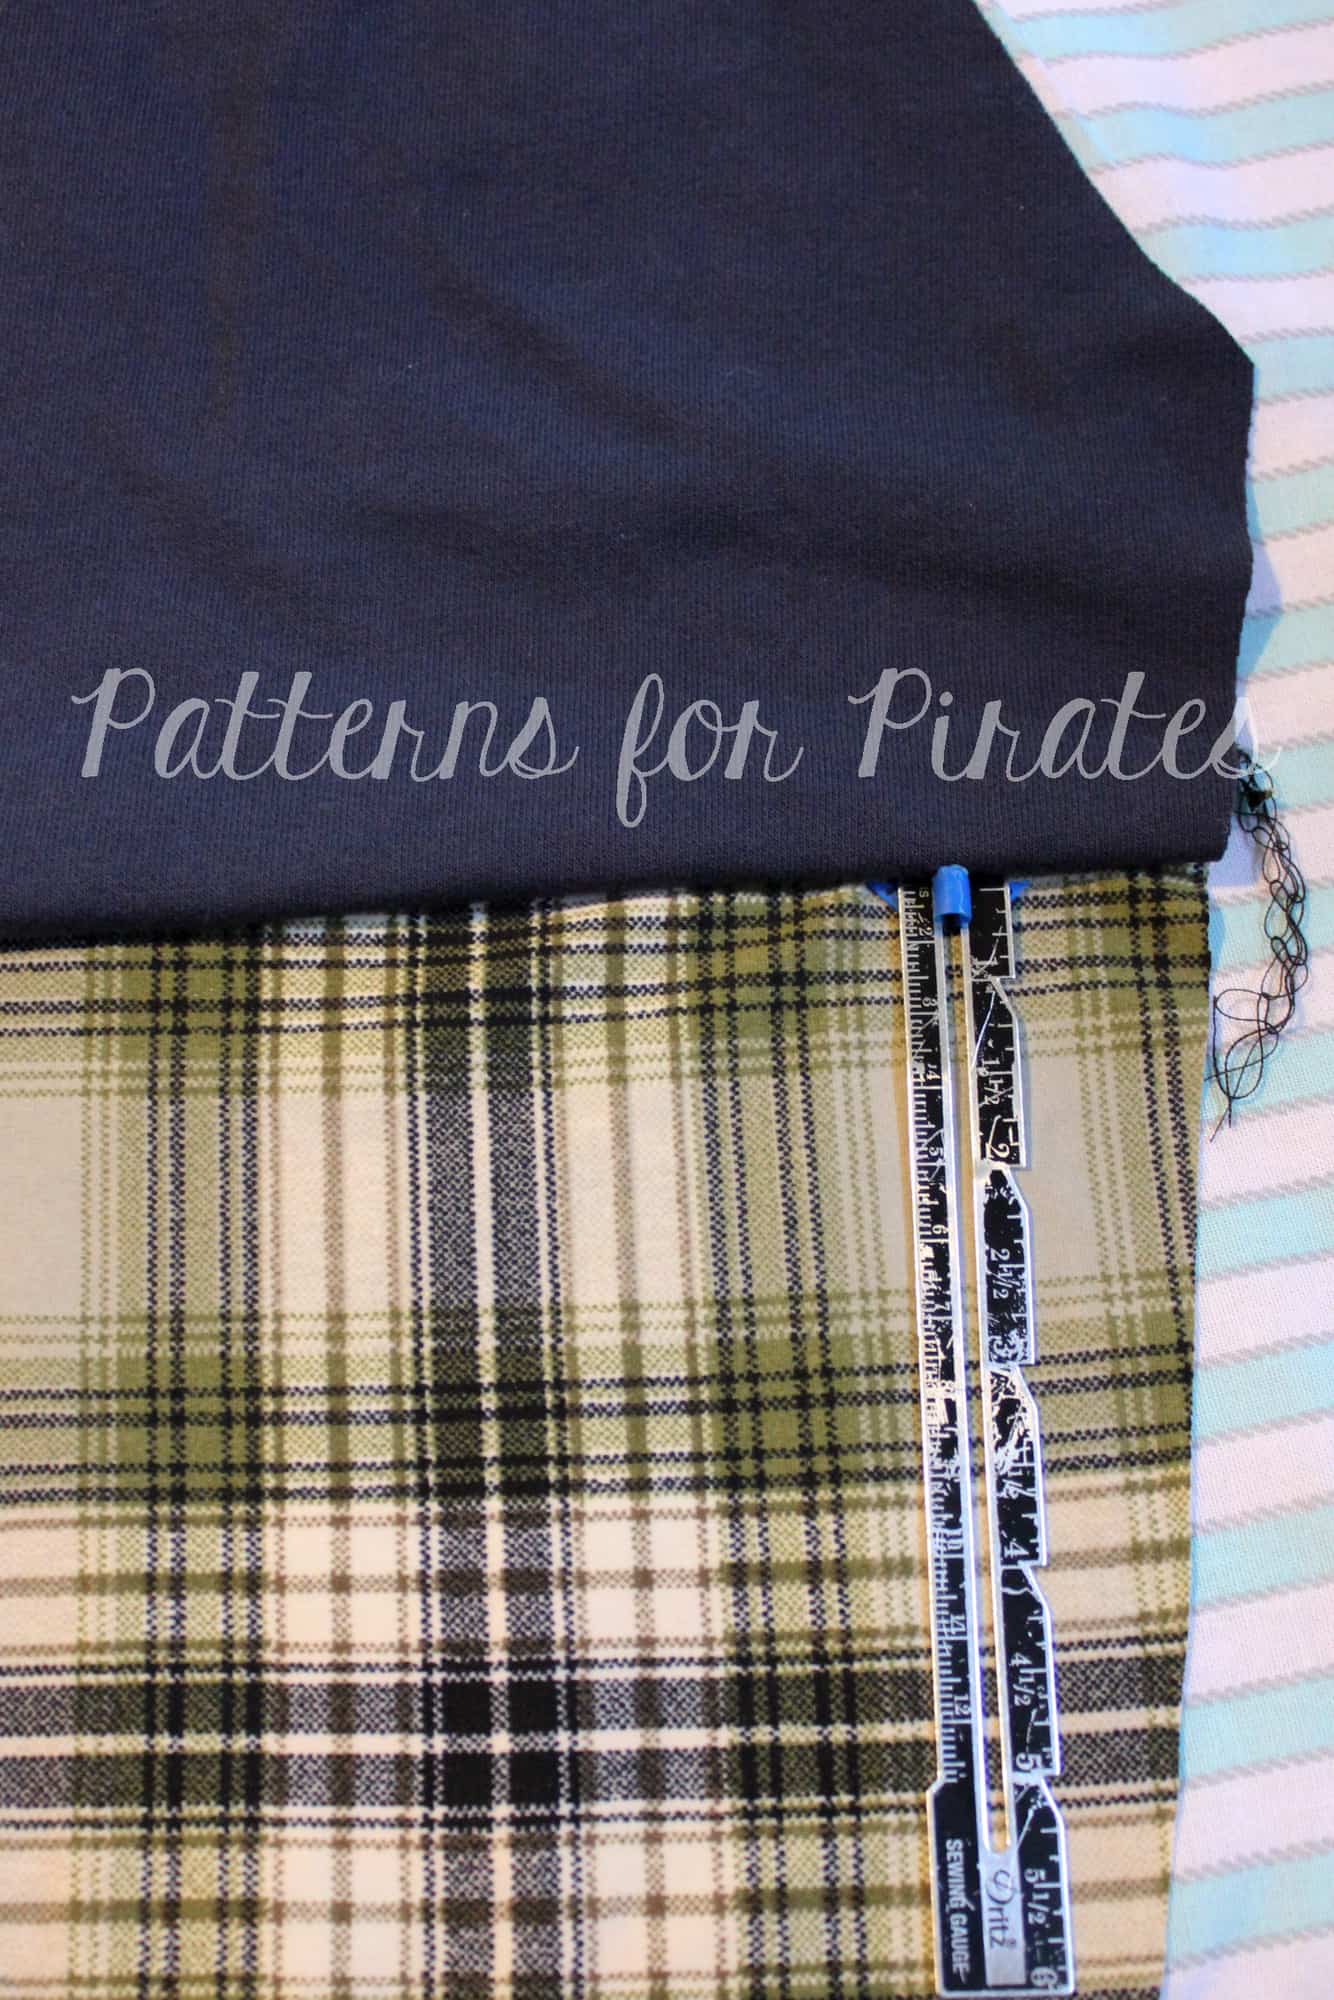
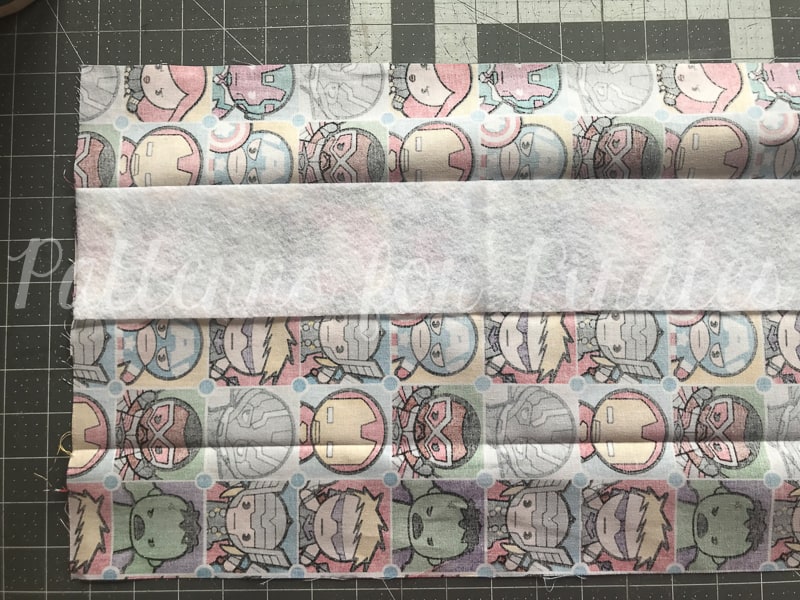
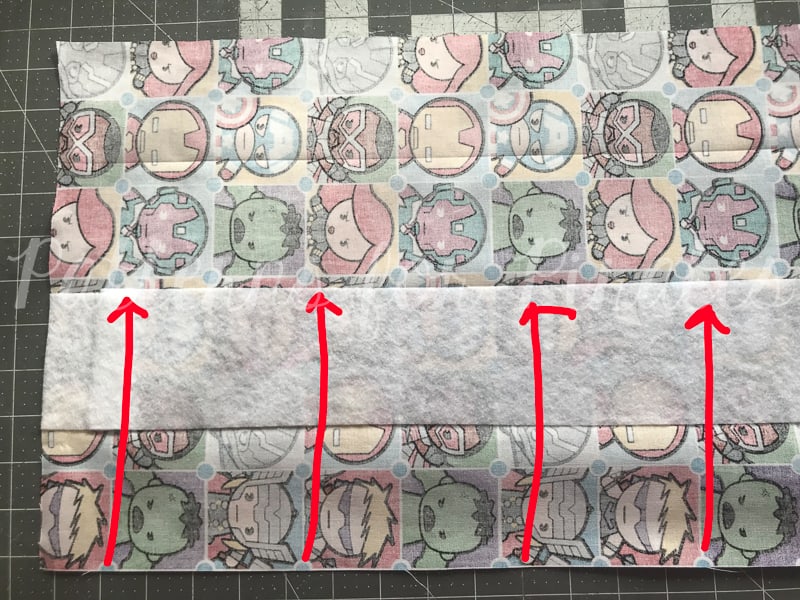
- With right sides together, and using a 1/2″ seam allowance, stitch top color block to front bodice.
-
- With right sides together, and using a 1/2″ seam allowance, stitch top color block to back bodice.
-
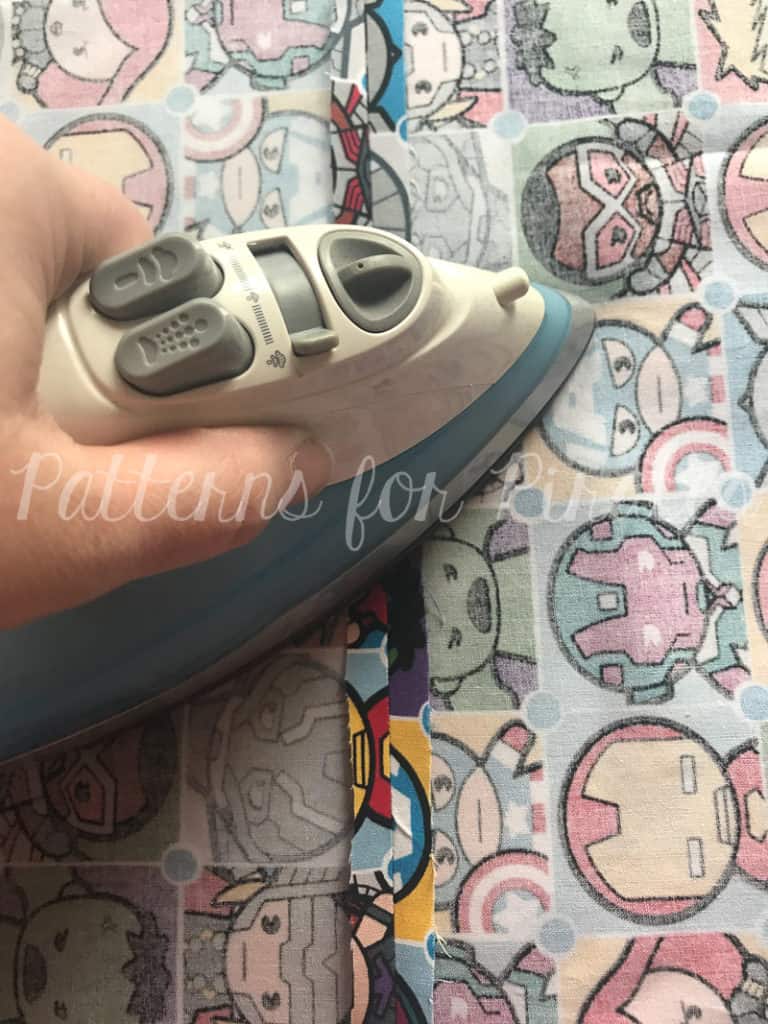
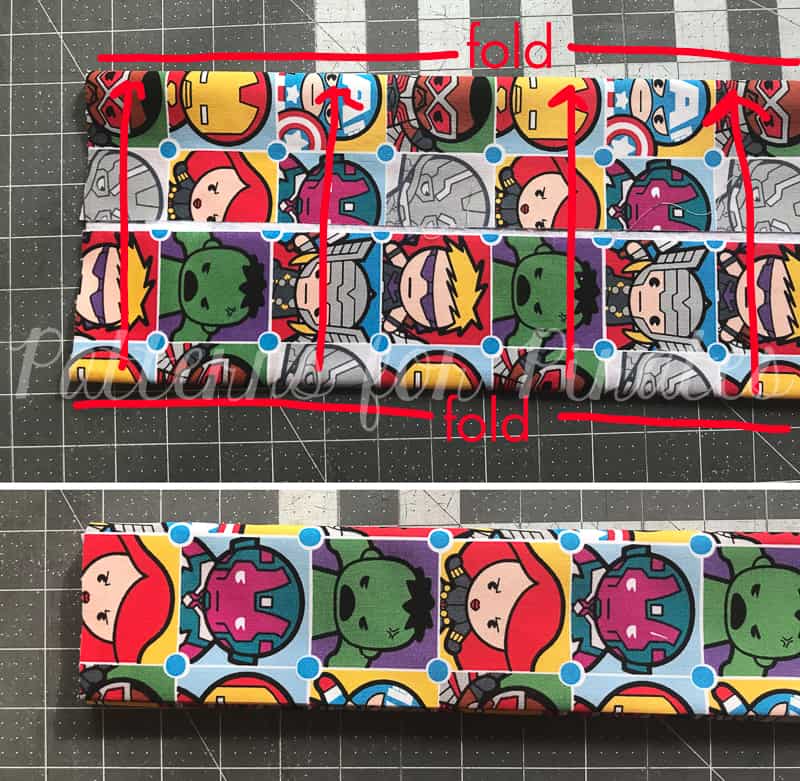
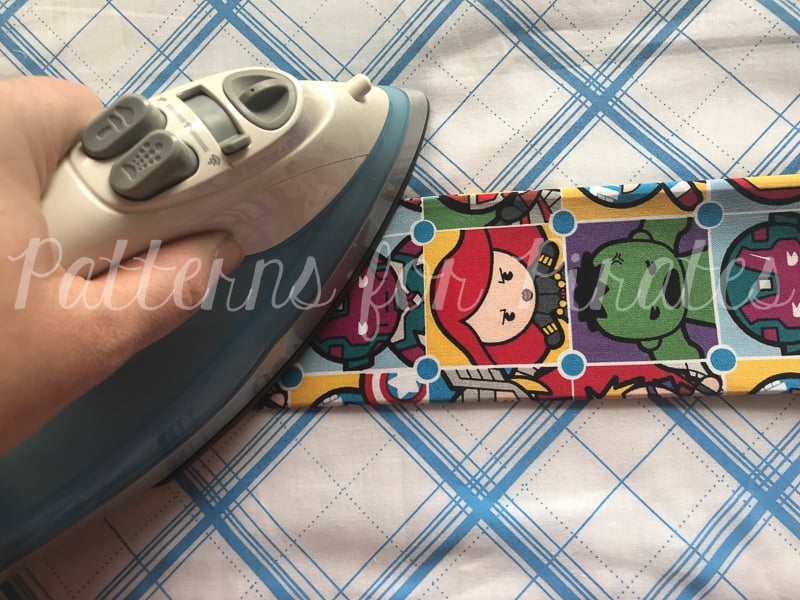
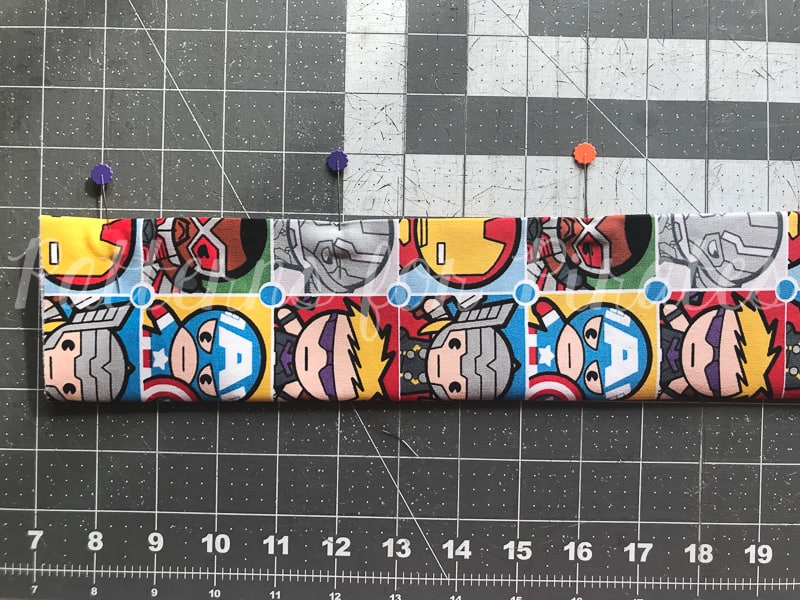
- Press seam allowance down and top-stitch. Repeat for the back.
-
- Continue as instructed in your pattern.
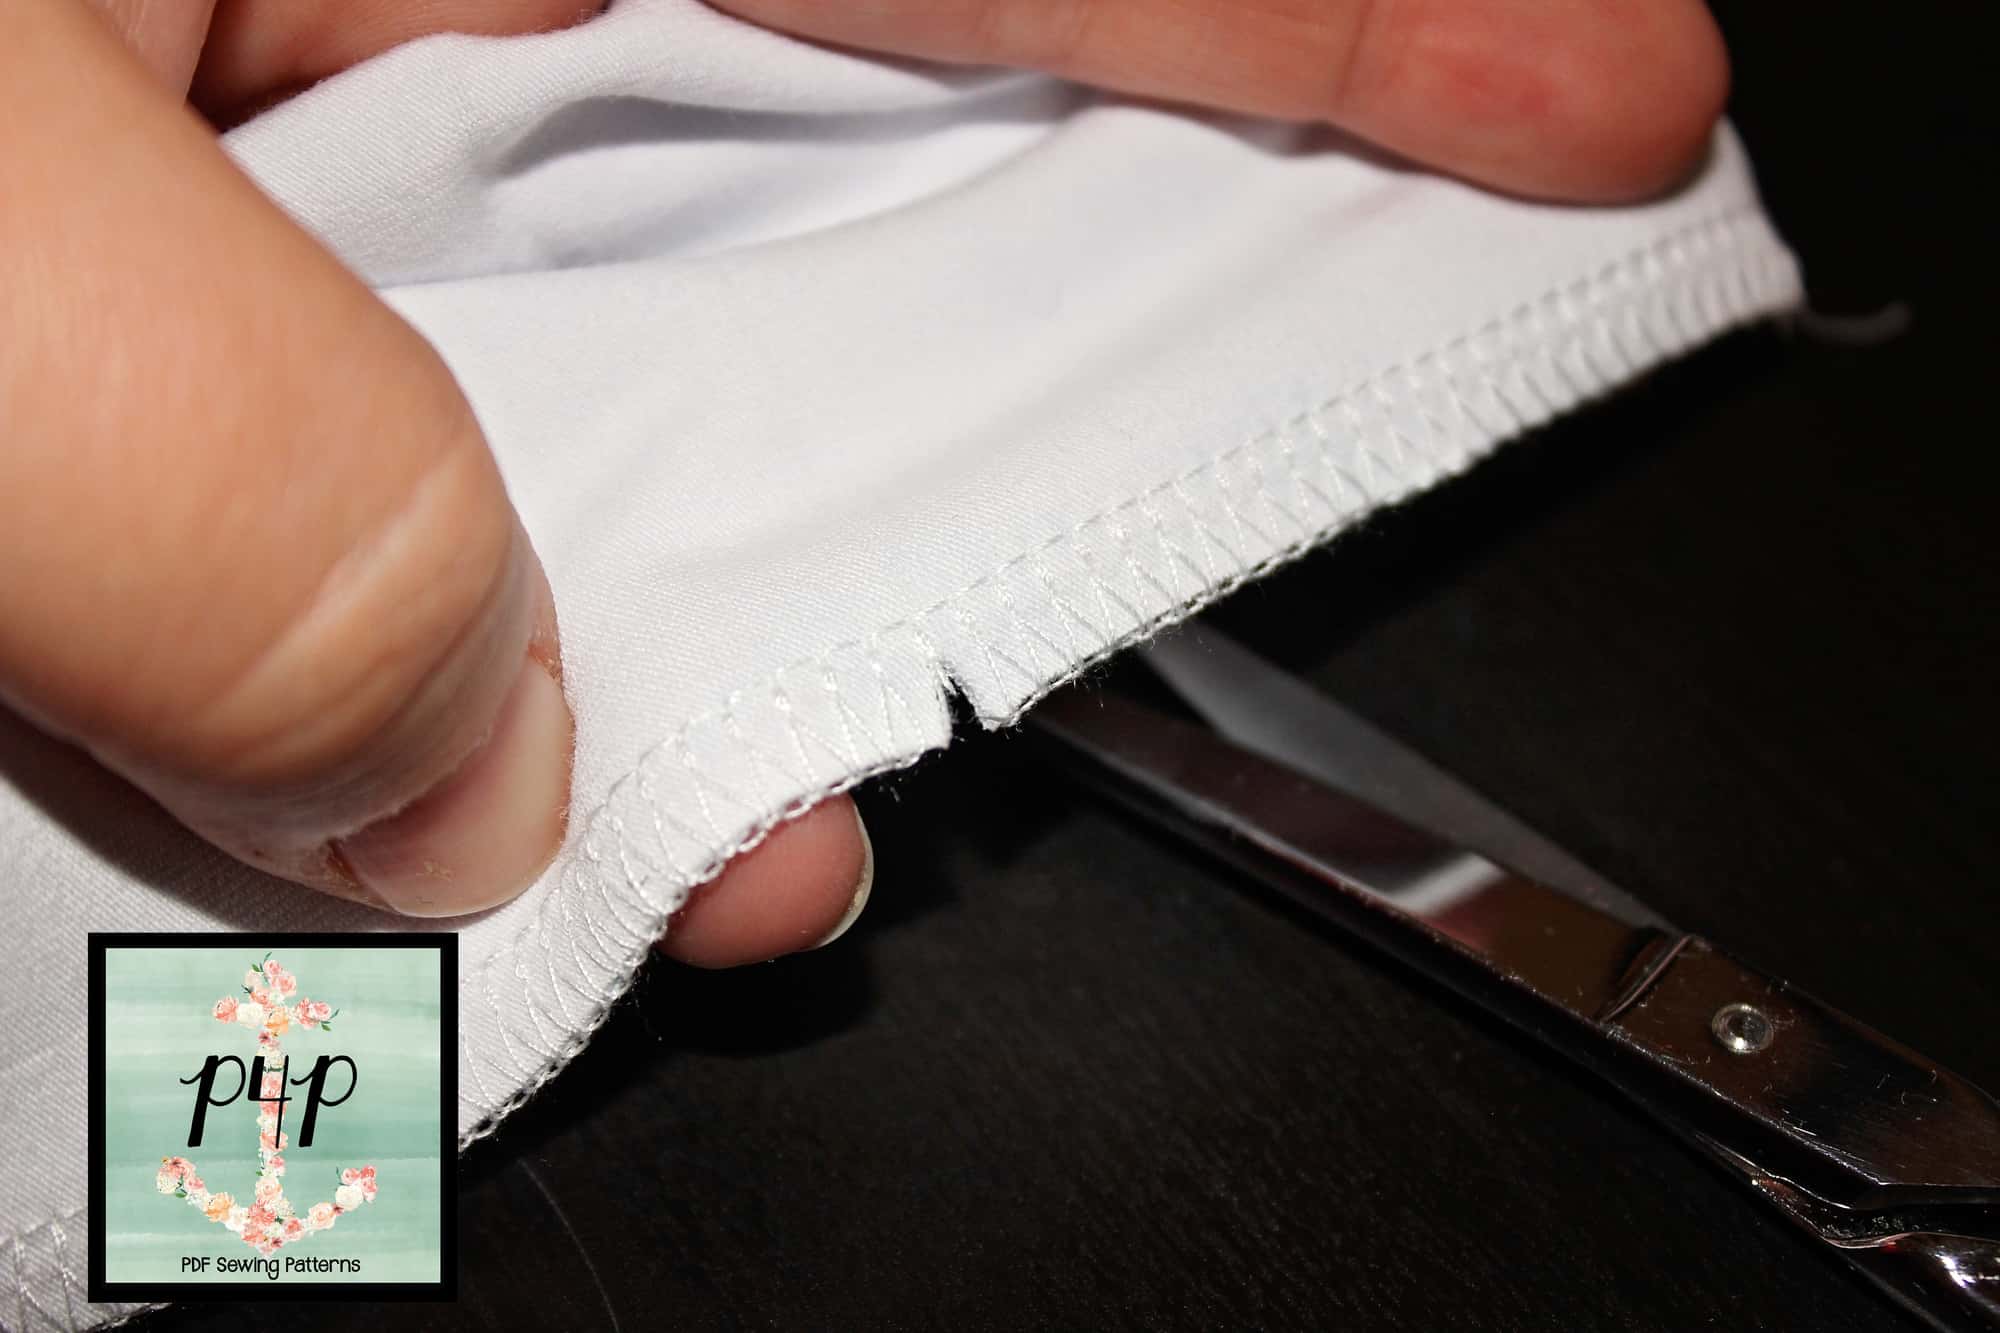
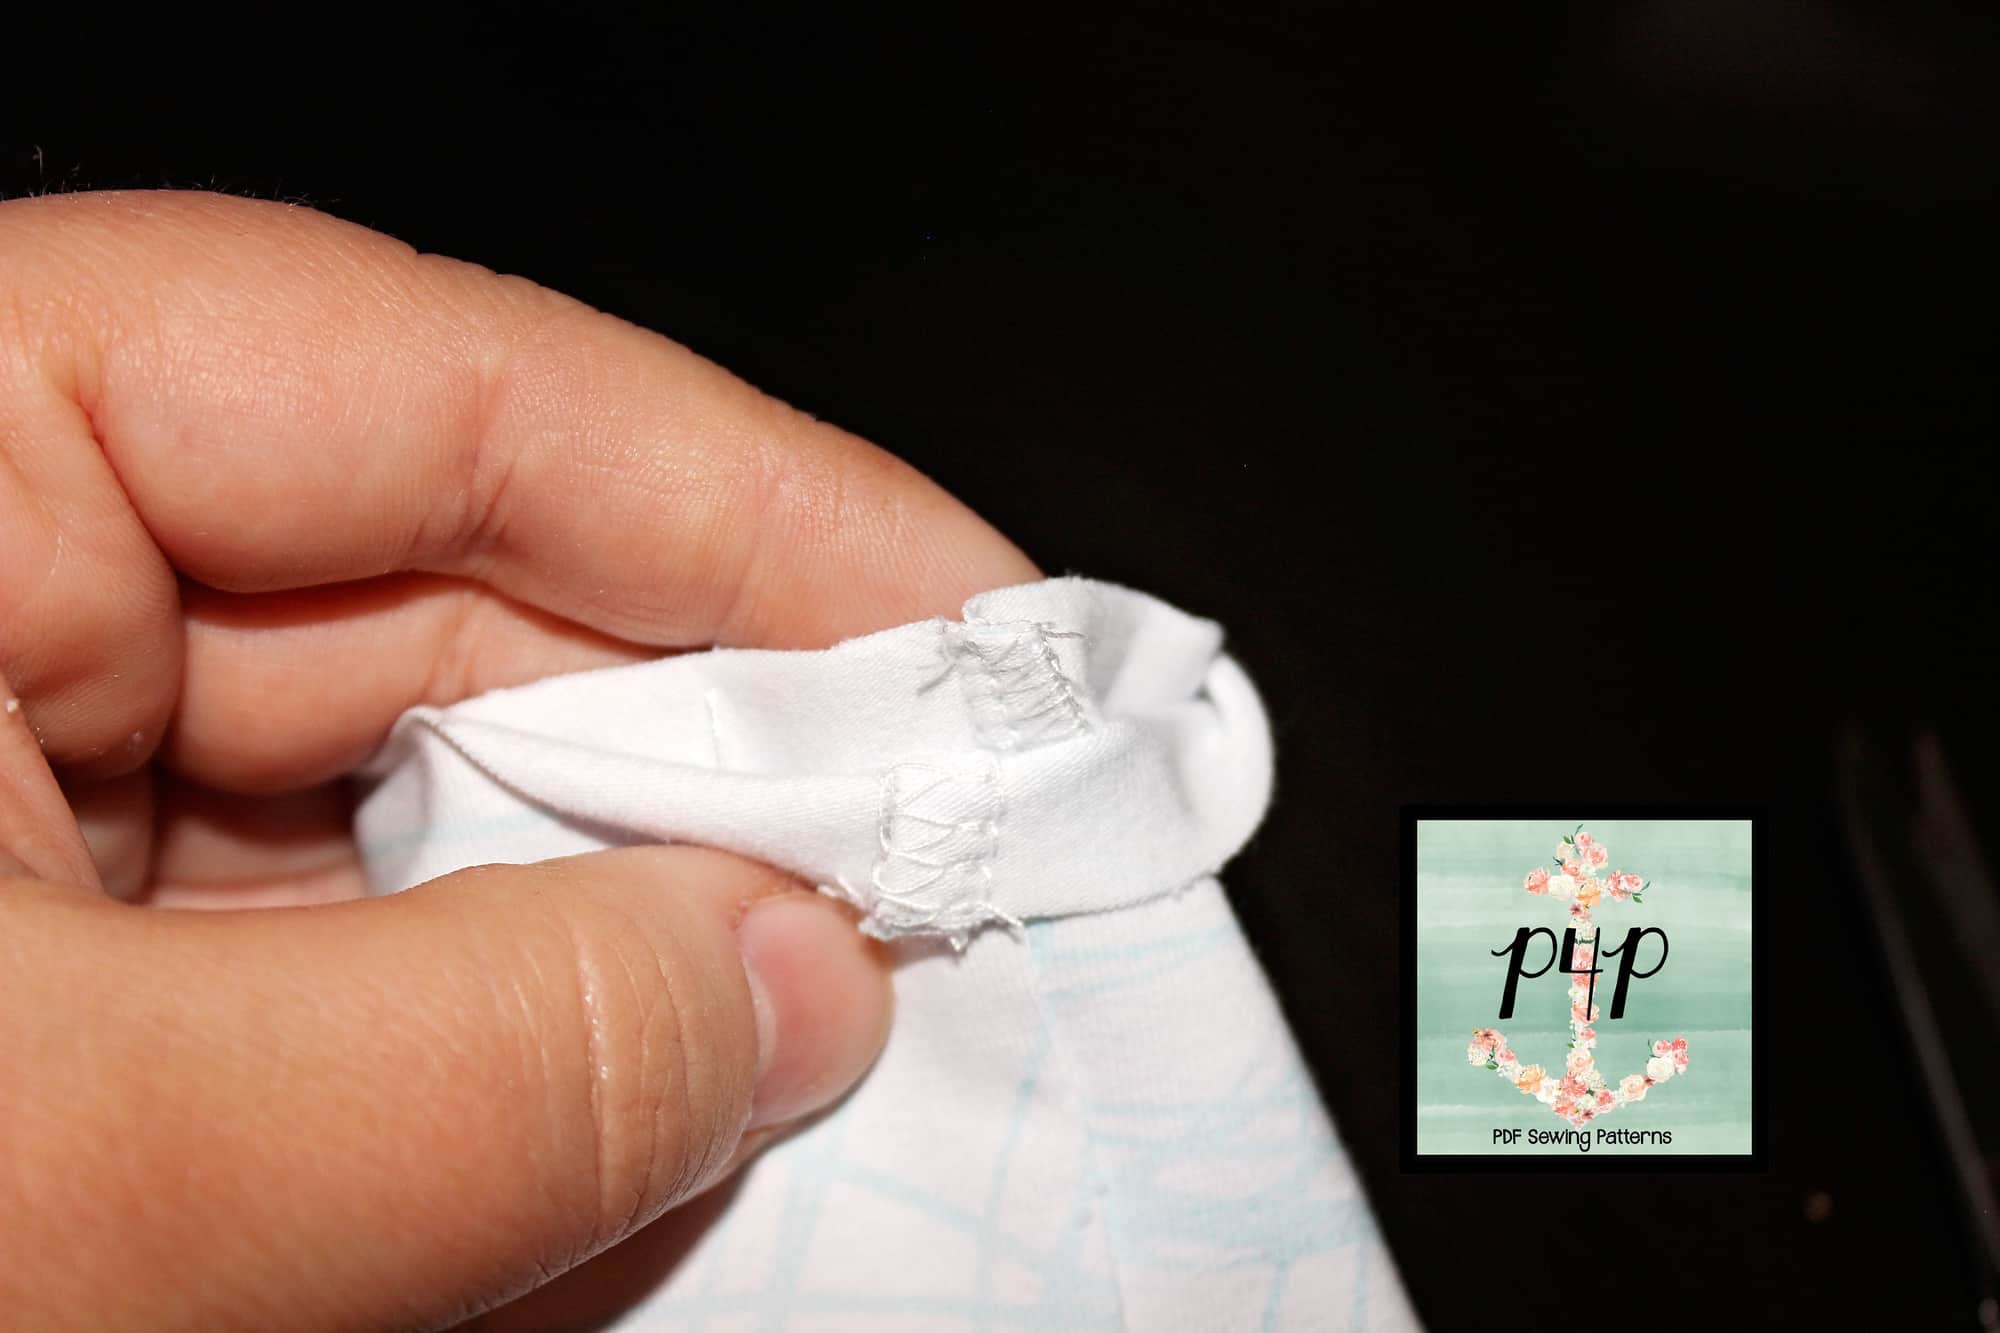
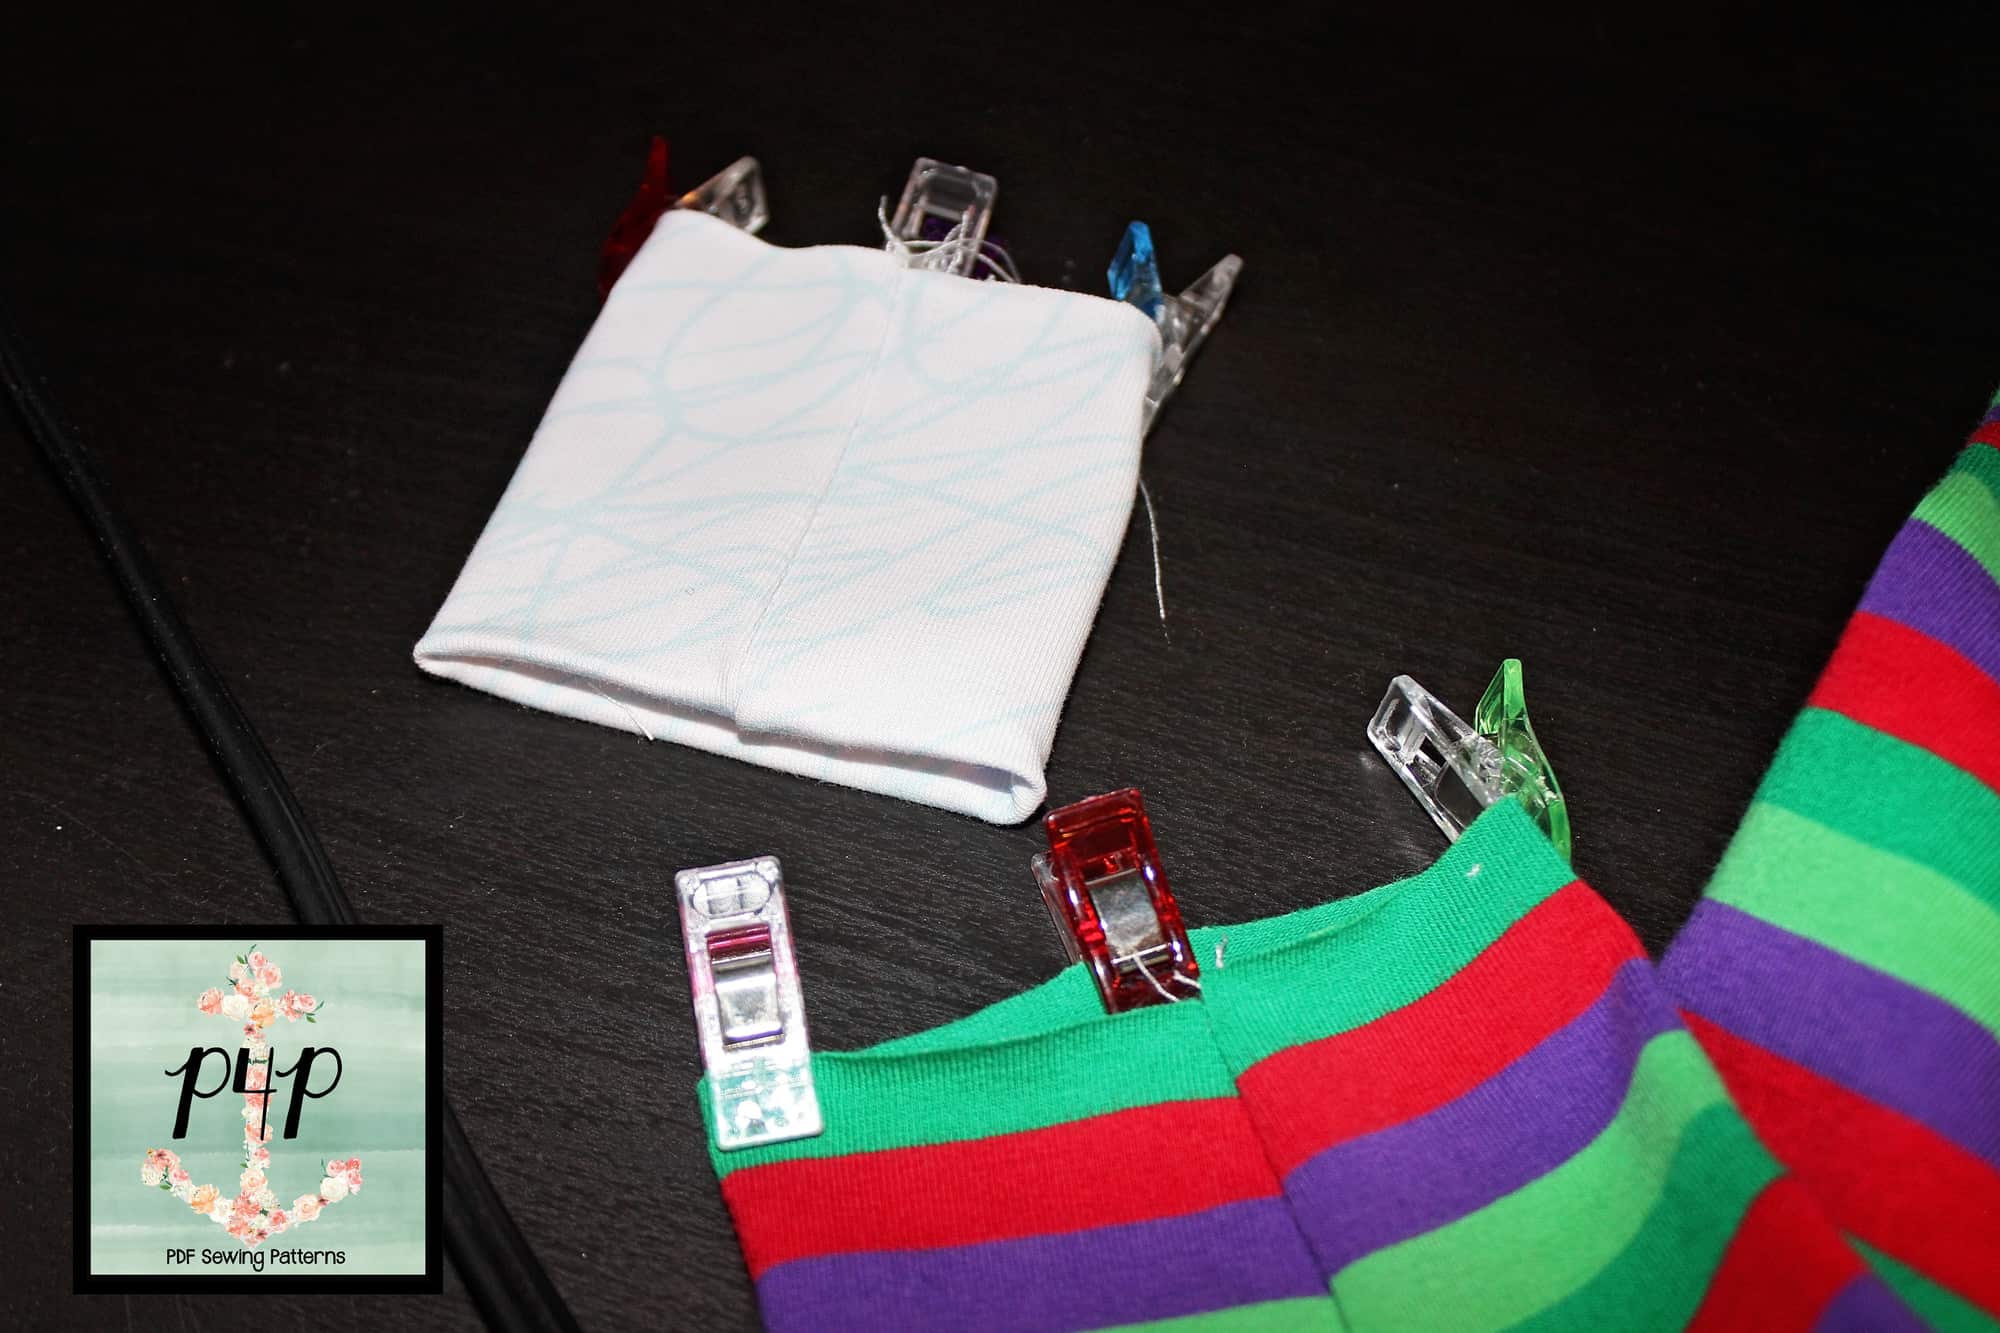
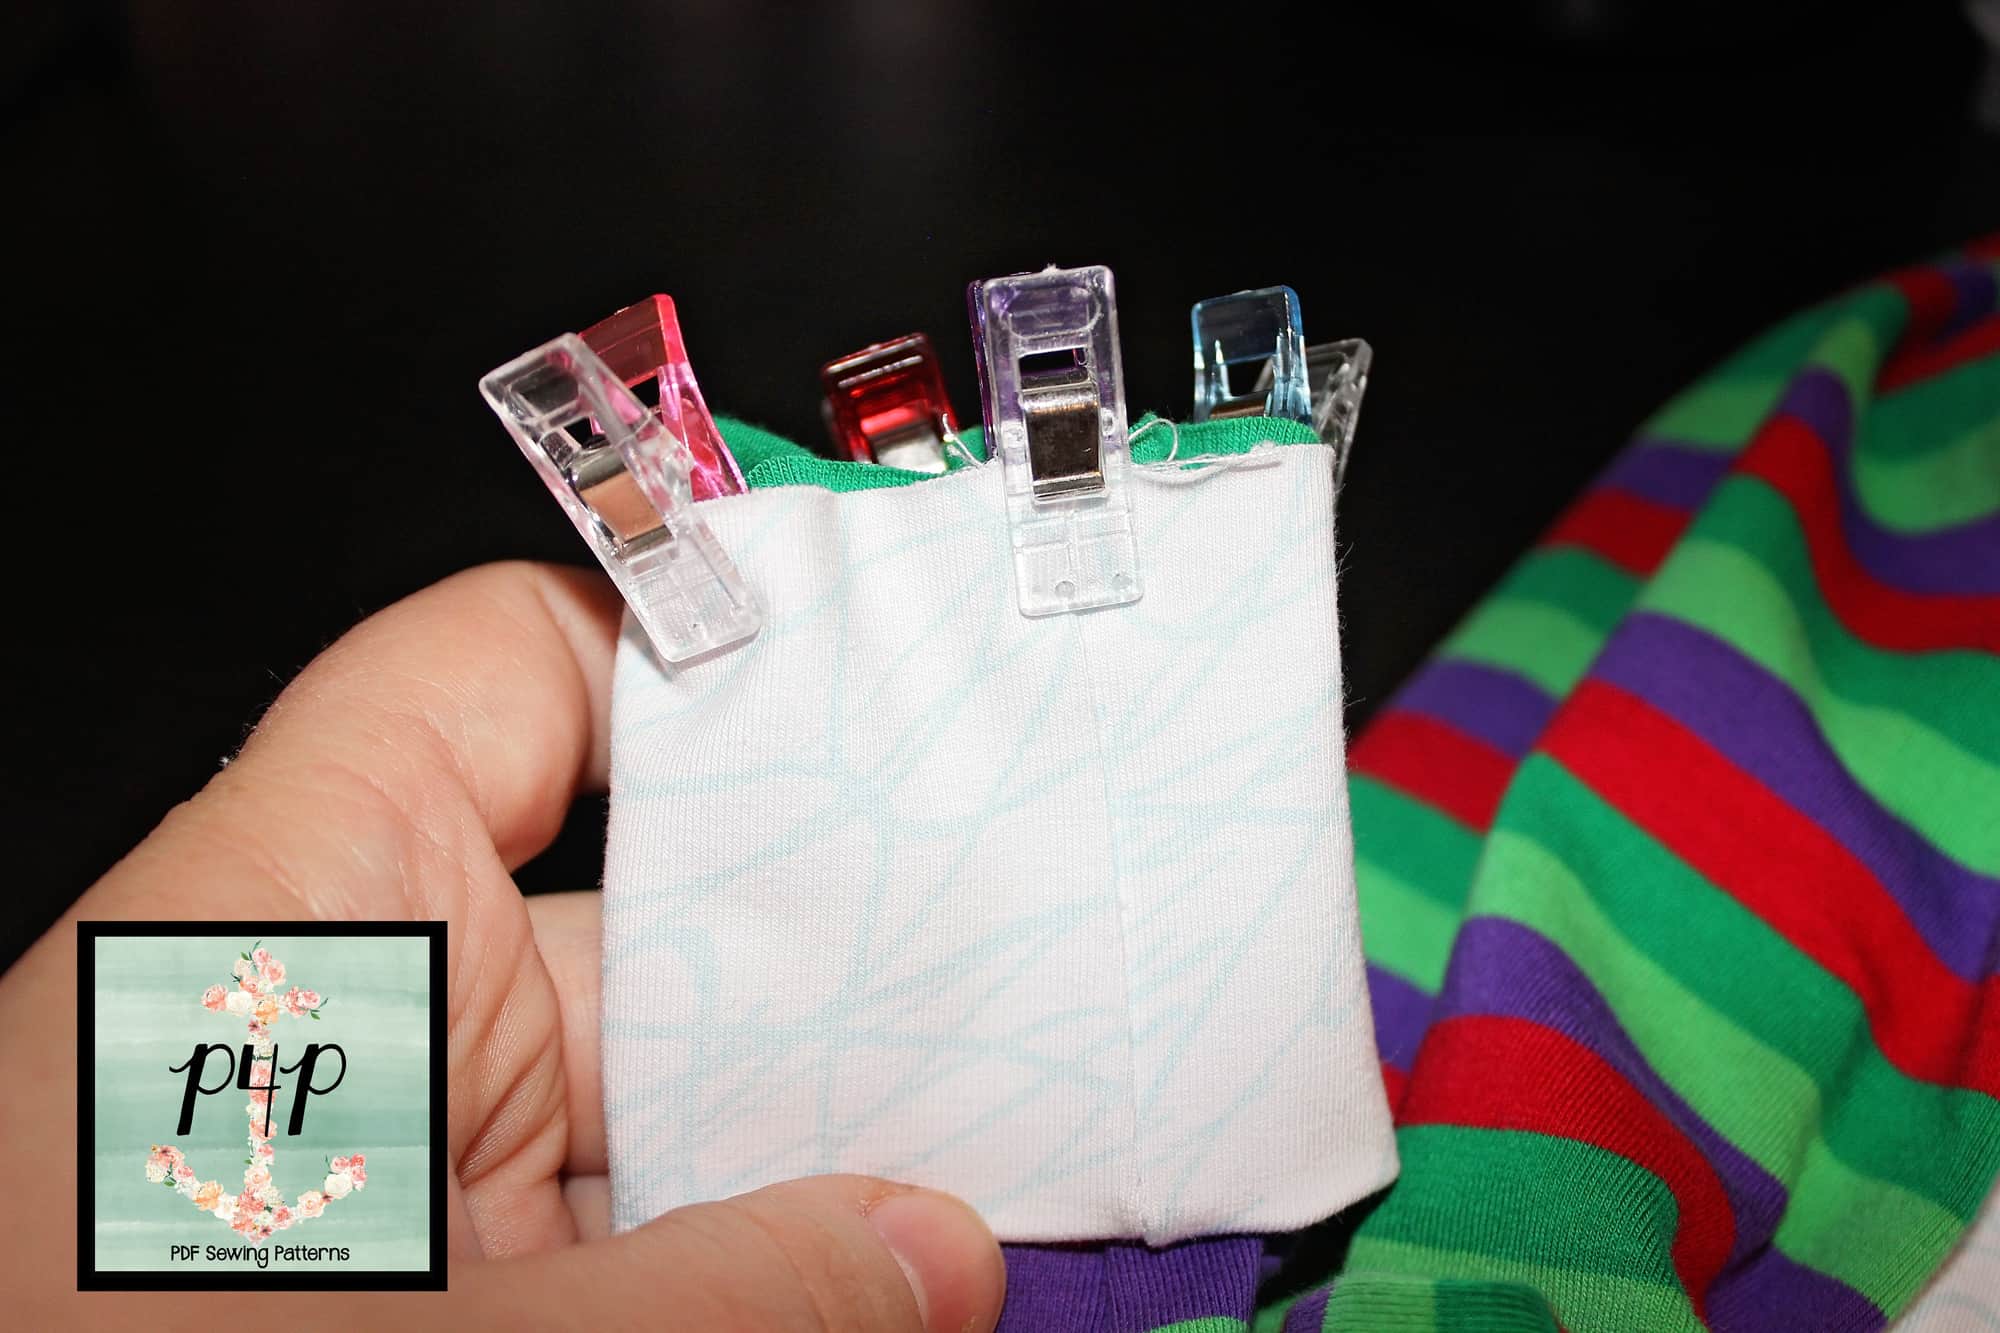
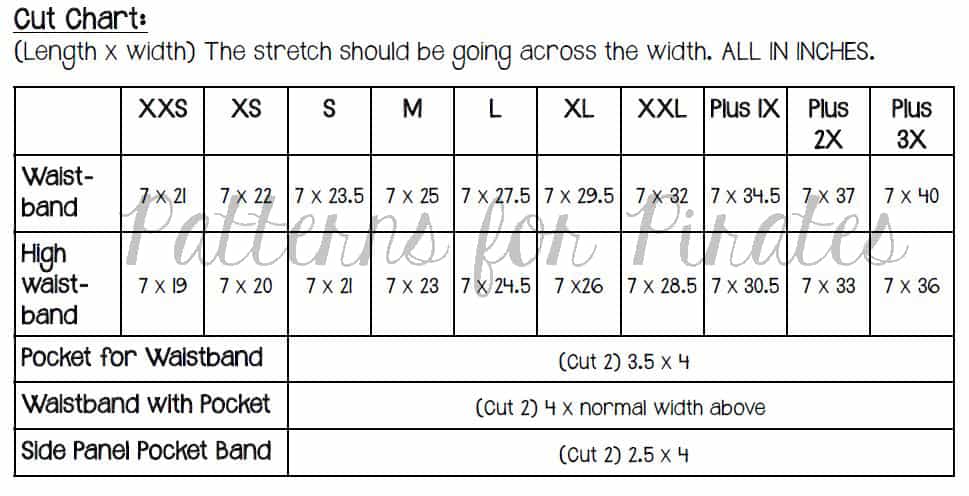
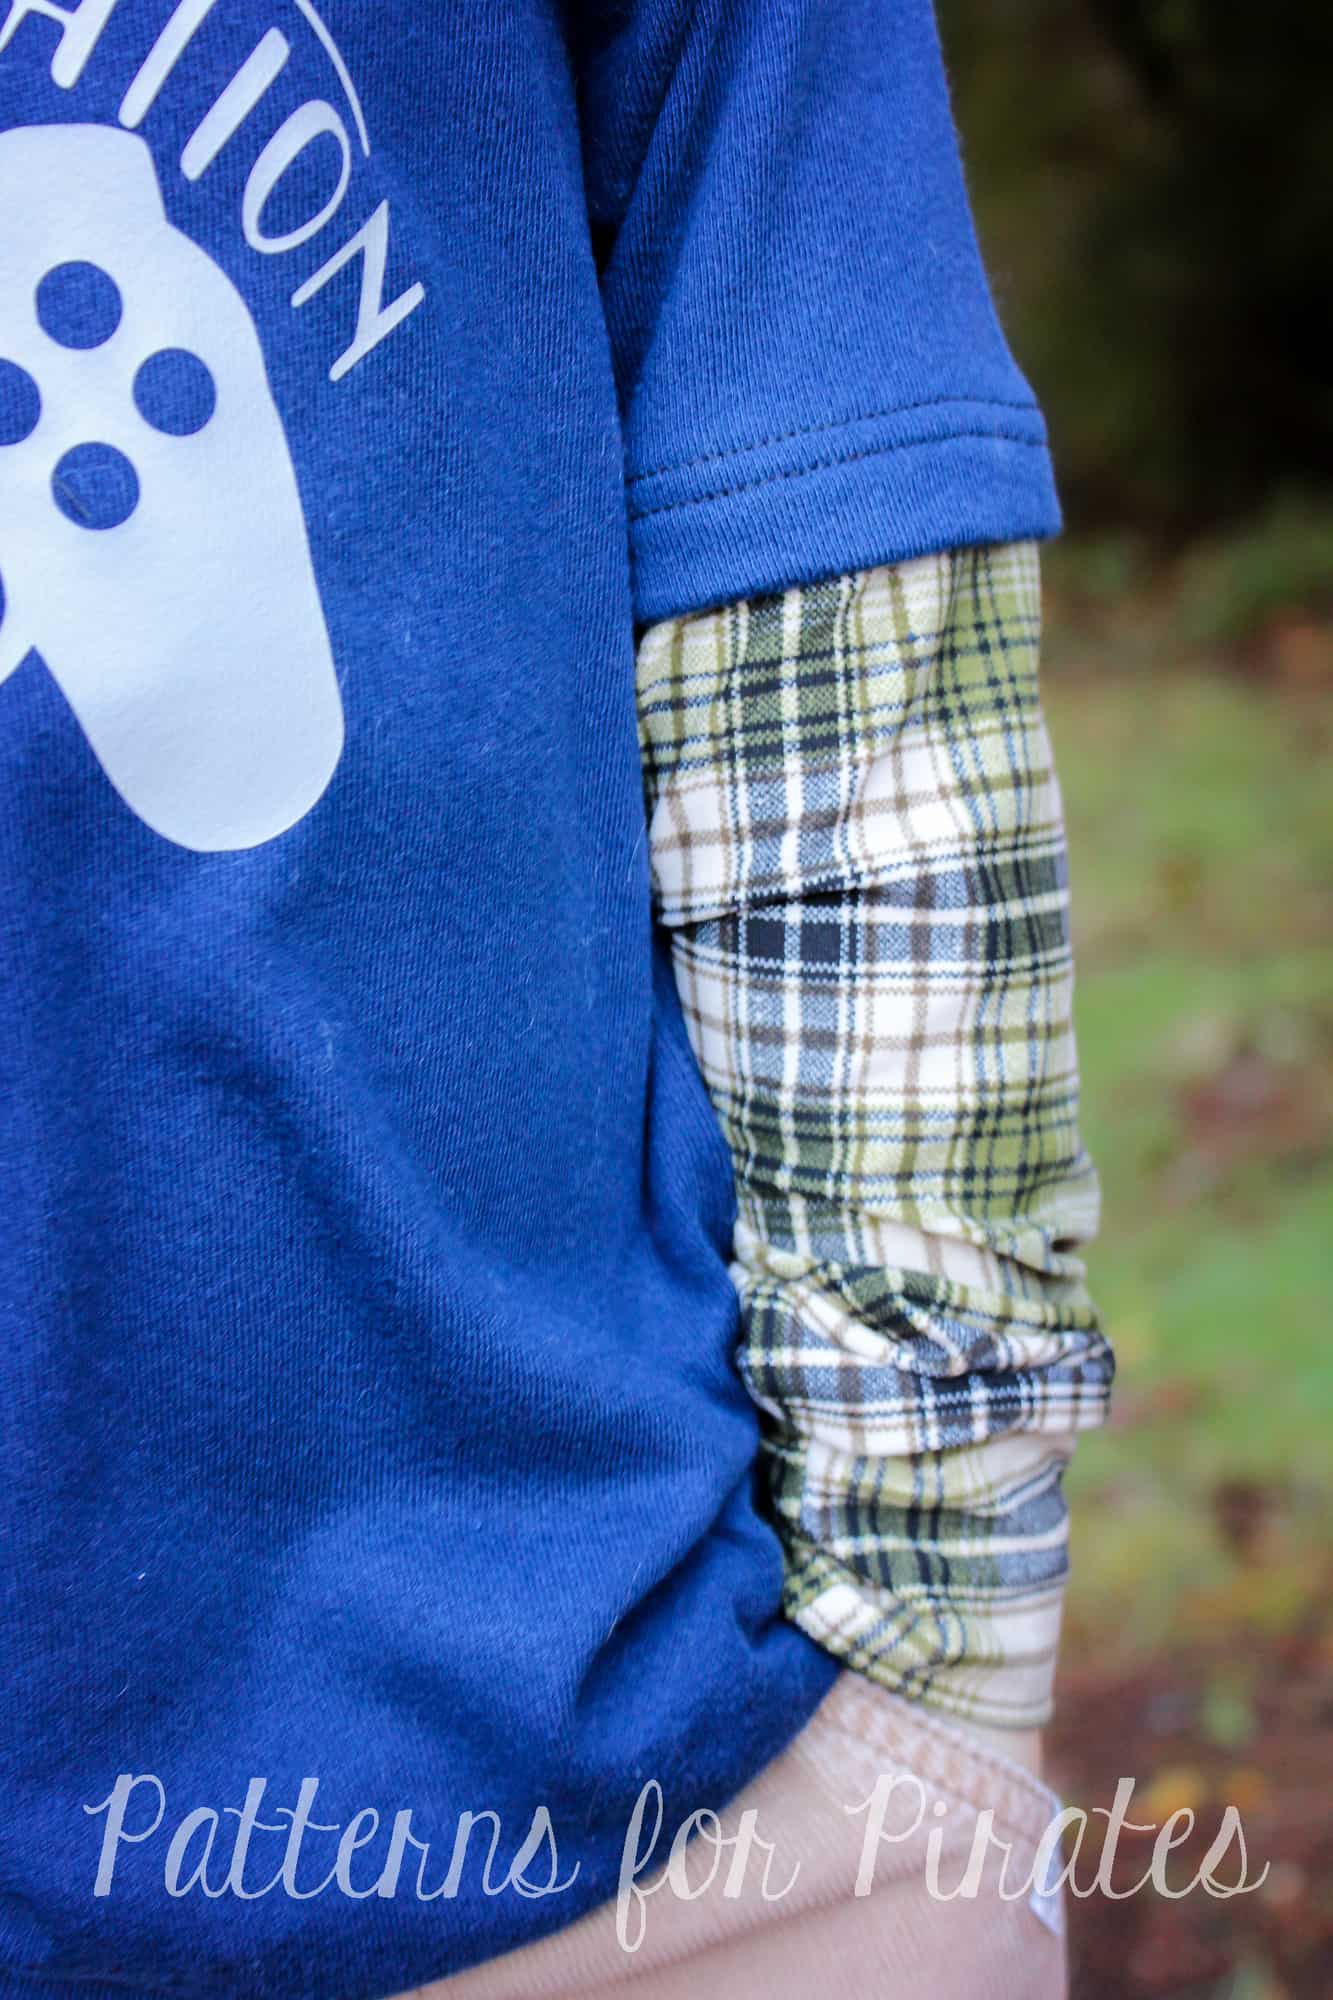
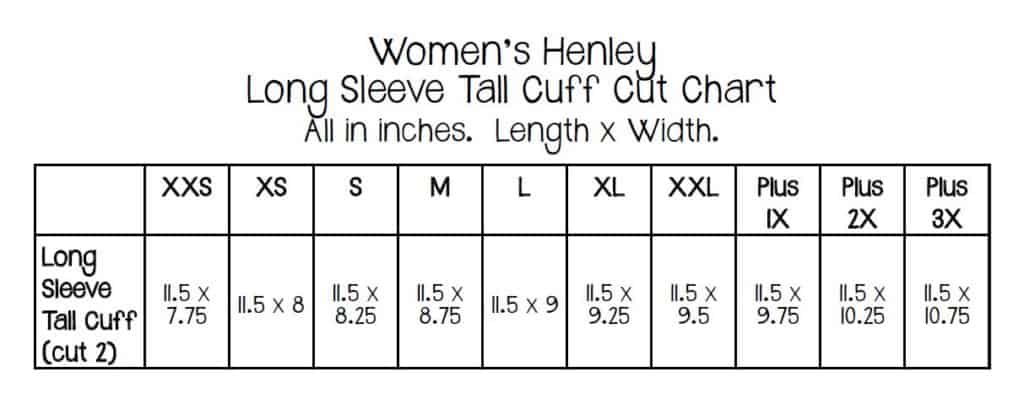
Women’s Long Sleeve Tall Cuffs Hack
If you’ve been following in the main Facebook Group, a few weeks ago I hacked the Henley and upsized it for a more looser top! With that, I also did a longer cuff. It received lots of love, so we thought we’d make it easy on y’all and share the new cuff measurements. Cut your sleeve on the “Roll up” Cut line and use the measurements below for your cuffs. Construction is the same as the other cuff/band options. 🙂
We hope you love these hacks as much as we do! Check back tomorrow for more details on the Placket….. It’s really not as tricky as you think 😉
**The links won’t be active until the scheduled date.
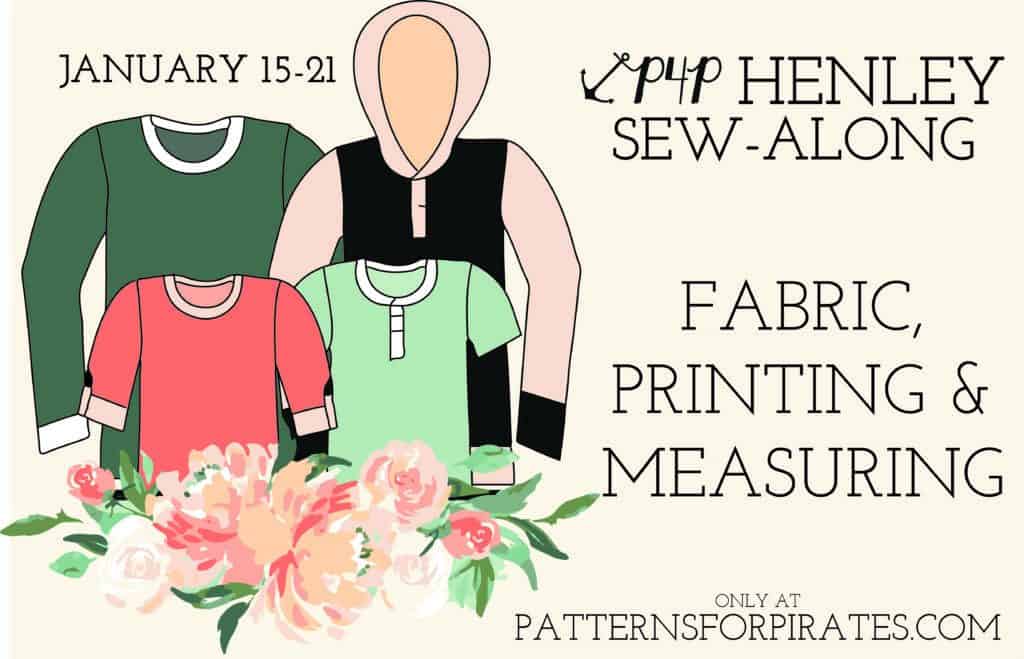
January 14: Announcement.
January 15: Choosing Your Fabrics, Printing + Measuring.
January 16: Cutting Fabric.
January 17: Placket.
January 18: Sleeves.
January 19: Attaching Neckband + Hood.
January 20-21: Catch-Up Days.
January 22: Recap + Winners Announced!