Happy Holidays, Pirate Friends! We are excitedly back for another year and another round of holiday freebies to share with you! Since 2016, we’ve compiled different tutorials and patterns that we think would make *perfect* gifts for your friends and family. Curious about what we’ve already released in the way of holiday freebies? Head right here to see all of them: Holiday Freebies Roundup.
Today, we are bringing you the: Mistletoe Earmuffs!

Fabric Requirements / Supplies Needed:
- 1/4 Yard Fleece / Sherpa / Faux Fur fabric
- Fiber Fill (or other preferred filling)
- Headband (I used these and they worked great)
Grab Your Pattern Pieces Here:
TUTORIAL:
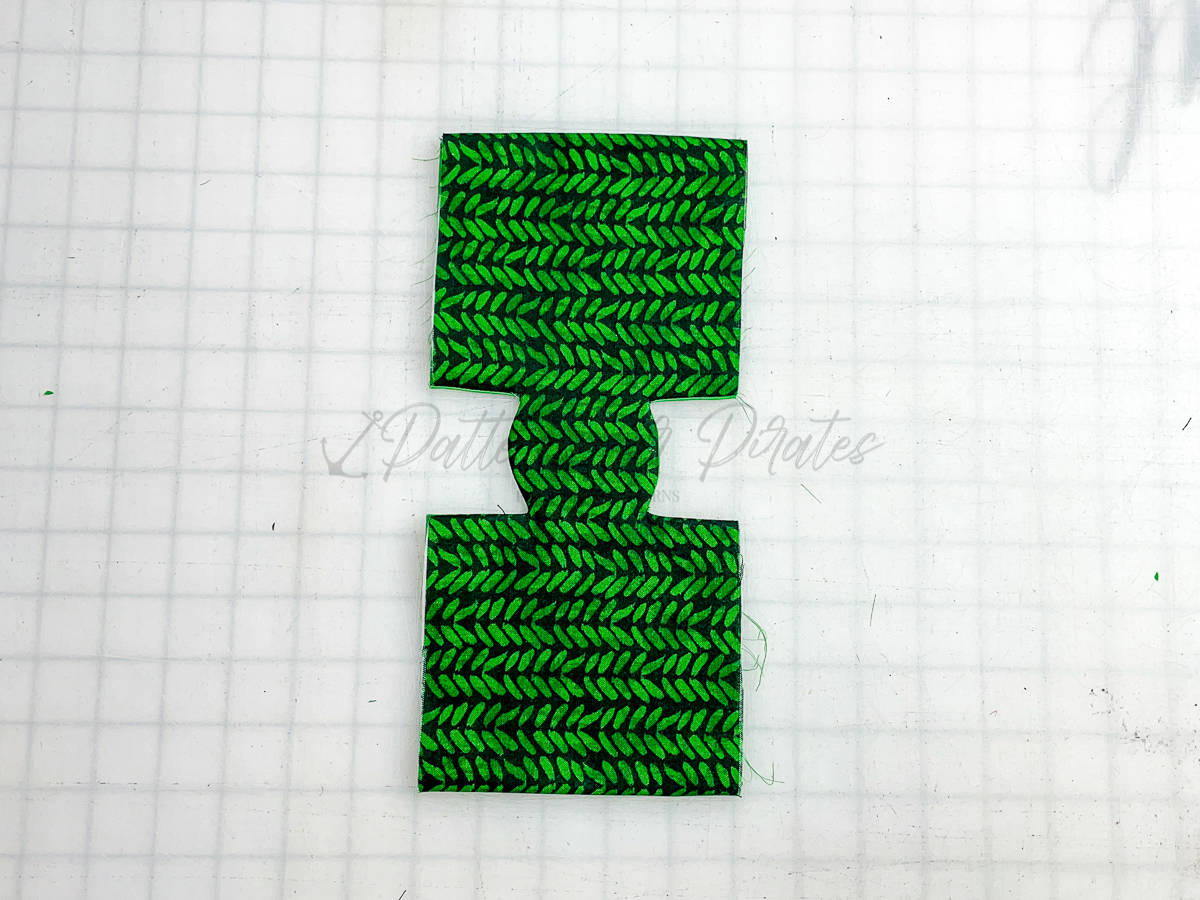
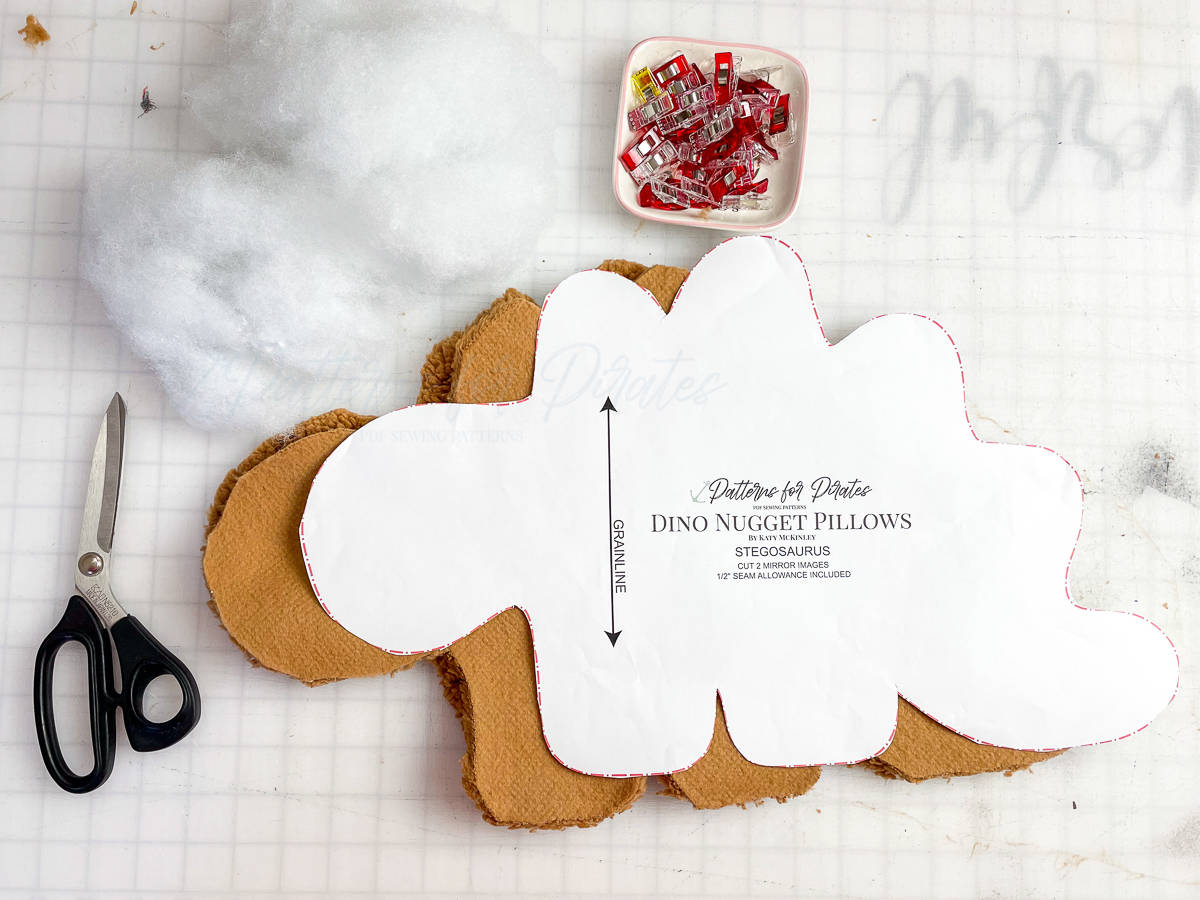
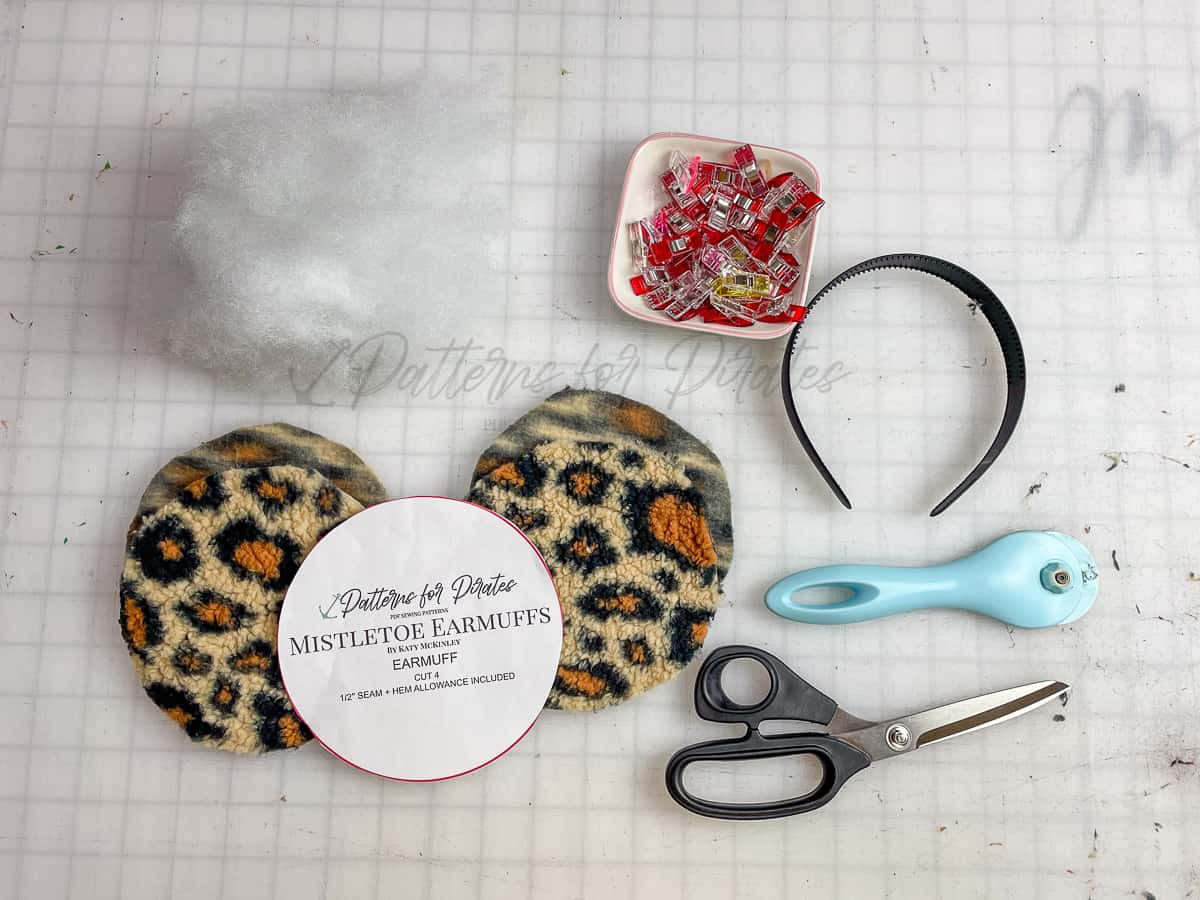
Cut out all of your pieces. You’ll need:
– 4 Earmuff pieces
– Fiber Fill
– Headband
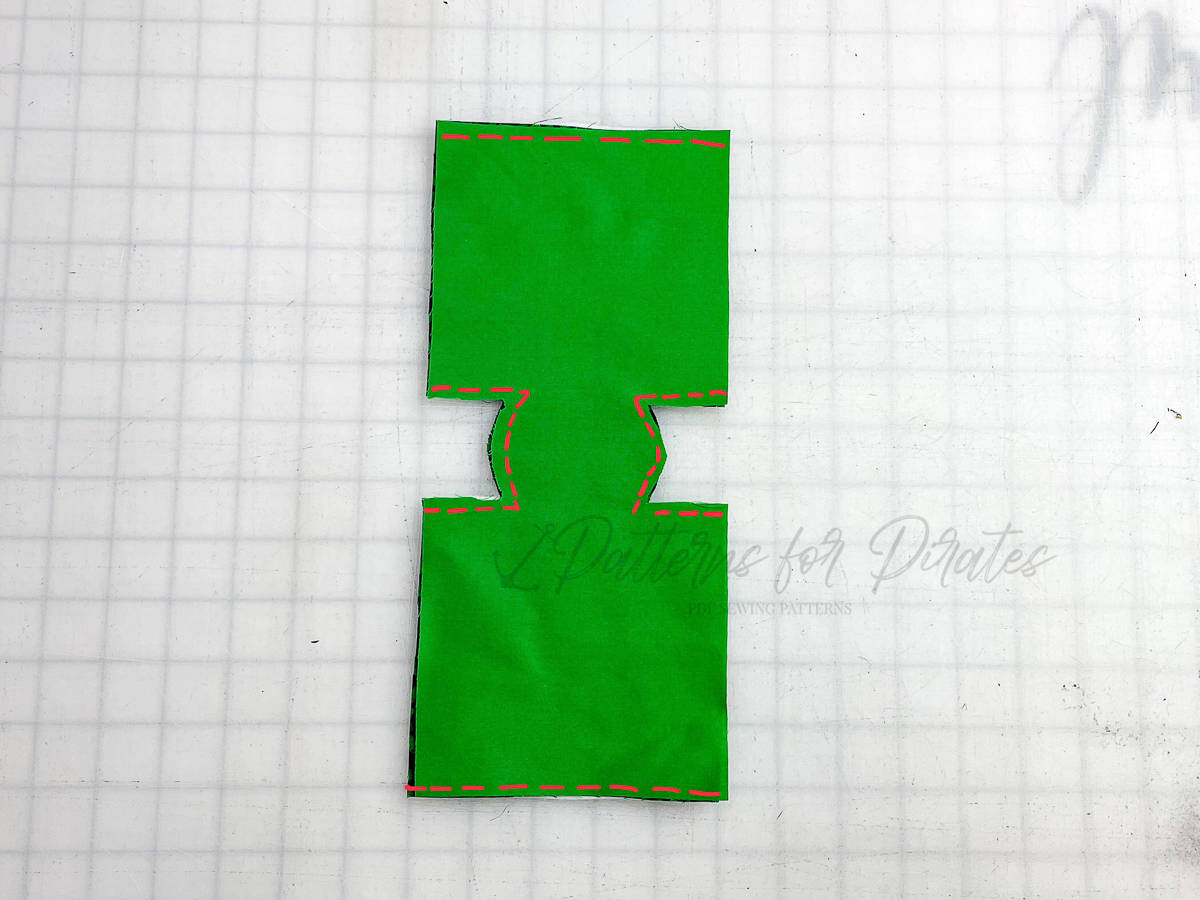
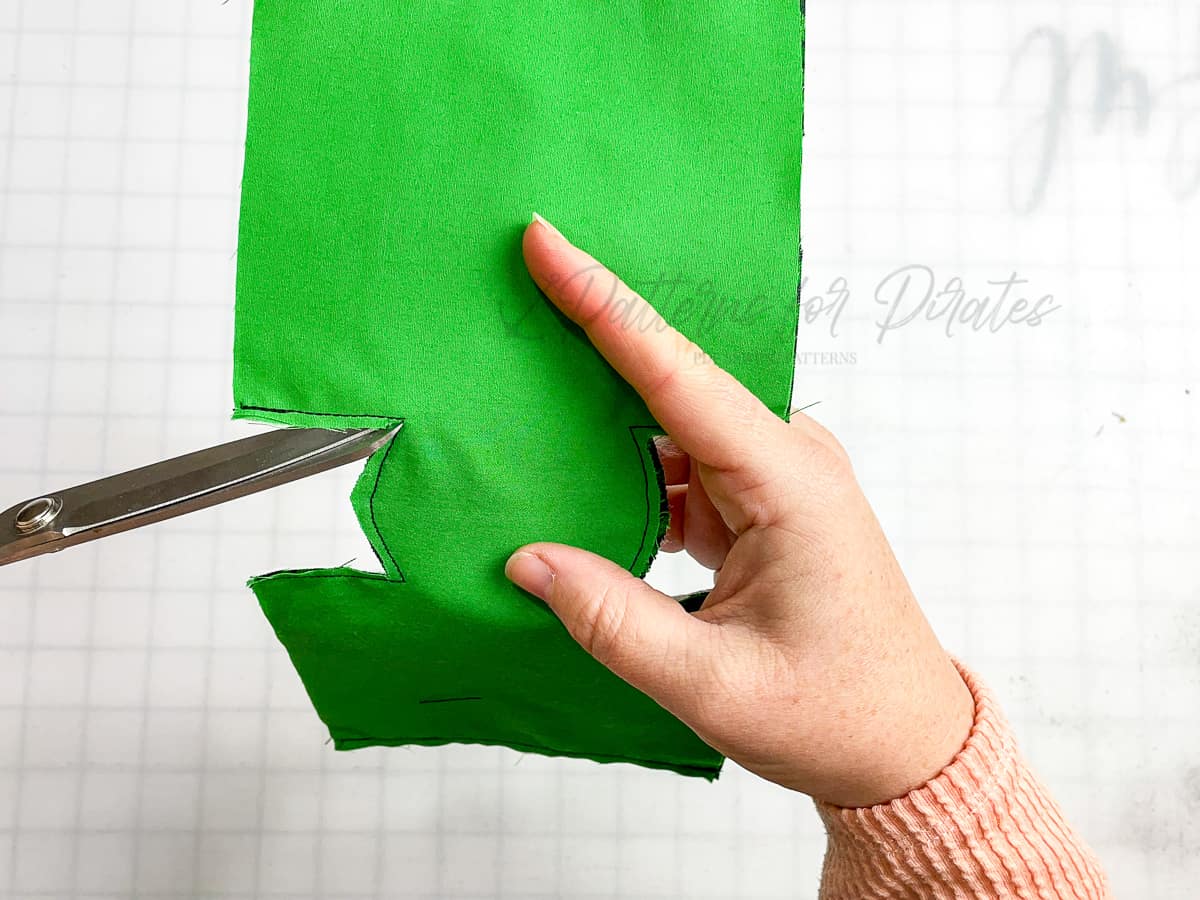
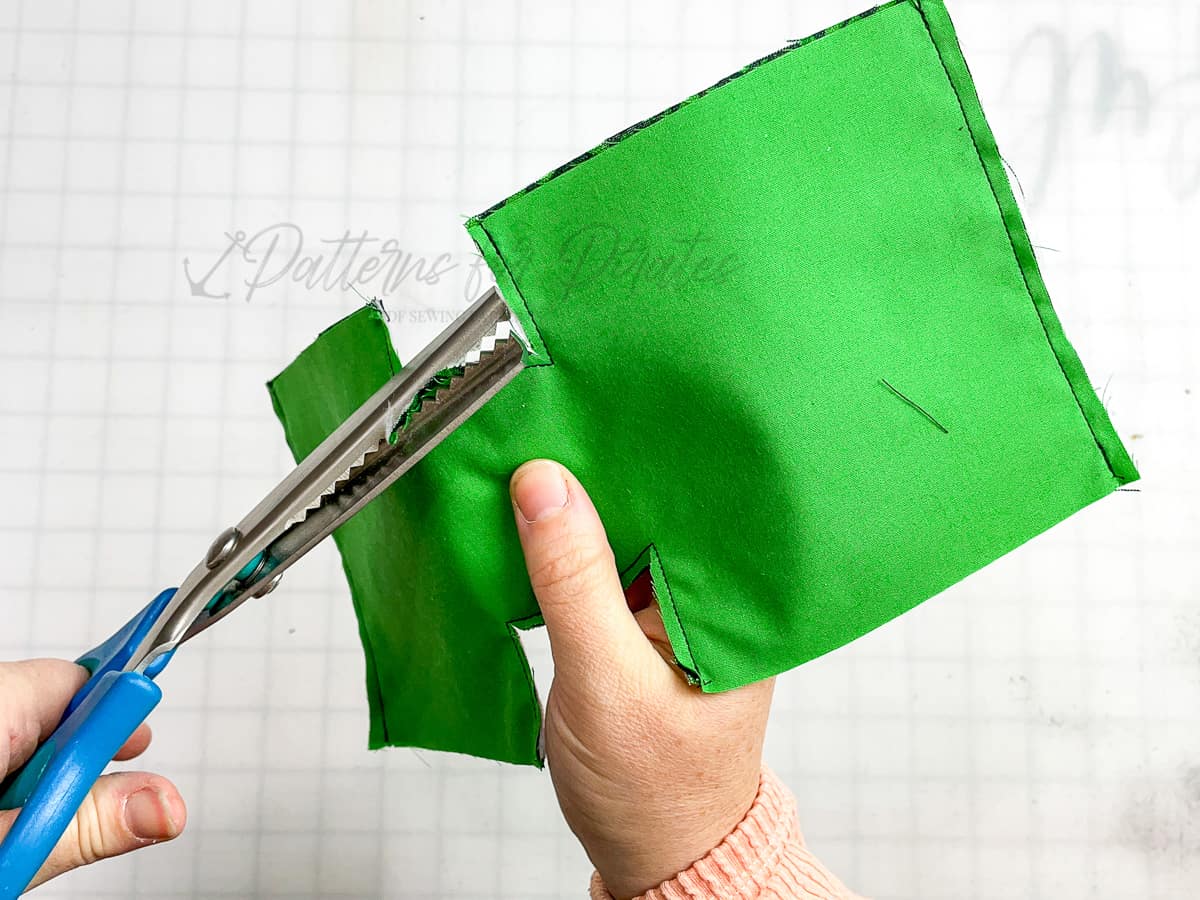
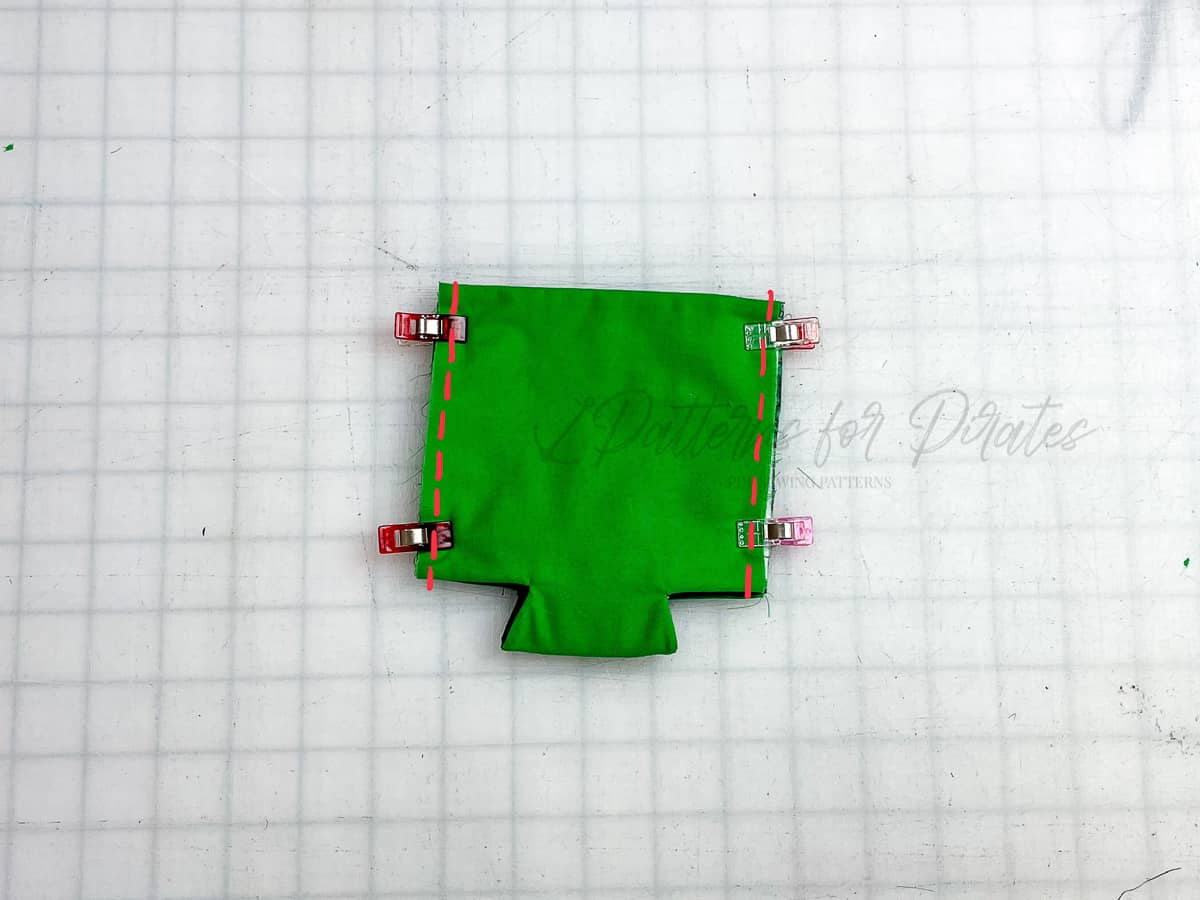
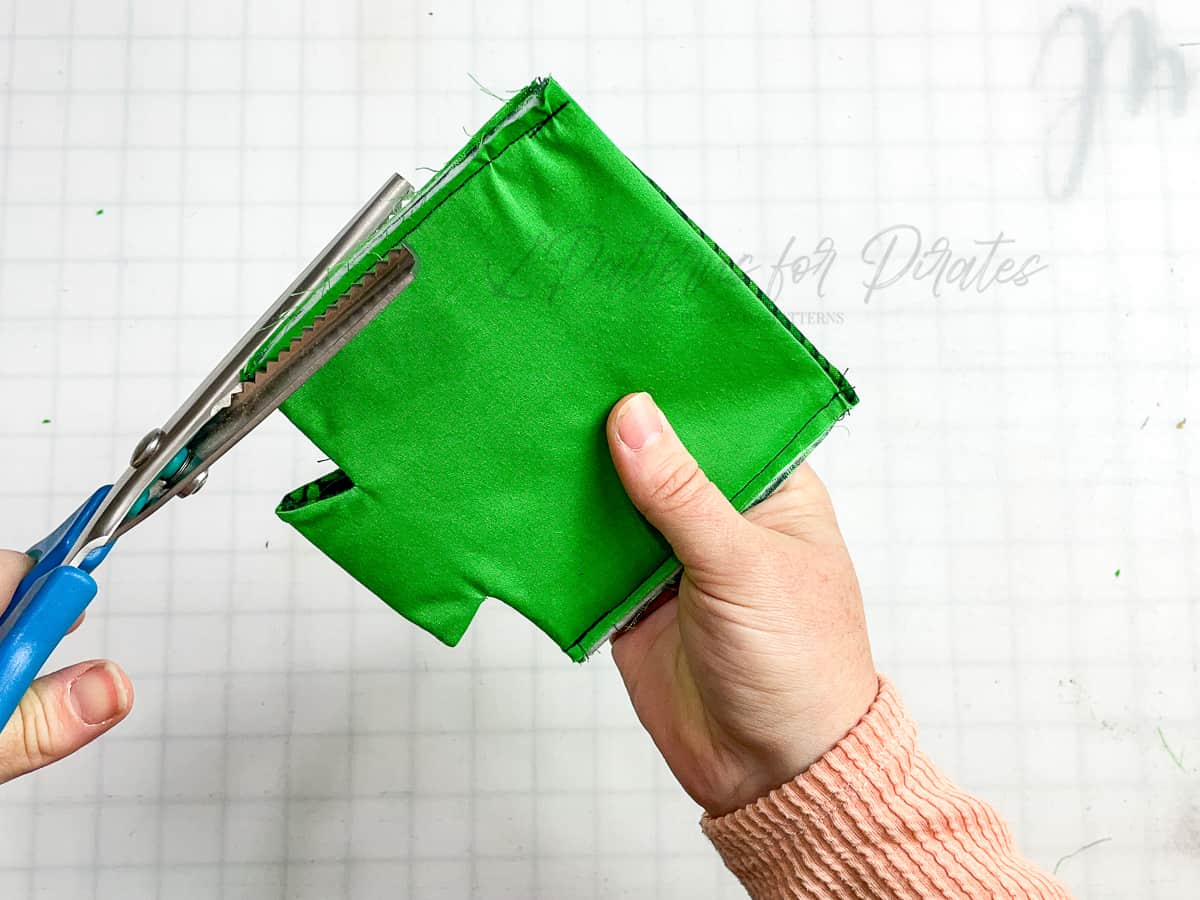
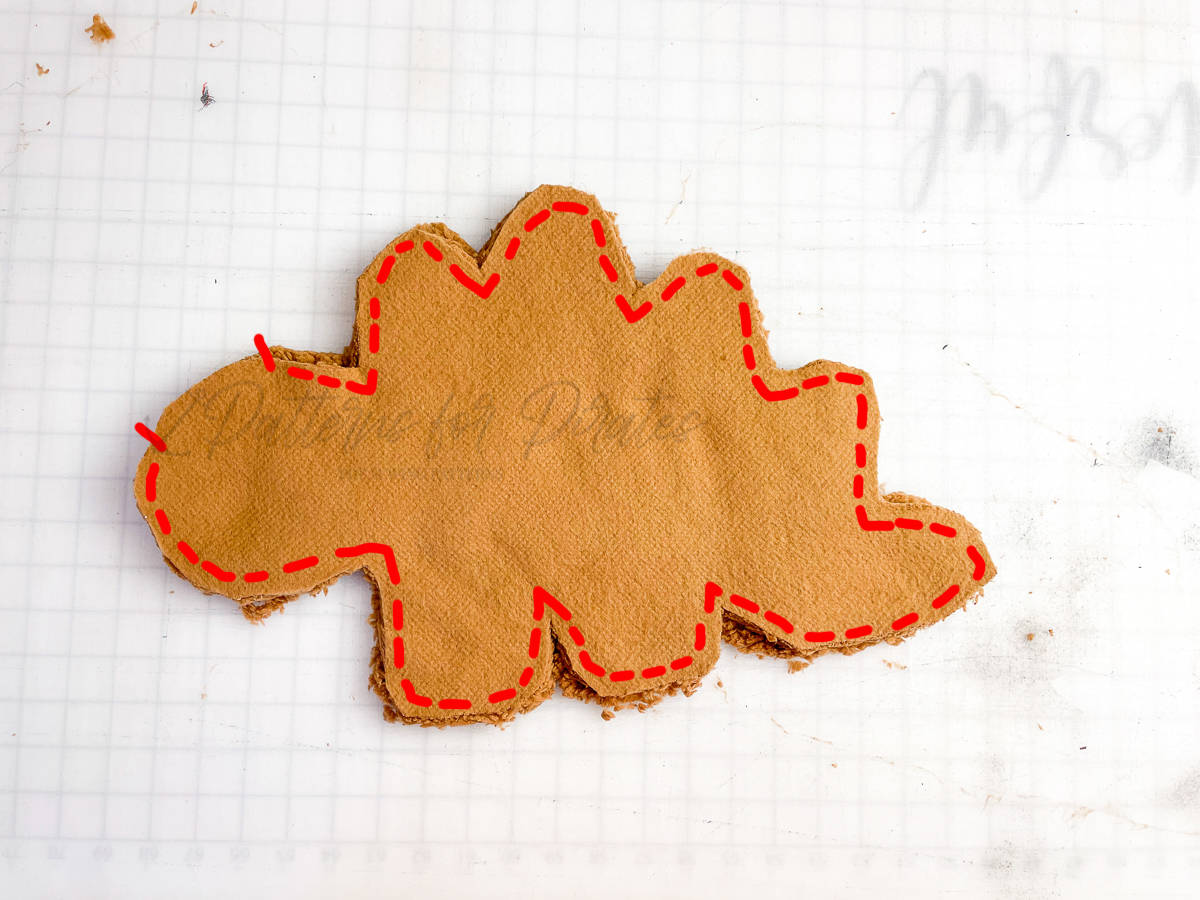
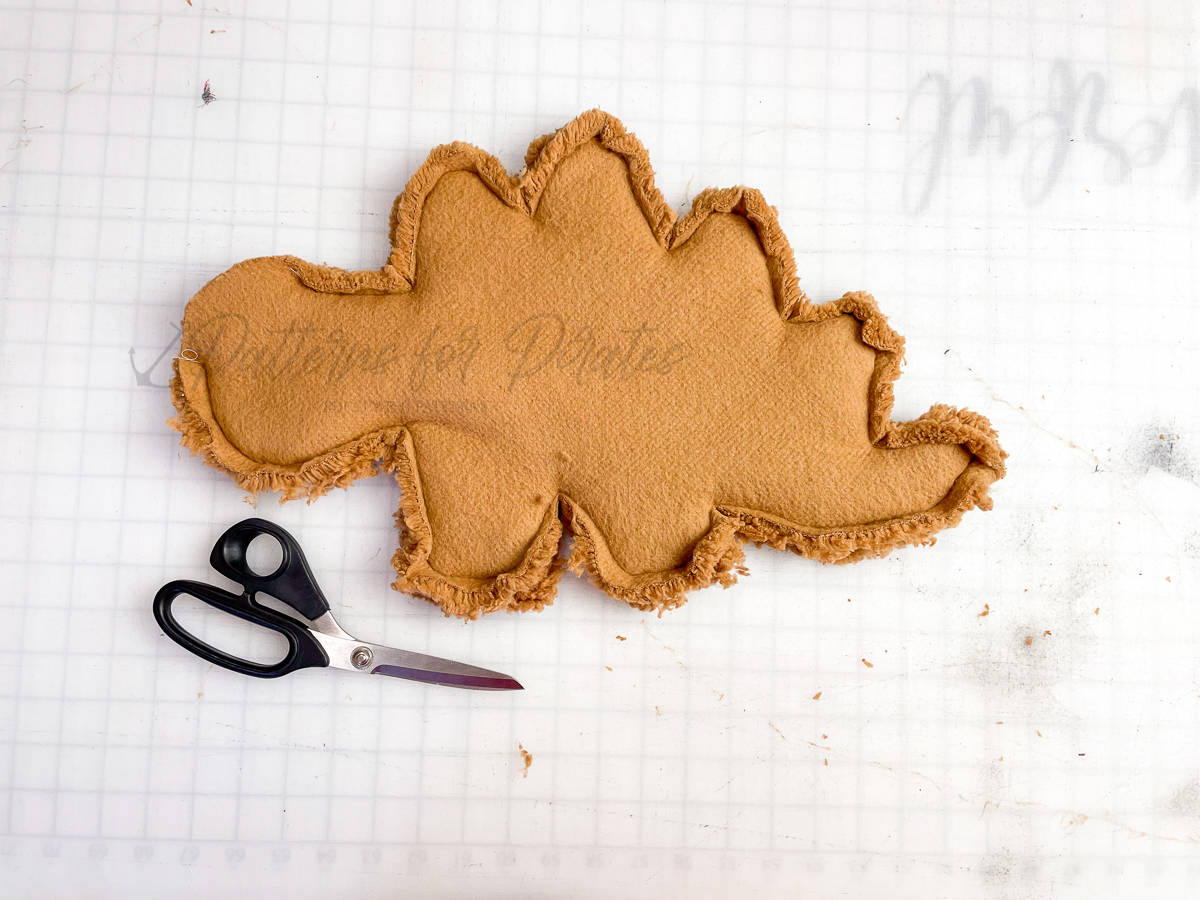
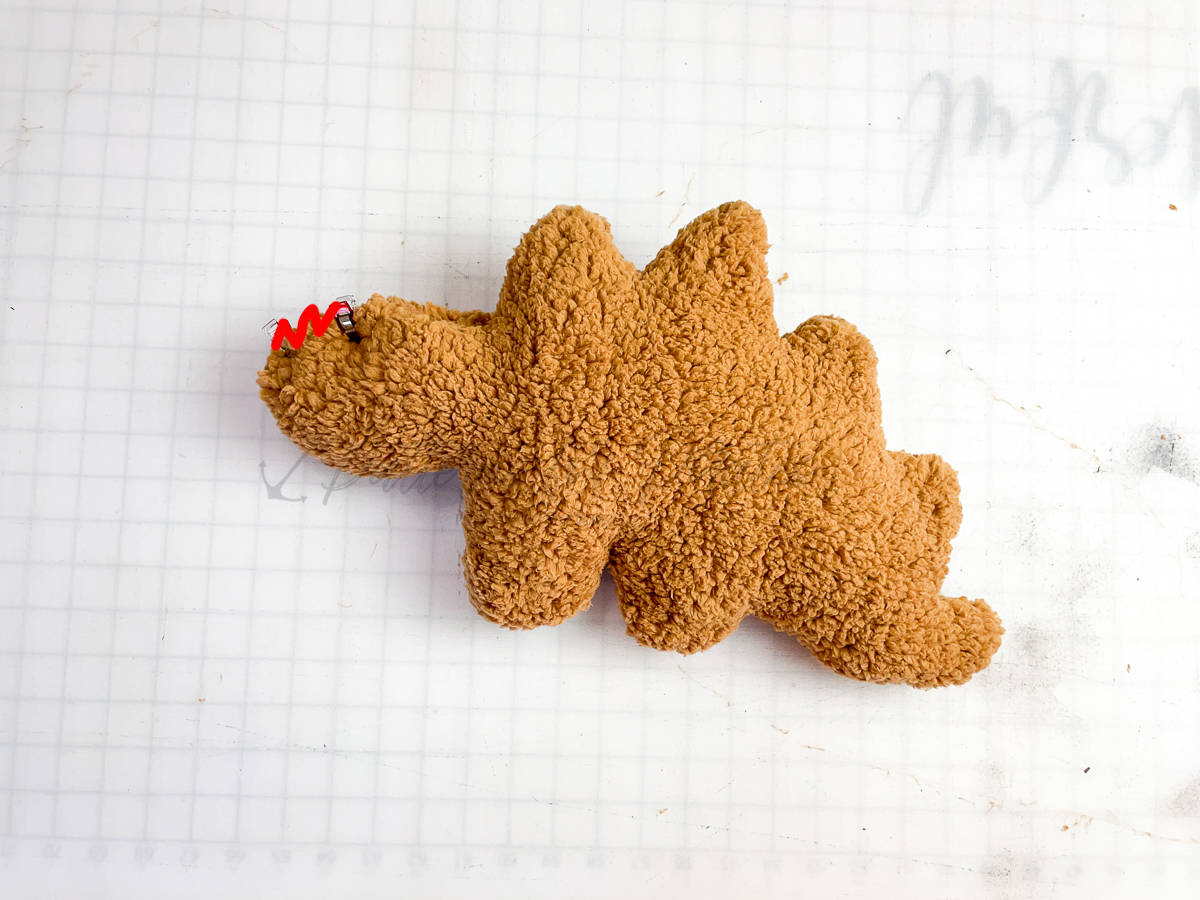
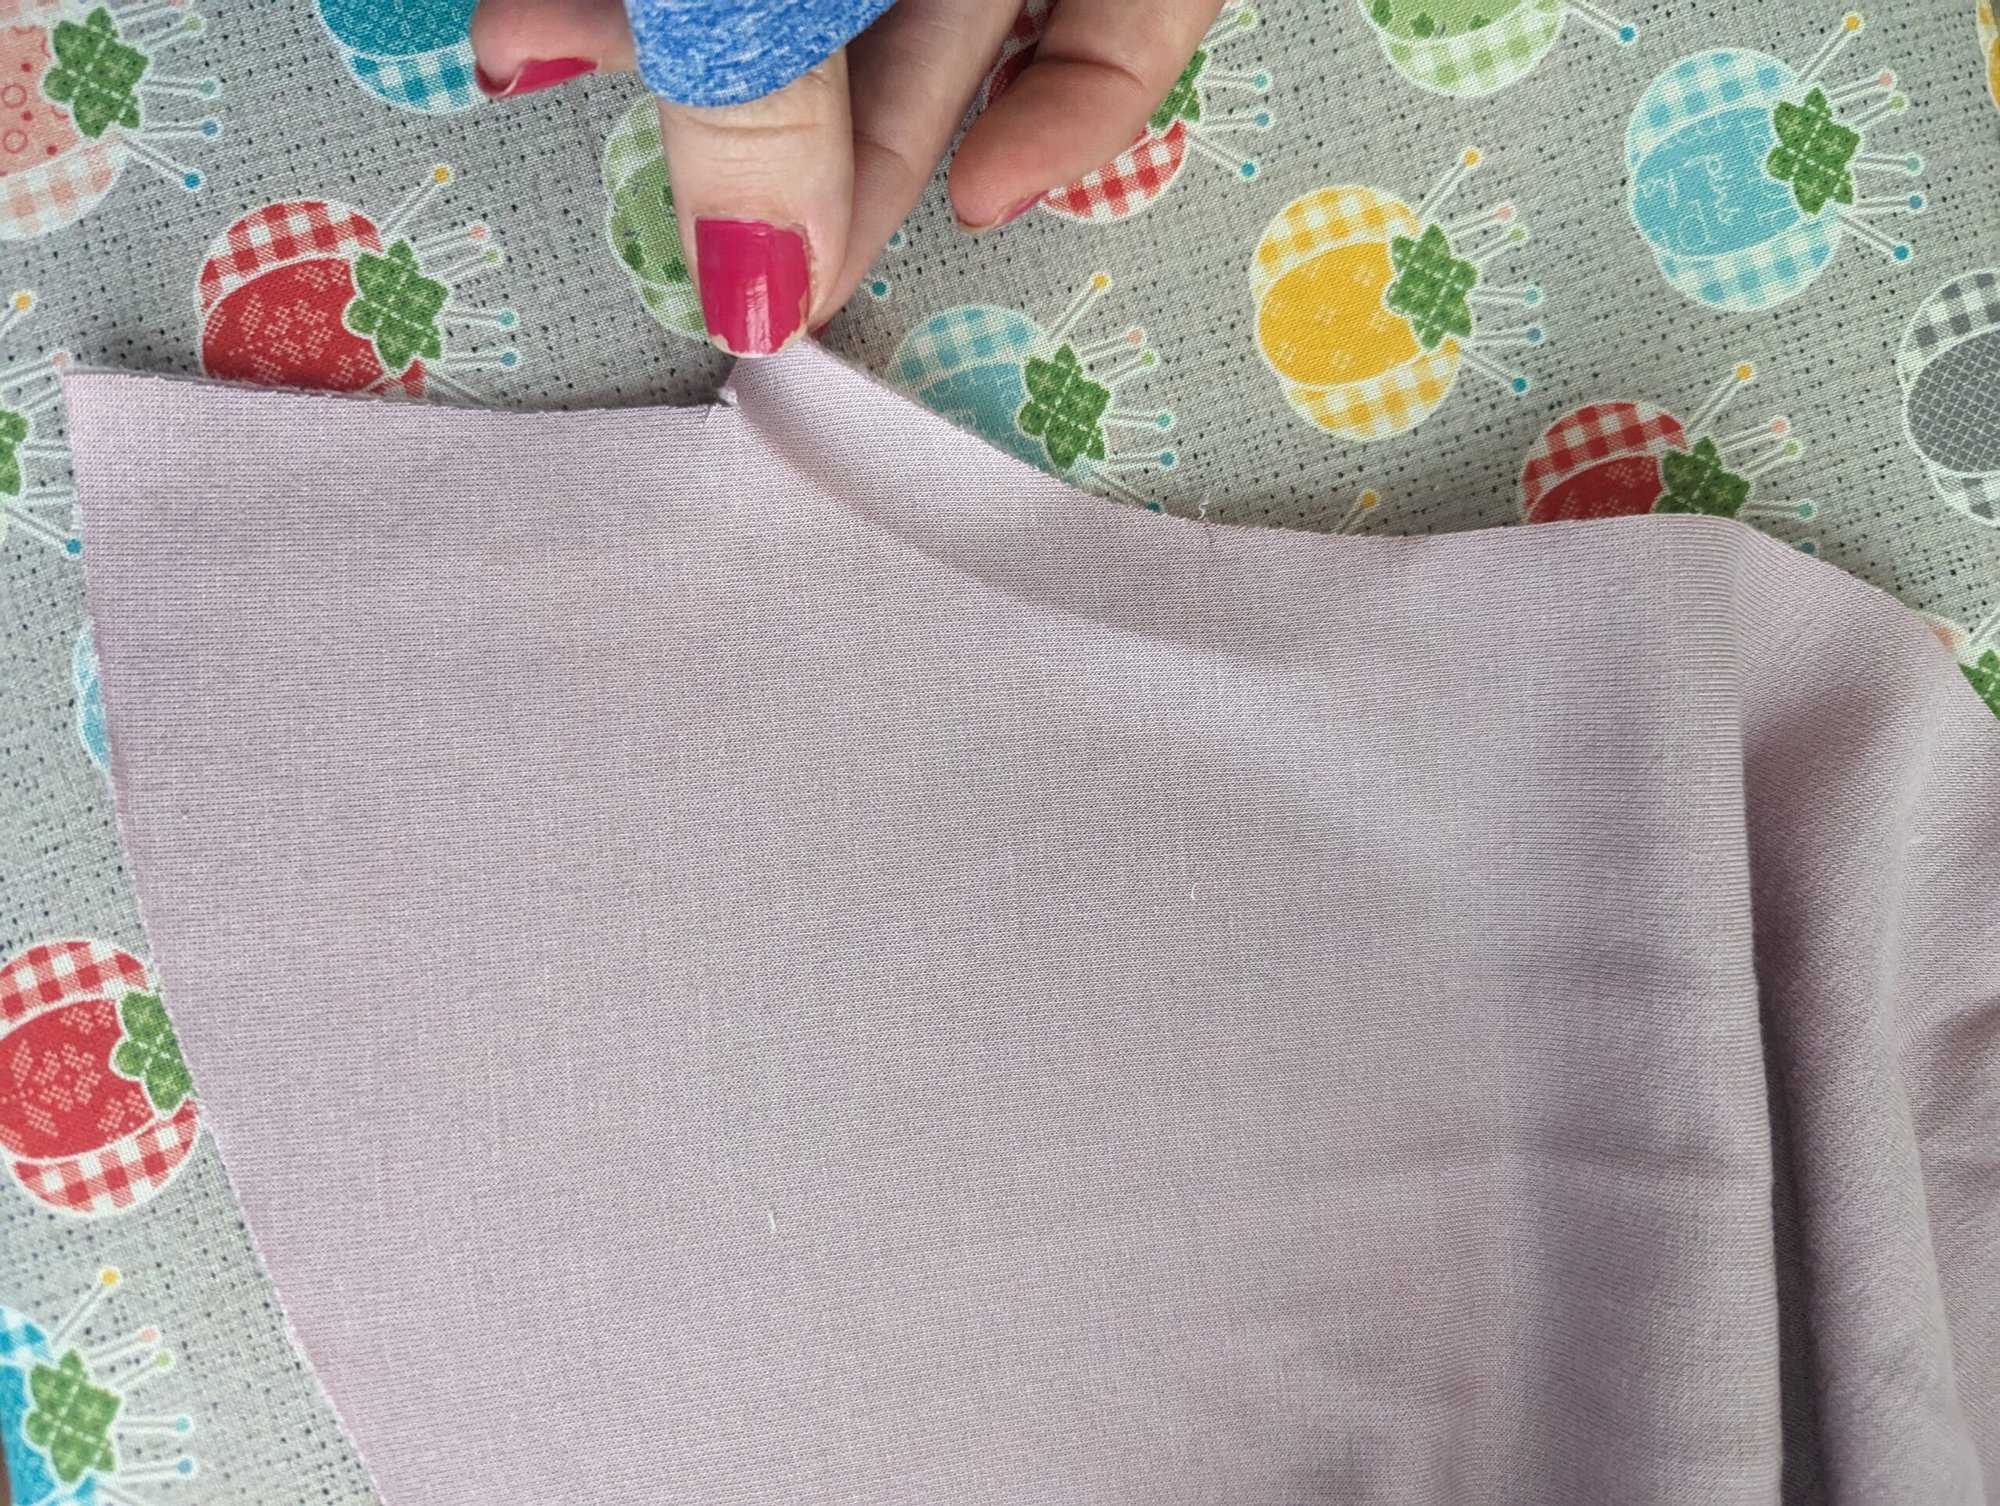
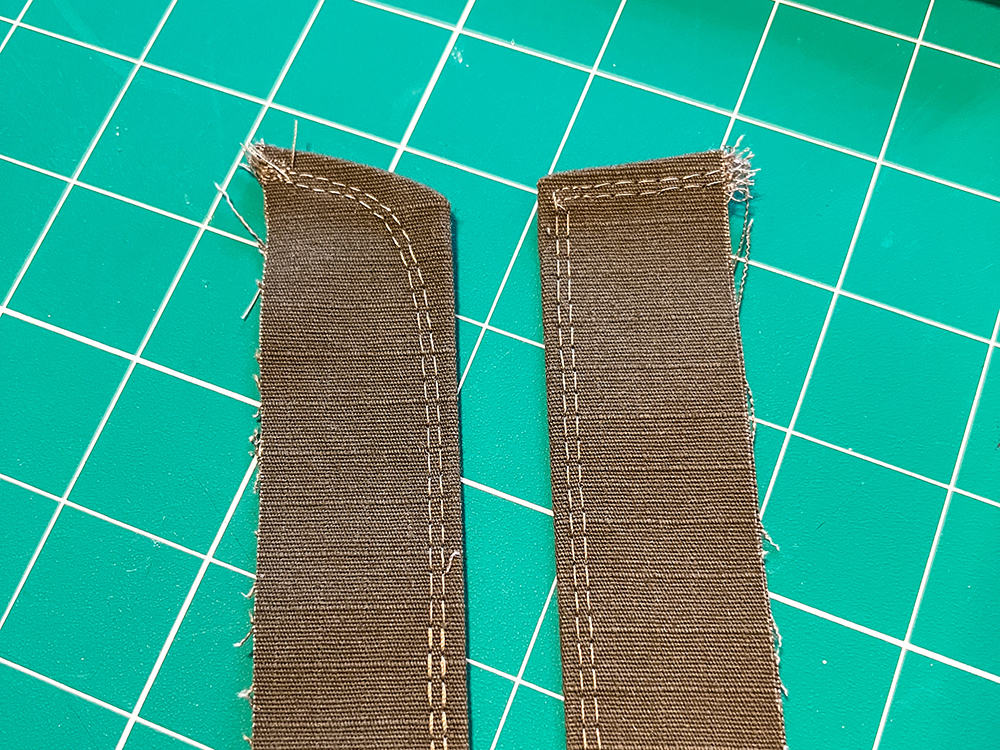
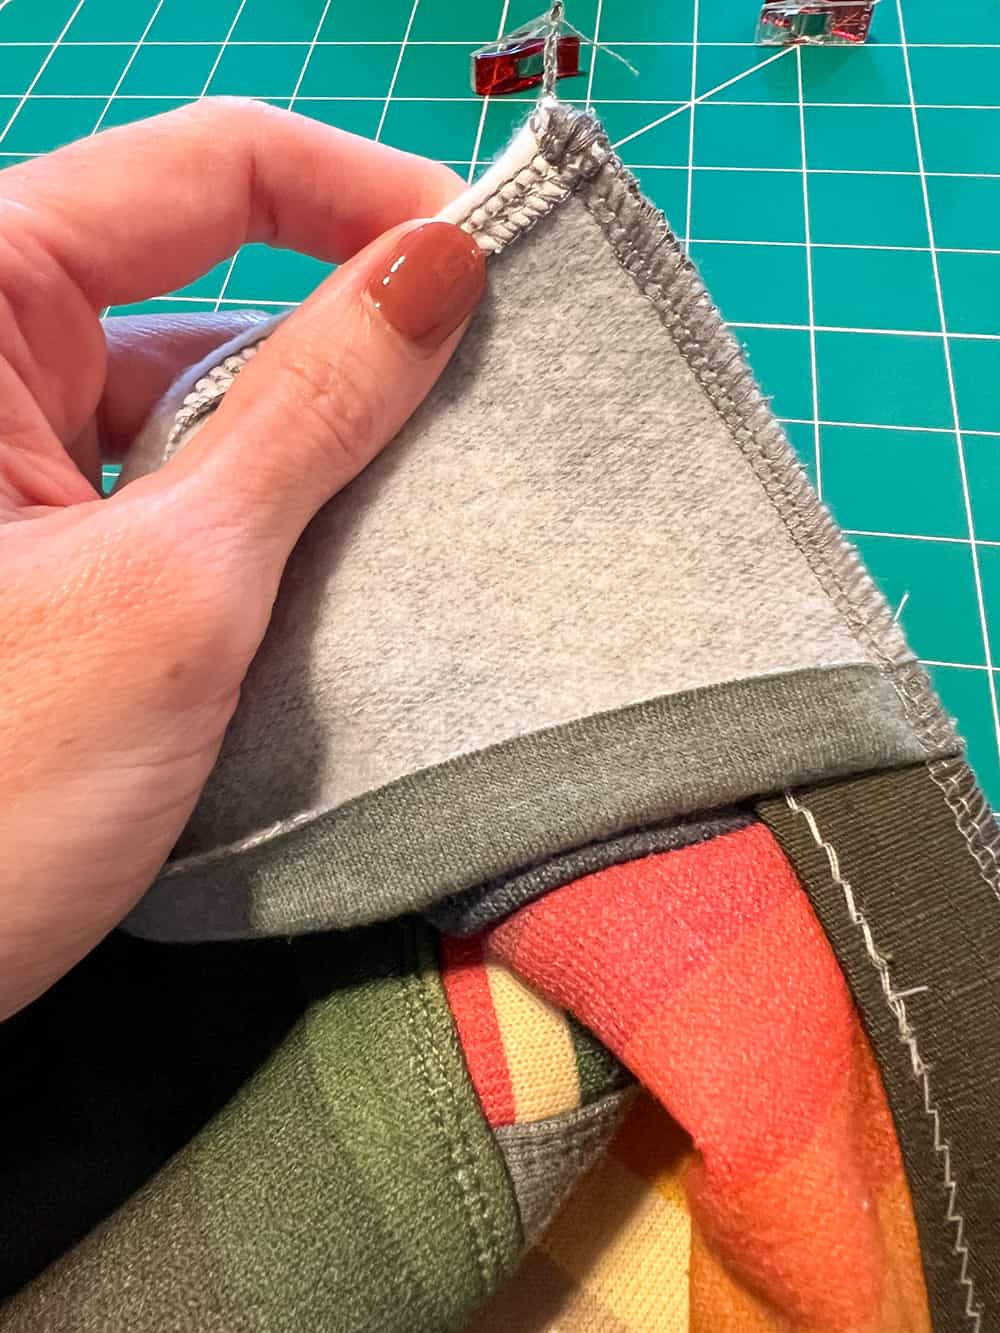
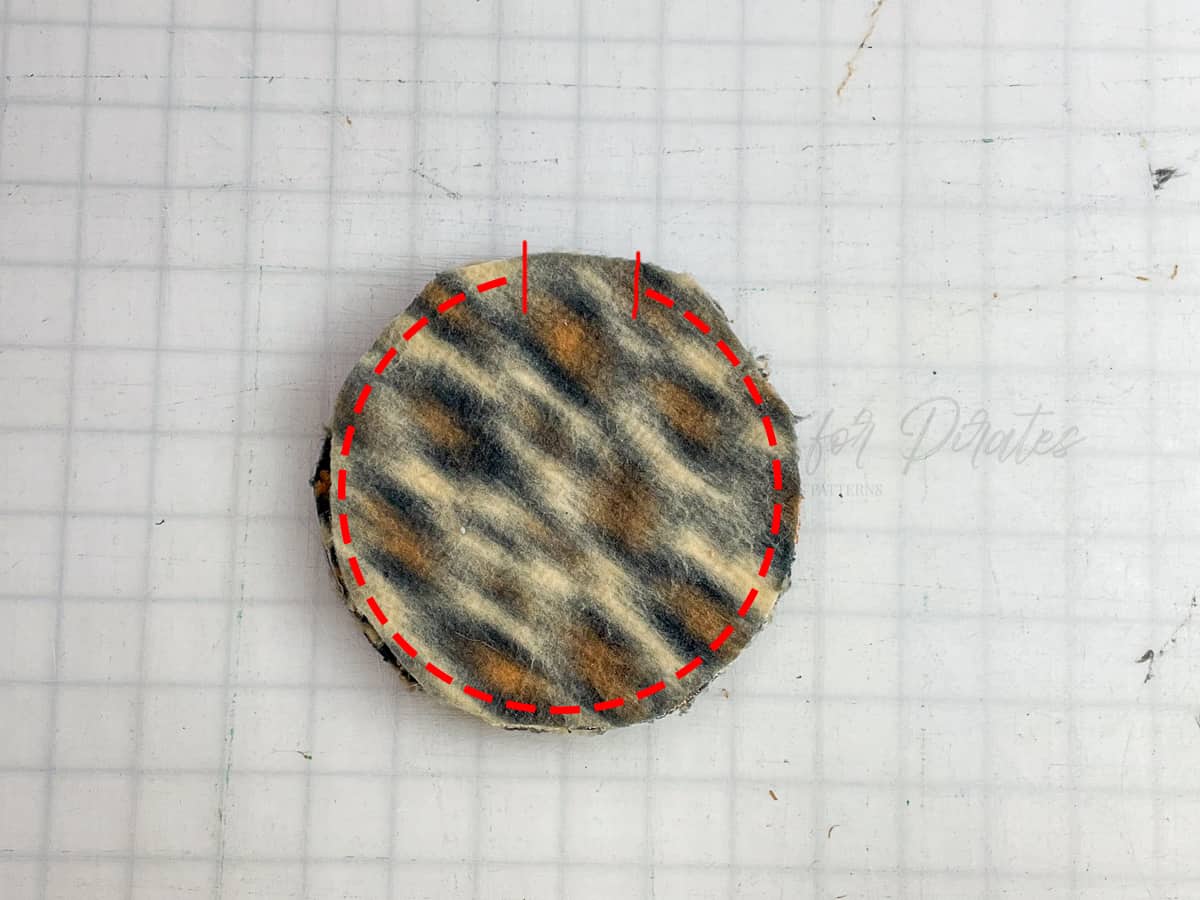
Lay two earmuff pieces right sides together. Sew around outer edge, leaving 1-2″ opening for turning.
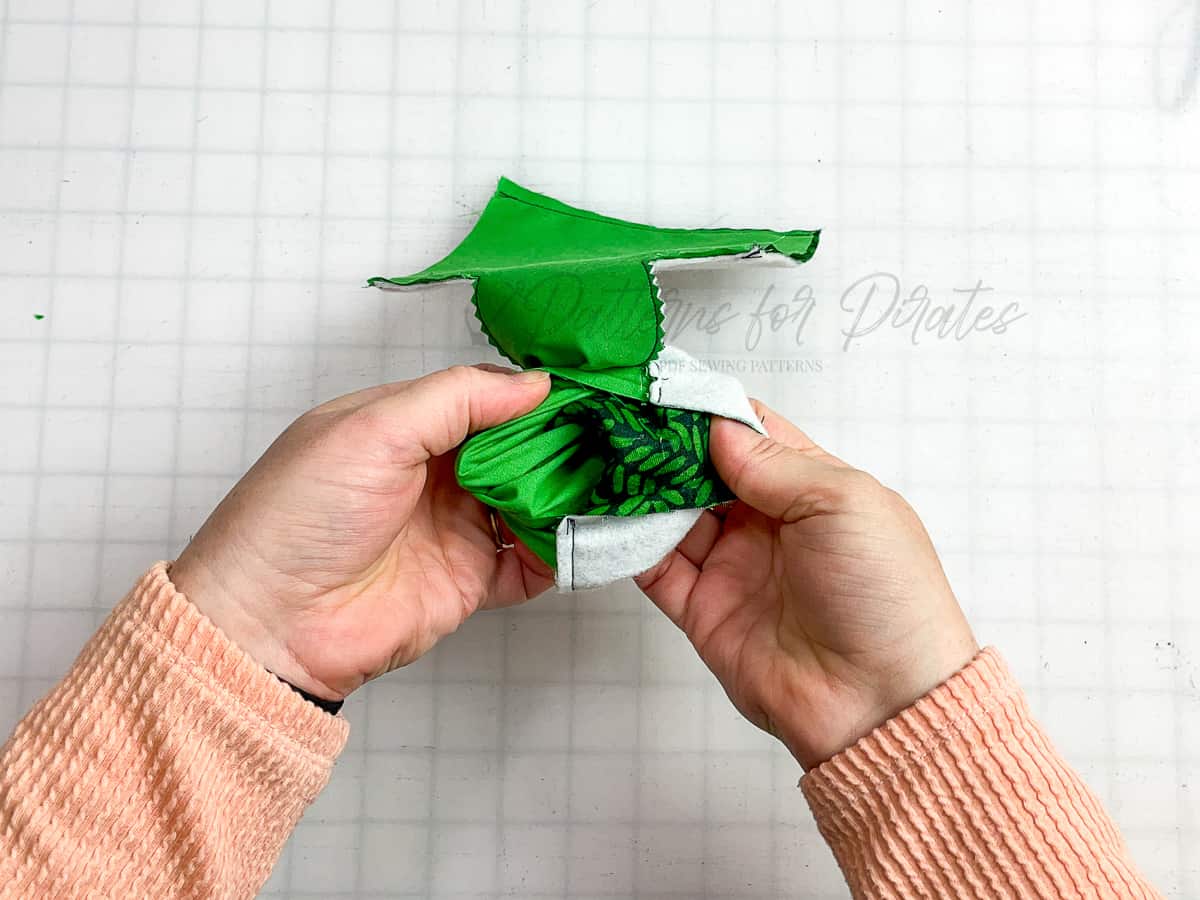
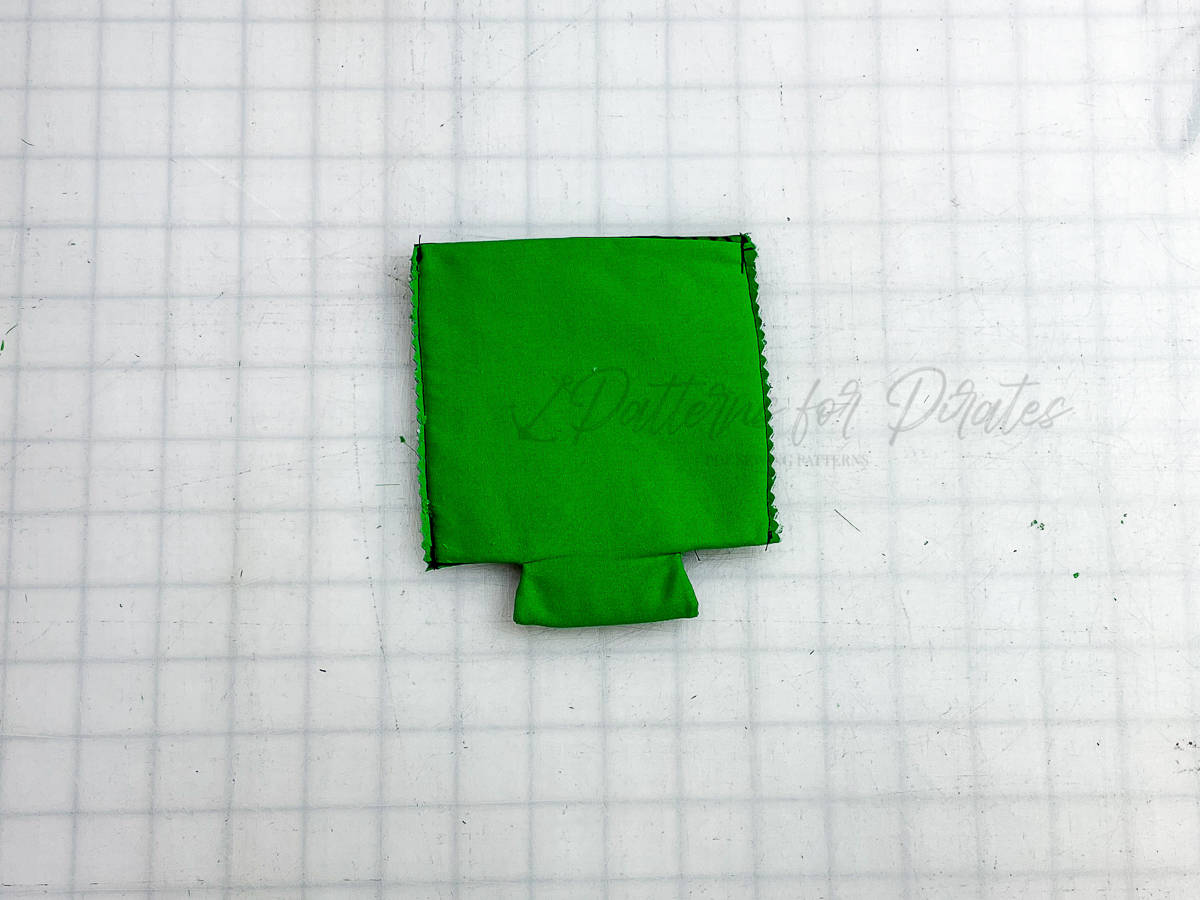
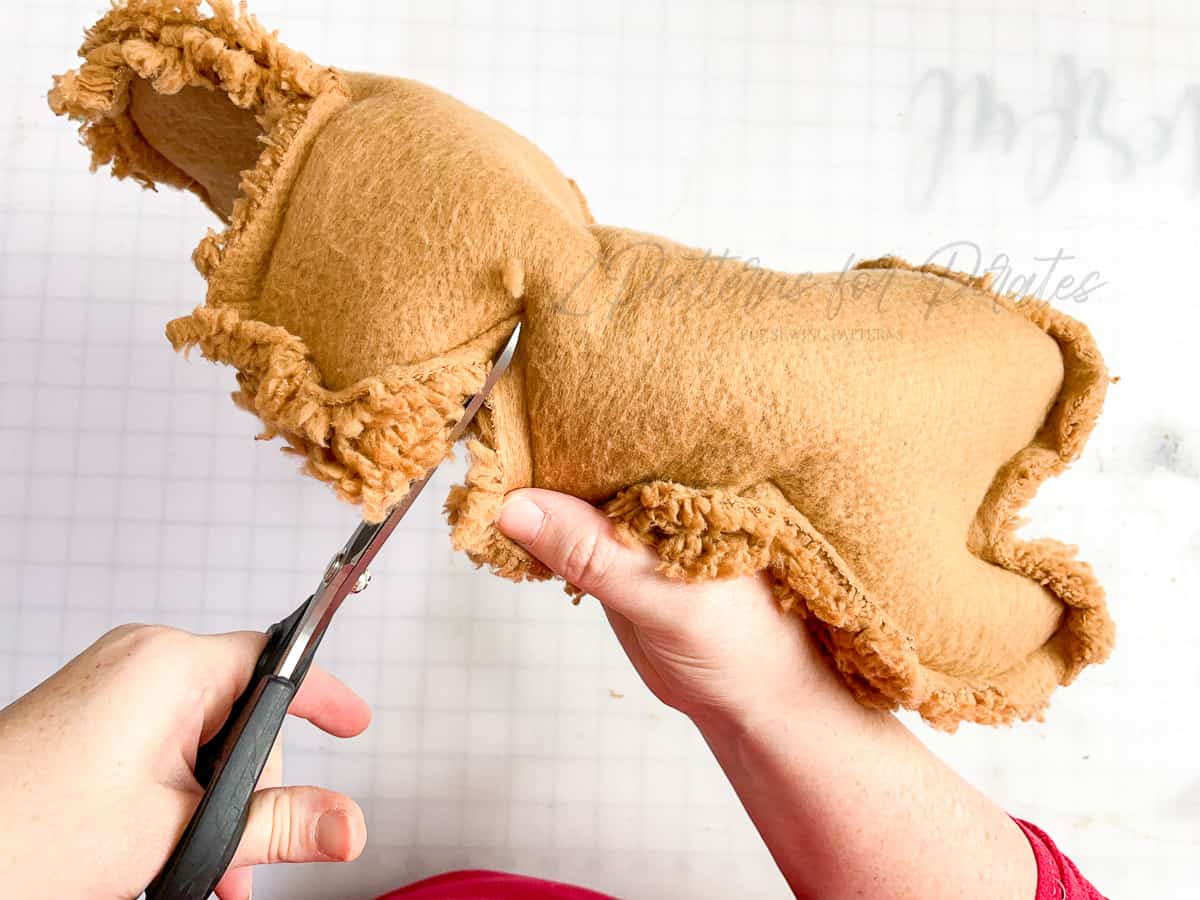
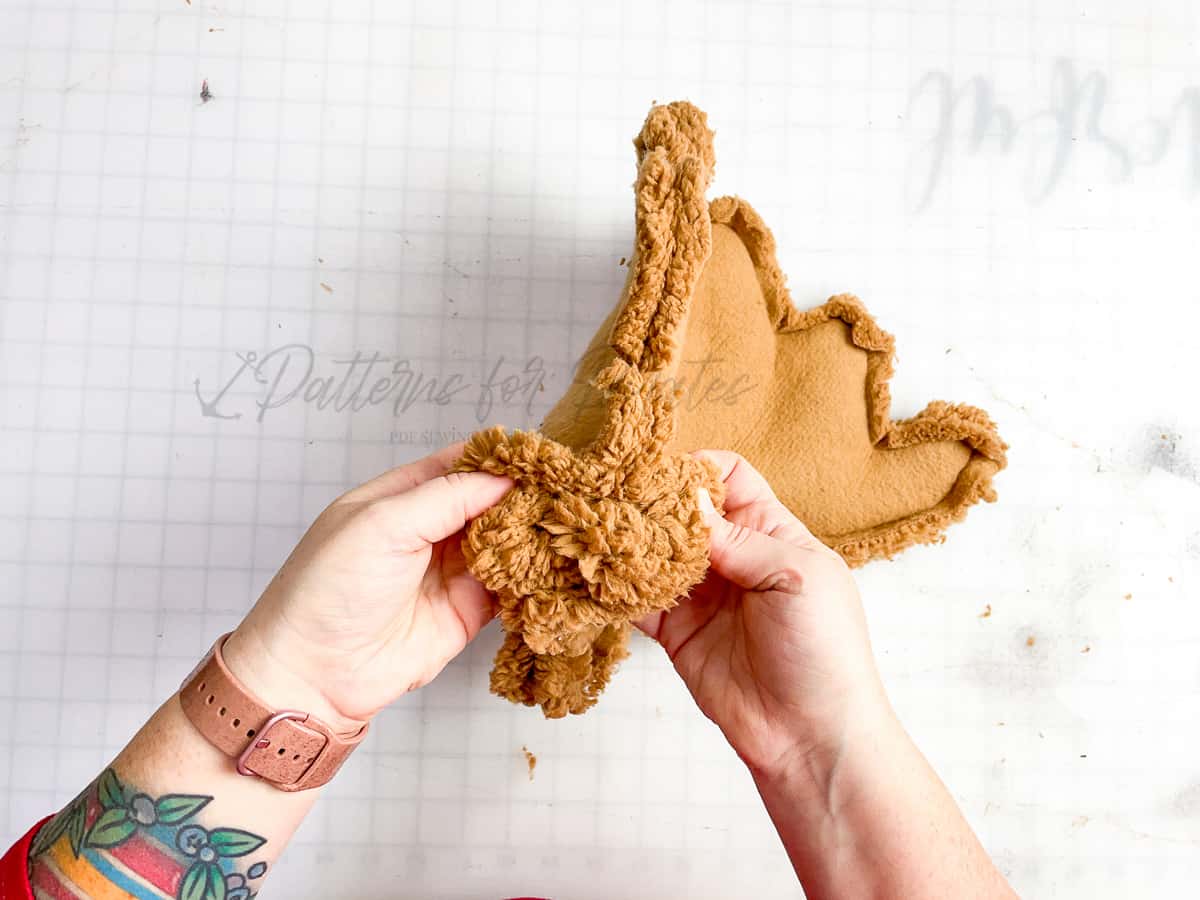
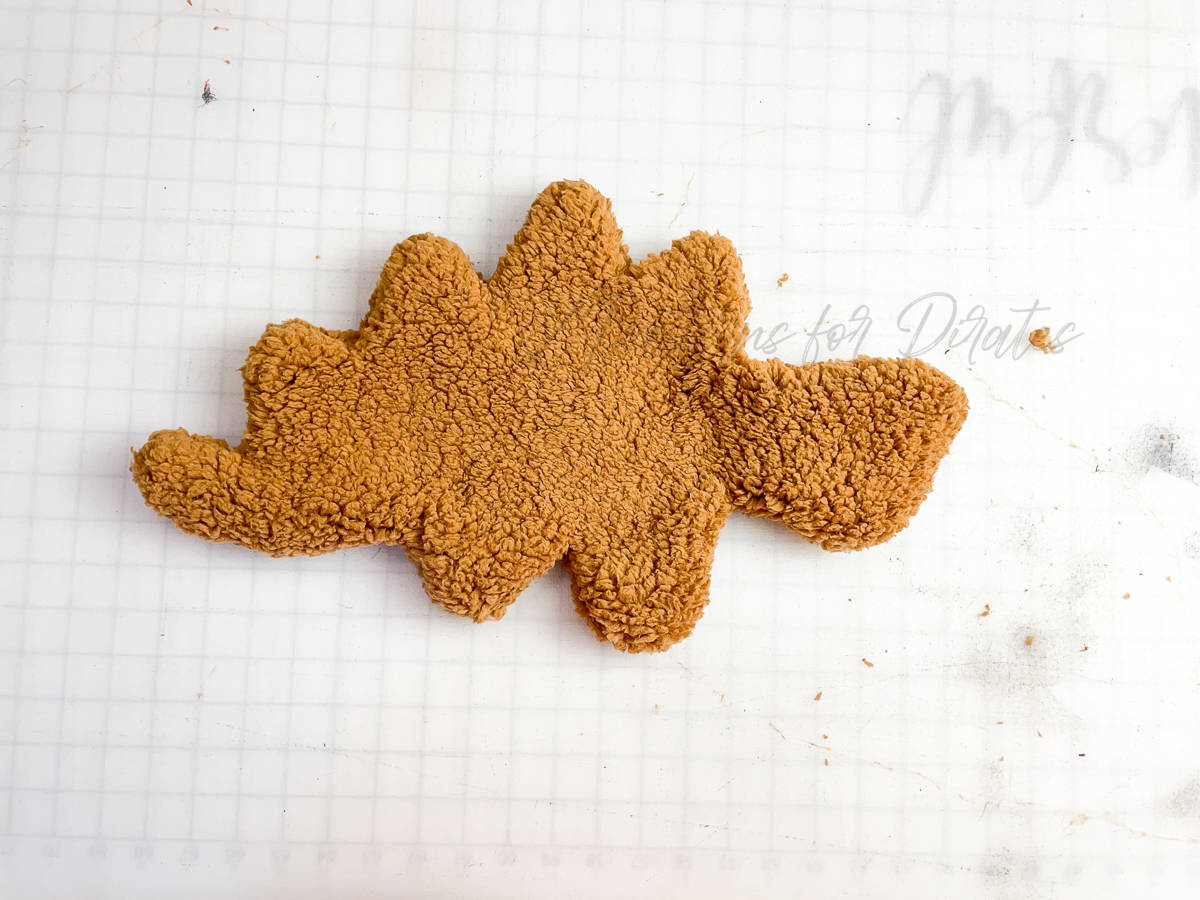
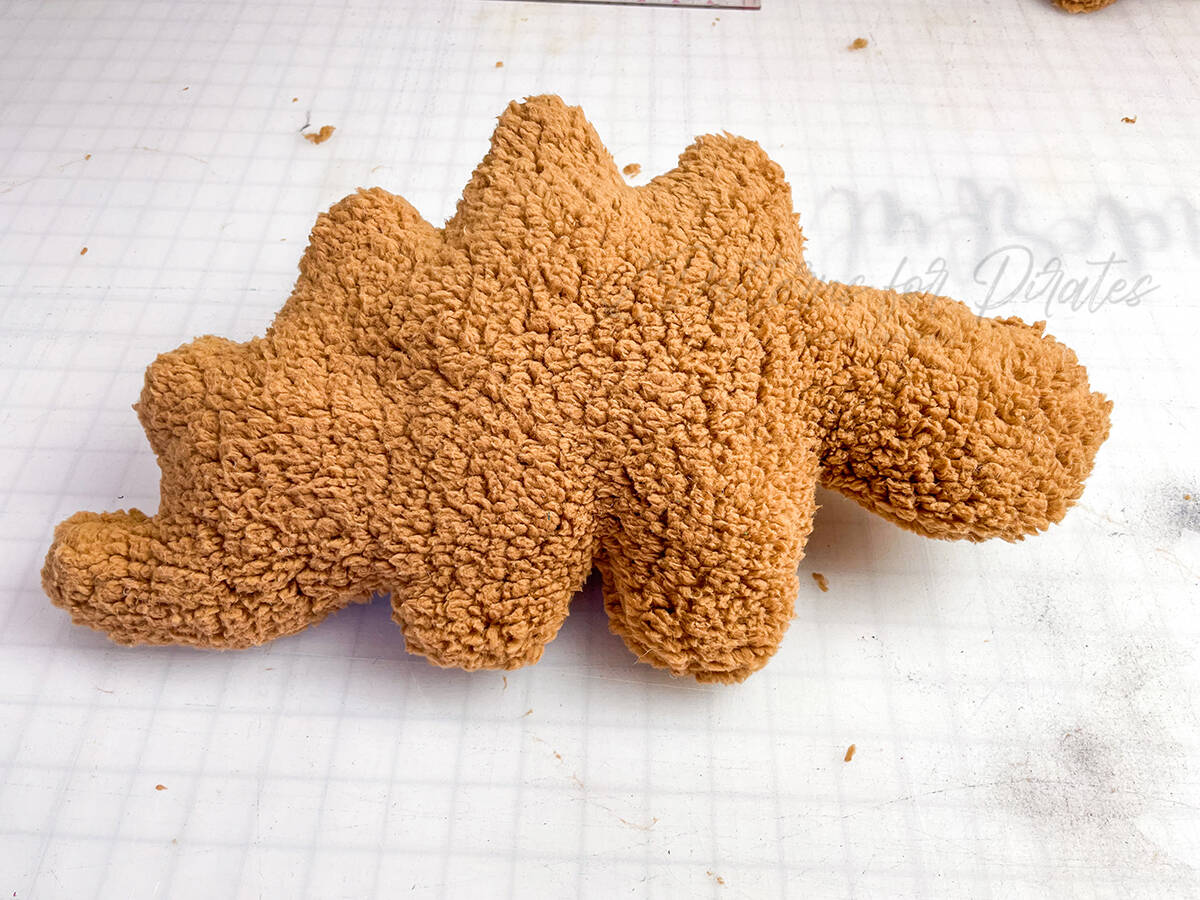
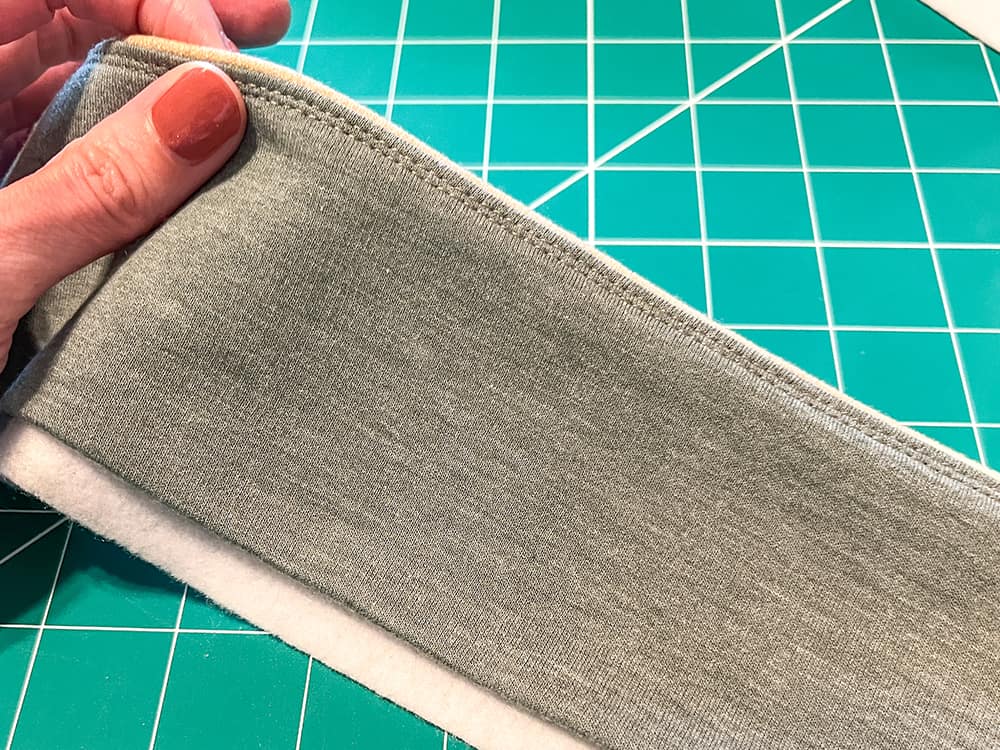
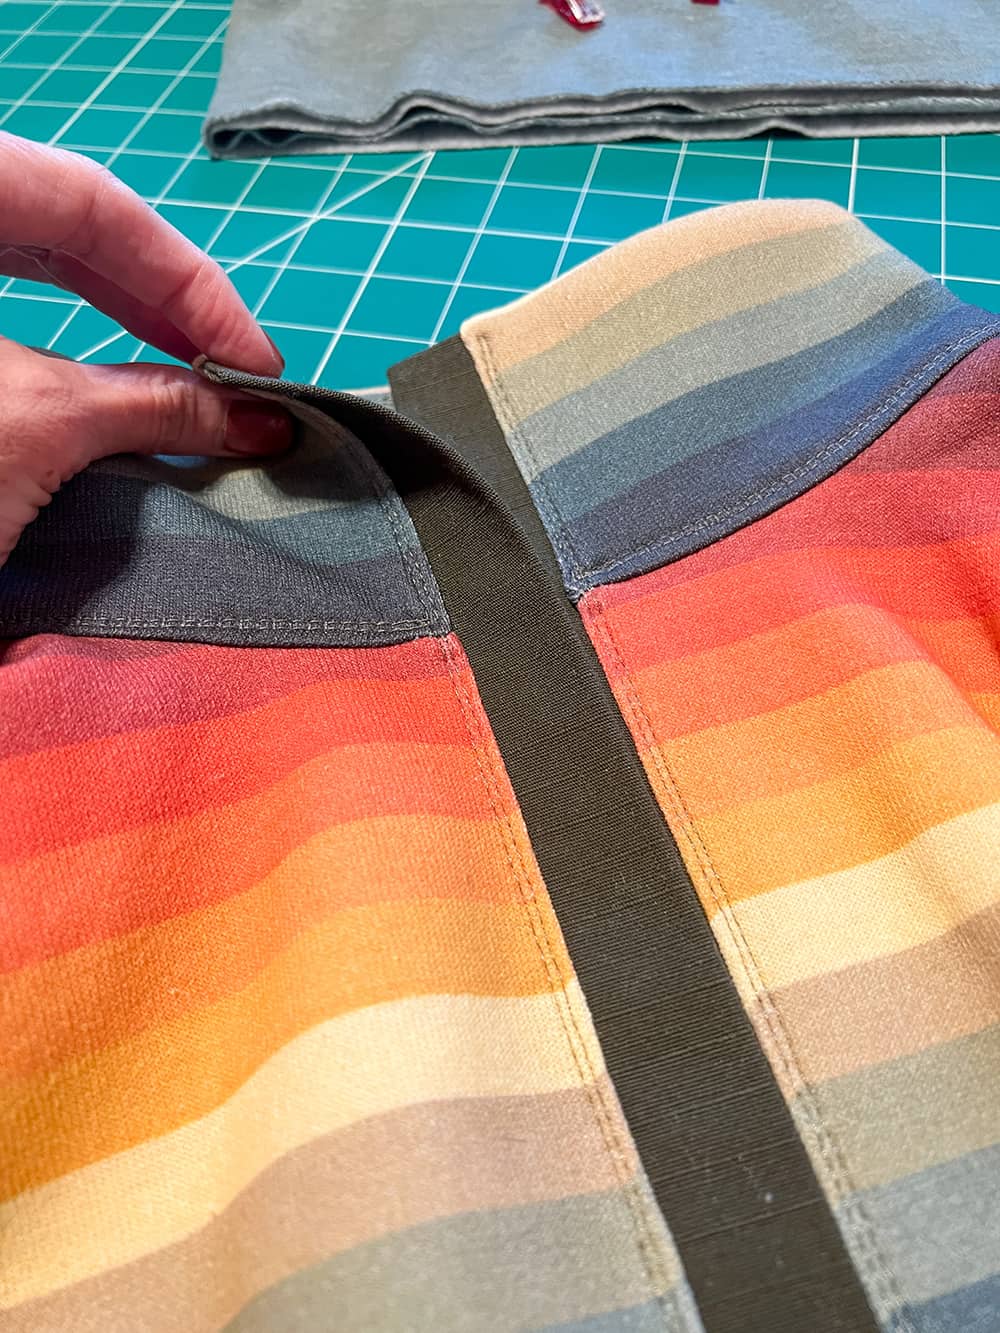
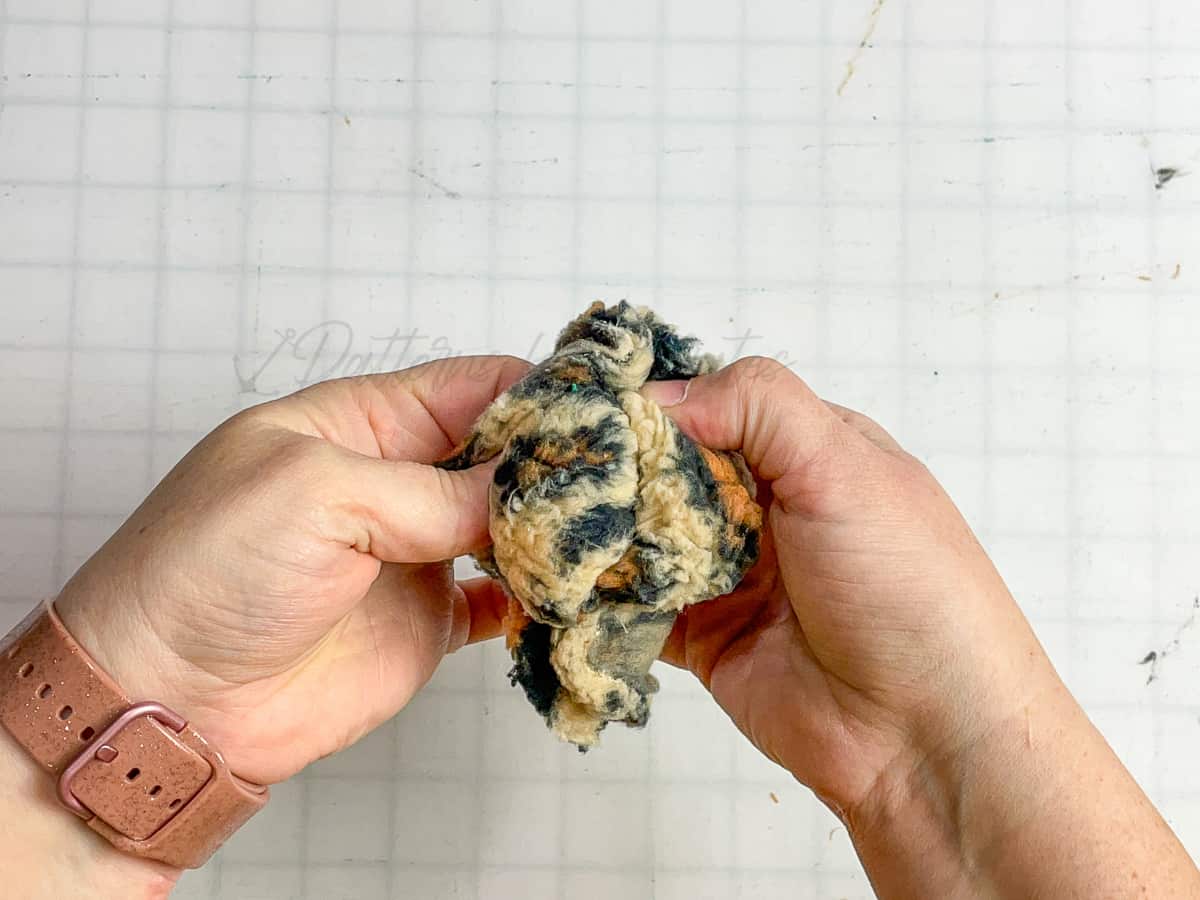
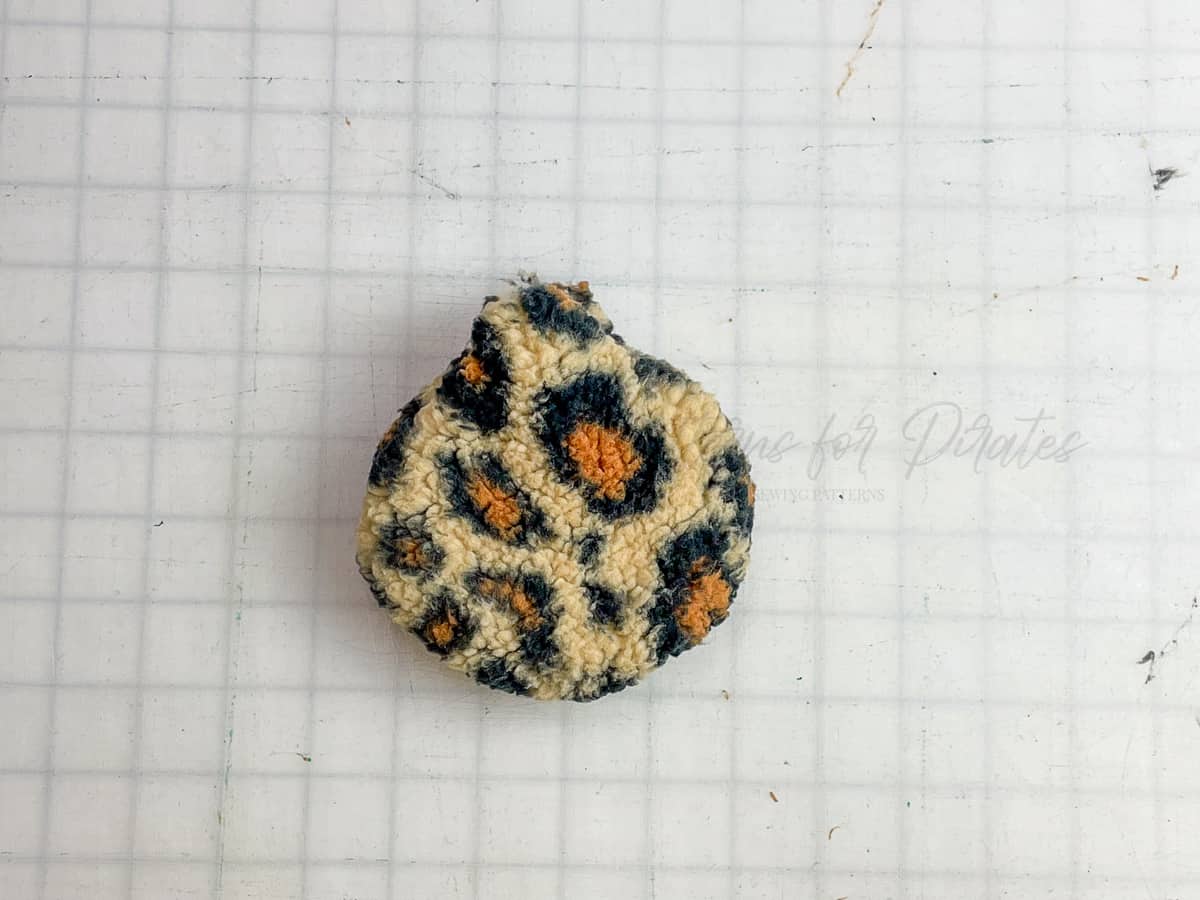
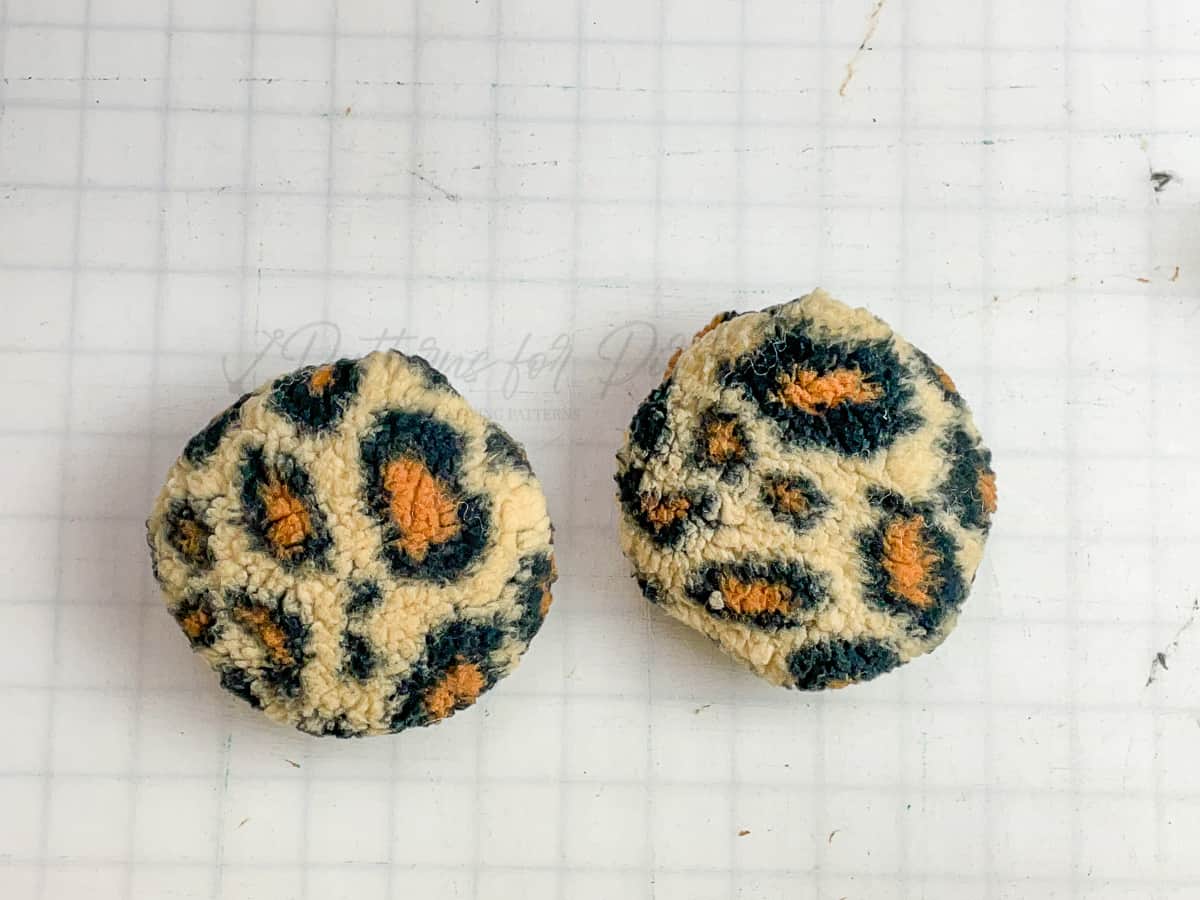
Turn right side out.
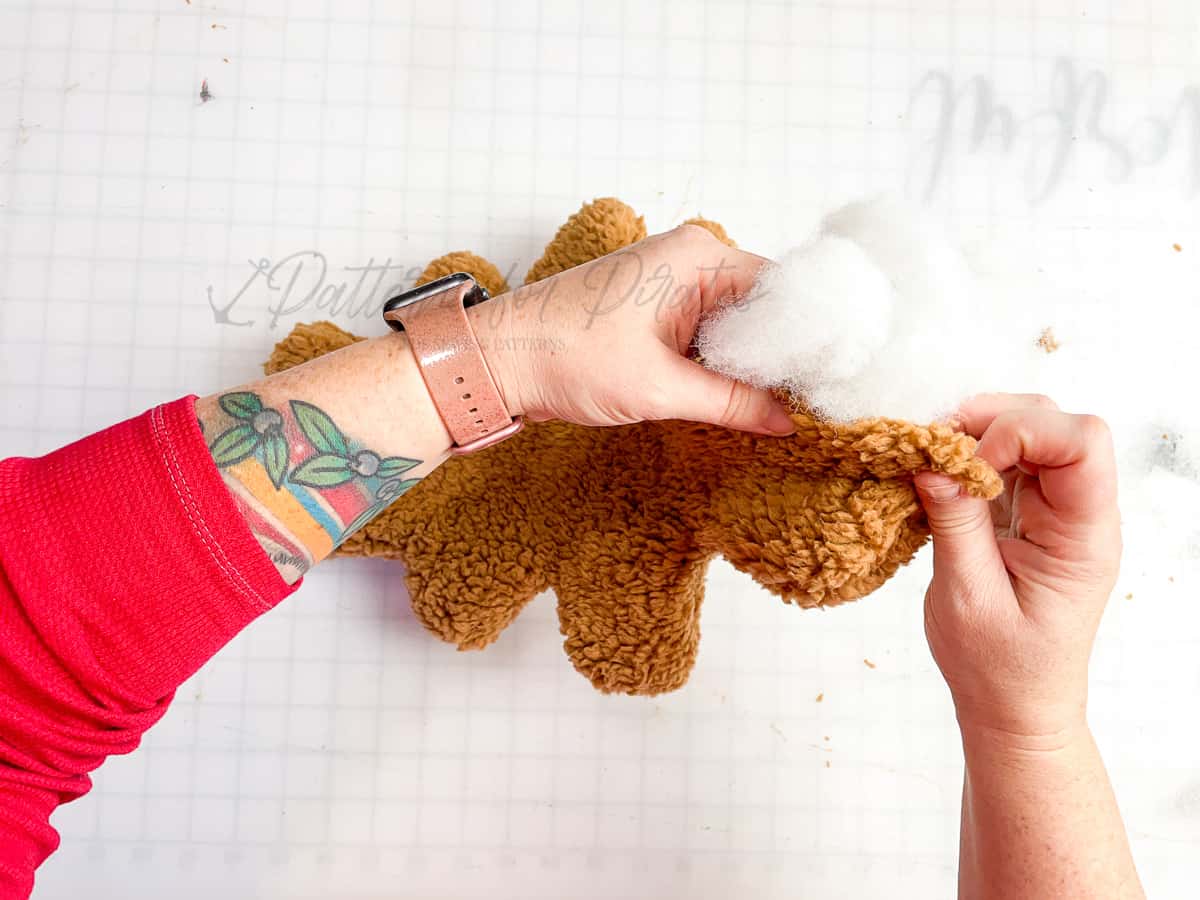
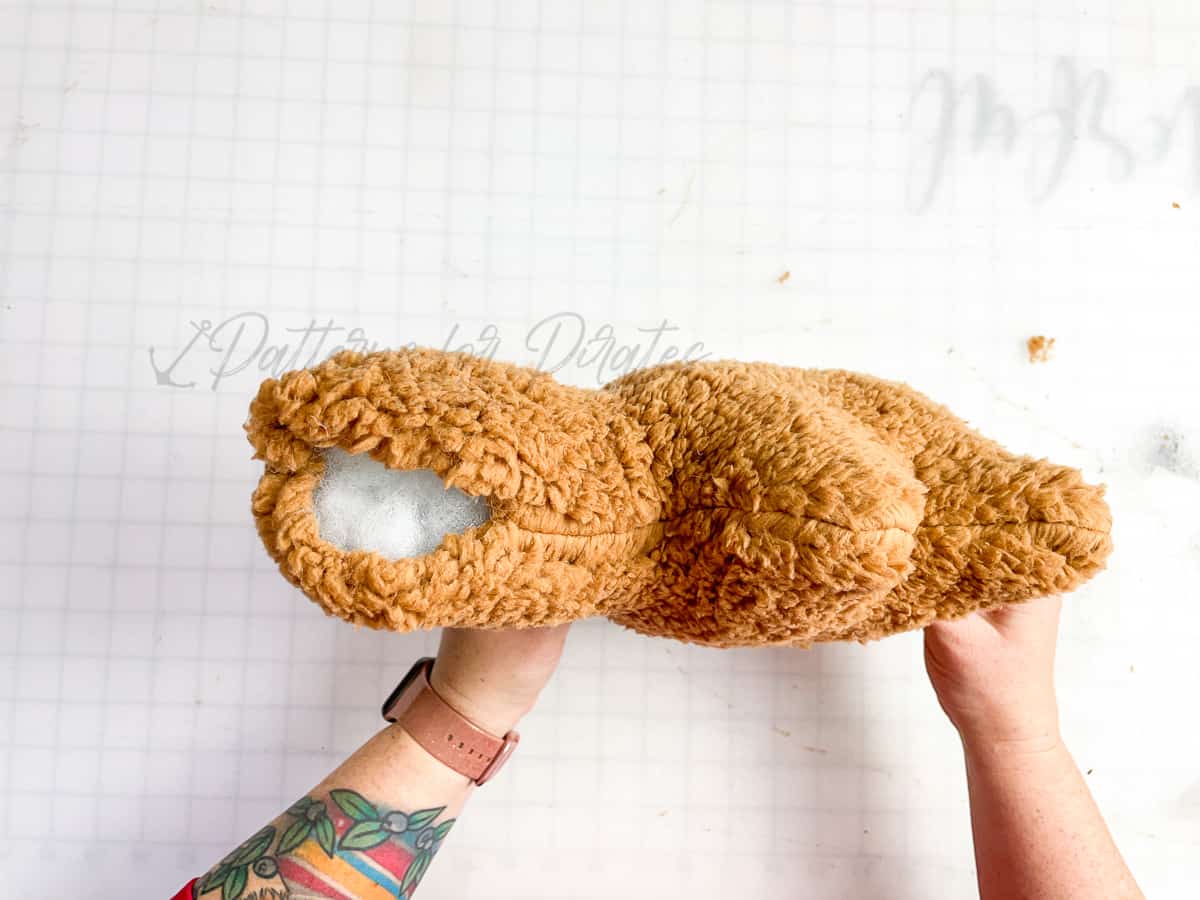
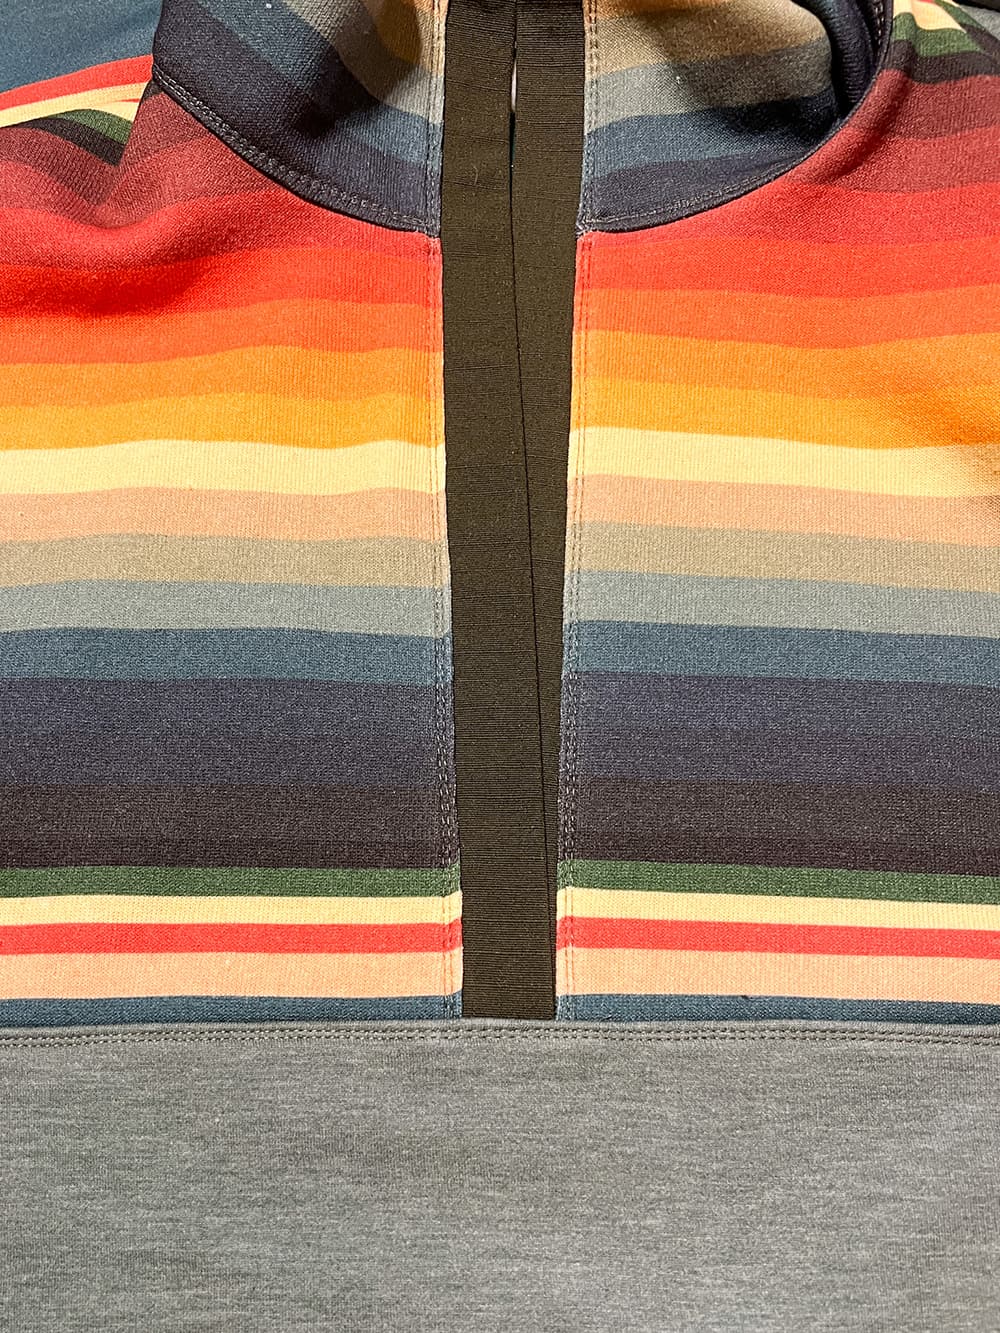
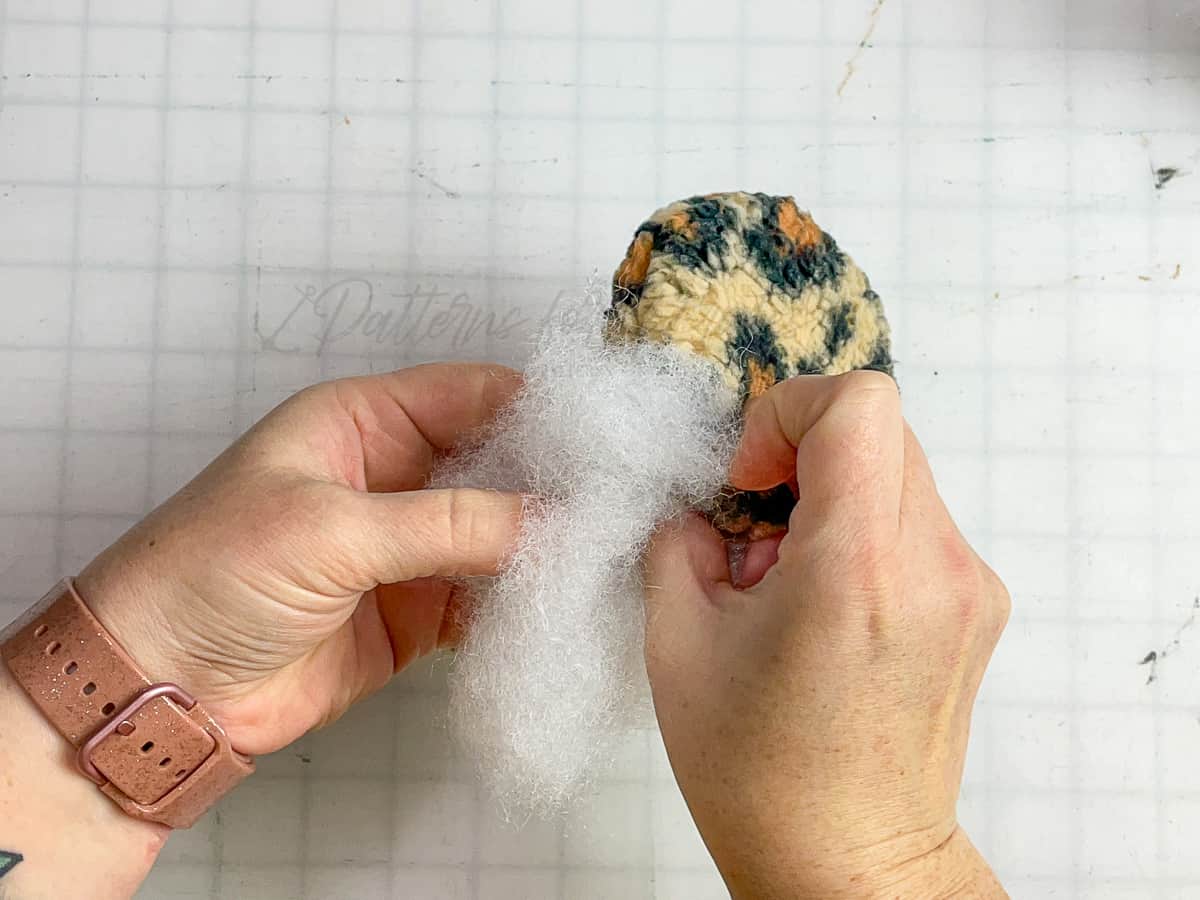
Stuff with filling. Make sure not to overstuff.
Repeat with second earmuff.
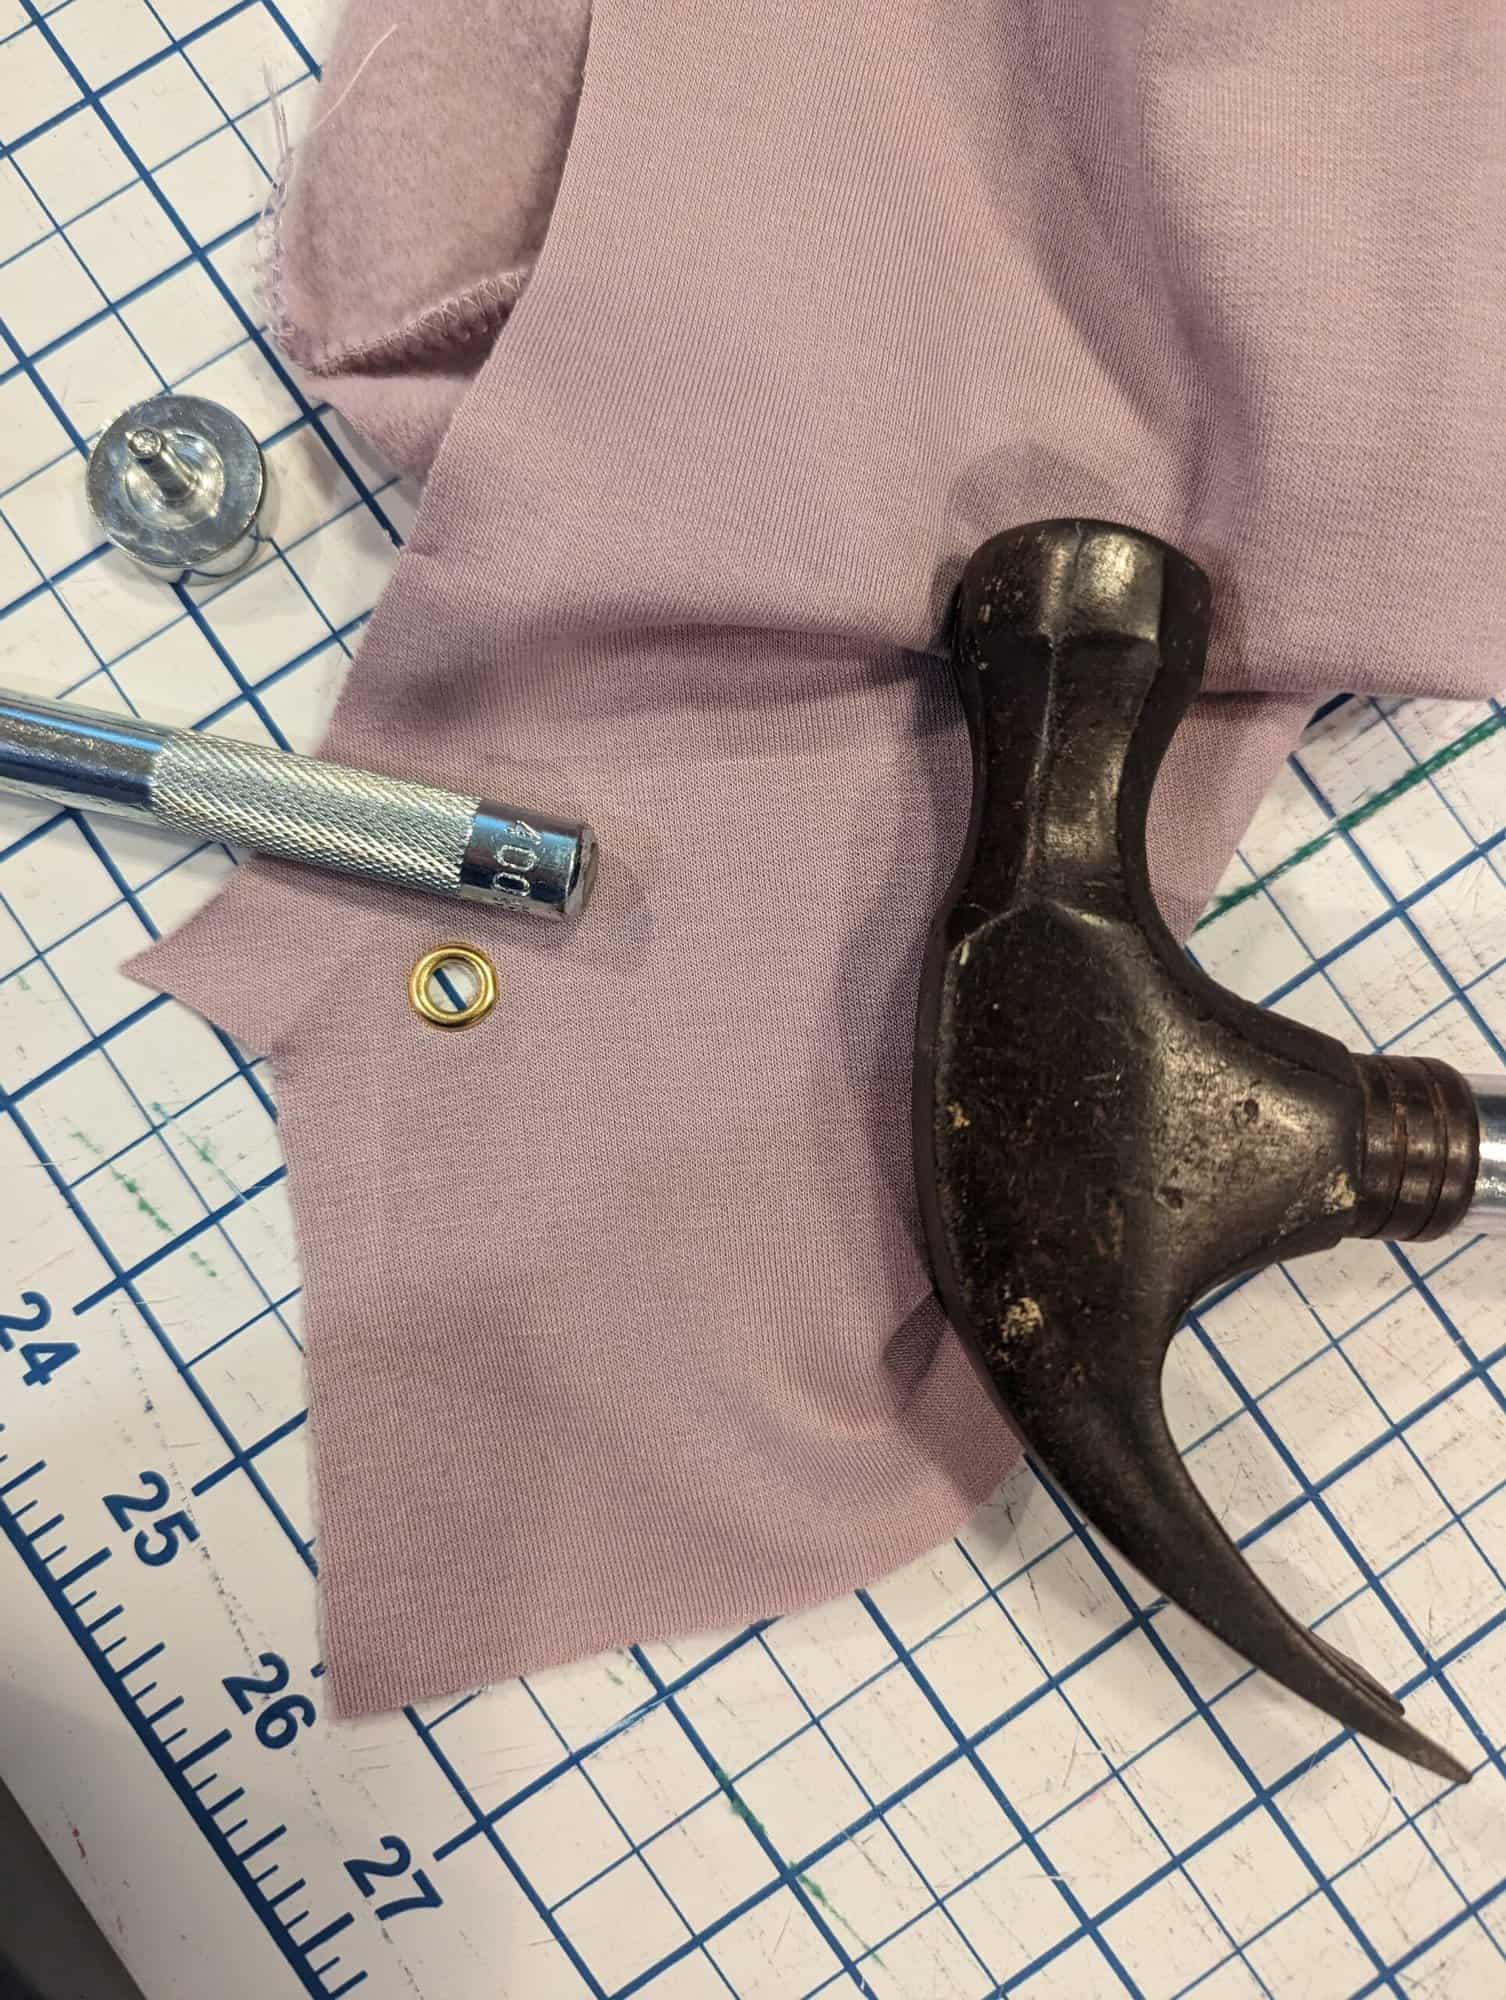
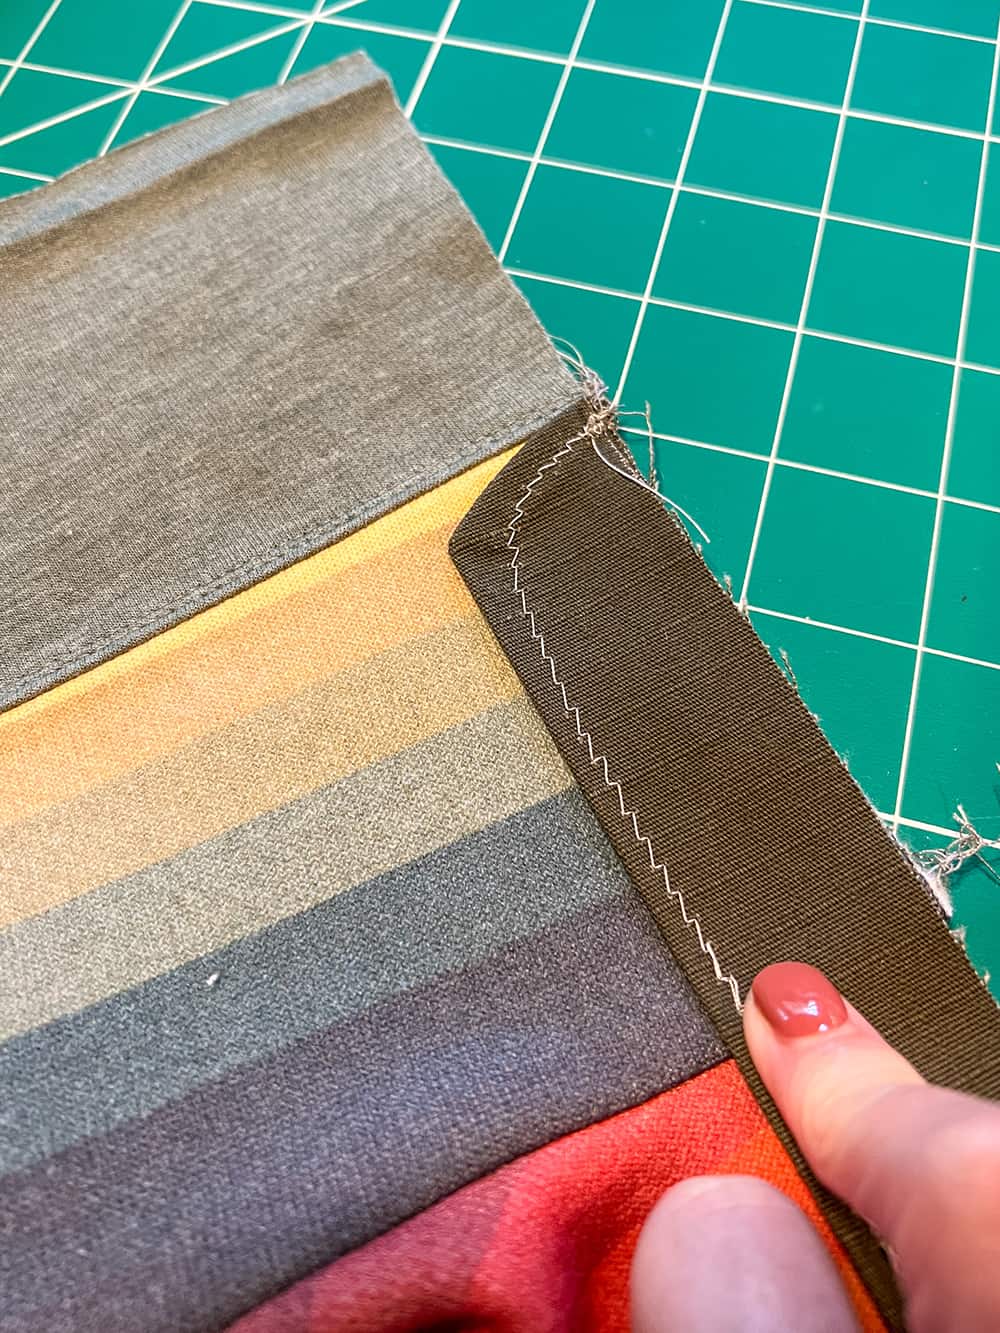
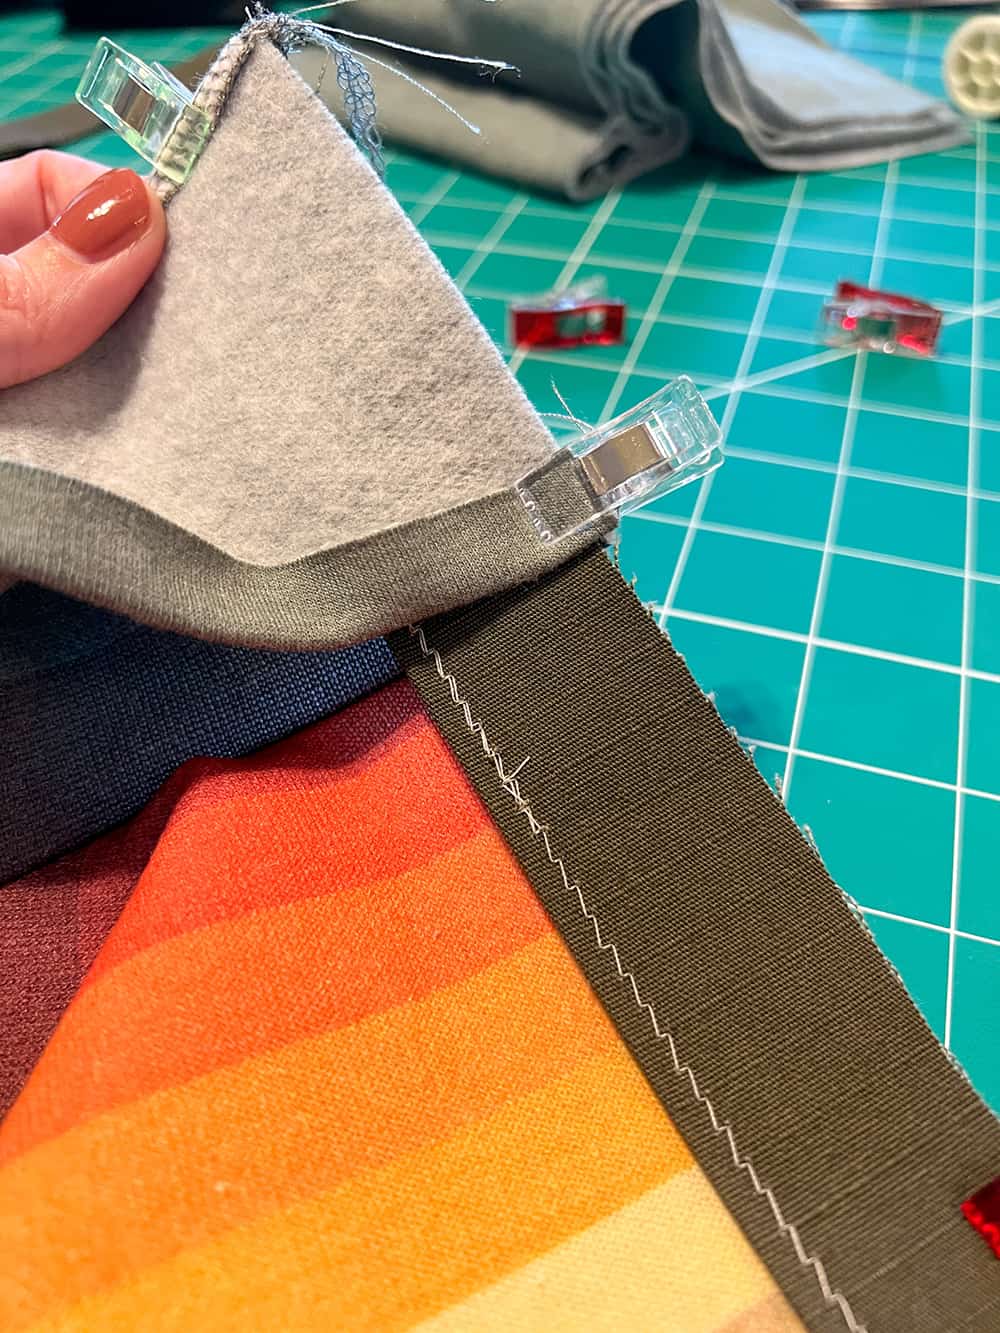
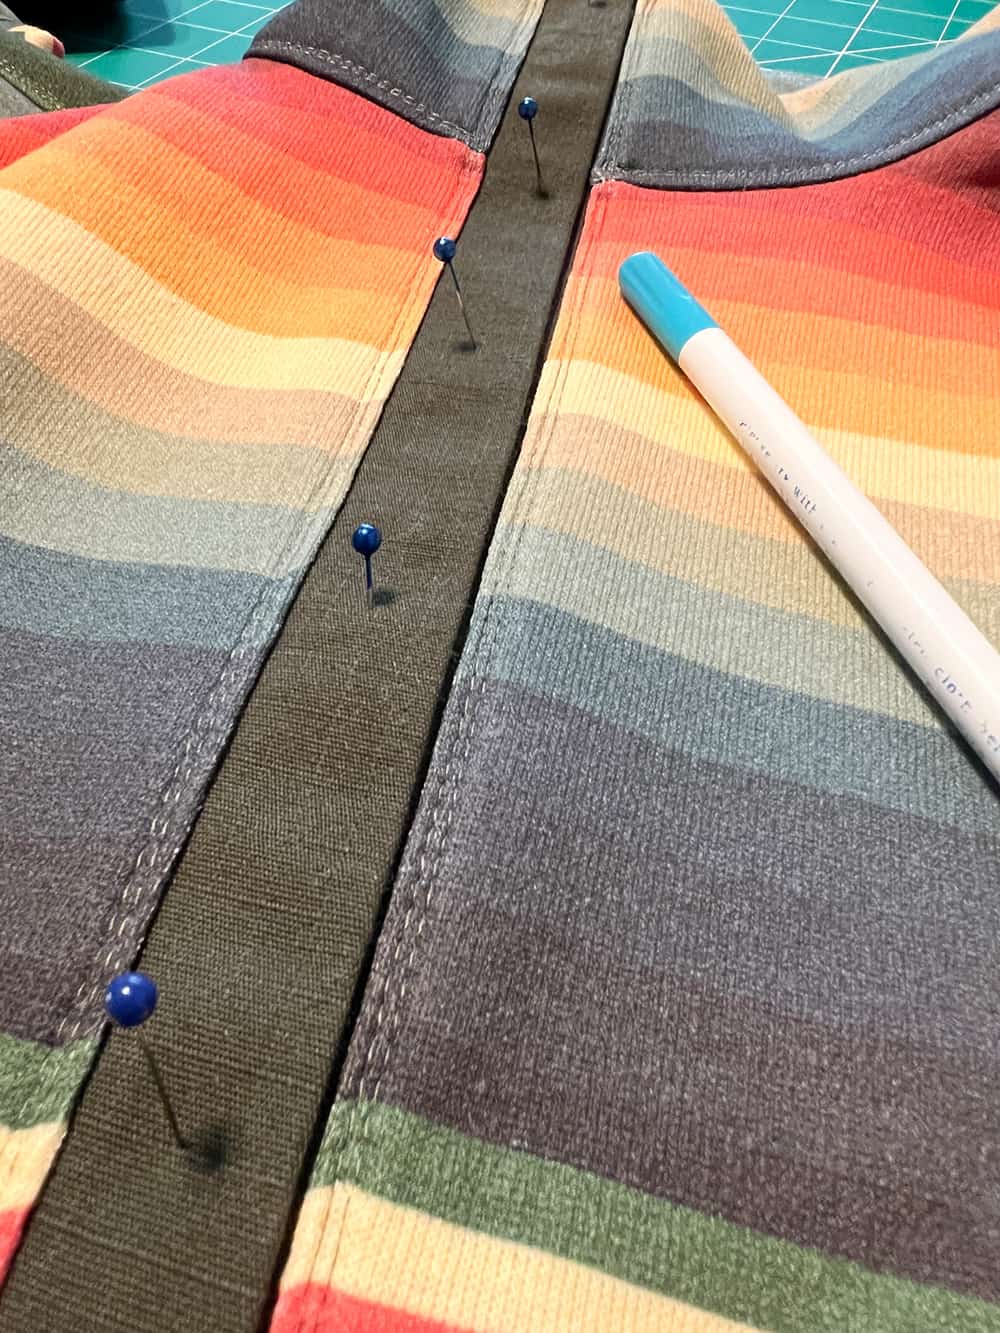
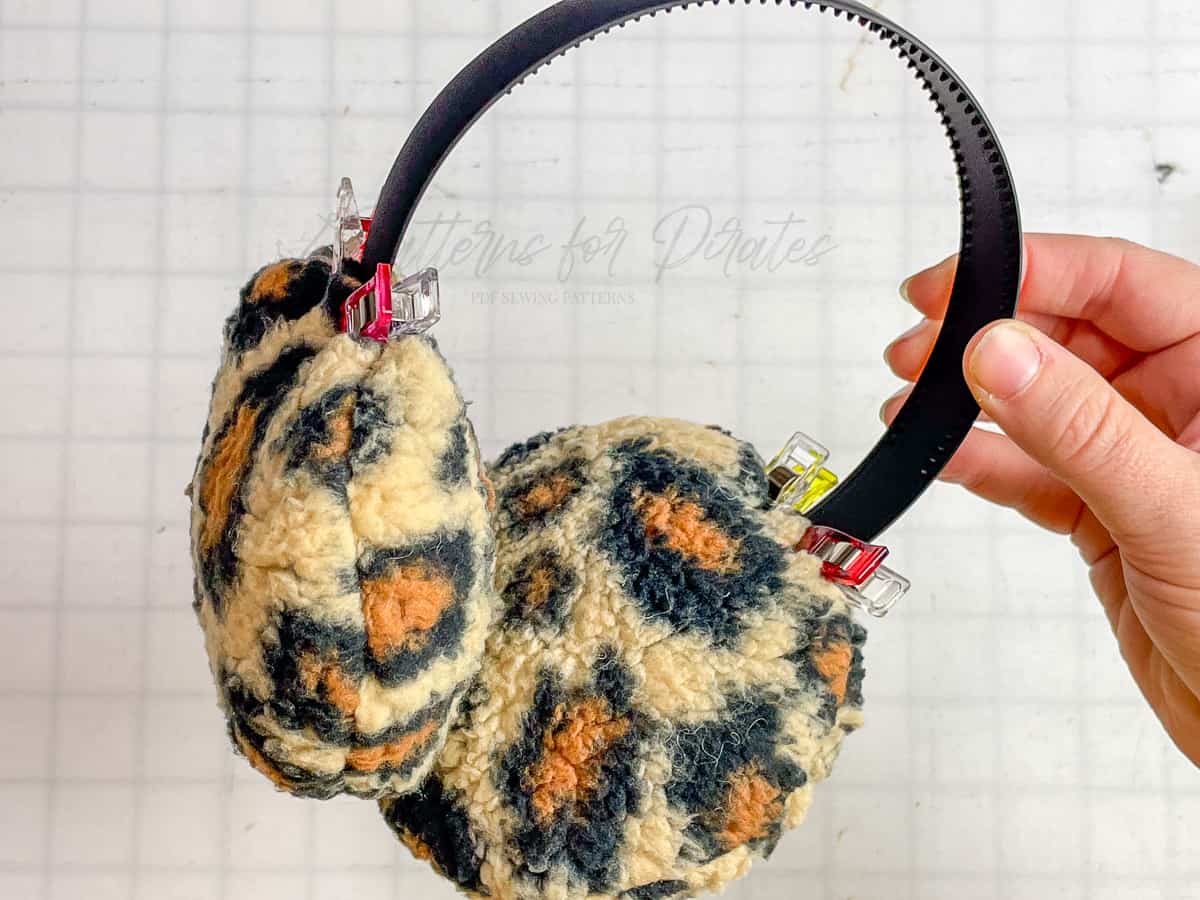
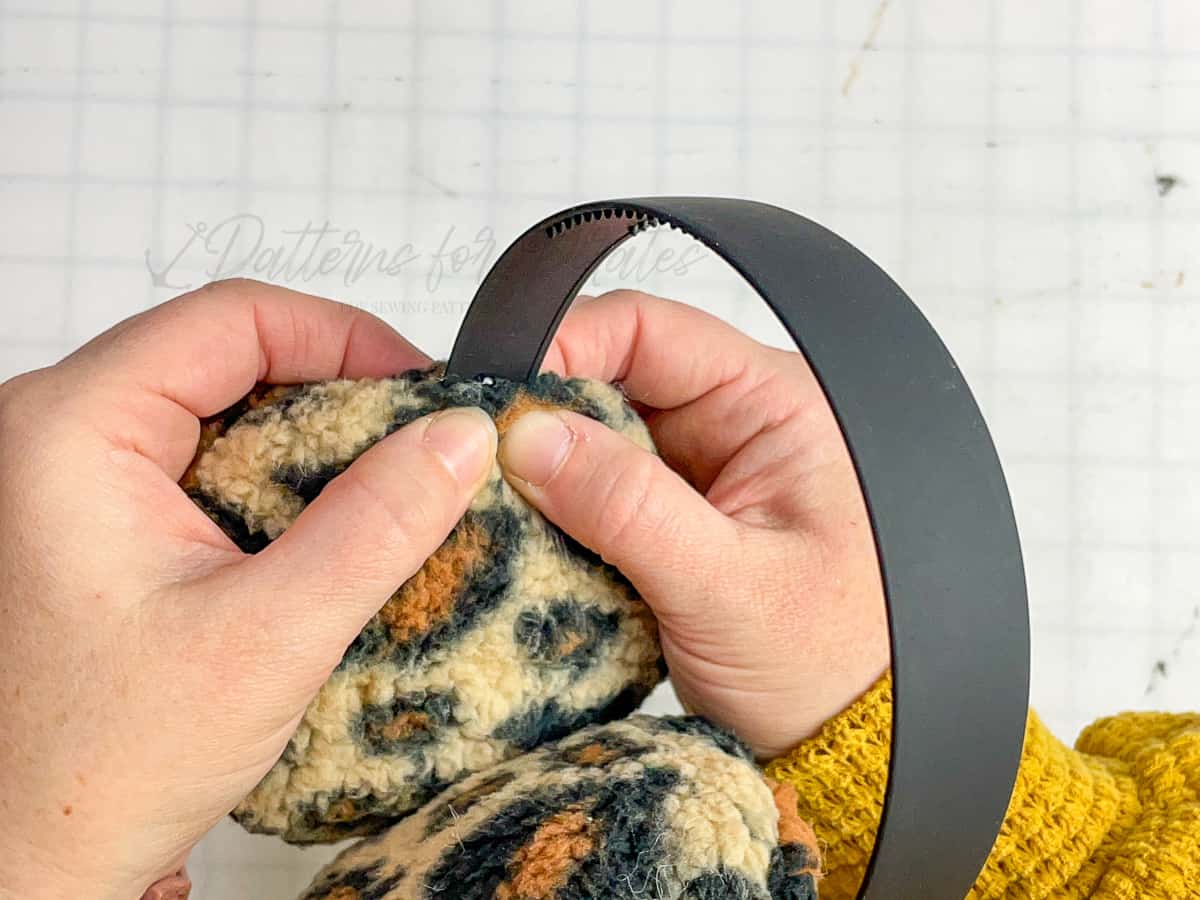
Tuck in seam allowance and place headband inside of earmuff, through opening. Pin/clip into place.
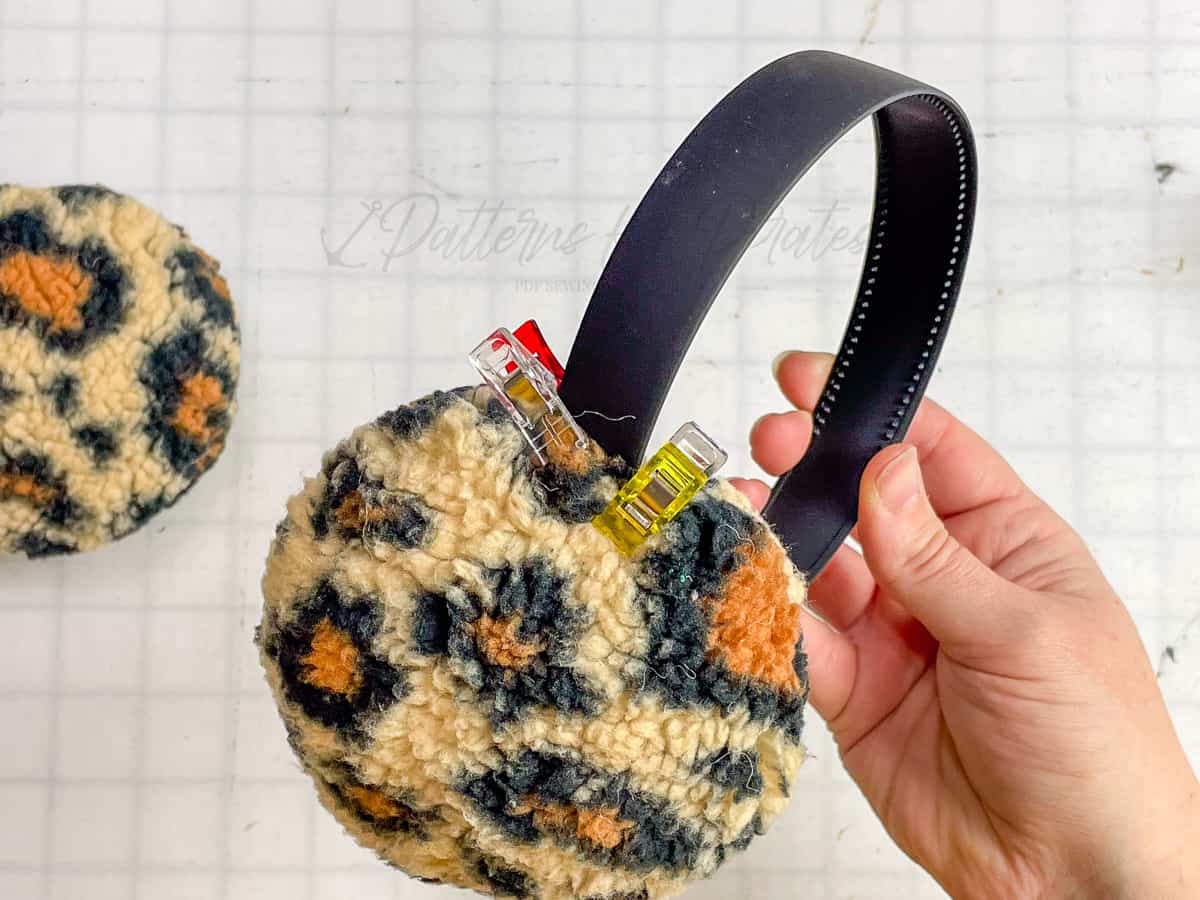
Repeat with other earmuff.
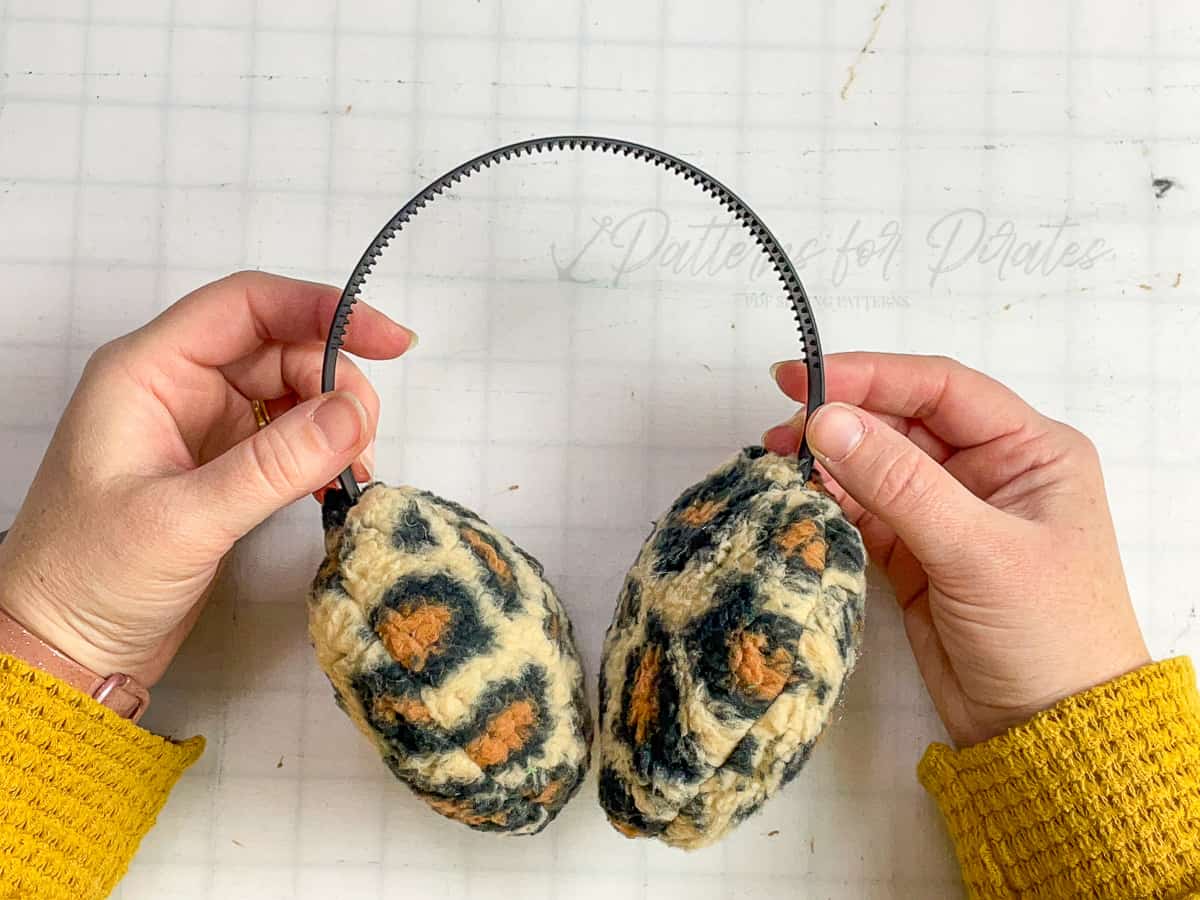
**I highly recommend trying them on and seeing if any adjustments need to be made to the placement of the earmuffs.
Carefully glue headband to inside of earmuff, on both sides of the band.
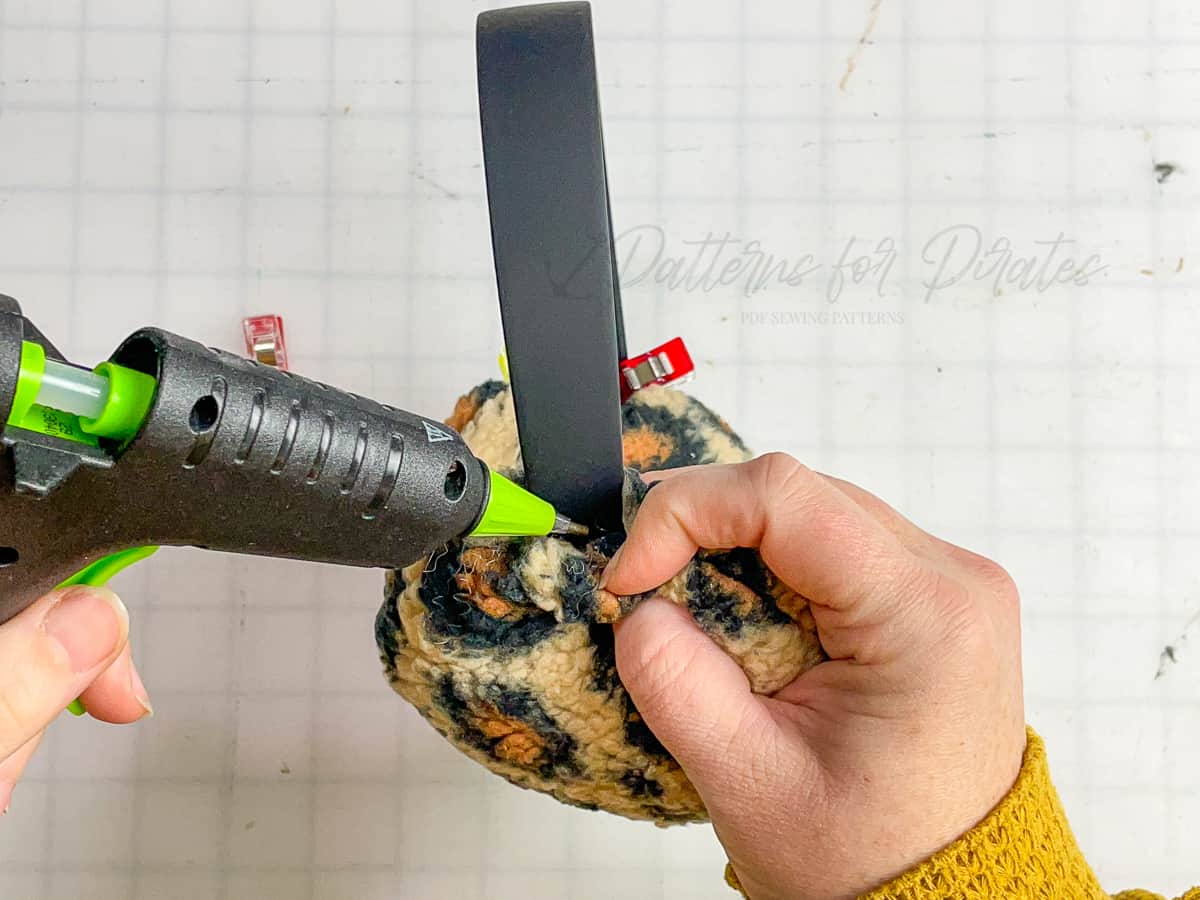
Pinch in place, waiting for glue to dry.
Repeat with second earmuff.
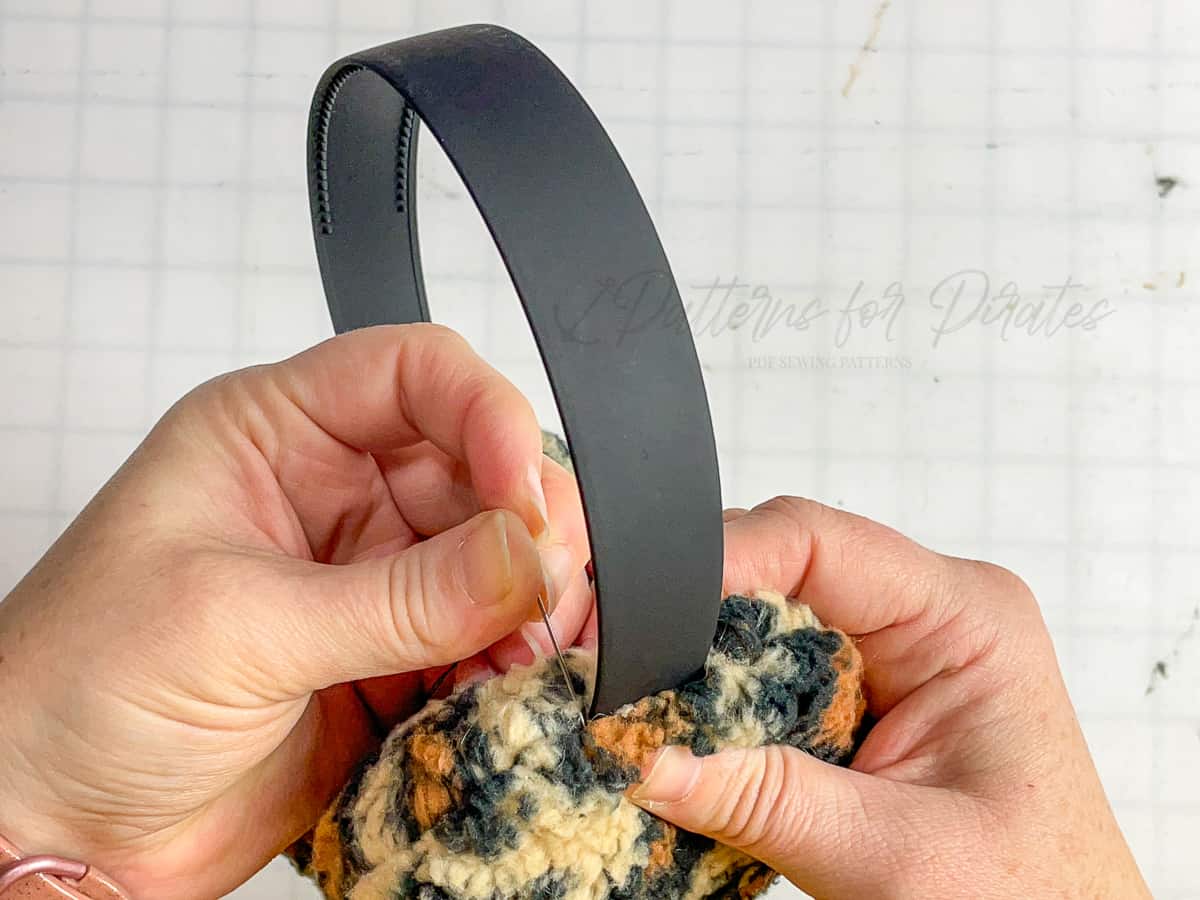
Using a needle + thread, hand stitch remainder of opening.
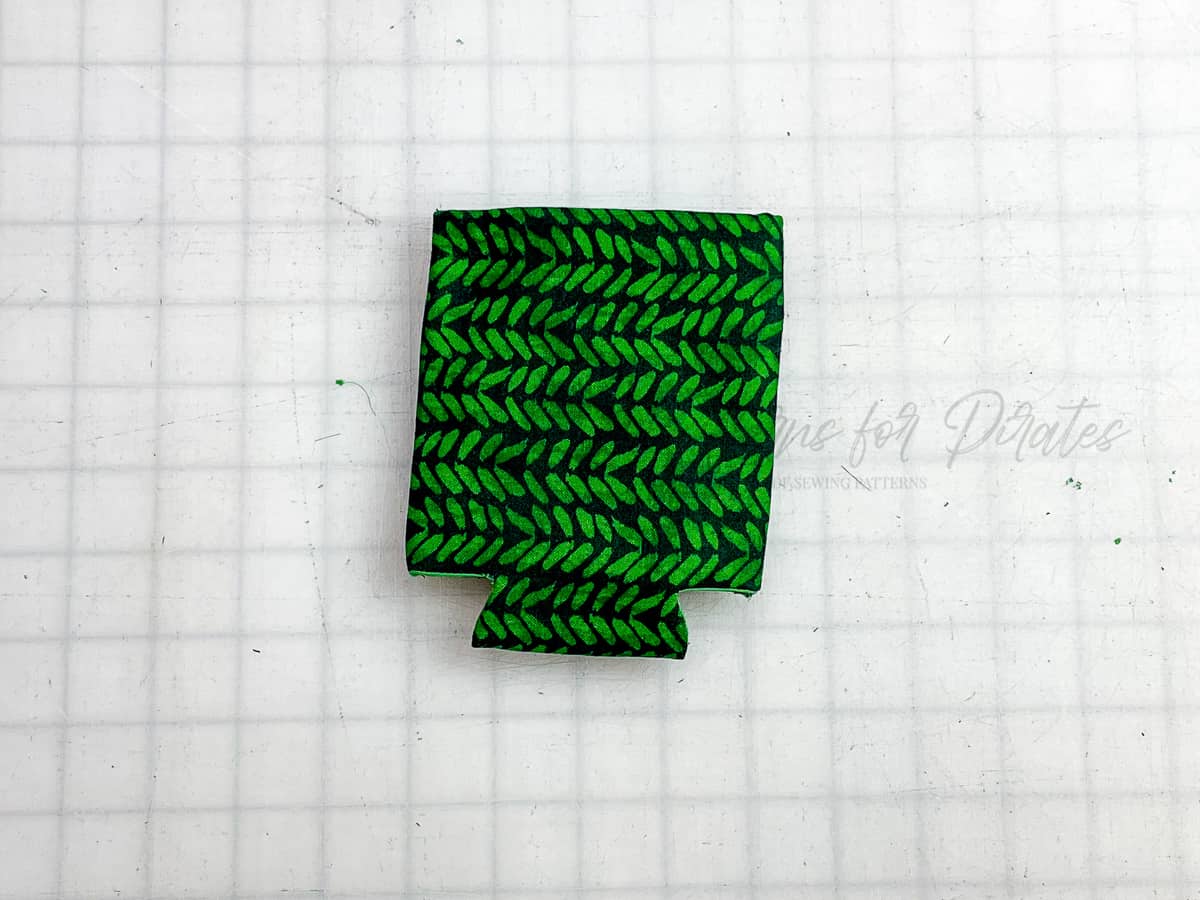
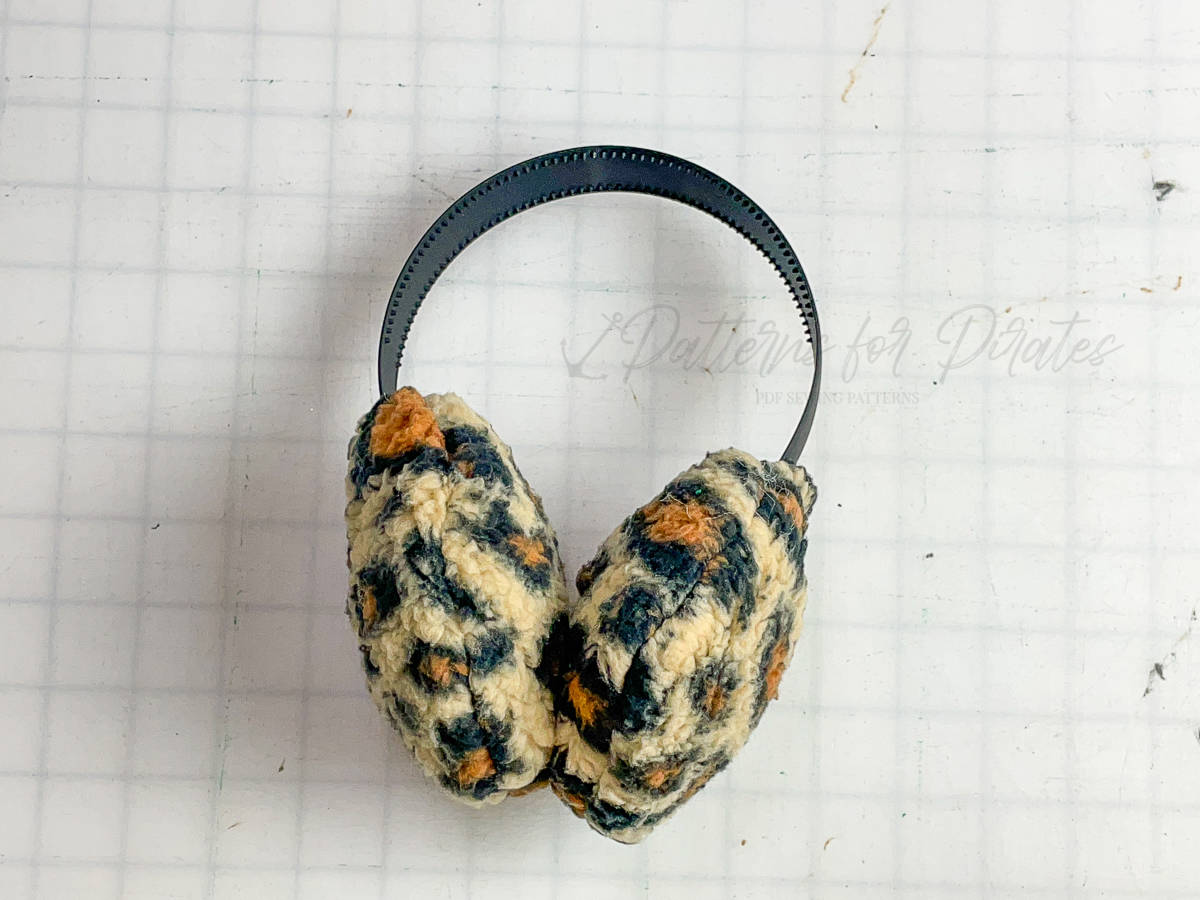
You’re finished! How cute are these?
In case you consider yourself a more “visual learner” here’s a video tutorial that walks you through the entire tutorial, start-to-finish.
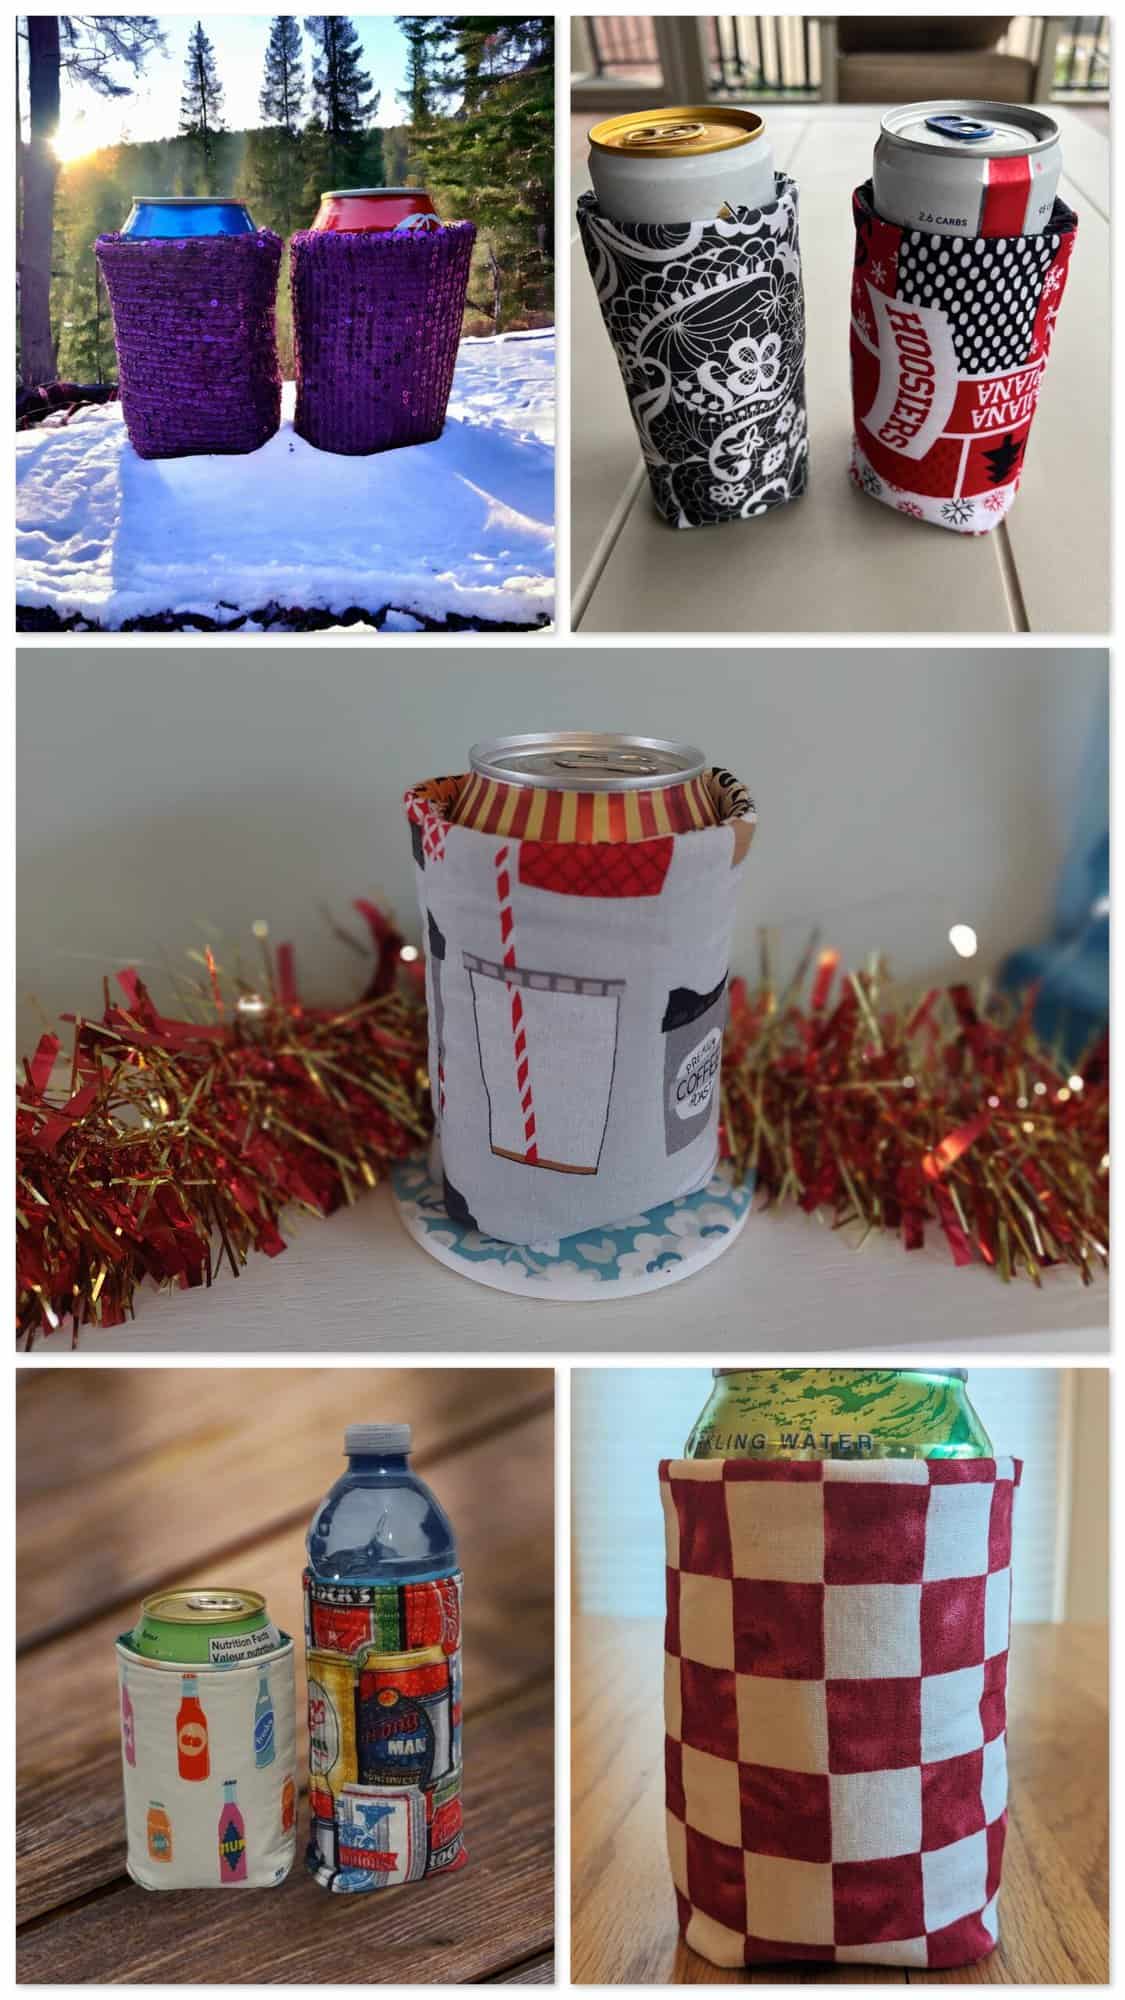
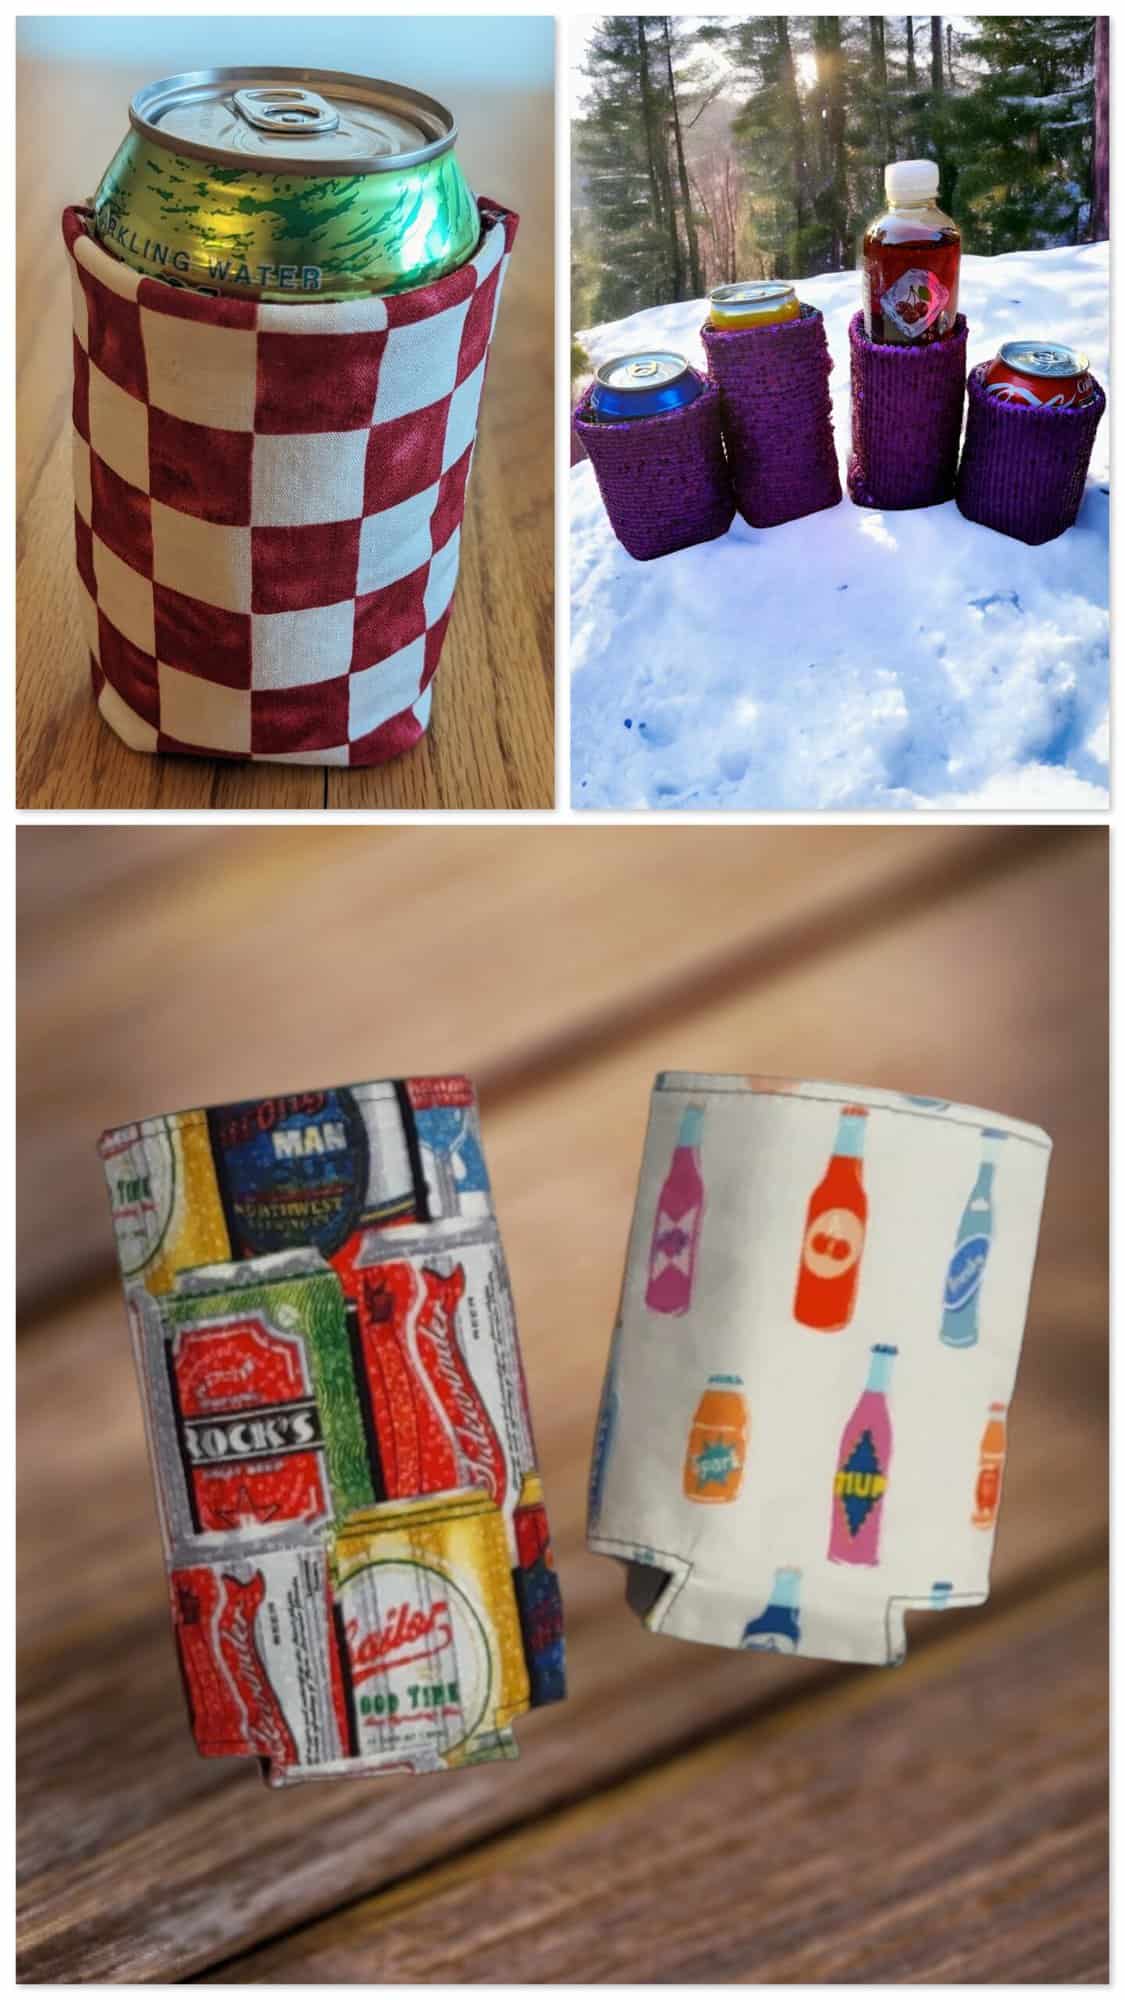
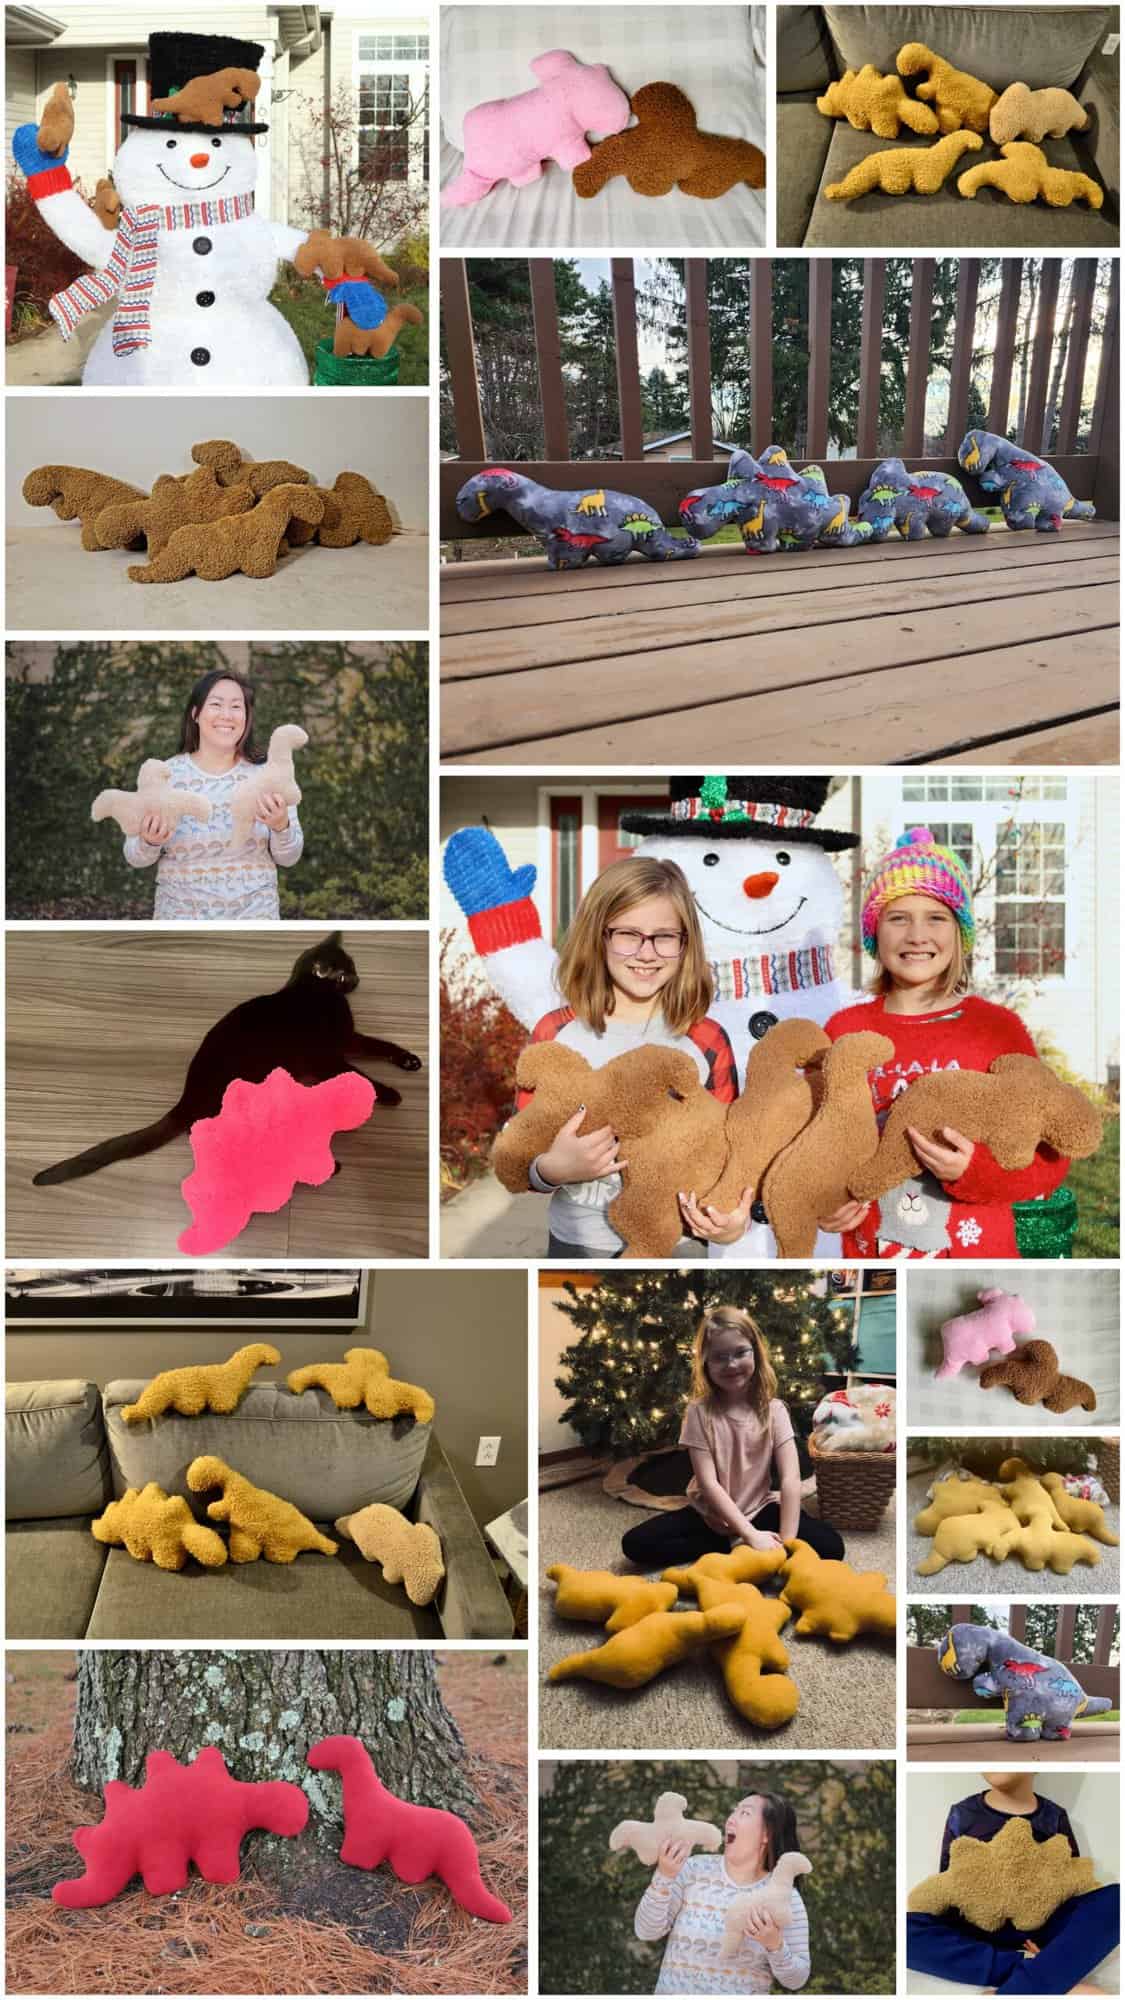
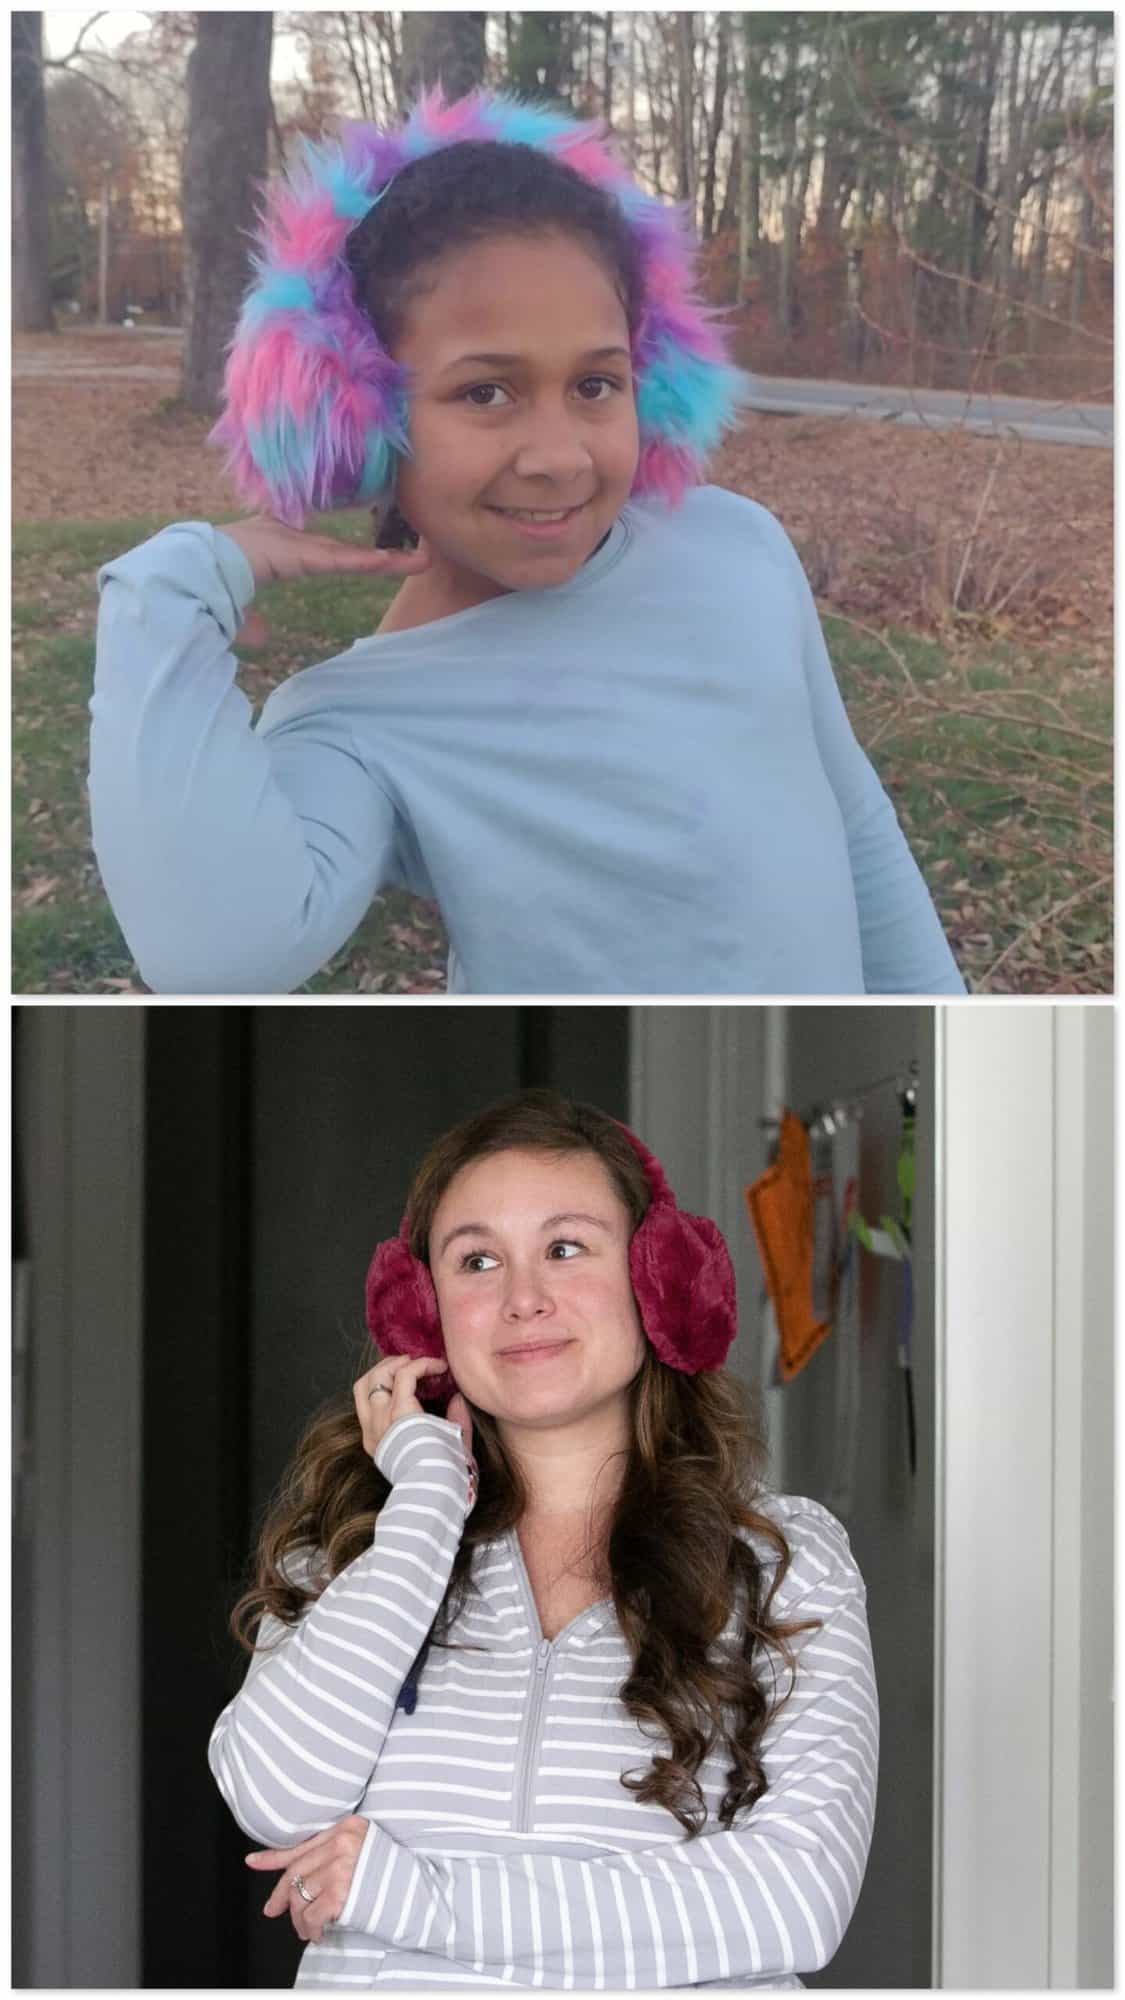
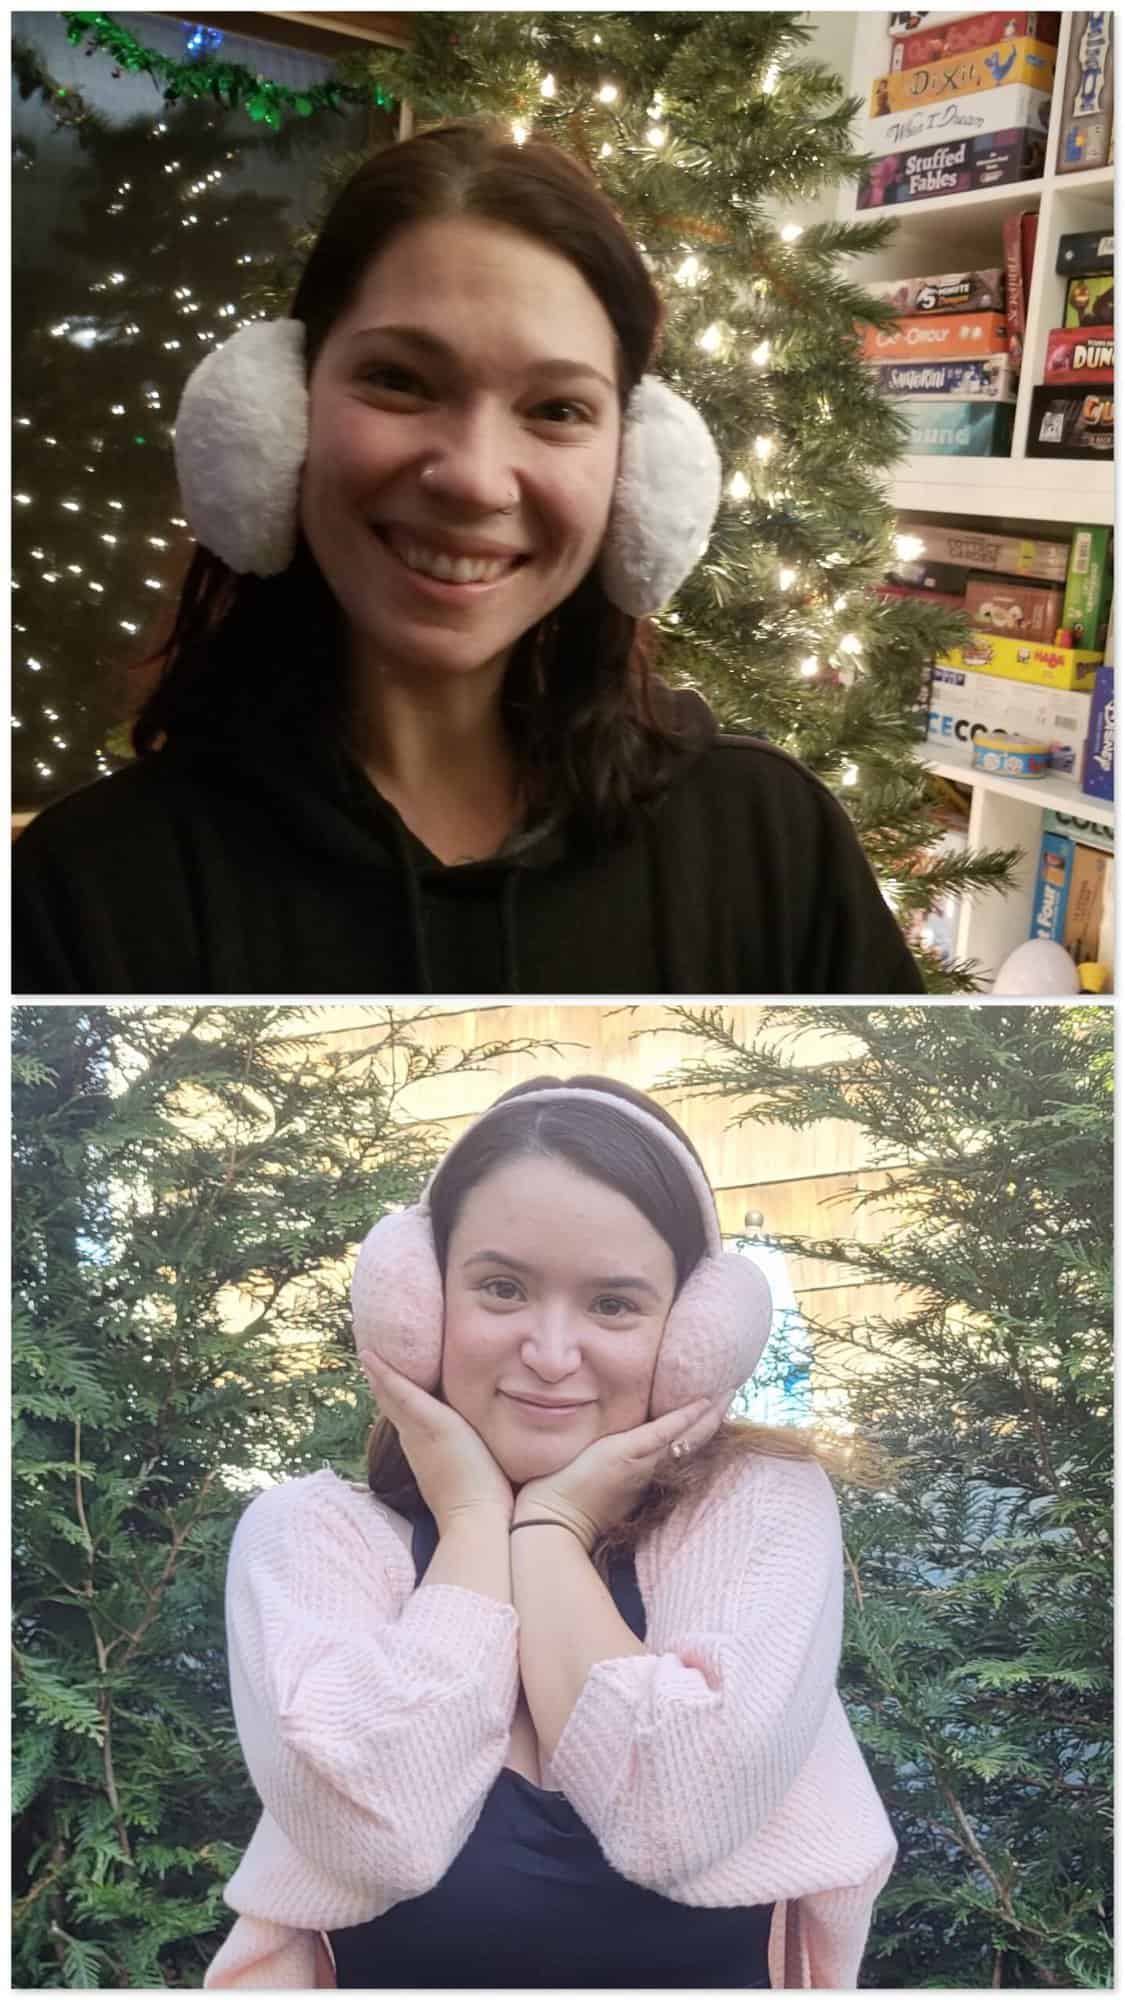
Before you go, sneak a peek at the cute Mistletoe Earmuffs that our testers created for themselves!

I la-la-love when you share your photos with me! Head over to the Patterns for Pirates Facebook Group and show us what you’ve made!
Happy Holidays, Pirates!