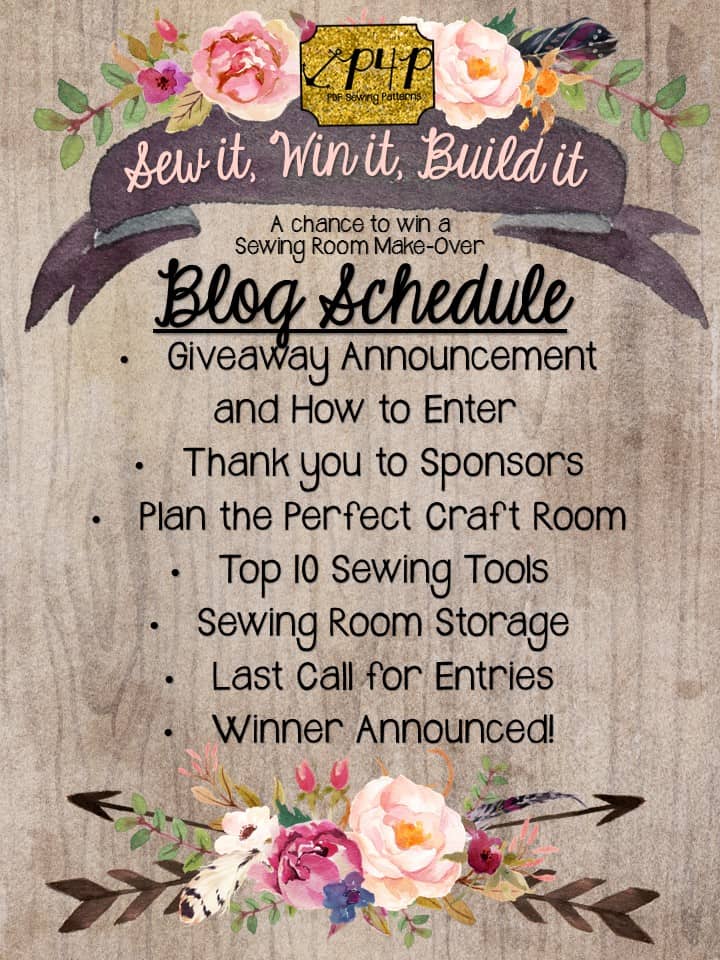
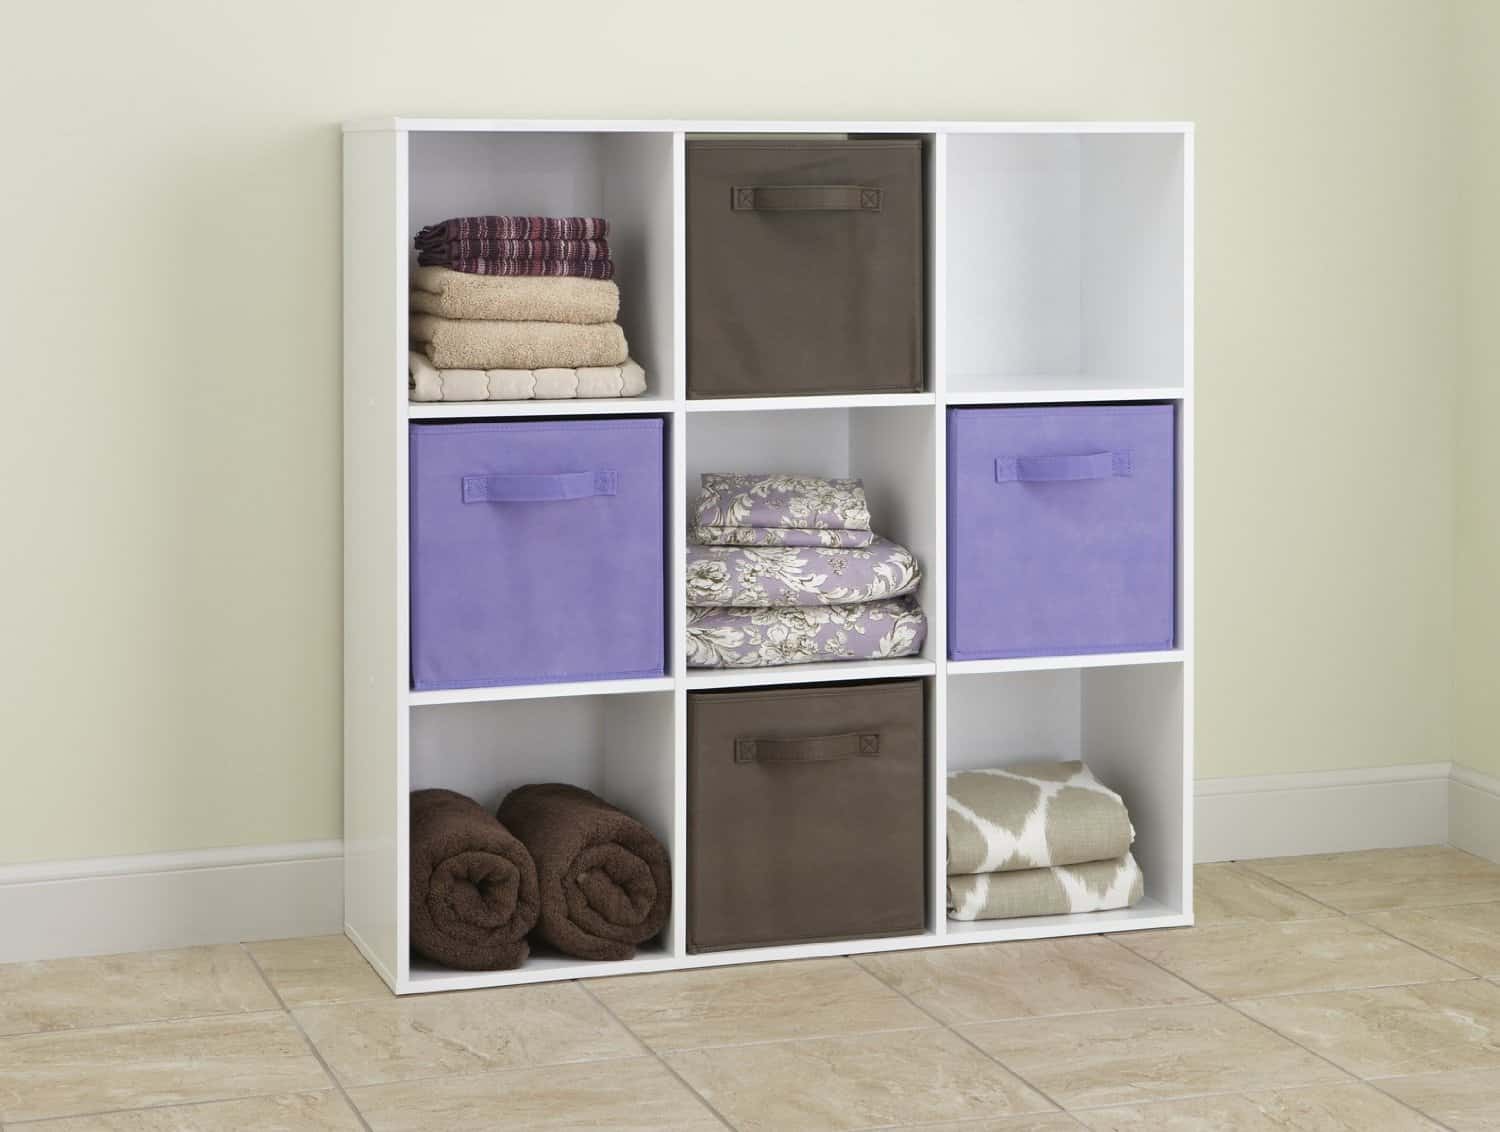
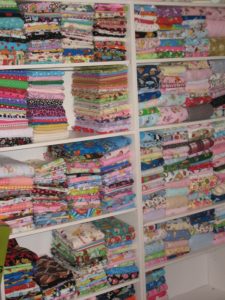
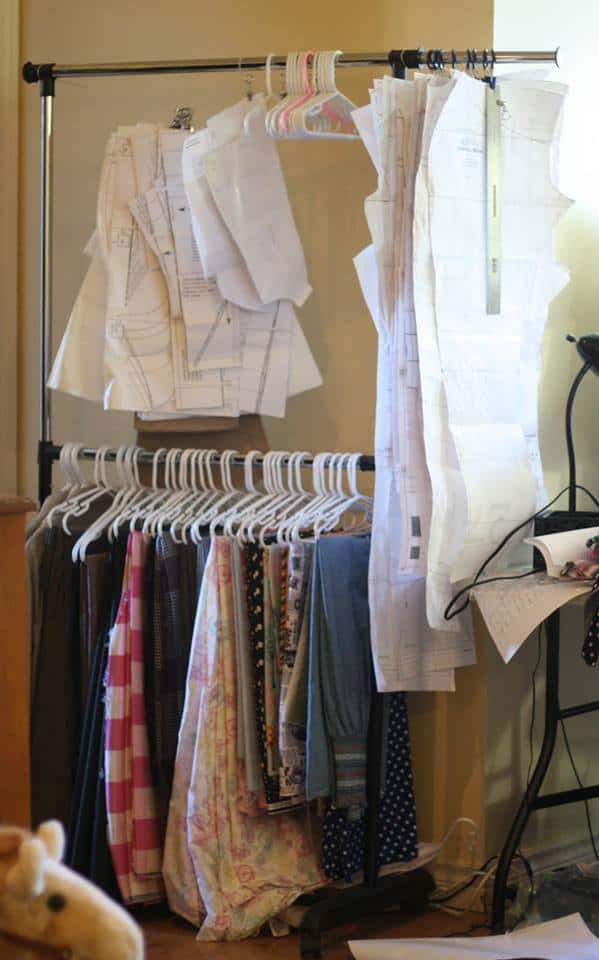
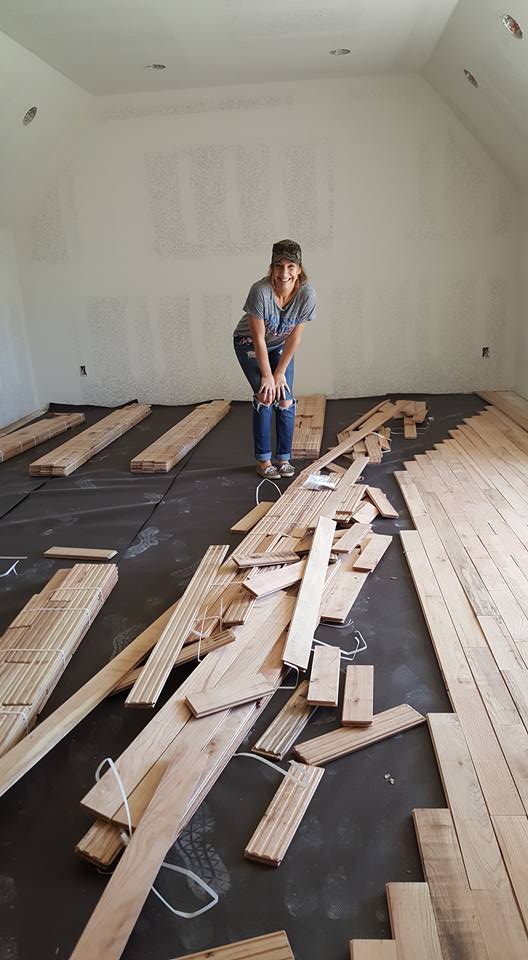
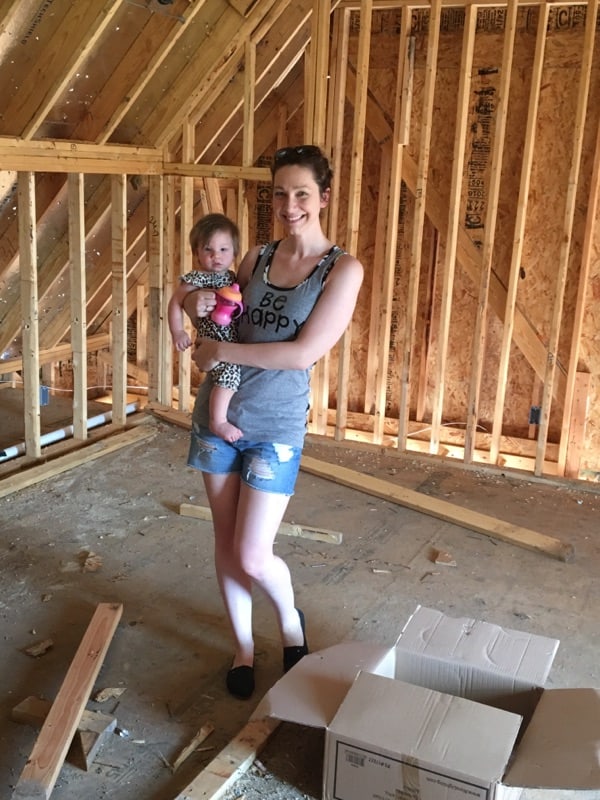
We’ve been talking this week about building a better sewing space. We’ve talked about how to plan one, what our favorite tools are to have it one, how to store our fabric and patterns and now we’ll get into storing all the other sewing supplies that most of us have or want in our craft rooms.
We’ll start out with general organizing and move into specific areas.
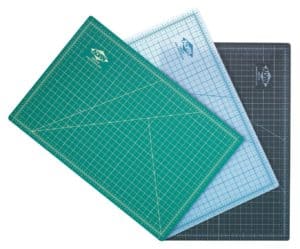
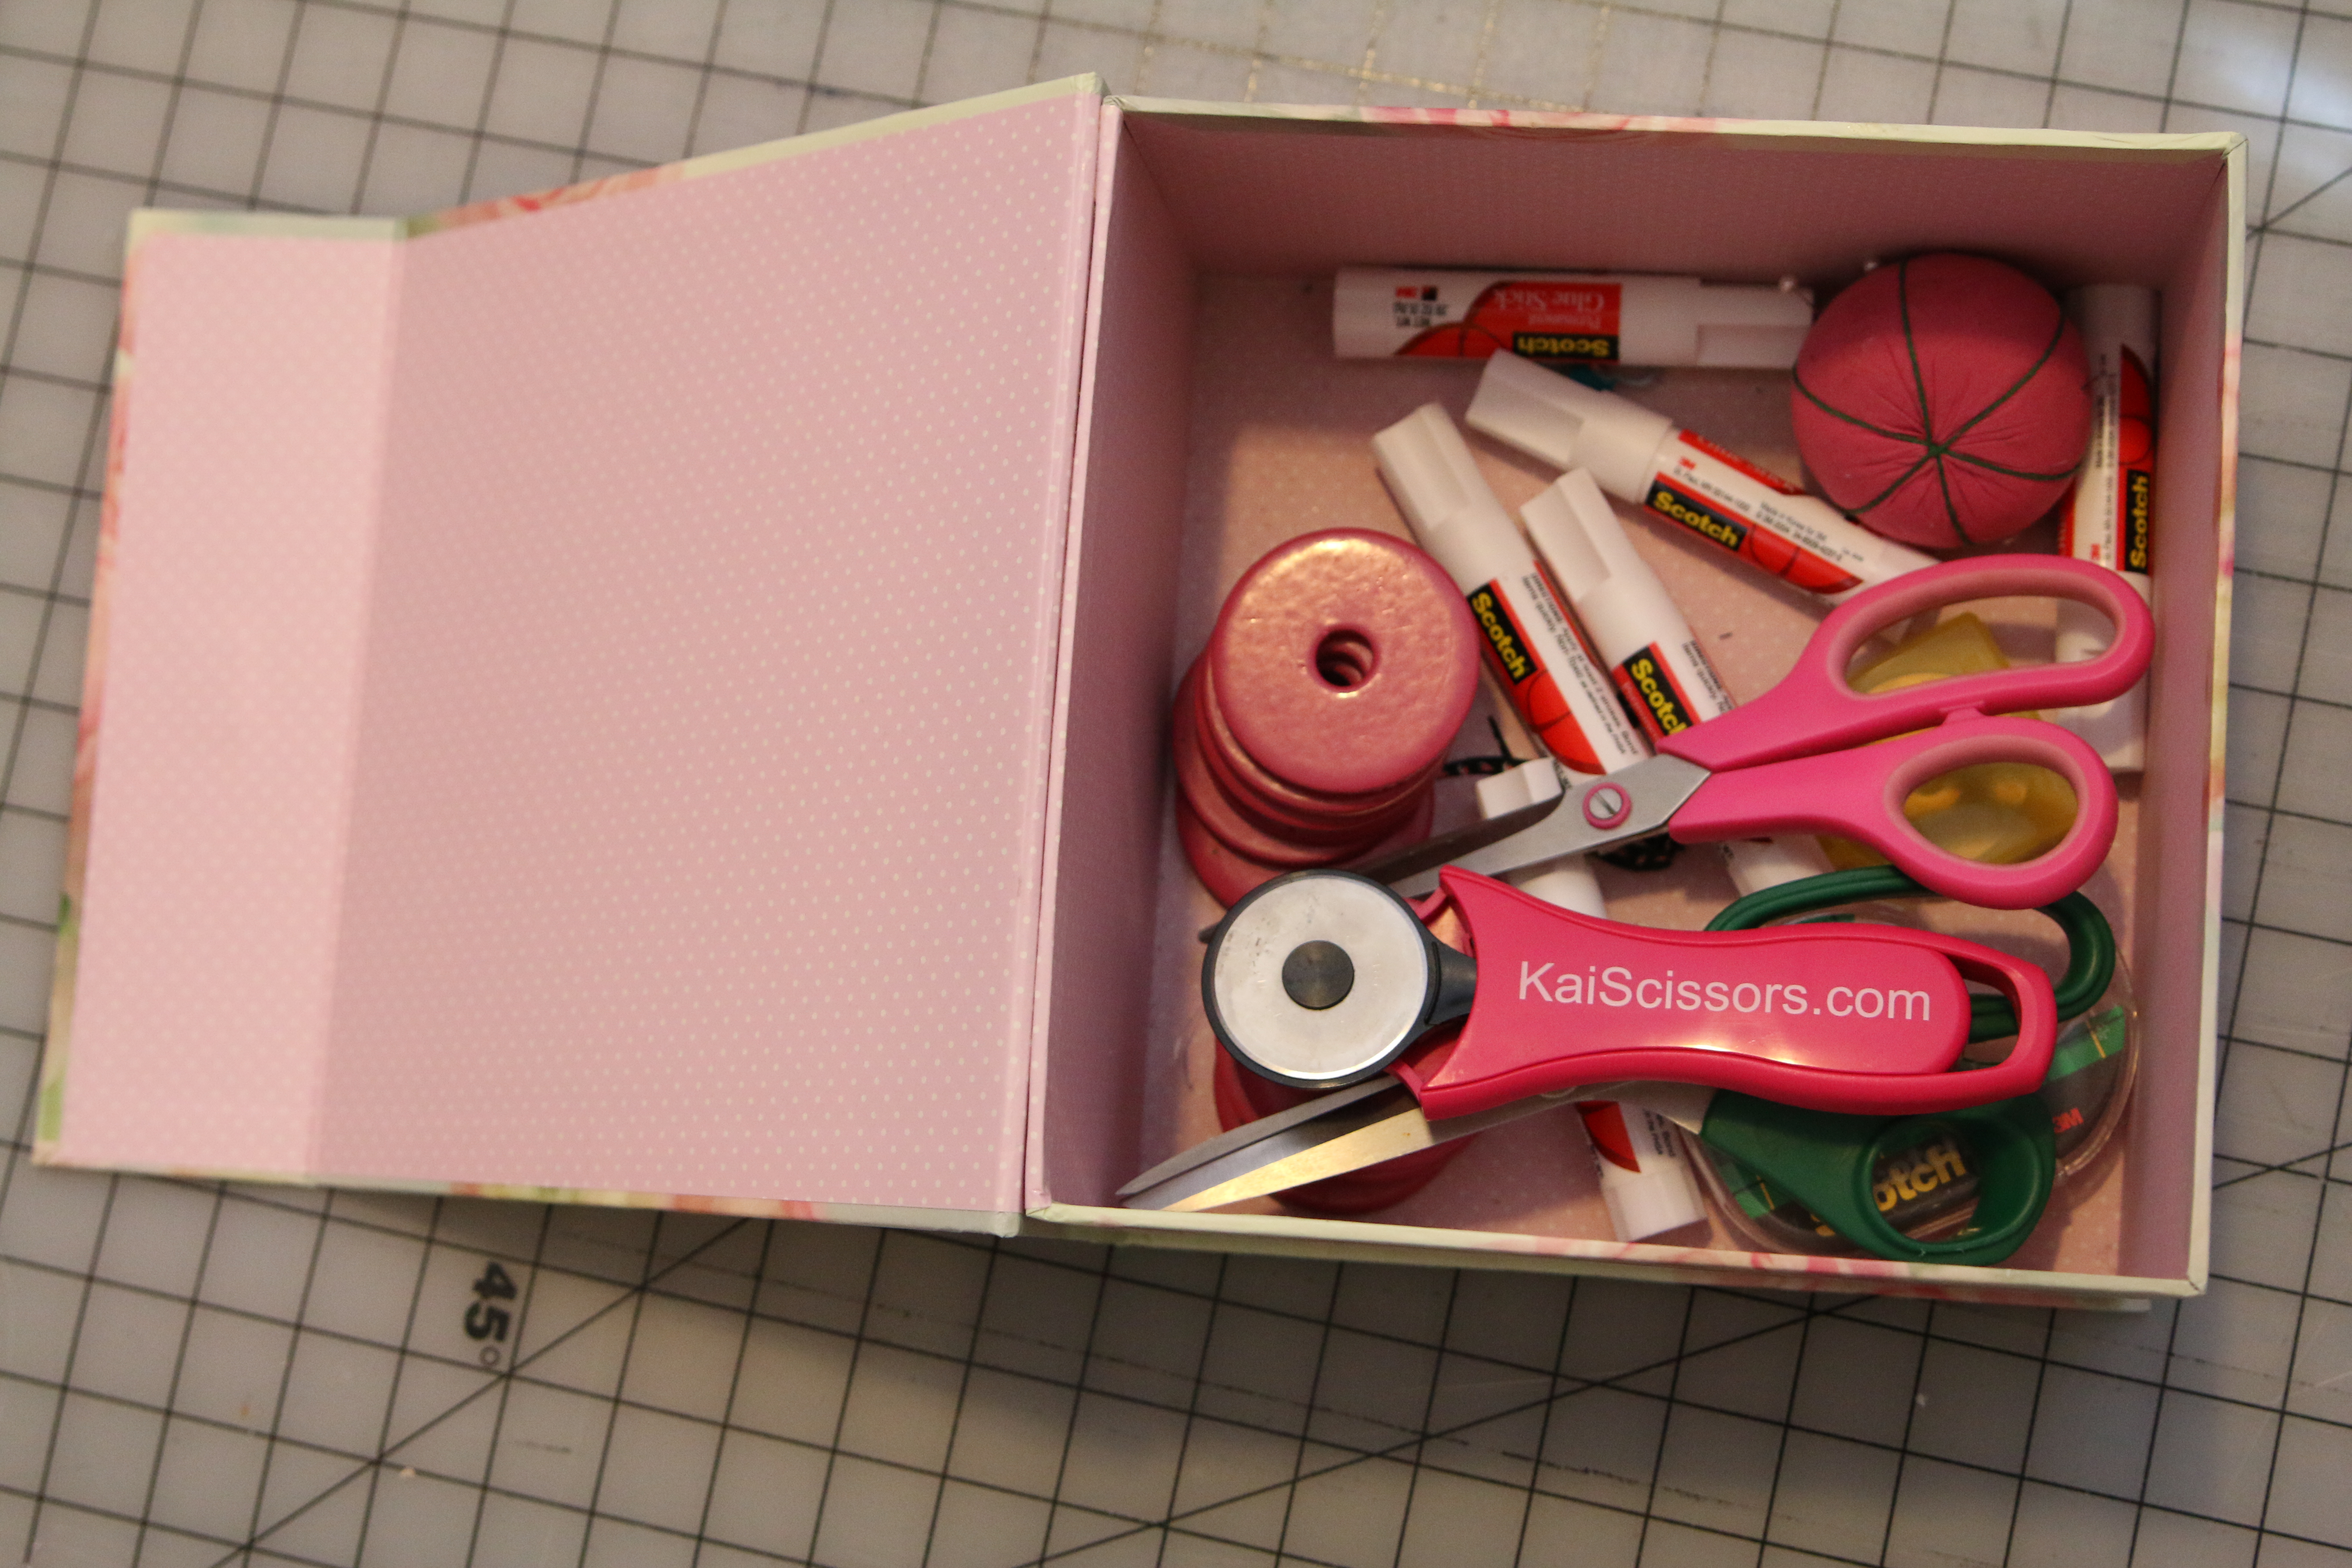
I love to have little “station boxes” in my craft room. I have a storage box at my cutting table with my pattern prepping and fabric cutting tools. I used to have a mismatch collections until I got this matching little set from Hancocks while they were all going through their “going out of business sale”.
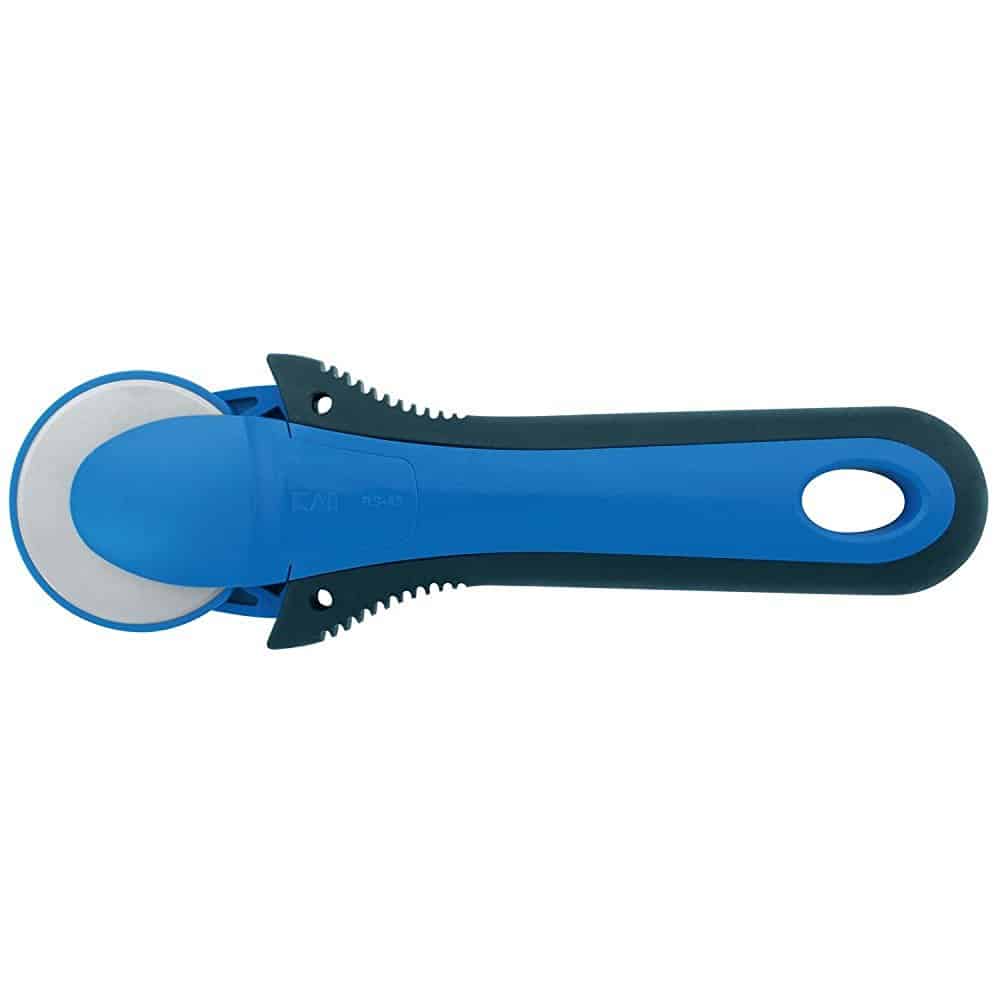
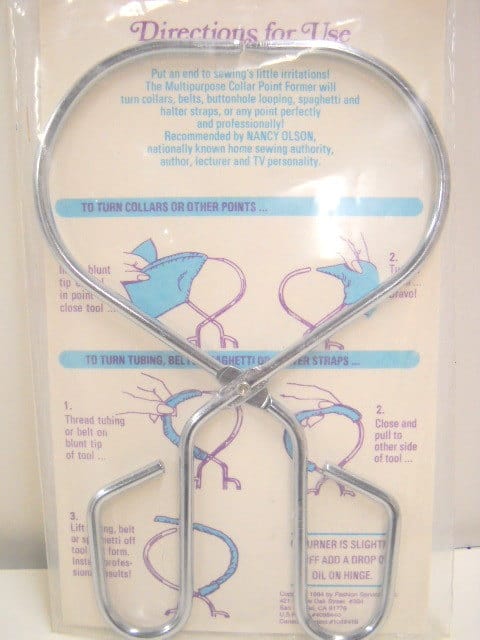
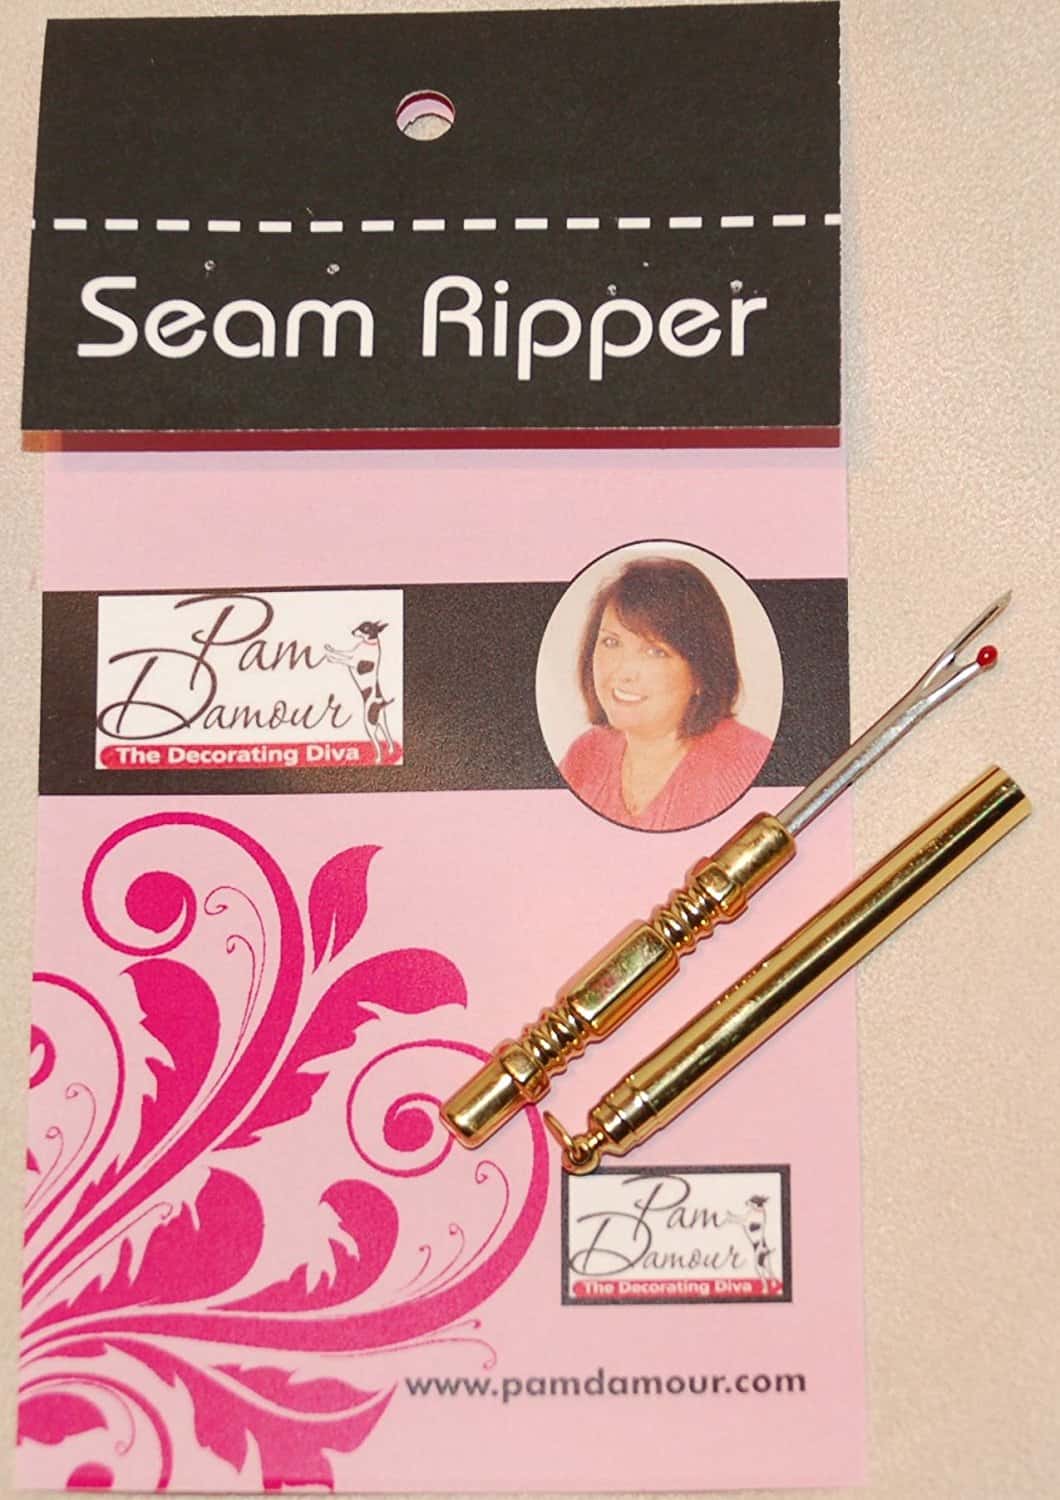
Another storage box next to my machines with those tools I need while I’m sewing like my tube turner, seam ripper, snippers, ect.
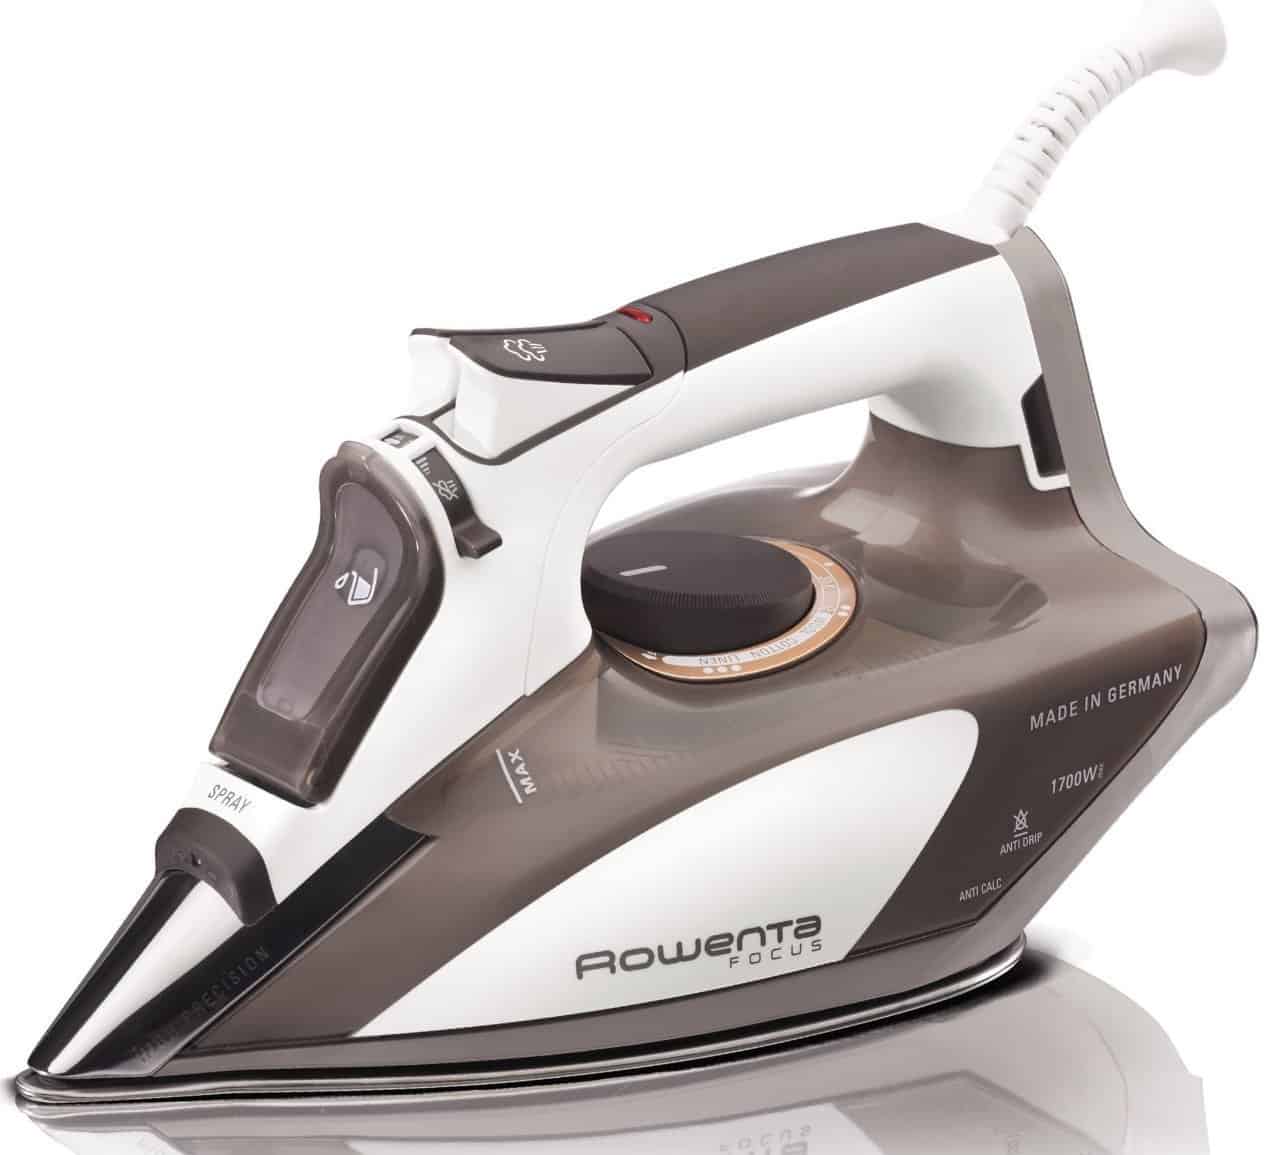
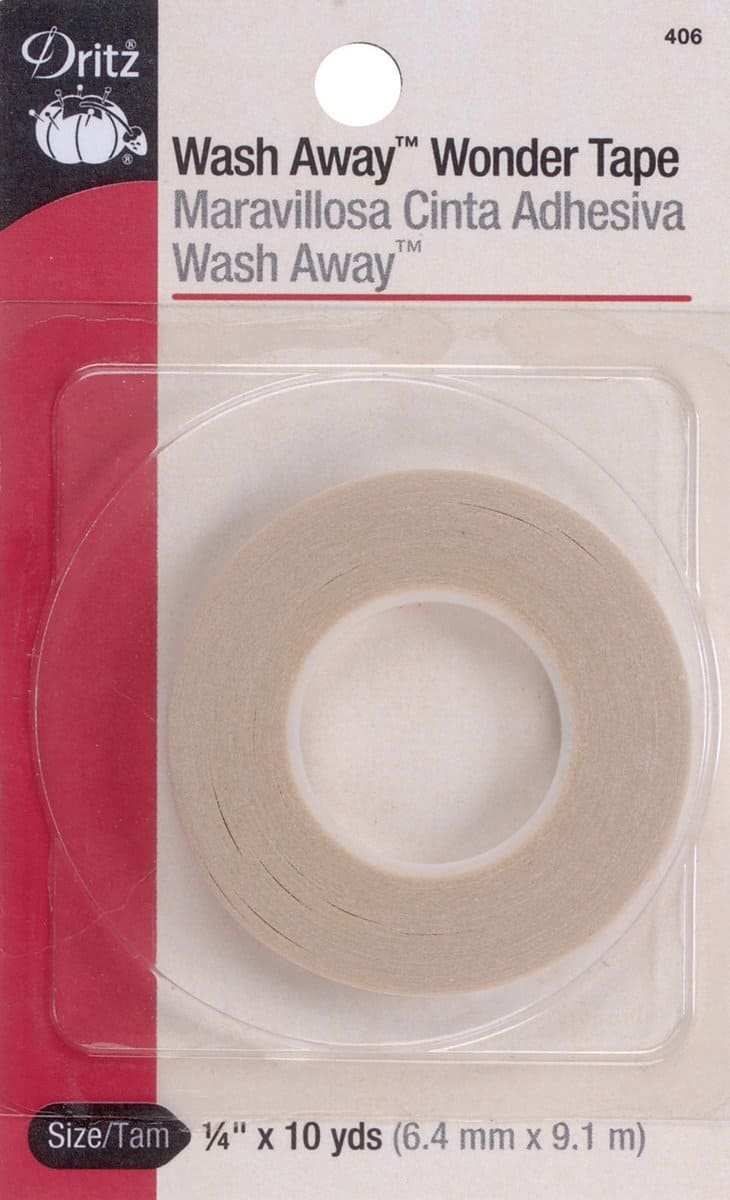
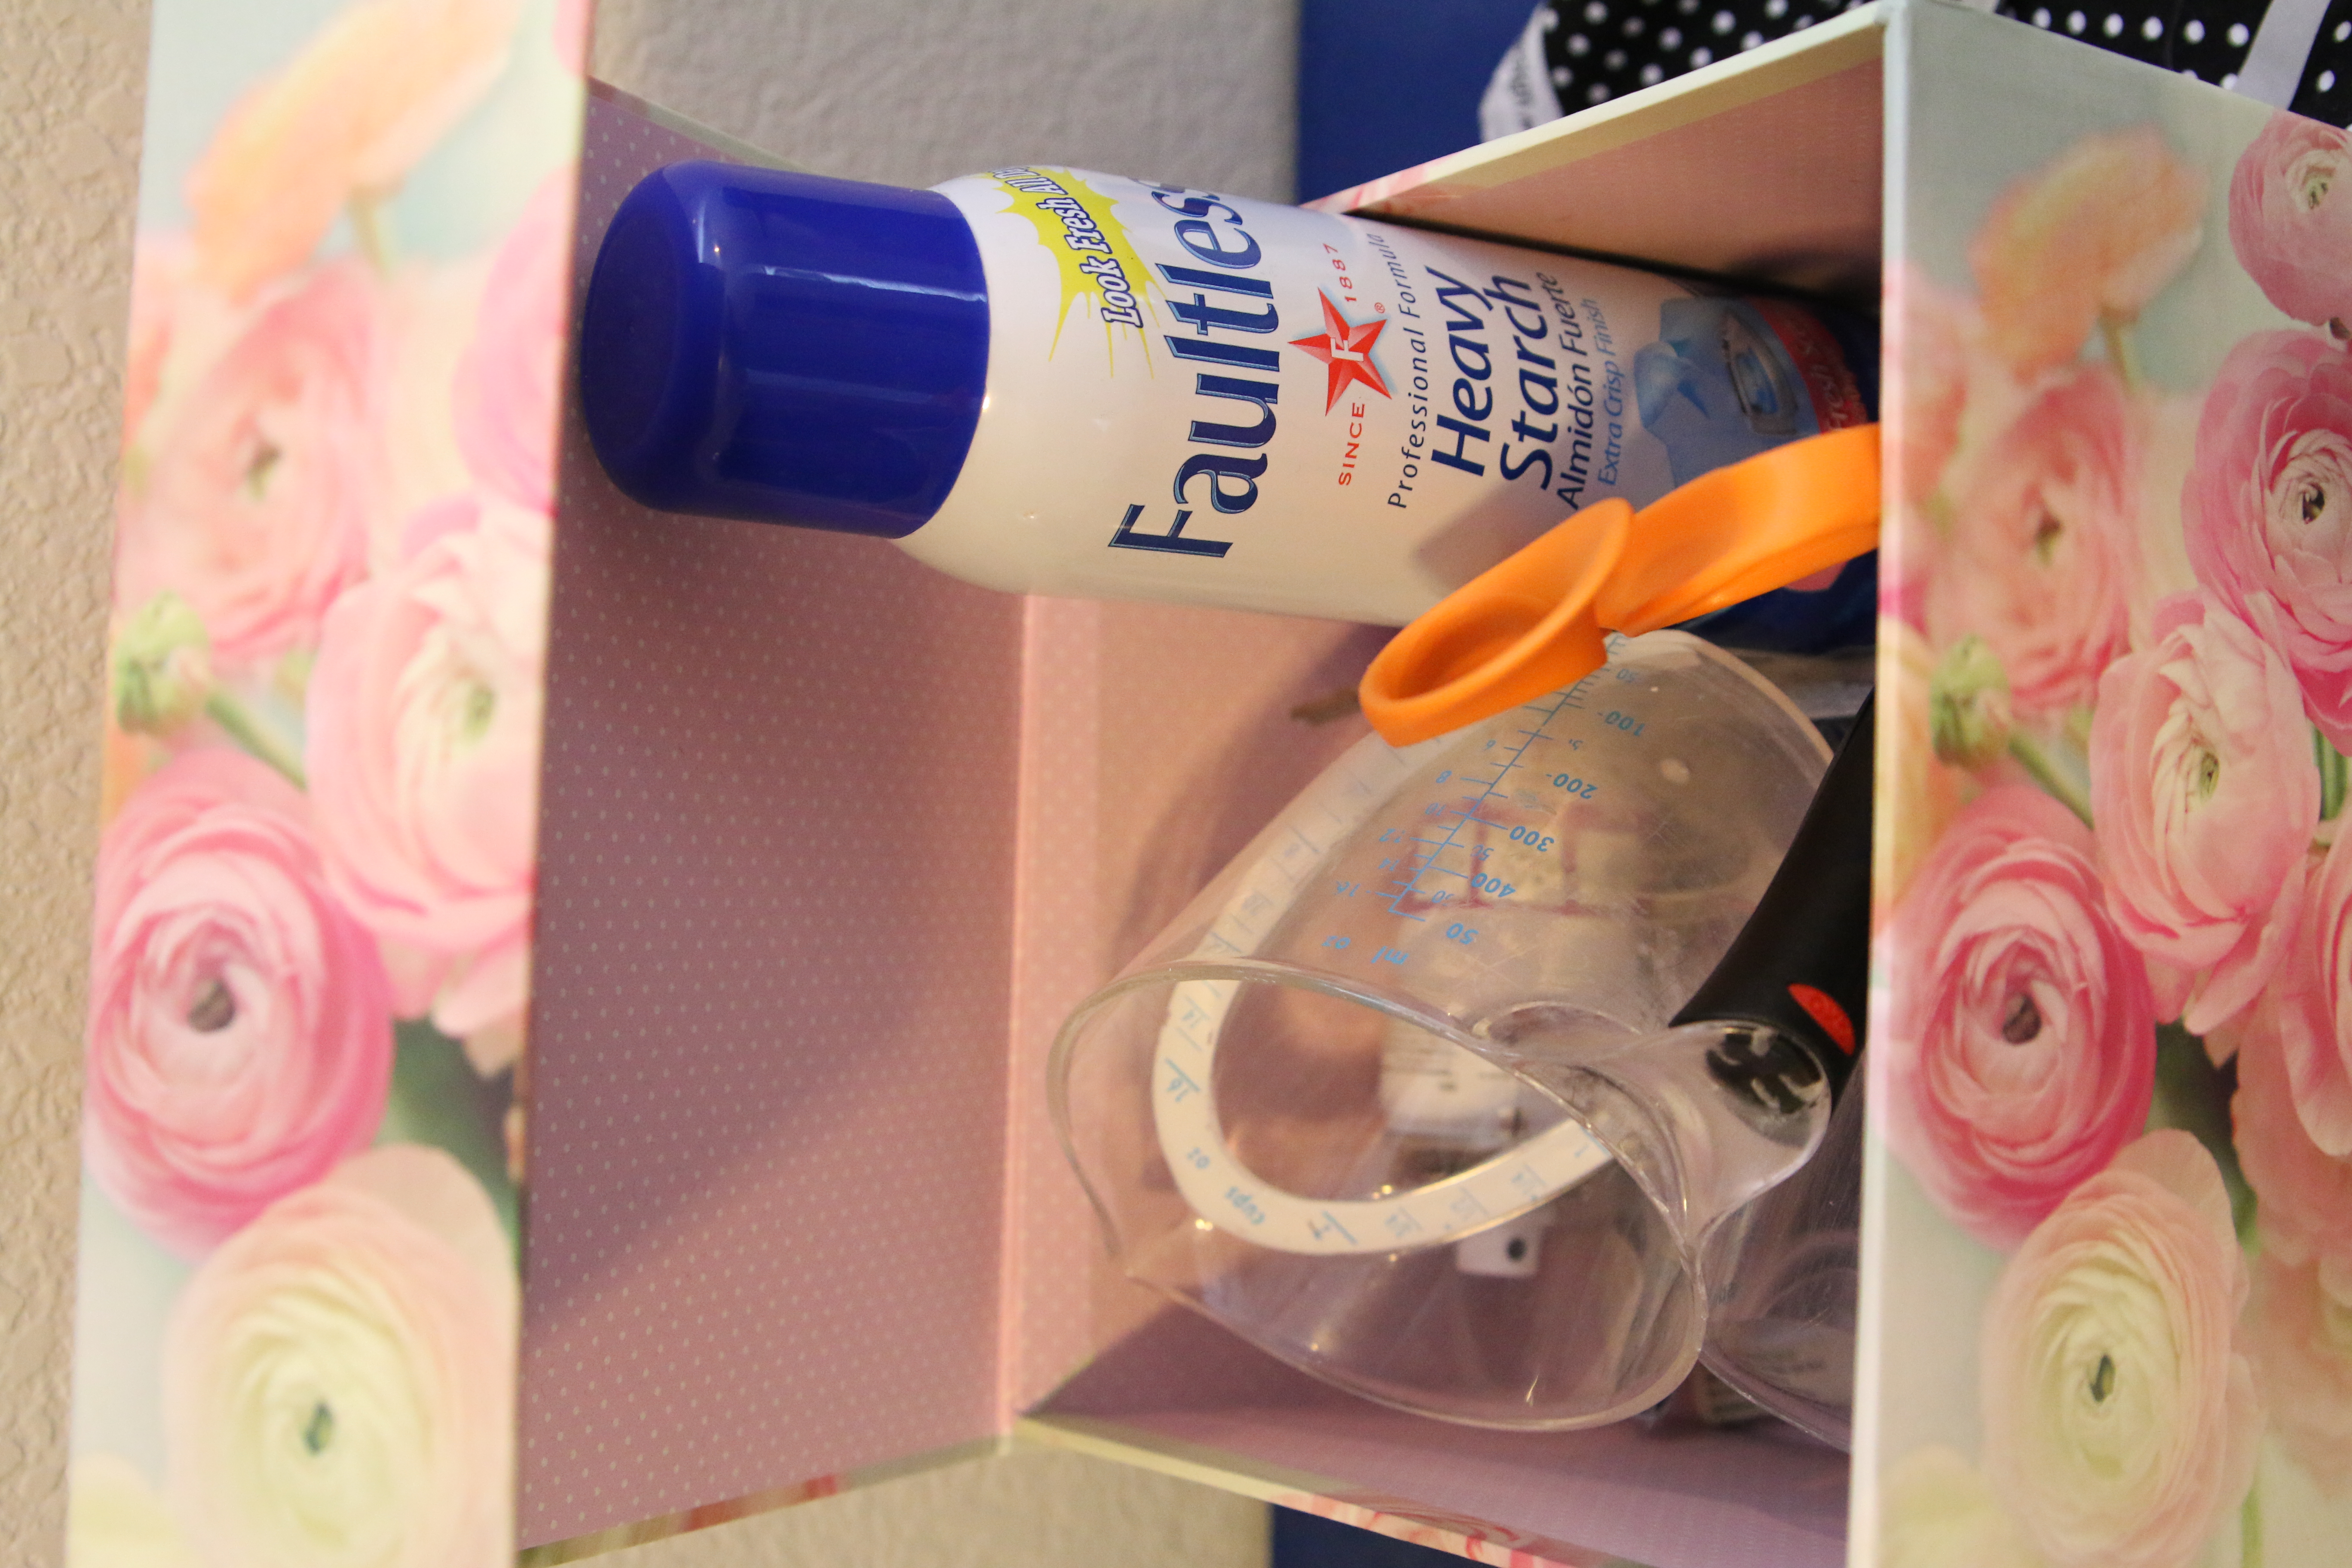
And again on my ironing board with my tools I use there like starch, hem tape, scissors, ect.
I love them because they’re convenient and I can close it up quickly when I’m done (or frantically tidying up because someone is coming 😉 )
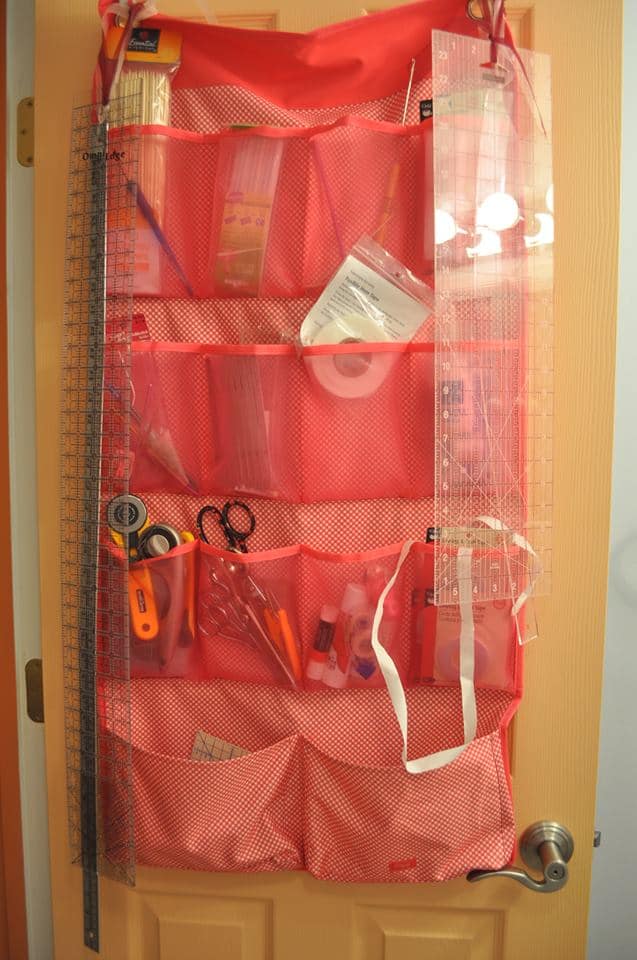
If you are in a small space something like Roberta uses on the back of a door is a great space saver and you can keep a lot of smaller tools and supplies within an easy reach.
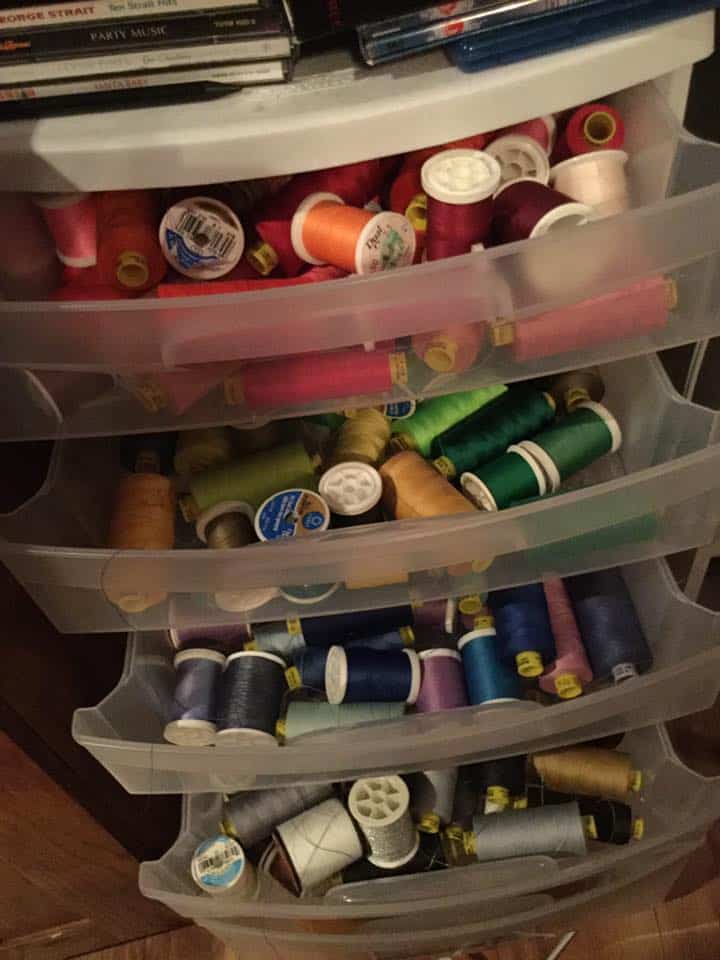
Thread storage!
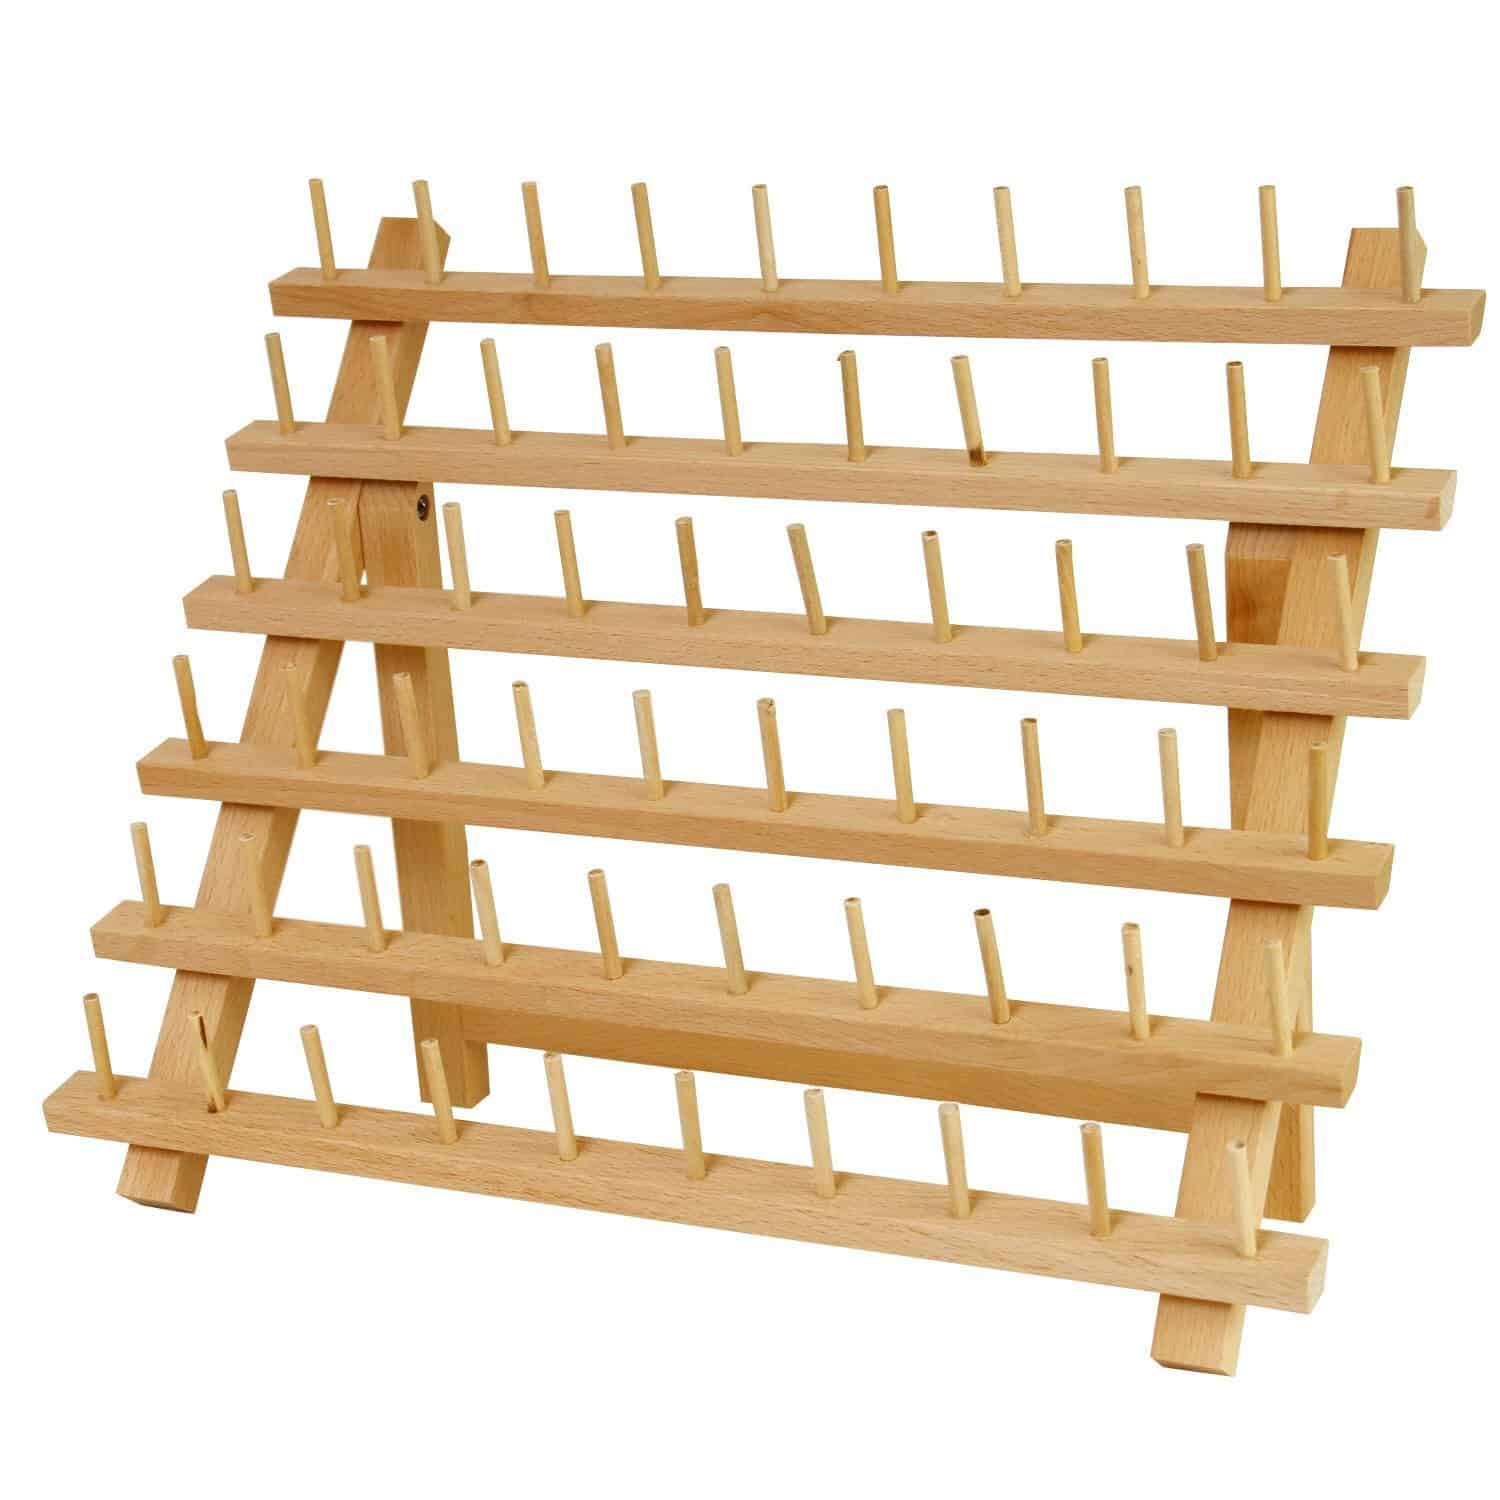
I keep mine on a boring thread peg organizer. It works pretty well, it’s a little unstable since I just have it sitting on my desk rather that hanging. I also quickly filled it up! I plan on using a peg system, but much larger and on the wall on the new sewing space. I like that I don’t have to open anything, I can easily see all the colors I have instantly.
My sister and mom both keep their thread in a drawer container sorted by rainbow colors. They both love their system as well, easy in and out, and easy to compare the different shade when color matching.
I currently keep my serger thread in my desk drawers. It is convenient to grab at my machines and the shallow drawer works great.
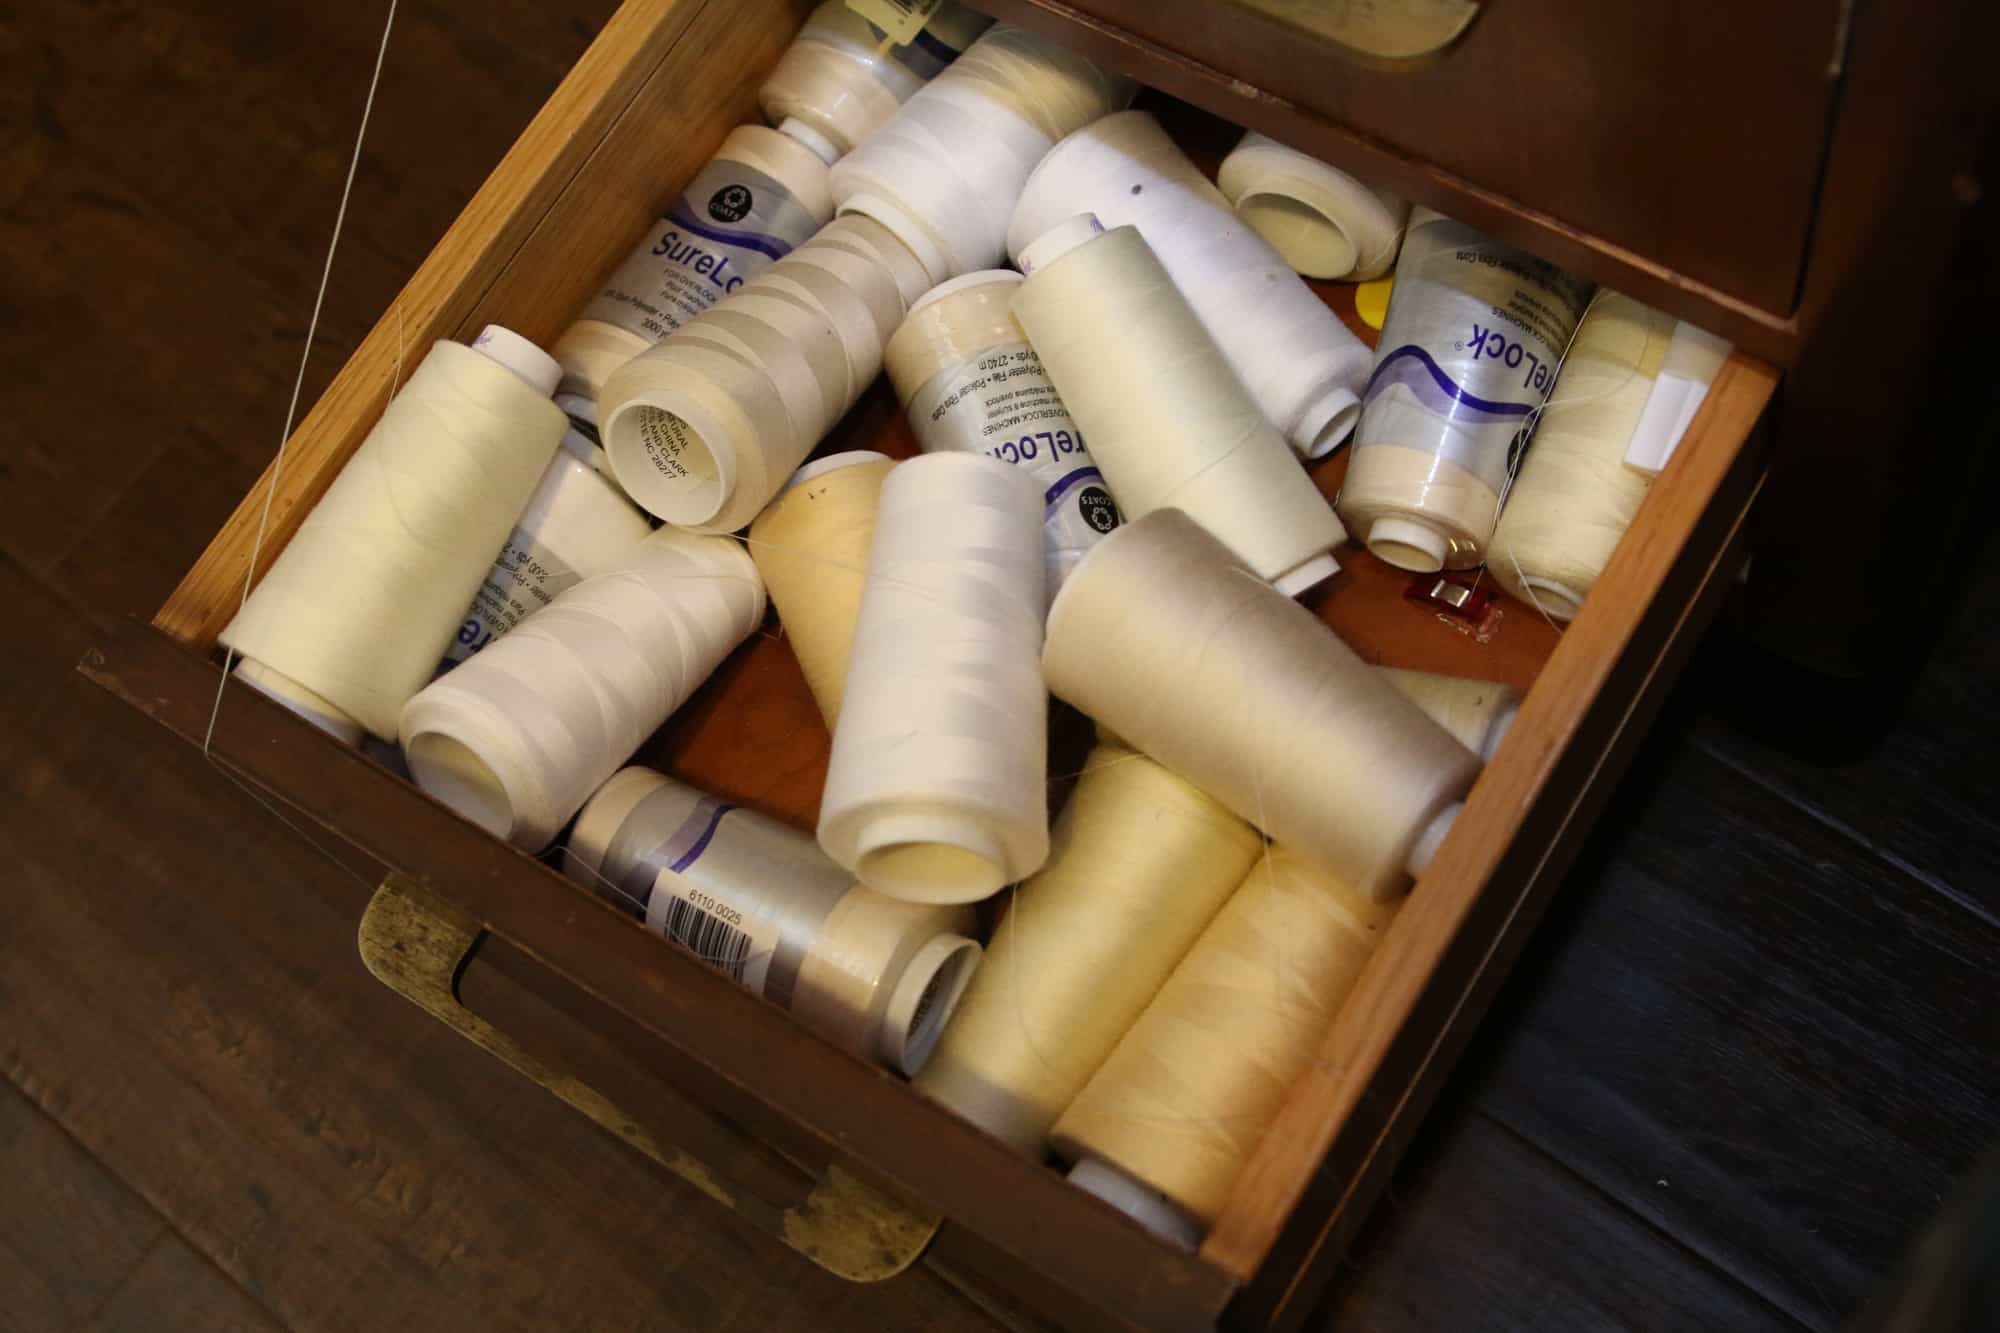
My deeper drawer is more difficult to use this method and I end up digging a lot to find the set of colors I’m looking for (I keep the stretch thread inside the bucket within the deep drawer). So I will be planning on some kind of bigger peg board in the new sewing space!

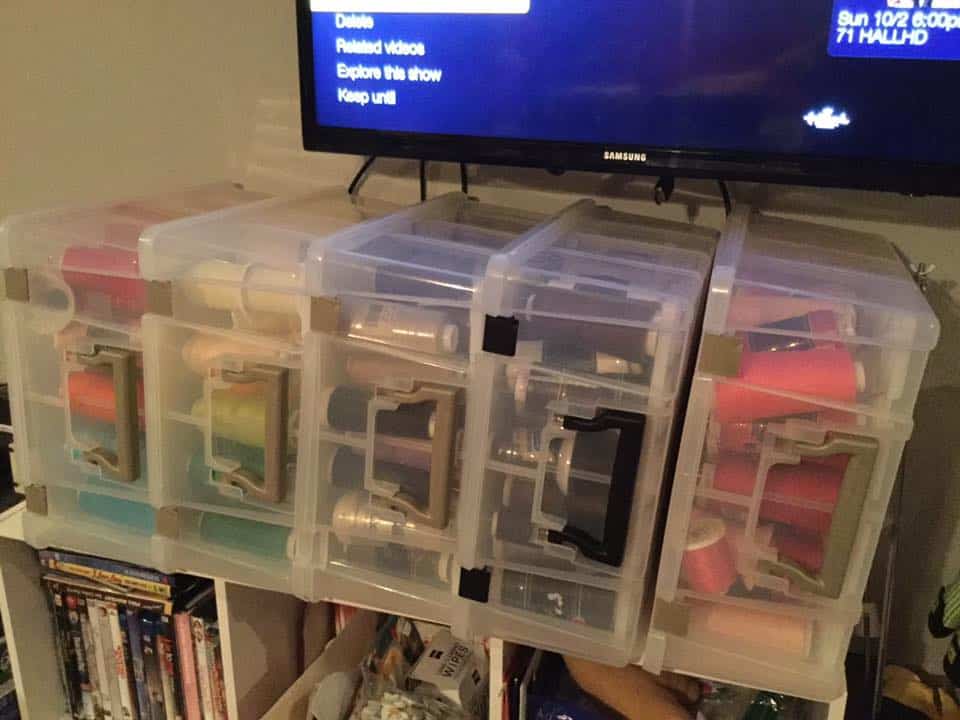
Here is how my sister Nicole stores her serger threads in bins that look like the perfect height! PS- One day I’ll have all those color of serger thread 😉 #goals
I keep my bobbins in a little container like this. I love that I can close it and keep it from getting caught on anything as I’m reaching or sewing and pulling out a thread and trailing it!

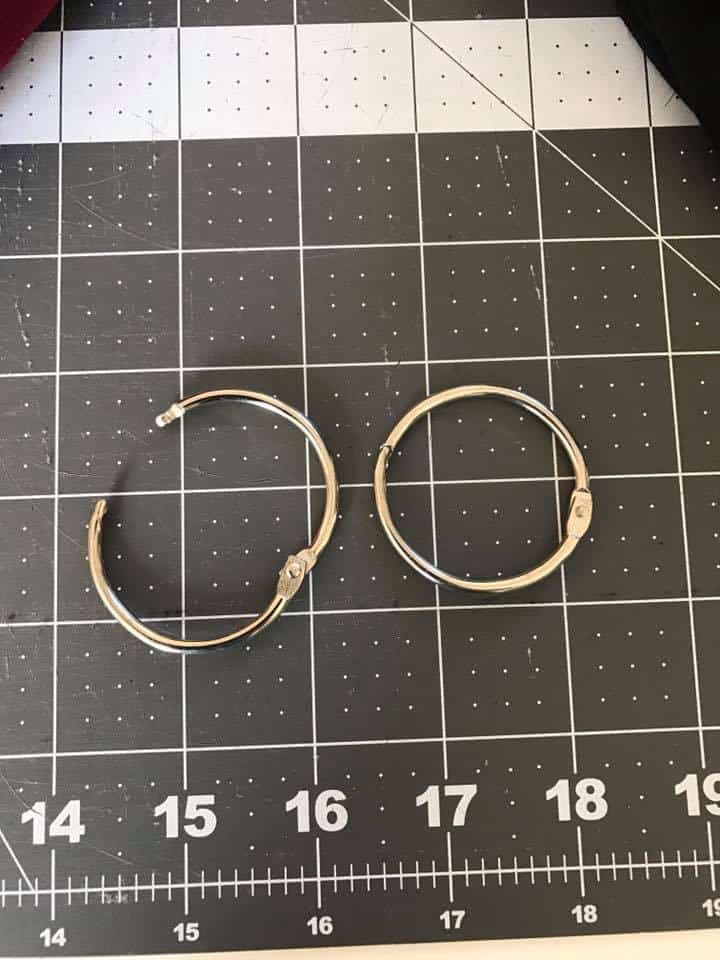
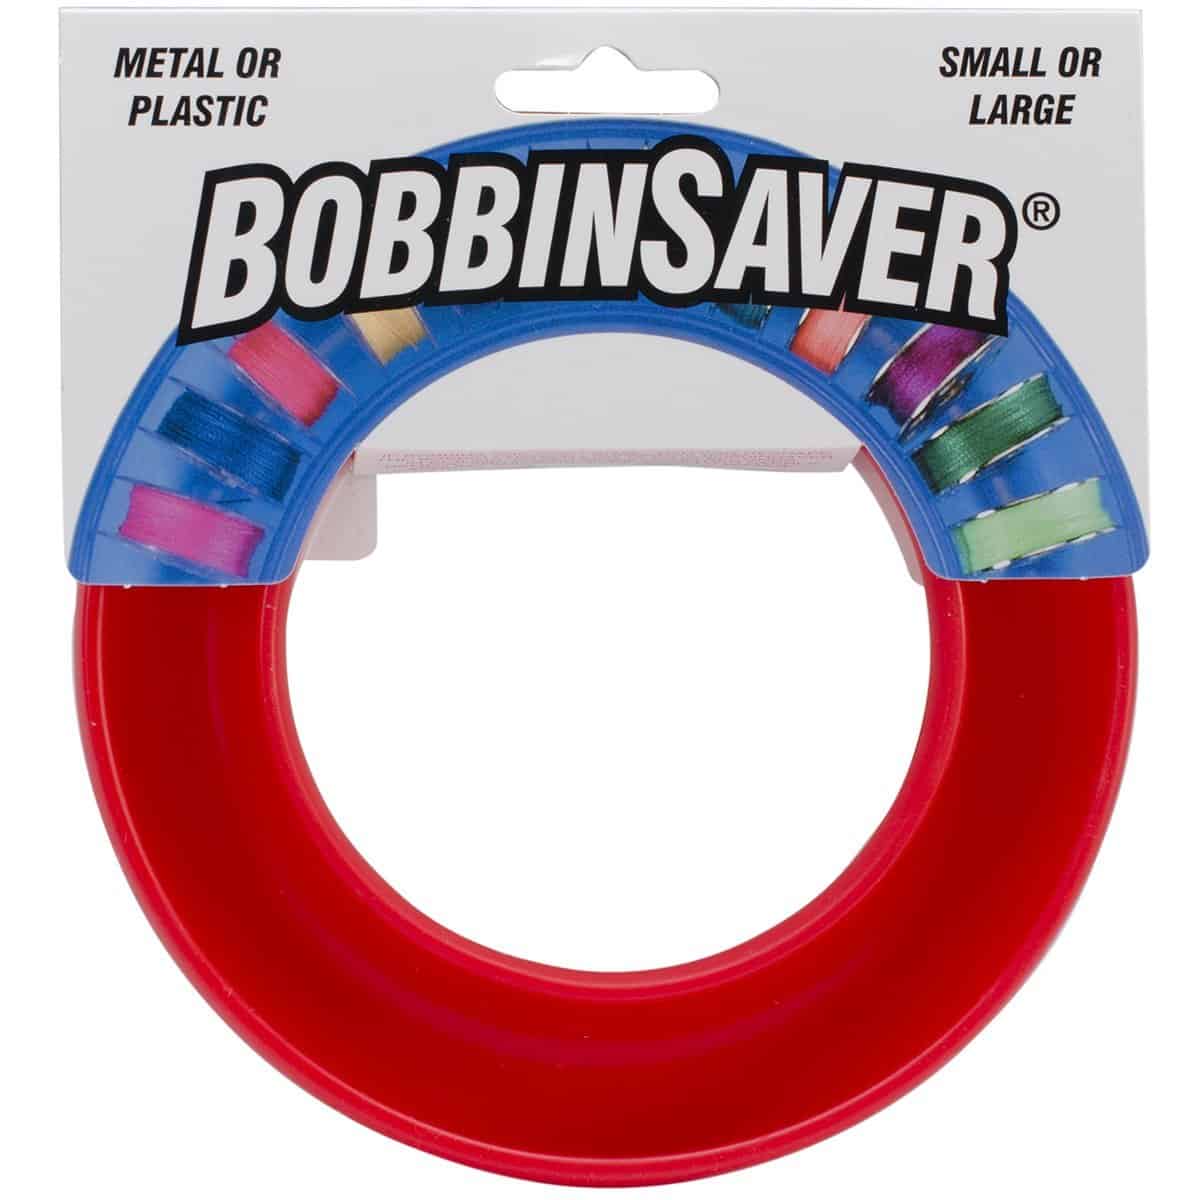
Roberta loves the open circle bobbin holders like these:
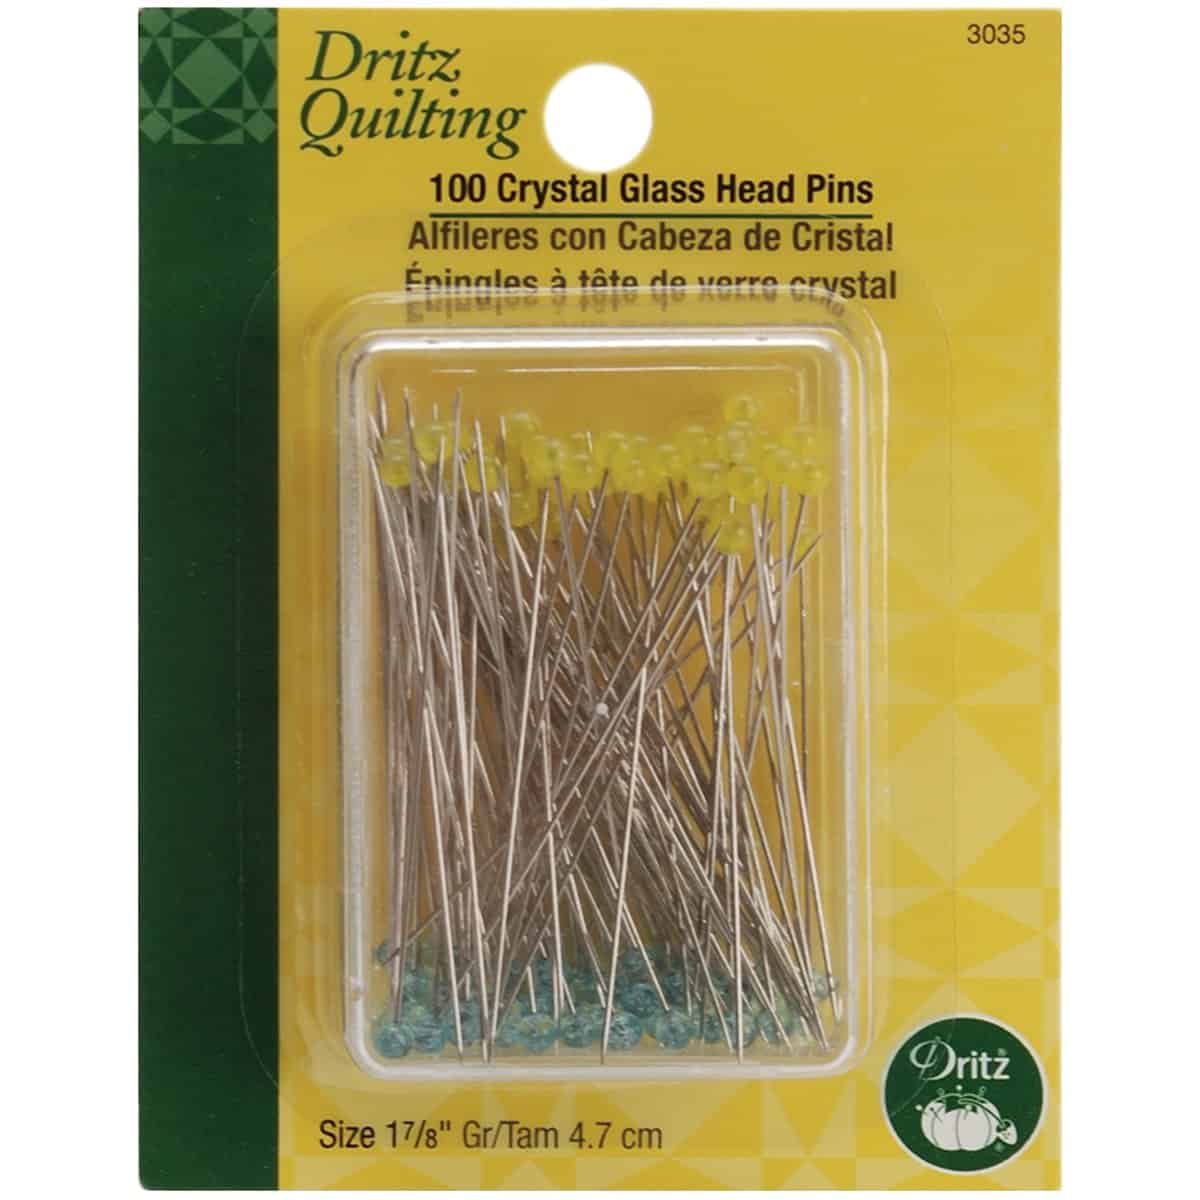
Pin and Clip Storage!
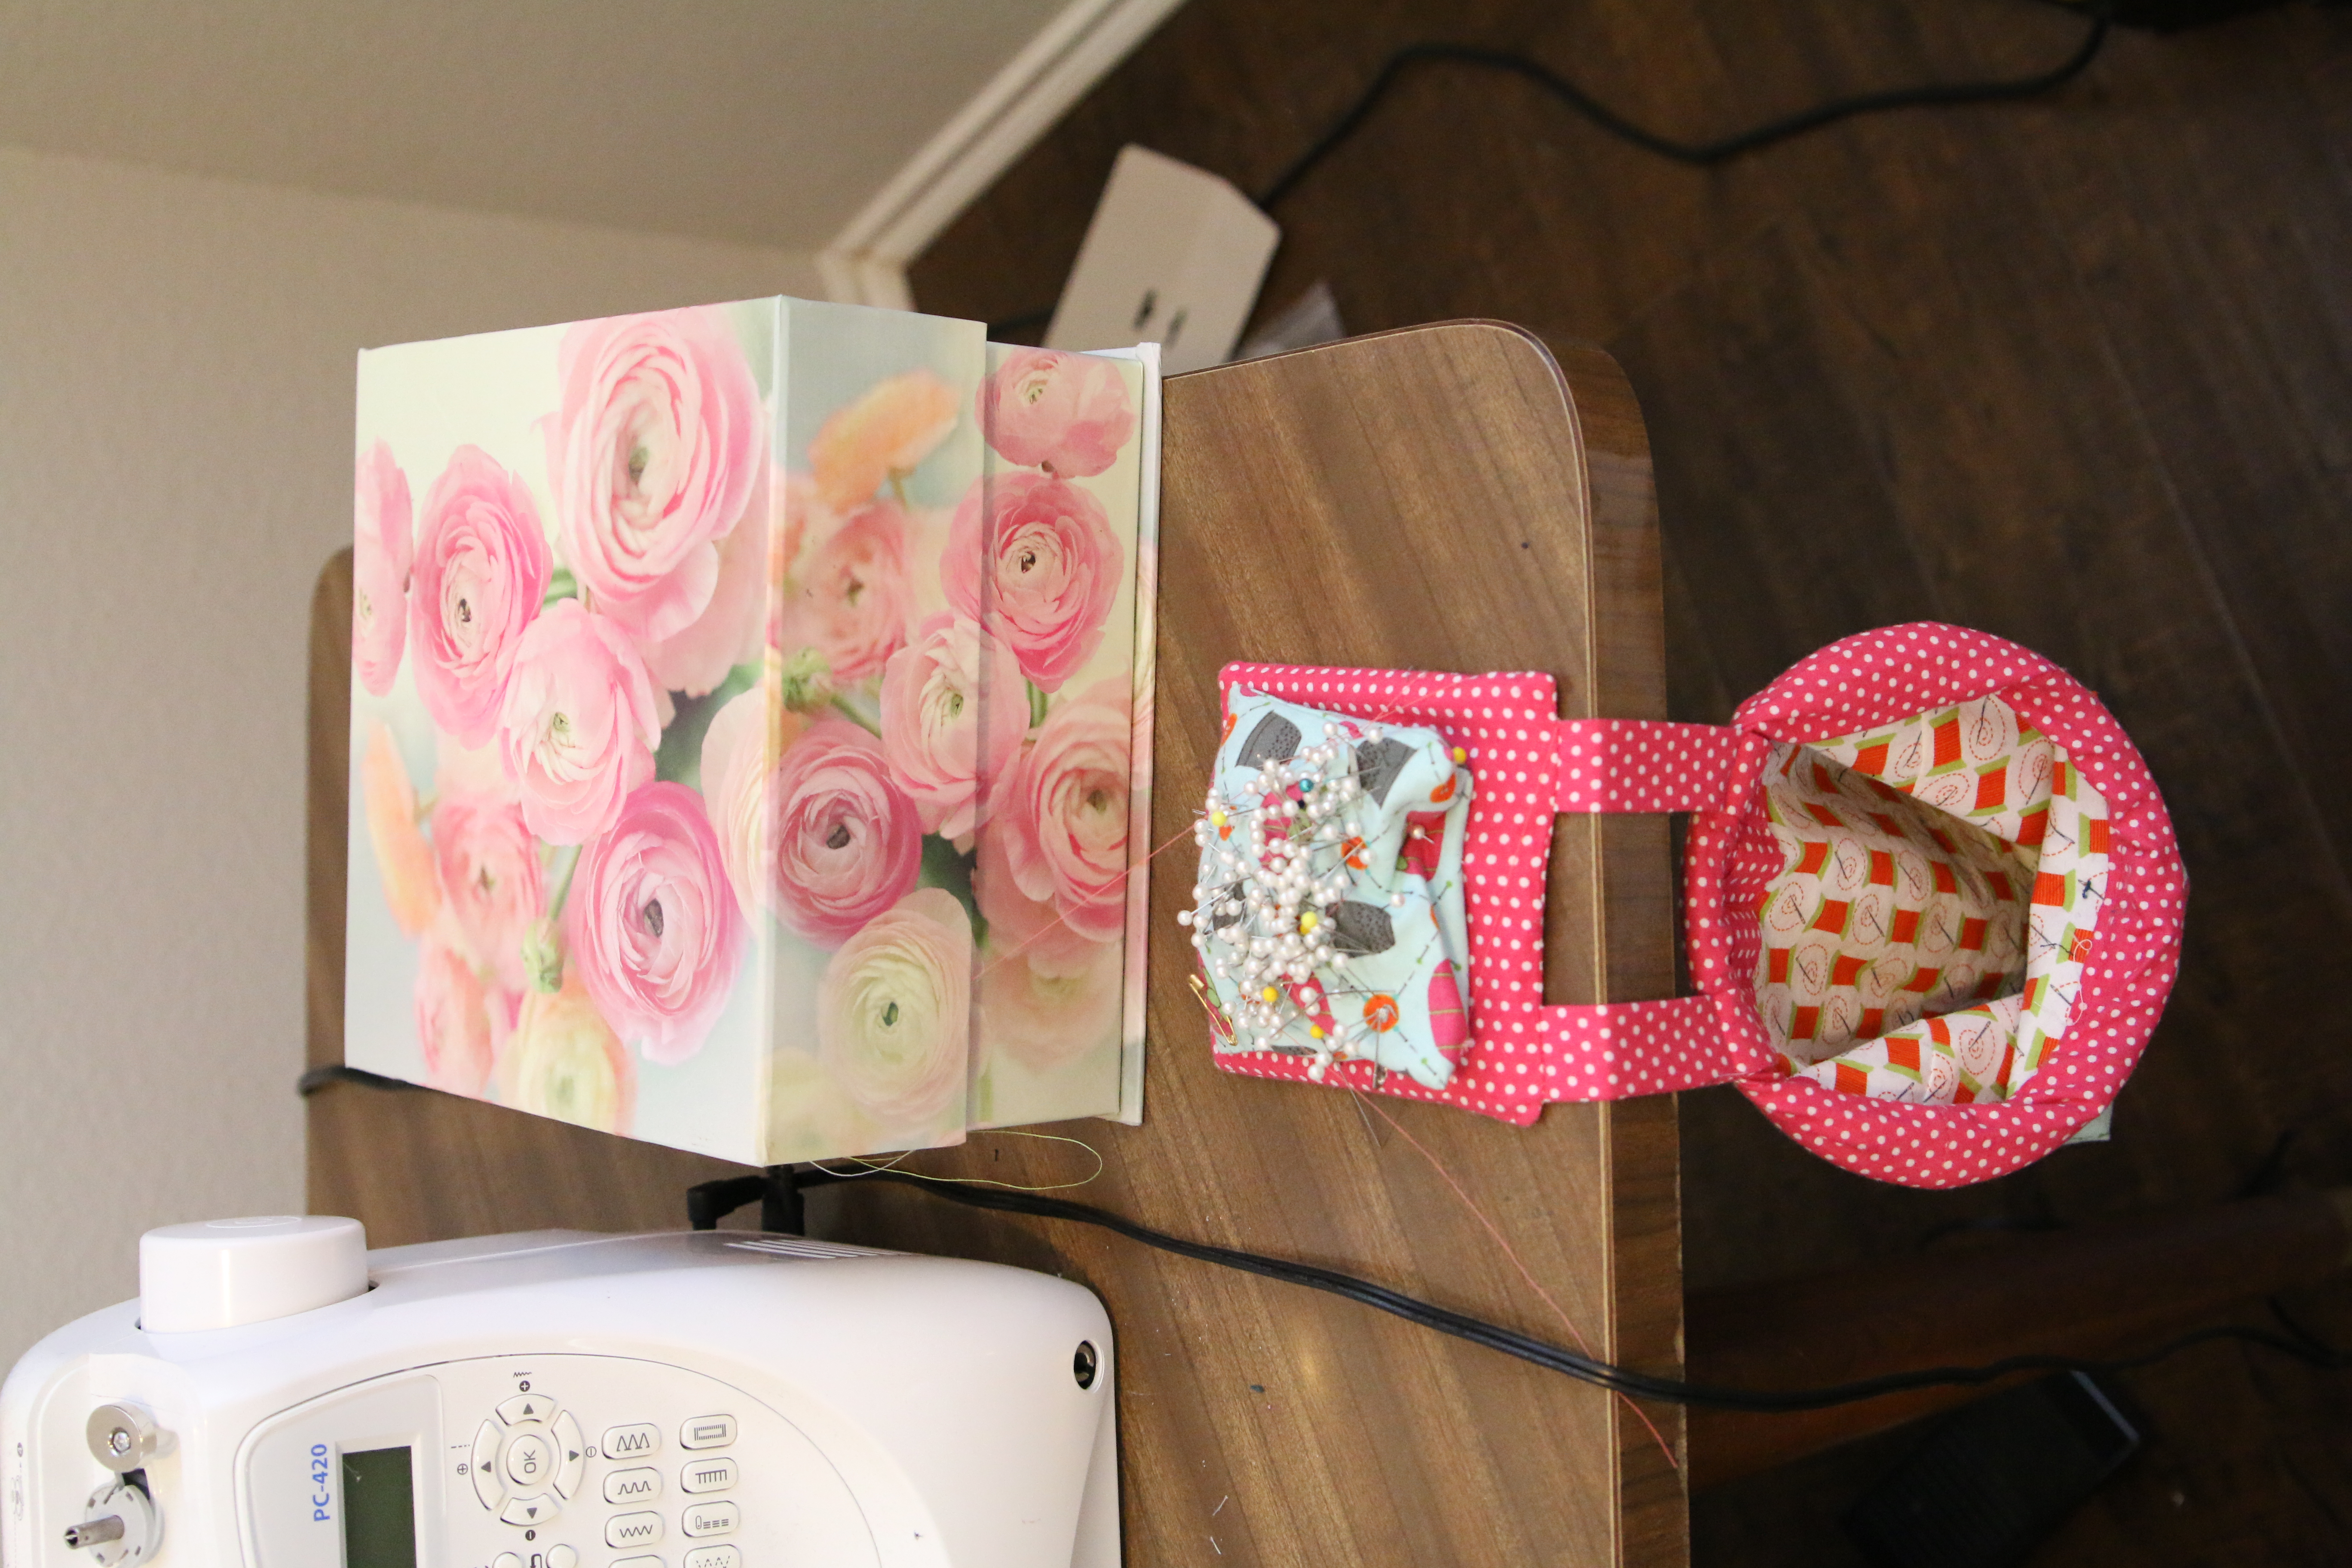
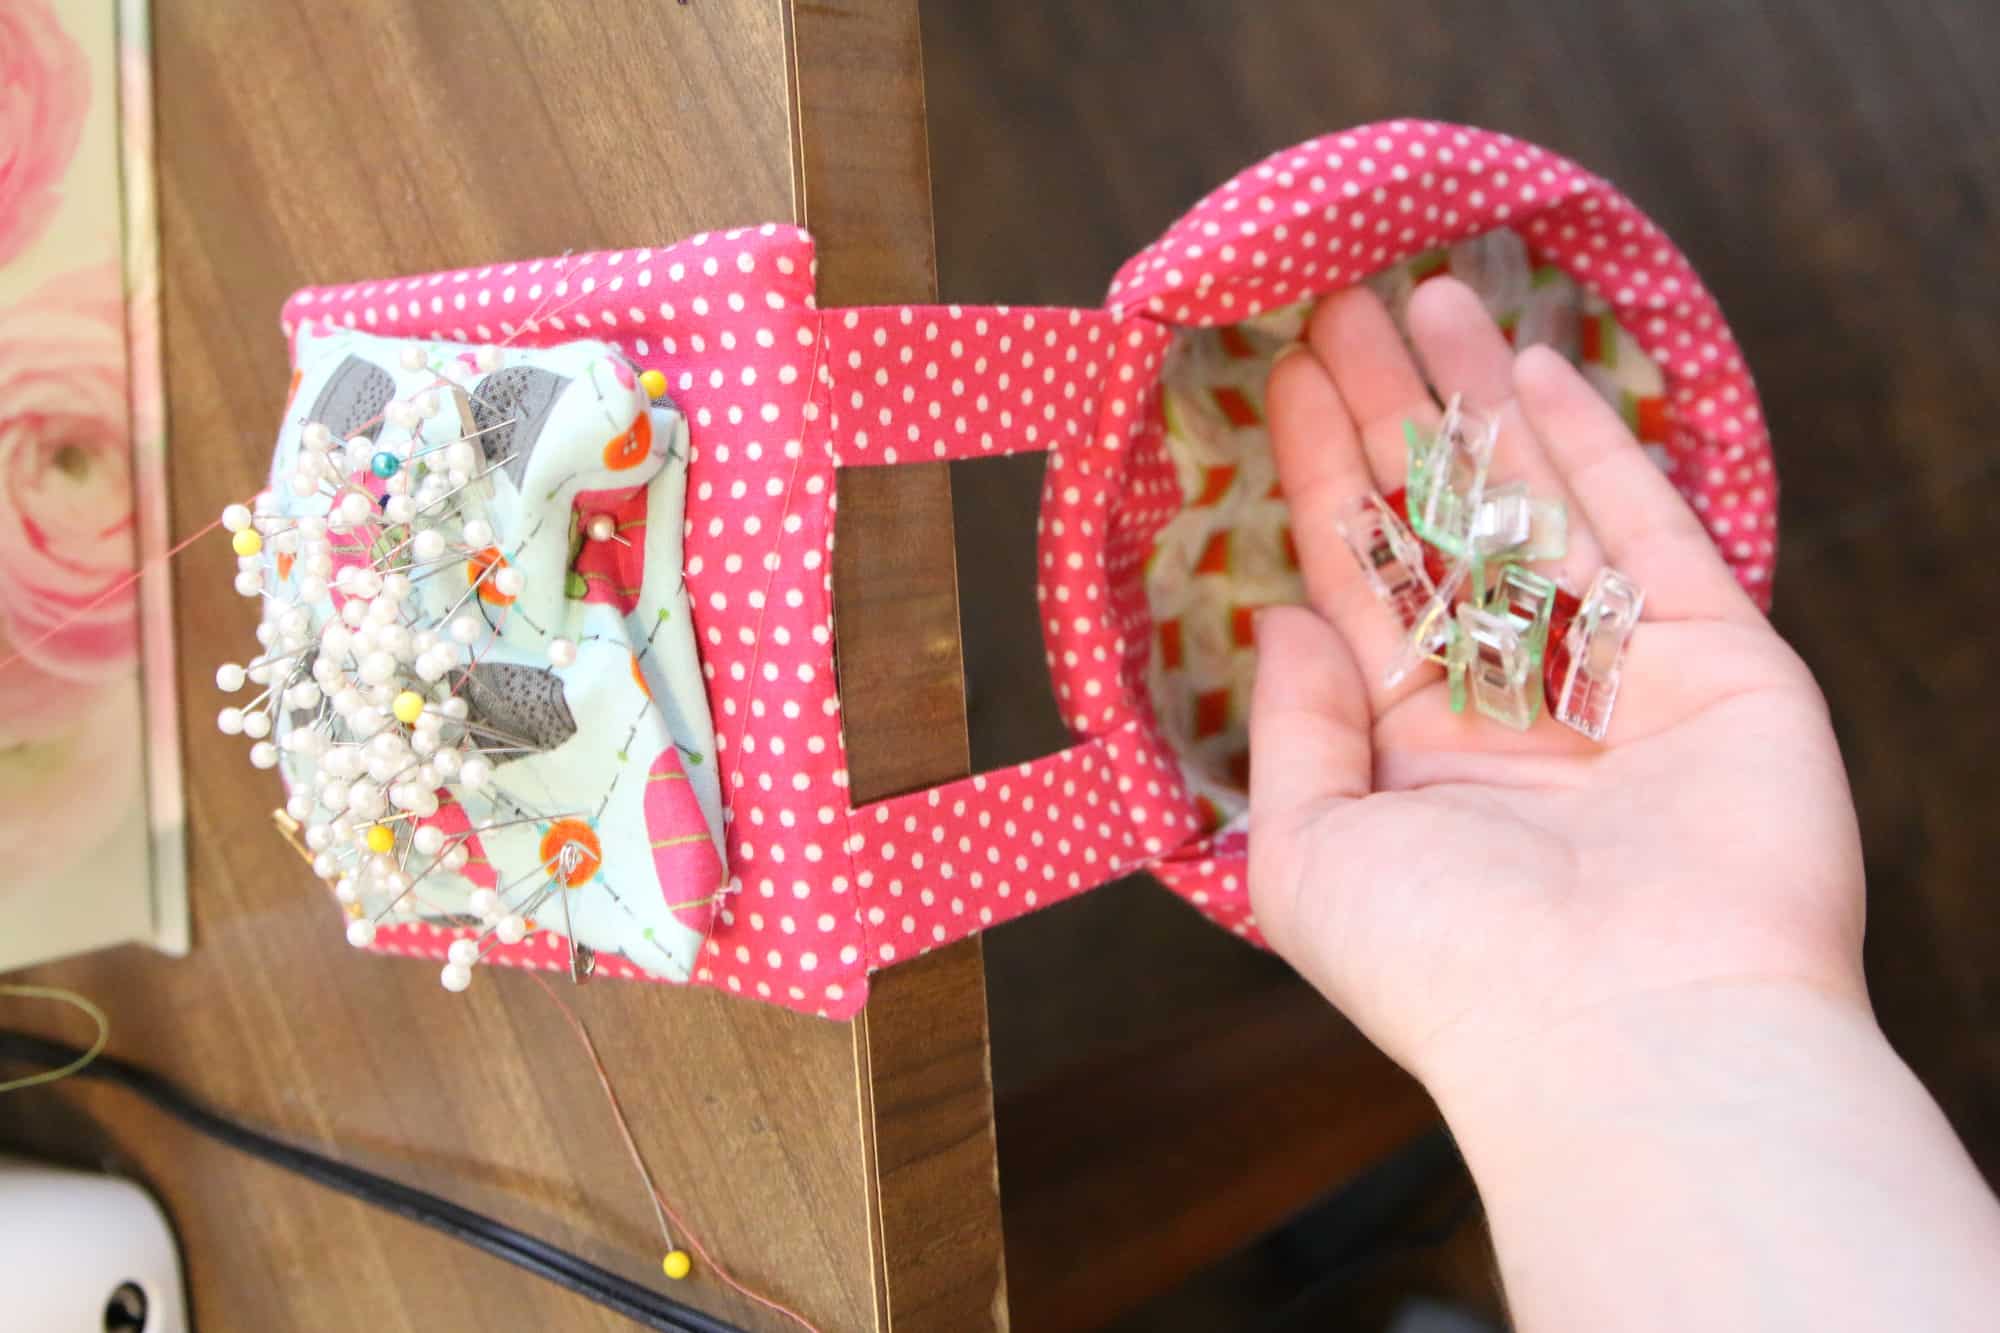
My sister Nicole made this awesome pin cushion and basket for me last year and I LOVE it! It is meant to be a pin cushion on top and trash/thread scrap basket on bottom. But, I use the bottom basket for my wonder clips! That way I have both pins and clips right next to me at my desk easy and quick in and out while sewing.
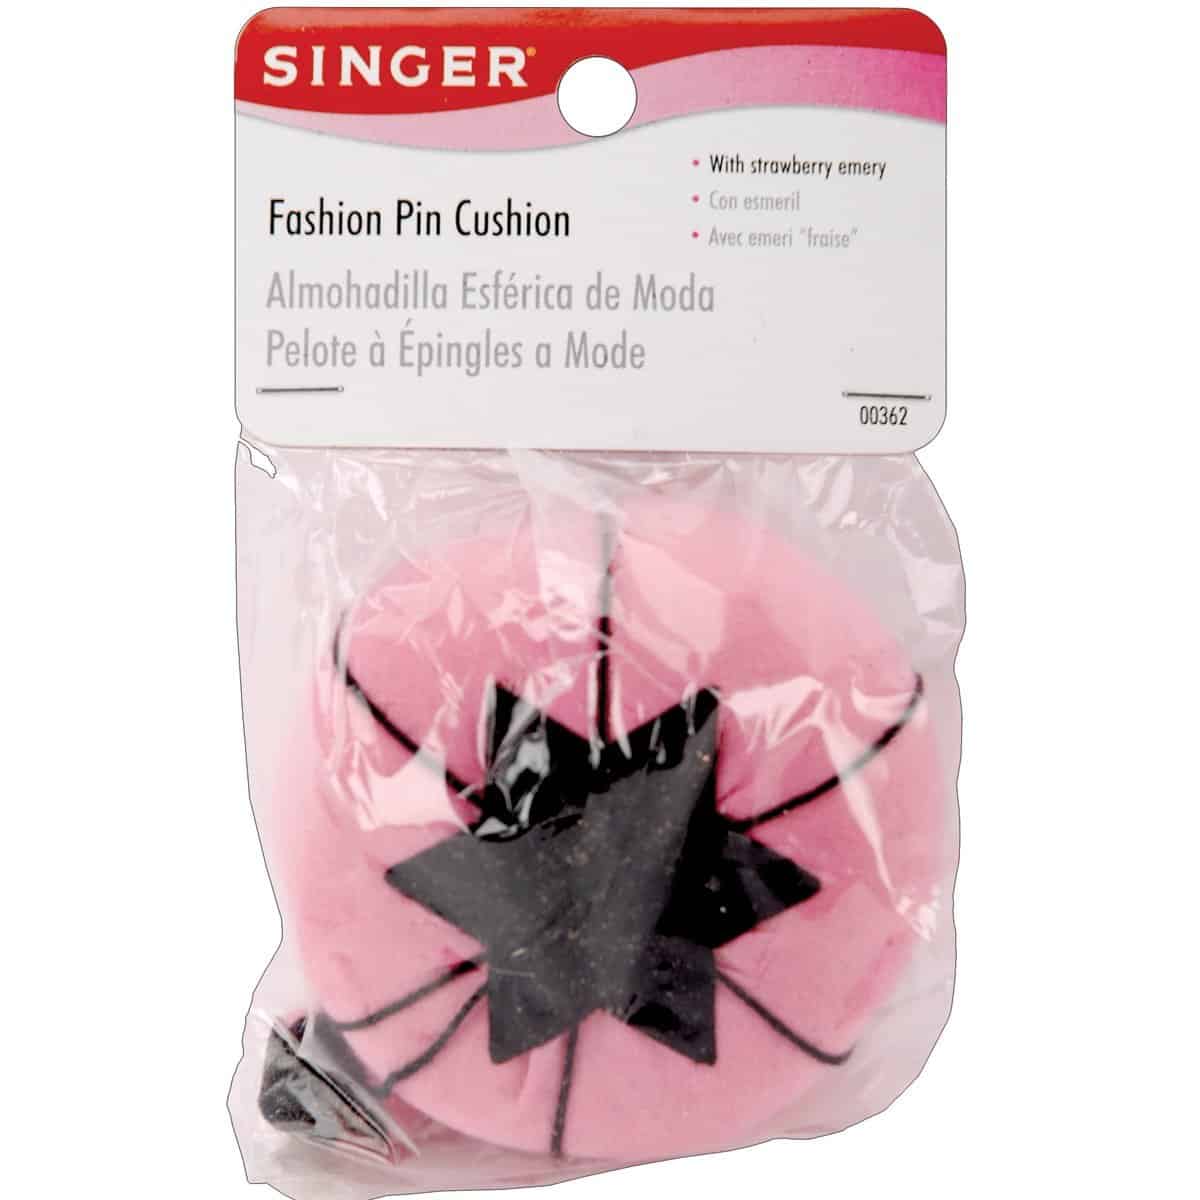
I also have one of these classic pin cushions in my ironing station and in my cutting station as well!
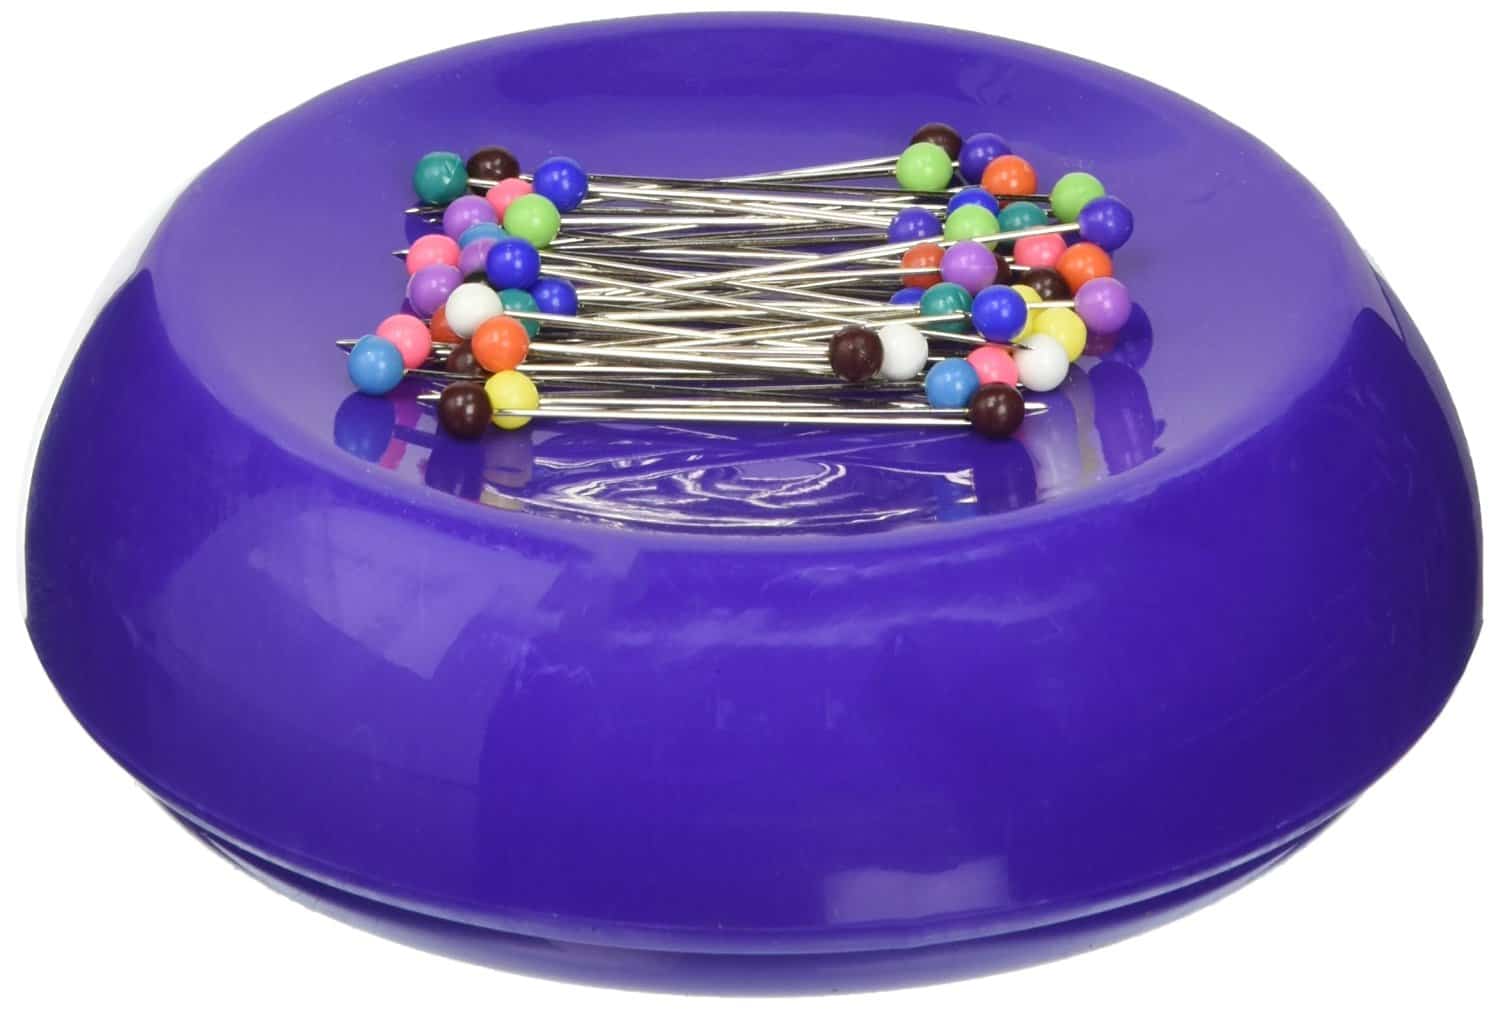
A lot of ladies love to use a magnetic bowl of sorts to store pins. The magnetic helps grab and hold onto the pins.
Sewing Machine Pieces/Tools!
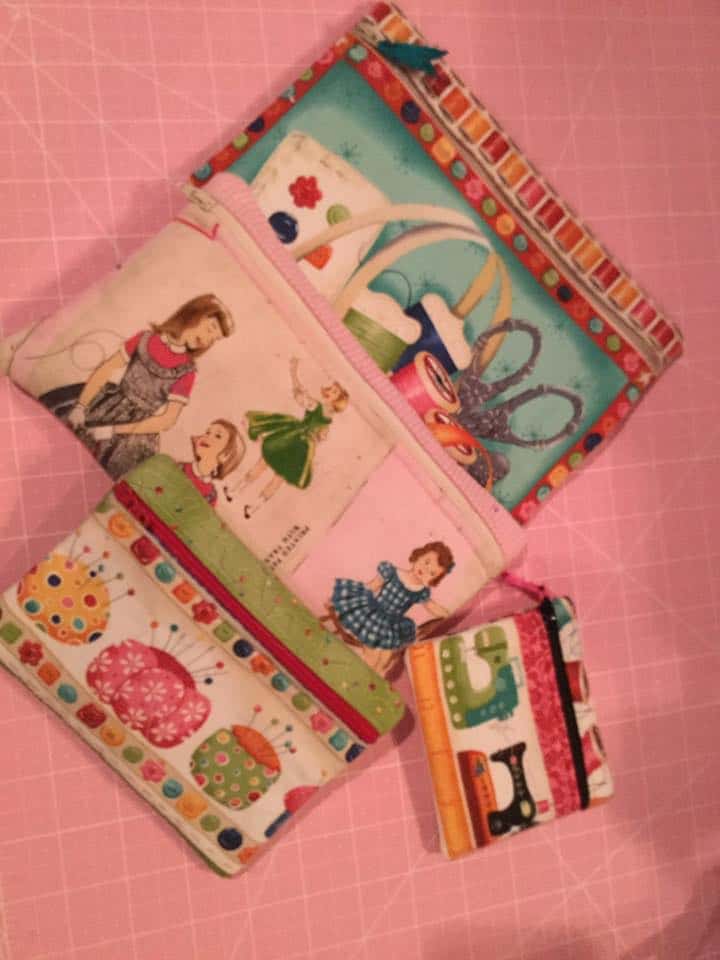
I am super boring here ladies. I keep all my parts/tools in the little ziplock bag that comes with the machine! Lazy? My sister Nicole has made an adorable zipper pouch for each of her machines to hold their extra parts, feet, tools, ect..
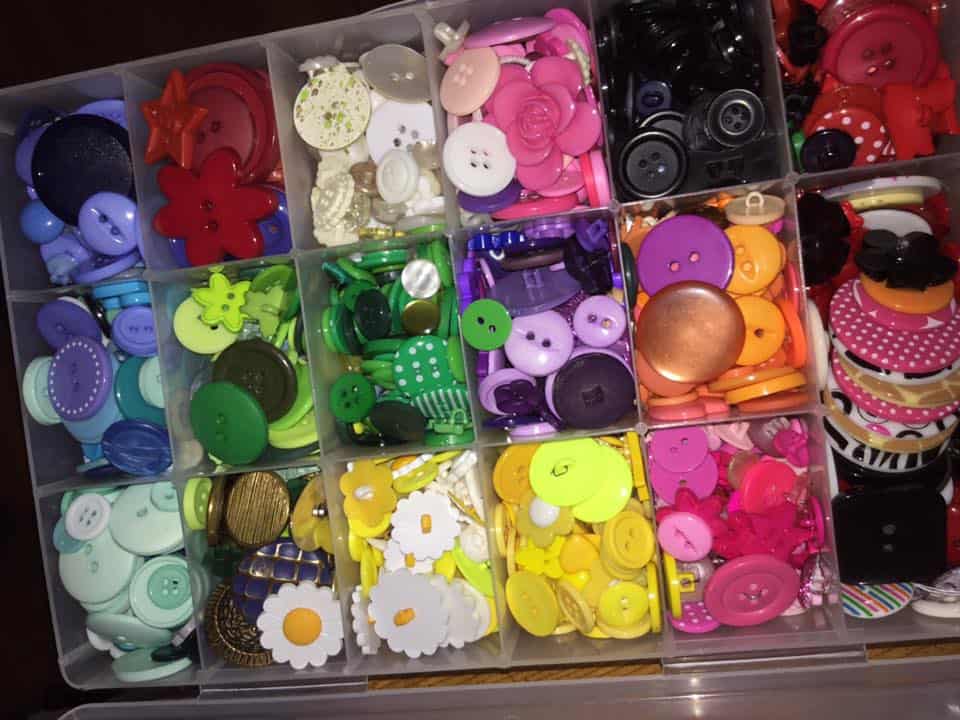
Buttons!
I feel like buttons are one of the sewing supplies that most are able to organize fairly easily. You can find so many little organizers with smaller compartments that work great for rainbow sorting. The only thing you have to worry about is little fingers coming along and “helping” you reorganize them… my Little Guy LOVES doing that!!
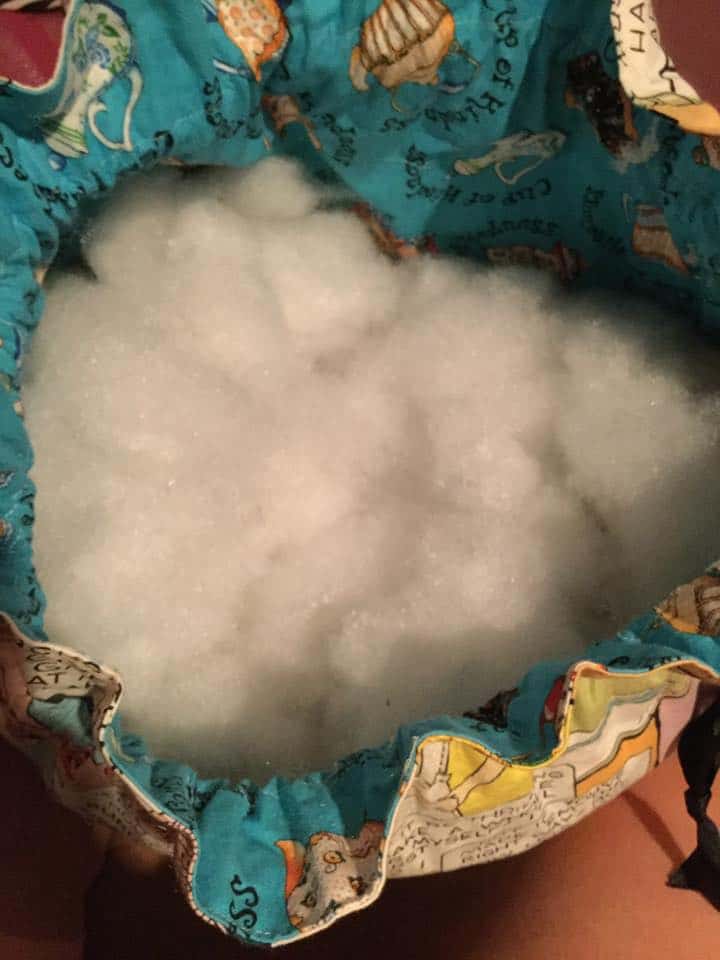
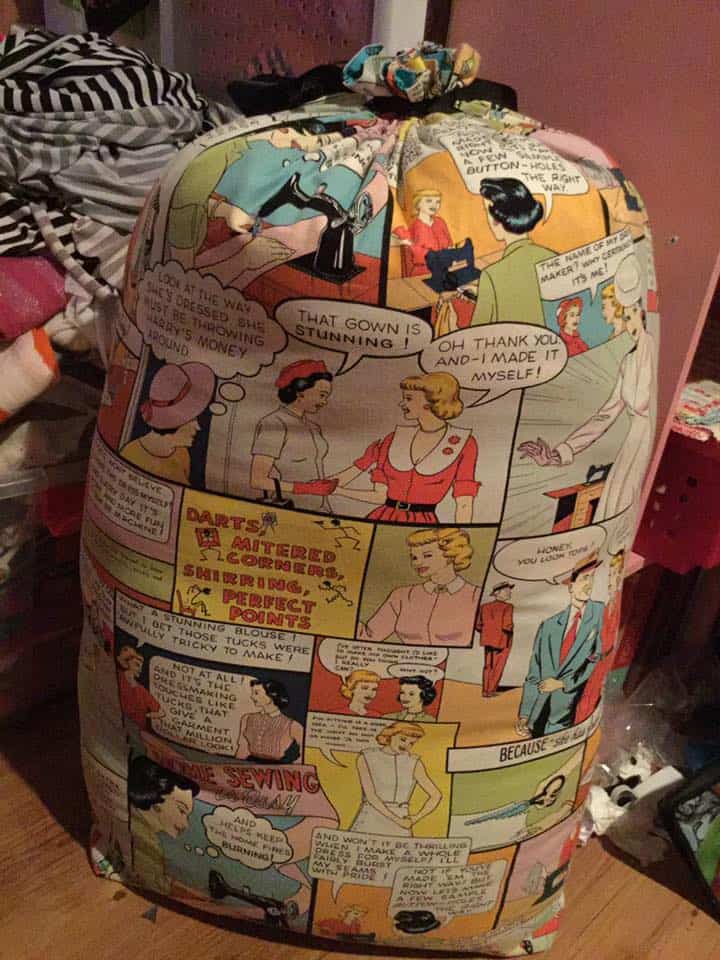
Stuffing!
If you have a big bag of stuffing laying around you can make a big, simple drawstring bag to keep looking tidy and easy to get in and out when you’re using it.
I’m sure I left some supplies out, some we didn’t have a great way we were happy with! But, I hope this helps you find the right storage for your craft and sewing supplies in your sewing space!
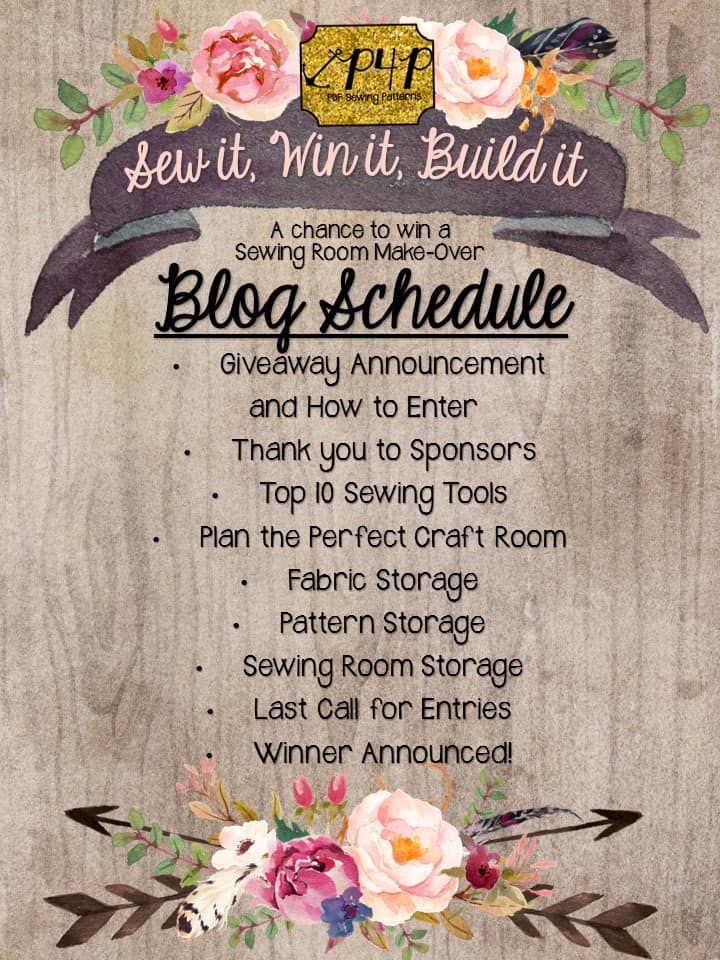
Don’t forget to enter into our Sew it, Win it, Build it Giveaway! Today is the last day for entries- until tonight (Sunday October 23rd) before midnight- 11:59pm US Central Time Zone.