Patterns for Pirates

P4P stylish, modern, wearable patterns

  • Home
  • Blog
    • Frequently Asked Questions
    • Pattern Releases
      • Free Patterns
    • P4P University
      • Fitting
      • Sewing with Stretch, Knit Fabrics
      • Sewing with Woven Fabrics
      • Sewing Machines
    • Sew-A-Longs
    • Fabric for Pirates
    • Pattern Hacks
    • Announcement
      • Blog Tours
      • Contest/Giveaway
  • Shop
  • Bundle Discounts
  • Flash Friday
  • Gift Cards
  • My Account
  • Cart

First Time User Tips

October 23, 2015

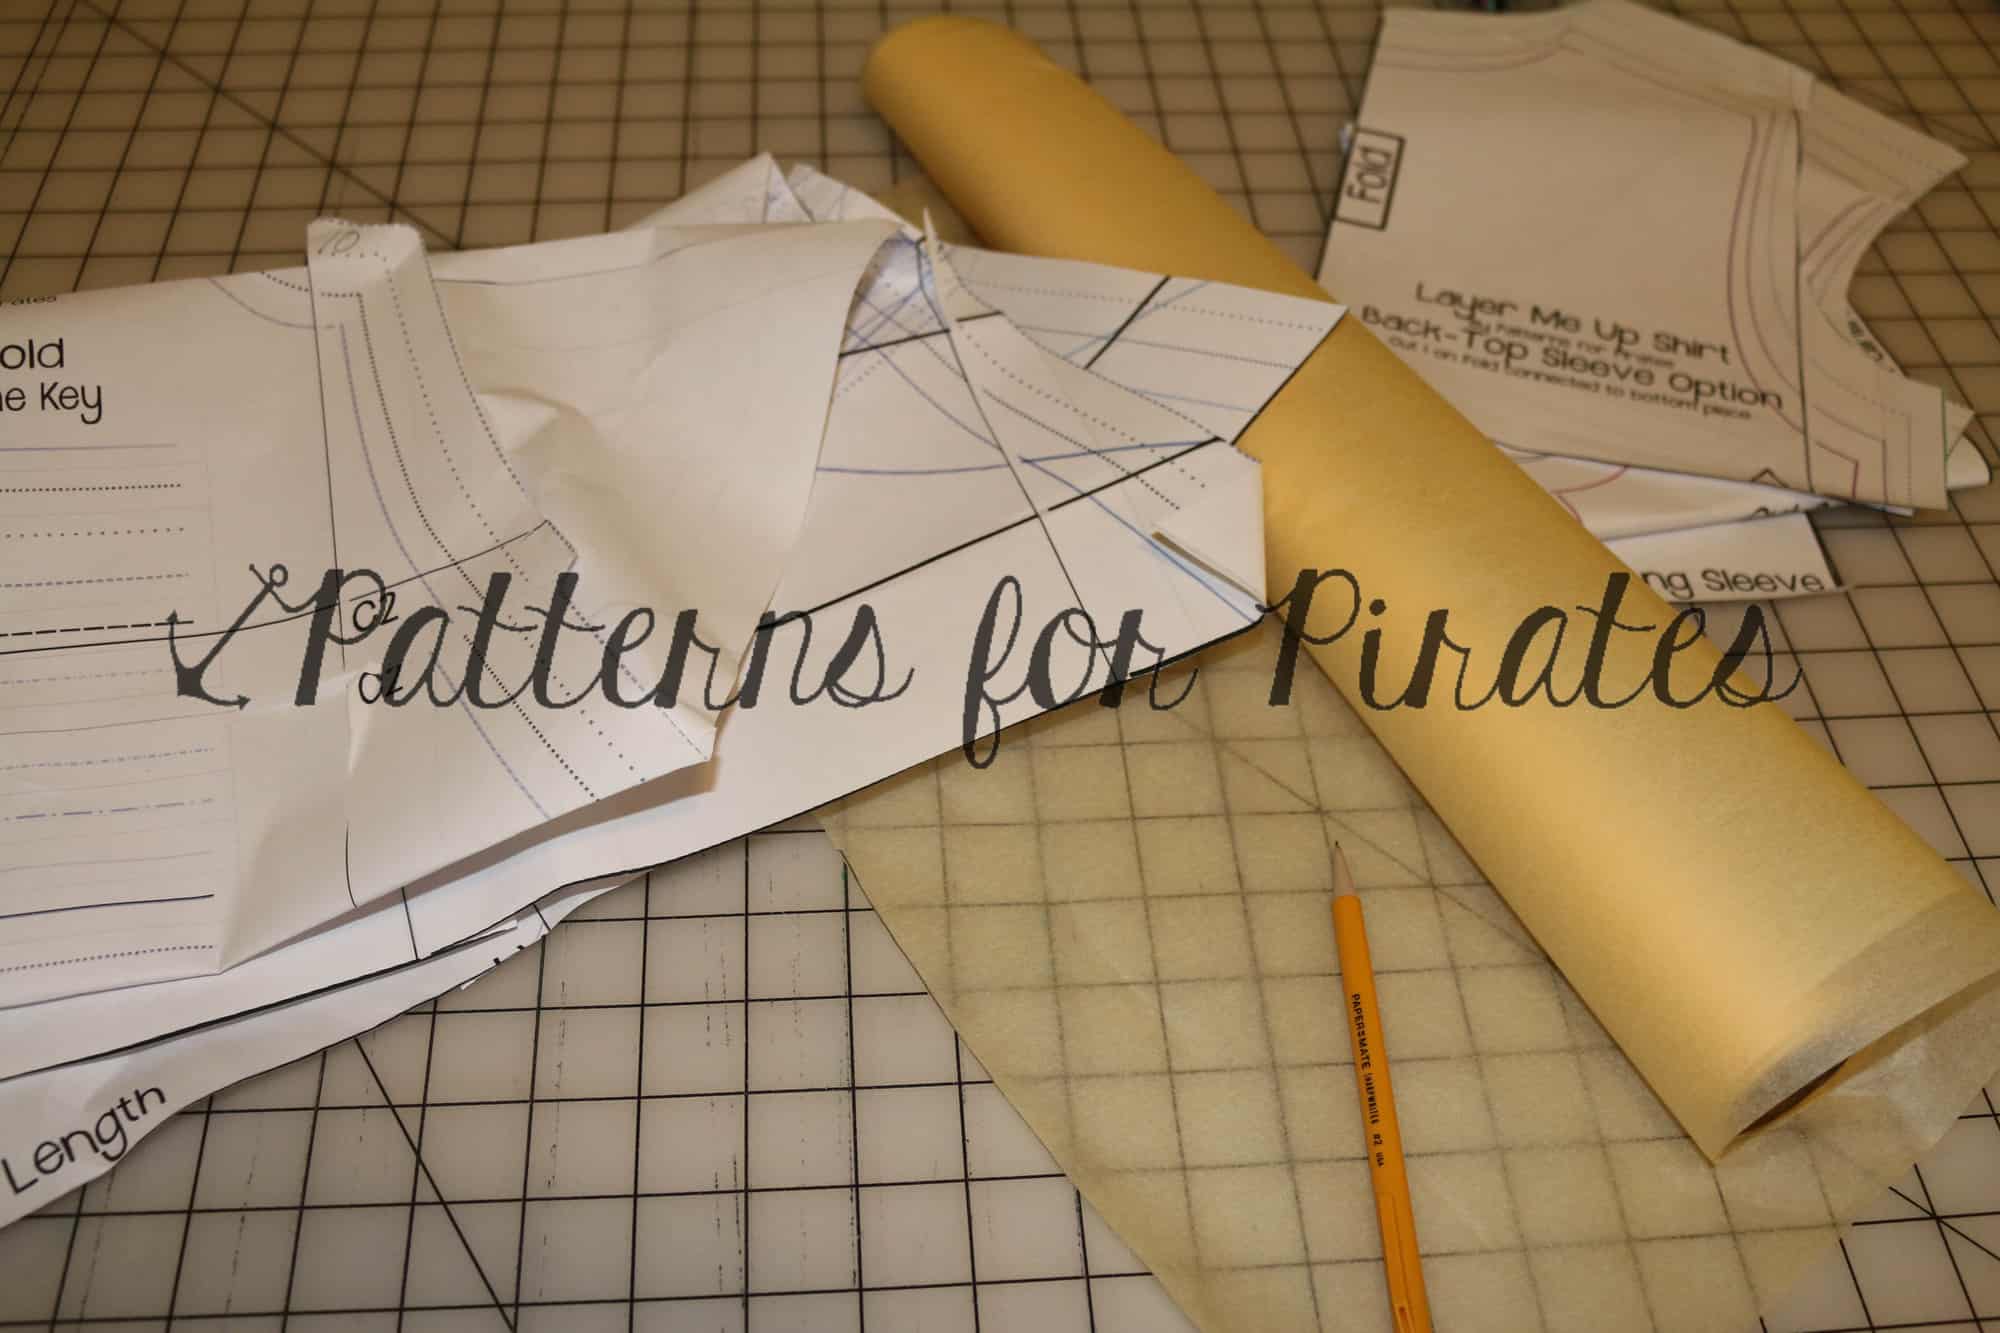
Are you using a P4P pattern for the very first time? I’m so excited for you to try out one of my pdf sewing patterns! Here are a few tips if you are brand new to sewing a P4P pattern, or to sewing from a pattern in general.

*Buying from the site- you will receive an email with a download link after payment is processed (check JUNK mail) and you can also log back into the site to download any purchased patterns anytime! Our freebie patterns downloads expire in 30 days once purchased, but fear not! You can add them to cart and “buy”  them as many times as you want.

Our patterns include various formats so be sure to open the correct one.

Letter – used mainly in the USA, must be printed on letter size paper (8.5″ by 11″)

A4 – used outside of USA, must be printed on A4 size paper (8.25″ by 11.75″)

A0 – used to print on 36″ wide paper, usually at copy shops.

Projector – this new style of paperless/printless way of cutting the fabric pieces requires a special set up. I would not recommend this for beginners. Only the newest P4P patterns include projector files.

#1: Read the tutorial thoroughly before beginning.  Before you start envisioning fabric selection and thinking about what size, you need to sit and read!  There is A LOT of info in the first few pages of a P4P pattern. Here are some highlights in those first few pages:

*Printing instructions-  You MUST open and print from ADOBE PDF viewer, not the app, not another PDF program! This will ensure the correct scaling!  I advise only printing the pattern pieces (these are listed on the first page in the tutorial) to save paper and ink-you can read the tutorial instructions on a computer, laptop, tablet, smart phone-whatever you have available! You will want to print with scaling set to “none” or custom “100%”. Carefully measure the 1×1 inch square to ensure that the pattern is printed in the correct scale (I always advise to only print the first page with the measuring inch first to test, then when you are sure it’s correct print the other pages). Our newer patterns include a 2″x2″ and a 4cm x 4cm square instead of the 1″ one.

Here is a shot of what your adobe printing settings should look like before you print: Custom scale: 100% and about the preview it should say 100%

Screenshot 2015-12-10 17.15.33


Here is a shot of the printed page with a correct 1×1 inch square:

SAMSUNG CAMERA PICTURES

One of the most common printing mistakes is to have the “fit to page” option clicked. Here is a shot of “fit to page” INCORRECT printing.  This will result in a pattern that is much smaller then intended!

If you look, you will see an outline around the entire page about 1/8″ that should not be there. The 1×1 inch square will also measure slightly smaller.

Screenshot 2015-12-10 17.16.02

SAMSUNG CAMERA PICTURES

SAMSUNG CAMERA PICTURES

*Piecing the pattern pieces together- I have a quick video putting the “no trim pages” together here: (you must be a member of the P4P FB group to view) Video Link

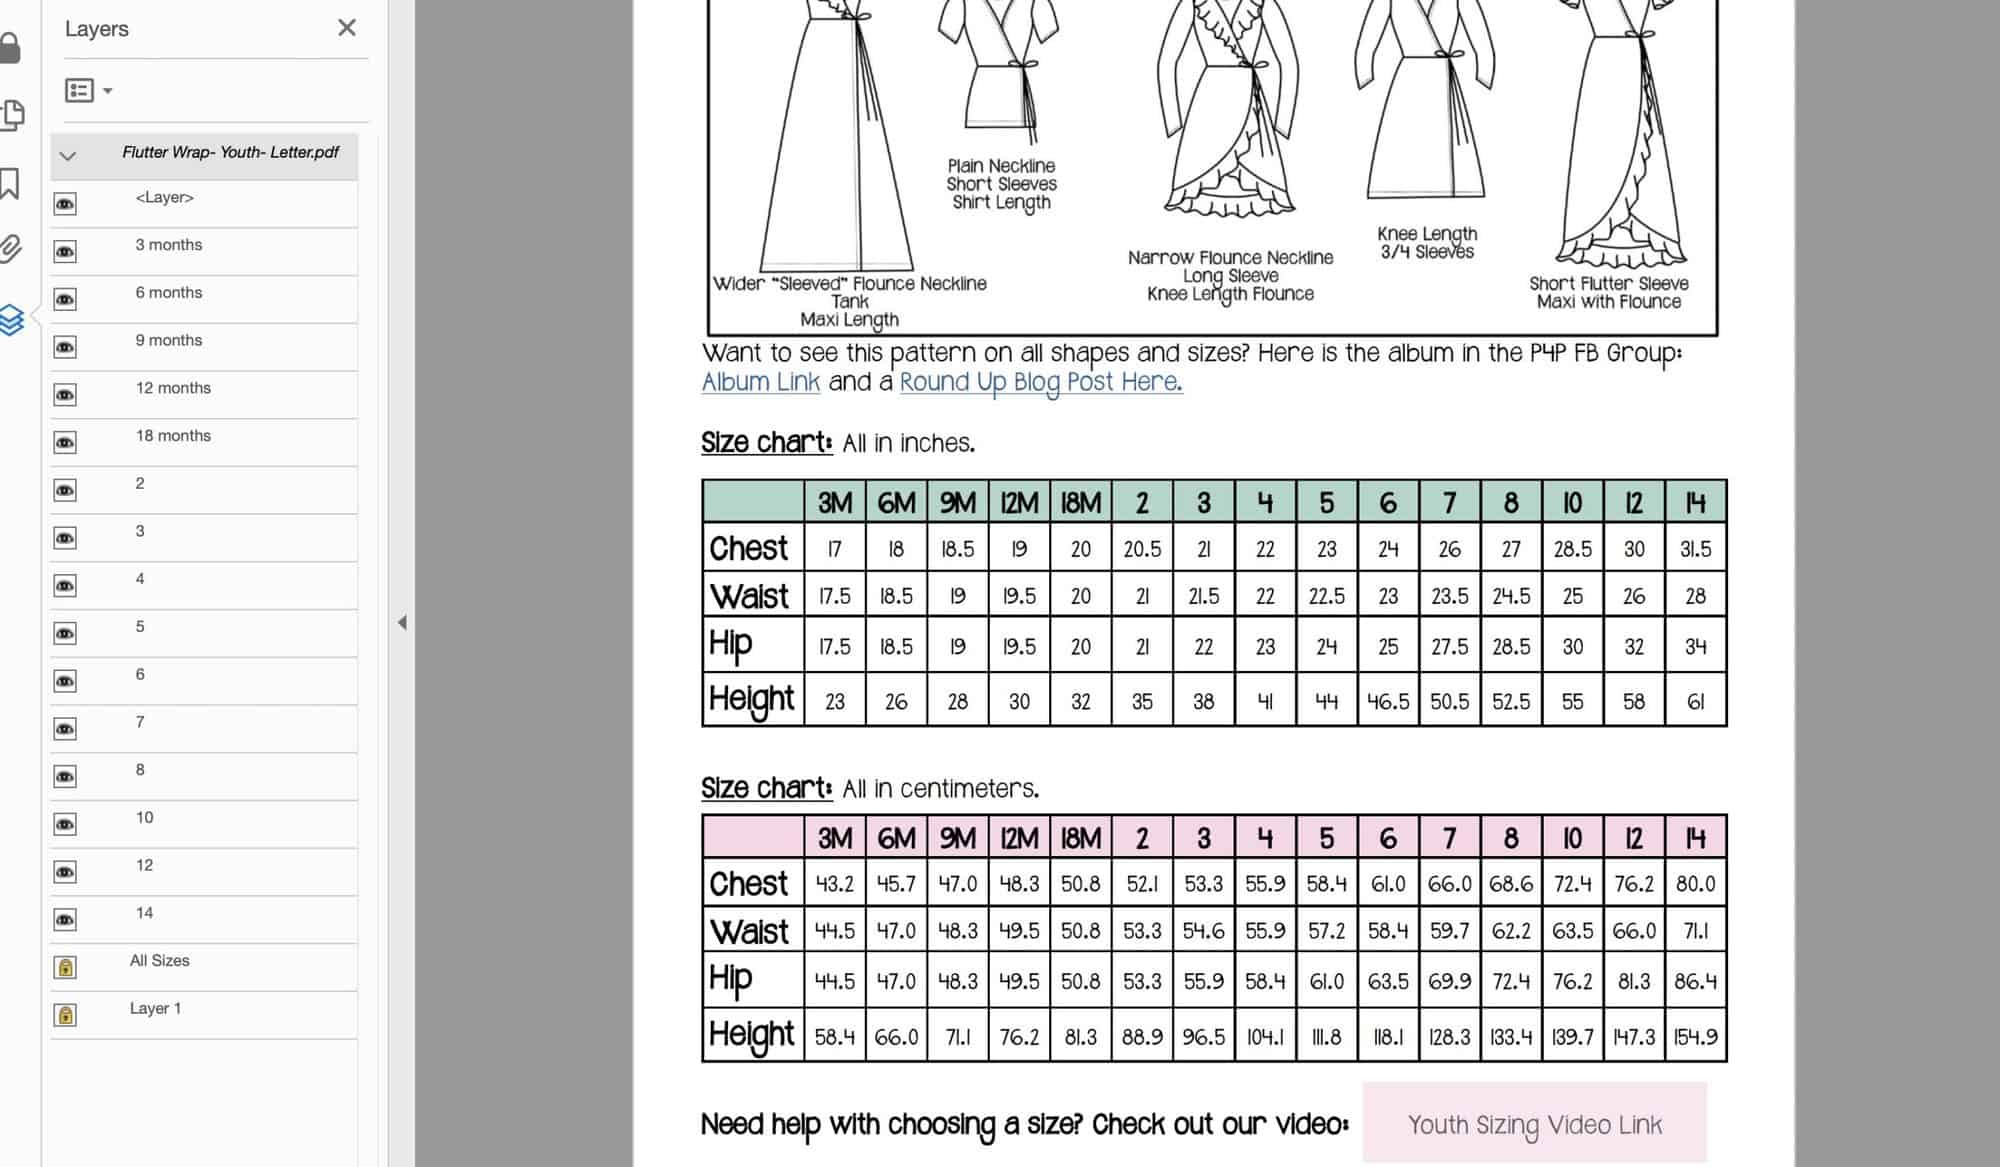
*Choosing your size- I have a size chart both in the listing pictures and in the first few pages of the tutorial.  Carefully measure yourself and find the size that your measurements correlate to.  Chest-fullest part around your bust, Waist-where you naturally bend to the side, High Hip-around your hip bones, Hip-around the fullest part of bottom/booty.  I only add the measurements that are important for that particular pattern.

Here is a blog post about measuring yourself.

  • If your measurements put you in several sizes then you can mash/blend sizes between your measurements to create the perfect fit (this is why sewing is so great! Custom fit and size for your particular body type). Our P4P University blog series includes a very helpful post about grading. You can read the Grading blog here.
  • Using the “Finished Measurements”- You can flat measure other garments that are well fitting and compare, or compare to your measurements. You should be able to know exactly how much you need to add or take off for the perfect length before sewing up!
  • LAYERS – once you chose your size(s) you can print just the needed one(s) by selecting it/them on the left side of the pdf file. Simply use the cursor to click/unclick the little “eye” located on the left of each size.
  • I also include the height my patterns are drafted for above the size chart (5’5″). If you are shorter or taller you will need to adjust for your height.  I include a link right below the size chart to this post explaining how I prefer to add/take length for petite and tall adjustments: Petite and Tall Adjustment Blog Post
  • Do not choose your size based on what you buy in ready to wear/store bought clothing.  Store sizing varies extremely from store to store.  Just choose based on your current measurements!
  • Read the description of fit carefully (located under the line drawing in the tutorial).
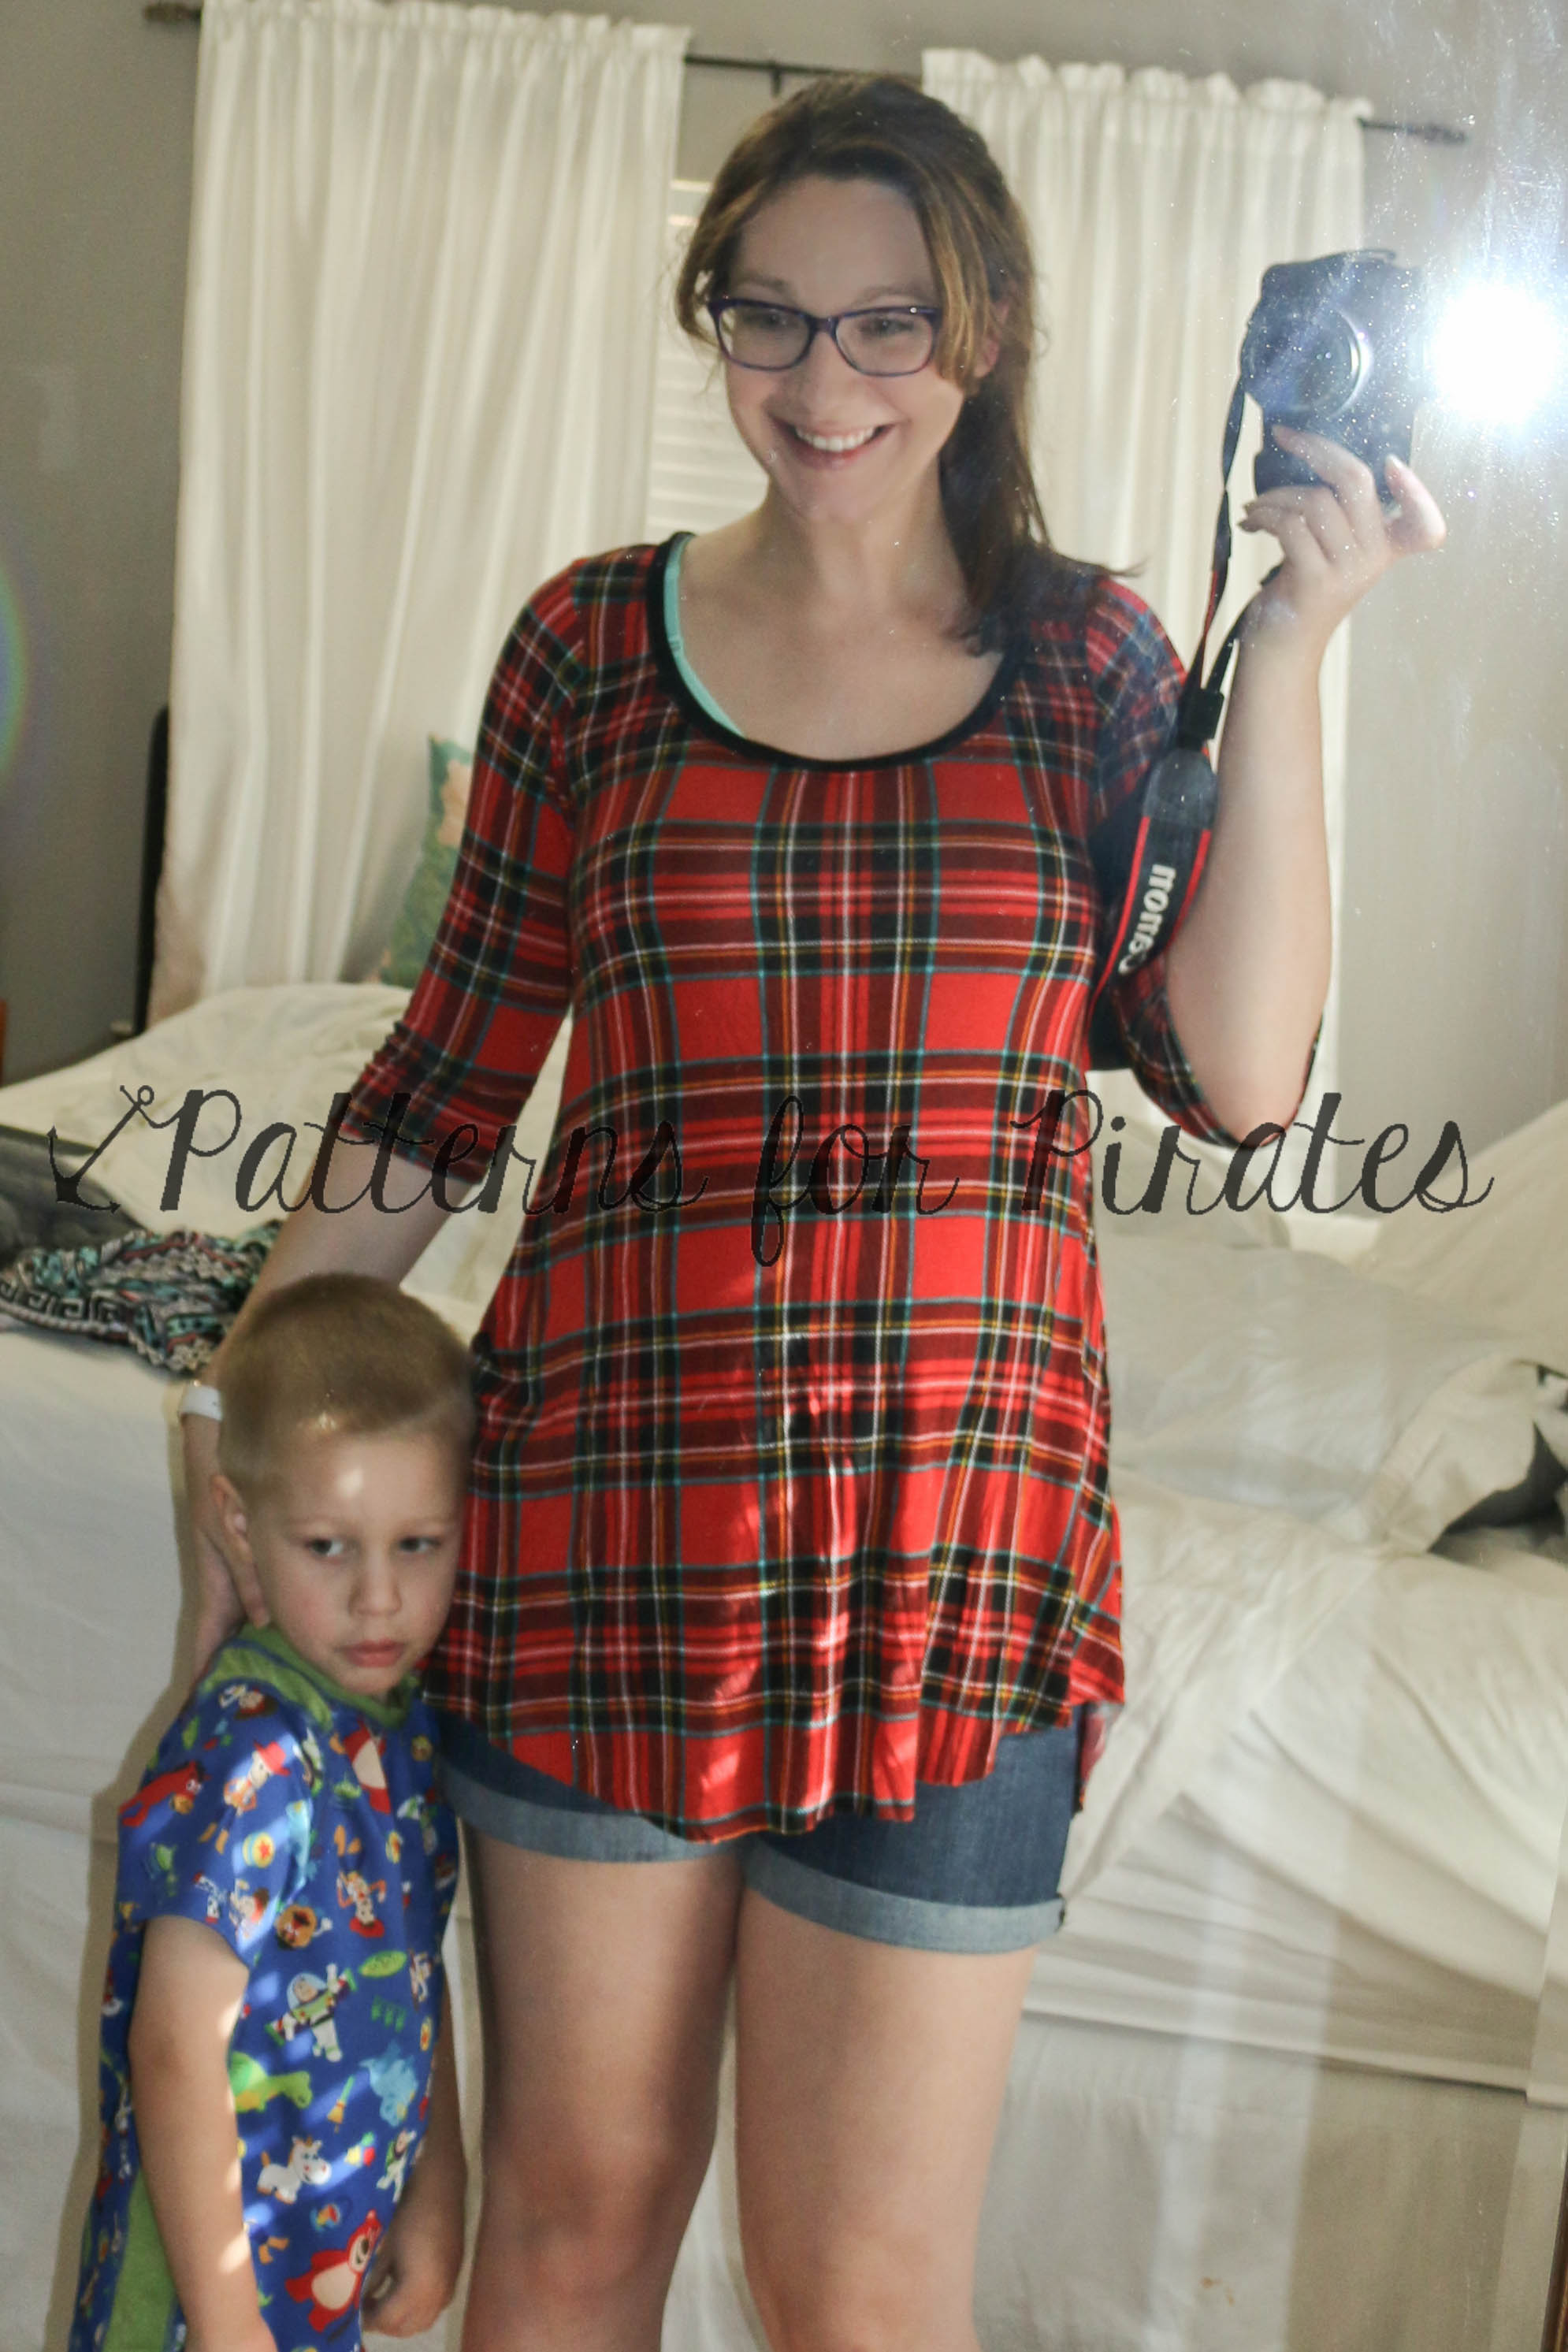
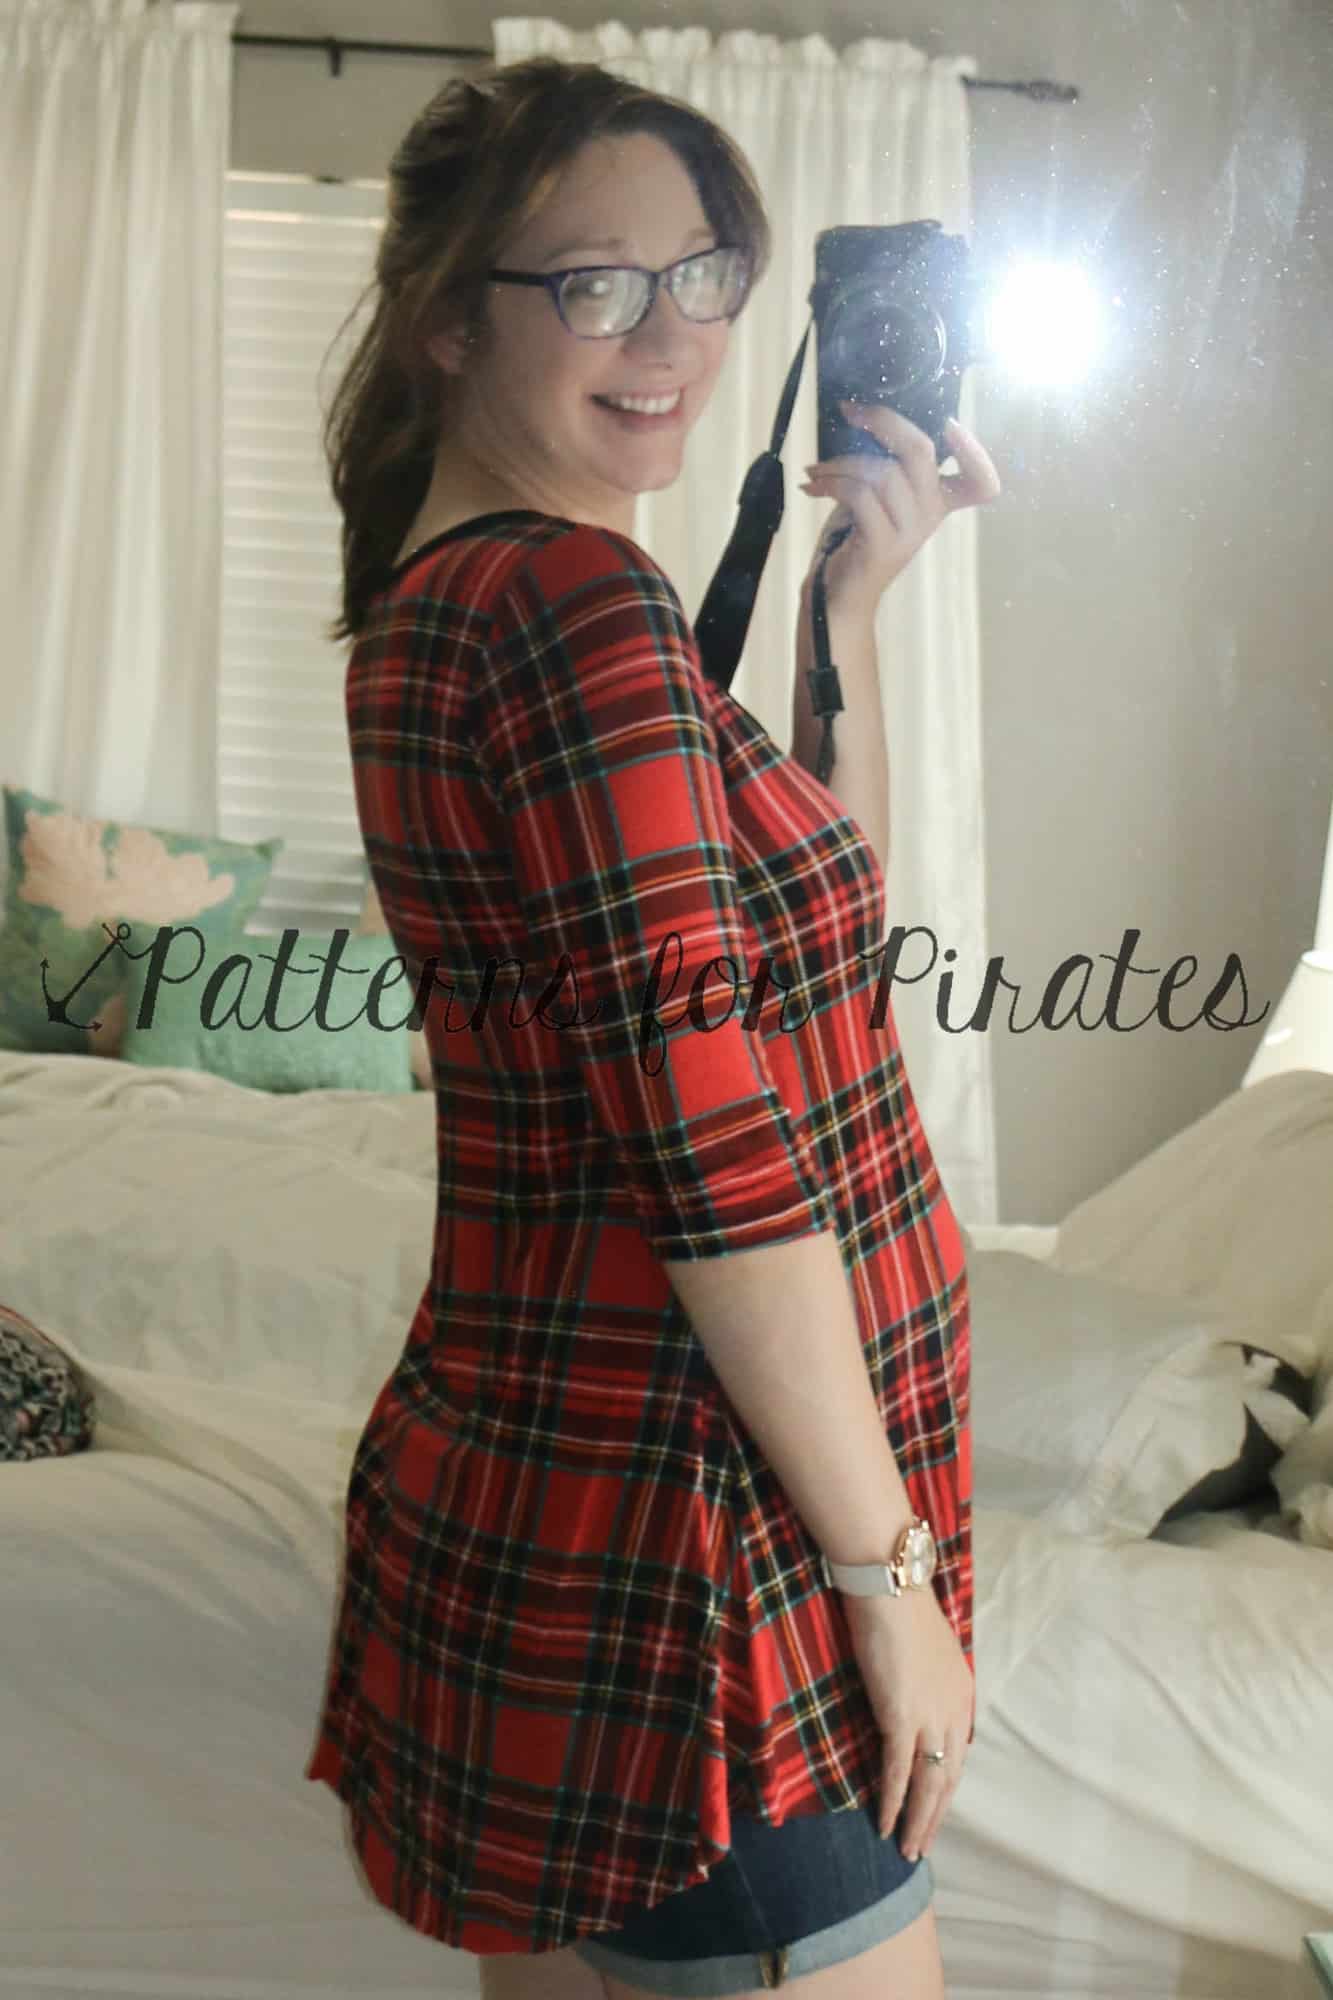
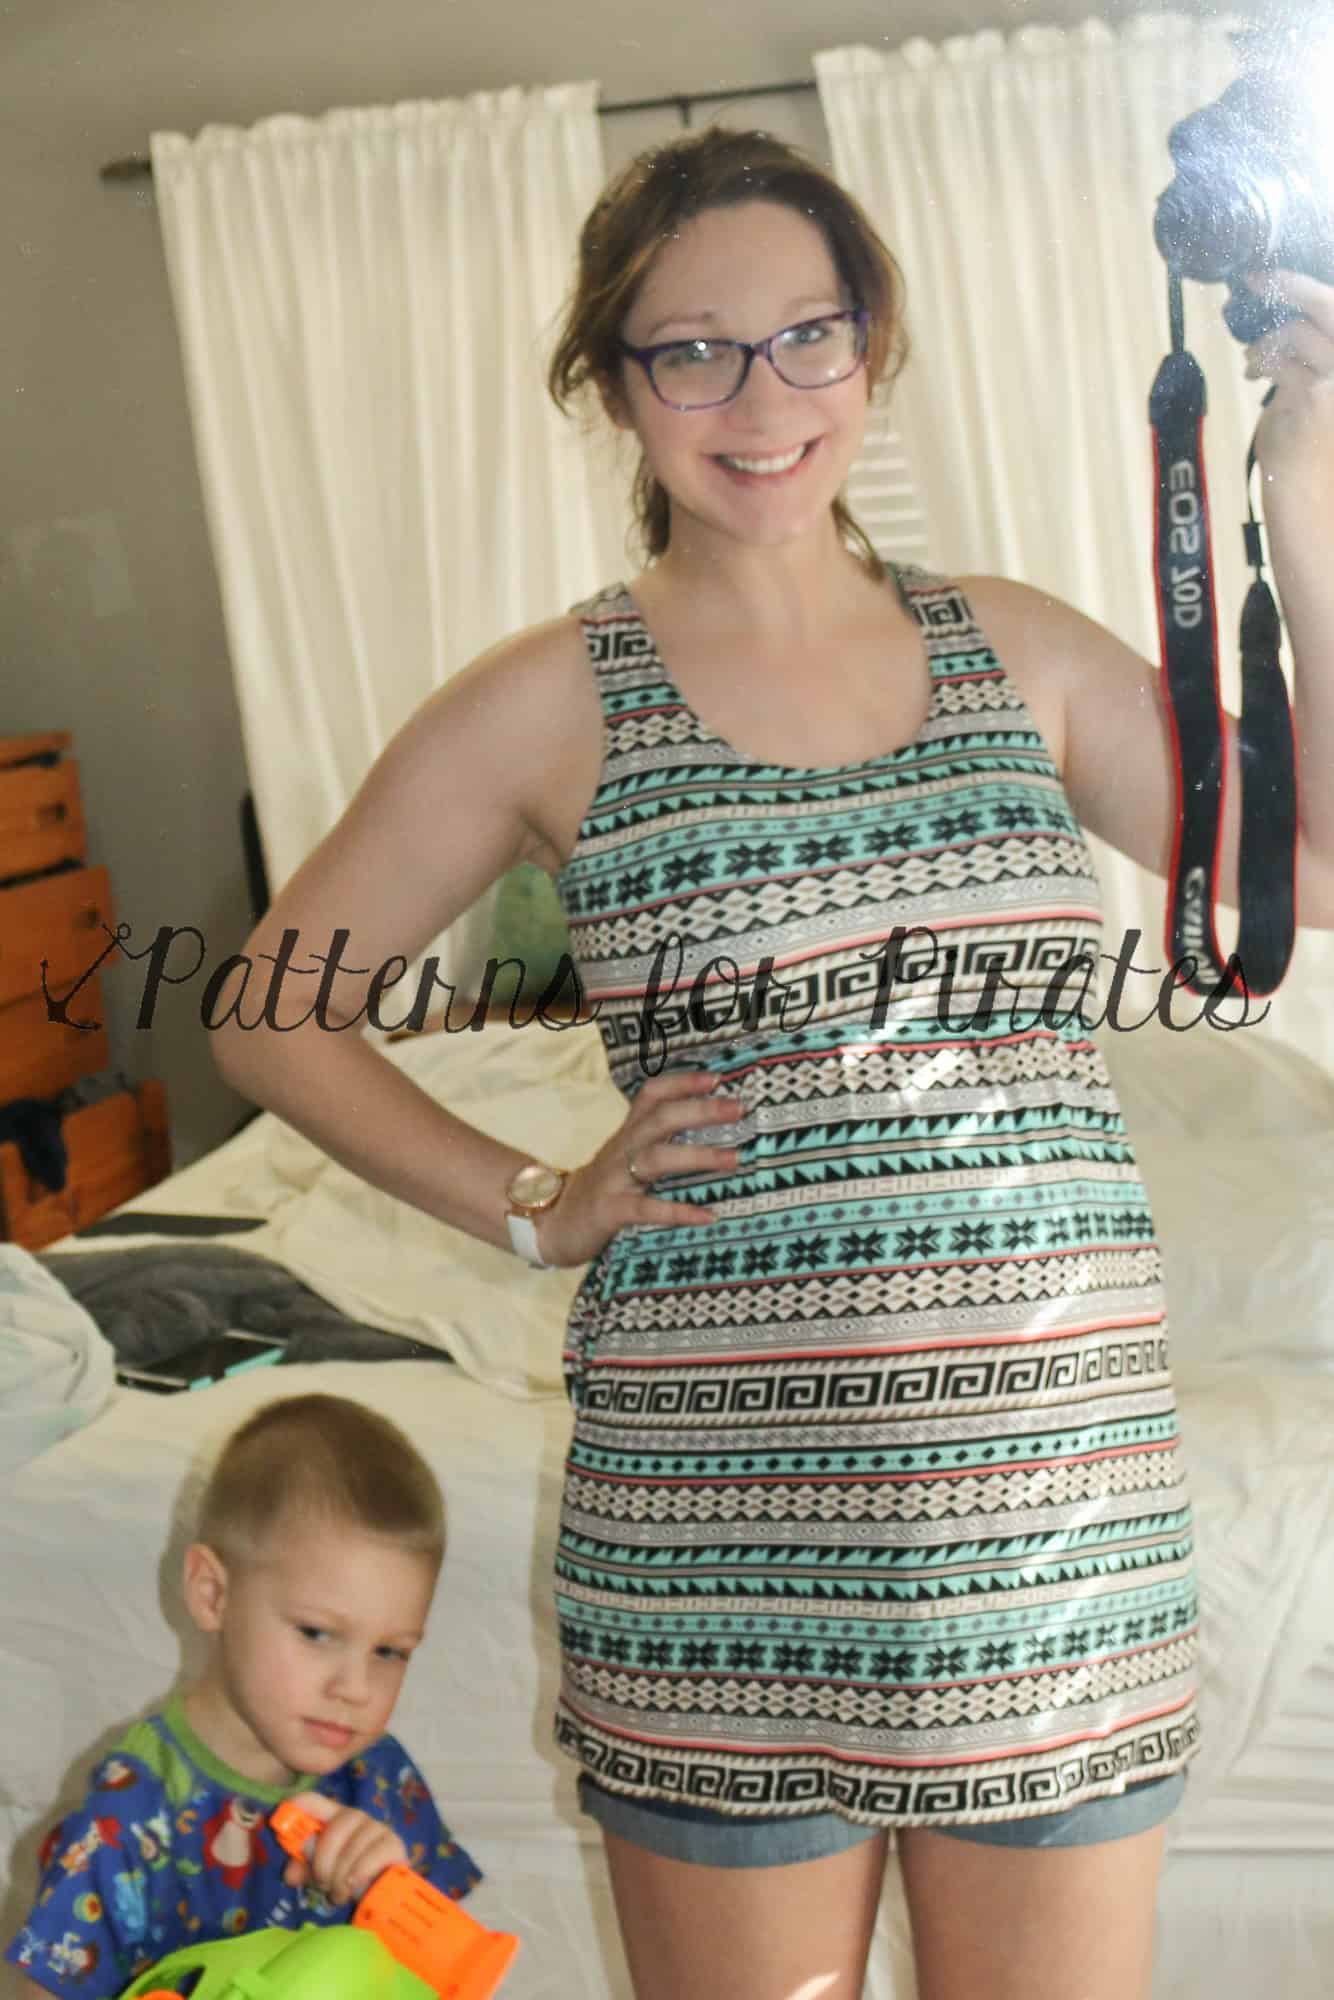
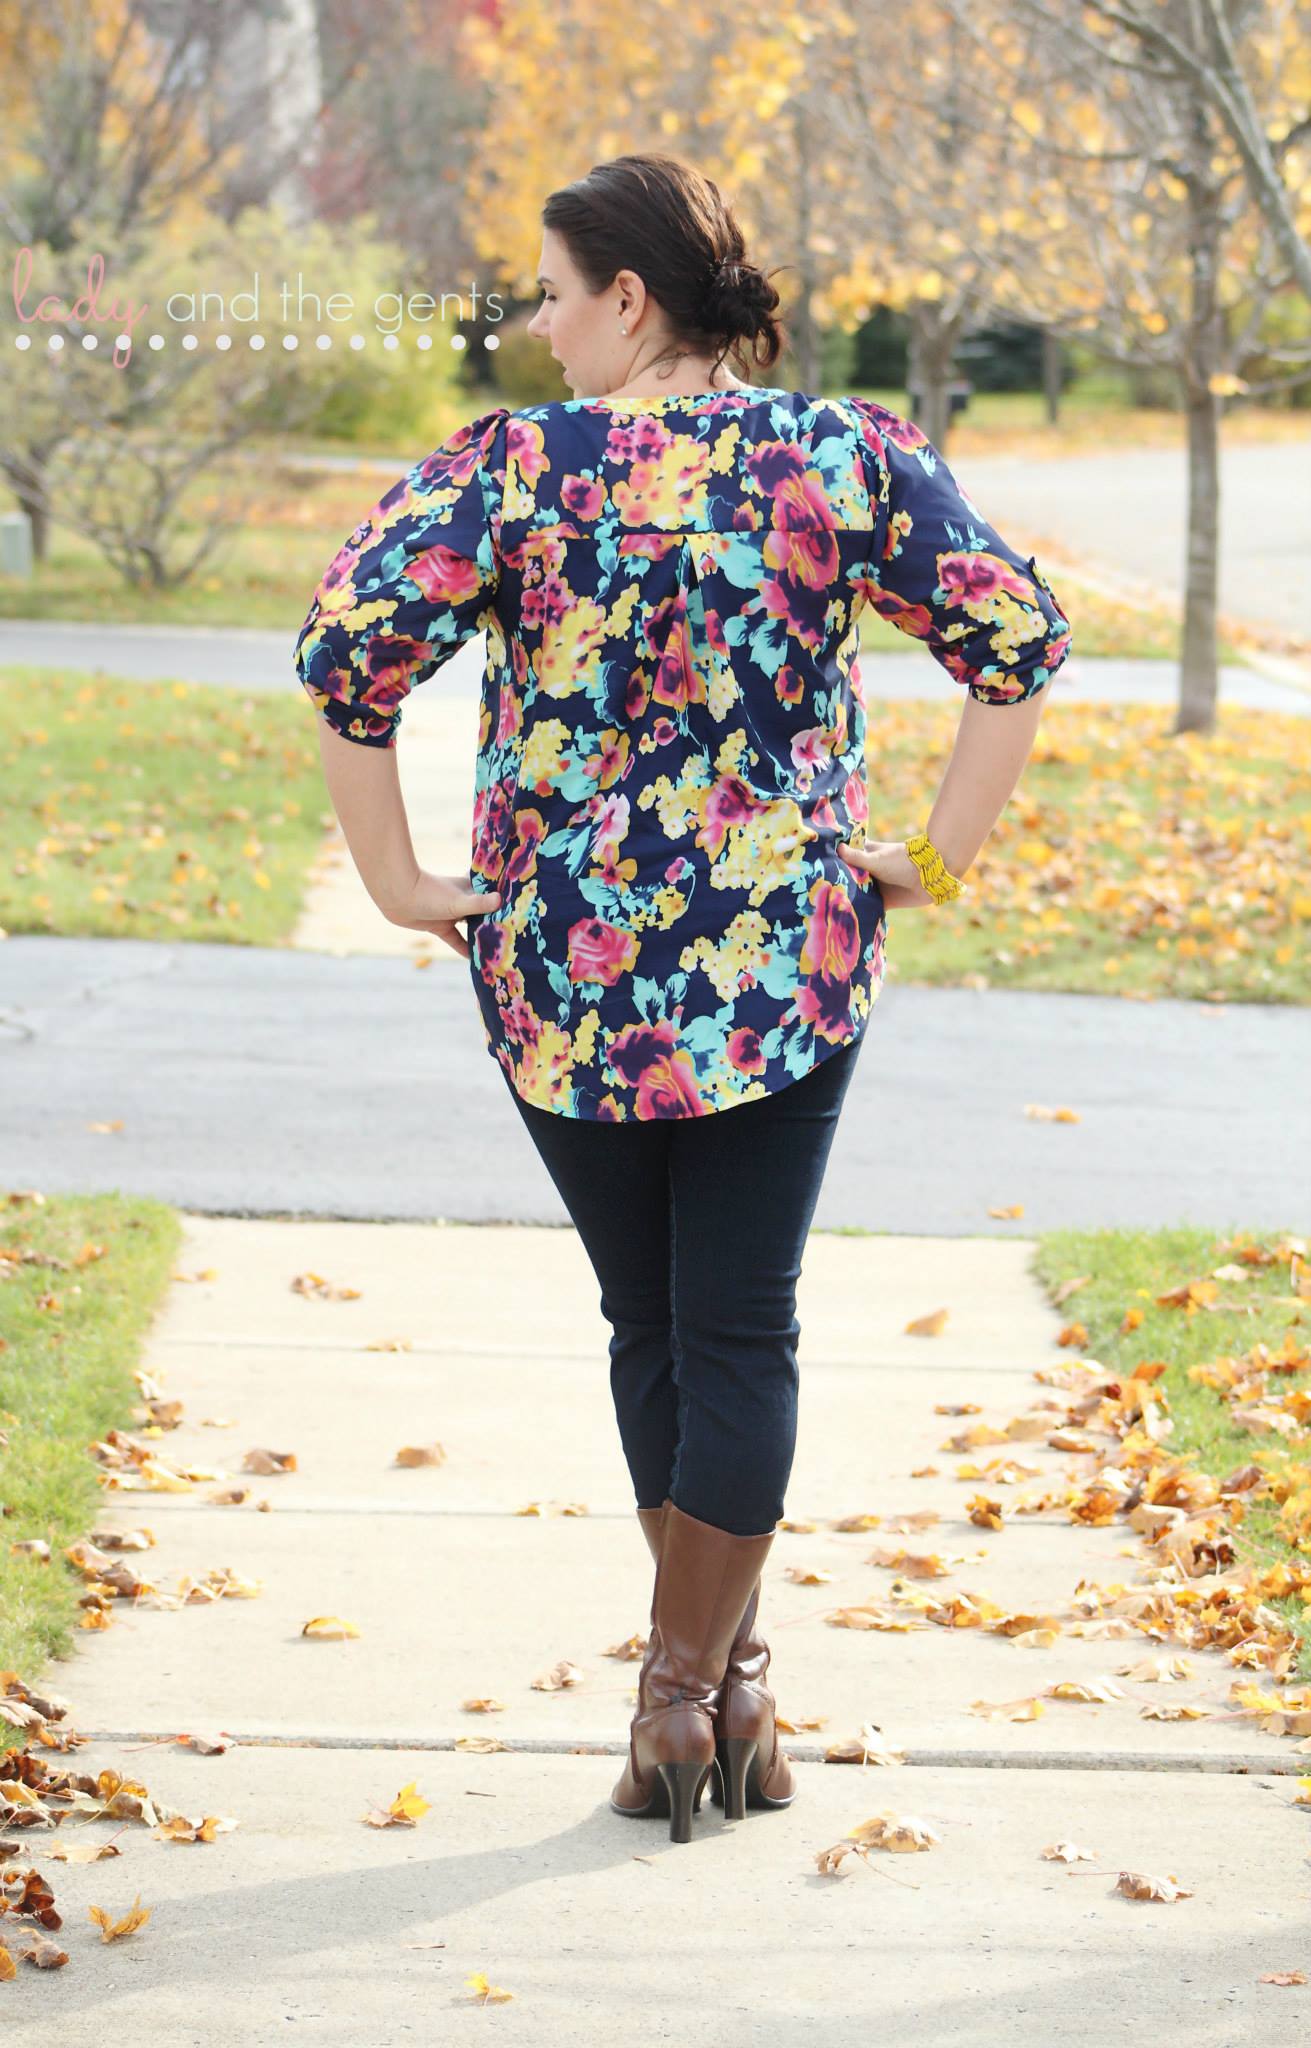
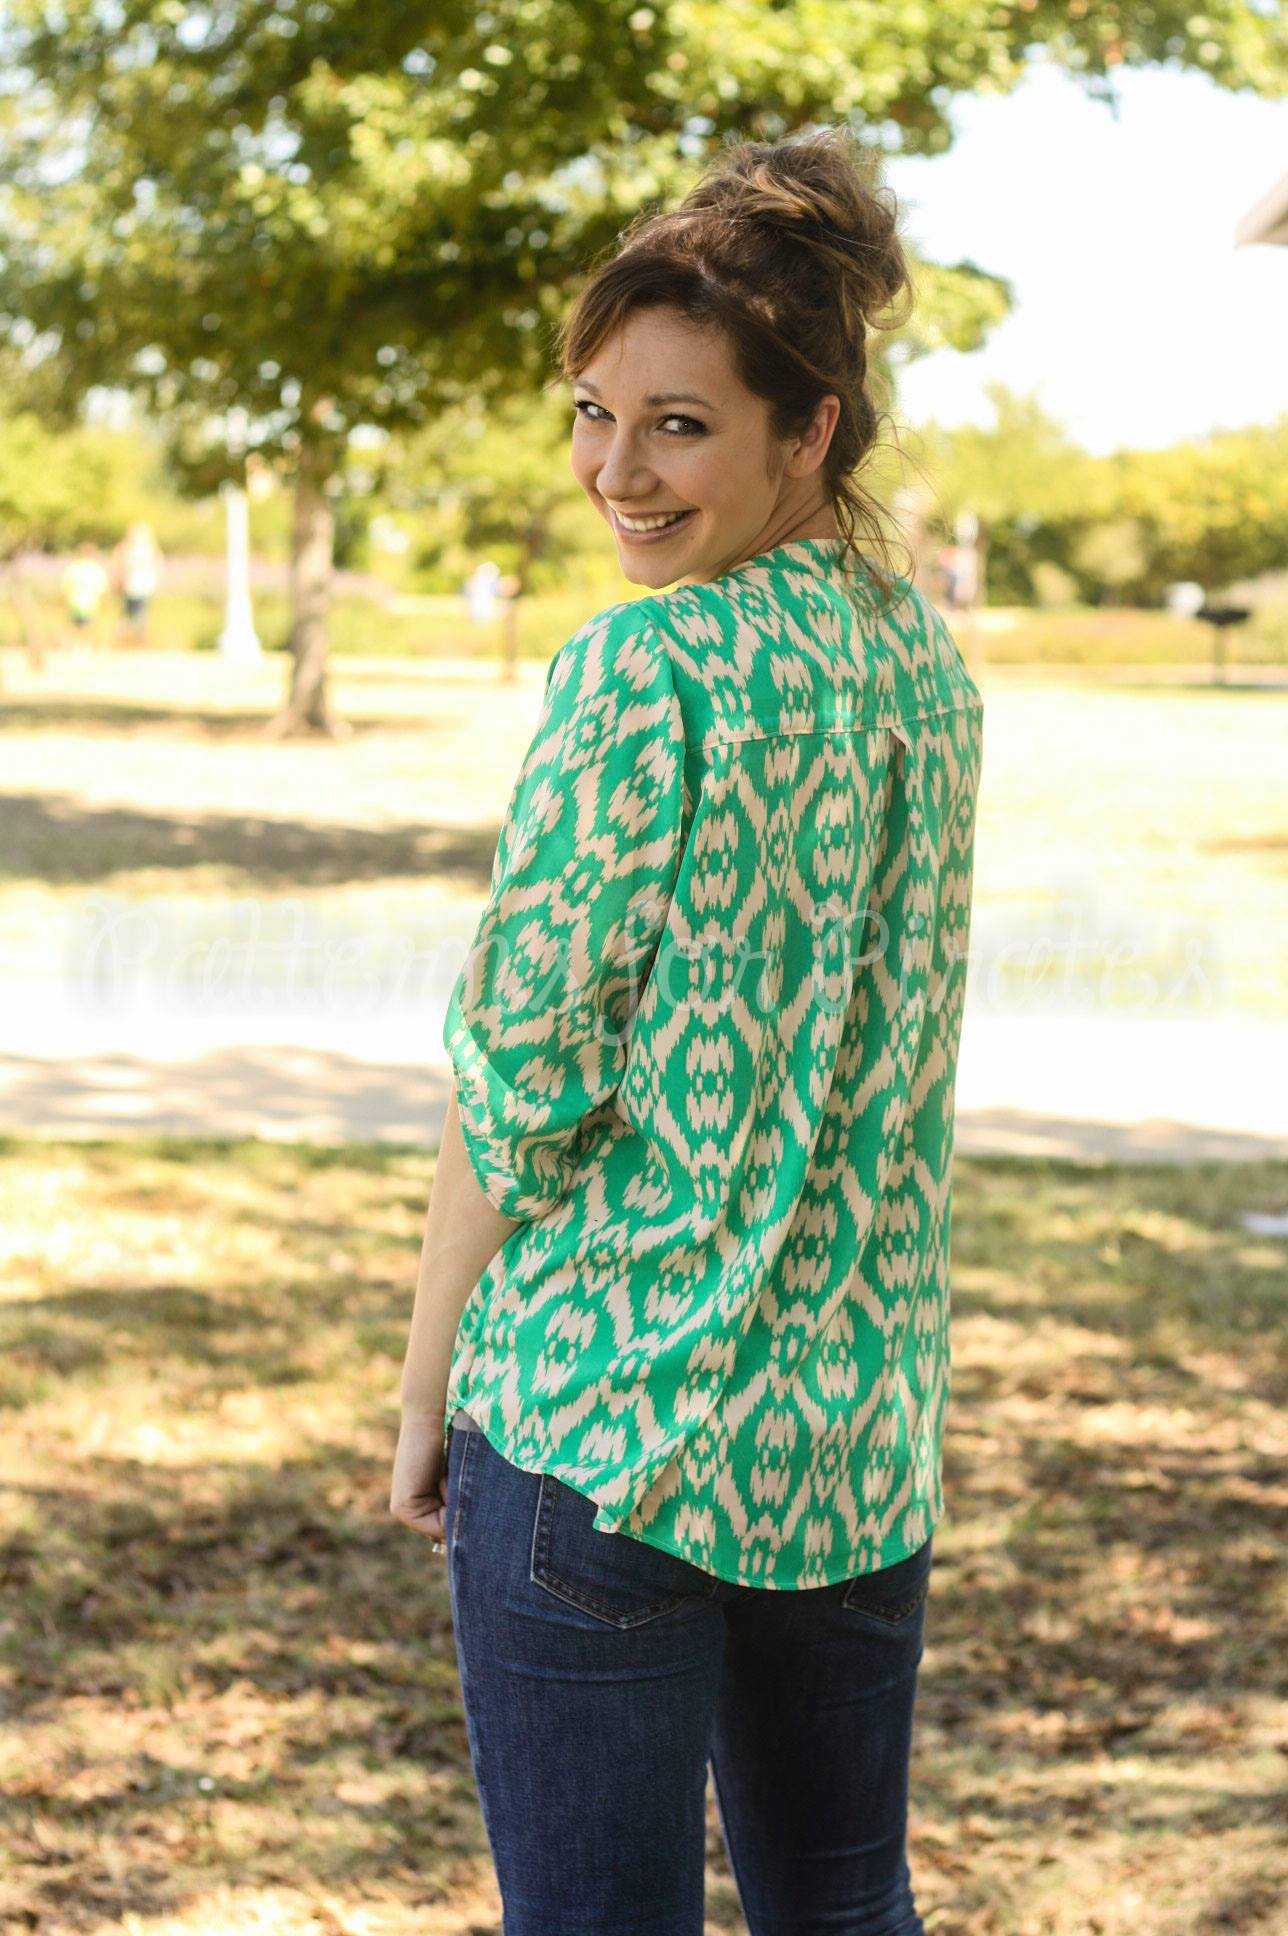
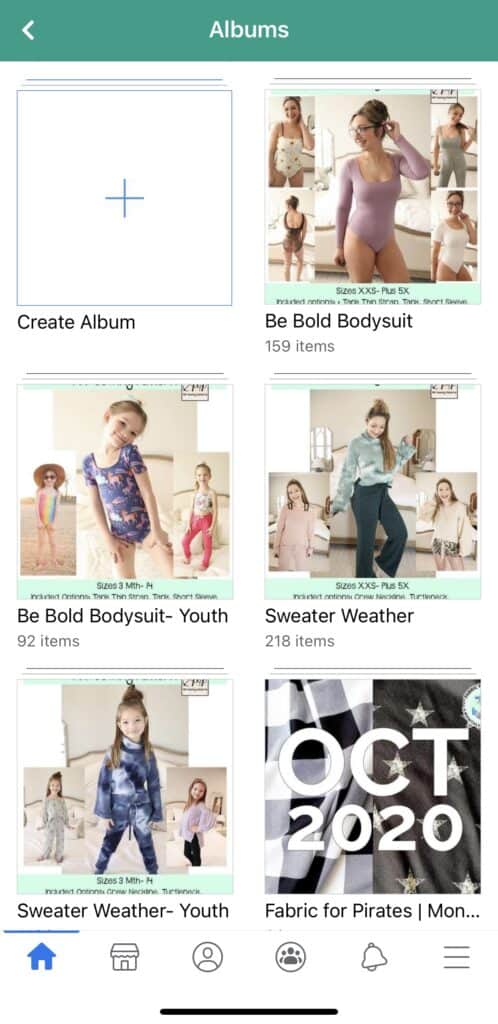
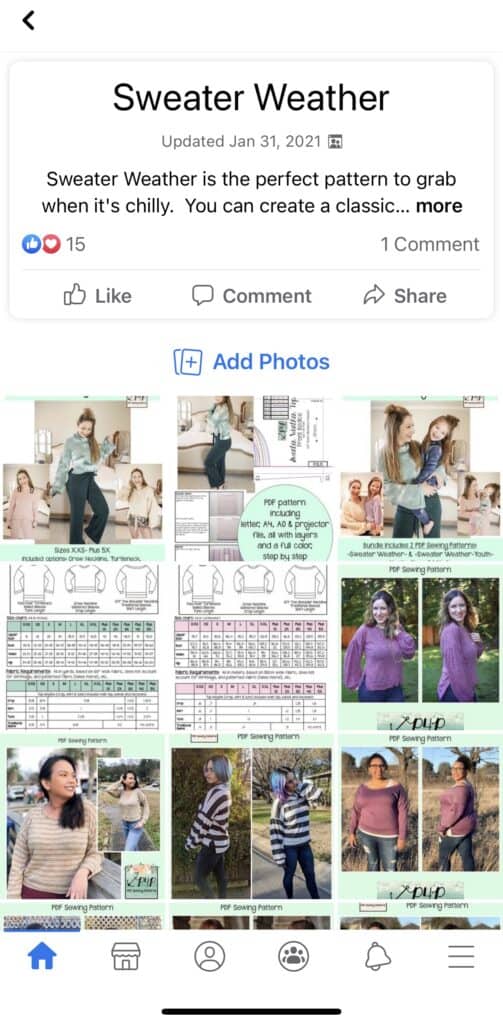
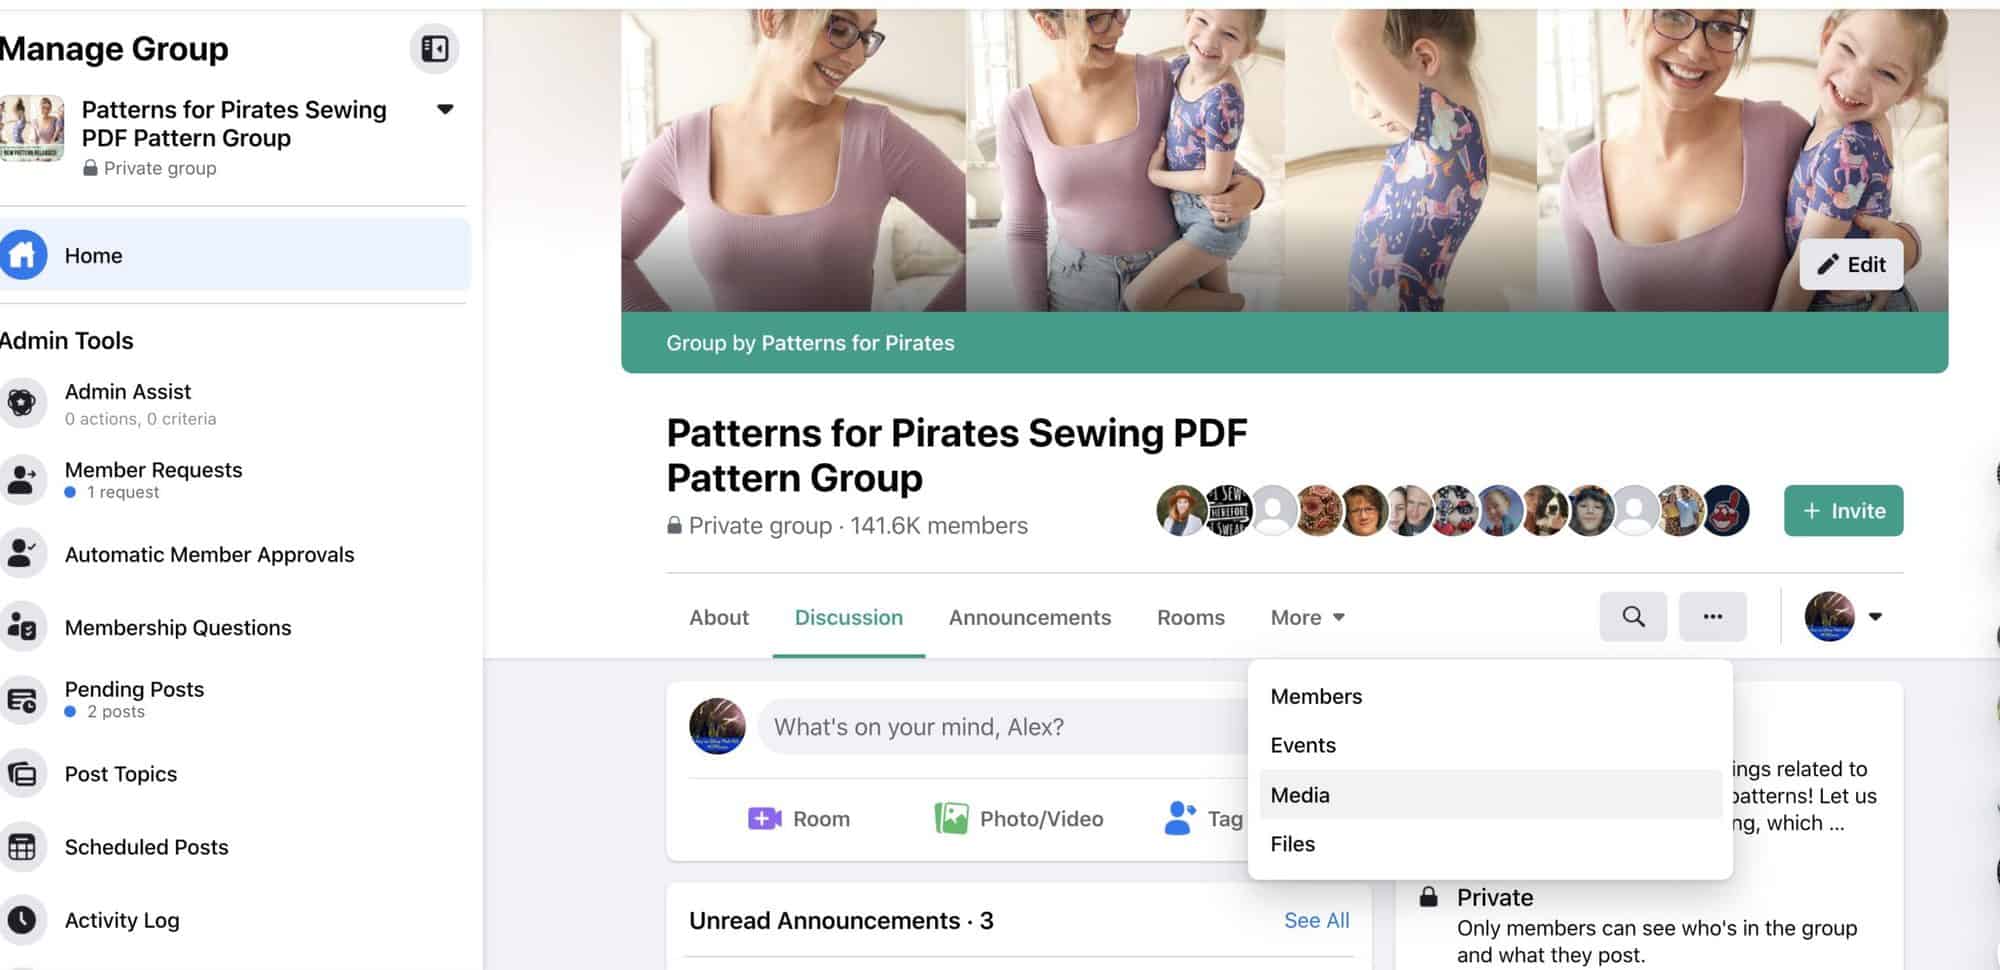
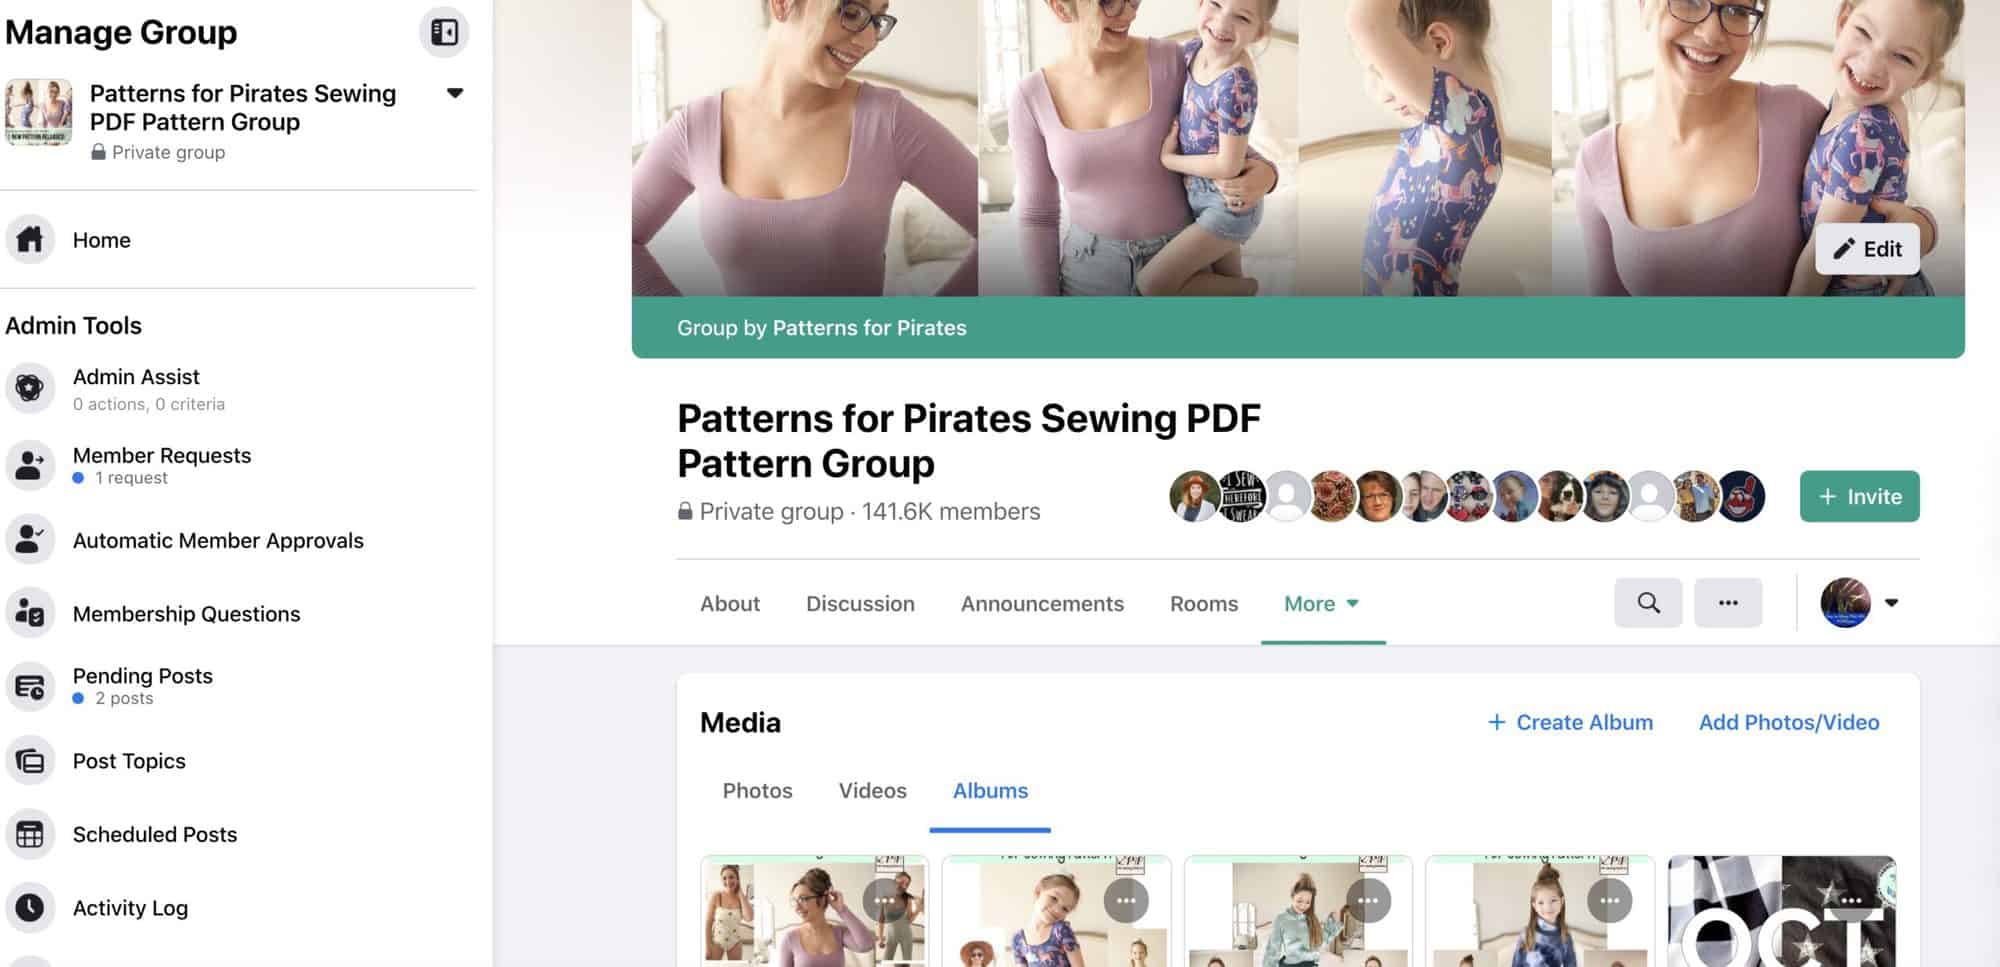
  • Look through the pattern album in the group! Yes, I have an album for almost every single pattern filled with A TON of pictures of every size and option for everyone to look through to see the intended fit of the pattern.  You can see where it is fitted, loose, and how it looks on a variety of sizes and body types.  Most pictures are also labeled with their size and their fabric choose to help even more! You can view the albums both mobile and on a desktop! Just go to the P4P FB Group and click “view group info”.  From there you can click “pictures” and go to “albums”.  Scroll through for the particular patterns you’re looking for! 🙂
  • Mobile View:


  • Desktop View:


*Choosing fabric- One of the most IMPORTANT parts of following a pattern is to use fabric that is suggested by the designer.  If you don’t you will not have the intended look that is shown on the cover and listing pictures.  The wrong fabric can mean a loose fit turns snug, a flowy fit turns tent-like, and so on.

  • Knit fabrics– I often give the percent of stretch knit fabrics should have for fitted patterns. Here is a quick link to my sister’s blog with a video on how to find the percentage of stretch: Megan’s Blog Post
  • Different fabric = Different look and fit— if you do not follow the suggested types of fabric you have to be prepared for the garment to not look and fit how it is intended and showed in the pattern listing pictures. I make sure that all my testers follow those suggestions, so all the tester pictures are going to show the intended fit and look. If you are unsure, read our Different Fabric, Different Fit before you decide.
  • Buying online- I love to buy online.  In fact, I pretty much get fabric from an online source or scramble to “borrow” some from my Mama’s large stash ;).  I hardly ever make it to a brick and mortar store! BUT, there seems to be an endless amount of fabric types to learn as a beginner seamstress and online shopping can be very difficult to navigate.  I always suggest buying from a smaller shop that you can message questions to!  Being able to ask how thick/thin, percentage of stretch and even if it would be good for a certain type of garment is such a nice bonus to supporting a smaller shop!
    • There are a lot of shops offering non custom fabric online as well as an abundance of custom knit designers/hosts FB that are smaller businesses (but be weary-sadly there are many that have been scammed by these groups, so look for well established custom groups).  I love destash fb pages where you can buy from other sewists, but often you’re buying from someone who doesn’t know the full description of the fabric, so I don’t recommend this for beginners.
    • Stick to searching the exact recommended fabrics until you are confident with all the different kinds of fabrics out there.
    • We also offer a monthly subscription where you can receive a 2 yard piece of fabric, hand selected by our team. Get all the details about Fabric for Pirates here.
  • Fabric Requirements- I list fabric requirements on the last listing picture under the size chart as well as the first few pages of the tutorial.  I often break up the fabric requirements into different options and different parts of the garment. Example: Relaxed Raglan I list main body 7/8yd and long sleeves 7/8 yd, this means you will need 7/8 for the main body and an ADDITIONAL 7/8 for the sleeves.
    • As described in the tutorial, the fabric requirements do not include extra for fabric being cut off grain, shrinkage after prewashing (I ALWAYS recommend pre-washing fabric before cutting!), or to match any kind of patterned fabric/directional fabrics.
    • I recommend buying a little more to account for these things 🙂

Screenshot 2015-10-23 13.24.34

*Looking for more inspiration- If you have looked through the listing pictures, album pictures in the FB group and still want to see more you can use the search bar in the Facebook group. with our hashtags to help! Some pictures are tagged with hashtag/pattern name… here are a few for examples: #peglegs  #carefreecardigan #cptmackcardigan… using the hashtag will help pull up pictures and not posts about the pattern 🙂


Now we’re finally ready to begin!

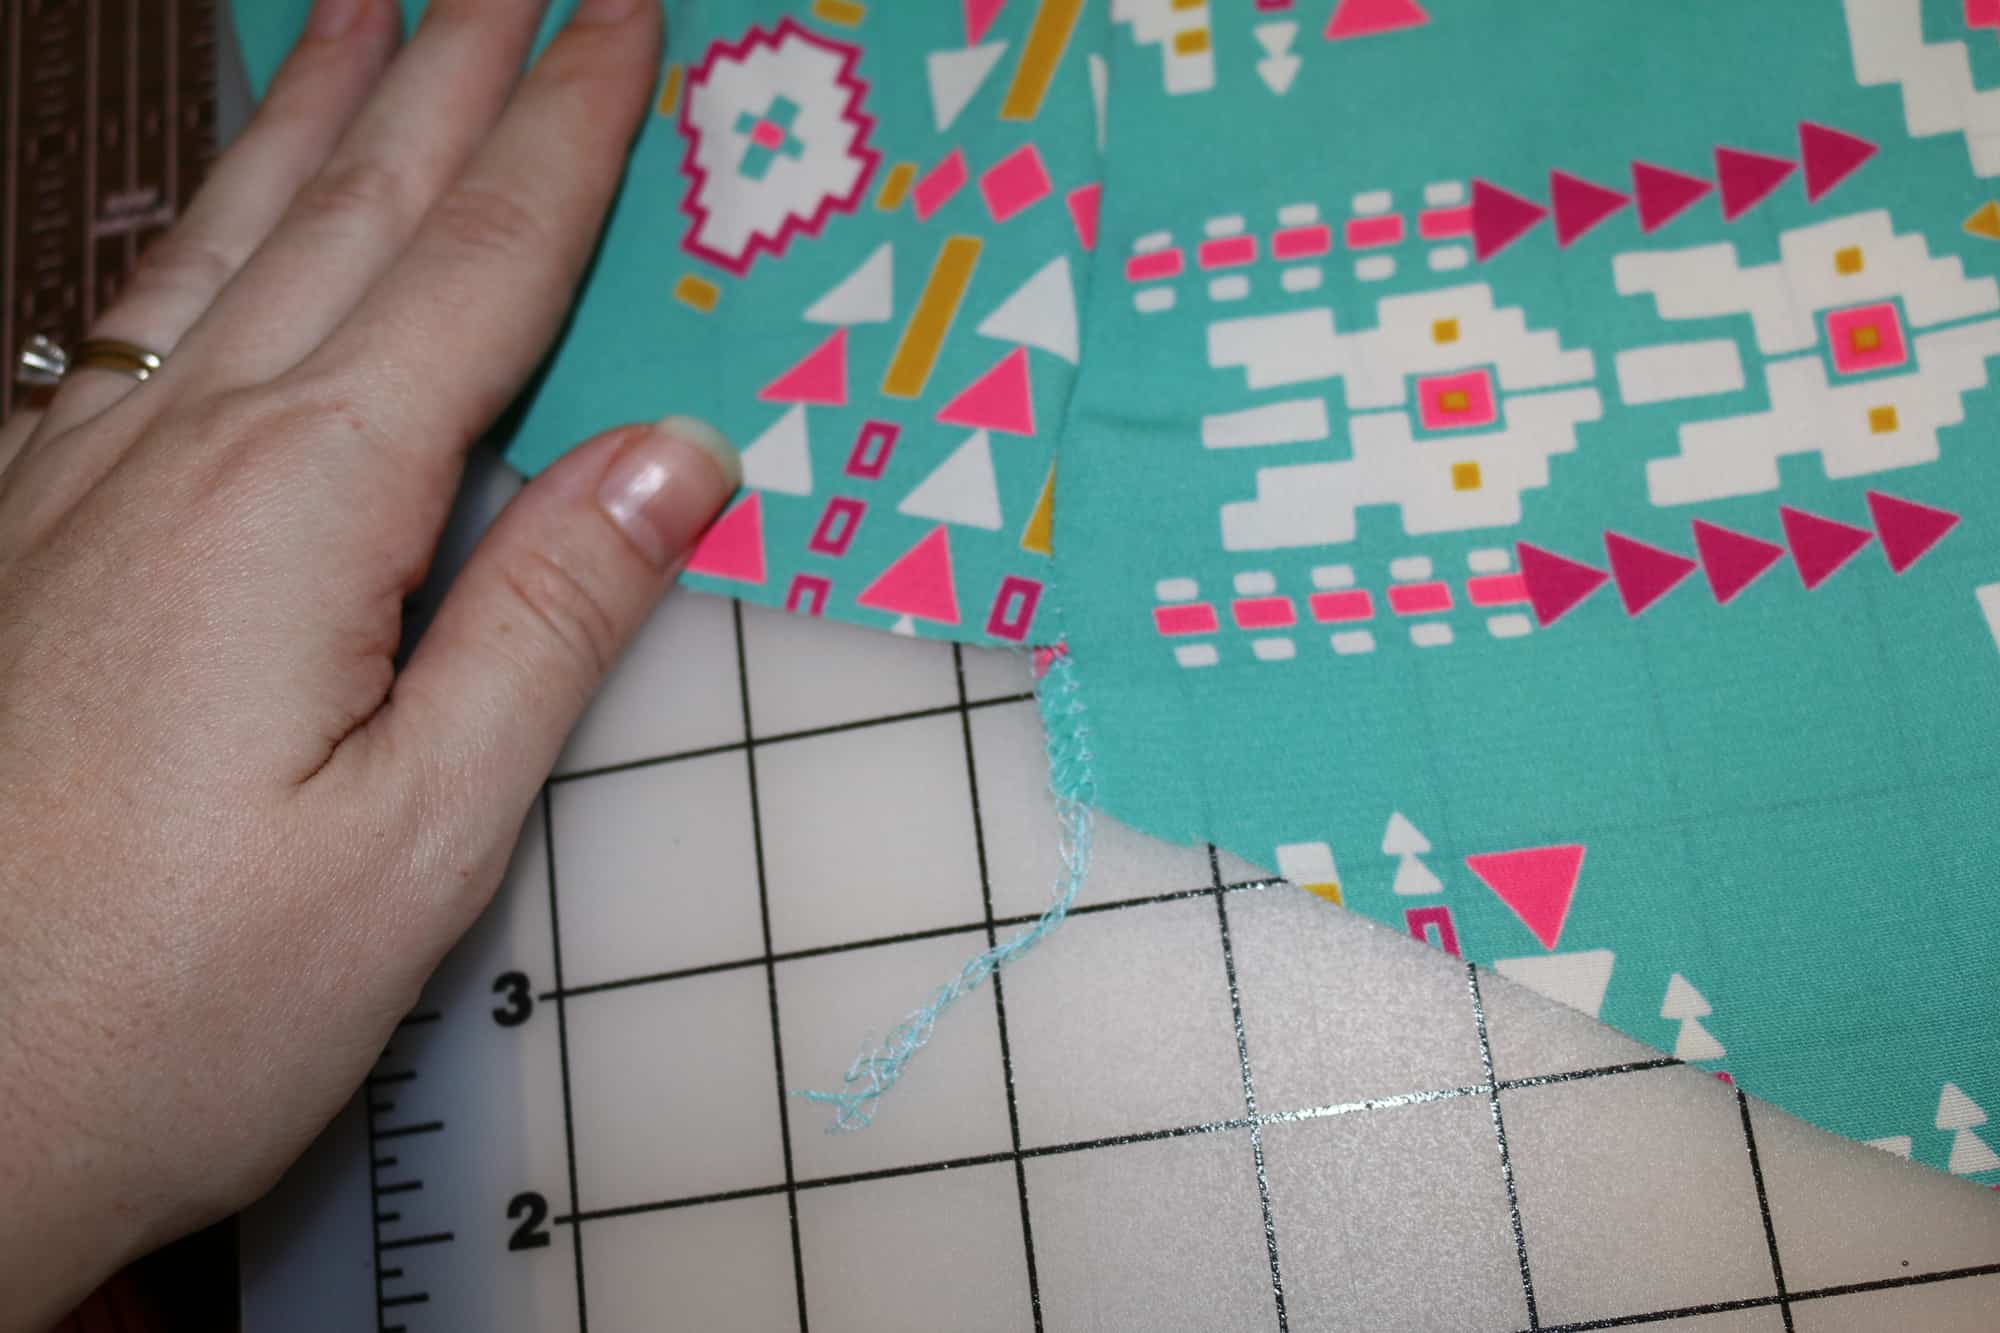
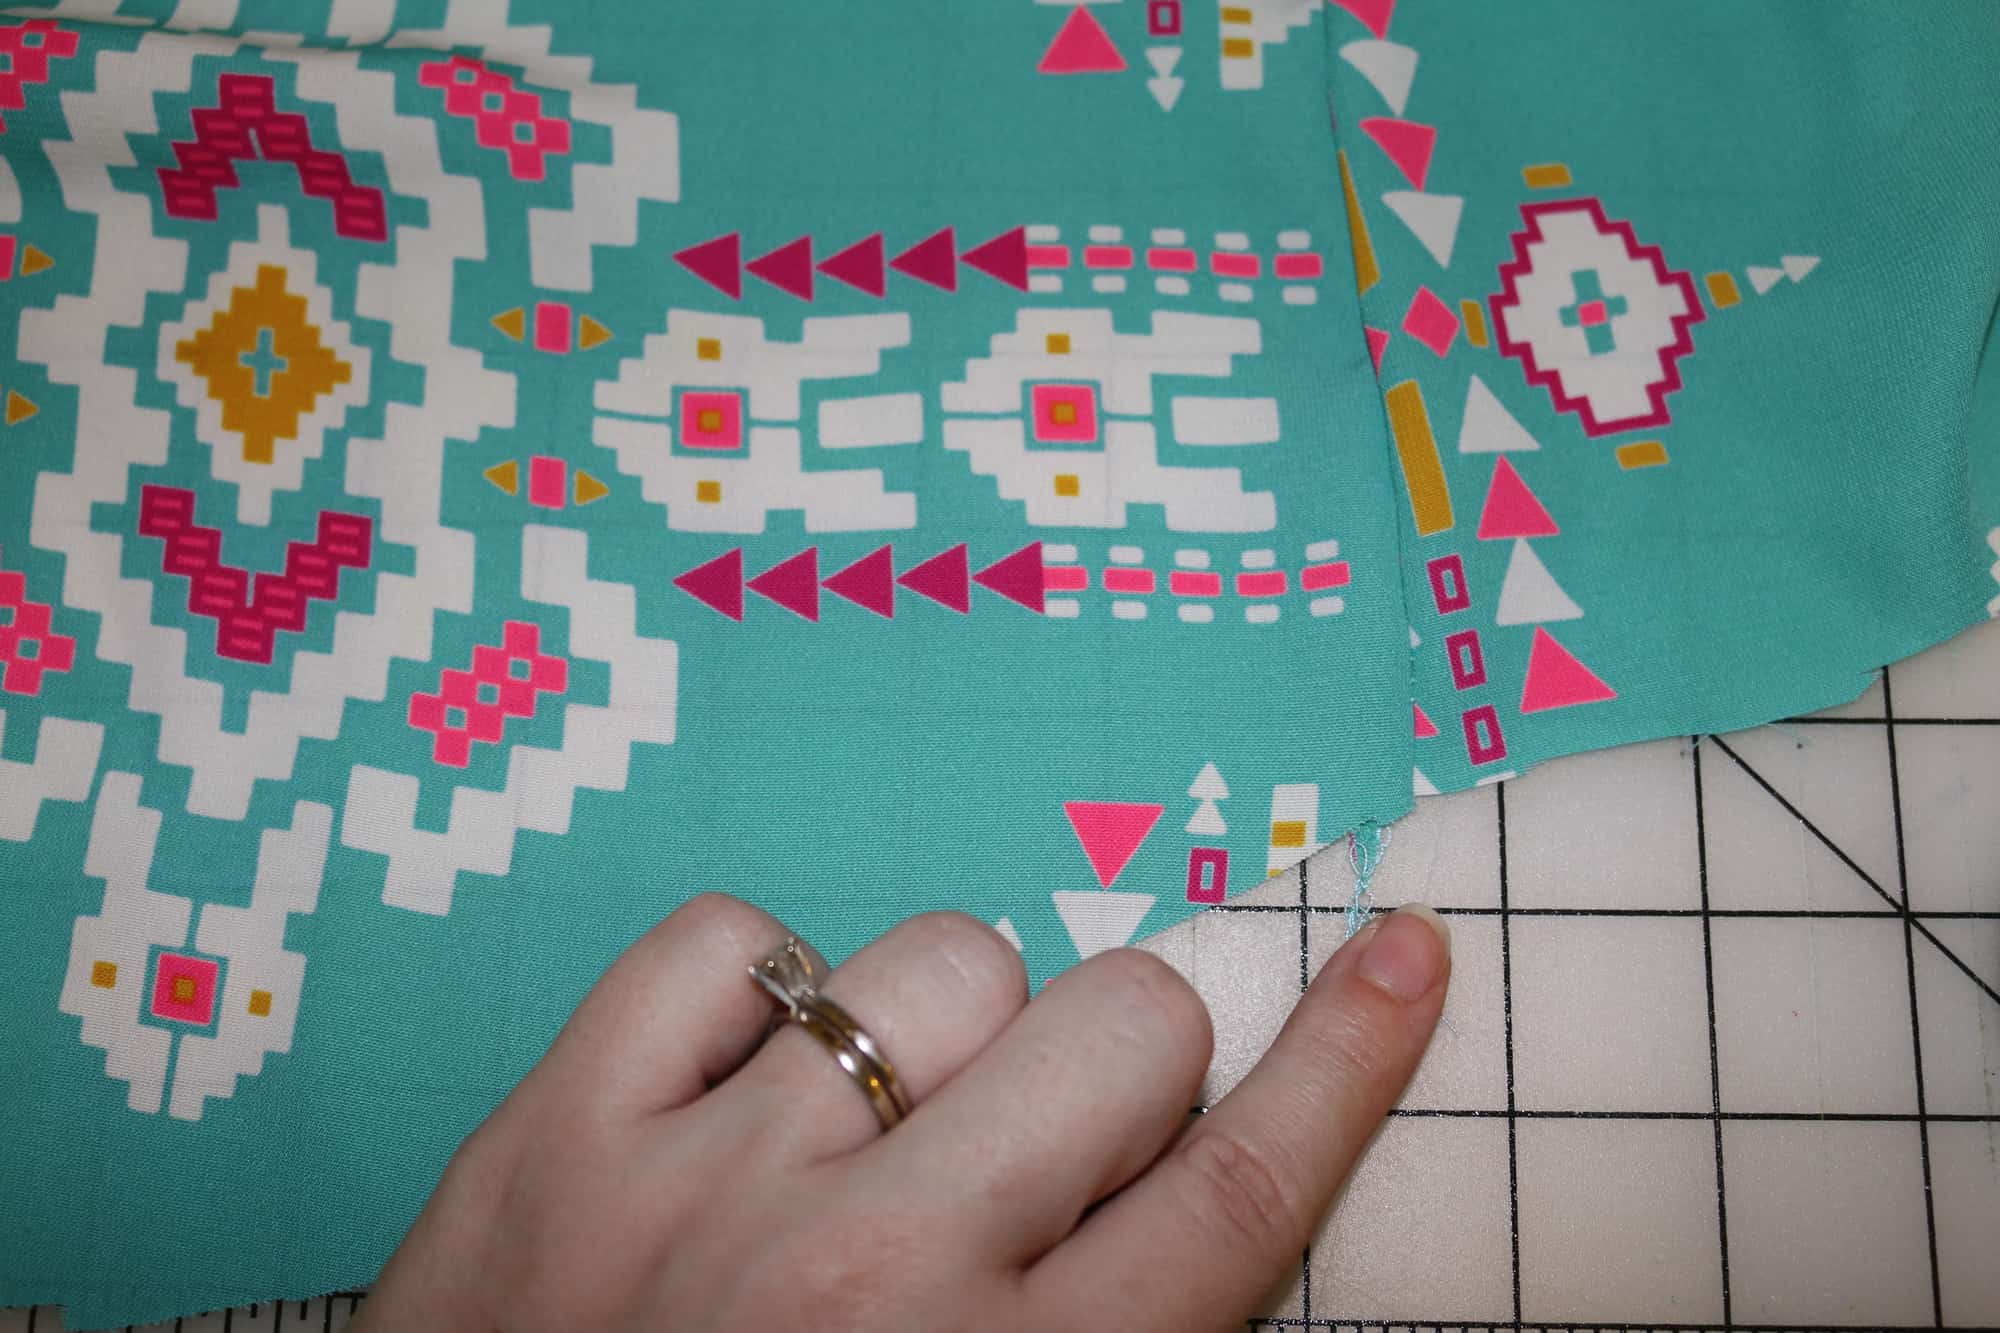
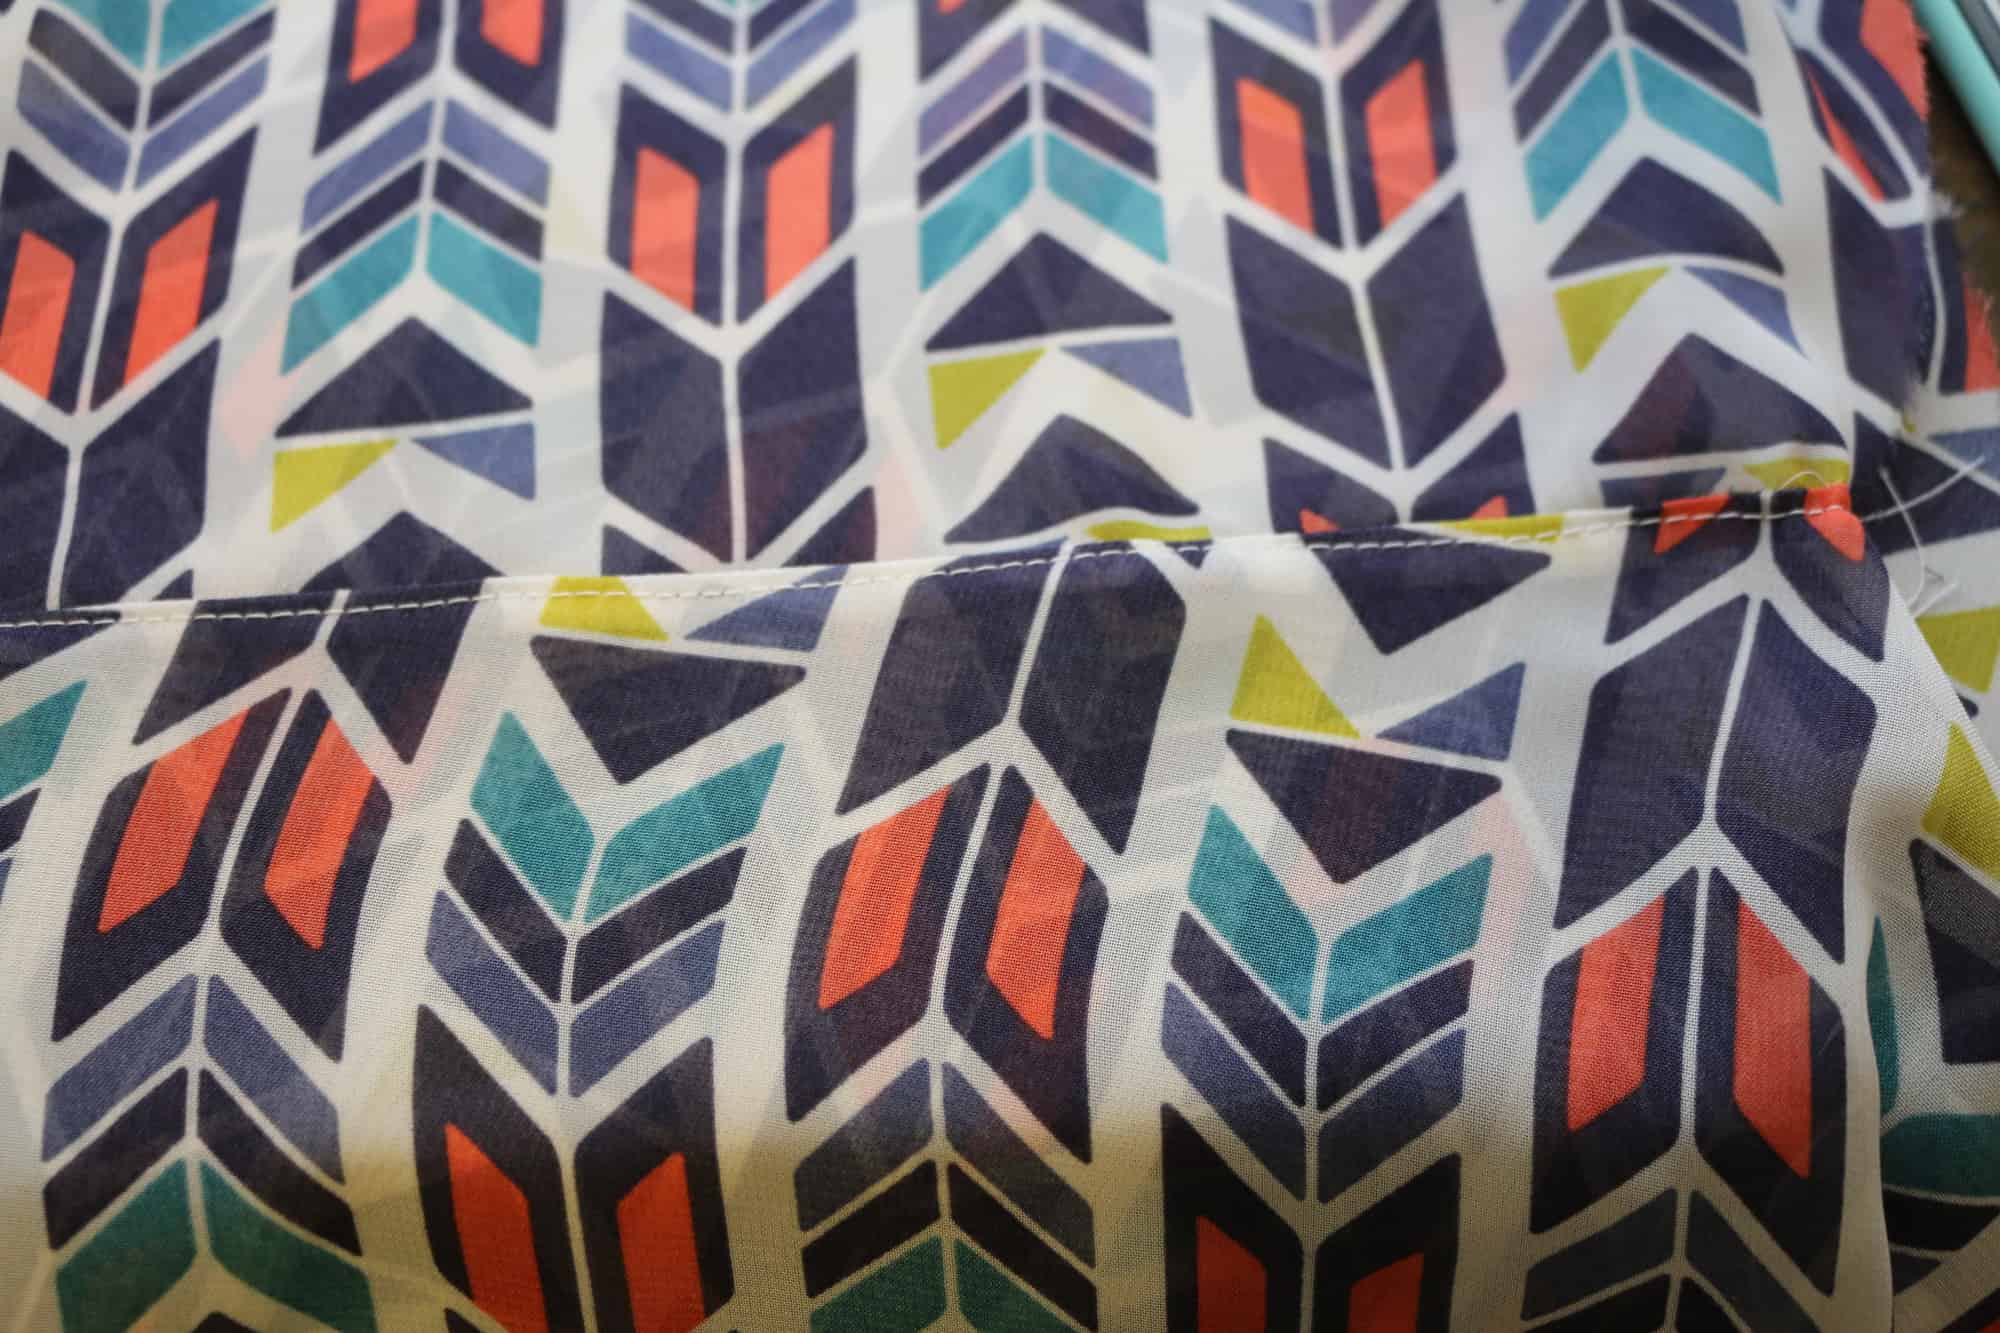
*Cutting fabric- It is important to cut your pieces along the grainline of the fabric.  Grainline is easily found parallel along the selvage of the fabric (the sides that are not cut by the store).  You want to match your selvage/grainline to the grainline arrow on the pattern piece.  Making sure this is straight is important! If it is cut off grain/not straight it will hang not straight! Have you ever had a pant leg/sleeve/shirt always twisting while you wear it? That is because it was cut off grain! It’s really annoying! So take your time matching the grainline on both woven and knit fabrics.

cutting layout

*Cut chart- I include a cut chart for any rectangle pieces.  The measurements for the cut chart are located in the first few pages of the tutorial and on the pattern pieces.  This way you can cut your rectangle pieces without having to look up the tutorial :). Our newer patterns include rectangle pattern piece as well. Some sewists prefer to have everything printed so now you can chose.

  • I prefer to use my cutting mat, quilters ruler and rotary cutter for cutting rectangle pieces.  If it has a longer measurement I prefer to fold in half and cut on the fold for ease as well.  Again, make sure you are keeping your grainline straight.

*Direction of Stretch- I also include a direction of stretch arrow on all pattern pieces for knit garments.  It is always perpendicular to the grainline.  Even with 4 way stretch fabric the greatest amount of stretch will run horizontally on your fabric.  If it is on the fold, fold  your fabric selvage (the part not cut by the store) towards the opposite selvage as wide as your piece and place on fold.

B1

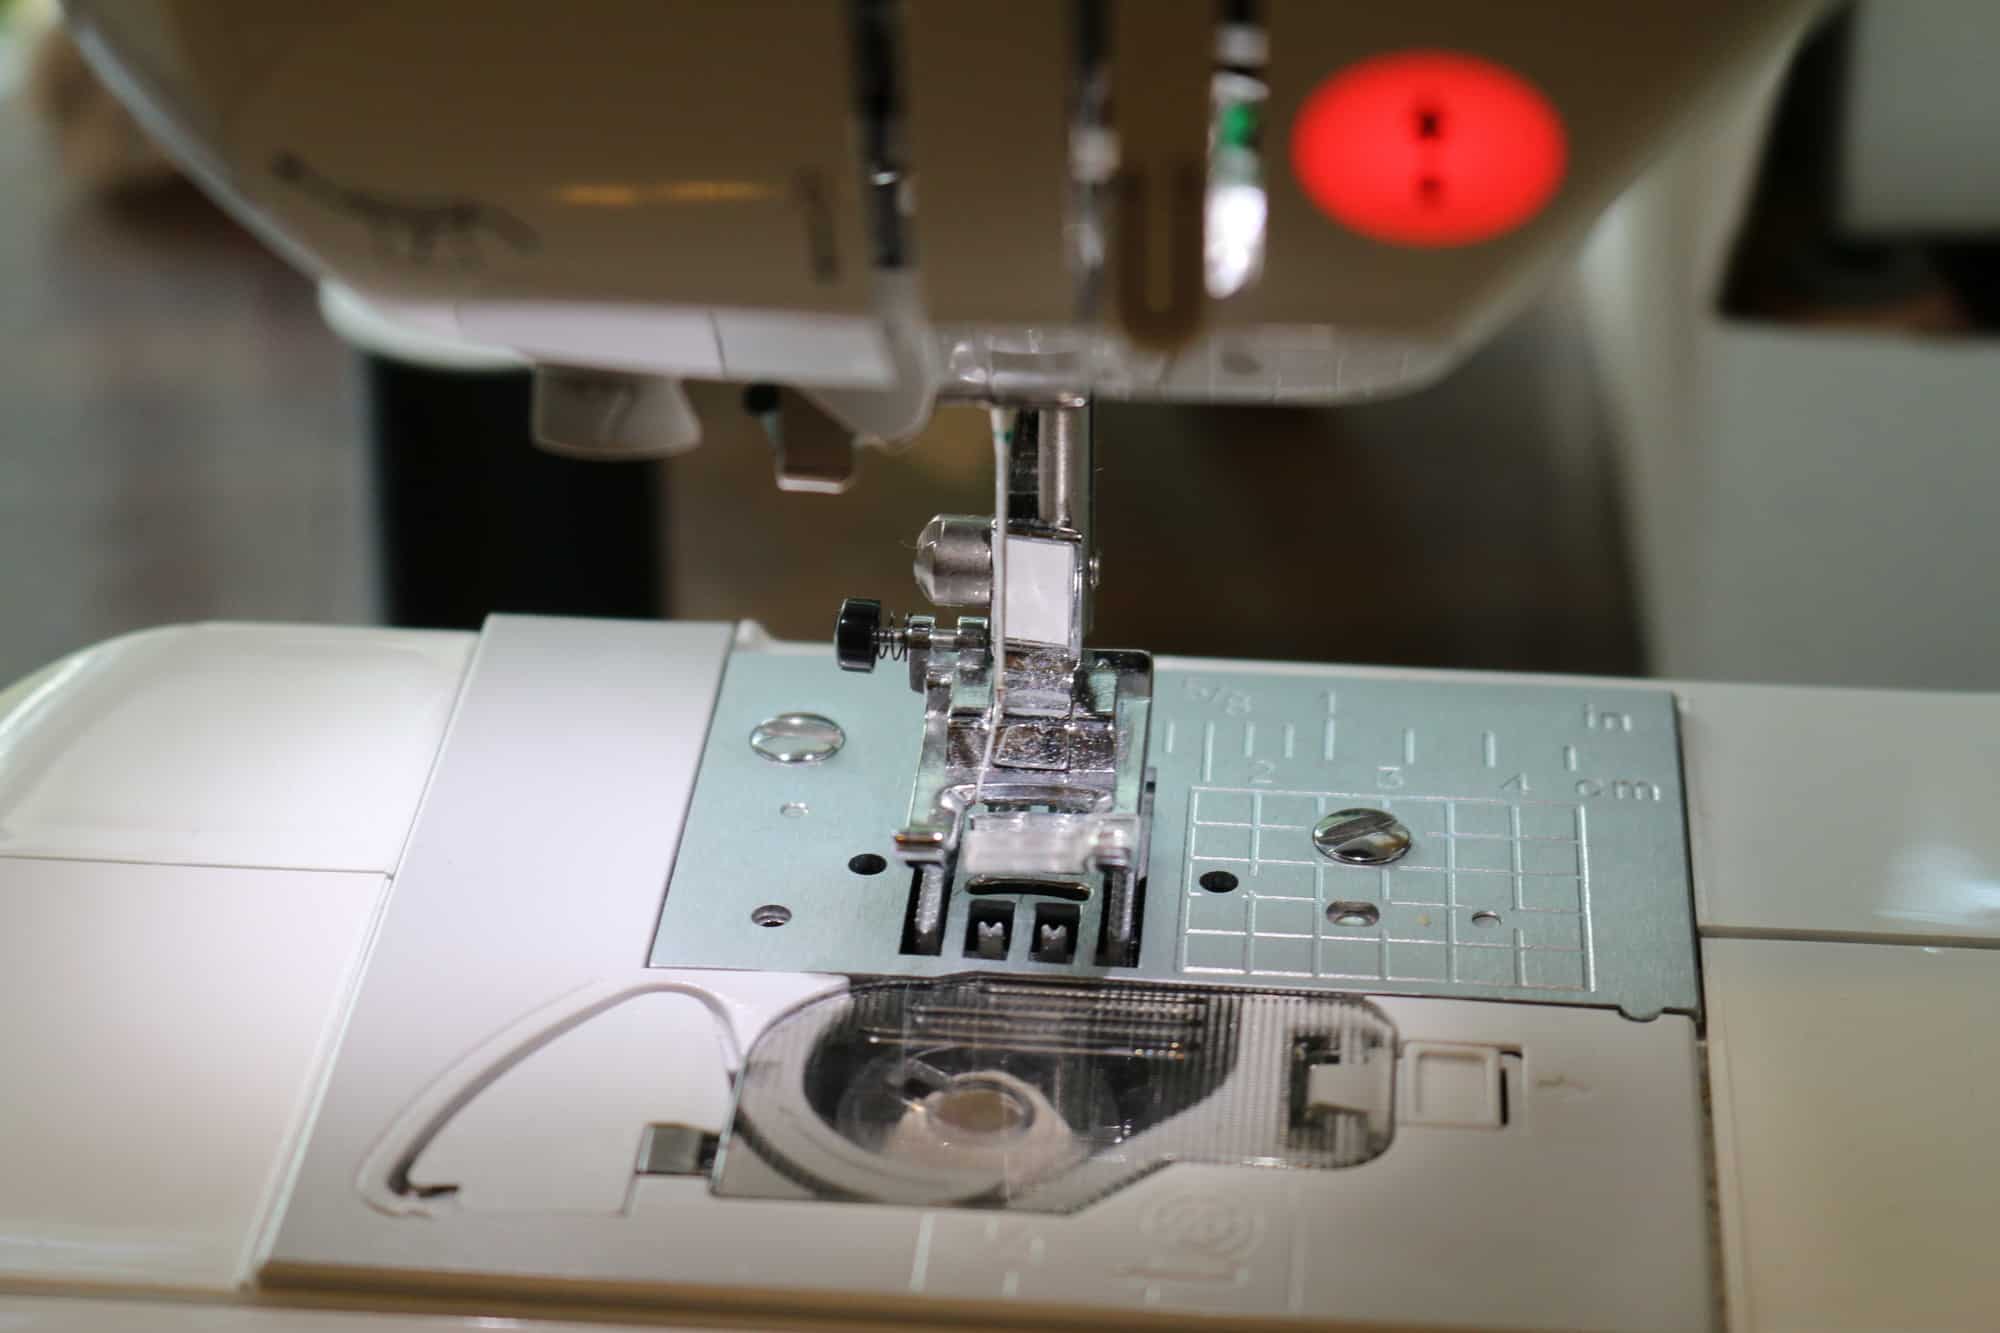
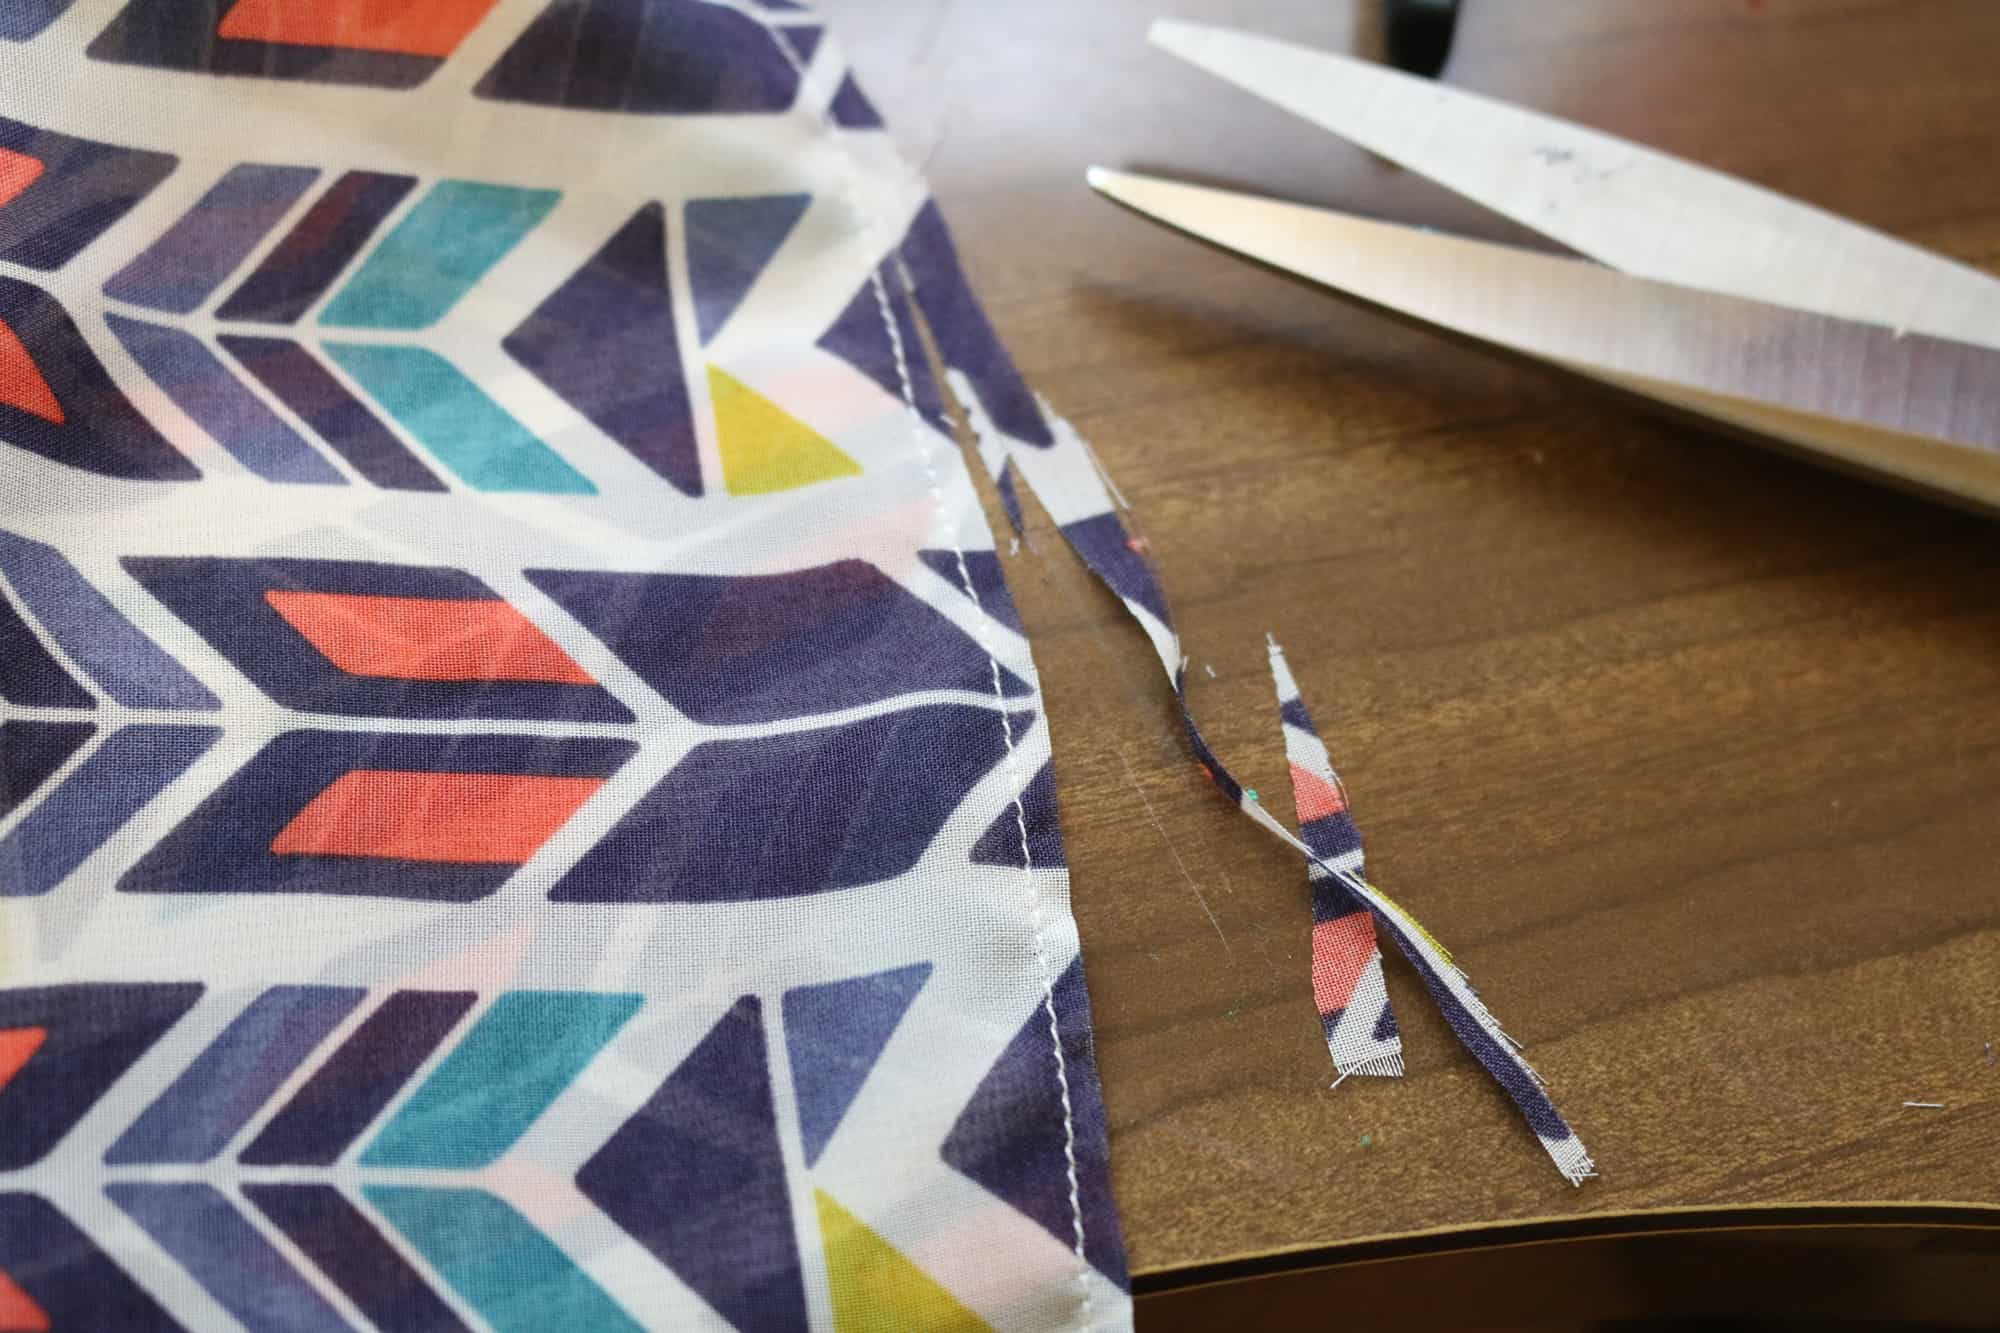
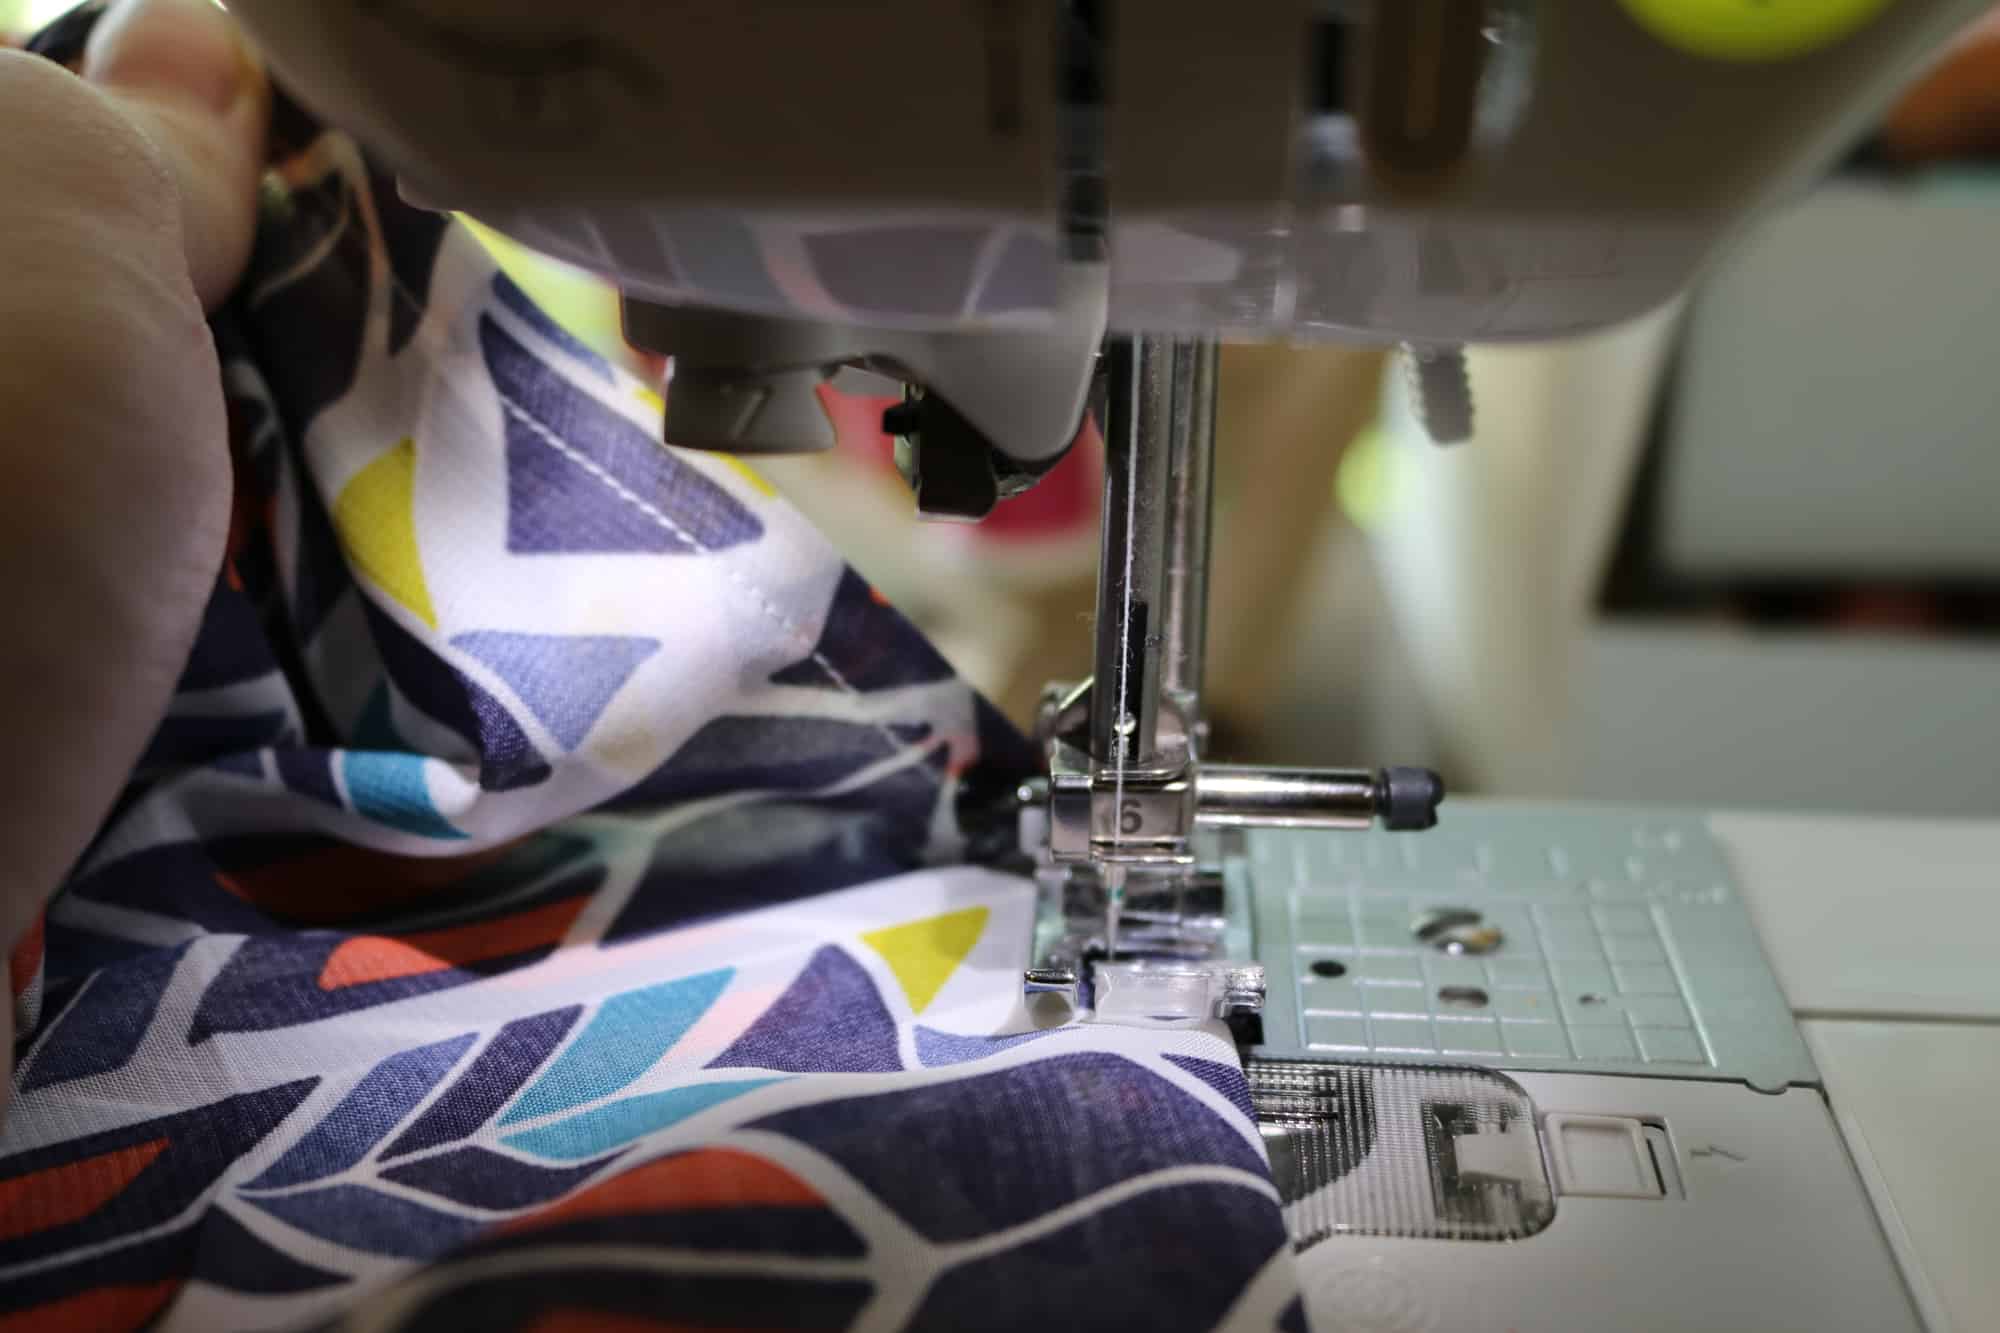
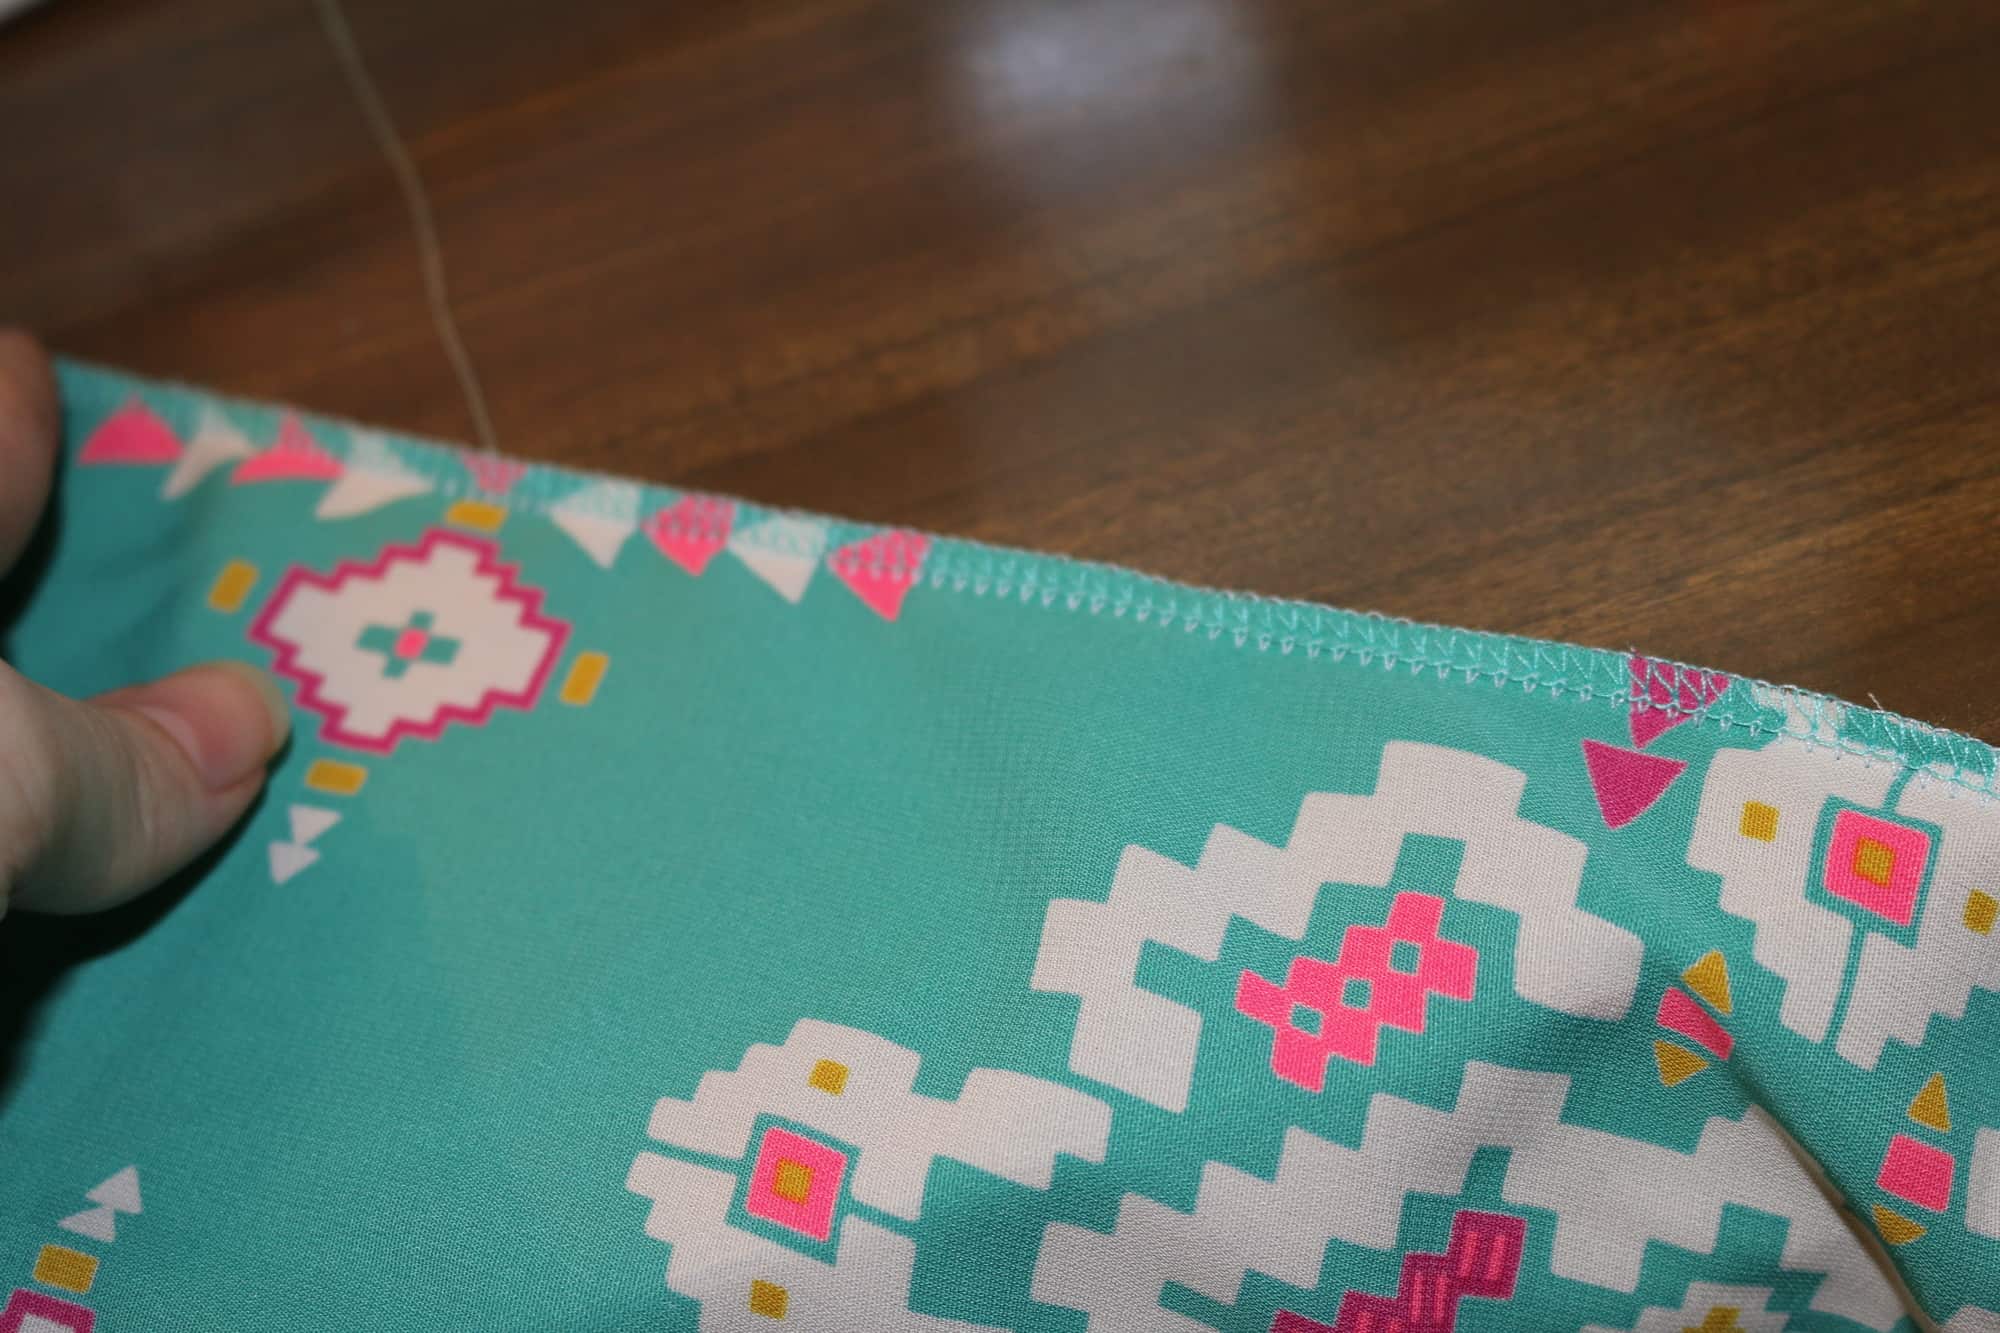
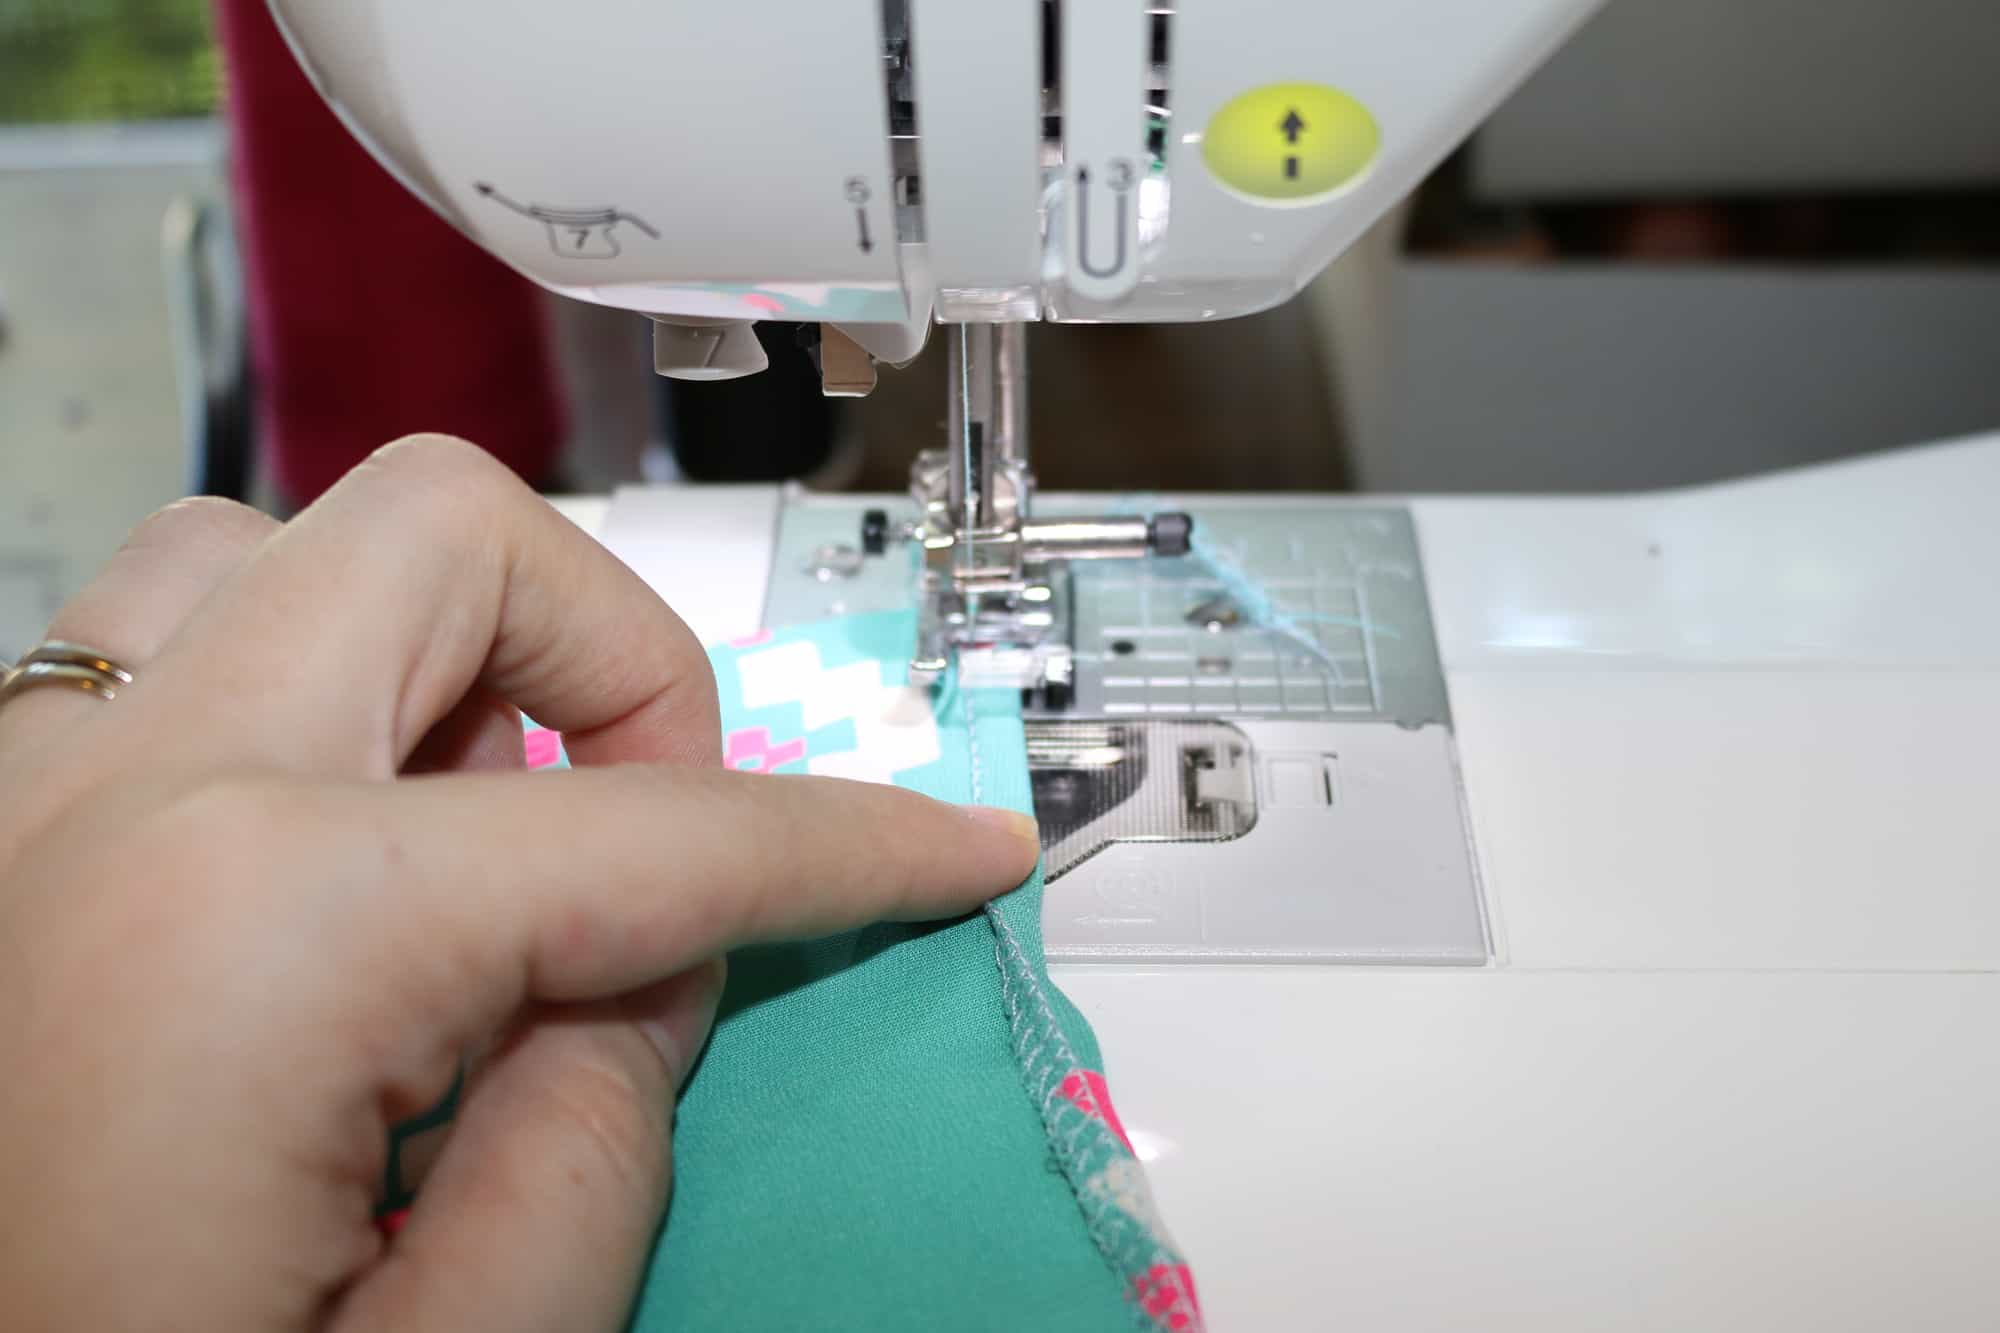
*Using a Stretch Stitch for Knit Garments- Since most of my patterns are for knit/stretch fabric I thought I would add available stretch stitches you can use.  I use a serger in the tutorial, this is a great machine stitch for stretch fabrics if you own one.  Basic sewing machine stitches that also work are

a) triple stitch

b) lightening stitch

c)honeycomb stitch

d) overlock stitch

e) stretch overlock stitch-this is my personal favorite usually-

f) double overlock stitch

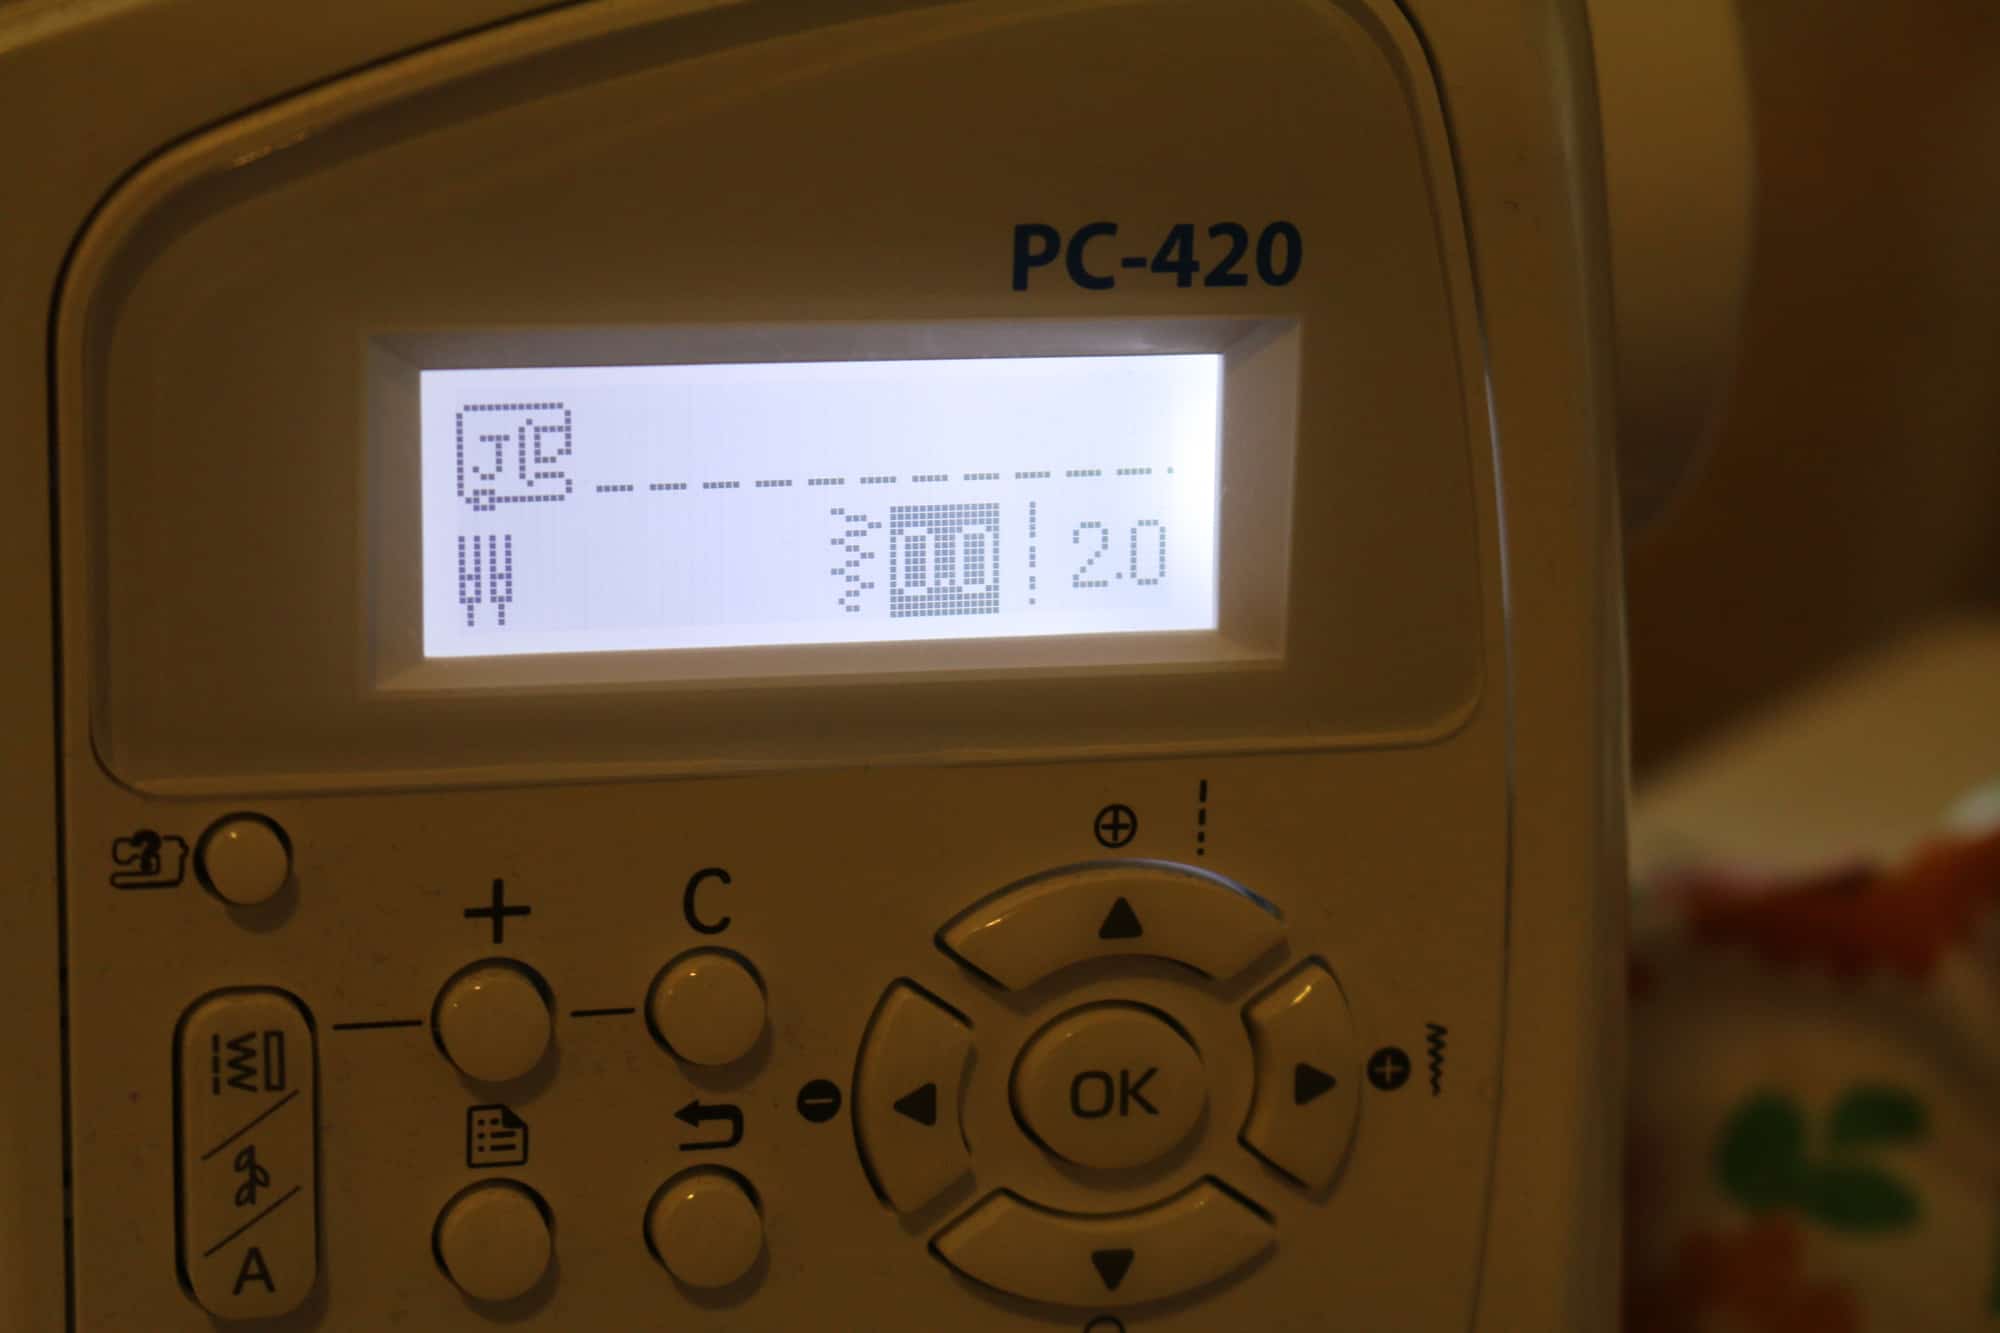
If you read your manual they will list the stretch stitches your machine have.  If you don’t have or can’t find your manual you can always google for your manual!  It is very valuable to have! 🙂

stretch stitches


I hope these tips are helpful for first time users! You can always post other questions to the P4P FB group and don’t forget to share your final garment!


Filed Under: Frequently Asked Questions, P4P University 48 Comments

FST/LMU Mash Up

August 5, 2015

So you LOVE the loose a-line fit of the Free Spirit Tank, but would love it with sleeves?

Here is how you take the Layer Me Up Shirt to add sleeves 🙂

First… grab both patterns, some tracing paper and a pencil.

Trace your size of the Free Spirit Tank.

Place your Layer Me Up – SLEEVED BODICE piece matching on fold and at the top shoulder. Make sure you’re matching the front with the front 😉

Don’t worry about the neckline, although if you wanted it higher/tighter you could trace off the neckline from the Layer Me Up 🙂 Now just trace the armsyce from the Layer Me Up.

Repeat with the back pieces!

Now you can use any sleeve option from the Layer Me Up Shirt.

Here is mine I made for the fall!

Little guy wanted in 😉 Please excuse the no make up, mom hair, sports bra look!! It’s what I’m sporting most days though! 😉

I can’t wait to pair it with some leggings for the fall and winter! 🙂 It will be perfect right after baby girl comes!

Filed Under: Pattern Hacks 10 Comments

Boundless Nursing Mod

August 5, 2015

I had lots of inquiries about nursing option for the Boundless Knit Dress.  I know ladies love to create items they can wear during and after pregnancy! Since the Boundless has a lined bodice it is a super simple modification to do! Here is how I did mine 🙂

listing pictures1

I cut out all my pieces normally- main fabric bodice, lining bodice, sleeves, skirt, and I did pockets for this one too! I did a mini length and didn’t add my 3″ I should for being super tall because I wanted a tunic length! I wear tunics and leggings much more then a dress 🙂

IMG_0993 IMG_0998

Choosing fabrics: I choose a spandex blend for both since the main fabric would be pulled and stretched a lot, you want it to have good recovery and not get stretched out and sloppy by the end of the day! The lining I choose a true spandex.  I thought it would be soft on my skin, stretch nicely with the changes throughout the day of your bust measurement and be sturdy enough to do well with cut outs.  I also choose a solid b/c it when you lift up you will actually be showing the wrong side of the fabric.  You COULD sew the lining were a print shows, but you might make your brain very tired trying to figure it out 😉

IMG_0985

You can follow the normal directions in the tutorial all the way through the bodice and skirt construction.  ATTACHING the skirt is where we will change it up a bit! 🙂  ***Although, after creating mine I SHOULD have put right side of bodice to WRONG side of lining–this way the sides seams wouldn’t show when you pull up!***

Here is my bodice, again put together just as the directions say in the regular tutorial.  For the main bodice fabric I choose to hem with an elastic hidden in the hem.  I would’ve use a clear elastic if I hadn’t been all out 😉 so I used what I had! I measurement the finished bodice and cut to that size.  I did not add for a seam allowance b/c I want to stretch it EVER so slightly with attaching.

IMG_0989


Sew the elastic ends together creating a circle.

IMG_0990


Now, I TOTALLY messed up here with pregancy brain, but didn’t want to unpick it! lol… so bare with me with this picture that is wrong! You want to baste the elastic stretching it EVER so slightly (I mean just barely) to the wrong side of the bodice edge.  See my mistake 😉 I did right side lol!

IMG_0991

Fold under and hem with the elastic enclosed in the hem. (Mine was obviously not enclosed b/c I messed up!)

IMG_0992

Now for attaching to the skirt. I recommend using the “Traditional Gathering Method” for the skirt since there is elastic in the bodice, it might start getting bulking with elastic also in the skirt!  Attaching the top with right sides together, but only catching the lining.  The main bodice piece will be free.

IMG_0995

IMG_0997

Now you can try on and mark/make cut outs in the lining.  I used my handy pen that disappears with a hot iron! I didn’t take pictures with the cut outs 😉 I’ve been asked several times what shape I cut out.  I just did a horizontal slit below the apex (fullest part) of my bust.  I thought it showed through the least that way.  I just opened up the slit to use it.

IMG_0993

Here is my finished nursing tunic from the Boundless Knit Dress!

IMG_1016 IMG_1017 IMG_1018

And some with Little Guy sneaking in the action of course! He’s showing off his new toy! And I LOVE his face in the 2nd one, looks like he’s super impressed with the nursing mod! 😉

IMG_1007 IMG_1012 IMG_1025

Love the pockets and the tunic length 🙂

IMG_1026 IMG_1015


Filed Under: Pattern Hacks, Uncategorized 20 Comments

Tips on sewing with silky fabrics

July 24, 2015

I have two patterns that I suggest using a lightweight woven with a very soft drape (Everyday Elegance Top and the Summer Cover Up).  I often get asked for “tips and tricks” to working with this kinds of fabrics!  So, here is a compiled list of a few tips I have for working with slippery wovens like chiffon, peach skin, rayon, satin, challis, ect.

I think the most difficult part of sewing something up in this fabric is the cutting.  I almost always use pattern weights like these:

But with any kind of slippery fabric they’re a MUST! If you don’t have any, use any kind of paper weight, heavy object that isn’t too tall.  The silver paper weights are from this Etsy Shop if you’re looking to buy.  She has several options in her shop, I prefer the shorter version to be able to get my scissors closer to them! The pink were hand-me-downs from my mama <3.

Some specialty wovens are harder then others– if you’re cutting anything that needs to be precise (collar piece) then I recommend only cutting ONE layer at a time.  With something as loose and forgiving as the kimono though, I don’t personally bother with it. 🙂

So, lets get started sewing! I recommend using a nice, new, sharp needle for these.  

I also like to tighten my stitch length down one notch to keep away from puckers.

When sewing my BIGGEST TIP is to not OVERWORK the fabric.  Although it is a non-stretch woven they will get “wonky” and pull out of shape if you do.  Don’t pull or “man-handle” the fabric to make anything match! If your pieces aren’t lining up perfectly it is almost always a cutting mistake (remember I said that was the most difficult part!).  

The good thing is most clothing made from these drapey fabrics are loose fitting and forgiving :).  Trim and let it go 😉

After I sew, I PRESS.  It takes a little more time, but it makes your end product much more professional.

French seams:

I had a lot of questions about using french seams.  I don’t tend to care what the inside of my clothes look like a TON.  But for nicer items in specialty wovens french seams would be nice.  Here is my quick how to:

You will place your pieces WRONG side together and make the first stitch. For my patterns with 1/2″ seam allowances I do the first stitch at 1/4″.  Then trim it to 1/8″.  I press the seam on both the wrong and right sides of the garment flat, then fold at the seam and press again.

Now with RIGHT sides together and first seam pressed inside stitch again at 1/4″ from fold/seamline.  This should enclose your raw edge from the first seam allowance and put you at your 1/2″ seam allowance total for the seam.

Again press from wrong and right sides of garment.  I tend to always press to the back.  You can top-stitch here if you prefer.  I do lengthen my stitch length back out to 3 for top-stitching.  Press again 🙂 Do you see an important trend in this? lol!

Hemming:

My prefered way to hem is to serge the edge—- I loosen my tension a tad to fight the puckering.

Then I press the serged edge over twice for a nice even narrow hem. Okay, most the time I don’t press…but you SHOULD press, I can hear my mom telling me to take my time and press every time I don’t 😉 

Now I DO press after EVERY TIME! I see a lot of seamstresses complain their hems are “wonky” on specialty wovens, two things cause this- over working your fabric/pulling it as you sew and not pressing! A good press after can really change the way your hem looks!

I got asked to show how to hem without a serger; so here is how I hemmed without a serger.  I pressed WITH LOTS OF STARTCH (don’t be scared to use some or lots 😉 ) a 1/2″ to wrong side.

Then I opened the 1/2″ hem and folded the raw edge to the fold line.  This creates a 1/4″ narrow hem fold. Press again.

Tada! You can sew with specialty wovens! The biggest tips are: cut carefully, don’t pull your fabric as you sew and press, press and press again 🙂

Filed Under: P4P University, Sewing with Woven Fabrics, Uncategorized 2 Comments

Independence Day Sale!

June 29, 2015

4th of july sale

I’m so excited to celebrate my new independent site along with the 4th of July this year! I hope everyone has an amazing holiday and can enjoy some patterns on sale to make it even better!

Filed Under: Announcement, Uncategorized Leave a Comment

Designer Pattern Swap

June 13, 2015

I hardly ever have time to sew up other designer’s patterns, but I’m always wishing I had more time to!

So, I loved the idea of this designer swap! I could sign up and have a deadline to “make” me finish 😉

10382167_813201762096592_3349078359874250572_n

Here is a link to the original announcement along with sales by the designers that participated (pssst Patterns for Pirates has a coupon code there! 😉 )

We are also doing a giveaway, rafflecopter posted at the bottom of the page! 

I got assigned the California dress by EYMM, which happened to be one of my very favorite designs in Kymy’s collection!  And she put it on sale-  code: californiasummer will save 25% off the Women’s California or Girl’s California or the California Bundle good April 20 through 27 at 11:59pm PDT at www.eymm.com.  It’s a simple dress you could do in a ton of different looks/fabrics and wear all spring, summer, and fall long! She always has a ton of options that wrap up in a quick easy sew!

il_570xN.626626220_dx7s il_570xN.626736839_as12

I went with two fronts so I didn’t have to worry about bra straps 😉 These suckers aren’t staying up in a strapless anymore!

11174422_10100306631027707_5979736855787993_o

I really wanted to somehow squeeze out a maxi out of my 2 yds, although the pattern called for 3.5 yds.  So I had to do some modifying! I spliced the pattern along the casing line and added a little to the front bodice only to make up for my chest size.  Otherwise this style always ends up blousing in the back and not in the front on me! I’ve always thought it was one of the easiest styles to alter for a full bust!

11136228_10100306631002757_6947367550955224954_o11154933_10100306630638487_729926160472901635_o

I also cut the skirt pieces much less full to accommodate my tiny yardage! I knew it would be too tight to comfortably walk in, so I did slits up both side seams to the “above knee cut line” on the pattern. The lighting here shows off a little more then usually, lol… the fabric isn’t see through at all in person!

11162037_10100306630369027_6457652057315584012_o11174634_10100306630498767_6789779450964393256_o

I love this style dress for the spring, summer and fall… so easy to throw on and look stylish! I can chase my little guy around in it without worrying about showing anything 🙂

11174256_10100306630104557_3239395190234372115_o 11146430_10100306630099567_3671446381715494936_o

I had a great time sewing this up and plan on wearing it lots!

Giveaway:

https://www.rafflecopter.com/rafl/display/924f94de33

Filed Under: Blog Tours 1 Comment

Boys can wear Pink Blog Tour with Handmade Boy

June 13, 2015

10403212_10203606554227703_5404214825045129306_n

I <3 the Handmade Boy Blog! Kelly makes the CUTEST clothes for her son and daughters (and sometimes even herself when I can talk her into it 😉 ) She is the sweetest; always going above and beyond for me testing patterns and even trying to help me with photo tips!  So when she told me she was doing her first series I could never turn her down!

Boys Can Wear Pink!

10373803_10203669746407468_16103805812955764_n

To be honest, I’ve never put my little guy in pink before… I’m not a huge pink lover…I tend to always go with greys and blues for myself, my husband and for little guy! Boring, I know… if you could see my fabric stash, it is pretty dull! I also tend to dress him like a little macho man in camo, dinosaur, anything you would label “very boyish”…So, this really pulled me out of my comfort zone to design and make something for him with pink!

I decided to go with a classic “pirate/sailor” look and theme to help me get inspired…since I love this look and theme! I went with a white and pink stripe I got from my local Hobby Lobby, in their spring collection. In person the pink is almost neon.

IMG_1477IMG_1529

I knew I wanted the oh so classic “Mom” heart tattoo on it as well (just pink instead of red).  I struggled on placement! But in the end I went with the shoulder, where a tattoo would be and I’m so happy with it!

IMG_1569 IMG_1527 IMG_1483 IMG_1416

I added an iron on transfer of a black anchor to the front right side to help fill and even it out overall.

IMG_1423 IMG_1455 IMG_1521 IMG_1544 IMG_1550

I paired it with his Cpt. Comfort Jeans that are distressed and bribed him to wear the black tennis shoes (instead of his Woody boots that he wears EVERY DAY!!!) It took a piece of candy and going outside to play to get them on!

IMG_1570 IMG_1464  IMG_1461

His hair… oh my… he woke up with the most wild hair ever that day… So I tried to put a little gel in it to calm it down and it didn’t help much! But it kind of fits the sailor look right? Wind blown? We’ll go with that 😉

IMG_1452 IMG_1434 IMG_1429IMG_1461

In the end I love the bright colors on him… it fits his wild, rambunctious personality so much better then the greys I usually go for! (Although, I tend to be quiet and shy…so I’ll stick with my muted tones for myself 😉 ) I am going to try to add more bright colors into his wardrobe for sure! Thank you Kelly for having me in your series!! <3

IMG_1634IMG_1655IMG_1675 IMG_1670   IMG_1635  IMG_1621  IMG_1482 IMG_1462

Now you can participate too!

  • Here is a pinterest board with inspiration! https://www.pinterest.com/simonsphoto/boys-can-wear-pink/
  • Here is a great “Sew for Boys” Facebook Group you can join and use the hashtag #boyscanwearpink https://www.facebook.com/groups/sewforboys/
  • You can also enter the Rafflecopter here to win some awesome prizes! https://www.rafflecopter.com/rafl/display/23c963171/

10451056_10203685980053299_4539772564669910279_n

Prizes:

One yard of http://www.mabelmadison.com/pit-stop-pink-stenzo-poplin.html Stop Poplin in pink http://www.mabelmadison.com/
$25 gift certificate, plus a surprise fat quarter from https://www.etsy.com/people/phatquarters?ref=pr_profile
One yard of solid cotton/lycra &amp; one yard of coordinating fabric from  https://www.facebook.com/pages/Purpleseamstress-Fabric/135198749843668
One pattern of choice from http://www.paisleyroots.com/
$20 store credit from http://peekaboopatternshop.com/
One pattern of choice from Patterns for Pirates http://www.craftsy.com/user/3301275/pattern-store
One pattern of choice from  http://www.welcometothemousehouse.com/shop

Bottoms Up Pants Pattern from http://ifonlytheywouldnap.net/

One Pattern of choice from http://www.titchythreads.com/patterns

Filed Under: Blog Tours Leave a Comment

Tips and Tricks on How to Up-Cycle Jeans/Denim

June 13, 2015

Making jeans can be a little intimidating for some… and we’ve already had a post here about making jeans look more like store bought jeans with details like top-stitching thread and distressing.

But, a really easy way to get your jeans looking professional is to use an old pair that an adult is throwing/giving away! This means a lot less work for you distressing and top-stitching if you’re smart about laying out your pattern pieces! So here it goes…my tips on using pre-existing jeans:

1- Making a few cuts along the seams can really make cutting your pieces much easier! I like to cut along the inside legs/crotch, cut off the waistband and beltloops, and the back pockets.

IMG_9003IMG_9001 IMG_9004

2- Be cautious about distressed/washed jeans and laying out your pattern pieces… meaning, if your jeans have a very obvious fade/wash/distress pattern on them then you need to make sure you like where it will be placed and that it will match when you sew up your jeans. For this pair, I wanted the distressed area of the original jeans, so I laid my patterns around that.  Notice that my two pieces are very close to the same area horizontally, and that the back yoke is placed above the back piece.  All of this will ensure that the distressing and wash look natural on my finished jeans.

IMG_7758

You can also use the original hem line if you prefer to get that instead. Remember to account for hem allowance. I did that with this pair, because my jeans didn’t have a very noticeable distressing.

IMG_9000

Use the back pockets when cutting your new pockets, Remember to account for the hem allowance at the top.

IMG_9005

If you’d like to use the waistband and belt loops you can…. but warning, unpicking those belt loop stiches is not fun 😉

If you pattern calls for elastic in the waistband, like my Cpt. Comfort Jeans, then you will have to cut a slit on the wrong side of the waistband to slip your elastic through- I just use a wide zigzag to mend the slit after (I hide the zigzag stitches behind a belt loop!).  Make sure when overlapping that you line up your jeans button and button hole, you can see here on mine they overlapped much more then the pattern called for.  Then you will tack down the bottom of the belt loops 🙂

IMG_9006IMG_9012IMG_9213

3- Now that you have your pieces cut you will continue to sew them just like the pattern calls for  matching the store bought top-stitching thread as best you can. And although they have a wash and distressing, I STILL distress along the way! That way my finished jeans will have the distressing where store bought jeans do, like along pocket lines.

IMG_7260 IMG_9009

IMG_9010

Now you have a great fitting (no plumbers crack!) pair of jeans that cost you nothing but the thread and time <3 and plus they look amazing!

IMG_9218   IMG_9422IMG_9403

Filed Under: Pattern Hacks, Sewing Techniques, Sewing with Woven Fabrics, Uncategorized 1 Comment

How to Sew “ready to wear” looking Jeans/Denim

June 13, 2015

Jeans can be an intimidating sewing task, but they really aren’t that difficult and it is so great to have well fitting jeans for you or your little ones! No more plumbers crack when bending down!!!!! 😉

IMG_9403

With my recent release of the Cpt. Comfort Jeans I wanted to post about how to distress your new denim to look more like ready to wear jeans! I personally LOVE the distressed look! Although a super clean dark denim can look nice as a “dressy” pair of jeans like here:

_DSC4859

But for everyday, I just love the little distressed look… something about looking like Daddy gets me every time with my little guy!

So, lets get started on those great store bought look jeans!

You really MUST use a top-stitching thread for all your top-stiching if you want store bought look… I scoffed at my Mom the first time she told me it was a must… BUT she was right, like always!!

IMG_7260

You will use this heavier/thicker weight top-stitching thread in the top only and for top-stitching only. You will use regular thread in the bobbin and for all seams sewing the jeans together– yep, you have to rethread a lot ;). But it is absolutely worth it if you want ready to wear looking jeans! I promise!

You will also NEED a bigger needle designed for heavy weight fabric like denim or you will be breaking needles on those thick belt loops!… here is a single and double needle:

IMG_7259

Now, I only have one machine, so there is A LOT of switching threads and needles if I use the double needle. So, I will often just sew two lines with my single needle instead of switching to my double needle 😉

Now for the distressing, you will need some sandpaper! To be honest, I’m not sure the BEST kind of sandpaper to use… I asked my husband if he had some and used whatever he handed me 😉 Here is a shot of the kind I happen to use!

IMG_9008

The trick to distressing your denim is to do at WHILE you’re sewing the jeans! If you try to do it before it’s hard to gauge where the distressing needs to be. If you do if after you’ve top-stitched them then you will be breaking your top-stitching threads (ask me how I know that one 😉 ) see left top pocket with it’s broken threads :/ oops!

IMG_9422

So, I suggest sewing the jeans together with your normal thread, then distressing with sandpaper before you top-stitch. Here is my patch pocket sewn, turned right sides out, and distressed along the edges (and any other places I fancied at the moment). Then I top-stitched.

IMG_9010

Some areas are harder to distress before topstitching like back pockets, belt loops, any piece that you are top-stitching closed or onto the jean.  But I still follow the same steps.  I just fold and press, distress, then top-stitch onto the back piece.

IMG_8998

So have fun with a little distressing or A LOT! lol! I like a lot 😉 I end up with a mound of blue fuzz all my sewing room by the time I’m done!

Last is the button! I love to use “real” jeans buttons- and honestly, I always have been lucky enough to take them from my loving mother’s stash! But they are very easy to put on, just line up the two parts and hammer away! Yep, you’ll have sandpaper and a hammer in your sewing room for jeans!!

I’ve always used snaps, which are very common on ready to wear for younger children 🙂

IMG_9000 IMG_9218 IMG_9245

Filed Under: Fitting, Frequently Asked Questions, Sewing Techniques, Uncategorized 3 Comments

Patterns for Pirates and Girl Charlee

June 13, 2015

girl charlee promo

My love for drafting great modern pdf sewing patterns for women has found a great match…Girl Charlee Fabrics!

We’re both all about modern, trendy looks! And like Girl Charlee I mostly design for knit fabrics 🙂

Here is the first Girl Charlee sponsored pattern of mine: the Everyday Elegance Top

listing pictures1

This top is perfect for everyday wear with a great put together look! The loose flowy fit is so comfortable and flattering for women of all ages and shapes! Speaking of shapes, this pattern is from XXS-XXXL… if you’d like to see it in all sizes head over to my group where you can find every size modeled and what fabric they used! https://www.facebook.com/groups/1489835597930083/

I’m wearing Girl Charlee peach skin on the cover photo, this is a soft woven fabric with a lovely drape.  It is one of the easiest drapey wovens I’ve ever worked with, because it’s not slippery! Plus! 🙂

Here I am in another Girl Charlee fabric- their chiffon.

1 (2) 1 (9)

Now SOME chiffons can be more difficult to work with, but this navy and white dot wasn’t! Although it is still chiffon, so it doesn’t like to hold a press well, it wasn’t super slippery while sewing. I LOVE this one! The super soft drape is a perfect match for this loose top!

This top can also be made is a knit fabric, which Girl Charlee is best known for! Here is my LOVELY sister in an all knit Everyday Elegance Top:

3 (1) 3 (2)

Isn’t she beautiful? Made in a soft knit, you can’t beat the comfort level of this shirt! And yet, you still look dressed nice, trendy, and even professional enough to go to work, church or out for some fun!

Some of the details on the shirt are the V front and rounded collar here:

1 (5) a (3)

That’s right ladies, no tricky placket or buttons for you to get frustrated with! All the techniques on this top are easy and quick!

The sleeves have a small gather at the shoulder seam:

a (8)

That means all your ease is in that gather–no tricky easing in the set in sleeves! YAY! Again, easy techniques!

The button tabs add such a cute and trendy look to the 3/4 sleeve, so you can wear this top year round!

4 (1)a (7)

And the longer tunic length with curved hem is perfect for pairing with leggings, skinny jeans or even your favorite work slacks! No more worrying about anything hanging out when you bend over 😉

a (1) a (4)

And last the back yoke is perfect to play with fabric combos, and the back pleat gives it the extra flowy looseness you need in the back 😉

2 (5) 5 (1)5 (2) a (6)

Not so into loose blouses? That’s okay! This pattern also comes with a quick and easy belt you can tie around at empire, waist or hips-whichever is most flattering for your figure!

1 (6) 1 (11)  9 (1)  b (5)10648830_10205104950368558_2047112295619283852_o

Oh… look at that baby bump looking oh so adorable in this non-modified knit Everyday Elegance Top!

So… since Patterns for Pirates and Girl Charlee make such a great pair we decided not only to work together with pattern sponsorship, but Girl Charlee will also be the first and only other place besides Craftsy and Etsy where you can buy a Patterns for Pirates pattern! To kick off our partnership we’re running a CONTEST AND GIVEAWAY! 1 (1)contest

Come join my facebook group to enter your change to win 3 Patterns for Pirates patterns of your choice AND a $25 gift card to Girl Charlee!

To enter you can share any items made from a Patterns for Pirates pattern WITH Girl Charlee fabrics in the designated contest album! It can be an item you’ve sewn previously or you can order now and make one to enter with! Don’t worry, you have 4 weeks to order, create, and share to win!

Winner will be chosen by all of us here at Mother Sews Best for our pick of the best pairing of fabric to pattern! There will also be one random winner for 2nd place for 1 Patterns for Pirates Pattern of choice.

Filed Under: Contest/Giveaway 1 Comment

  • « Previous Page
  • 1
  • …
  • 65
  • 66
  • 67
  • 68
  • Next Page »

connect with me

  • Email
  • Facebook
  • Instagram
  • Pinterest
  • YouTube
Privacy & Cookies: This site uses cookies. By continuing to use this website, you agree to their use.

To find out more, including how to control cookies, see here: Cookie Policy
  • Privacy Policy
  • Refund Policy
  • Contact Us
  • About

Copyright © 2026 Patterns for Pirates

Copyright © 2026 · Genesis Framework · WordPress · Log in