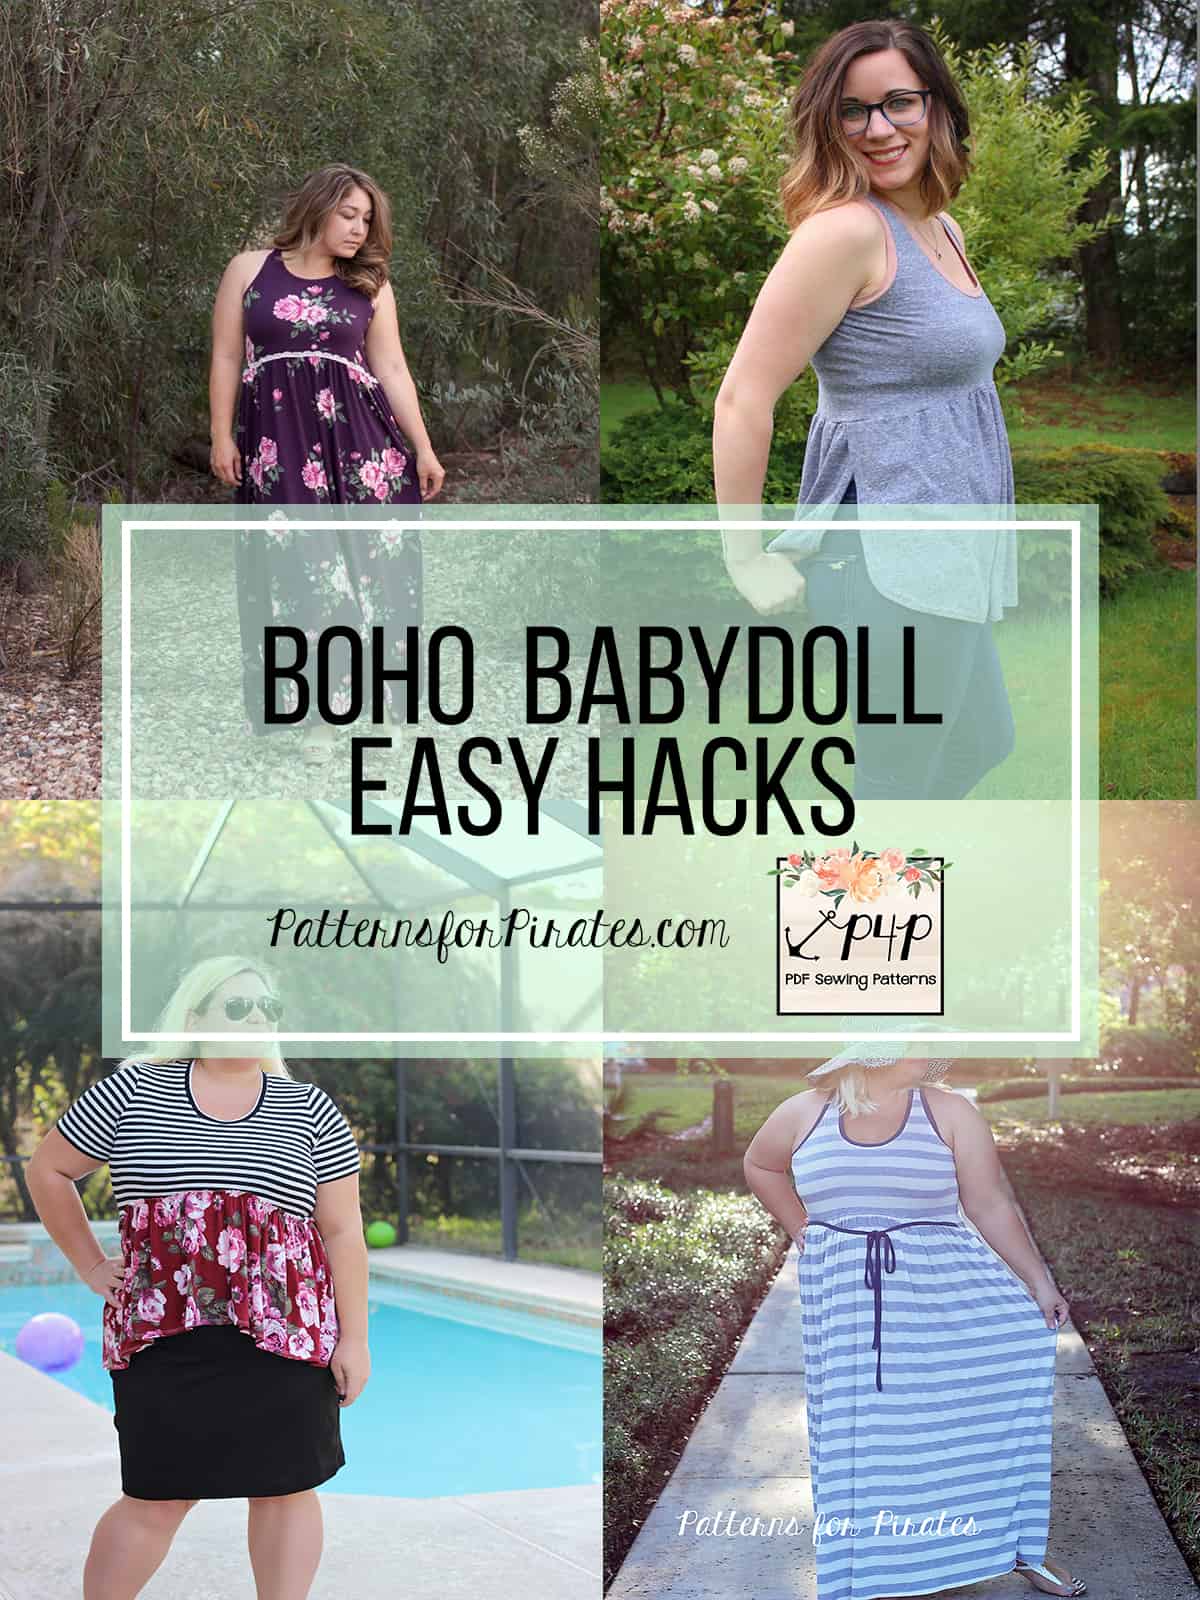
As with all other P4P releases we couldn’t let the Boho Babydoll party start without some easy hacks that you can do for both the women and the girls tops/dresses.
…..
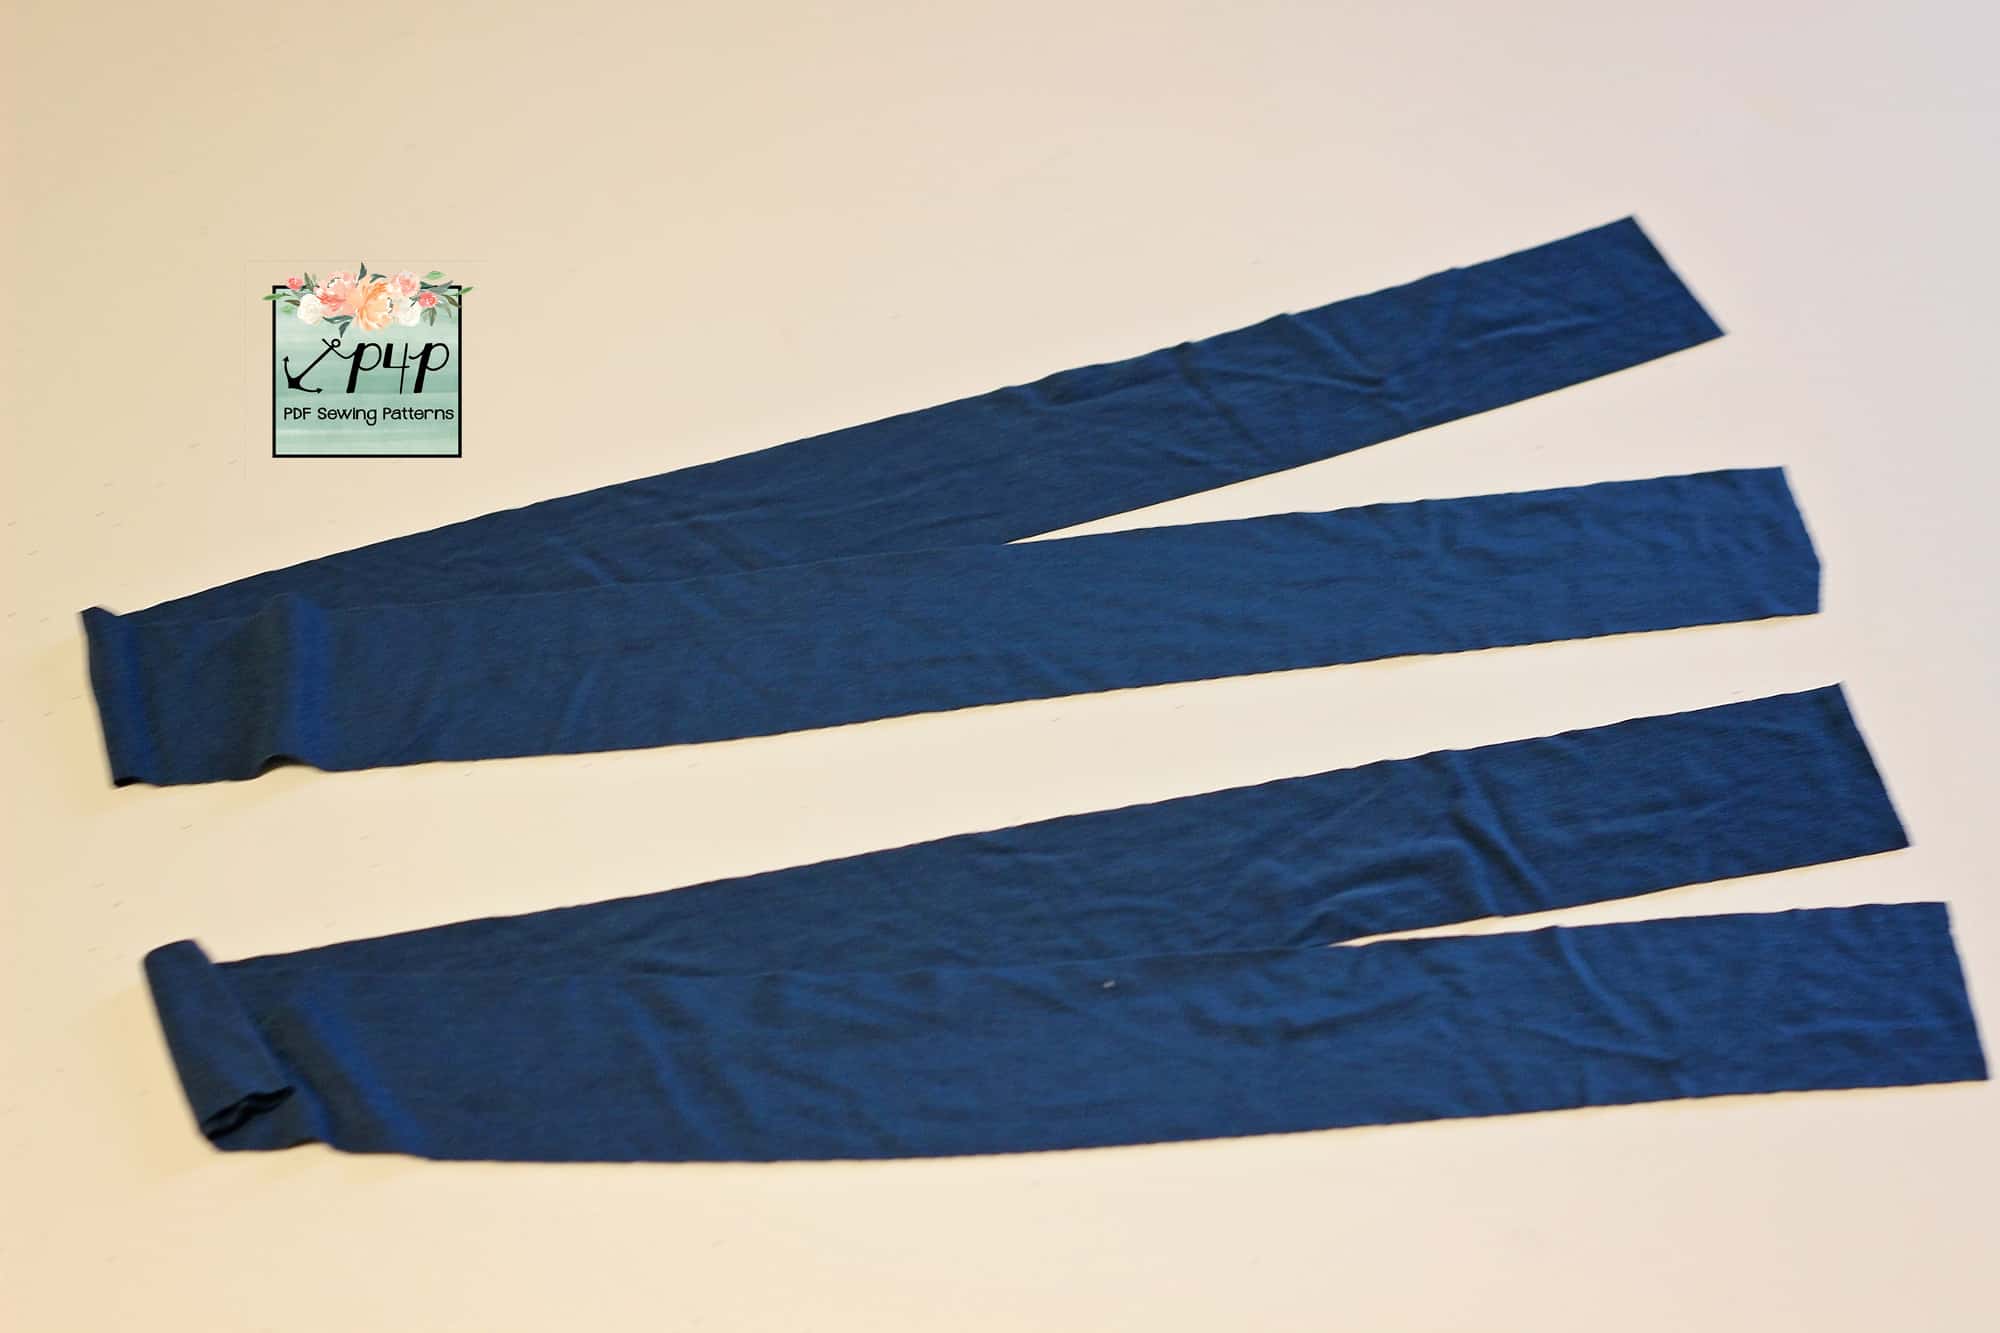
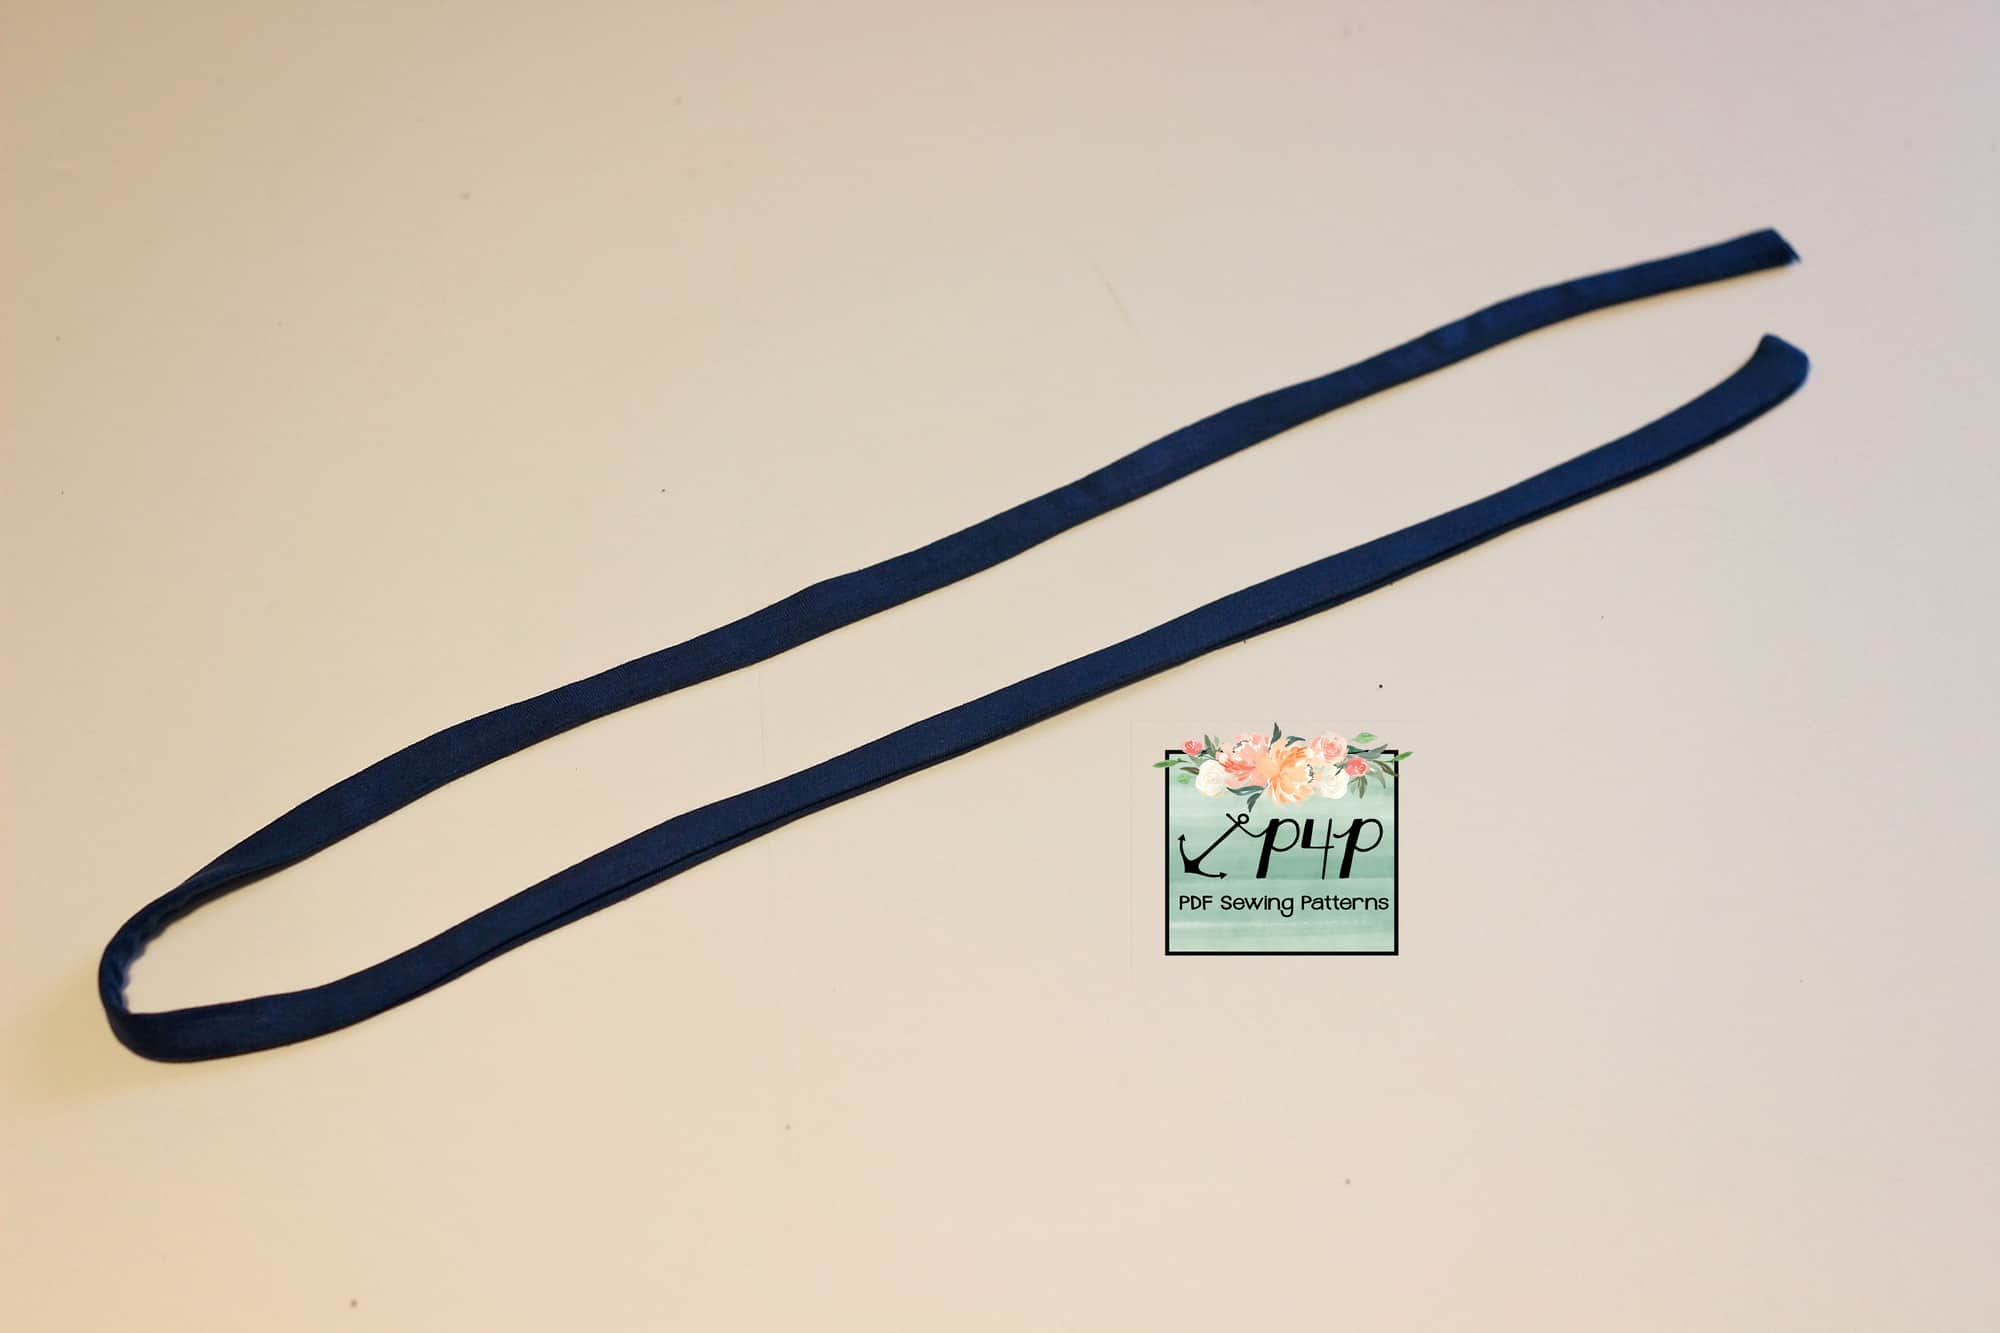
Waist Ties
The Boho Babydoll Dress and Shirt is a relaxed it at the waist so I wanted to start these hacks by showing you how easy it is to add some fun waist ties top it. Print and cut your pattern and fabric as you normally would and cut two tie pieces 2″ by 28-34″ depending on how long you want the ties to be. For reference my ties are 34″ because I like to be able to tie them around my waist too.
Mark a point on both the front and back bodice pieces that is 3/4″ up from the waist edge.

Fold the ties wrong side together, lengthwise and sew them with a 1/2″ seam allowance. You will be sewing one of the short ends too.
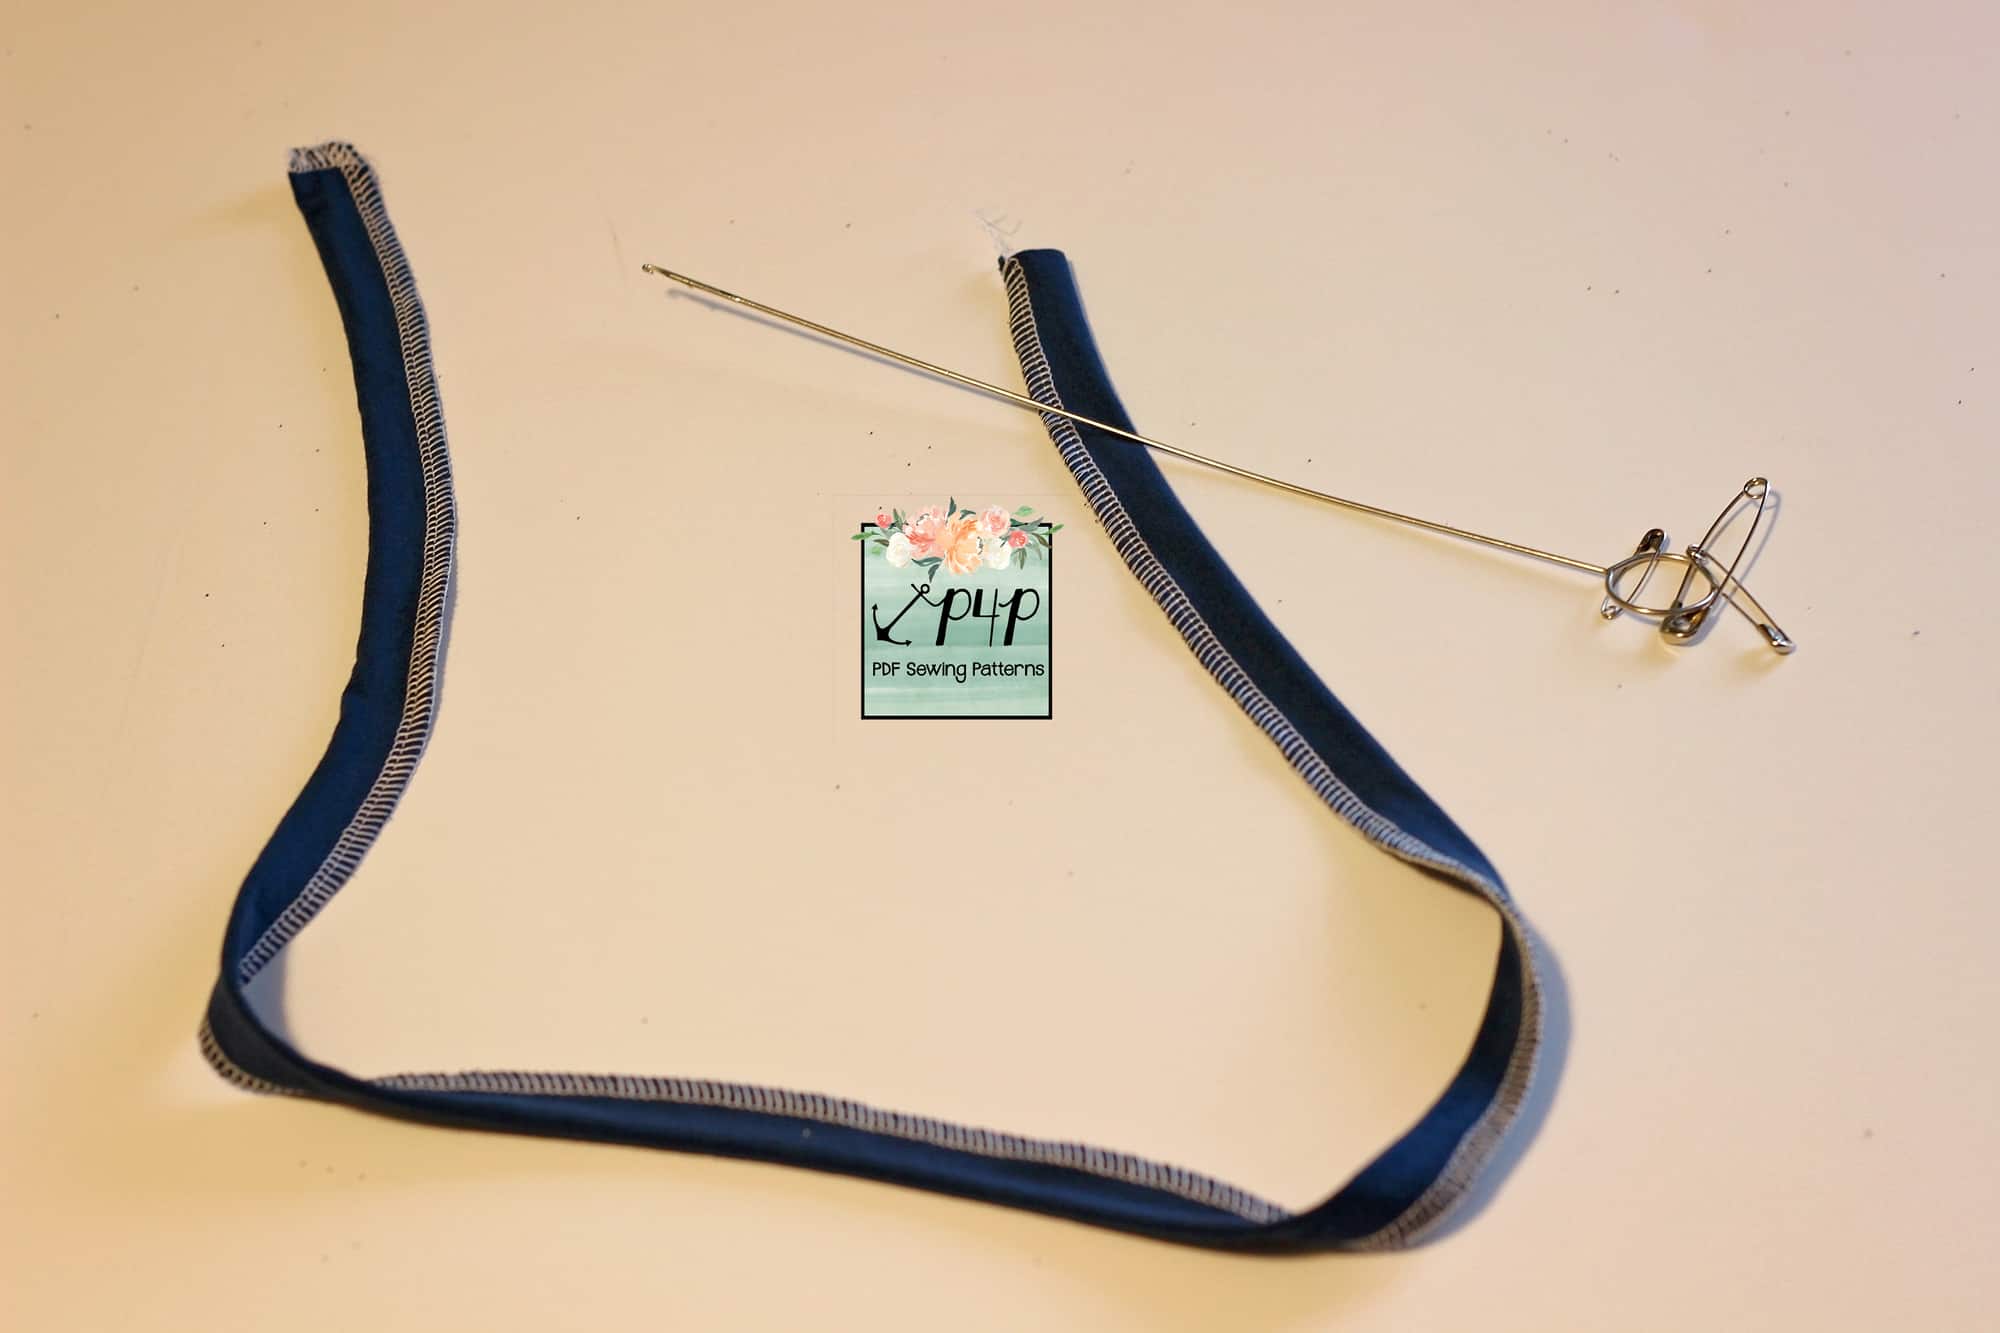
Using your favorite turning tool, turn the ties inside out and give them a good press.
Pin the ties on the front bodice at the marking point you did earlier. The bottom of the tie length will be at the 3/4″ mark. Repeat on the other side of the front of the bodice.
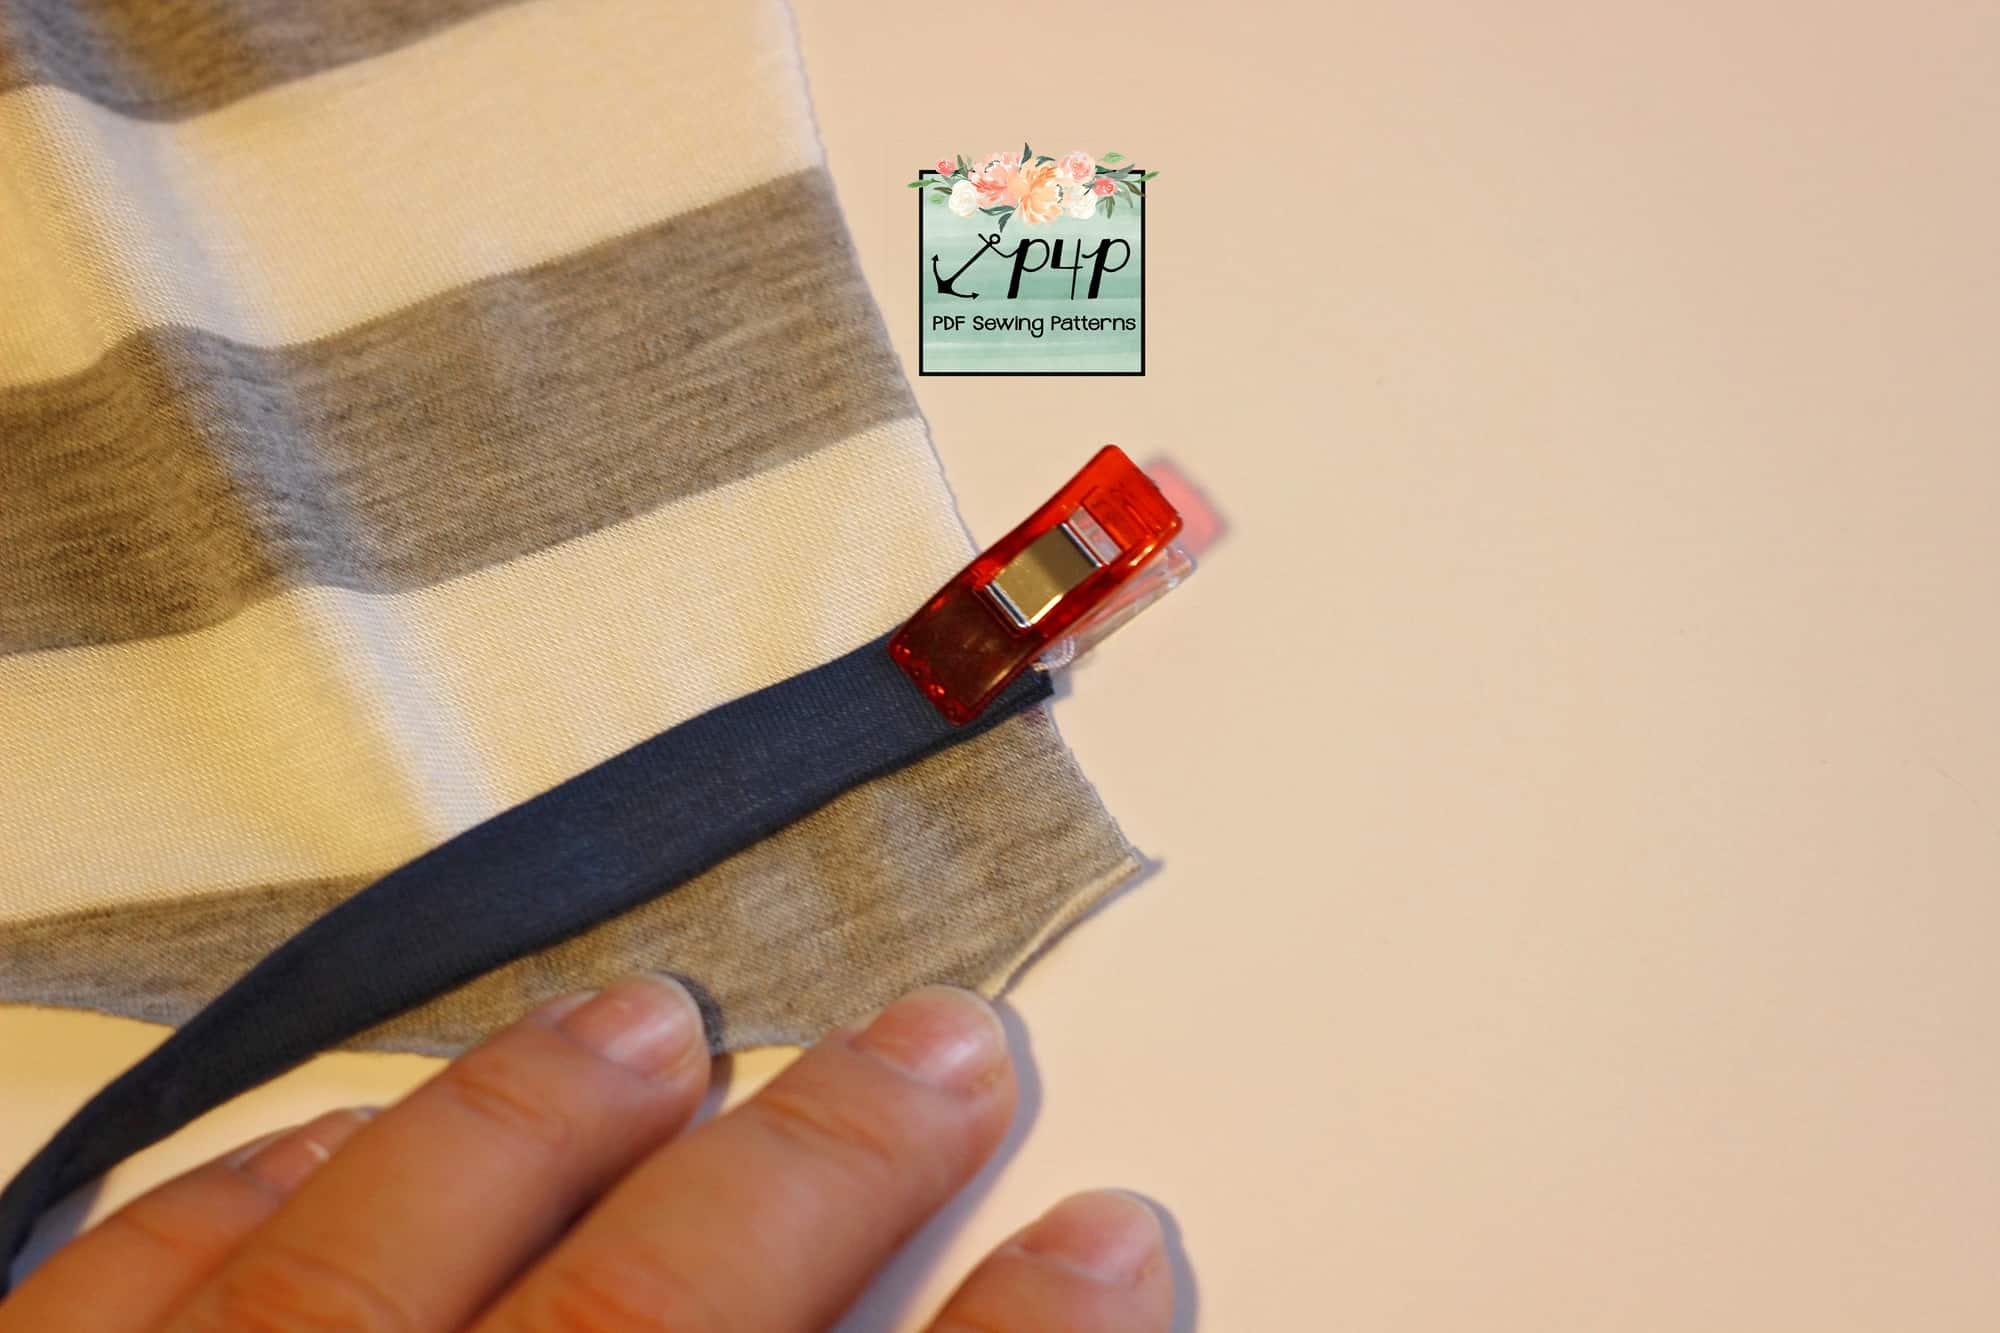
Optionally, you can baste the ties to the bodice before you sew the side seam.

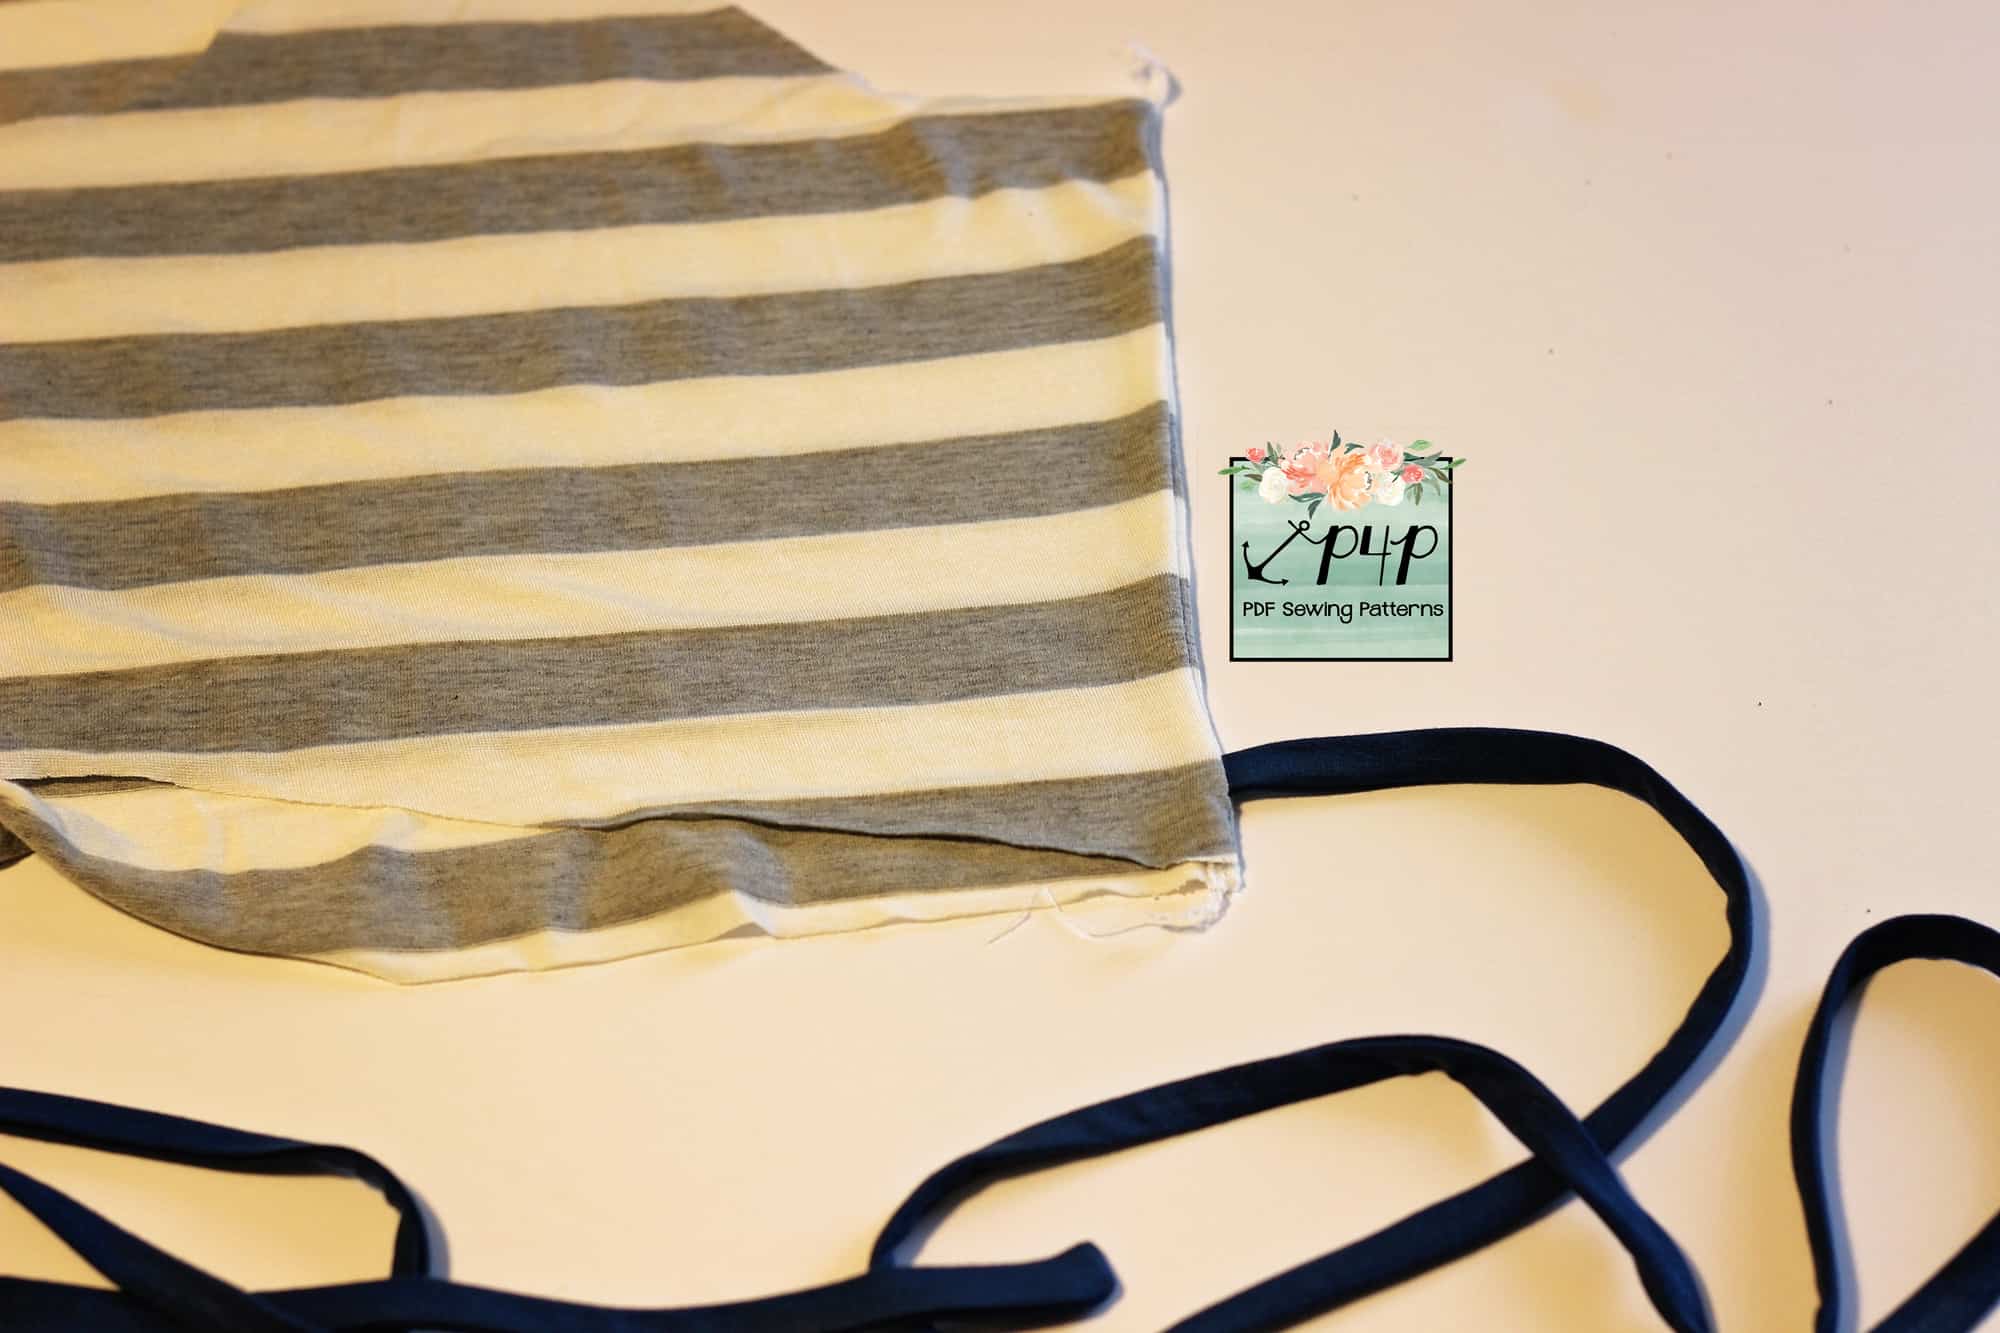
Sew the bodice as instructed. That was easy!
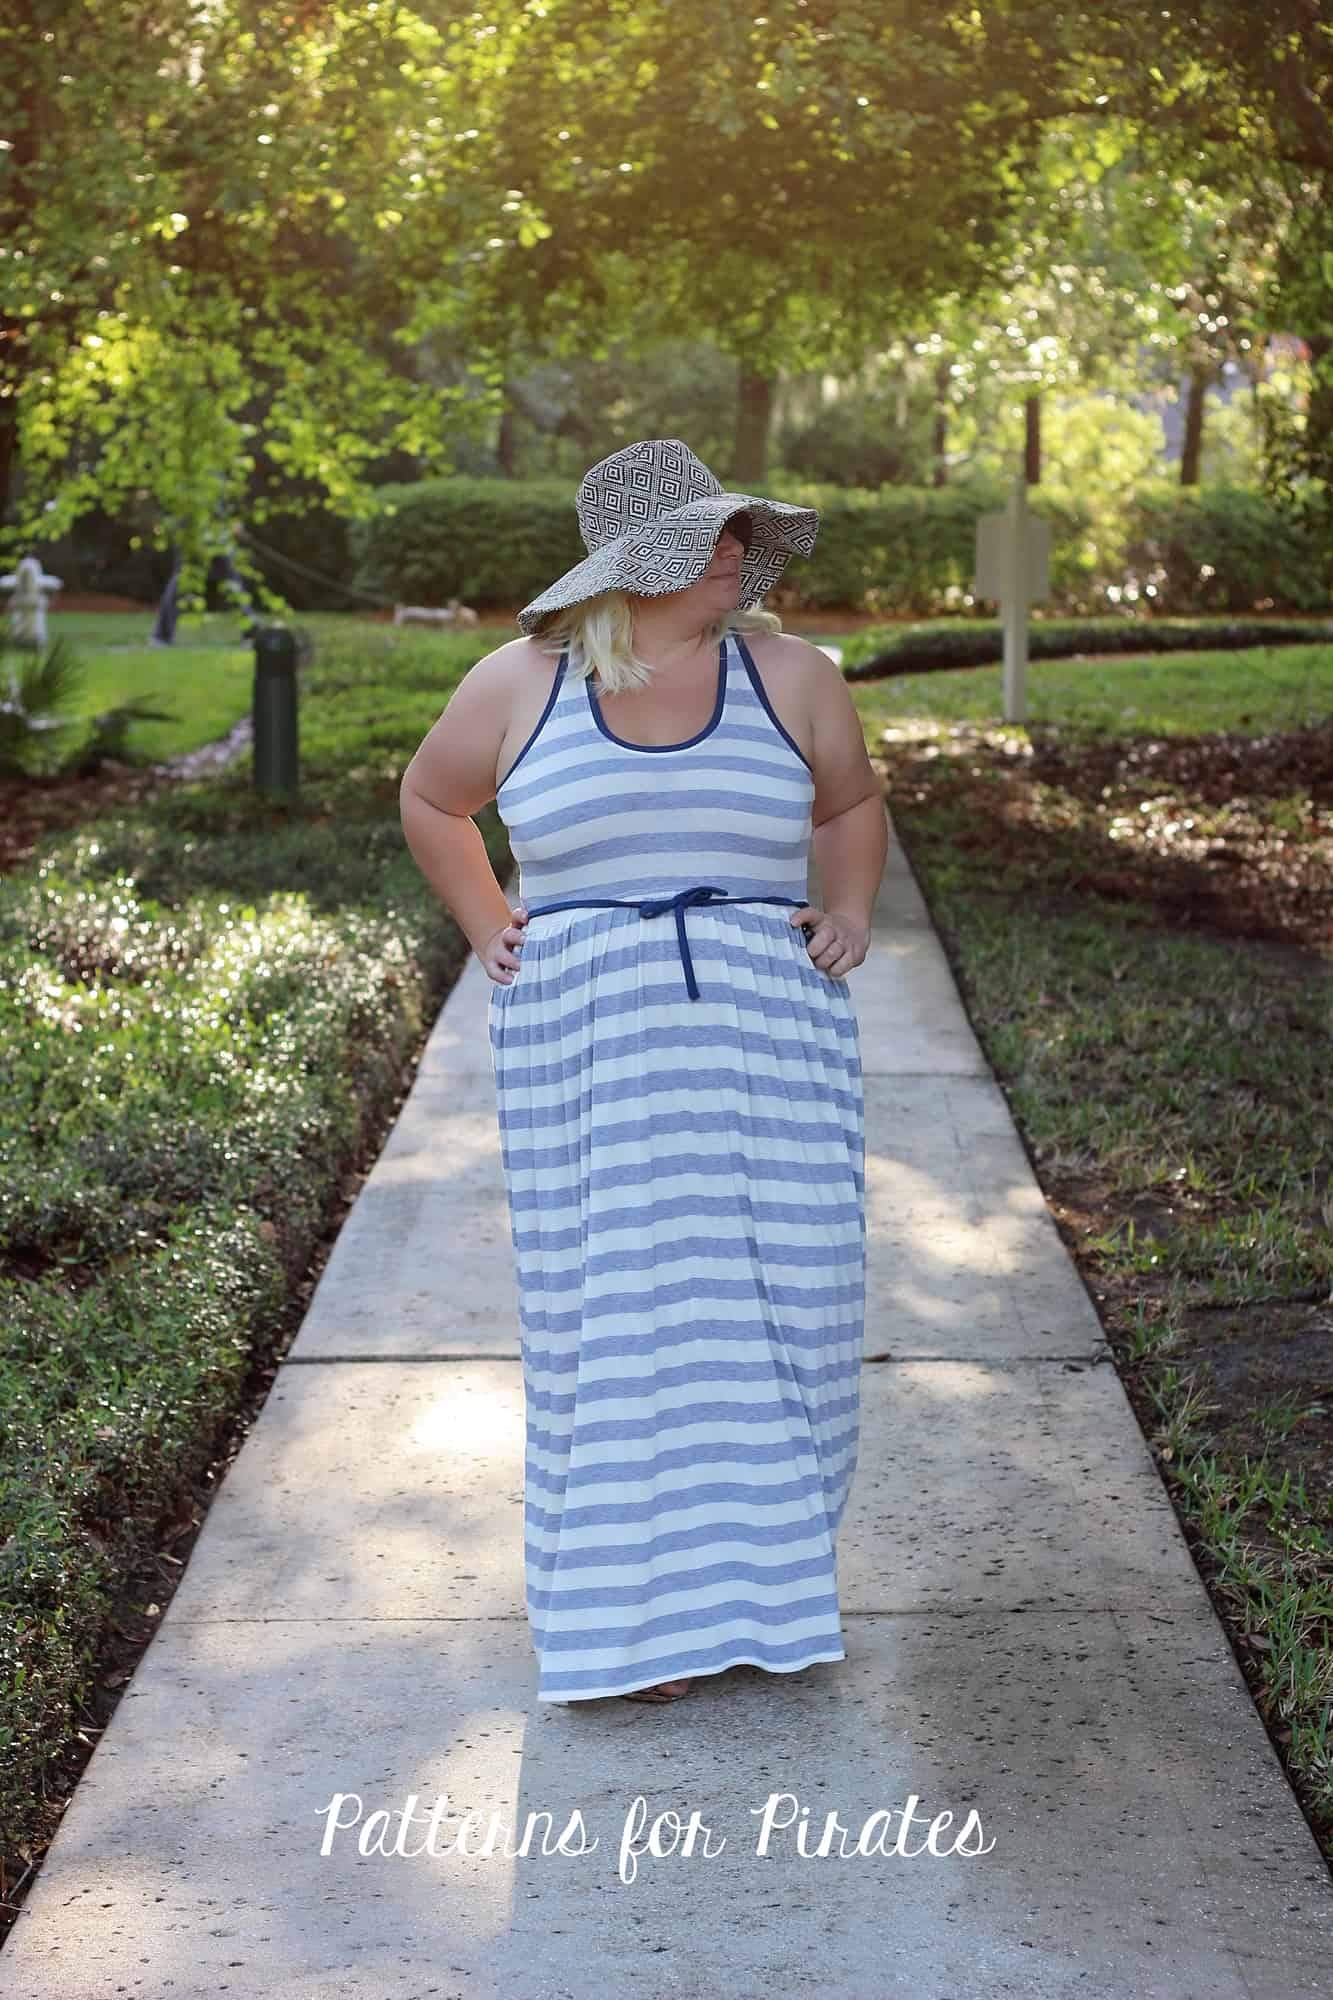
You can wear your ties tied in the front…
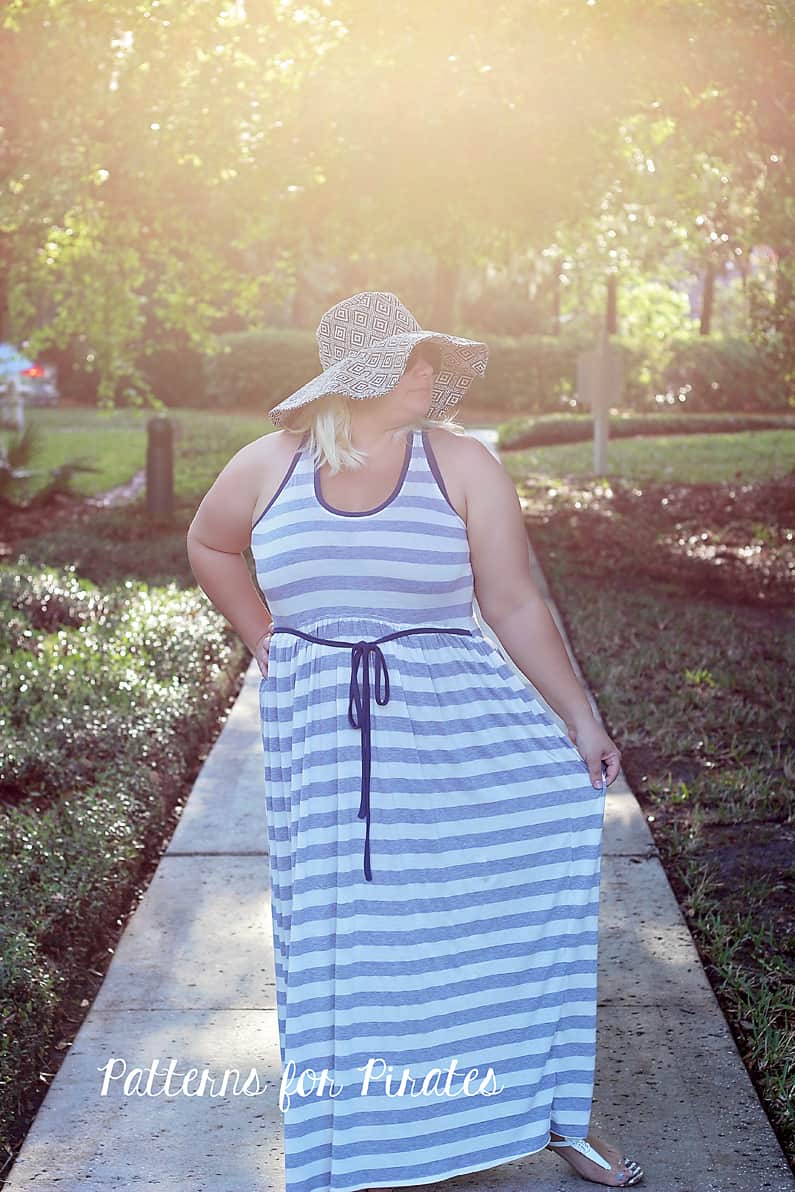
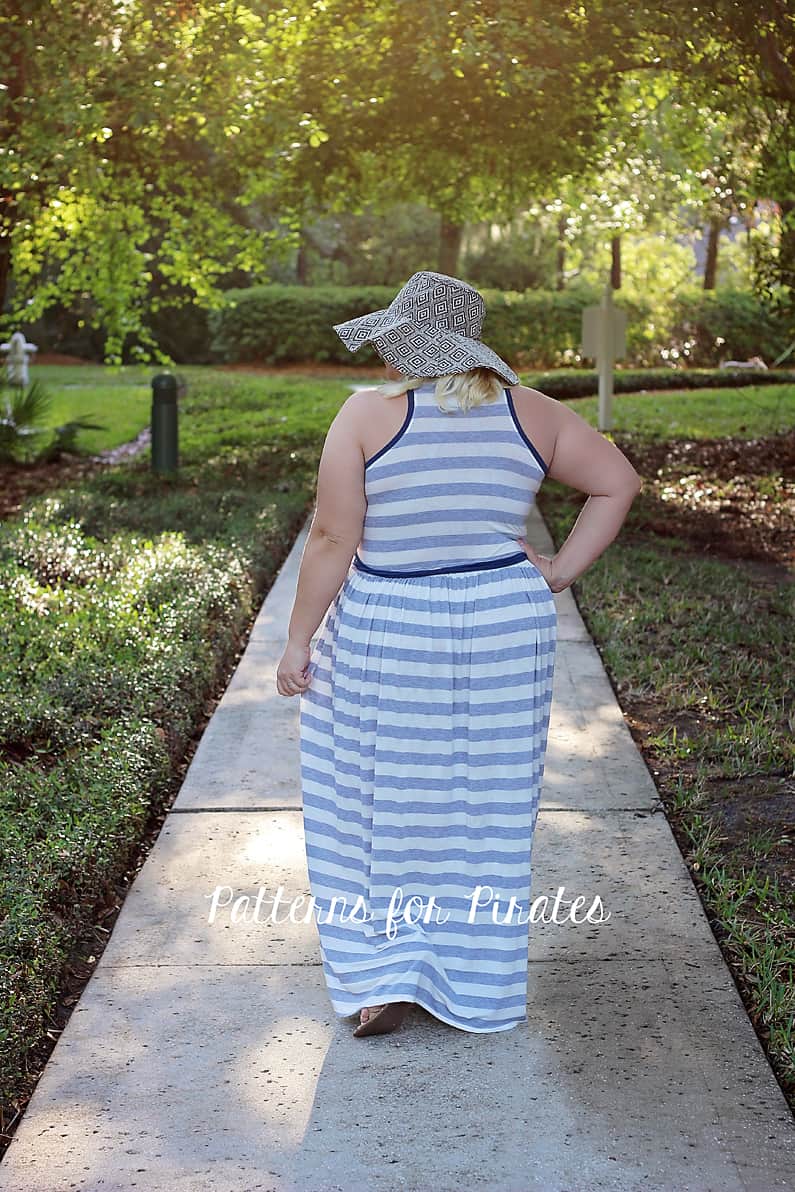
….or tied in the back…
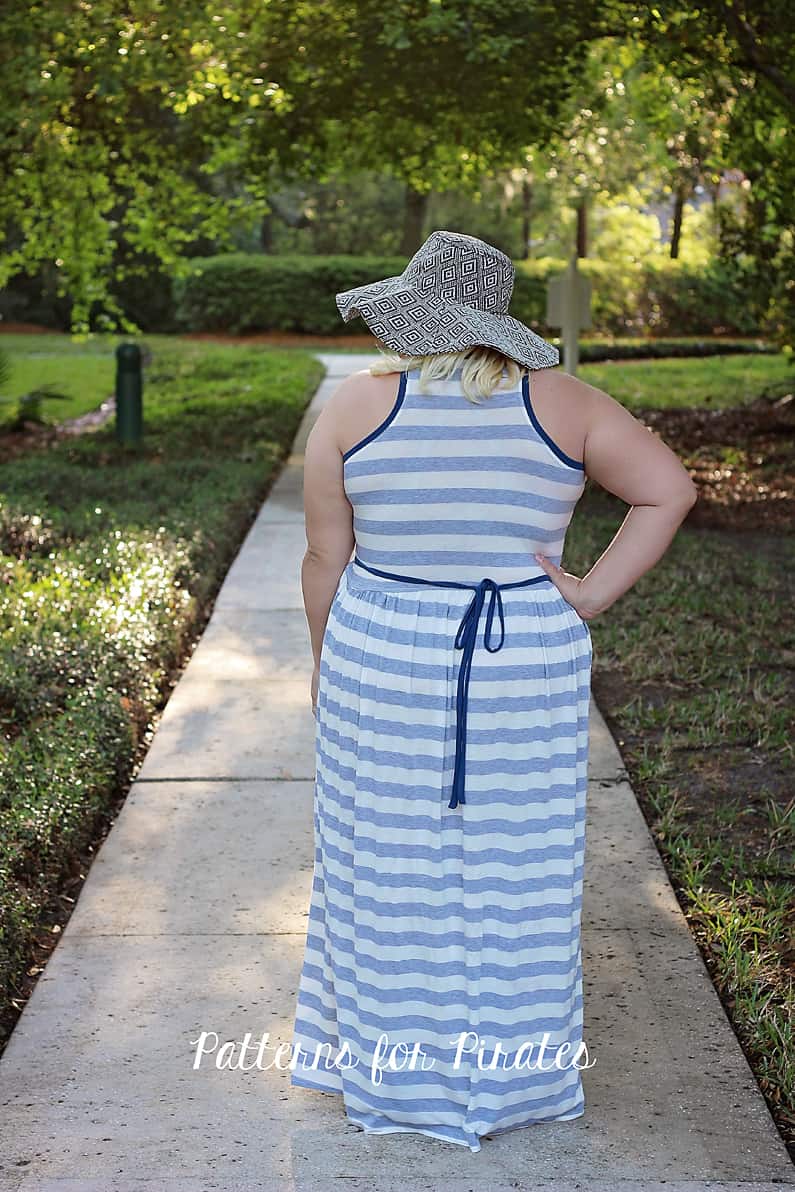
…or if you made them long enough you can wrap them around your waist.
…..
Split Sides
During the summers, I like to attend a lot of concert festivals. One trend that I have noticed are tank tops with flowy layers- sometimes it’s the back, other times the front, but one of my favorites is on the sides. The Boho Babydoll makes the perfect starting point to create a comfortable tank with a cute little peek-a-boo side. I can’t wait to try this out as a swim cover as well with some fun lace or mesh. You can use these simple steps below to help recreate this look.
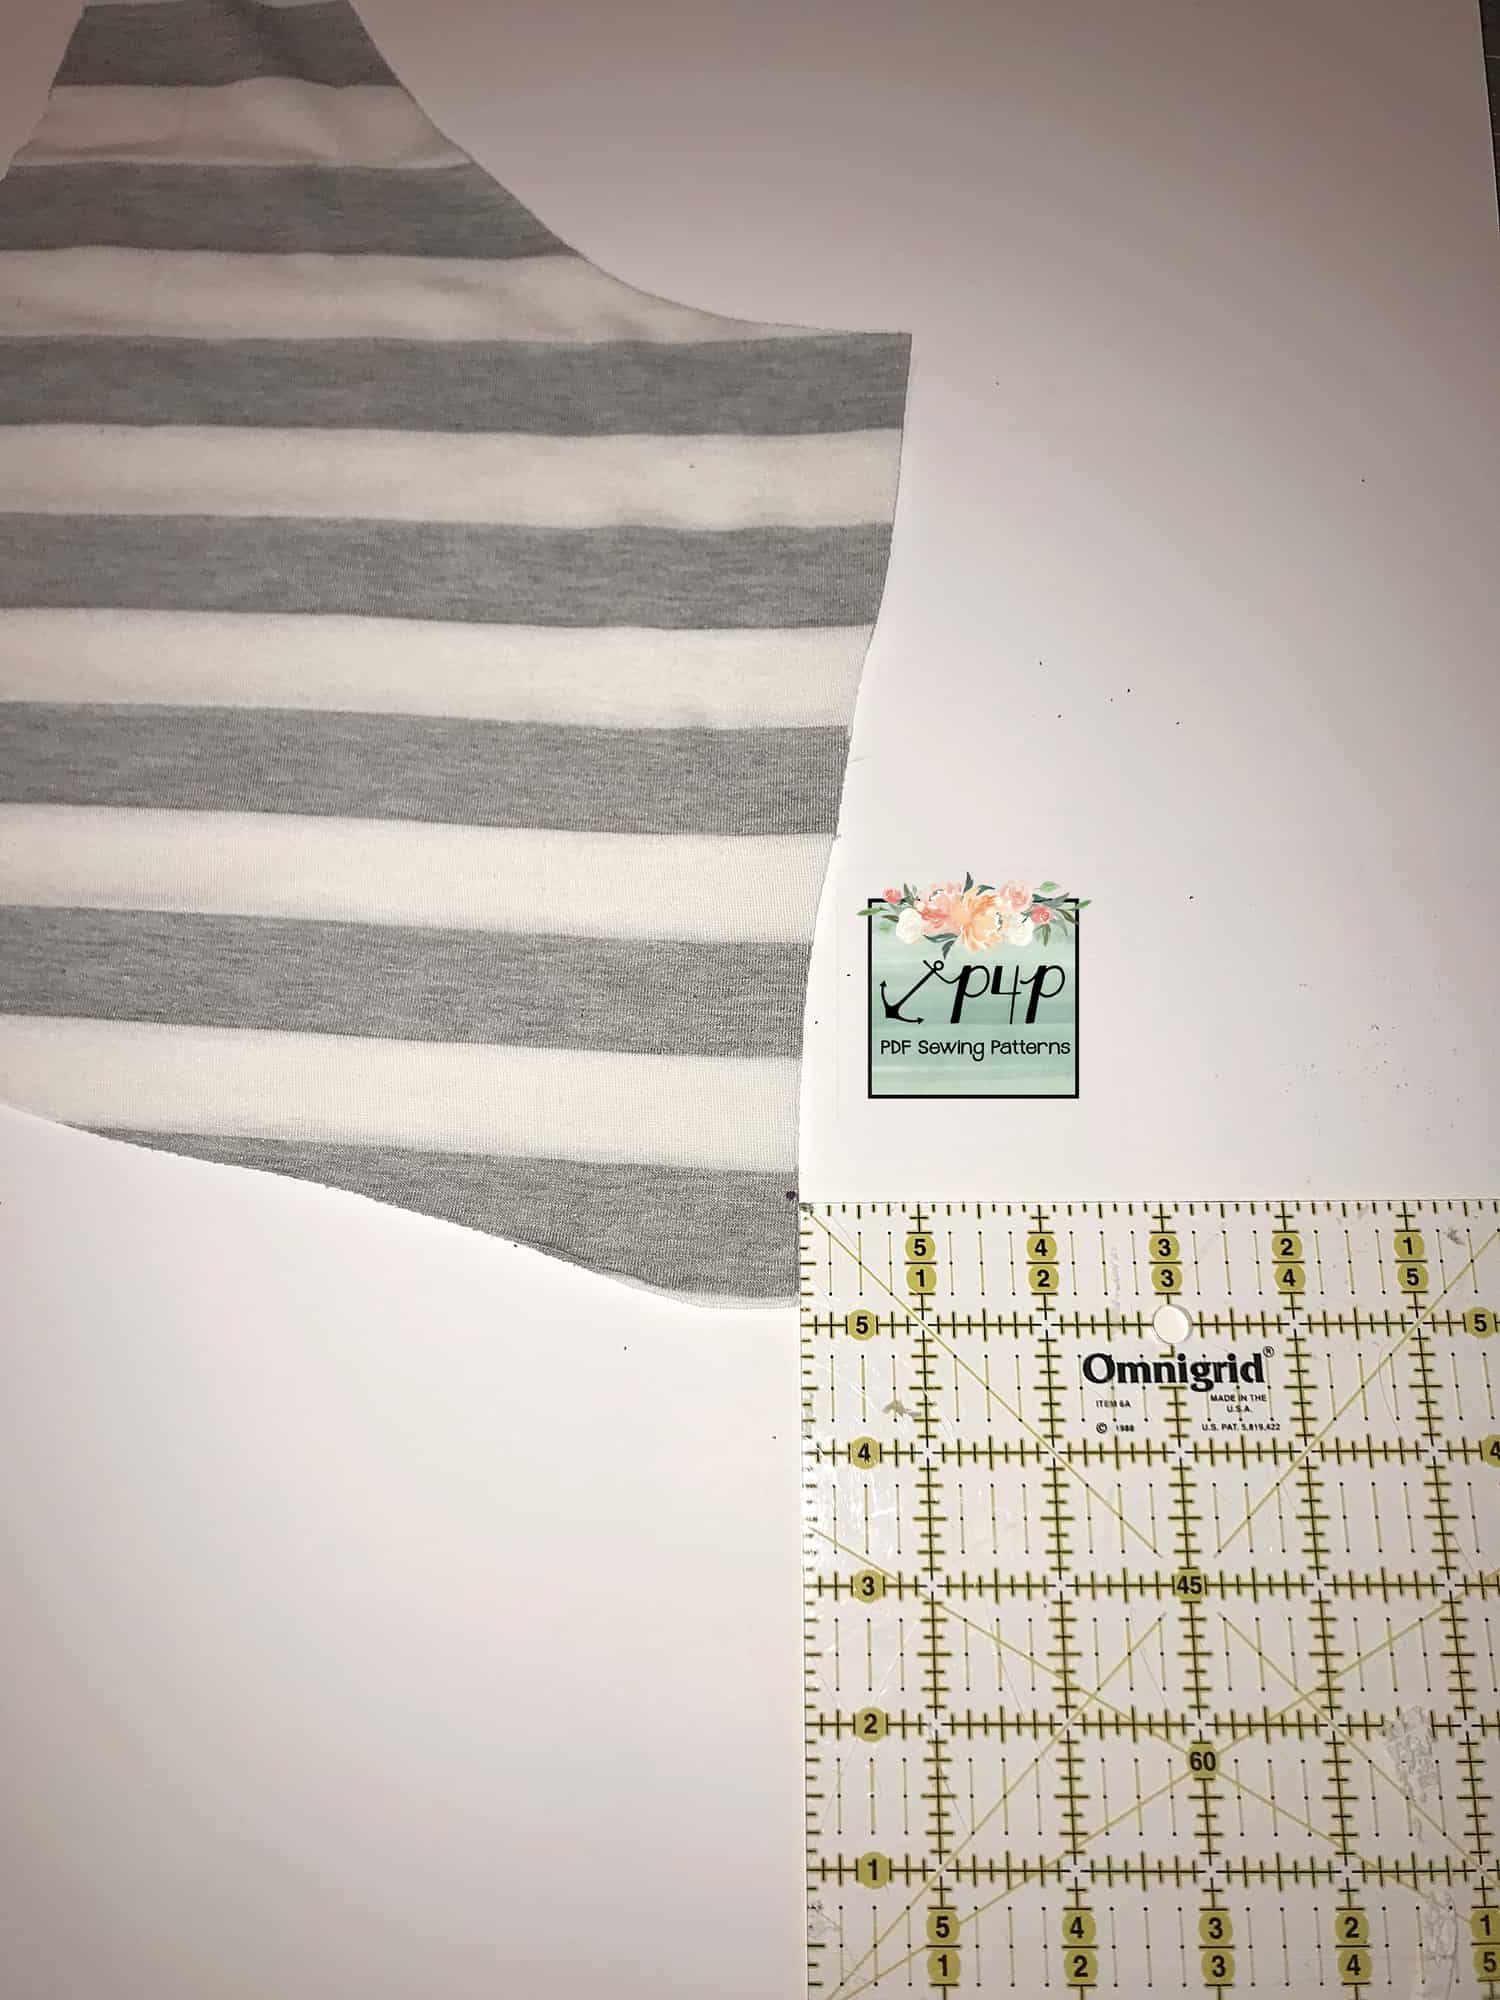
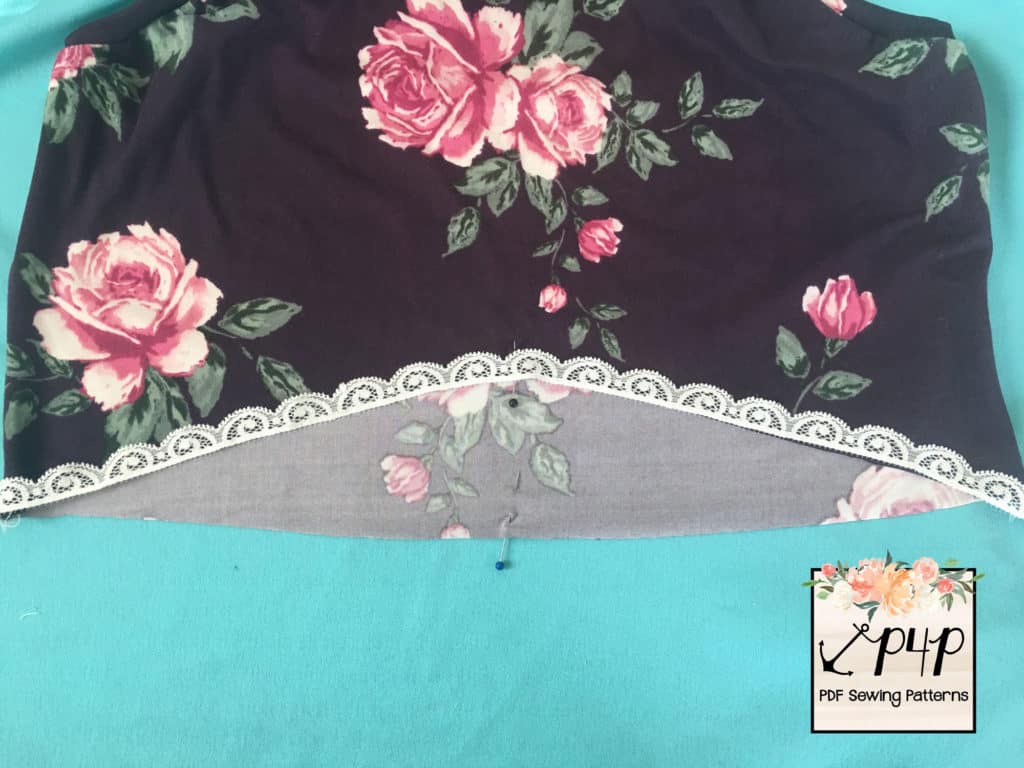
Step 1: Cutting Pieces
Cut out your pieces as instructed, with the exception of the skirt. (You can use any of the bodice options.) The only change that I made to the skirt was to add an additional 1″ to the fold of the FRONT piece. I did not make any adjustments to the back skirt. 
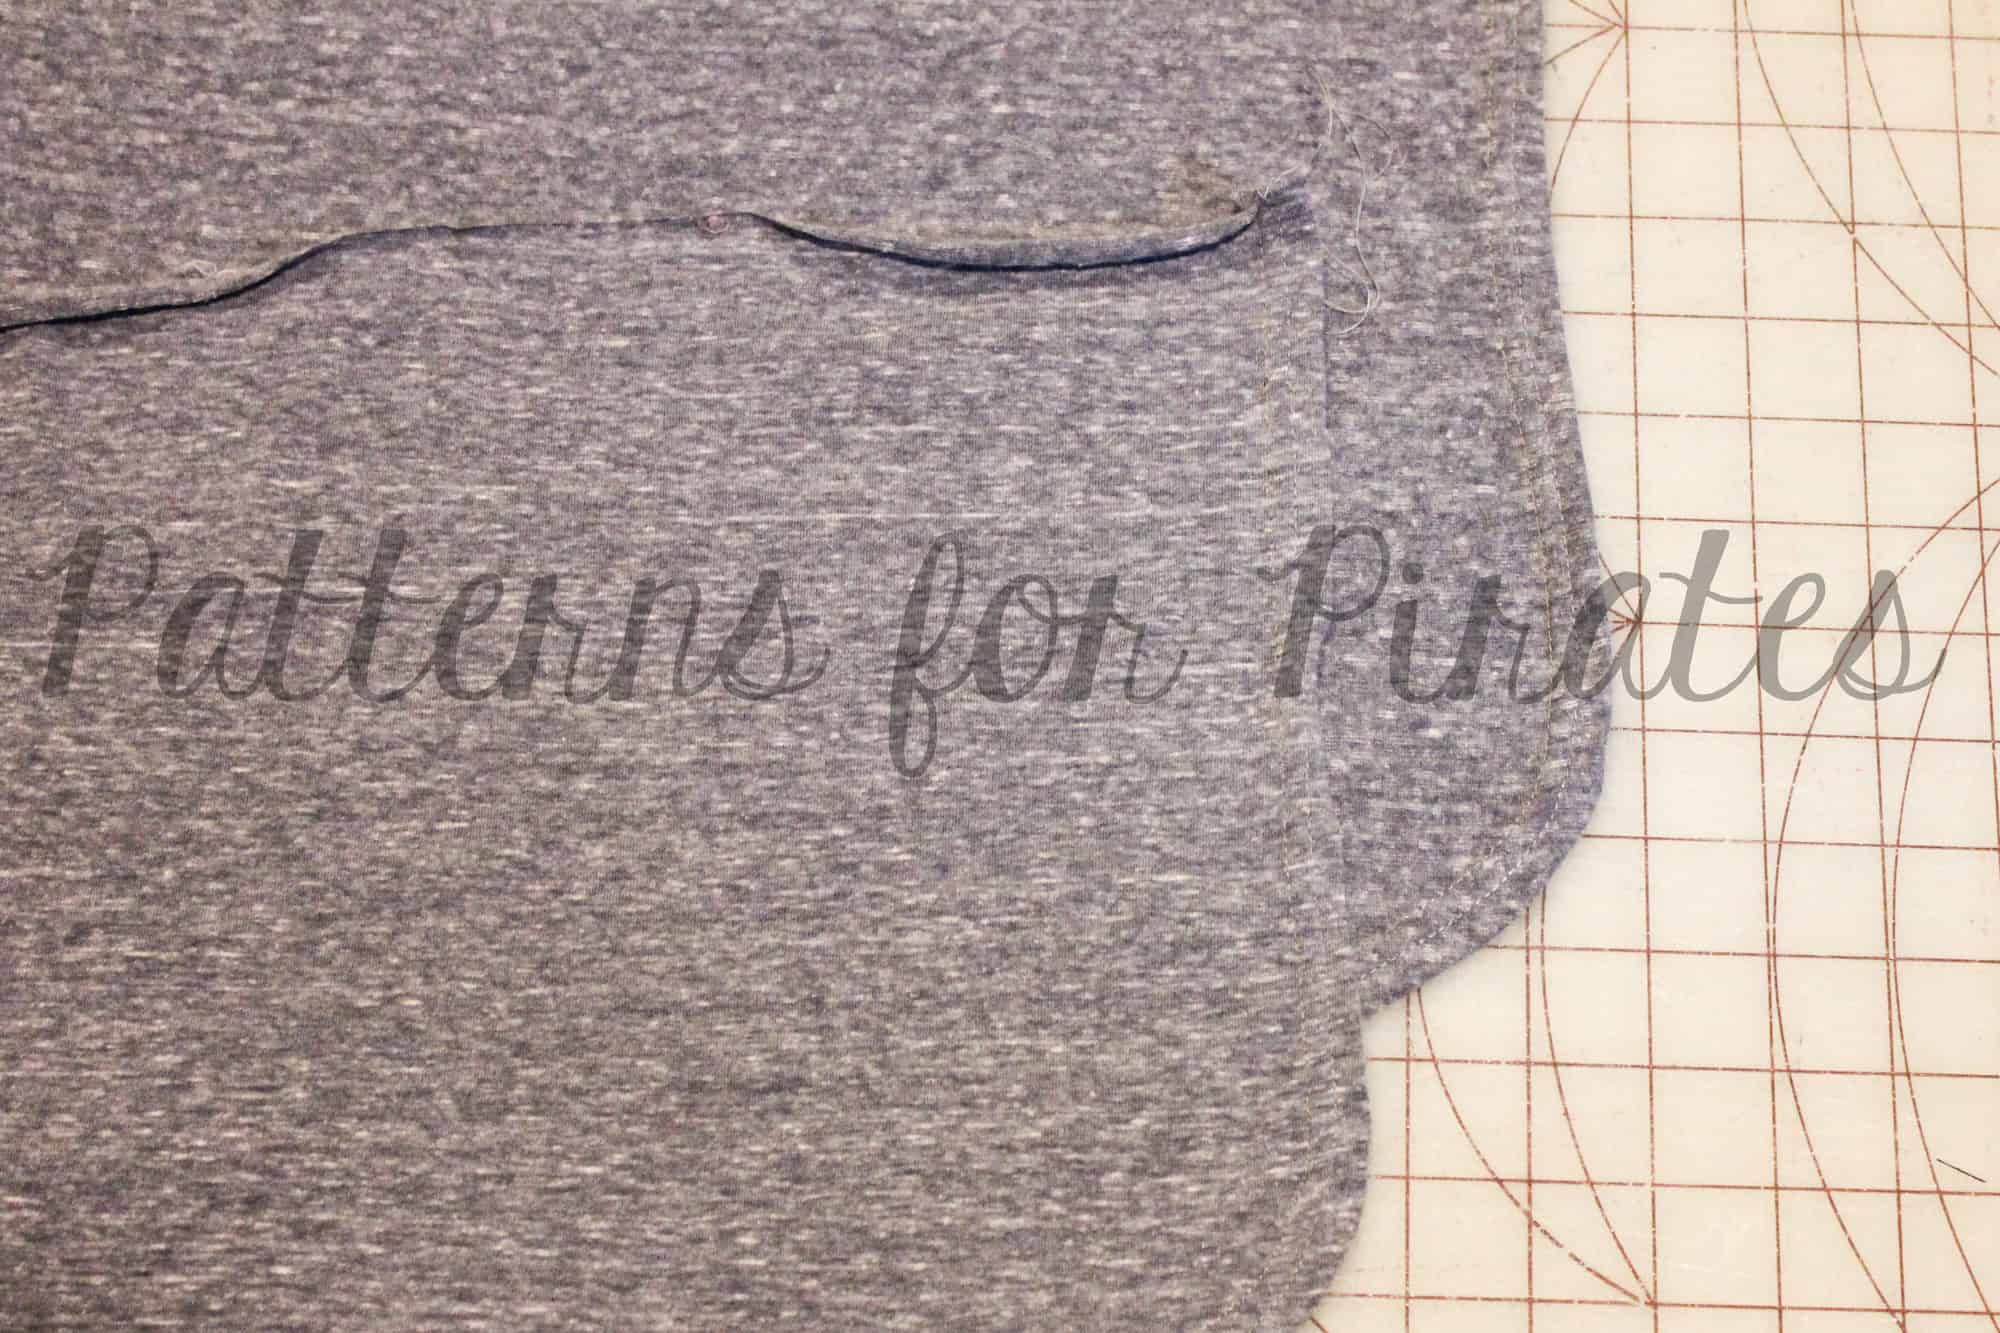
Step 2: Bodice/Hemming
You will want to assemble your bodice as per the pattern instructions, up to the skirt. Once your bodice is finished, you will want to hem your two skirt pieces. I did remove a small piece from the corner of my skirts to help create a smoother hem.

Step 3: Attaching Skirt
Once you’ve hemmed the skirts, you will want to create your gathering stitches. Taking your front piece, place right sides together with the front bodice and front skirt. Begin to pull your gathering stitches and even them out. Using your side seam as a guide, overlap the edge of the skirt piece 1″ past the seam and pin. Repeat the overlap on the opposite side seam.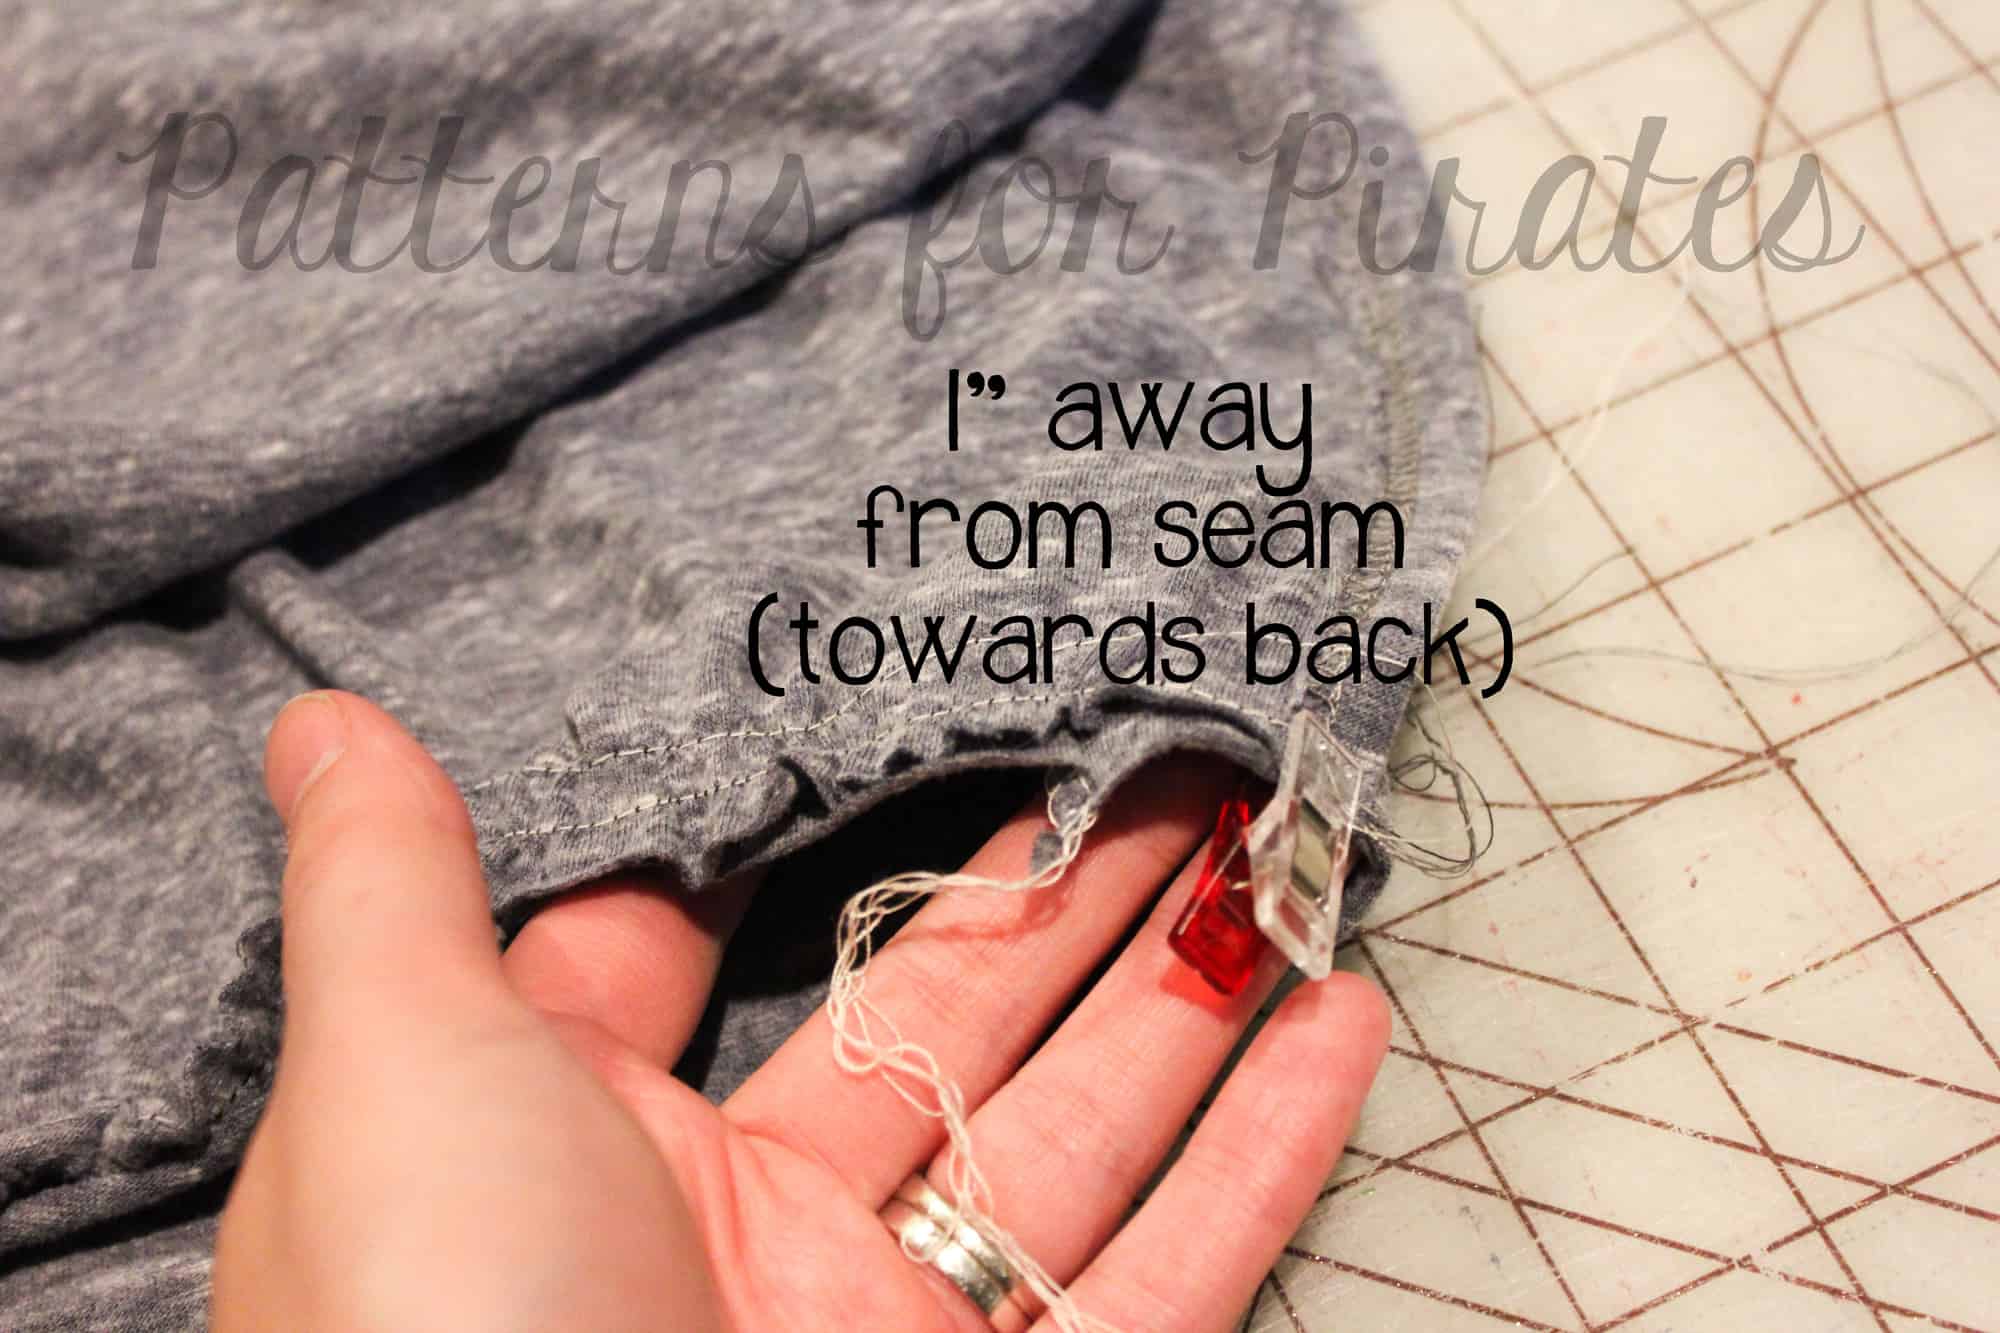
Repeat the same process with the back skirt, however align the edge of the skirt with the side seam. 
Attach skirt using a stretch stitch or serger and you’re all finished!


This hack is quick to complete and gives a fun detail to your shirt! Not only can this look be fun for everyday, but it can also be used for a swim cover and even a nursing friendly shirt! Enjoy and make sure to share your creations in our Facebook Group!
~Erinn
…..
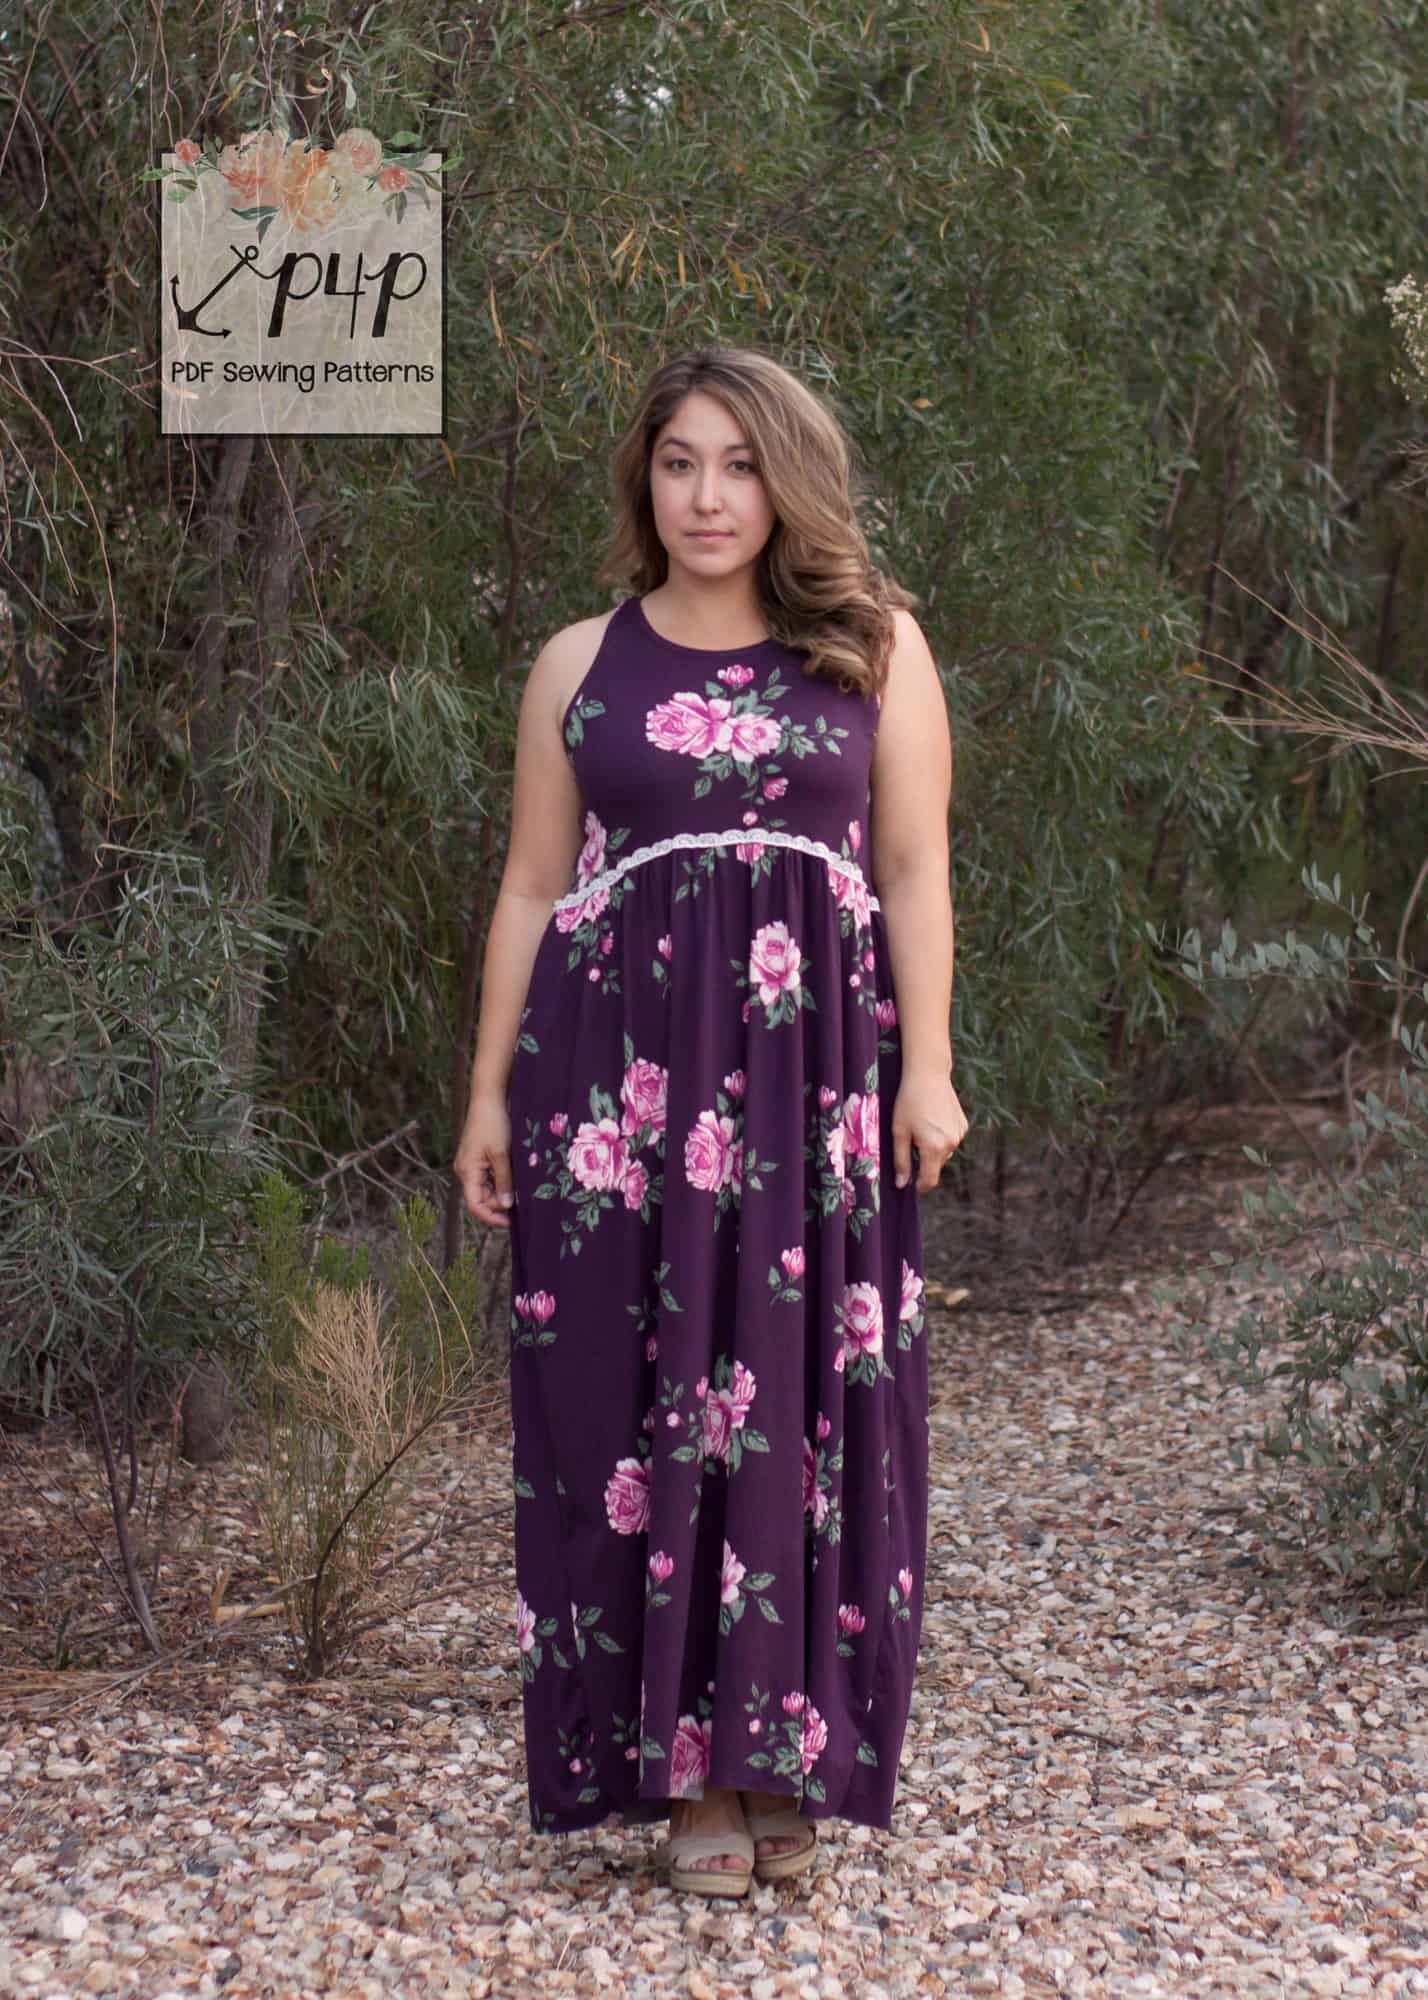
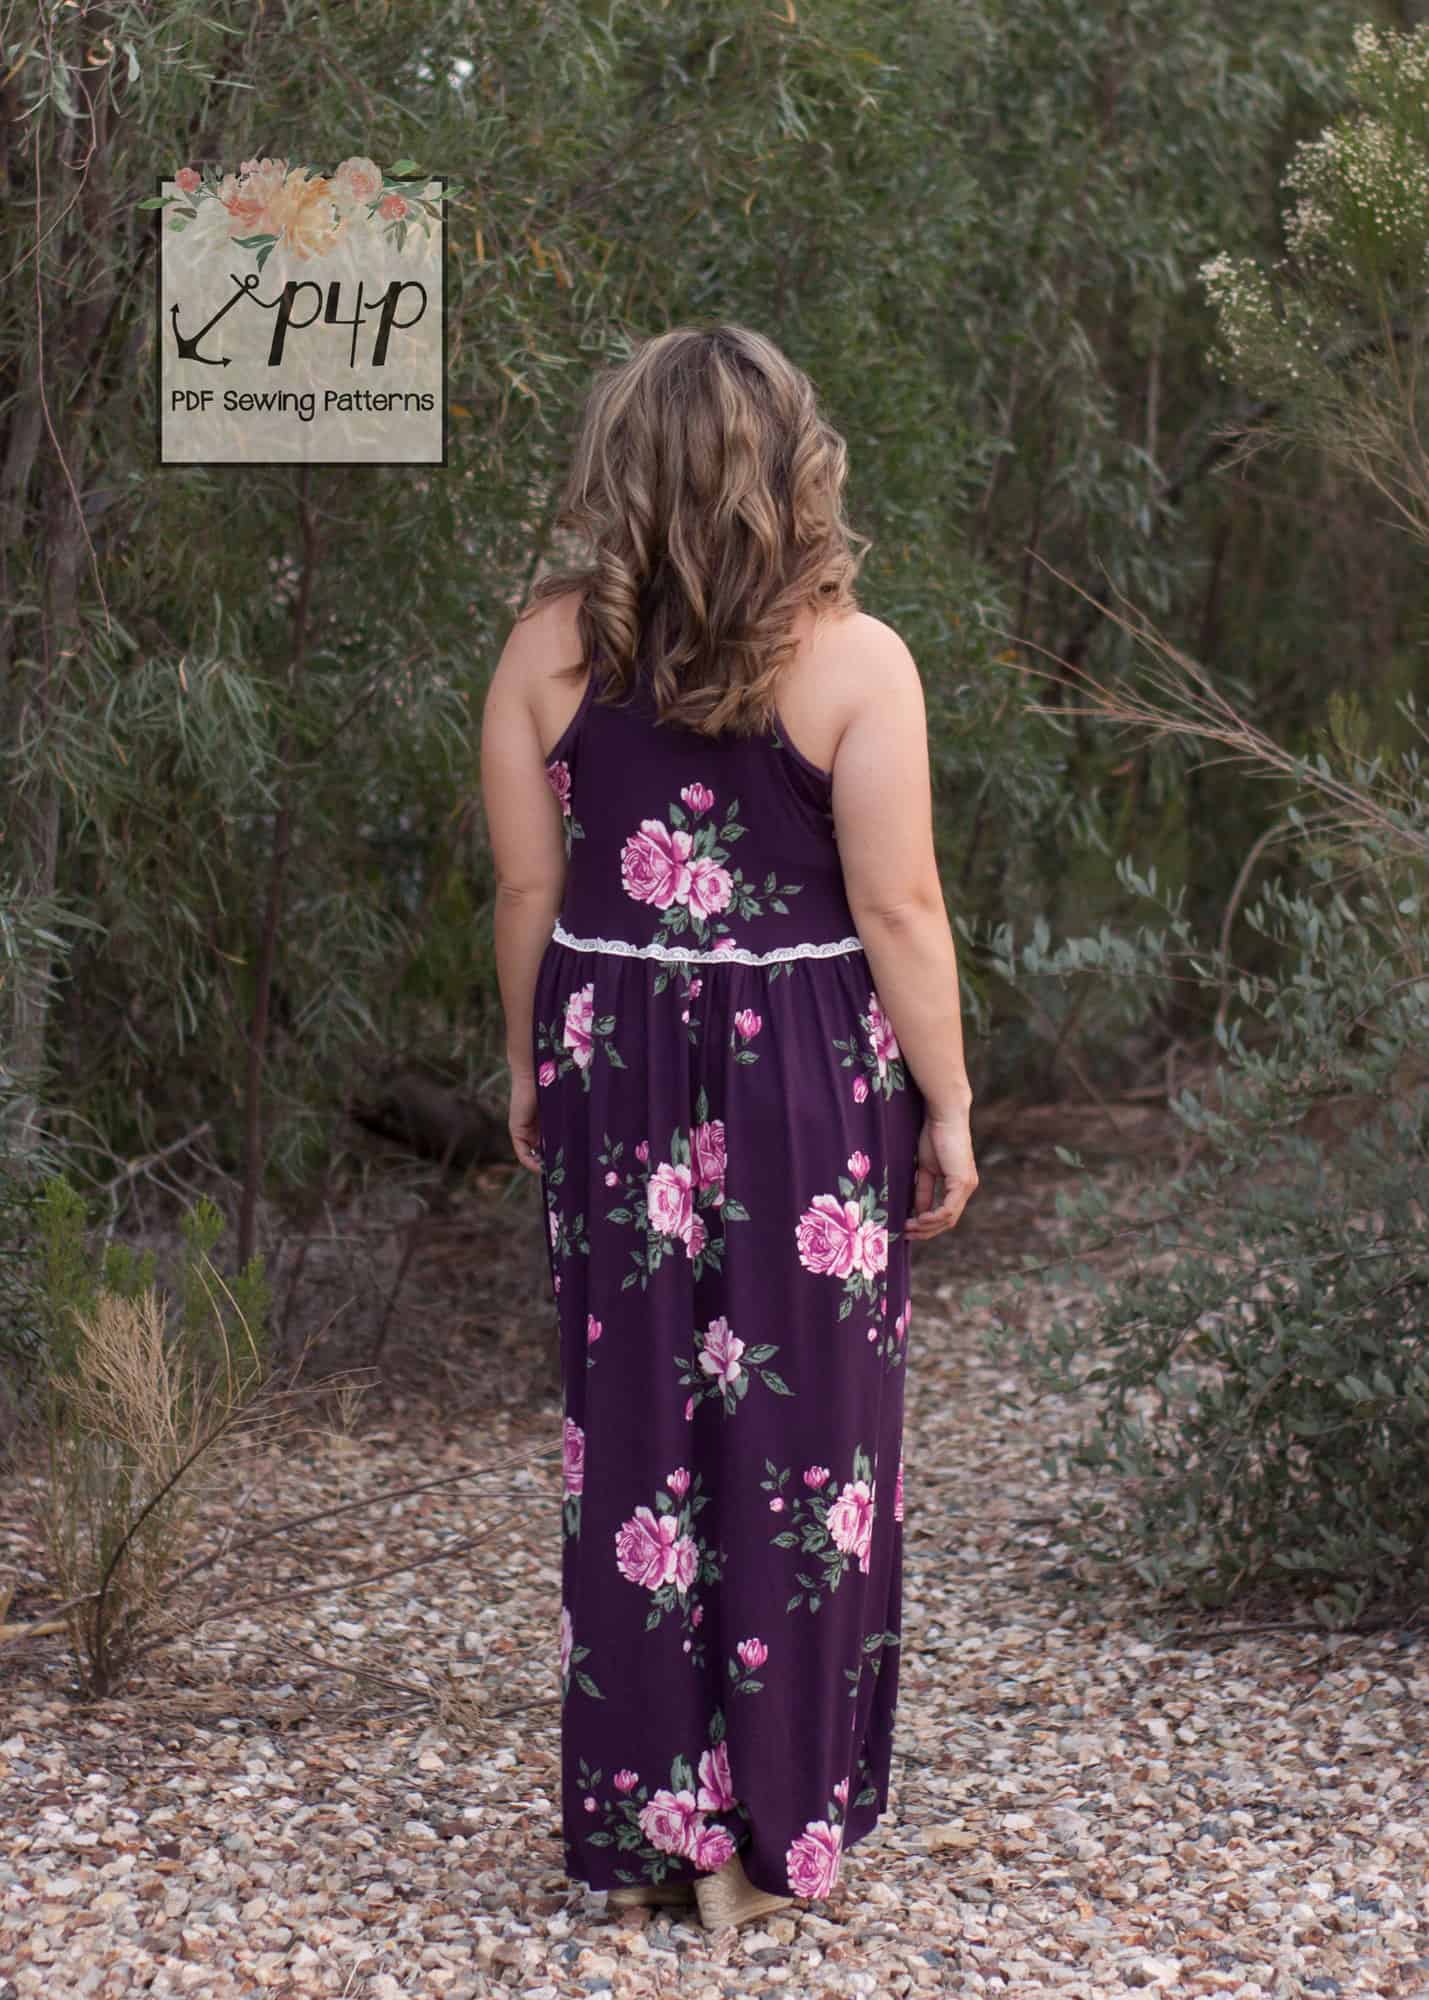
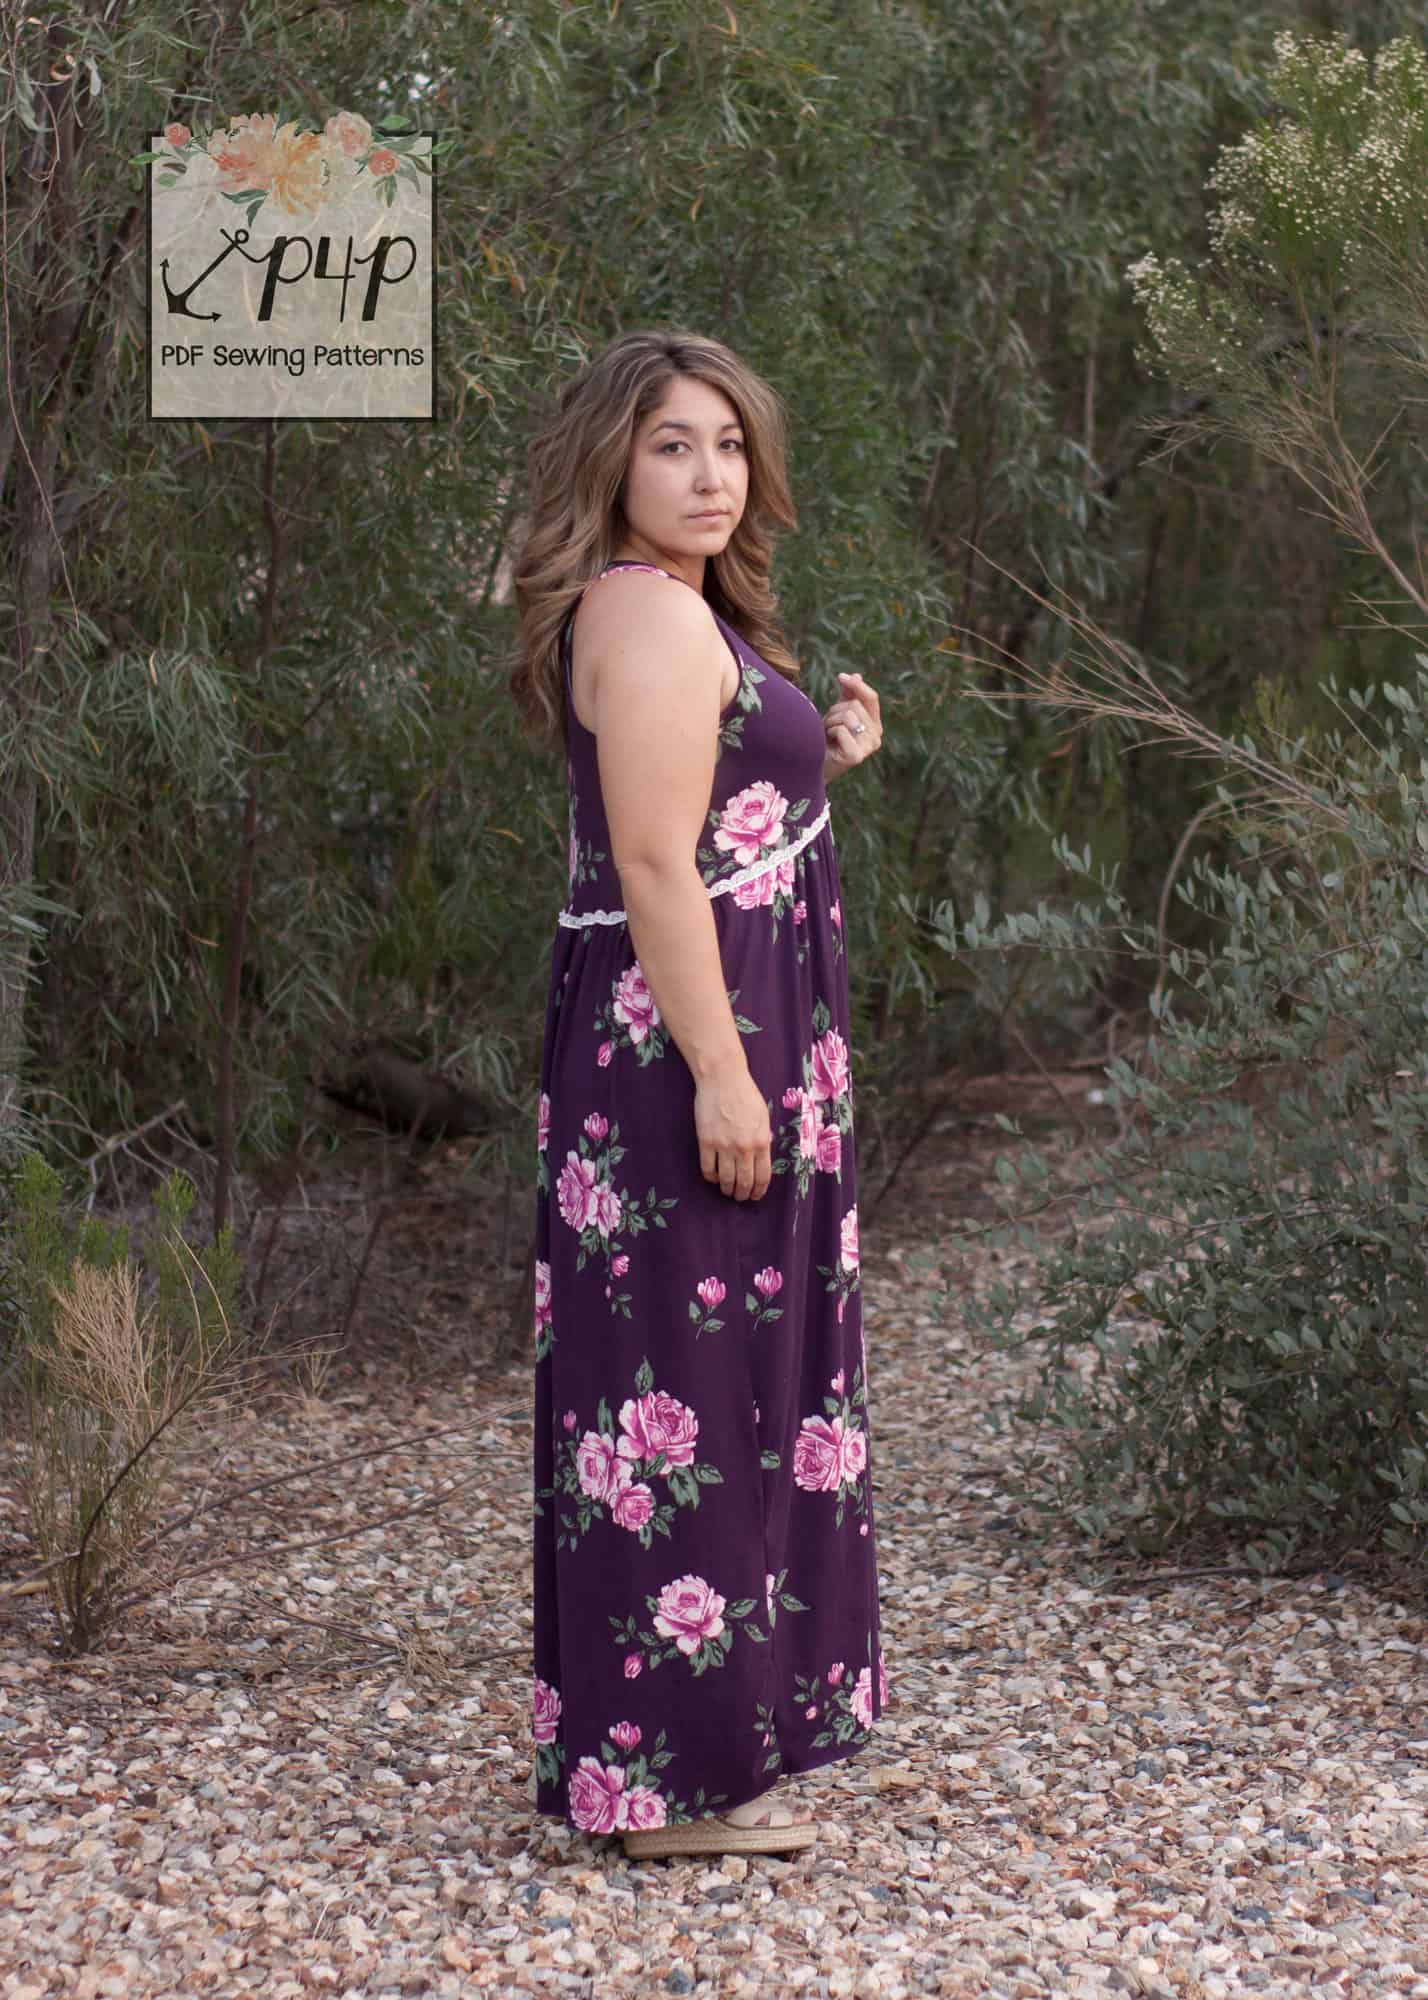
Trim Accents
![]()
A little detail can go a long way. The baby doll is perfect for adding lace trim details as it is not fitted through the waist so using a crochet trim or non-stretch trim is an option. You can also add trim around the neckline and armholes but would recommend using a stretch lace as you still need to be able to pull the top over your head. For my option, I used a pretty narrow trim so constructed my dress as usual and then topstitched it along the seam allowance. If using a wider trim, you can baste it to the bodice prior to attaching the skirt.
-

- Construct the top/dress first, then topsttich trim along the seam allowance.
-
- Topstitch lace trim to the armhole and/or neckline

-
- Baste trim to bodice edge then attach your skirt.
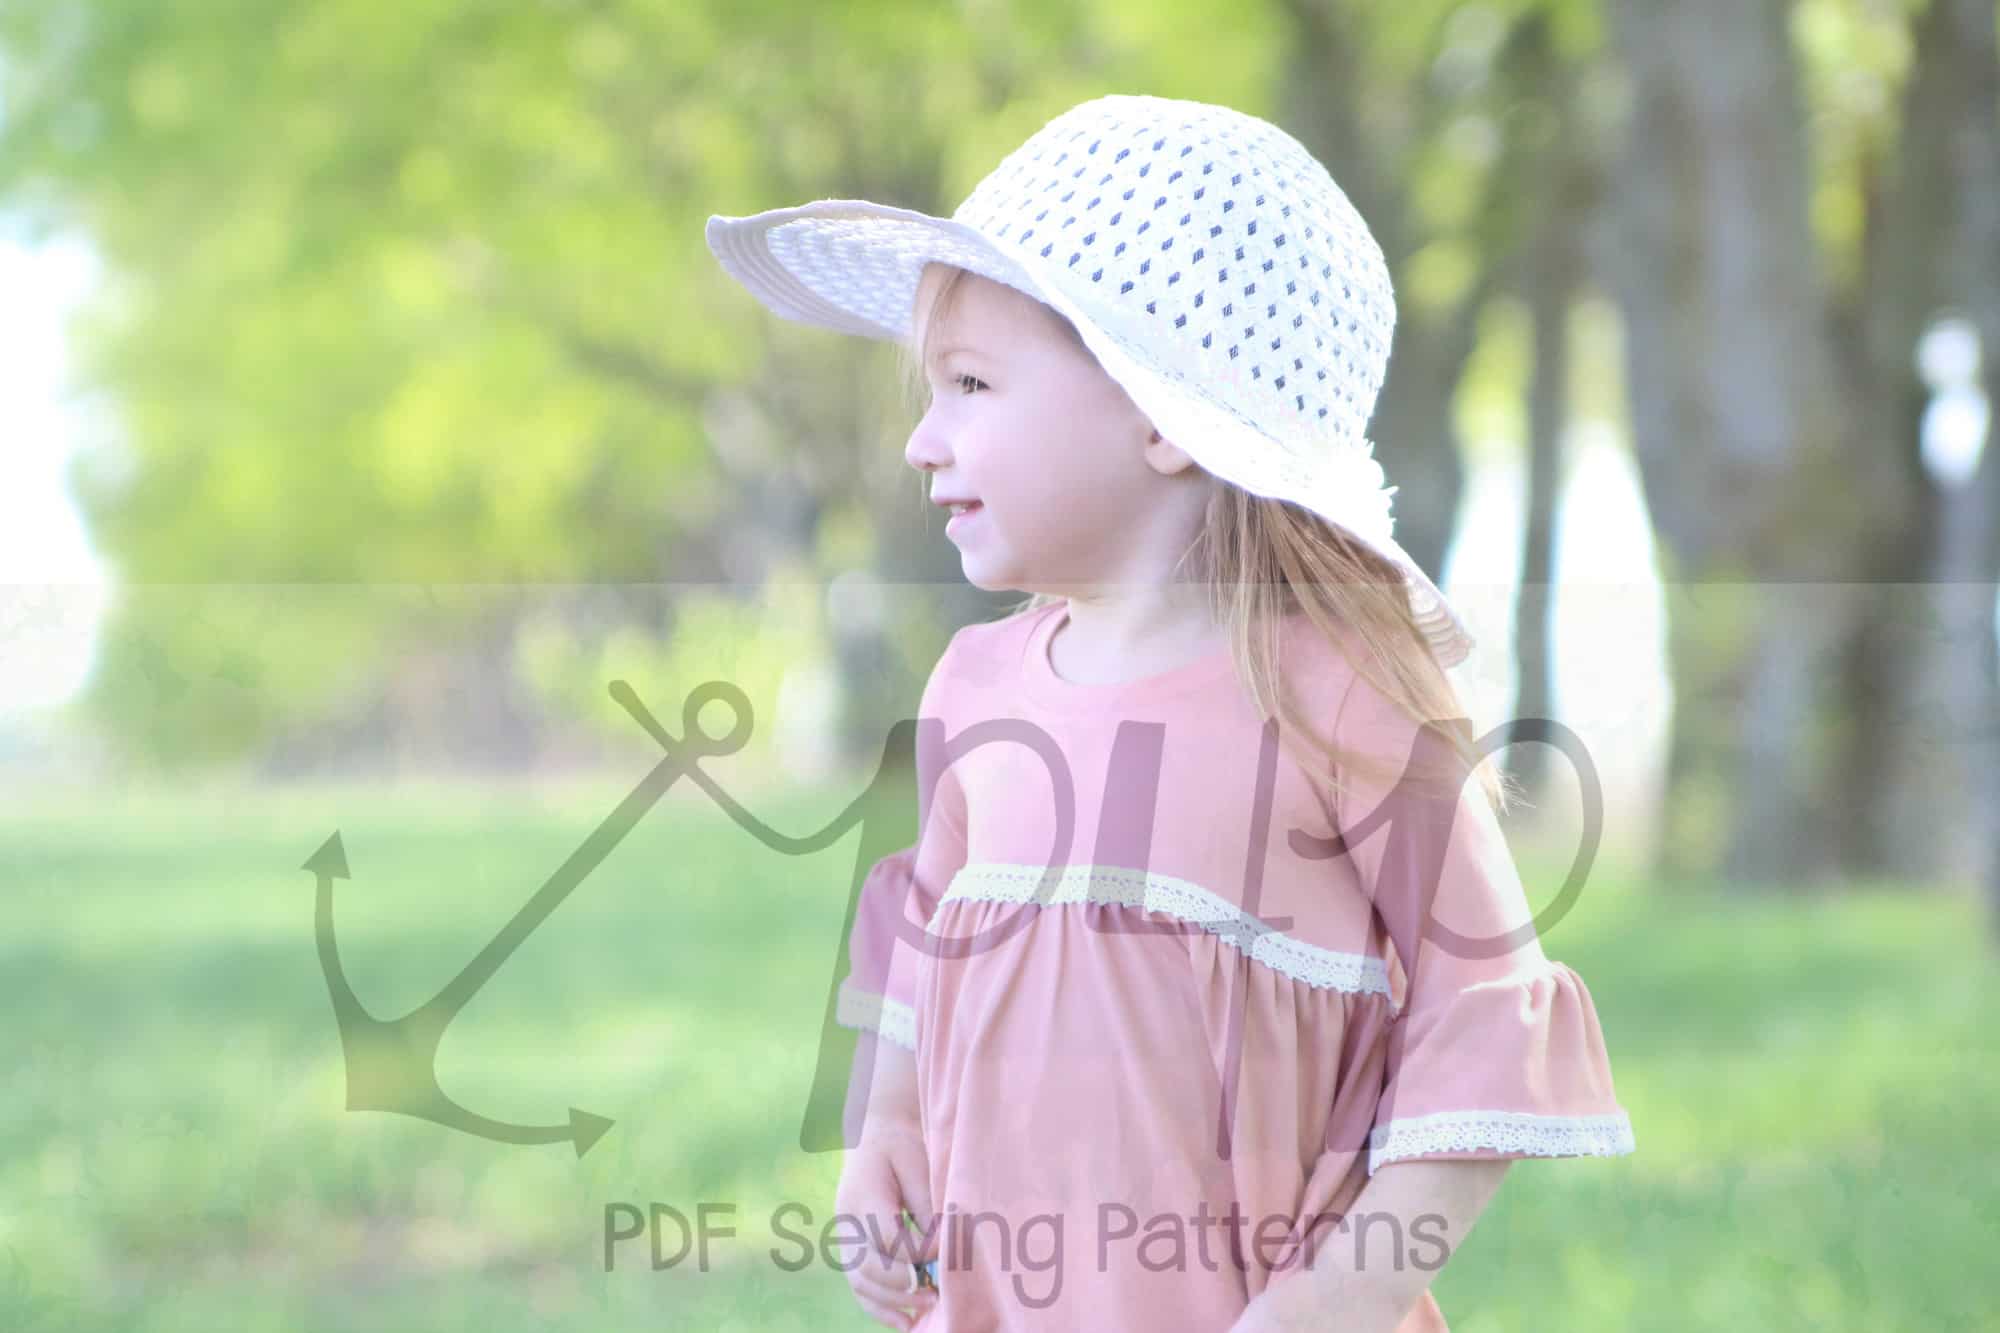
Here is another example on a youth version. Judy used a crochet, non-stretch trim and top-stitched it on after construction to the bodice seam and the hem of the ruffle (both places that wont miss the stretch since they’re looser parts of the garment.

…..
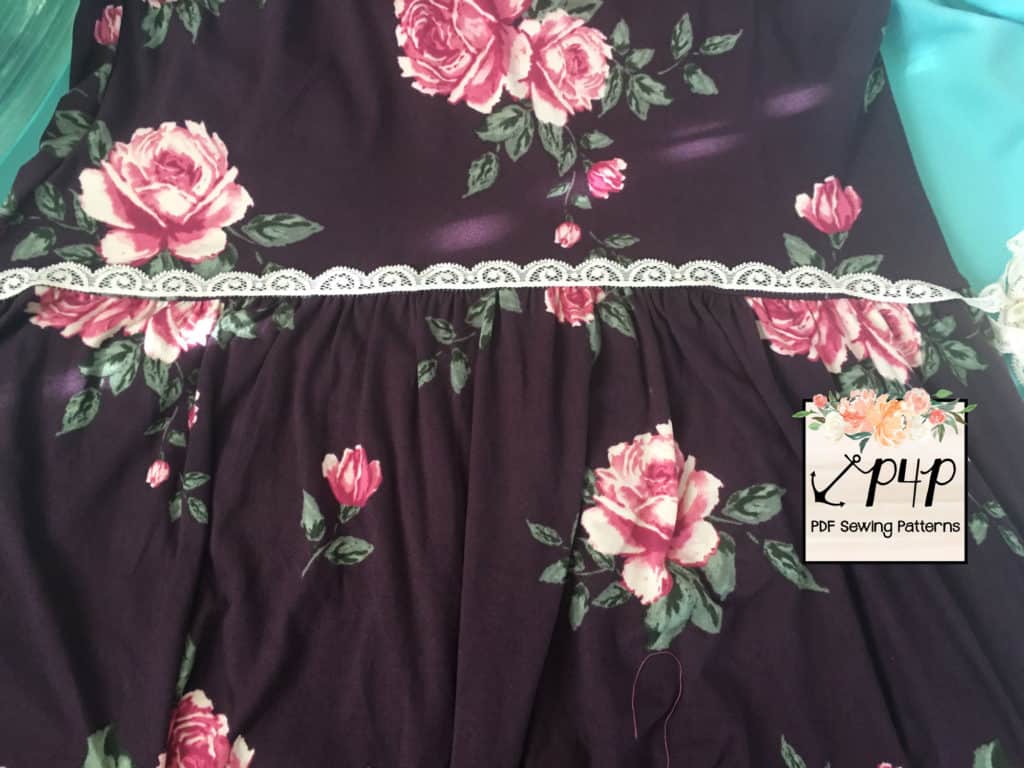
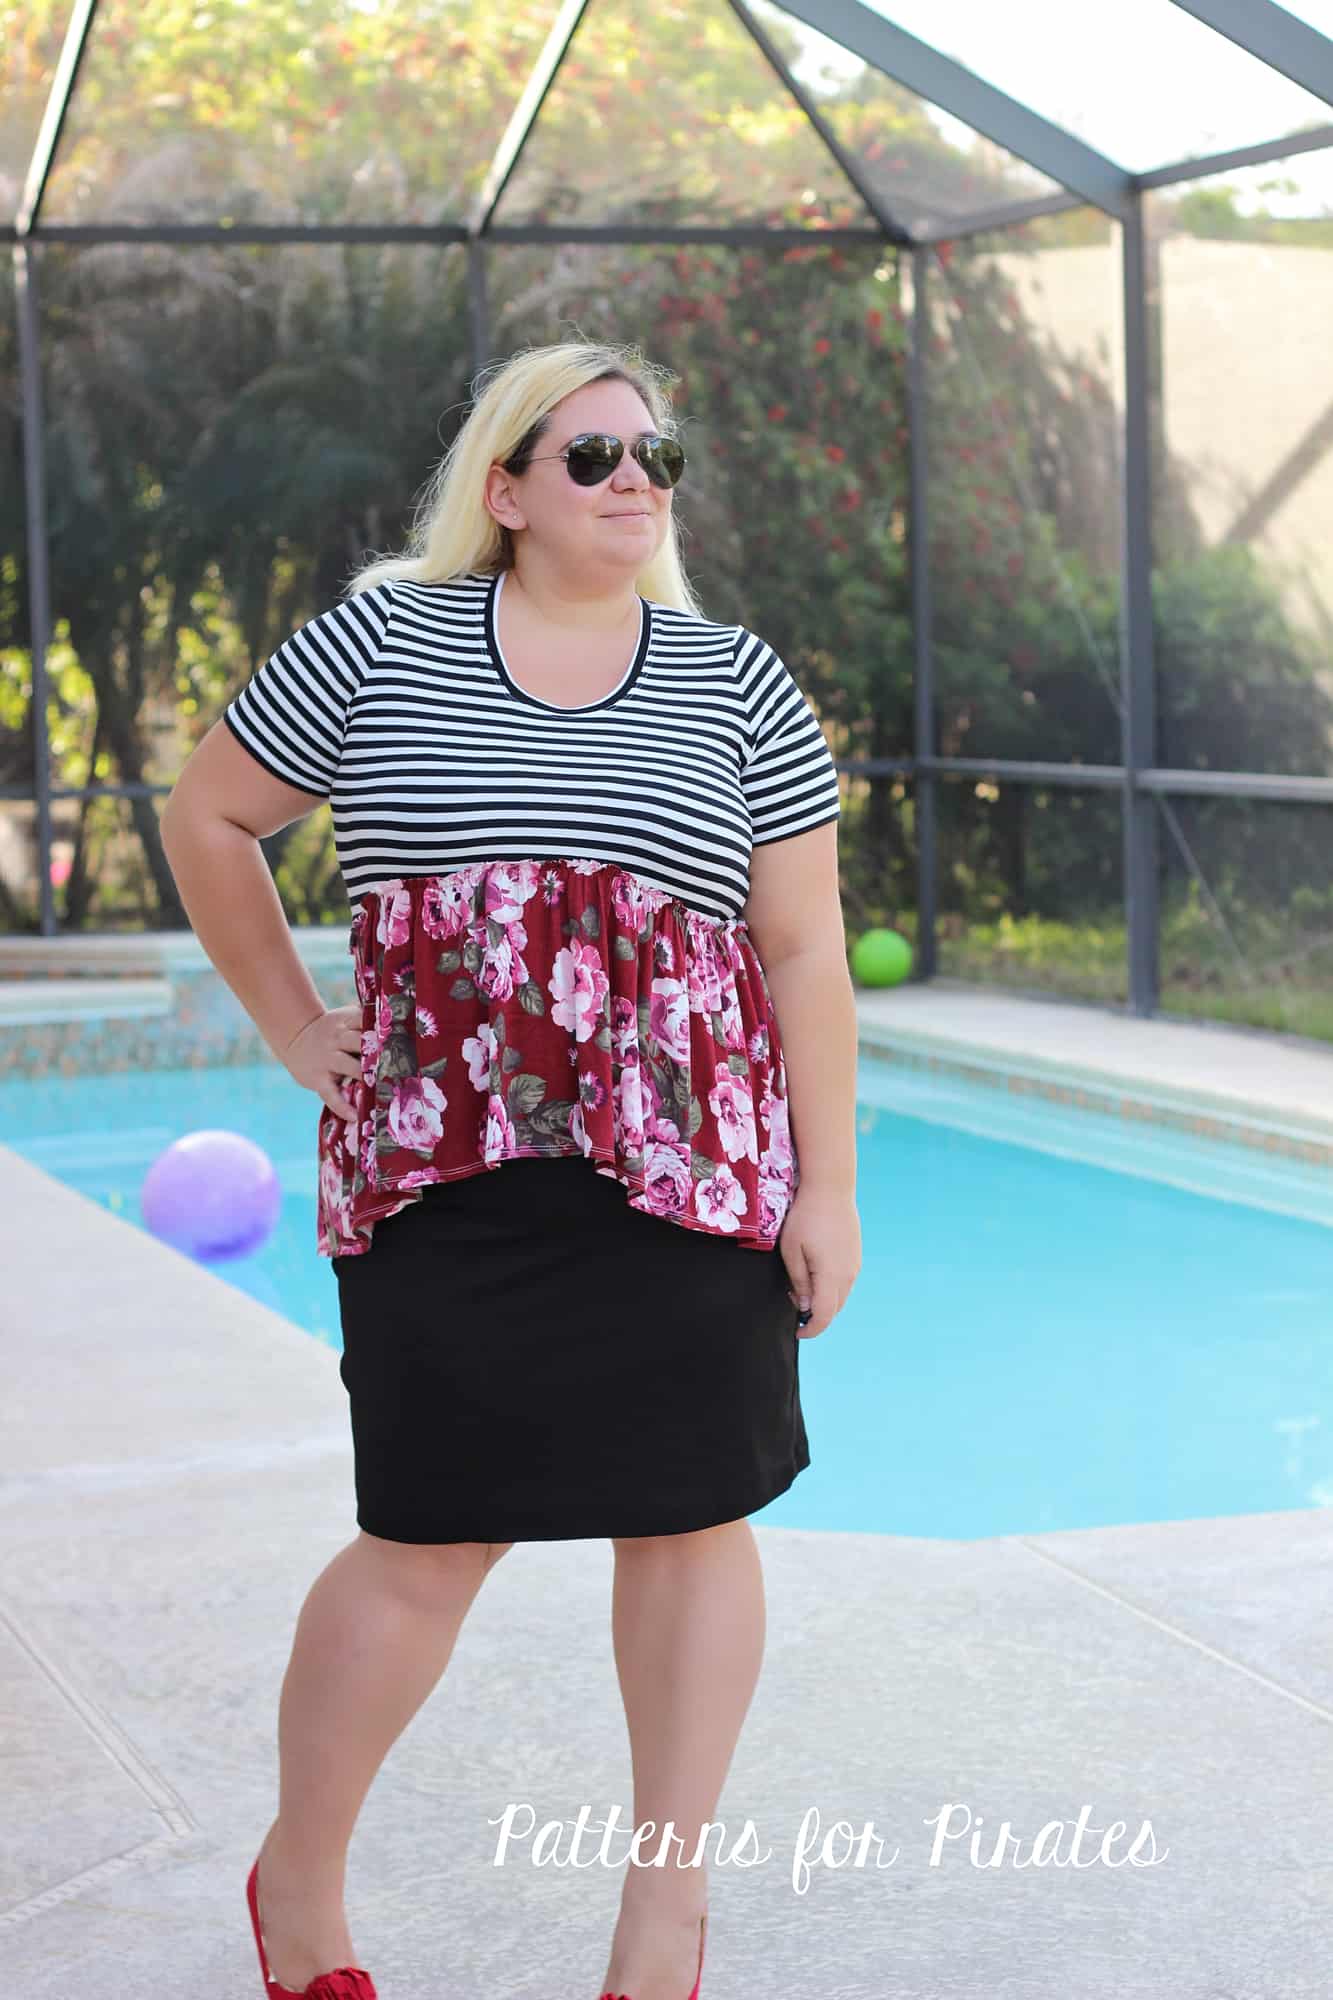
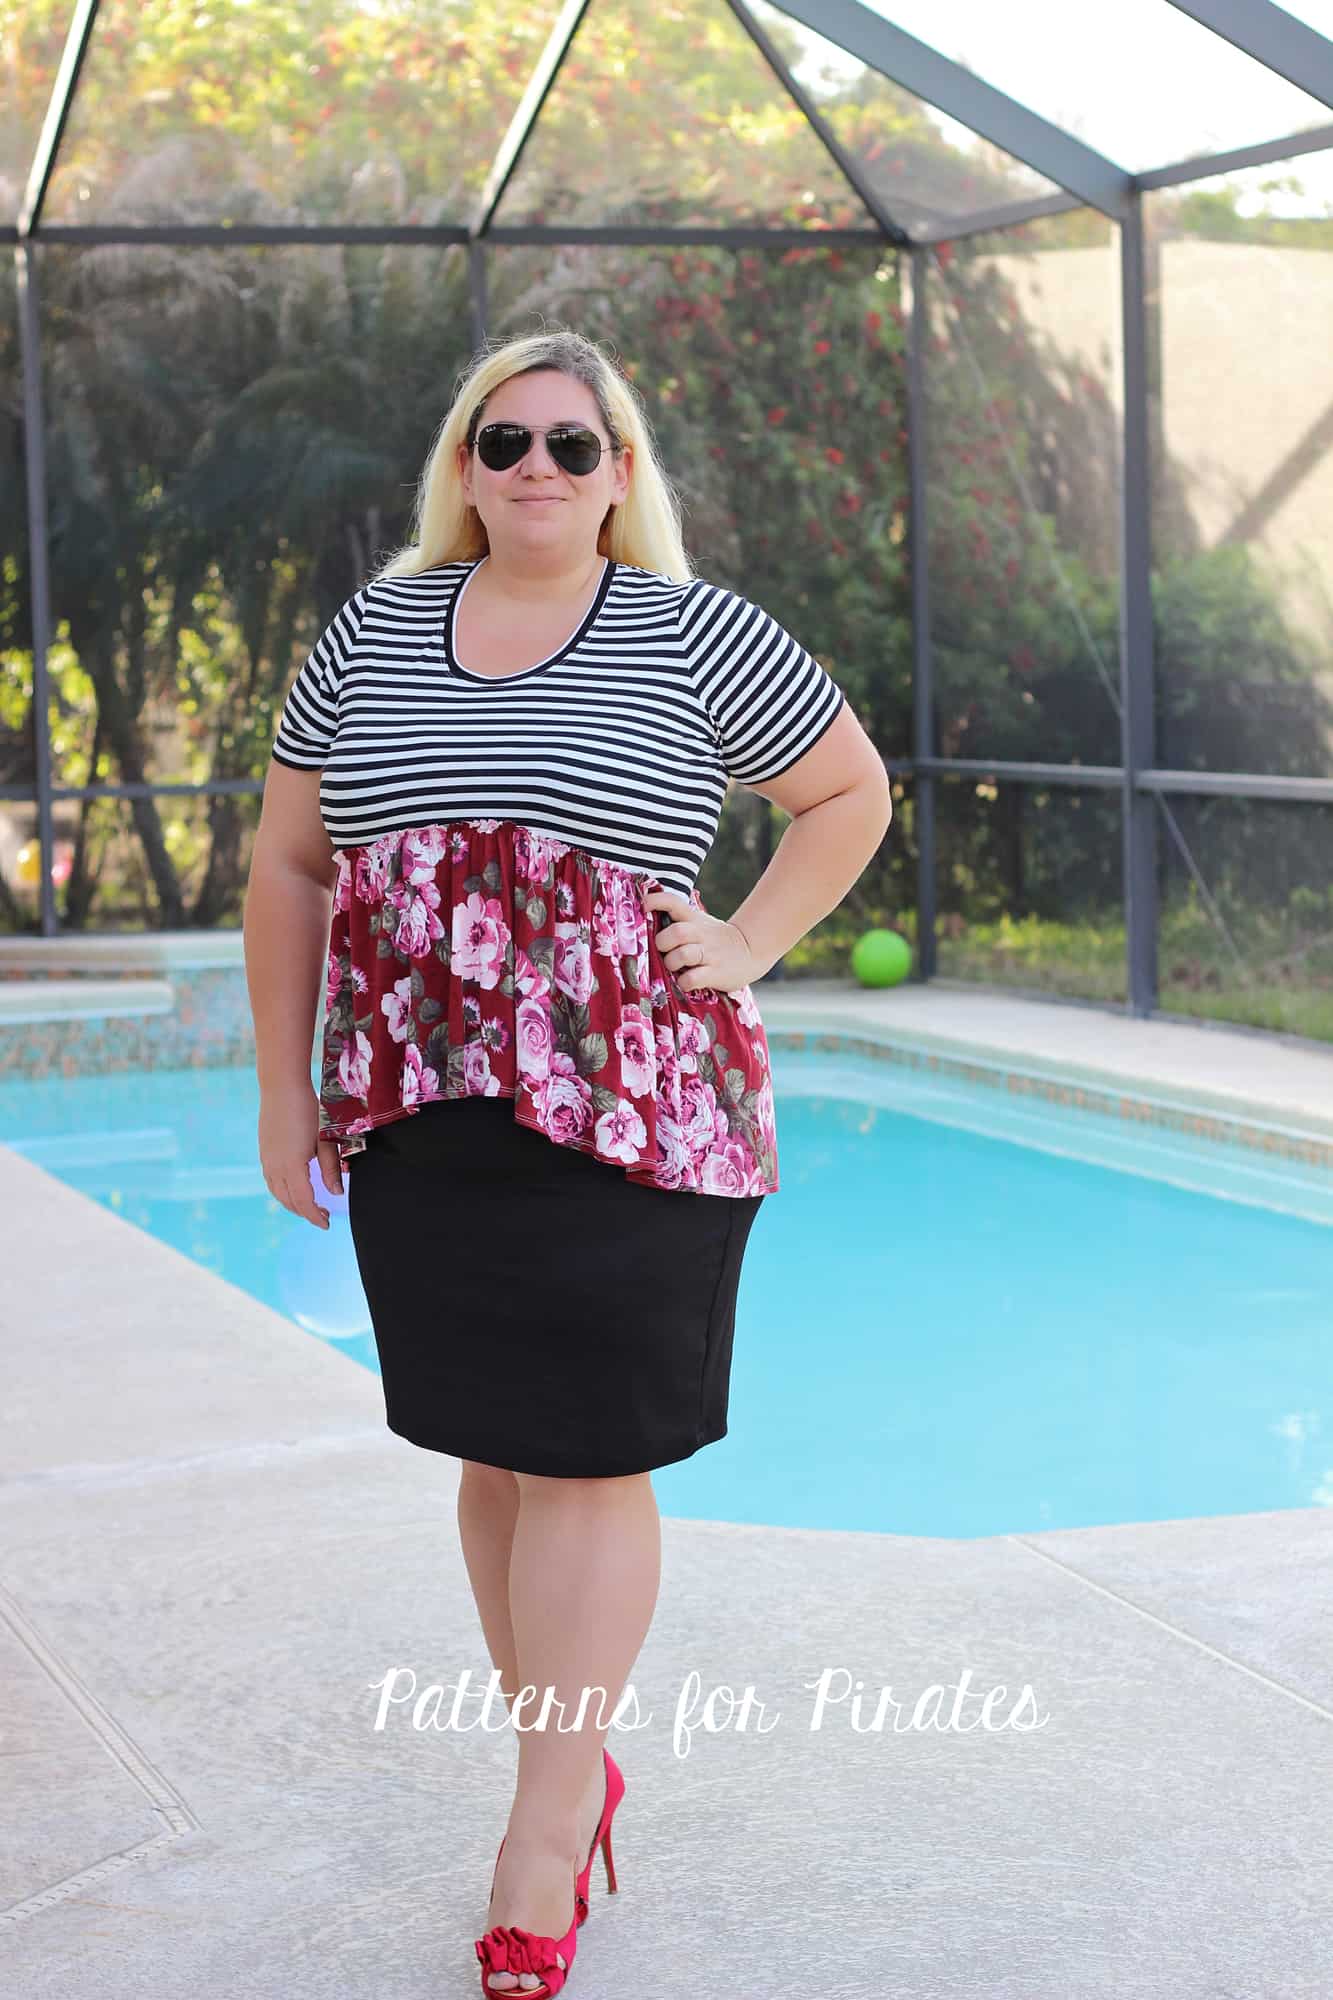
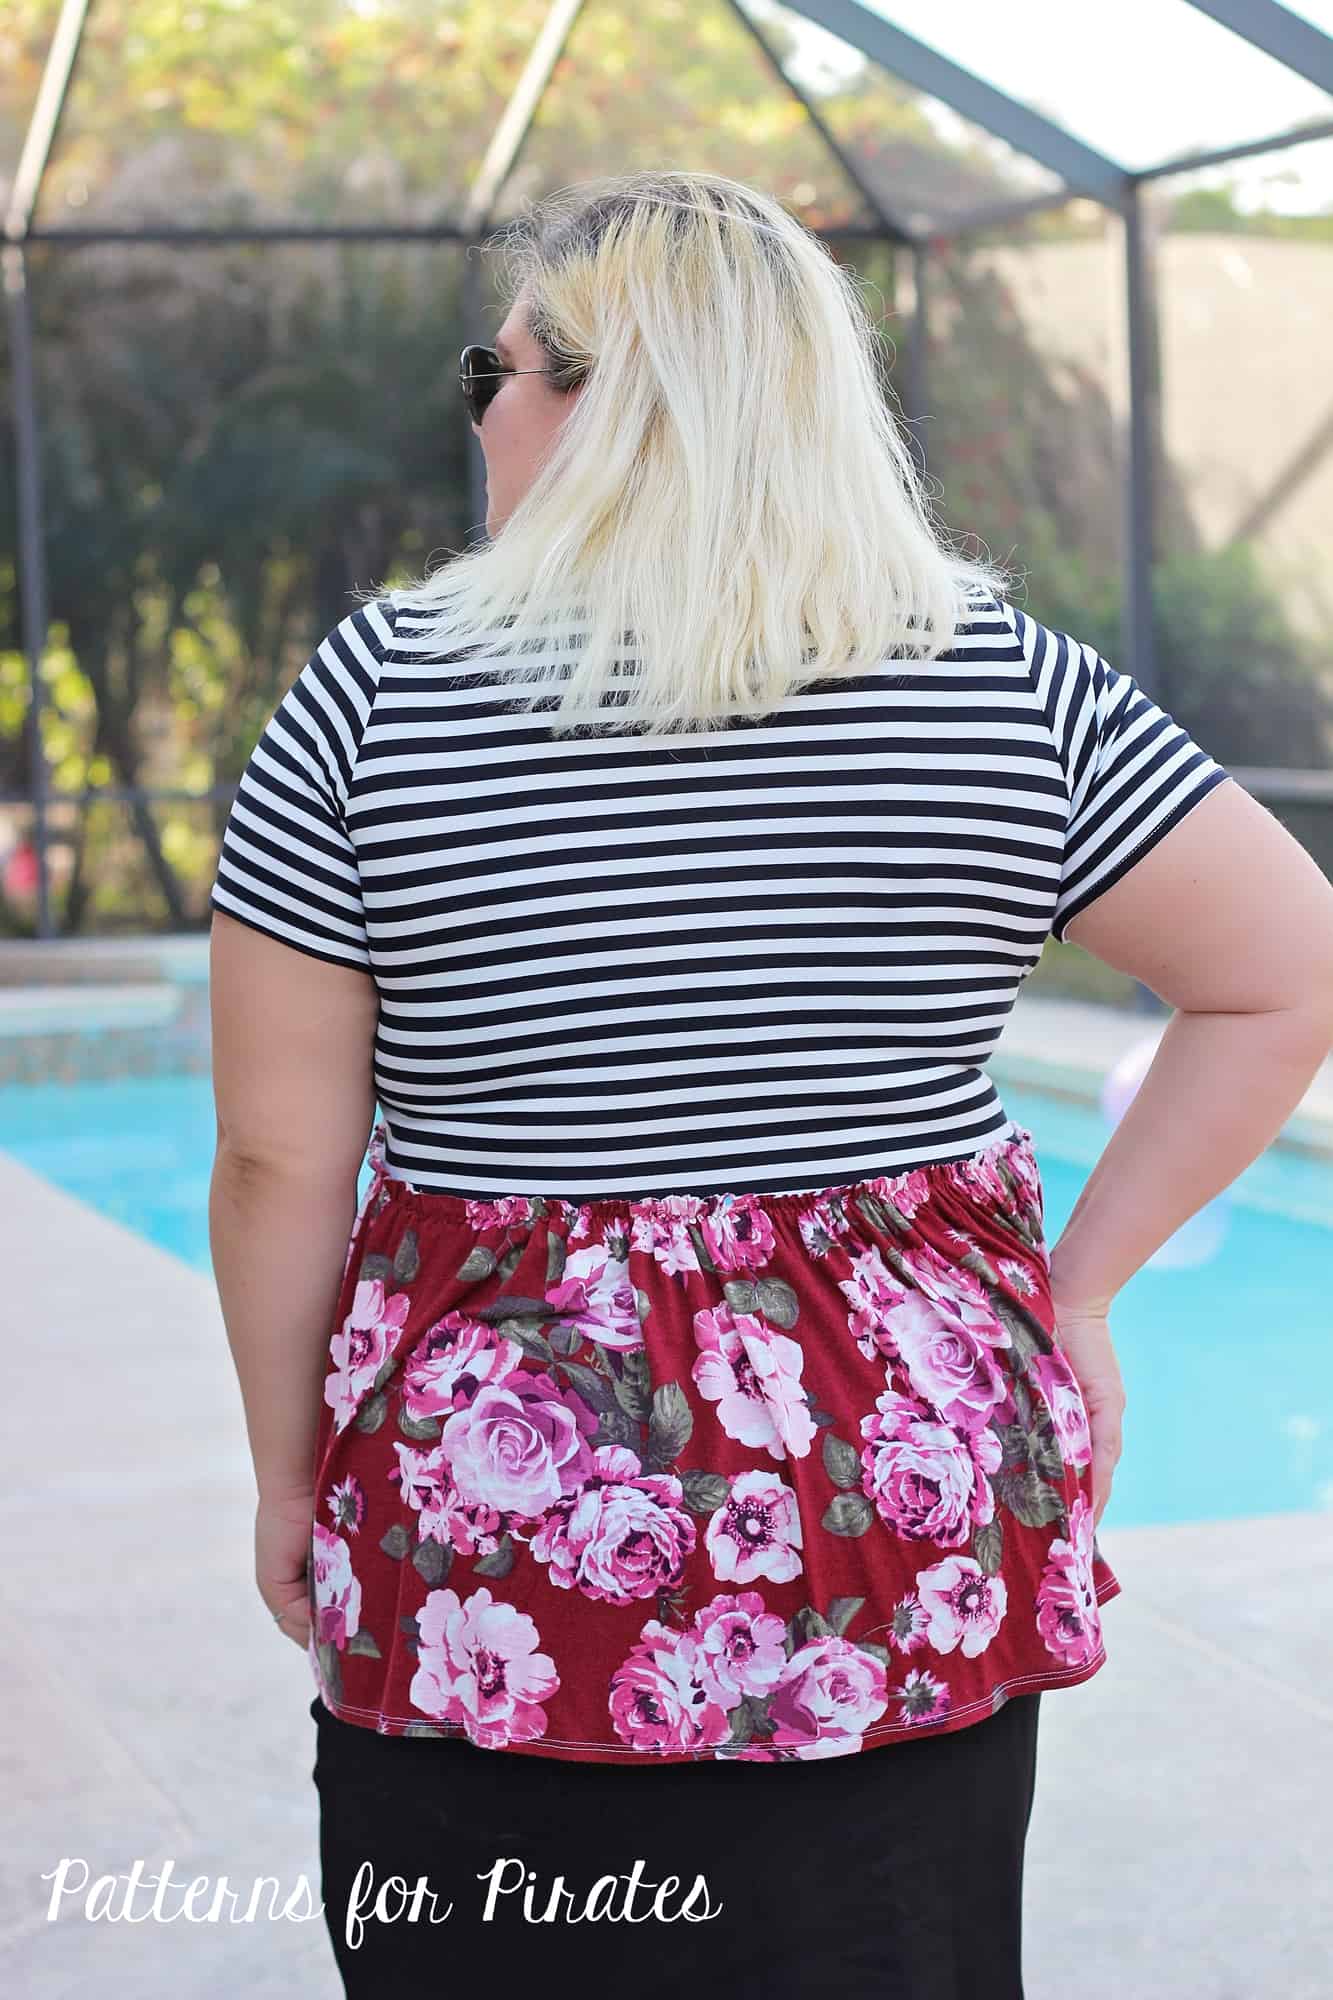
Waist Seam Ruffle
Last but certainly not least we wanted to show you a different way to sew the skirt to the bodice. This method will give your waist a ruffled look without adding any ruffles or changing the pattern pieces.
For this easy hack you will not be modifying the pattern pieces or adding any additional ones. Print the pattern and cut the fabric for your size.
Using a fabric pen or tailor chalk mark the 1/2″ seam allowance on the bottom of the bodice.
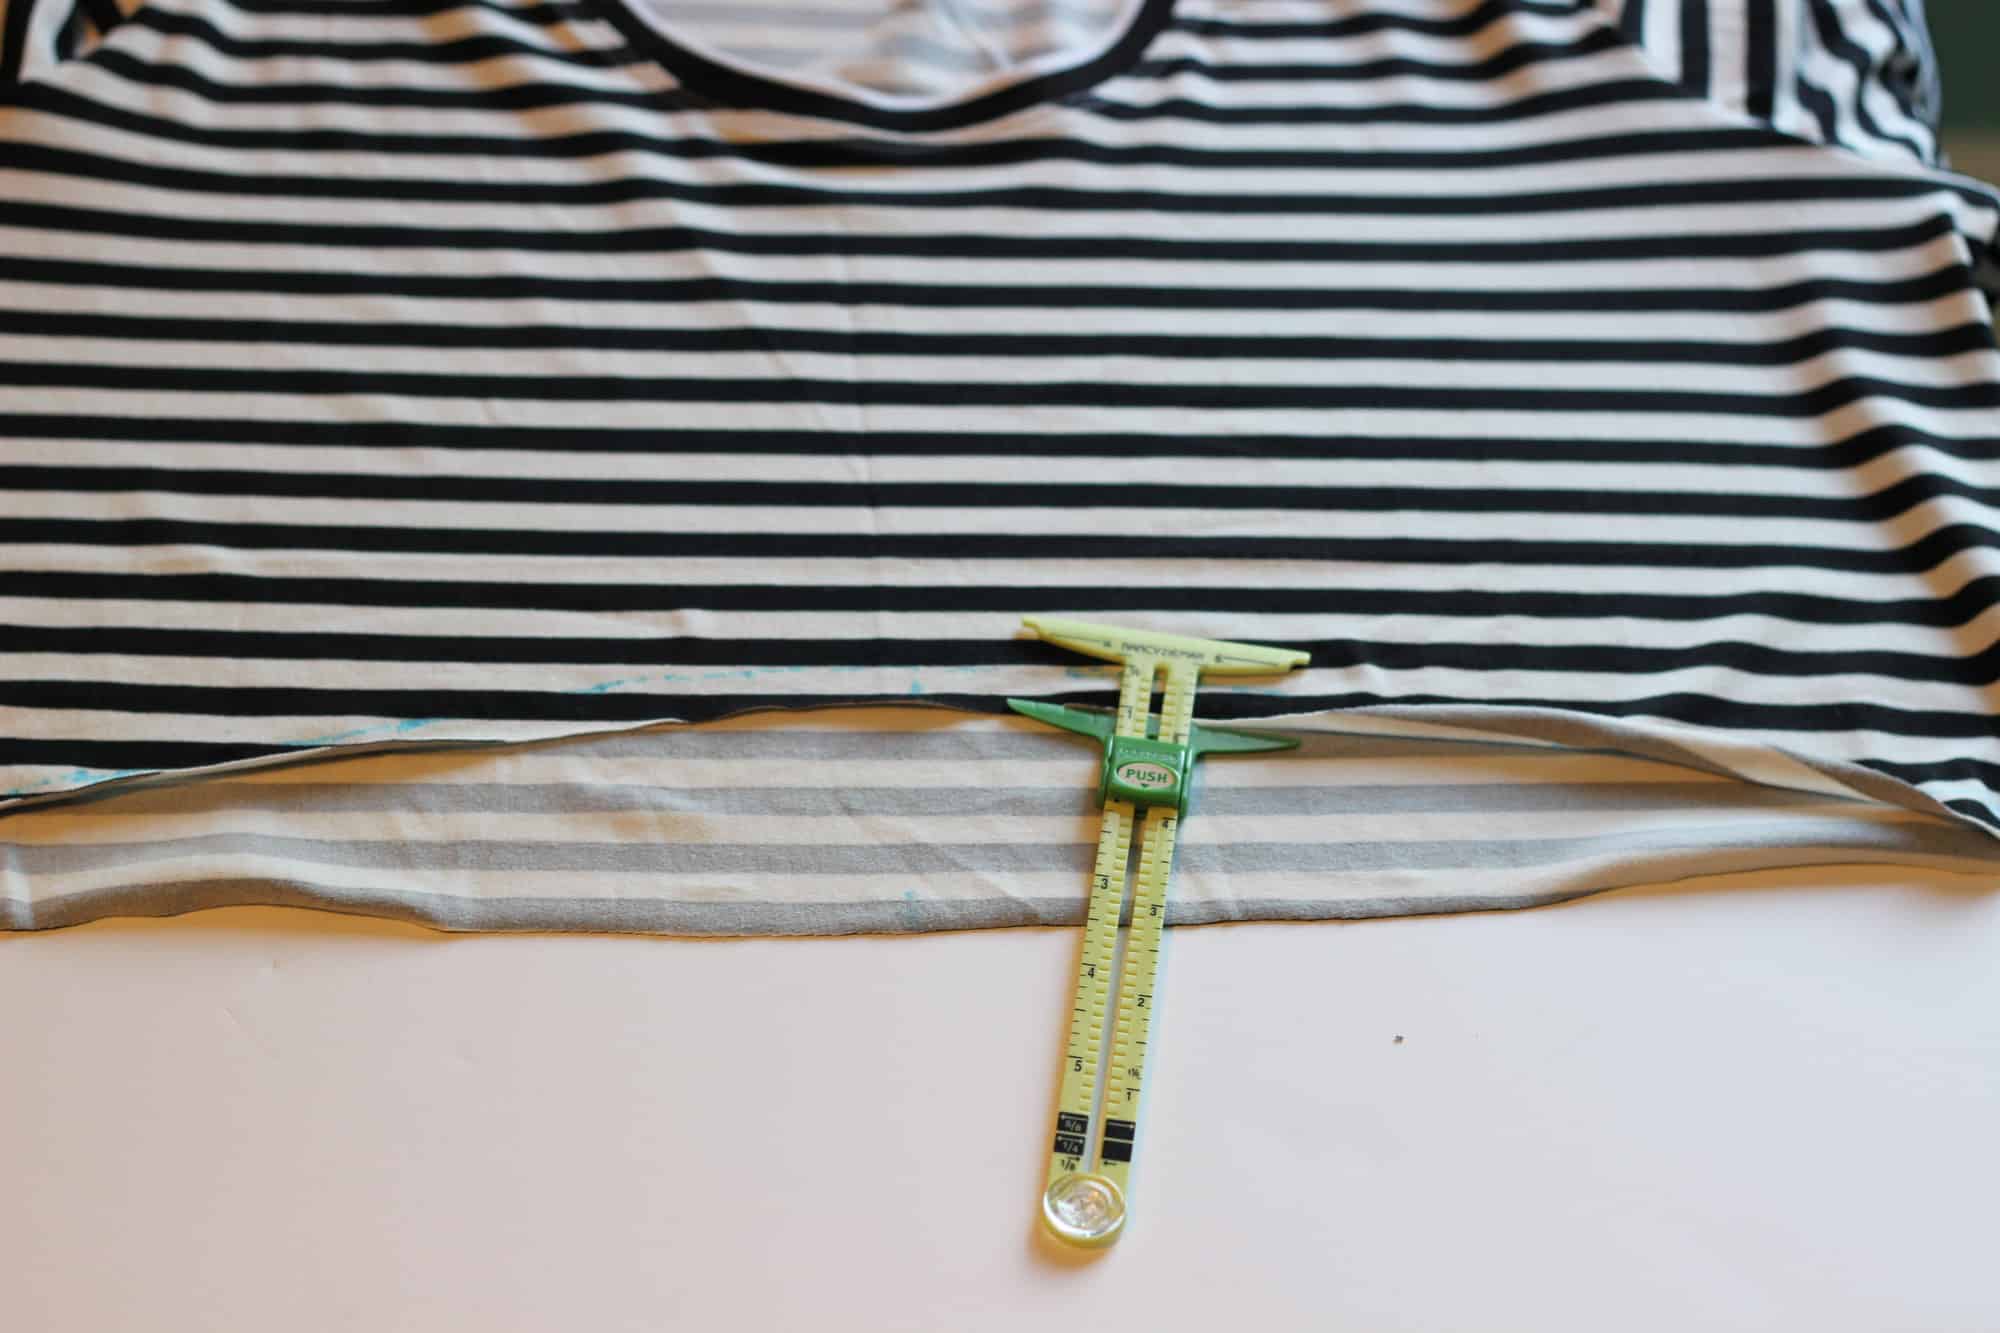
Tip: for an extra pop of color finish the top of the skirt with a rolled hem.
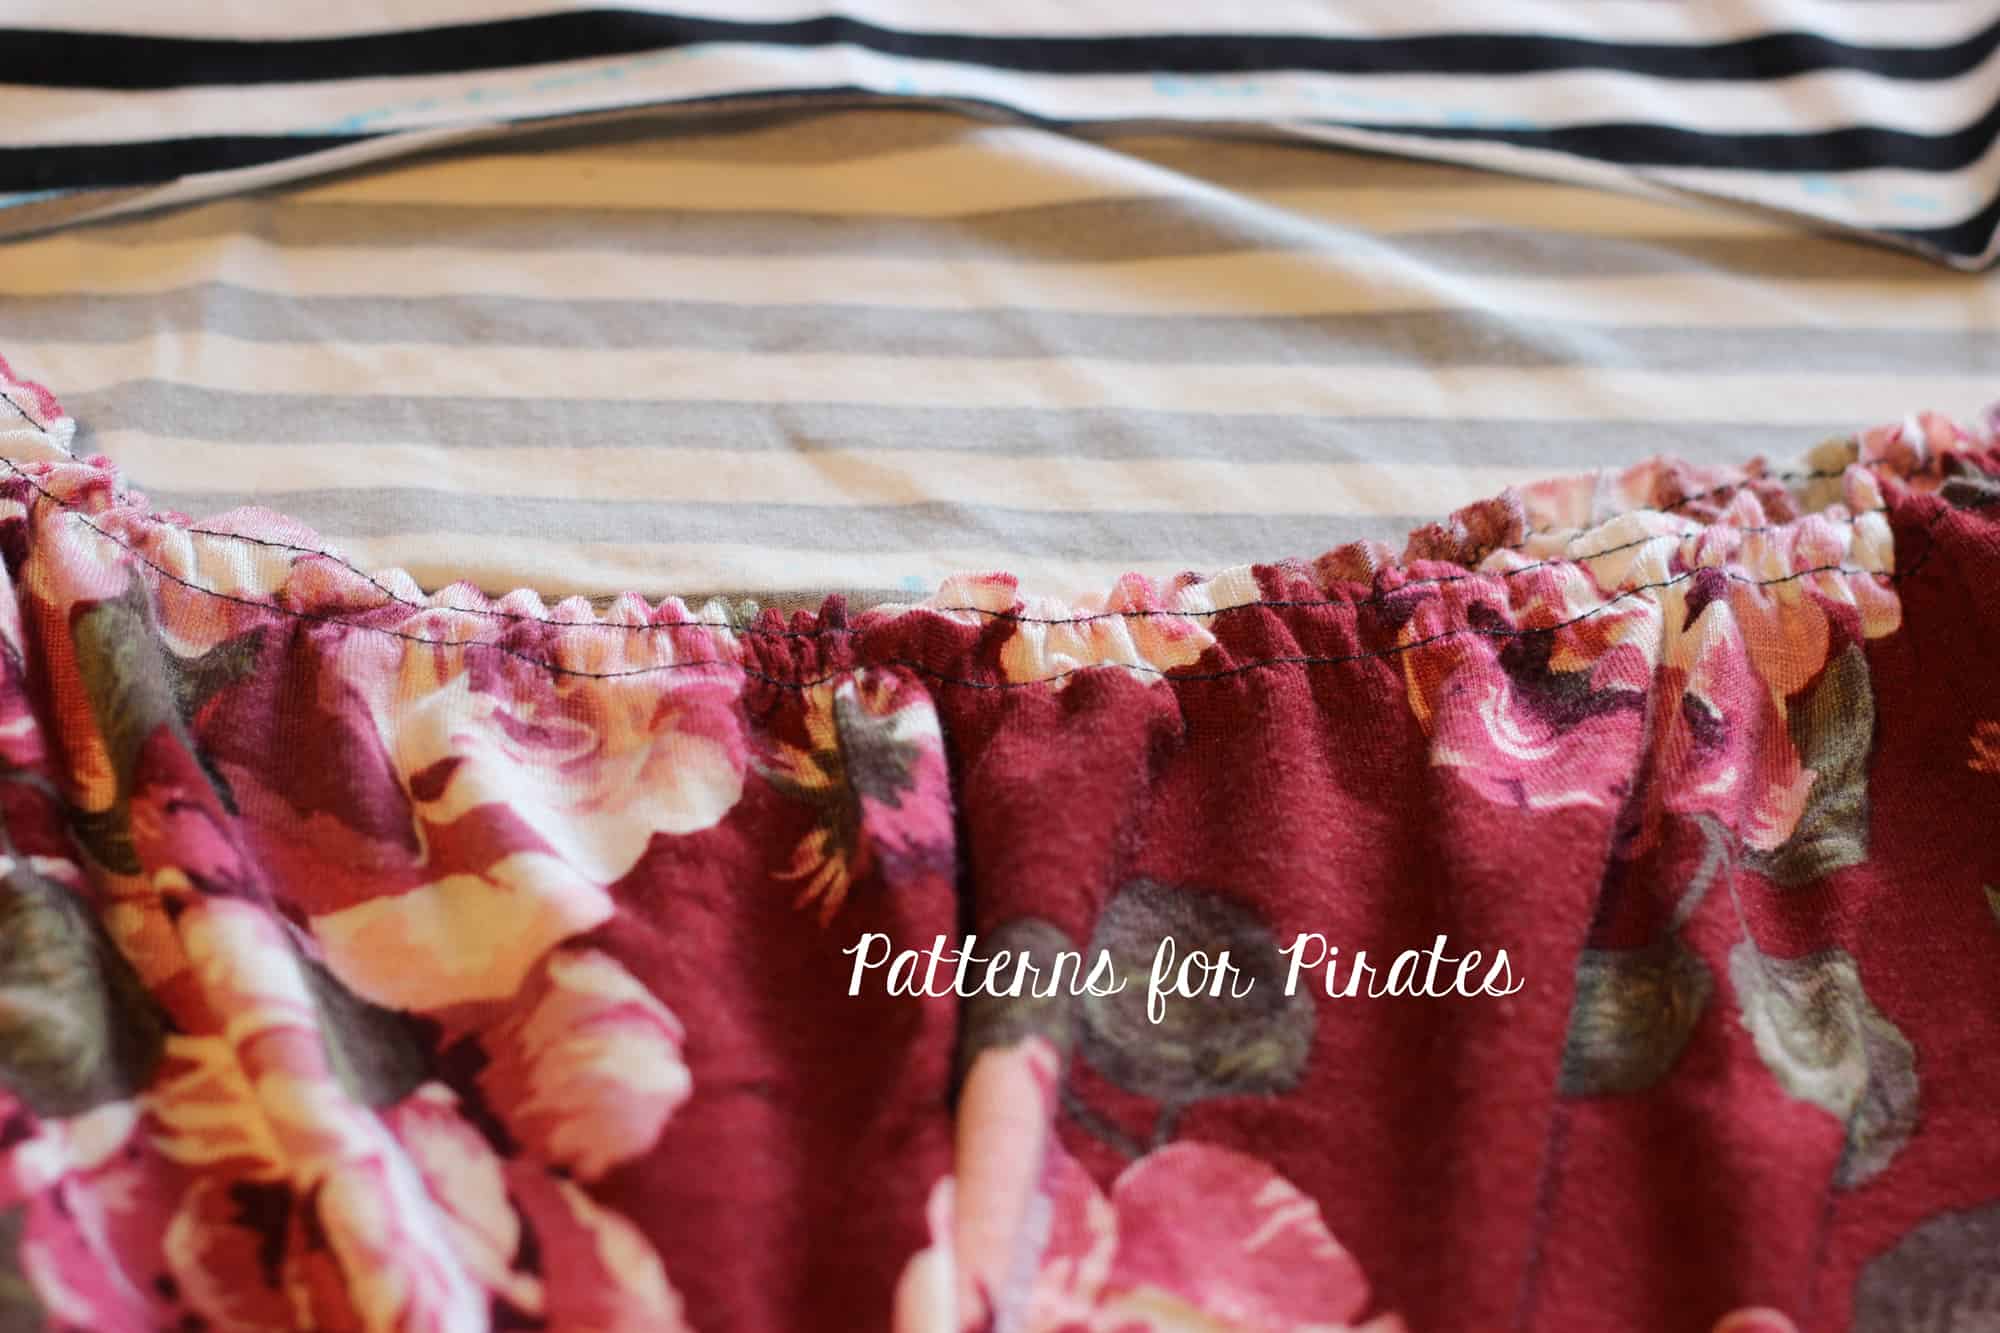
Gather the skirt using two rows of basting stitches as in the pattern tutorial. You will now be pinning the skirt to the bodice. The wrong side of the skirt will be pinned to the right side of the bodice, making sure you match the side seams and the center point.
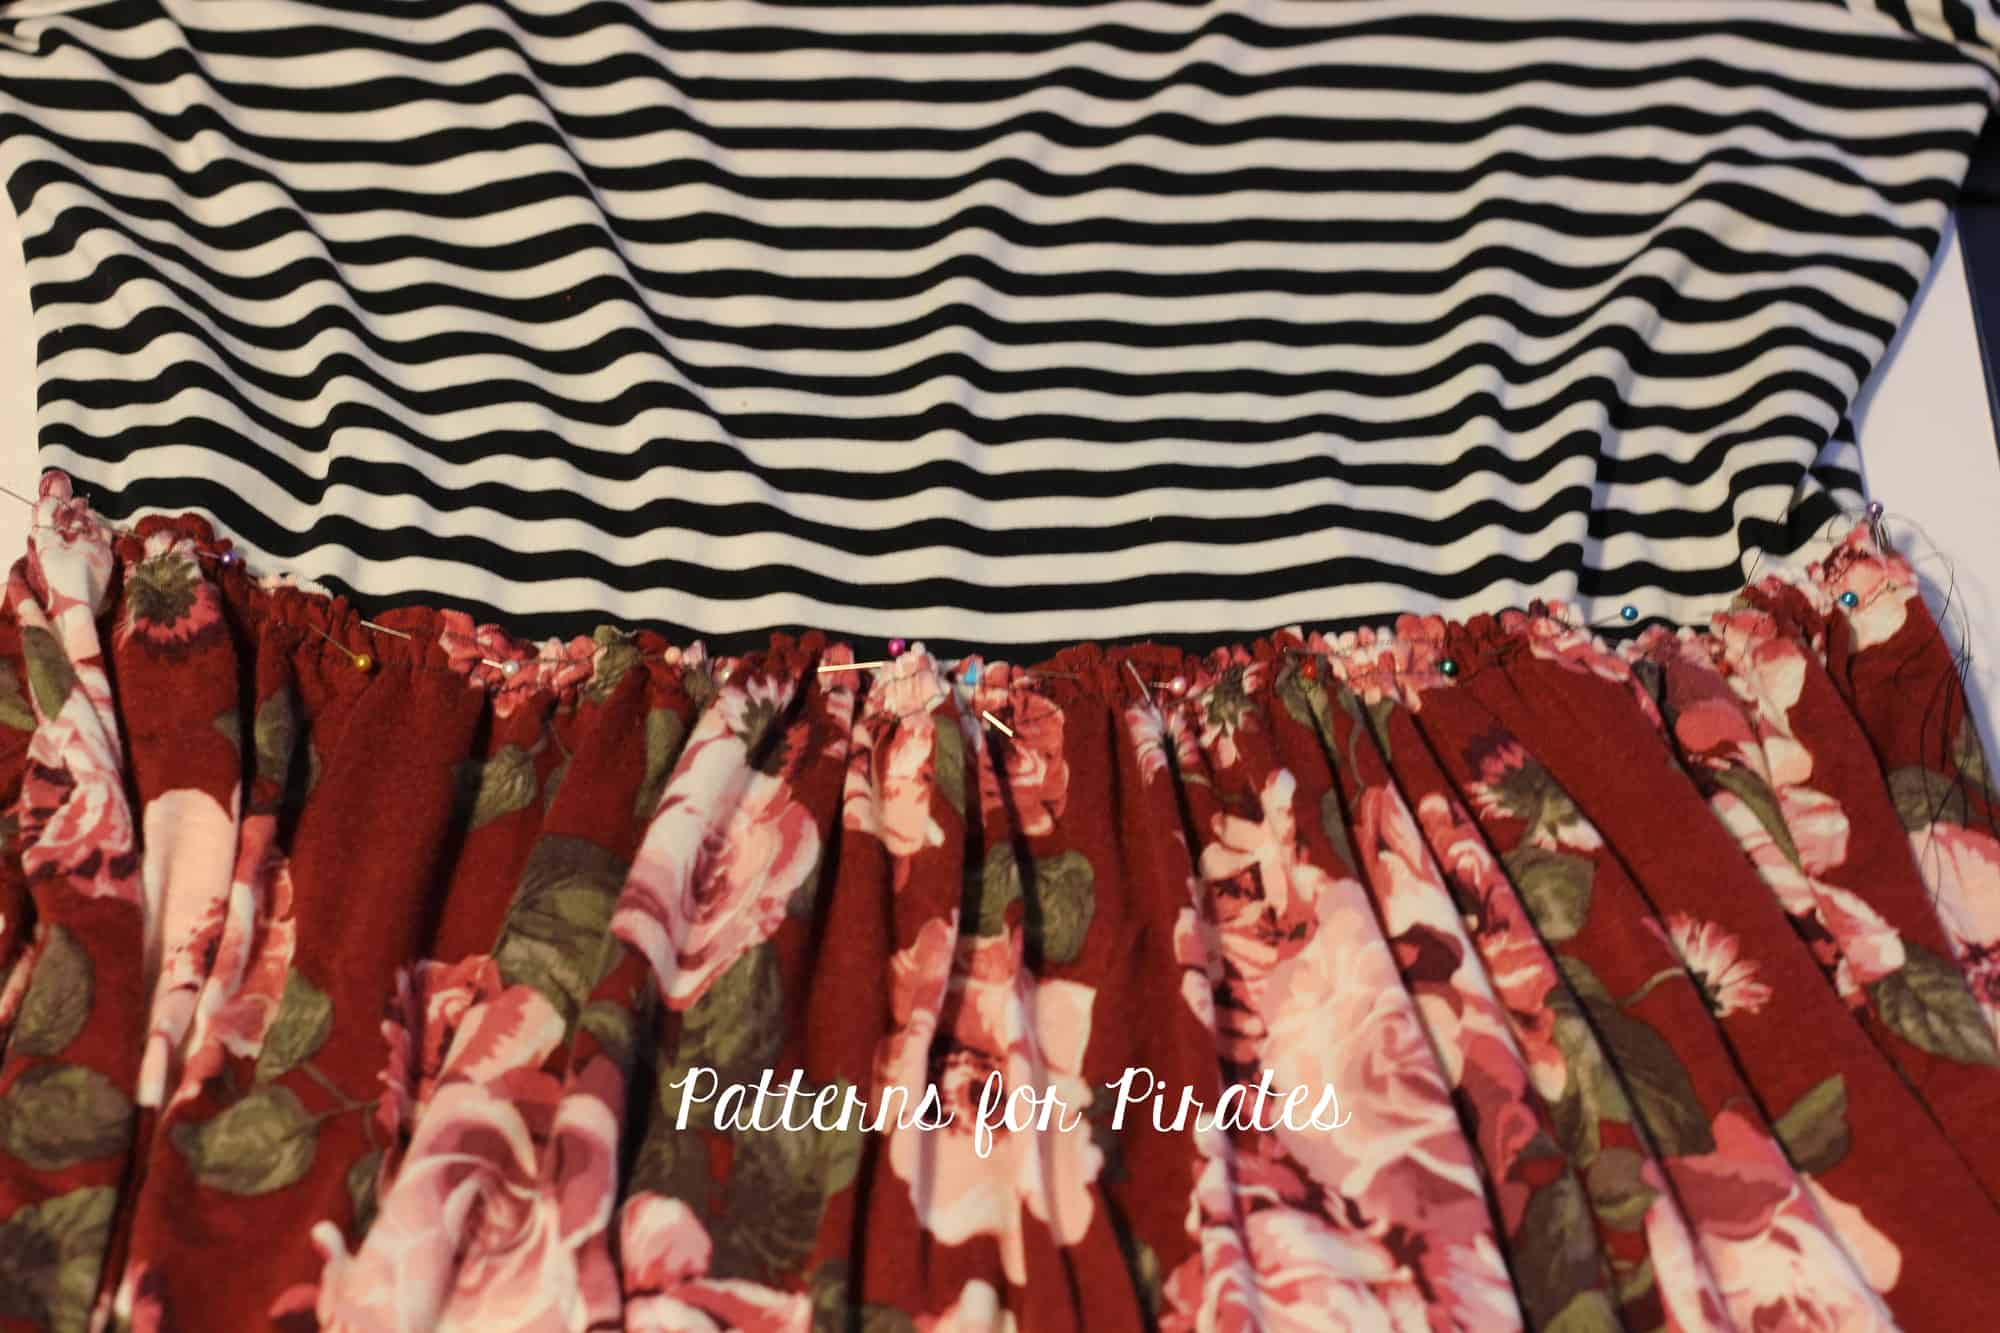
Sew the skirt to the bodice with a zig zag stitch, a triple stretch stitch or your coverstitch. Go really slow so you can ensure a constant 1/2″ seam allowance.

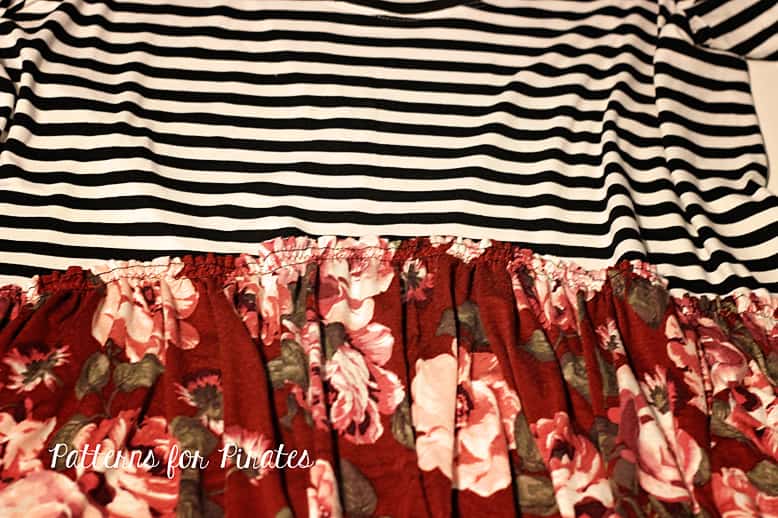
Pull the basting stitches out. One should be above your zig zag stitch, one should be below.
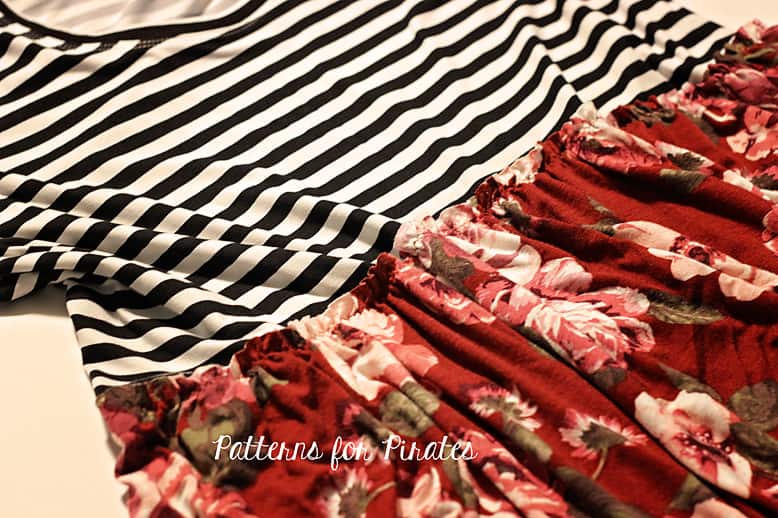
That was all. Your new Boho shirt or dress has an extra cute waist seam now 🙂

Leave a Reply