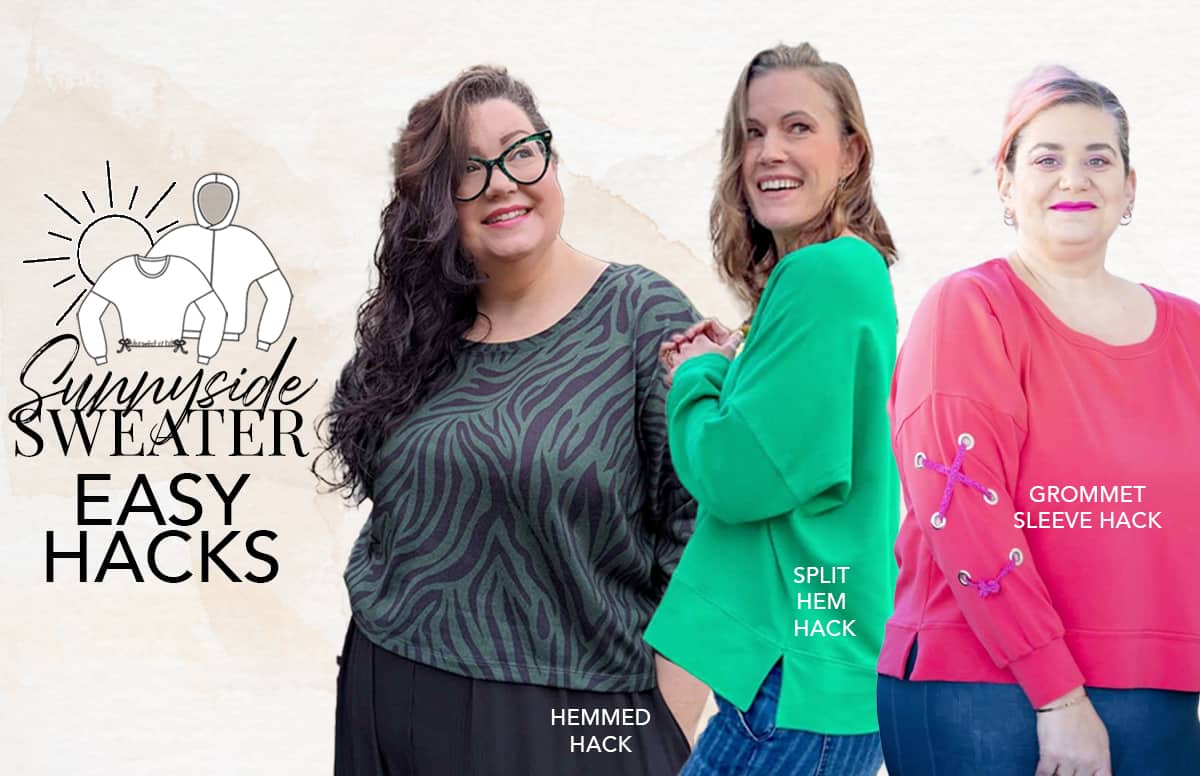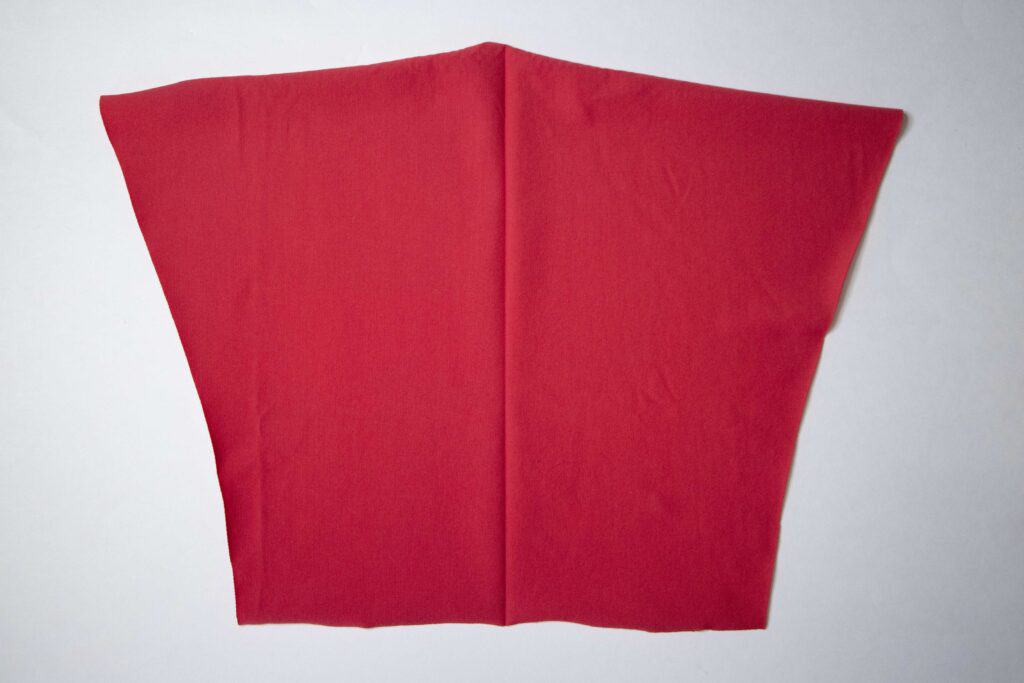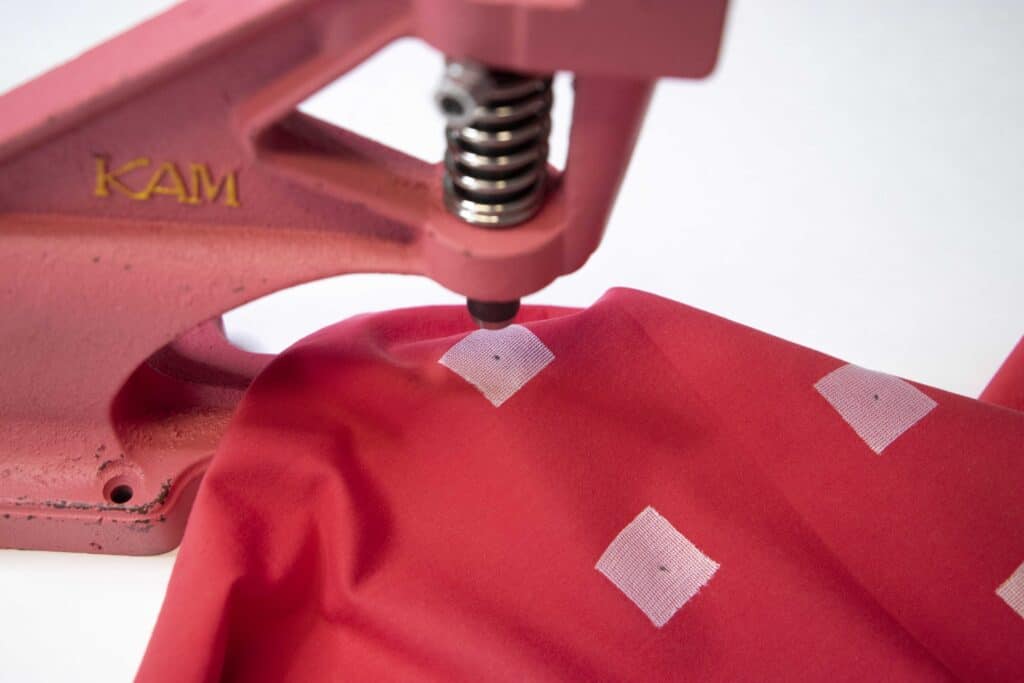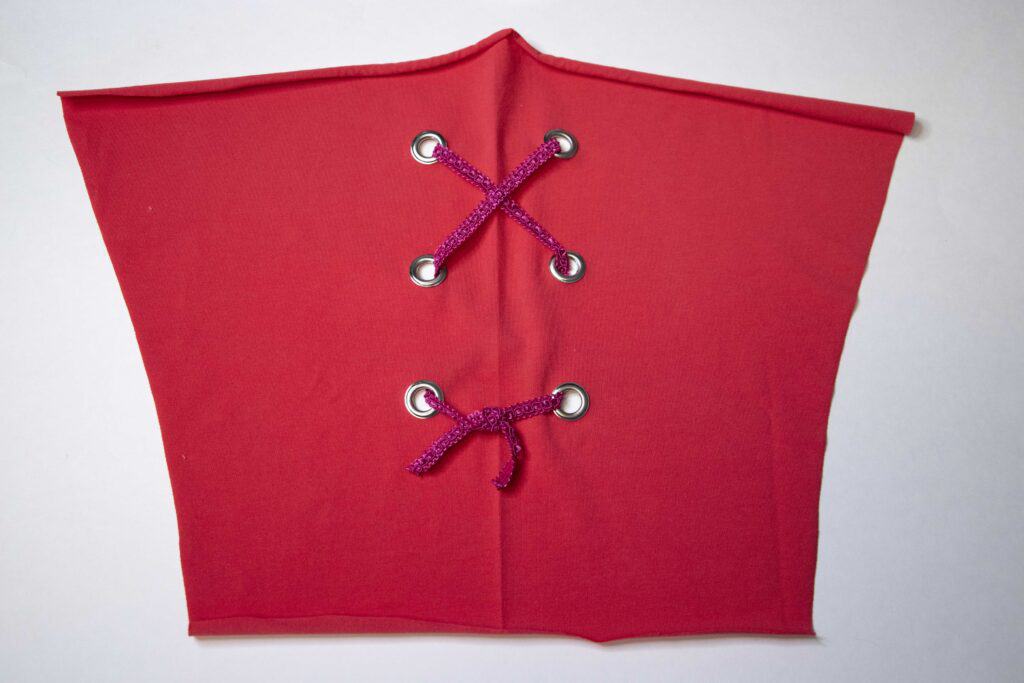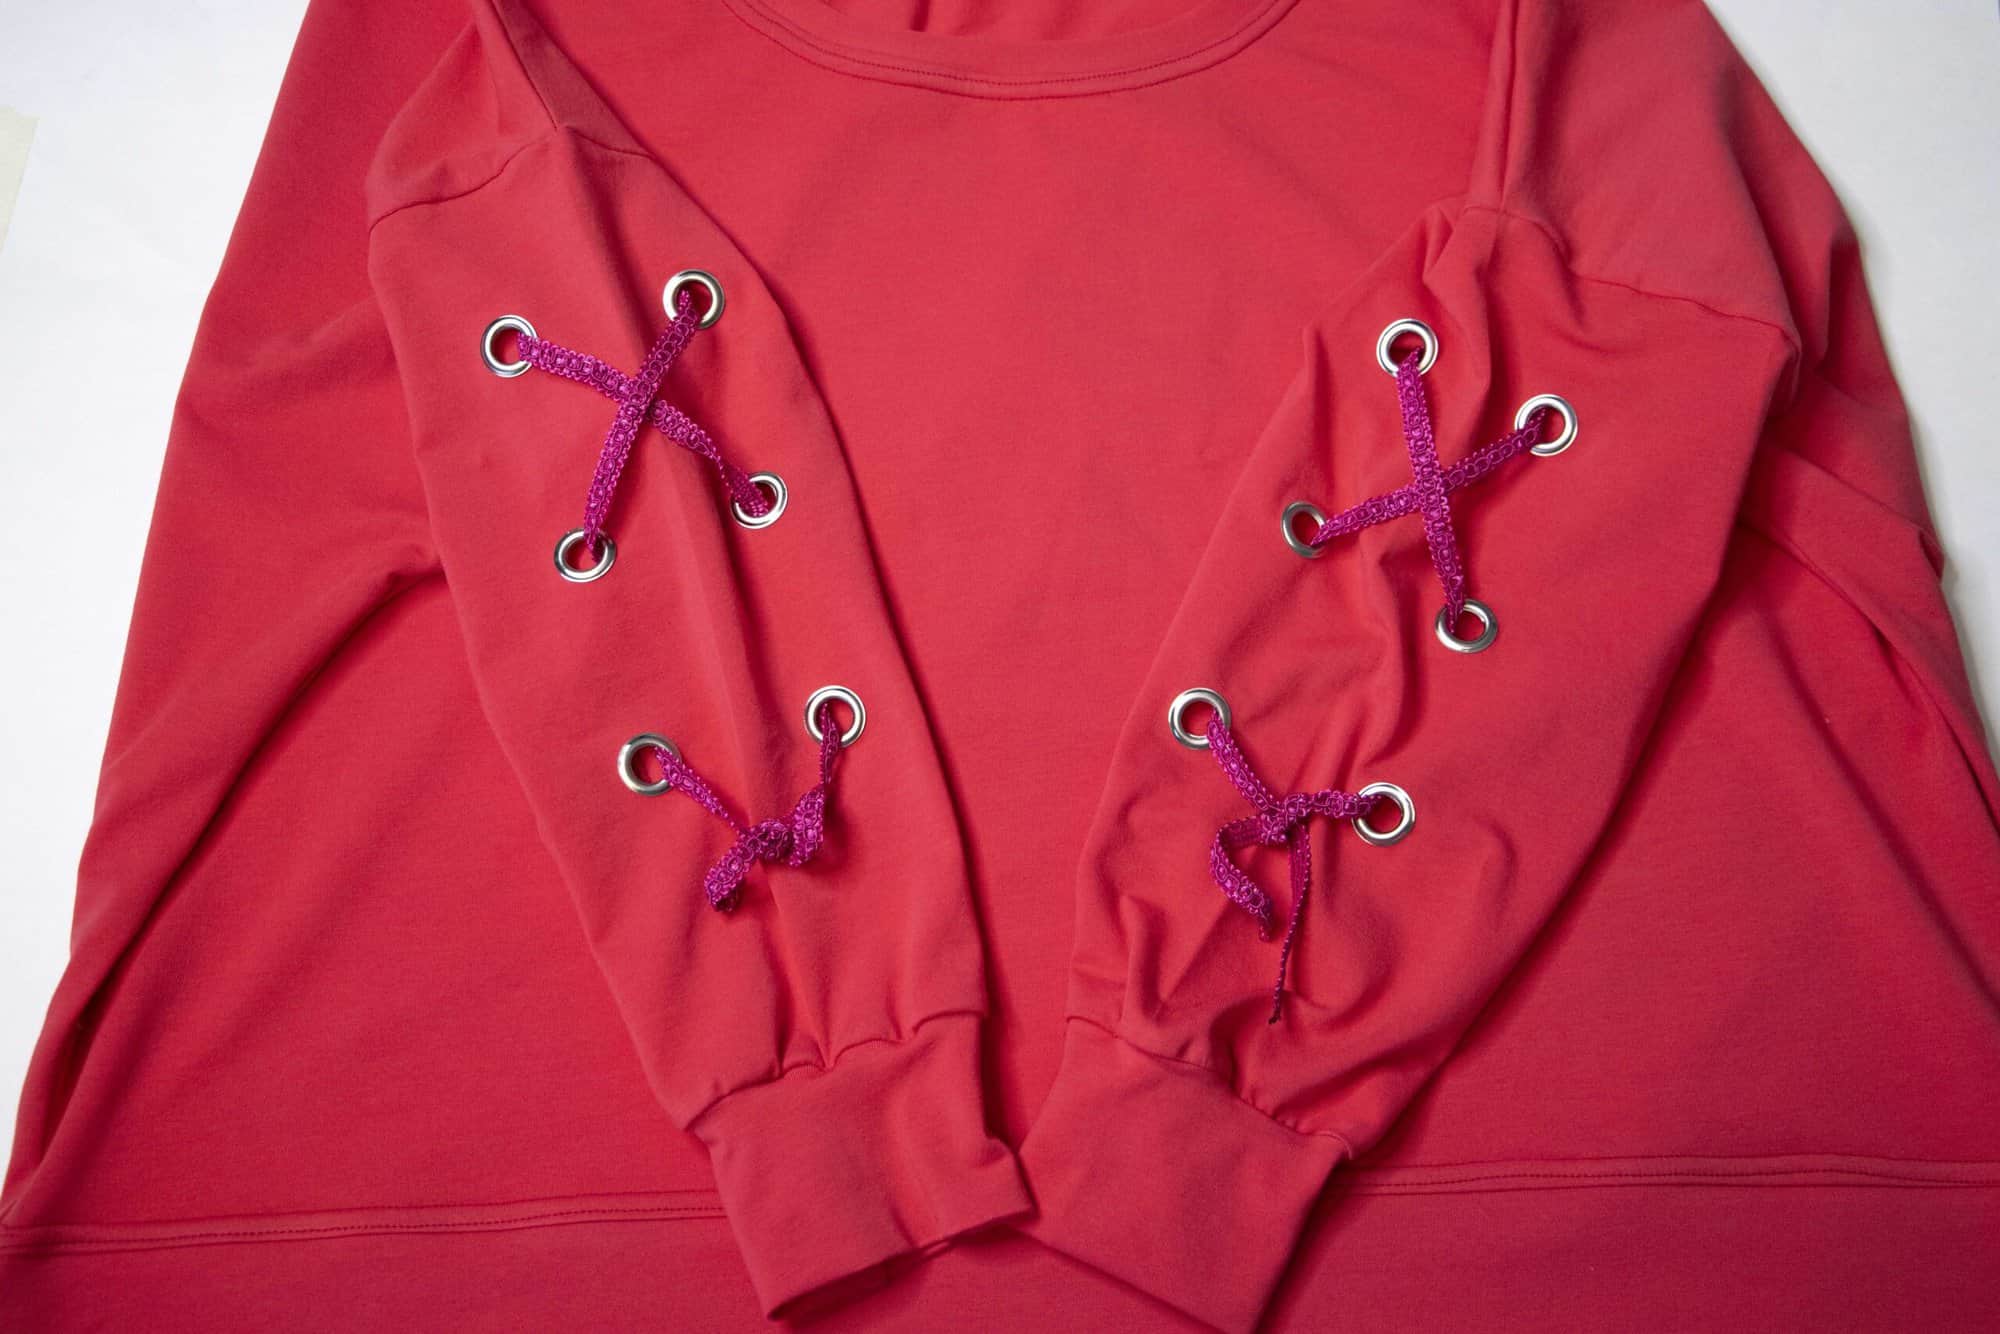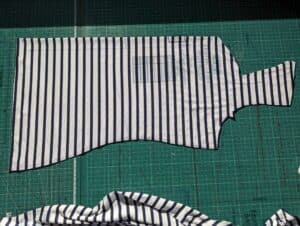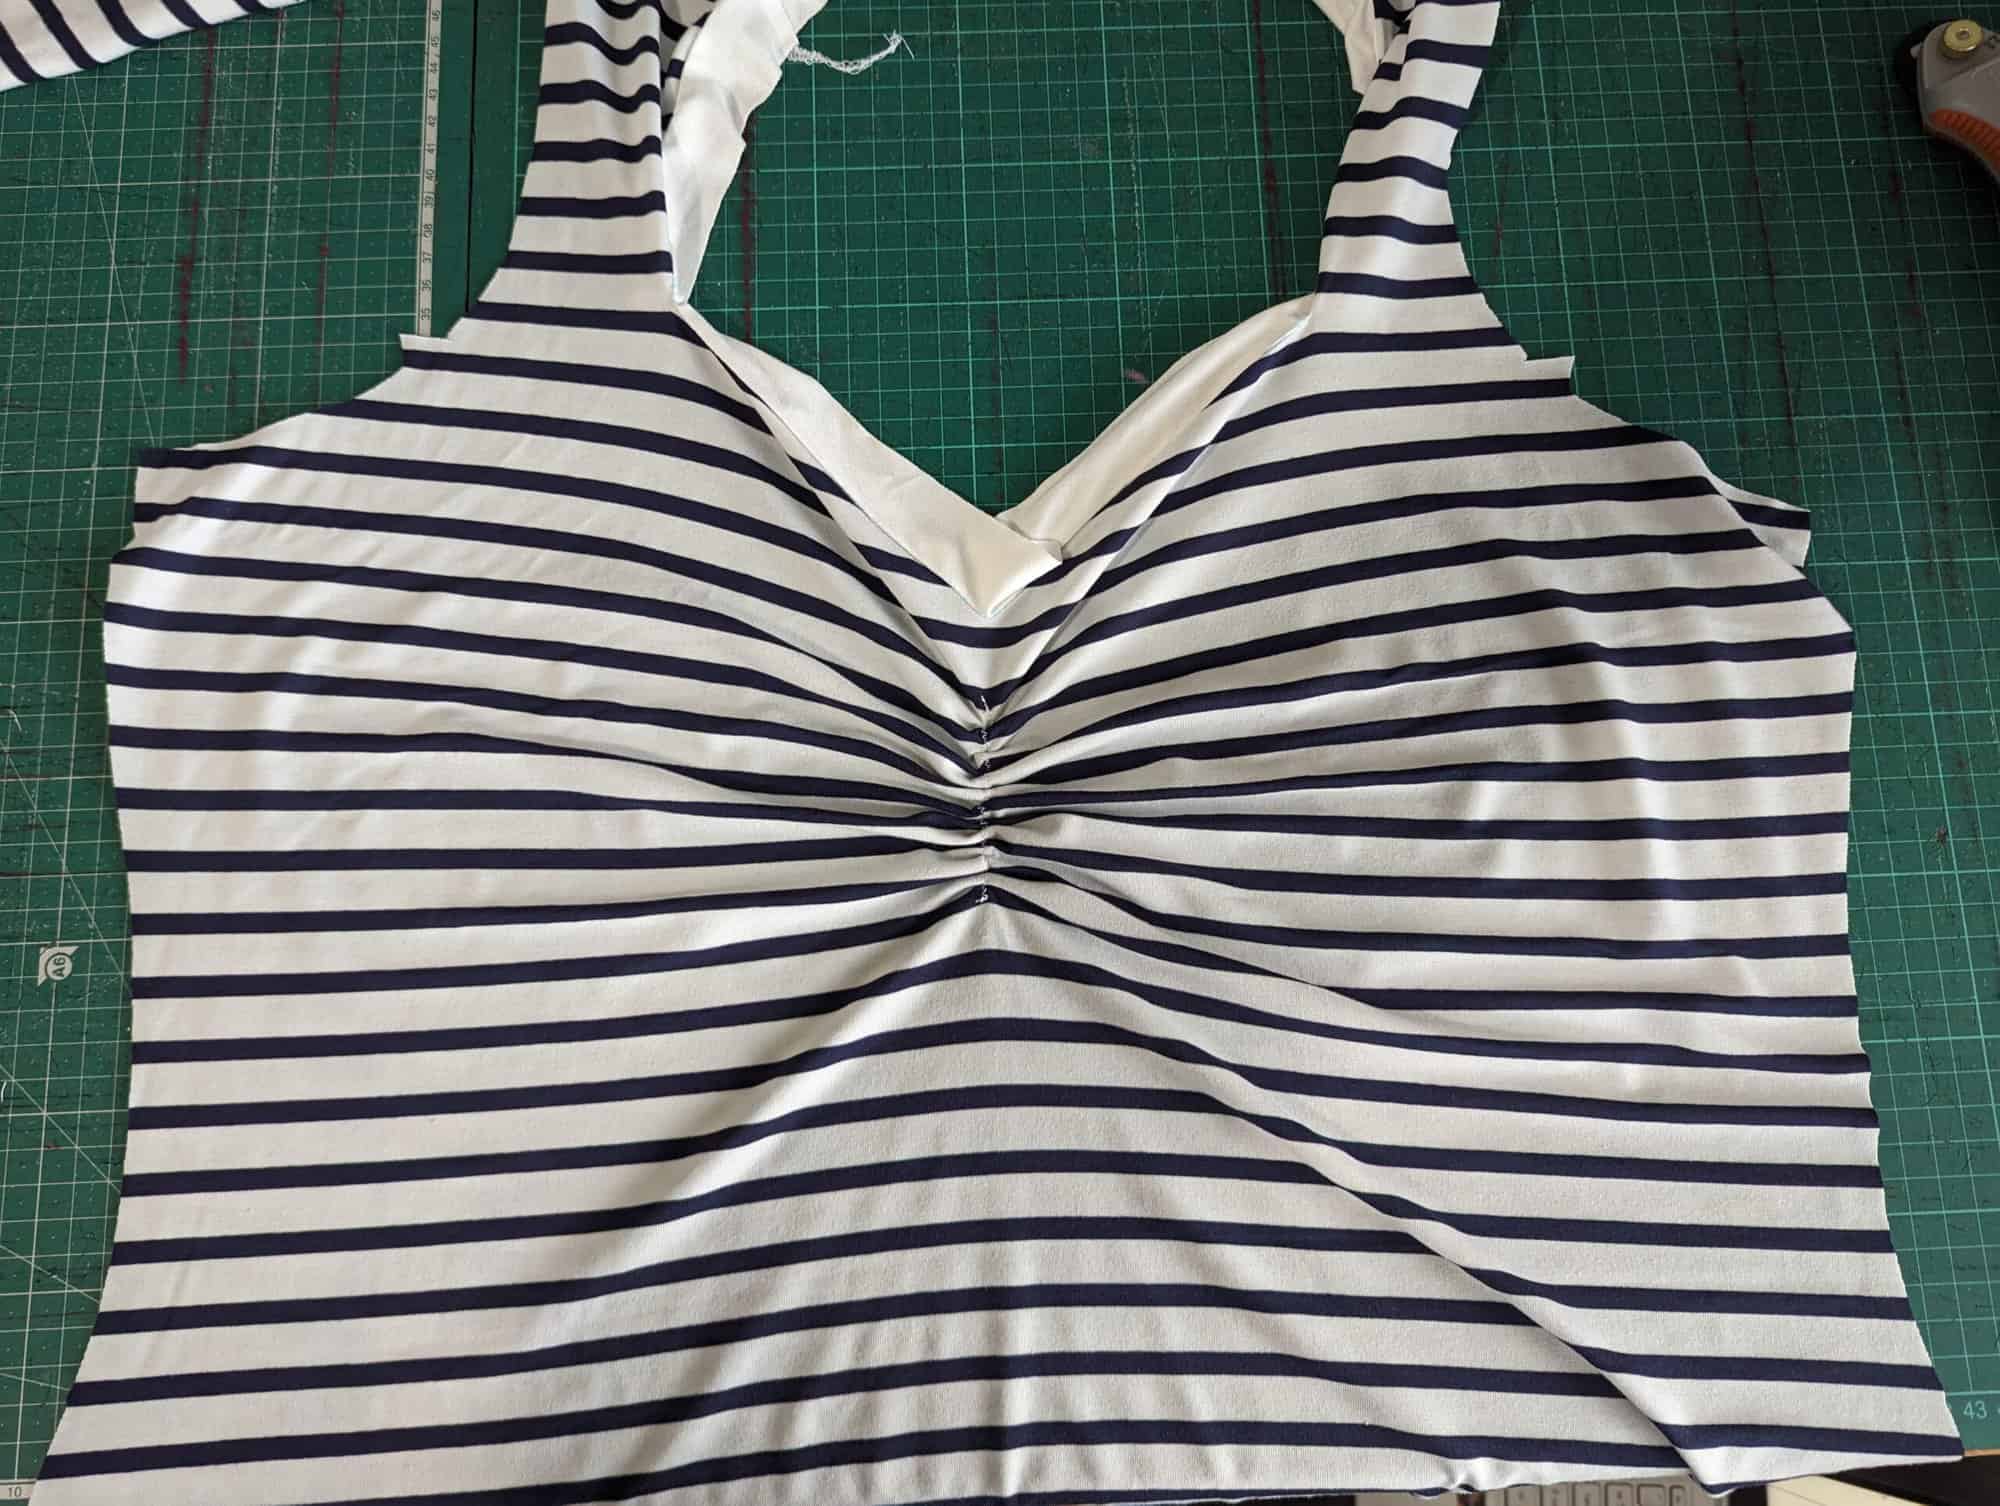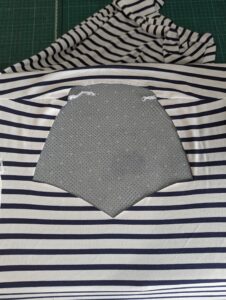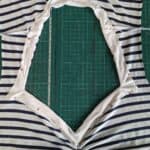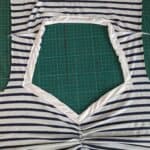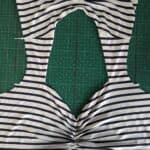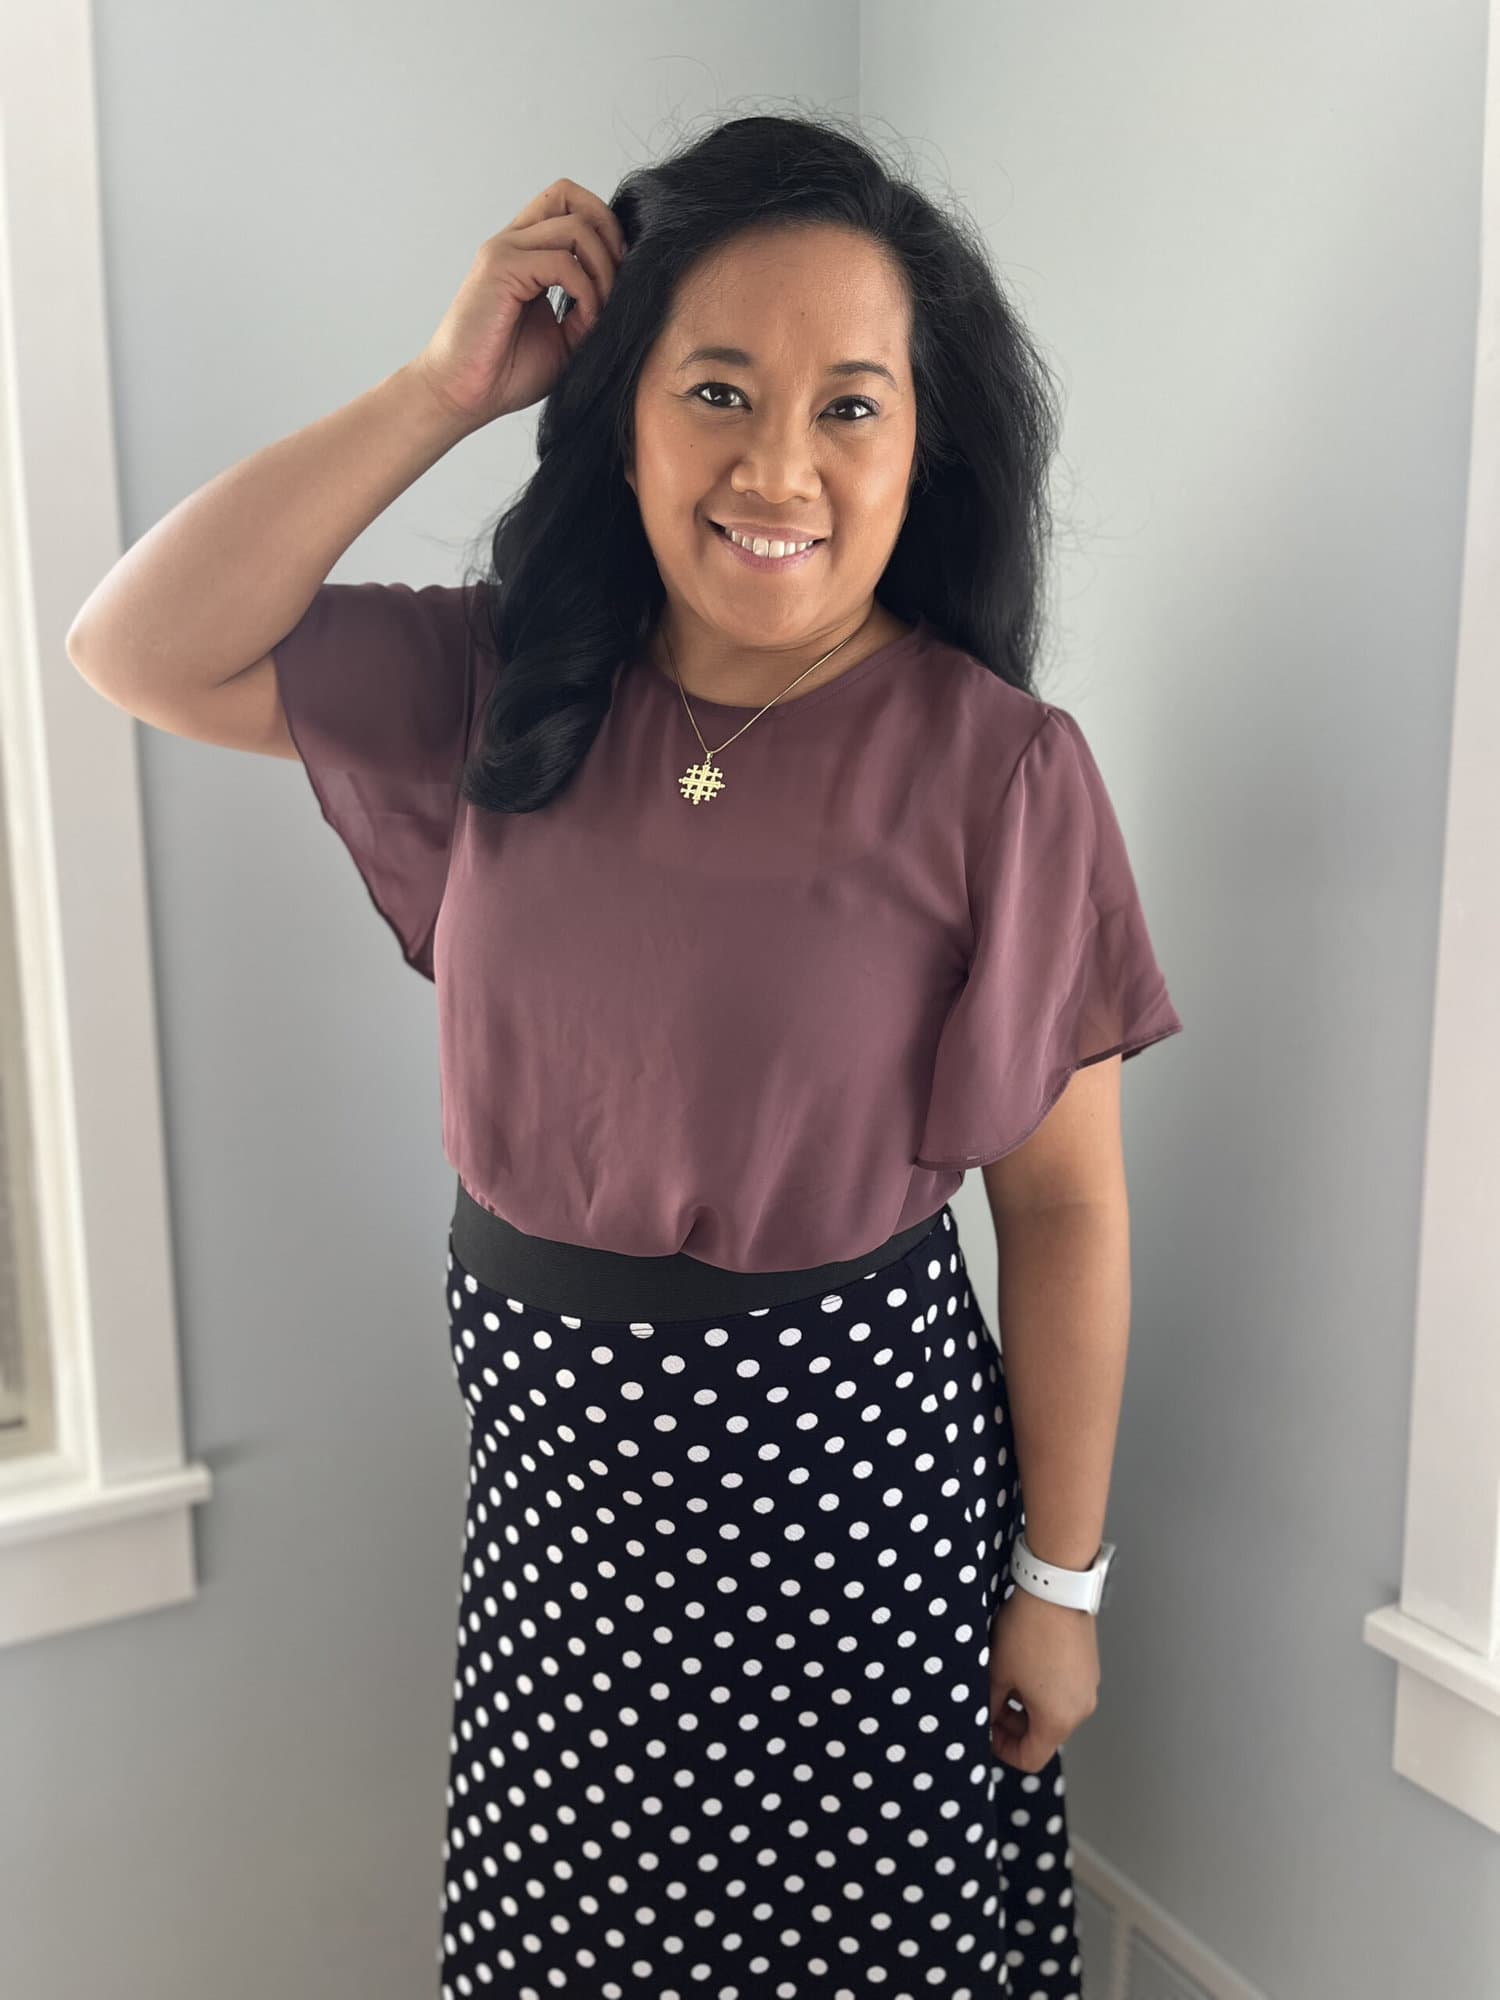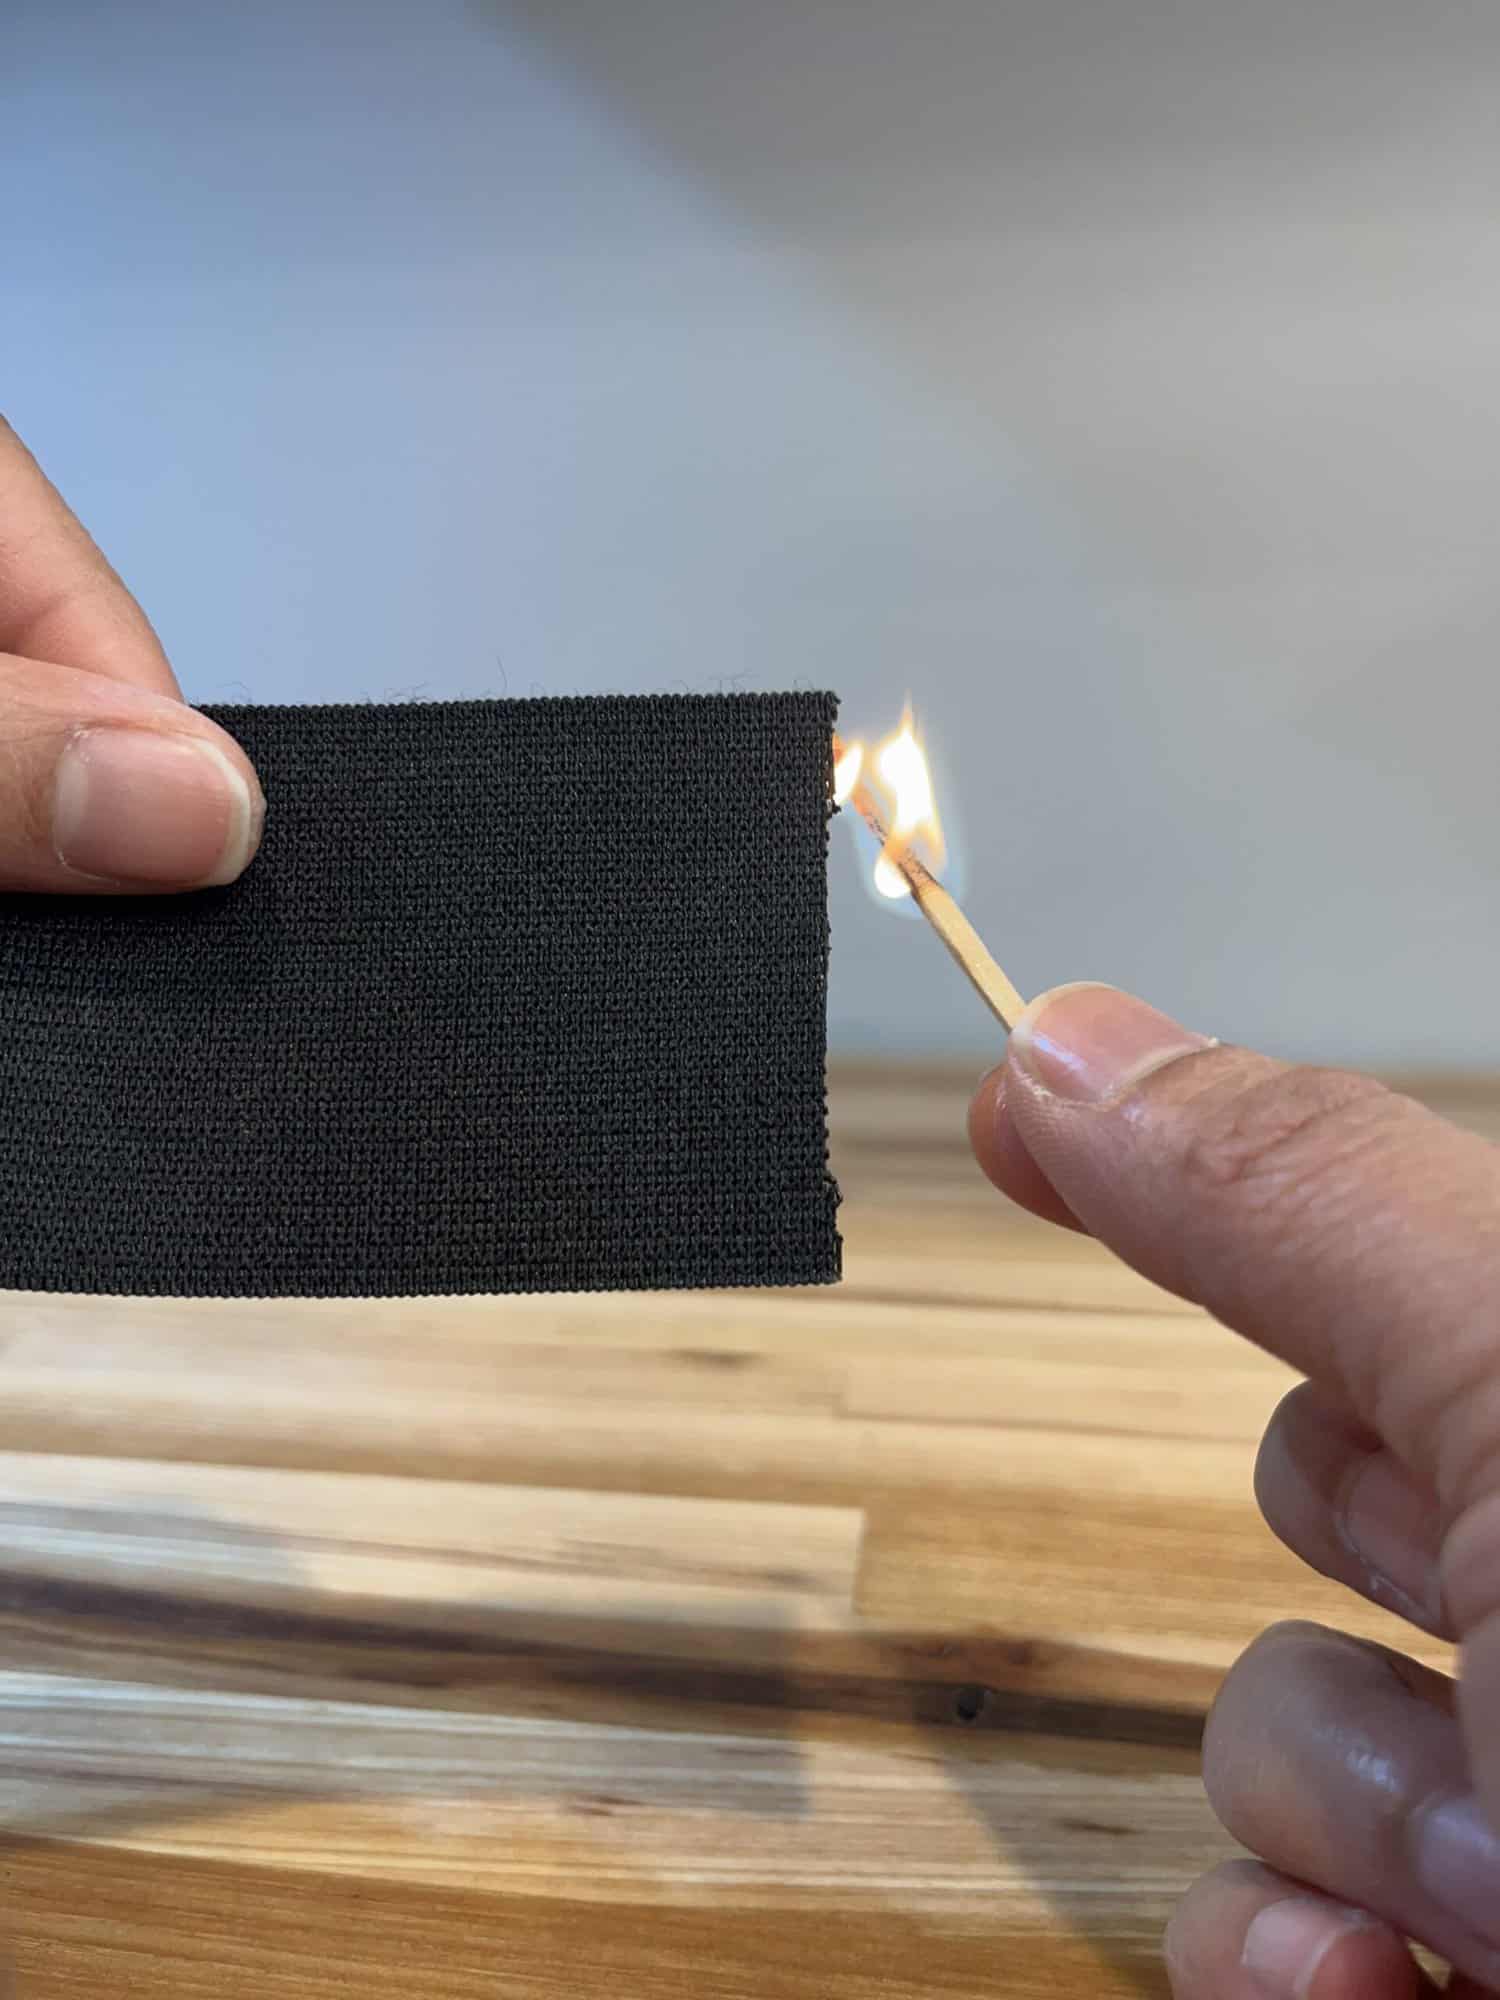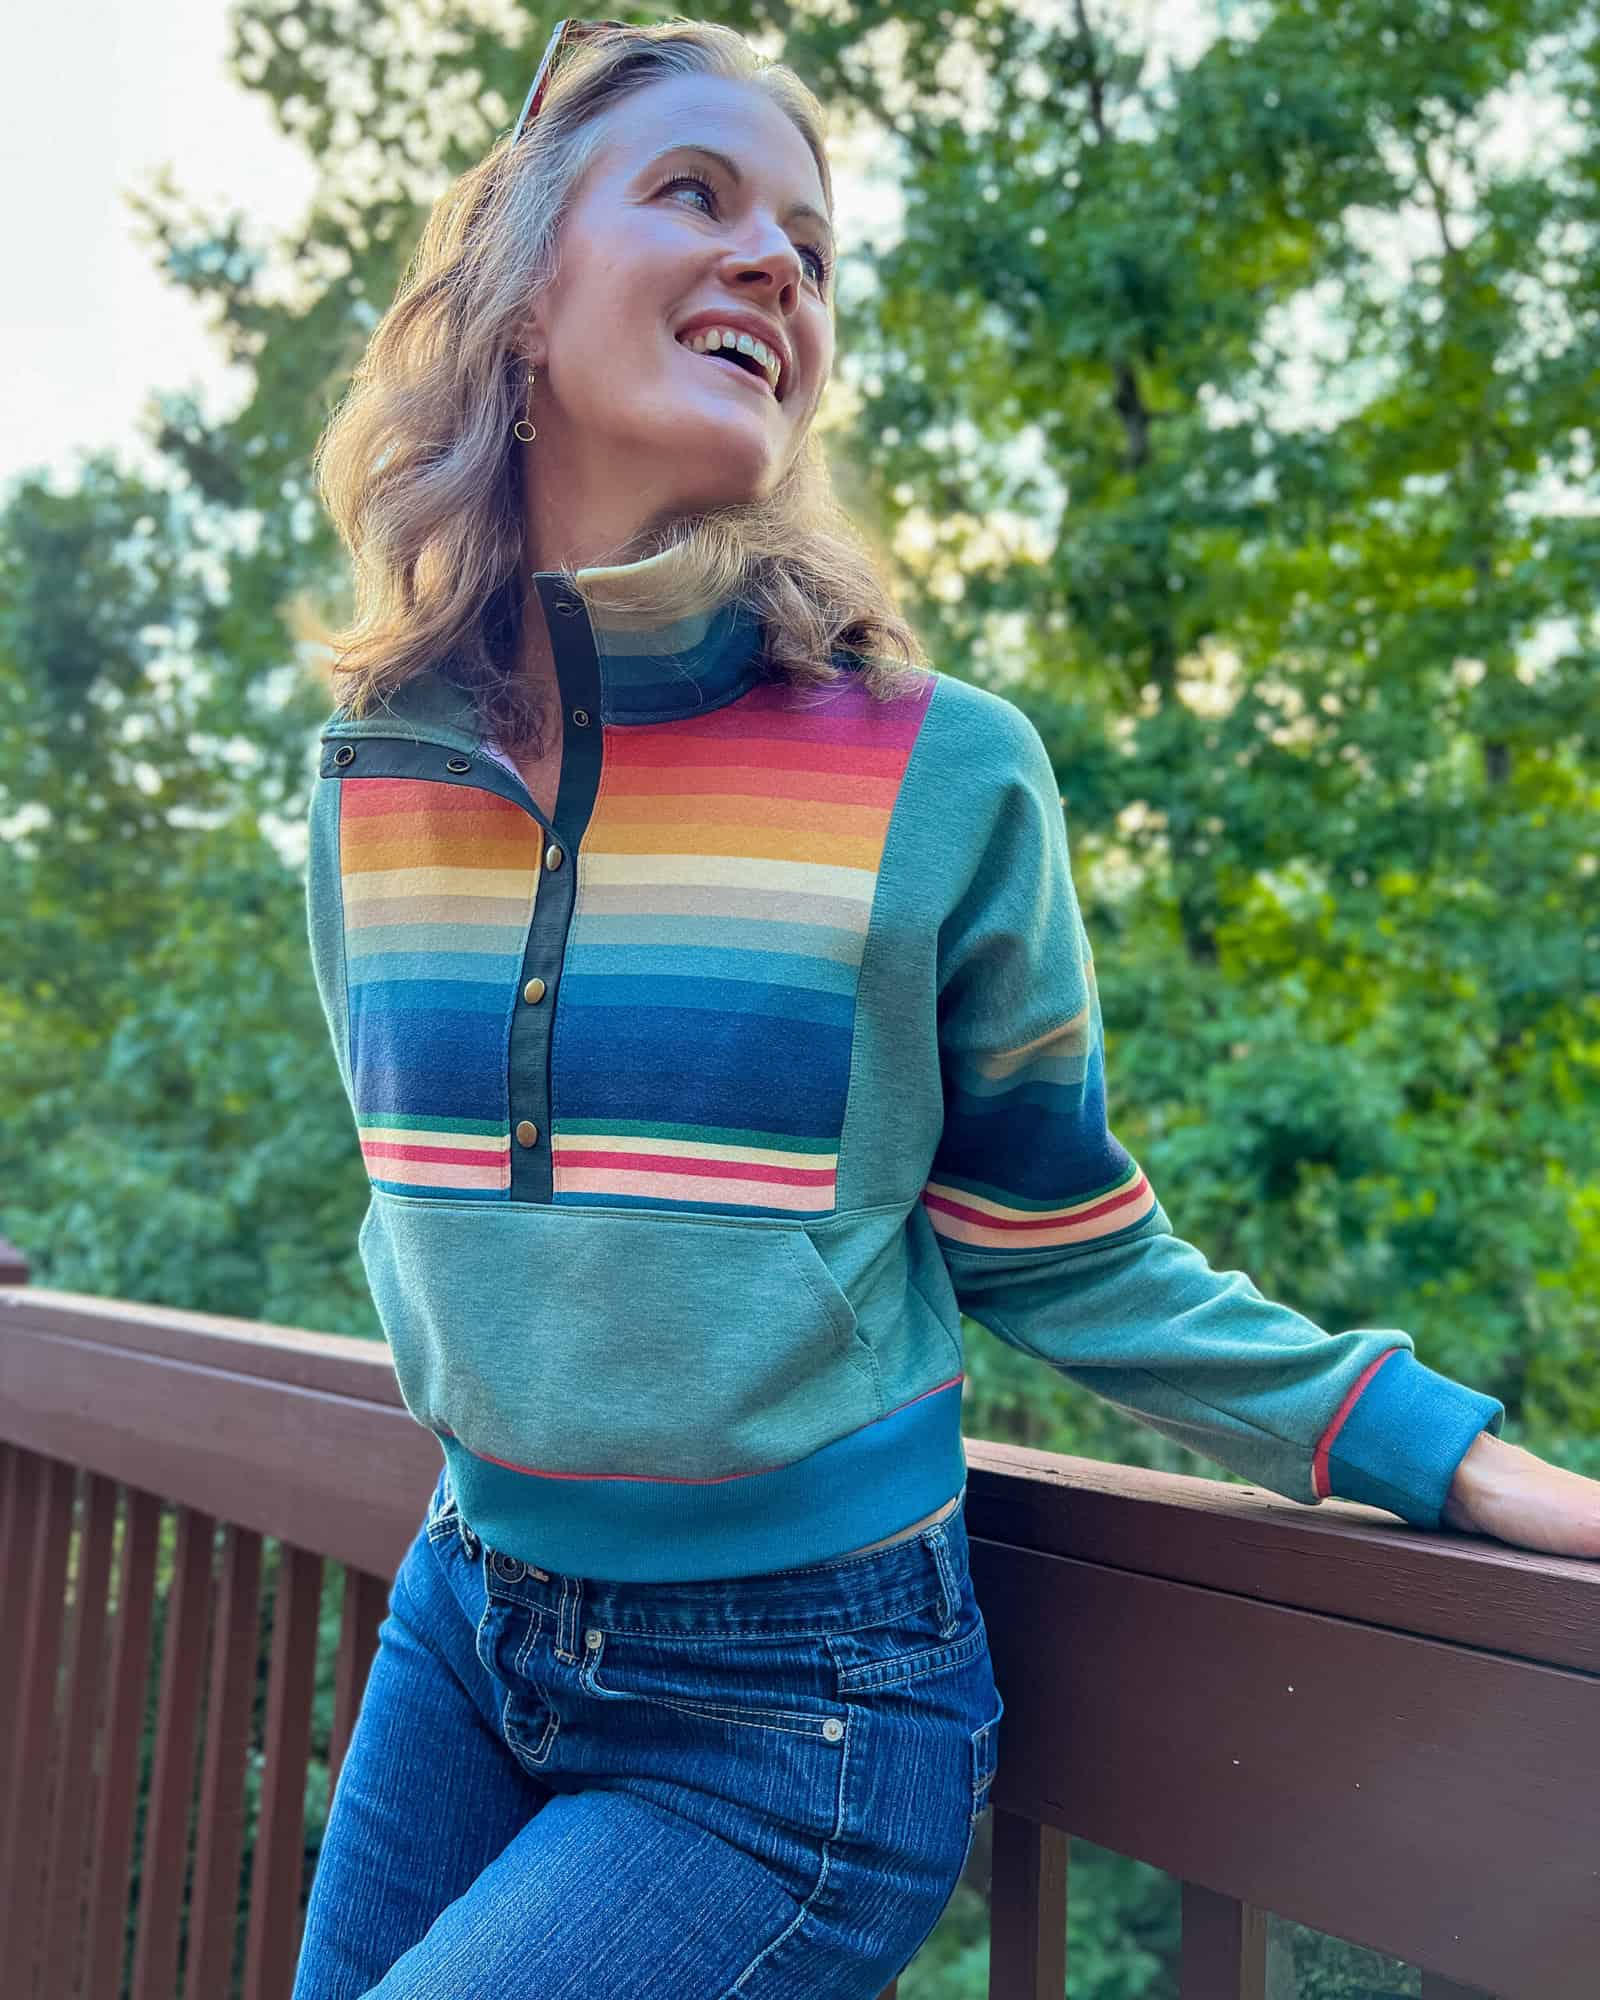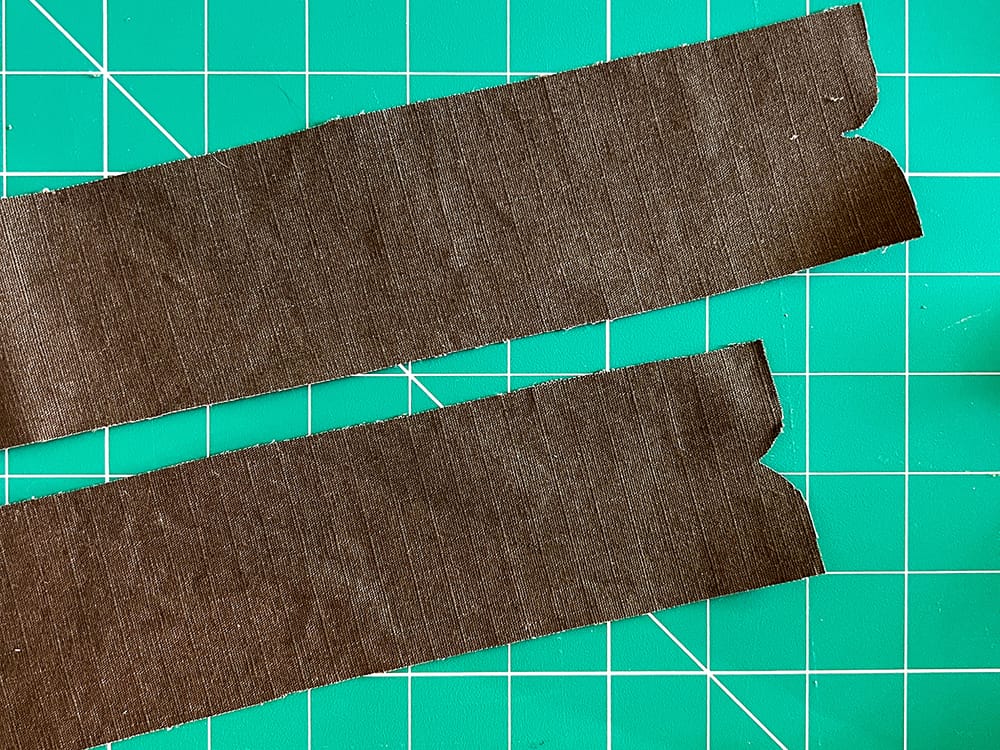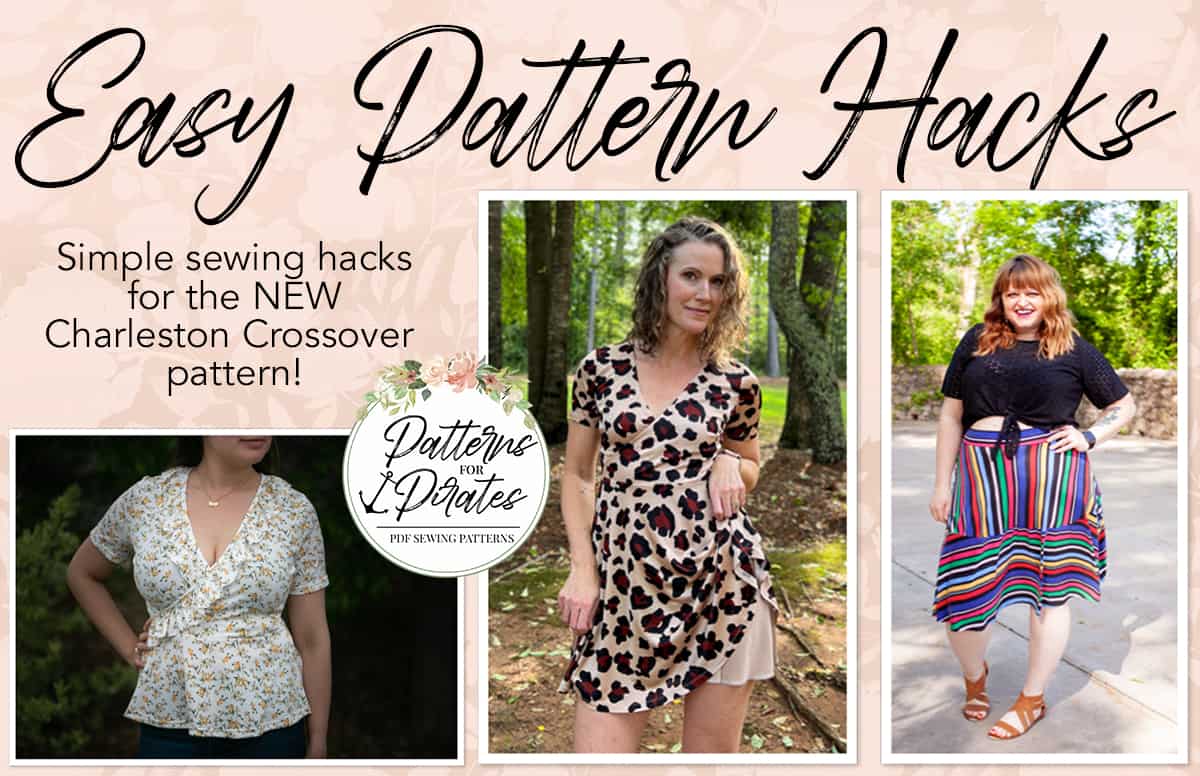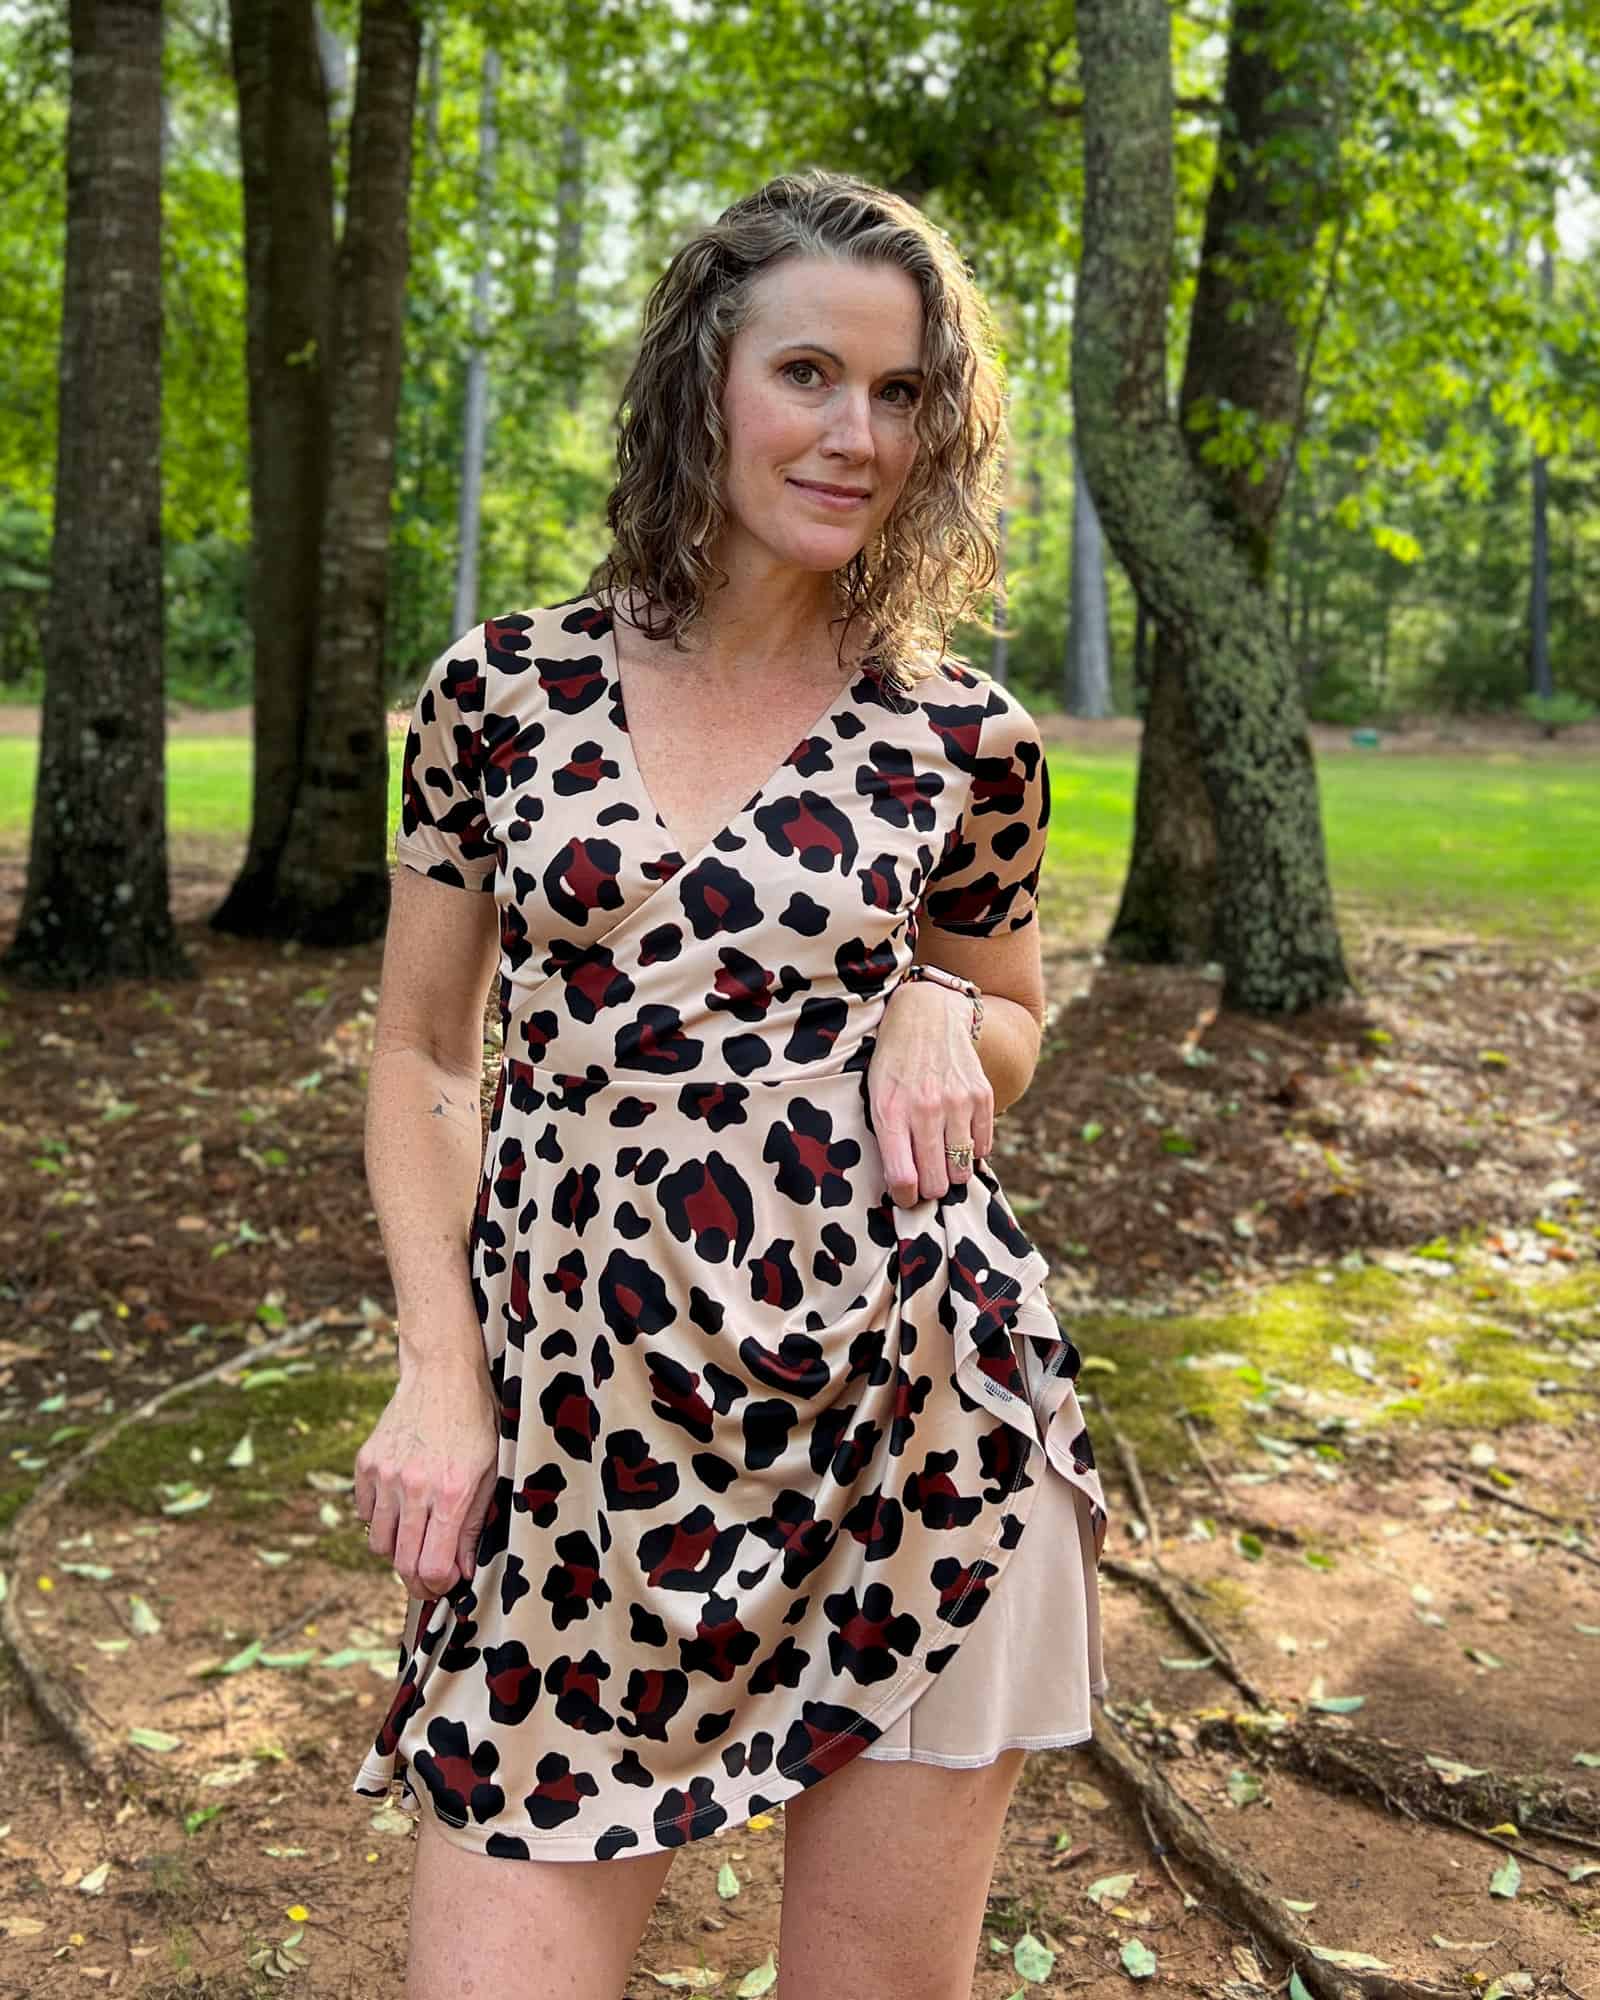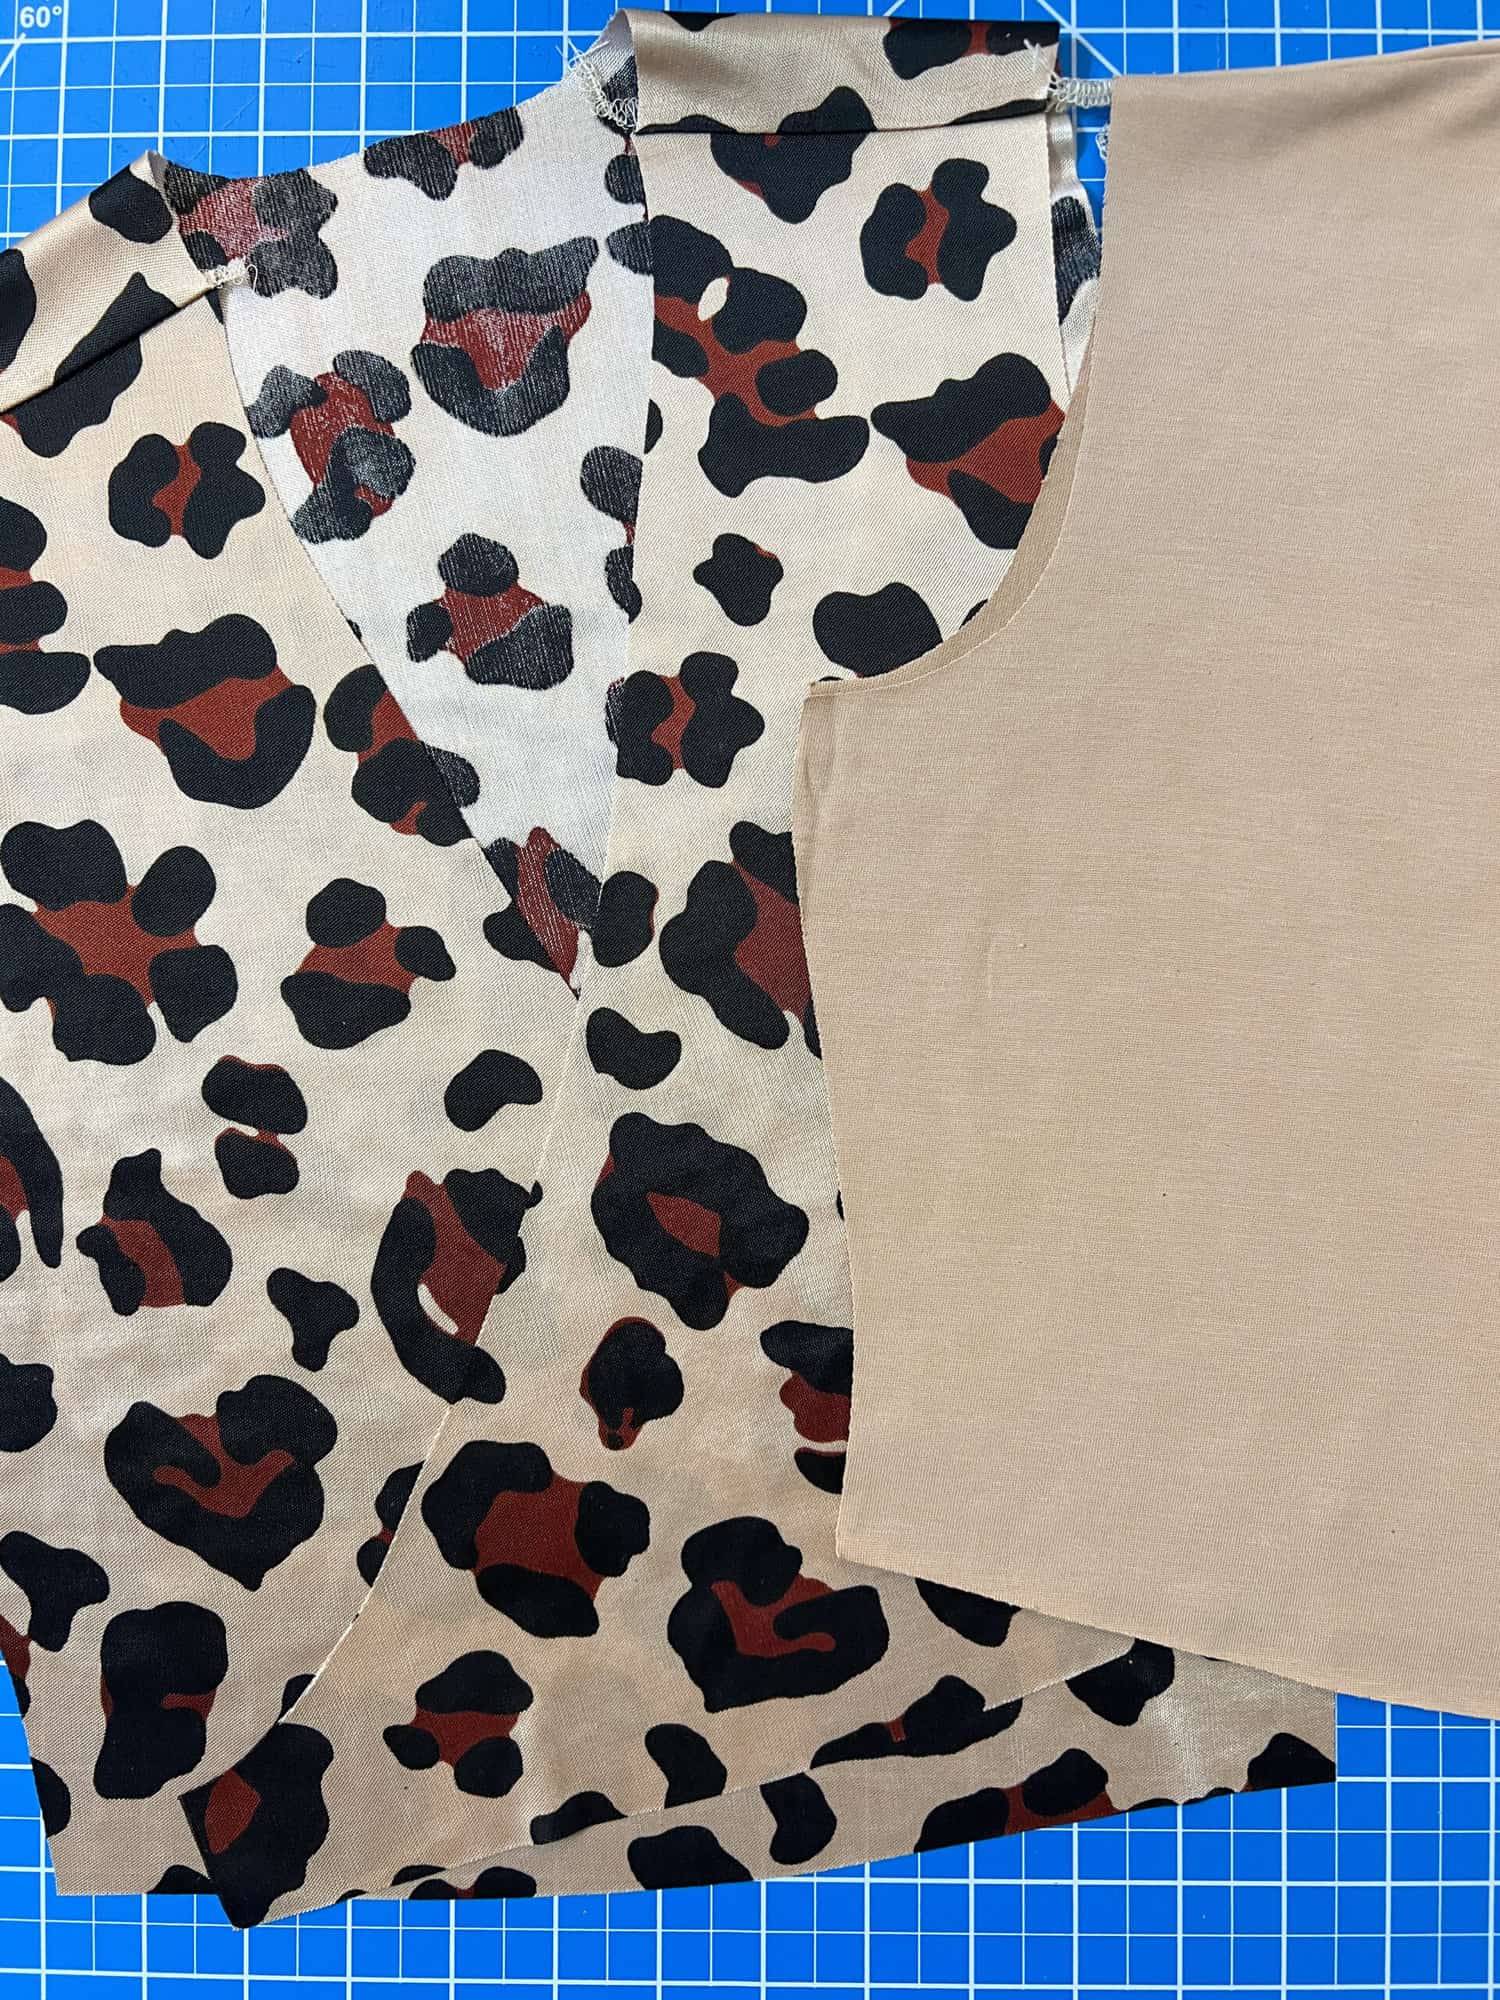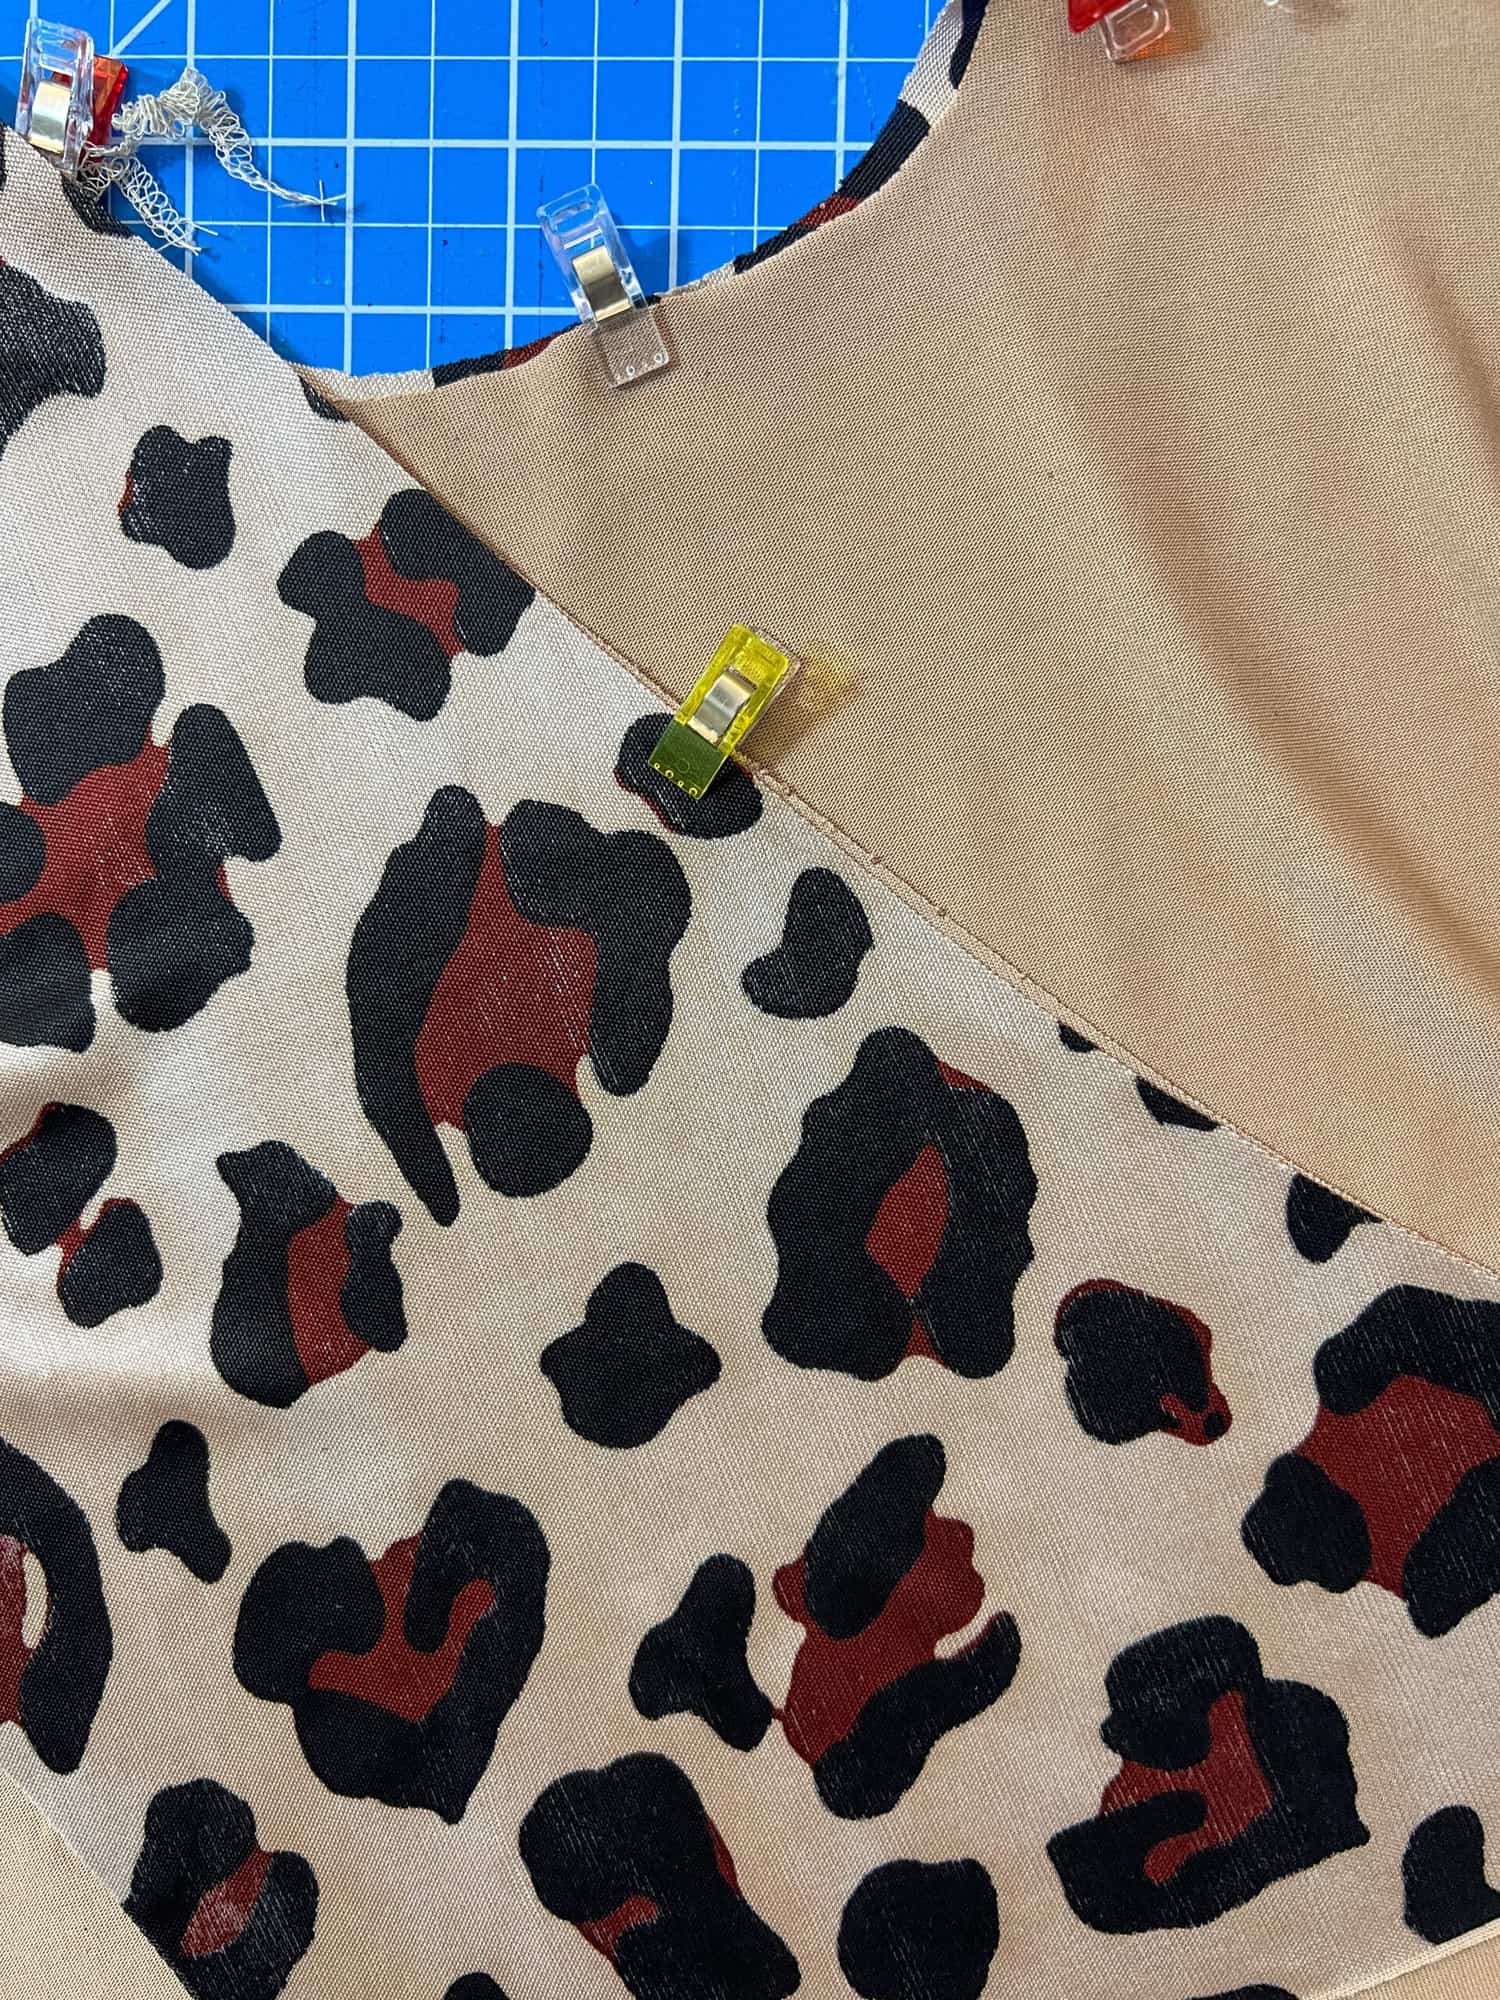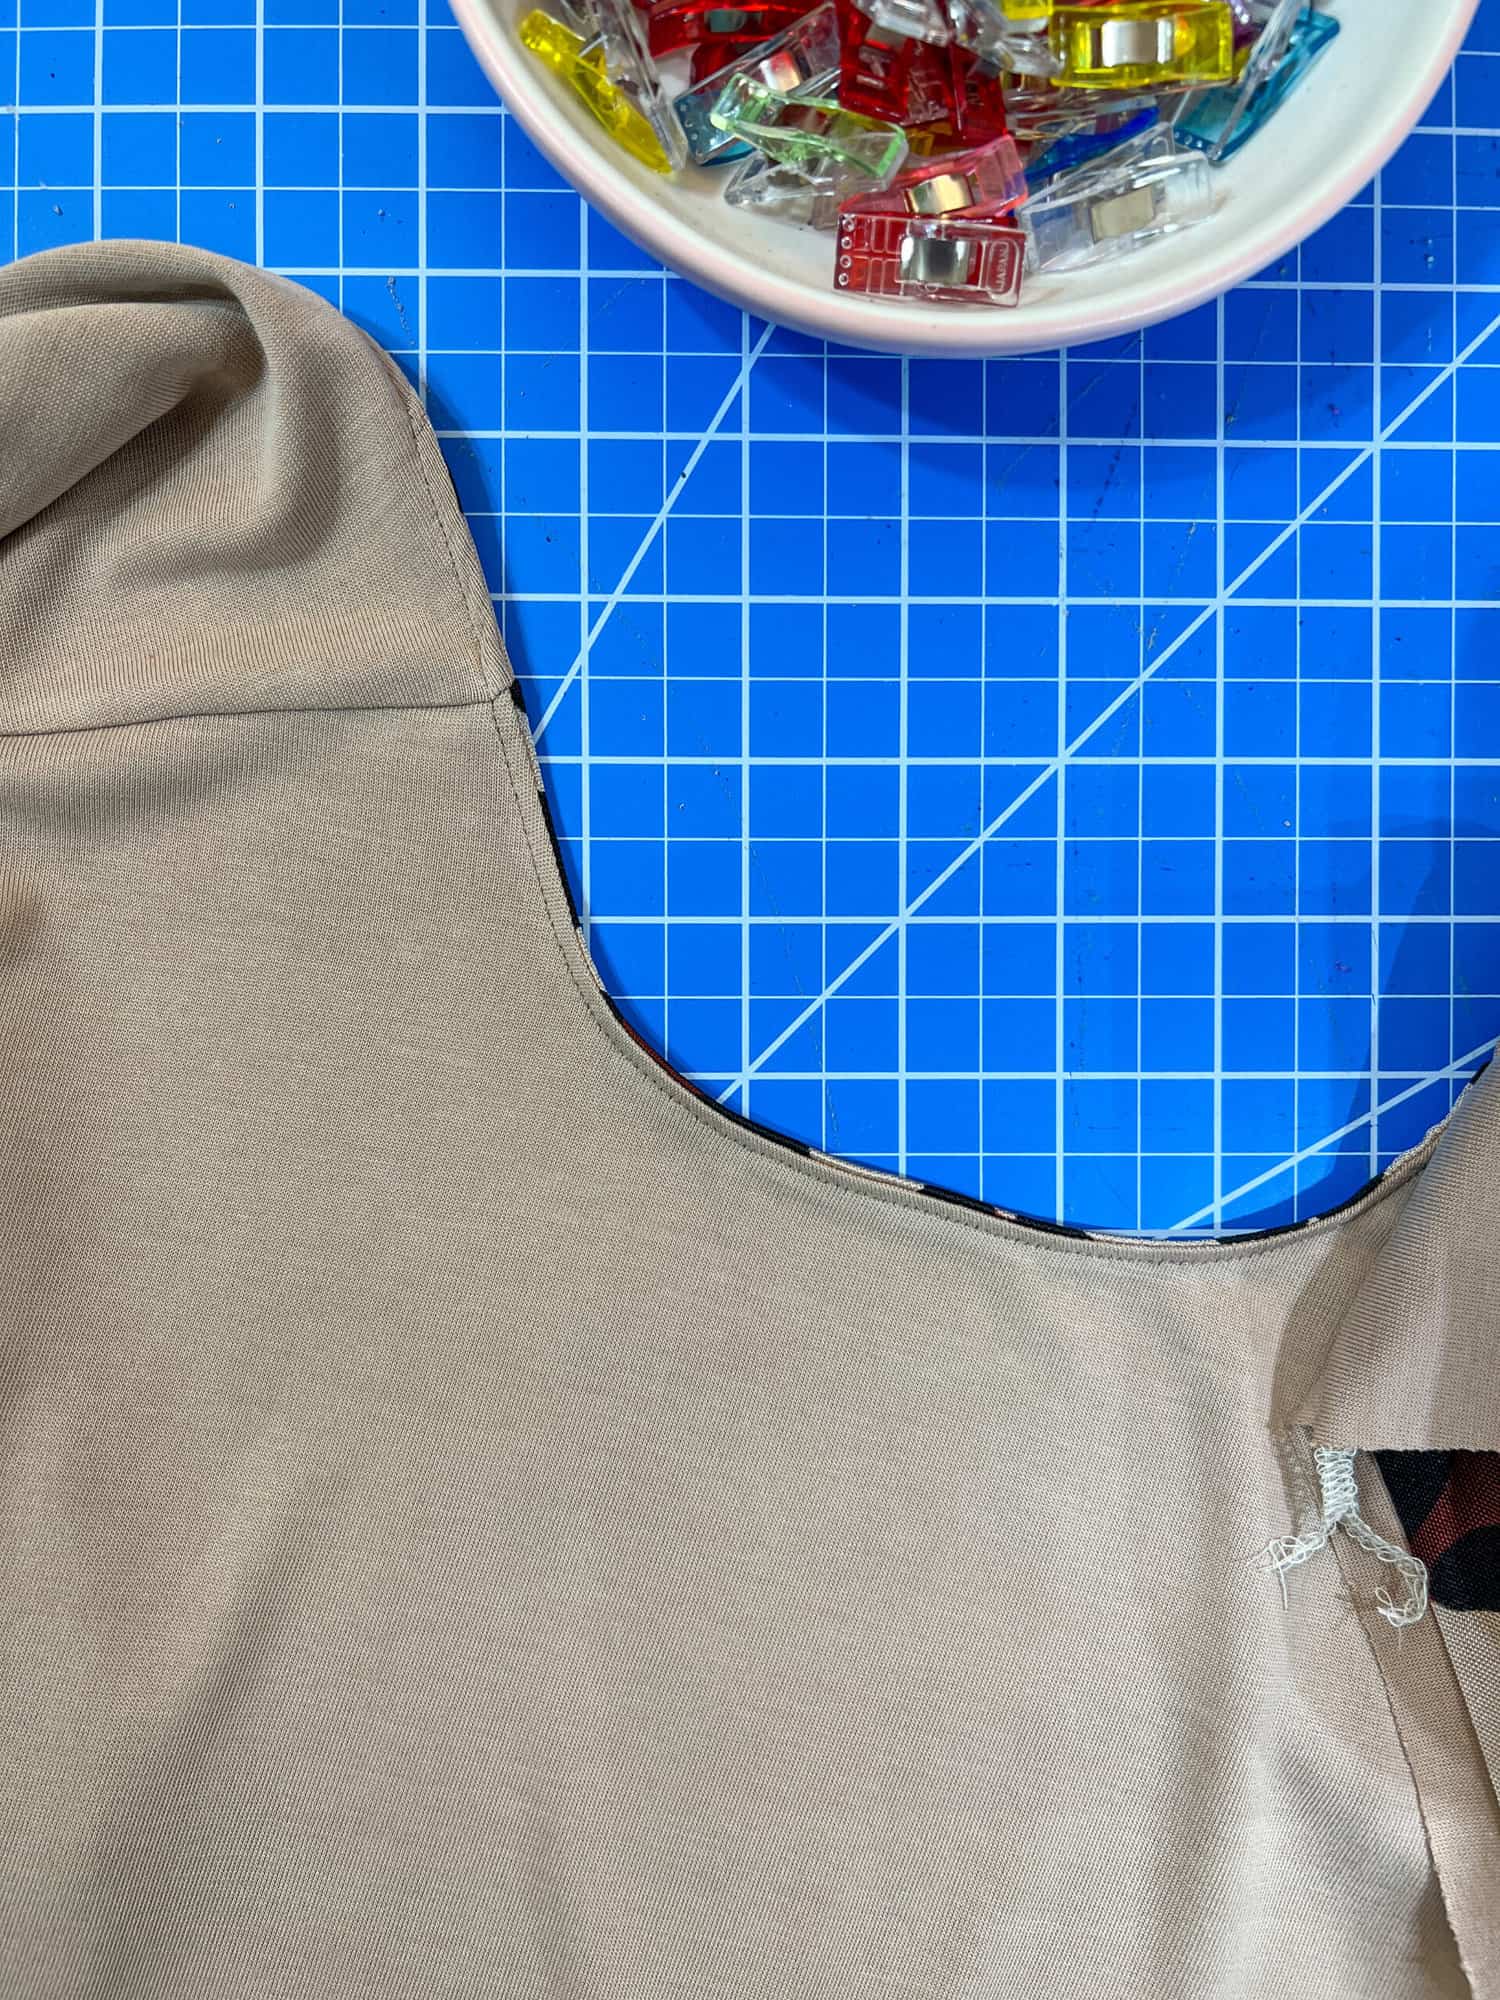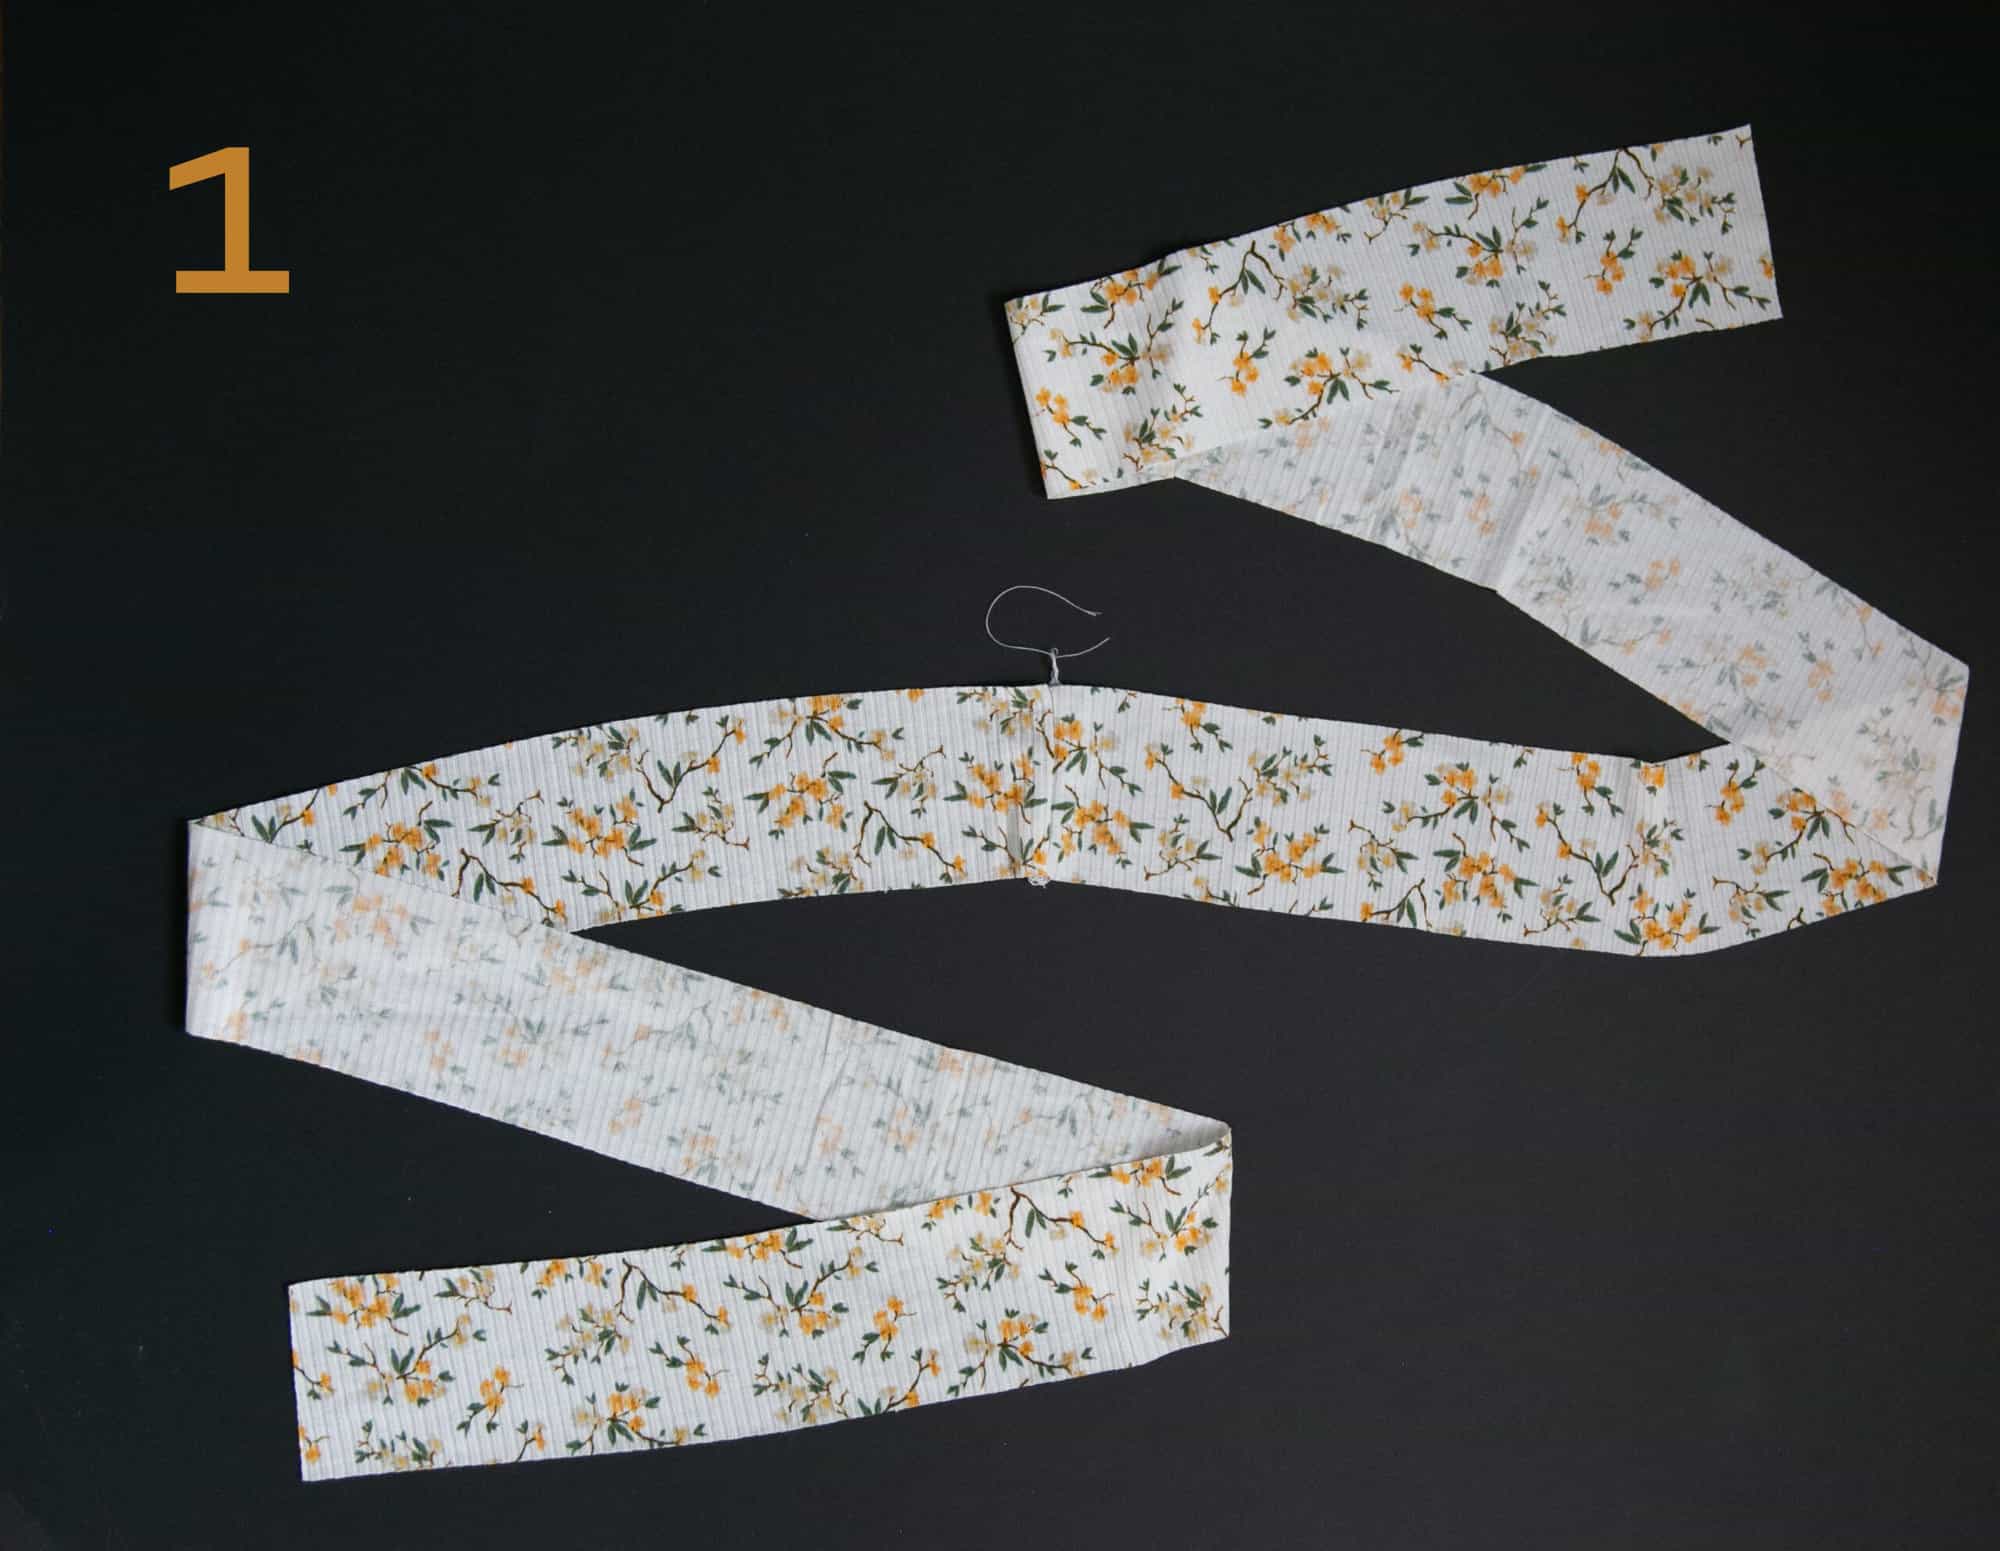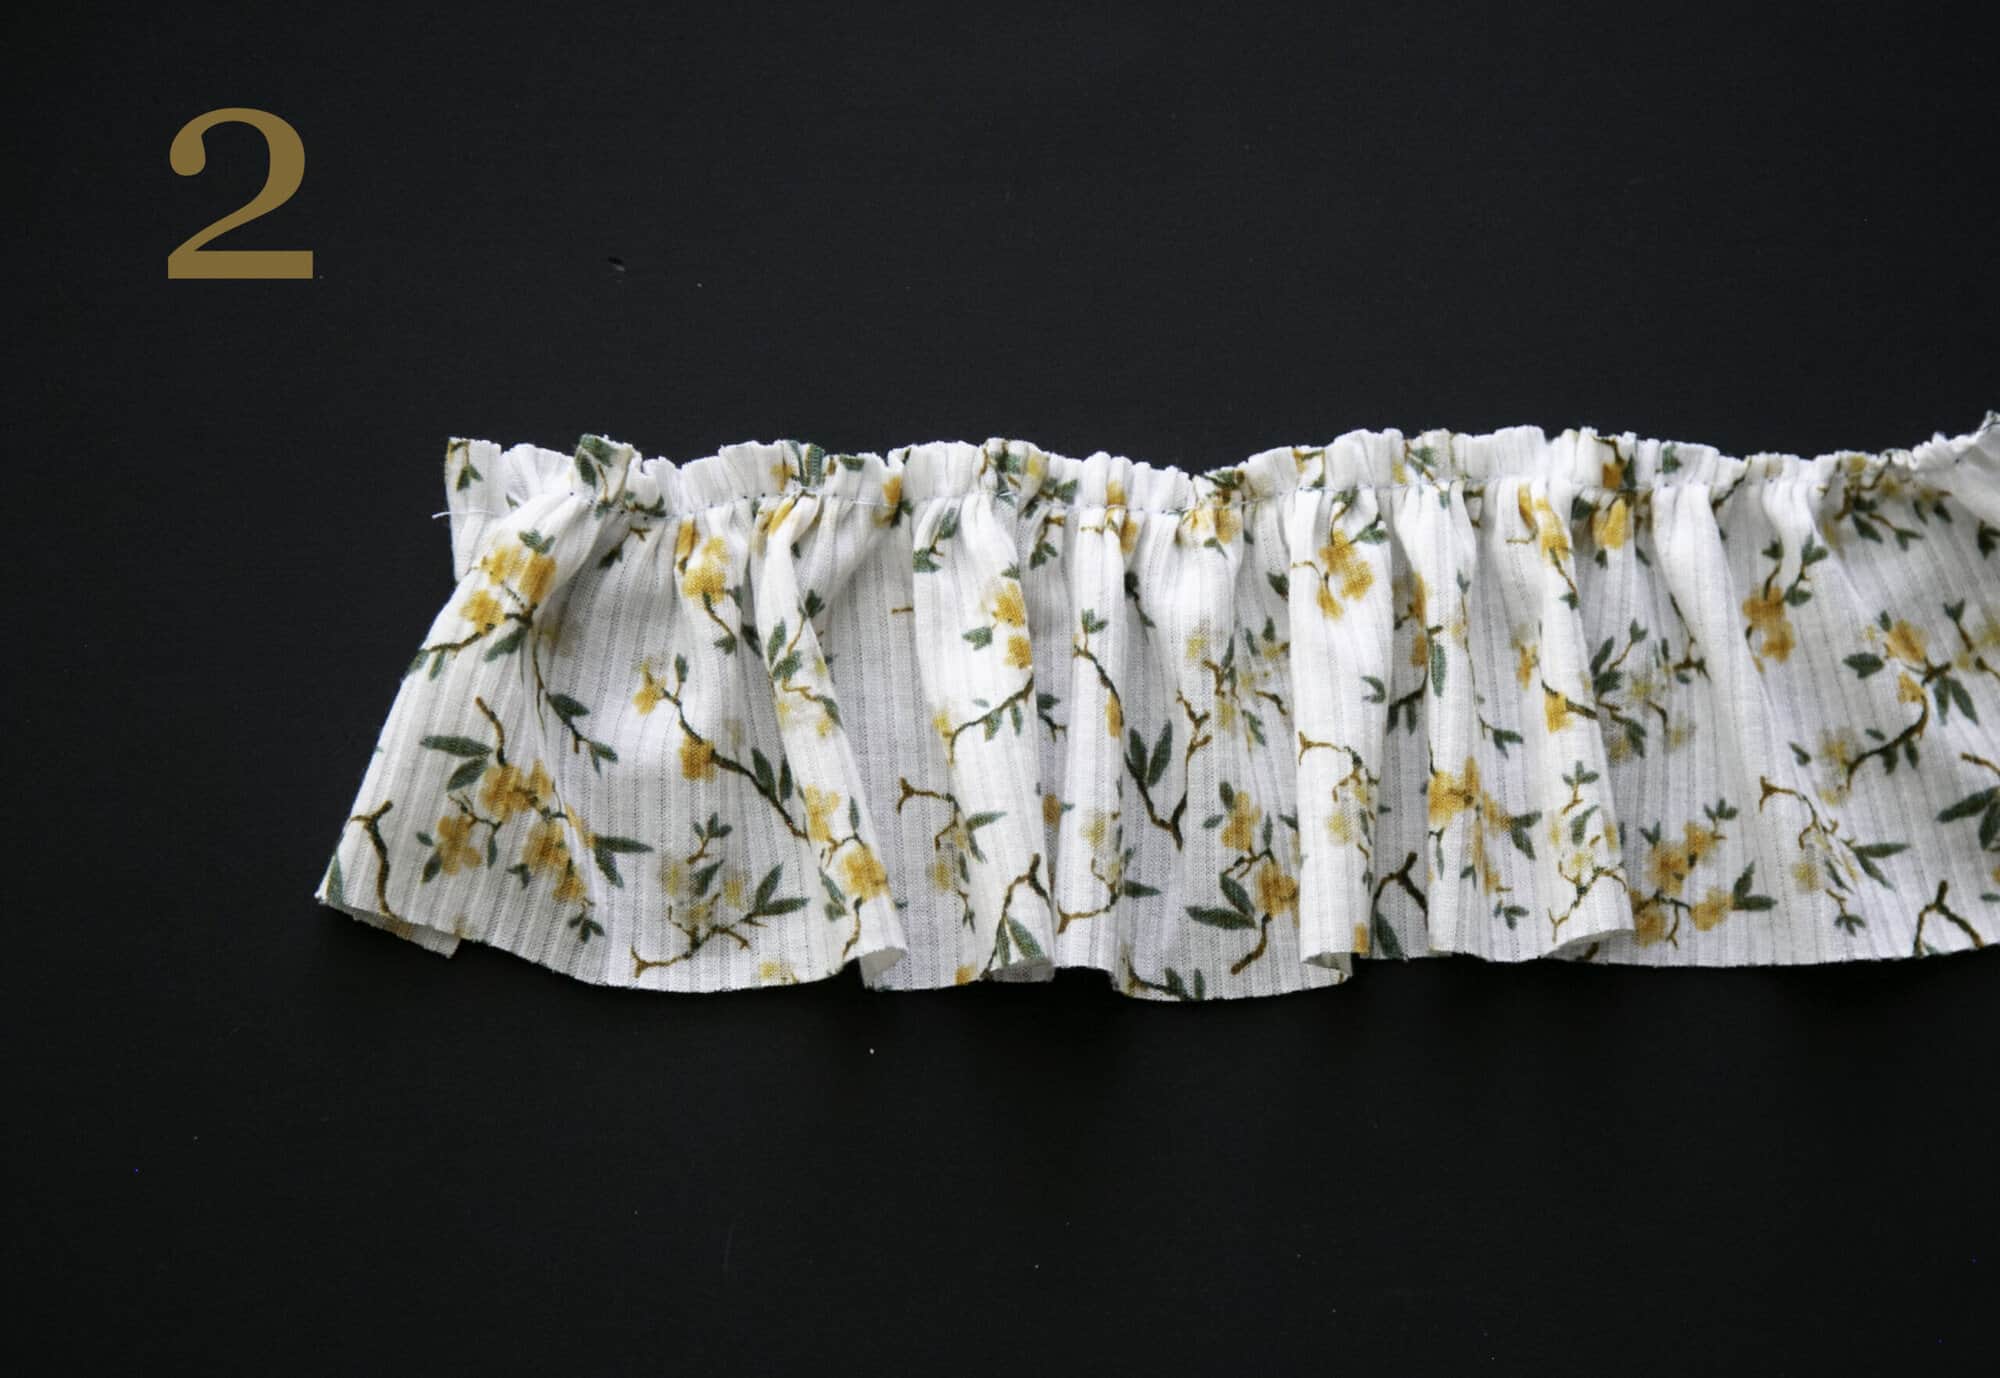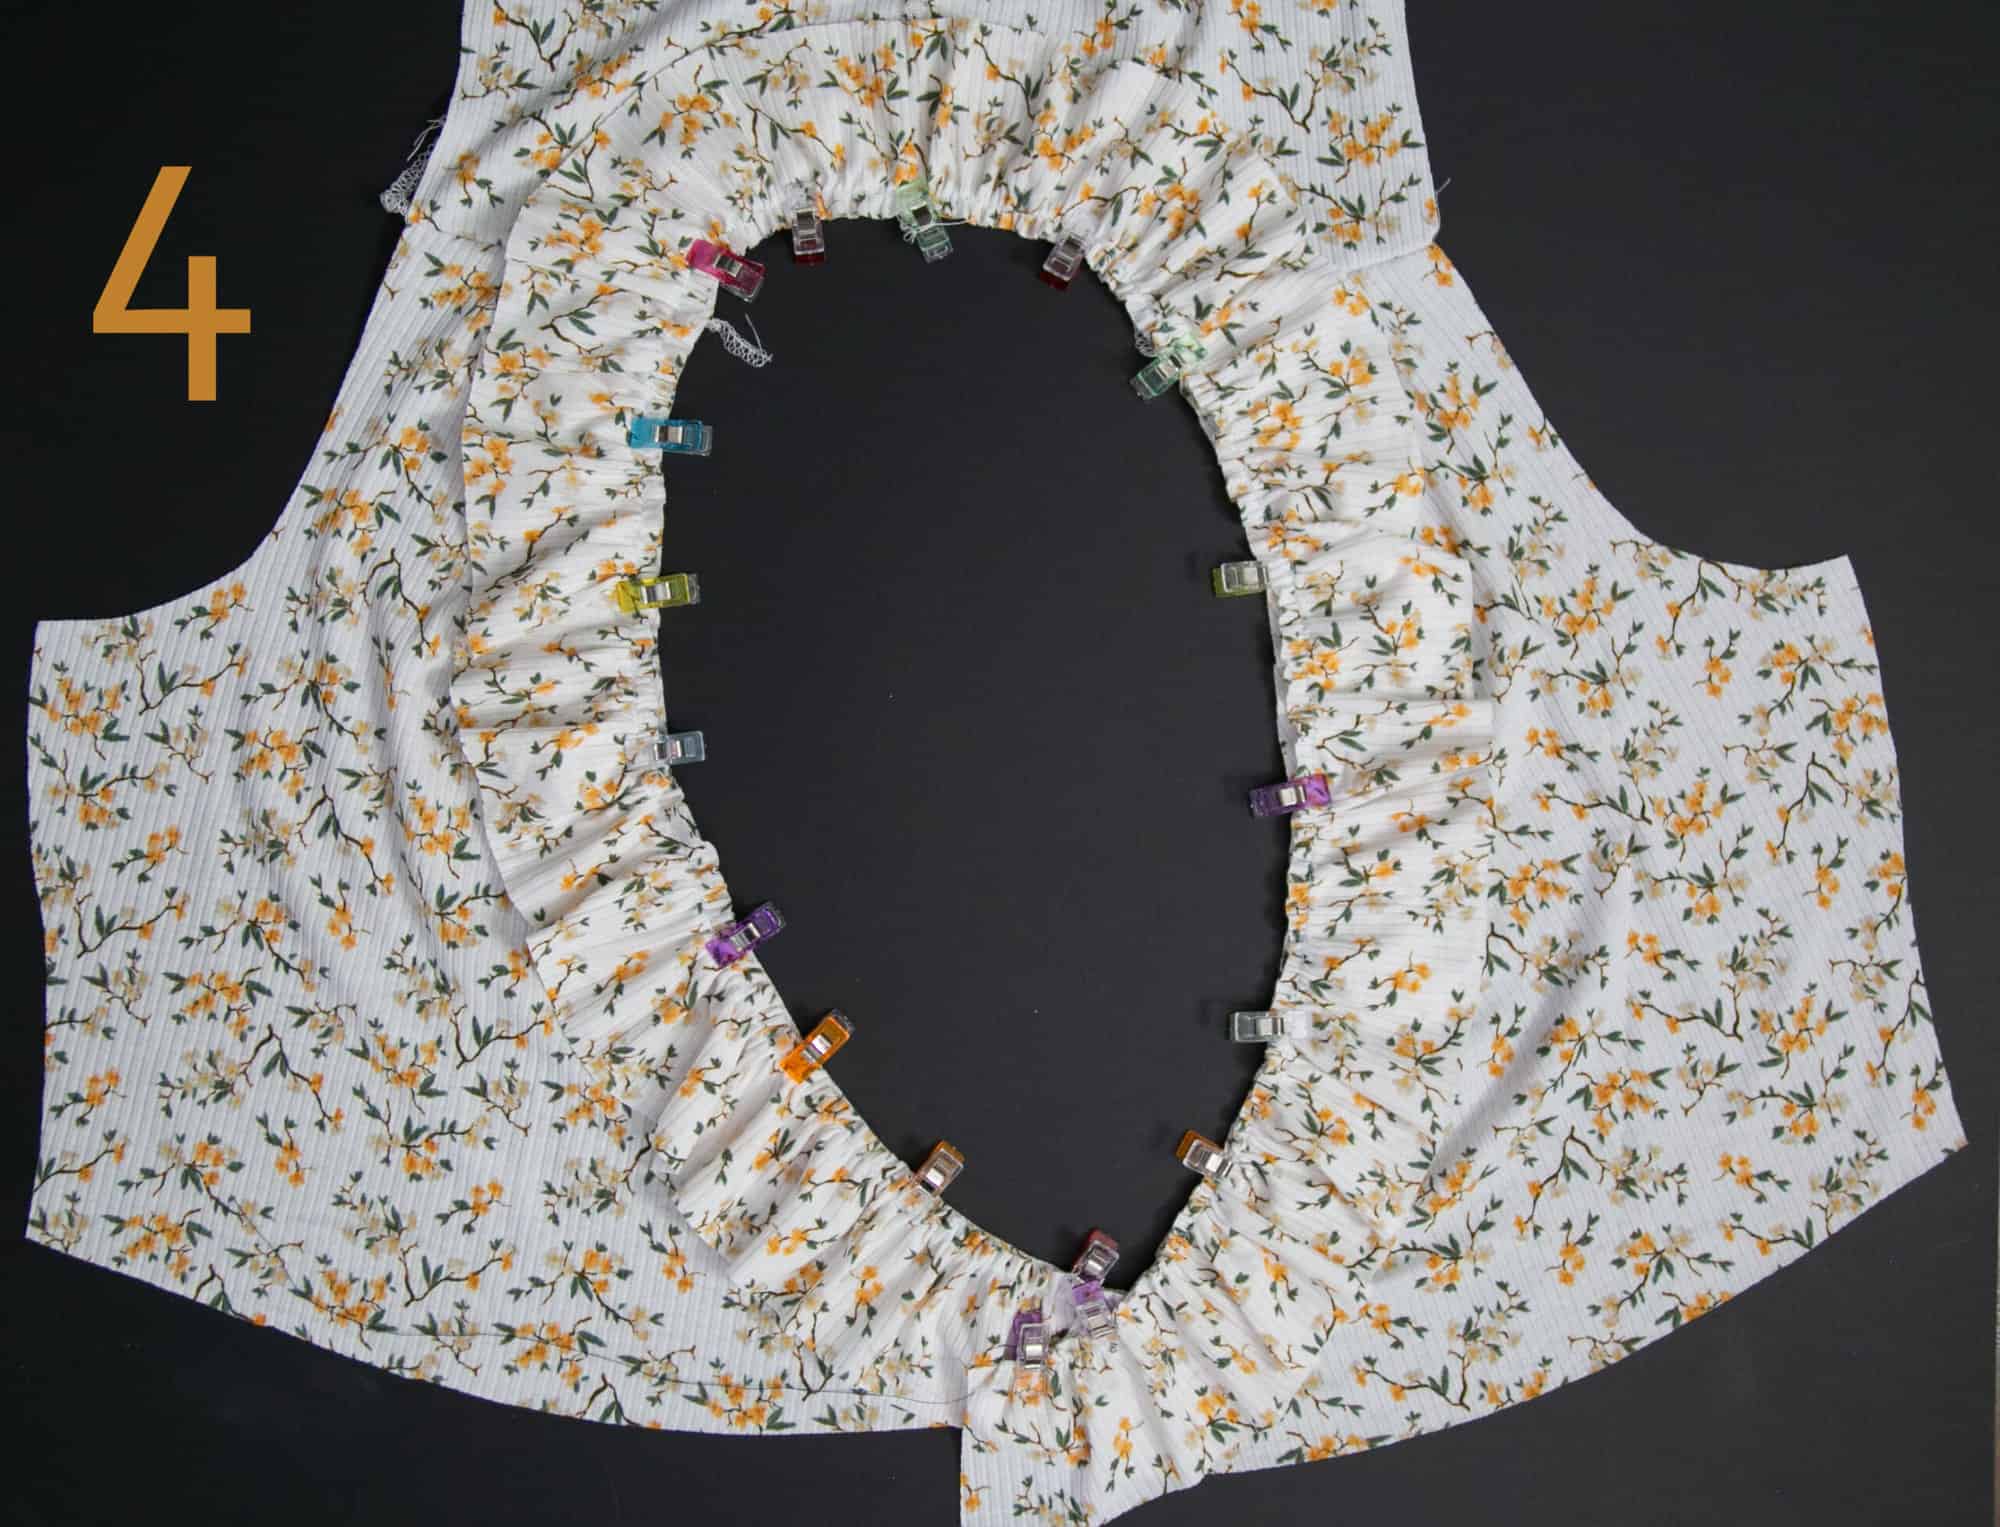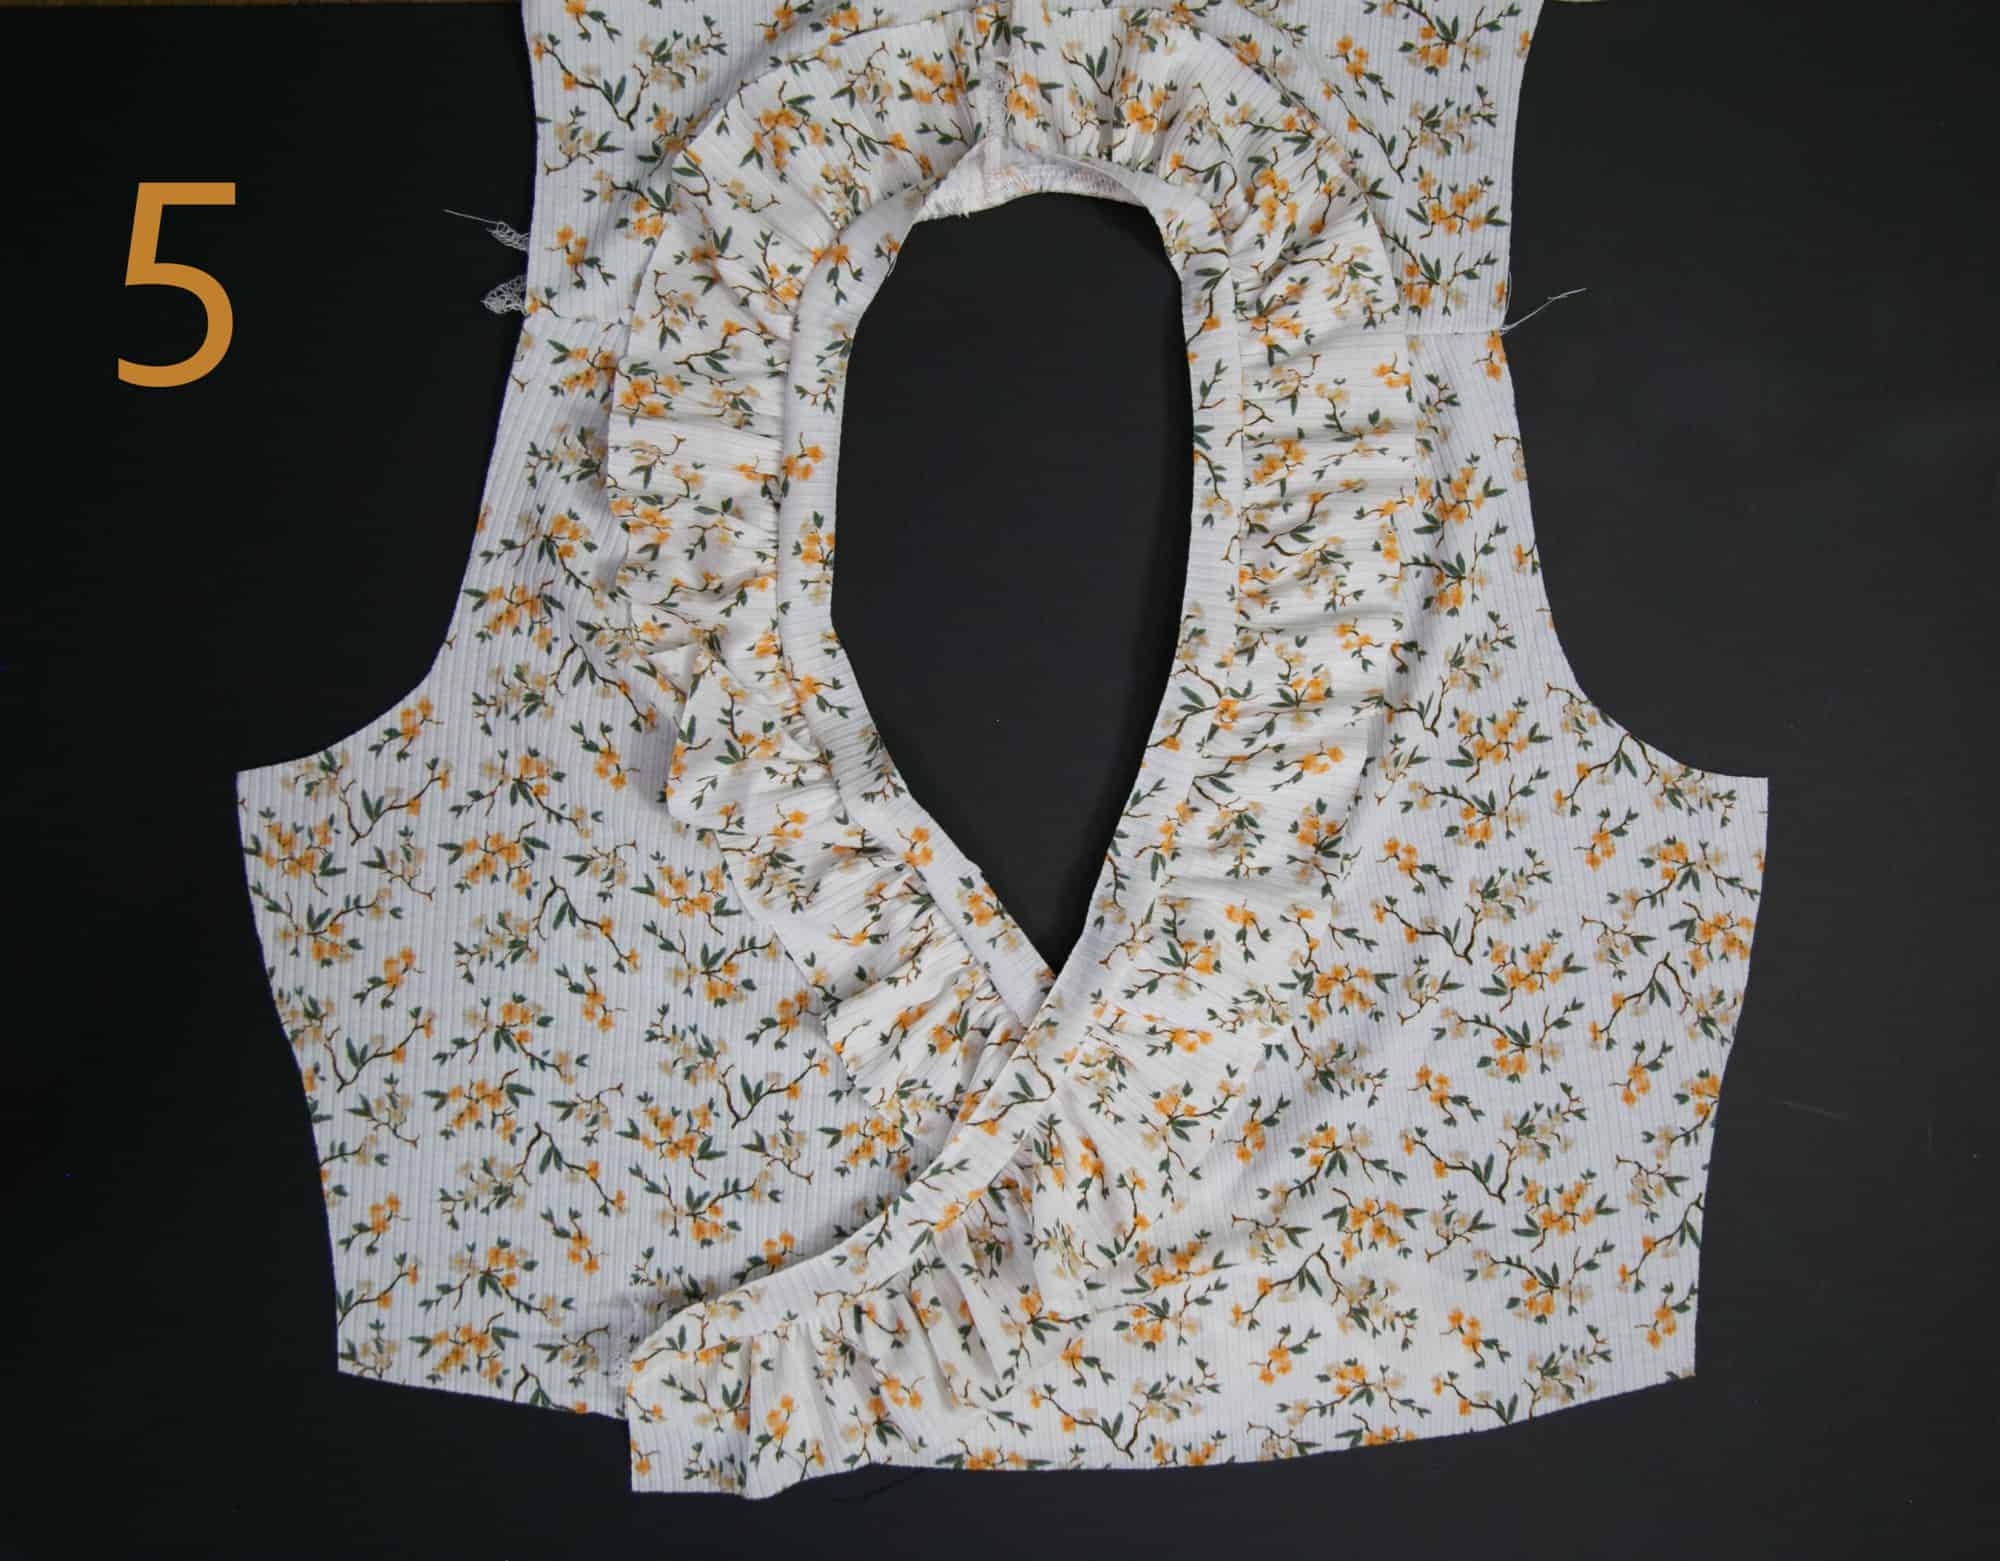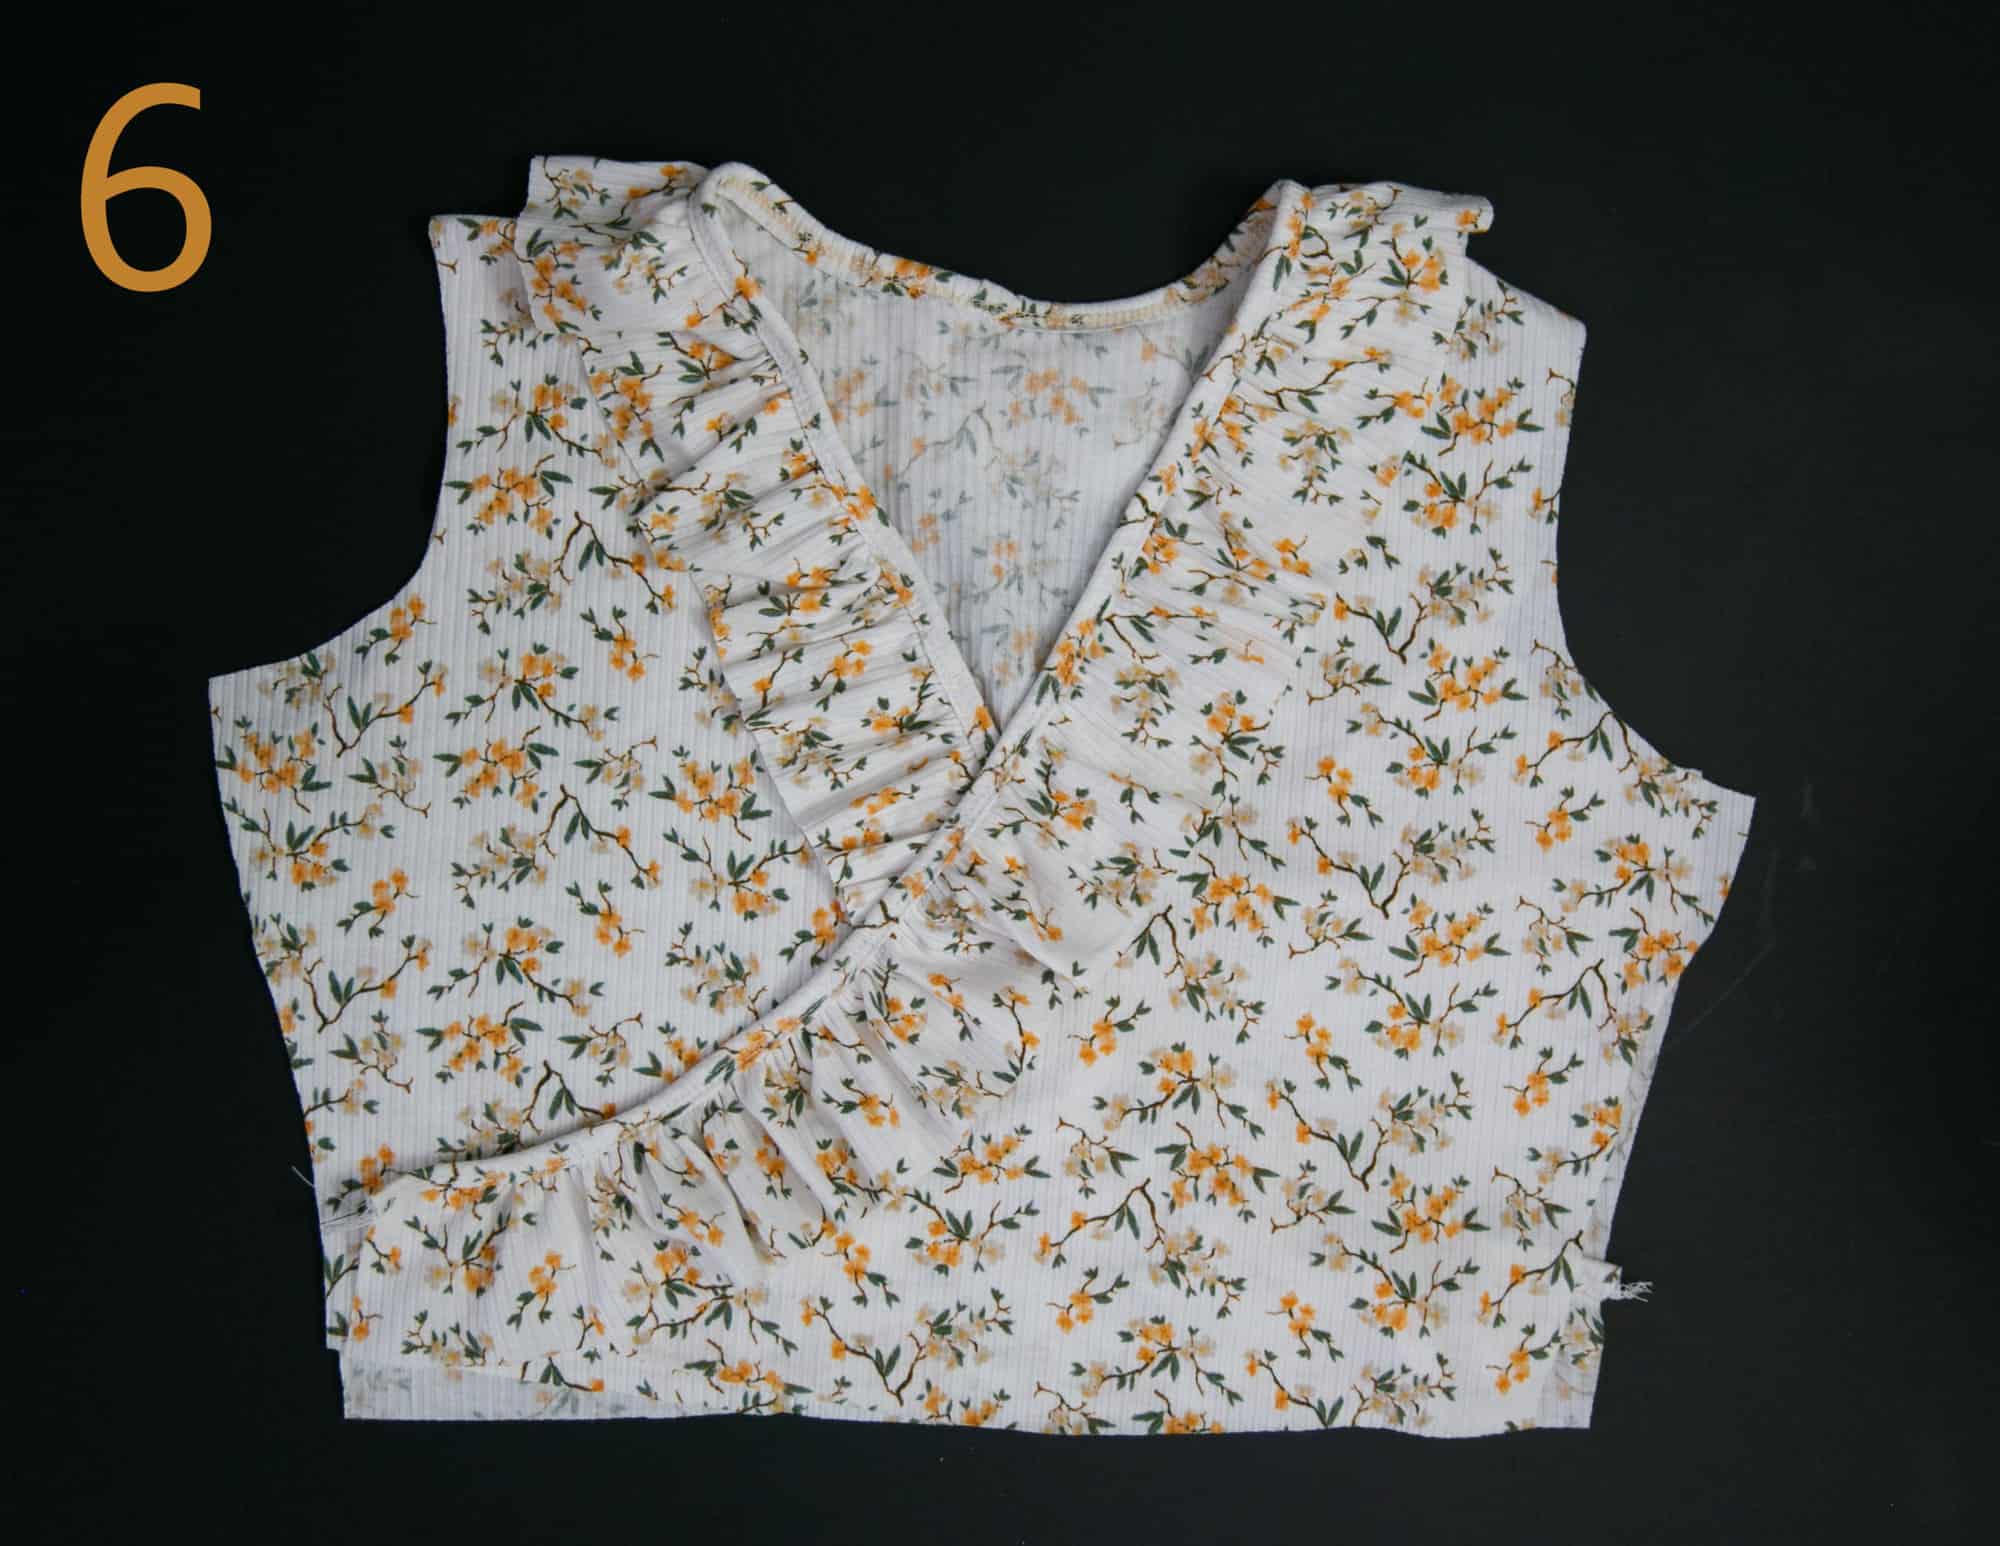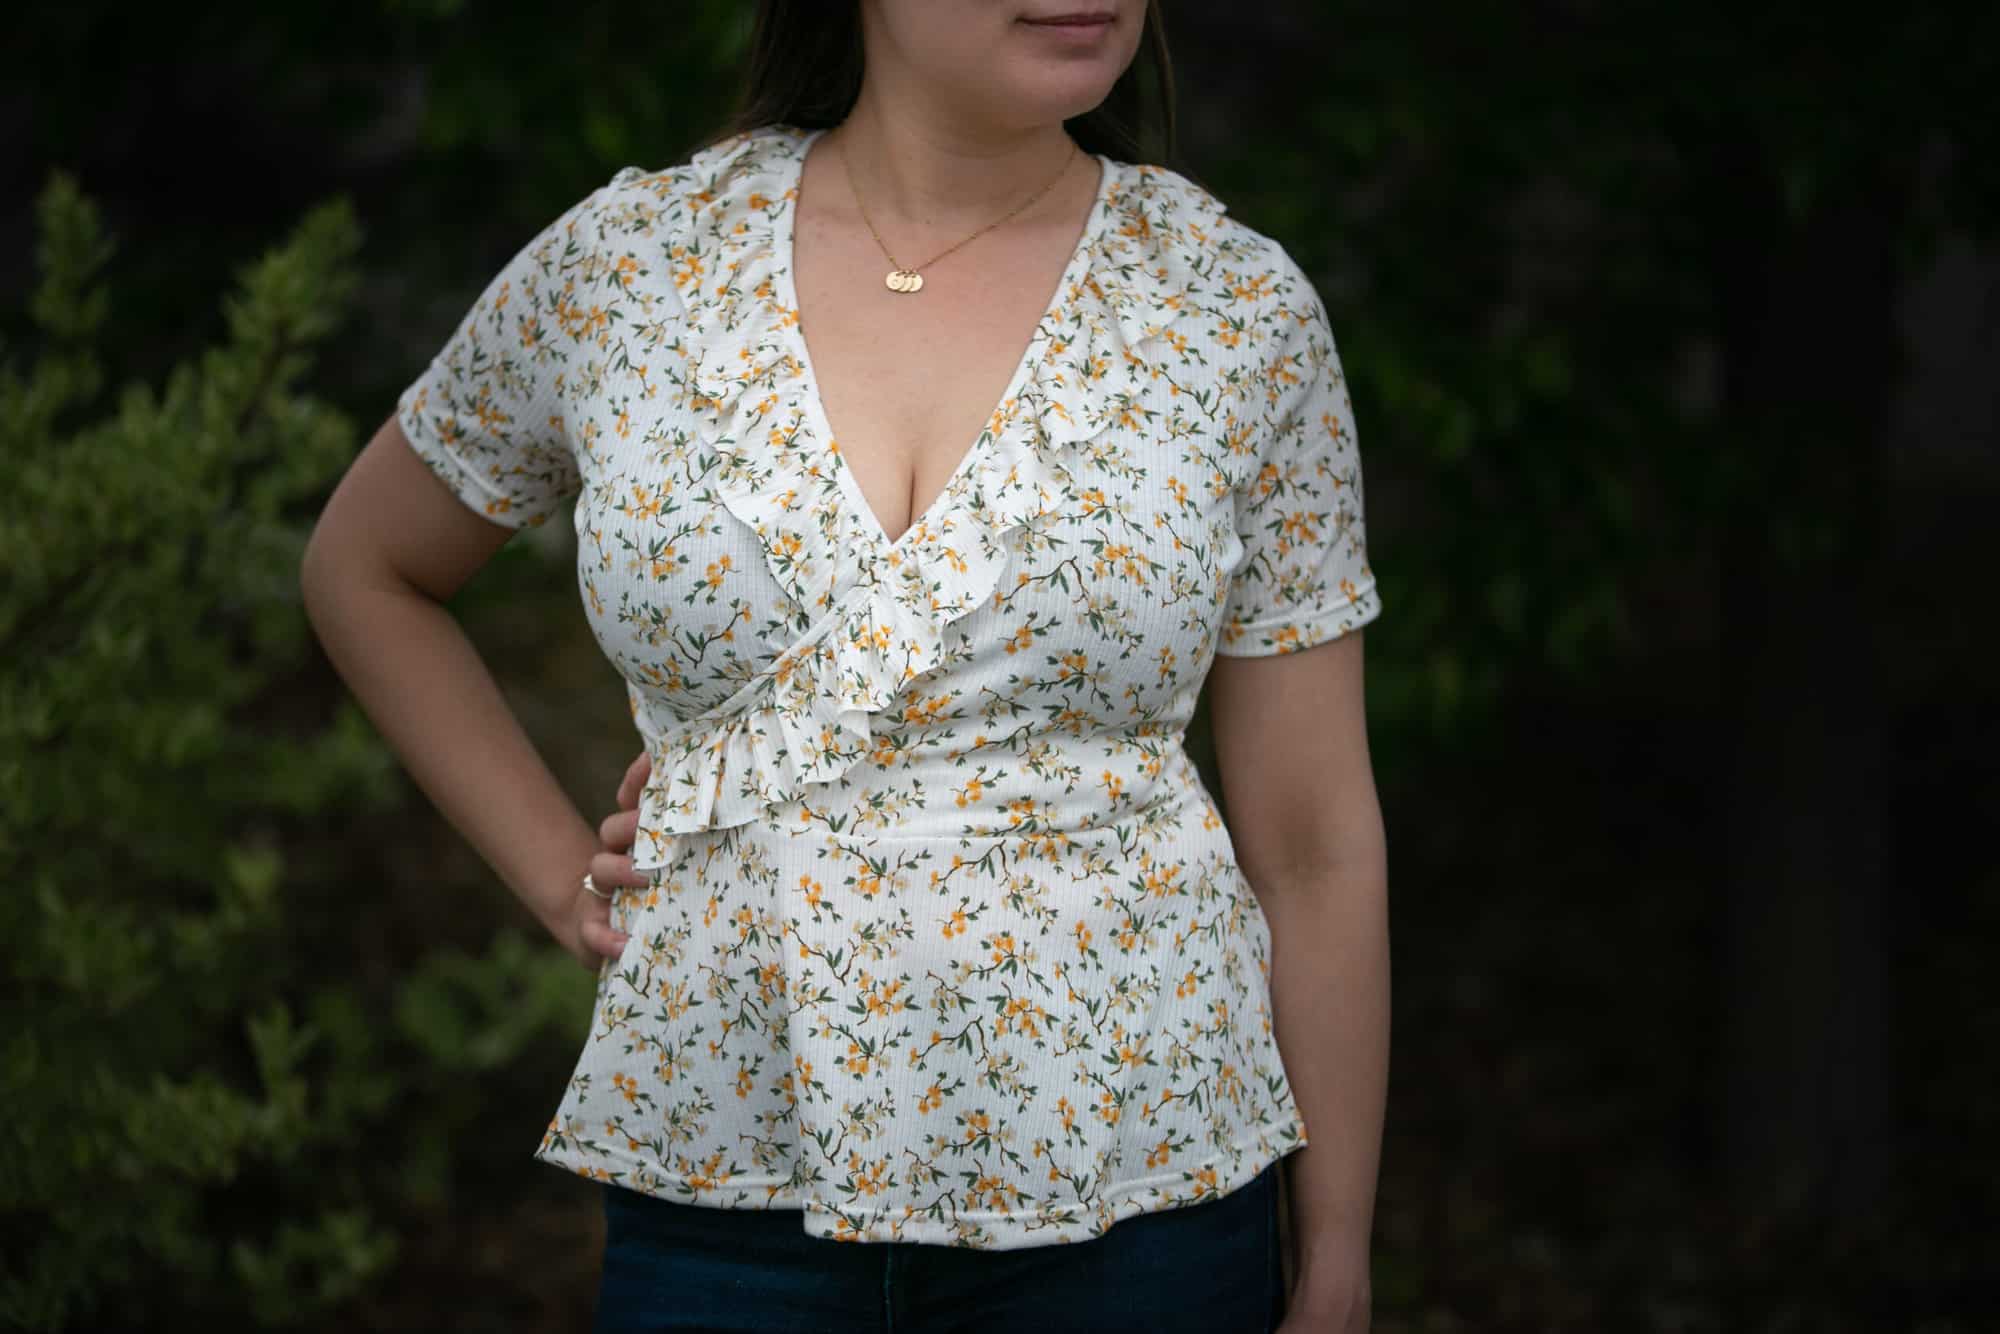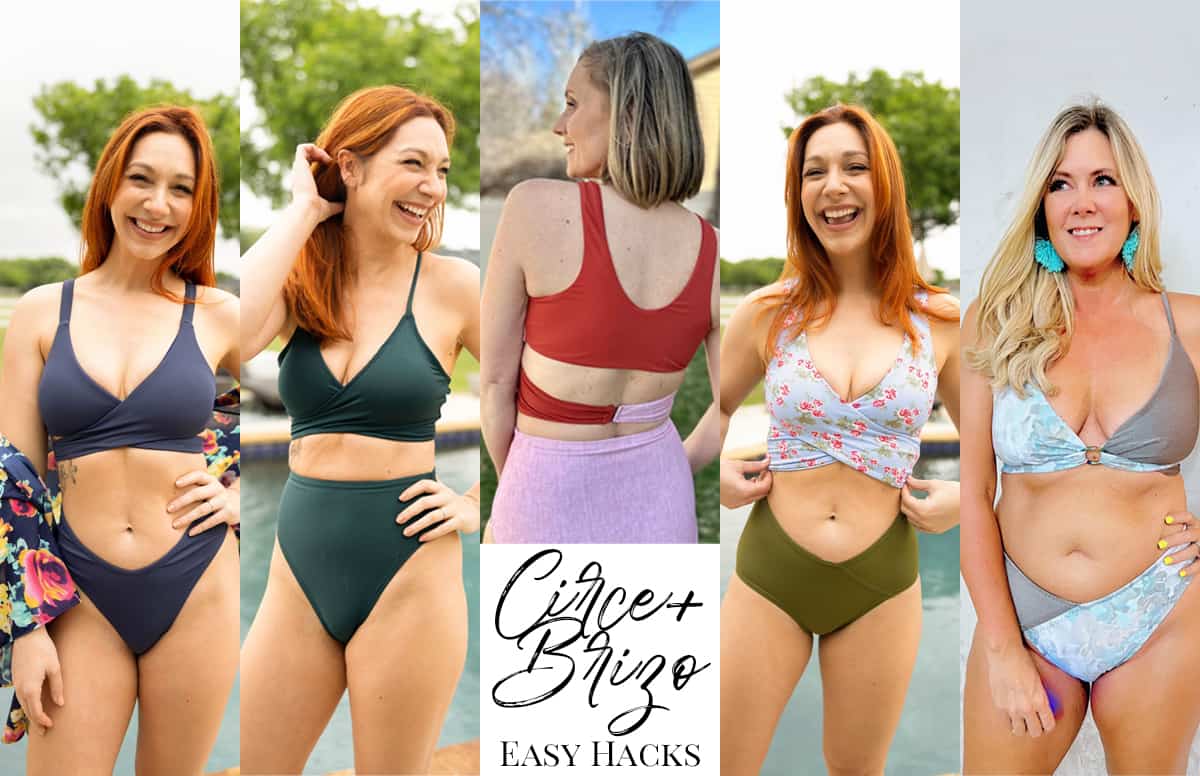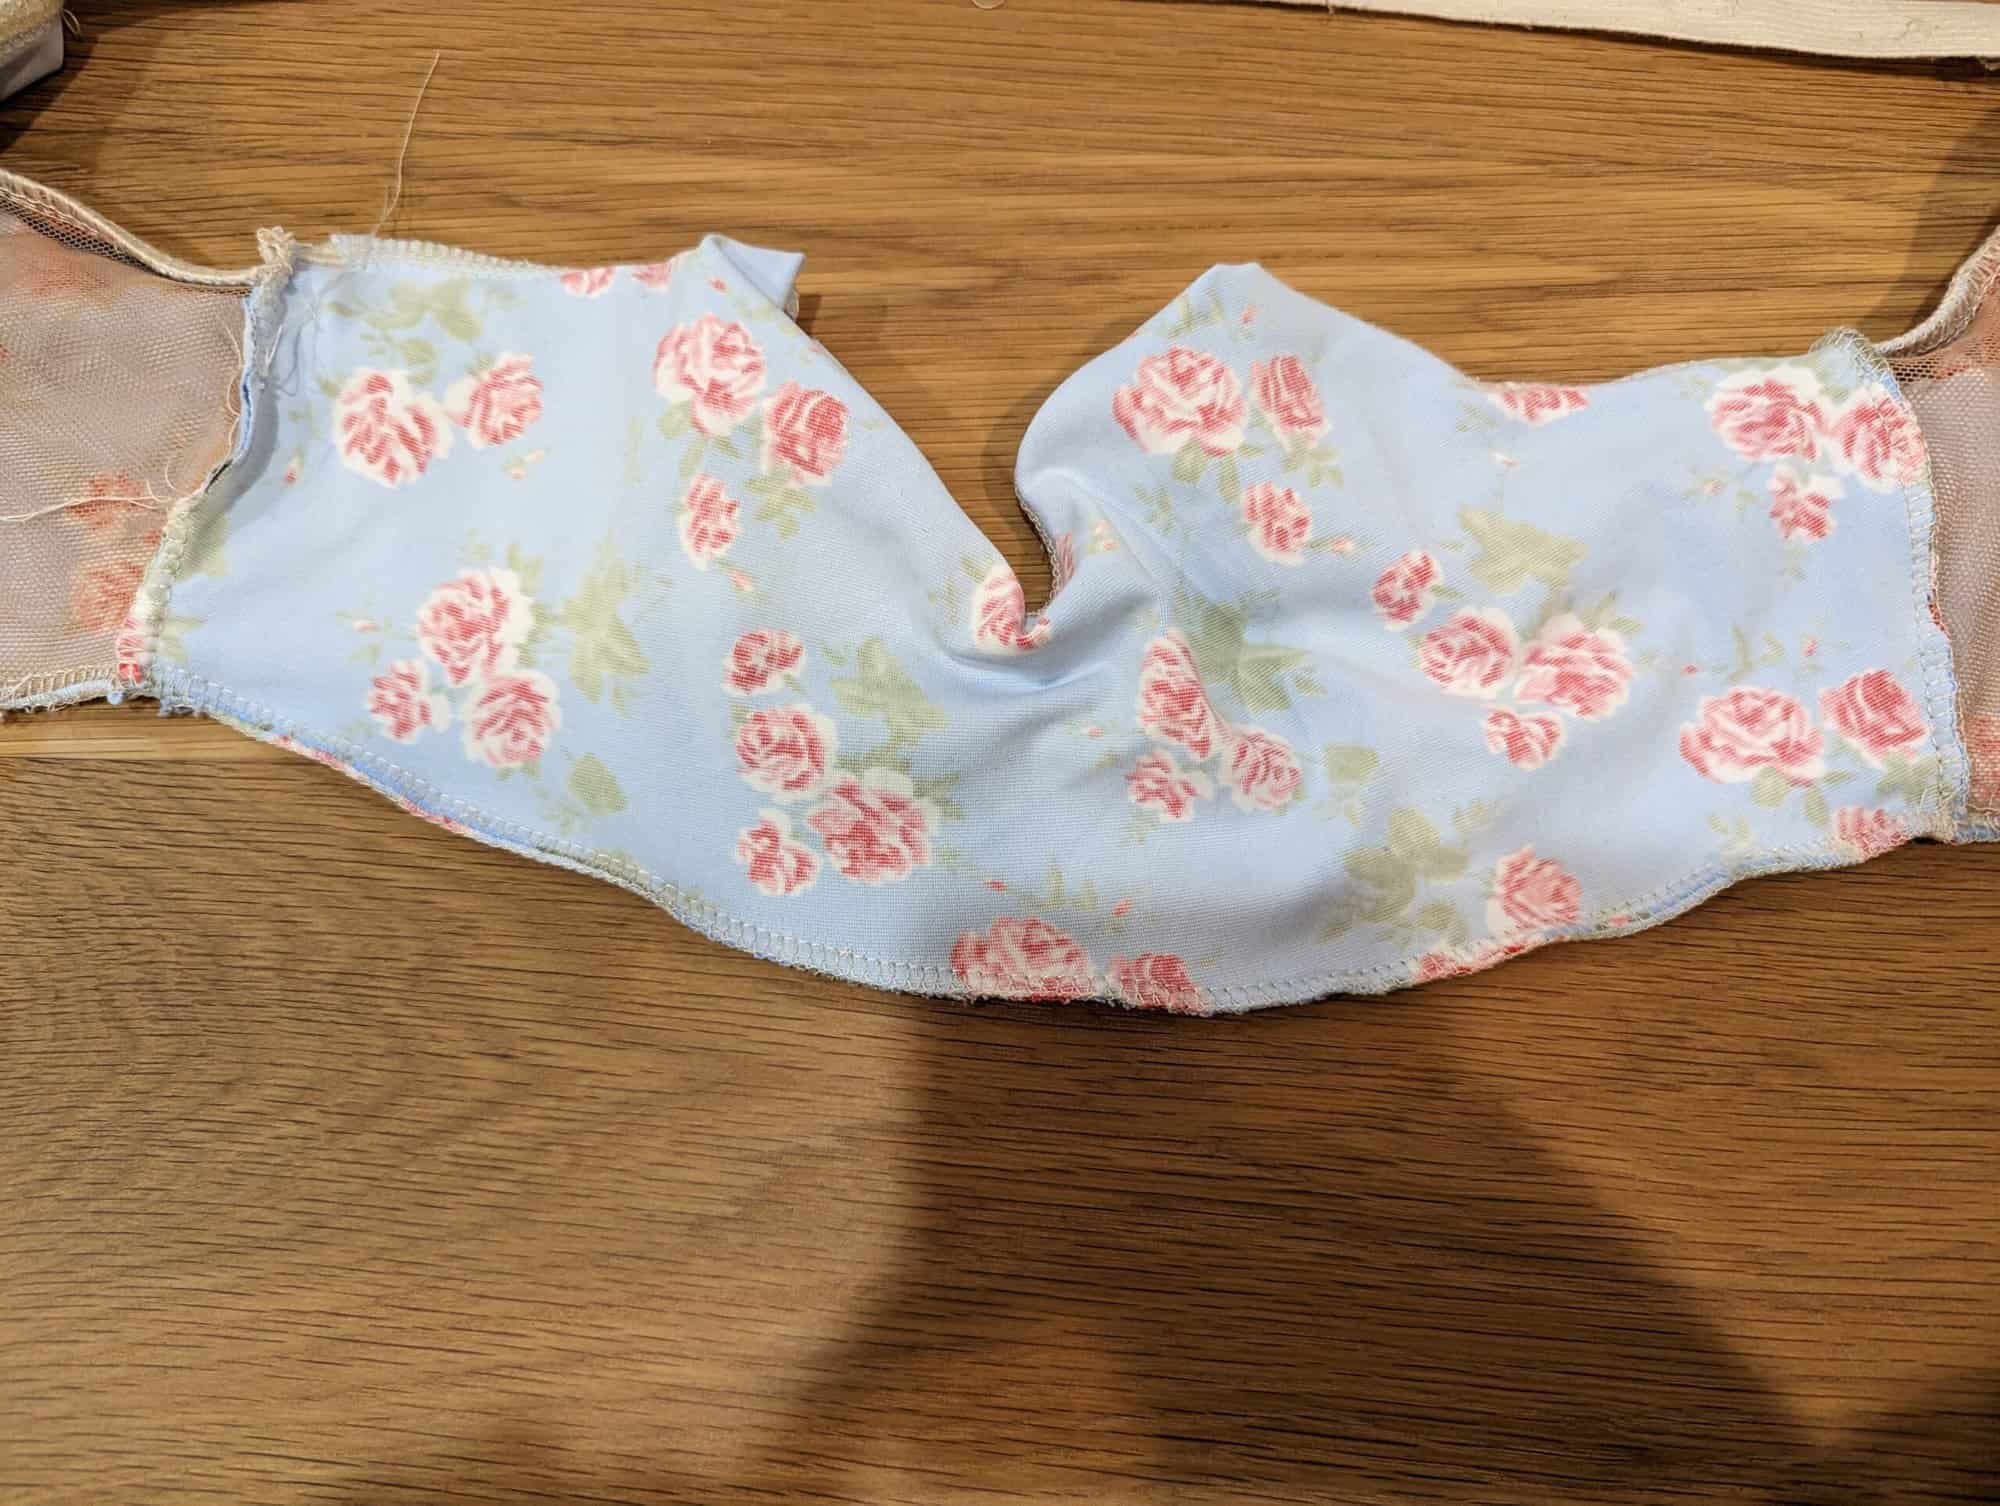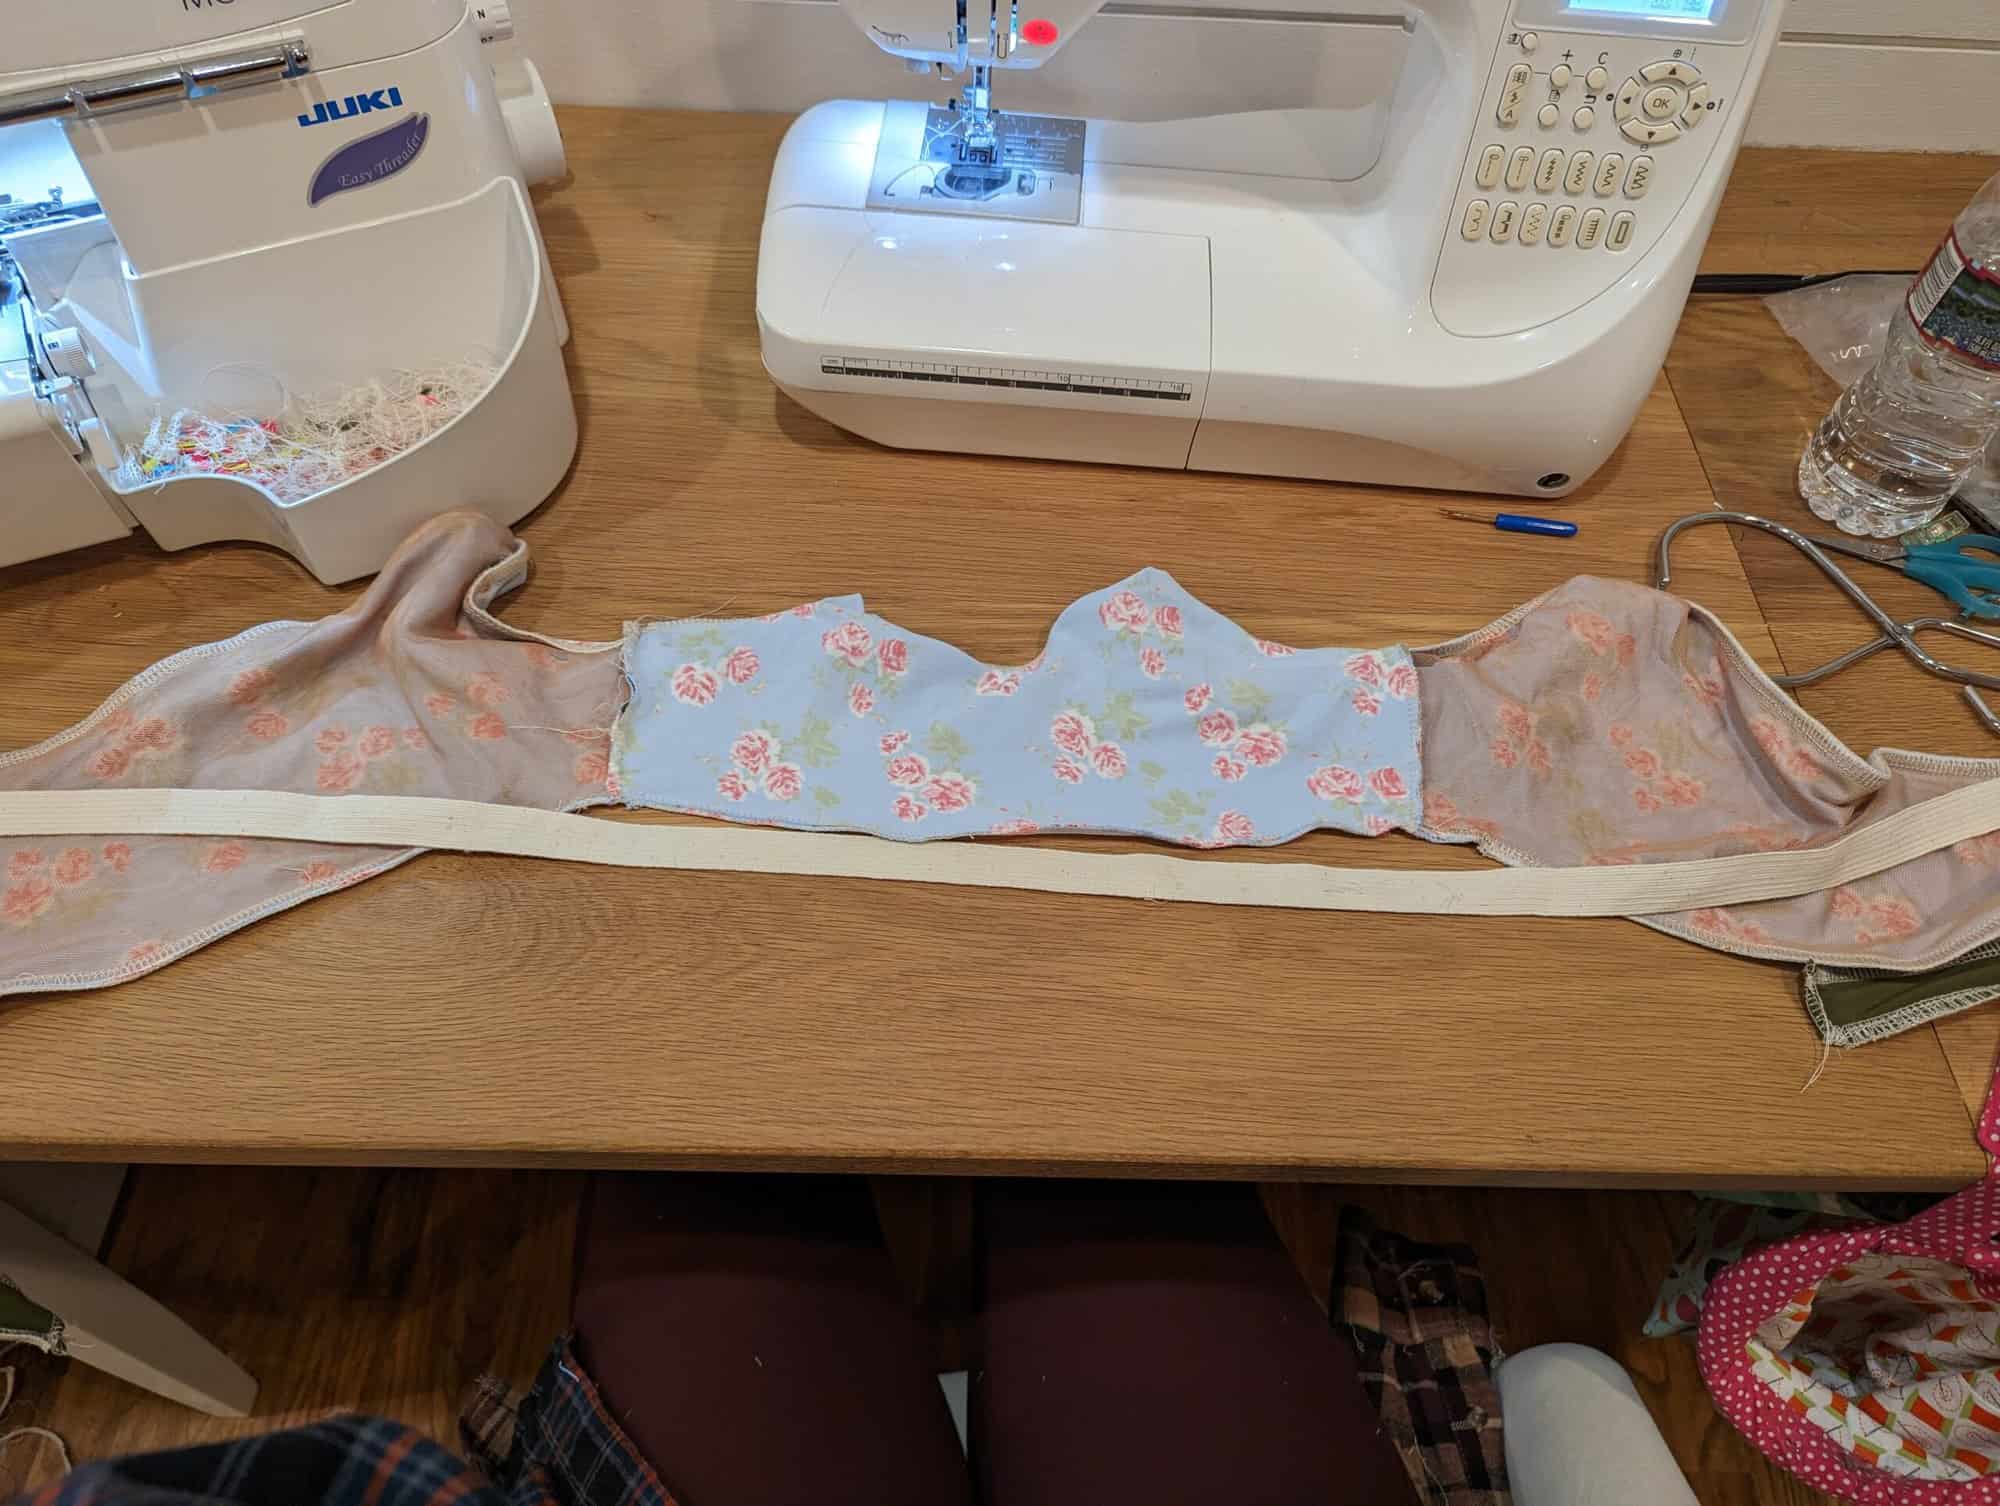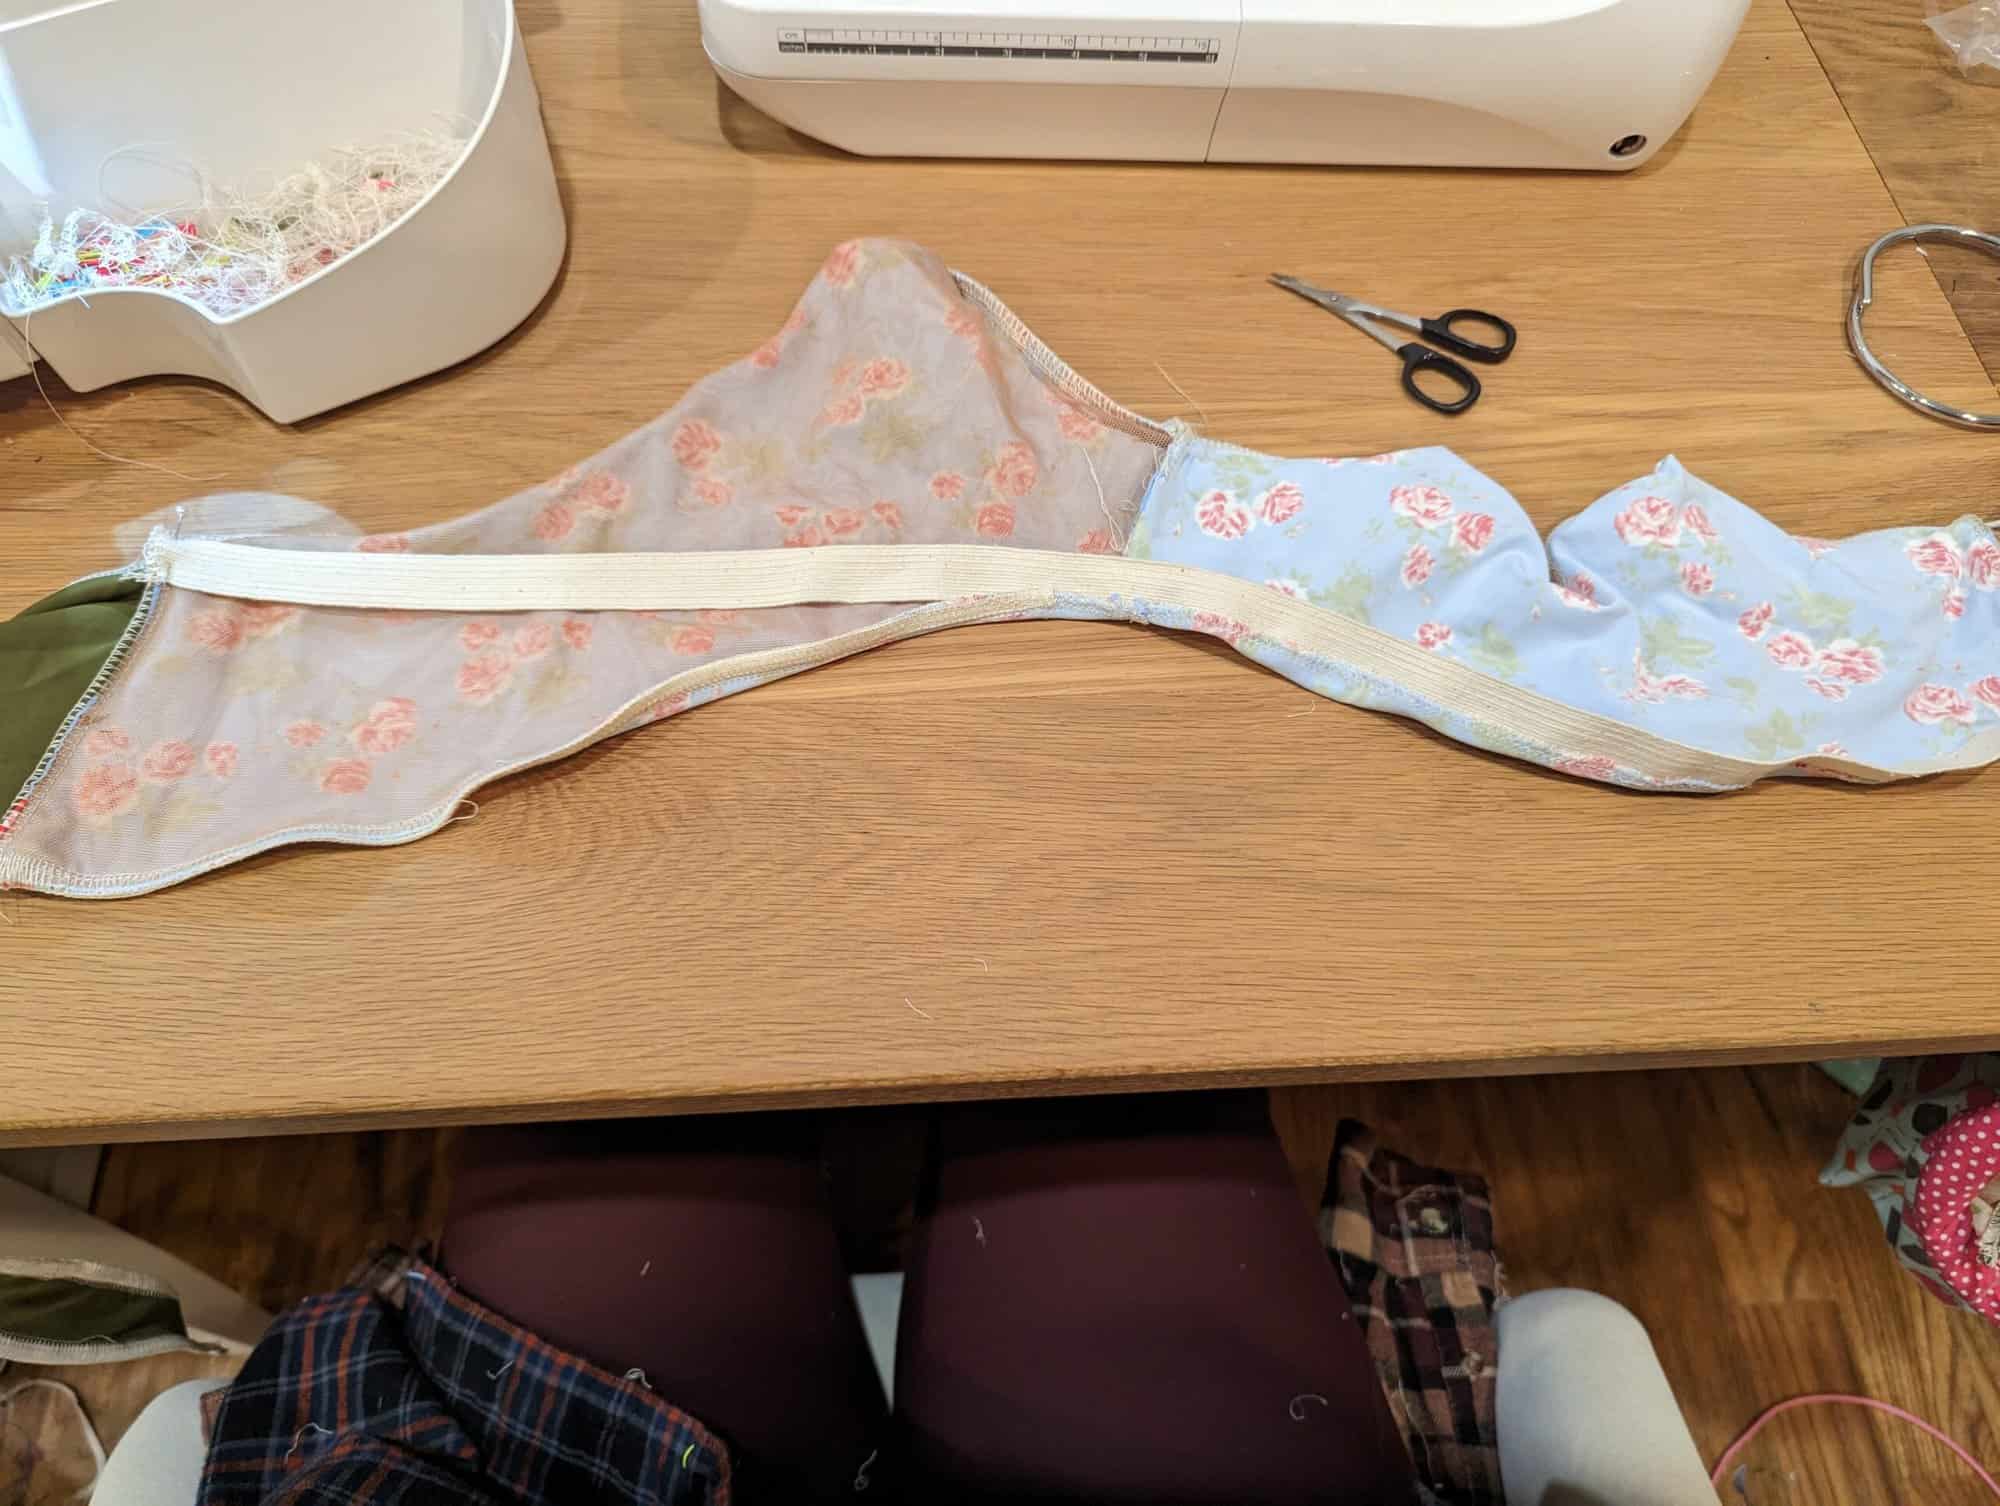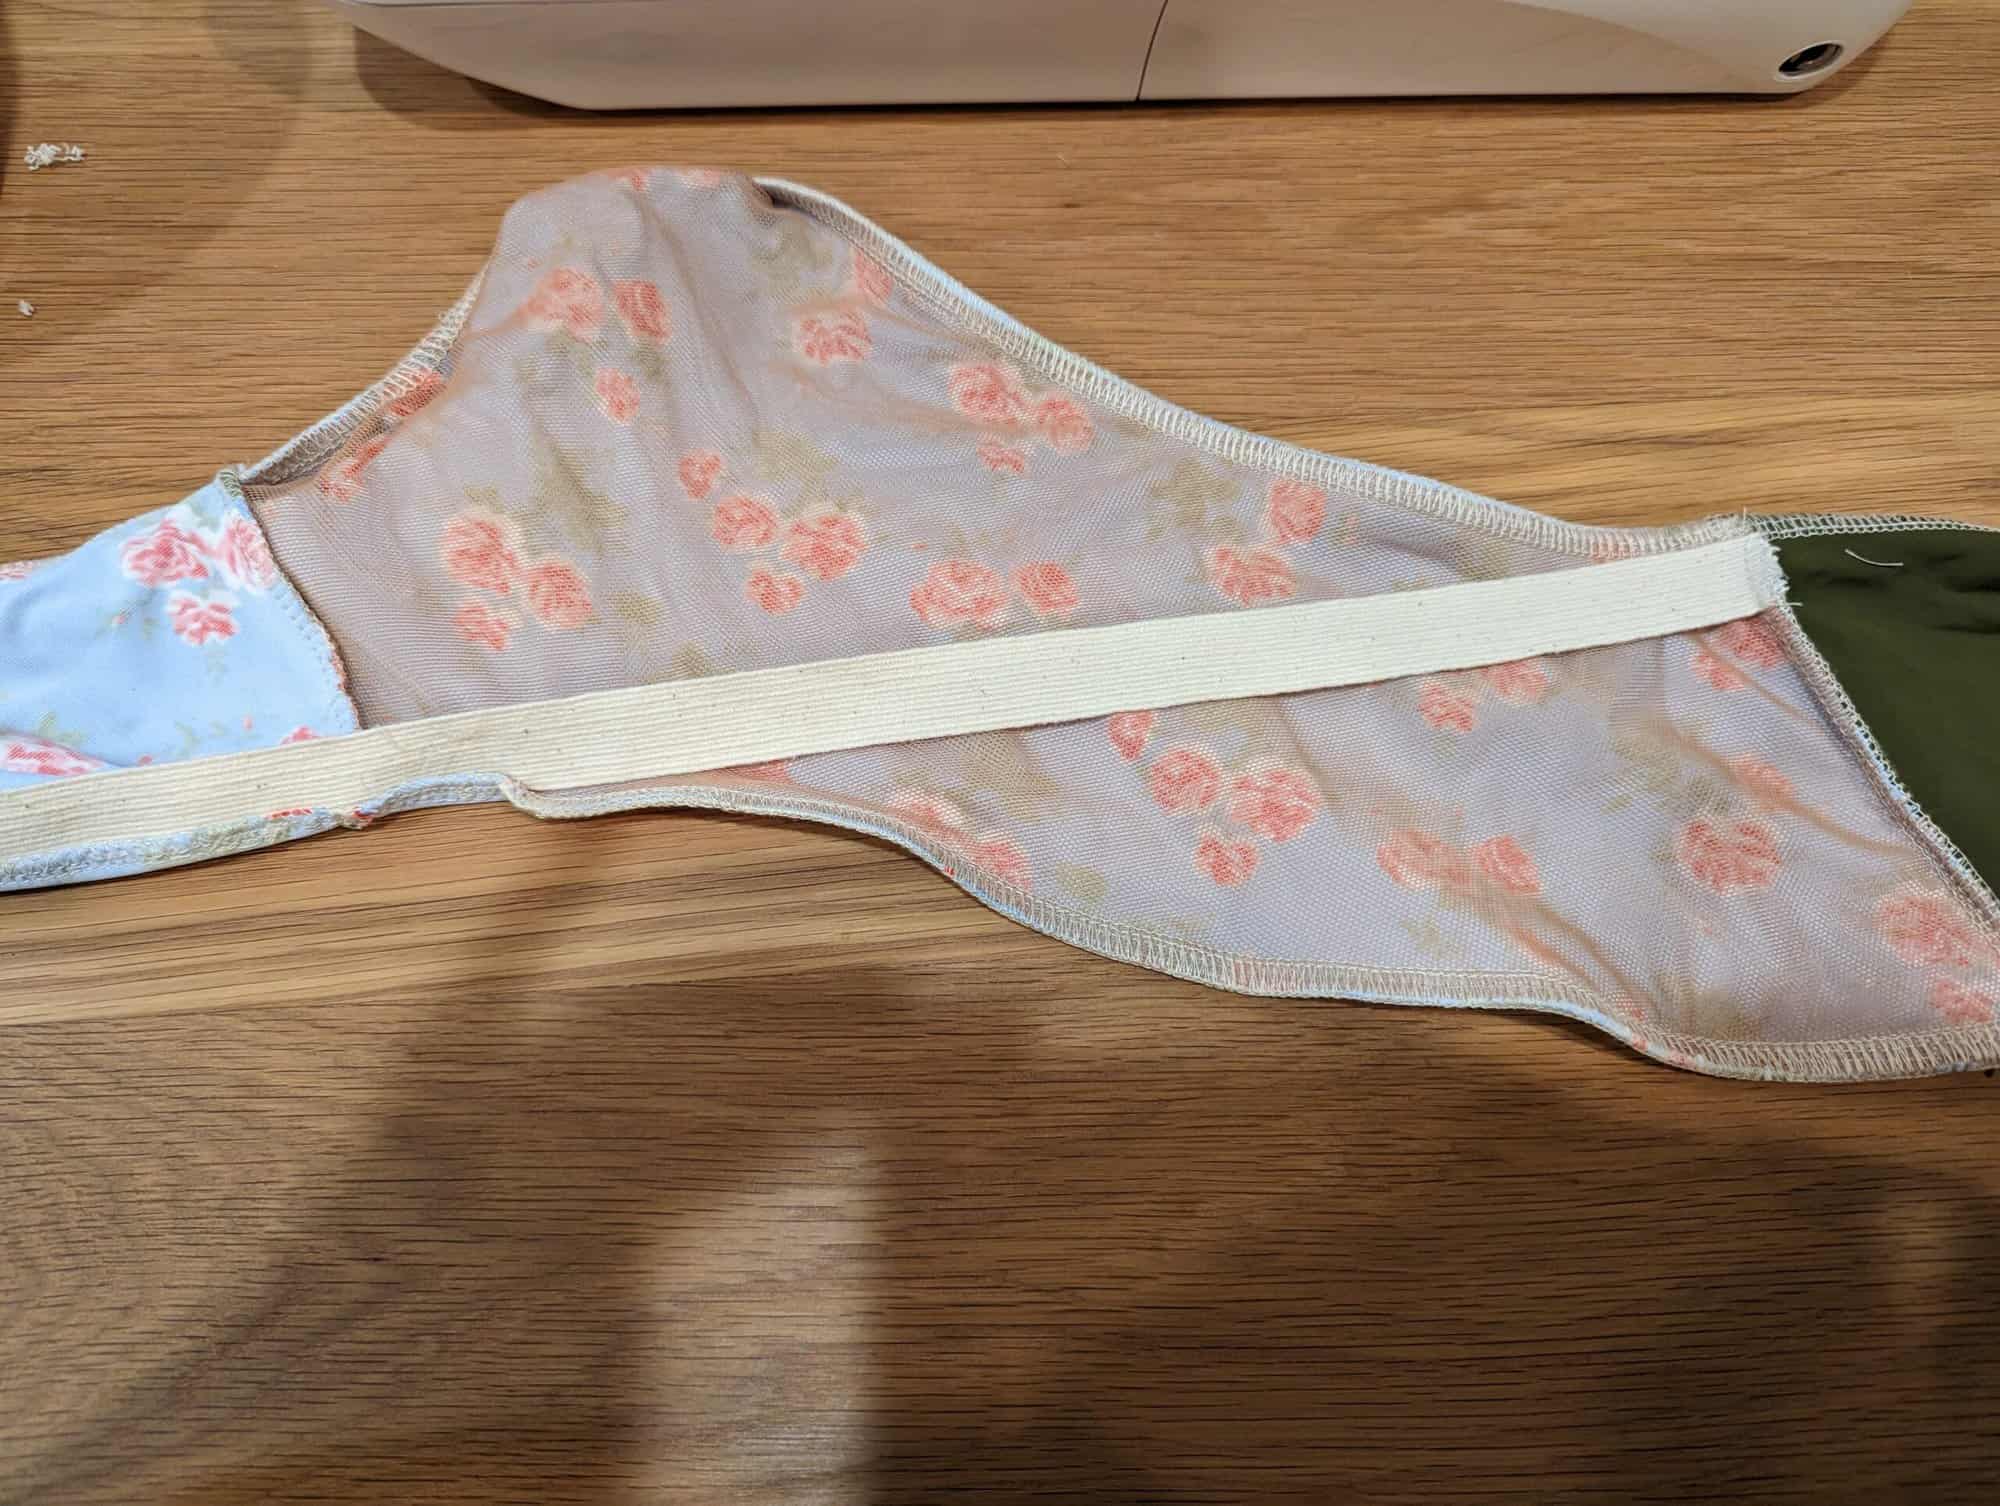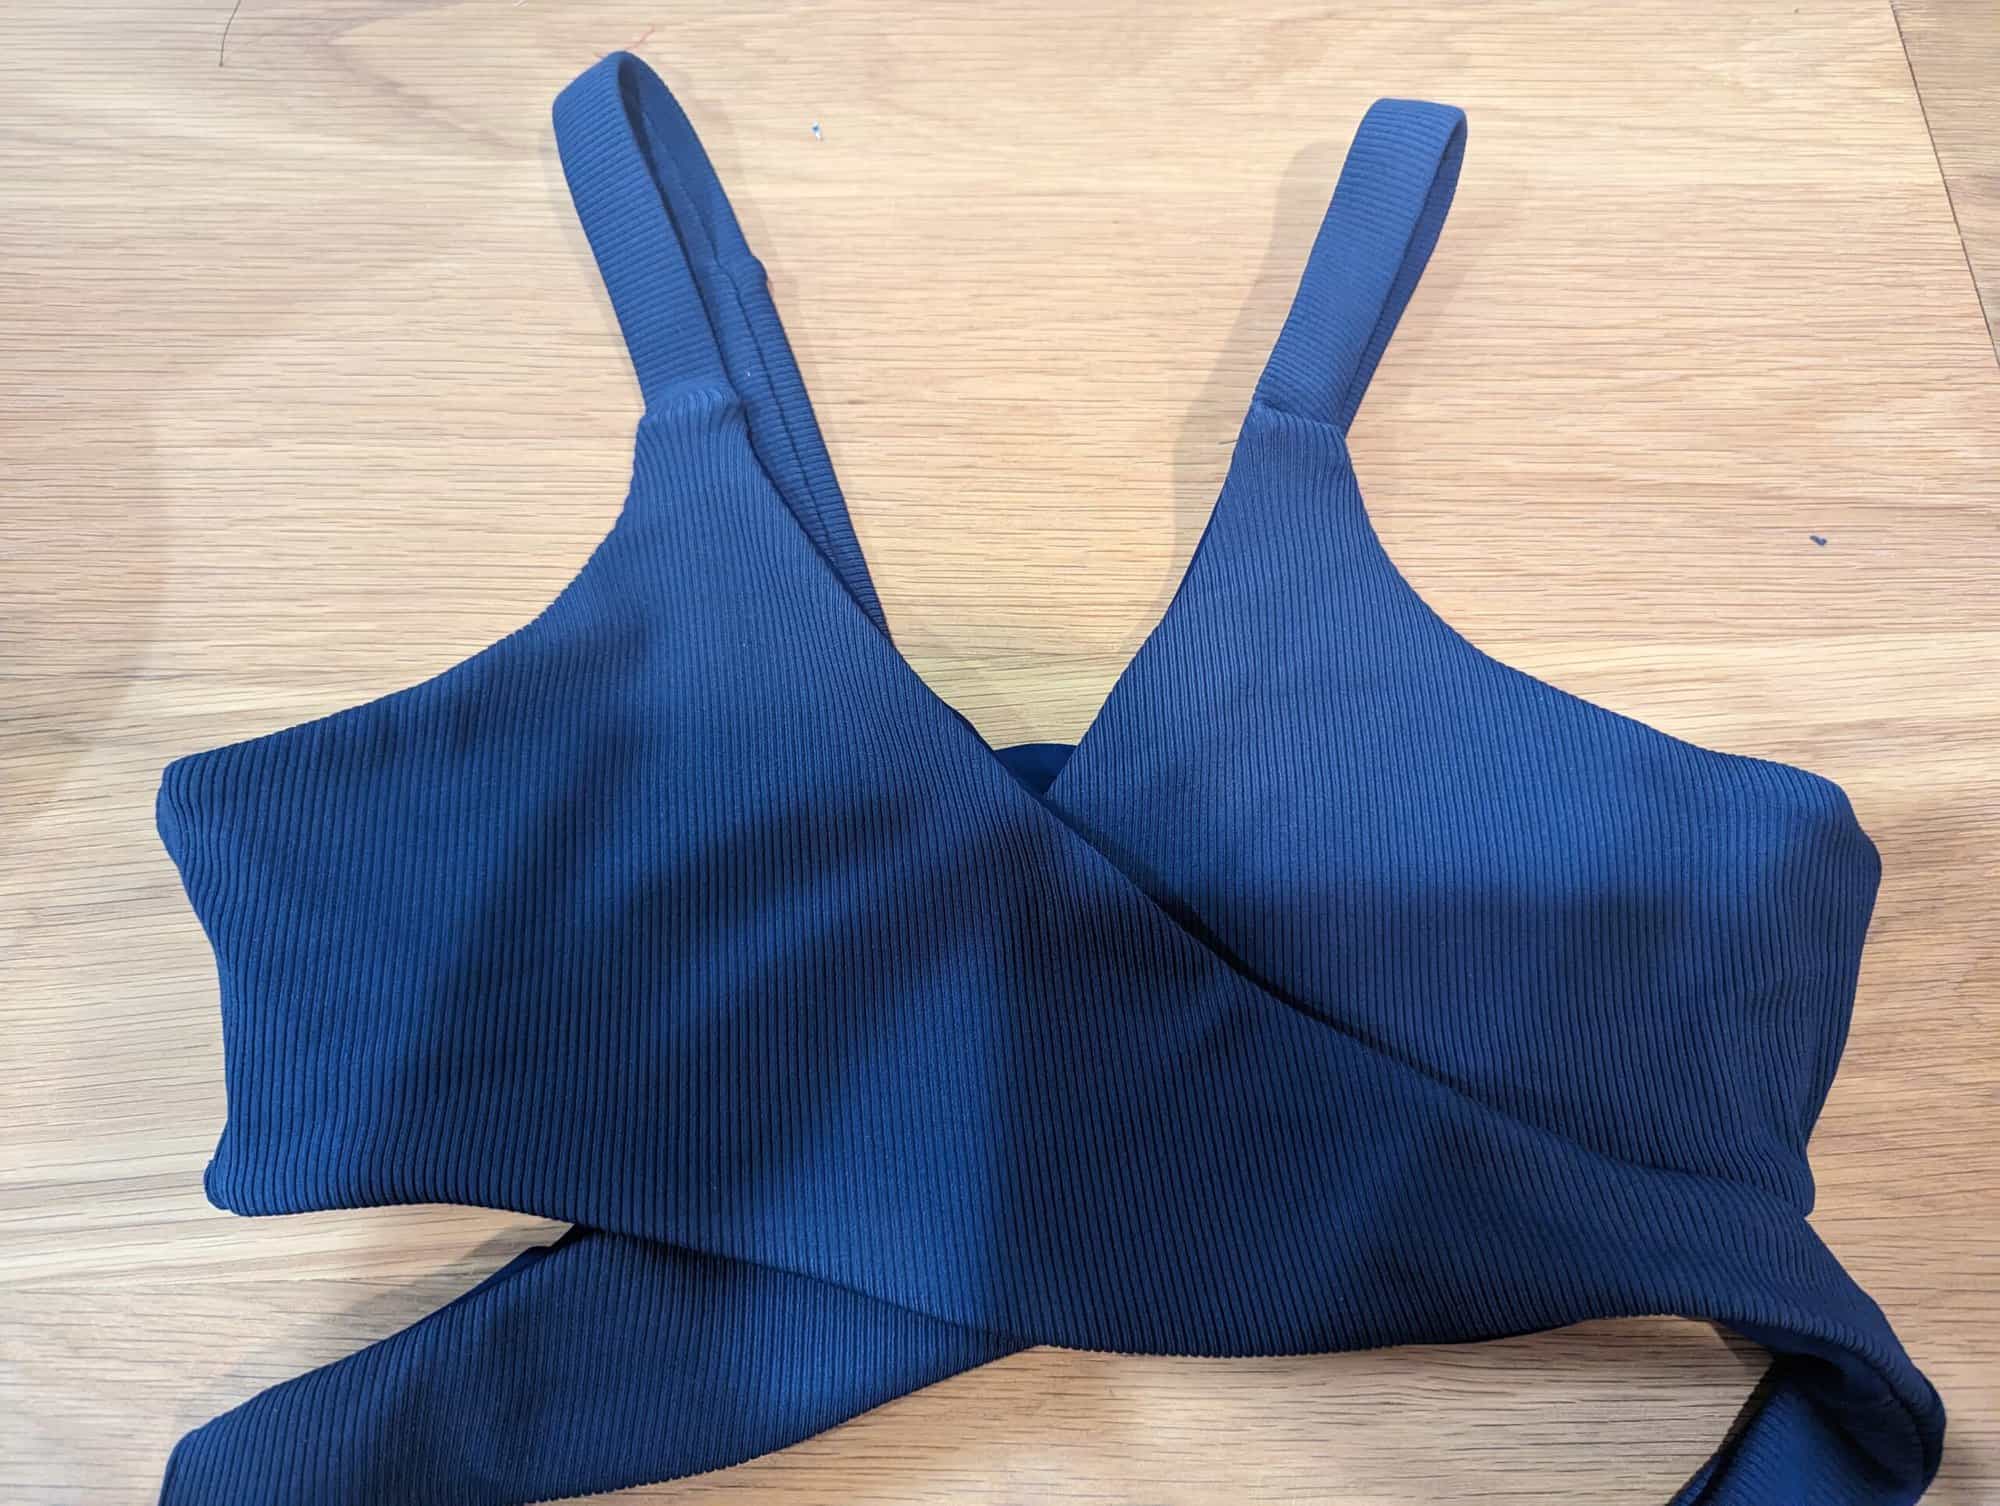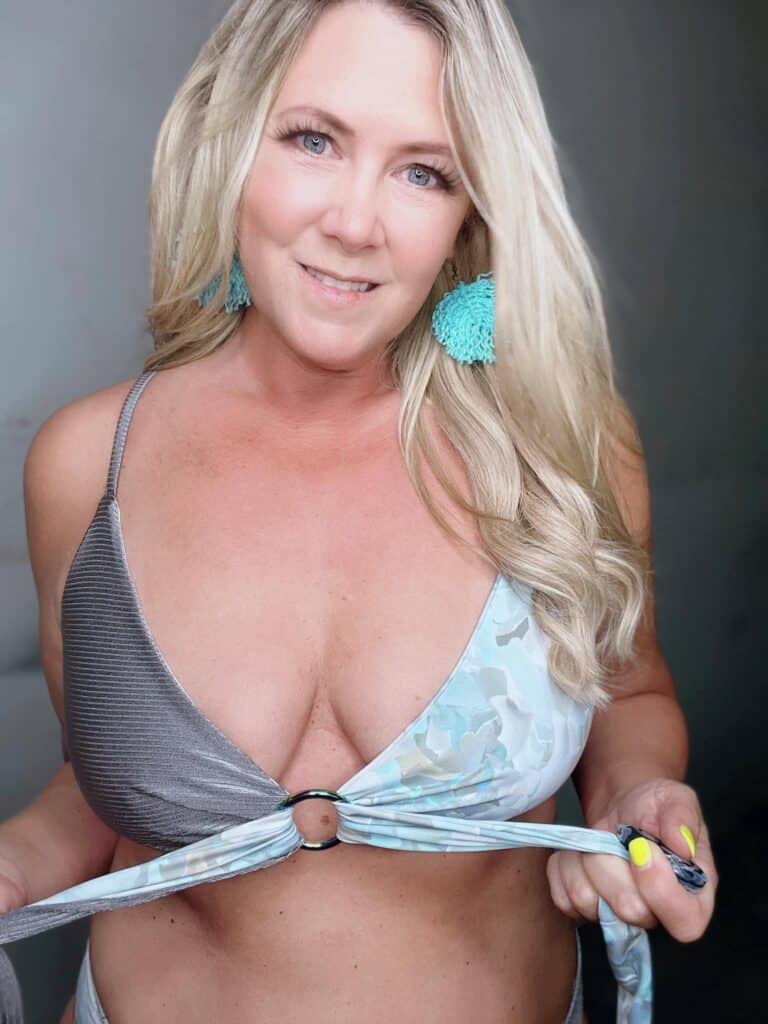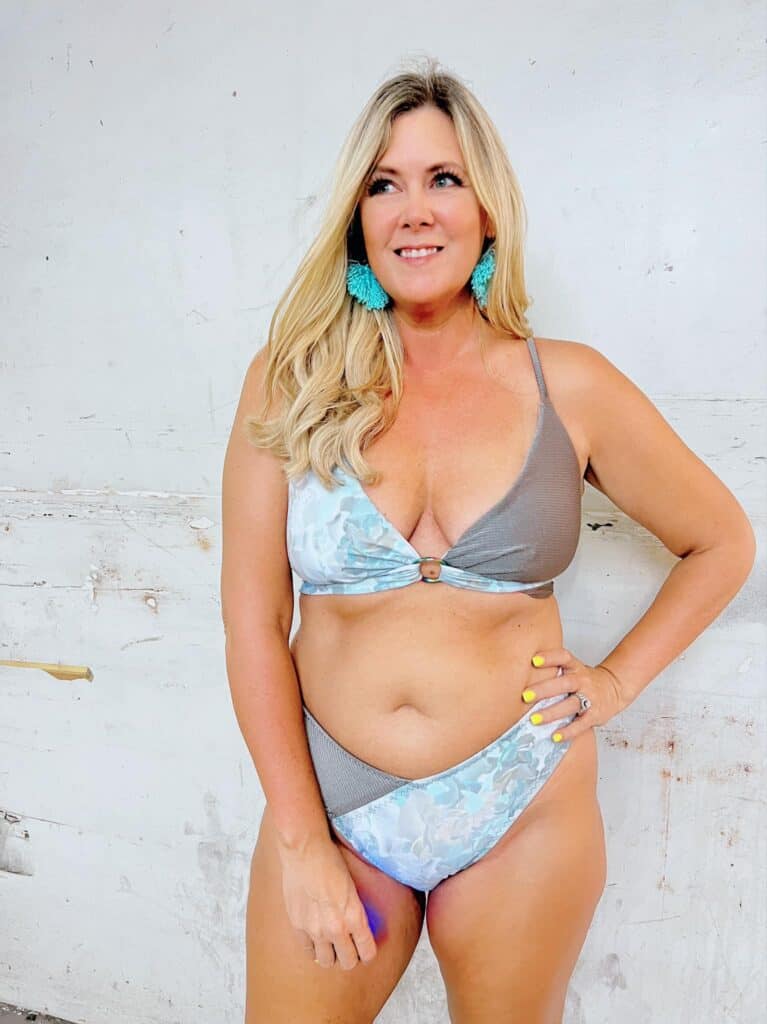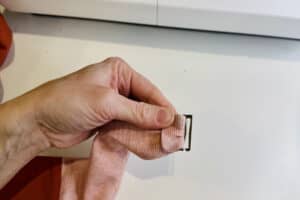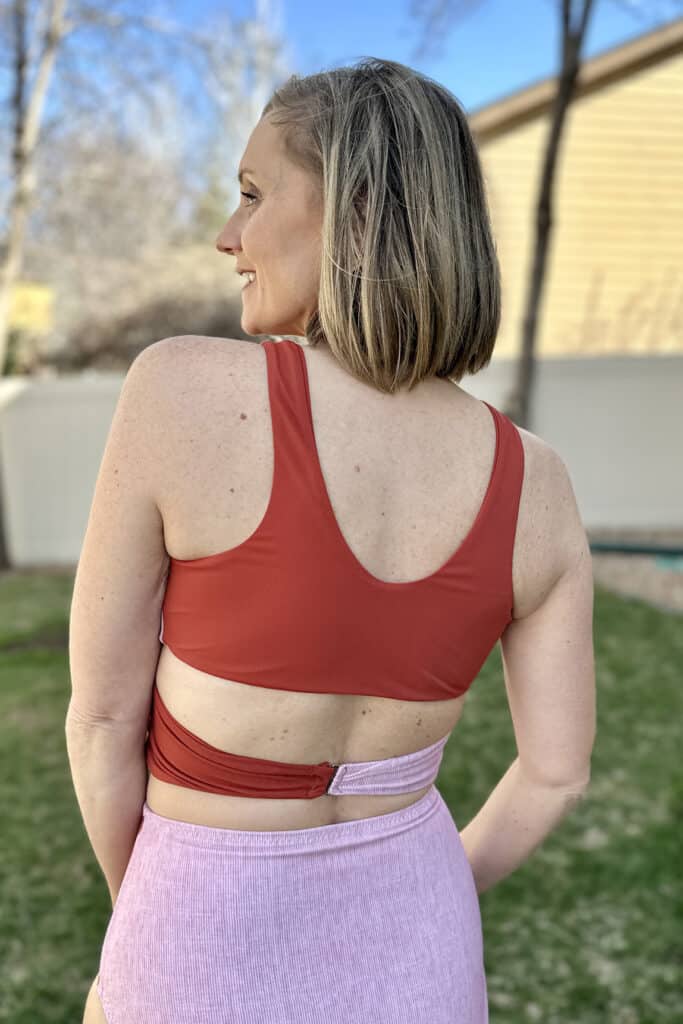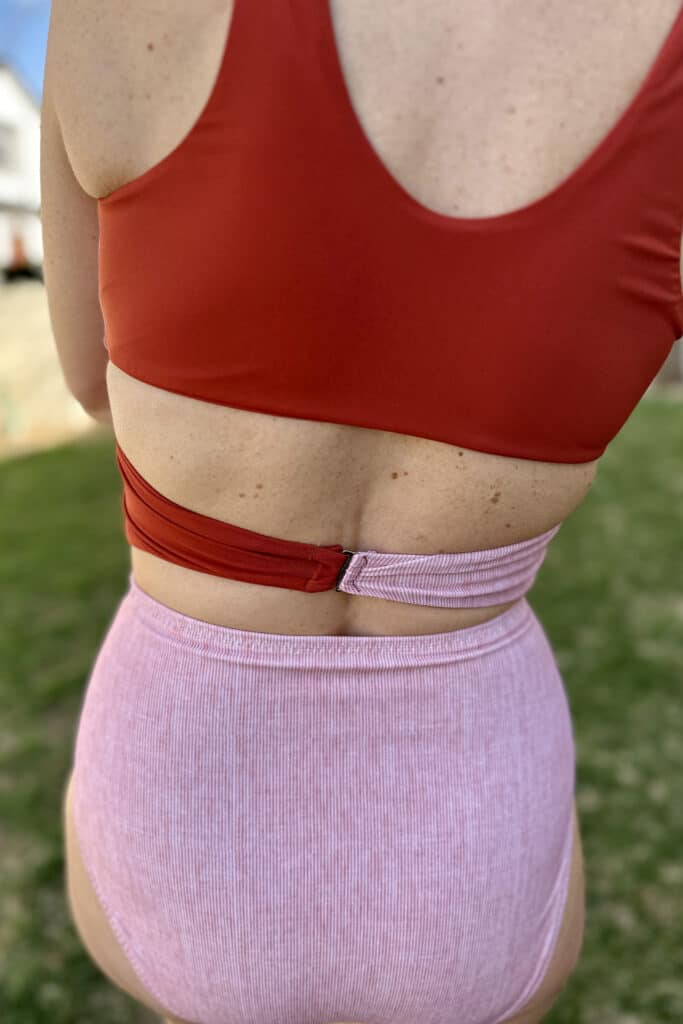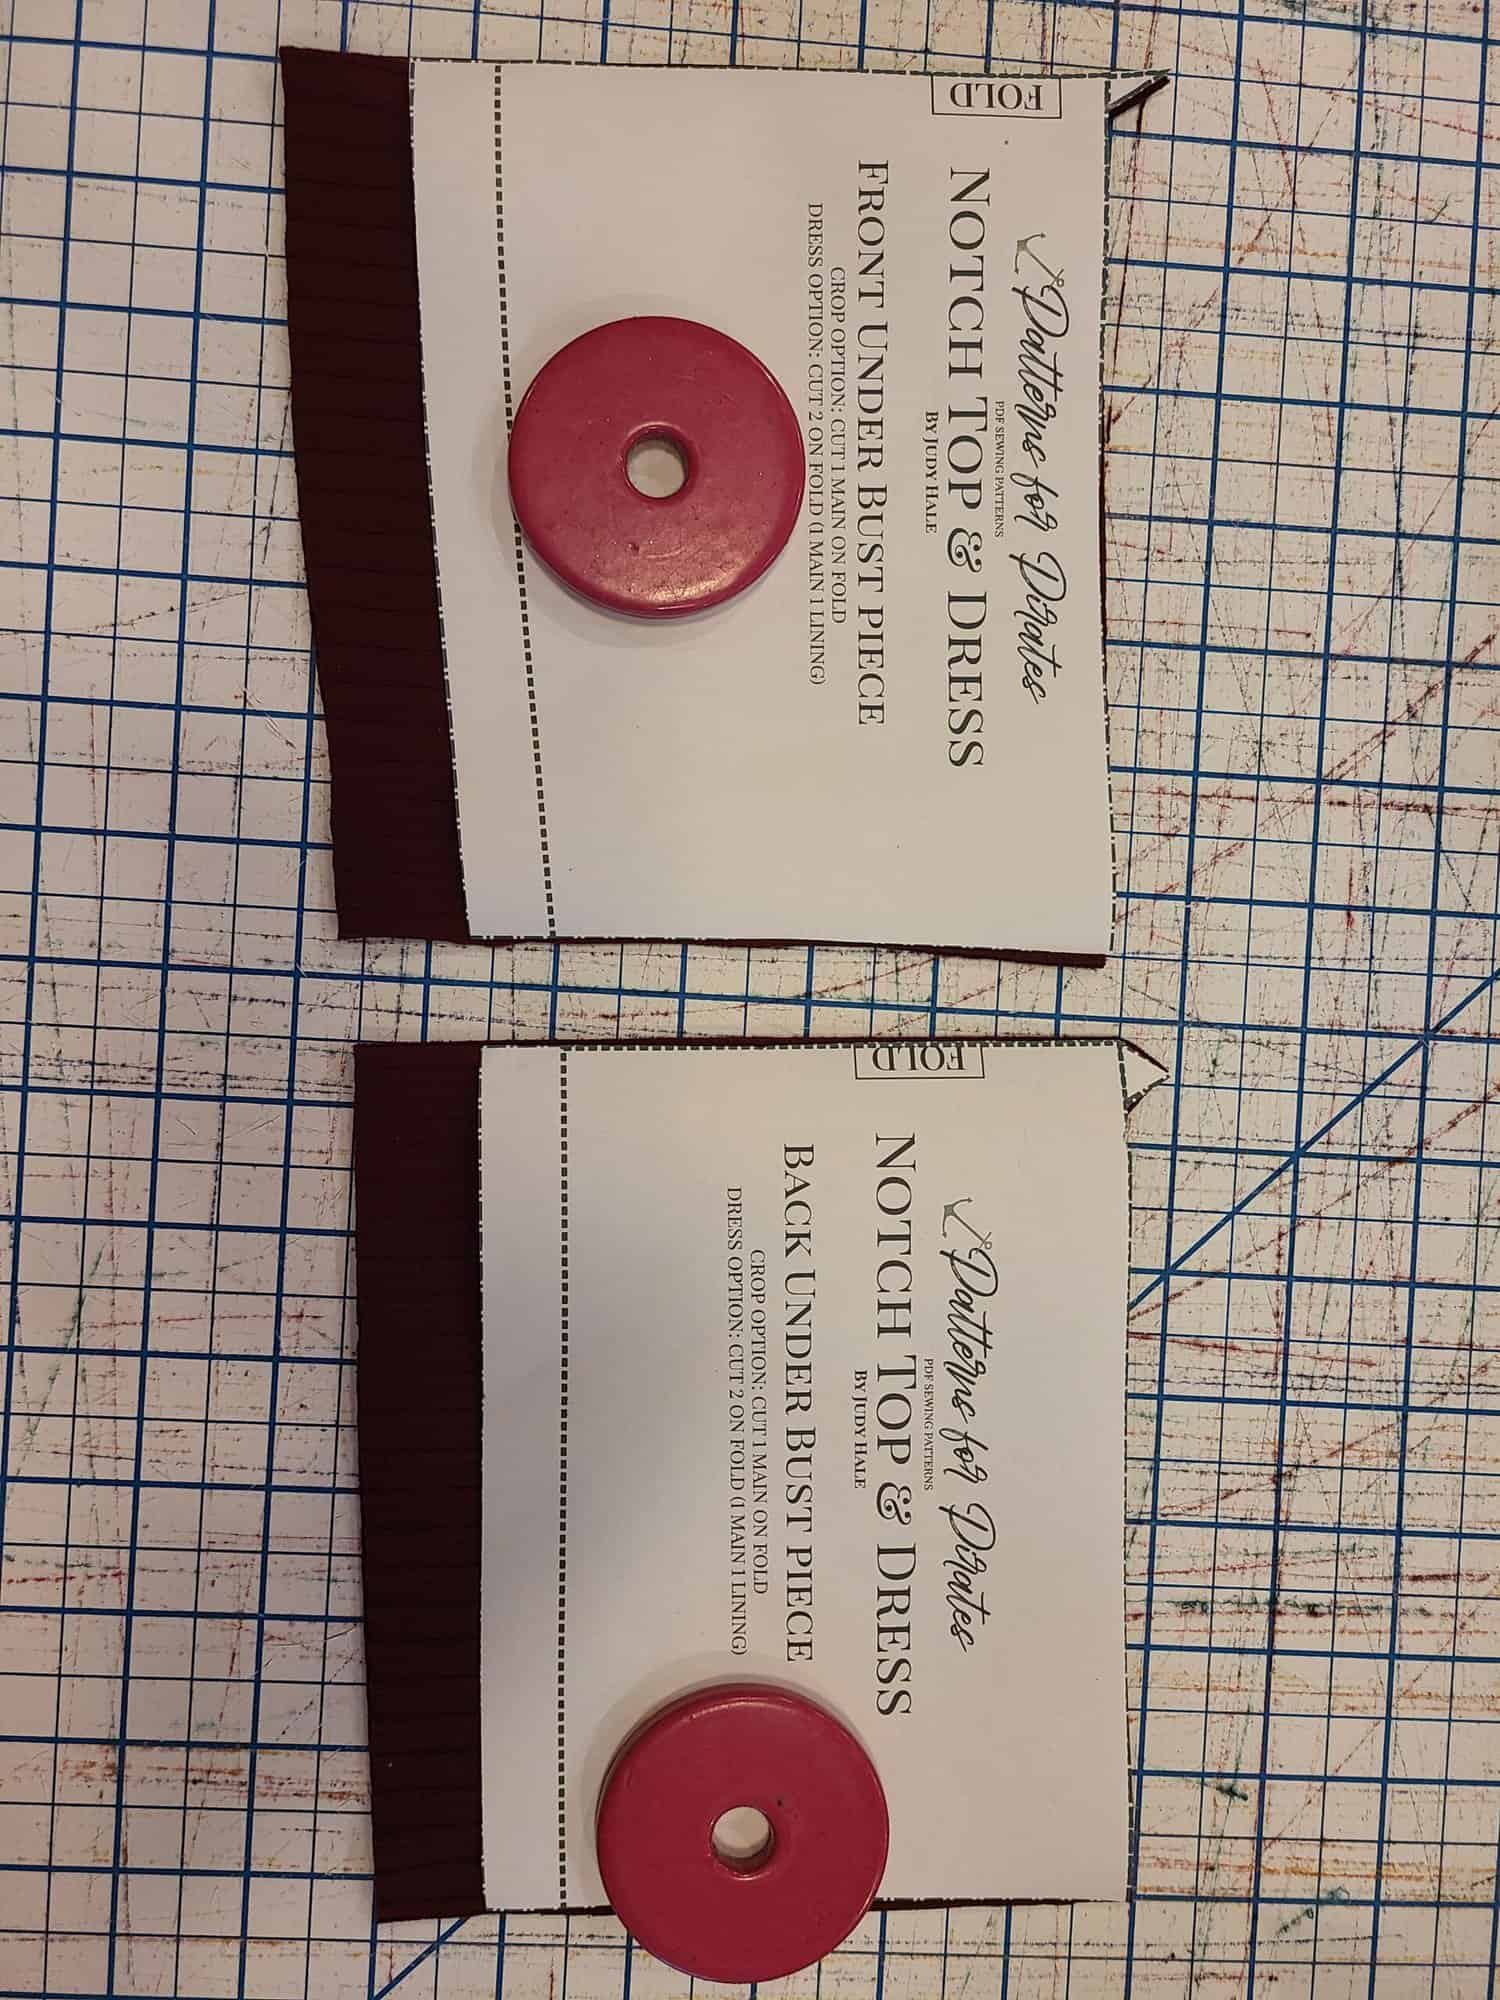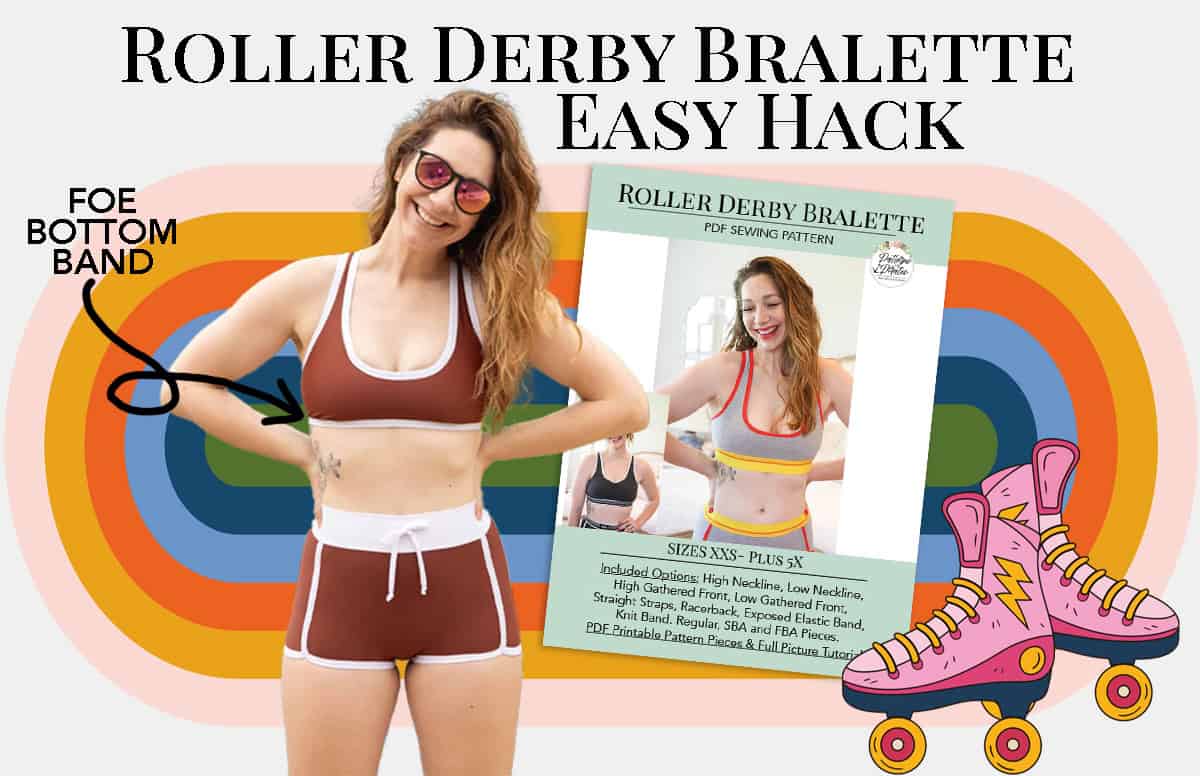
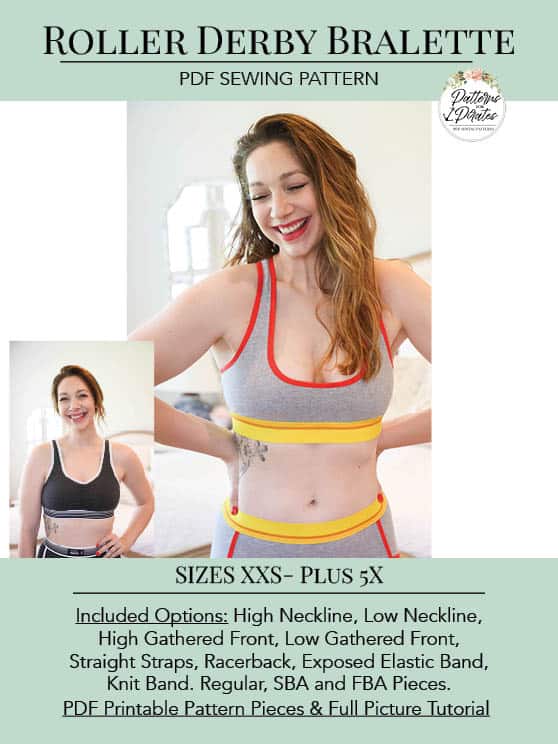
I’m here to show off a super easy hack for the new Roller Derby Bralette. I didn’t put this as an option in the main pattern because it requires a very specific type of FOE that I’ve only found at Joanns. It also will most likely only work well for smaller bust sizes.
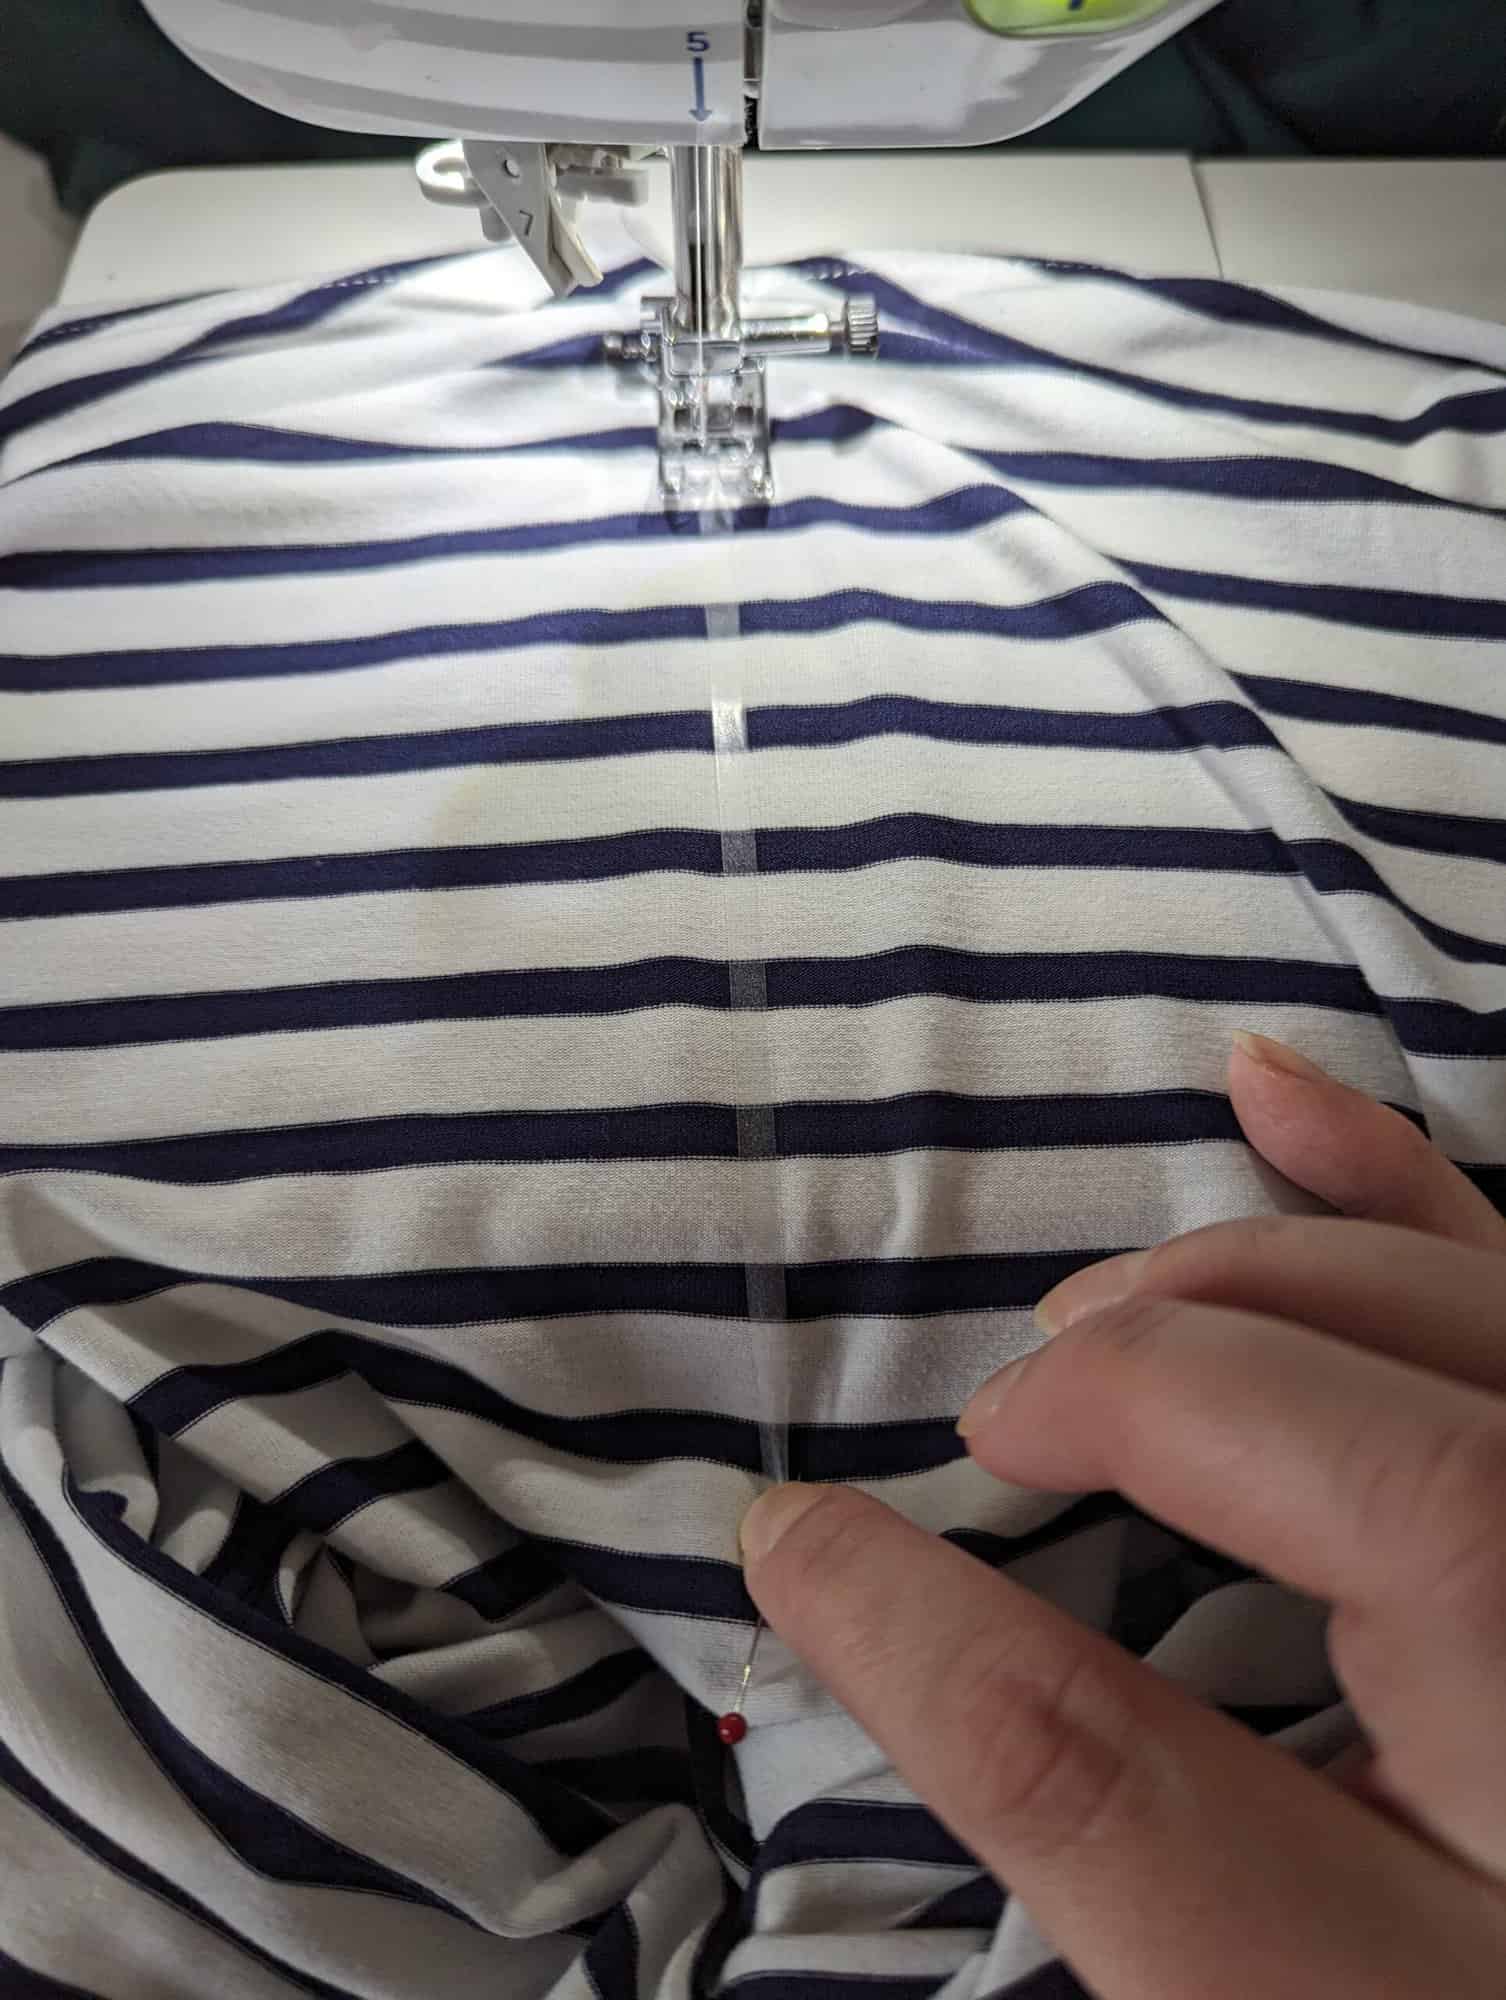
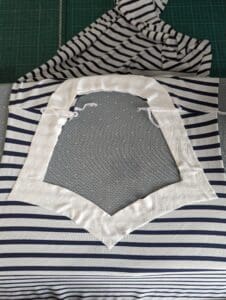
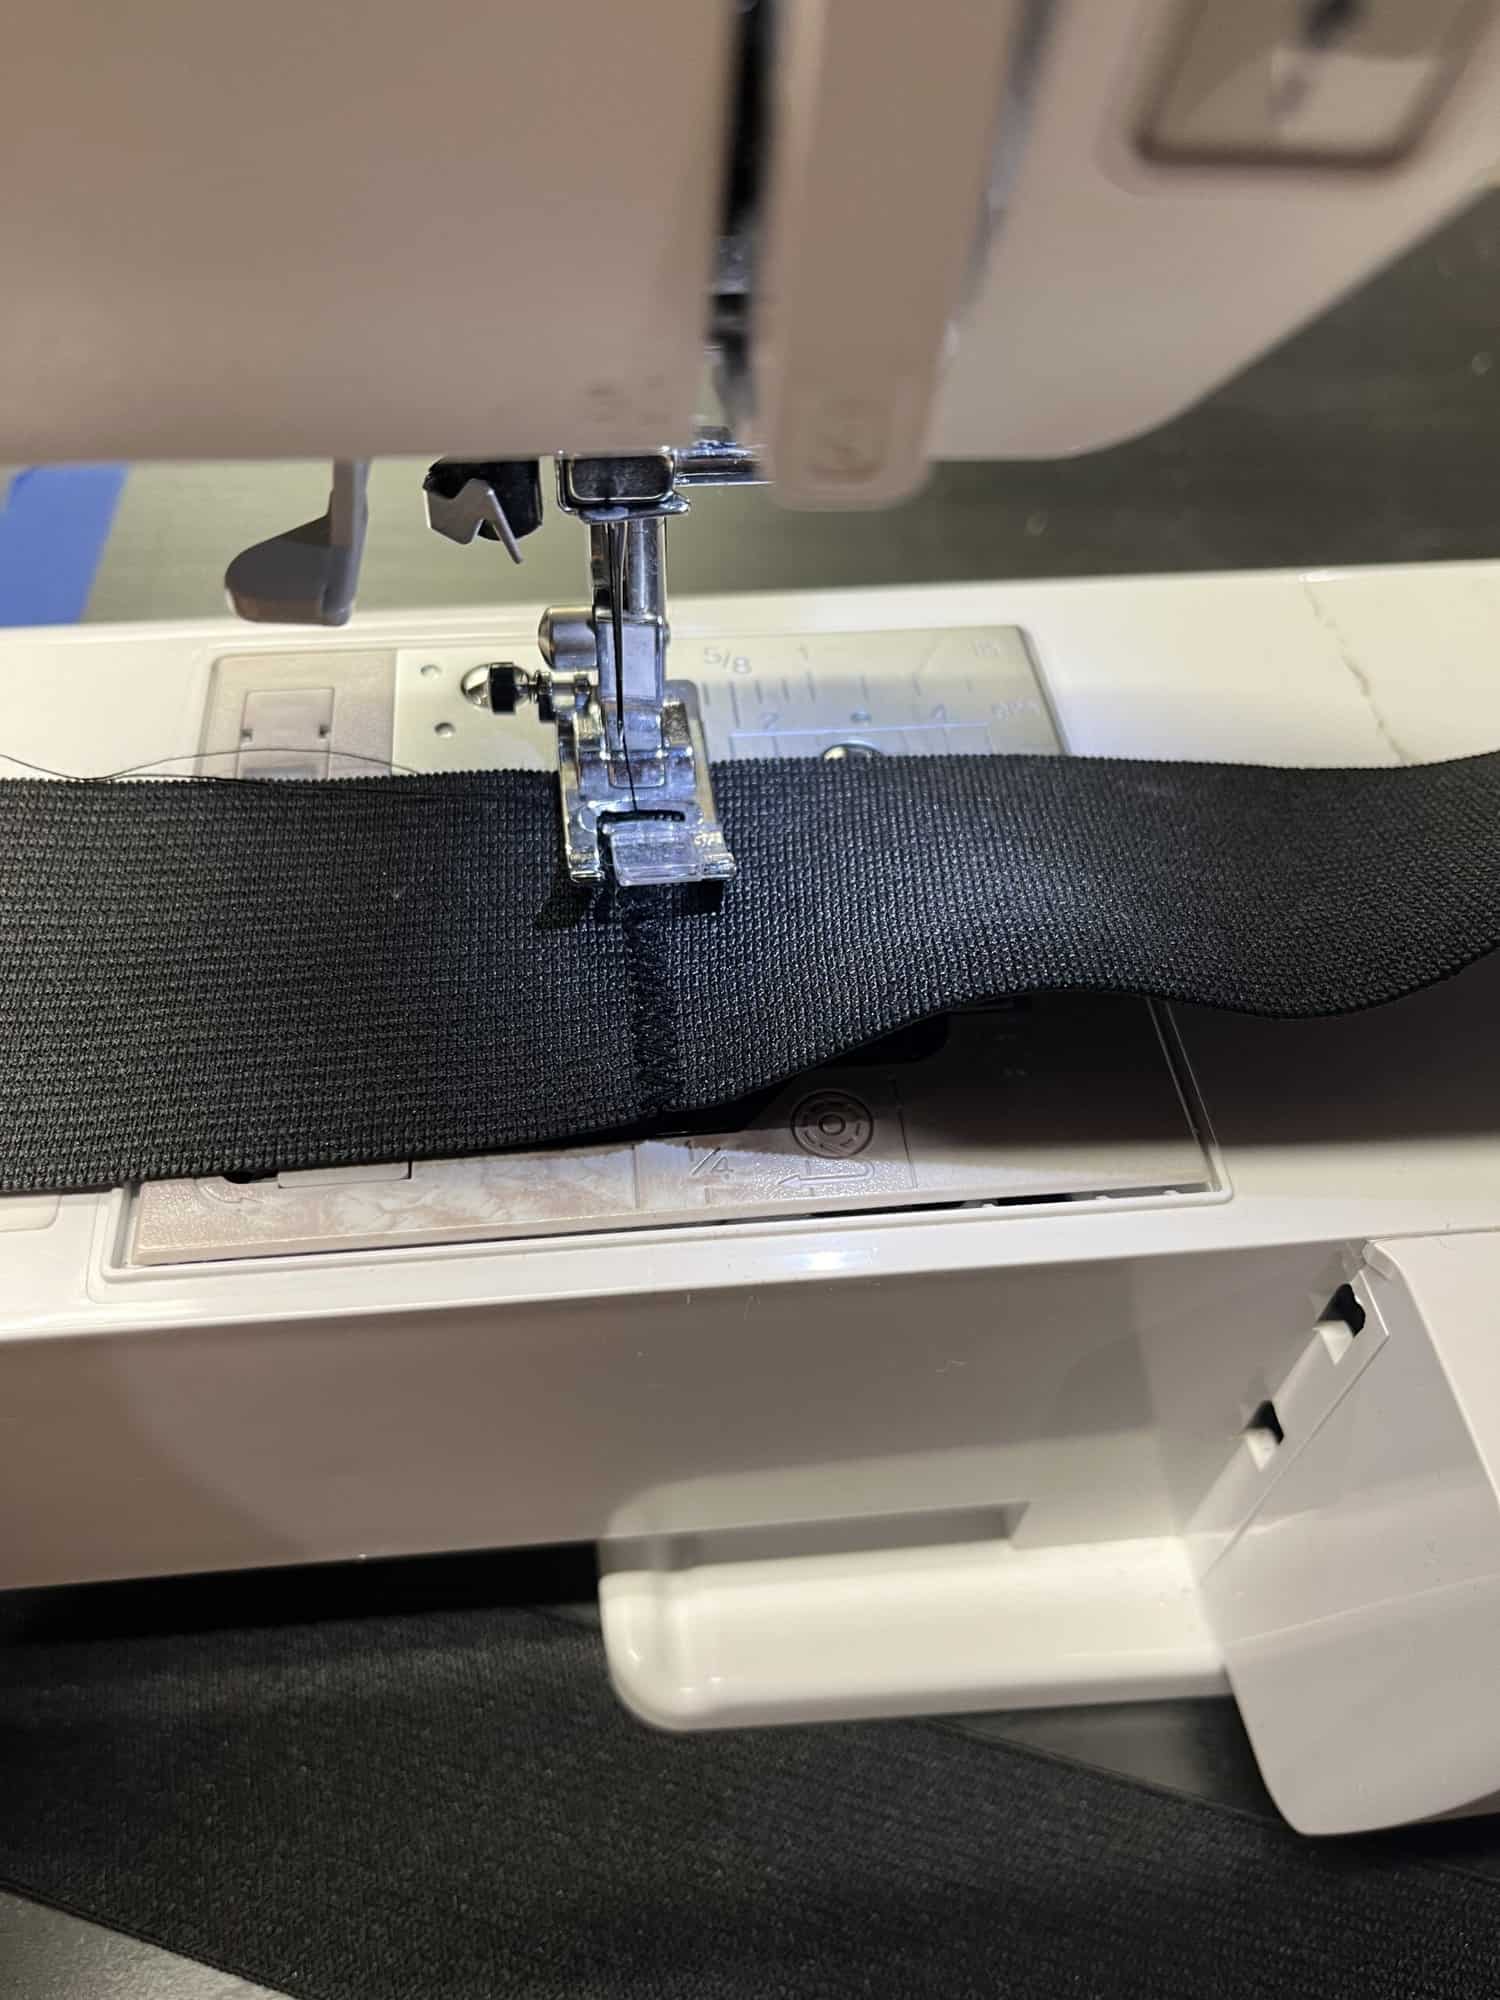
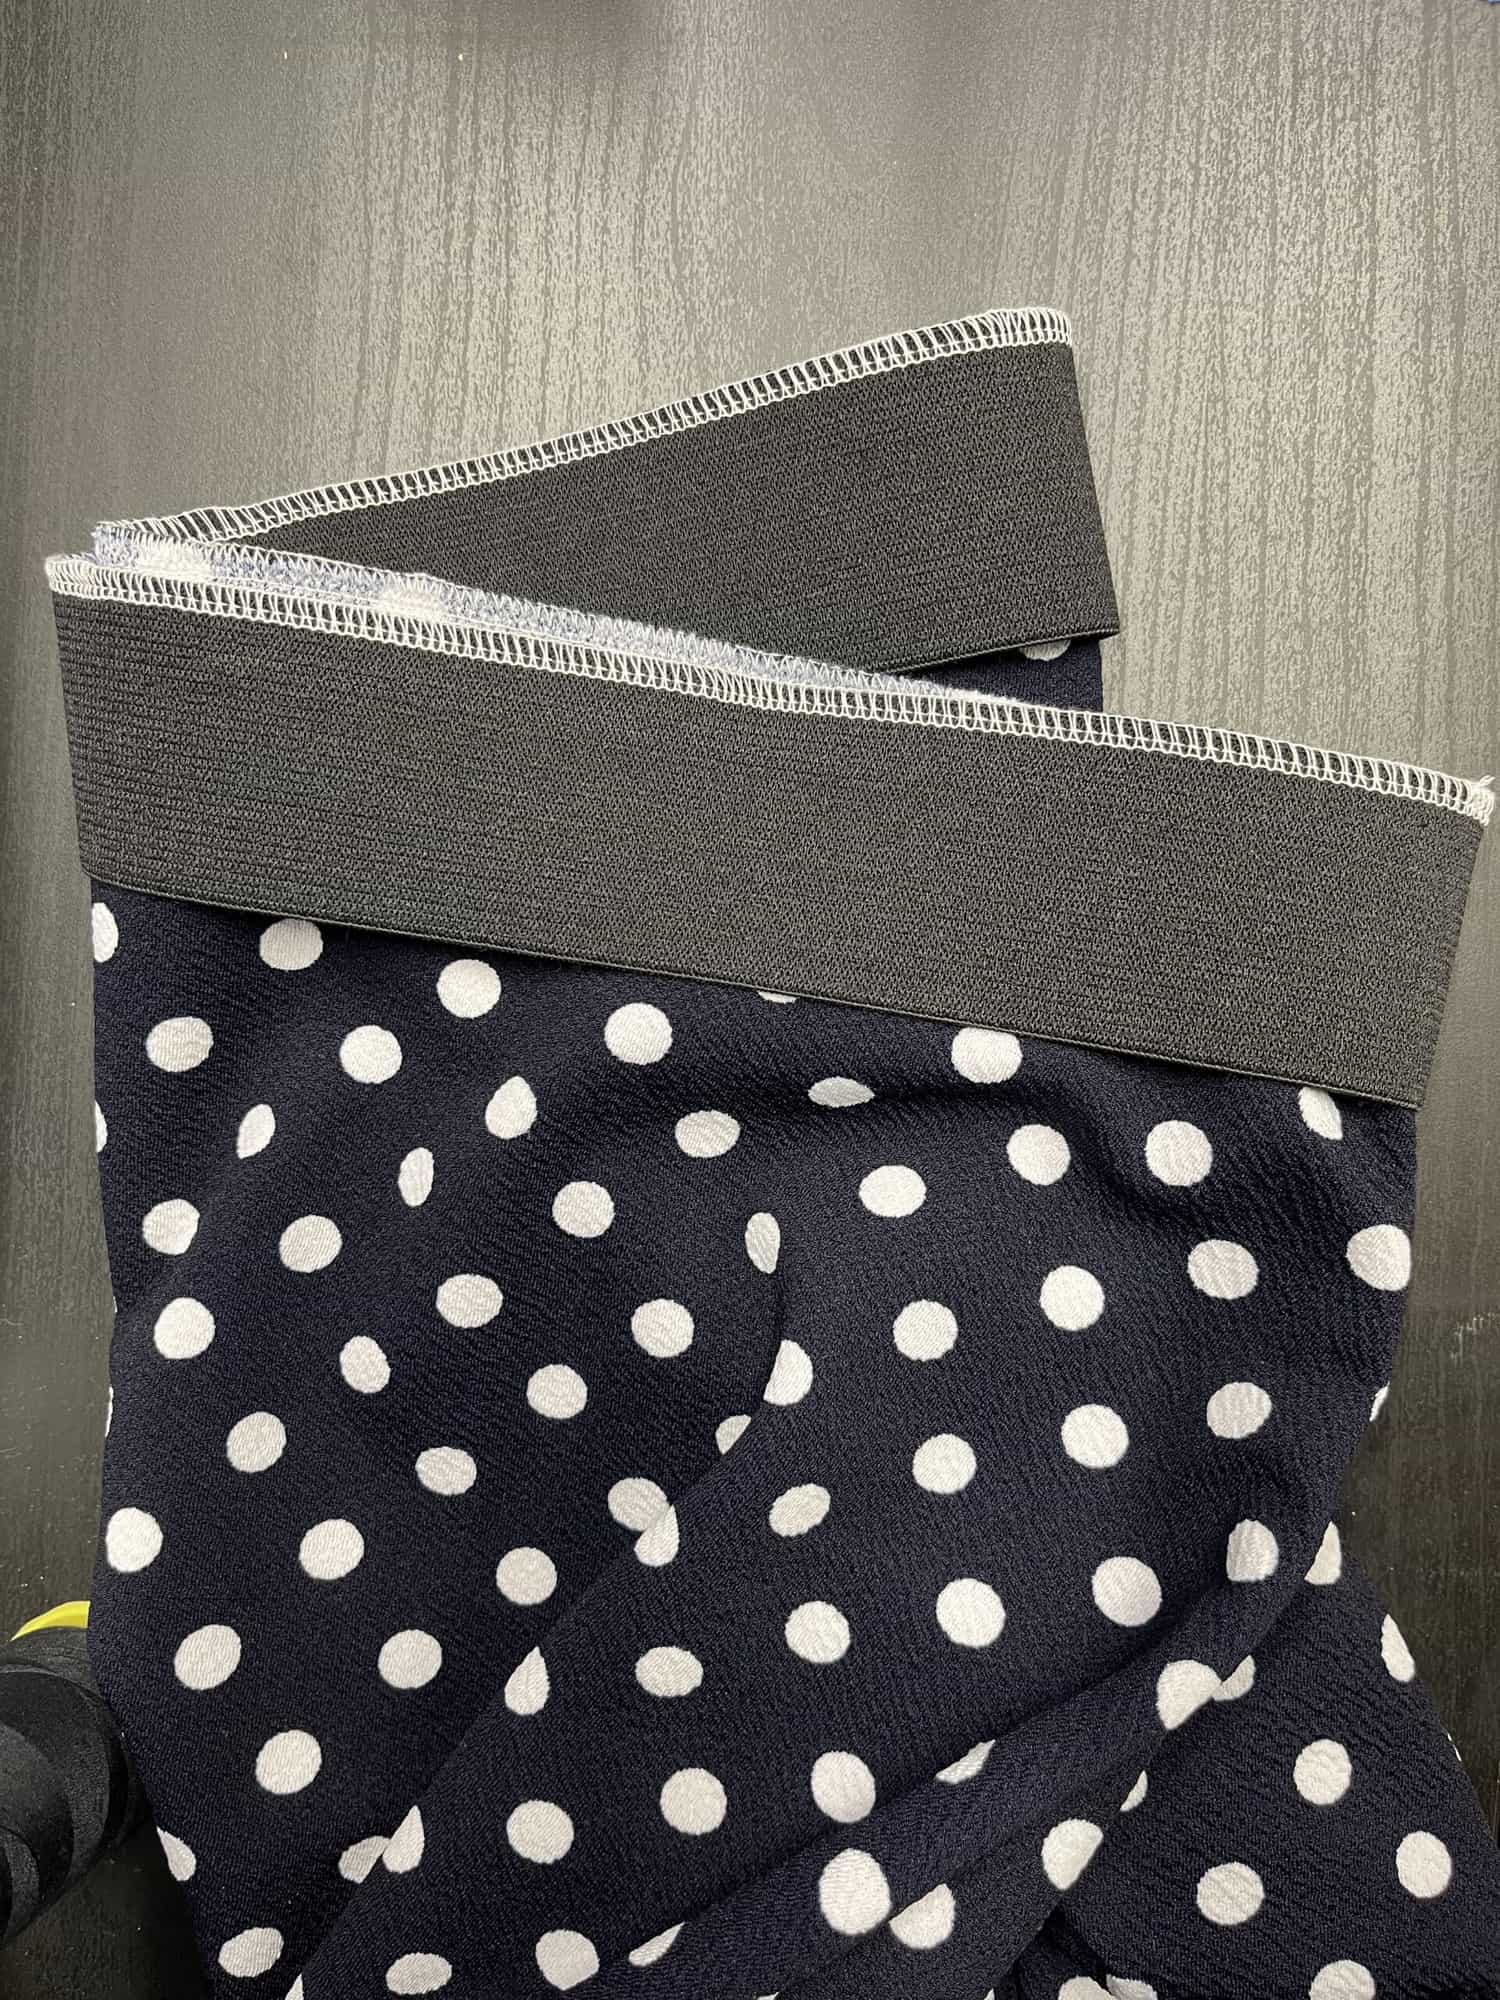
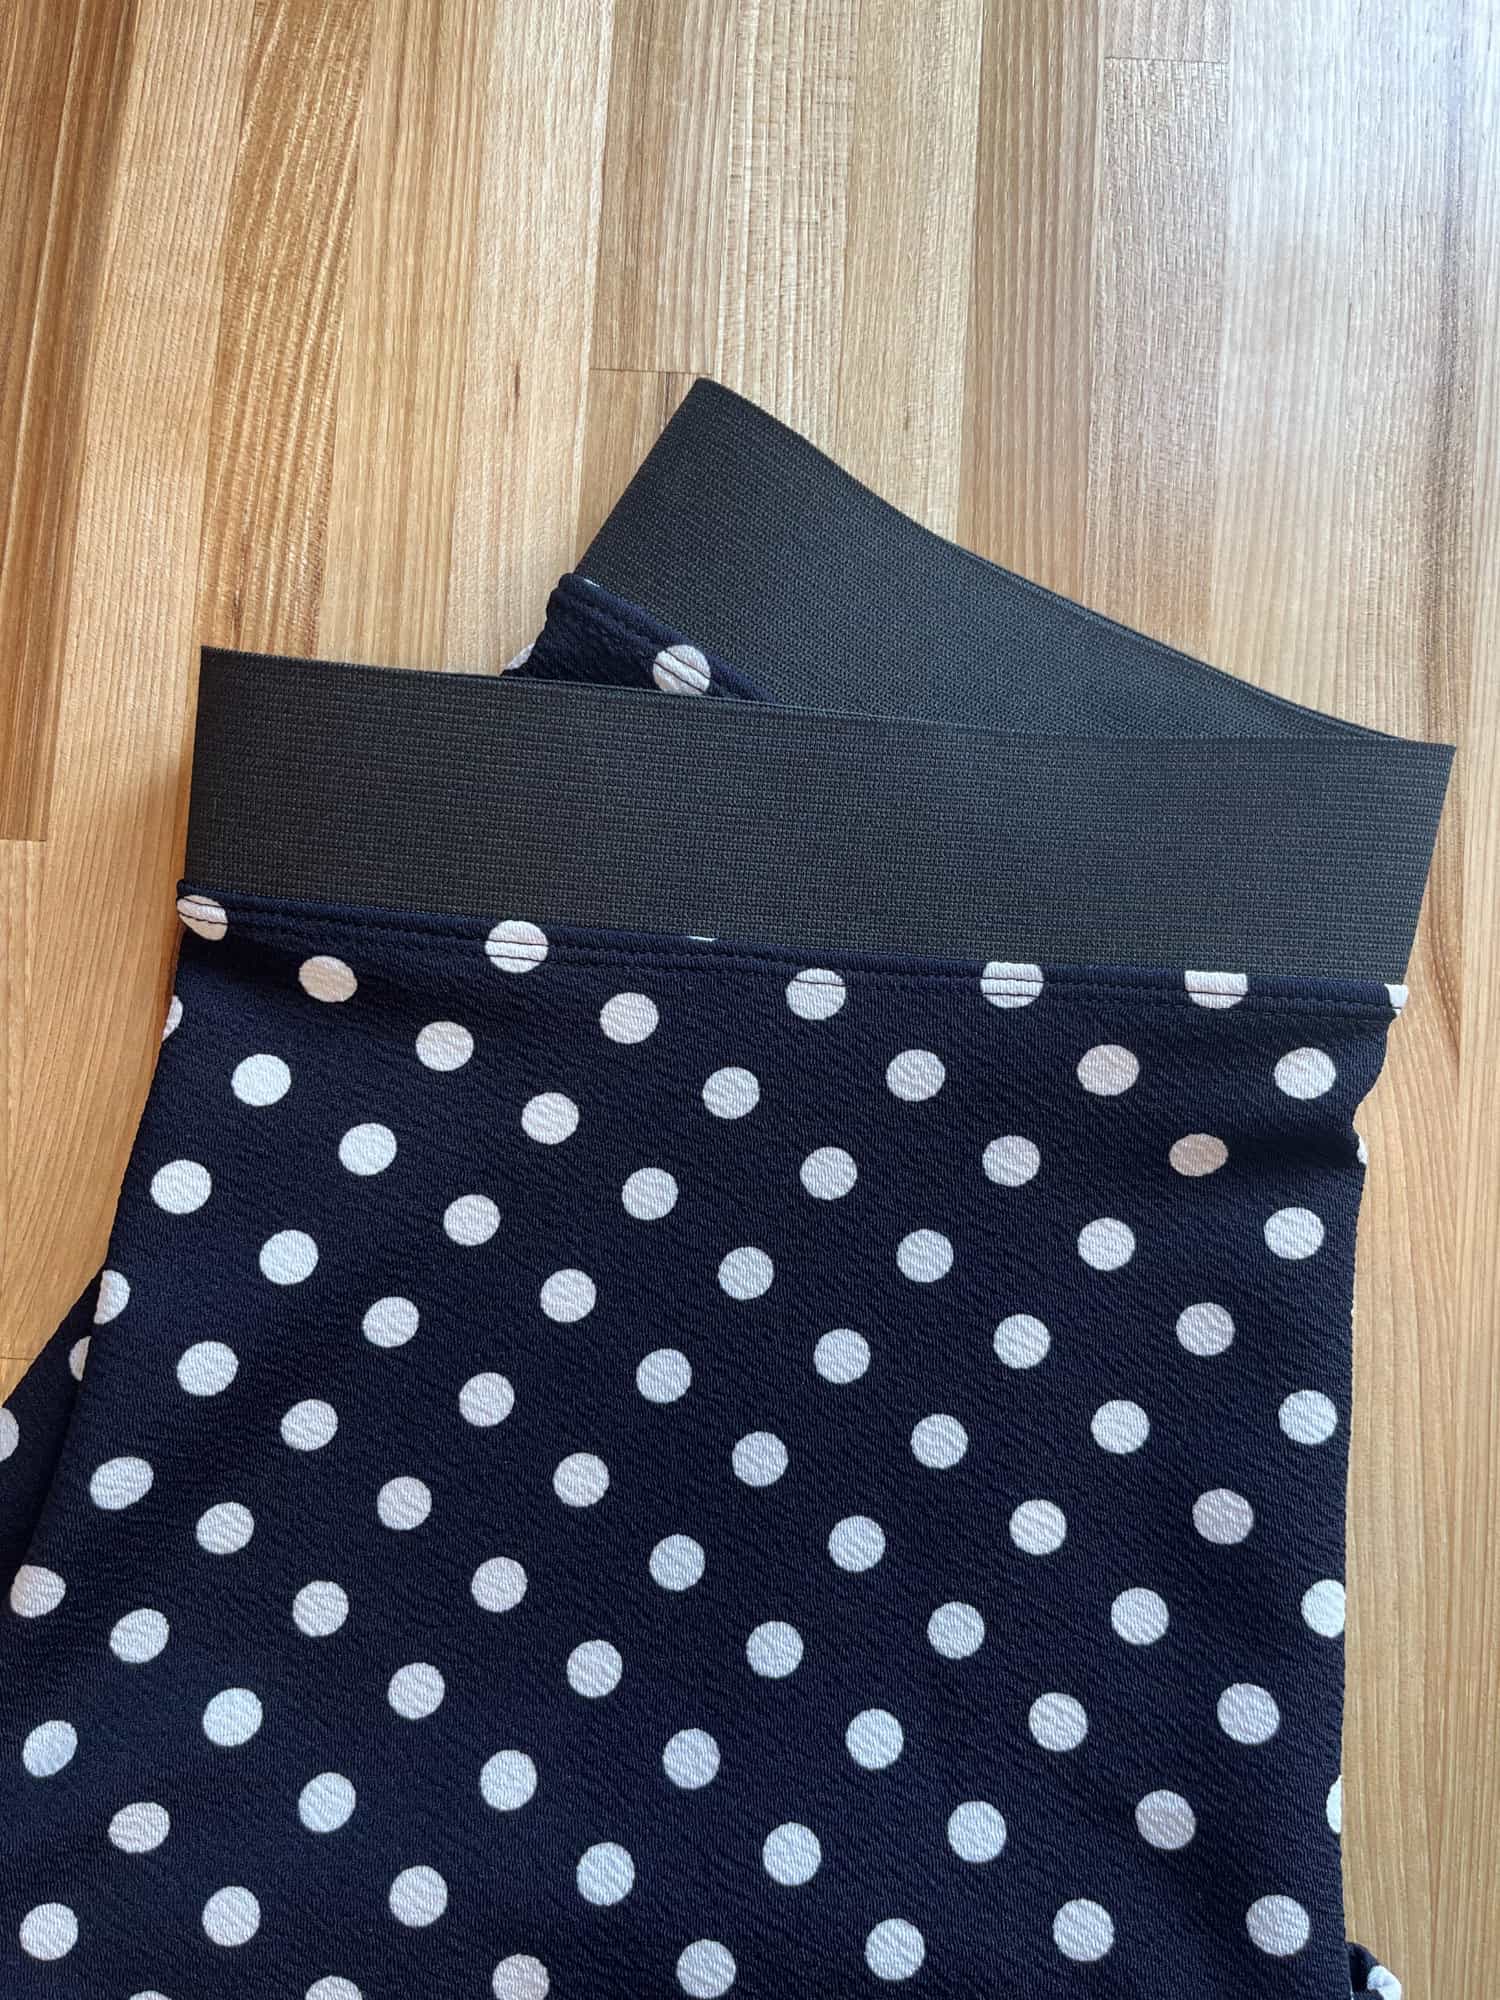
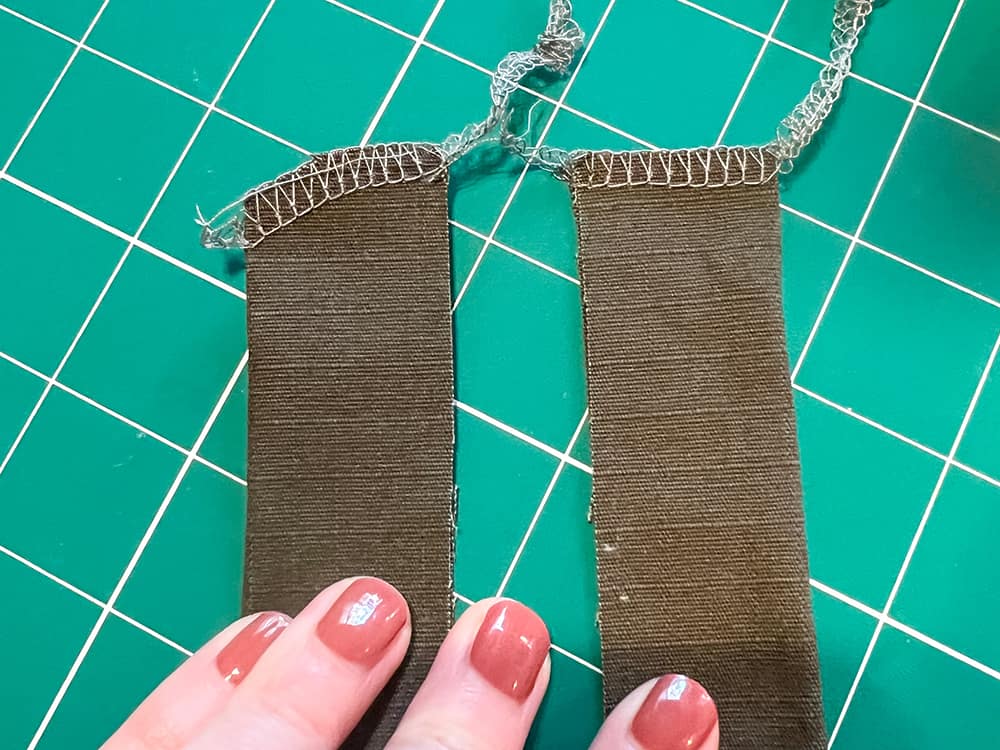
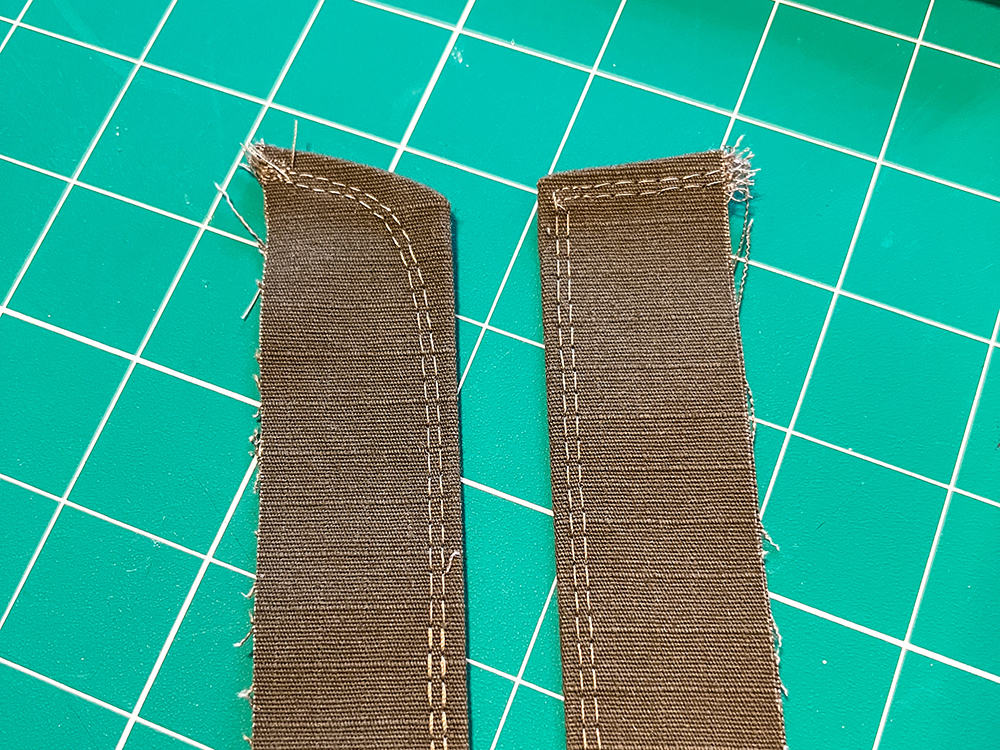
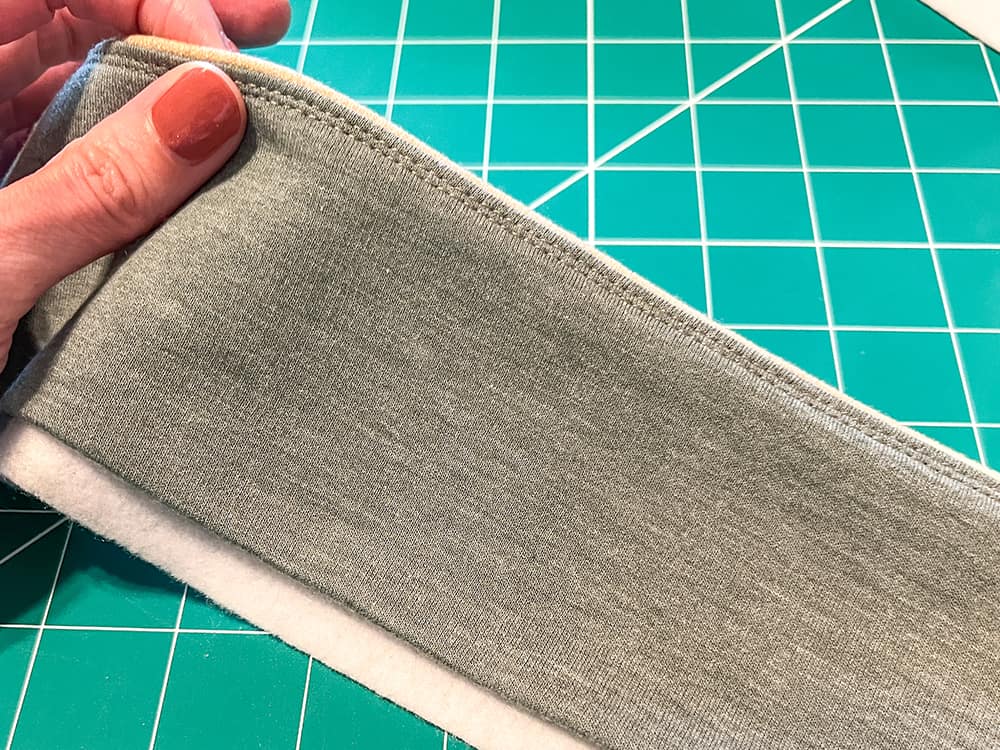
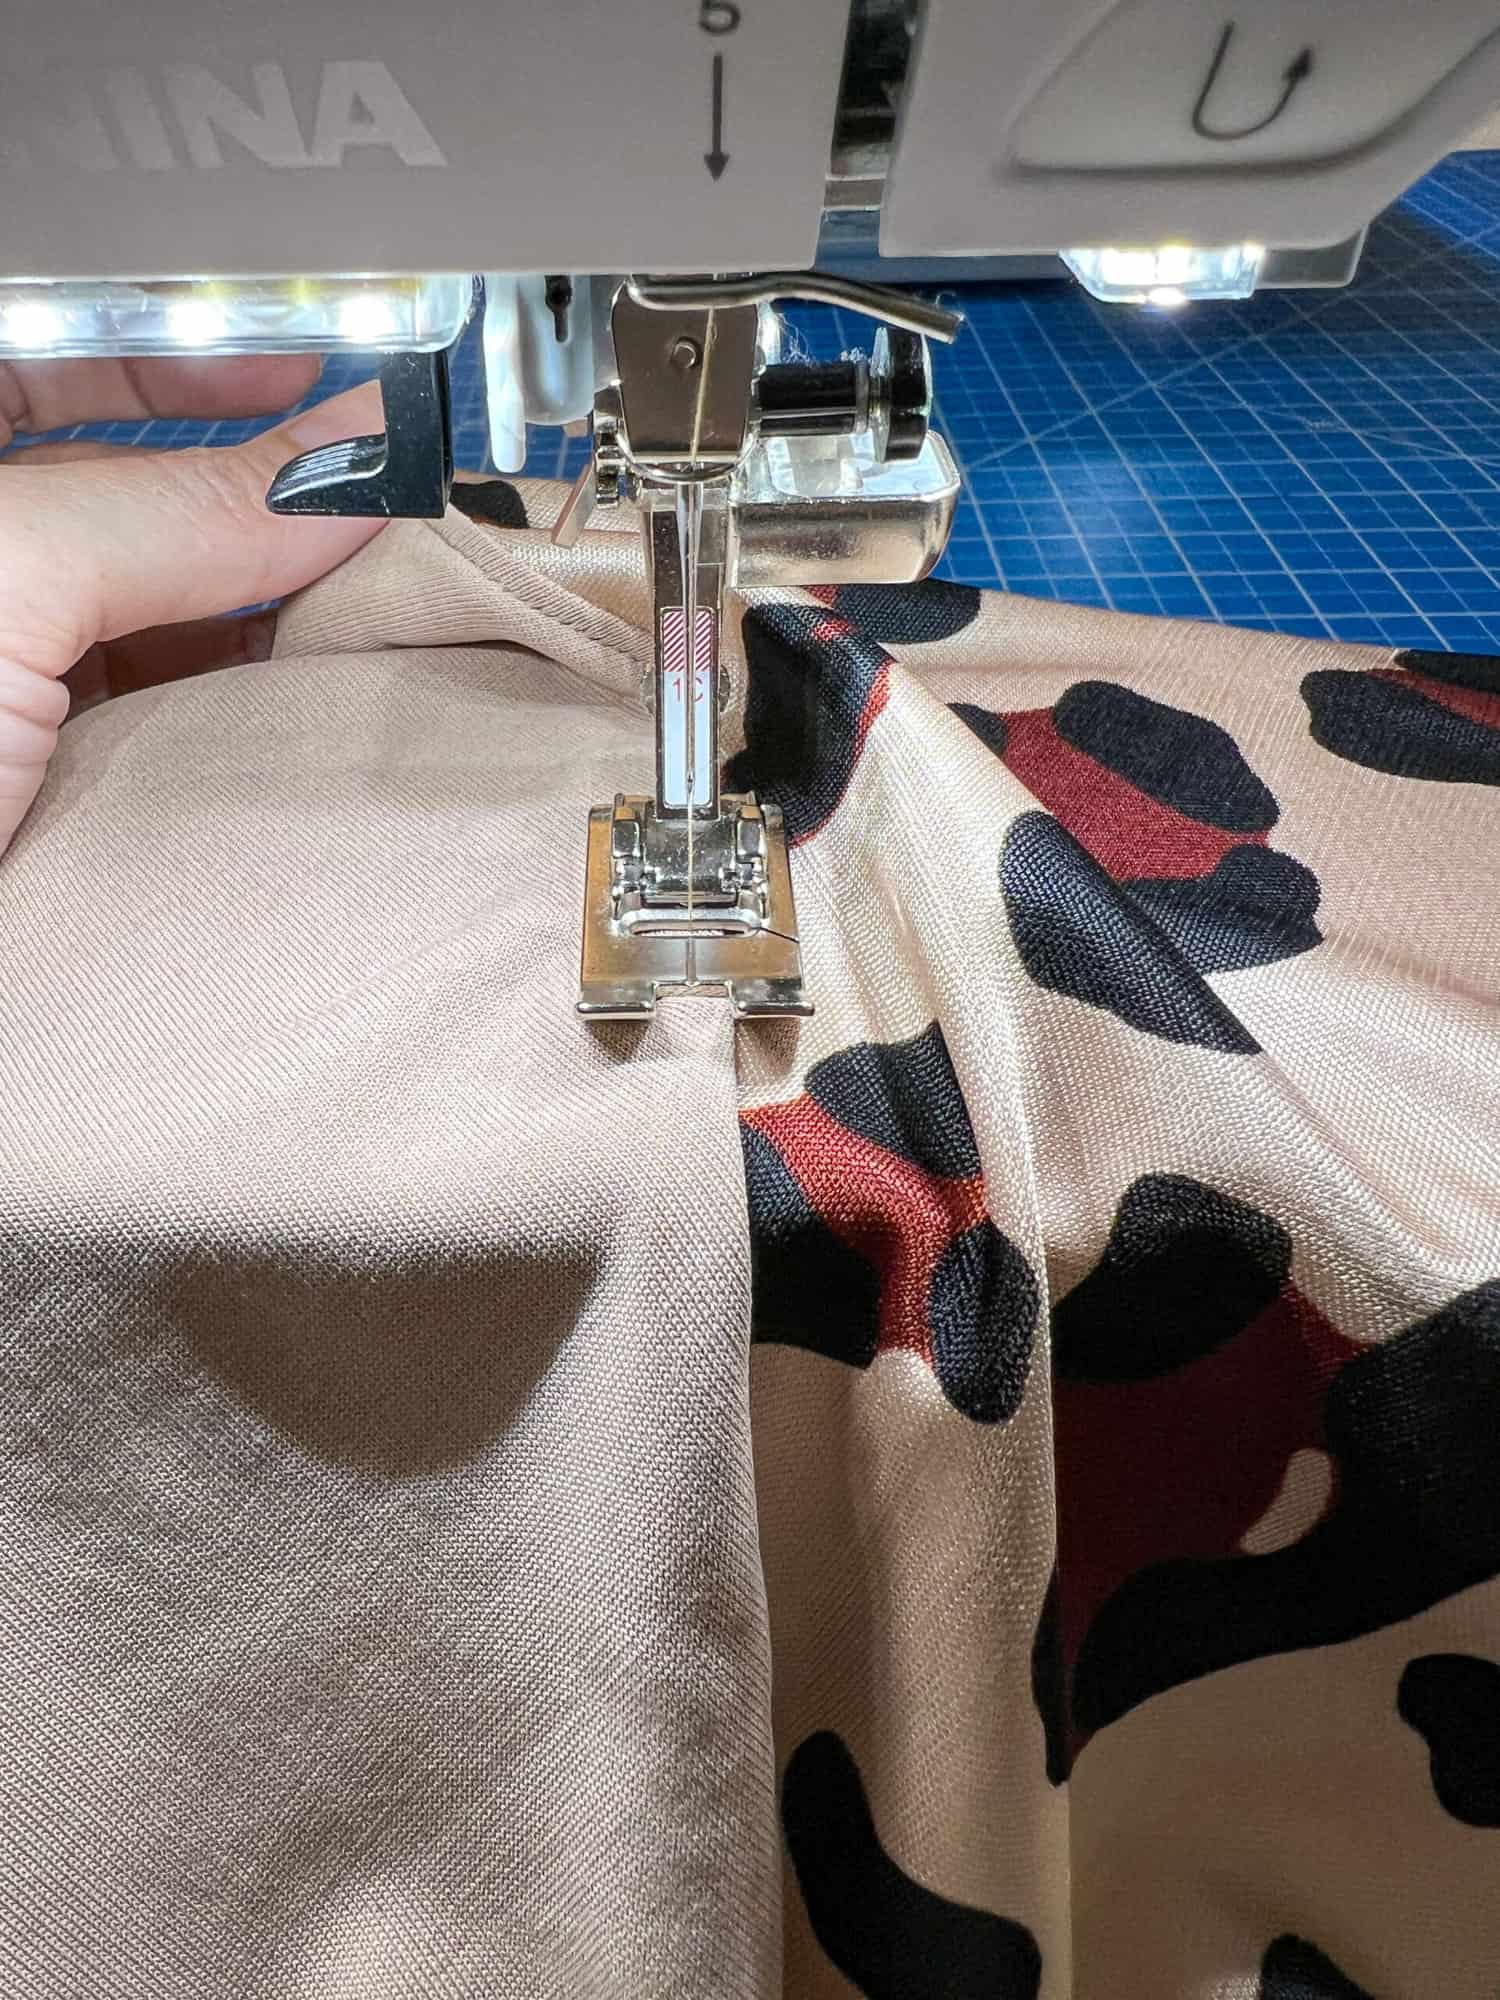
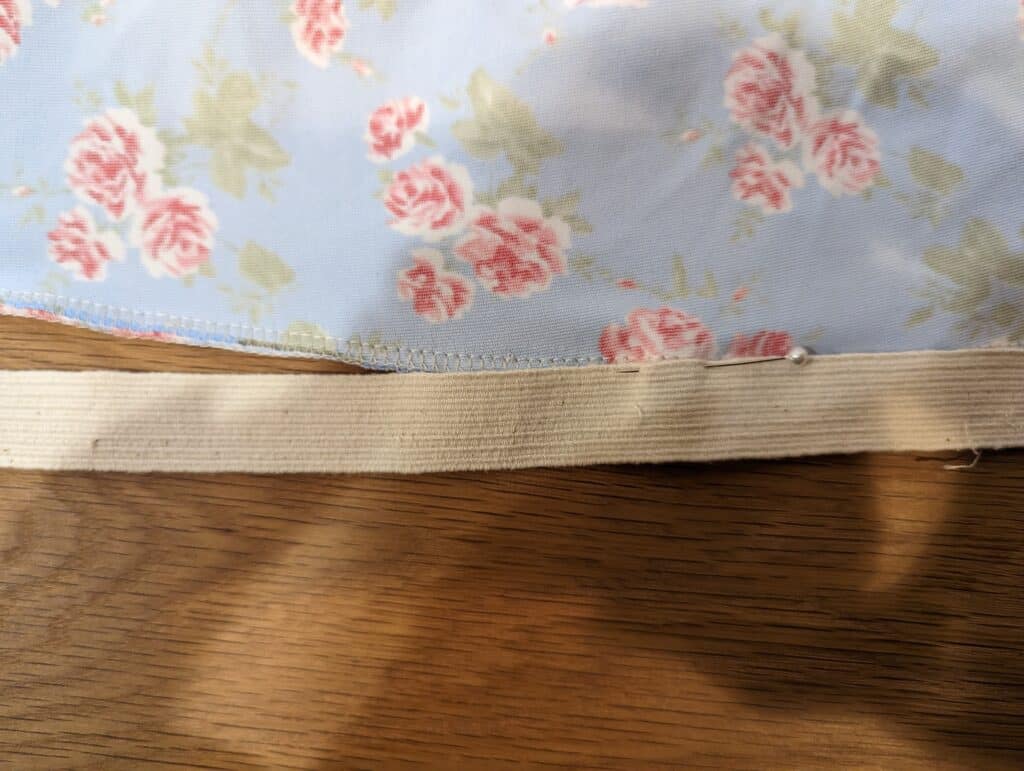
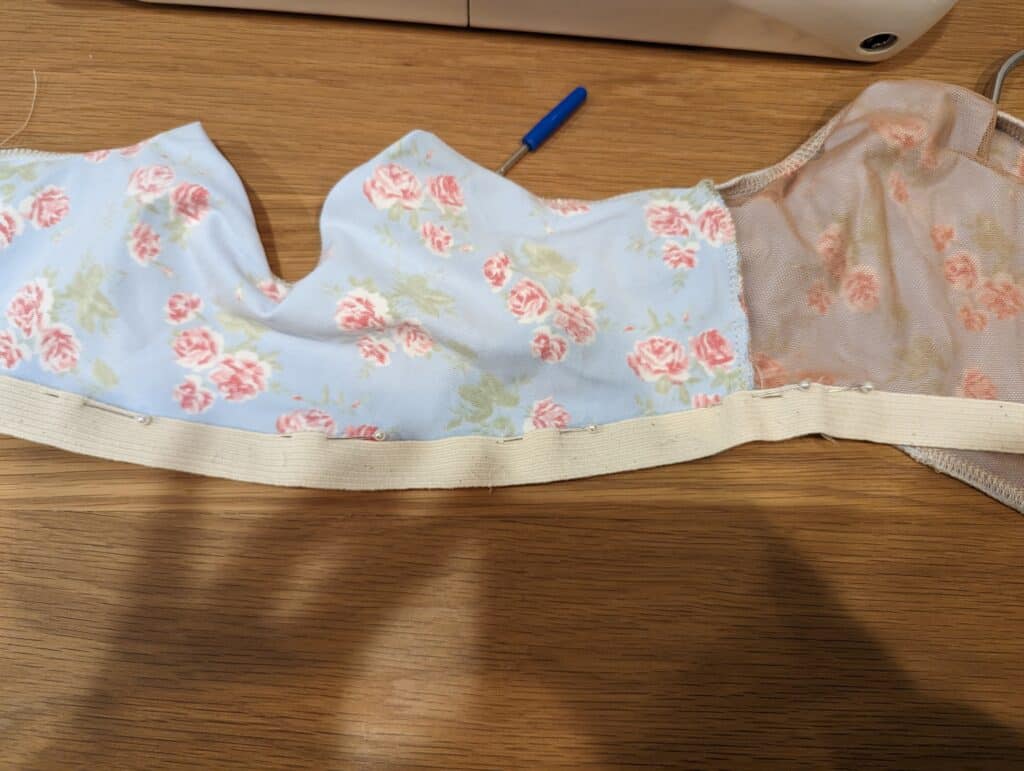
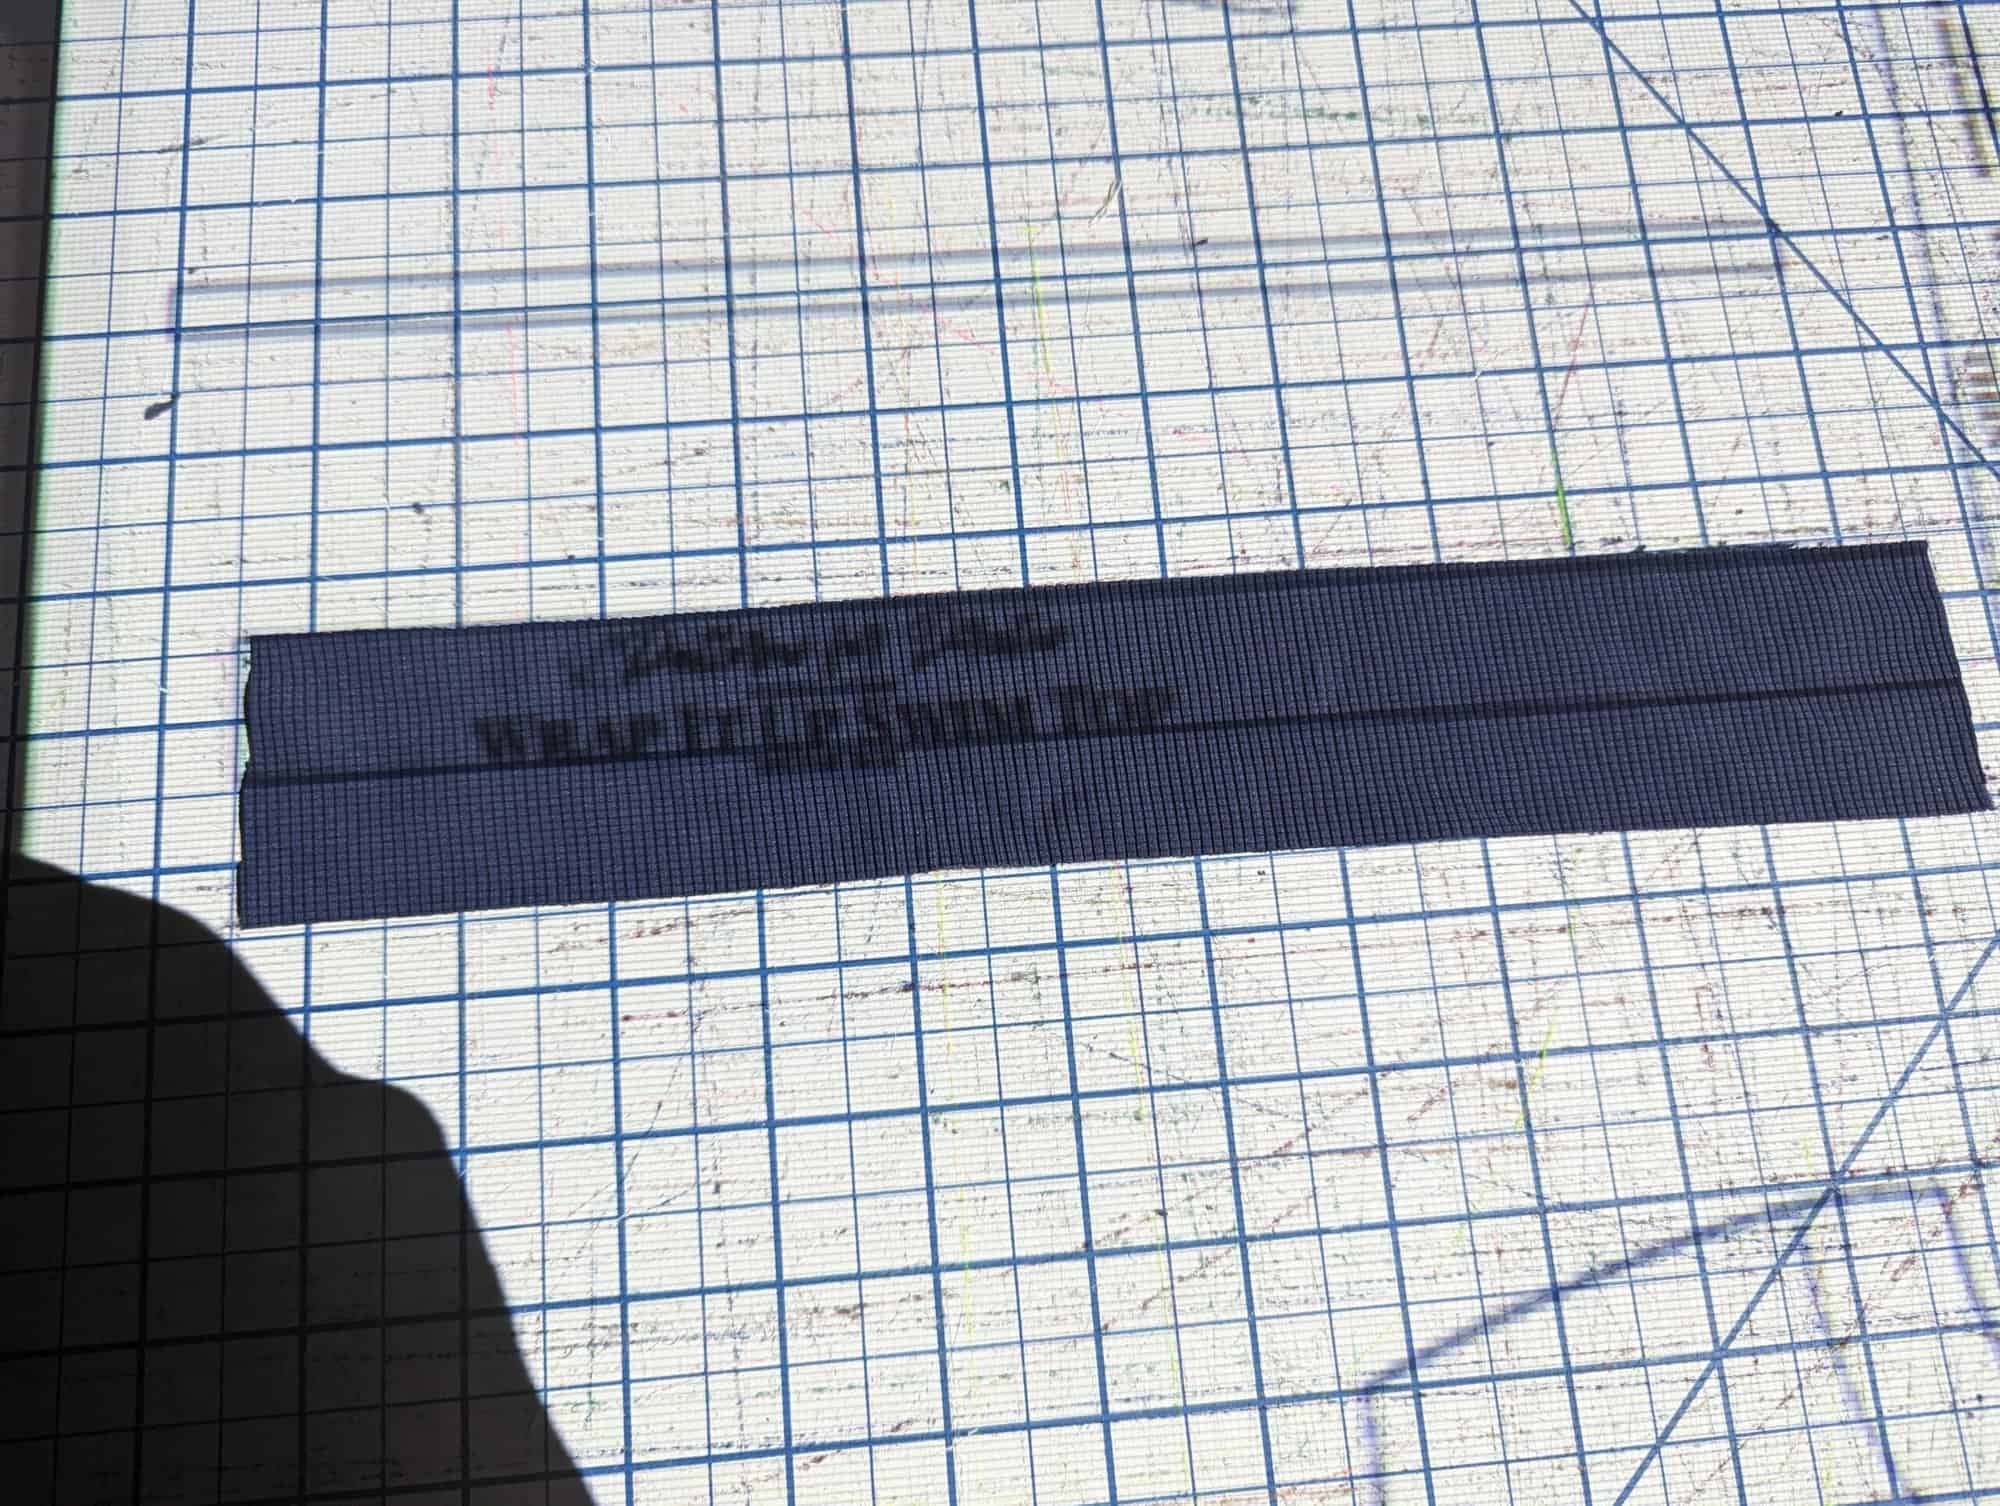
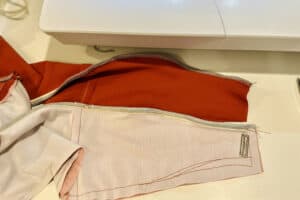
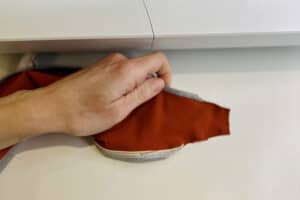
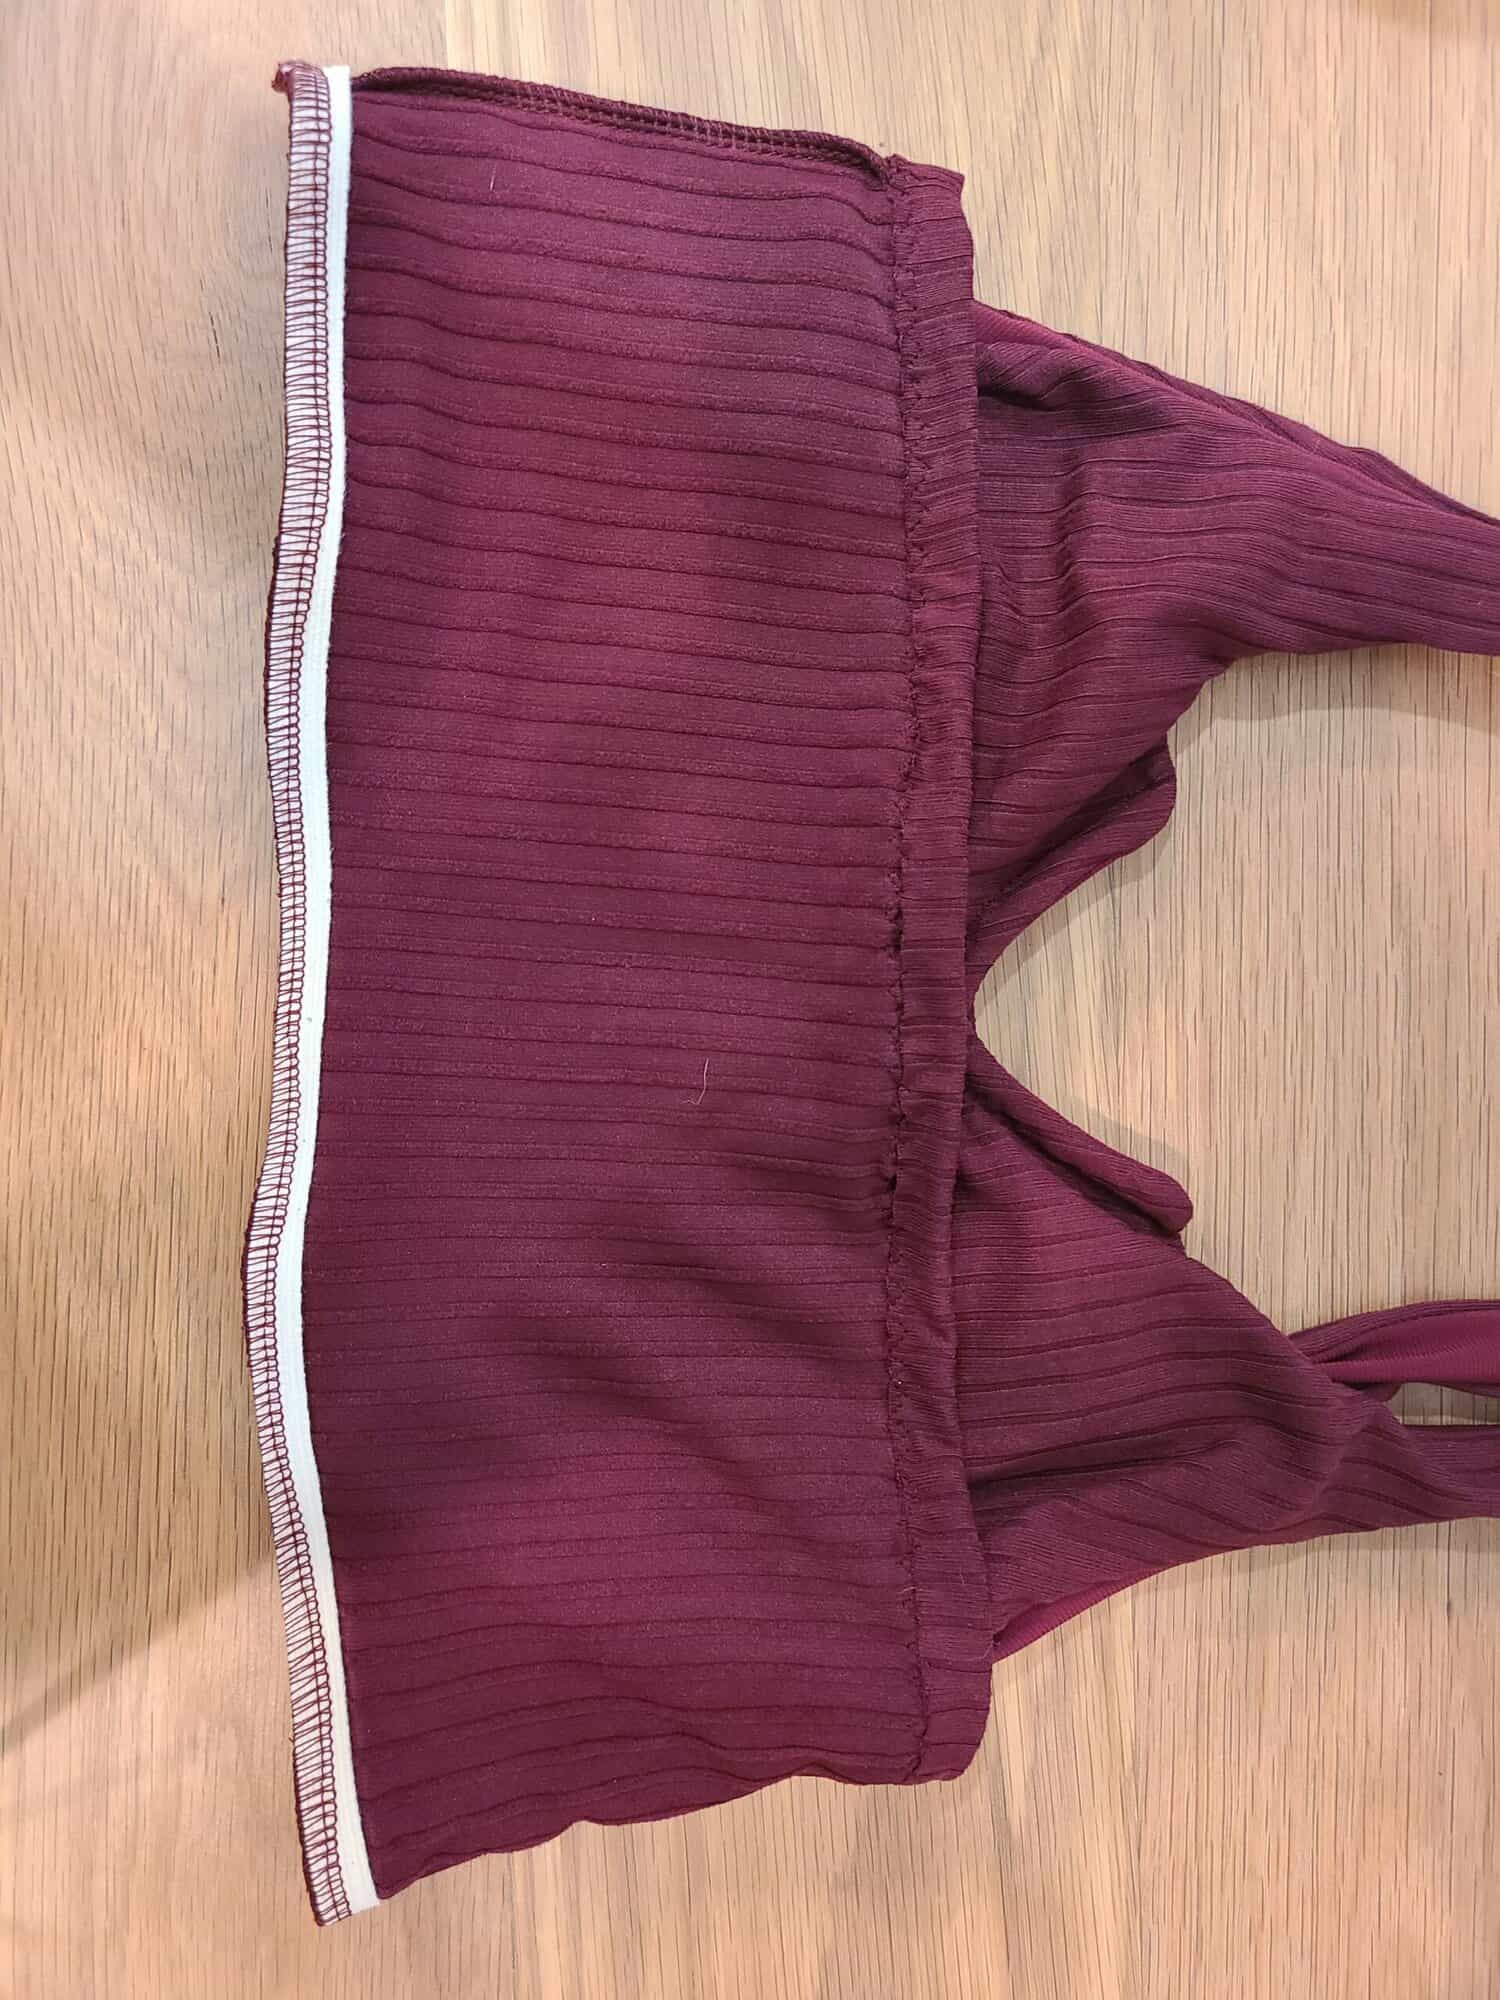
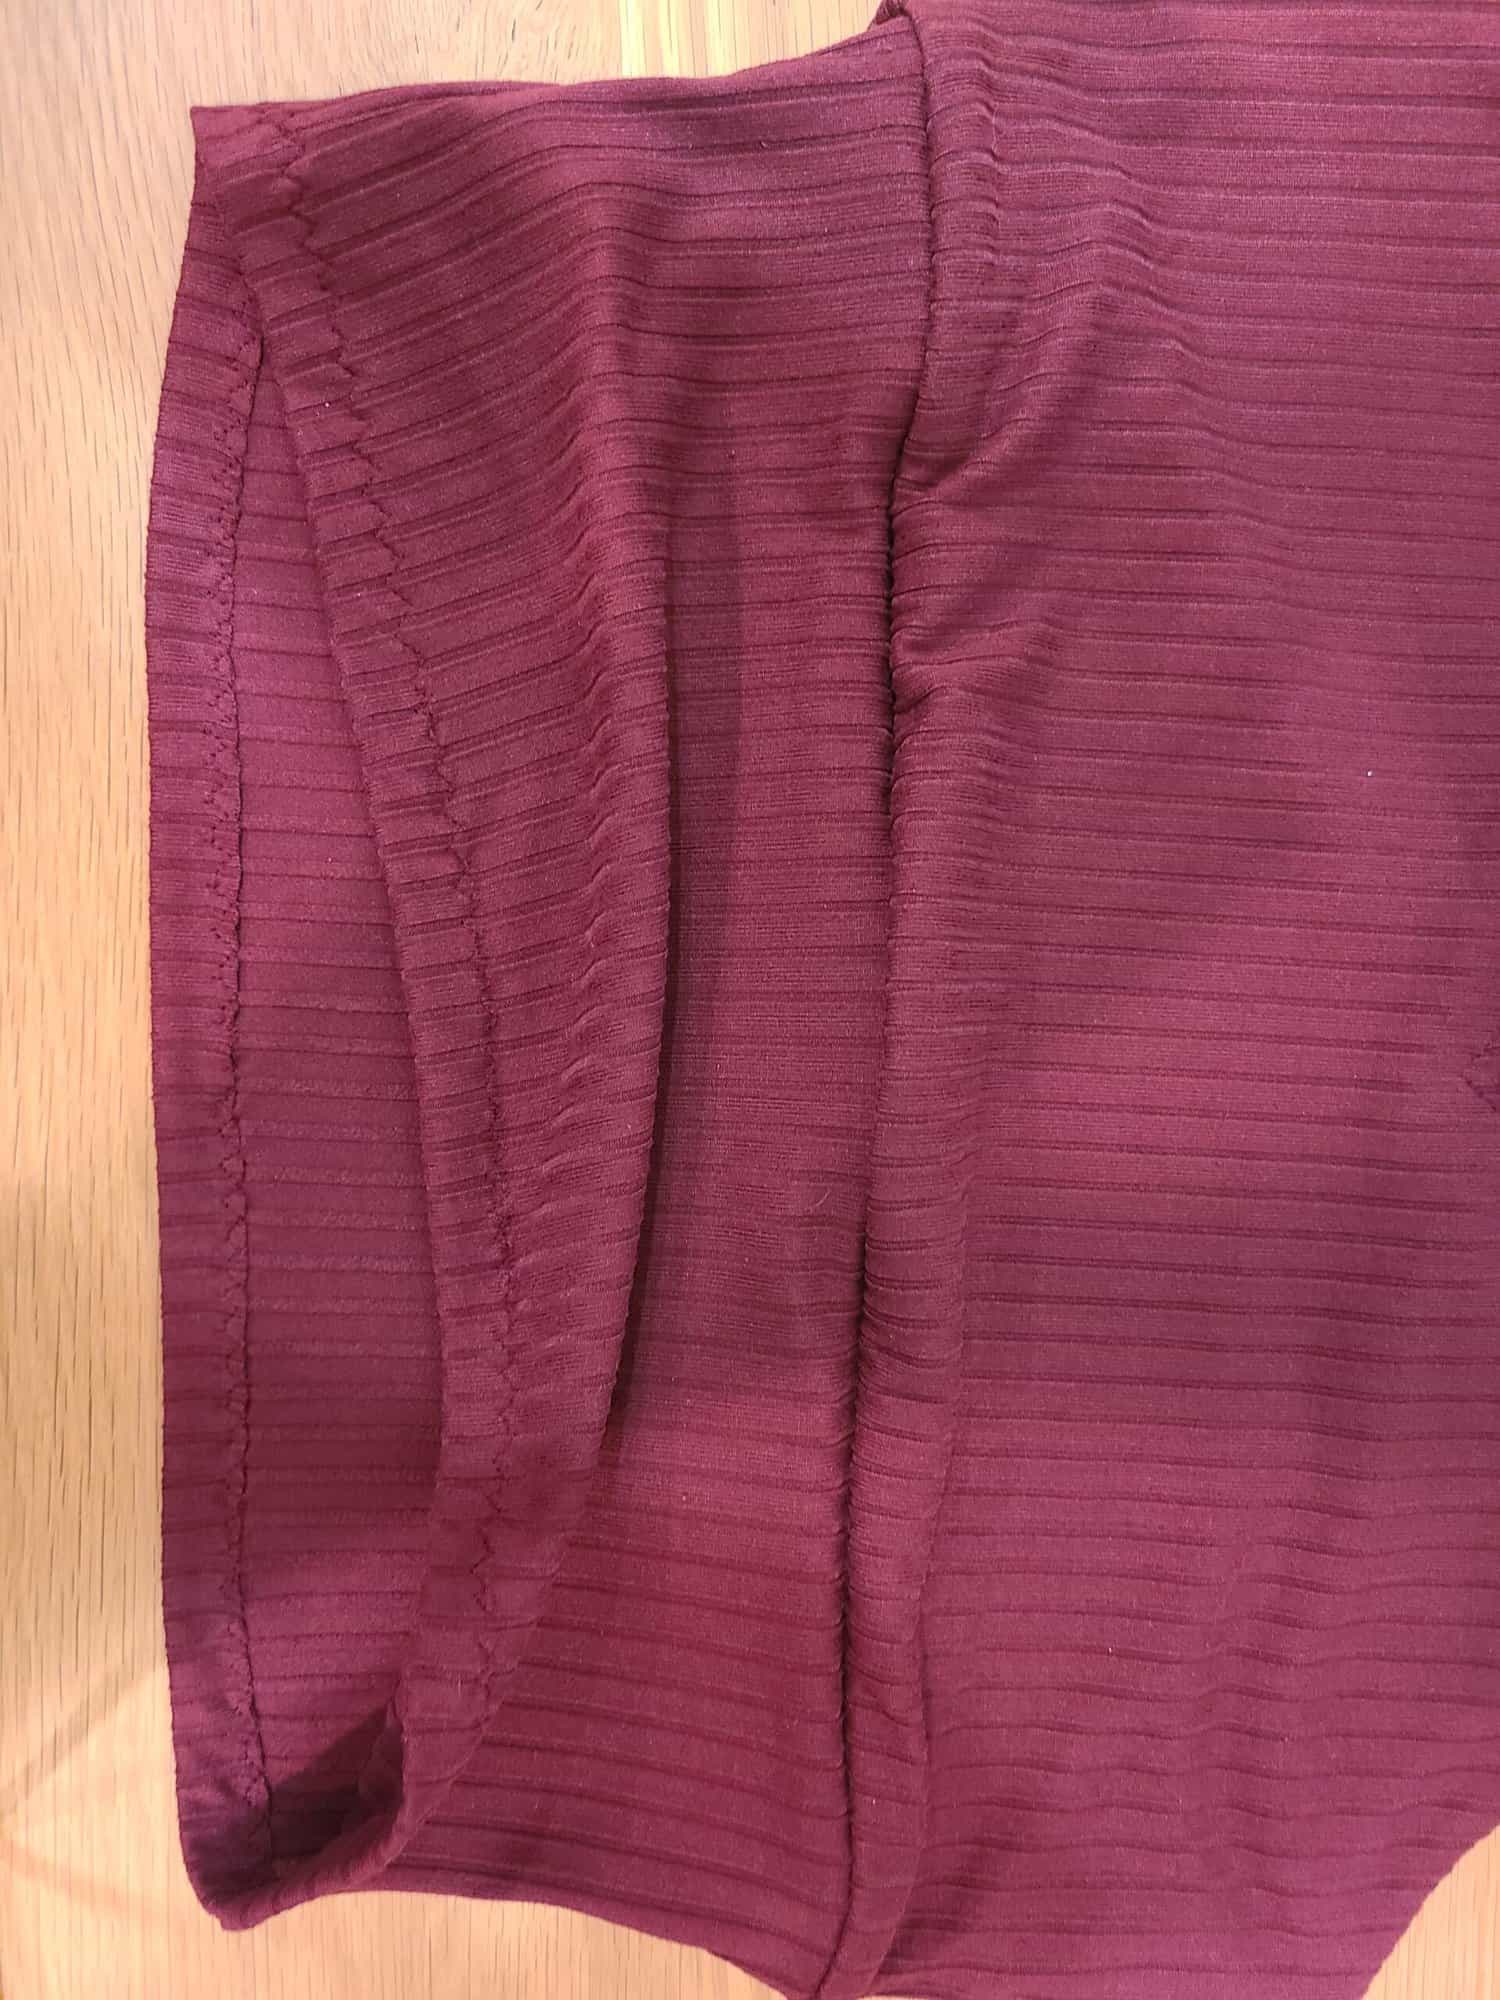
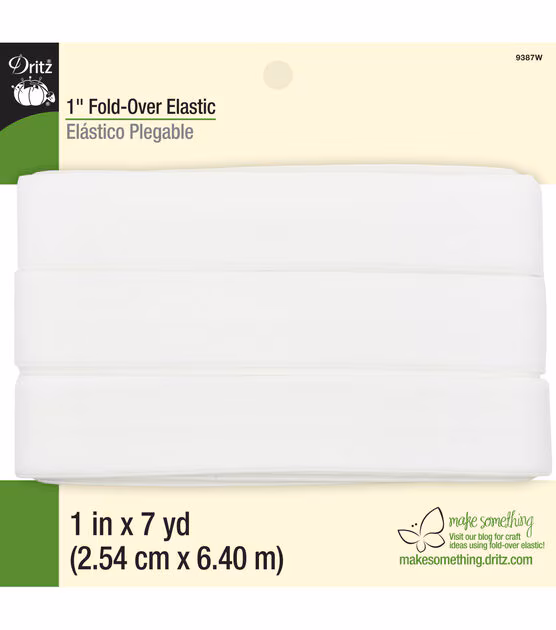
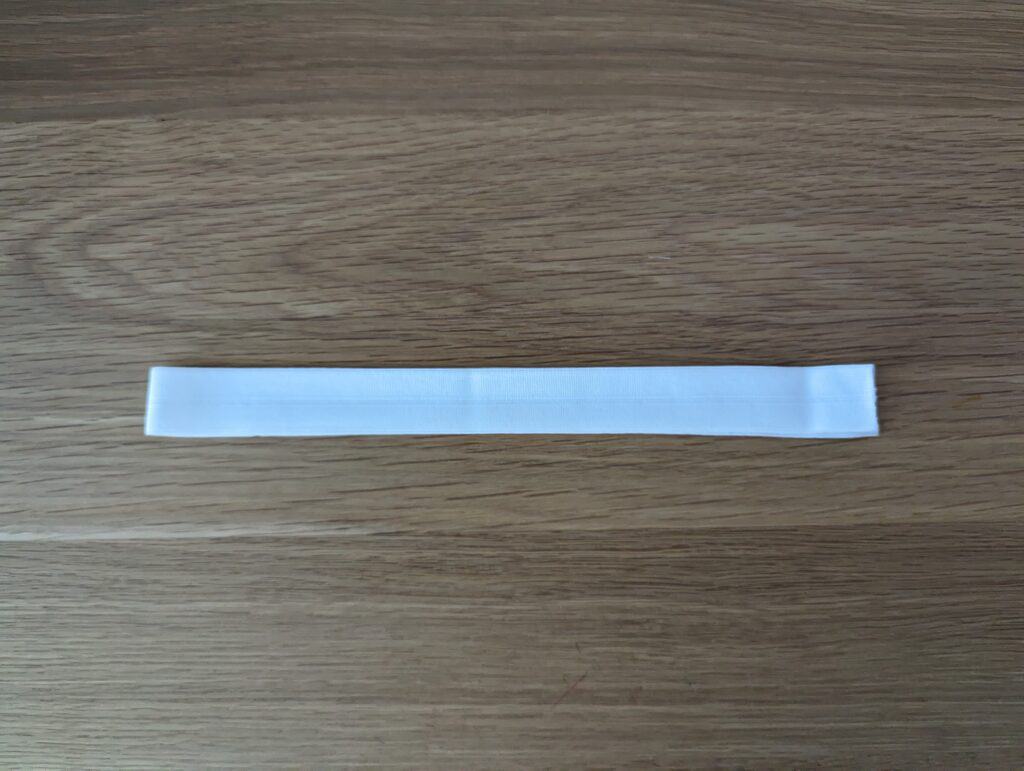
I recommend using this very thick and stable FOE from Joanns (*affiliate link). This FOE gives a lot more support for an underbust than any other FOE I’ve ever seen. Most are a thin nylon spandex, but this one is actually elastic.
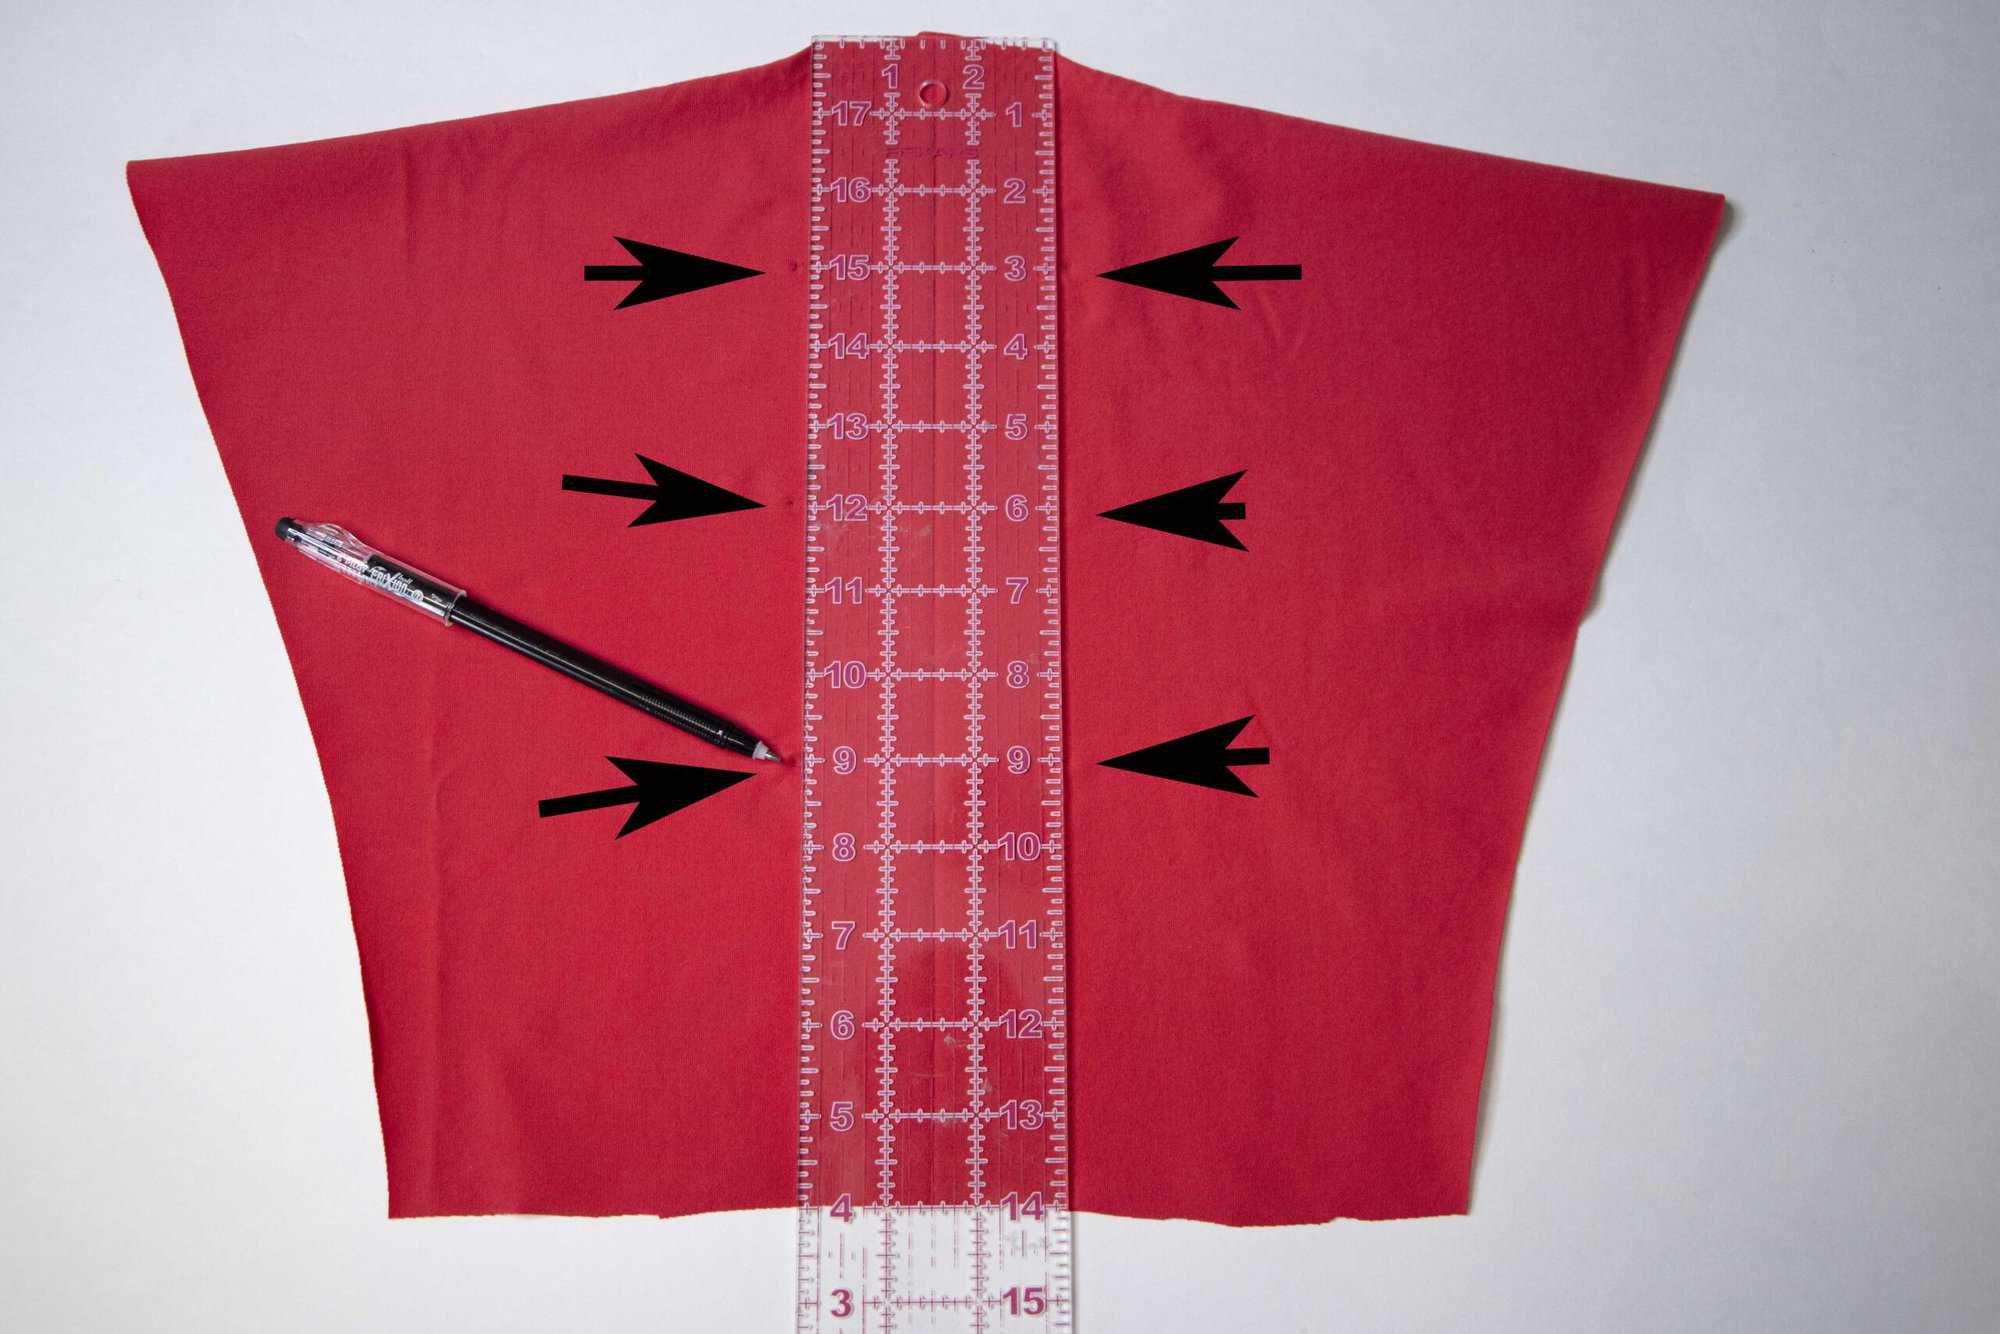
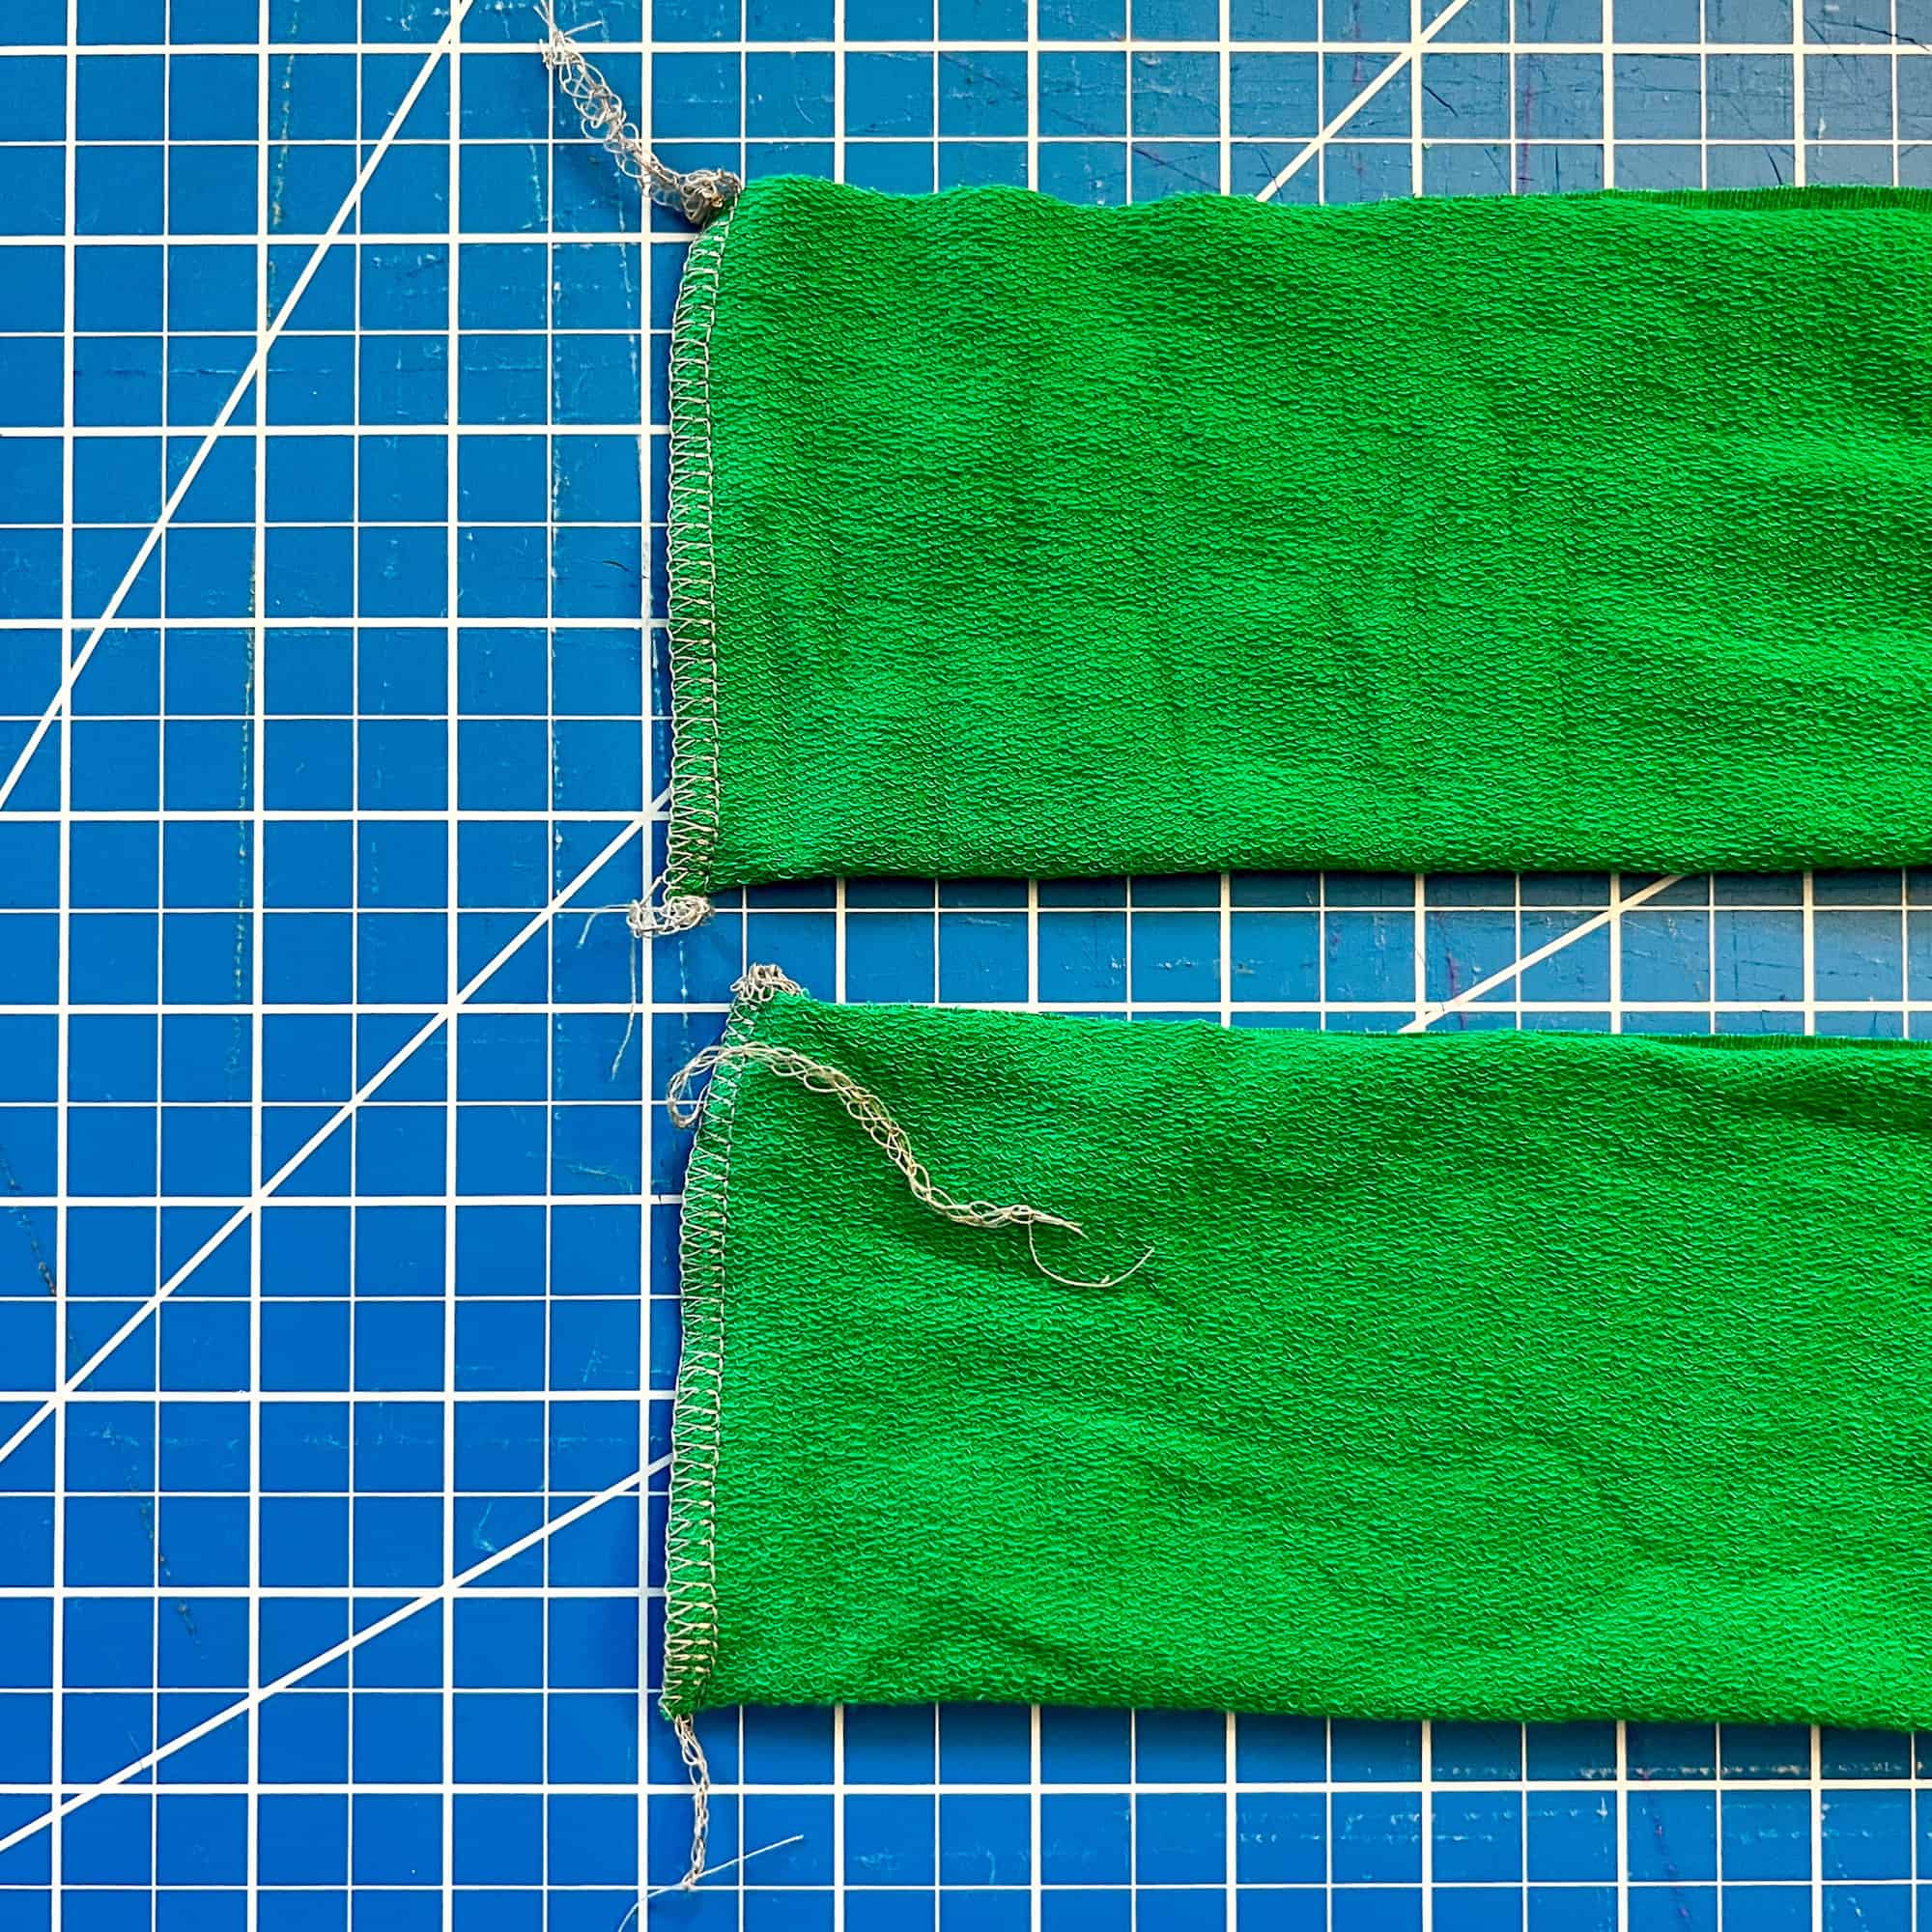
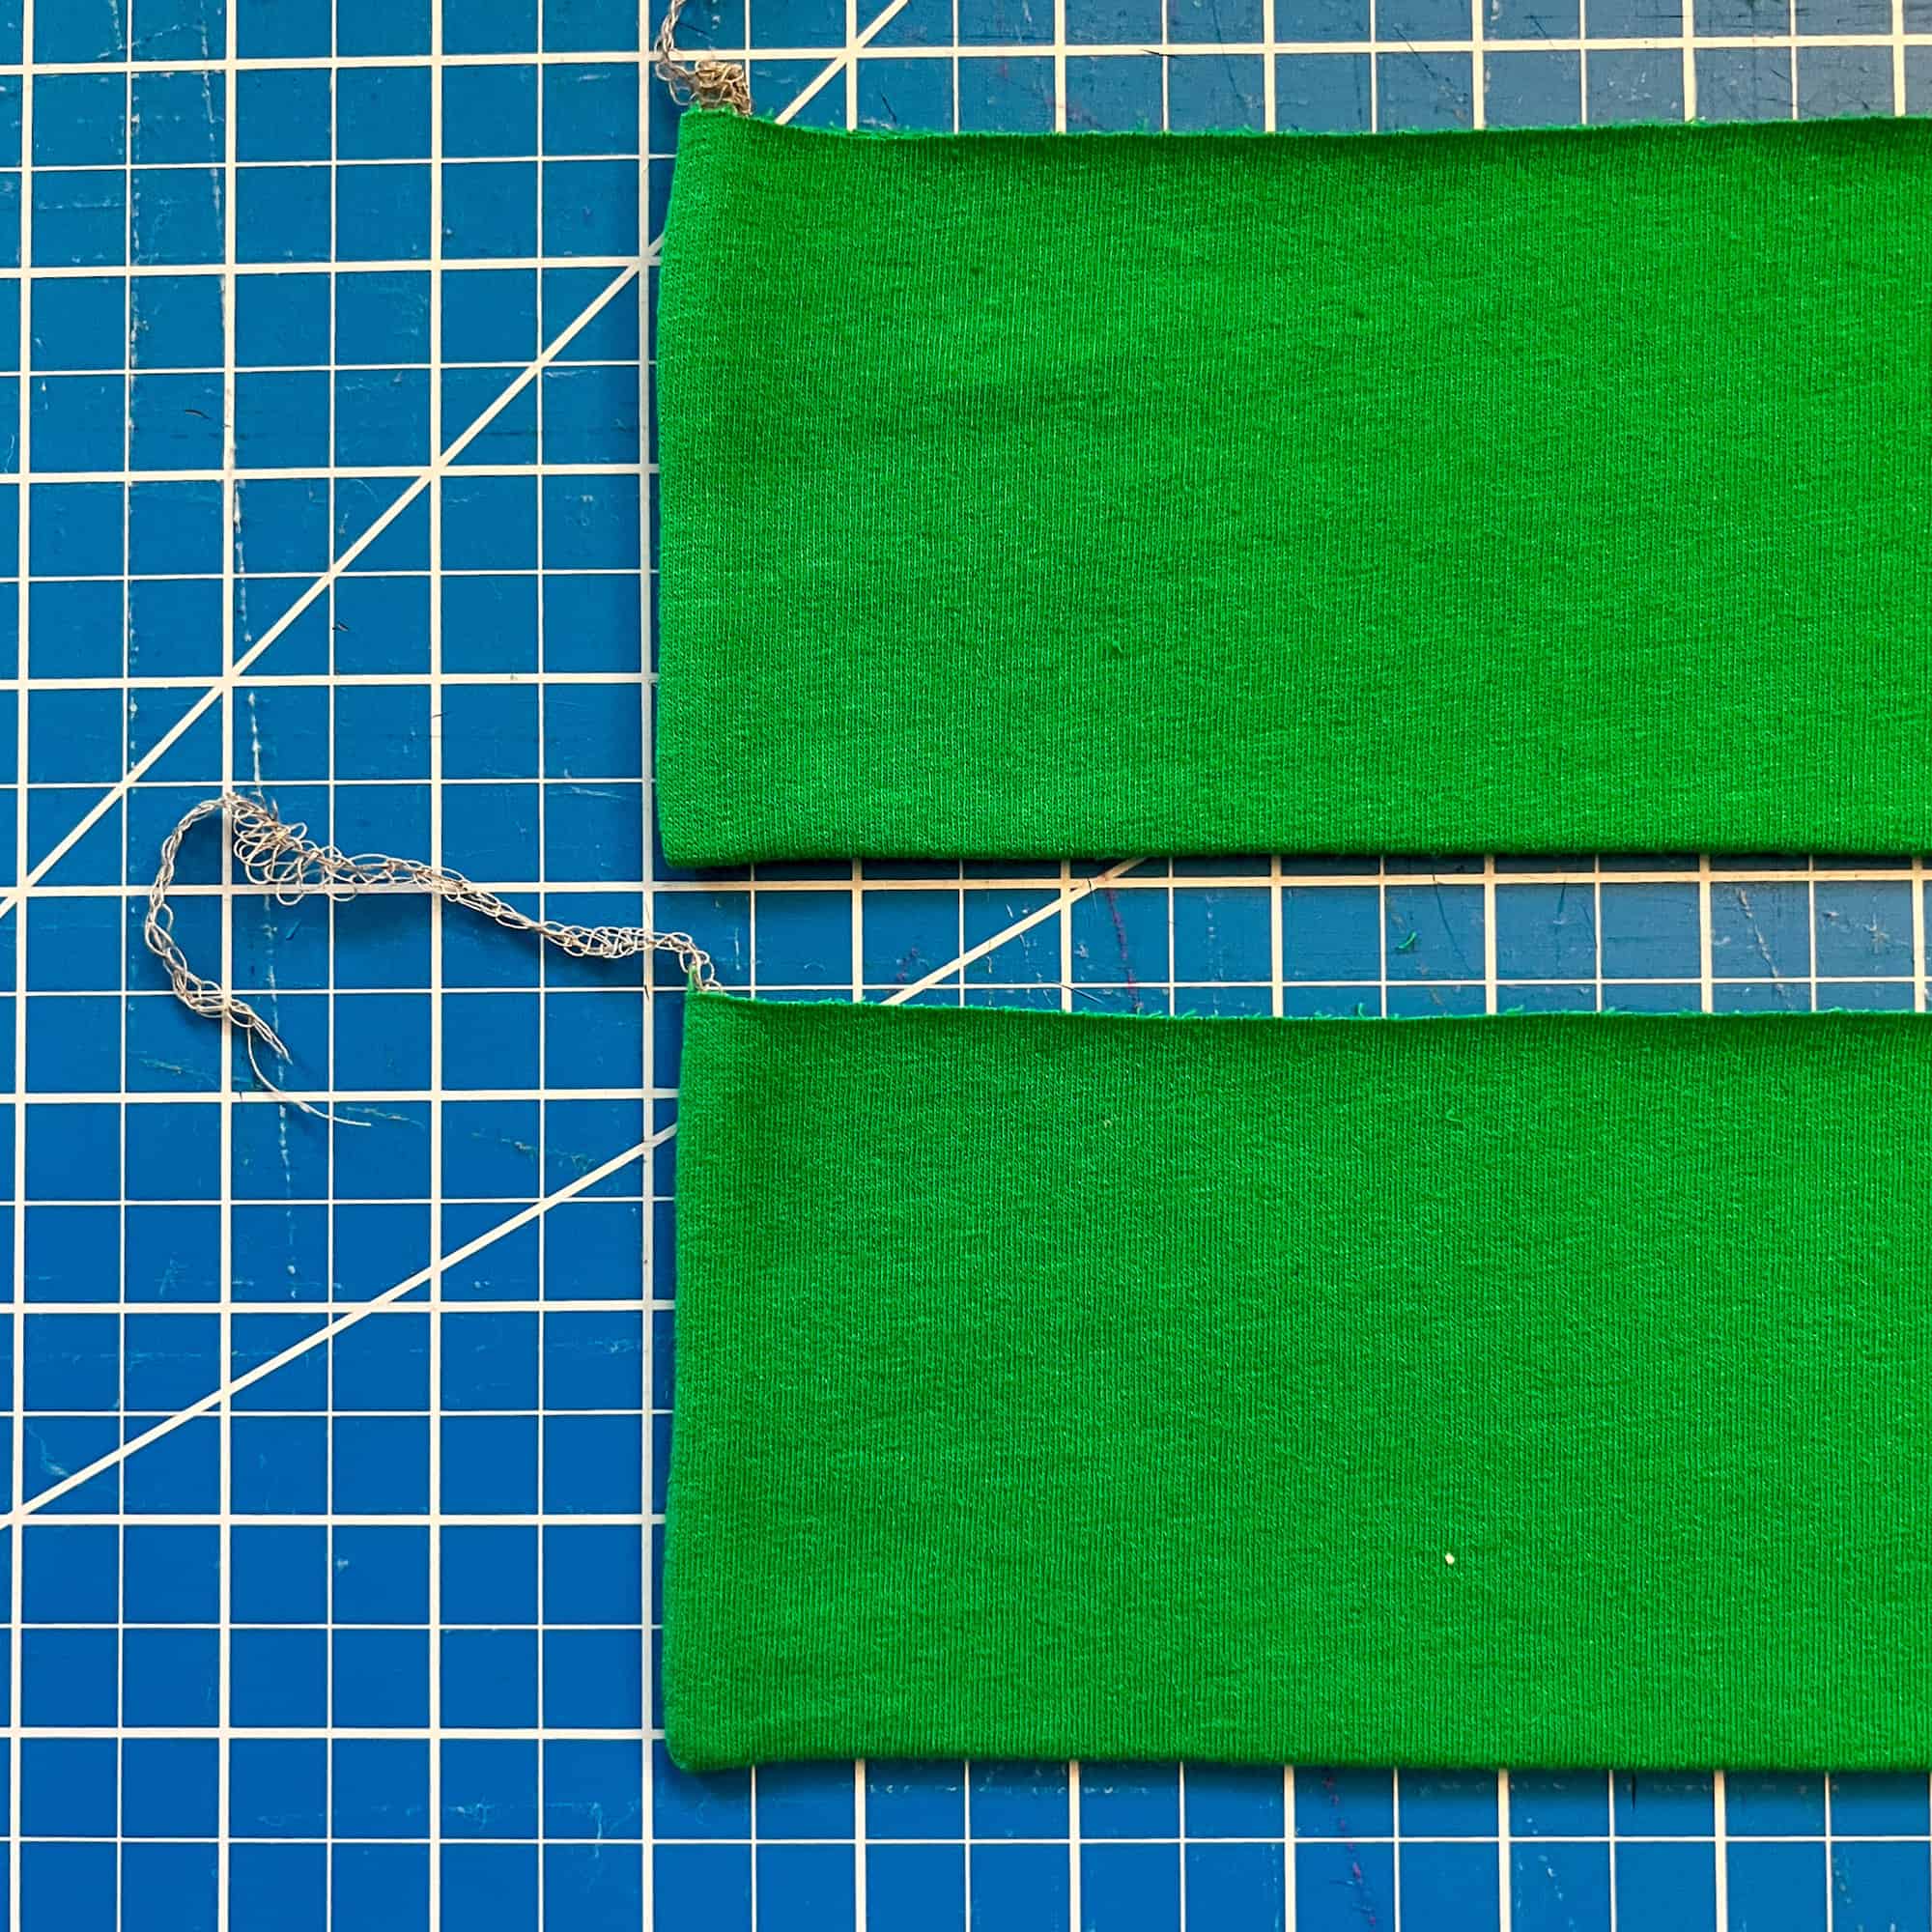
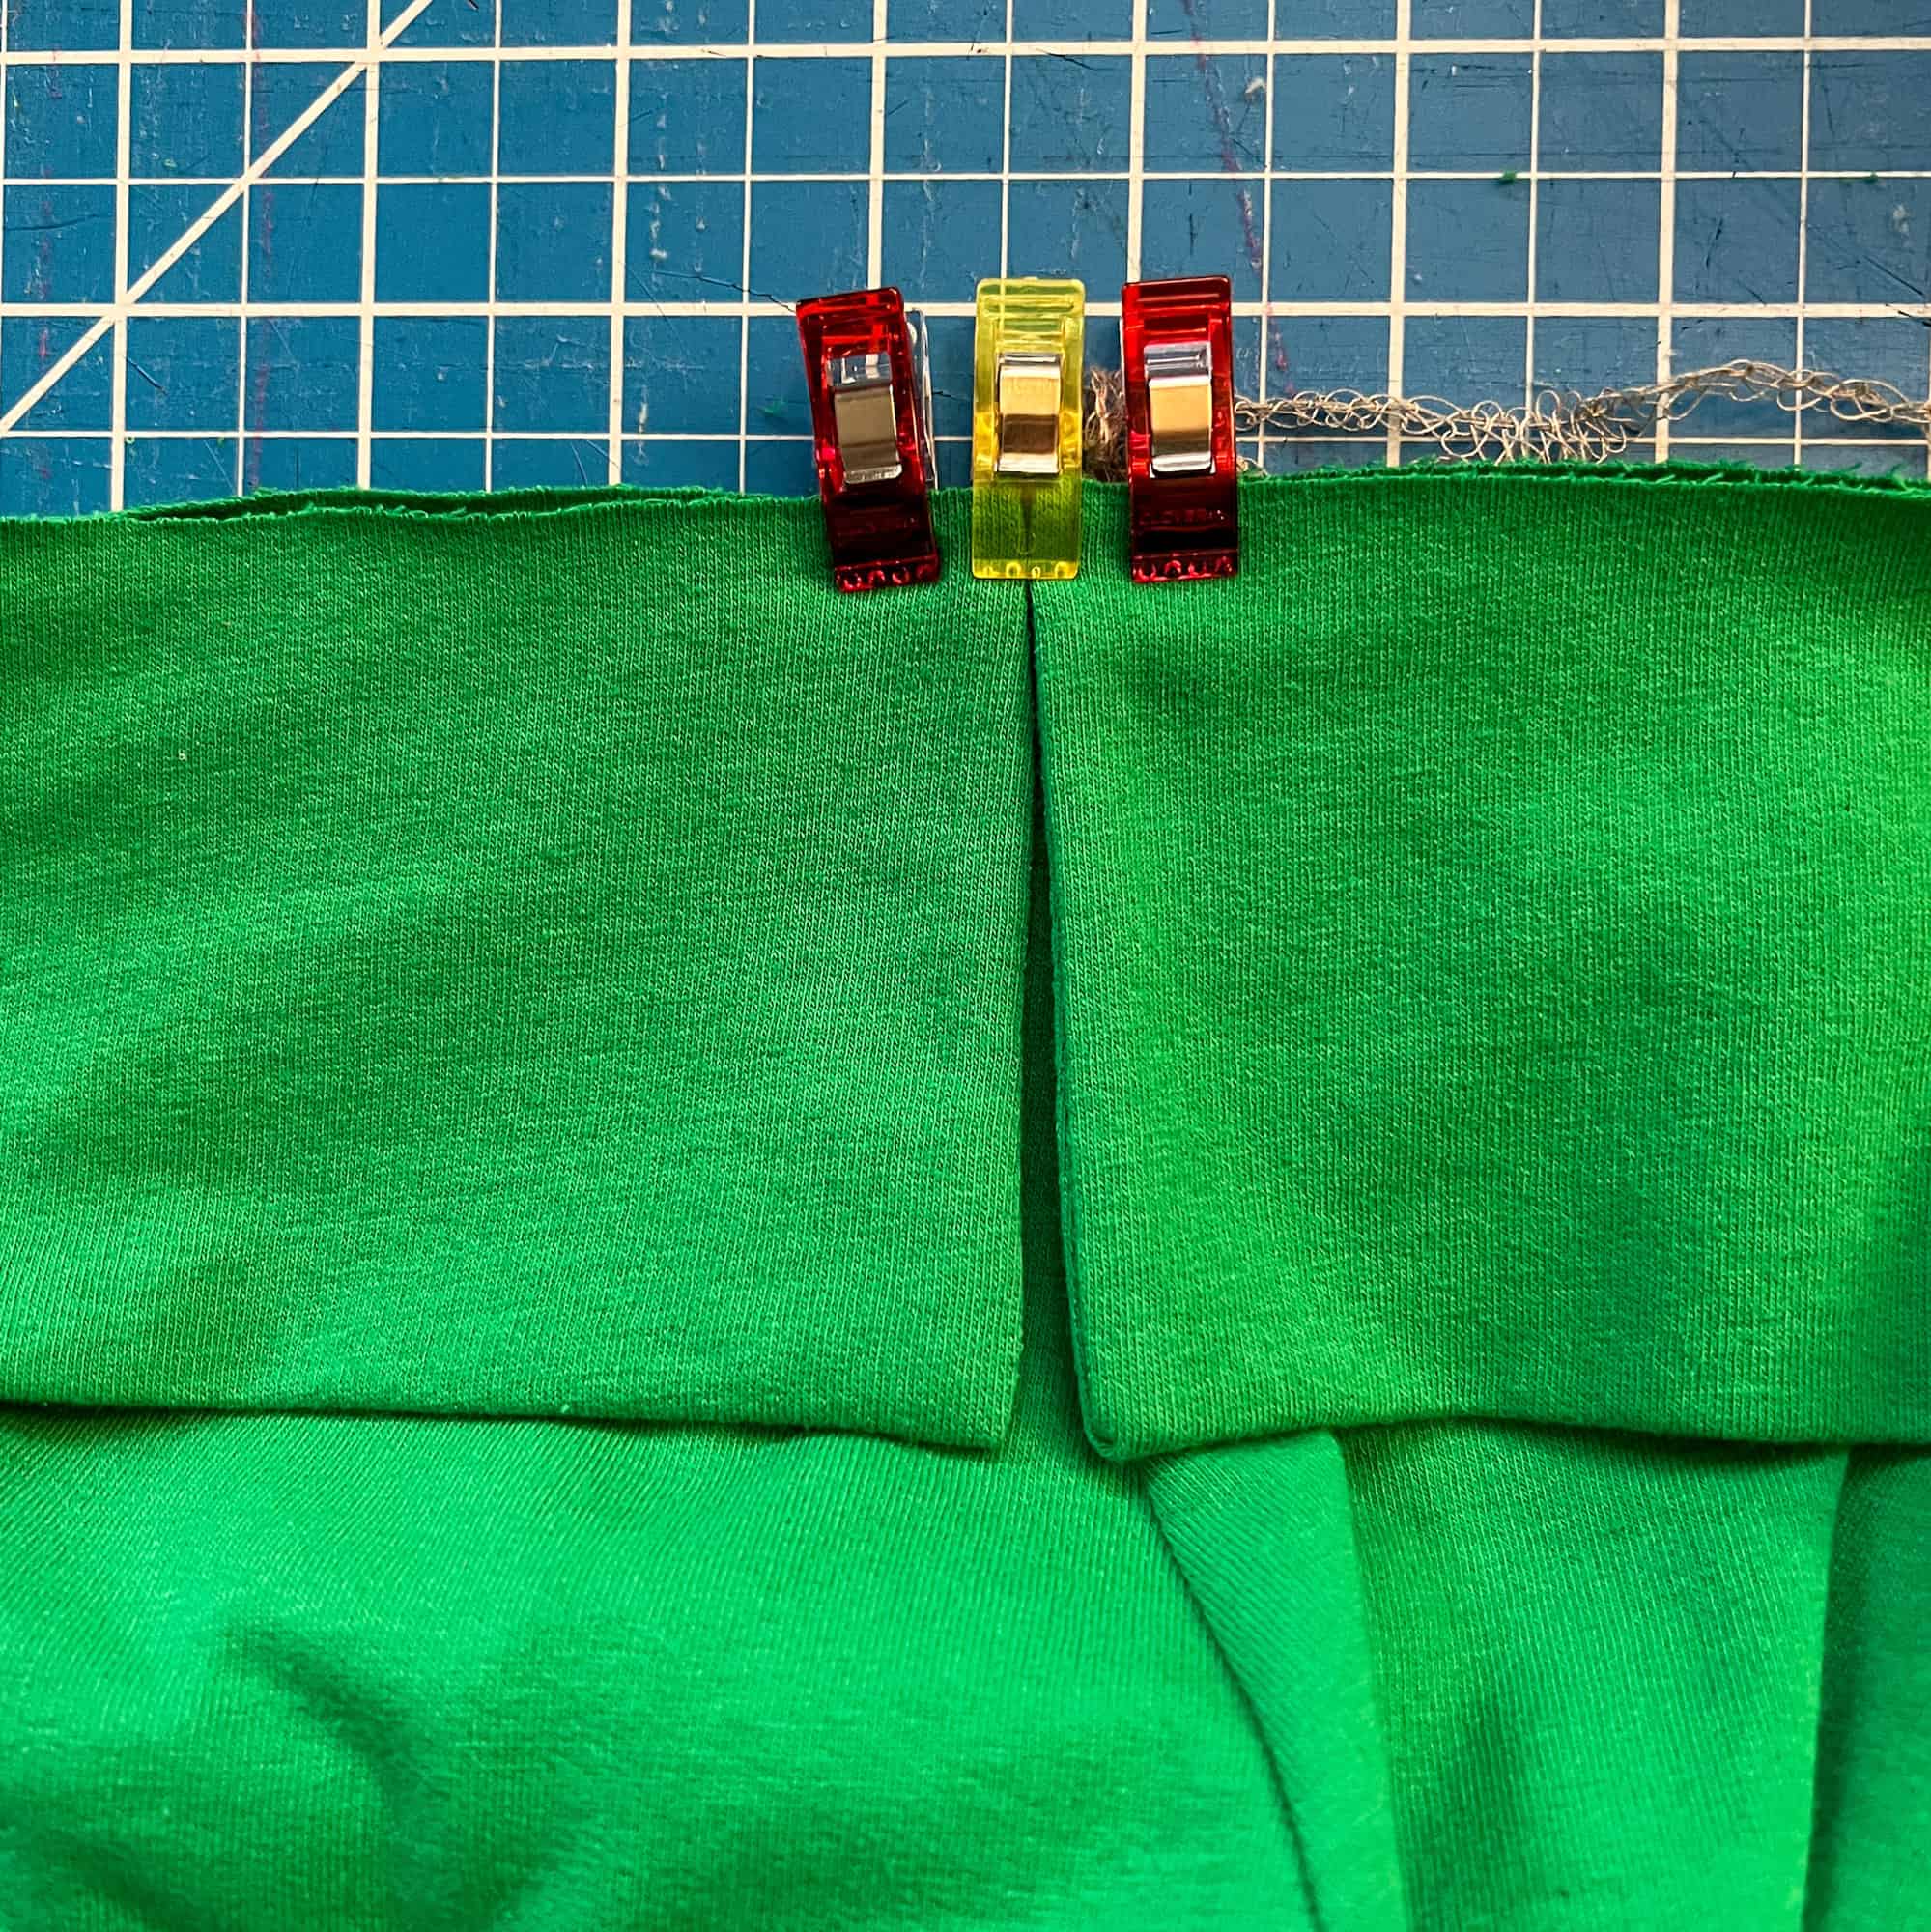
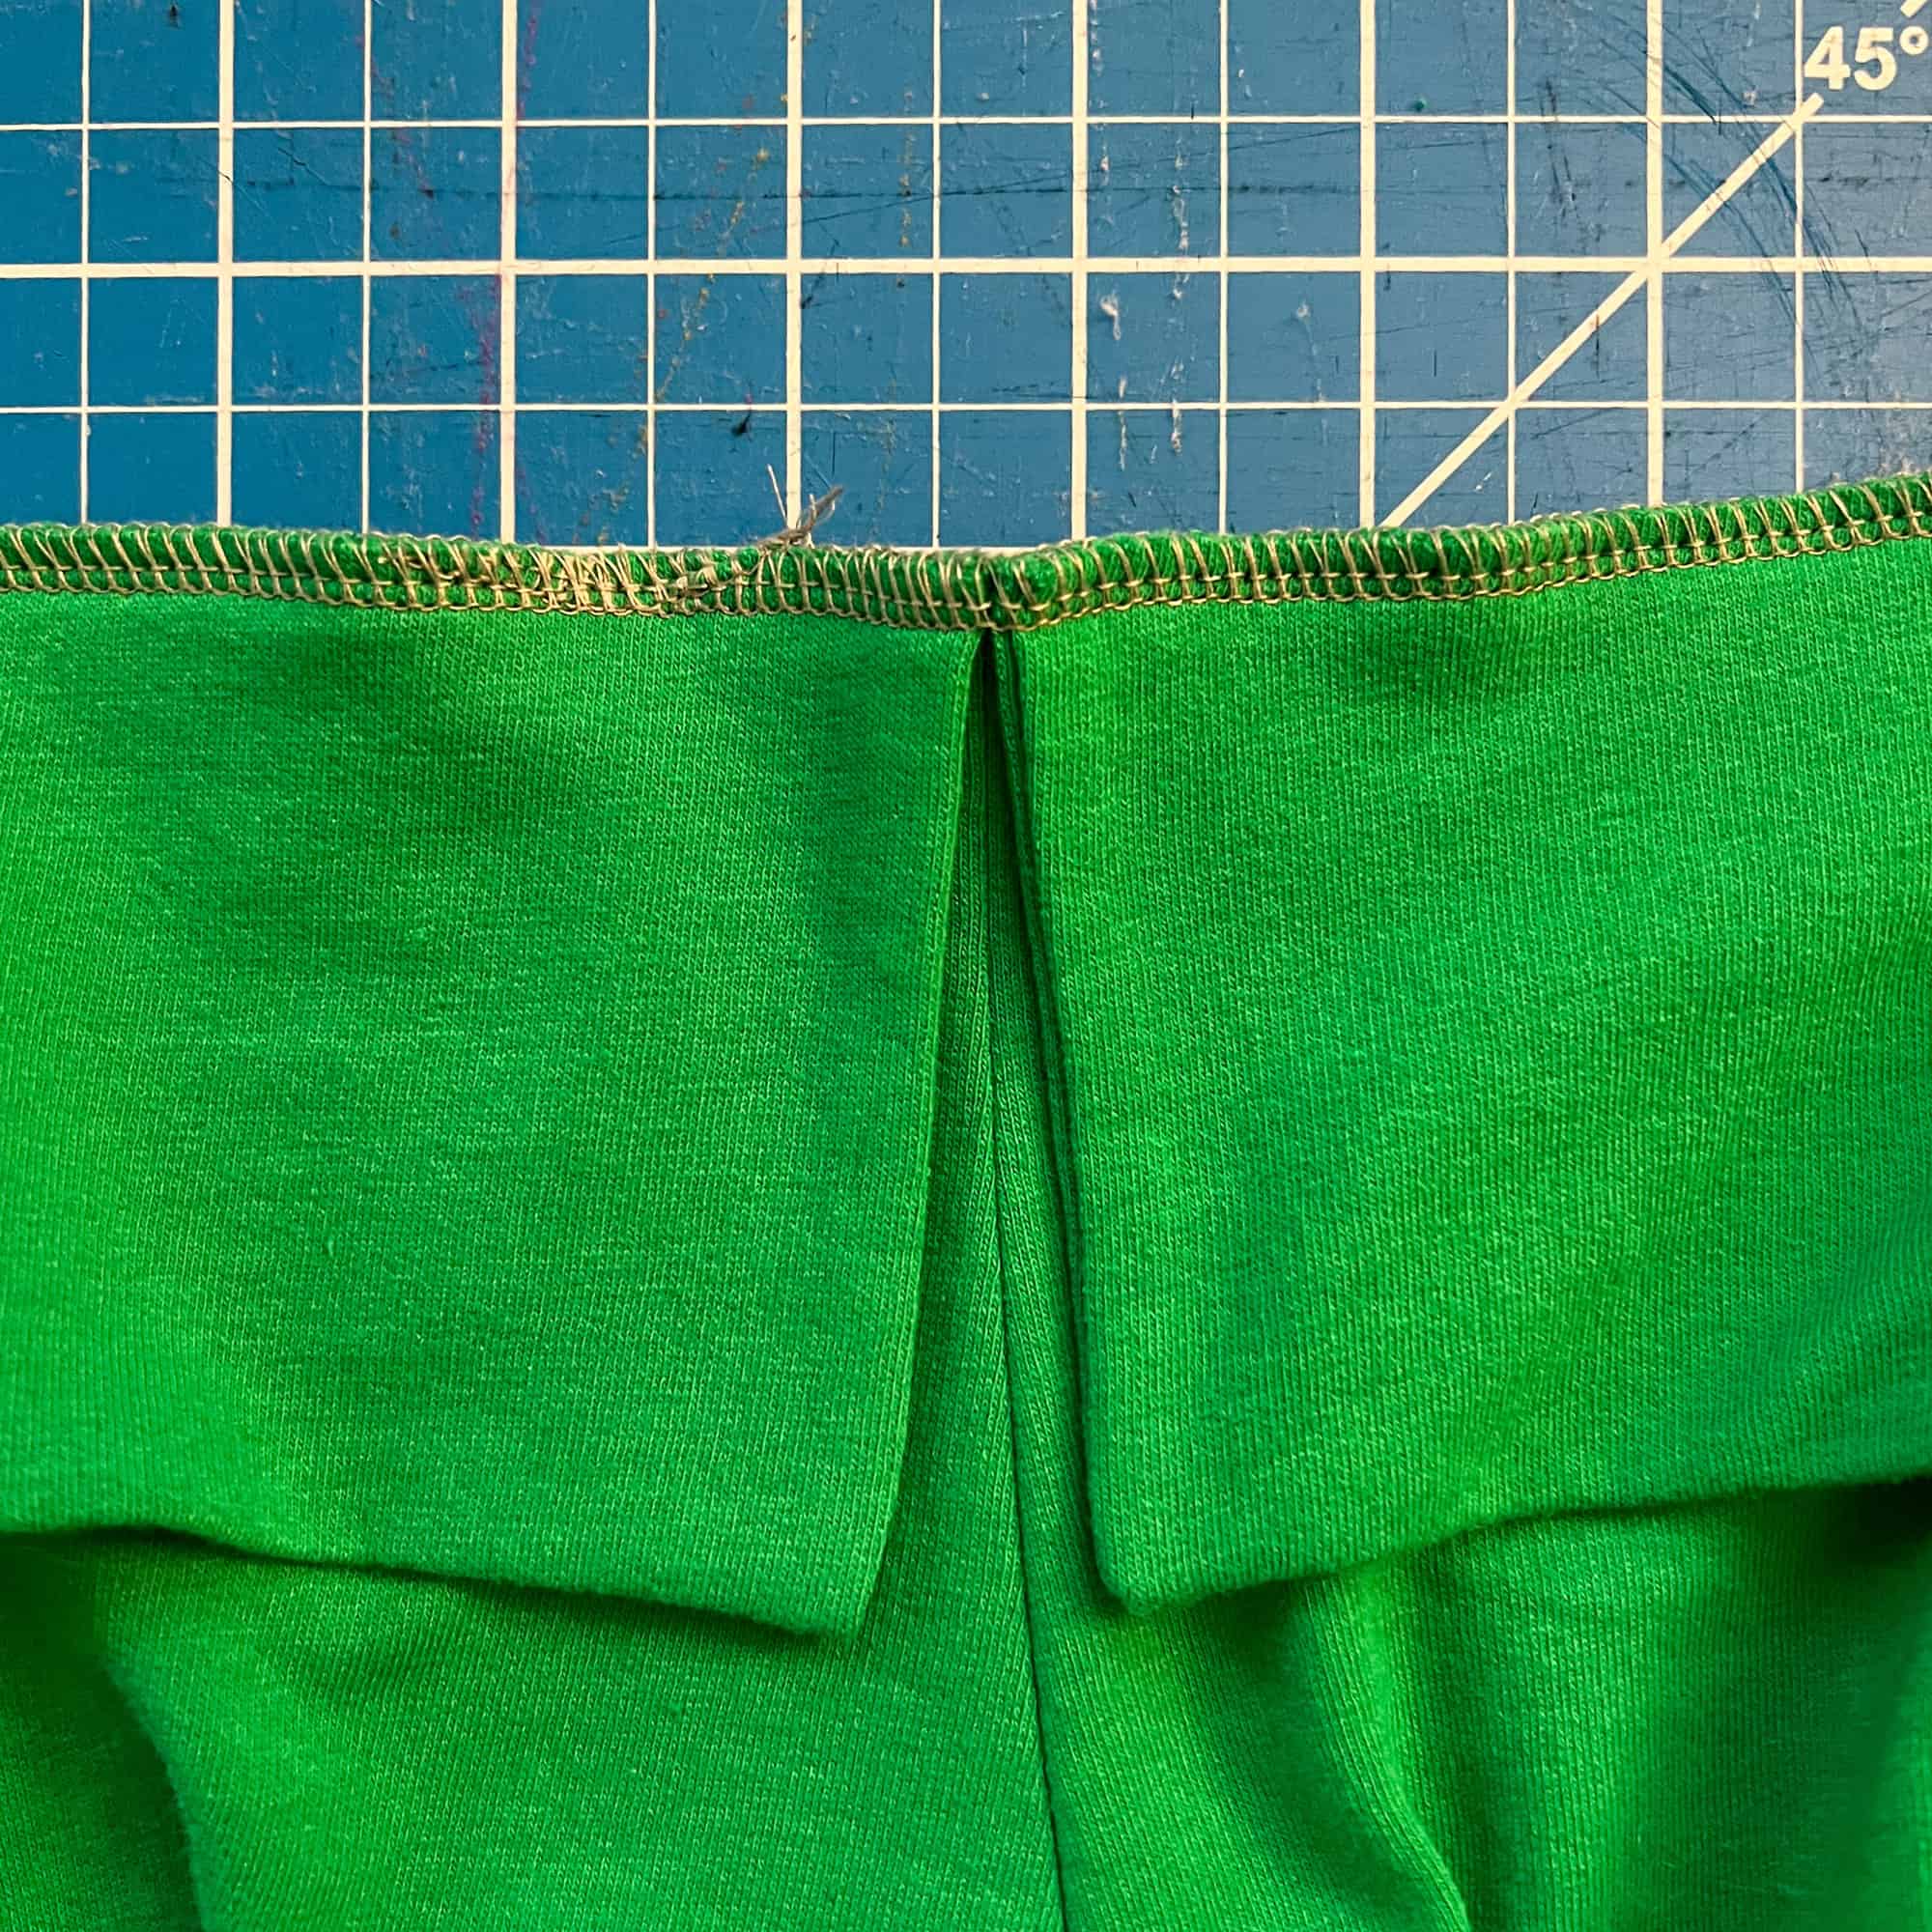
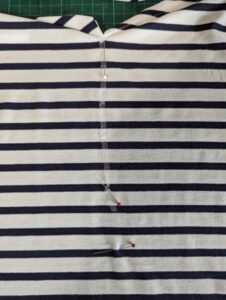
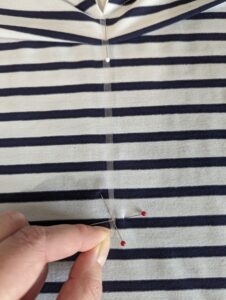
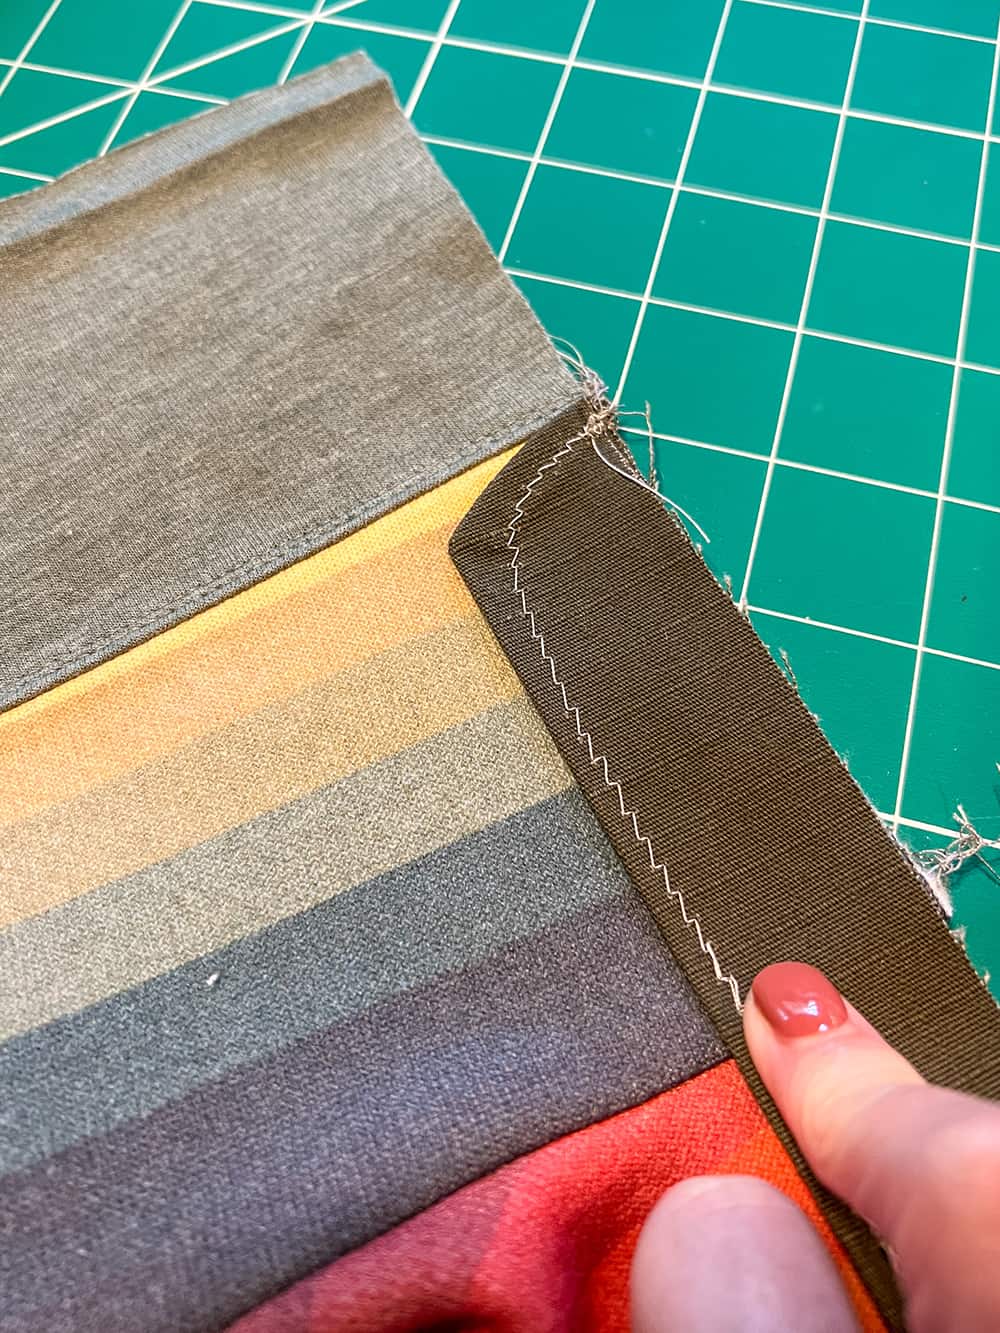
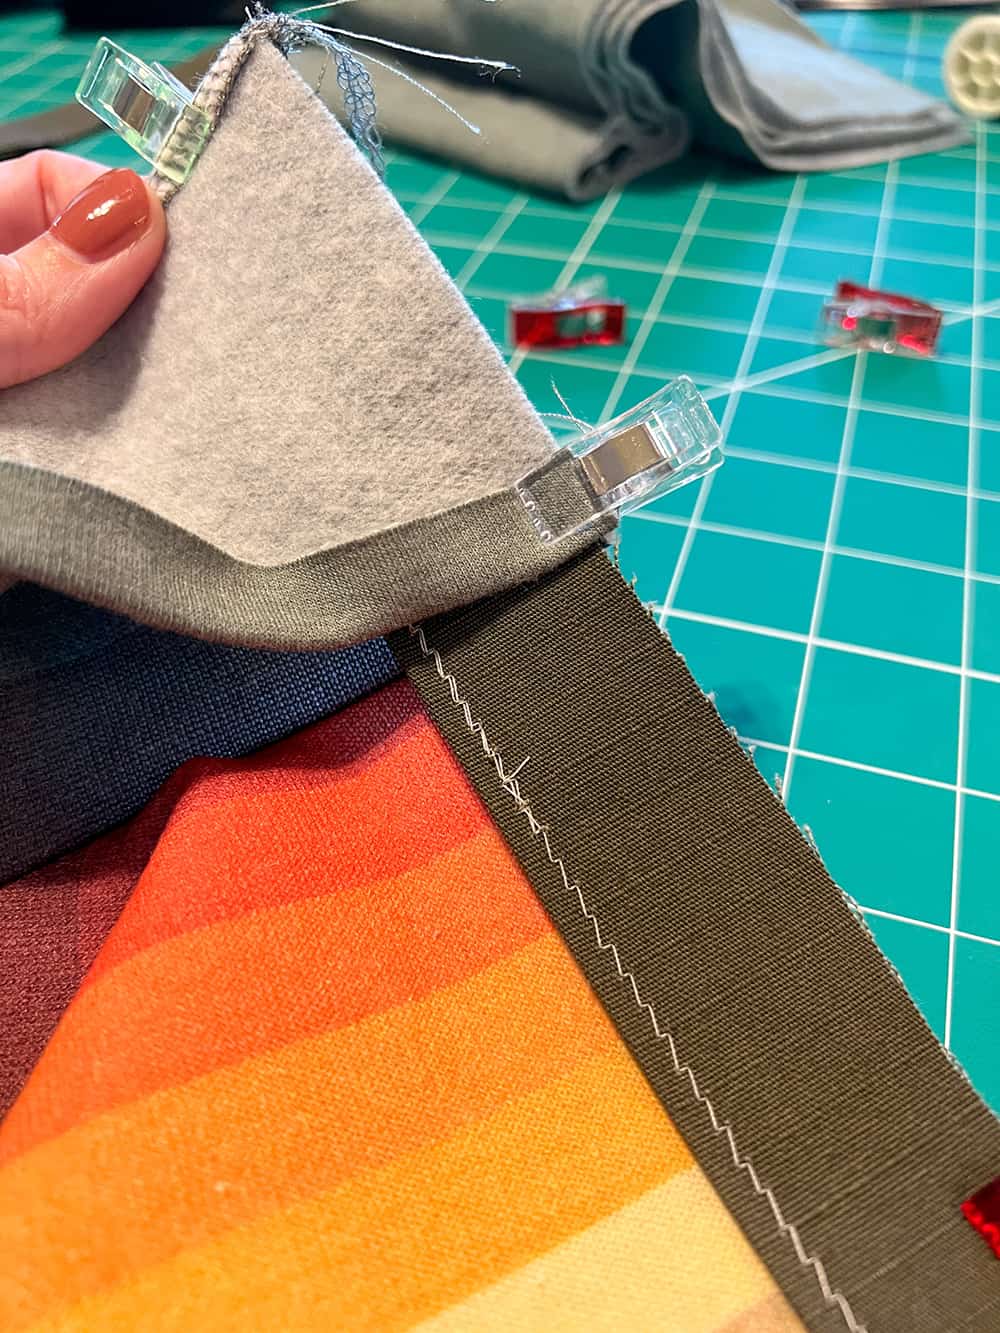
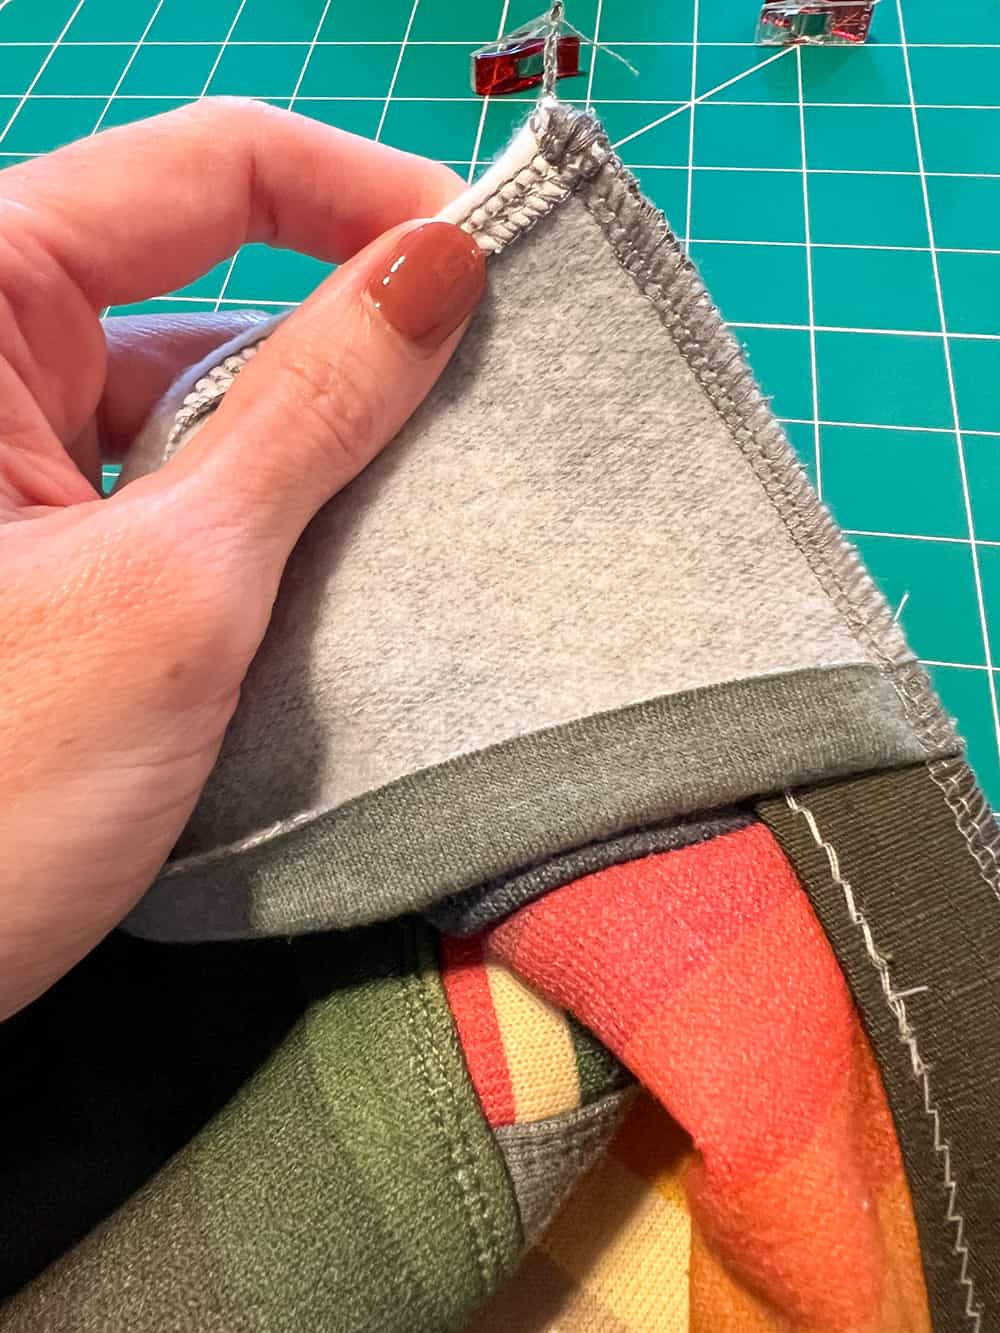
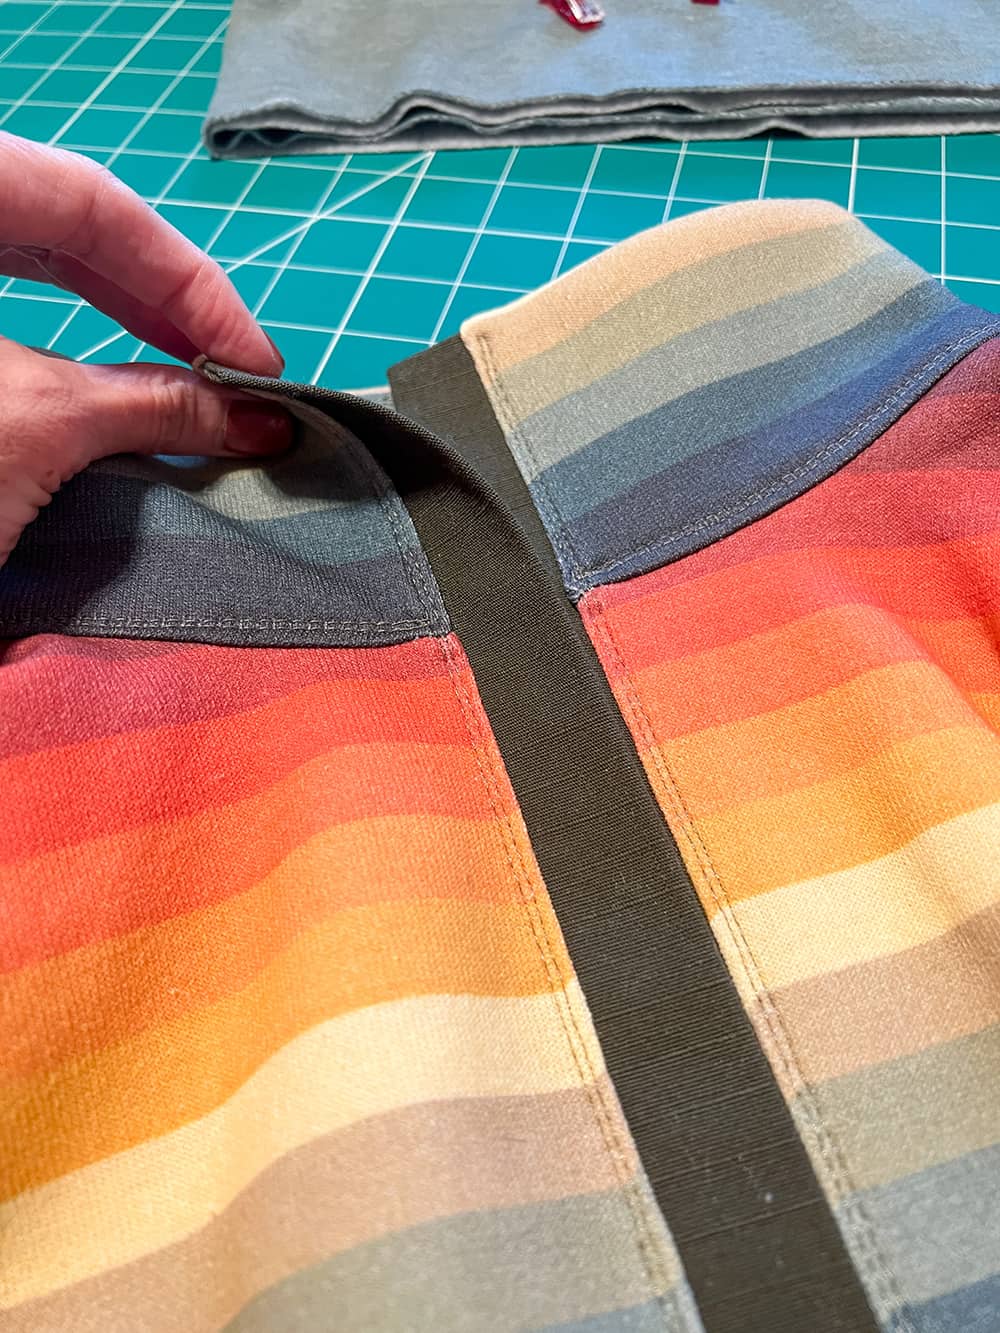
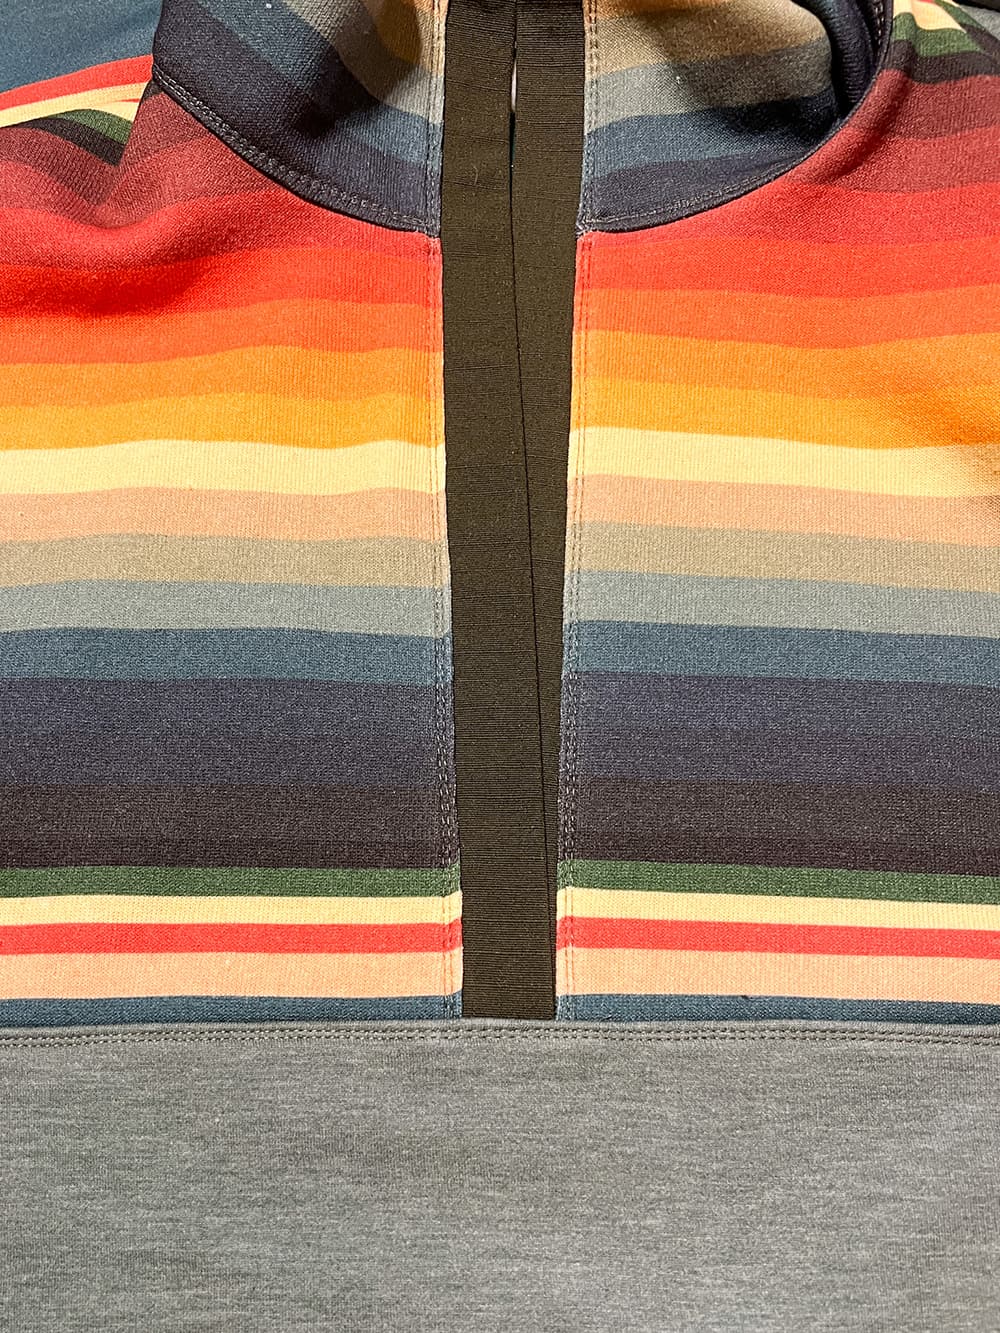
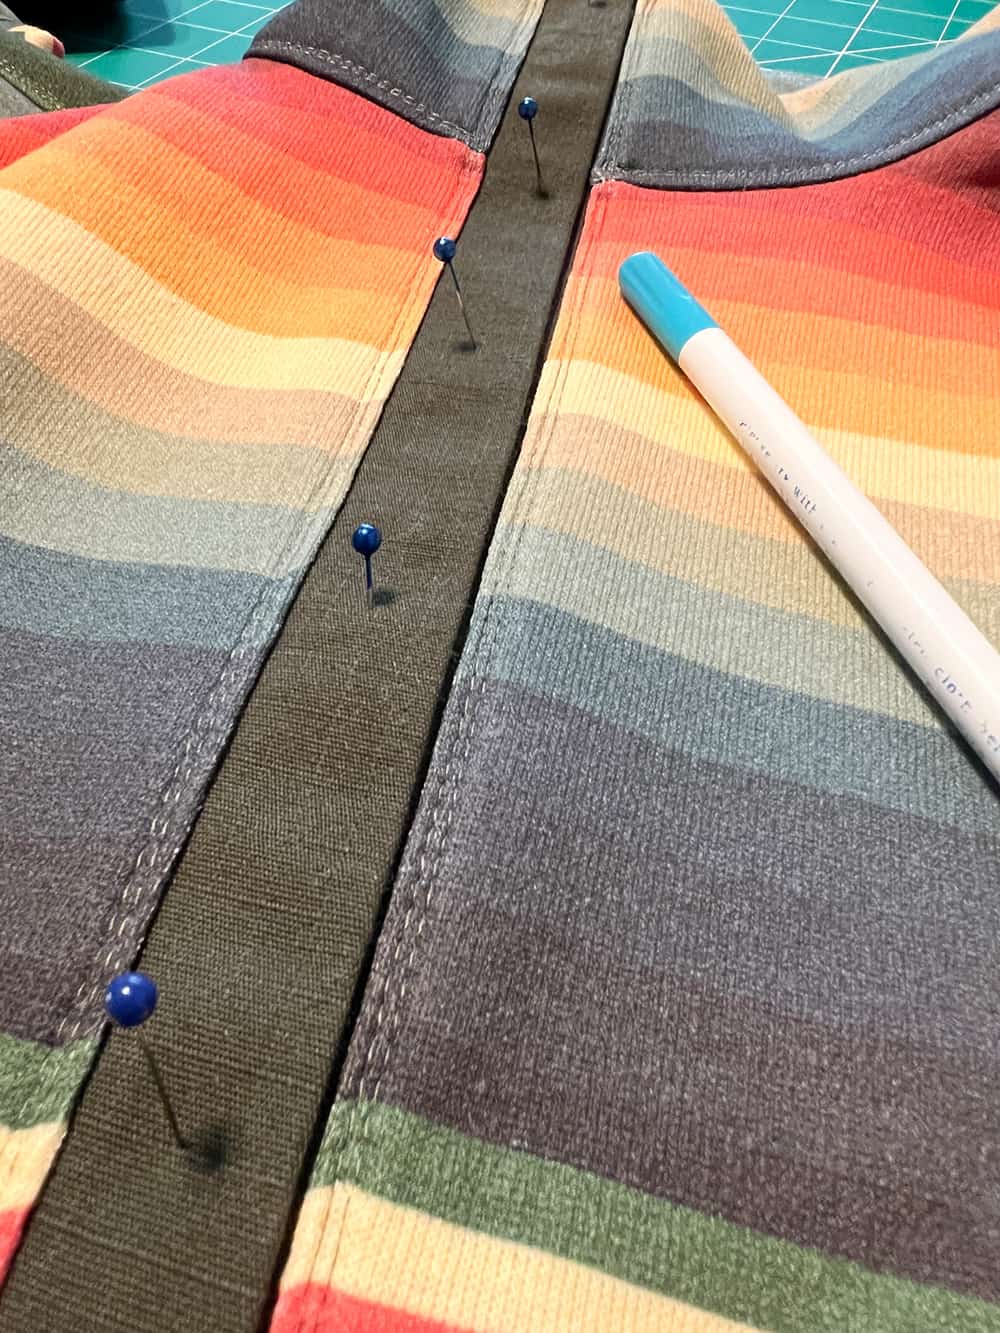
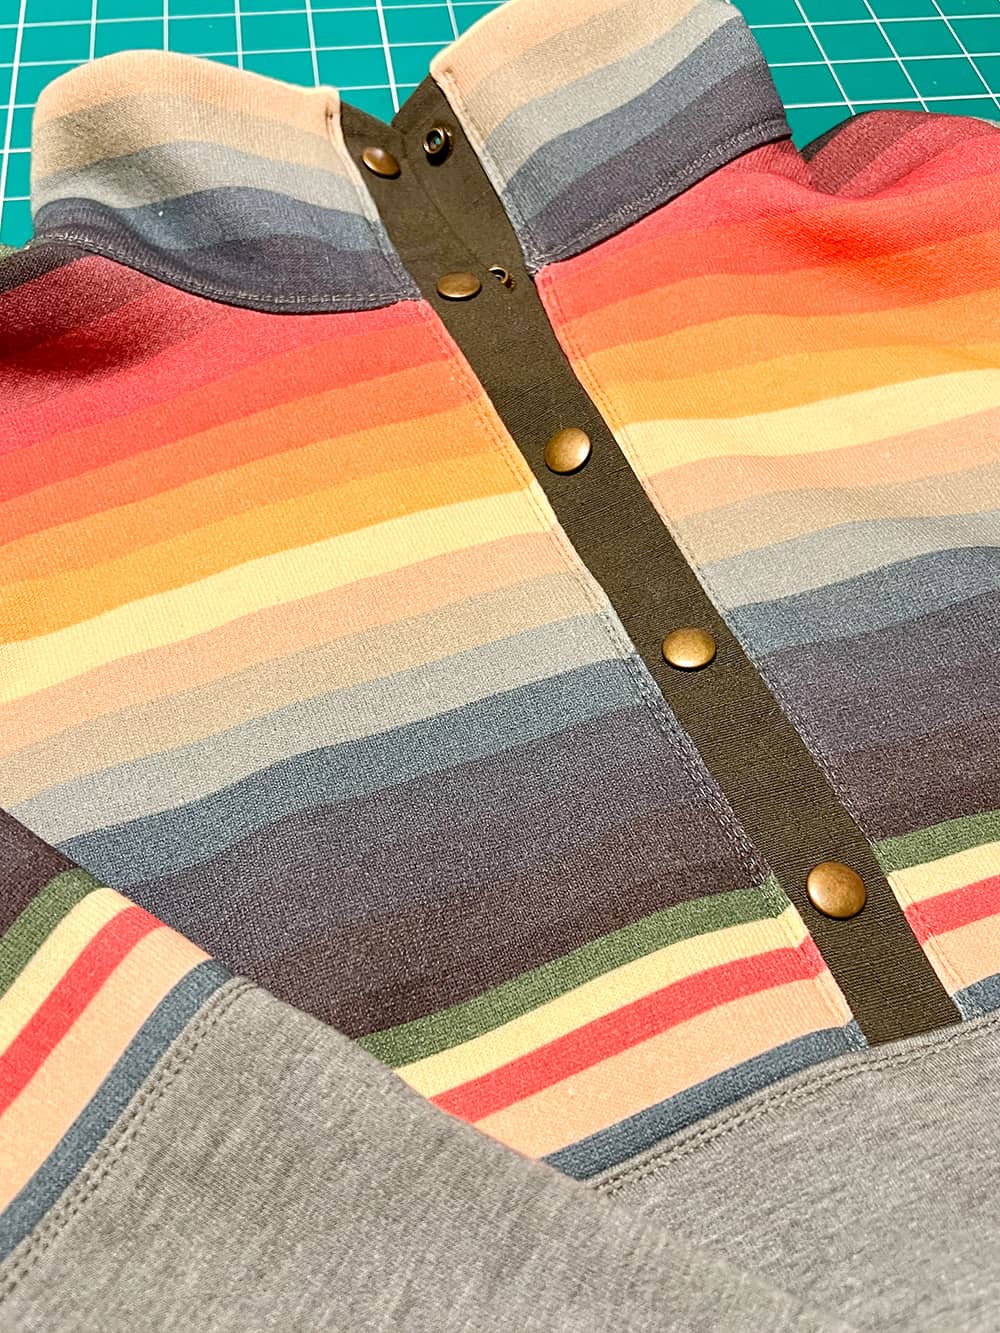
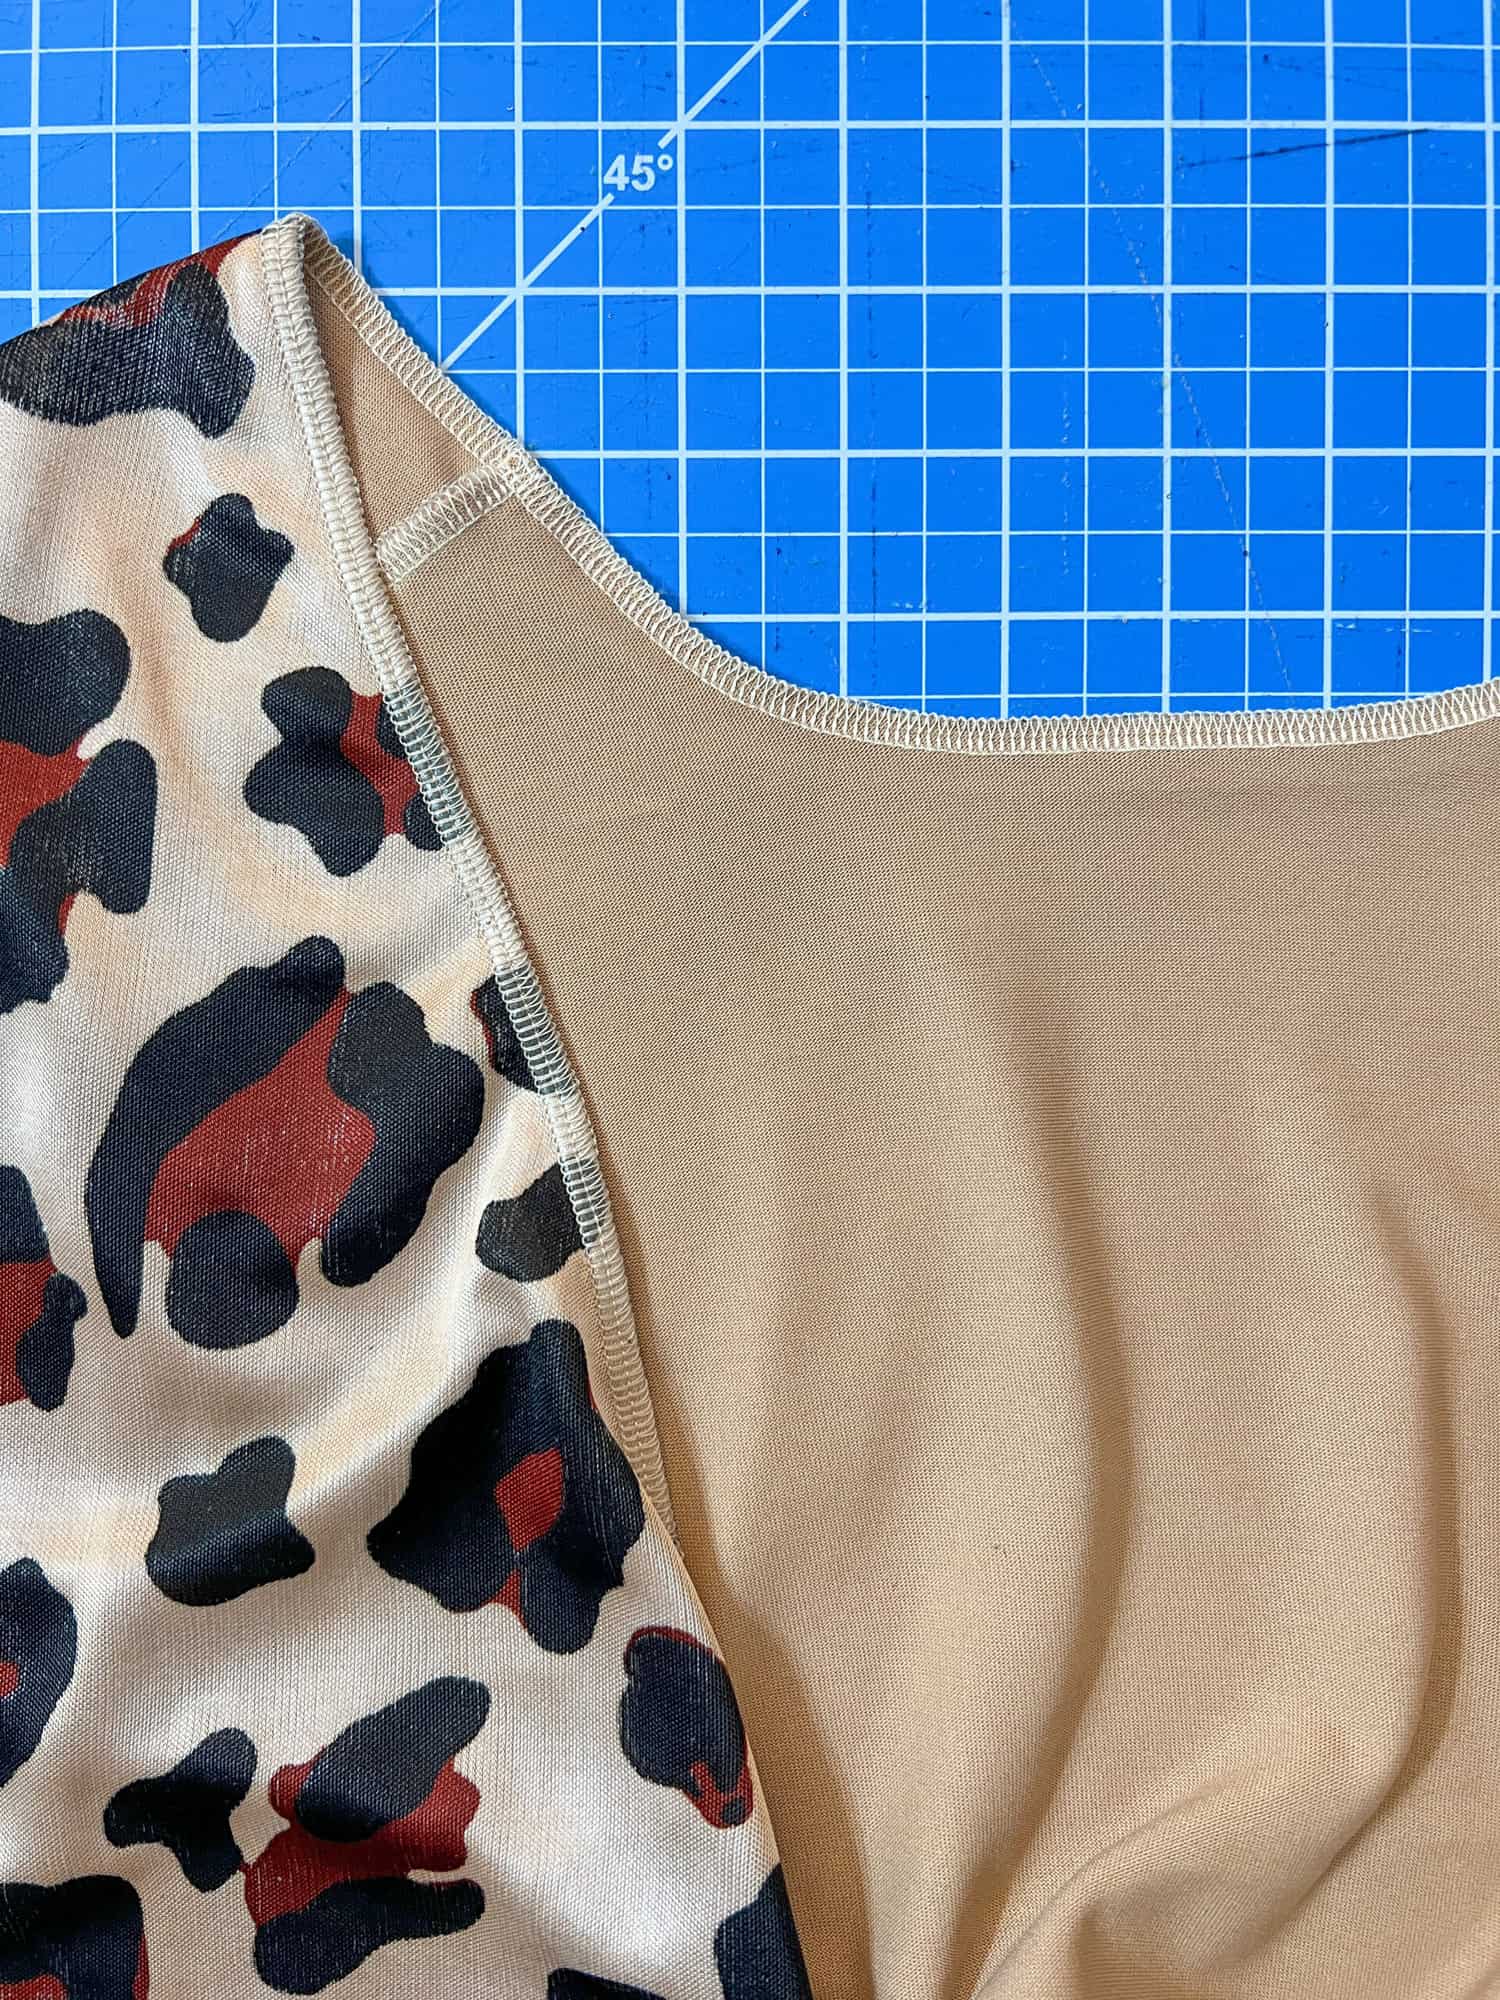
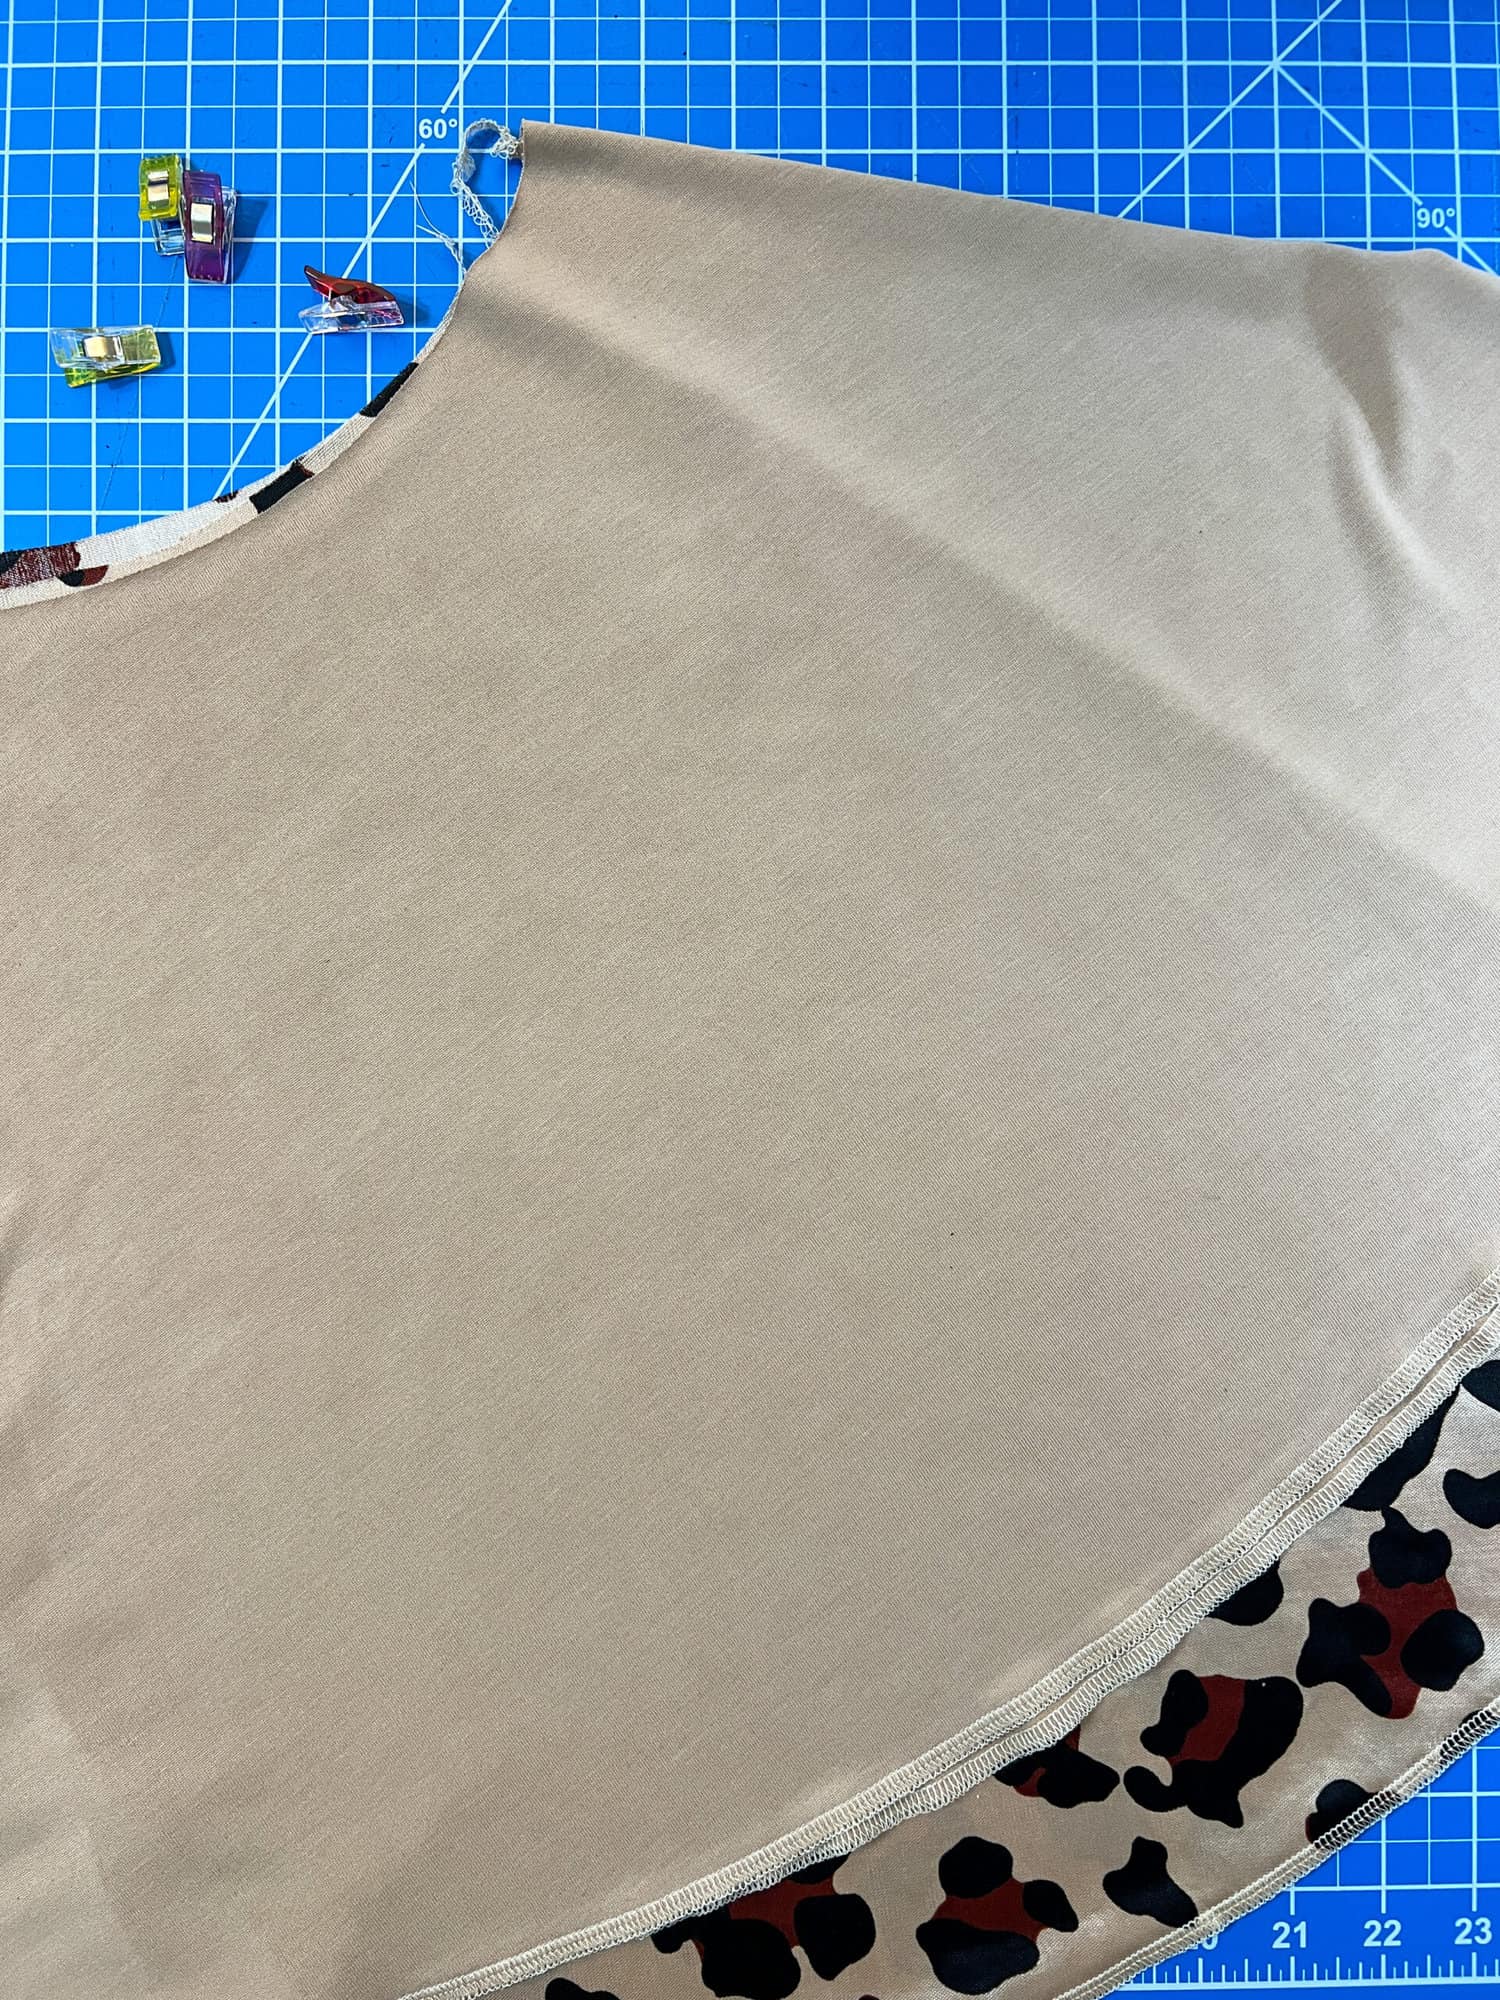
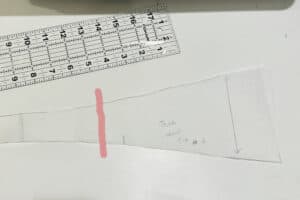
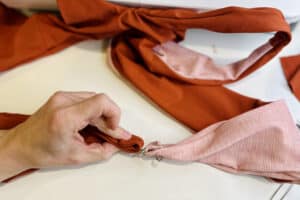
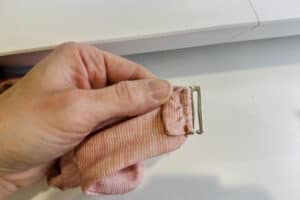
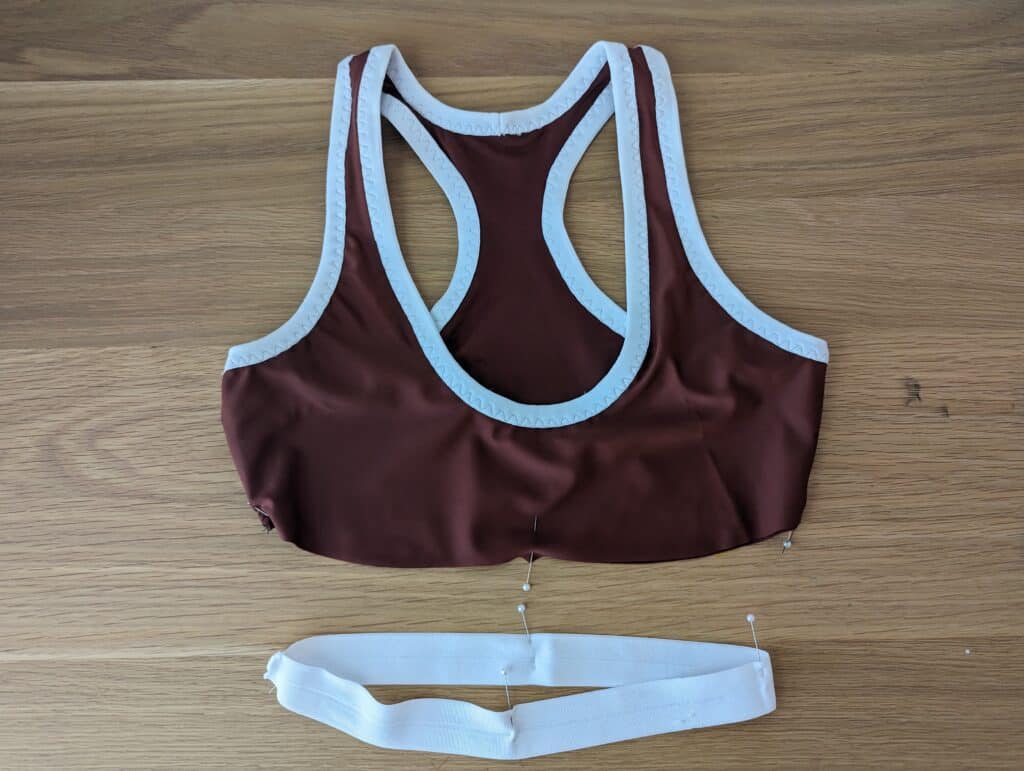
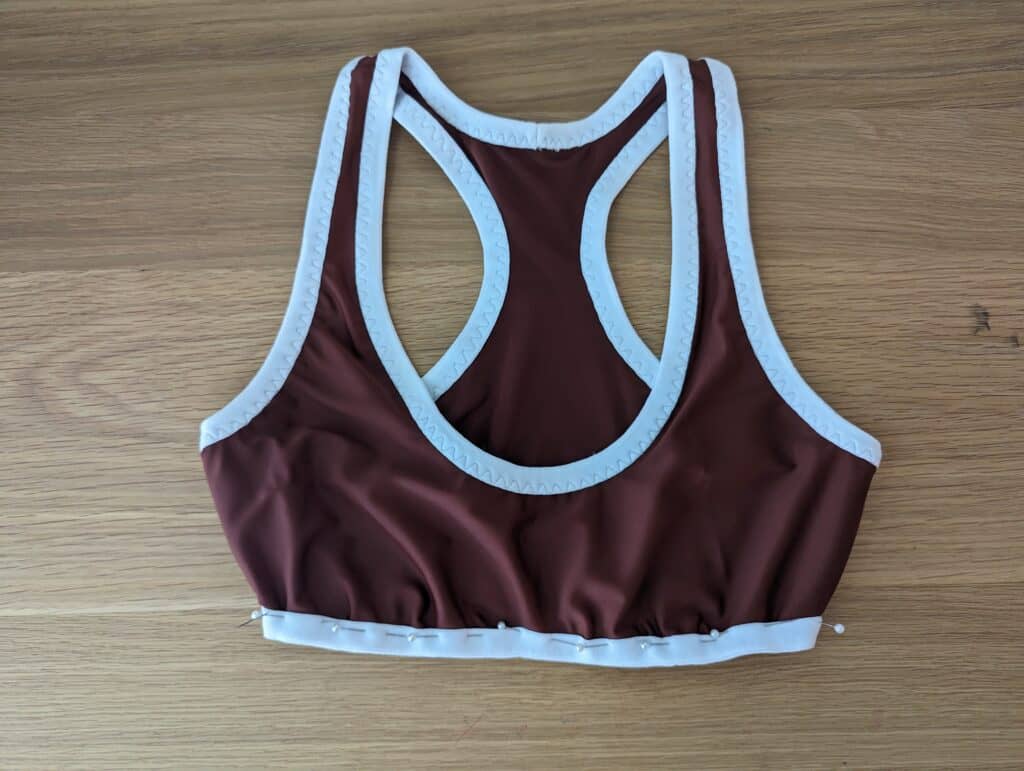
I recommend using the knit band measurement and attaching the foe just like the rest of the top.
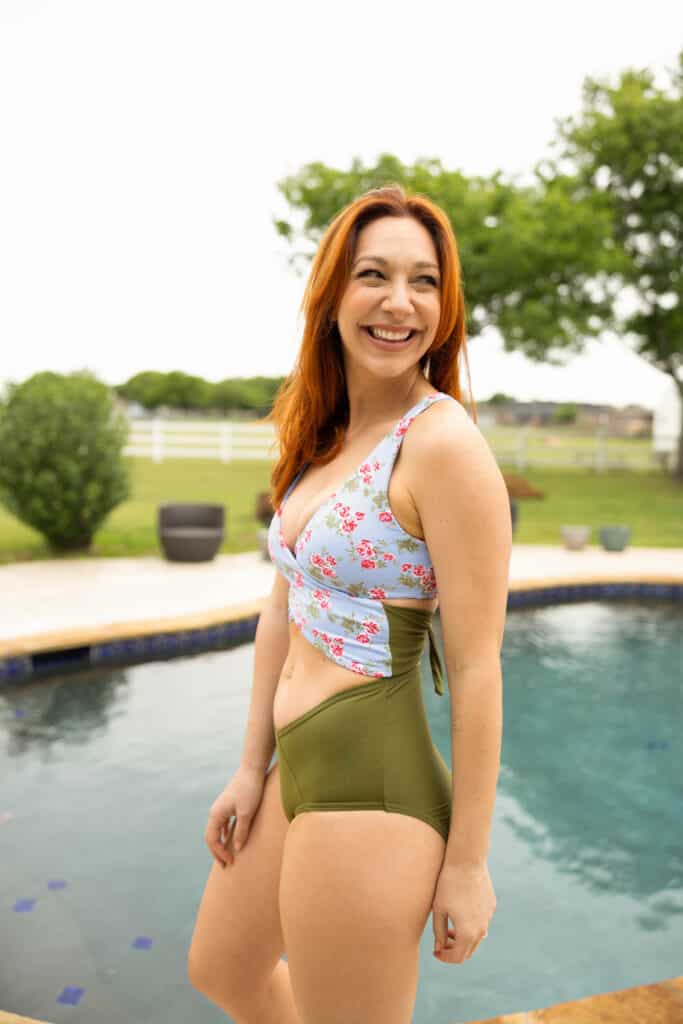
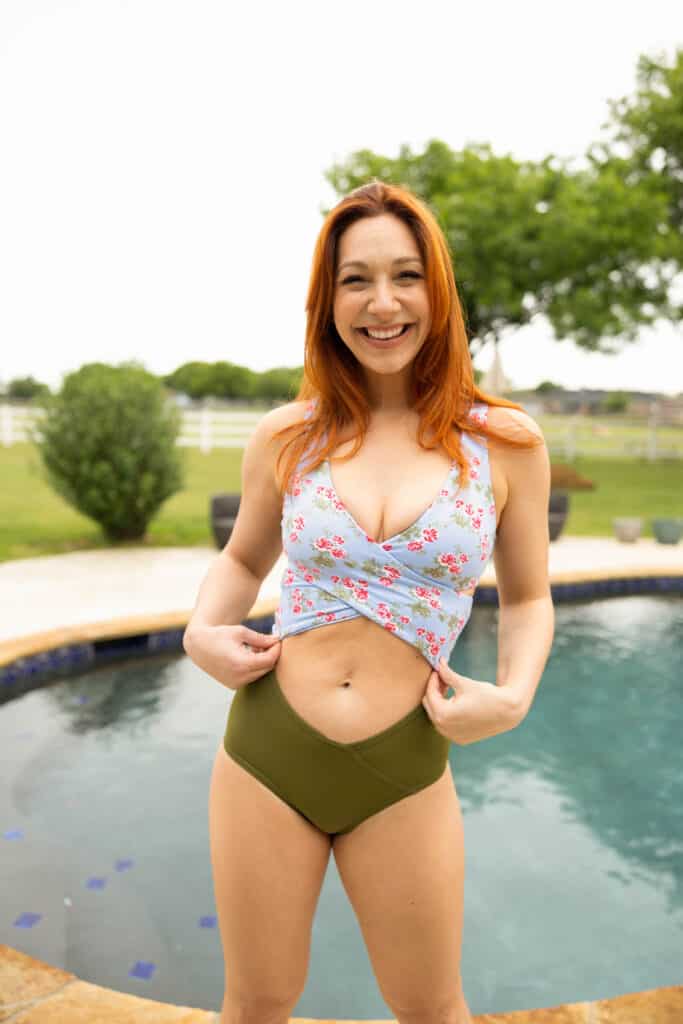
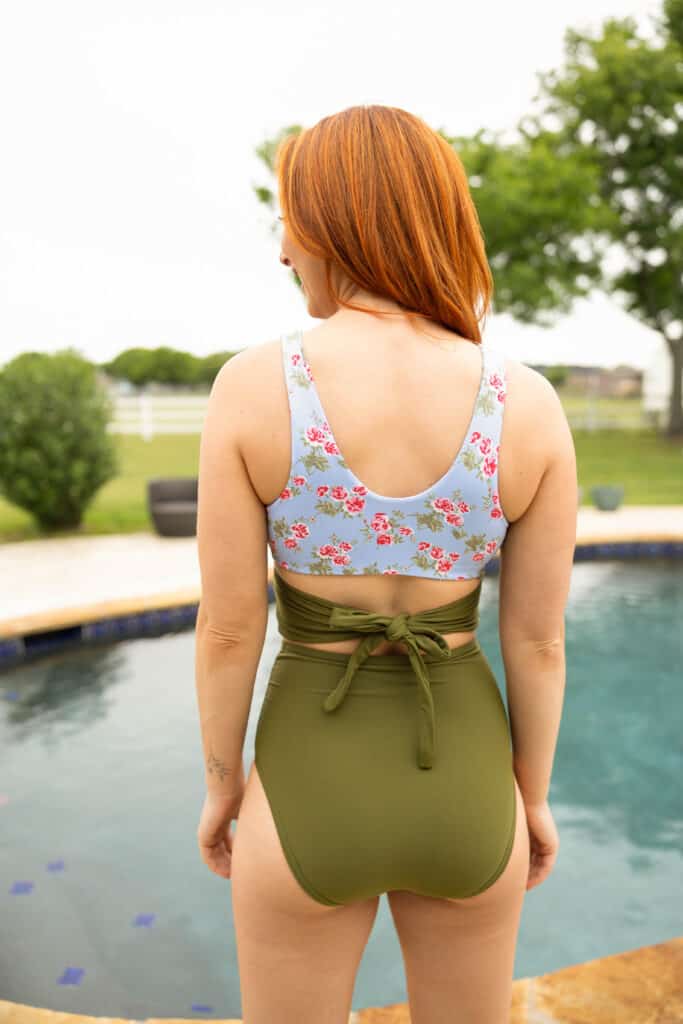
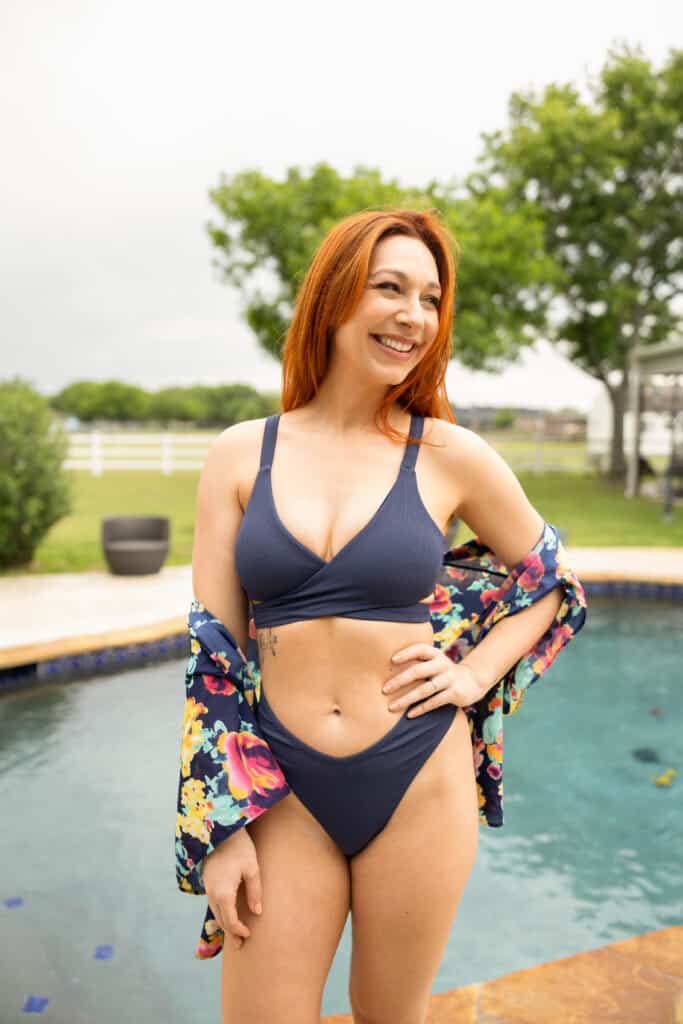
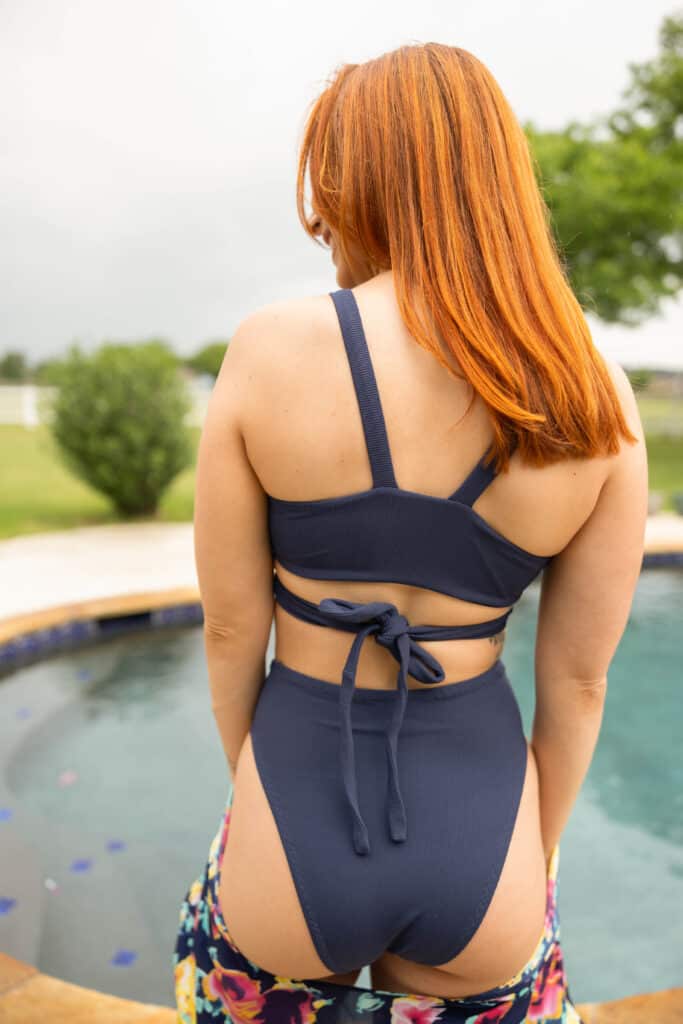
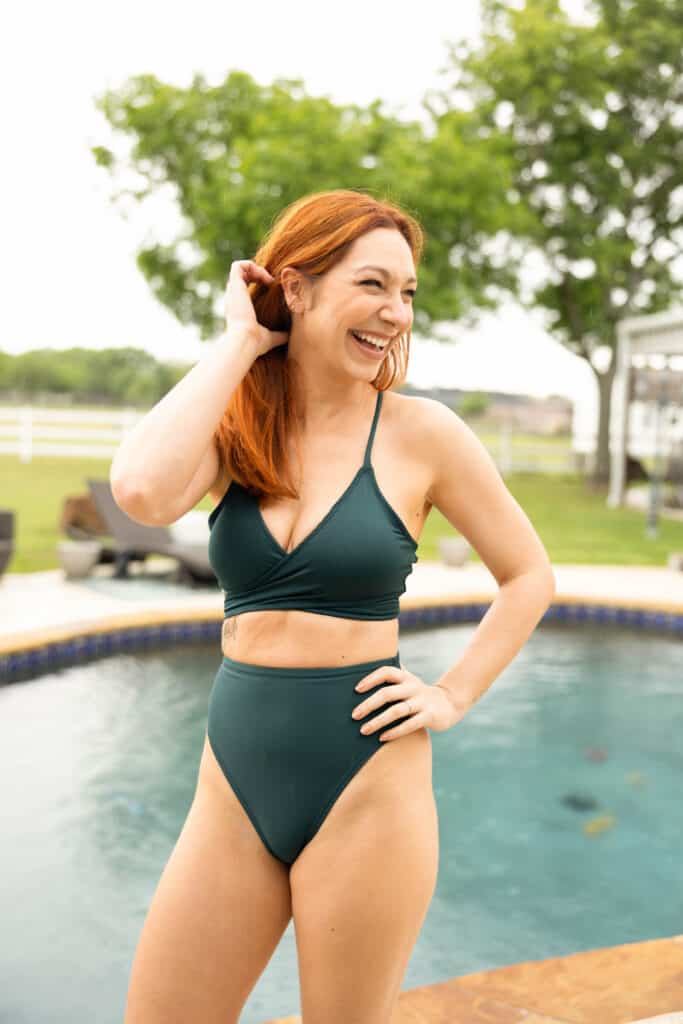
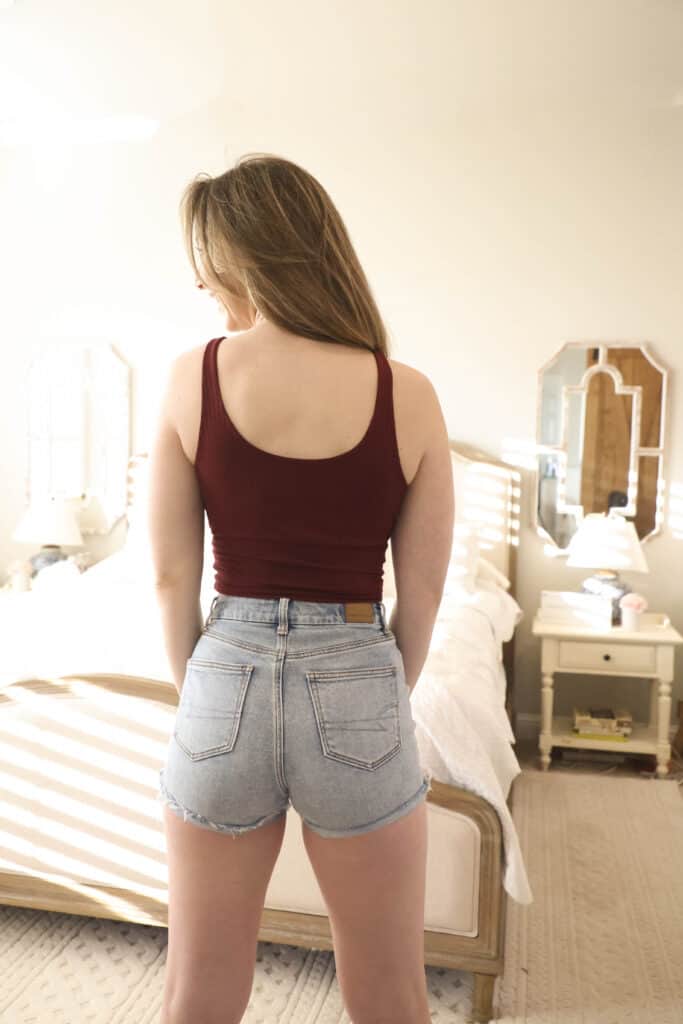
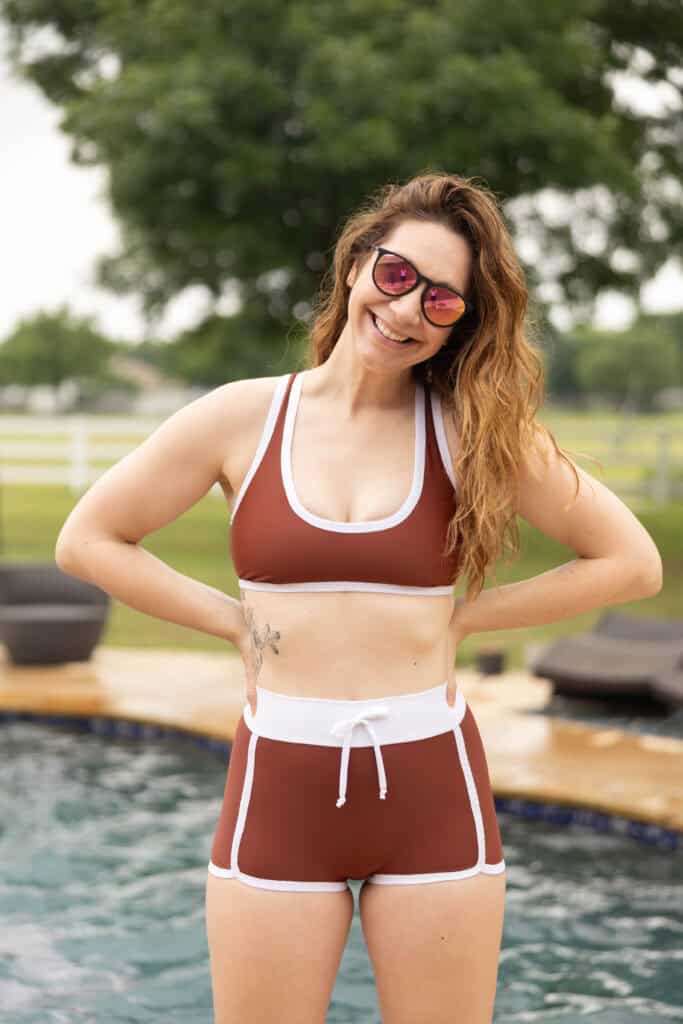
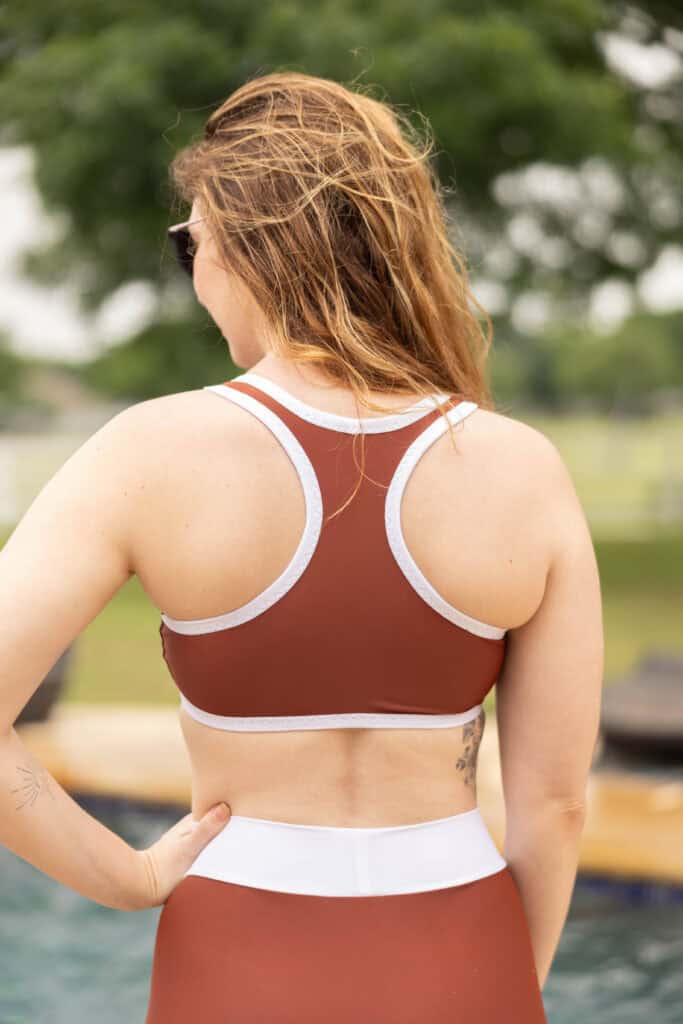
I think it’s such a cute look for a bikini top!

We cannot wait to see what you create for yourself using the Roller Derby patterns! They are available on sale (no code needed) through 11:59pm CST, June 19, 2024.
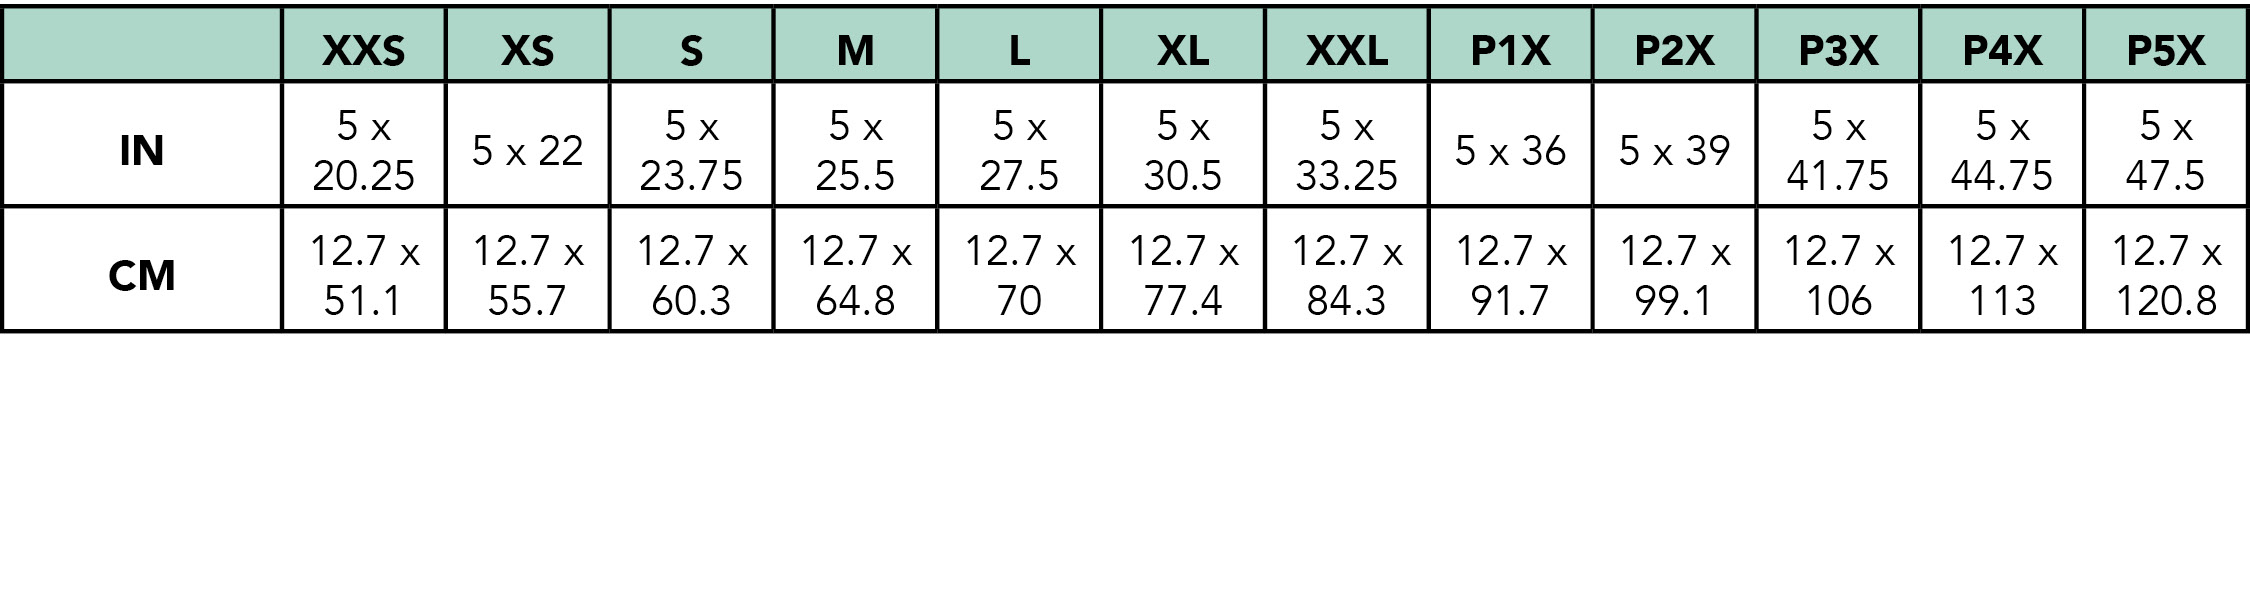
Ready to throw these in your cart and get to sewing? Find the patterns here:
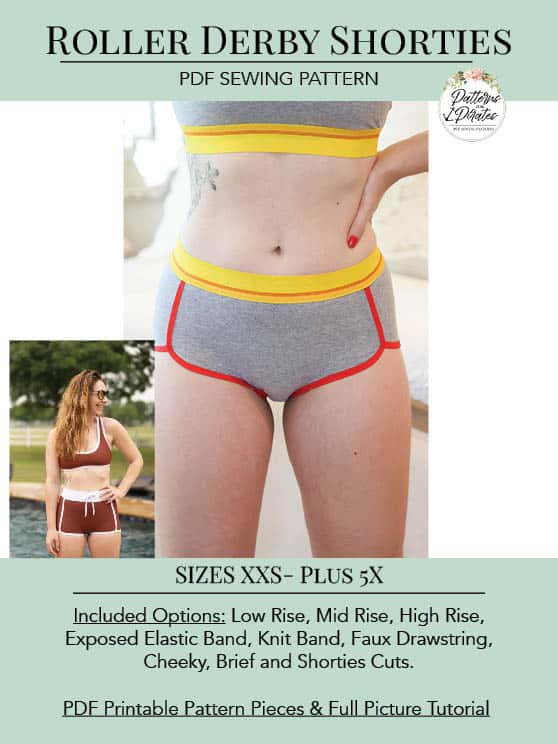
If you ever want to purchase a bra/swim top and undies/swim bottoms together as a set you can use code: swimbundle to grab whatever top and bottom combo you love best and create your own swim/undies bundle 🙂
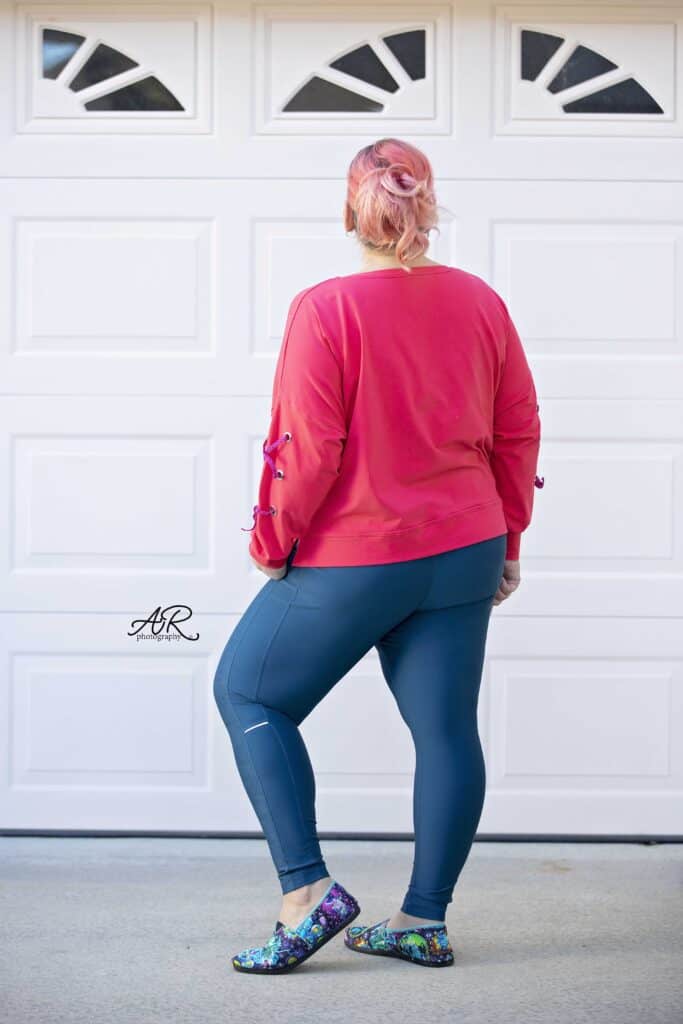
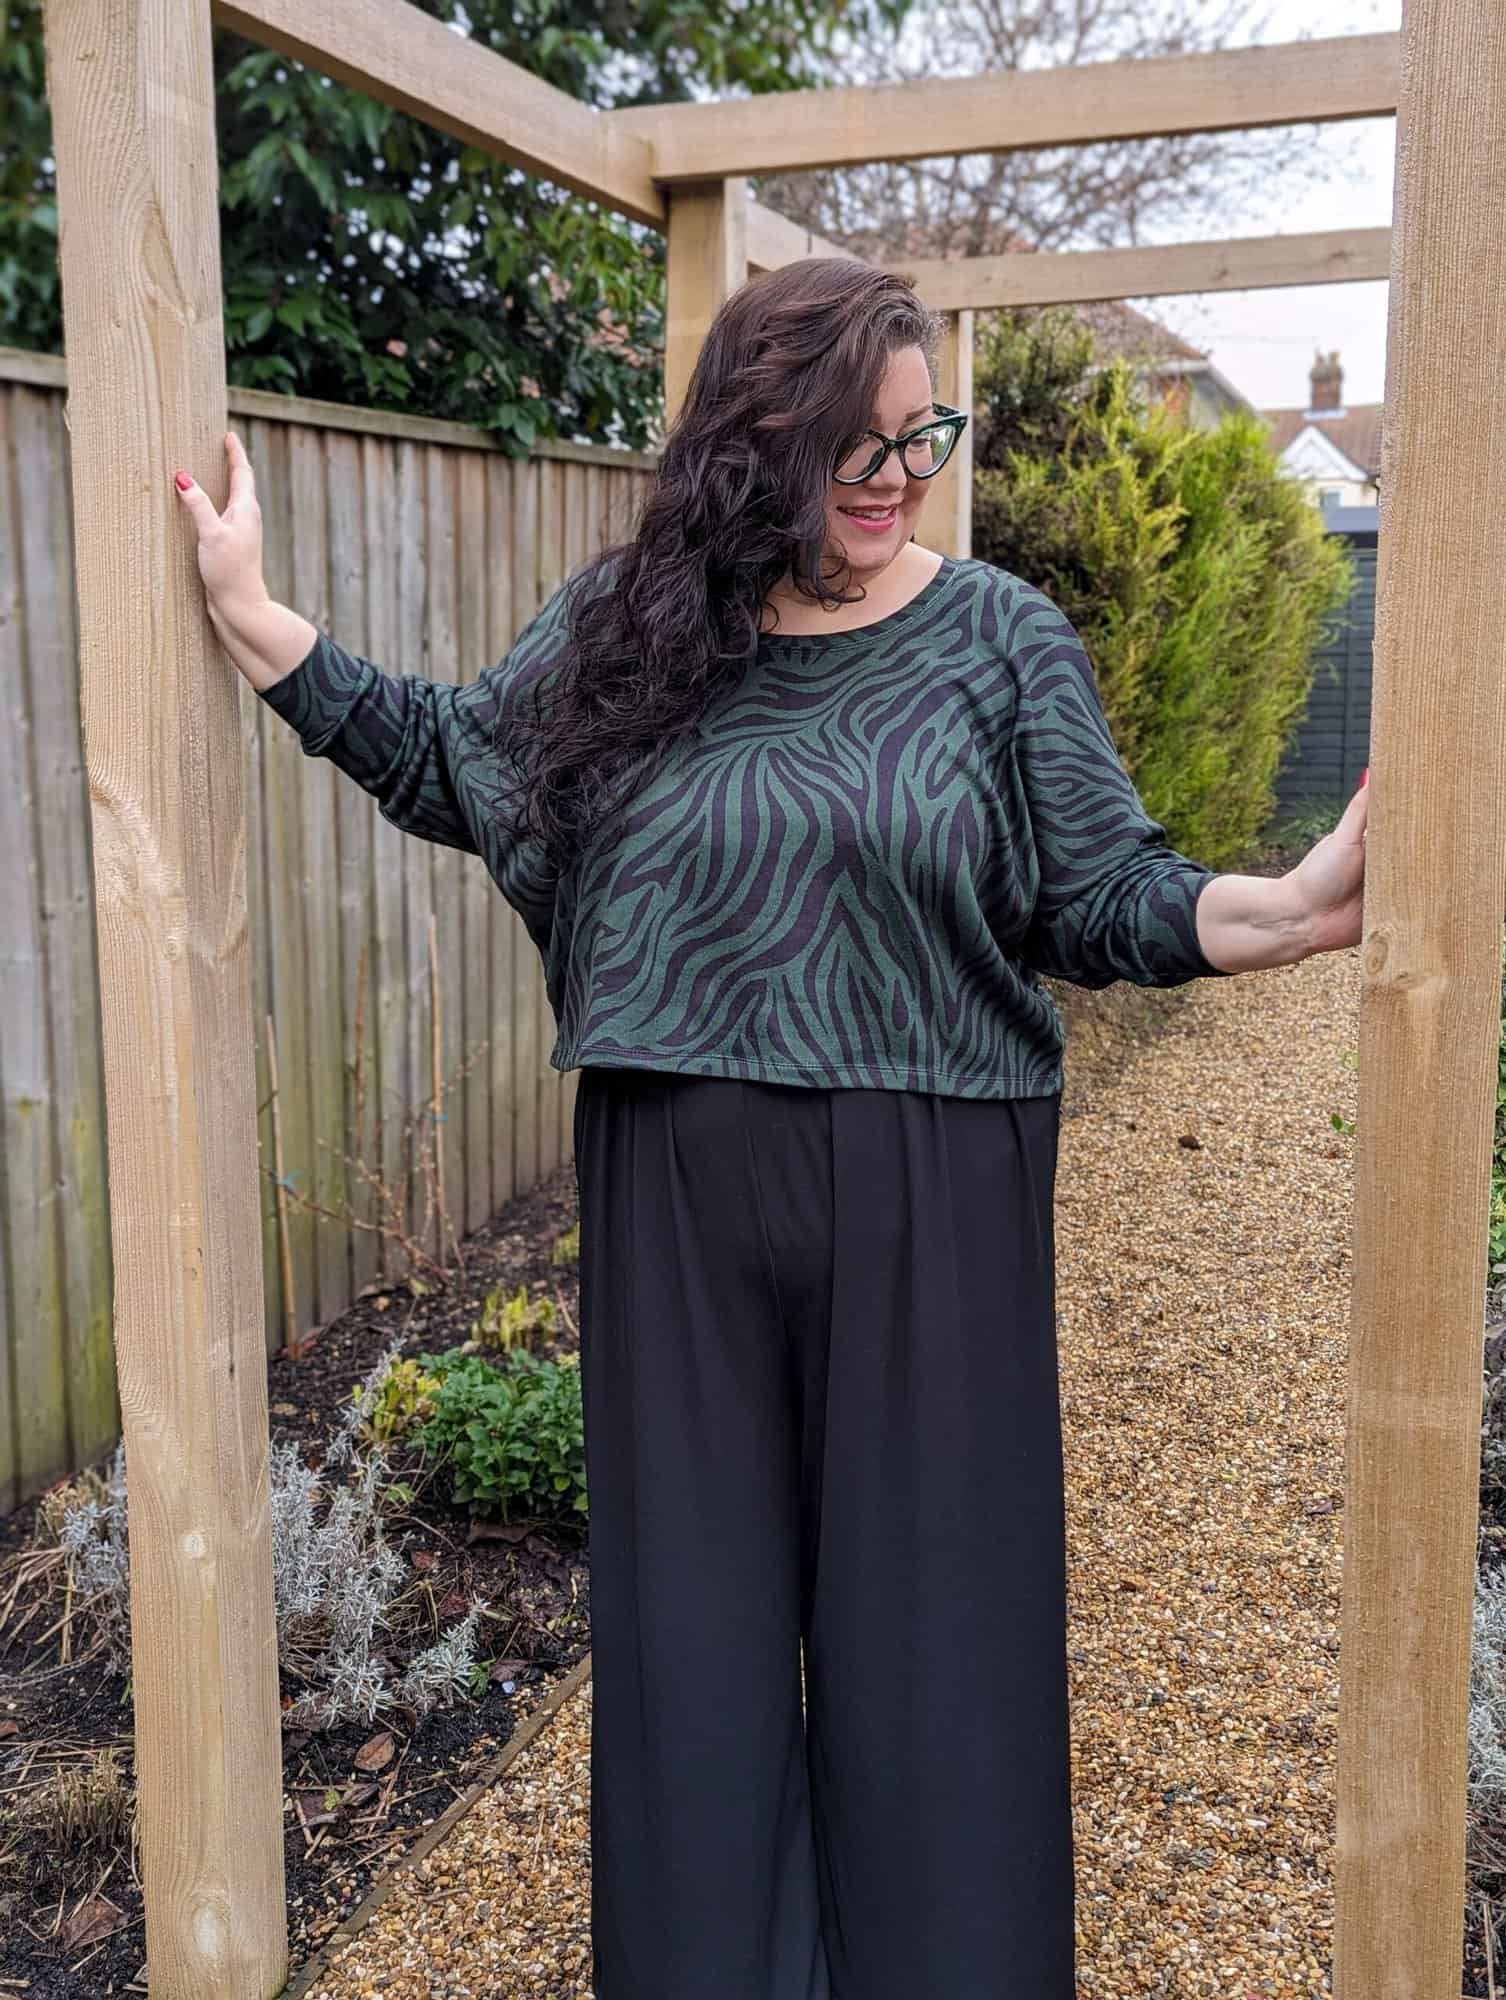
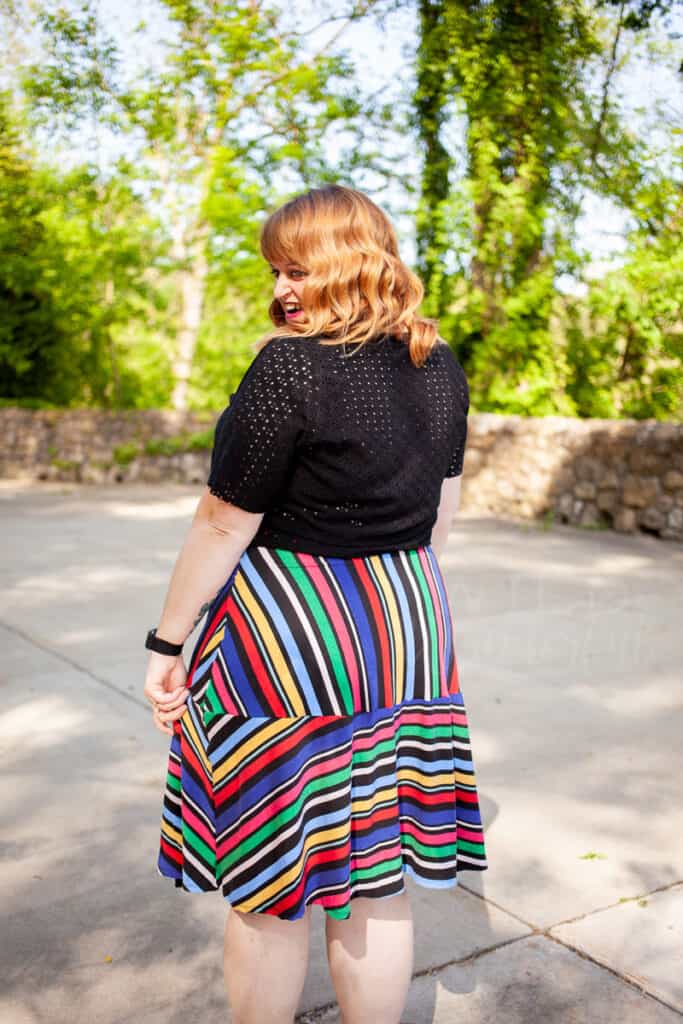
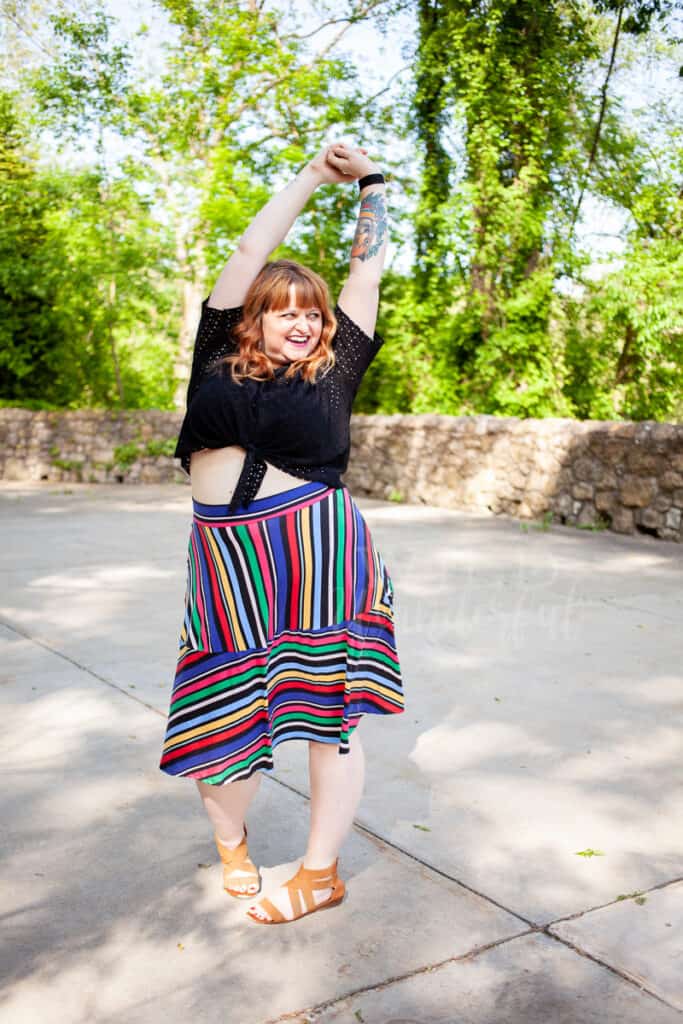
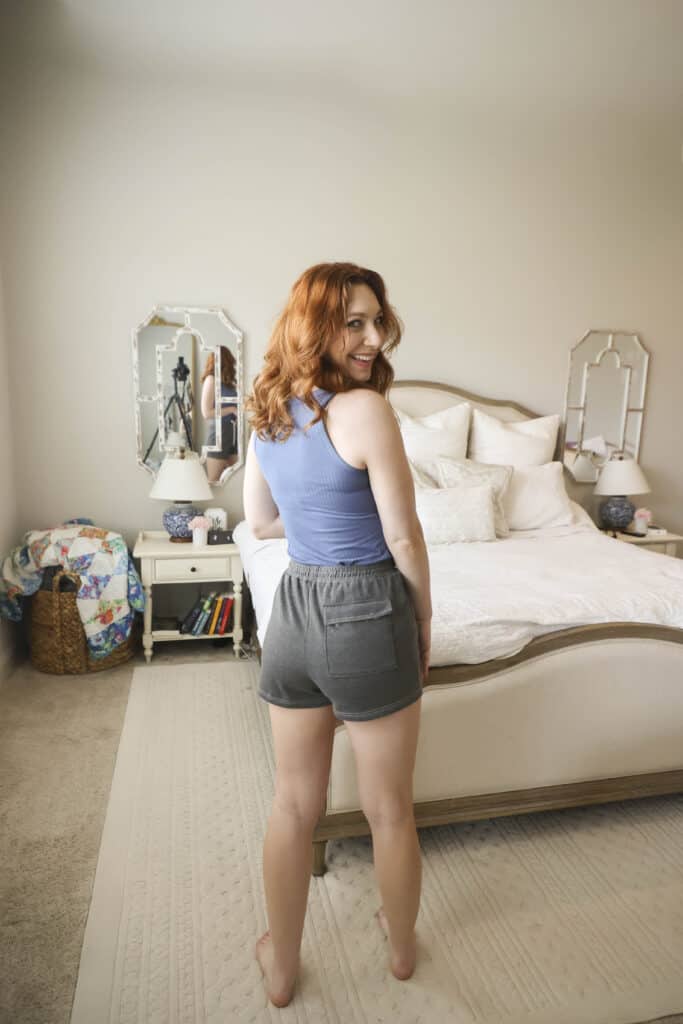
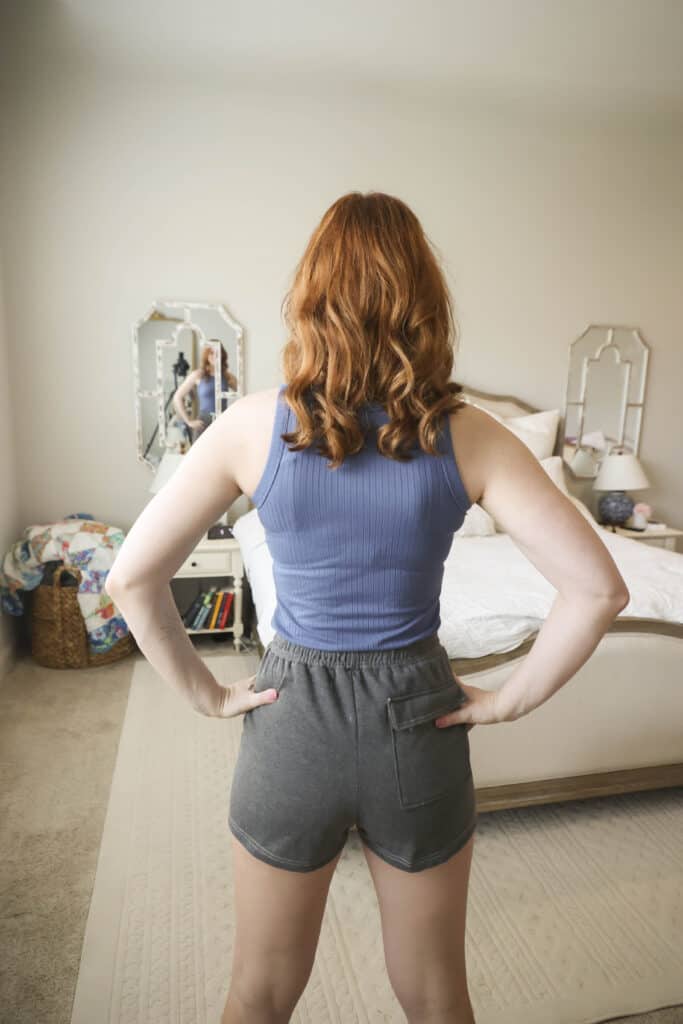
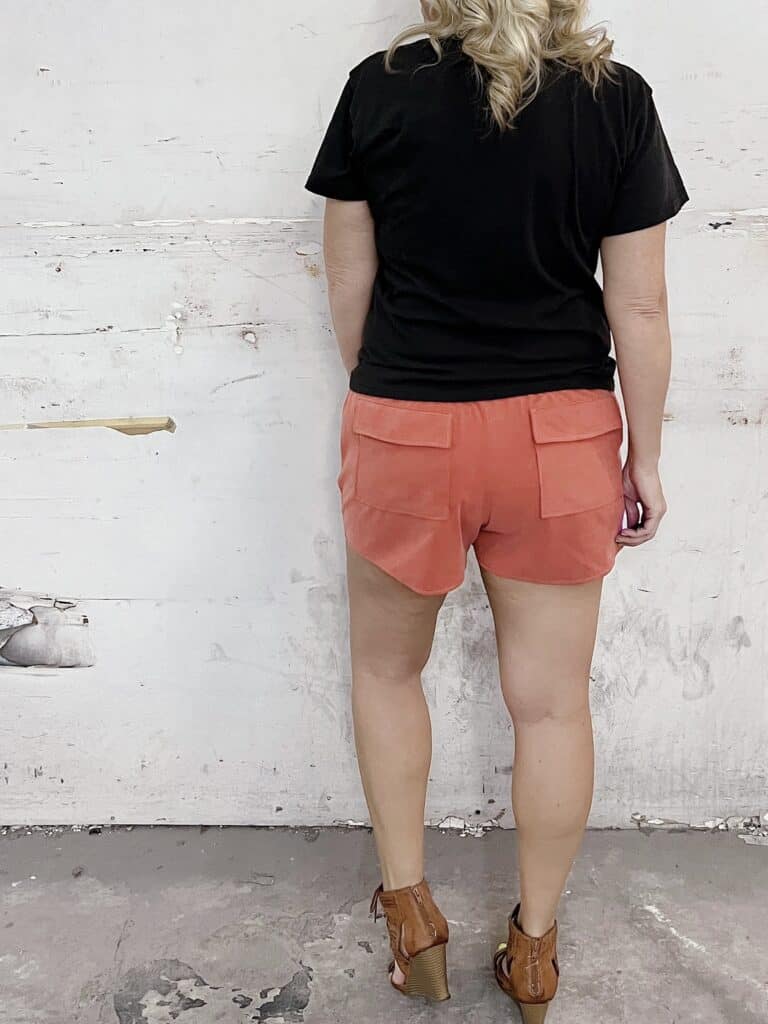
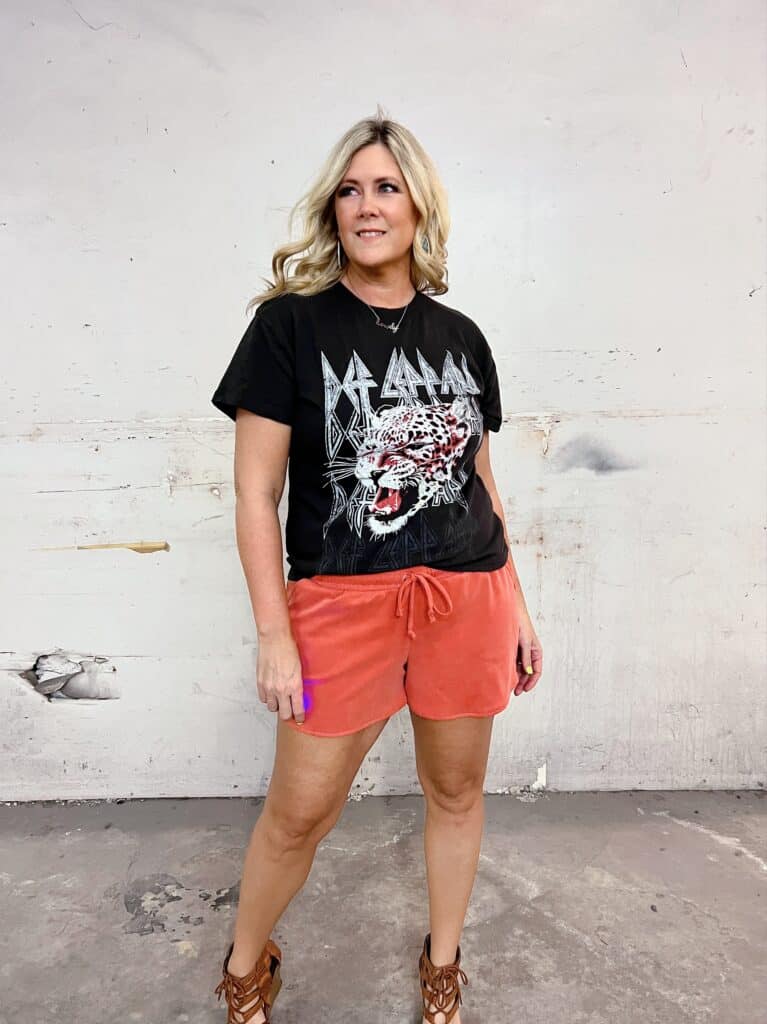
As always, we’ve got more photos for you to use as inspiration! Head over to the Facebook group to browse our albums full of gorgeous photos, compliments of our tester team!
Roller Derby Shorties Facebook Album | Roller Derby Bralette Facebook Album