Patterns for Pirates

P4P stylish, modern, wearable patterns

  • Home
  • Blog
    • Frequently Asked Questions
    • Pattern Releases
      • Free Patterns
    • P4P University
      • Fitting
      • Sewing with Stretch, Knit Fabrics
      • Sewing with Woven Fabrics
      • Sewing Machines
    • Sew-A-Longs
    • Fabric for Pirates
    • Pattern Hacks
    • Announcement
      • Blog Tours
      • Contest/Giveaway
  • Shop
  • Bundle Discounts
  • Flash Friday
  • Gift Cards
  • My Account
  • Cart

Petite Pegs – easy cuffs hack

January 24, 2018

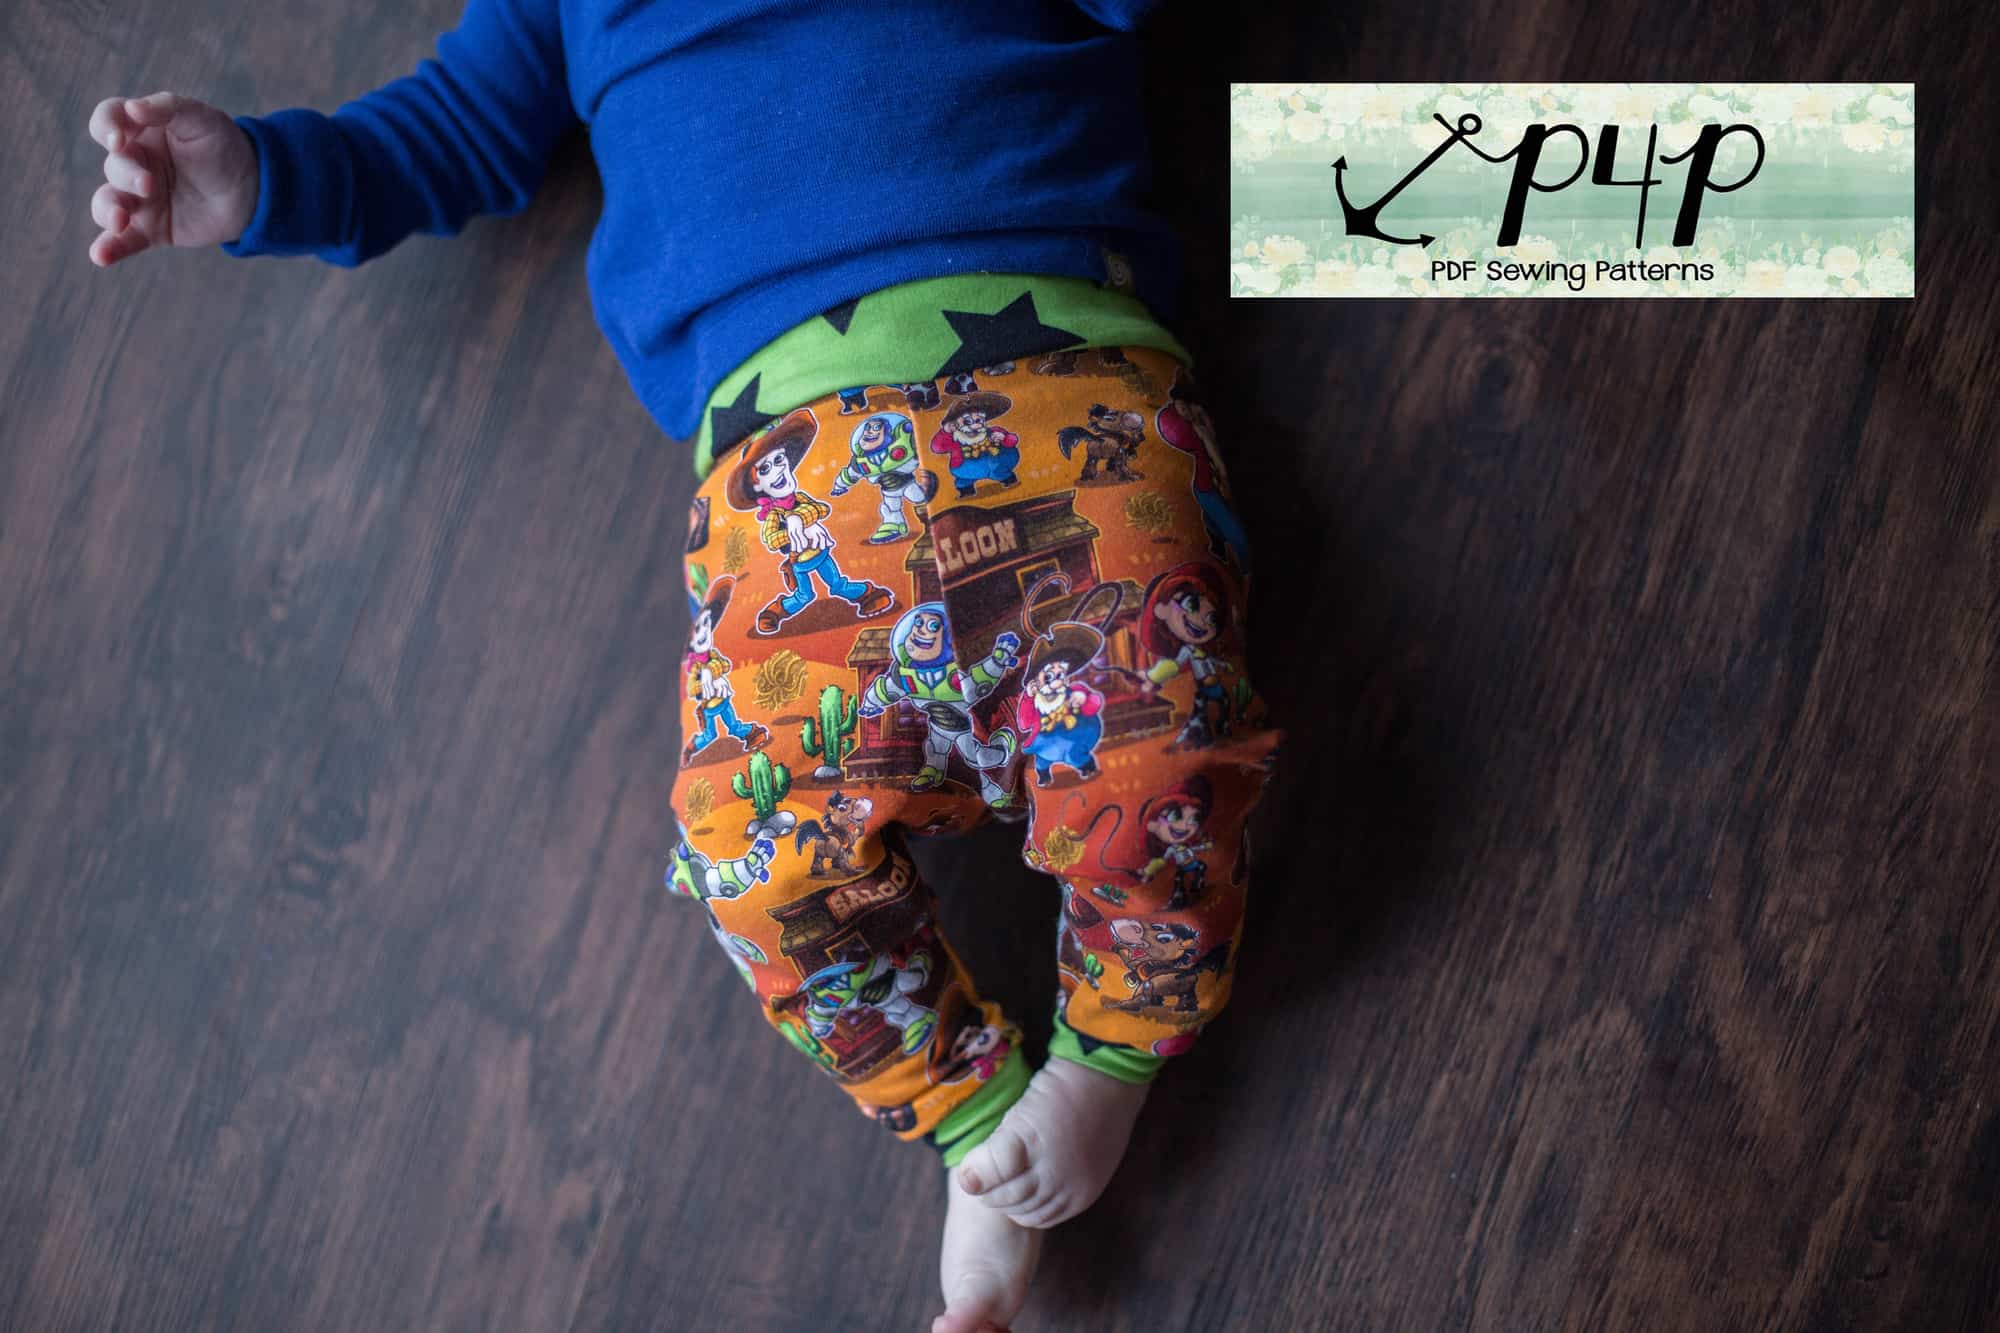
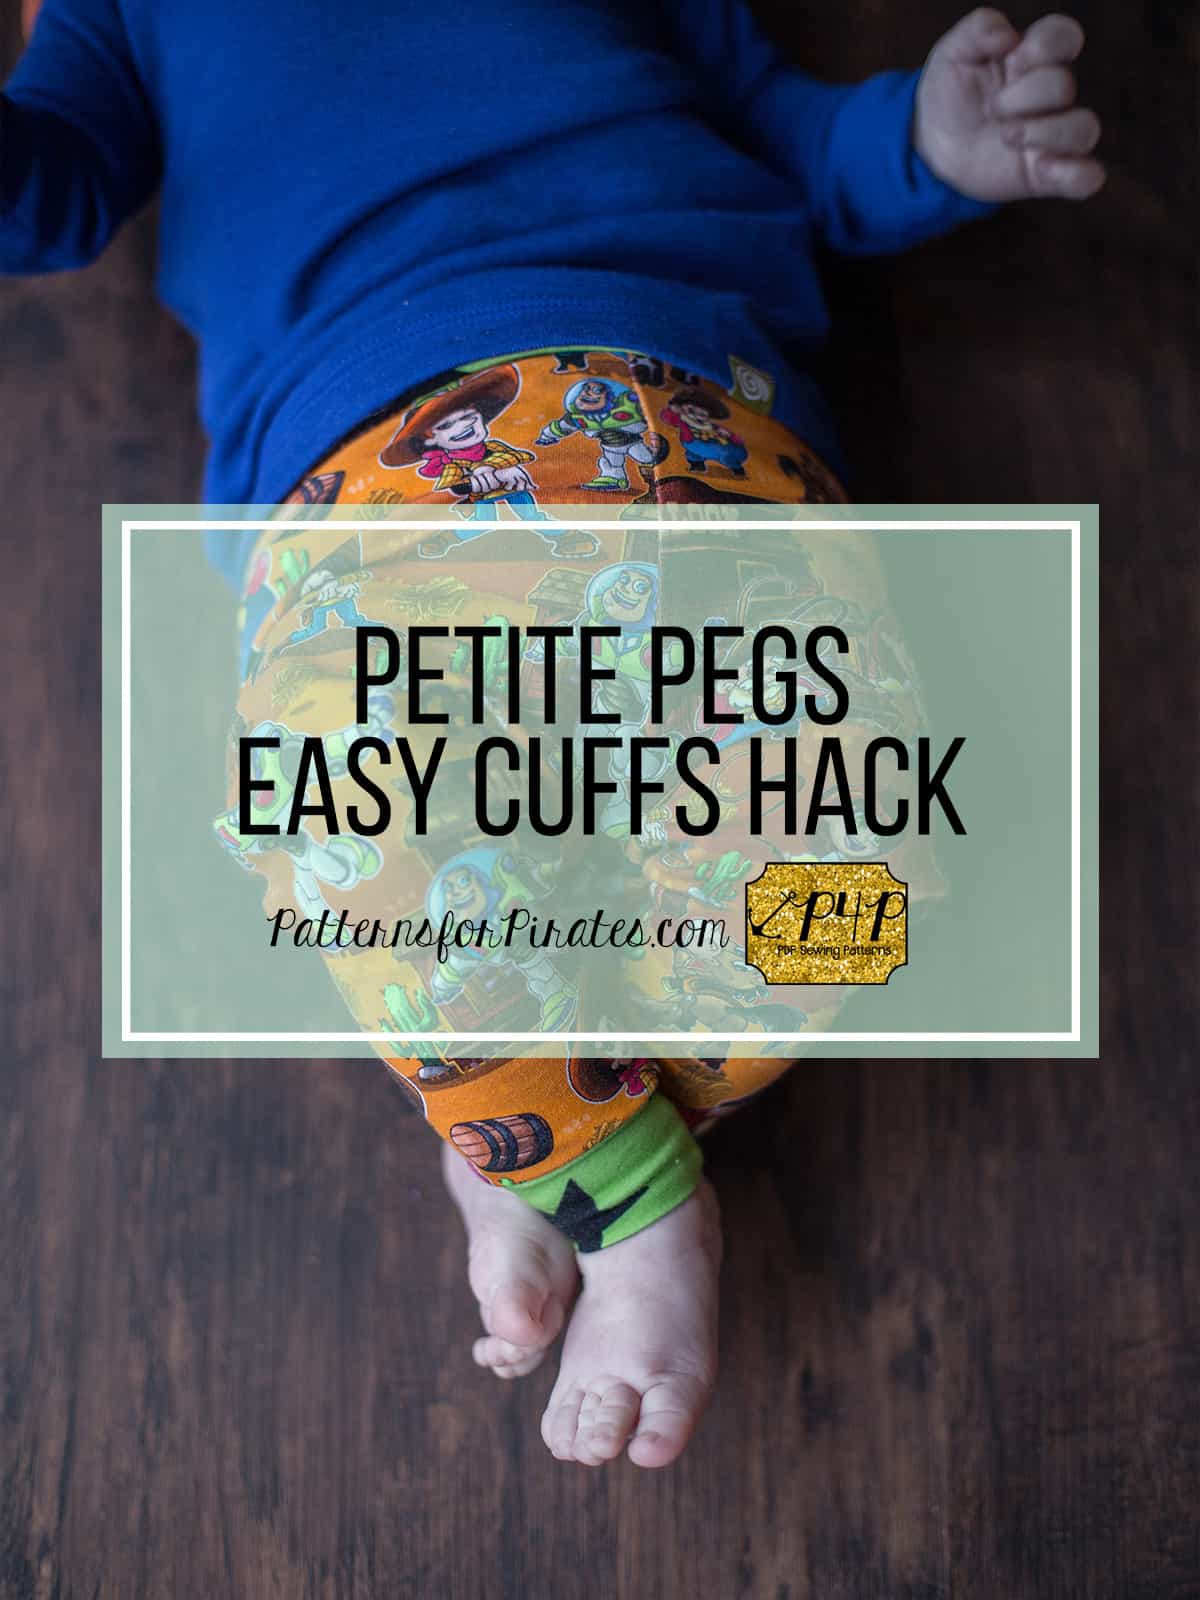
How adorable are the new Petite Pegs? So much cuteness in such a small package. If you haven’t downloaded your FREE copy, do that here. Today on the blog I wanted to show you how to add cuffs to the Petite pegs.

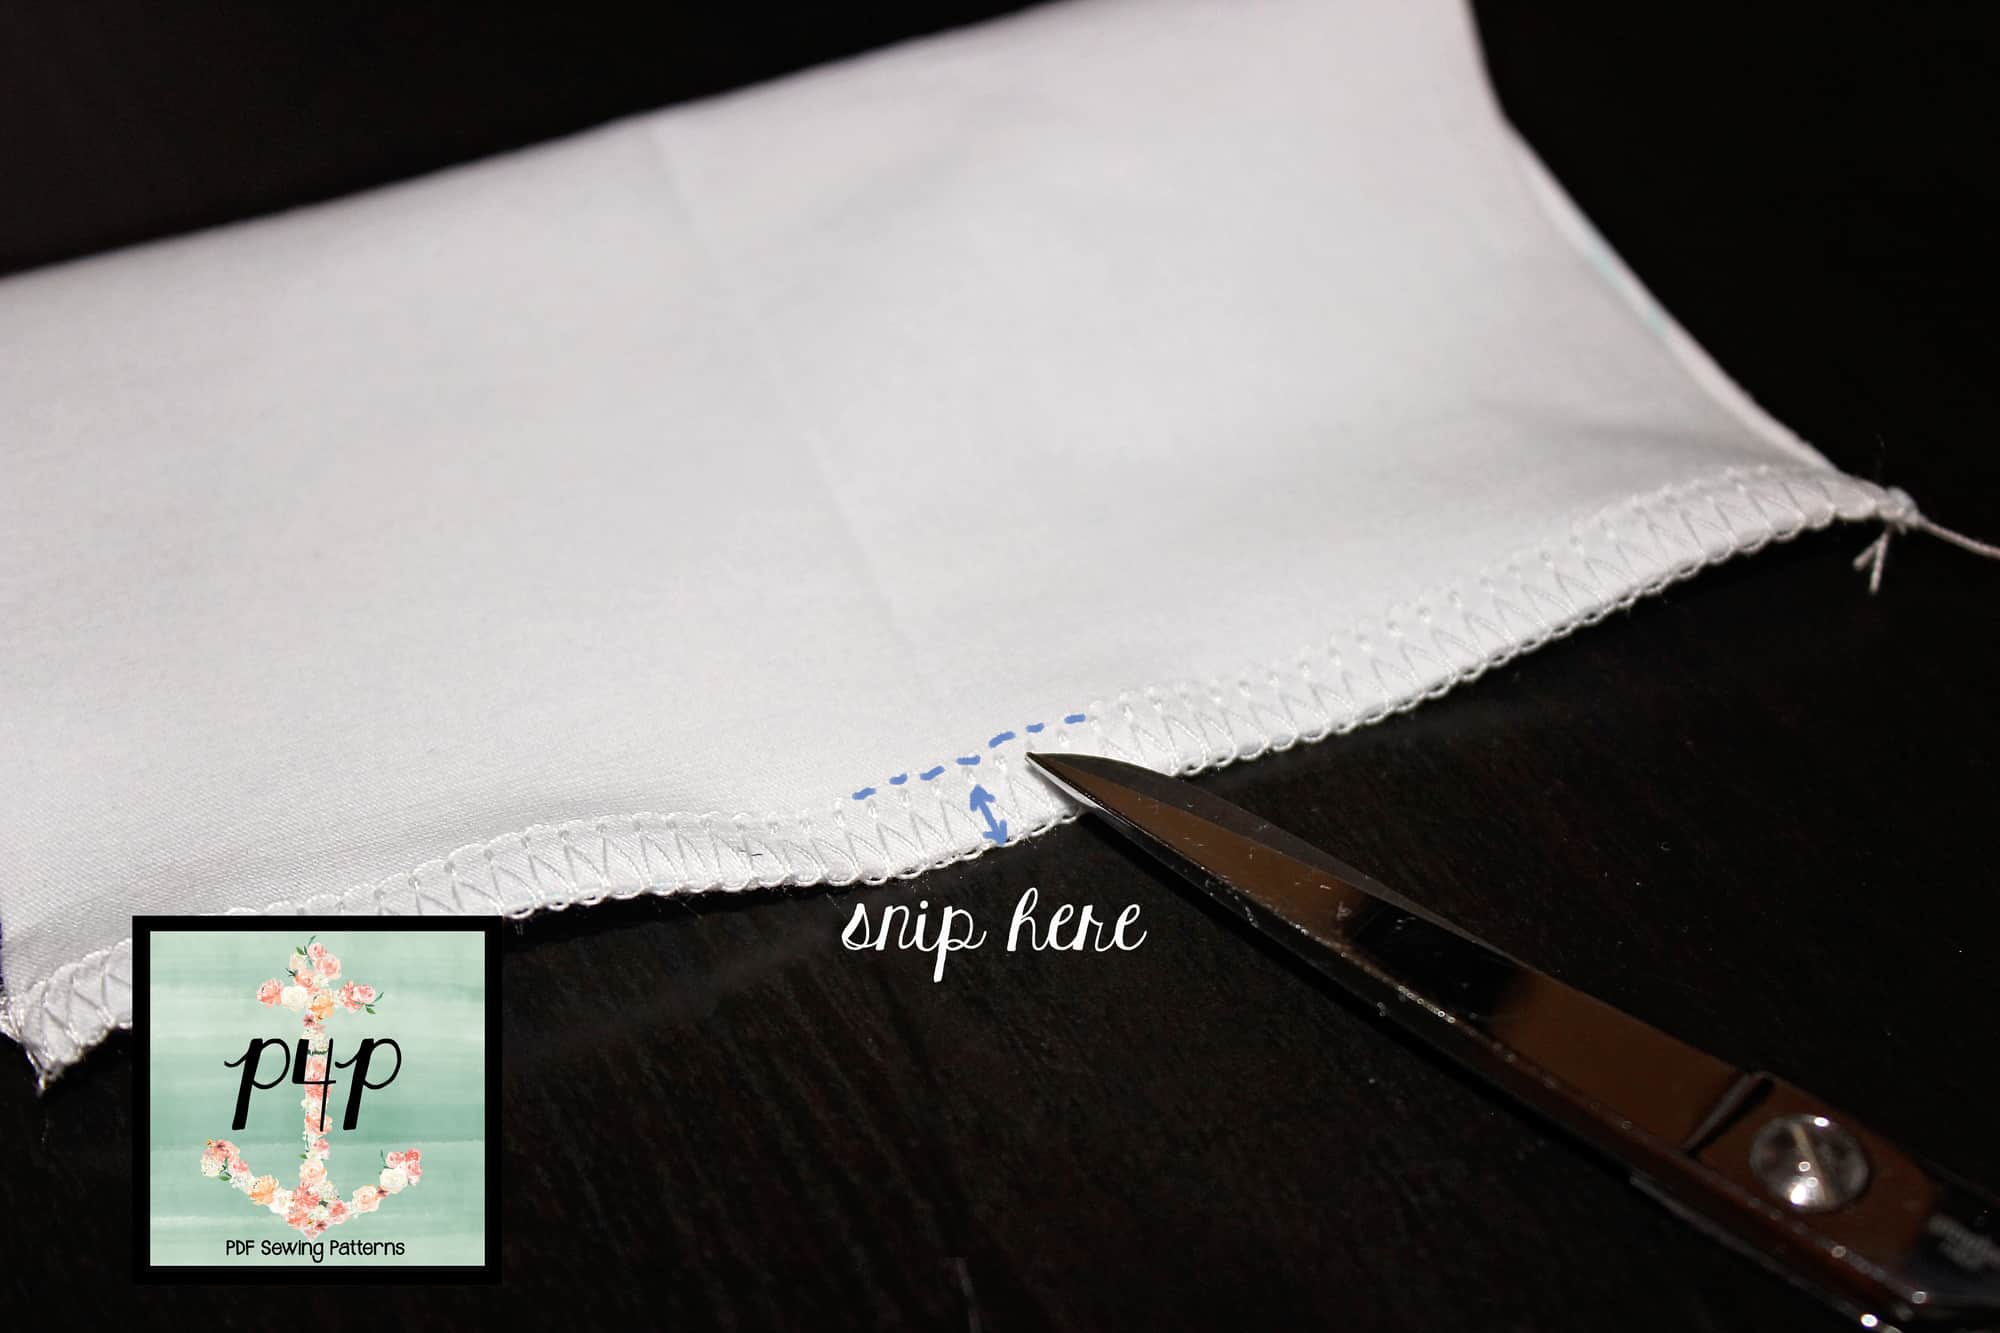
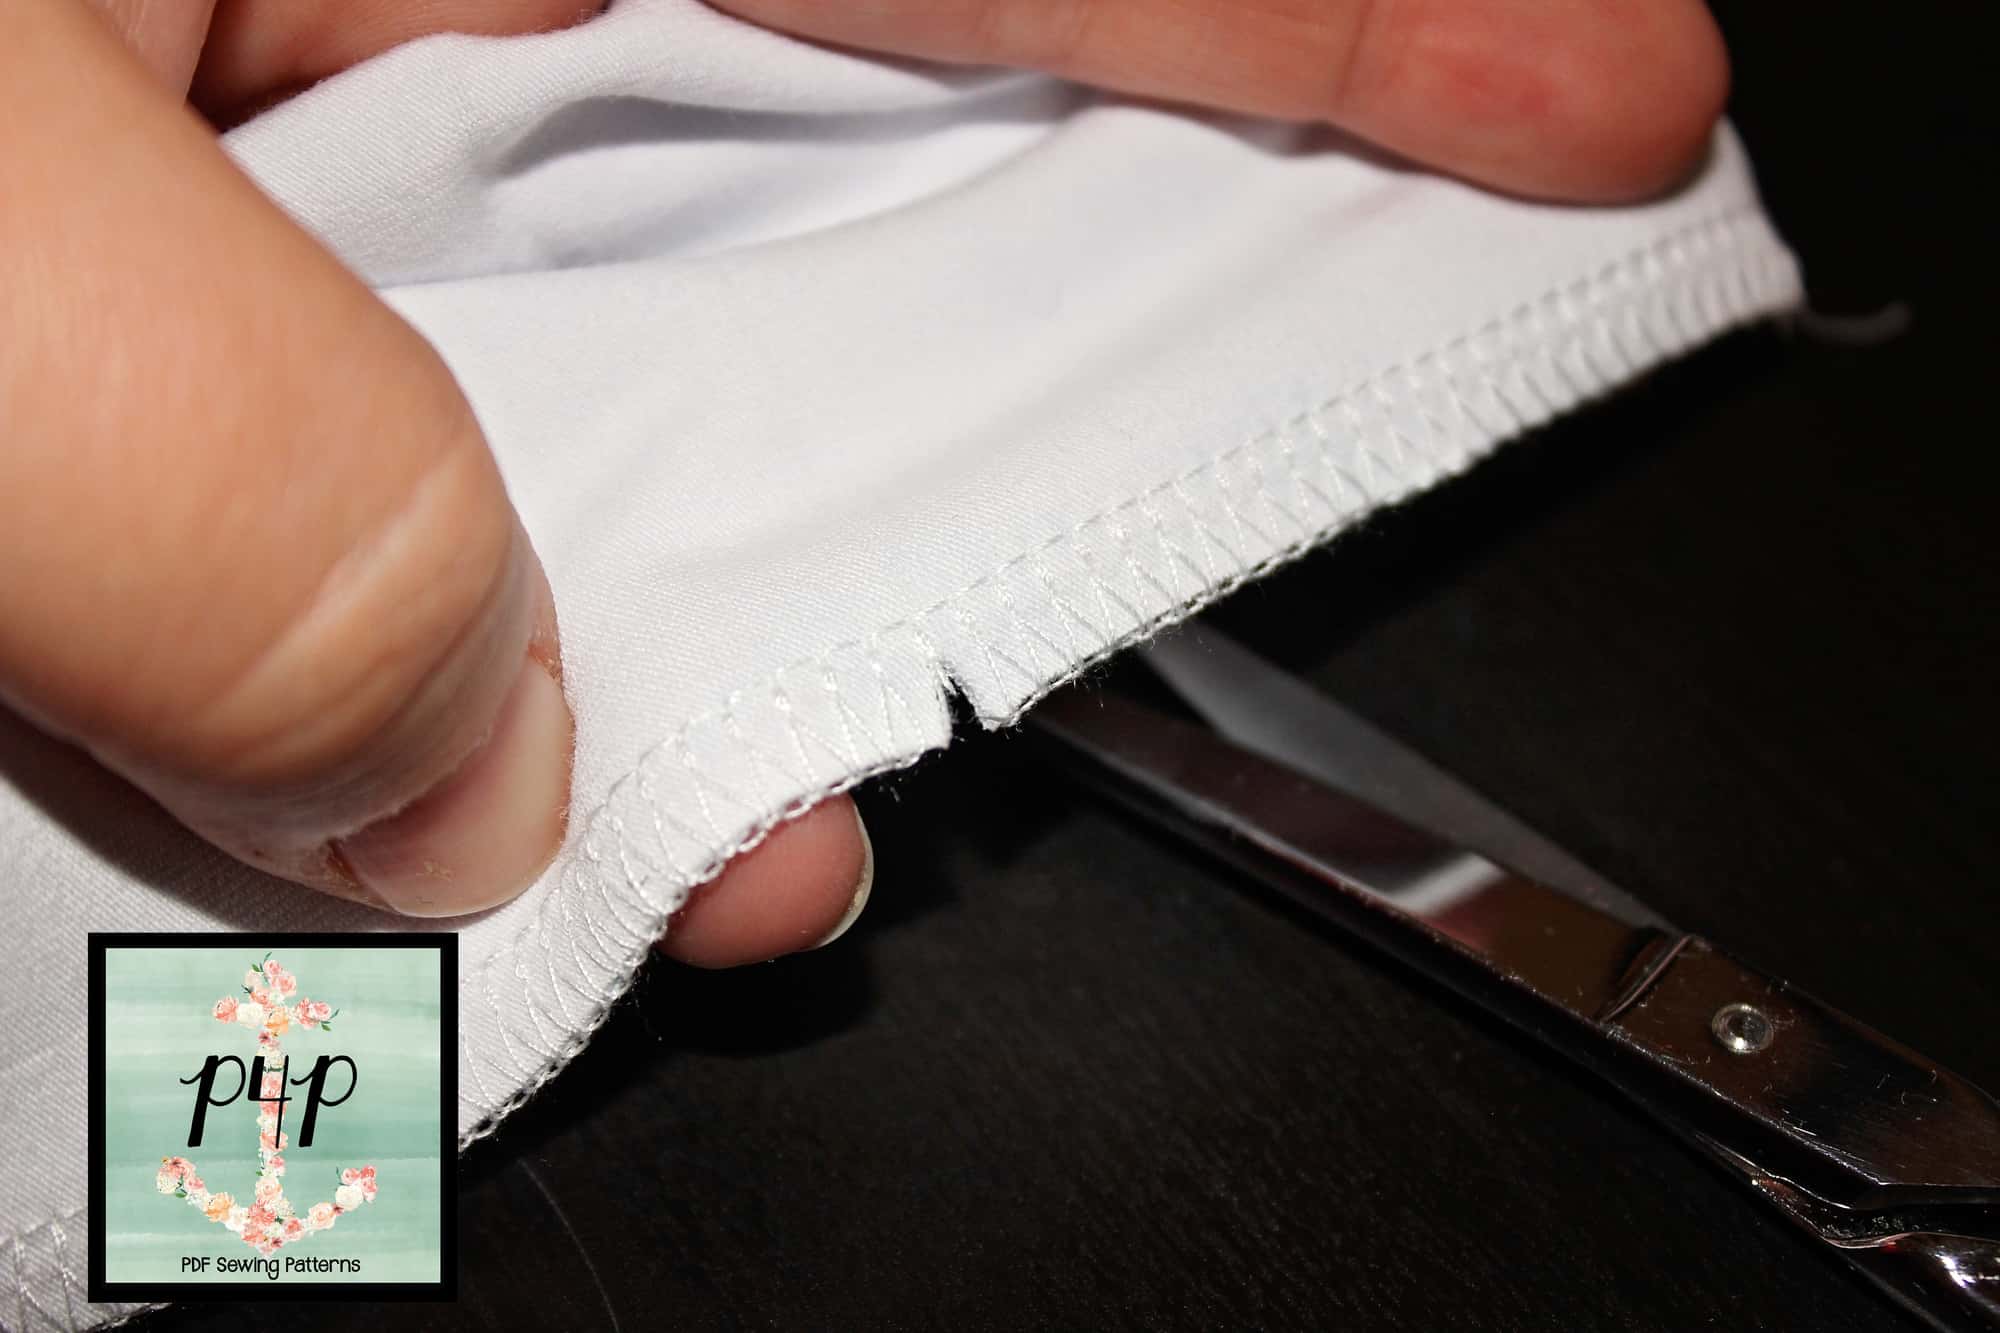
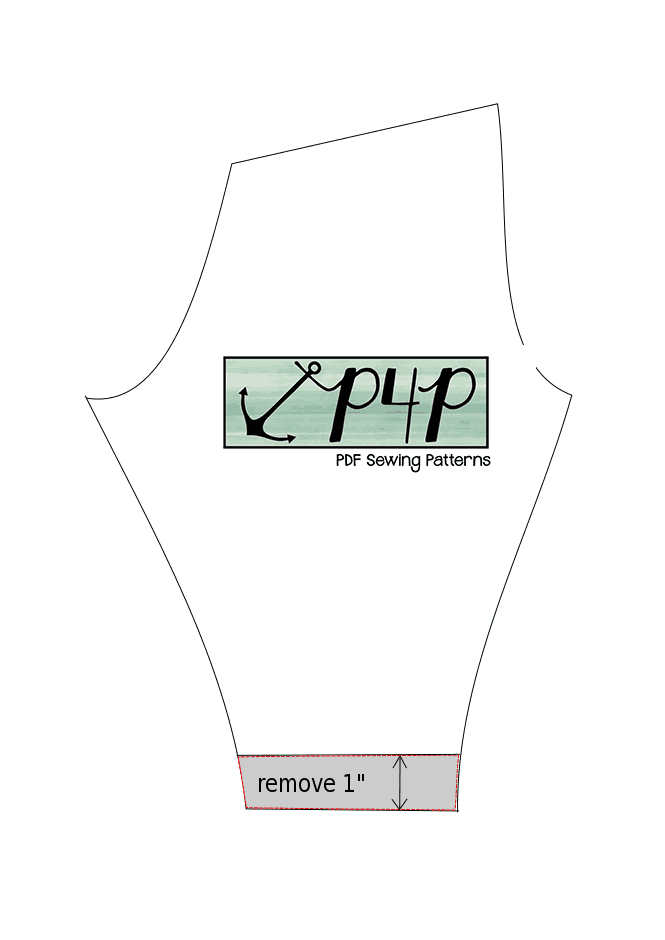
We will start by shortening the length of the Petite Pegs by 1″. To do that simply grab a ruler and draw a line 1 inch above the ankle cut line. This will be your new pegs ankle length. Cut the two mirrored legs using this new cut line.

You will now be cutting the cuffs. I did the math for you so just follow the cutting chart below. Remember to cut two cuffs, one for each leg.


*If you babywear a lot you might find it helpful to double the cuff length.  This way the long cuff can be folded down over the heel. It’s a popular way to wear pants when you’re babywearing because otherwise the pant legs hike up and then the baby ankles stick out.

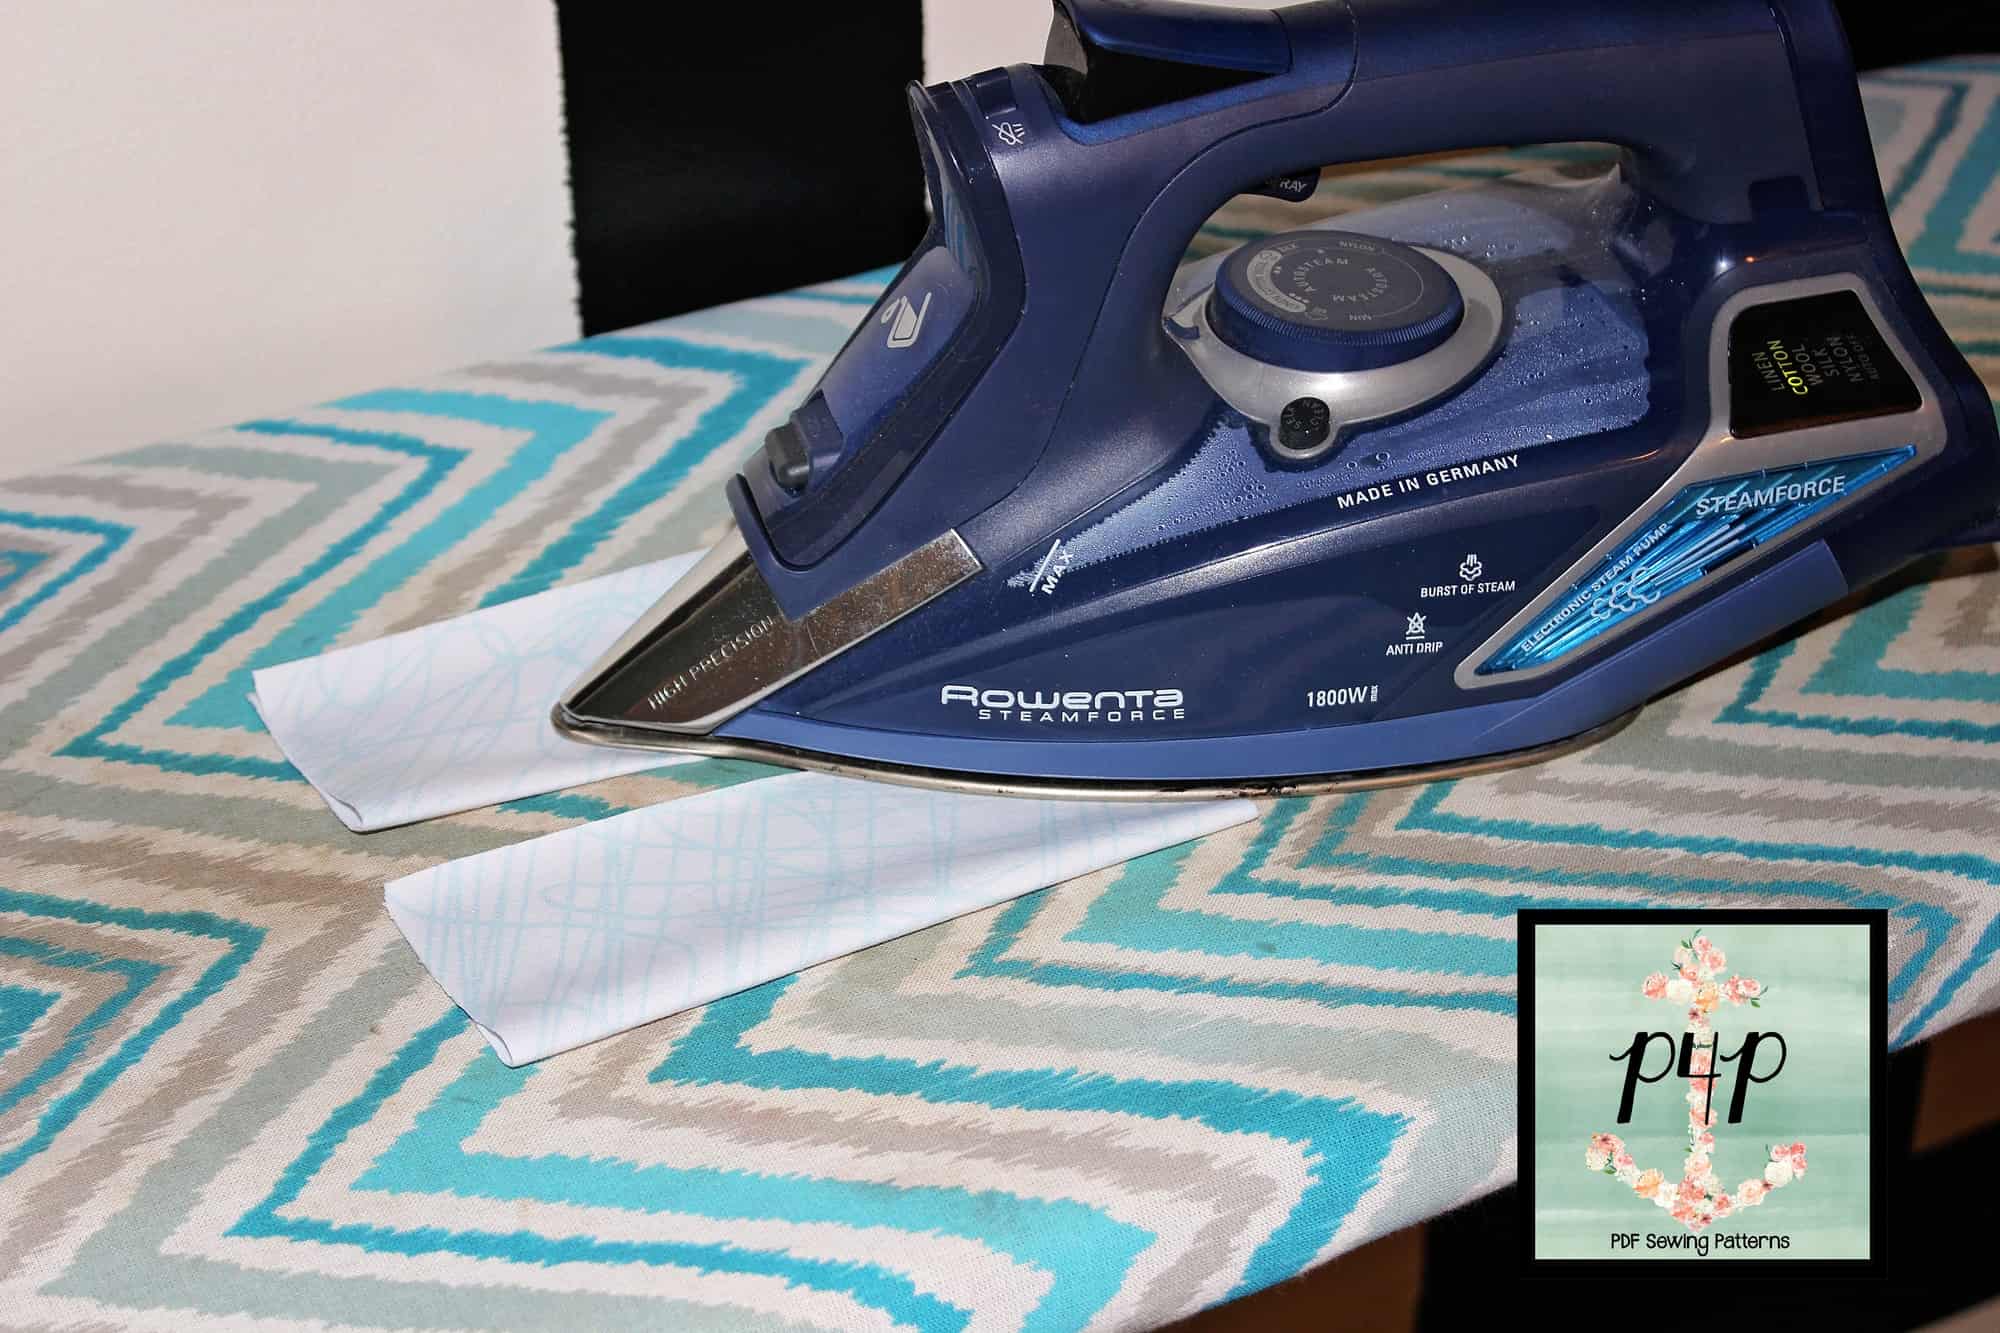
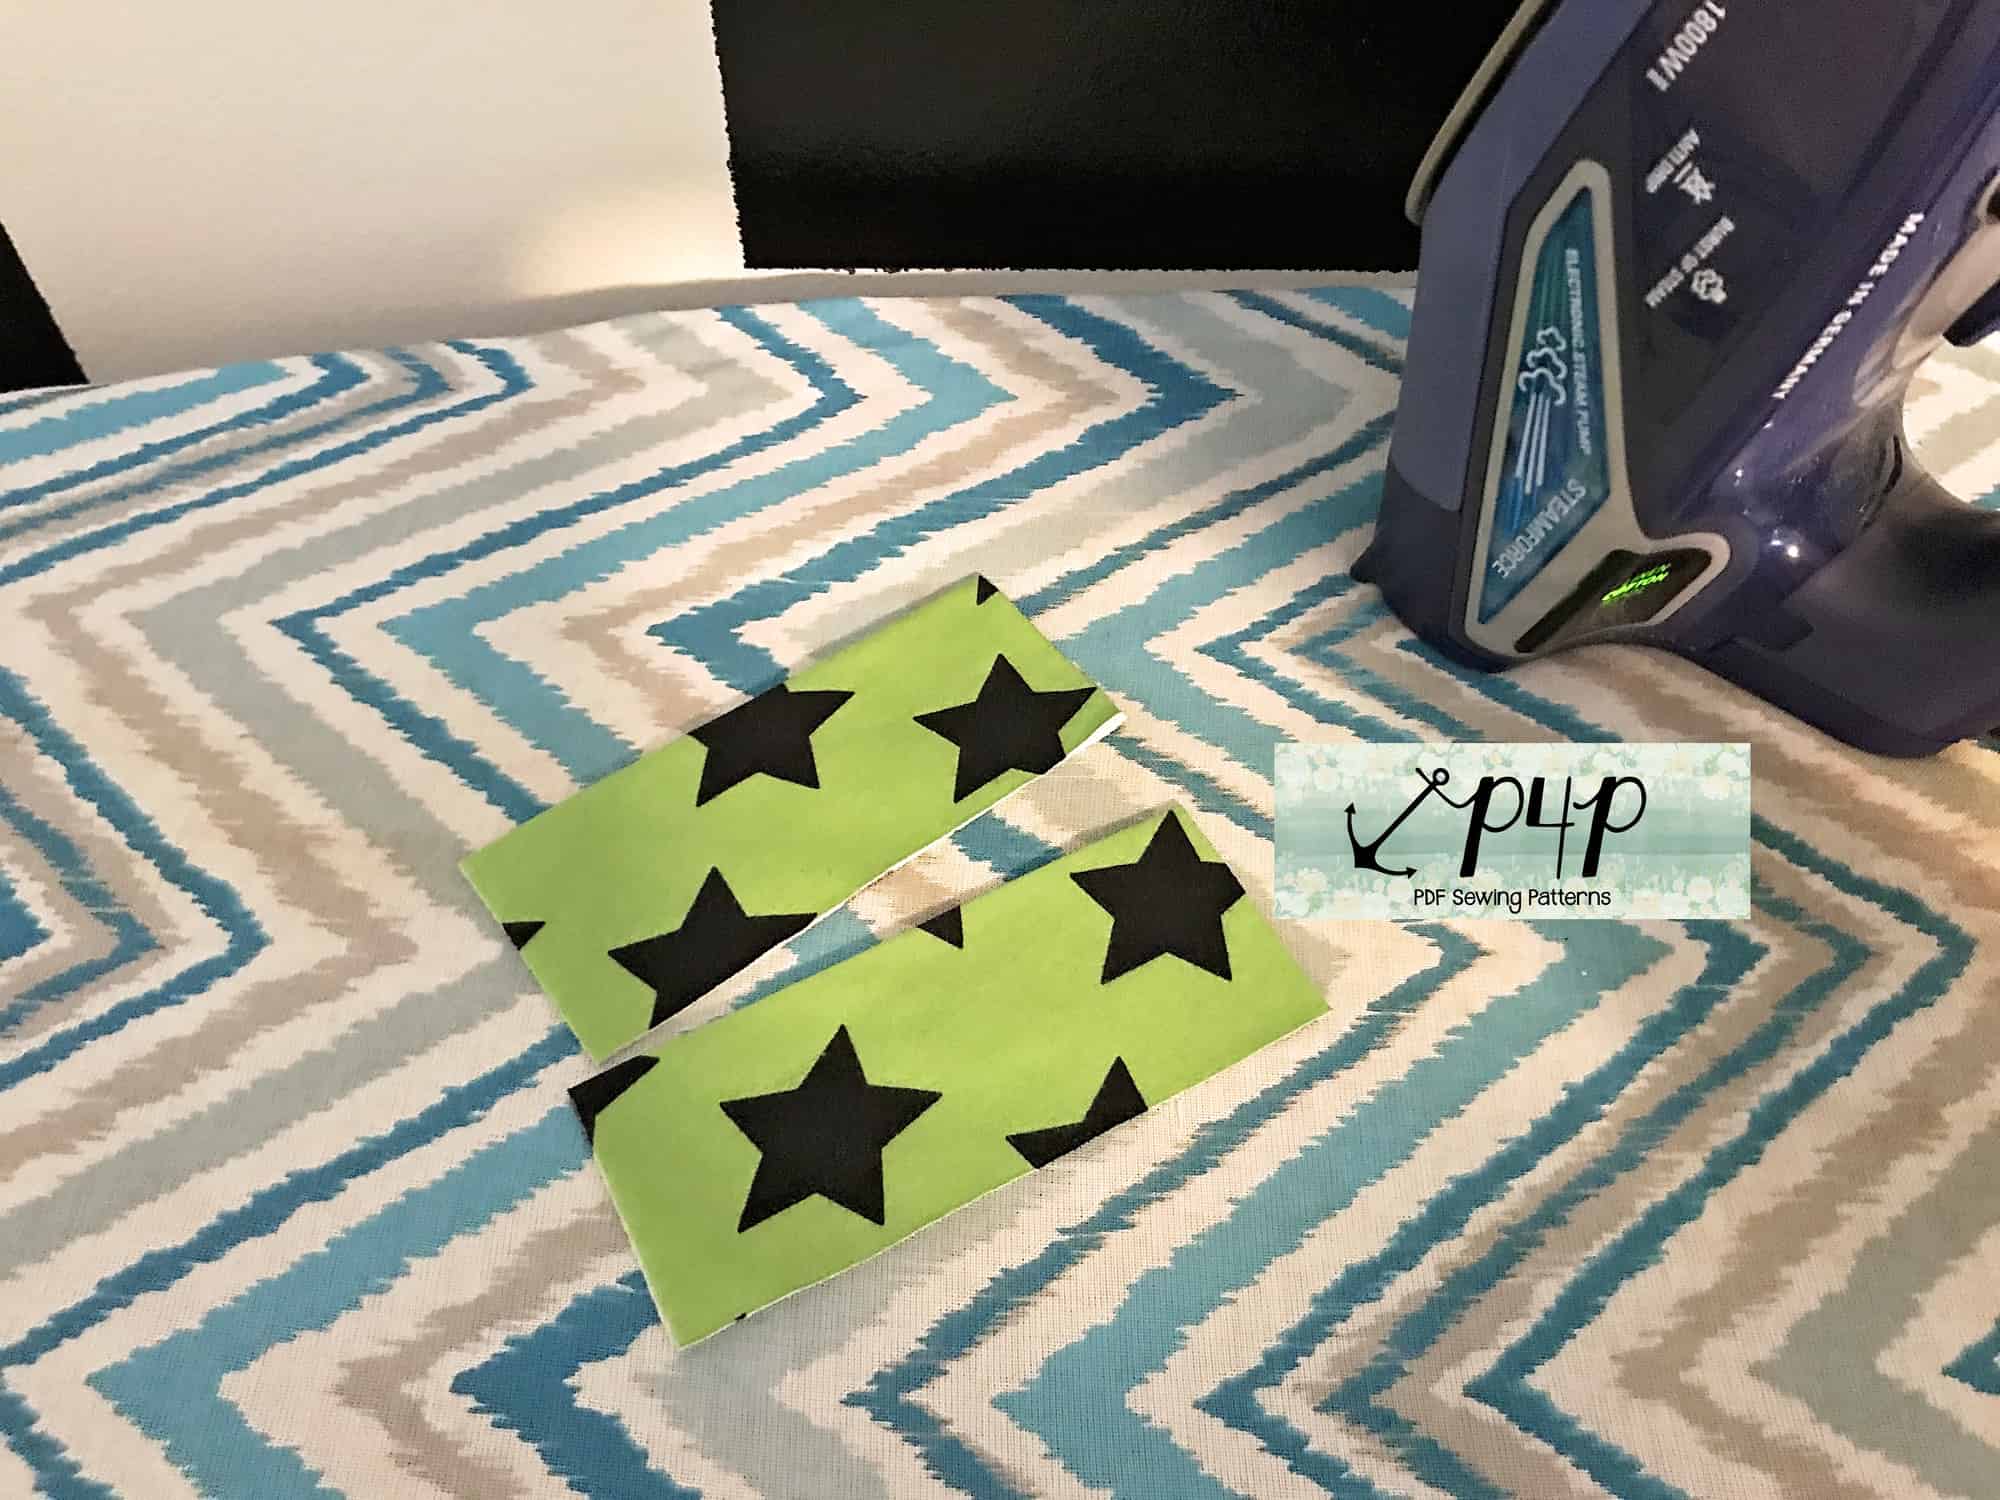
Sew the Petite Pegs as per the tutorial. Grab your little cuffs and fold them to create a memory hem. Press and steam.

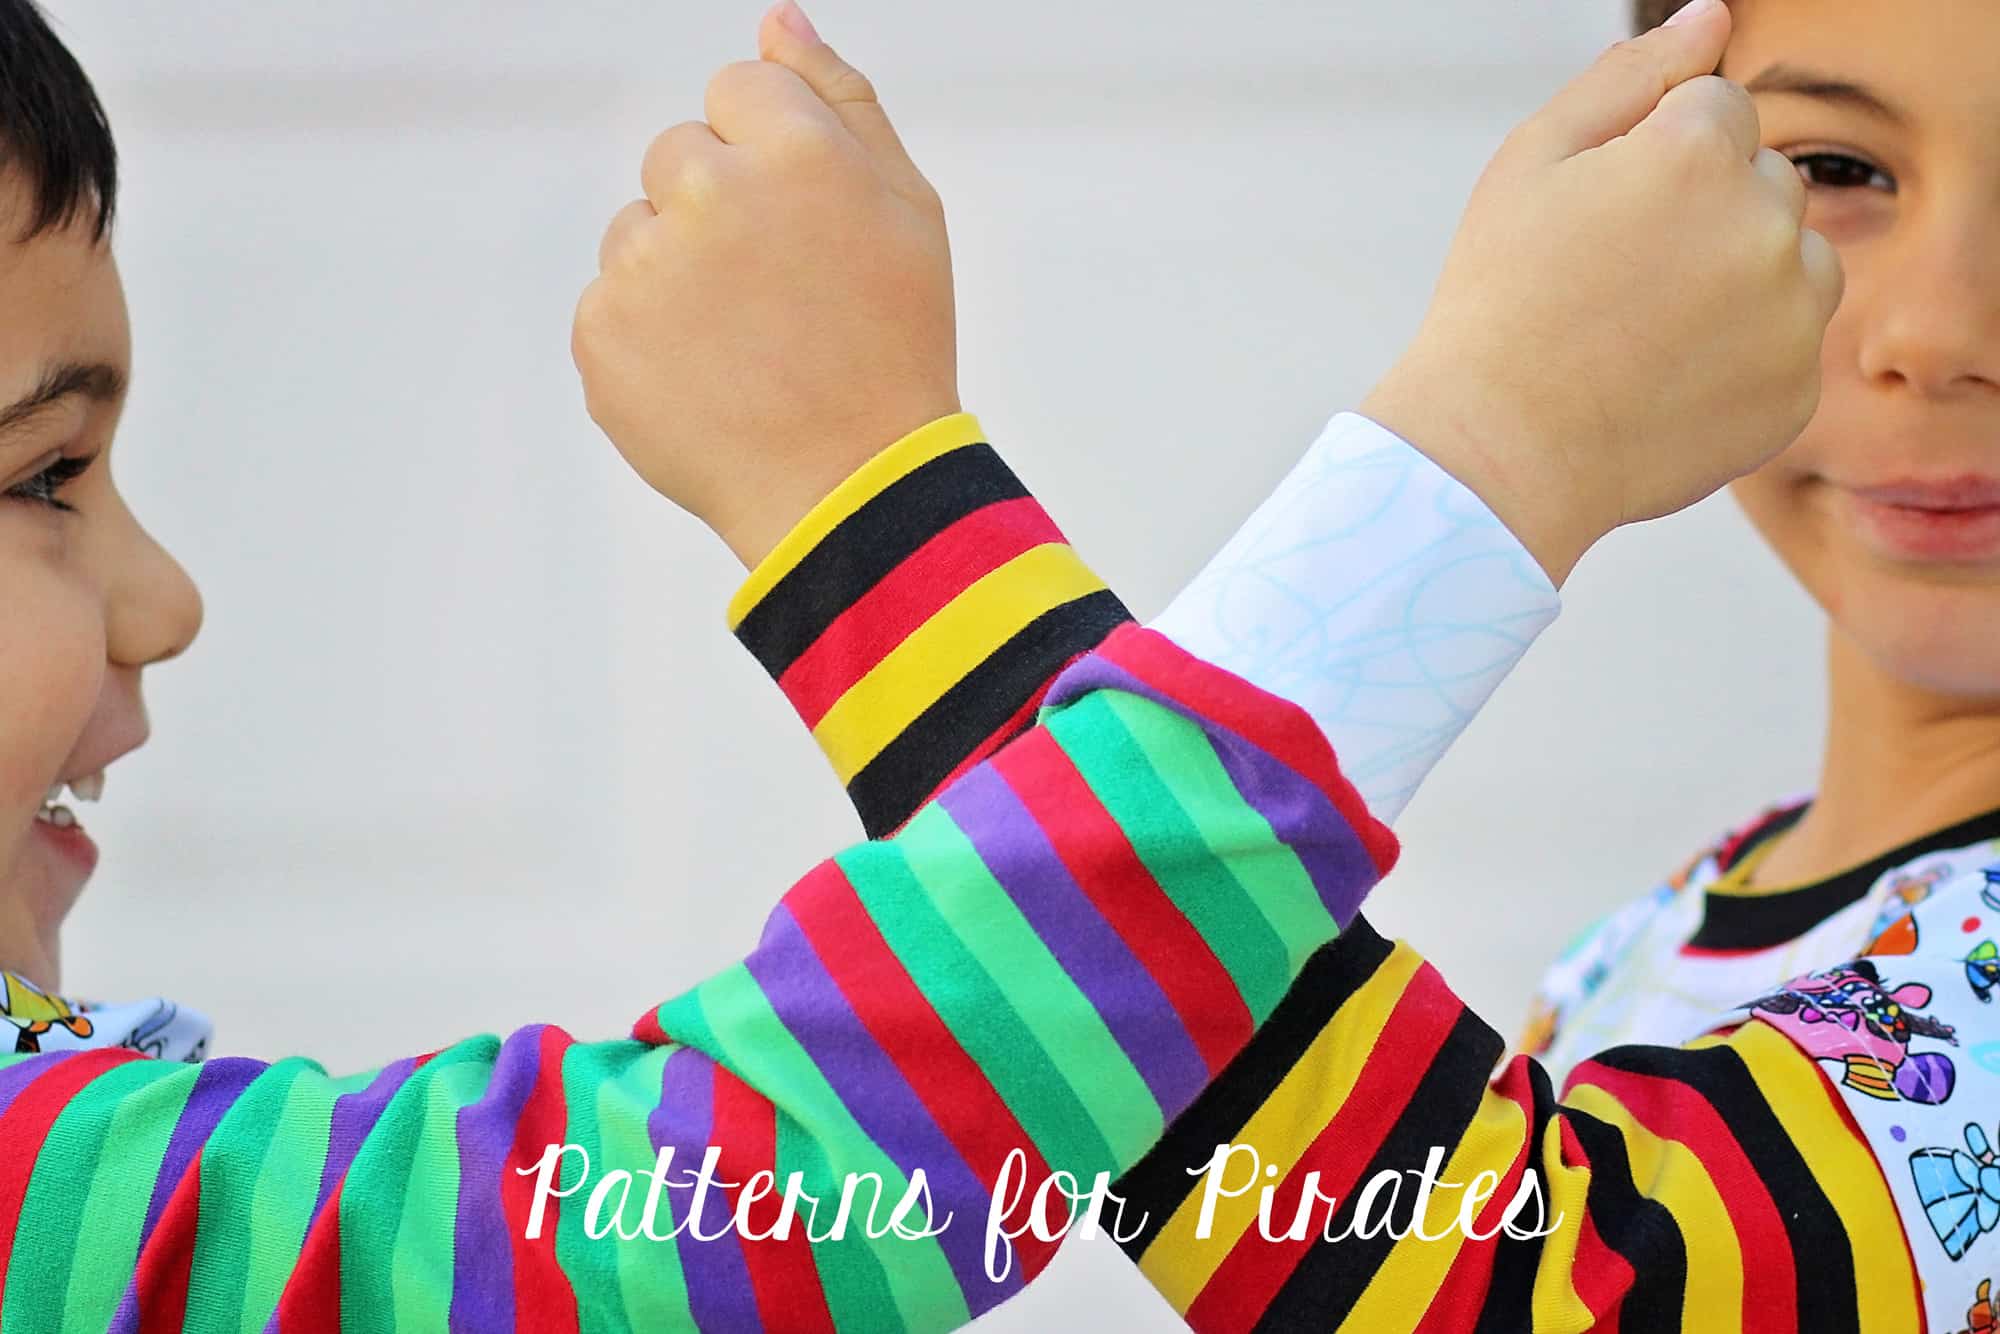
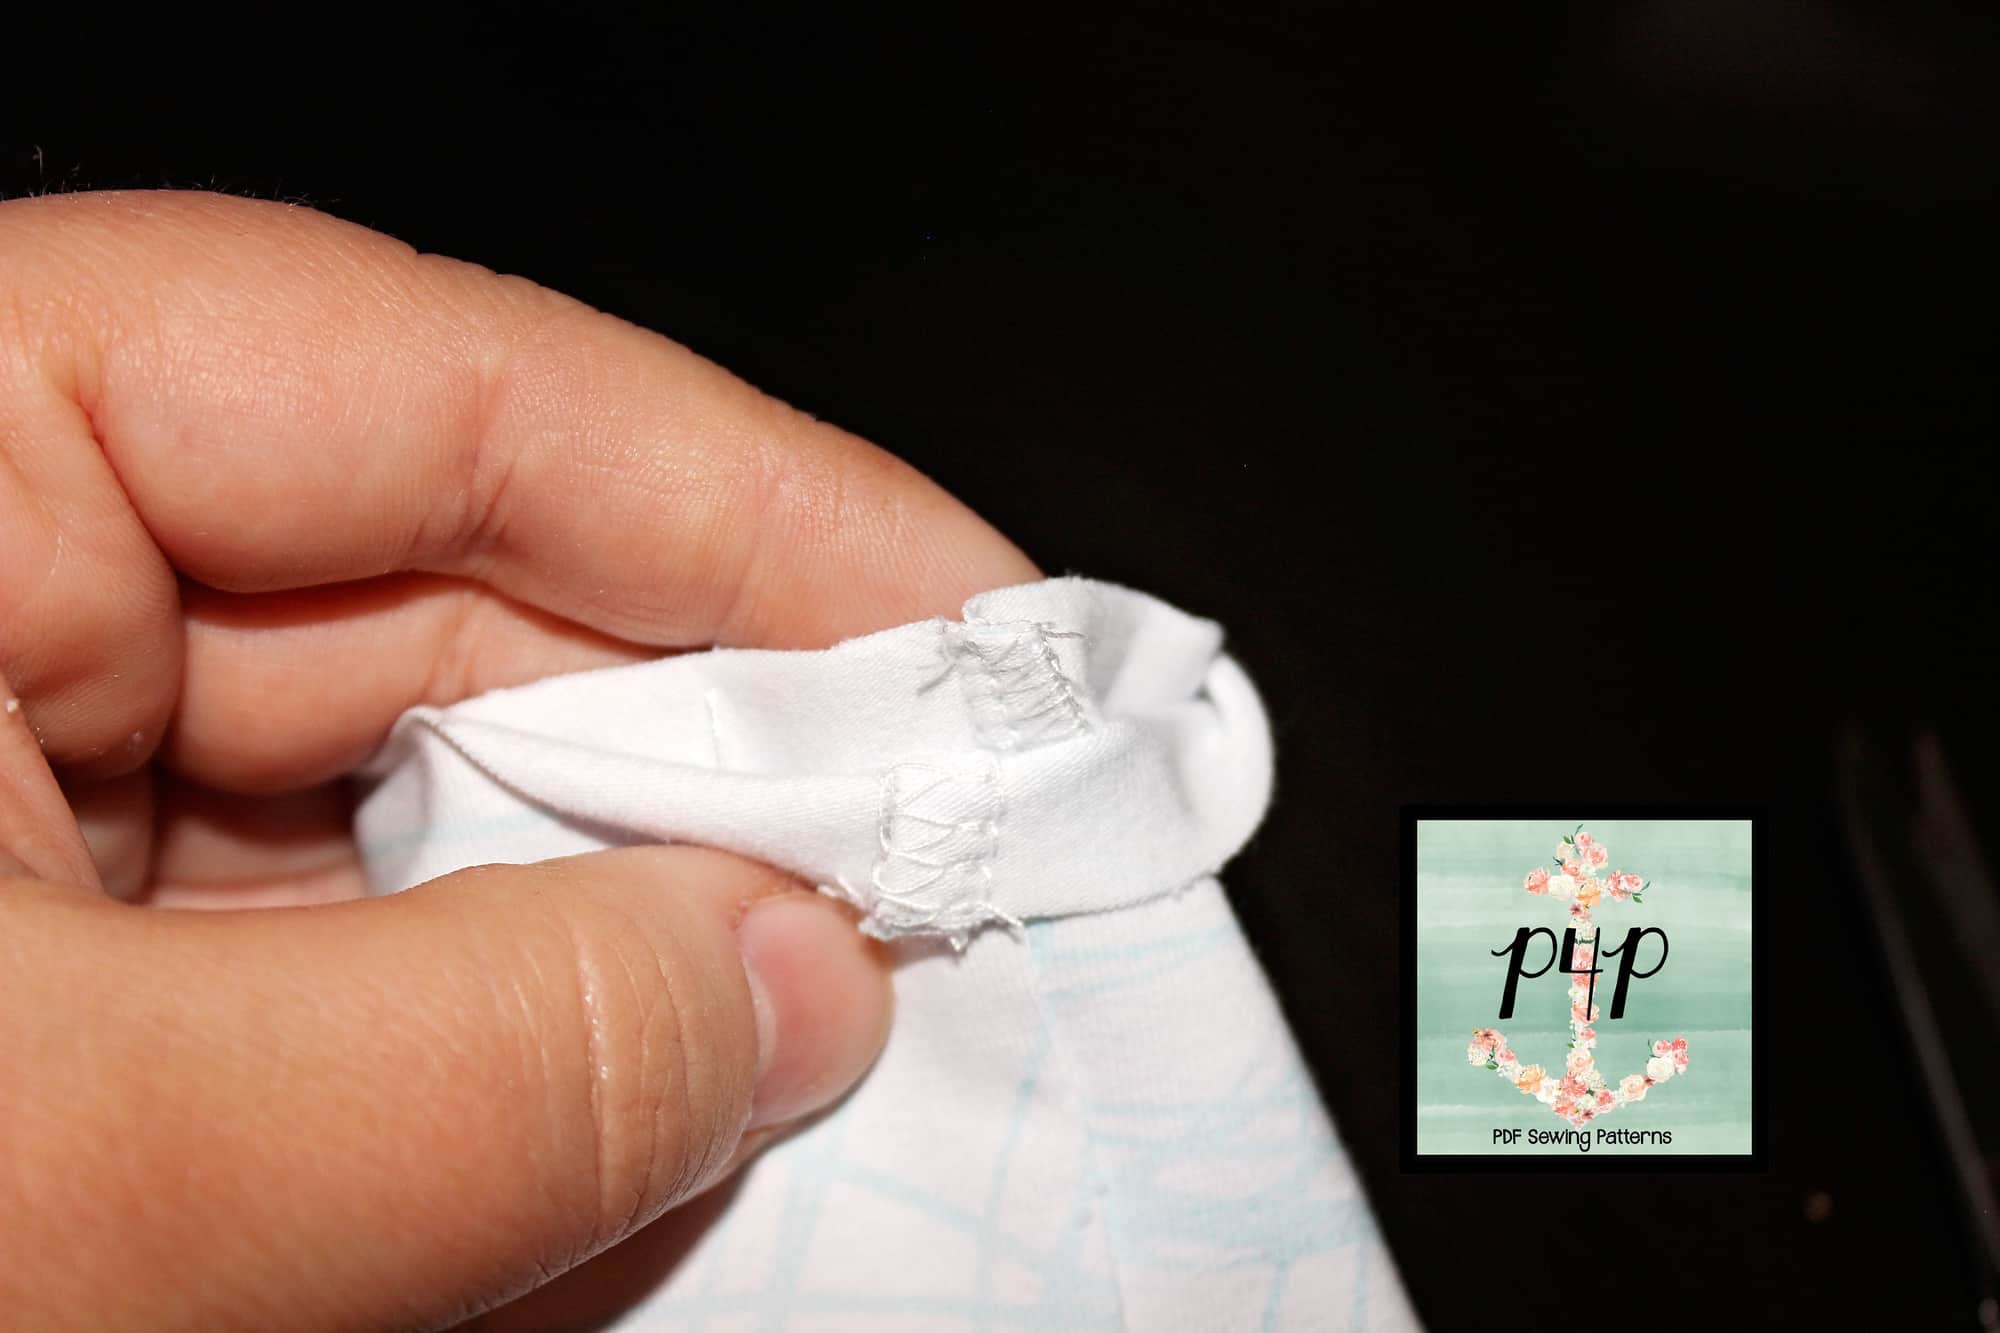
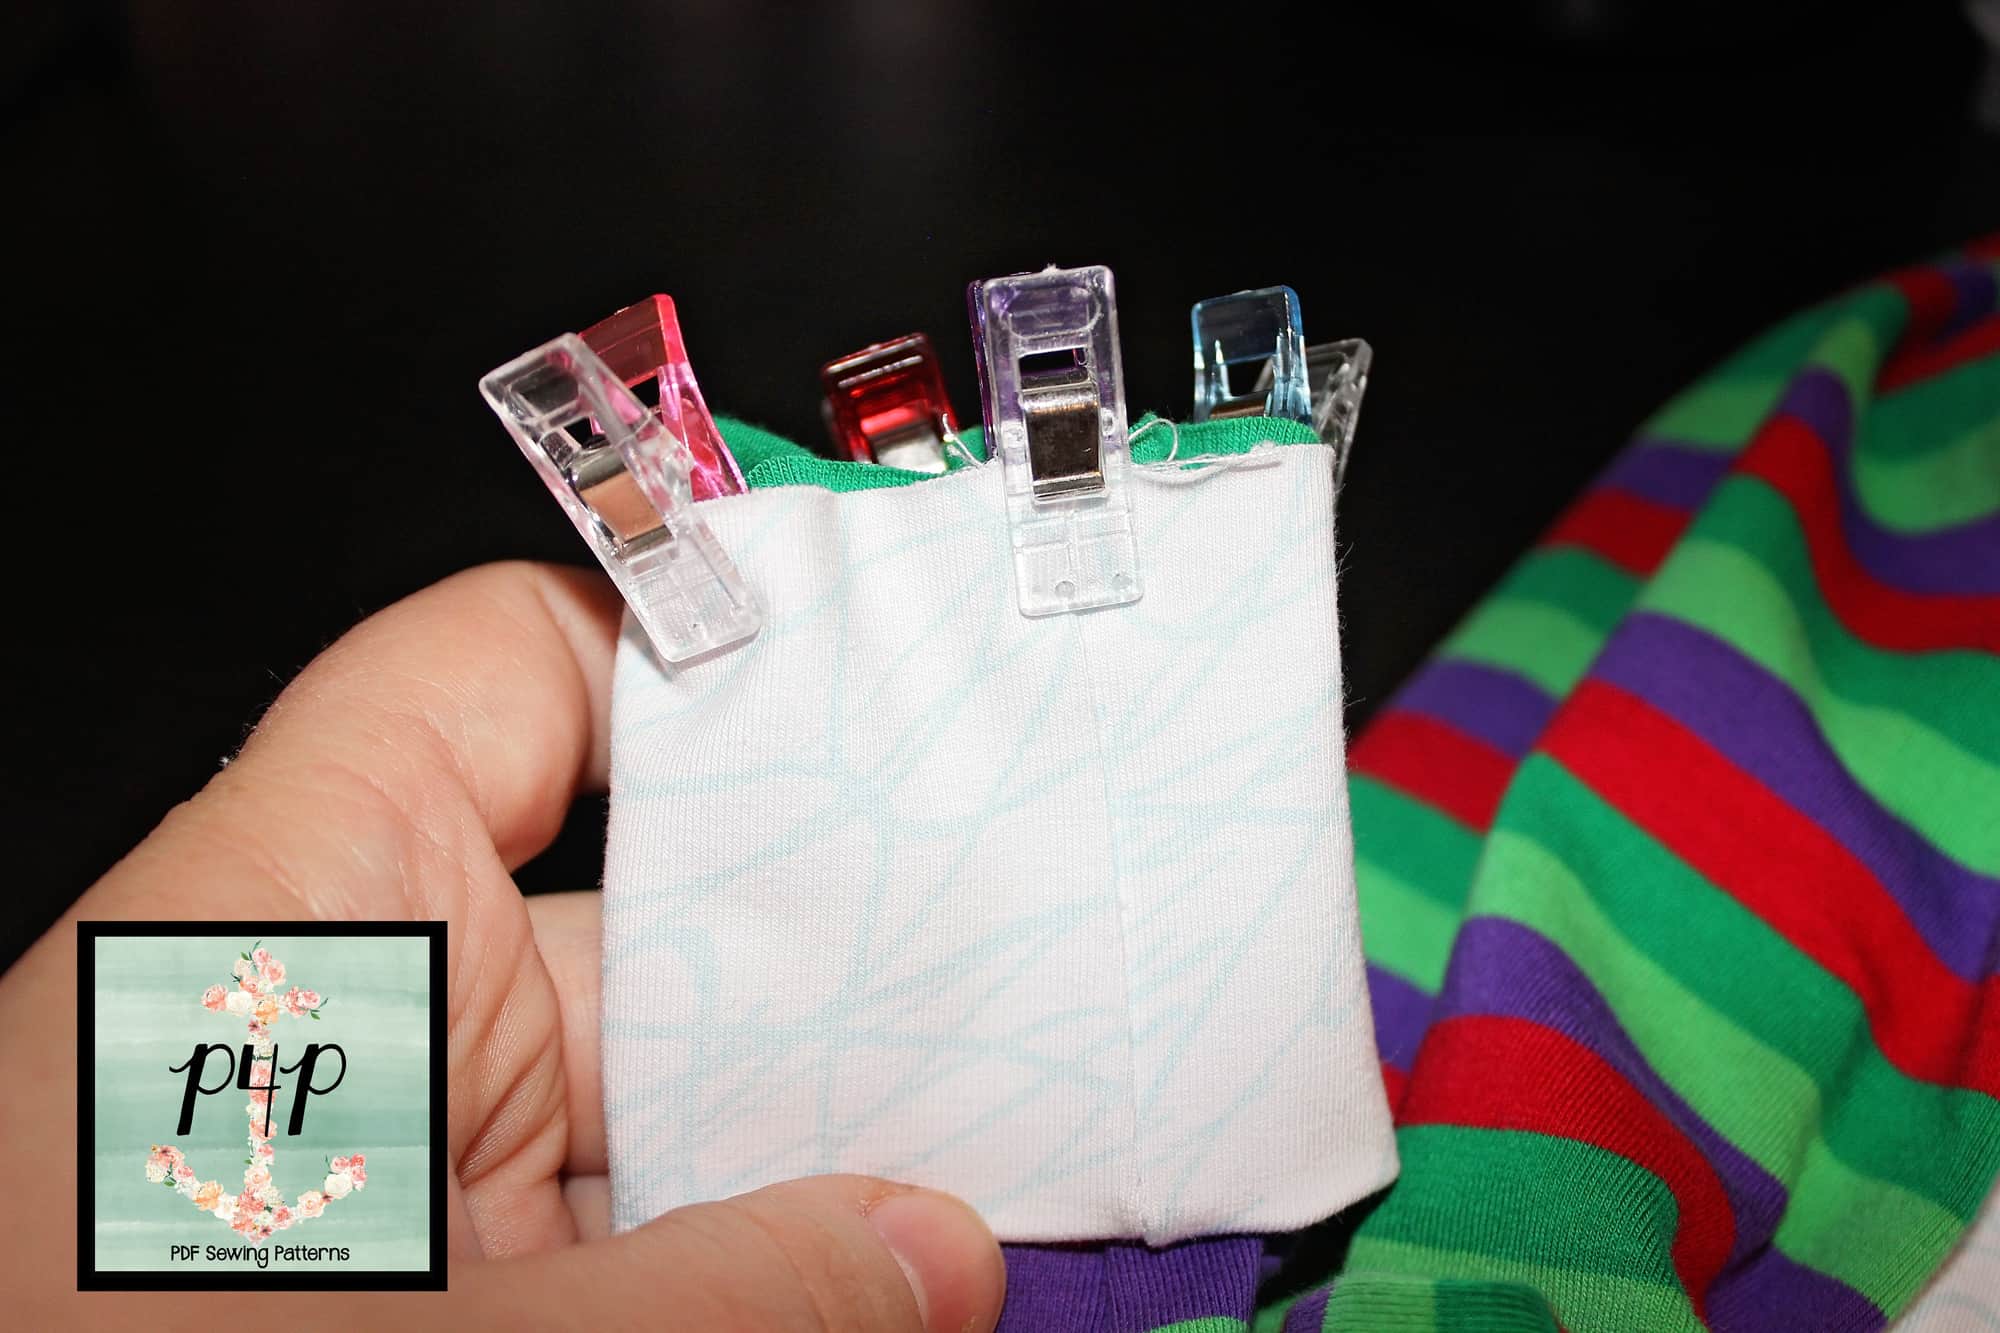
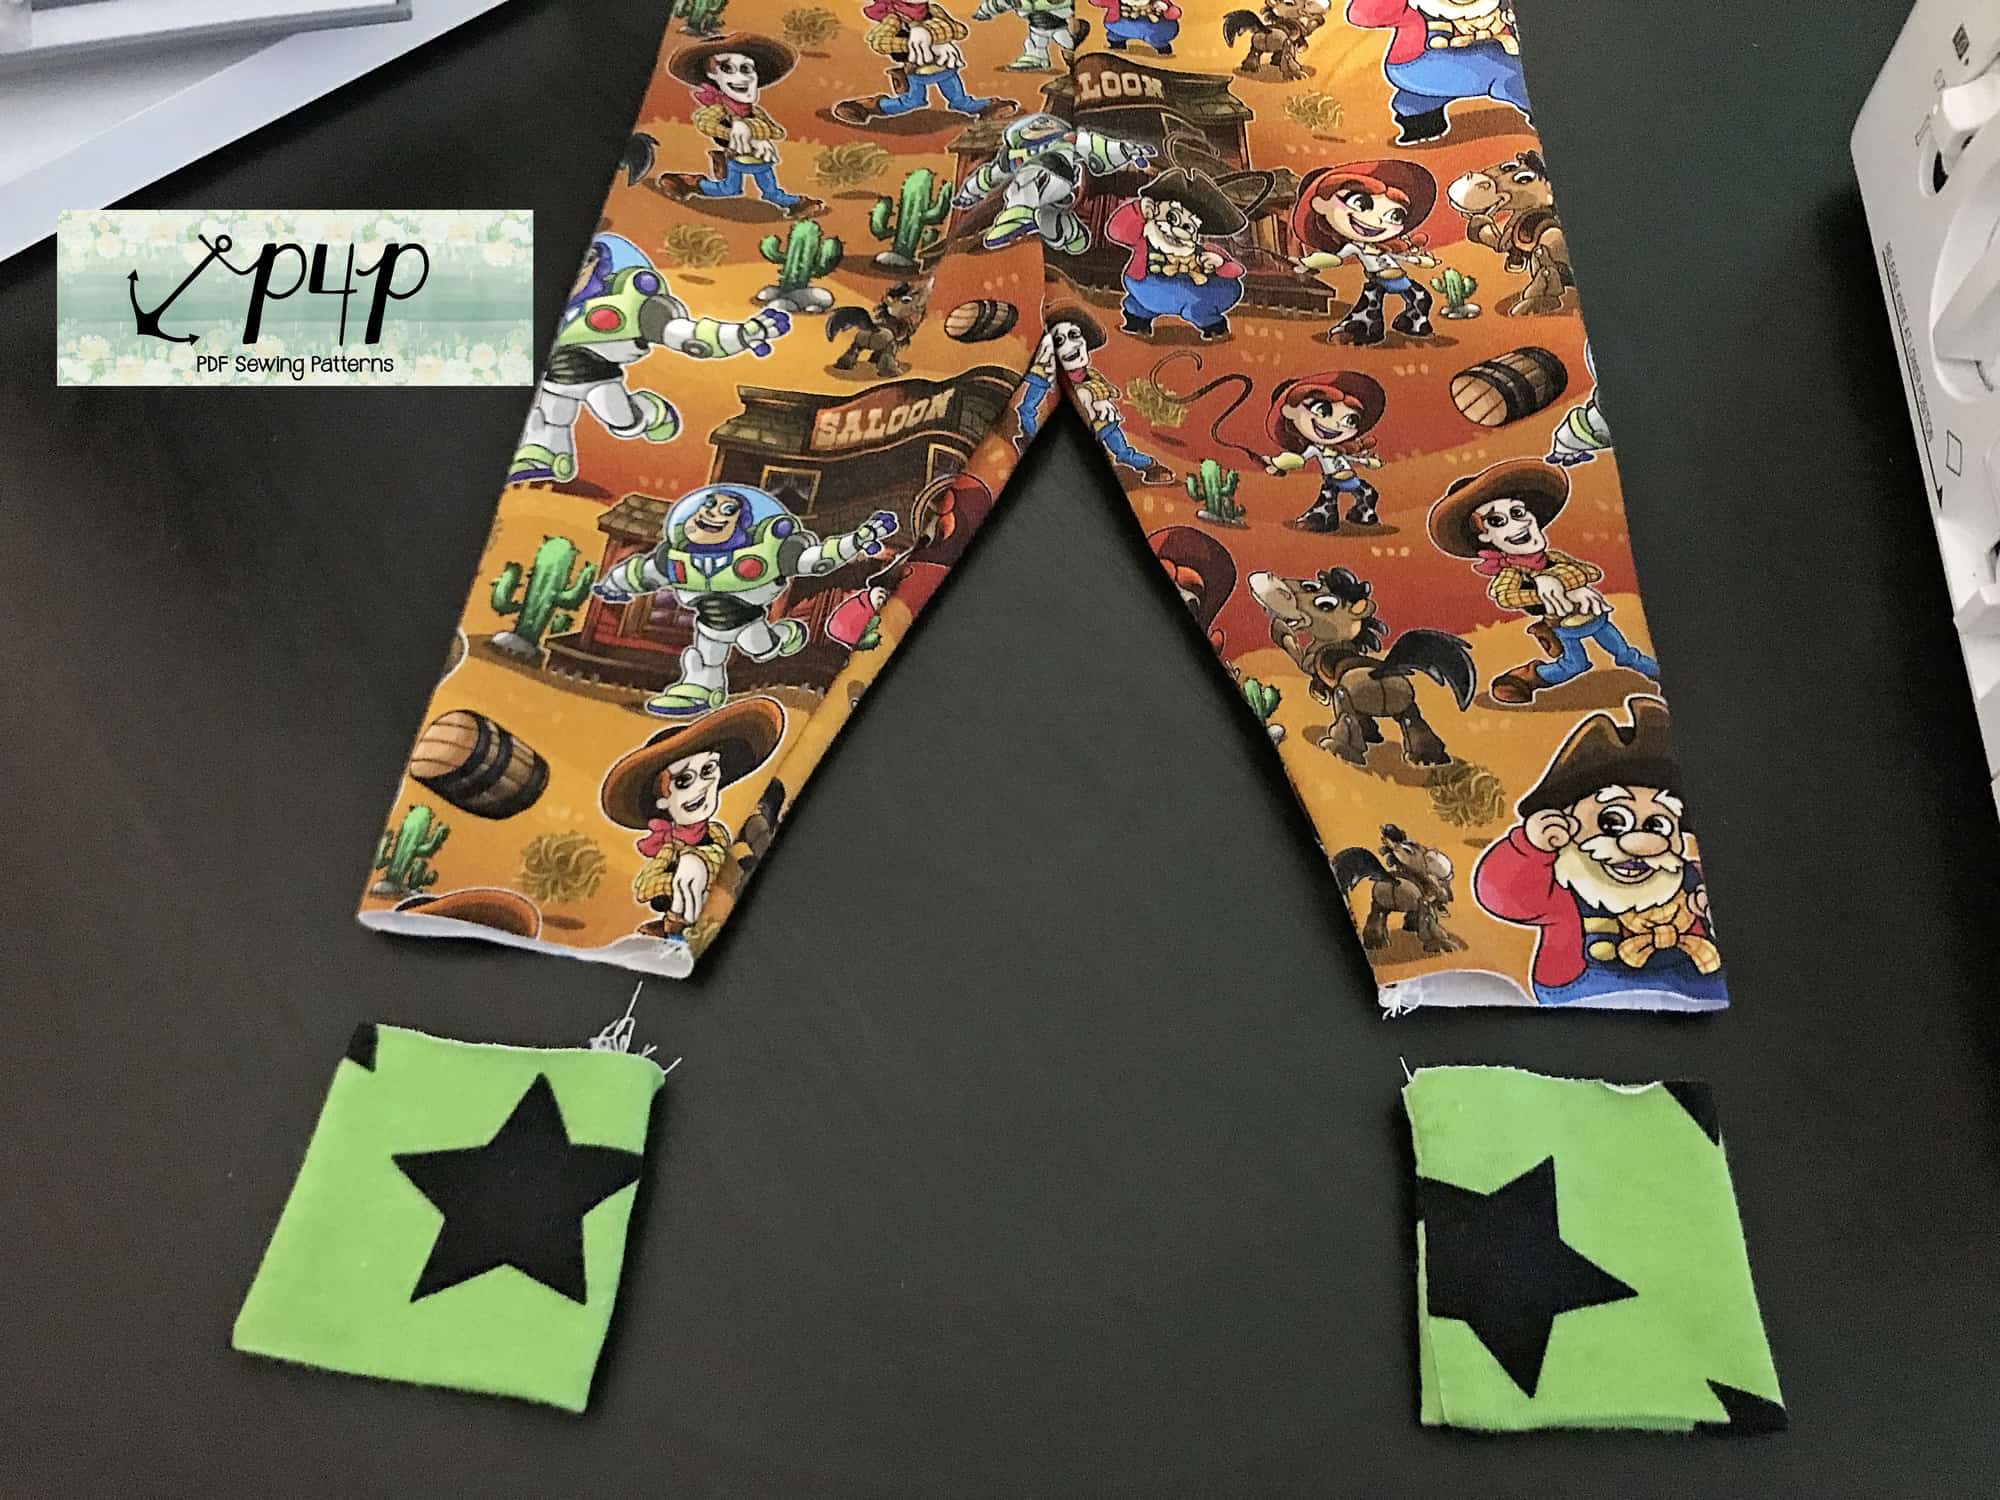
Sew the cuffs to create a loop and fold them. Take a moment to look over the tips I gave you in the Knit Cuffs 101 blog. They will definitely come in handy when attaching these itty bitty cuffs to the little pegs.

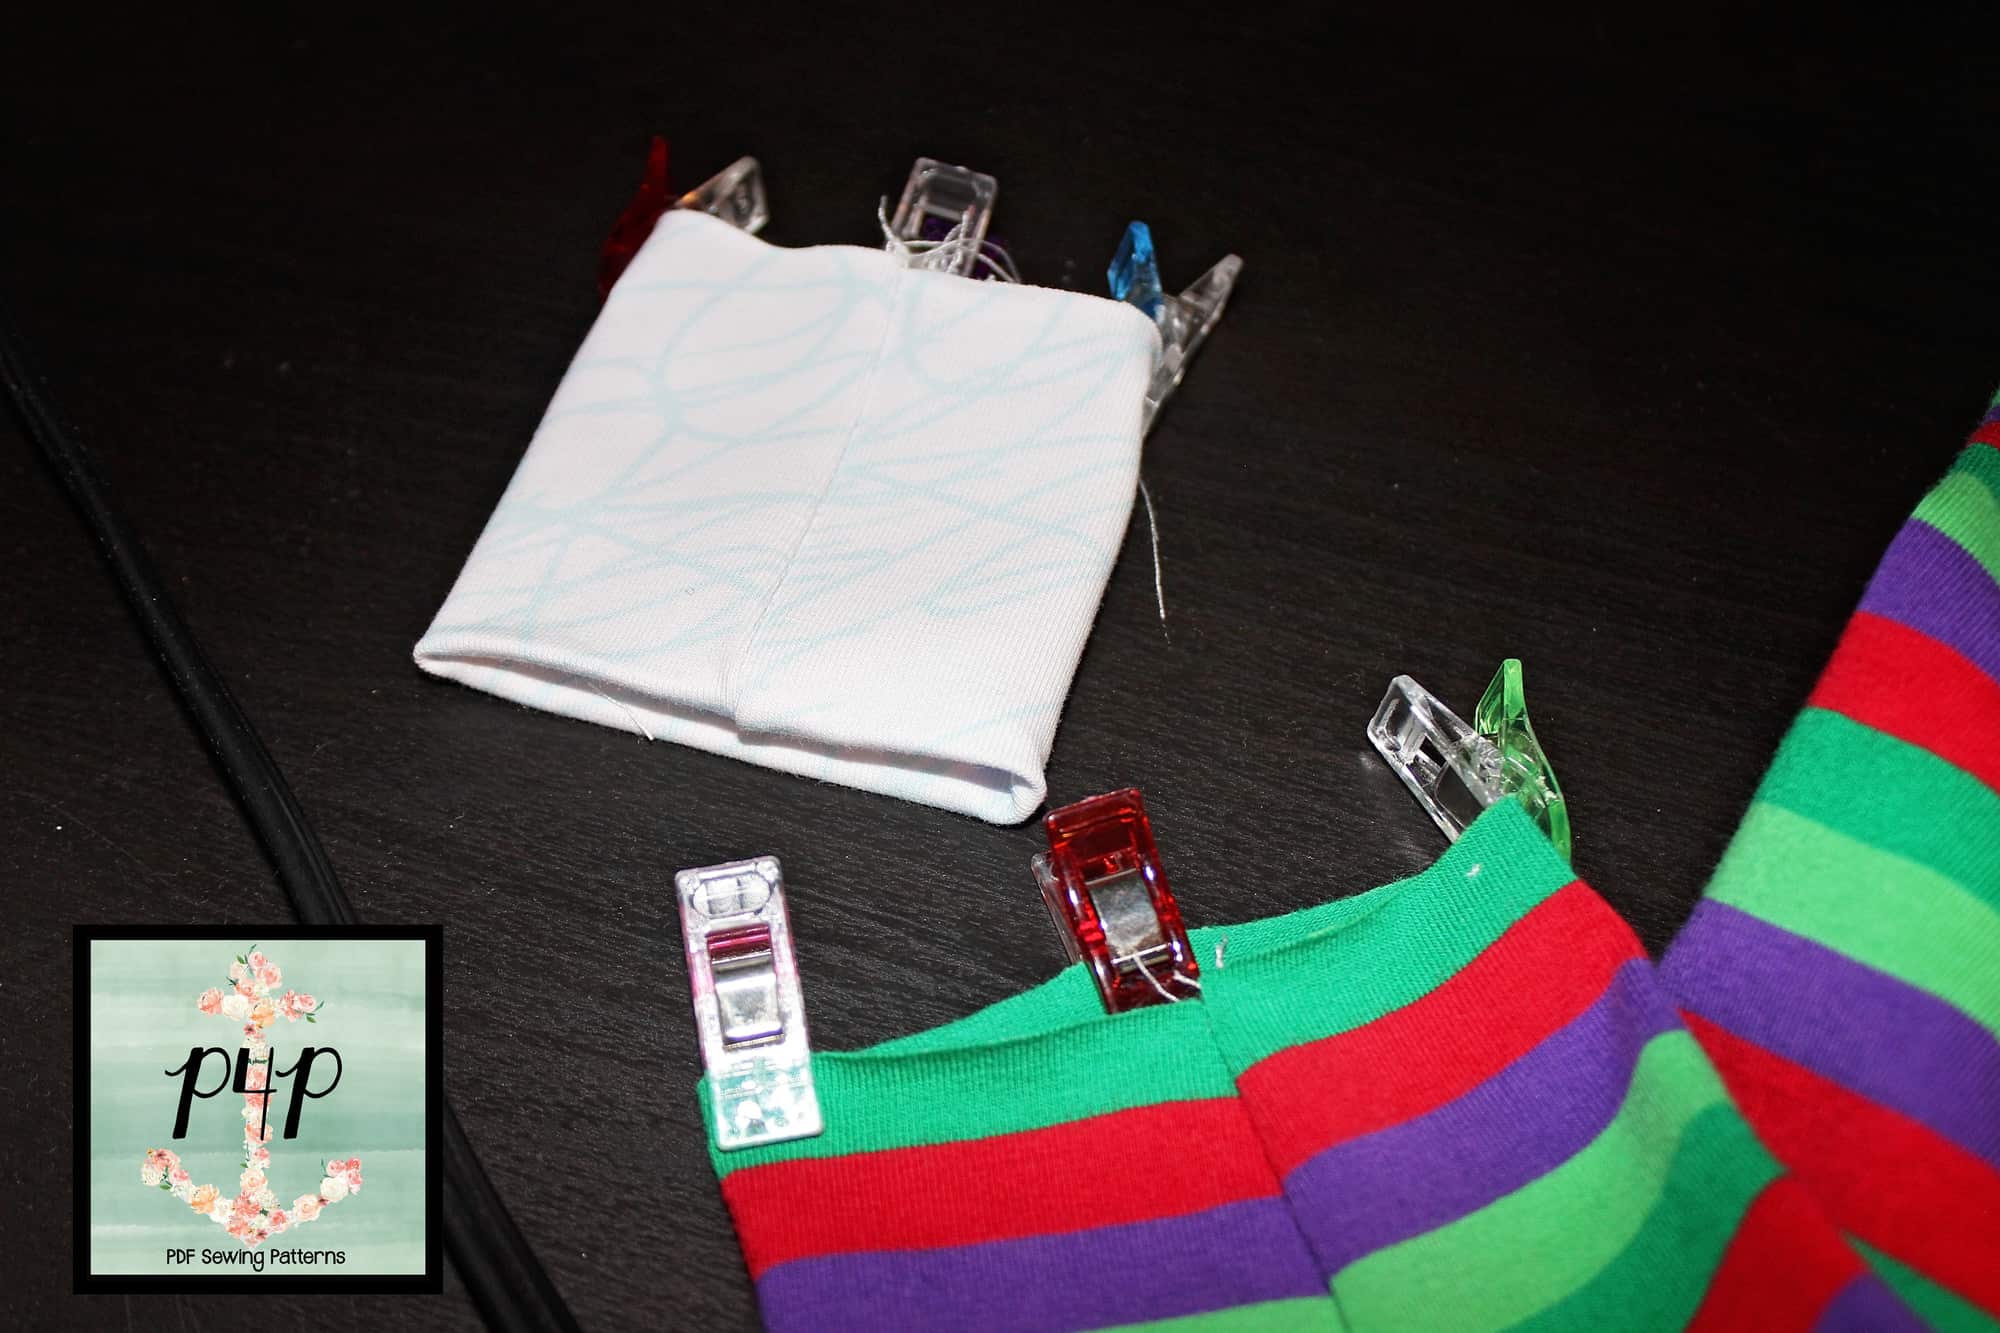
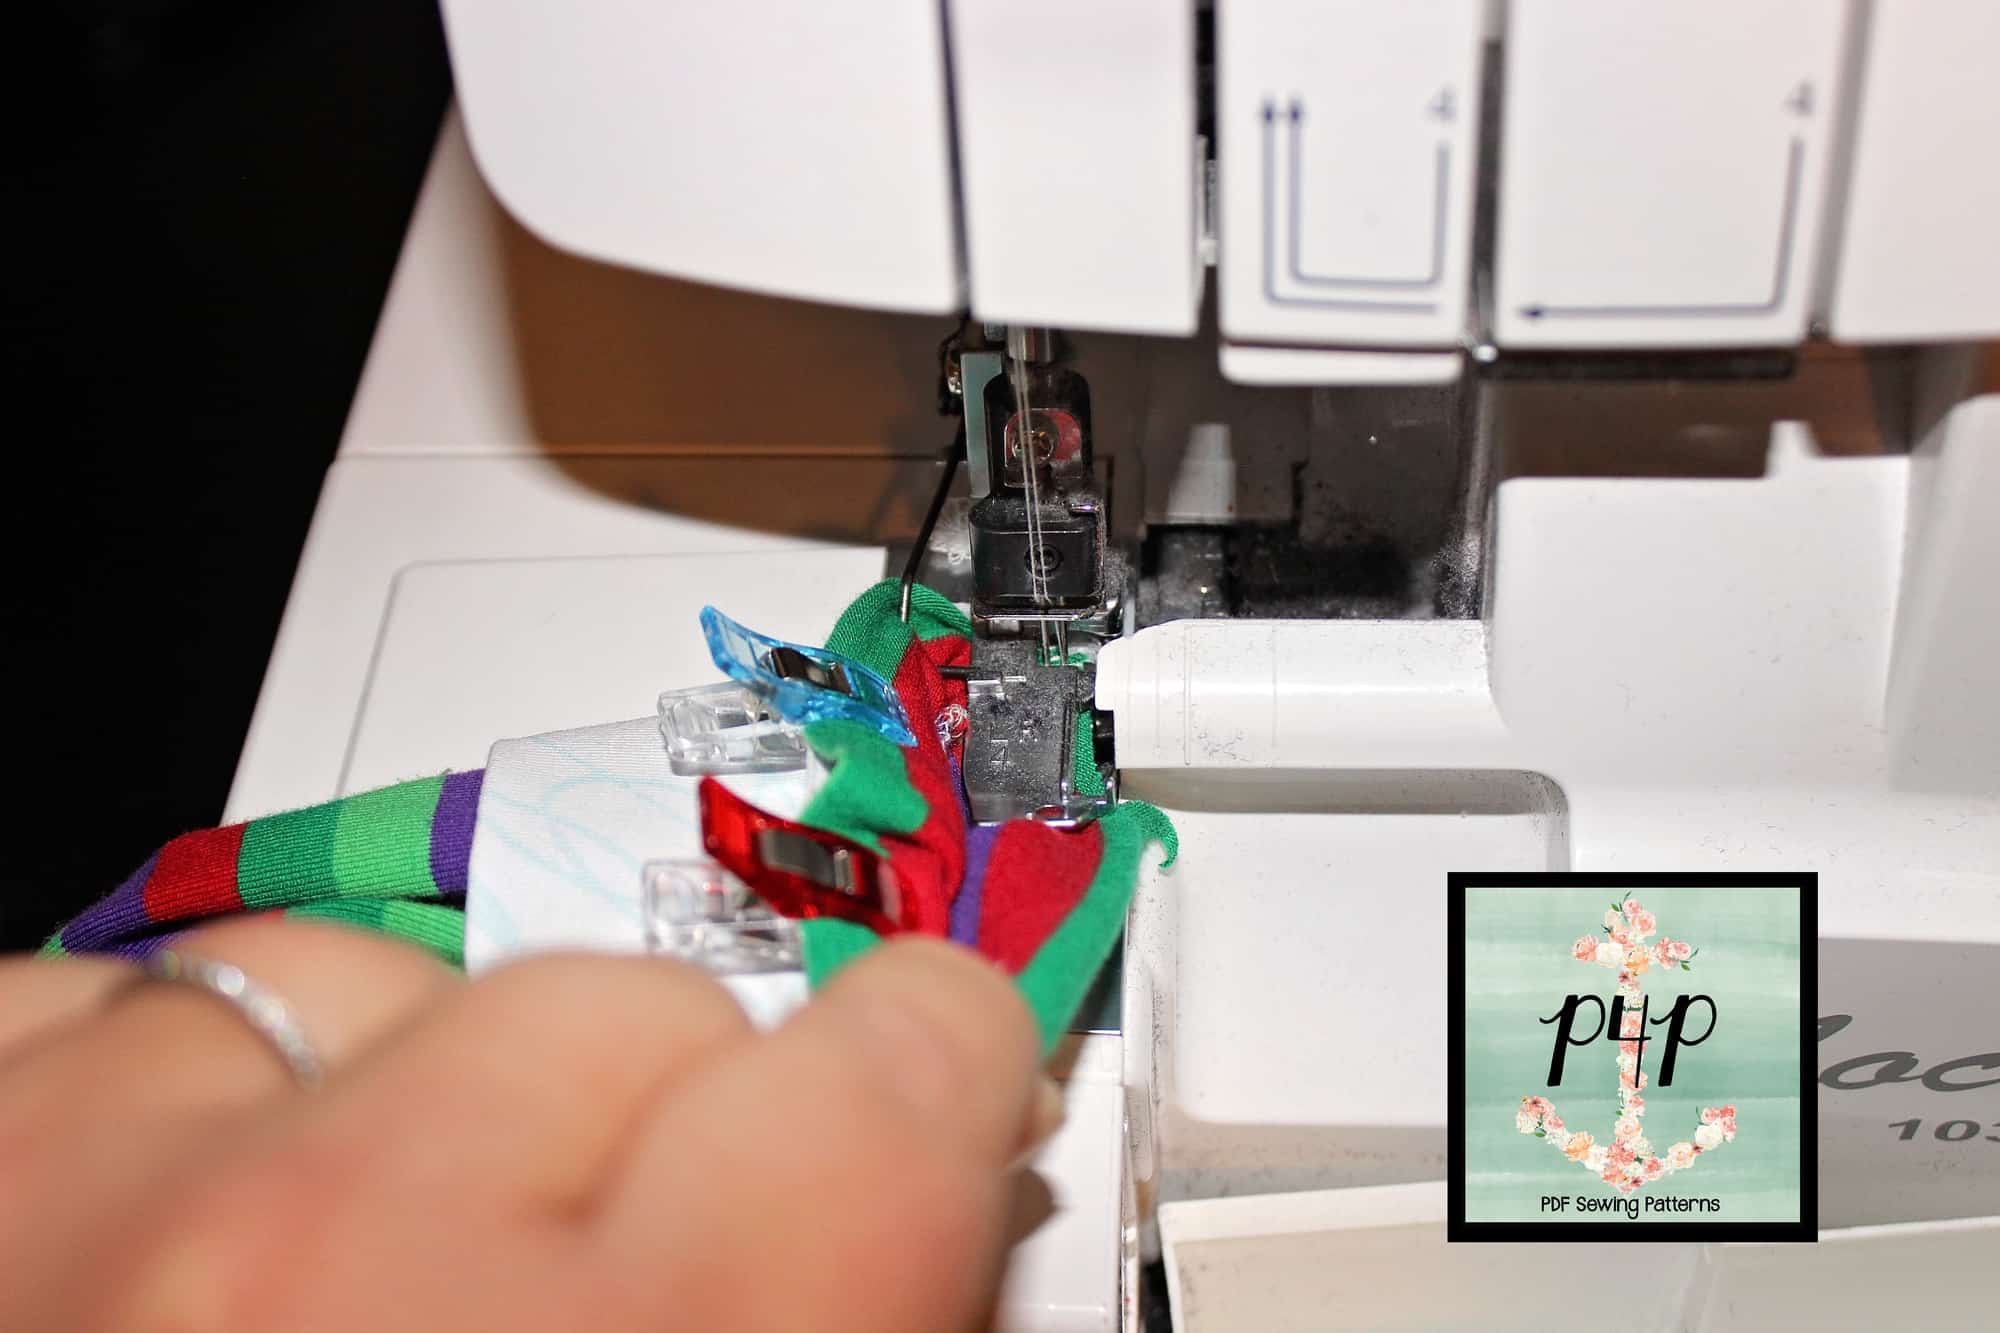
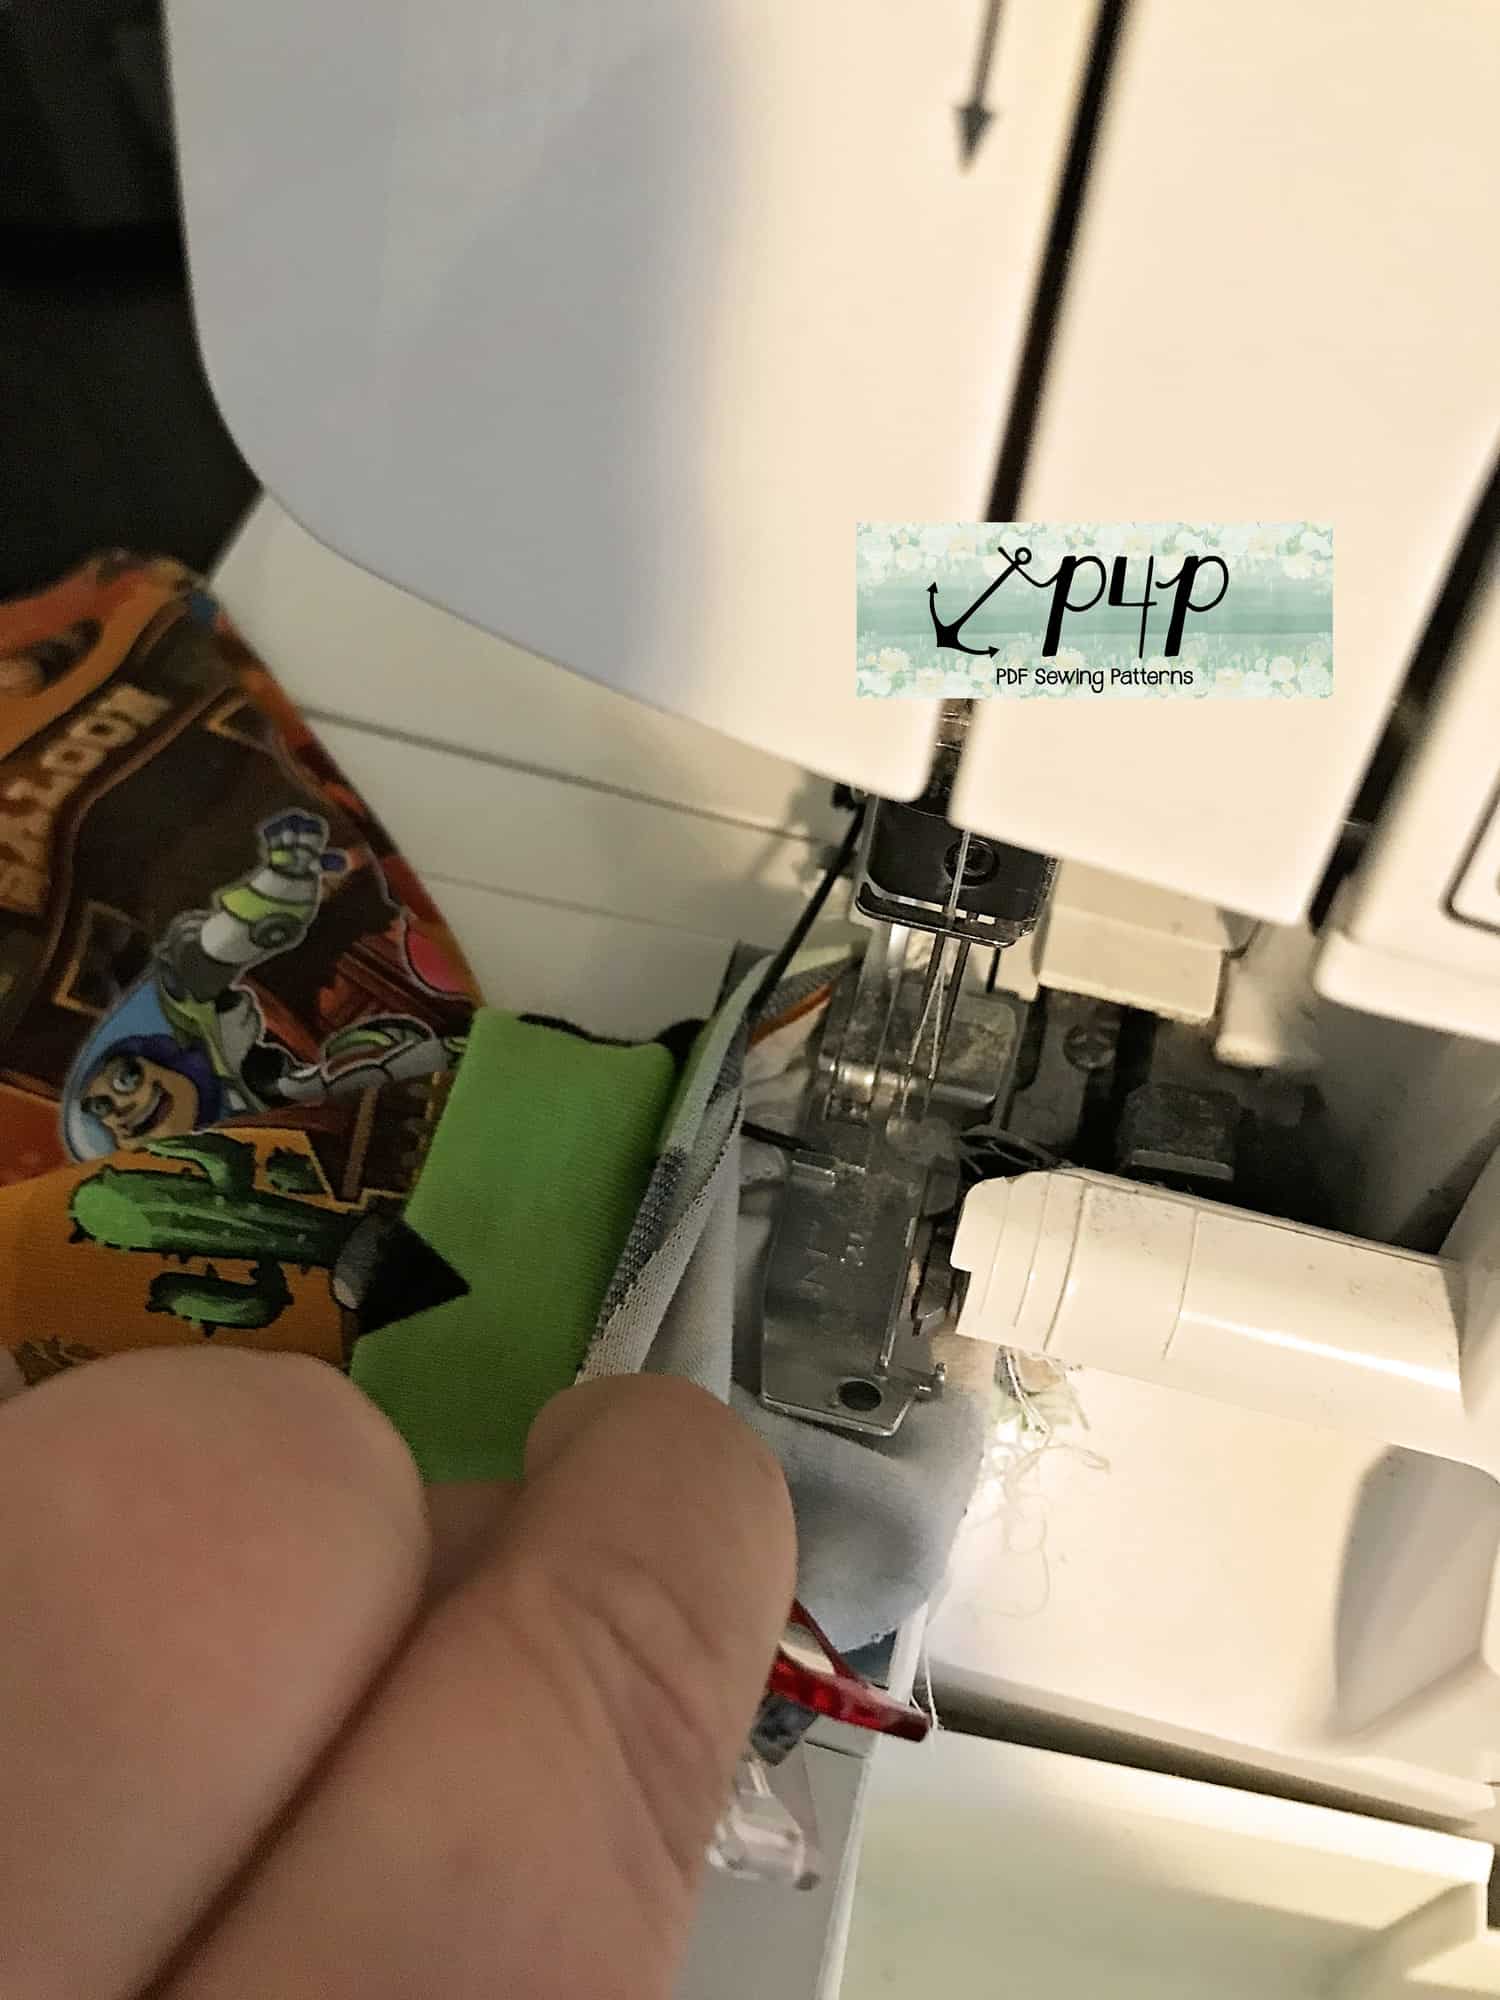
Attach the cuffs to the leg opening with your serger or the sewing machine following a 1/2″ seam allowance. Make sure you match the cuffs’ side seams to the leggings inseam. Stretch the cuff to fit the leg opening.

When attaching the cuffs you can place your serger foot on the outside of the leg (as pictured above) or inside the leg (as pictured below). You will be working with a pretty small loop so go slow!

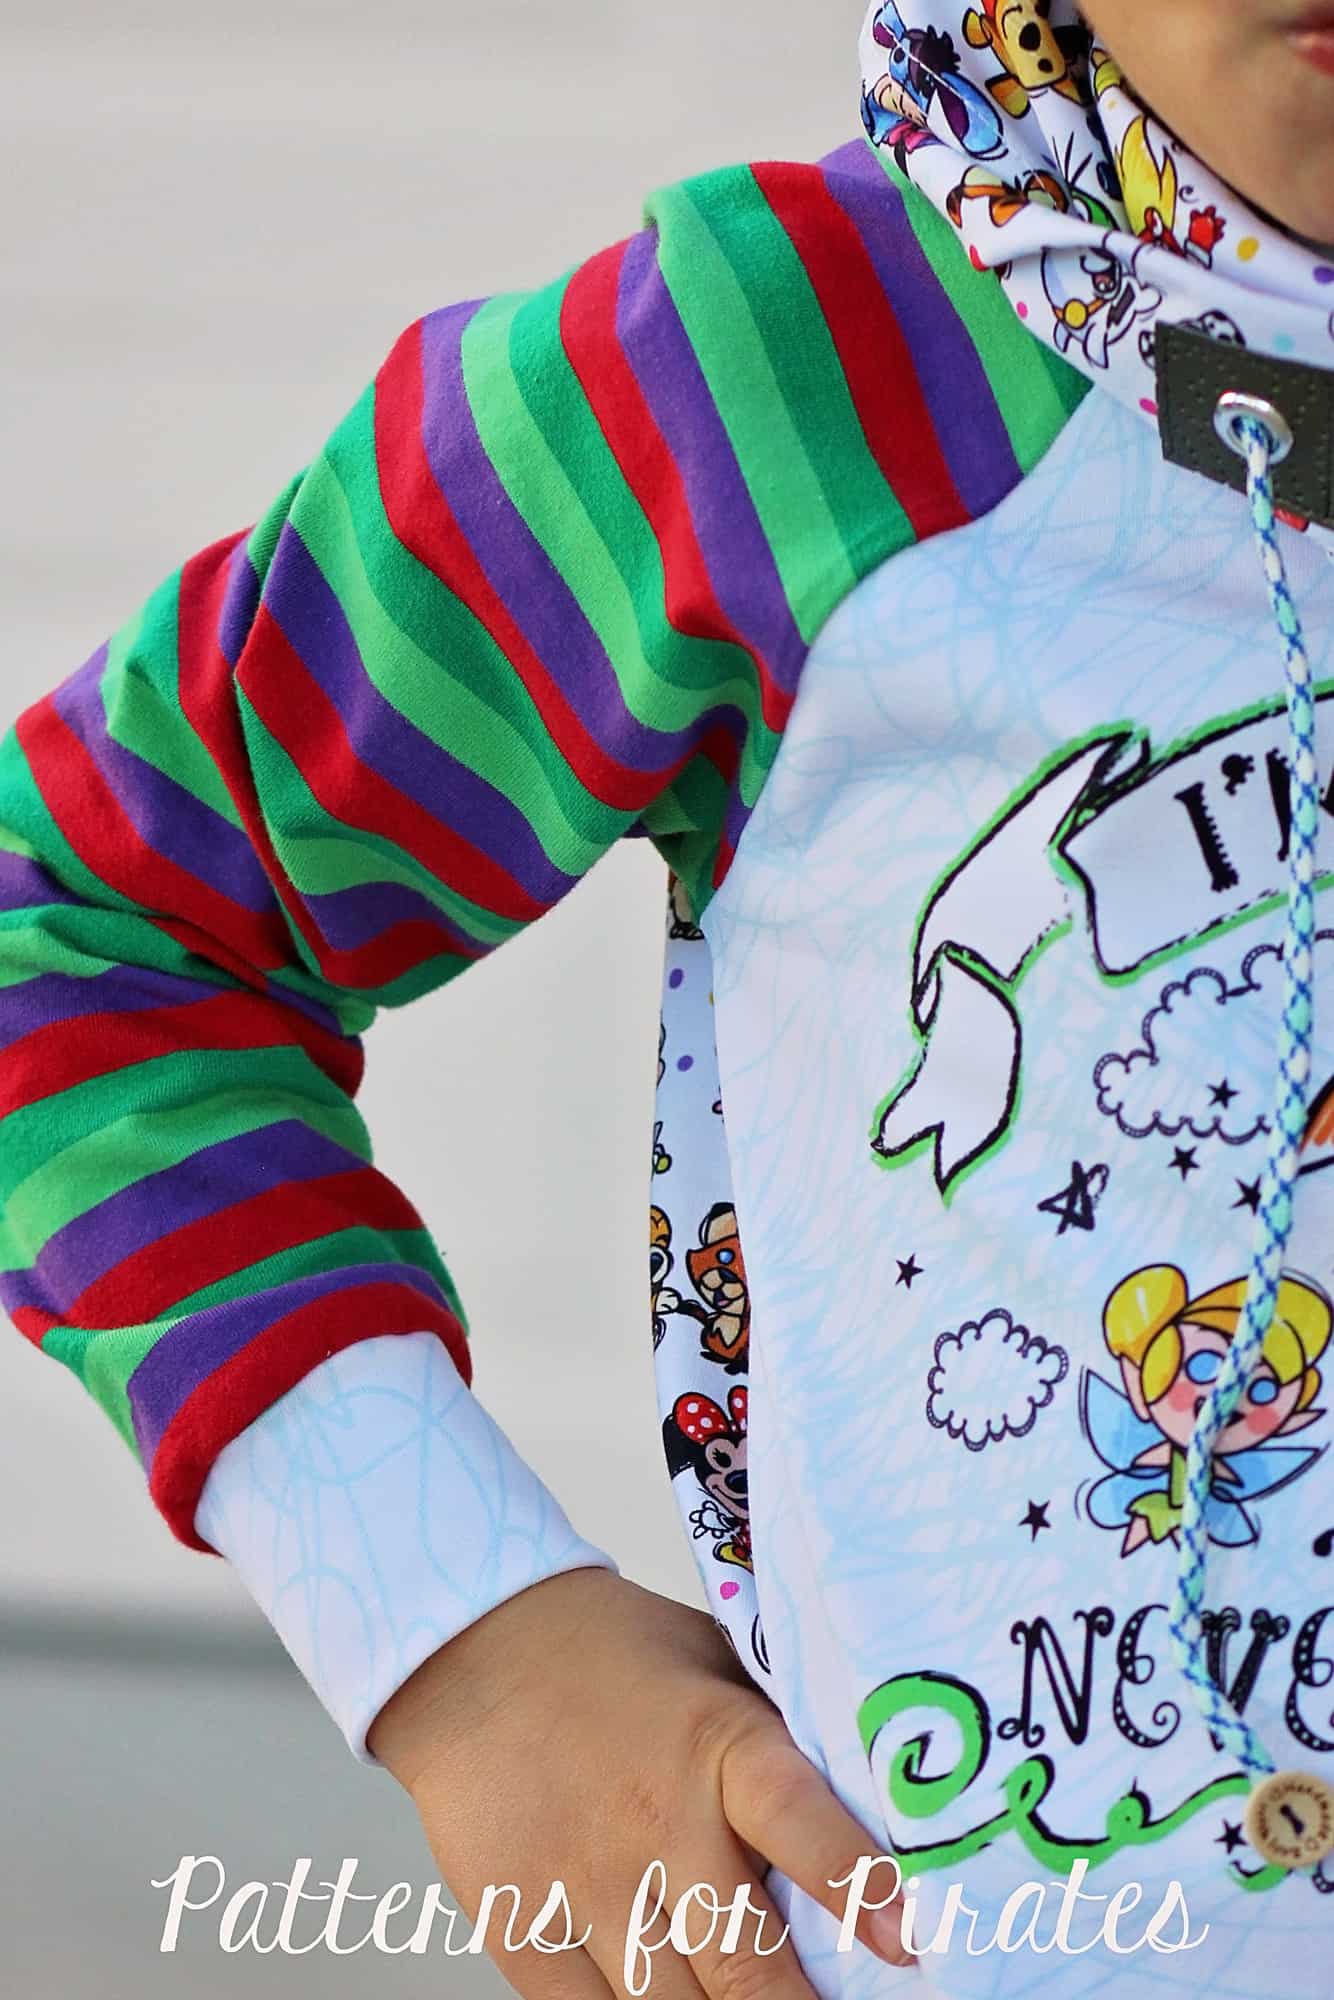
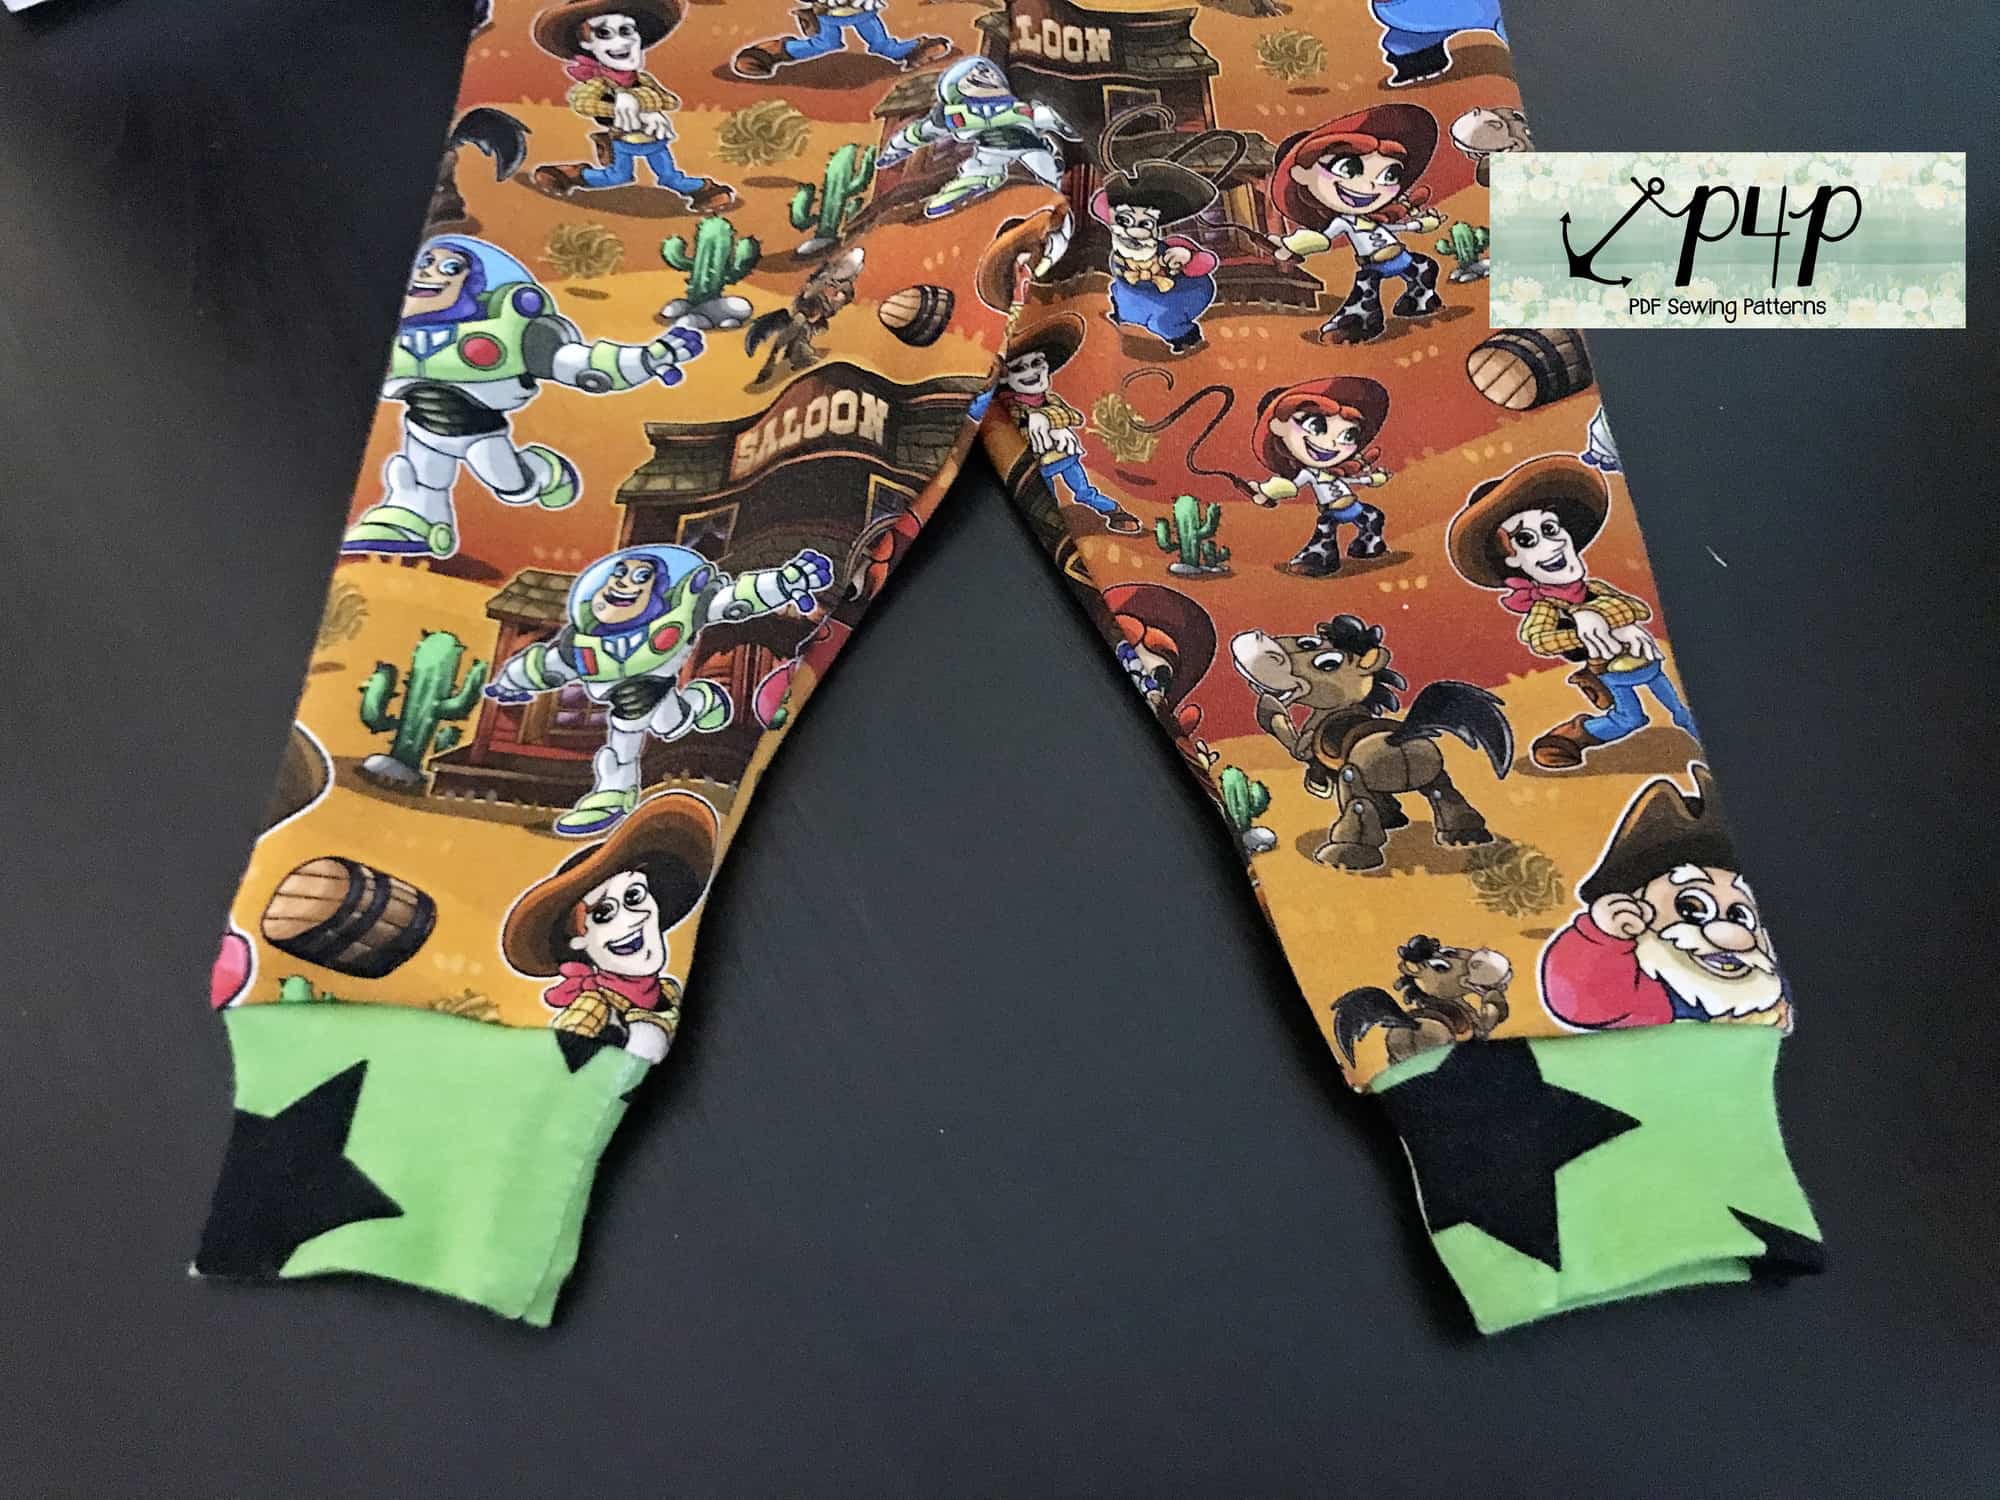
Tadah! There you have it, Petite Pegs with cuffs! I can’t wait to see your little creations!

Note: You may find it easier to attach the flat cuff to the leg instead of sewing the inseams and the cuff in a loop. You can certainly do that, you will be sewing the inseam after you attach the cuffs. You can read about some ways to finish your serger seam here.

Filed Under: Free Pattern, Pattern Hacks, Pattern Release, Uncategorized 4 Comments

P4P University – knit cuffs

January 9, 2018

Ahoy Pirates! In our first P4P University blog of the year I wanted to give you a few tips and tricks to make adding knit cuffs to your projects easy peasy. Whether you’re sewing for yourself, your significant other or your little ones, adding cuffs to your sleeves or leg openings can be a tedious job. We can change that!

*Choose the right fabric for the cuff!

As I mentioned in the Neckbands 101 blog post, choosing the correct fabric for your cuffs will make a huge difference. The best one is rib knit or ribbing. If you do not have any ribbing handy or the colors you have do not work for your project the next best thing would be cotton spandex. I mainly use cotton spandex in for my kids’ shirts and joggers cuffs as I like to coordinate it with the main fabric. Whatever fabric you pick, make sure it has at least 50% stretch and excellent recovery.

*Always cut the cuff with the greatest stretch horizontally.

Always cut your cuffs cross grain! Even if the fabric you use stretches over 50% in both directions, you should never cut against the grain. Read all about the importance of “the grain” in Roberta’s blog post, When It Goes Against the Grain. 

*Press your cuffs!

I know I talk about pressing a lot in my blogs, but you have to believe me, it makes your sewing life so much easier. I recommend grabbing those cuffs and giving them a good steam press as soon as you cut your fabric. This will create a memory hem that will make it so much easier to fold them once you sew the “loop” closed.

Press your cuffs after you sew them on too! 🙂

*Snip the seam allowance to create less bulk

This is one of tricks for creating less bulk at he seam. Once you sew the cuff to create a loop, grab your sharpest scissors and make a cut as close to the stitch as possible without, of course, snipping the stitch.

That little snip will make it so easy to please the seam allowances on opposite sides when you sew fold the cuff. In doing so, you will have so much less bulk at the seam, your serger will thank you! 🙂

*Place your sleeve inside the cuffs

Mark the quarter points on the sleeve (or leg) opening as well as the cuffs. I find that for the smallest of sizes, marking just the half point is sufficient.

To make sure you will not have your seam allowance on the outside of your sleeve (or ankle) 😉 place the right side of your sleeve inside the cuff and match the quarter (or half way) points.

*Sew or serge with the presser foot inside the sleeve

Most of the time the sleeve opening is pretty small so I find that it is easier the place the presser foot of my serger (or sewing machine) inside the sleeve as opposed to stitching on the outside. This is especially important when you make Baby Bear Joggers or and kids shirts with cuffs, like the Jolly Roger Raglan or the Yo Ho Henley.

*Do not topstitch.

As opposed to necklines, I find that cuffs and waistbands look a lot better if you do not topstitch them down. I do encourage you to press your garments when you finish sewing it, including the cuffs.

There you have it! 7 easy tips to follow when adding cuffs to your favorite P4P knit patterns. My boys are both rocking the JRR with add on cowl neck from the pack and faux layered sleeves from the blog.

Which one will you be making first? Make sure you post your creations in the P4P group and let me know if adding cuffs is now an easier “task”. 🙂


Filed Under: Frequently Asked Questions, P4P University, Sewing with Stretch, Knit Fabrics, Uncategorized 6 Comments

Featured Patterns

  • Loosey Goosey Loosey Goosey $12.00
  • Loosey Goosey- Youth Loosey Goosey- Youth $10.00
  • Loosey Goosey - Bundle Loosey Goosey - Bundle $20.00
  • Everyday Shirt Everyday Shirt $12.00
  • Everyday Shirt- Youth Everyday Shirt- Youth $10.00
  • Privacy Policy
  • Refund Policy
  • Affliliate Program
  • Contact Us
  • About

Copyright © 2025 Patterns for Pirates

Copyright © 2025 · Genesis Framework · WordPress · Log in