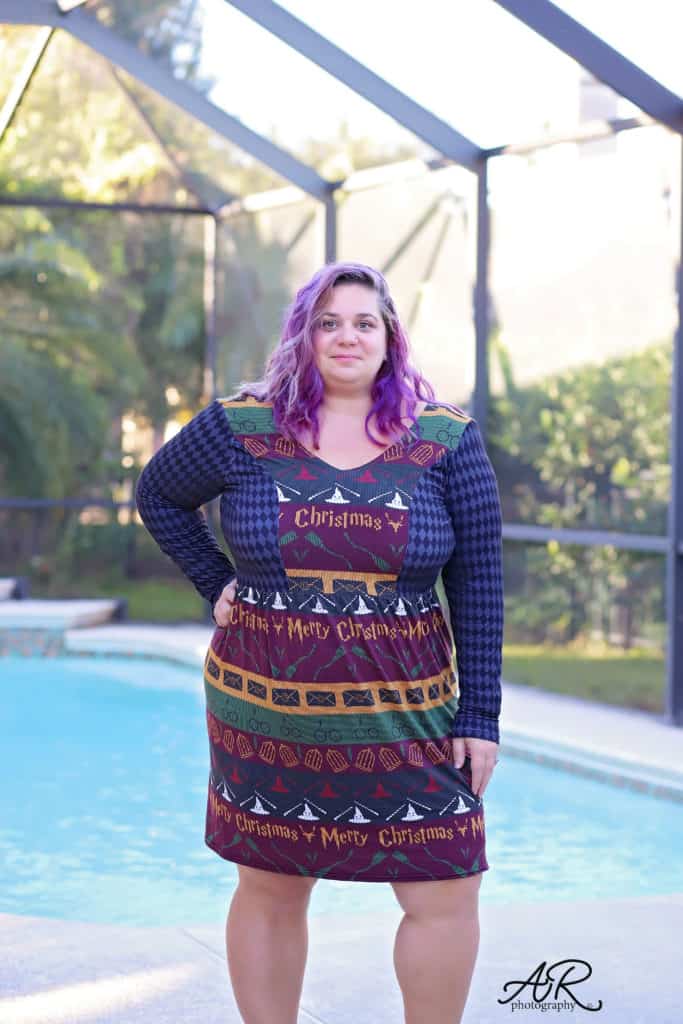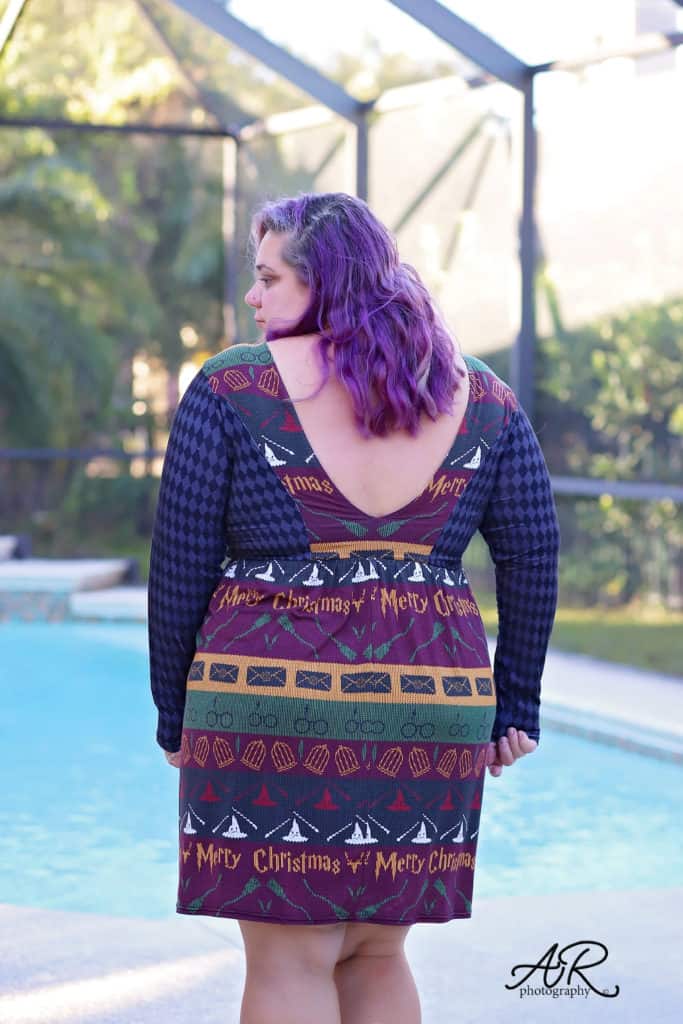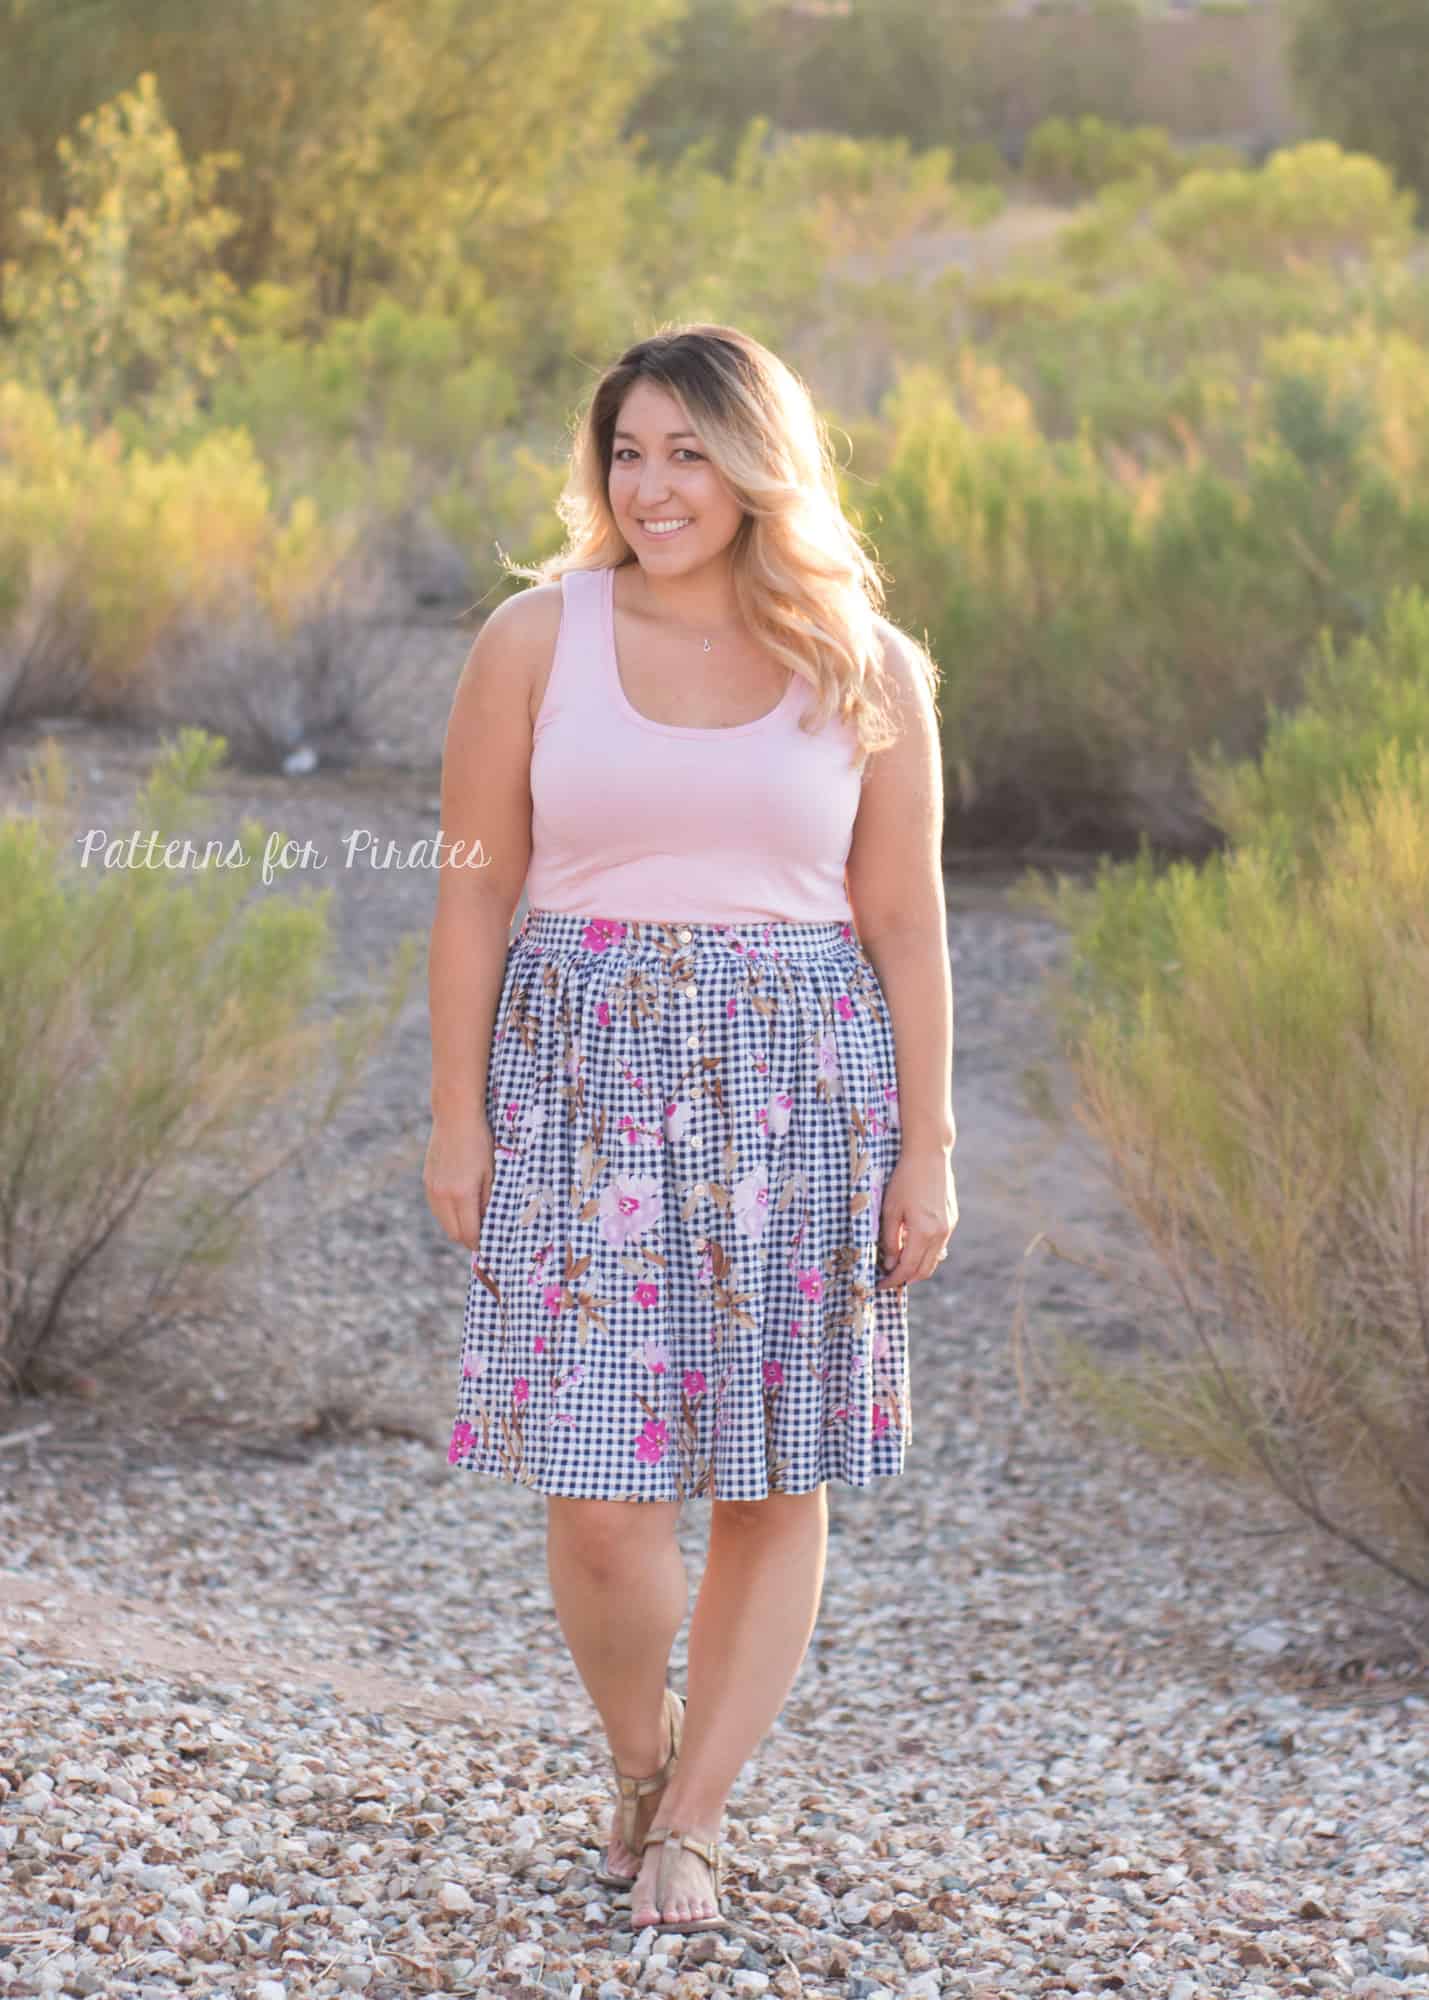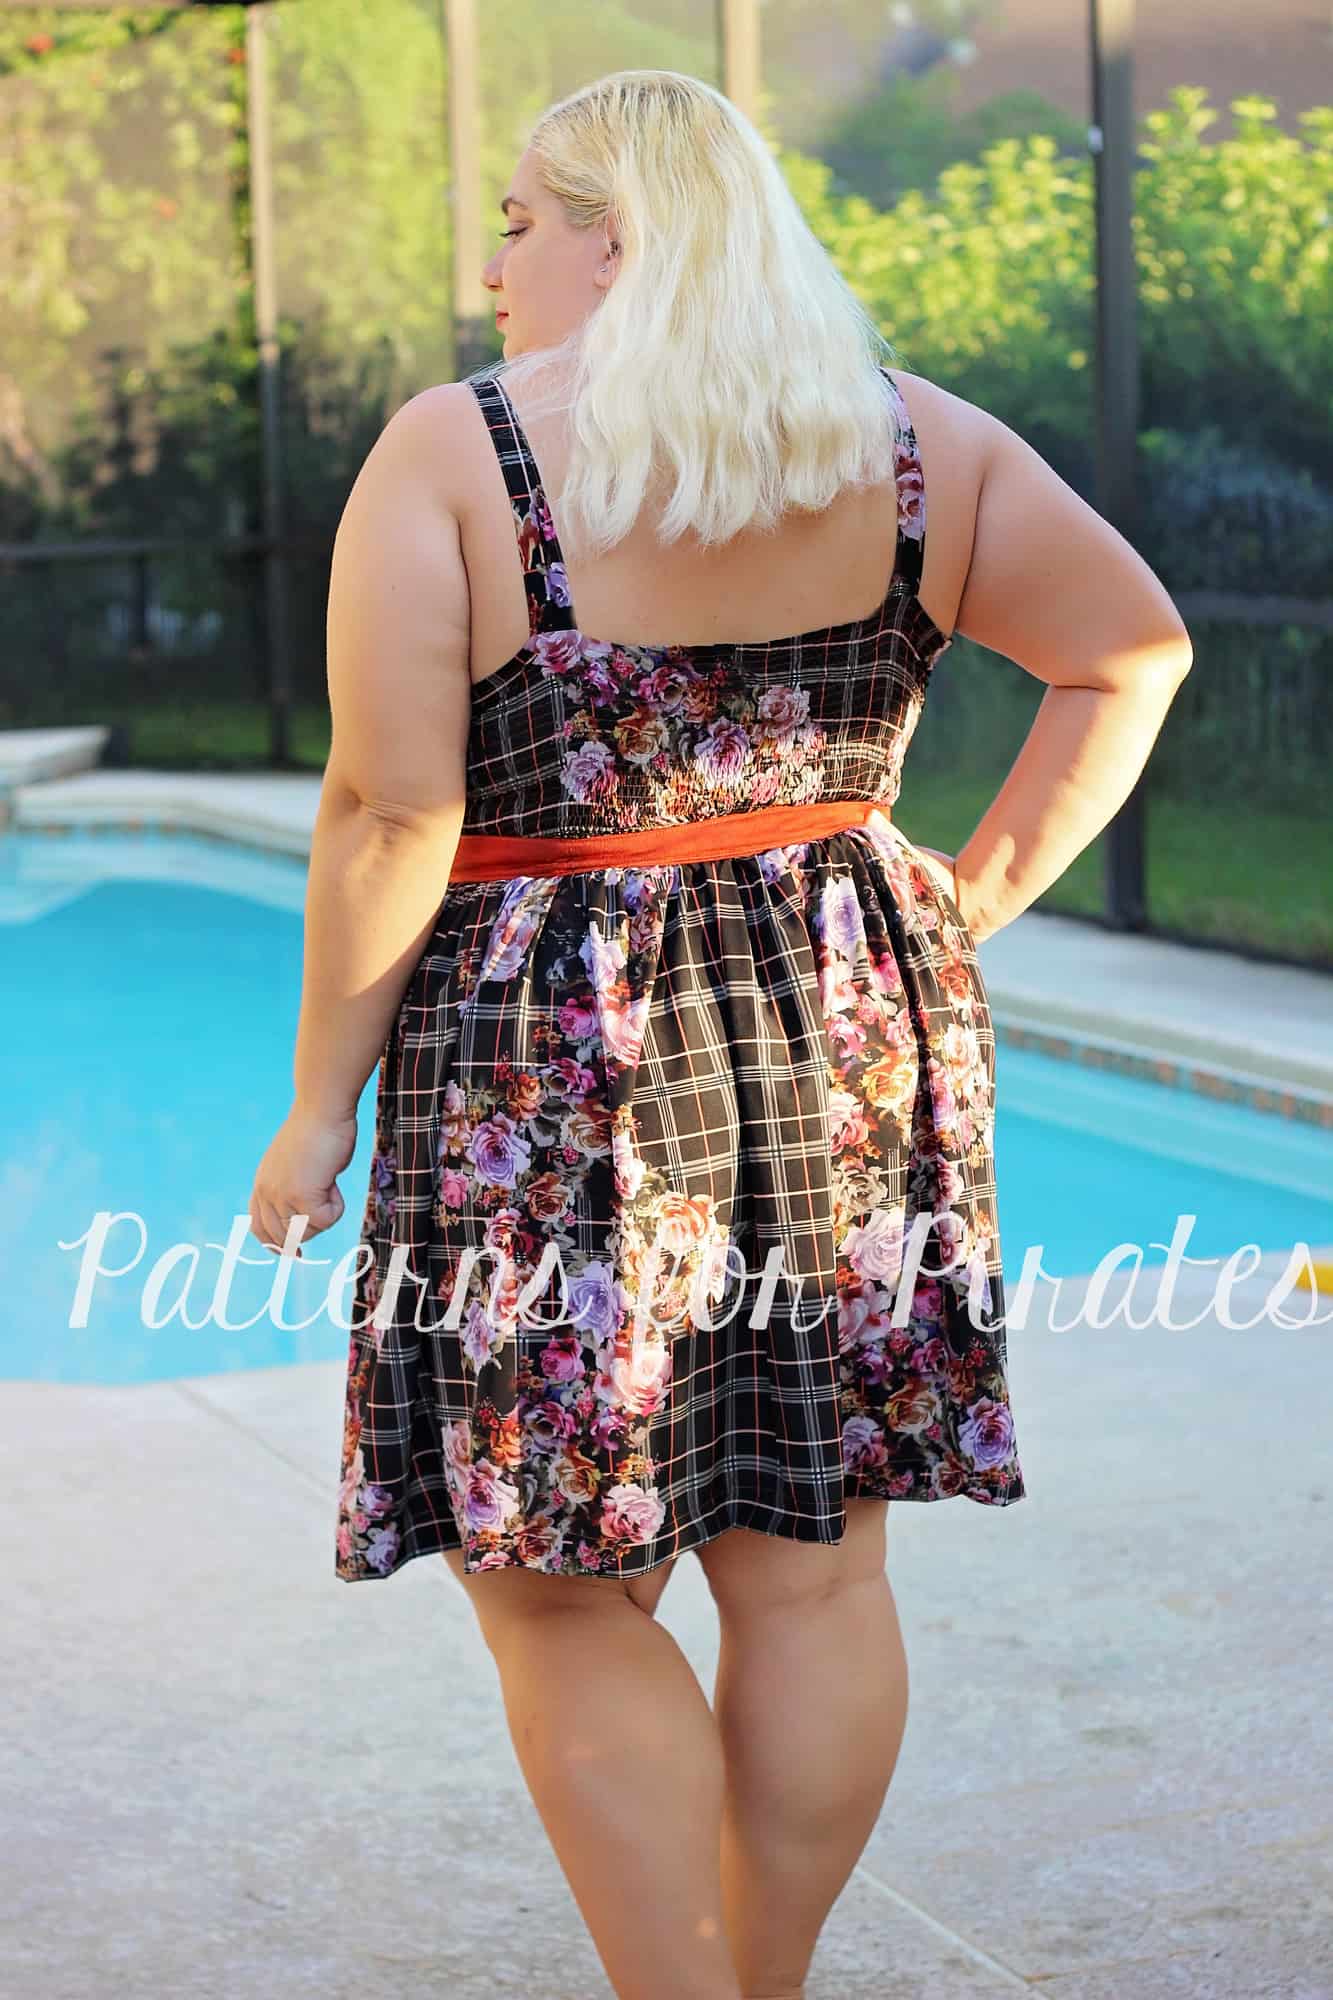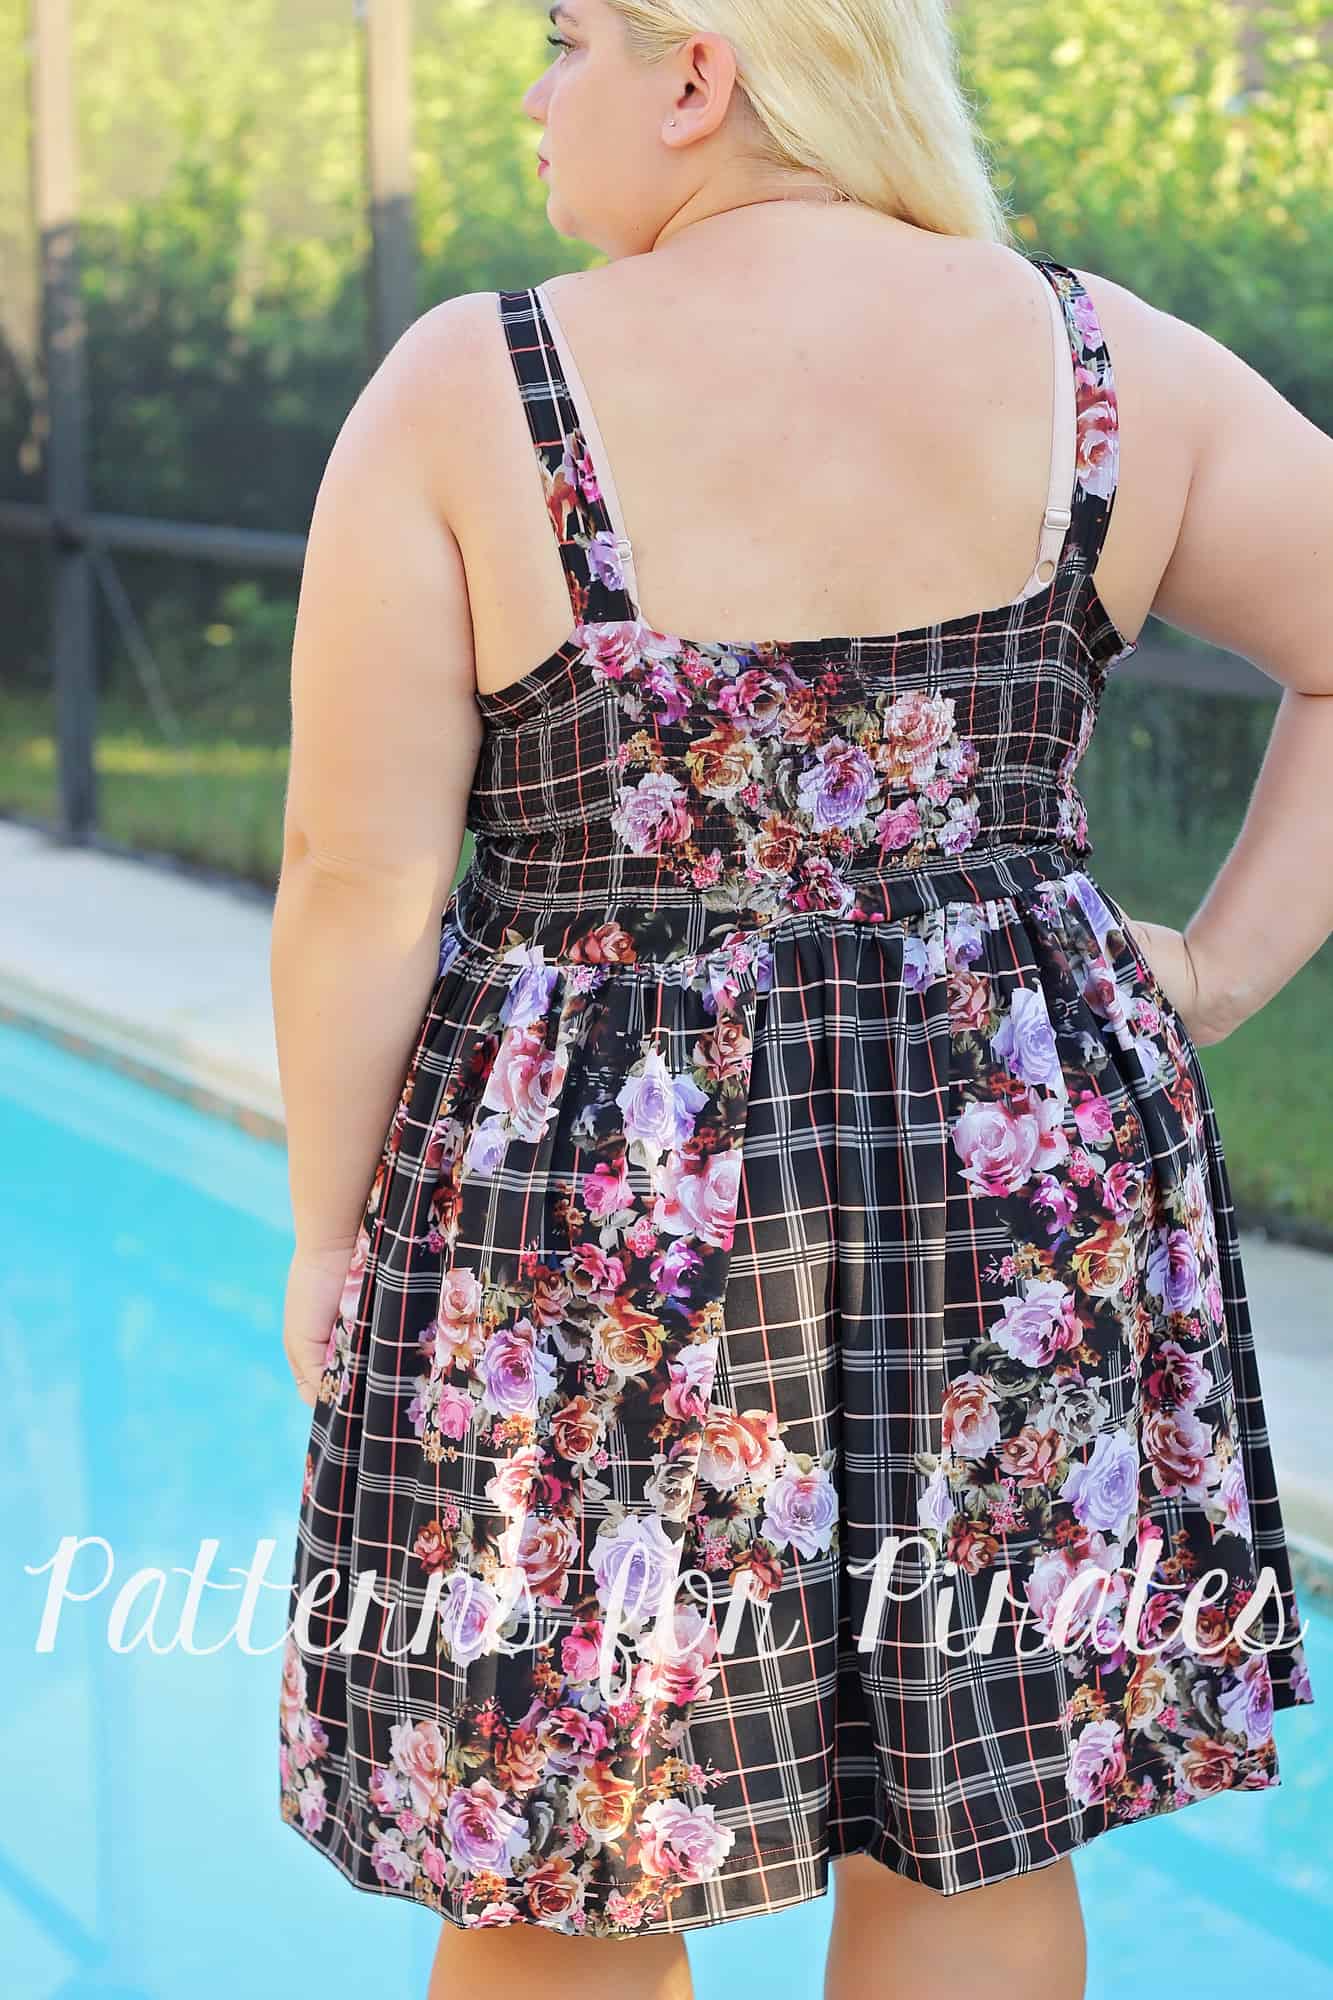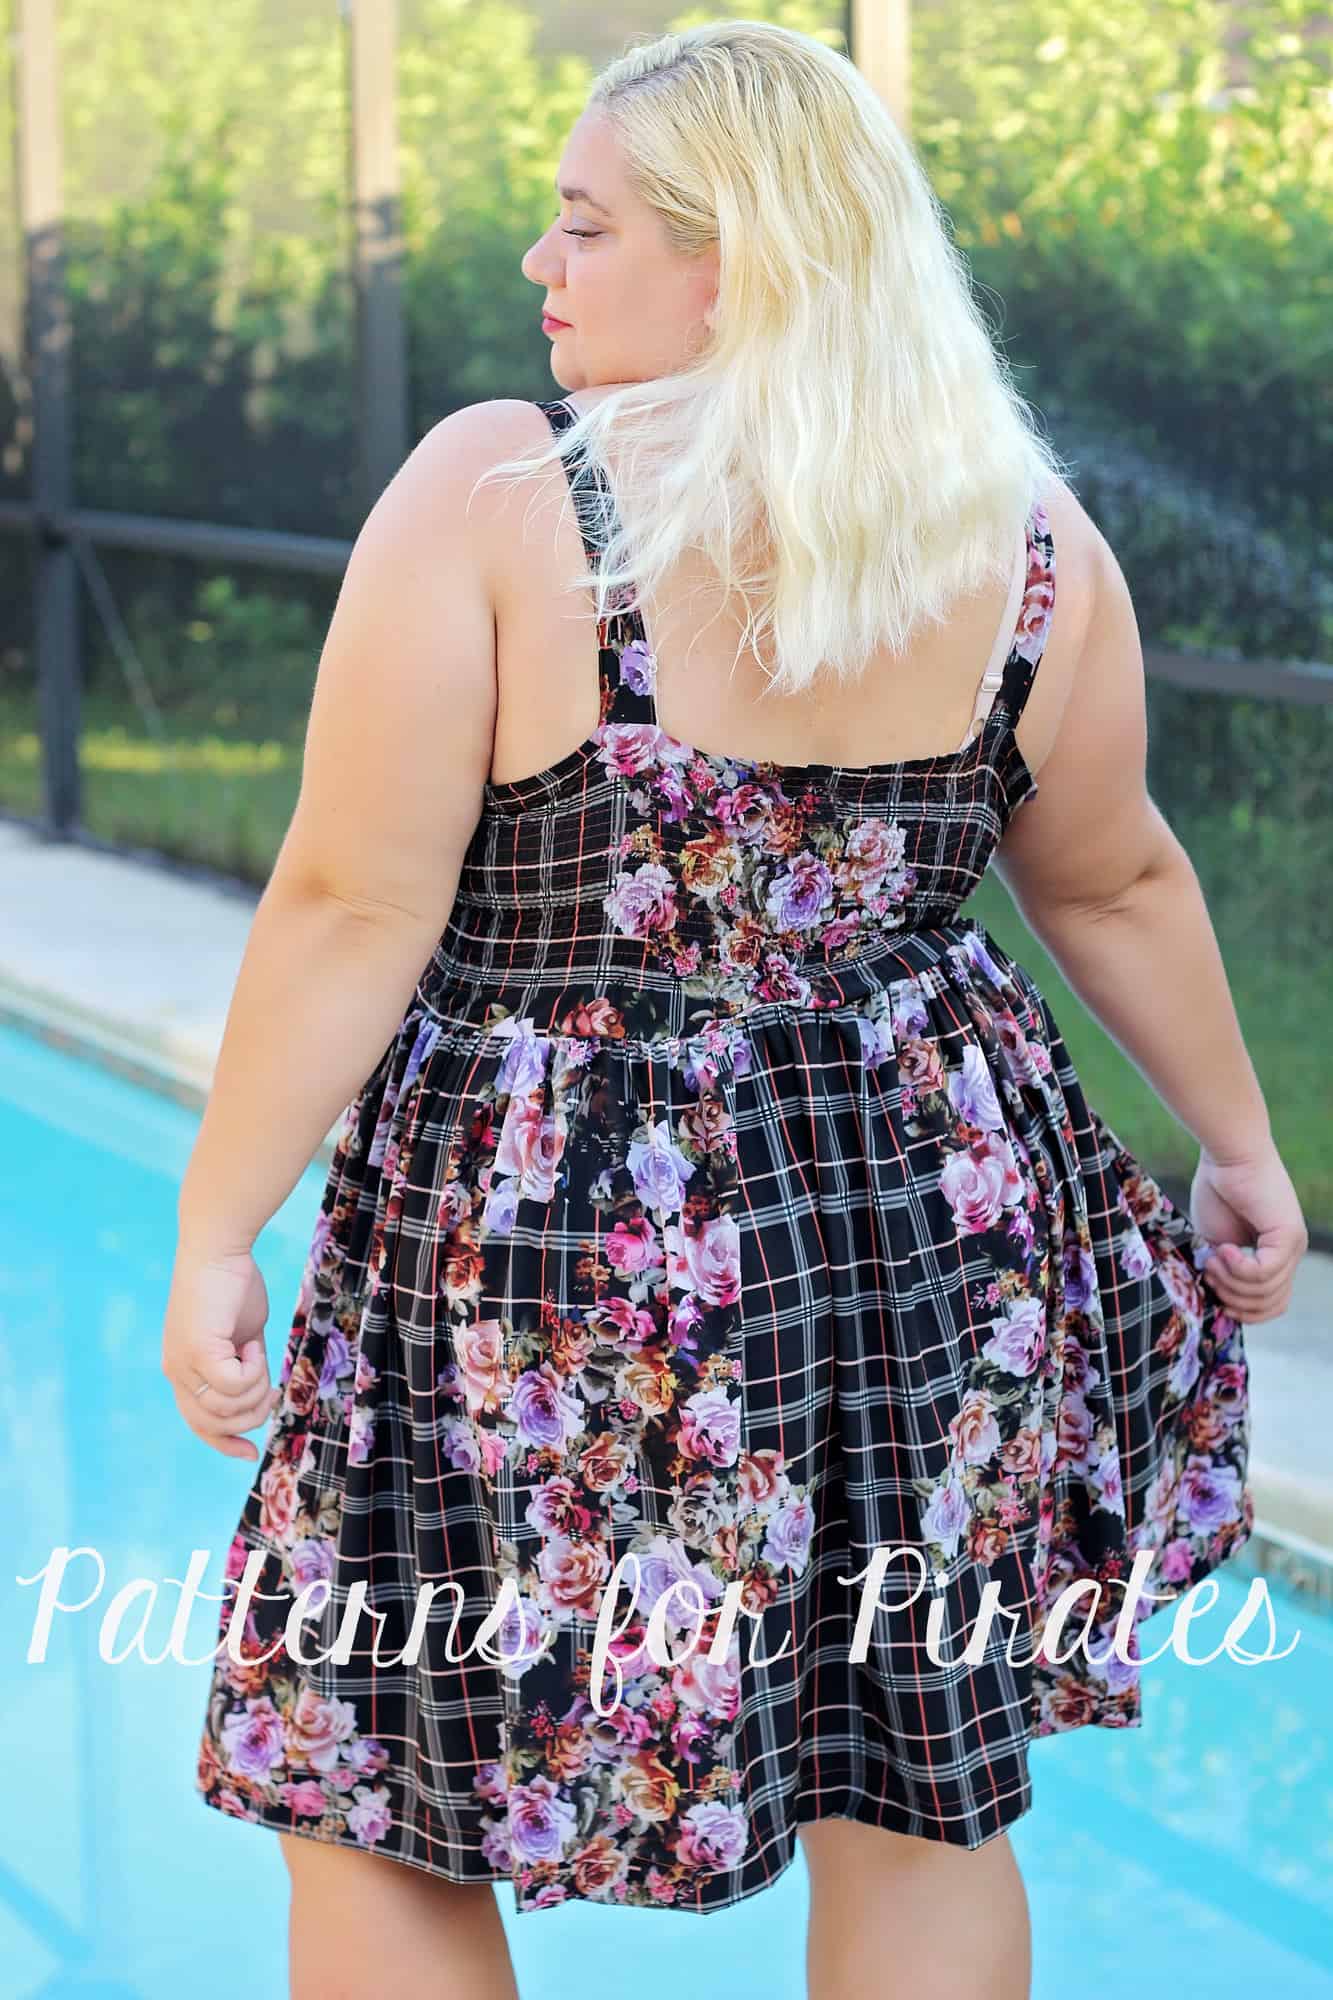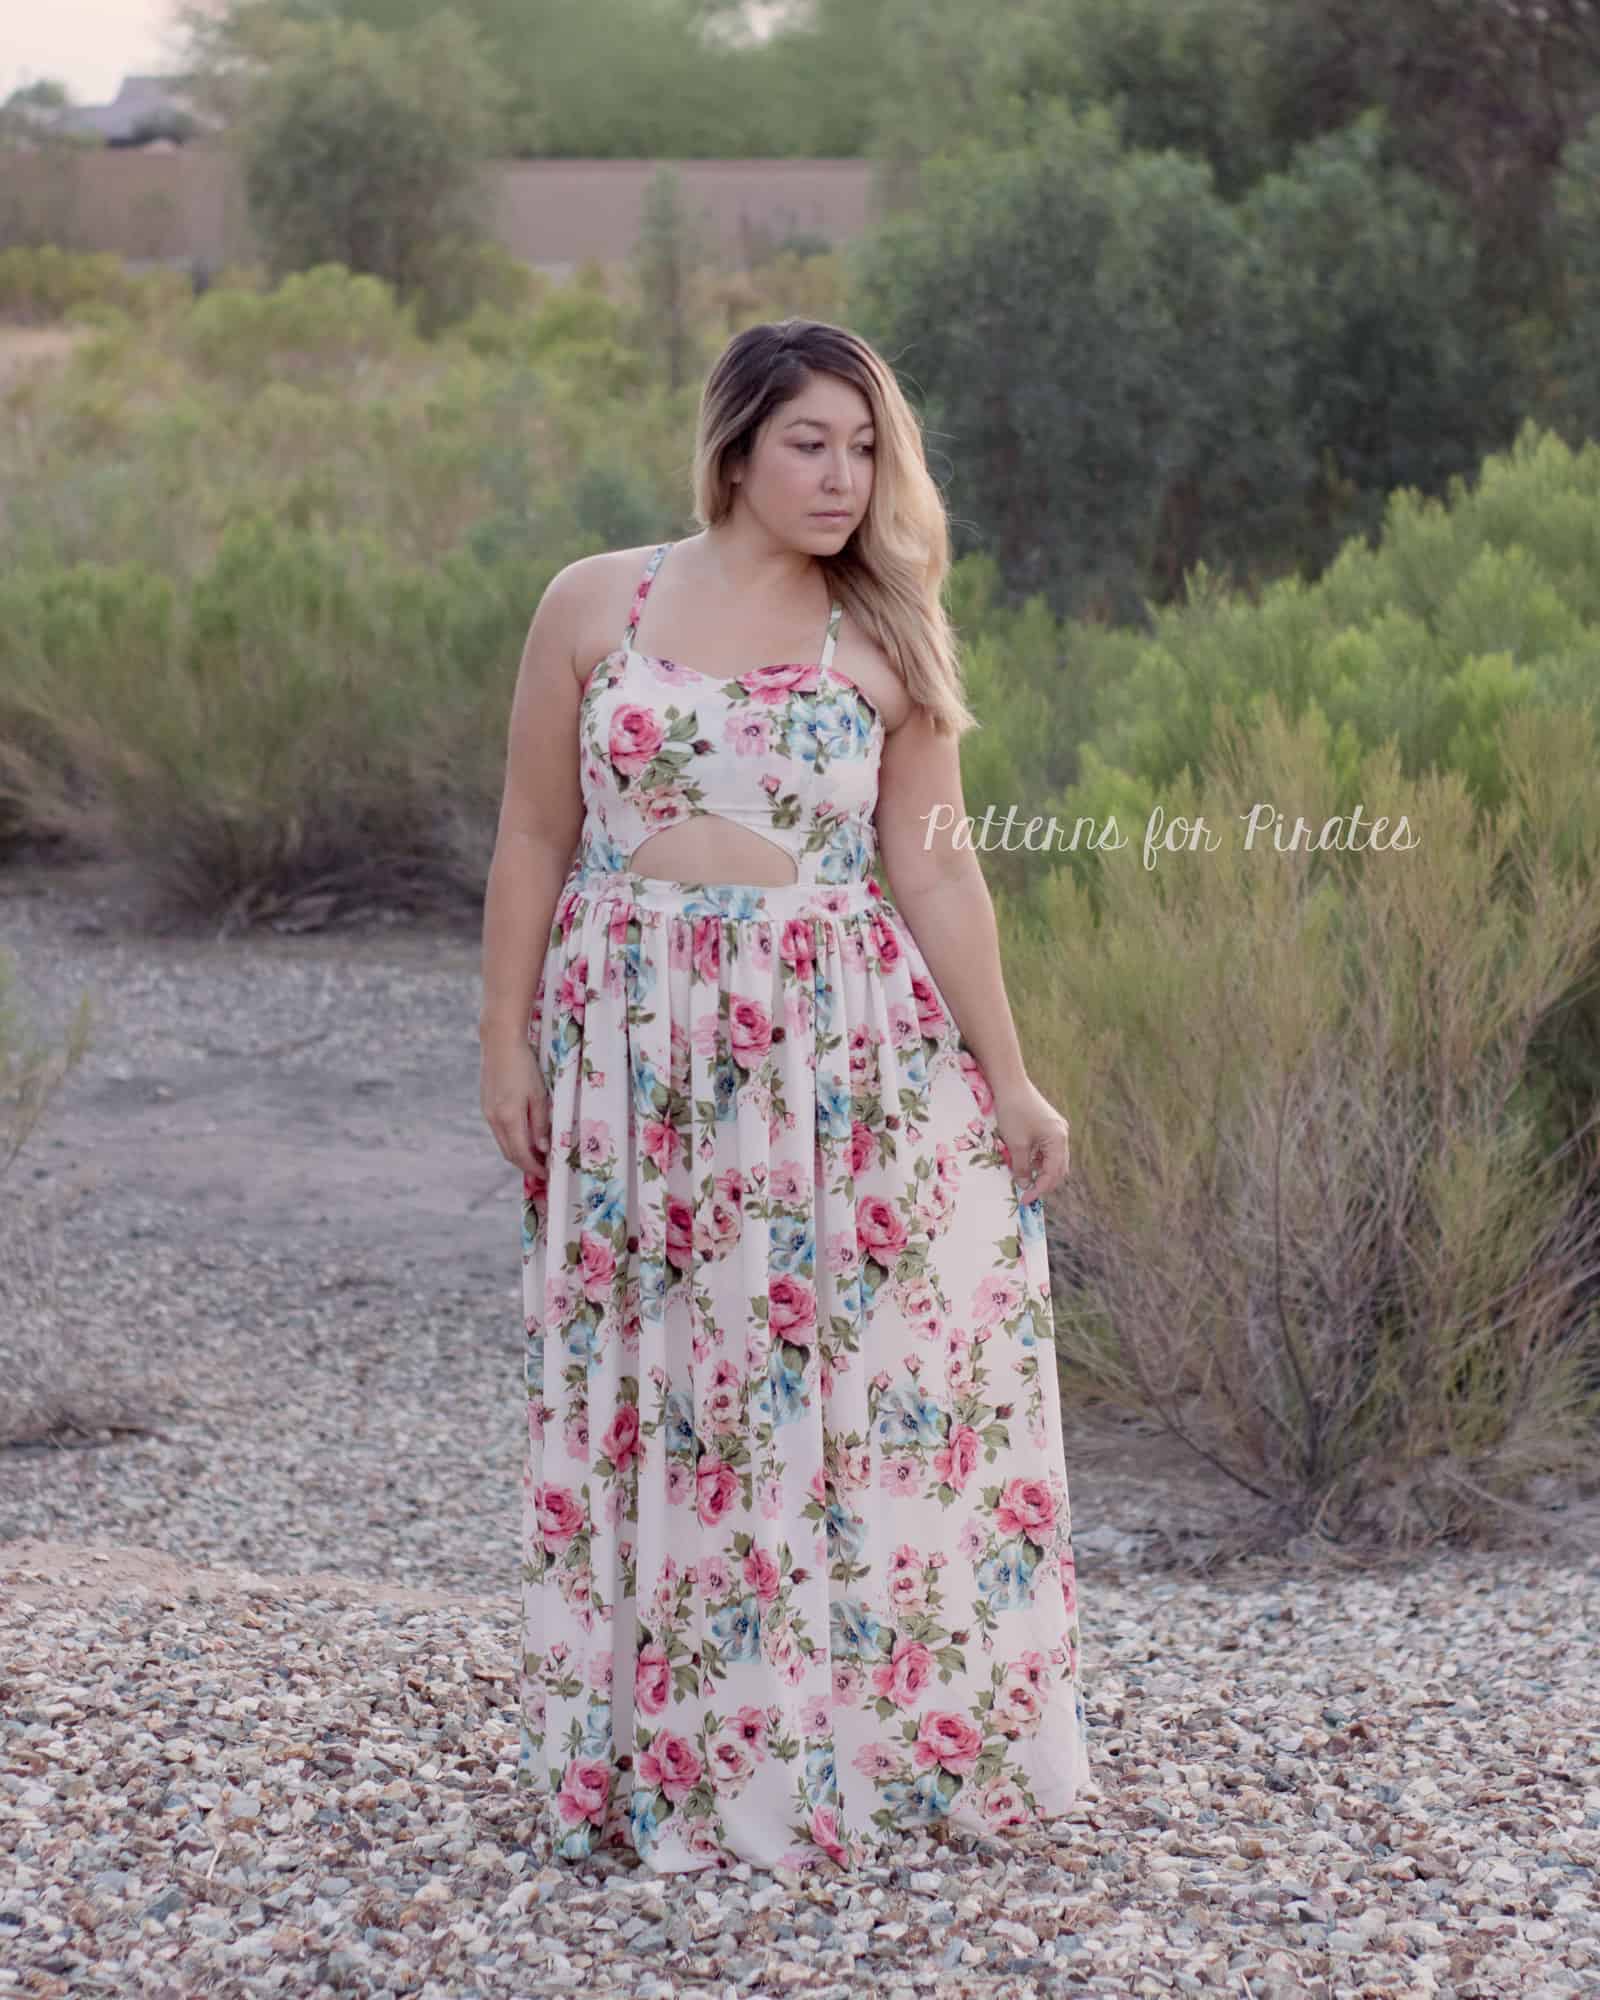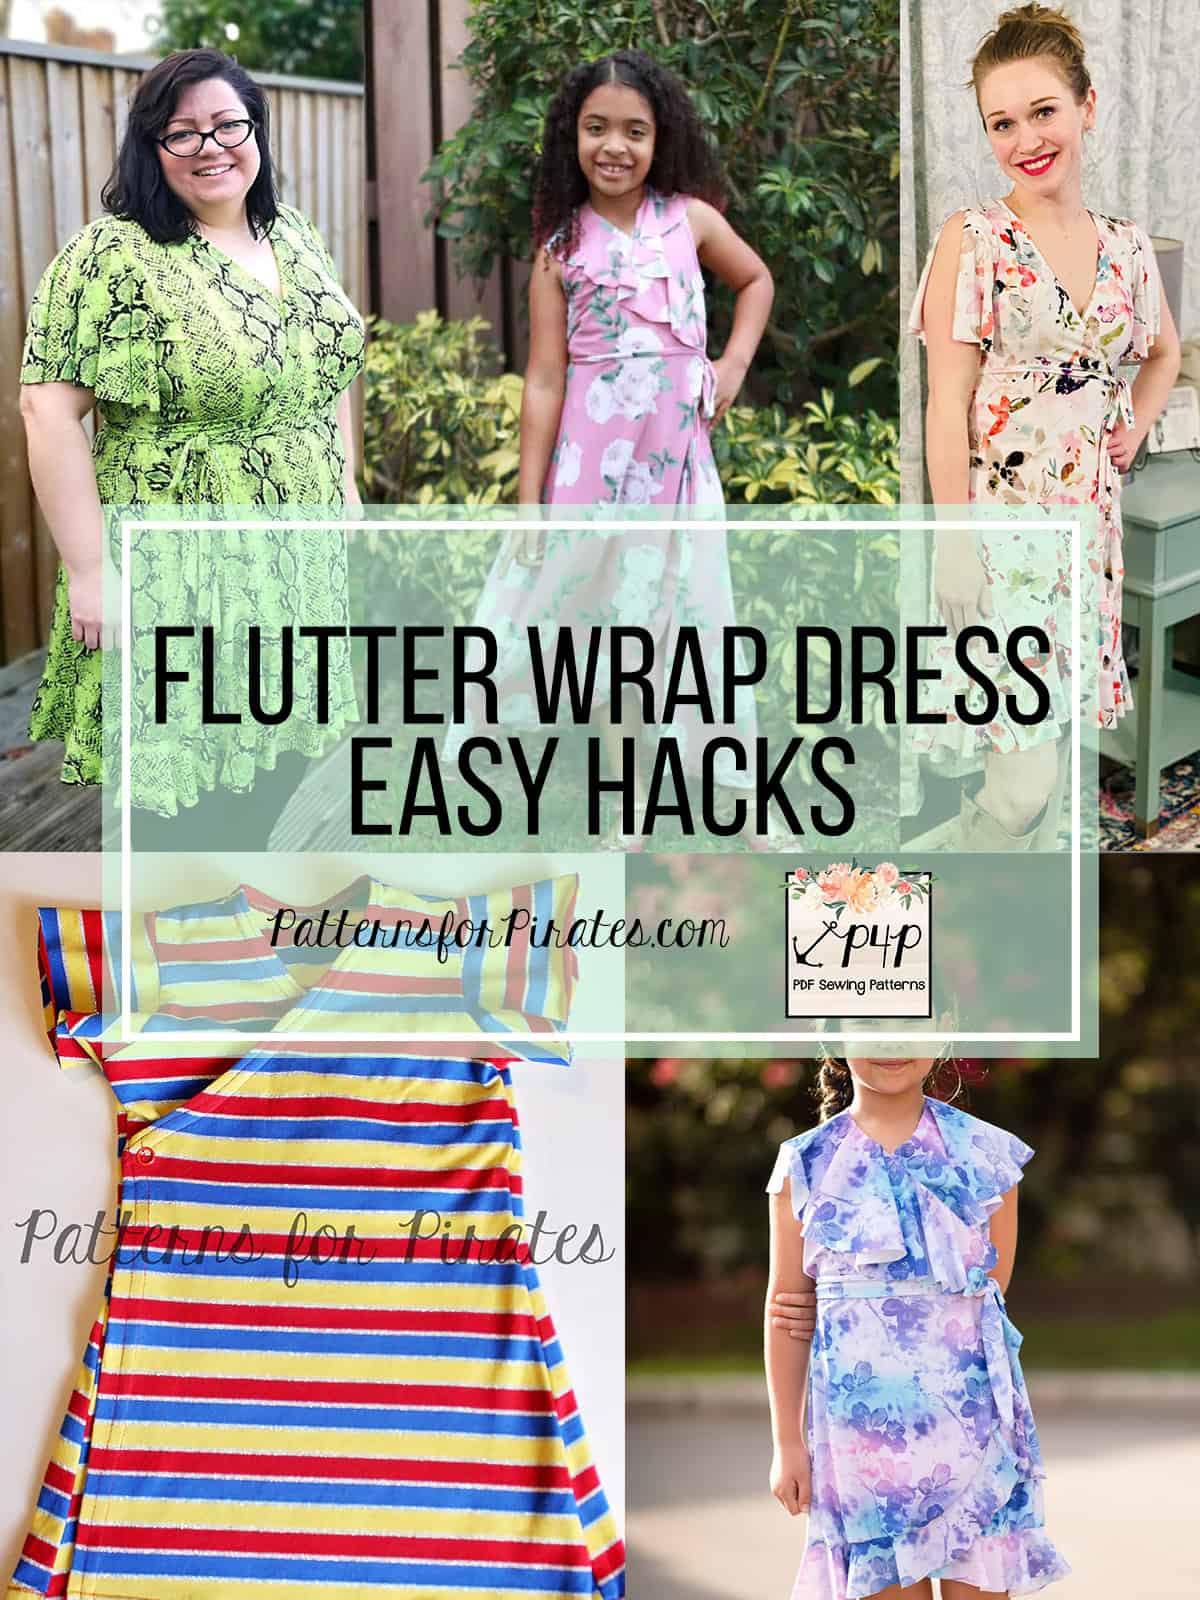
Bring on spring!! You have to admit that our latest release, the Flutter Wrap Dress is giving us all the spring and sunny vibes! I am so excited to share with you some easy hacks that the P4P blog team has prepared. Whether you like a thicker belt, neckbands or a split flutter sleeve, we have them all!
…..
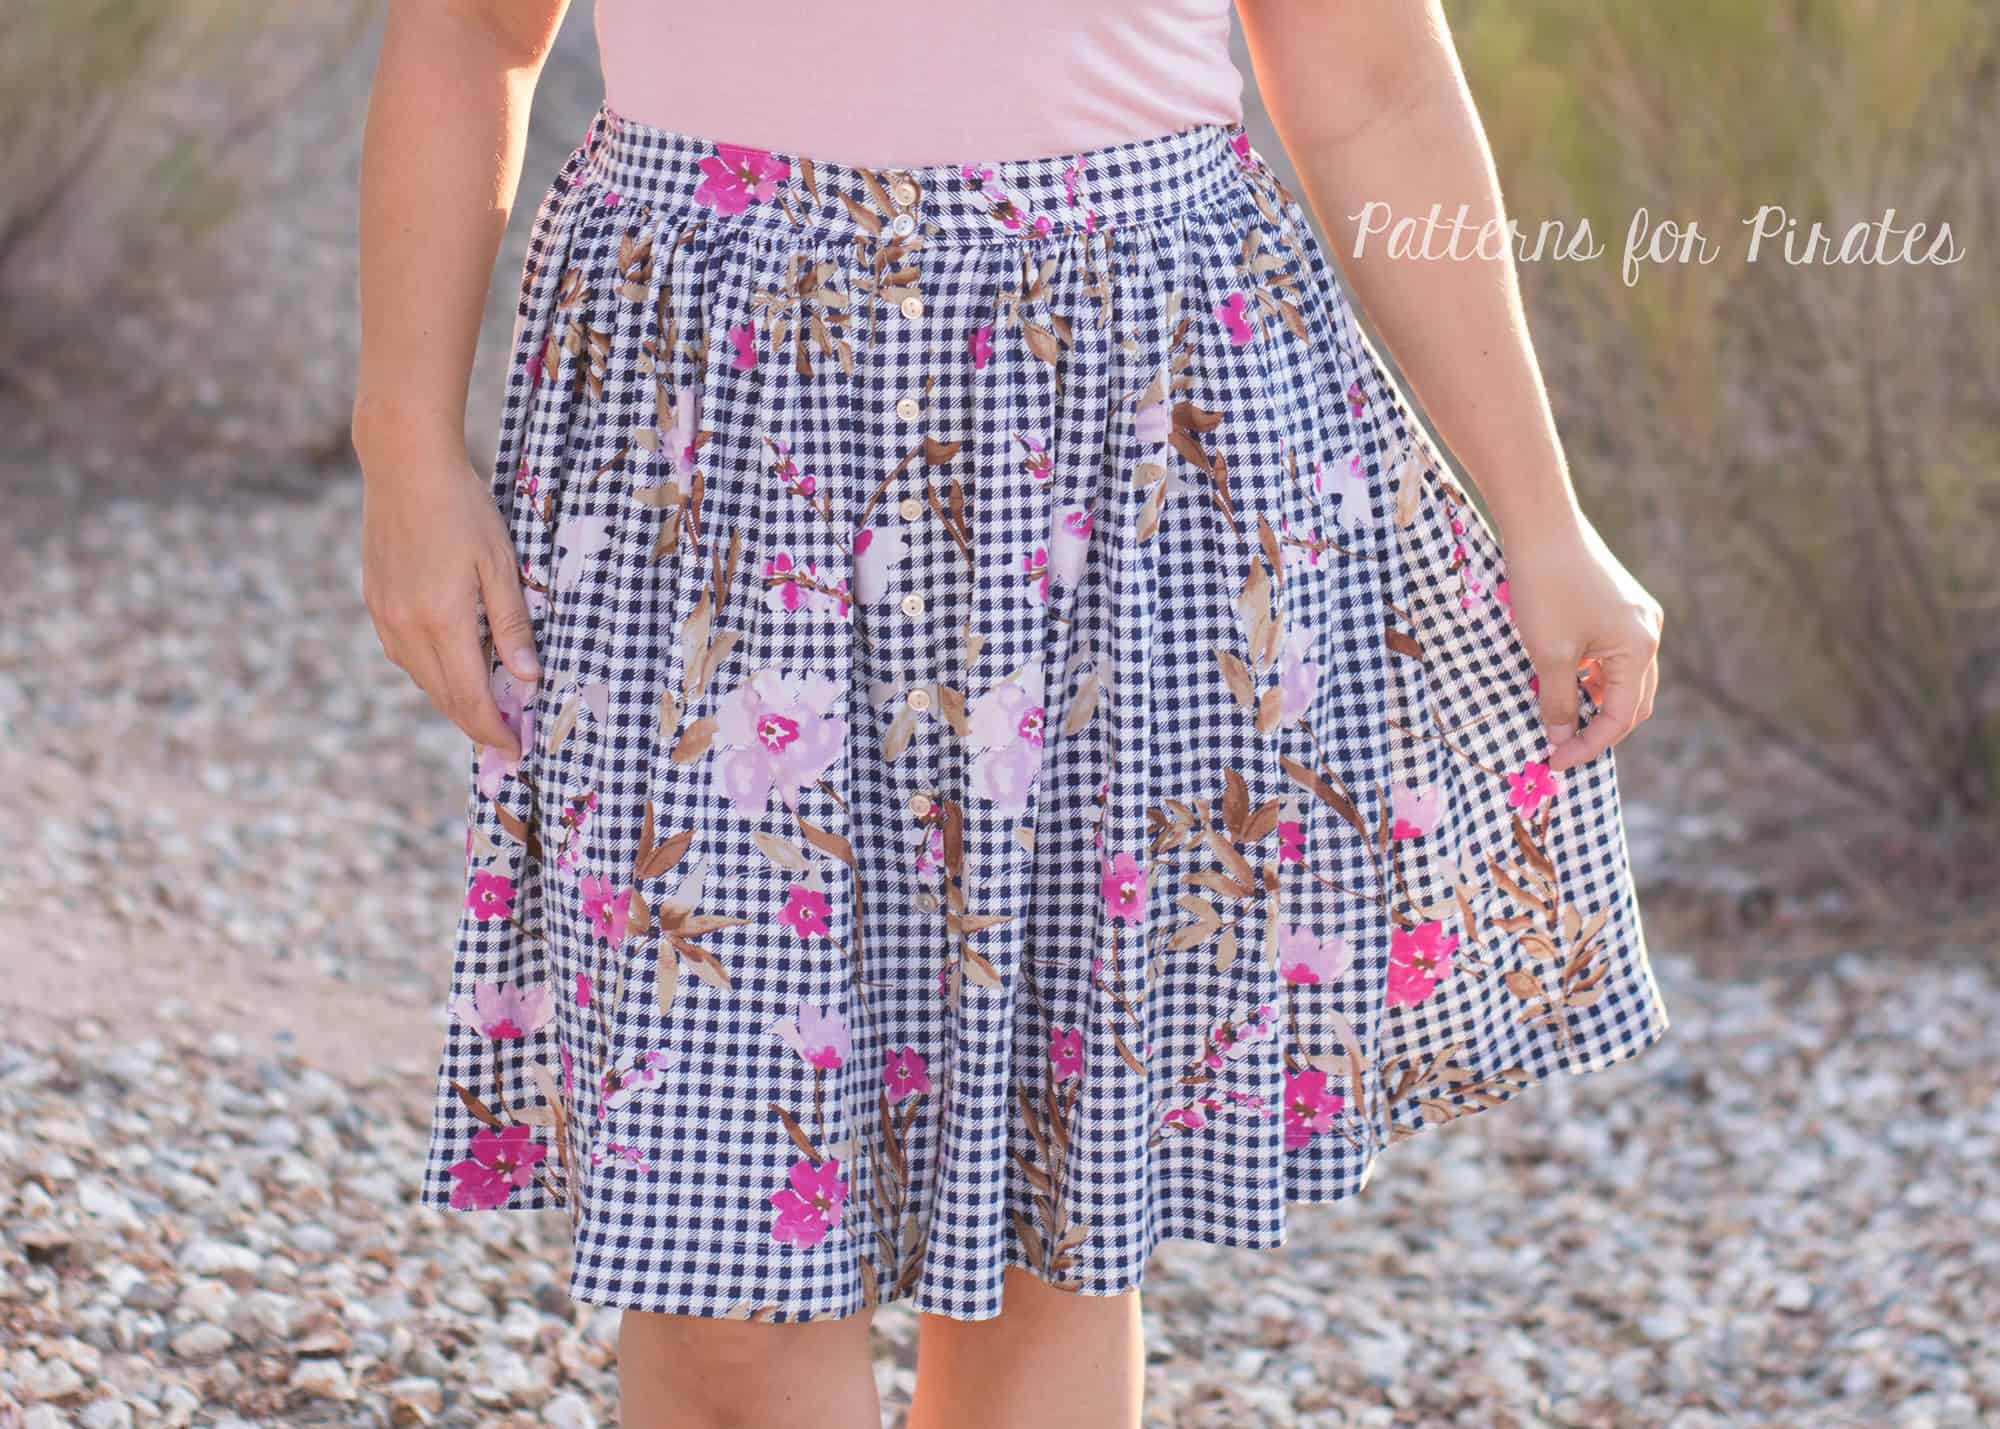
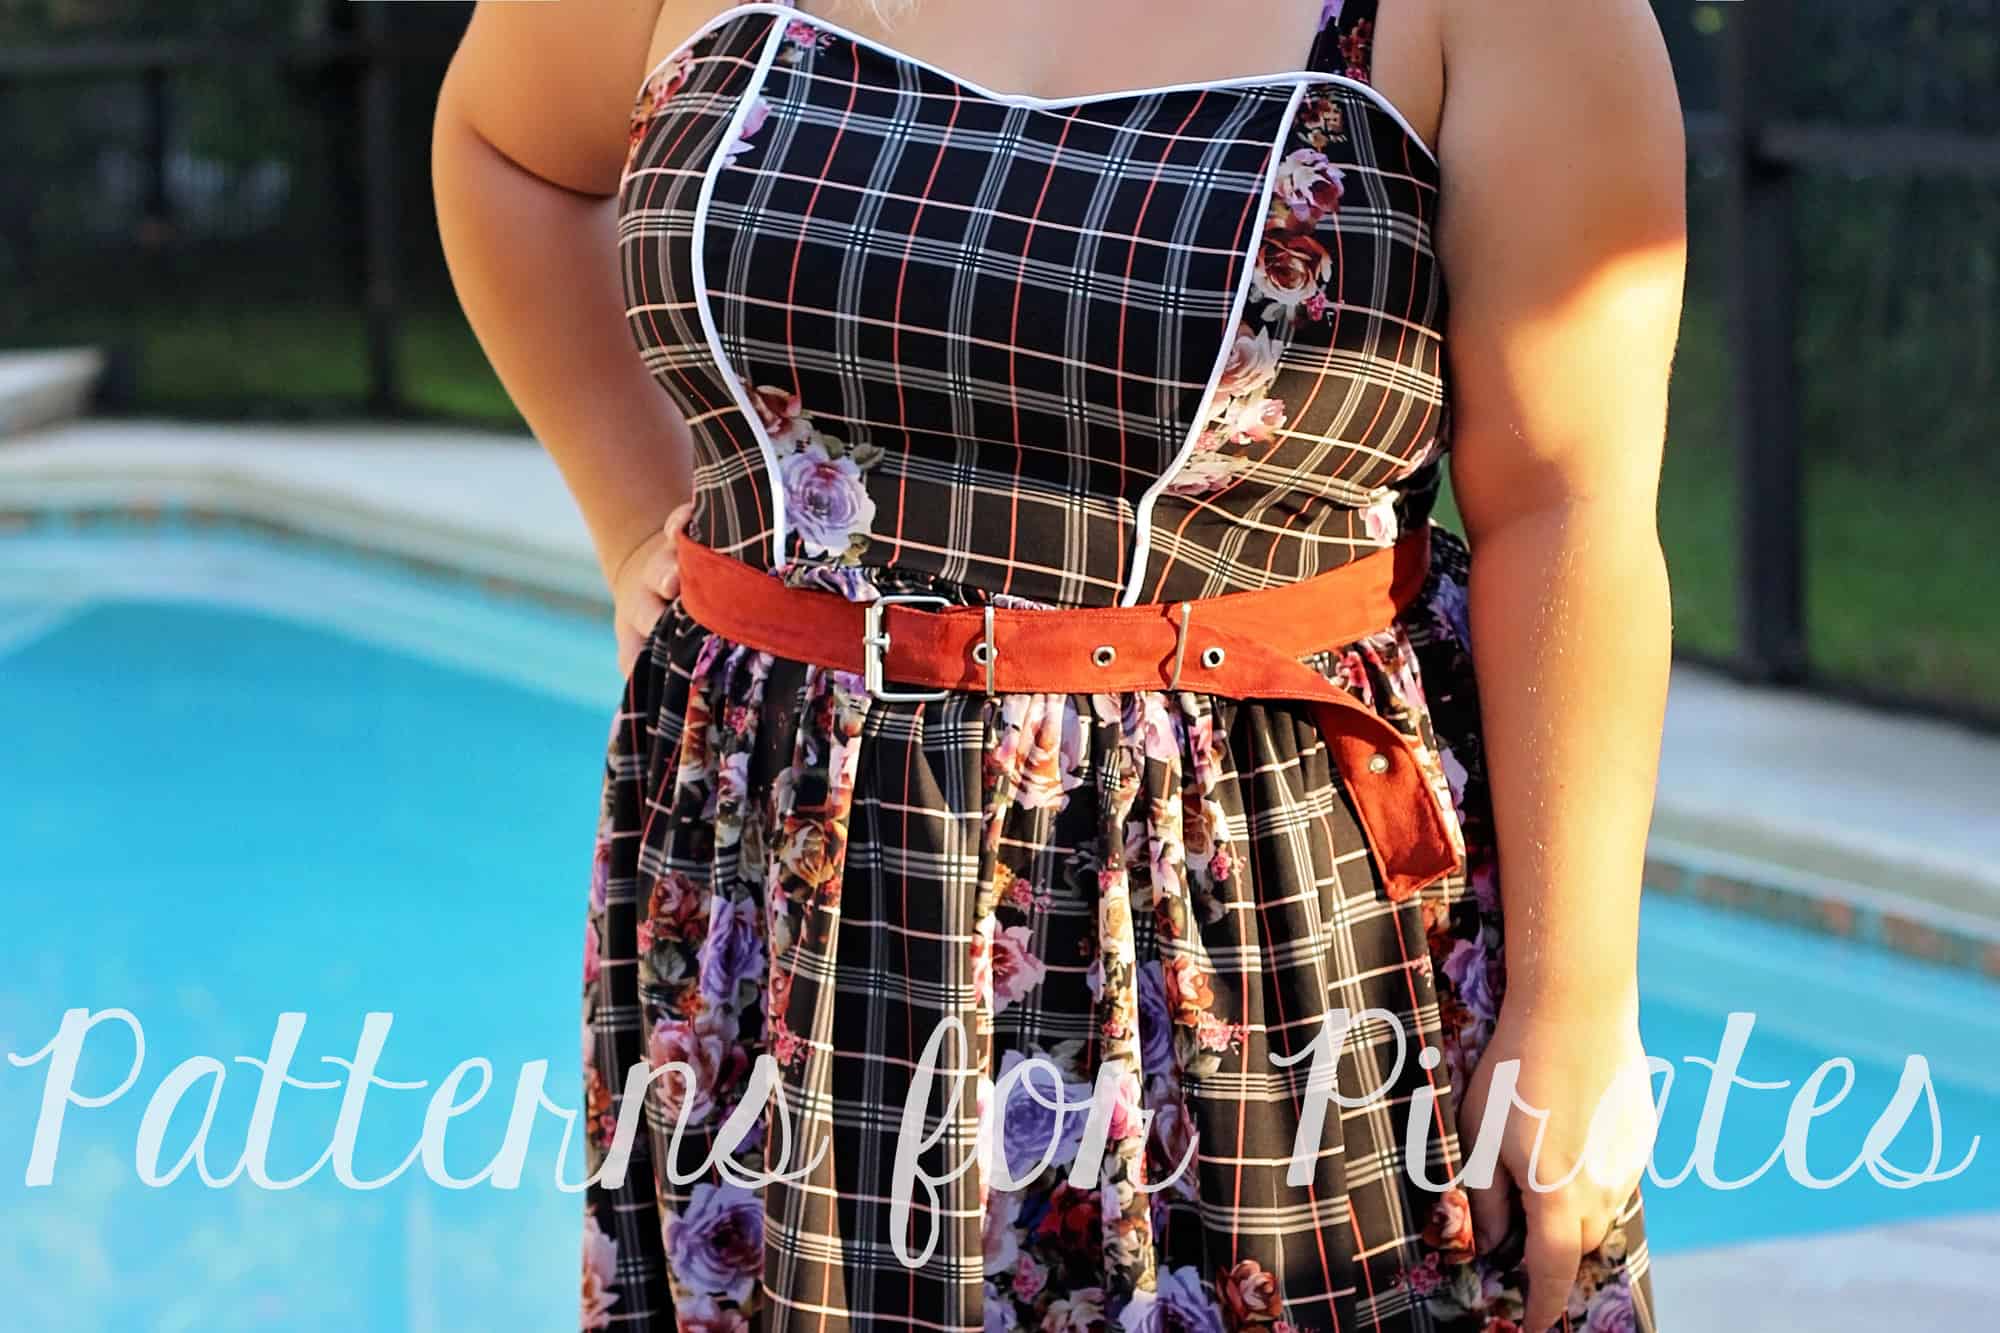
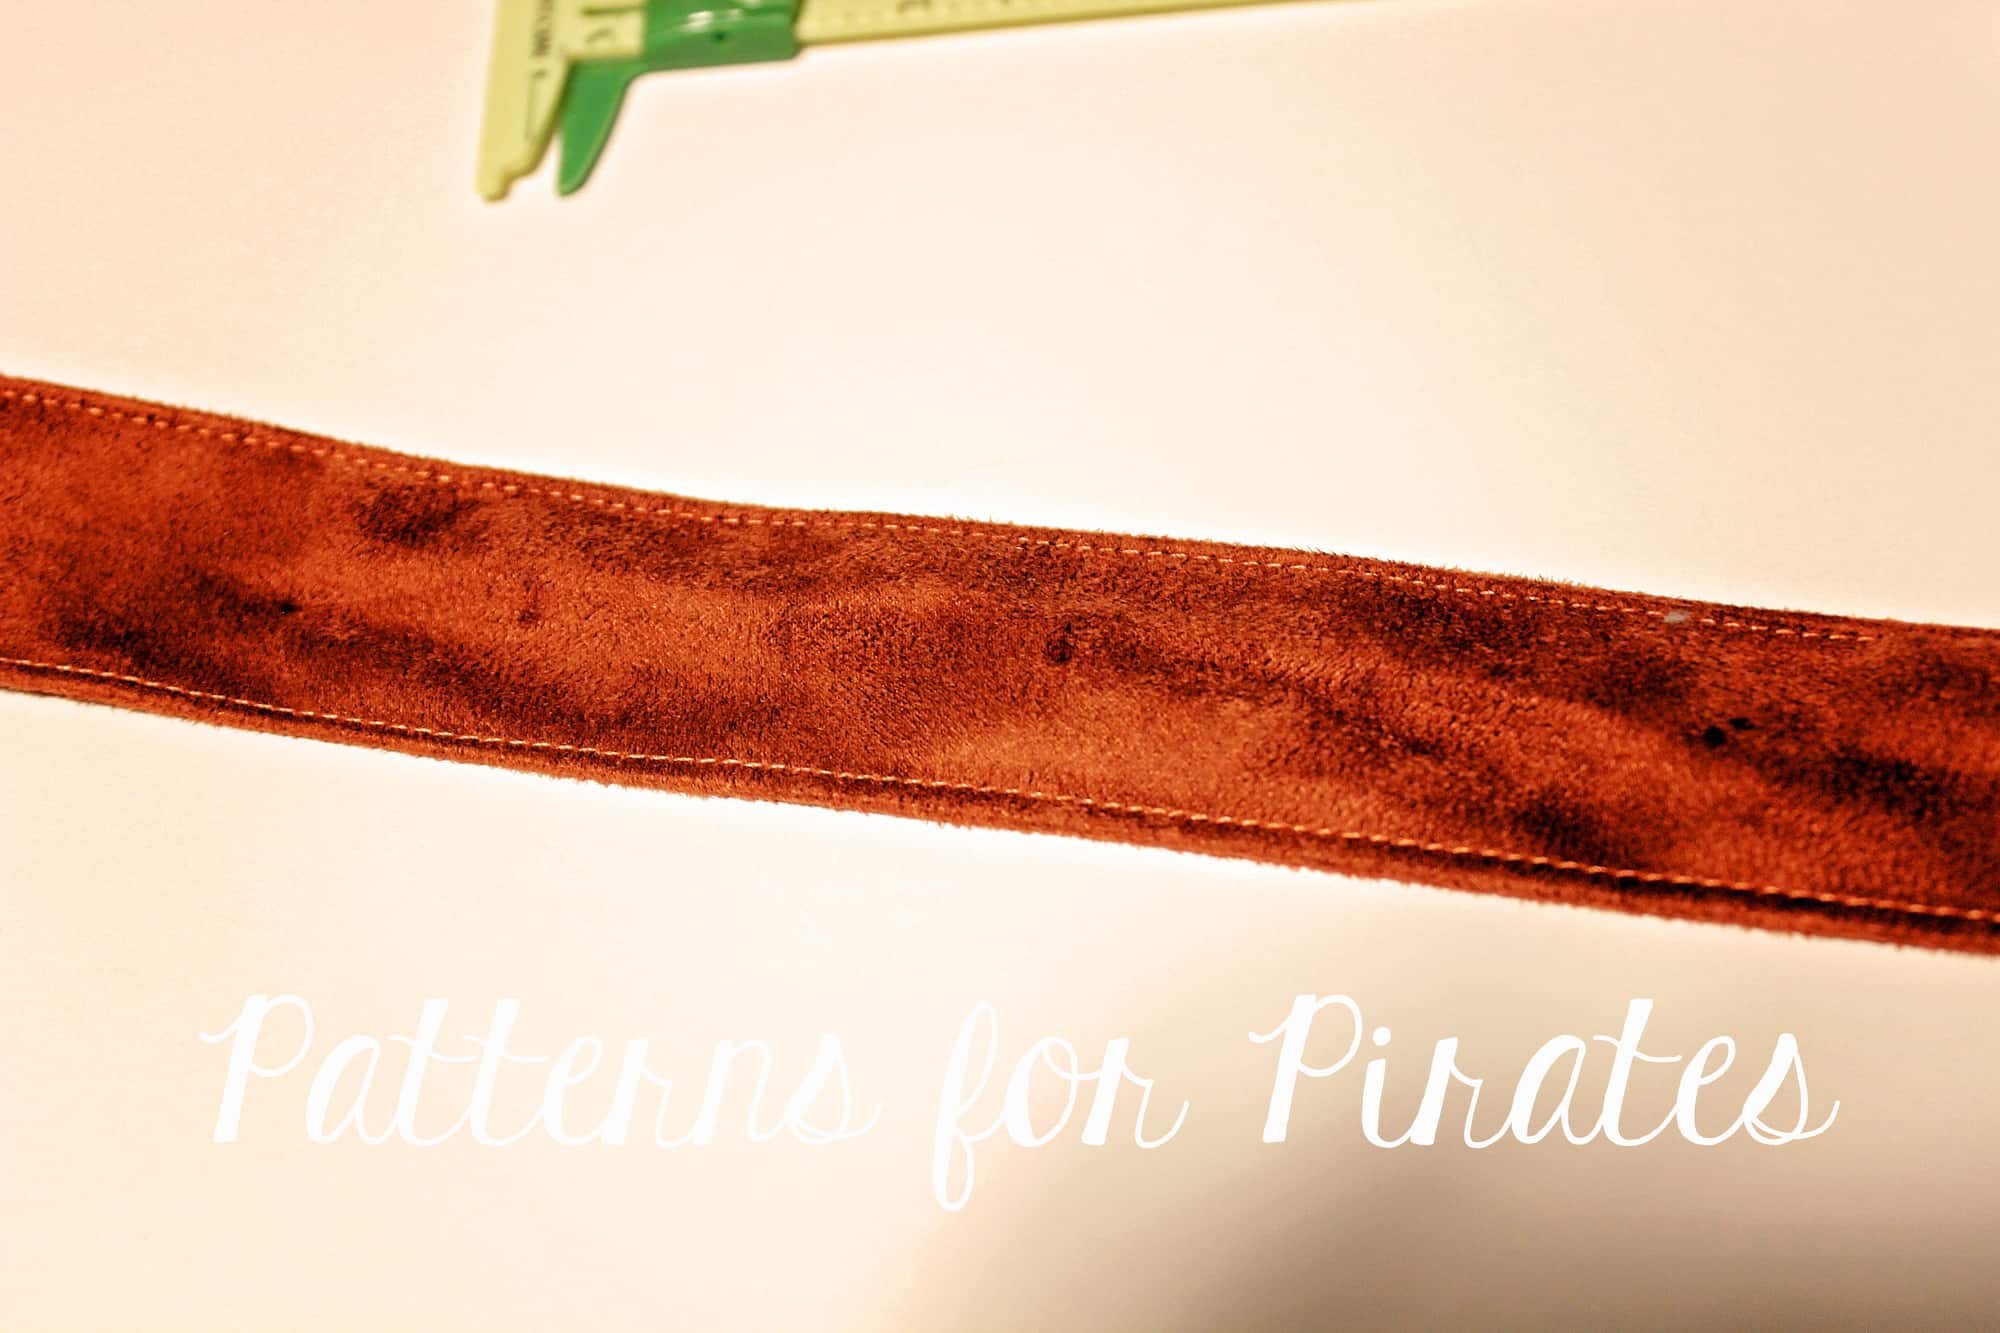
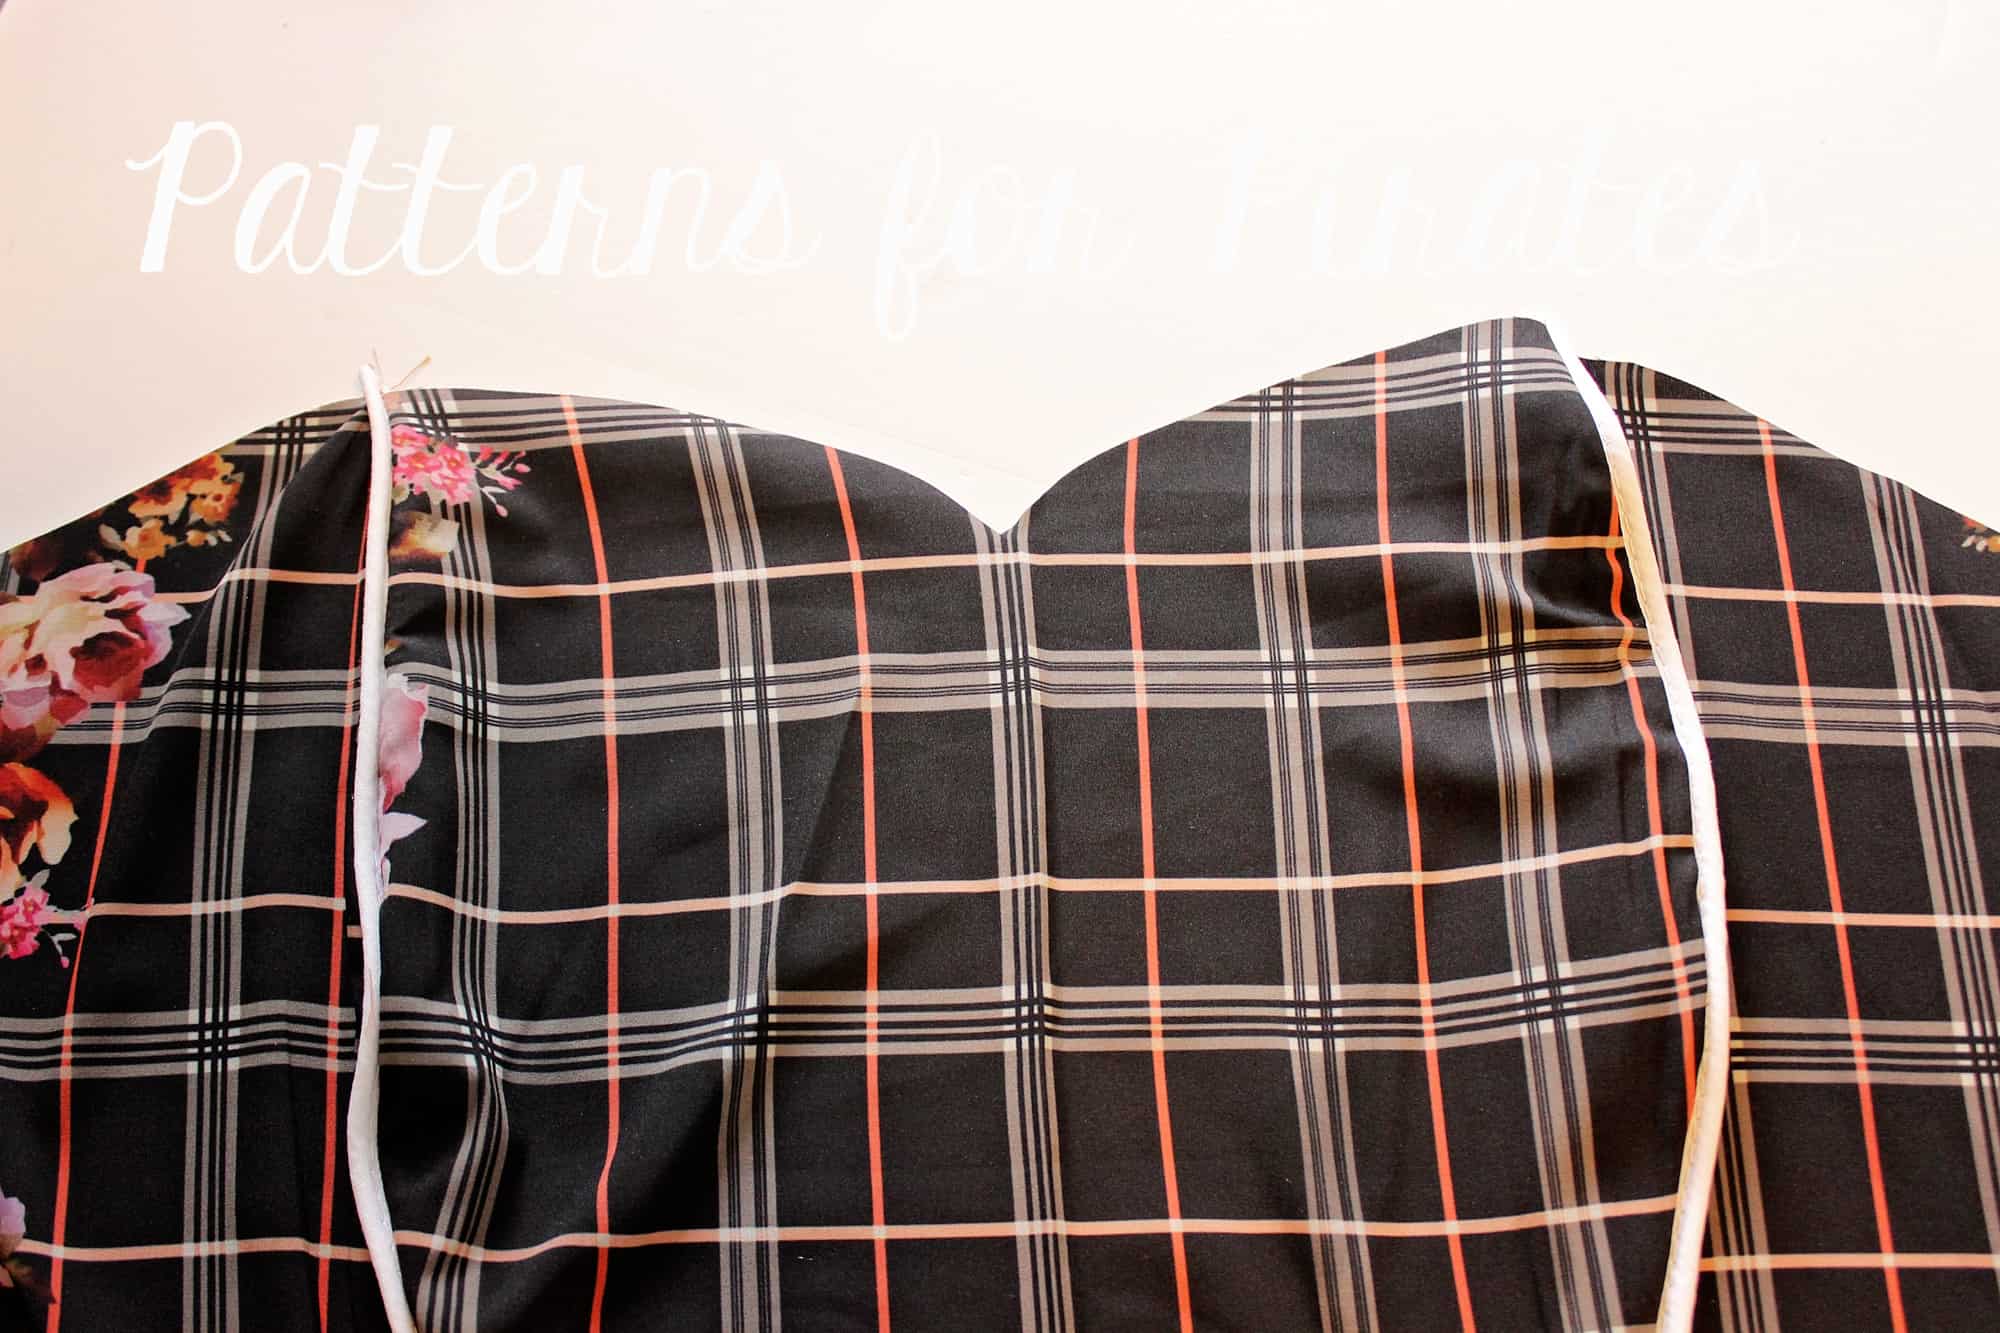
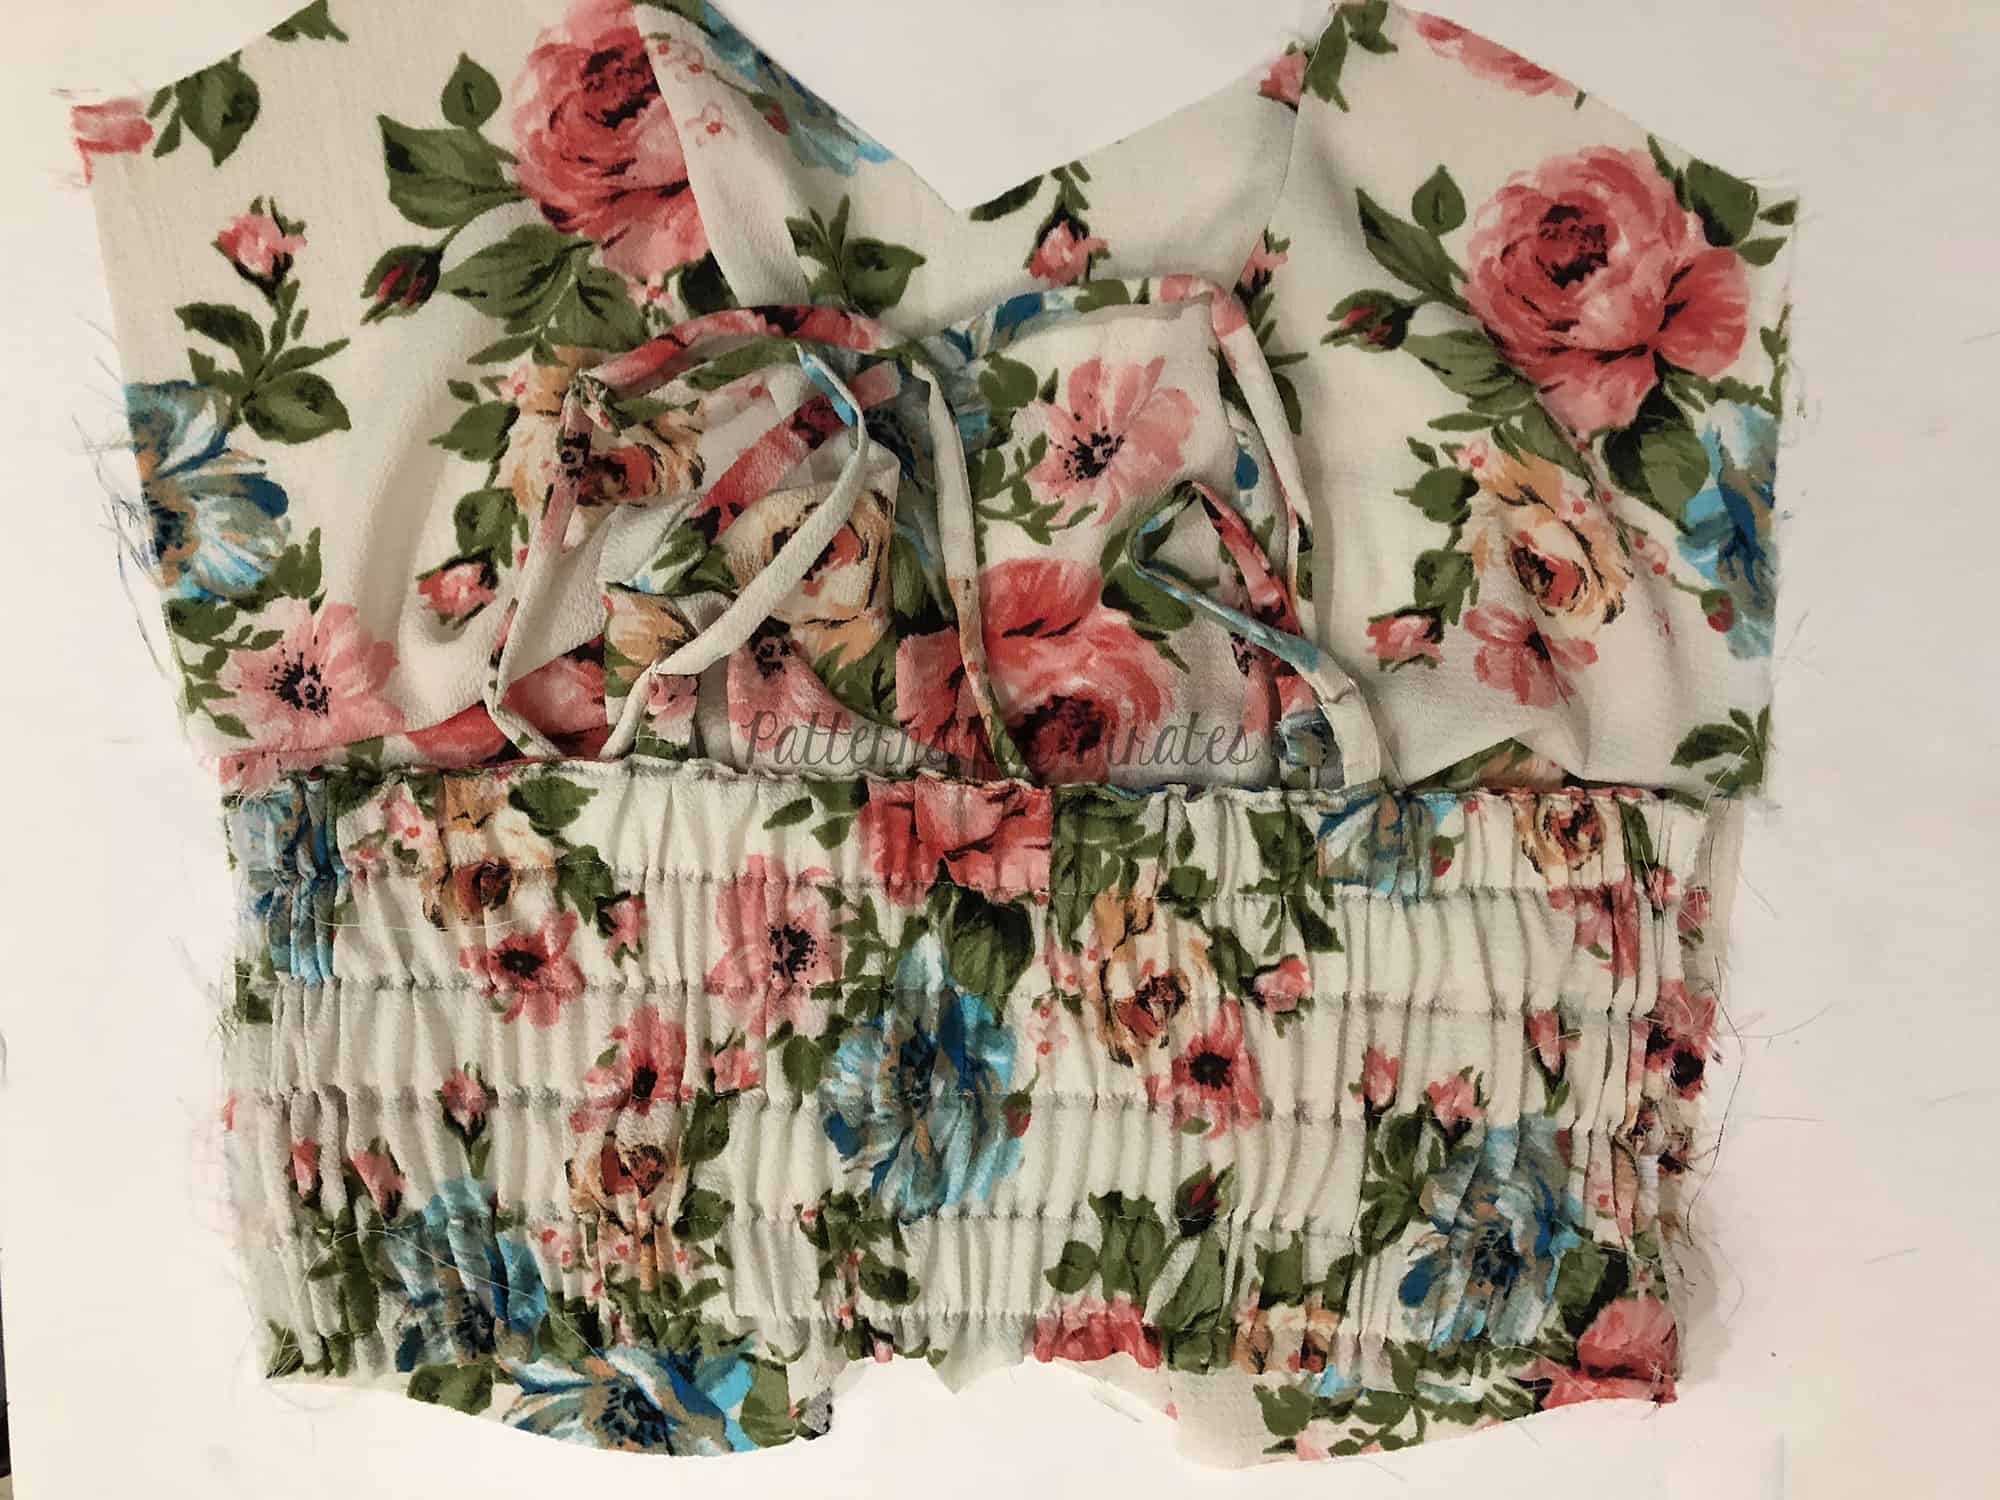
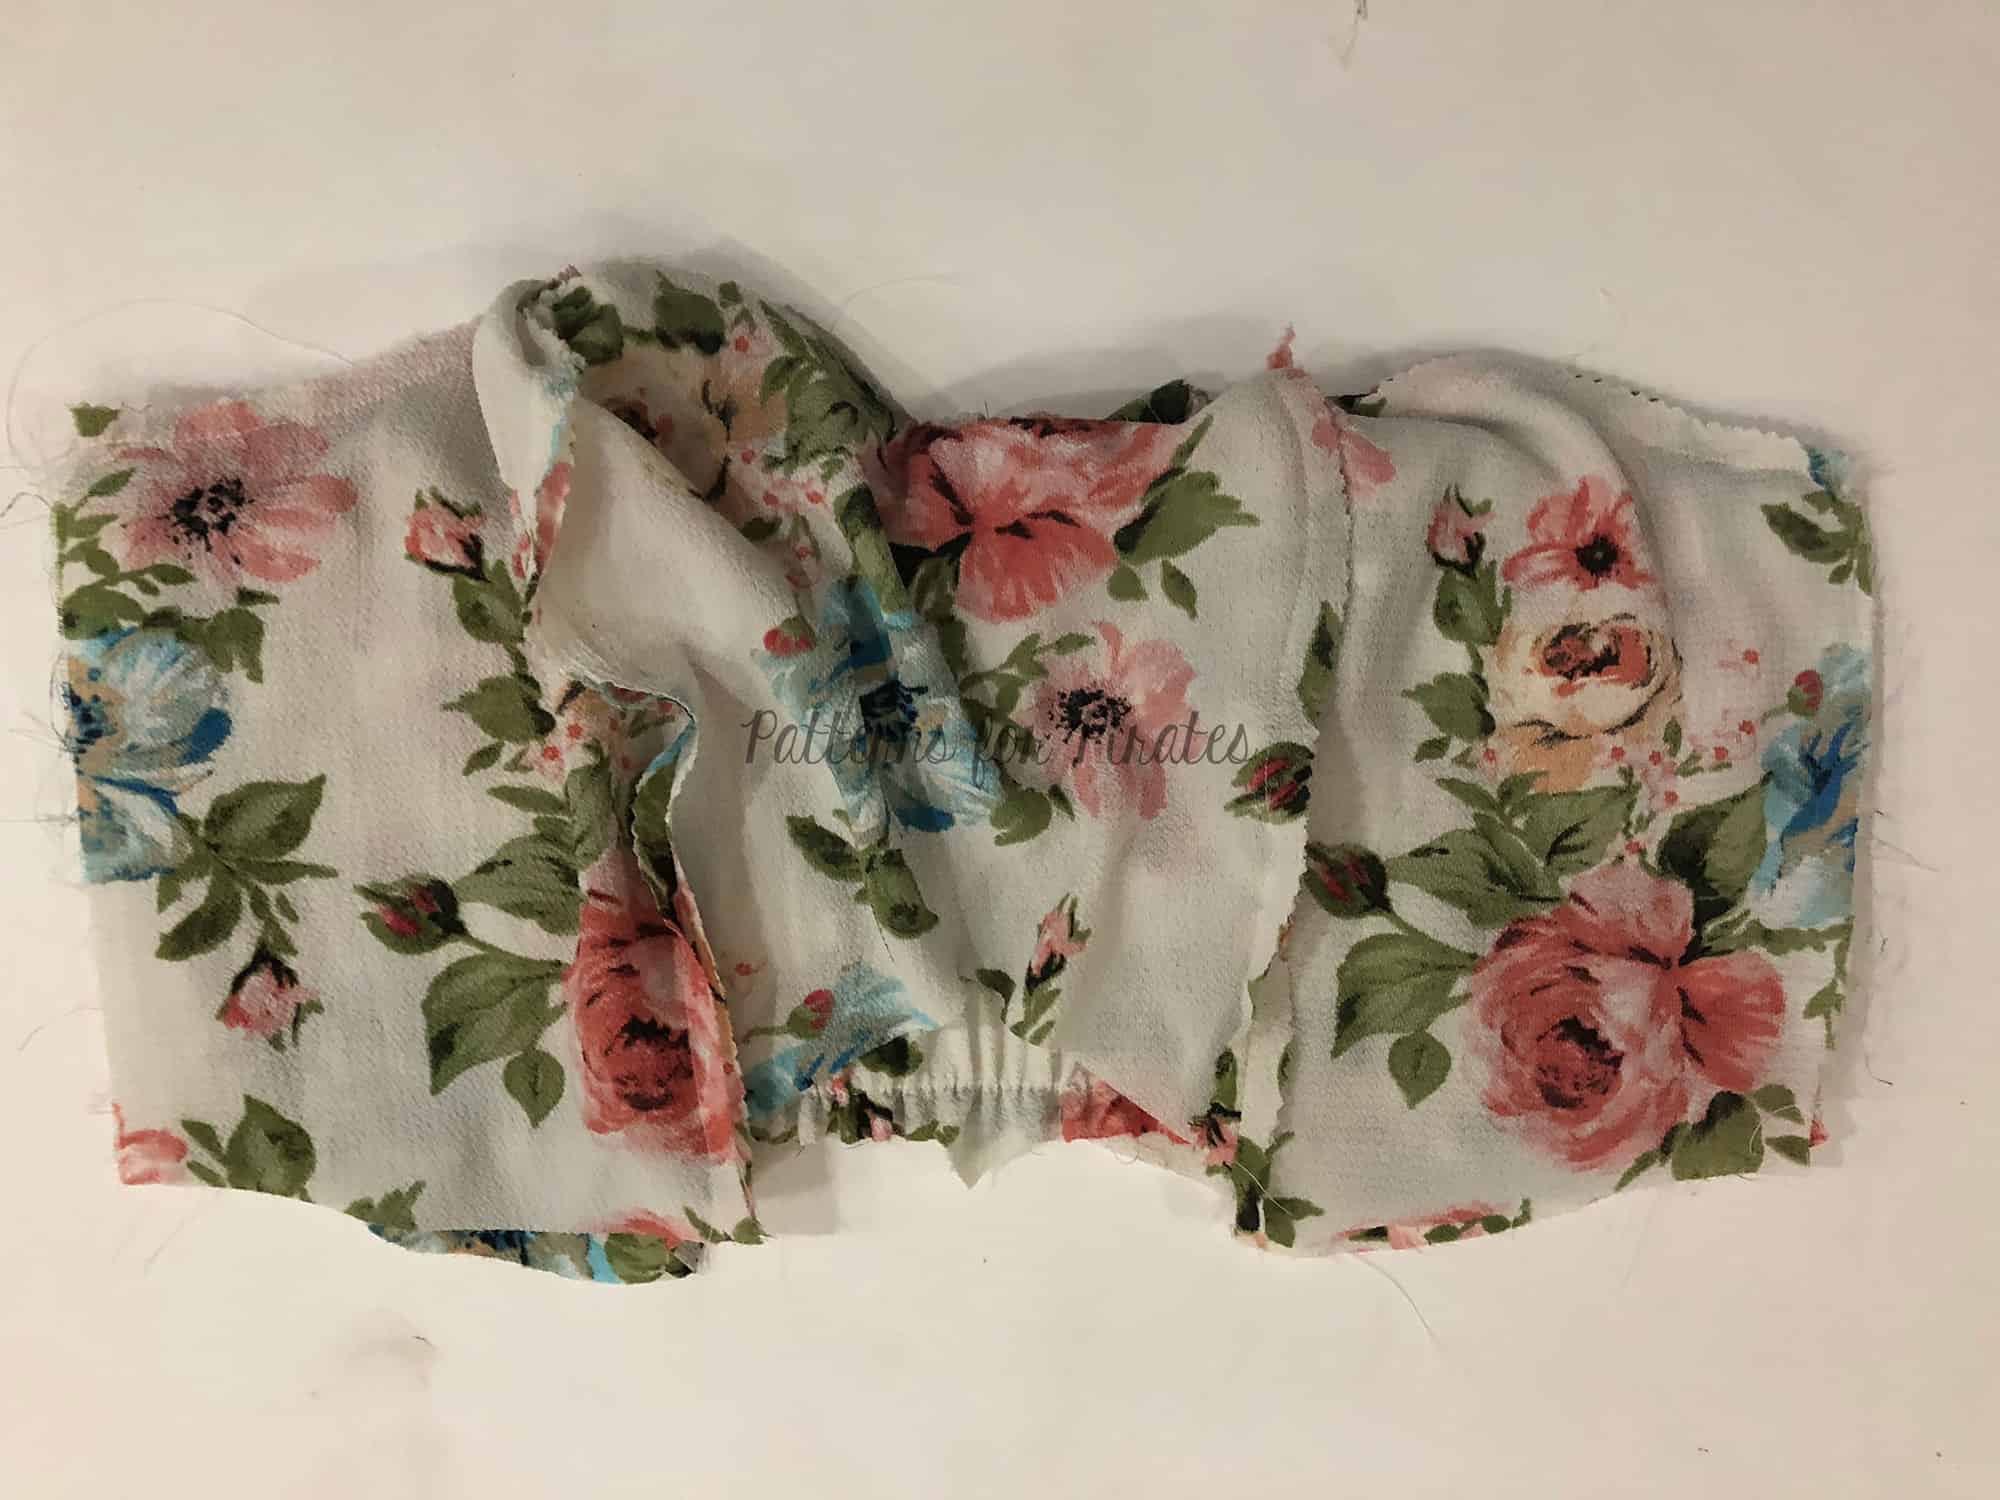
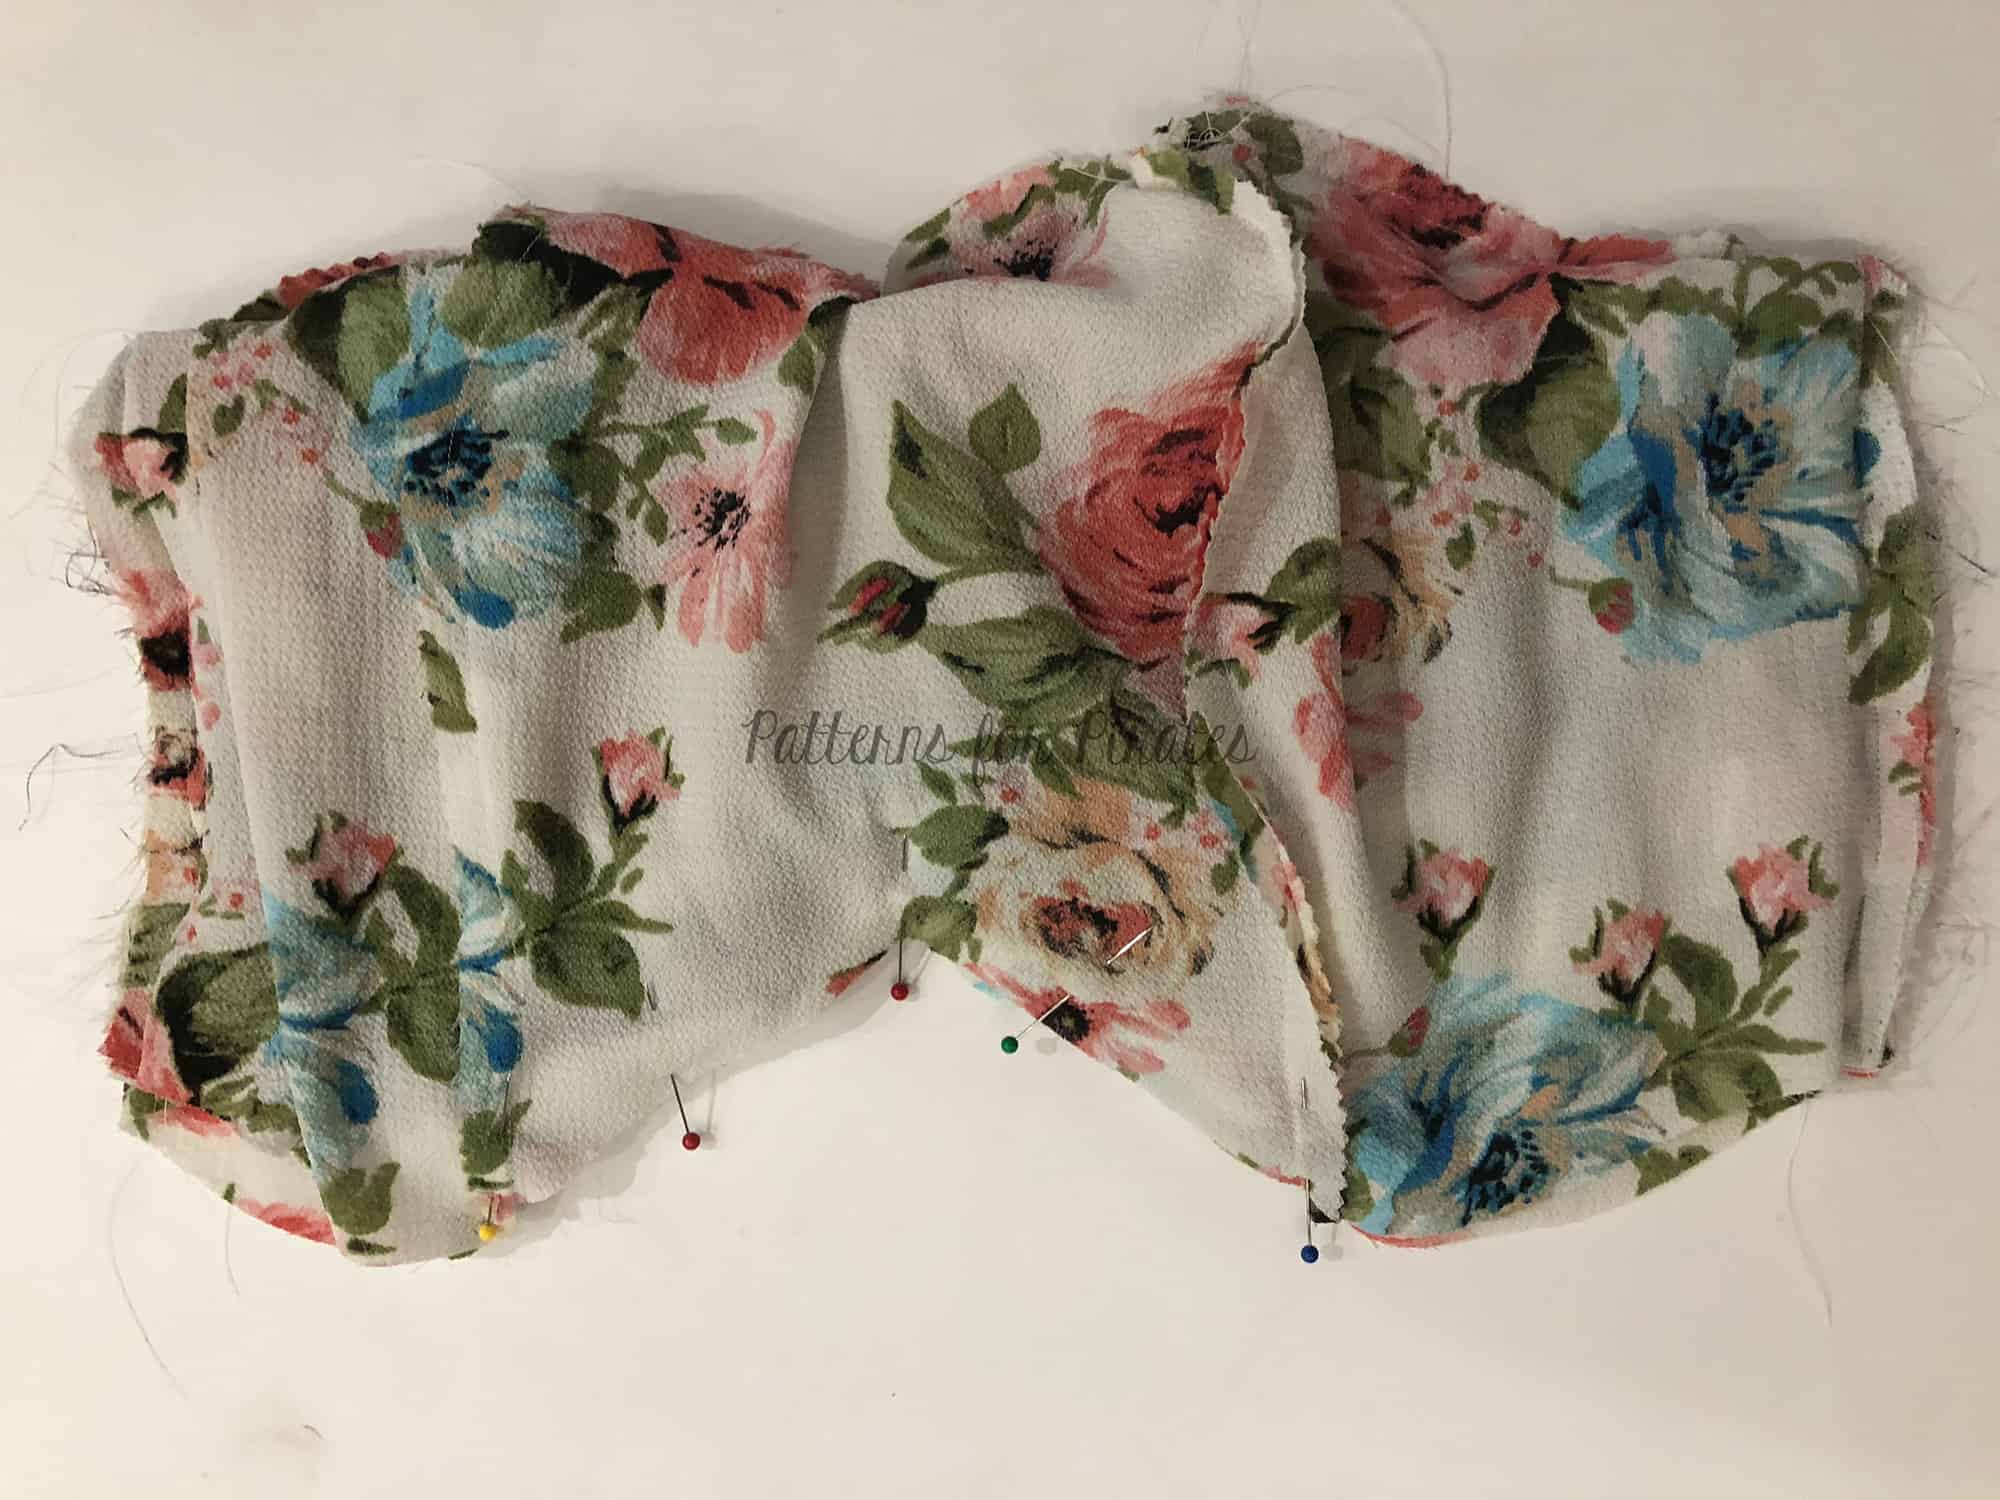
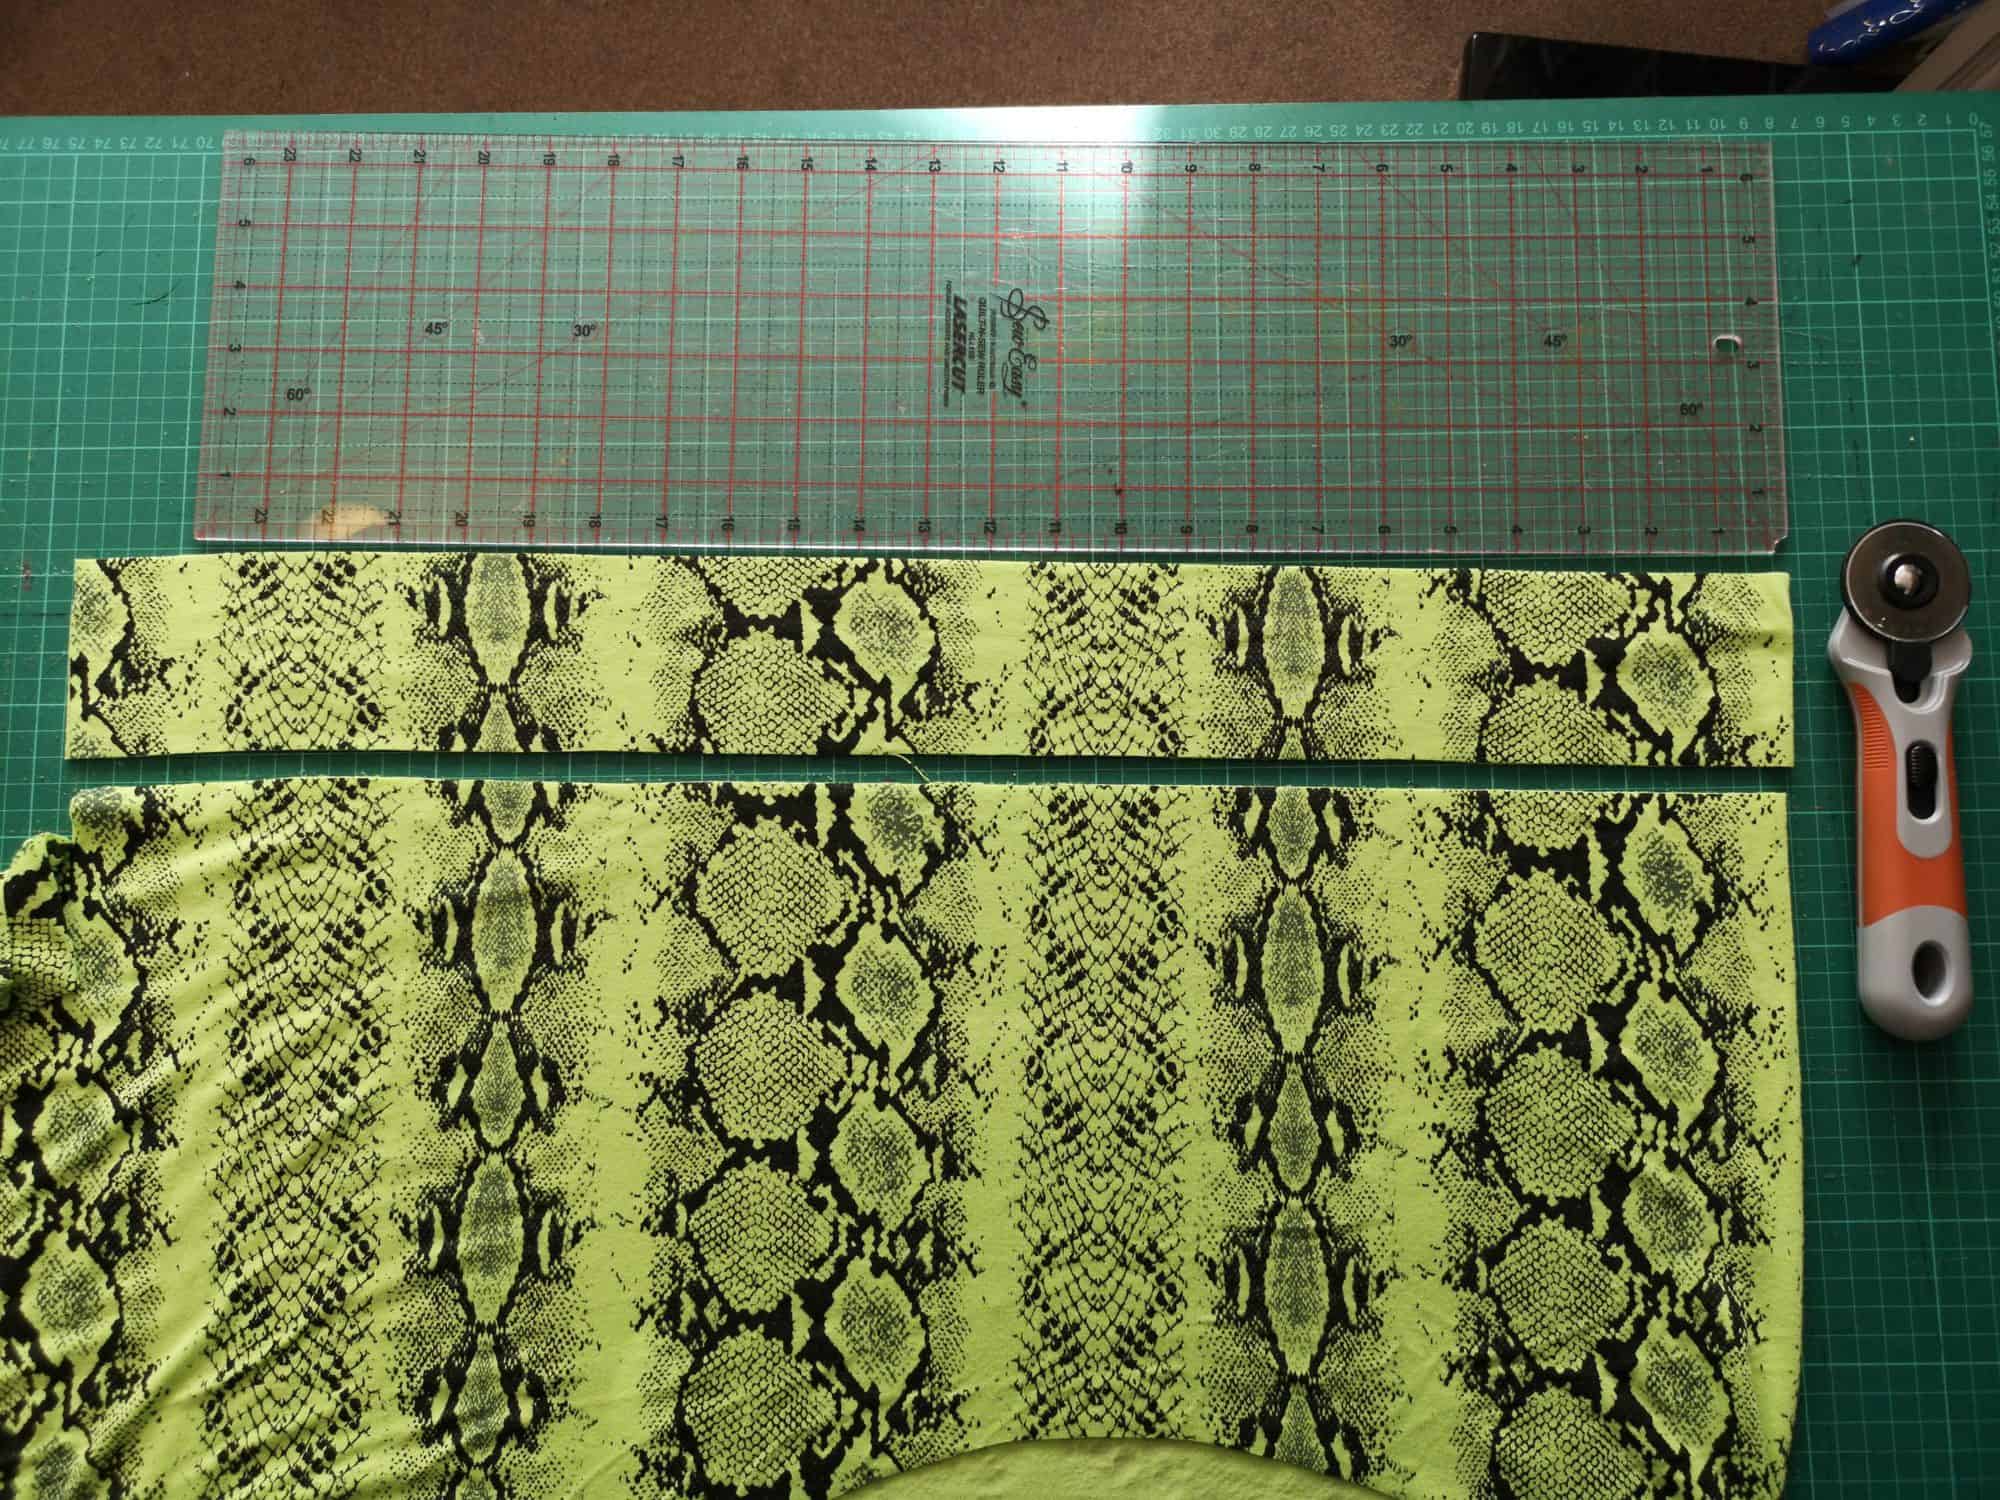
Thicker belt/ties

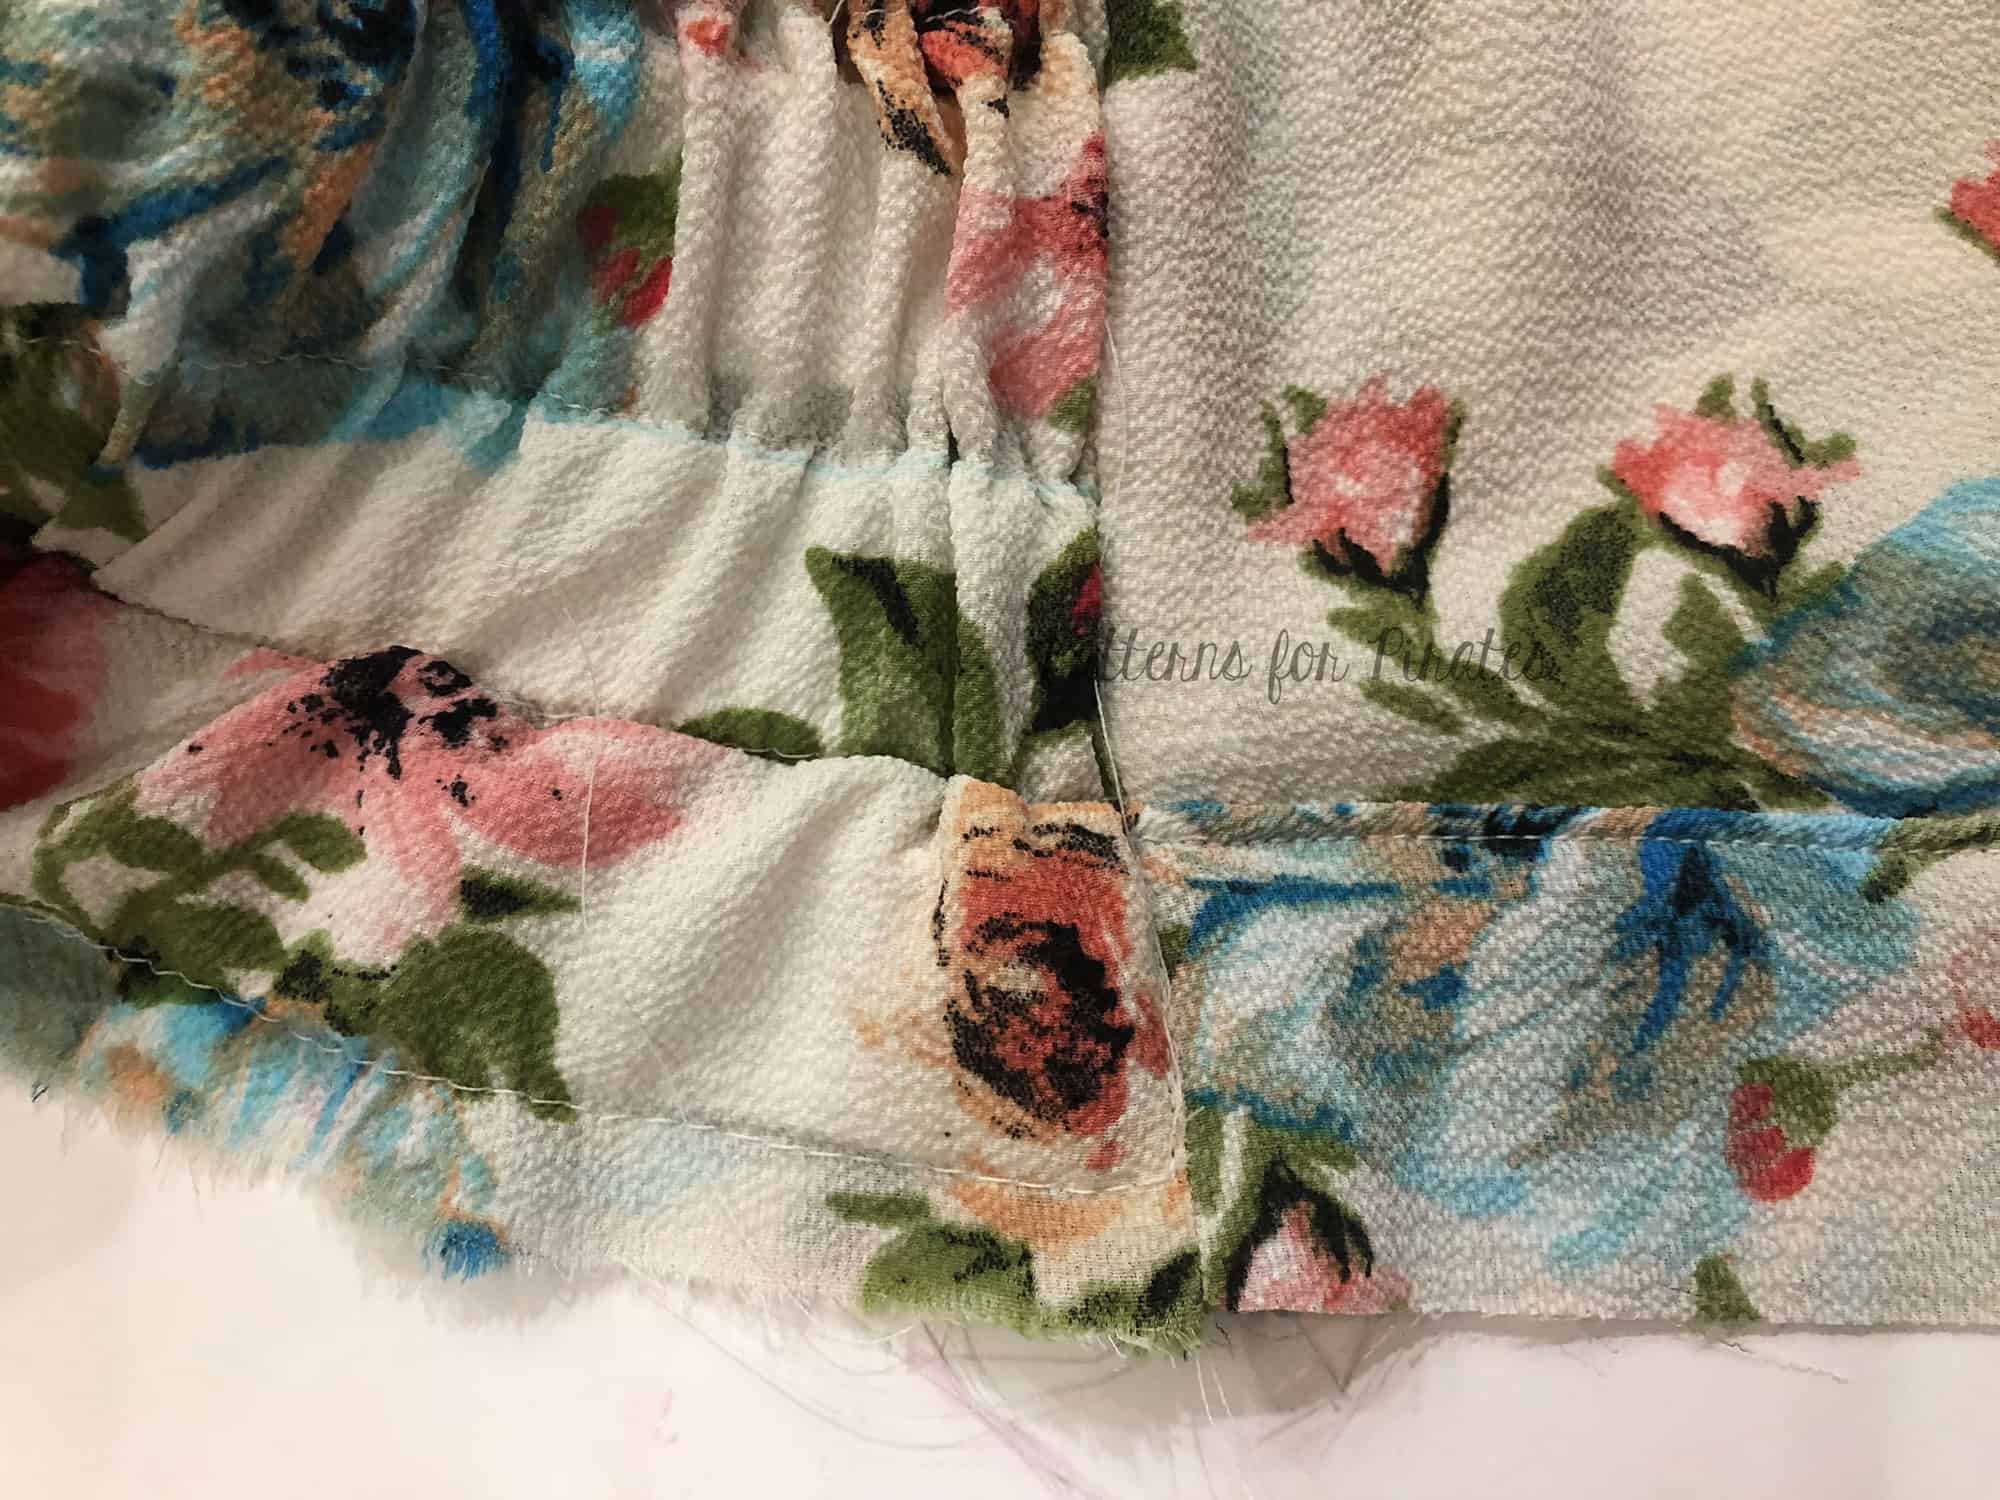
Adding thicker ties to the wrap dress can be a cute variation to make them a feature of your sew.
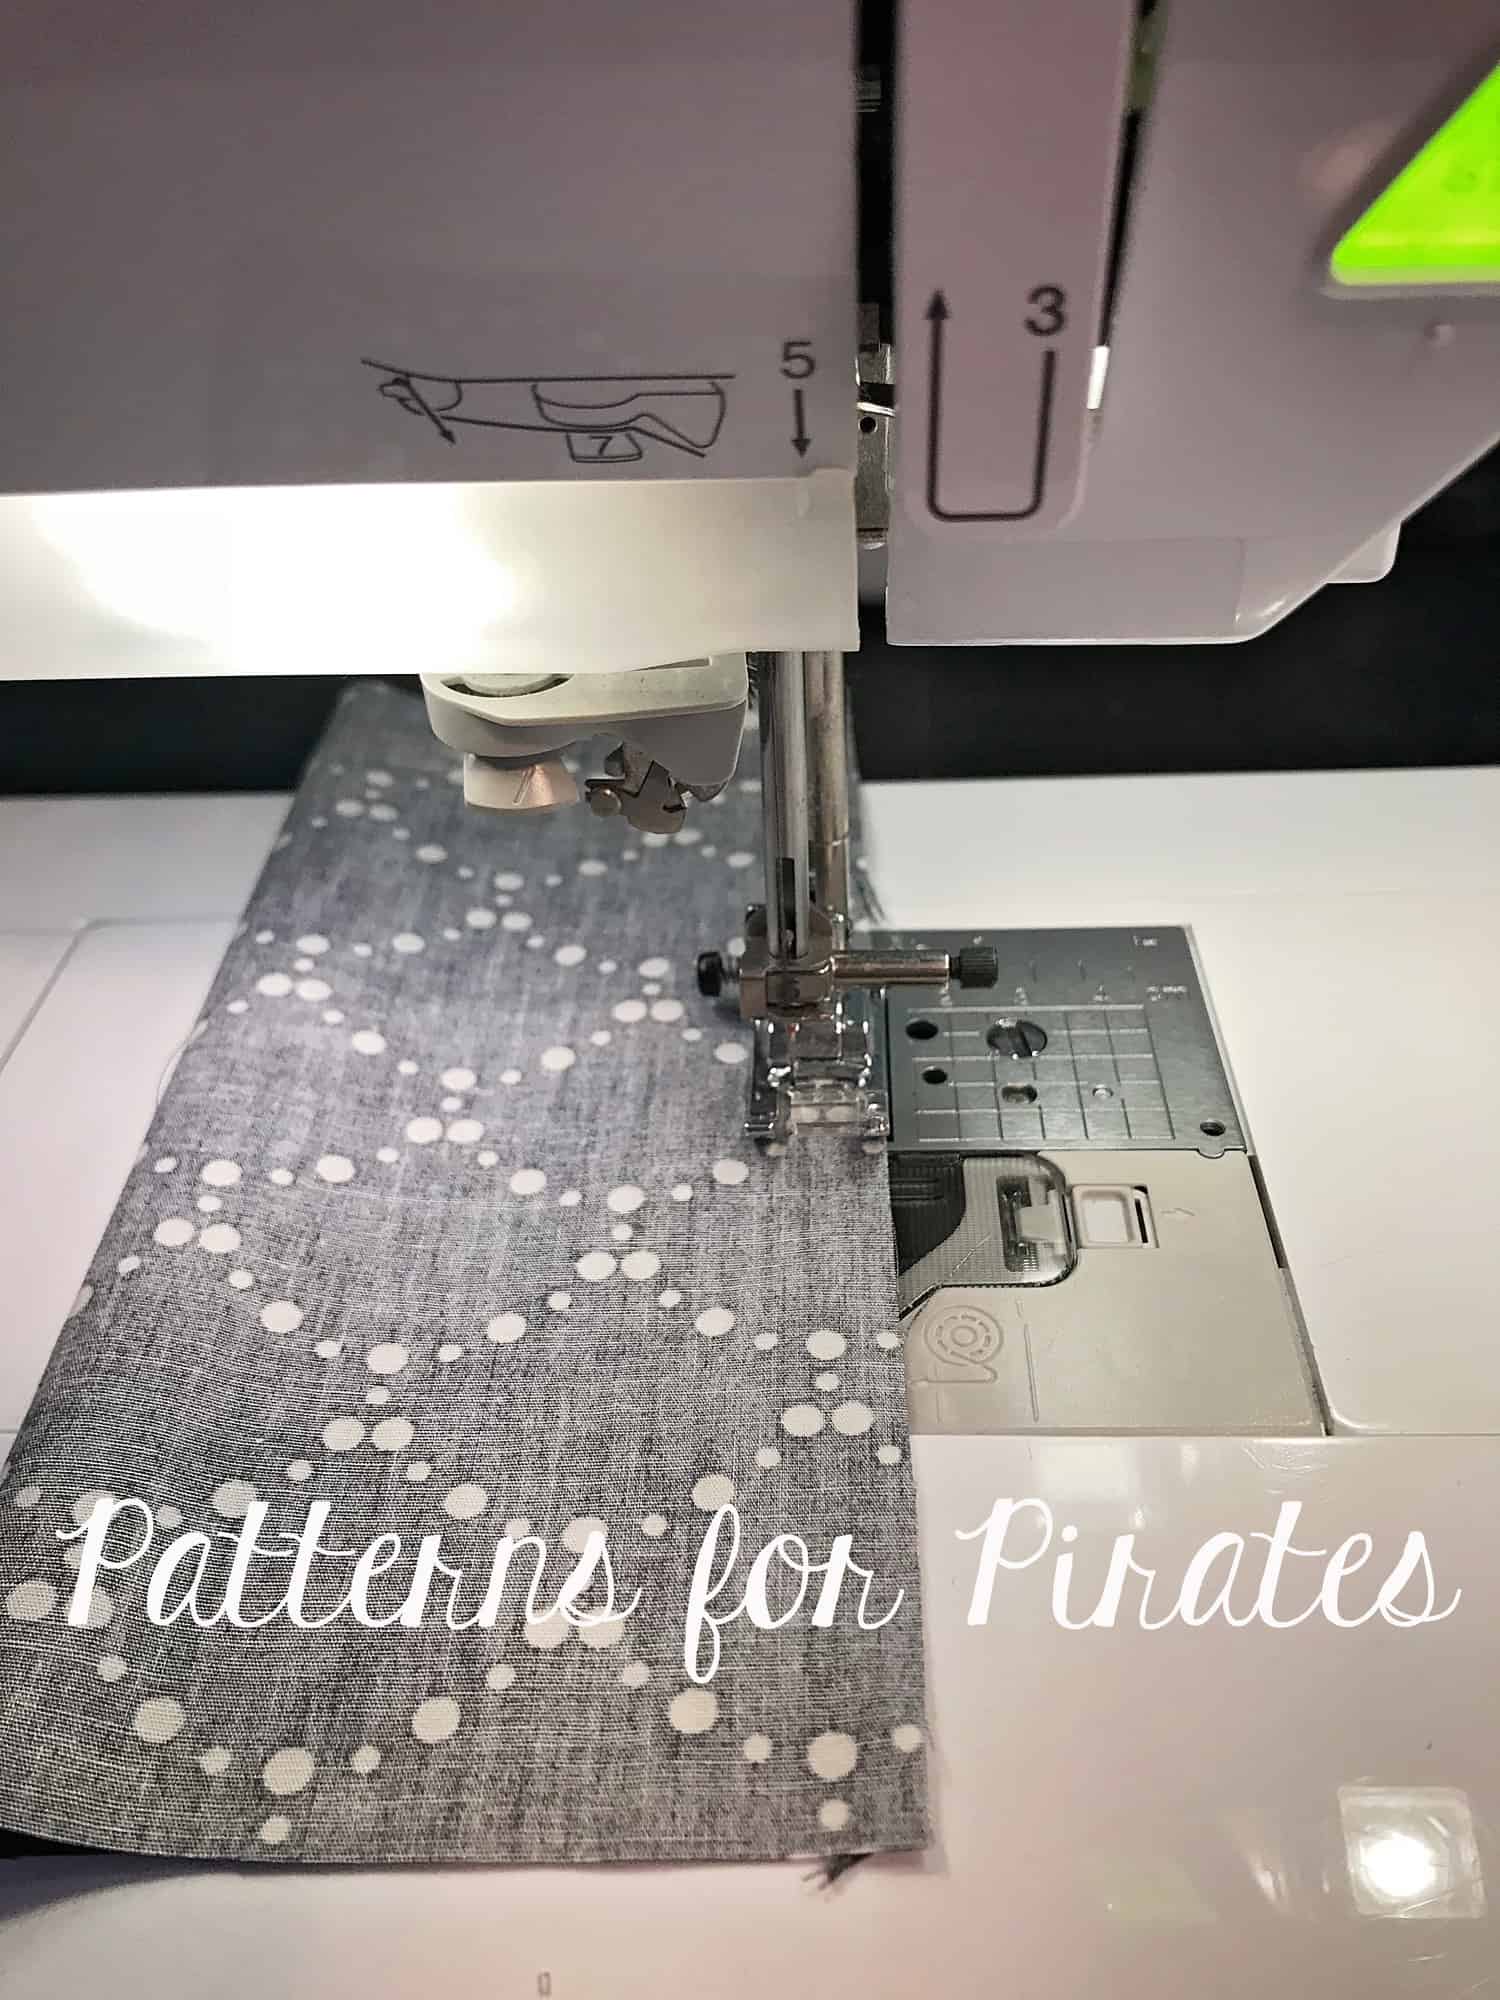
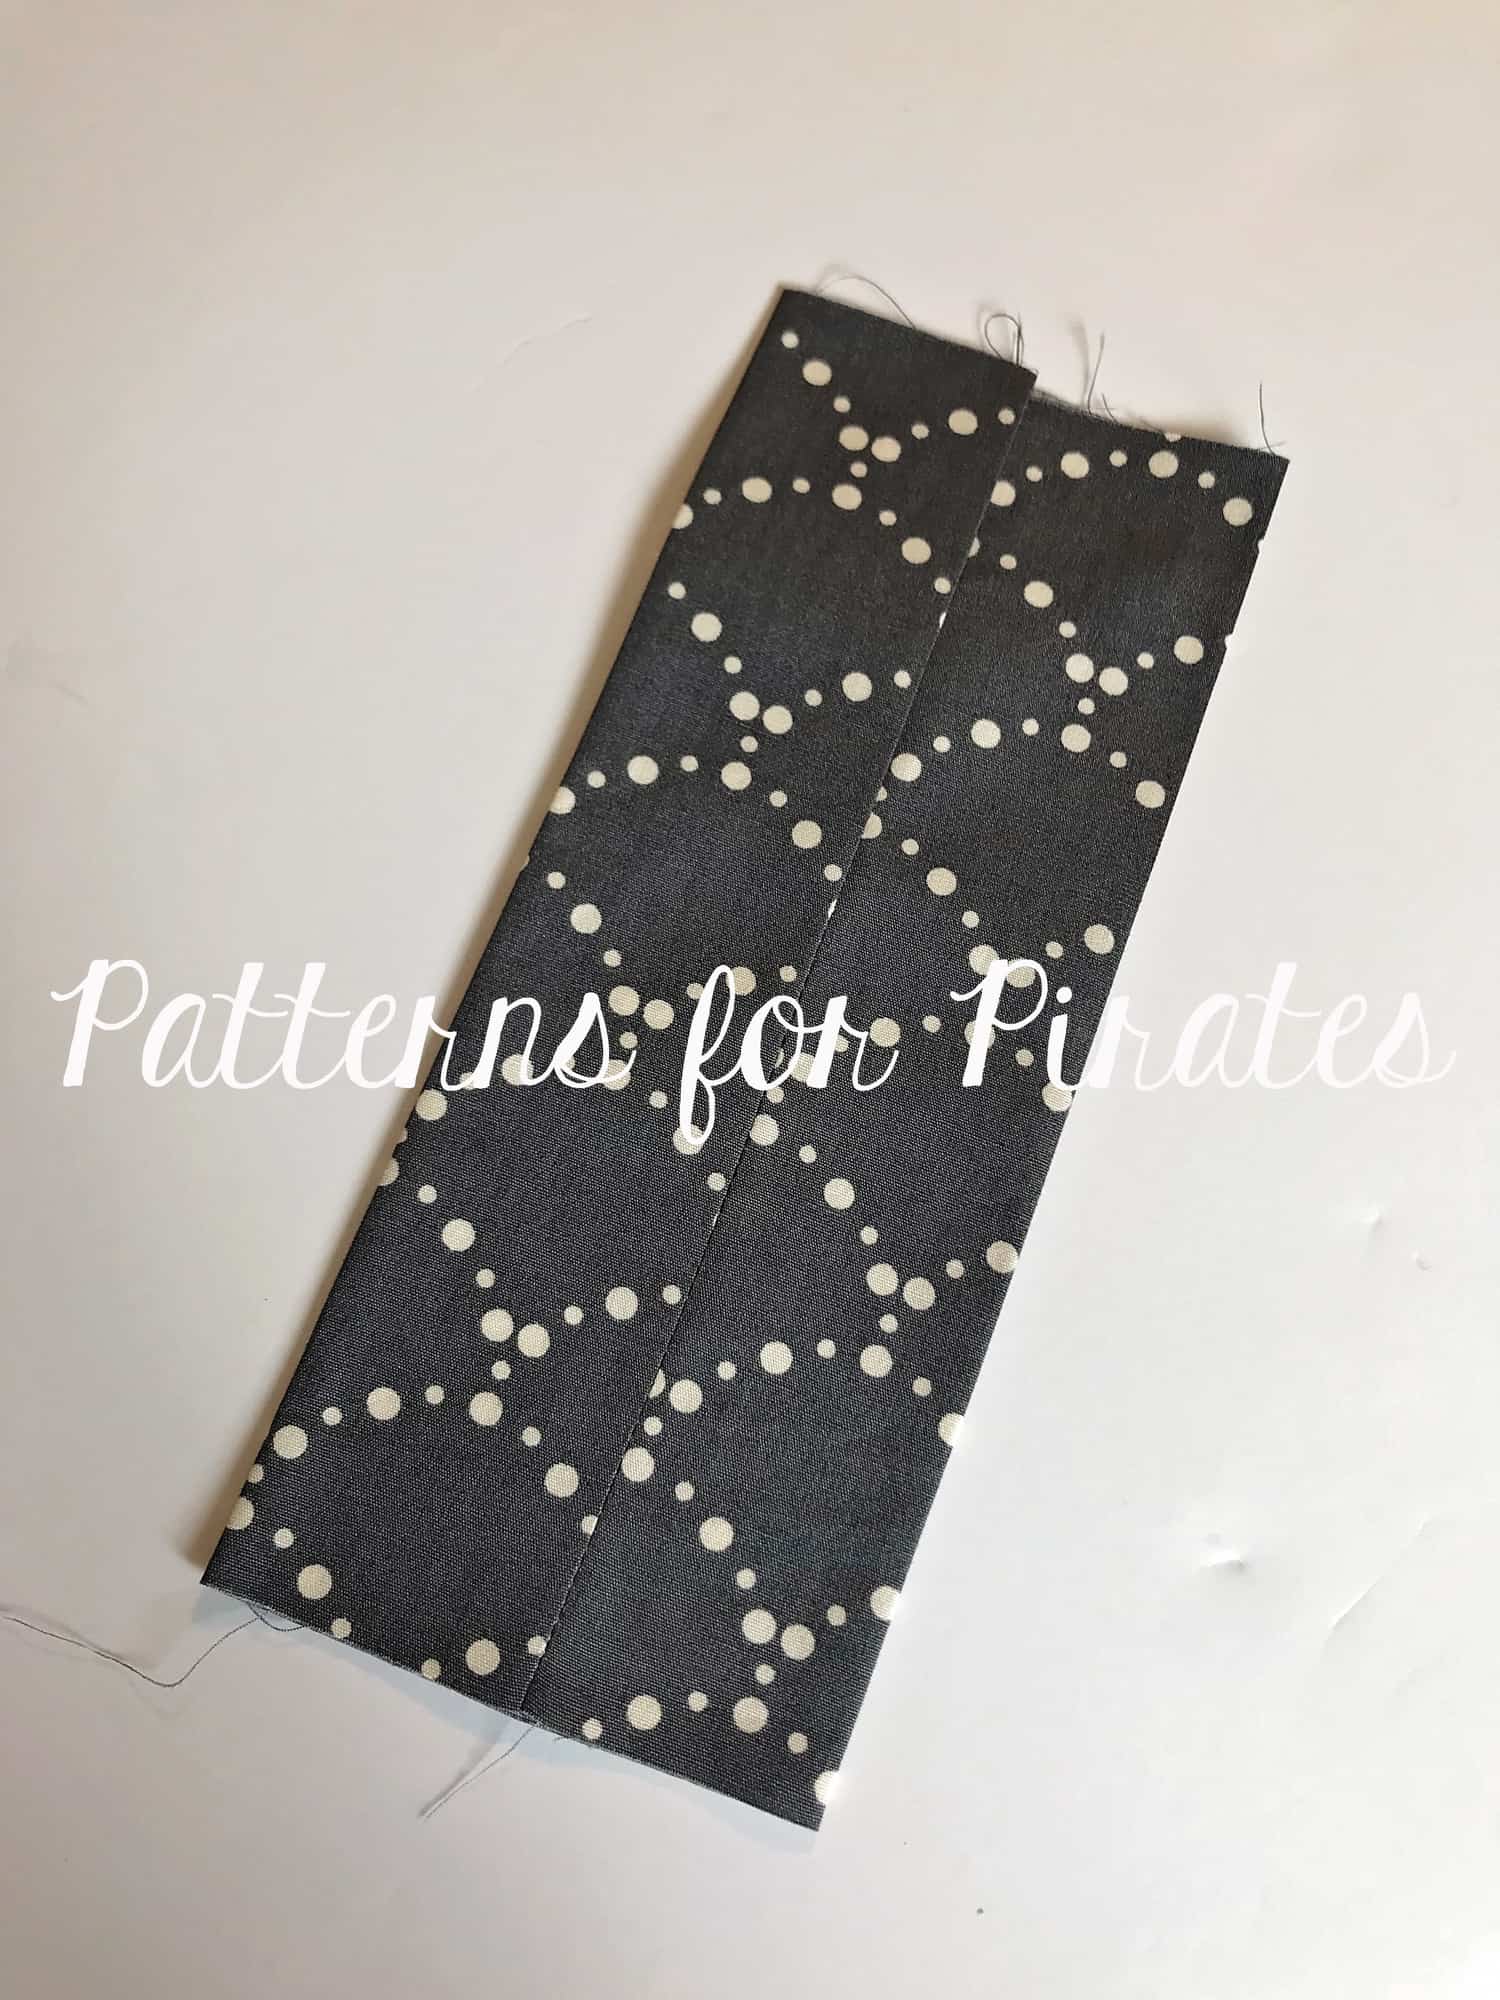
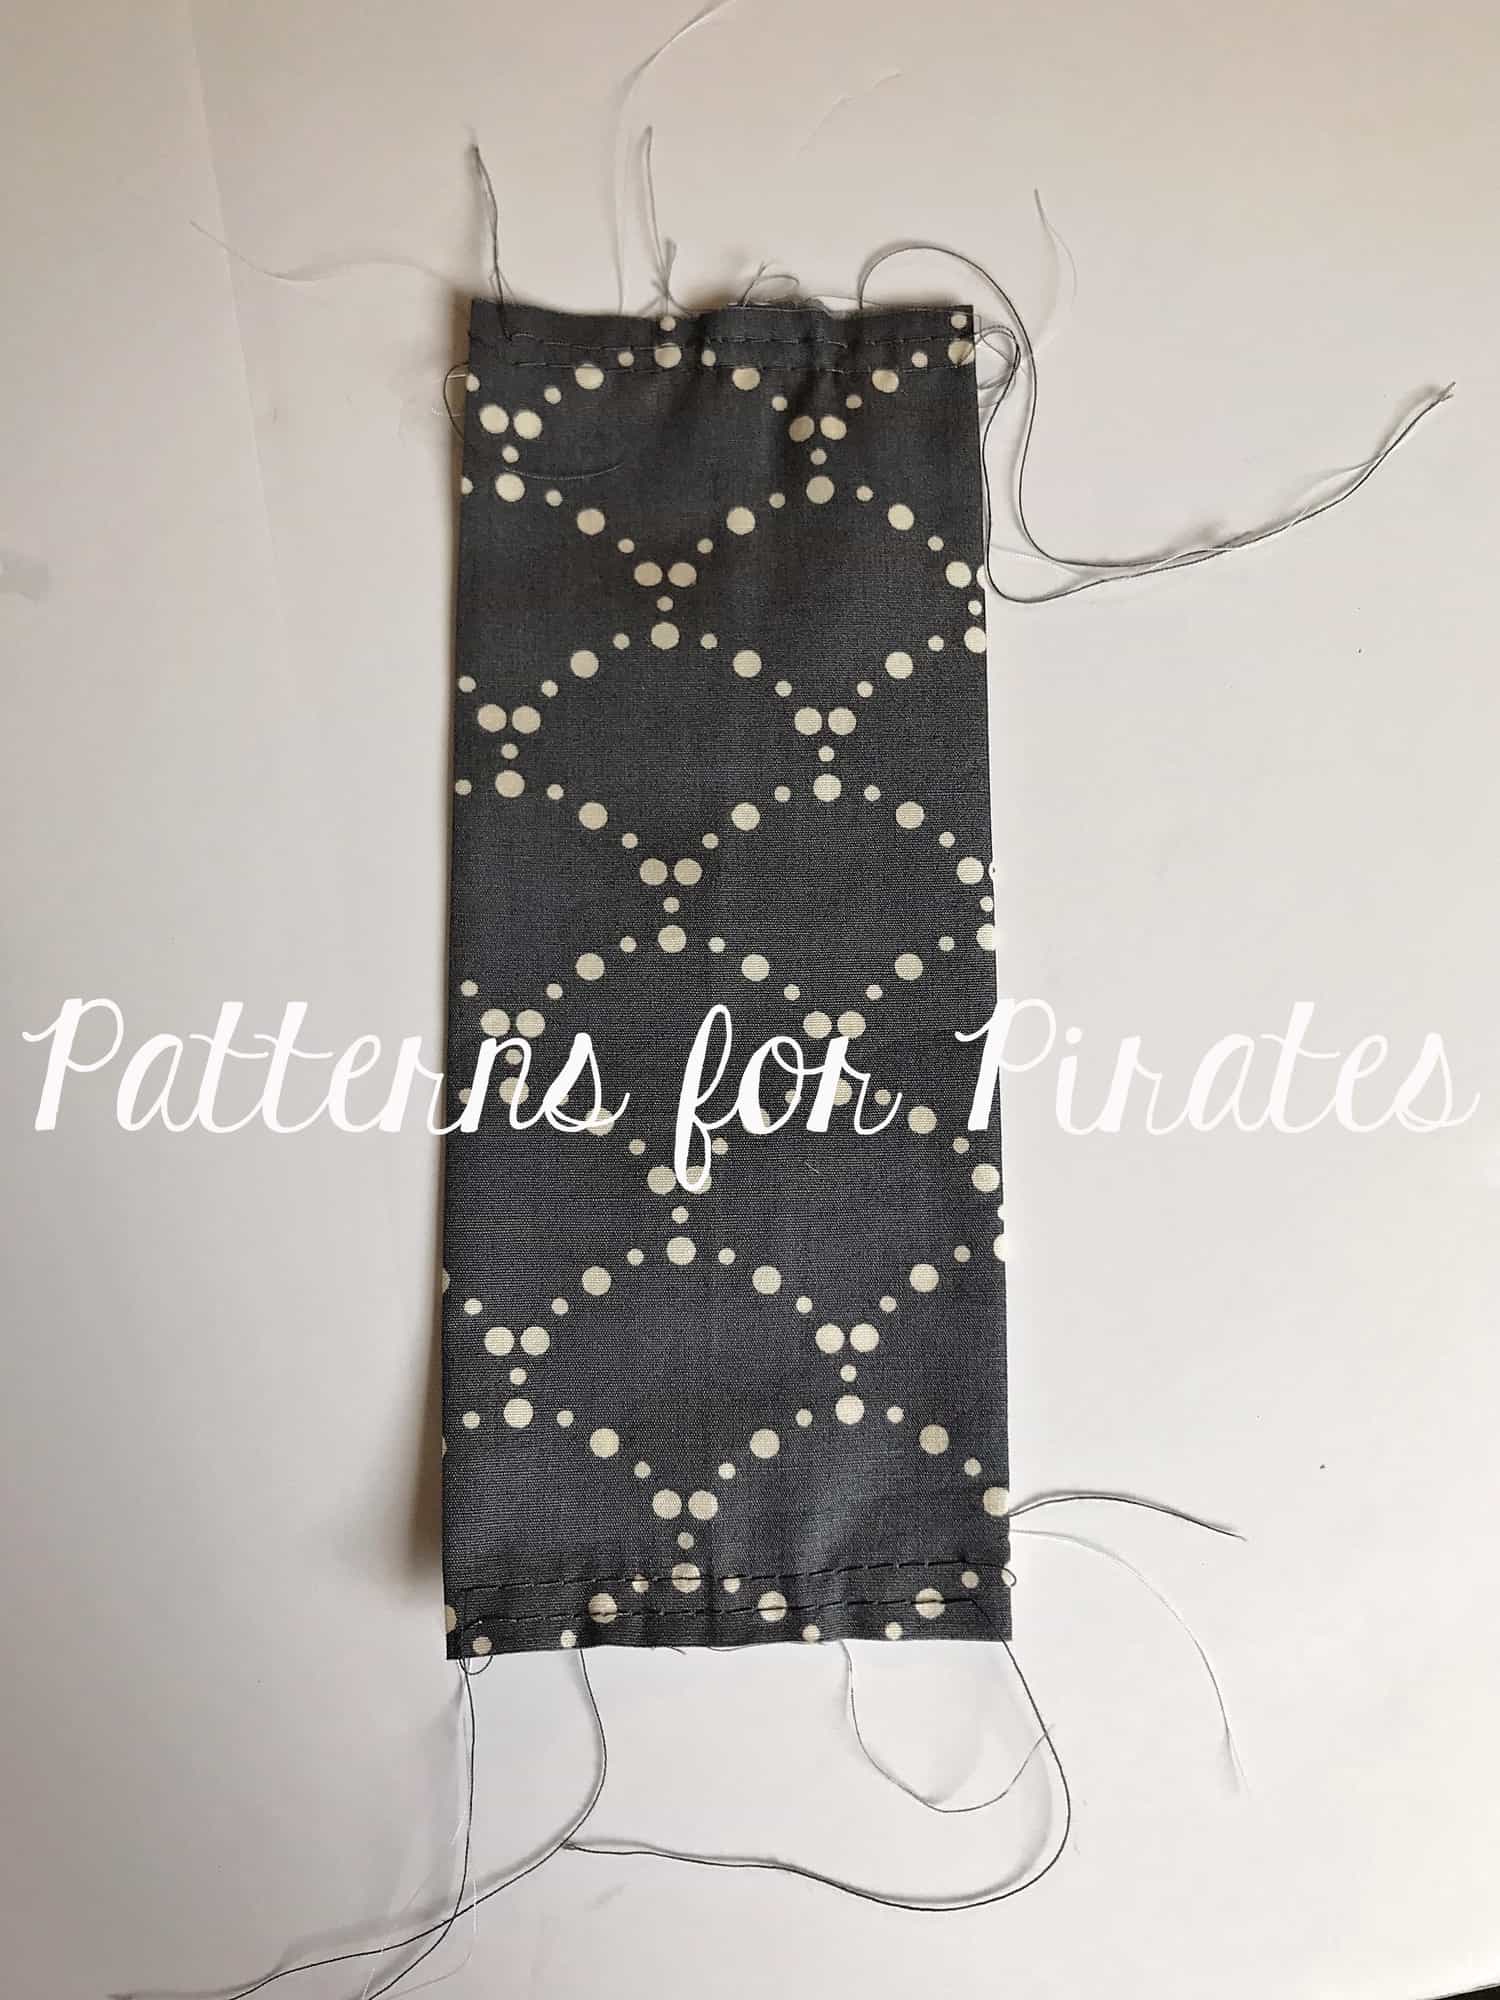
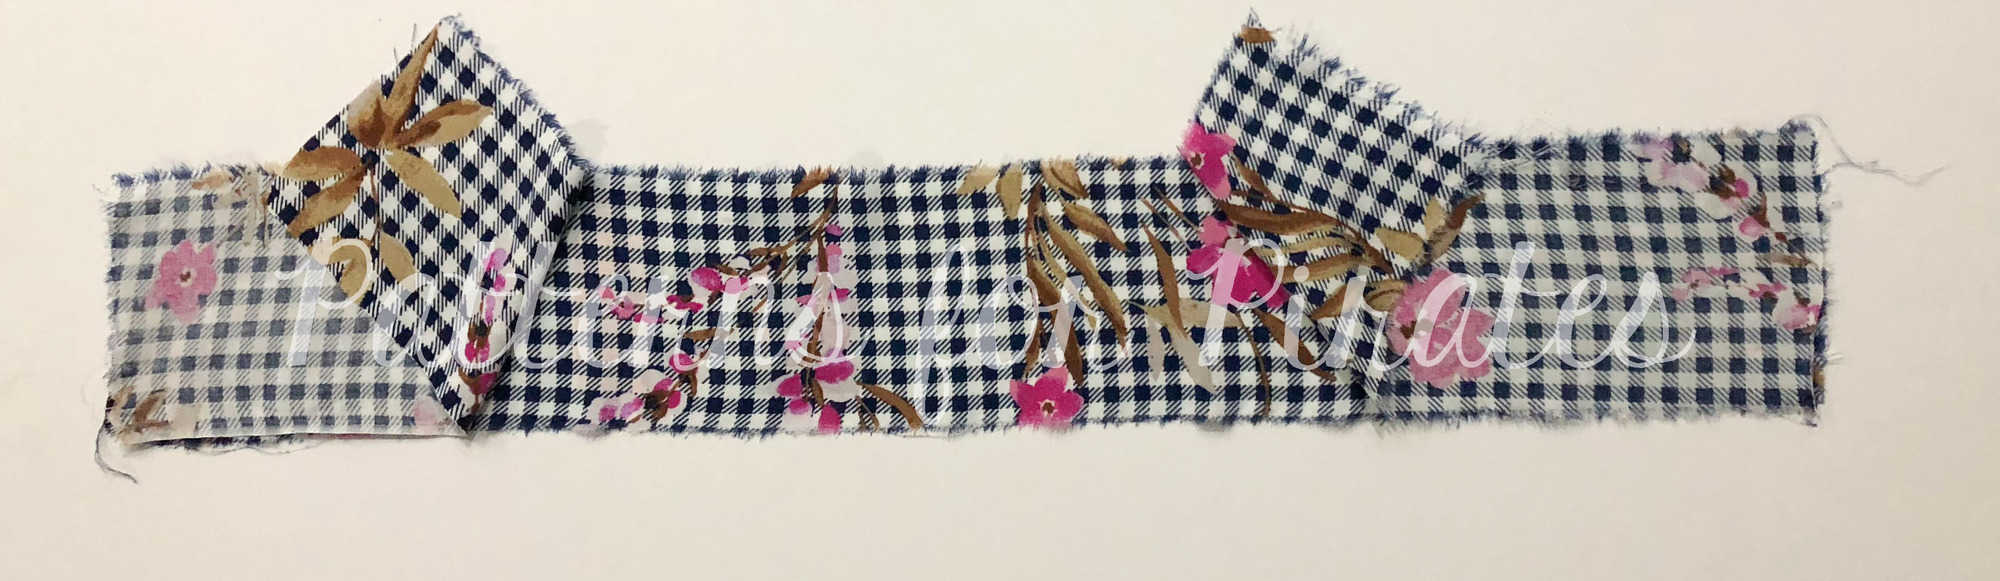
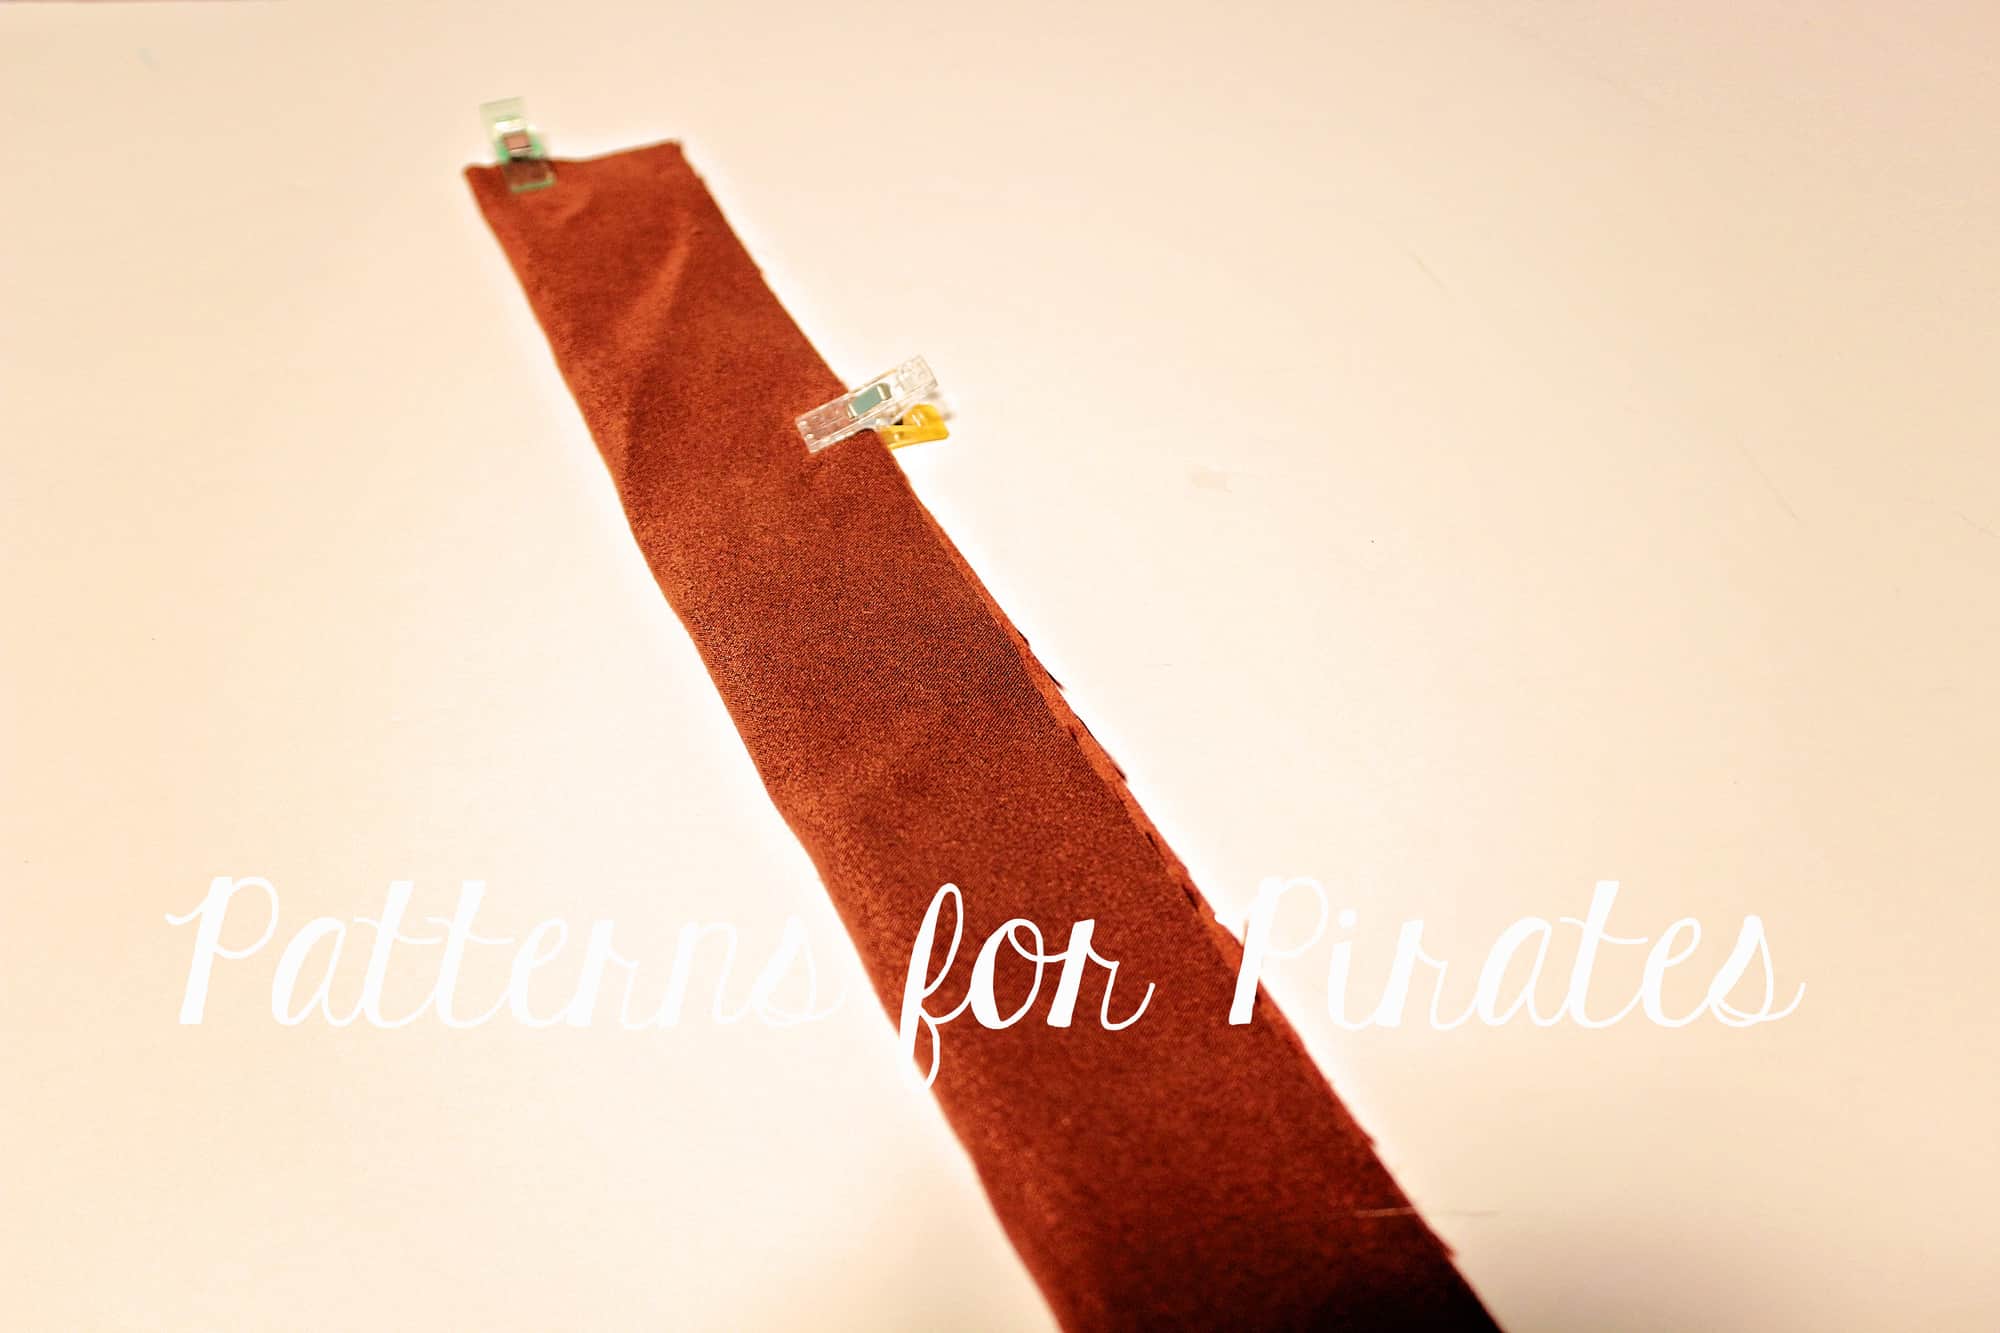
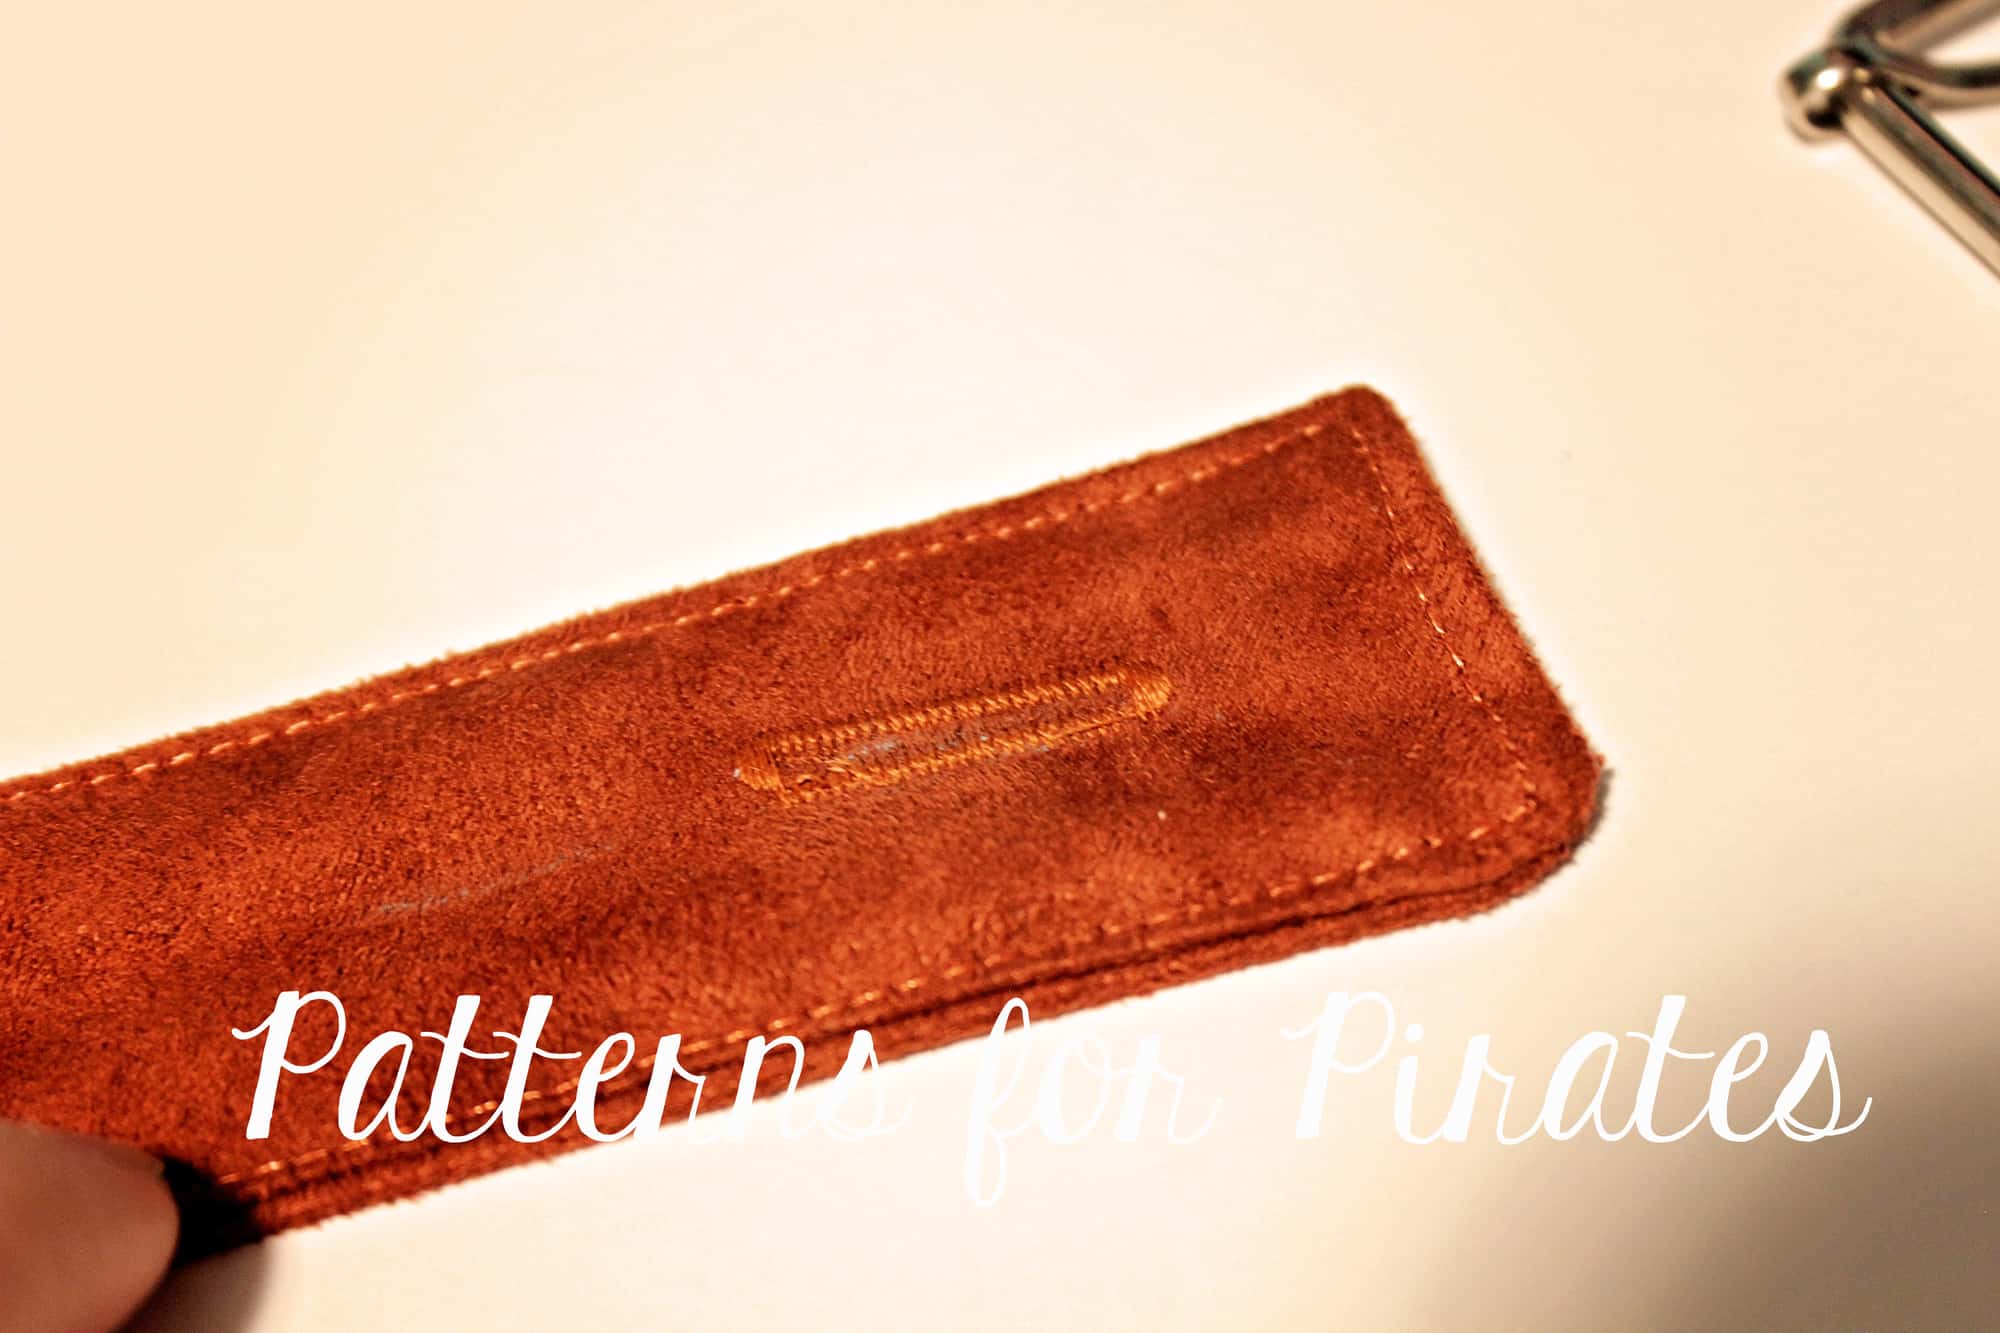
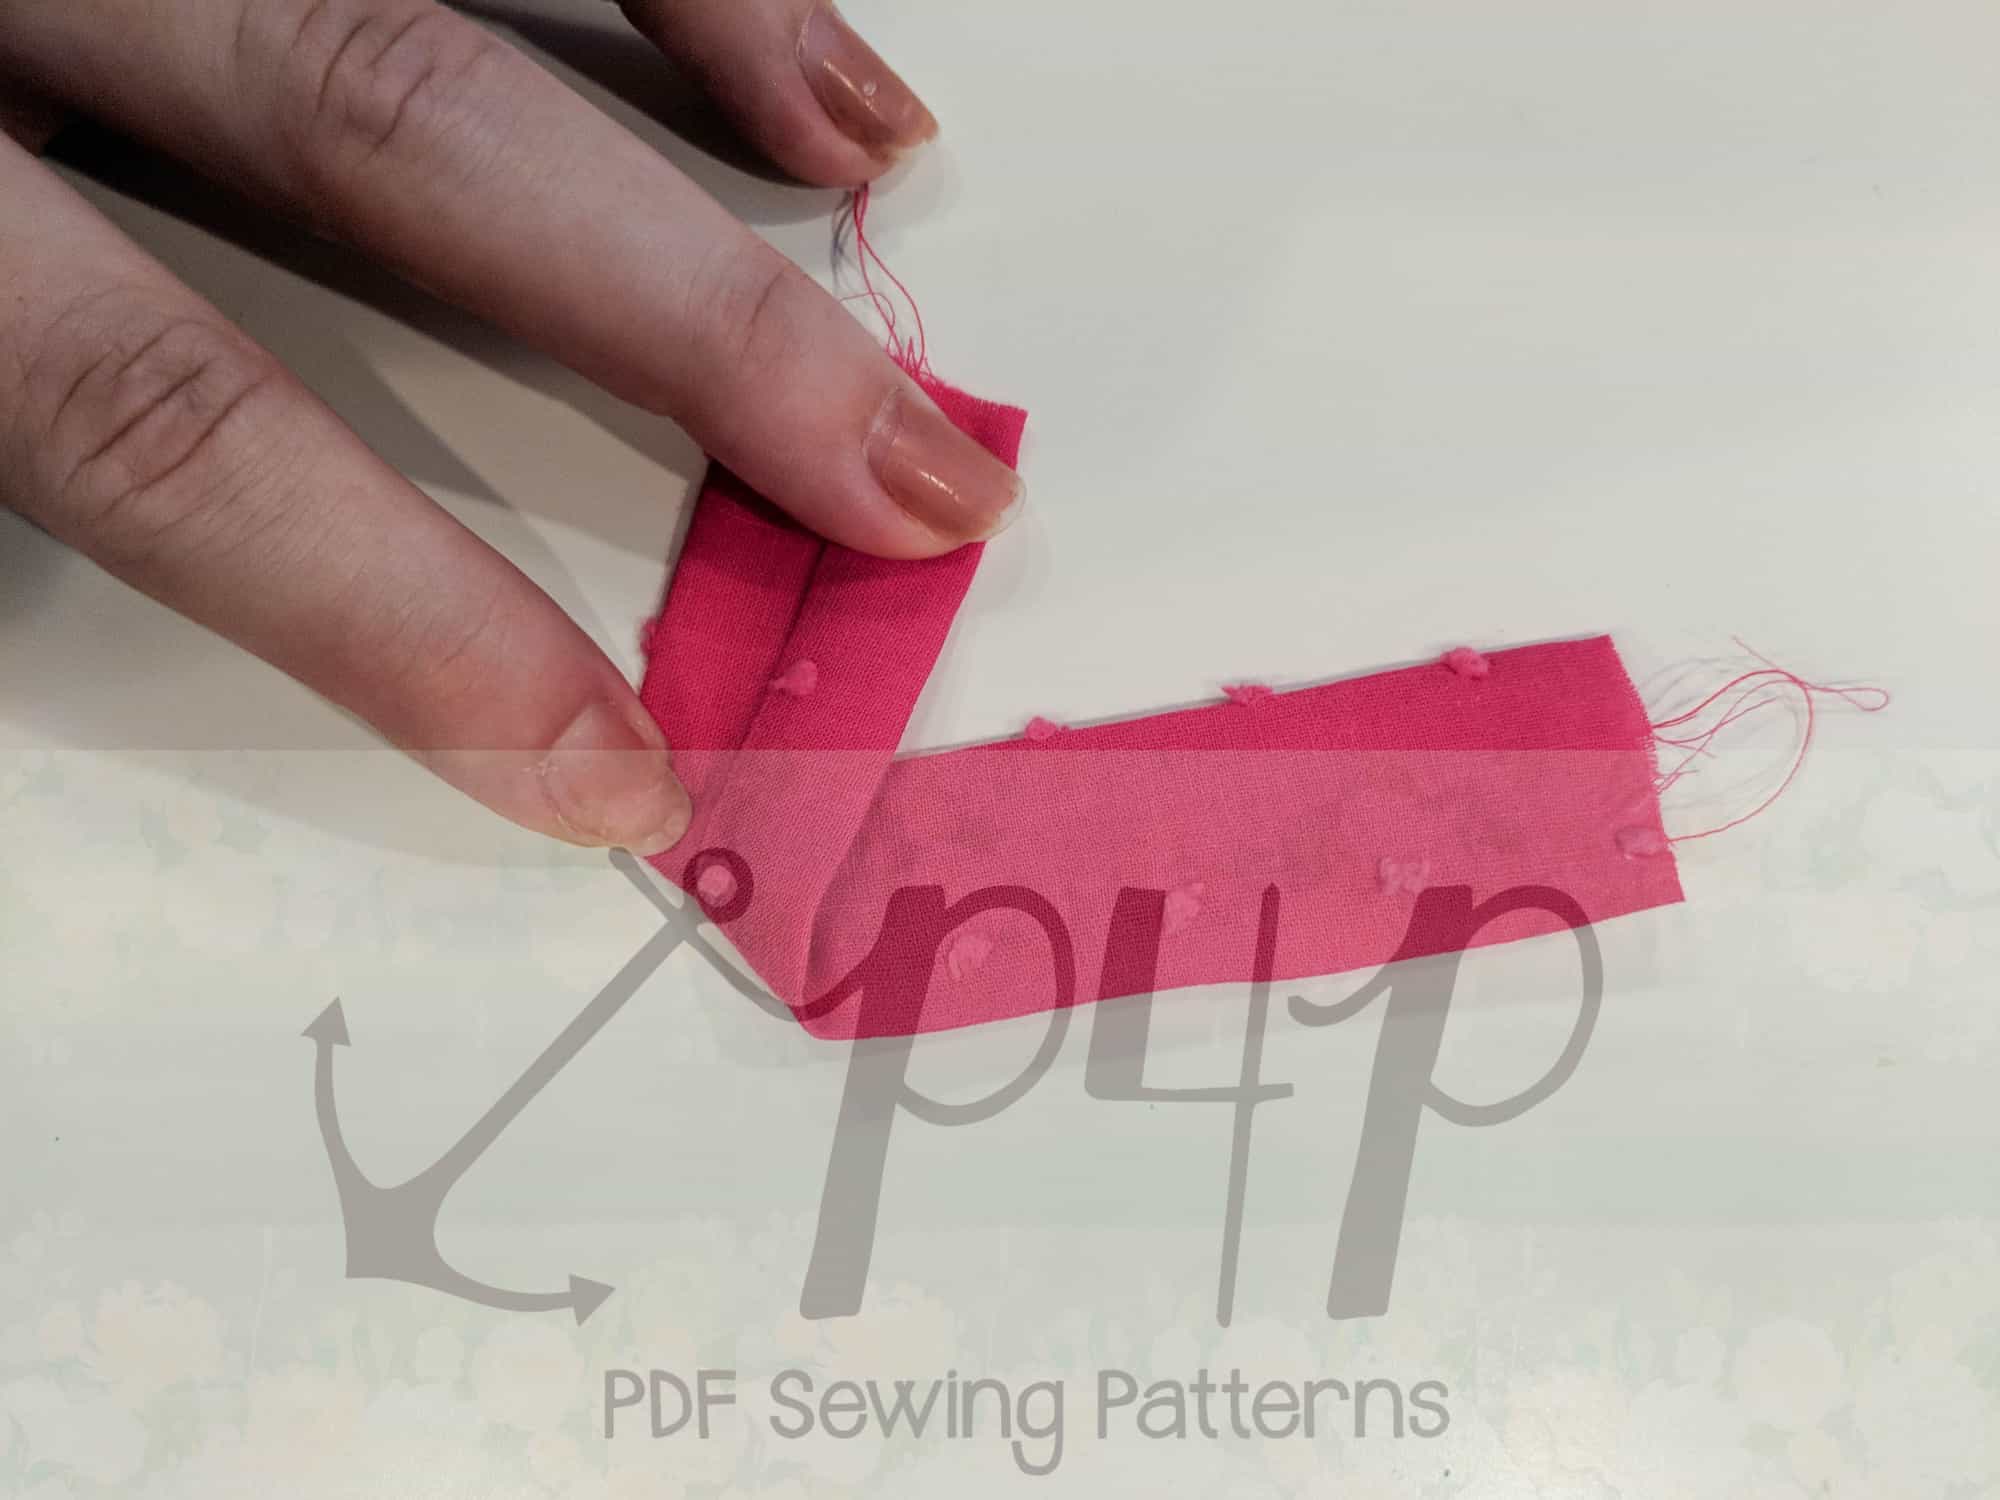
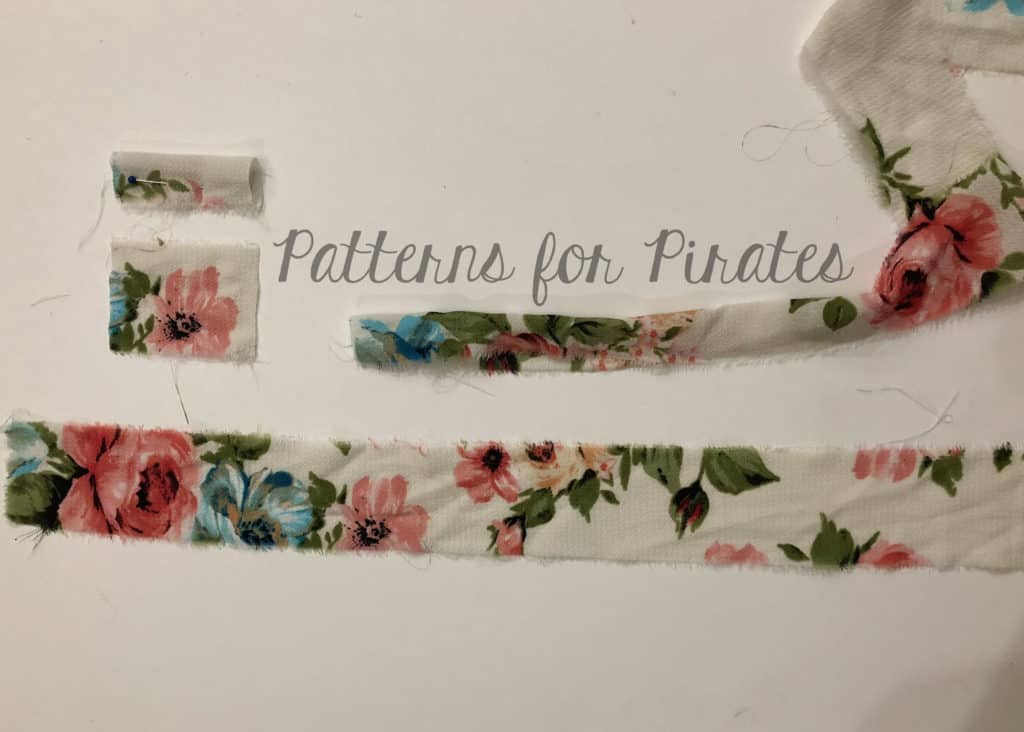
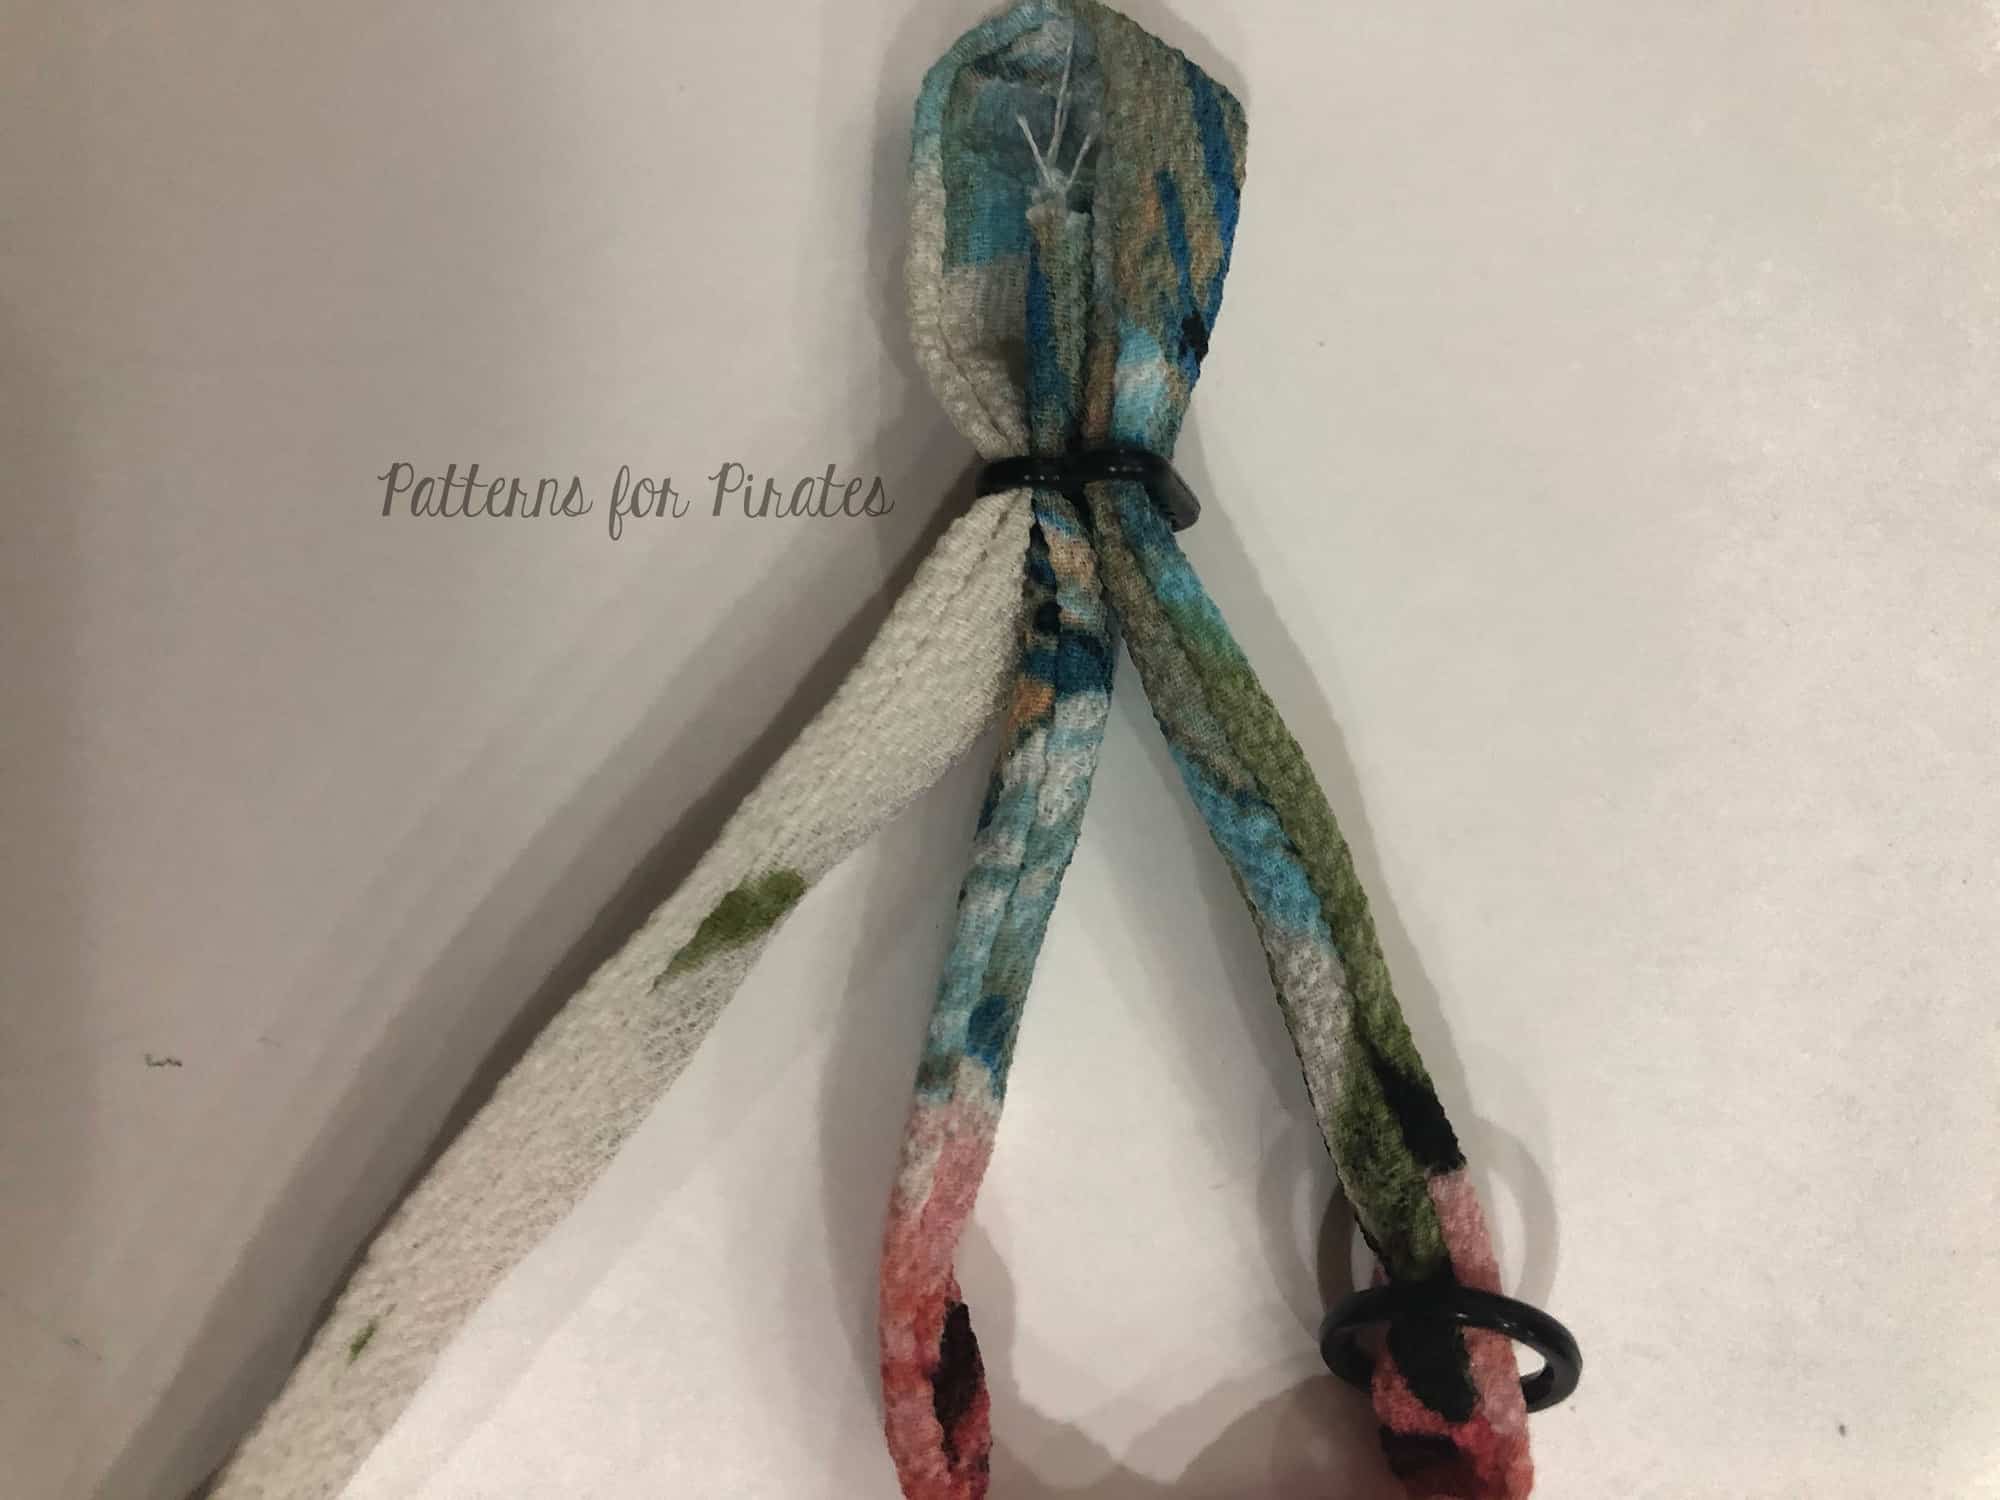
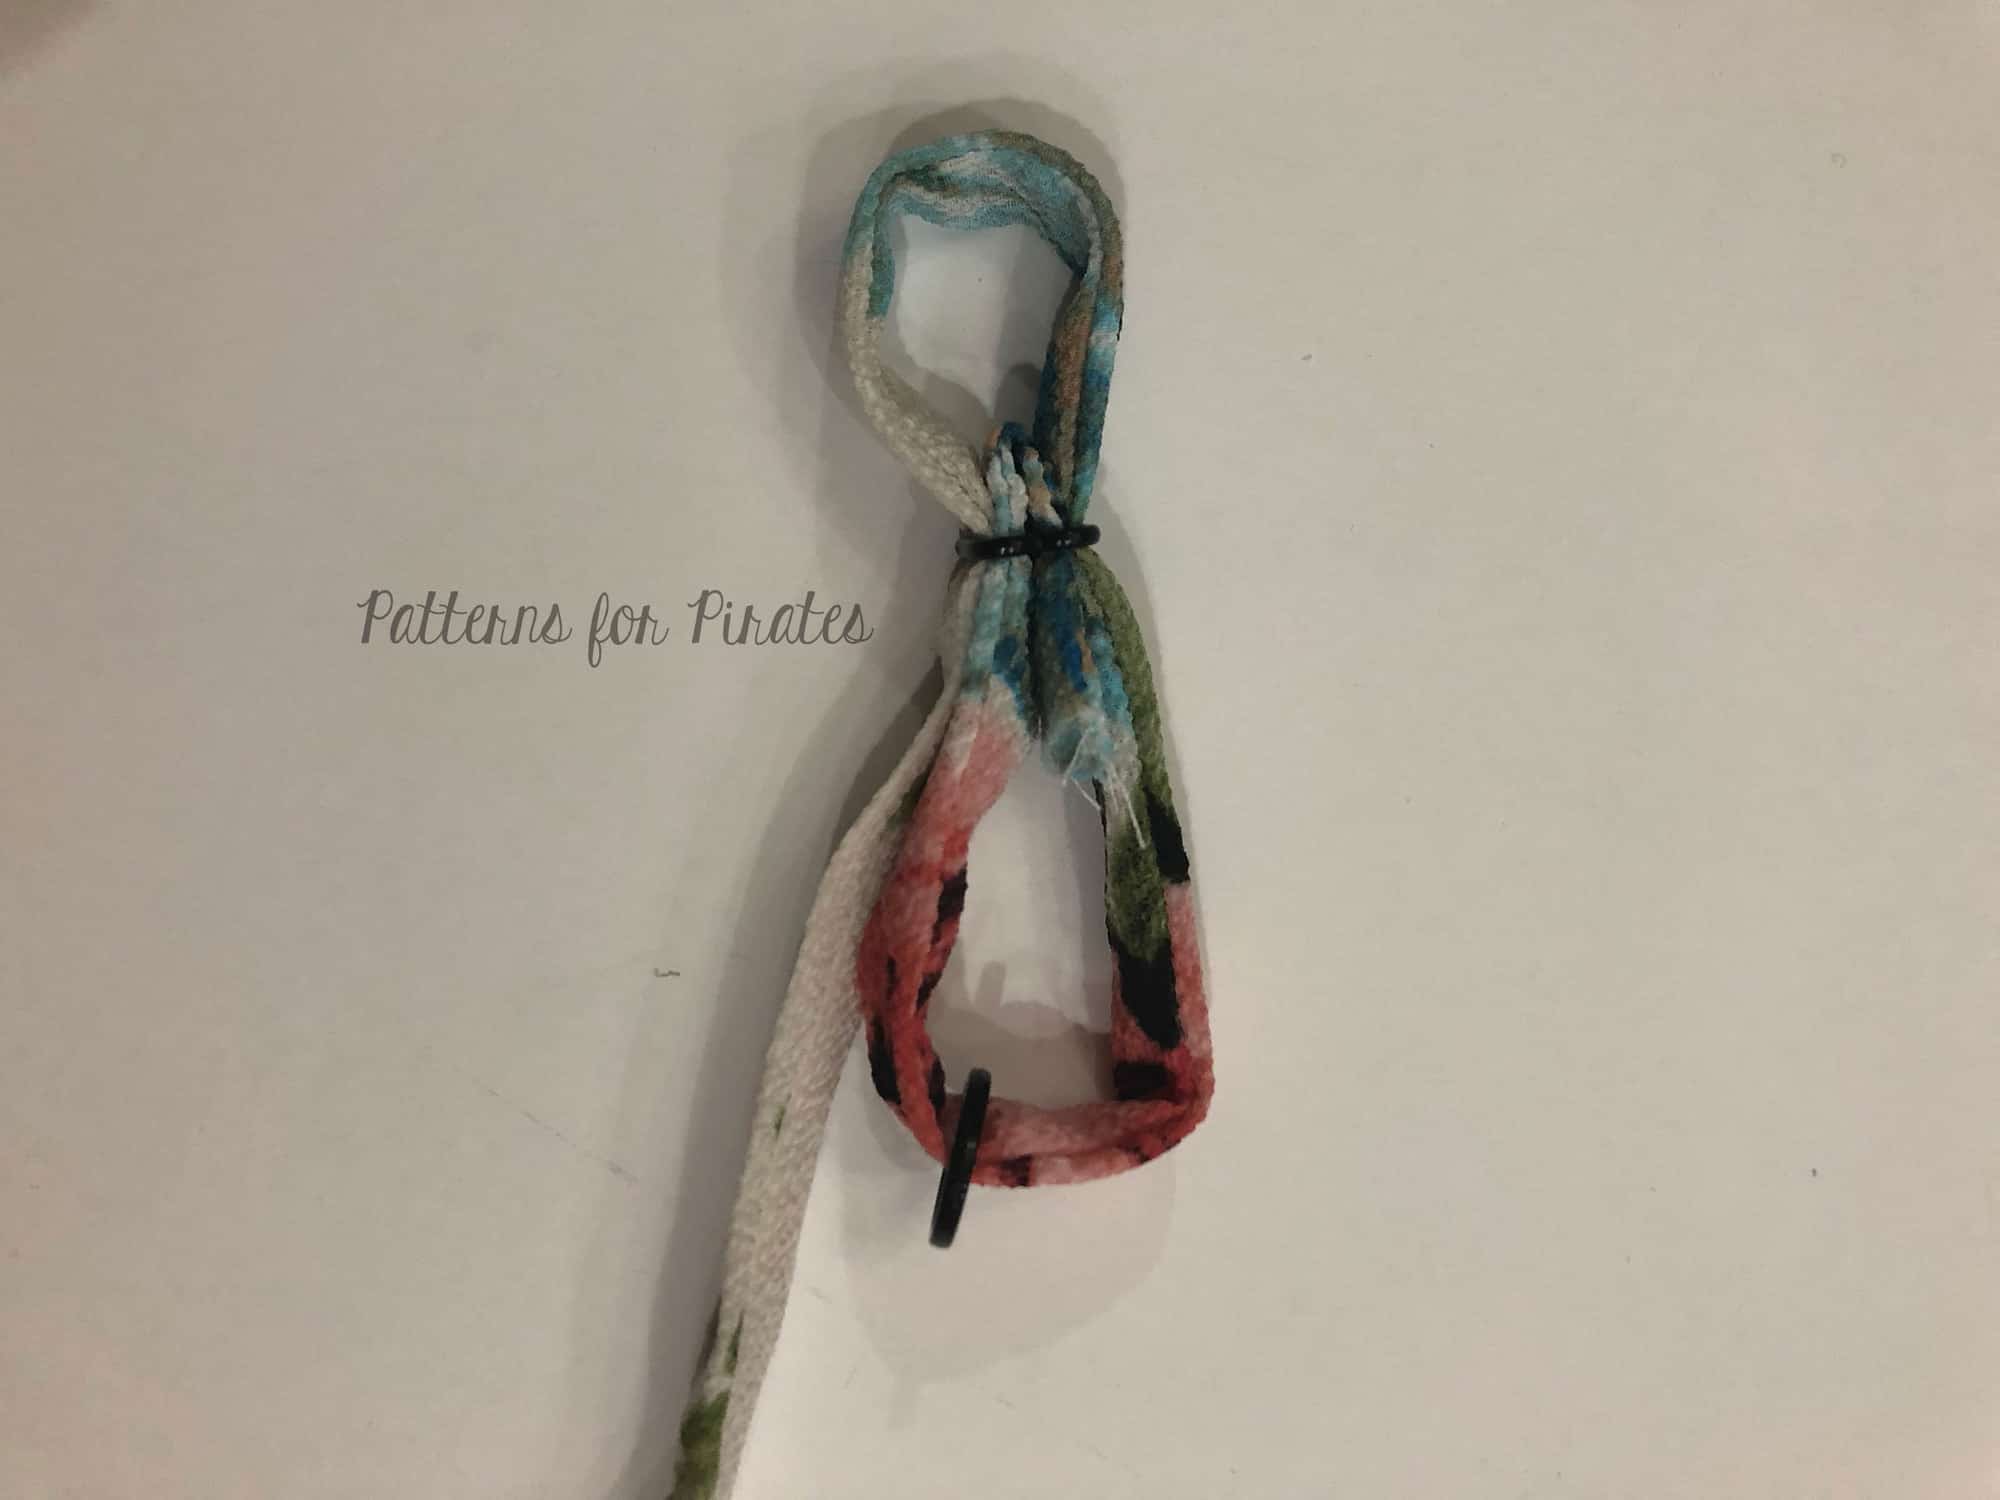
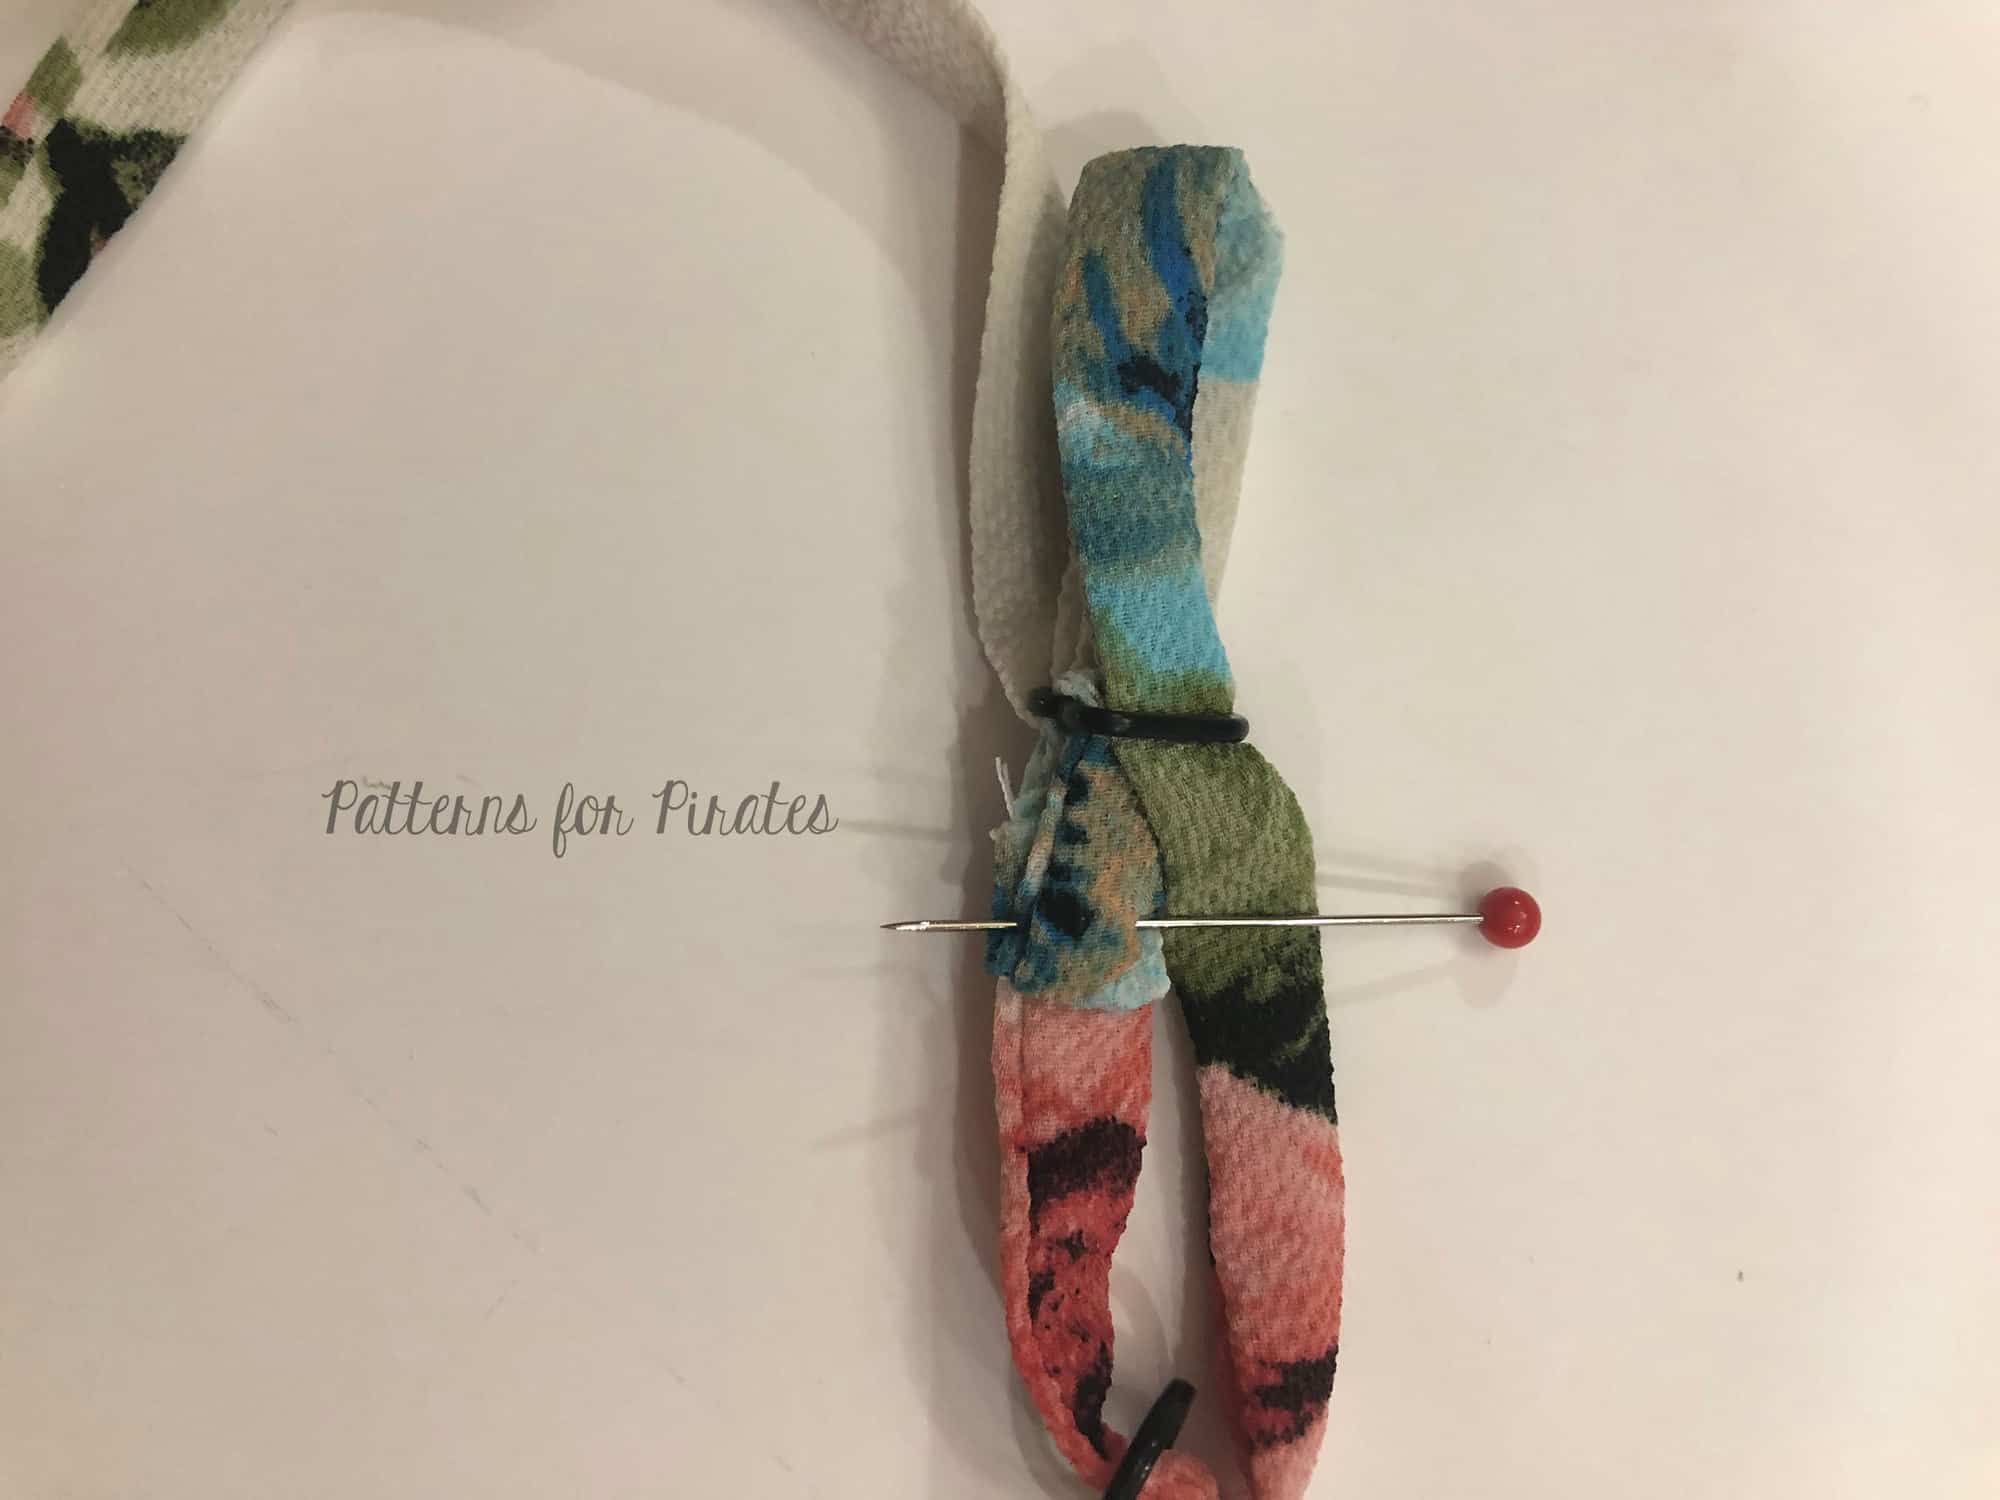
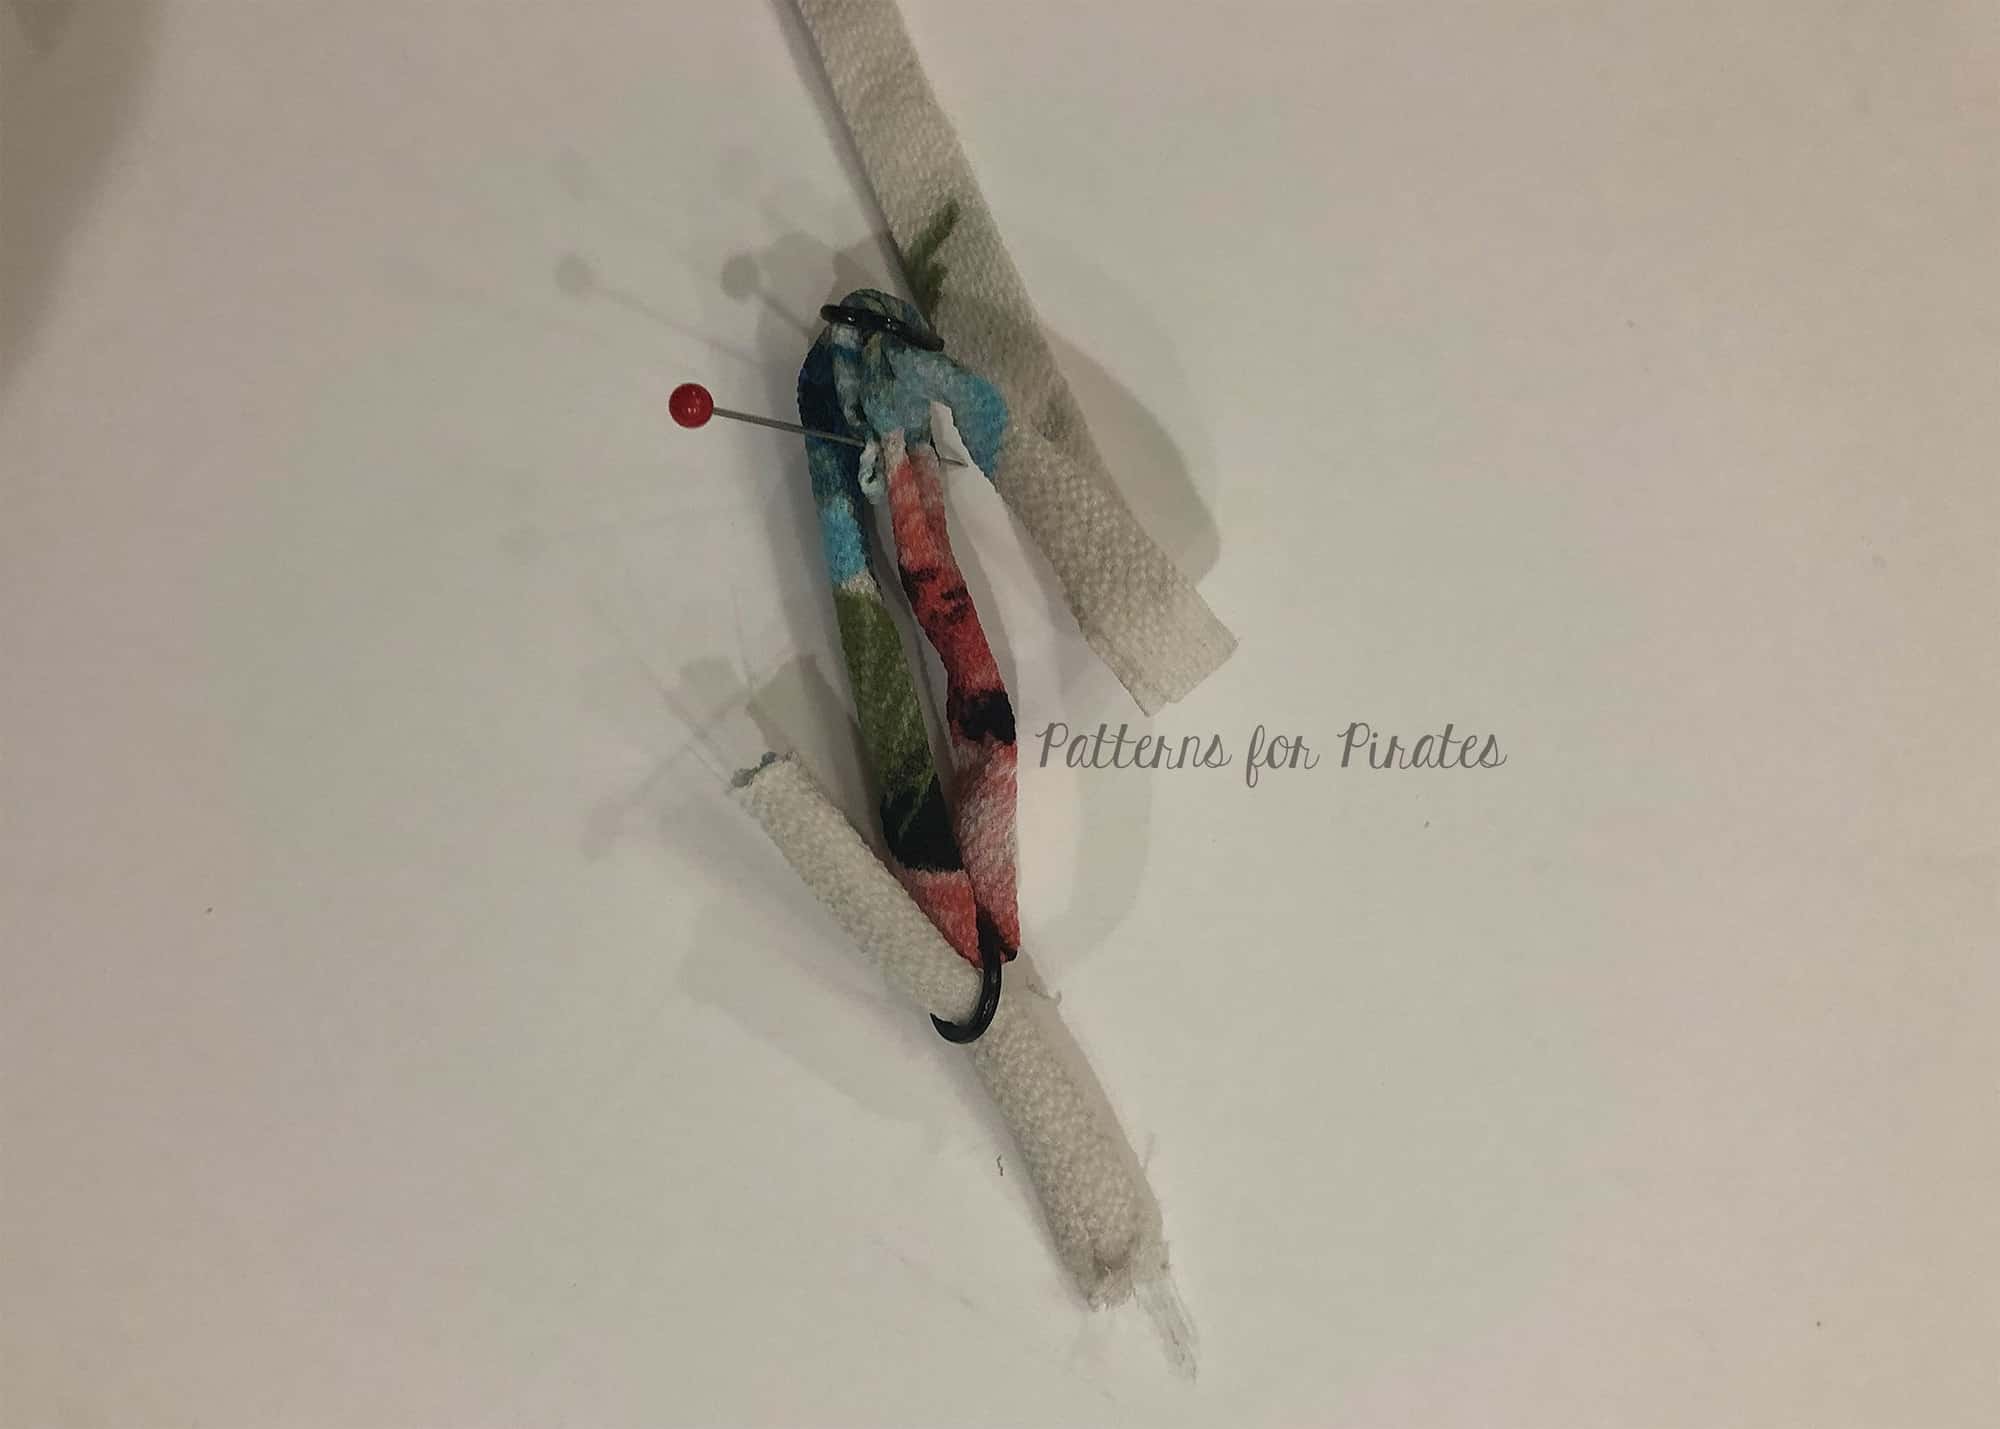
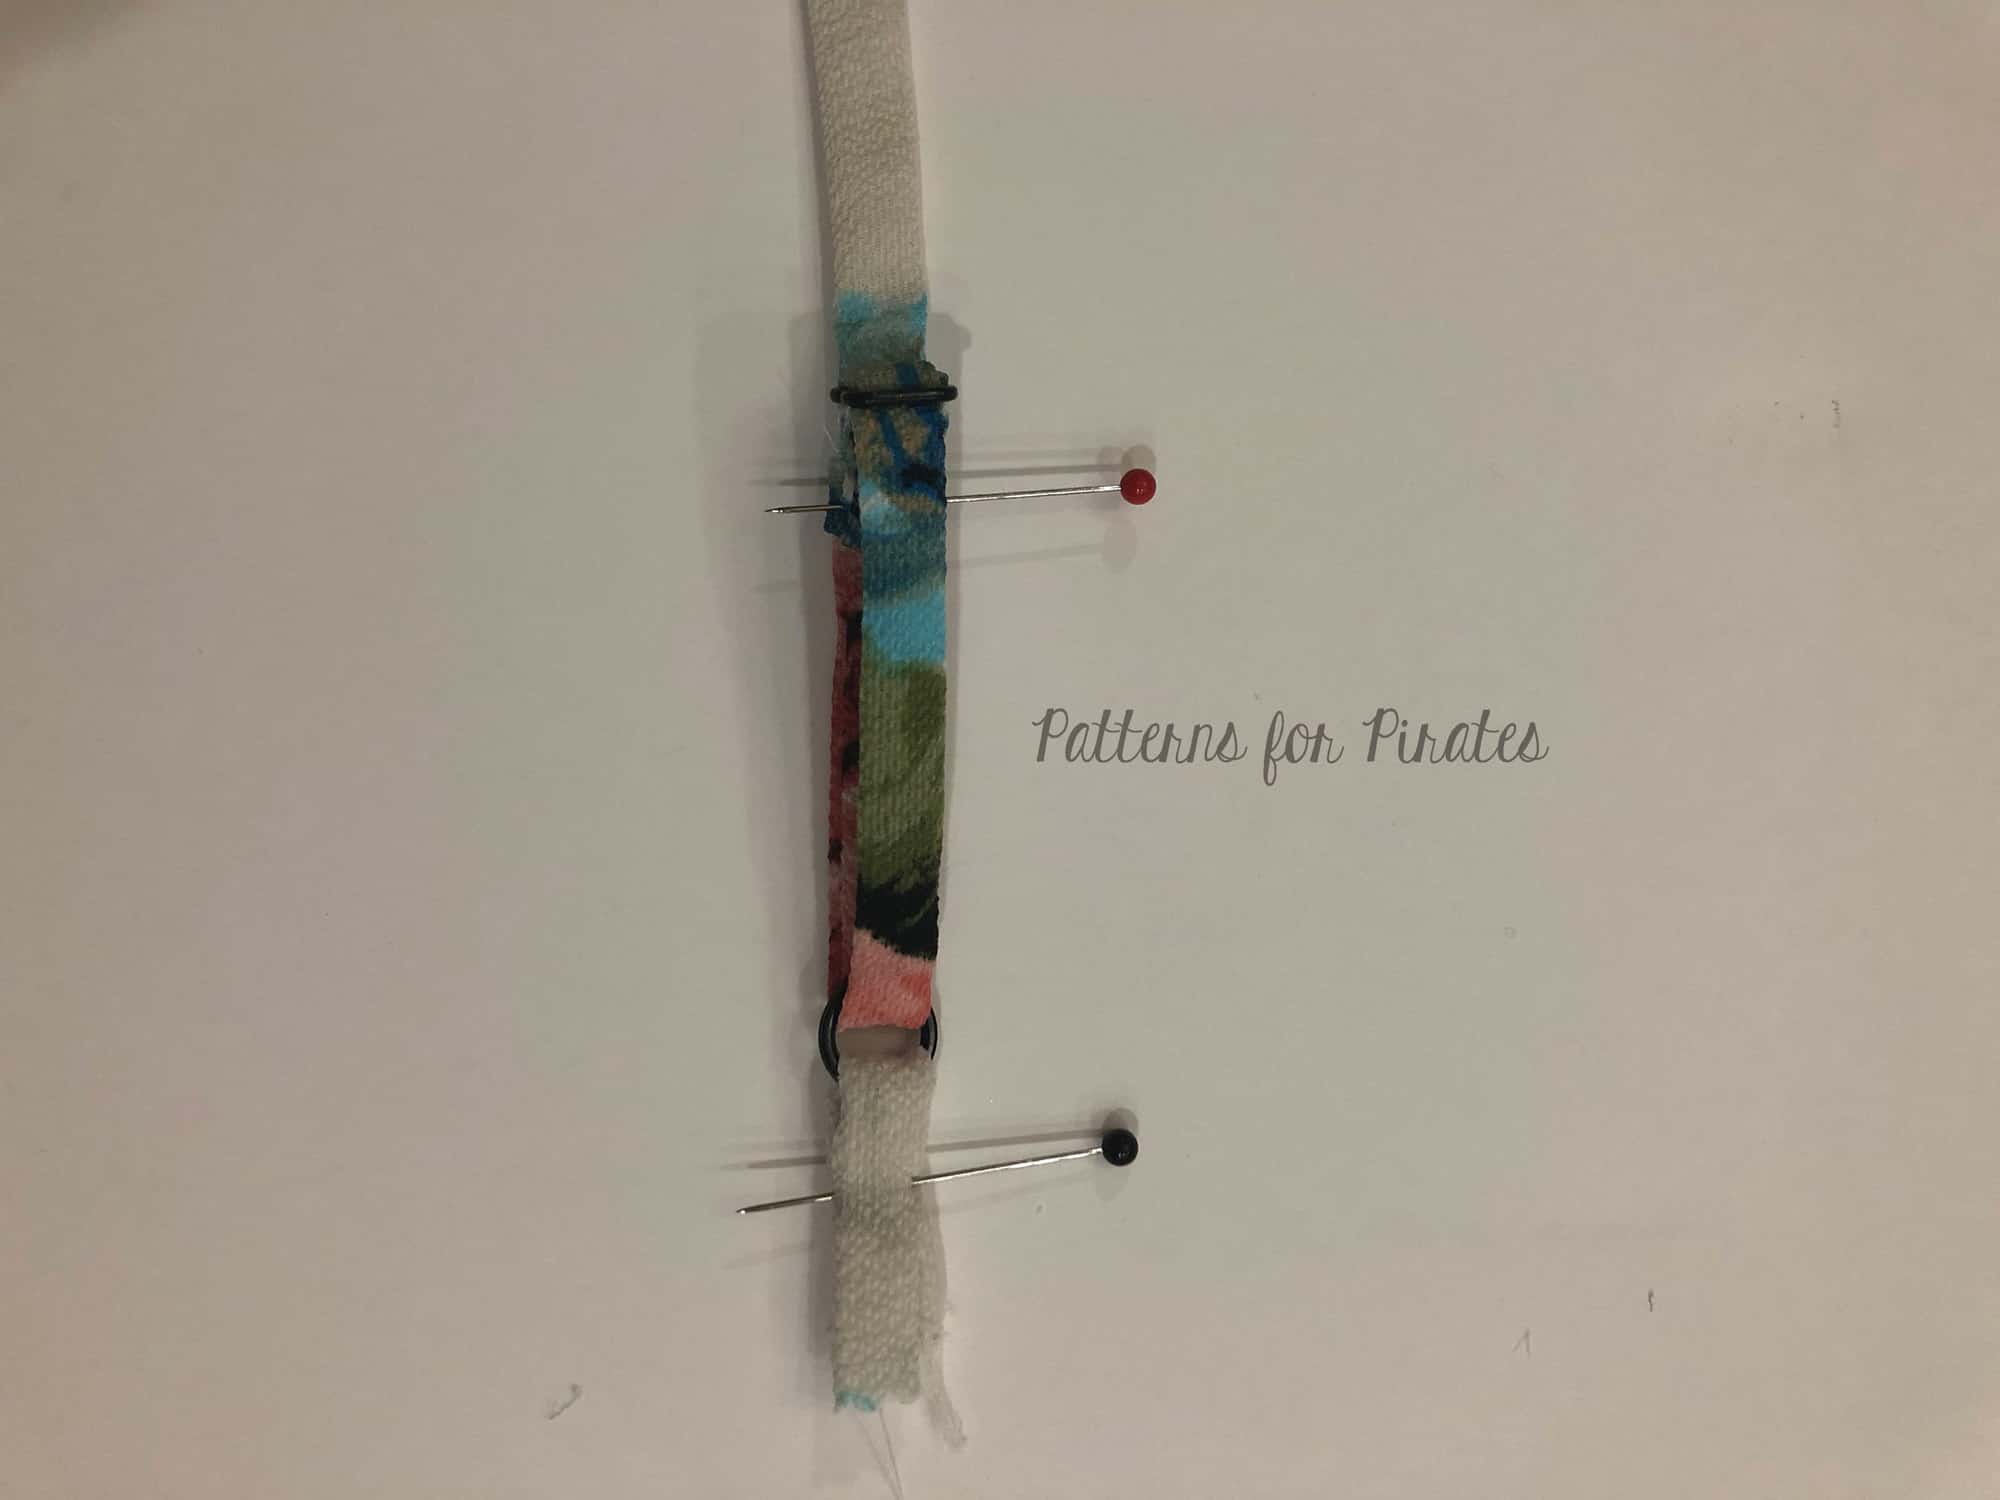
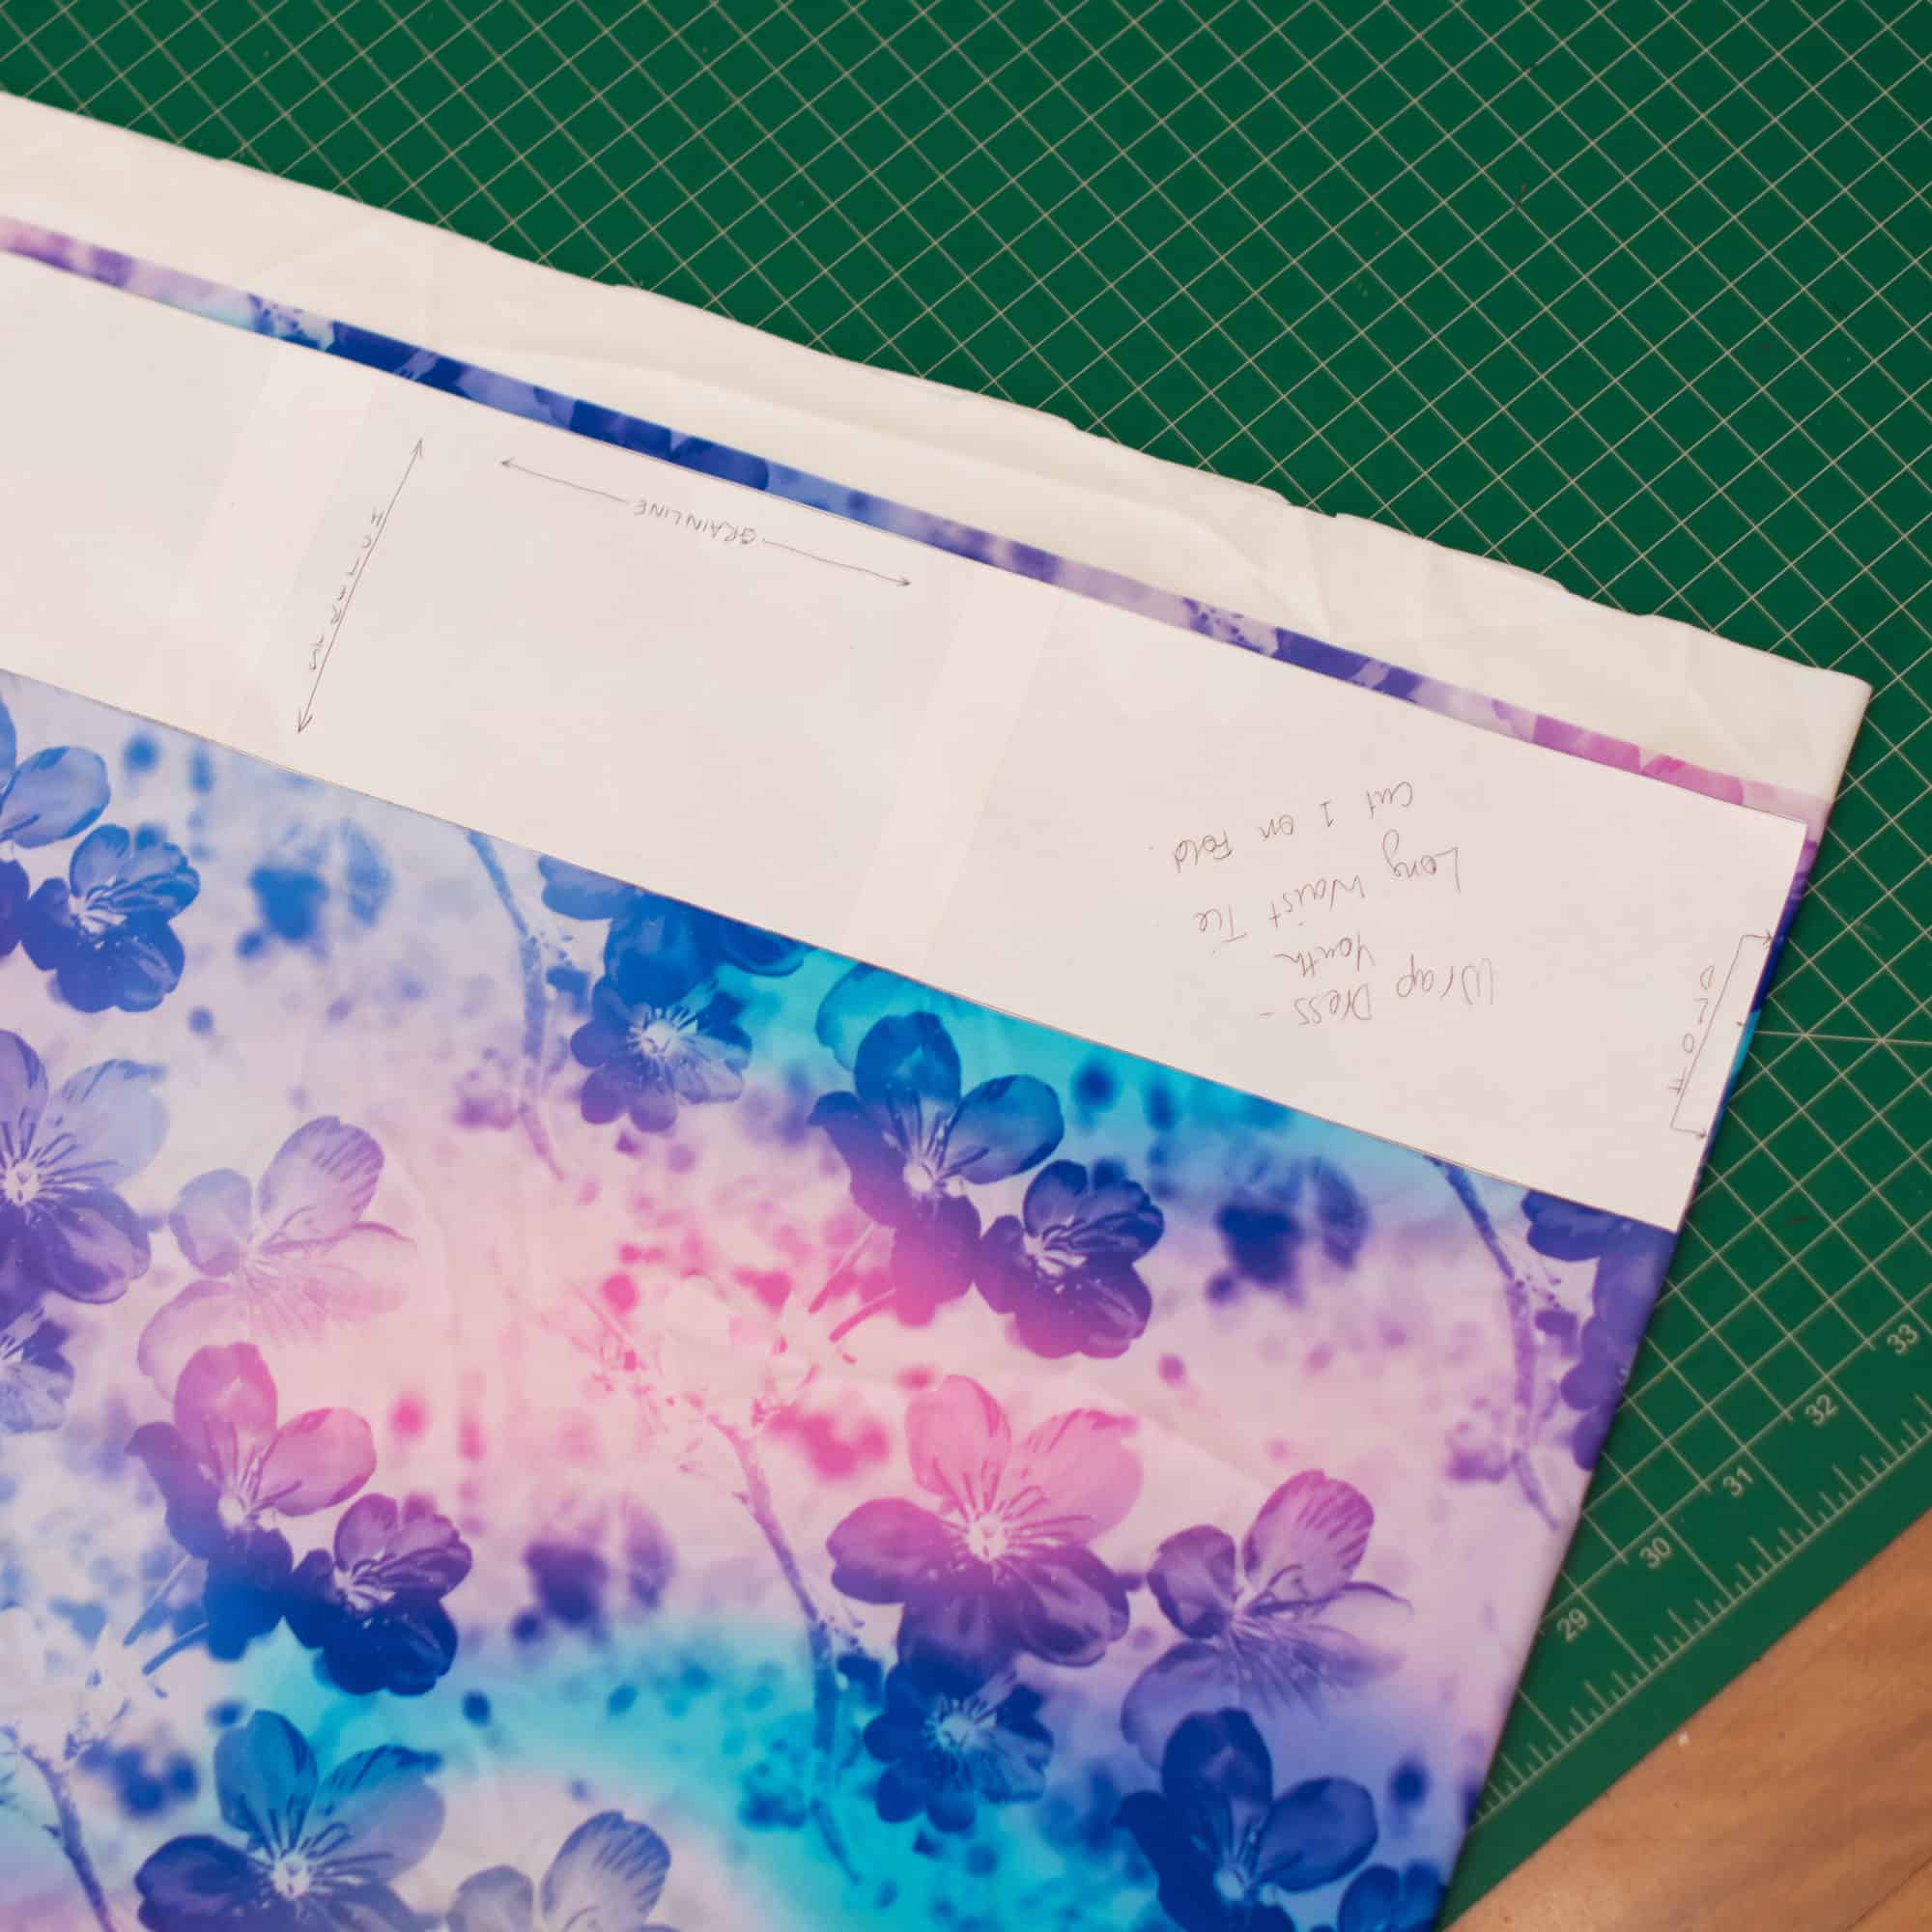
Firstly, grab your pattern pieces for the waist ties. Measure the length of the short width and then double it. For example: if your ties measure 2 inches wide, then you need to cut them at 4 inches wide instead.
I like to remake my pattern pieces with the new measurements to make it quicker for cutting the ties out, but you could just as easily note the measurements and use a ruler and cutting tool to make your tie pieces too. Take your fabric and cut wider ties – one short and one long. Sew them as per instructions starting on page 17 in the pattern.
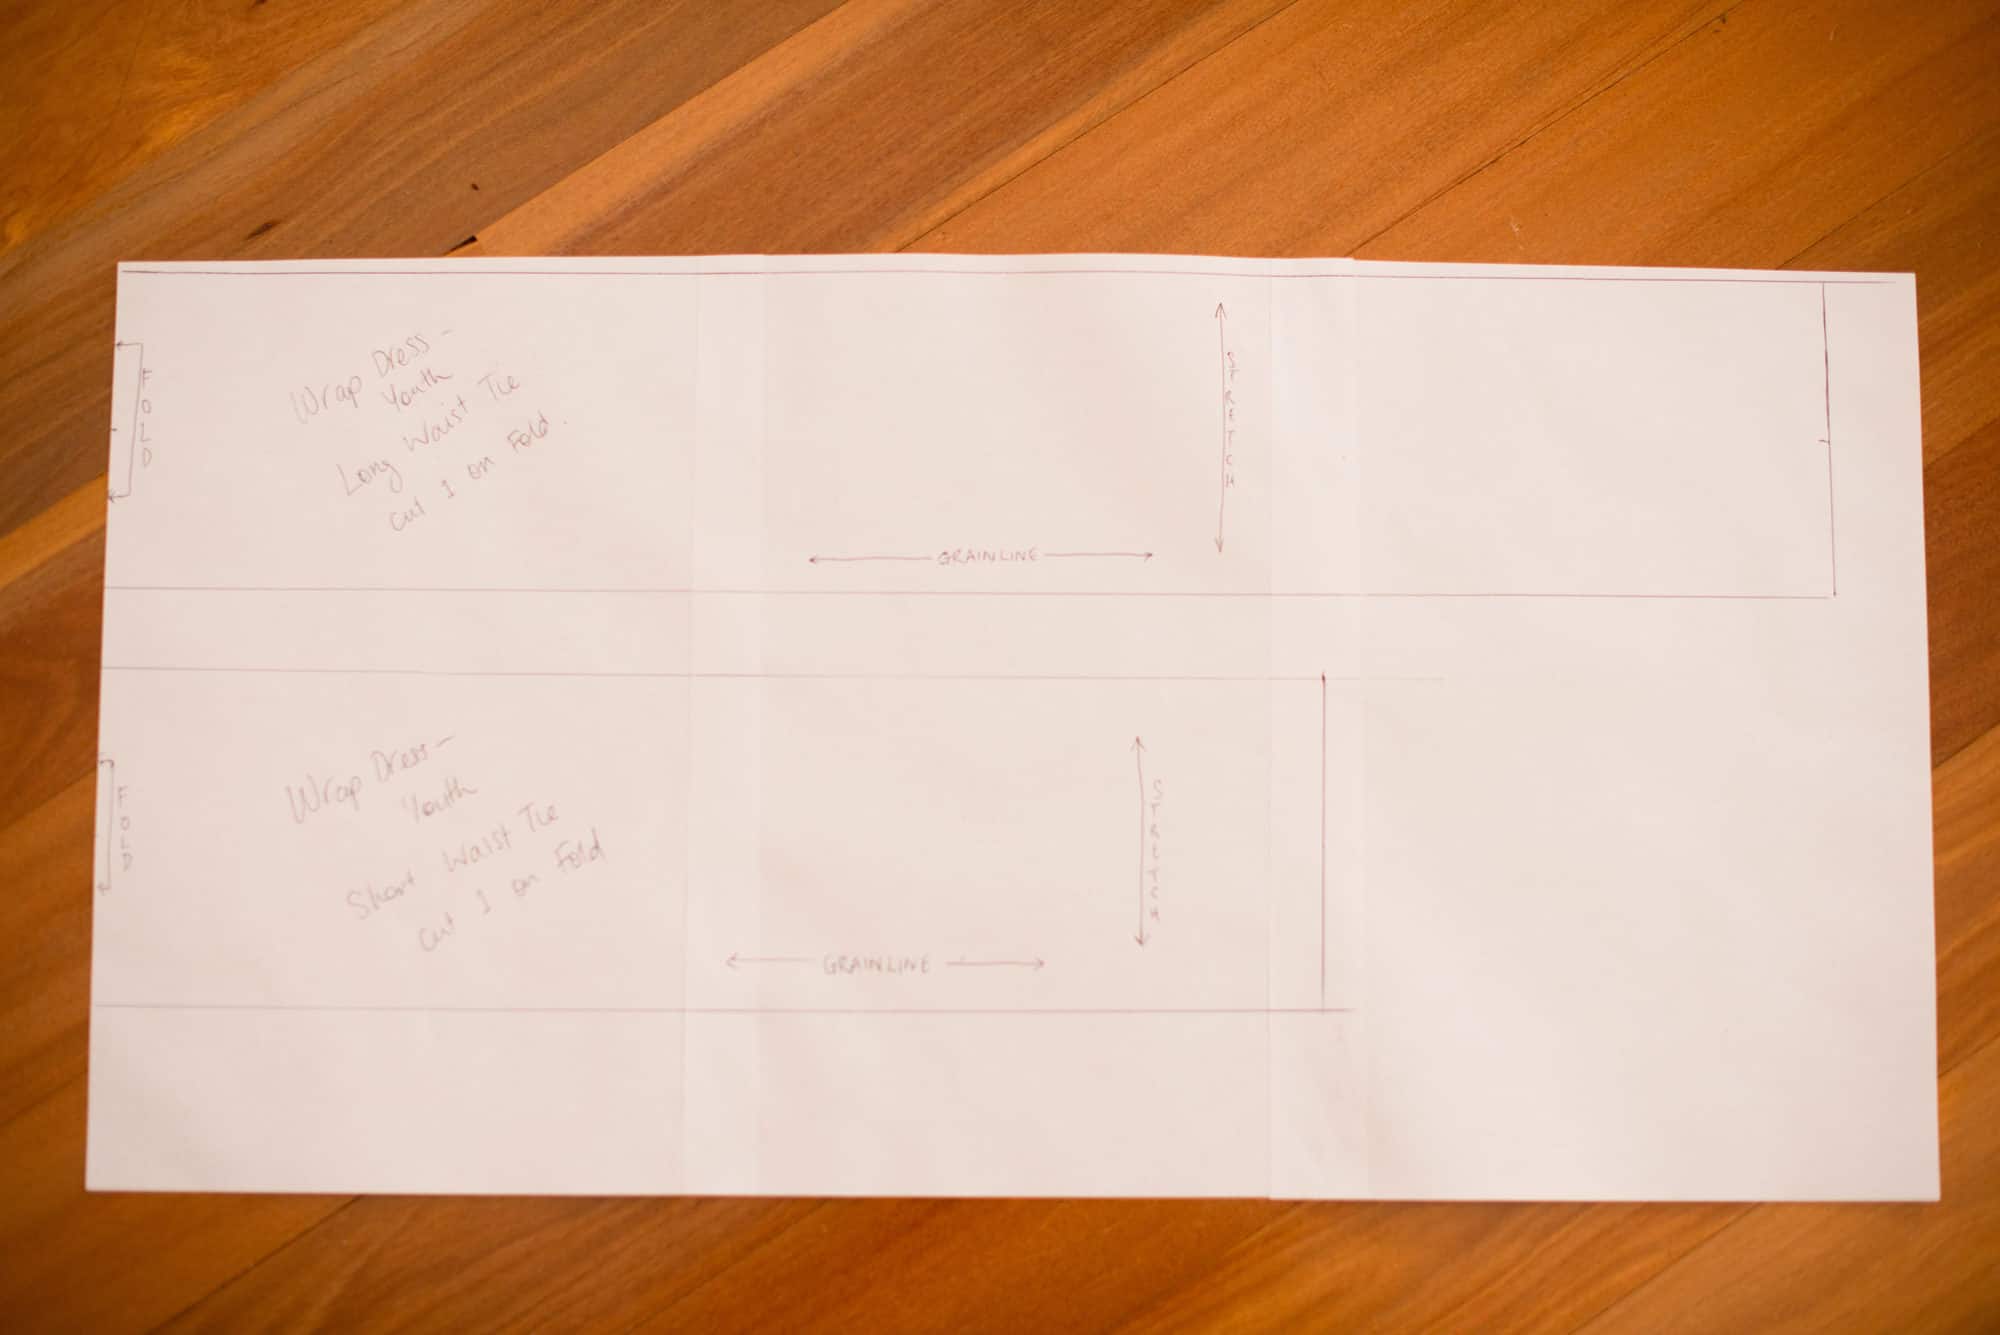
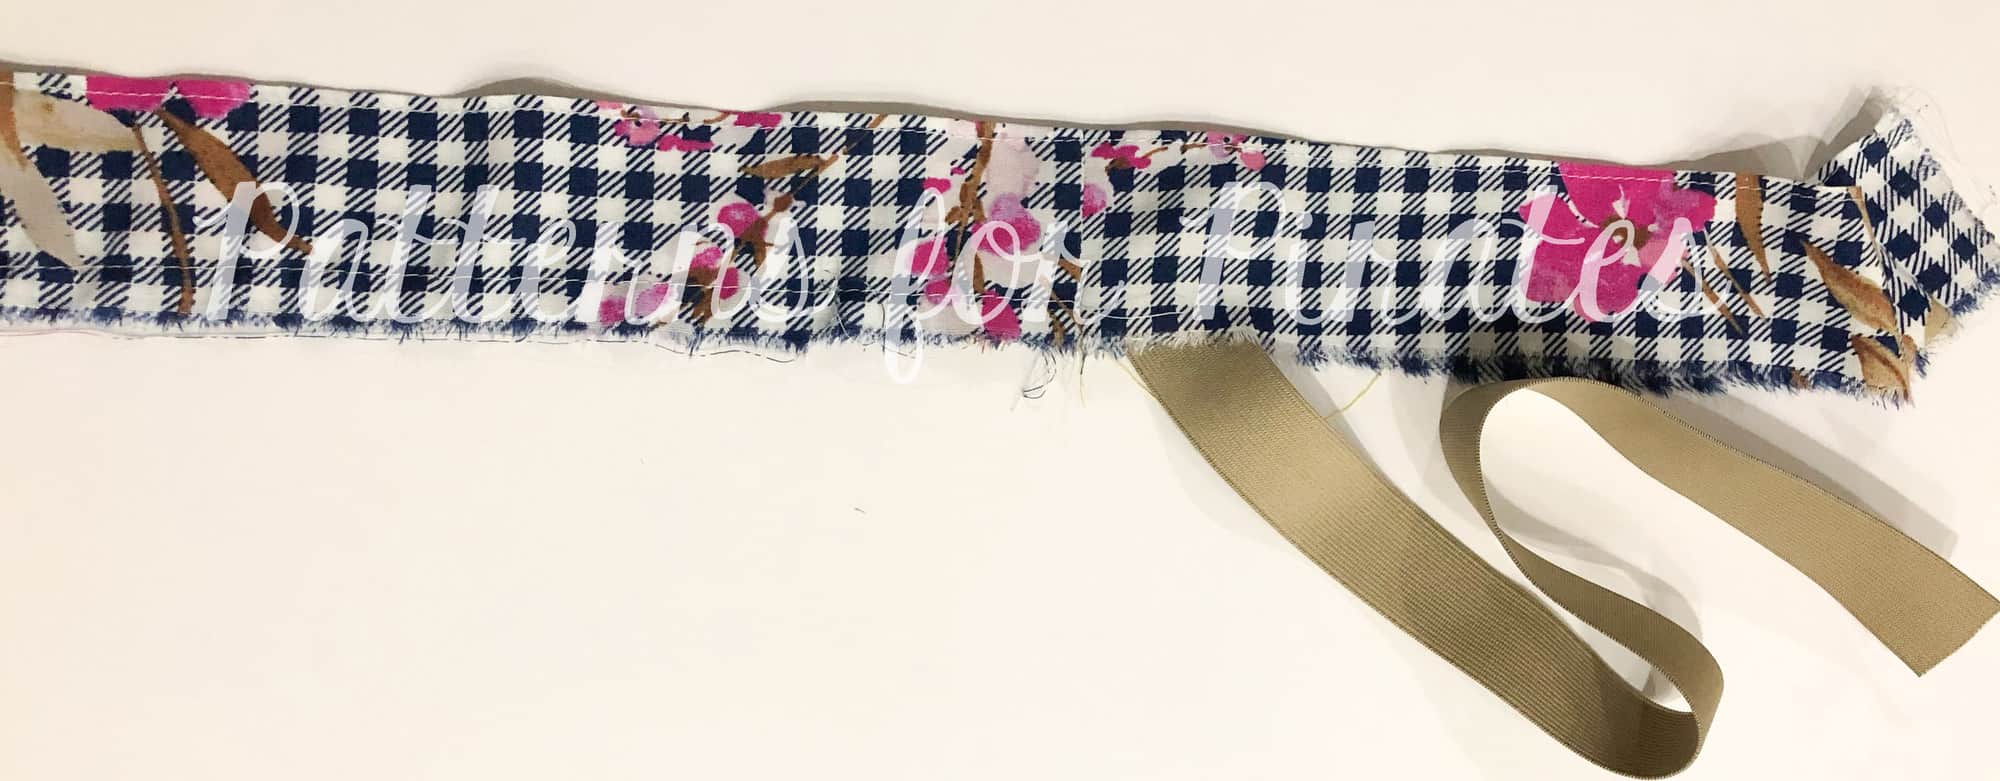
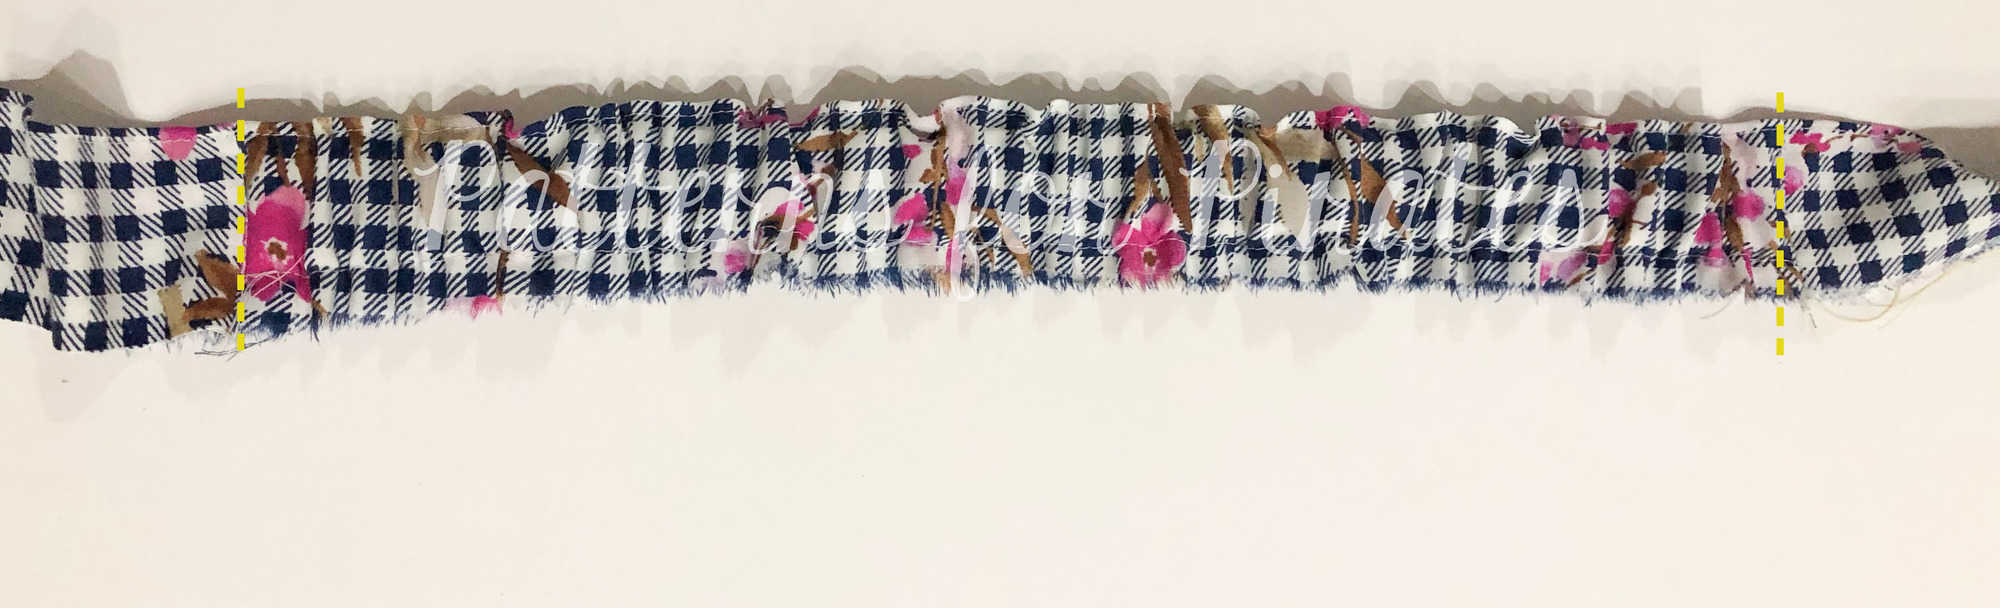
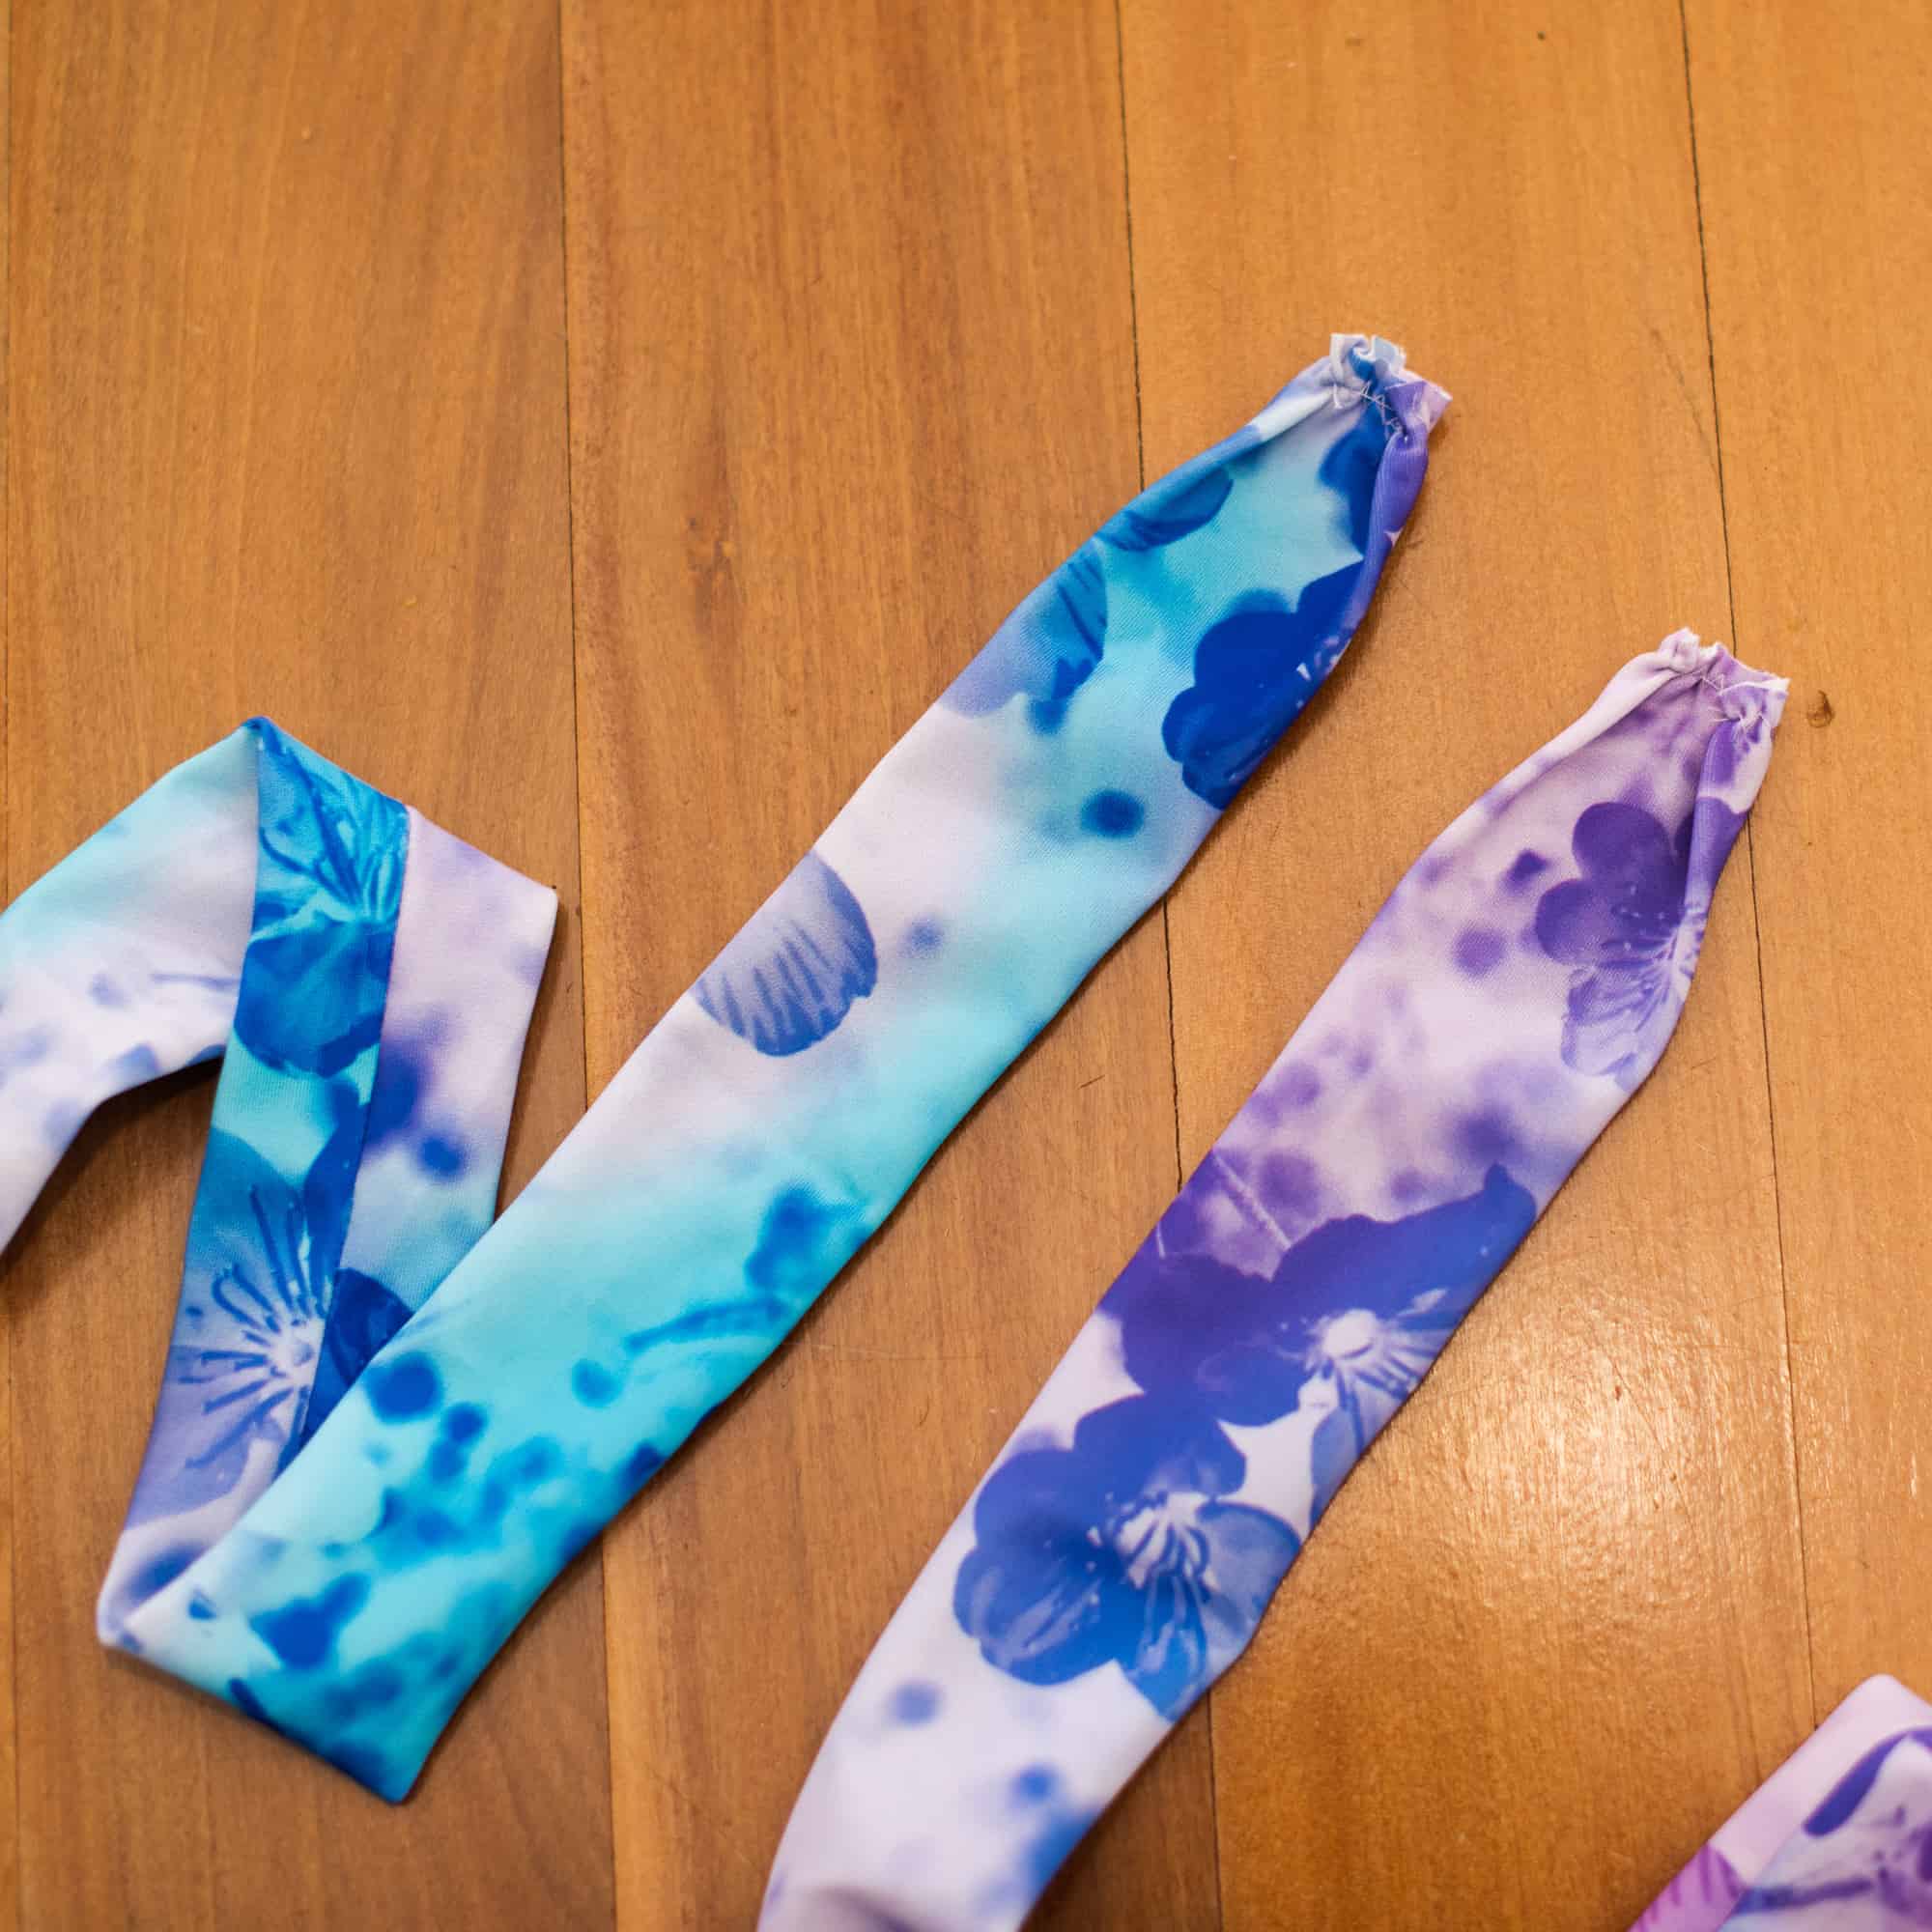
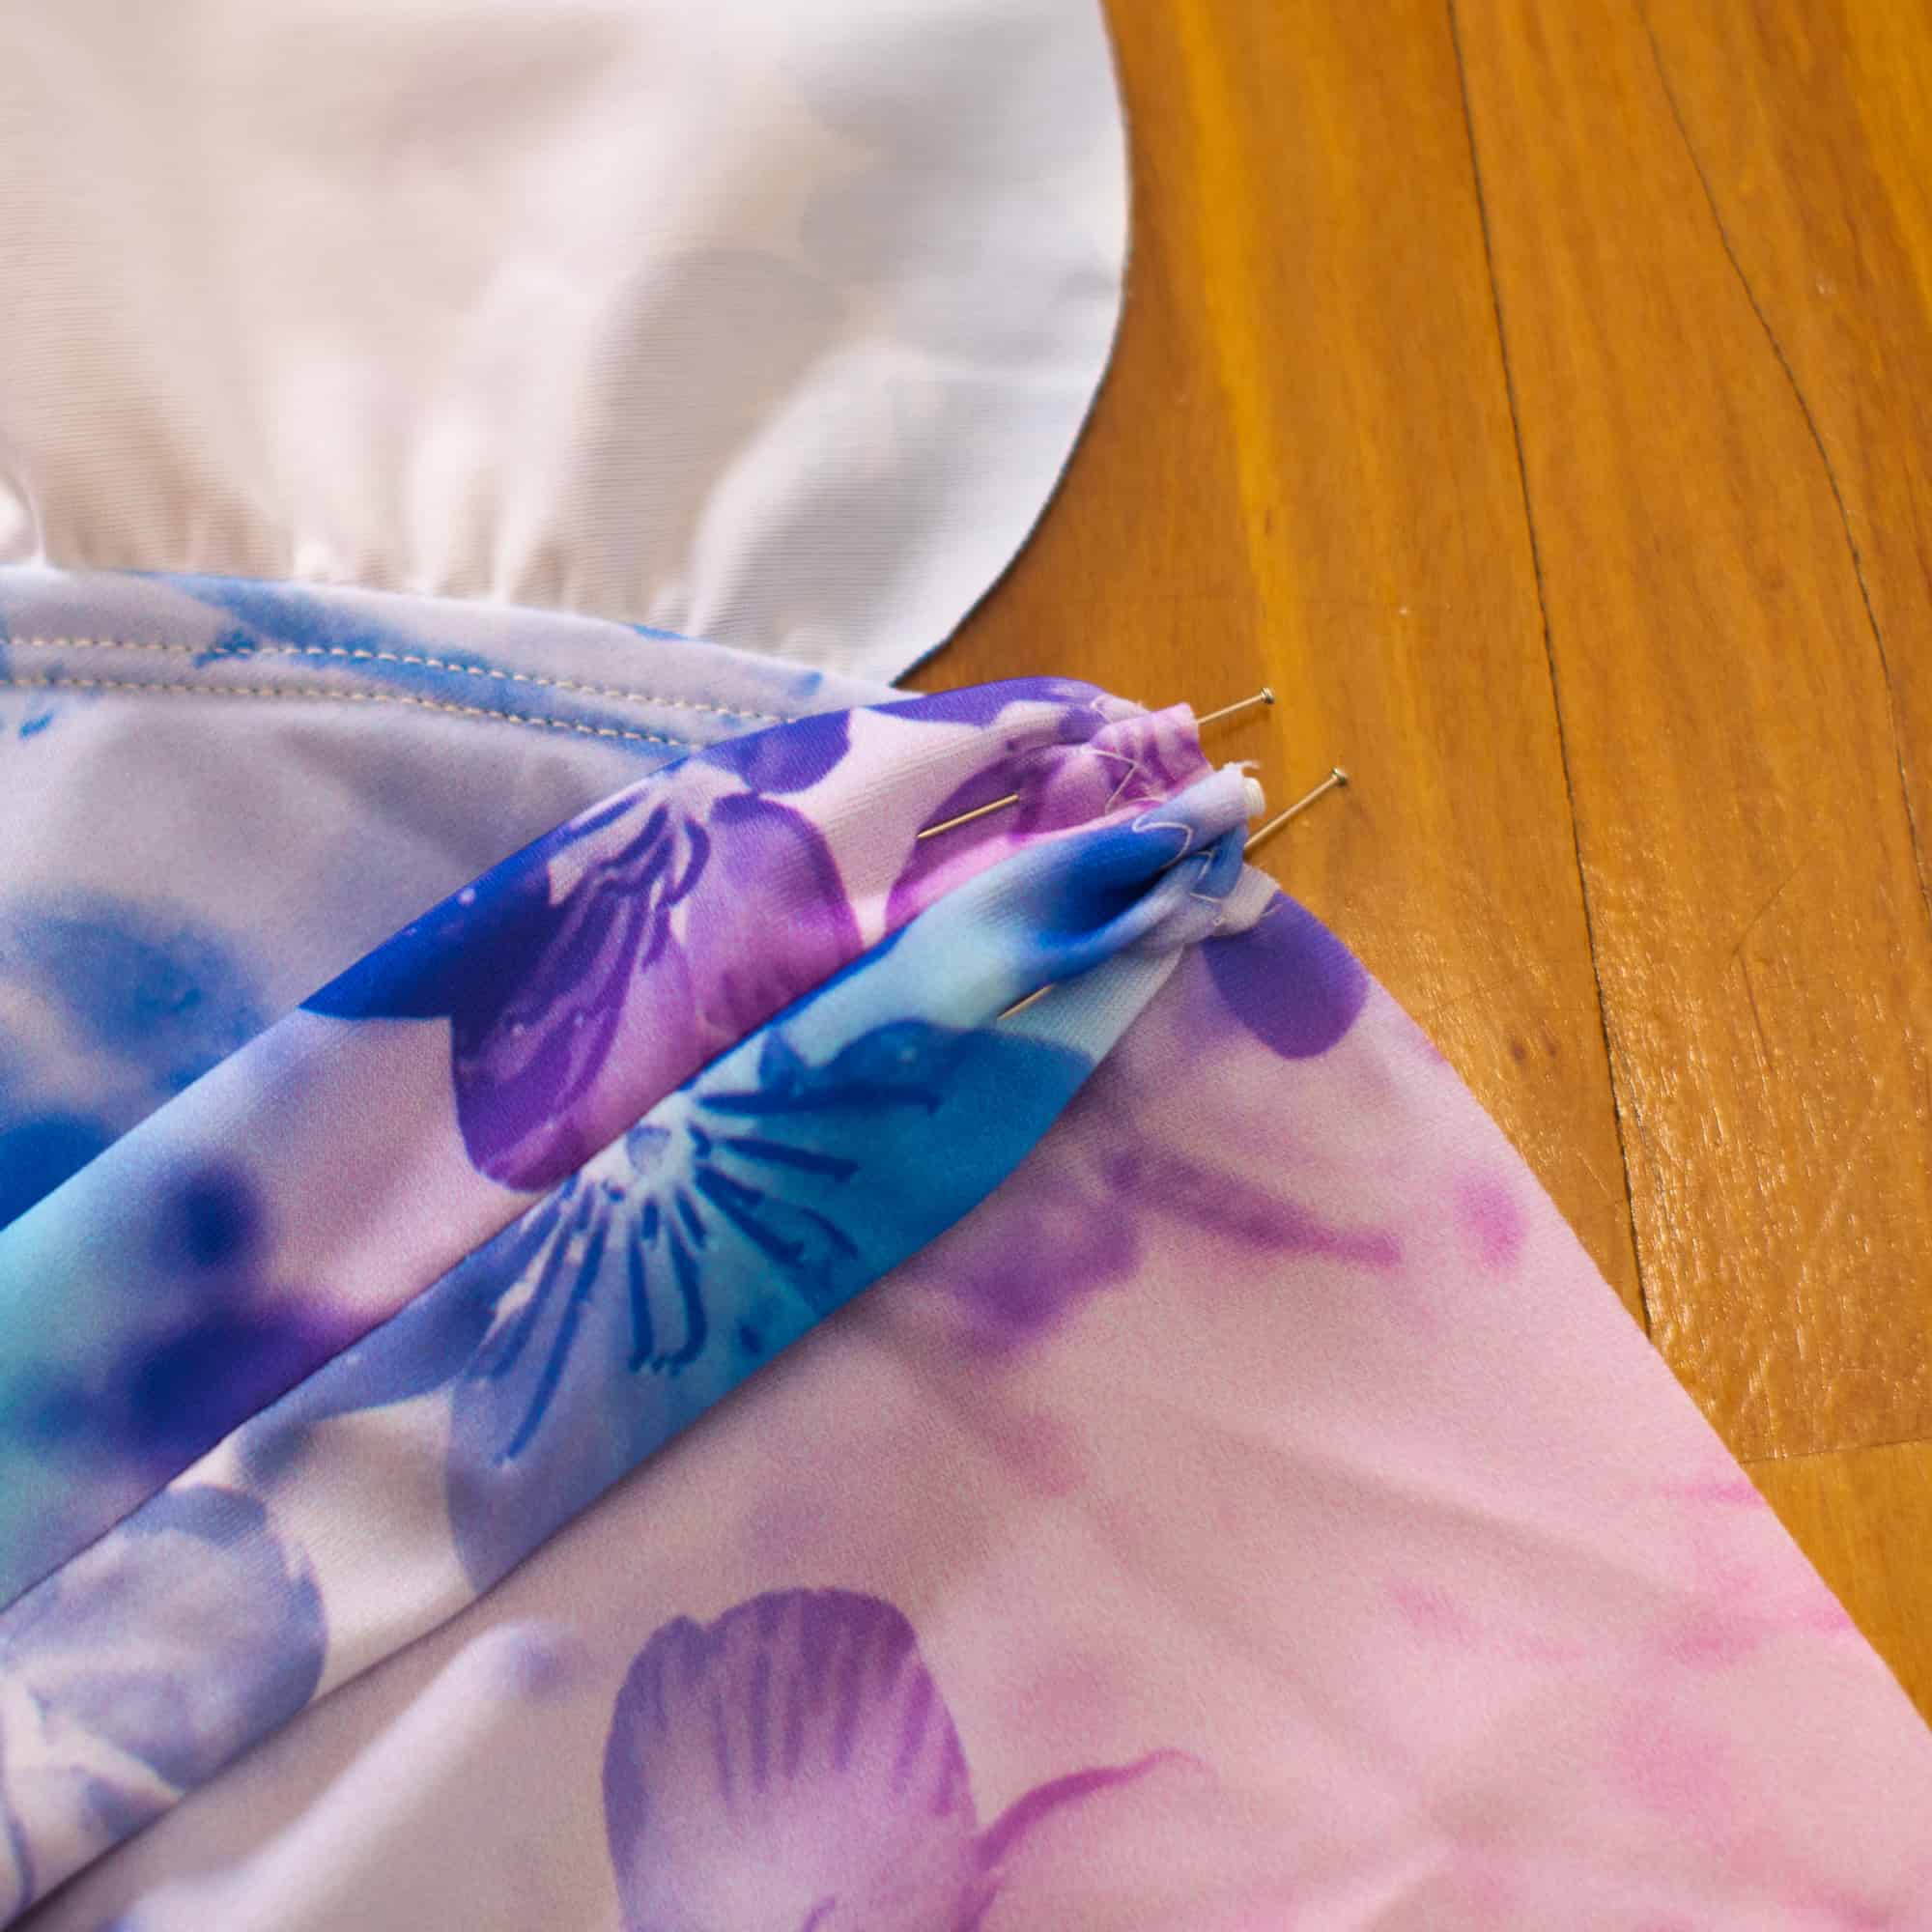
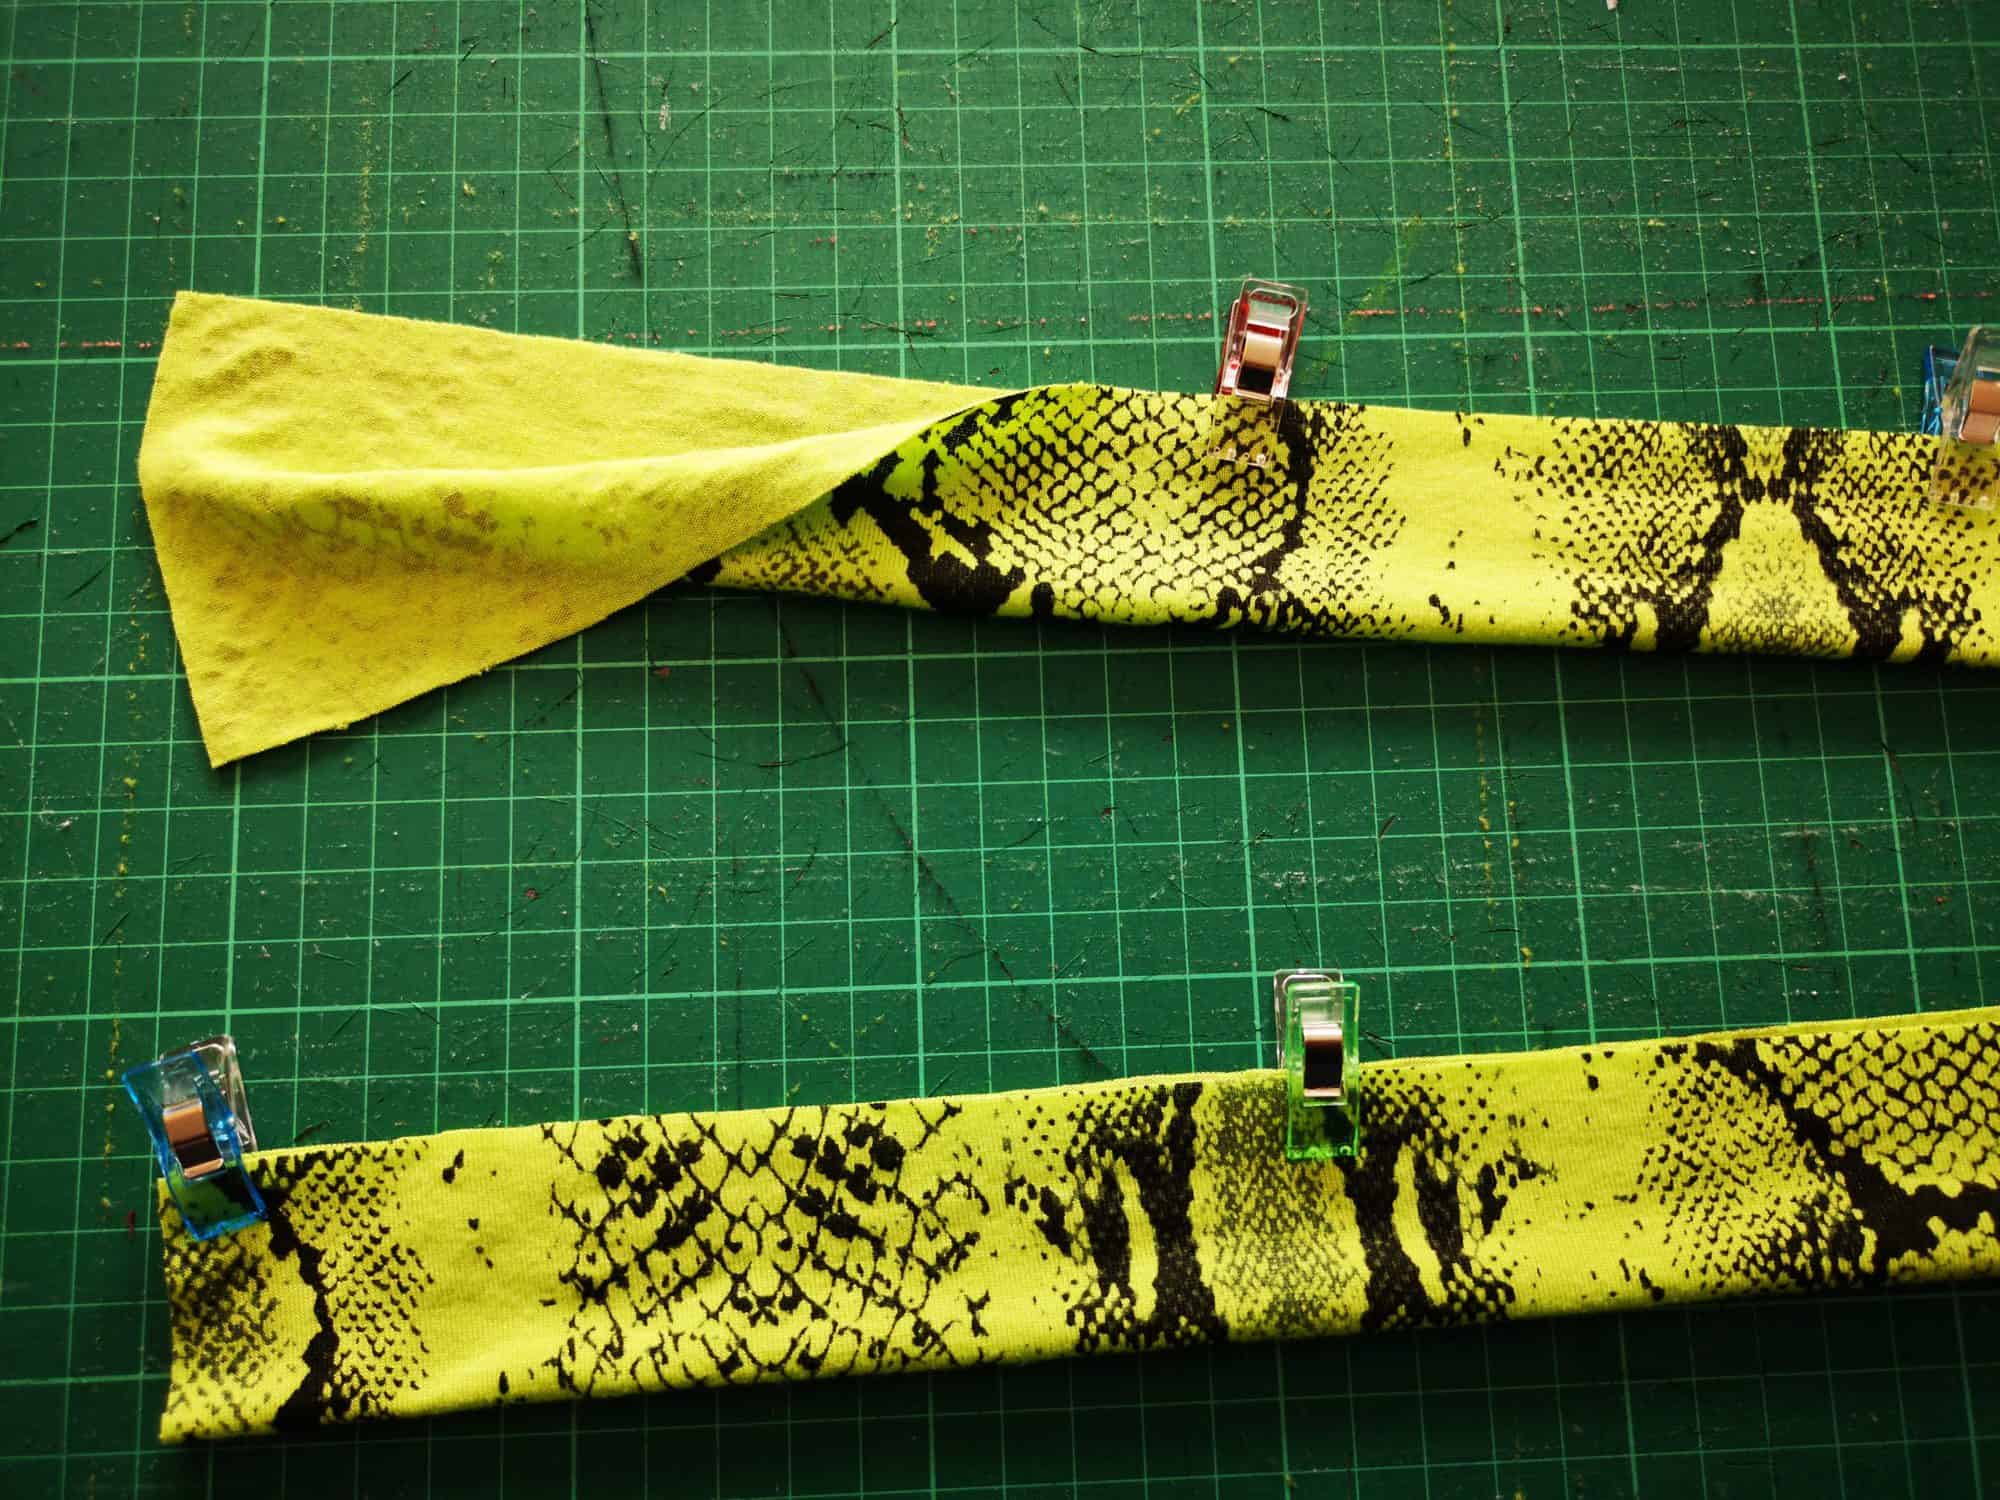
Next step is to sew a gathering stitch across the open end of the ties to reduce the width of the ties by half. Attach the ties as per the pattern instructions.
Happy sewing!
xx Katy

…..
Hemmed maxi flounce option
The wrap dress is gorgeous with the flounce option. However, I stumbled upon another beautiful way to finish the maxi length hem without the flounce or a straight hem line. All I did was cut my fabric using the flounce hem line then I sewed the hem with a 1/2 inch seam allowance.
The curve can be a little tricky. I recommend that you use a metal curved hem ruler, press your hem, and then clip it. If you don’t have a metal curved ruler, I suggest wash away hem tape. Either will give you a beautiful finish.

…..
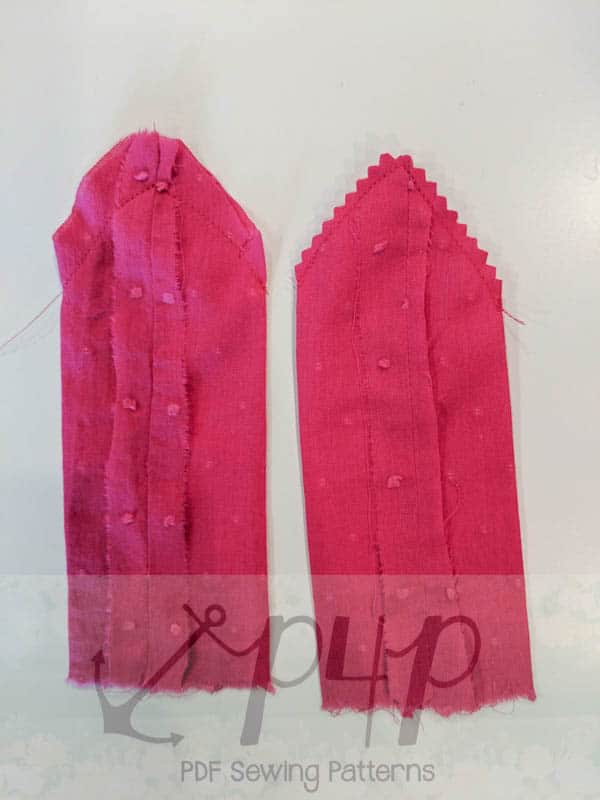
Split flutter sleeves
For this hack, we are going to split the flutter sleeves for a fun and cute way to add a little extra detail to your flutter sleeves!

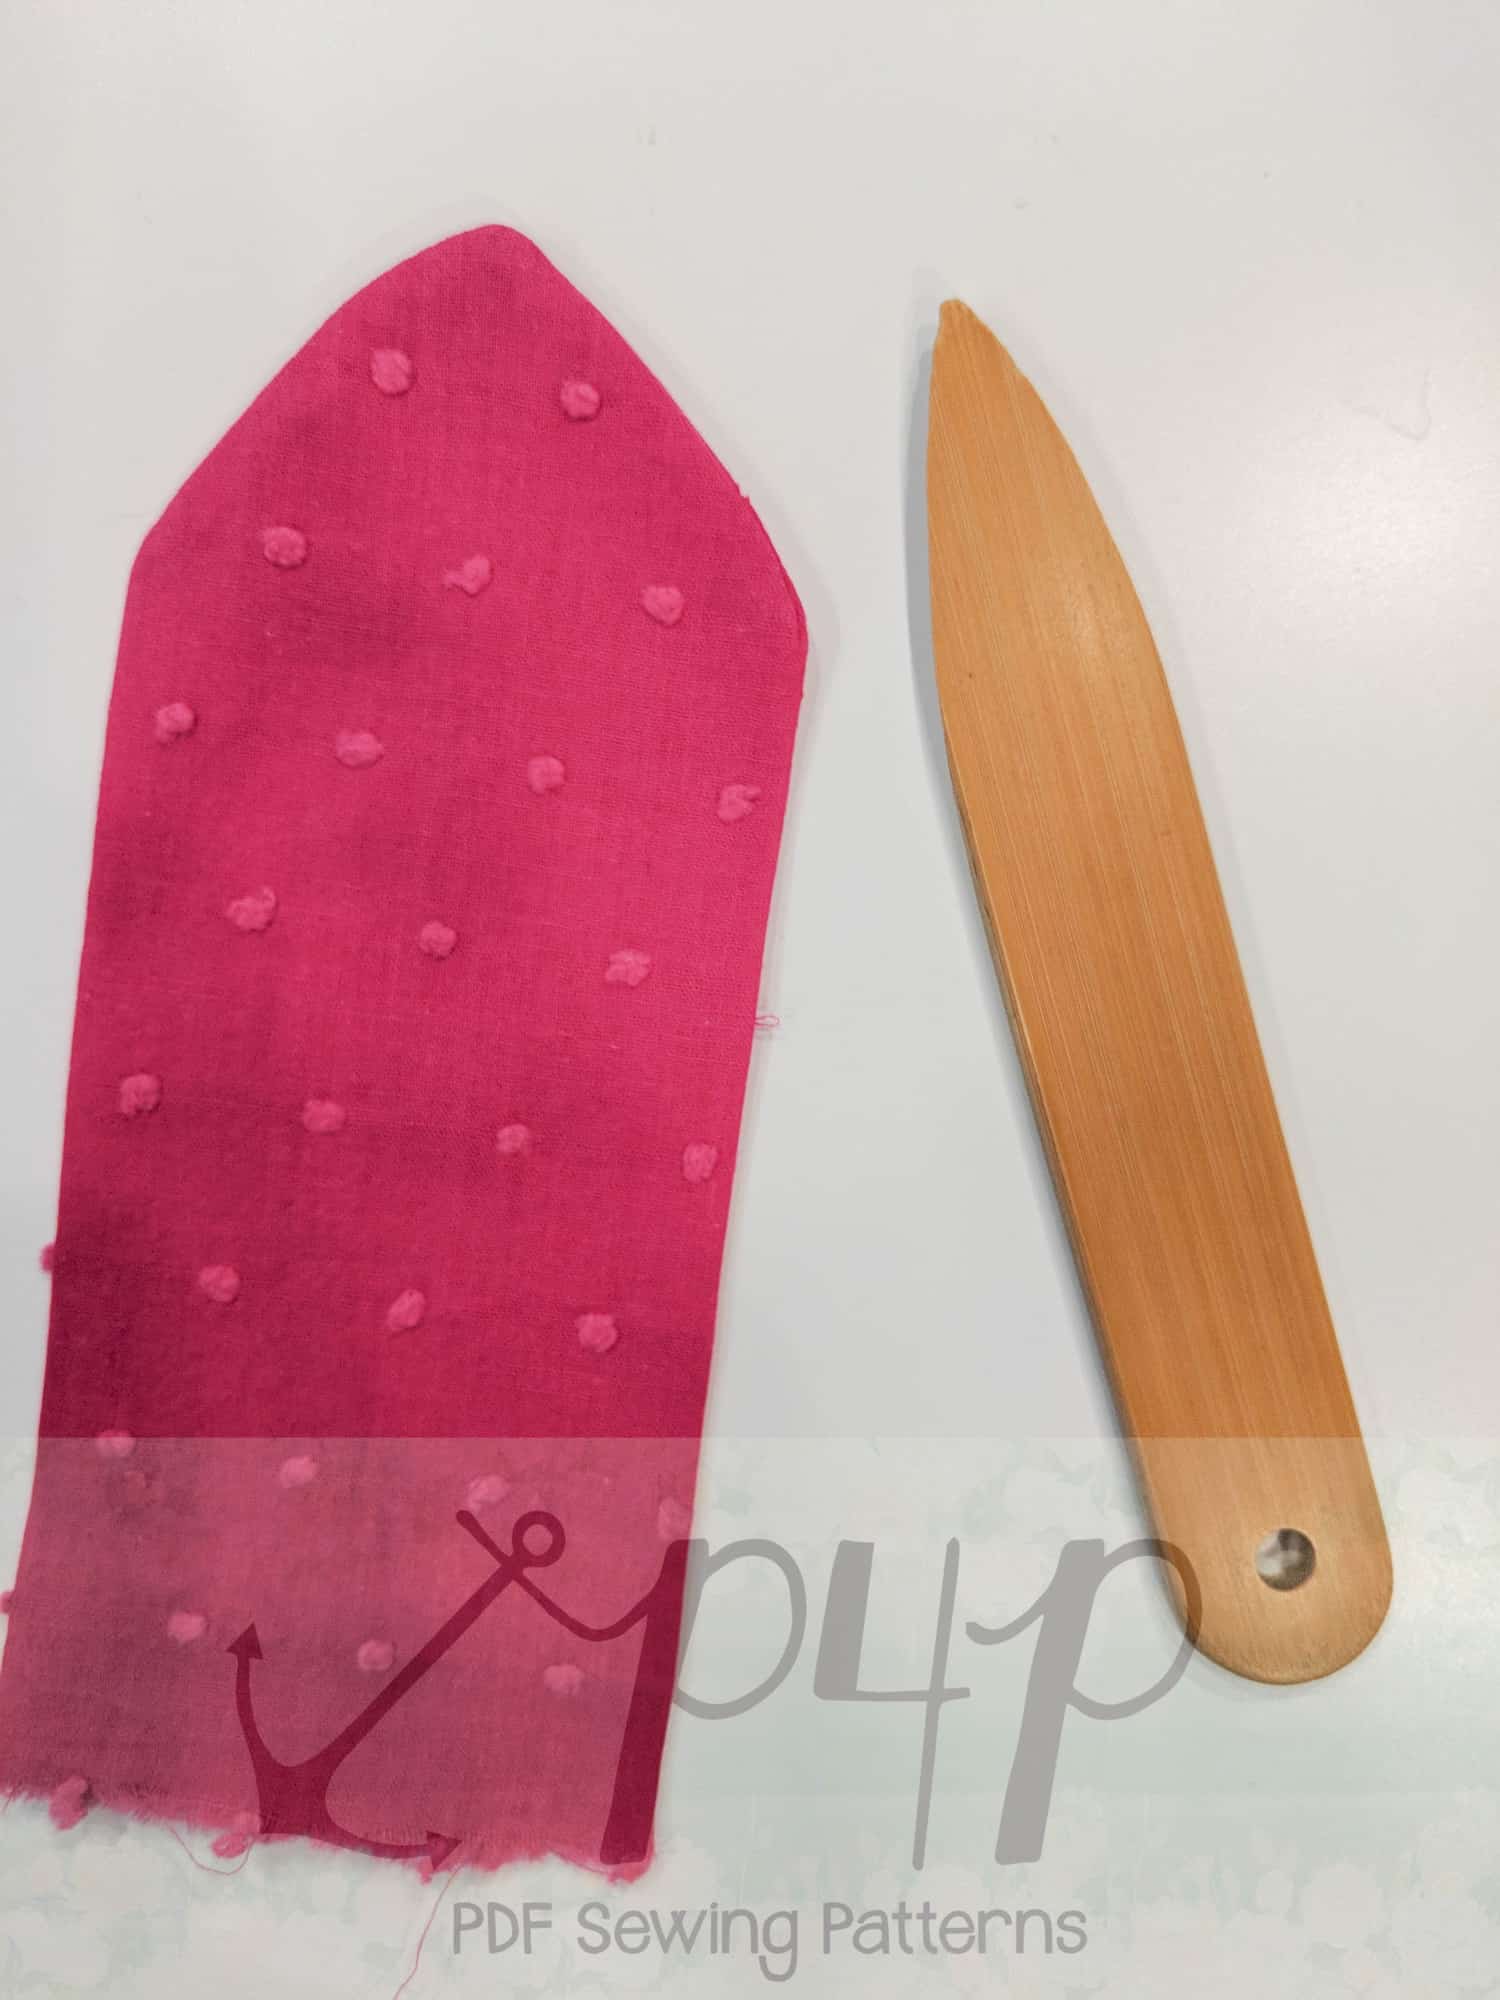
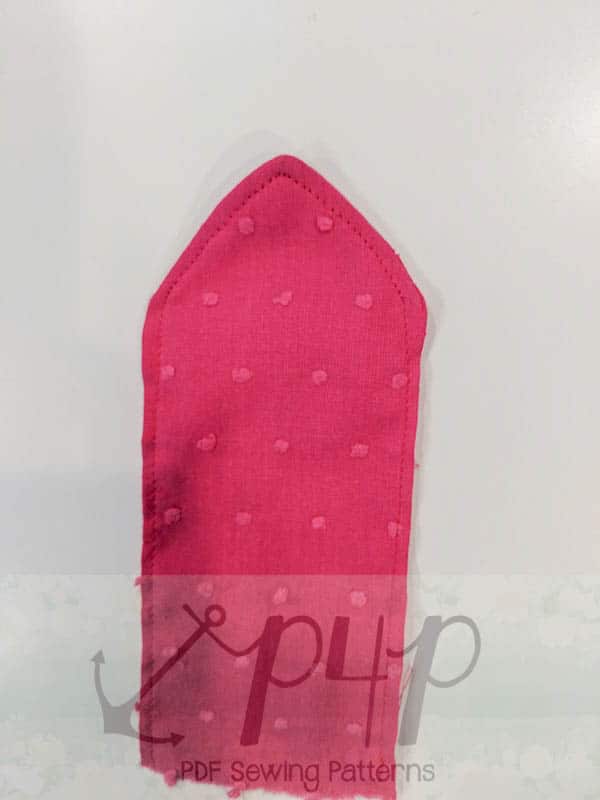
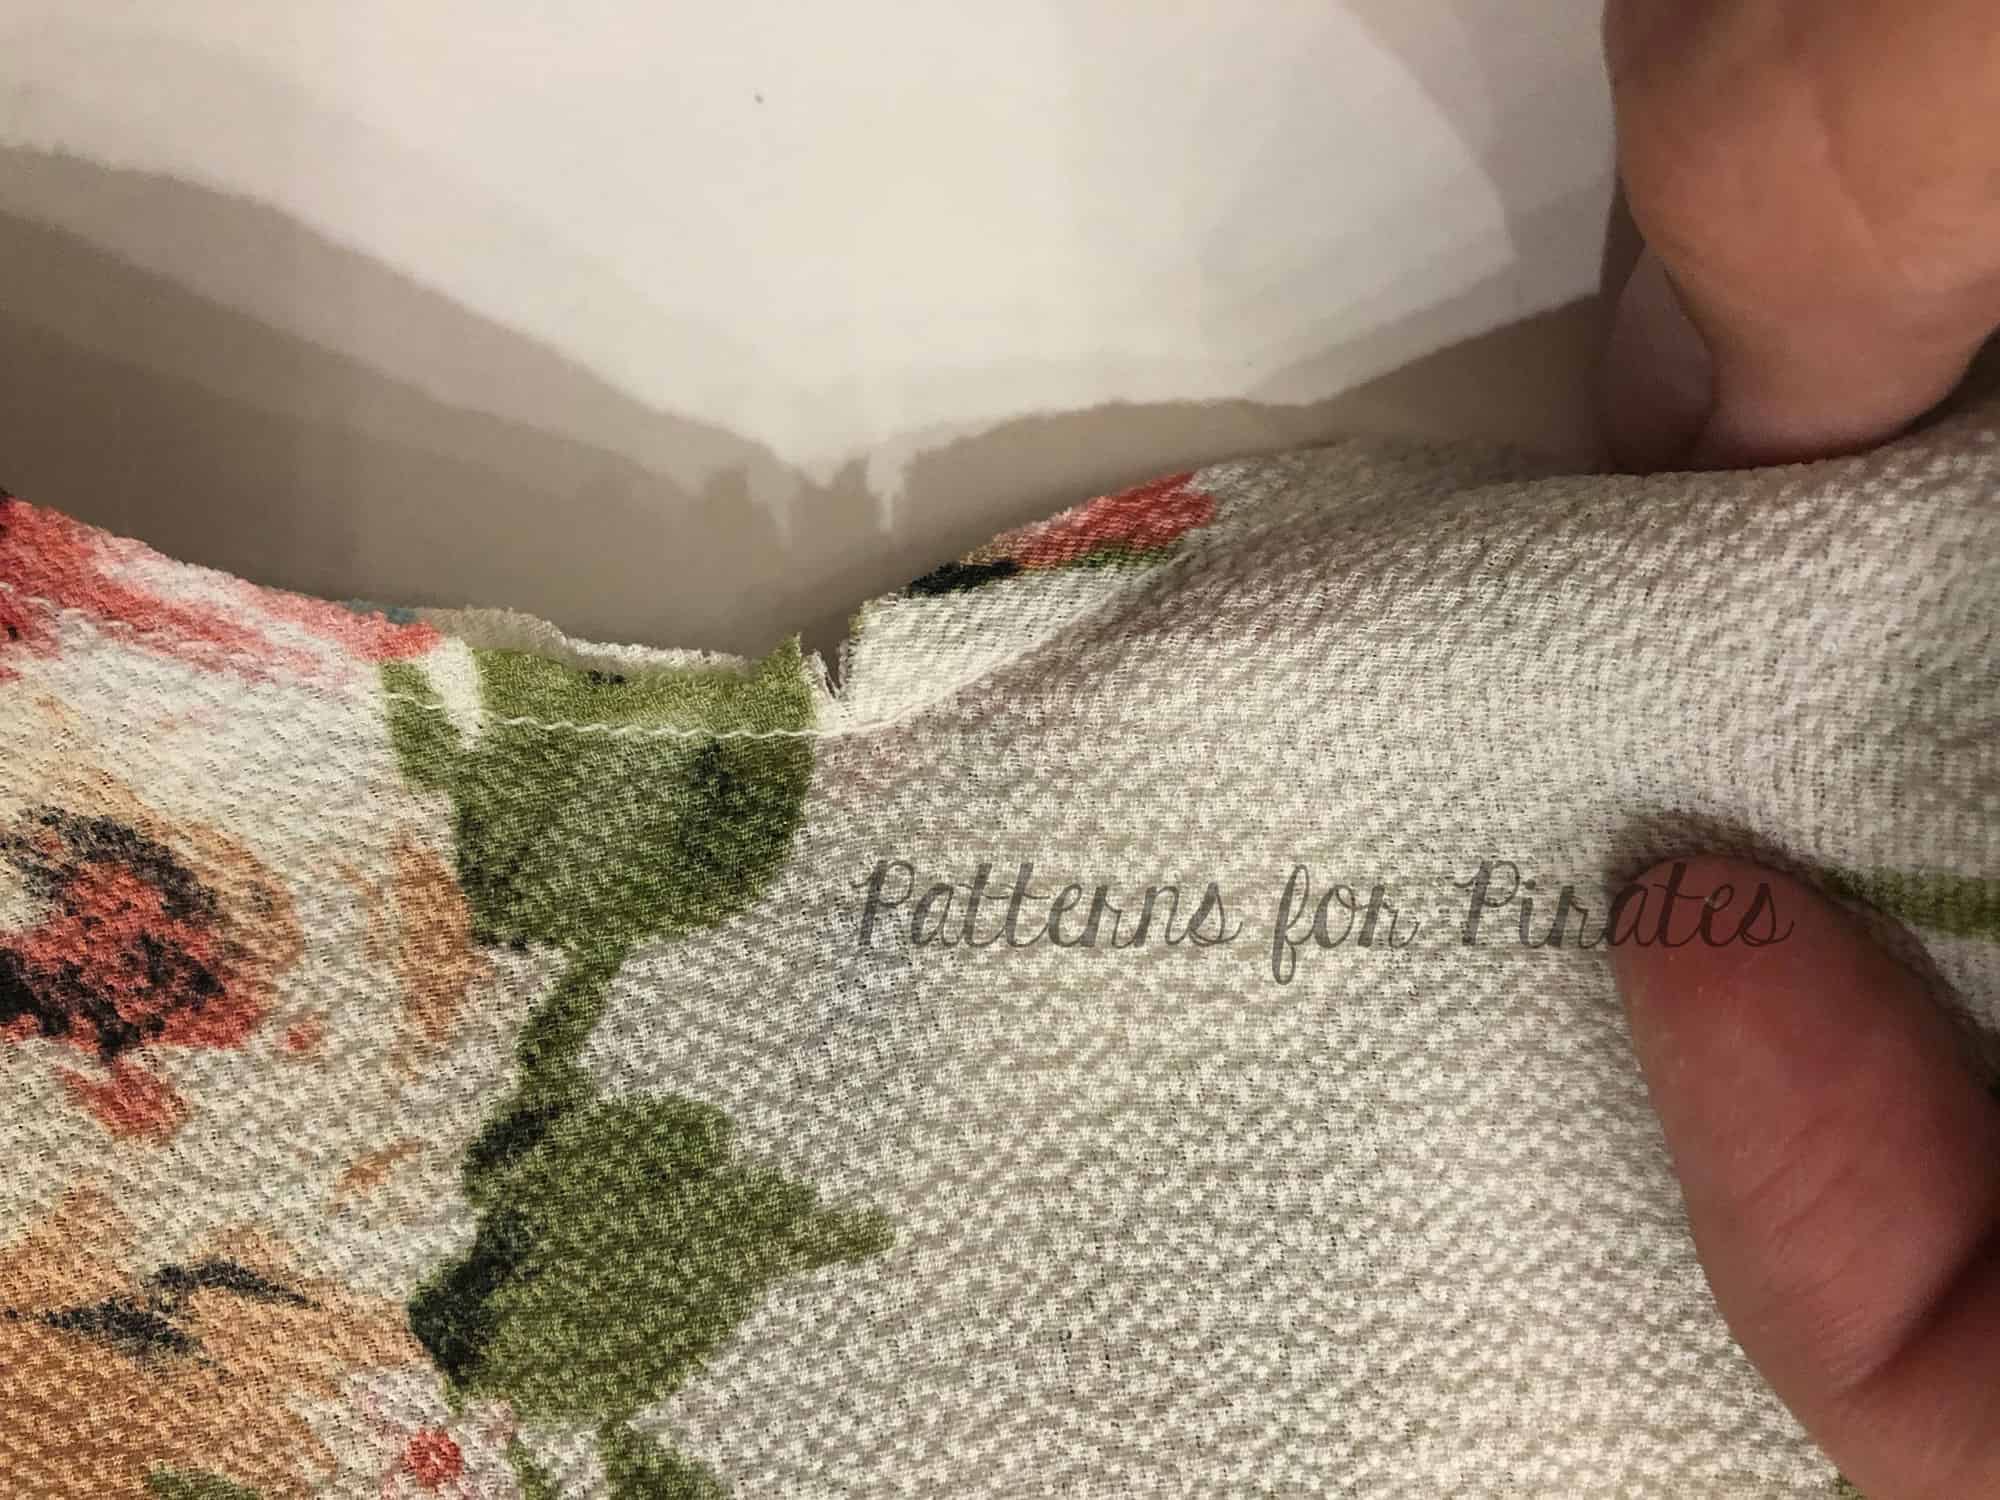
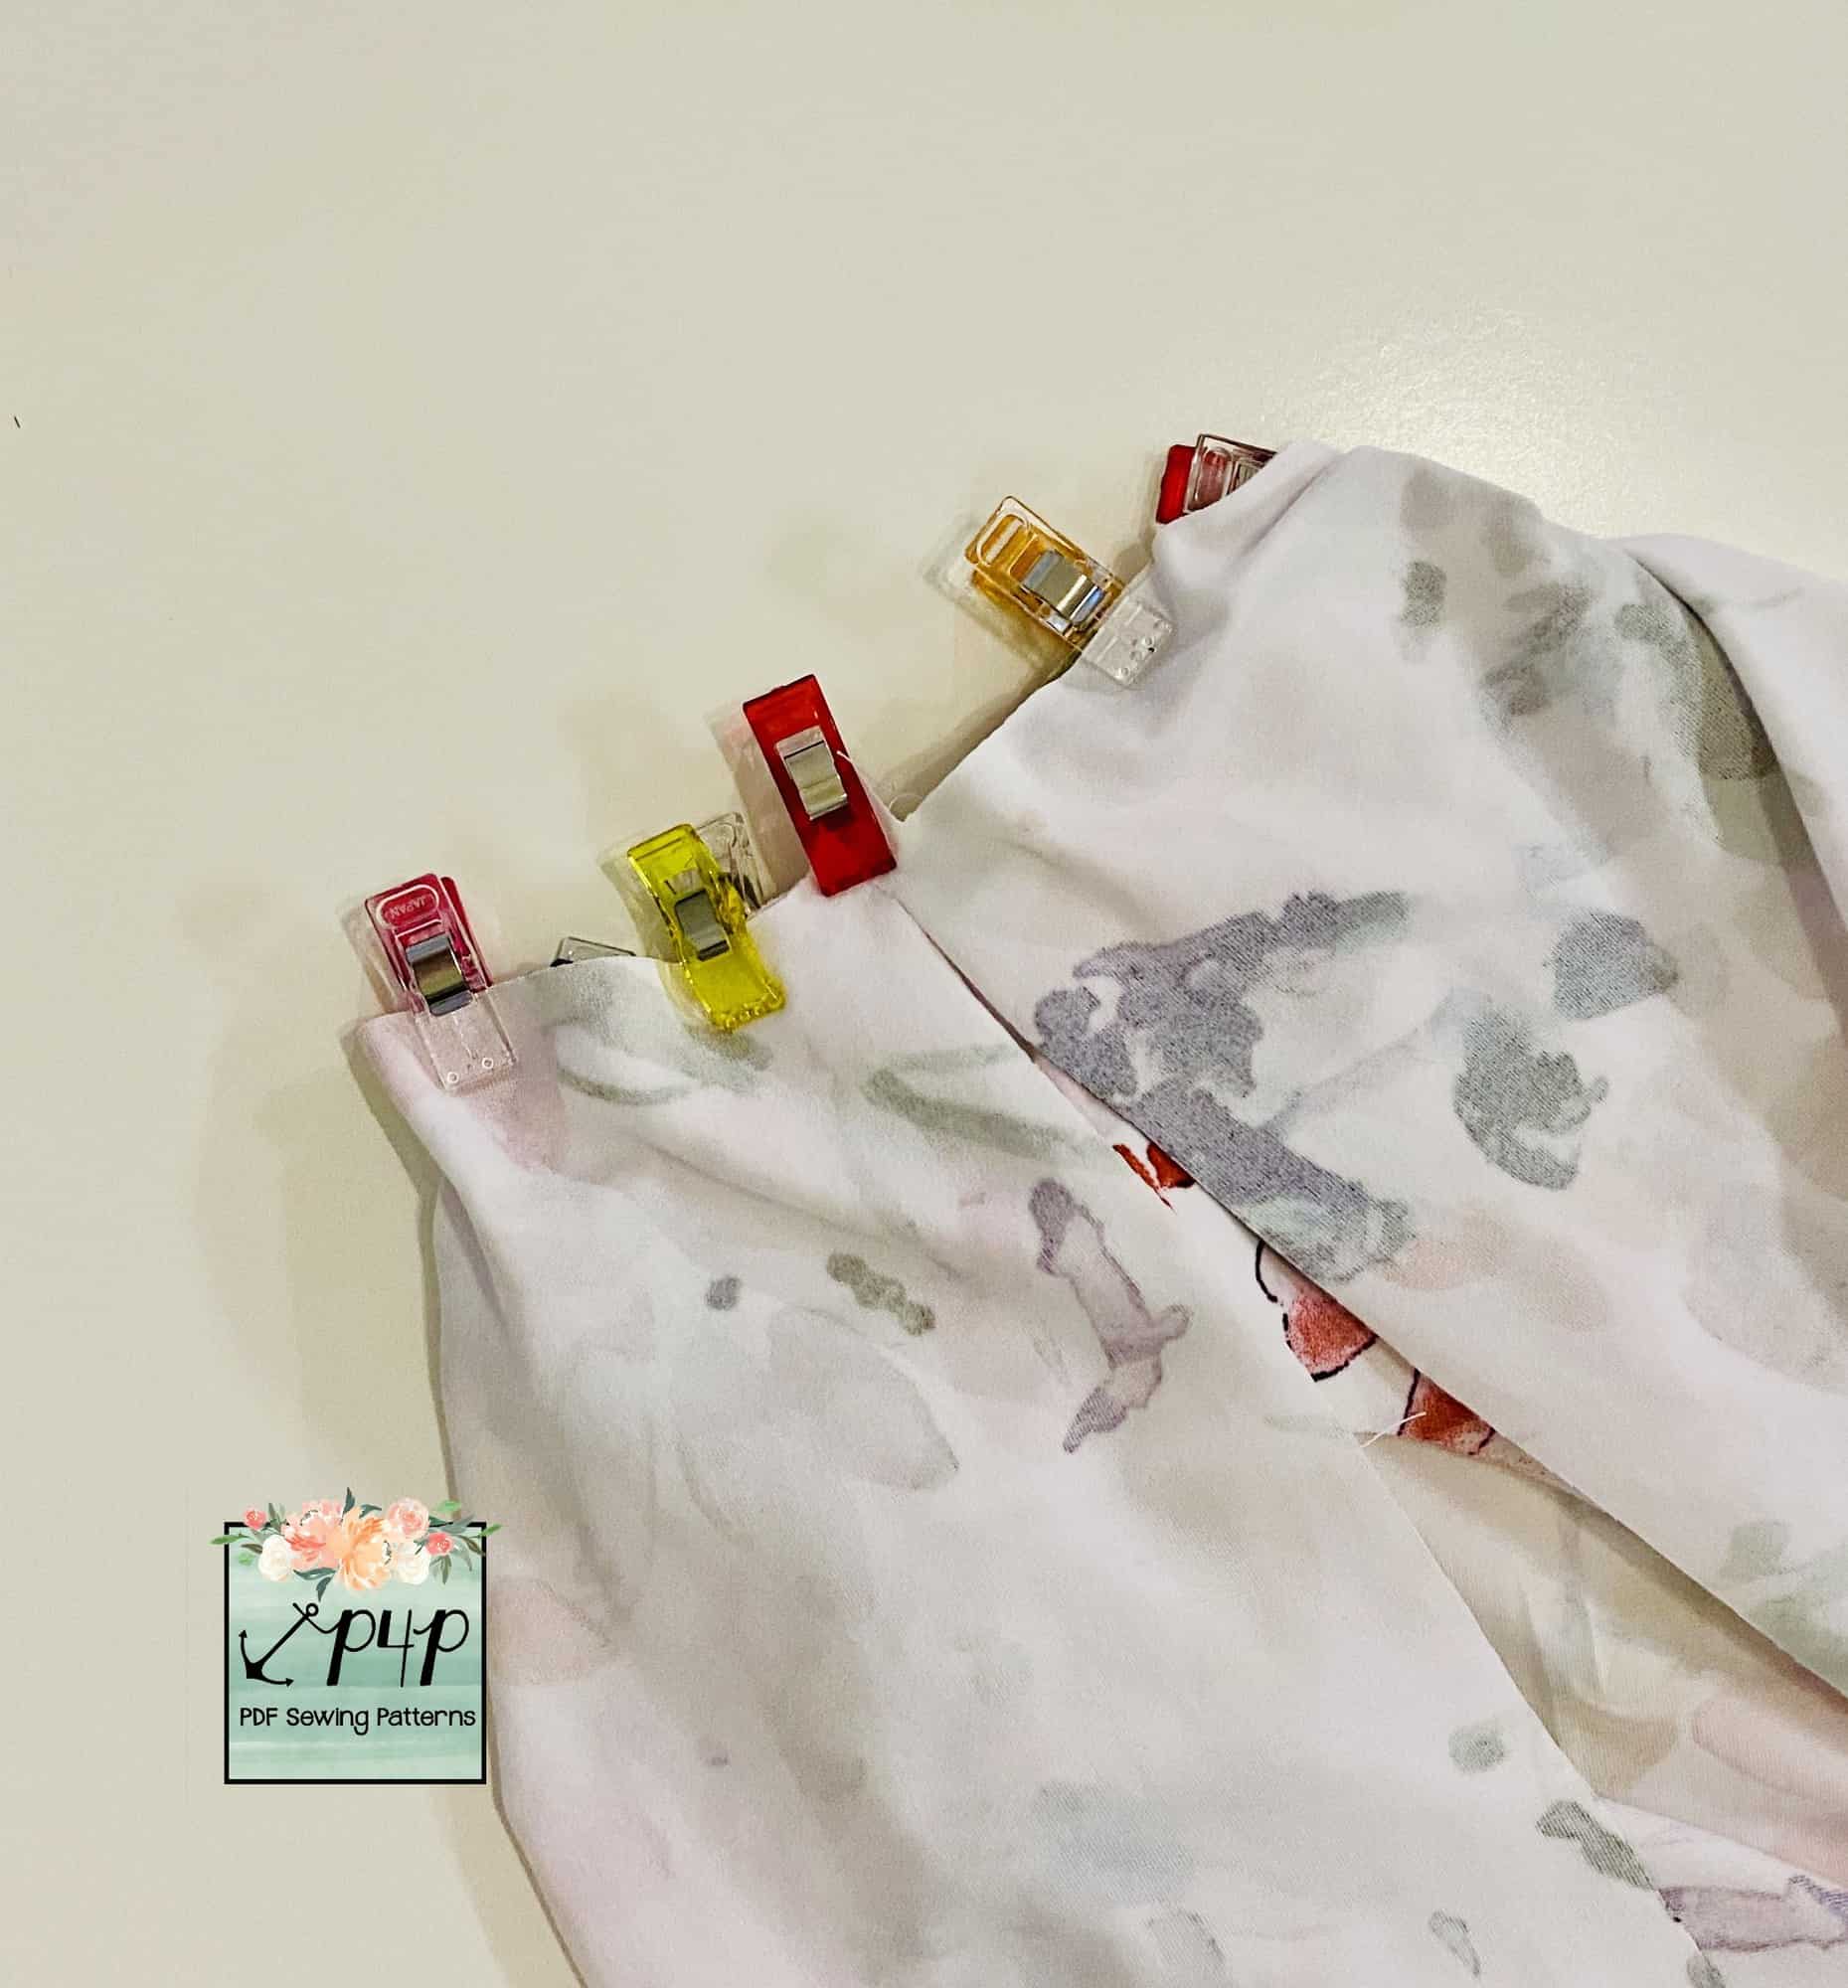
First, you will cut straight down the middle of the flutter sleeve pattern piece, then cut out your sleeve pieces. You will have four sleeve pieces instead of two. Begin constructing the garment as instructed, including the seam that is sewn to join the edges of the sleeve piece together.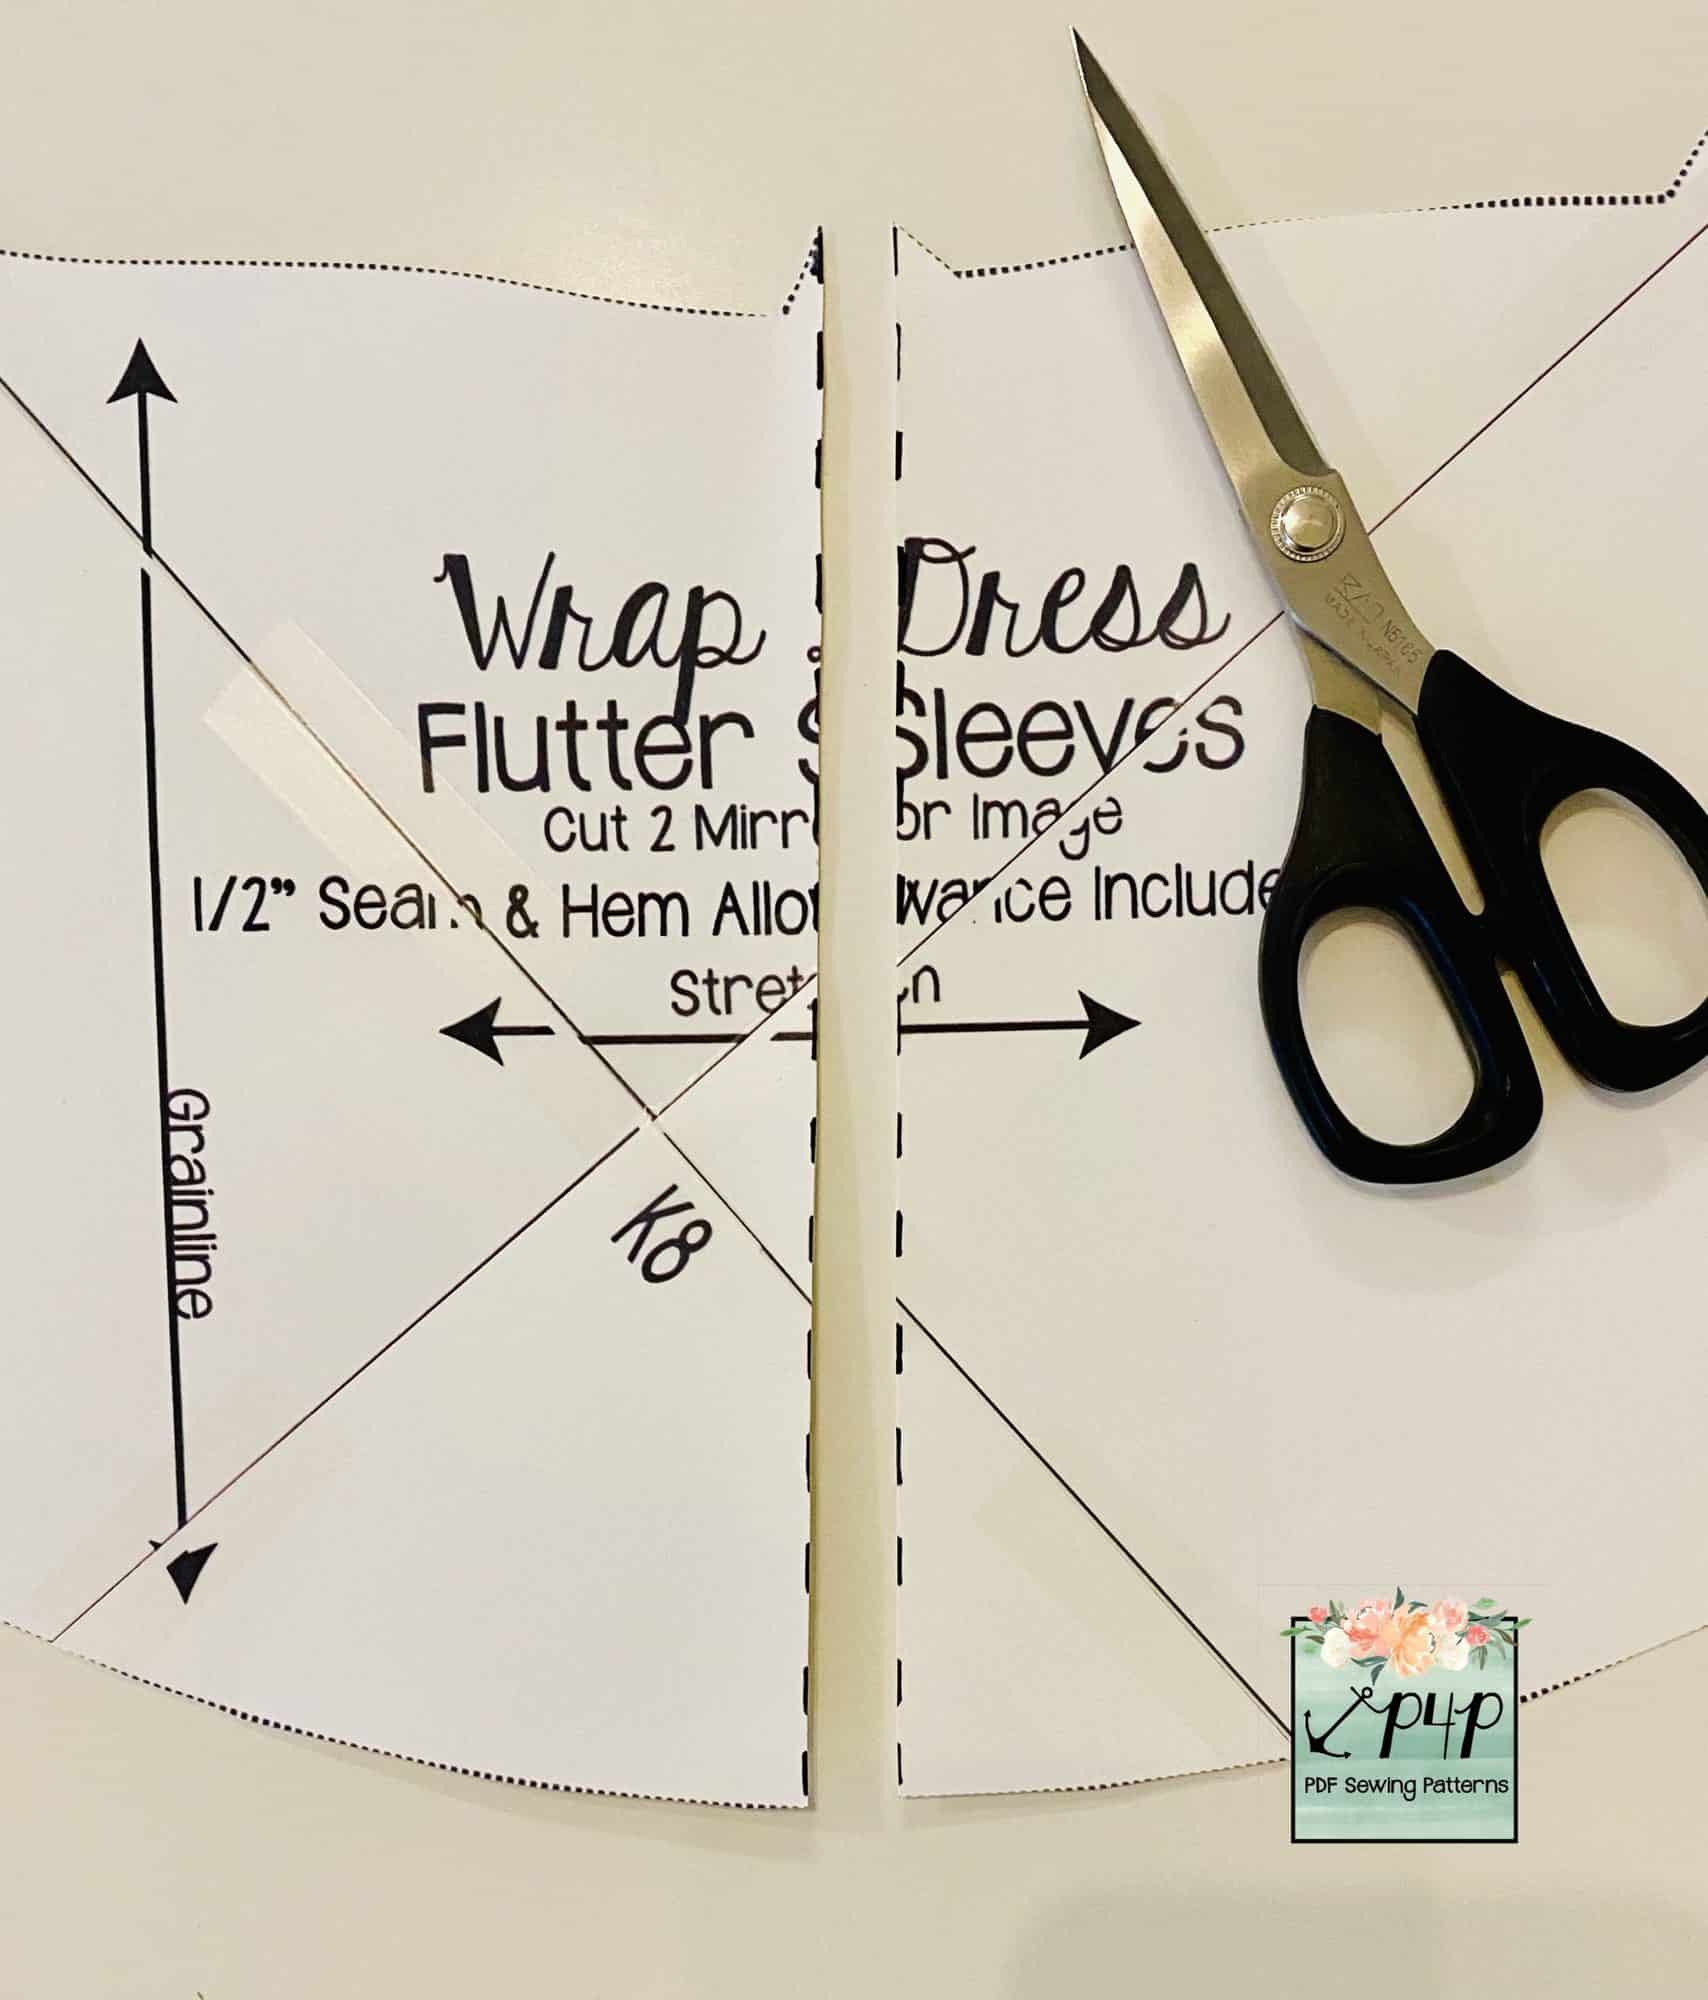
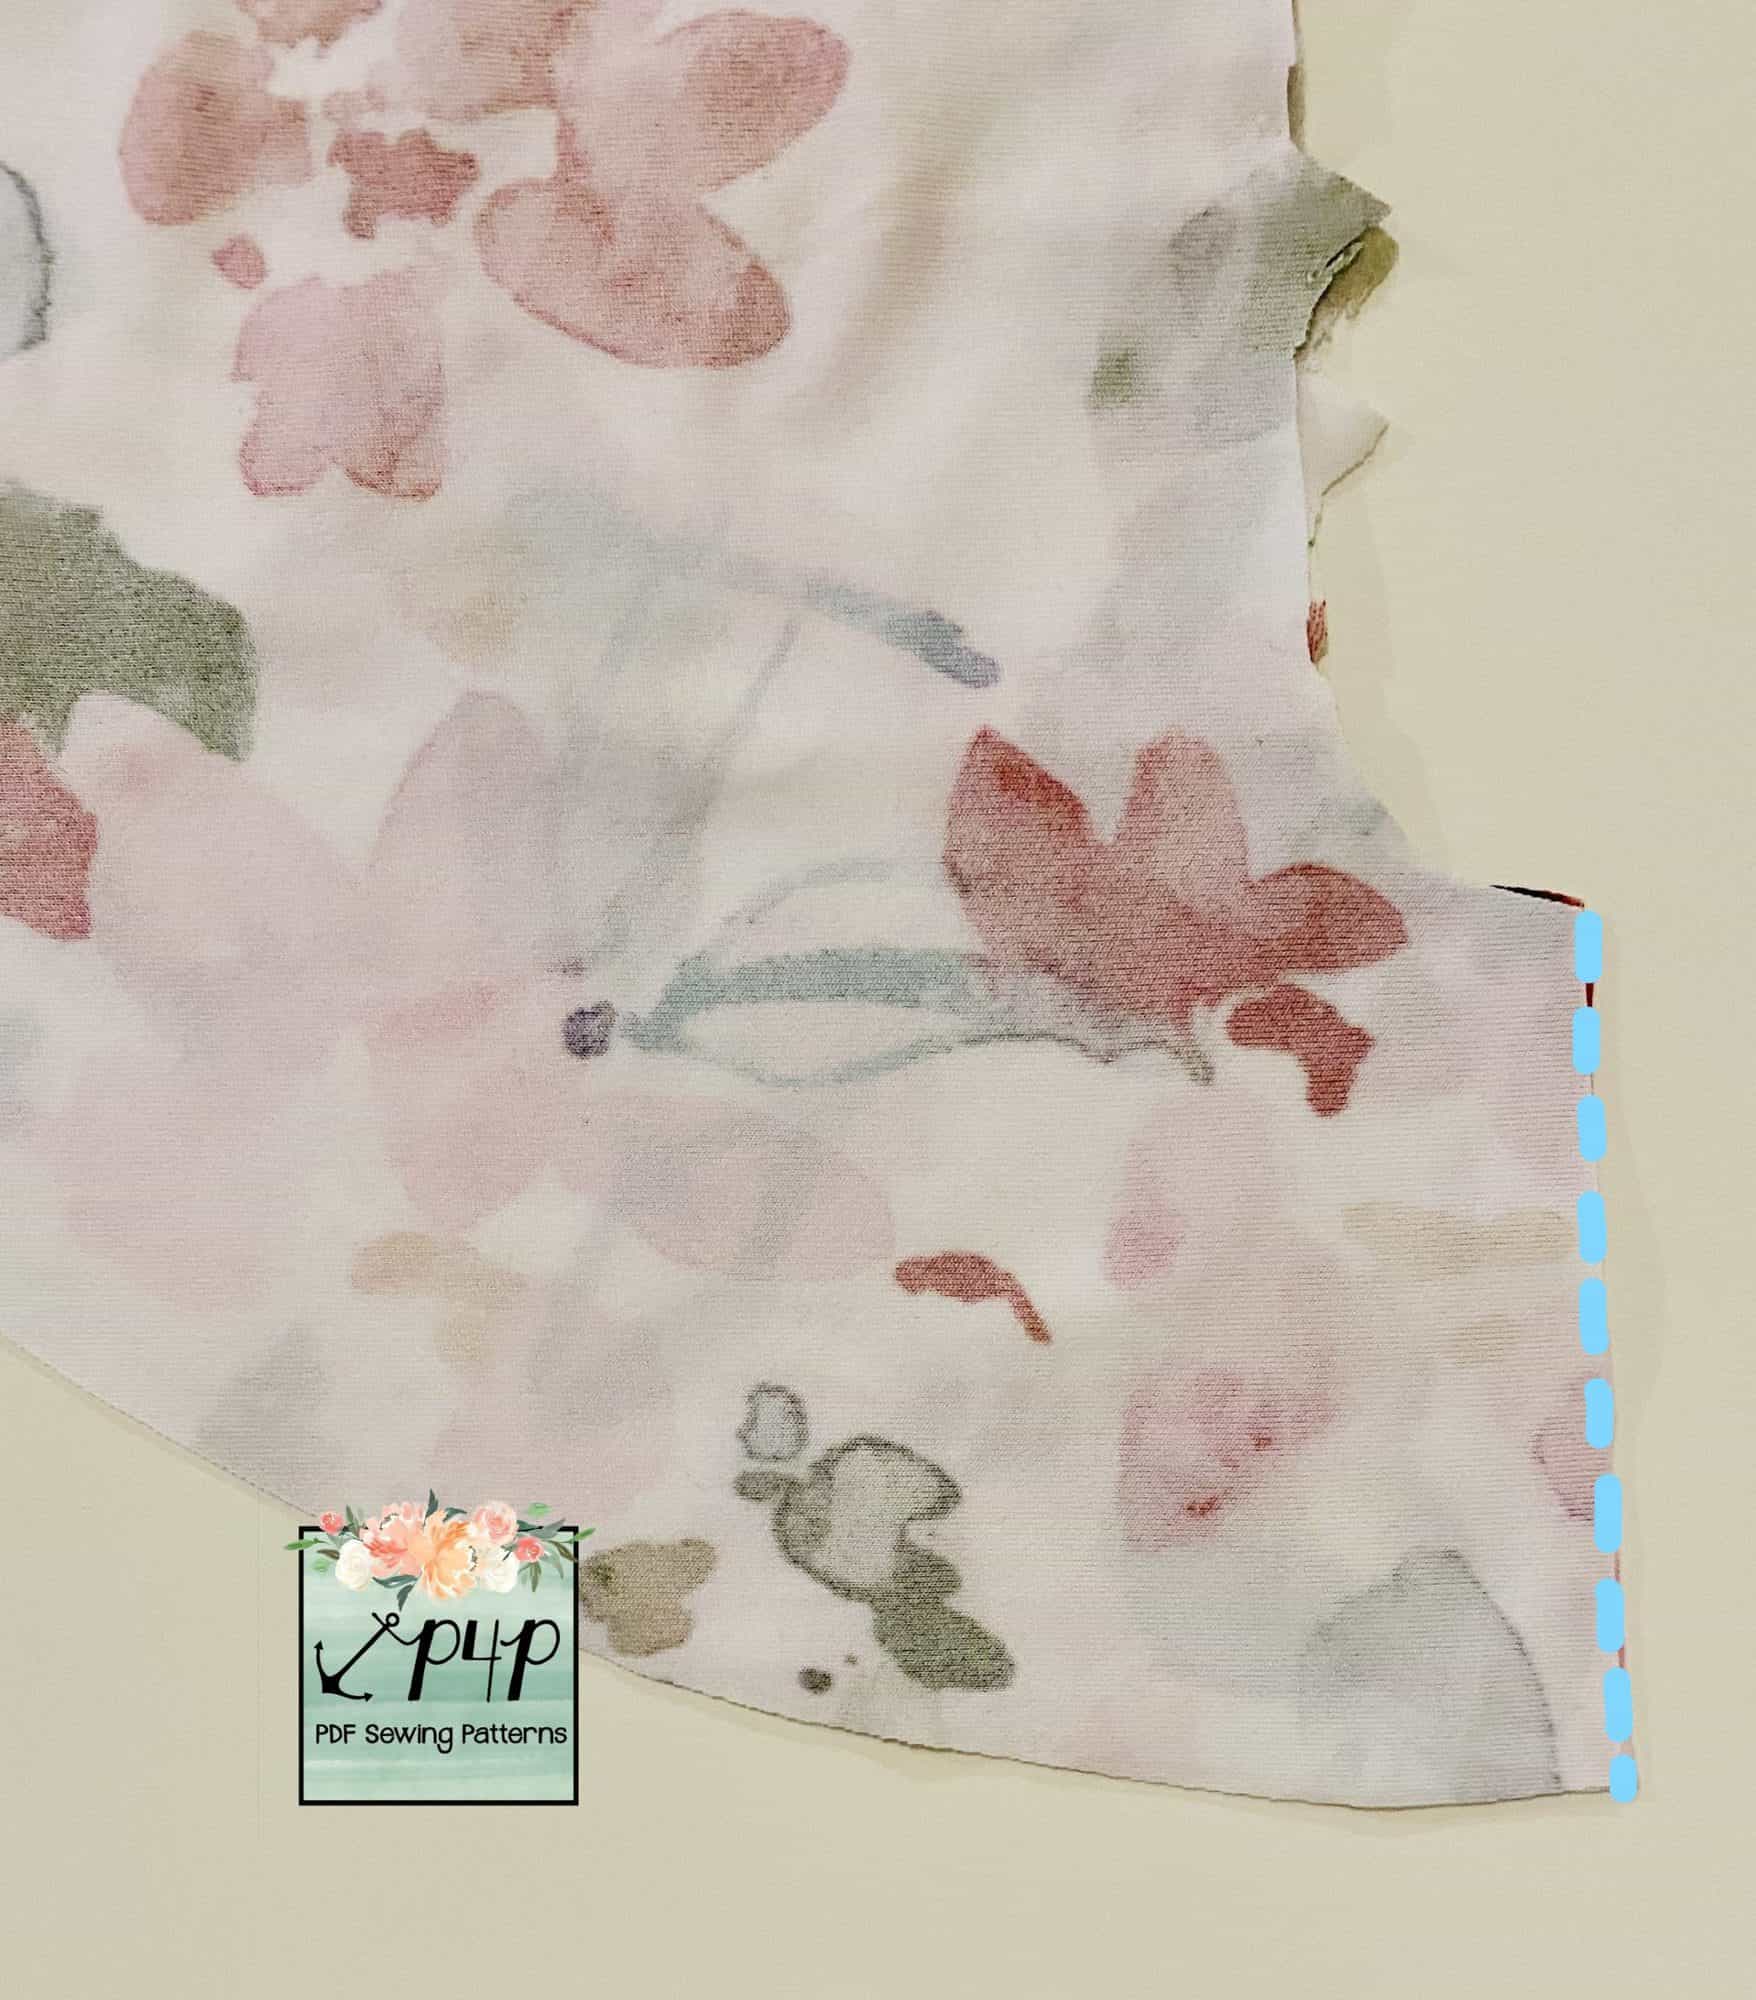
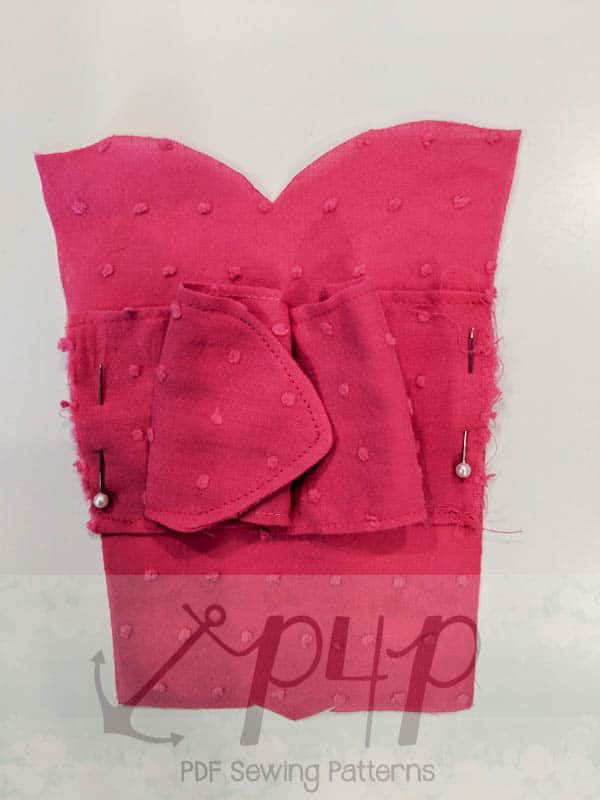
Next, lay the bodice face up with right sides out, place the sleeve piece on top with right sides together and match the top of the sleeve seam with the top of the bodice side seam. Pin in place all along the armscye, and butt the ends together once you get to the top shoulder seam. You may want to baste here where the edges meet together to prevent them from shifting around while sewing. Then stitch.
Press the armscye seam towards the shoulder seam, and repeat with the other side. Then construct the rest of the garment as indicated in the pattern. 🙂


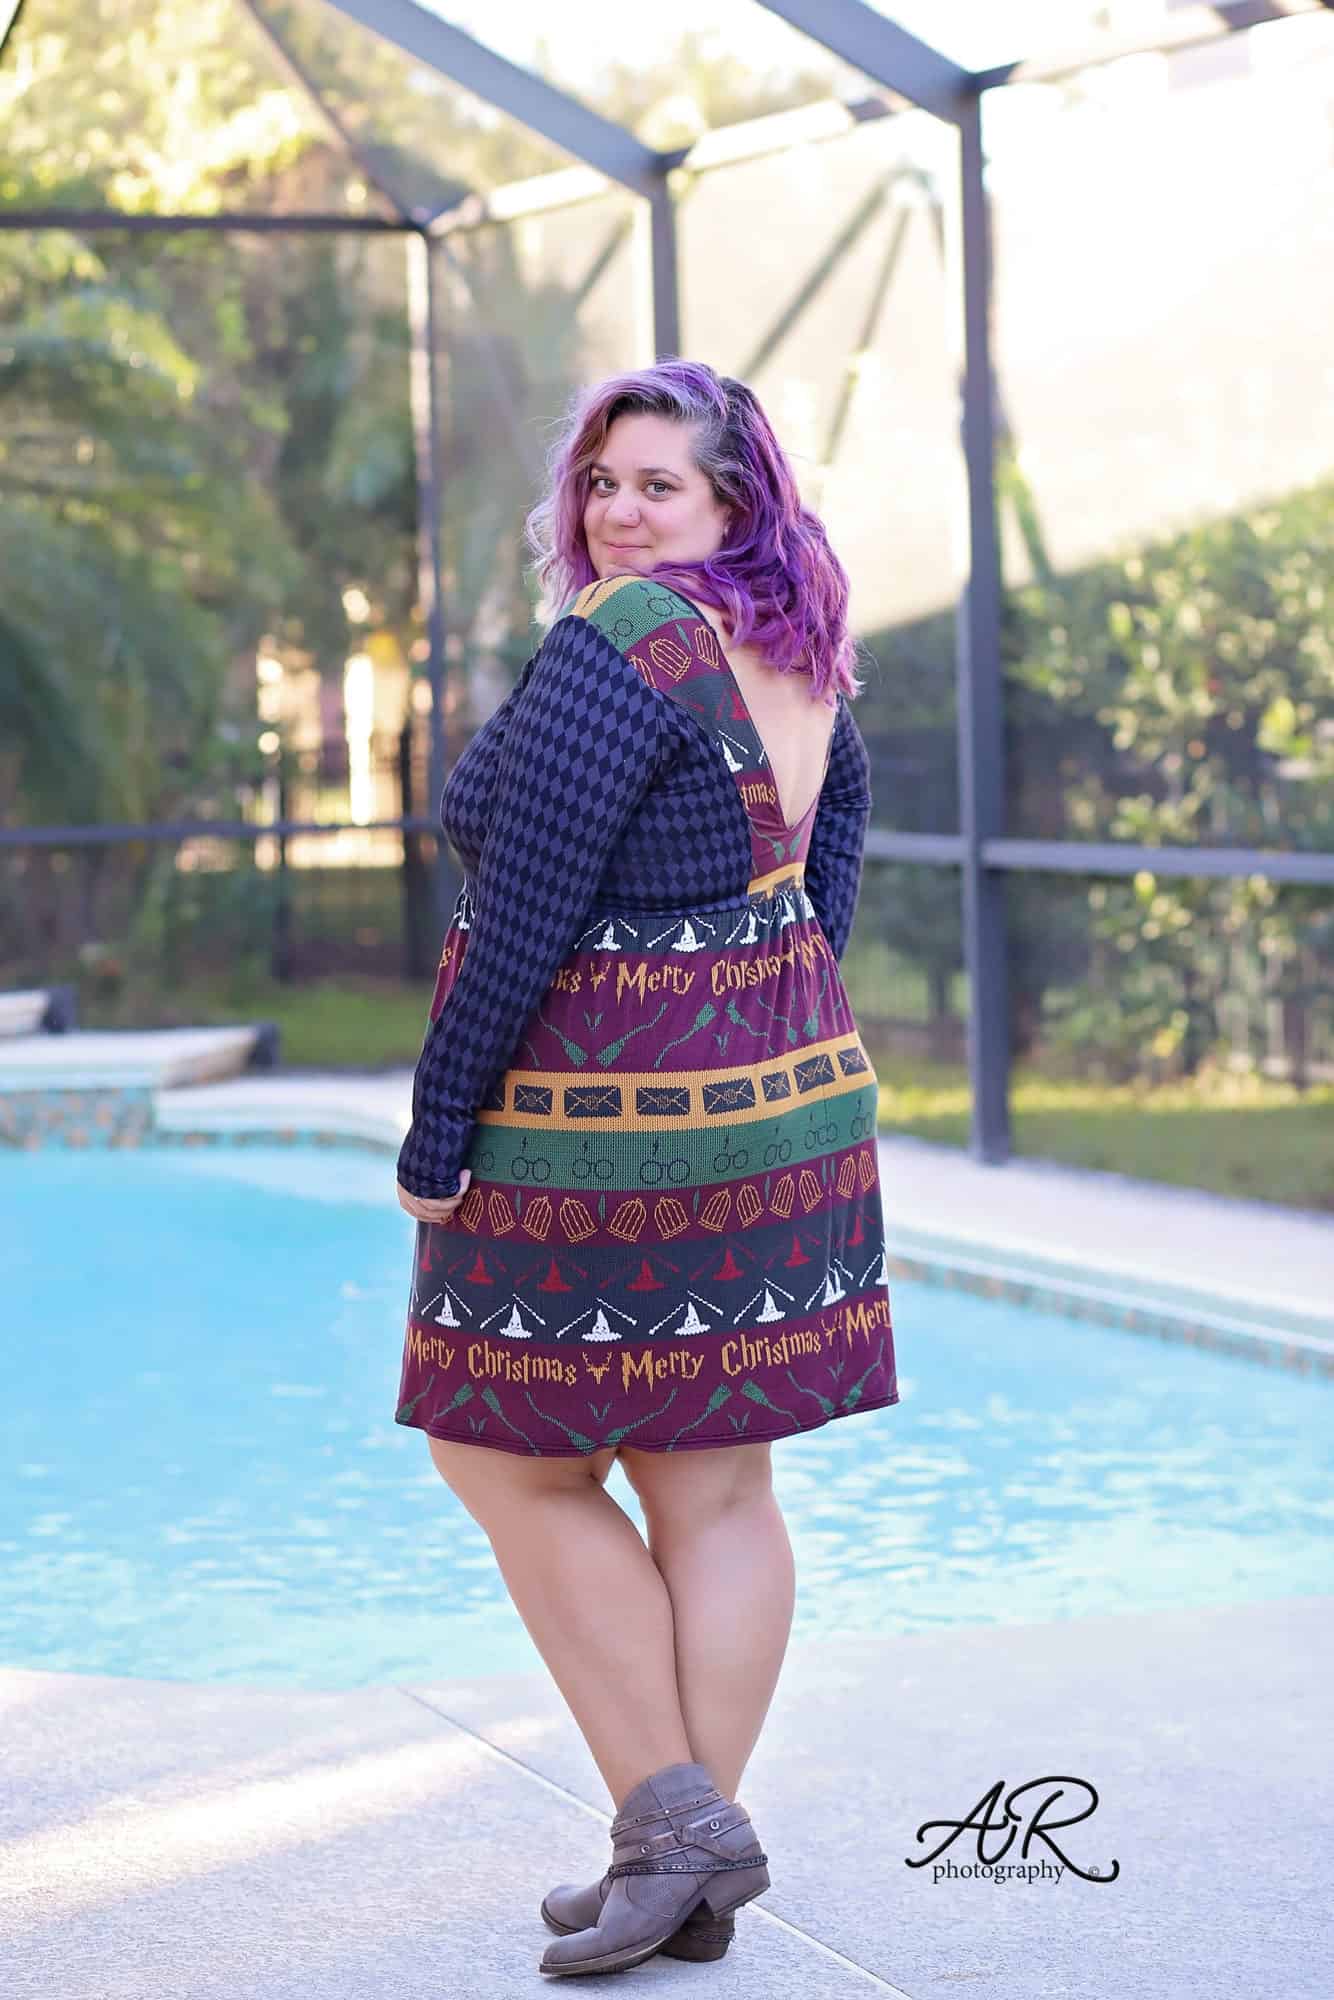
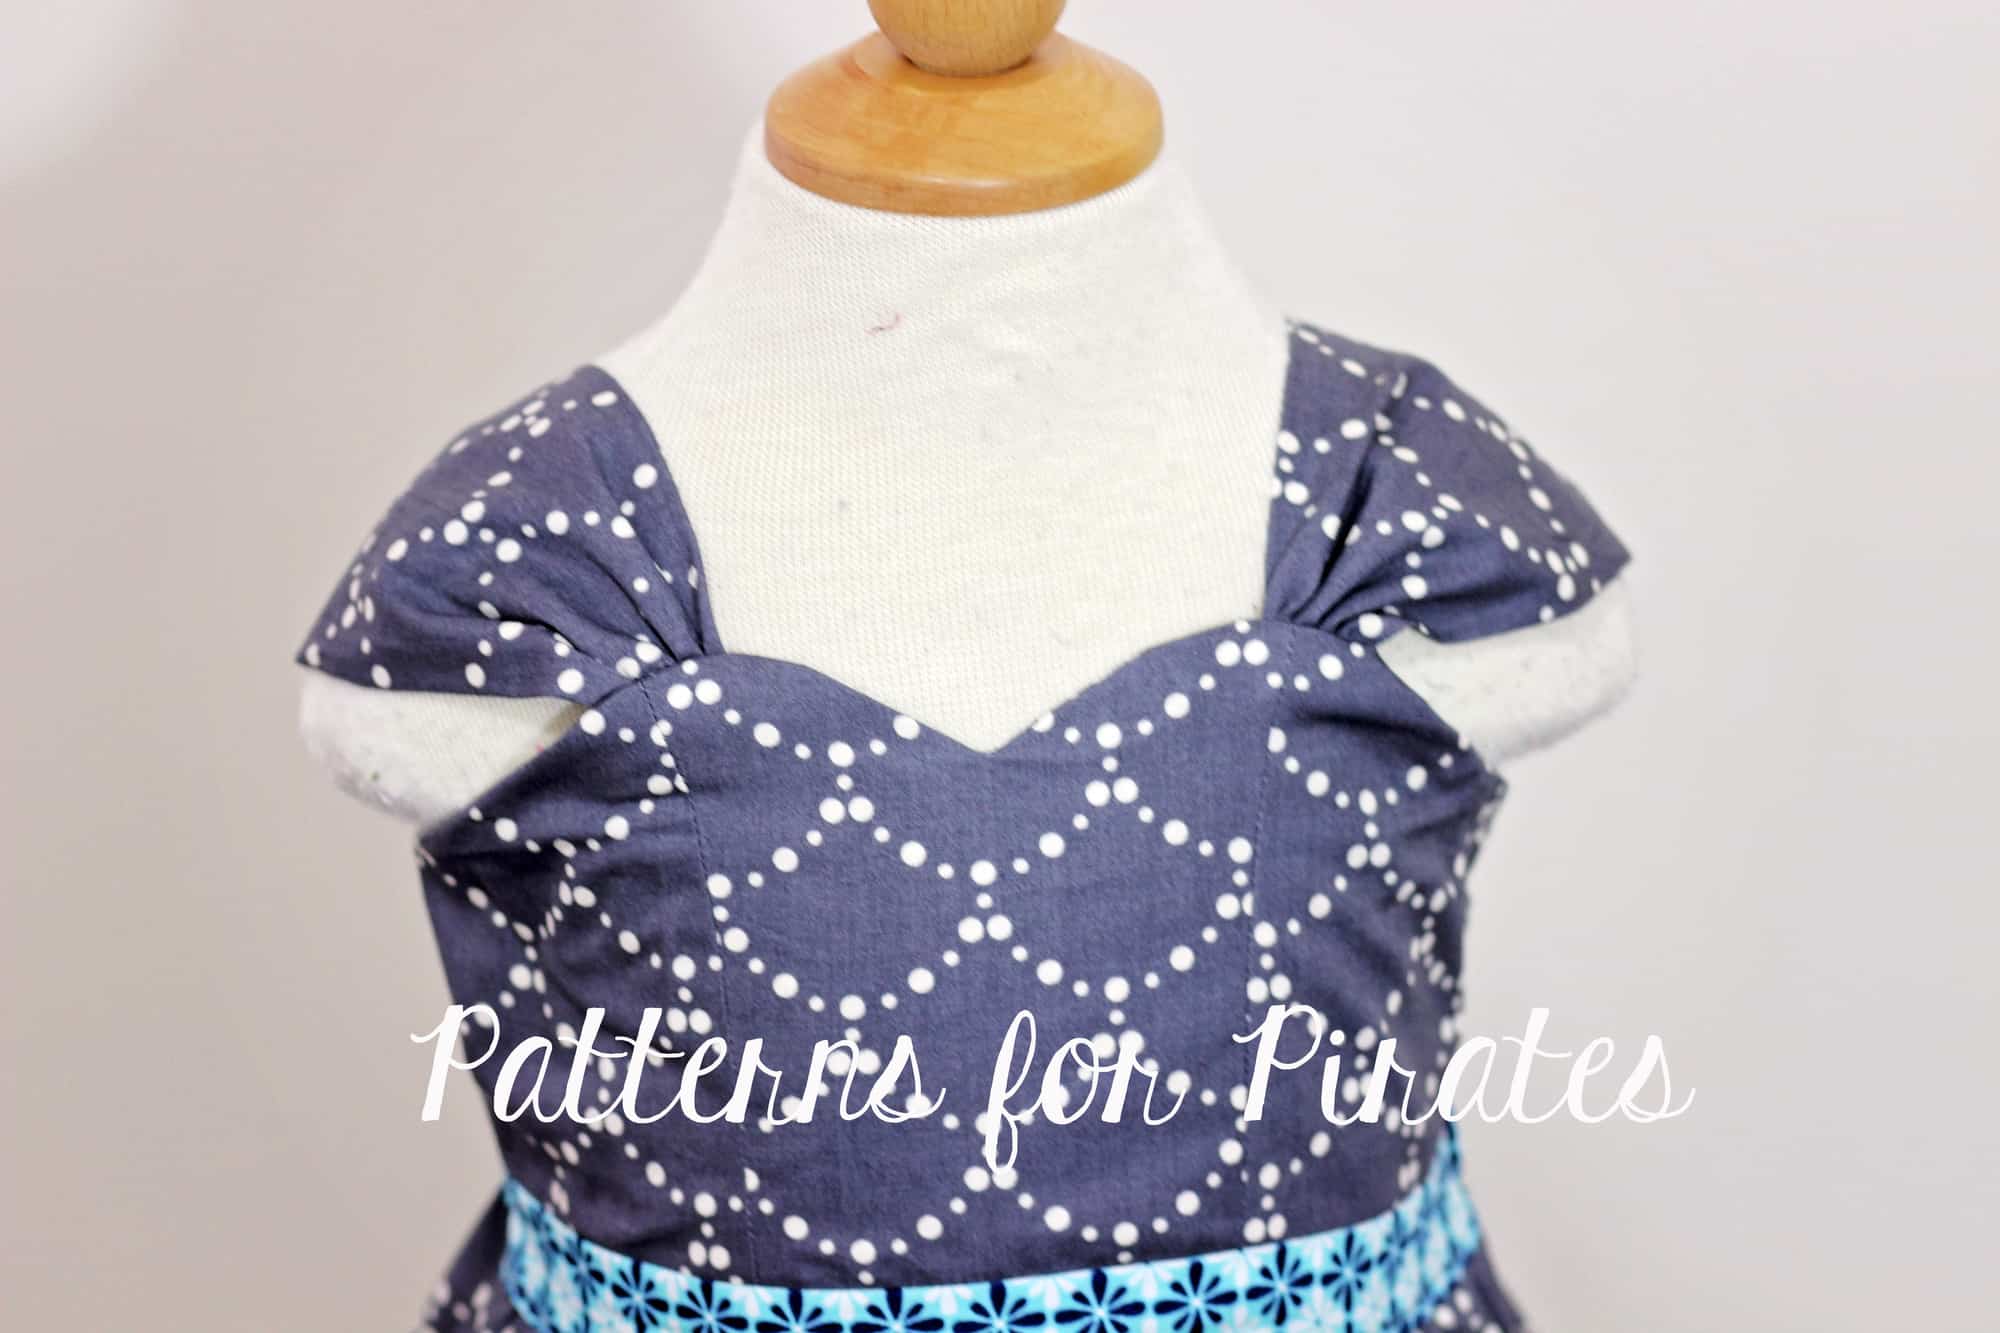
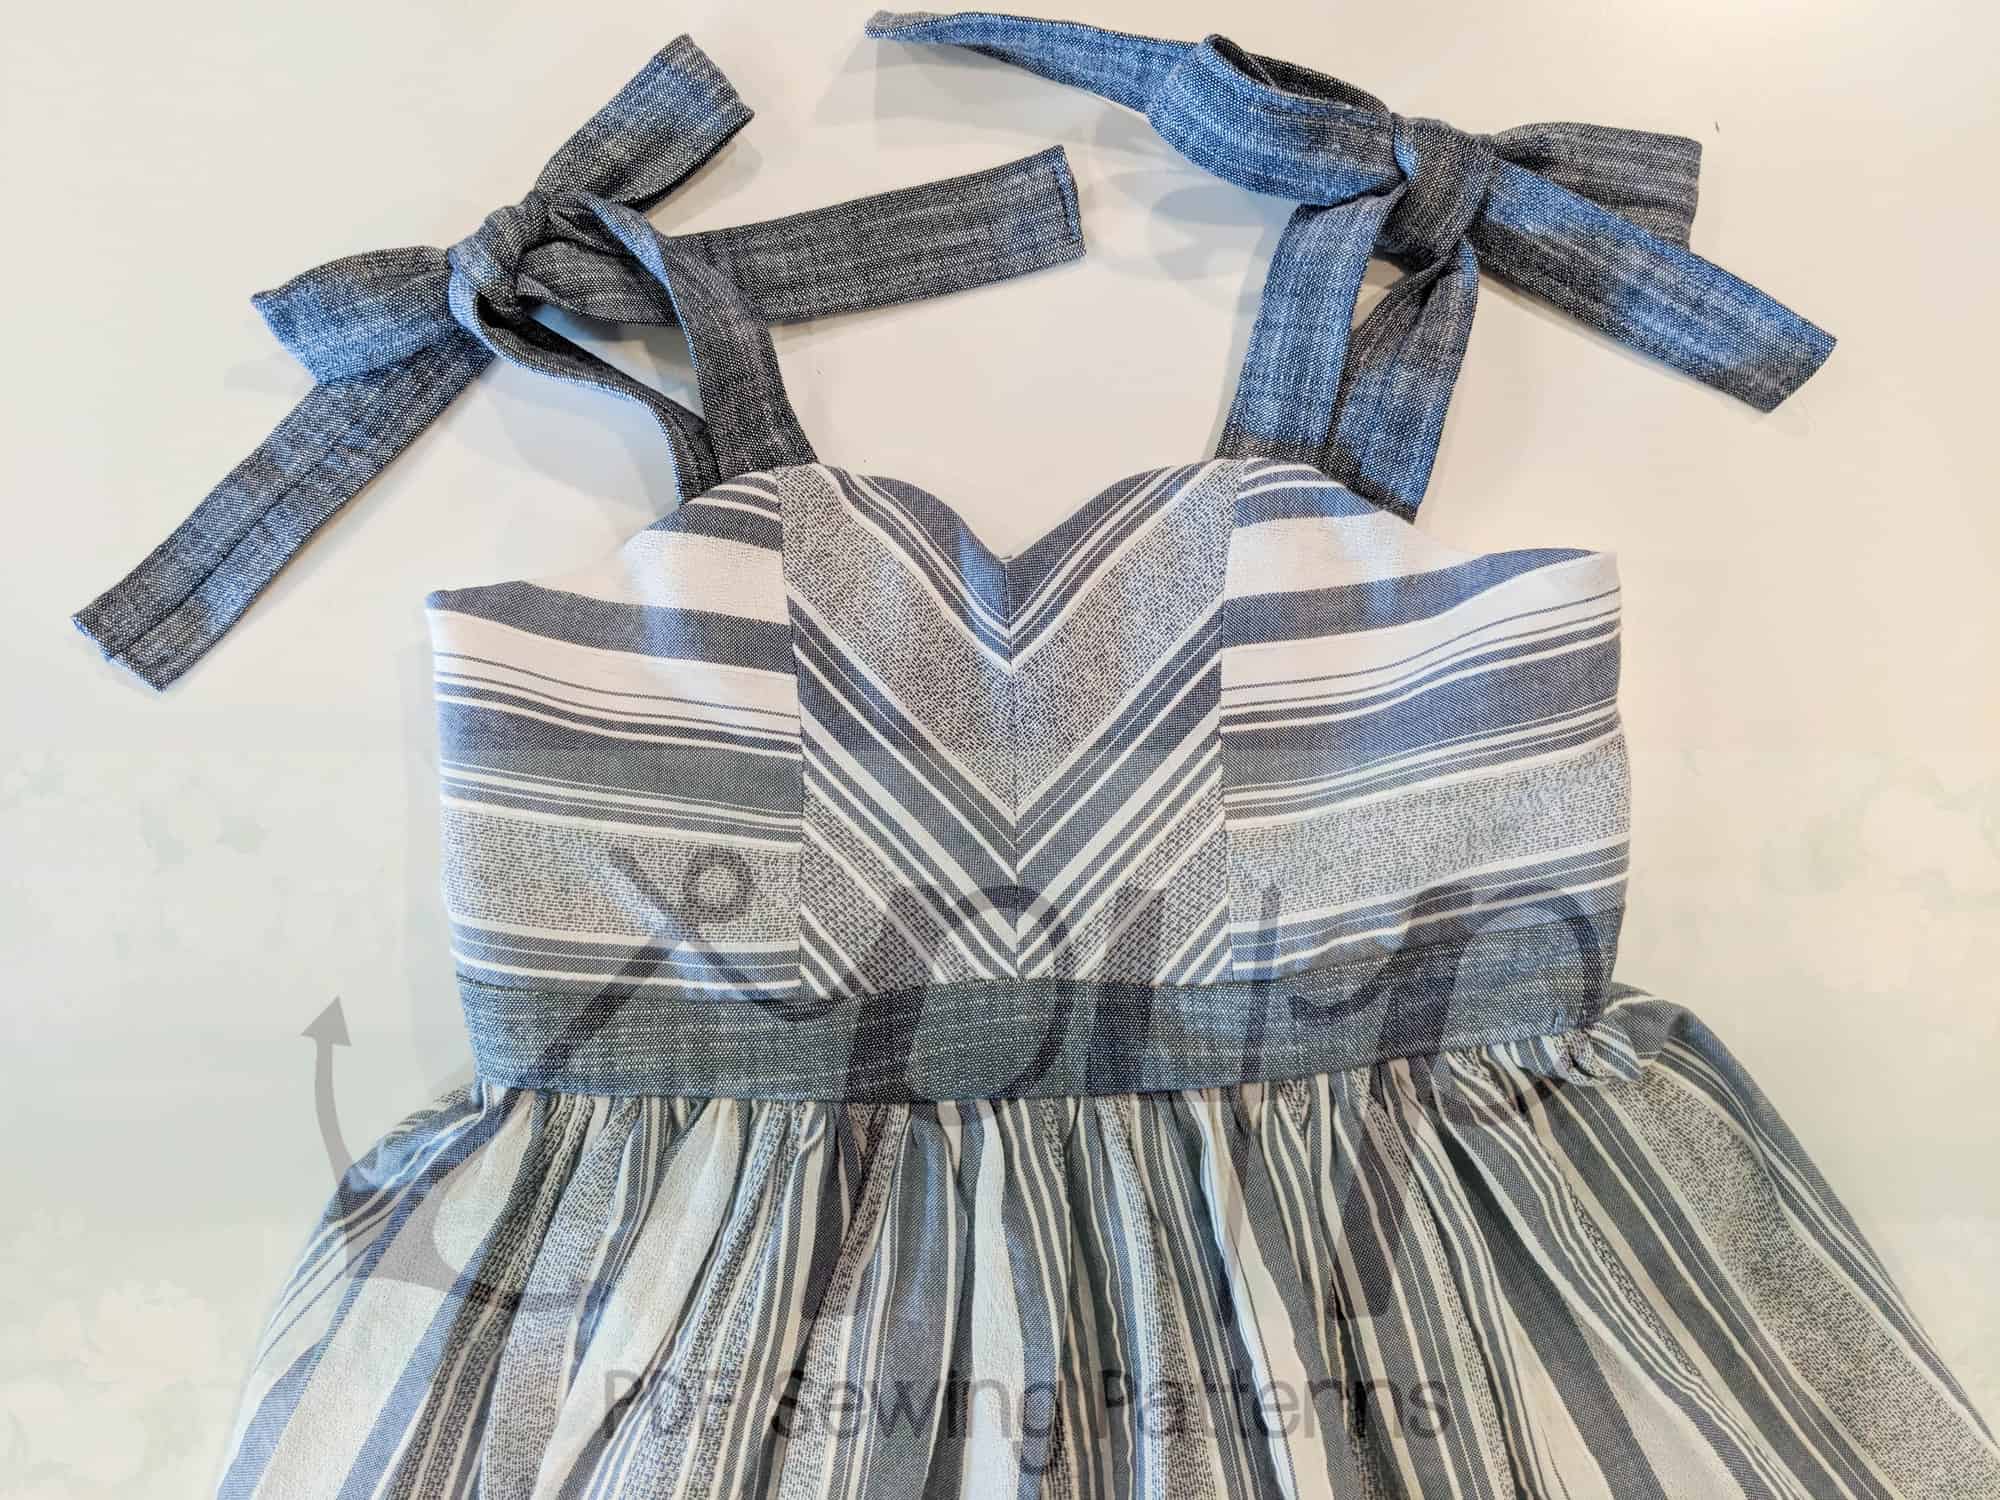
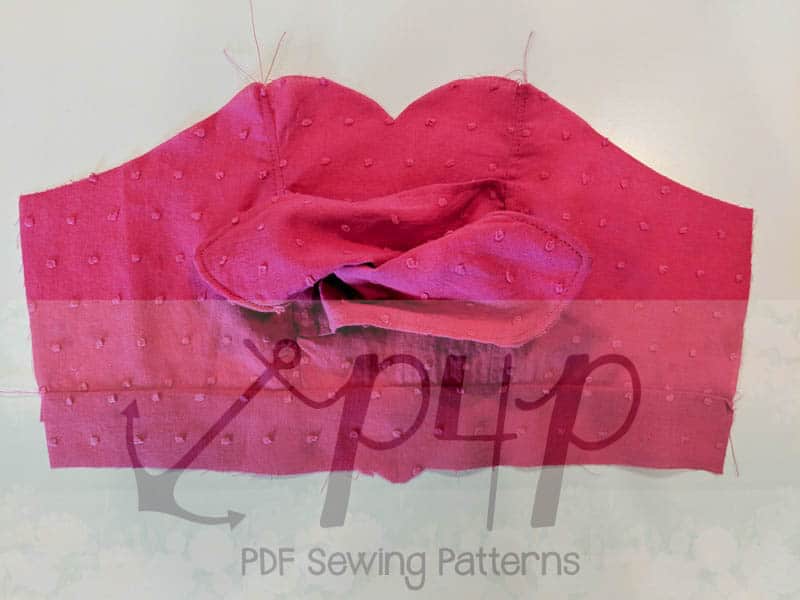
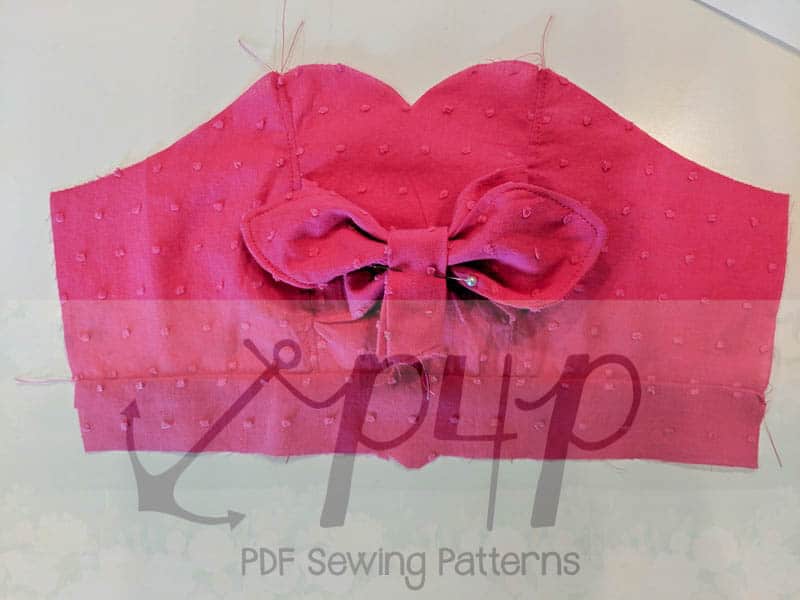
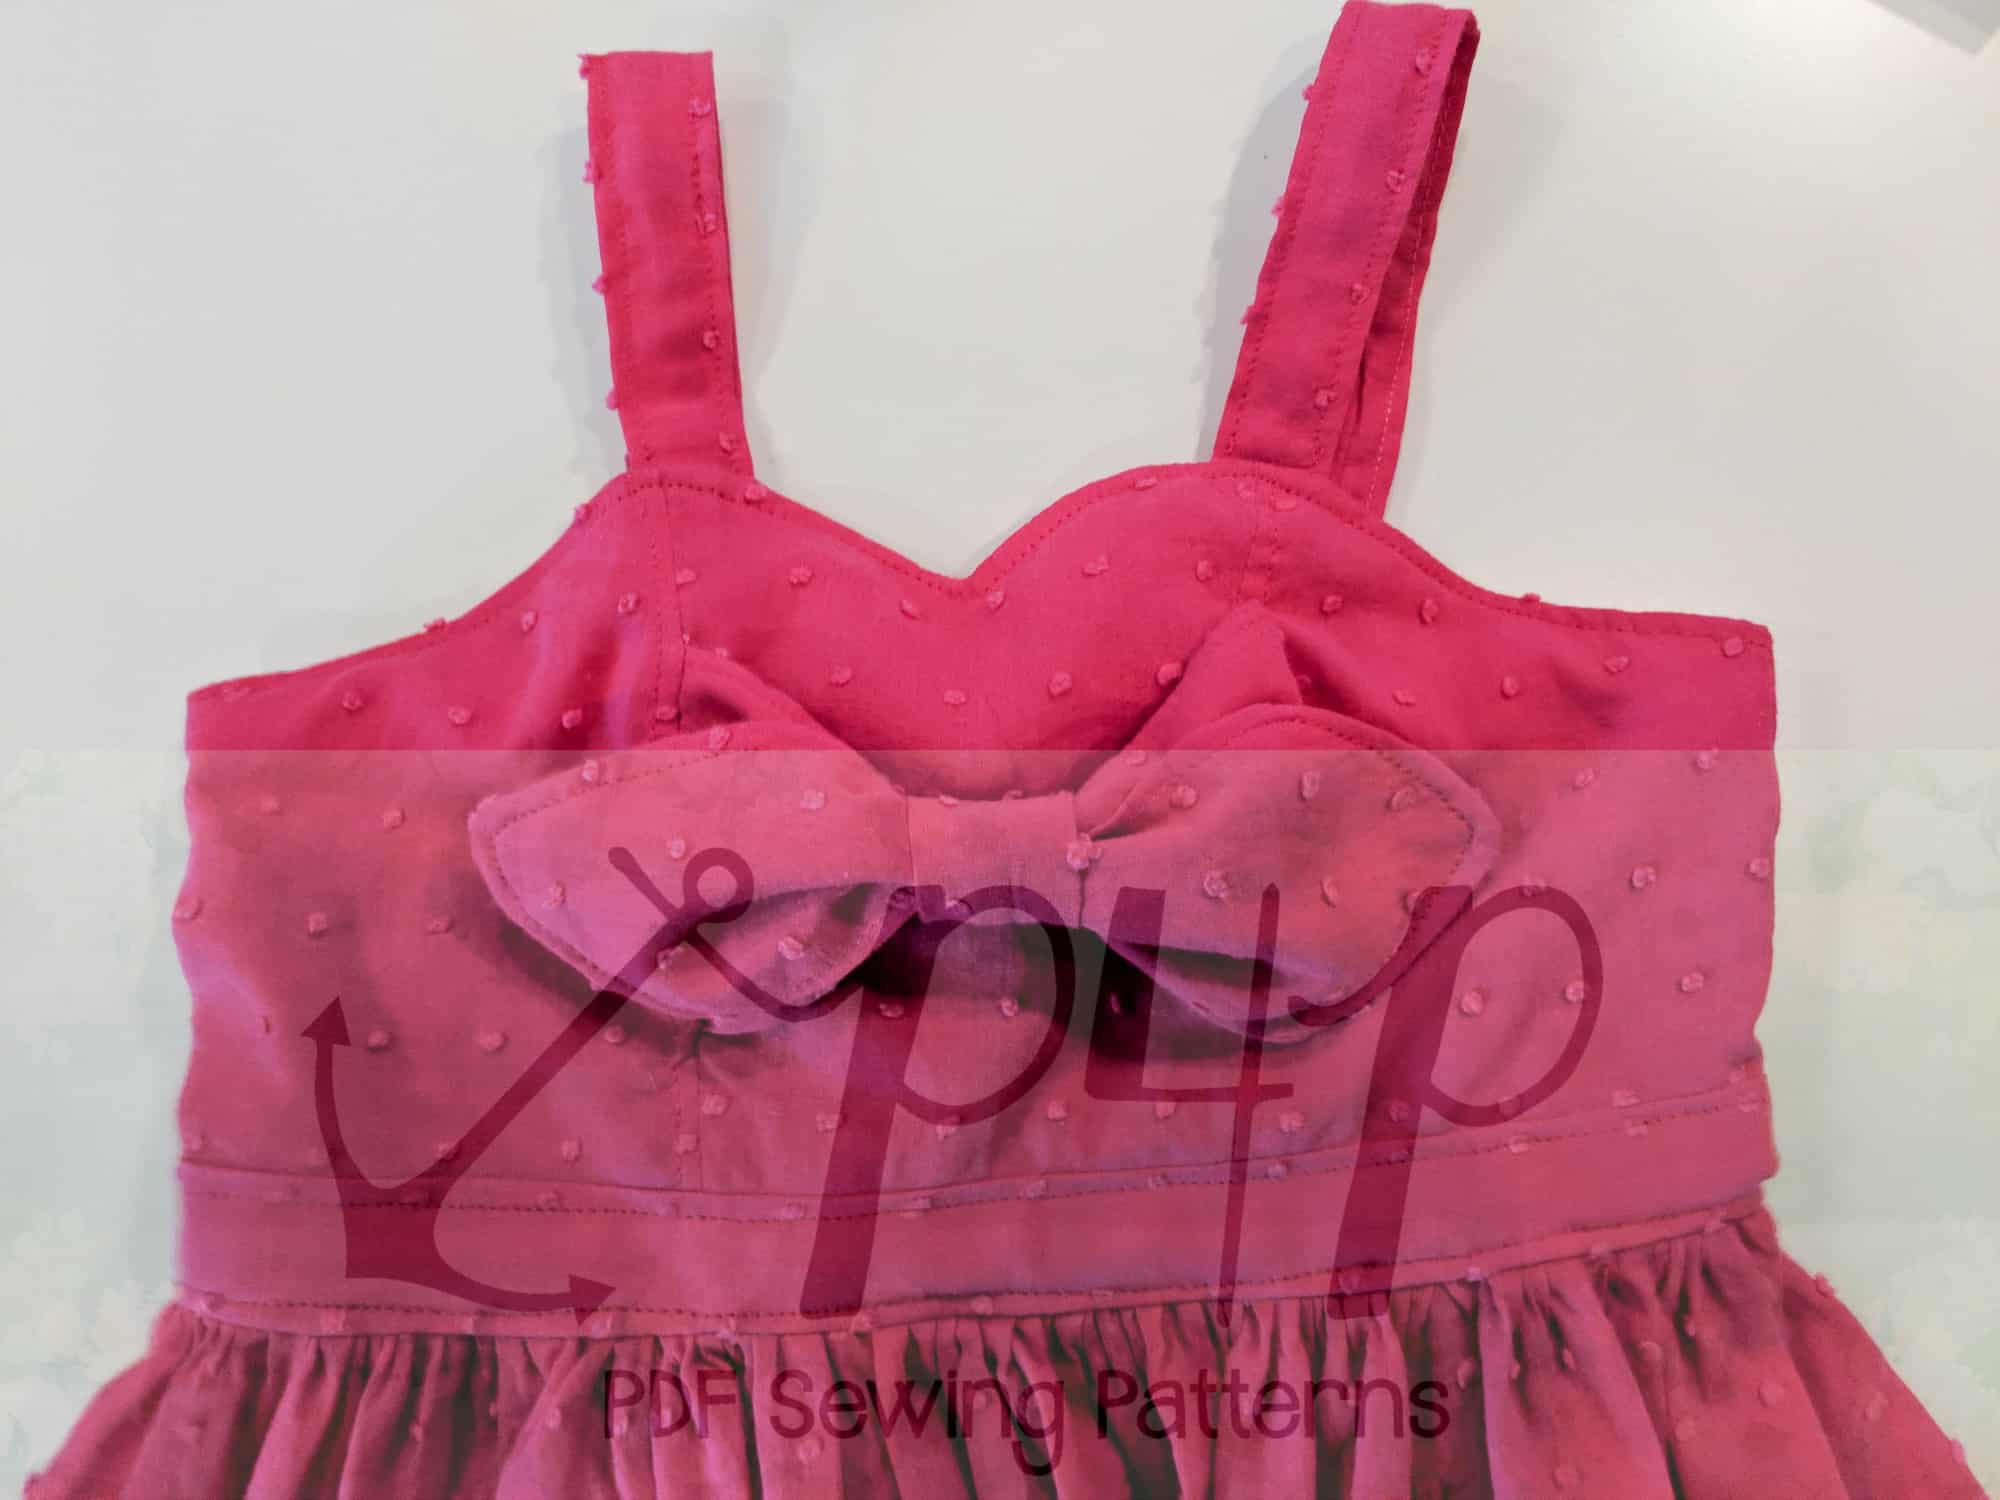
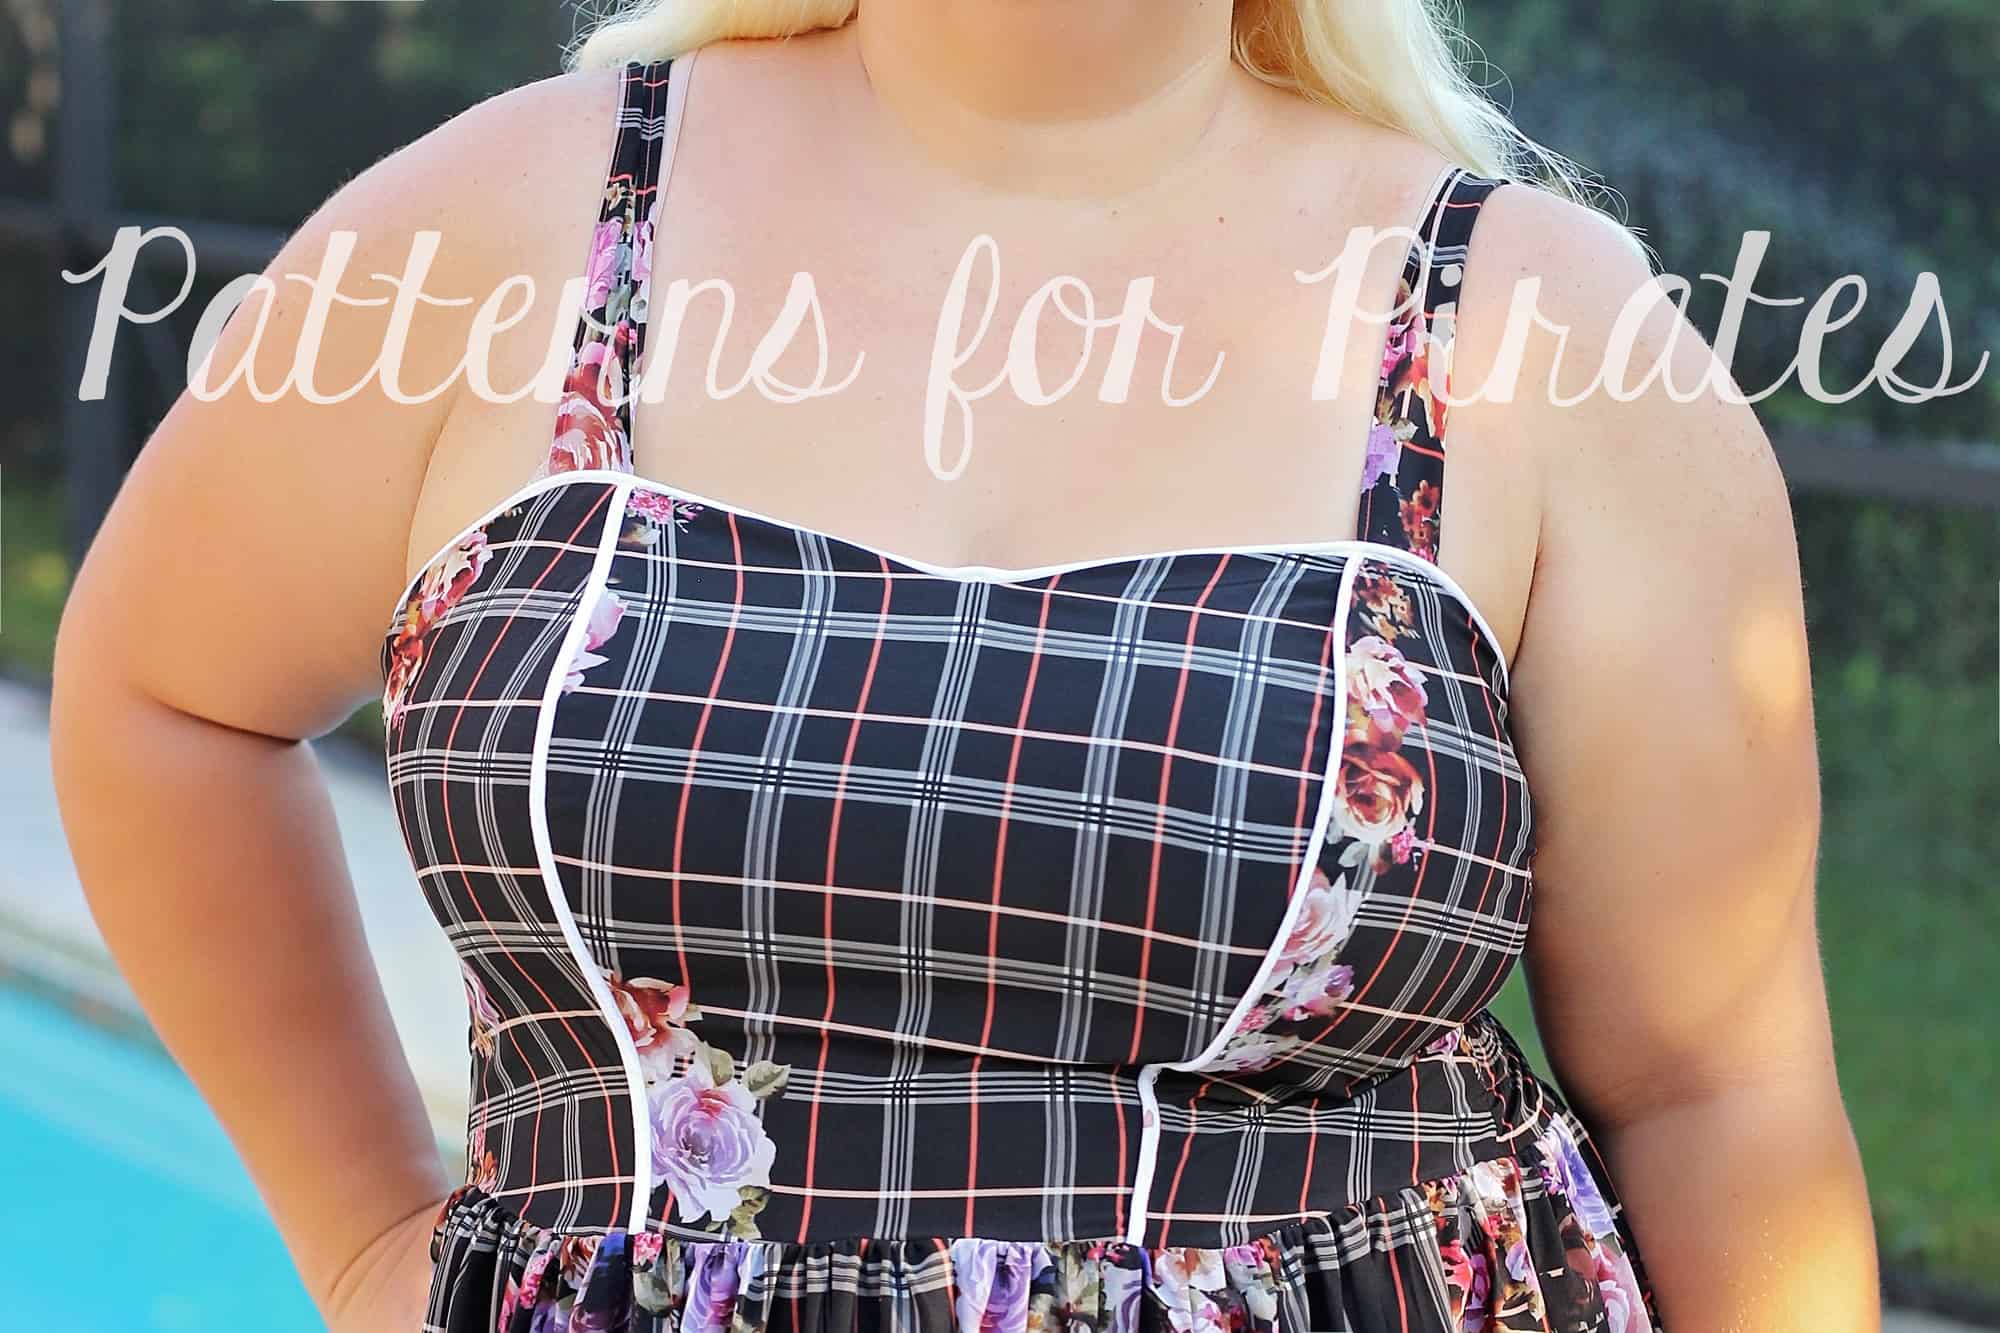
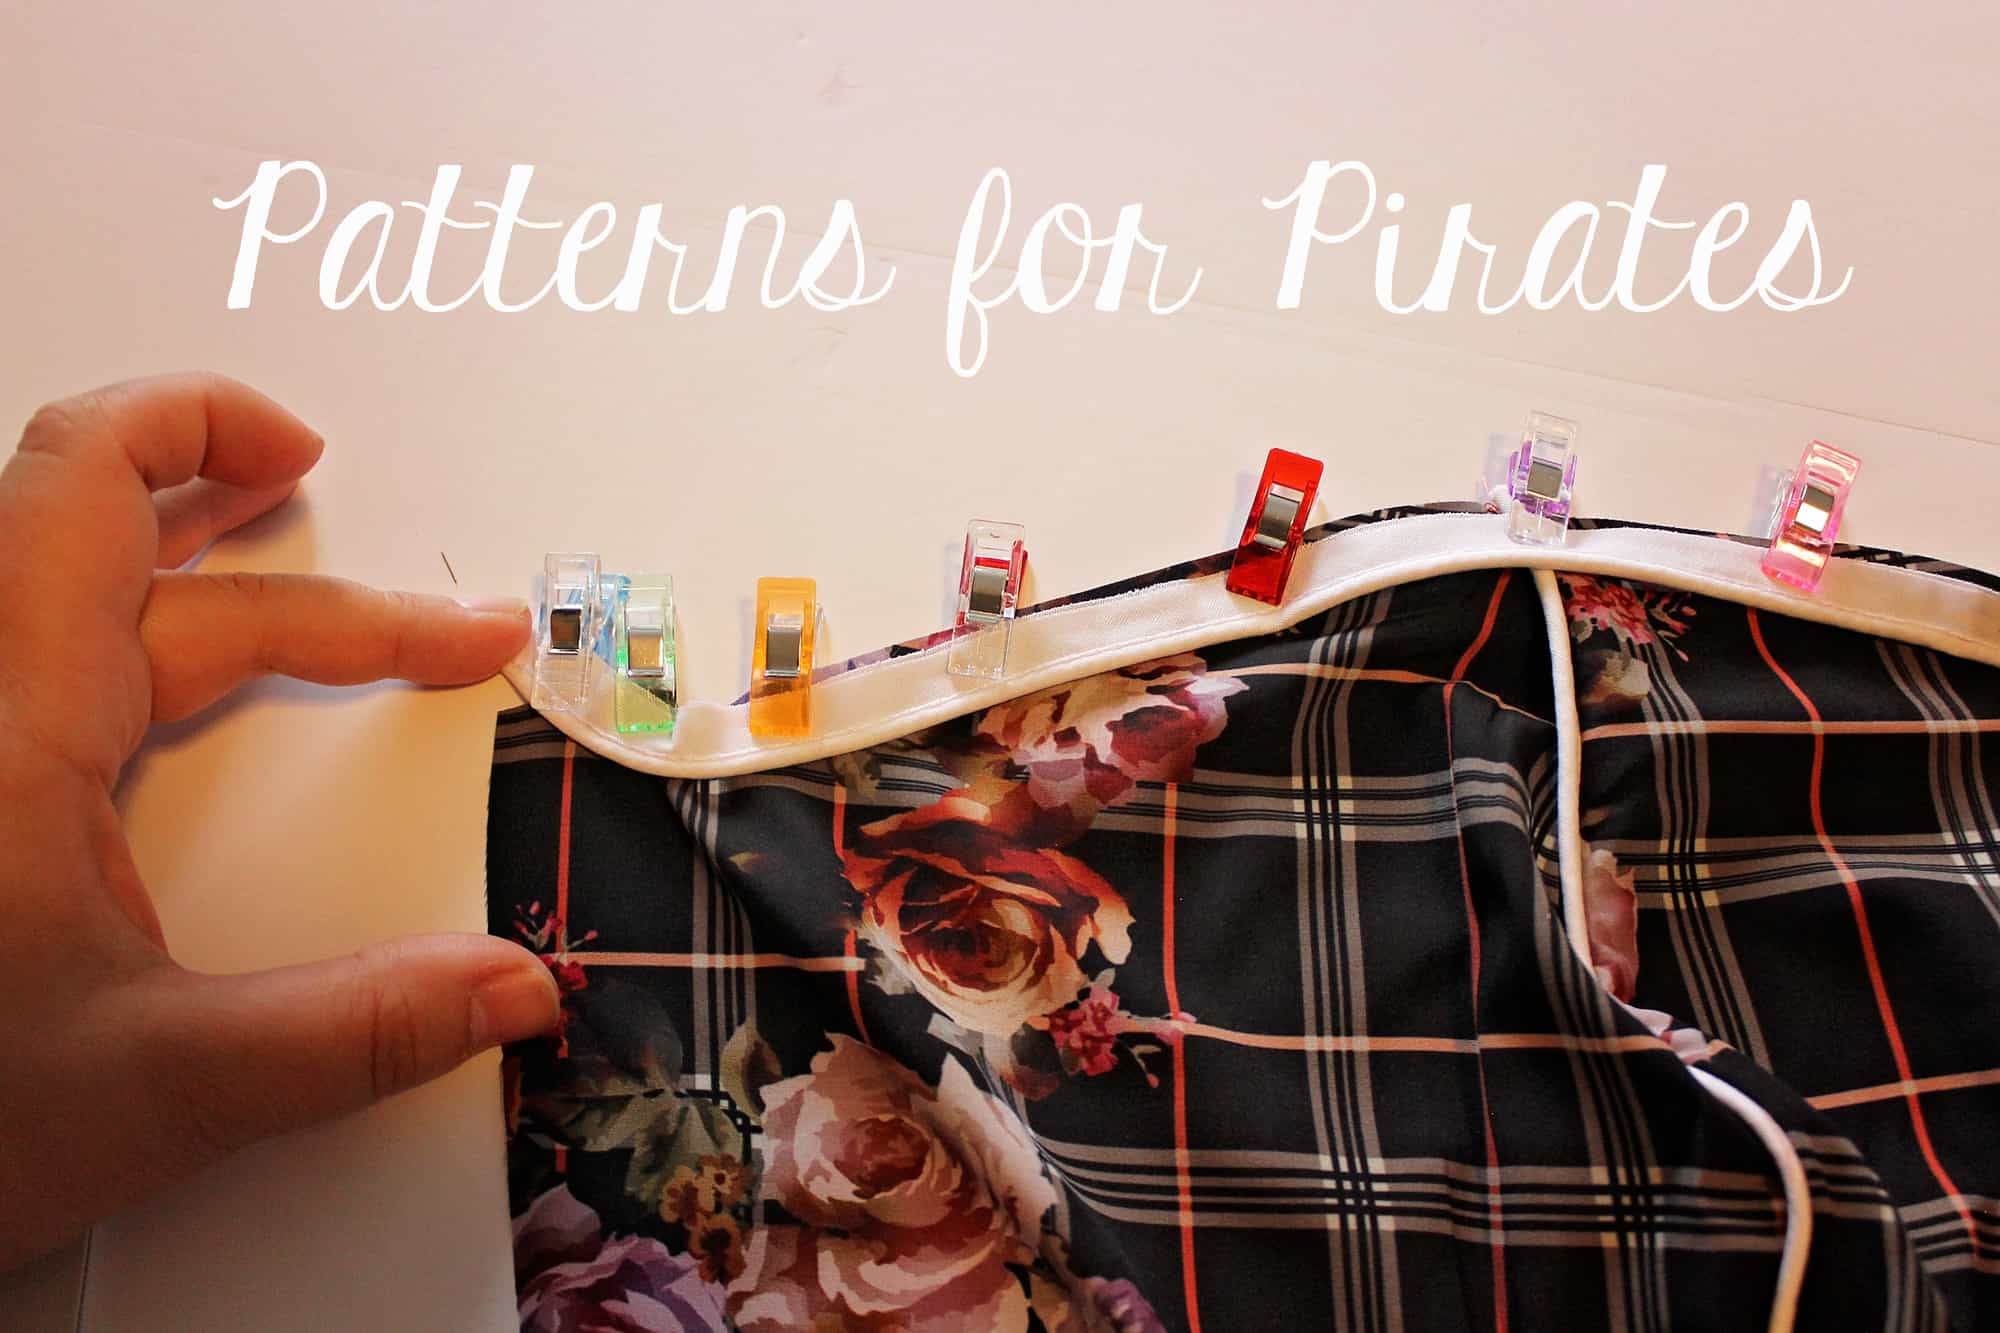
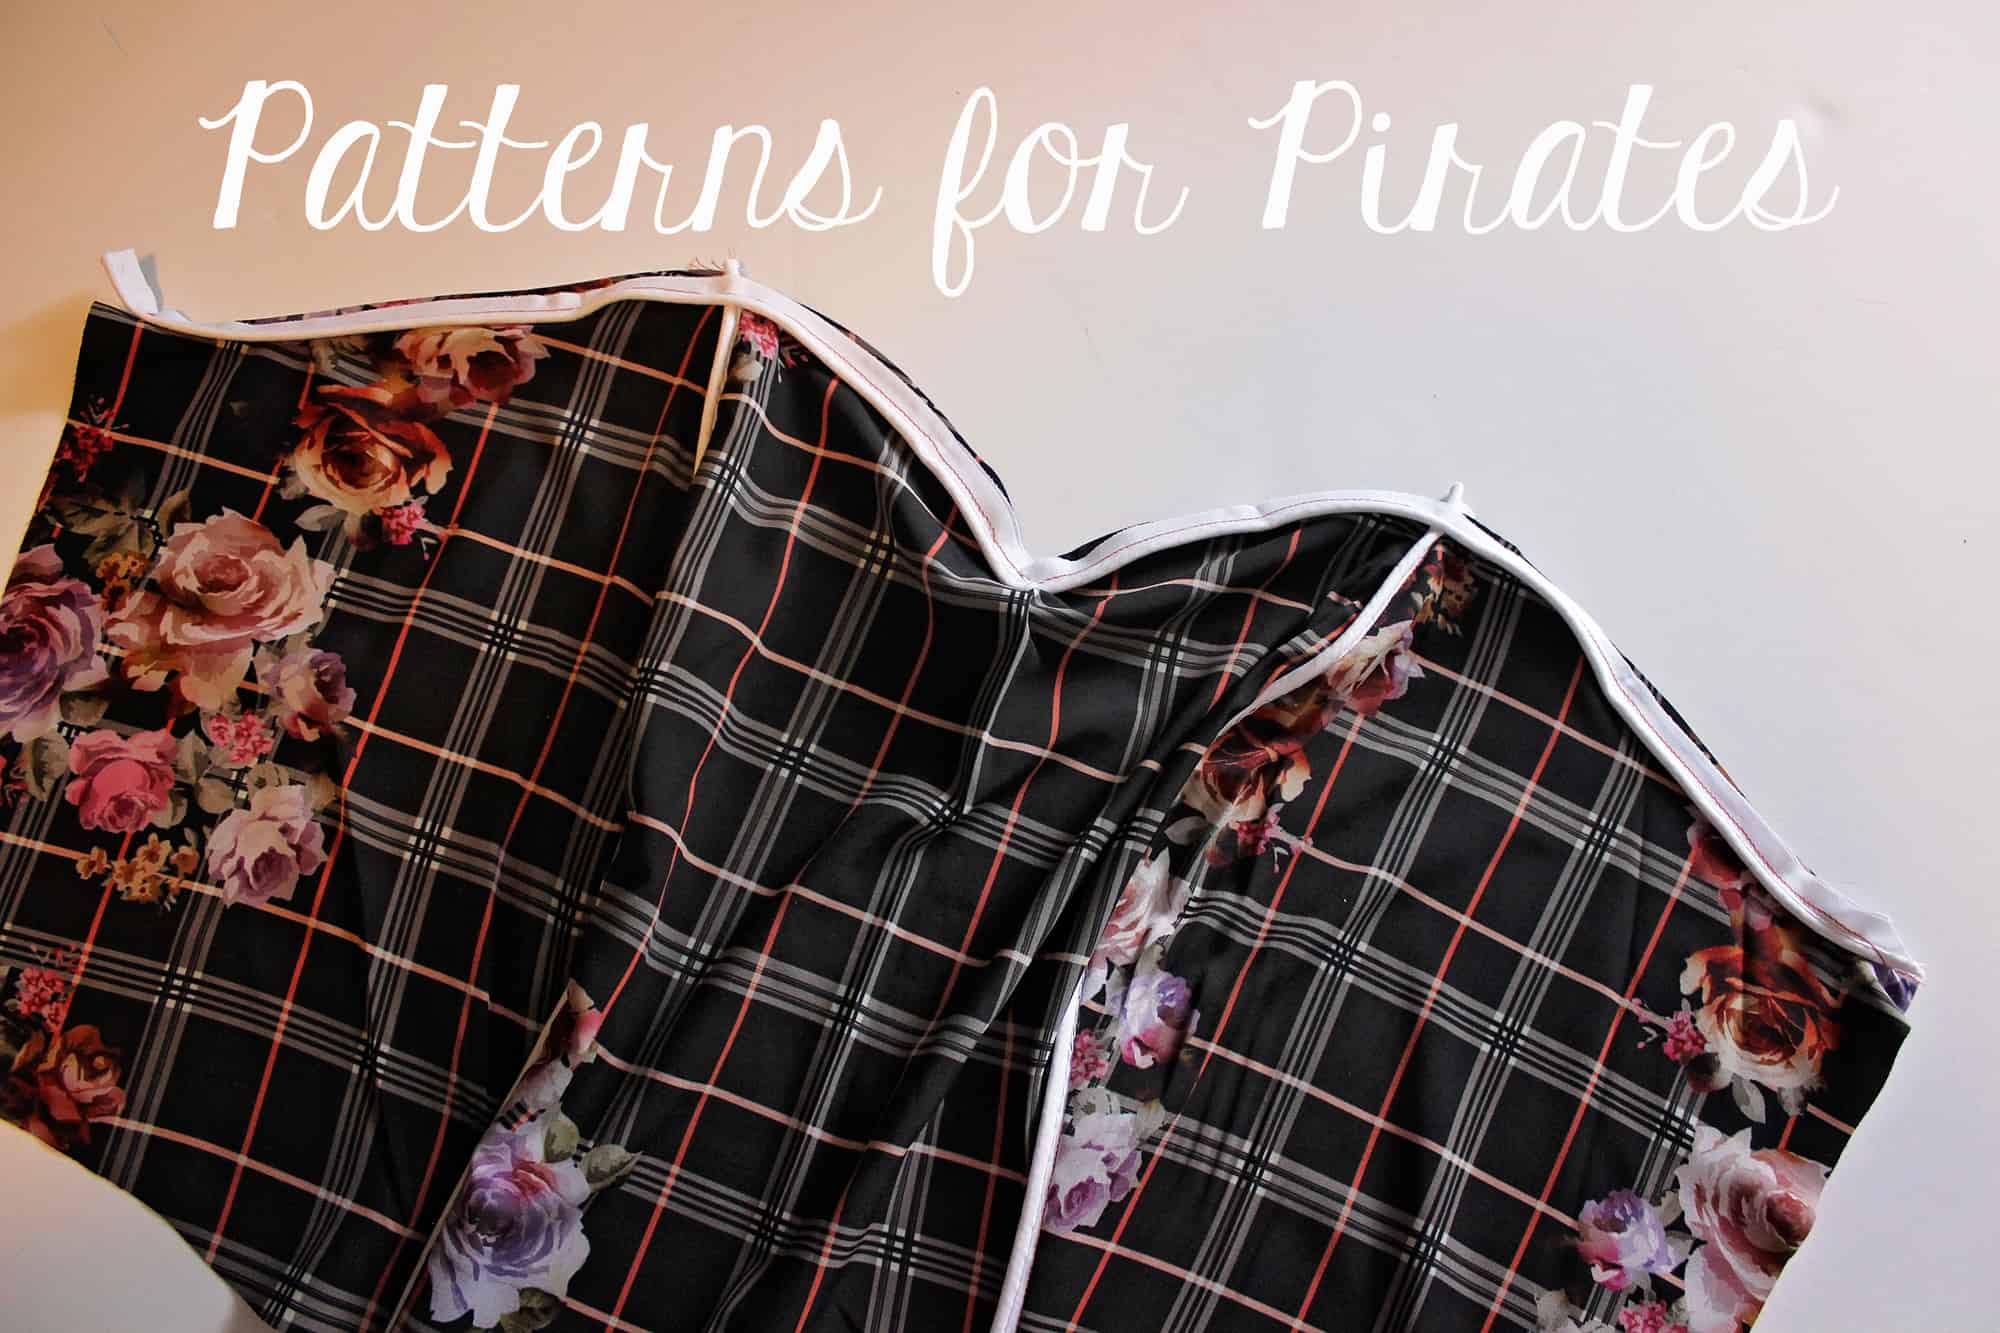
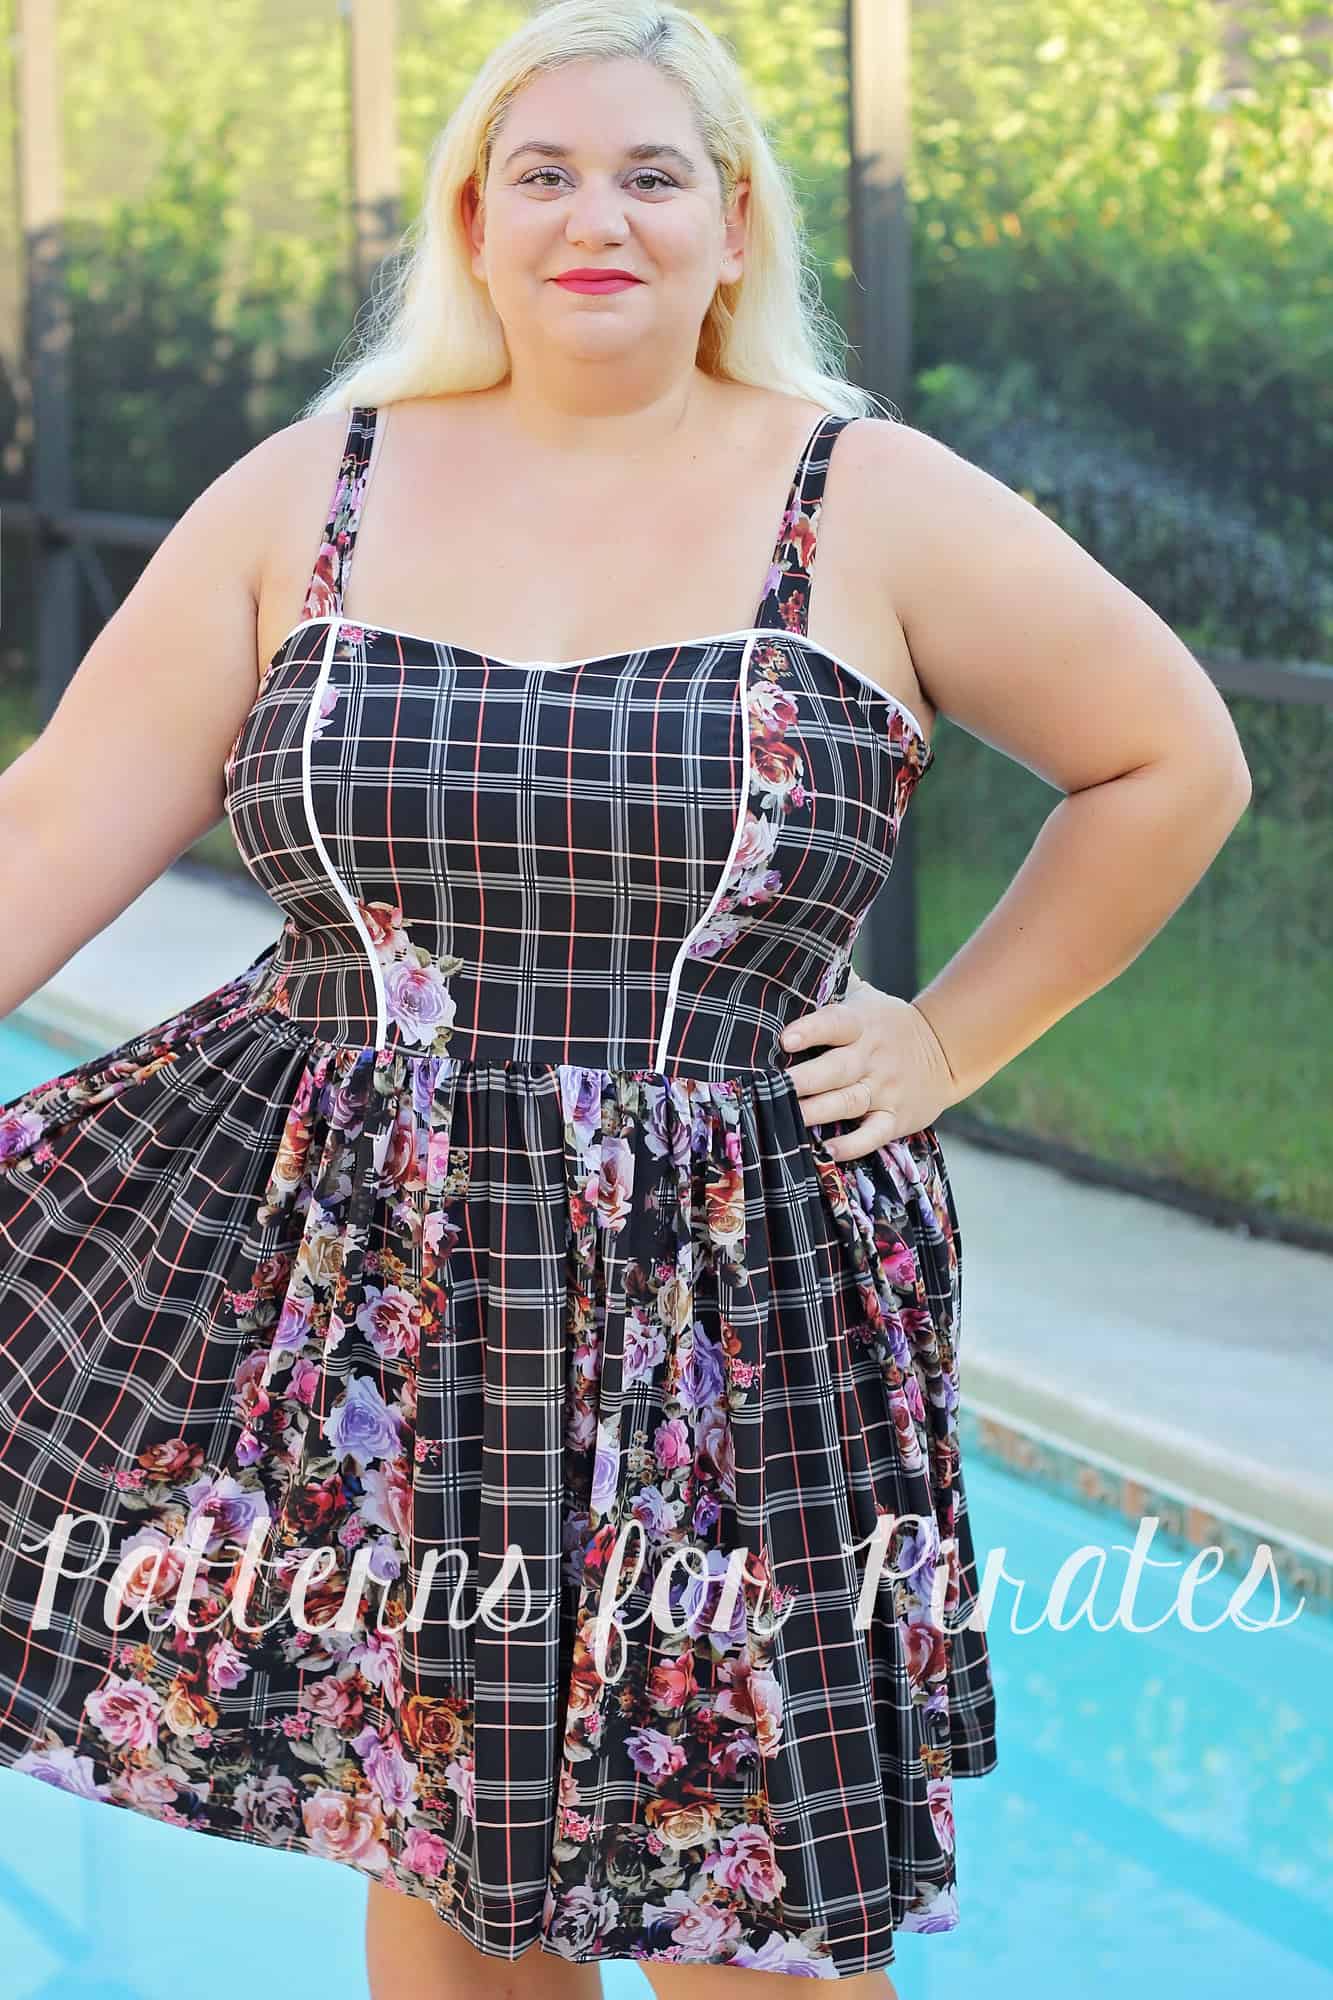
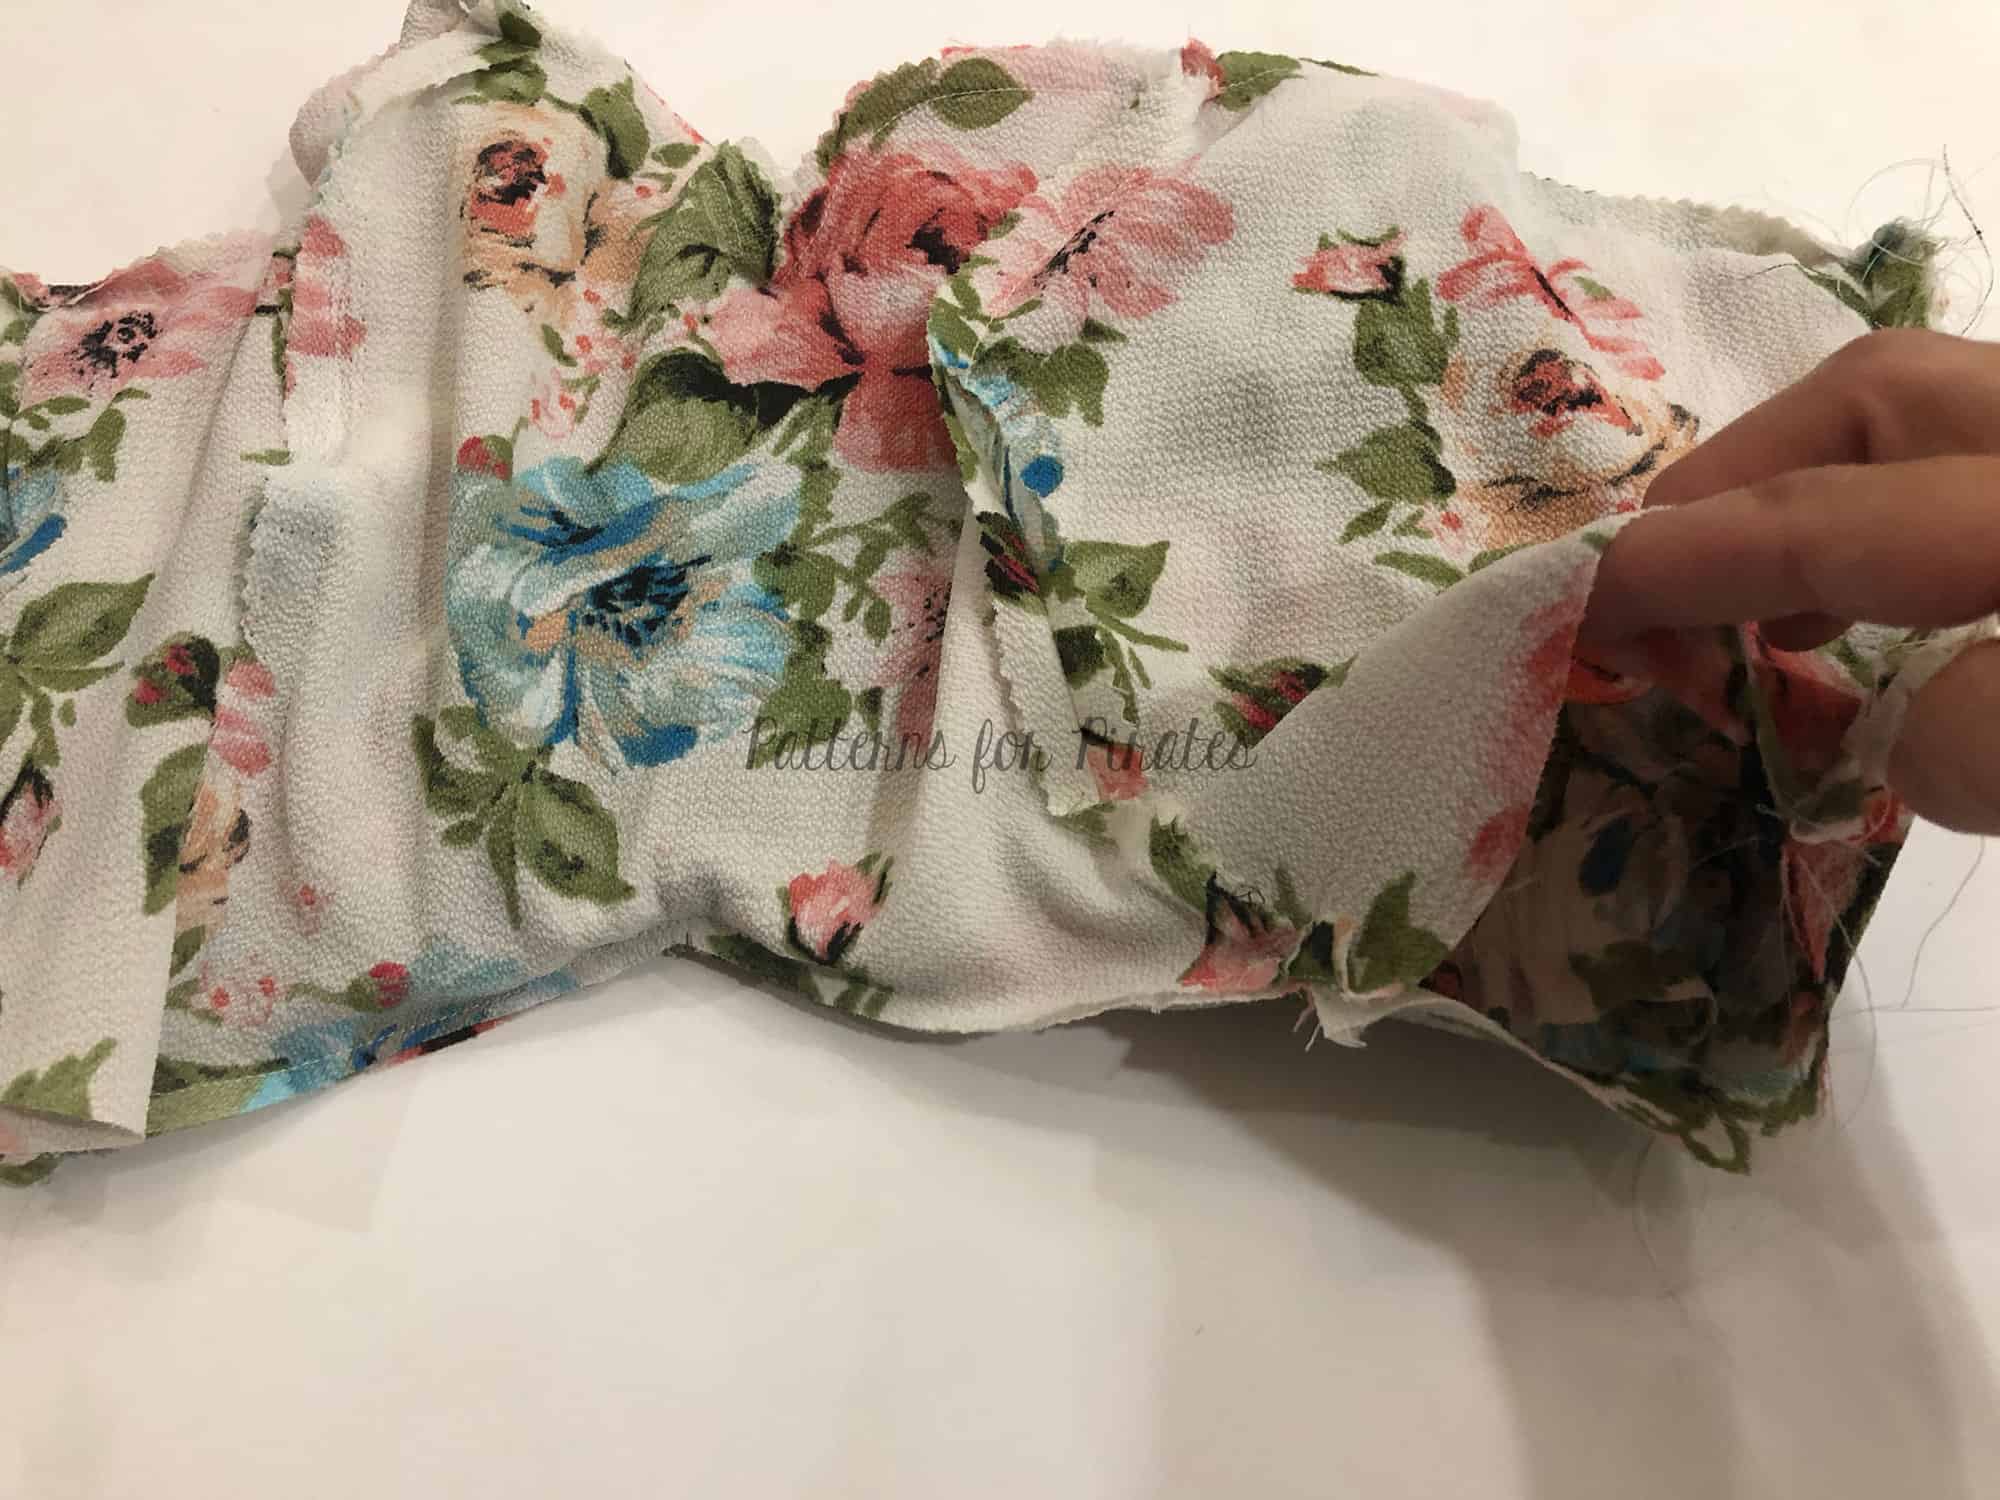
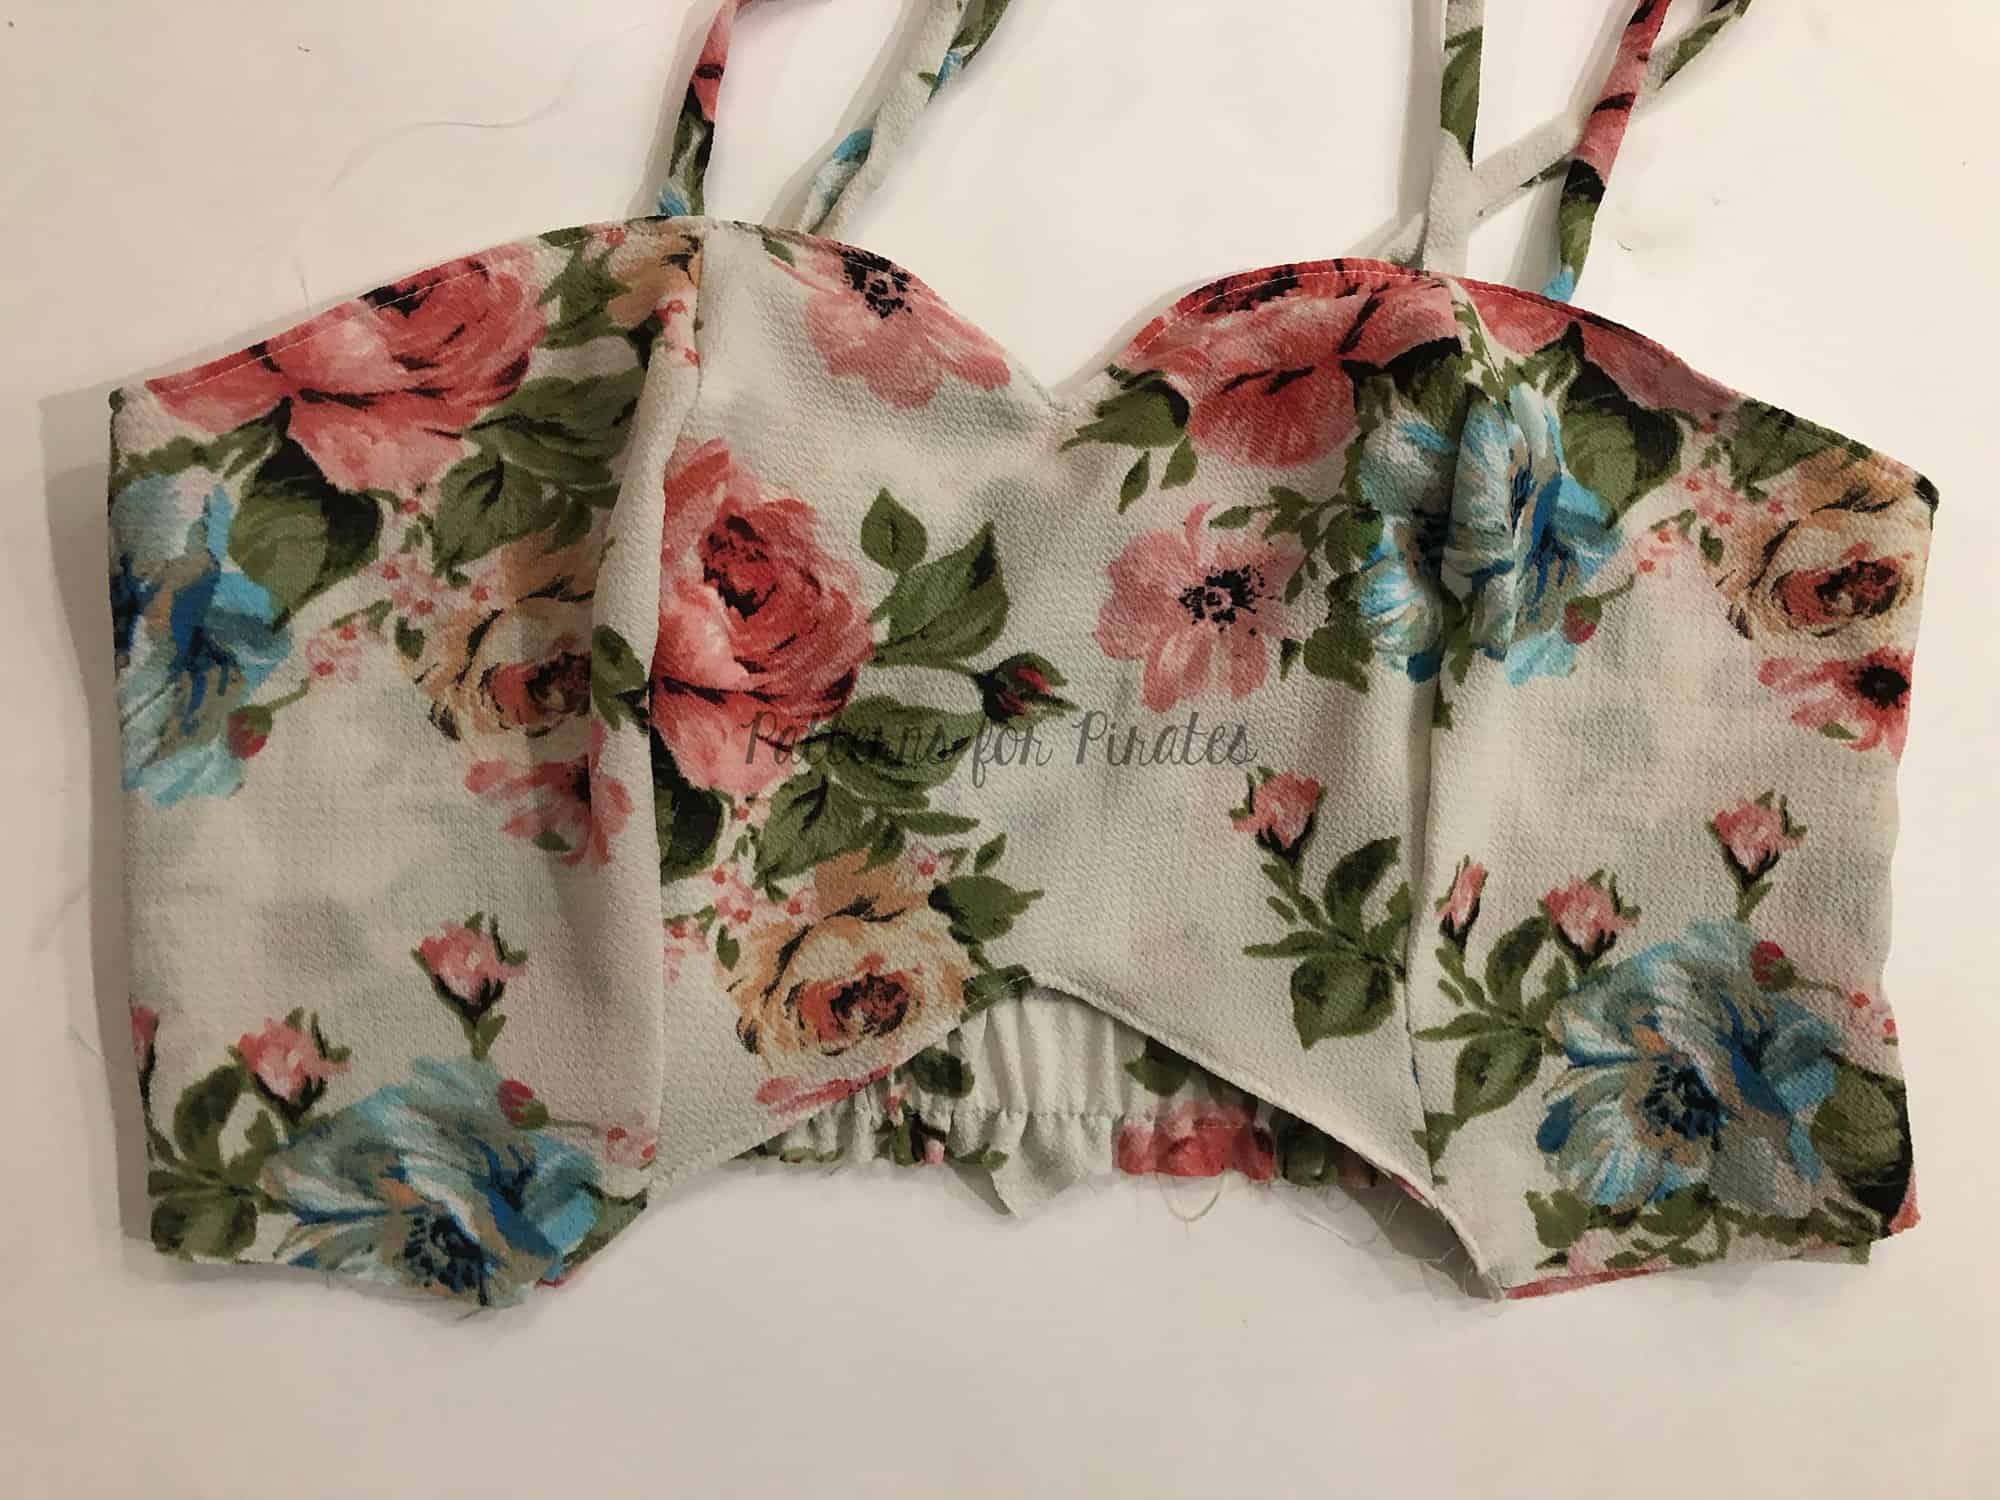
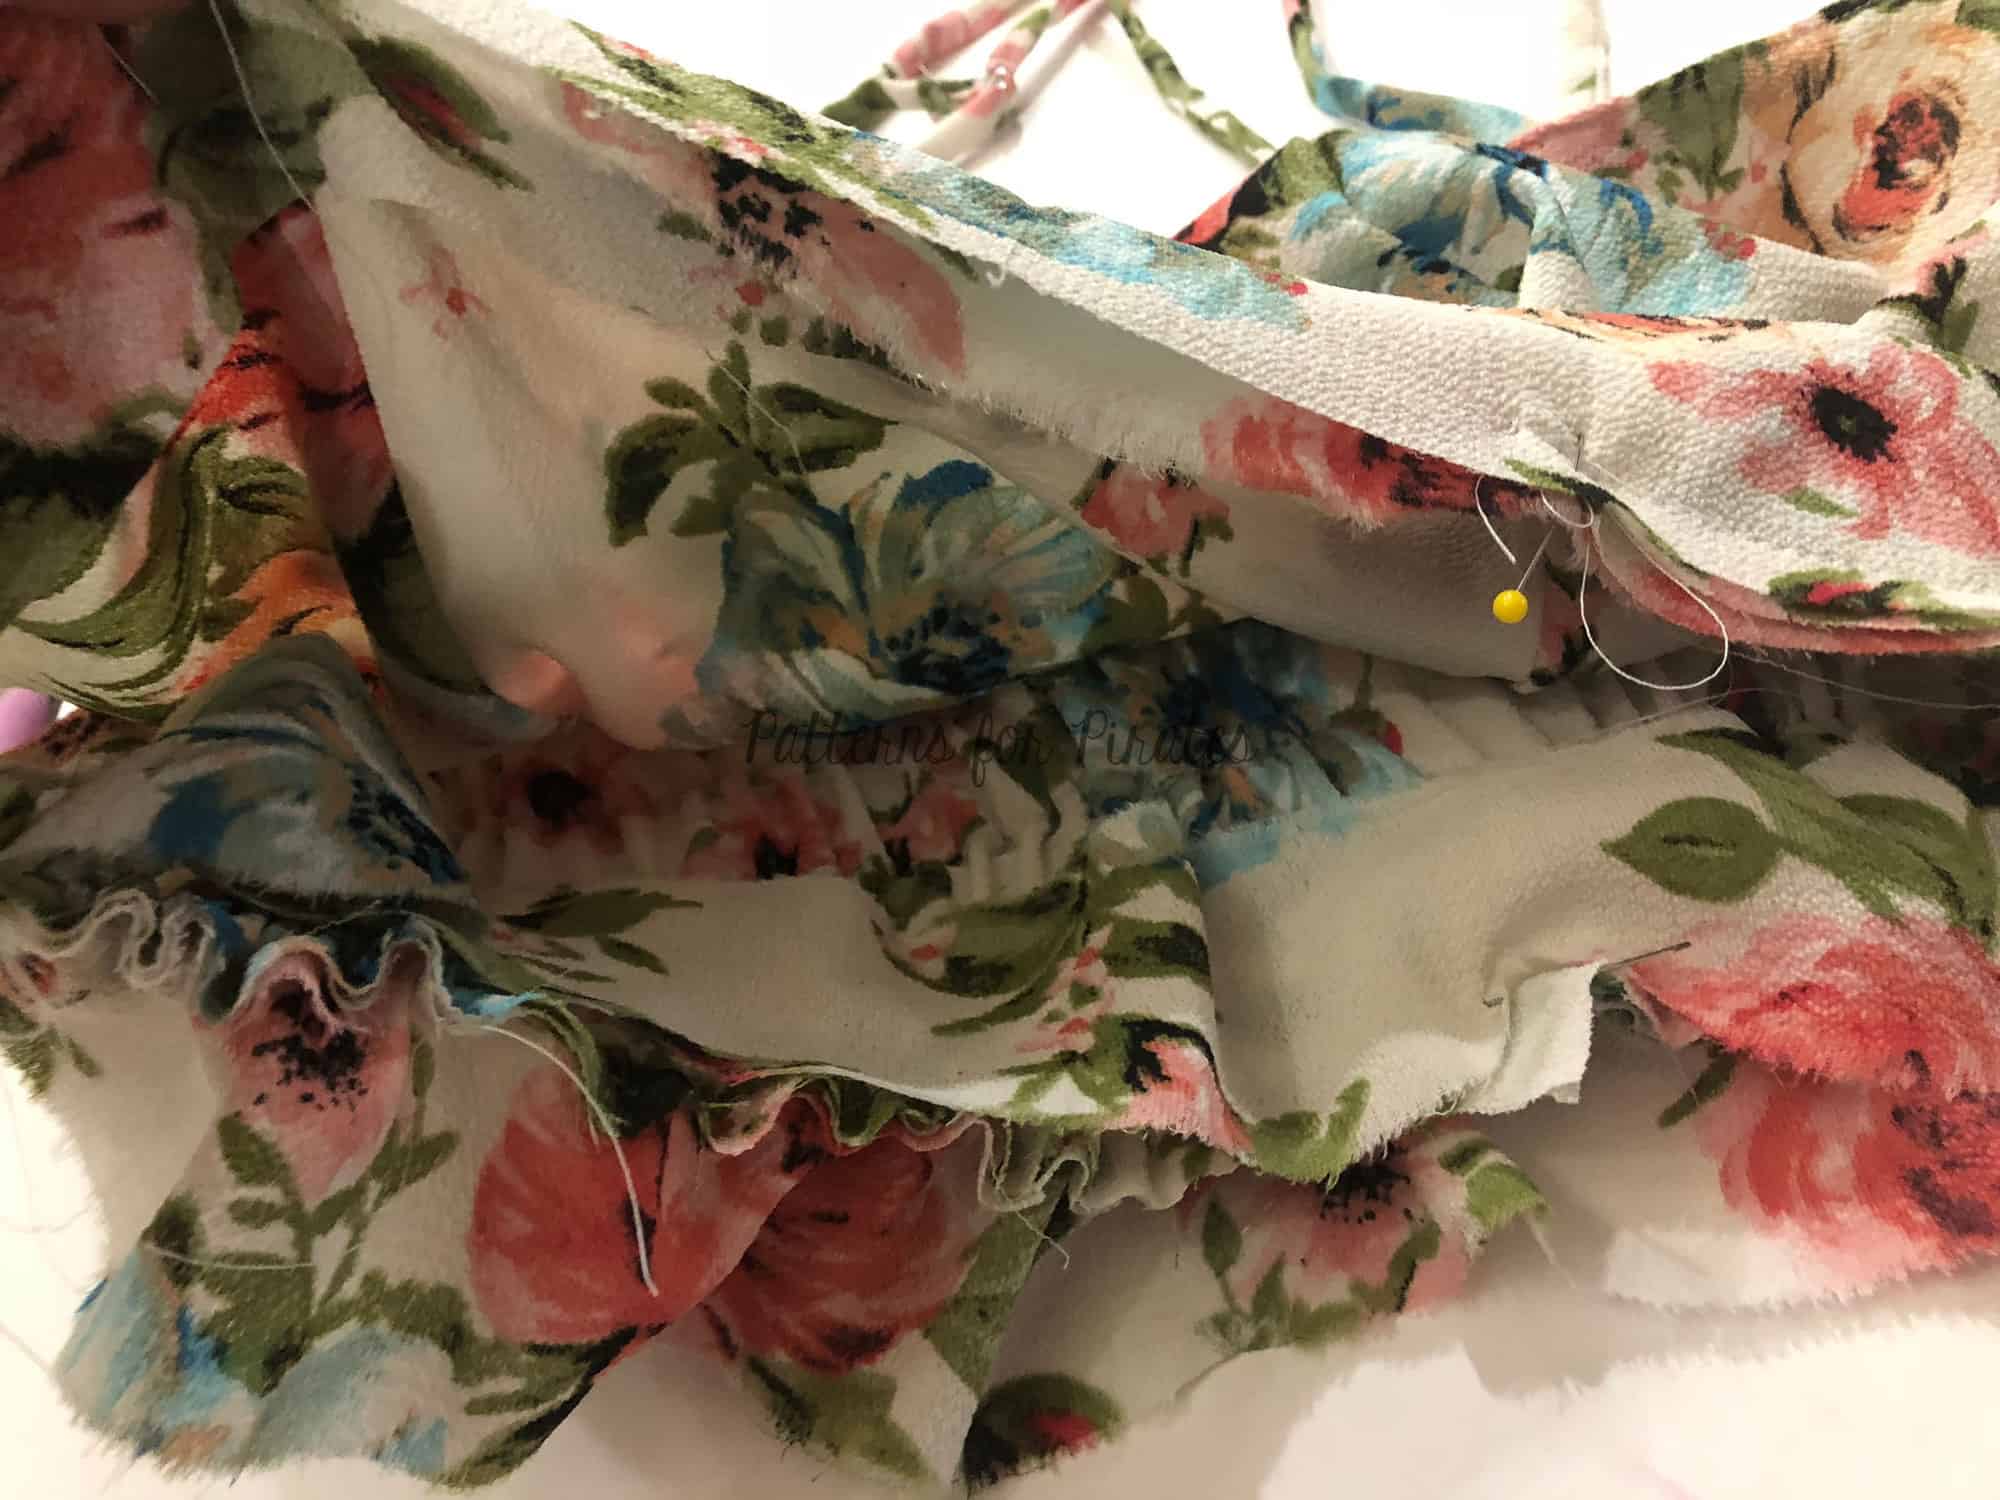
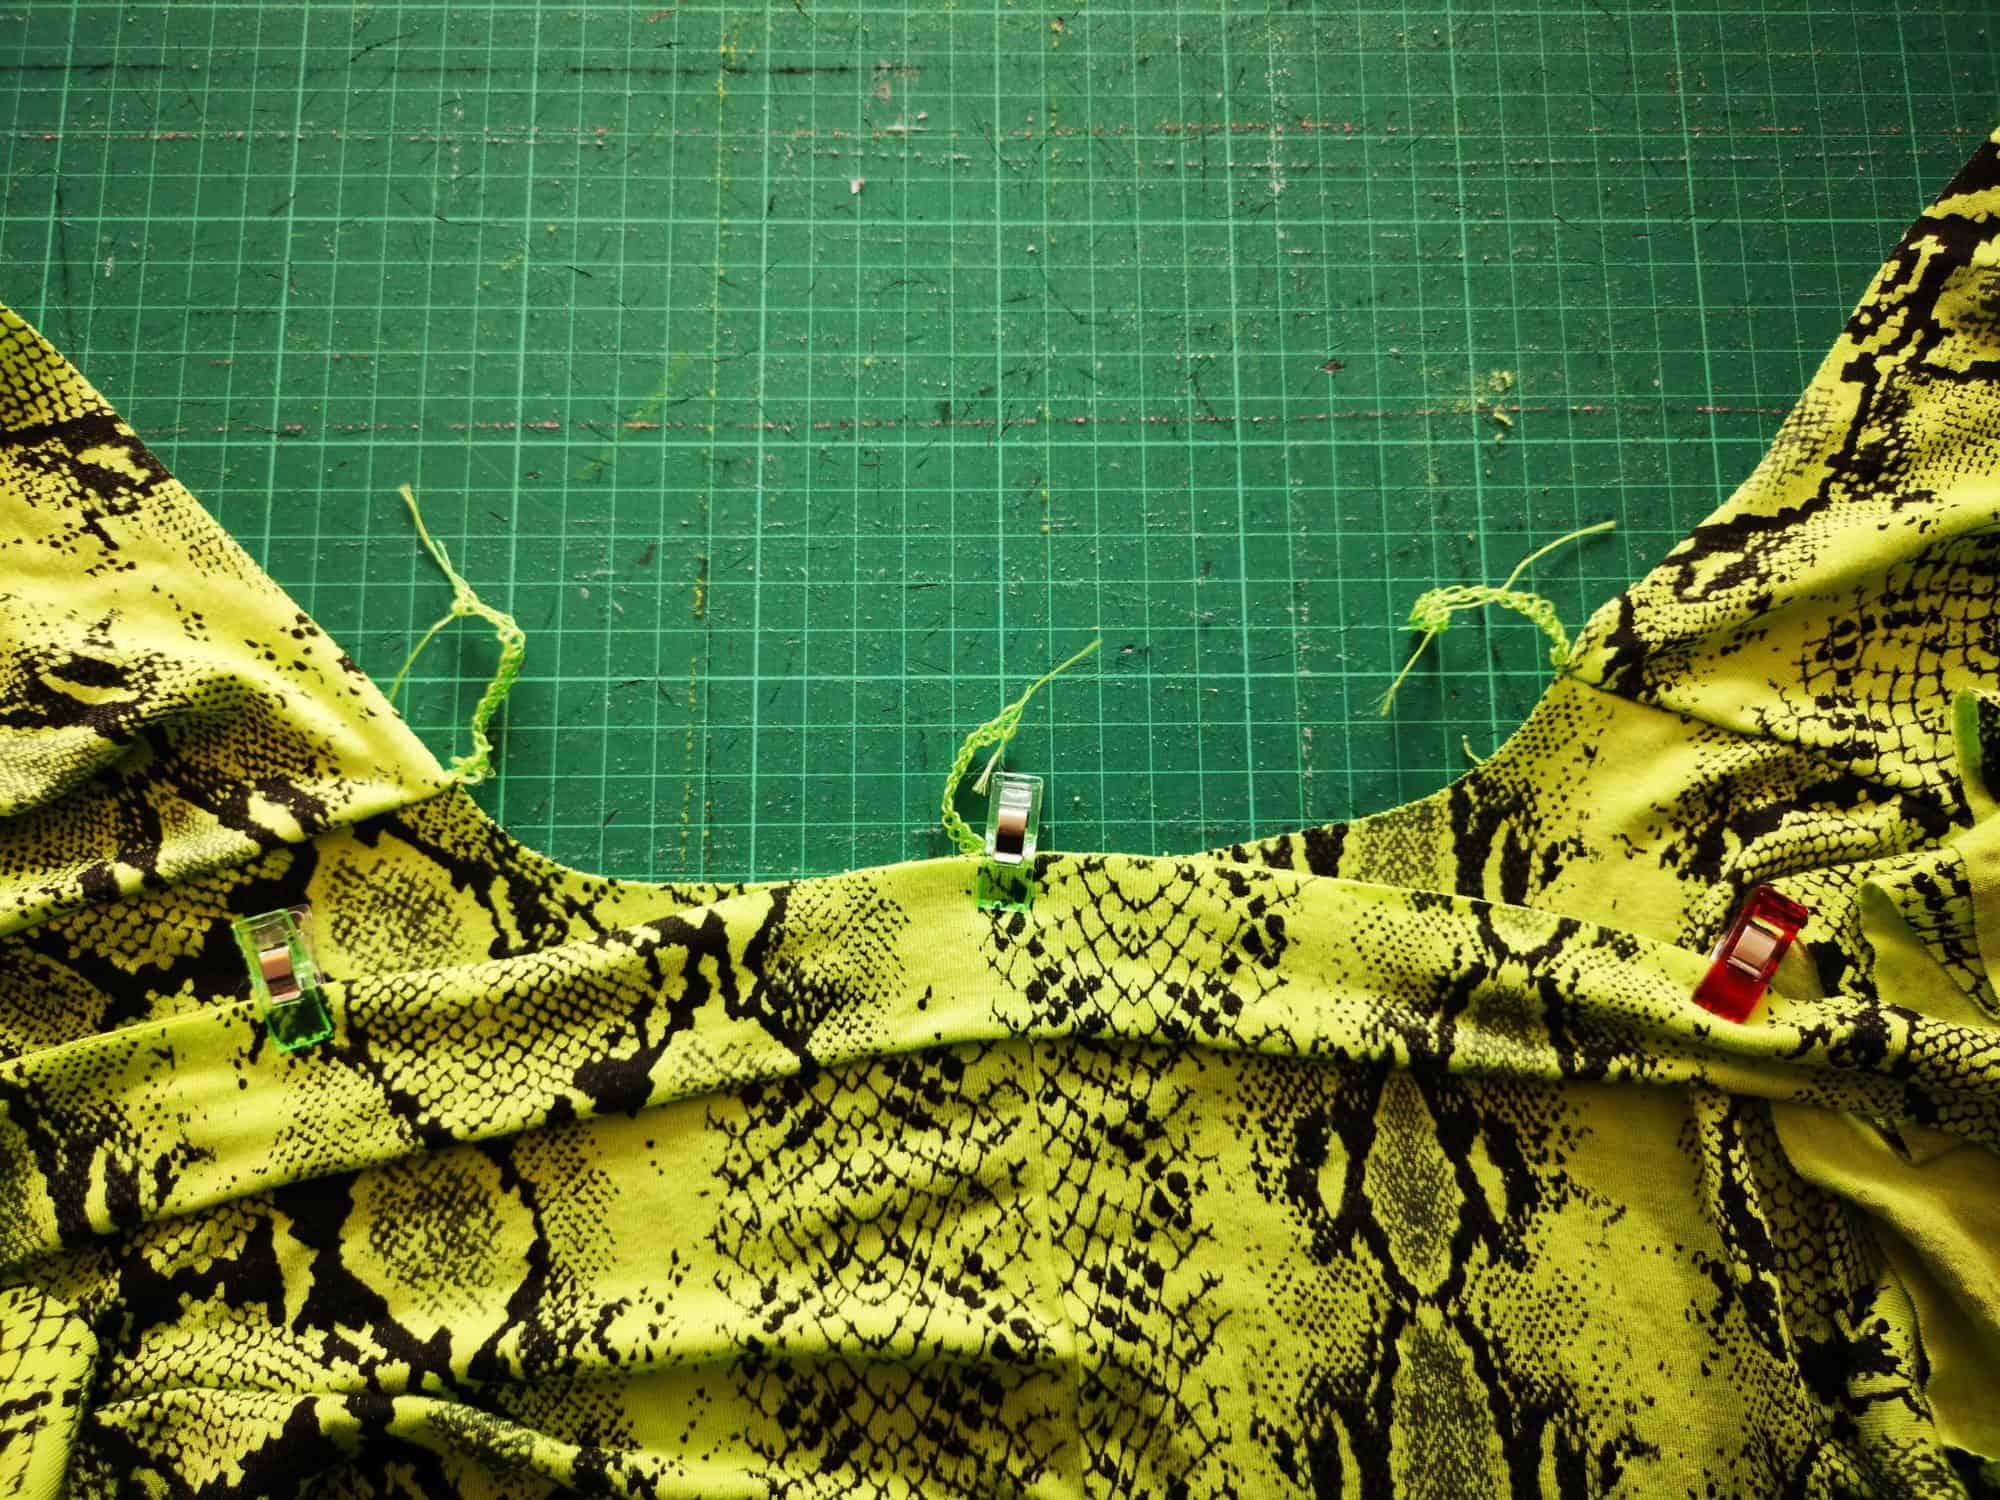
Neckband
 We’re going to show you how easy it is to replace the french binding on the gorgeous new Flutter Wrap Dress with a neckband. Sometimes you may want a little extra coverage if you are planning on wearing the dress to work or if you are just quite large-busted, like me. It’s really easy to do and I hope you’ll love the results.
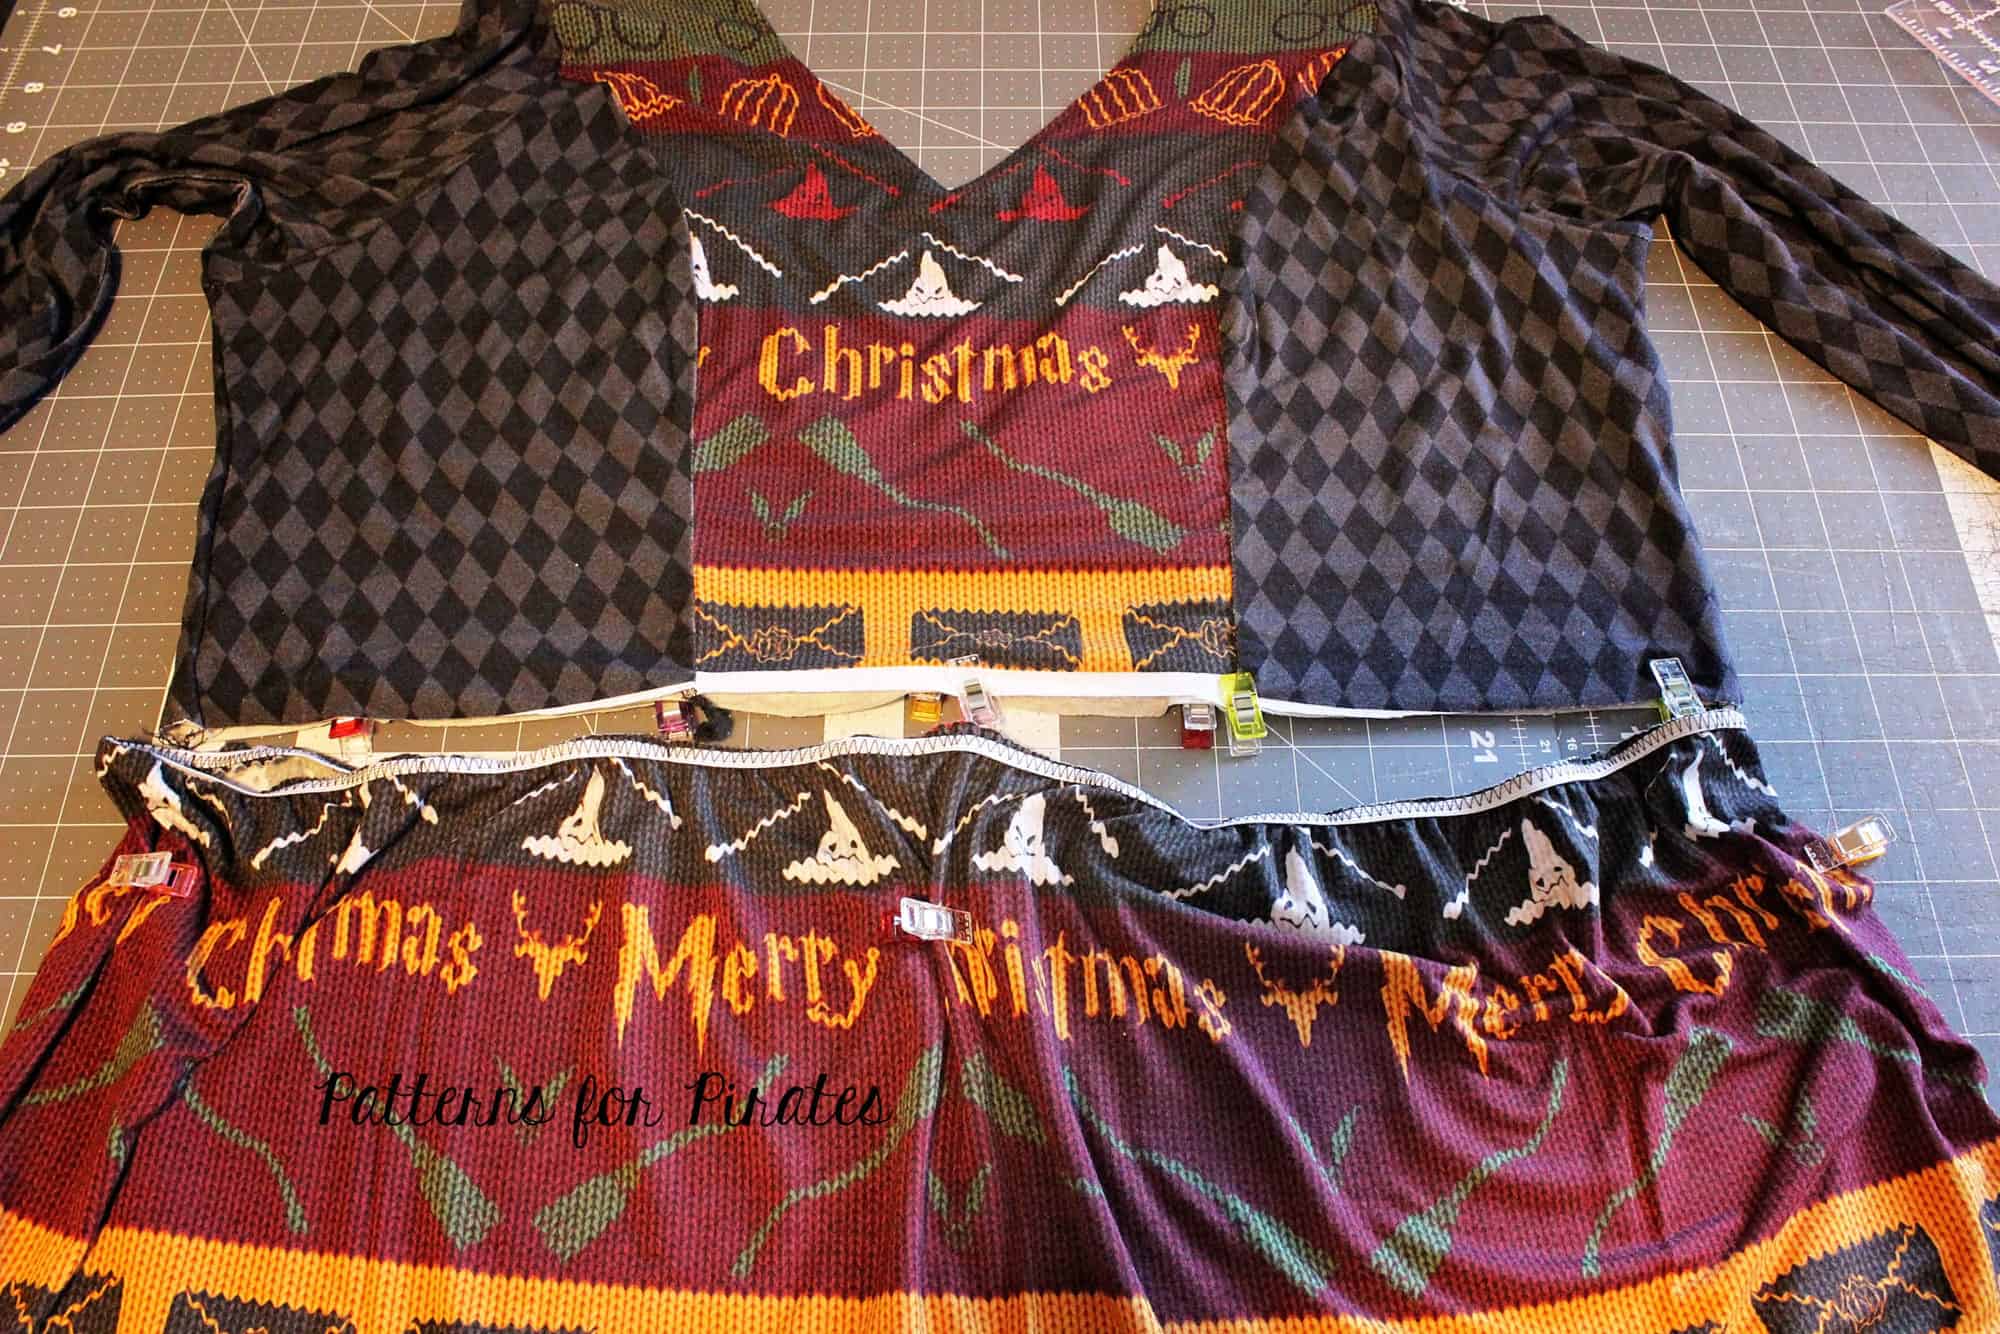
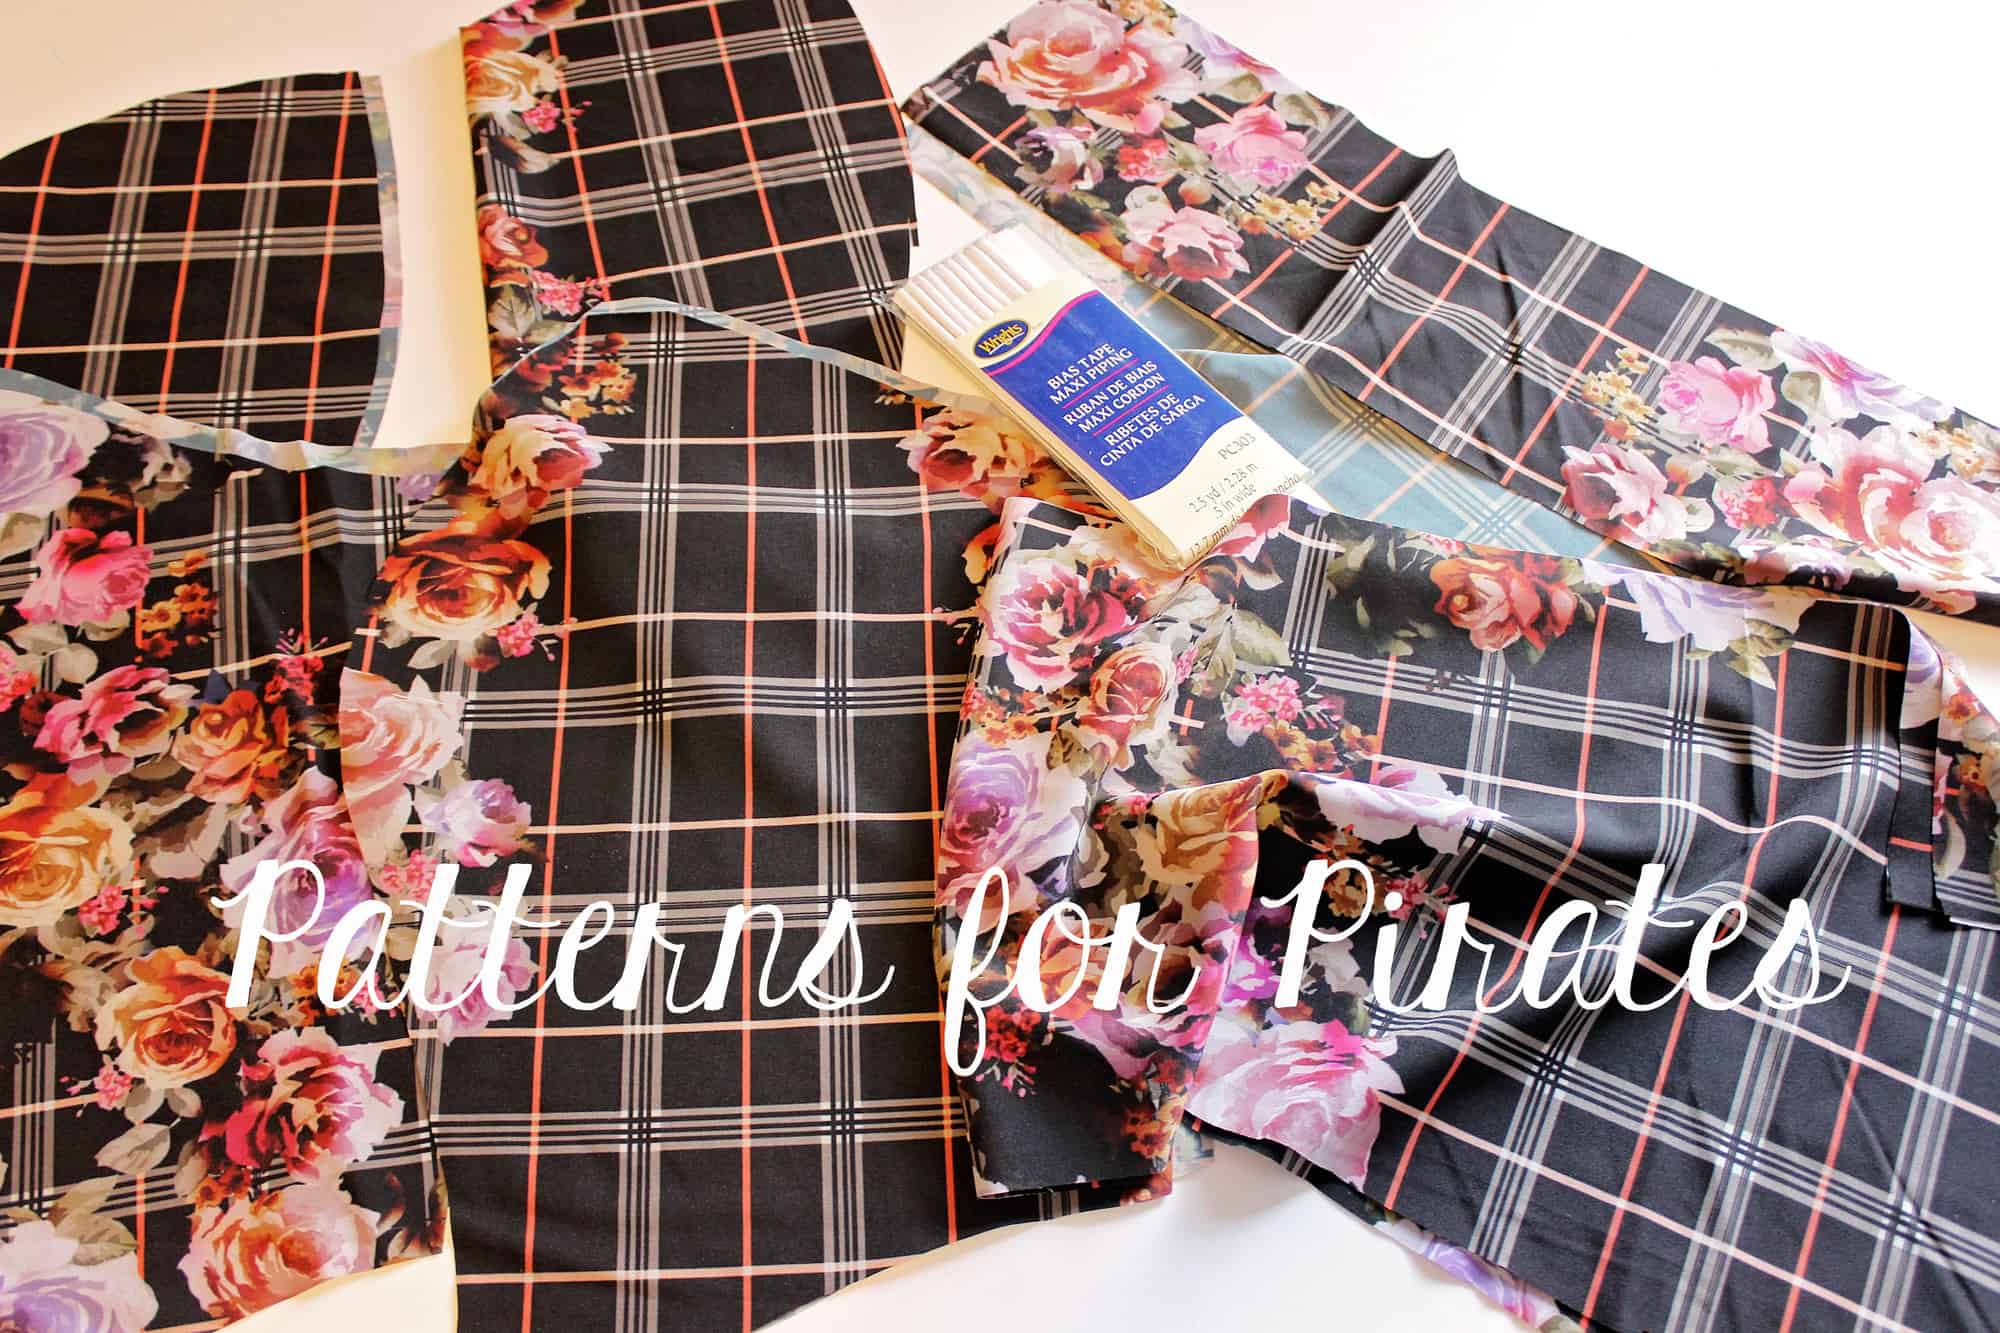
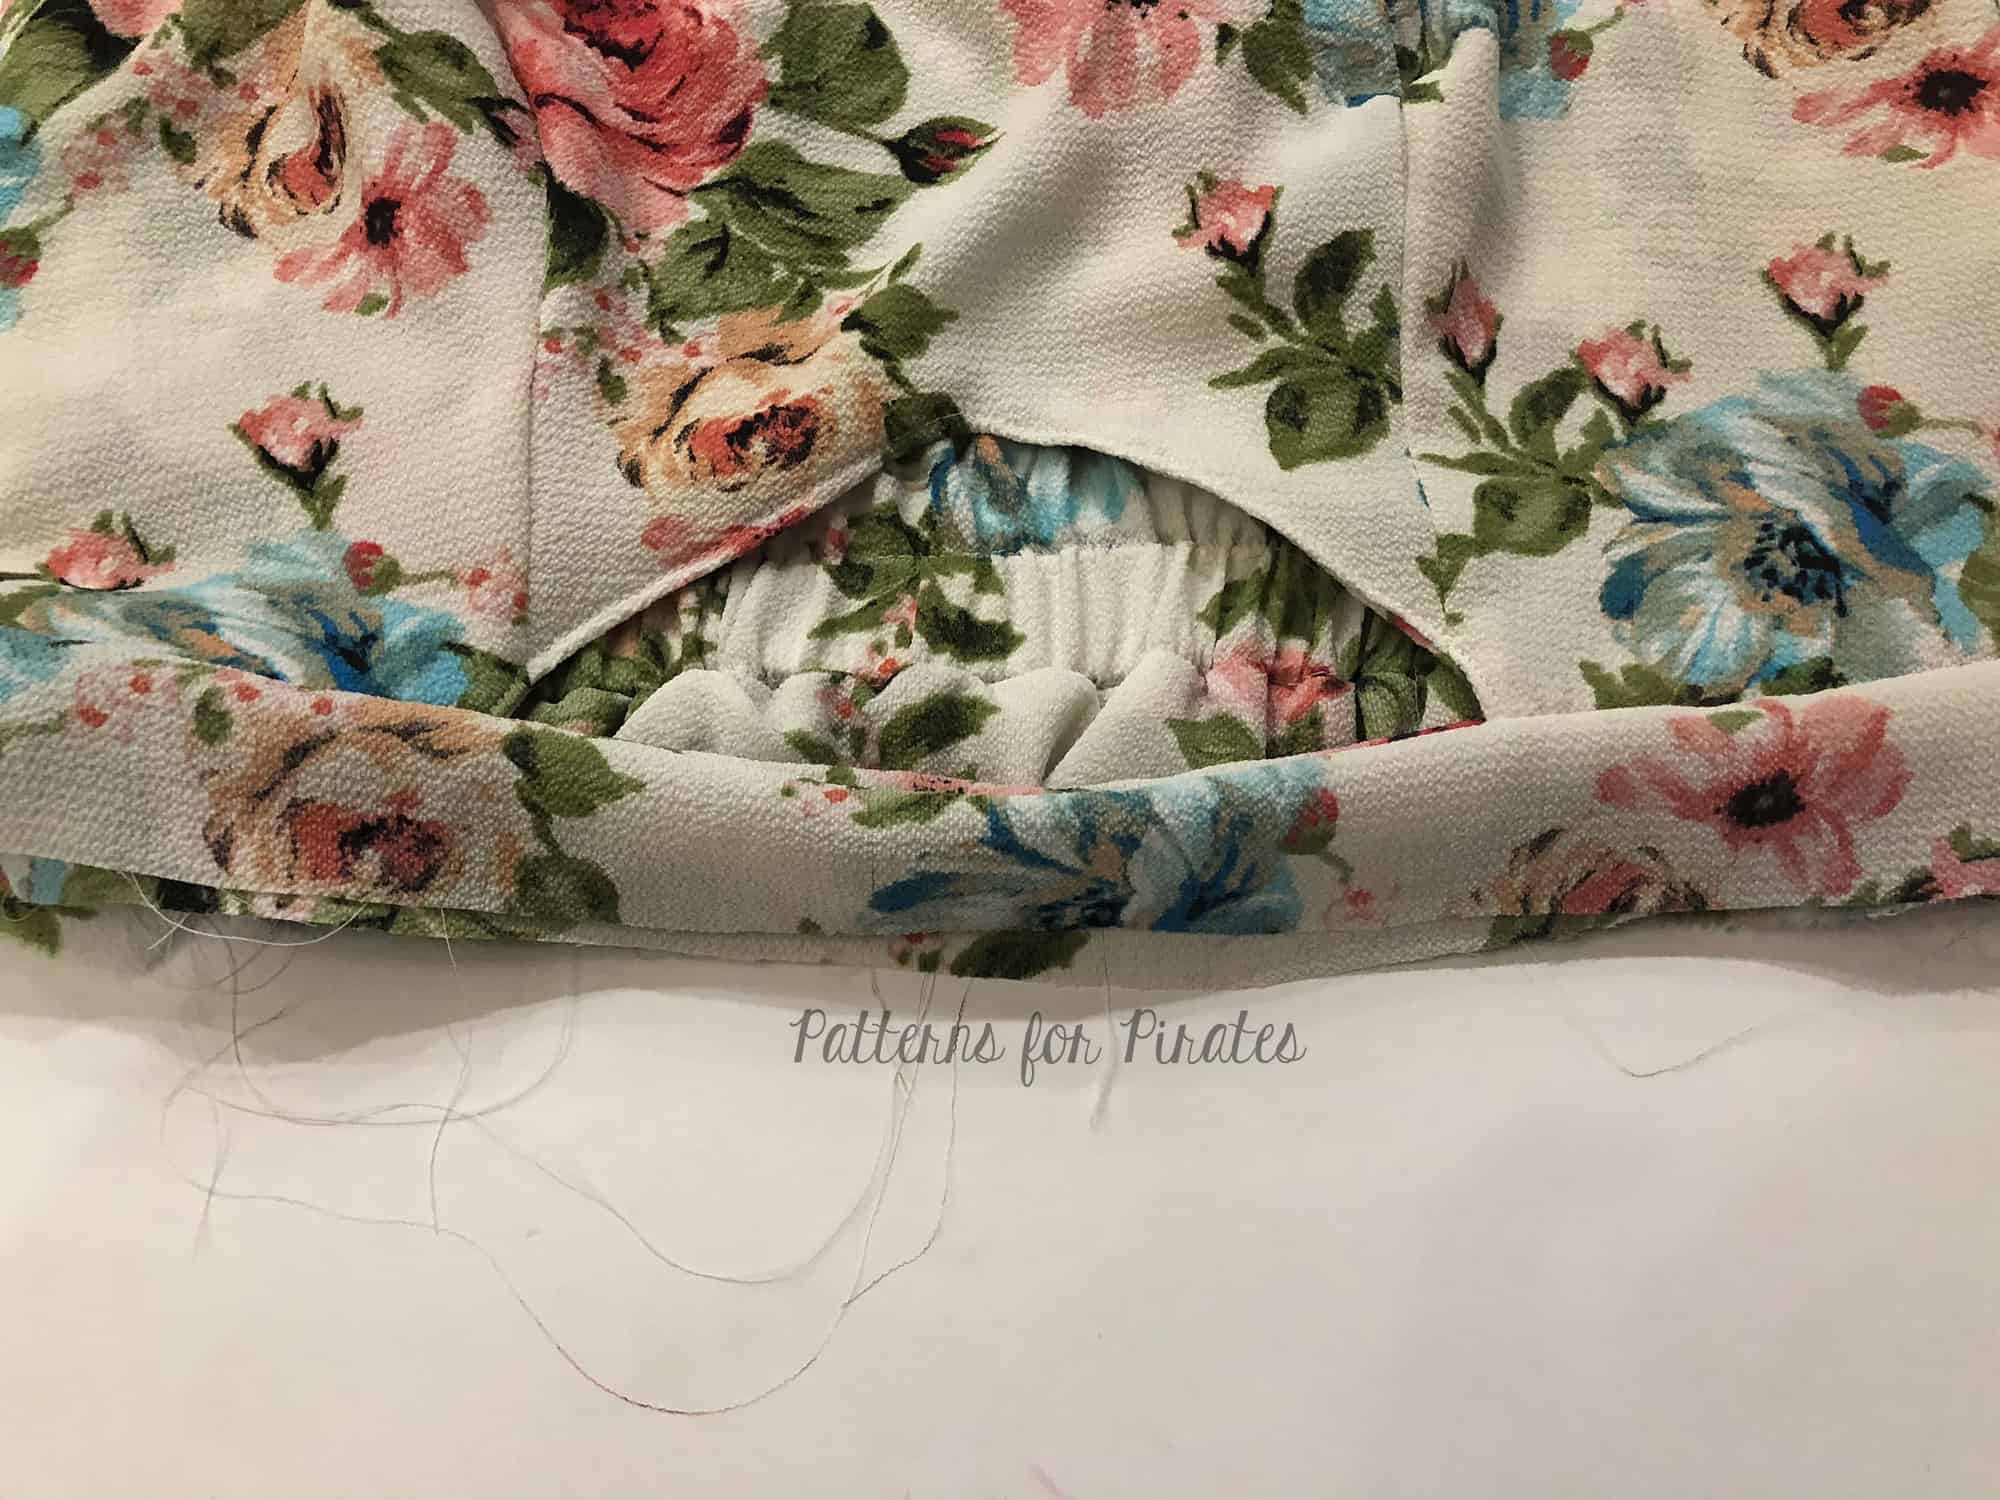
First of all you need to construct your dress as usual but do not cut out the ‘neck binding’ piece as we won’t be using it, however do remember to leave yourself a suitable piece of fabric to cut the neckband from later! Follow the tutorial and stop when you reach the ‘finishing the neckline’ section. If you plan to add the flounce to the neckline along with the neckband then go ahead and follow the steps in the tutorial that show how to construct the neckline flounce and baste it into place. In the example below I am not using a neckline flounce, to make it a little clearer for you.
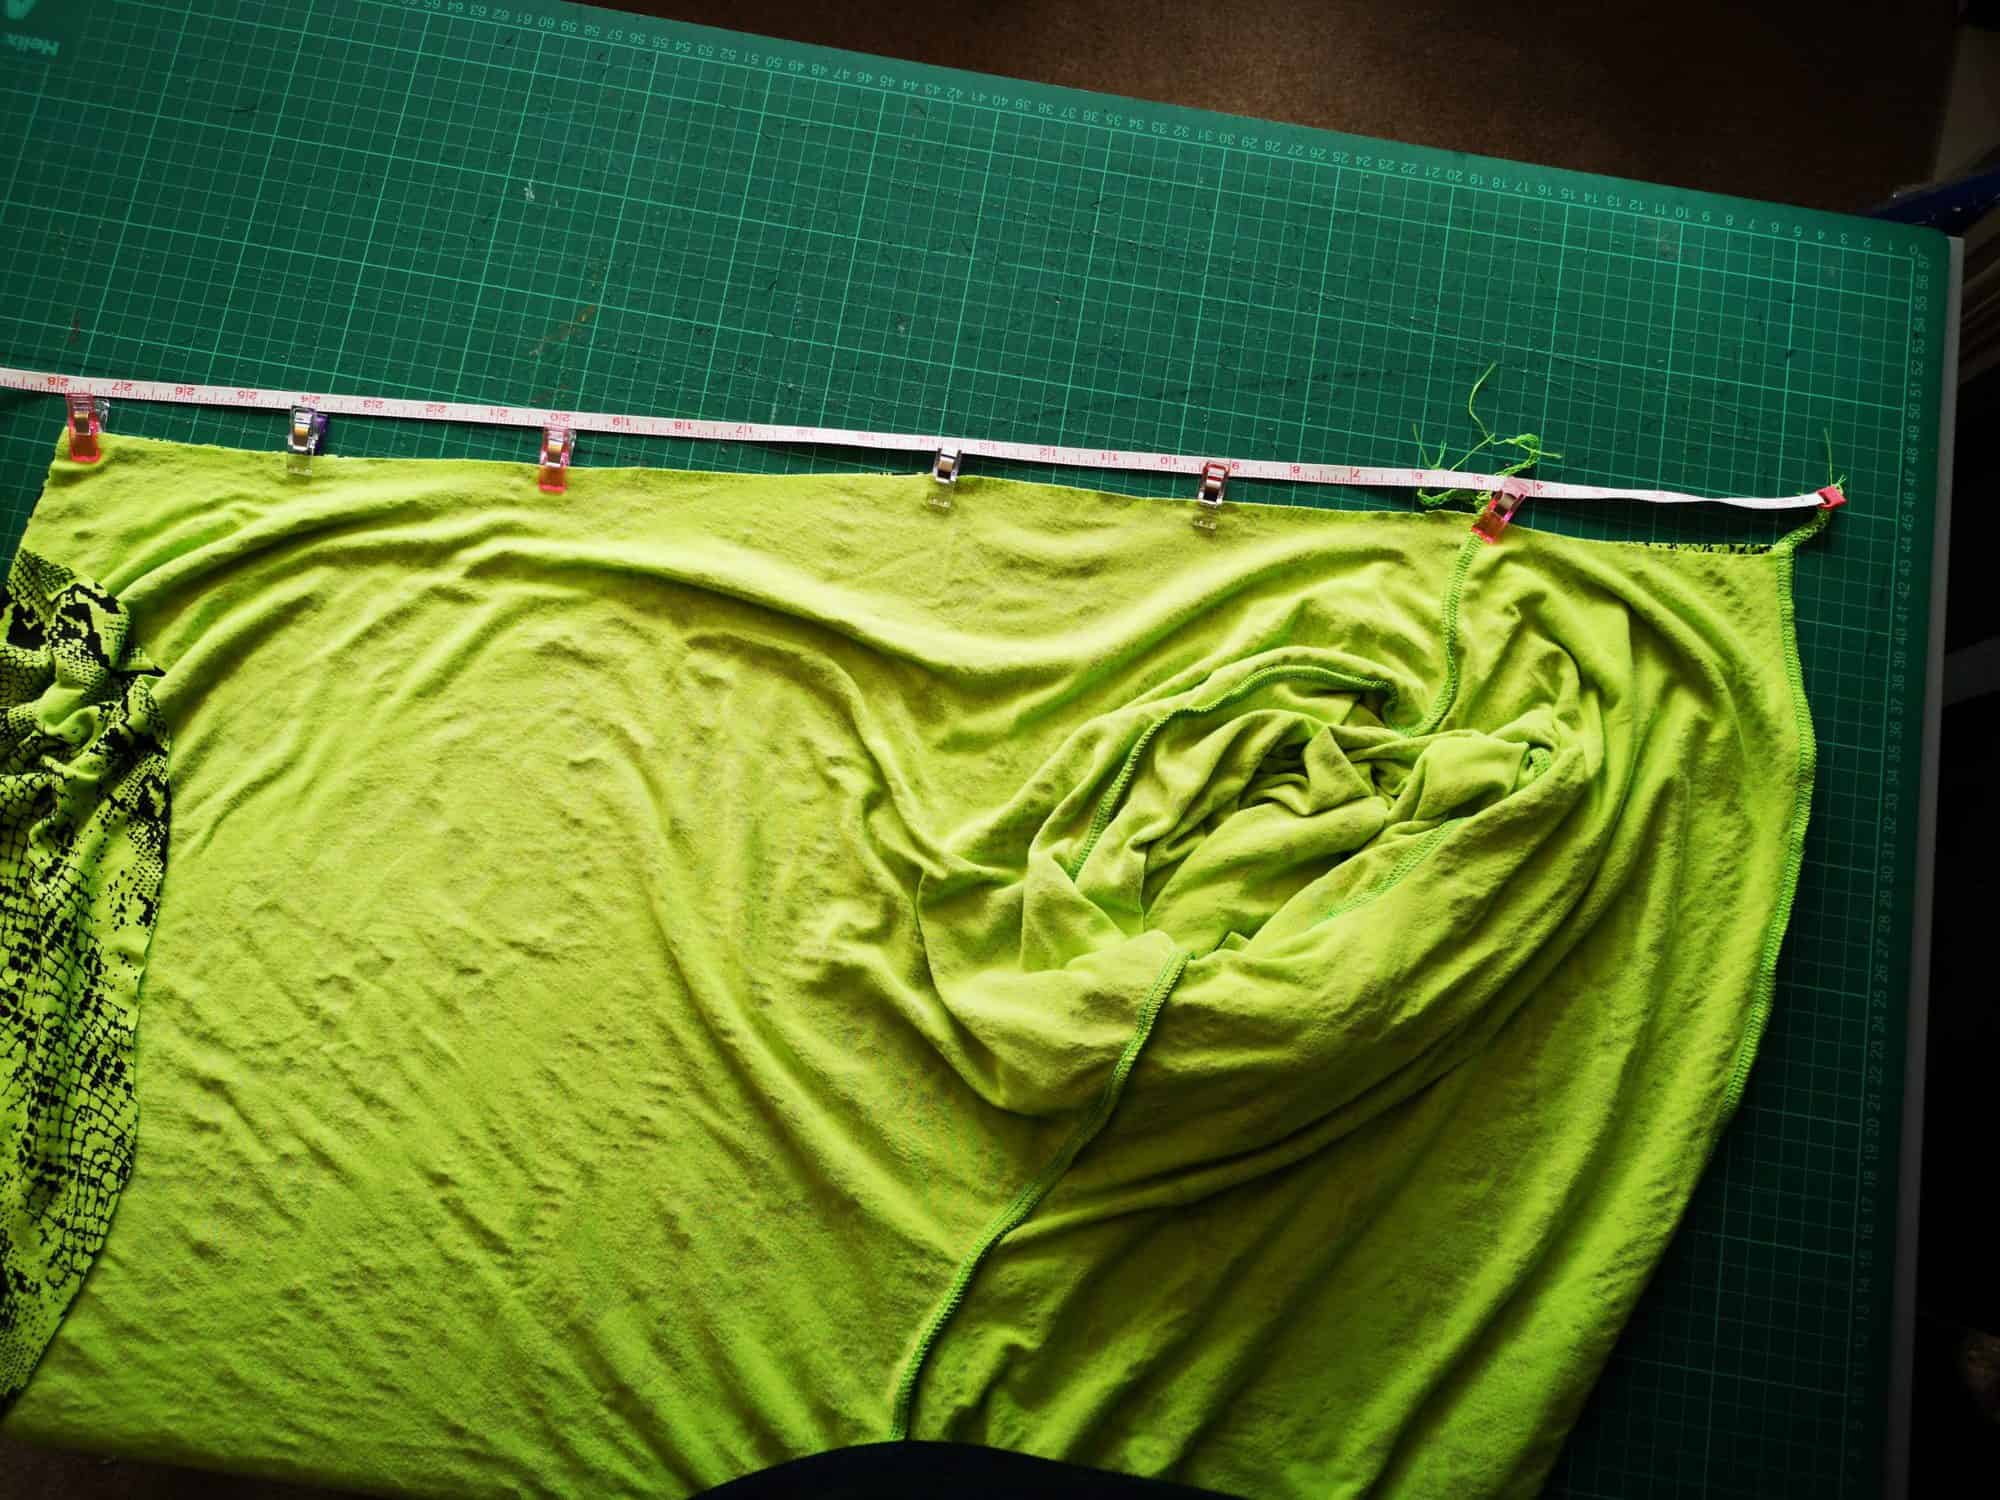
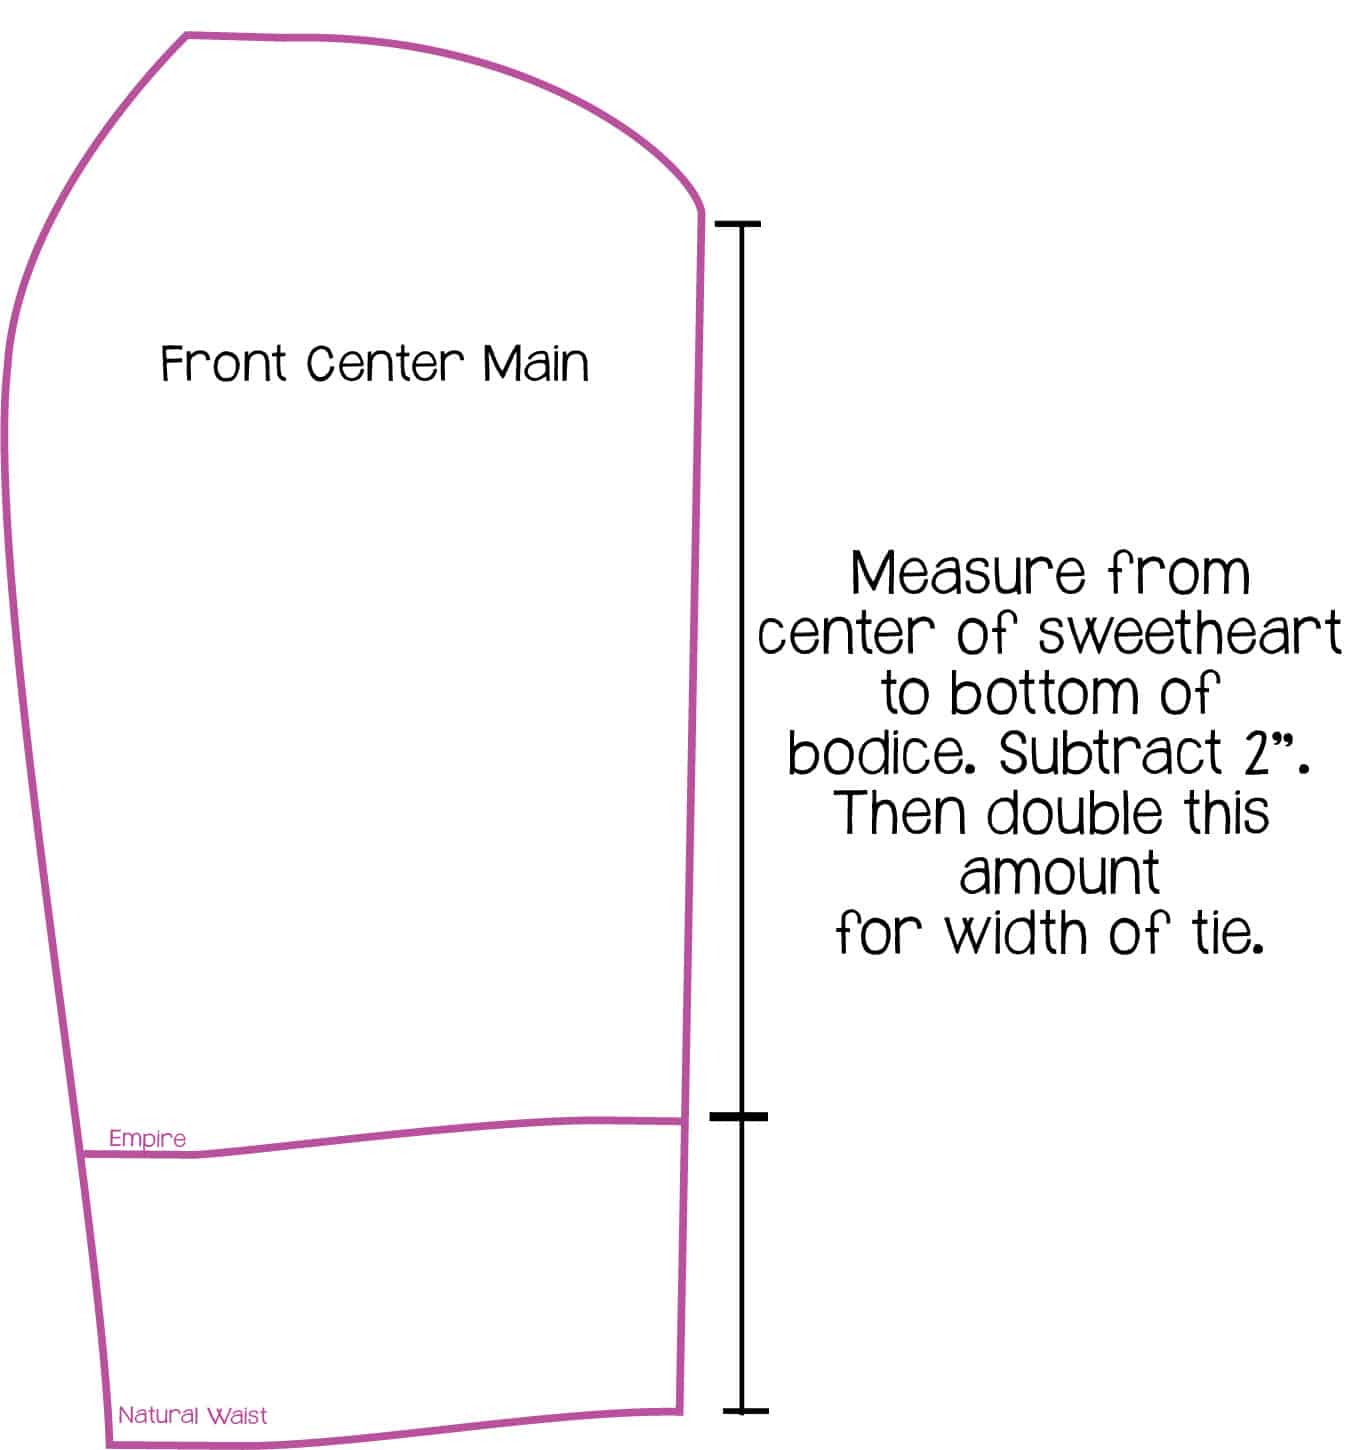
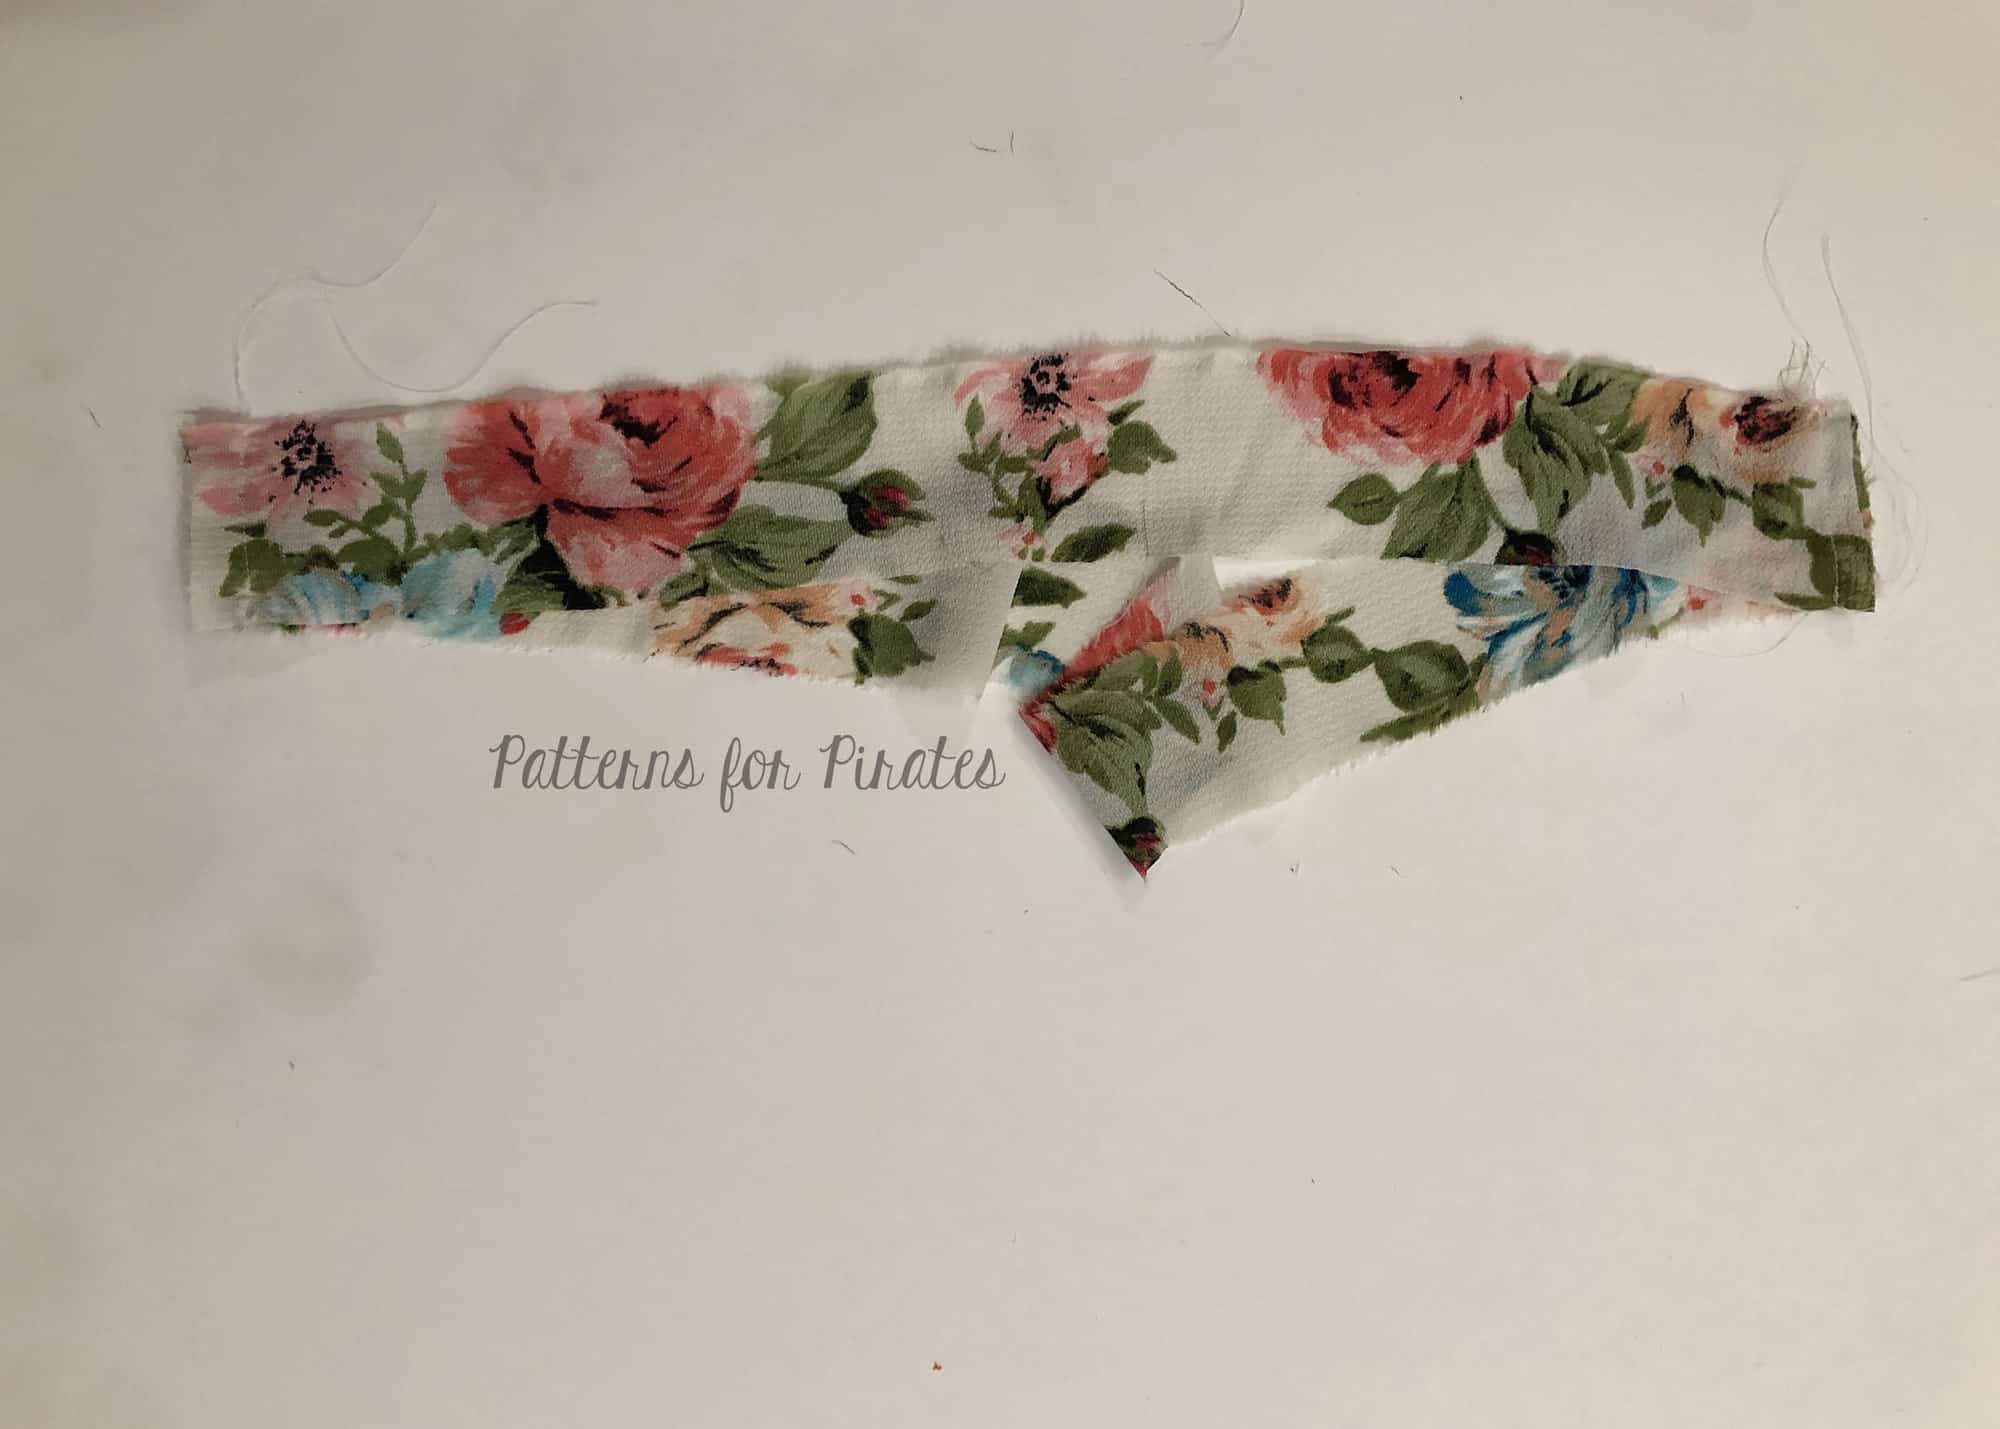
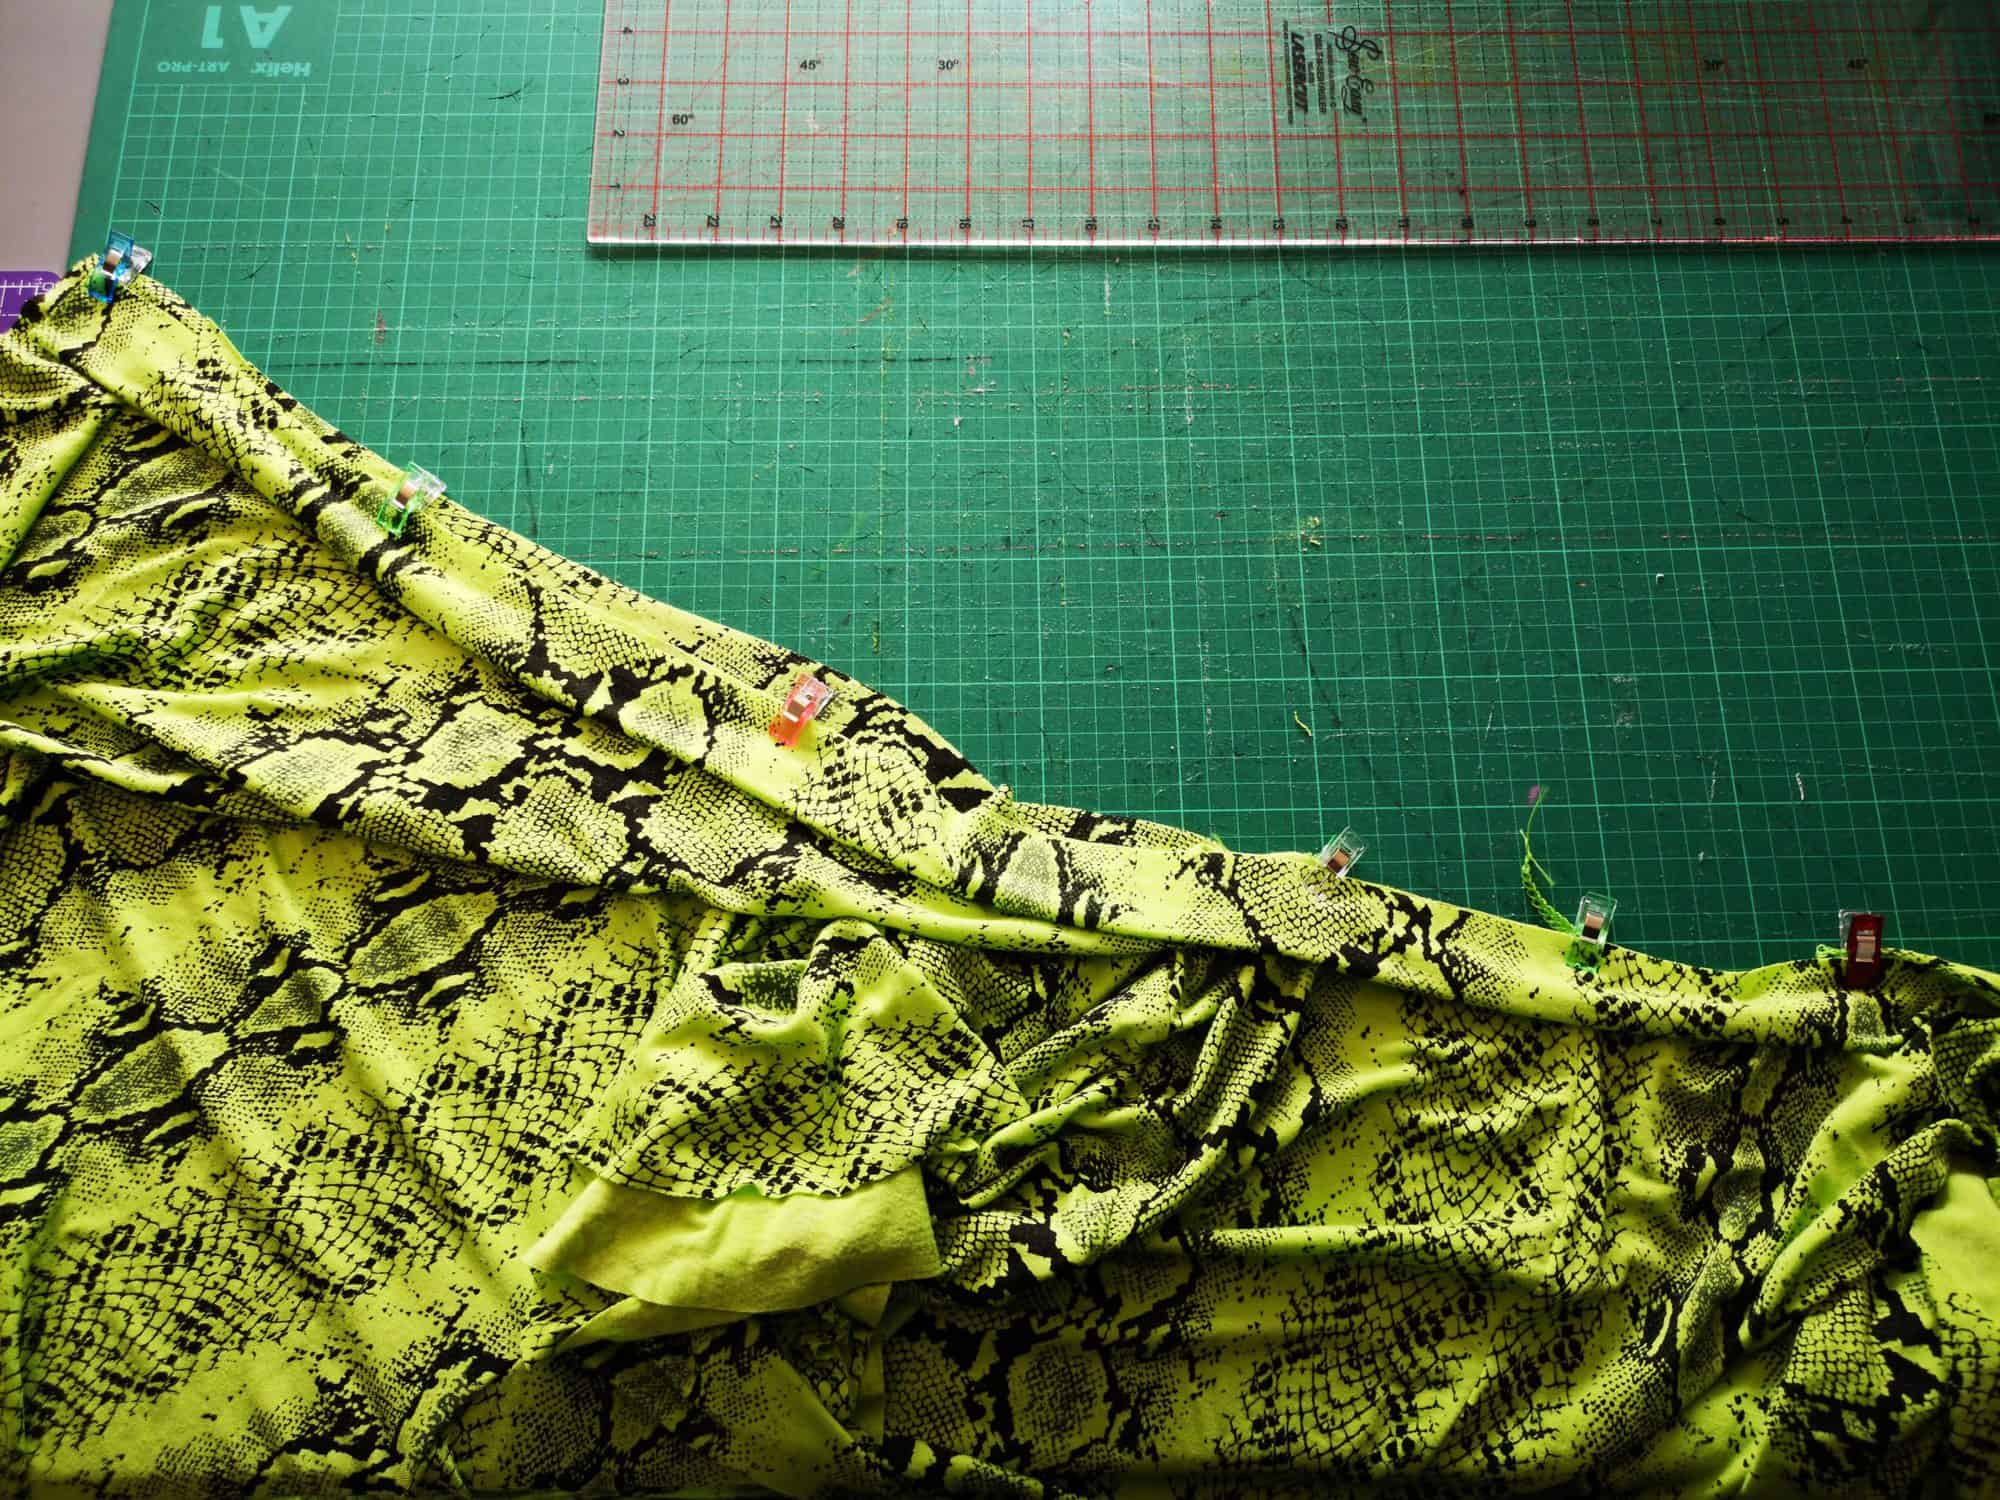
You will need to measure the length of your unfinished neckline by measuring up the front of one bodice piece, along the top of the neck and down the other bodice piece. The easiest way to do this is to fold the dress in half, matching the centre back and the ends of the two bodice pieces. I like to pop a few sewing clips on to hold it in place.
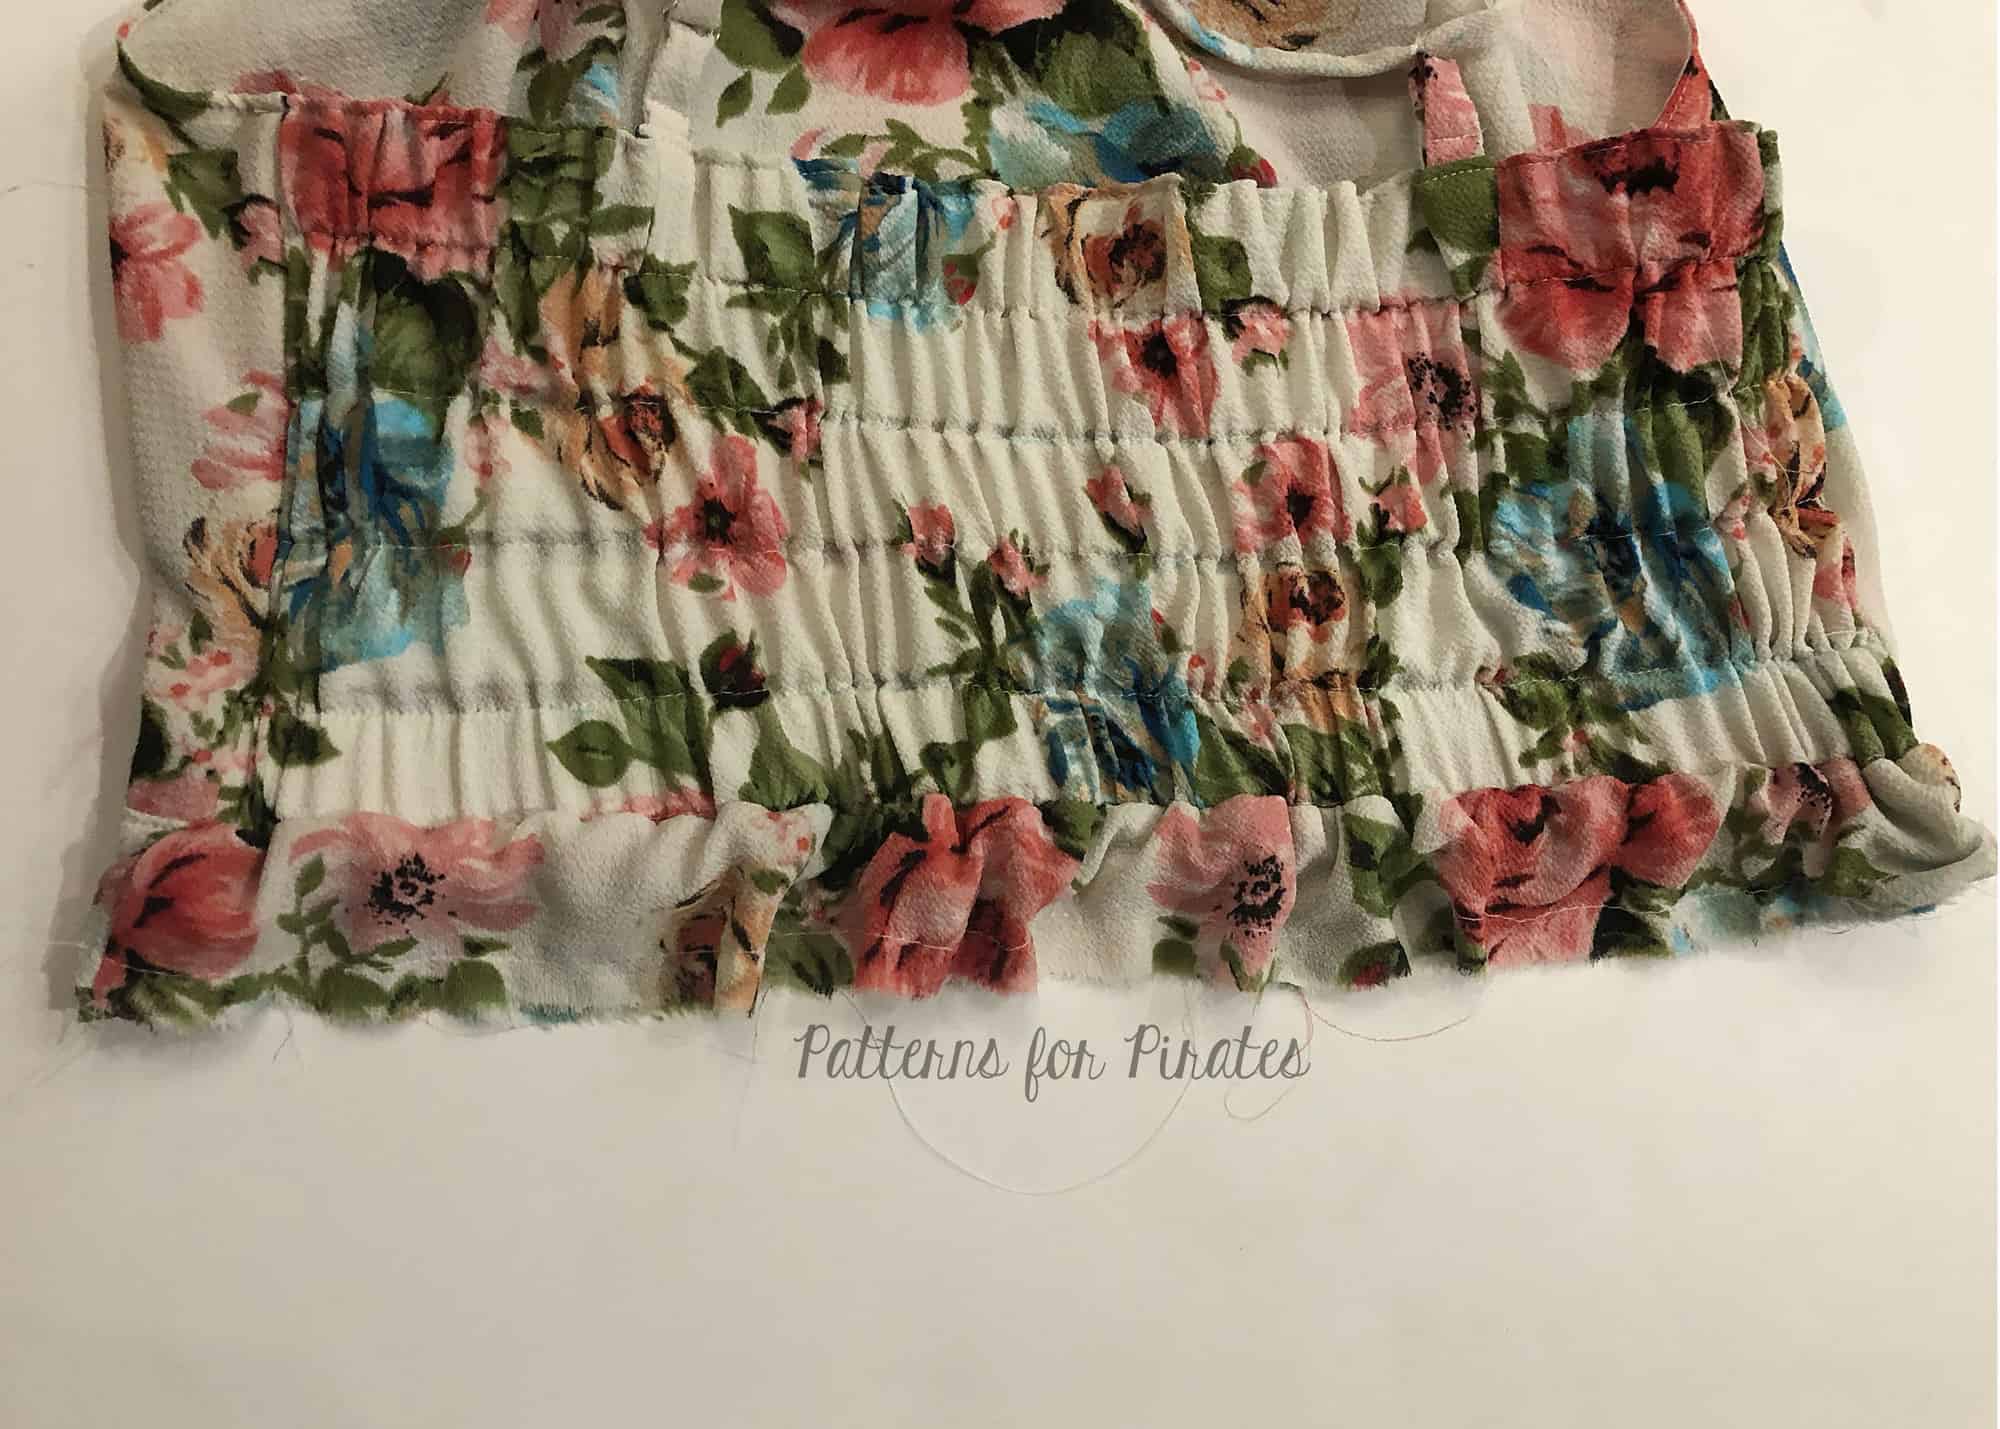
My measurement from centre back to the end of the bodice is 28 inches. Then I simply double this to find the entire neckline measurement: 28 X 2 = 56 inches. Then I take my 56 and multiply it by 90% to reach 50.4 (which I will round up to 50.5 inches). This is the measurement I will use for the length of my neckband. The width of your neckband will depend on personal choice but I will use 3 inches, as once the neckband is attached with a ½ inch seam allowance I’ll be left with a 1 inch band width. So my measurement is 3 X 50.5 inches, with the stretch going along the length of the band. Here is my band after cutting.
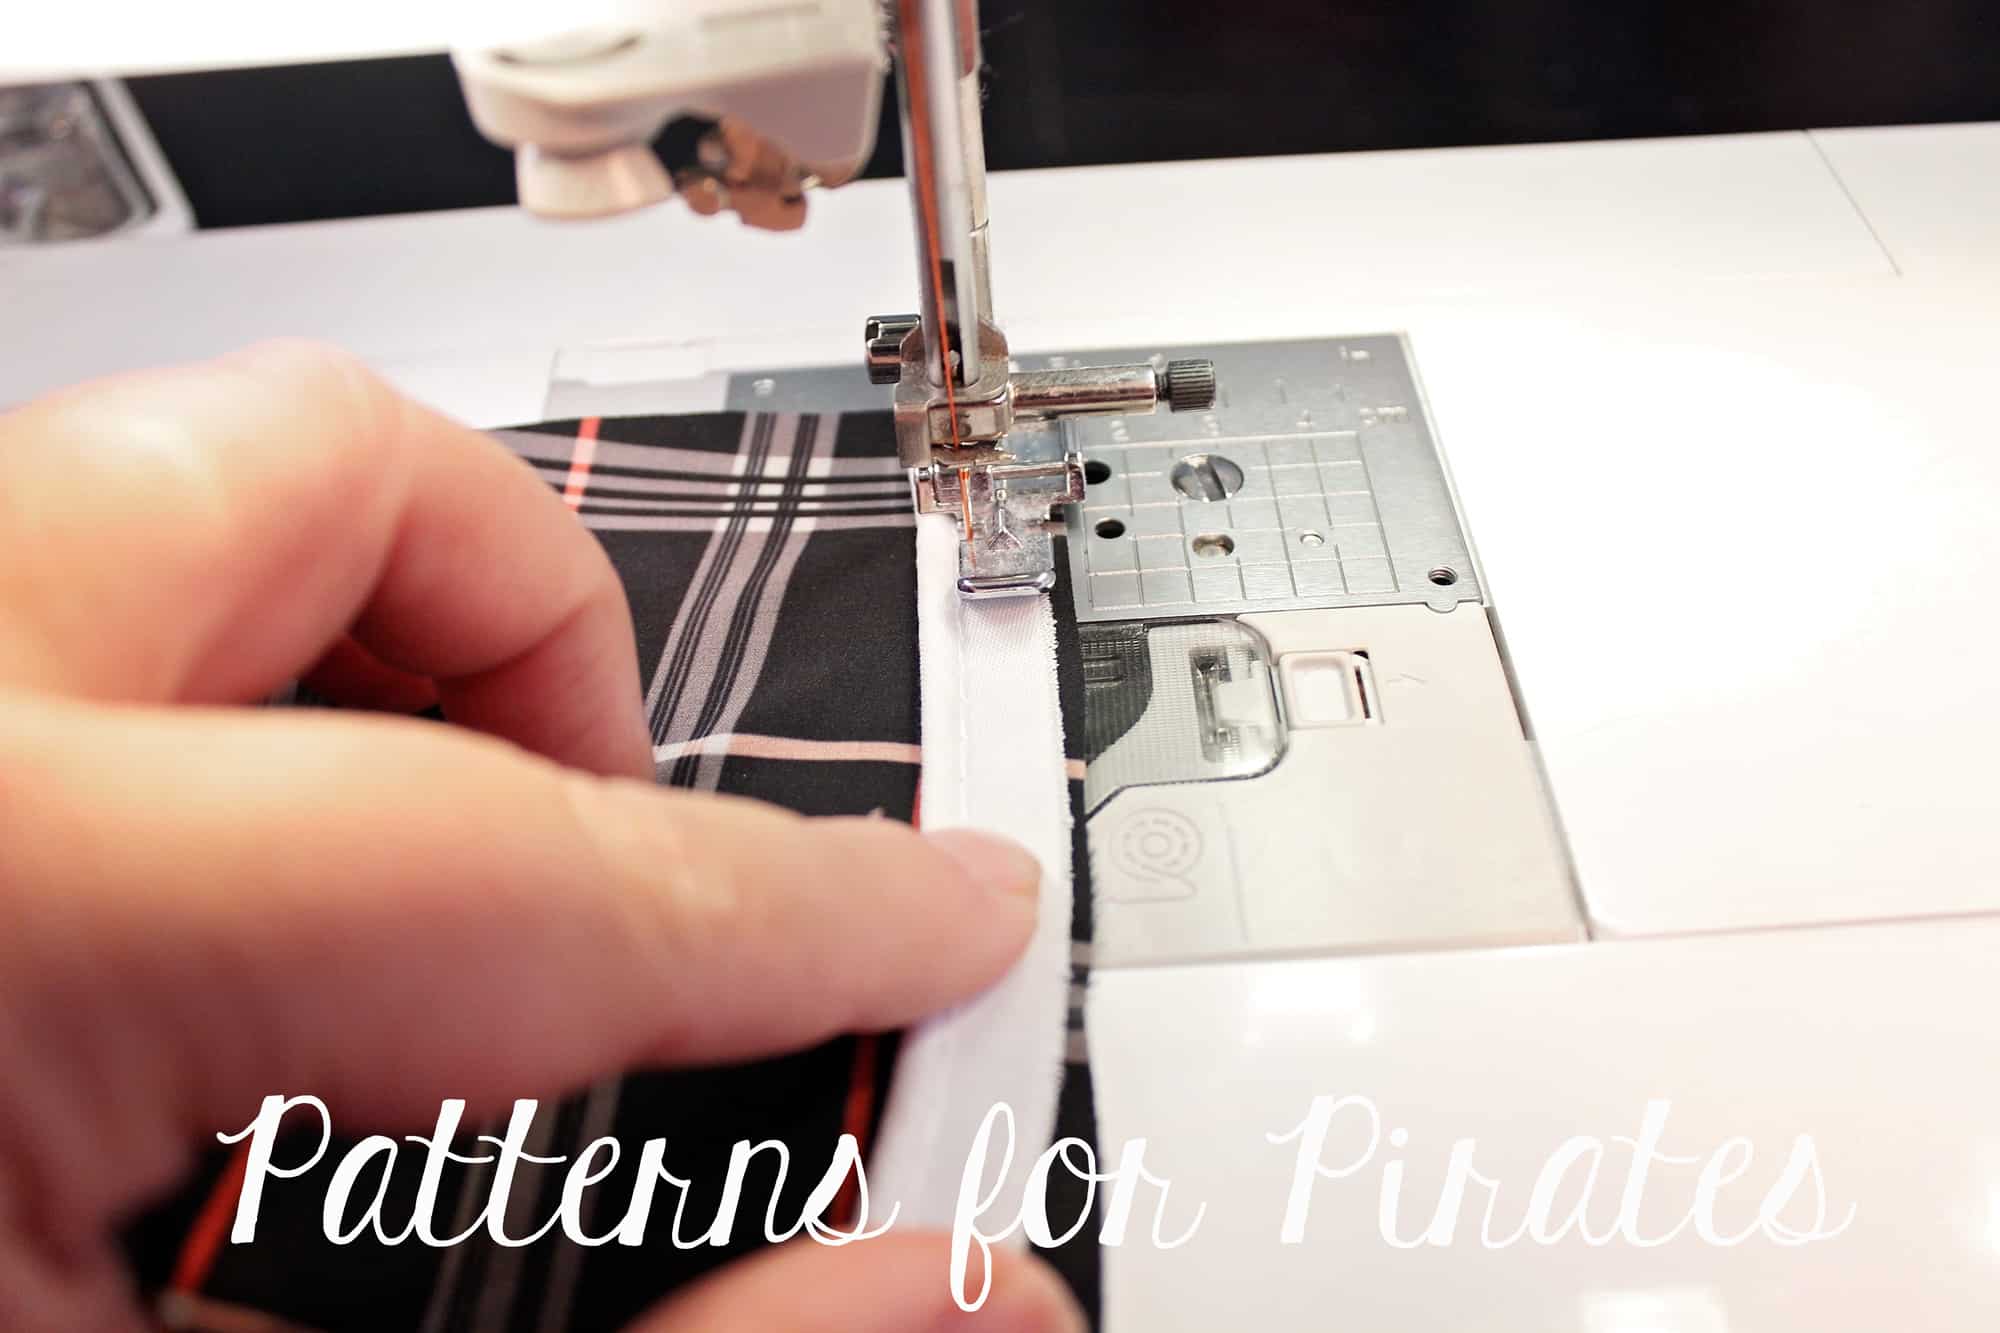
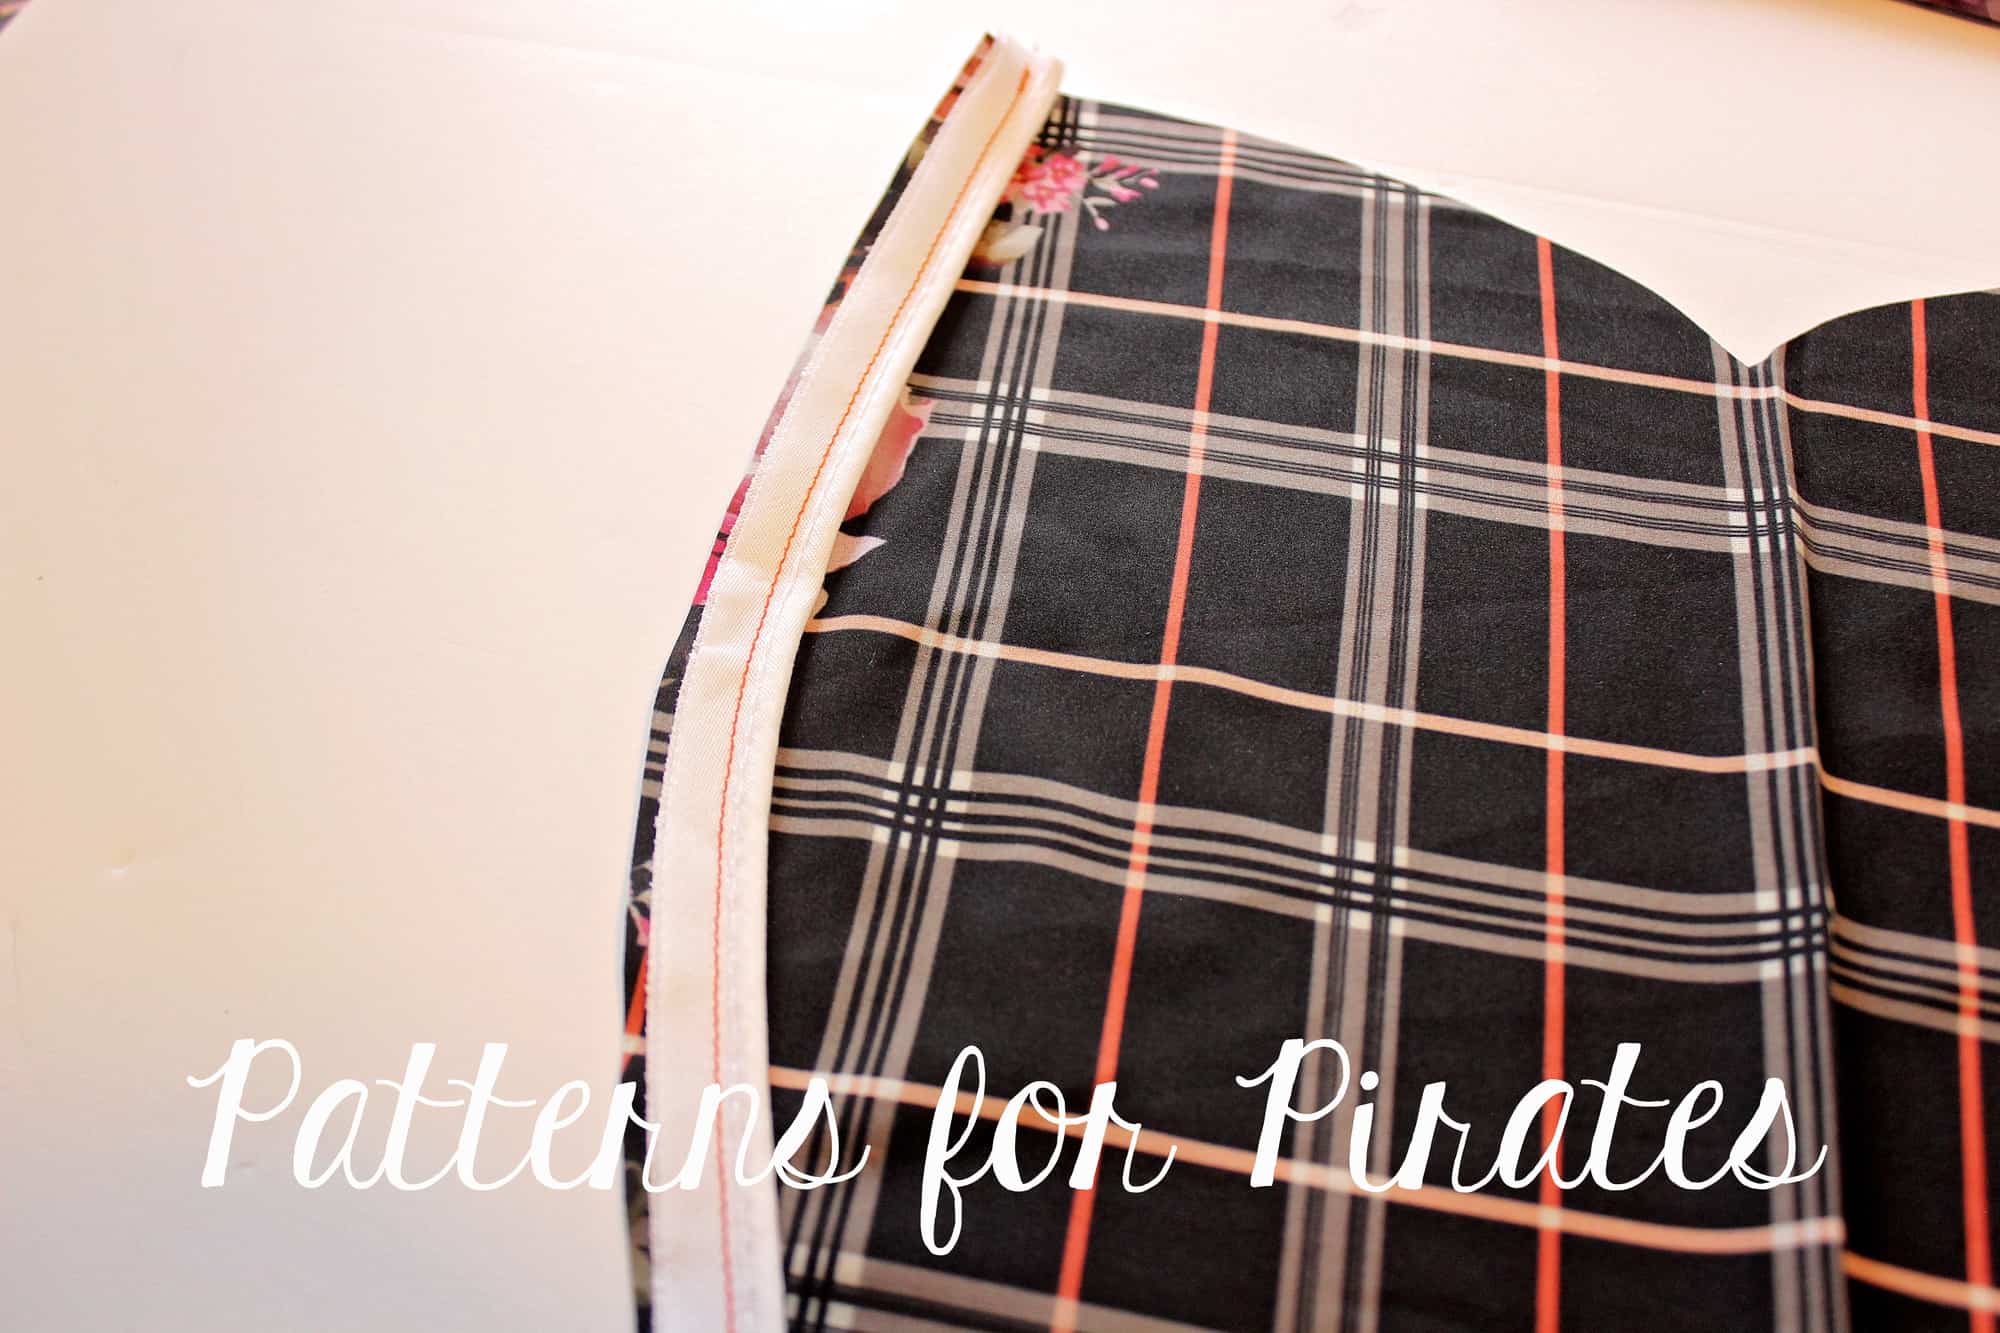
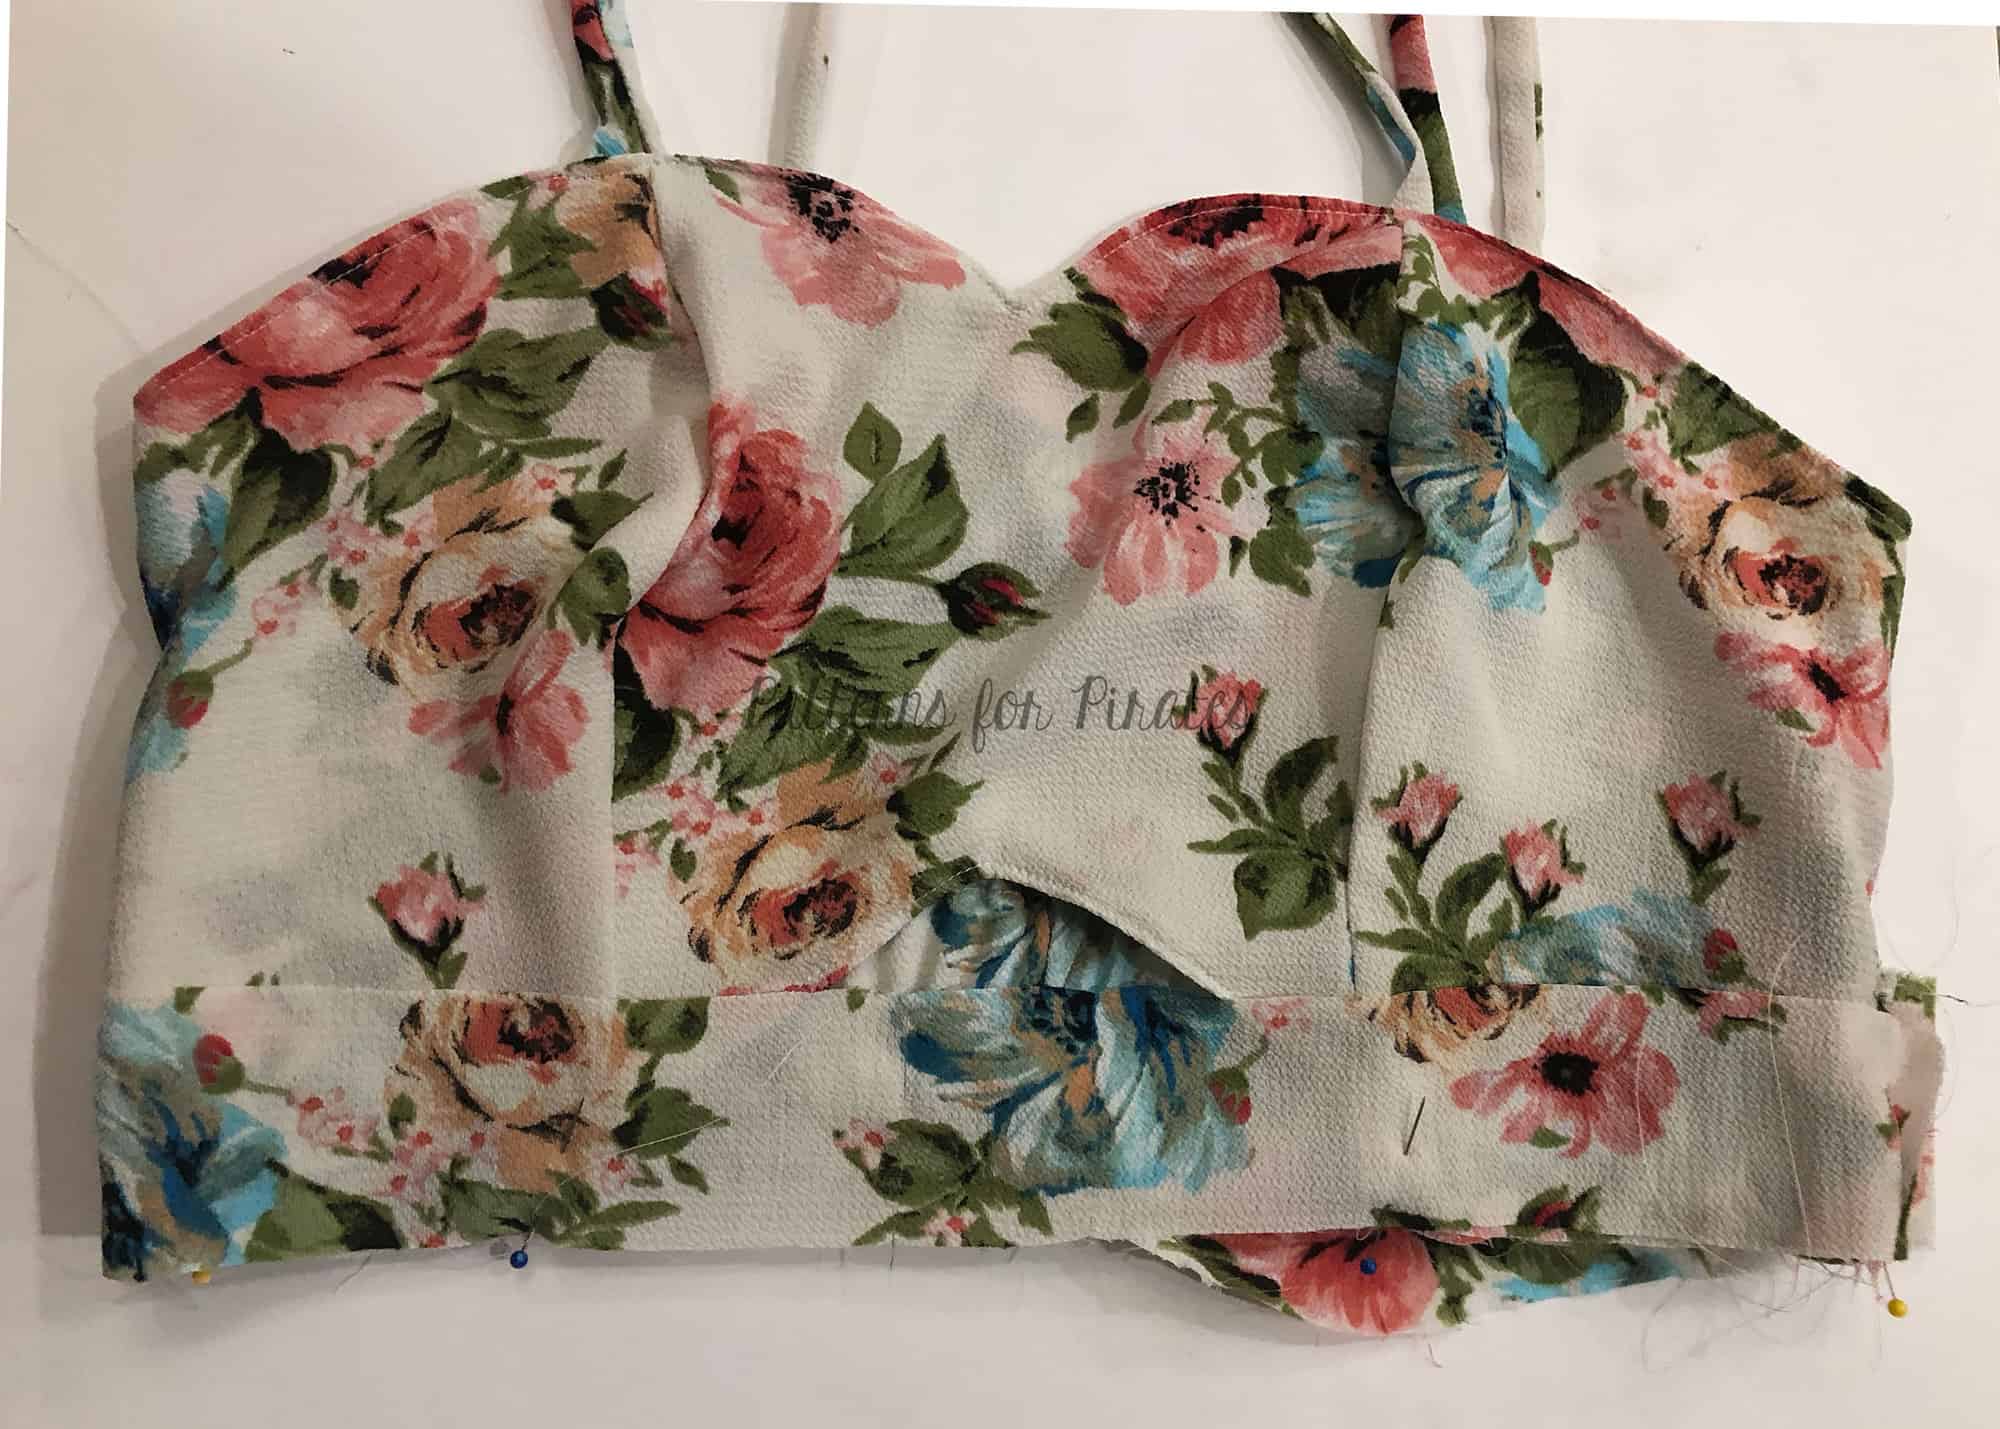
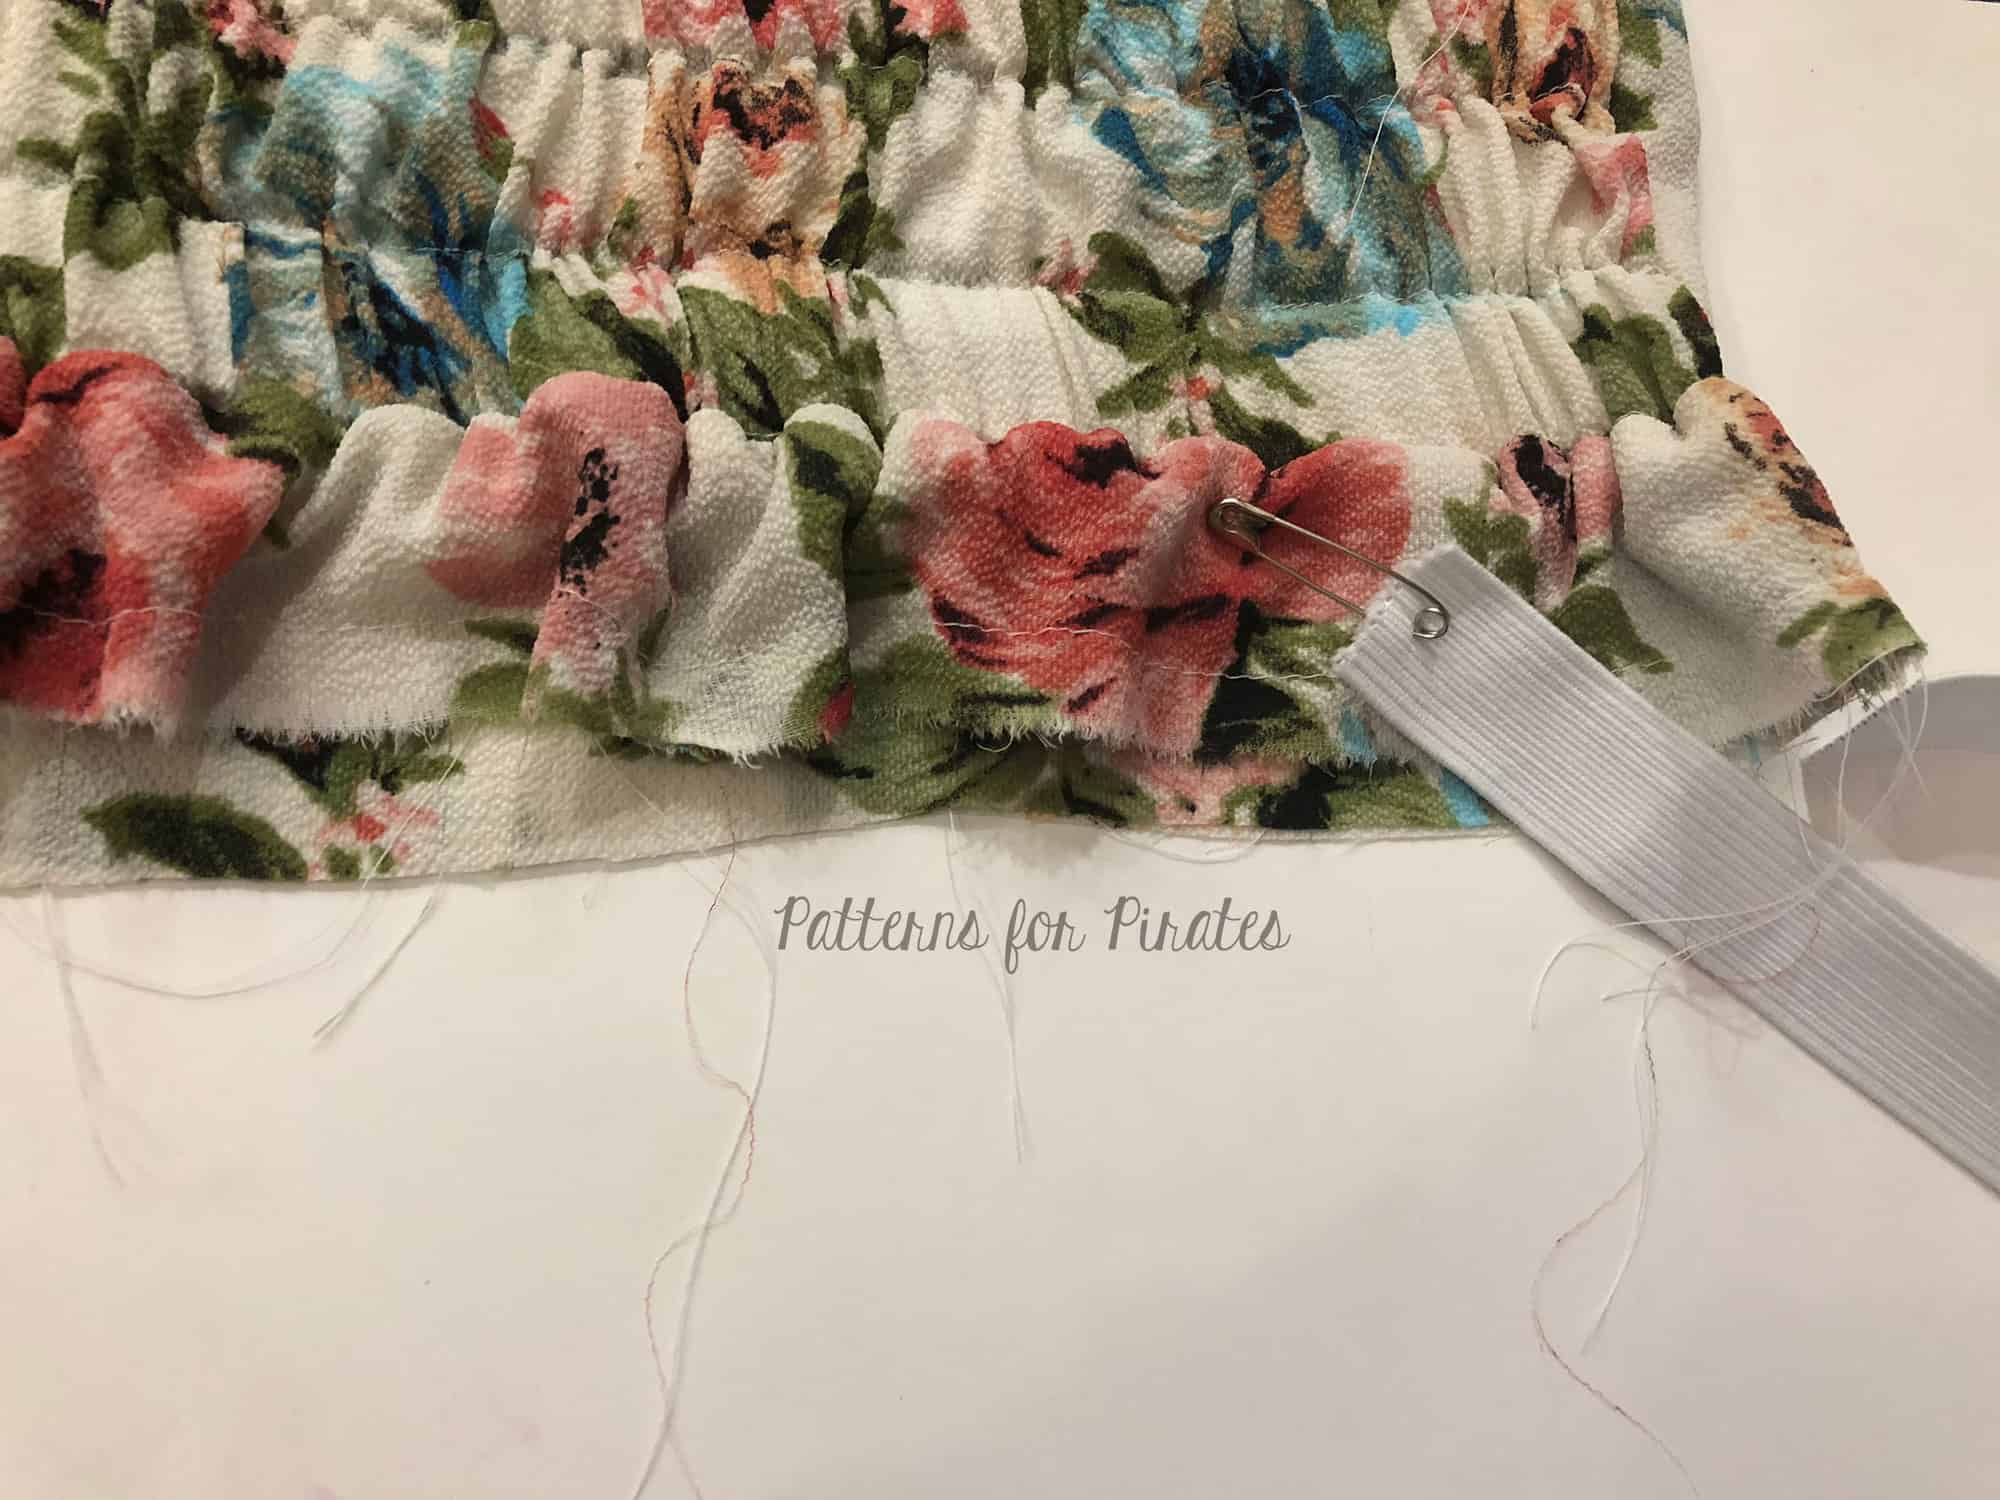
Then I attached my neckband as normal. Fold the fabric wrong sides together along the length. Then find the middle of the band and mark with a pin or clip.
Attach the middle of the band, right sides together and raw edges up with the centre of the back bodice piece (it’s already marked by the centre seam). Then you will need to stretch the band to fit the neckline up to the shoulder seams about the amount you would normally stretch a neckband to fit. I have included some photos for reference.
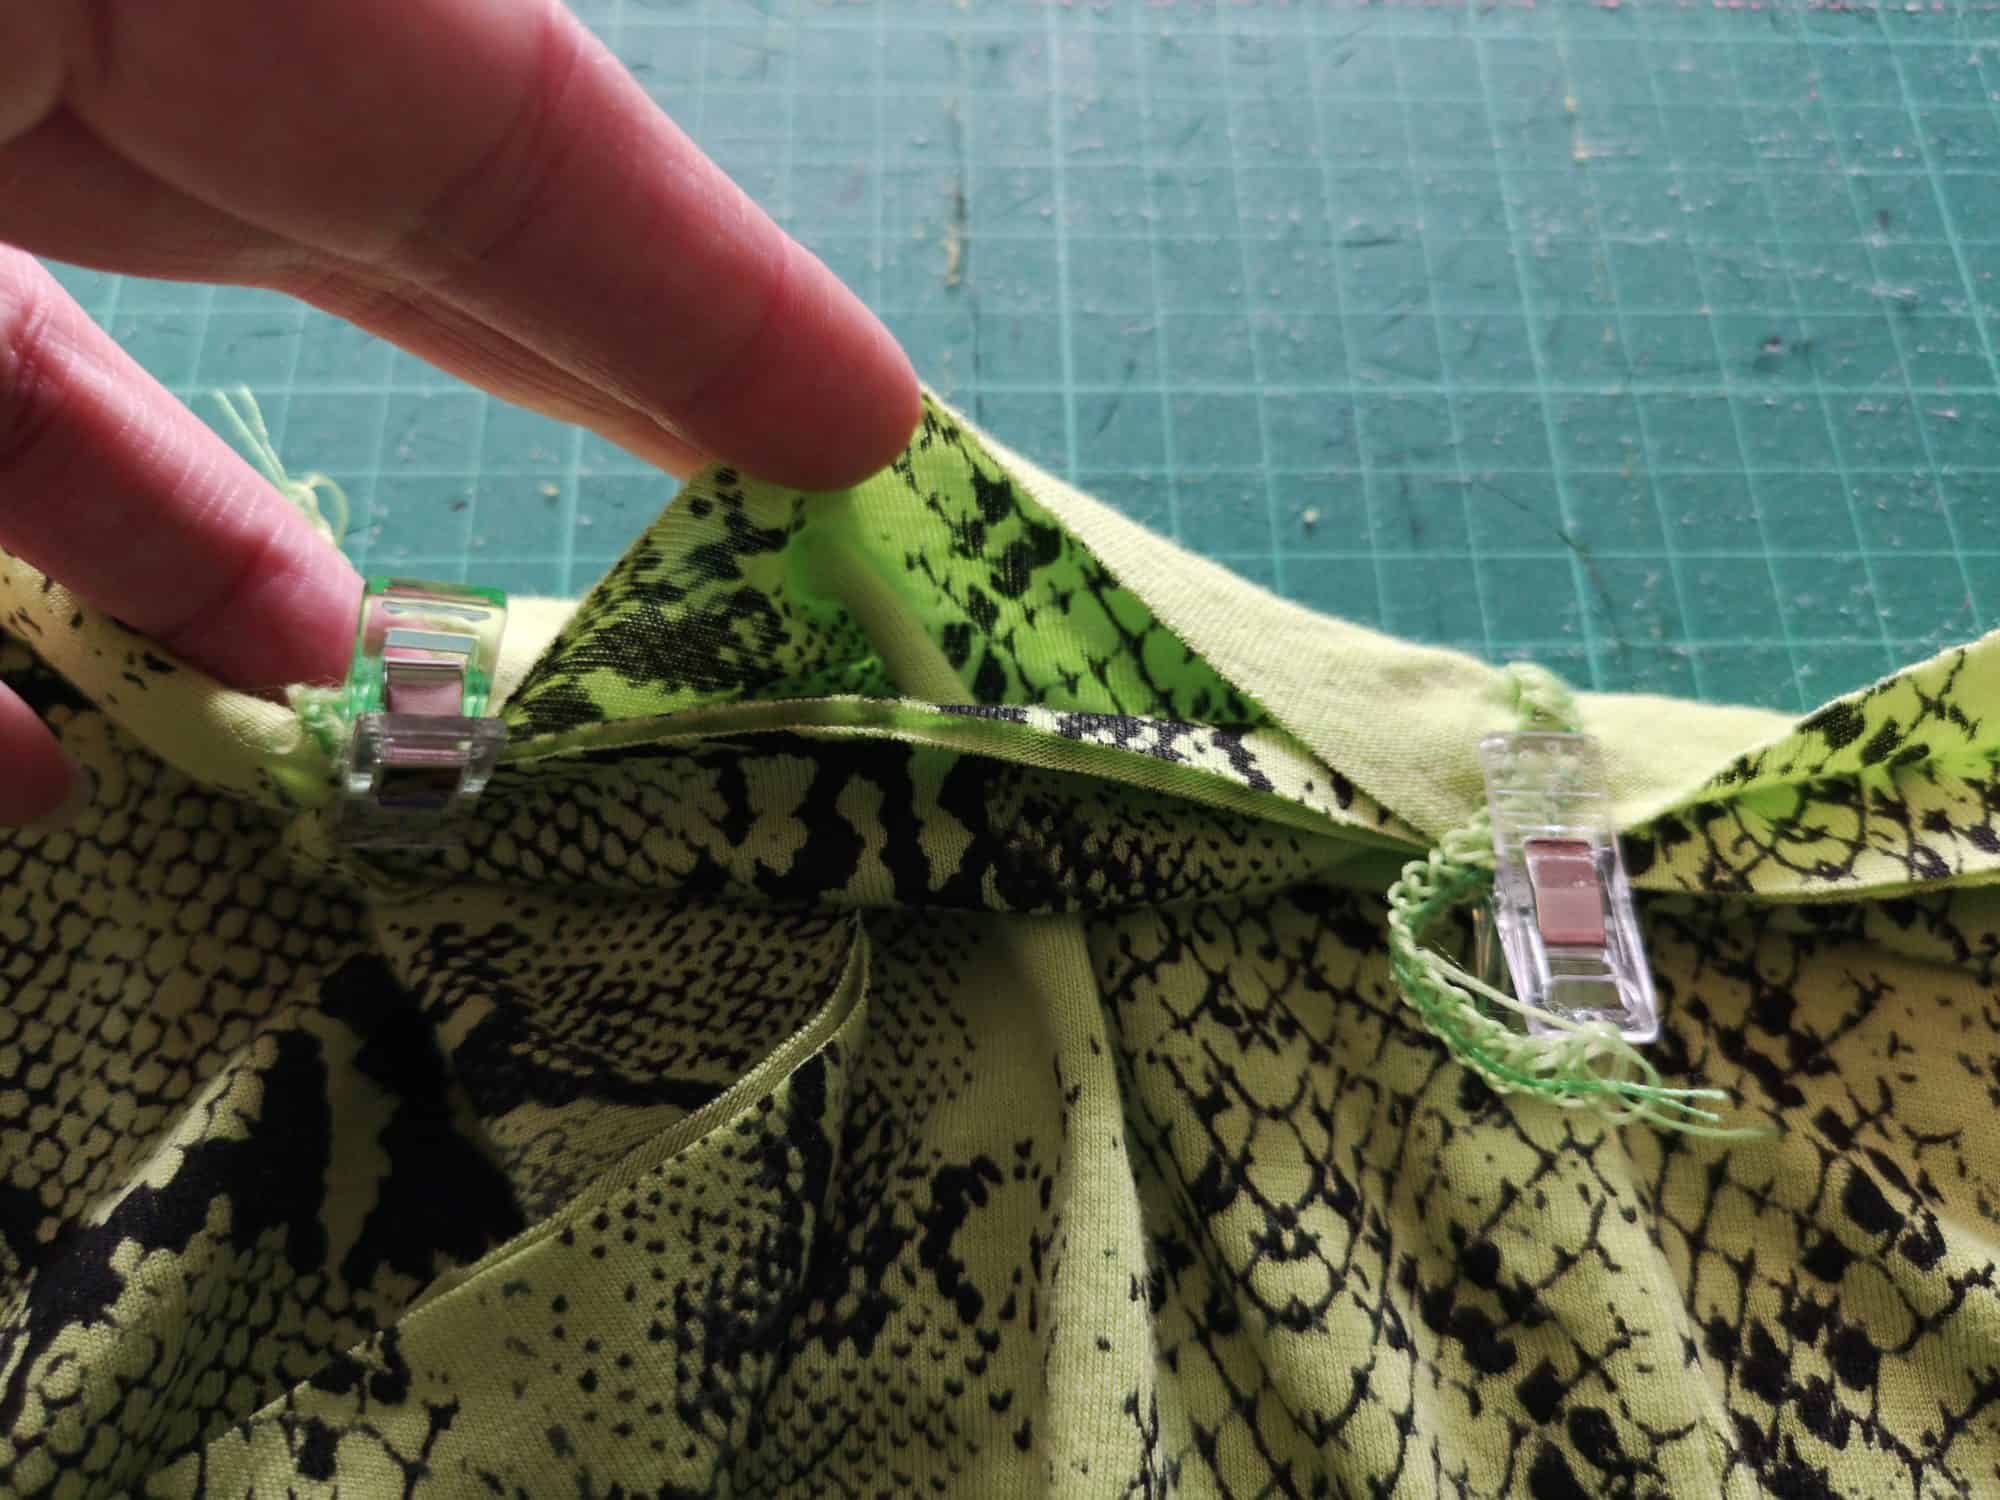
Next you clip the end of the neckband to the end of the bodice on the left side, and ease the neckband to the bodice front along its length. You will need to slightly stretch the neckband to fit along the bodice length.
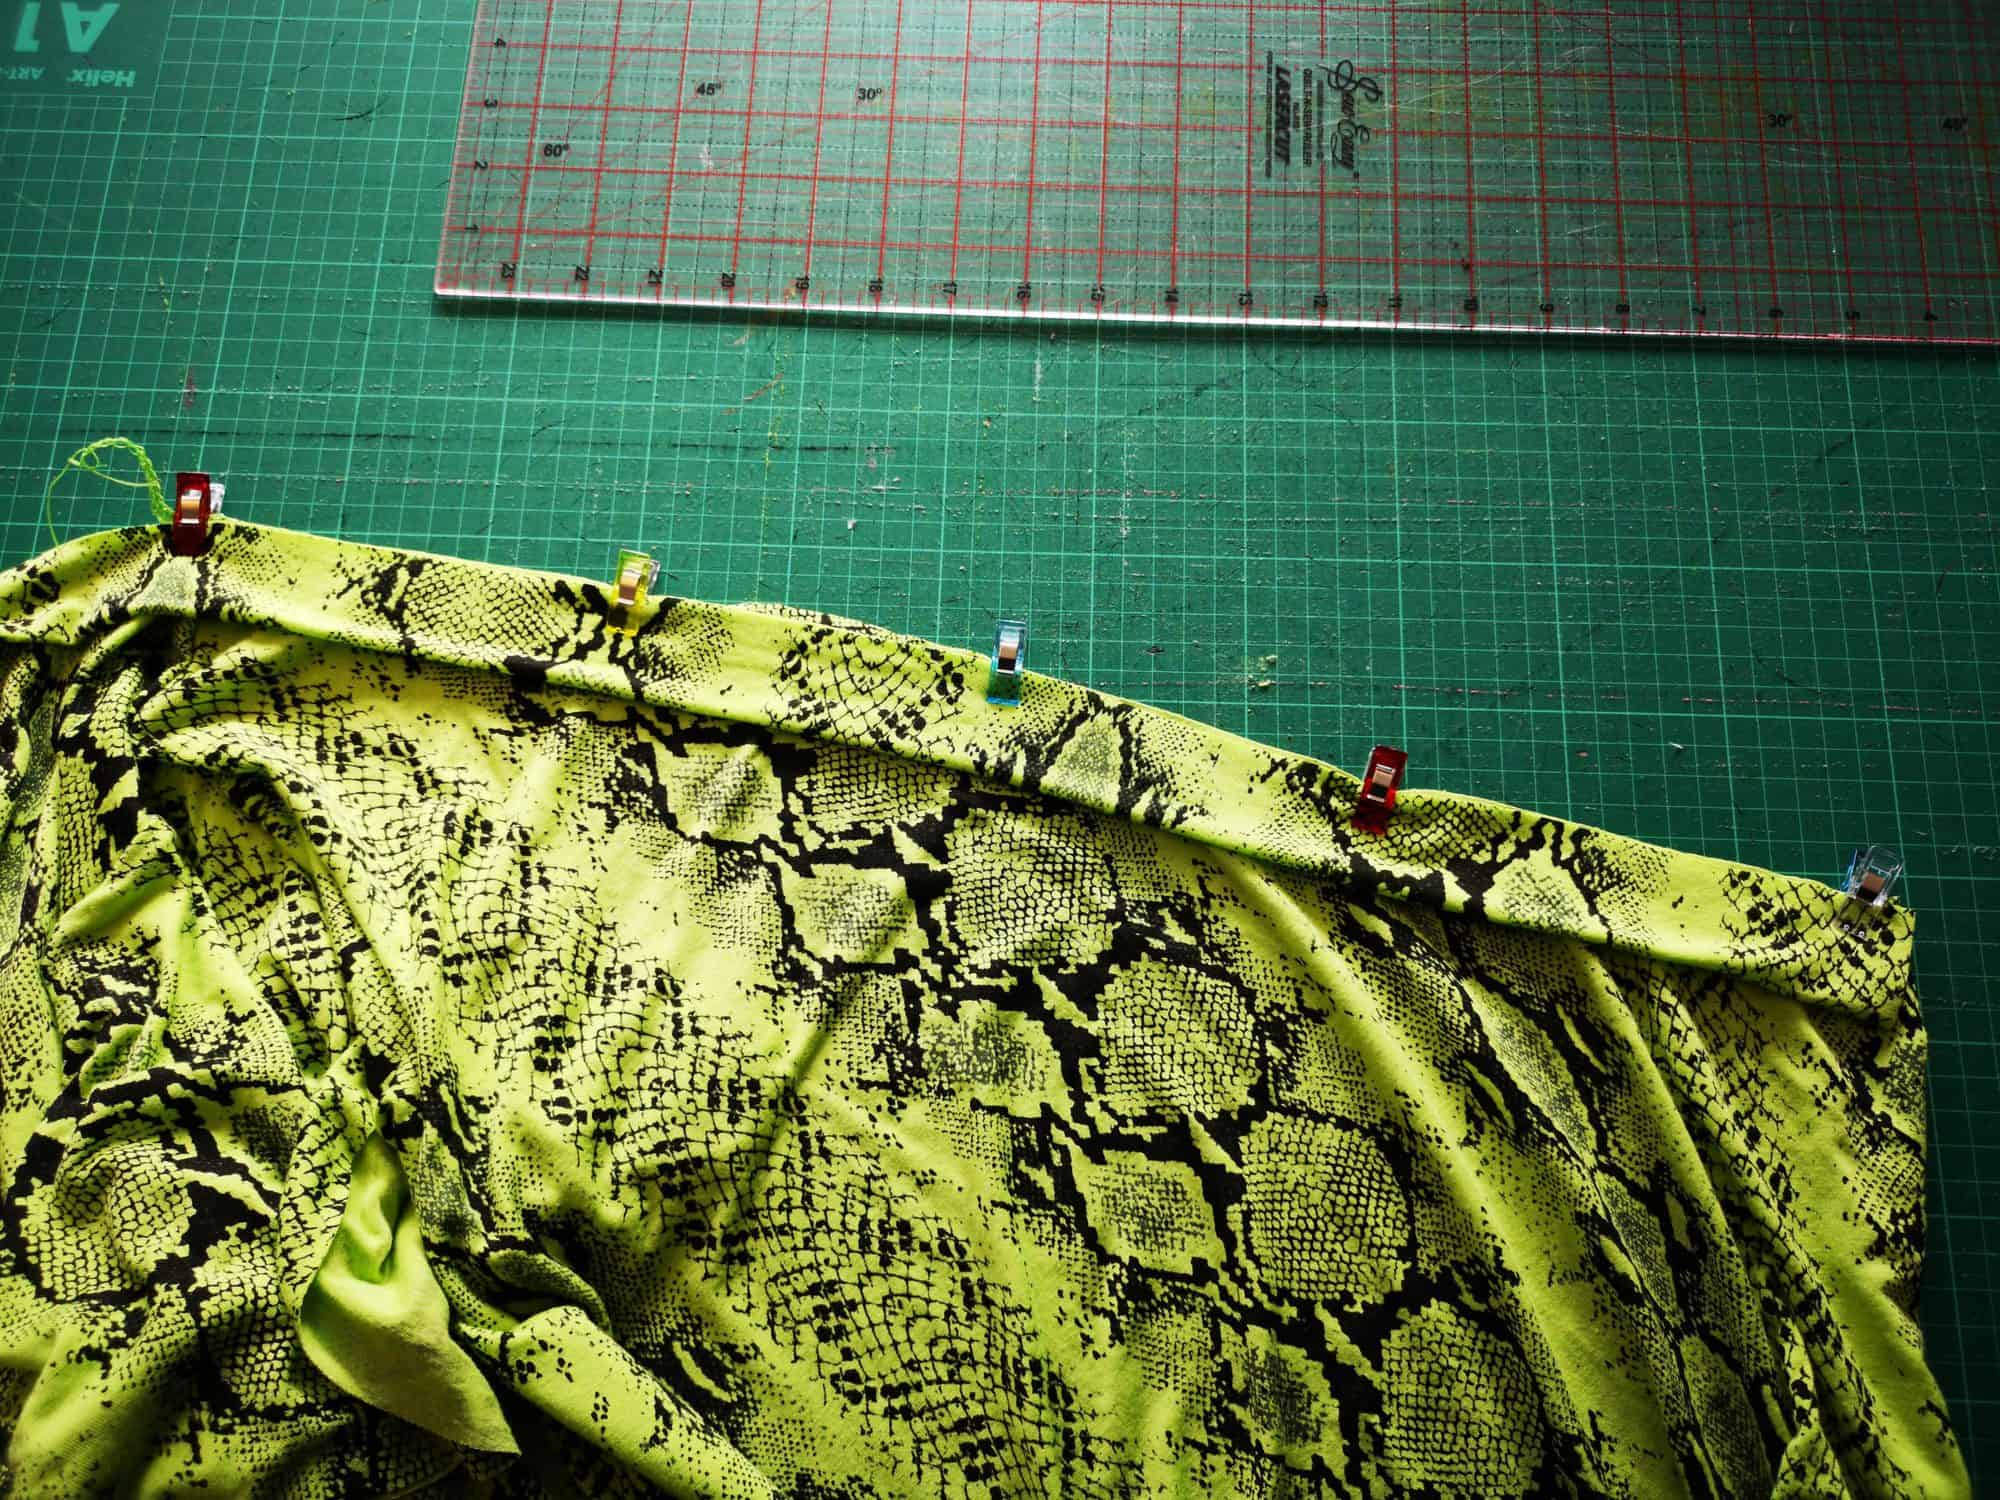
Repeat for the other side of the bodice. Sew the neckband in place using a ½ inch seam allowance. Flip the neckband up, press the seam allowance down and topstitch if desired.
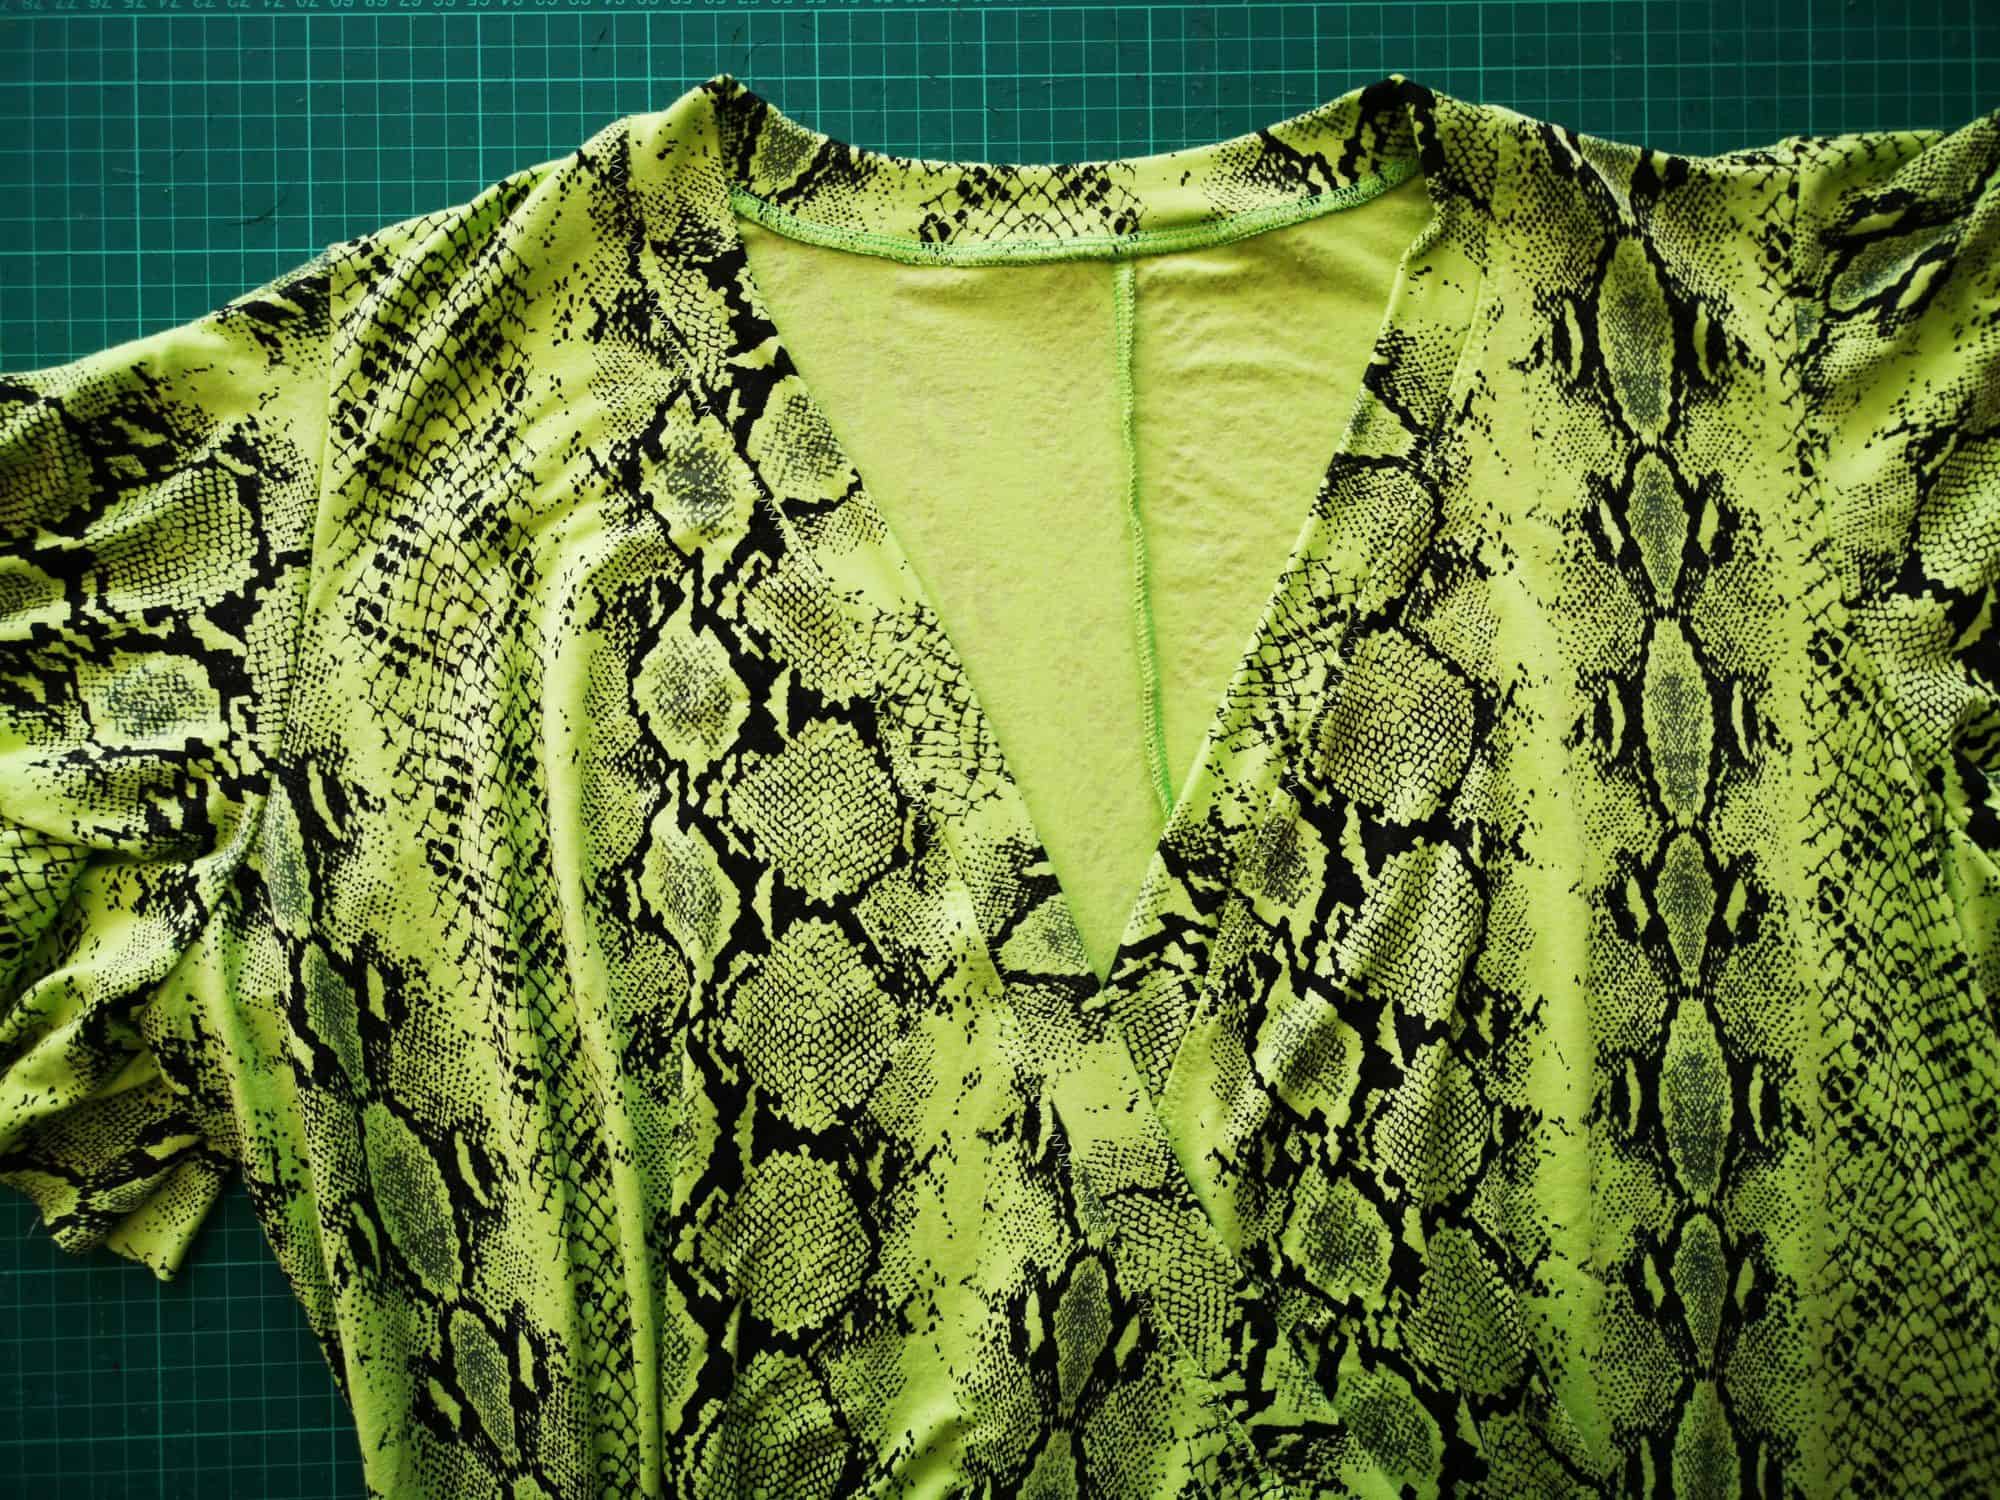
You’re all done!

…..
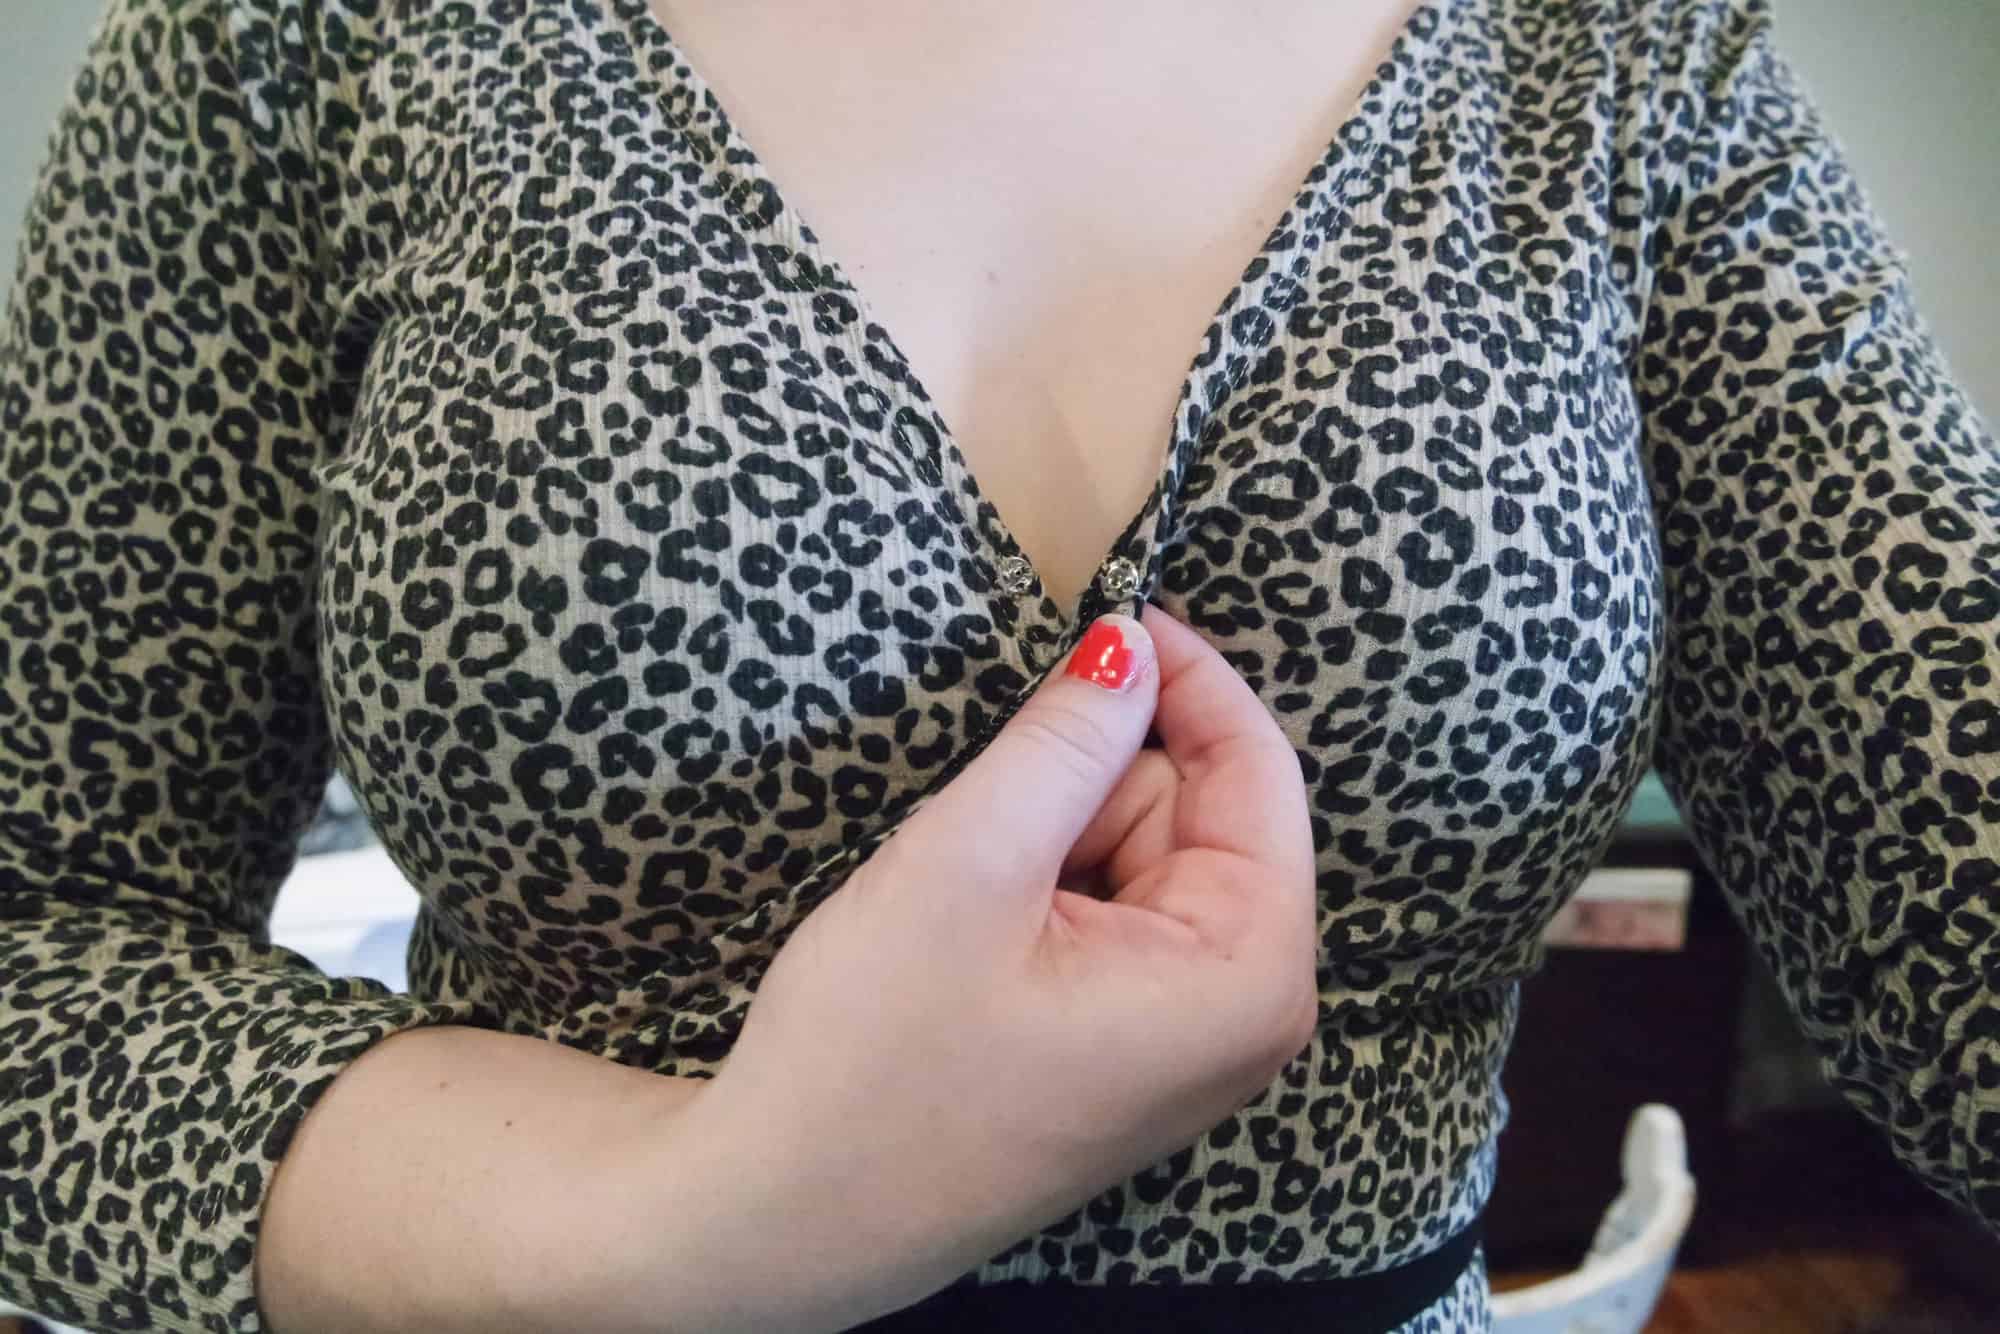
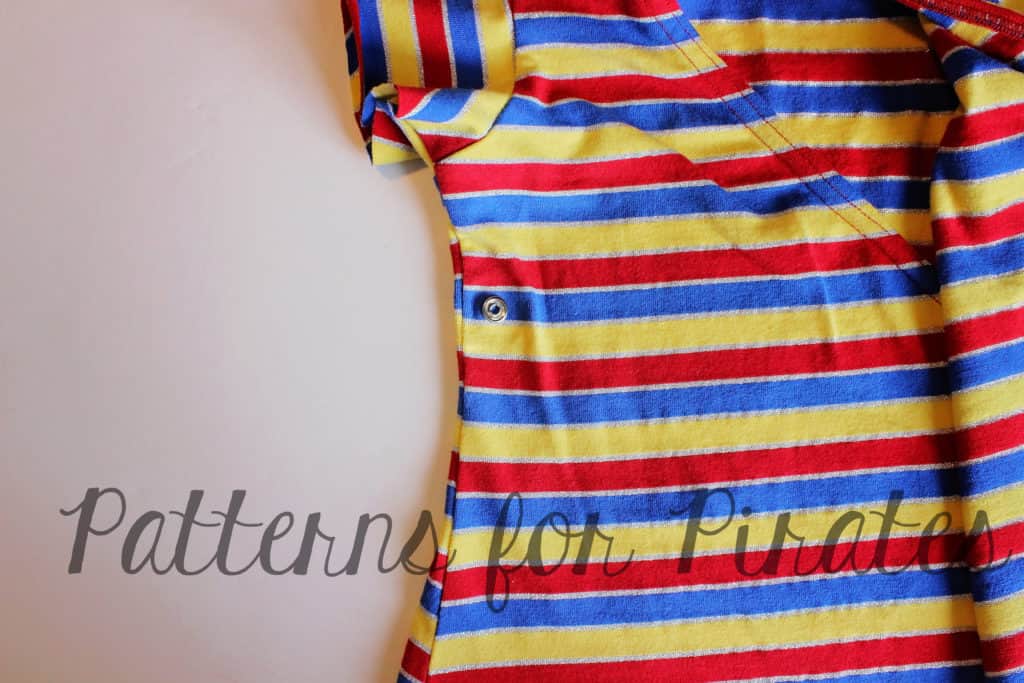
Snap to Keep Neckline in Place
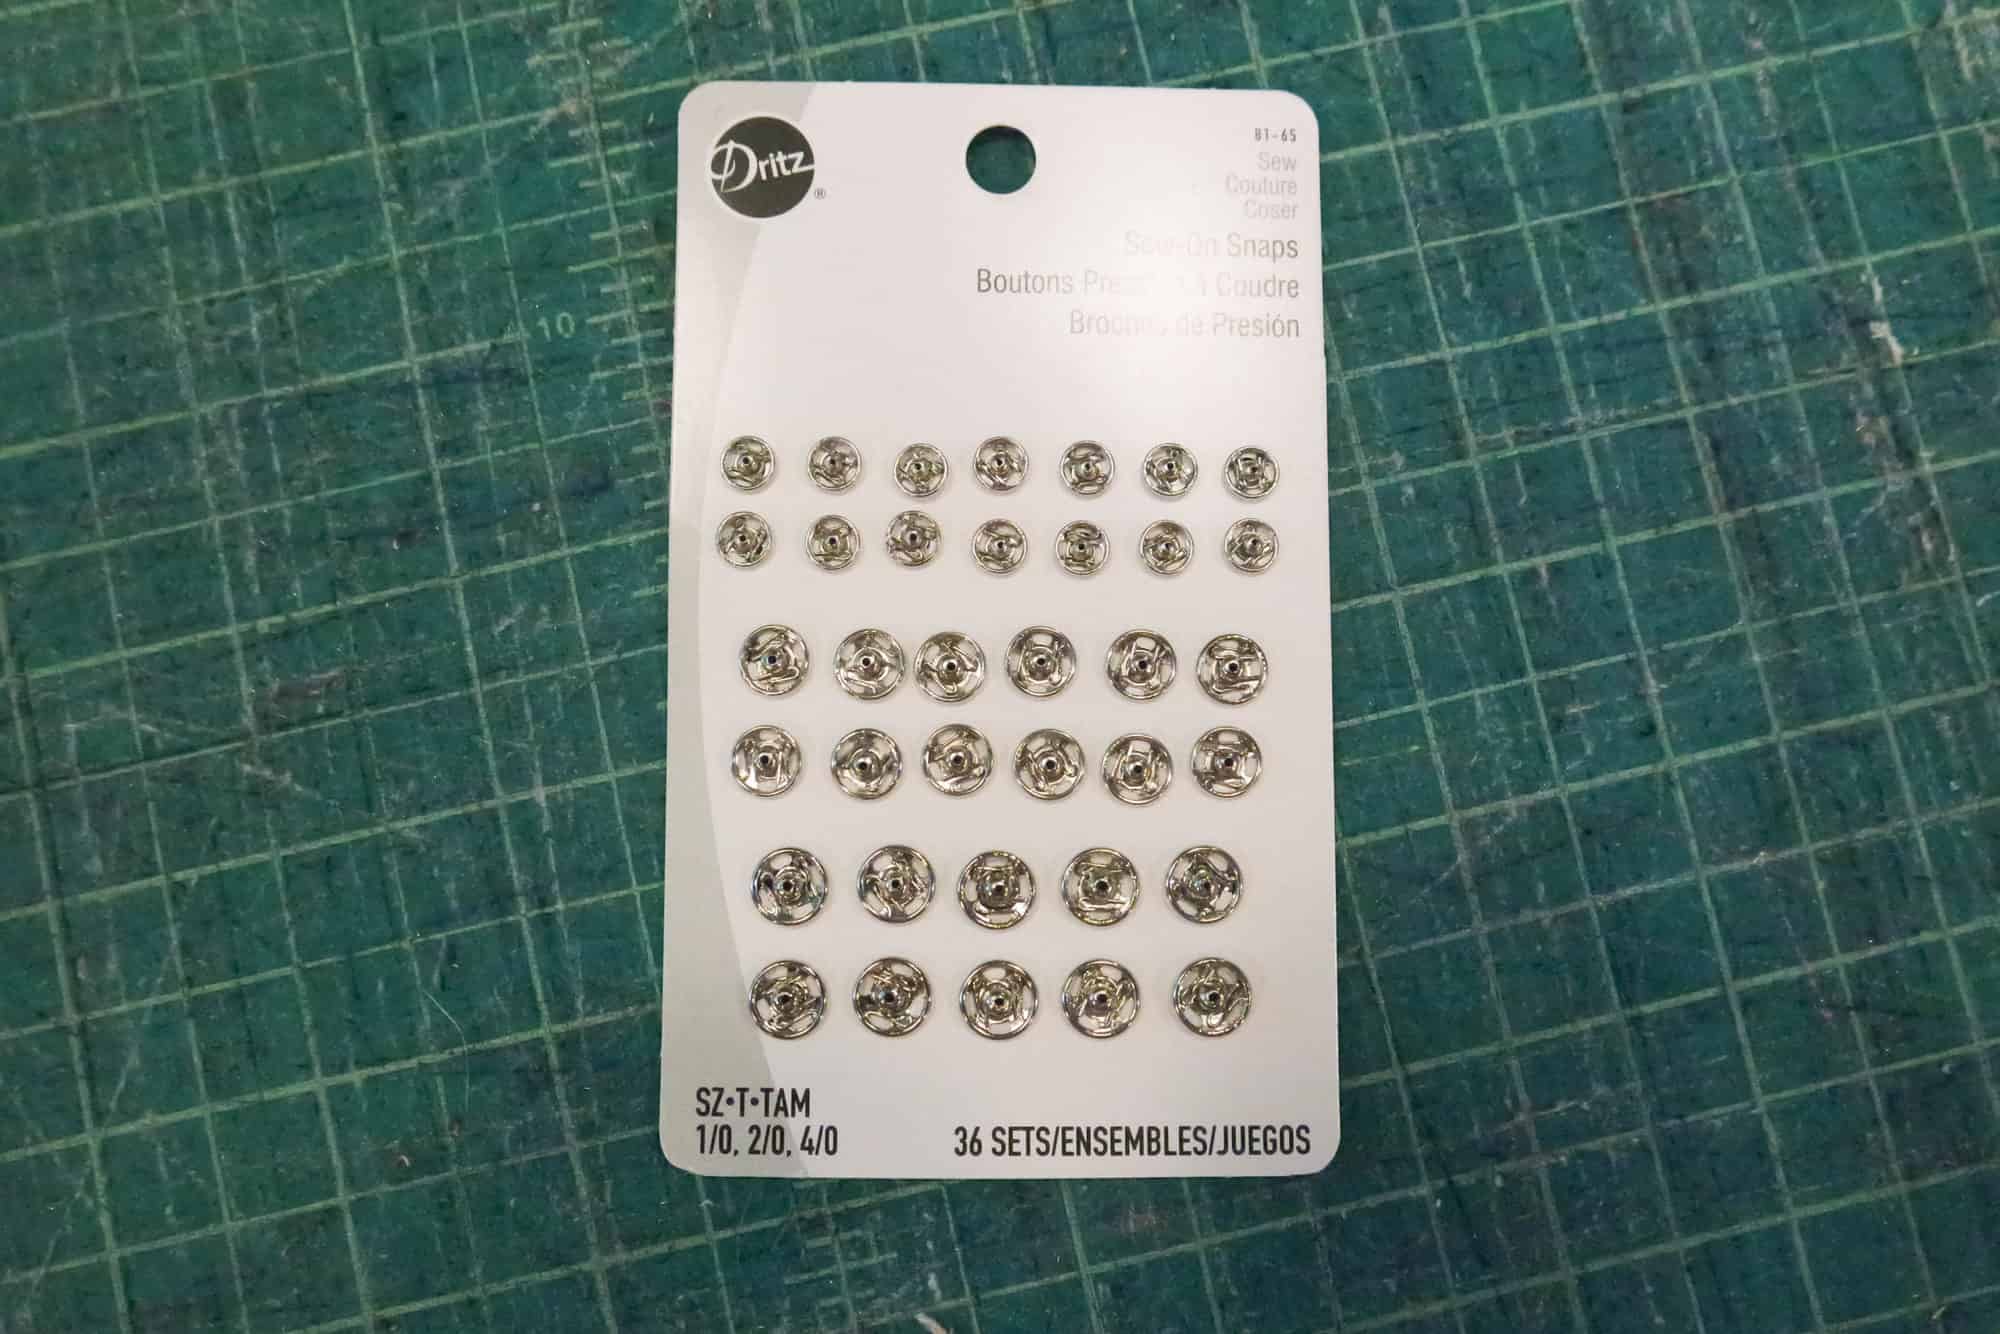
Sometimes when you have babies being held and tugging at you a true wrap top/dress can be risky if they pull the wrong way! Adding a quick and easy sew on snap right at the cross over of your vneckline is a super simple solution. First grab some sew on snaps from your local craft shop or favorite online crafty retailer:
Try on your Flutter Wrap and mark with your favorite marking tool where you want your snaps. I like to mark both sides exactly where I want each snap to make sure they’re nice and even.
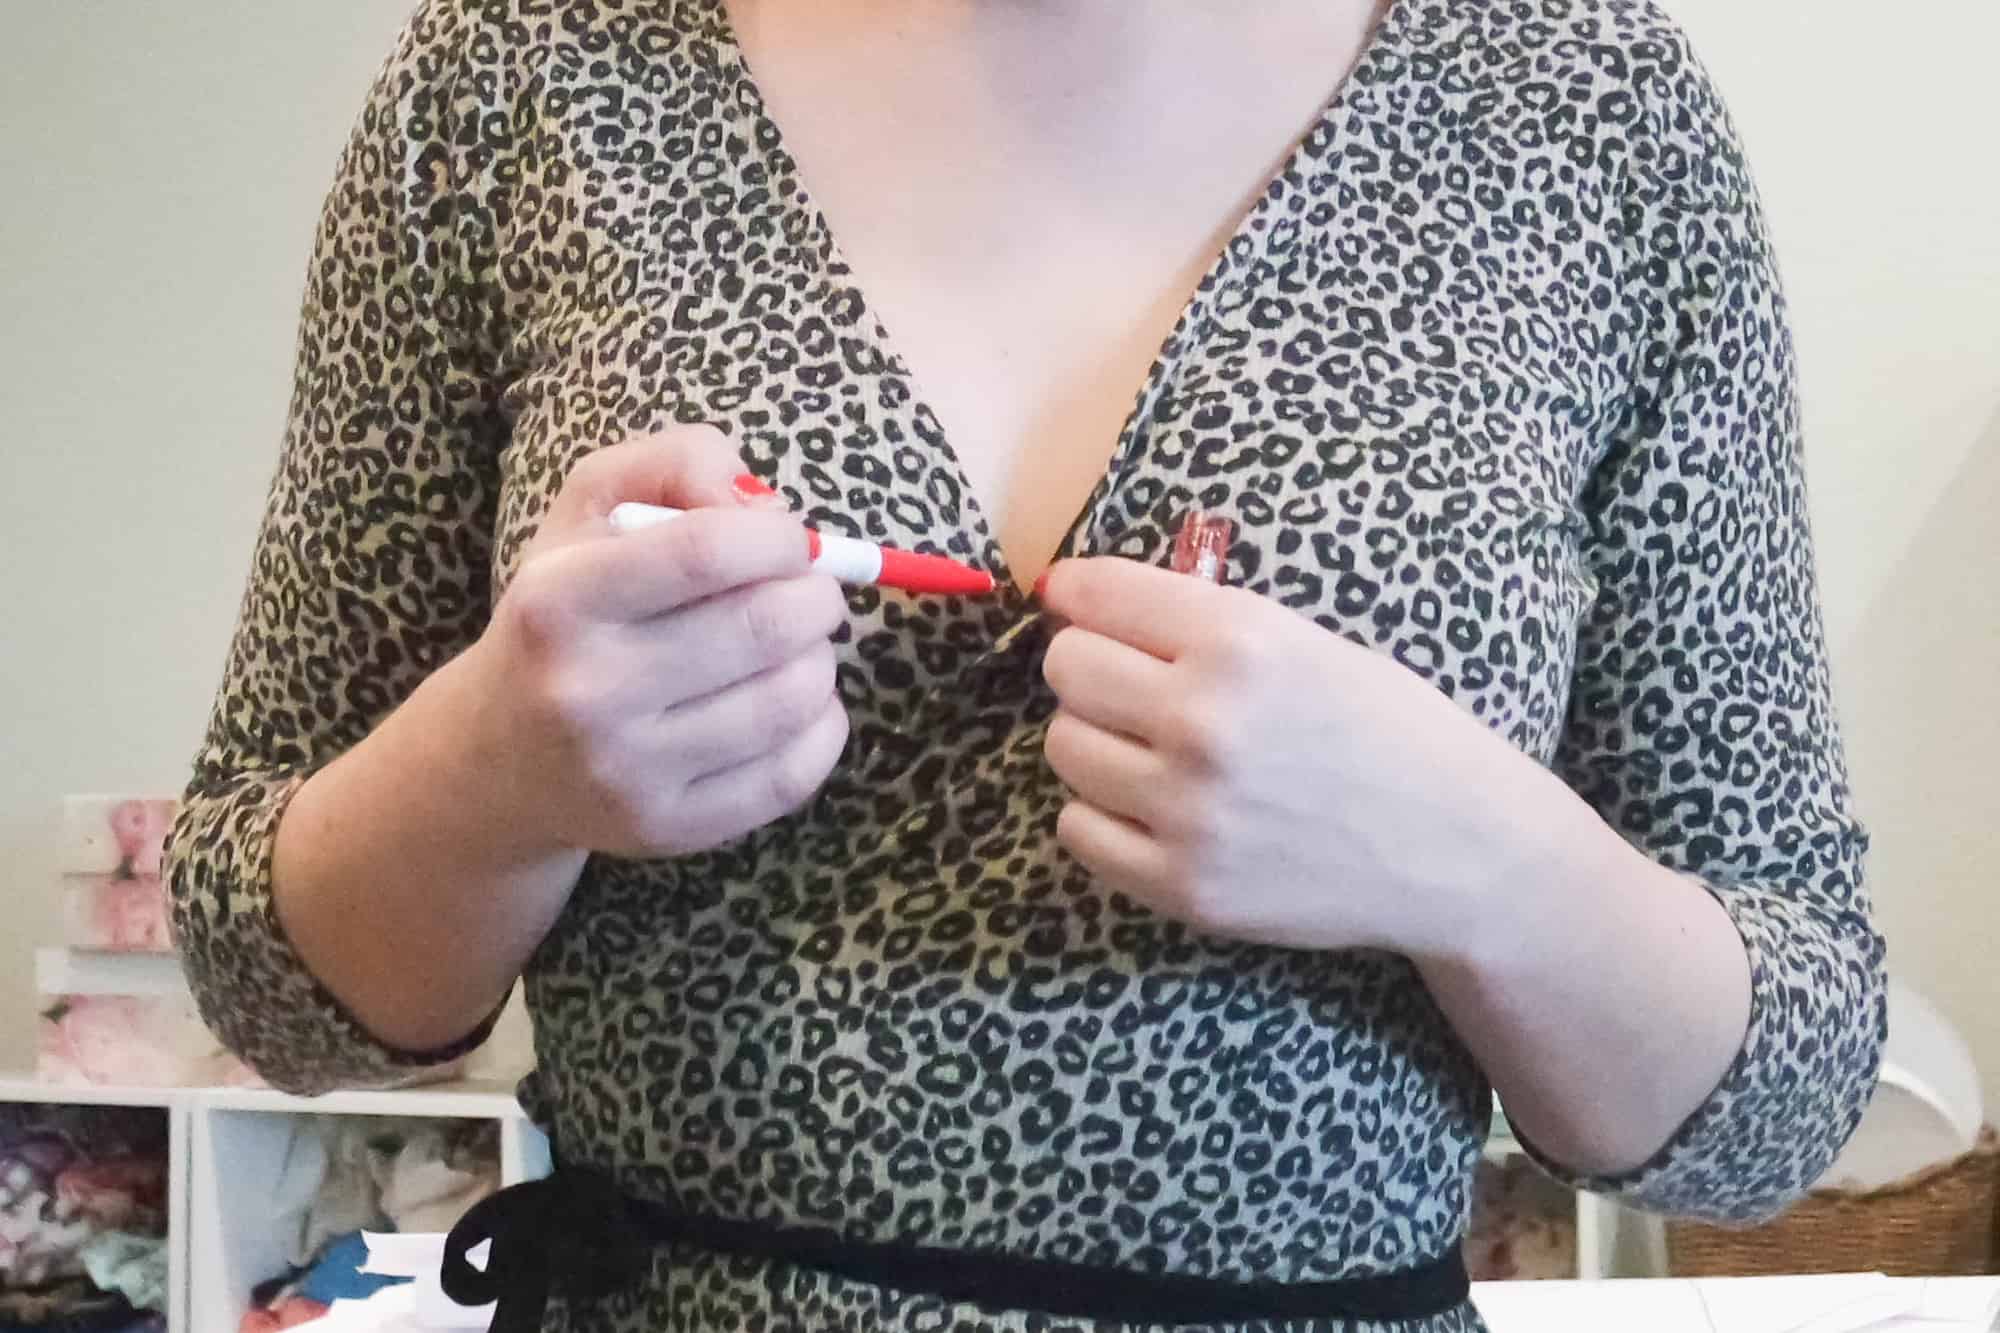
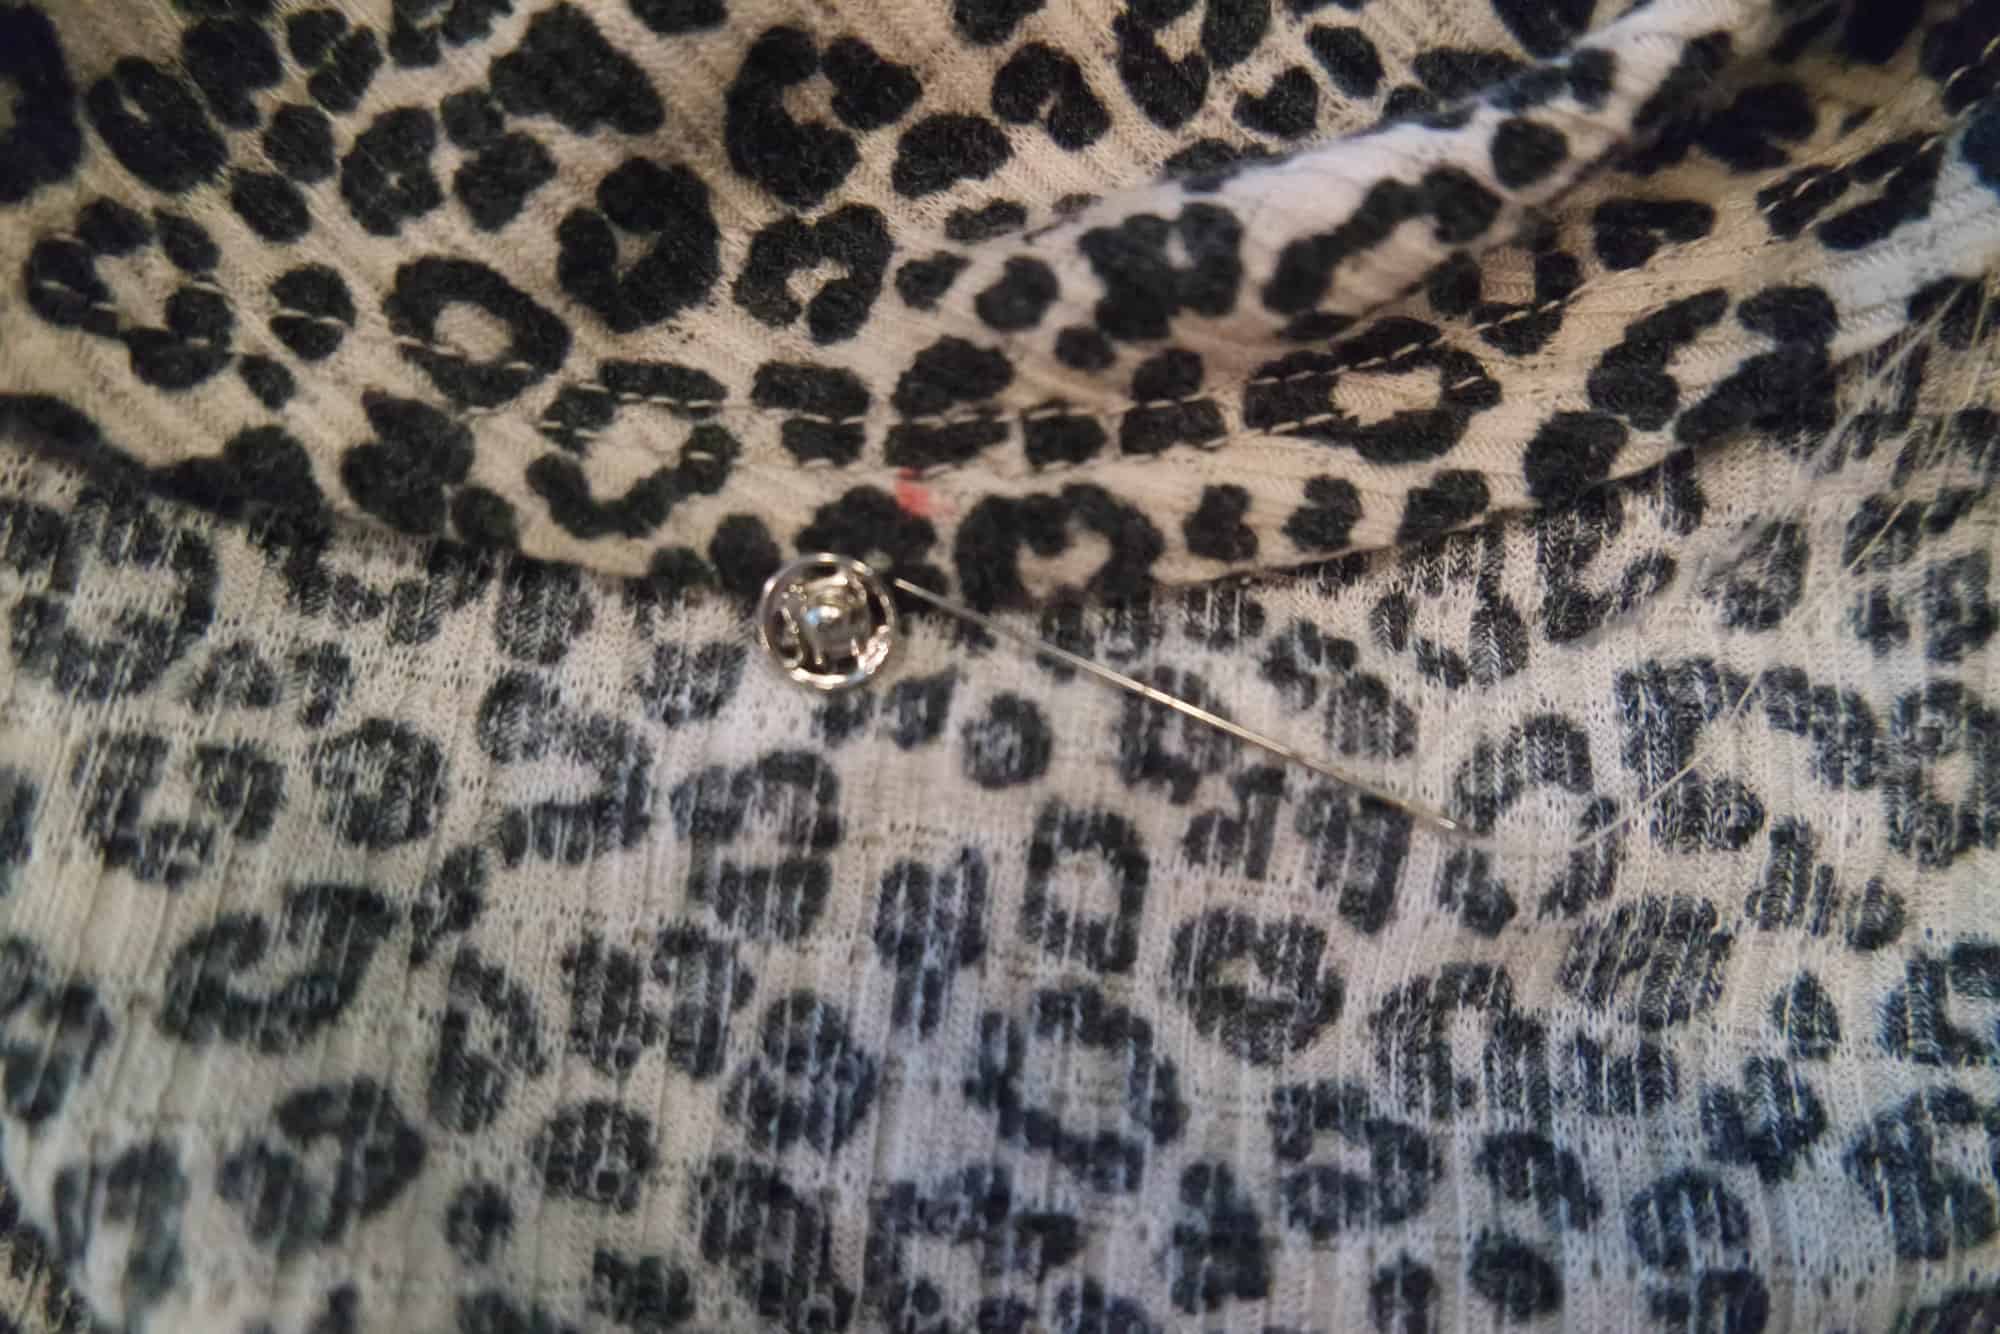
Hand sew each snap on- I’m not a big hand sewing fan, but these only take a minute!
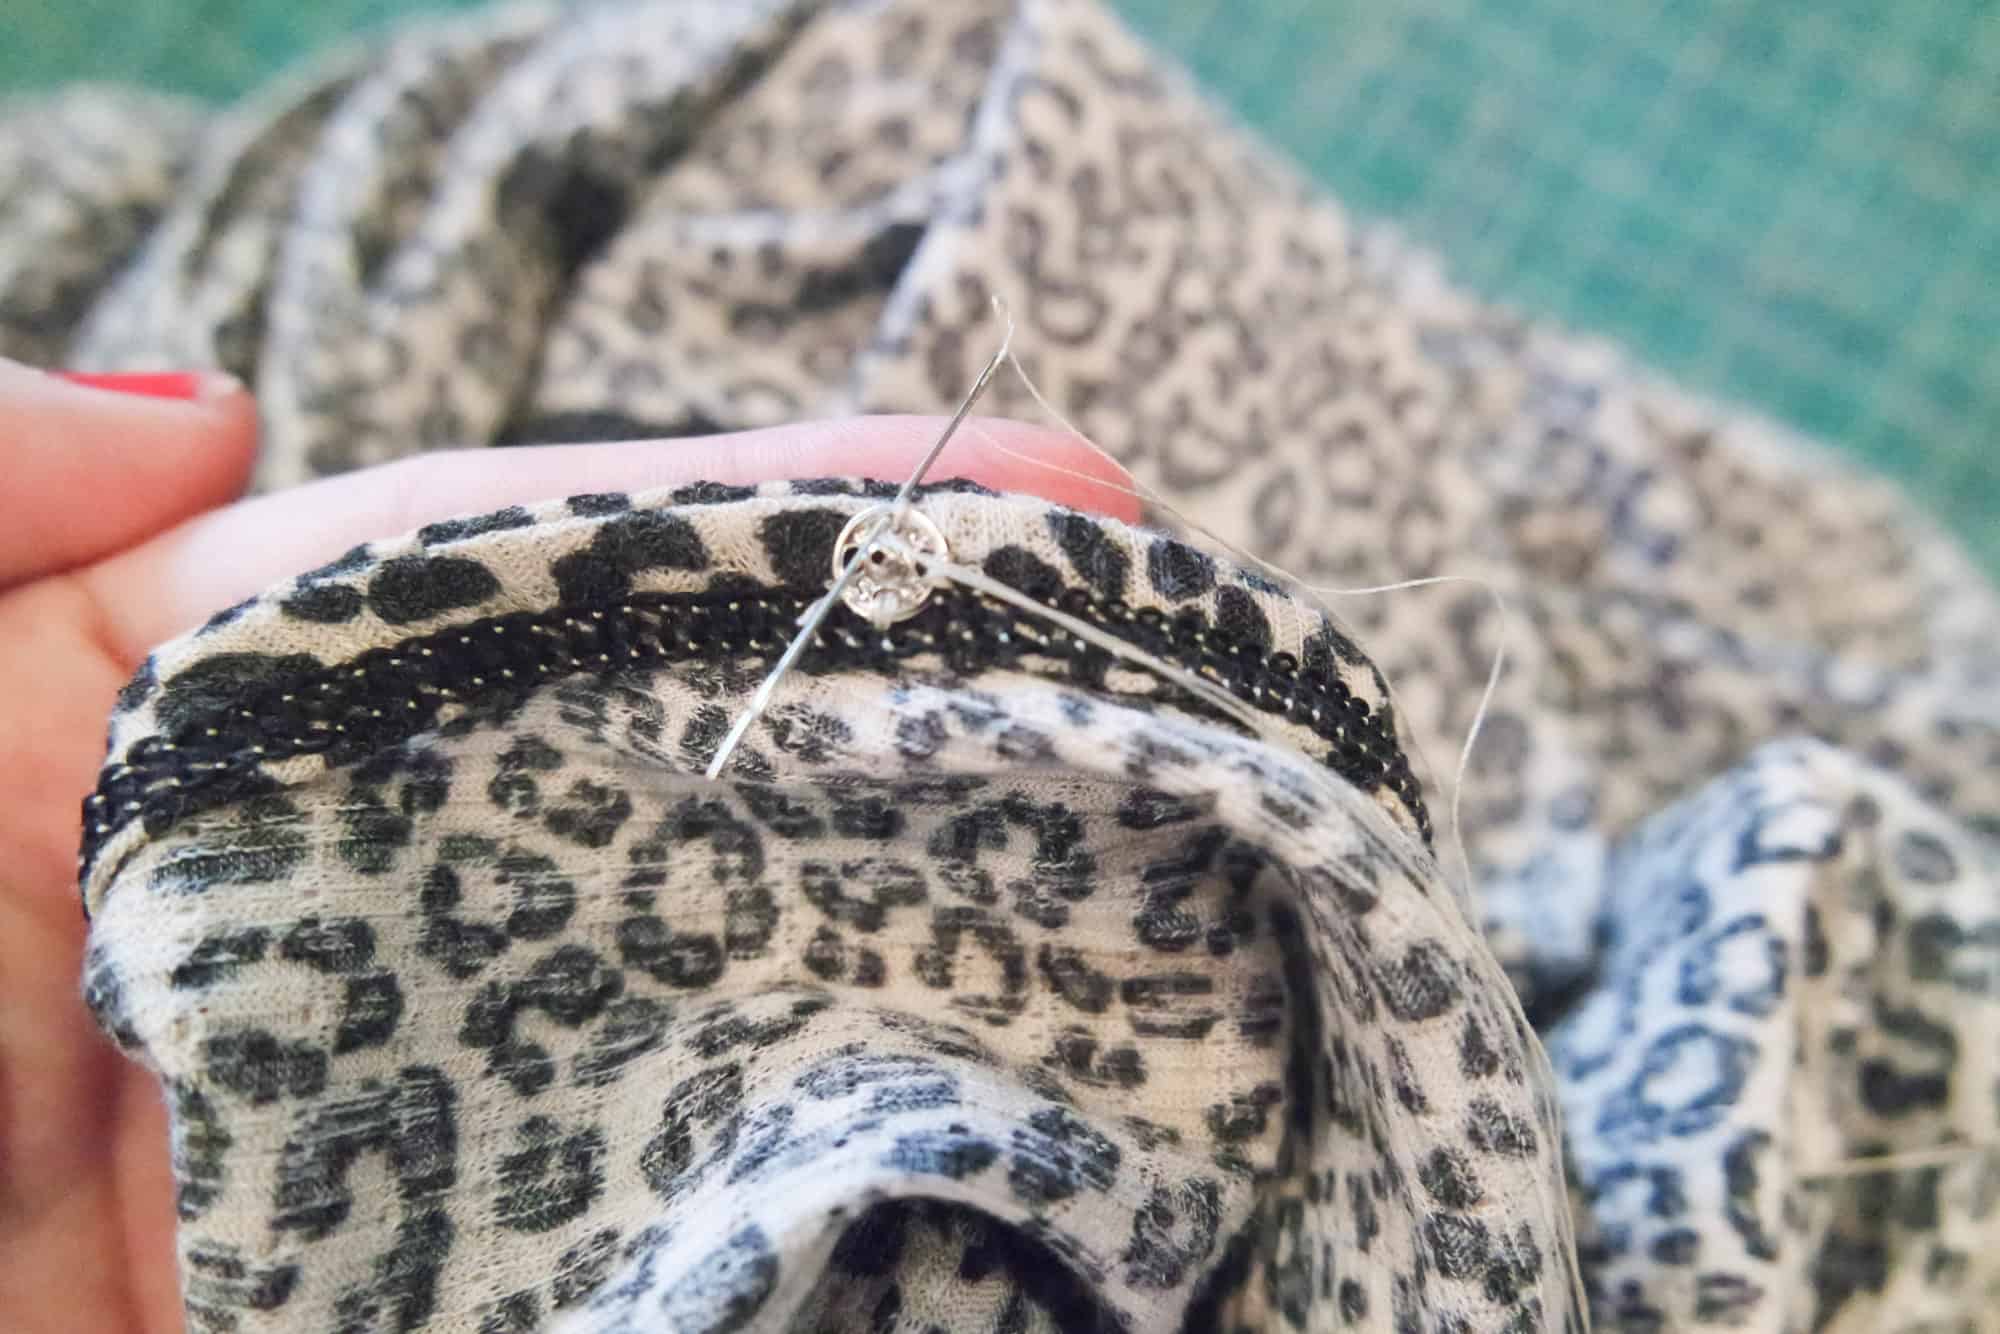
Enjoy your wrap stress free from moving around and exposing more then you want!

…..
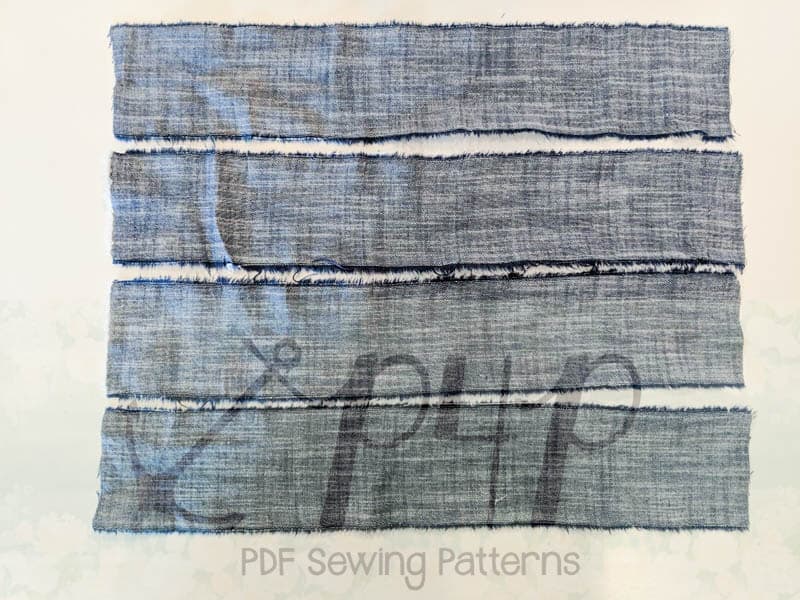
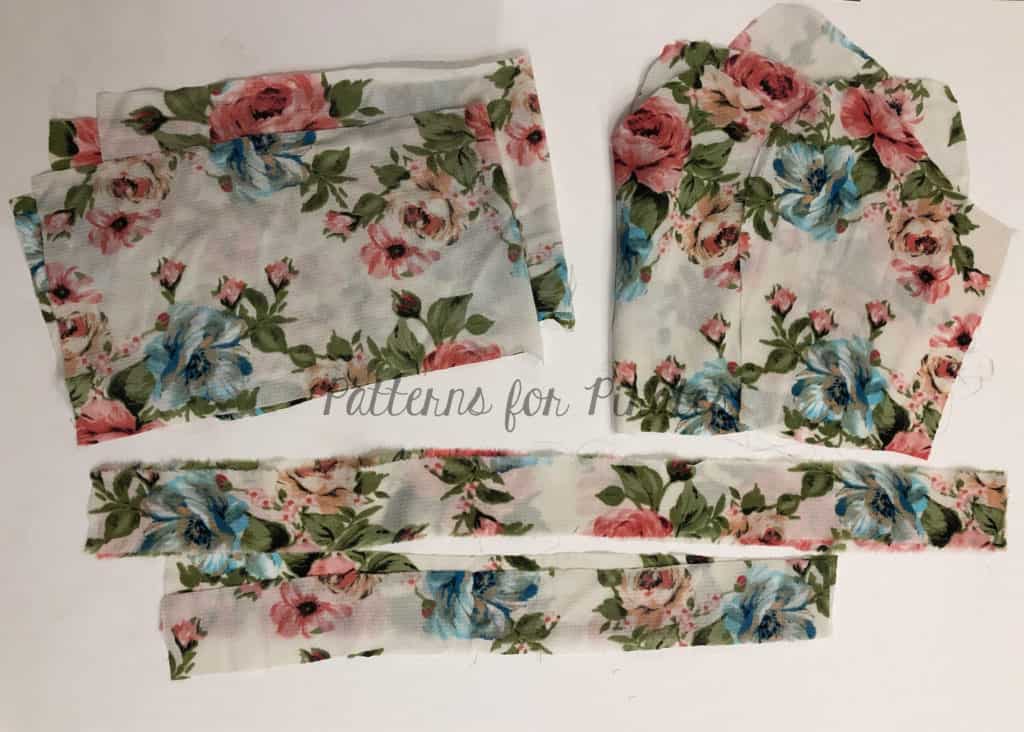
Snaps instead of ties
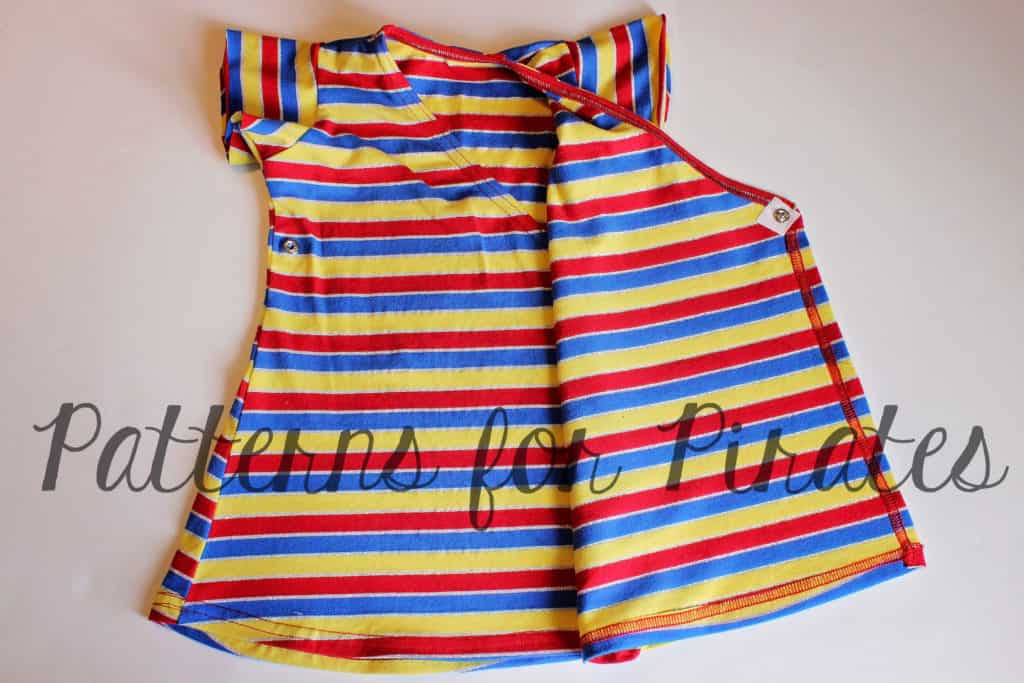
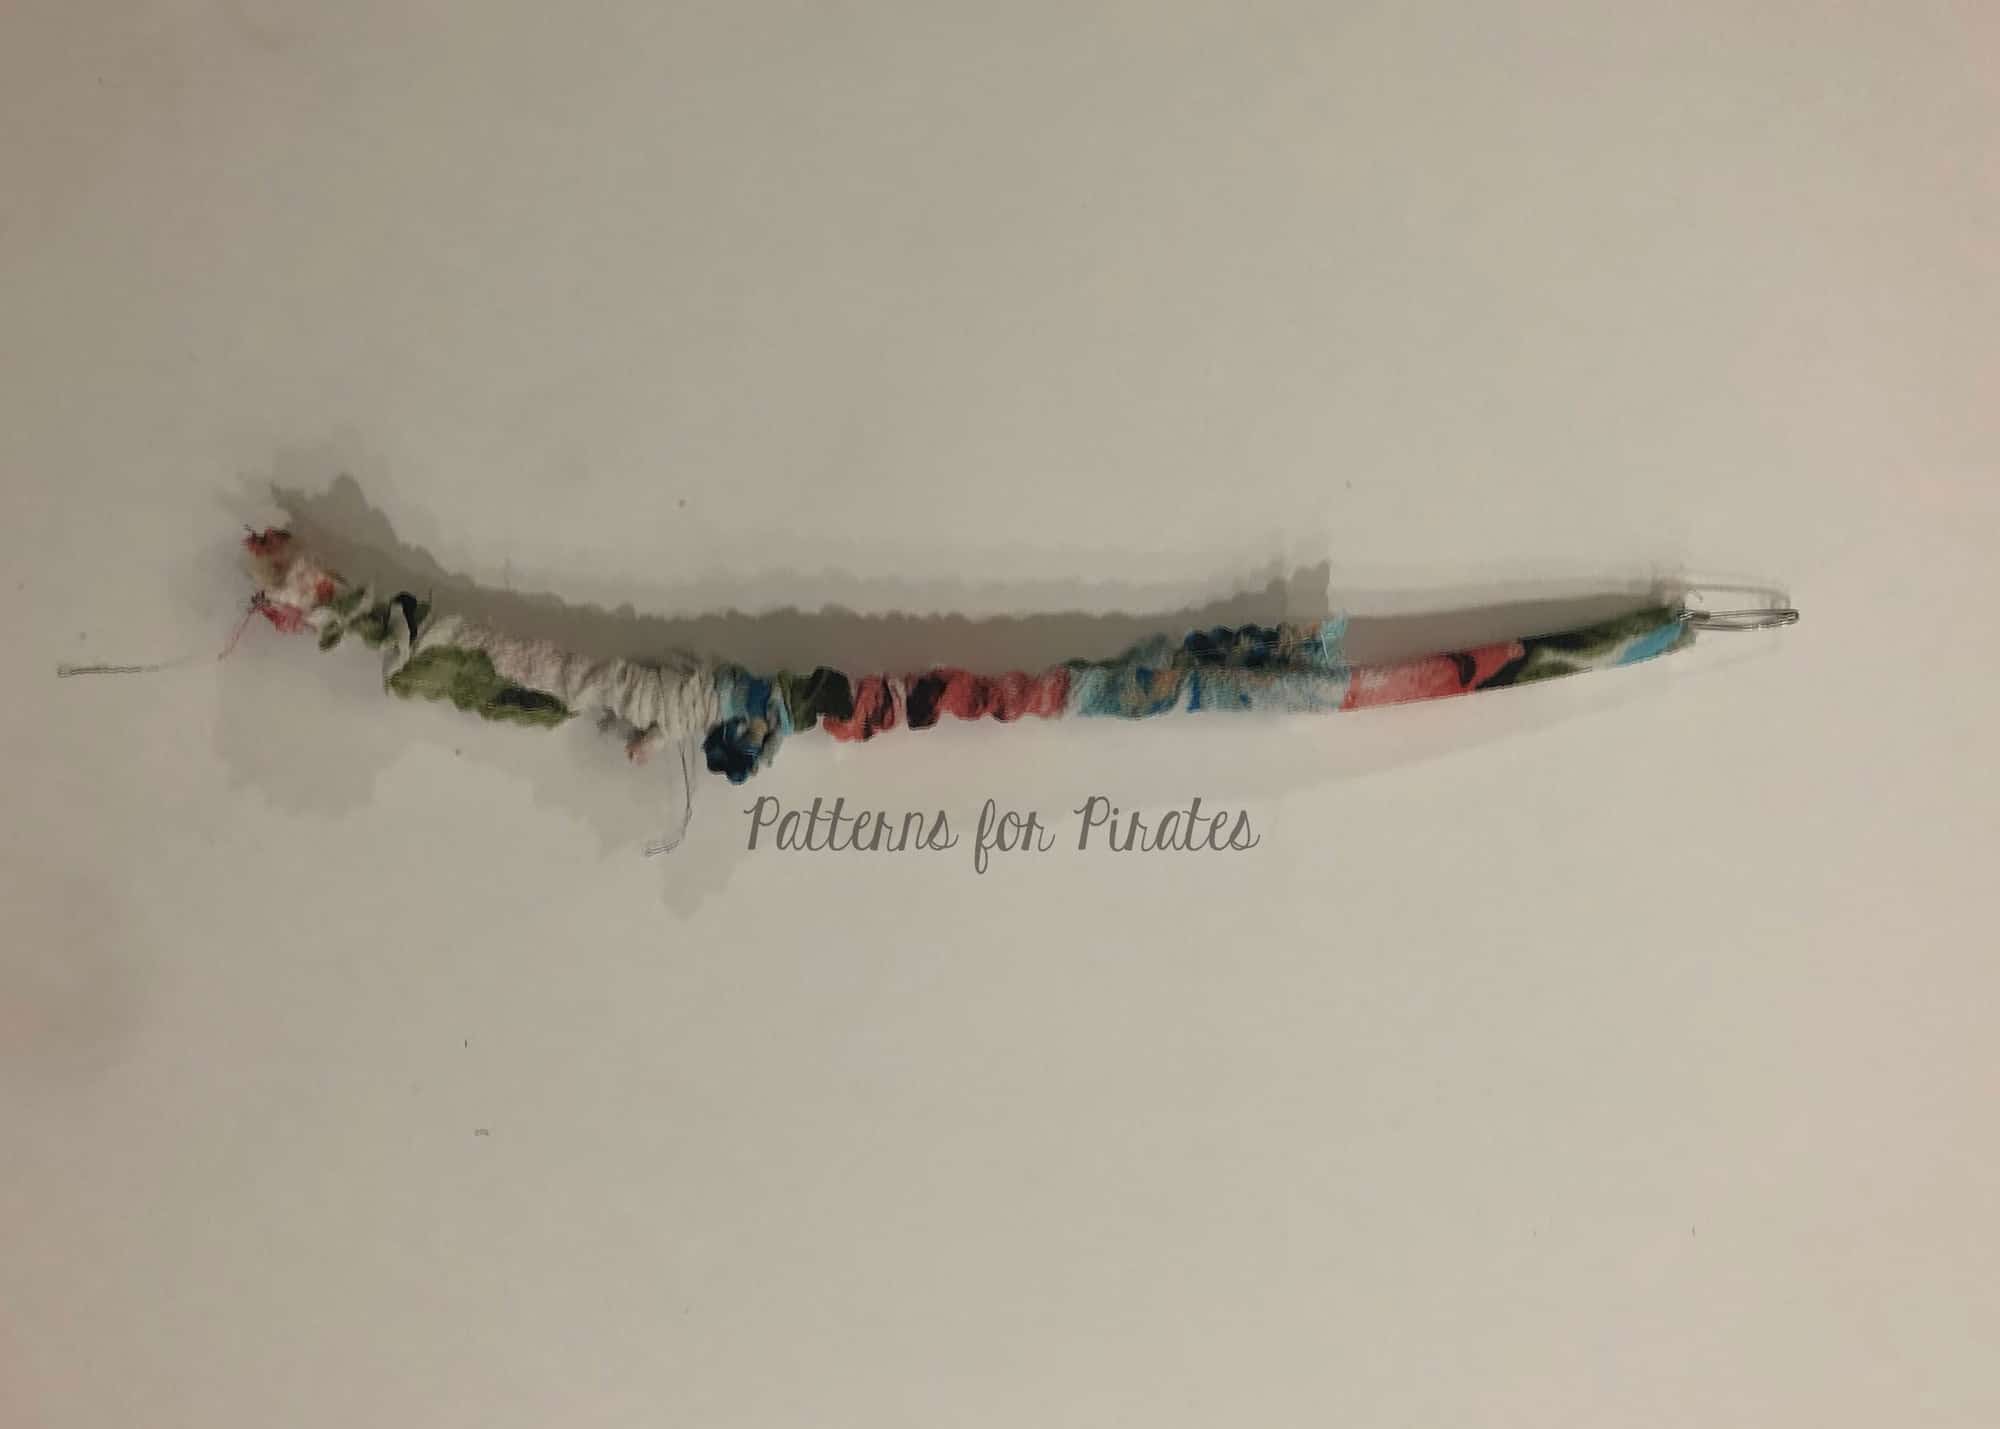
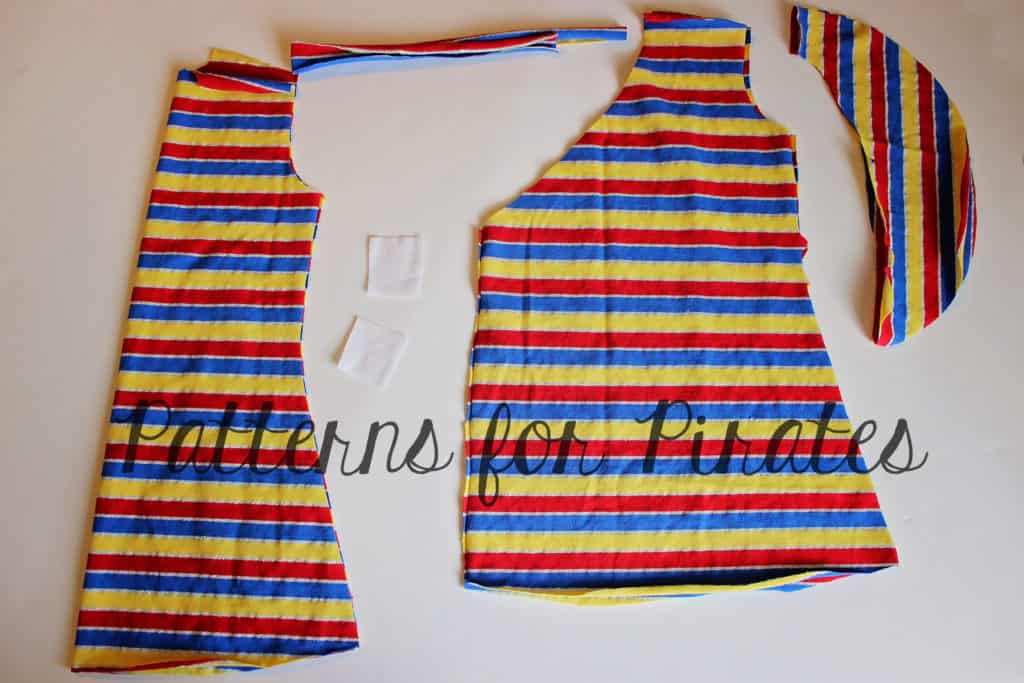
Last but not least I wanted to show you how to replace the ties for the witty bitty flutter wrap dresses and tops. Some may find it easier to snap the outfit instead of tying it. For my example I used the knee length flutter sleeve option but this hack can be done to any of the styles. Let’s get started!
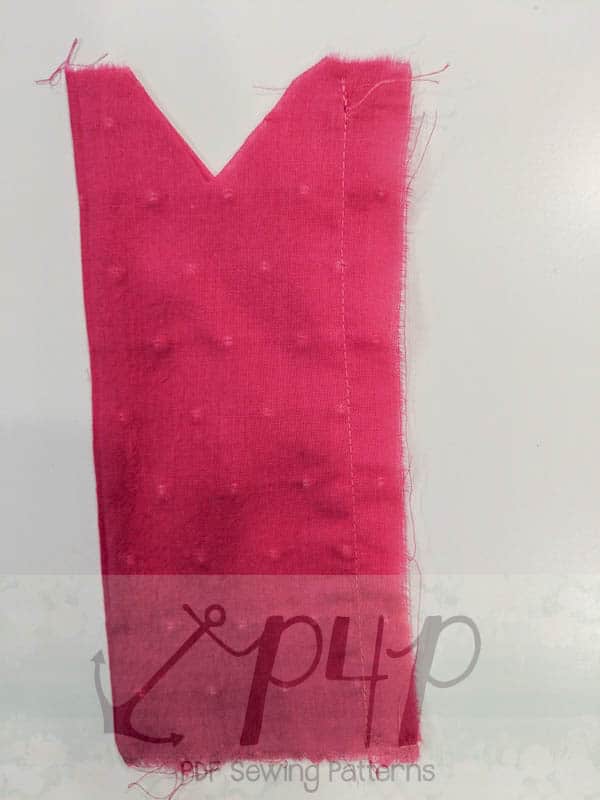
Cut the fabric pieces but skip the two ties (the long and the shorter one)! Using an erasable pen or tailor tack, make a mark 3/4″ away from the raw edge, between the two notches. See image below.

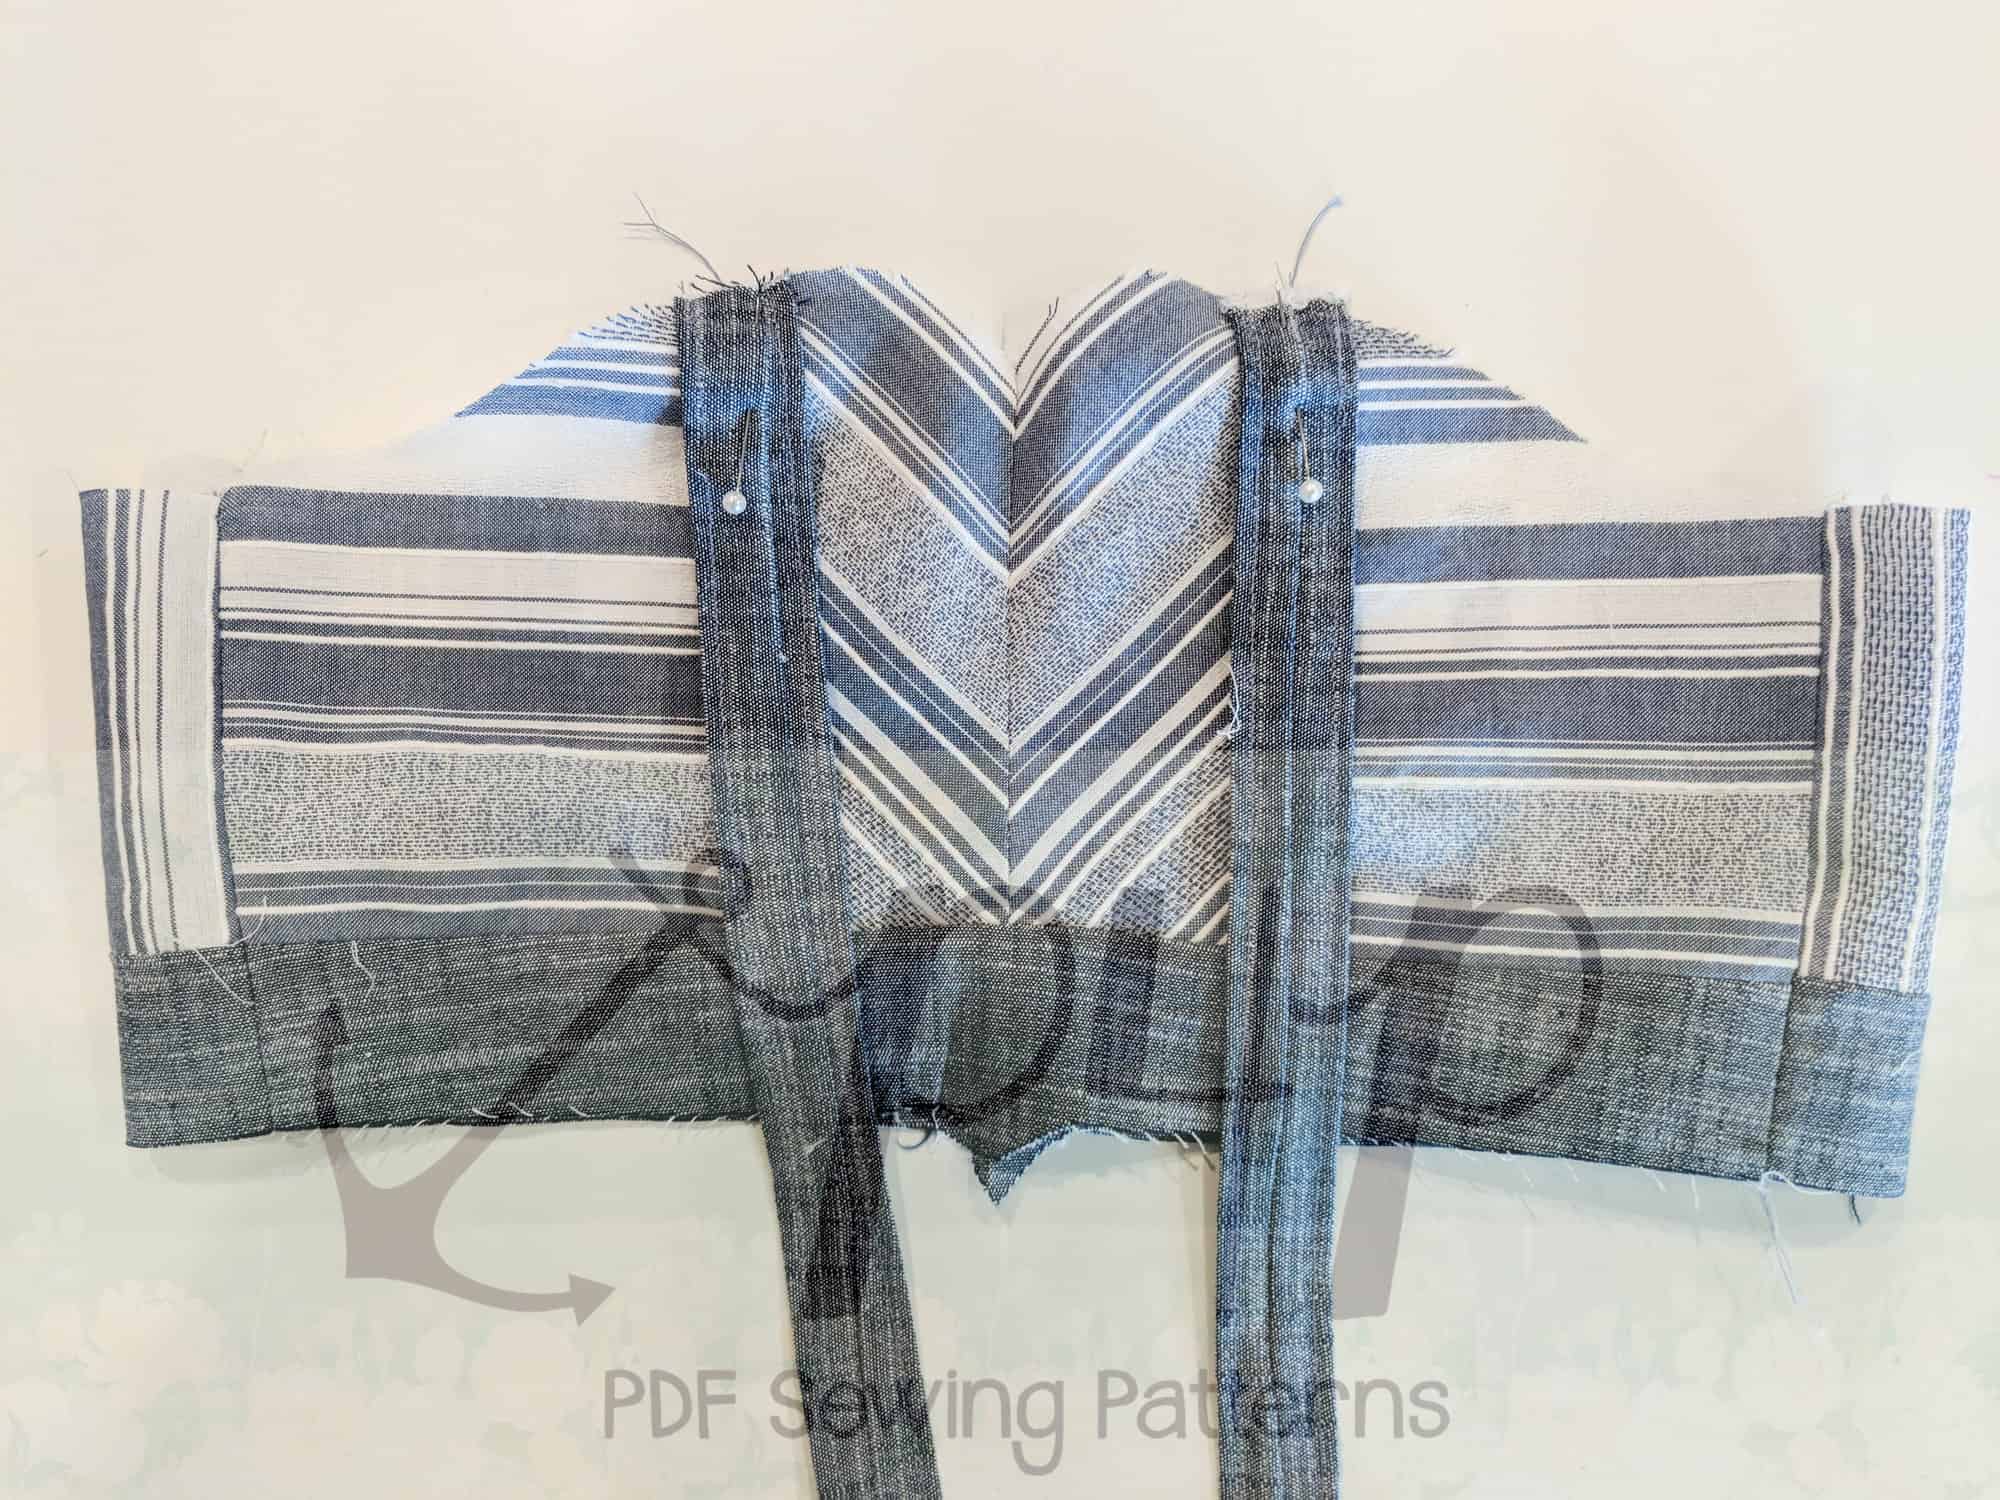
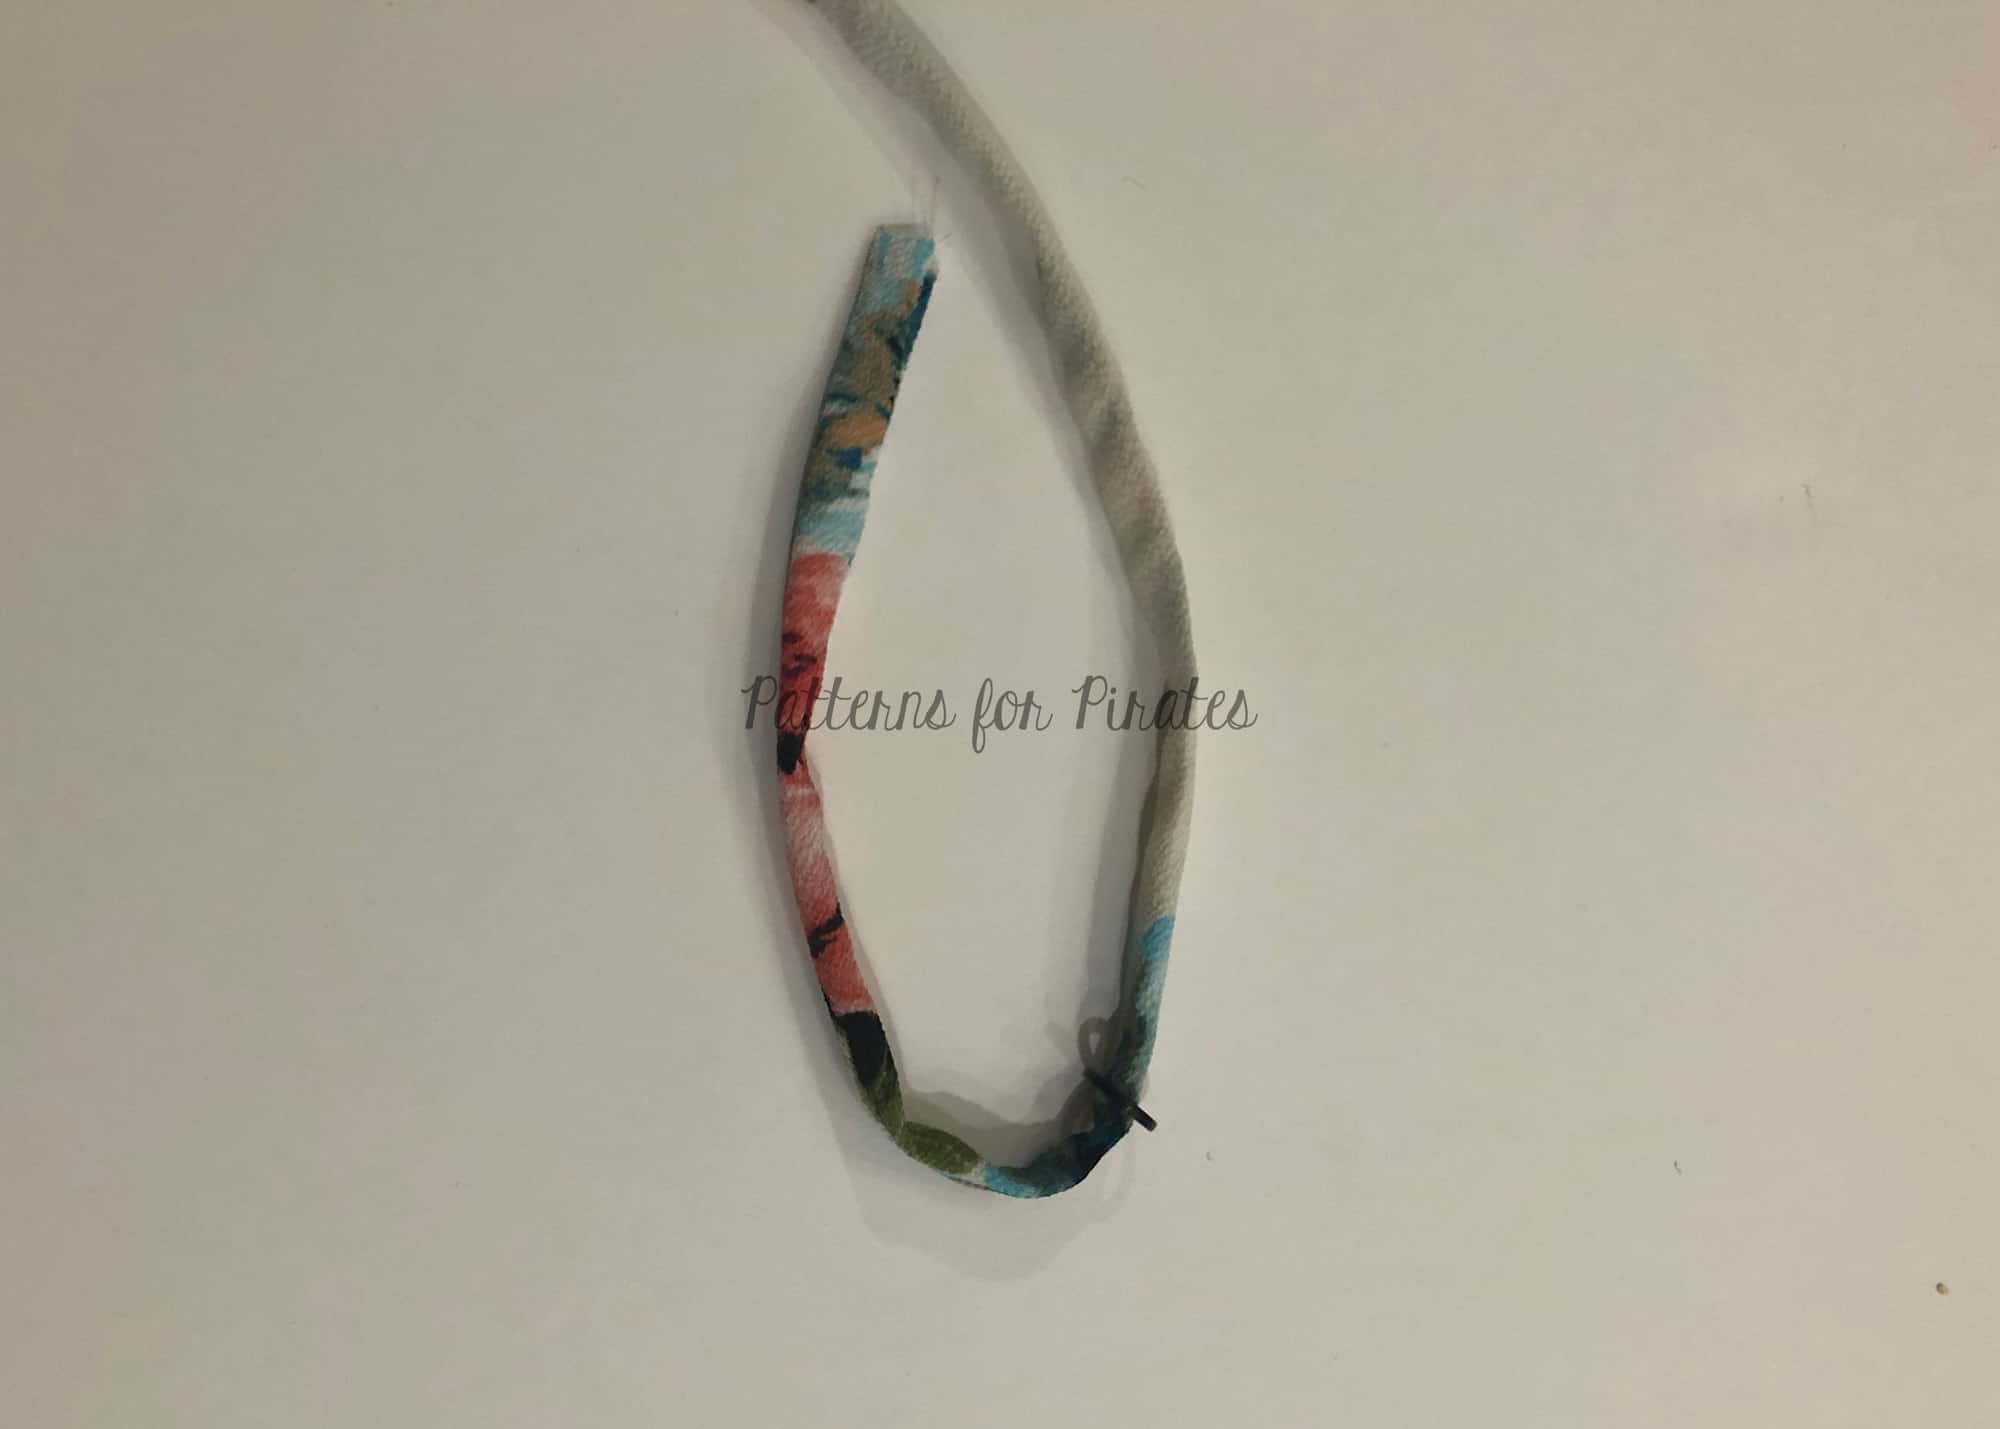
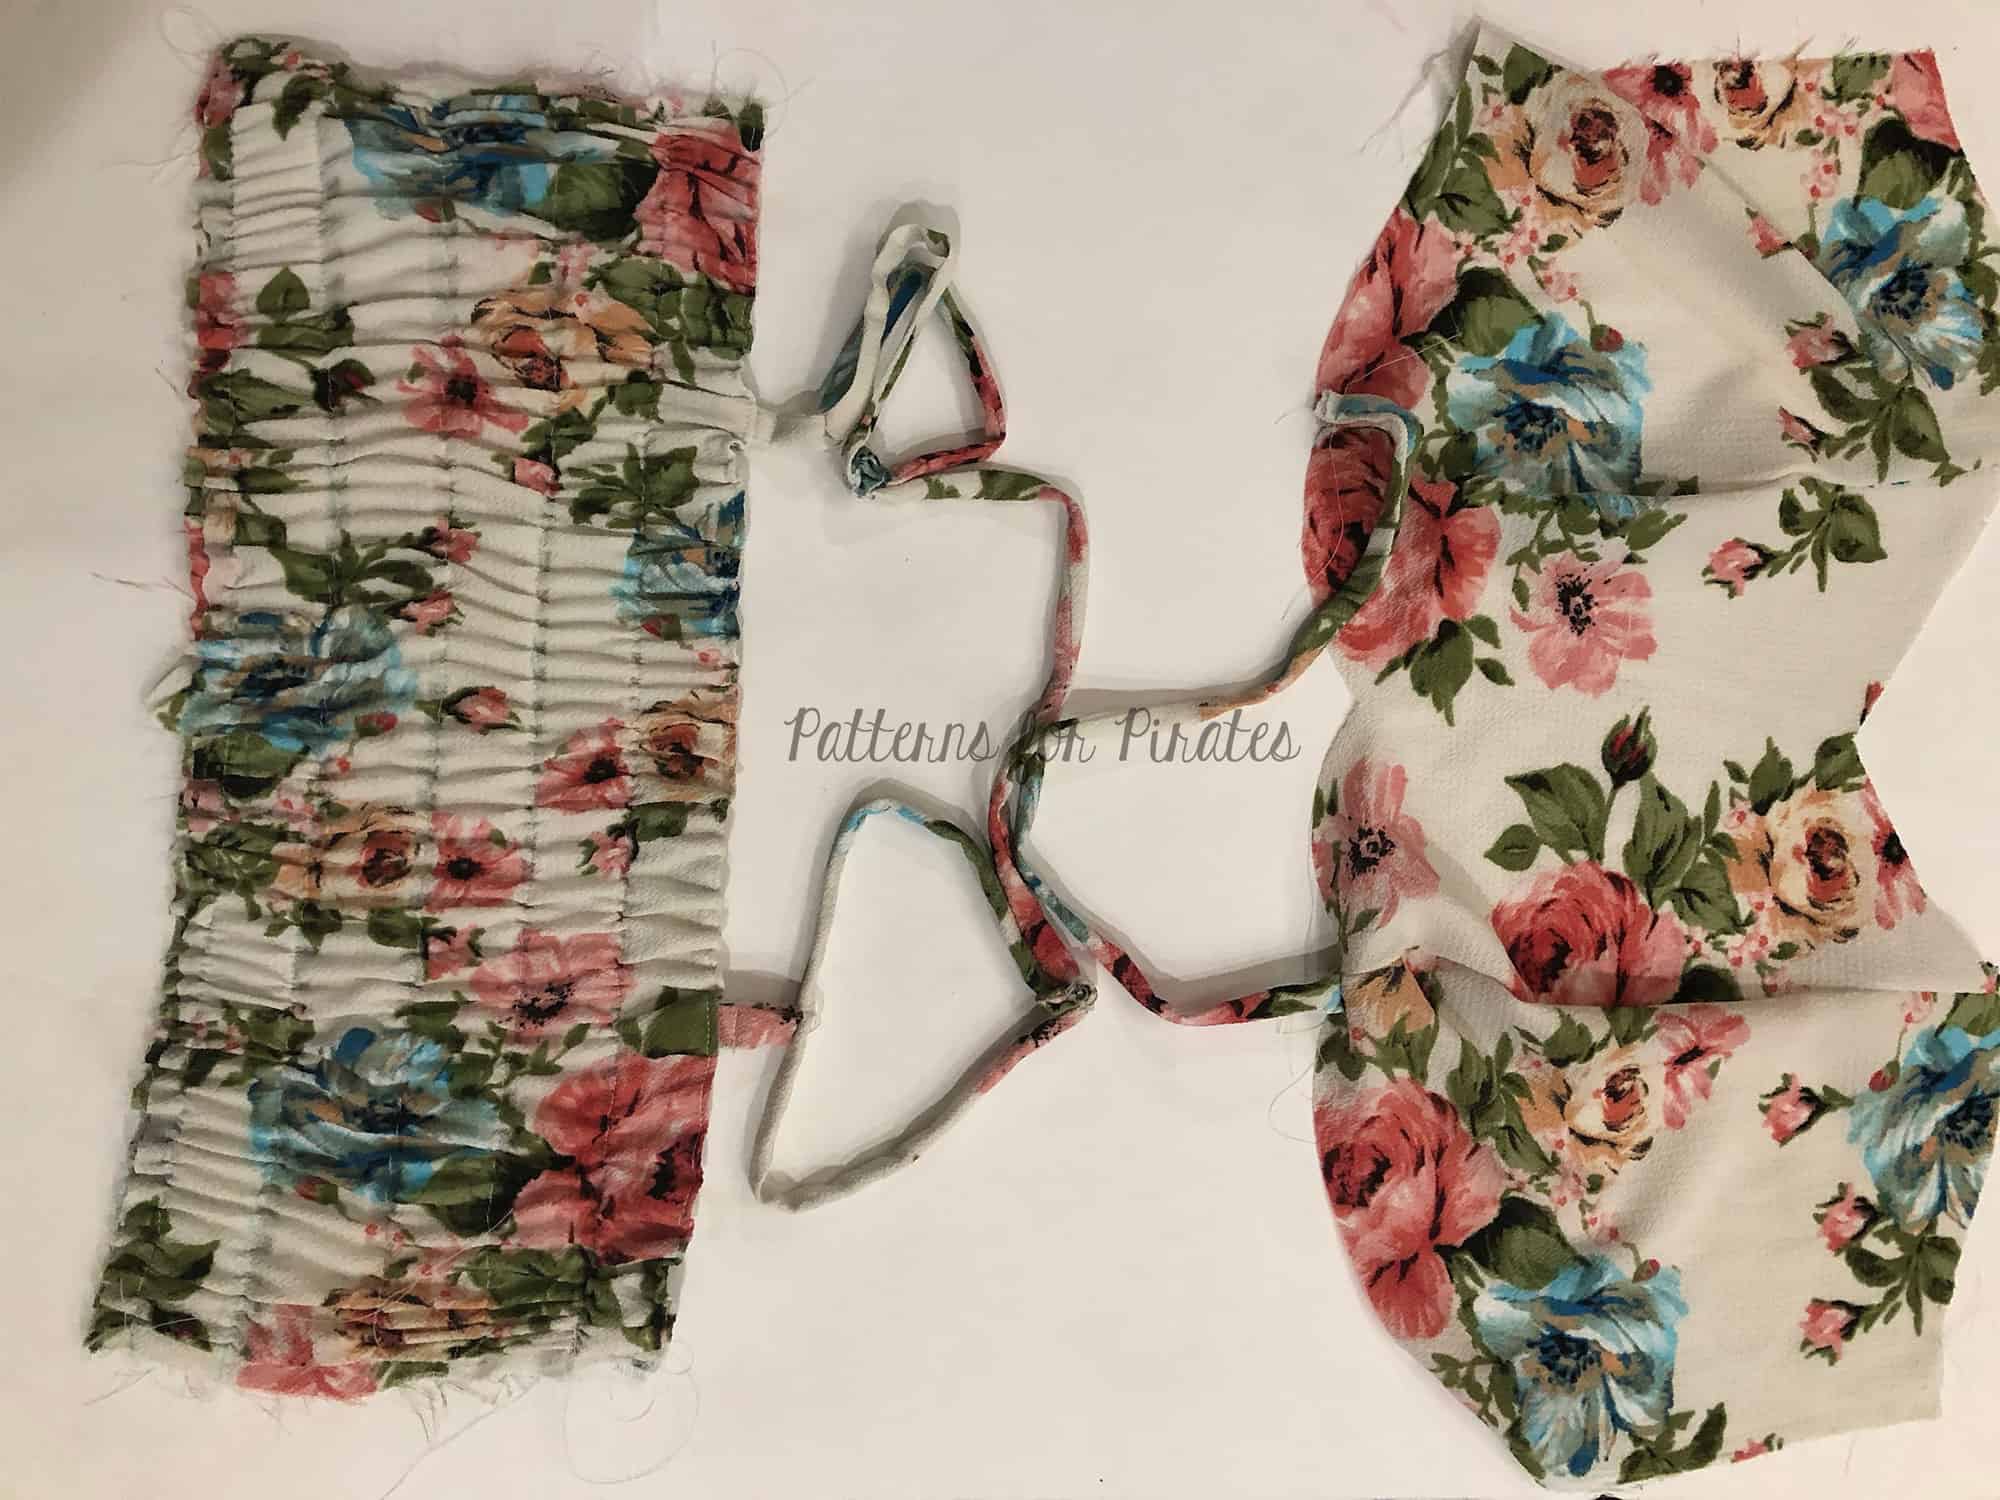
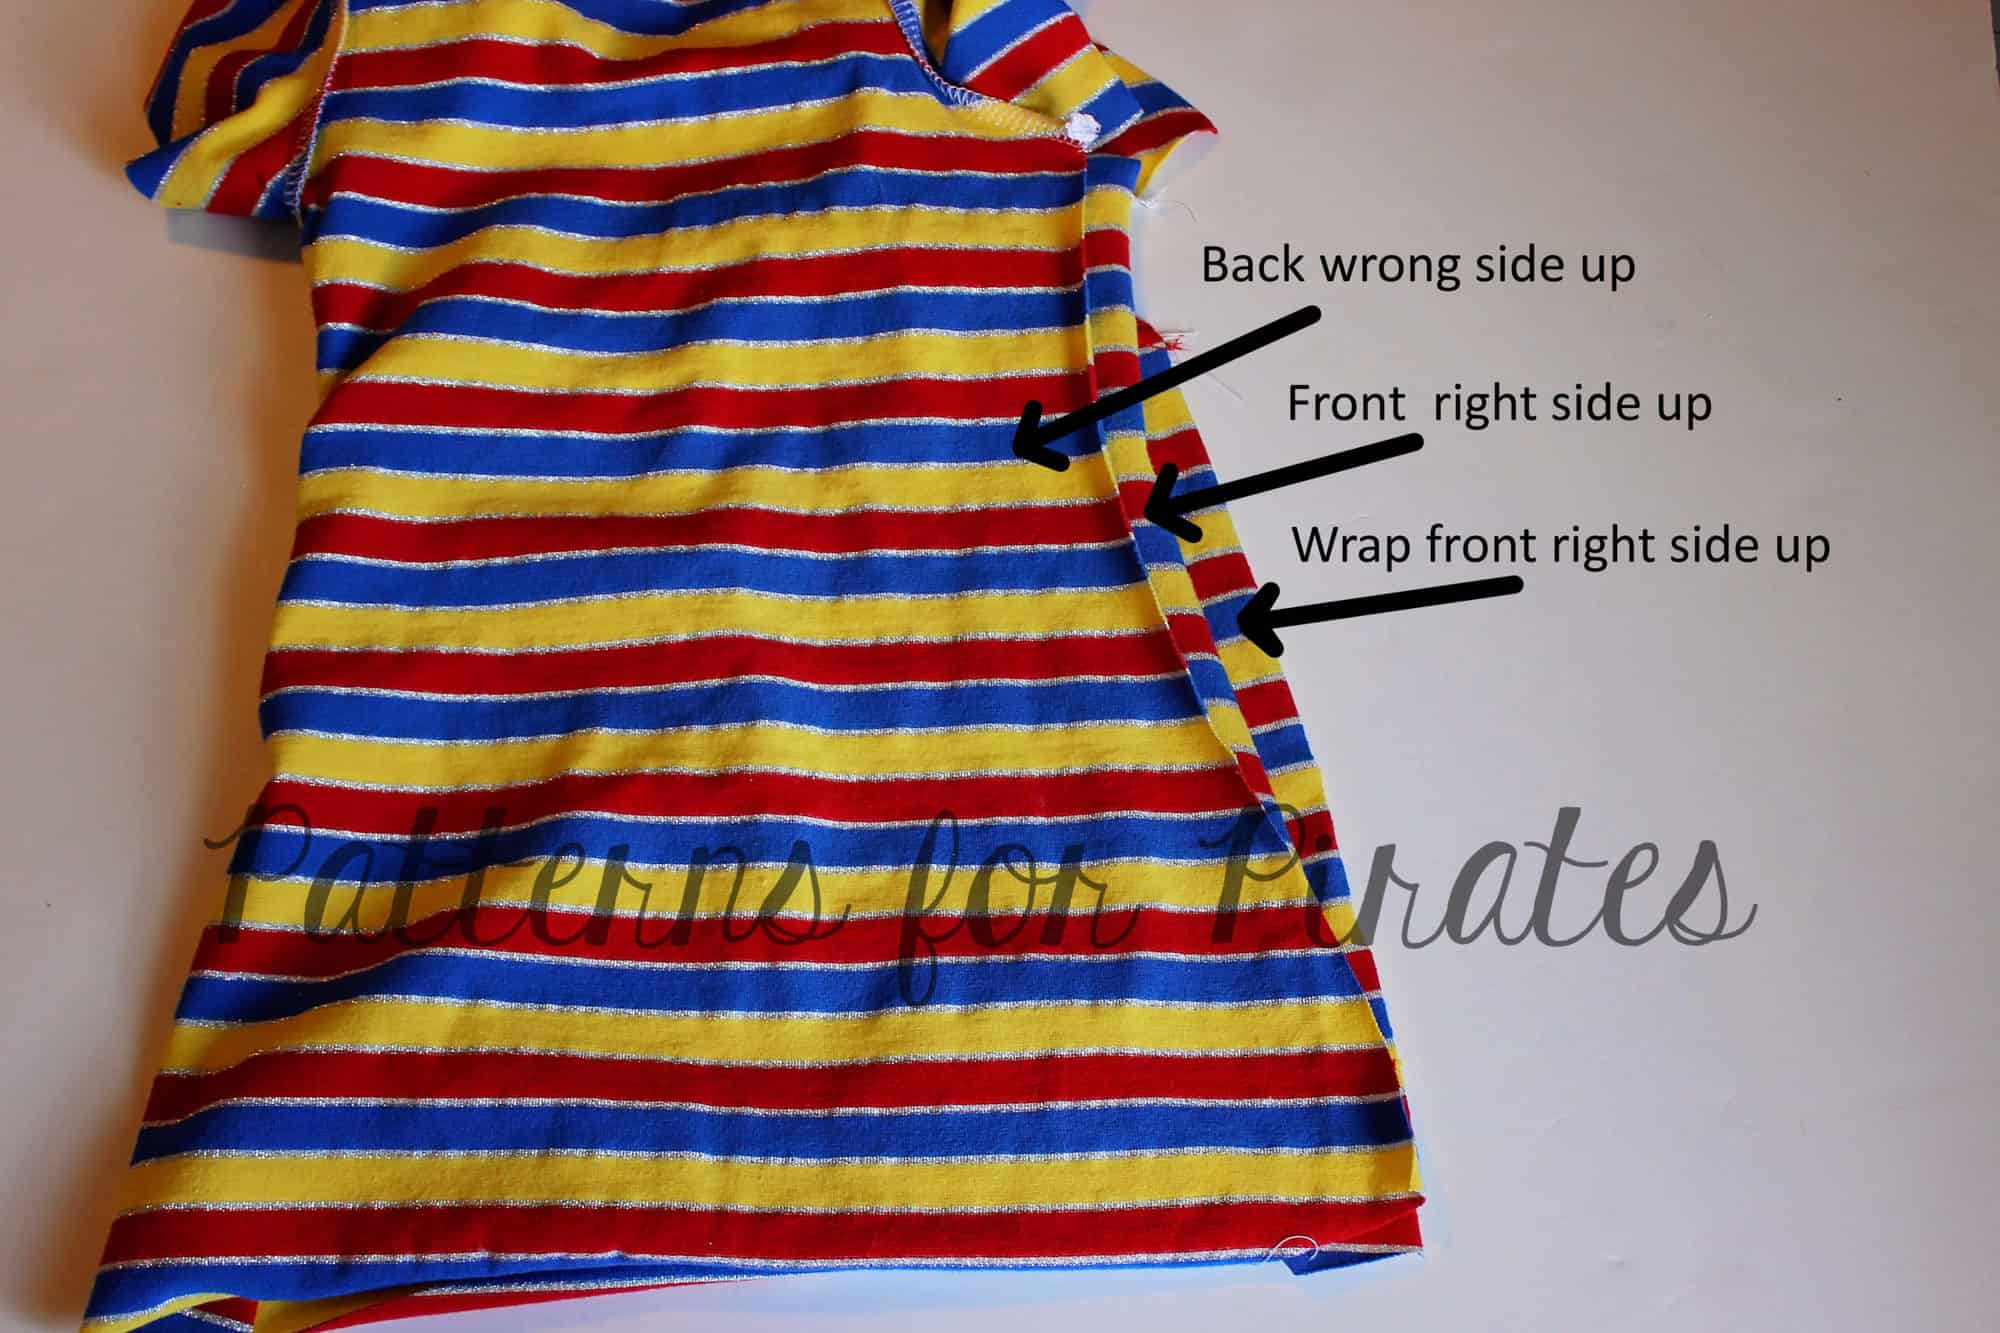
Sew the shoulder seam and add binding. I will show you now how to create a faux wrap with only one set of snaps. If you prefer a real wrap with two sets of snaps, scroll to the end of the blog. Place the dress front and back right sides together as shown below. Sew all 3 layers together on one of the side seams but only two layers (the ones that match at the arm opening) on the other side.
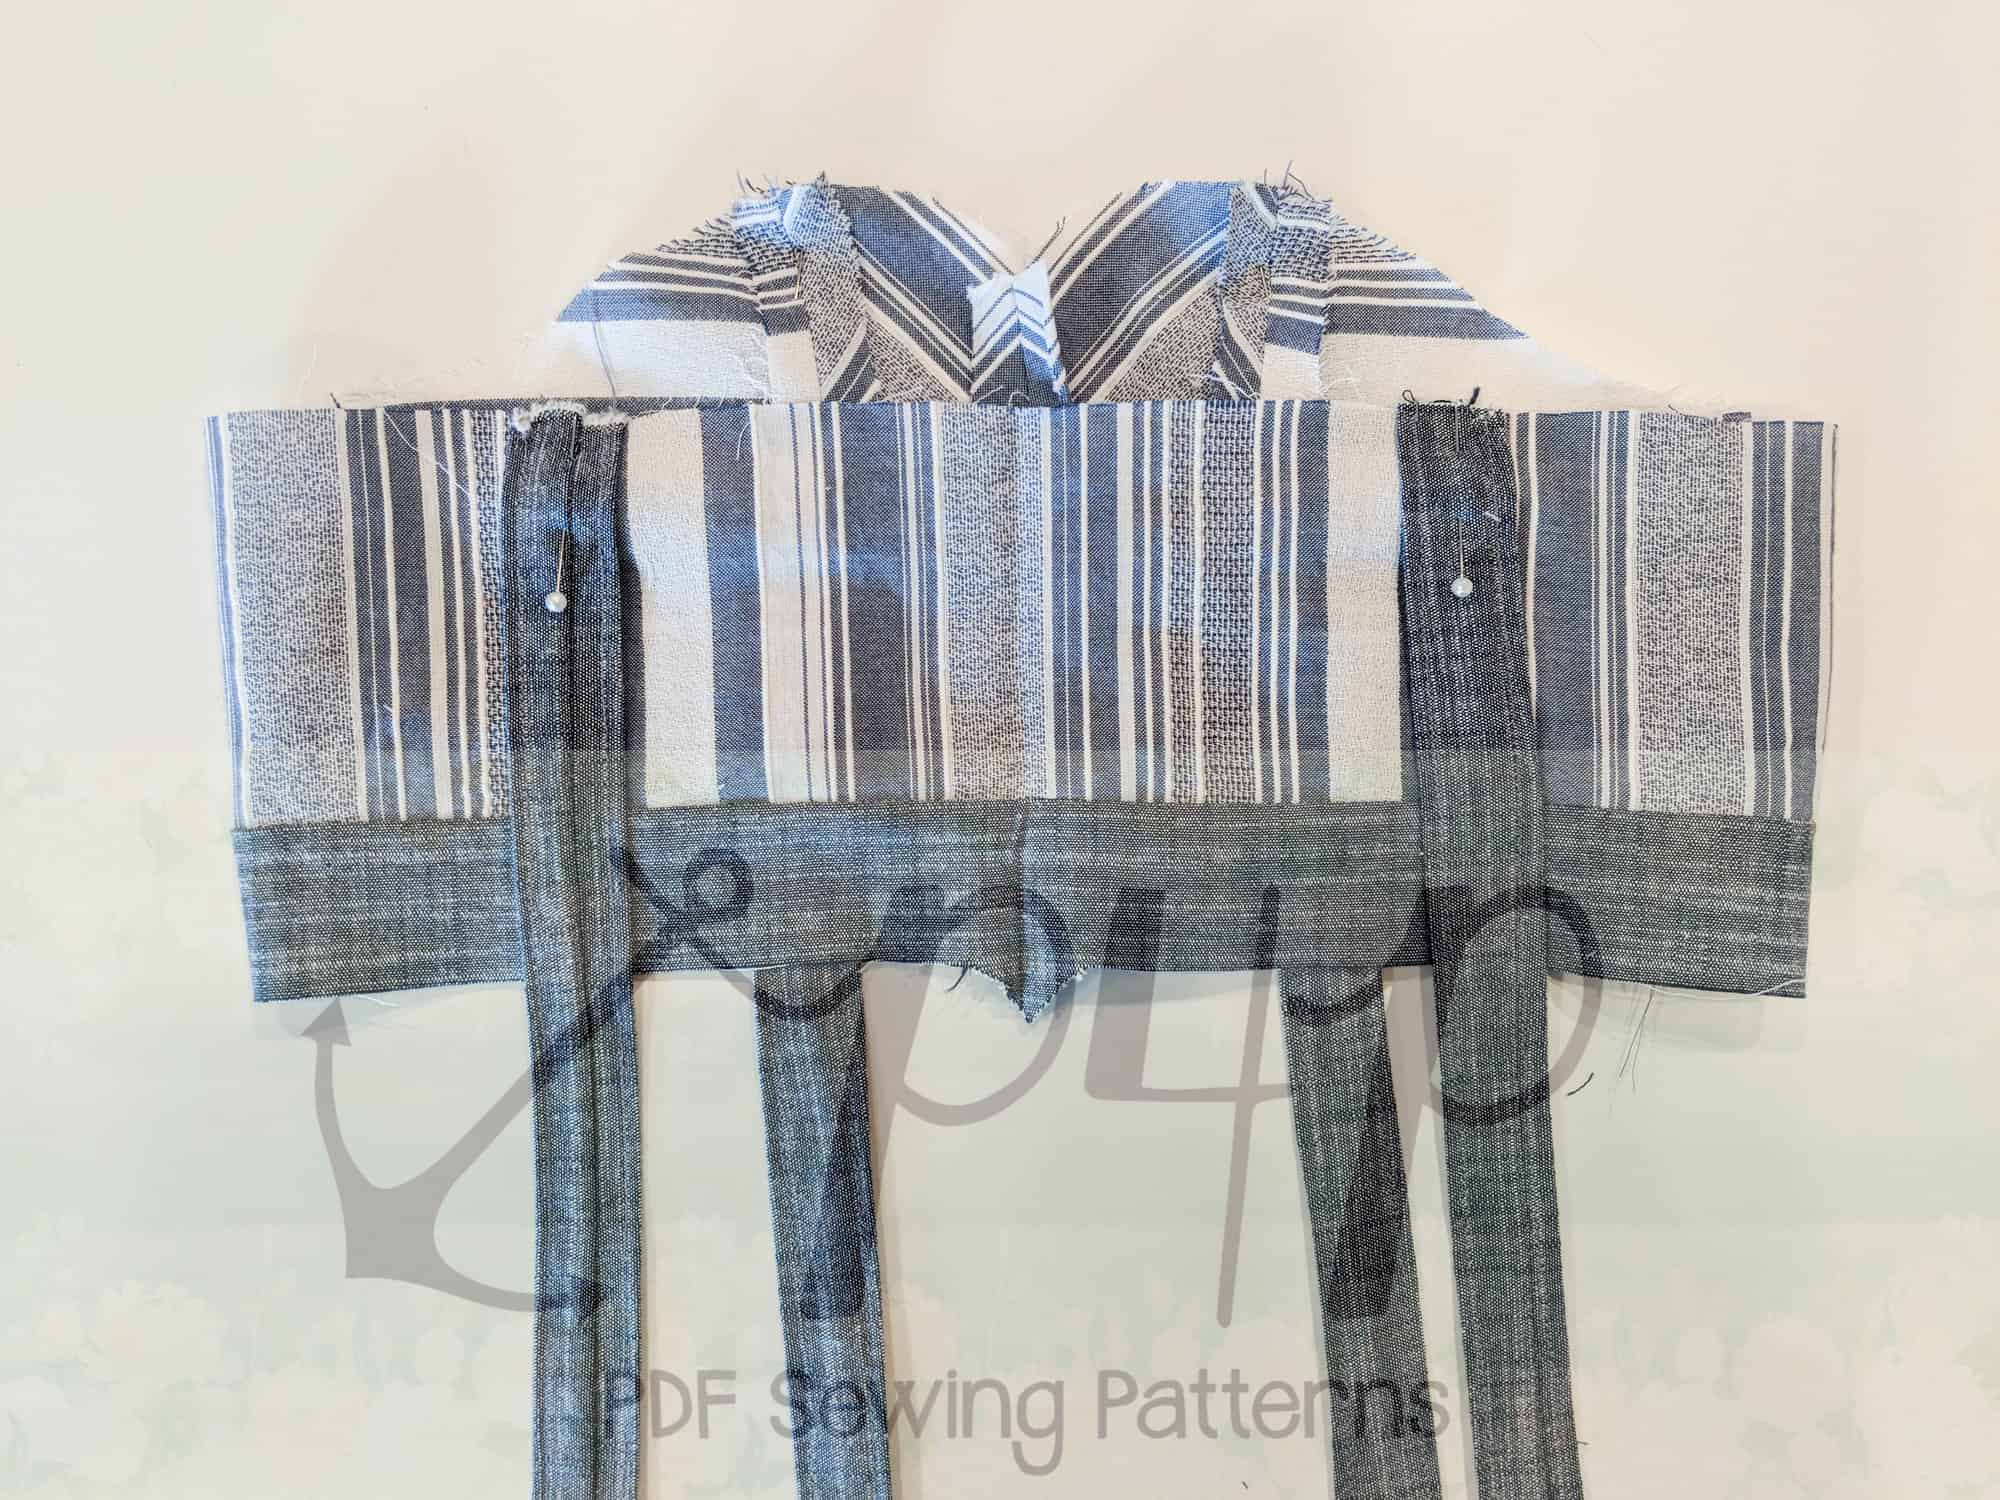
Hem the side of the overlapping piece as in the original pattern. You will now add two 3/4″x3/4″ of stabilizer to where the snaps will be placed. Use the initial marking points as a guide for the snaps.
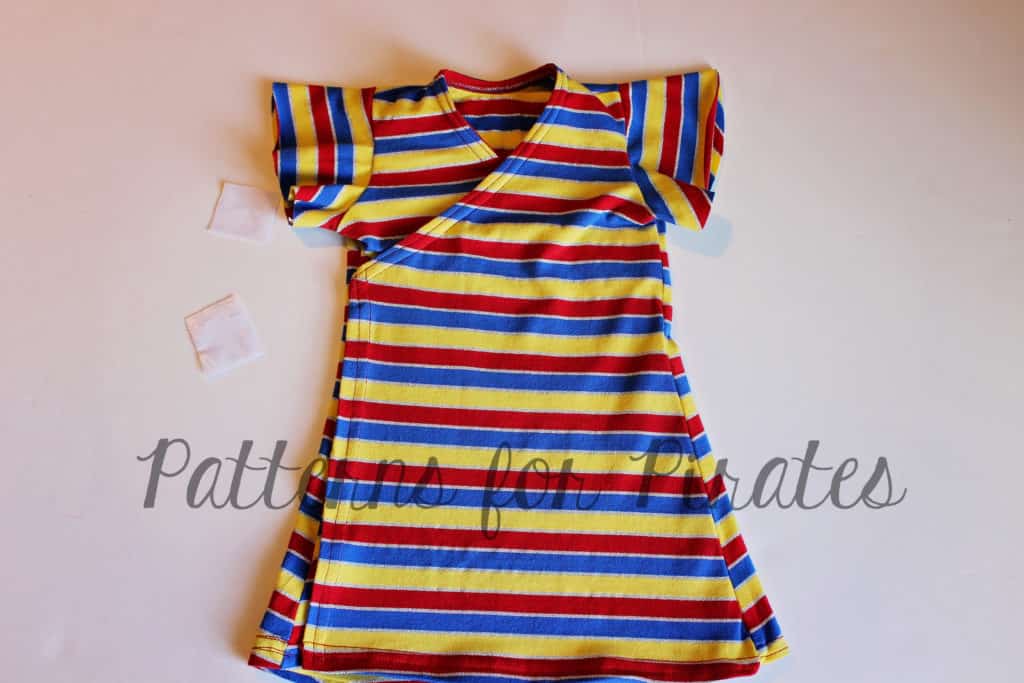

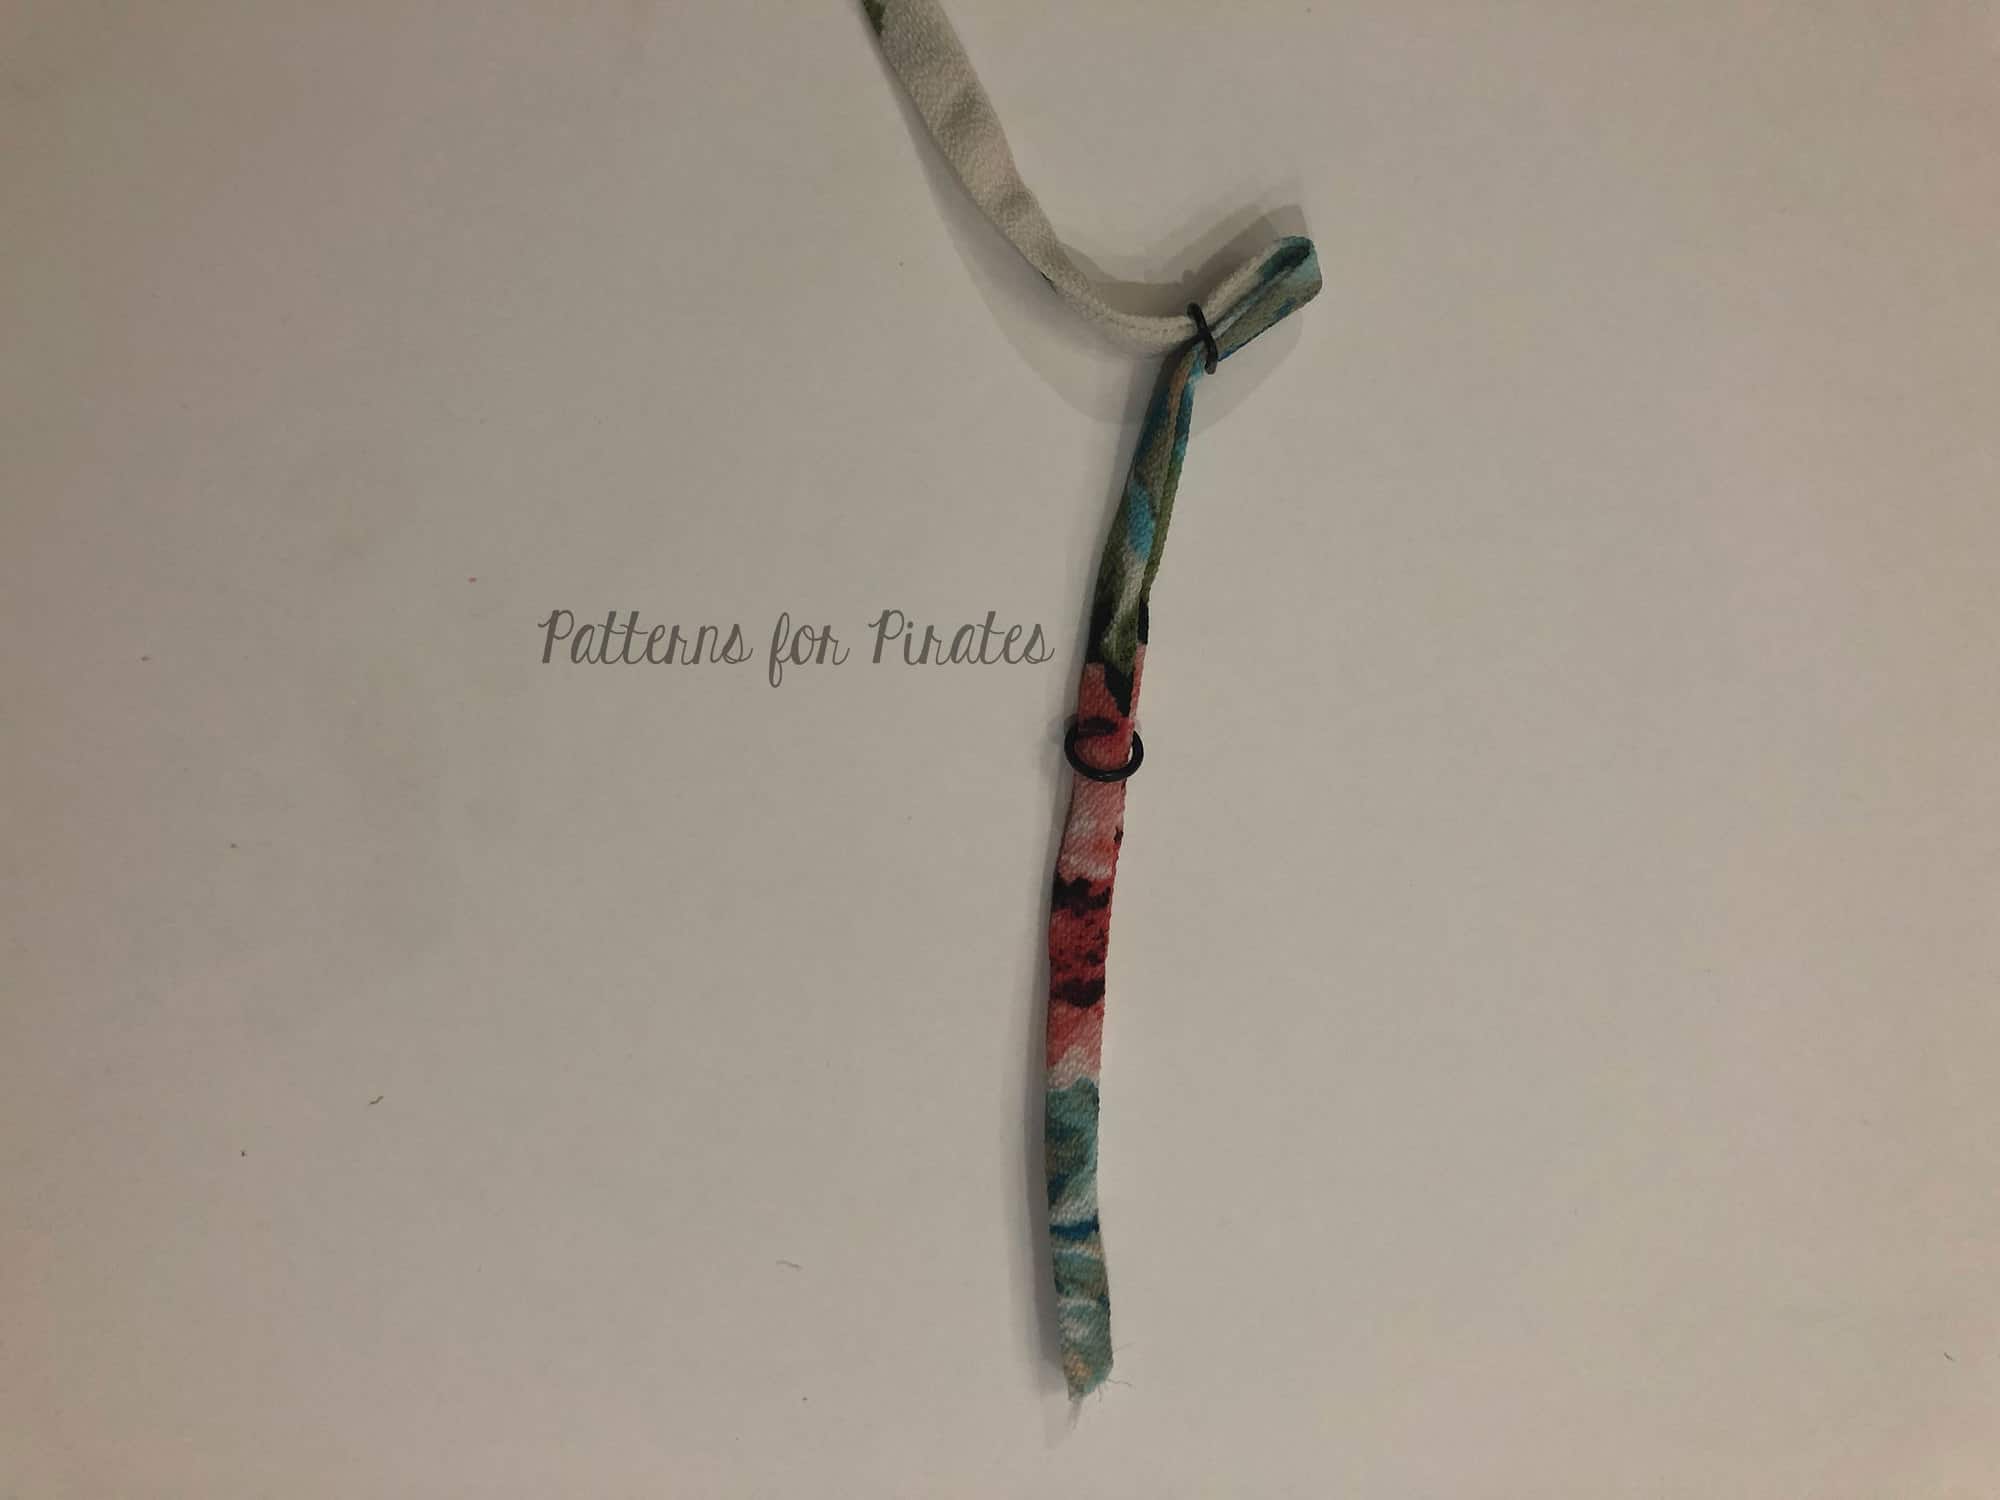
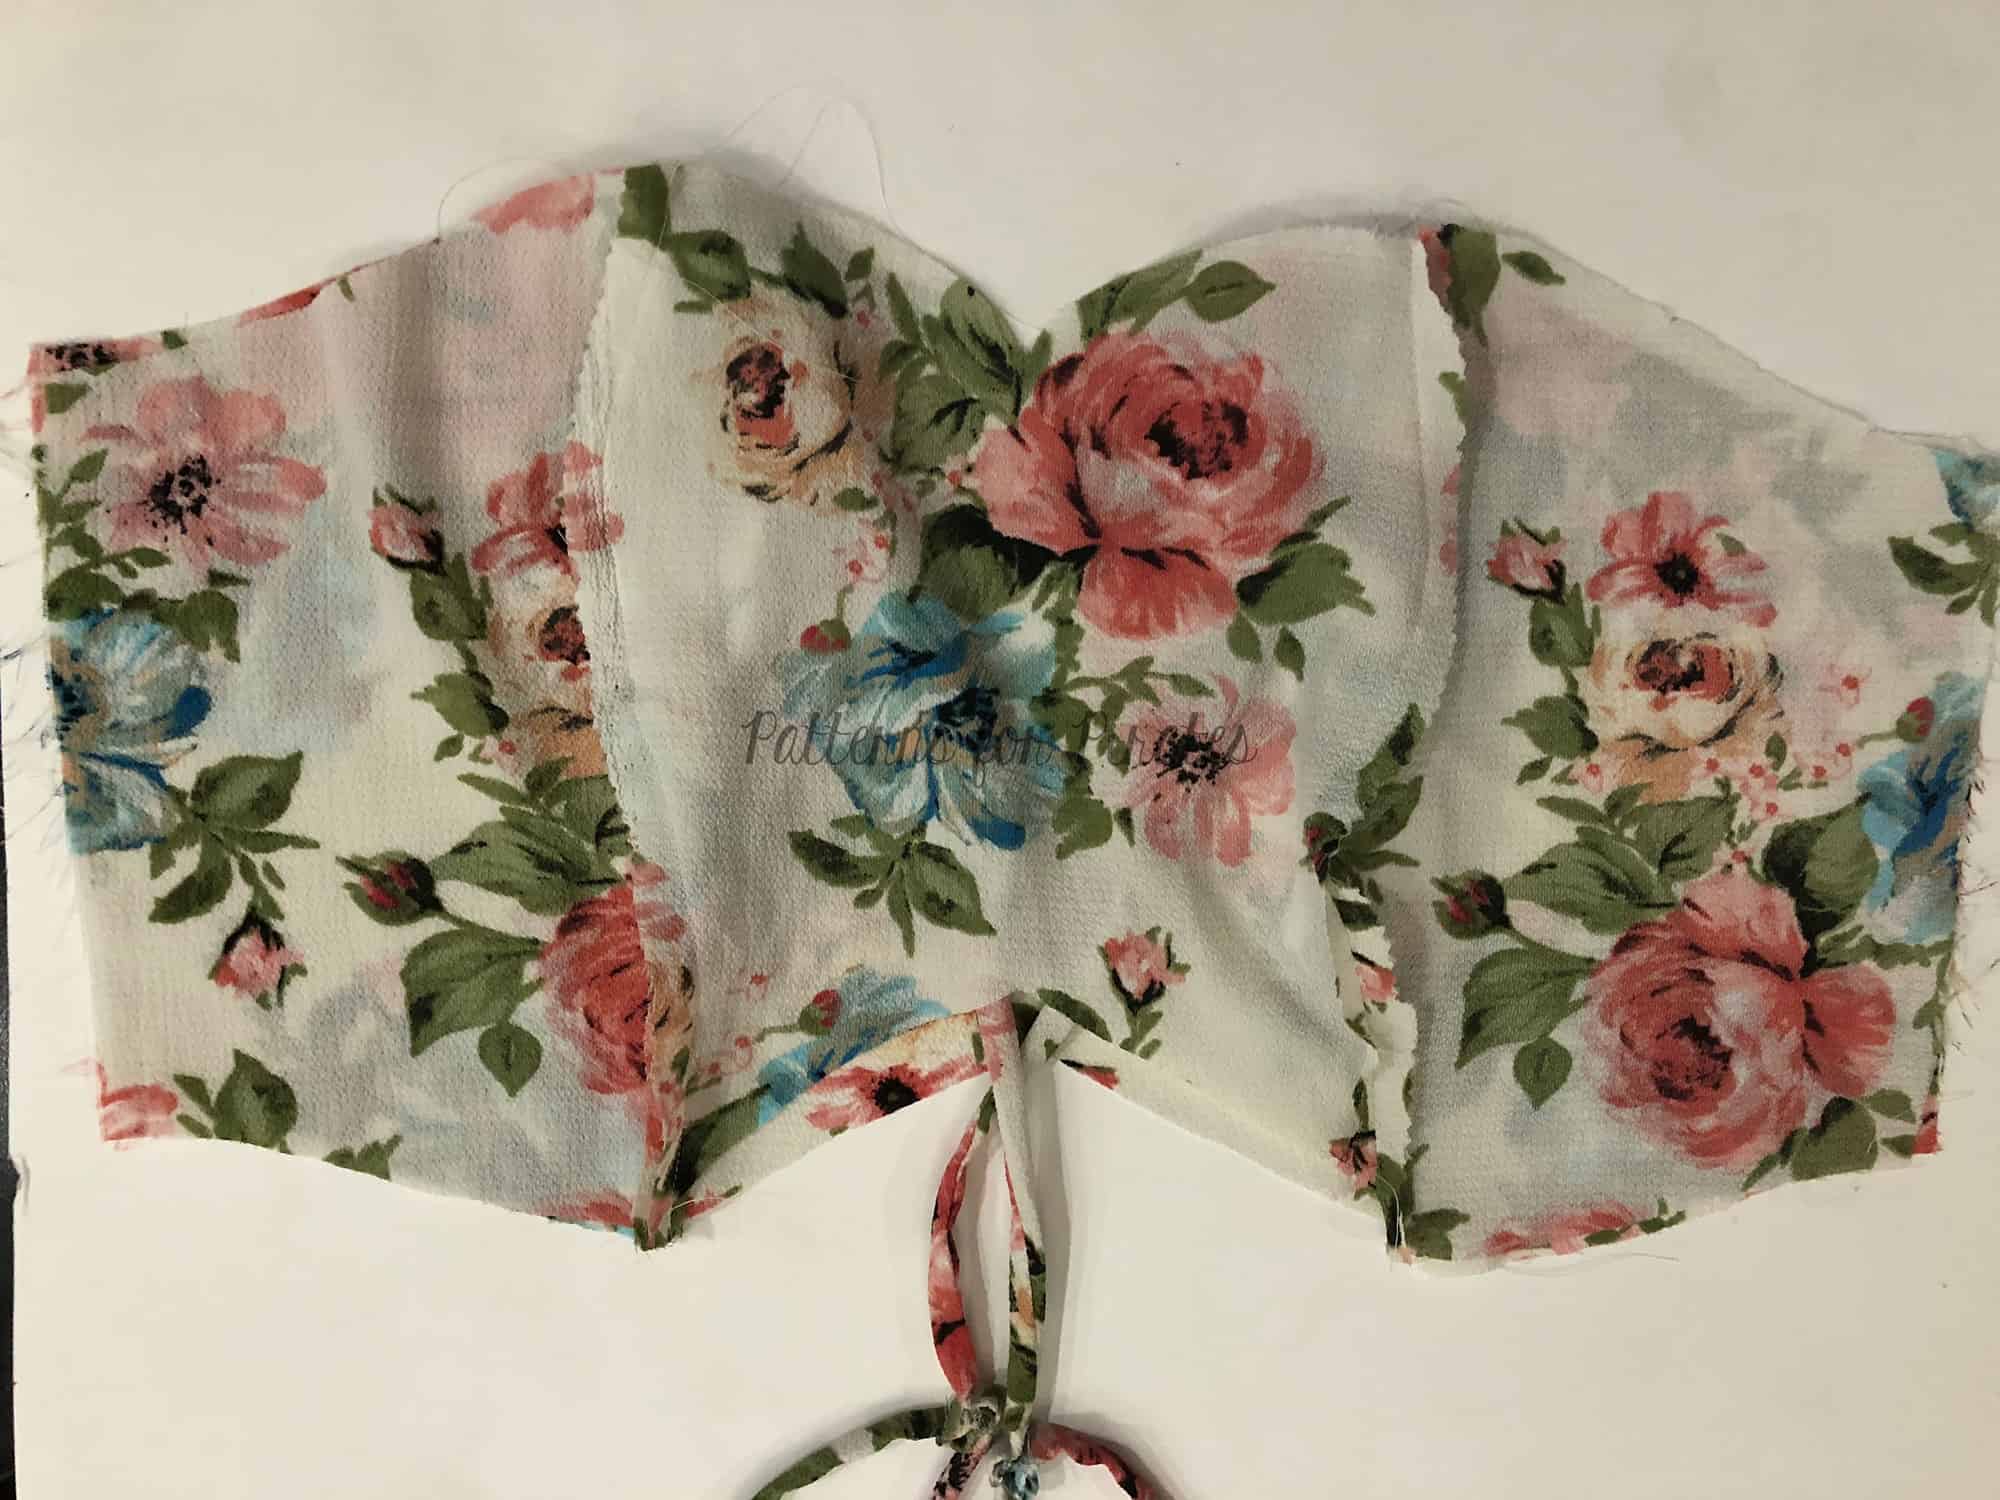
Add the male snap to the wrap and the female snap to the other side. All done! The wrap dress look without the “hassle” of the ties.

As promised above, here is how to keep the wrap but still add snaps. Place the front and back of the dress right sides together as shown above and sew together the two layers ONLY on both sides, matching the armpit and bottom. Add snaps on both sides using the markings you did. Super duper easy!