Patterns for Pirates

P4P stylish, modern, wearable patterns

  • Home
  • Blog
    • Frequently Asked Questions
    • Pattern Releases
      • Free Patterns
    • P4P University
      • Fitting
      • Sewing with Stretch, Knit Fabrics
      • Sewing with Woven Fabrics
      • Sewing Machines
    • Sew-A-Longs
    • Fabric for Pirates
    • Pattern Hacks
    • Announcement
      • Blog Tours
      • Contest/Giveaway
  • Shop
  • Bundle Discounts
  • Gift Cards
  • My Account
  • Cart

Sew what do I wear…Professional Edition

October 27, 2017

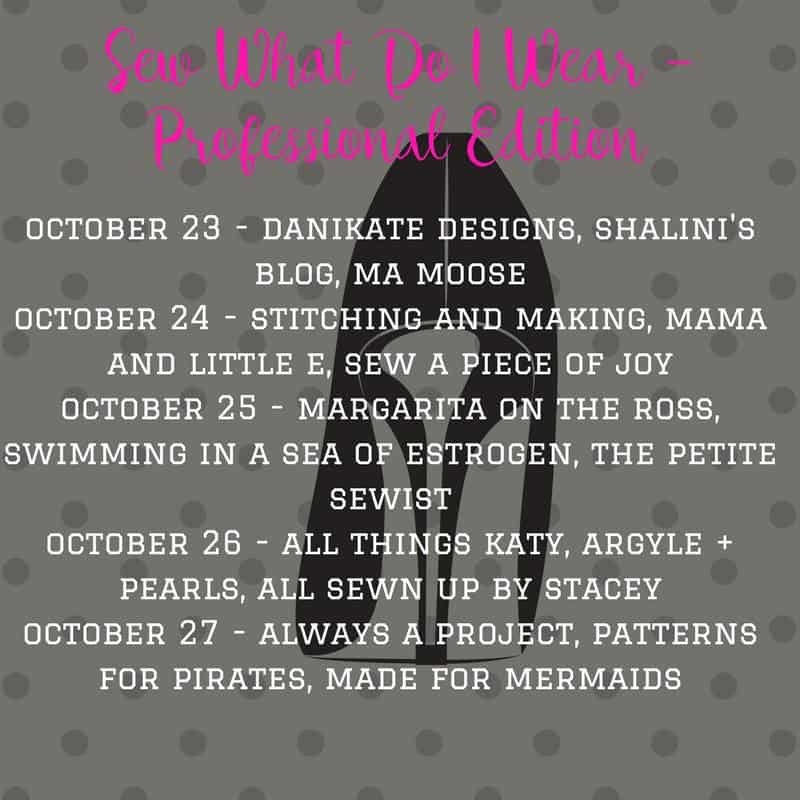
It’s that time of the year again…time for the Sew What do I wear blog tour hosted by Made for Mermaids and P4P. This season a group of very talented women are bringing you inspiration for business wear outfits so make sure to check them all out.

As busy professionals on the go one of the most important thing to keep in mind when sewing your office outfits is time! How much spare time to you have? How many outfits can you treat yourself to in the allotted sewing time? Easy and fast patterns will help you get many looks in a short amount of time.

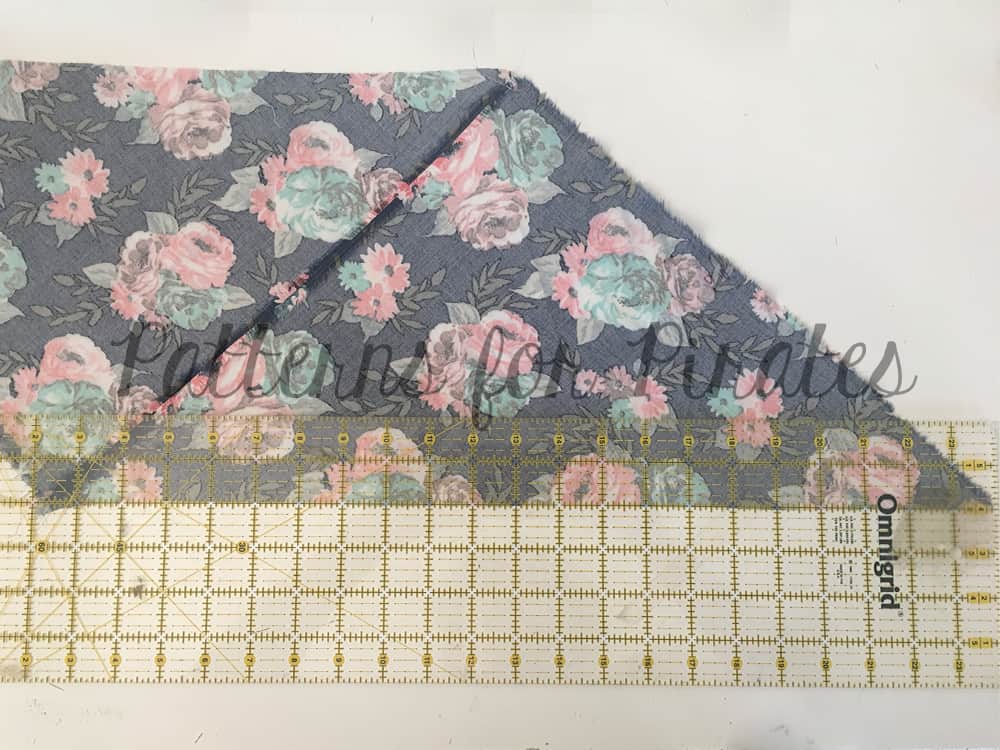
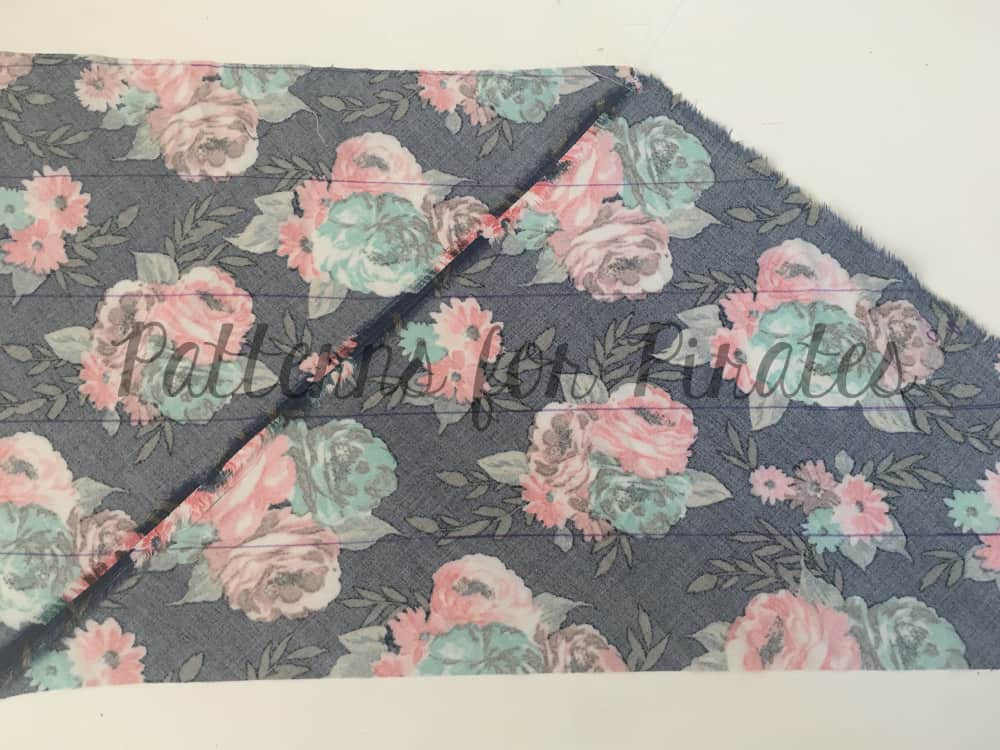
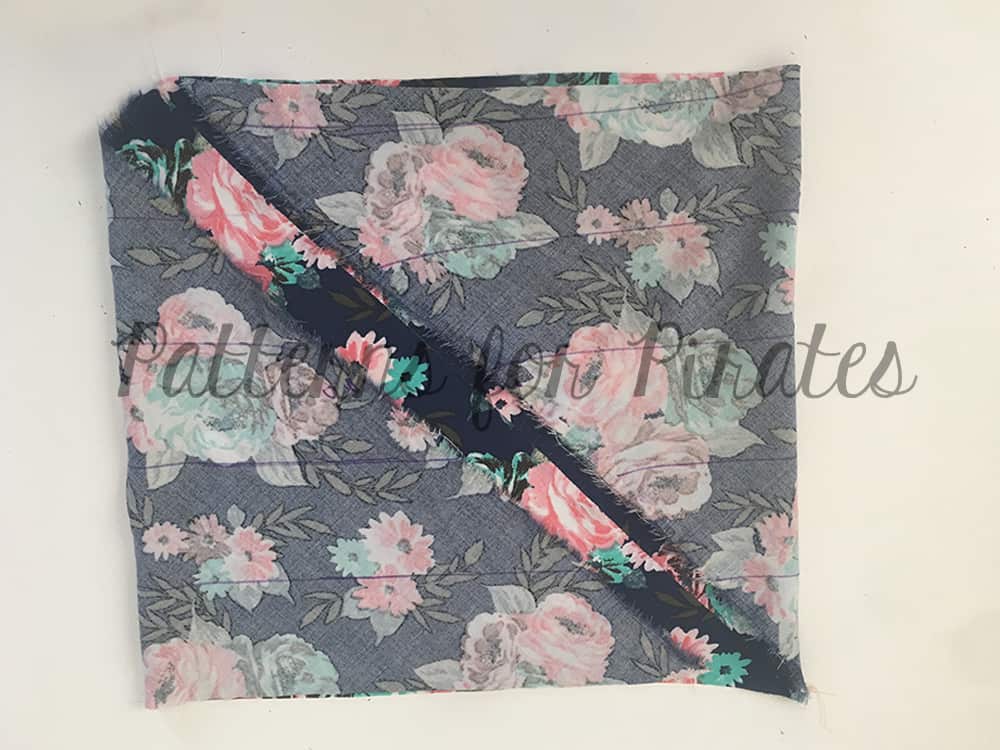
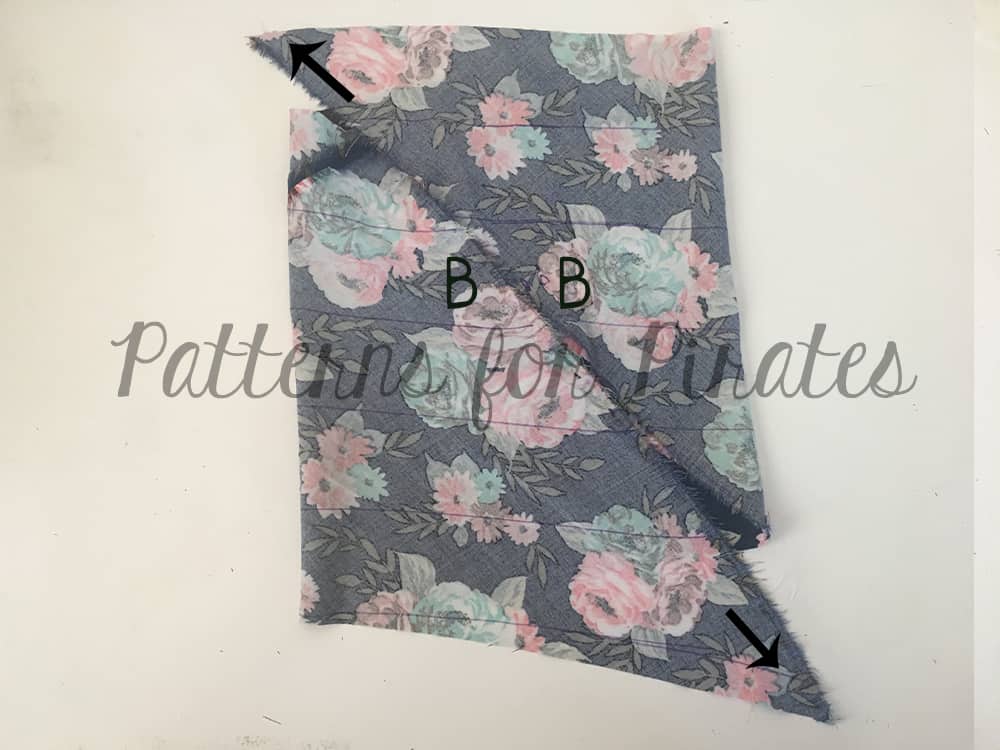
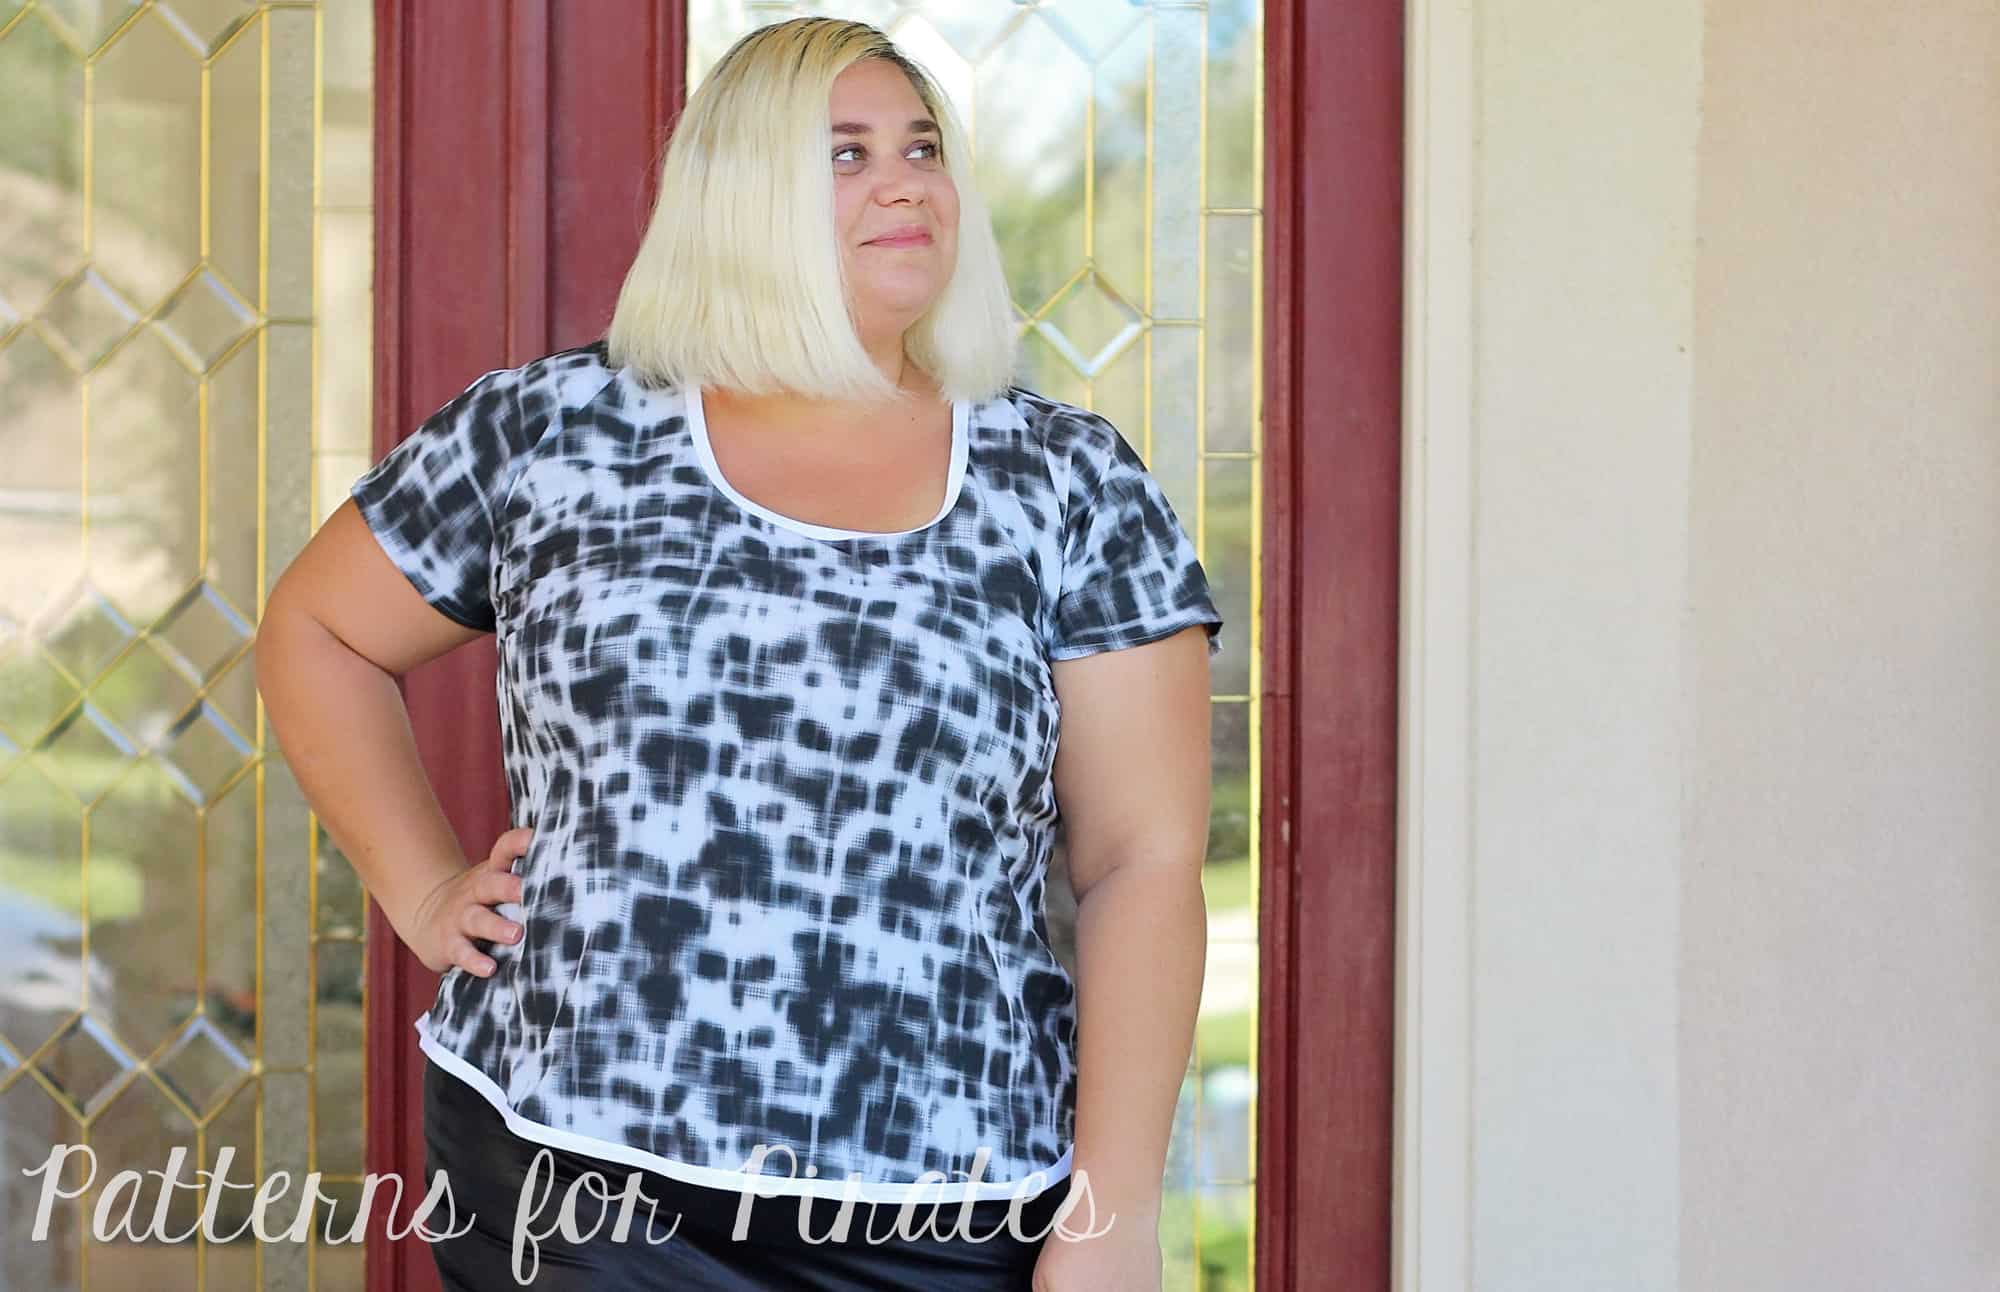
Keeping that in mind, for today’s blog I chose two of the fastest to sew P4P patterns, the Brunch Blouse and the Pirate Pencil skirt. Both patterns have a minimal number of pattern pieces and are super fast to put together.

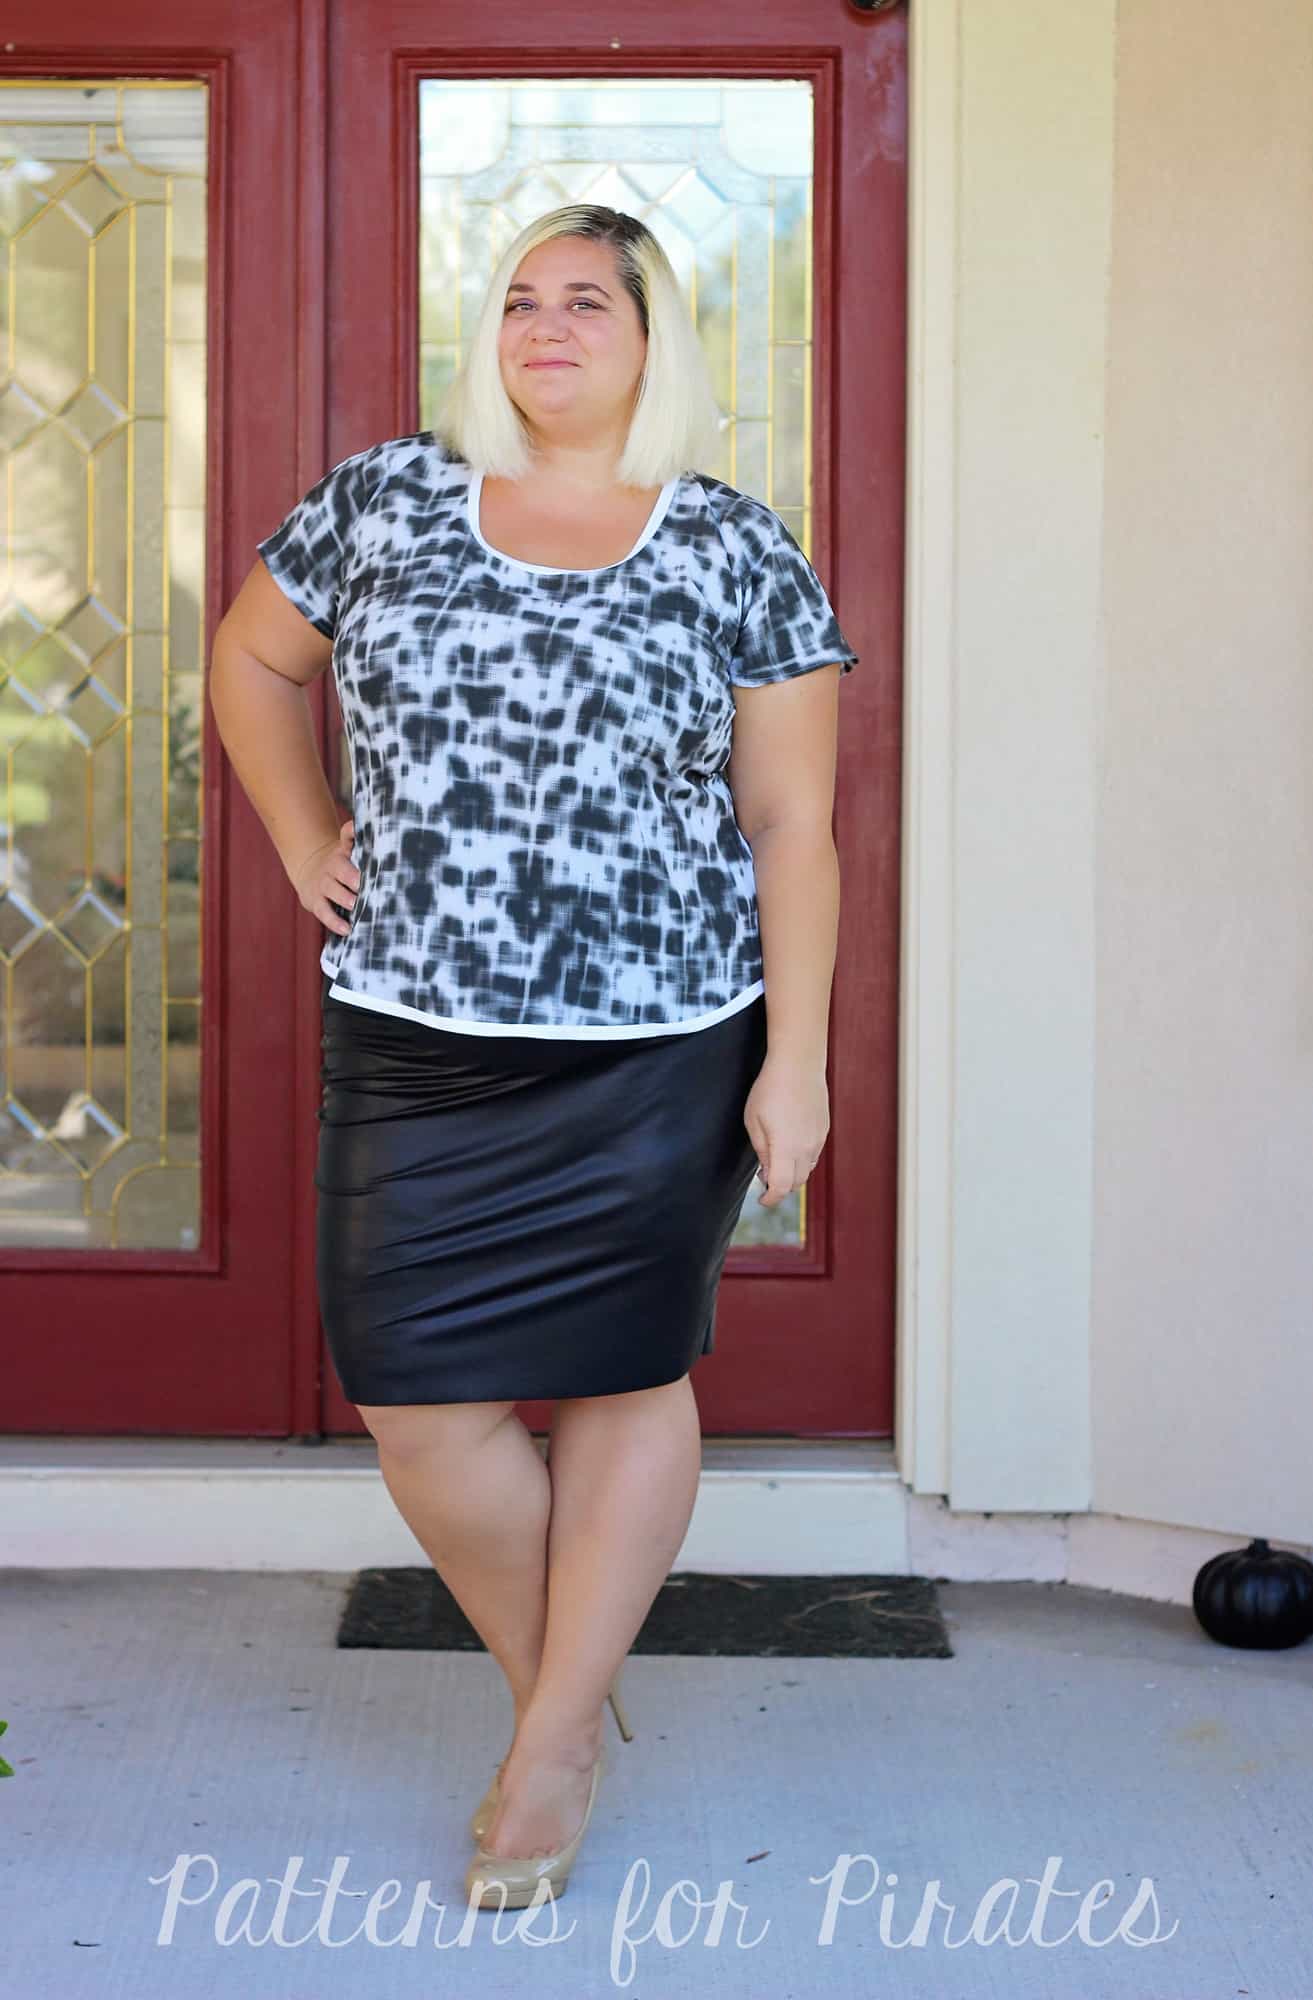
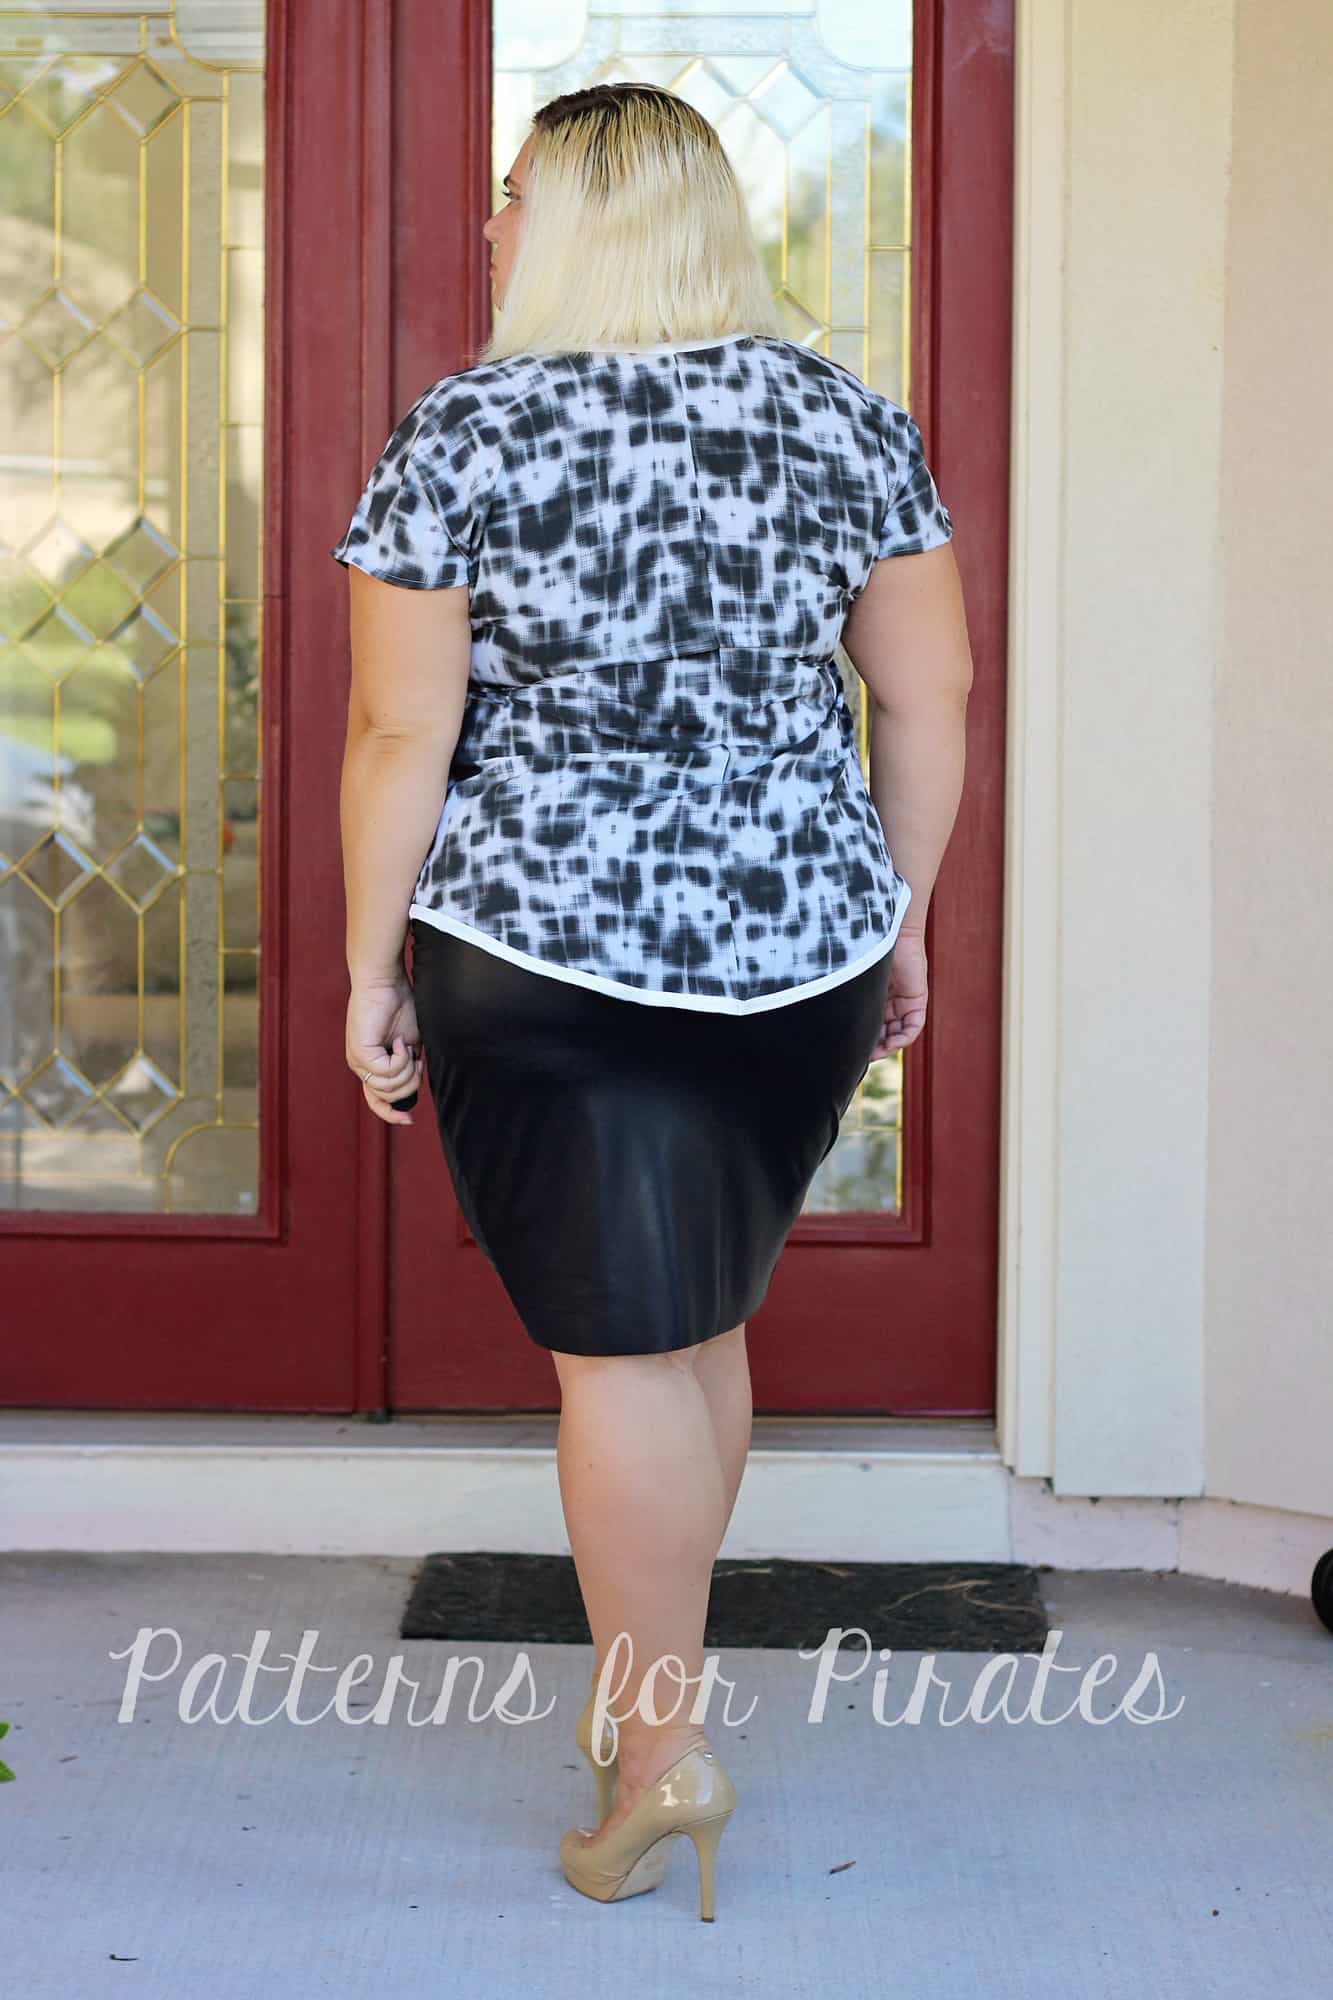
For a more edgy look I use some vegan stretch leather when I made the Pirate Pencil Skirt . I loved the look of the skirt un-hemmed so I just skipped this step all together…boom! Even a faster sew now!

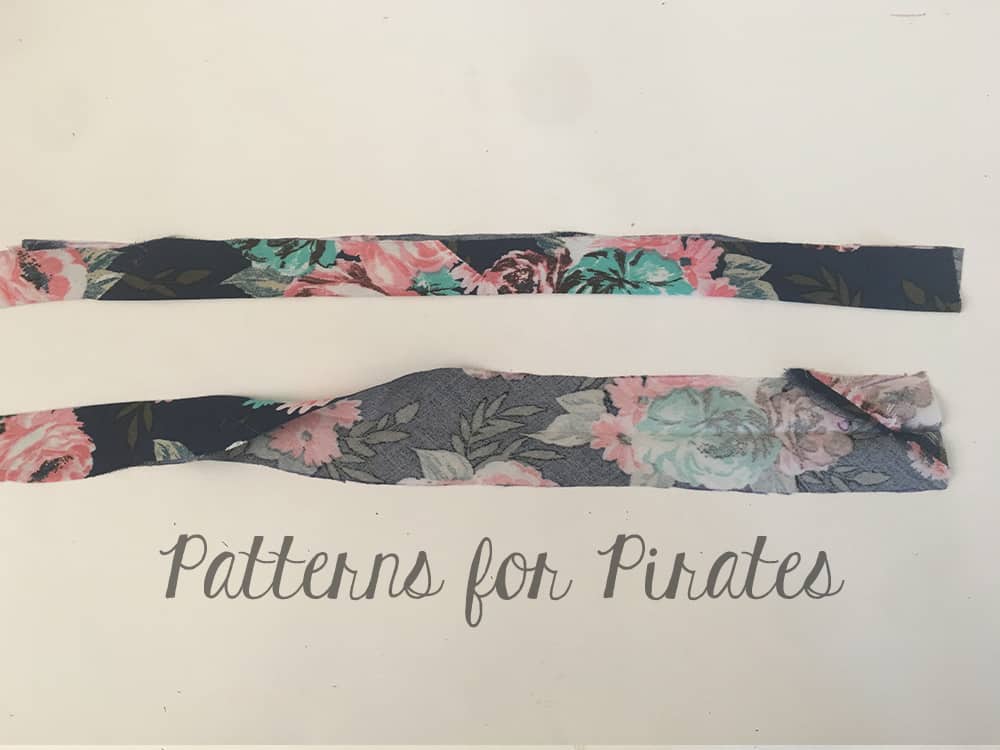
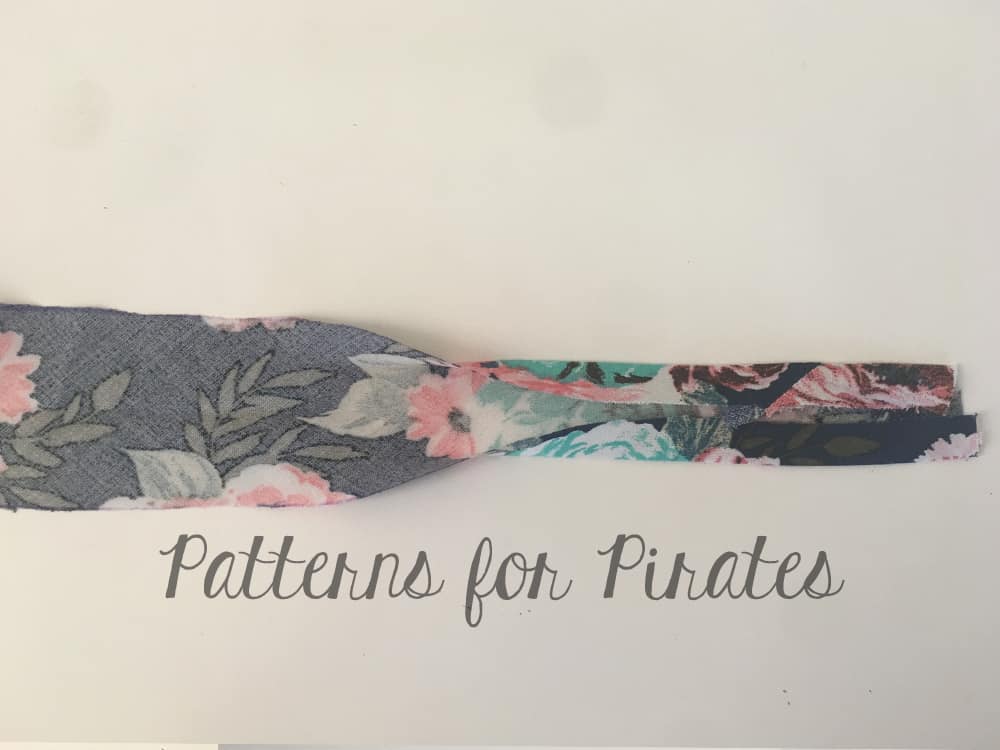
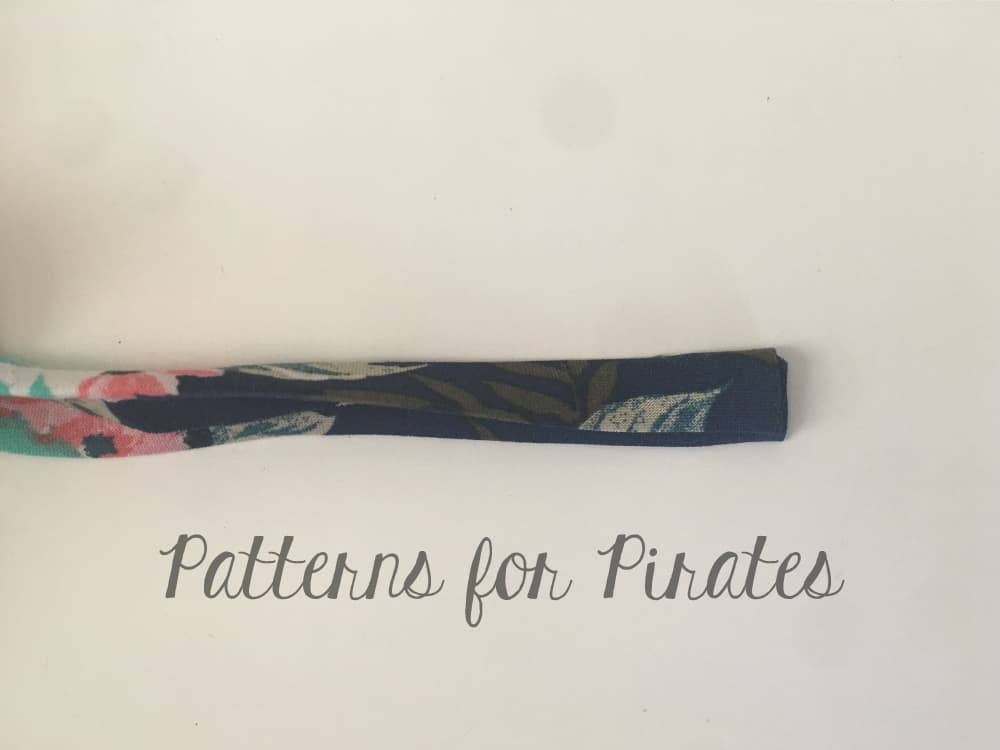
As I was sewing the top length Brunch Blouse I realized I wanted to add some extra details to it but without much work 😉 Store bought single fold bias tape to the rescue! Instead of finishing the neckline with the bias tape on the inside (as per the pattern tutorial), I did a switcharoo and put the bias tape on the outside of the neckline. I finished the bottom of the shirt using the same technique. The bias tape hem add a little extra to the shirt, doesn’t it?

There you have it! Two easy to sew patterns and a pair of of stilettos and you made yourself a edgy office attire. If you live in a colder weather are, throw a Cocoon Cardigan over and you’re ready for a stylish day at work.

Make sure you check out all the amazing blogs that joined us for this tour!

Filed Under: Blog Tours, Frequently Asked Questions, Uncategorized 2 Comments

P4P University :: Bias Binding

July 22, 2017


We recently covered the tips and tricks to using a knit binding (HERE) but what about woven fabrics?  One of the many finishing options for necklines, sleeve hems and armcyes for woven fabrics is bias binding.  Unlike knit, woven binding should be cut on the bias (45 degrees from the grain-line) so that it bends and curves and allows it to lay flat.  Some patterns will include a pattern piece, which makes it easy to line up and cut the strip on the bias, however, it can eat up quite a bit of fabric and we all know how much we hate to waste pretty fabric, right?  You can also use pre-made bias binding, but many of times it’s nice to use the same fabric as the your garment, so we’re going to show you how make a continuous bias strip from a small square of your fabric.  This is also perfect to use up your scraps.

For this example, I used a 15″ x 15″ square which makes about 100″ of 2″ bias binding.  A 12″ square makes about 60″ which is plenty for the bias binding neckline option of the Everyday Elegance.

Cut and prep the square. Mark opposite sides with A/B and draw a diagonal line from one corner to the other.
Cut the square across diagonally.

With right sides together, match the ‘A’ side and stitch together using a 1/4″ seam seam allowance.
Press seam allowance open.

Starting at the bottom, draw 2″ lines parallel to the bottom edge. If there is any excess that does not complete a full 2″ row, just trim it off.
With right sides together, fold the ‘B’ side toward one another. Your fabric should be a square, with your drawn lines still parallel with one another.

Pull the pointed corners in opposite directions and match up the next row of lines.
With right sides together, pin and stitch using a 1/4″ seam allowance.

Press seam allowance open.
Starting at one end, cut along your previously drawn lines.

Continue cutting around the circle and voila! You now have a continuous bias strip.

At this point, you can set your binding aside or you can continue to pre-press to finish preparing it to be sewn to your garment.  A 2″ binding strip will create 1″ single fold or 1/2″ double fold bias tape.  The above method also works for various widths and single or double fold bias tape.

Fold bias strip in half toward the wrong side. Press.
Unfold and re-fold the raw edges toward center.
Fold again and press.

There you have it!  Creating your own bias tape from woven fabric is as simple as a couple of seams and cuts.

Check out the video below as Judy walks you through a quick demonstration on sewing with bias binding.

We’ve added another quick video with SINGLE FOLD BIAS BINDING 🙂 Enjoy!

As promised in the video here are a couple pictures to entice you to PRESS and stay stitch to help get a great finish.

Finished single fold bias:


Happy Sewing!!

Filed Under: P4P University, Sewing Techniques, Sewing with Stretch, Knit Fabrics, Uncategorized 4 Comments

Newest Patterns

  • Uptown Joggers - Youth $10.00
  • Uptown Joggers $12.00
  • Uptown Joggers - Bundle $20.00
  • Notch Top & Dress $12.00
  • Notch Top & Dress - Youth $10.00
  • Privacy Policy
  • Refund Policy
  • Affliliate Program
  • Contact Us
  • About

Copyright © 2023 Patterns for Pirates

Copyright © 2023 · Genesis Framework · WordPress · Log in