Patterns for Pirates

P4P stylish, modern, wearable patterns

  • Home
  • Blog
    • Frequently Asked Questions
    • Pattern Releases
      • Free Patterns
    • P4P University
      • Fitting
      • Sewing with Stretch, Knit Fabrics
      • Sewing with Woven Fabrics
      • Sewing Machines
    • Sew-A-Longs
    • Fabric for Pirates
    • Pattern Hacks
    • Announcement
      • Blog Tours
      • Contest/Giveaway
  • Shop
  • Bundle Discounts
  • Gift Cards
  • My Account
  • Cart

Gala Gown :: Easy Hacks

November 29, 2019

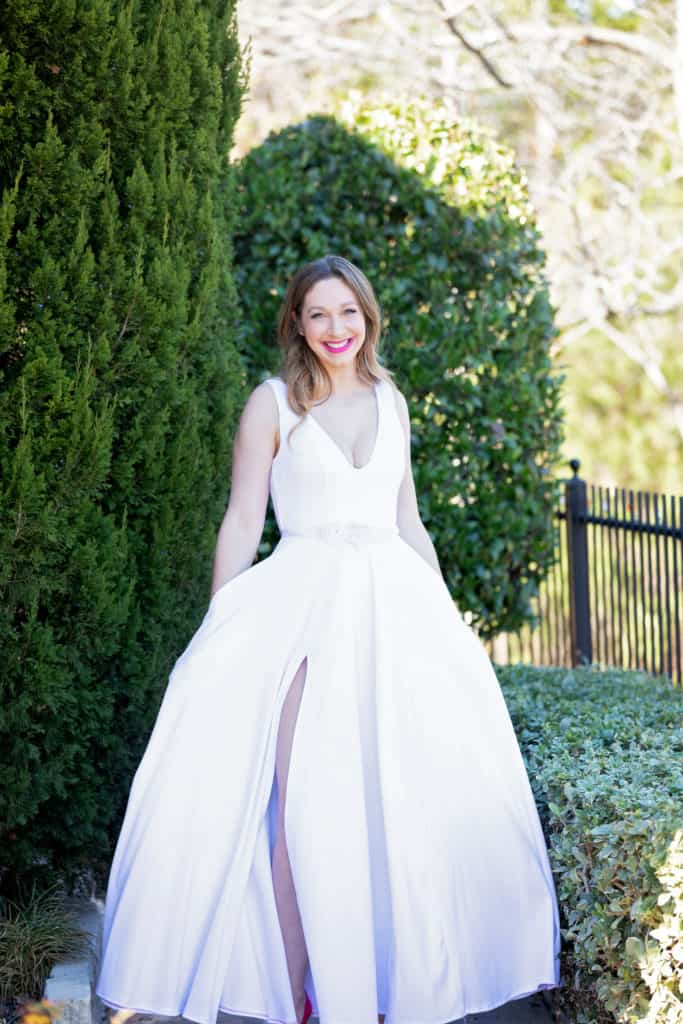
It’s a Gala Hacks party! In true P4P fashion, our amazing blog team has some fun, easy hacks and mash ups ready for you.

…..

Gala – Sweetheart mash up

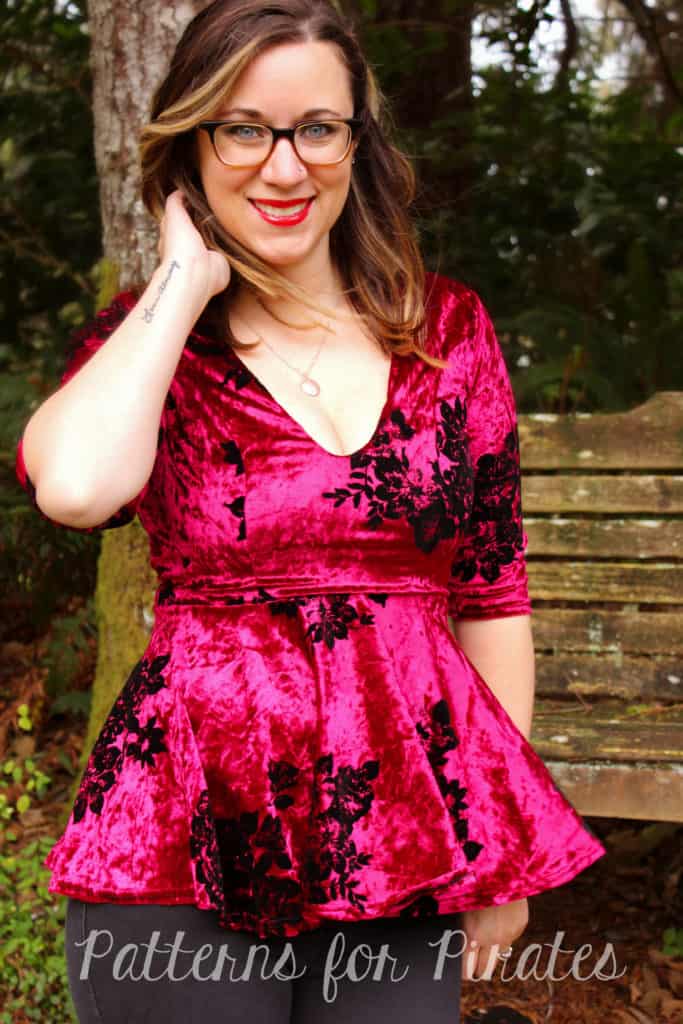
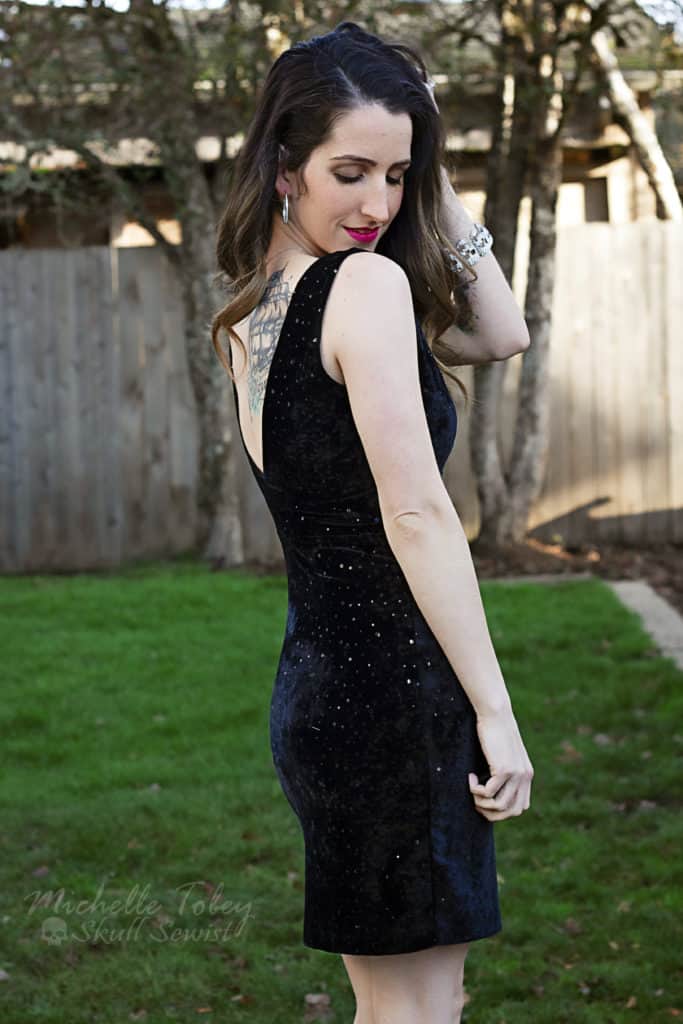
There’s no denying that the Gala Gown has all of the drama and beauty needed for all of those amazing times in our life. However, it can also be transformed into a fun little top with very little effort! I used the bodice of the Gala Gown for this look, however I paired it with the peplum skirt option from the Sweetheart Dress. 

To create this look, cut and assemble your bodice from the Gala Gown as directed in the tutorial. You will then want to use the peplum skirt option from the Sweetheart Dress. Mark the quarter points on both the bodice and the skirt. Slip the skirt over the bodice, right sides together, and match quarter points. Attach using a ½” SA. Finish your peplum by hemming and you’re all done!
~ Erinn

…..

Gala – Pencil Skirt mash up

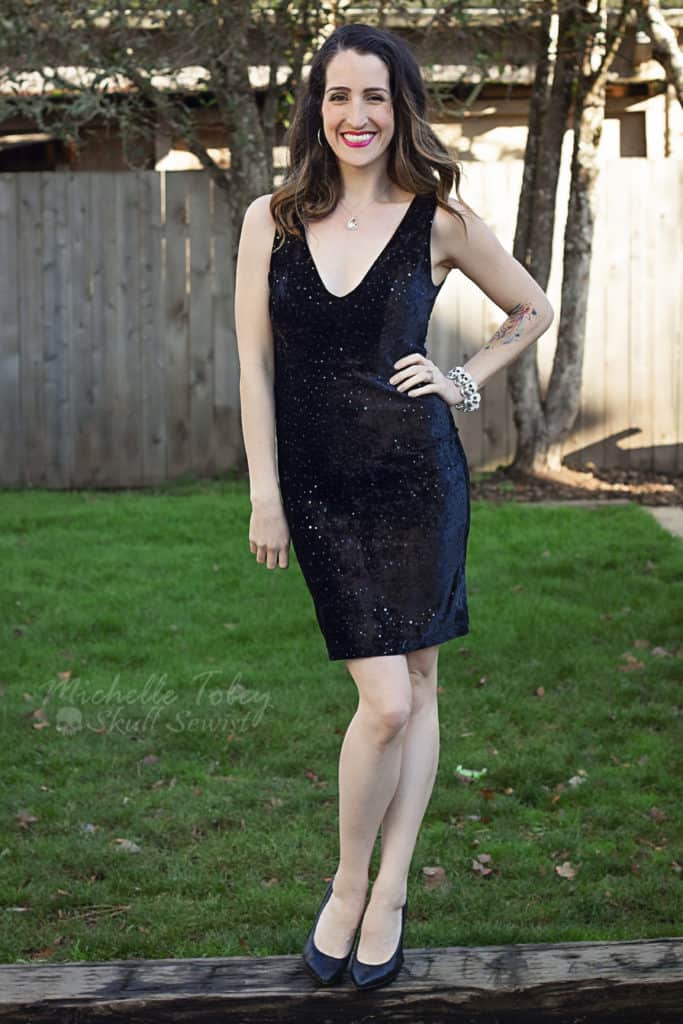
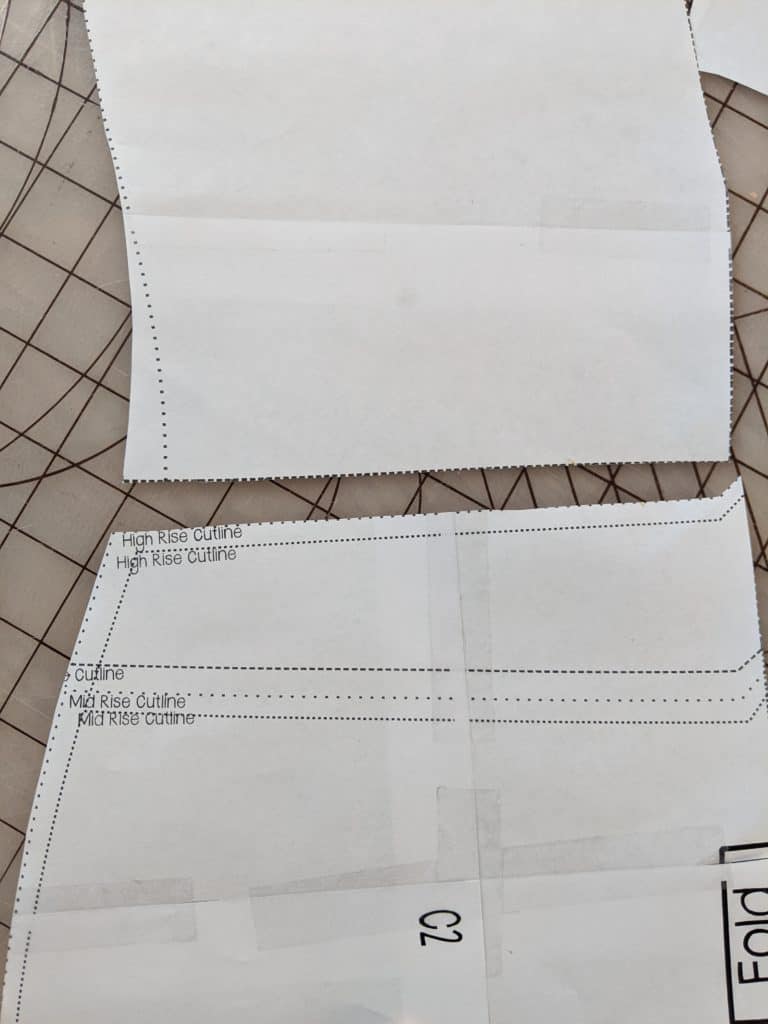
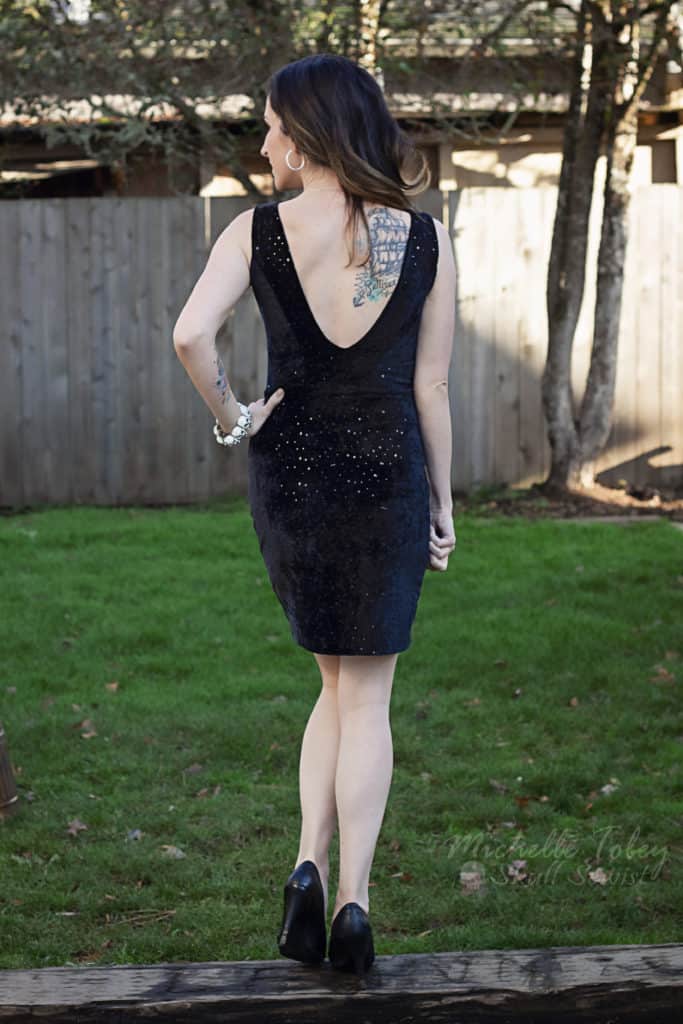
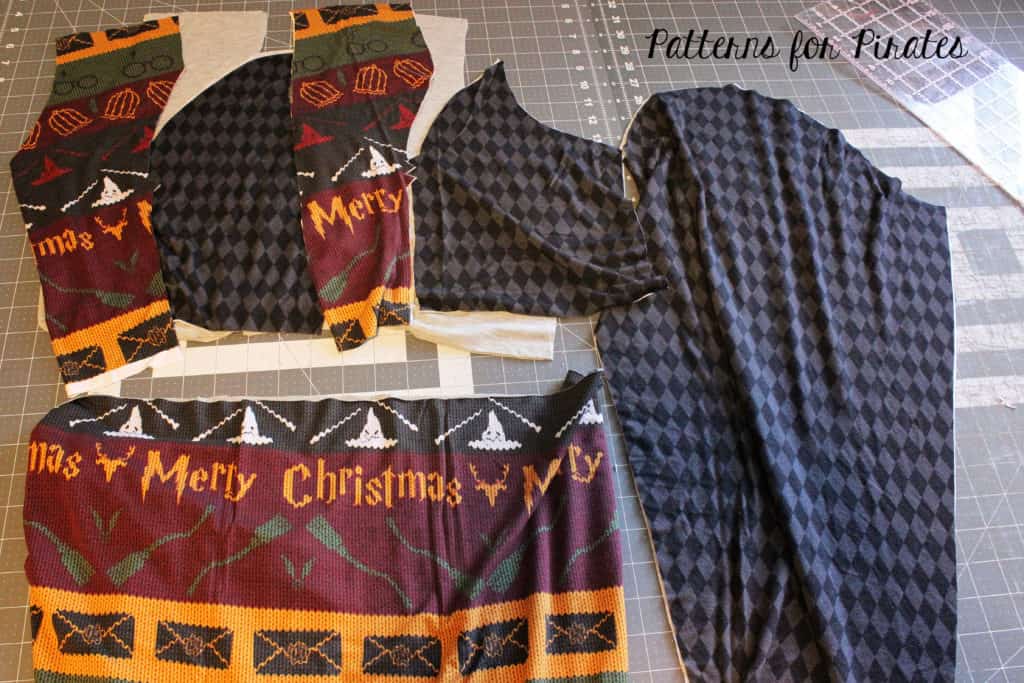
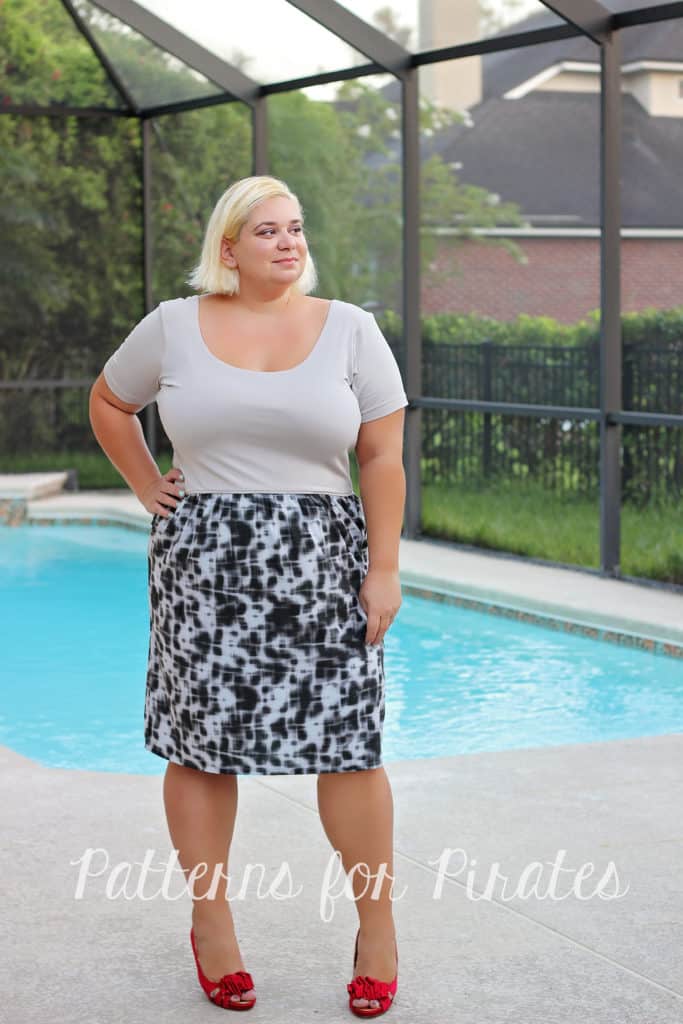
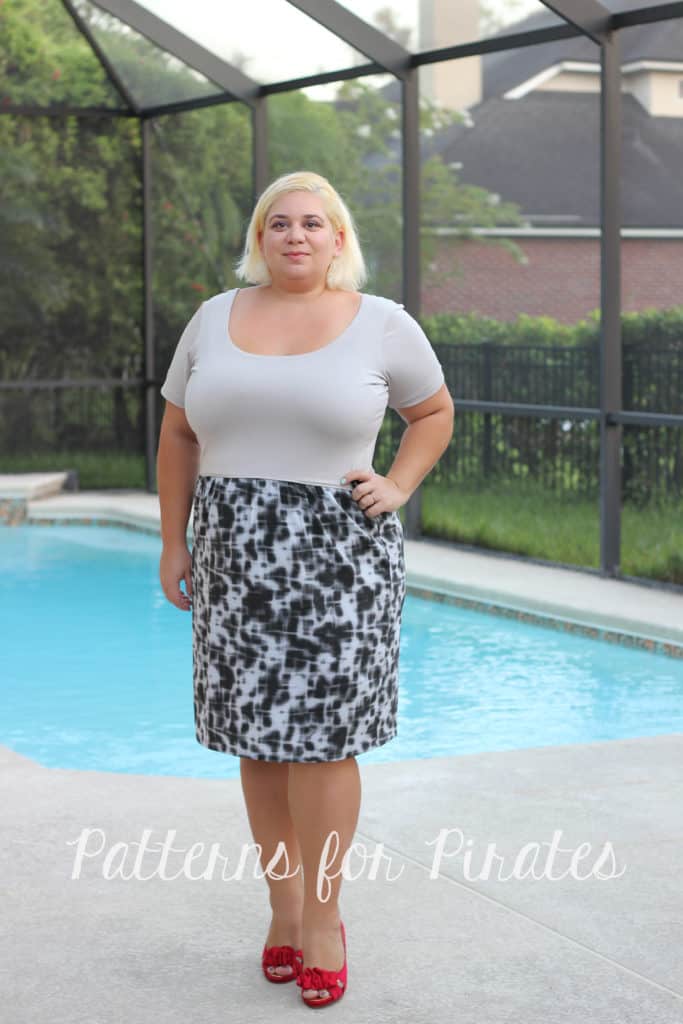
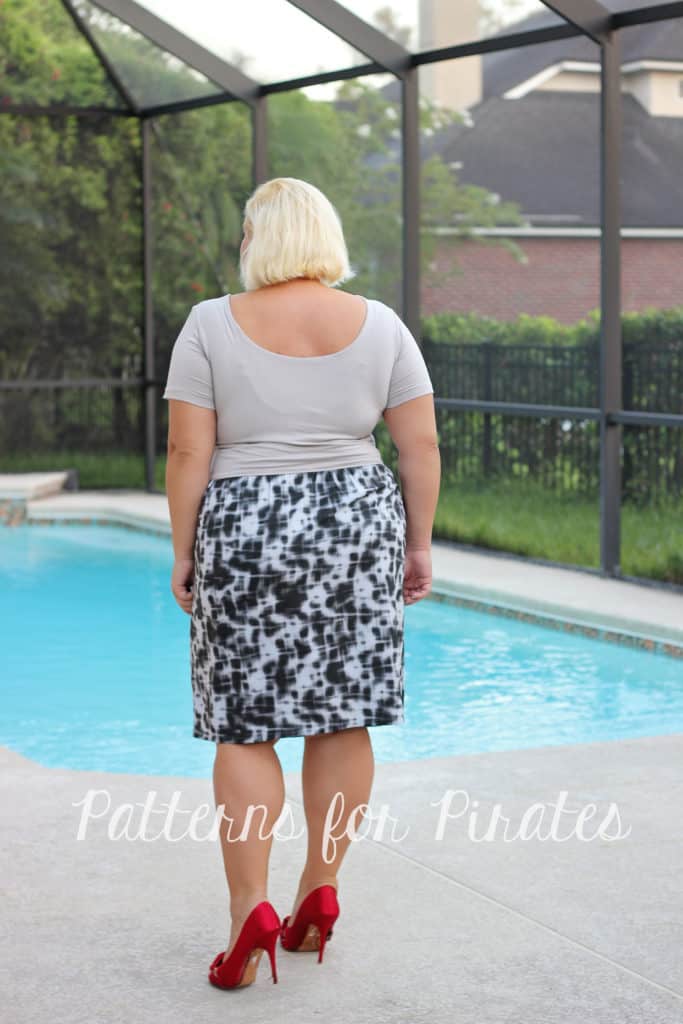
Loving the new Gala top but looking for something a little more form-fitted through the hips?  I’m going to take you through a super quick and easy mash with the Freebie Pirate Pencil Skirt that’ll give you a totally different look. Go ahead and grab your Gala Bodice Lining and your Pencil Skirt Pattern (high rise height) pieces.  You’ll want to make sure the bodice bottom is close to the same width as your pencil skirt top for mashing (based on your sizing it should be).  You may have to grade your pencil skirt pieces slightly to match the Gala Bodice.  I did this through the added waistband height.

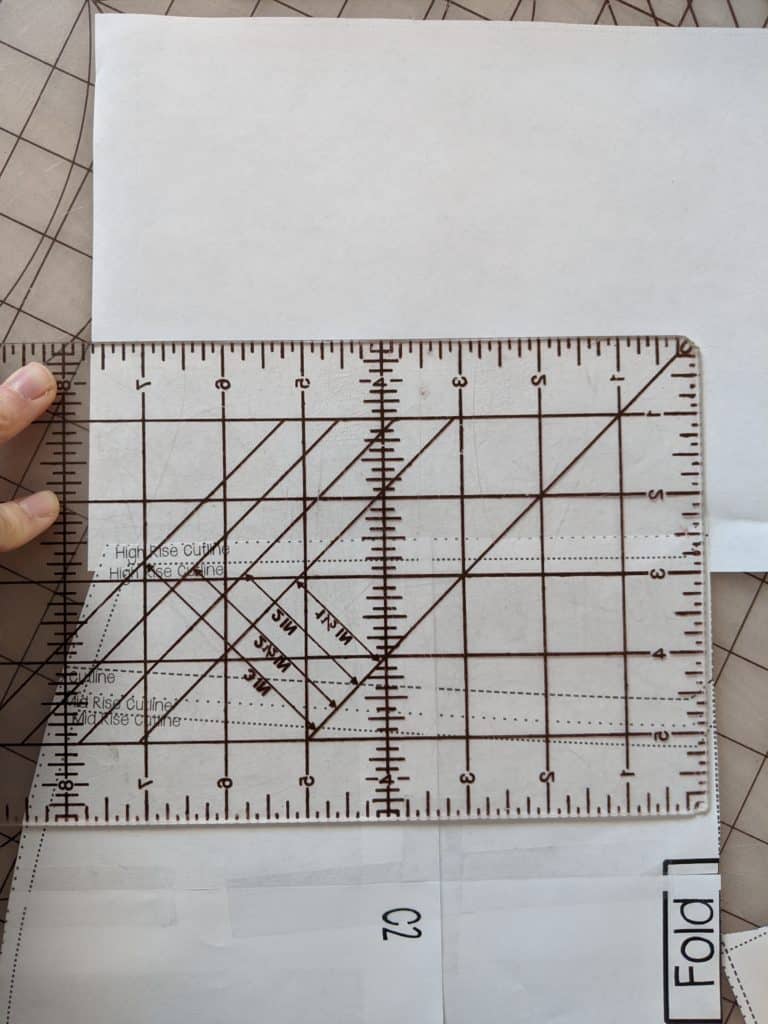
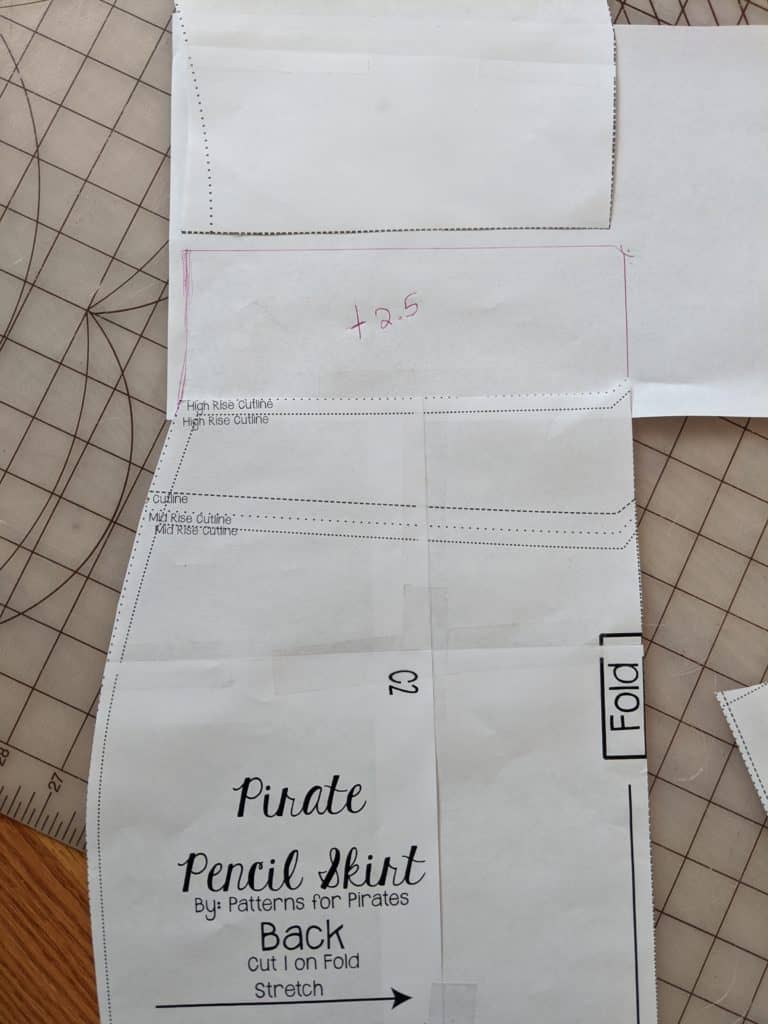
Next, you’ll need need to add the Pencil Skirt band height to your pencil skirt pattern.  You’ll take the given band height and divide it by 2 and then add that to the top of your pattern pieces.  For example- the band height on mine called for 5 inches so I added 2.5 to my pattern piece ( since the band is folded in half for the actual skirt height).  This is what you’ll cut for the bottom of your dress.


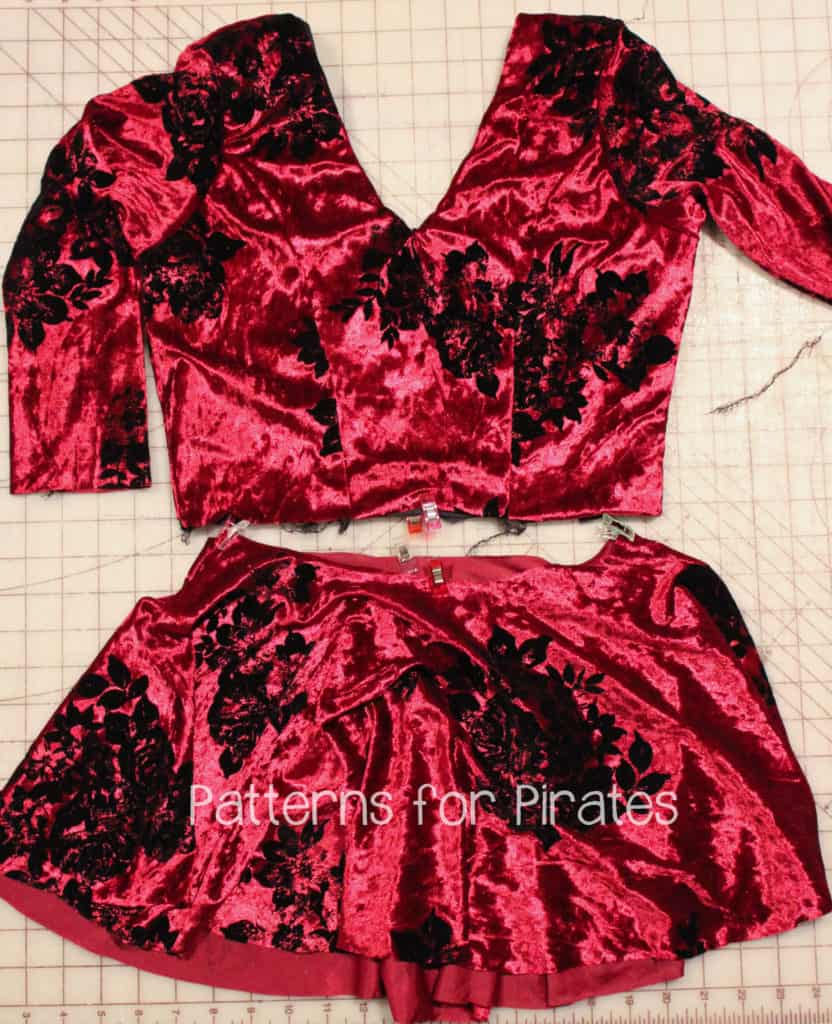
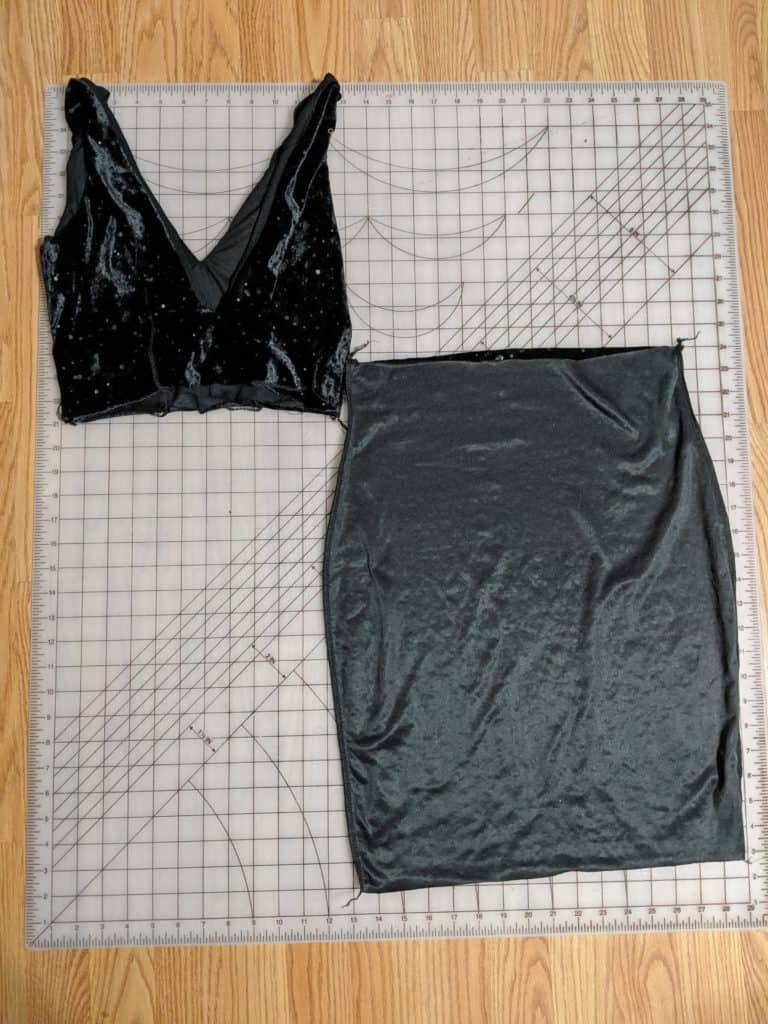
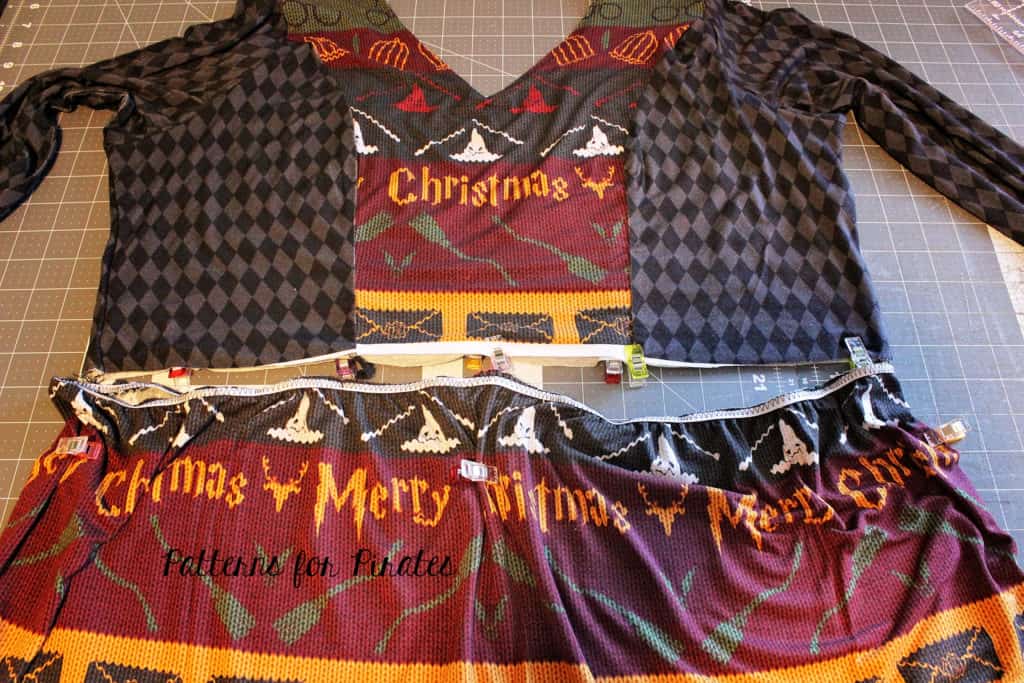
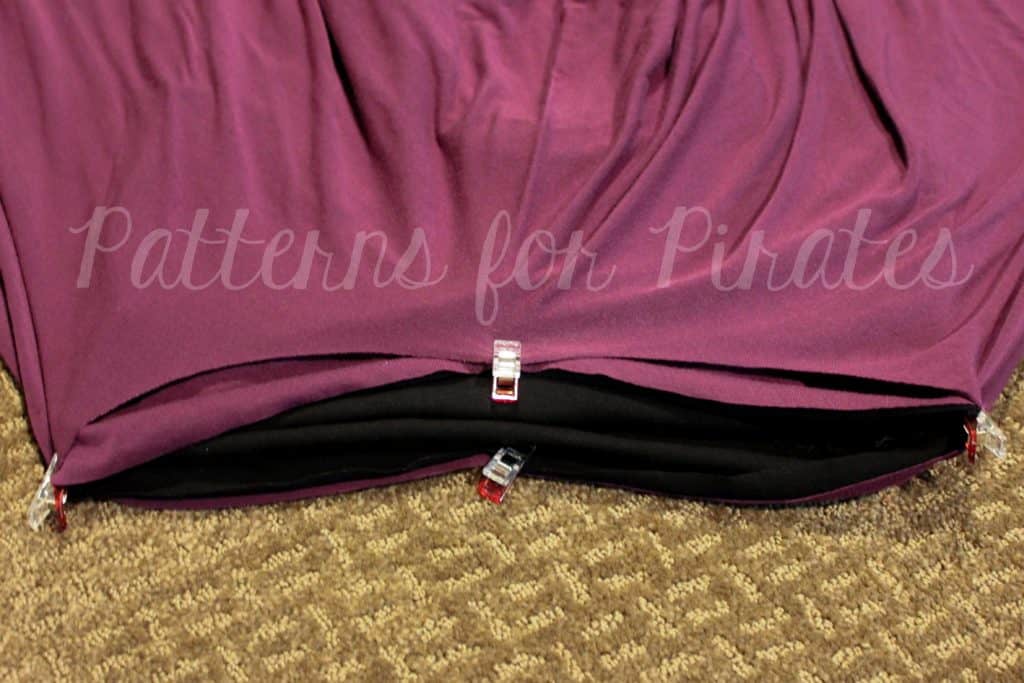
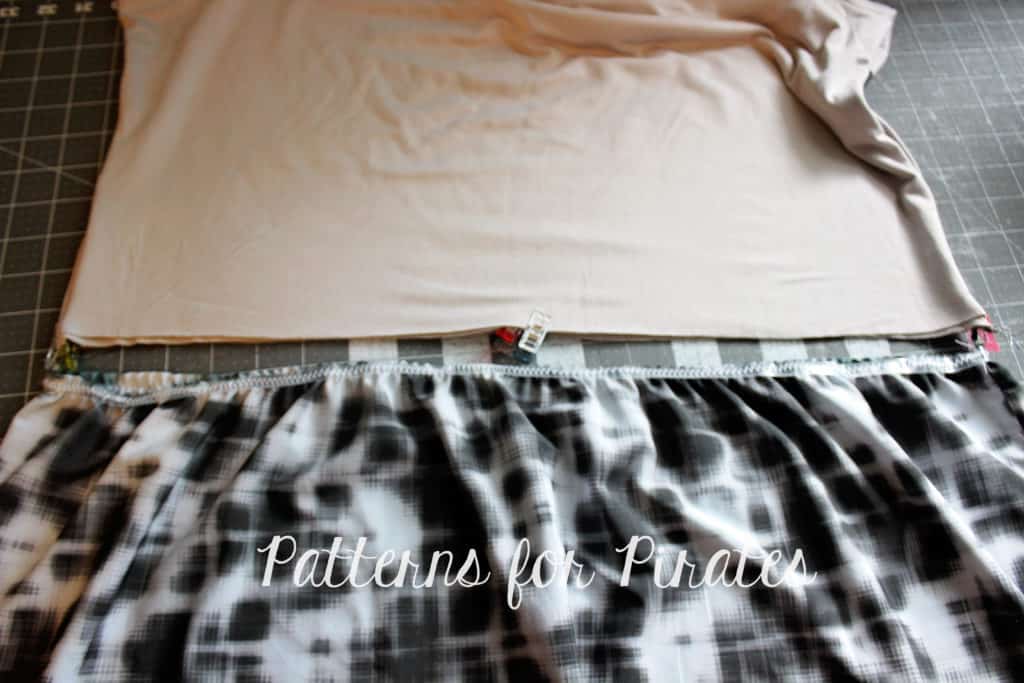
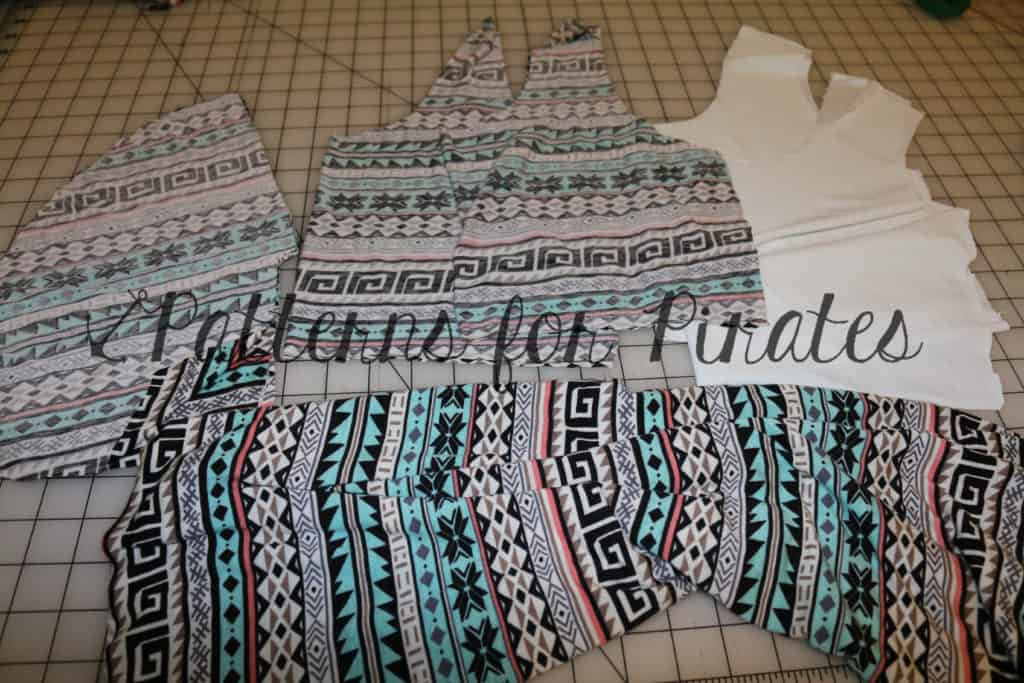
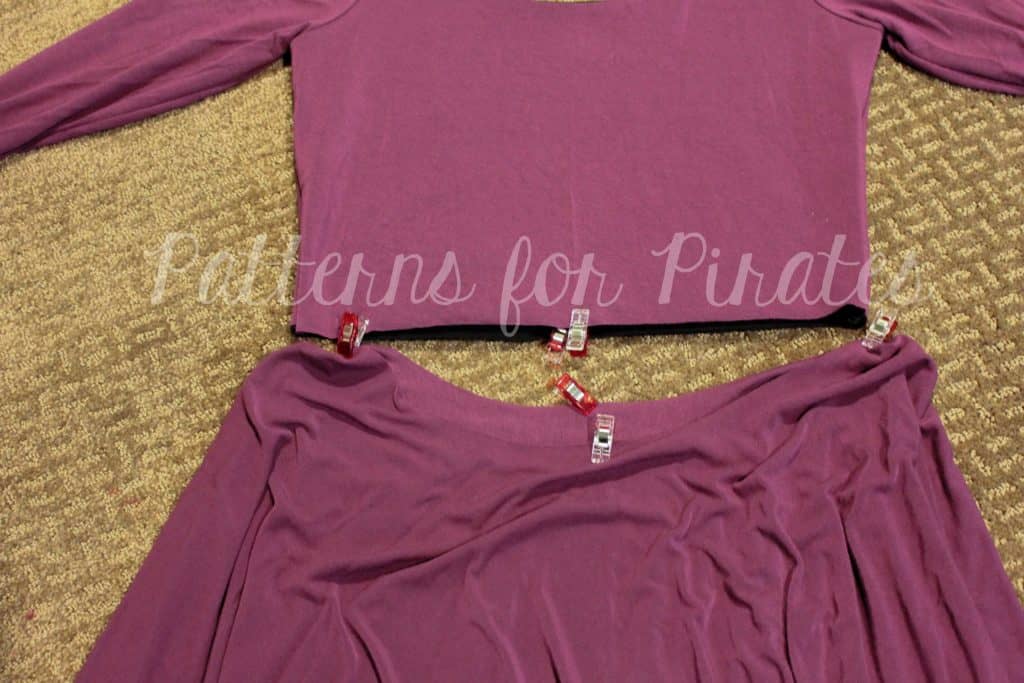
Now, sew your bodice as directed in the pattern and the side seams of your pencil skirt.   You’ll end up with two separate pieces that look like the photo below.

Finish your dress by sewing your bodice to your skirt piece just like you would if you were sewing the standard Gala skirt and you’re done!  Totally new look- perfect for New Years’ Eve fun!


Happy Sewing and Cheers,

Michelle


…..

Gala – Boundless mash up

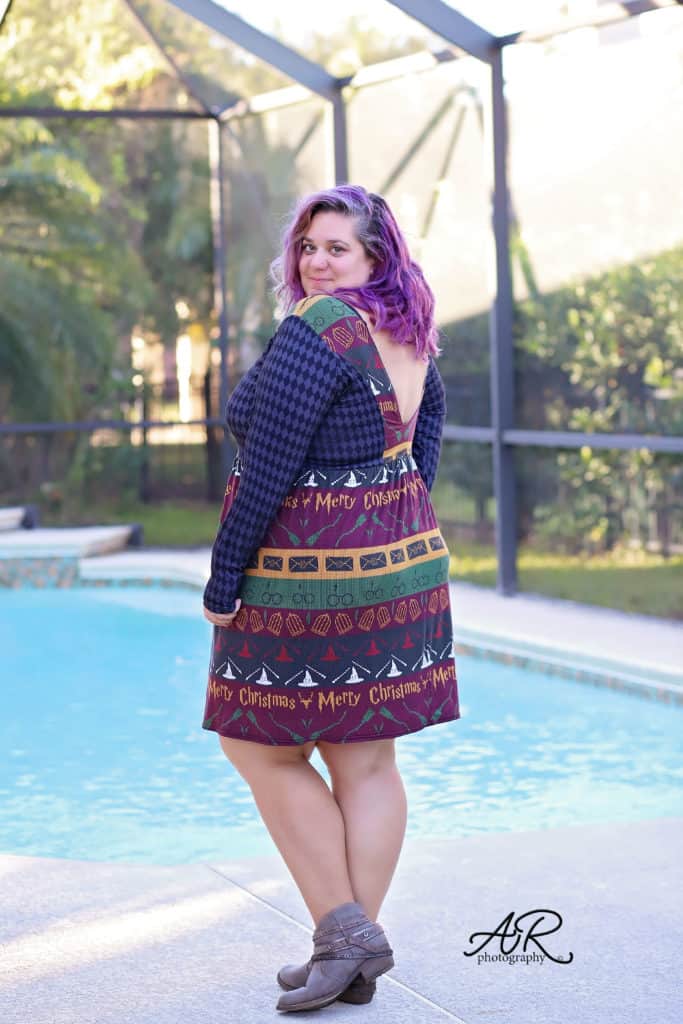
It’s no secret that the Boundless dress is one of my favorite P4P dresses so it was only natural that I would mash the Gala Gown bodice with the Boundless skirt. This is a super easy hack.

All you have to do is cut the Gala Gown bodice and sleeves and the Boundless skirt. I used bamboo knit for my whole dress but if you used stable knits for the top, I encourage you to use fabric with great drape for the skirt.

Sew the top and the skirt as instructed in the patterns. You will be adding the skirt as in the Boundless tutorial, using elastic to stabilize the waist.

Hack: I used the width of the fabric and stitched the skirt in a loop. I marked the sides and front of my skirt and attached it to the bodice with the seam in the back. 


…

Ribbon Belt

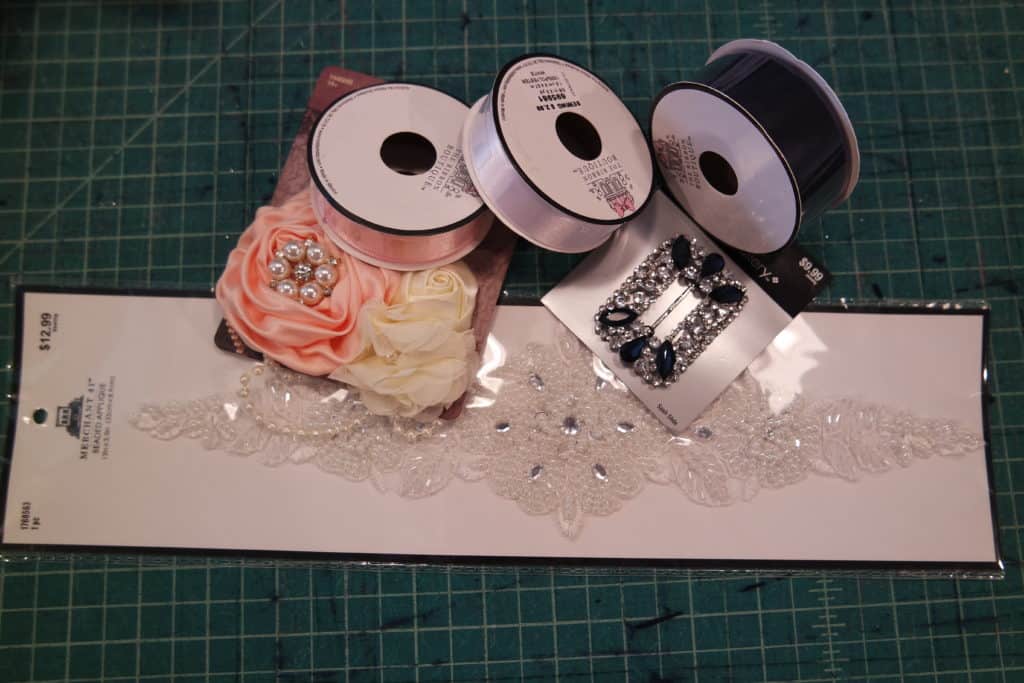
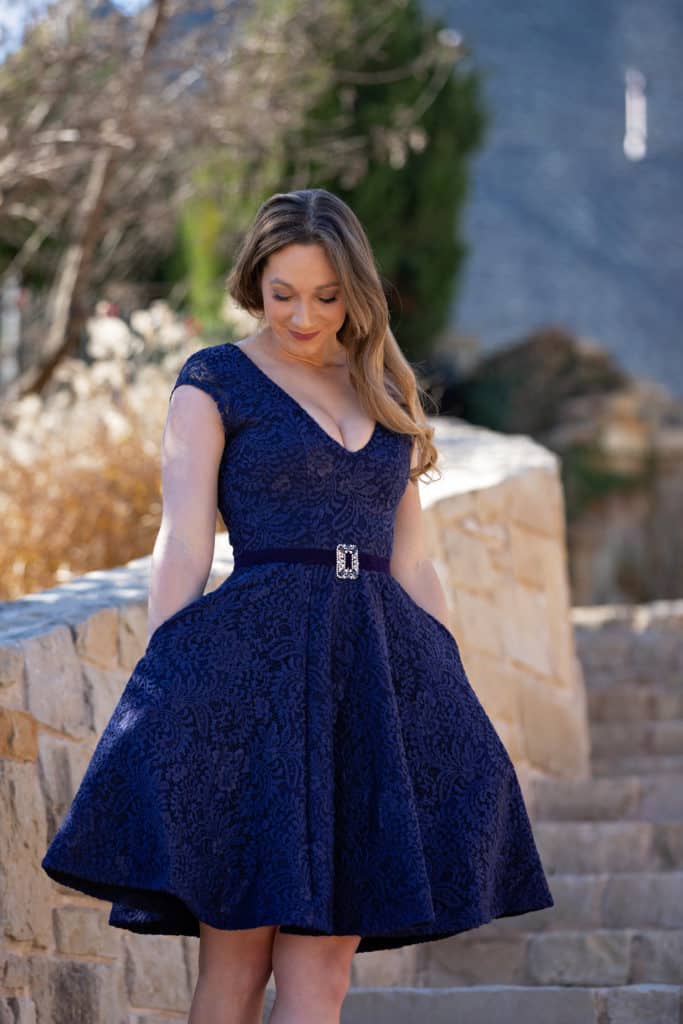
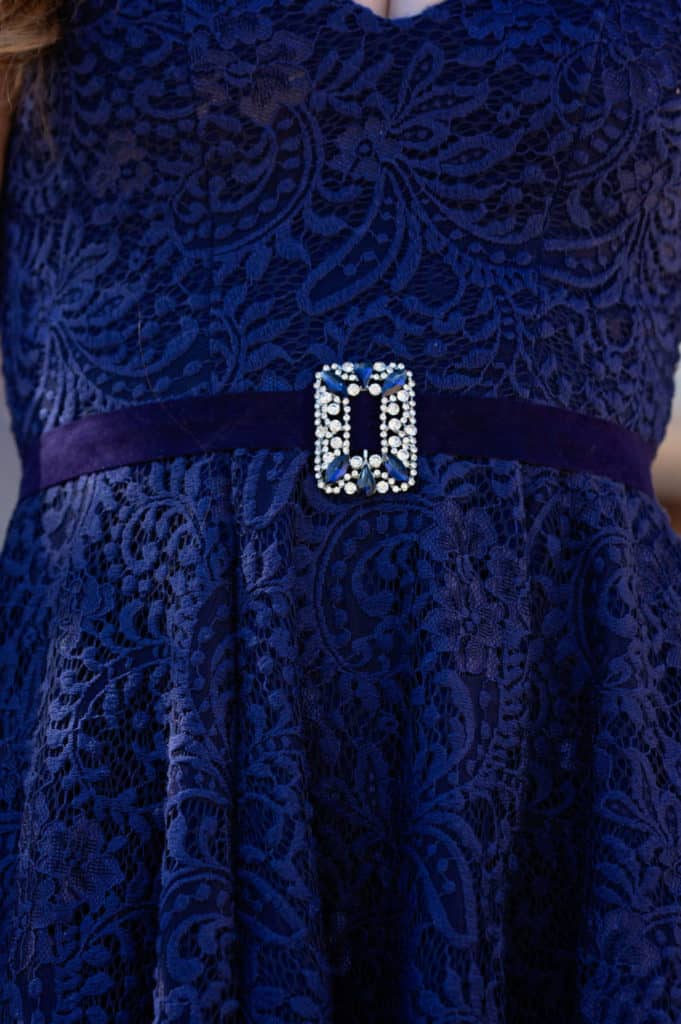
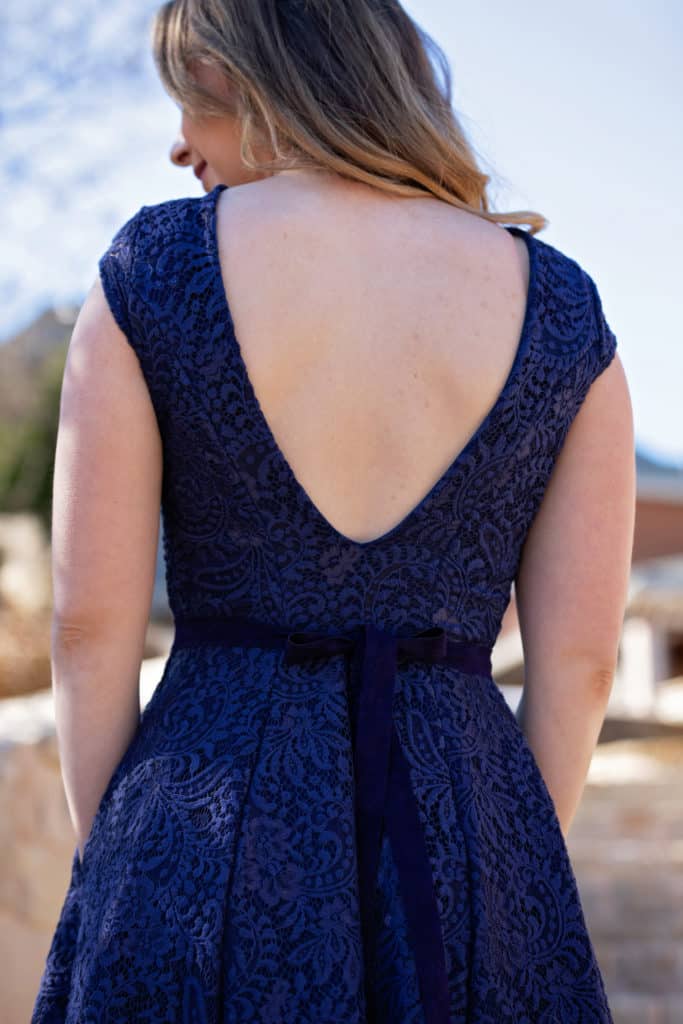
I see a lot of posts wanting something to really highlight the waist when wearing a dress, but if you’re wearing a more formal dress you might not have a belt that goes! A ribbon belt can be very elegant and simple to create to give yourself a little more definition or attention to your waistline.  You can grab any ribbon style you’re drawn to that coordinates with your dress and attach whatever embellishment you find that makes your heart sing!

Some ideas would be appliques, belt buckles, brooches, fabric flowers, hair-clips, bows, etc.  I picked up satin ribbon and some great velvet ribbon as well.

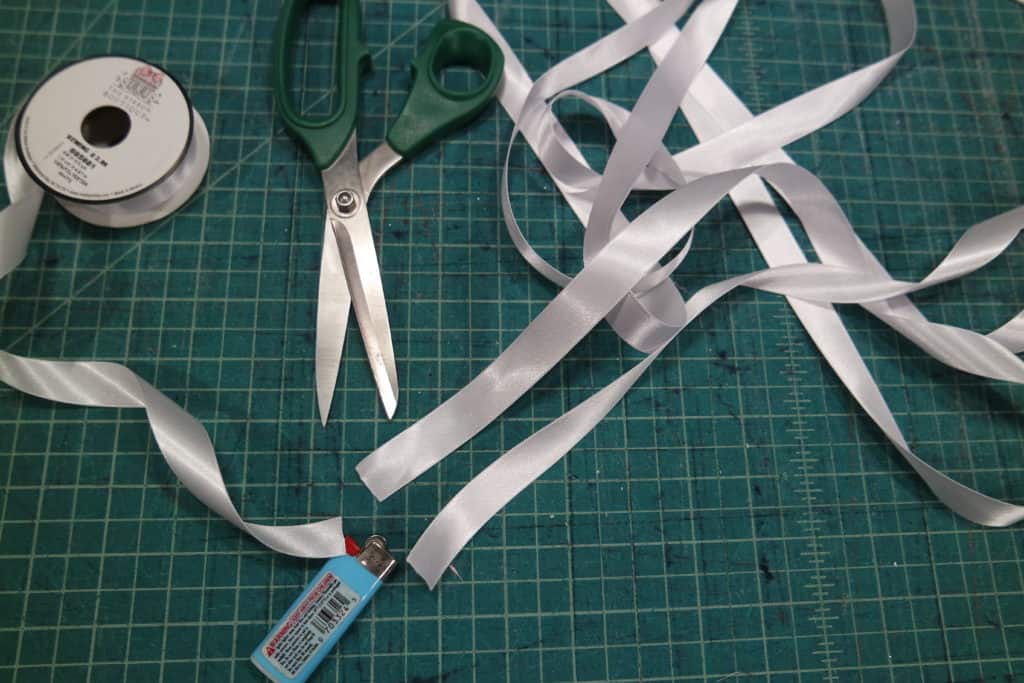
To create it you just need to cut your ribbon as long as you’d like- so the waist measurement plus enough to tie a bow and however long you want  your tails.  I like to have my tails go to almost the very bottom of my hem personally, but that’s just personal preference.  Make sure you finish the edges if you pick a ribbon that frays.  Satin ribbon I prefer to heat seal with a flame.

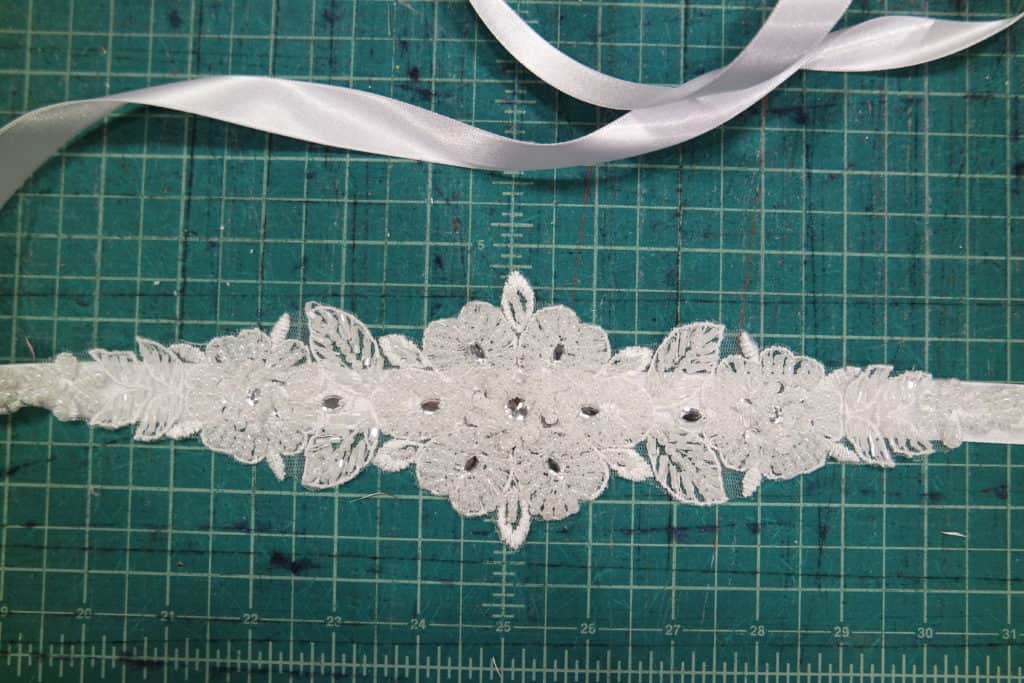
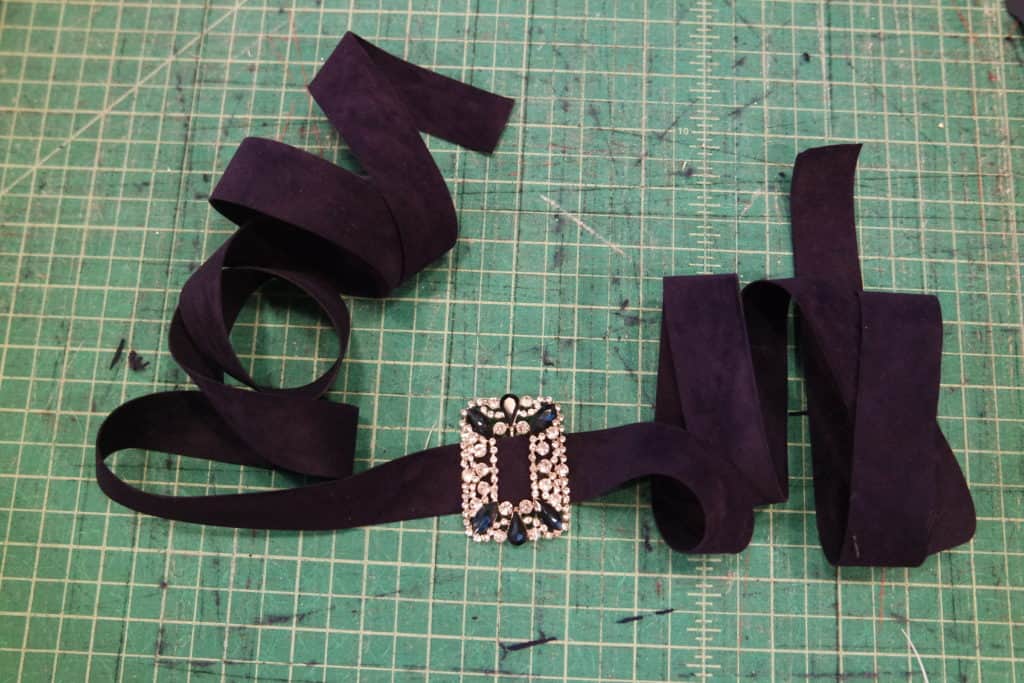
Find the center of your cut ribbon and attach your embellishment with hand stitching.

There! You now have a beautiful belt that will look stunning on your more formal dresses! It’s quick and simple for such a fabulous add on and the possibilities are endless!


Here a a few modeled with the Gala Gown.


Judy

Which hack will you make first? Don’t forget to share your creations in the P4P Facebook group so we can all admire them too.

Filed Under: Pattern Hacks, Pattern Release 1 Comment

Boundless – Easy Hacks

May 3, 2018

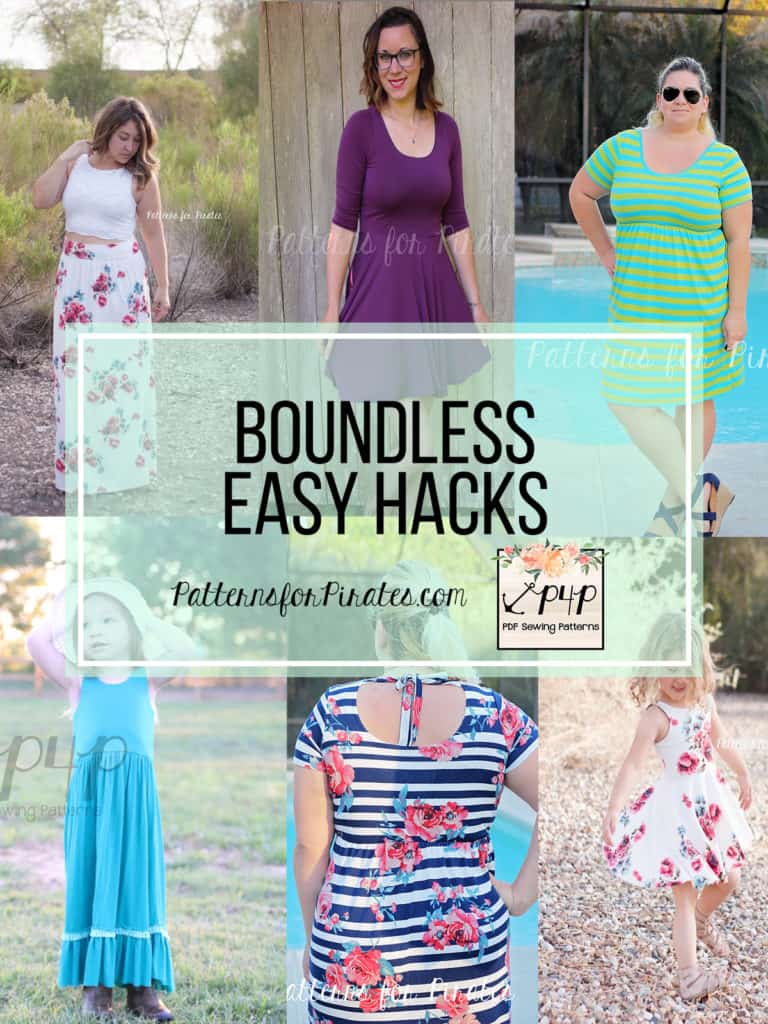
As you’ve seen, the Boundless dress got an update and we released the highly requested, youth version. We couldn’t let this double event go by without showing you some easy hacks.

…..

Neckband


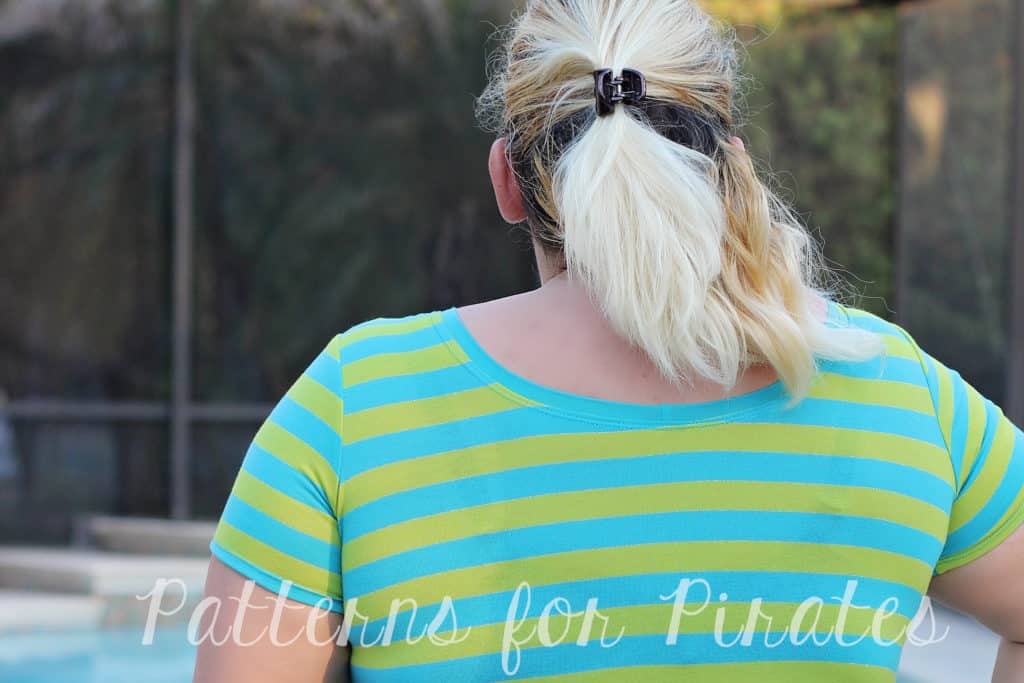
If you like the unlined option but prefer to not hem the neckline you can easily add a neckband like we have in most of our patterns.

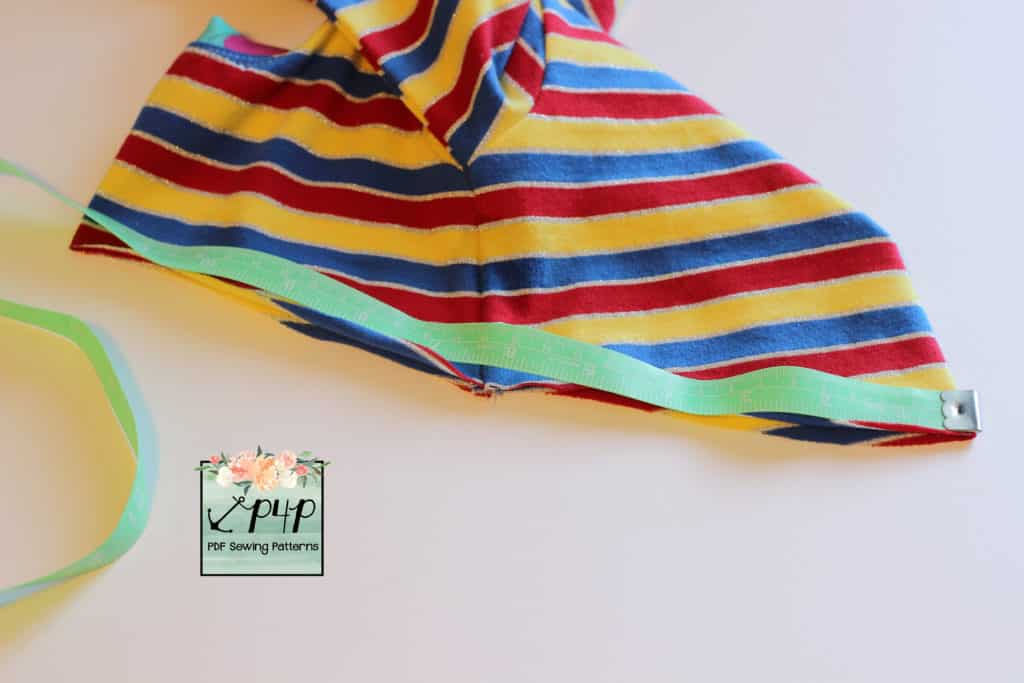
Simply sew the dress as instructed and then grab a measuring tape to establish the neck opening. The opening will vary depending on the size and options you made (low front/back, high front/back or low front/high back)

The neckband will be 85% of the neck opening plus seam allowance. For example, if the neck opening is 34″ then the neckband needs to be 34″x0.85 + 1″ which is 30″. You will cut one neckband 2″ by 30″.

NL X 0.85 +1 = NB

*NL – neckline opening

*NB – neckband length


Sew the neckband right sides together at the short ends to create a loop. Press the neckband in half lengthwise and mark its quarters. Mark the quarters of the neck opening. Matching the neckband and opening quarter marks, pin and sew the neckband in place with 1/2″ seam allowance.

Note: adding a neckband will yield a neckline 1/2″ higher than the intended pattern look.

Before you get started take a look over our Neckbands 101 blog which also includes helpful videos.

TIP: If you would like your Boundless dress to still be reversible (front and back) place the neckband seam on the side shoulder. 

…..

Boundless/Sweetheart mash

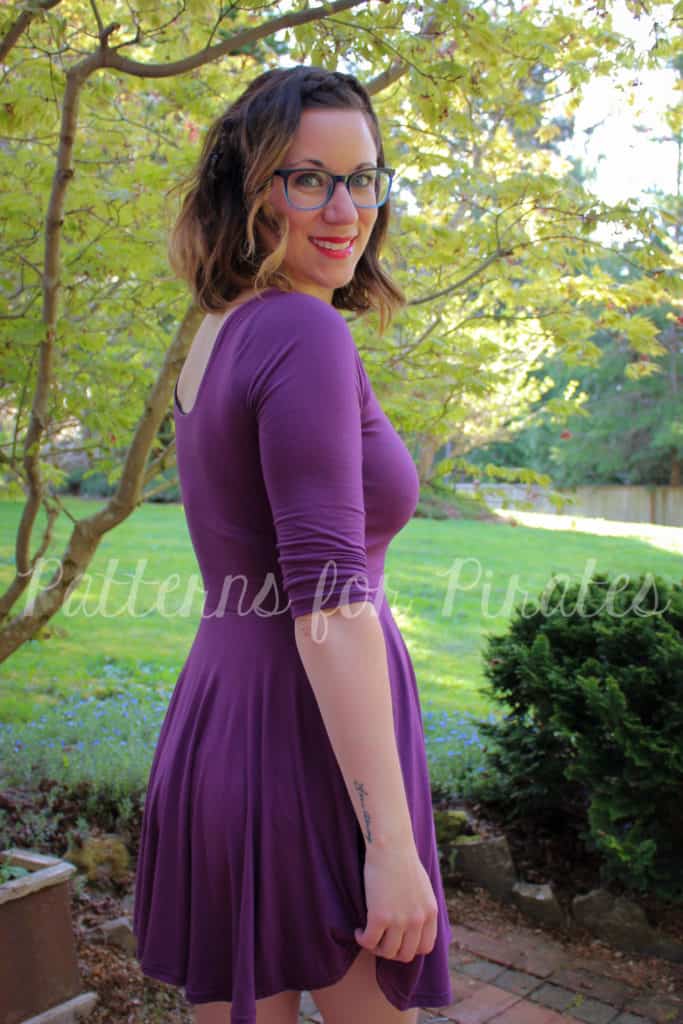
Looking for a quick and easy way to avoid the gathers on the Boundless? Or are you looking to create the perfect twirly dress? The Boundless mashes perfectly with skirt from the Sweetheart and can help to create either of this looks! If you have little ones, you can also use these same steps to pair the Boundless Youth with the Me Hearties.

Cutting Pieces:

You will need to cut out your Boundless bodice pieces as directed and based off of the options you choose. For mine, I used the lined version with the low neckline and 3/4 sleeves. For the skirt, you will need to have the skirt from the Sweetheart printed and then choose your length. I used the mini length.

Assembly:

Assemble your Boundless bodice as directed. You will then need to mark the quarter points on both the bodice and the skirt.

With RST, match the quarter points and attach your skirt with your serger or stretch stitch. (Note: You may wish to place elastic in the waist to help give your skirt additional support.)

Hem the skirt and sleeves and you’re all finished!

~Erinn,

…..

Back ties


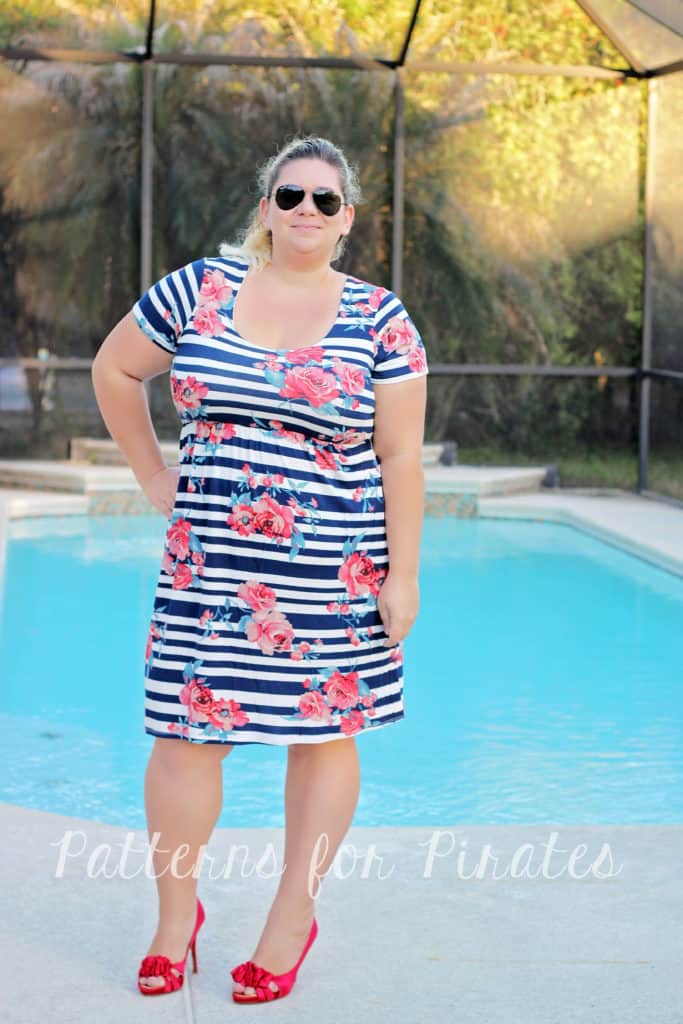
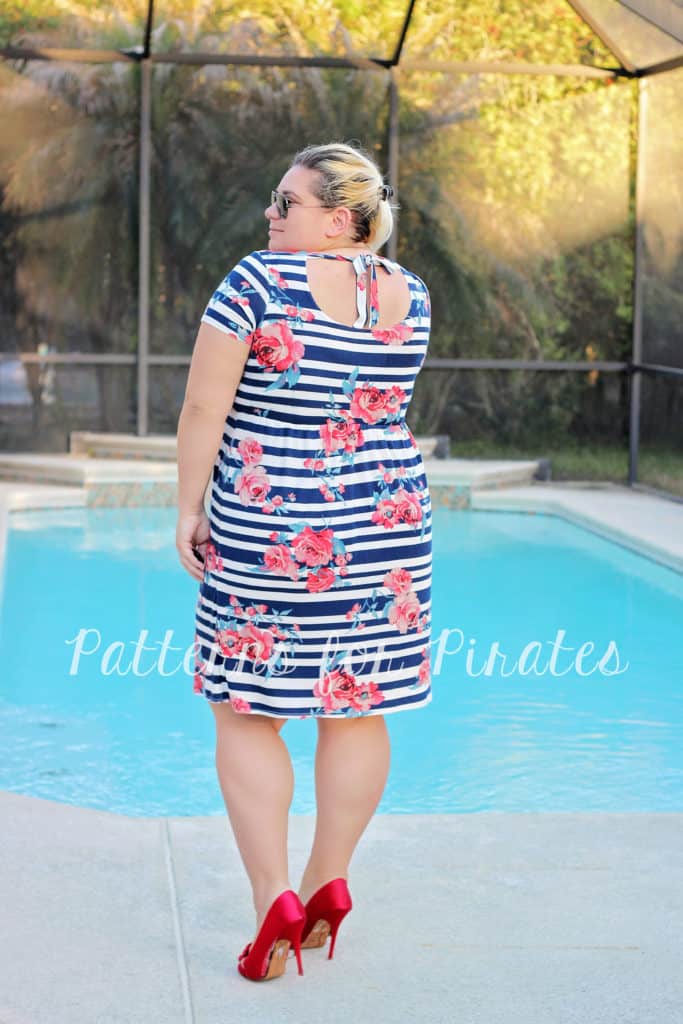
The next hack we have for you is super easy back ties. I love this hack for the lined low back option but you can certainly apply it to the high neckline cut.

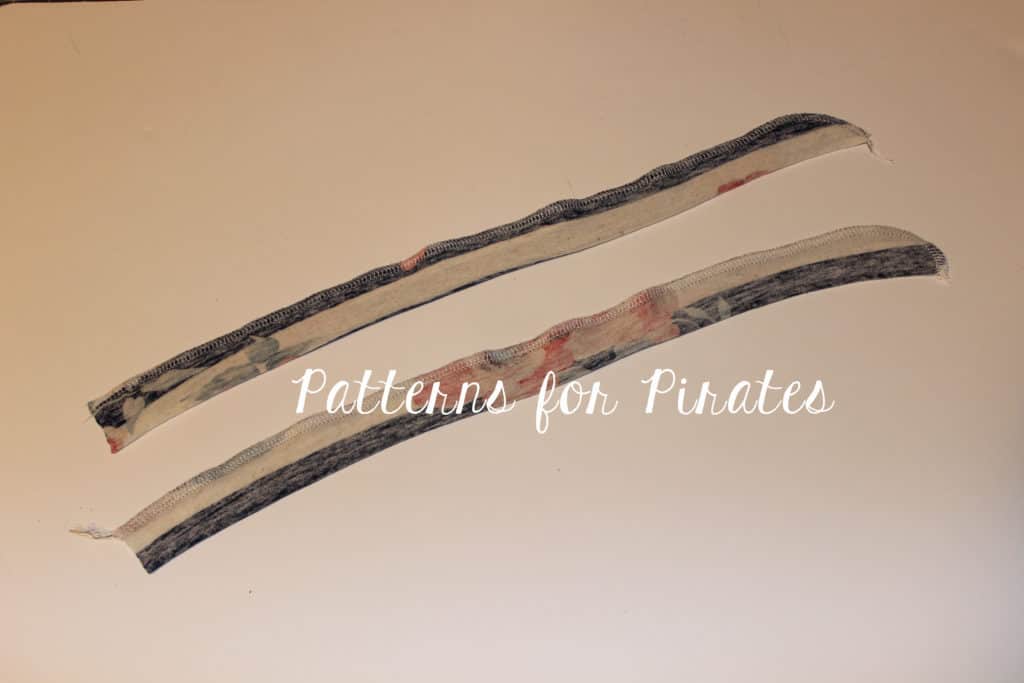
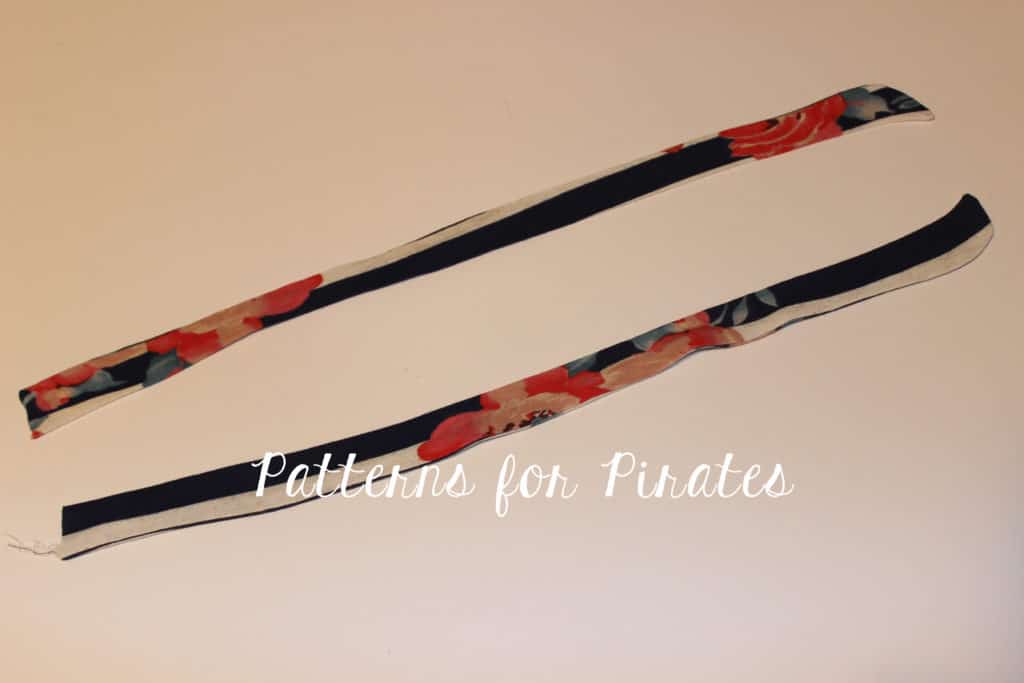
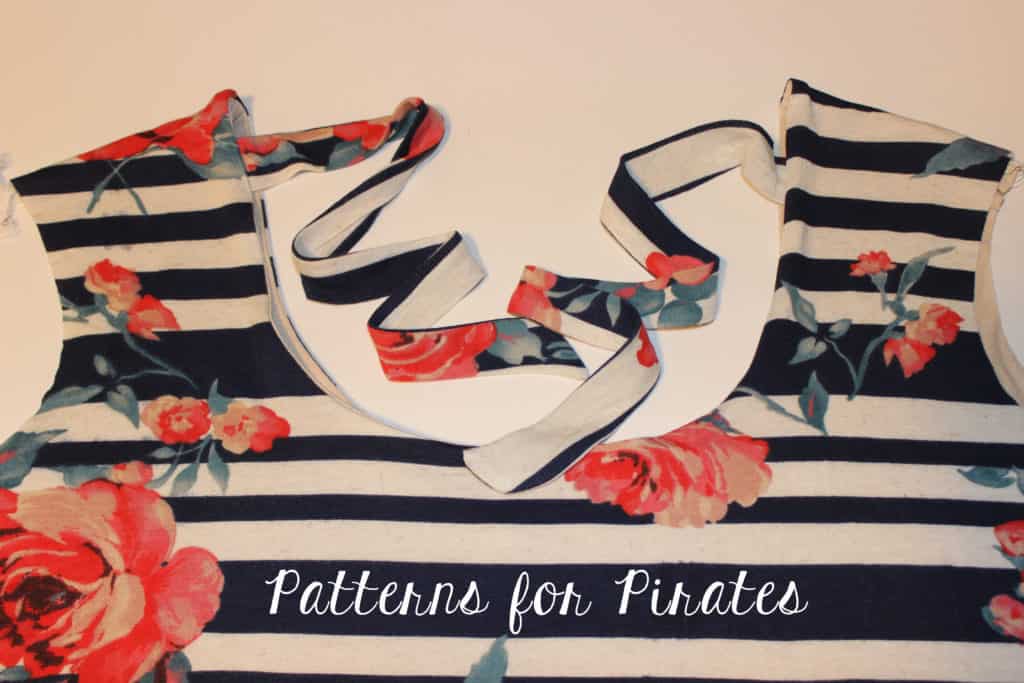
Print the pattern as instructed. Cut two trips of fabric, 3″ by 18″. You will be changing this measurements if you’re sewing a youth Boundless or if you prefer your ties narrower/wider or shorter/longer.

Fold the ties right sides together length wise and sew the edge with a 1/2 seam allowance leaving one of the ends open. Turn the ties inside out and press them. Optionally, you can top stitch.

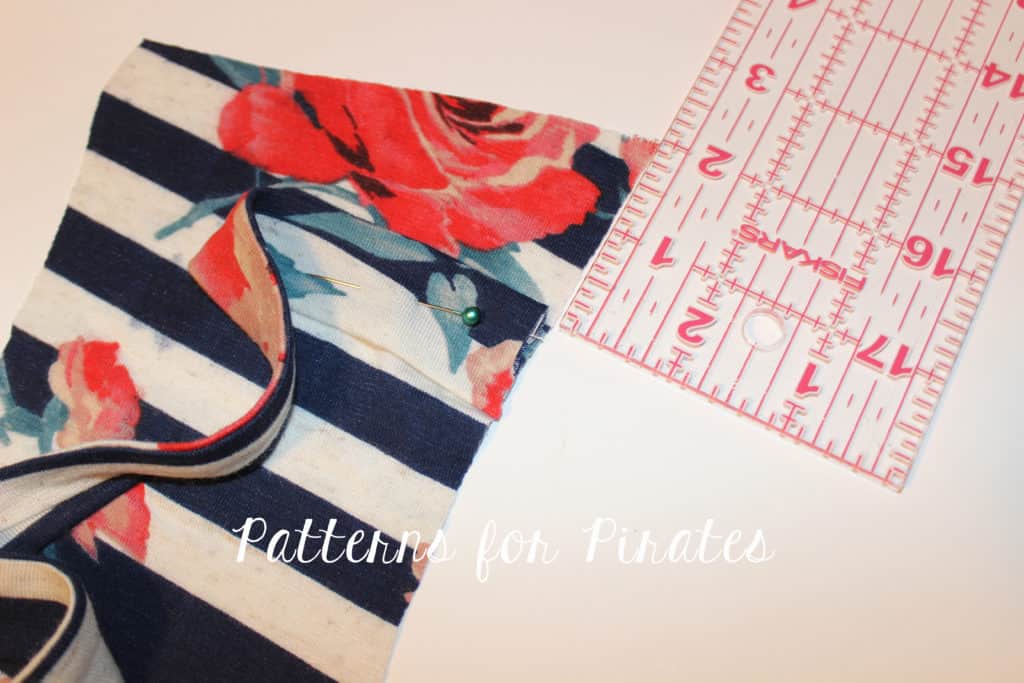
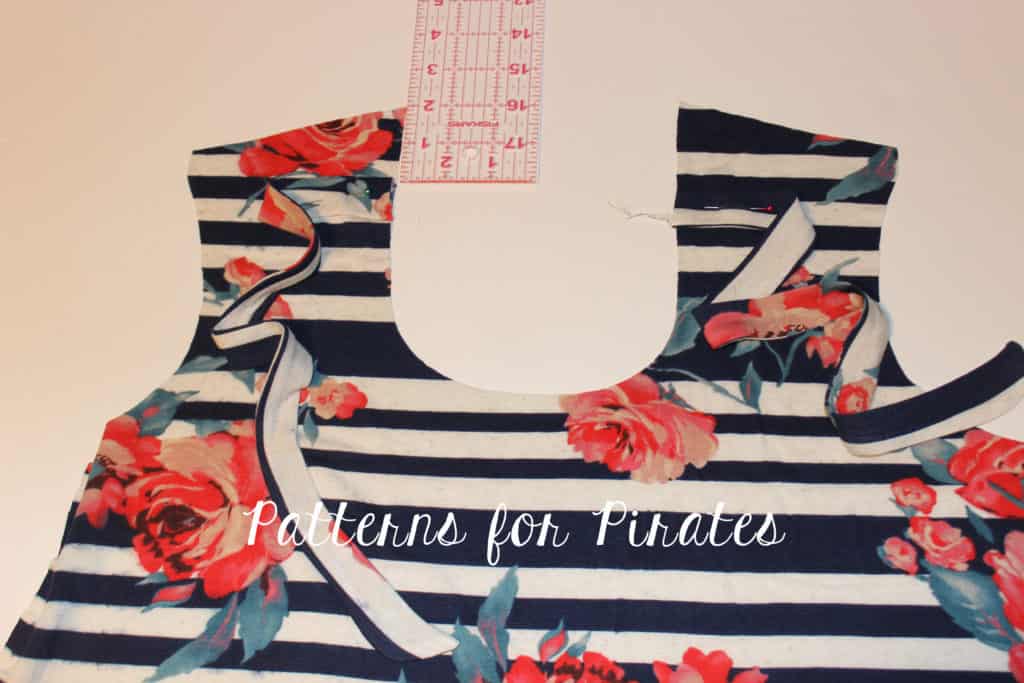
Take the back piece of the bodice and pin the open edge of one strap 2″ down from the shoulder as shown below. Repeat with the other side. Sew them in place.

That’s it! All you have to do now is sew the bodice as per the tutorial making sure you do not catch the ties.

Get creative! Using the Cross My Heart Cami straps as inspiration you can add some really fun accents to the back or the front of the Boundless dress.

…..

Ruffles maxi

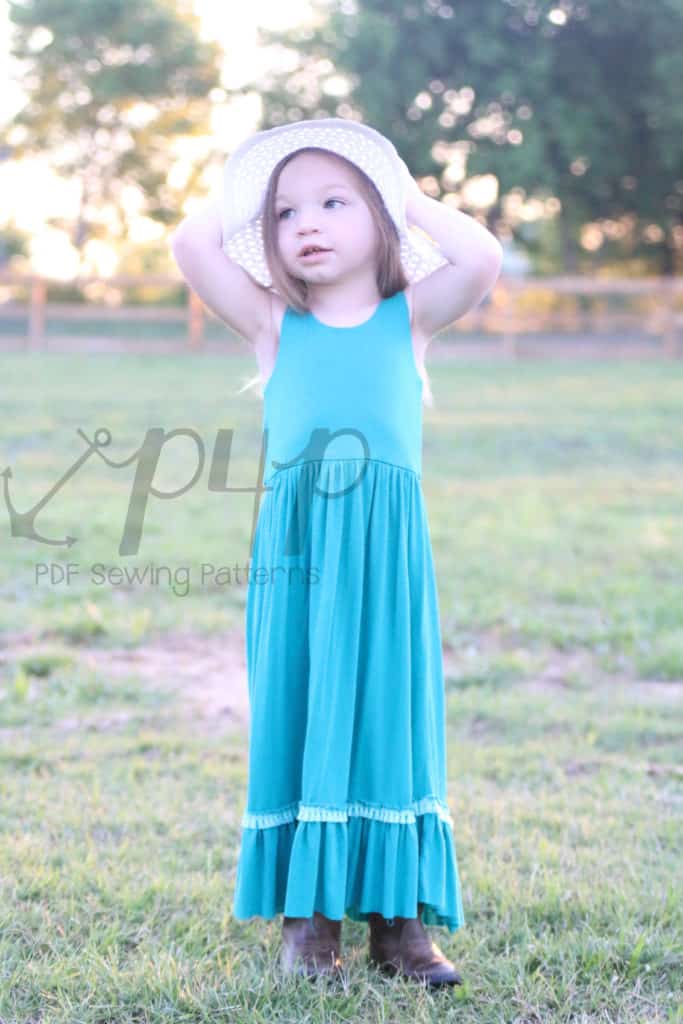
Add a little boho spirit to the maxi with this simple hack!

You will need a little extra yardage than the required maxi.  You will cut your skirt to the “below knee length” for youth (for adult I’d suggest either knee or tea depending on how deep you’d like your bottom ruffle).

To cut your ruffle you’ll take the “maxi length” and minus the “below knee length”- add 1/2″ for seam allowance- this is your length measurement.  Width will be double the width of the skirt measurement normally for that size.

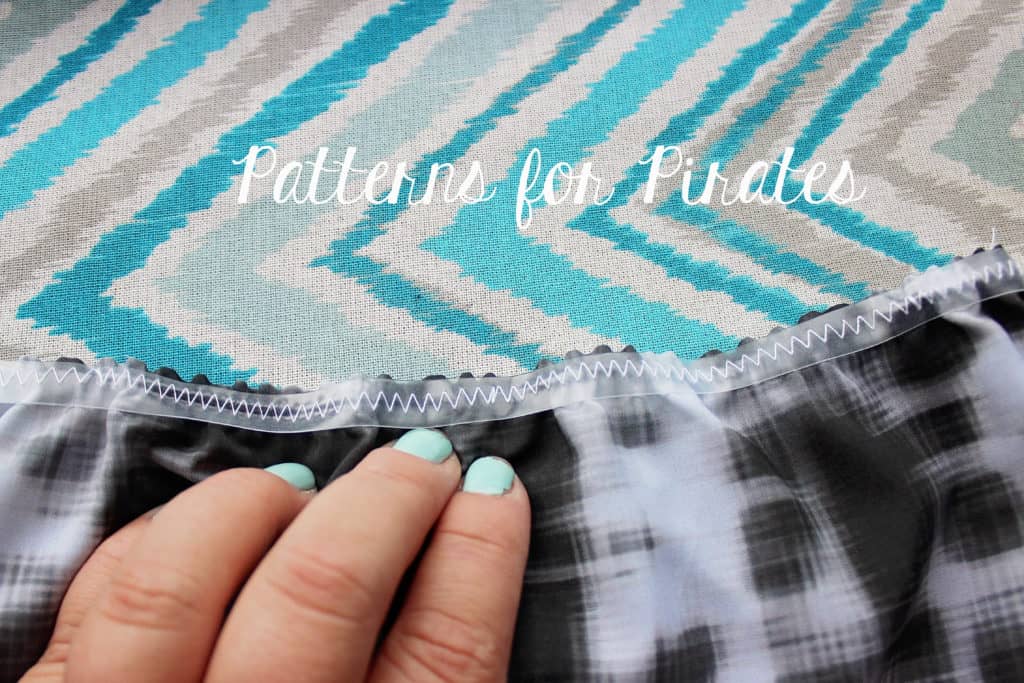
Sew up your dress exactly per the tutorial until you get to the bottom hem.  Instead of hemming, we will add the ruffle.  Gather the top of the ruffle using your favorite gathering method.  I used a rayon spandex, which tends to stretch out vertically easily- so I used the double rows of basting method to avoid adding any extra weight to the skirt bottom.

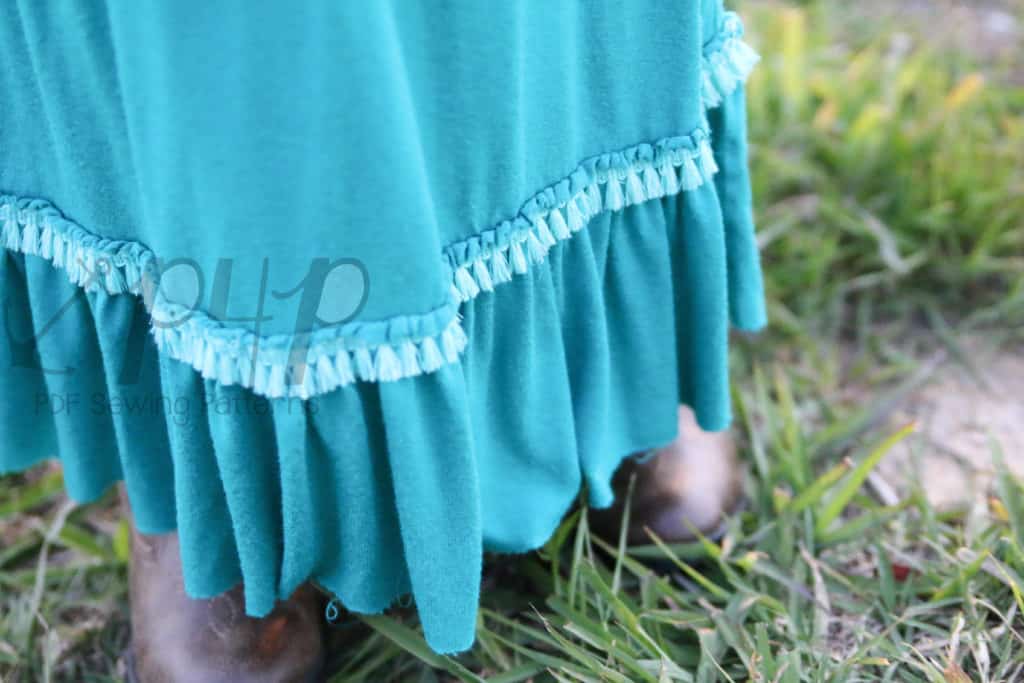
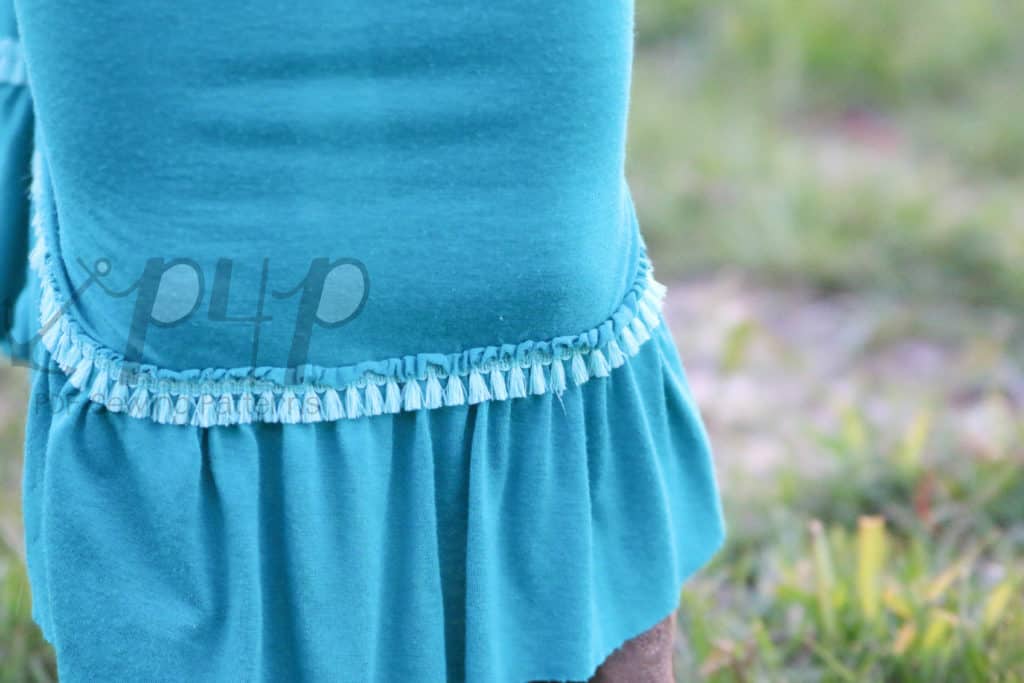
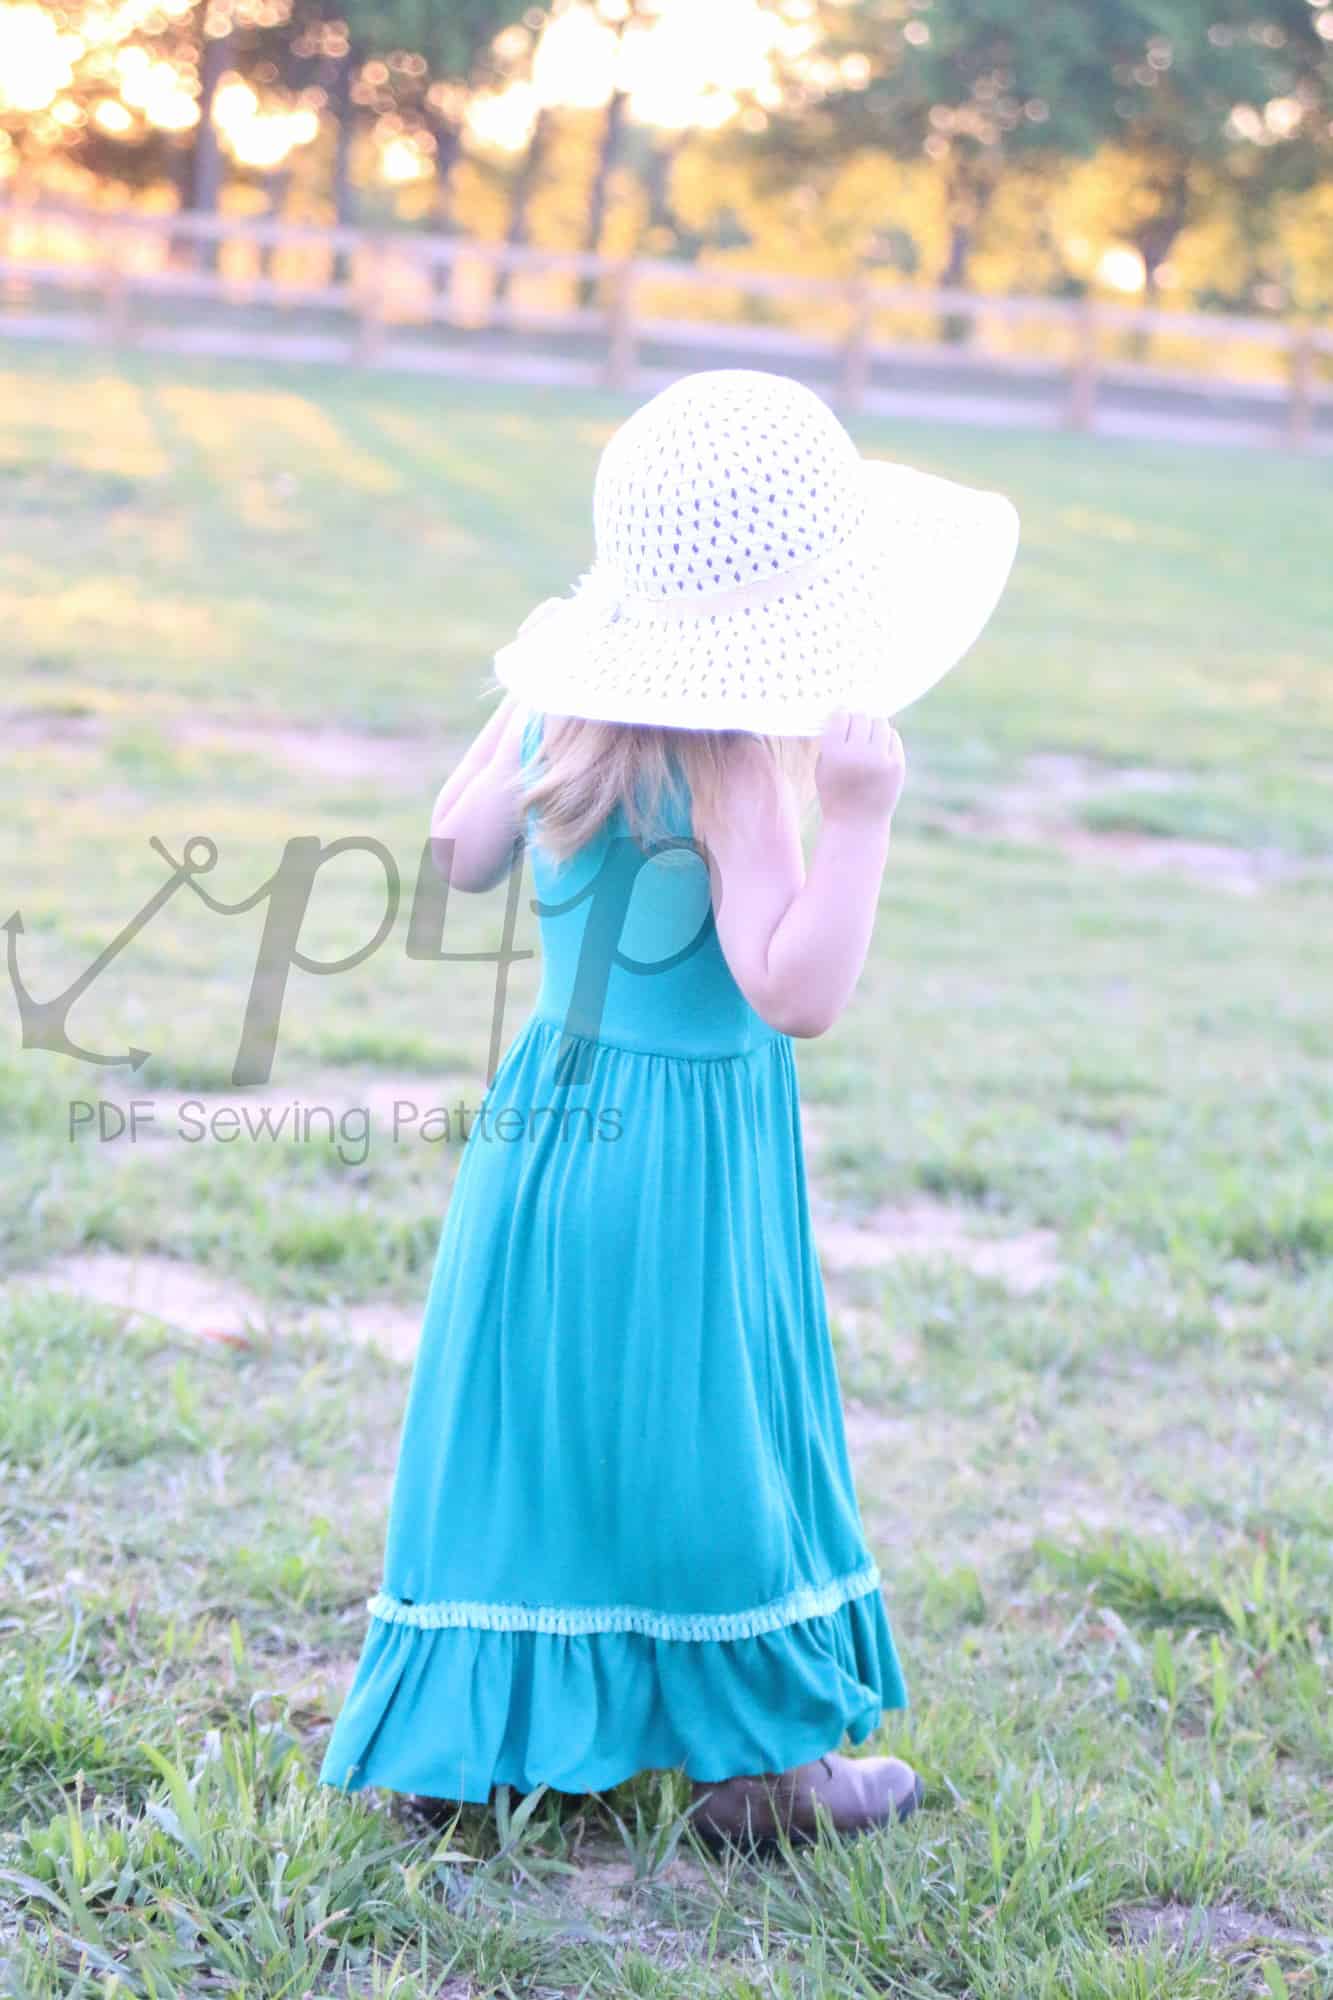
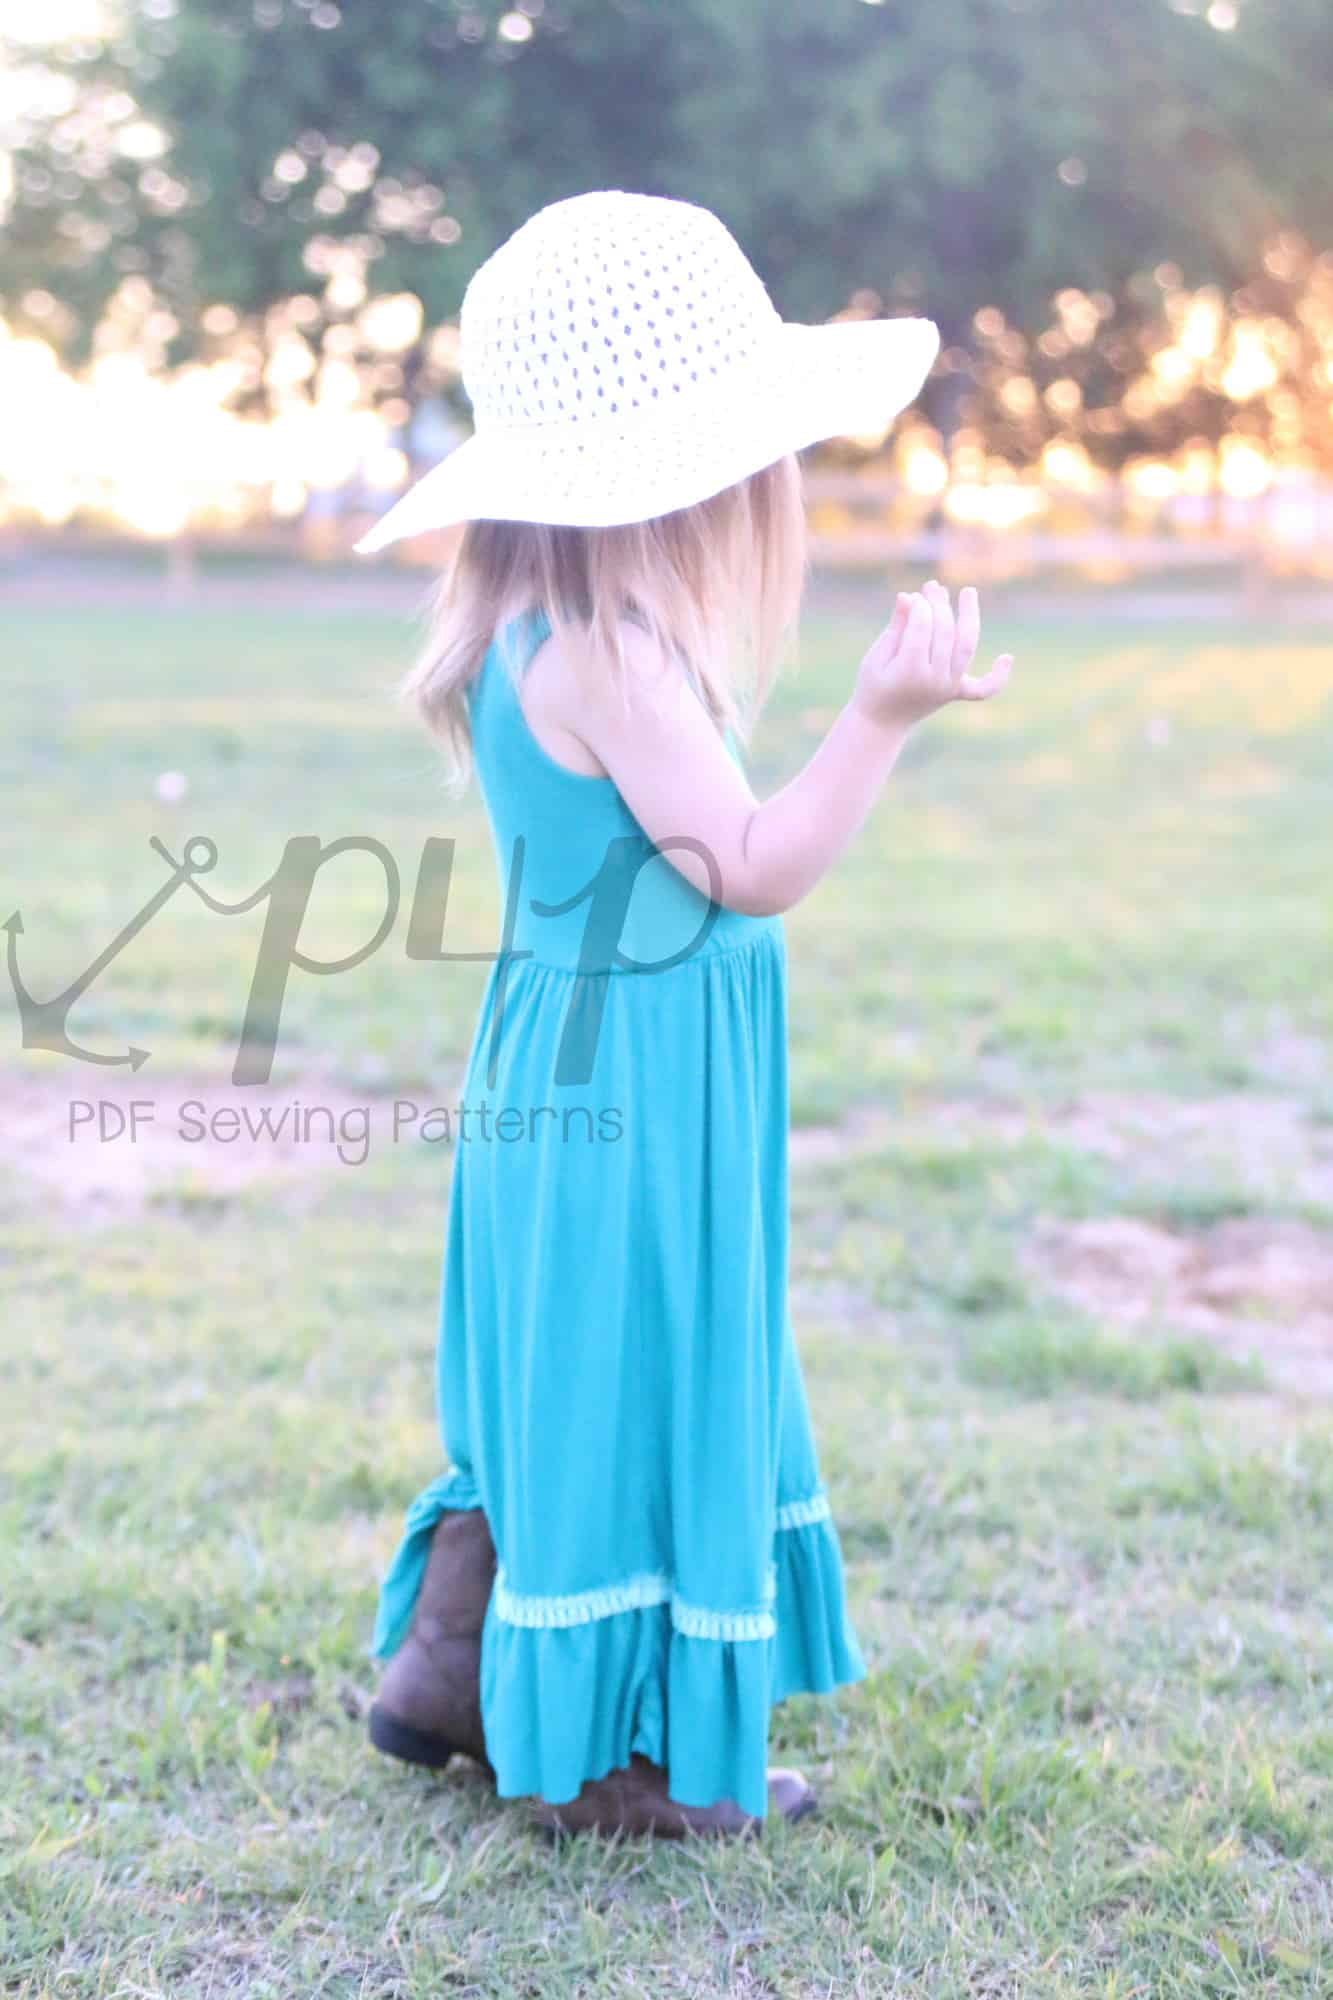
Following the popular boho look- I just overlapped the top of my ruffle to the bottom skirt hem leaving the exposed raw edge. I stitched the ruffle on top the skirt between my two basted rows with a stretch stitch.  Removed the basted stitches and gave it a press. I didn’t hem bottom edge just to match the raw edge on the ruffle (but that is just personal preference). I also added some fun trim along the gathered stitch line for some extra pizzazz 😉

My daughter just LOVES this dress! I think it might top her favorite dress I’ve ever made her so far in fact! I guess she’s a little boho baby girl, she also wants to wear this hat for every photoshoot now 😉


…..

Crop Top

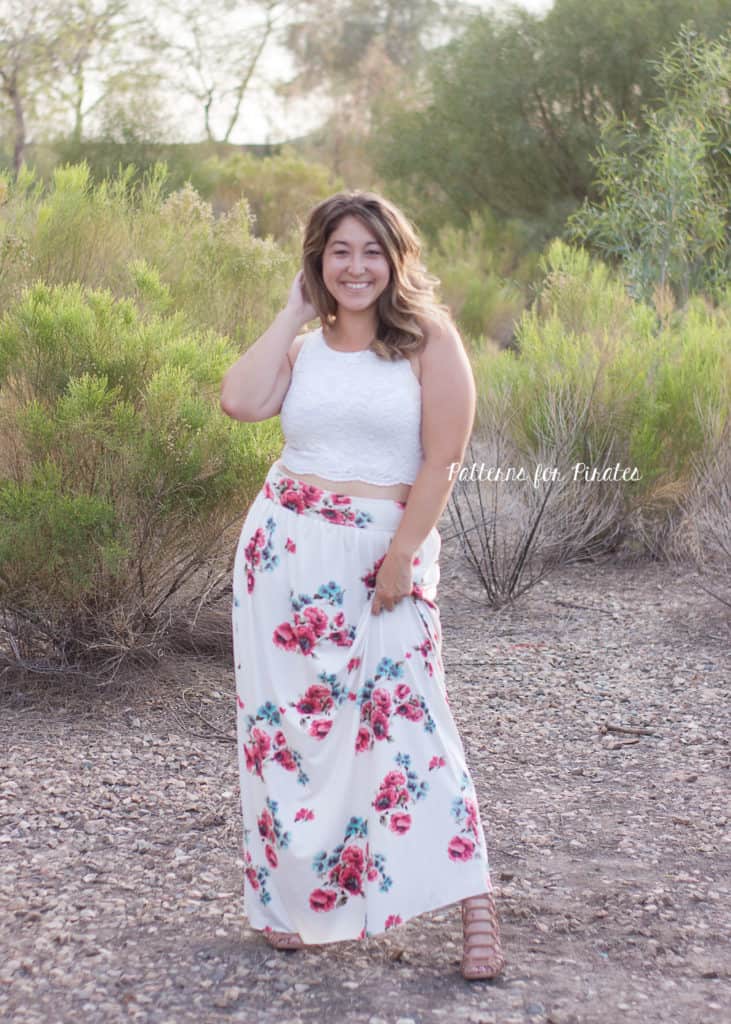
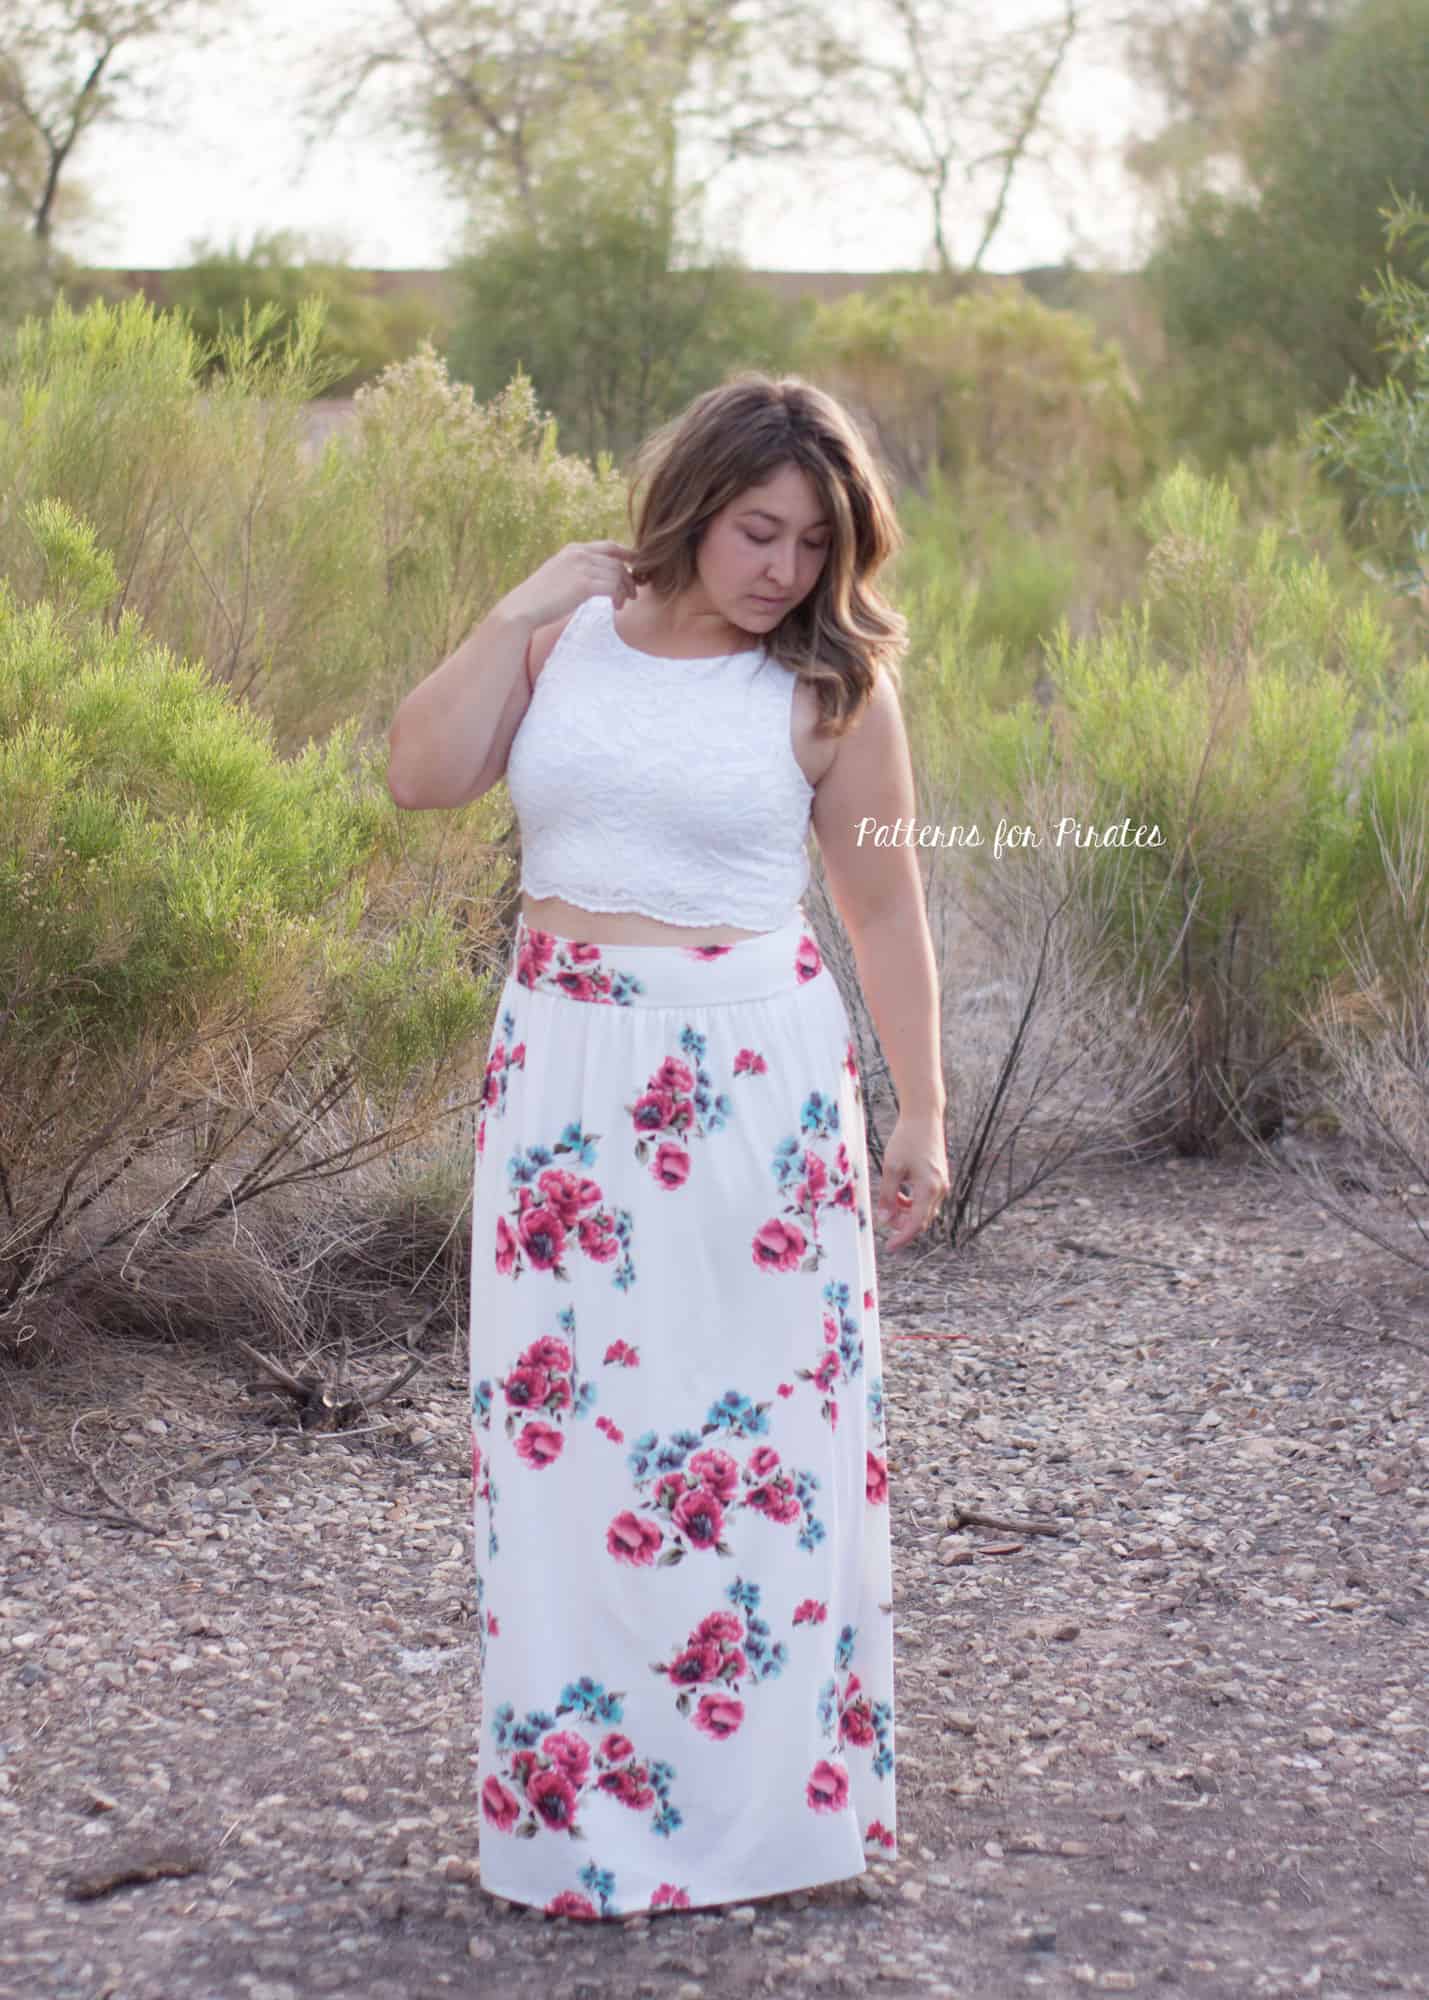
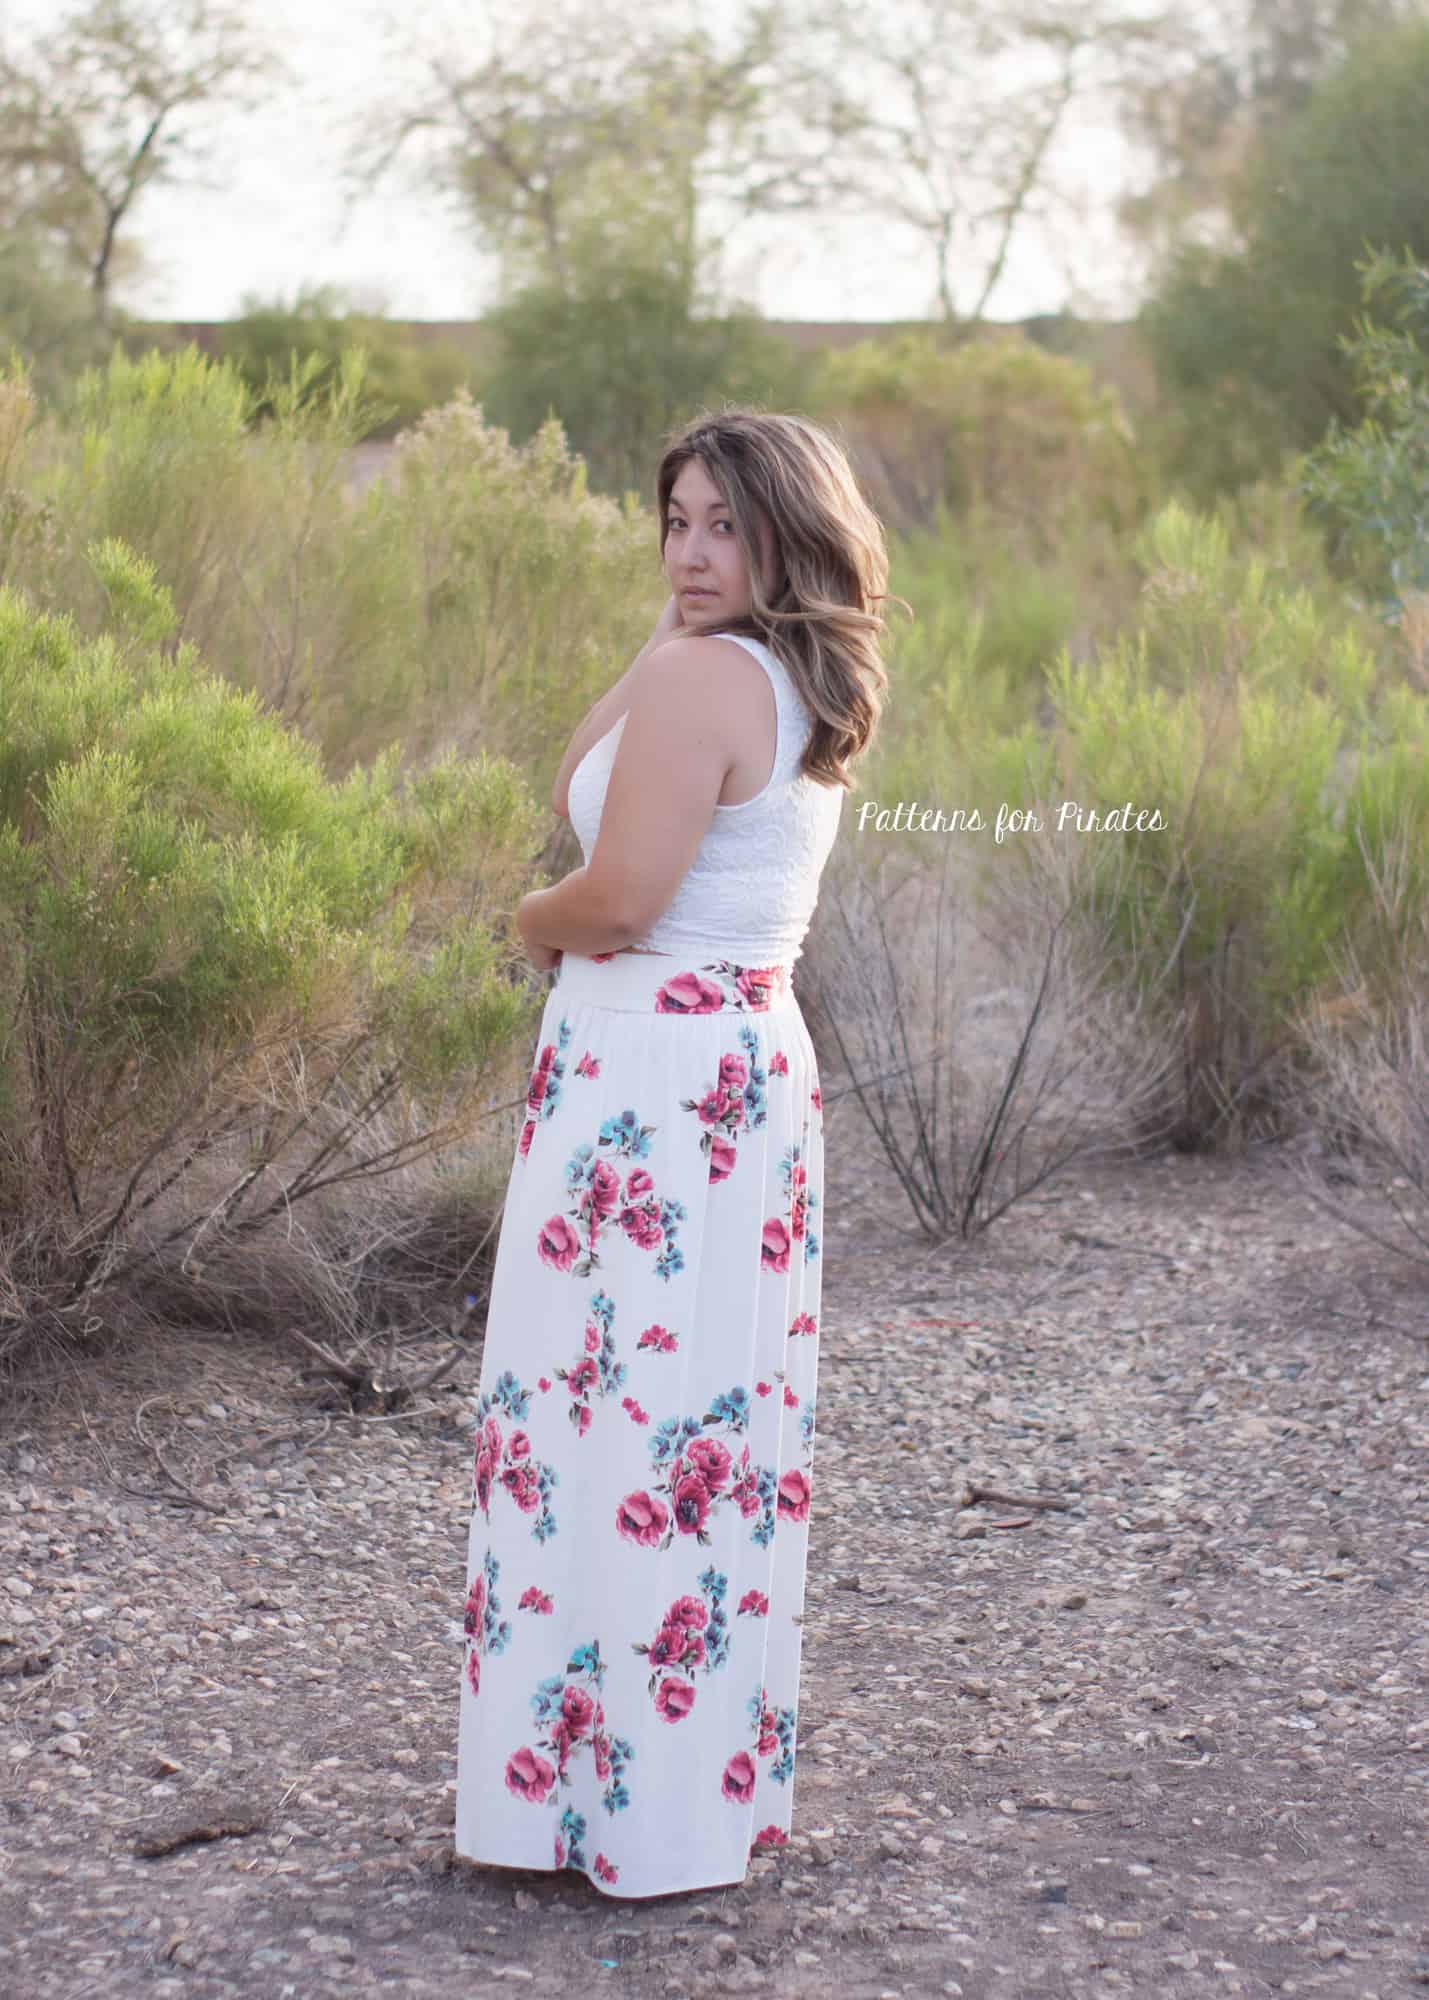
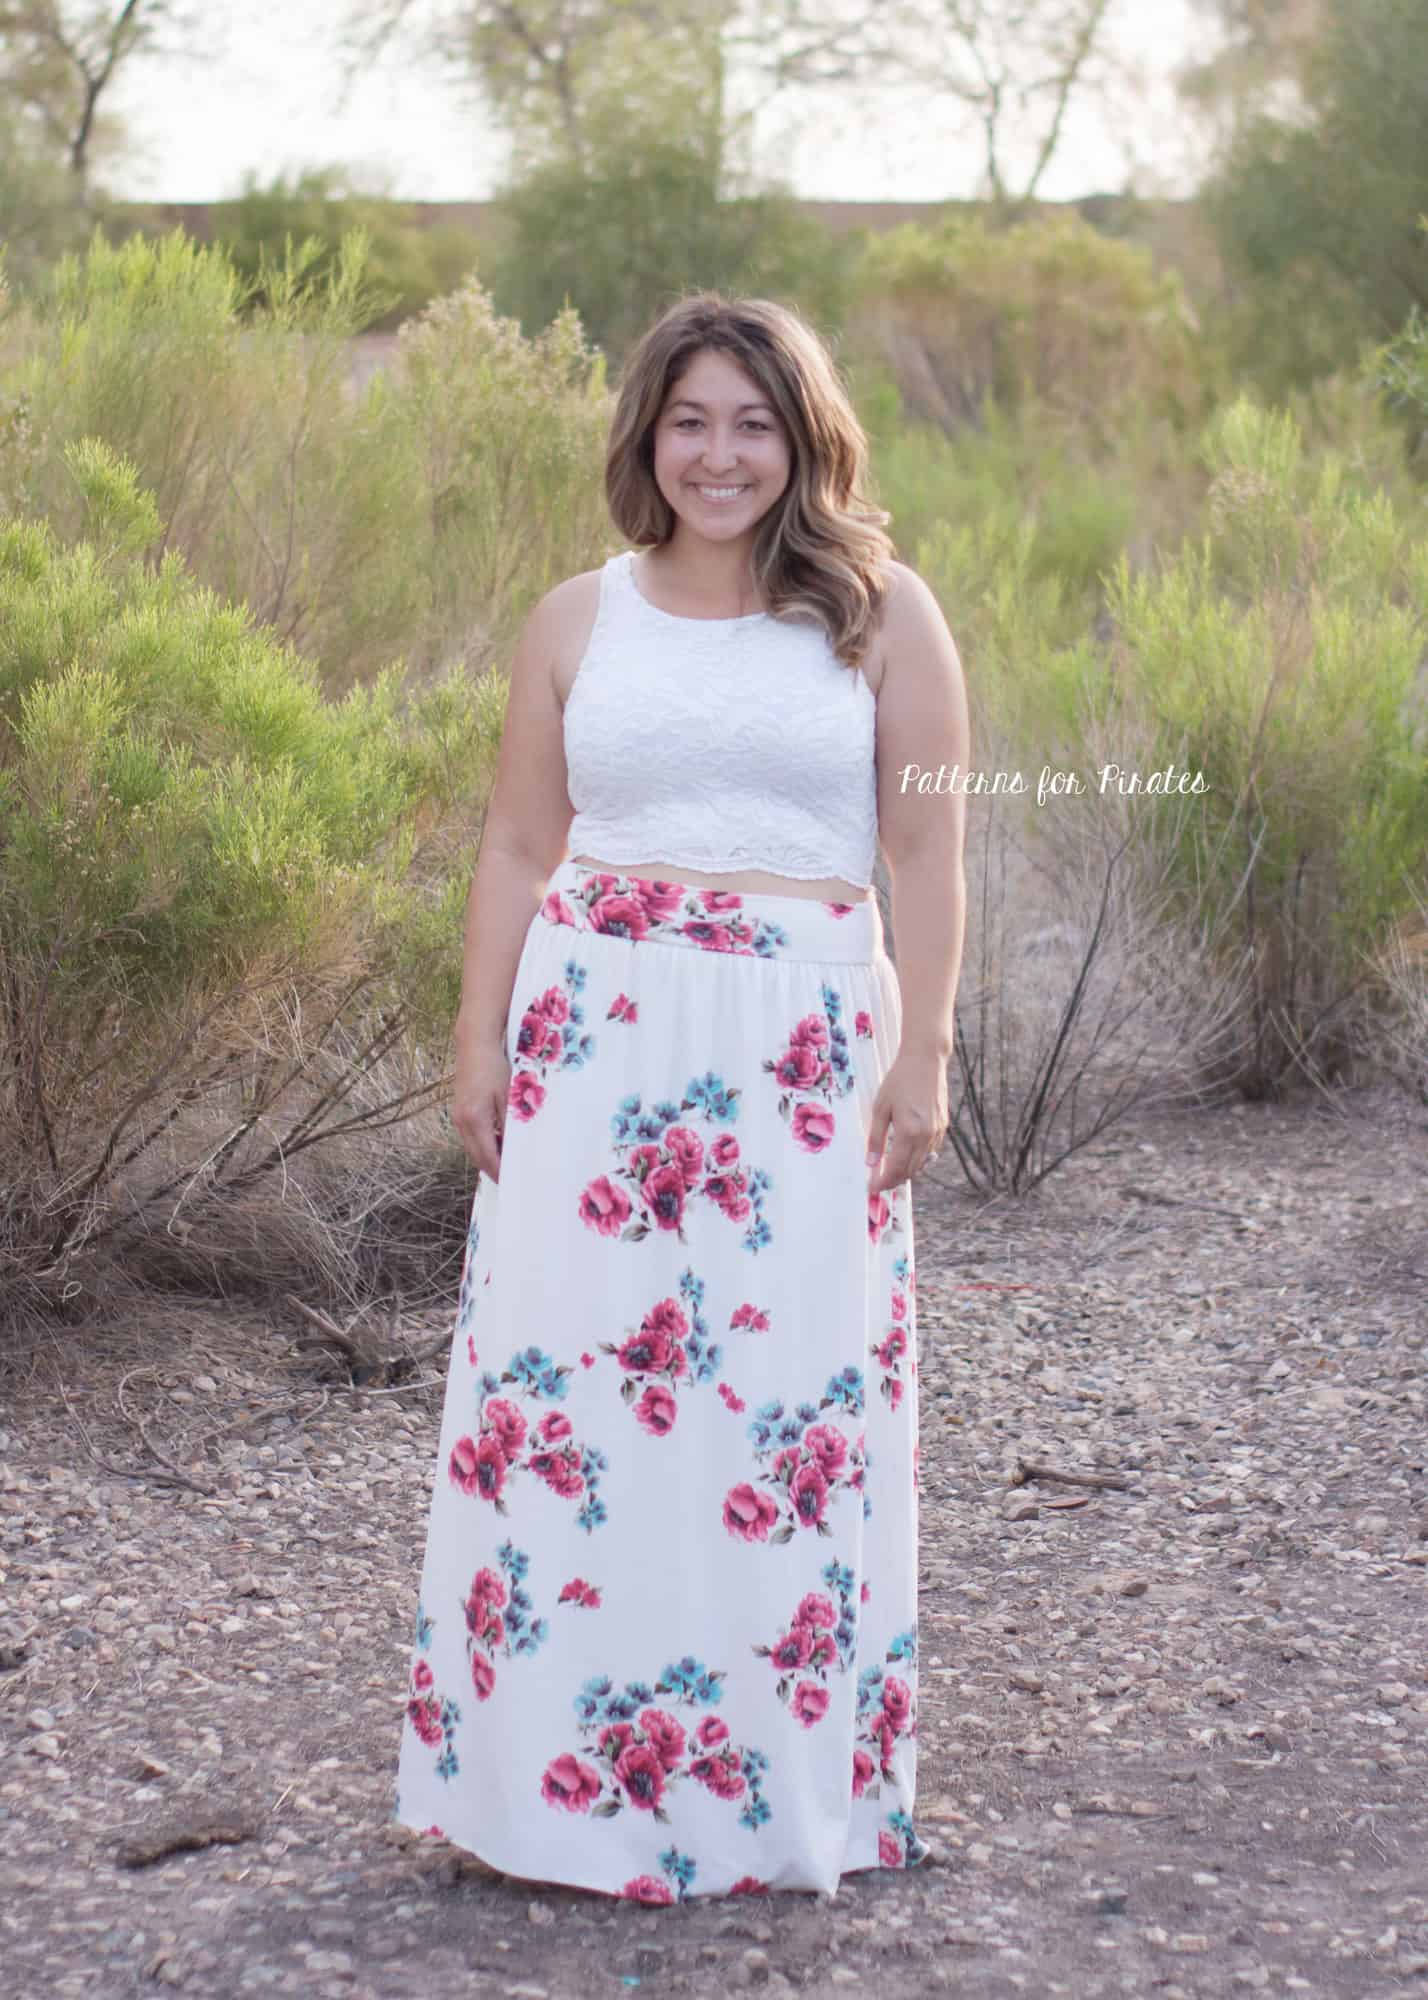
Crop tops seems to never really go out of style and we’ve seen some requests for it lately.  The Boundless bodice already has a natural waist cutline so is a great base to create a simple crop top.  Sew up the bodice as you would in the tutorial but instead of adding the skirt, just hem the bottom edge 1/2″.  If you chose to line the bodice, you can hem the main and lining towards one another, like the lined sleeve option in the tutorial.  I chose a scalloped edge lace as my outer layer, so only hemmed my lining.
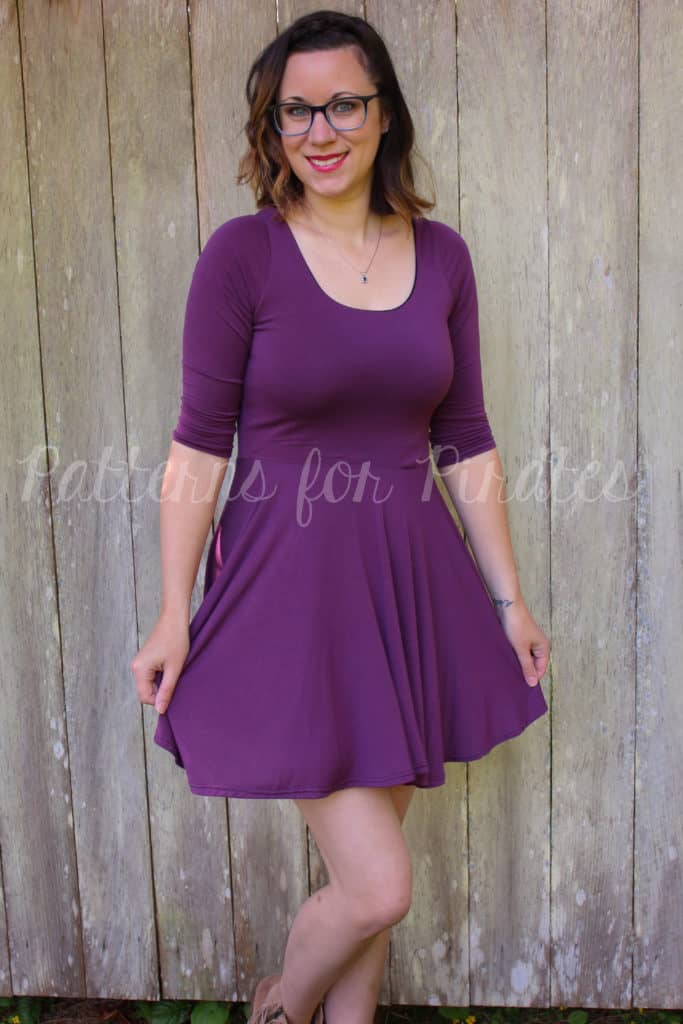
For my skirt, I used the waistband measurements from our Sweetheart SAL HERE and used the natural waist skirt option of the Boundless.  I did have to shorten the skirt a couple of inches to account for the added waistband but gathered and constructed per the pattern.  Instead of attaching to the bodice, just attach the skirt to the waistband.  Super simple right?!


We hope you all enjoy the updated Boundless Knit Dress and newly released youth Boundless as much as we do.  Be sure to share your makes in the P4P Facebook Group!

Filed Under: Frequently Asked Questions, Pattern Hacks, Uncategorized Leave a Comment

P4P University – Easy gathering methods

April 3, 2018

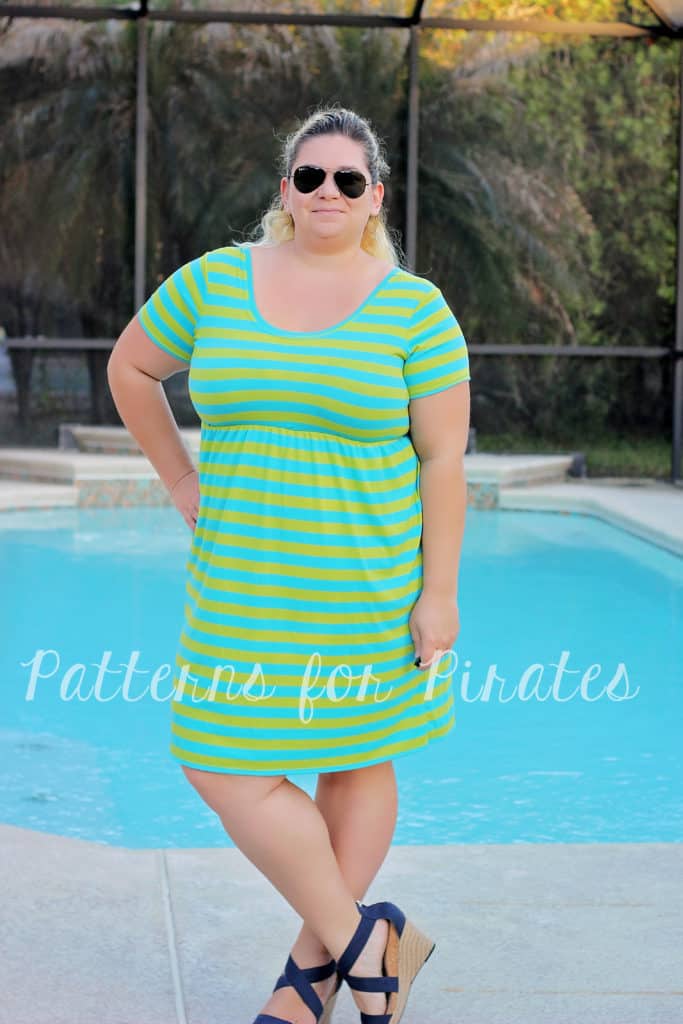
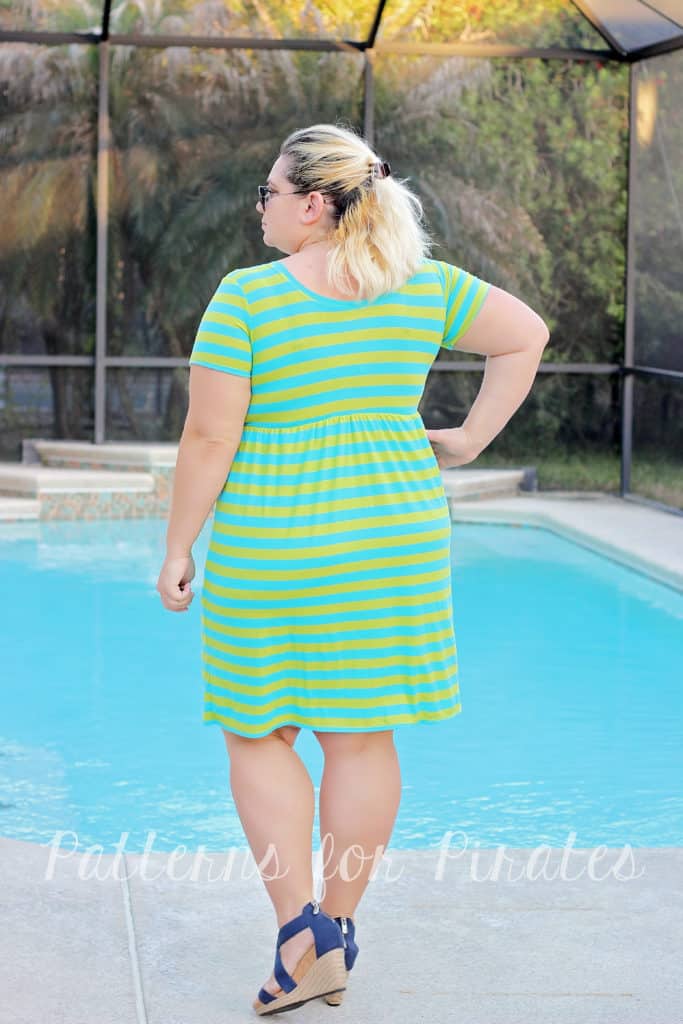
Hello, pirates! Today I wanted to talk to you about gathering and show you 4 of the easiest gathering methods that do not require investing in new gadgets or feet for your machines. All the methods I’m showing are applicable to both woven and knits.

Gathering with your serger

My favorite method of gathering is using my serger and its deferential feed. You will be switching your differential feed to the highest setting possible (in my case 2.0) and tightening the tension of your left needle. It is very important to test your new settings on a piece of fabric that is the same as the fabric you intend to gather. You will be able to see if you need to loosen the needle tension, tighten it or fidget with the right needle too.

For more tips and details watch the video below.


Gathering with two rows of basting stitches

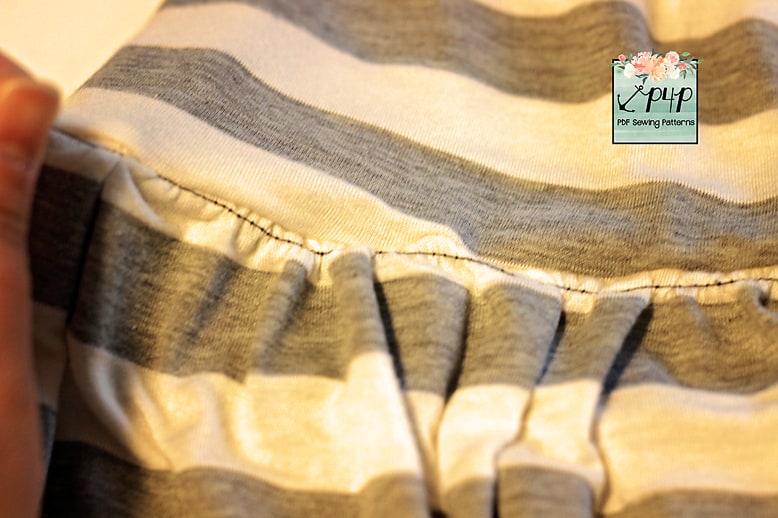
The most popular method of gathering, and the one most often used in our patterns (Judy’s favorite) is gathering with two parallel rows of stitching. This method uses your sewing machine.

Note: your first row of gathering stitches should be about 1/4″ away from the edge and your second one 5/8″ away.


Tip: For the basting stitches, use a different color thread than the fabric do you can remove it easily.

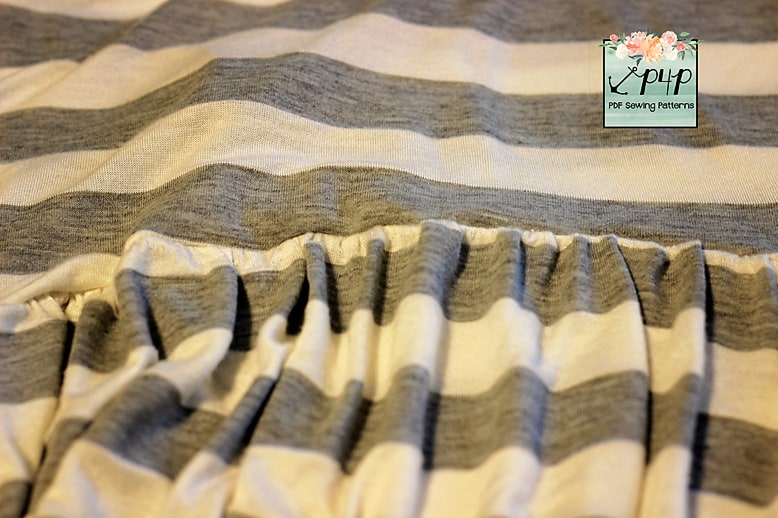
Gathering with elastic

The next gathering method I wanted to show you is one that uses elastic, clear elastic or knit elastic. Avoid using no roll elastic!  Also, make sure to exercise (stretching it a few times) before cutting.

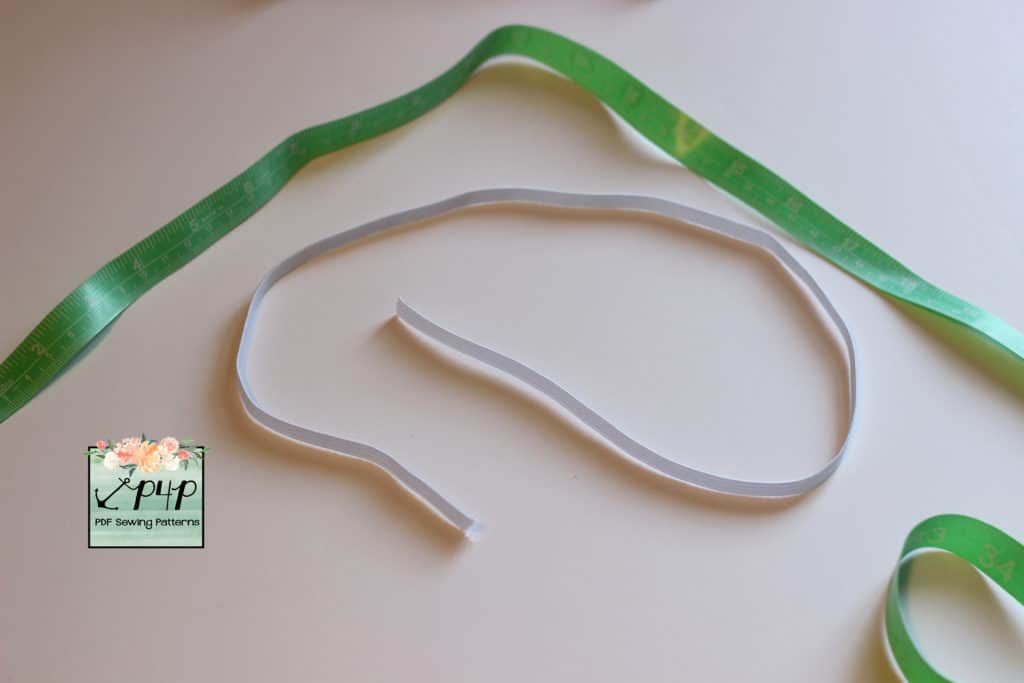
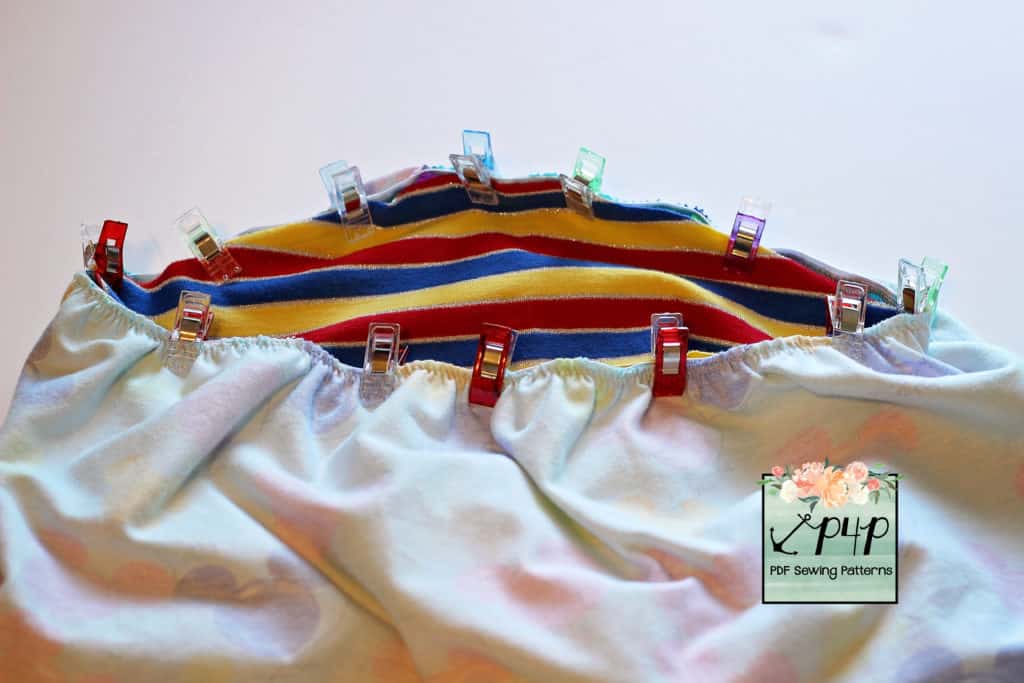
Start by measuring the opening of the bodice and cut a pieces of elastic that matches the opening. Don’t forget to add seam allowance.

Note: I used 1/4″ knit elastic. This method works beautifully with clear elastic.

Sew the elastic in a loop and mark its quarters. Follow the method as in the video below.


Gathering with yarn or floss

The last method I wanted to show you is commonly known as gathering with floss. You will simply sew a wide zig zag stitch over a floss or yarn and simply pull the ends to gather. Super easy!


Tip: if you’re using yarn, use thin yarn and preferably a color different than the fabric you’re gathering so you can easily pull it out.

There you have it, 4 easy gathering methods that will help you achieve beautiful, even gathers for your skirts and ruffles. No matter which method you use it’s important to hit the seam with a nice hot iron and steam (as much as your fabric type will handle), this will help if you accidentally stretched the bodice at all while attaching as well as set those gathers nicely.  Now go sew a Boundless or a Sunshine dress and show off your new gathering skills.

Filed Under: Frequently Asked Questions, Uncategorized 1 Comment

Tips for adding a woven skirt to a knit bodice

August 17, 2017

Ahoy, pirates! The Summer of Wovens is in full swing so I wanted to show you how easy it is to add a gathered woven skirt to a knit bodice. You can use this technique to the Boundless dress, like I have, or the Sunshine dress. If you love the bodice of the Sweetheart dress as much as I do you can use it and hack it with a woven gathered skirt too.

The most important thing to keep in mind when adding a woven skirt is CHOOSING THE RIGHT WOVEN fabric. Make sure to use a light weight fabric with great drape. I used a Nicole Miller chiffon and it worked beautifully. You can also use rayon, rayon challis  or crepe georgette. Avoid quilters cotton, it will look stiff and add visual width which we don’t want. Am I right, ladies? 😉

Cut the pieces as per the pattern. You do not need to size up or down, just be sure to measure yourself and choose the size based on that. I do recommend adding some width to the skirt for more comfortable wear. I did not add it to mine but you can certainly increase width by a couple of inches. You can see how to take your measurements here.

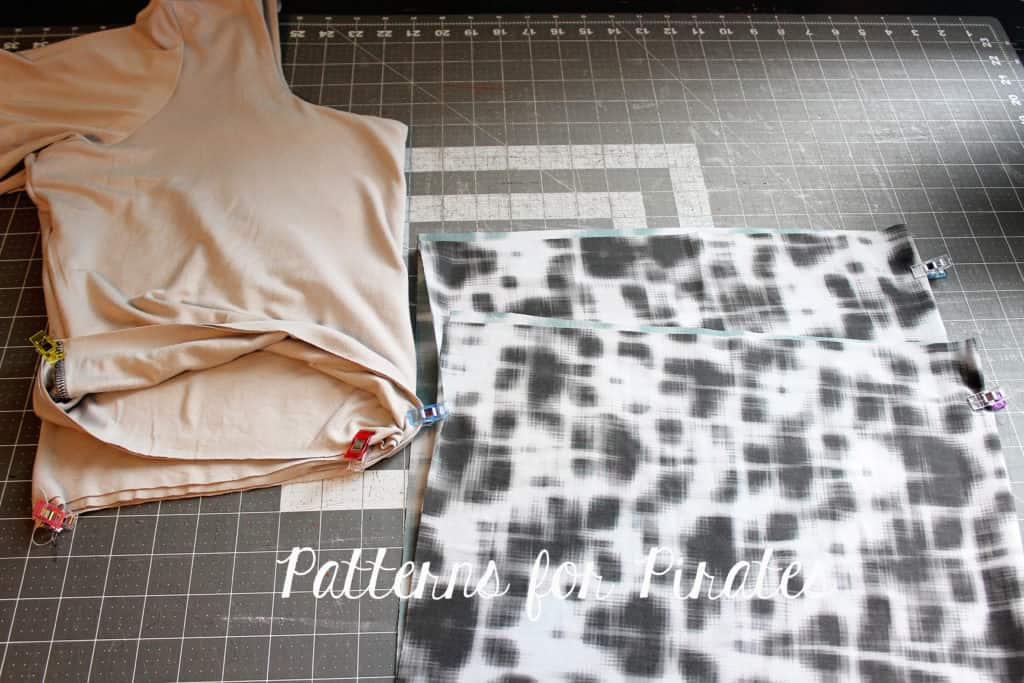
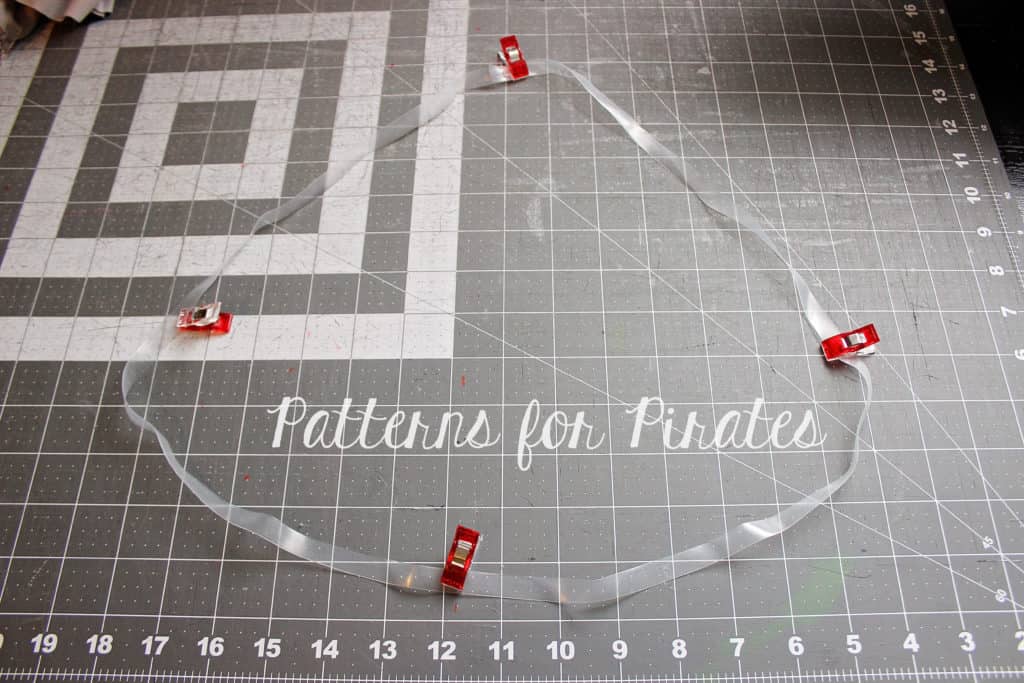
Sew the bodice as per the pattern tutorial. I marked the center of the front skirt piece and the back. I like to use clear elastic when I attach the skirt to the bodice. I do that for two reasons, the clear elastic will add stability to the seam and it will help you gather your skirt evenly. Simply cut a piece of elastic that matches the bodice bottom. Don’t forget to add seam allowance! I prefer to cut just one piece and match the elastic seam to the center back but if you prefer to cut two pieces and match the seams to the sides you’re welcome to do that as well.

Mark the quarters of the clear elastic. Mark the side seams and center back and front of the skirt. Remember to mark the to of the skirt if you’re using a fabric with a directional print 🙂

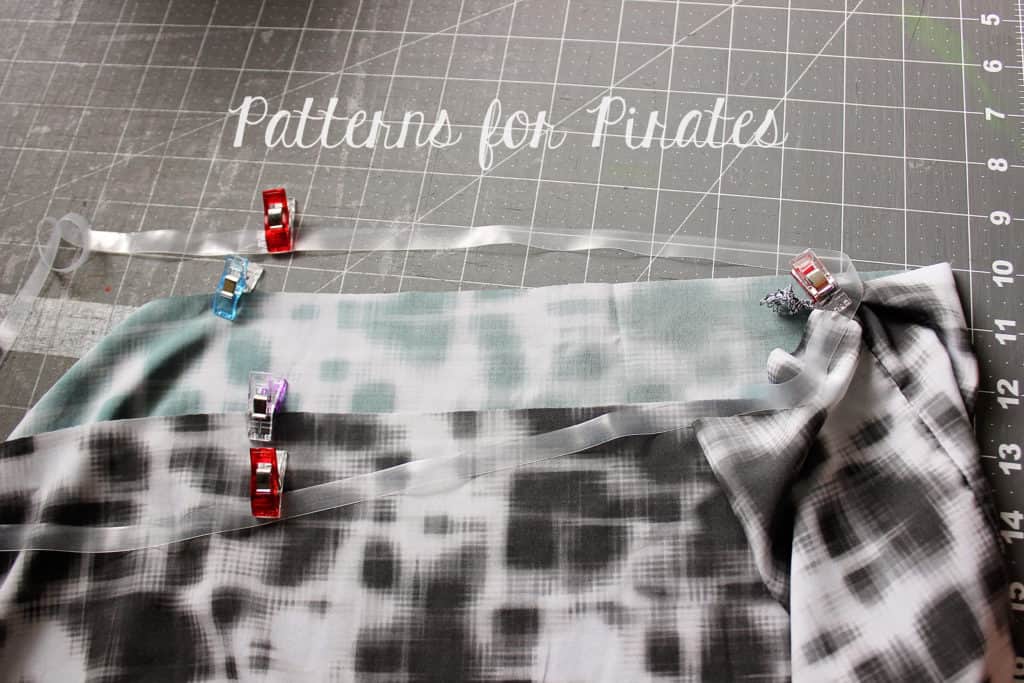
Match the quarters of the skirt to the quarters of the elastic.

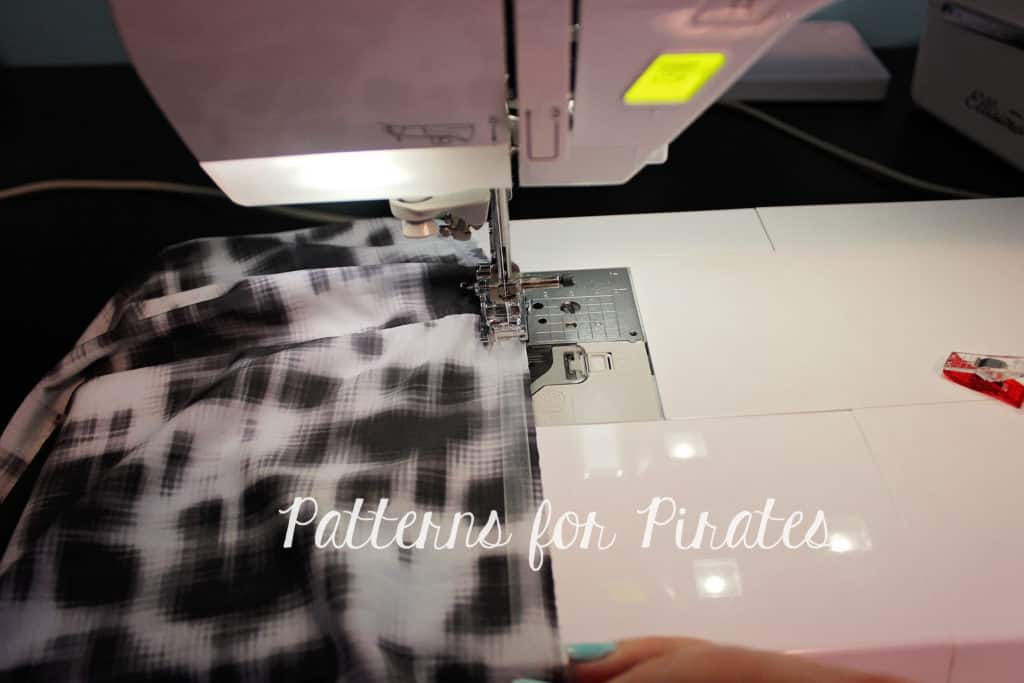
Sew the clear elastic to the top of the skirt. Use a zig zag stitch and adjust the tension and width to better fit the type of fabric you are using. Stretch the elastic as you sew. If you use a 1/2″ clear elastic simply align the edge of the elastic to the edge of the skirt. I use 3/8″ clear elastic so I put it a little lower than the edge to accommodate the 1/2″ seam allowance that is followed in this pattern.

All you have to do now is attach the skirt to the bodice. The bottom of the bodice and the top of the skirt will be the same circumference. Match the side seams and the center backs and fronts, pin right sides together and sew.

I like to attach the skirt to the bodice using a zig zag stitch but you can also use a triple stretch stitch.

Optional: top stitch the seam allowance up towards the bodice.

Tadah! You’re all set to rock your new woven skirt Boundless (or Sunshine) dress! I can’t wait to see your take on this easy hack so be sure to post it in the P4P group too!

Filed Under: Frequently Asked Questions, Pattern Hacks, Uncategorized 6 Comments

Boundless Nursing Mod

August 5, 2015

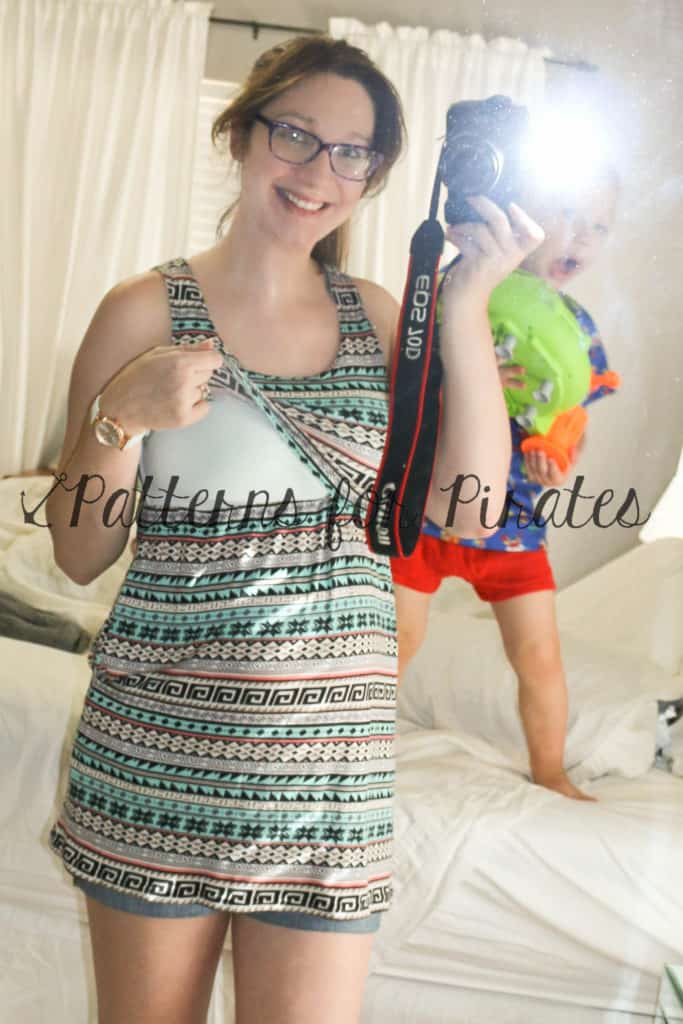
I had lots of inquiries about nursing option for the Boundless Knit Dress.  I know ladies love to create items they can wear during and after pregnancy! Since the Boundless has a lined bodice it is a super simple modification to do! Here is how I did mine 🙂

listing pictures1

I cut out all my pieces normally- main fabric bodice, lining bodice, sleeves, skirt, and I did pockets for this one too! I did a mini length and didn’t add my 3″ I should for being super tall because I wanted a tunic length! I wear tunics and leggings much more then a dress 🙂

IMG_0993 IMG_0998

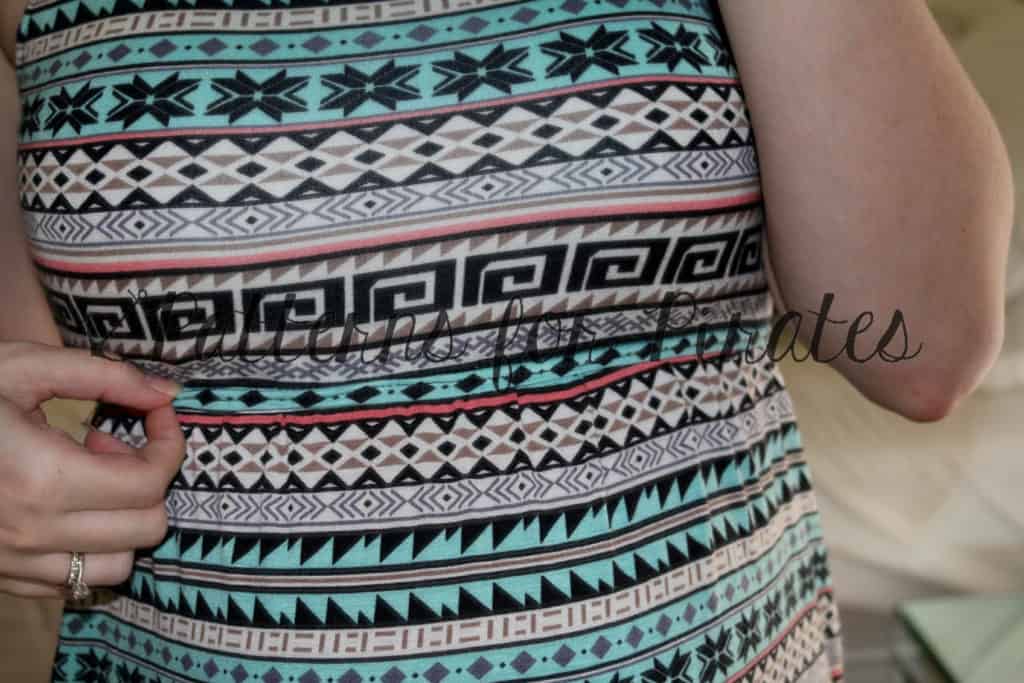
Choosing fabrics: I choose a spandex blend for both since the main fabric would be pulled and stretched a lot, you want it to have good recovery and not get stretched out and sloppy by the end of the day! The lining I choose a true spandex.  I thought it would be soft on my skin, stretch nicely with the changes throughout the day of your bust measurement and be sturdy enough to do well with cut outs.  I also choose a solid b/c it when you lift up you will actually be showing the wrong side of the fabric.  You COULD sew the lining were a print shows, but you might make your brain very tired trying to figure it out 😉
IMG_0985

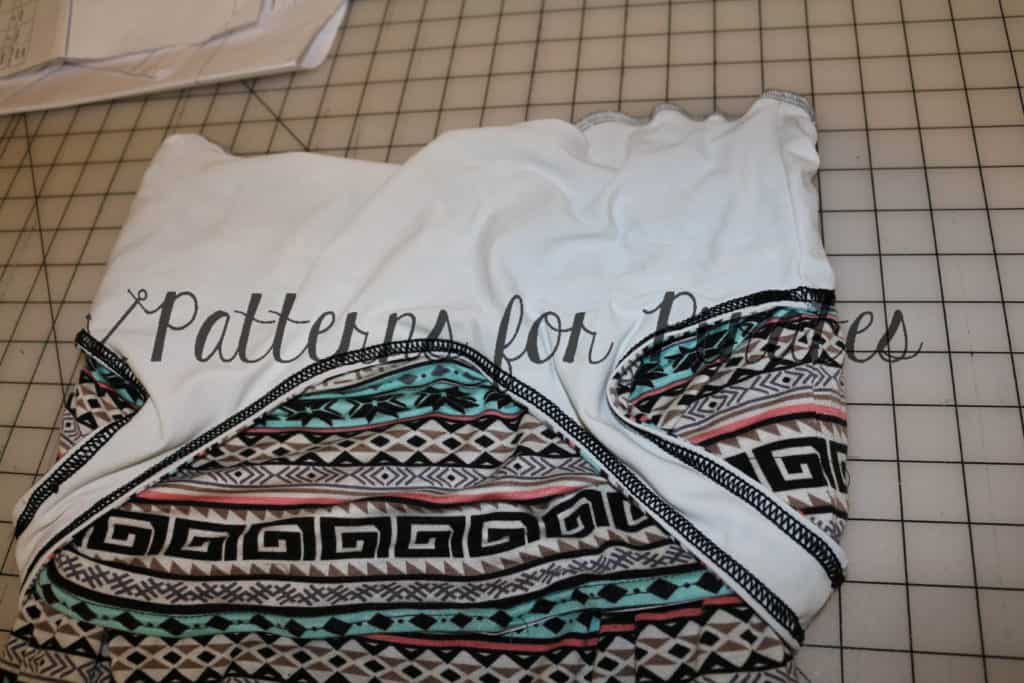
You can follow the normal directions in the tutorial all the way through the bodice and skirt construction.  ATTACHING the skirt is where we will change it up a bit! 🙂  ***Although, after creating mine I SHOULD have put right side of bodice to WRONG side of lining–this way the sides seams wouldn’t show when you pull up!***

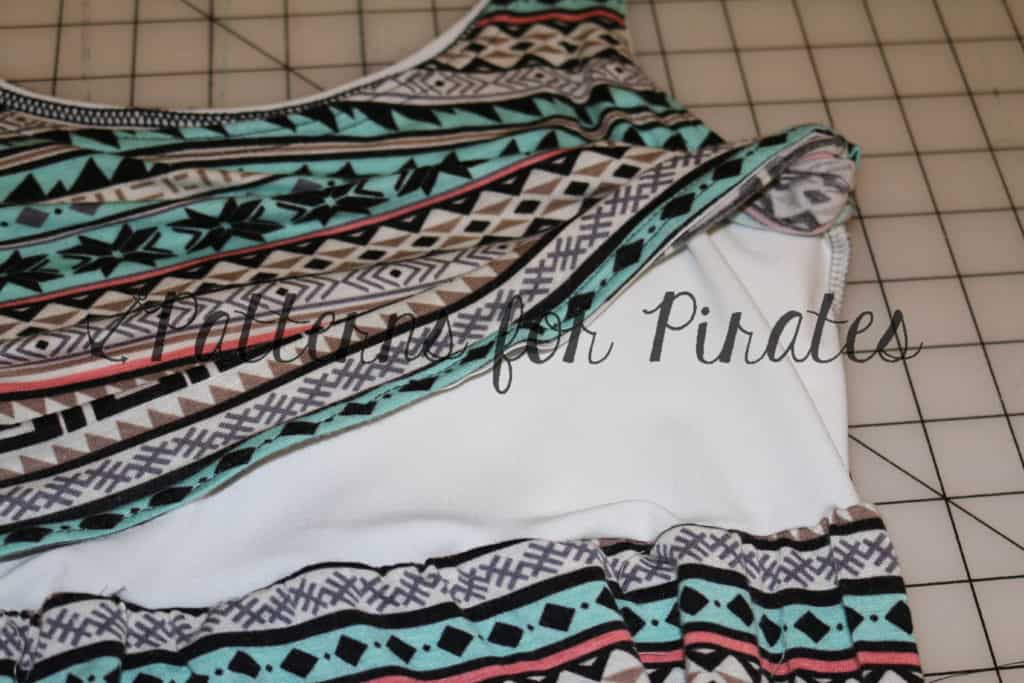
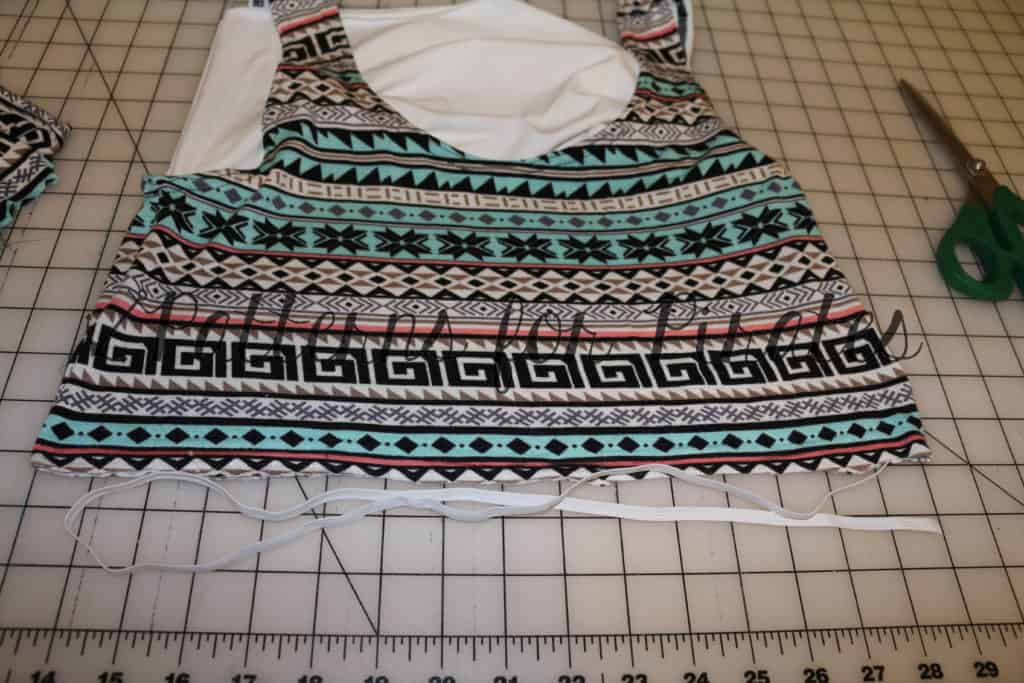
Here is my bodice, again put together just as the directions say in the regular tutorial.  For the main bodice fabric I choose to hem with an elastic hidden in the hem.  I would’ve use a clear elastic if I hadn’t been all out 😉 so I used what I had! I measurement the finished bodice and cut to that size.  I did not add for a seam allowance b/c I want to stretch it EVER so slightly with attaching.

IMG_0989


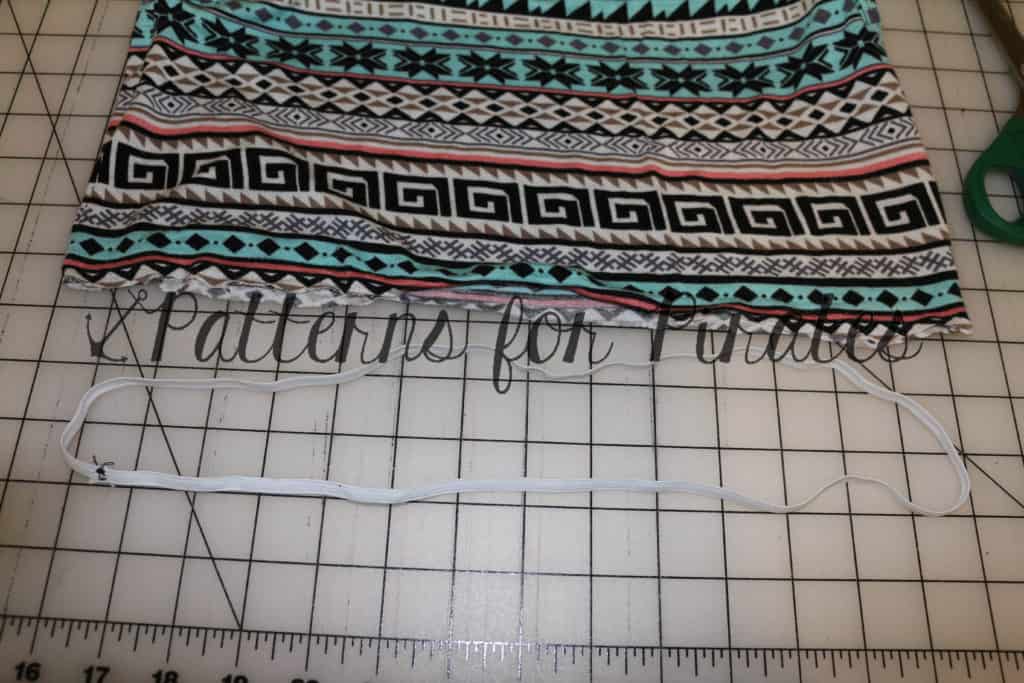
Sew the elastic ends together creating a circle.

IMG_0990


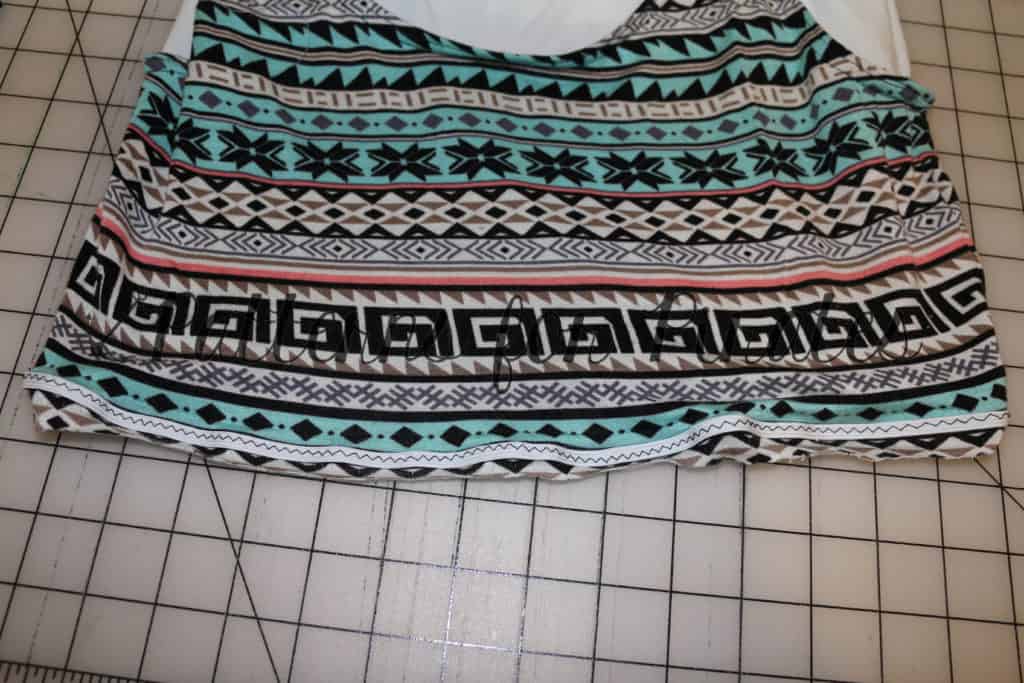
Now, I TOTALLY messed up here with pregancy brain, but didn’t want to unpick it! lol… so bare with me with this picture that is wrong! You want to baste the elastic stretching it EVER so slightly (I mean just barely) to the wrong side of the bodice edge.  See my mistake 😉 I did right side lol!

IMG_0991

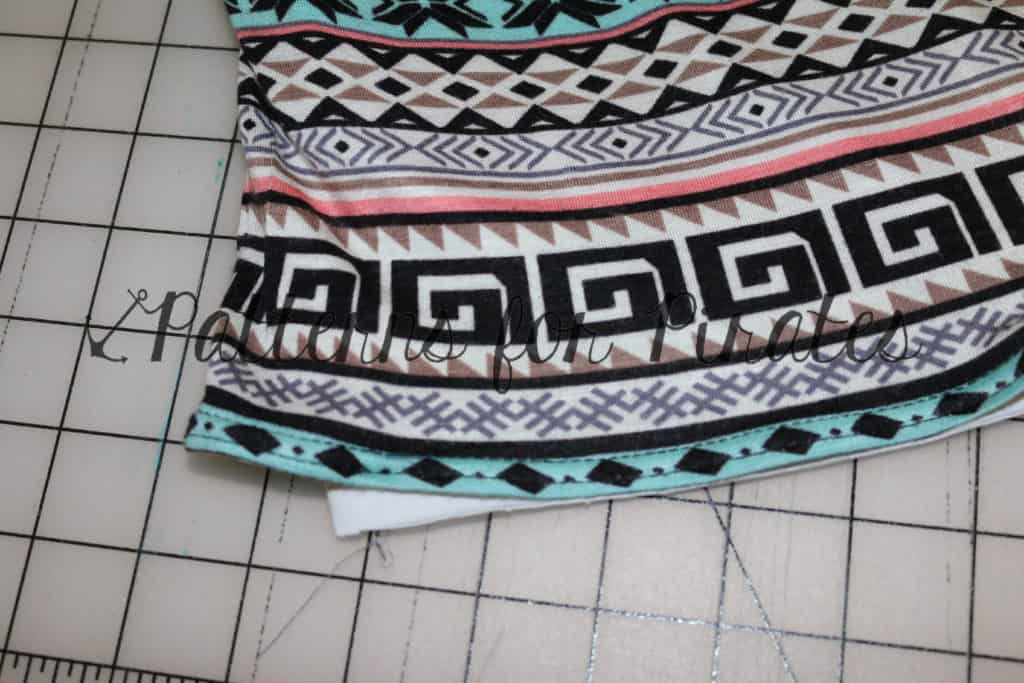
Fold under and hem with the elastic enclosed in the hem. (Mine was obviously not enclosed b/c I messed up!)

IMG_0992

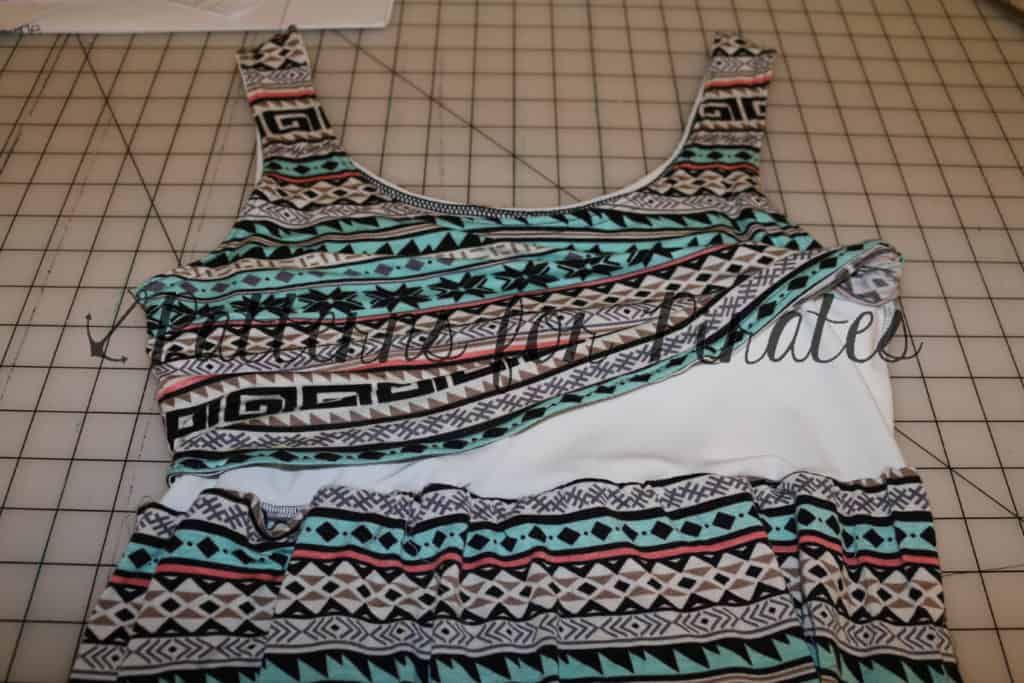
Now for attaching to the skirt. I recommend using the “Traditional Gathering Method” for the skirt since there is elastic in the bodice, it might start getting bulking with elastic also in the skirt!  Attaching the top with right sides together, but only catching the lining.  The main bodice piece will be free.

IMG_0995

IMG_0997

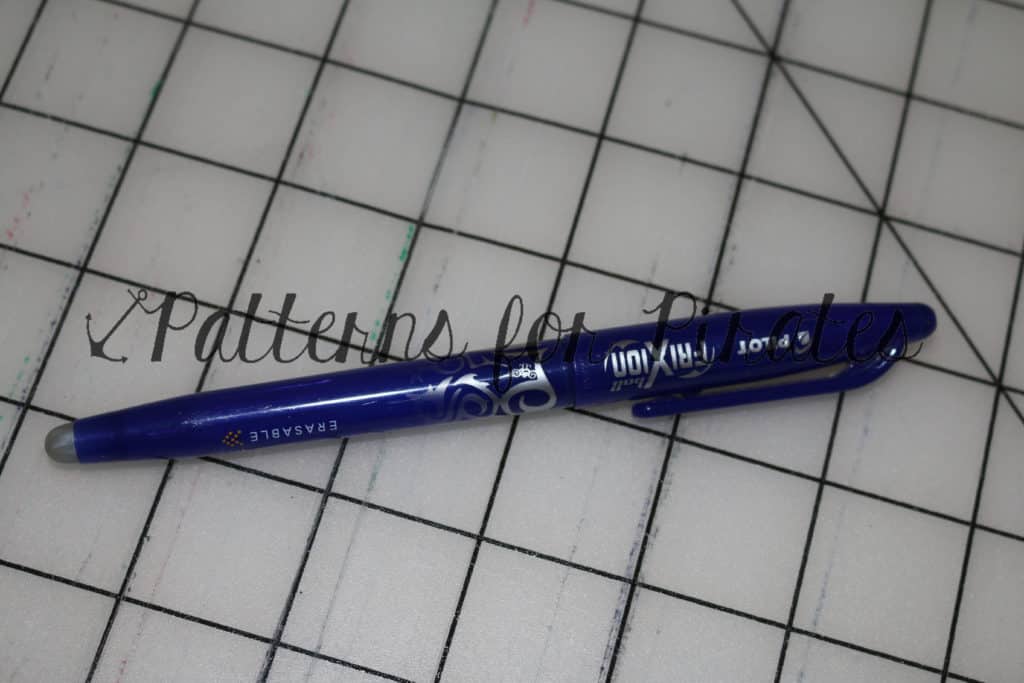
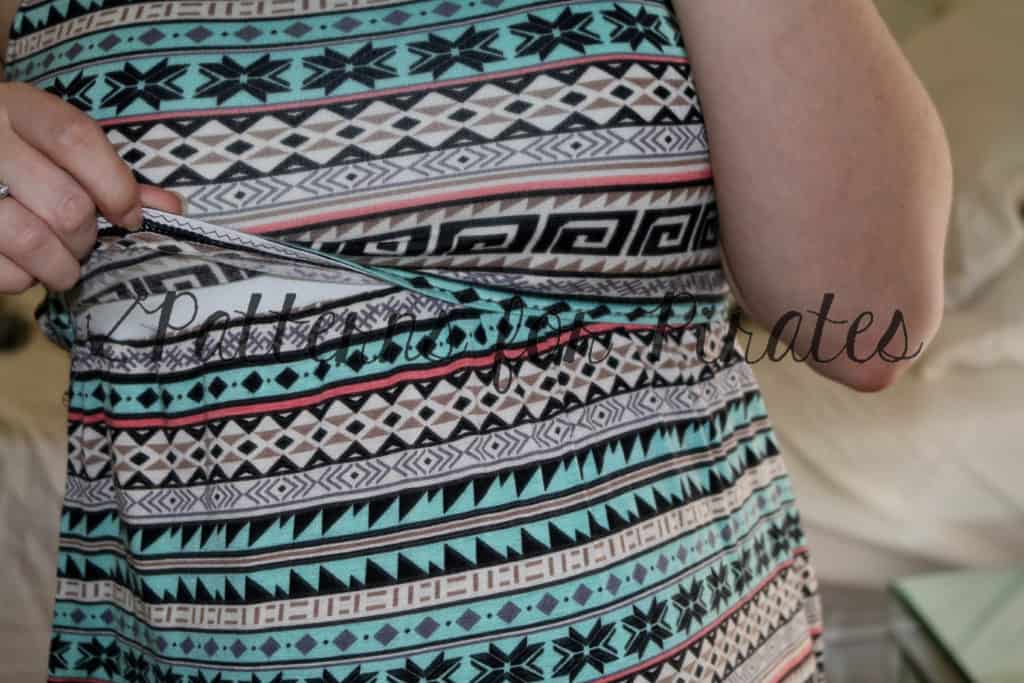
Now you can try on and mark/make cut outs in the lining.  I used my handy pen that disappears with a hot iron! I didn’t take pictures with the cut outs 😉 I’ve been asked several times what shape I cut out.  I just did a horizontal slit below the apex (fullest part) of my bust.  I thought it showed through the least that way.  I just opened up the slit to use it.

IMG_0993

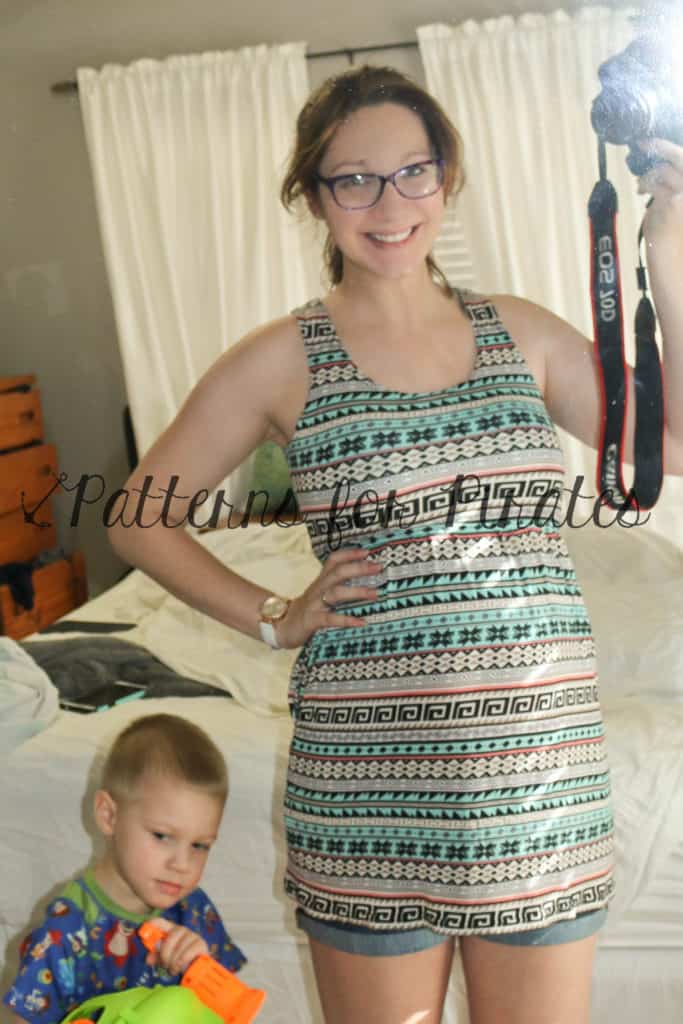
Here is my finished nursing tunic from the Boundless Knit Dress!

IMG_1016 IMG_1017 IMG_1018

And some with Little Guy sneaking in the action of course! He’s showing off his new toy! And I LOVE his face in the 2nd one, looks like he’s super impressed with the nursing mod! 😉

IMG_1007 IMG_1012 IMG_1025

Love the pockets and the tunic length 🙂

IMG_1026 IMG_1015


Filed Under: Pattern Hacks, Uncategorized 20 Comments

Newest Patterns

  • Notch Top & Dress $12.00 $10.50
  • Notch Top & Dress - Youth $10.00 $8.50
  • Notch Top & Dress - Bundle $20.00 $18.00
  • Friendly City Sweater $12.00
  • Friendly City Sweater - Youth $10.00
  • Privacy Policy
  • Refund Policy
  • Affliliate Program
  • Contact Us
  • About

Copyright © 2023 Patterns for Pirates

Copyright © 2023 · Genesis Framework · WordPress · Log in