Cardi Week was a blast, don’t you think? Thank you so much to everyone who sewed along with us, and especially to those of you who shared all over the interwebs photos of your makes. I looked through all of the #P4PCardiWeek tags and here are a few of my favorites.
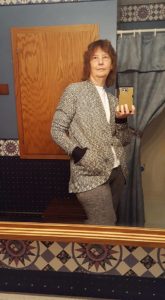
Cardigan-Making Machine:
I throughly enjoyed whenever a new photo of Dolores popped up in my feed last week! Most of her fabrics were super thrifty finds too!


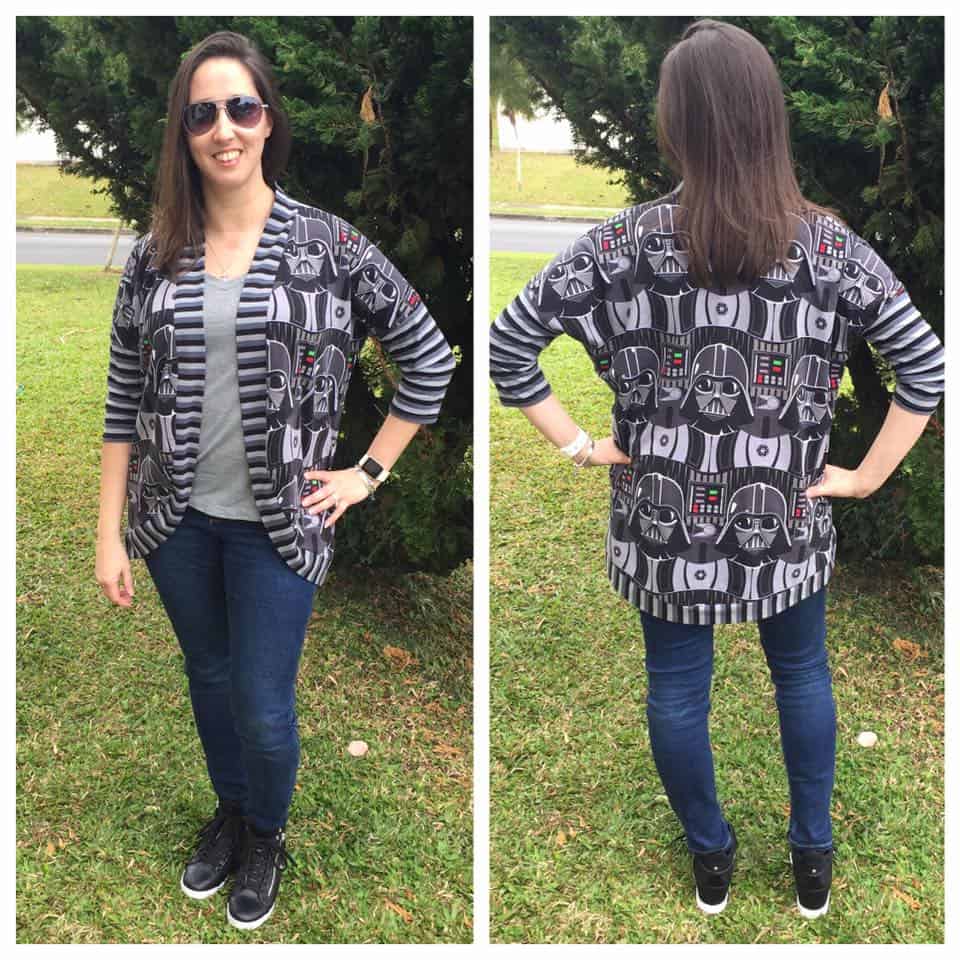
Favorite Nerdy Cardi:
Tamara knew the way directly to my heart was through Star Wars culture. Isn’t this Cocoon Cardigan in Darth Vader fabric just the best in the galaxy?
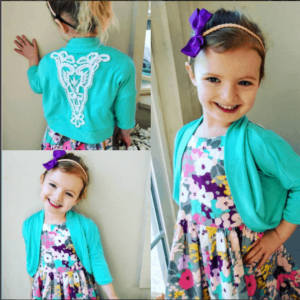
Cutest Cardi Family:
Callie and her adorable girls stole the show with these mostly handmade outfits for her and her girls. Did you play iSpy with the two cardigans that made it into the picture? The Carefree Cardigan with the lace details gives me all sorts of heart eyes.

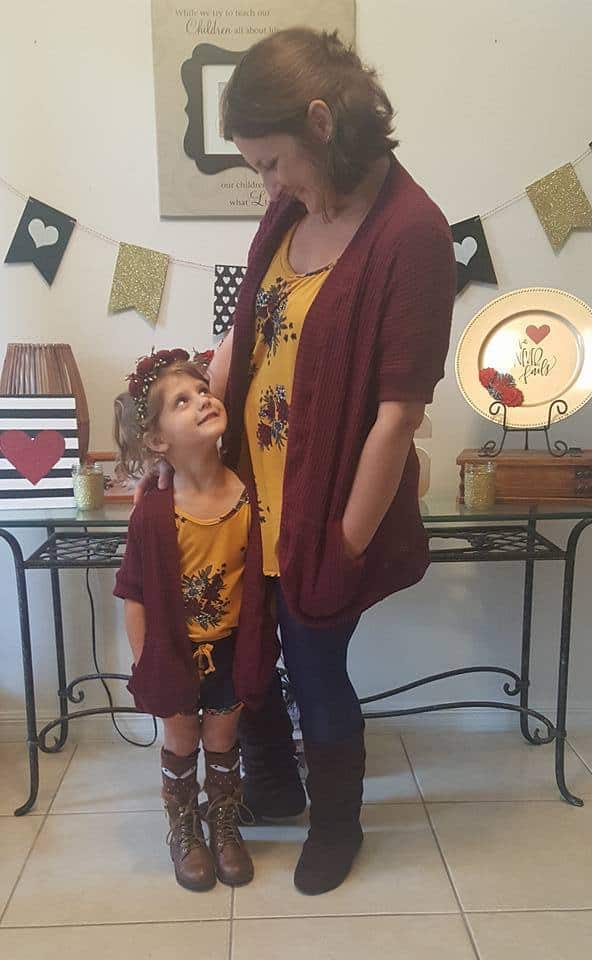
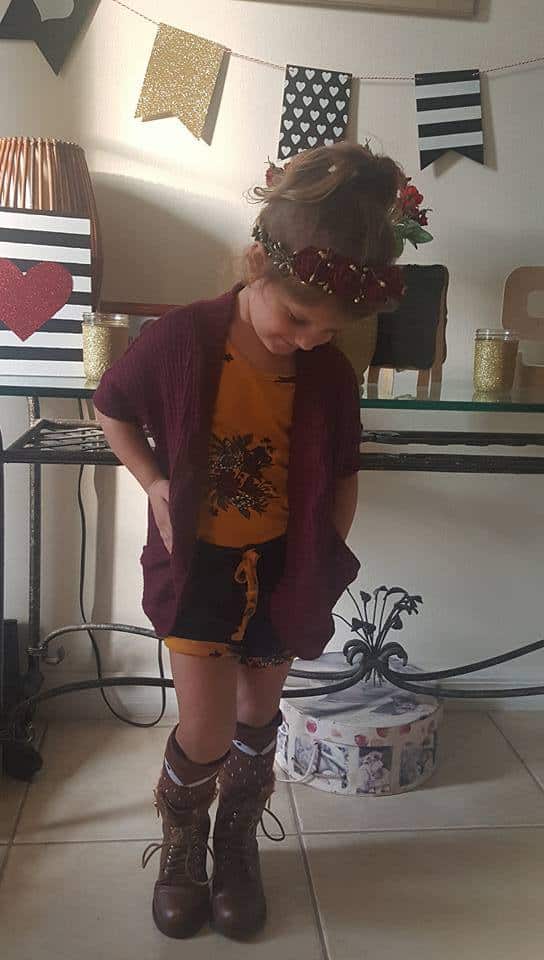
Favorite Original + Carbon Copy:
I’m sorry, but a Mommy & Me matching outfit is just too much for me to handle. Aren’t Amanda and her little so sweet together?
We had an amazing week of cardi celebrations! Did you have as much fun as I did?
Big thanks to our fabulous blogging team for showing us how easy it is to take our patterns one step further!
![]() Saturday, January 21: #P4PCardiWeek Announcement
Saturday, January 21: #P4PCardiWeek Announcement
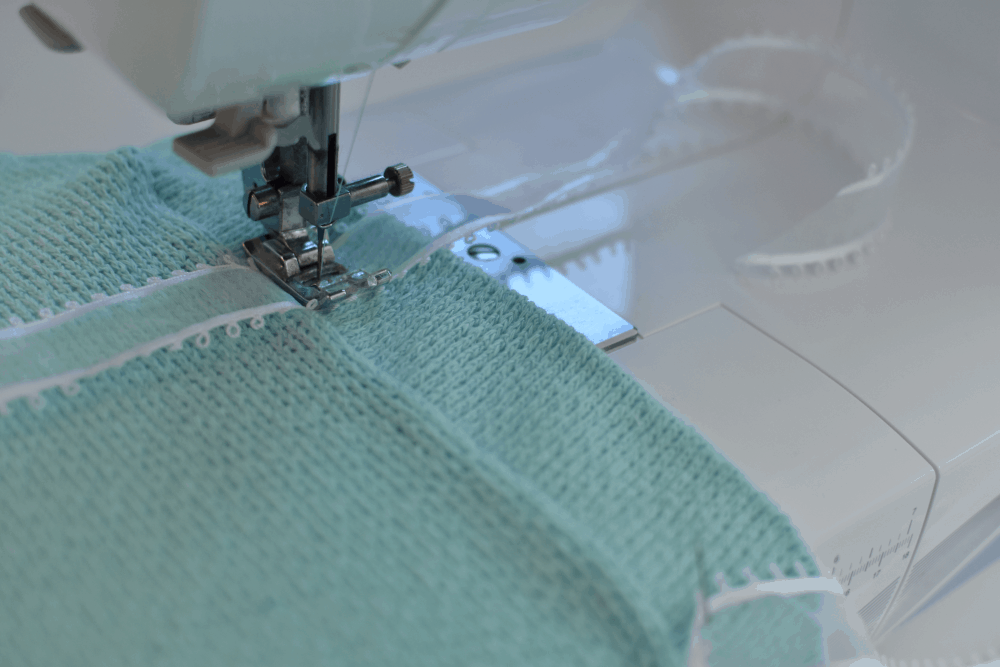
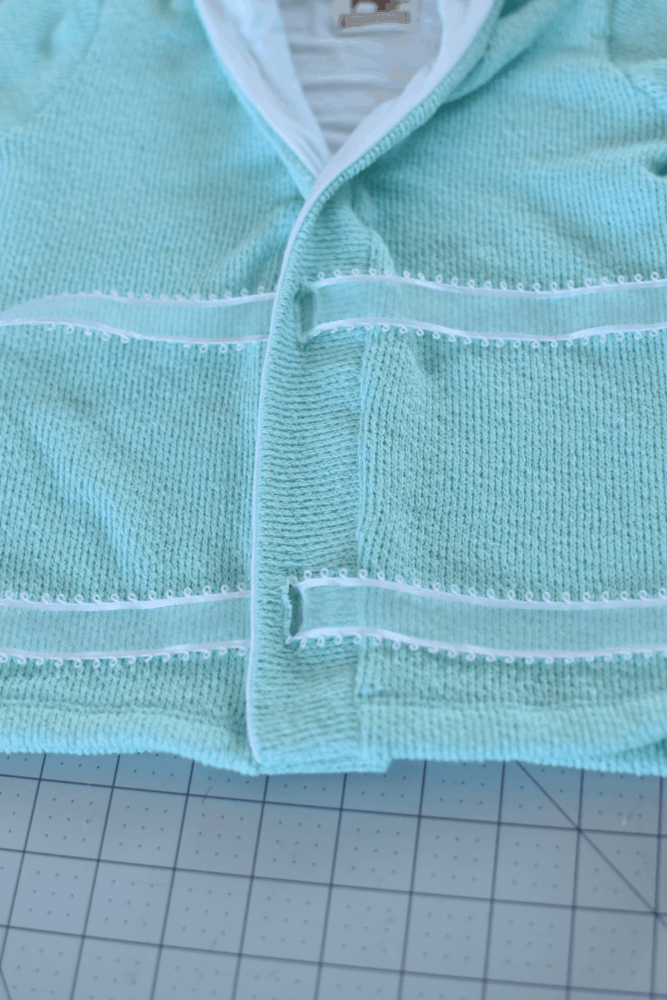
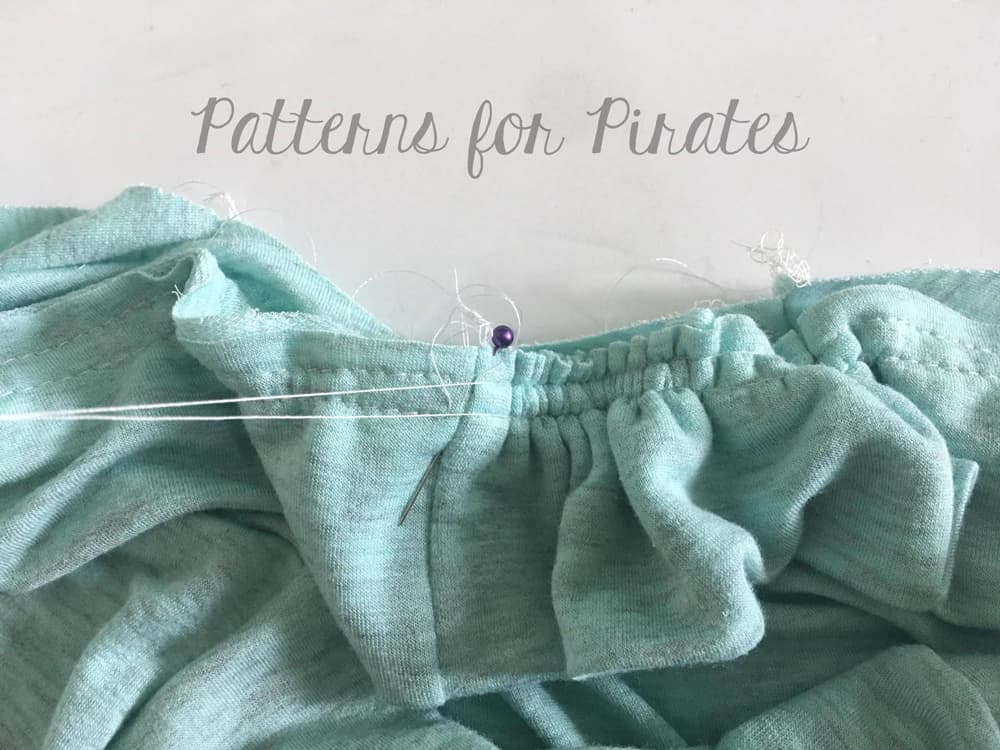
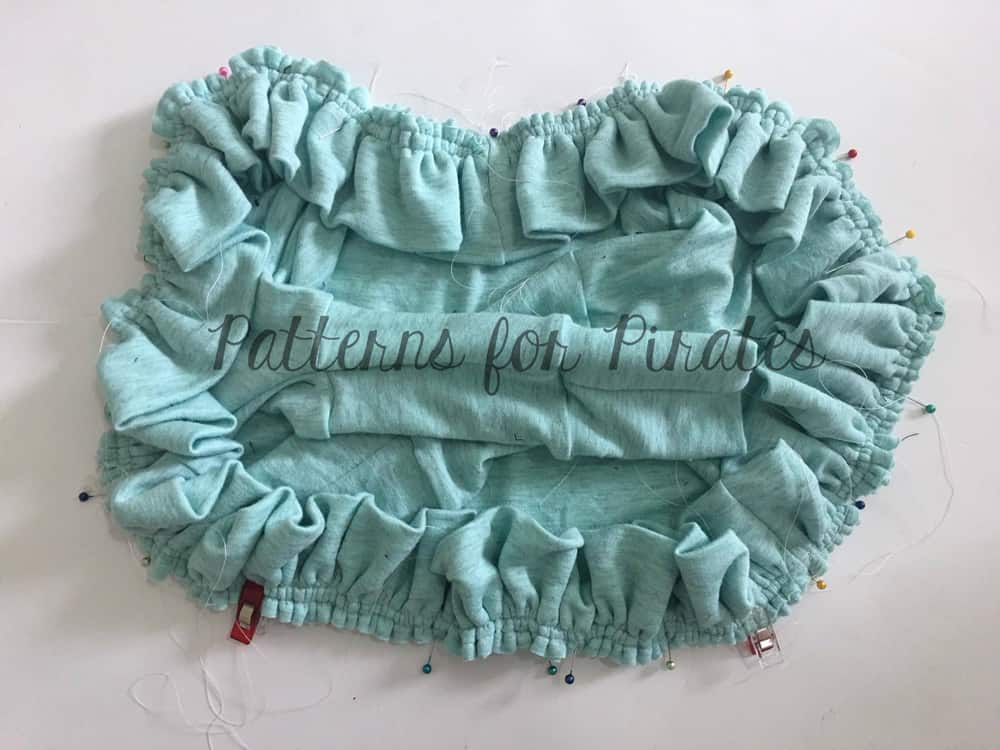
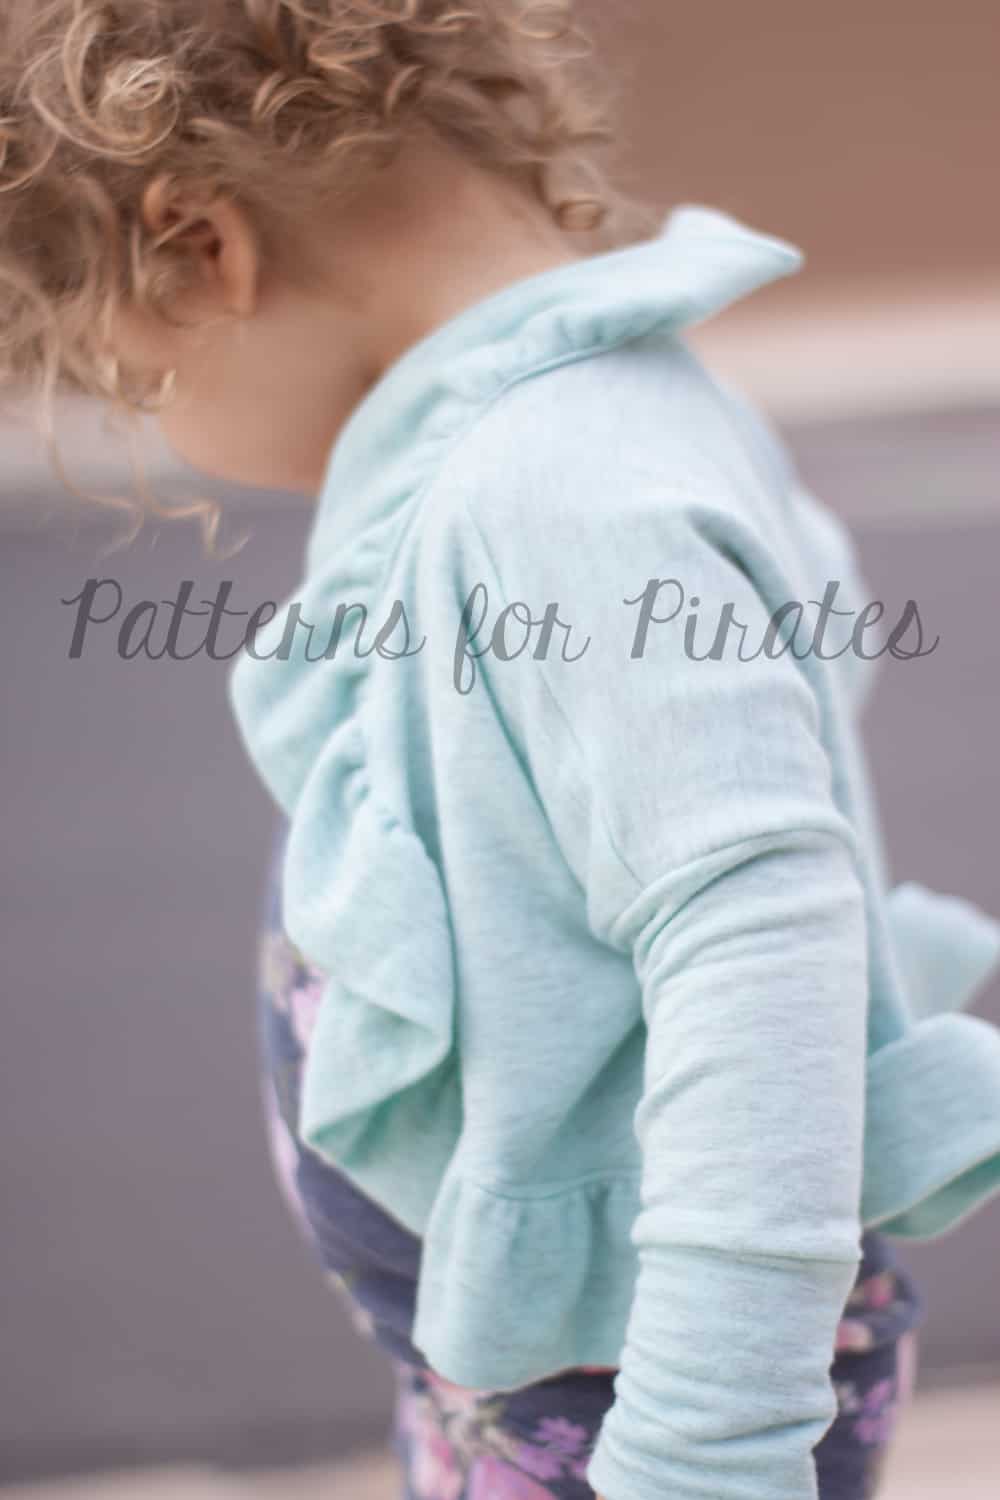
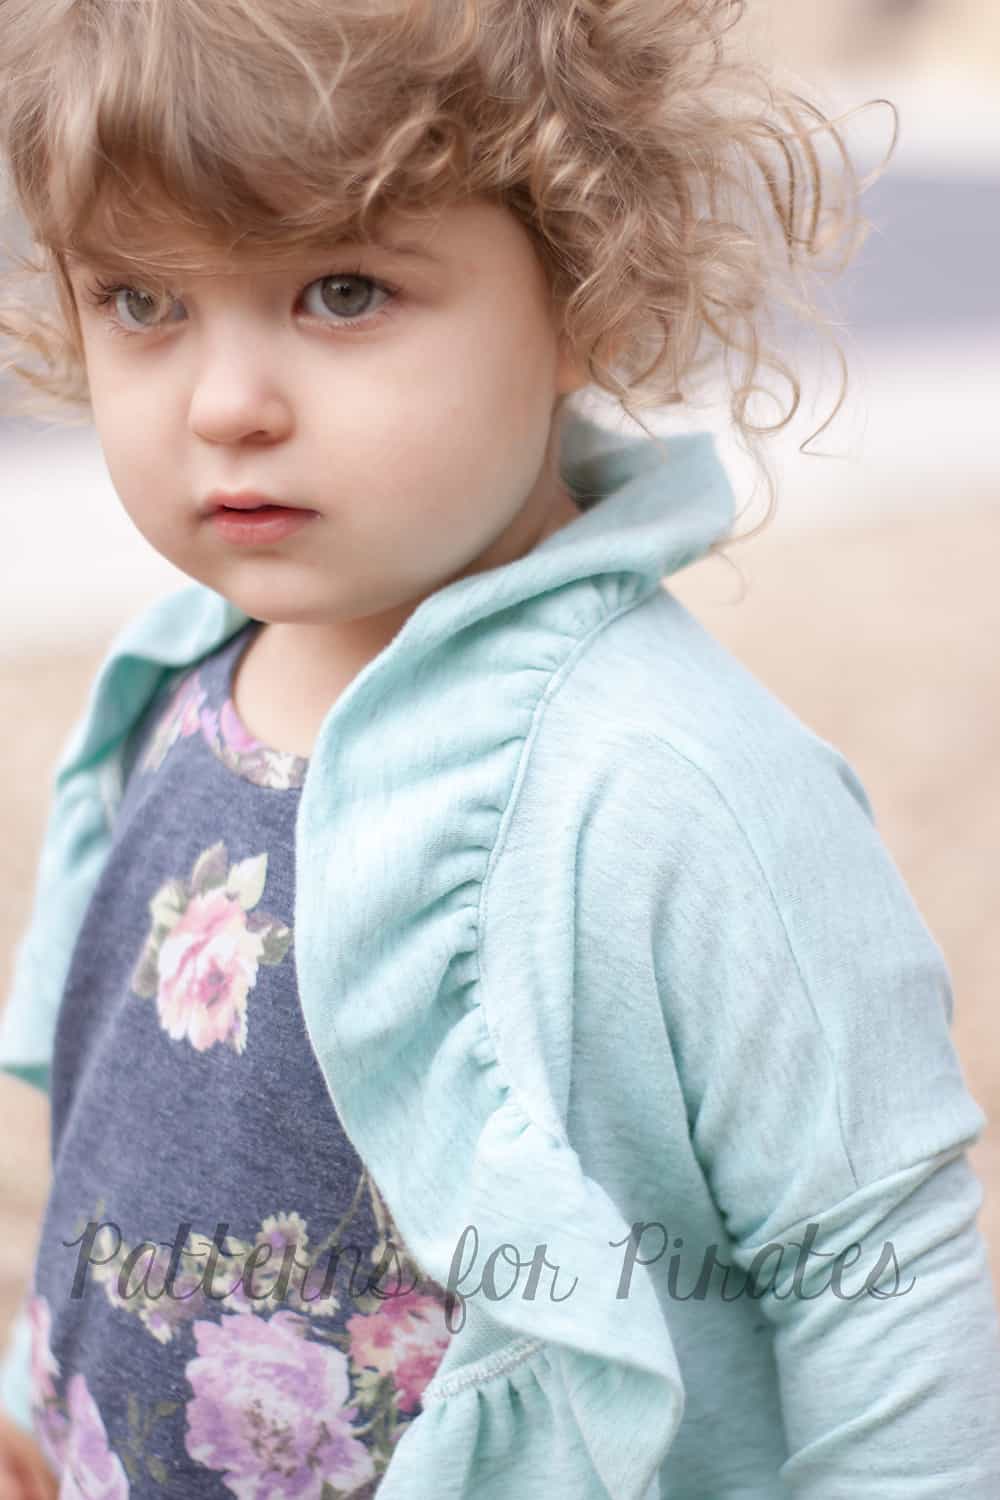
Sunday, January 22: Cocoon / Butterfly Ruffle + Lace Hems
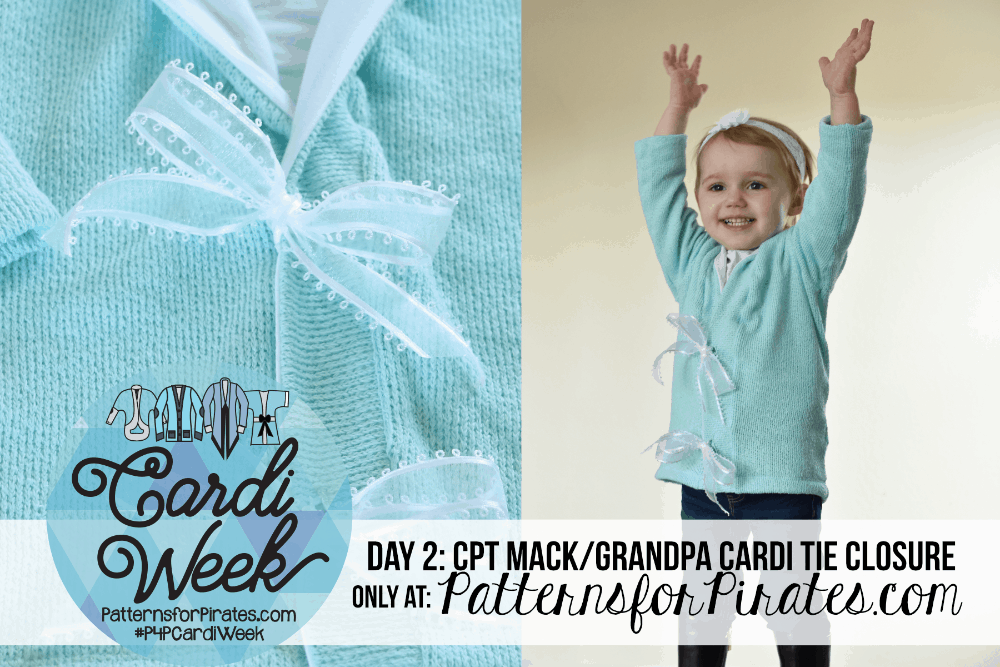
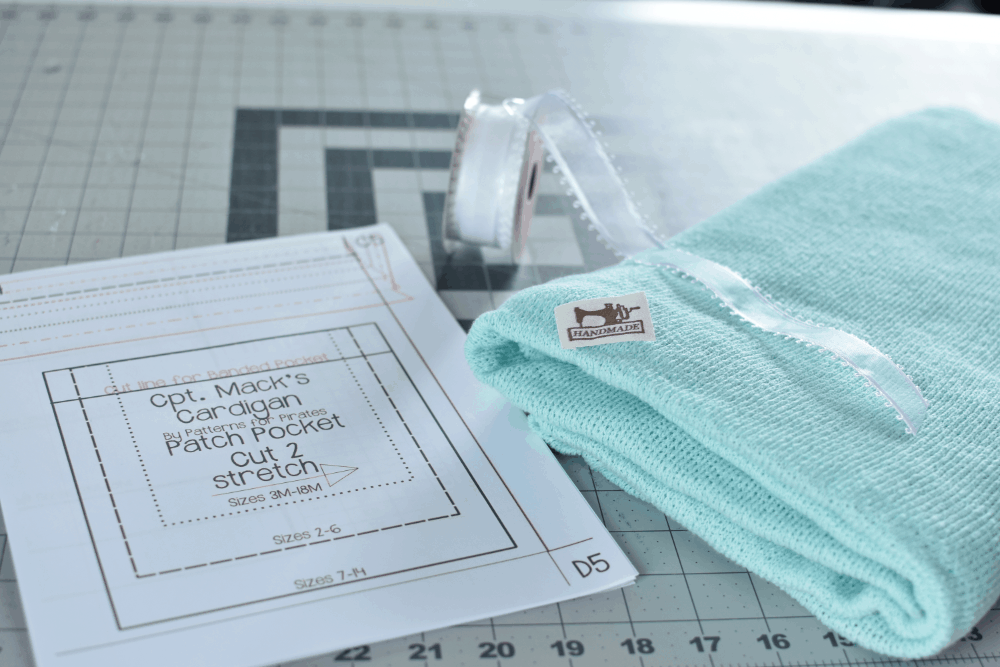
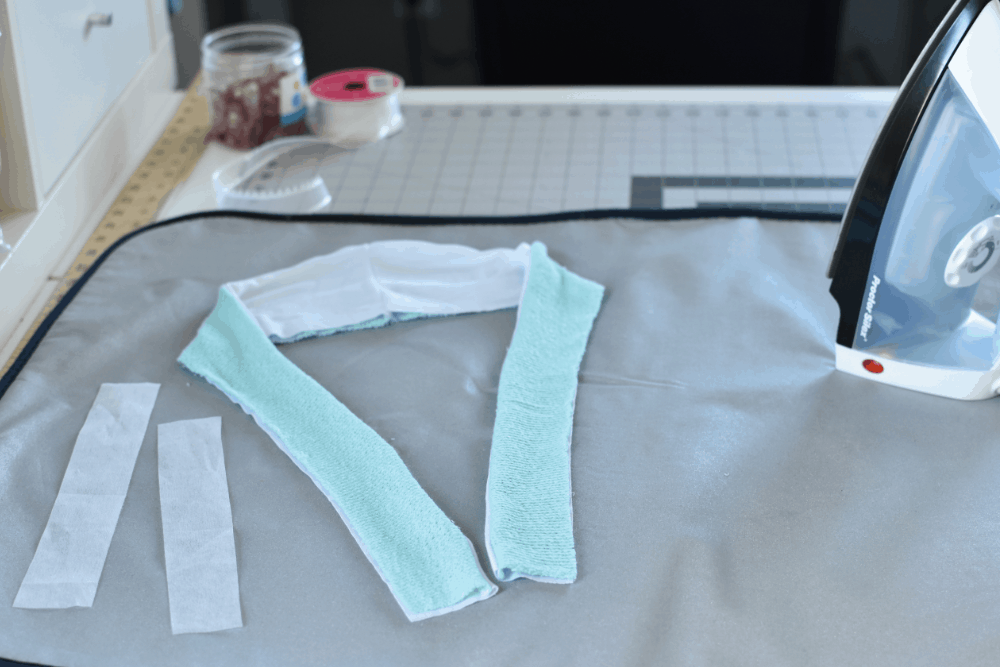
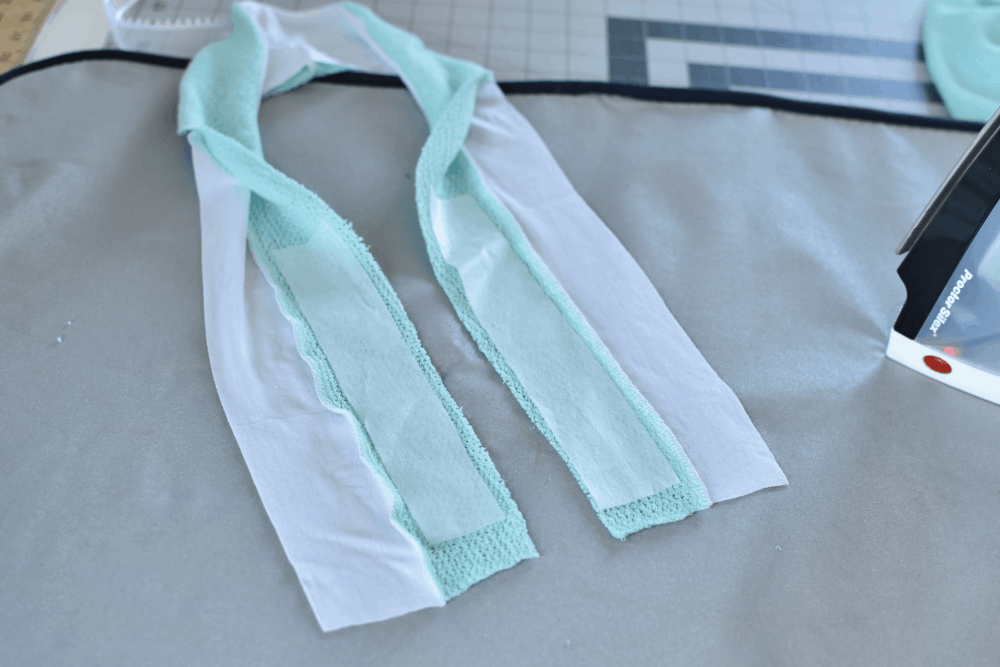
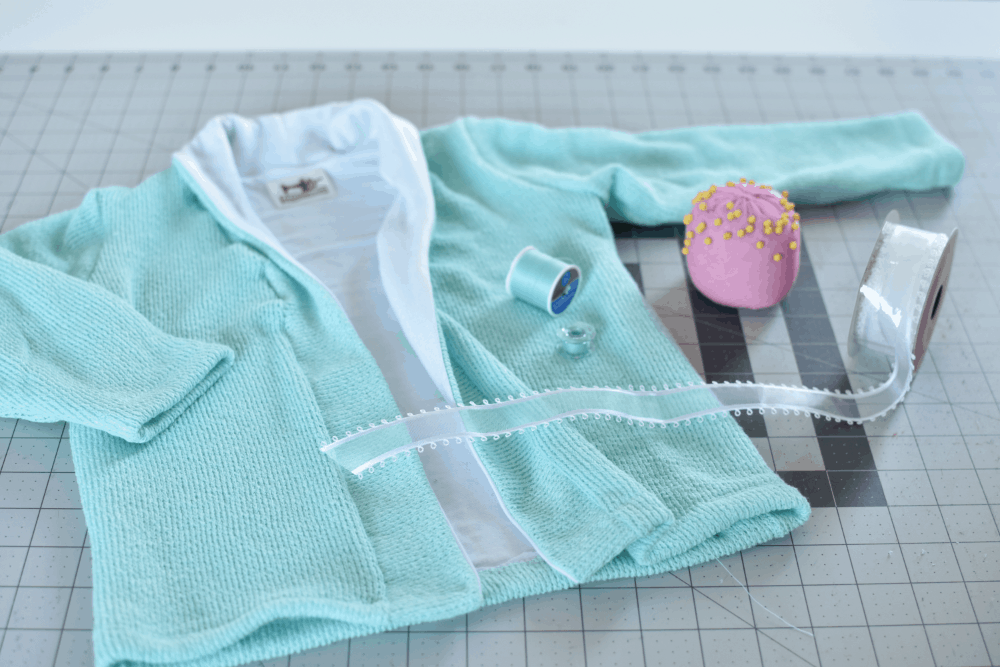
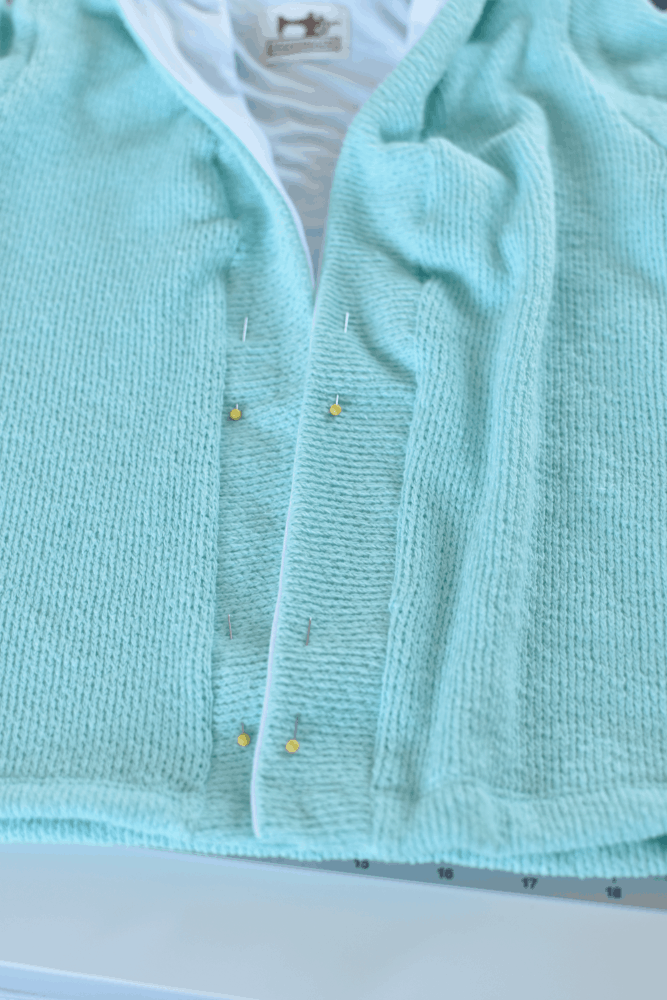
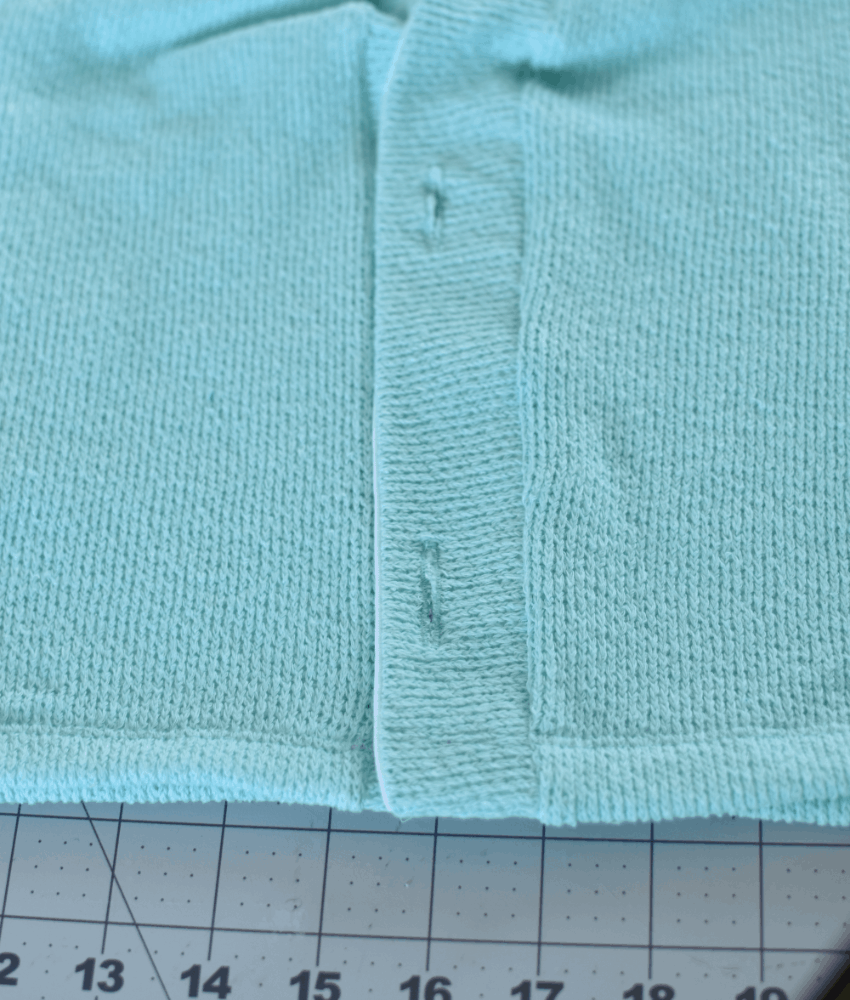
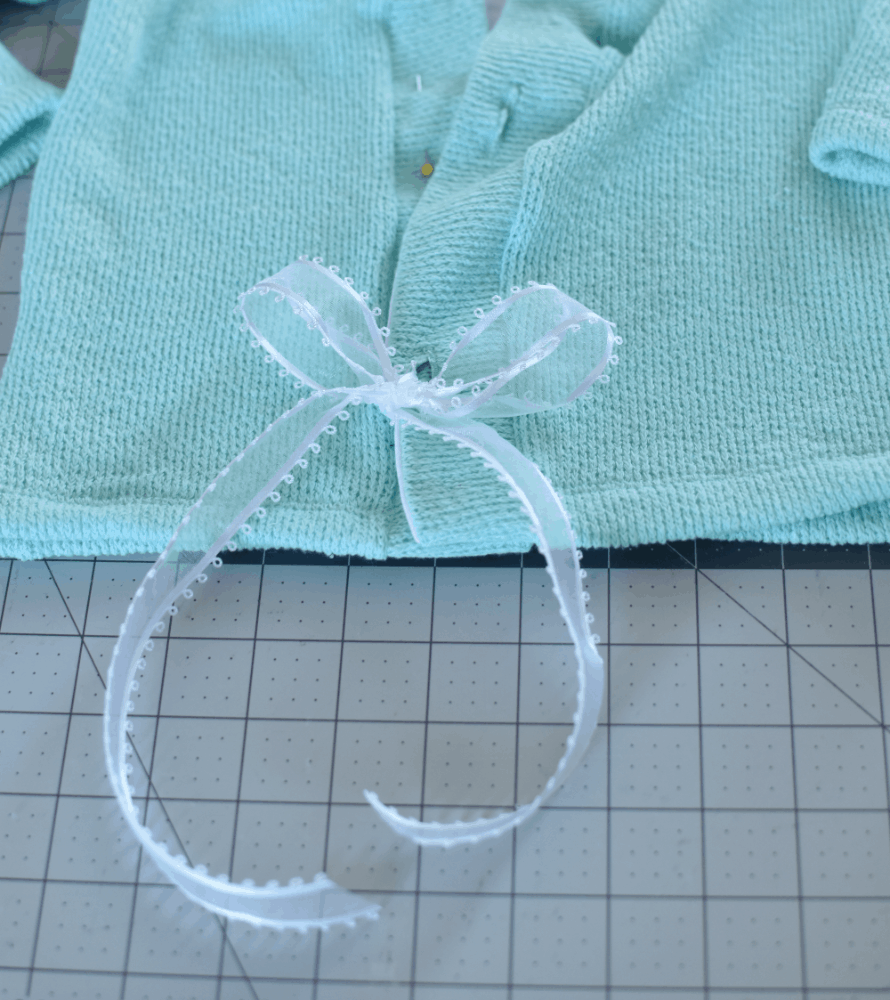
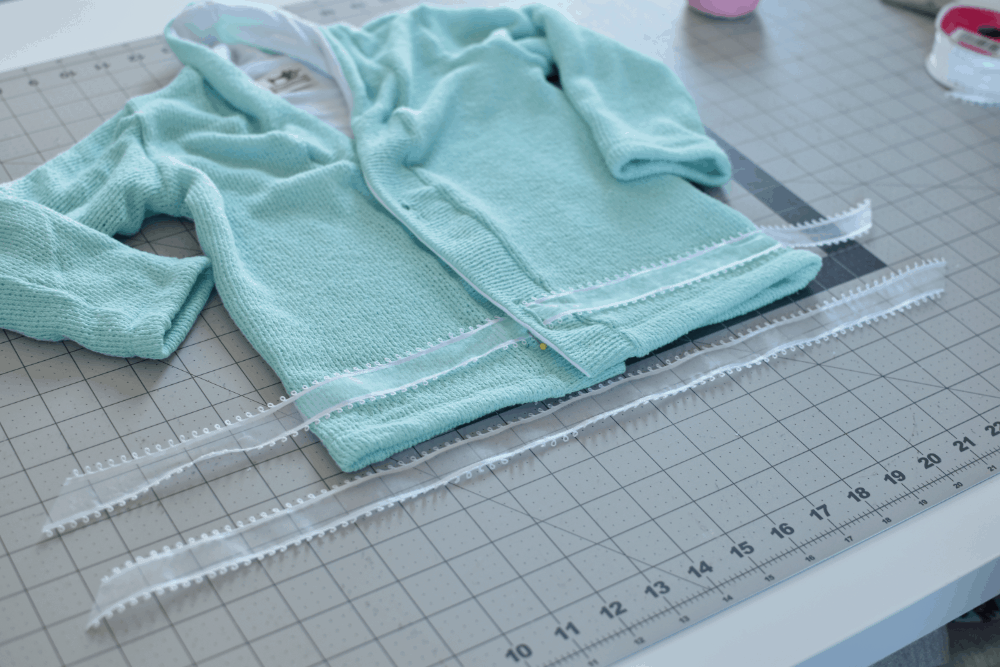
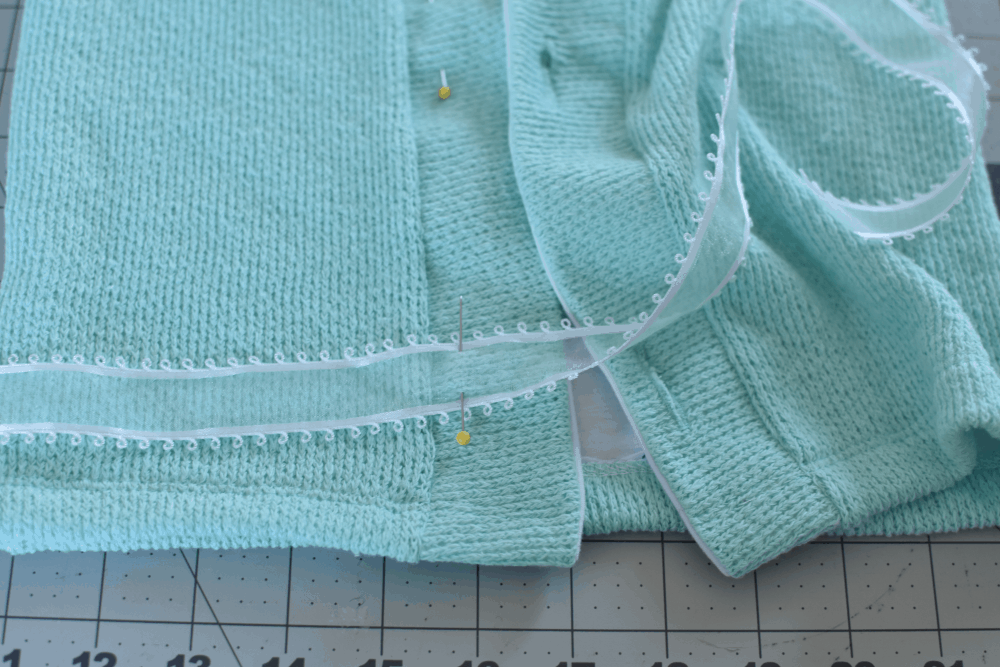
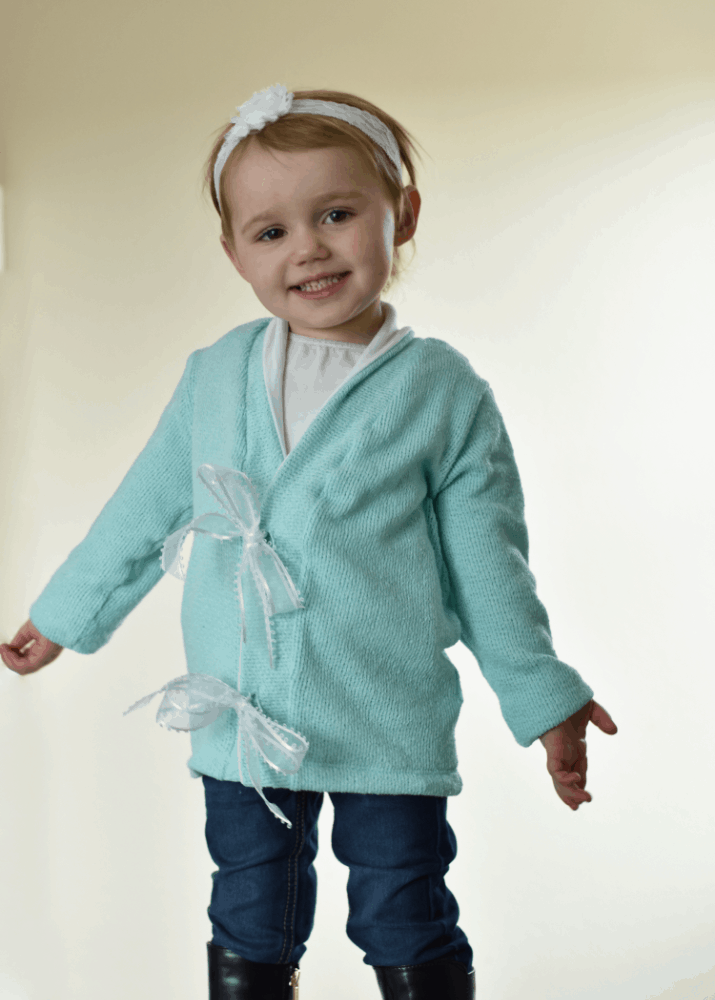
Monday, January 23: Ribbon Tie Closure Hack
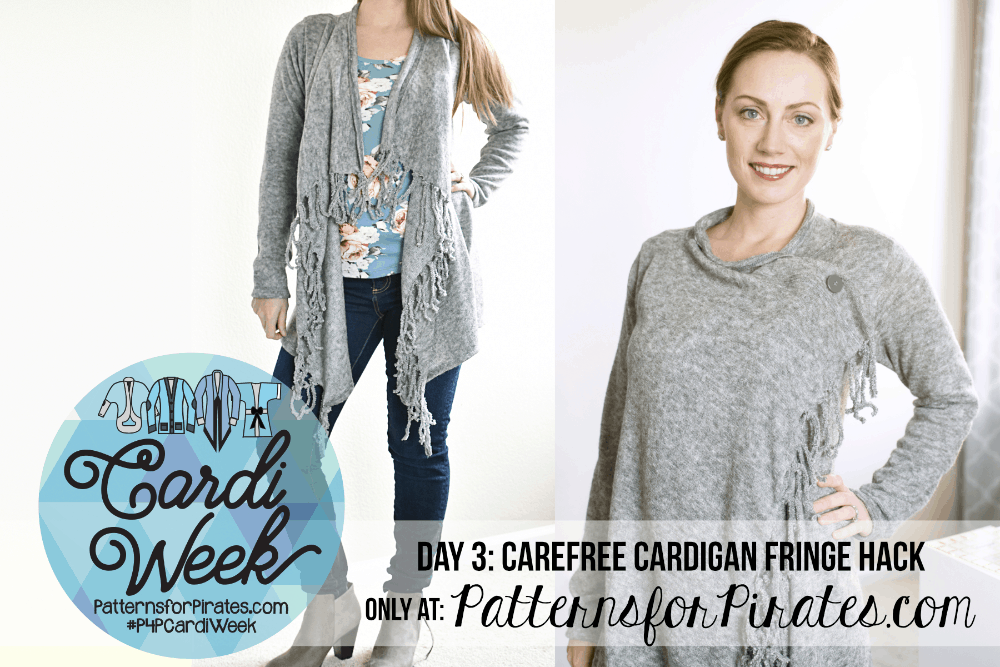
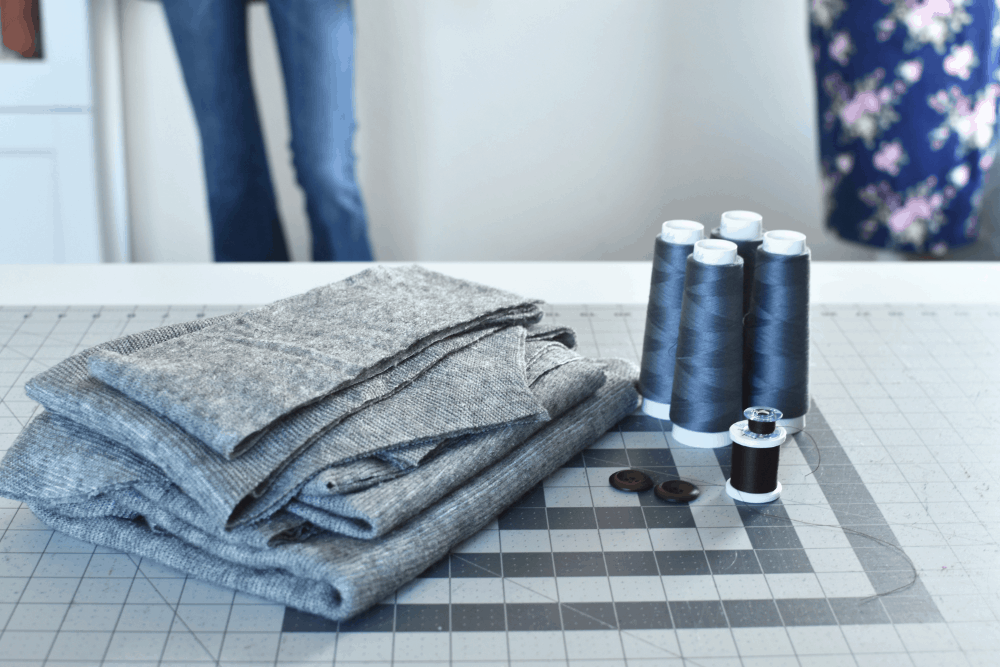
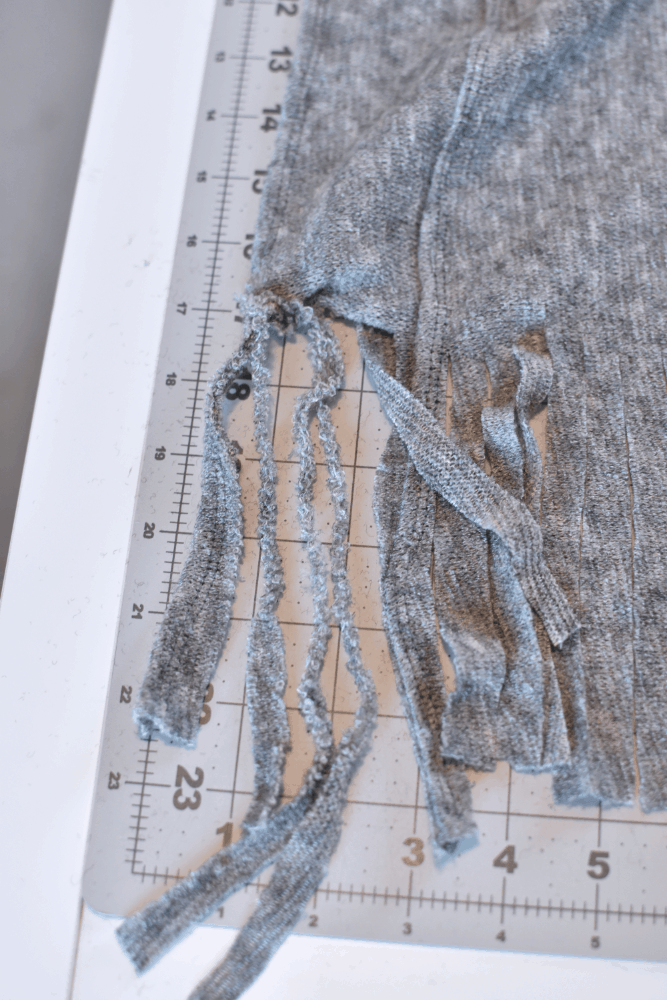
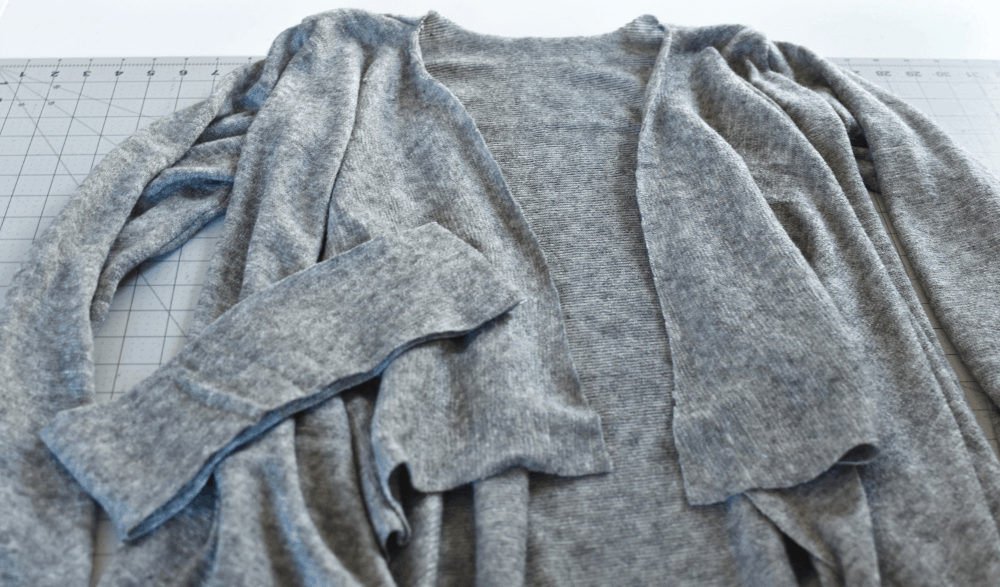
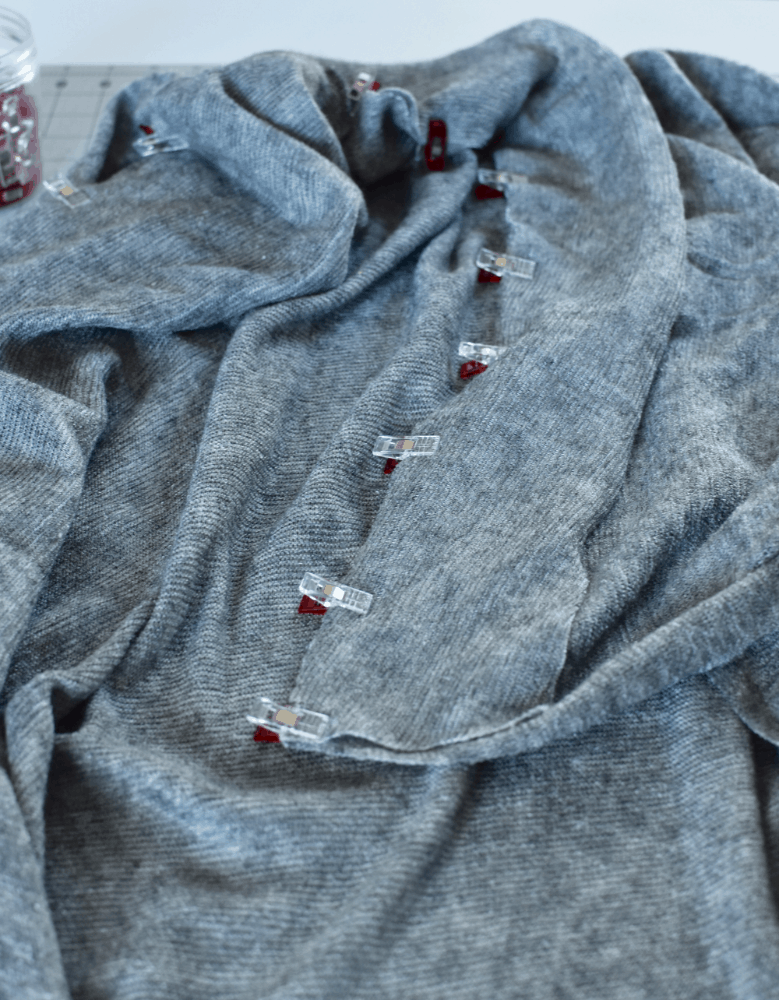
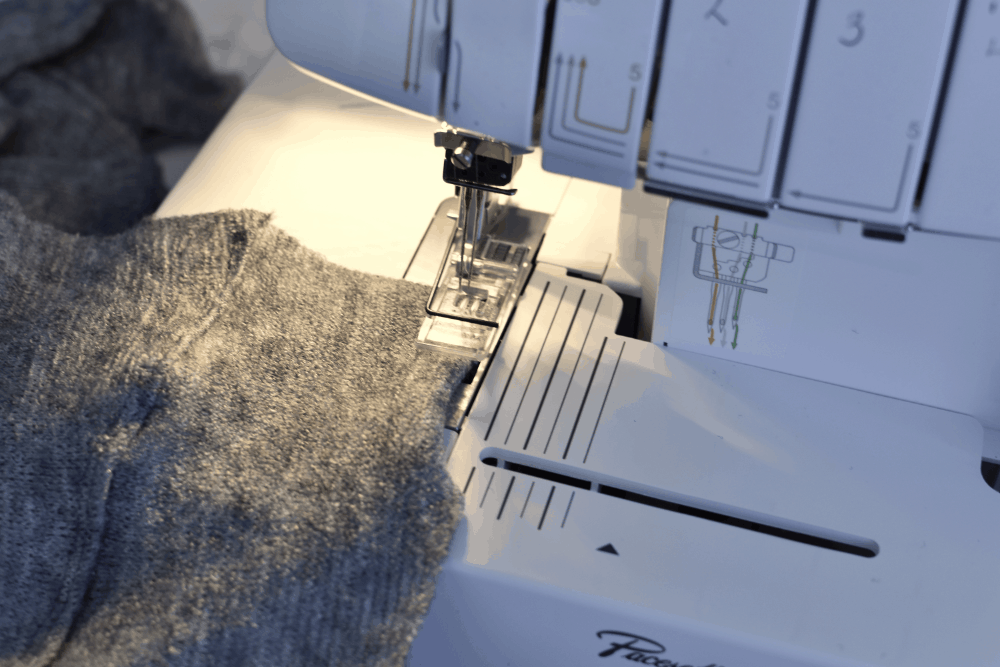
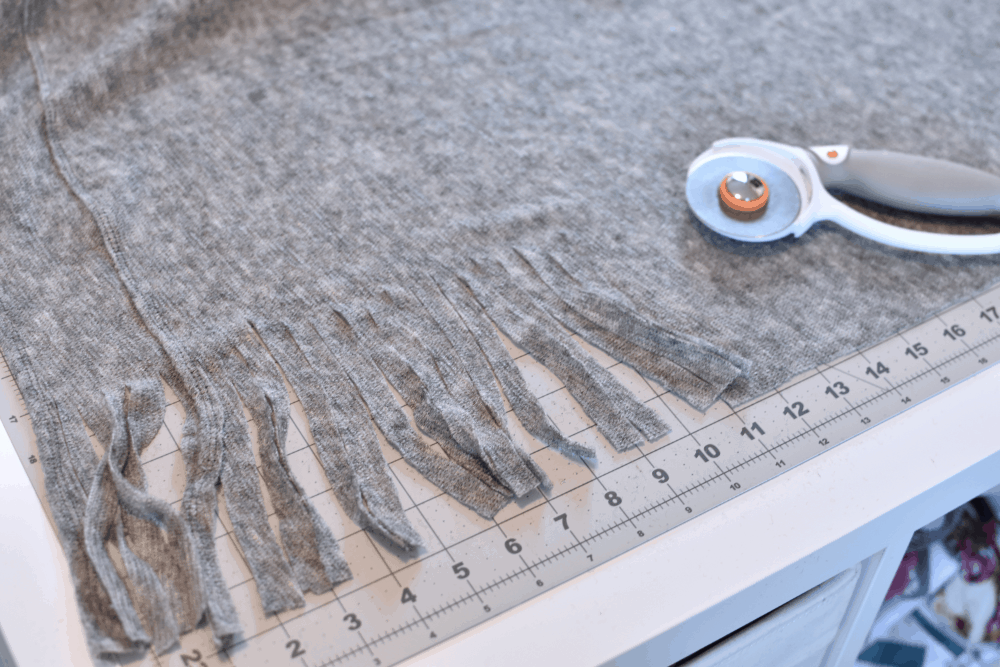
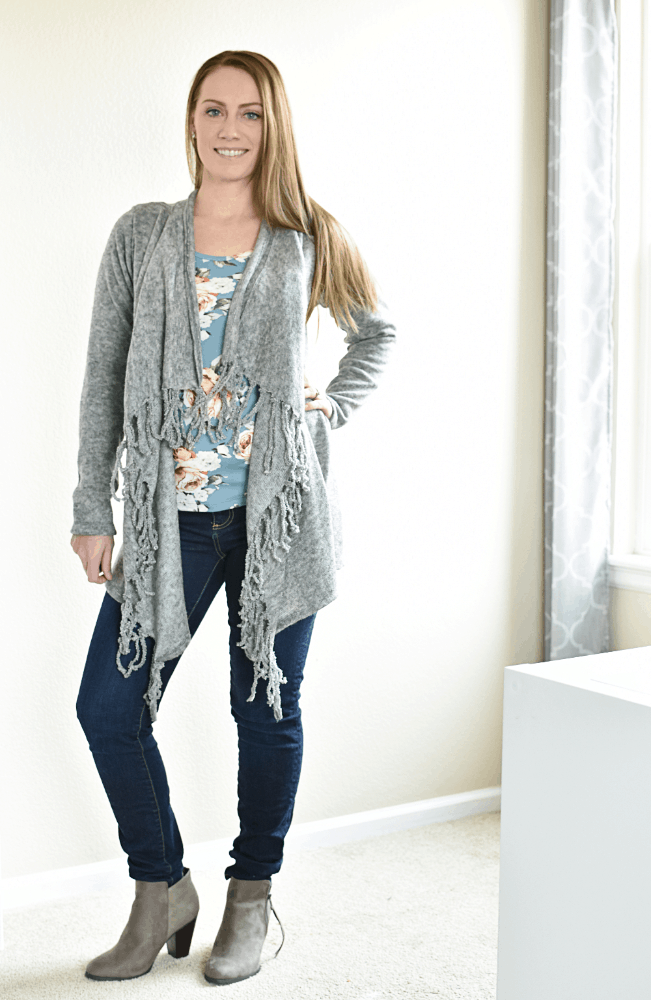
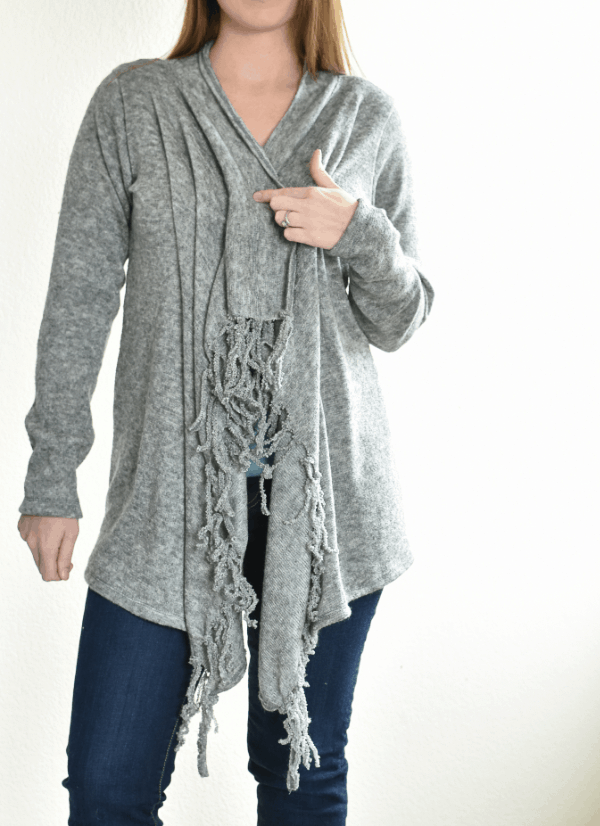
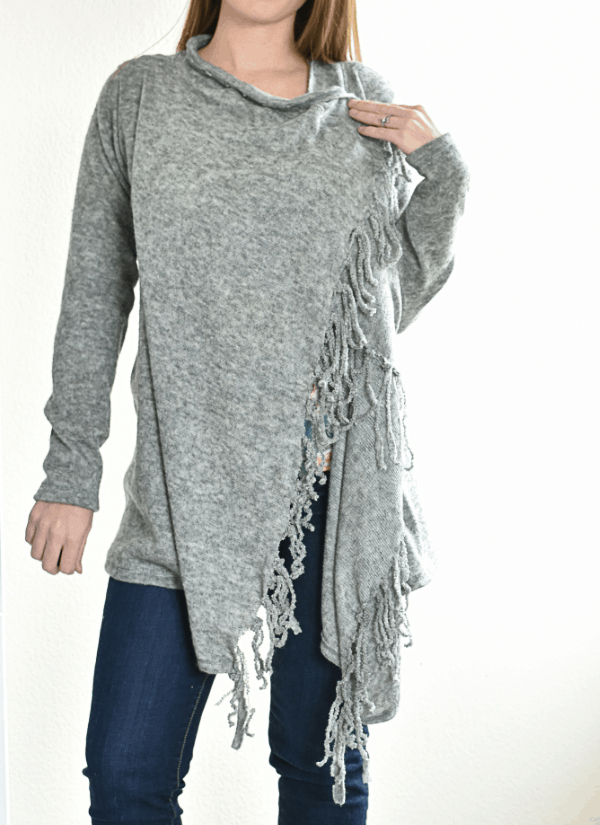
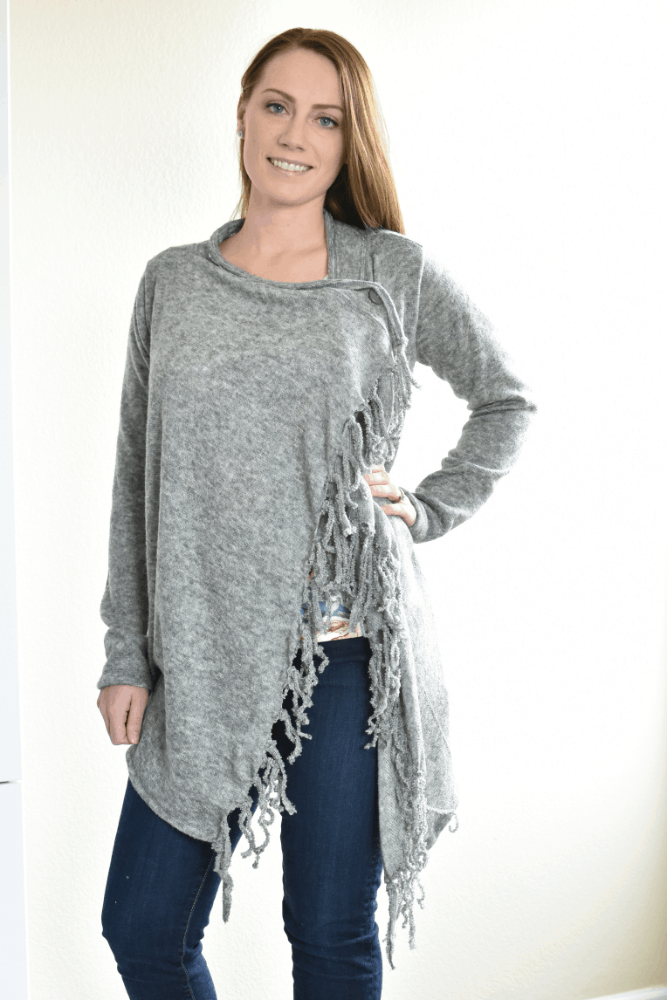
Tuesday, January 24: Carefree Cardigan Fringe Hack
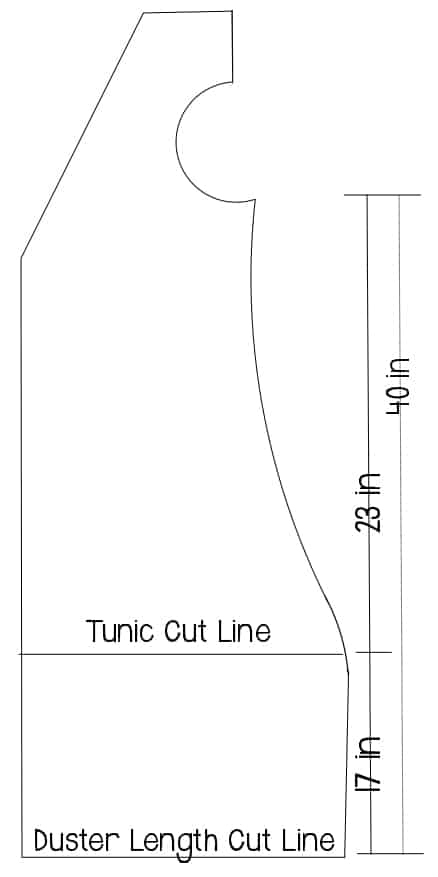
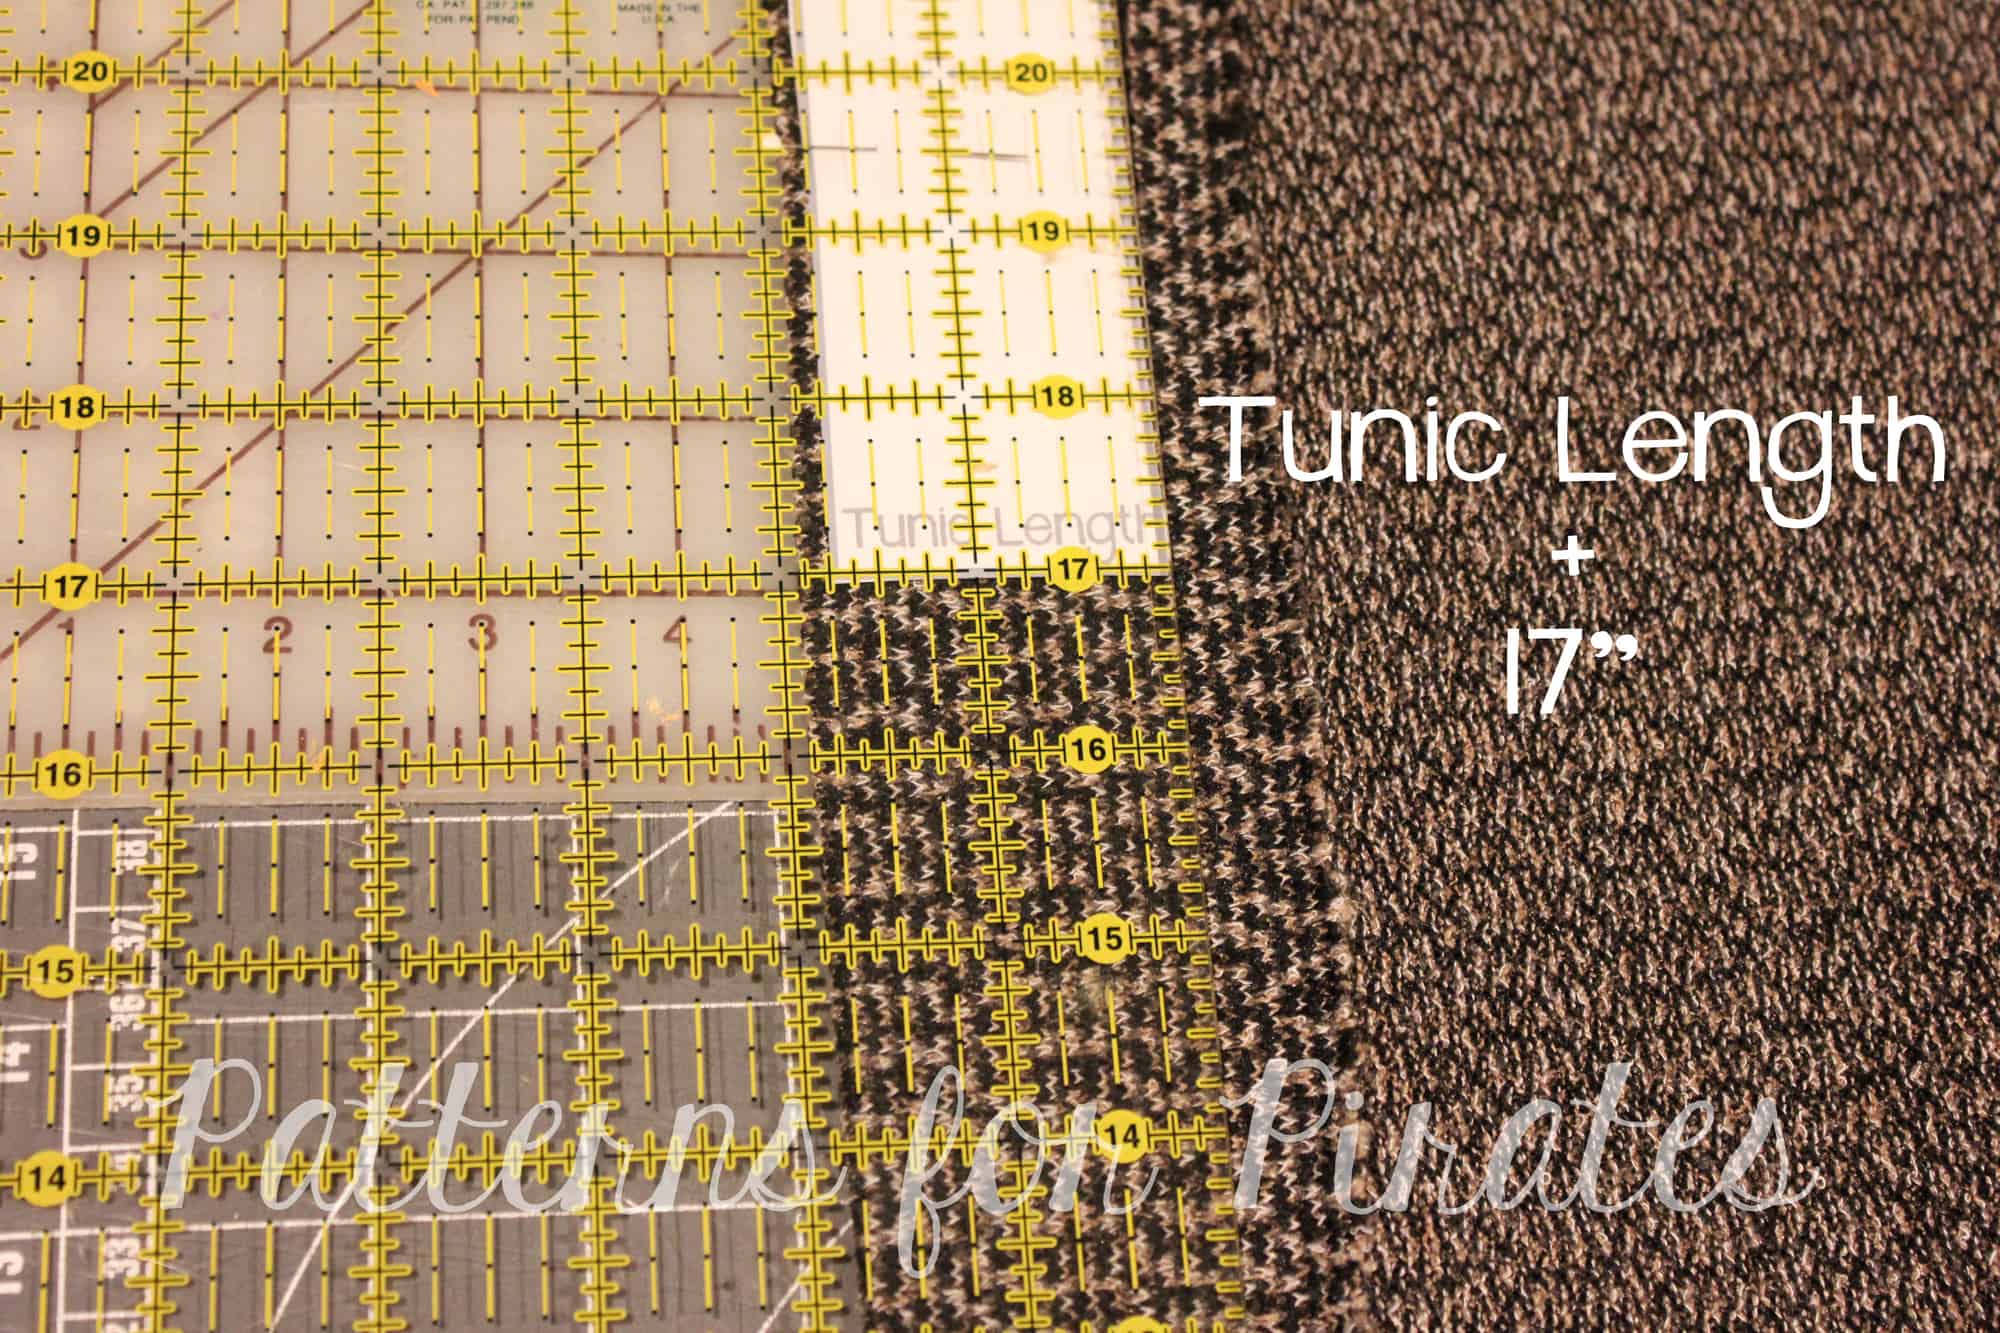
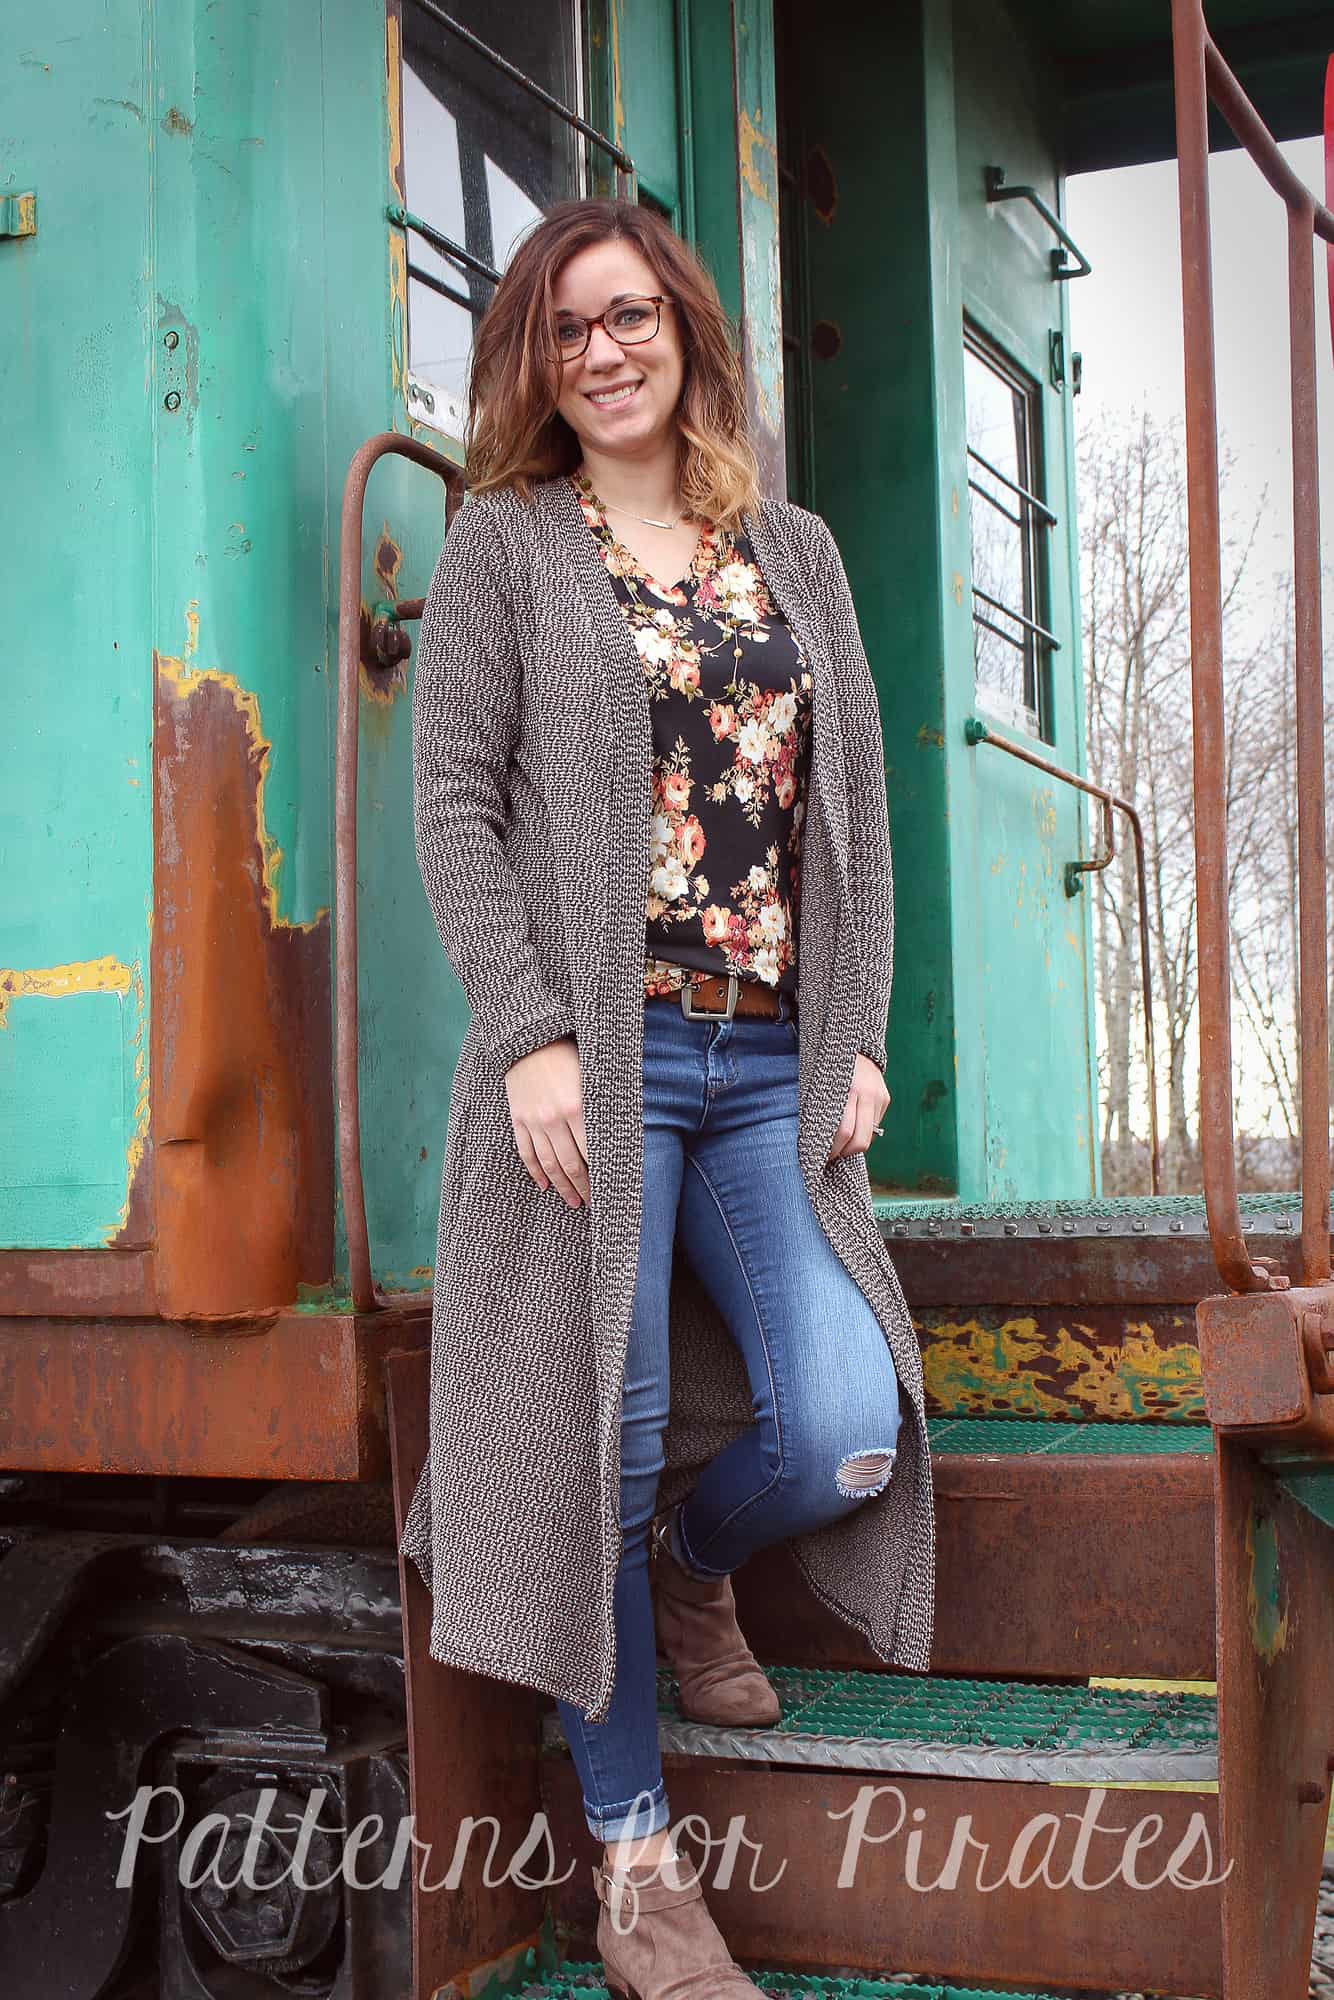
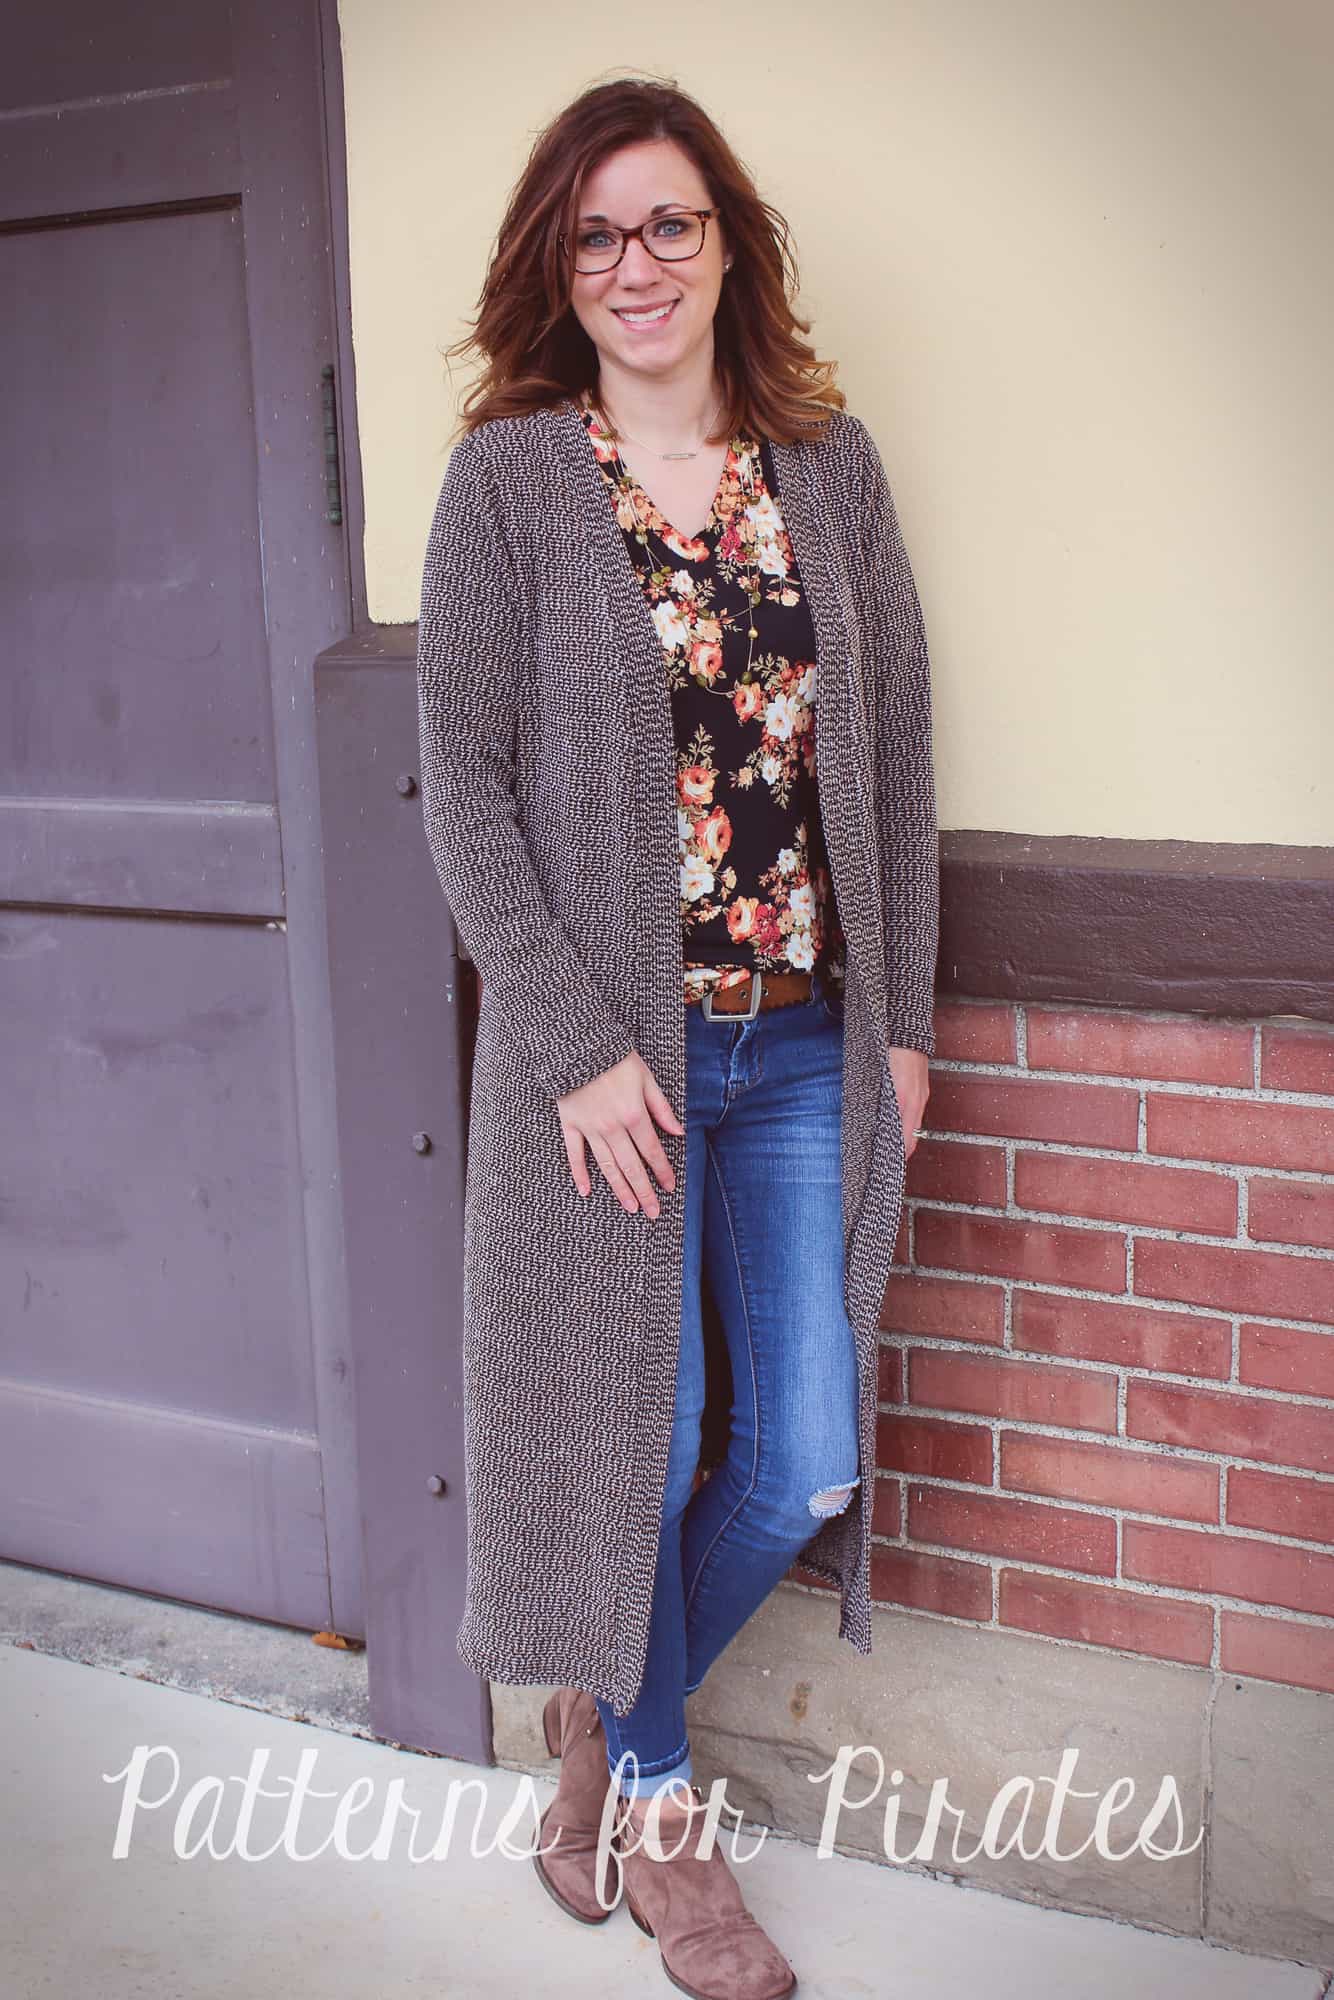
Wednesday, January 25: Duster-Length Adjustment
Thursday, January 26: Kimono Ruffle Sleeves + Hem
Friday, January 27: Varsity Sweater Style Hack
Saturday, January 28: Carefree Cardigan Flannel + Vest Hack
Monday, January 30: #P4PCardiWeek Winner Announcement