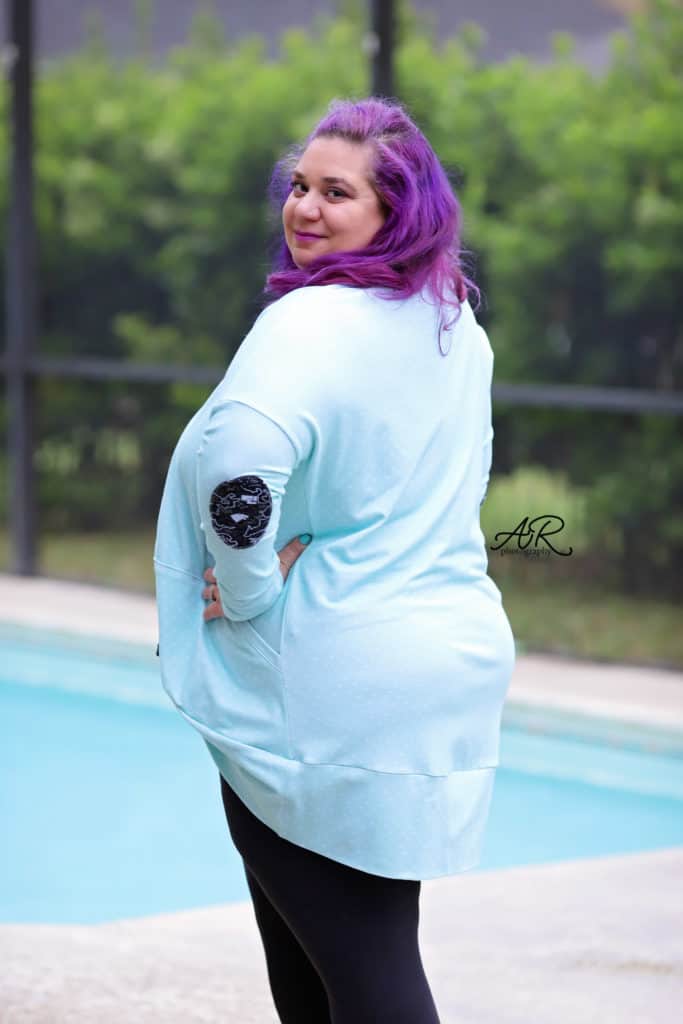
What an outstanding week! I am so proud of each an every one of you! We have seen so many gorgeous Cocoon and Butterfly cardigans being sewn last week…wow!! <3
So let’s not keep everyone in suspense any longer and announce our two winners!
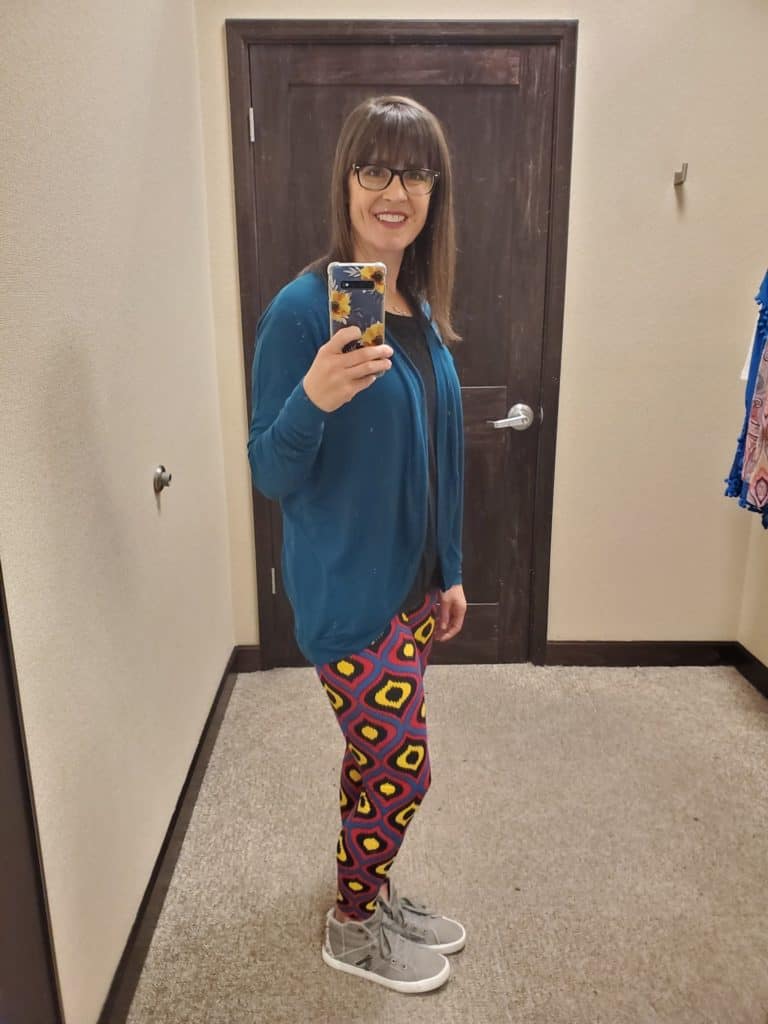
Congratulations Erin Cooper! You won a $20 Gift Card from Patterns For Pirates and a $25 from Raspberry Creek Fabrics.


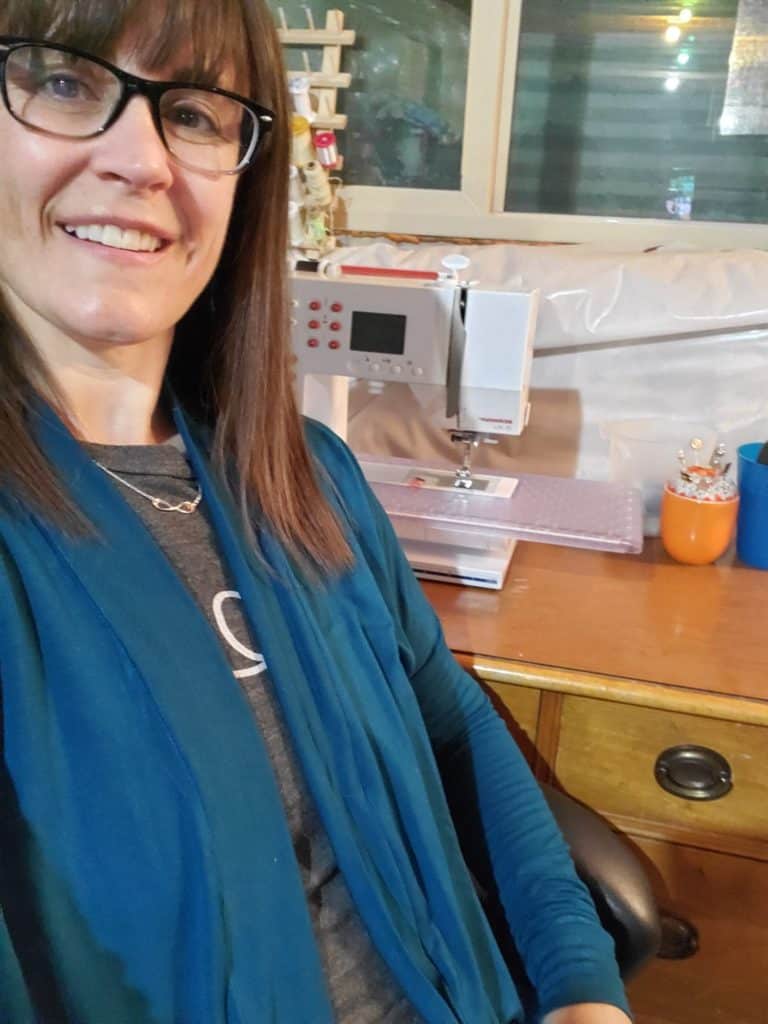
Congratulations Rachel Wait Ferre! You won a $20 Gift Card from Made for Mermaids and a $25 from Raspberry Creek Fabrics.
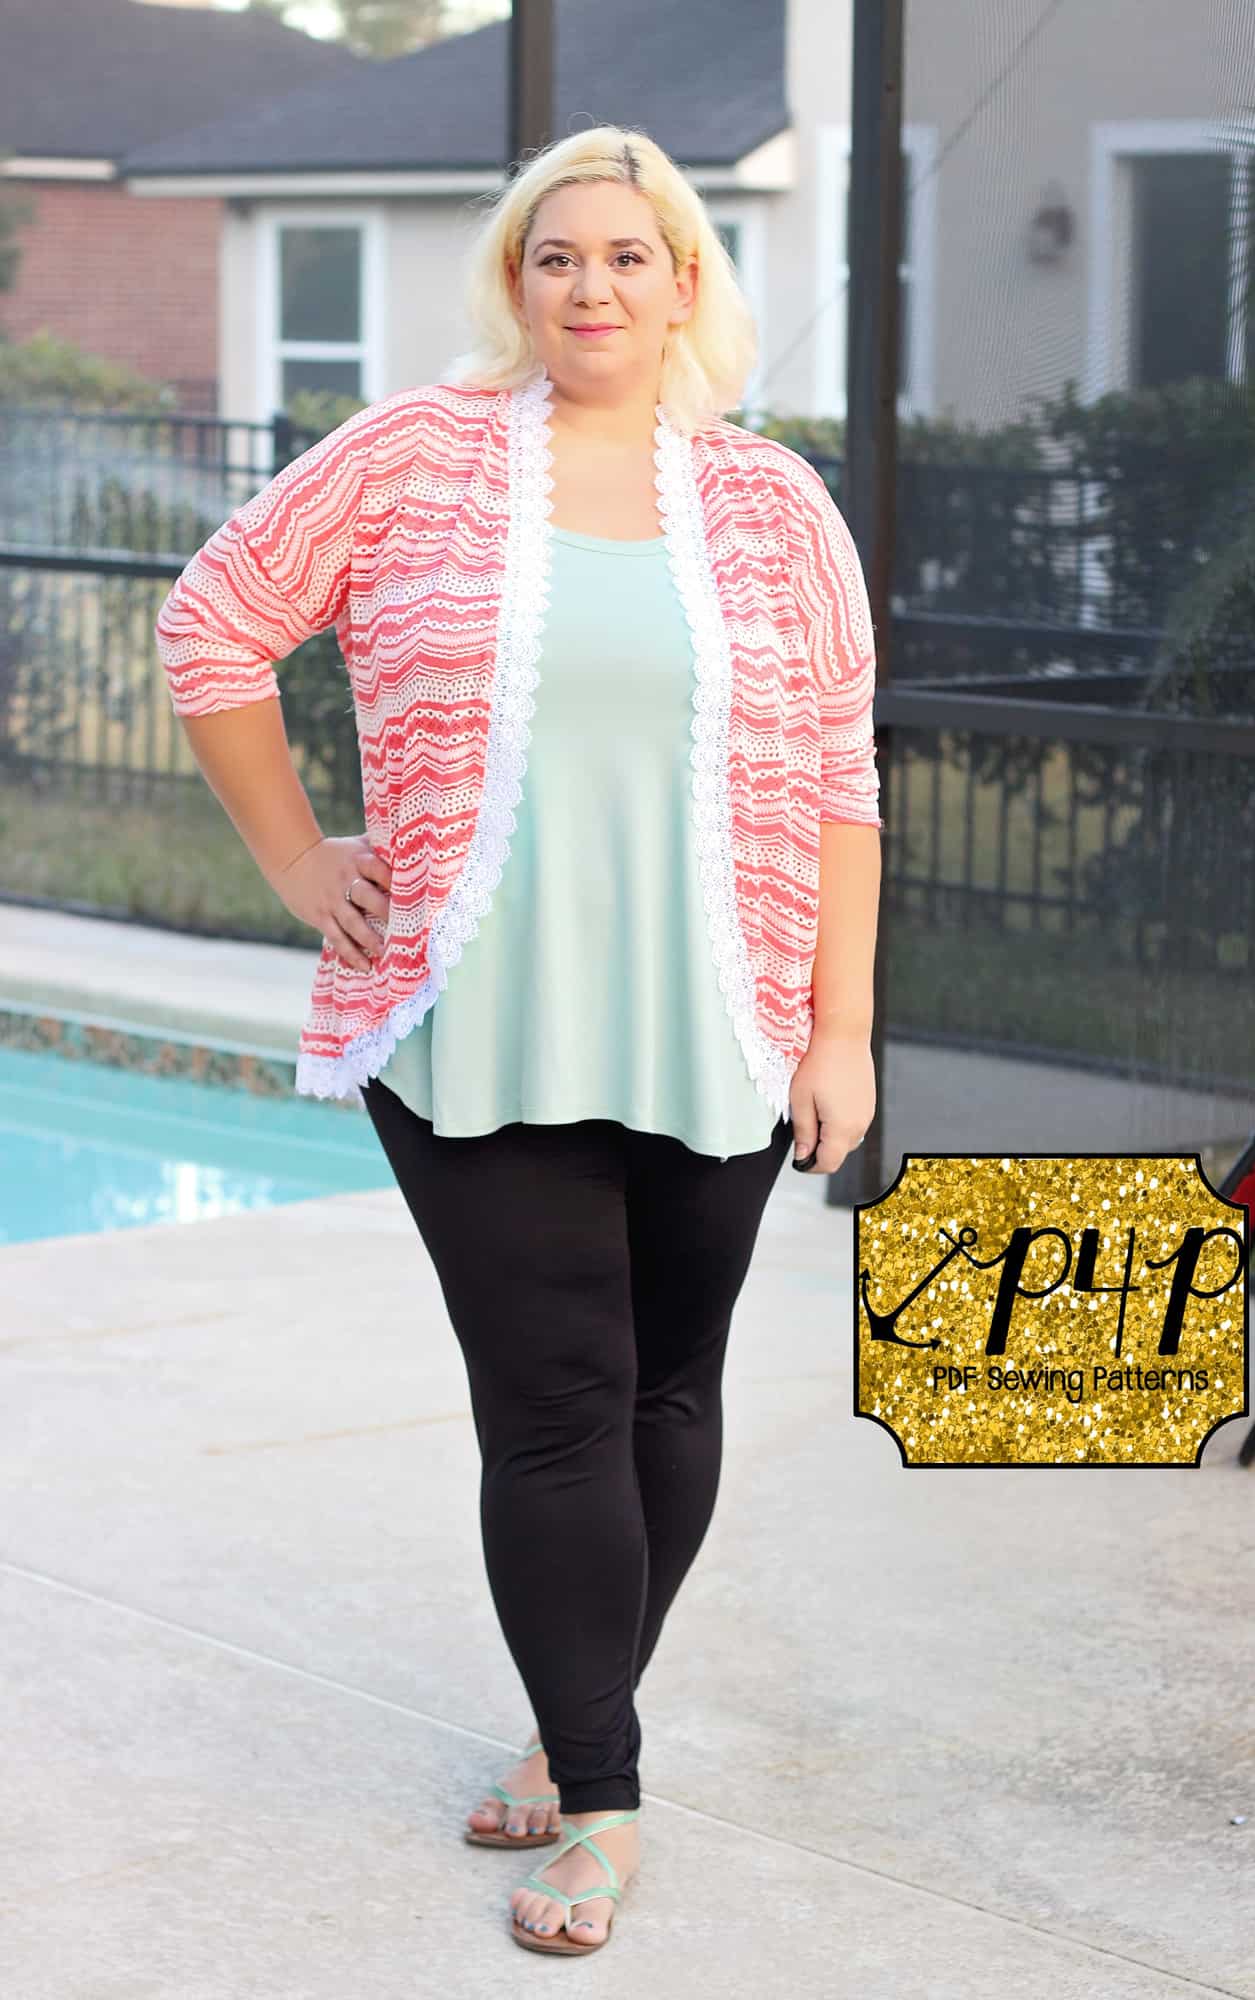
A big thank you to Raspberry Creek Fabrics who was the sew along sponsor and provided the fabric I used for my cardigan.


Stay tuned for the mermaids’ announcement for March Sew Along!
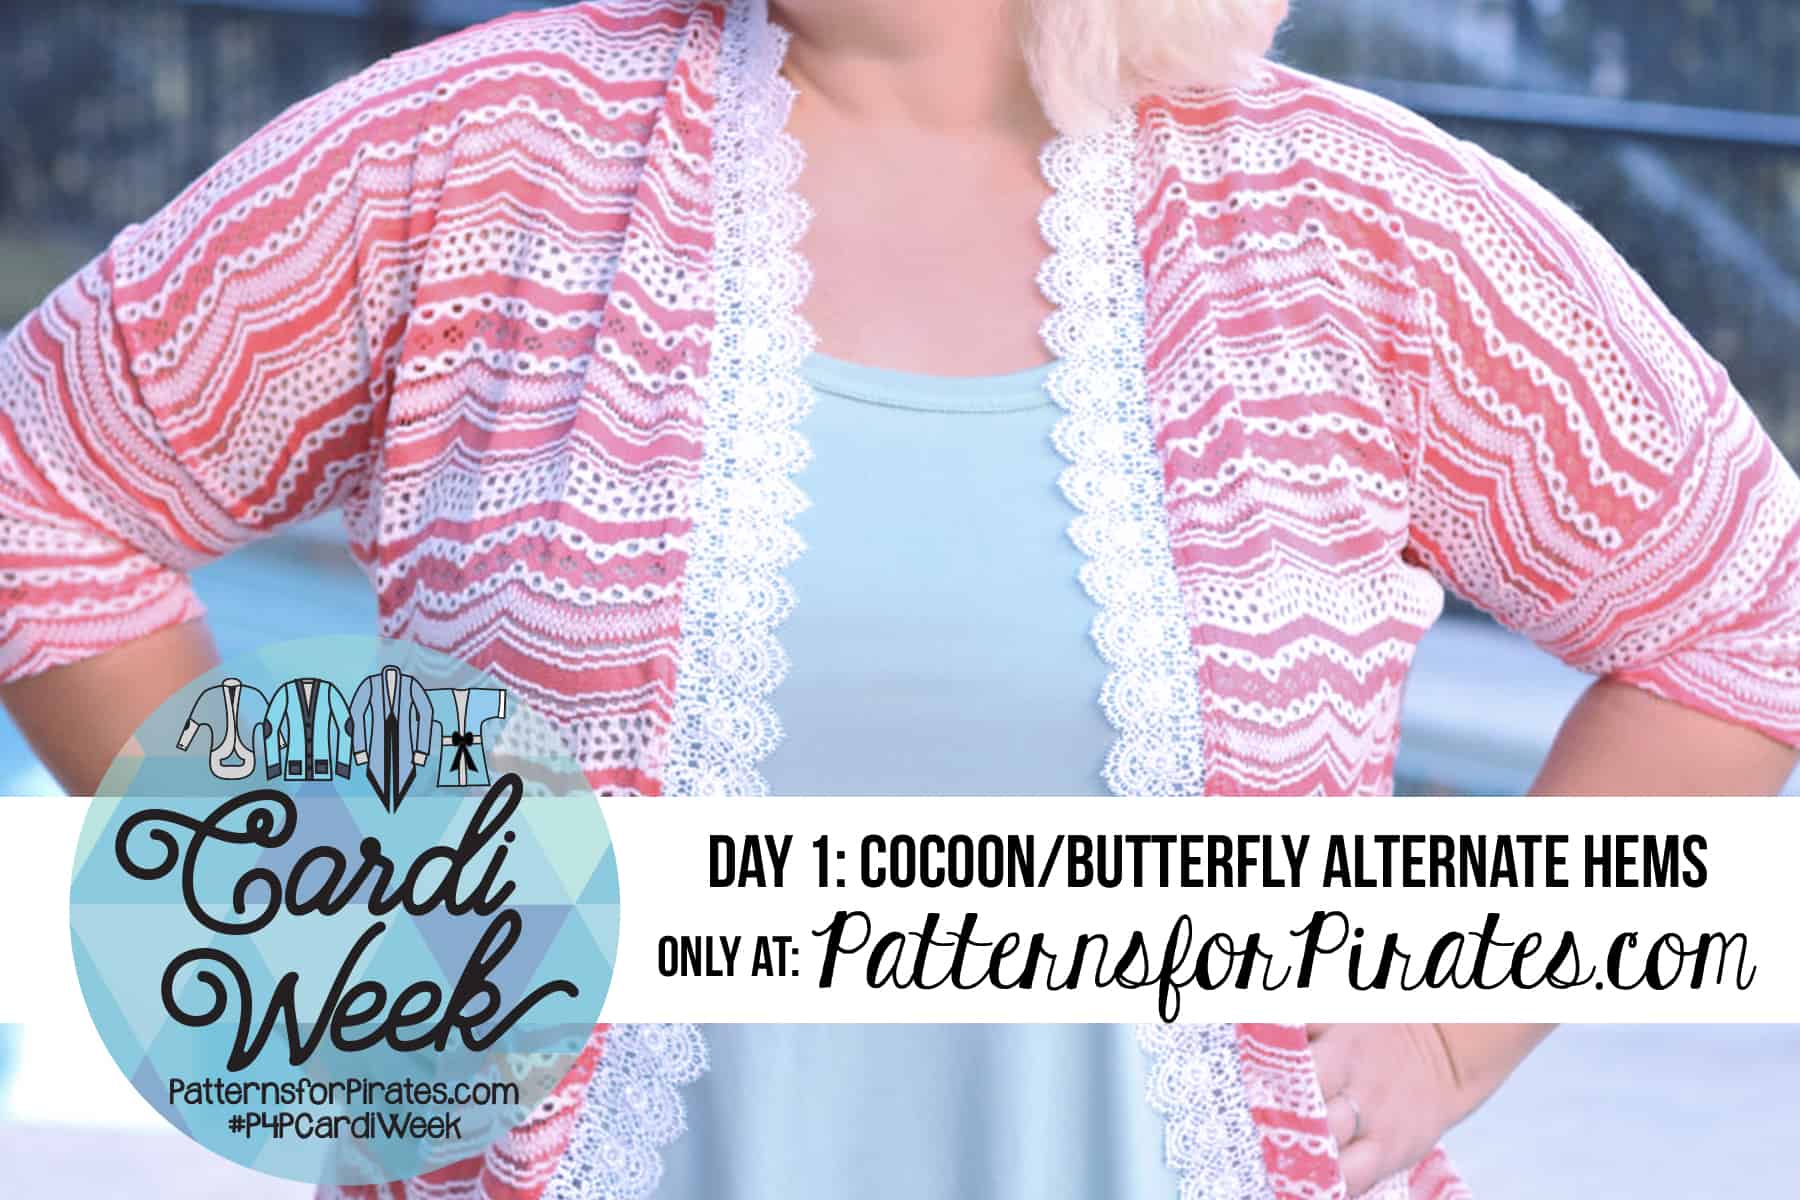
P4P Cocoon/Butterfly Cardigan SAL day 1
P4P Cocoon/Butterfly Cardigan SAL day 2
P4P Cocoon/Butterfly Cardigan SAL day 3
P4P Cocoon/Butterfly Cardigan SAL day 4
P4P Cocoon/Butterfly Cardigan SAL day 5
P4P Cocoon/Butterfly Cardigan SAL day 6
P4P Cocoon/Butterfly Cardigan SAL day 7