. . . . .
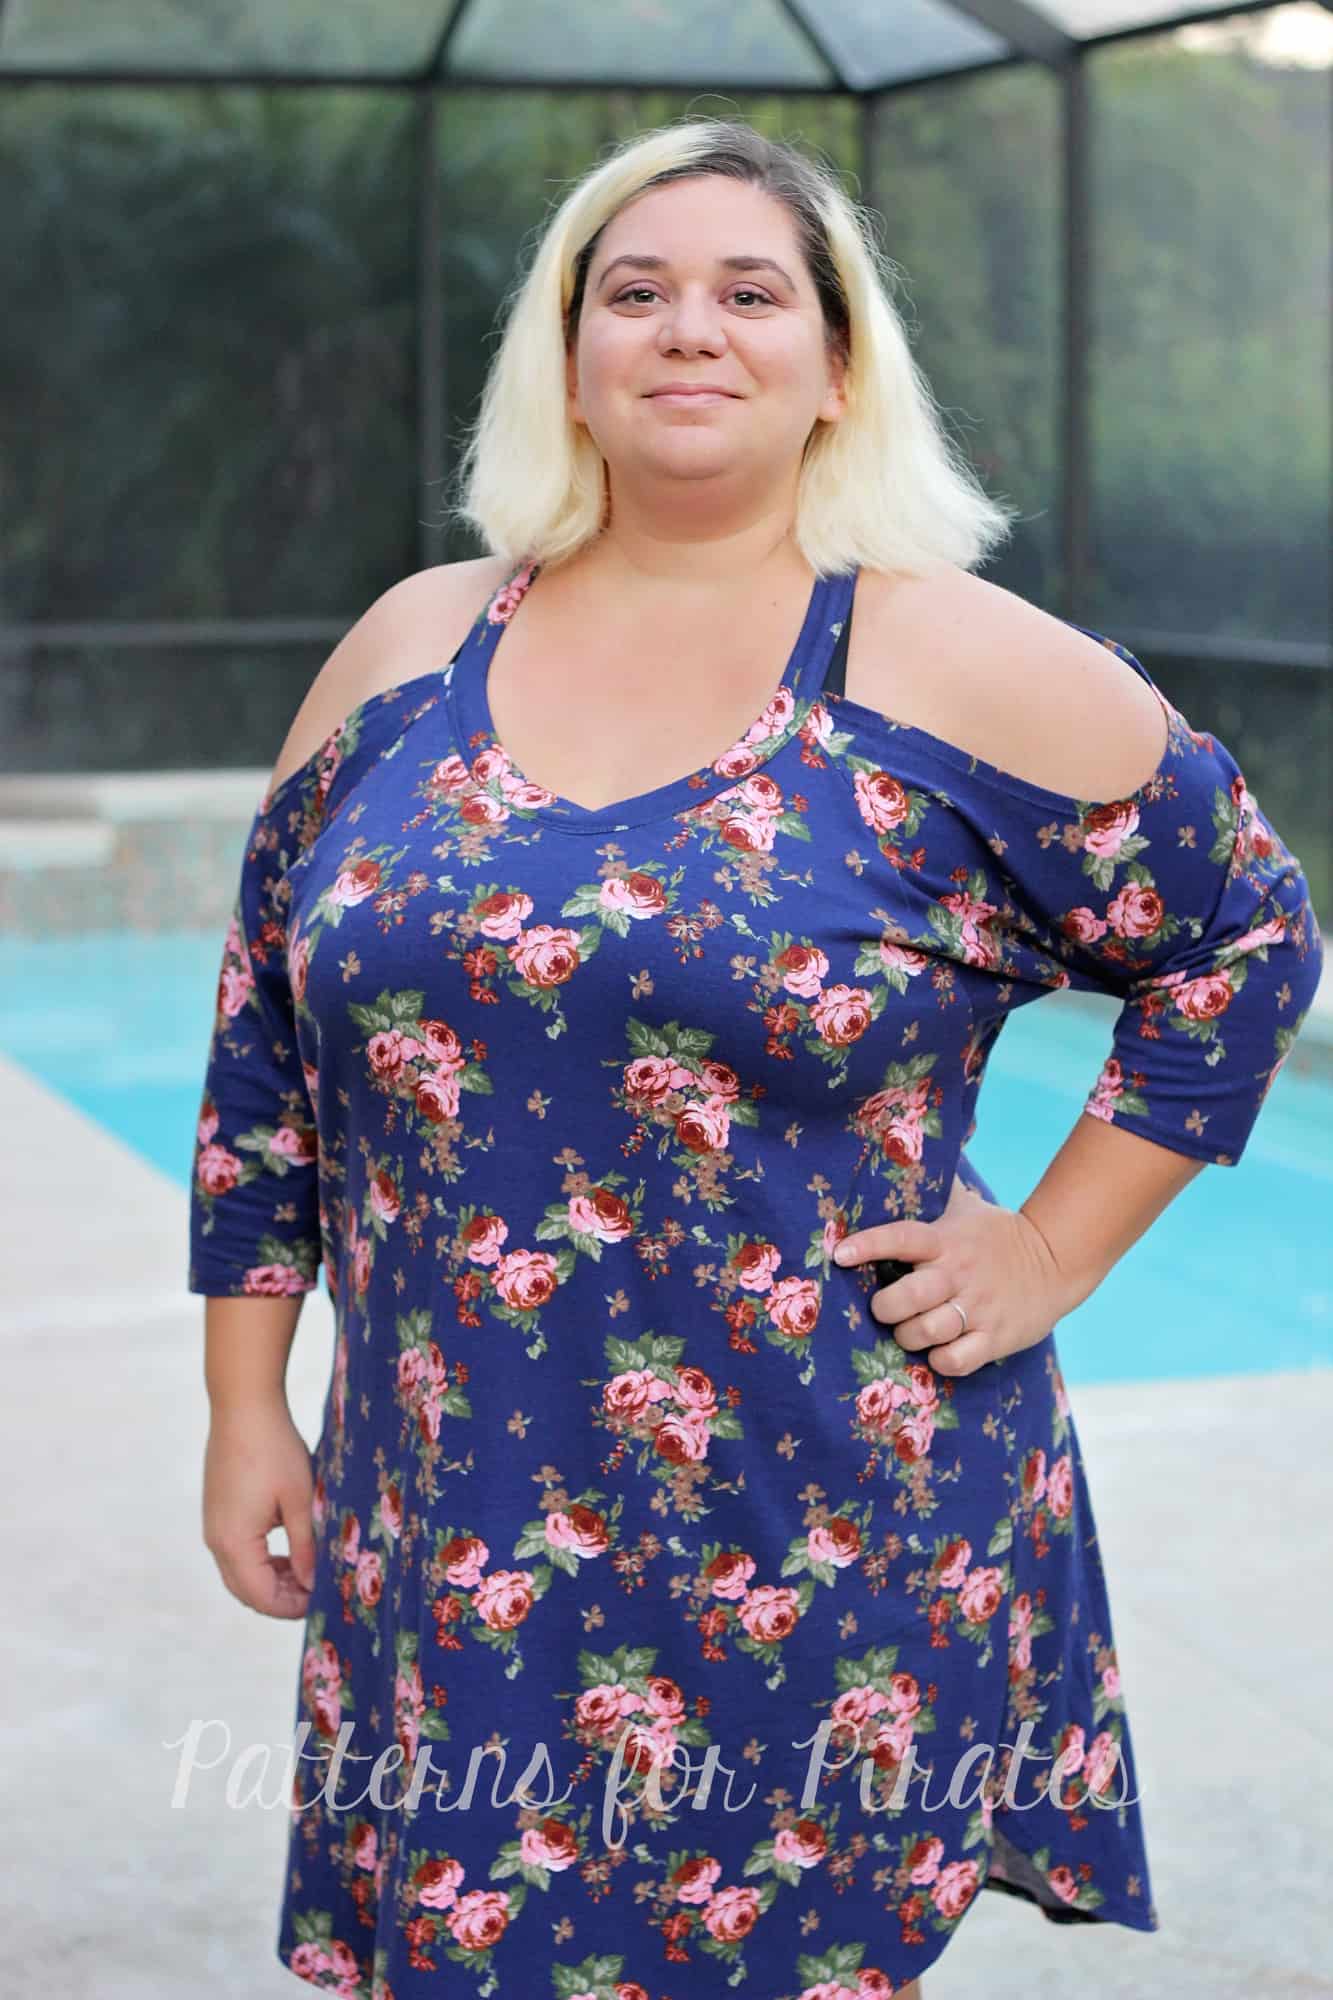
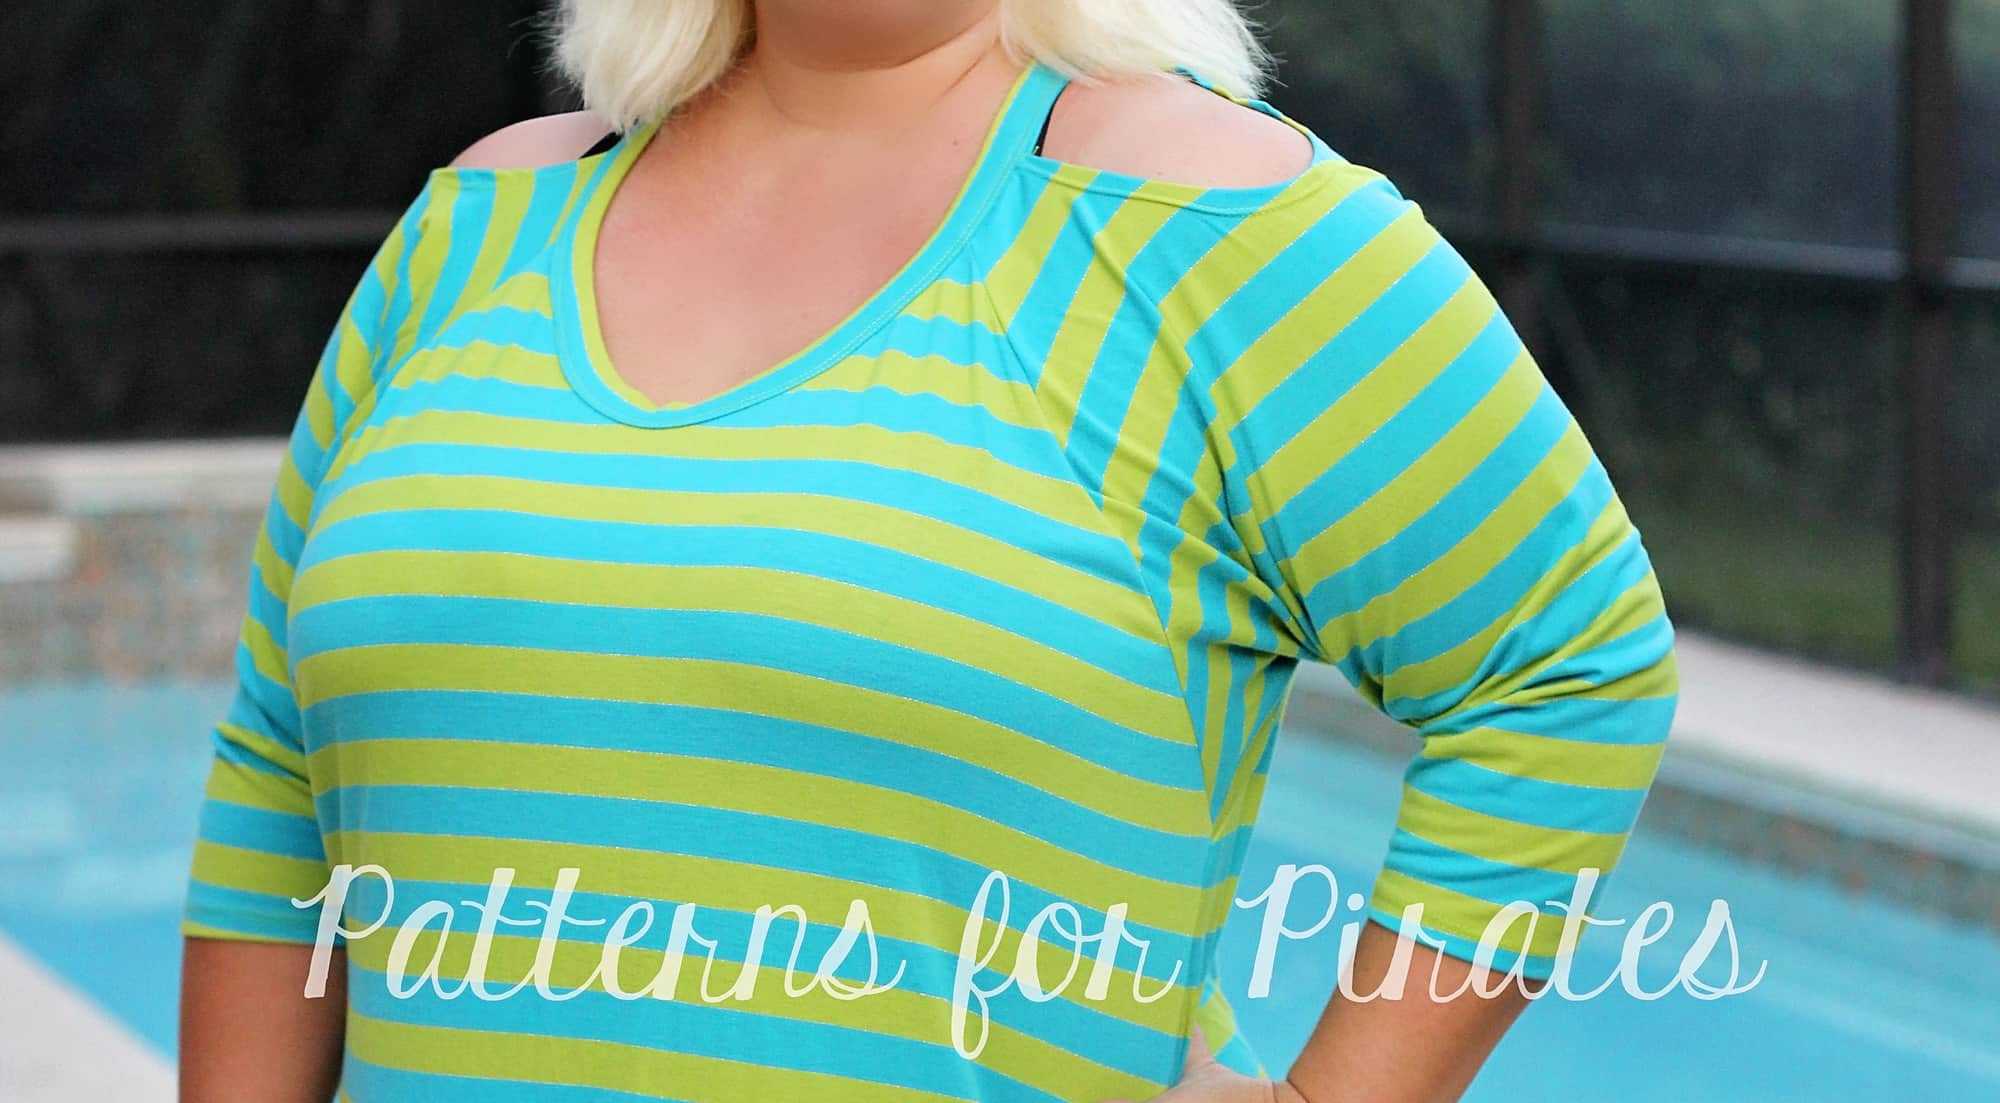
Cold Shoulder

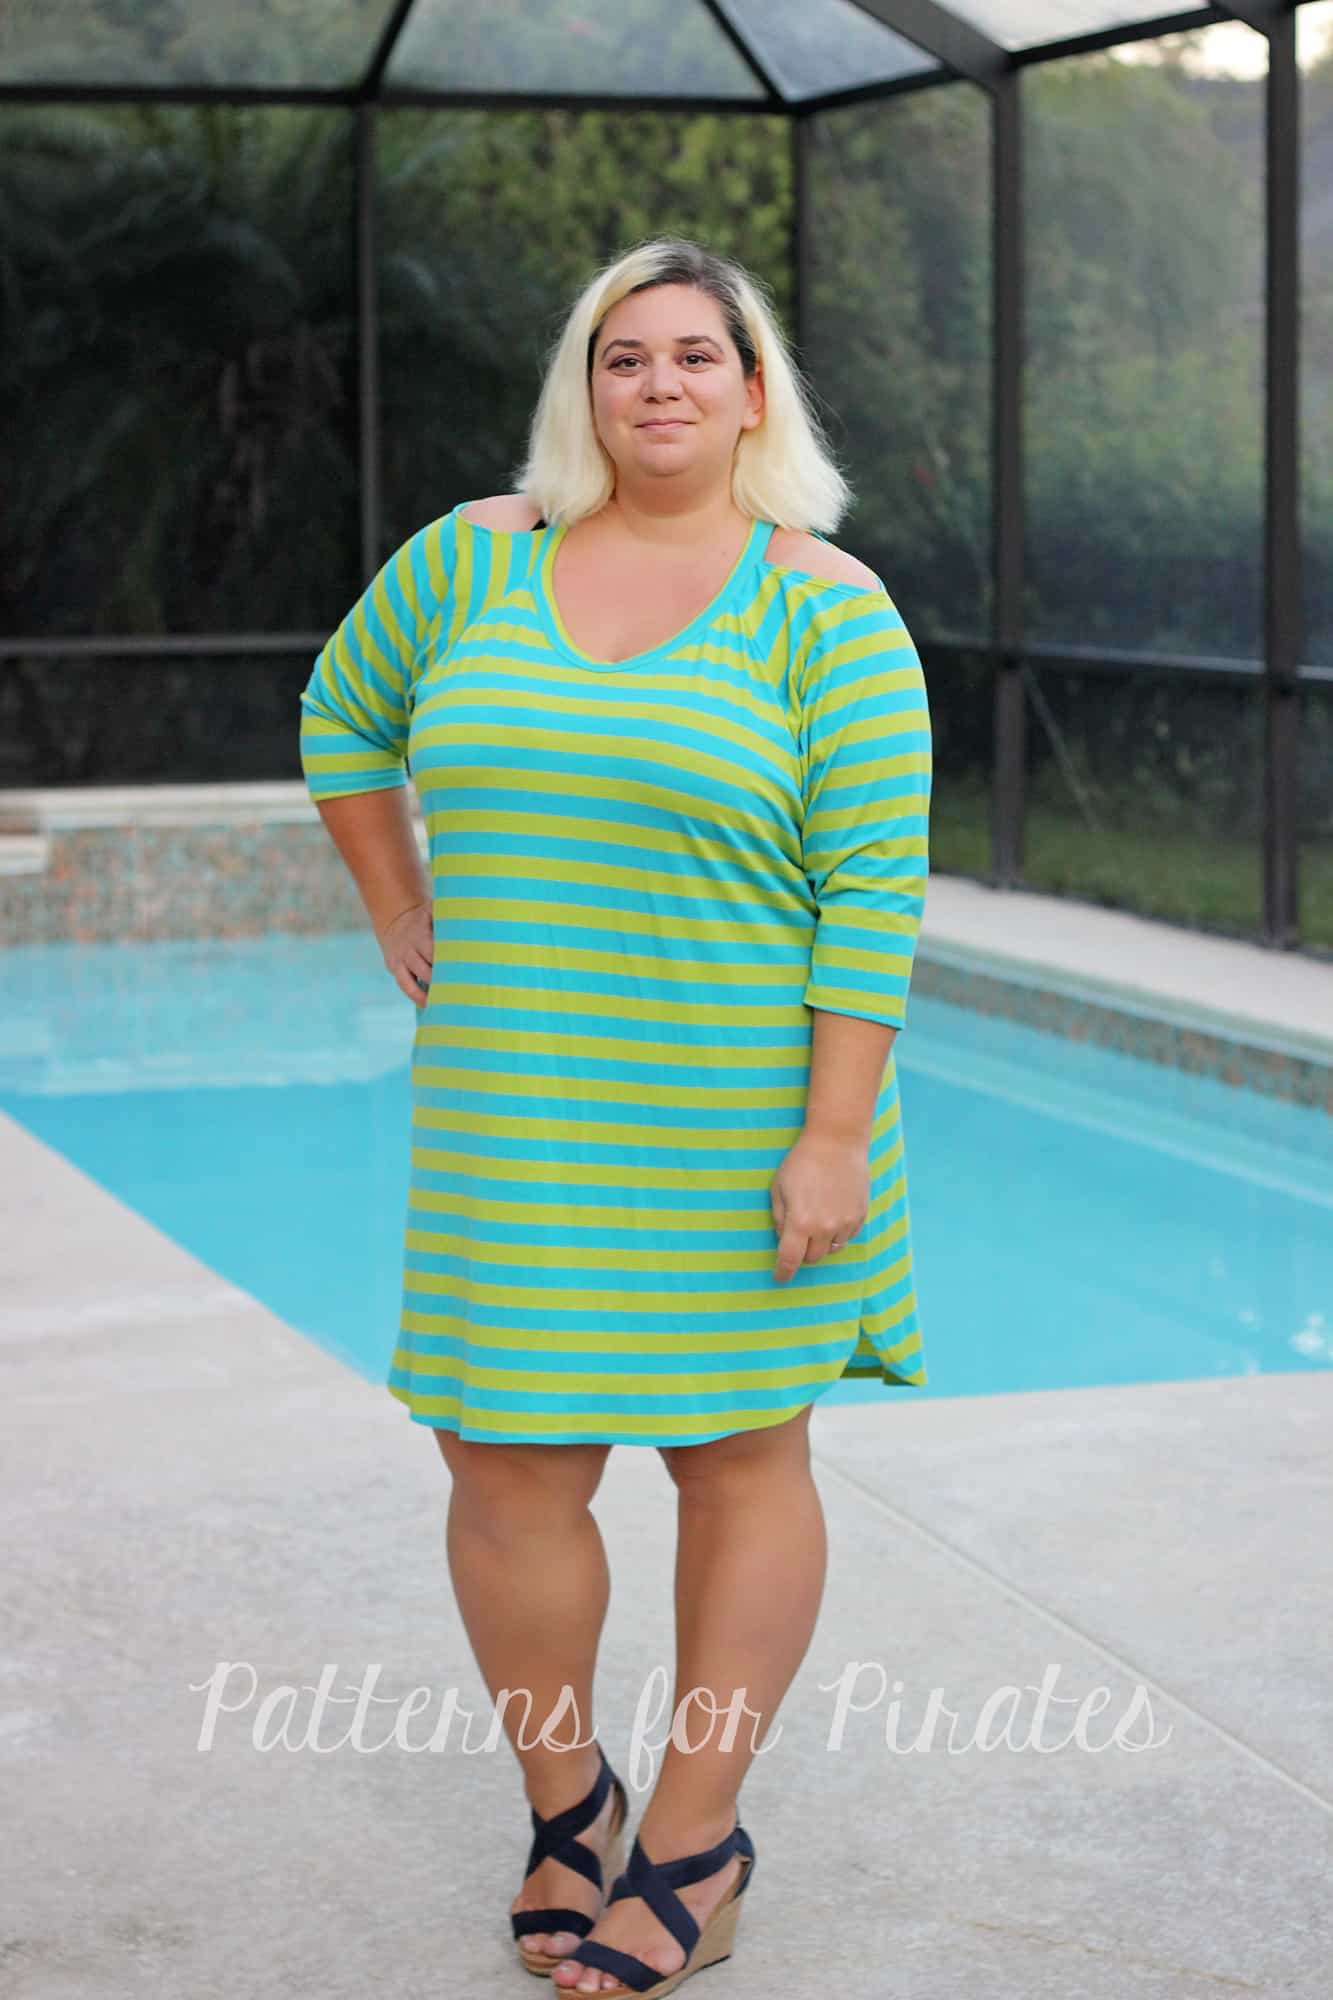
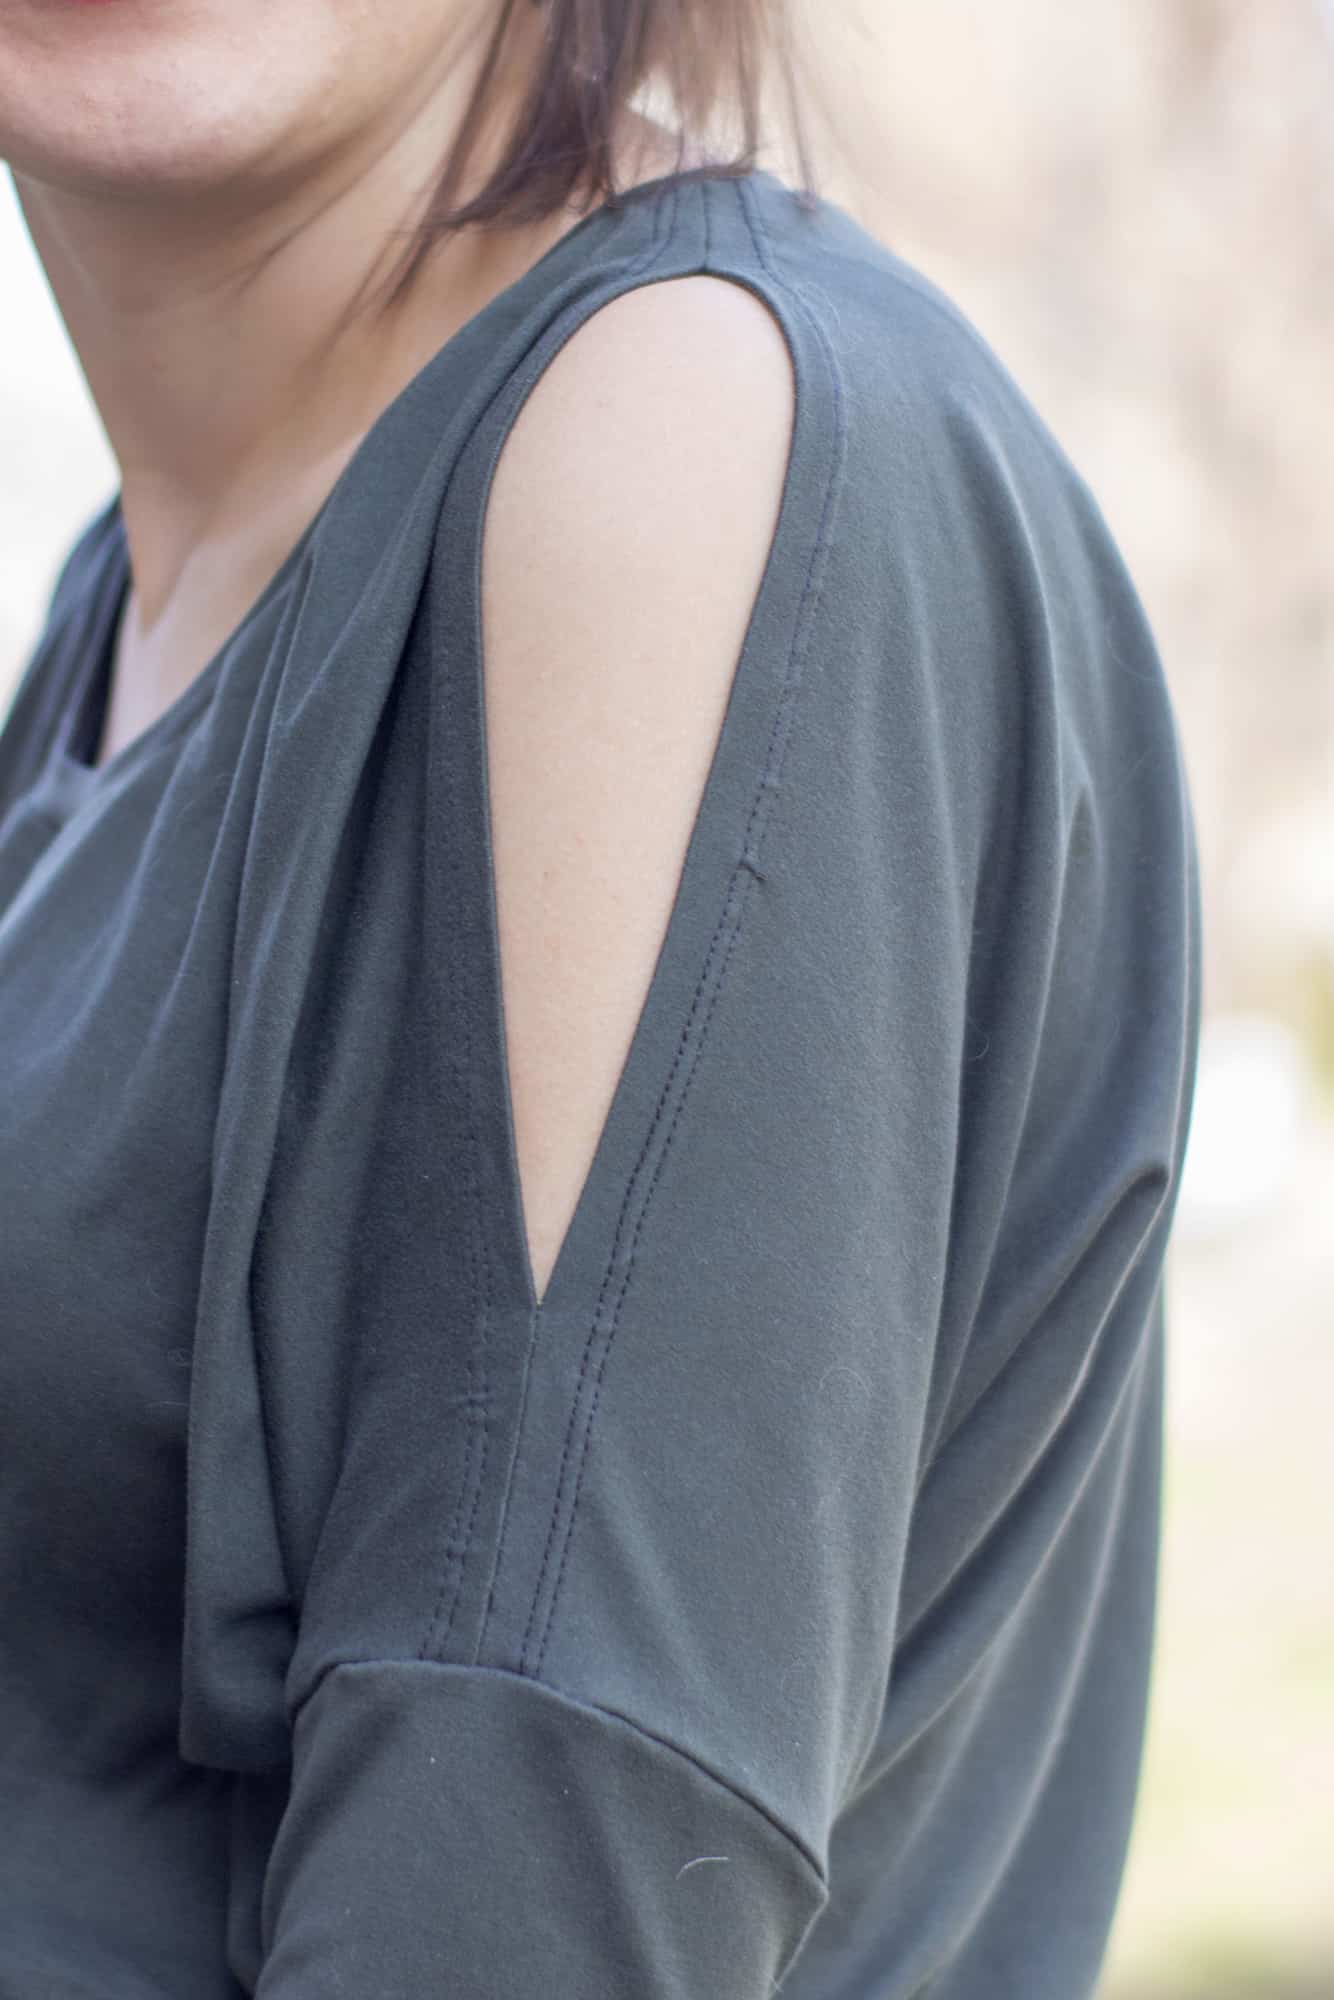
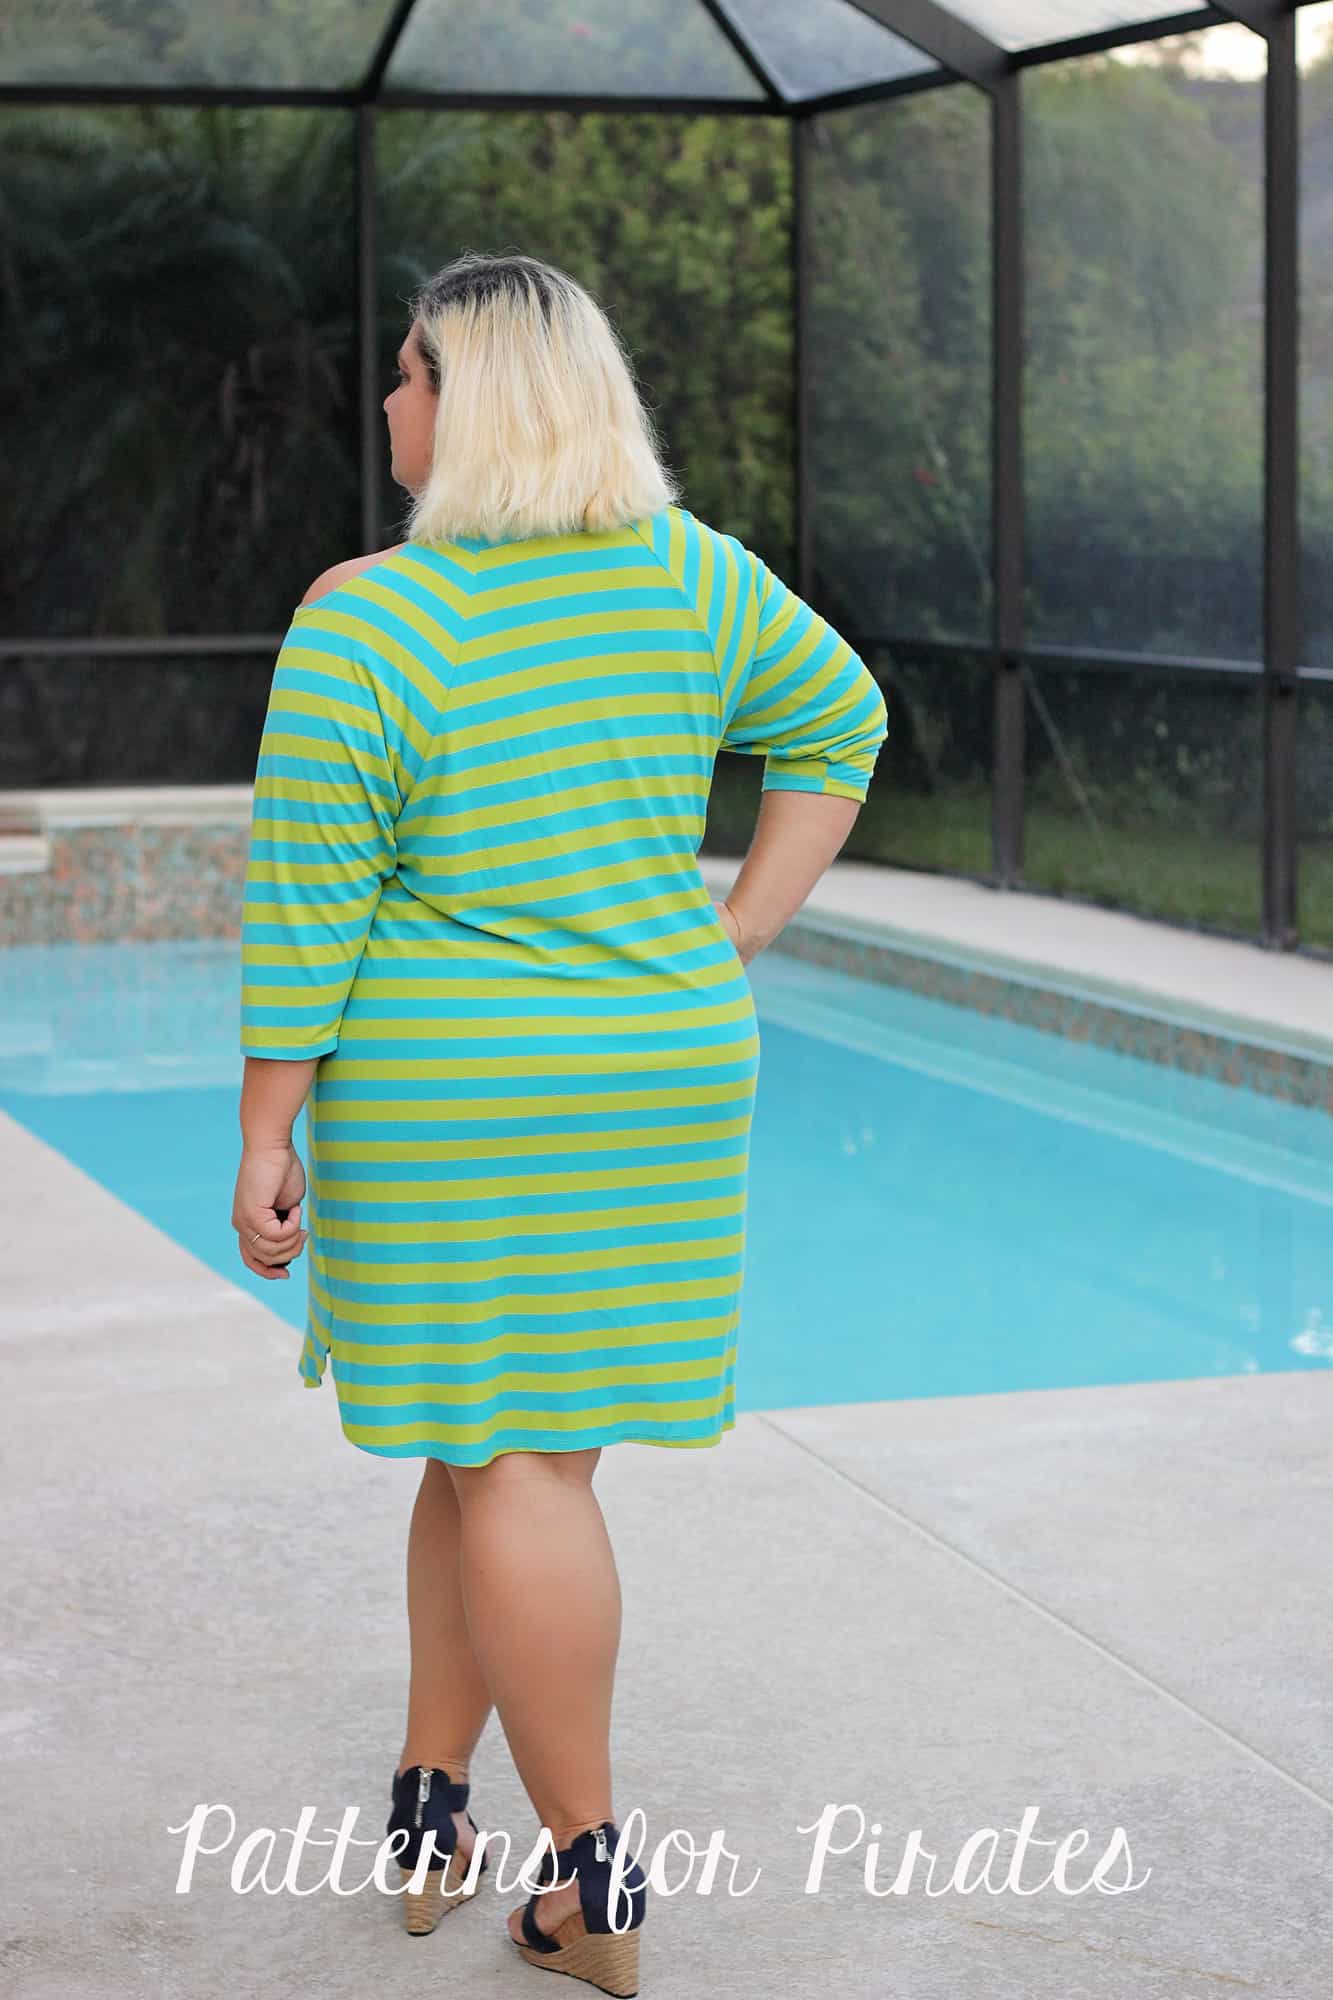
With the off the shoulder look being all the rave right now, I just had to show you how easy it is to get the look with our newest Ragdoll pattern. I will show you two different looks, one more modest and one sexier if you will. The technique will be the same for both you will just make the sleeve cut out different sizes. Feel free to play with it to get your desired cold shoulder size.
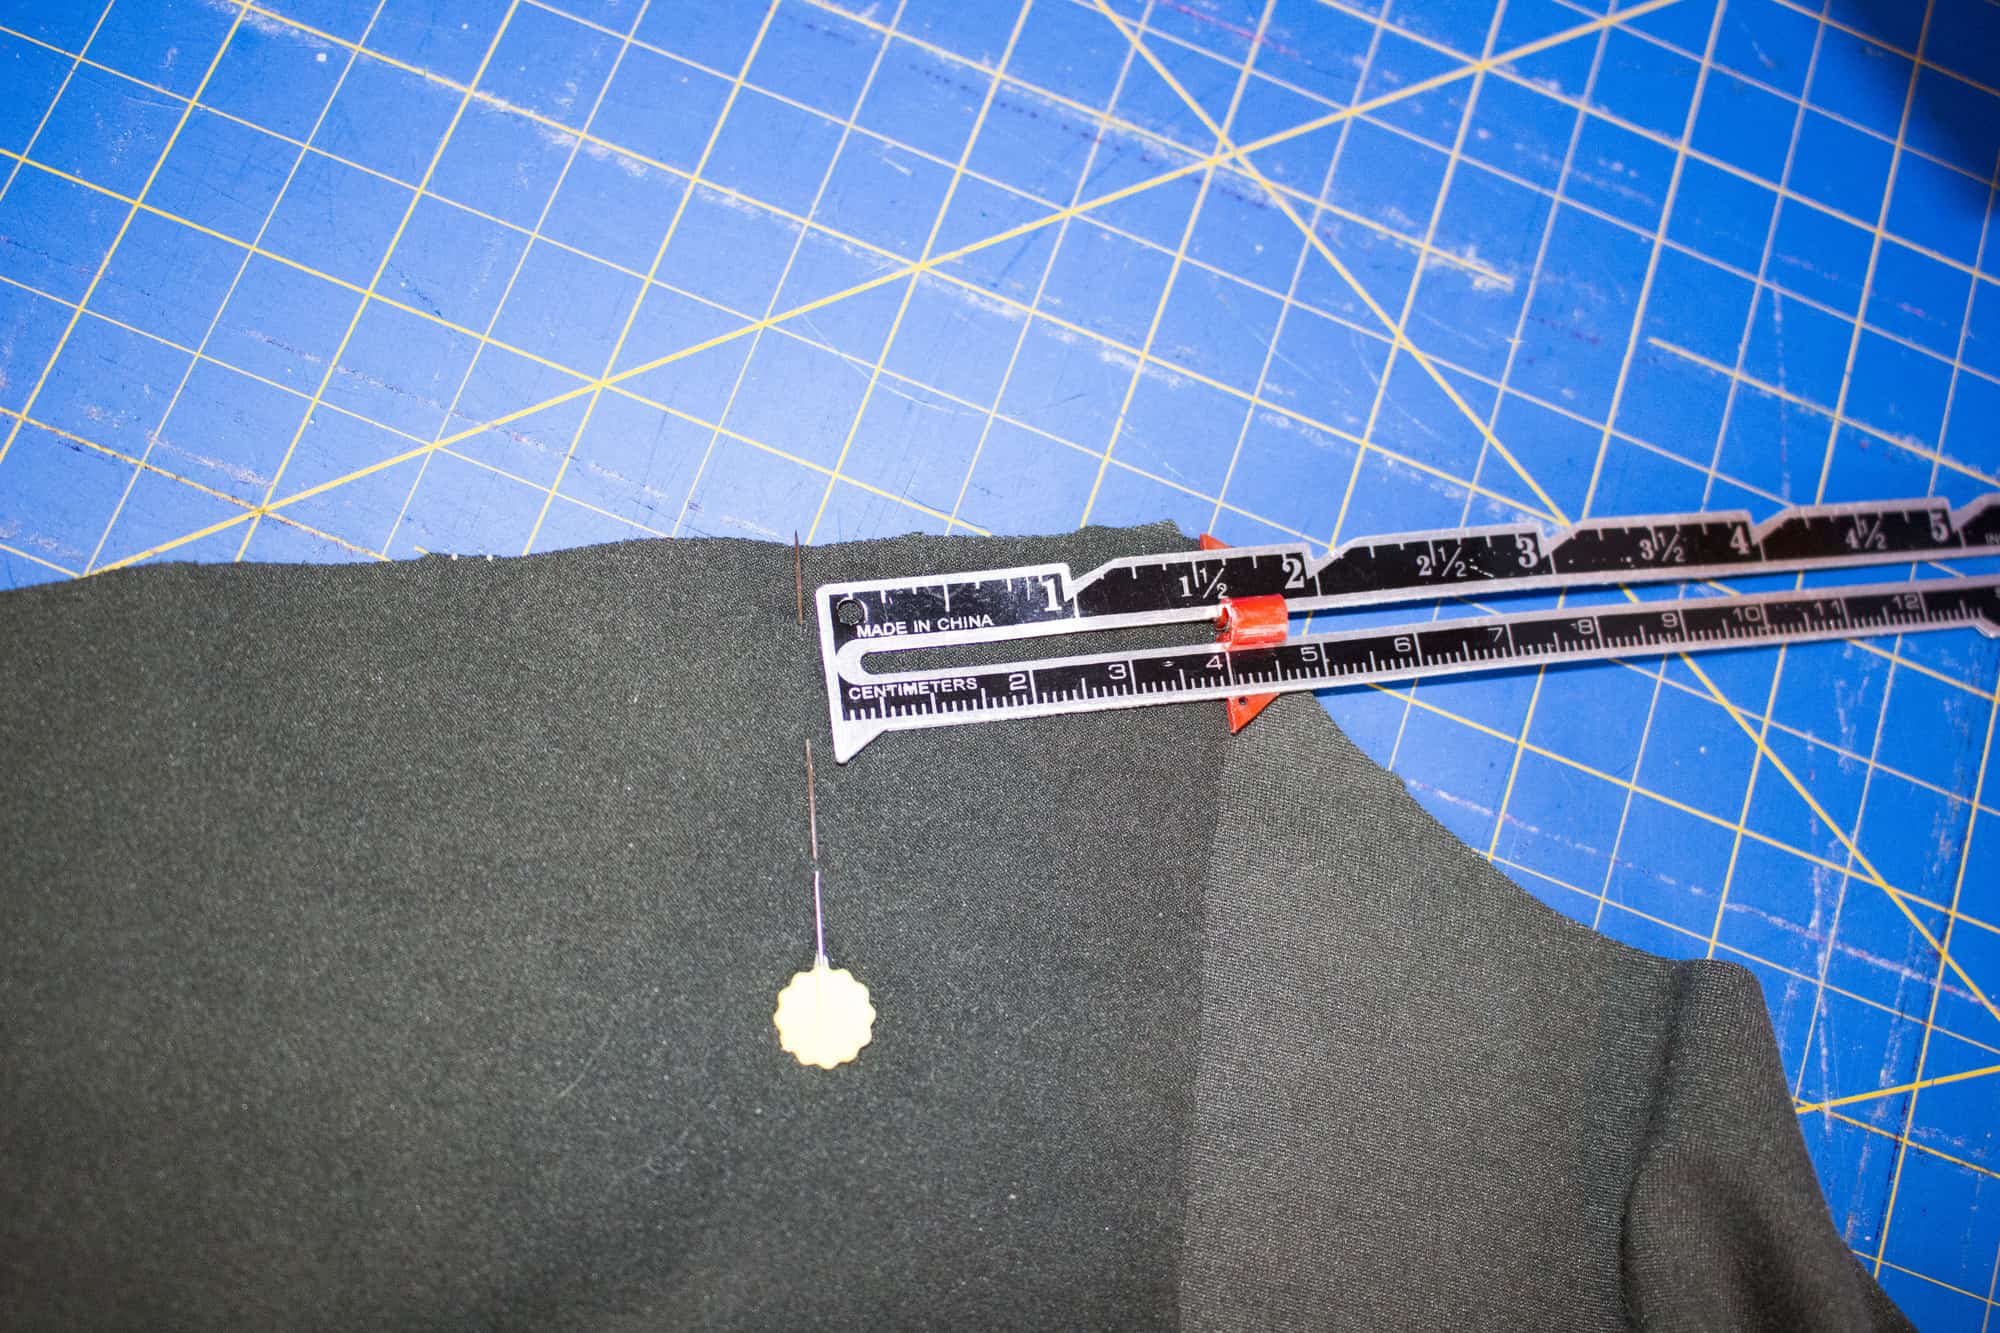
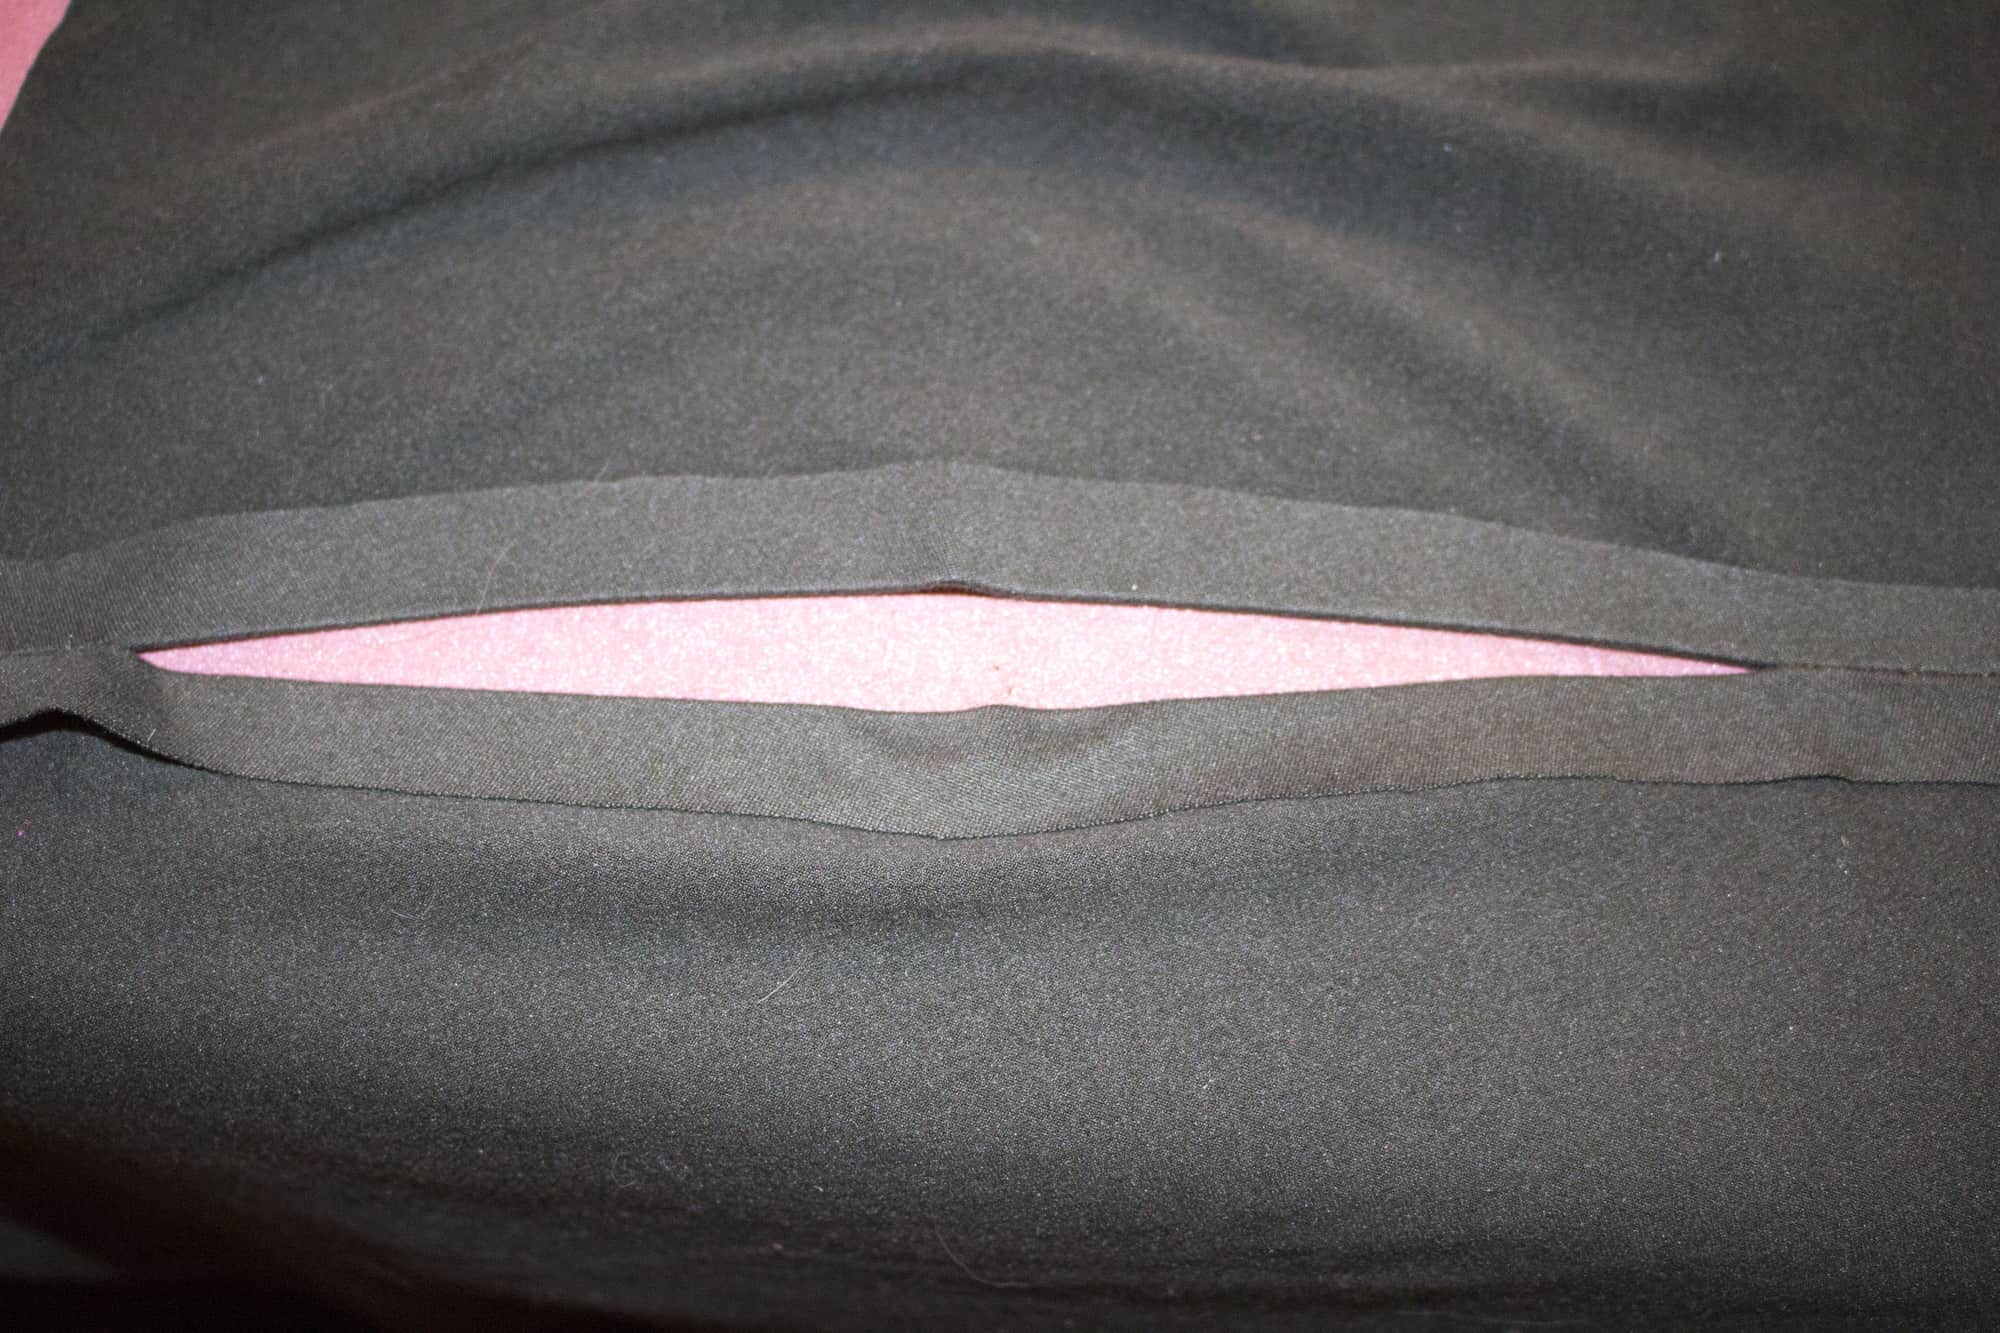
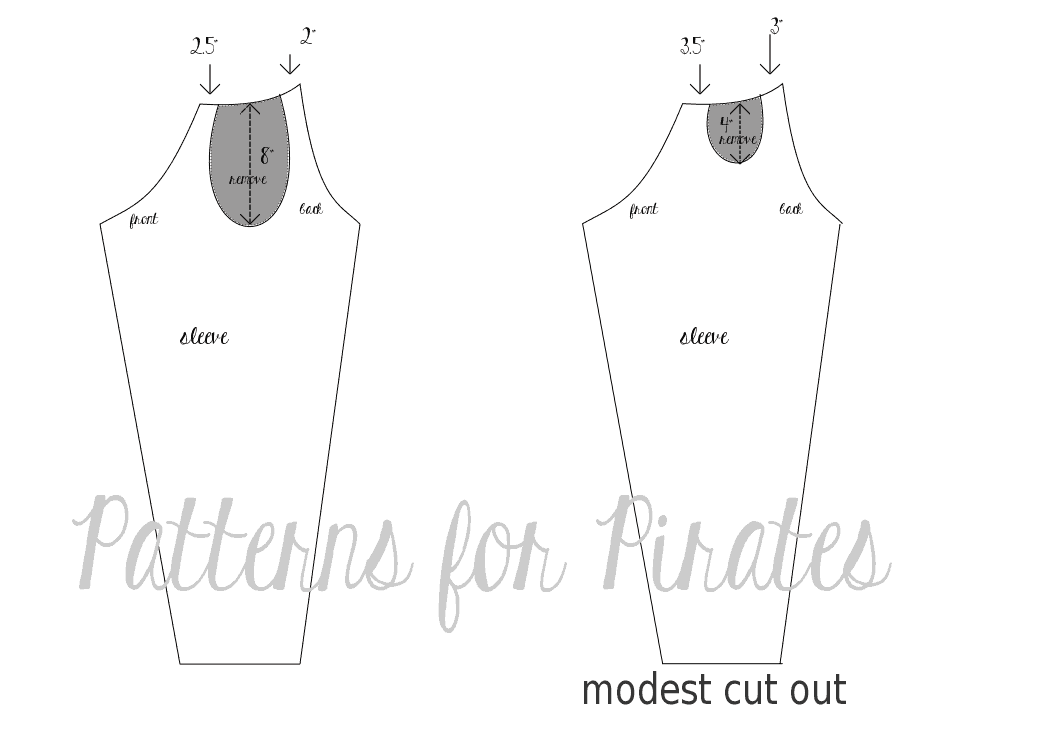
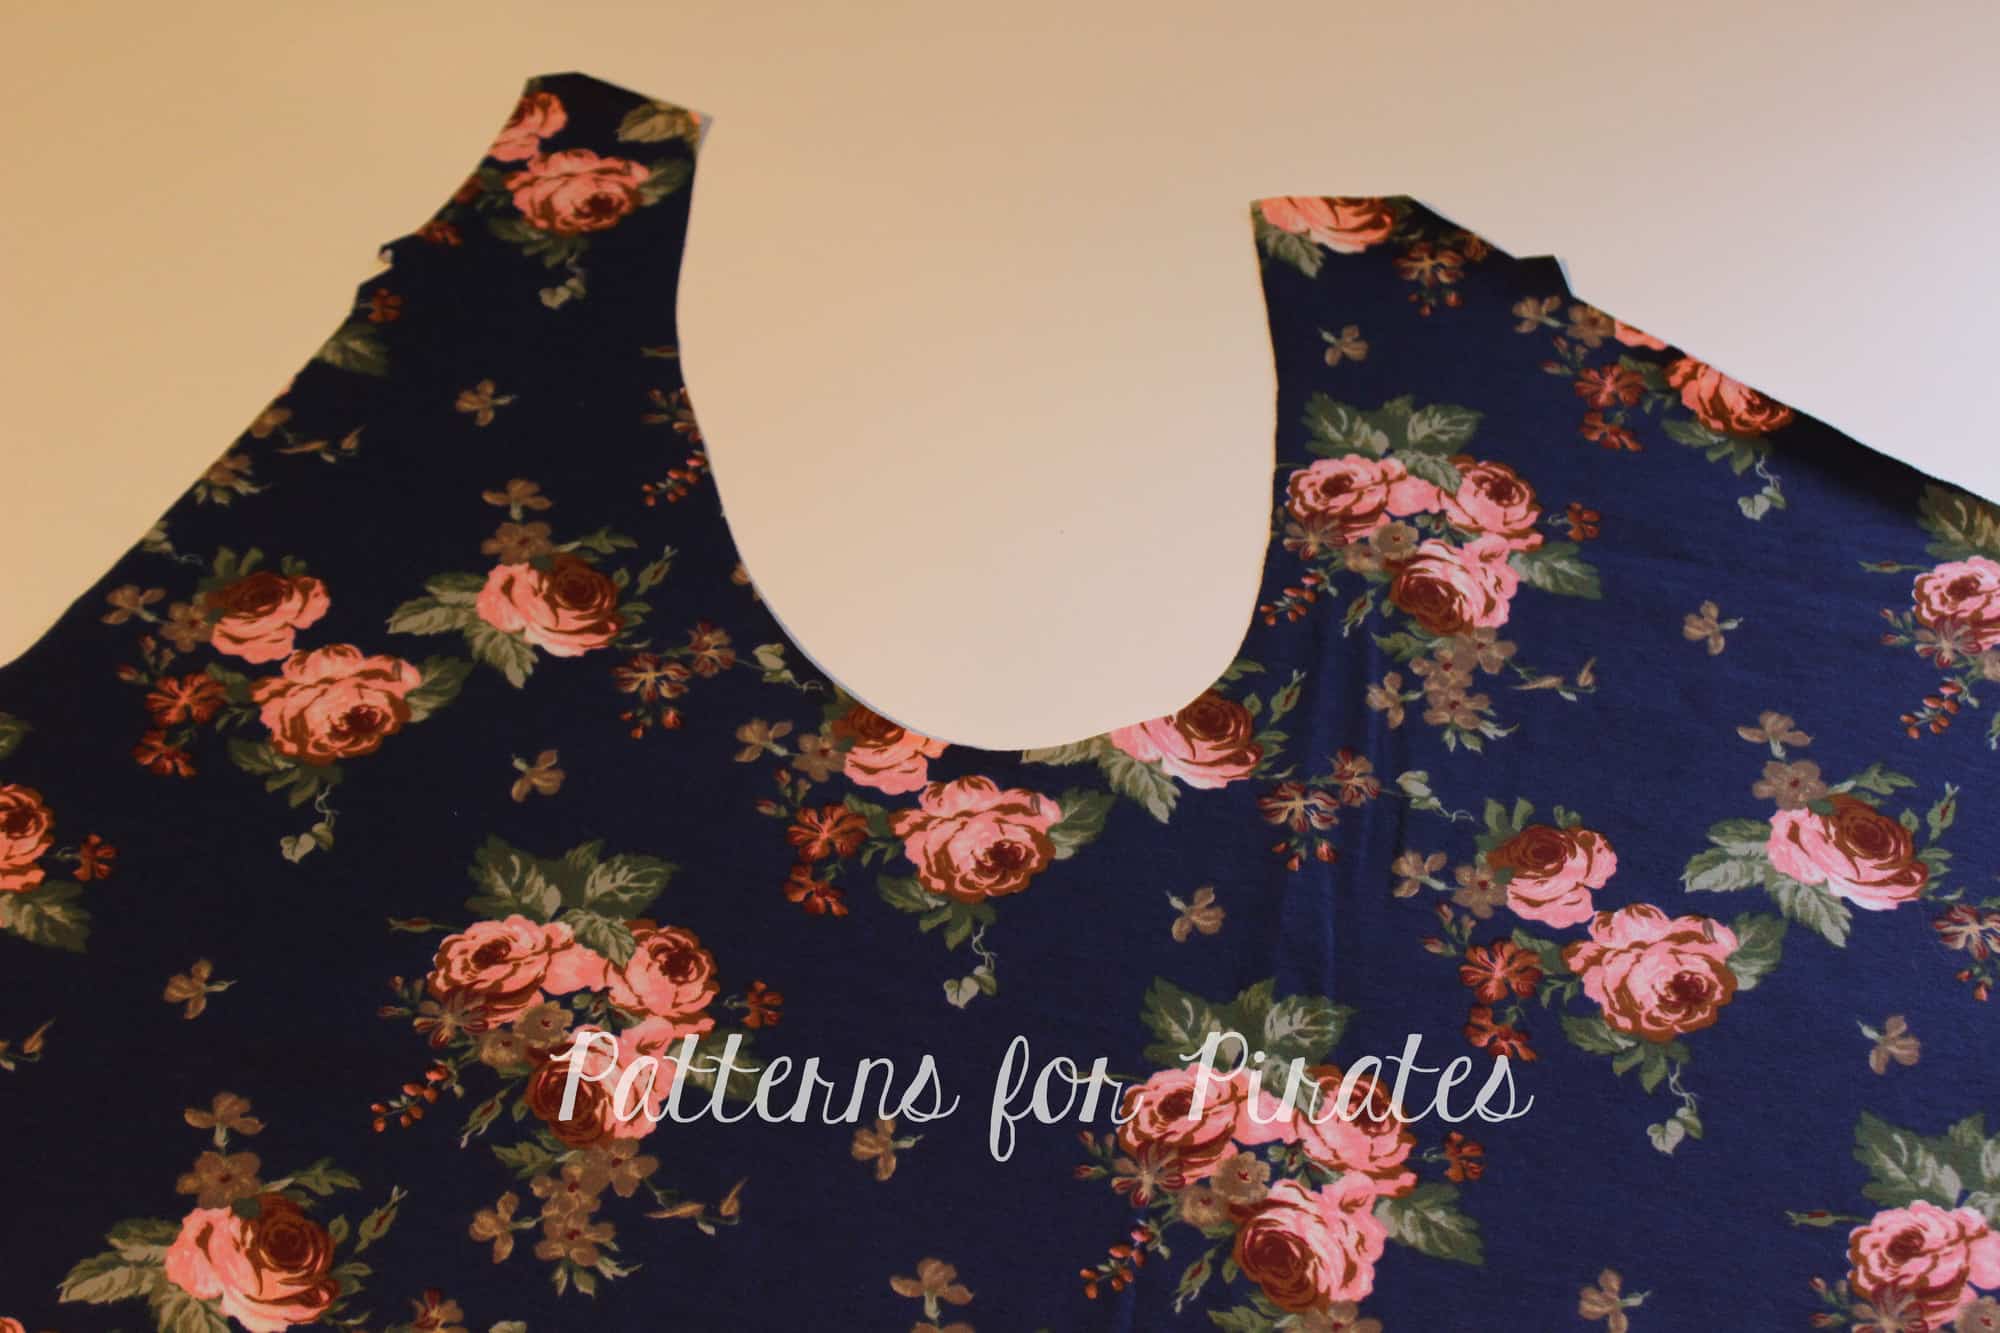
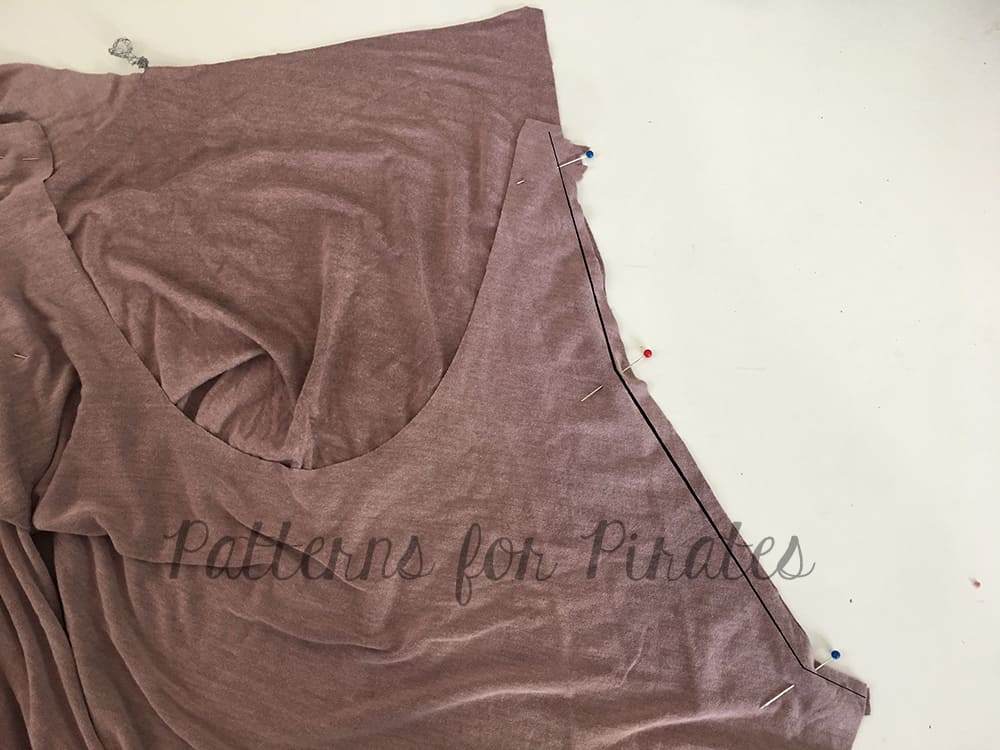
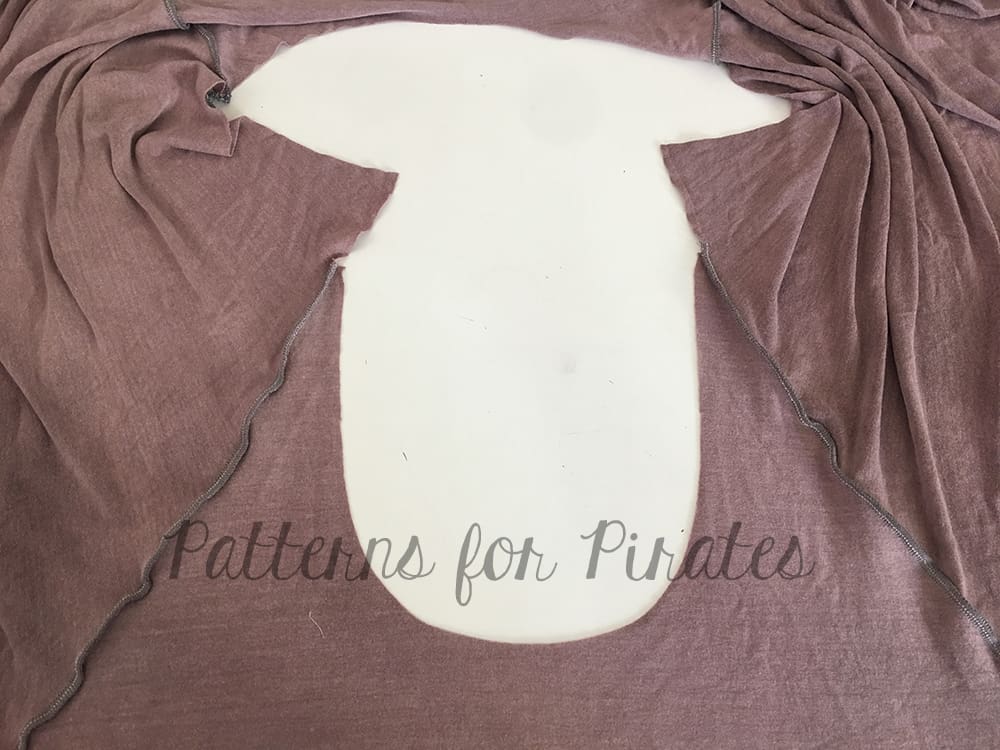
Start by printing the pattern in your size. You will be cutting out a portion of the sleeves as in the graphic below.
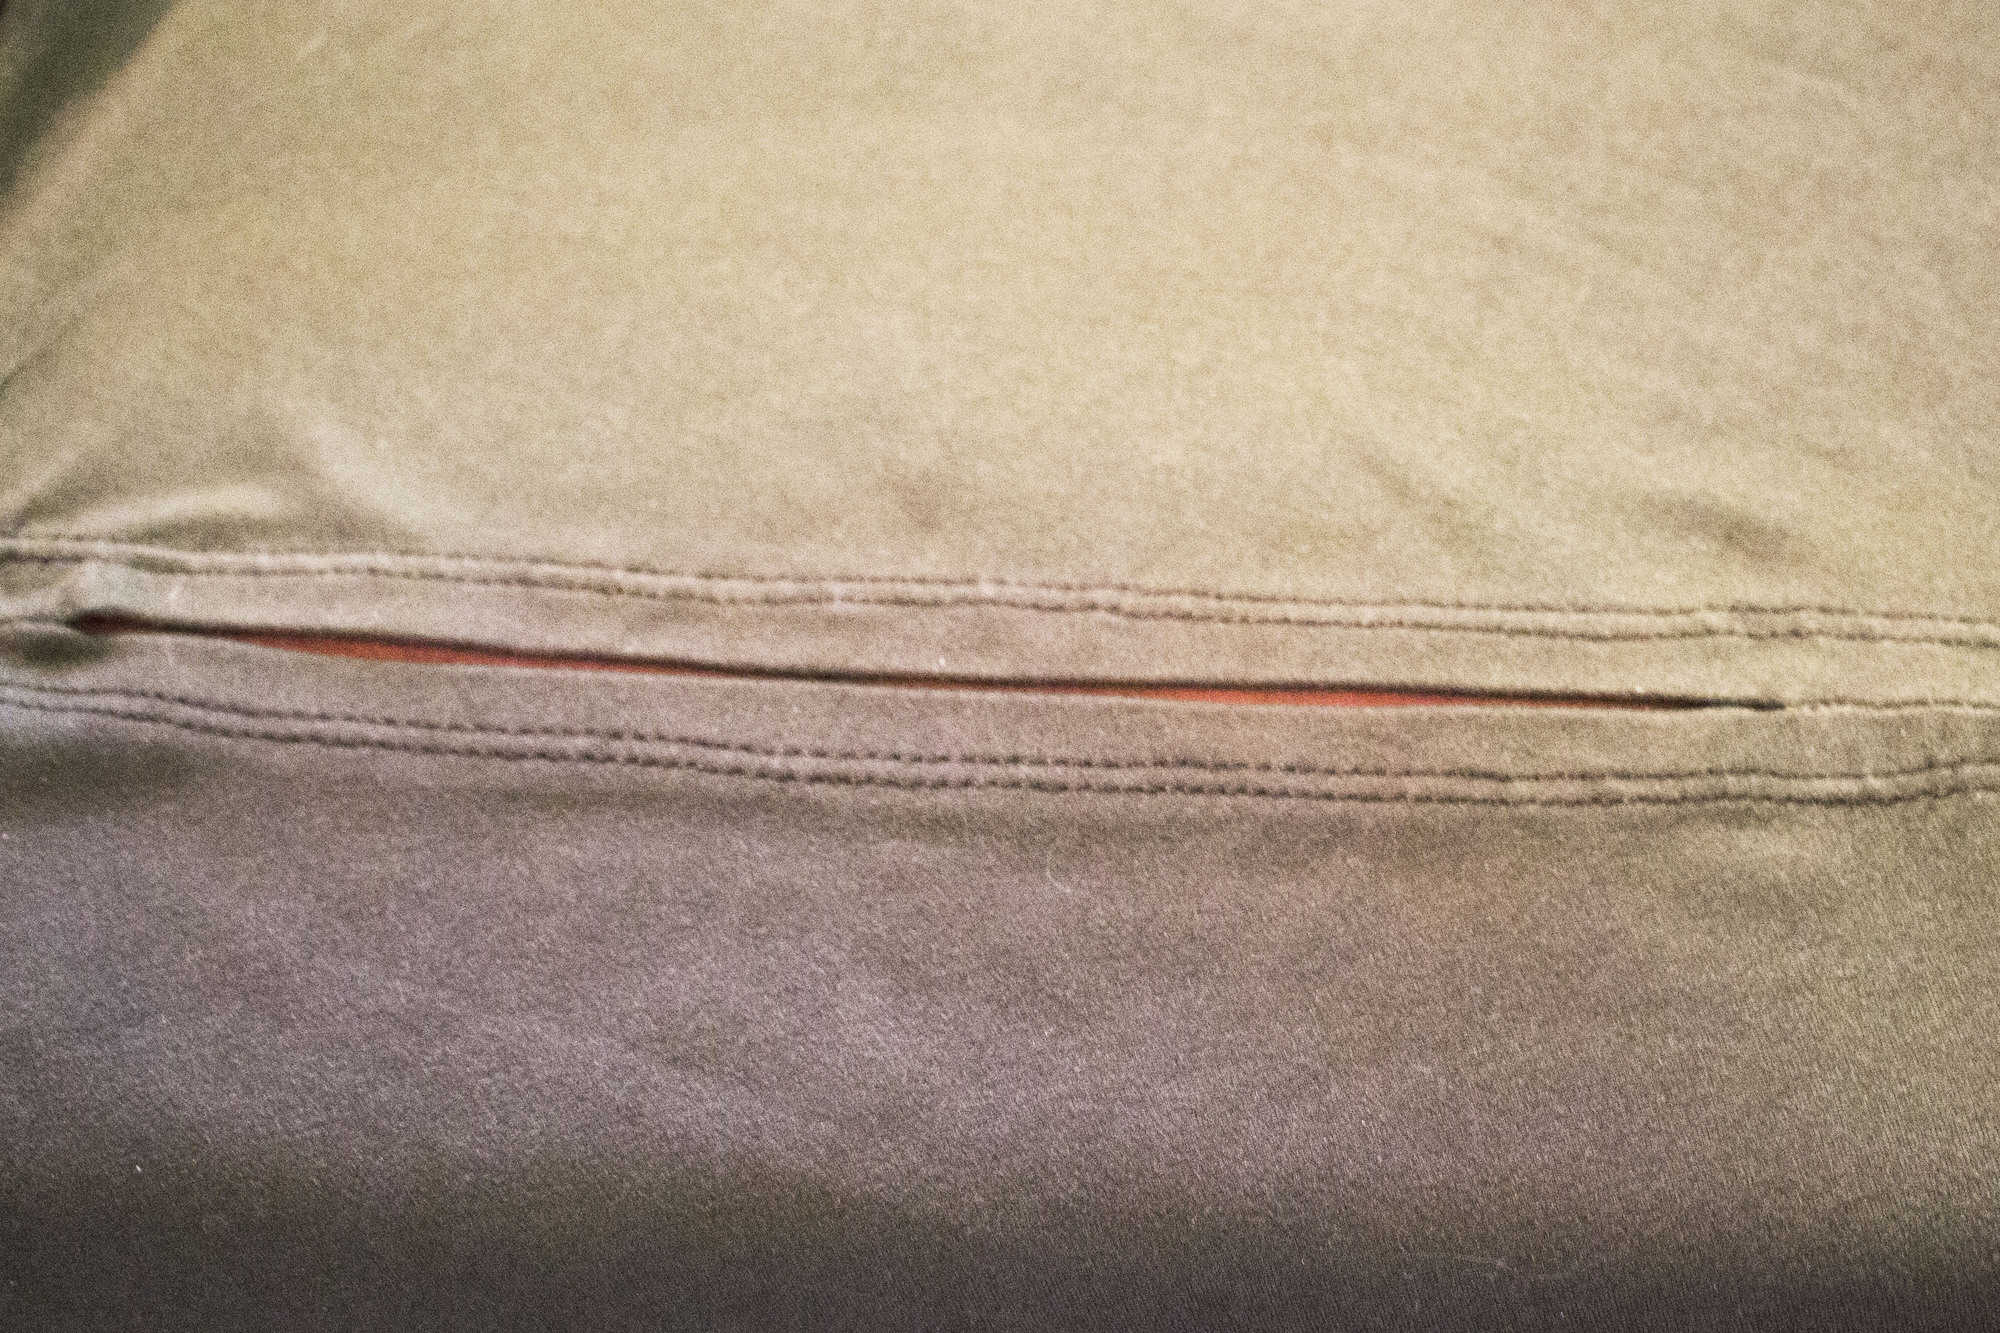
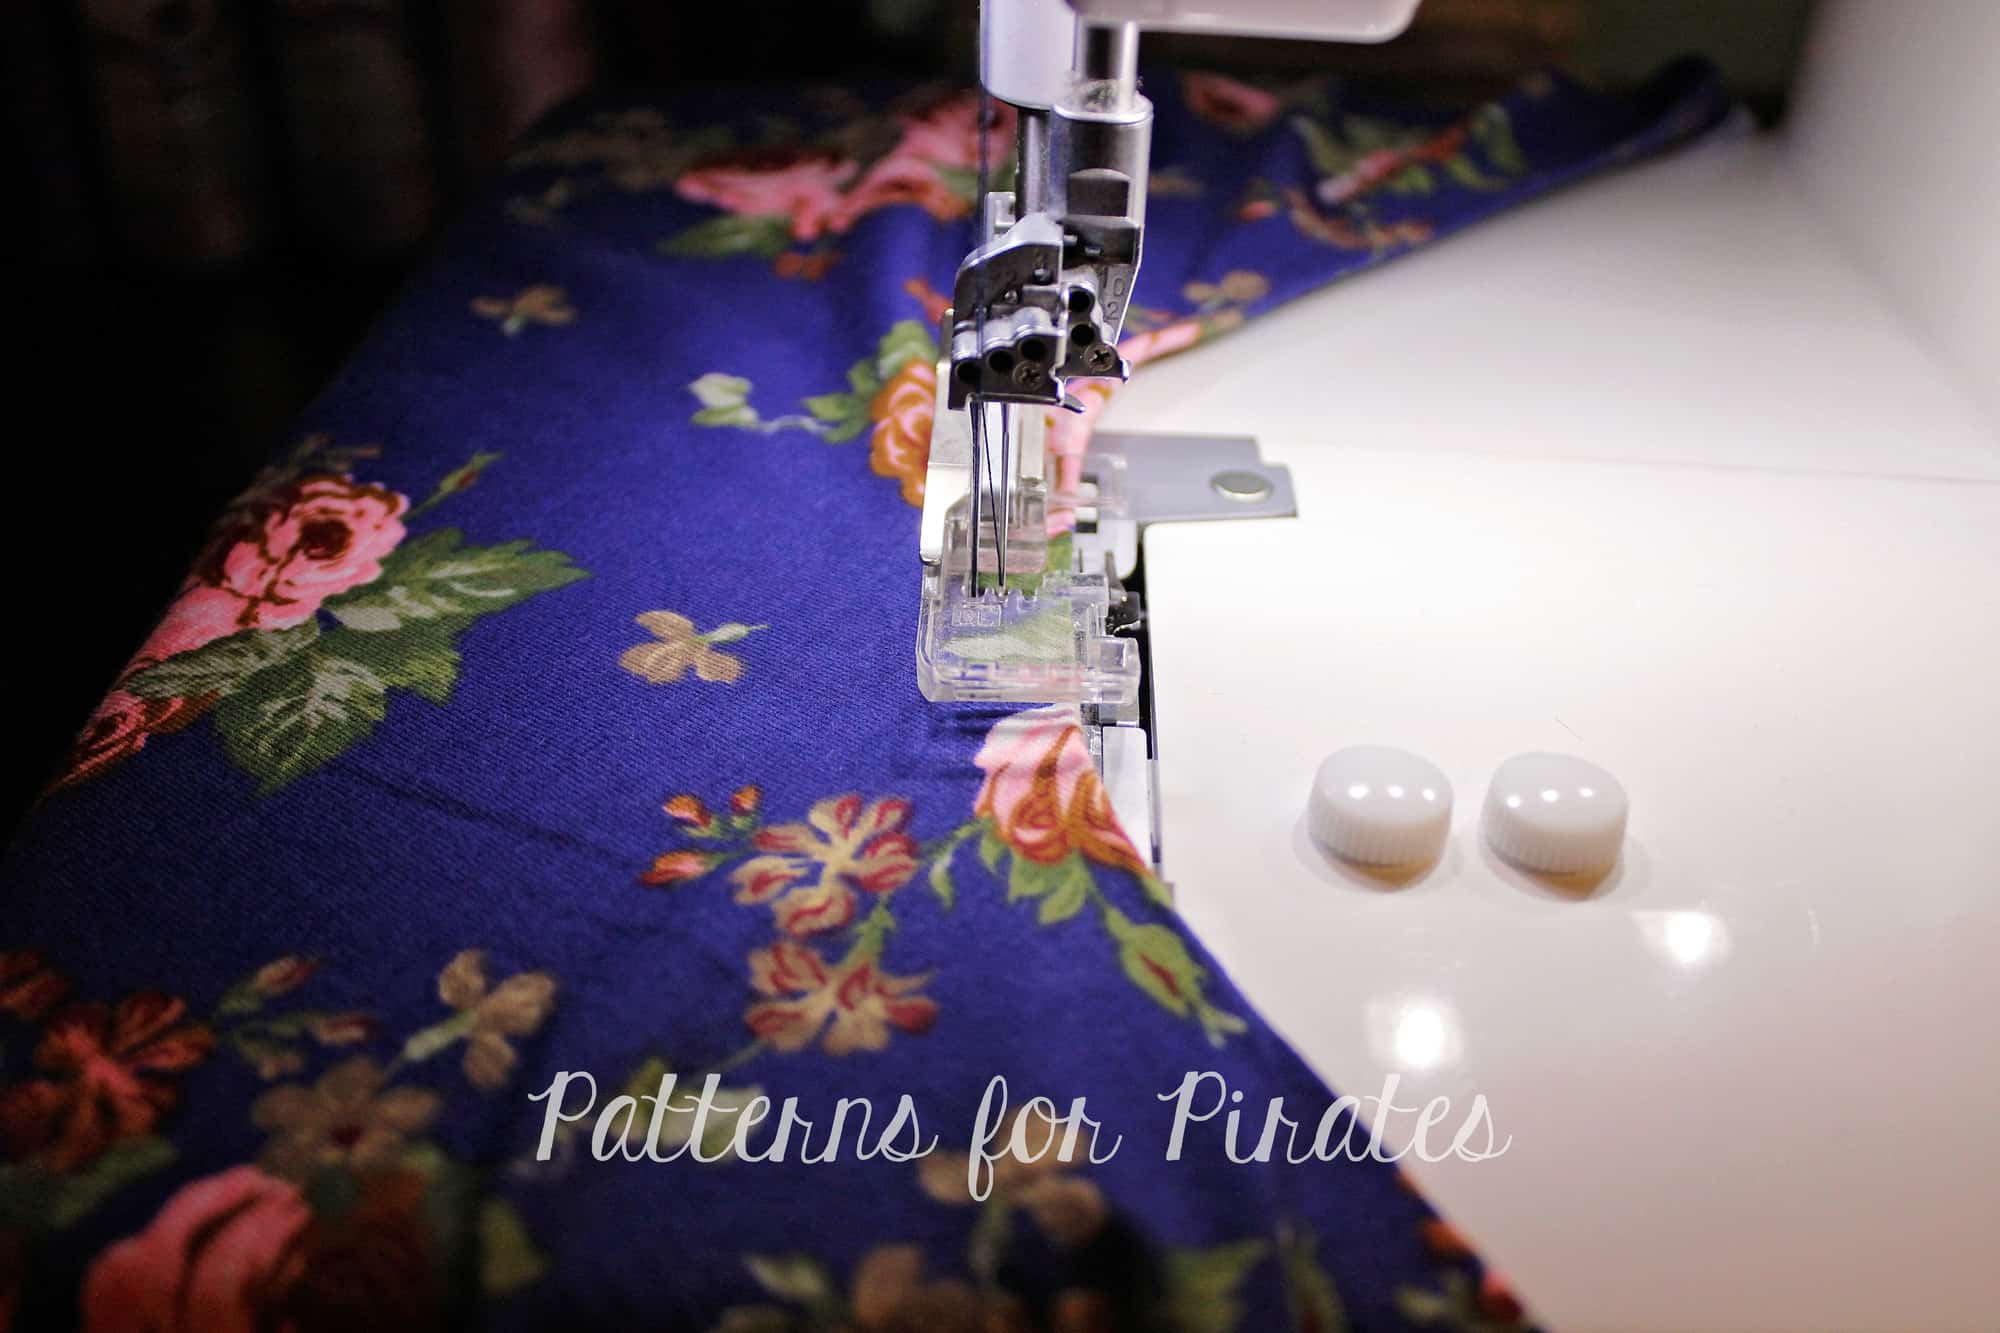
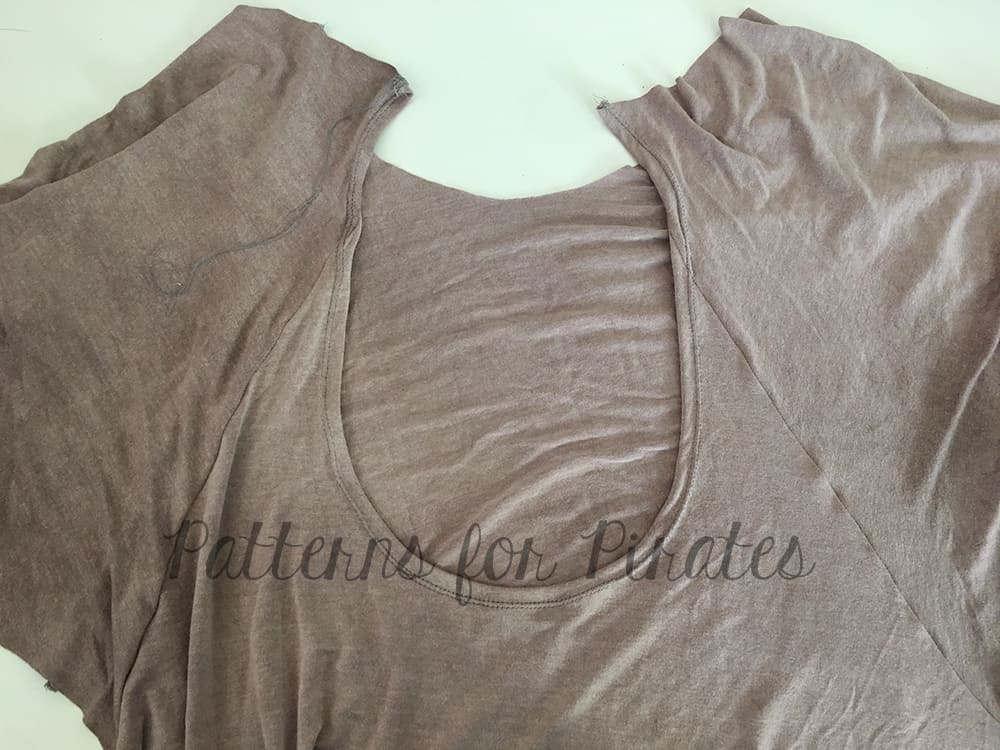
Hem the cutout using a 1/2″ hem allowance. The easiest way to do that is to steam press and pin it in place with a lot of pins (or clips). Stitch with your coverstitch, a twin needle or a zig zag stitch. Don’t forget to give it a good press after you hem it.
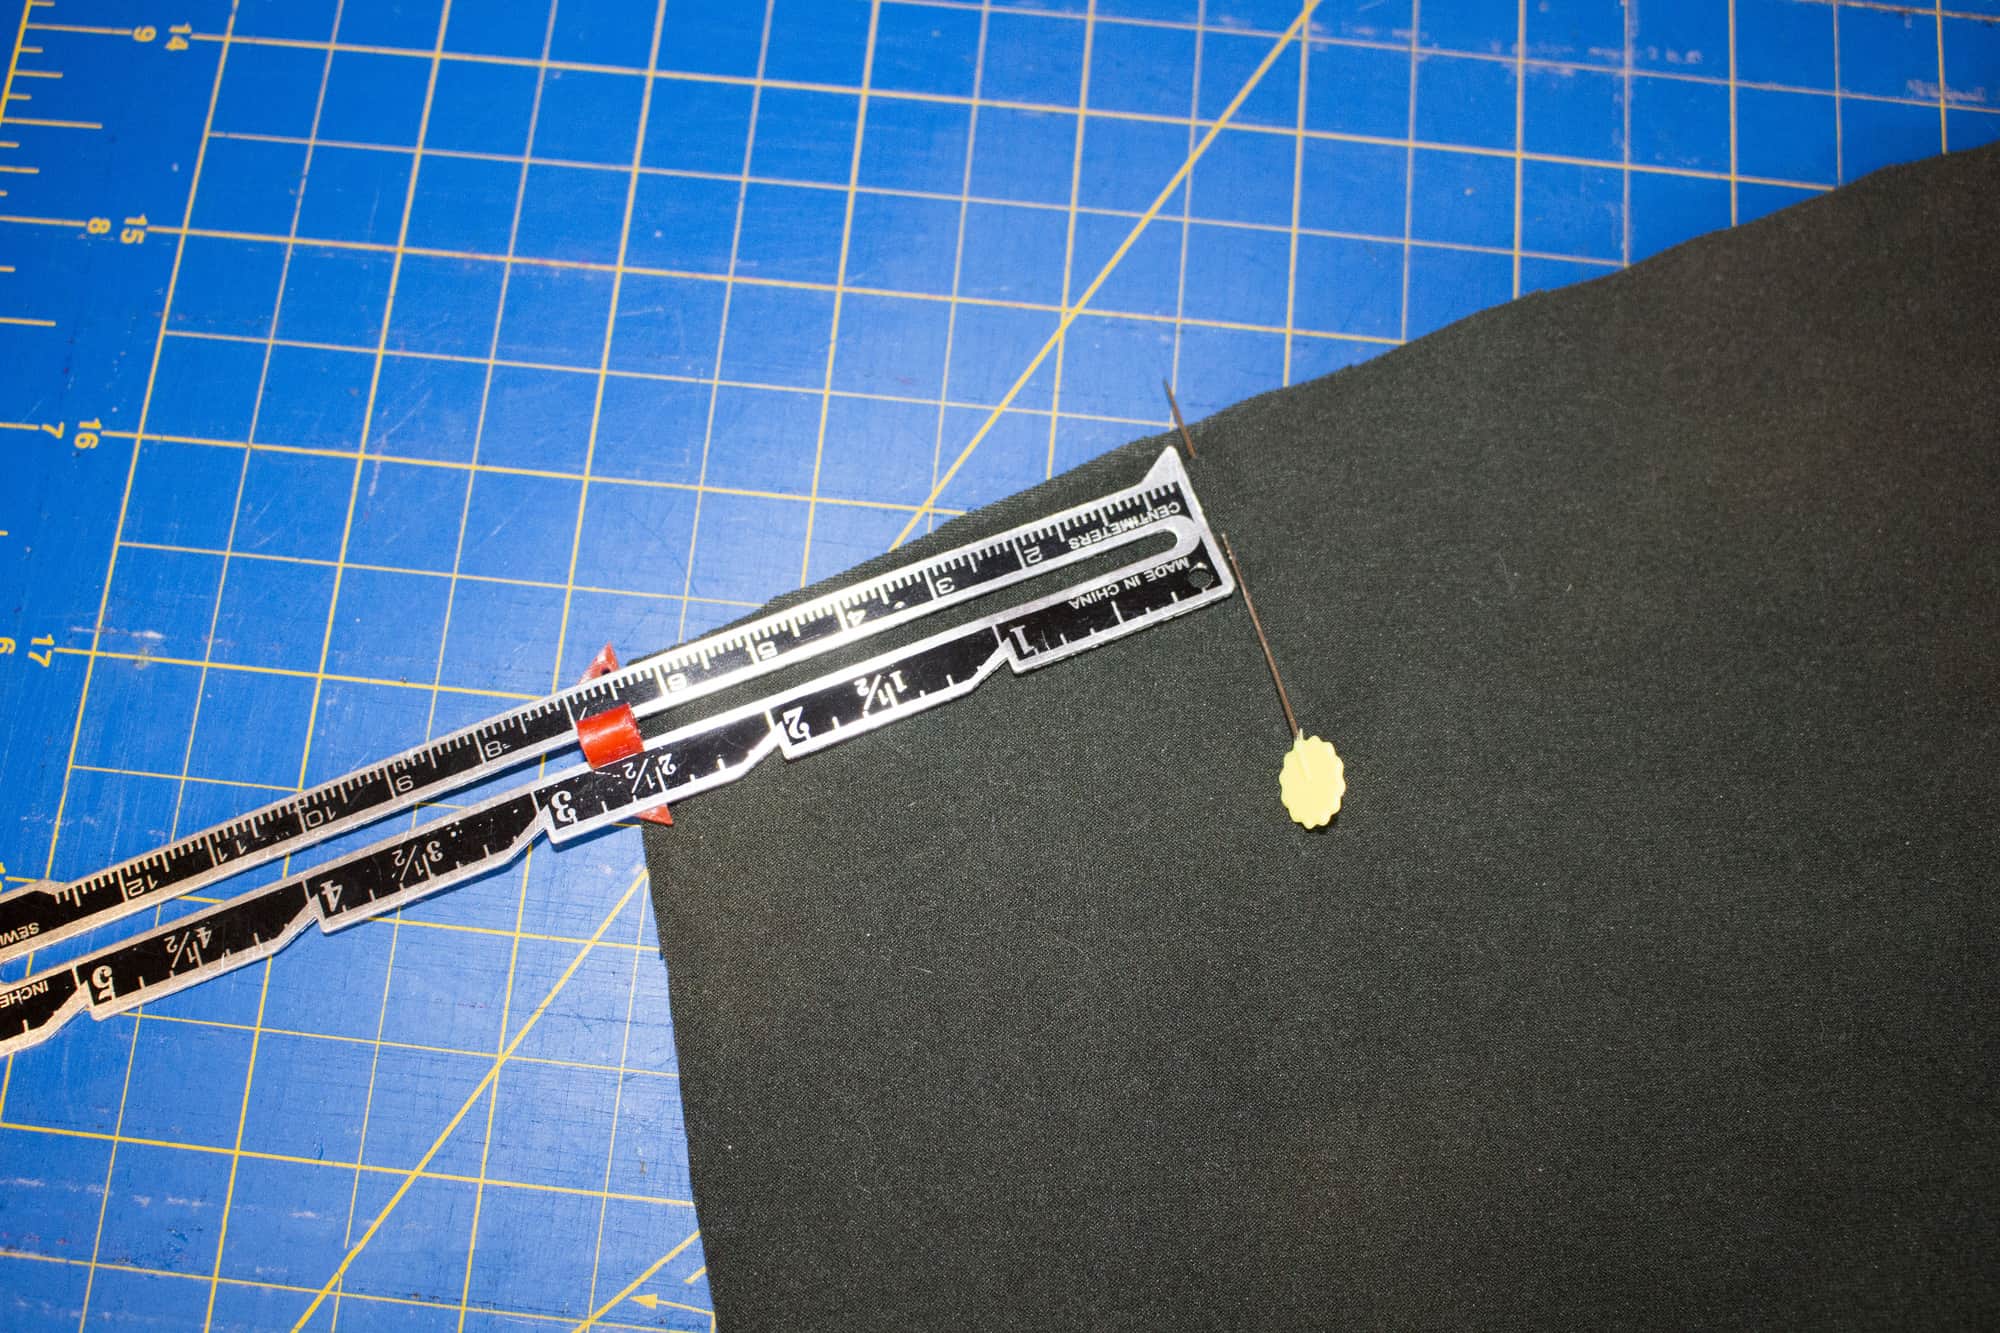
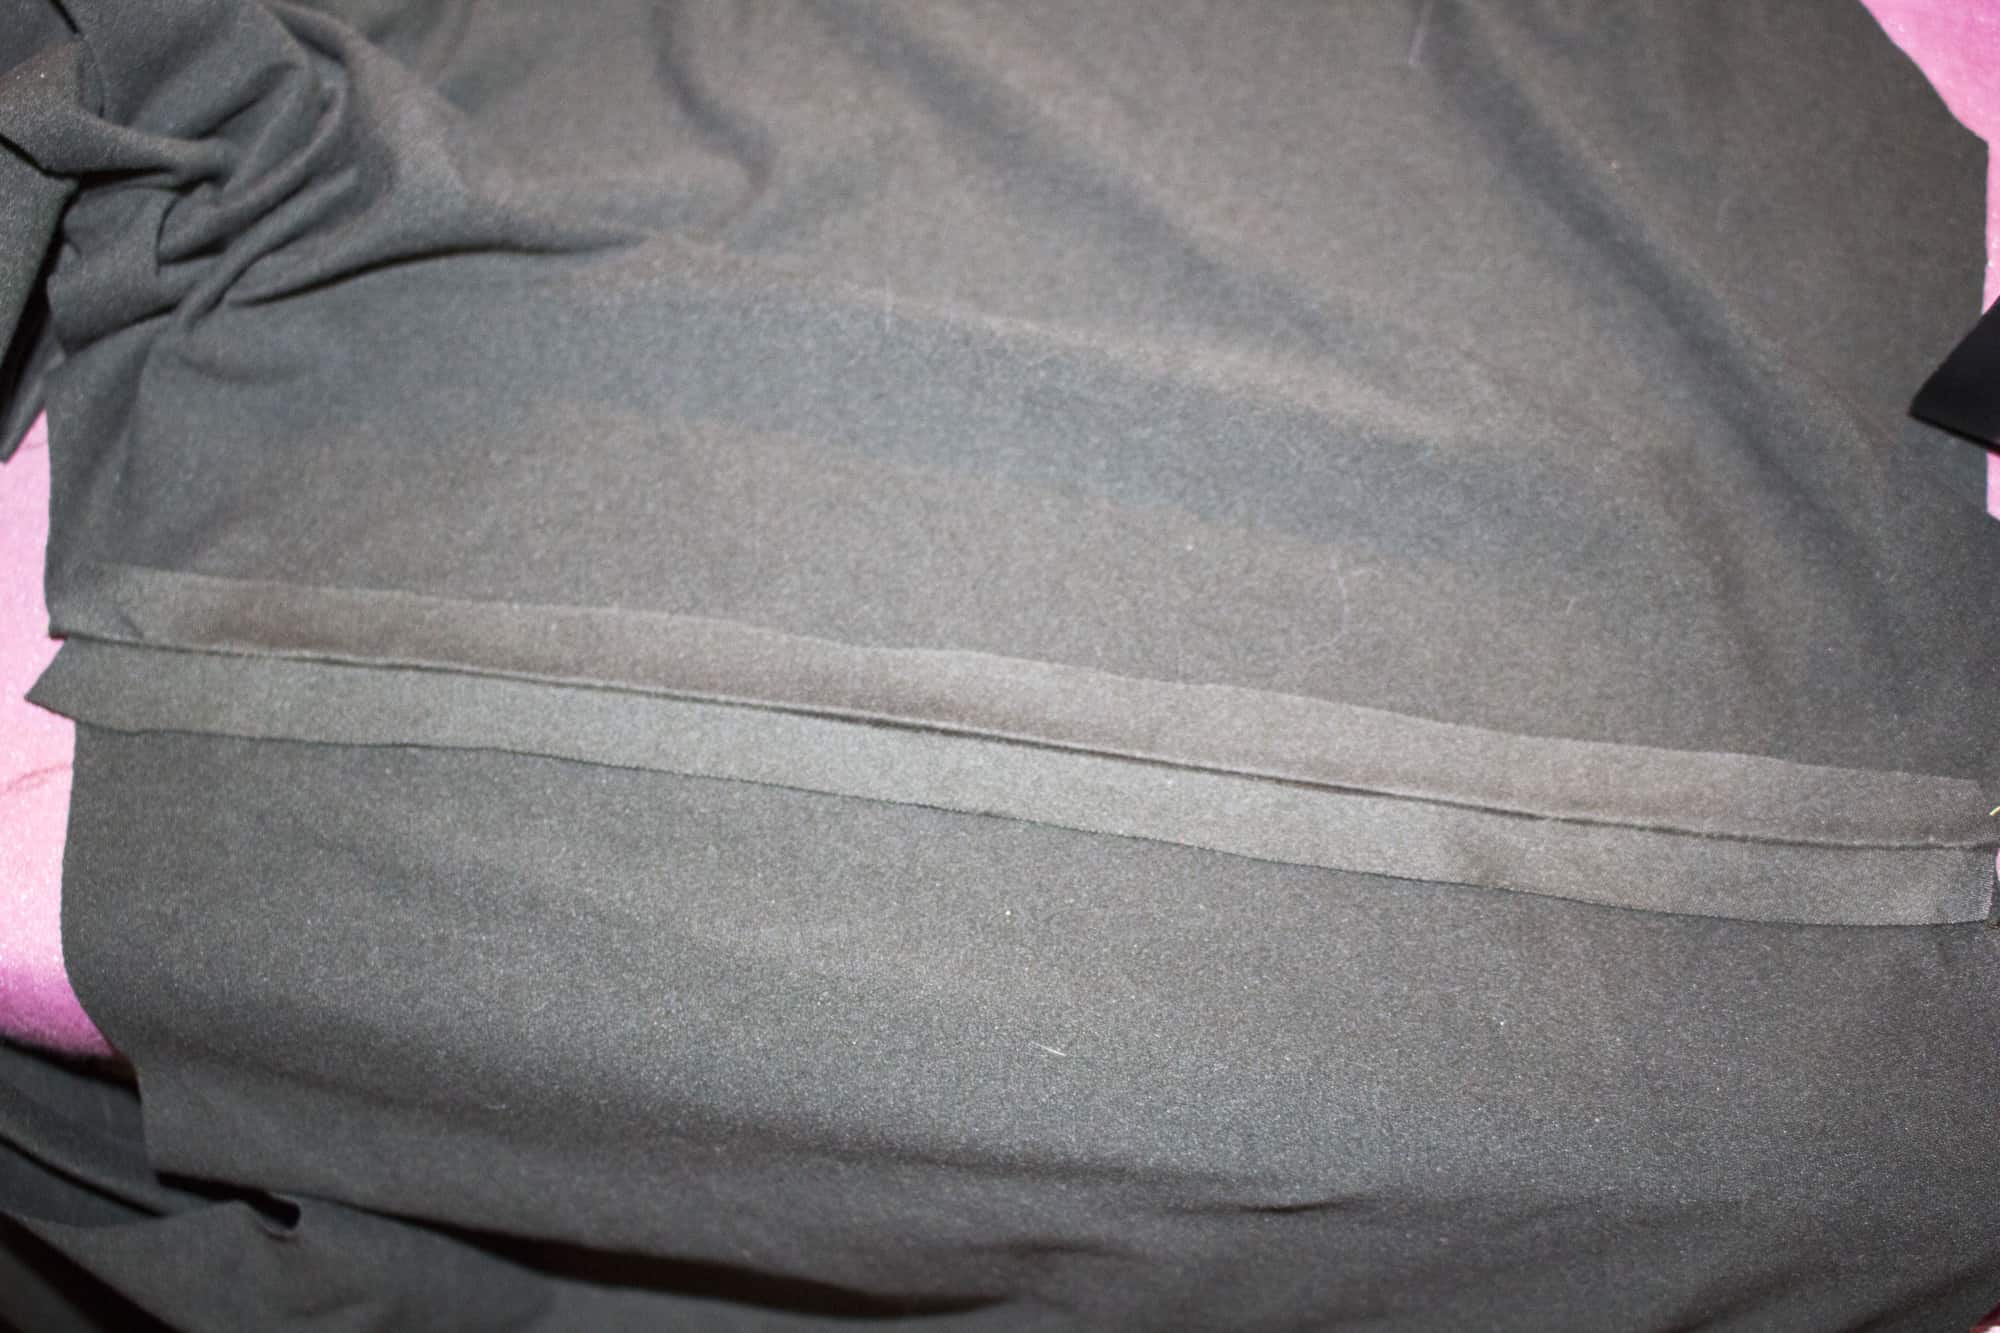
Sew the shirt or dress as shown in the pattern tutorial. All we have left to do now is attach the neckband. Press 1/2″ memory hem as shown below.

Fold the neckband lengthwise and press it really well. Sew the short sides together to create a loop. Mark the center back (where the seam is) and the center front.
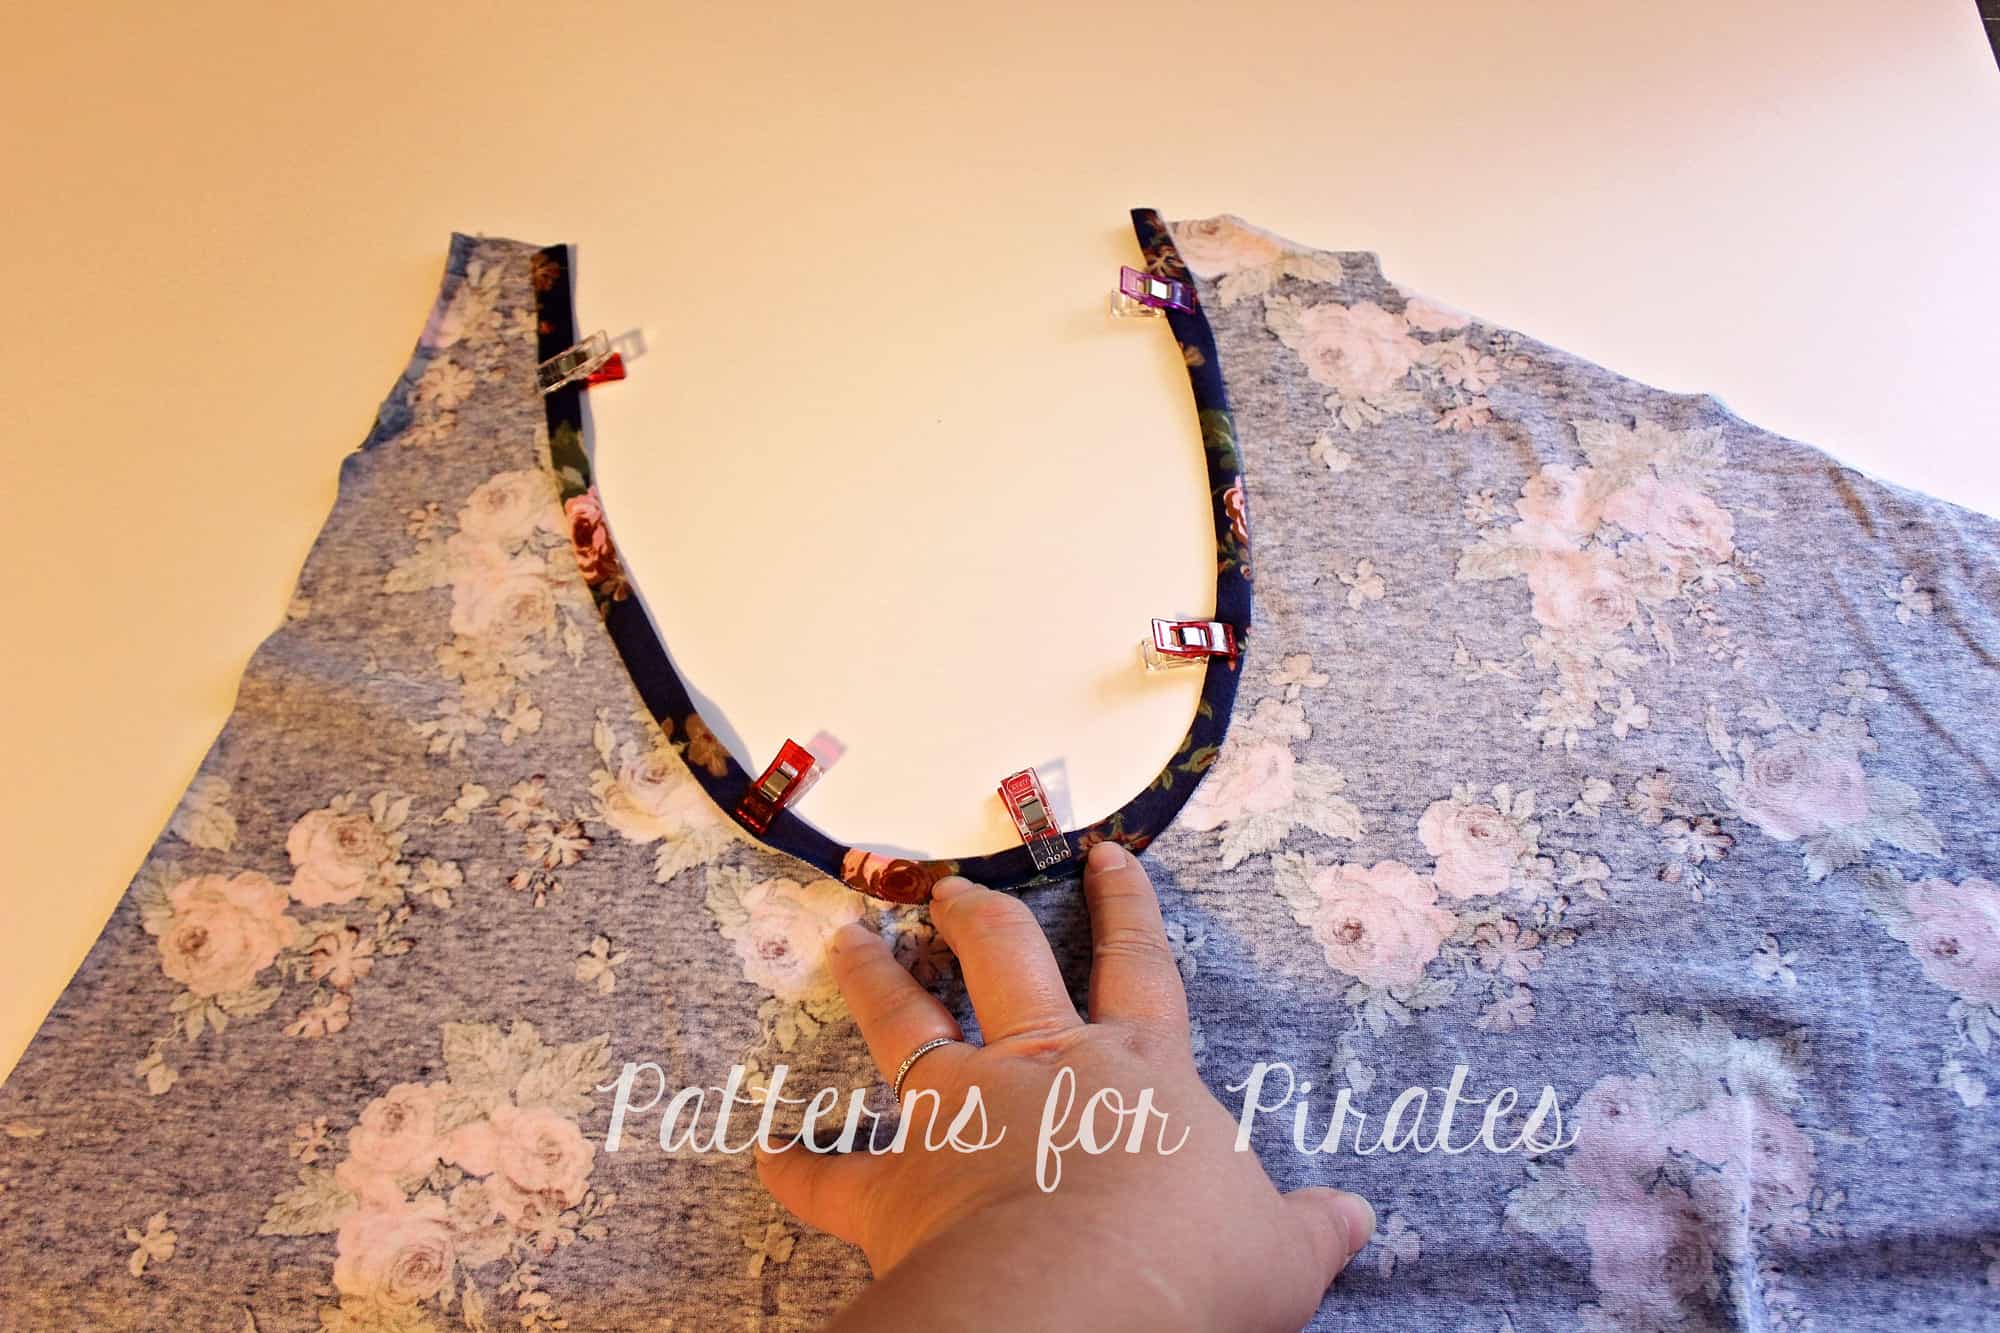
Match the center back of the neckband with the center back of the shirt. Slightly stretch the unfolded neckband and pin it to the back. Repeat for the front of the shirt. Using a stretch stitch, sew the neckband to the shirt right sides together.
Using the memory hem you created earlier enclose the front and back of the shirt and stitch the neckband with either your coverstitch machine, twin needles or a zig zag stitch.

All you have to do now is give the neckband a good steam press and show off your new cold shoulder shirt.
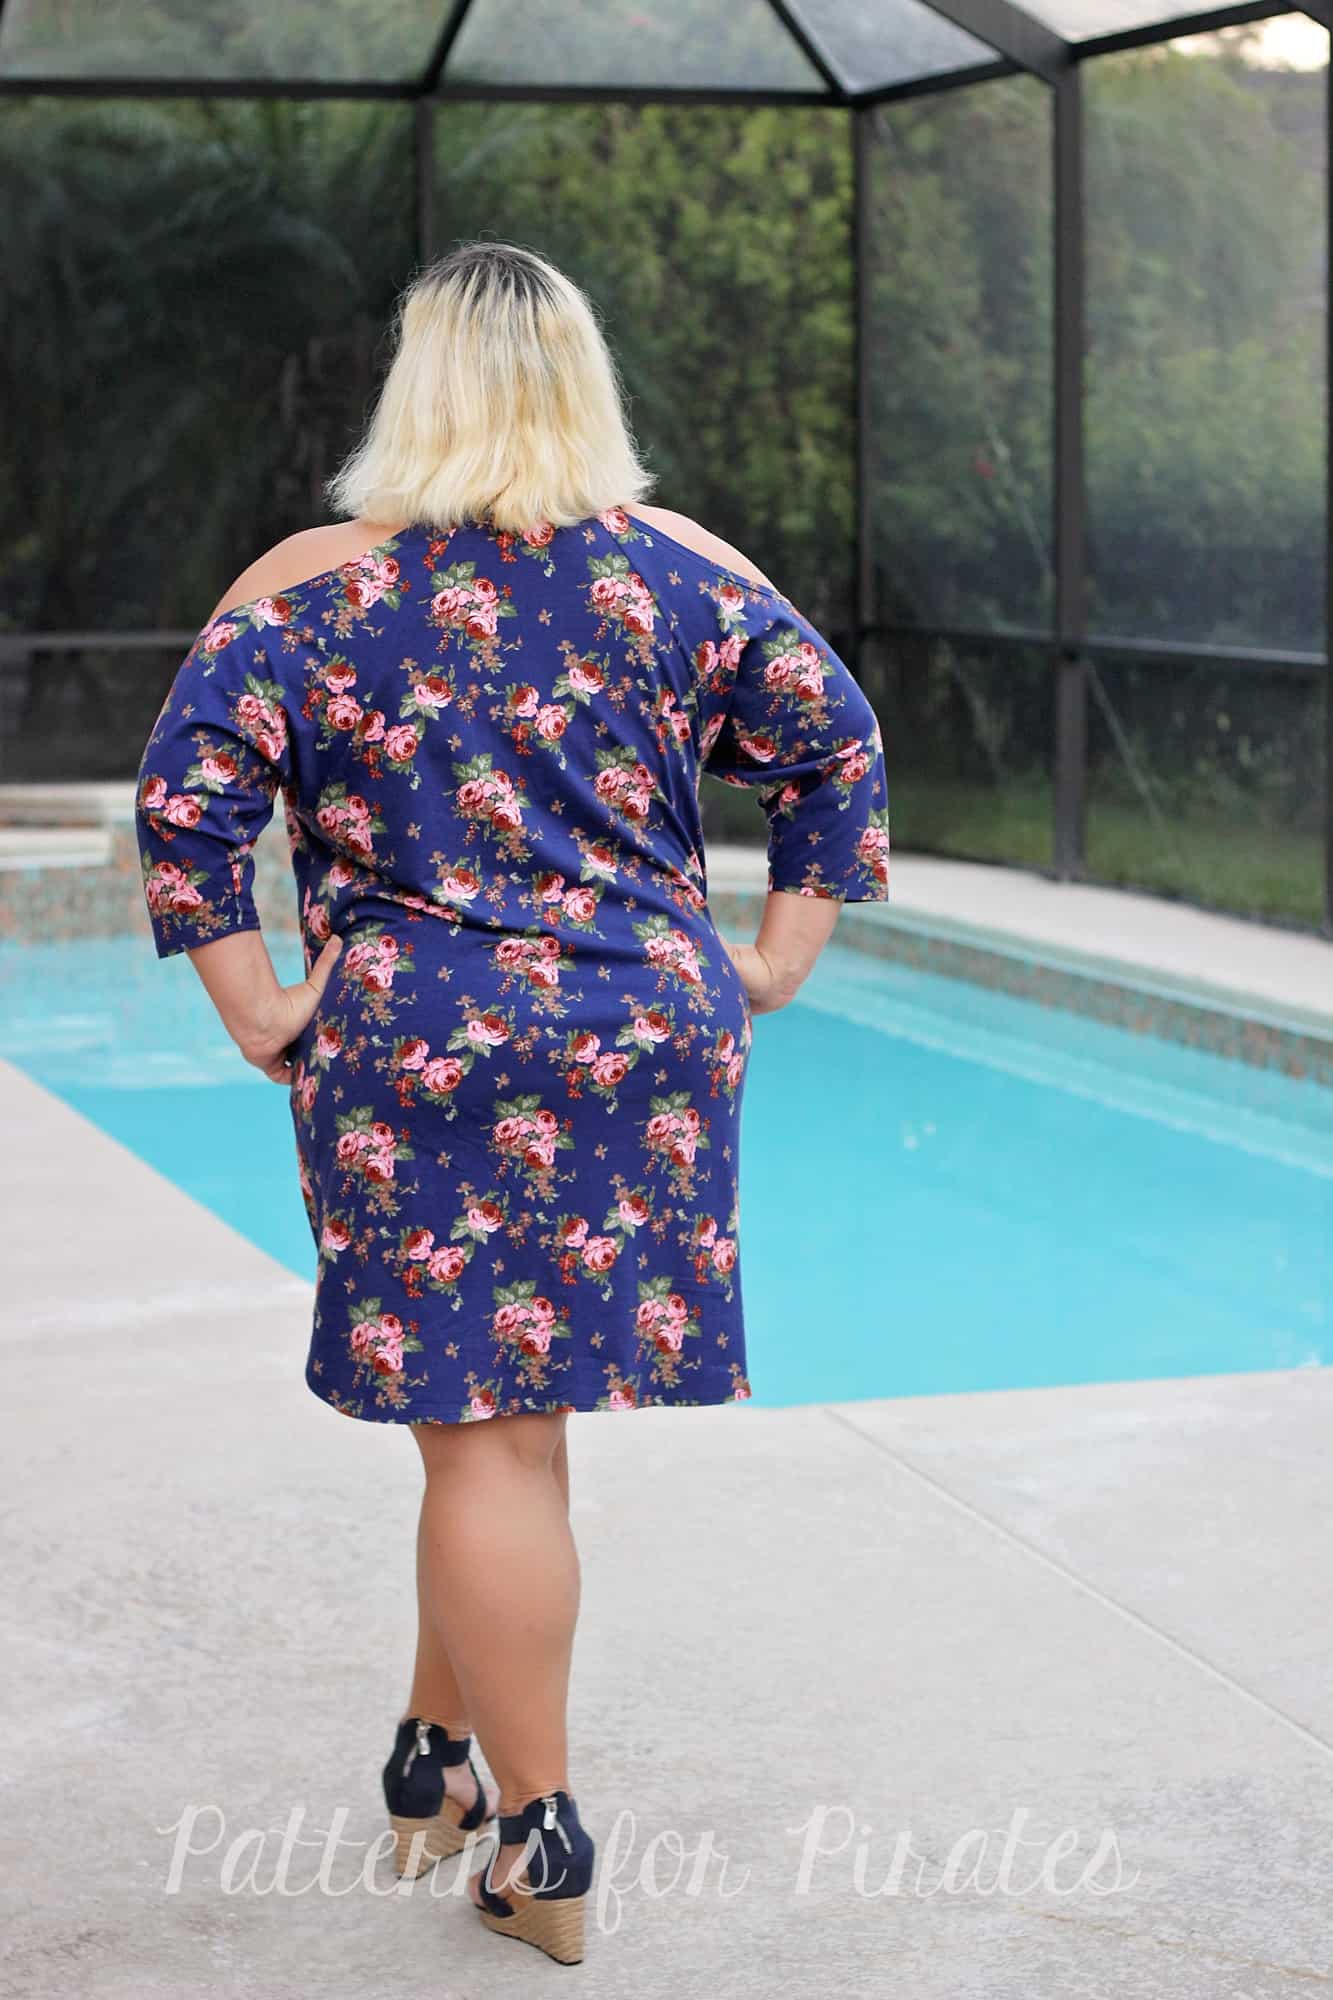
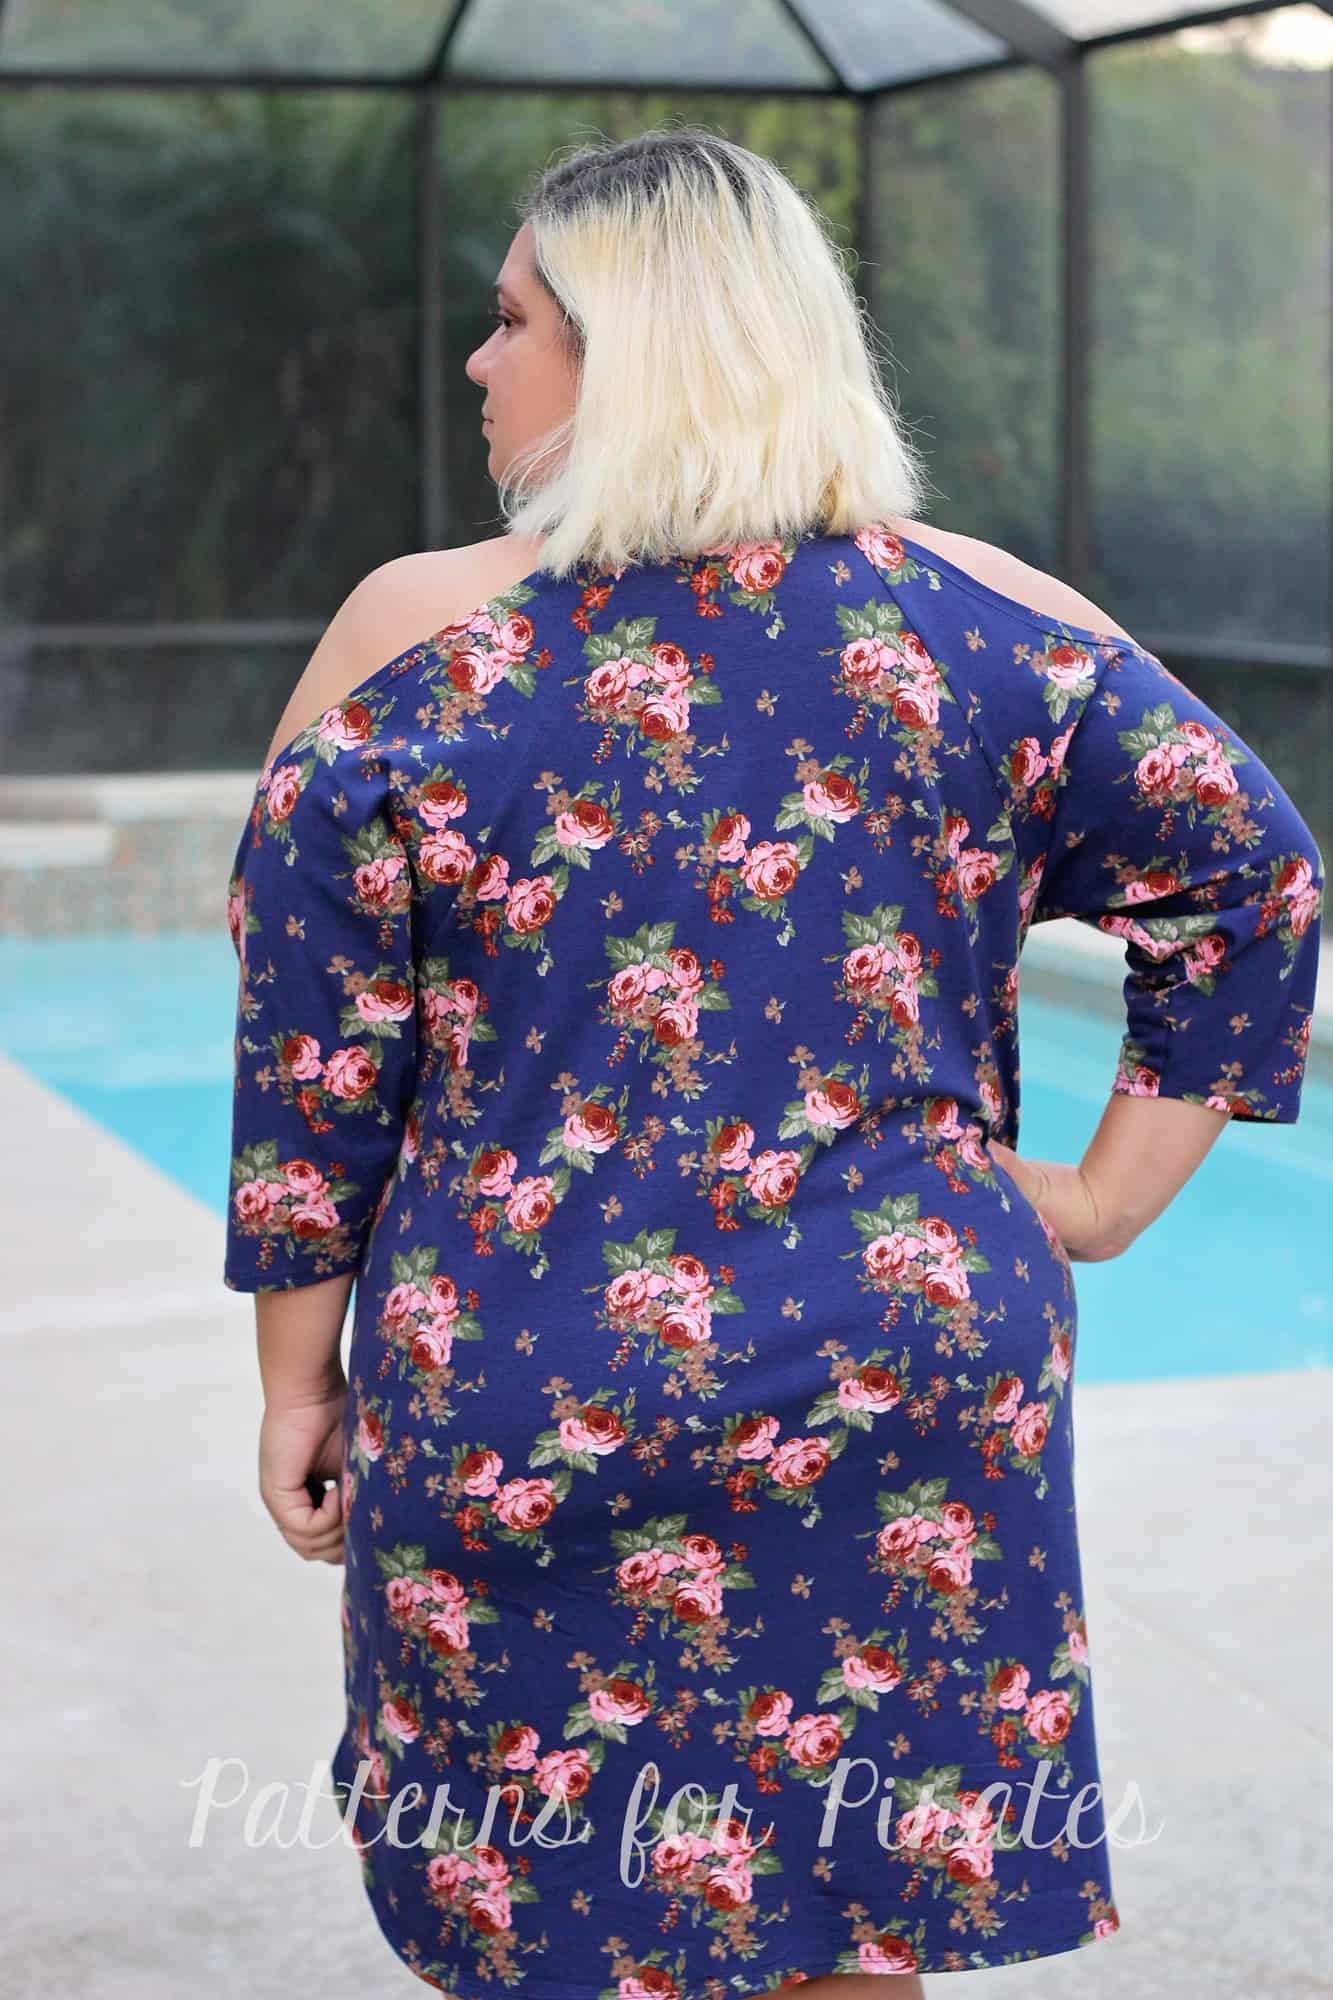
Play around with the cut-out size and get more looks!
. . . . .
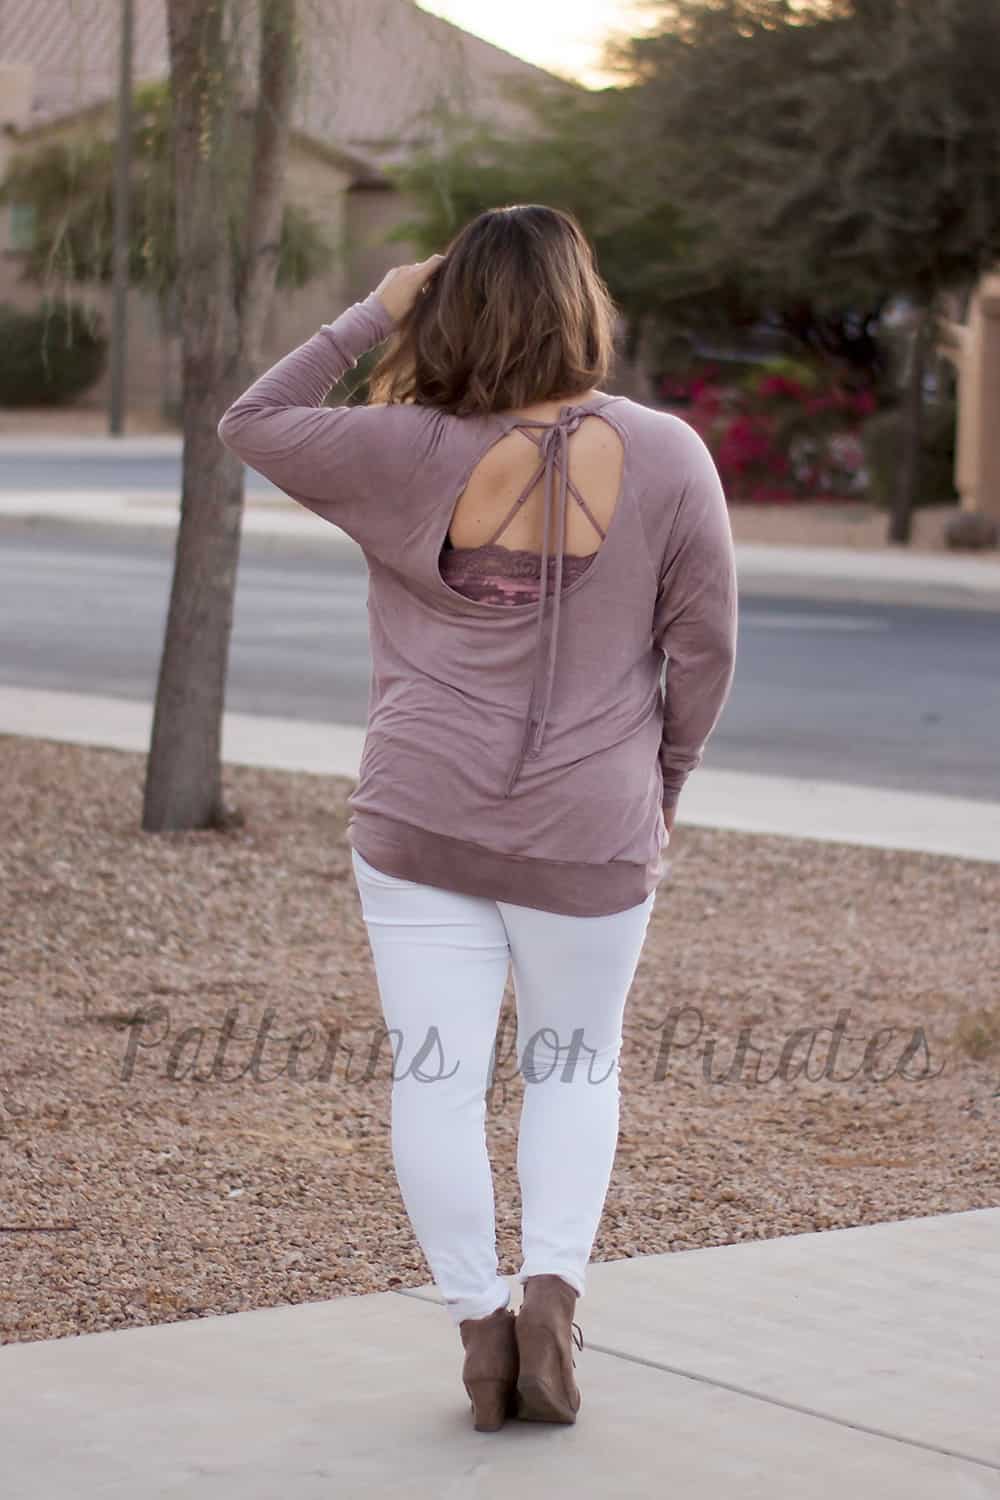
Tie Back

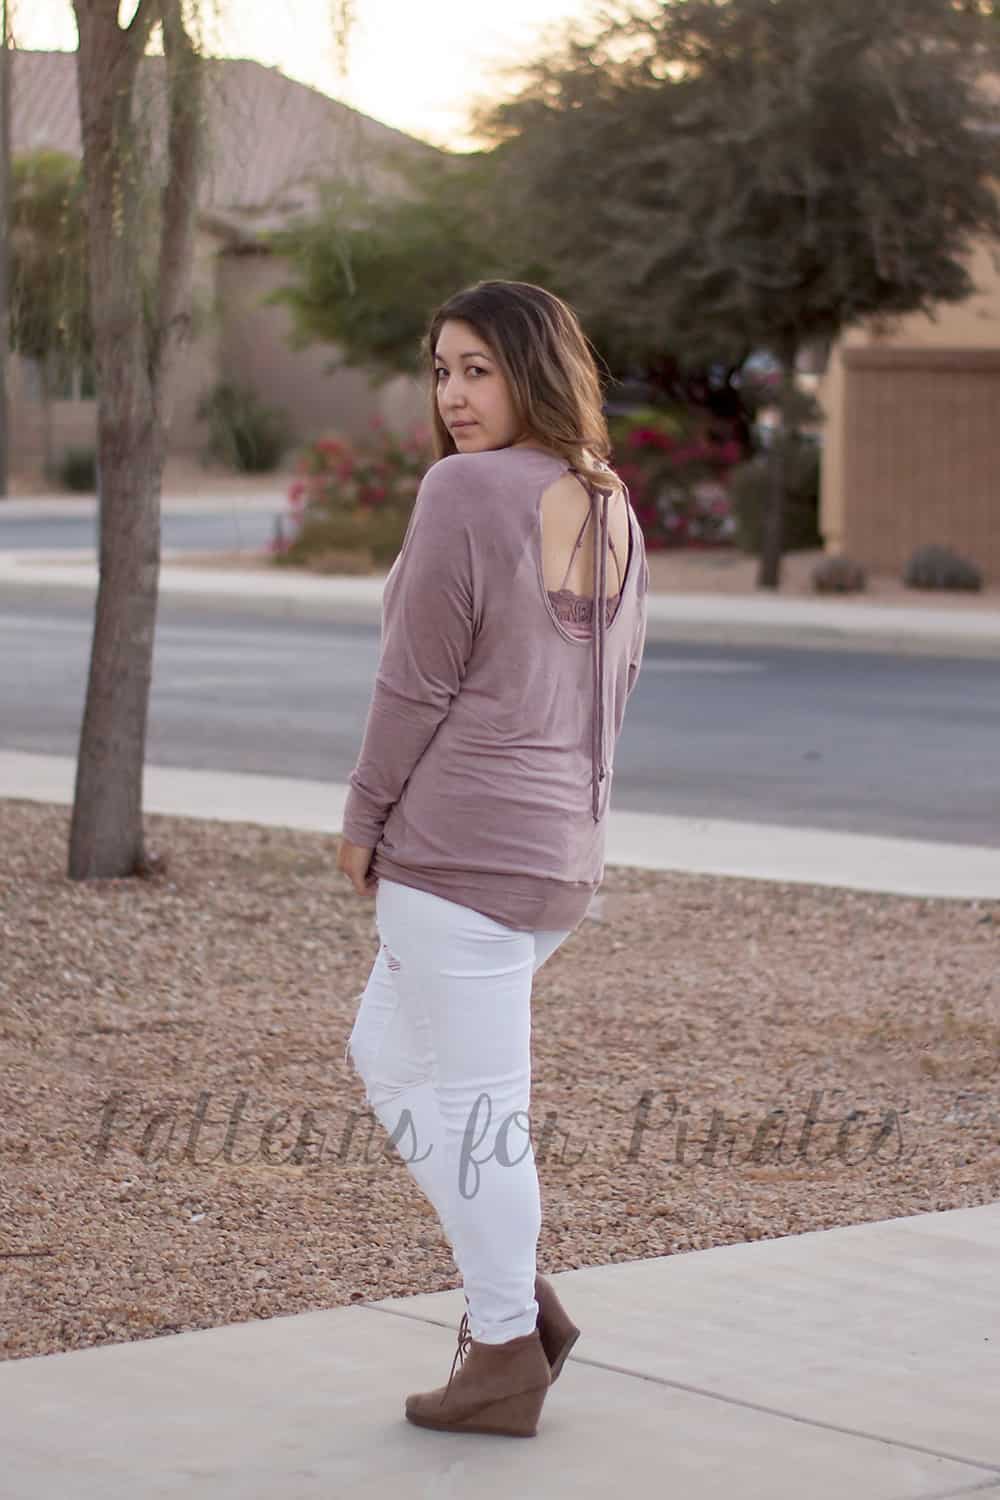
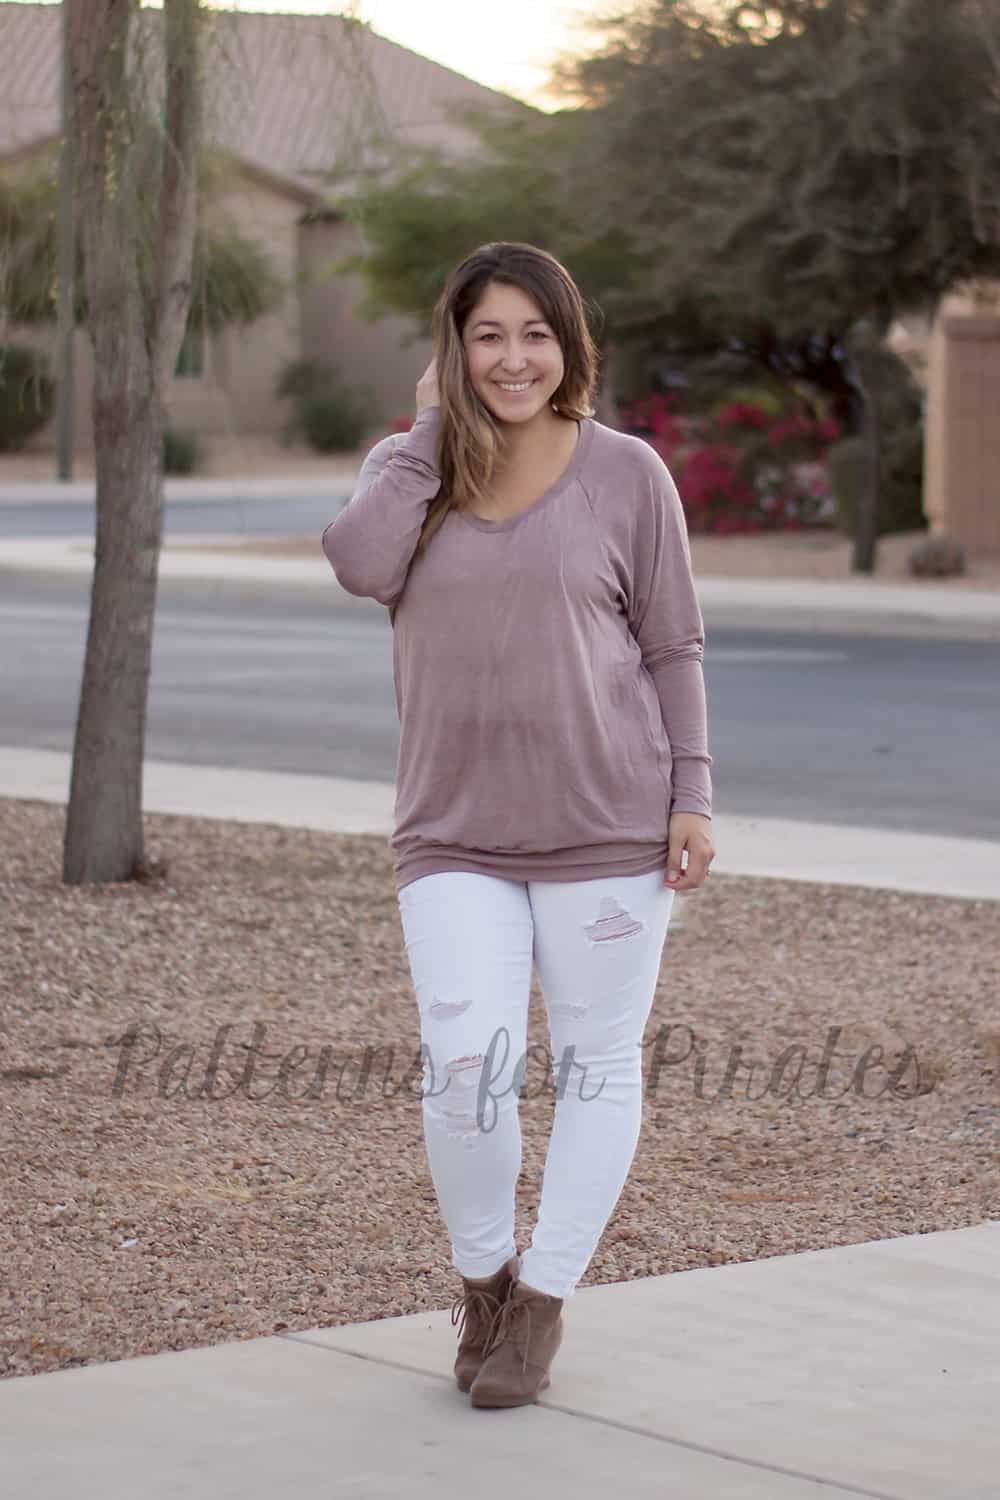
During Raglan Week last year, we showed how to create a keyhole back for the Slim Fit Raglan (here), so I knew a tie back option for the RagDoll Raglan had to be done. Instead of binding the neckline, I decided to do a spaghetti strap style tie. You can really use anything for your ties; lace, ribbon, etc. but will show you how to make the spaghetti straps.
Cut your patterns pieces as usual:
- front, back with low scoop option, 2 sleeves (mirror image).
- For the ties, I did 1.5″ x 22″. You can adjust to your preference but found this to be a good length for me.
- Neckband: as per pattern but less 3″ from the width measurement on the cut chart. Example: Size large is 2.75″ x 26.75″ so my adjusted neckband is 2.75′ x 23.75″.
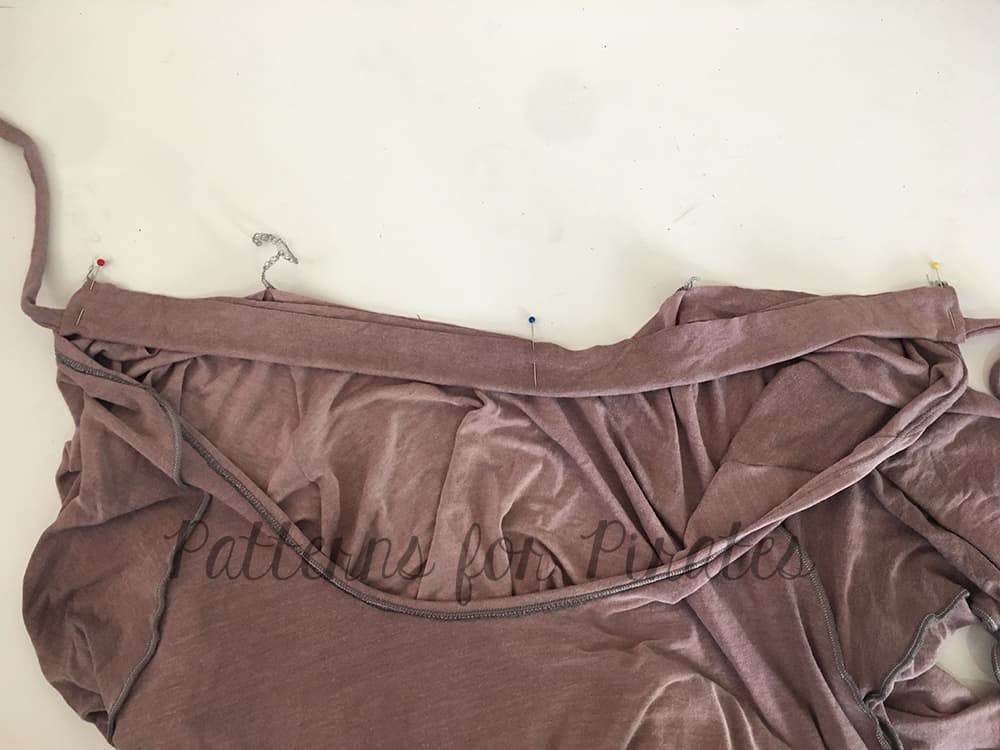
Construct your pattern as provided in the tutorial but skip hemming the low back curve. We will do that after the back has been attached to the sleeves.
-

- With right sides together stitch sleeves to front and back as instructed in the tutorial. You will have excess at the top back, do not cut off your seam allowance.
-
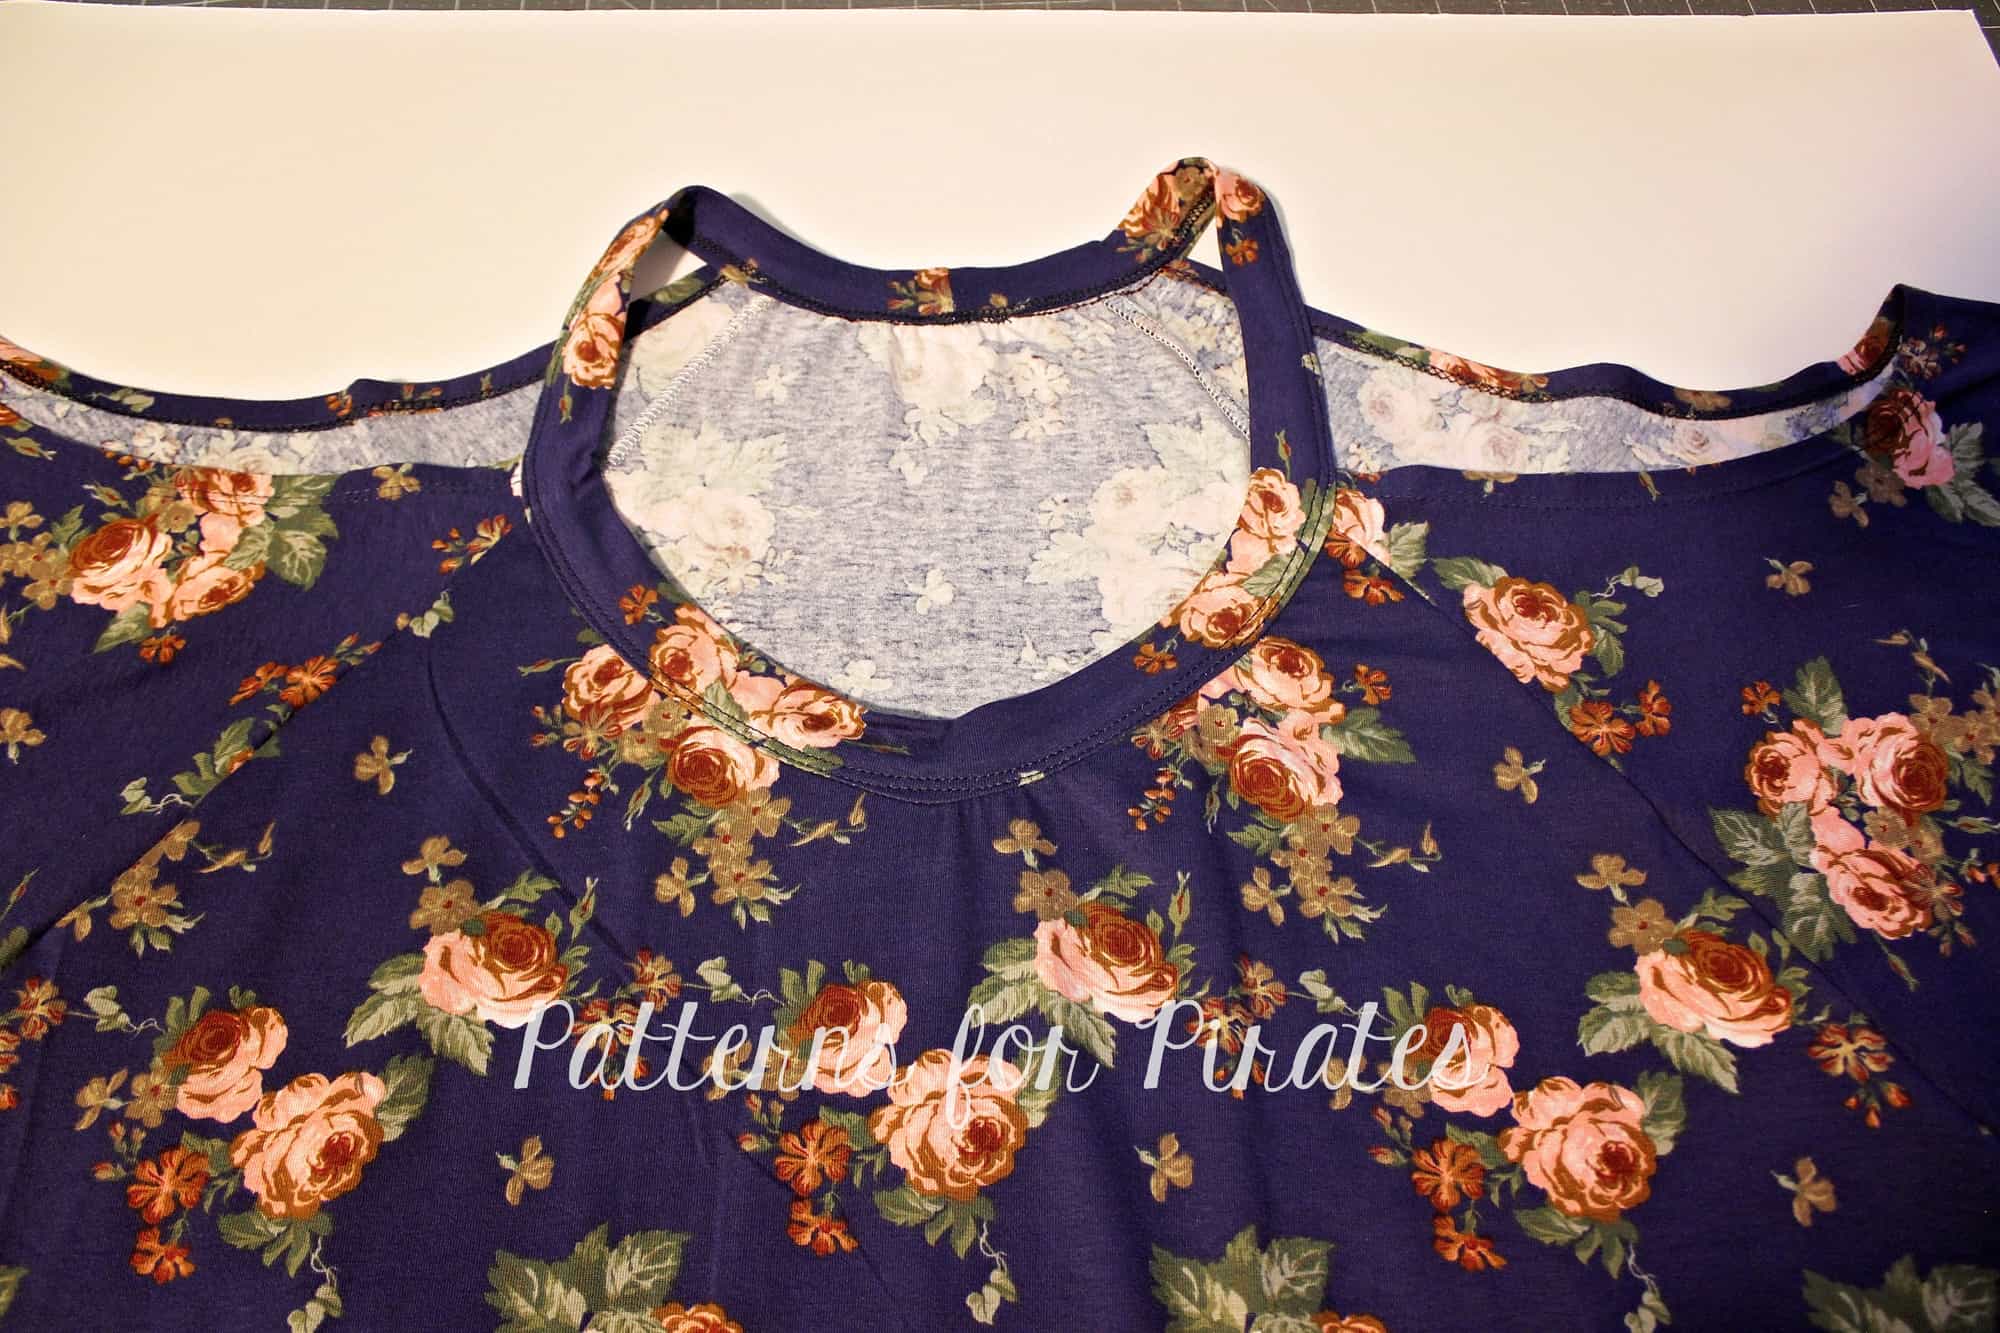
- Back view.
-
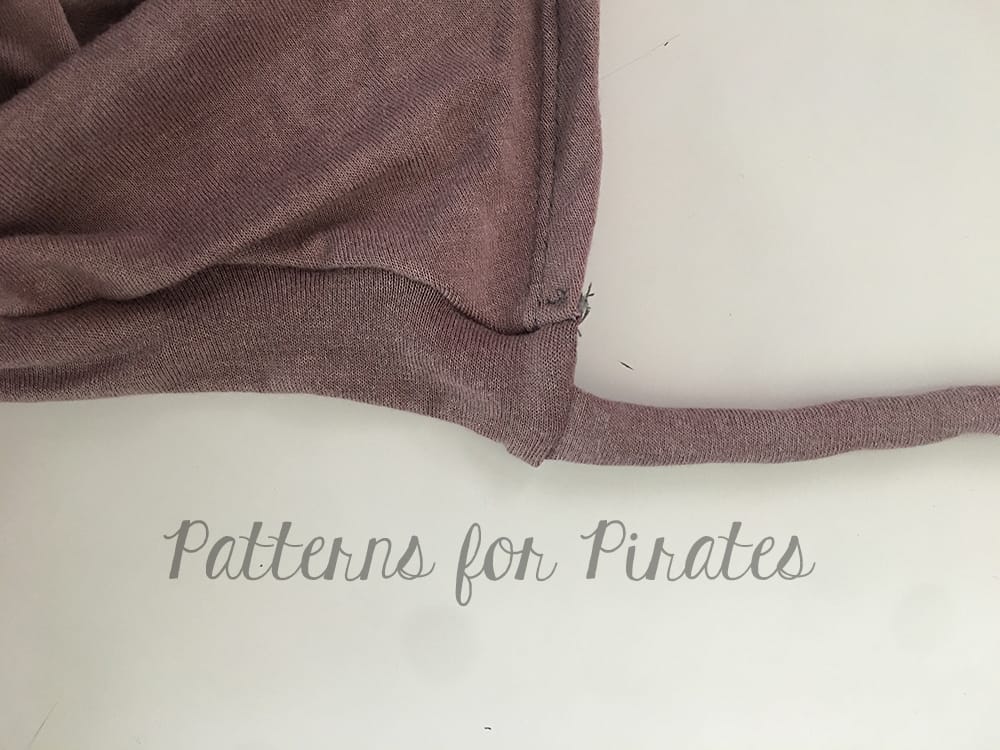
- Turn the low back curve and top portion of the sleeve under 1/2″ to the wrong side and edgestitch.
Now to create the ties.
-
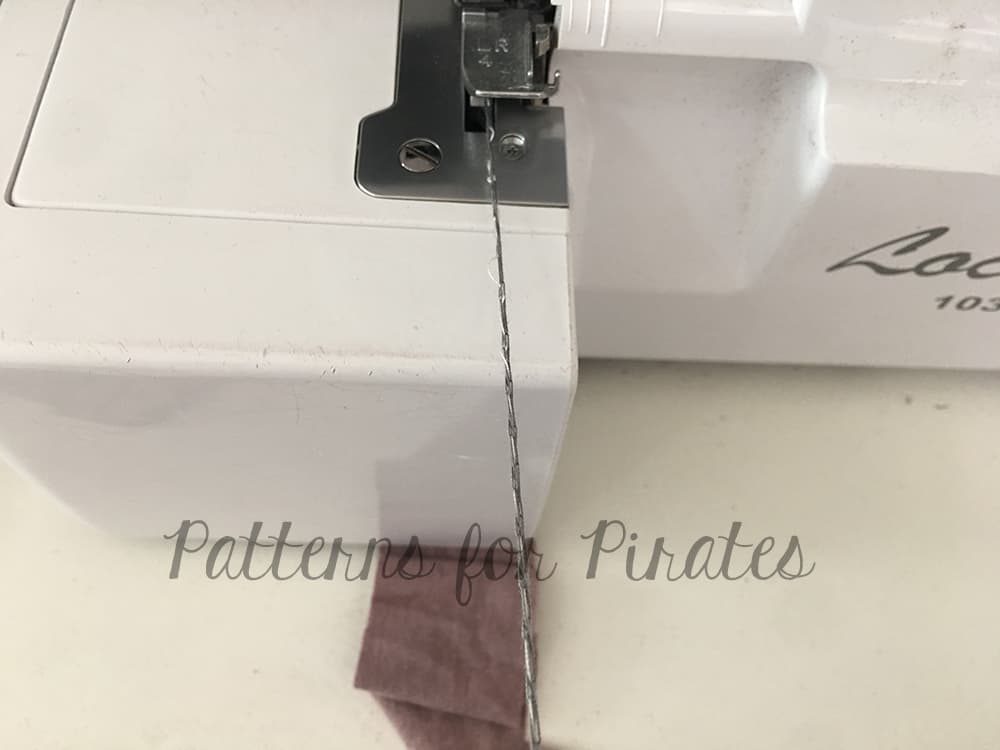
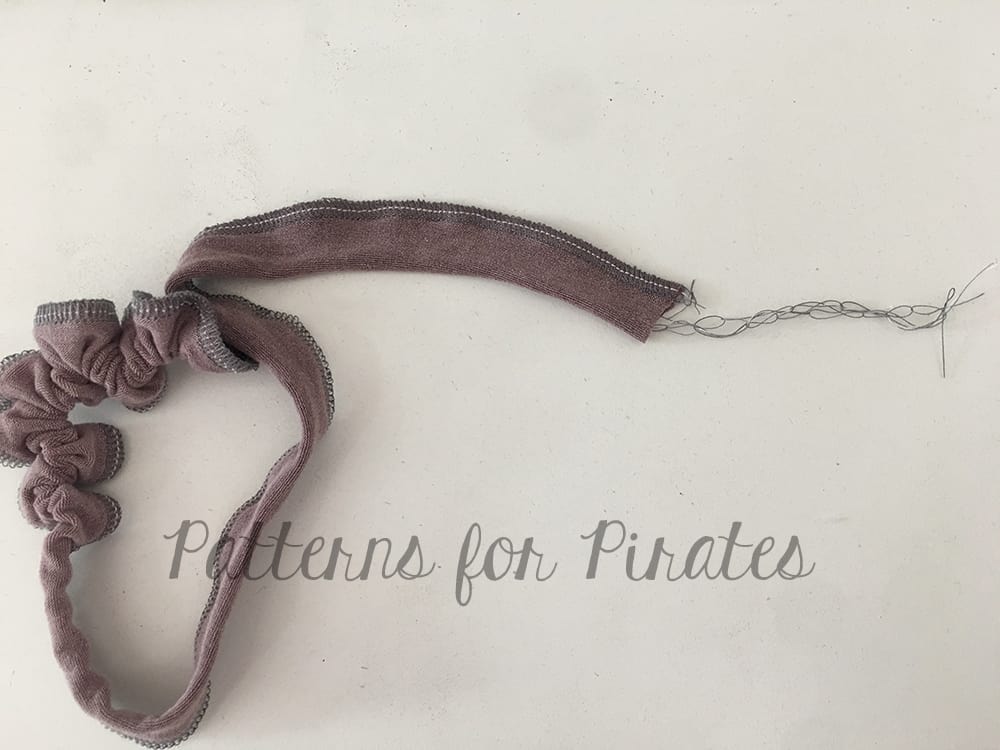
- On your serger or sewing machine create a long tail at least 3/4 the length of your tie.
-
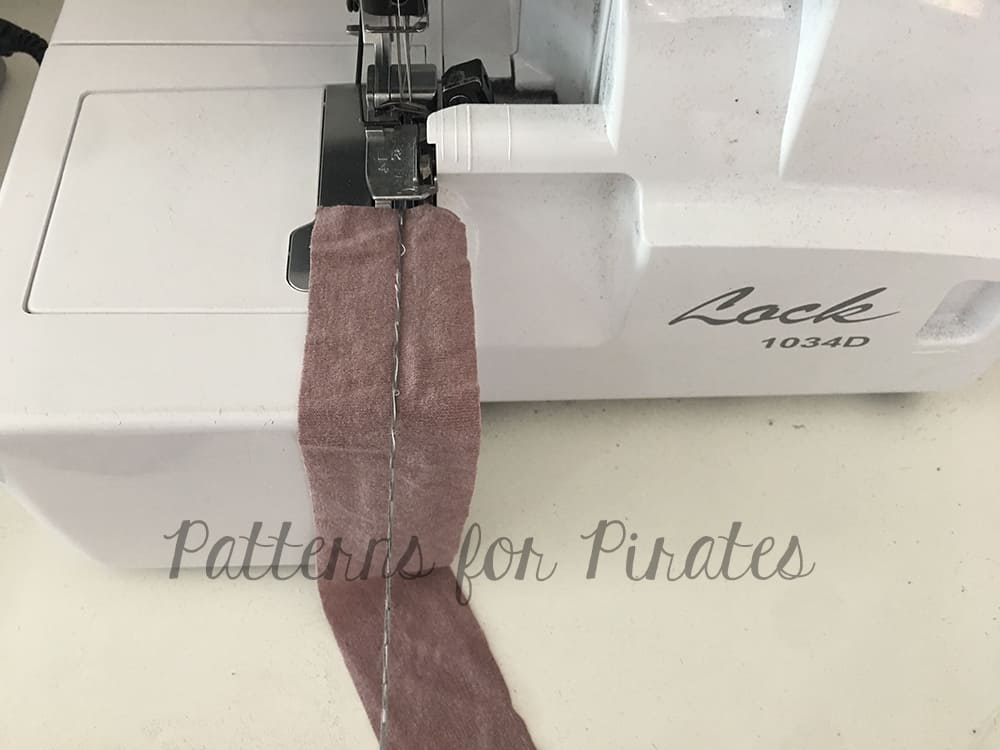
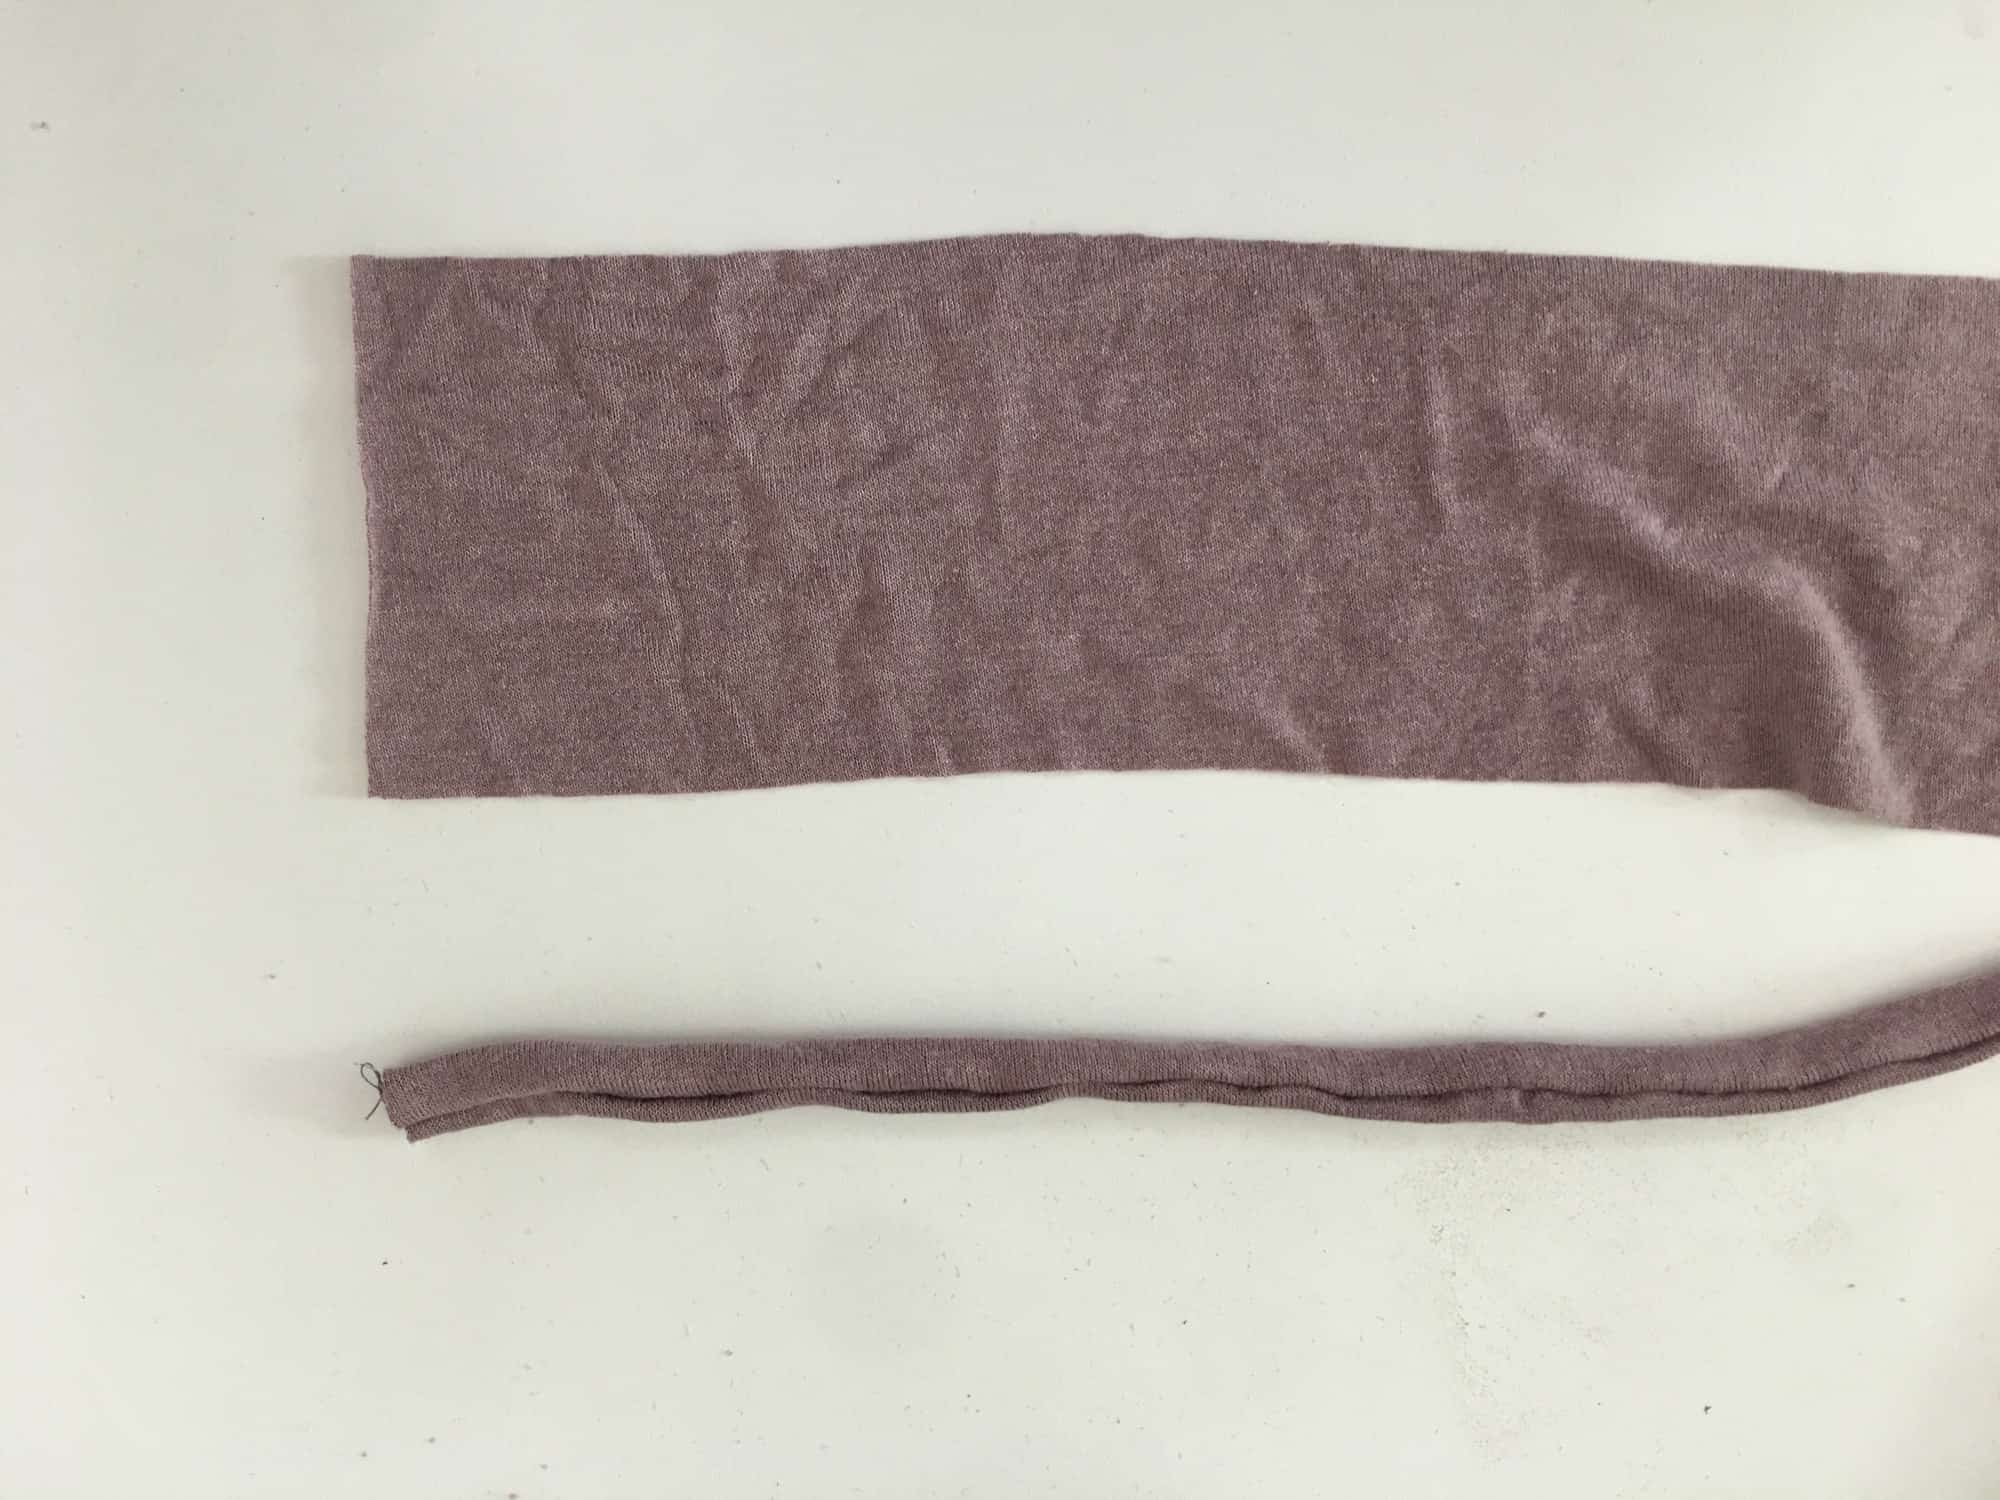
- Place your tail on the right side of the tie.
-

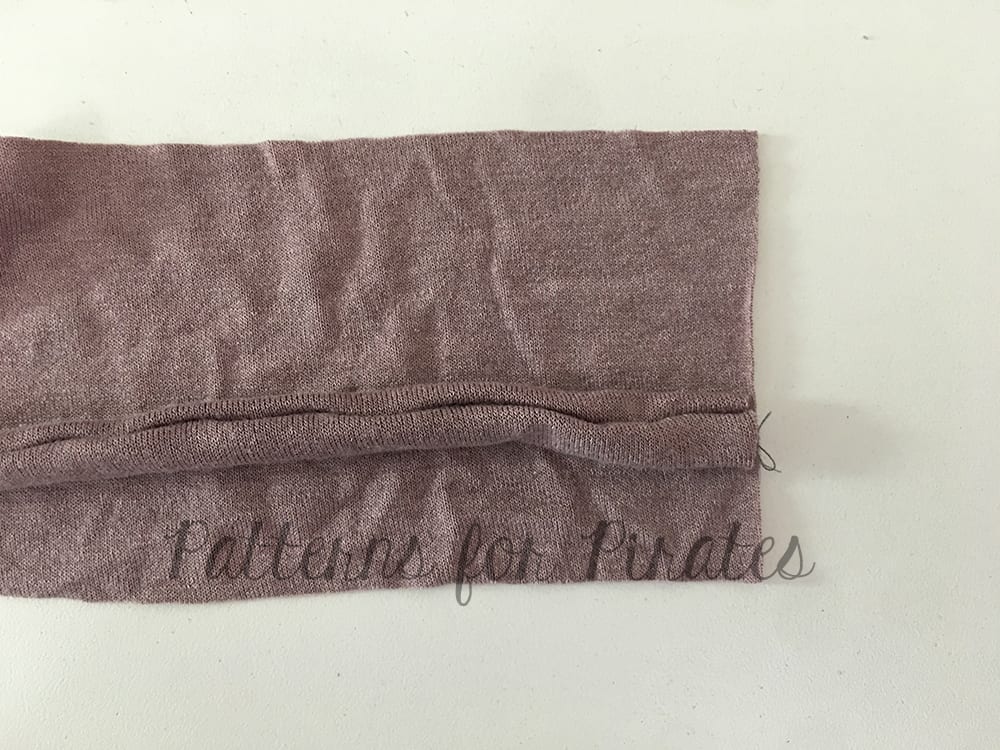
- Fold tie with right sides together over the tail.
-
- Stitch using a 1/4″ seam allowance. Be sure not to catch your tail. As you stitch, pull the tail toward you so that you have excess and does not end up enclosed in your tie.
-
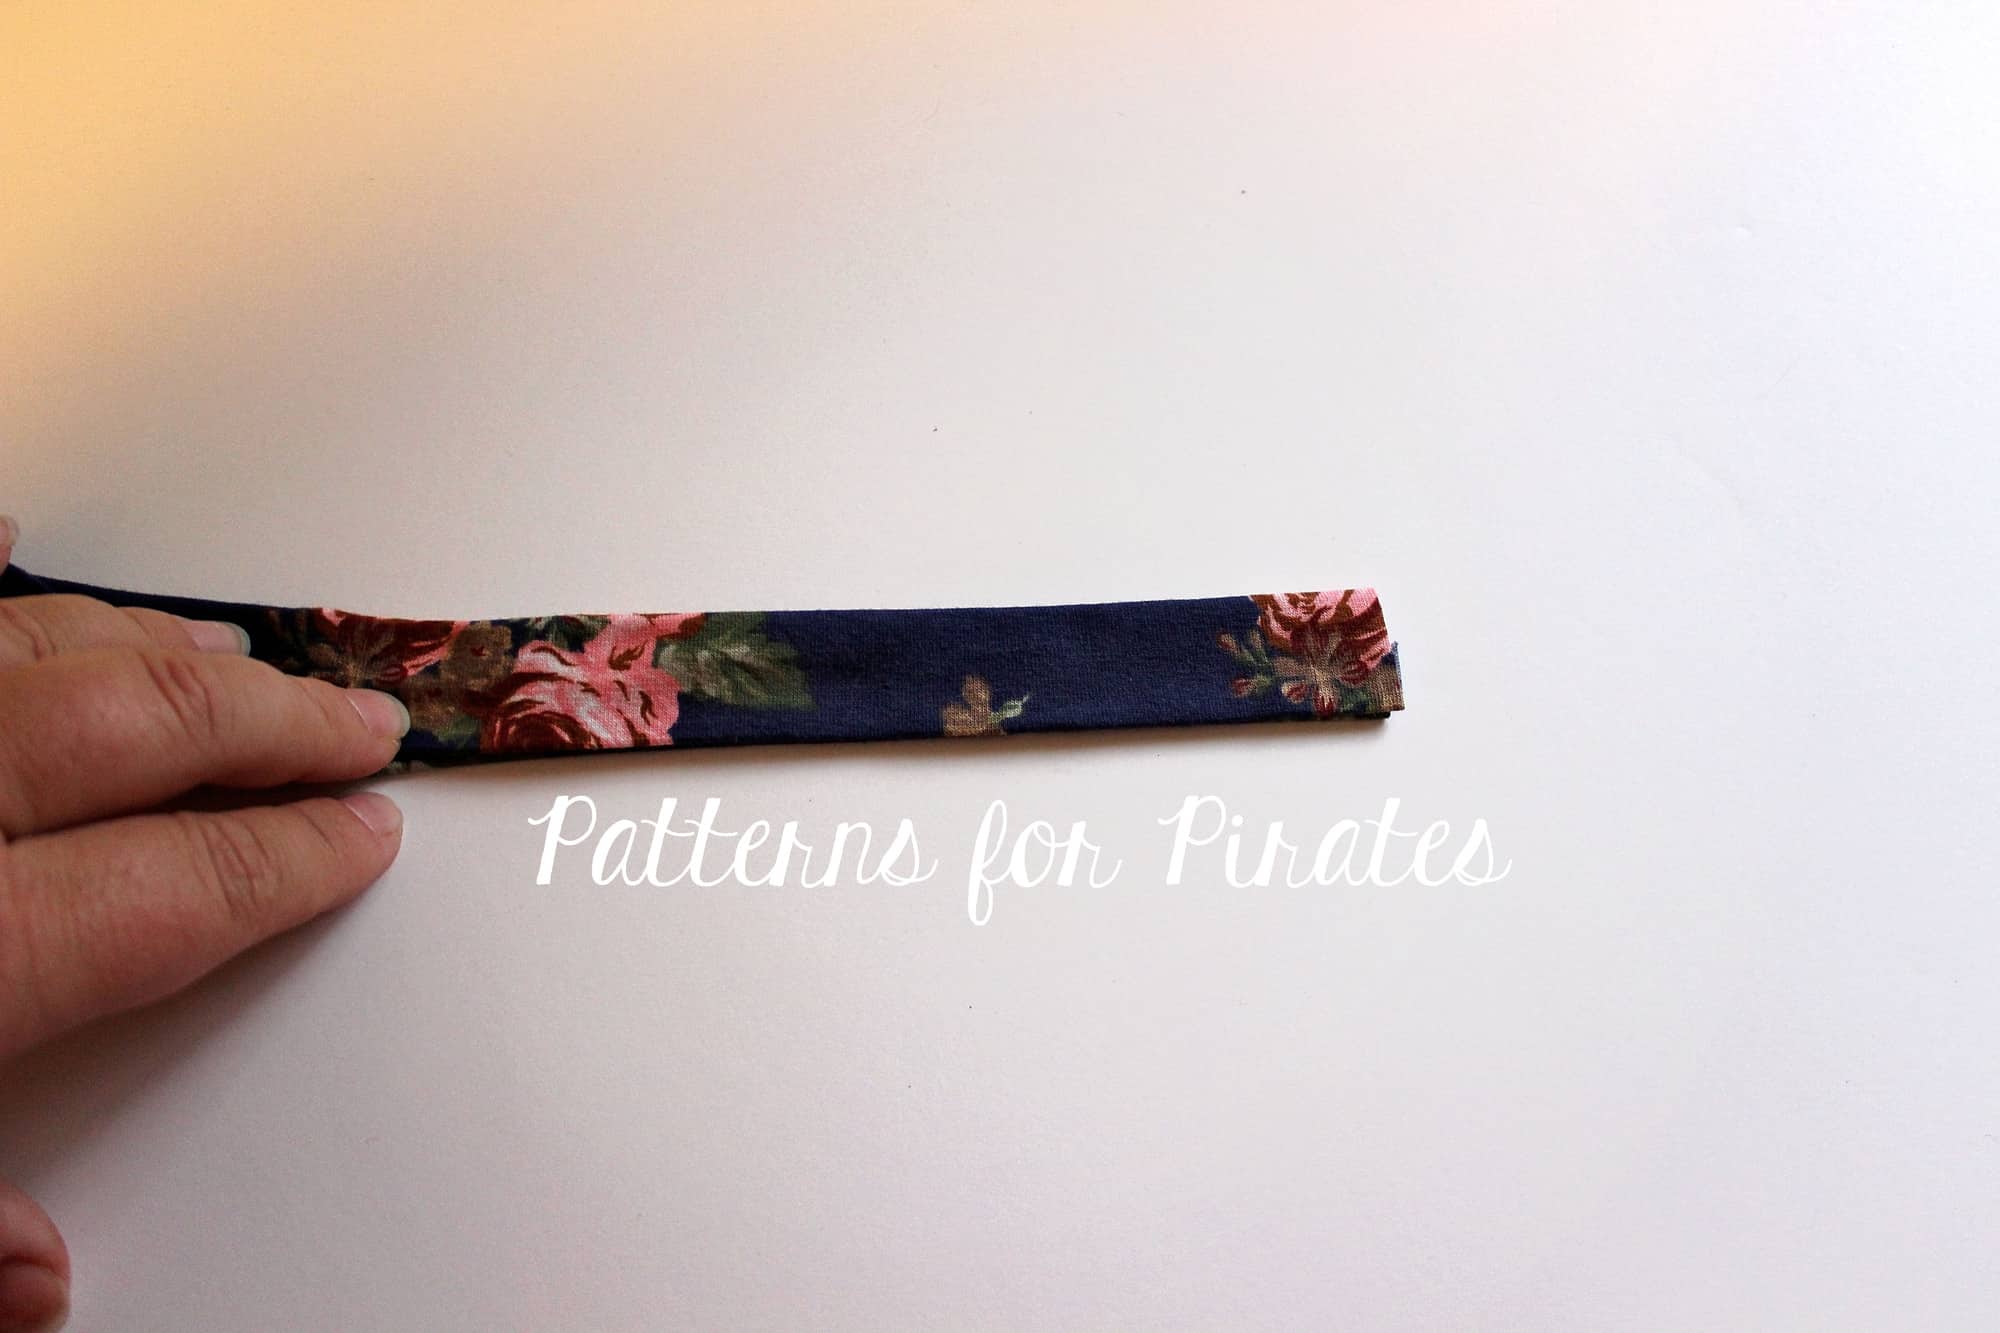
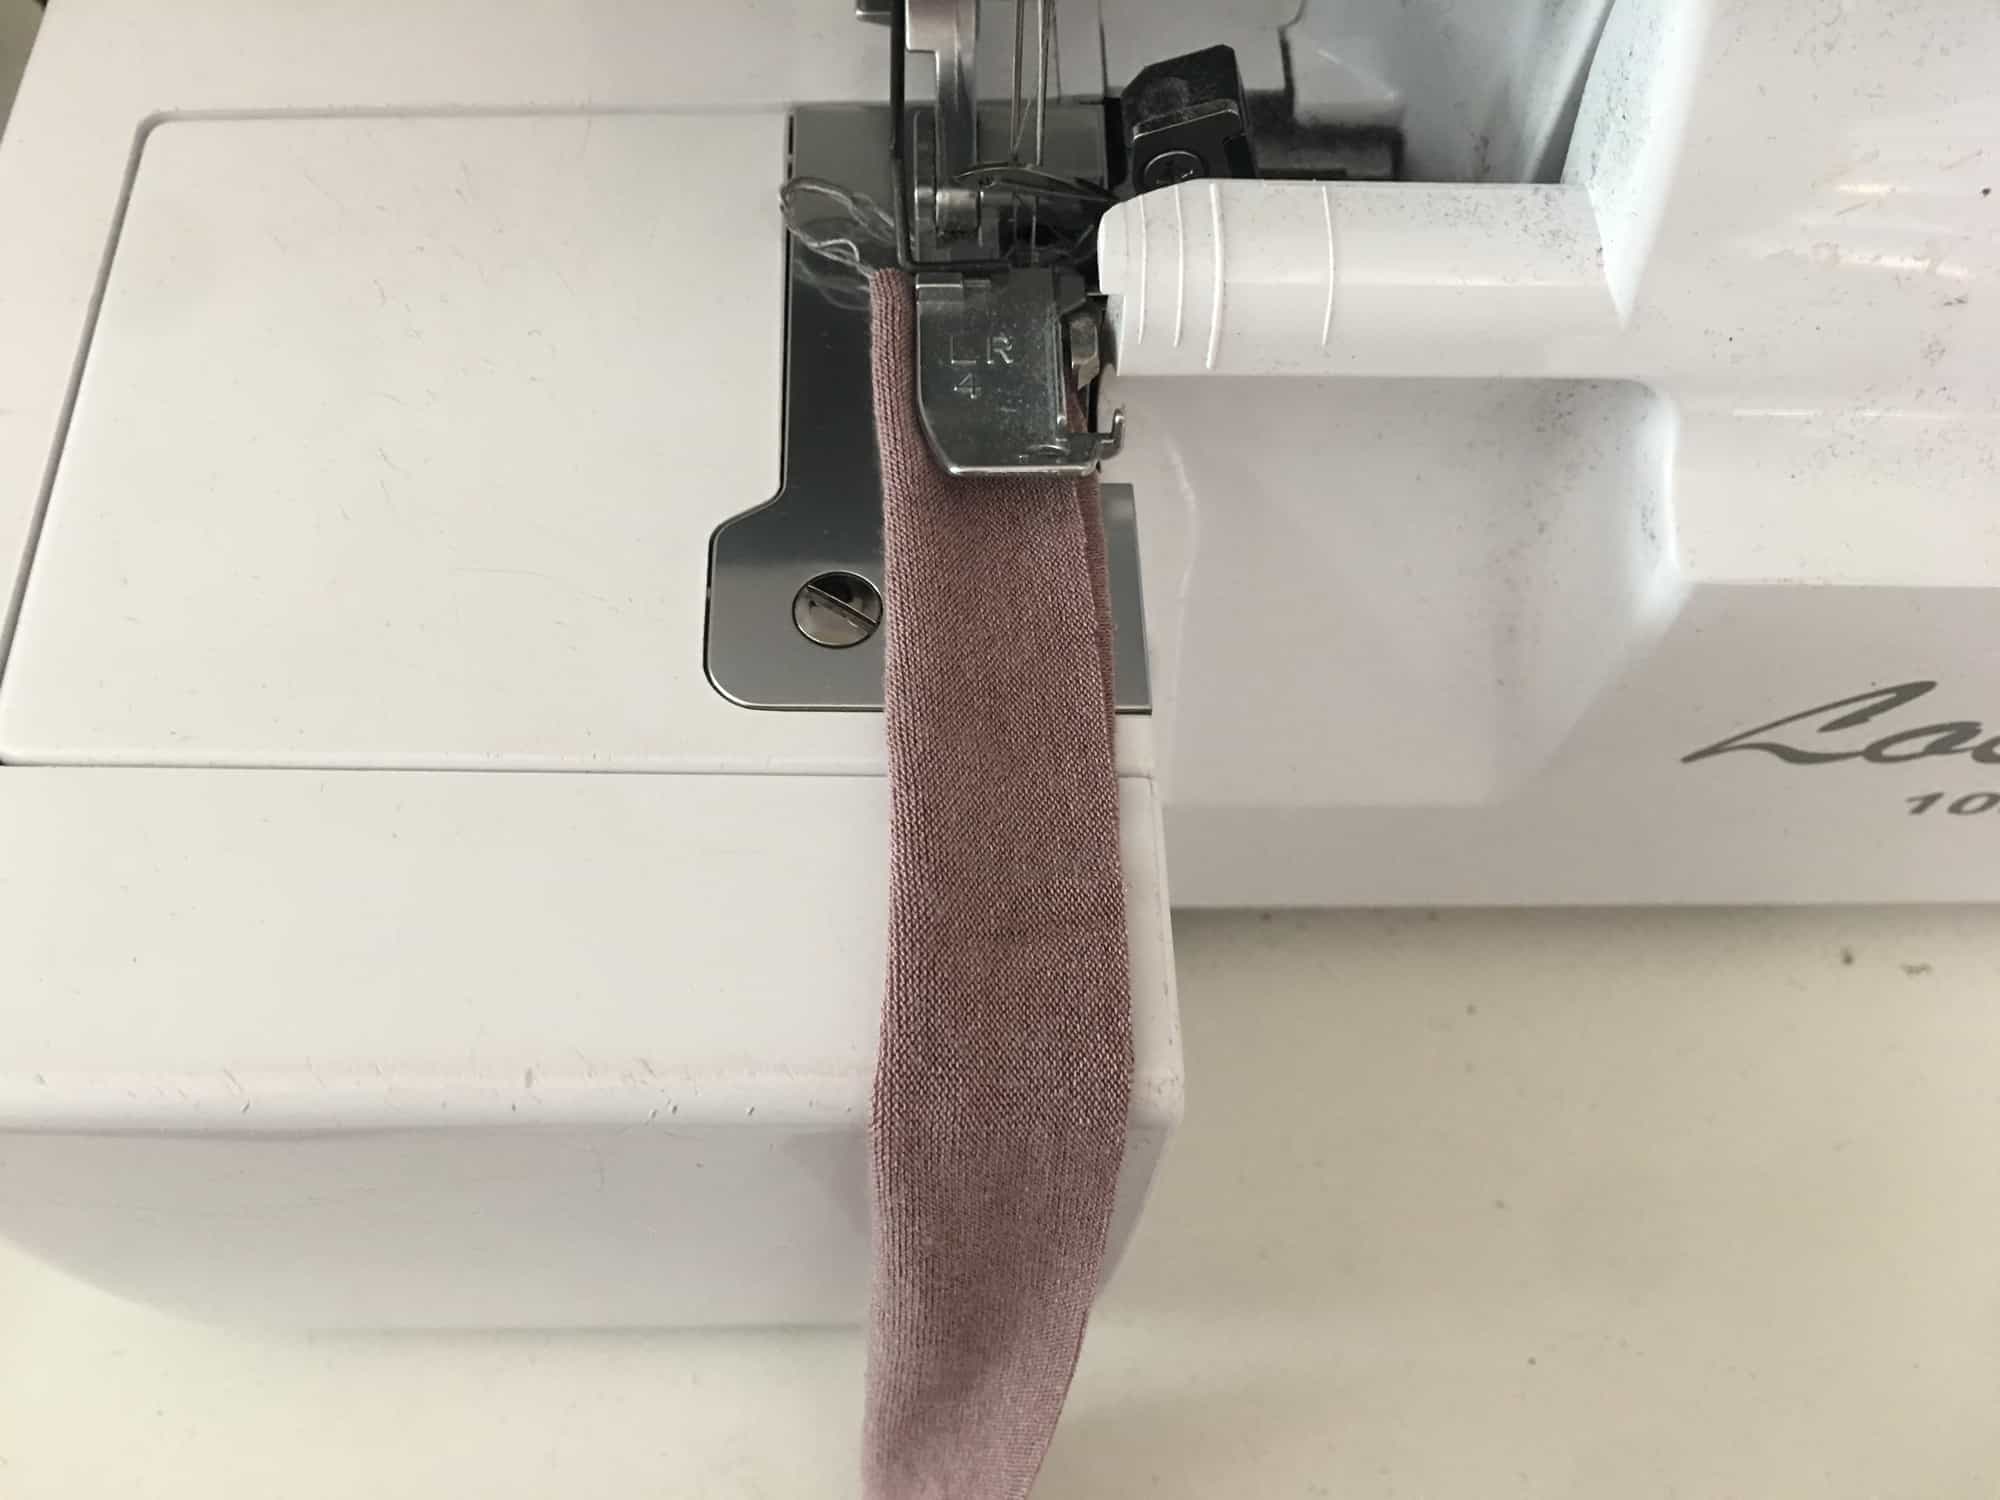
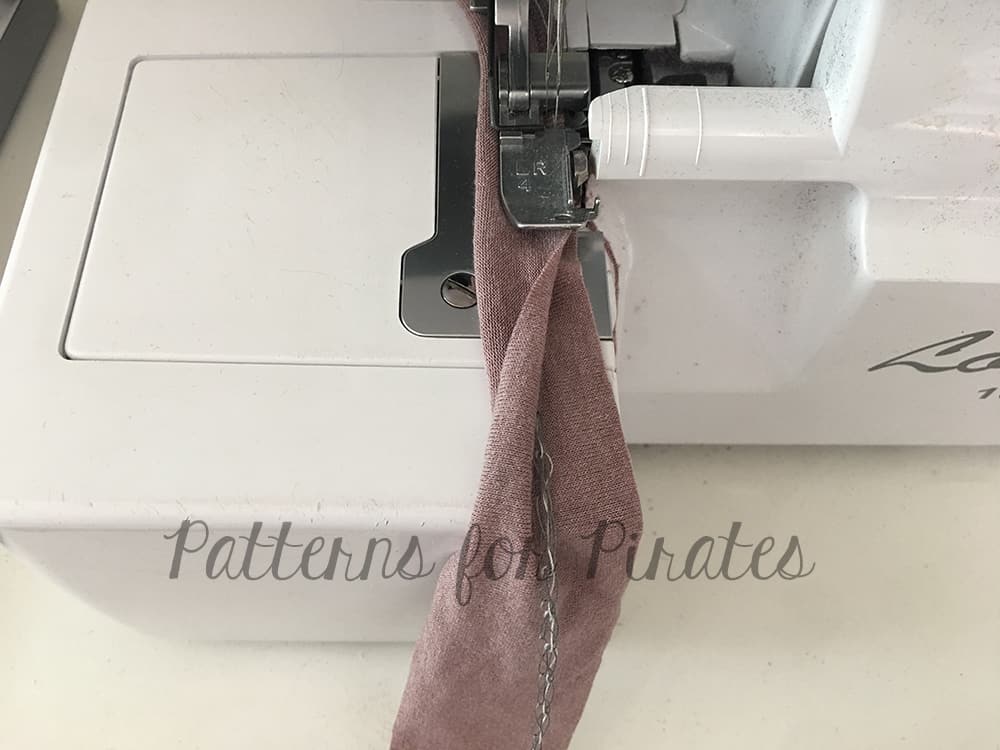
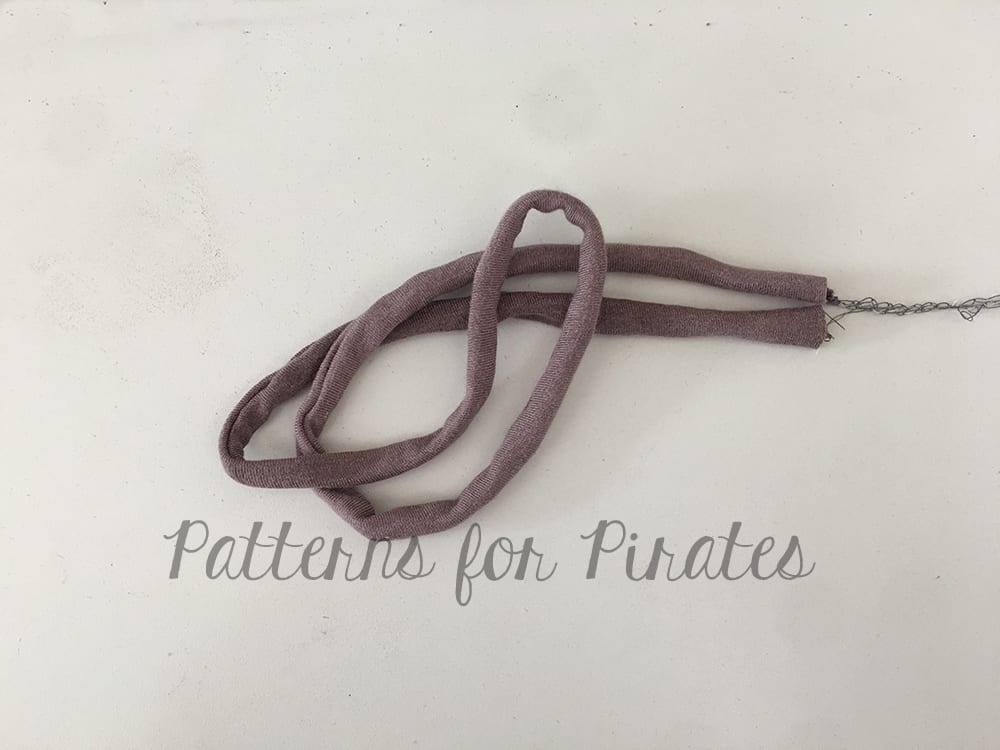
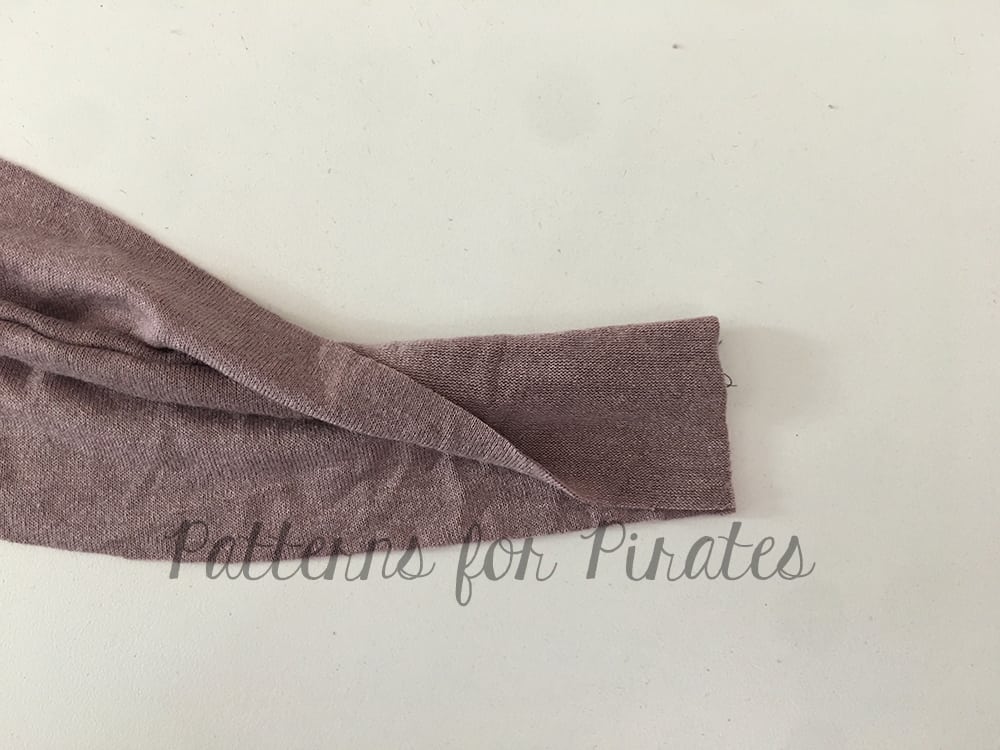
- Gently pull the tail and turn your tie right side out.
-
- Finish or knot your ends.
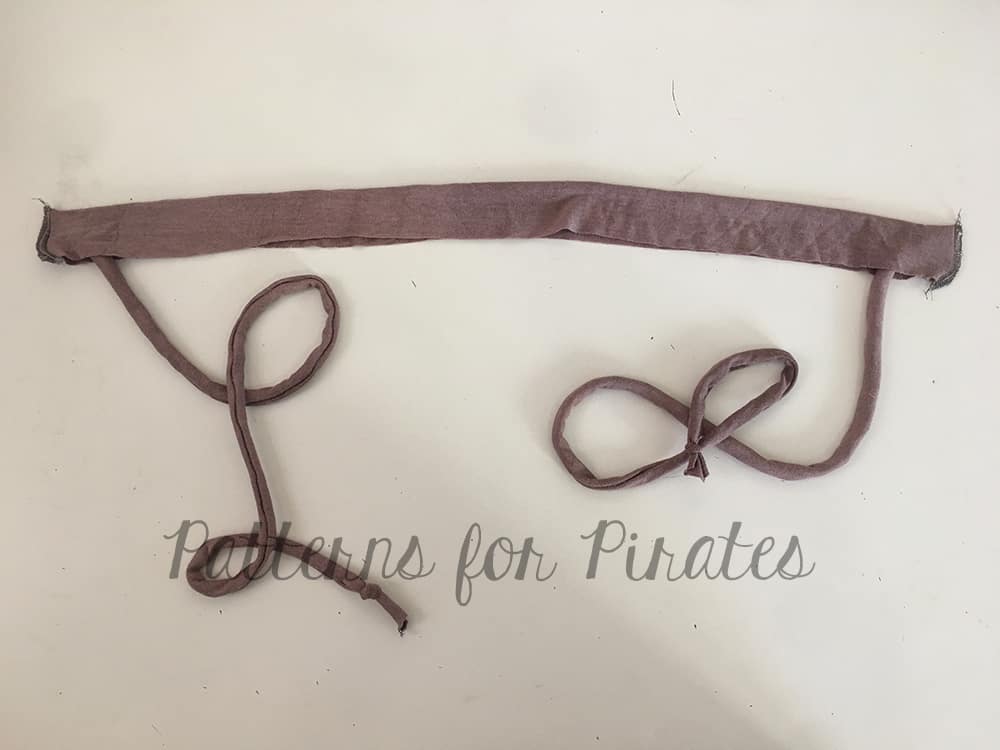
Now, we can finish the neckband.
-
- Grab your ties and neckband.
-
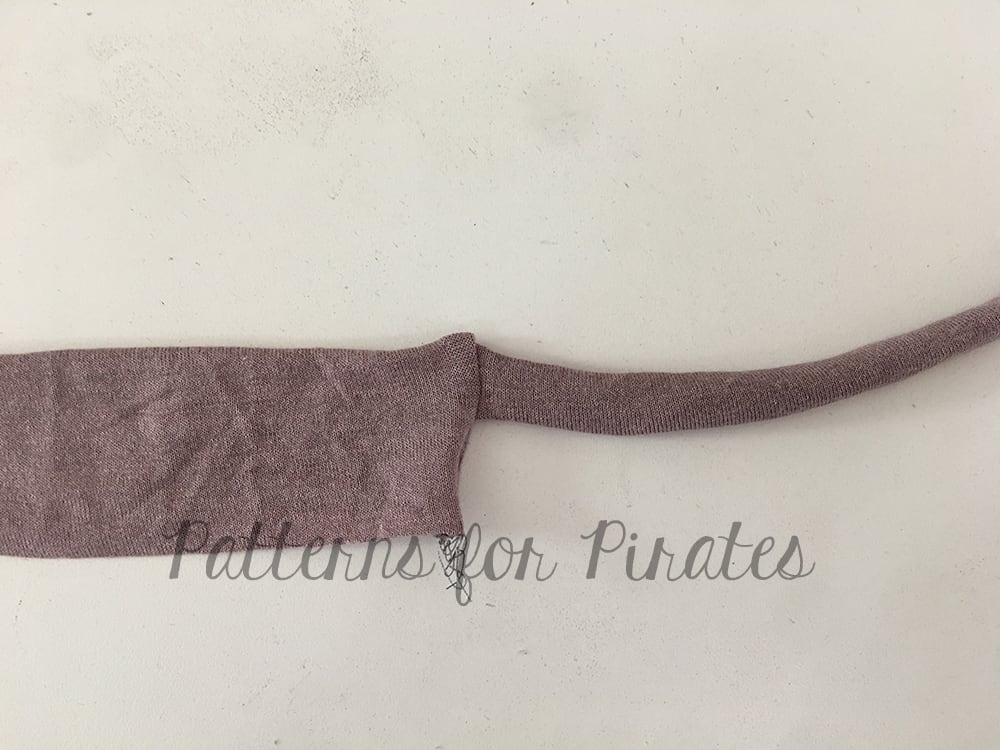
- With right sides together, place one tie at one end of the neckband just below center.
-
- Fold neckband over tie with right sides together and stitch using a 1/4″ seam allowance.
-
- Repeat on other side.
-
- Flip neckband right side out.
-
- Mark center of neckband and neckline of shirt.
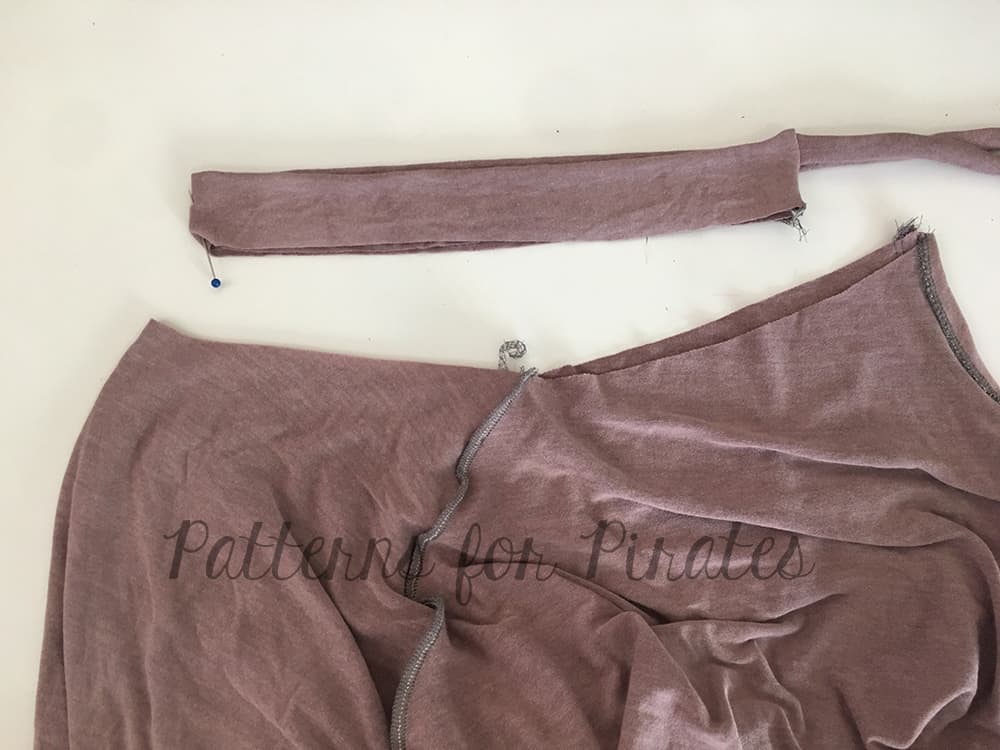
-
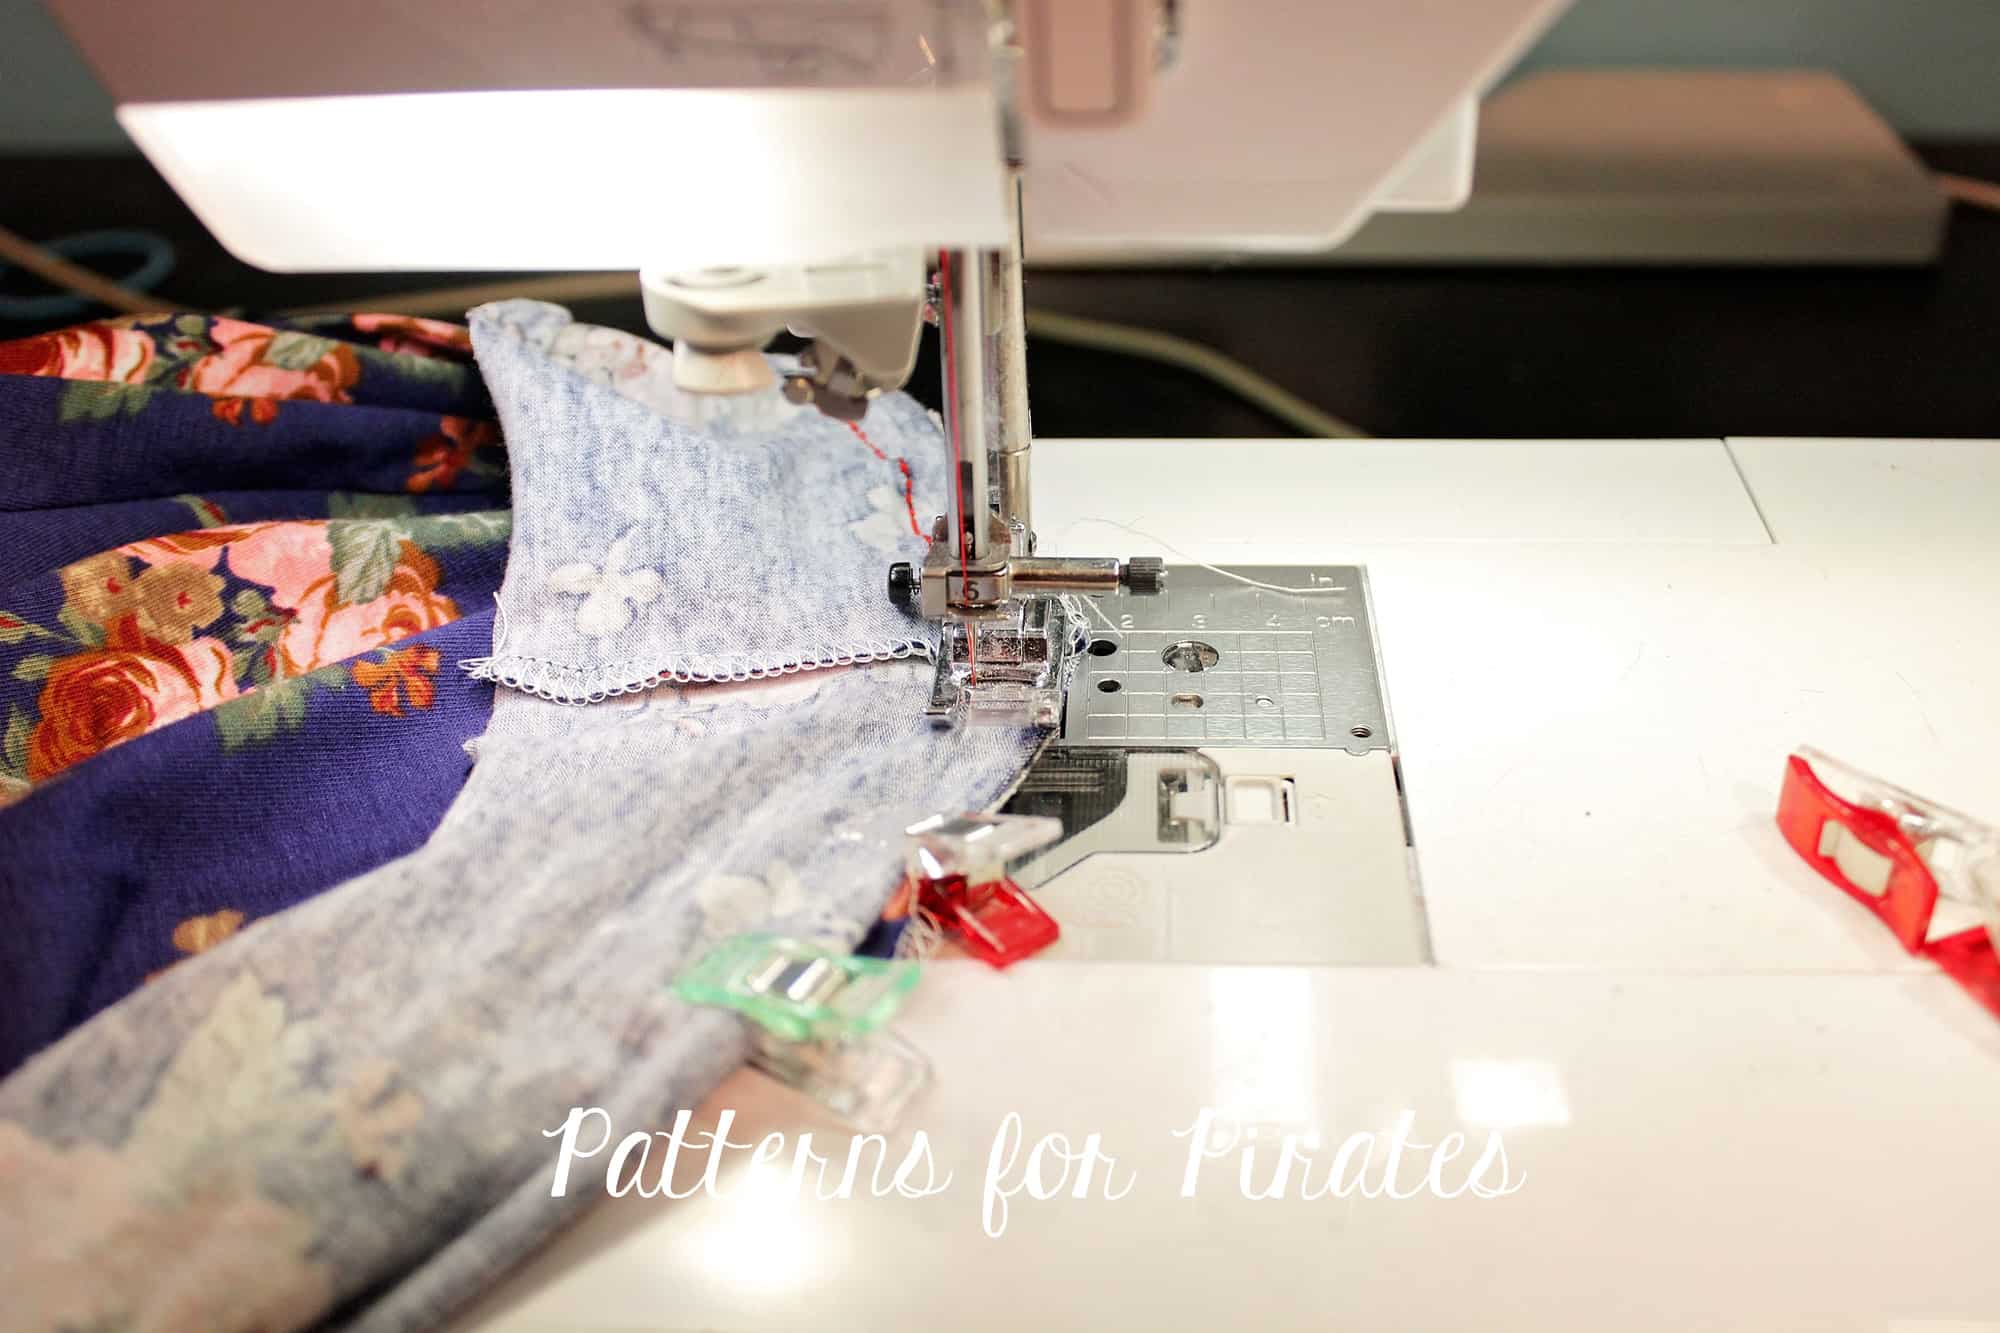
- With right sides together, match center and each end of the neckband to the back neckline. Stitch.
-
- Press seam allowance down and stitch a small bar tack to keep in place or topstitch entire neckline.
The tie back gives a much more open back but is perfect to show off all those strappy bralettes :).
. . . . .
Twist Back
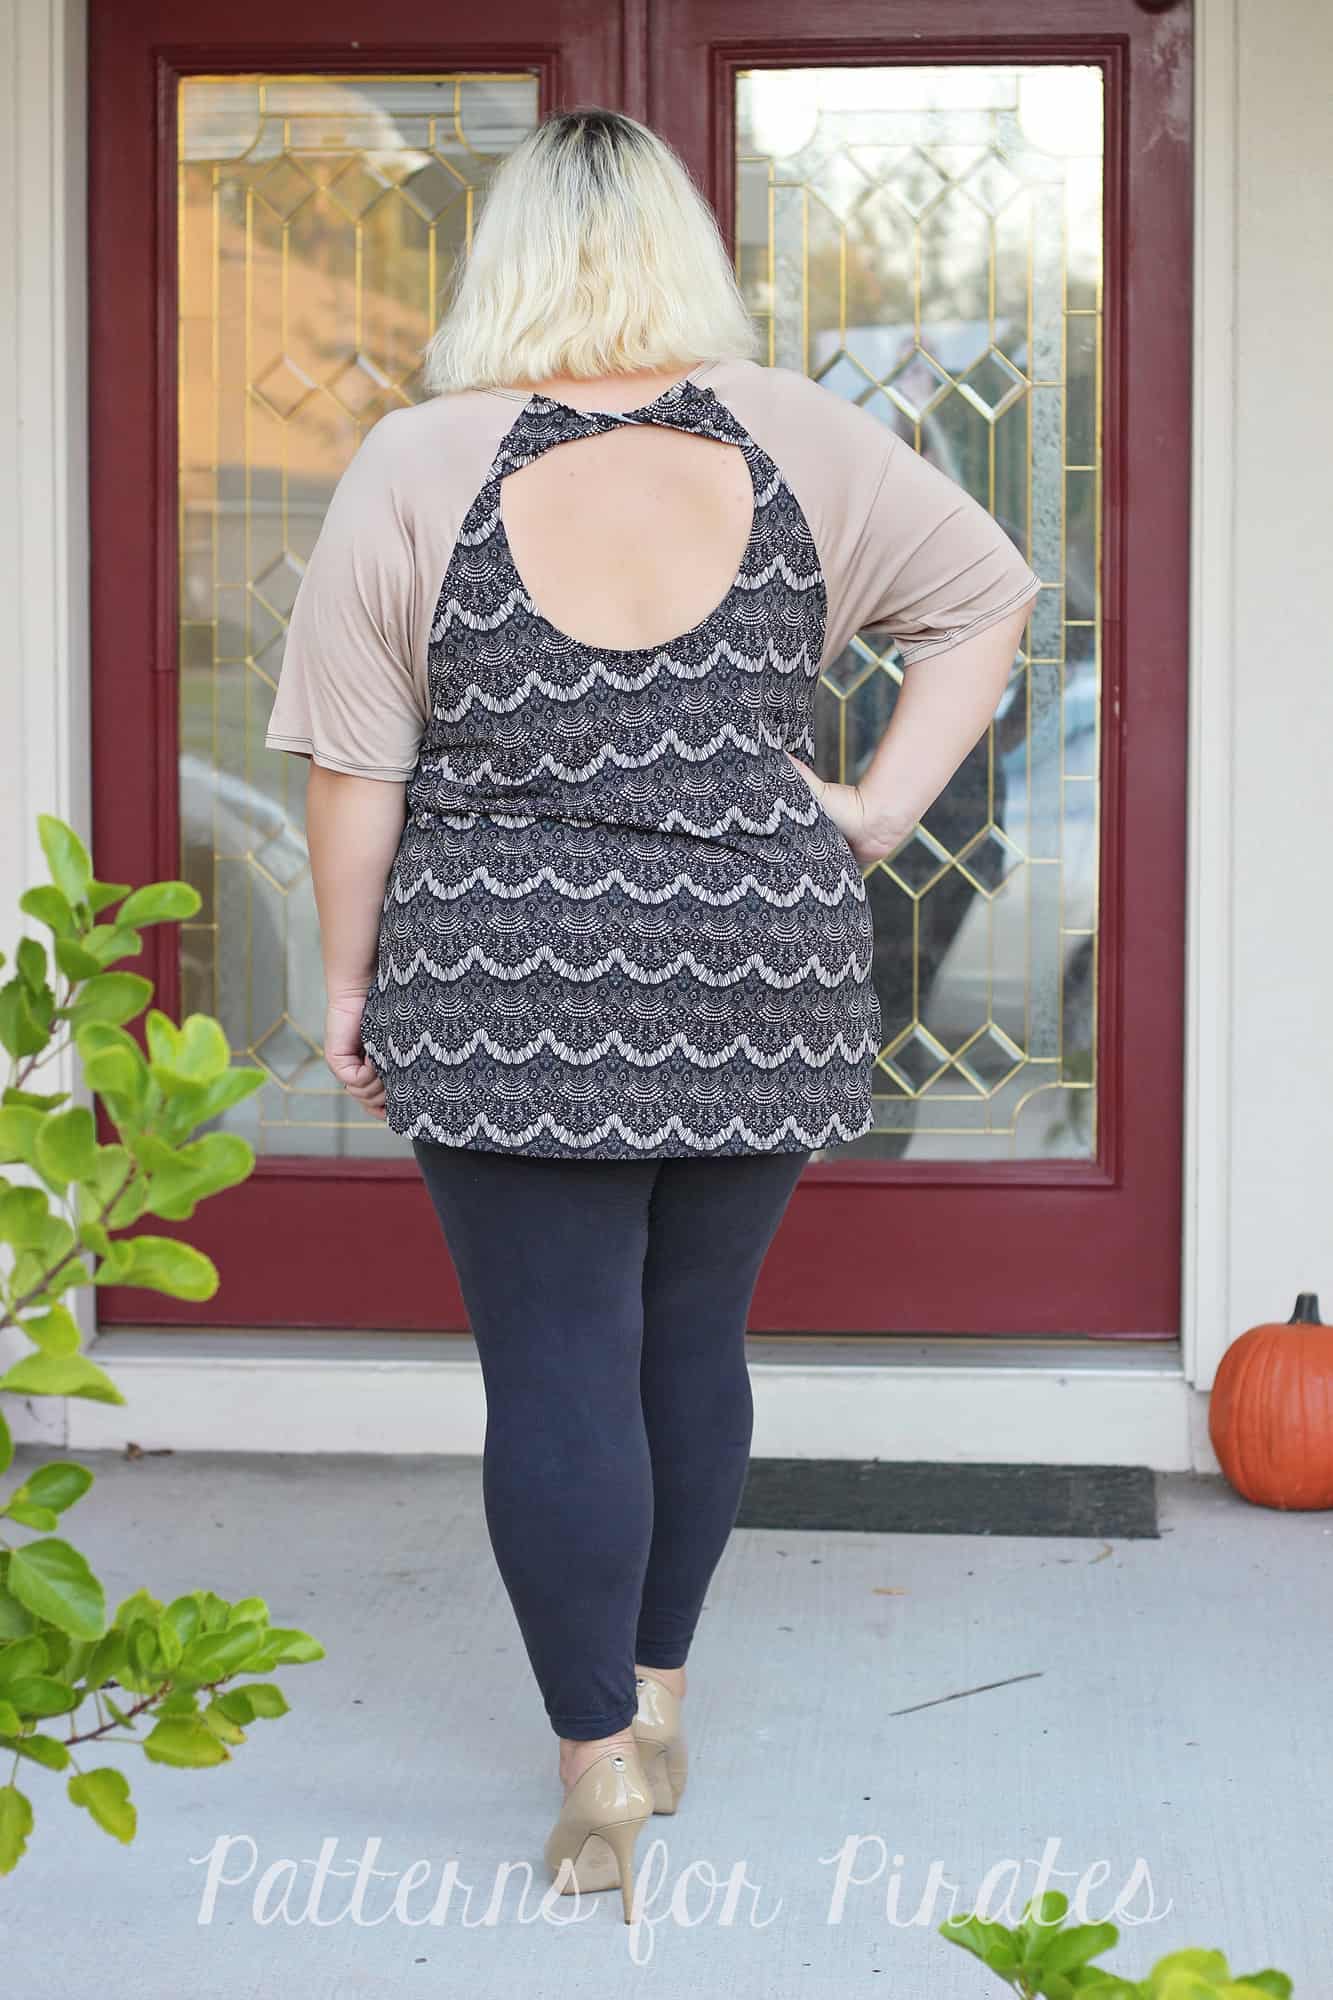
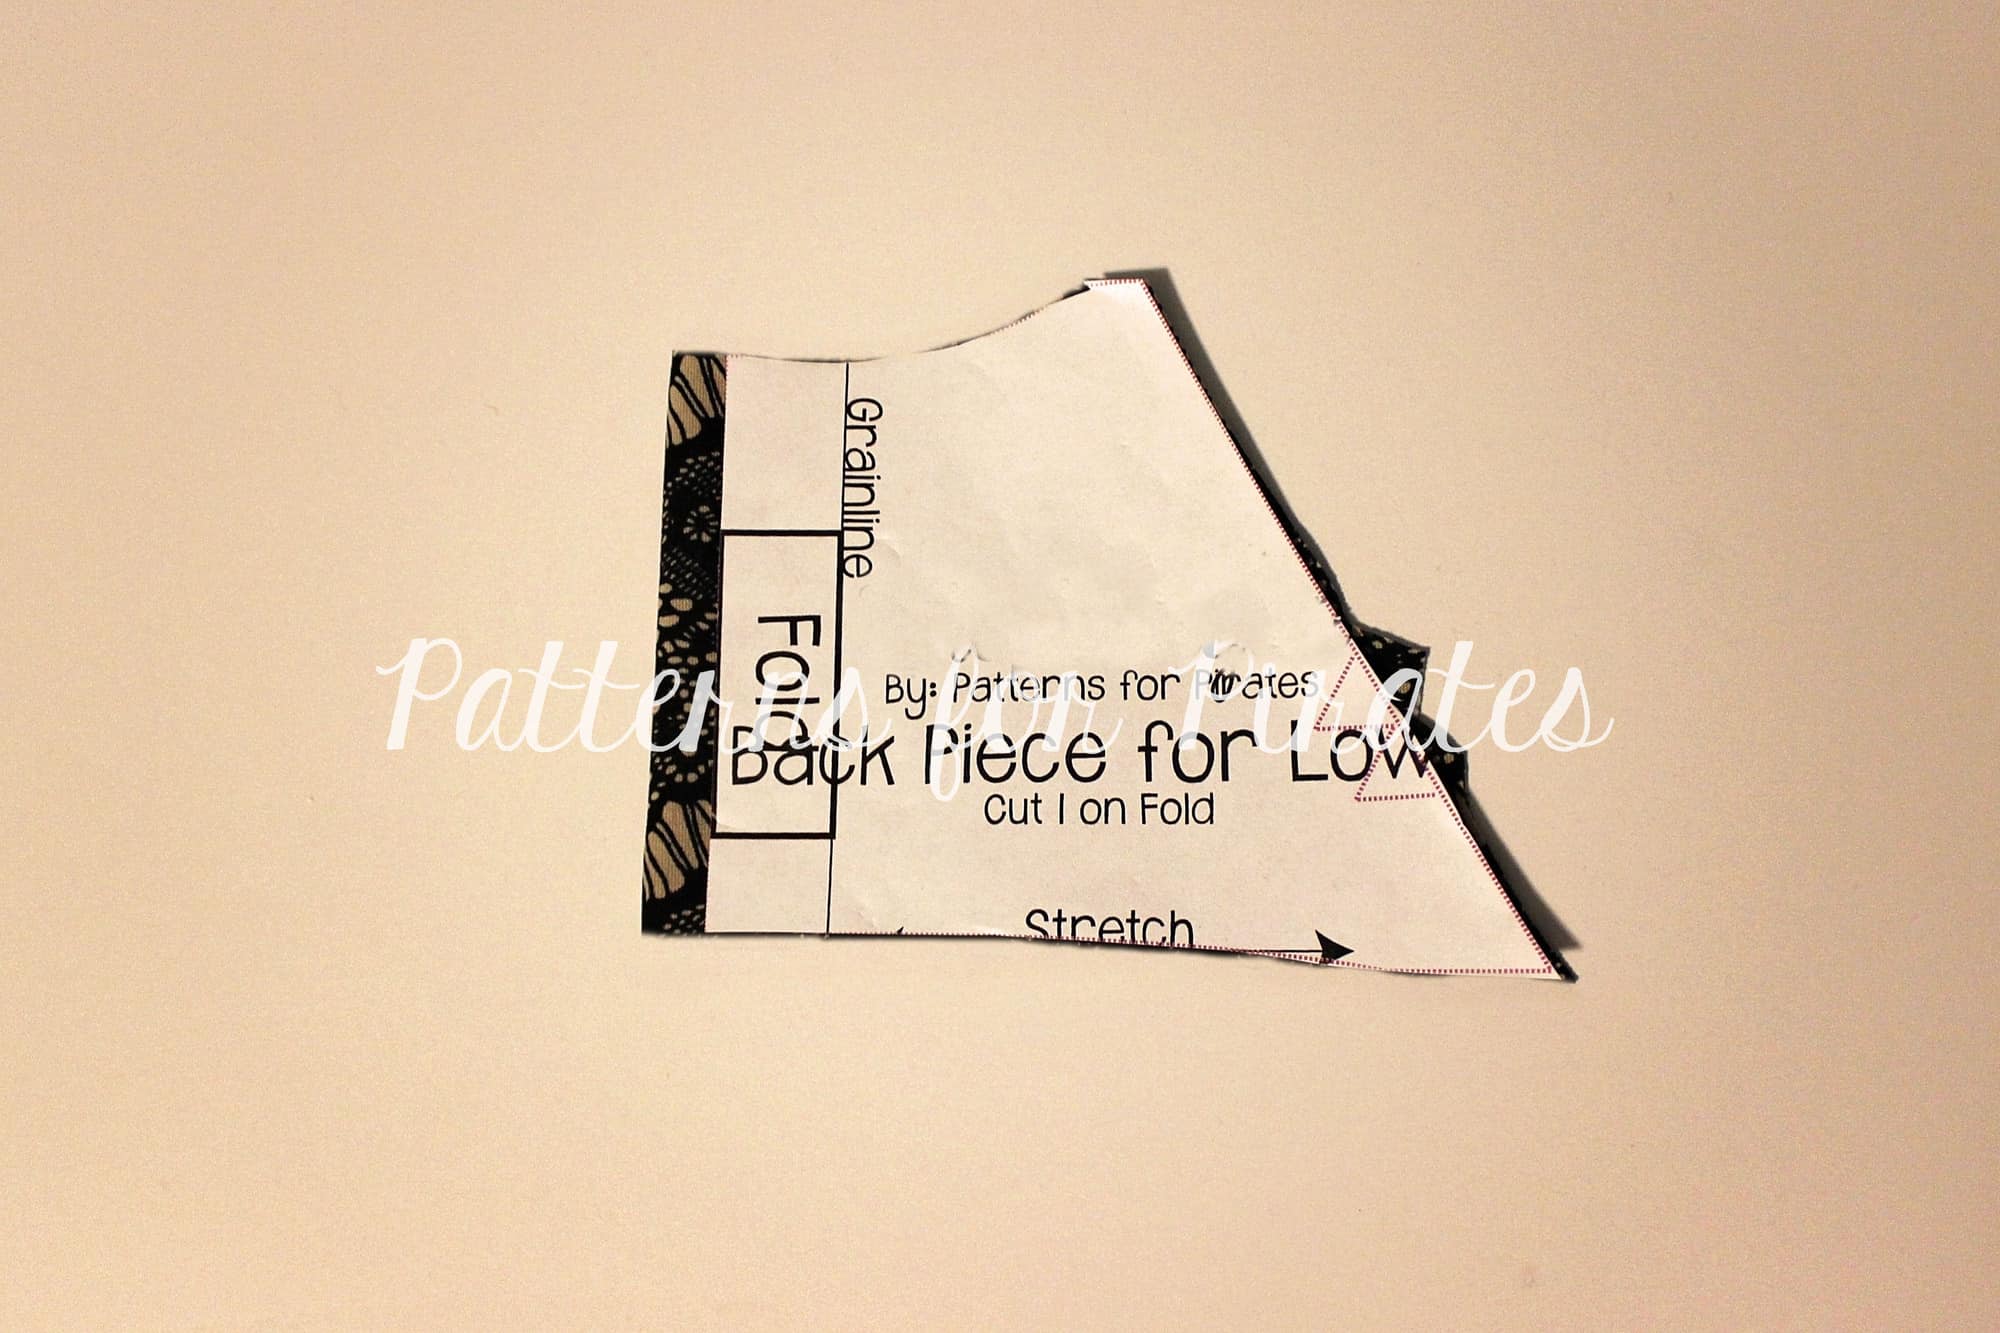
We couldn’t have ended this hack series without a twist back. For this option, you will need to print and cut the low back option. You will not be adding the neckband to this hack so the shirt neckline will be 1.5″ lower than the intended look of the pattern. You may need to wear a cami underneath (like the Cross My Heart Cami) or you can raise the neckline prior to cutting the fabric. Check out this “how to” blog!
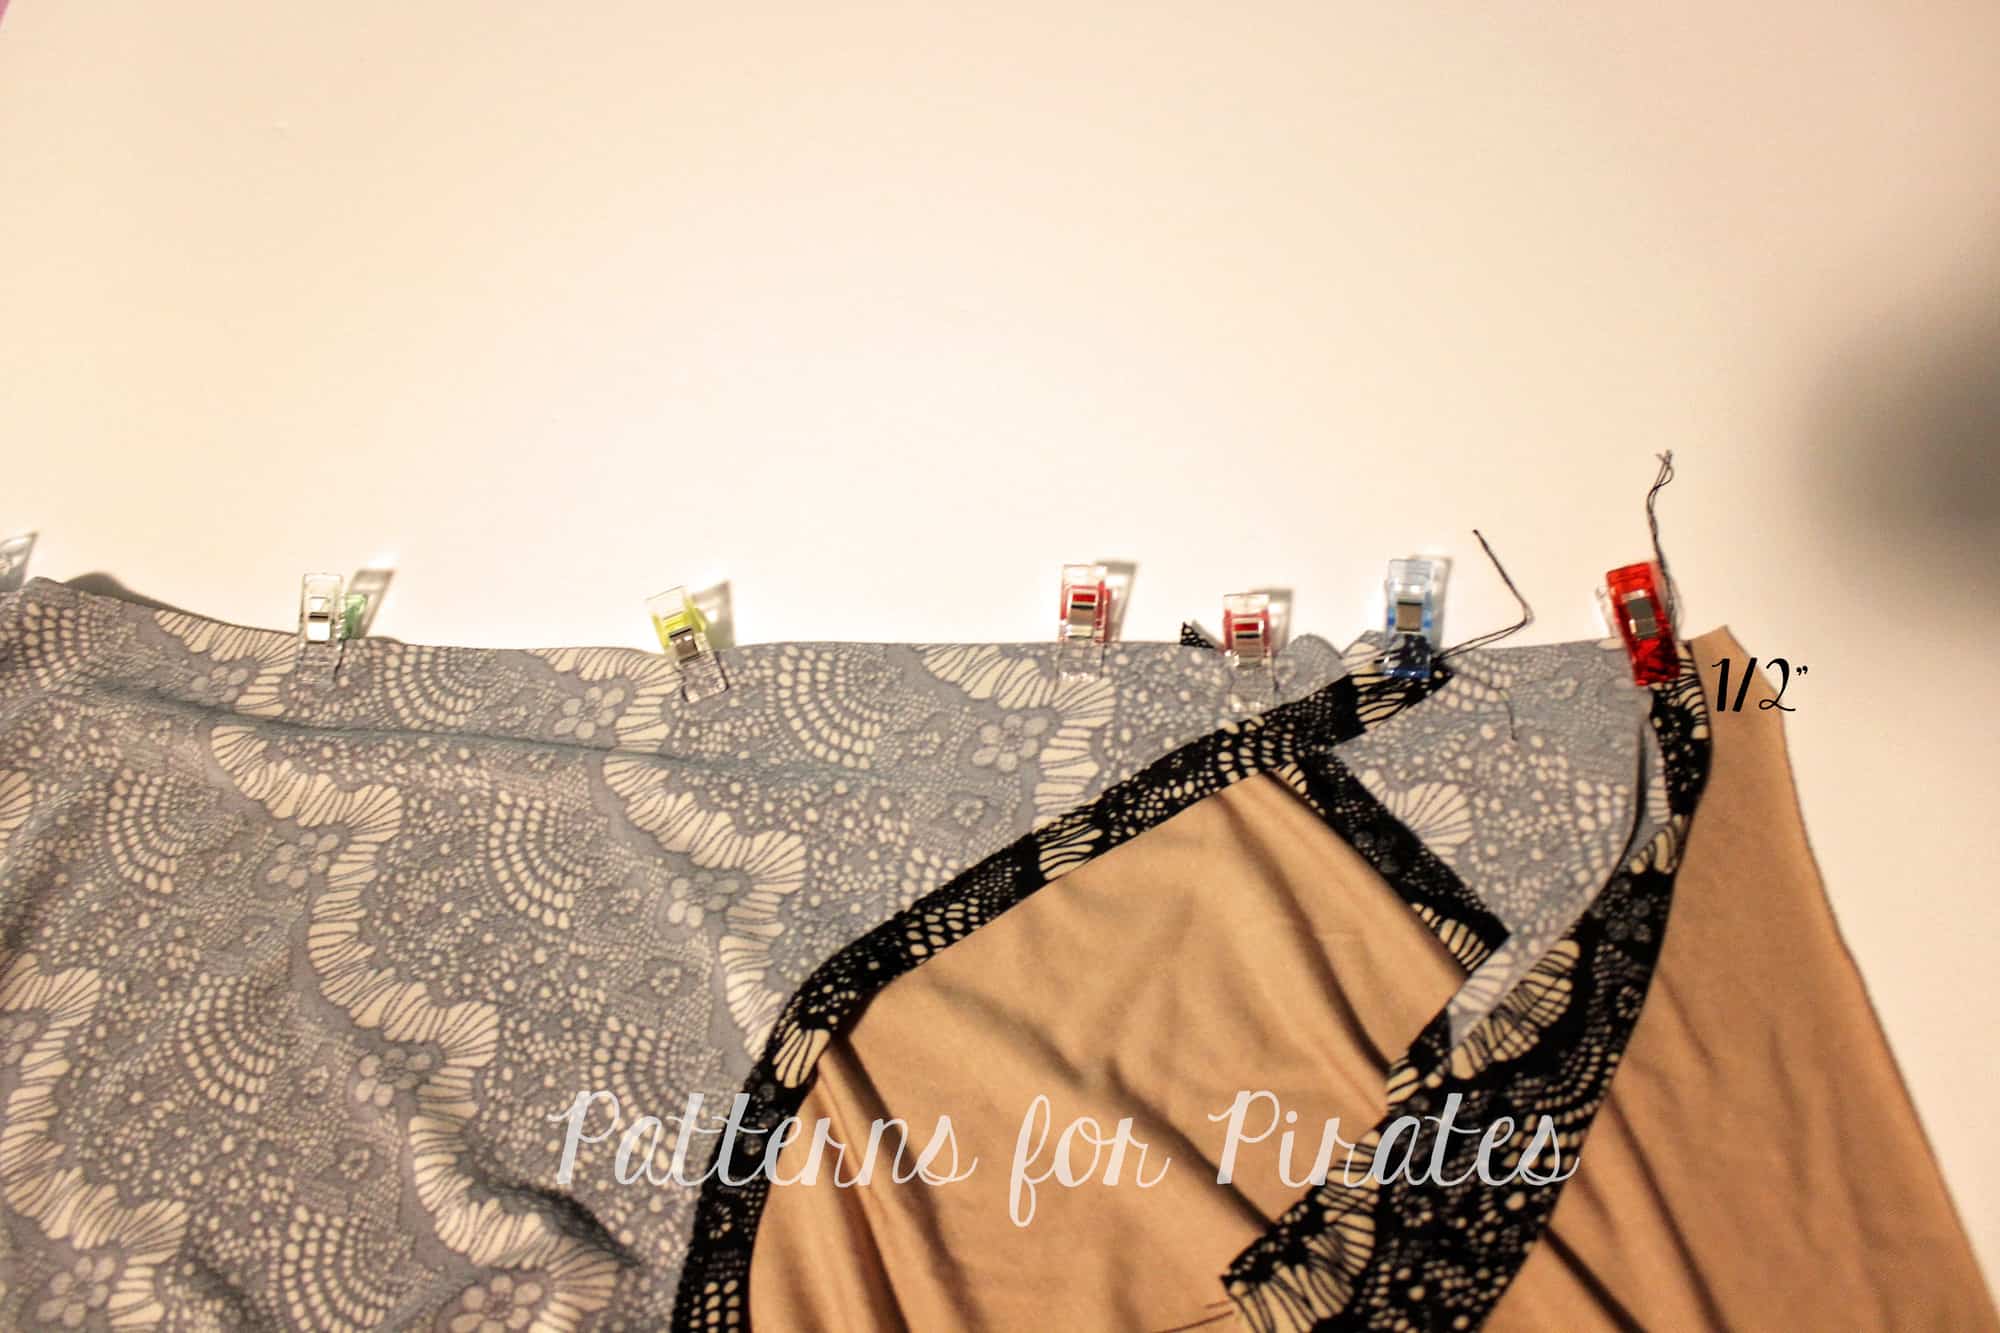
Place the back top piece 1/2″ away from the fold line.
Using a 1/2″ hem allowance, hem the top and bottom. You can use a coverstitch, a zig zag stitch or twin needles.
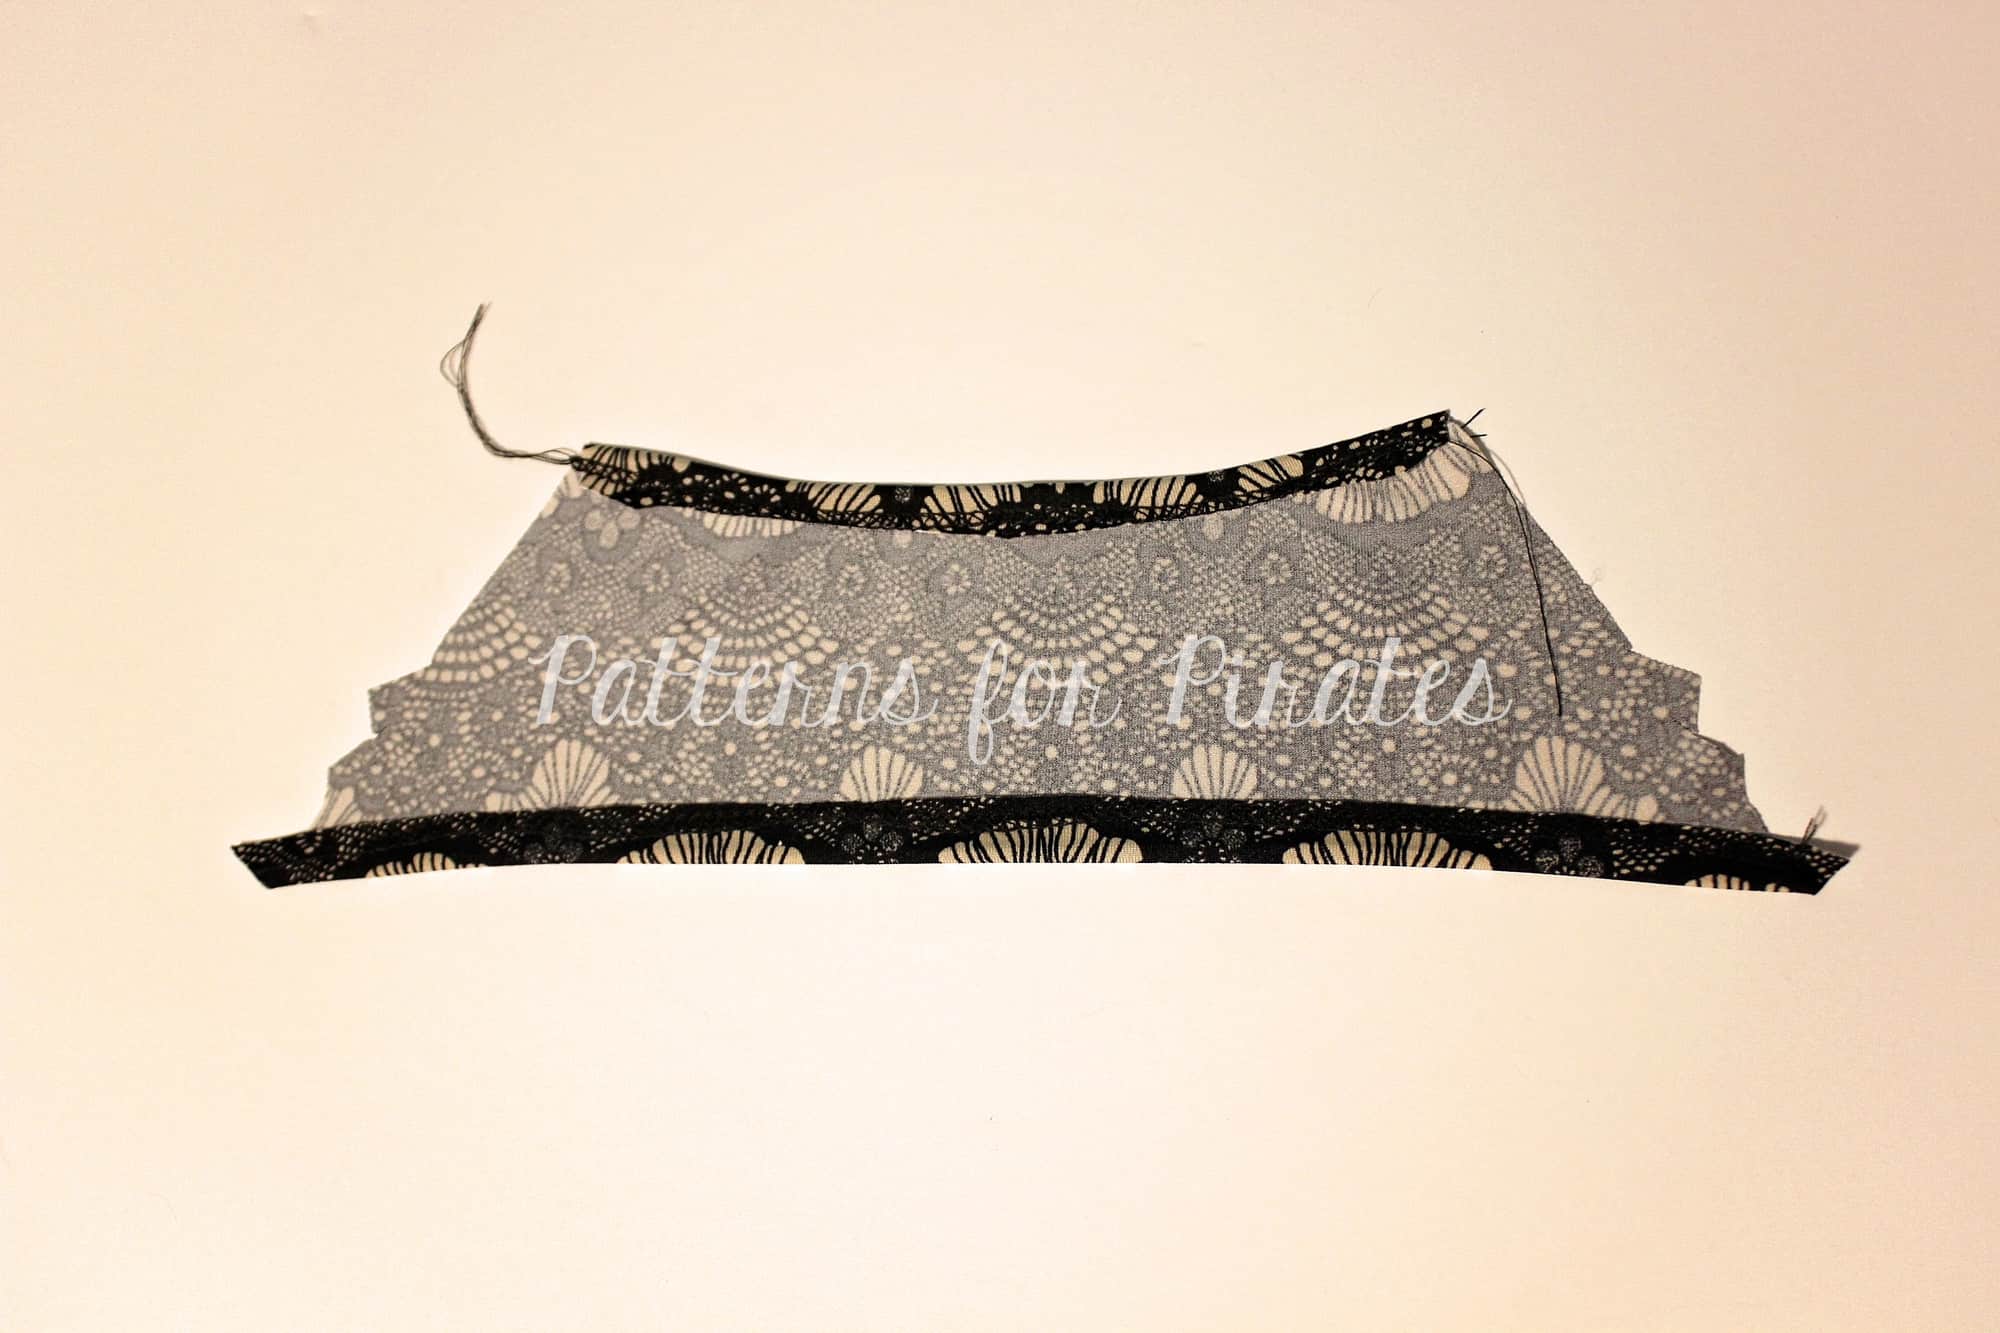
Twist the top piece twice so the right side of both the left and right sides are up. Baste the top and bottom pieces together as in the tutorial.
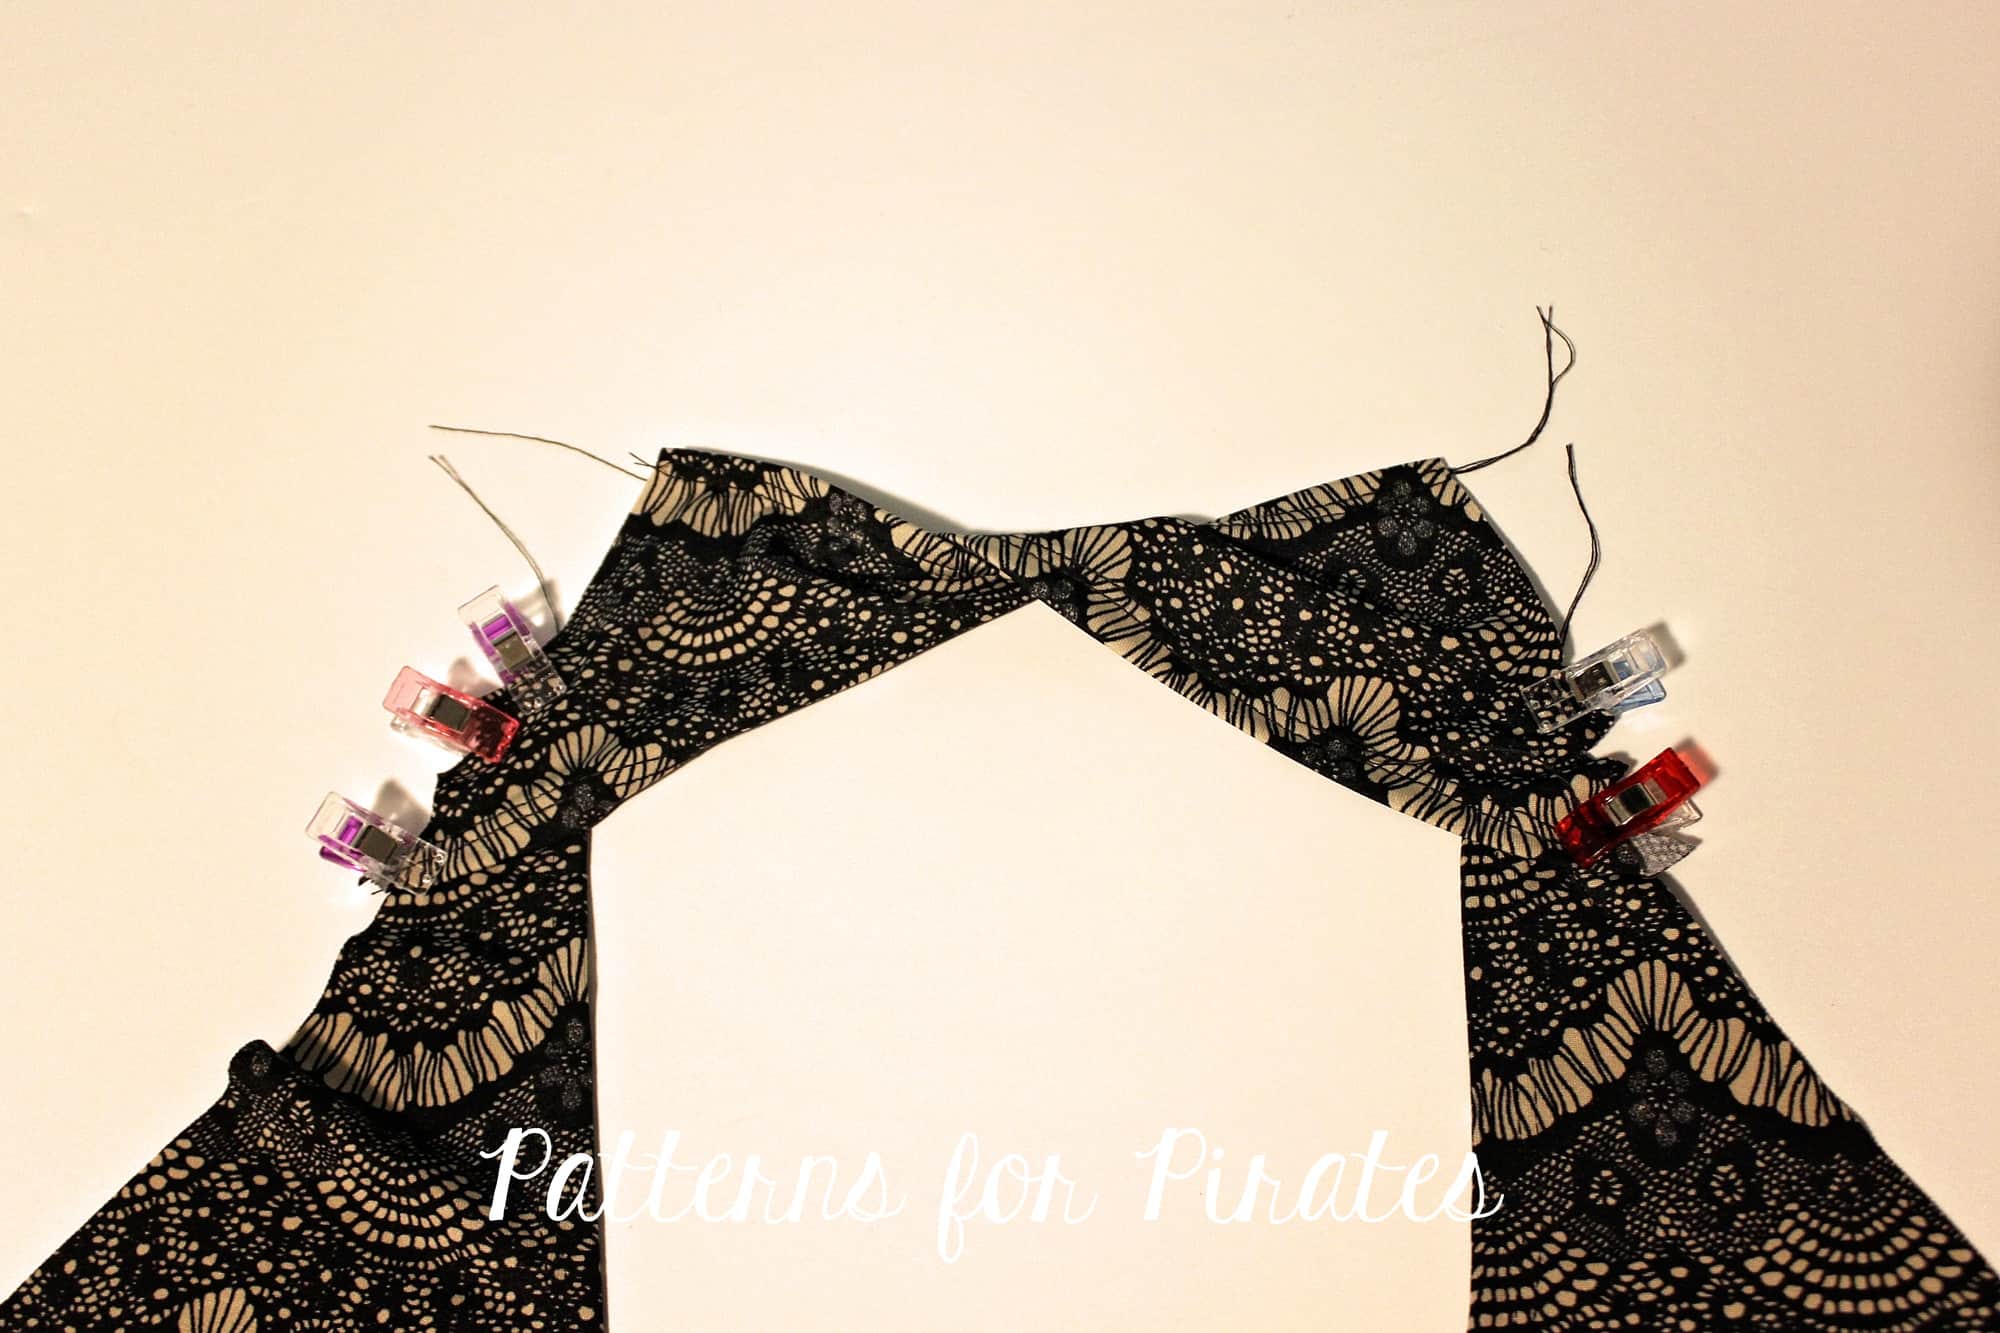
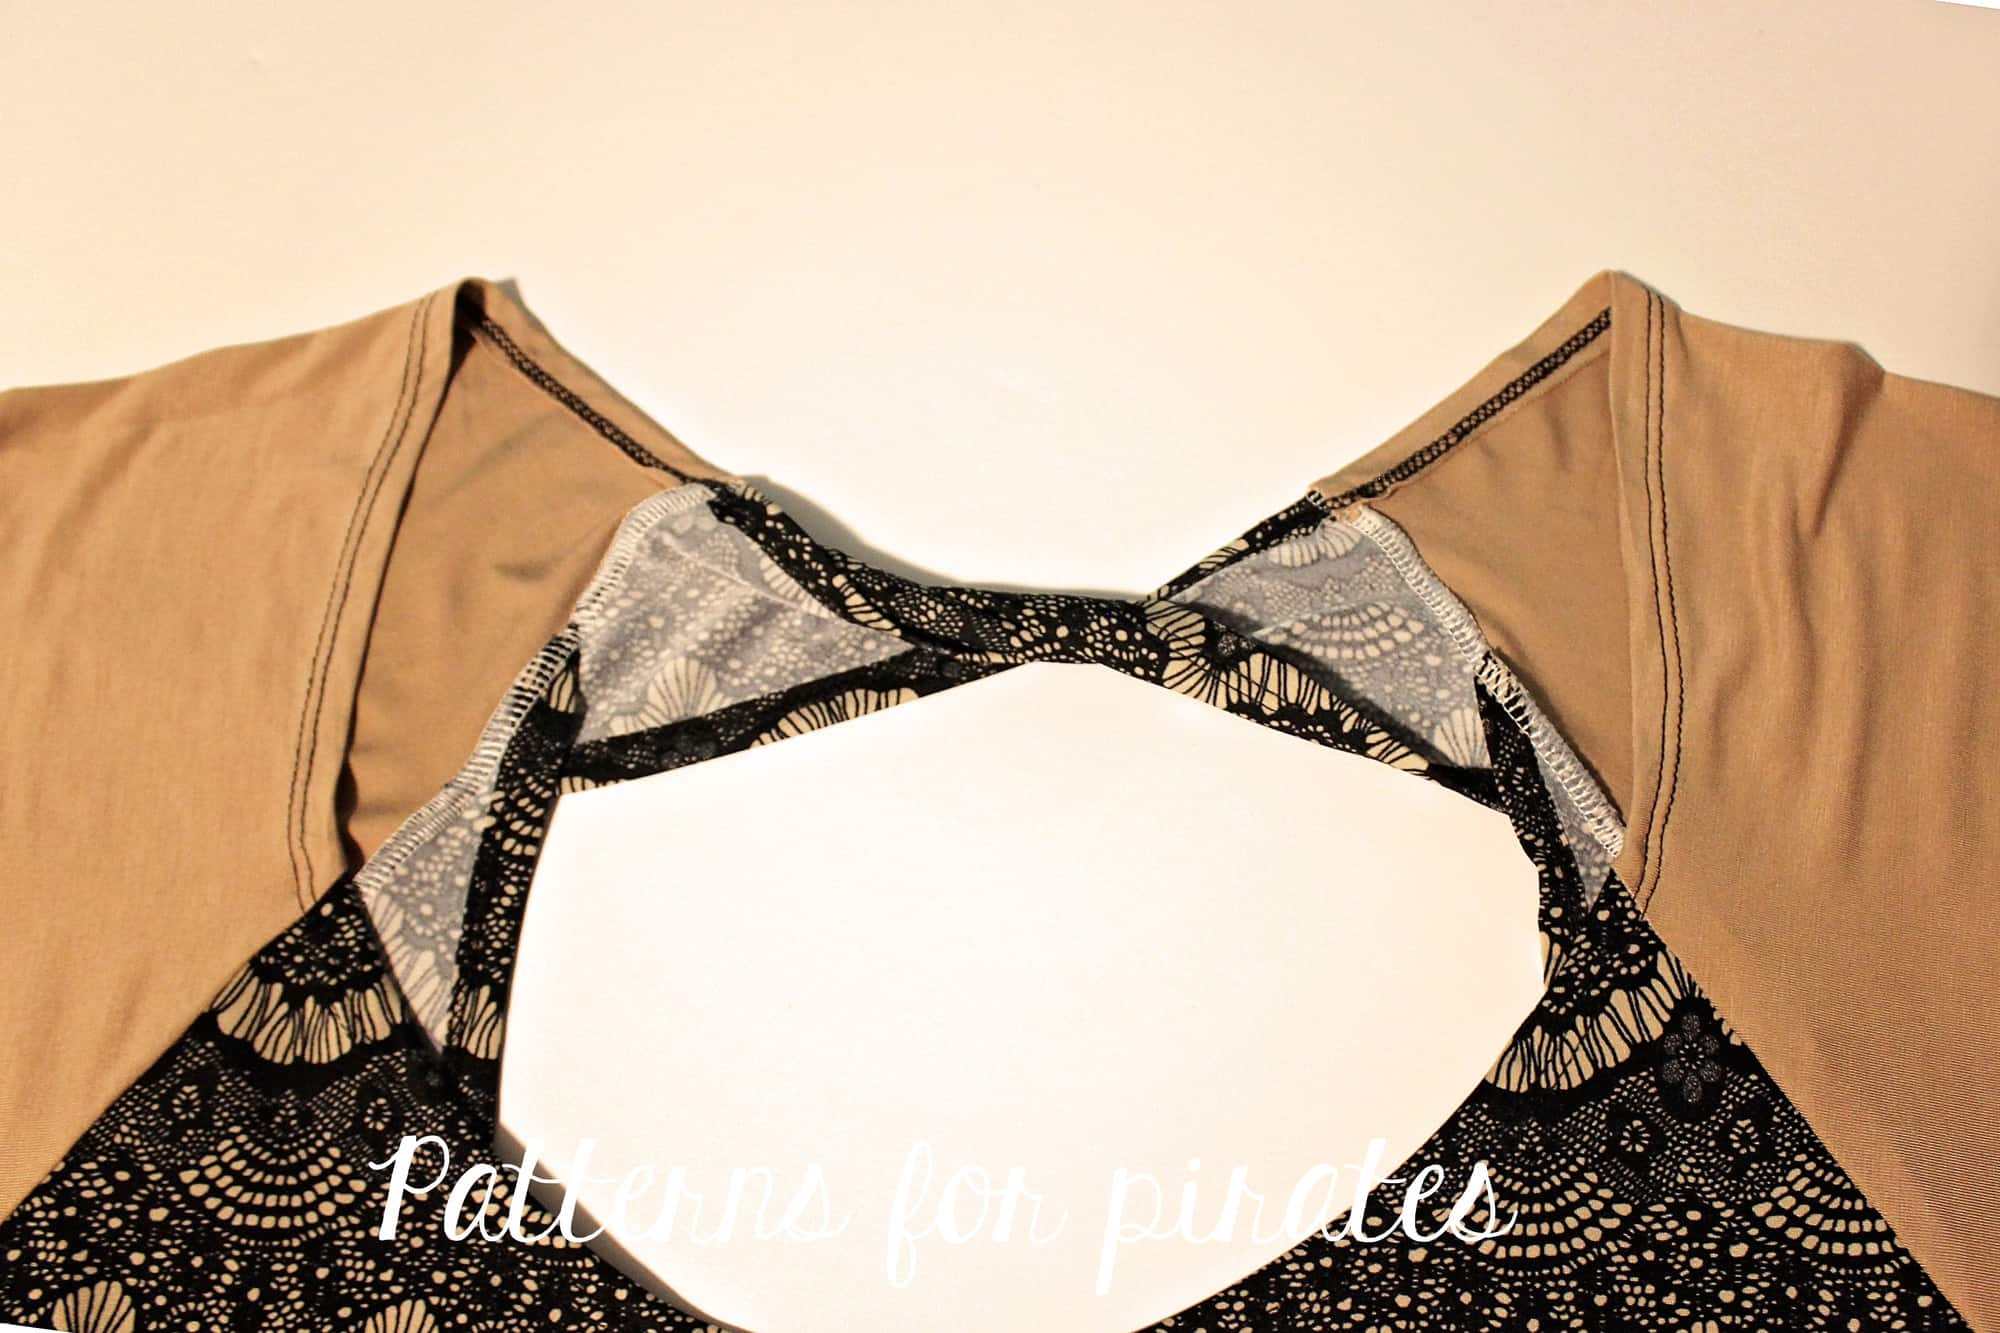
Attach the sleeves matching the notches. There will be 1/2″ excess fabric at the top which will be hemmed next.
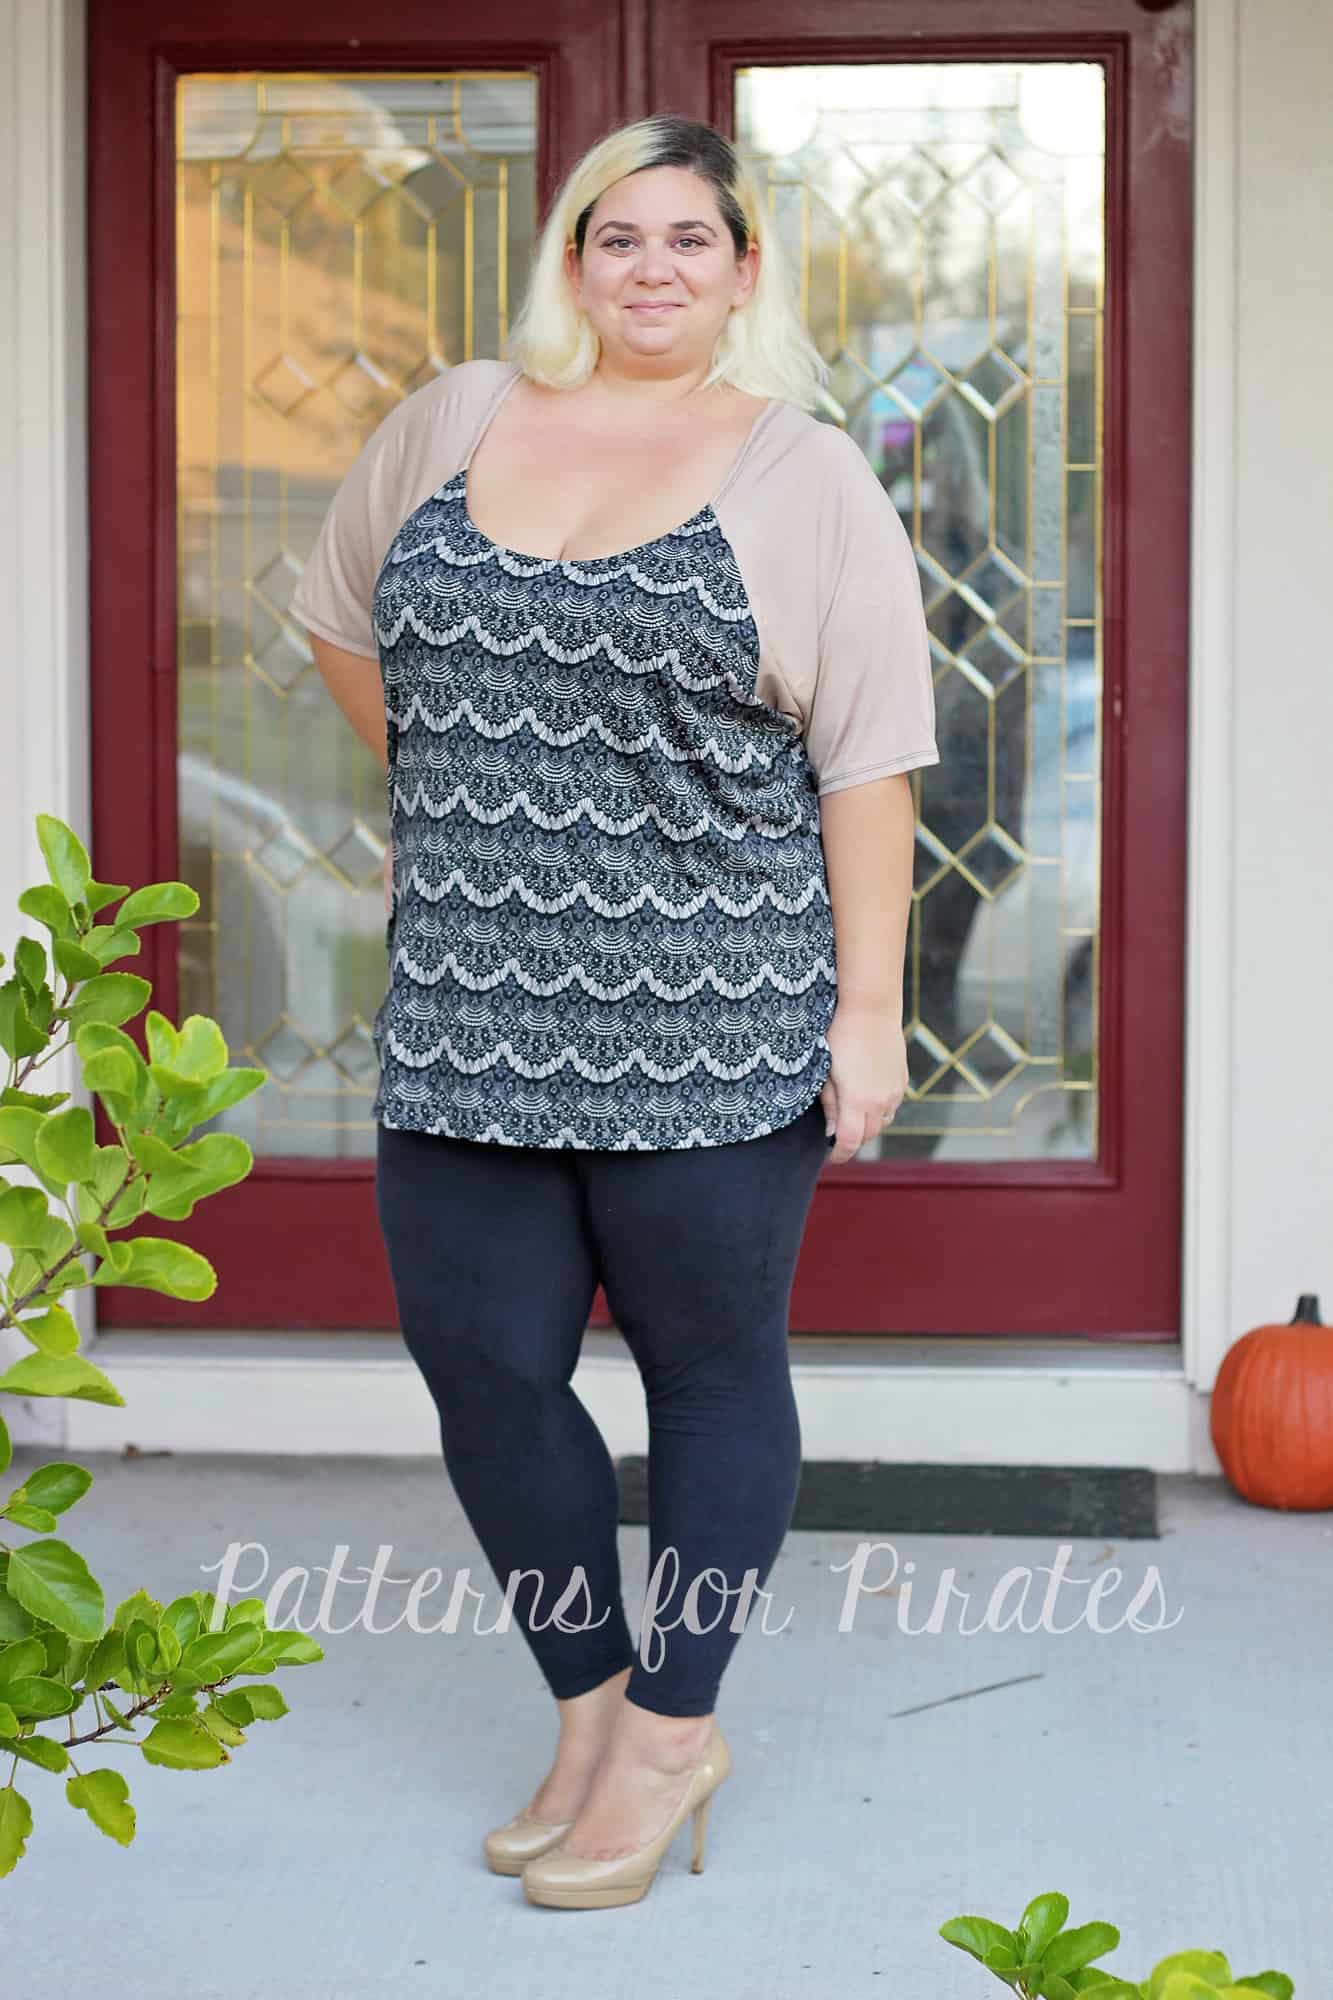
Hem the neckline with a 1/2″ hem allowance. All you have left to do is give the shirt a good press and show it off!

. . . . .
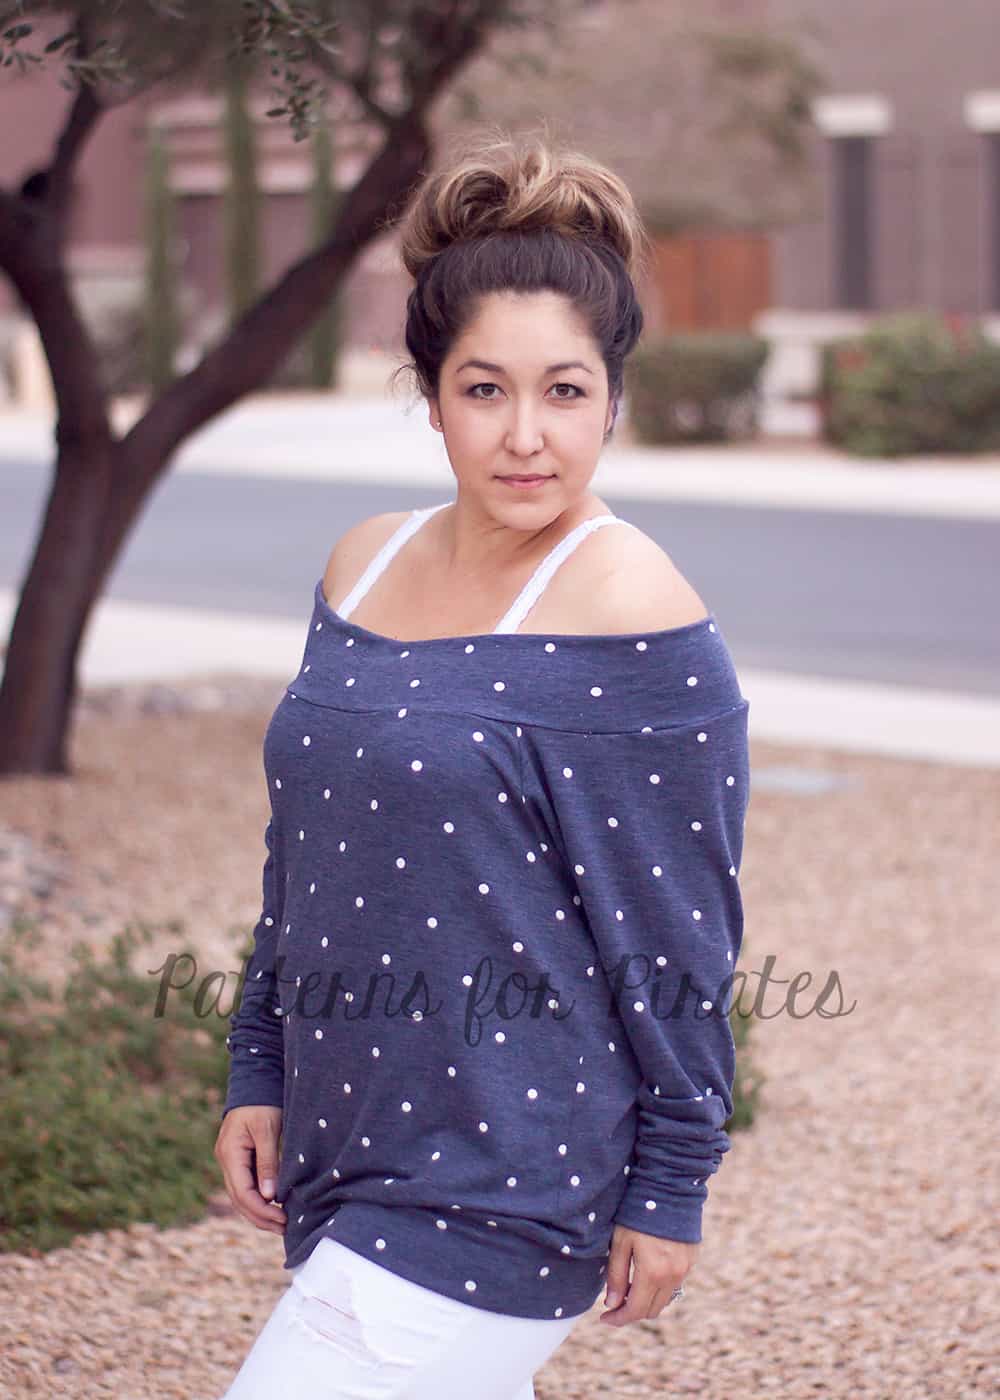
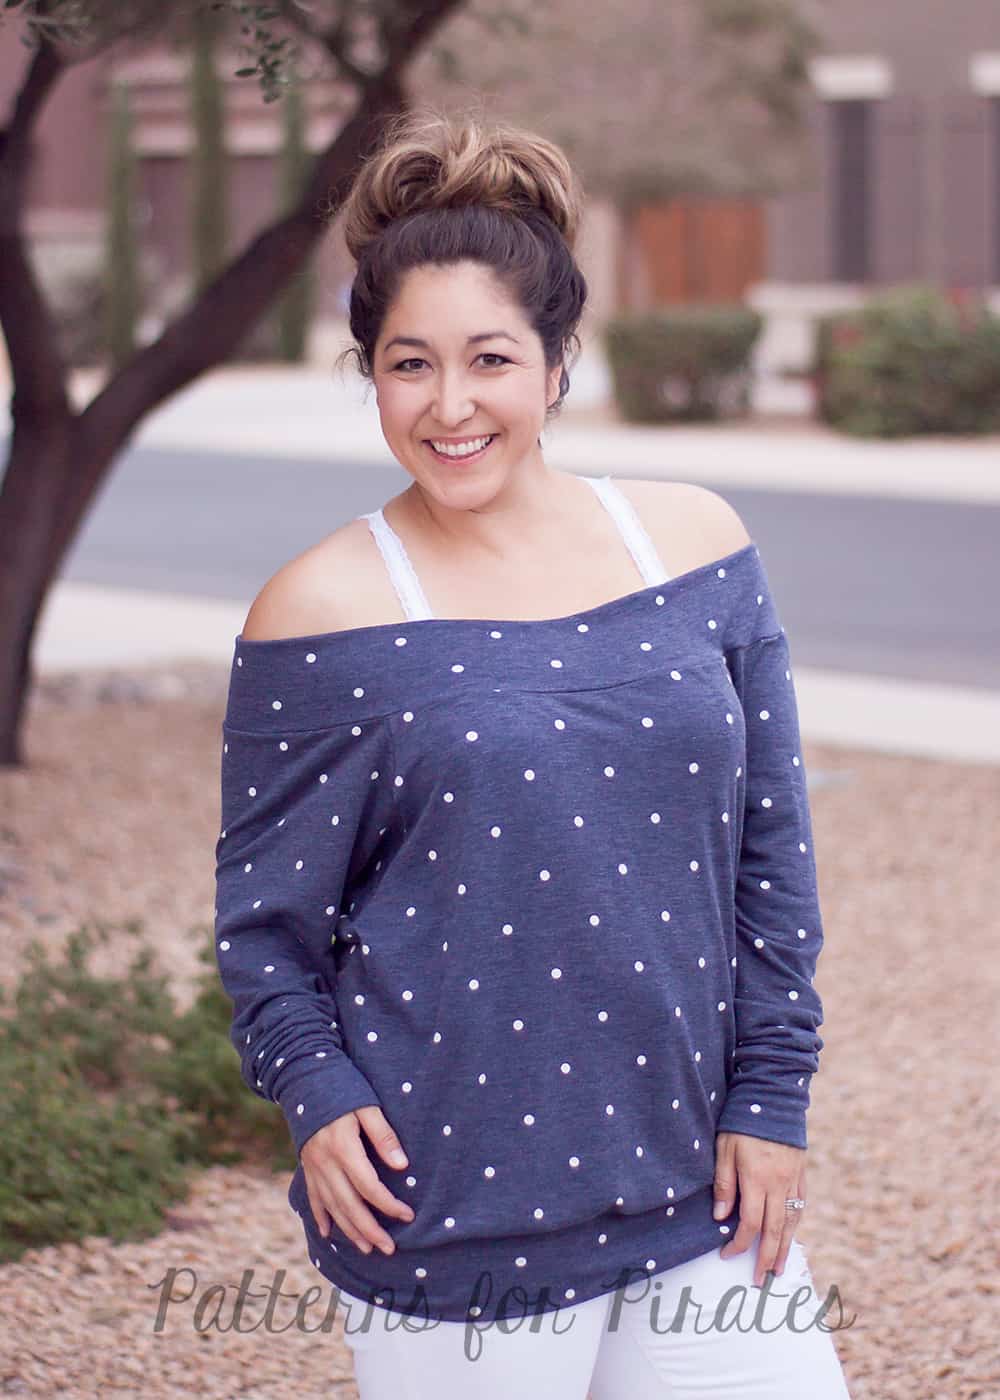
Off the Shoulder

Last but not least, we couldn’t leave you without a full off the shoulder option. Using the same idea that we did for the Relaxed Raglan (here), we’re going to remove some height to all the pattern pieces (front, back, and sleeve). Also, be sure to move your notches to help you keep the pieces in order and you know which side lines up with one another.
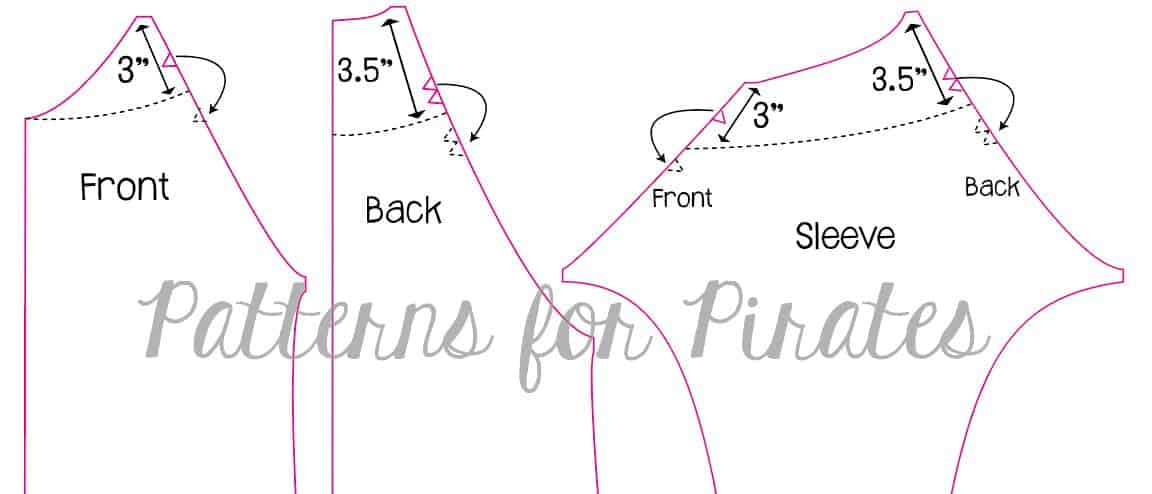
For the band, I used the same measurement as the waistband in the pattern. In hindsight, I could have made it a smidge tighter around the shoulders but as is doesn’t move around too much. Now, I didn’t measure each size, but just to be safe…..measure your neckline once you’ve completed the main pieces. Make your band between 80-85% (plus seam allowance) of the opening. (Unsure how to measure the neckline? Check out this blog post for more details.) Mark in quarter and stitch just like you would a waistband. As with any neckband though, be sure your band has good recovery! This will help keep it up on your shoulders. 🙂
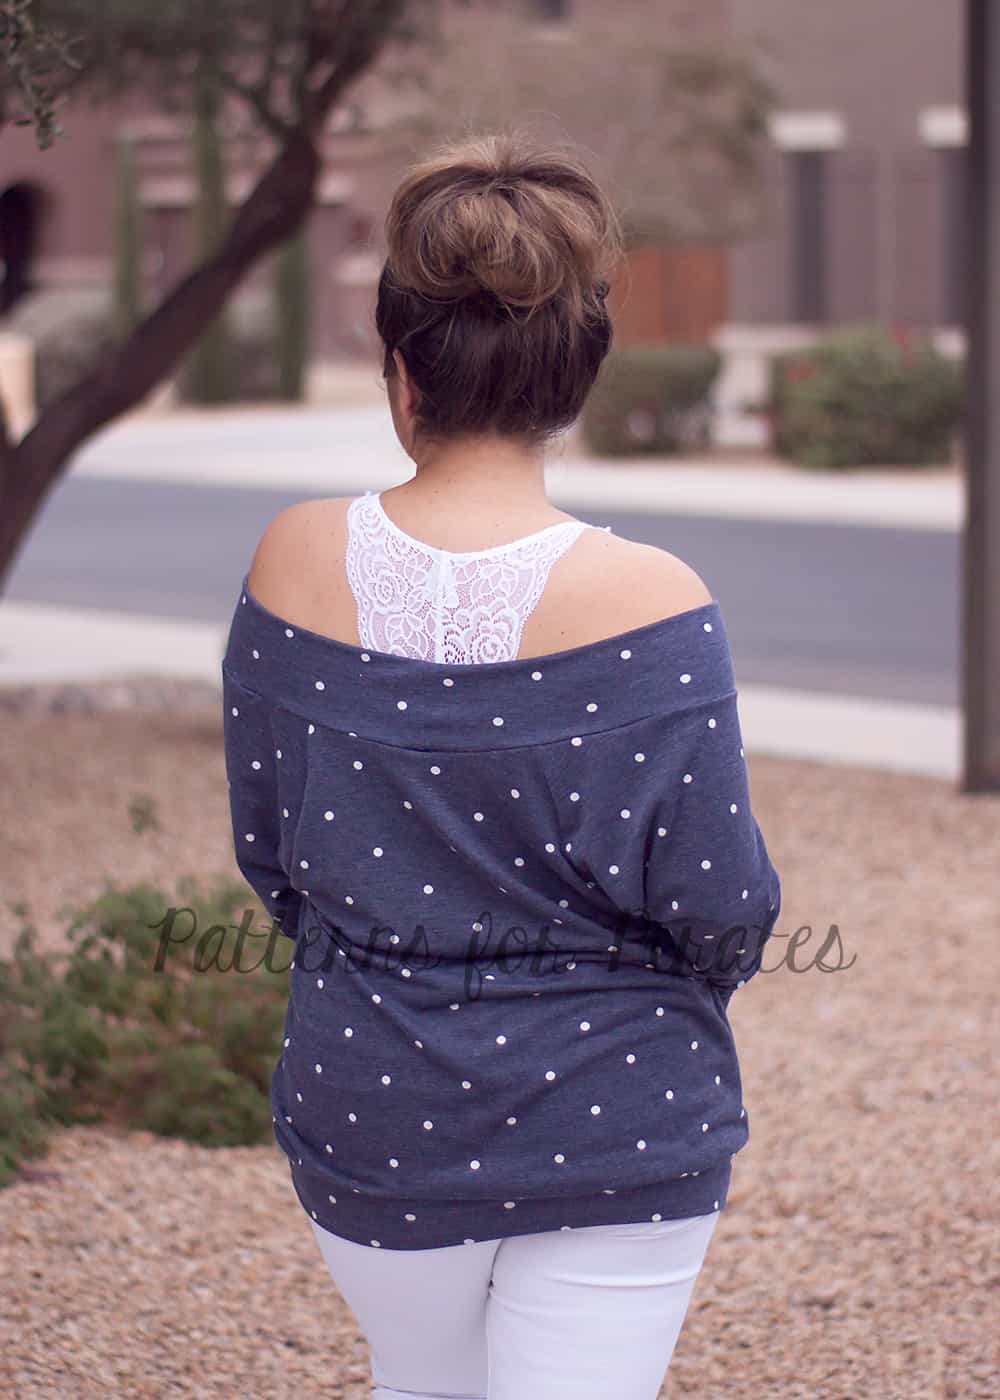
Make a RagDoll Raglan? Be sure so share you makes in the Facebook Group or tag us on Instragram!