Patterns for Pirates

P4P stylish, modern, wearable patterns

  • Home
  • Blog
    • Frequently Asked Questions
    • Pattern Releases
      • Free Patterns
    • P4P University
      • Fitting
      • Sewing with Stretch, Knit Fabrics
      • Sewing with Woven Fabrics
      • Sewing Machines
    • Sew-A-Longs
    • Fabric for Pirates
    • Pattern Hacks
    • Announcement
      • Blog Tours
      • Contest/Giveaway
  • Shop
  • Bundle Discounts
  • Gift Cards
  • My Account
  • Cart

P4P University- Waistbands

September 21, 2020

Ahoy Pirates! Today, we’re talking waistbands. We’ll cover some of the different types of waistbands that you’ll generally see in P4P patterns, the best fabrics and materials for constructing them, and some helpful tricks and tips to getting the very best results.

Types of Waistbands

There are many different types of waistbands out there in the wide world, but today I’ll cover some of the most common ones you’ll see in apparel sewing and in many P4P patterns.

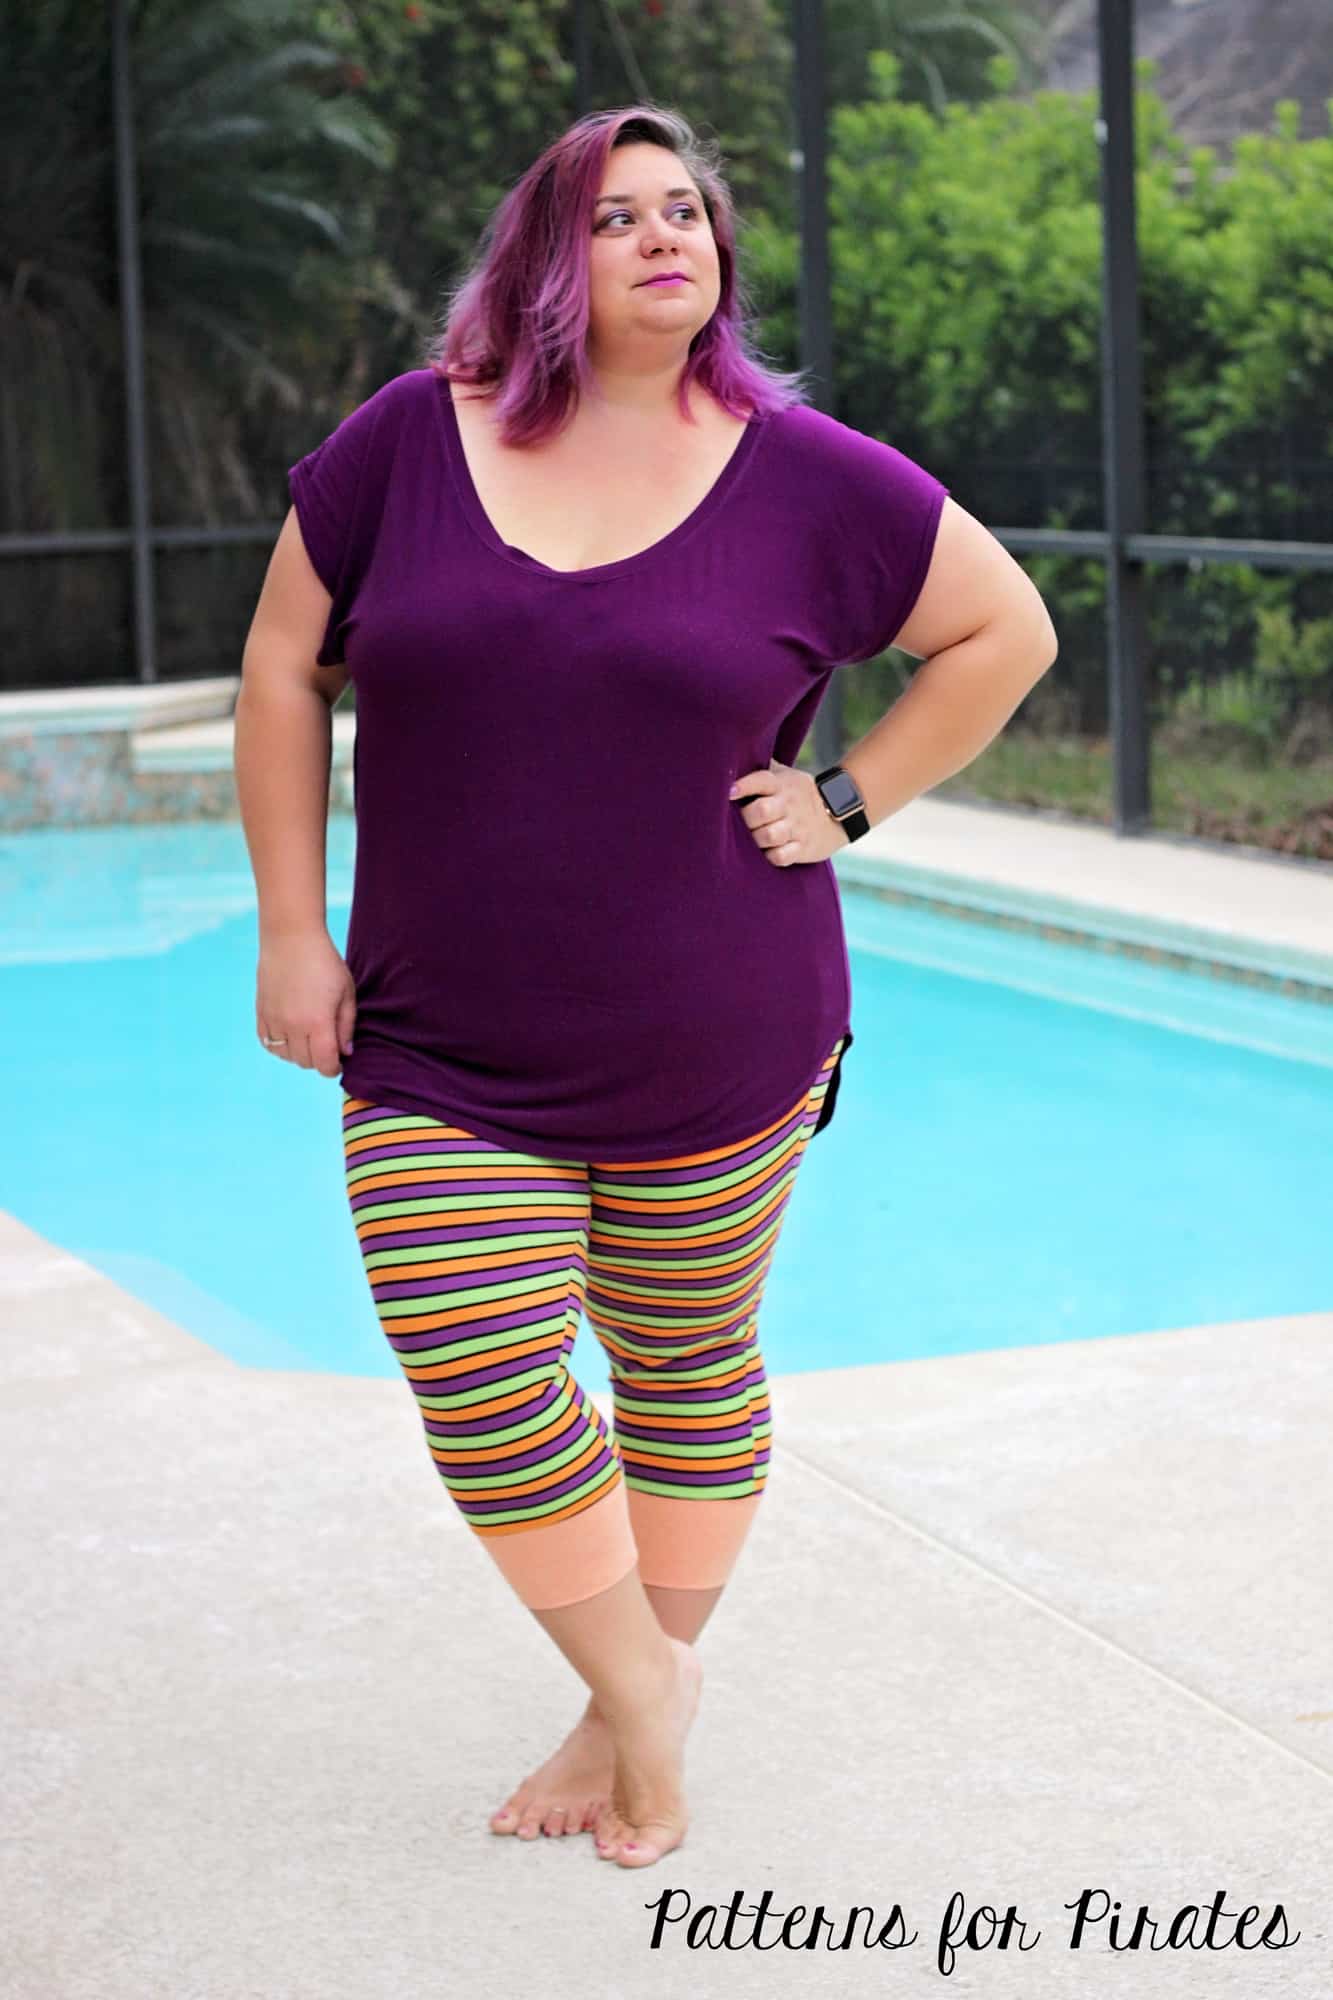
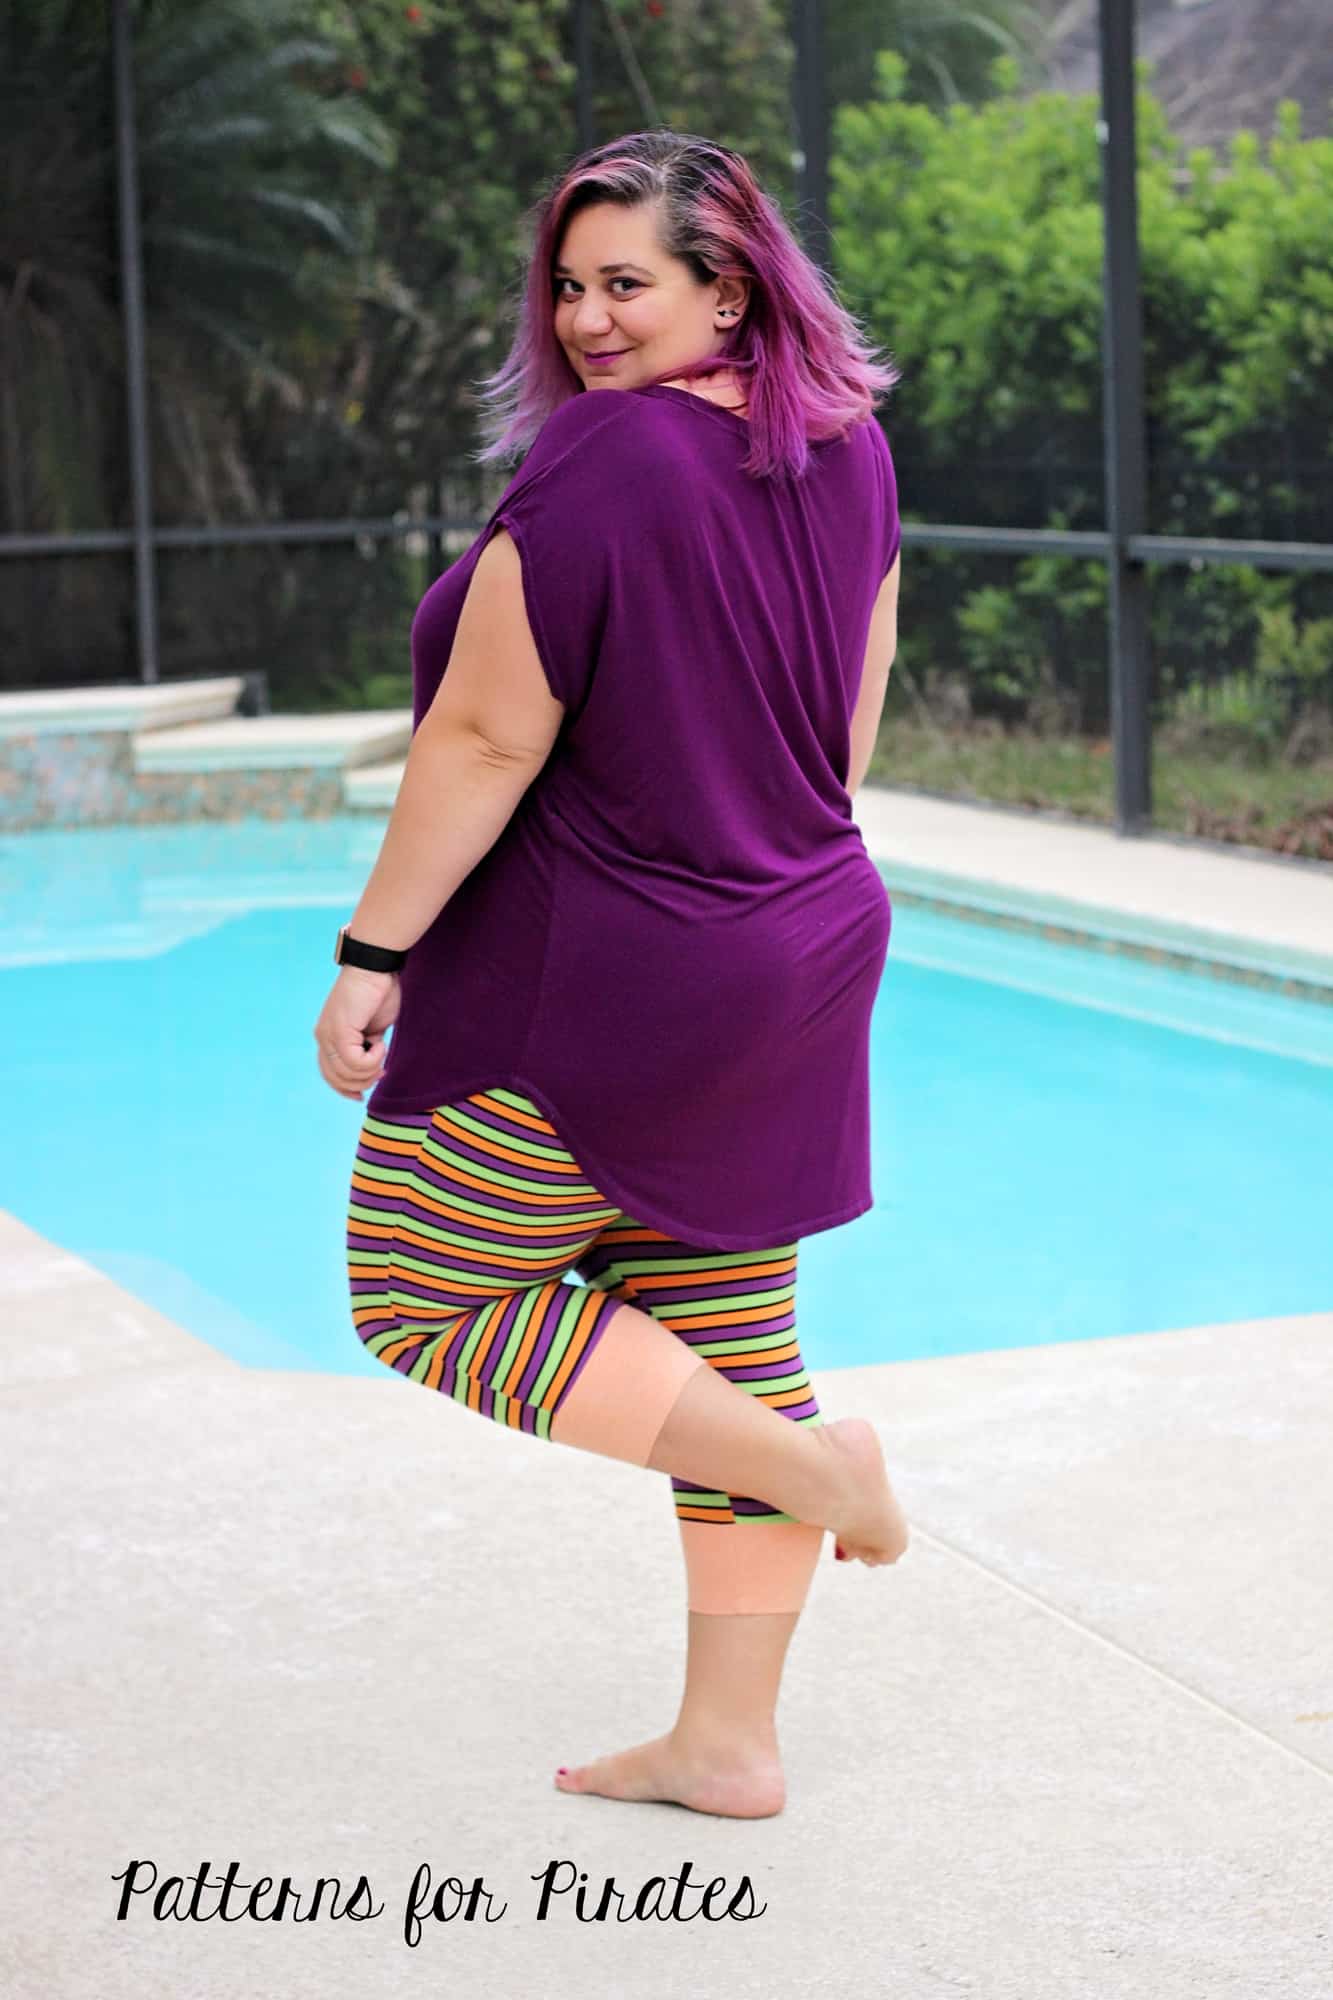
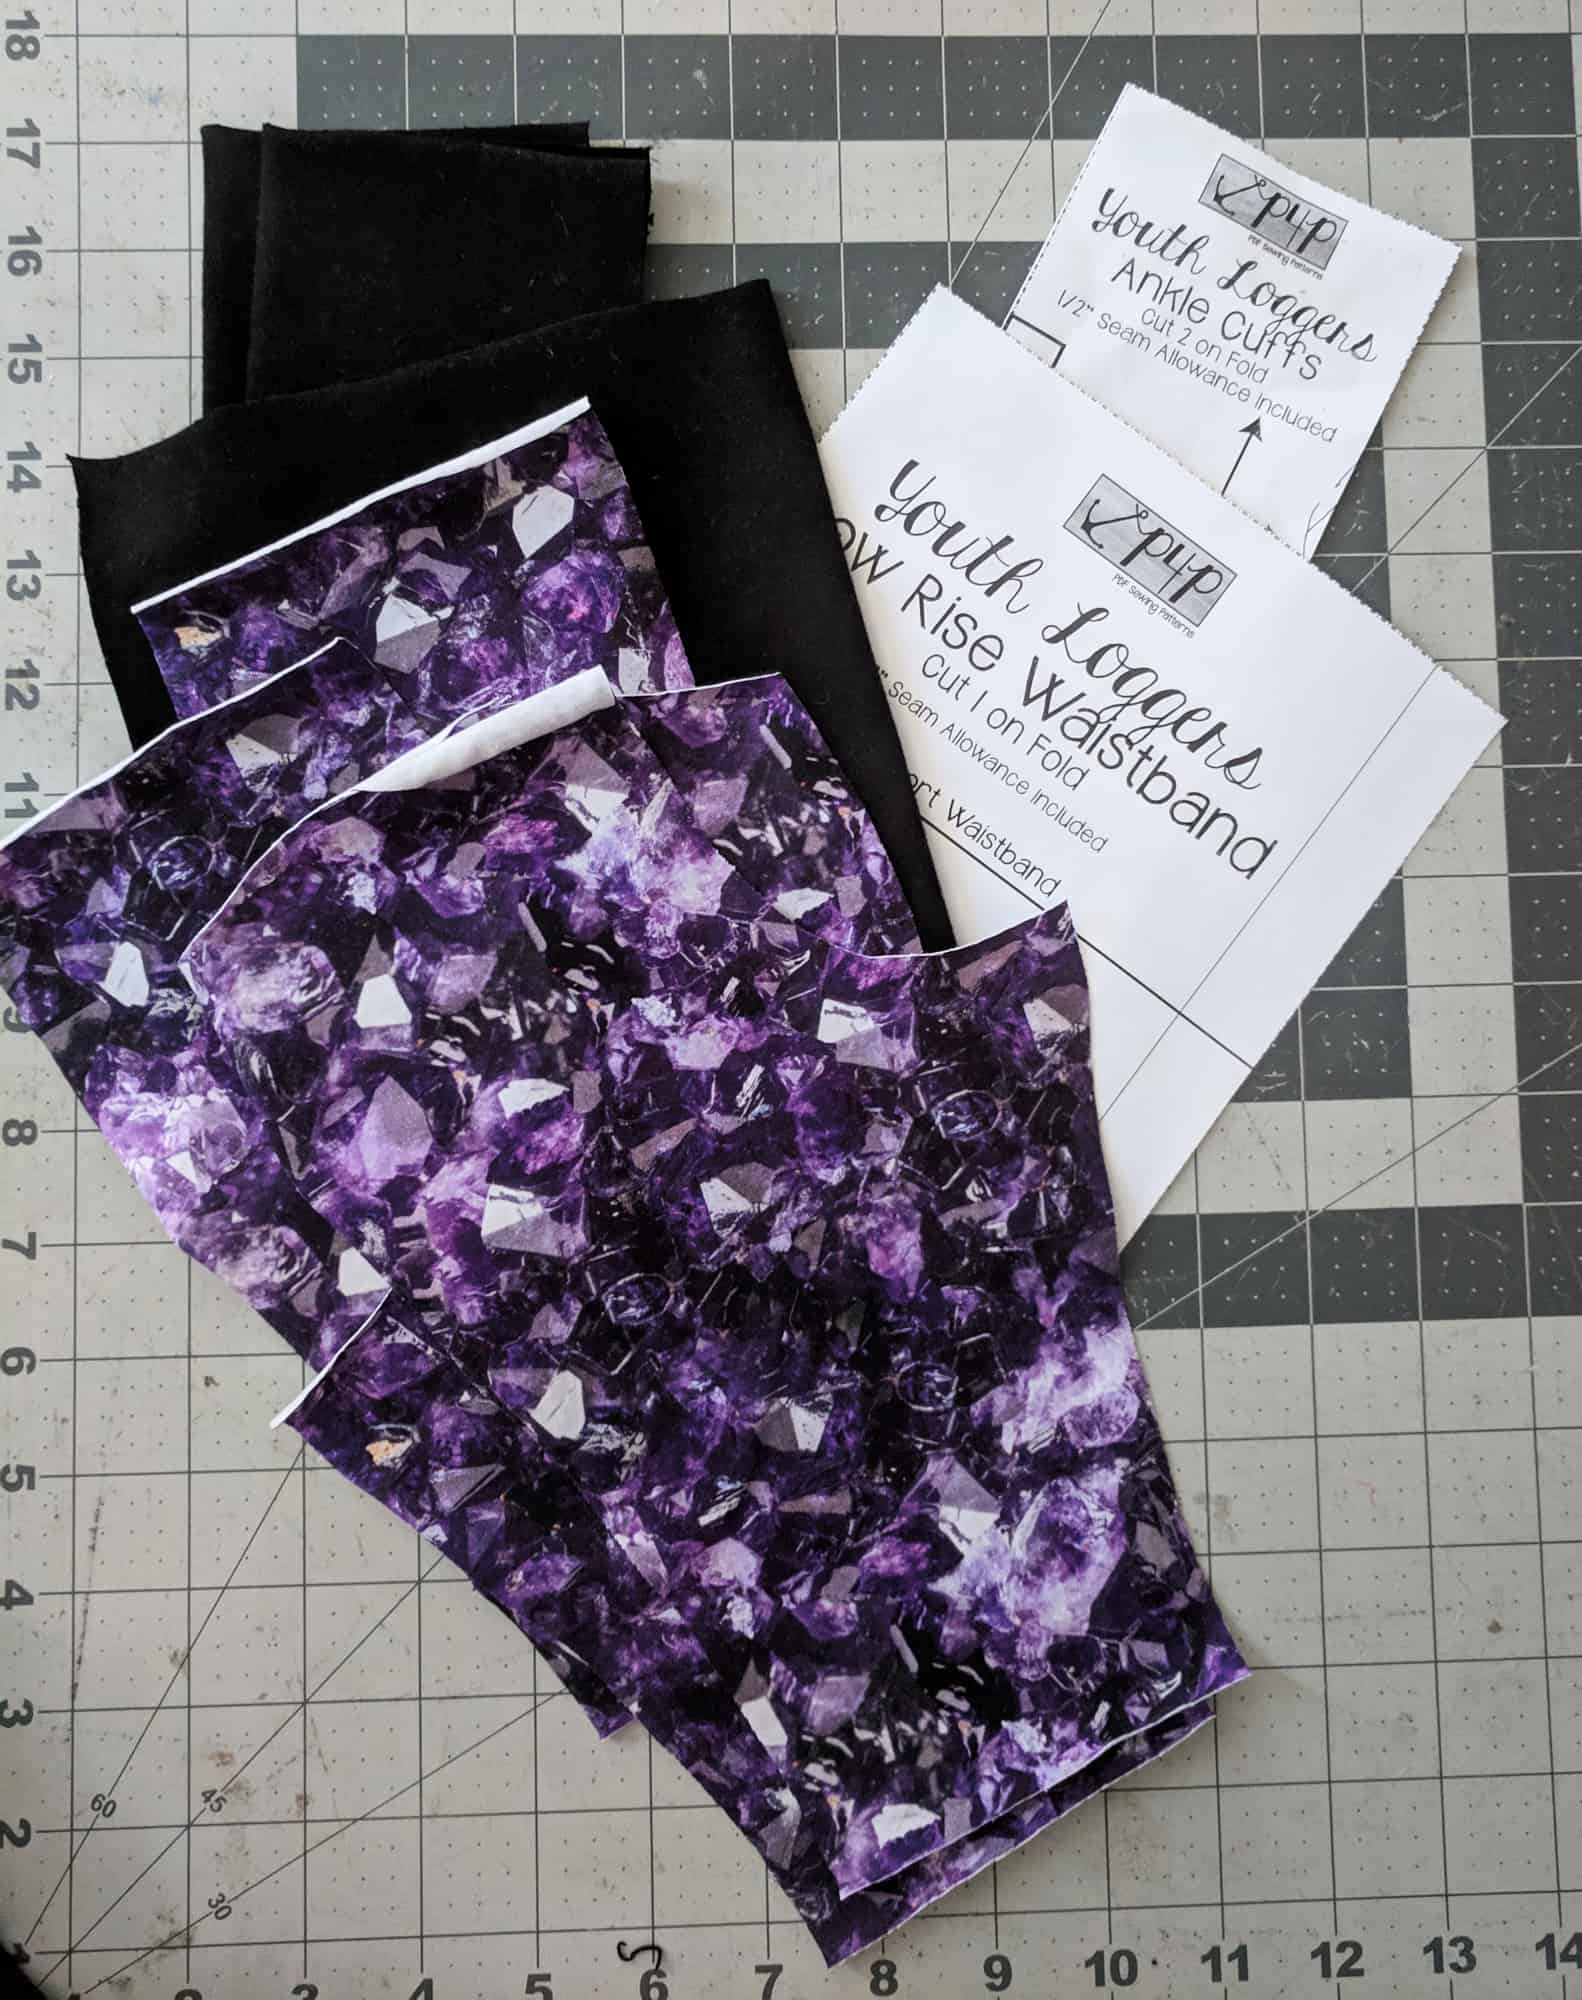
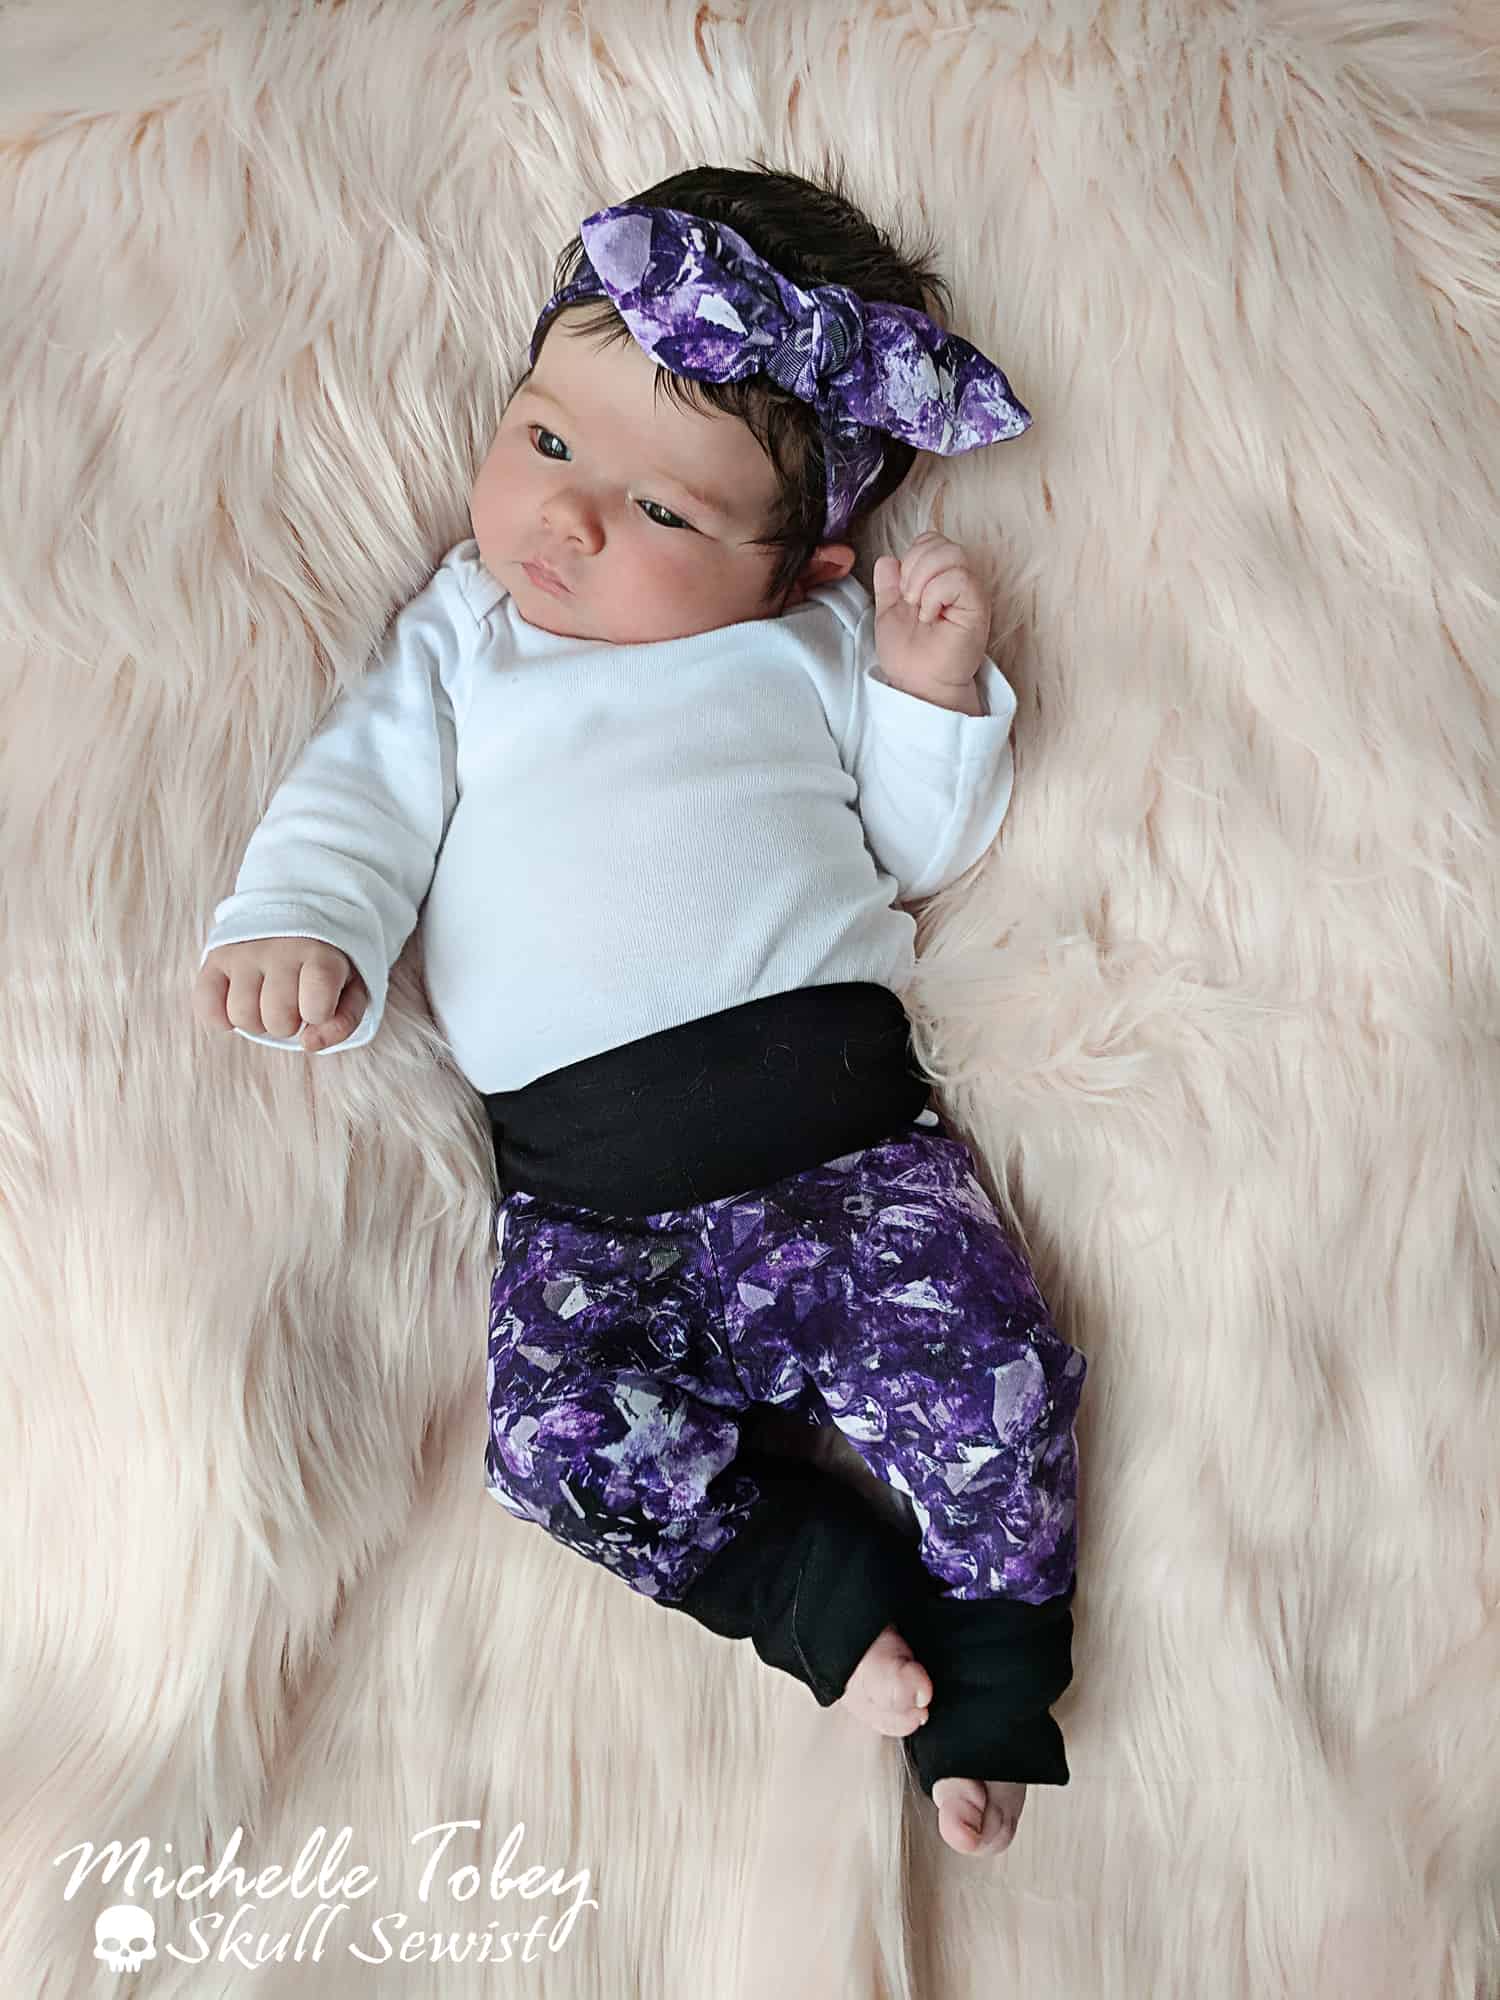
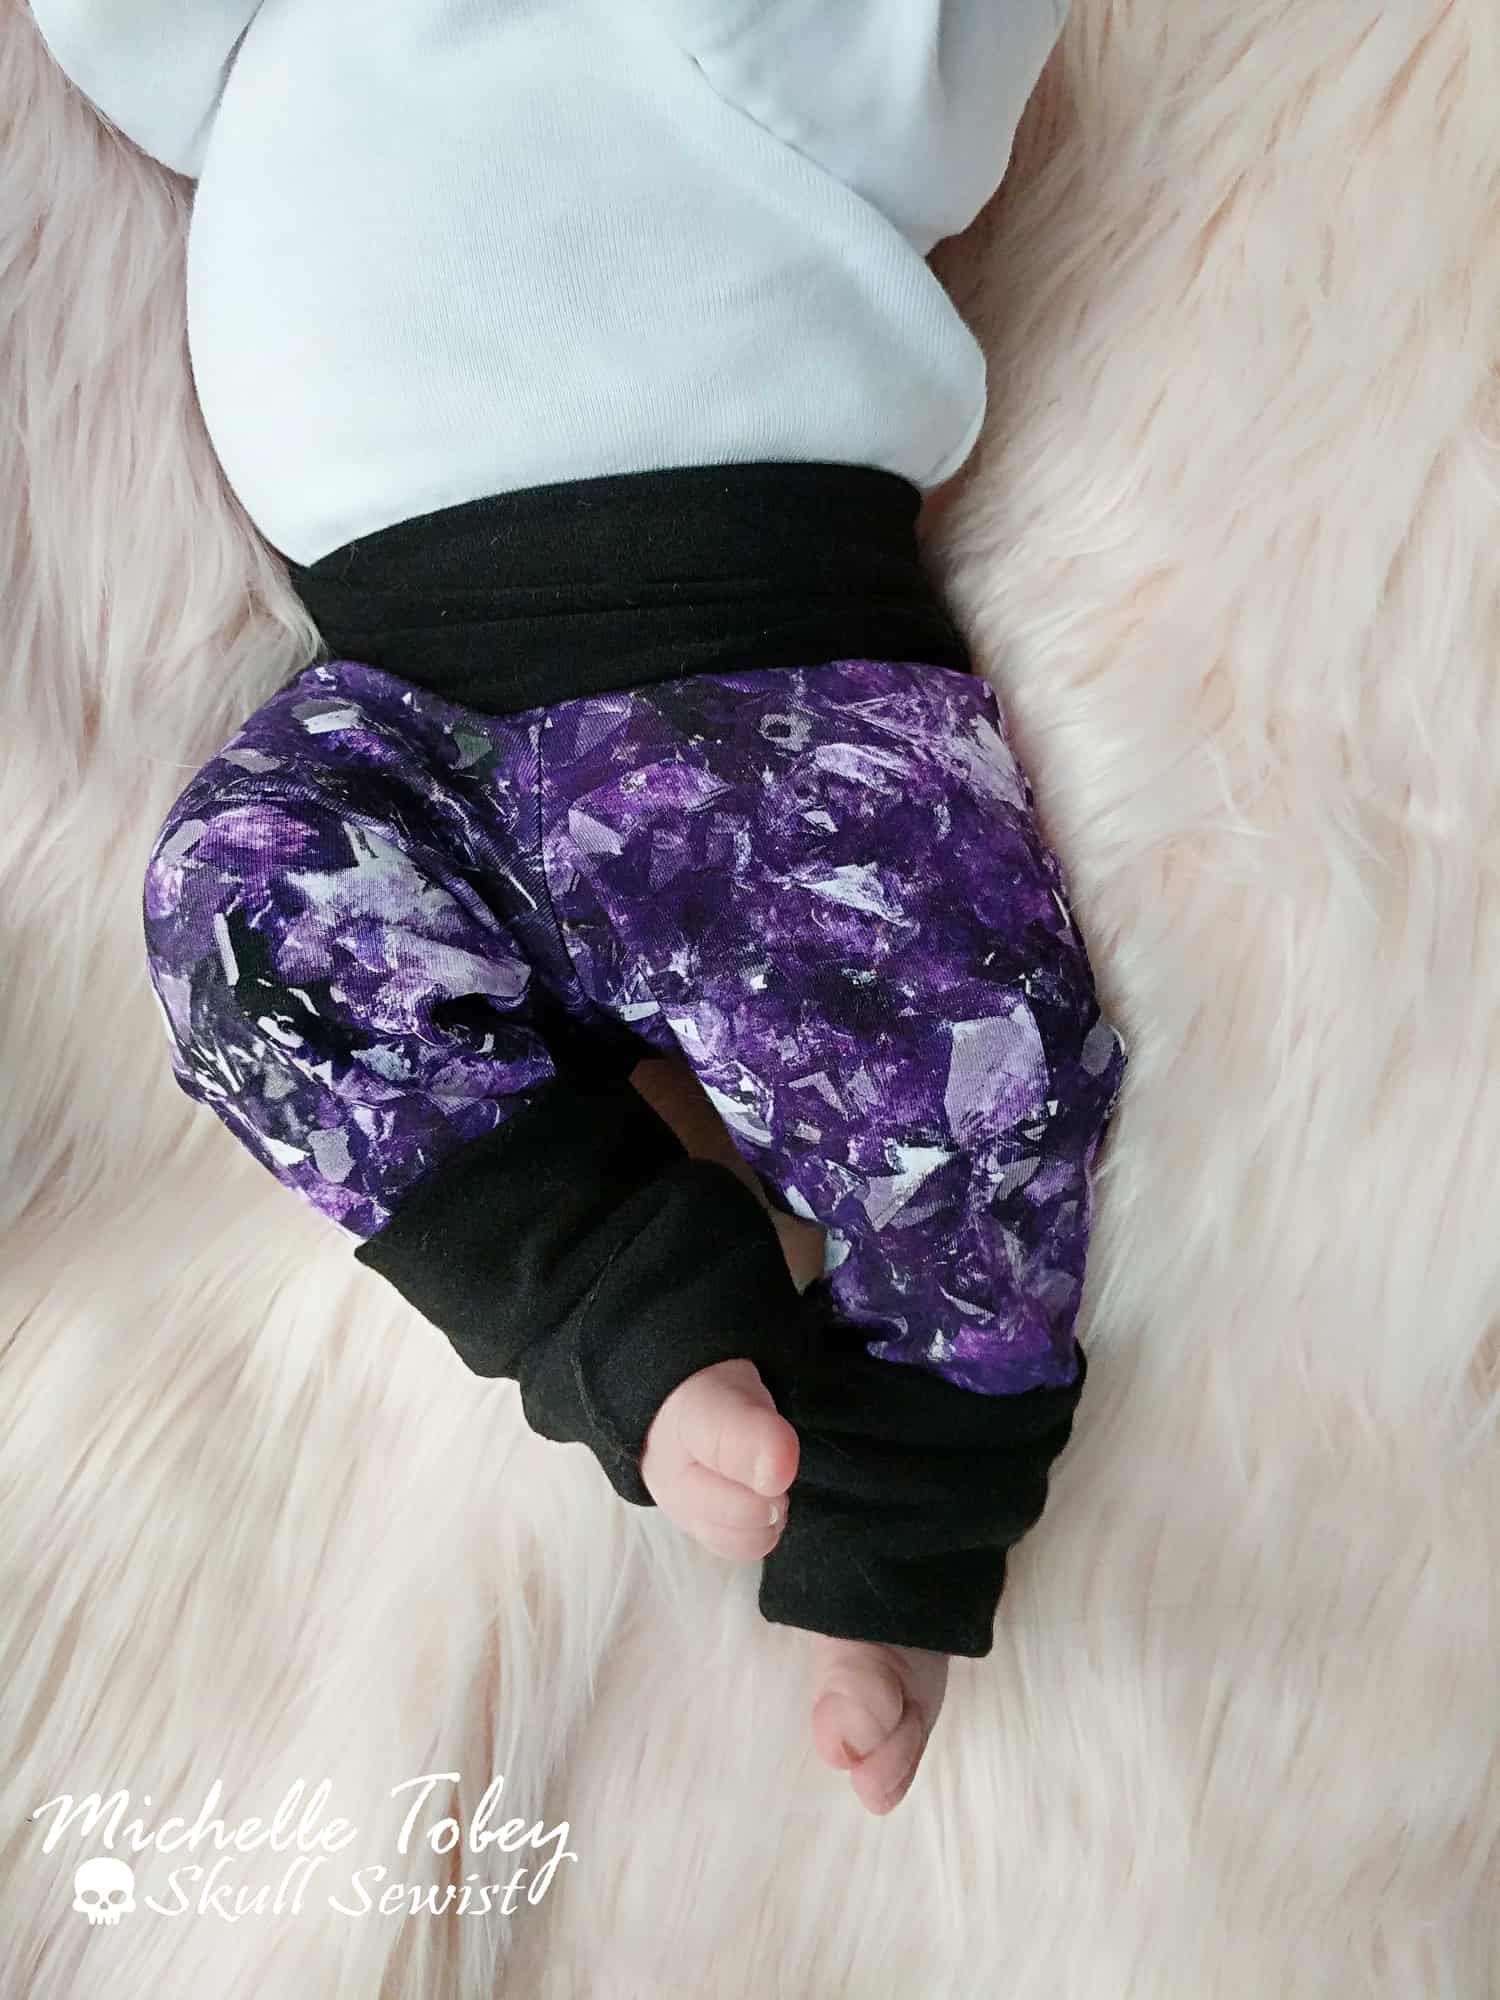
First off, let’s talk about knit waistbands. These waistbands can be normal or high-rise, and are stretched to fit a garment’s waist.  Knit waistbands will need to be made with knits with excellent stretch and good recovery. You’ll want to look for fabrics like brushed polyester, cotton lycra, or cotton ribbing to make these. This type of waistband is easy to sew, with no casings, elastic or fancy stitching required. Hurray!

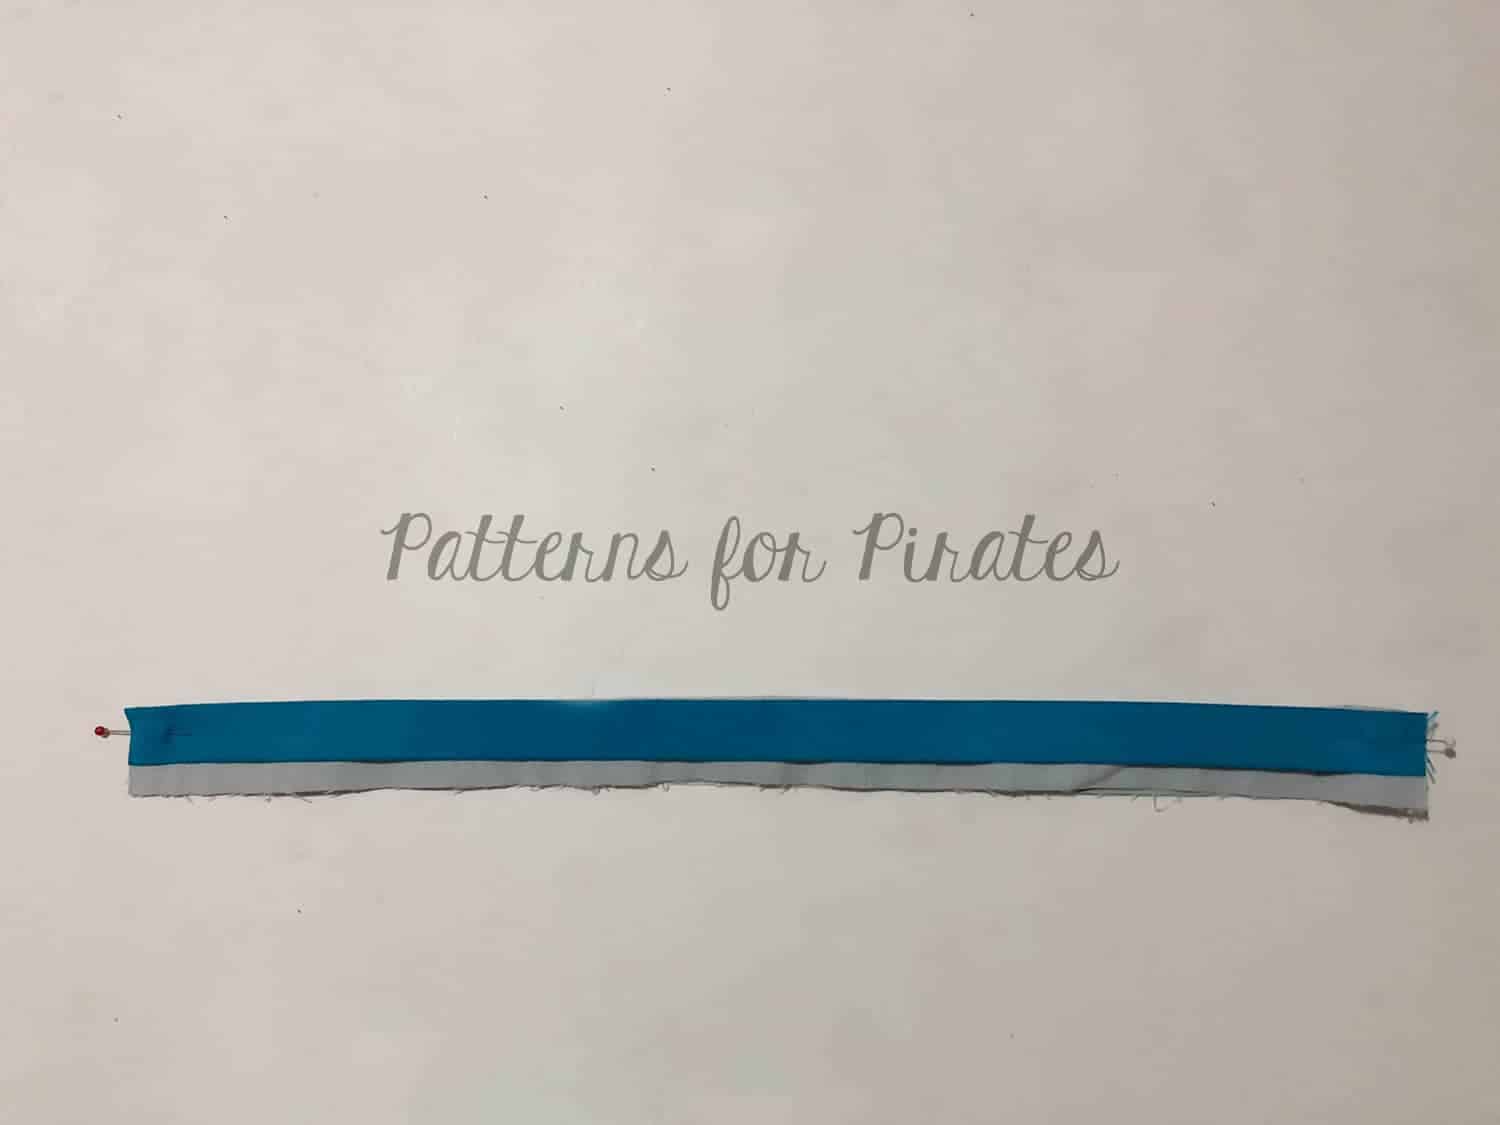
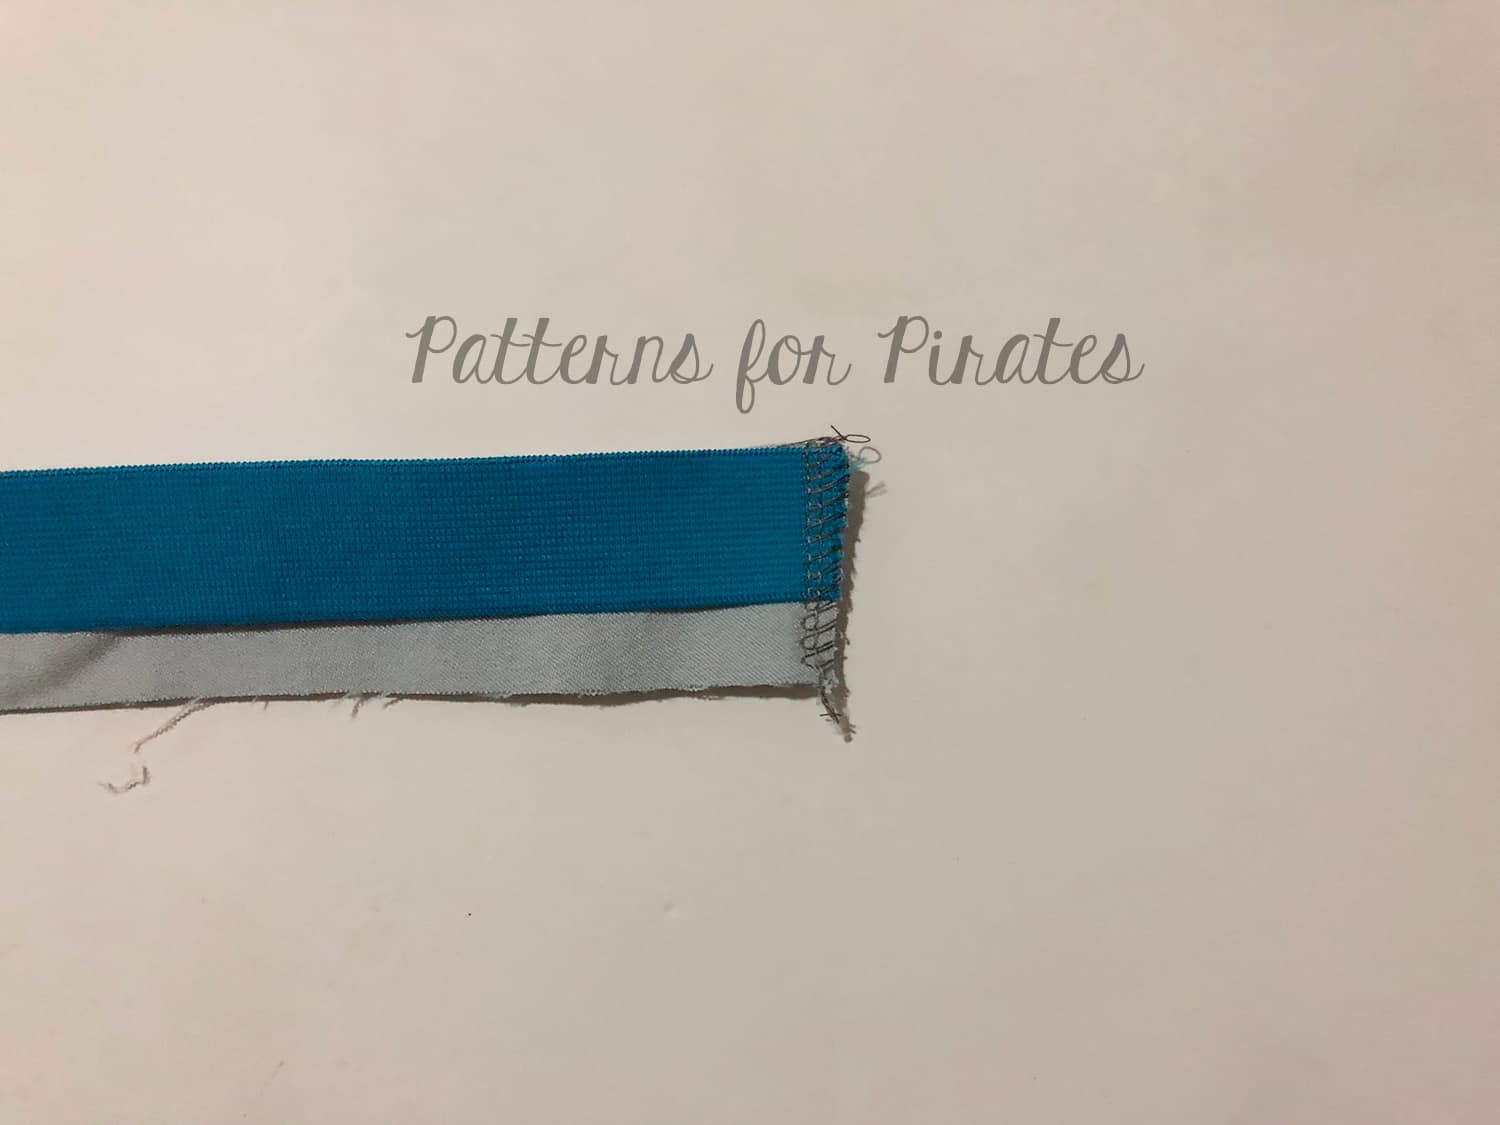
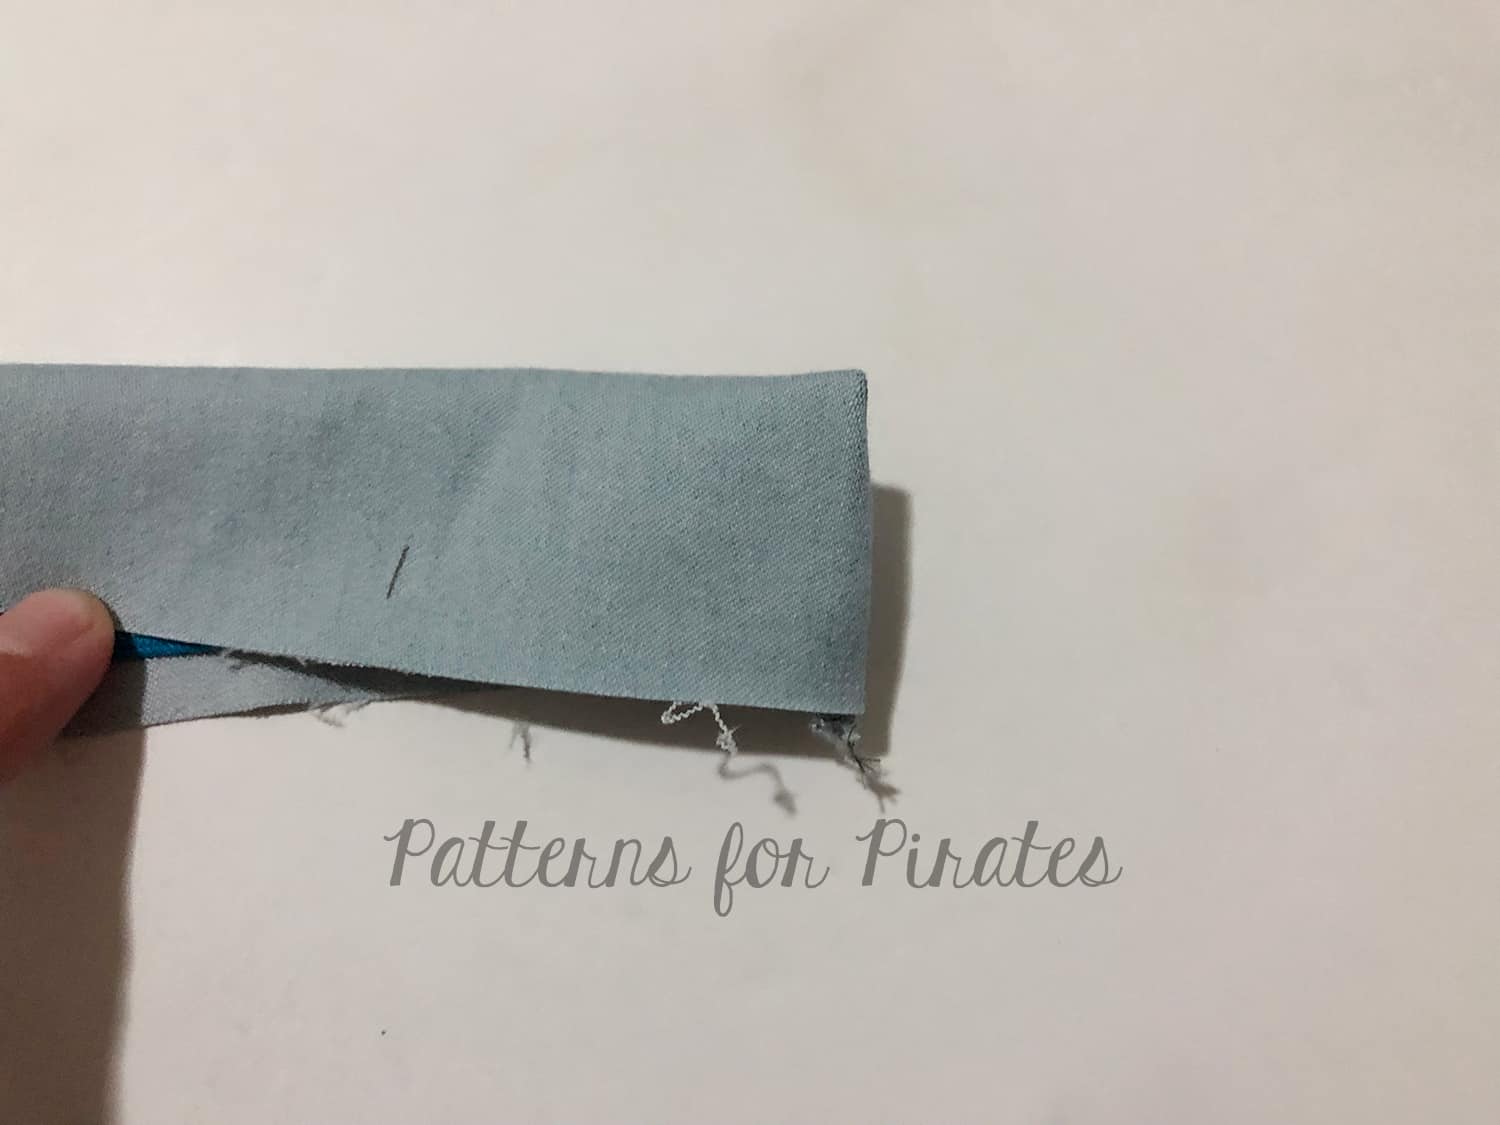
Generally with this type of waistband, you’ll line up the short ends of the waistband piece, right sides together, and stitch. Next, flip the waistband so the right side is up, then fold in half lengthwise, wrong sides together, and press. From there, you will quarter the band with pins and attach (more on quartering waistbands and other tips later)!


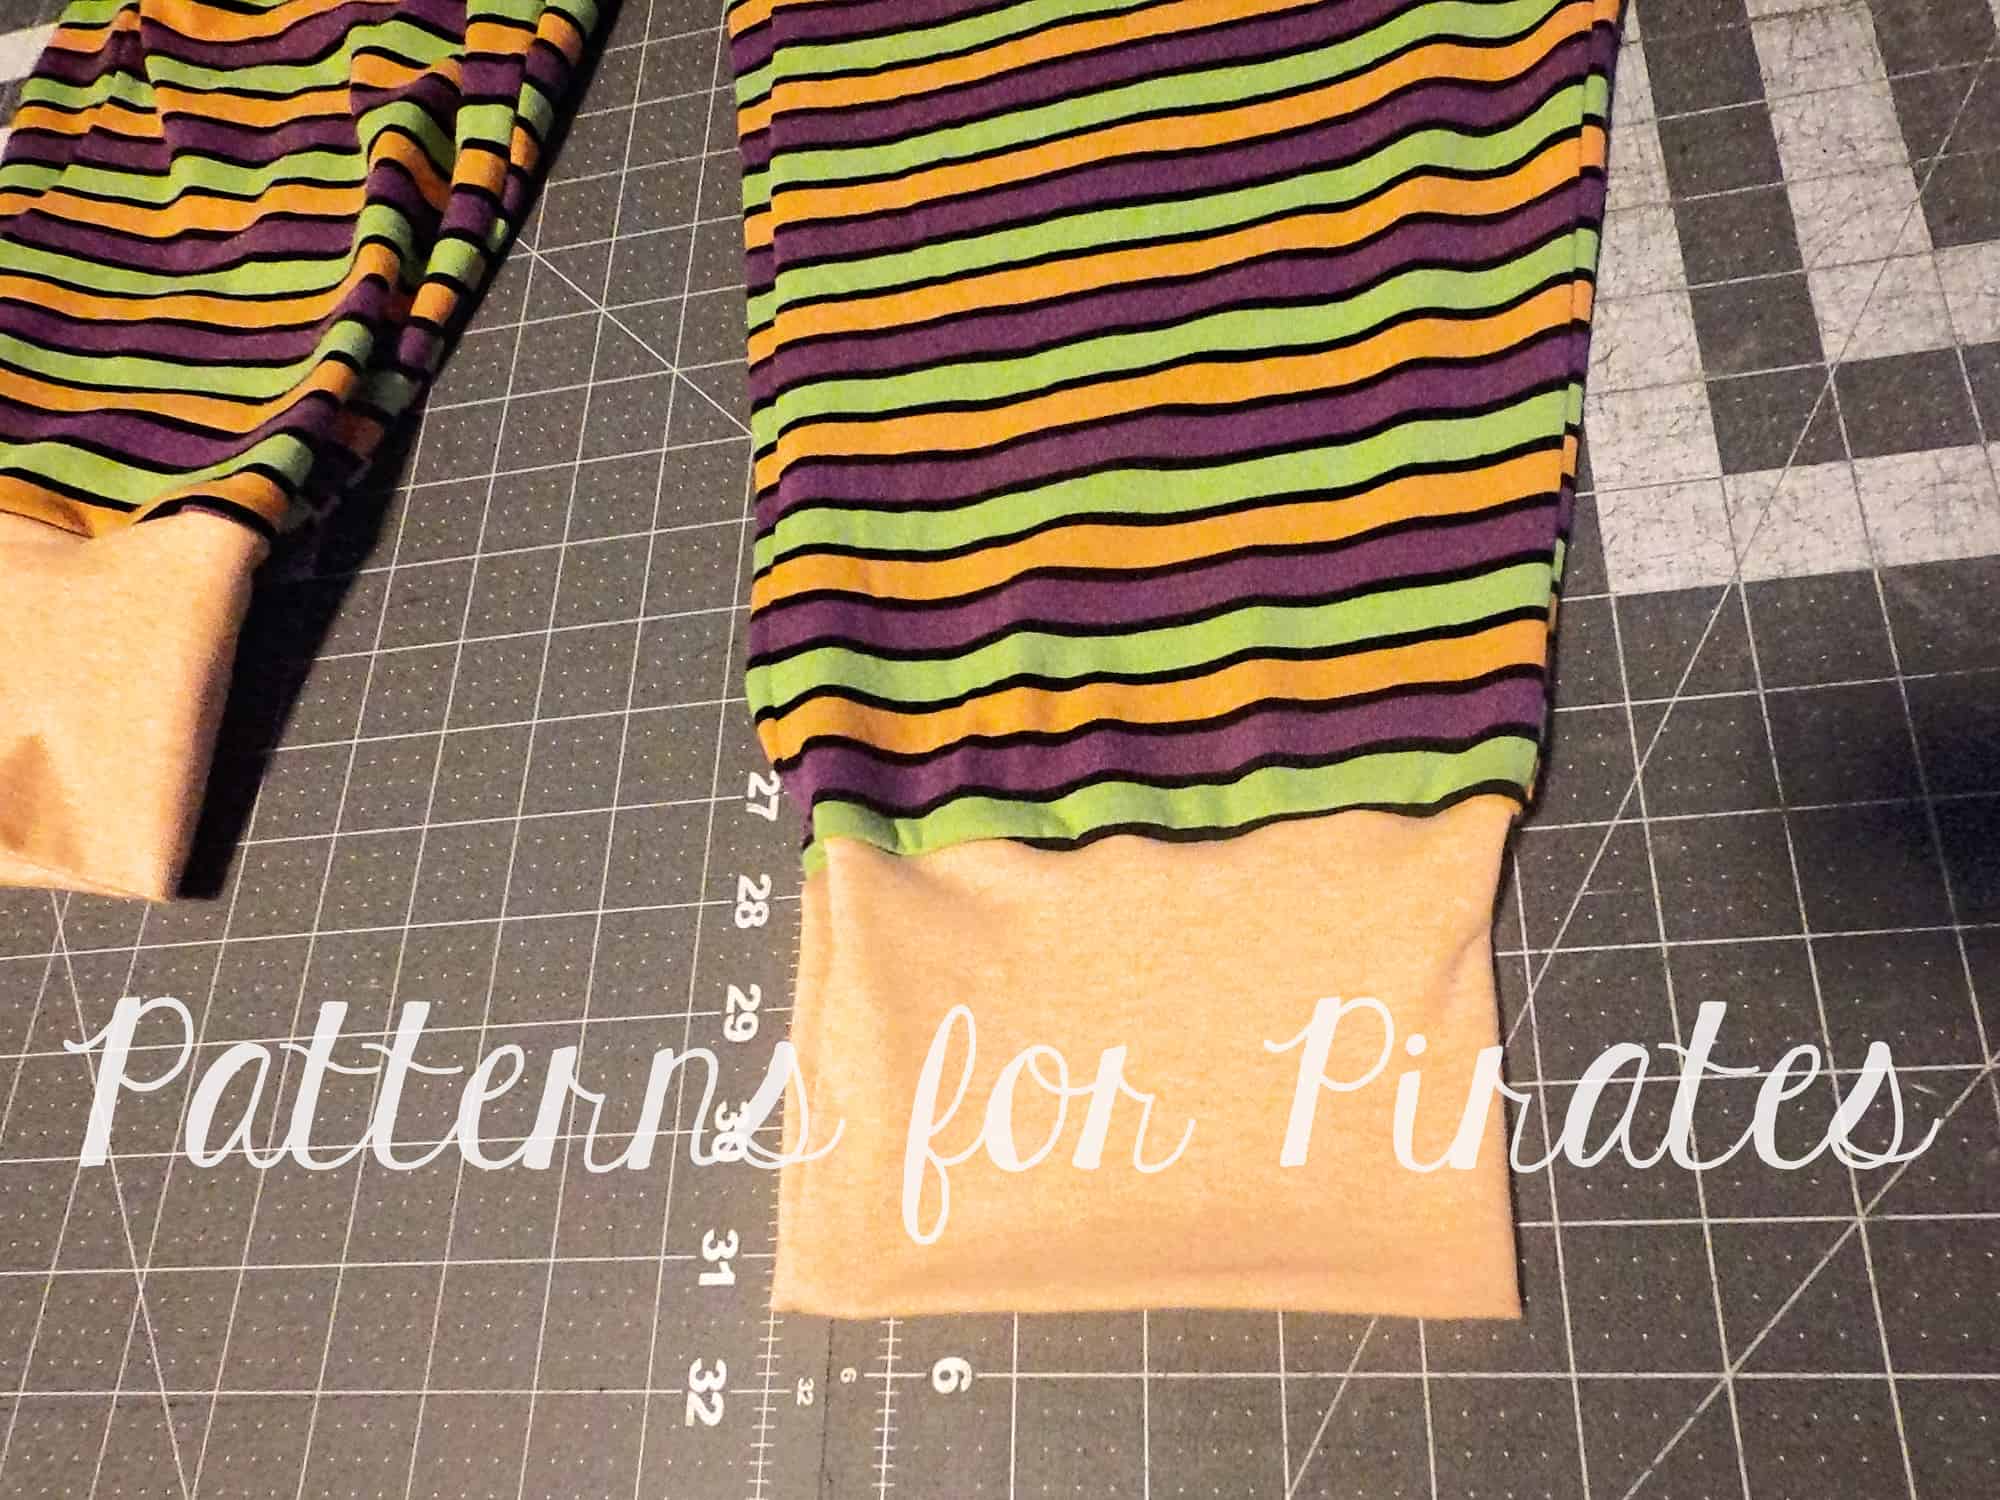
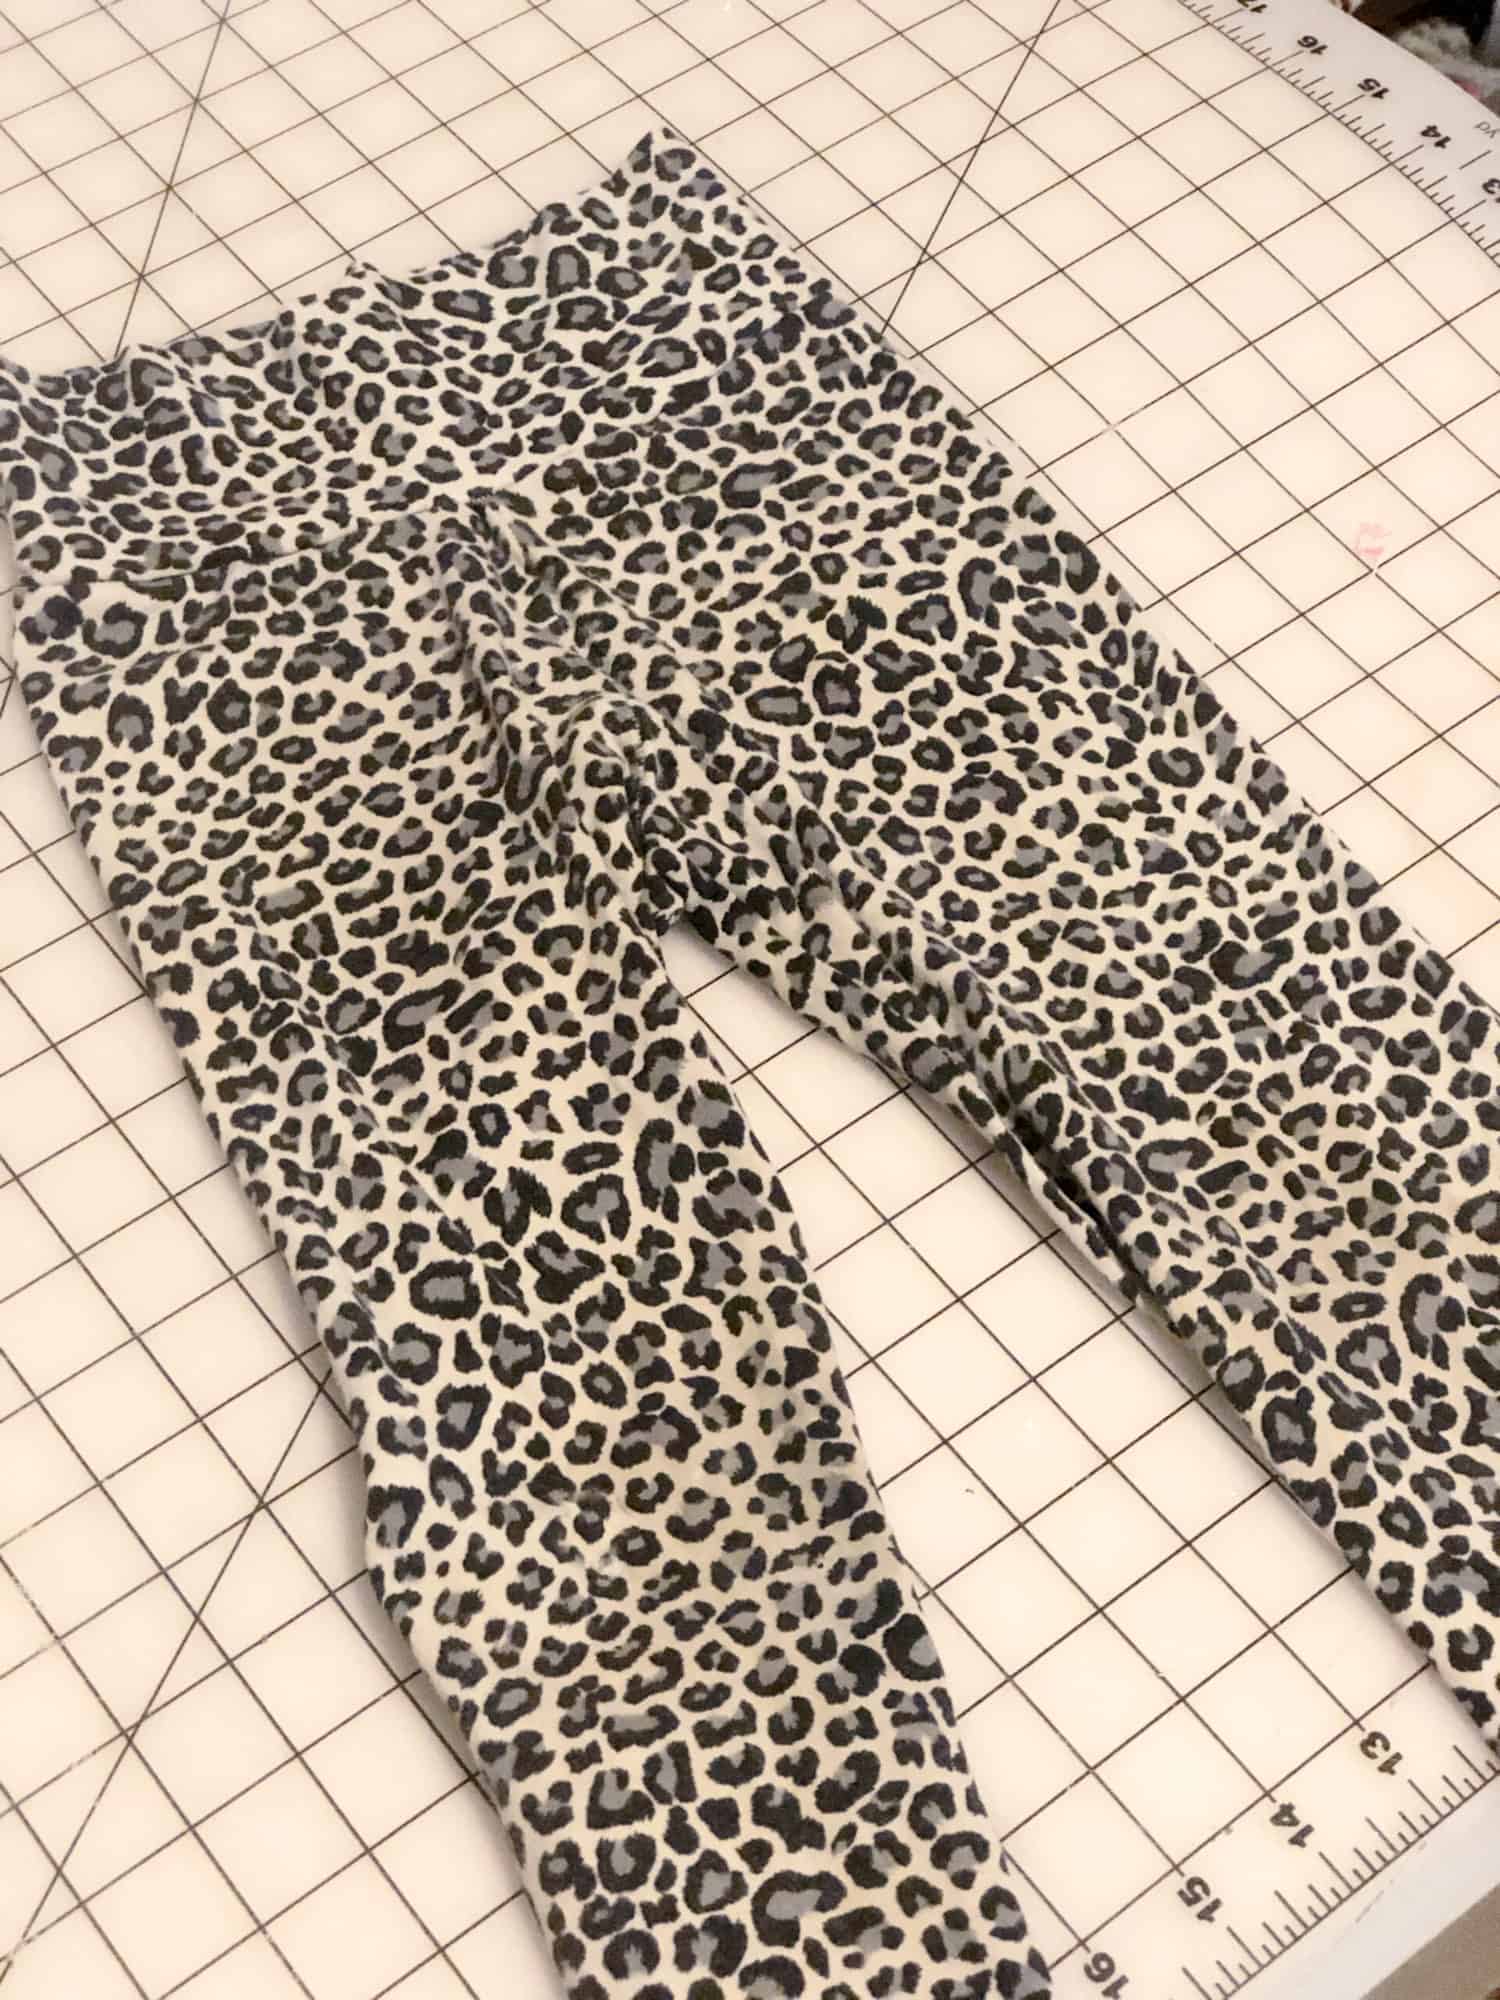
Here, I’ve used double brushed poly to sew a knit waistband onto a pair of Peg Legs. I’ve simply attached it by stretching it evenly, and sewing it to the garment with my serger, although a sewing machine will work just as well. Make sure to use a stretch stitch, like the lightening bolt, at the longest length setting!


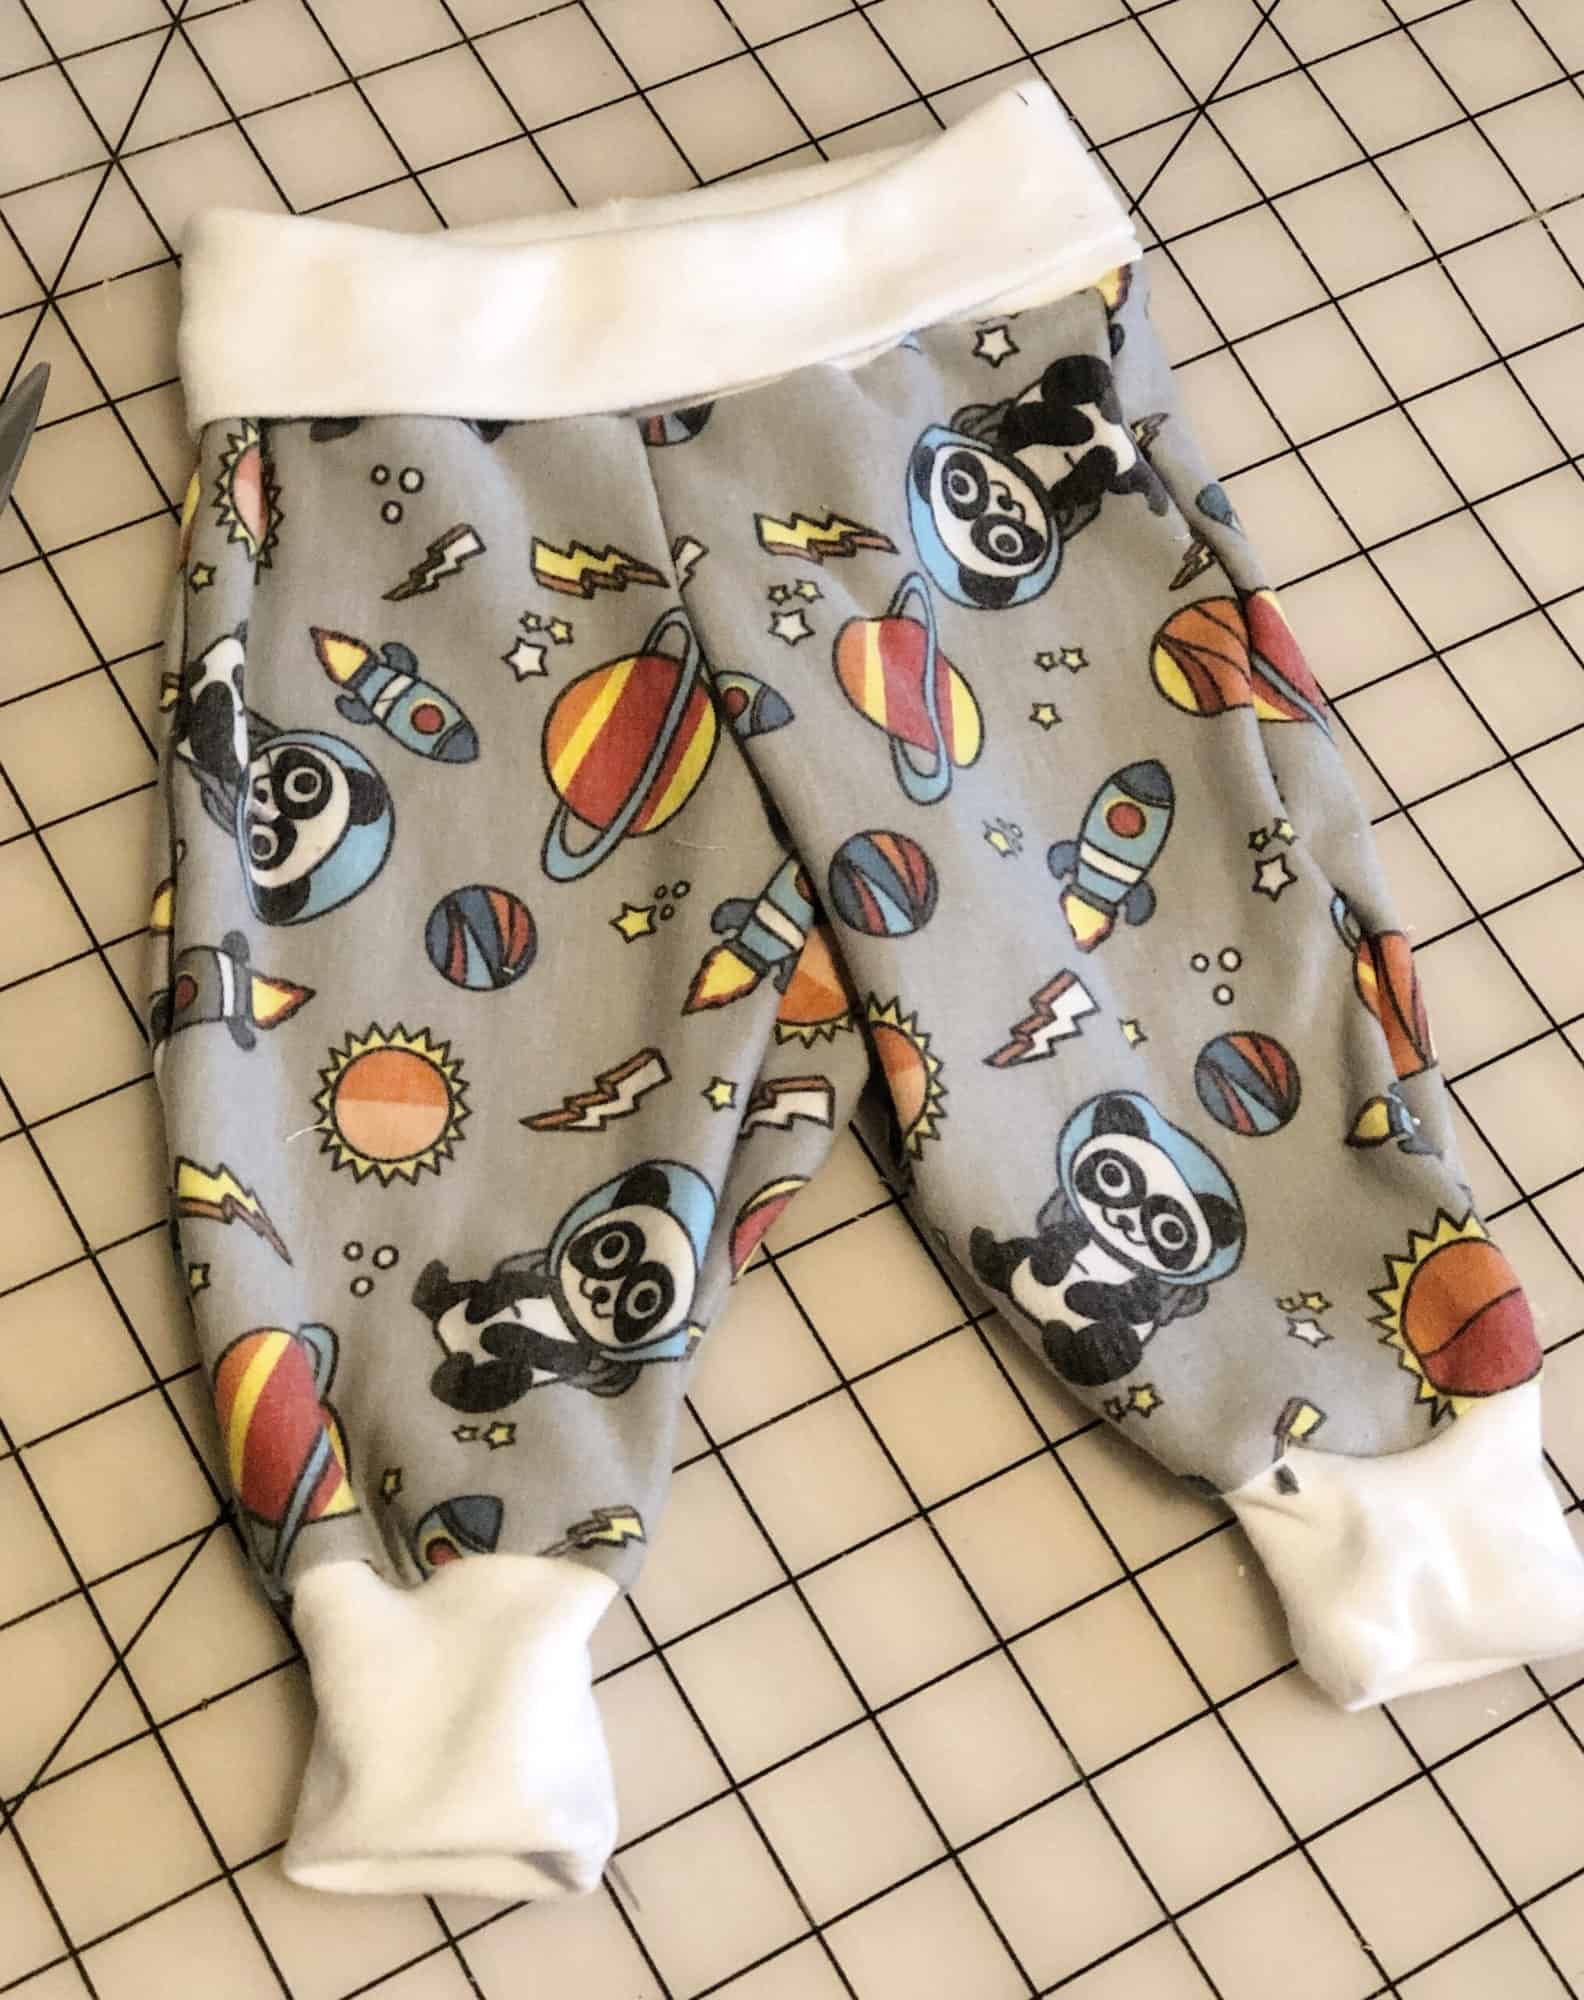
Next up, we have  tall/yoga waistbands. Yoga waistbands are made and constructed similarly to regular knit waistbands, but are simply “taller” and meant to be folded over for a even more comfortable fit. I especially like using yoga waistbands on clothing for children, as they are super comfy to wear! Brushed polyester and cotton lycra are excellent choices for these. I’ve used a yoga waistband here on a pair of Baby Bear Joggers, using brushed polyester.


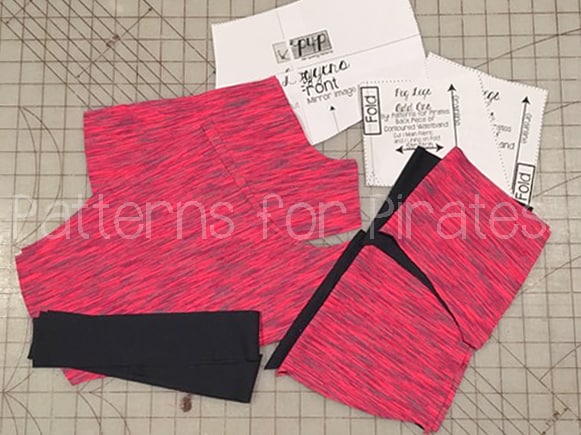
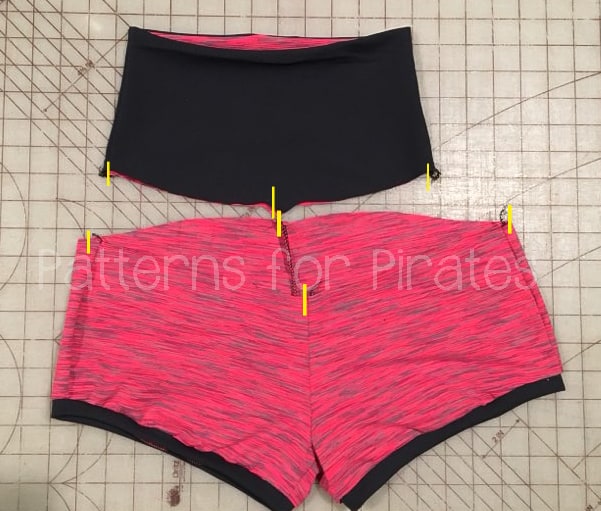
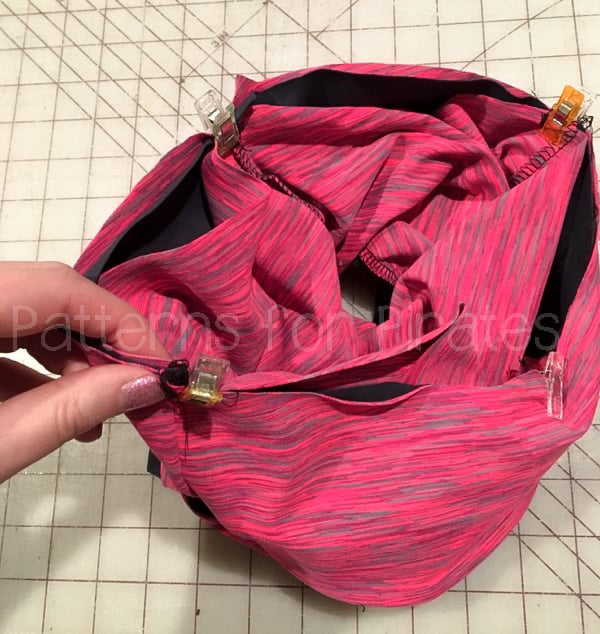
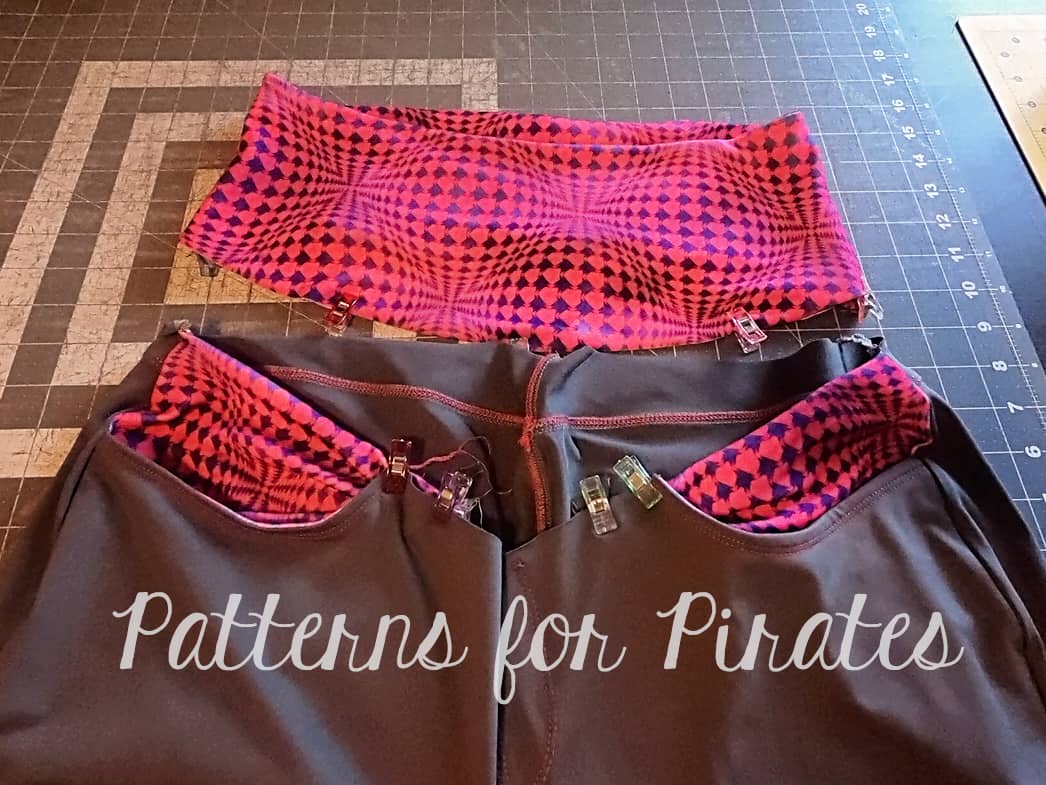
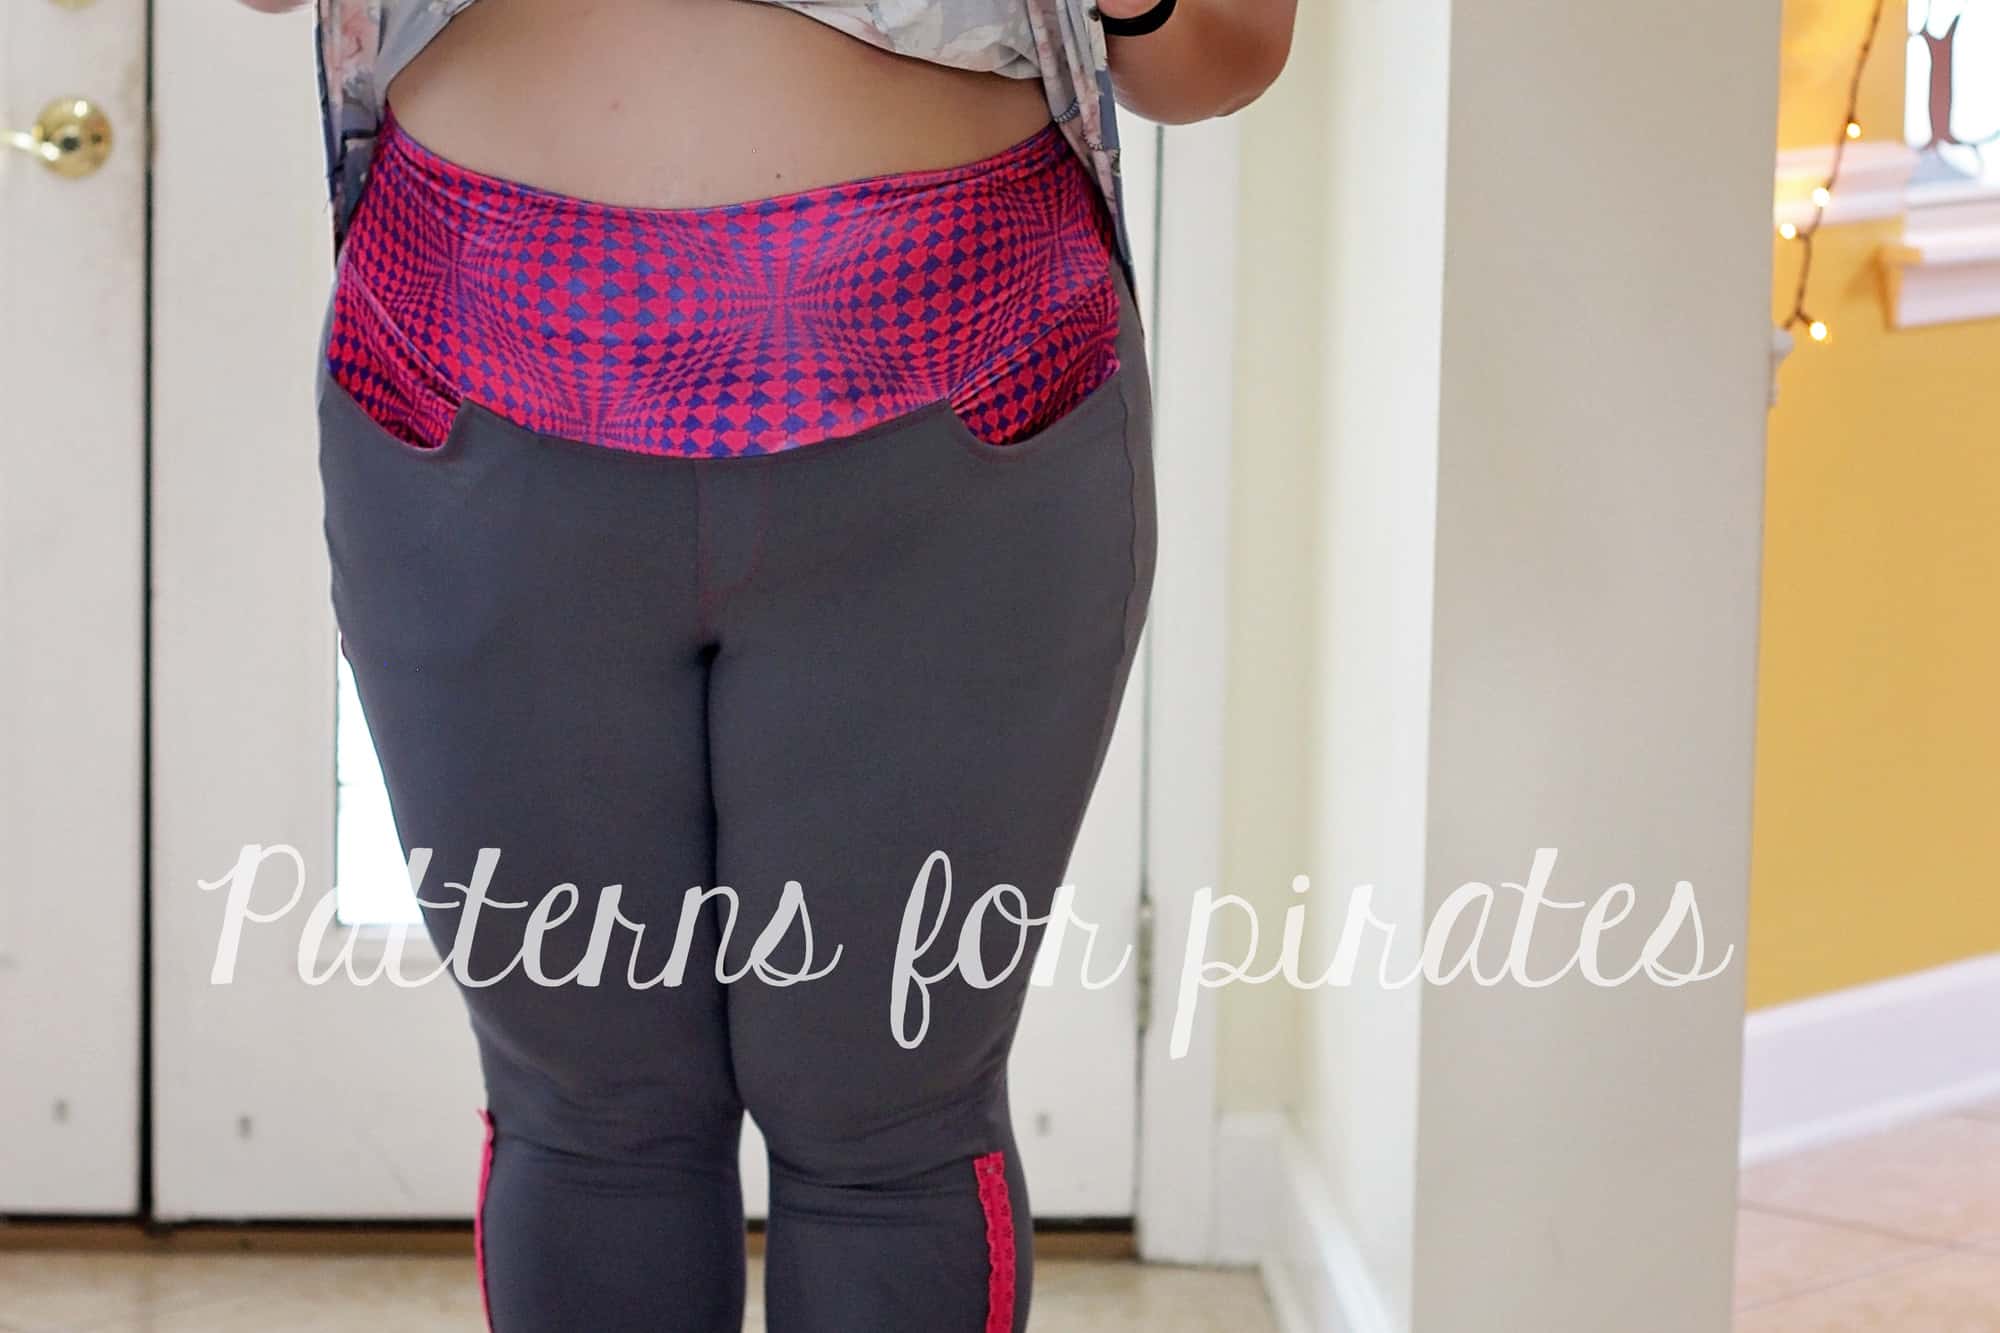
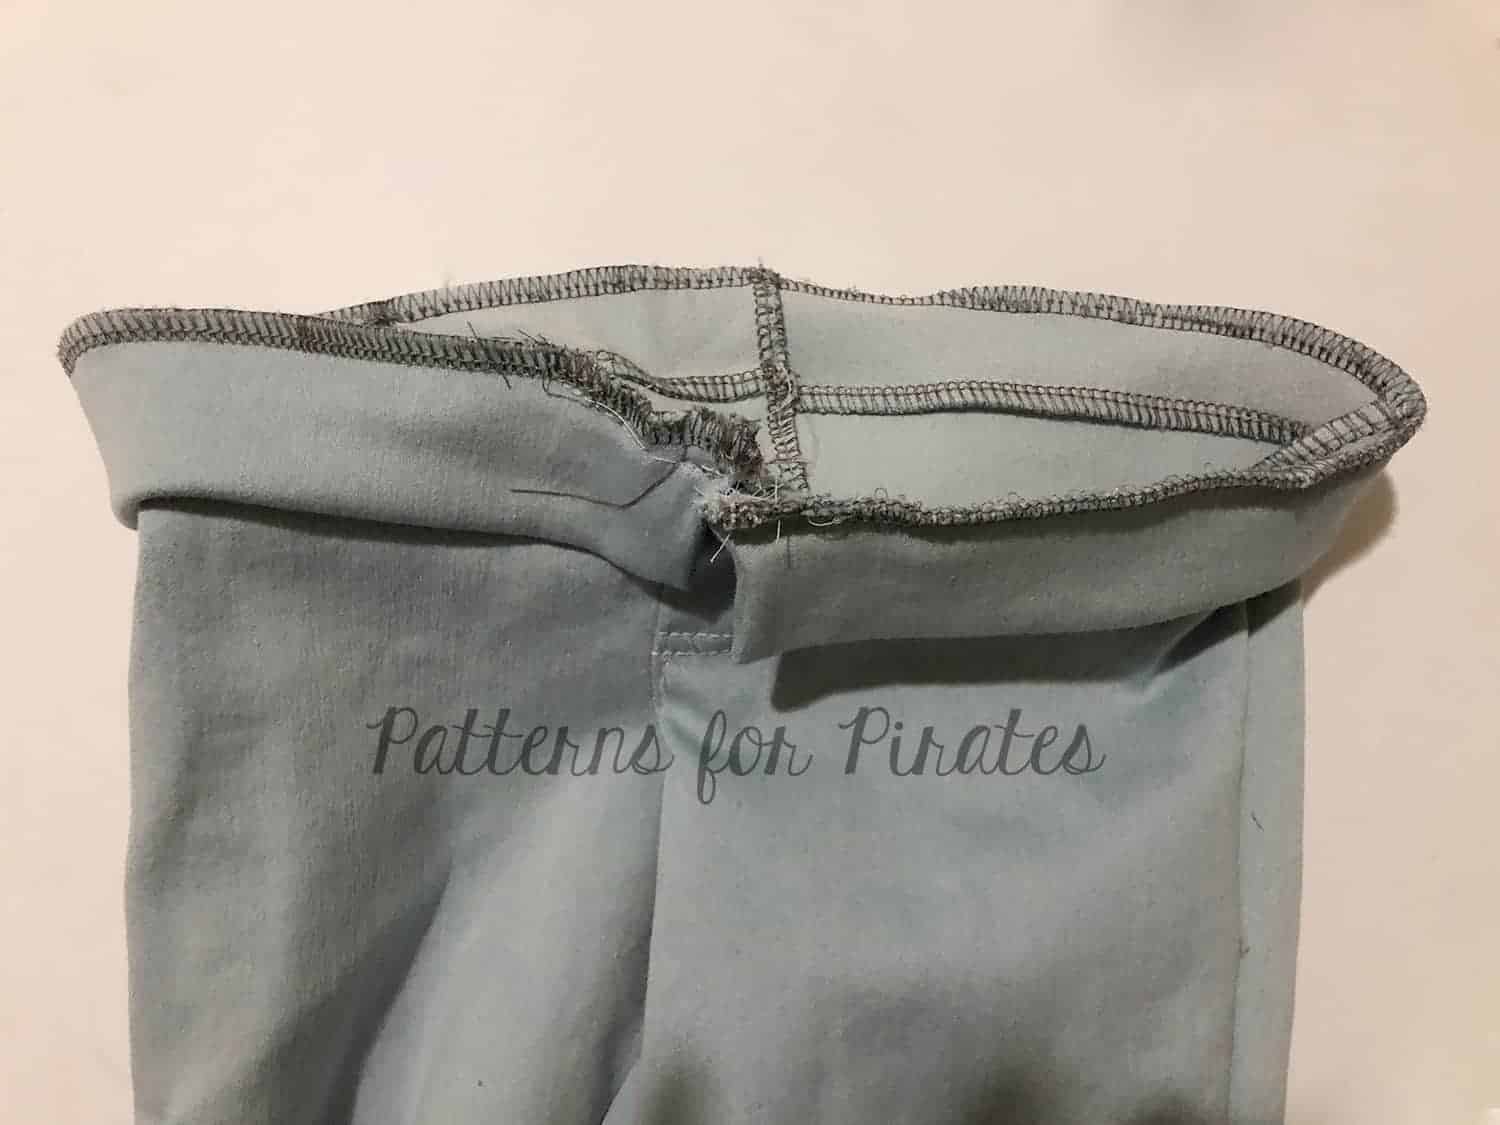
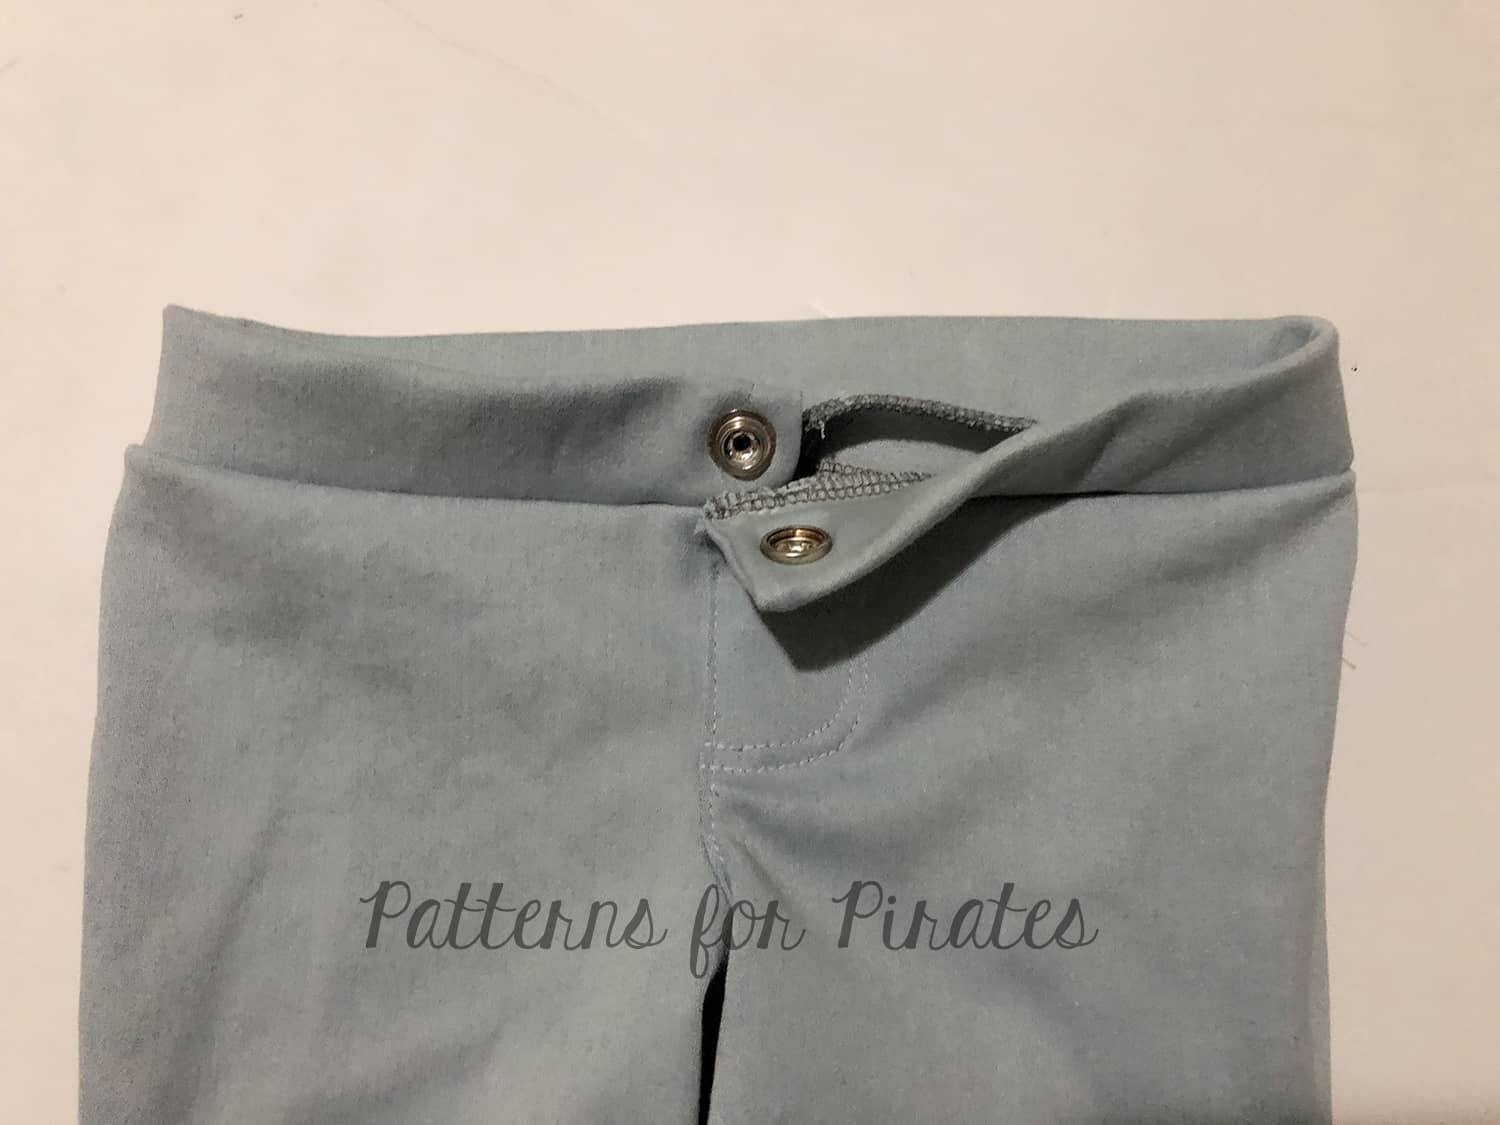
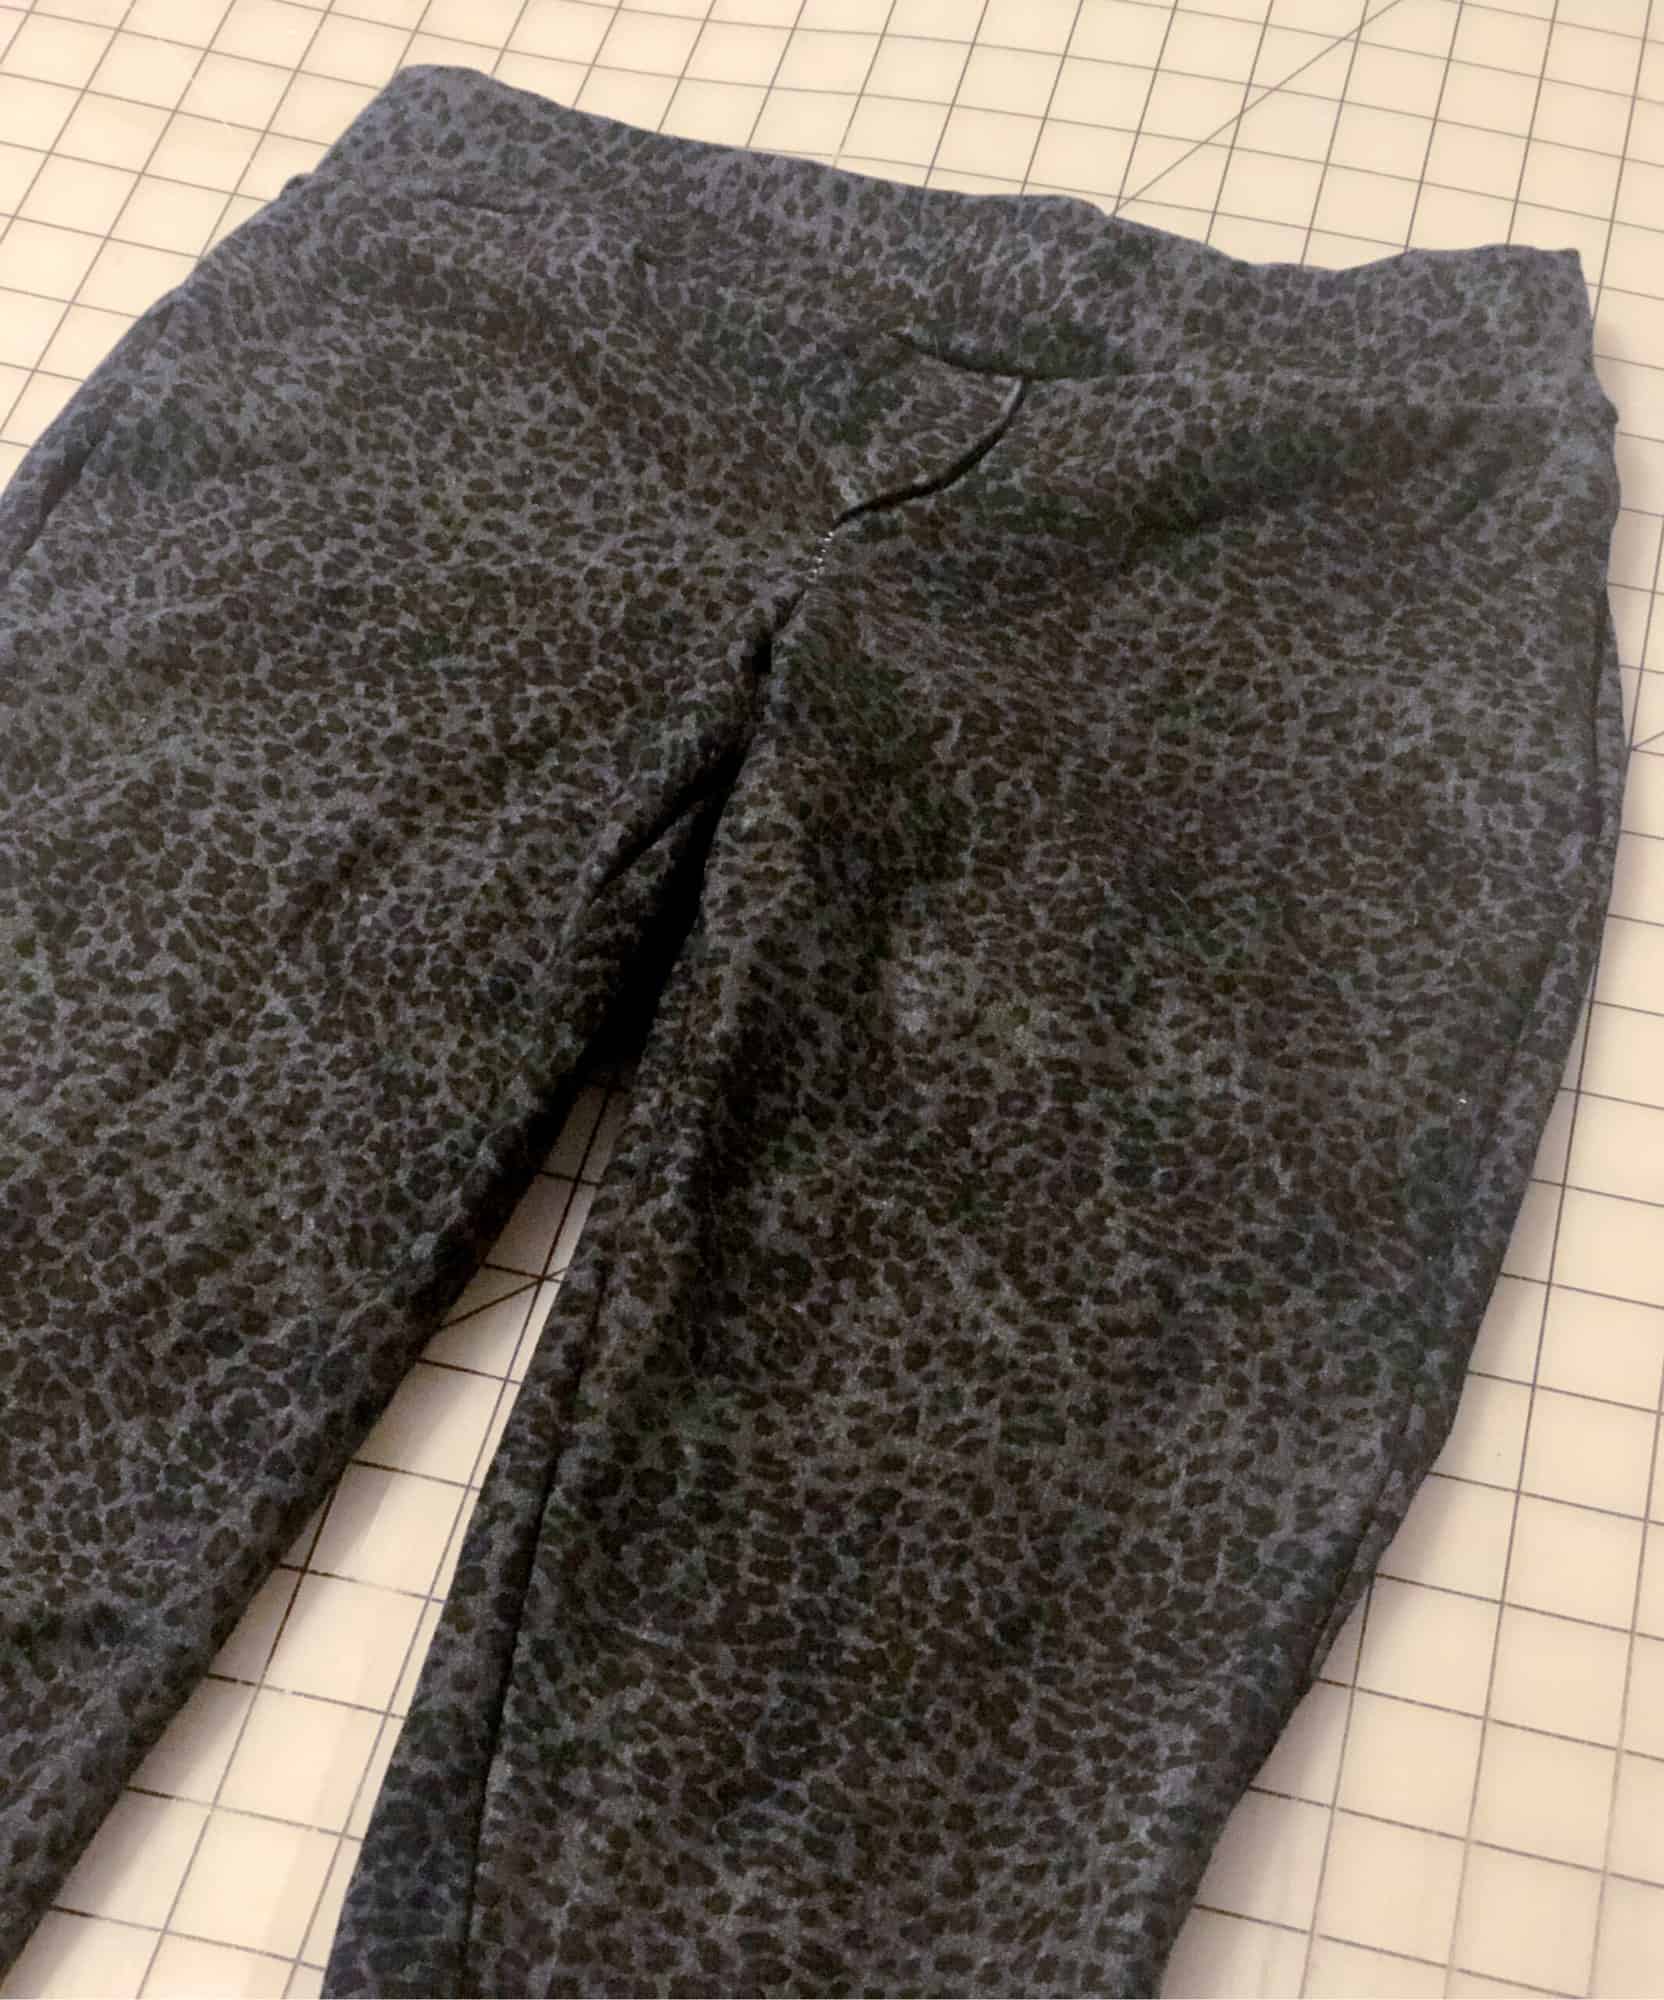
Next,  we have enclosed elastic waistbands. Generally, this type of waistband is used for knit garments that have a little less vertical stretch or recovery and need a little “help” holding the garment up around the wearer’s waist.

To construct, you will sew together the short ends of the waistband casing, right sides together. Next fold lengthwise, wrong sides together, and press. Set aside. Take your elastic piece, and sew short ends together, using instructions for the specific pattern being used. Generally, you will be instructed to either overlap the two short ends and sew, or “butt up” the ends- pushing them together and sewing with a wide zig-zag stitch, but not overlapping. Next you will slip the elastic loop into your knit waistband casing, and sew together as one piece onto your garment. You may topstitch this seam afterwards, if desired.

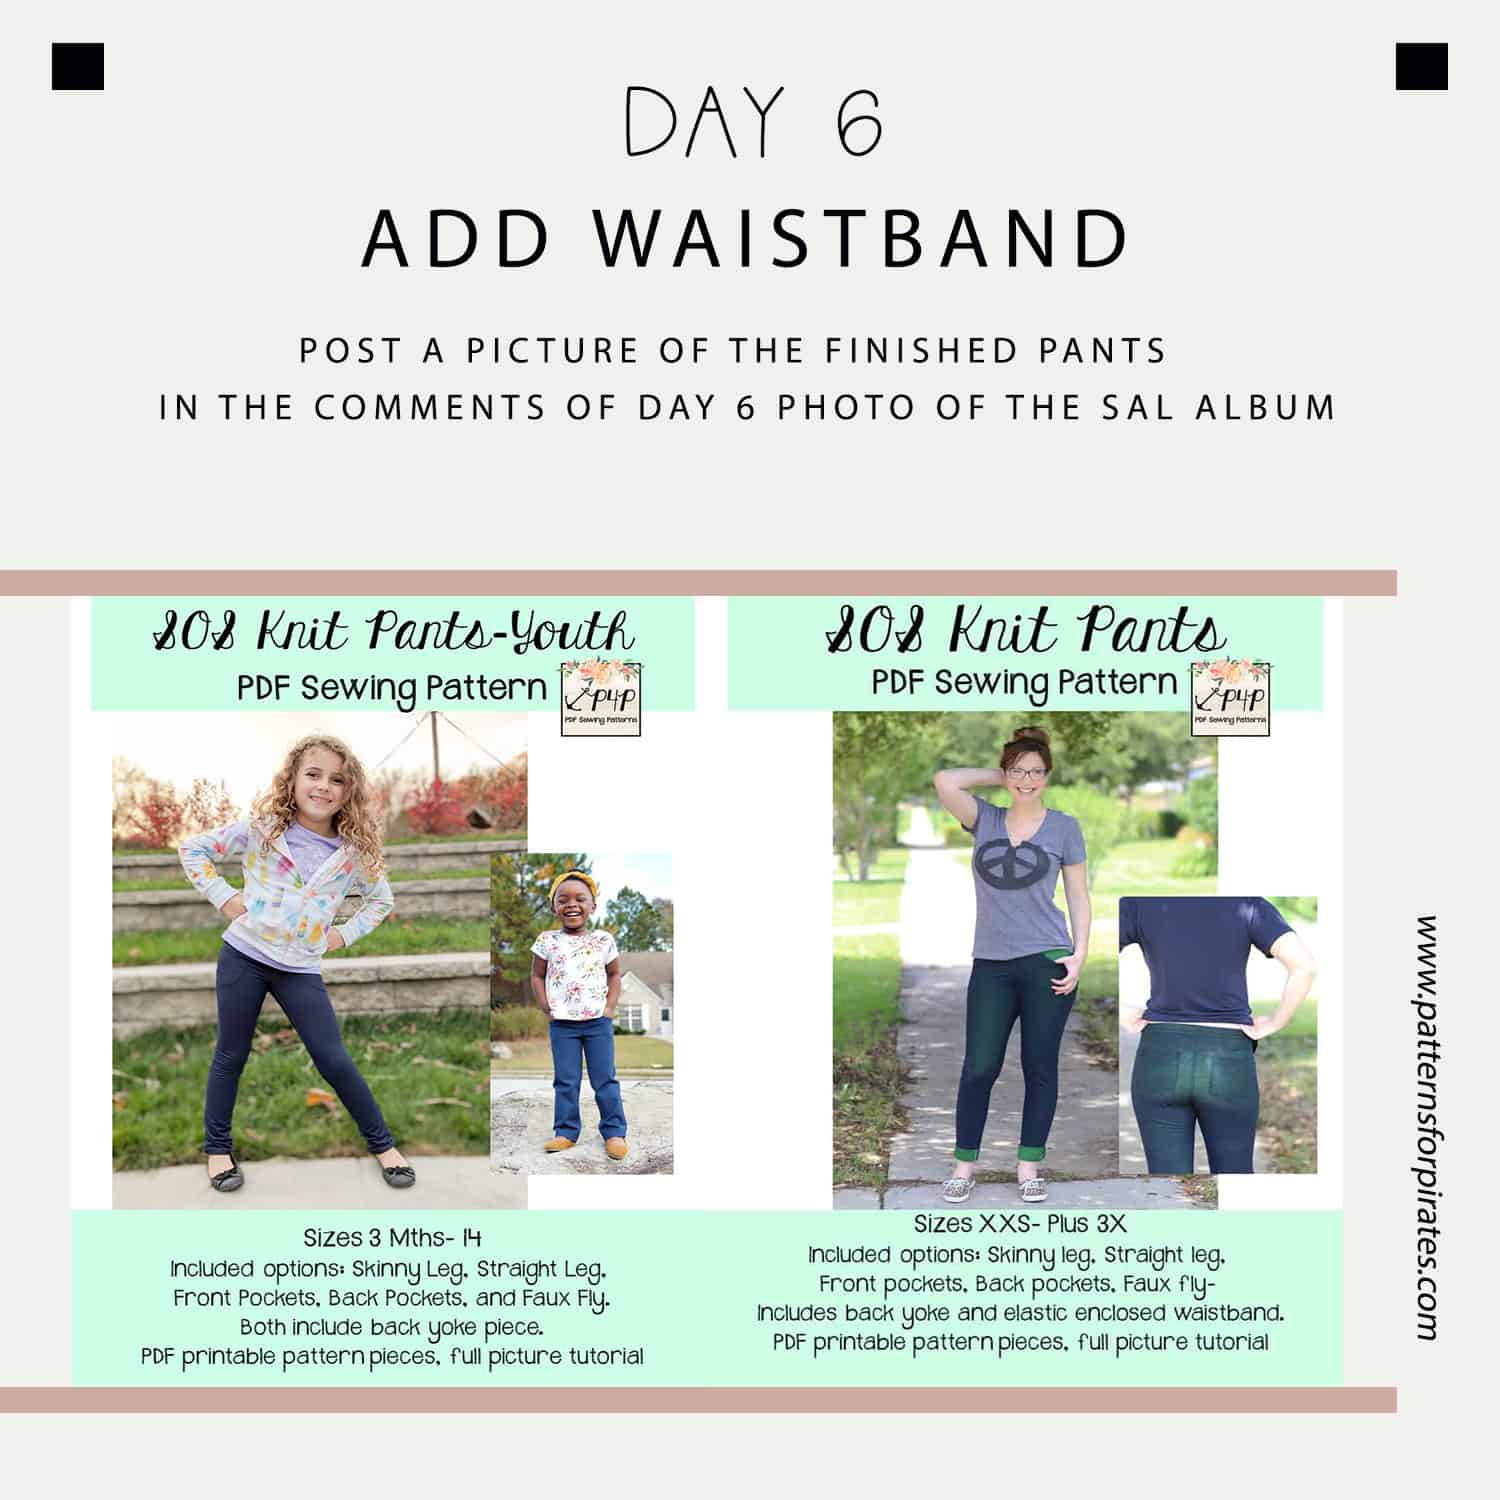
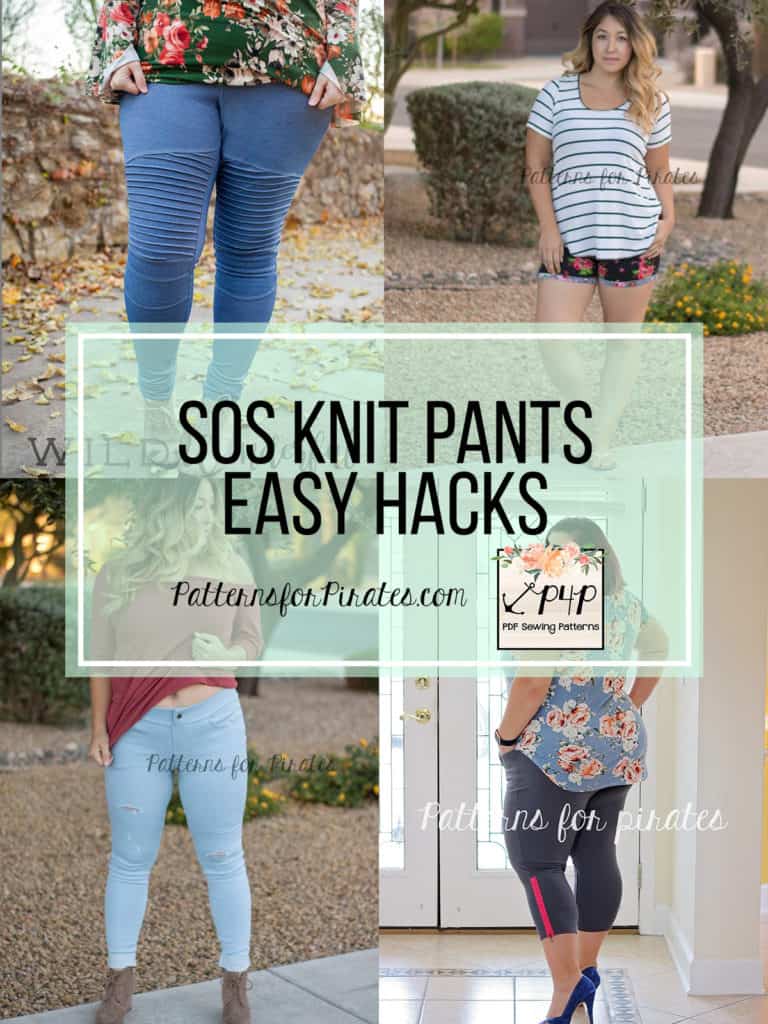
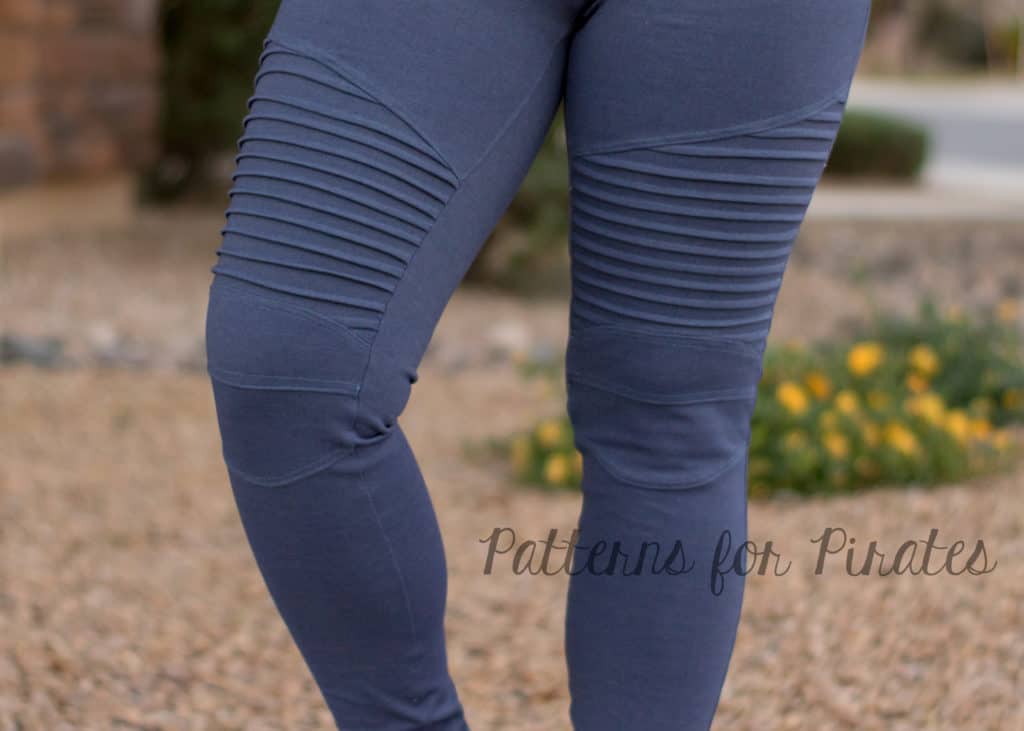
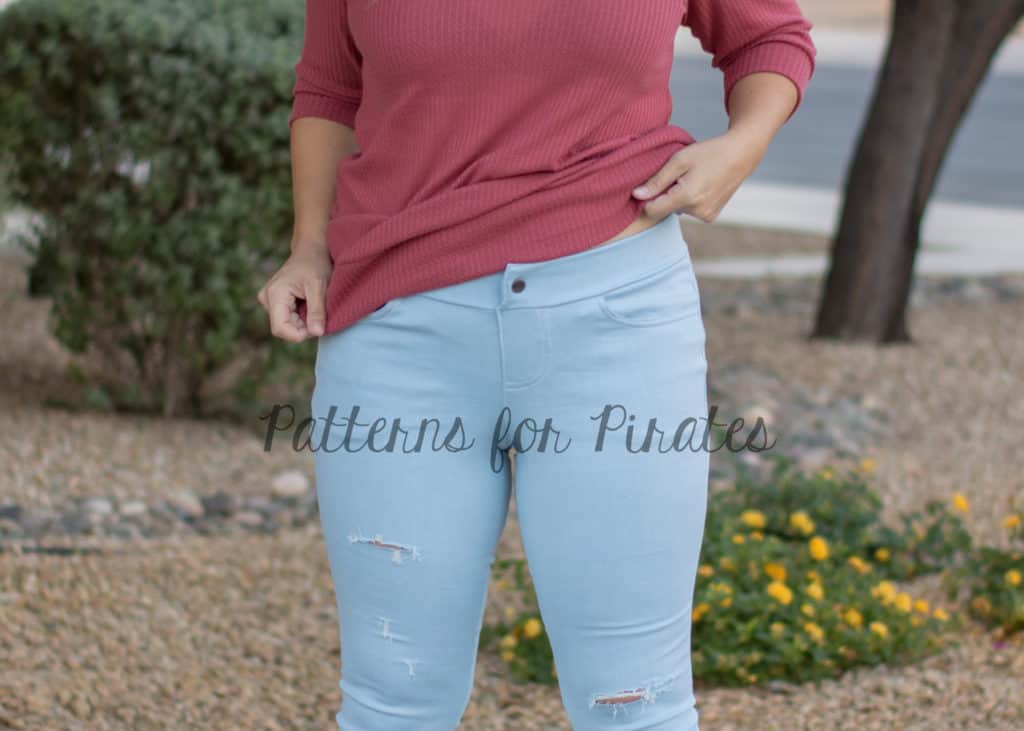
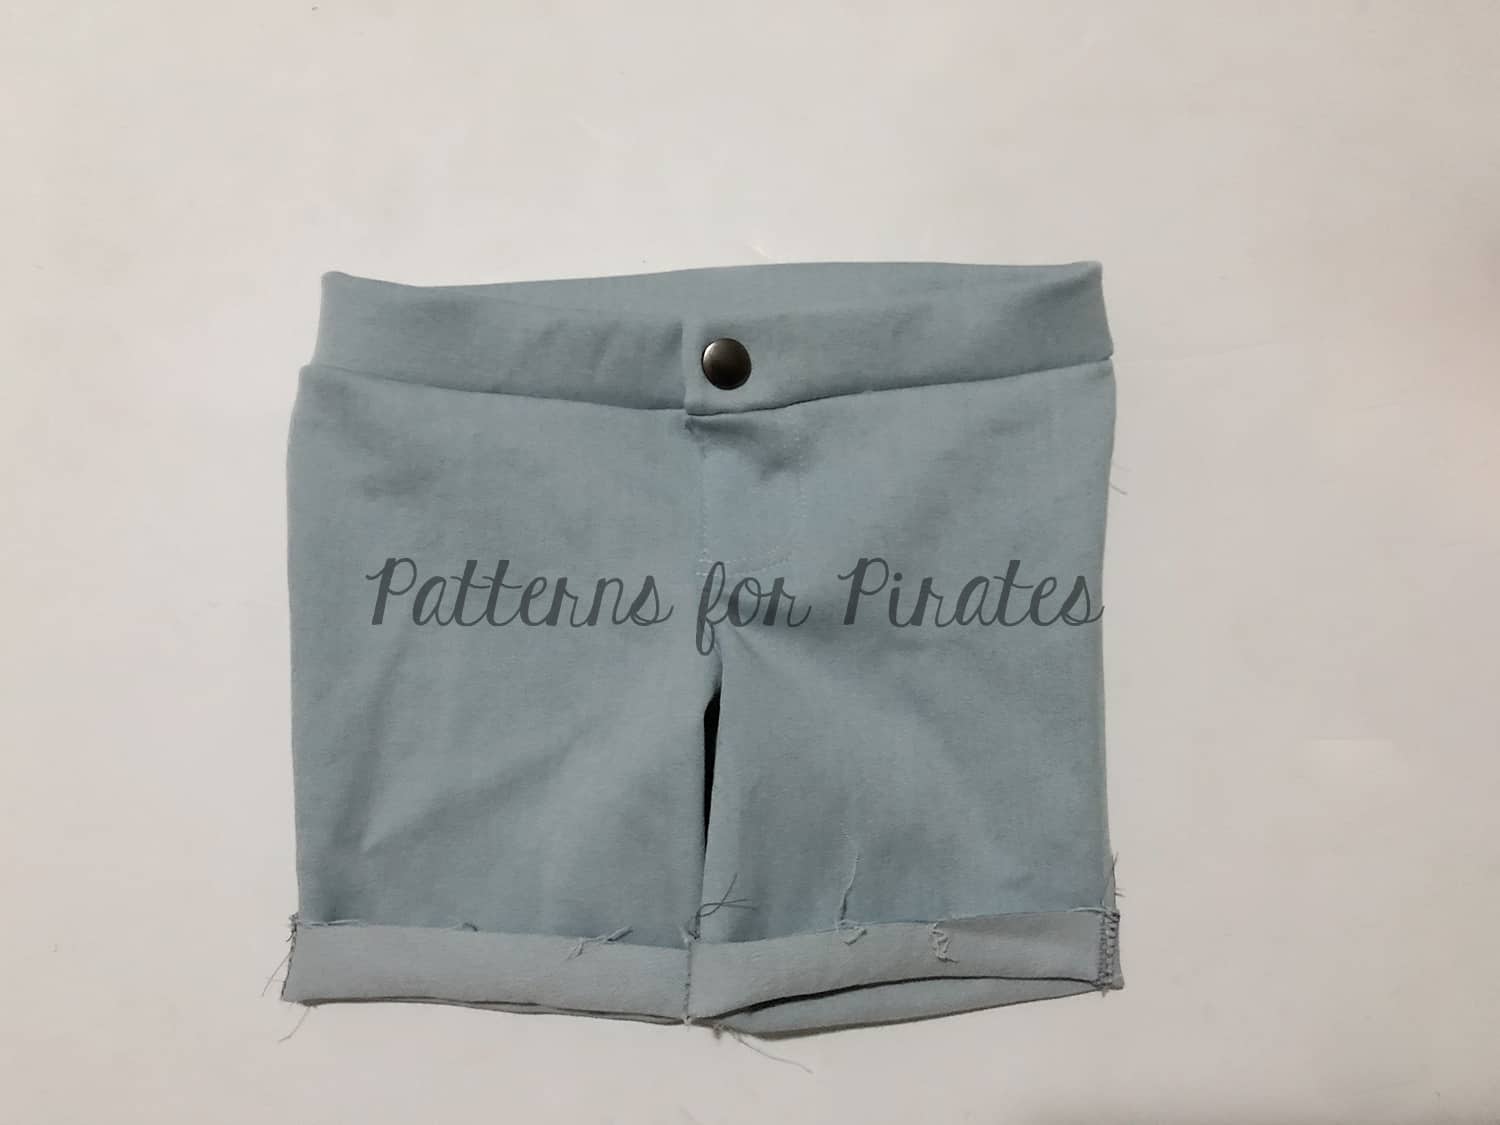
Here, I’ve made a pair of SOS Knit Pants with an enclosed elastic waistband. Although the fabric I used was a jegging material with little vertical stretch, the added elastic I used helps give the little bit of extra “oomph” needed to keep the pants up around my waist and snug-fitting.


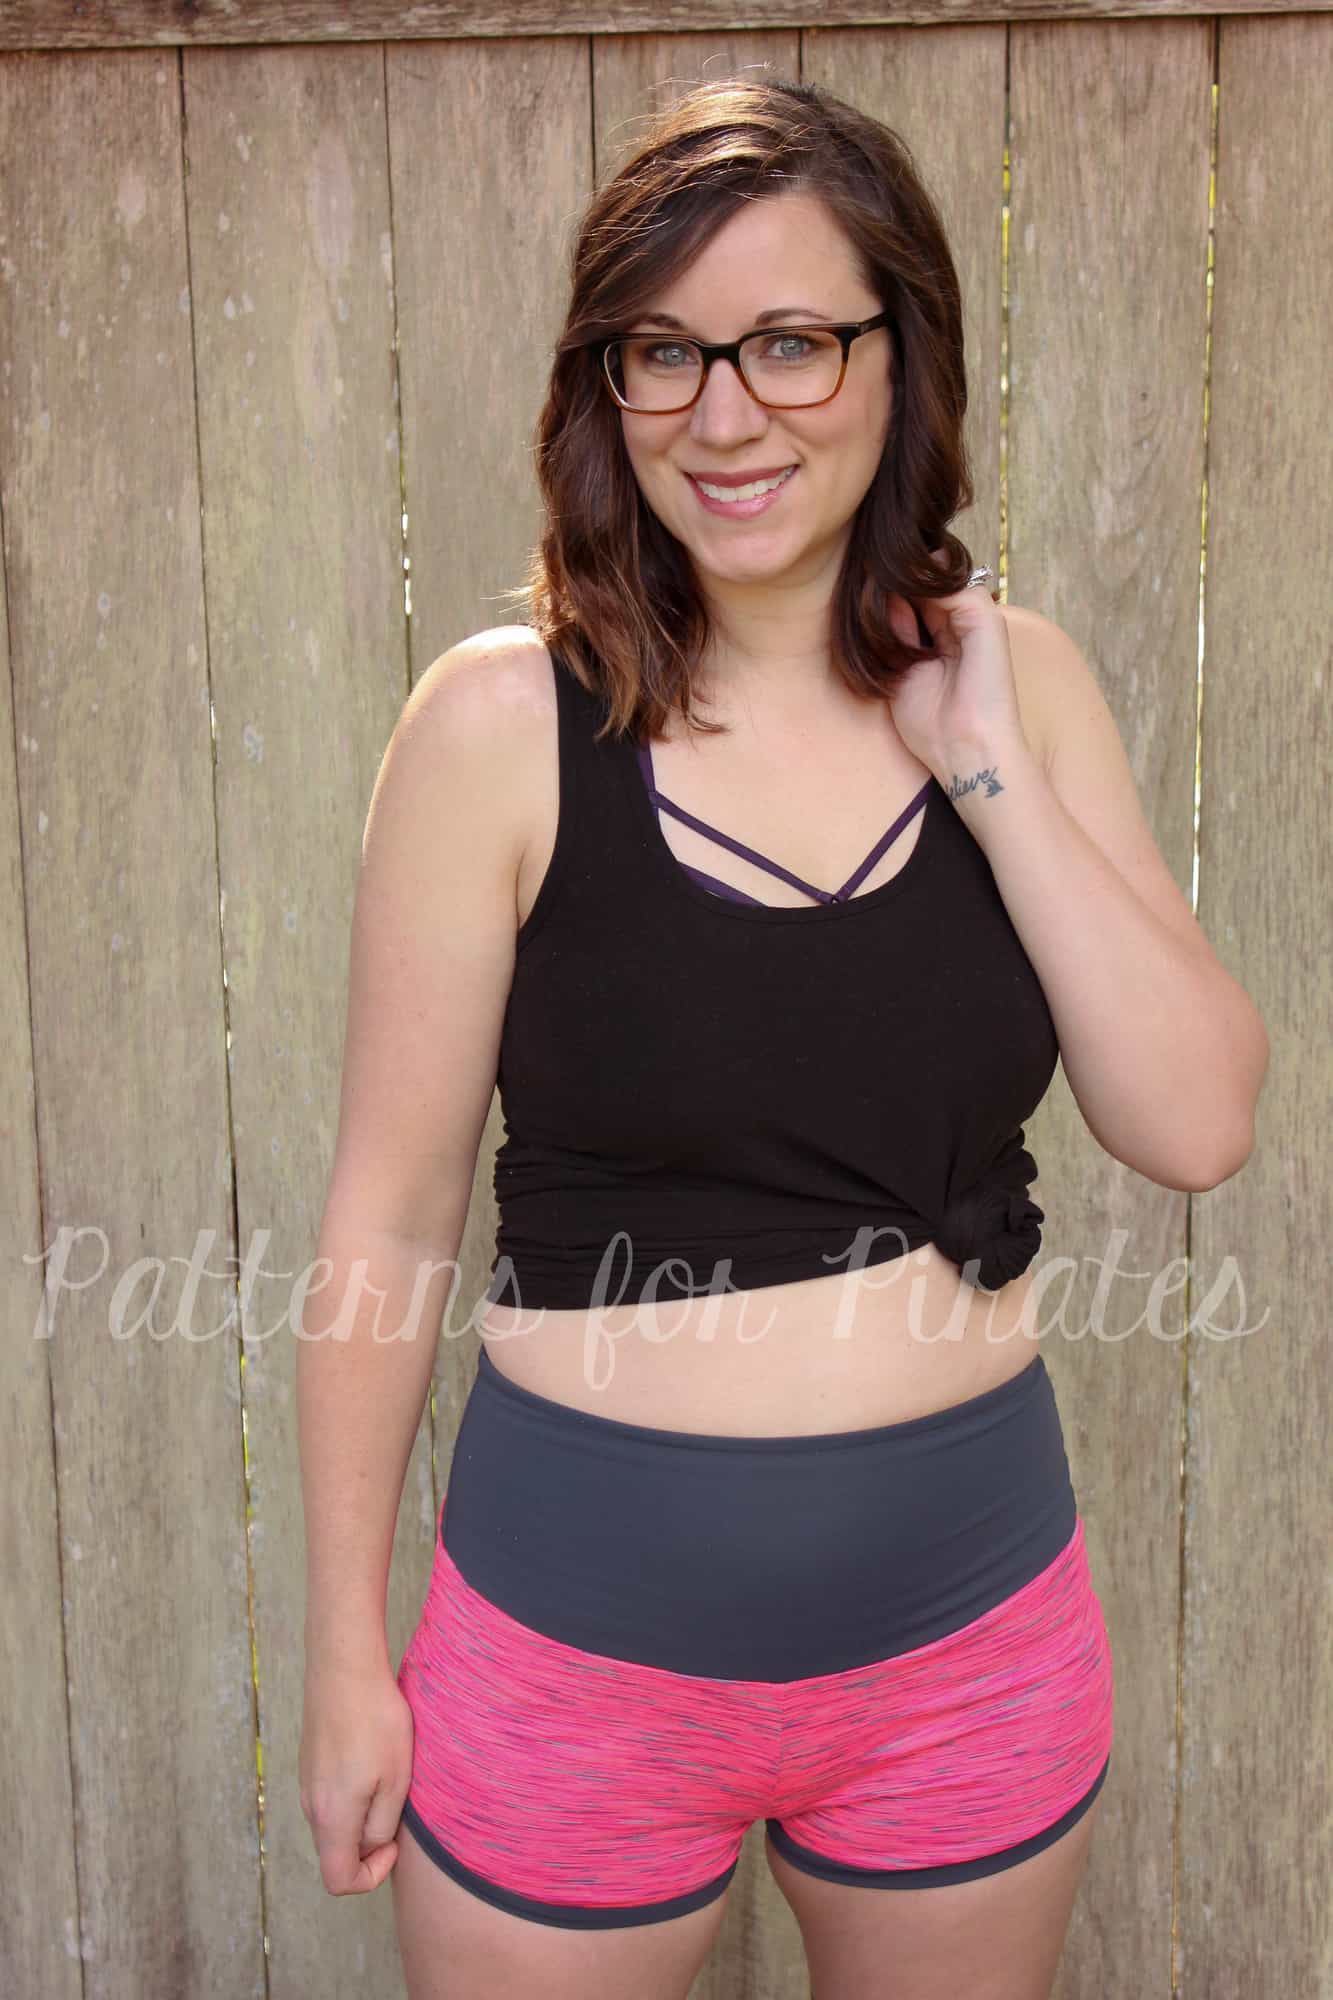
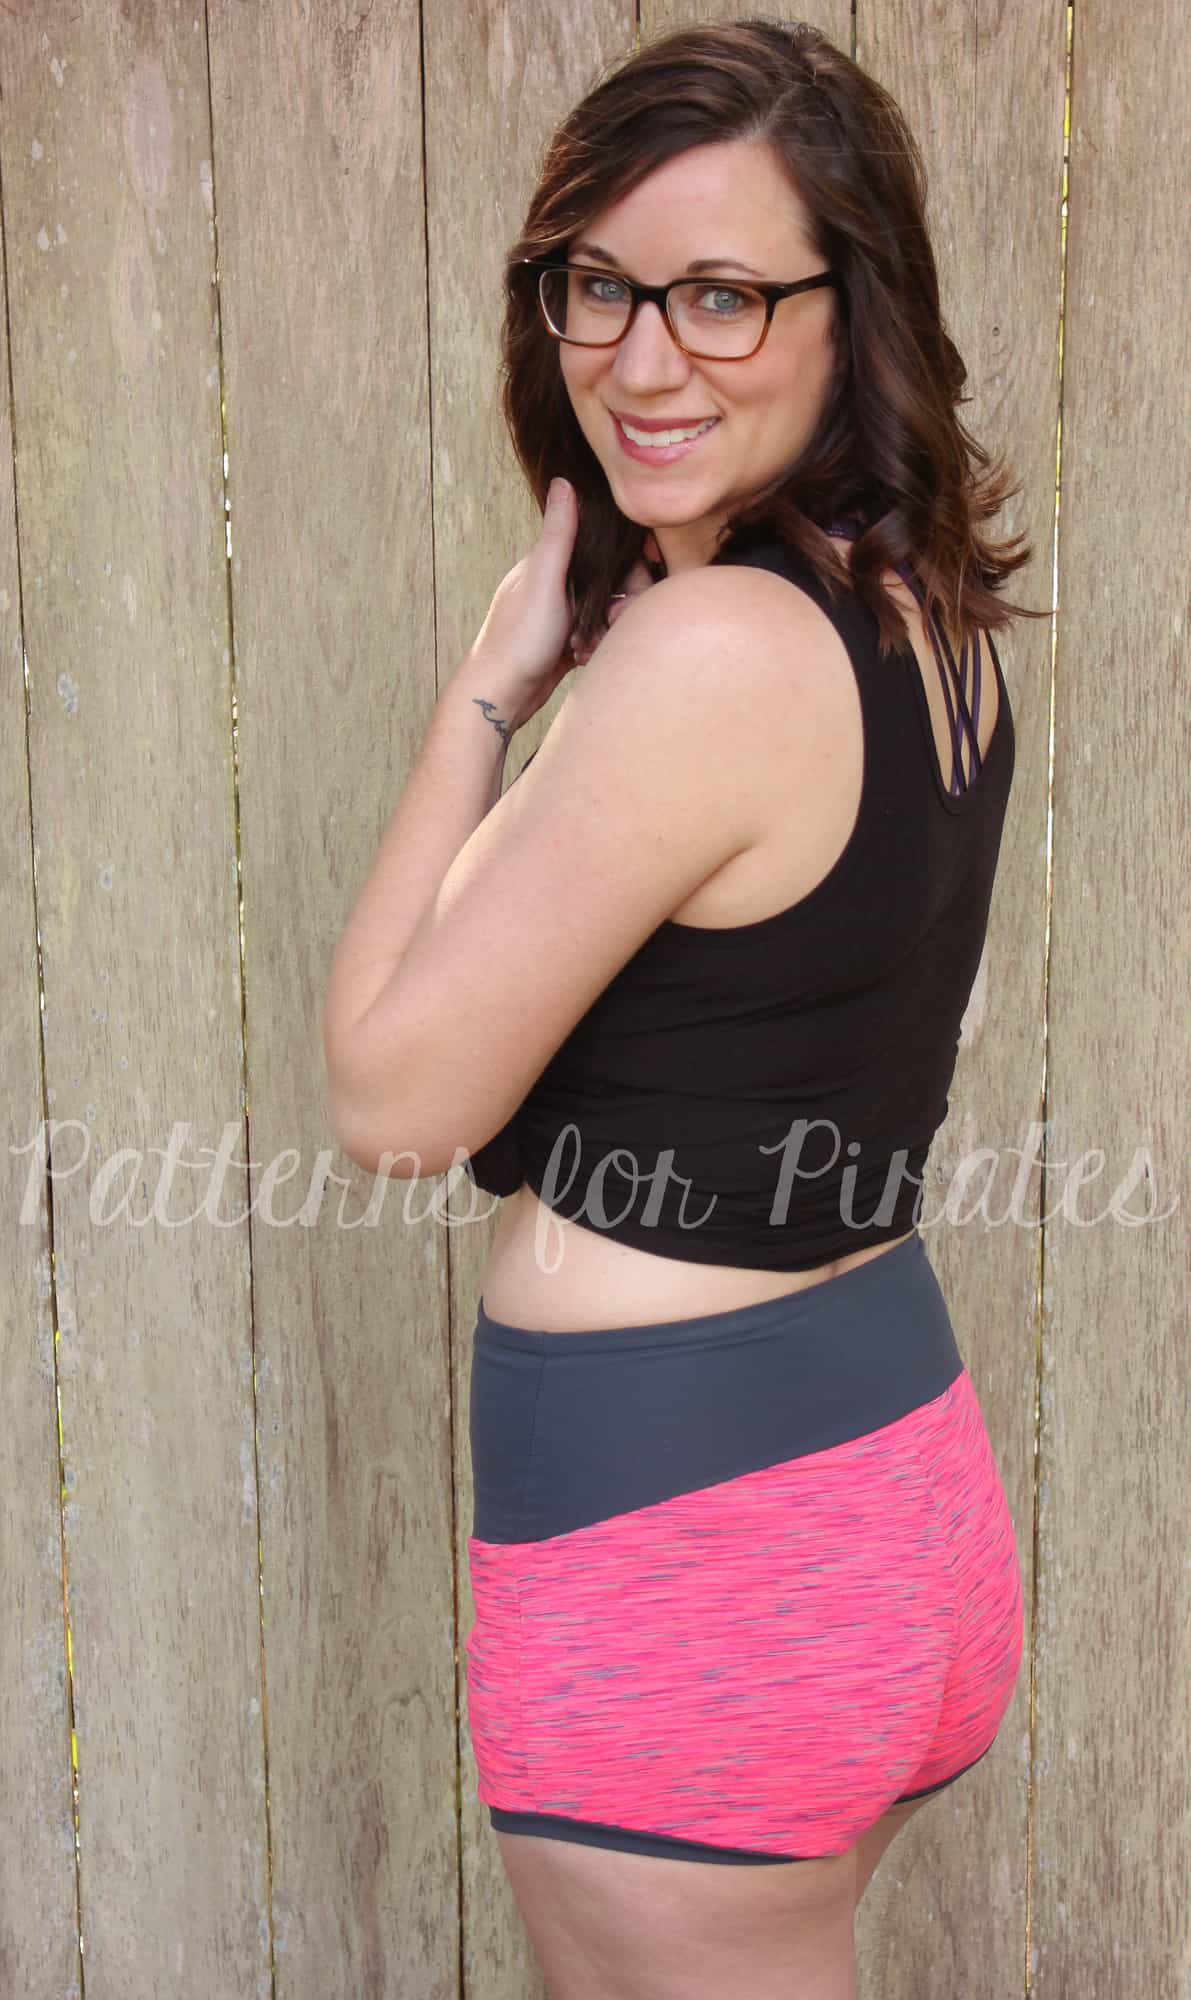
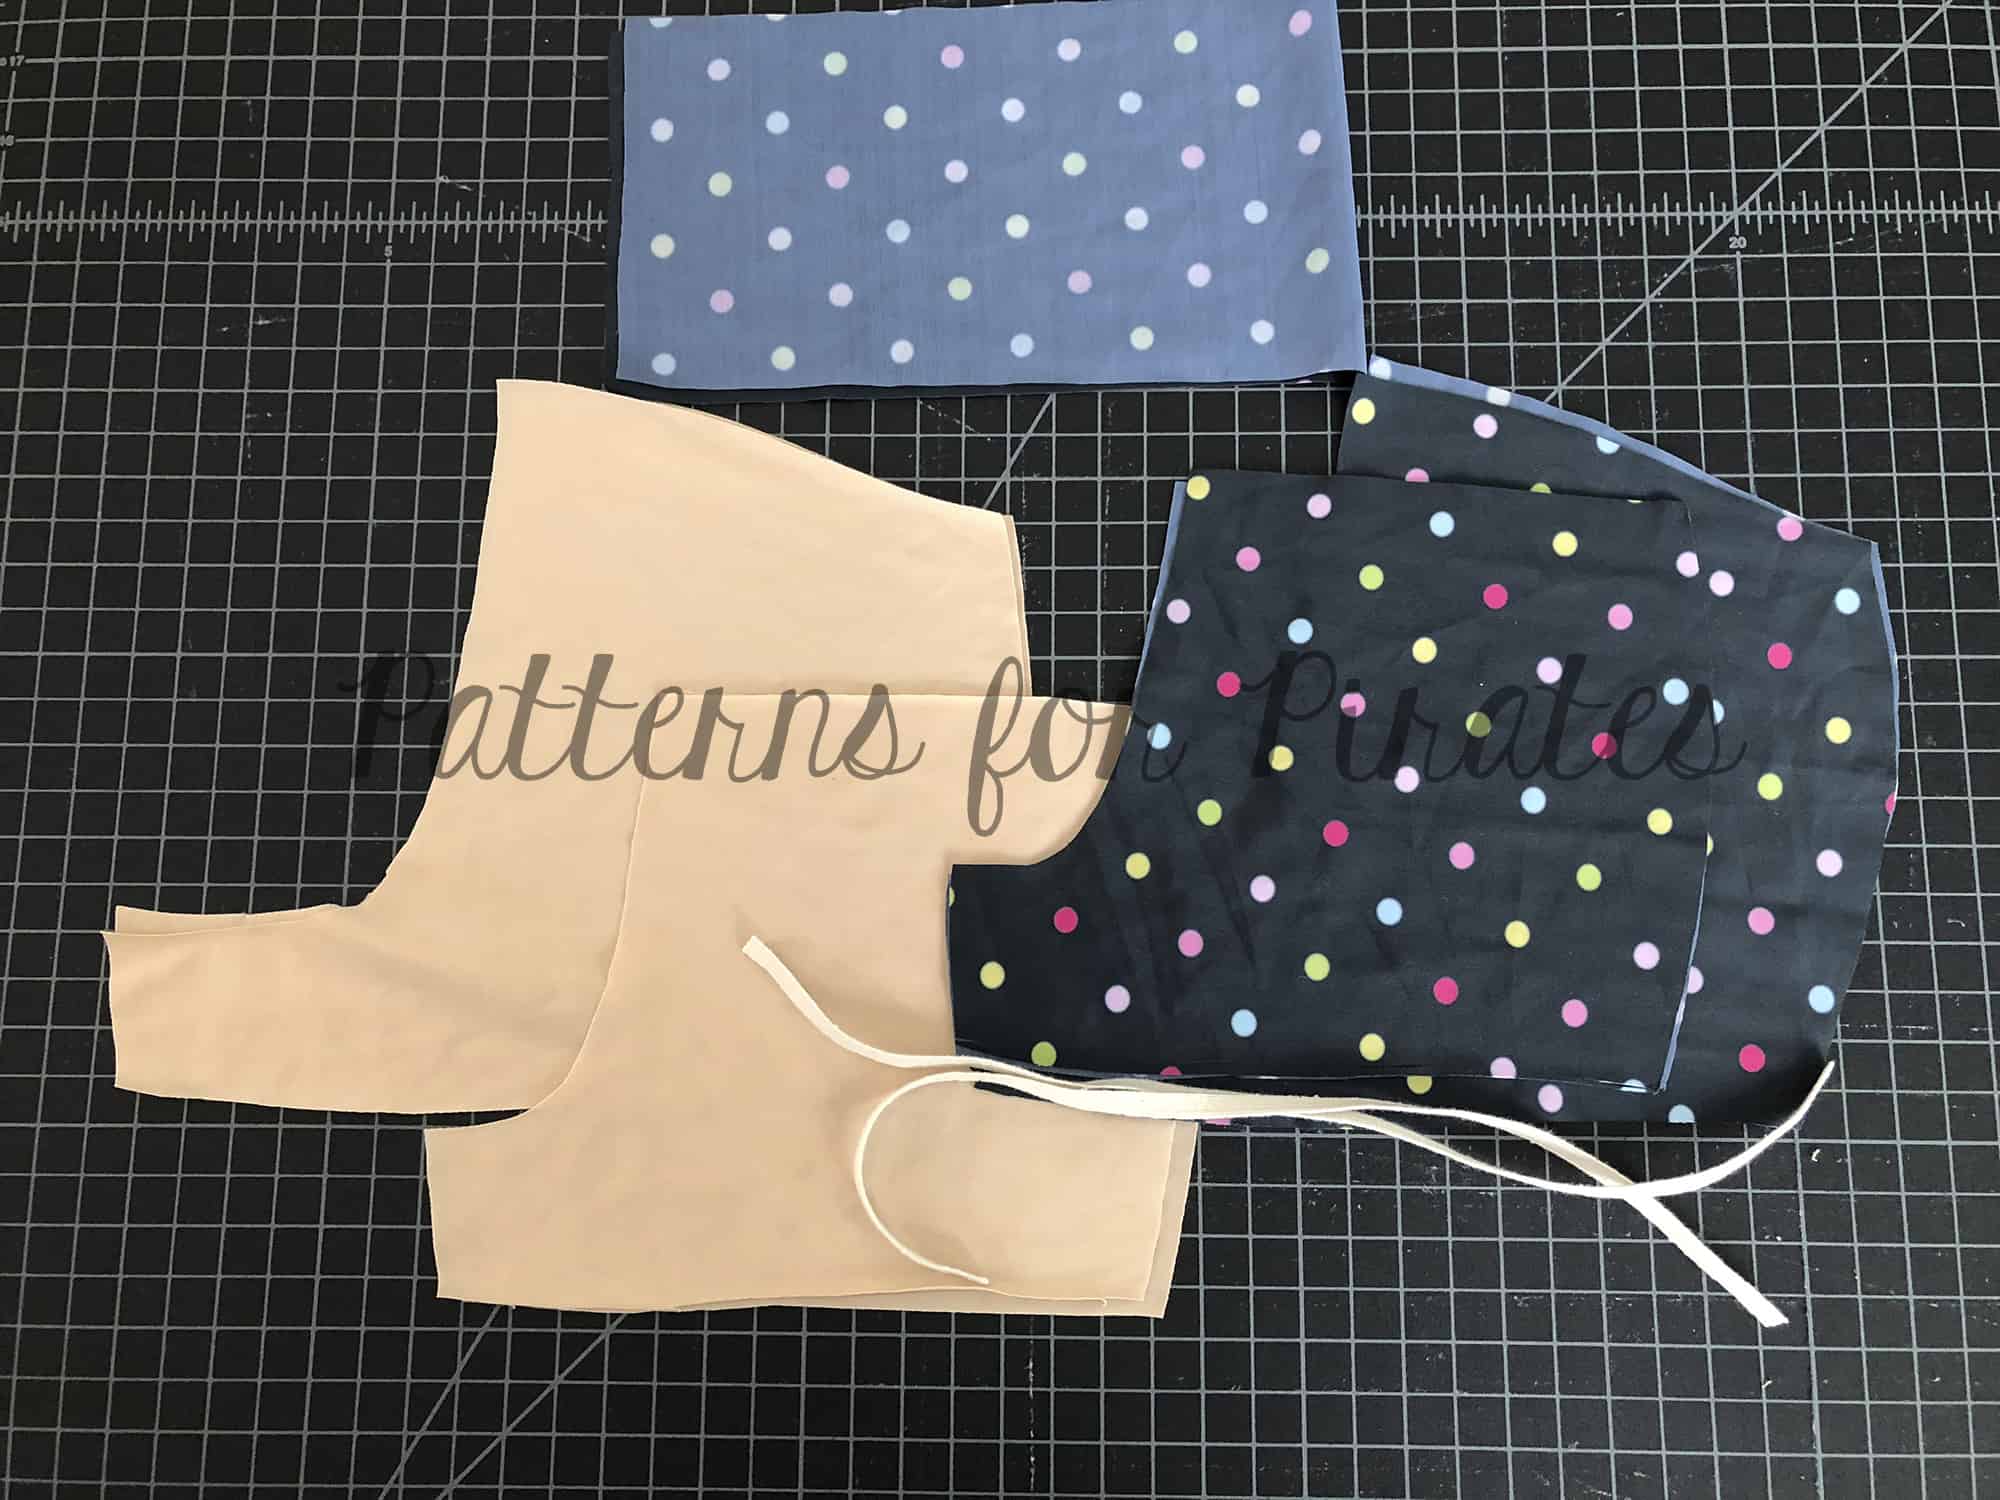
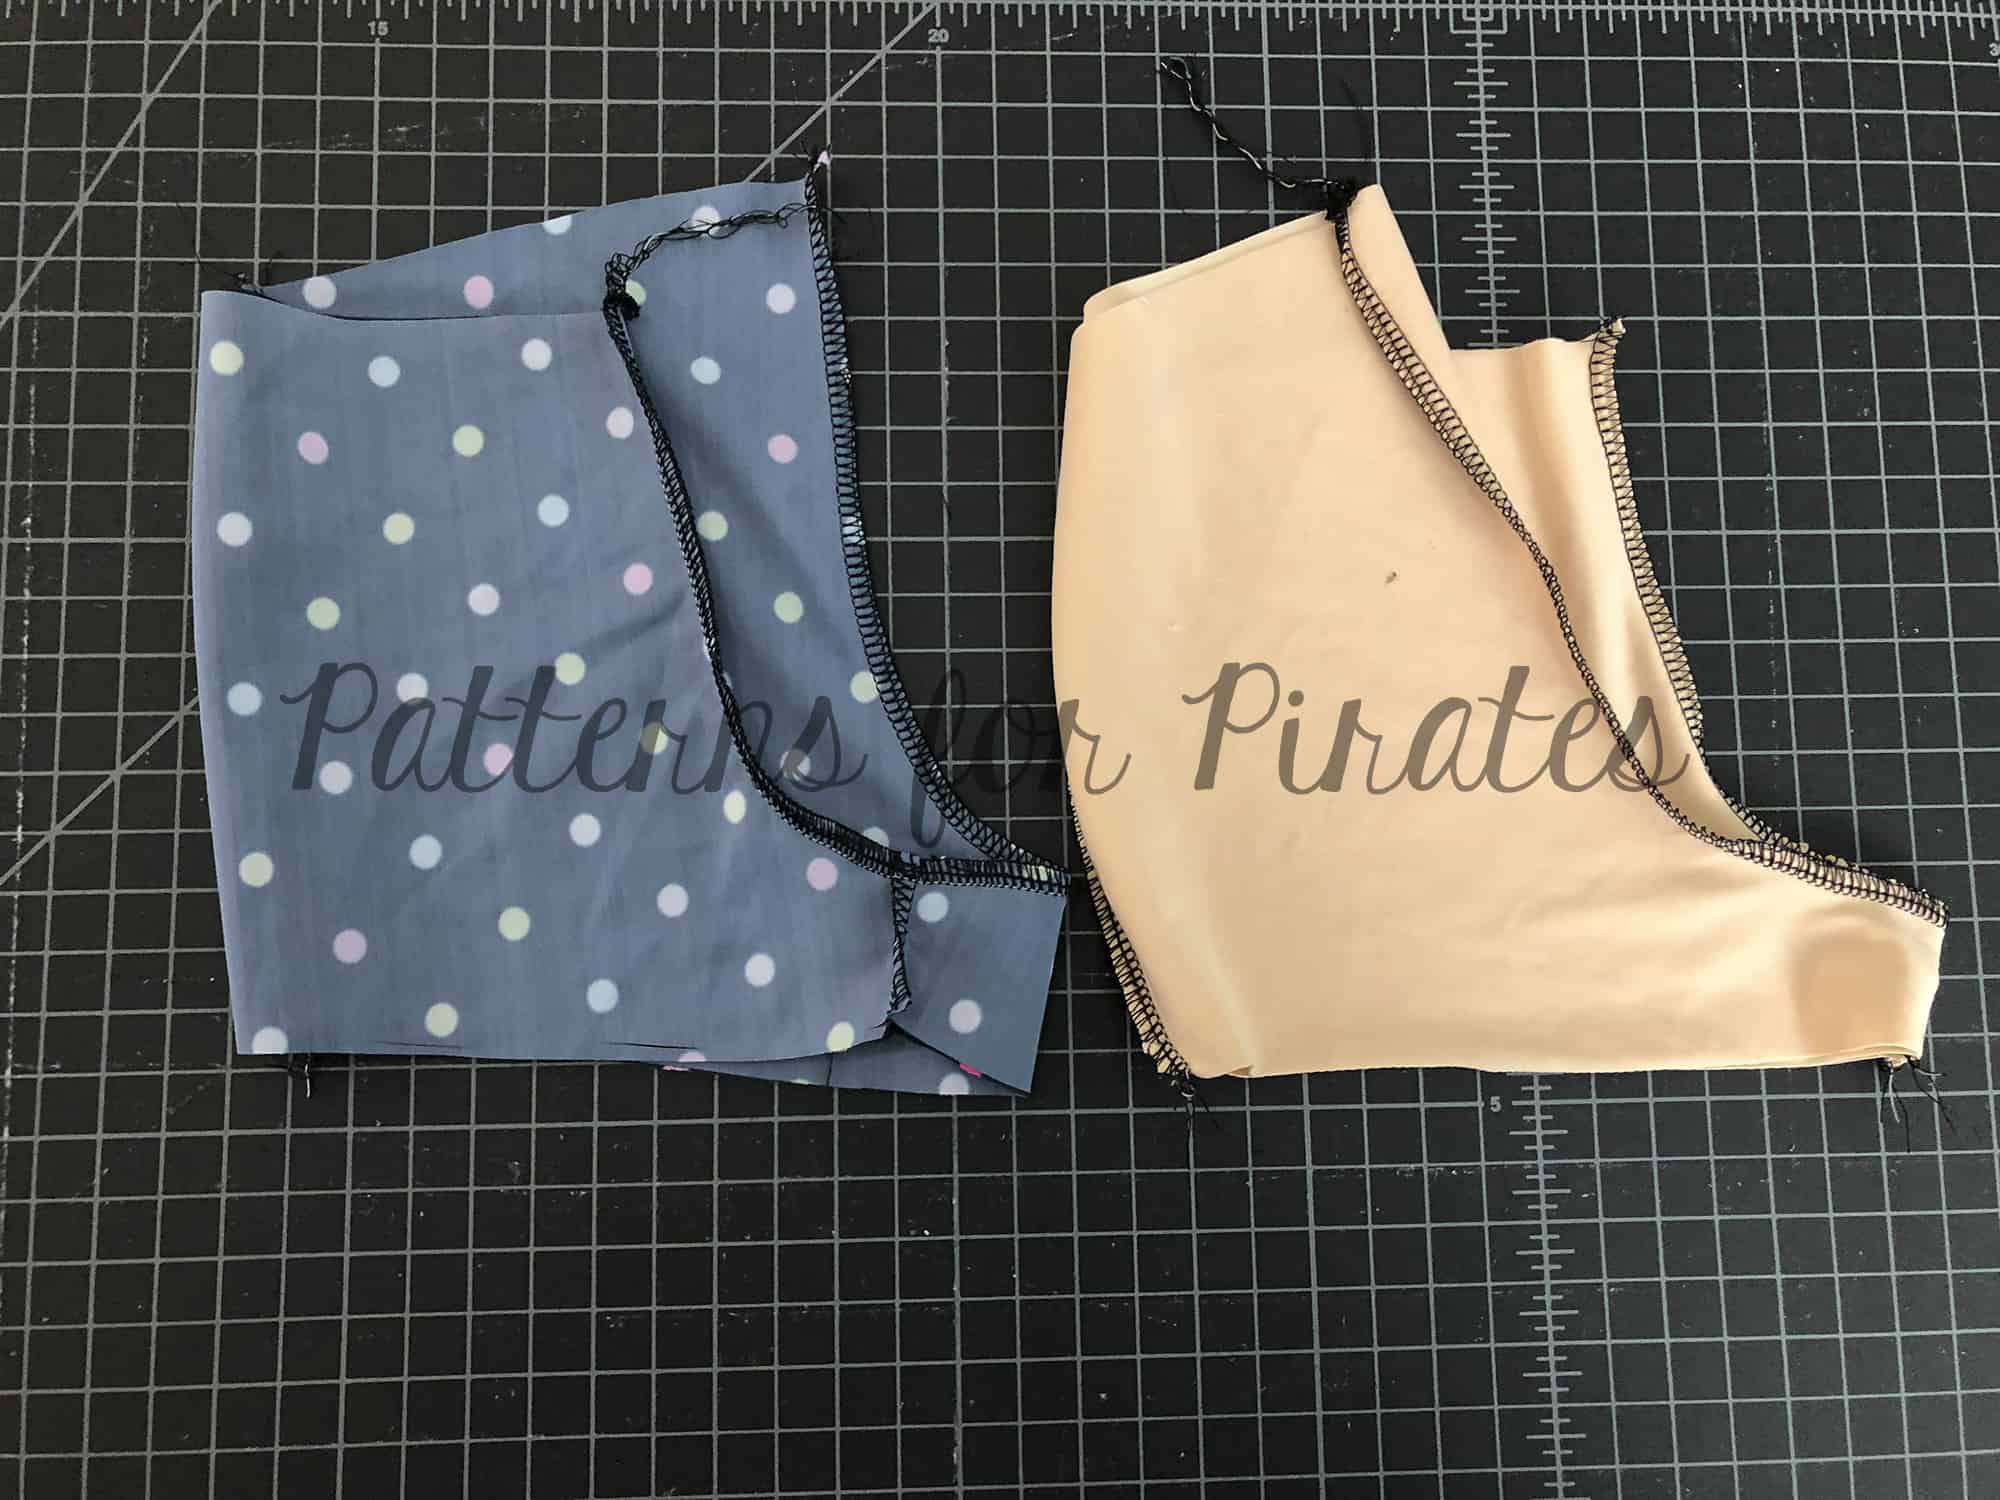
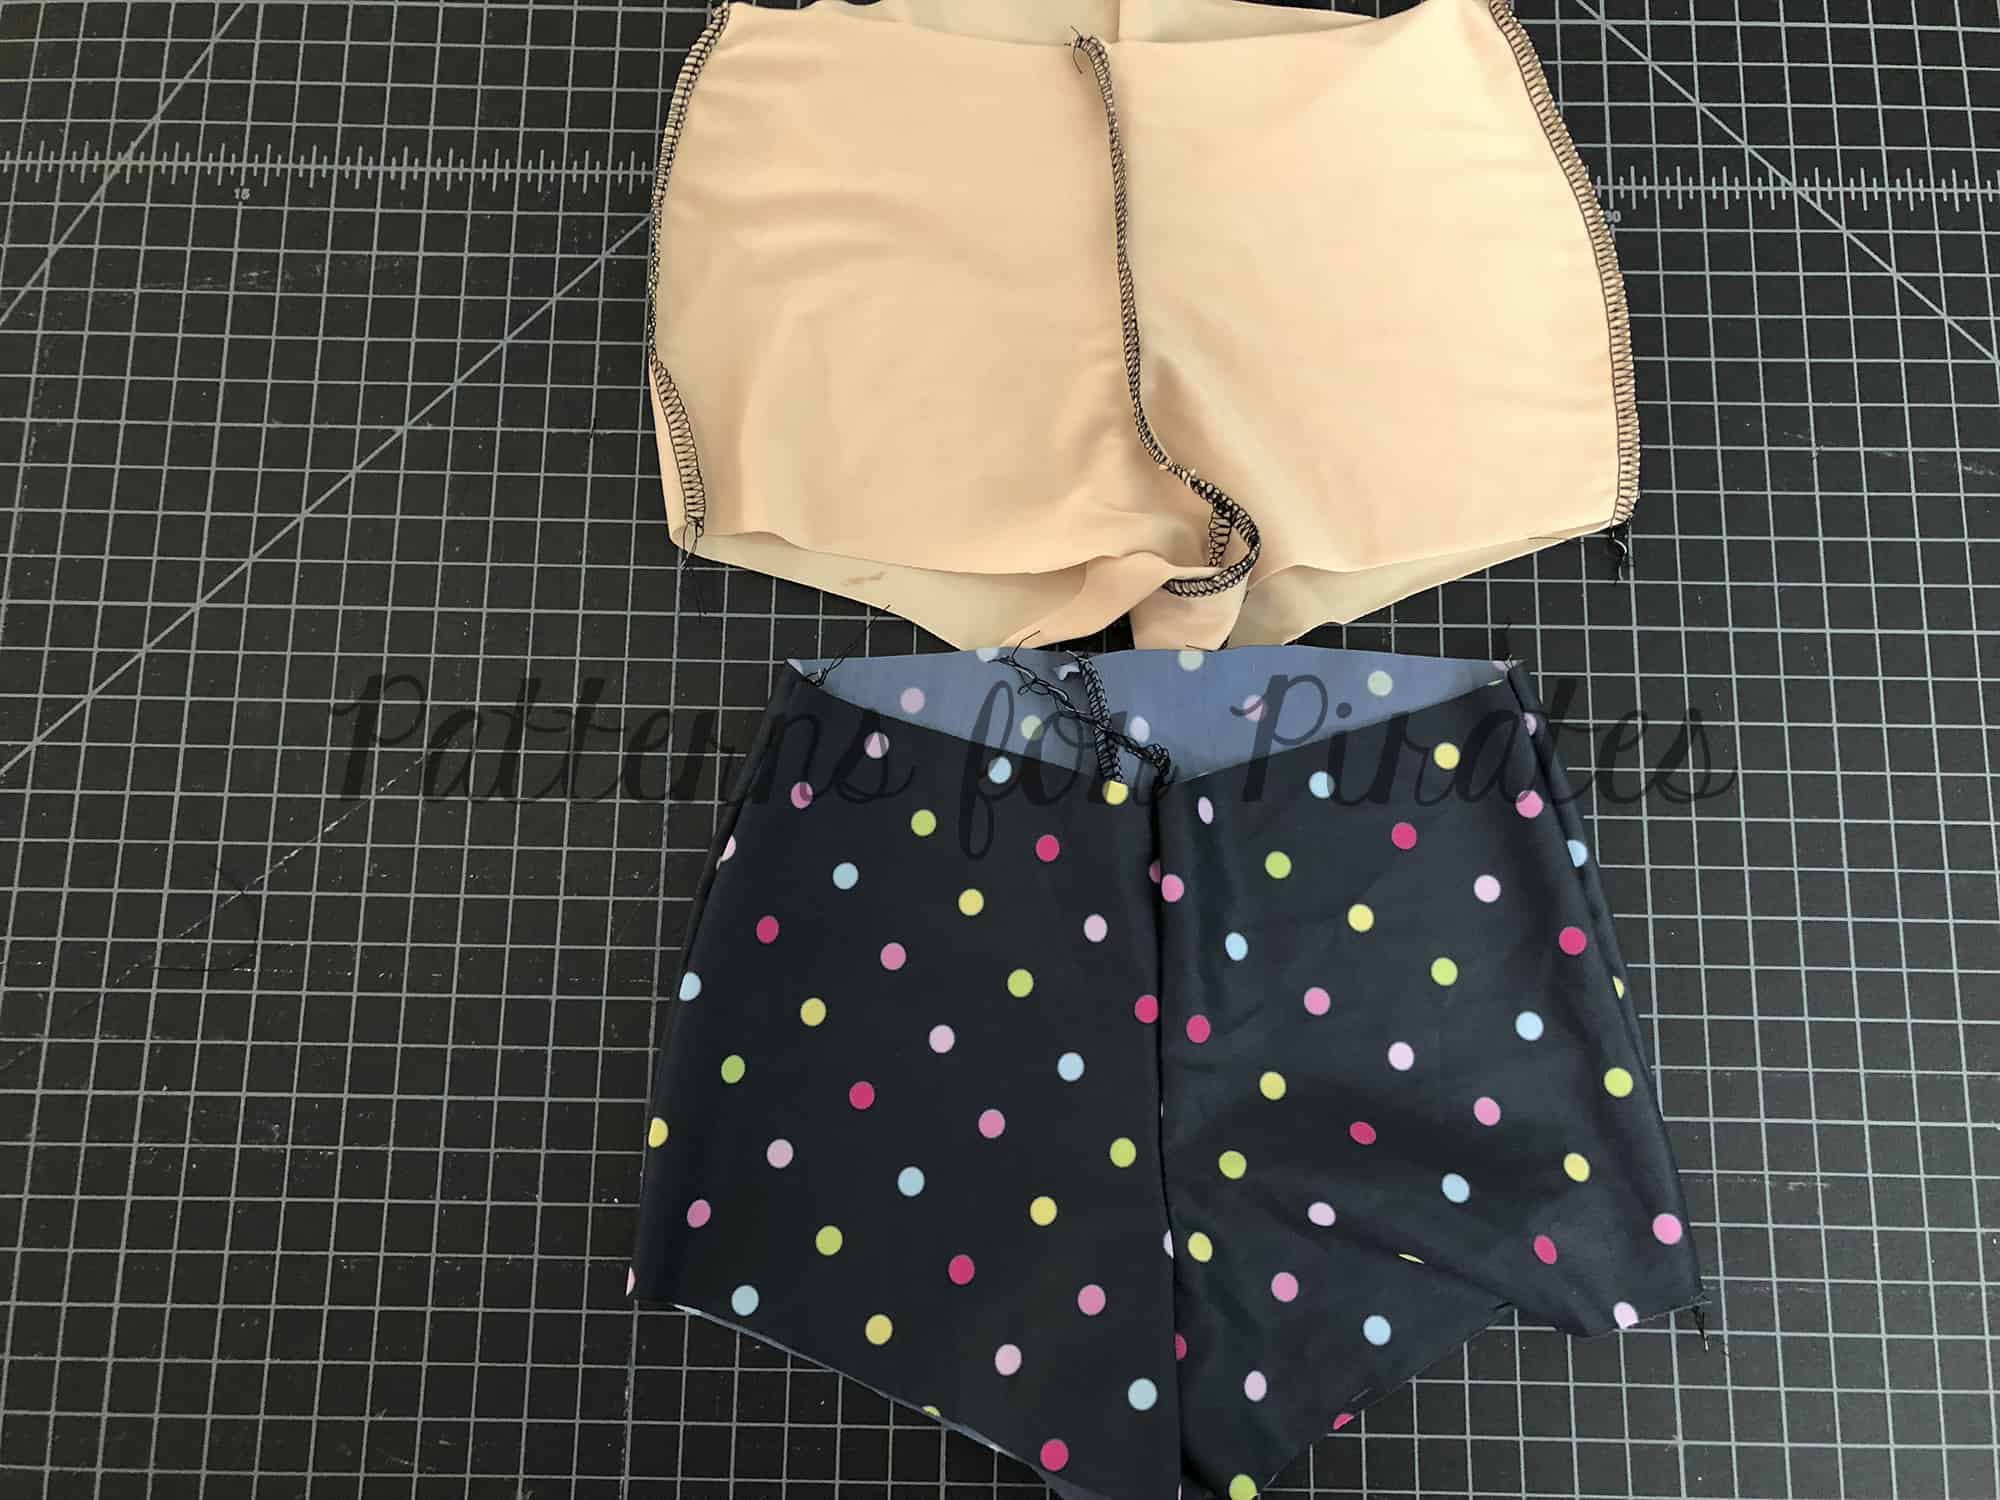
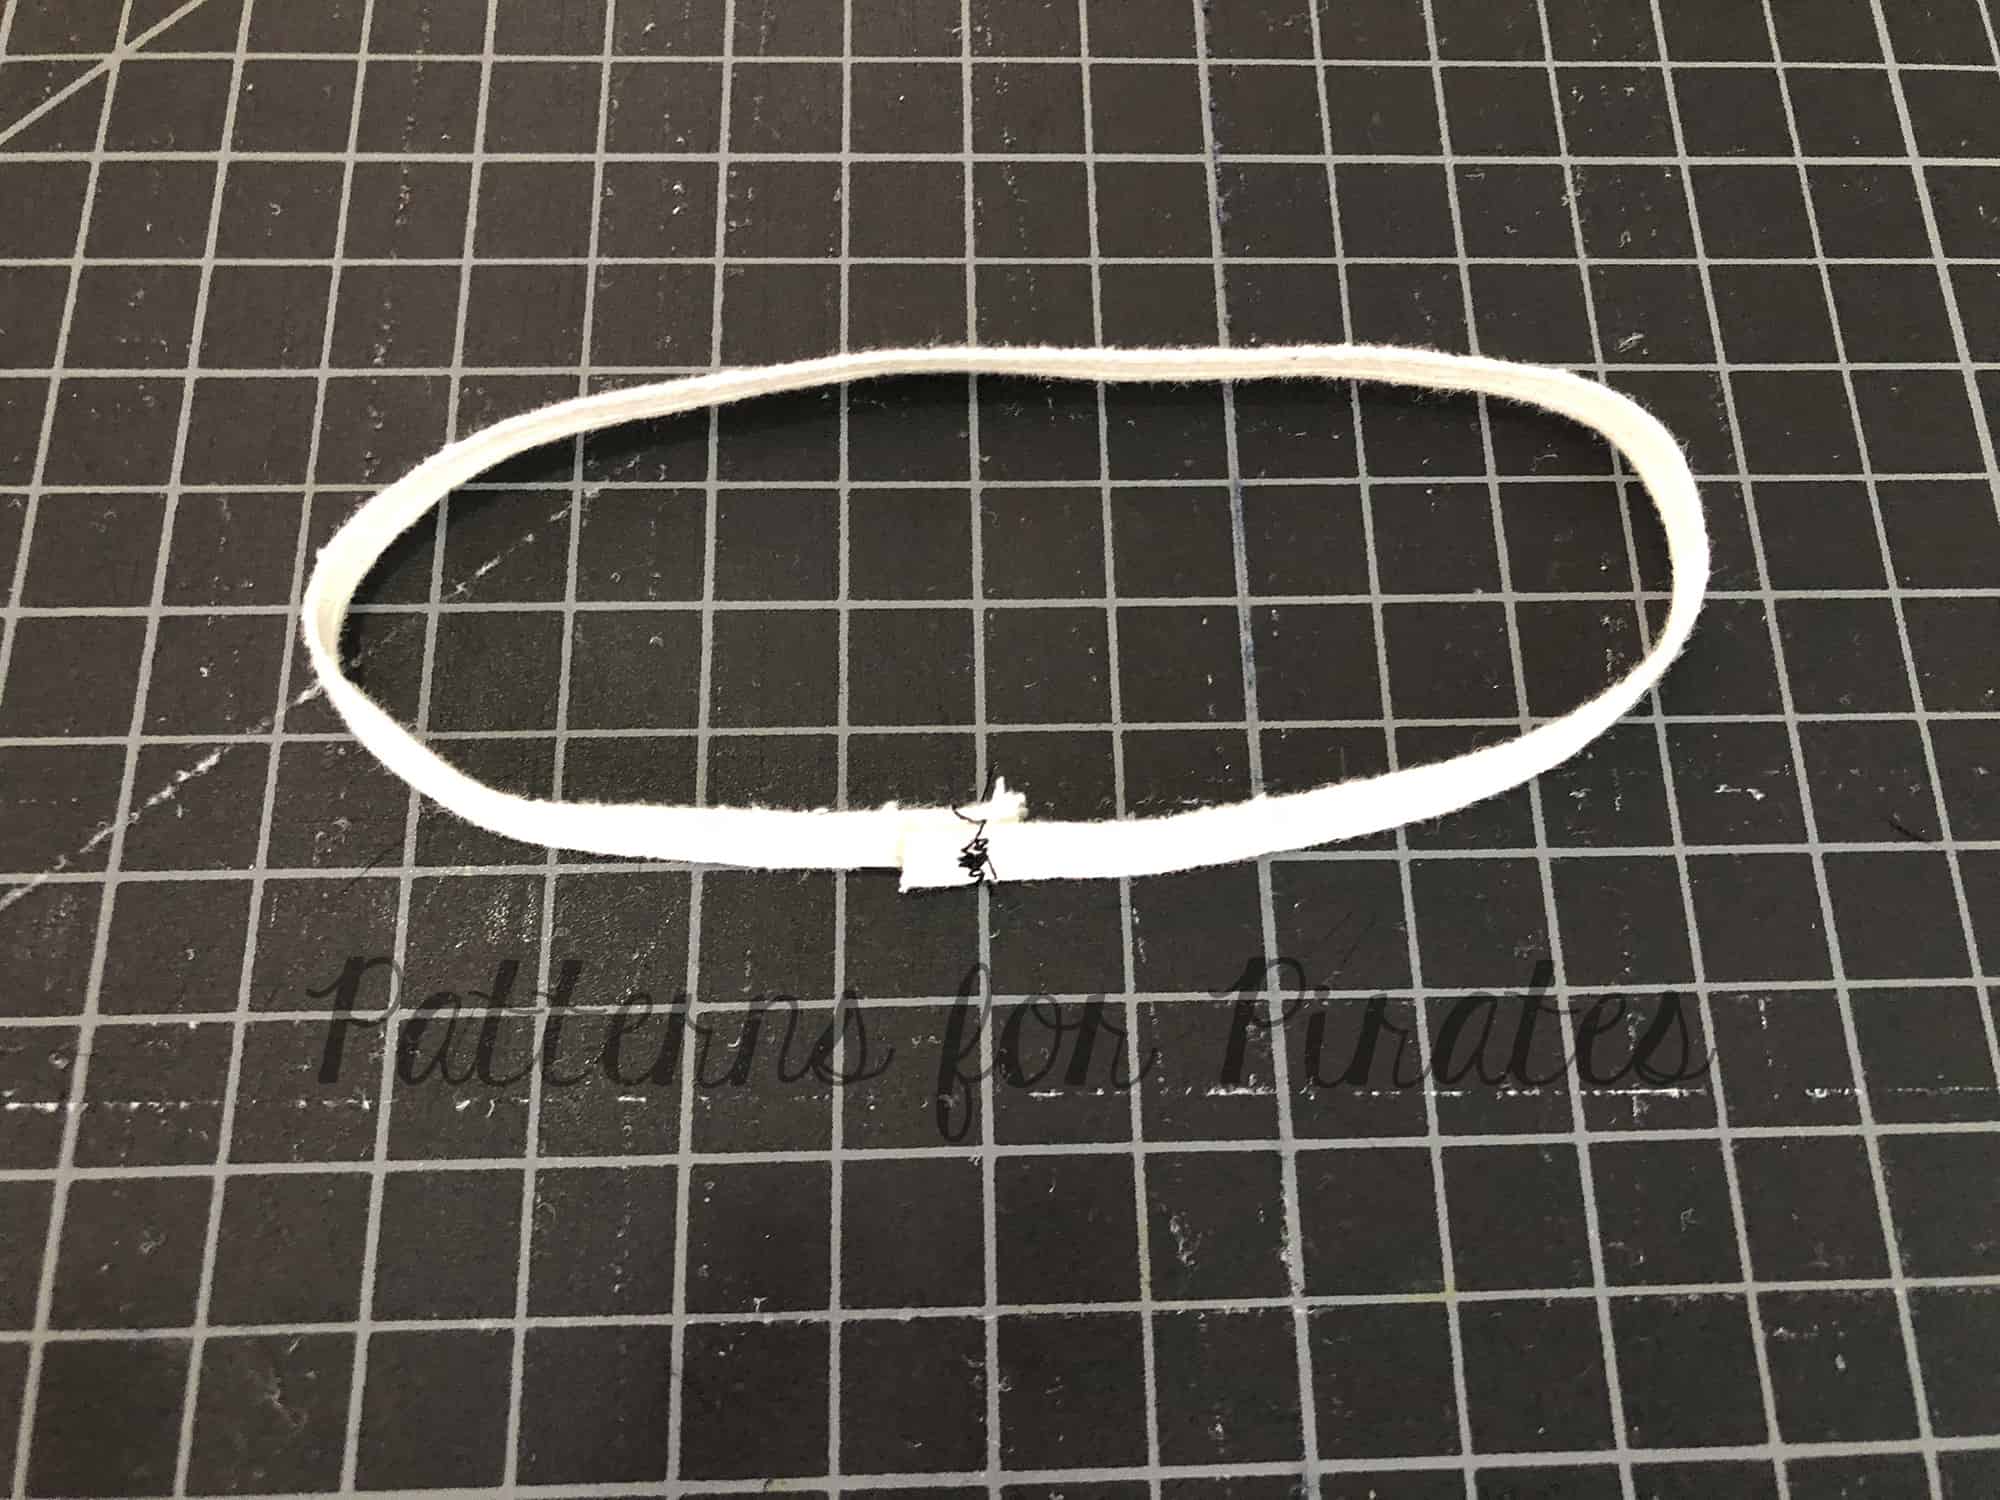
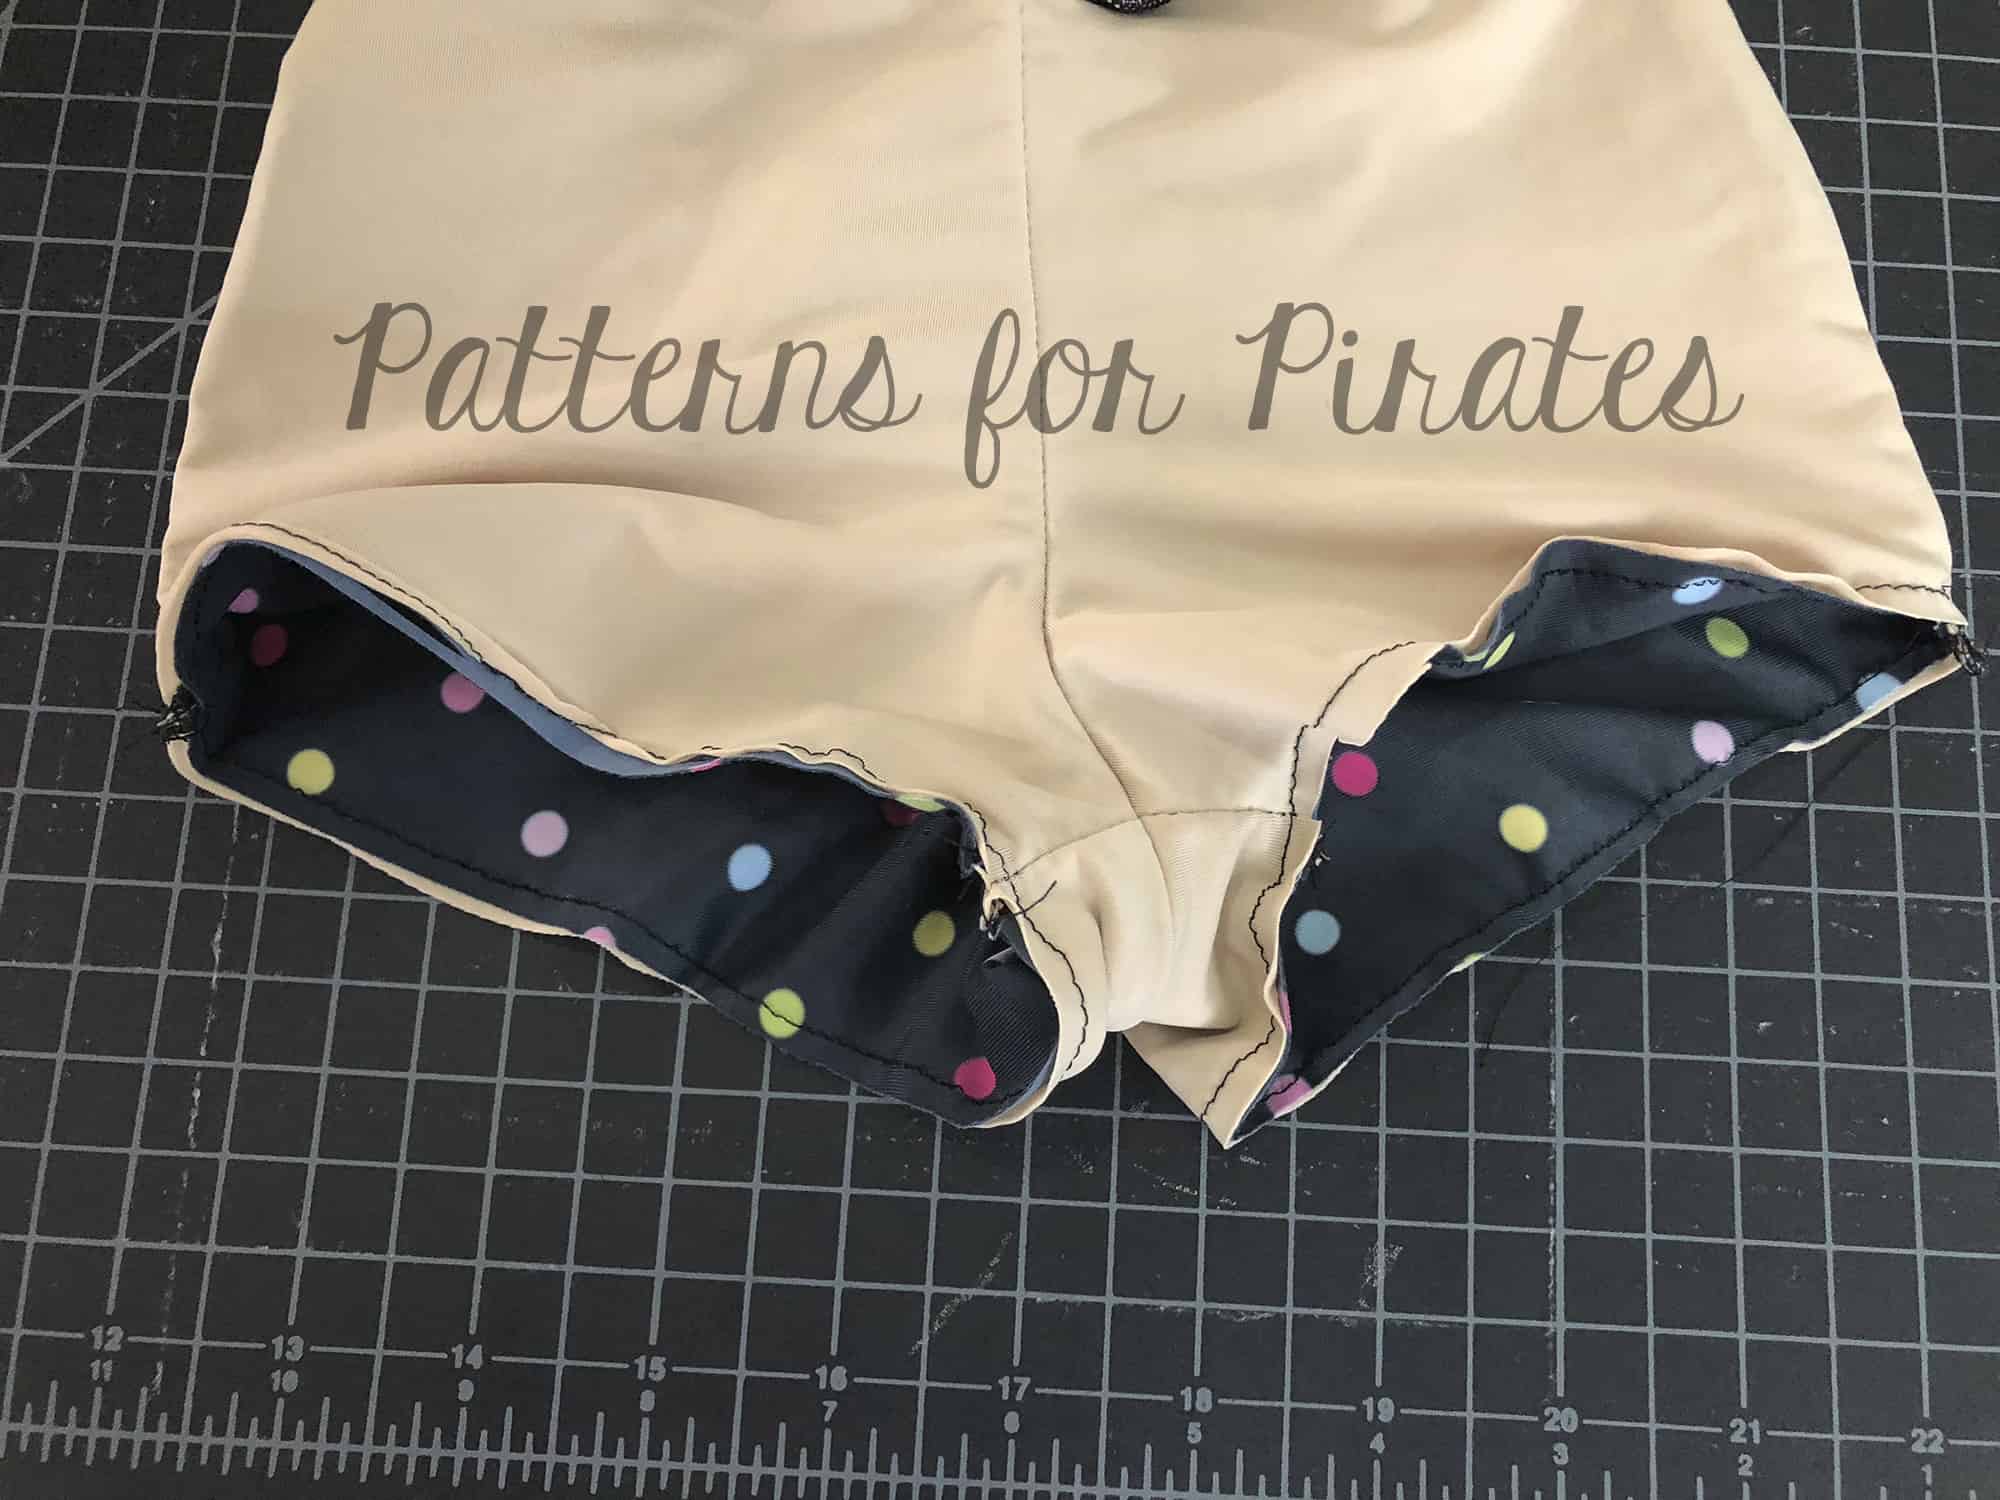
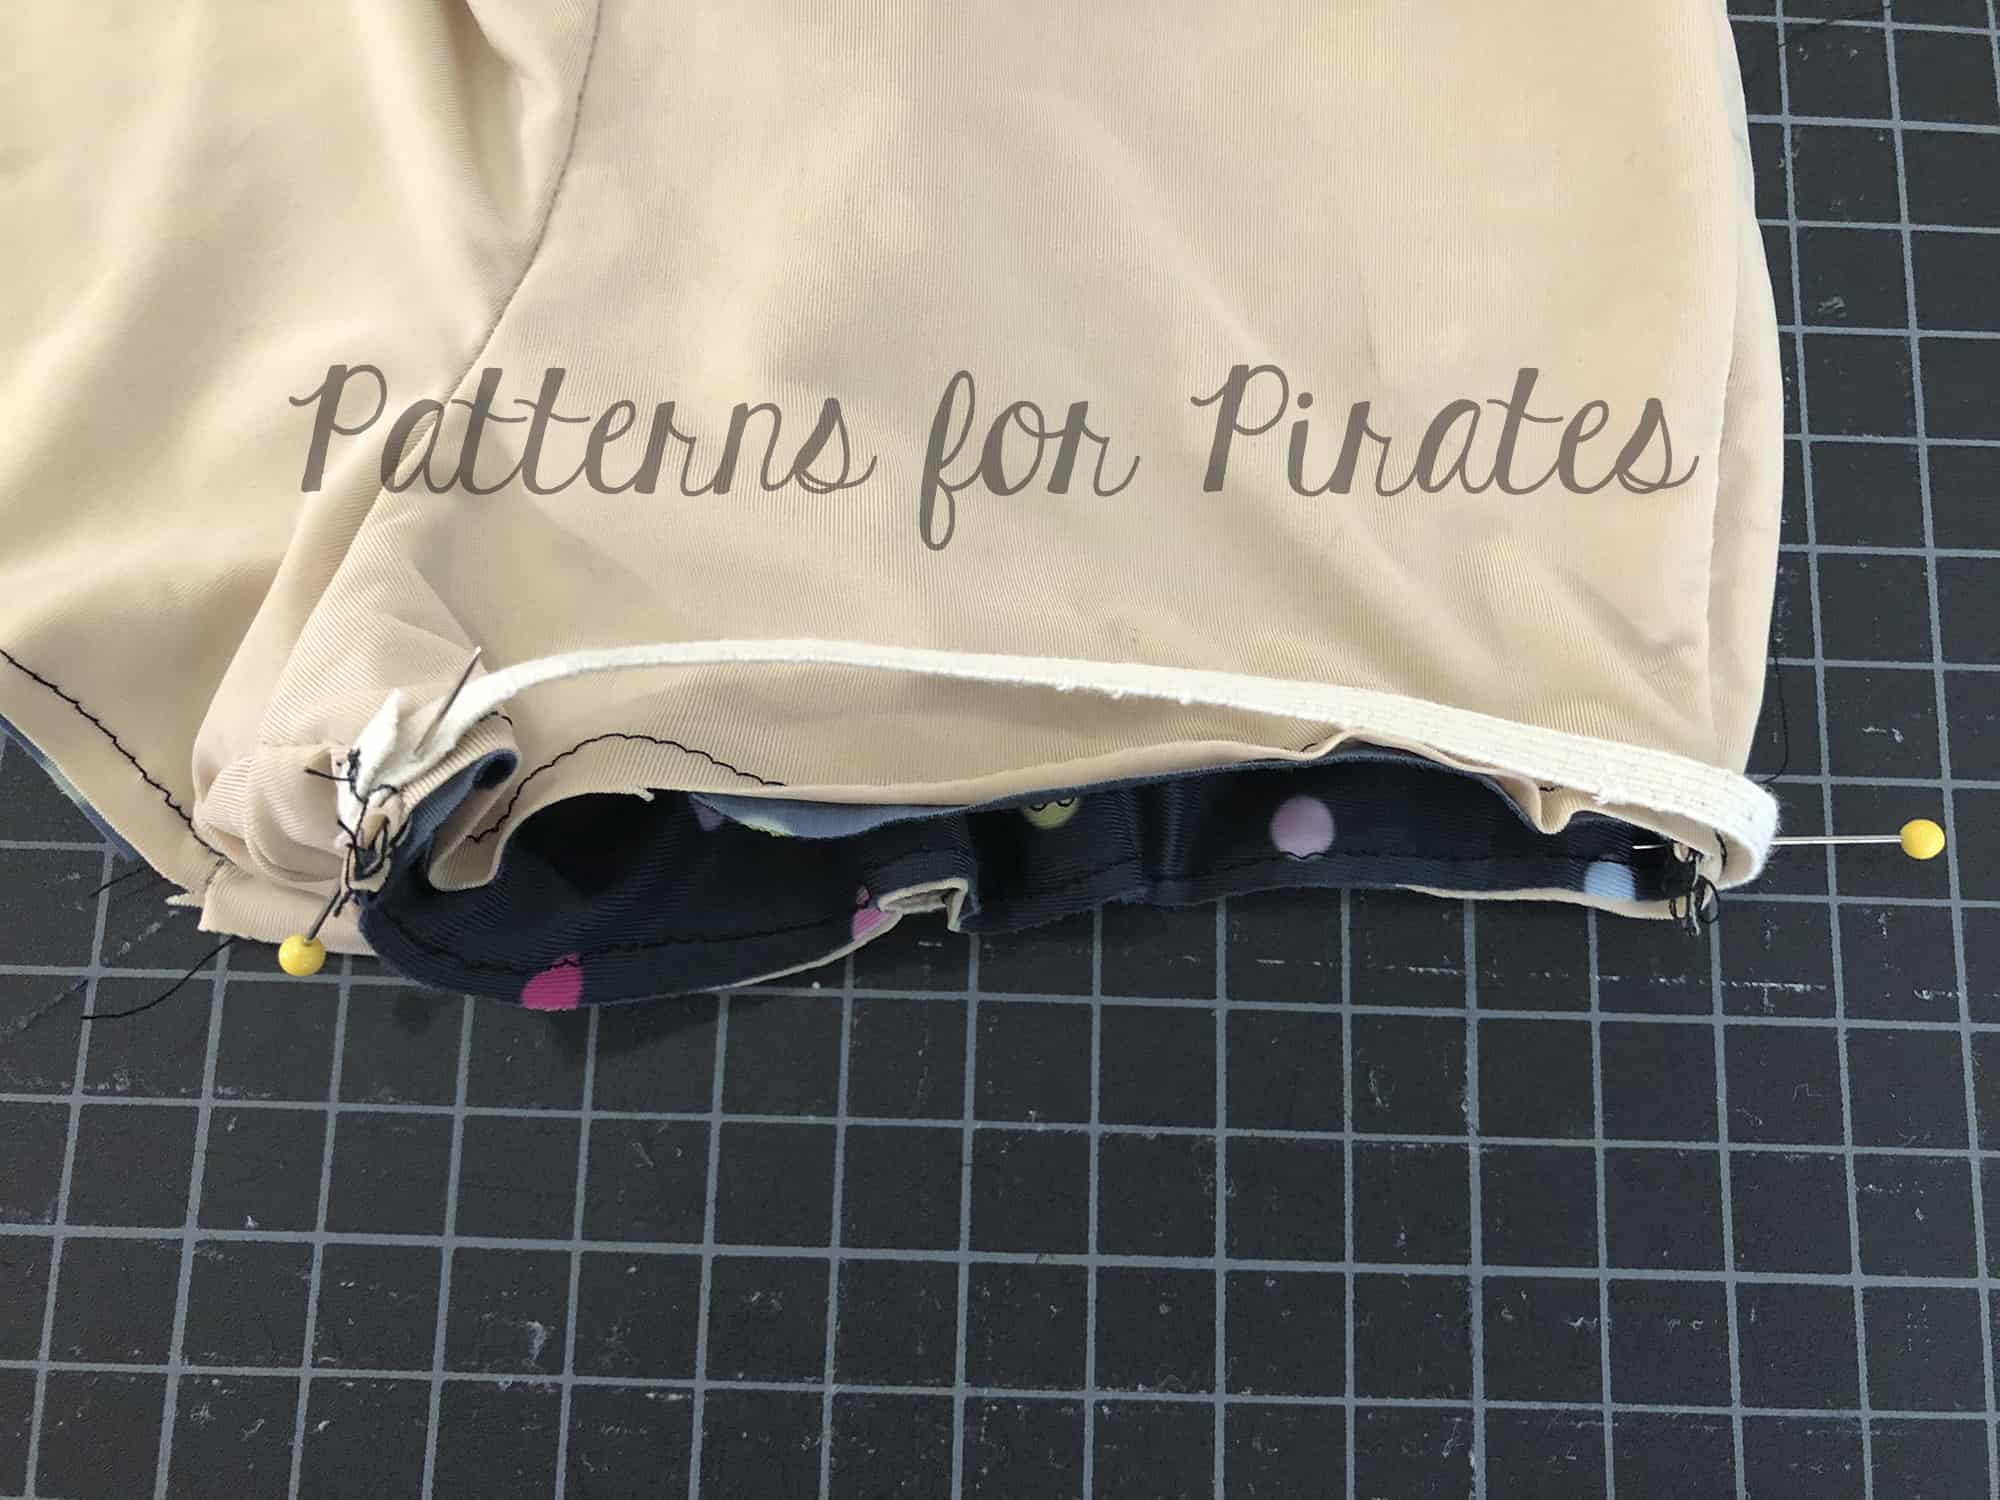
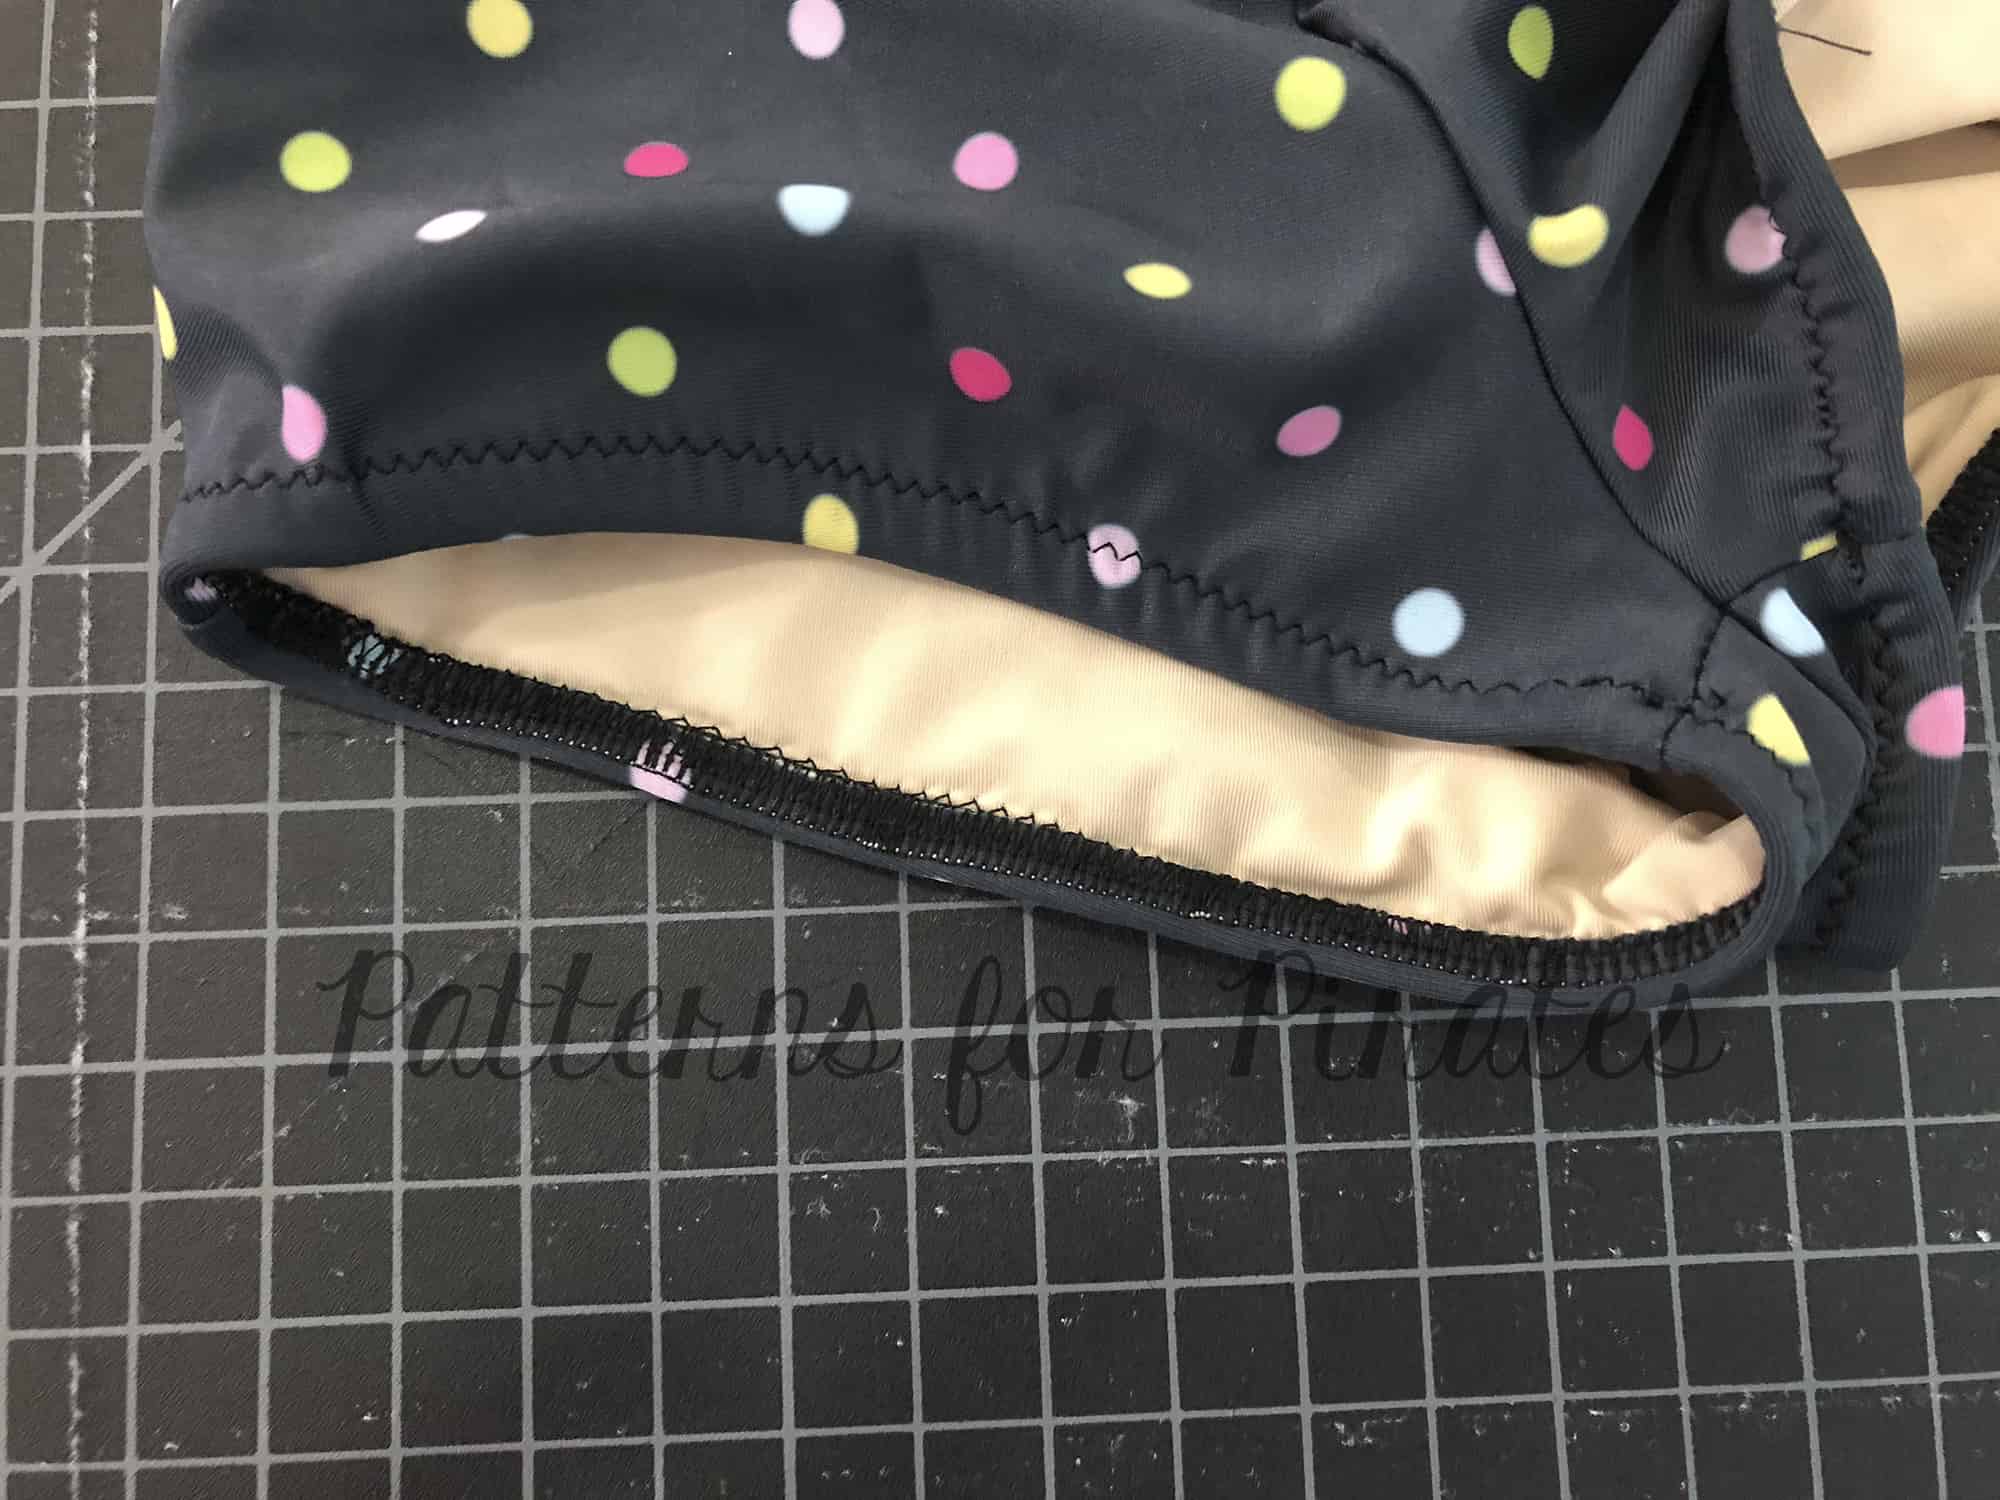
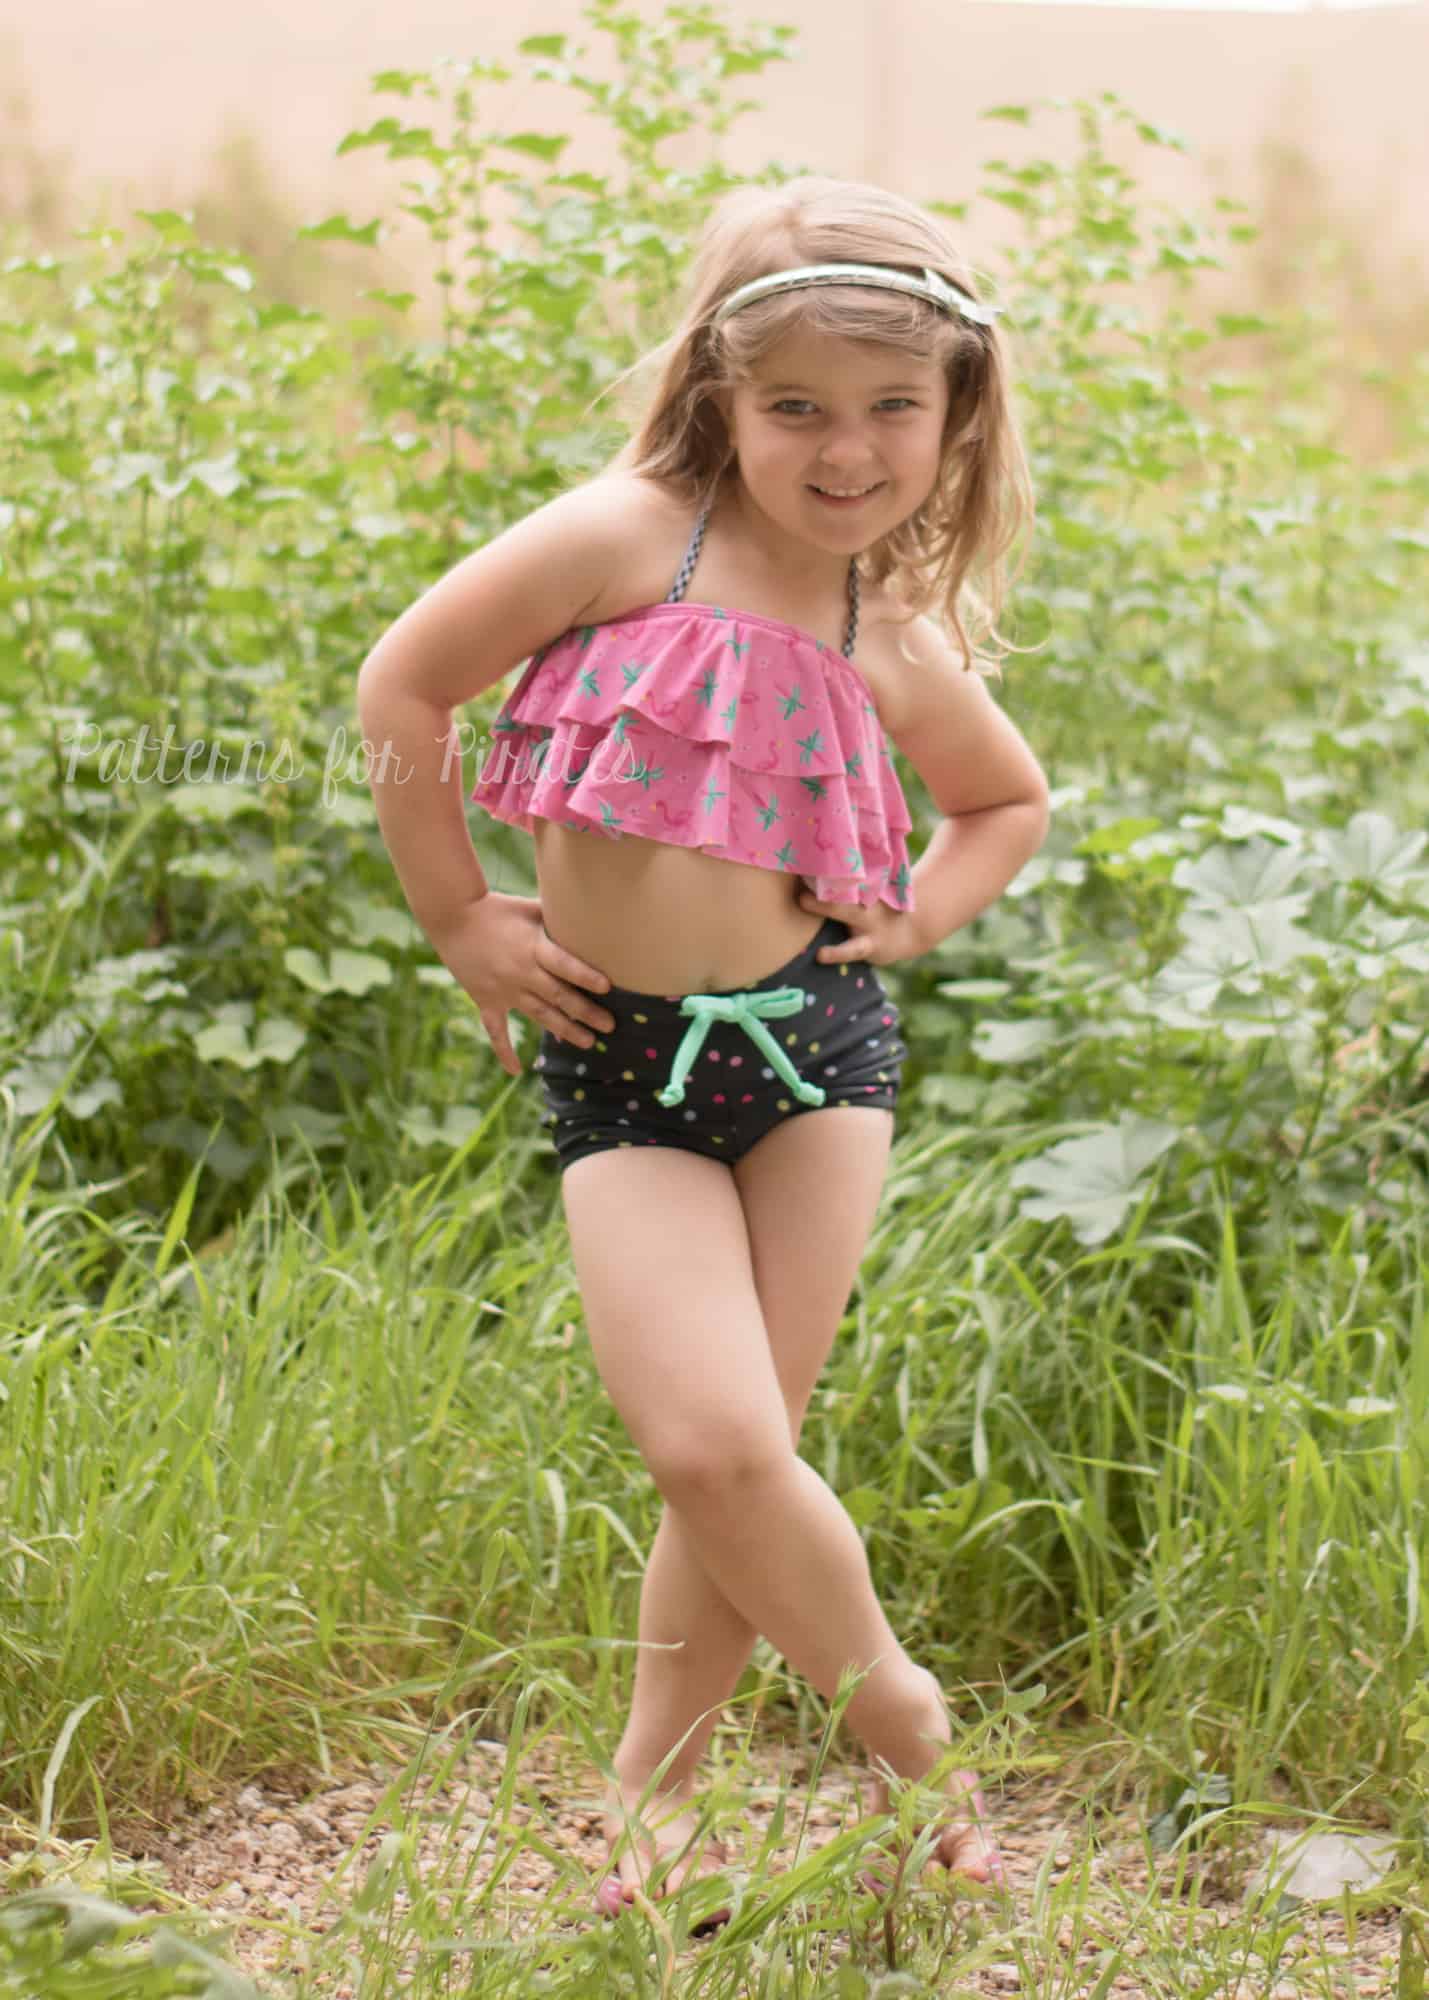
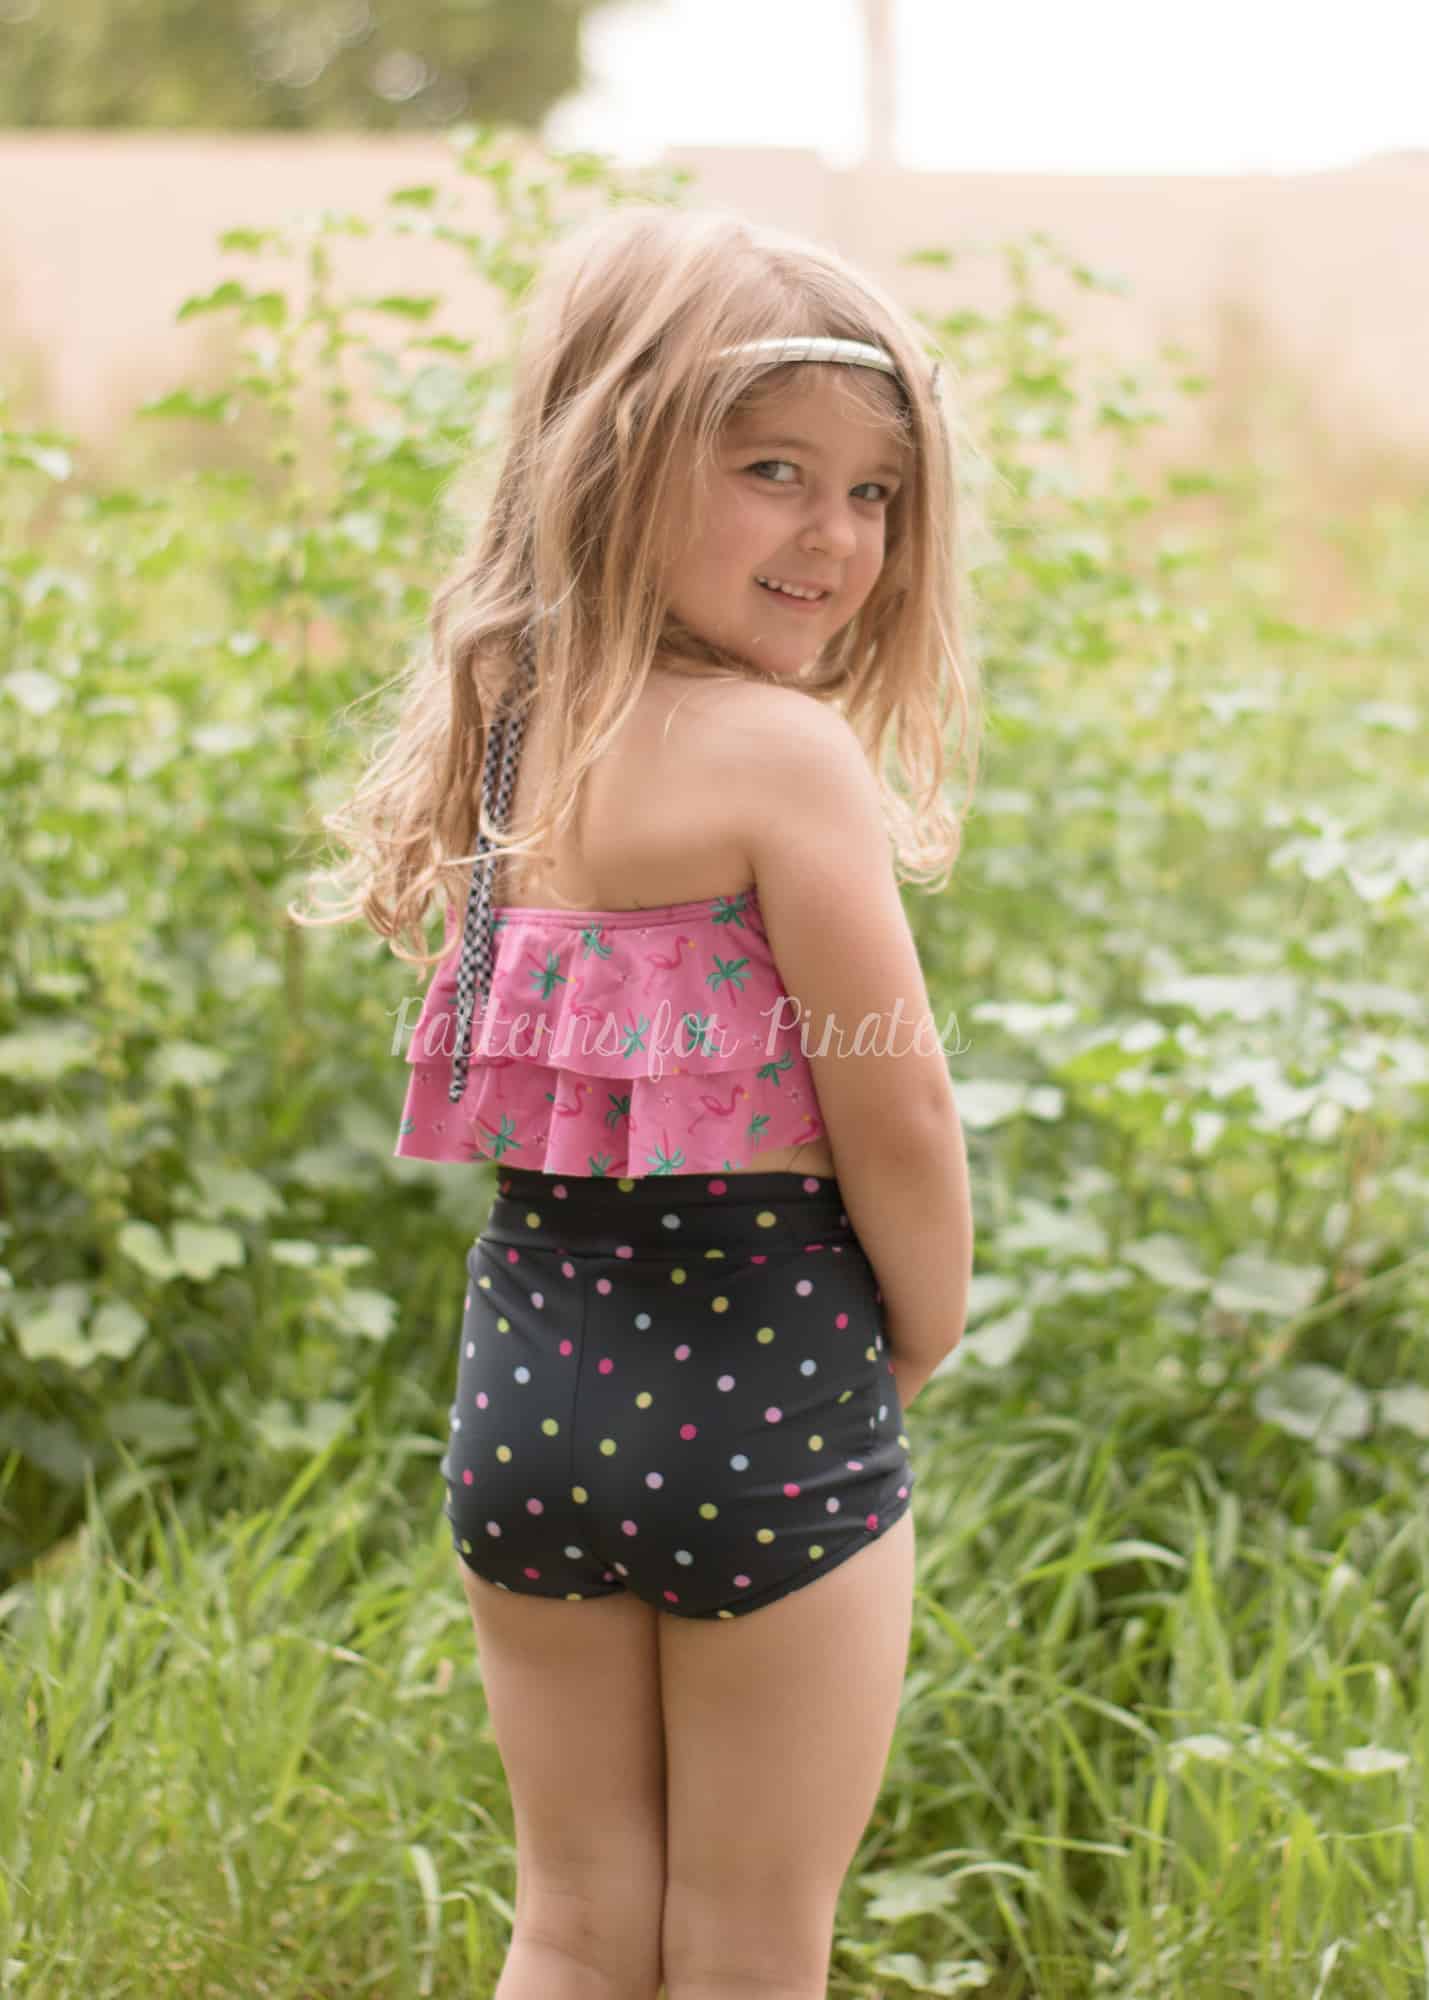
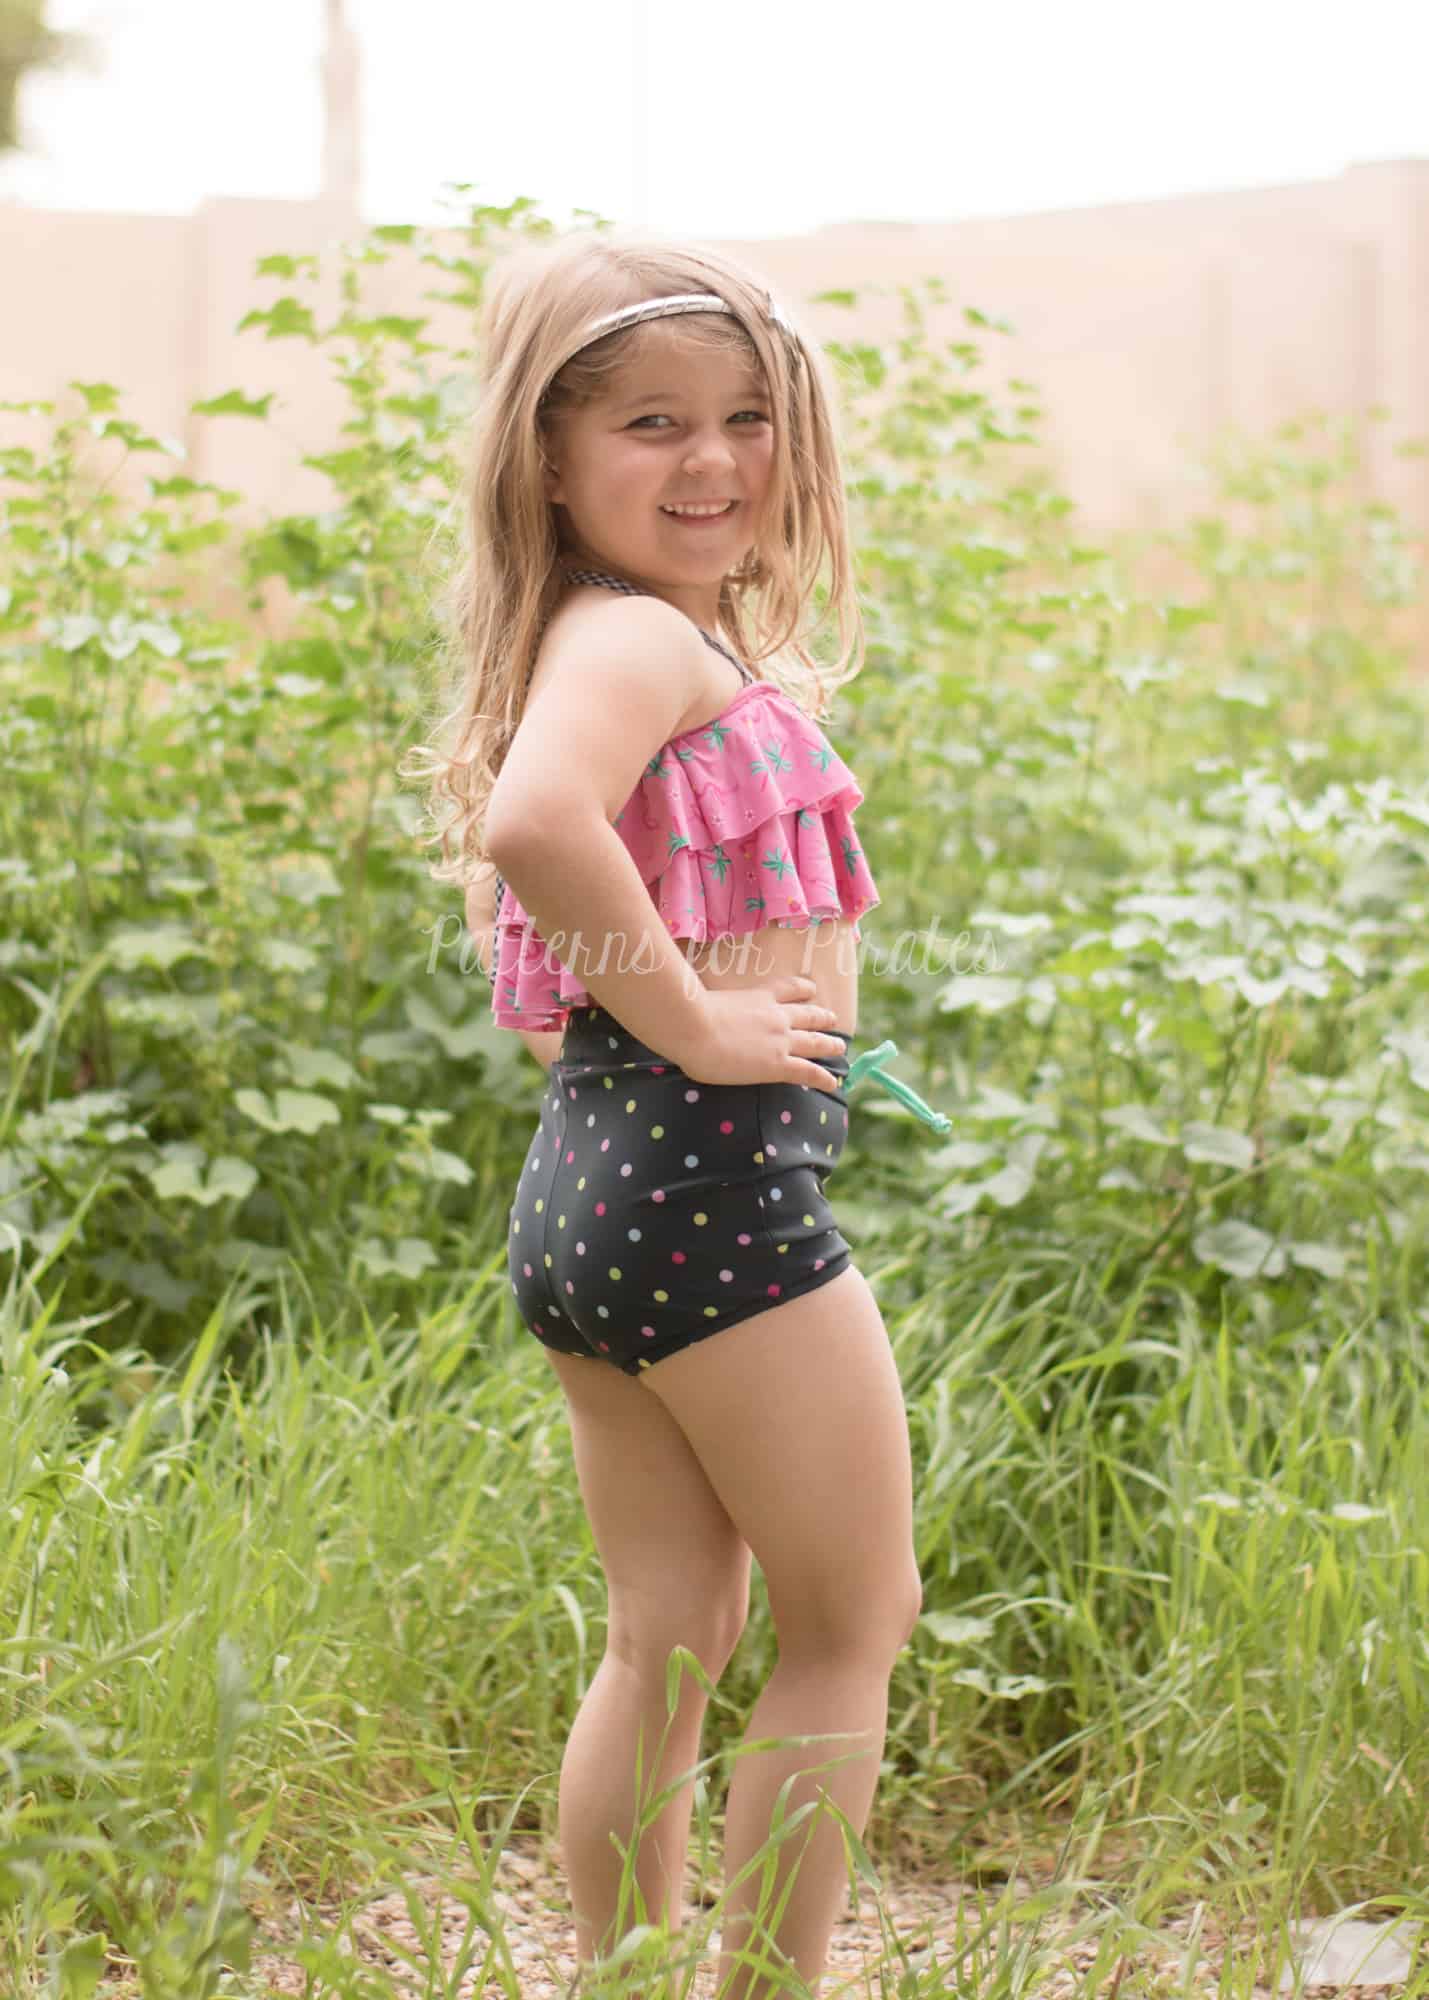
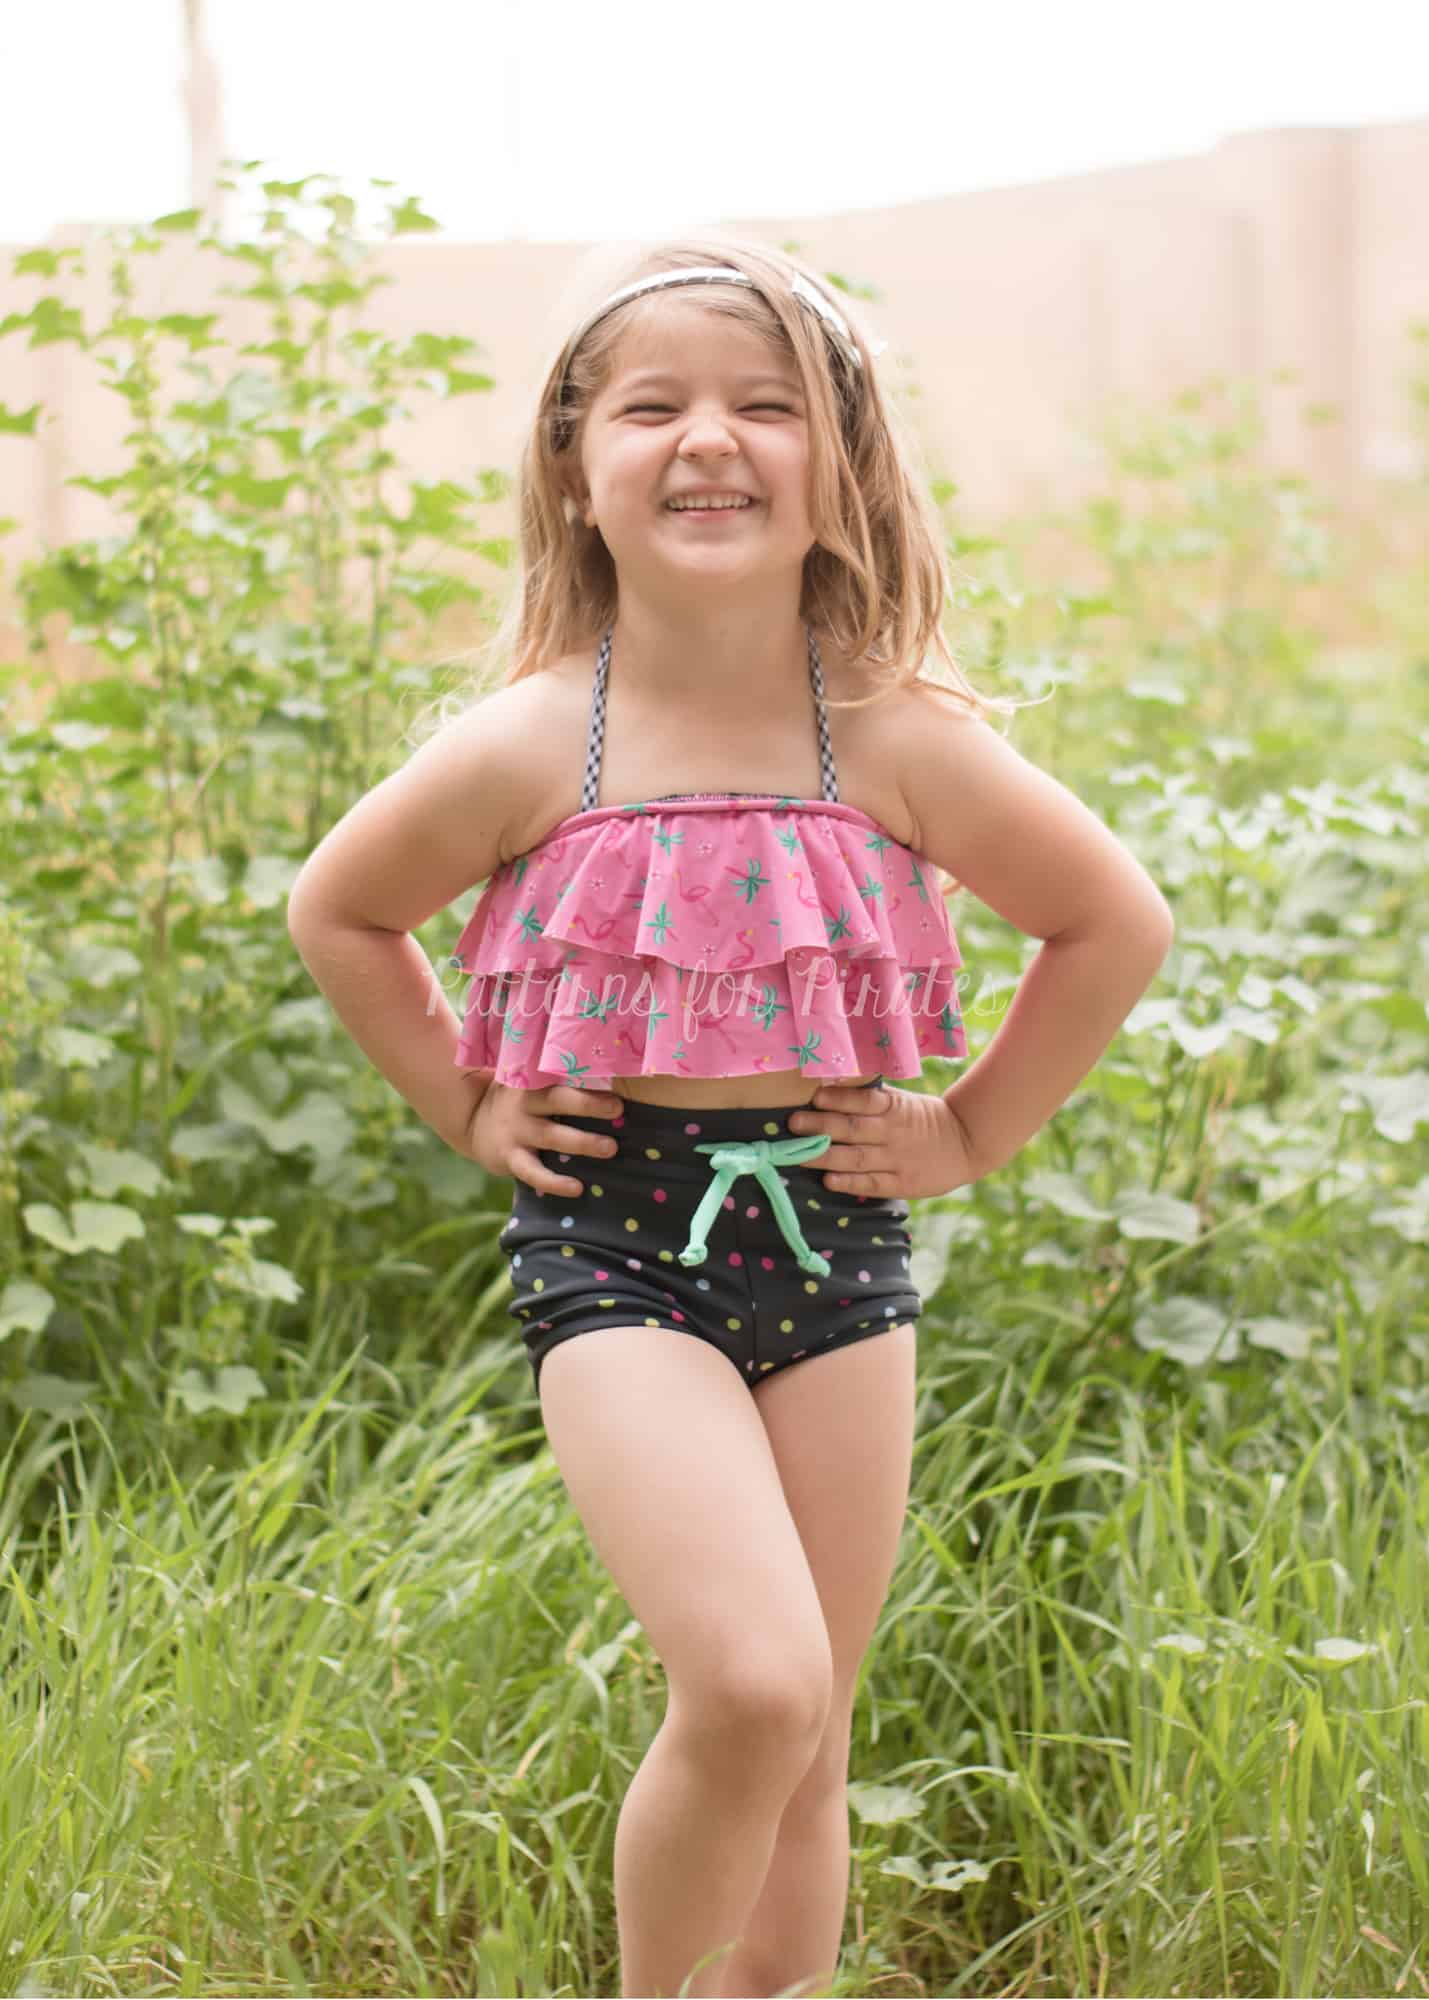
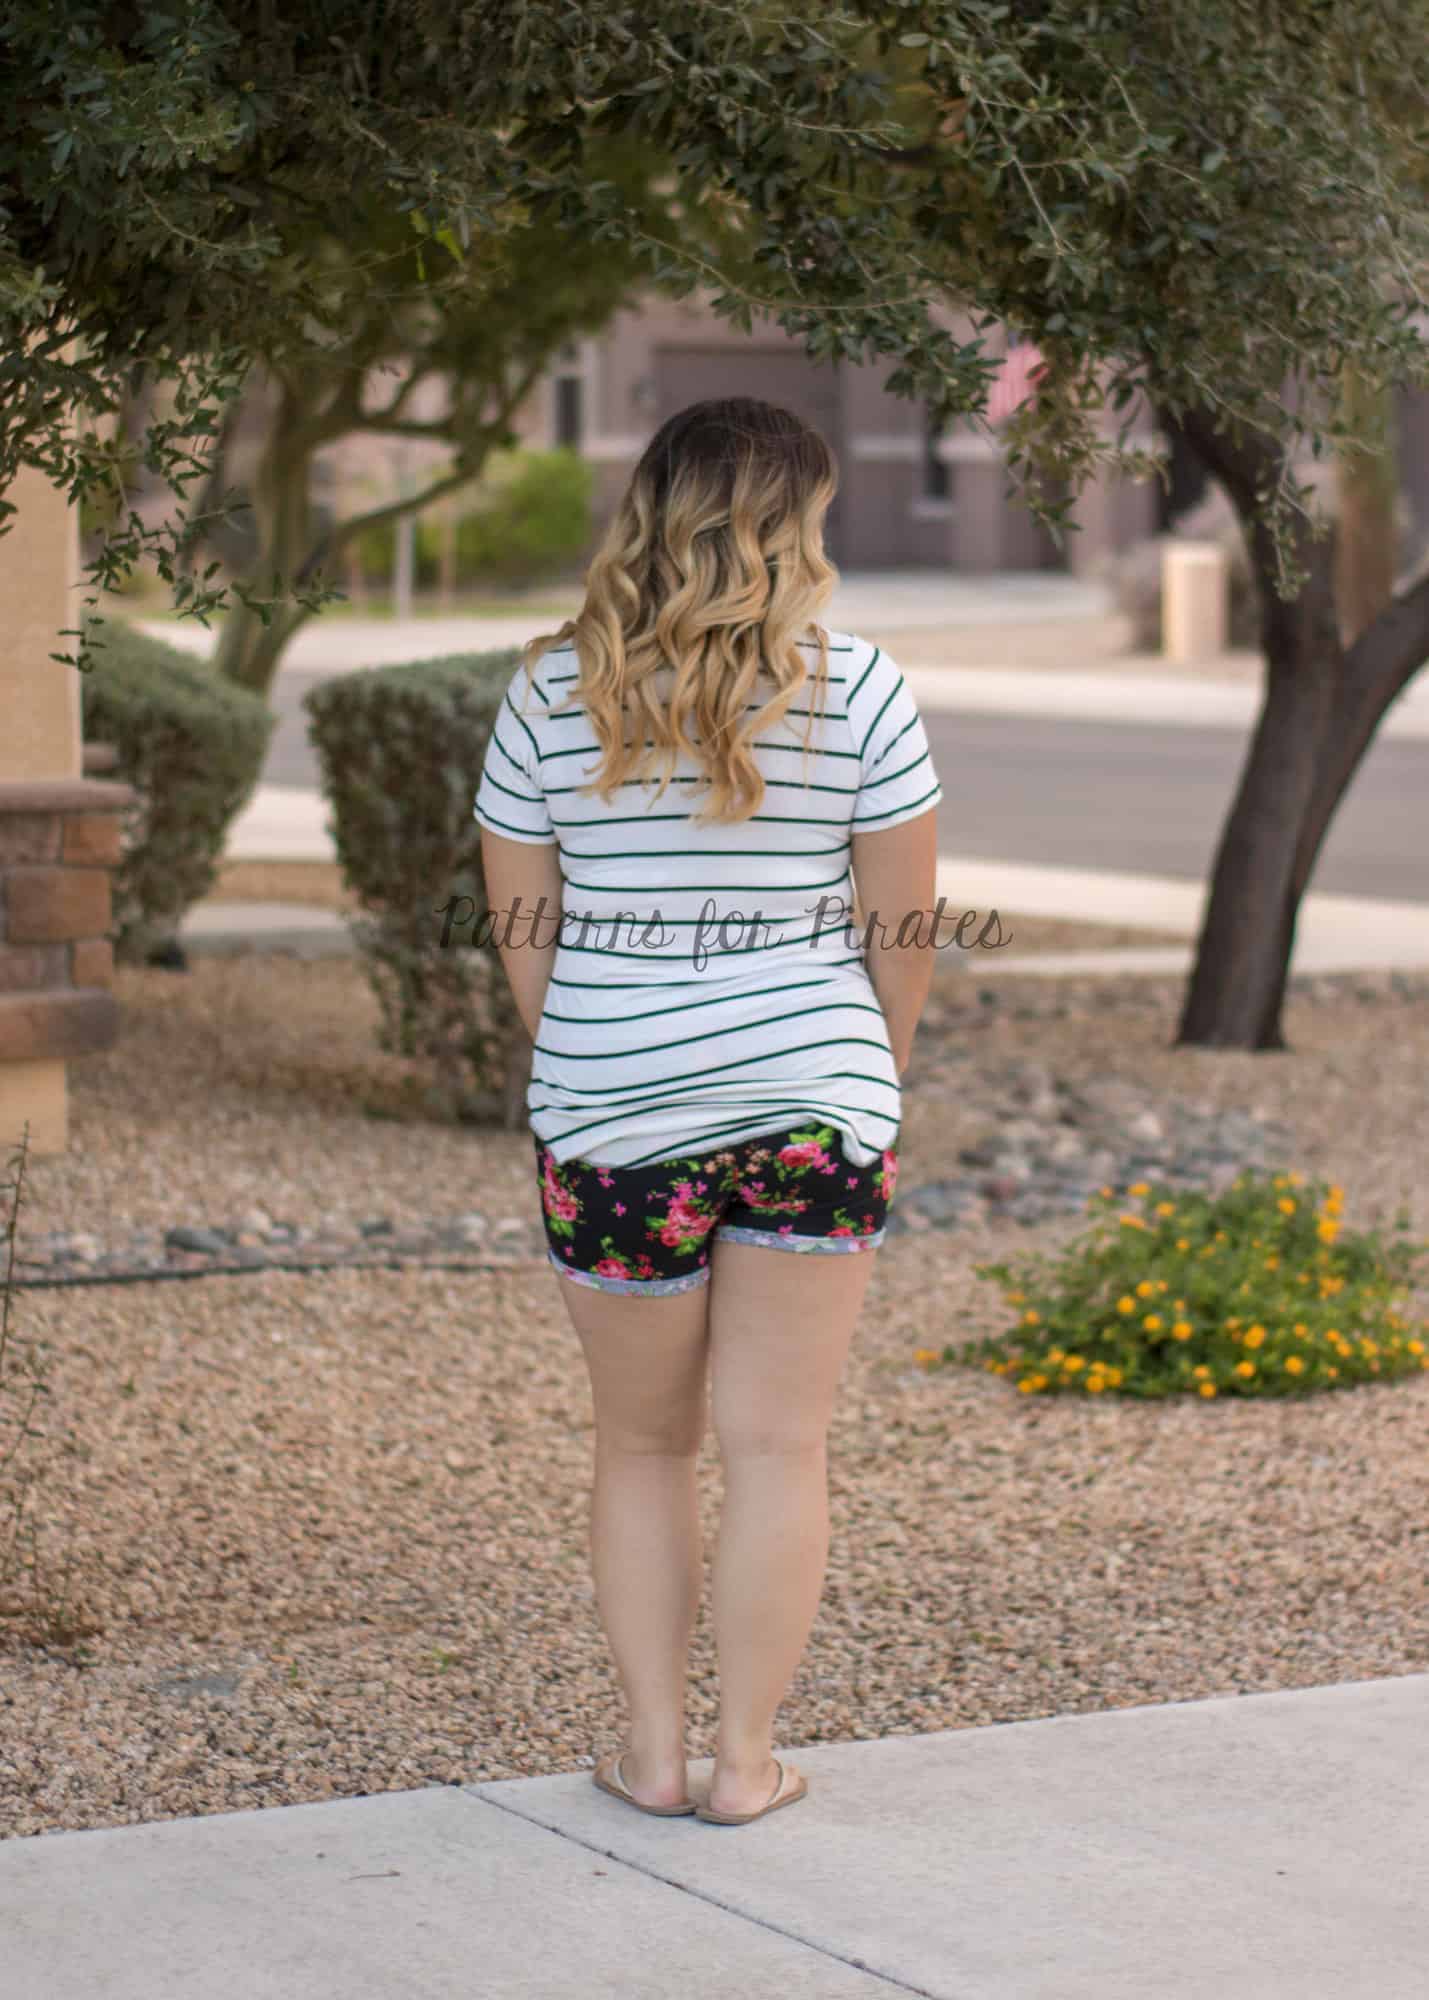
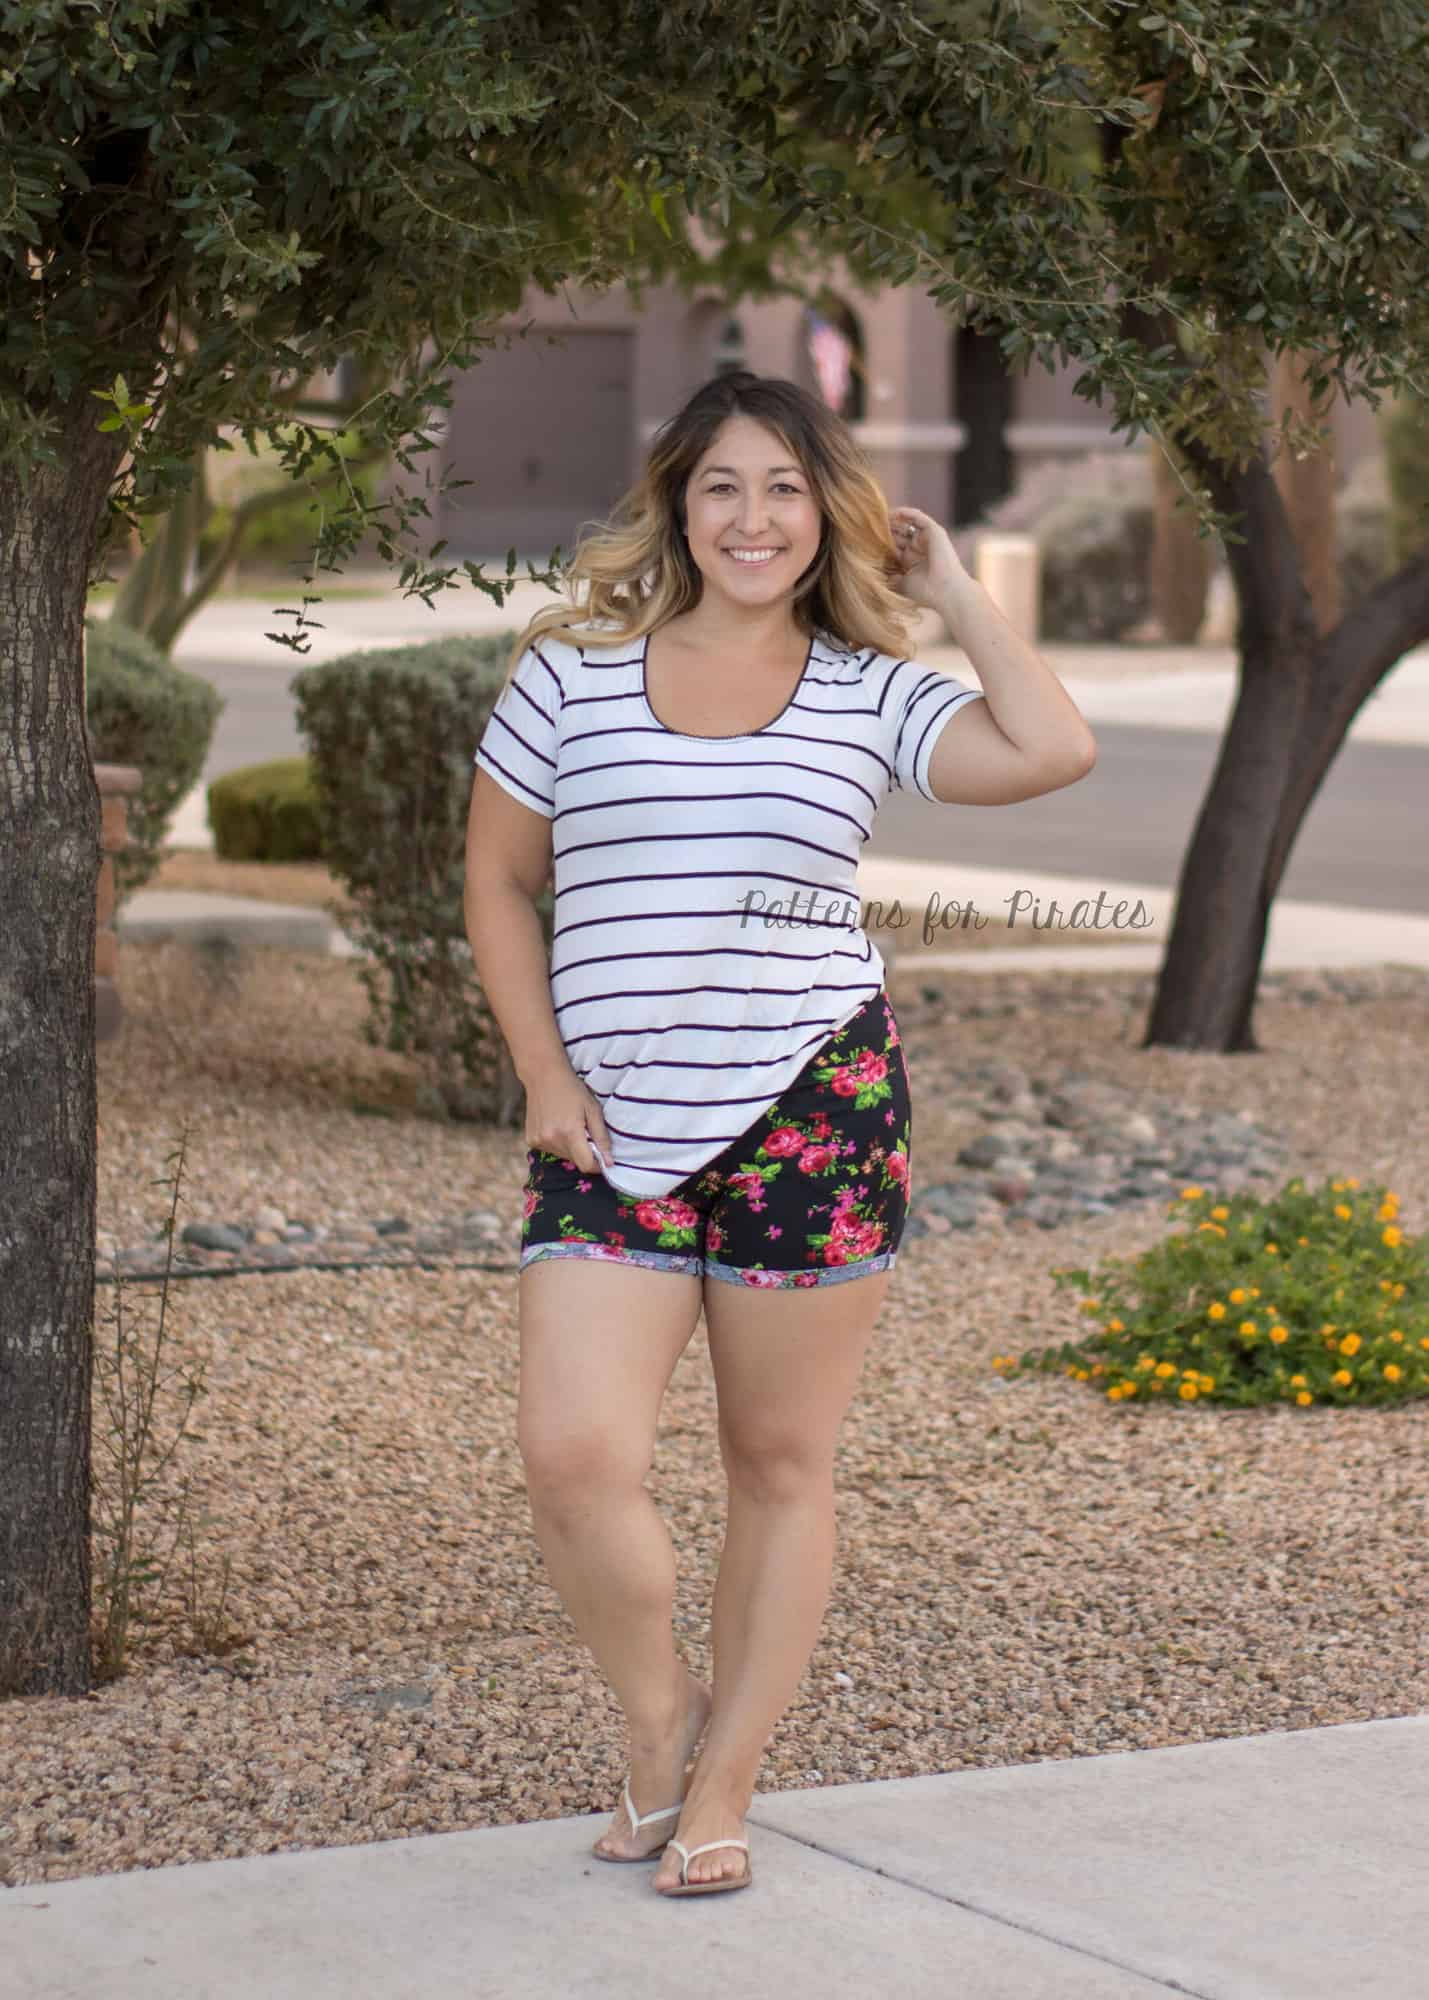
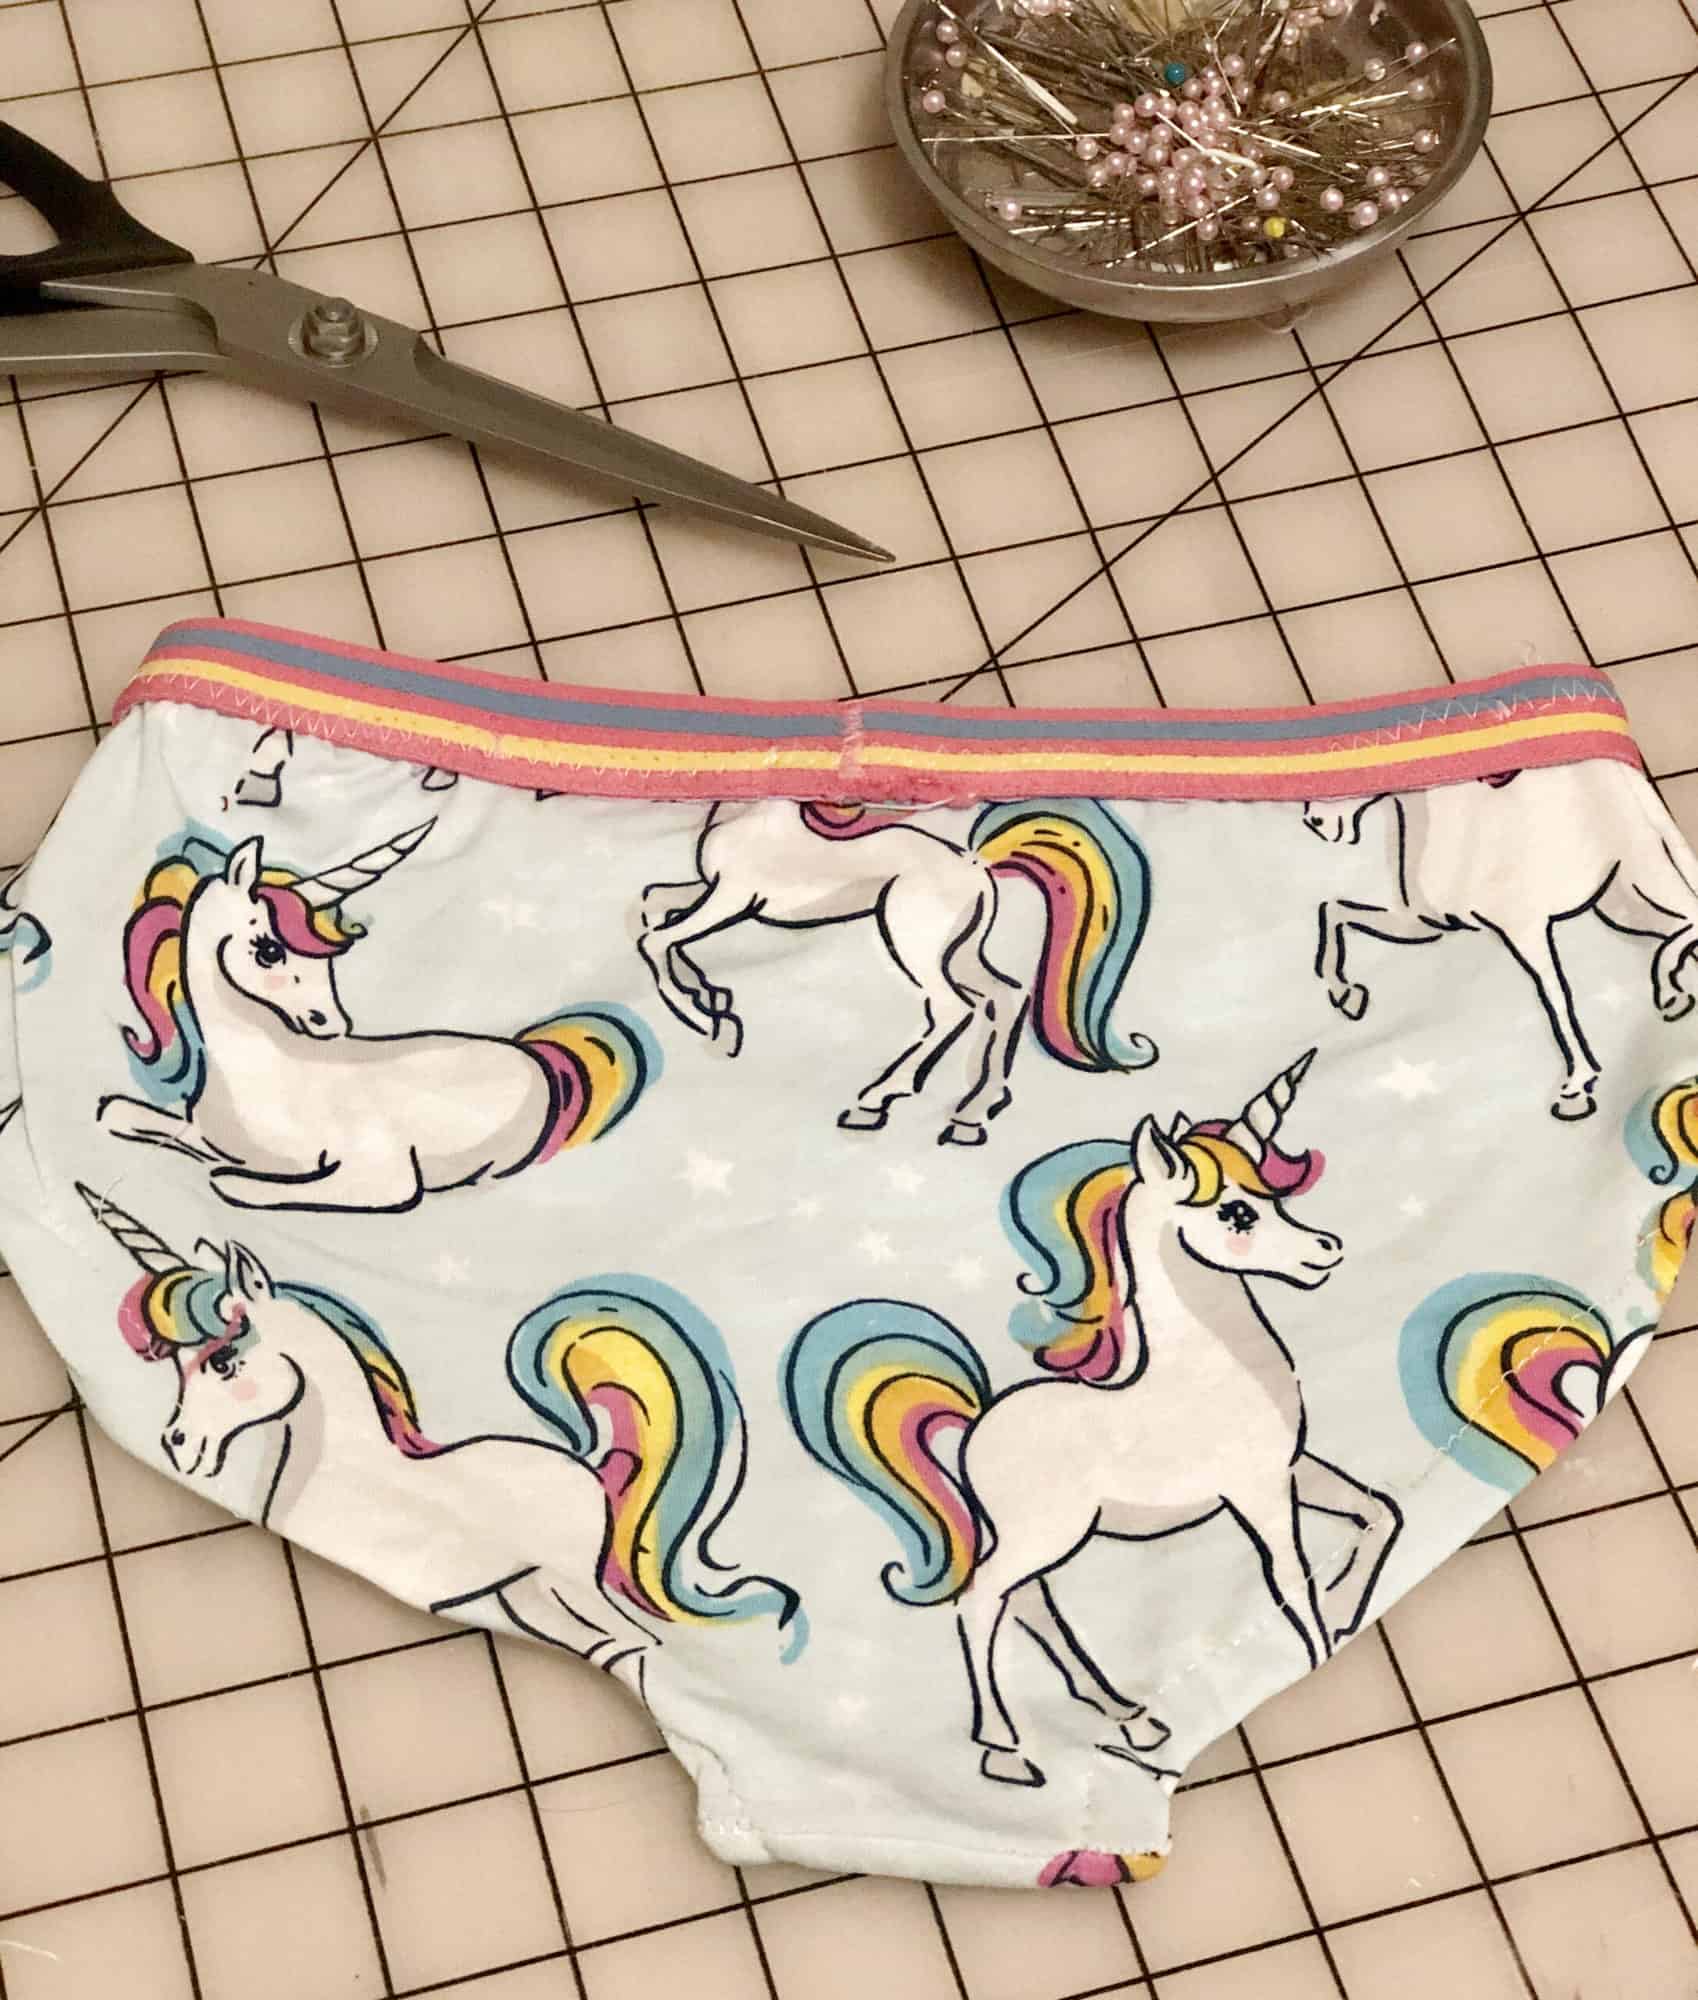
Another style of waistband you’ll see often in apparel sewing is exposed elastic waistbands. These are waistbands that you’ll see in many applications, such as athletic shorts or undergarments. These will be generally created using plush back, underwear, or soft waistband elastics. It’s important to use these types of elastic, especially for undergarments, as they are much more comfortable and soft, and elastic will be up directly against the wearer’s skin.

On patterns such as the Fierce Undies pictured here, the elastic used will be “butted” together before being sewn, not overlapped. This is because overlapping will make the exposed elastic waistband too bulky.


Tips and Tricks

Just as there are many different types of waistbands out there in the sewing world, there are just as many tips to make sewing them easier! Here are just a few to help you along the way:

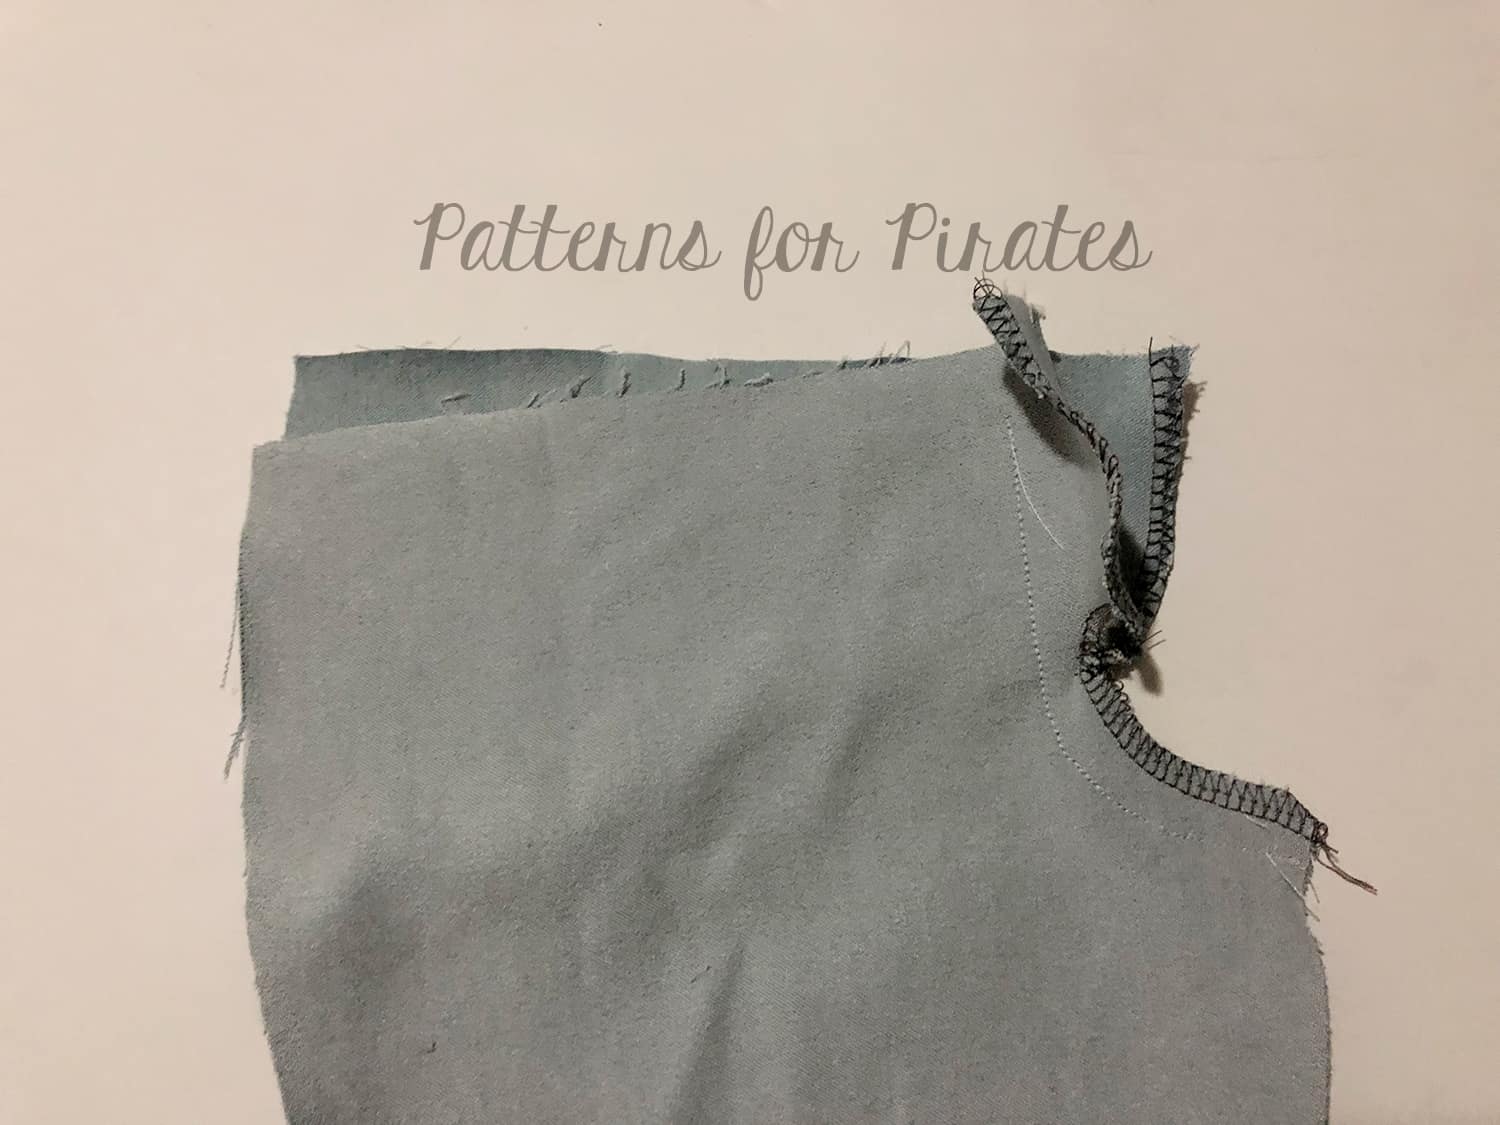
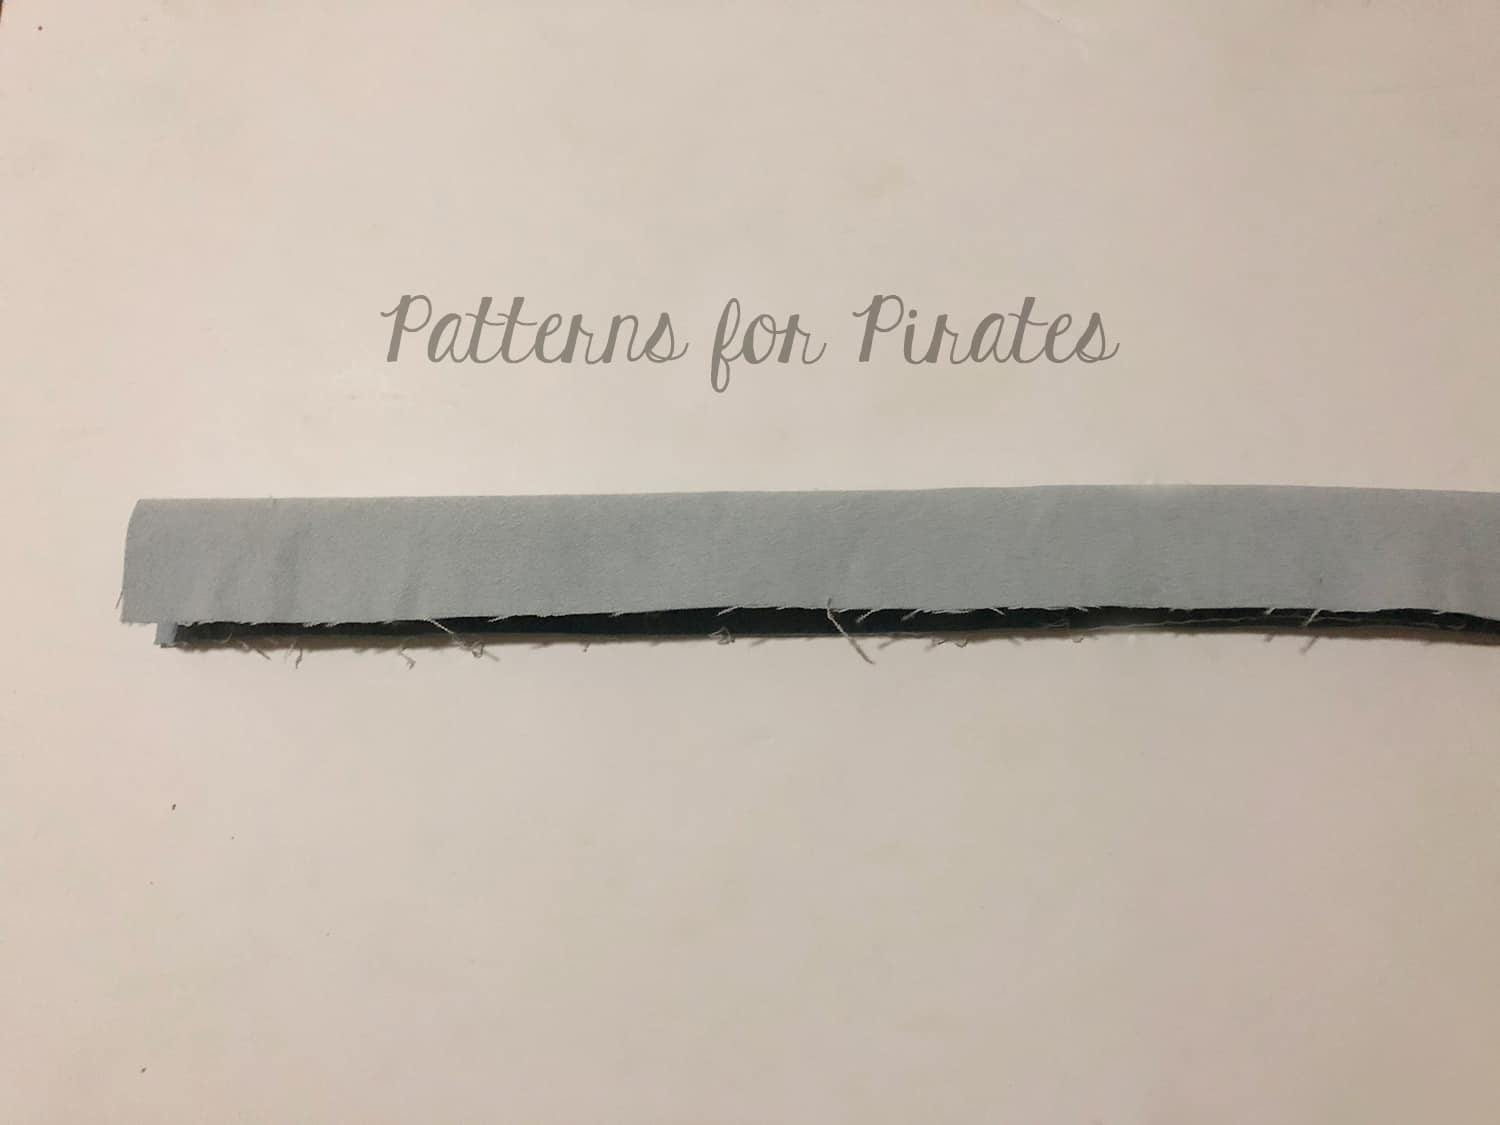
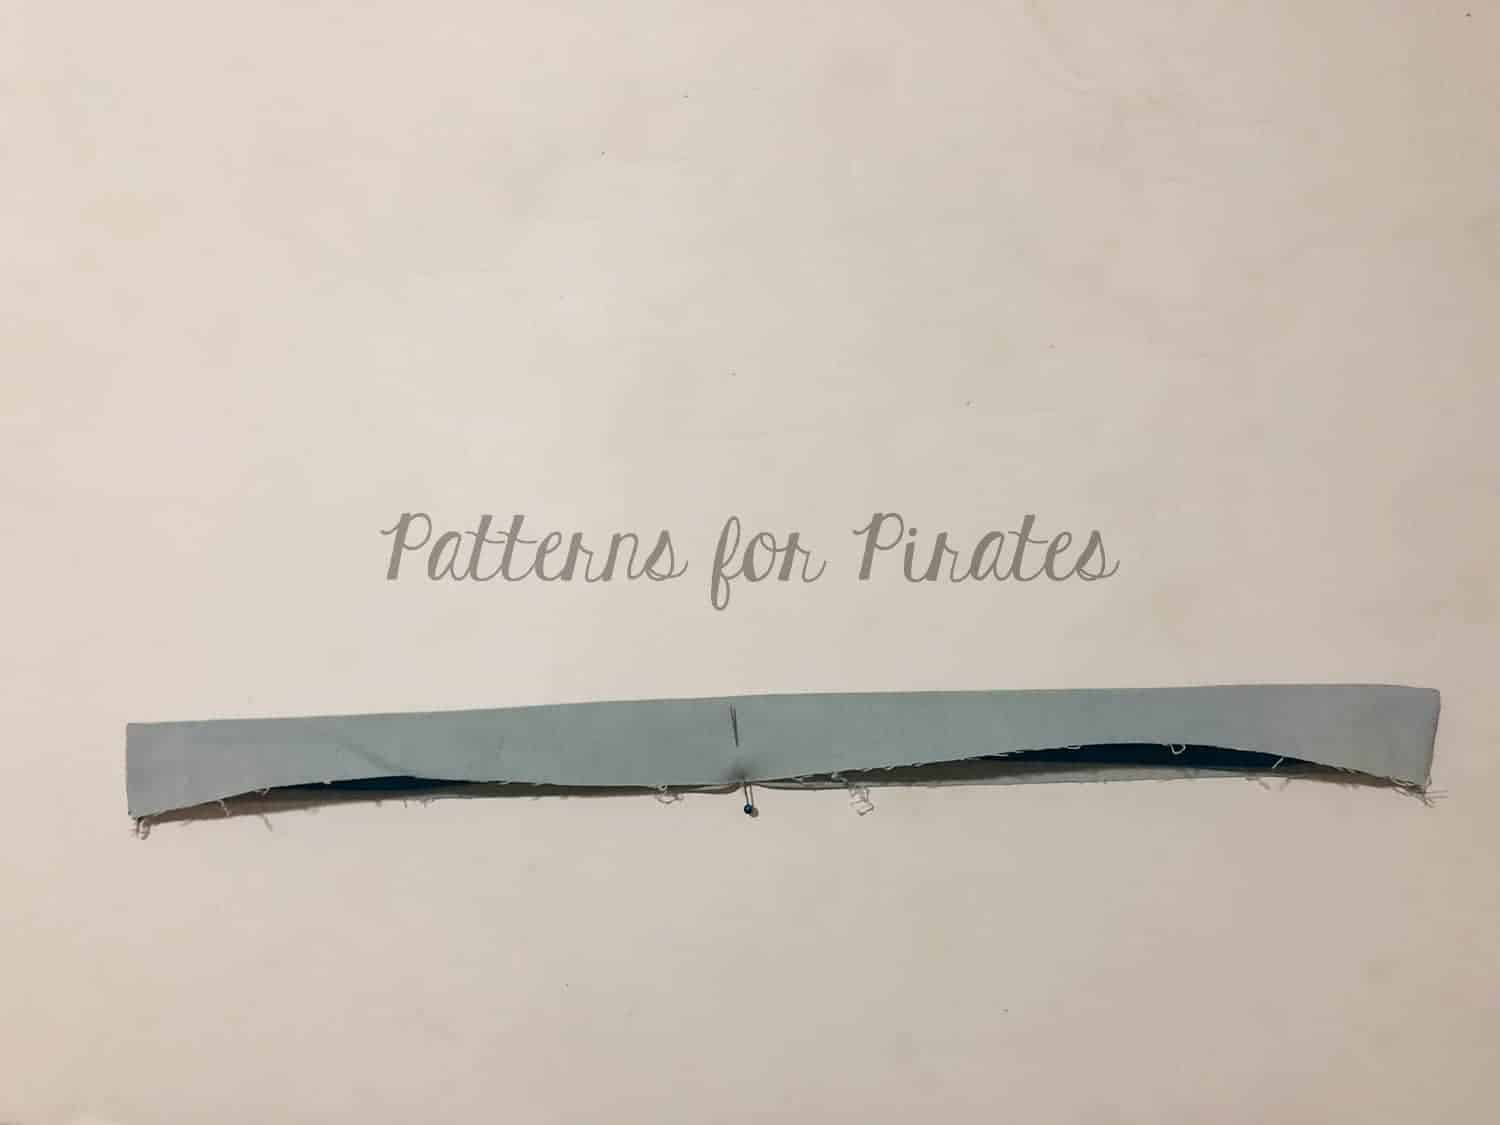
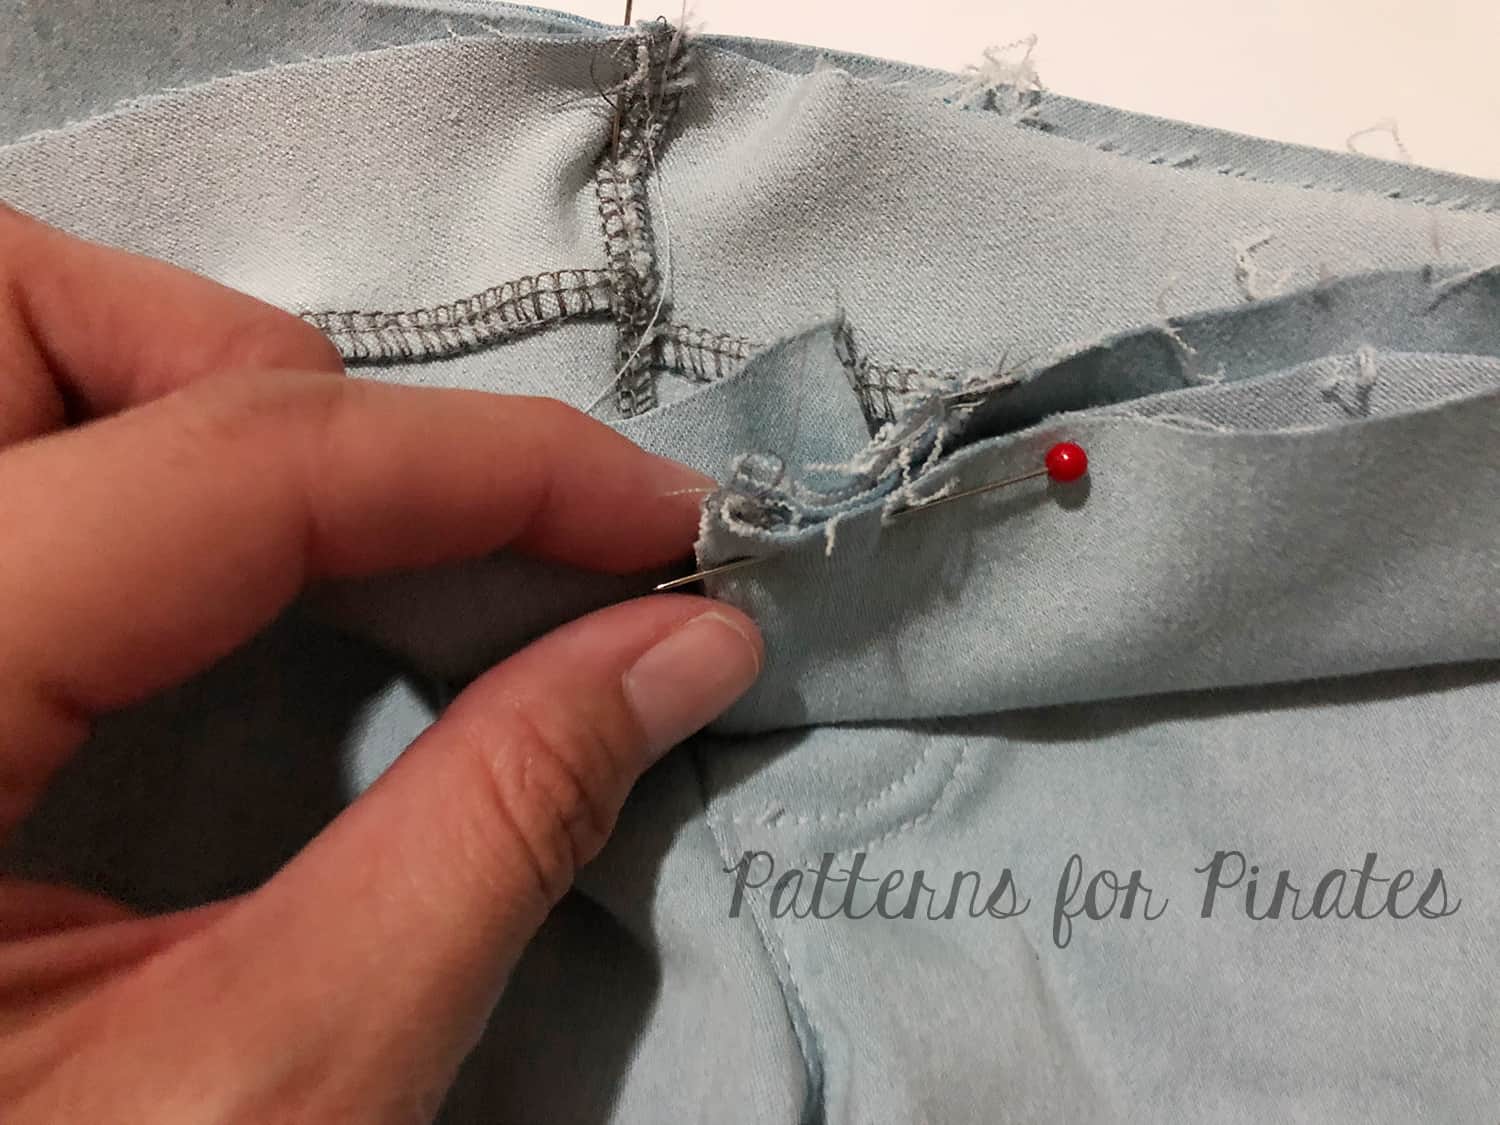
1. With knit, yoga, and enclosed elastic waistbands, serge or baste the raw edges together once you’ve folded lengthwise, wrong sides together, and before attaching to the garment. This will essentially take those two layers of fabric of the folded waistband and turn them into one, making it easier to attach them to the garment in a clean and professional-looking way. Remember, if you serge the raw edges of your waistband before attaching it to your garment, DO NOT CUT ANY OFF!

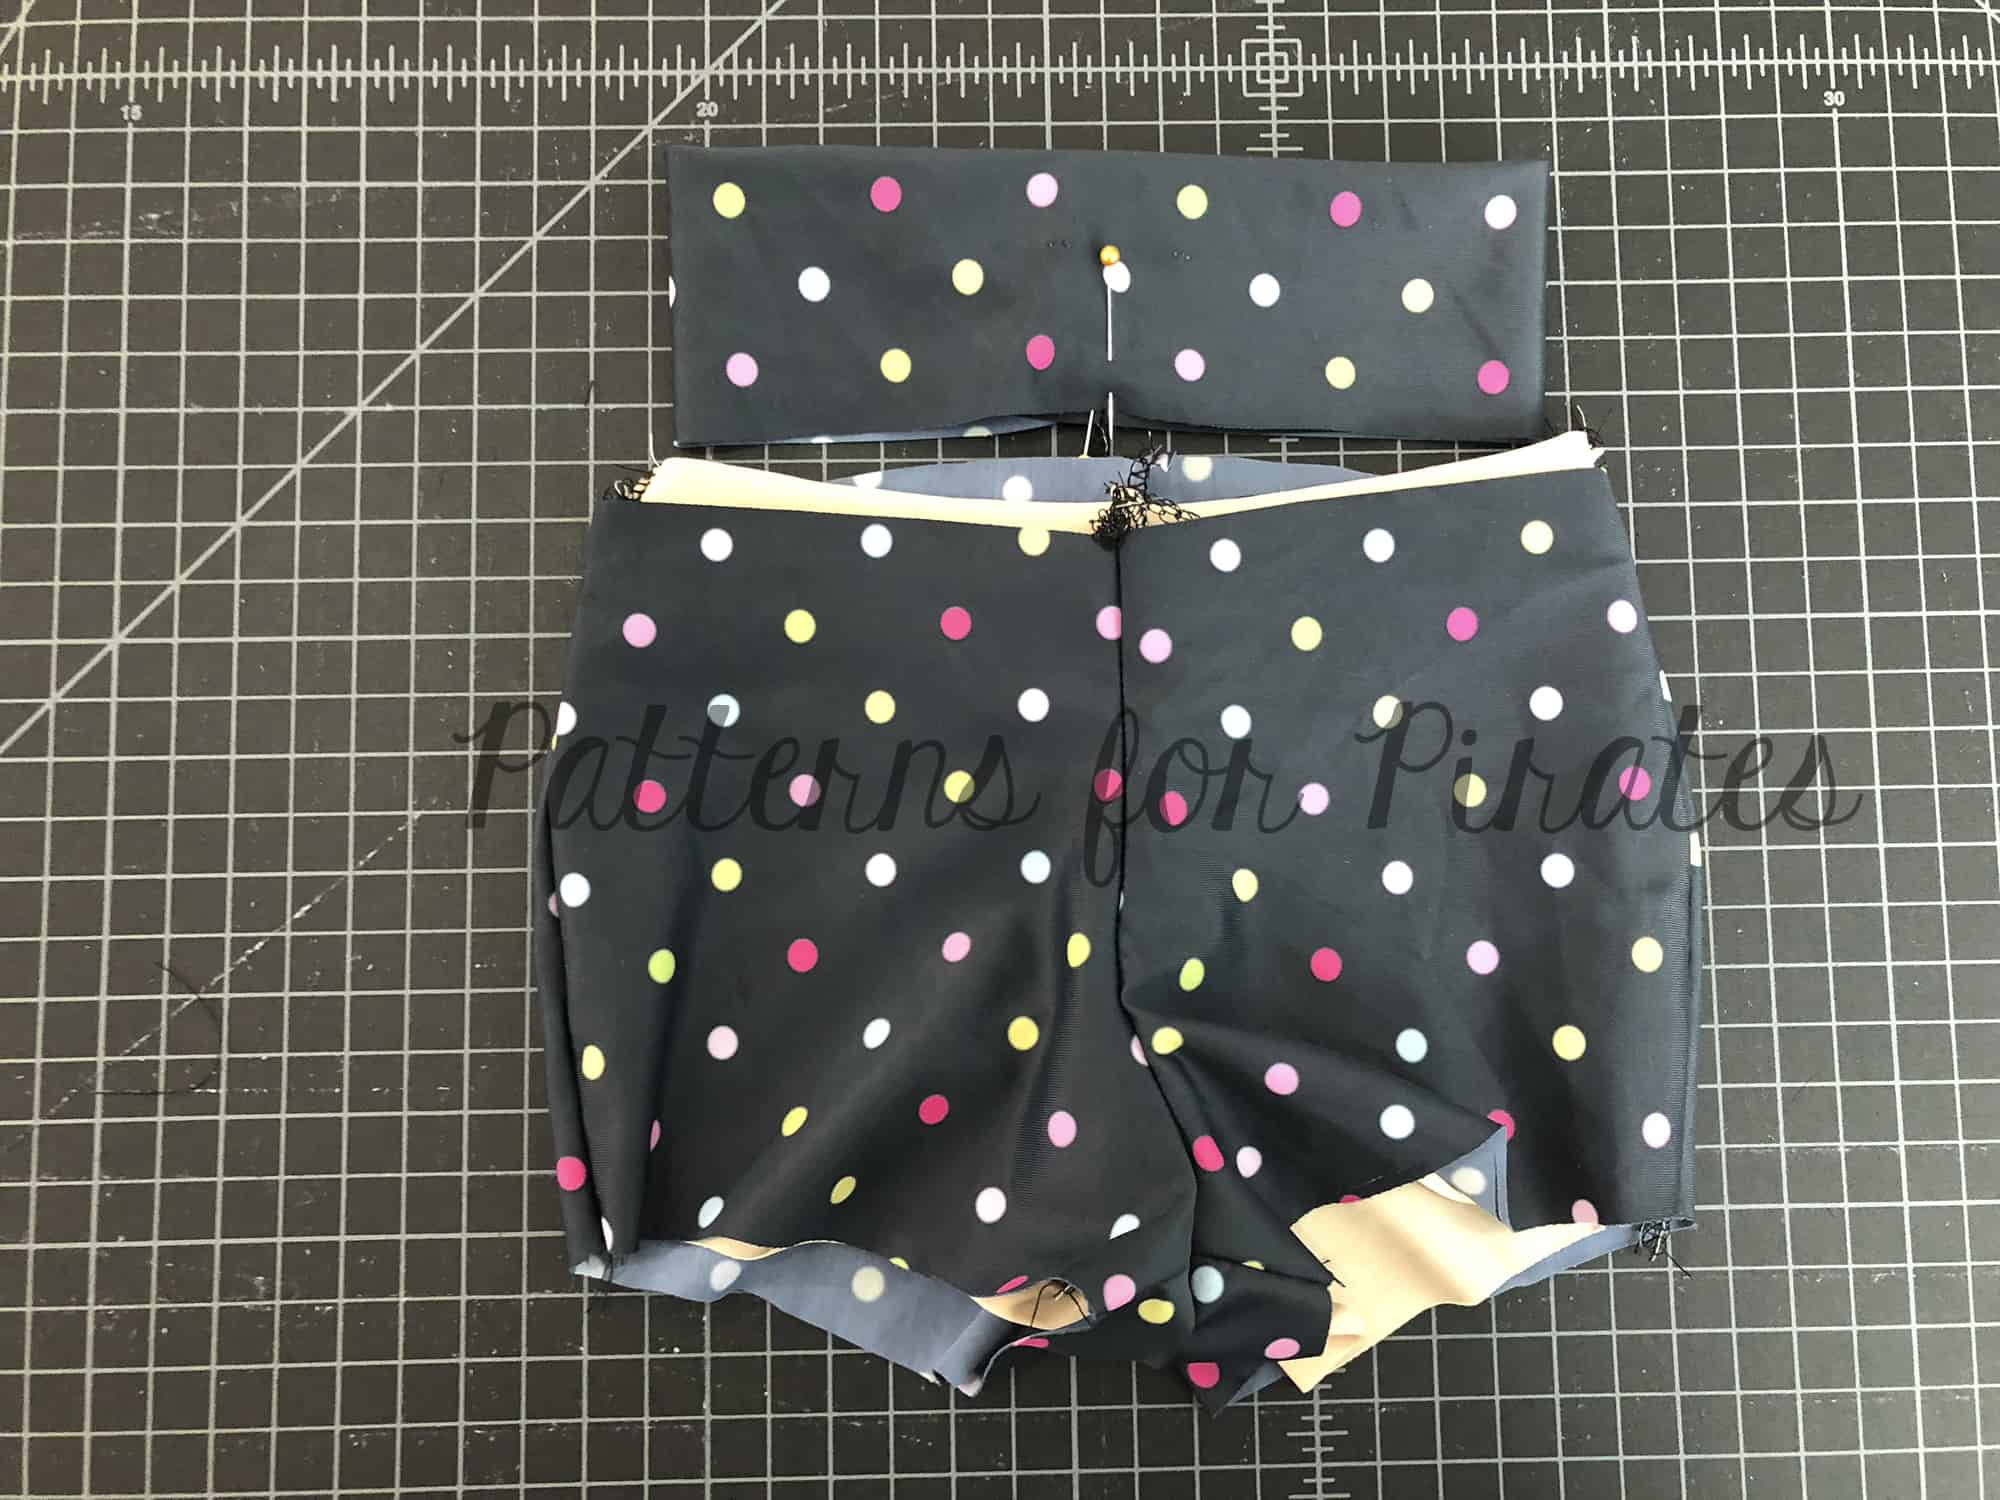
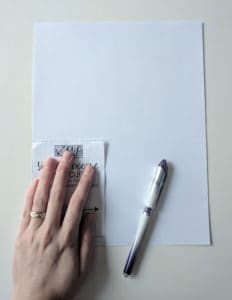
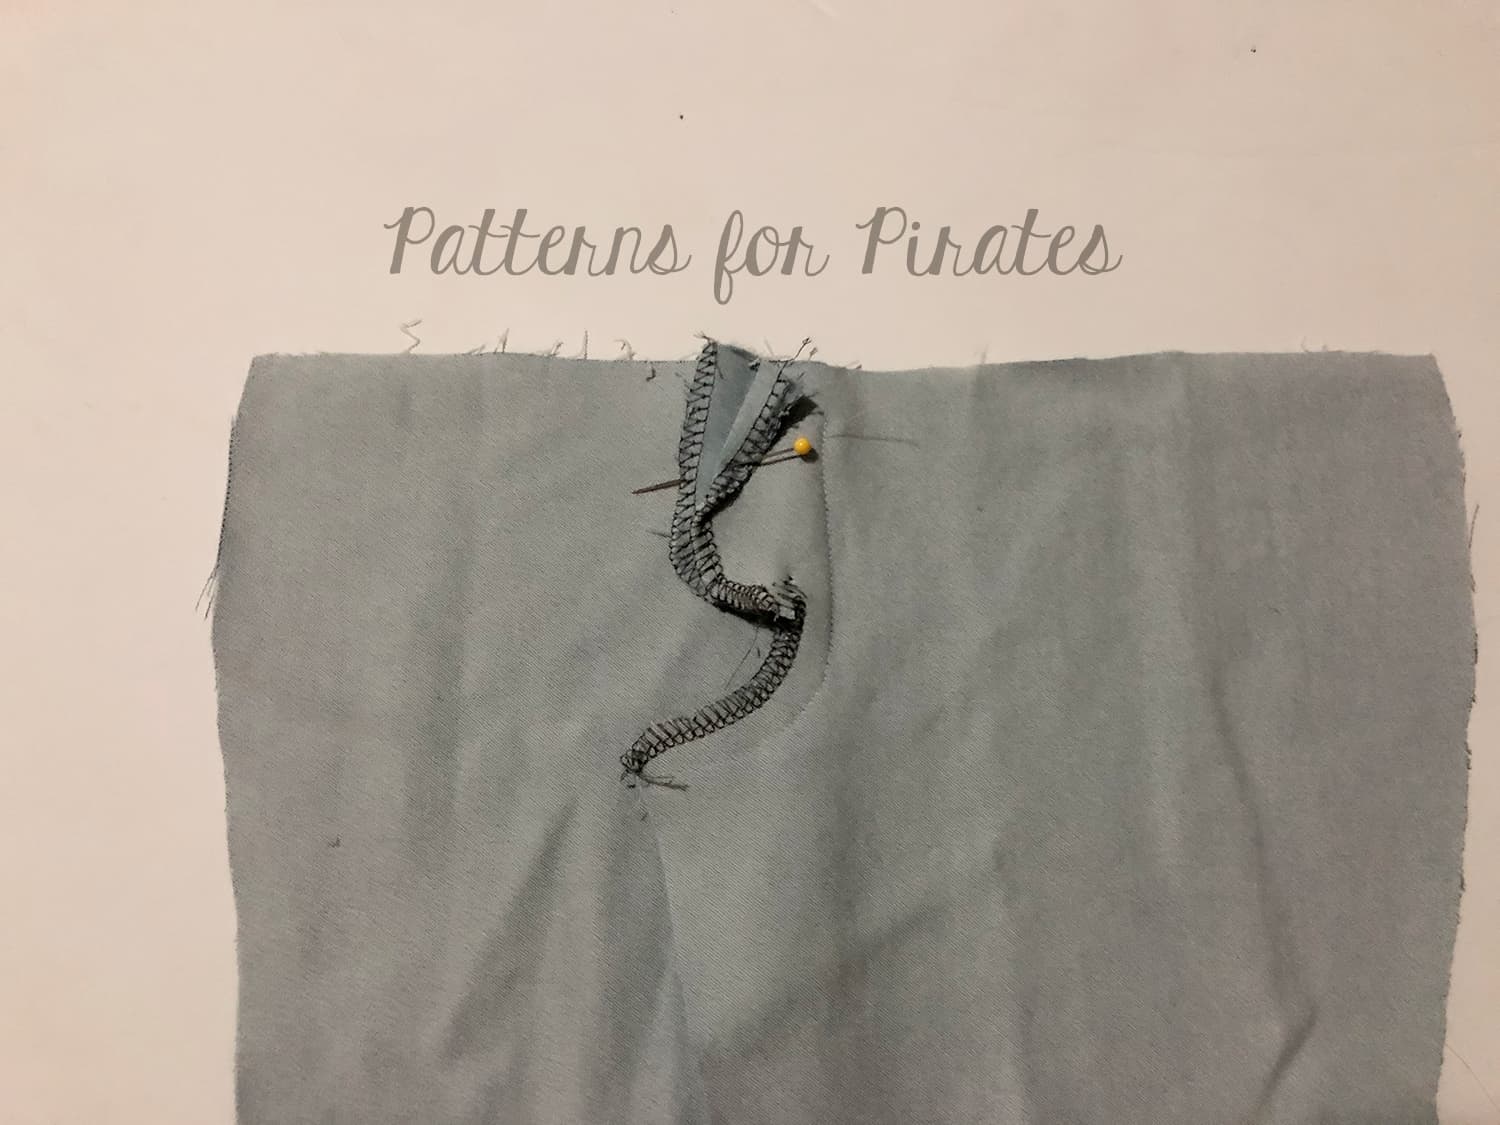
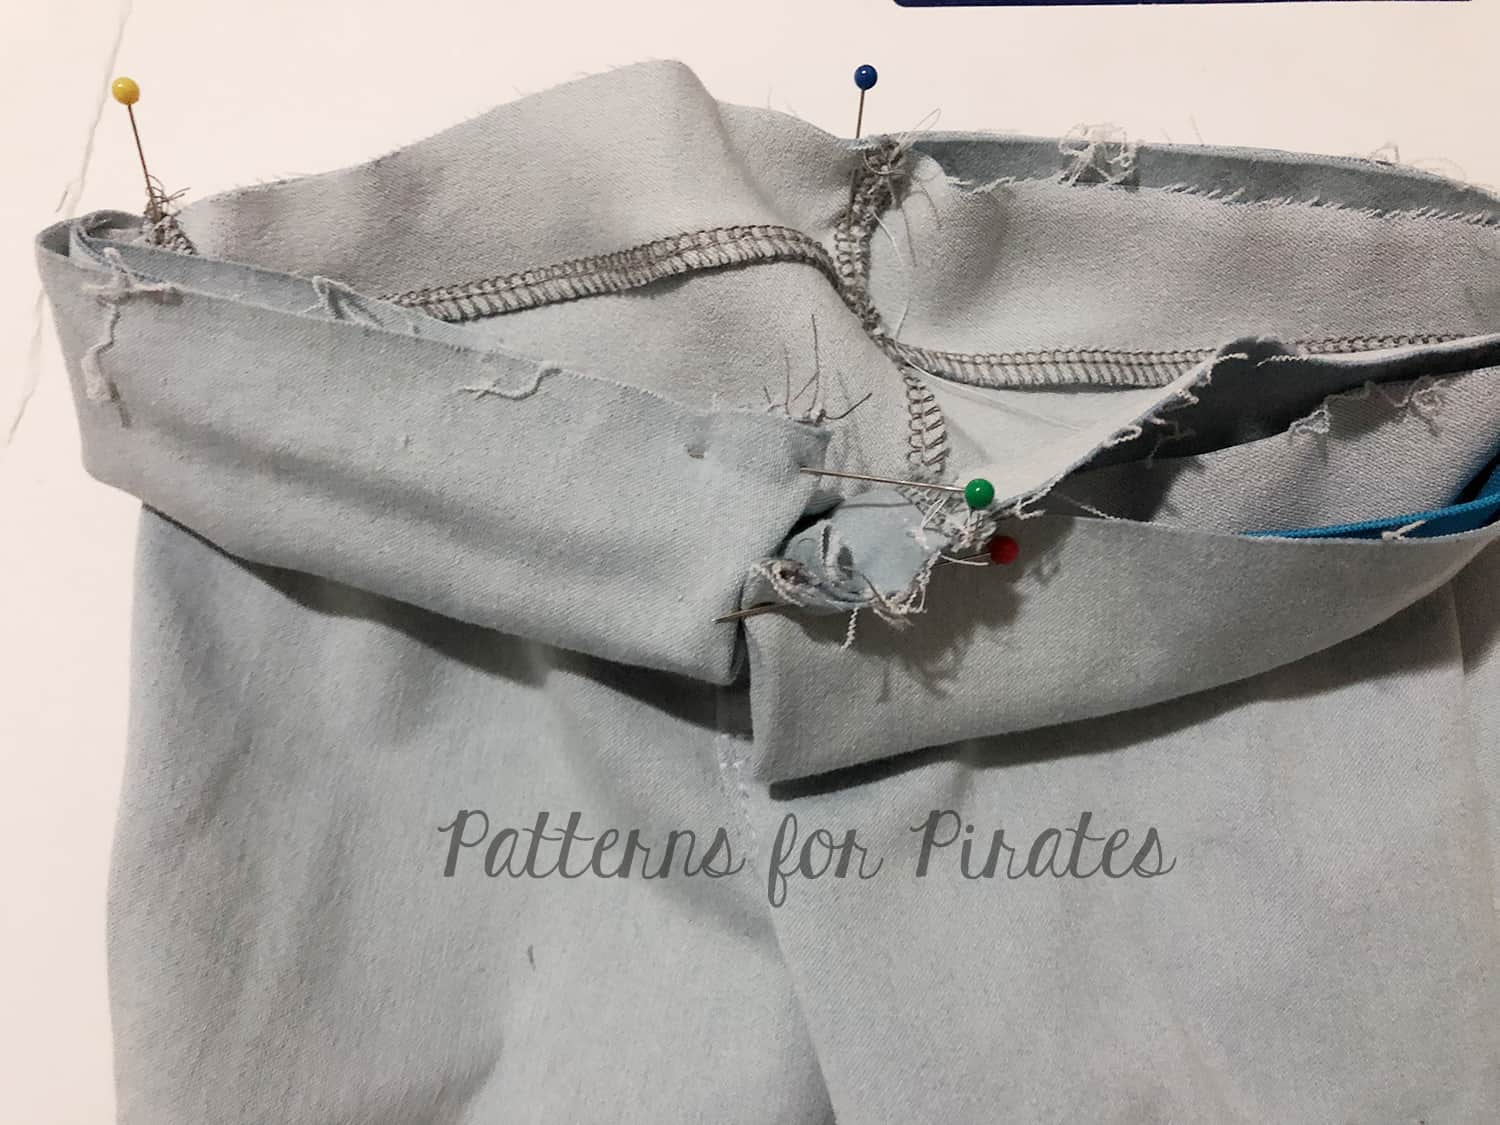
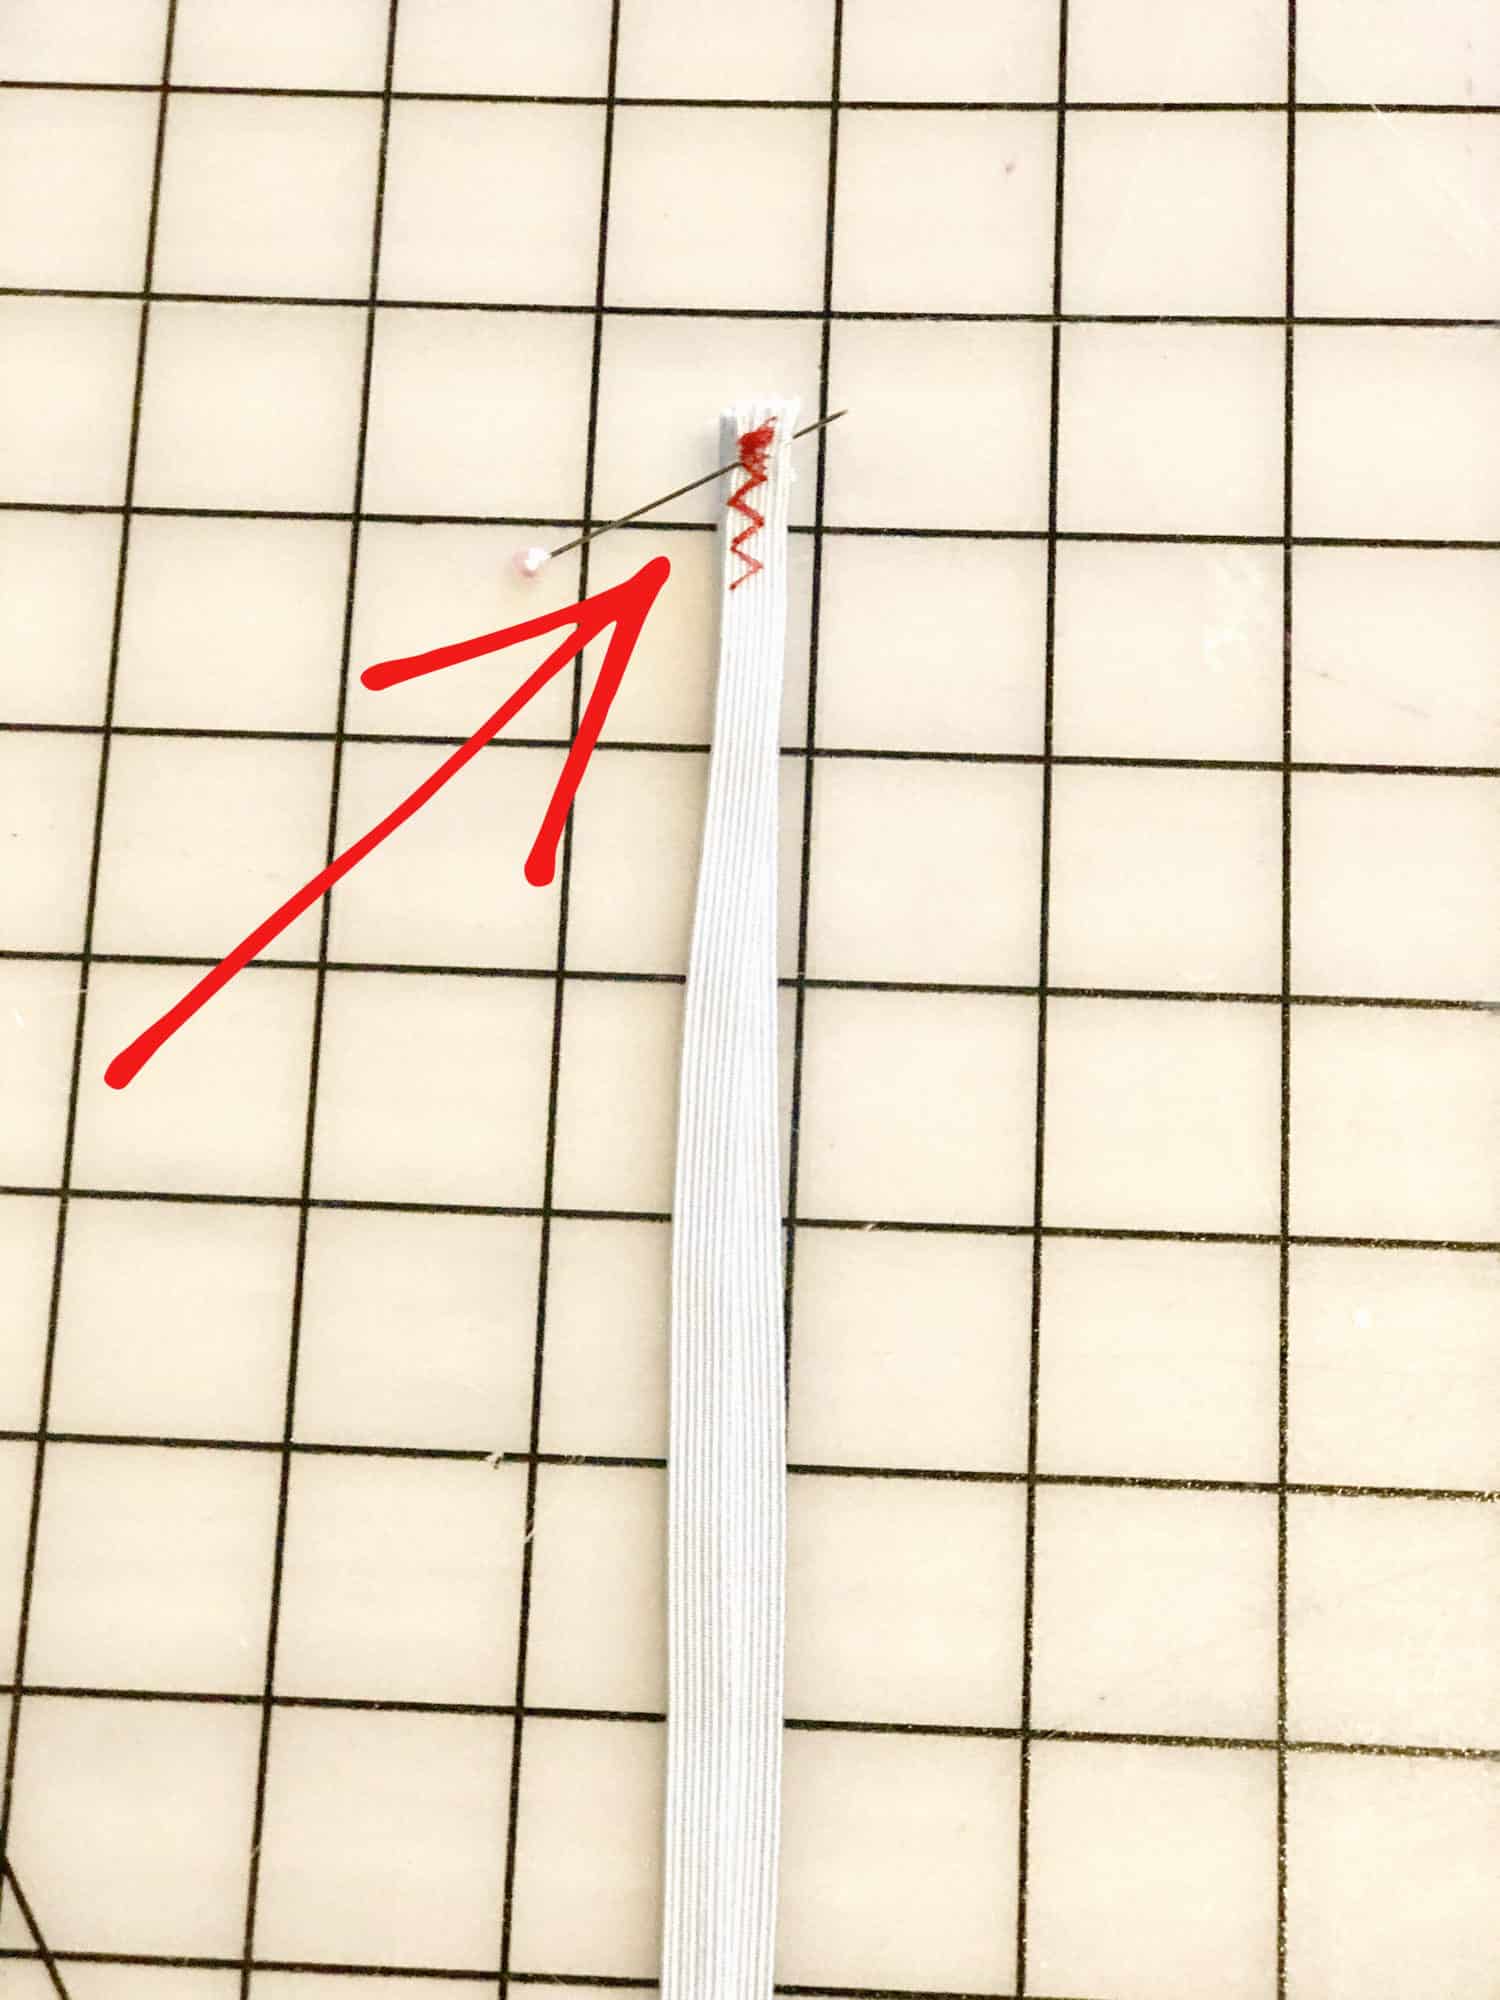
2. ALWAYS quarter your waistbands before attaching them to a garment! What is quartering? It’s equally dividing the waistband into fourths, so you can better ensure that the waistband will be evenly stretched across the garment’s waist.  It’s easy to do:

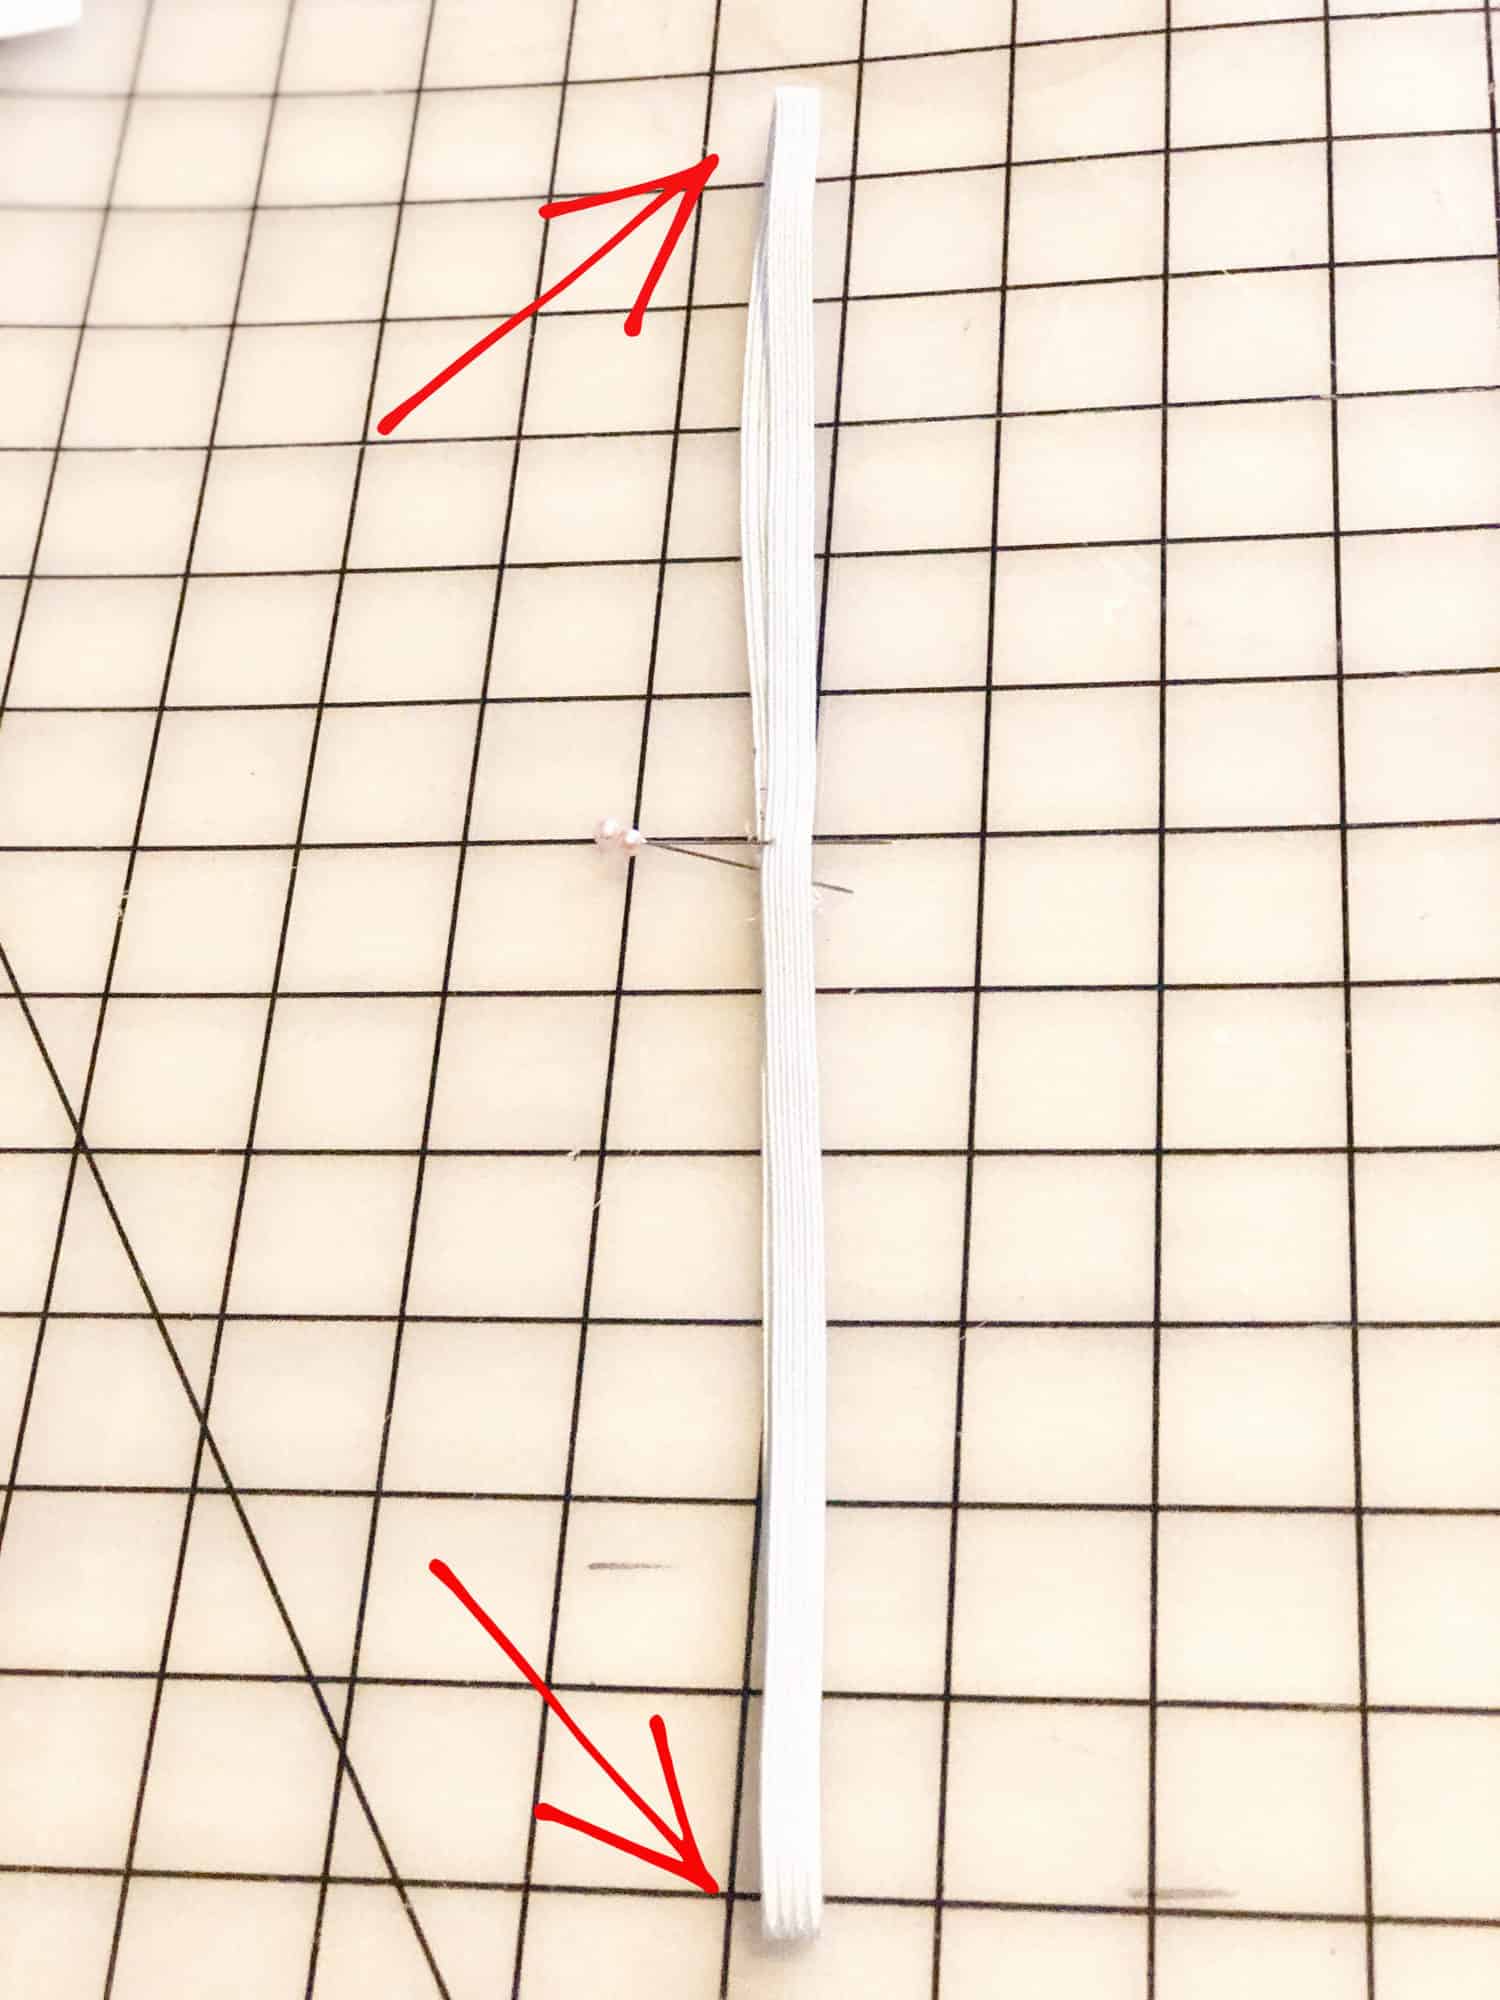
 First, sew the waistband or elastic together at the short ends, as directed by the pattern. Pin or mark the point of the seam.

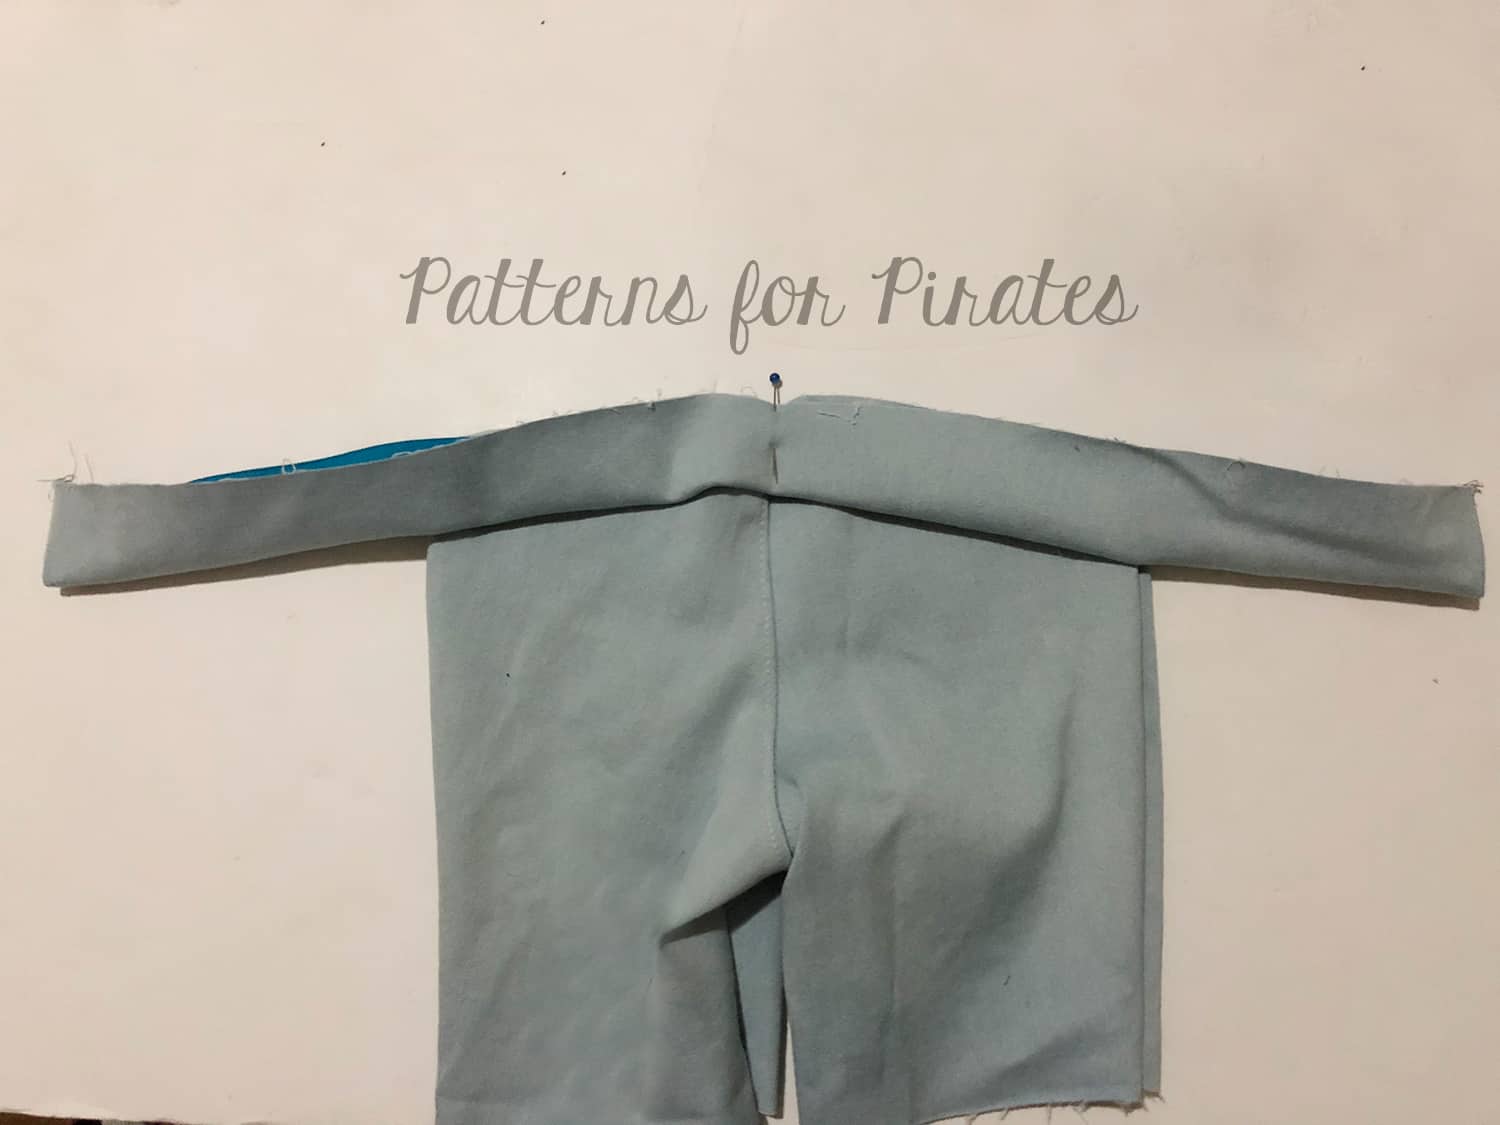
Next,  fold in half to find the half point. Pin or mark the half point.

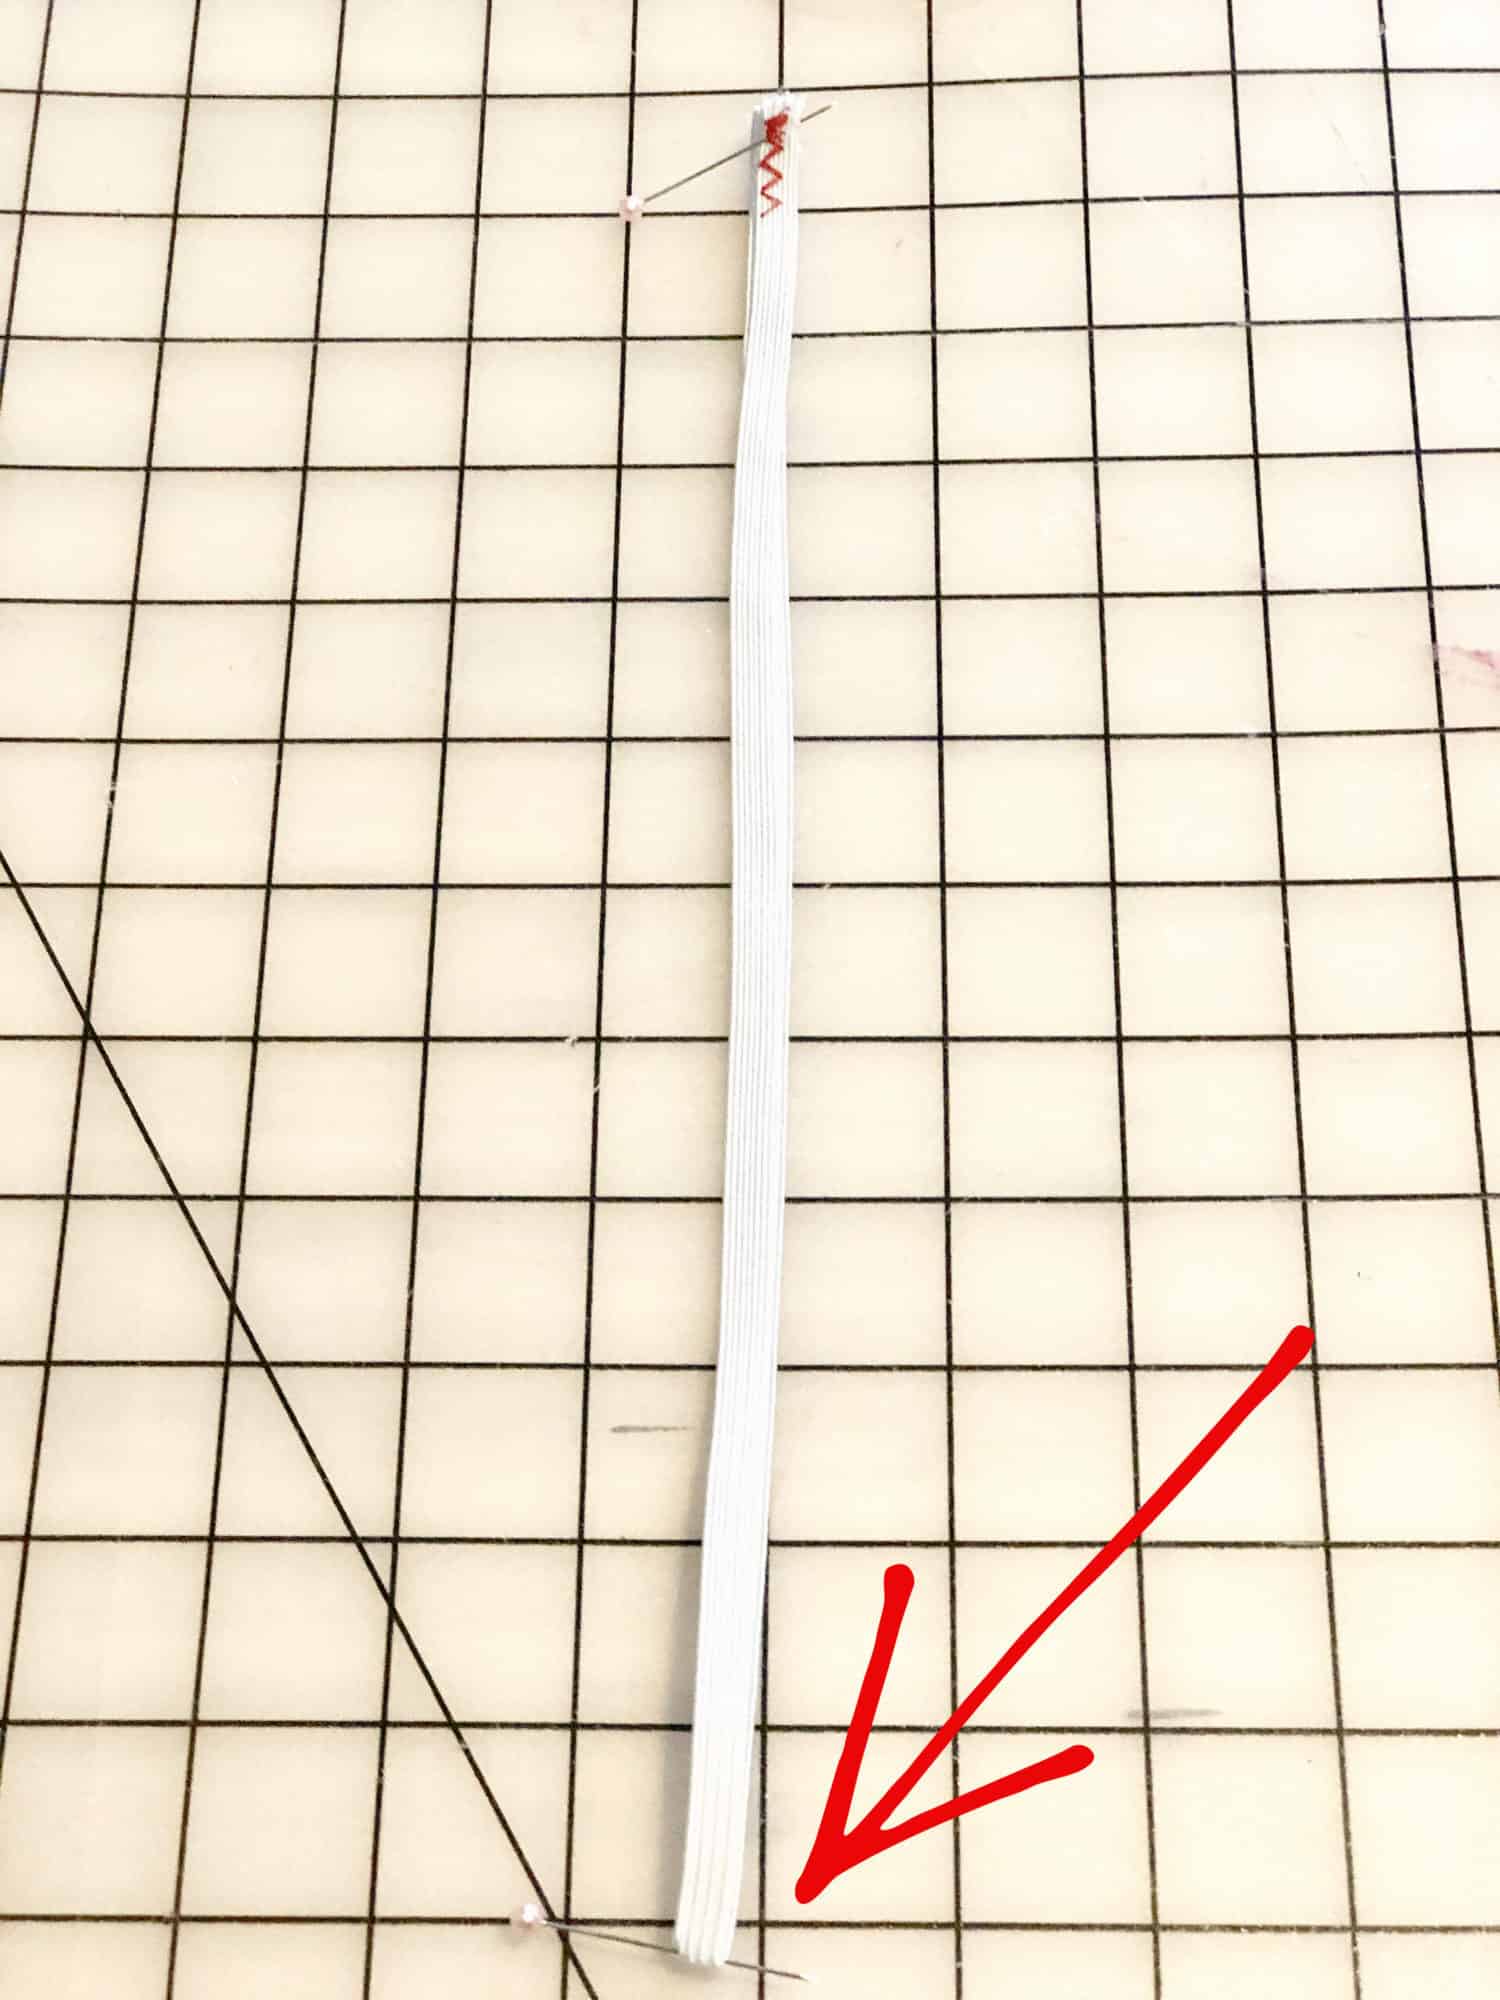
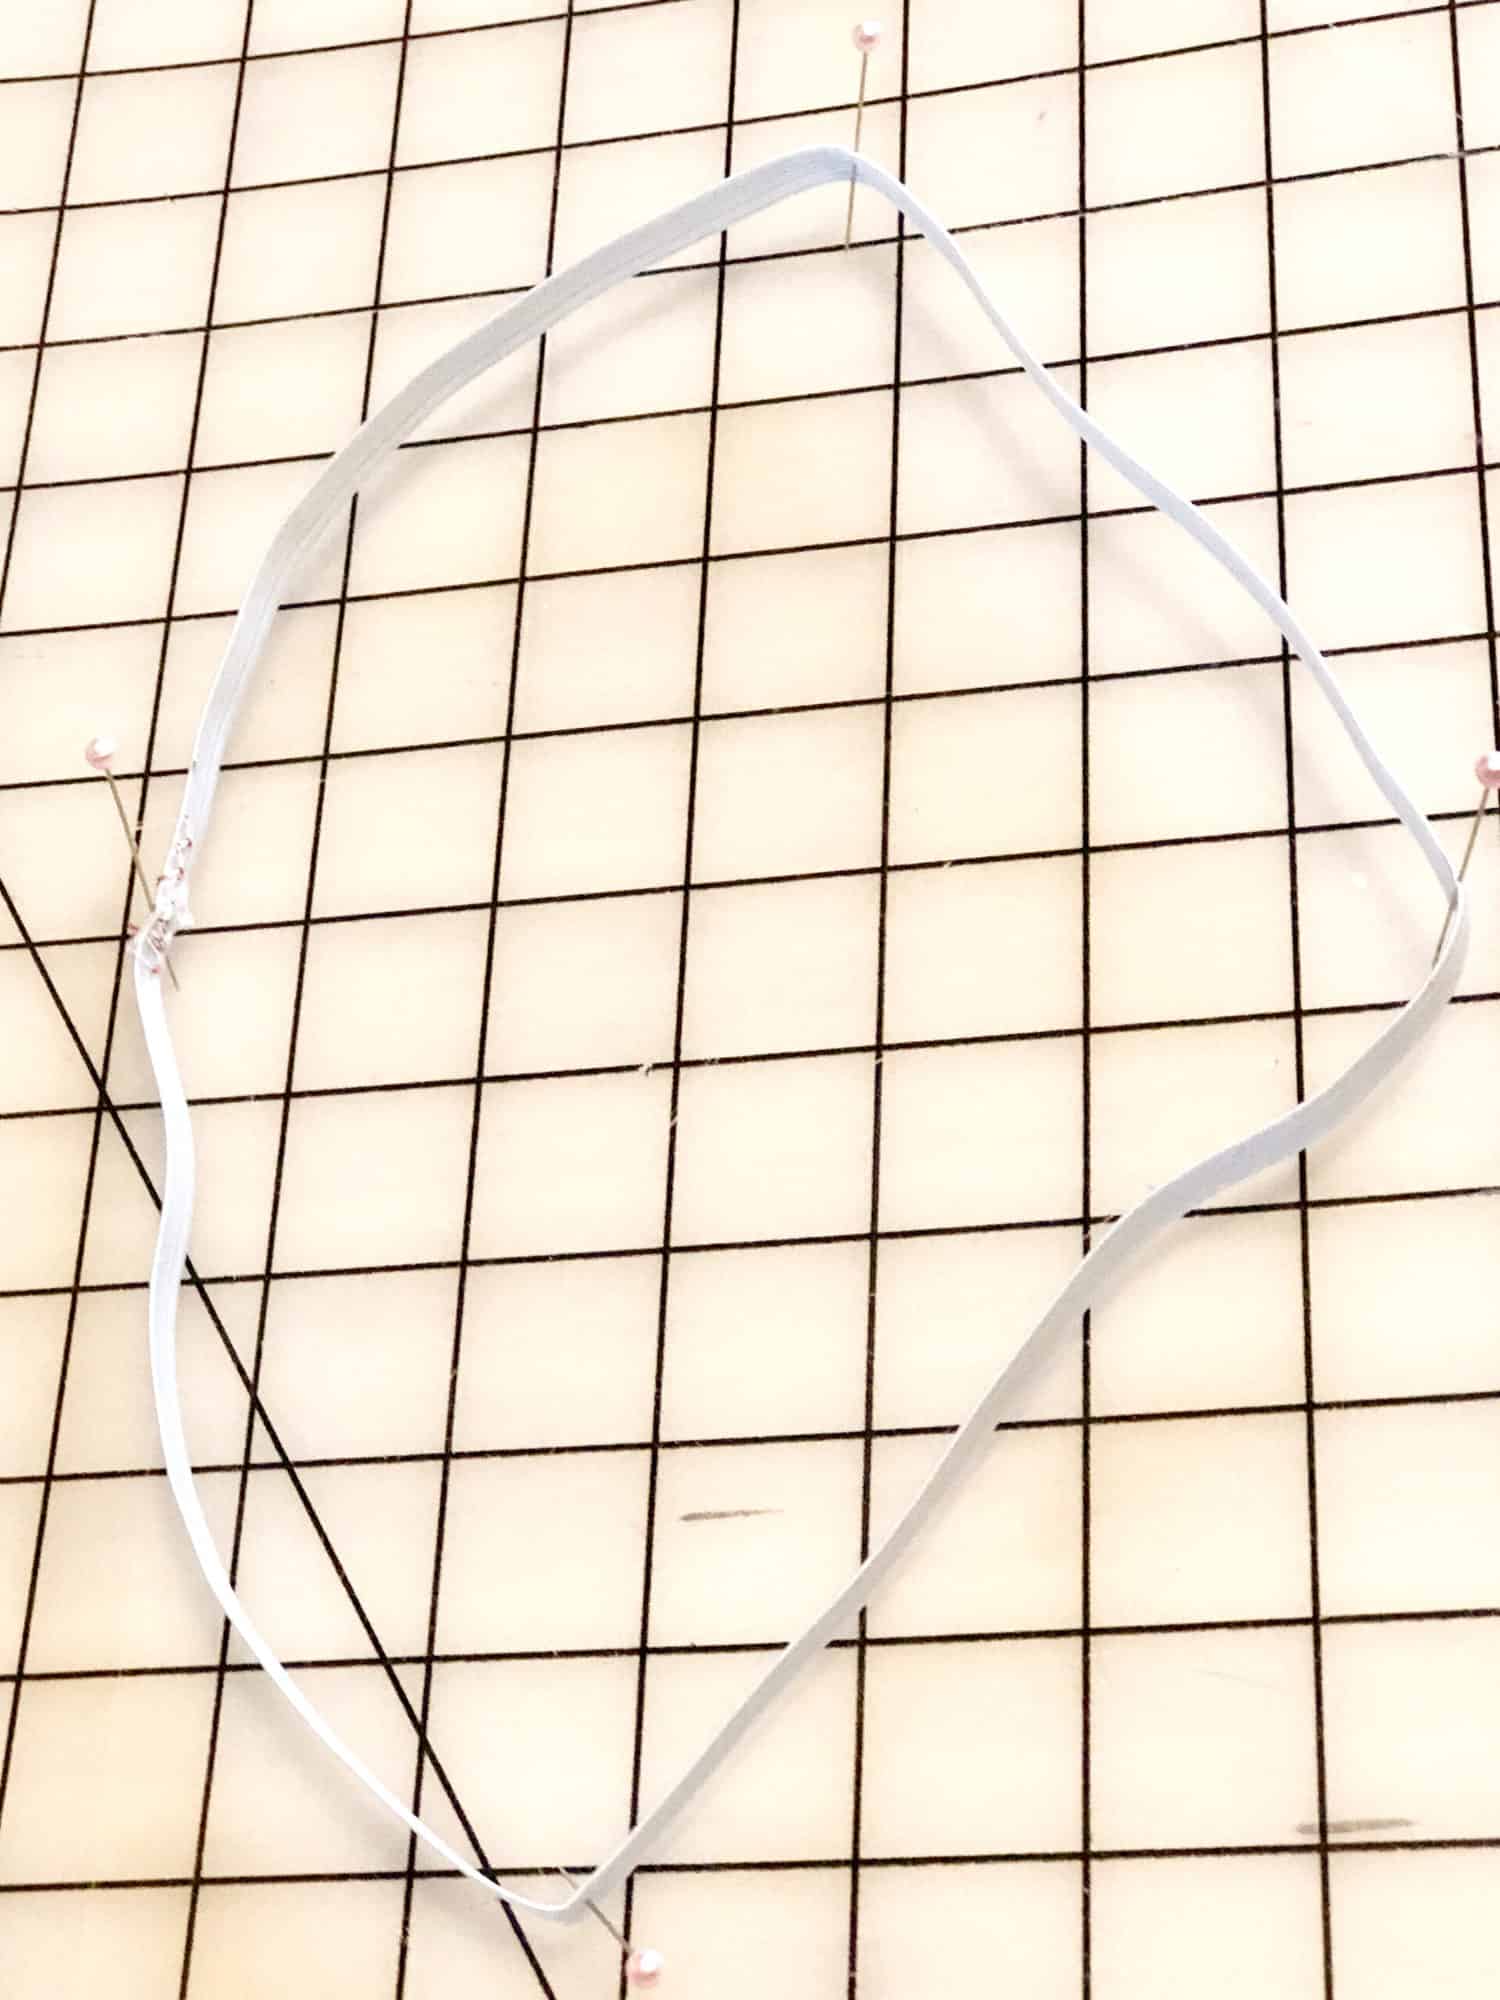
Now, take the two marked points (the seam and half point) and fold the waistband or elastic so that they meet in the center. Pin or mark the folded edges on either side to find the quarter points.

And there you have an evenly quartered waistband! This might sound like an extra step, but trust me, it’s one that will save you time by                          ensuring that you don’t have an unevenly stretched waistband (hello, seam ripper!) and will give you the most professional- looking finish.


3. SAVE your scraps! Especially with youth apparel, waistbands usually take very little fabric, and can be excellent scrap-busters. So next time you make something with a stretchy fabric with great recovery, make sure to stash those extras away for a rainy day!


That’s it for now! Just a few examples of some of the waistbands you’ll encounter while sewing some gorgeous, handmade apparel. No matter which waistband is required for your pattern, always make sure to quarter those bands, have fun, and share your beautiful makes with us over at Patterns for Pirates’ Facebook page!

Caitlin

Filed Under: Frequently Asked Questions, P4P University, Uncategorized Leave a Comment

SOS sal day 6 (waistband)

May 20, 2019

Woo hoo! We made it to the last sewing day. Today we are adding the waistband and bragging 😉 The SOS knit pants feature a mid rise (they will hit just under the belly button) with an elastic enclosed waistband. My main tip for today is to try the elastic on once you sew the loop. Not all elastics are the same, some will stretch more some will stretch less. When possible it’s always advisable to try the elastic to make sure you love the fit before you add the waistband.

If you are a fan of the Peg Legs contour waistband you can certainly replace the waistband with the contour one. I talk about how here, in the hacks blog.

Be sure to watch Day 6’s video below and post your finished SOS pants  (modeled or not) in the comments of the day 6 photo of this sew along’s album. Reminder, only photos posted in the comments of DAY 6 photo will qualify for the prize. You are most definitely welcome to share on the wall as well (the SAL group and P4P group). Good luck!

SOS sew along | Day 1 – Print and cut pattern

SOS sew along | Day 2 – Cut fabric

SOS sew along | Day 3 – Back: pocket, yoke, inseam

SOS sew along | Day 4 – Front: pocket, inseam

SOS sew along | Day 5 – Leg inseam, side seam, hem

SOS sew along | Day 6 – Waistband

SOS sew along | Day 7 – Winners announcement

Filed Under: Frequently Asked Questions, Sew-A-Long Leave a Comment

Loggers – easy hacks

March 12, 2019

The new P4P Loggers (available in women and youth) are here! Needless to say the P4P team and blog contributors were very excited to show you these easy hacks that you can do to the Loggers in order to have even more options. Let’s get started!

…..

Peg Waistband

First comes the Pegs. Then comes the Logger… Up next, a Peg and Logger mash made in Heaven! Ever since the release of the Peg Leg add-on pack, I have been obsessed with the contoured waistband (What? You haven’t tried it yet? Grab a copy of it for FREE right here). Luckily, the Logger Pattern is another perfect way to show off and use the contoured waistband.

To create this look, you will need both the Logger and the contoured waistband pieces. One of the advantages to the Loggers is that you can use fabrics with just a small amount of vertical stretch. However, for the Pegs, 50% stretch is needed in both directions. So when choosing your fabric for the contoured waistband, it is KEY to make sure that it meets these requirements or else it won’t fit!

Begin by cutting out the necessary pieces. For the waist on your Logger, cut on the lower rise. As you can see in the picture below, I have have my Logger shorts with bands and then my pieces needed for the contoured waistband.

Next, assemble all pieces as written in the tutorials, including the waistband. Quarter both your Loggers and waistband. Slip your waistband over the Loggers, matching right sides together.

Attach your waistband, being sure to stretch the waistband only and NOT the Loggers. All finished! You have now created one of the most comfortable pair of pants with the most comfortable waistband that you will ever own! ~Erinn


…..

Capri Loggers

The Loggers patterns include 2 length, ankle and shorts. So let’s add a third. I personally love capri length leggings and joggers when biking so I knew I needed capri loggers too. Such an easy hack!

All you have to do is remove some length on both leg pieces. For the adult loggers I recommend removing about 7″ but you can go a little less or a little more. If you are not able to measure them you can use the Peg Legs capri length as a guide, just remember that the Pegs are hemmed while the Loggers have cuffs so make sure you accommodate for that.

Once you cut your fabric continue sewing them as per the tutorial. The only change left to do is in the cuffs width. Measure the leg opening and multiply that by 0.90 and add 1″ for the seam allowance. Keep the height of the cuffs pattern as is.

All you have left to do is add the cuffs to the legs following the same instructions in the tutorial. As always, press, press, press!

Shhh! Want to know a little secret? For my pair of capri loggers I actually used the exact cuffs from the pattern. Since my loggers are 100% cotton spandex with great stretch and recovery I could do that. Something to keep in mind, but do not do this if you are using French Terry or other knit with not so great recovery.

That’s it! Super easy, capri loggers to add to your lounging or workout gear.

…..

Swim Bottoms

The shorts version of the Loggers makes for the perfect swim short!  I used the youth version here for my girl but you can easily do the same for the women’s.  Construction is more or less the same, but I chose to line them with swim lining and did elastic vs the bands.  You can also adjust the inseam to your preference if you want them a little longer as they will finish a tiny bit shorter if adding swim elastic, or even keep the bands as shown in the original pattern.

Cut 1 Main, 1 Lining and 1 waistband. I used 1/4″ swim elastic cut 1/2″ shorter than the measurement in the pattern for the bands. (I would recommend, measuring the leg openings and cutting the elastic 80% as swim will expand in water)
Sew up each pair of shorts (1 main and 1 lining) separately as show in the tutorial.
Turn main right sides out and lining wrong sides out. With wrong sides together slip lining into main shorts.

With right side of waistband to right side of shorts, attach your waistband (as shown in the tutorial). You will sew through 4 layers (1 lining, 1 main and 2 for your waistband.) Tip: Baste around the waist opening of the shorts to keep the layers from slipping and treat as one fabric.
Overlap the ends of the elastic and stitch with a zigzag stitch, creating a circle.
Baste around the leg openings to keep the lining and main fabric from slipping.

Mark halfway points on elastic and shorts. Pin or clip elastic to the wrong side (lining side) of the shorts matching halfway points.
Aligning raw edges, stitch elastic to shorts. If using a serger, do not cut off any fabric.the elastic will butt up to the raw edge of the fabric.
Fold elastic to the lining side of the shorts and top-stitch using your favorite stretch stitch. Tip: I like to use a narrow zigzag for swimwear.


…..

Grow With Me Loggers

One of the hardest things about sewing for our kiddos is how fast they outgrow items we spend hours making.  Well, here is a quick and easy way to make your little one’s Loggers last a bit longer.

You’ll start off by choosing the next size up for your pants.  Now print and cut out your pattern pieces making sure to use the yoga style waistband. I went with a low rise for this set but you can choose high rise as well.

Now go ahead and grab your ankle cuff piece because we are going to be doubling the height of that.  I did this by first tracing it on to a blank piece of paper. Then you’ll place it alongside your line edge shown in red so it’s doubled in size but still has the same fold line.  Tape it down and then cut out the entire piece as one shown by the green line.

Now cut all your fabric pieces out just as directed!

From here you’ll sew up exactly how it’s said to in the tutorial.  When it comes to wearing you simply roll the bands to best fit your child. Here is an example of it fully rolled and extended. As you can see my little needs it fully rolled but now she’ll be able to wear them much longer!

Don’t forget to share your creations in our facebook group! We can’t wait to see all your makes!

Michelle

Now that you purchased your Loggers and reviewed all of our easy hacks, time to start sewing. Make yourself or a loved one a pair and don’t forget to show it off in the Patterns for Pirates Sewing Group on Facebook. 


The P4P blog team! 

Filed Under: Frequently Asked Questions, Pattern Hacks, Pattern Release, Uncategorized 2 Comments

SOS Knit Pants -easy hacks

November 16, 2018

Not only did the SOS Knit Pants get a facelift but we also released the mini version and added a few easy hacks. Here are some of the P4P team’s favorite mods you can do to get even more looks.

…..

Moto Hack


The SOS Knit Pants have been around awhile and there seems to be a never-ending request for a Moto style option.  With the revamp of the original pattern, we thought, what better time to take the Moto for a spin.  Rather than trying to make you figure out the pieces on your own, we decided to provide a full step by step tutorial, including pattern pieces…for FREE!  You can “purchase” the Moto Hack HERE.   These are definitely not a “quick-sew”, so be prepared to spend some time stitching all those pin-tucks, but seriously… how amazing are the final results!  (This is for the women’s version only at this time but don’t worry…we plan on releasing the same hack for the girls’ soon!)

Jeggings


…..

Contour Waistband

Admit it, you’ve been thinking about using the Peg Legs contour waistband that’s included in the free Add-On with all our pants patterns, haven’t you? Well, I have, so I wanted to show you how easy it is to replace the SOS elastic waistband with the contour one.

Cut your SOS Knit Pants fabric pieces without the elastic and the knit waistband. Print and cut the contour waistband included in the Peg Legs Add-On. Sew the knit pants and the contour waistband as instructed in their respective tutorials.

Tip: If you would like the extra tummy control you can add a layer of power mesh in between the lining and the main fabric of the contour waistband.

For my contour waistband, I used custom brushed poly so it is pretty thick. The lining is the same fabric so I did not add any power mesh.

Attach the contour waistband to the SOS pants the same way you would attach it to the Peg Legs.

Tadah! All done. All you have left to do now is enjoy your new contour waistband SOS knit pants.

Note: please note that the rise on the contour waistband SOS will finish a little higher than the original pattern.

…..

Shorts


SOS Knit Shorts is one of the most popular requests and probably one of the easiest modifications.  Determine your desired inseam and preferred hem allowance.  I chose to keep the 1″ hem (1/2″ folded twice) as shown in the pattern and a  5″ inseam.

Measure the length of your inseam, starting 1/2″ from the pattern line (for seam allowance) to your desired length.  Draw a horizontal line across the leg for both front and back.  Now that you have adjusted your inseam length we will make our hem gauge for the hem. Cutting the outward notch will allow the hem to lay flat once folded.  The angle of the gauge should be a mirror image of the seam just above it so that when its turned under it will lay flush.  Again, my hem allowance is 1″, if you choose to do a narrower or wider hem, you will want to make your hem gauge to match the same length of your hem allowance. This is super easy and can be done both skinny and straight leg options.  Now, you can customize your pants to any shorts length!


…..

Button/Snap Waistband


Most of the time, everyone raves about a “jean” with an elastic waistband that was accomplished with the SOS… I mean, other than leggings or sweats, what could possibly be more comfortable and look like real pants?  With a few simple steps, we’re going to transform the SOS to mimic real pants with a semi-functional waistband to give you an even more RTW jean/pant look!


First, add 1″ to the waistband and elastic measurements.  You’ll need that little extra so that the waistband overlaps one another.  Construct you pants as instructed in the tutorial except as follows:

Starting 3/4″ from the top edge, stitch front crotch seam.
If you choose to finish the raw edge of the faux fly, finish each separately and do not sew together.
With wrong side facing up, press faux fly to wearer’s left and fold the top fly piece wrong sides together 3/8″.
Top stitch faux fly, being careful not to catch the portion of the faux fly piece you previously folded.

Complete construction of the main pants as shown in the tutorial.
Fold waistband right sides together.

Aligning the elastic with the folded edge of the waistband, pin or clip in place at each end.
Stitch with 1/4″ seam allowance along short end.
Turn waistband right side out.
Find center of waistband.

Match center of waistband with back center seam of pants.
Match the waistband with the center from seamline. The top fly will be folded and not stitched here.
Continue pinning waistband to pants.
Stitch.

Add a snap or button and top-stitch fly closed along the center seam.

Jacquard

…..

Zipper Accents

The SOS just screamed for a zipper detail so I made myself a pair using some pretty decorative lace zippers. Here’s how to achieve this look.

Print and cut the SOS knit pants pattern pieces and grab two lace zippers. I used 9″ ones. I did cut a calf length instead of the pattern’s ankle length because I had a remanent of this grey athletic fabric that I really, really wanted to use. It’s very easy to make 3/4 length SOS pants…just cut both the front and the back leg at the calf marking instead.

Using a fabric pen or tailor chalk, mark the top of the zipper on both the front and back side seam.

We will now be changing the construction of the pants a little. Sew the pockets and crotch curves as instructed in the tutorial. Sew the inseam next. Hem your SOS pants using a coverstitch or twin needles.

Now that the inseam and hem are done, you will sew the side seams. Using your serger or a stretch stitch sew the side seam, front and back, right sides together and STOP AT THE MARKED POINT. Using a basting stitch, sew from the marked point to the hem.

Place your zipper on the right side of the pants and pin pit n place. It is important to have the zipper teeth on the side seam.

Remove the basting stitches to make it easier to sew the zipper in place.

Using a zipper foot and a straight stitch, sew the zipper on, making sure you fold the lace under the hem.

All done! Now go to Pinterest for some more zipper skinnies inspiration, order yourself some lace zippers and get creating!


How’s that for more options? We hope you love the hacks as much as we do.  Sew up a pair of SOS Knit Pants using one of our hacks?  Be sure to share in the Facebook Group or tag us on Instagram (@patternsforpirates).


Alex, Katy & Nicole

Filed Under: Frequently Asked Questions, Pattern Hacks, Pattern Release, Uncategorized 10 Comments

Newest Patterns

  • Uptown Joggers - Youth $10.00
  • Uptown Joggers $12.00
  • Uptown Joggers - Bundle $20.00
  • Notch Top & Dress $12.00
  • Notch Top & Dress - Youth $10.00
  • Privacy Policy
  • Refund Policy
  • Affliliate Program
  • Contact Us
  • About

Copyright © 2023 Patterns for Pirates

Copyright © 2023 · Genesis Framework · WordPress · Log in