Infinity Wrap is here! As with the rest of the P4P patterns, this one is definitely not lacking in options. With this release hack blog we wanted to show you two easy mods you can do to the pattern. First off, I will slim down the straps to a tapered end. Second hack will be a crop option. You can use both on the same Infinity Wrap or just one.
…..
Tapered Straps
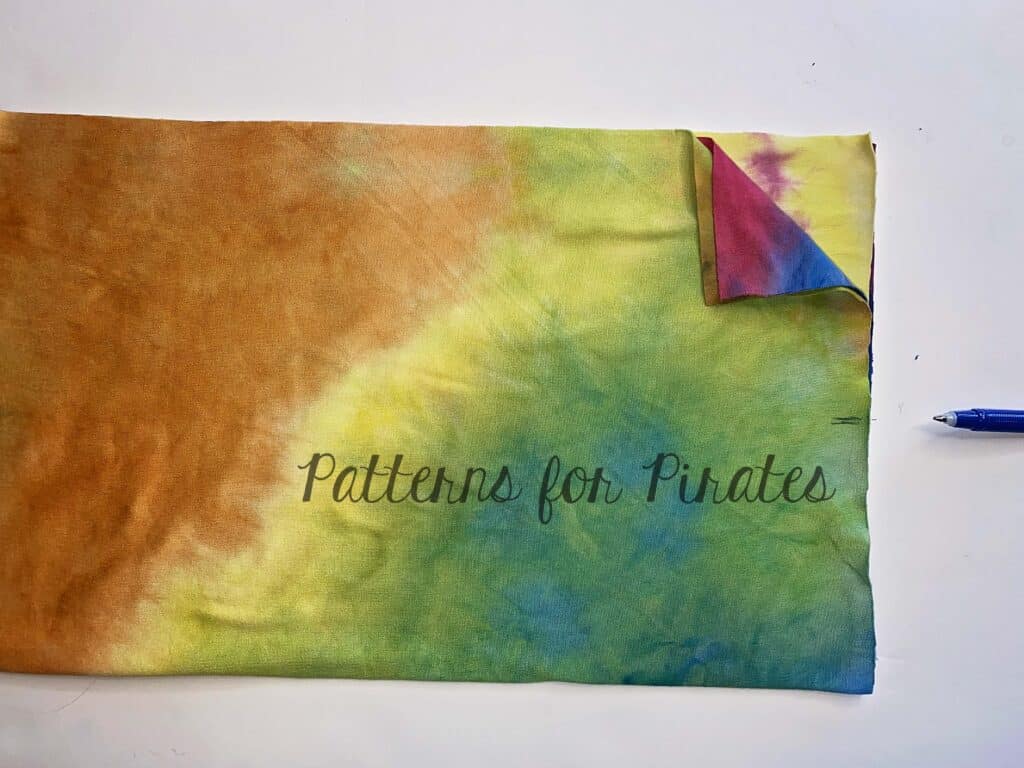
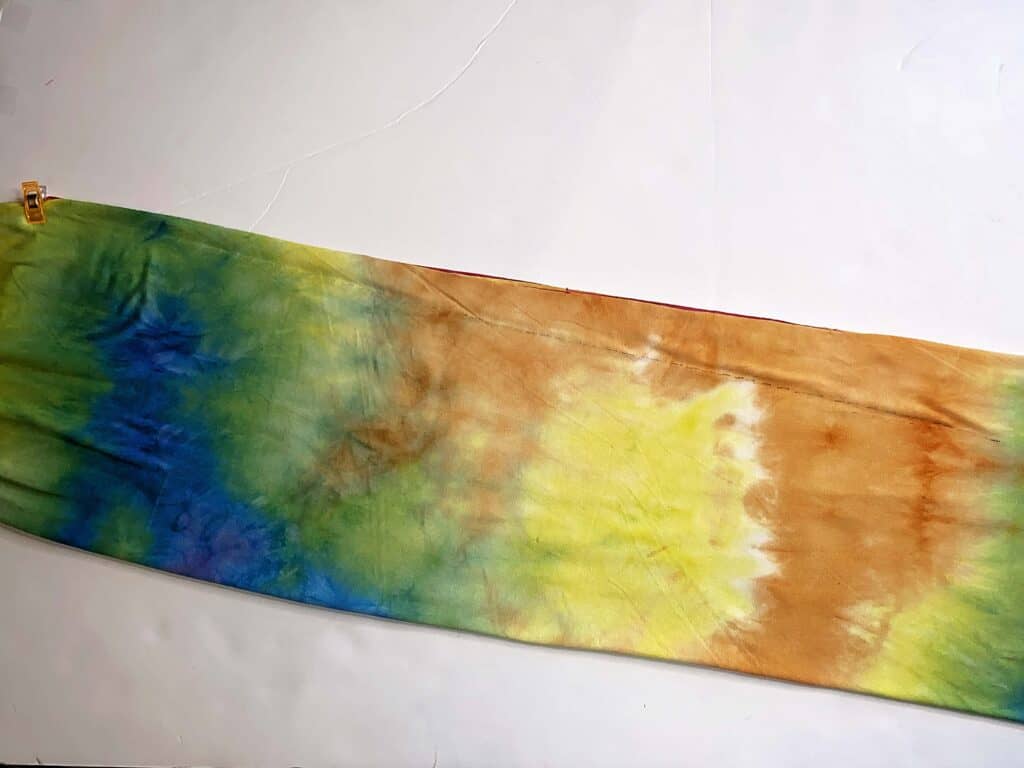
The Infinity Wrap features long wide straps that you can wrap in various styles. But what if you want the straps to have less bulk towards the ends? Well… easy! Let’s taper them. Place both straps on top of each other (so we can make only one mark and one cut). Find the center of the short end. Fold the strap length wise at the center. We will now mark the center of the folded piece.
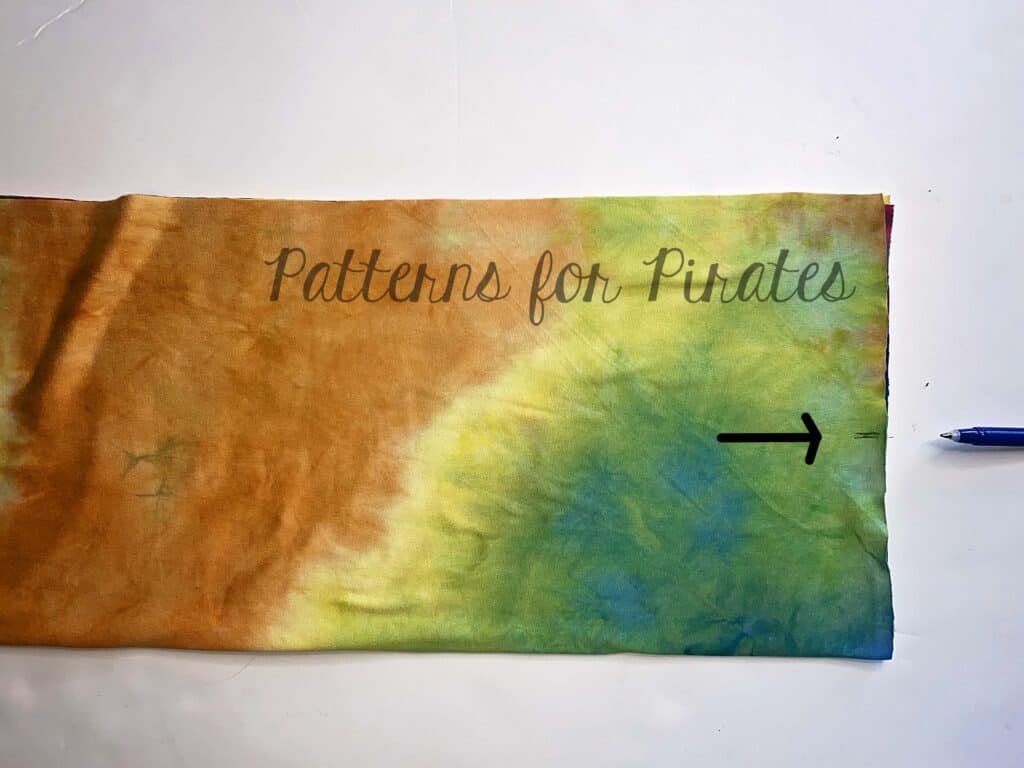
Mark the center of the long side of the straps. I used a clip for this step.

Lay the folded straps on the table. Make sure they are all nice and wrinkle free. Draw a straight line from the center of the folded short end to the center of the long edge. Using a quilting ruler and a rotary cutter, cut along the drawn line.
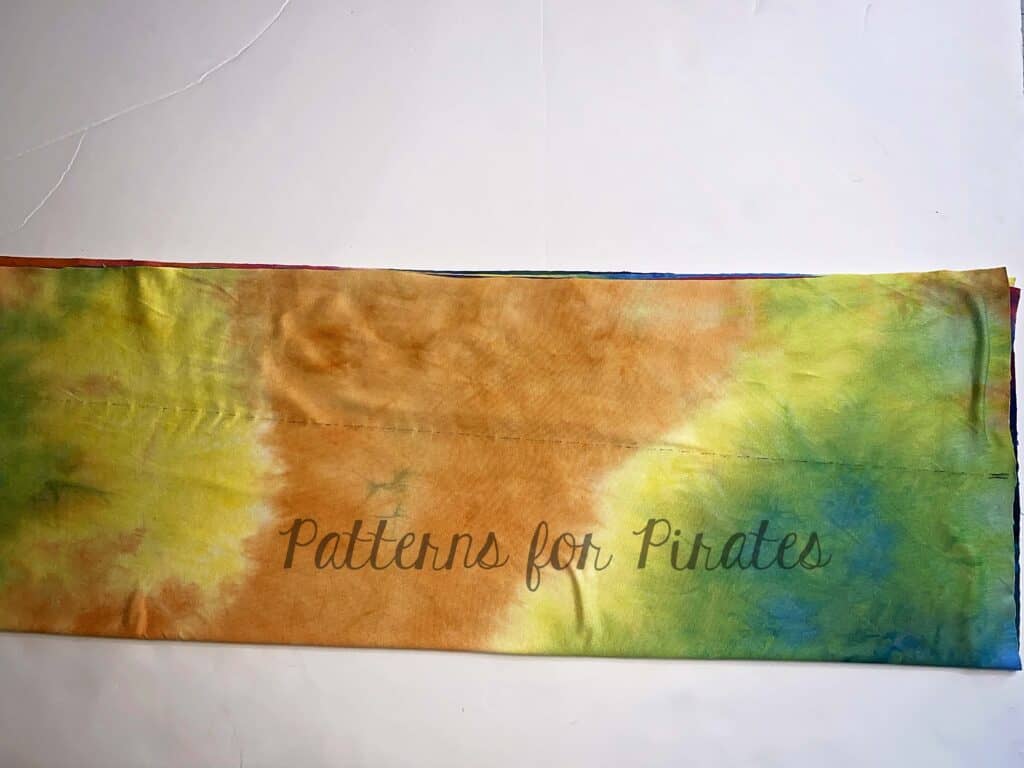
That’s it! It is that easy to make a tapered strap.
…..
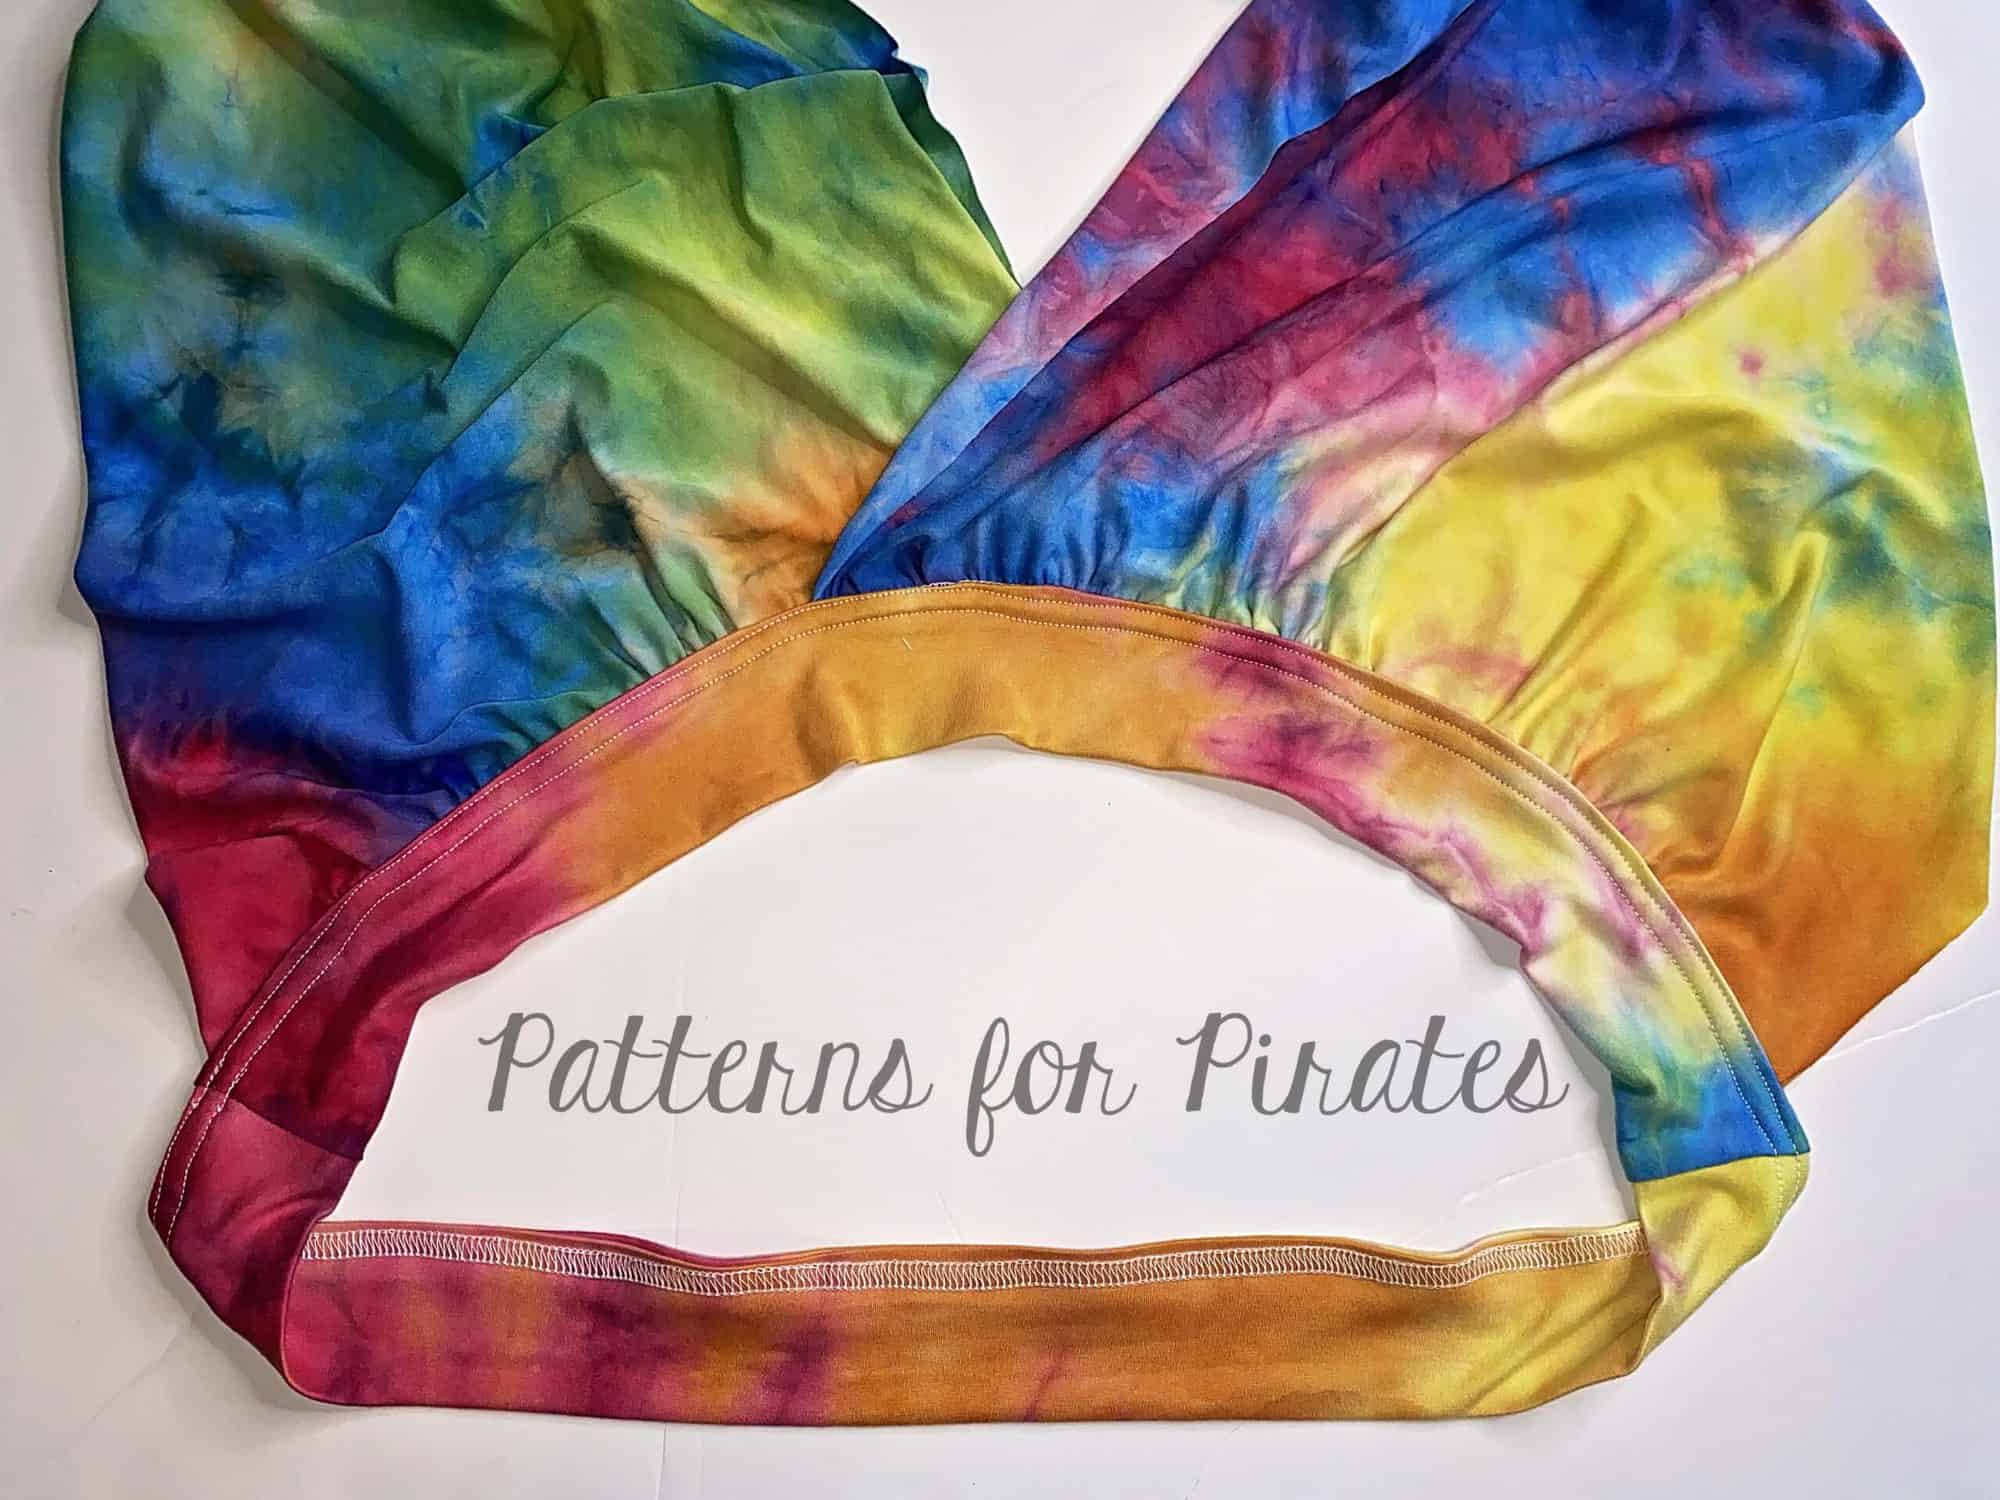
Crop Top
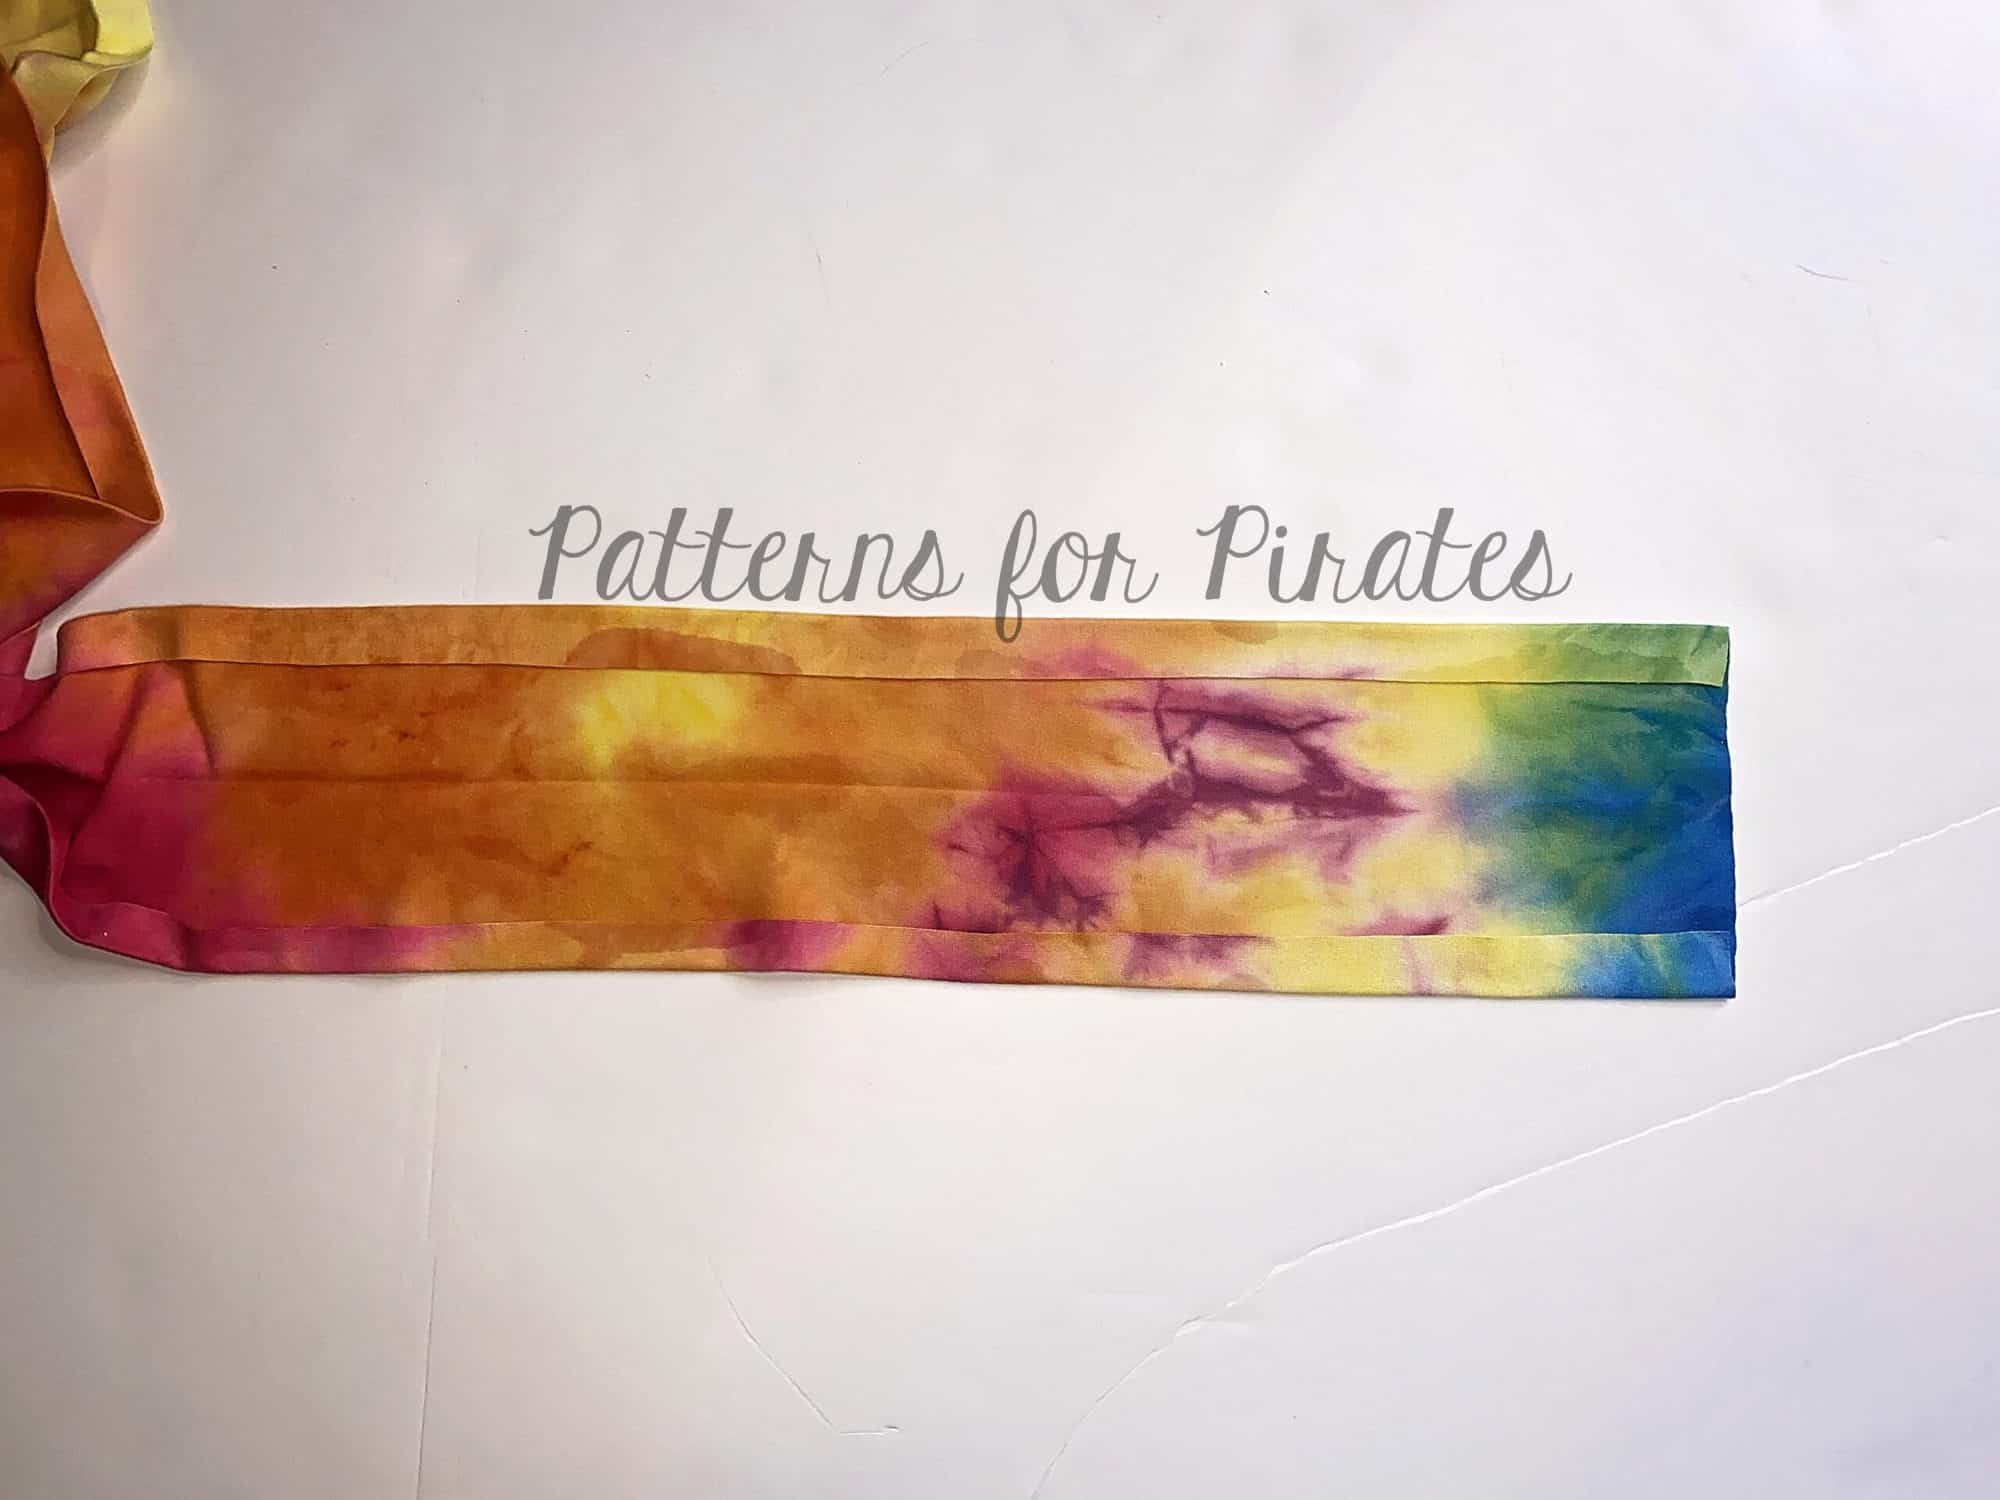
Now let’s make a crop top! Start by cutting the straps as per the tutorial. You will not need the pants, briefs or skirt. You do need to cut a strip of fabric, that is the length of the waist elastic. You can grab that measurement from the cutting chart. I cut the band 5″ tall. Since I wanted to use the left over fabric I had on hand I actually made the band out of two pieces, instead of one. Press the band lengthwise.
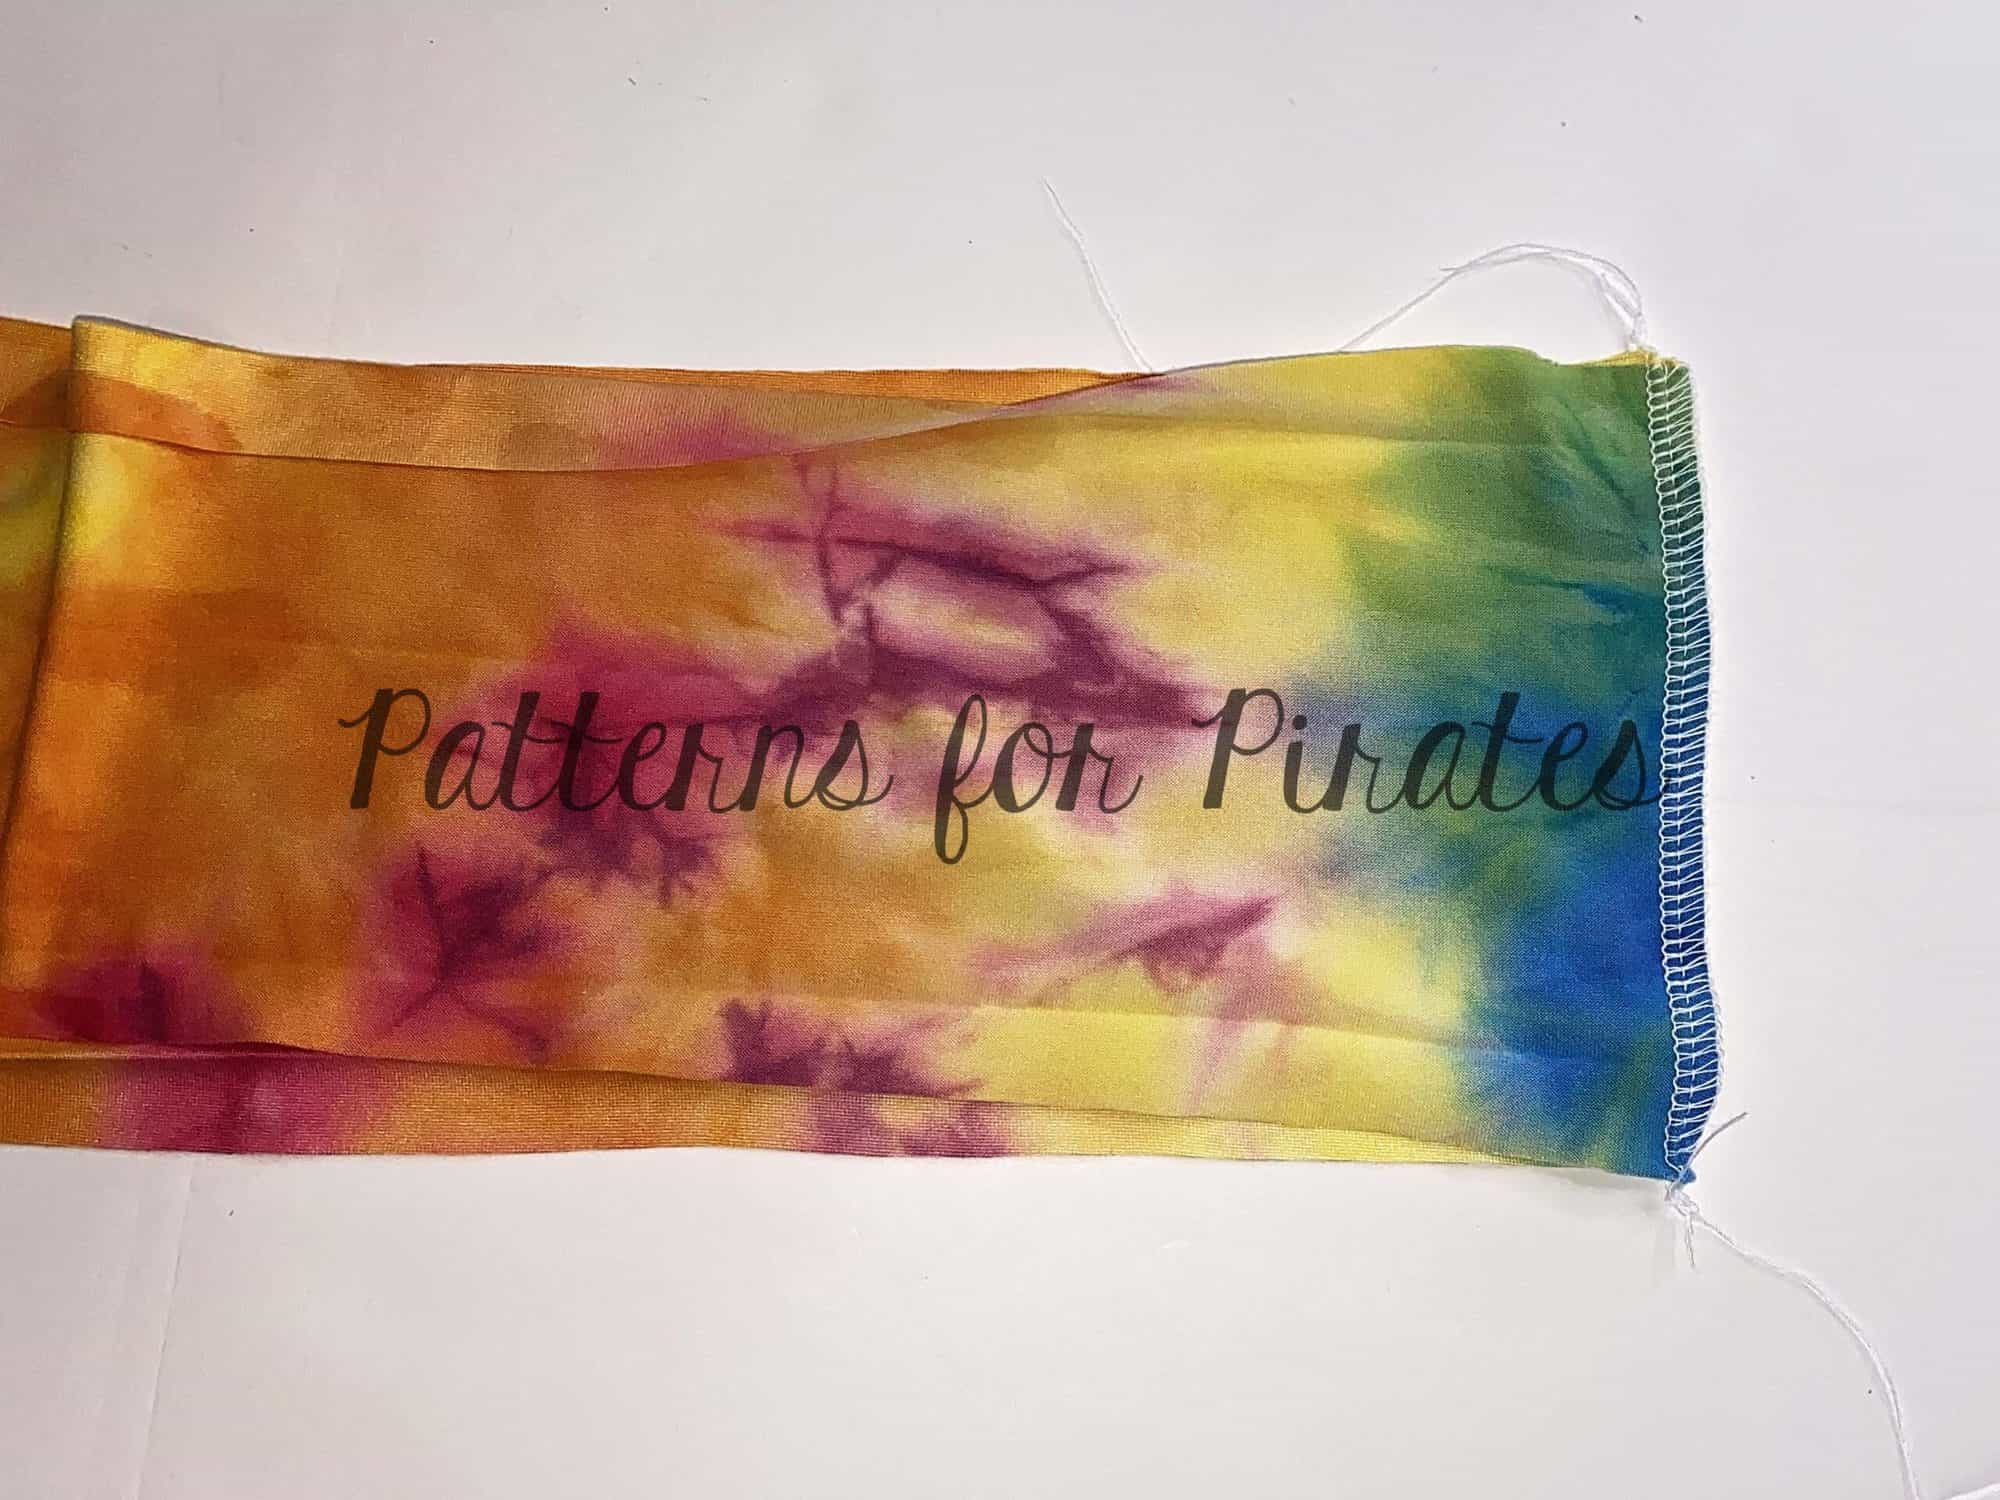
Open the band and press 1/2″ along both length of the band as shown below.
Open the memory hems. Sew the short ends of the band to create a loop.
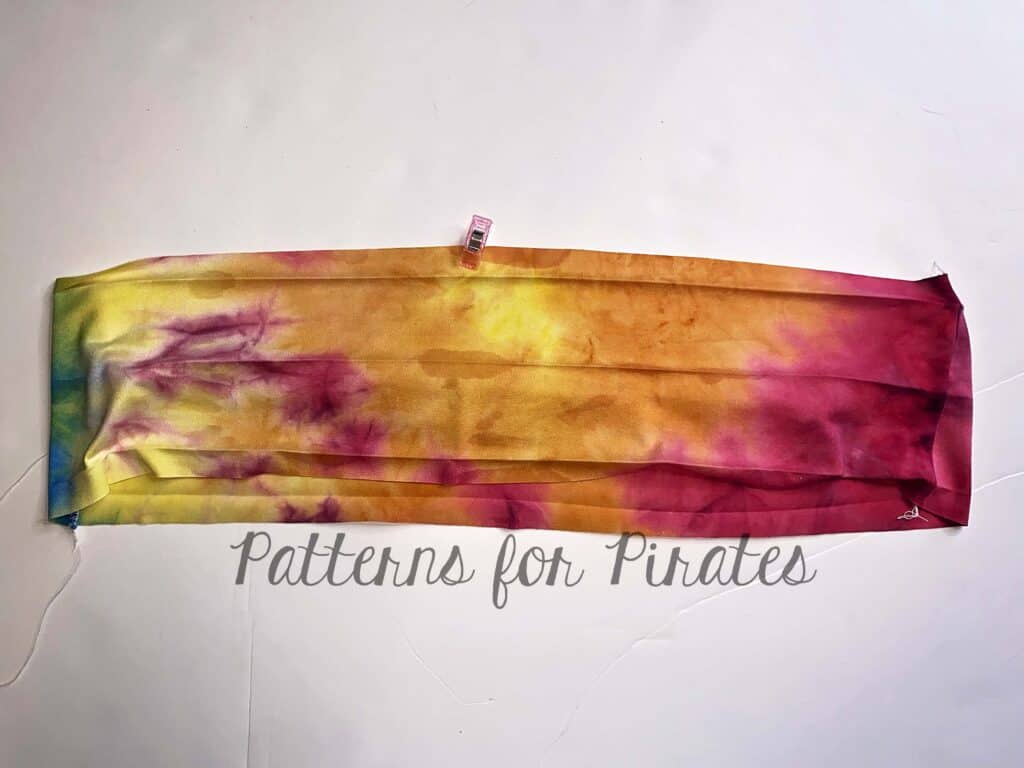
Mark the center of the band. You will have the seam on the back if you made the band out of one piece or on the sides if your band has two pieces like mine. Create straps as in the tutorial and mark the center piece.
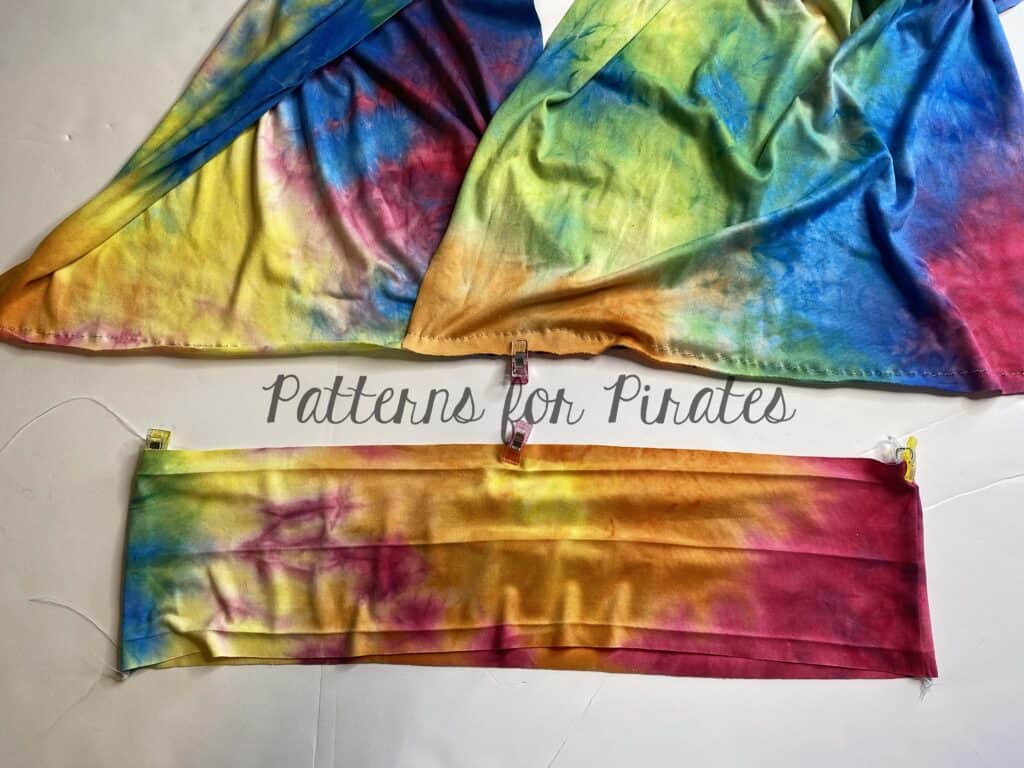
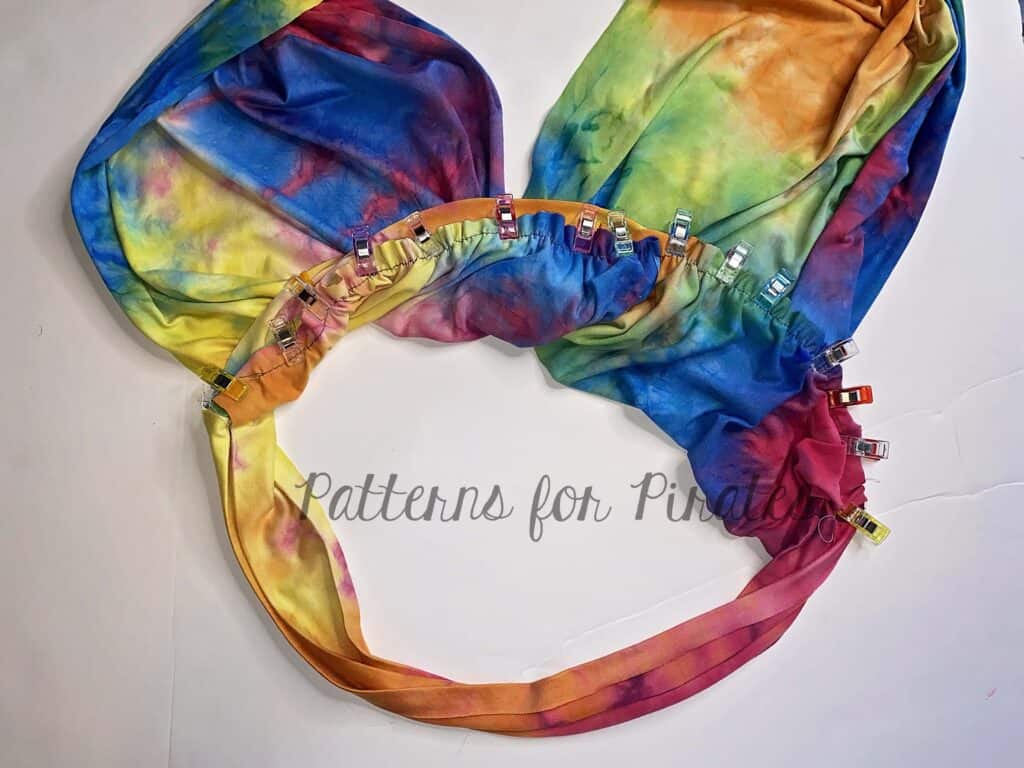
Gather the straps.
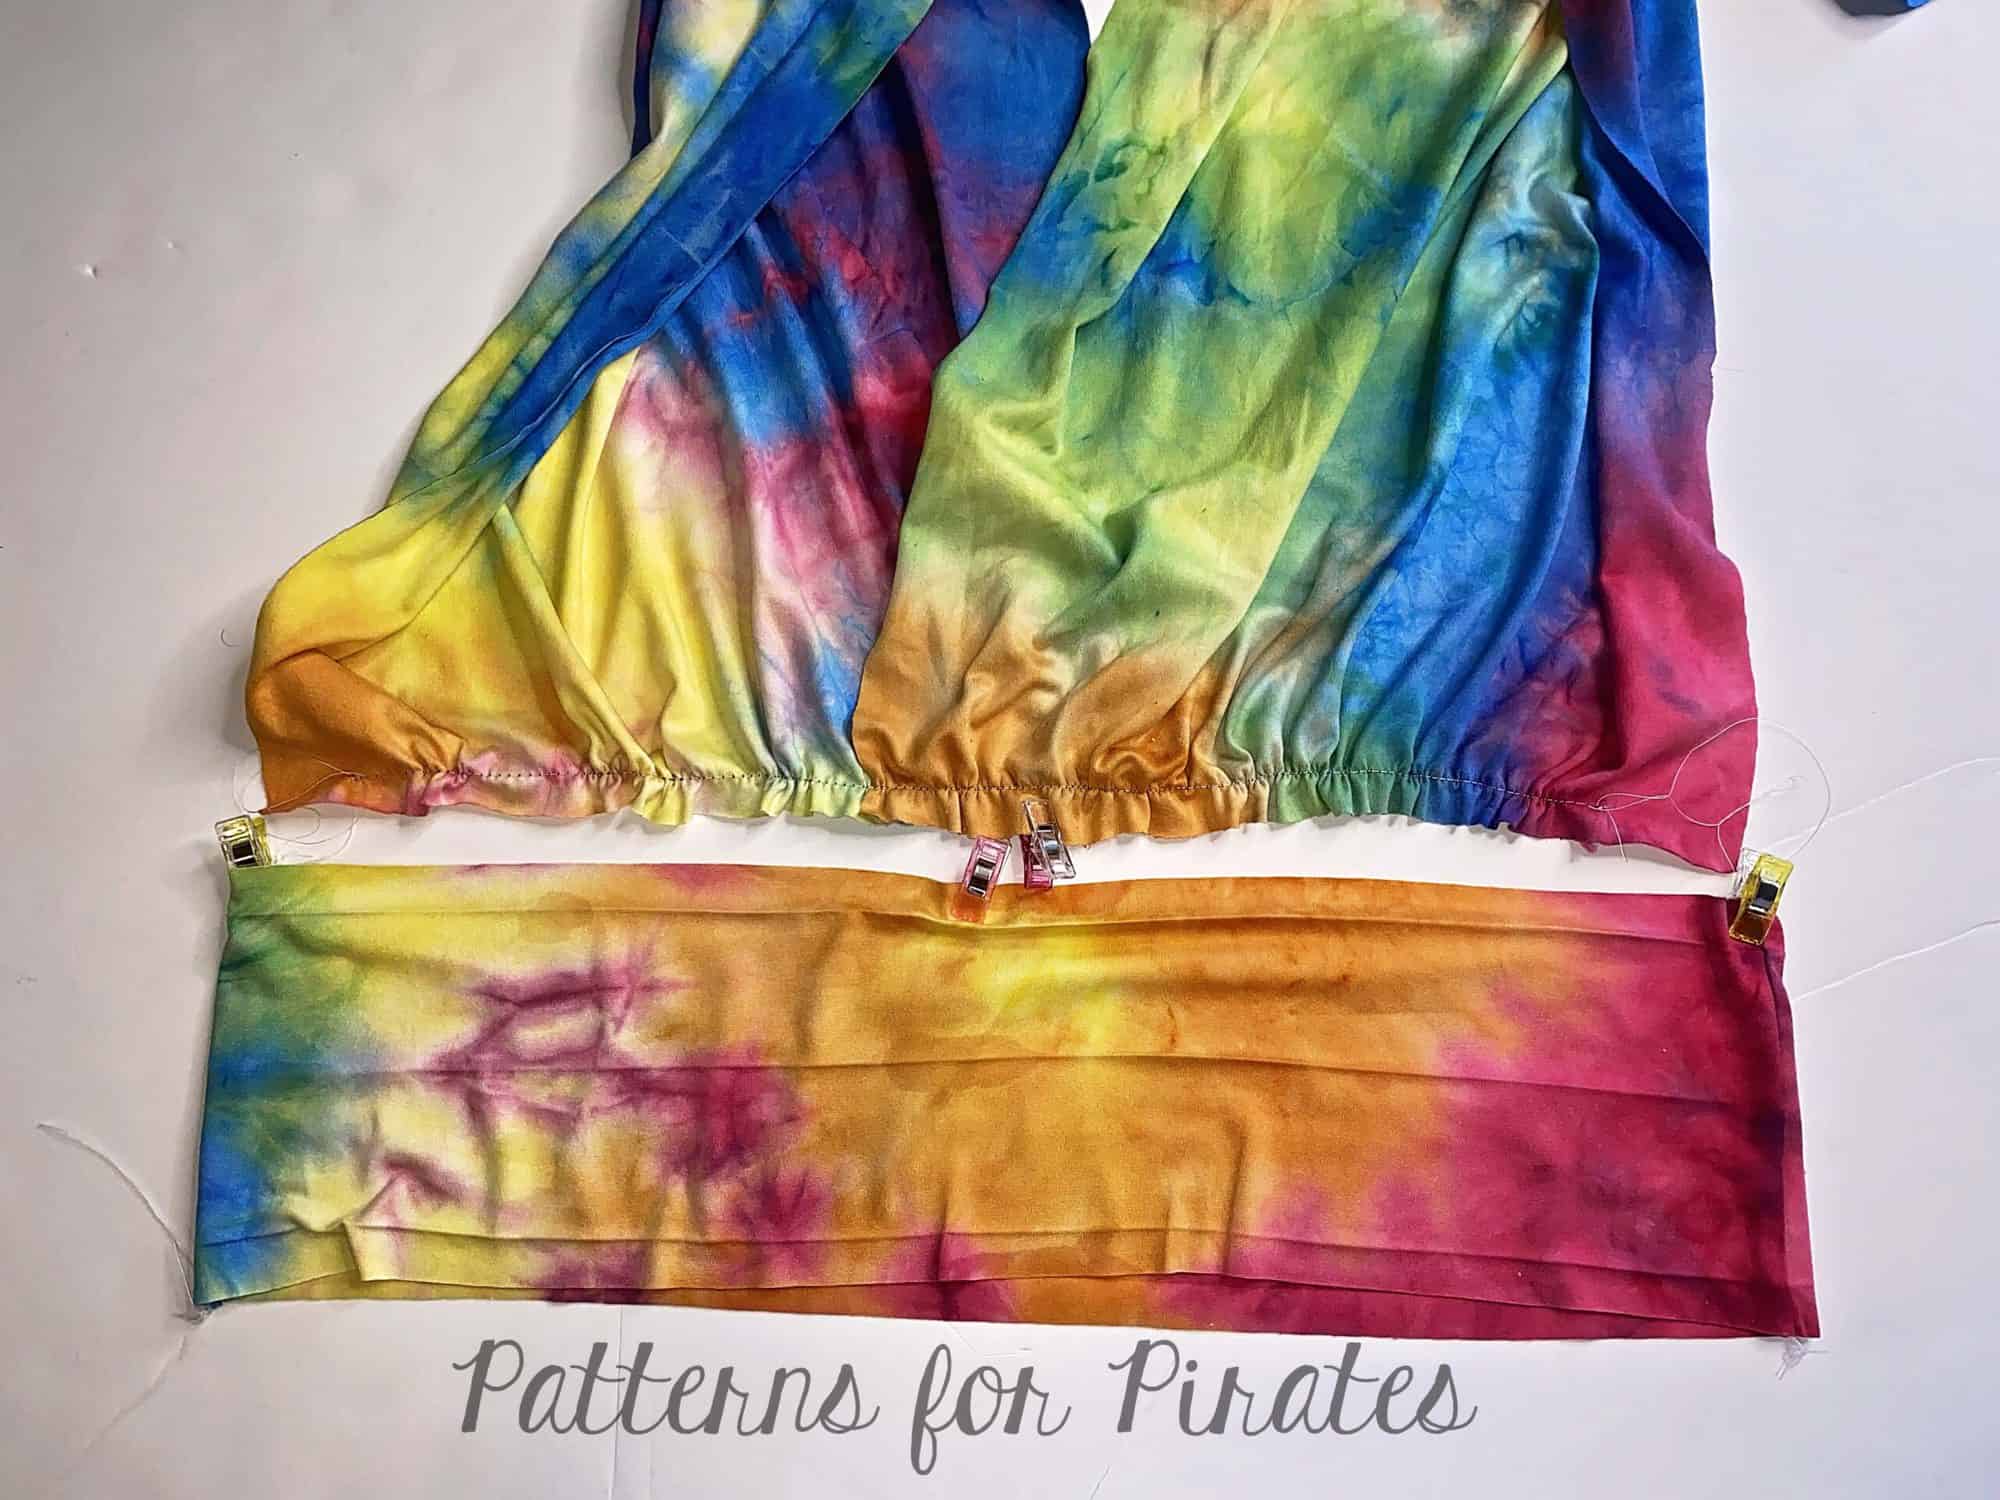
Matching the center markings pin the straps to the band, right sides together. Sew in place with a straight stitch or serger.
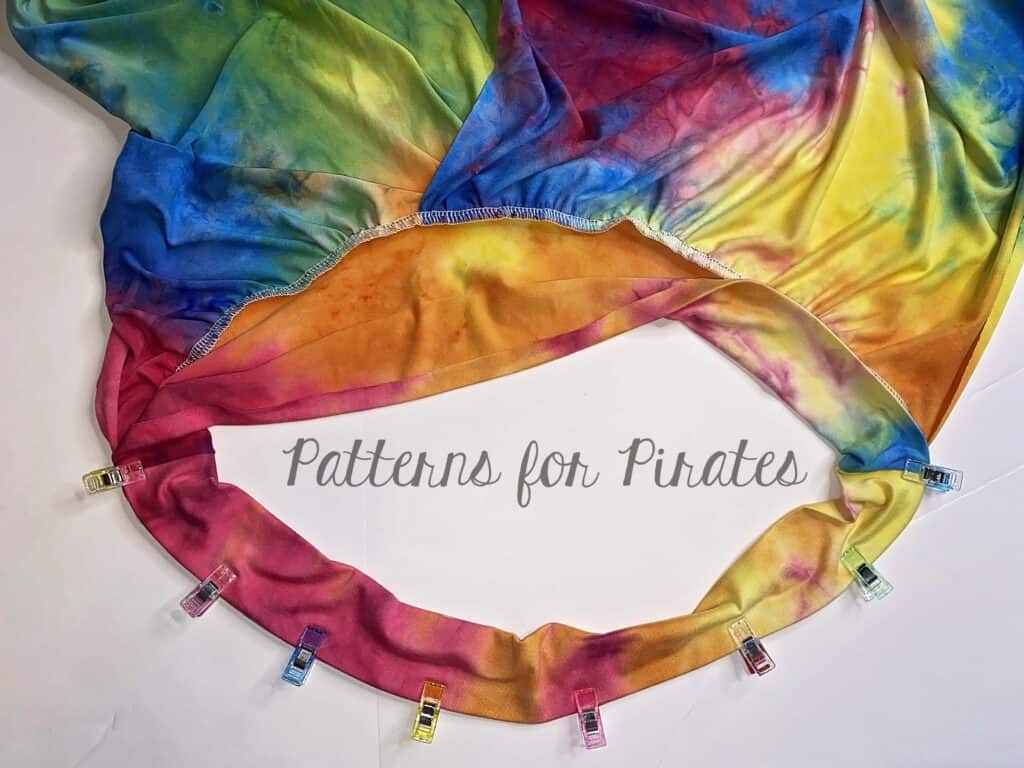
Fold the memory hems, fold the band along the center and pin wrong side together. Using your favorite stretch stitch, sew as close to the edge as possible.
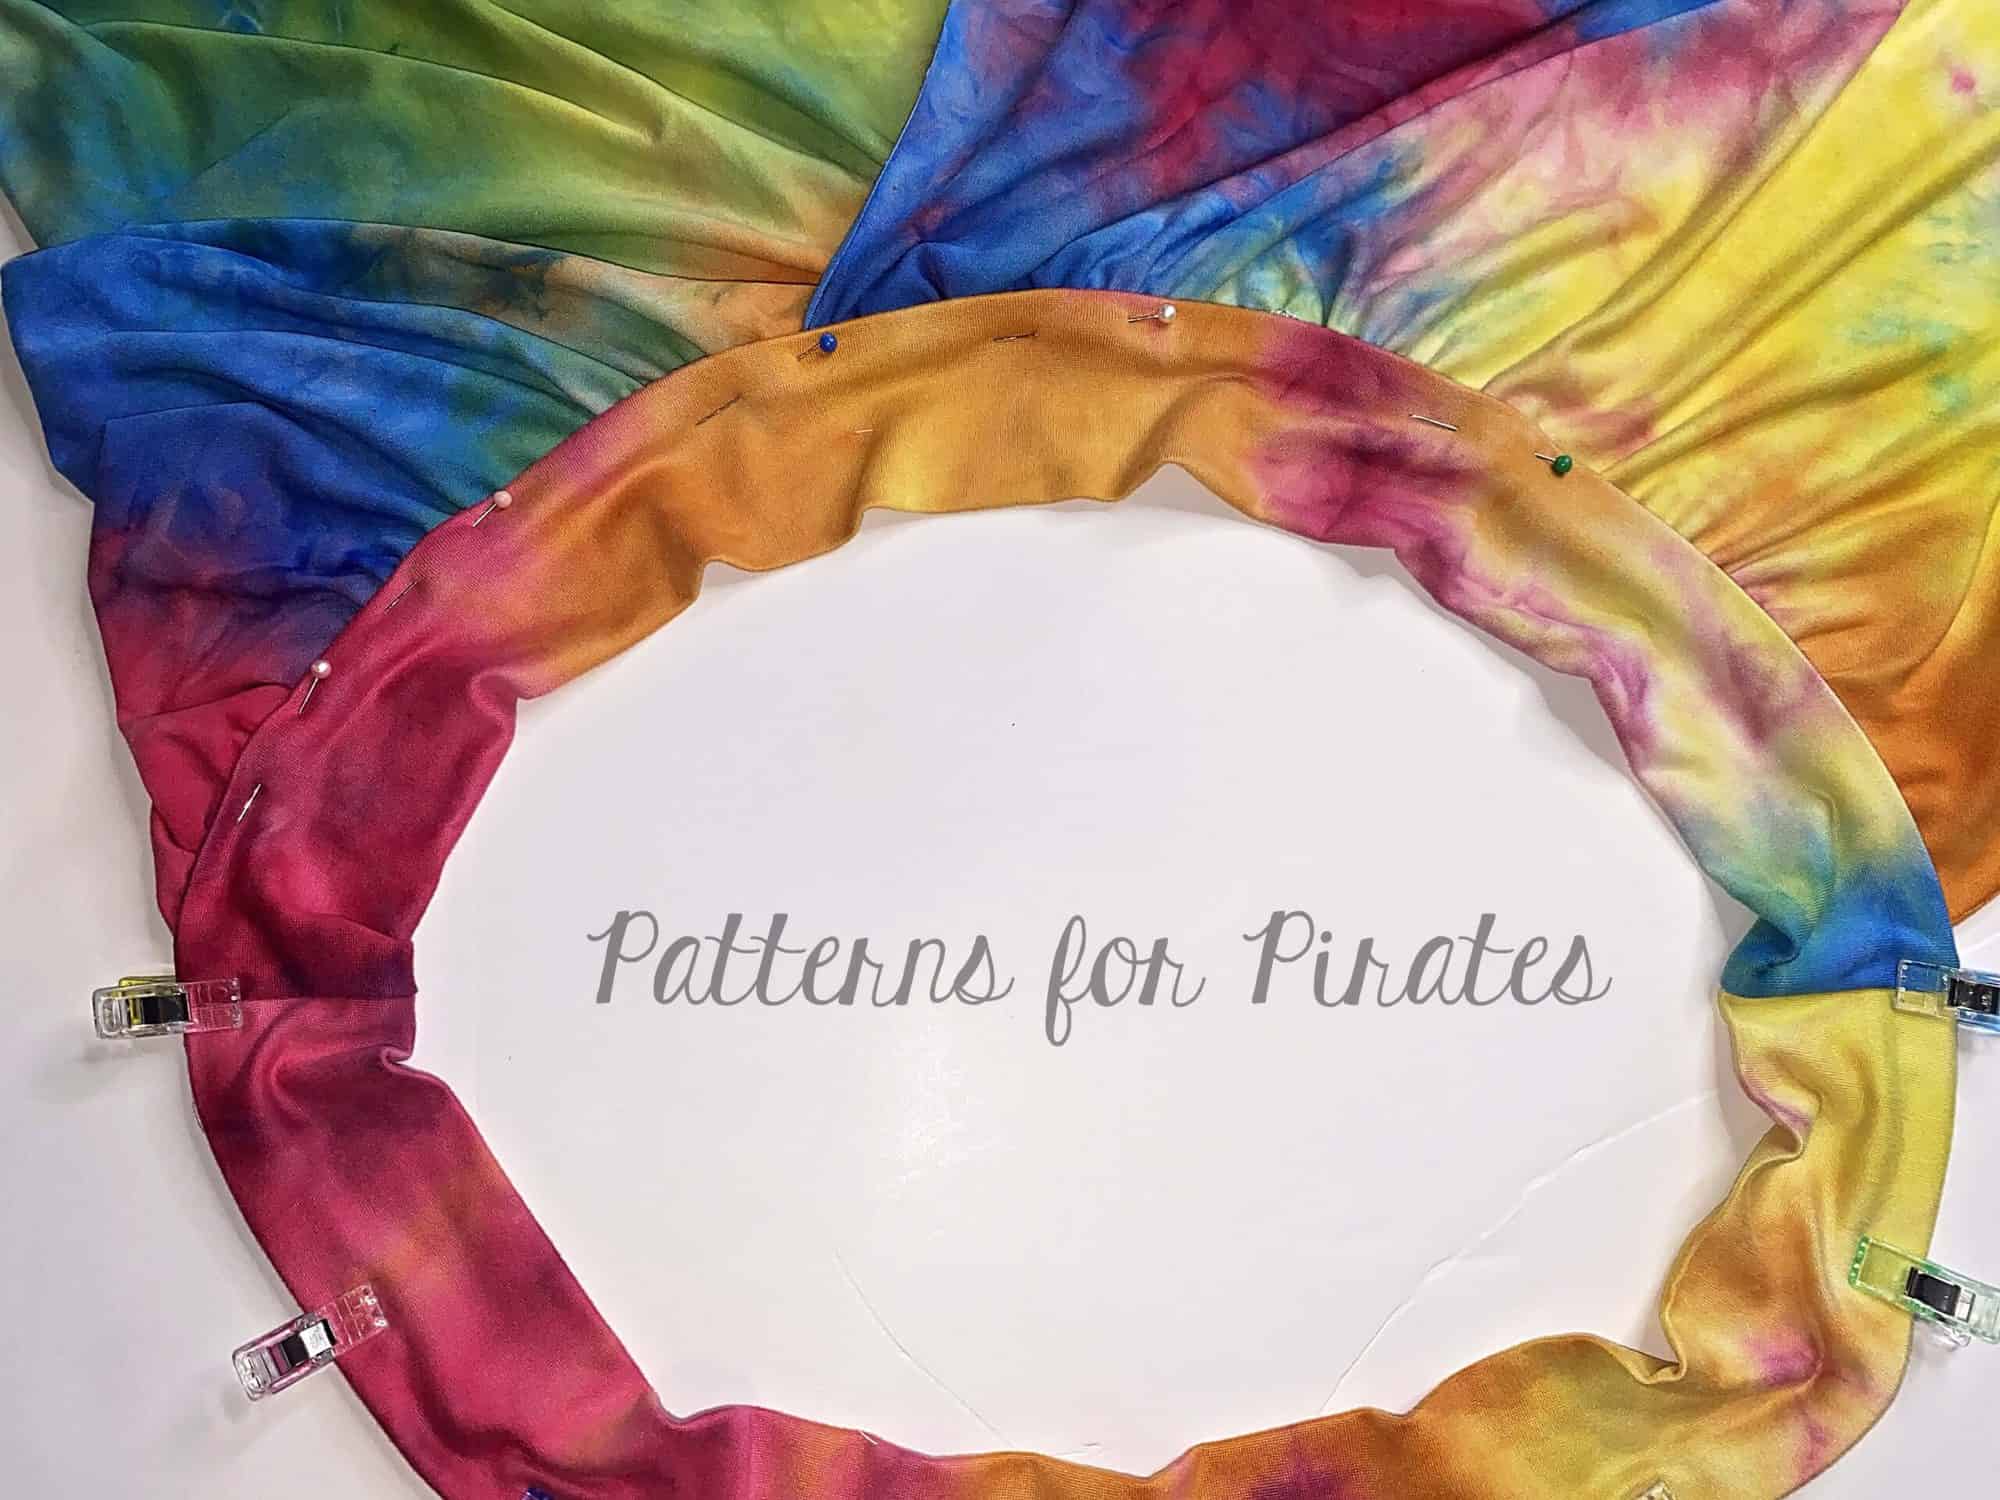
TIP: if your fabric has poor recovery or you need more support, slide a 1.5″ elastic in the band.
The Infinity crop top is now ready to be paired with your favorite Patterns for Pirates skirt (I used the Pirate Pencil Skirt) or pants.


We can’t wait to see your take on the Infinity Wrap!