Making jeans can be a little intimidating for some… and we’ve already had a post here about making jeans look more like store bought jeans with details like top-stitching thread and distressing.
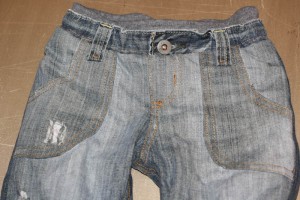
But, a really easy way to get your jeans looking professional is to use an old pair that an adult is throwing/giving away! This means a lot less work for you distressing and top-stitching if you’re smart about laying out your pattern pieces! So here it goes…my tips on using pre-existing jeans:
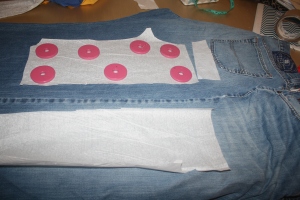
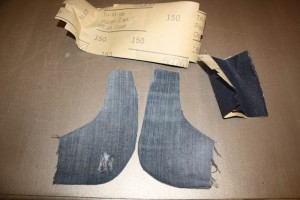
1- Making a few cuts along the seams can really make cutting your pieces much easier! I like to cut along the inside legs/crotch, cut off the waistband and beltloops, and the back pockets.
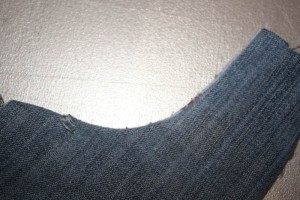
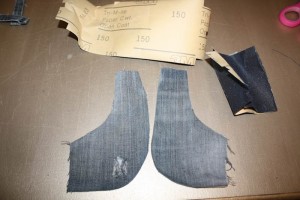
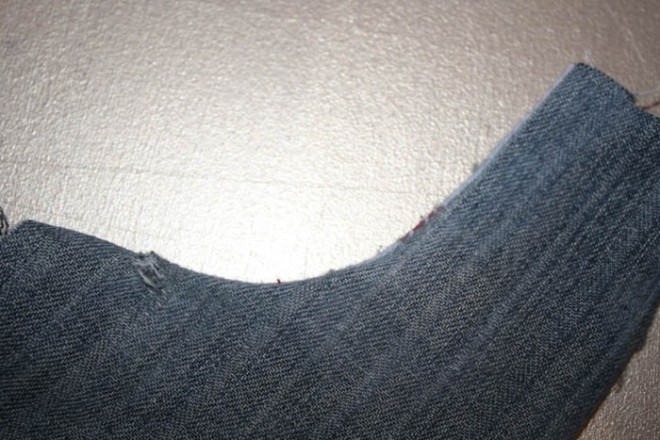
2- Be cautious about distressed/washed jeans and laying out your pattern pieces… meaning, if your jeans have a very obvious fade/wash/distress pattern on them then you need to make sure you like where it will be placed and that it will match when you sew up your jeans. For this pair, I wanted the distressed area of the original jeans, so I laid my patterns around that. Notice that my two pieces are very close to the same area horizontally, and that the back yoke is placed above the back piece. All of this will ensure that the distressing and wash look natural on my finished jeans.
You can also use the original hem line if you prefer to get that instead. Remember to account for hem allowance. I did that with this pair, because my jeans didn’t have a very noticeable distressing.
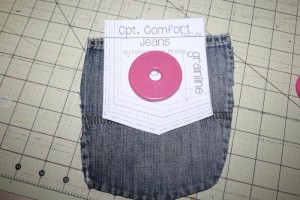
Use the back pockets when cutting your new pockets, Remember to account for the hem allowance at the top.
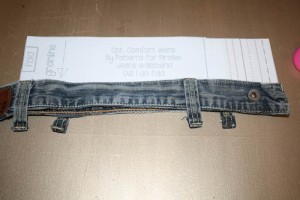
If you’d like to use the waistband and belt loops you can…. but warning, unpicking those belt loop stiches is not fun 😉
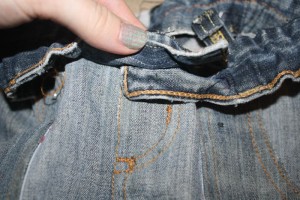
If you pattern calls for elastic in the waistband, like my Cpt. Comfort Jeans, then you will have to cut a slit on the wrong side of the waistband to slip your elastic through- I just use a wide zigzag to mend the slit after (I hide the zigzag stitches behind a belt loop!). Make sure when overlapping that you line up your jeans button and button hole, you can see here on mine they overlapped much more then the pattern called for. Then you will tack down the bottom of the belt loops 🙂
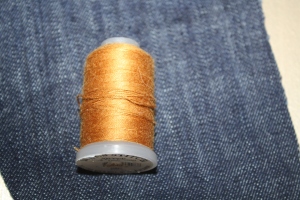
3- Now that you have your pieces cut you will continue to sew them just like the pattern calls for matching the store bought top-stitching thread as best you can. And although they have a wash and distressing, I STILL distress along the way! That way my finished jeans will have the distressing where store bought jeans do, like along pocket lines.
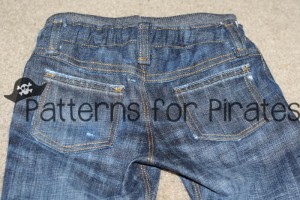
Now you have a great fitting (no plumbers crack!) pair of jeans that cost you nothing but the thread and time <3 and plus they look amazing!


