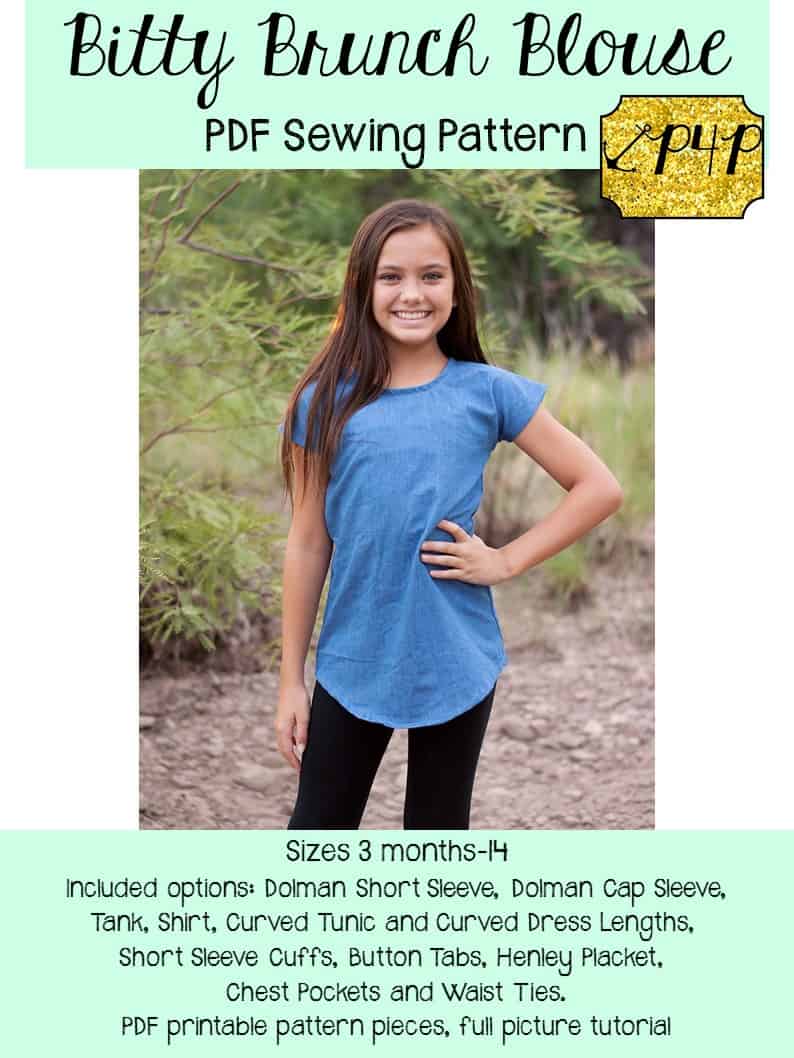
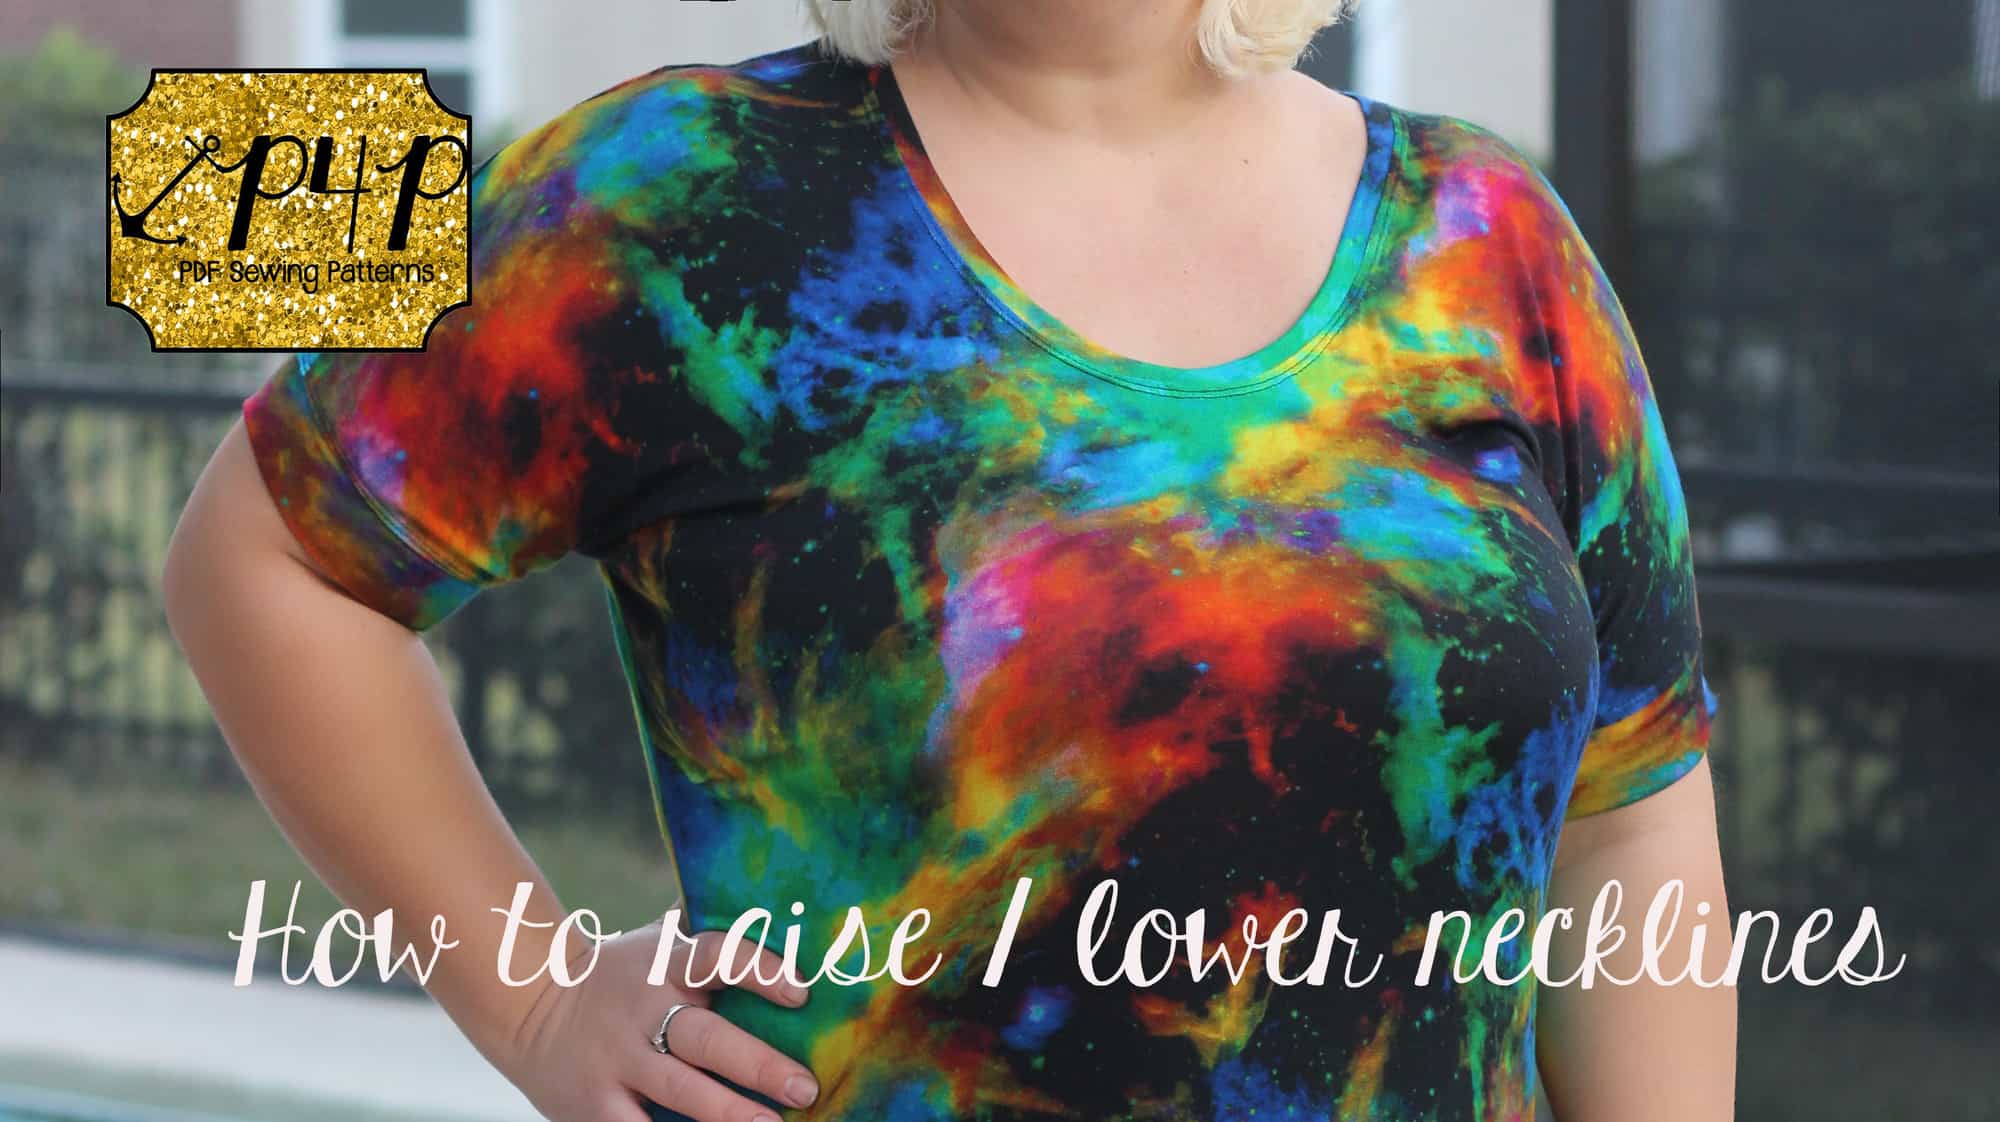
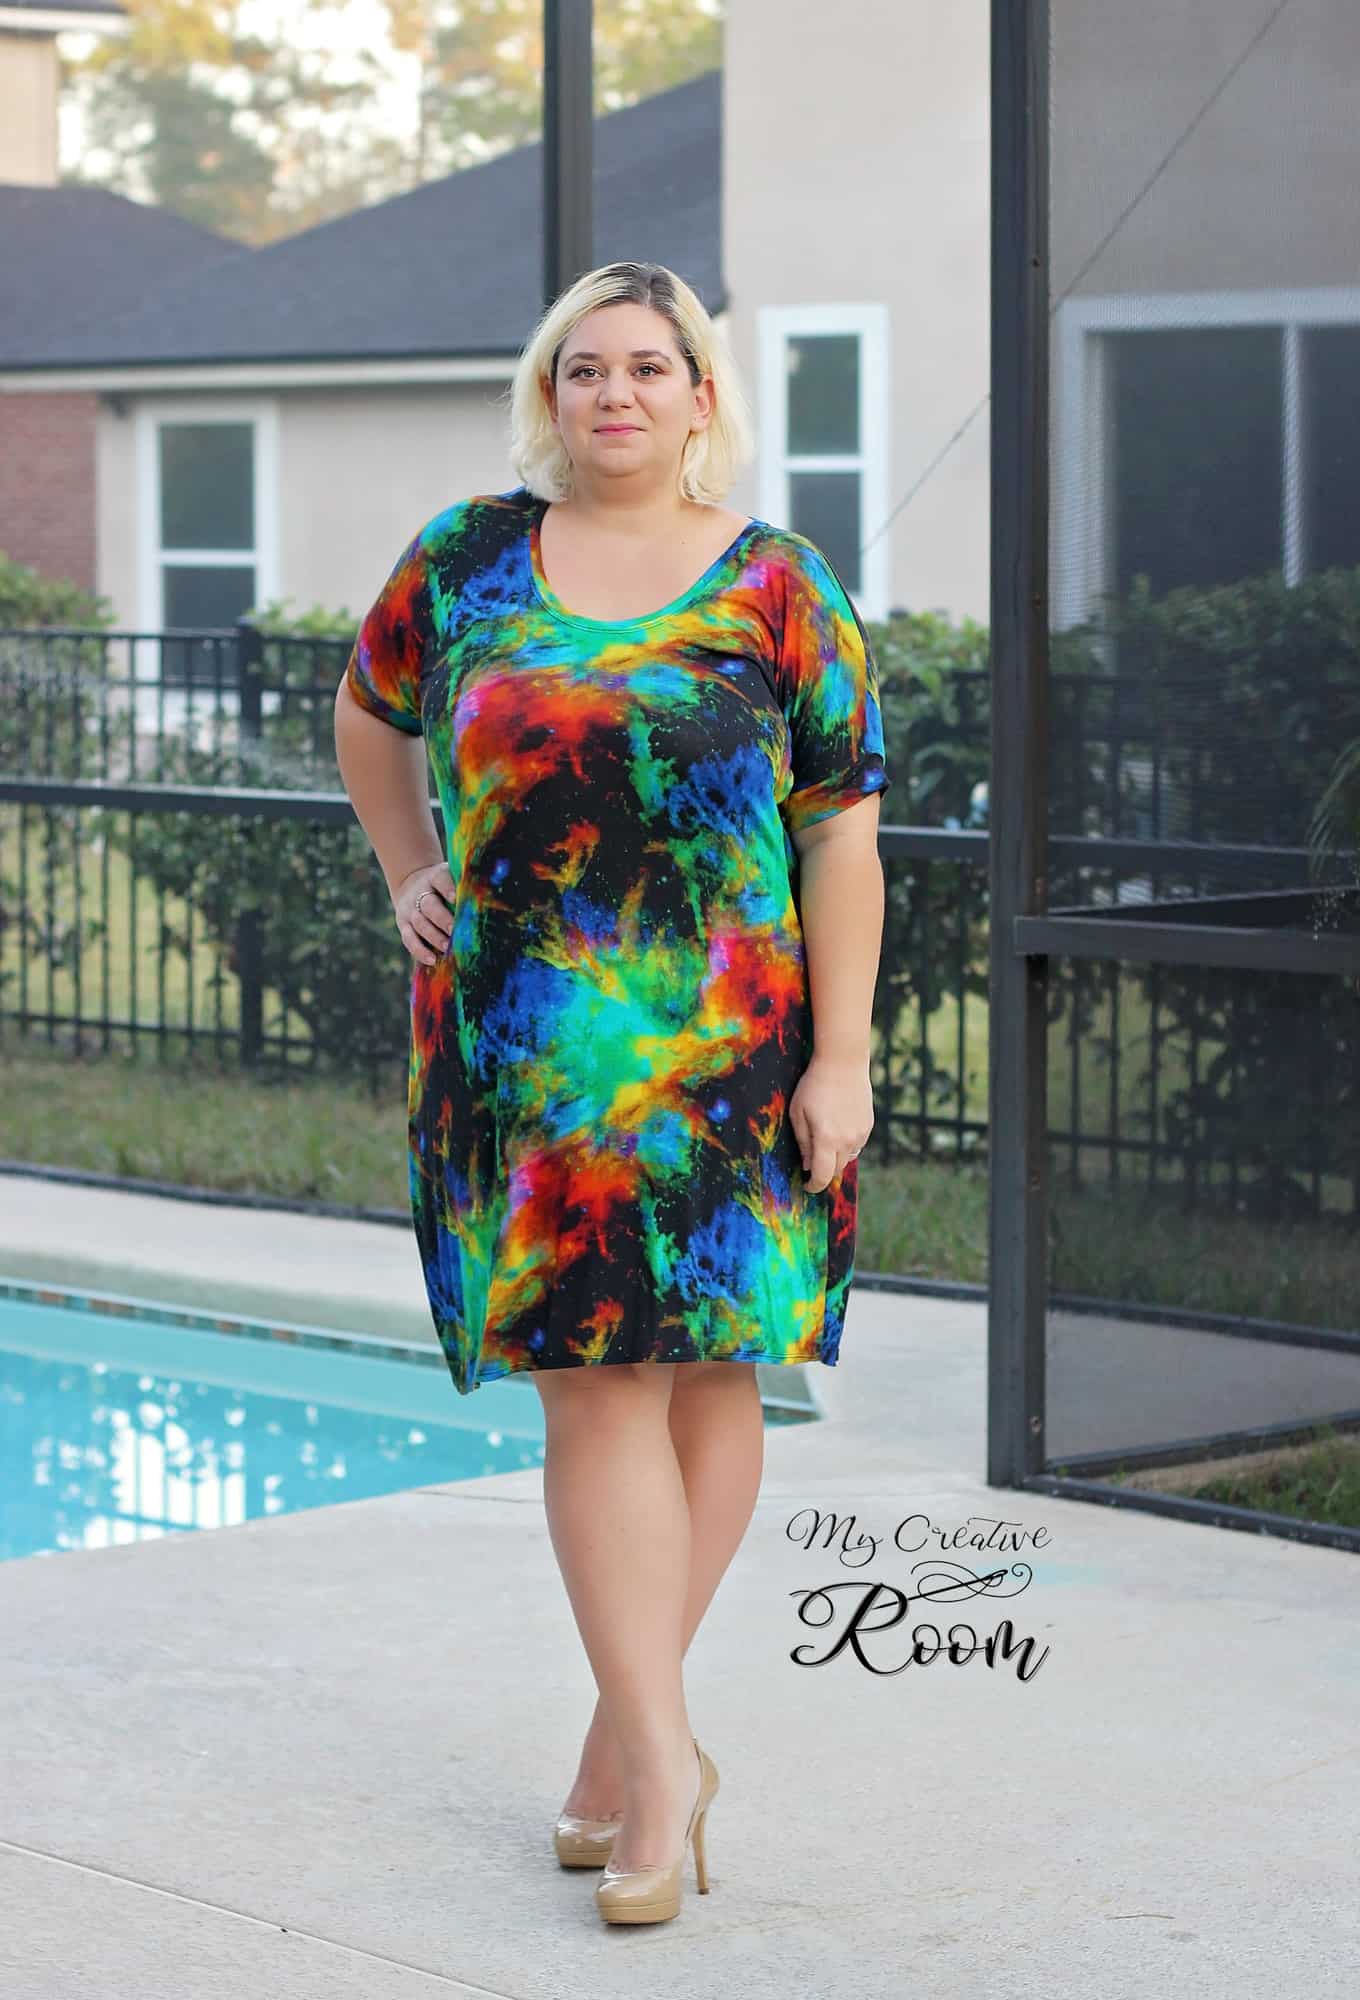
We are so excited to bring you the latest pattern in the Patterns for Pirates family! Judy has a mad love for slouchy, loose and oversized looks and drafted up the RagDoll Raglan to fit that niche in her closet. Allow me to introduce you to the RagDoll Raglan!!
Why “RagDoll”? We thought that it was the perfect mash-up of a classic raglan style sleeve AND a dolman “batwing”. Rag(lan) + Dol(man) = RagDoll !
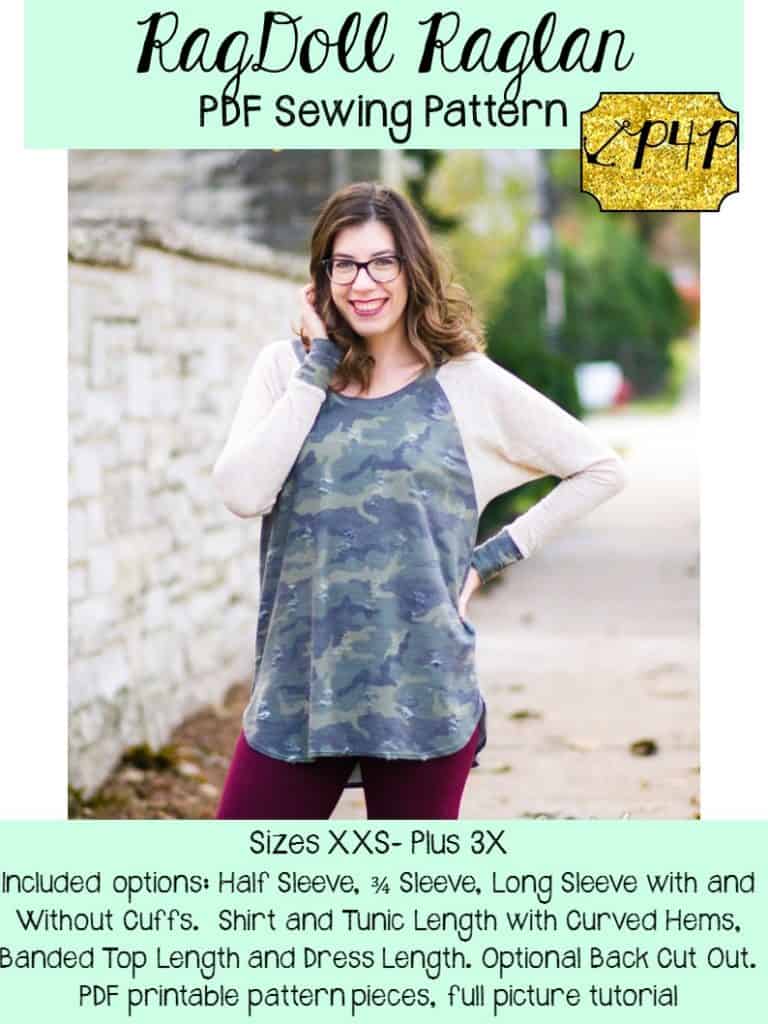
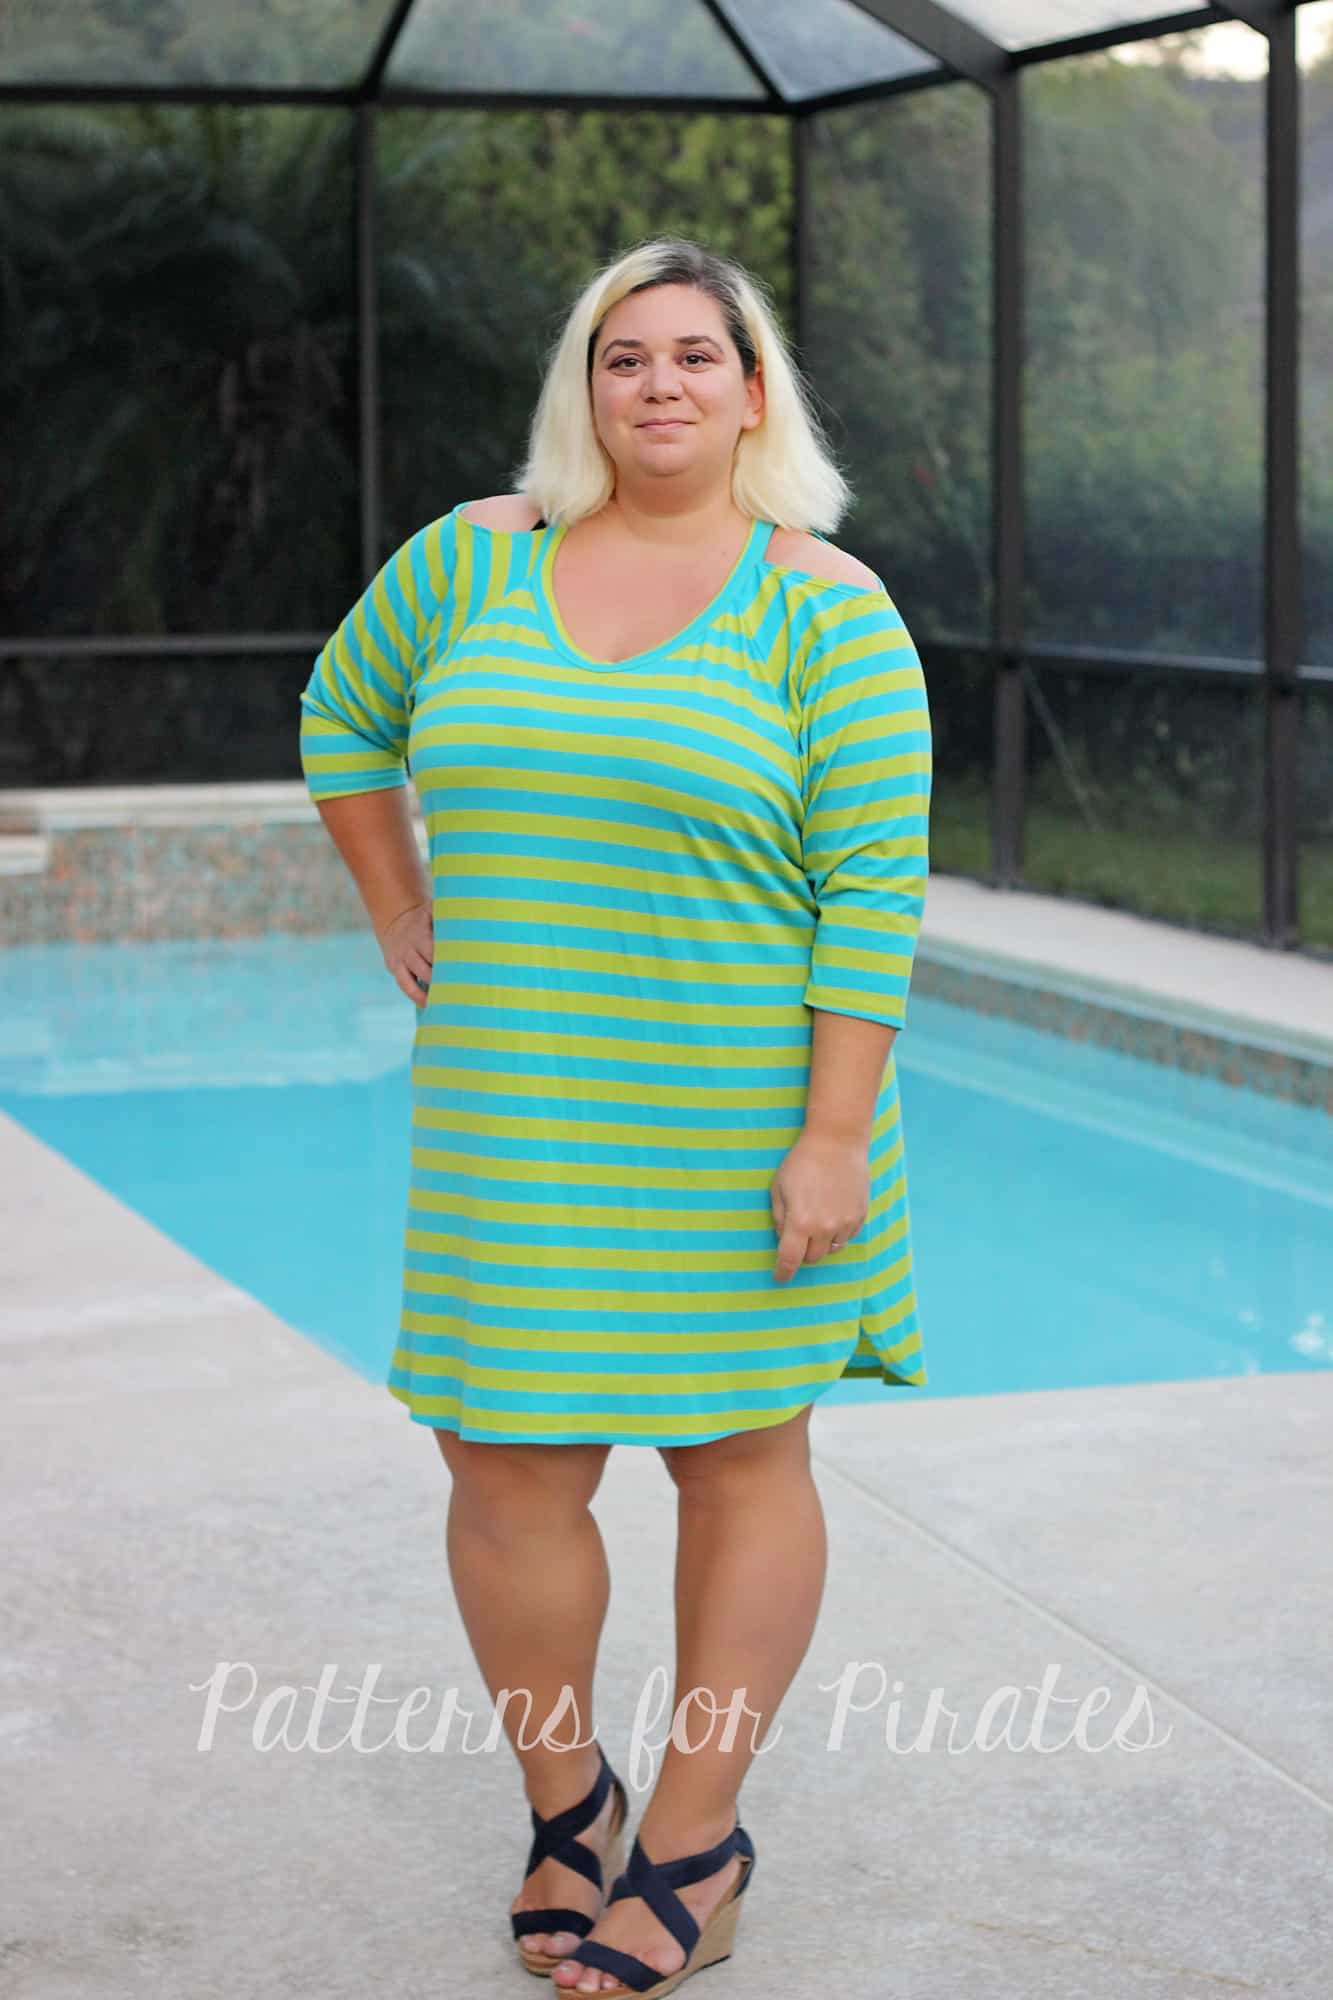
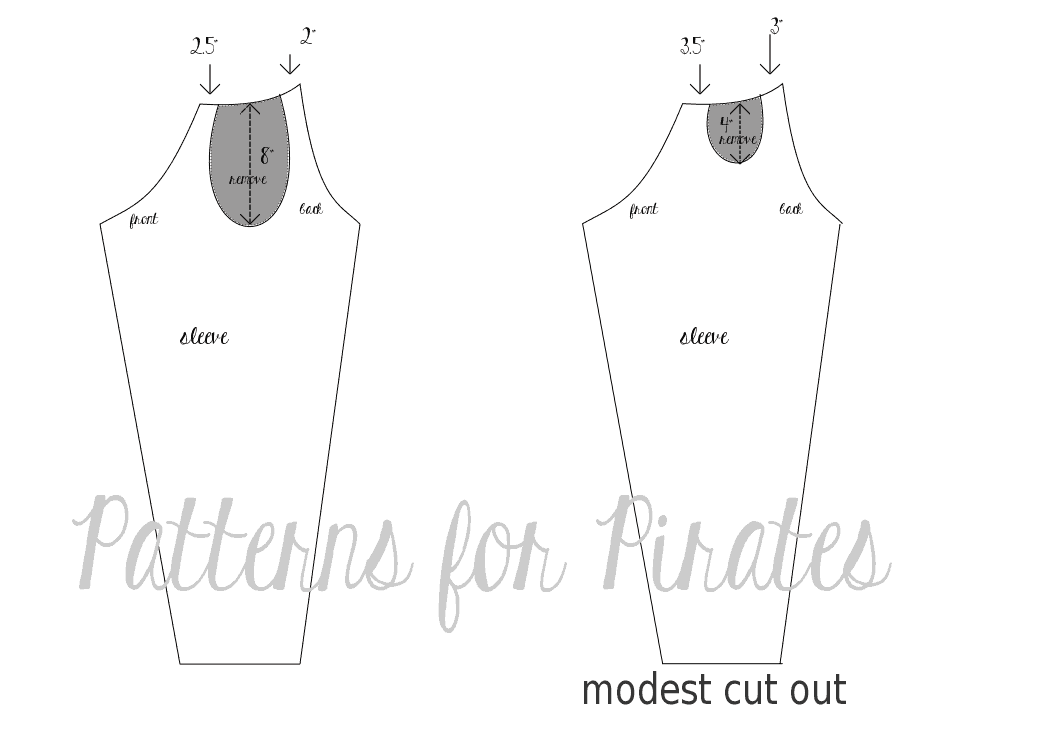
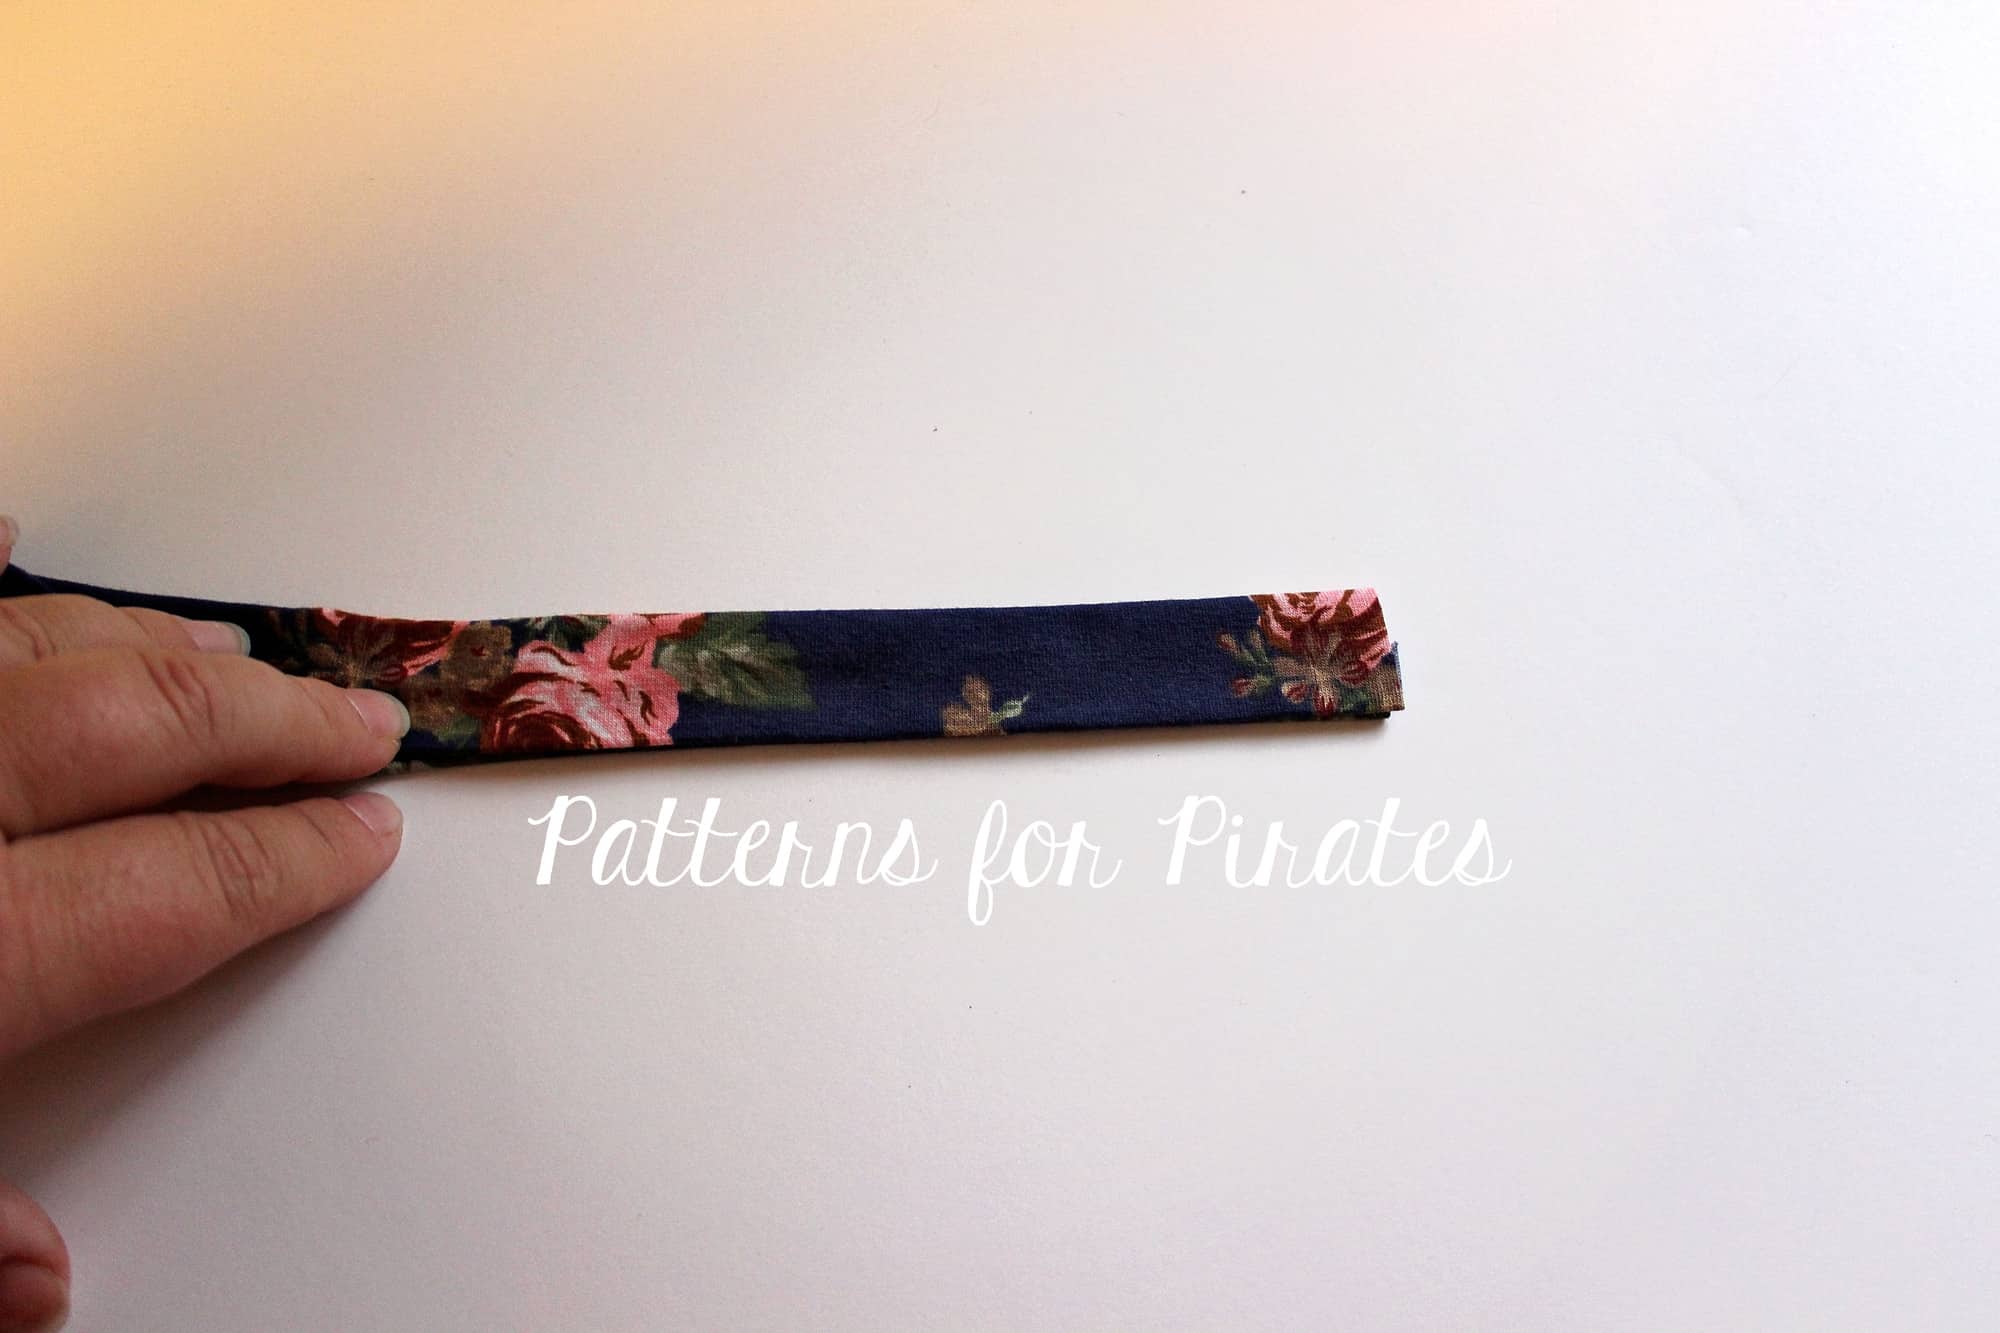
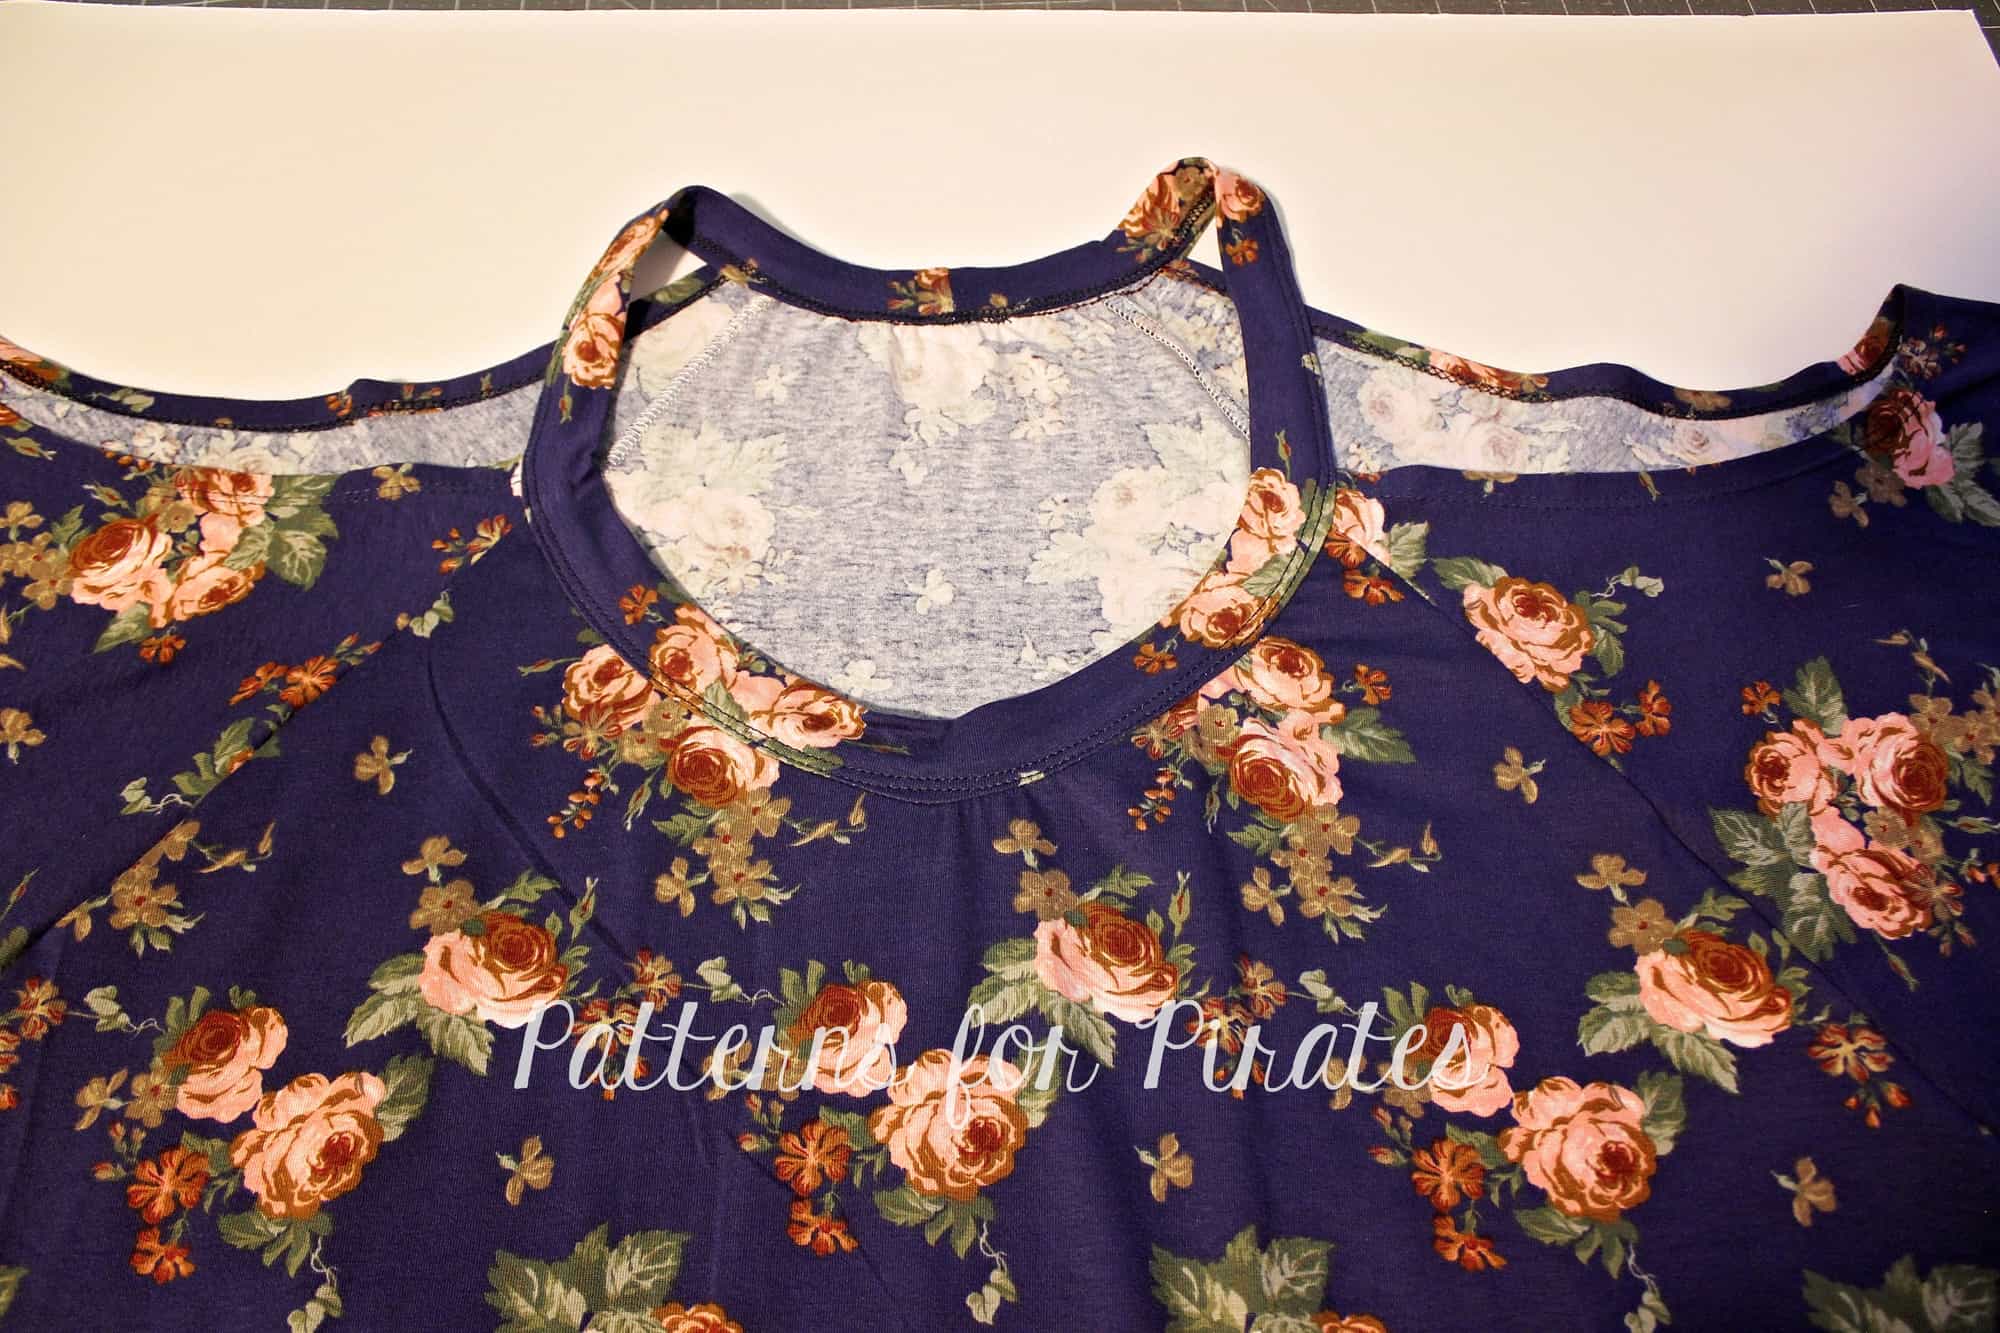
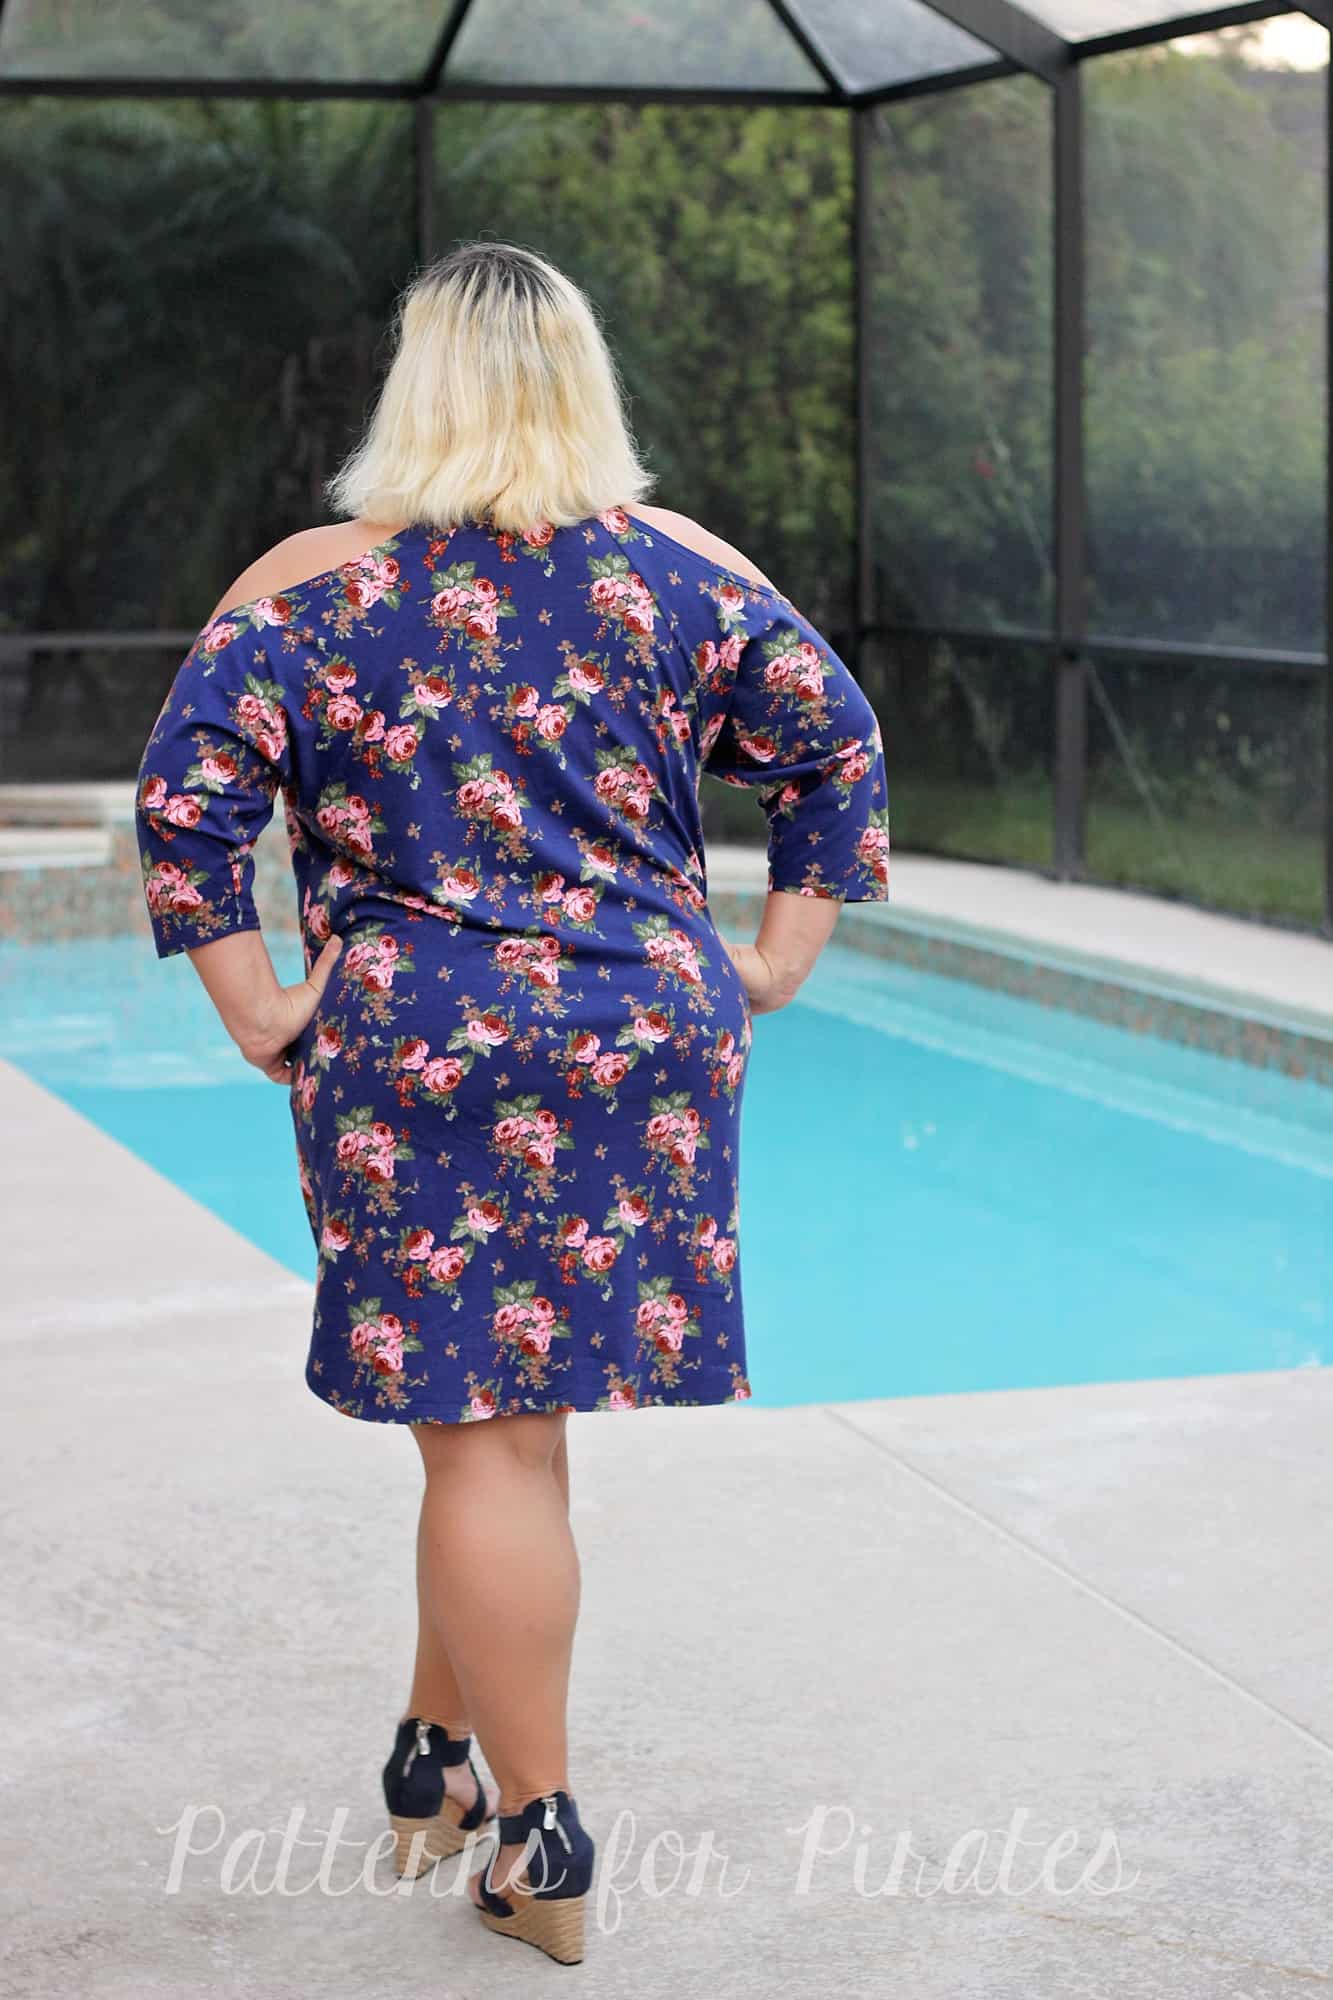
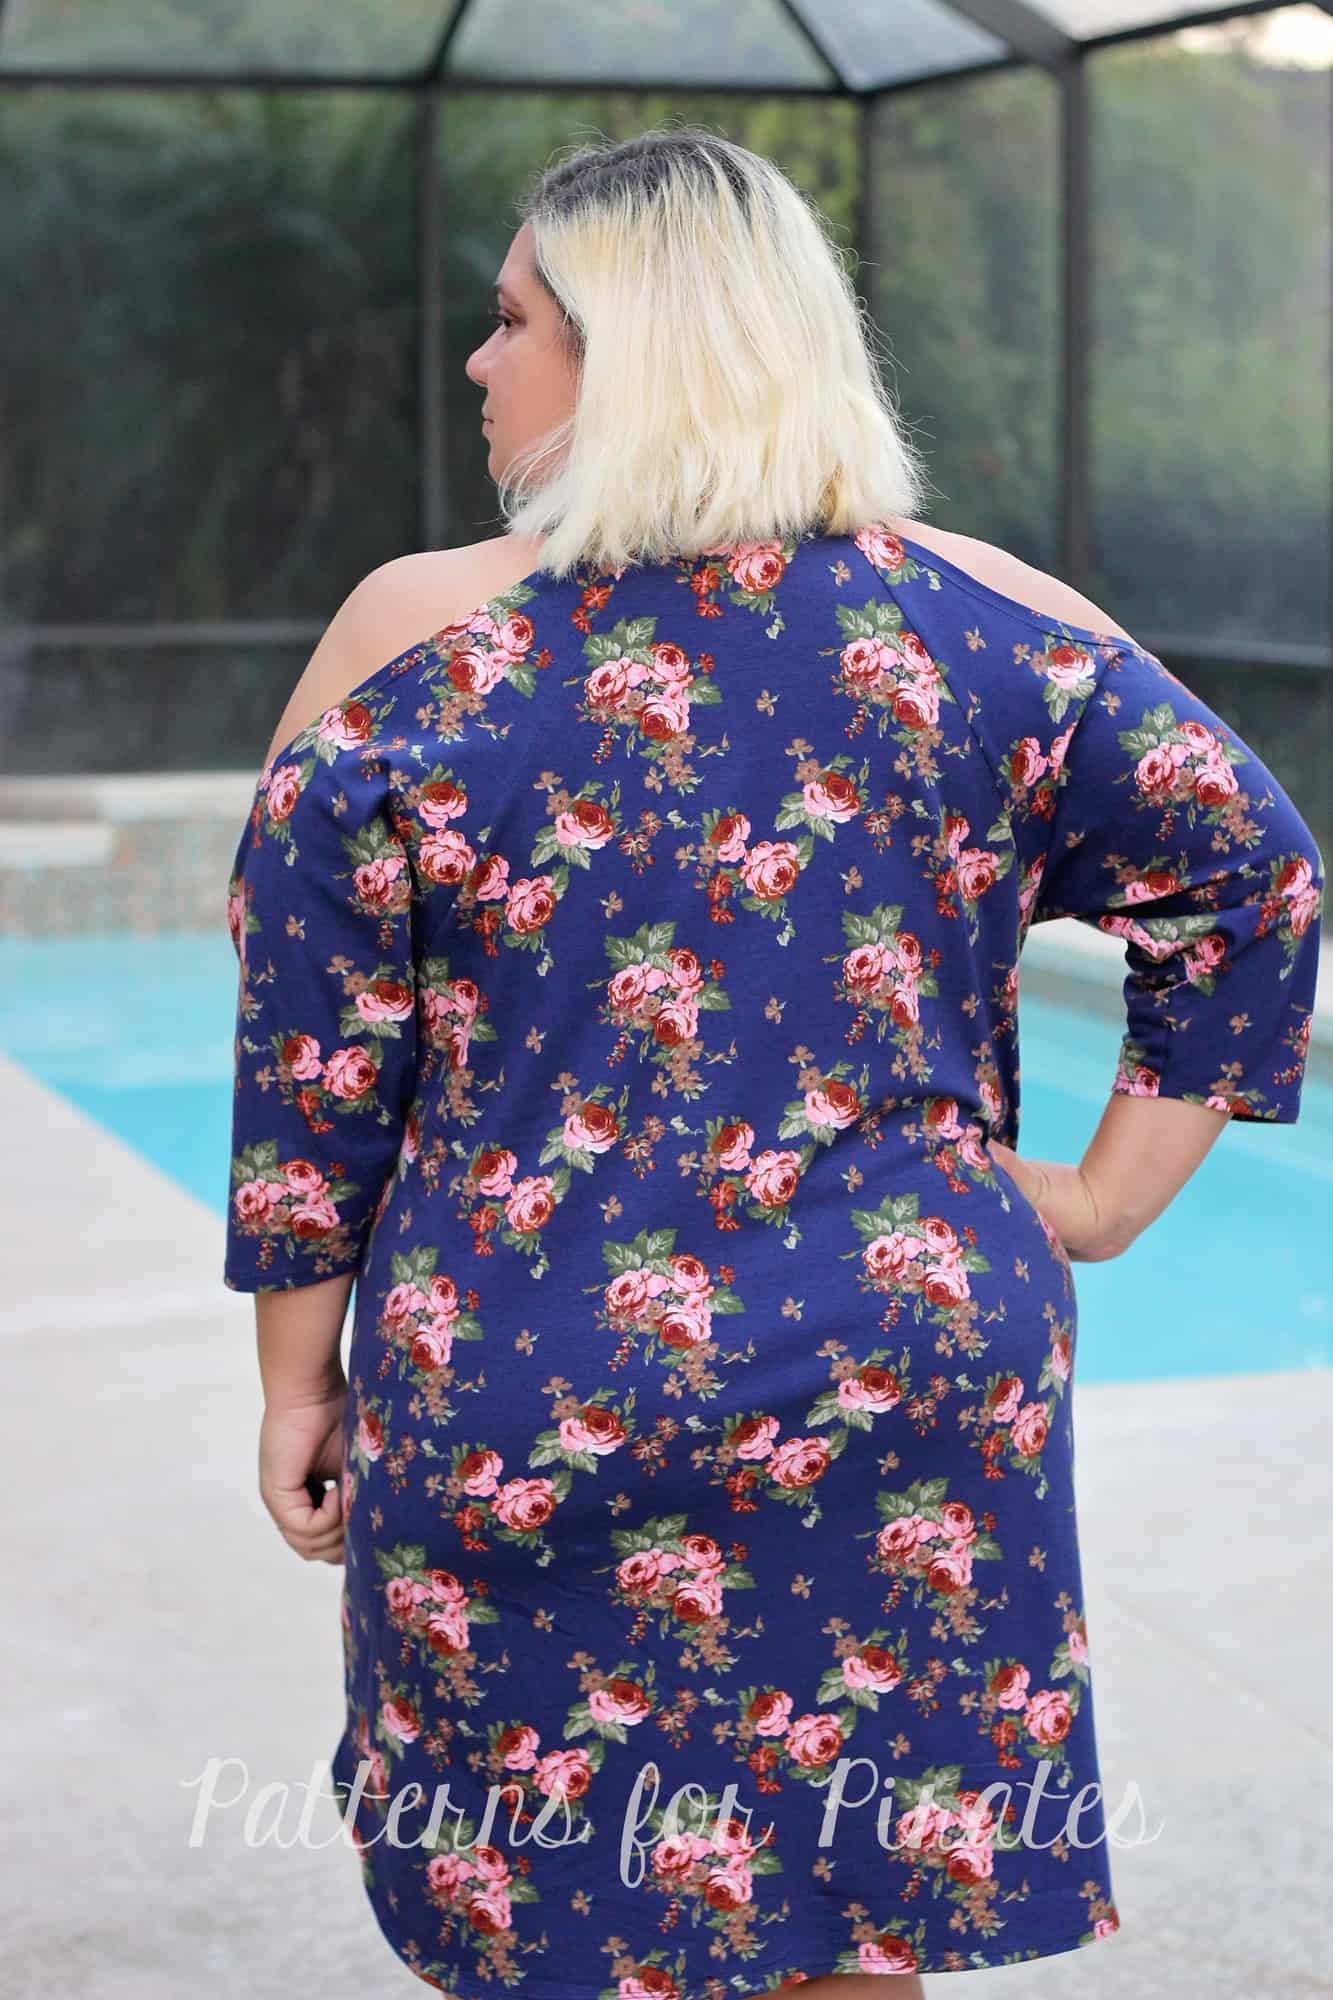
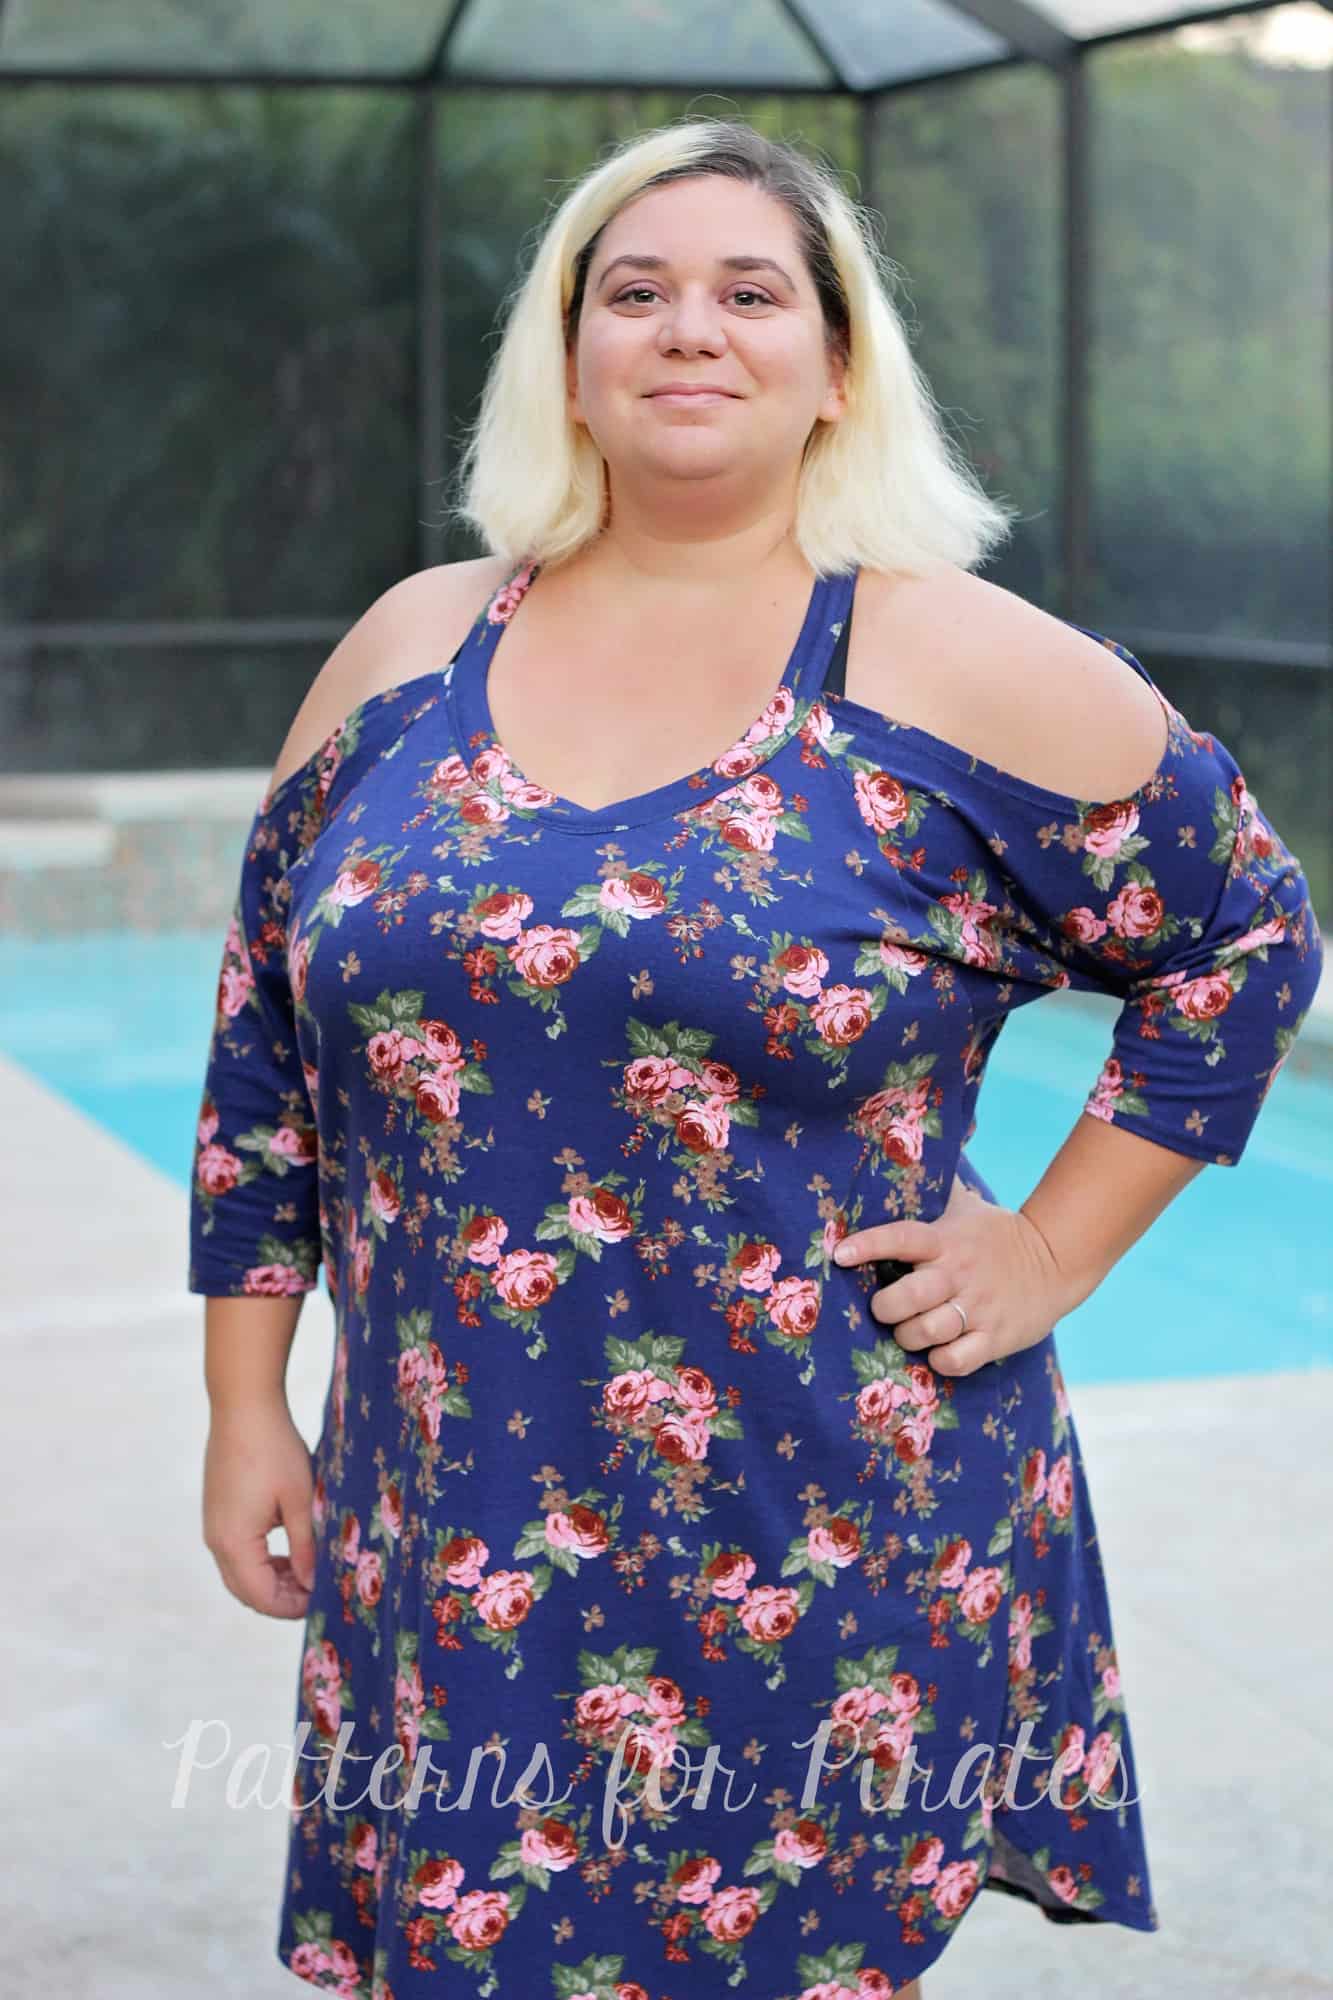
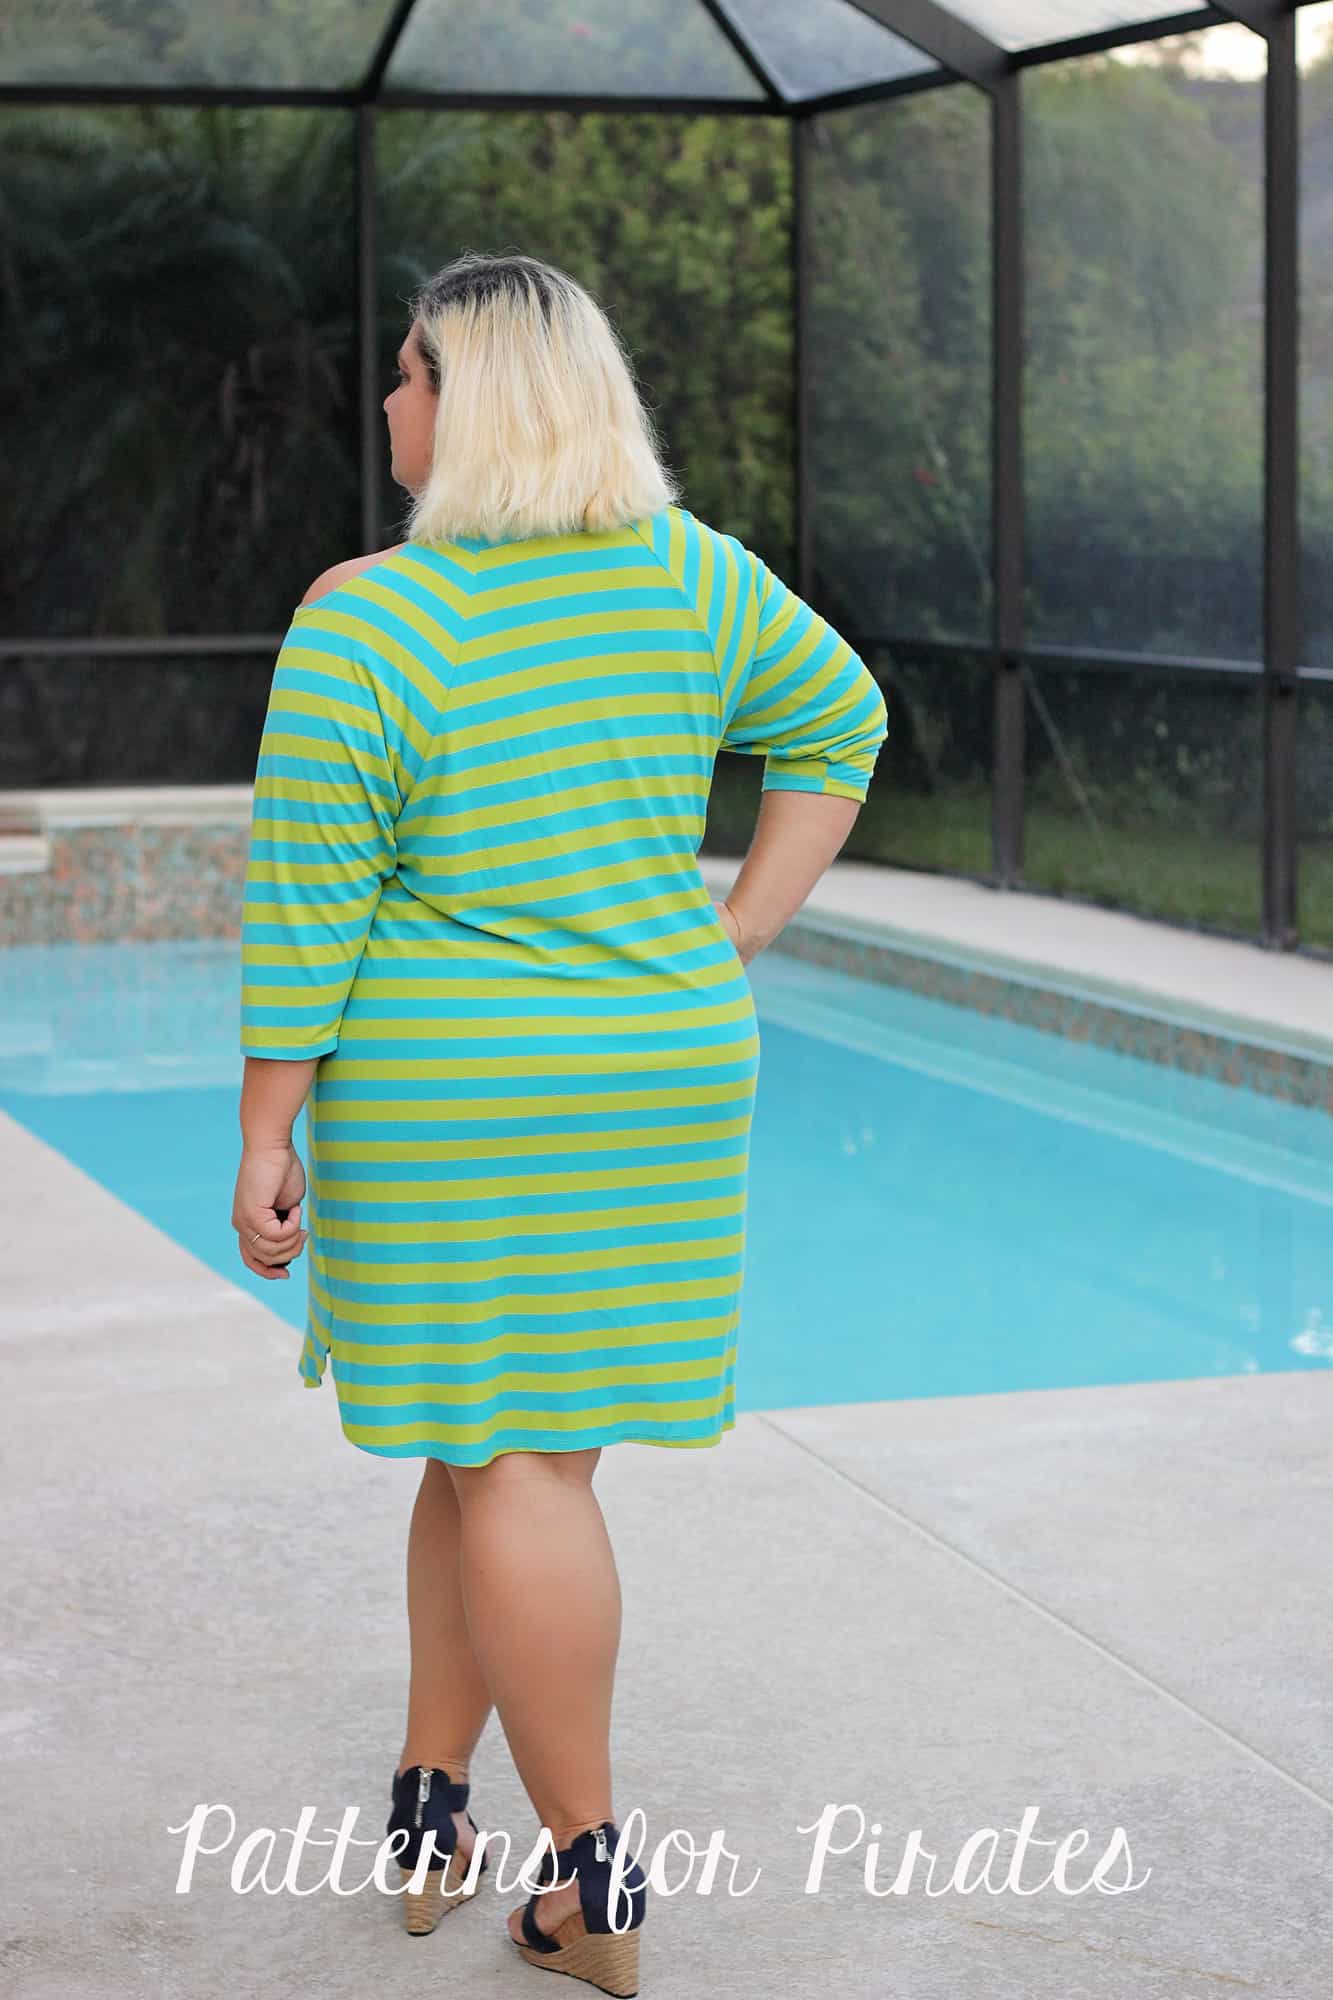
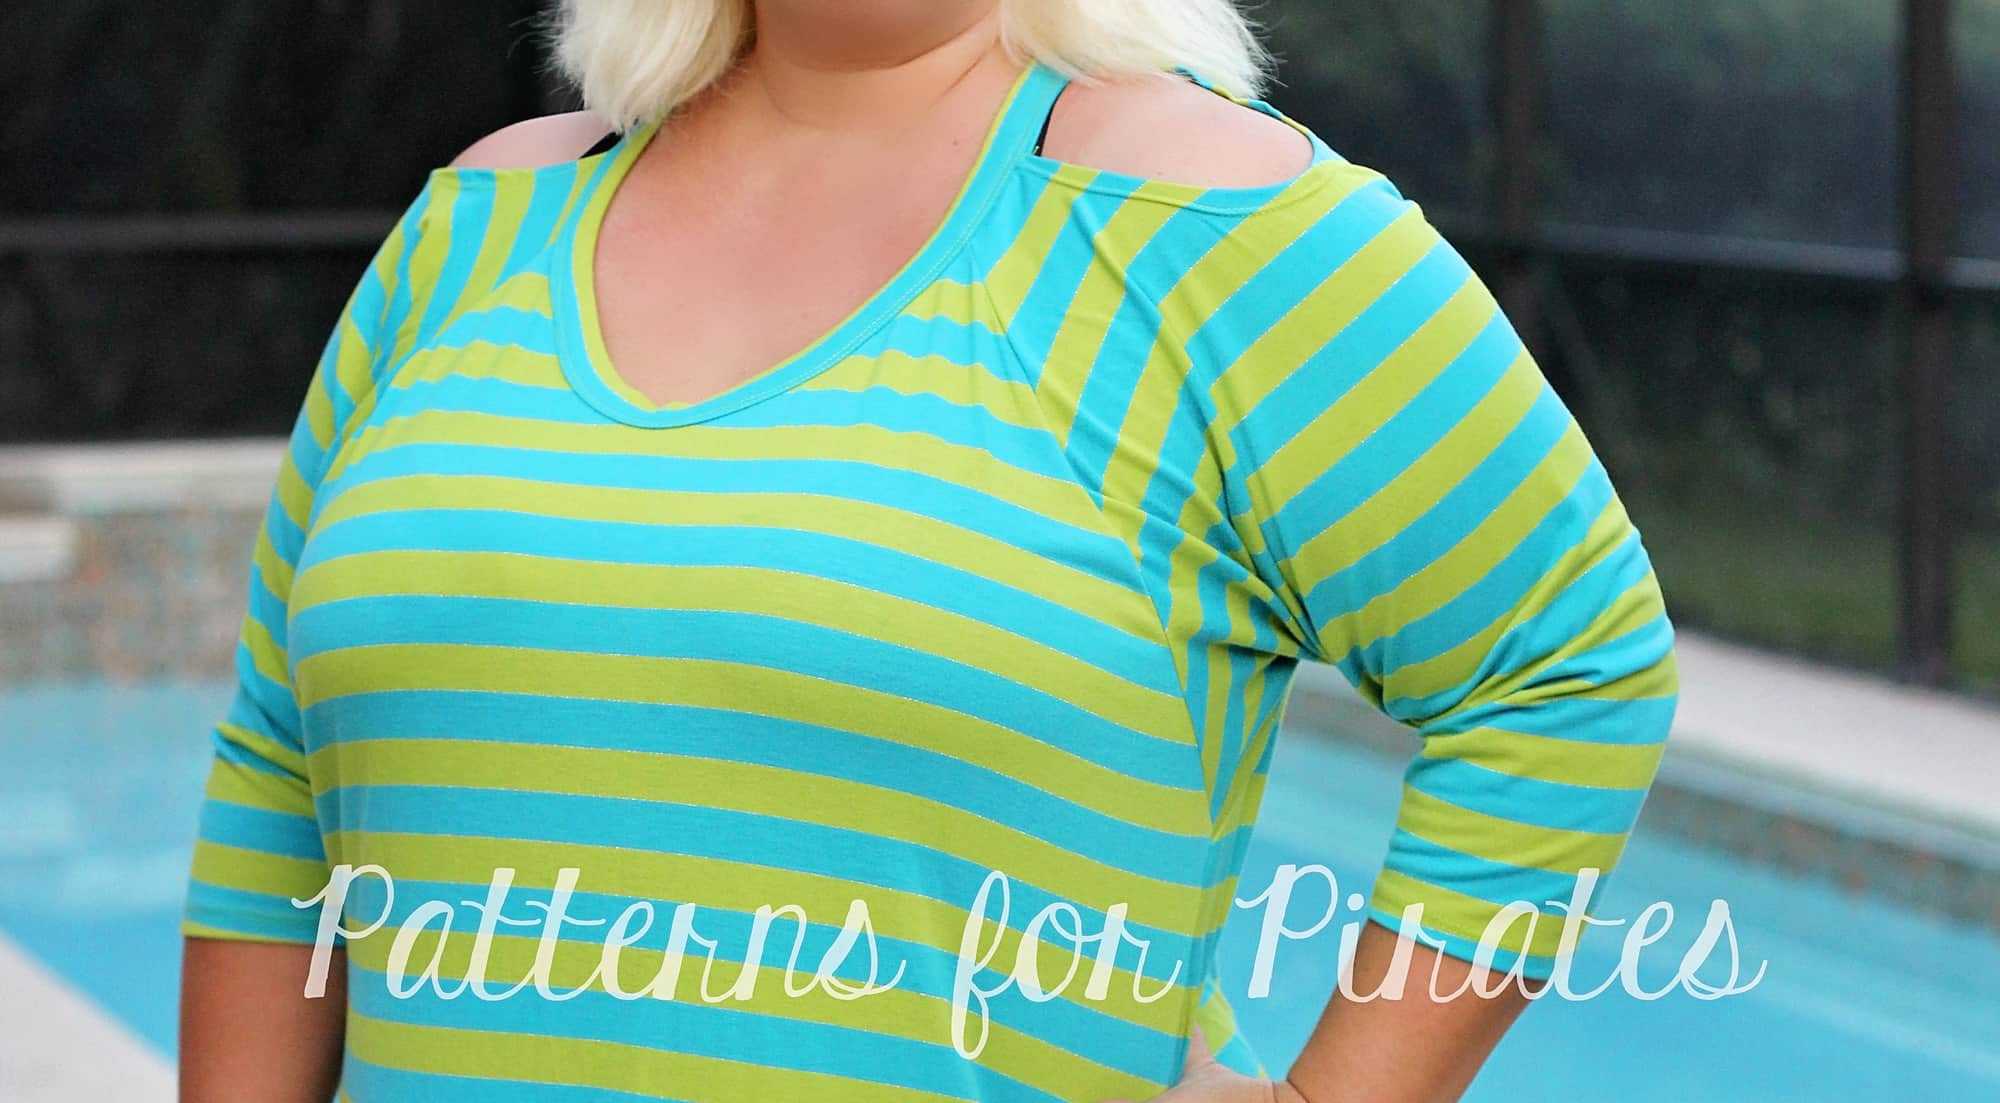
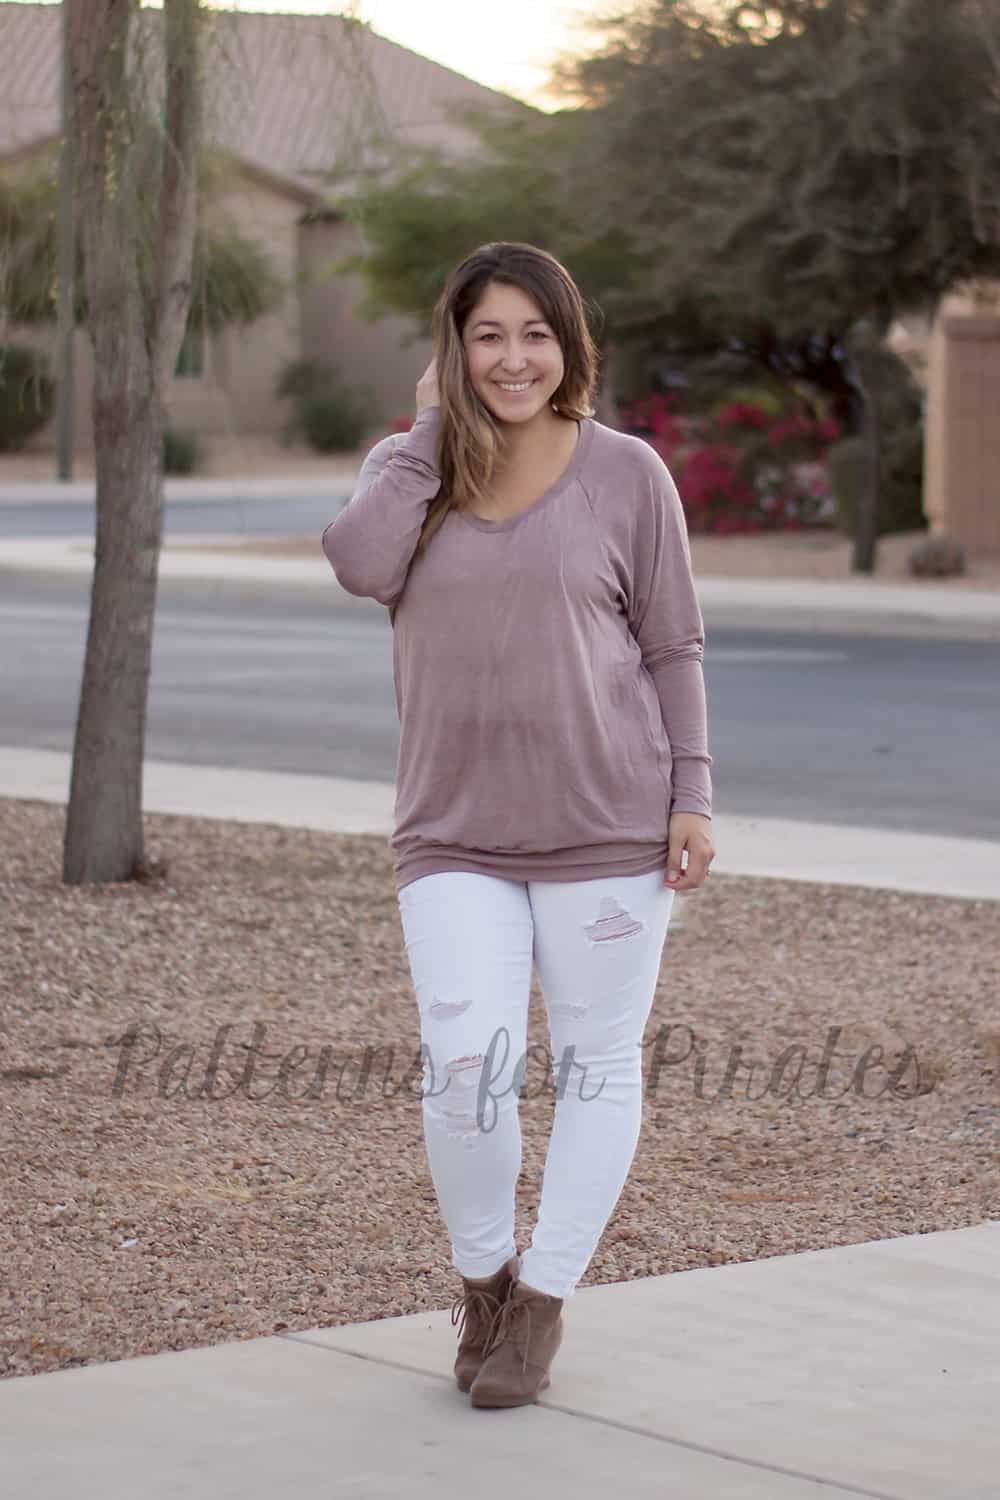
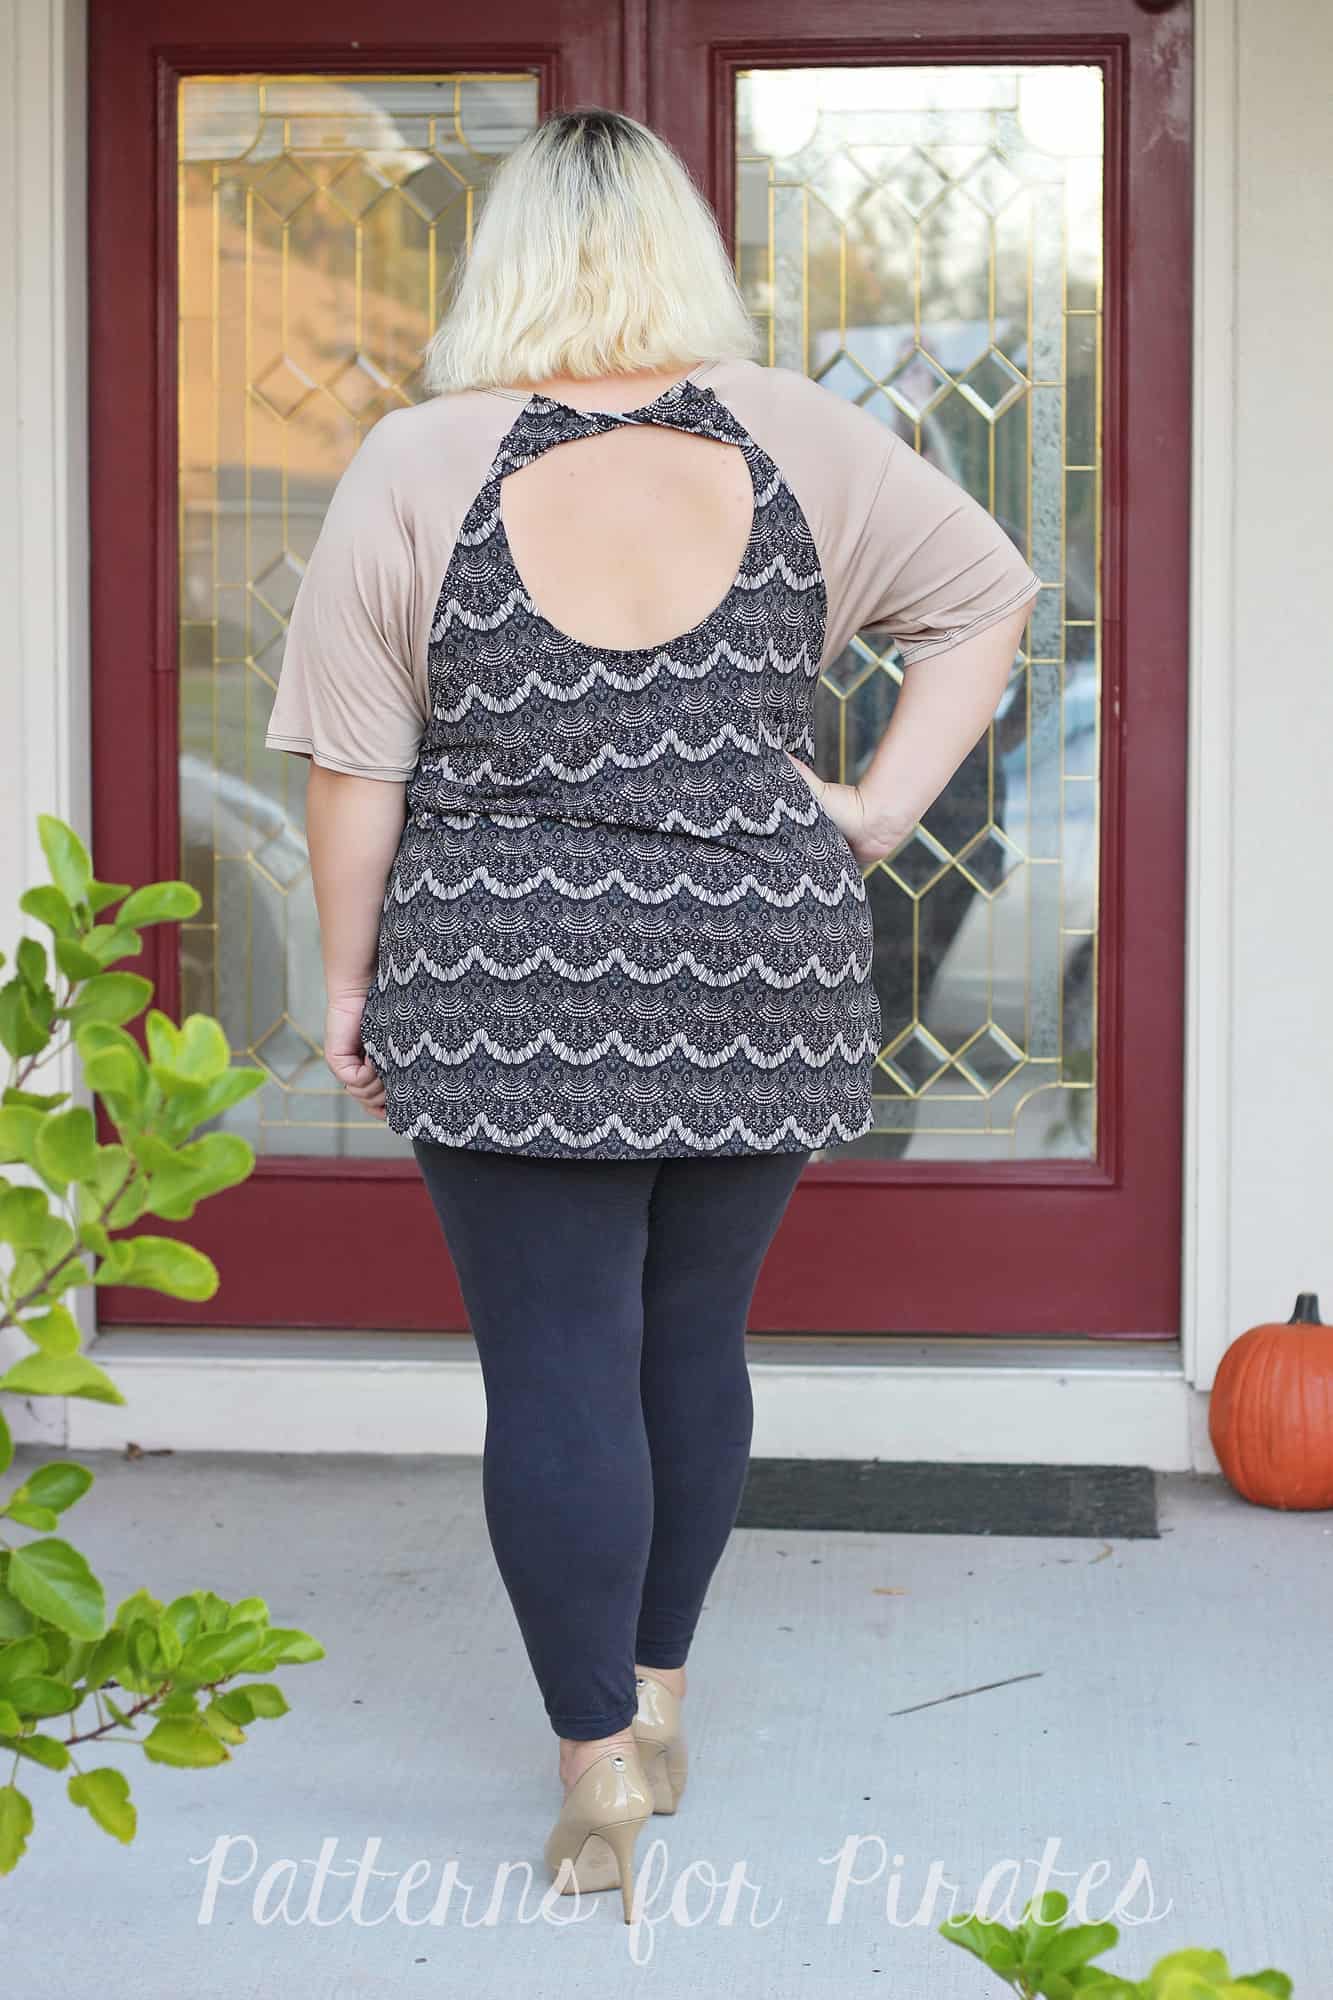
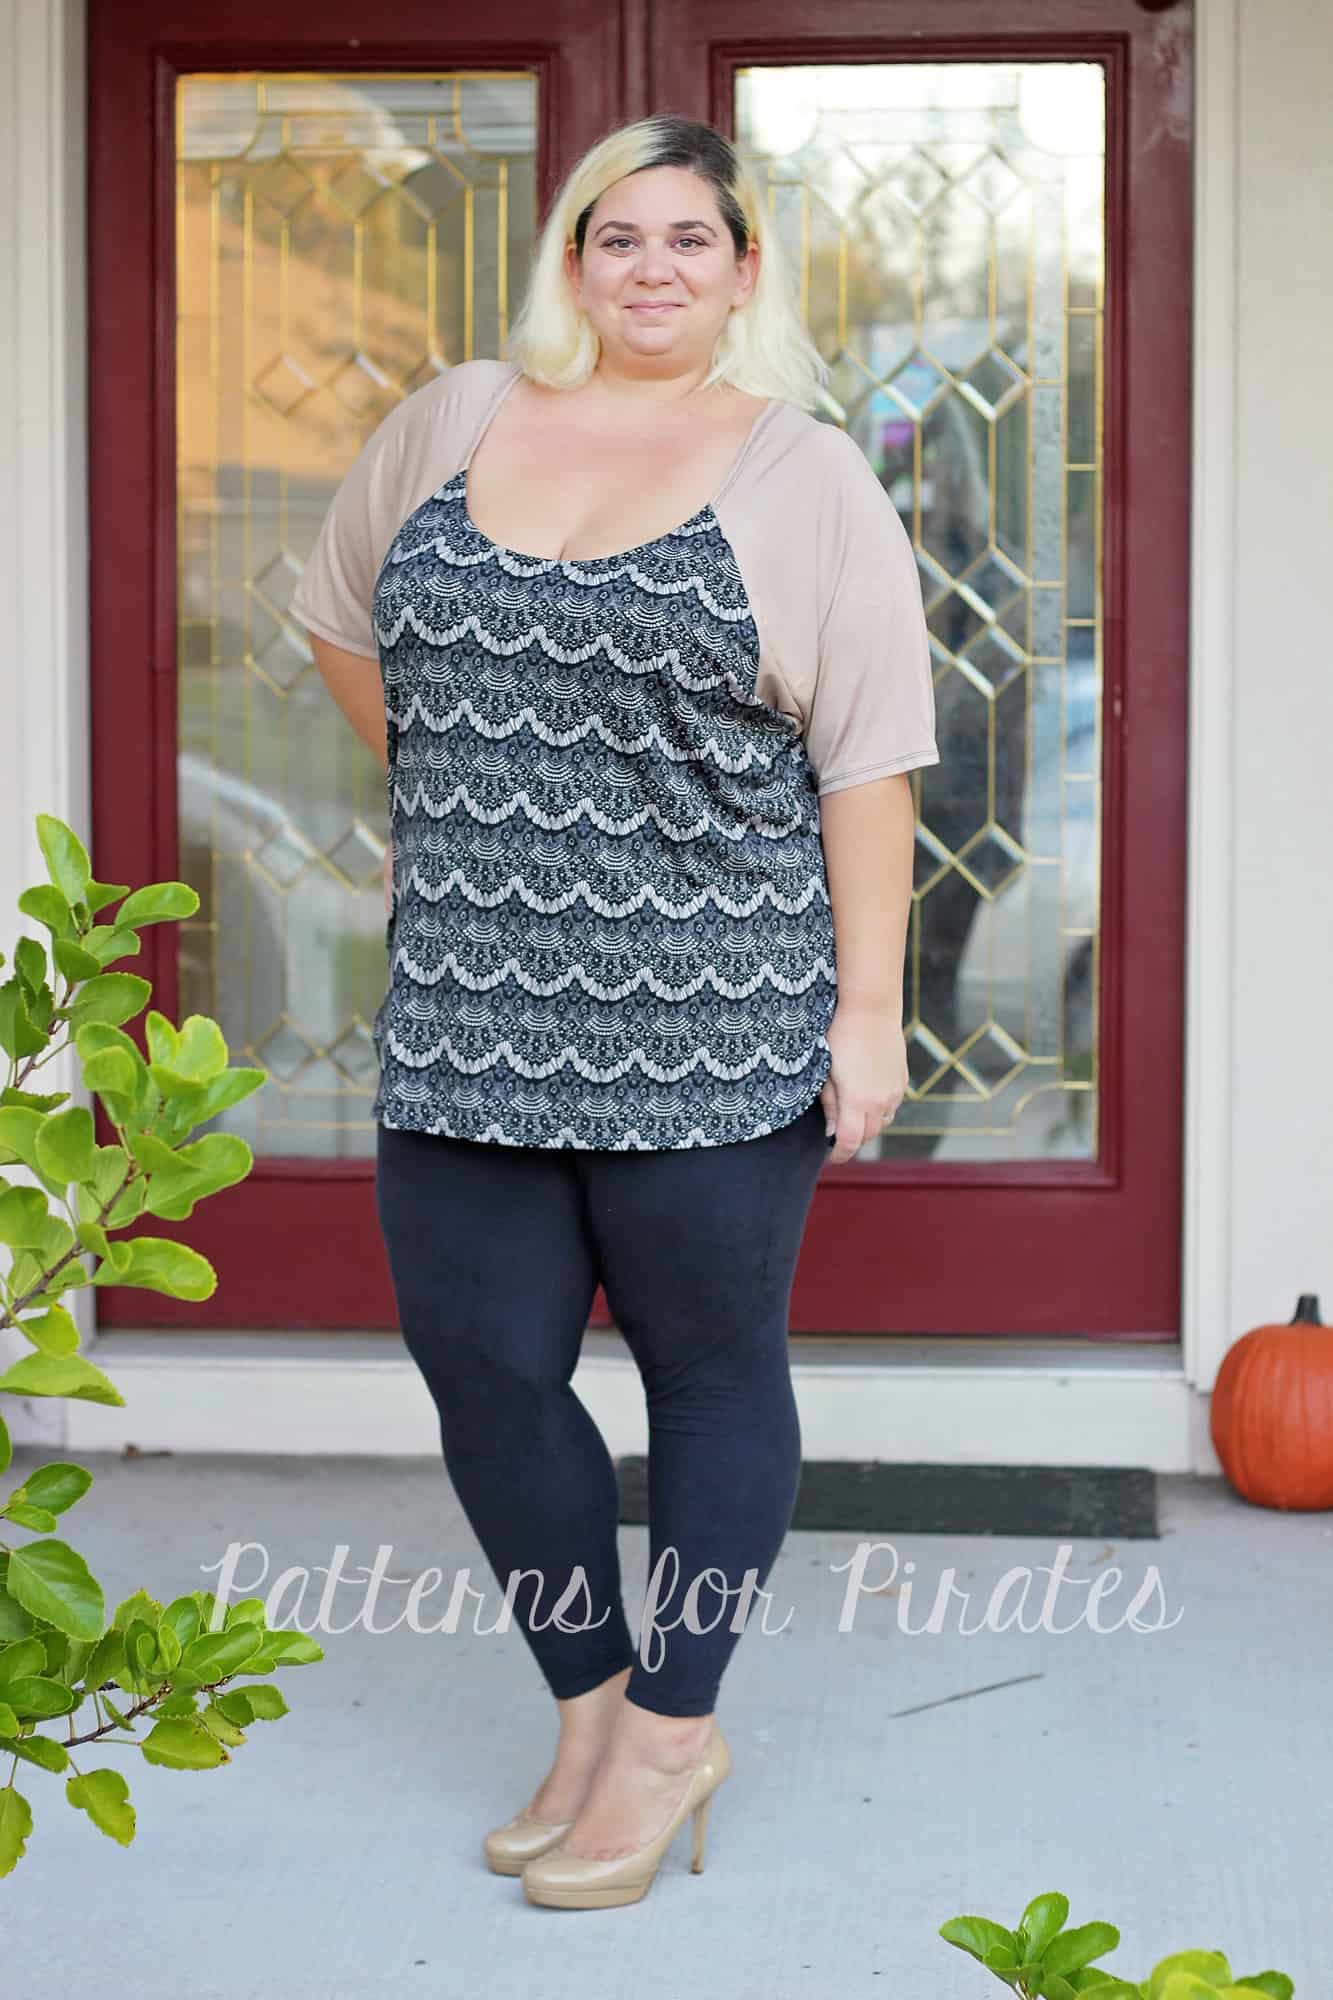
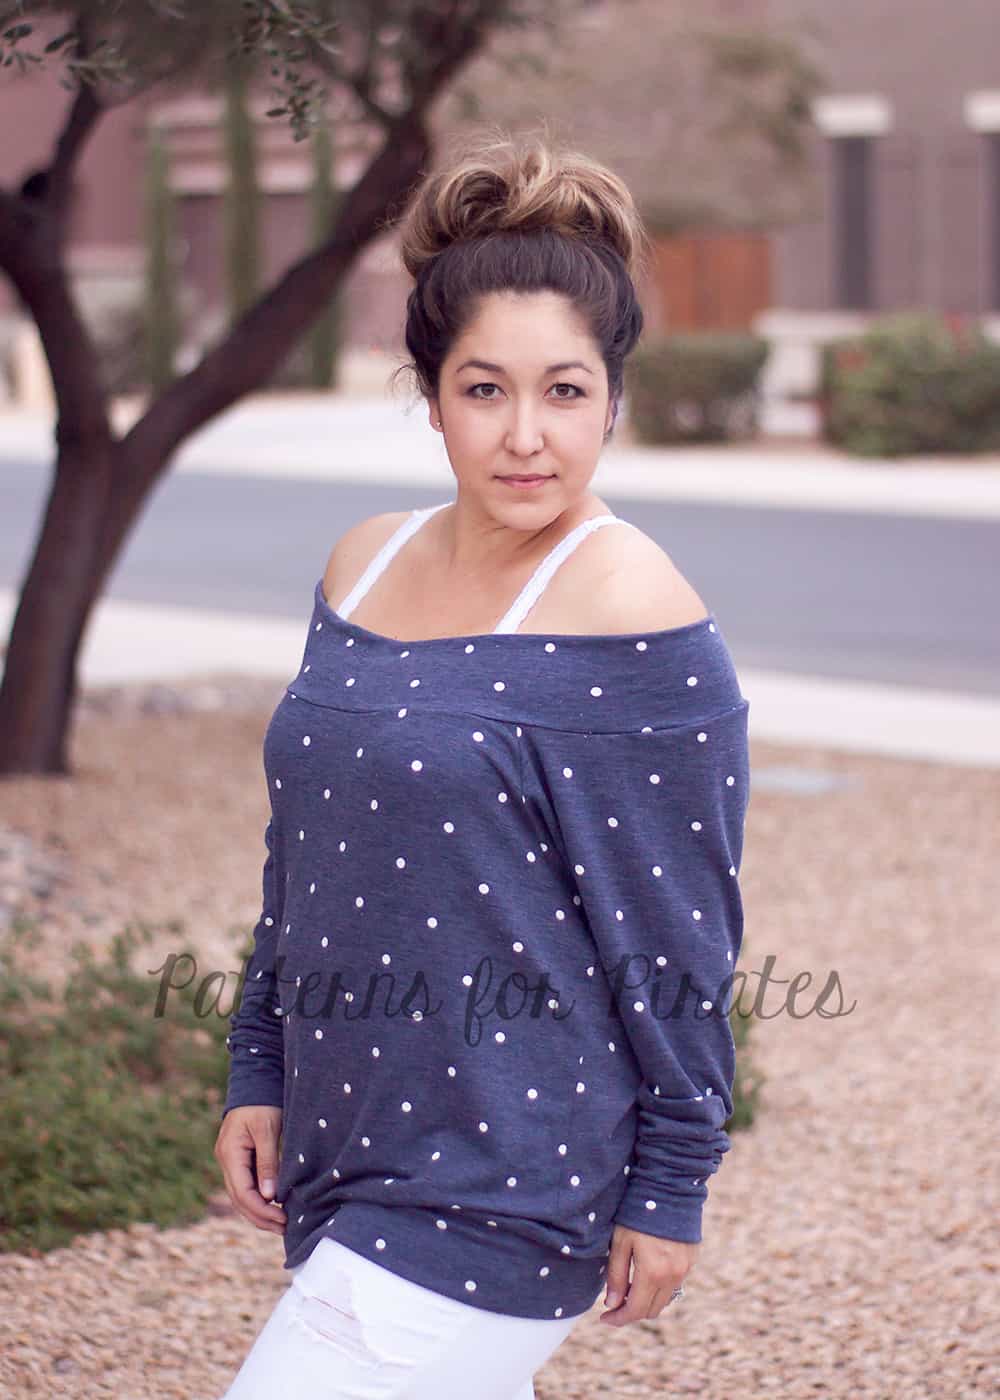
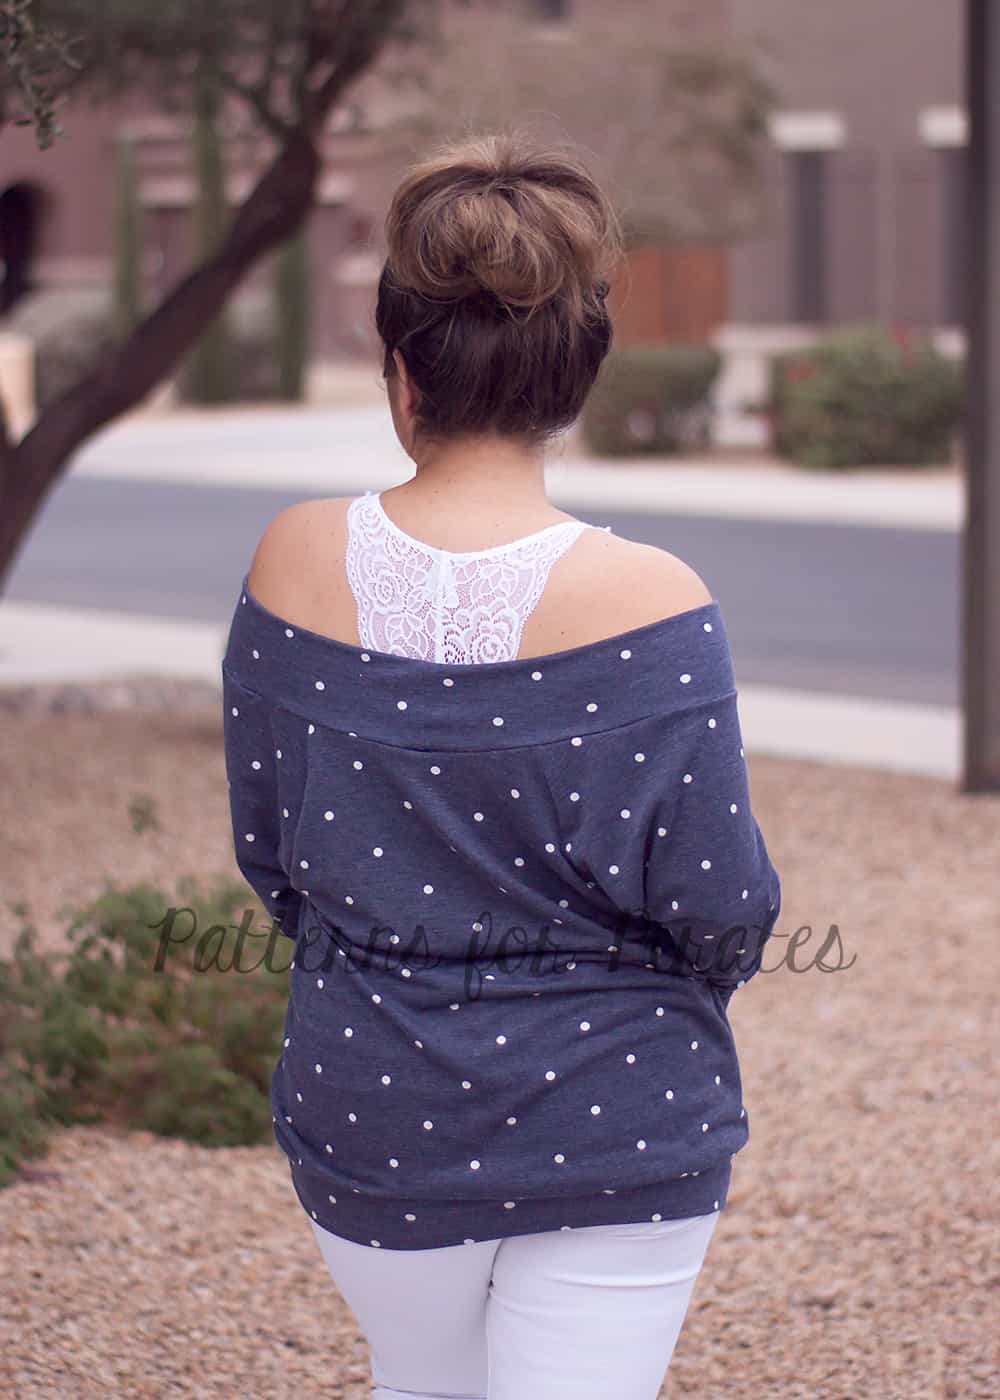
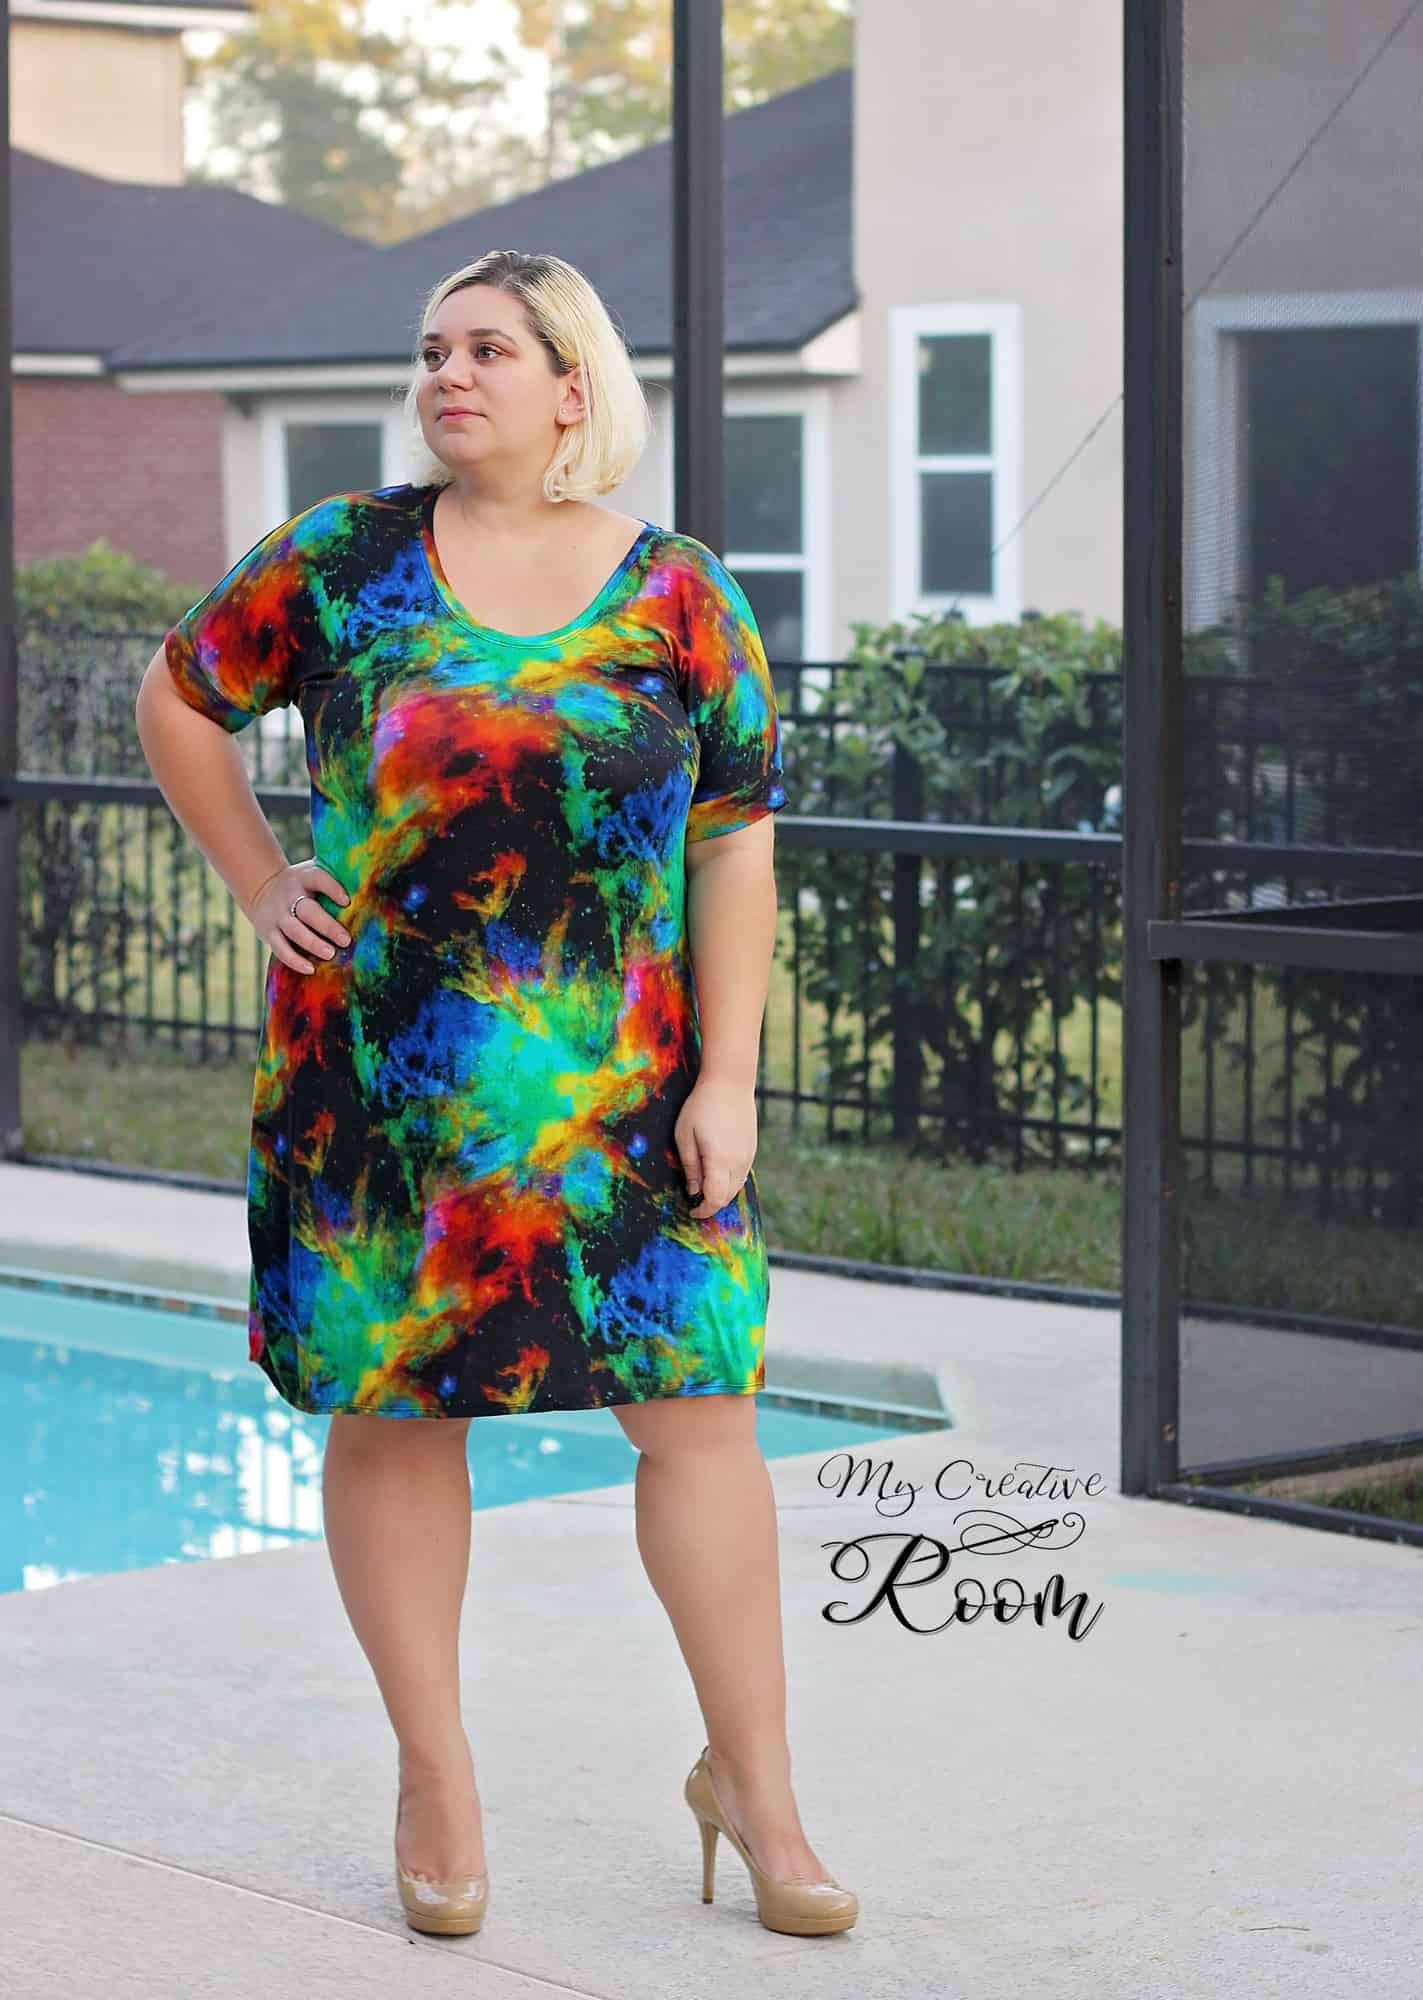
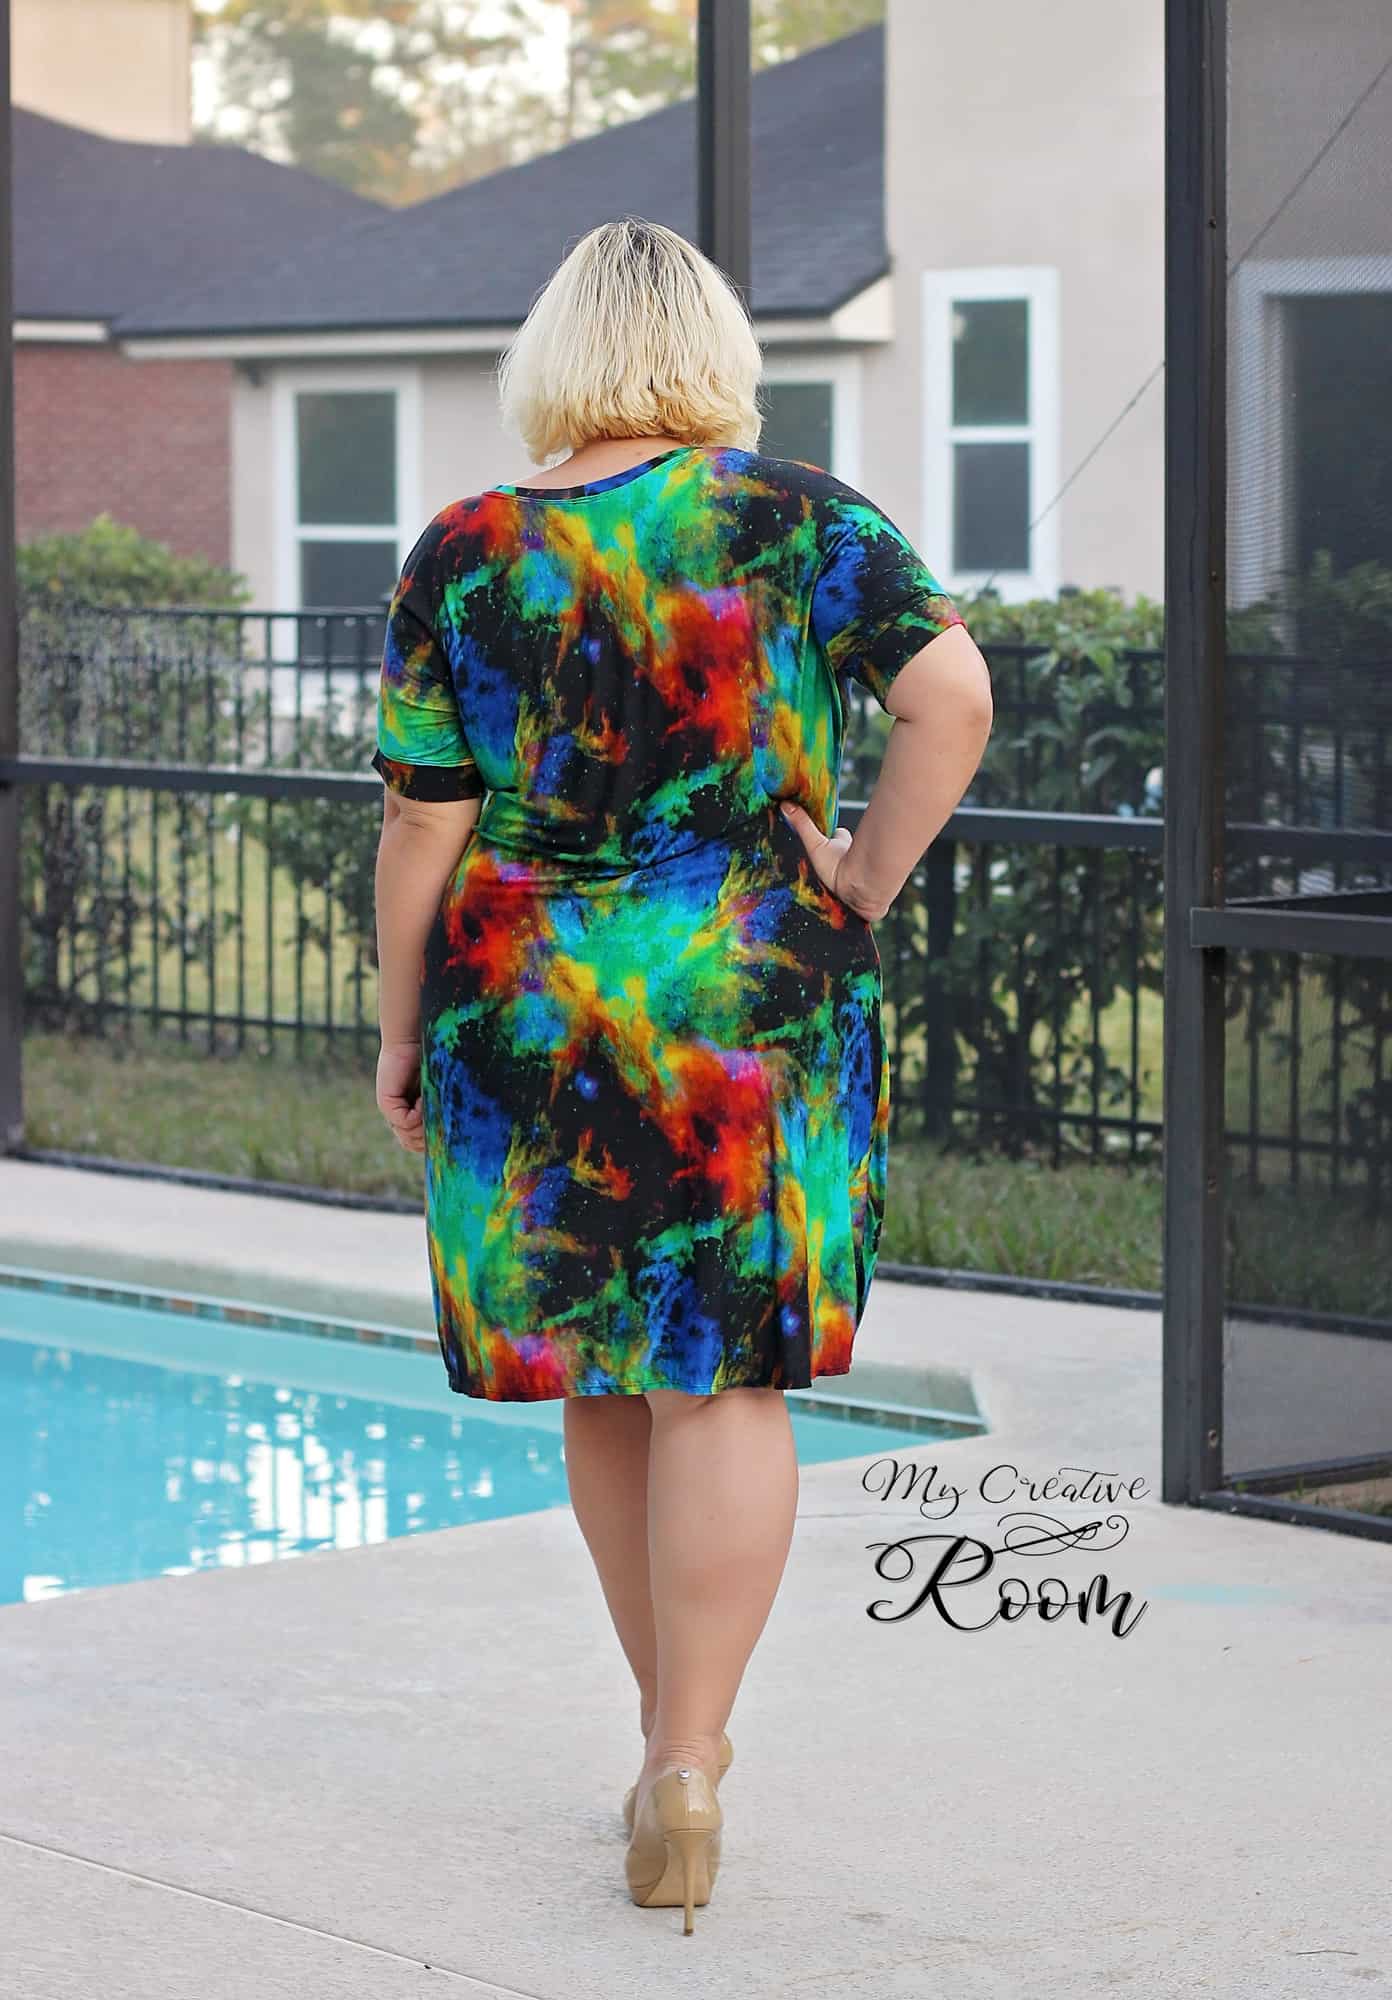
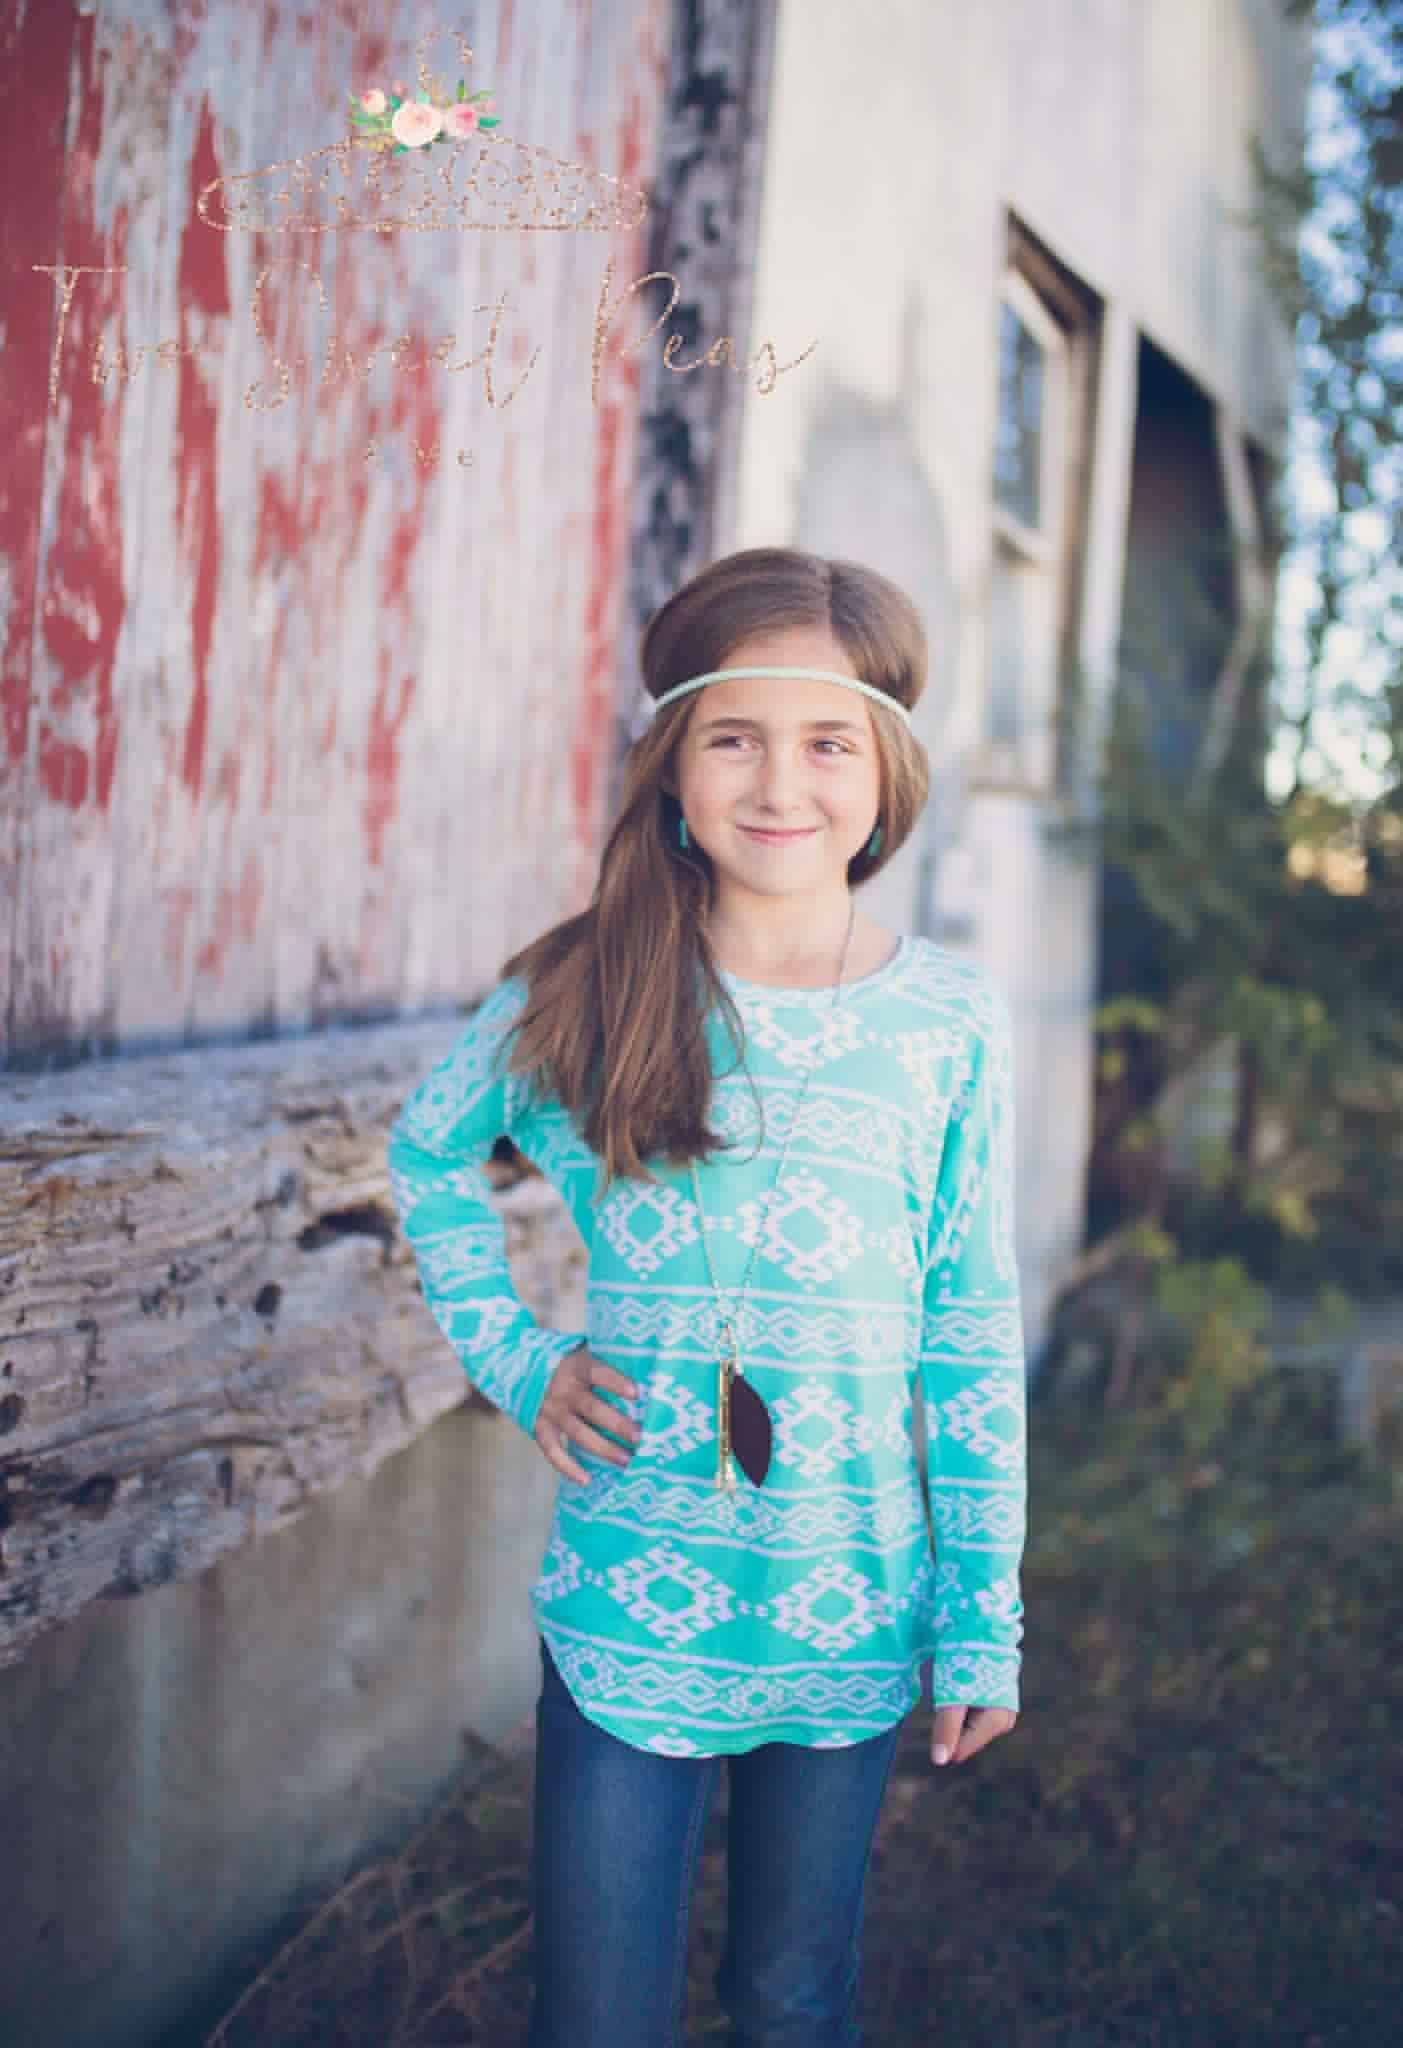
Just like the rest of our patterns, we’ve packed the RagDoll Raglan full of as many options as we could! It is drafted for women, sizes XXS – Plus 3X, with a super relaxed, straight fit throughout the body. The pattern features three sleeve lengths (half, 3/4, long), optional sleeve cuffs, four hem lengths (curved shirt, curved tunic, banded top, and dress) and two back options (full and cut-out).
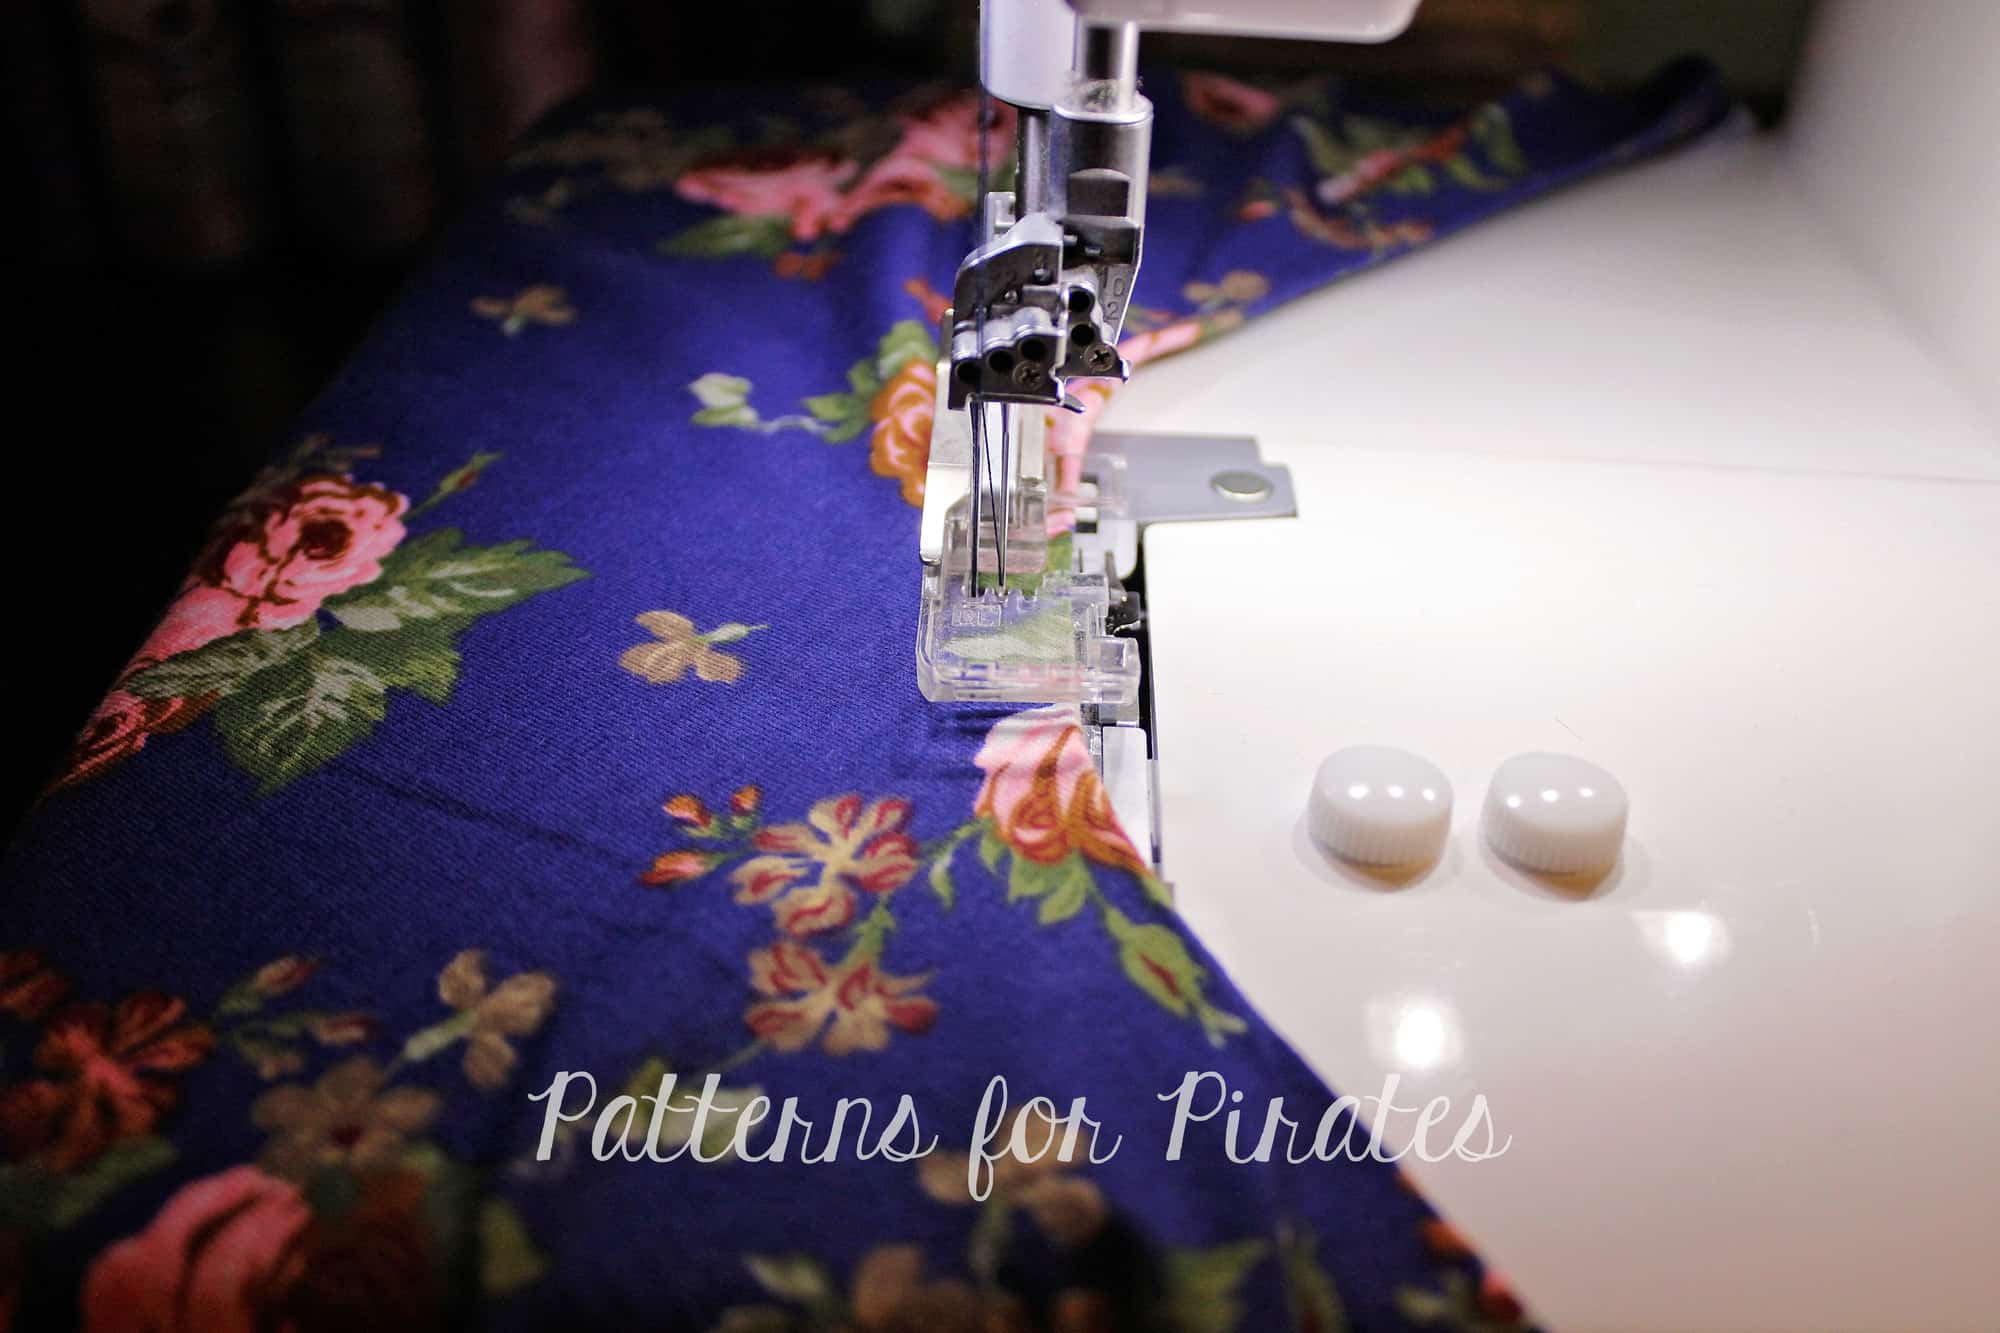
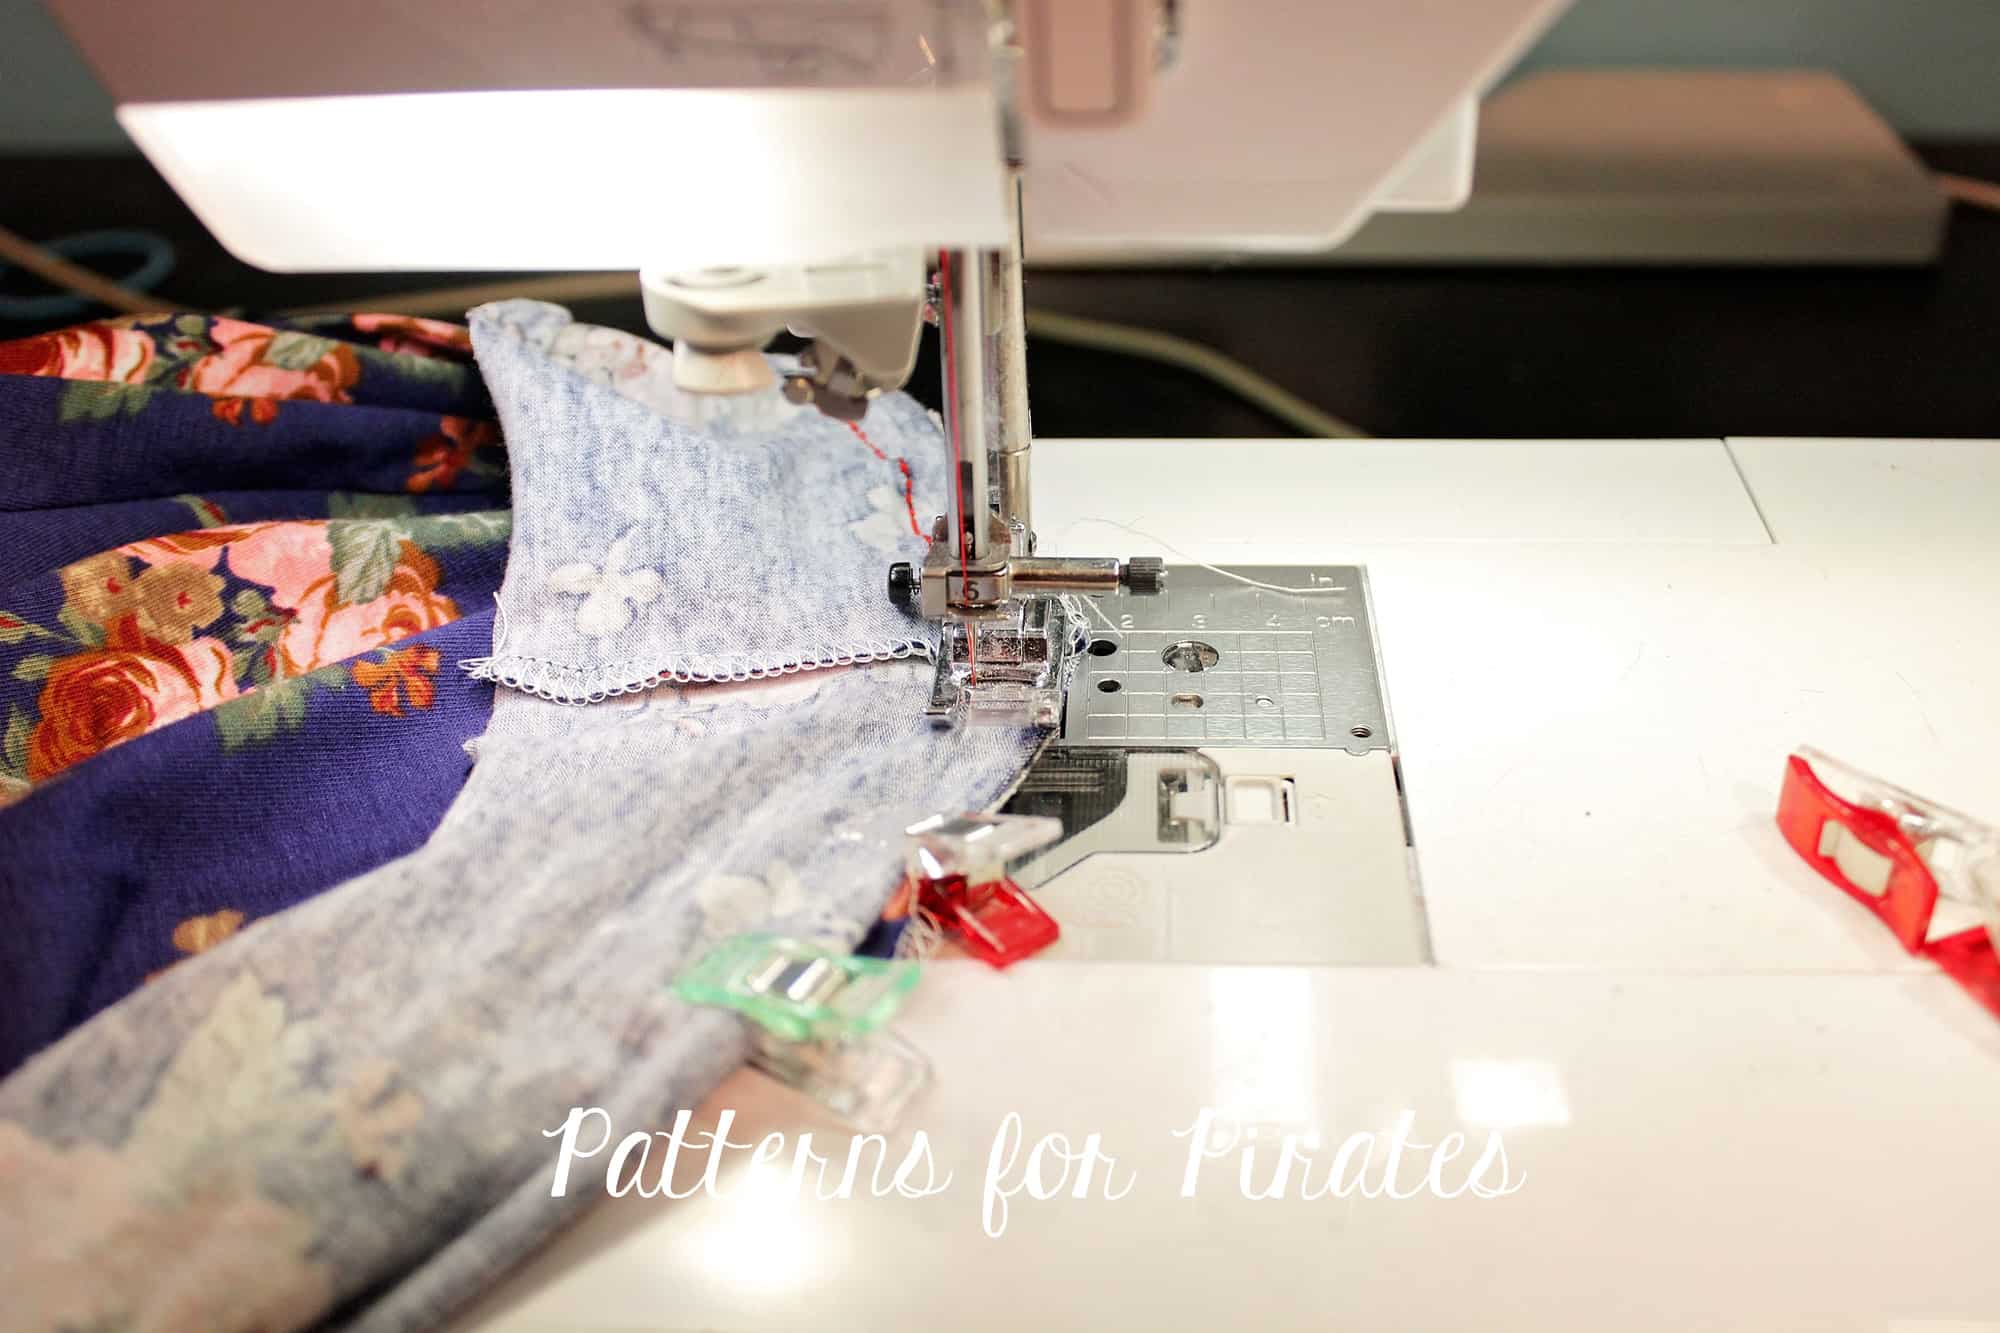
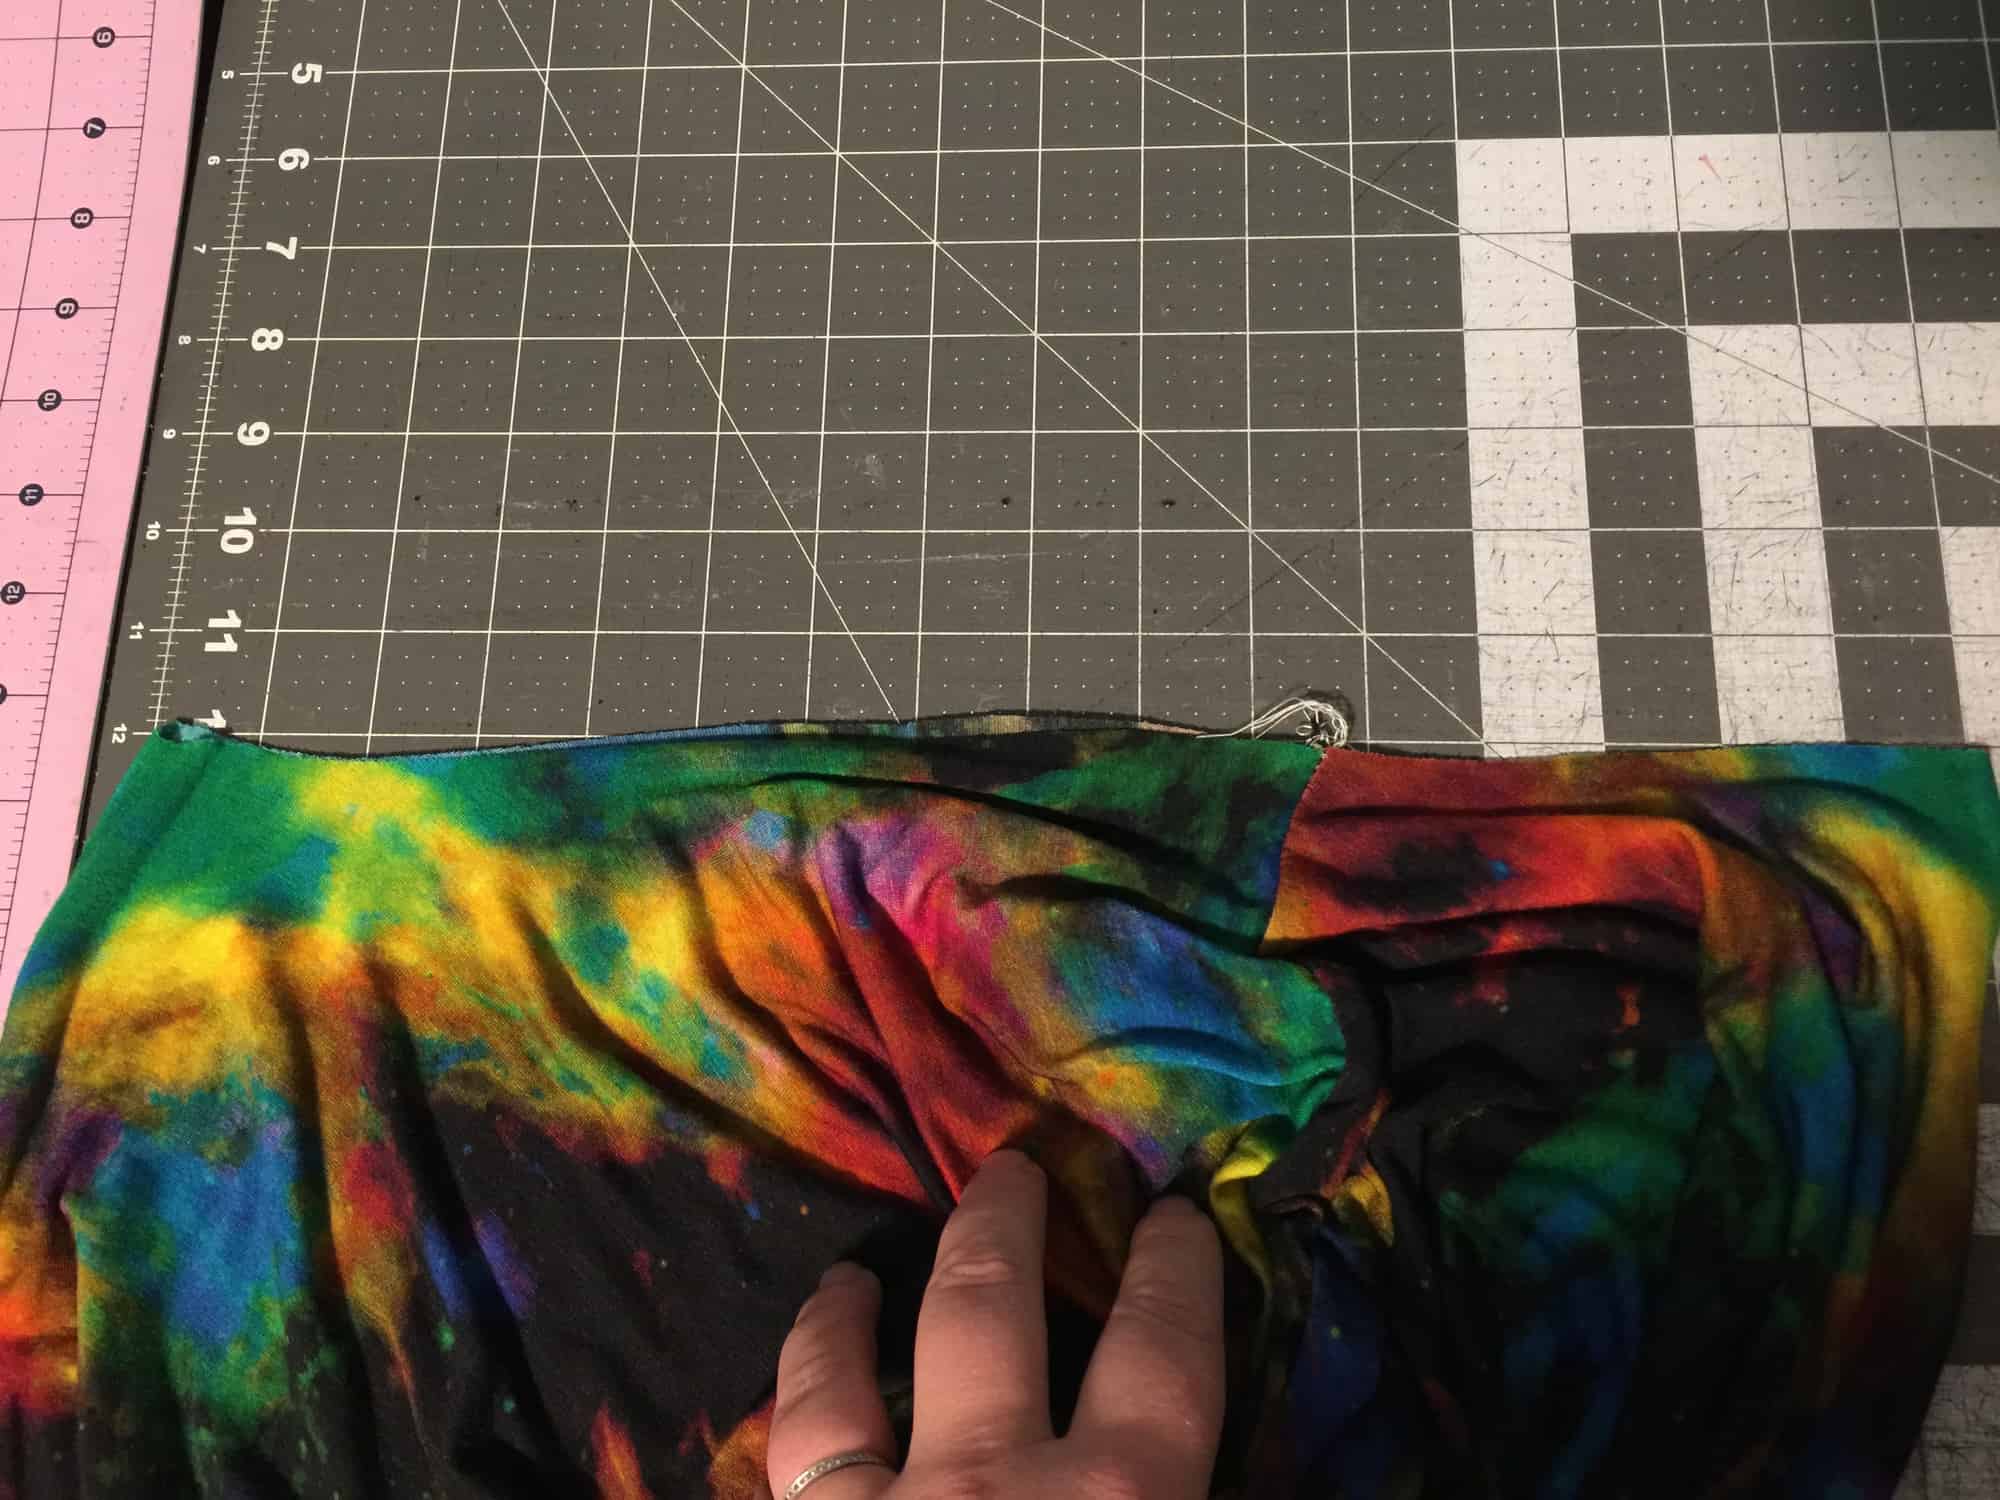
The RagDoll was drafted with knit fabrics that have a good drape to them. Think: your favorite rayon blends, dbp, sweater knits, etc.
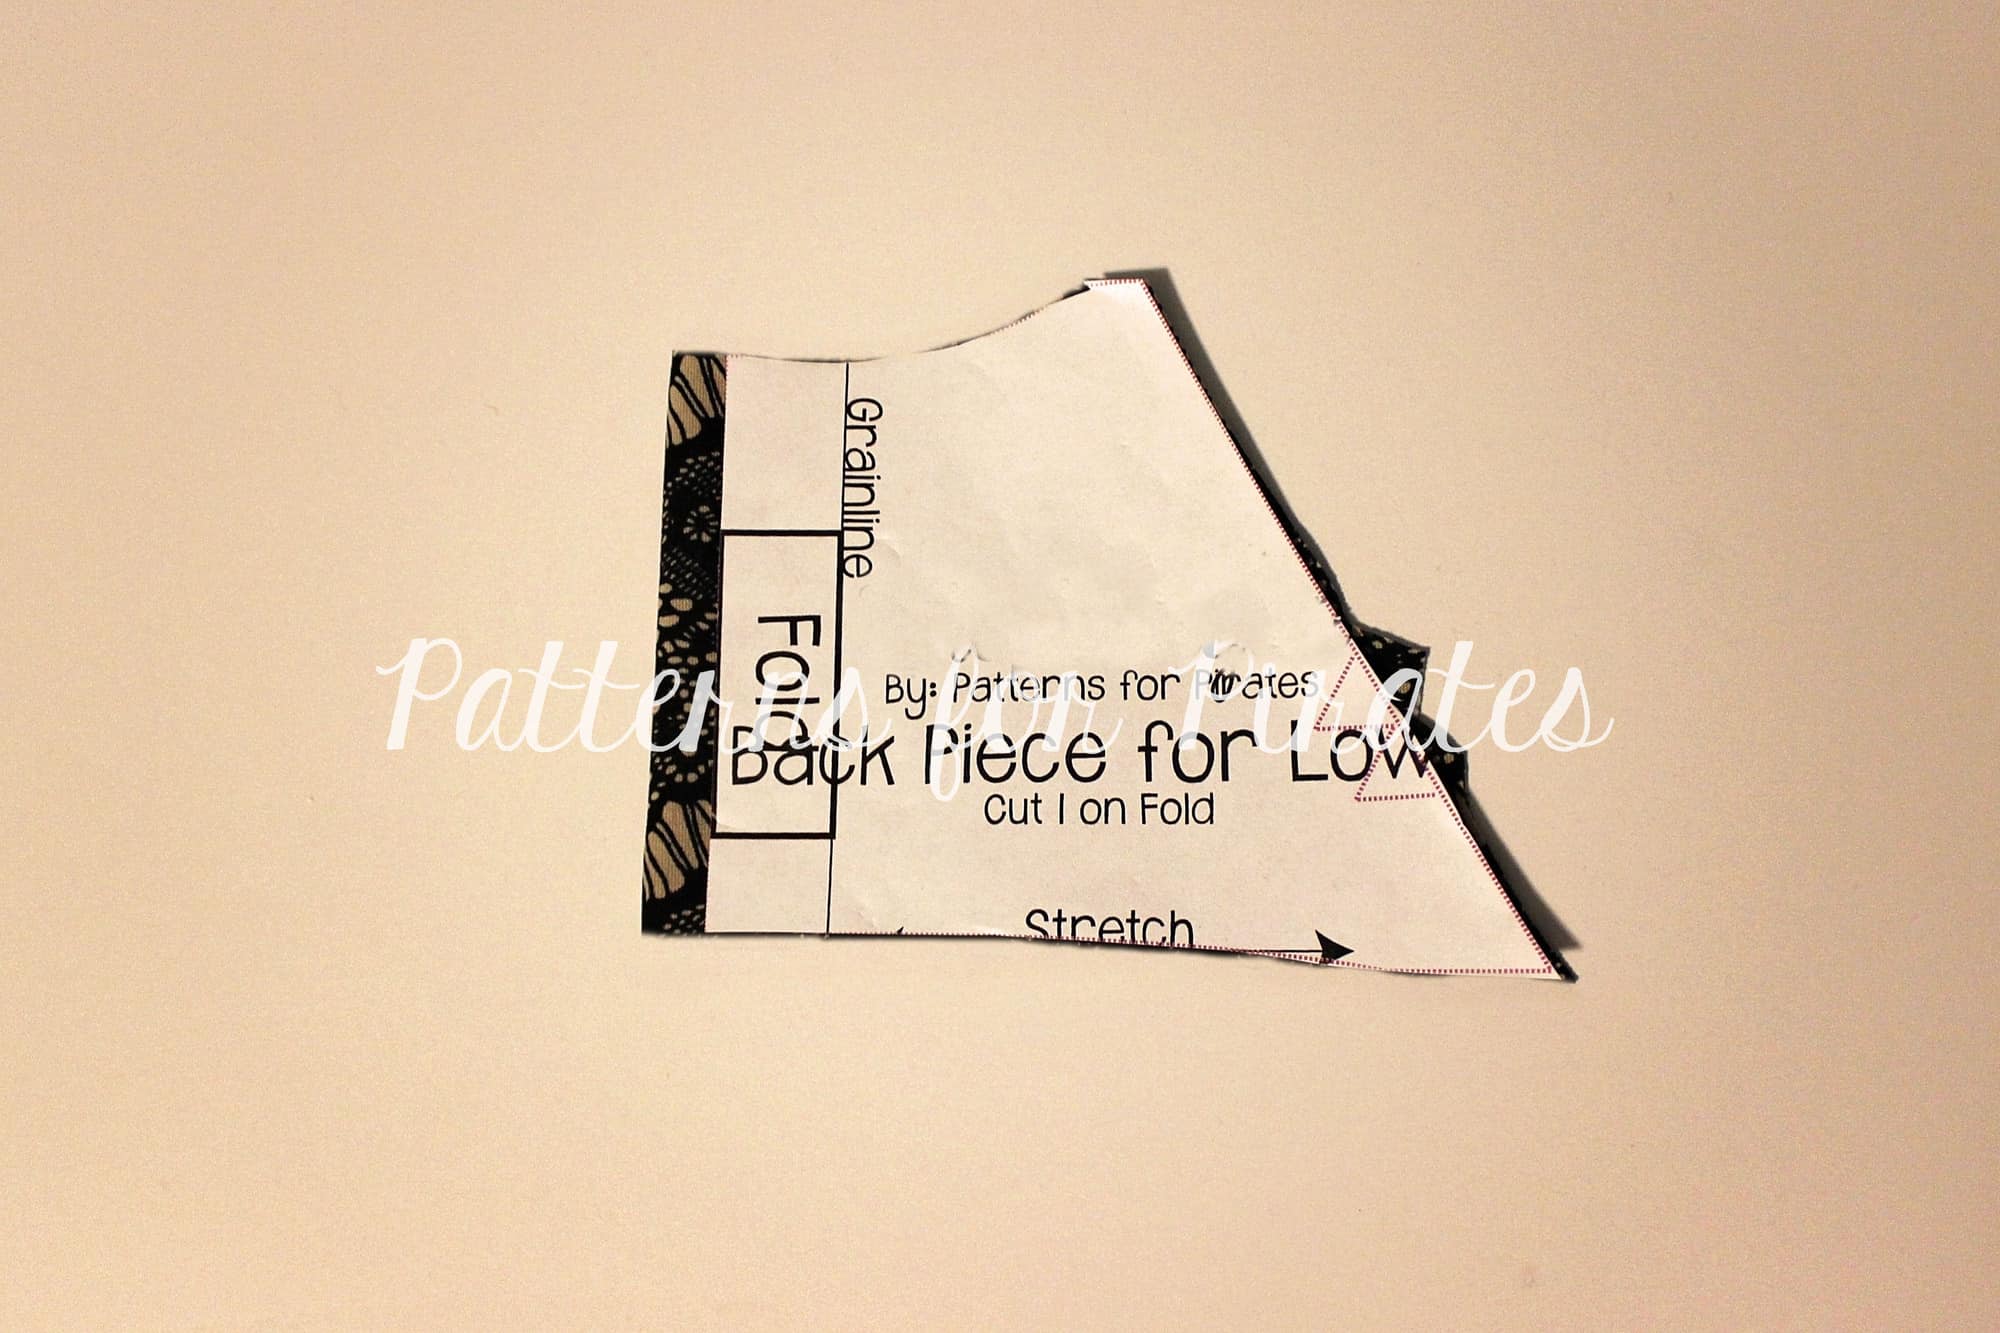
**Want to learn more about how to measure yourself for this pattern? We’ve got you covered with an in-depth blog HERE. And in case you’re new to Patterns for Pirates and PDF patterns in general, we have a great blog full of new user tips HERE to help you get started! And, as with all of our current releases and updates, the pdfs now include our layers feature and can be found in Letter, A4 and A0 sizes.
Let’s see some options in action, shall we?
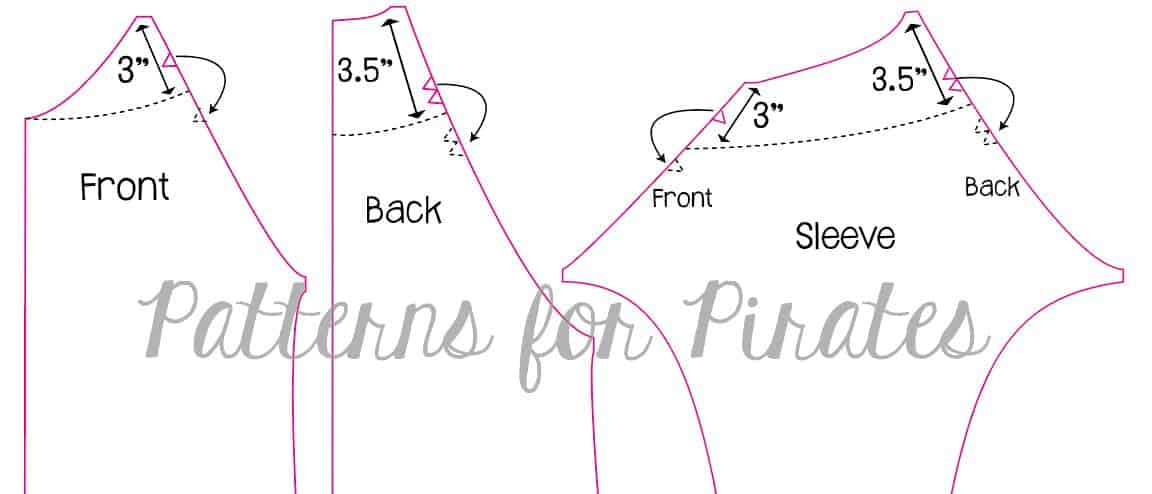
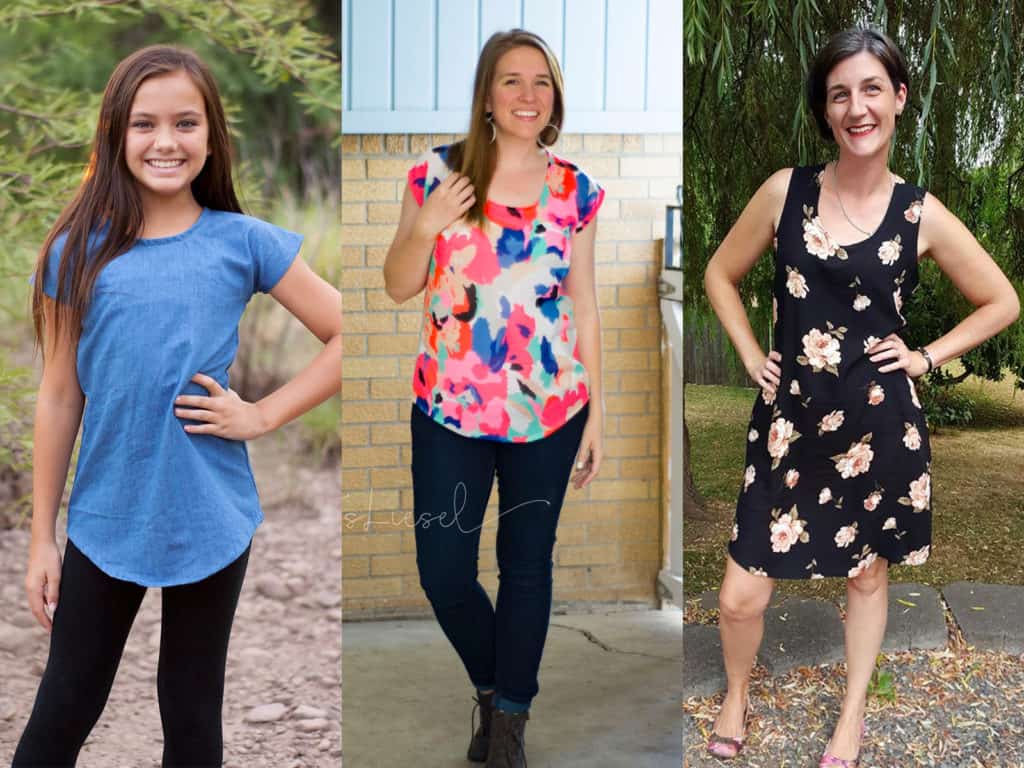
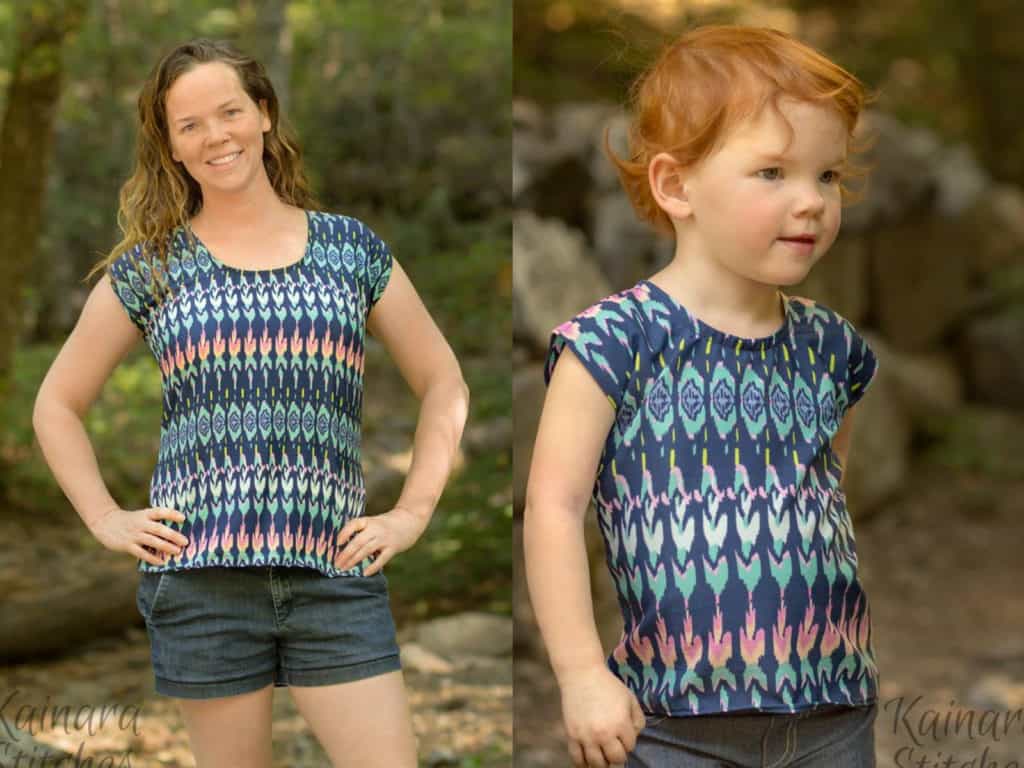
SLEEVE LENGTHS

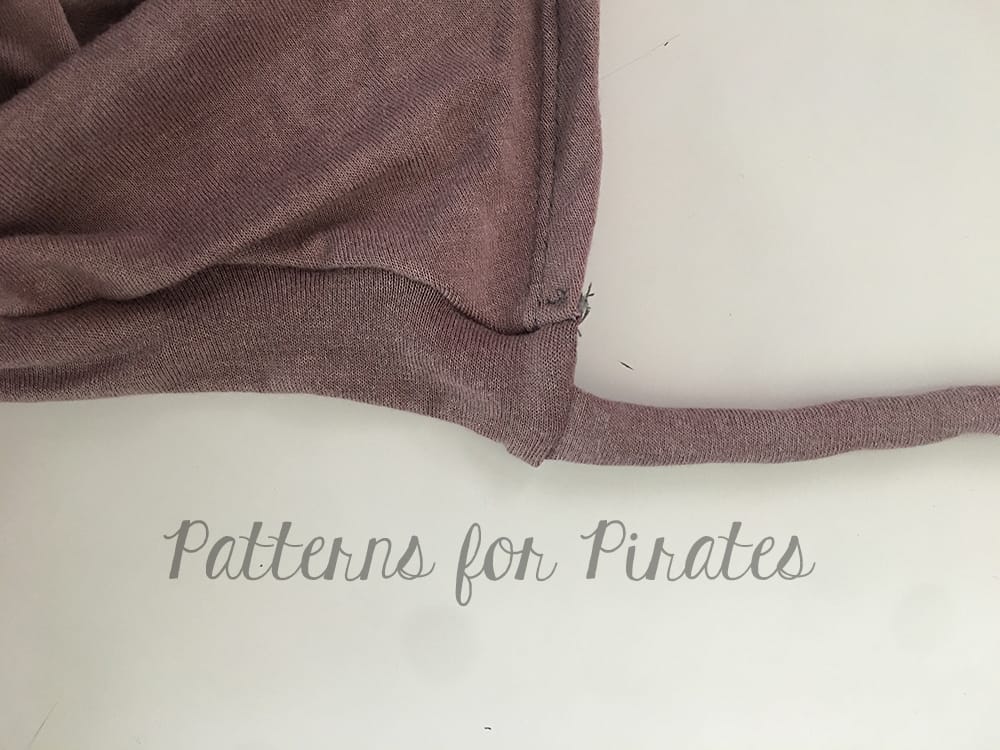
HEM LENGTHS
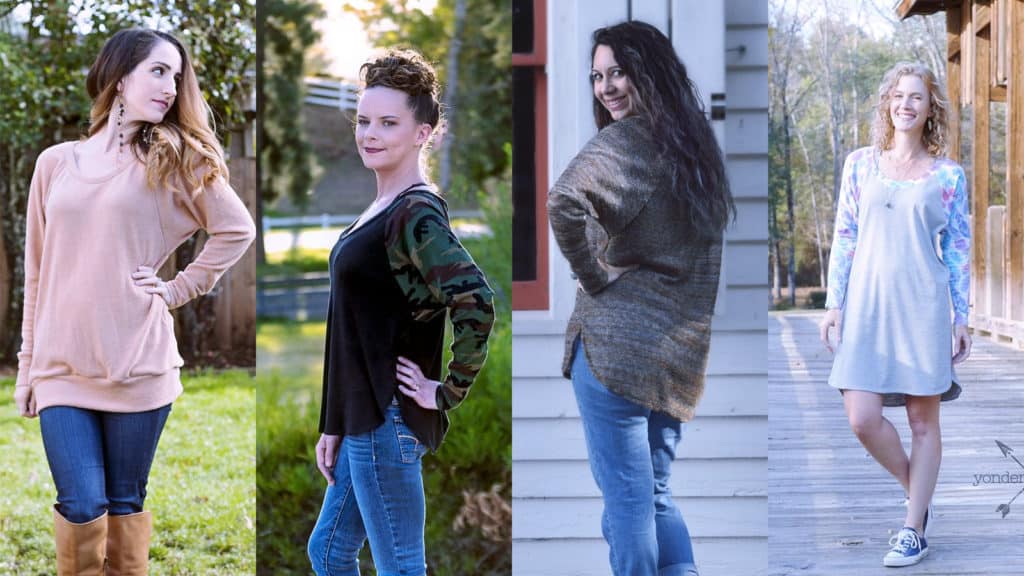
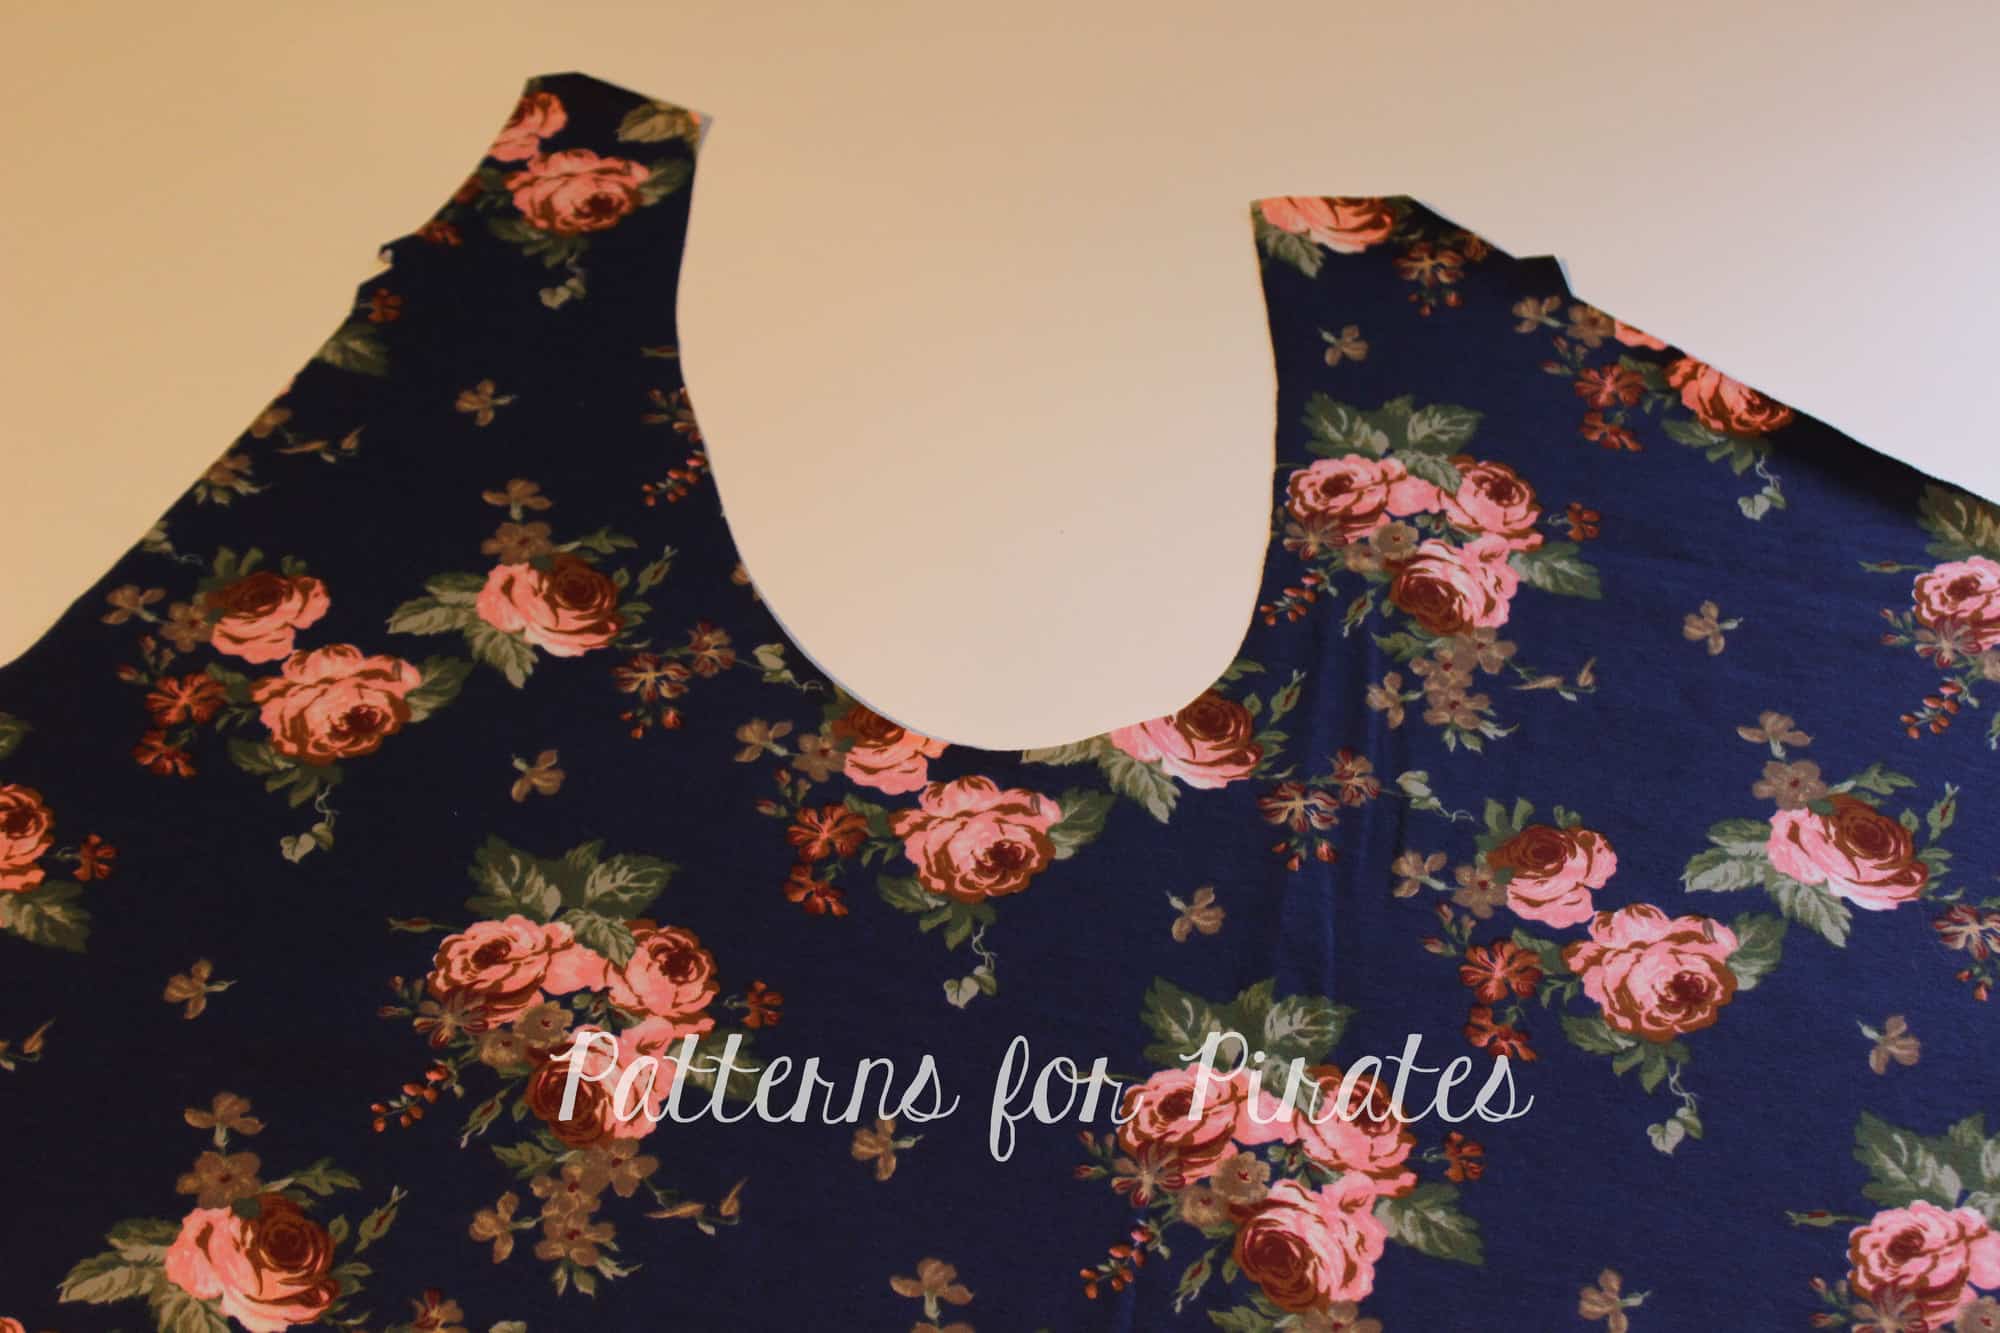
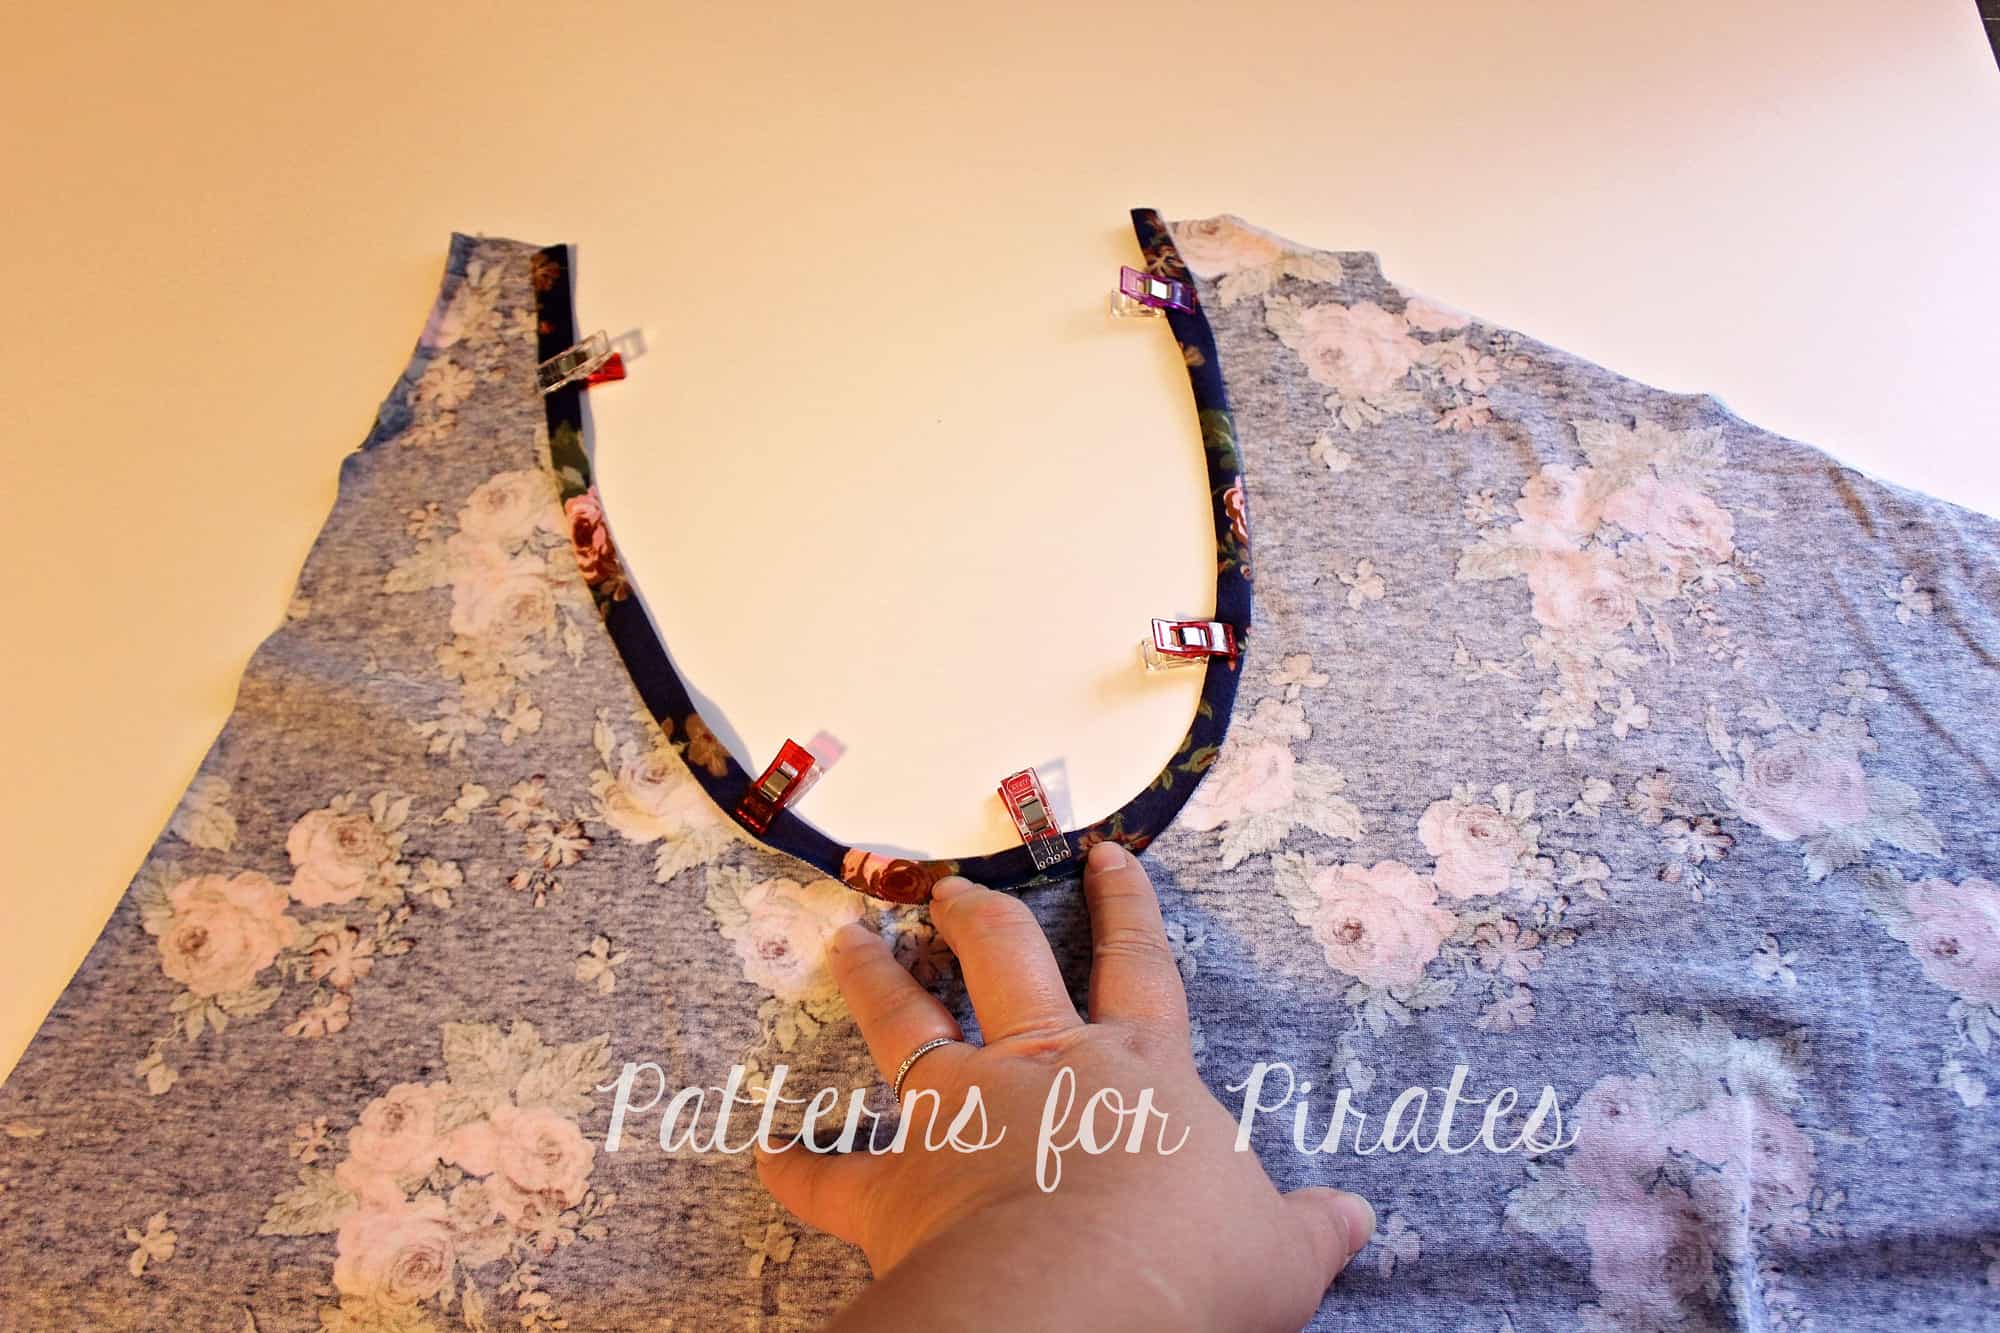
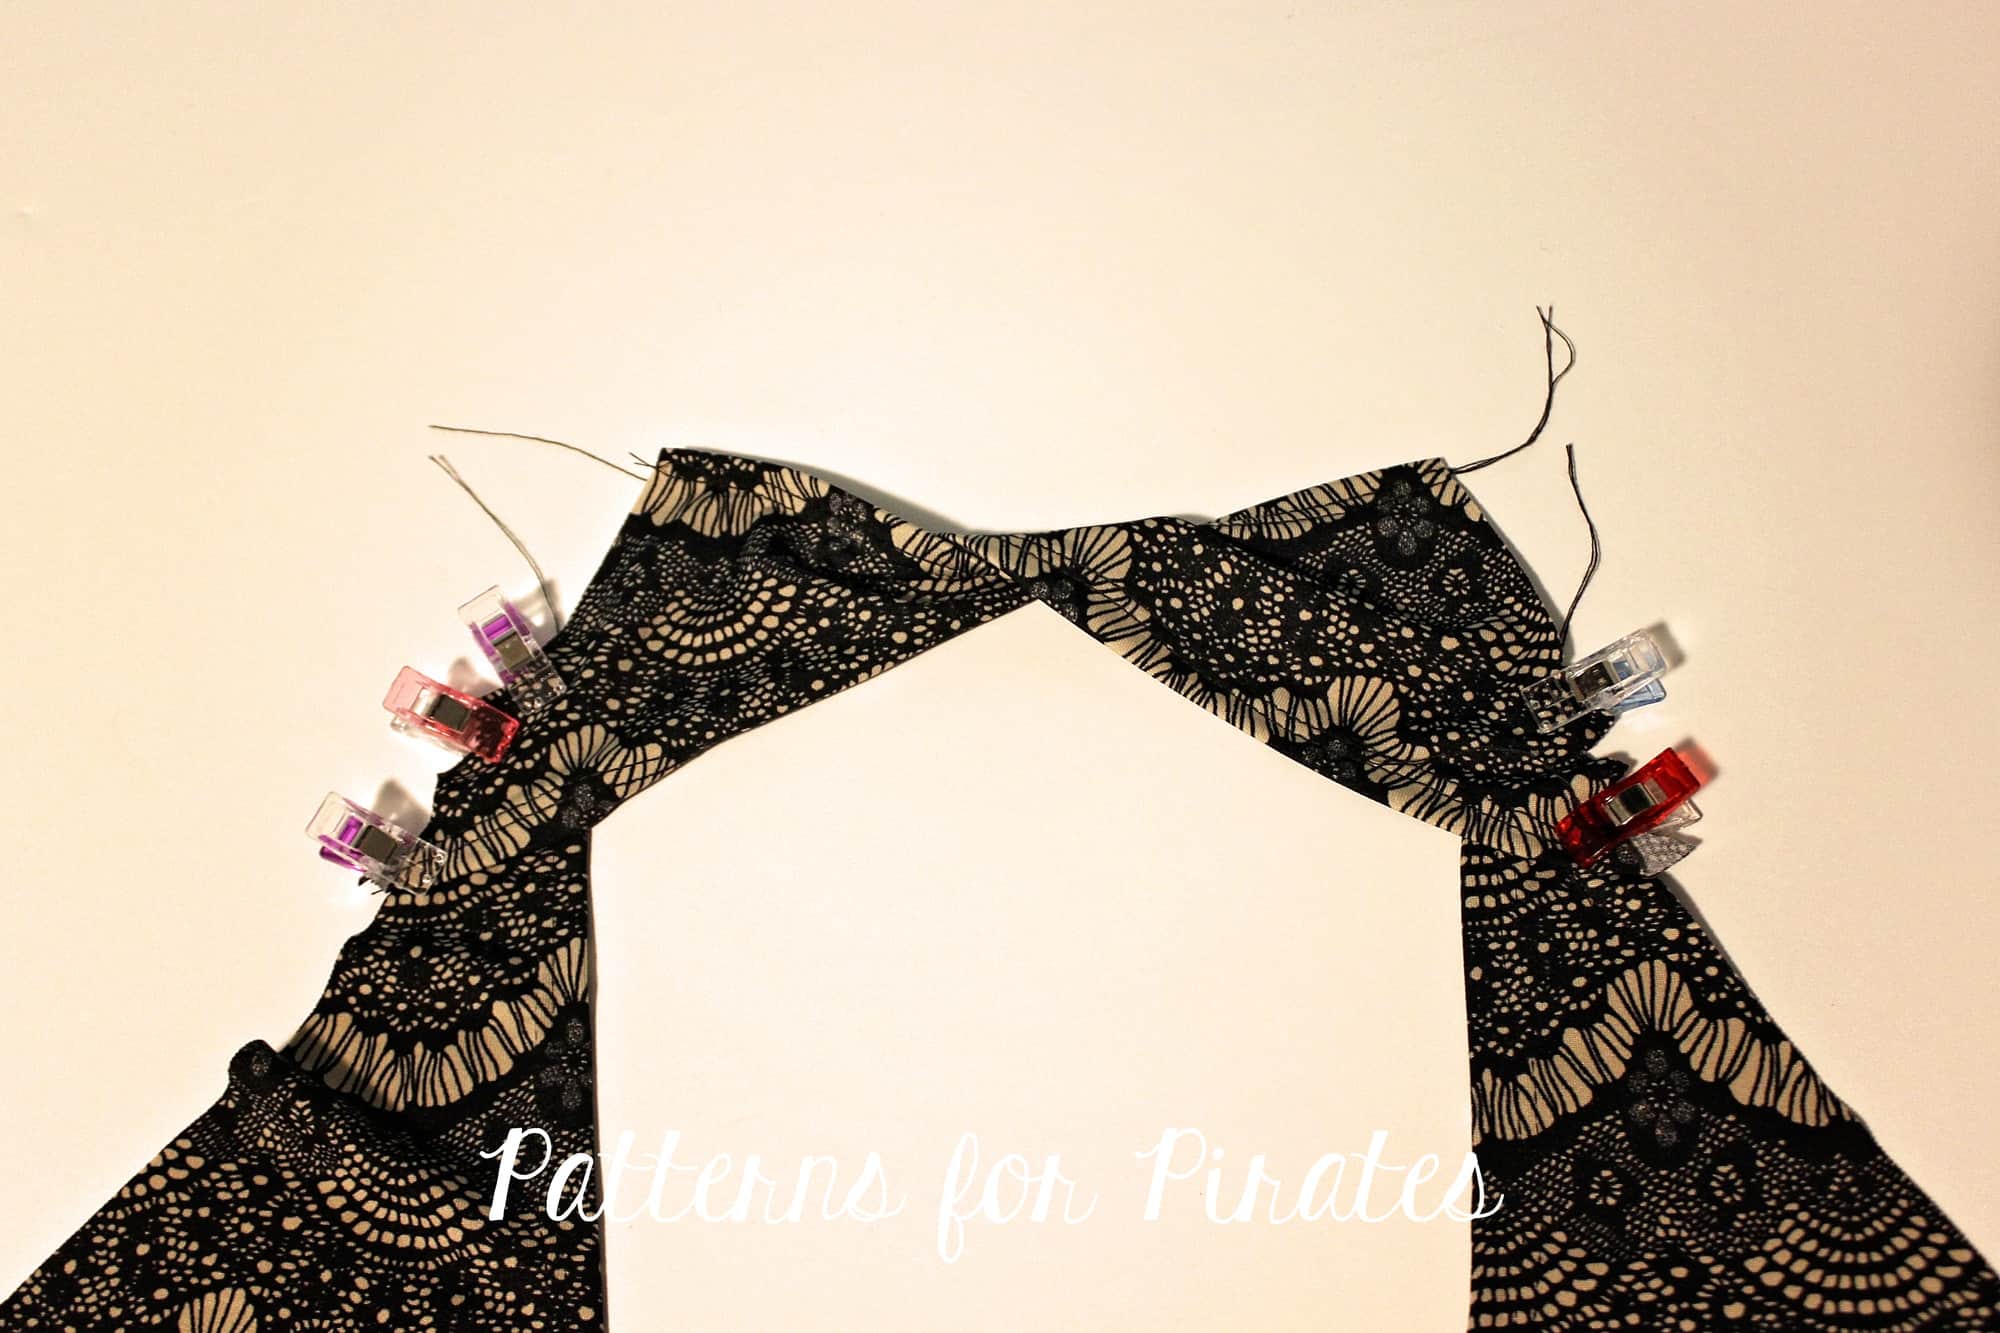
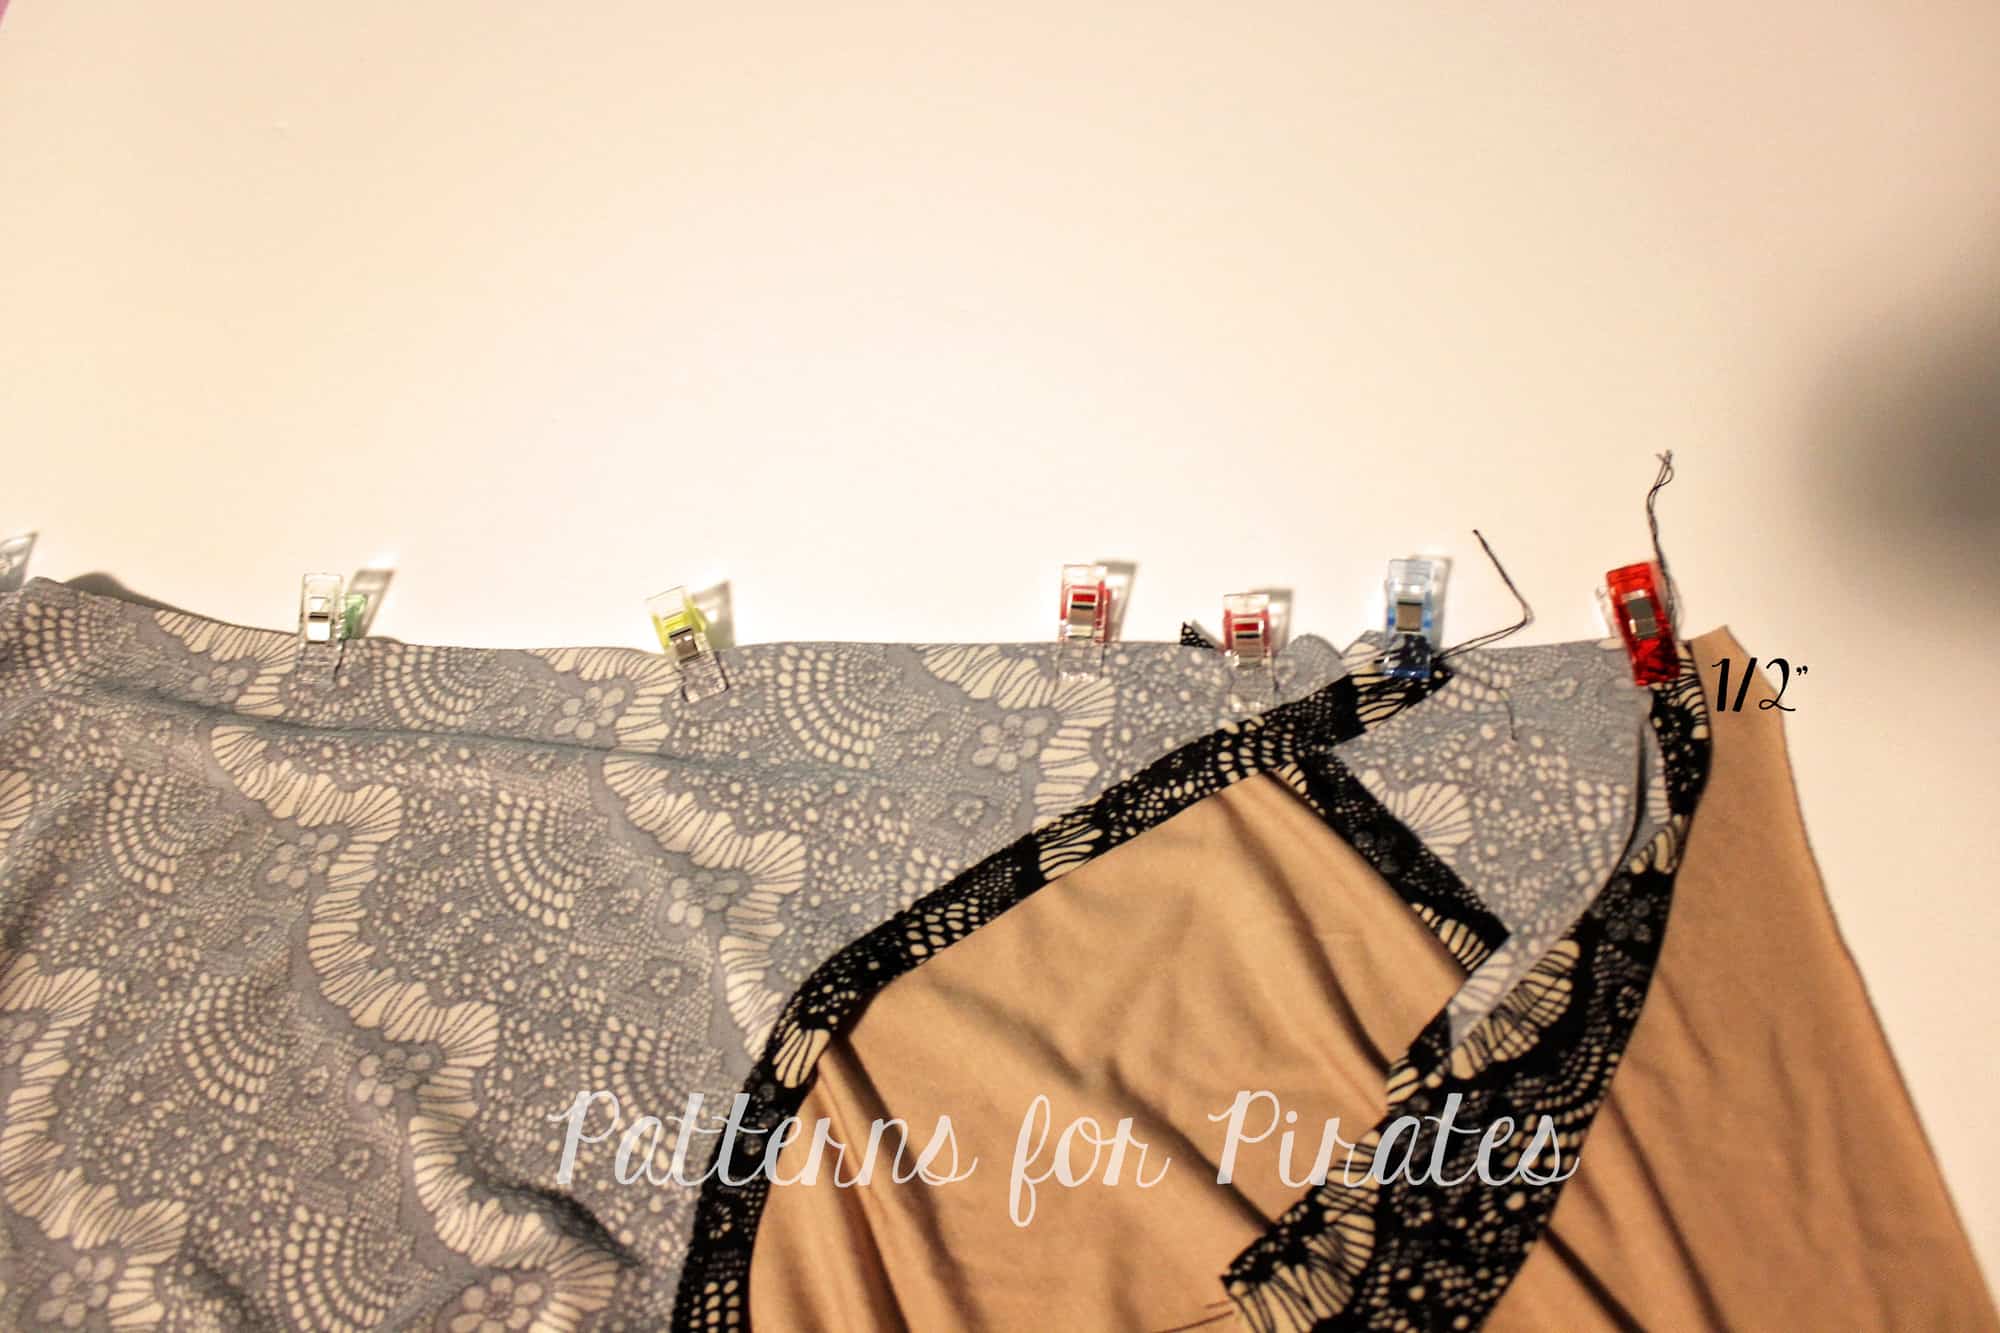
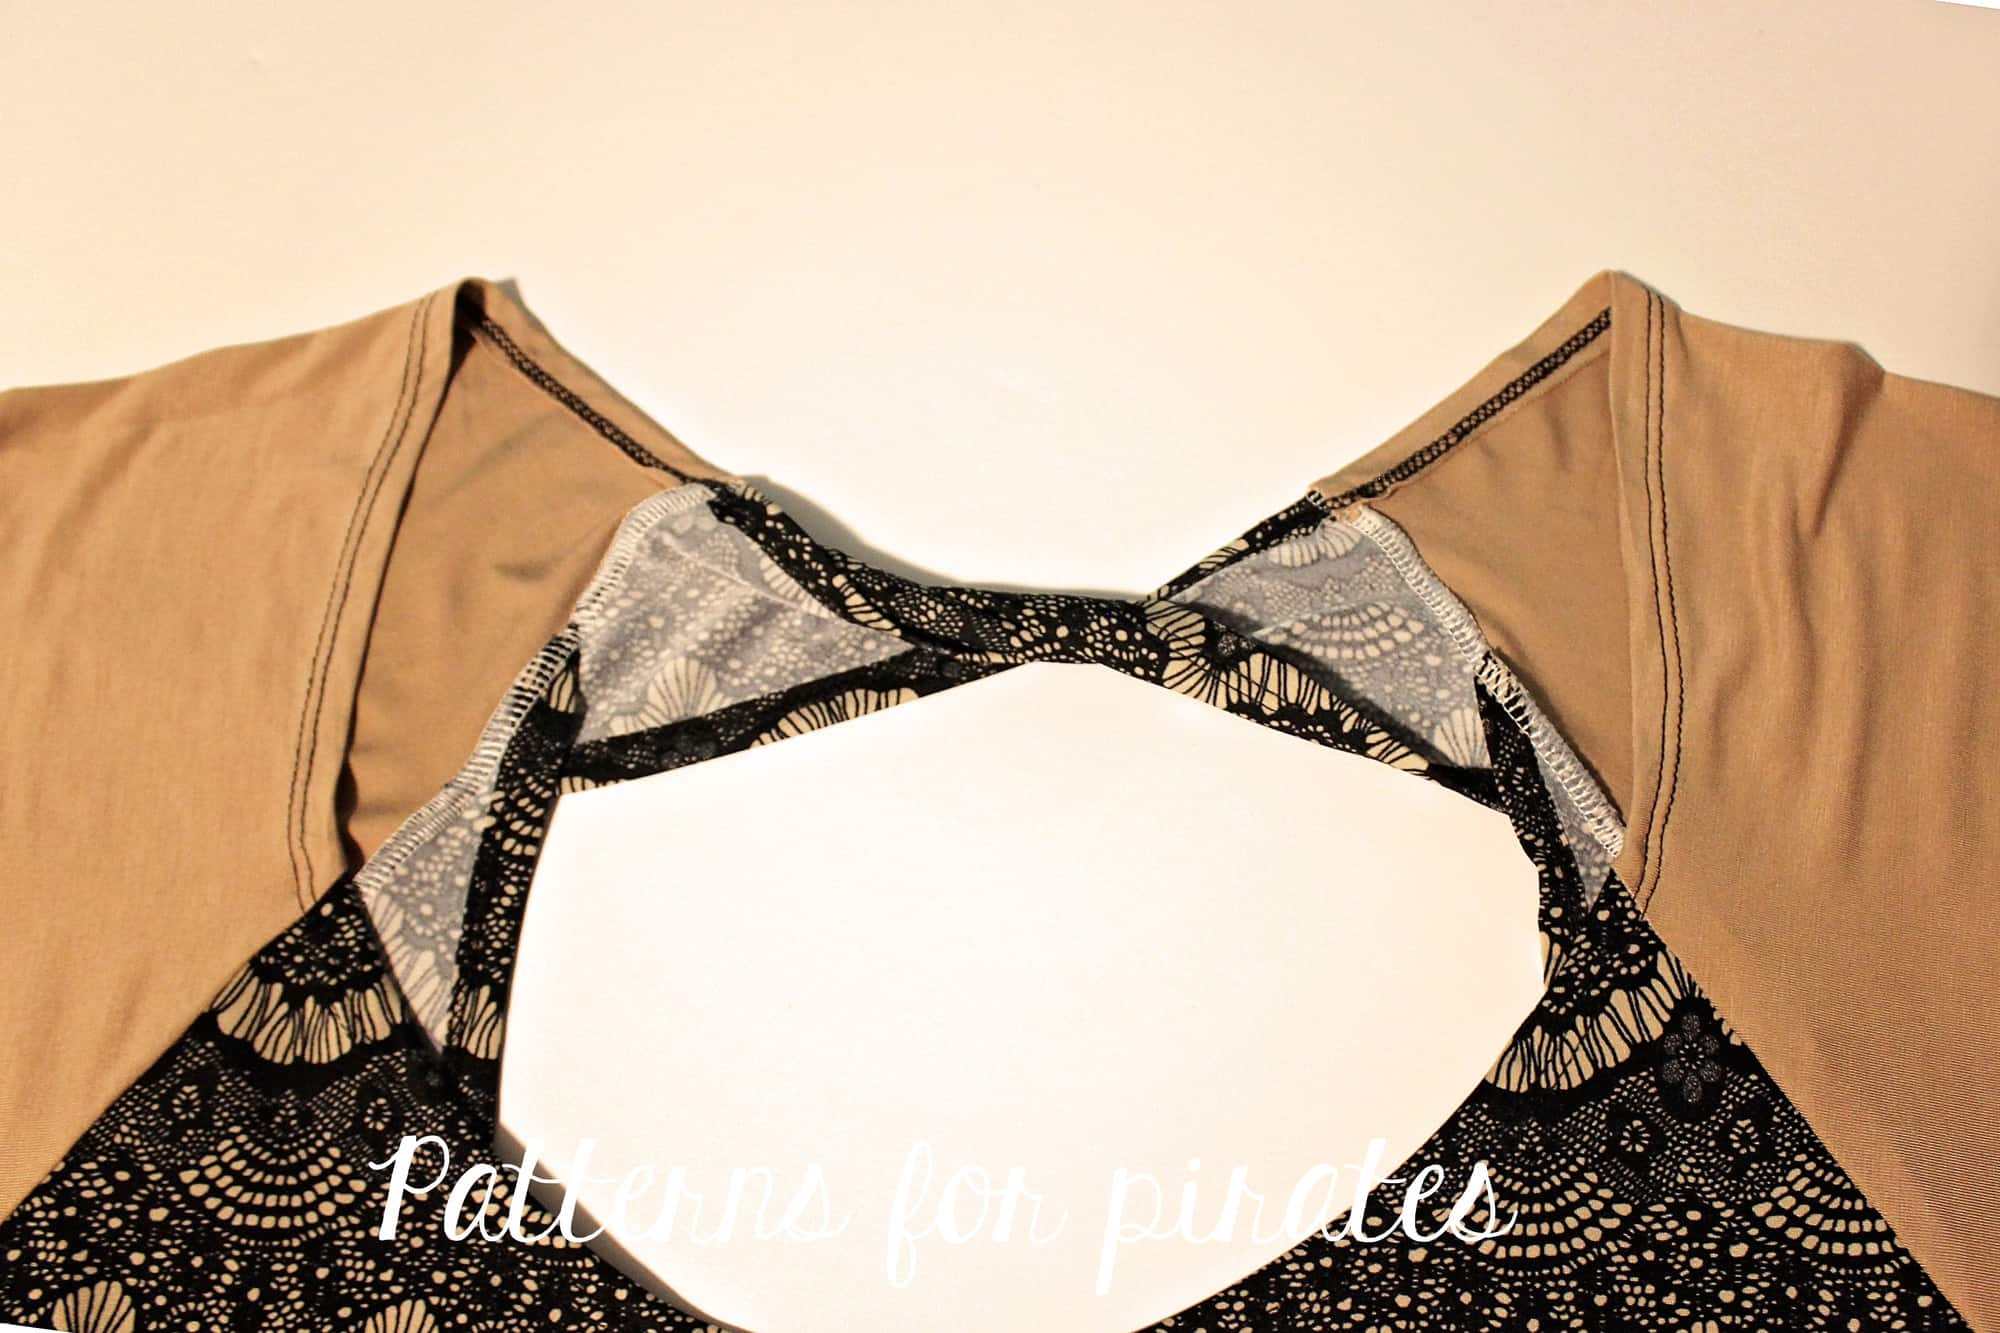
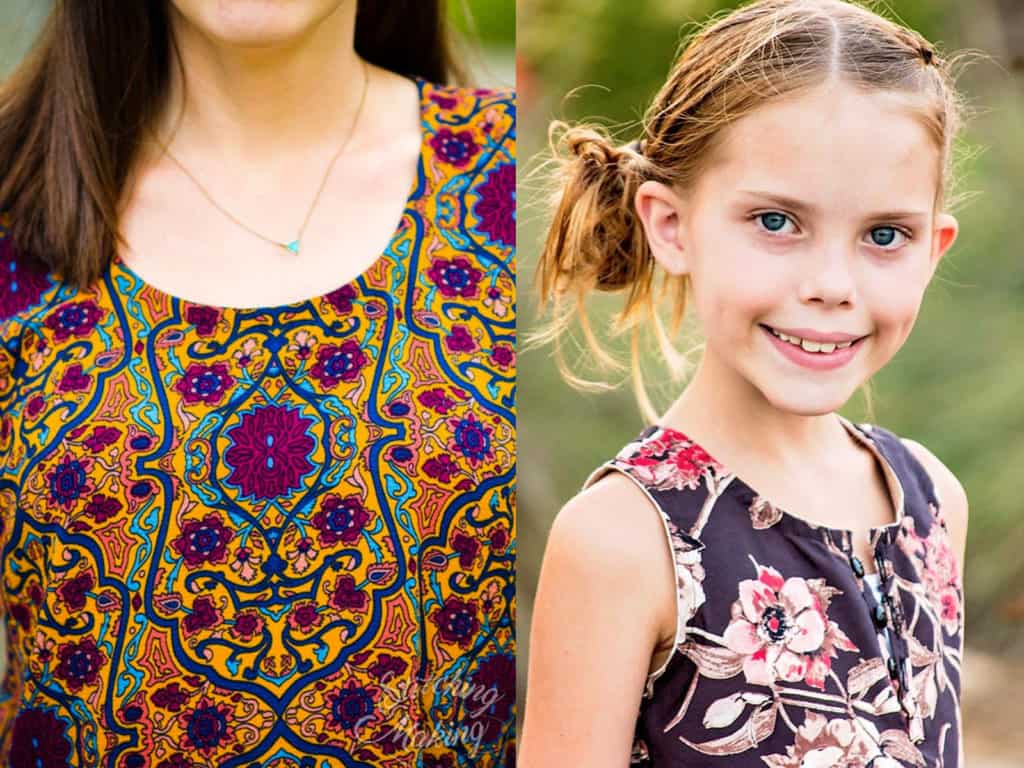
CUT-OUT + FULL BACK

Go Grab your Copy of the RagDoll Raglan Now!
Need more convincing? Just take a look at this pattern on all of the beautiful shapes and sizes of our testers, and get a look at more examples of all the options in our albums in the P4P Facebook group! Find the album HERE.
The sale price will last through December 3 (11:59 PM US Central time zone) so grab it while you can at the introductory price!
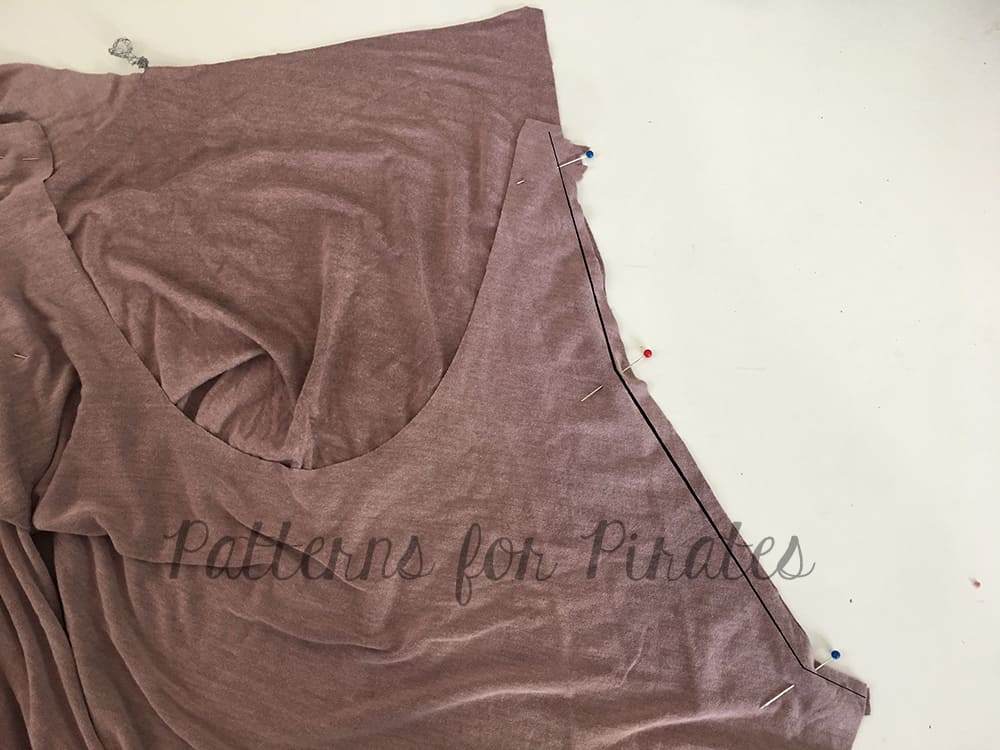
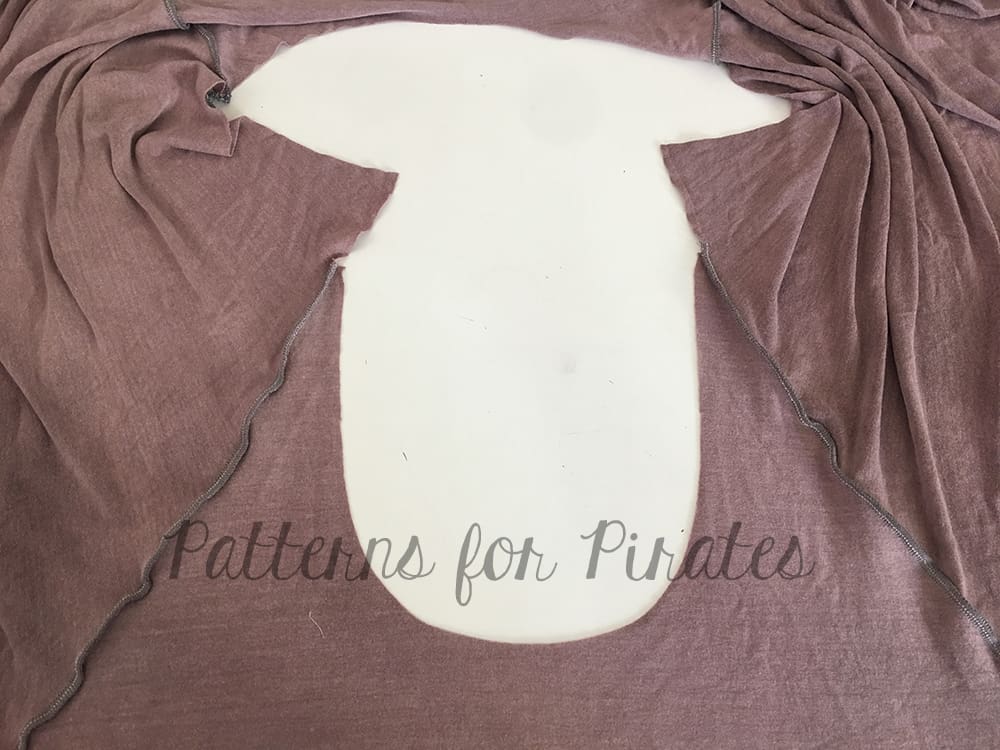
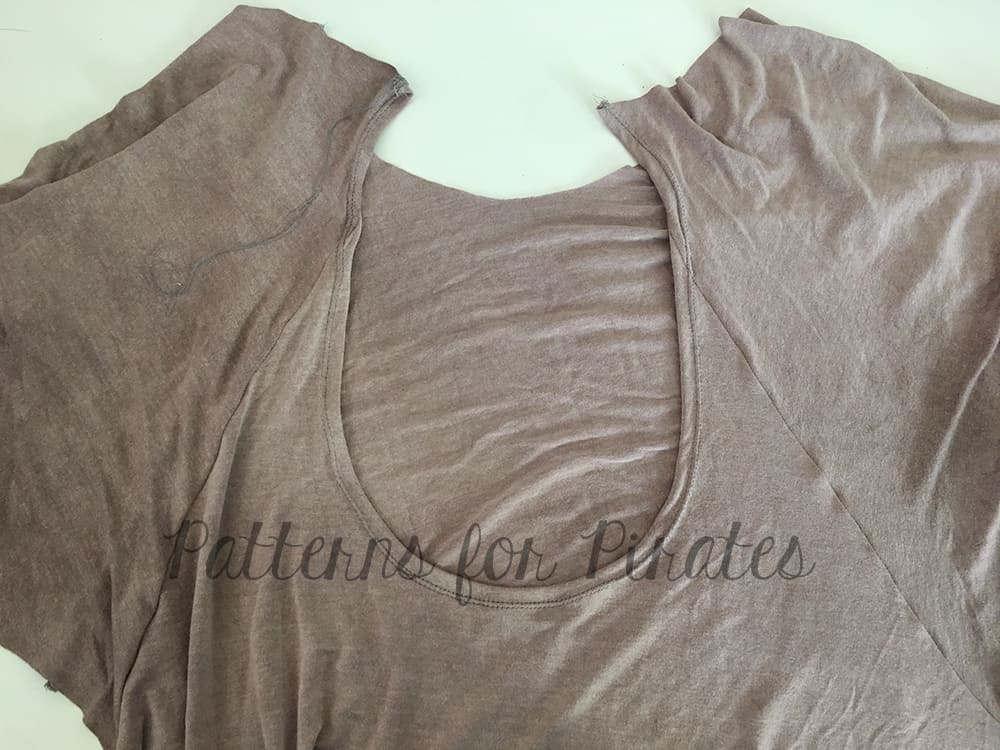
And if that wasn’t enough options, be sure to check out our all of the amazing hacks that our team has come up with: RagDoll Raglan Easy Hacks