Patterns for Pirates

P4P stylish, modern, wearable patterns

  • Home
  • Blog
    • Frequently Asked Questions
    • Pattern Releases
      • Free Patterns
    • P4P University
      • Fitting
      • Sewing with Stretch, Knit Fabrics
      • Sewing with Woven Fabrics
      • Sewing Machines
    • Sew-A-Longs
    • Fabric for Pirates
    • Pattern Hacks
    • Announcement
      • Blog Tours
      • Contest/Giveaway
  • Shop
  • Bundle Discounts
  • Flash Friday
  • Gift Cards
  • My Account
  • Cart

X Factor Sew Along – day 6

August 29, 2020

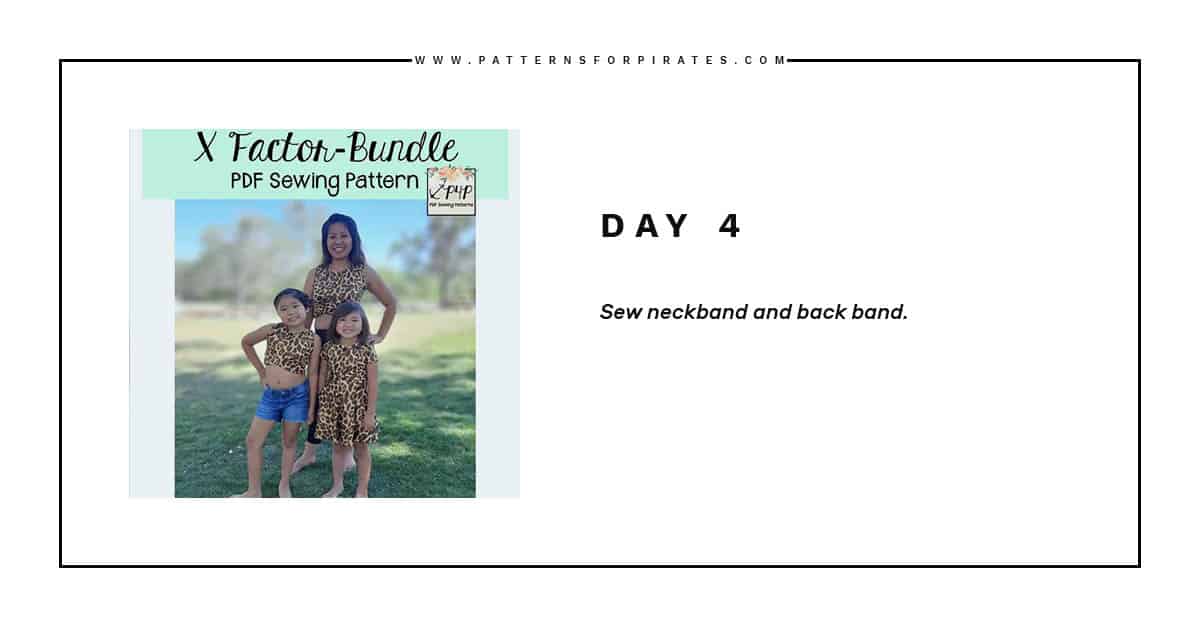
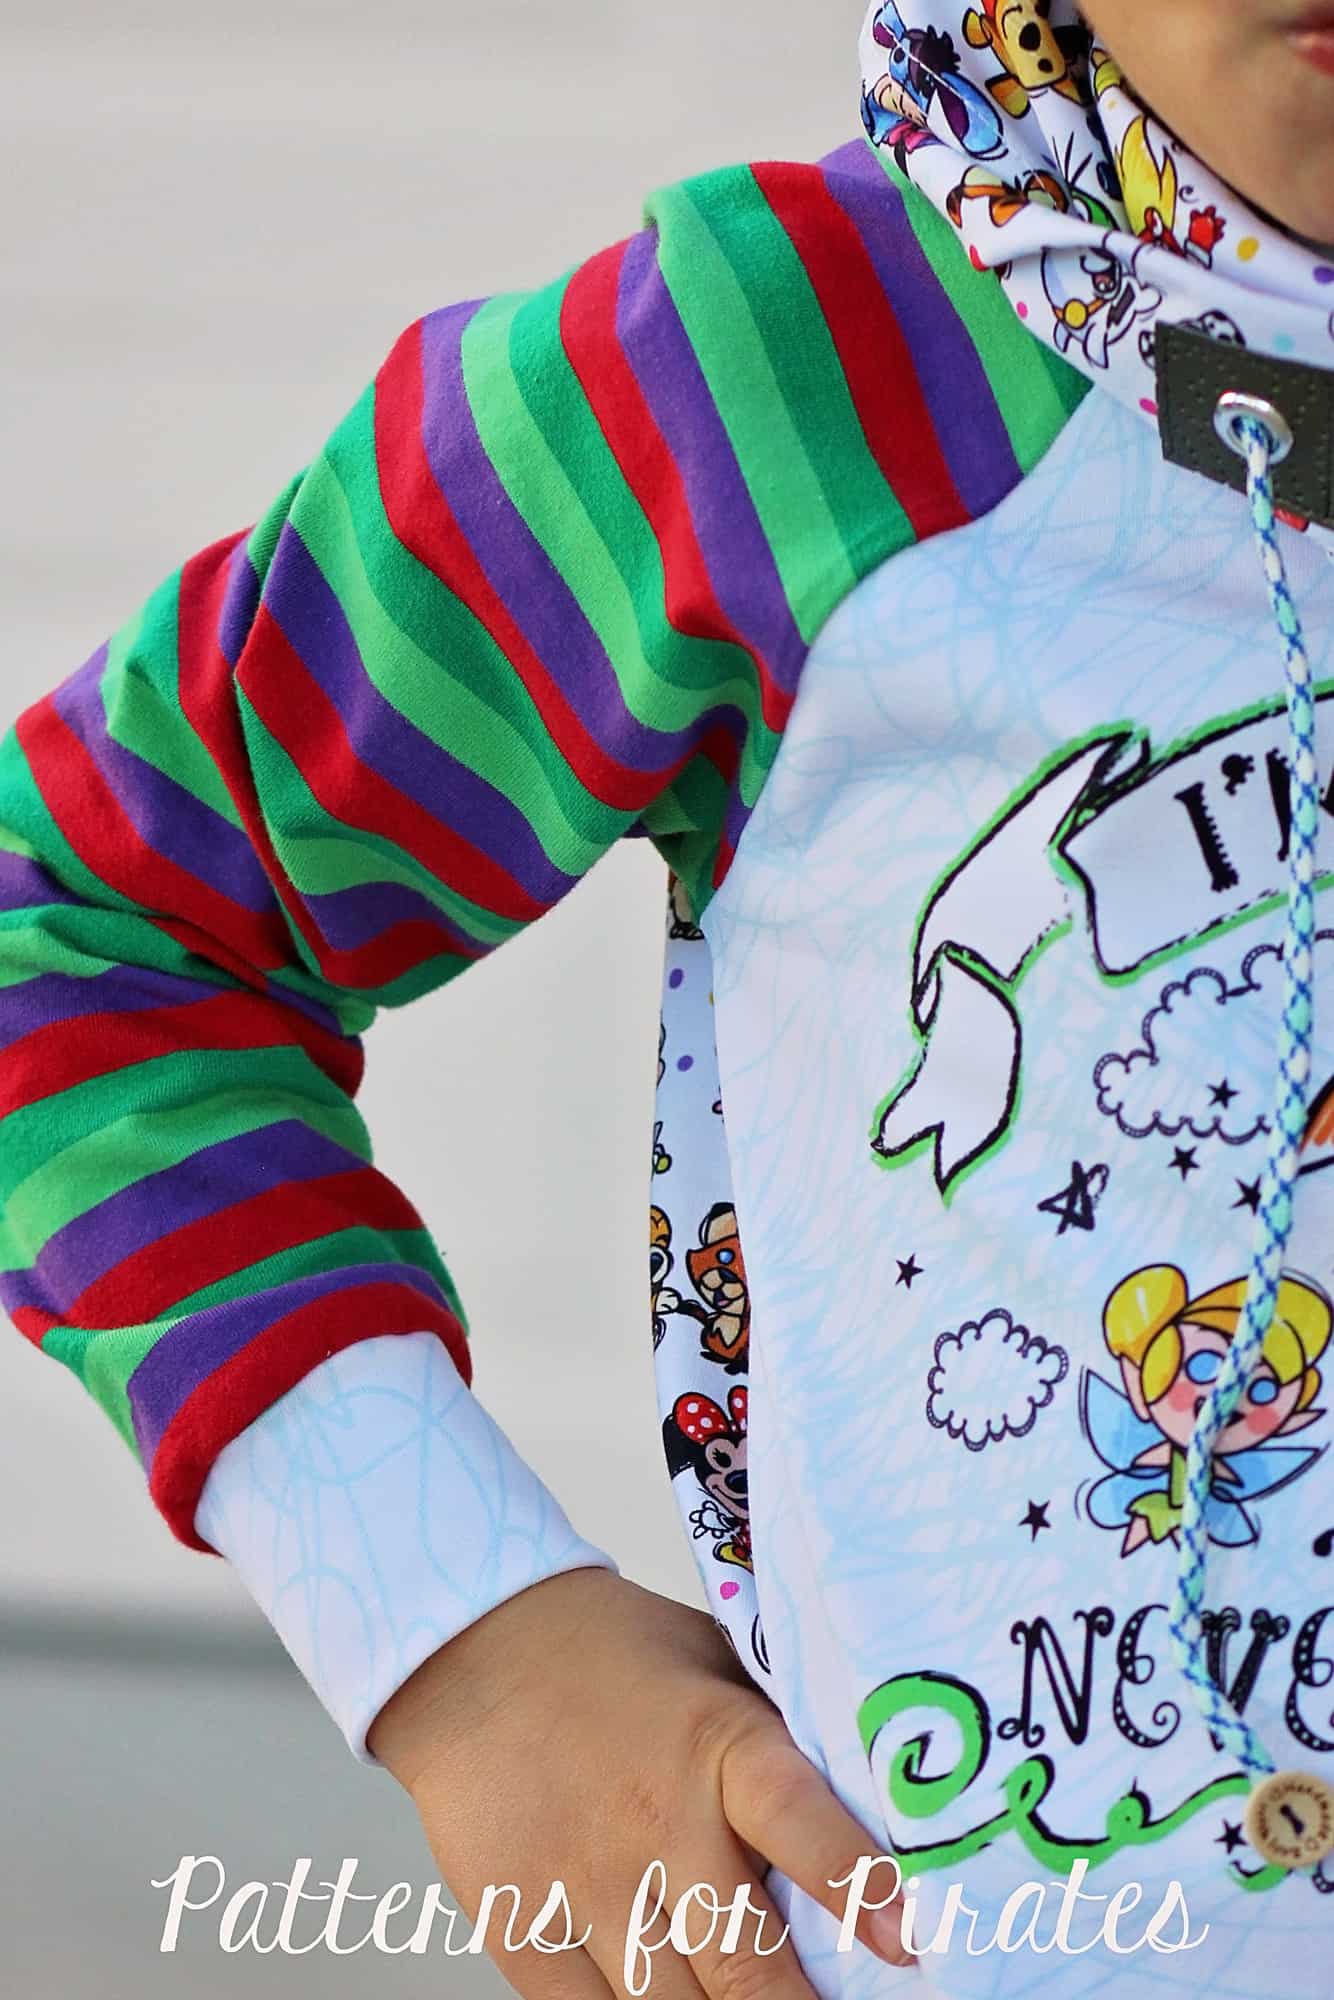
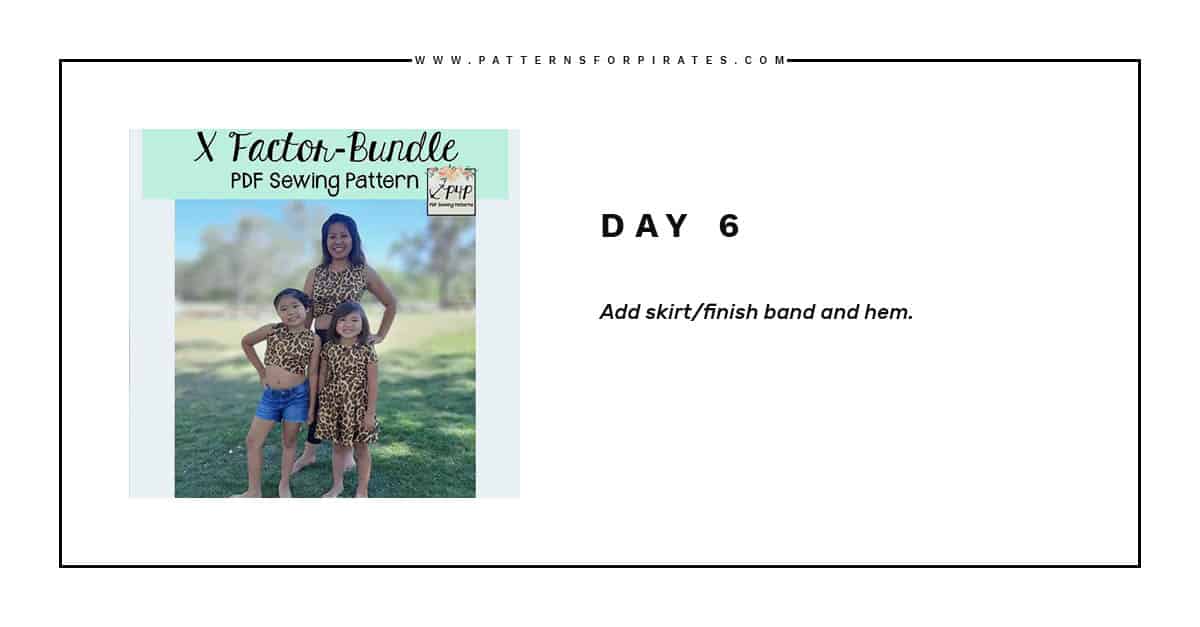
Last sewing day is here…and it’s probably the most rewarding one. Today we will get to see the project come to life. For the crop option you will be attaching the band to the bodice matching the side seams. Keep in mind that it is much easier to sew a couple of inches on each side of the center seam with your sewing machine (using a stretch stitch!) than it is to sew all around the waist with only the serger. If you are sewing the dress option, you would need to make sure that the waistband is sandwiched between the skirt and the bodice, right sides together. 

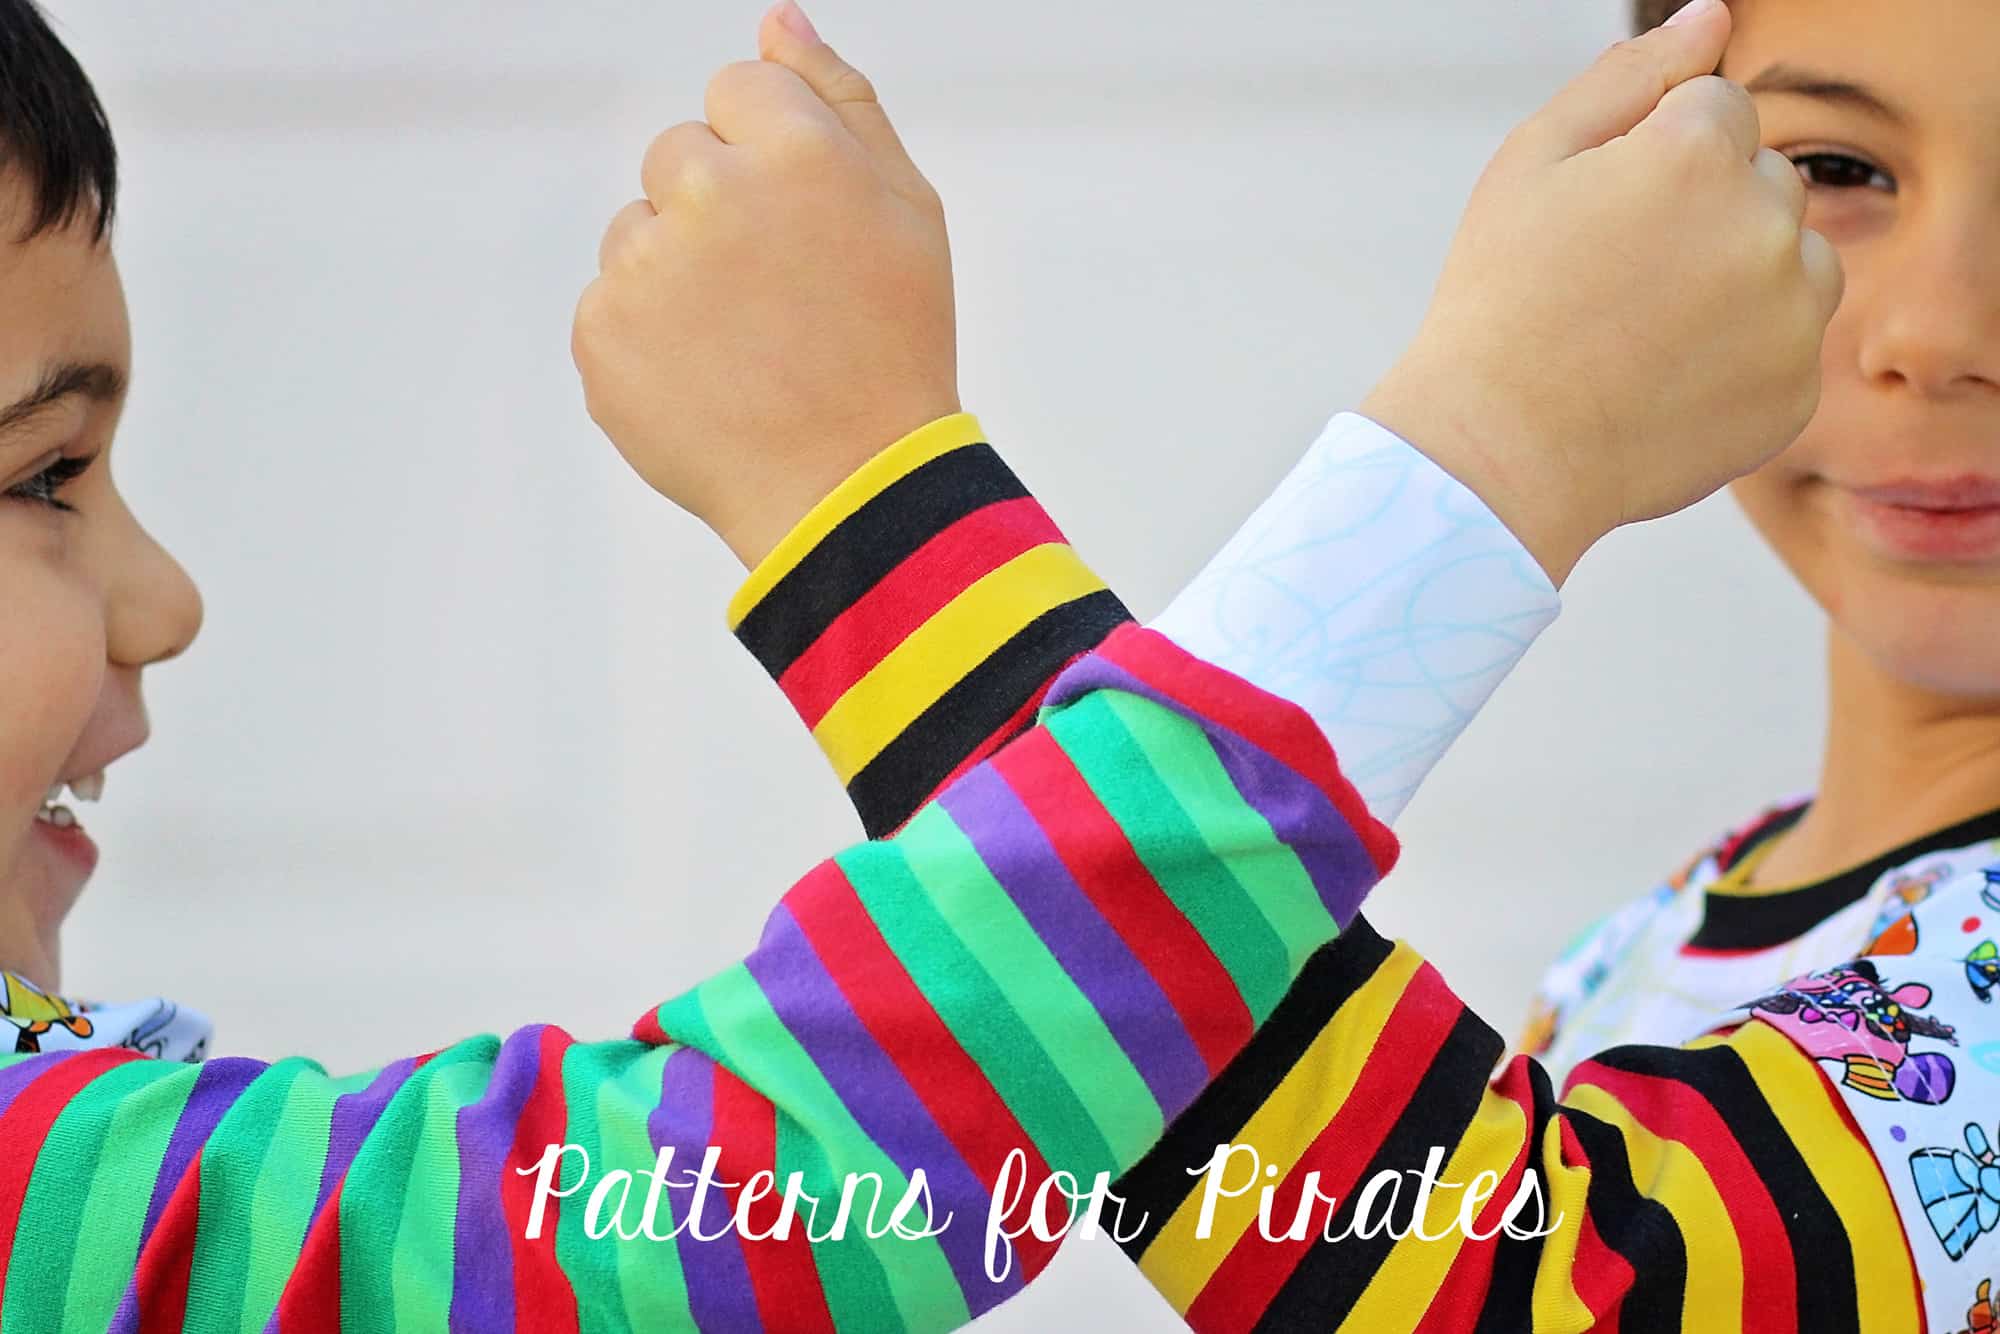
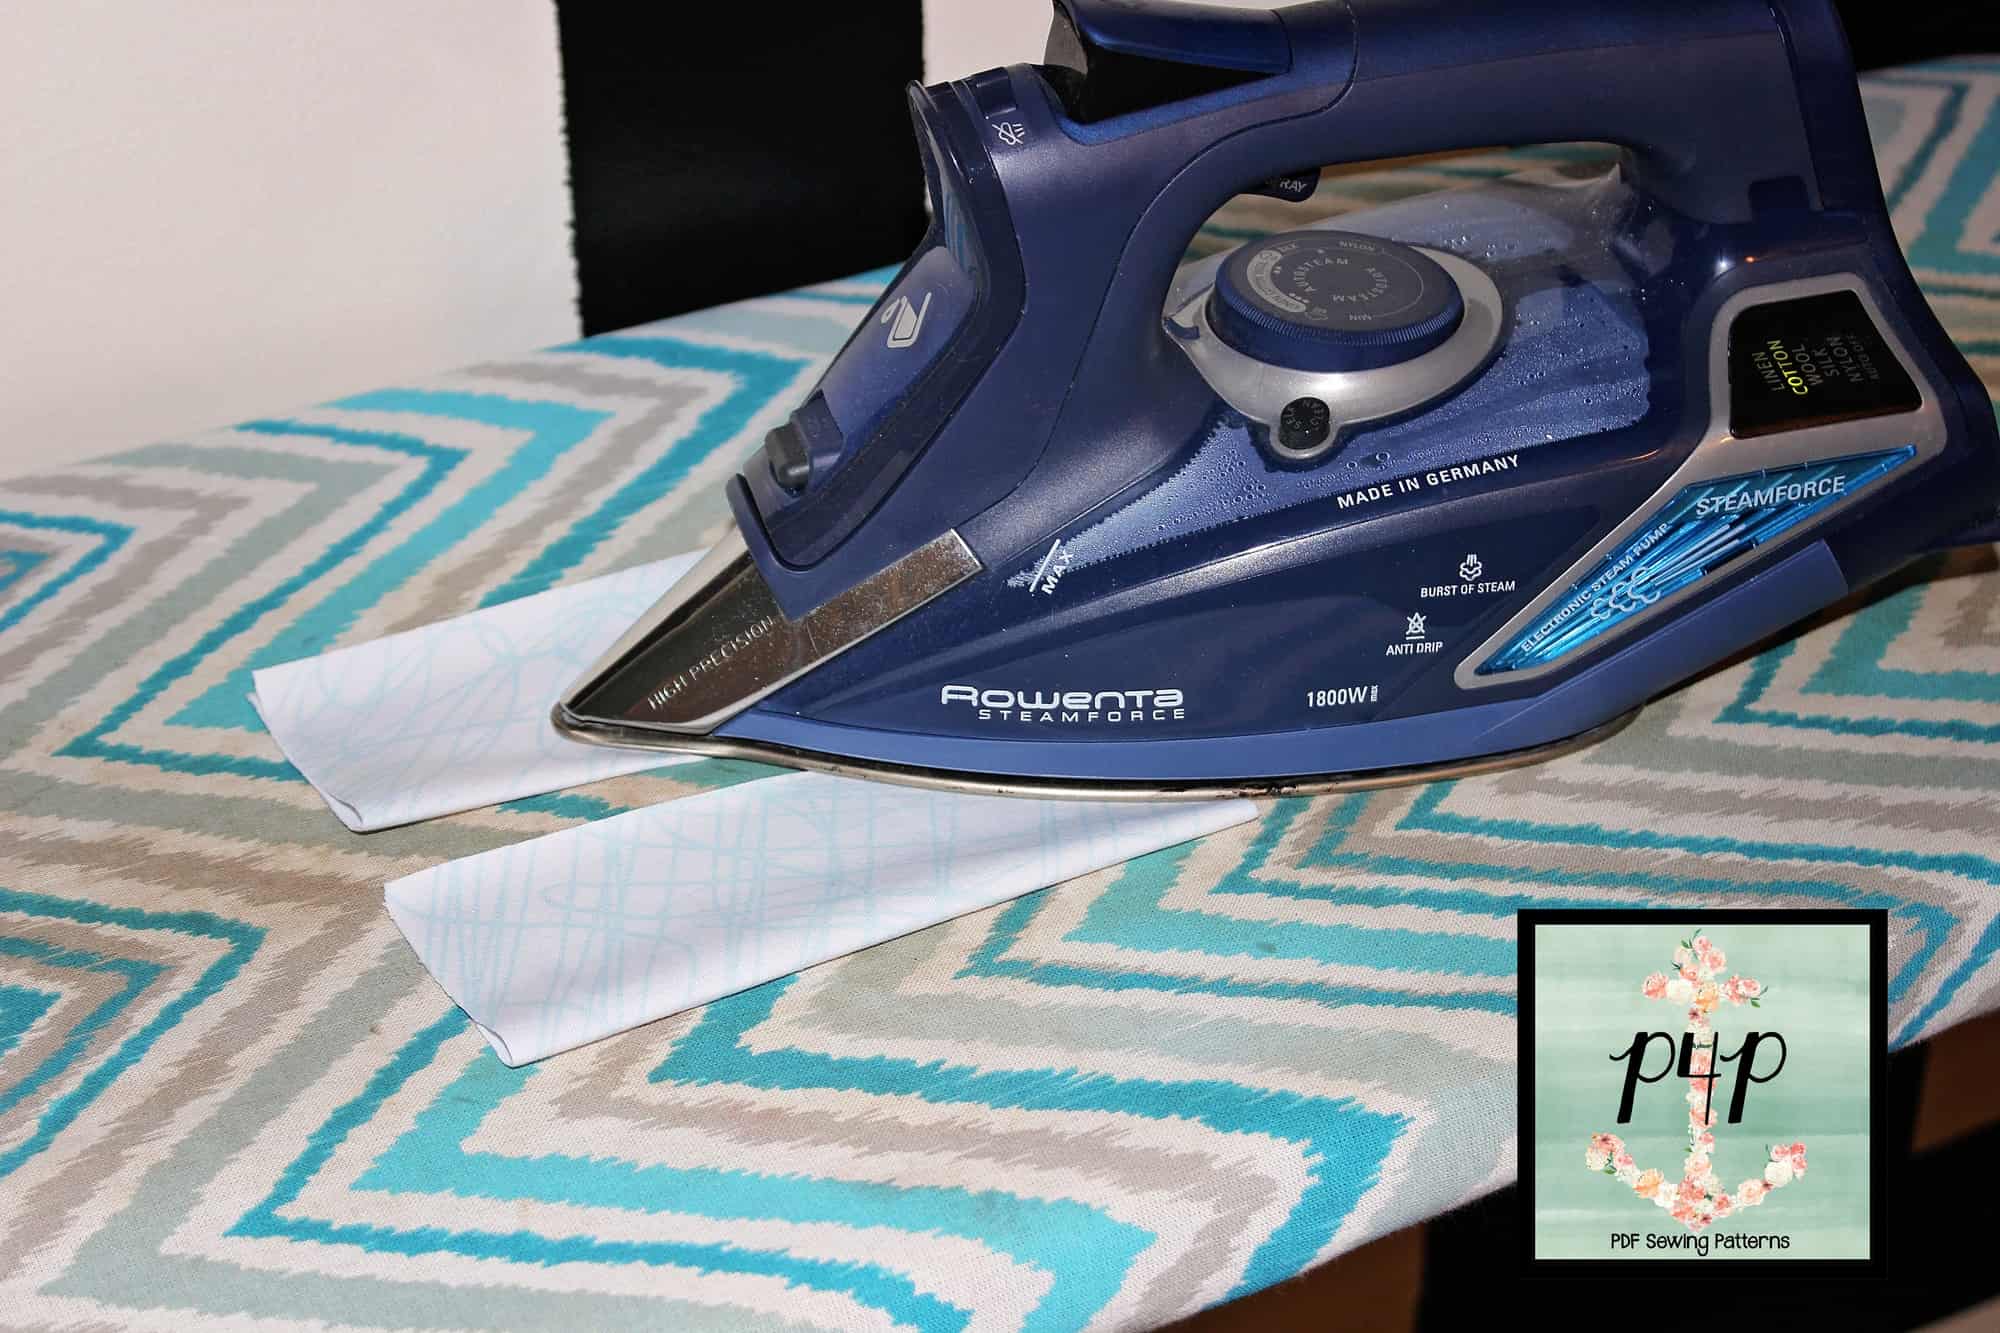
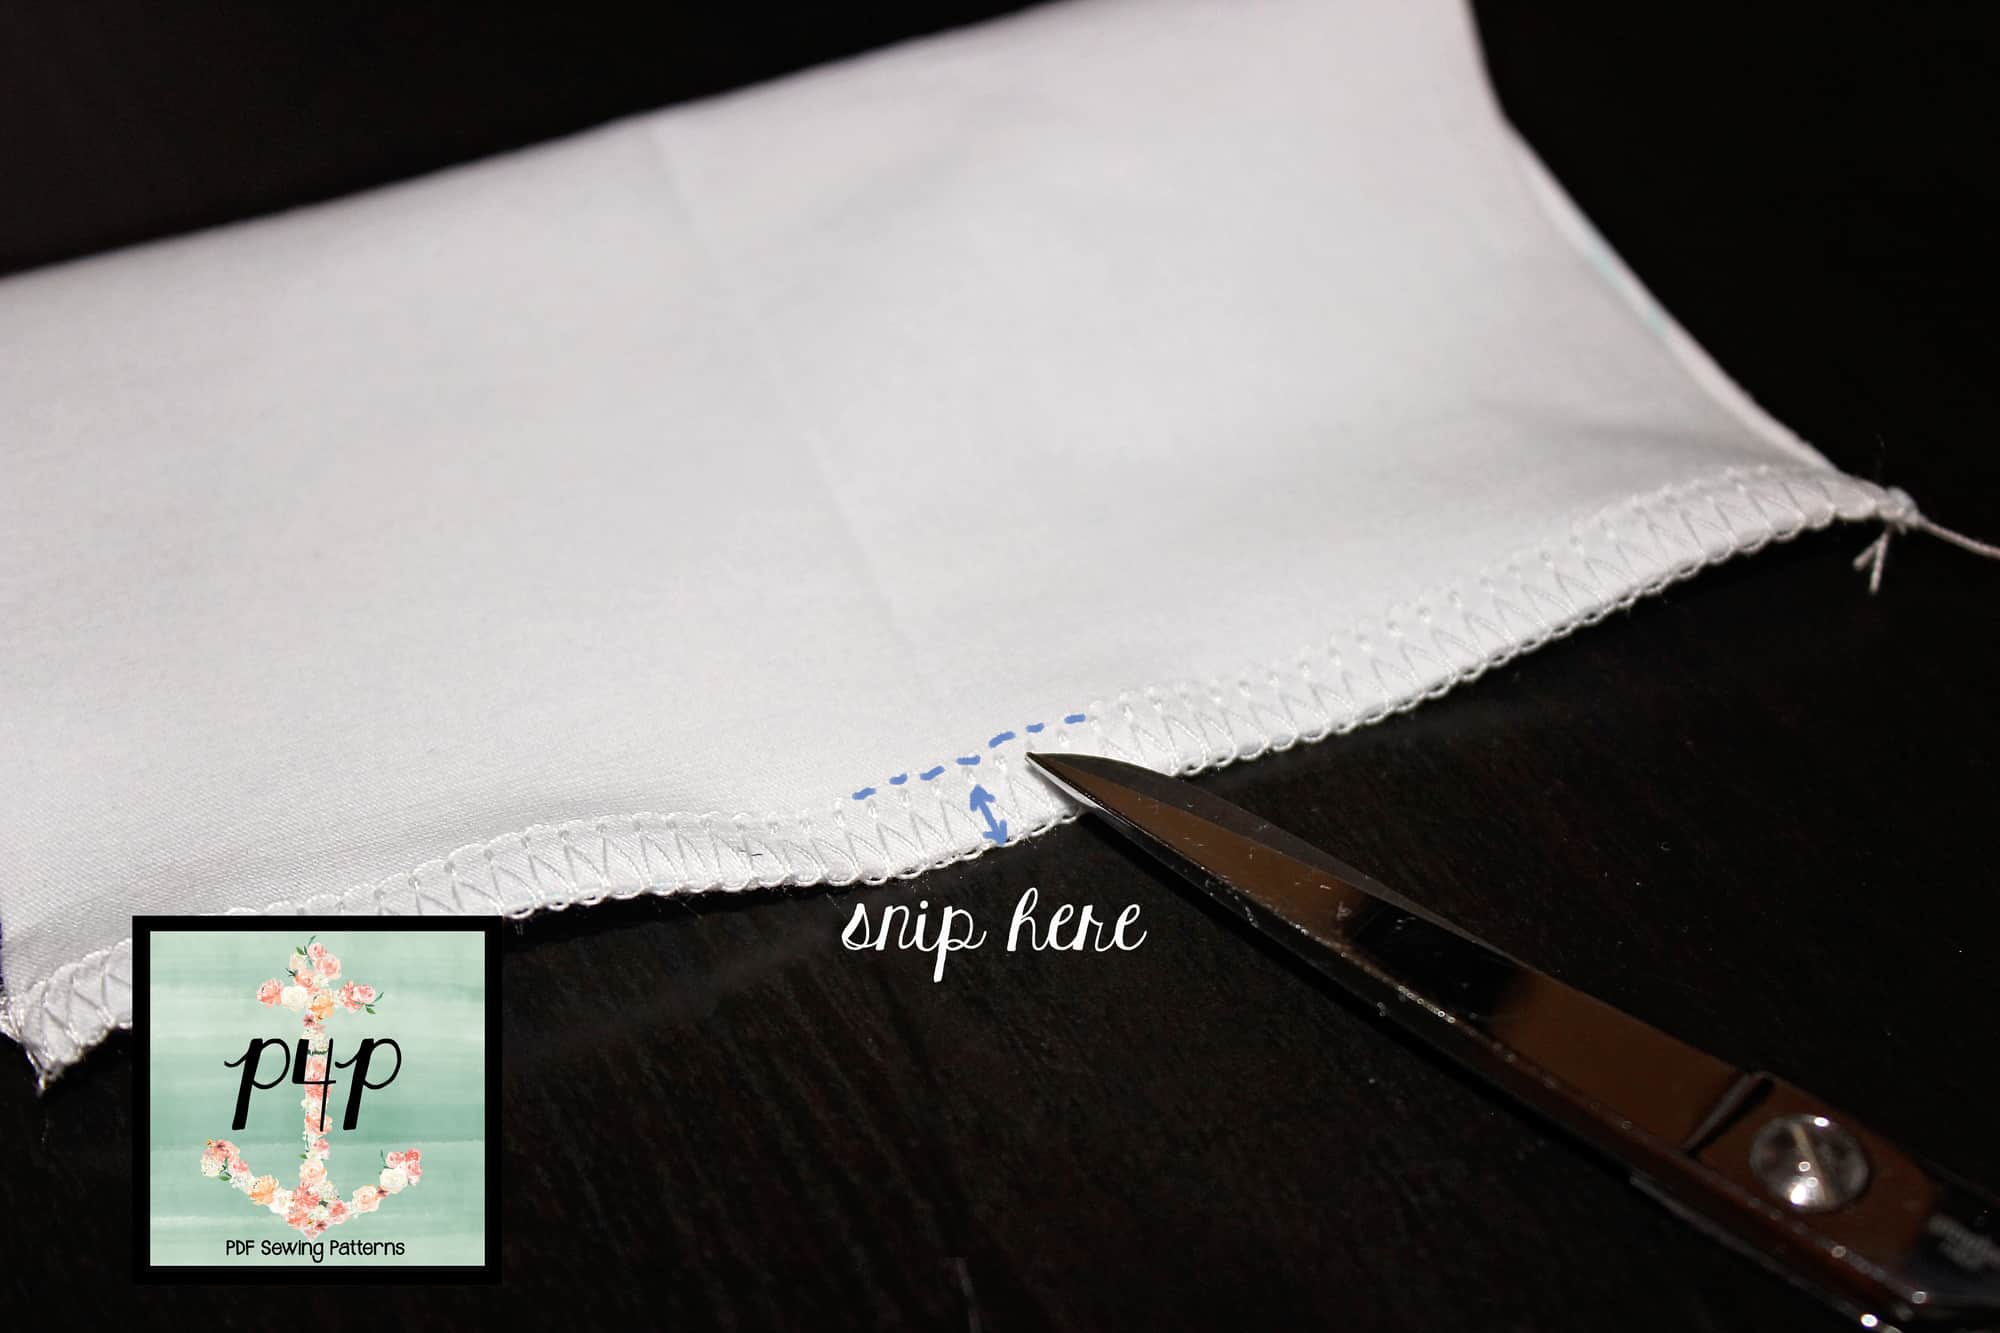
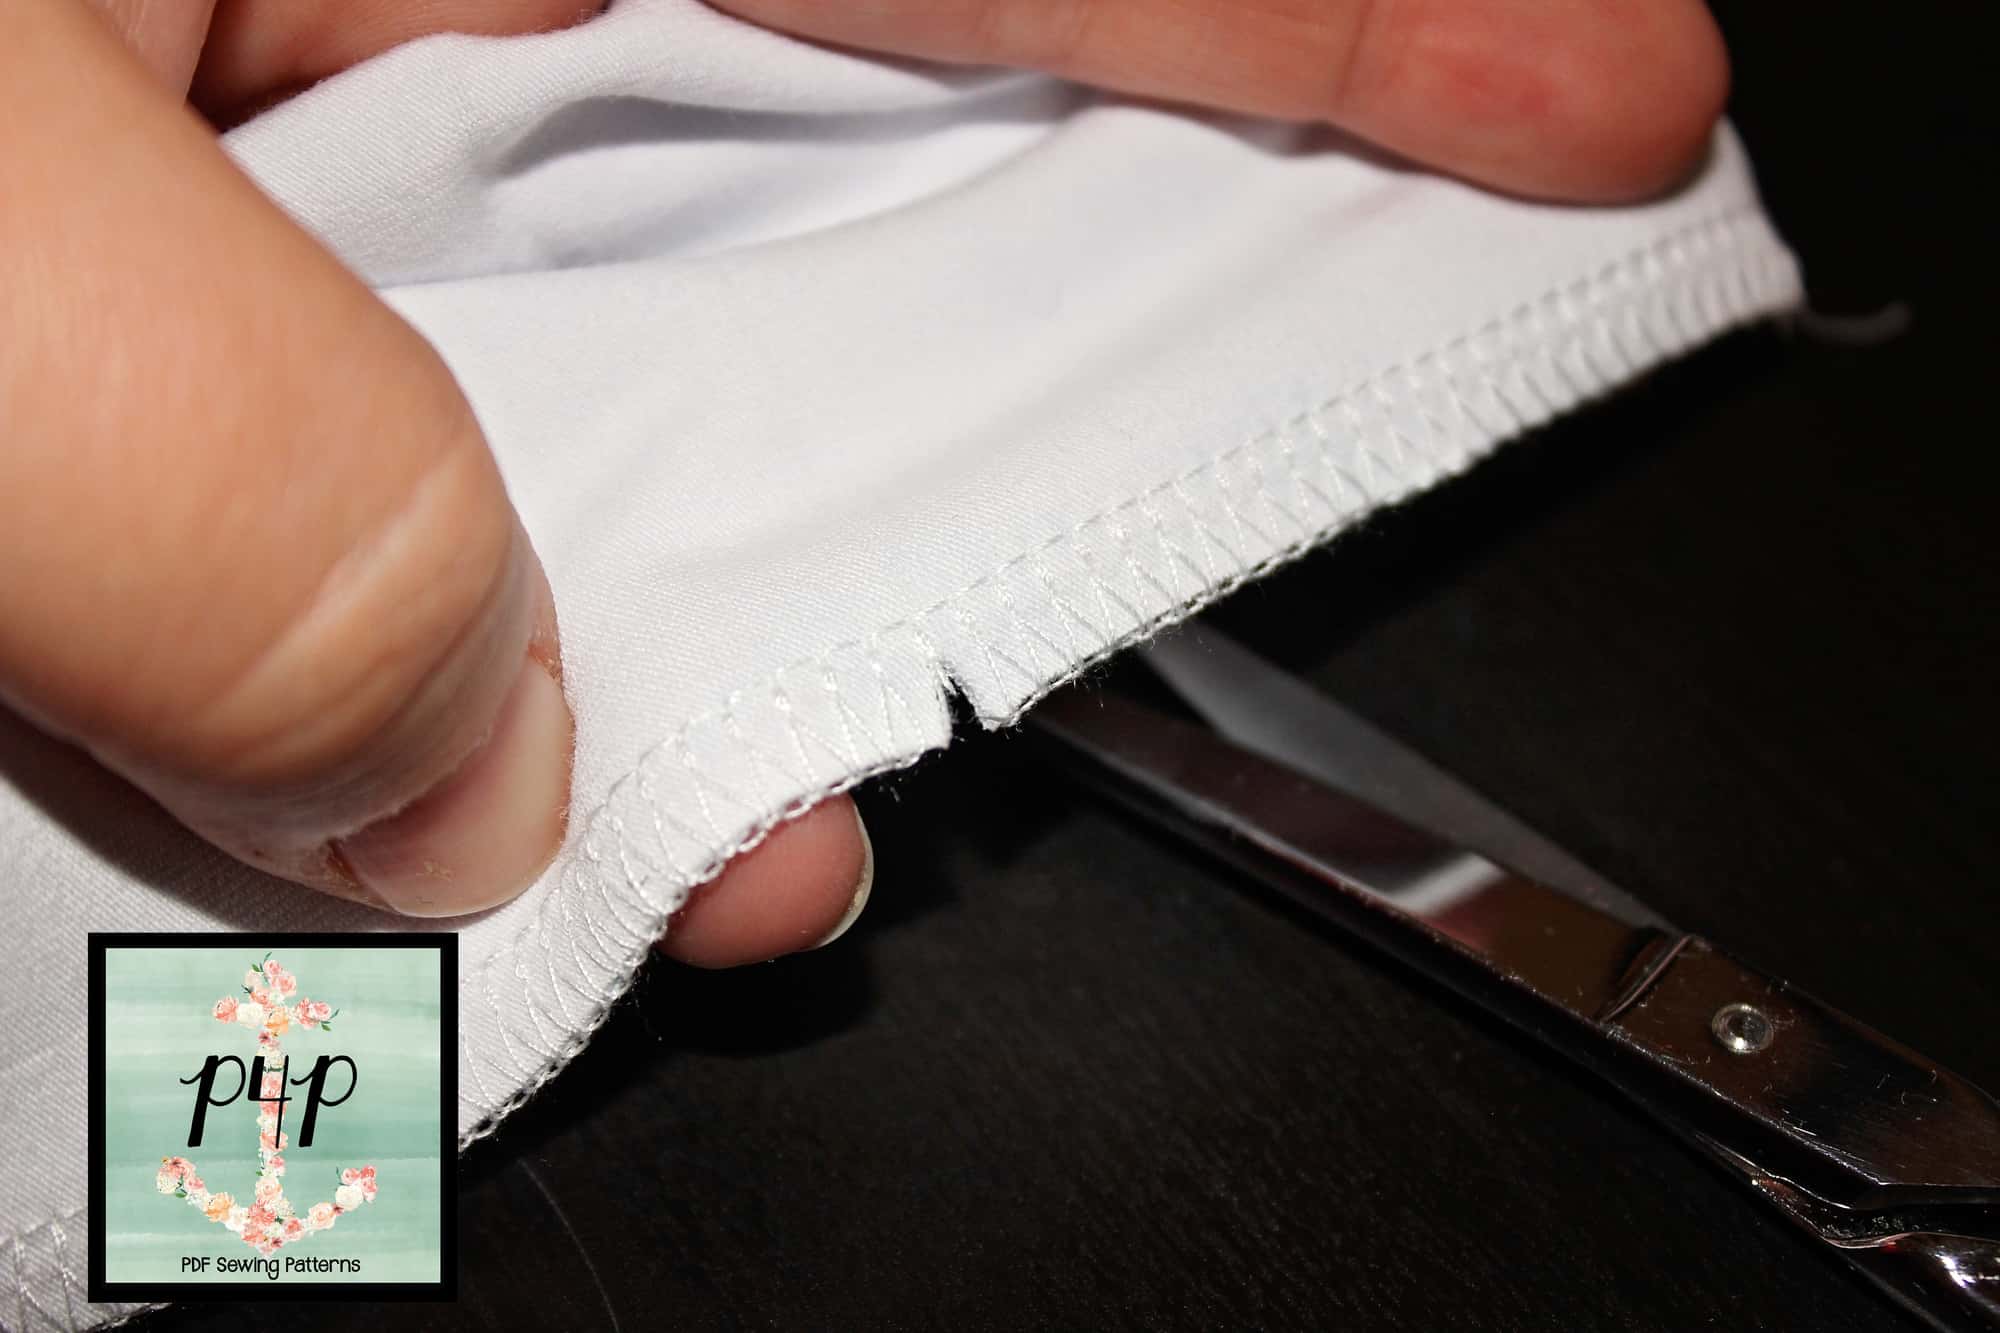
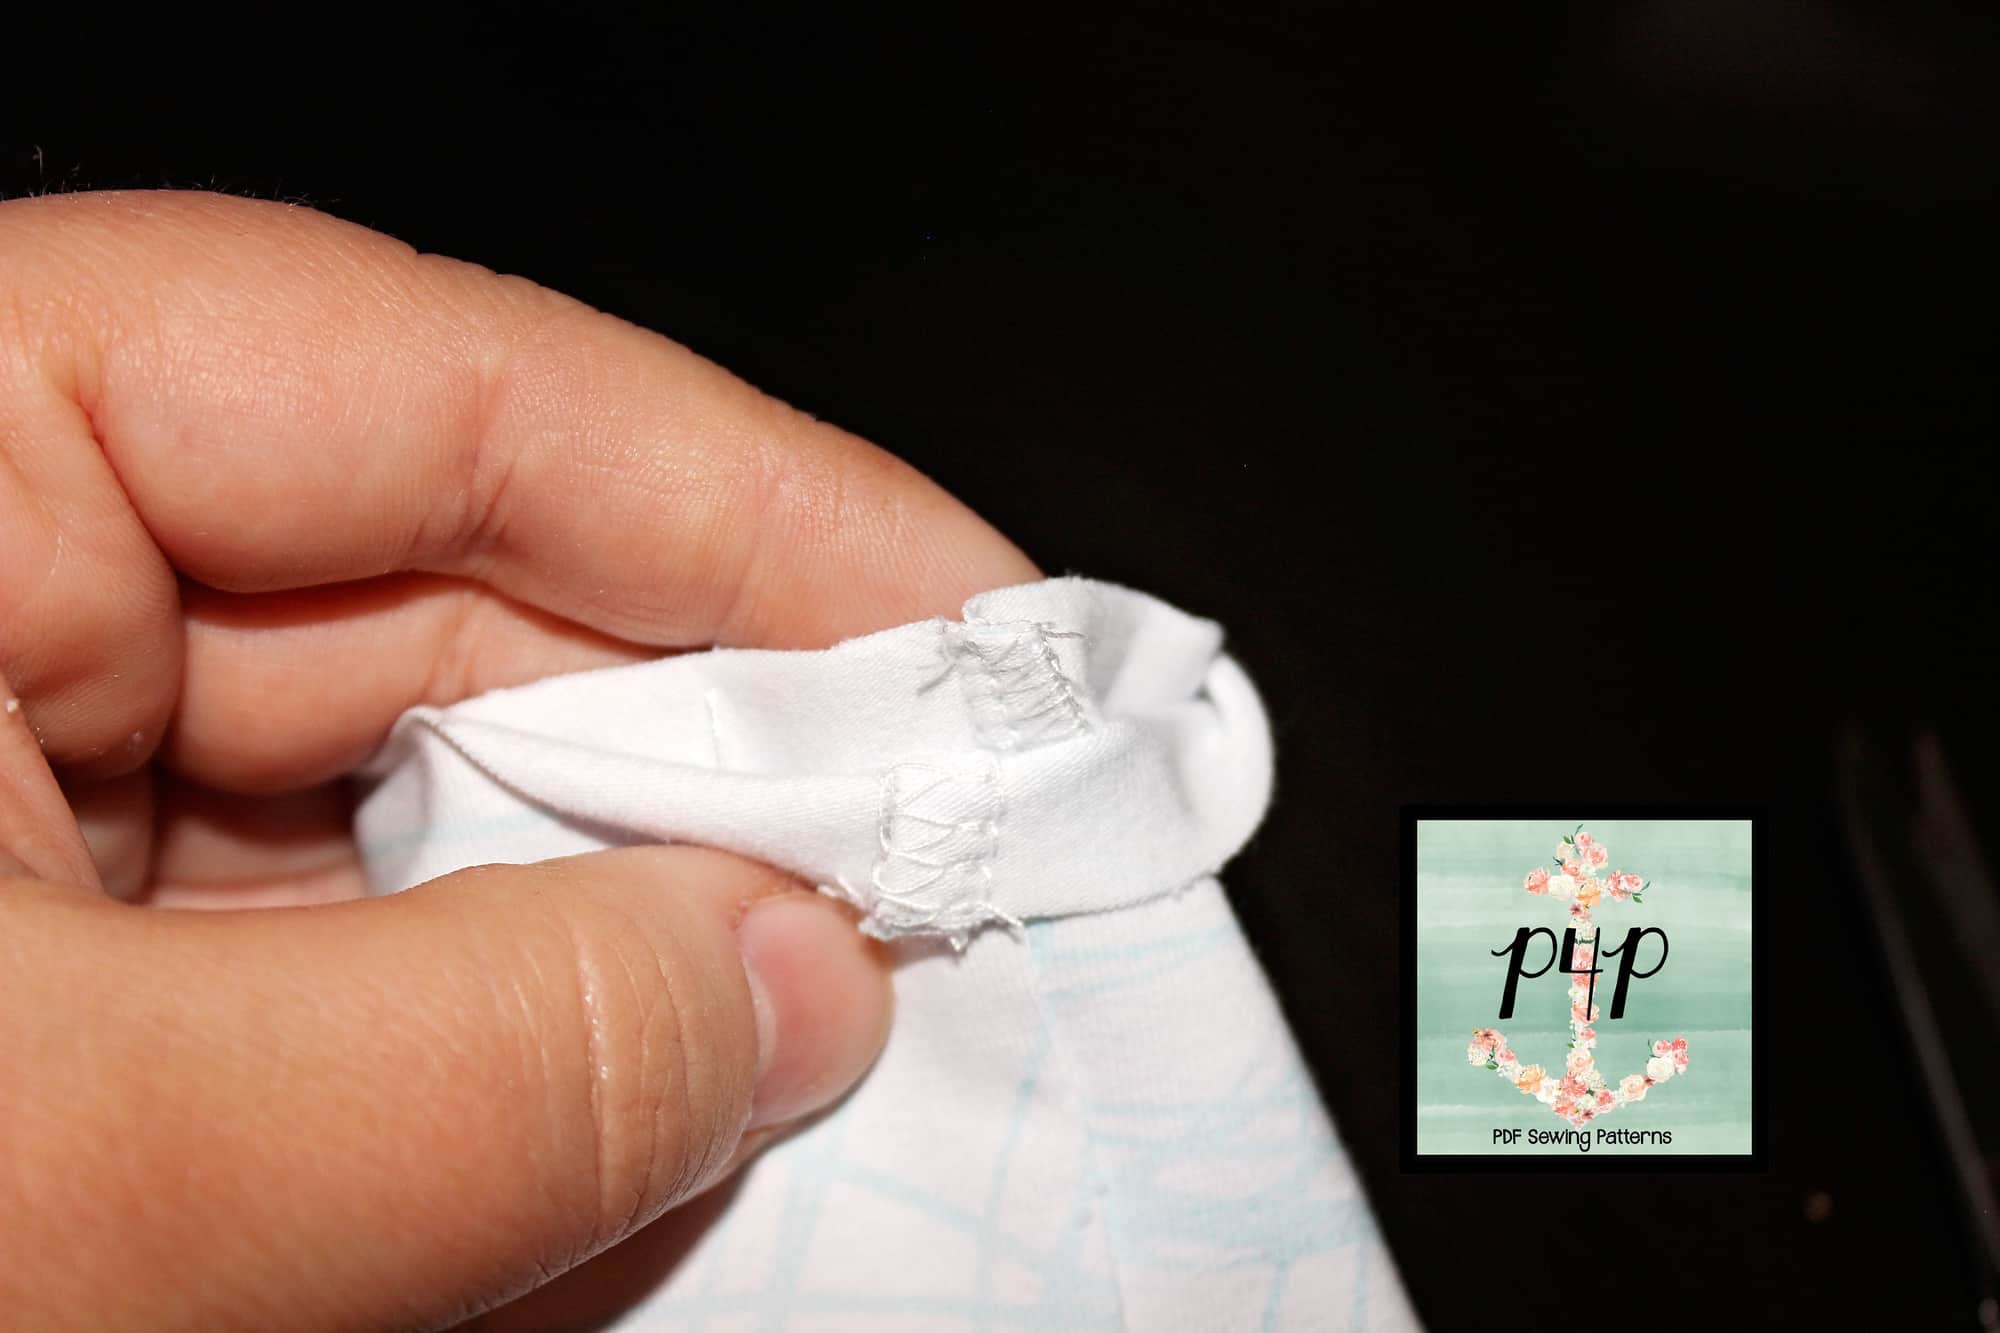
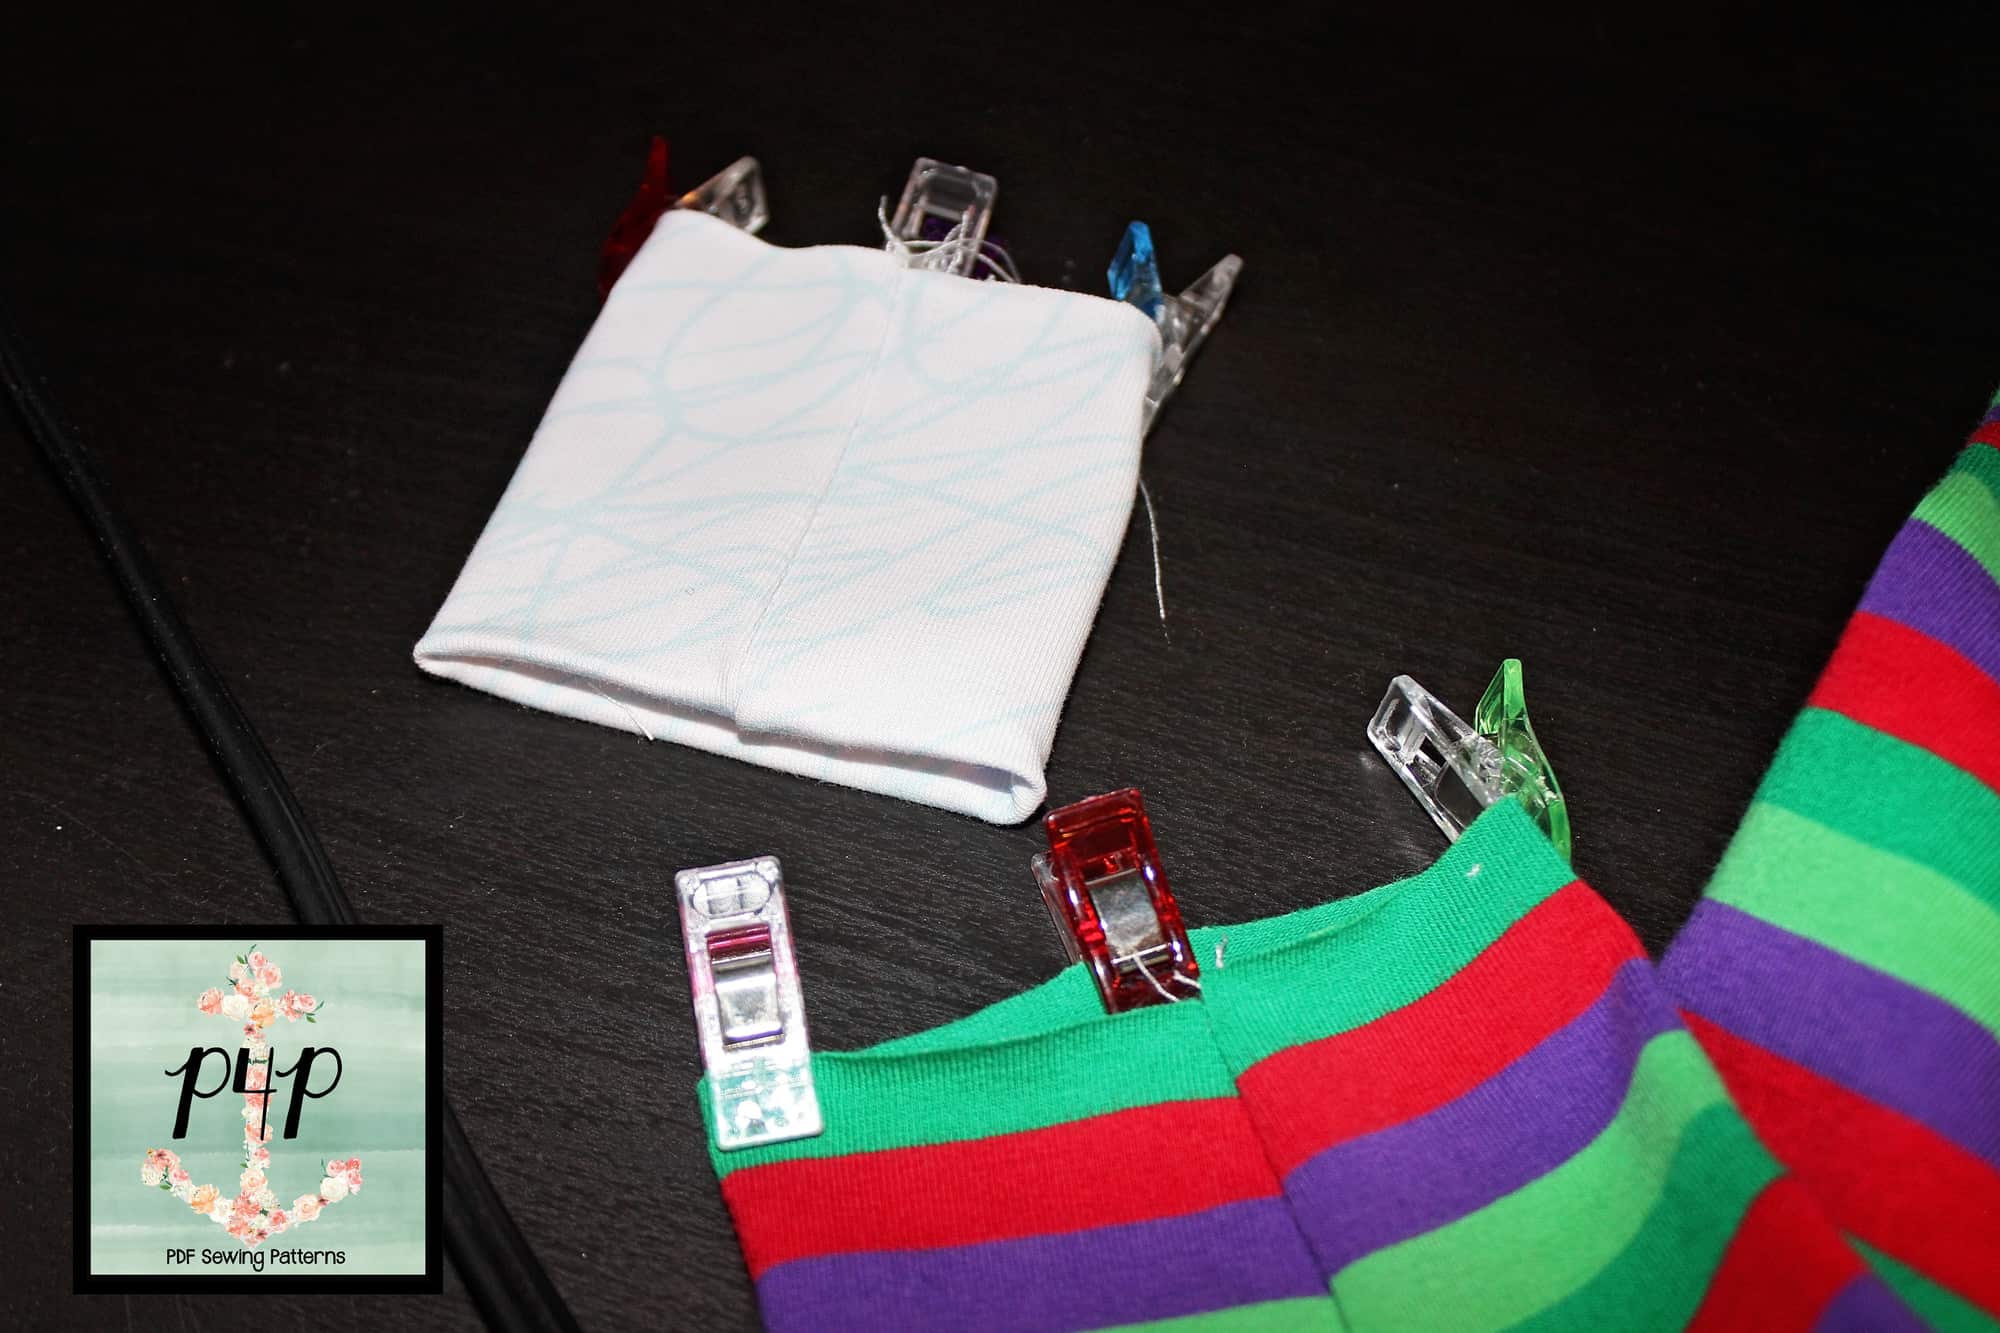
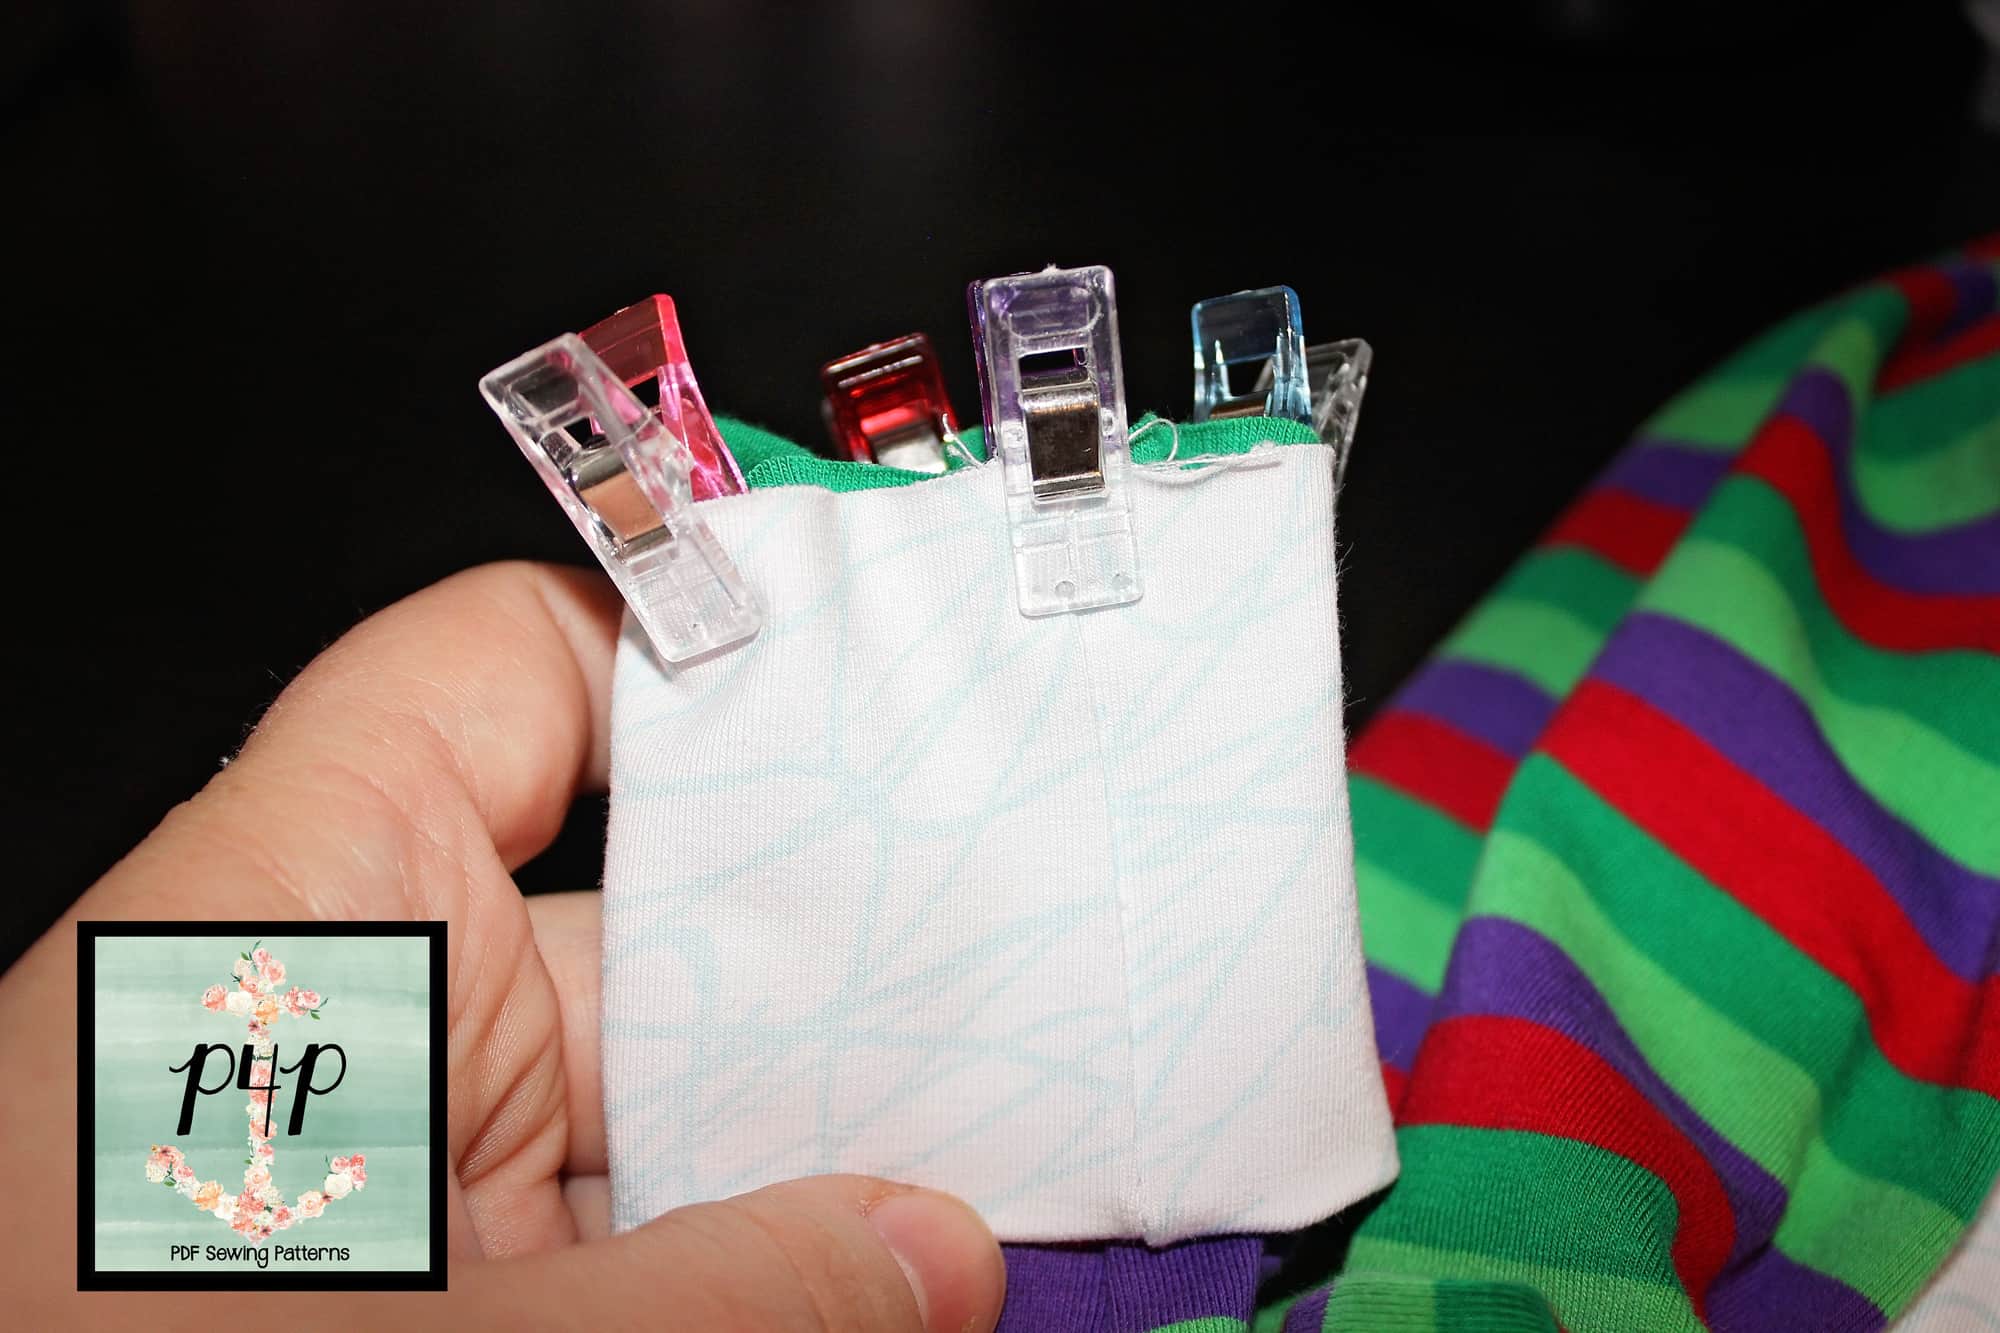
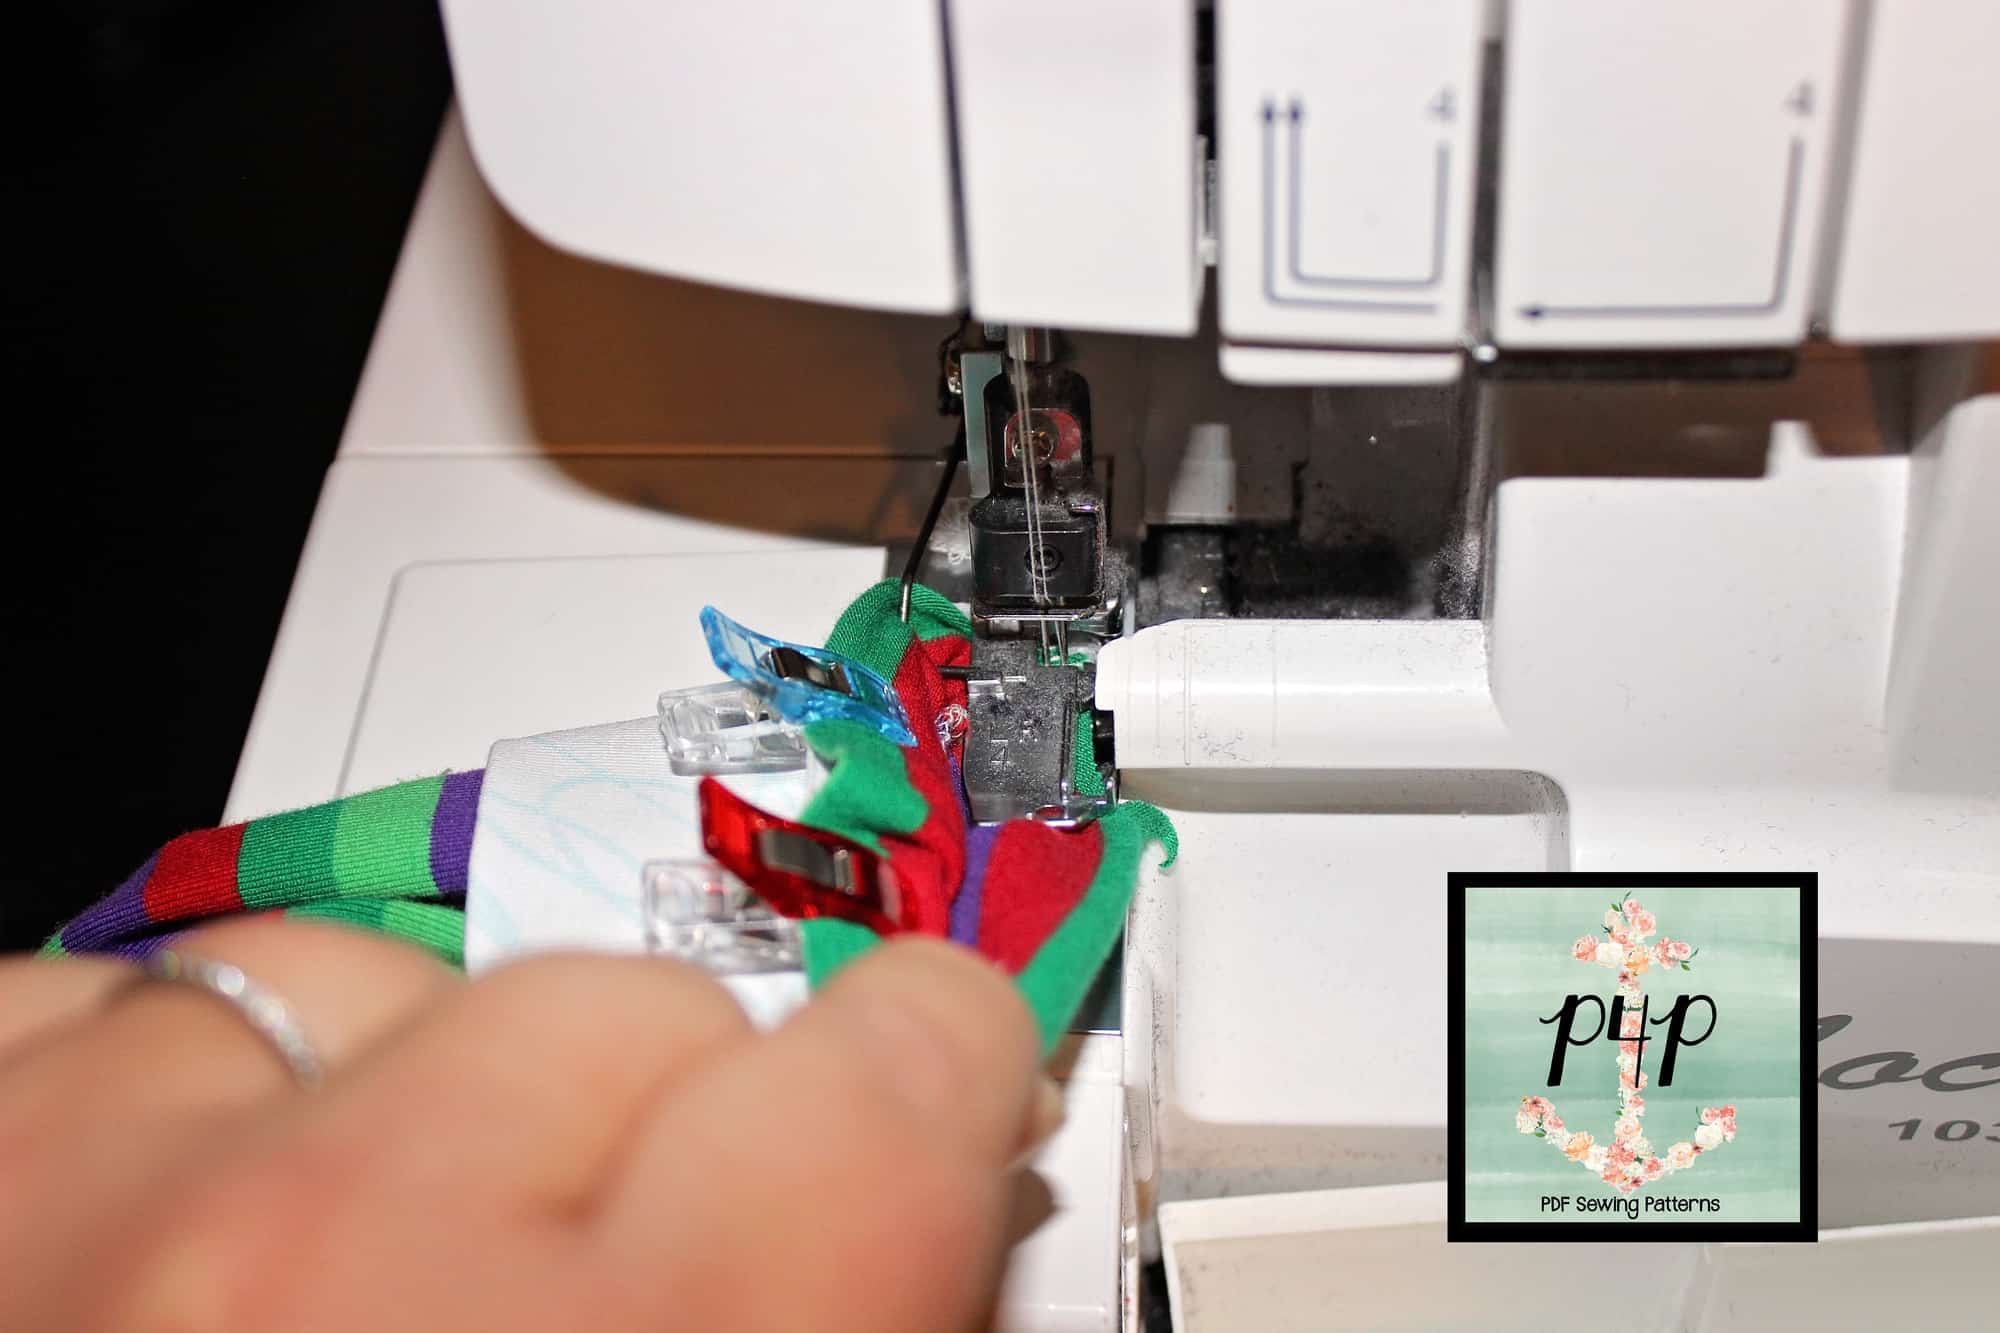
Last steps of this sew along are hemming the sleeves and skirt. If you did the crop tank, you are already done. The sleeves are hemmed 1/2″. Did you make your memory hem a few days ago? Well now it comes in handy. The skirt is hemmed 1″ while the sleeves are hemmed 1/2″. In the video below you can see how I finish the dress option including the 1″ hem.


Thank you so much for joining us this week. We loved watching your creations come to life! Don’t forget to post your final photo in the comments of day 6 check in picture of the sew along album. We will pick two winners and announce them here on the blog Monday evening or Tuesday. 


X Factor SAL | day 1

X Factor SAL | day 2

X Factor SAL | day 3

X Factor SAL | day 4

X Factor SAL | day 5

X Factor SAL | day 6

X Factor SAL | day 7

Filed Under: Frequently Asked Questions, Sew-A-Long, Uncategorized Leave a Comment

X Factor Sew Along – day 5

August 28, 2020

Welcome to day 5 of our X Factor sew along! Today we create the skirt by adding the optional pockets and sewing the side seams. If you are making the crop top style, today is a rest or catch up day. No need for any check in pictures.

You might have noticed in the first video of this sew along that I added the pockets to my pattern piece (removing the seam allowance) so I will not have to stitch them. One less step 😉 In the video below I show you how I use my serger to sew the side seams instead of a combination of sewing machine and serger. Both methods work great so chose the one you are more comfortable.

Reminder: the patten includes two links to complete sew ups of the X Factor so you can also follow Judy’s method of sewing the side seams when the skirt has pockets. And why would you even consider skipping the pockets? 😊

If you are doing the dress option, check in for day 5 in the comment of today’s photo of the sew along album. See you back here tomorrow for the final steps!  


X Factor SAL | day 1

X Factor SAL | day 2

X Factor SAL | day 3

X Factor SAL | day 4

X Factor SAL | day 5

X Factor SAL | day 6

X Factor SAL | day 7

Filed Under: Frequently Asked Questions, Sew-A-Long, Uncategorized Leave a Comment

X Factor Sew Along – day 4

August 27, 2020

Day 4 is here! Today we add the neckband and the back band.  If you are new to sewing with knits or simply would like a refresher, take a look over our P4P University Neckbands 101 blog post. This blog shows you how to create the crew neck.  The most important thing to keep in ming when creating and adding the crew neckband is to press, press, press! 

In the Day 4 video below I walk you through creating and adding the V neckband. This is a slightly different way of creating the neckband than I showed in the P4P University V neckband blog. This time we will overlap the ends creating the V point that way. I highly encourage you to add the V part of the neckline with the sewing machine, instead of a serger. It will make for a more precise stitch and a neater look.

Last step is to stitch the back band to the front one. Keep in mind that the front band is attached to the bodice. Overlap the parts that will become the waistband one time (doesn’t matter if you overlap left on top of right or vice versa).  With the right sides together sew the side seams of the band following the 1/2″ seam allowance. 

Don’t forget to add your check in photo to the comments of Day 4 in the X Factor sew along album. See you back here tomorrow! 


X Factor SAL | day 1

X Factor SAL | day 2

X Factor SAL | day 3

X Factor SAL | day 4

X Factor SAL | day 5

X Factor SAL | day 6

X Factor SAL | day 7

Filed Under: Frequently Asked Questions, Sew-A-Long, Uncategorized Leave a Comment

X Factor Sew Along – day 3

August 26, 2020

Ahoy, pirates! Today’s steps include adding the sleeves or armbands (for the tank option) and sewing the side seams. I have decided to make a long sleeve dress to wear on chillier Florida days. 

  • For the short, 3/4 and long sleeves start by pressing a memory a 1/2 hem. If you are doing the cuffed long sleeves style, you will not be needing the memory hem. 
  • If you opted for the tank style, start by pressing the bands lengthwise, wrong sides together. Open them up and sew the short ends to create a loop. 

Tip: when pinning the sleeved to the arm opening start with the shoulder seam, then pin the two outer corners. This will make easing the sleeves into the opening very easy. There shouldn’t be any stretch, but you will ease the concave curve into the convex one. 

When adding the arm bands to the tank option, you want to avoid stretching the band too much on the front and back. The most stretch should be at the armpit and shoulder. This will help ensure that the bands lay nicely when worn. 

Day 3 video is below. As always, don’t forget to add your progress photo to the comments of today’s check in photo in the sew along album. 


X Factor SAL | day 1

X Factor SAL | day 2

X Factor SAL | day 3

X Factor SAL | day 4

X Factor SAL | day 5

X Factor SAL | day 6

X Factor SAL | day 7

Filed Under: Frequently Asked Questions, Sew-A-Long, Uncategorized Leave a Comment

X Factor Sew Along – day 2

August 25, 2020

Welcome to day 2 of our X Factor Sew along. Today is a pretty easy and quick day. We sew the front seam of the bodice and the shoulder seams. Place the two mirror front bodice pieces right sides together, matching the center seam. Using your sewing machine, stitch a couple of inches at the bottom with a 1/2 seam allowance. You can sew the rest of the front seam with the serger if you prefer. 

Once this step is completed you will sew the shoulder seams right sides together, following a 1/2″ seam allowance. 

Tip: Add clear elastic to the shoulder seams to strengthen them and make sure the shoulders don’t stretch throughout the day. 

We have included two FULL pattern sew ups in the tutorial (see page 7). Judy has covered all options in the two videos so you can always refer to them throughout the week. 

Upon completion of today’s steps snap a picture of your progress and add it to the day 2 check in photo comments in the X factor SAL album located in the P4P & M4M sew along group.


X Factor SAL | day 1

X Factor SAL | day 2

X Factor SAL | day 3

X Factor SAL | day 4

X Factor SAL | day 5

X Factor SAL | day 6

X Factor SAL | day 7

Filed Under: Frequently Asked Questions, Pattern Release, Sew-A-Long, Uncategorized Leave a Comment

X Factor Sew Along – day 1

August 24, 2020


Welcome to the X Factor Crop and Dress sew along! 

In the next 6 days we will be sewing together the newest P4P pattern. Join us for a chance to win some fabric and pattern money and have fun alongside our community! If you have not purchased your copy yet, you can buy the adult X Factor here, the youth one here, or you can get the bundle and save. If you are still undecided which style to make, our Round Up blog will give you a glance at all options included, from sleeve lengths to necklines. You can also use the Easy Hacks blog for added options.

Let’s start by taking the measurements needed for the best fit. P4P has an amazing blog that gives you tips for accurately taking your measurements. You can read all about it here. If your measurements put you in a different size for chest/waist/hips be sure to check out our P4P University blog and grade to achieve the perfect fit. The X Factor patterns include videos as well. On page 3 you will notice an active button that will take you to the video about adding or removing length. Please refer to it if you are taller or shorter than 5’5″. 


Unsure about which knit type will work best for your desired look? Take a look over our P4P University Knit Types blog. We also included a cheat sheet that you can print. If you are like me and sometime are just keen on using a specific print for a specific pattern, read our Different fabric, different fit blog post before you cut your fabric. 

The P4P team has started adding Projector Files to our new patterns. If you are looking to skip printing, buying rims of paper and ink, this new innovative way of cutting your patterns may be the option for you. I am using a mix of printed and projected pattern pieces for my dress. 

The X Factor is drafted for high and 4 way stretch knit fabric. My personal recommendations are rayon spandex, bamboo lycra, ITY, Cupro and double brushed poly. You can also use athletic knit and certain sweater knits. During this sew along I will be making the V neck dress style using a stunning Mily Mae Fabrics burgundy bamboo spandex. MMF is also this sew along’s sponsor so two lucky winners will receive gift certificates to their shopping website. 


You can see the first video below, including how I use my projector file for the bodice. Once you cut the fabric, post a picture of your pretty pile in the comments of DAY 1 photo of the X Factor album in the M4M & P4P Sew Along Group. 


X Factor SAL | day 1

X Factor SAL | day 2

X Factor SAL | day 3

X Factor SAL | day 4

X Factor SAL | day 5

X Factor SAL | day 6

X Factor SAL | day 7

Filed Under: Frequently Asked Questions, Sew-A-Long, Uncategorized Leave a Comment

P4P University – knit cuffs

January 9, 2018

Ahoy Pirates! In our first P4P University blog of the year I wanted to give you a few tips and tricks to make adding knit cuffs to your projects easy peasy. Whether you’re sewing for yourself, your significant other or your little ones, adding cuffs to your sleeves or leg openings can be a tedious job. We can change that!

*Choose the right fabric for the cuff!

As I mentioned in the Neckbands 101 blog post, choosing the correct fabric for your cuffs will make a huge difference. The best one is rib knit or ribbing. If you do not have any ribbing handy or the colors you have do not work for your project the next best thing would be cotton spandex. I mainly use cotton spandex in for my kids’ shirts and joggers cuffs as I like to coordinate it with the main fabric. Whatever fabric you pick, make sure it has at least 50% stretch and excellent recovery.

*Always cut the cuff with the greatest stretch horizontally.

Always cut your cuffs cross grain! Even if the fabric you use stretches over 50% in both directions, you should never cut against the grain. Read all about the importance of “the grain” in Roberta’s blog post, When It Goes Against the Grain. 

*Press your cuffs!

I know I talk about pressing a lot in my blogs, but you have to believe me, it makes your sewing life so much easier. I recommend grabbing those cuffs and giving them a good steam press as soon as you cut your fabric. This will create a memory hem that will make it so much easier to fold them once you sew the “loop” closed.

Press your cuffs after you sew them on too! 🙂

*Snip the seam allowance to create less bulk

This is one of tricks for creating less bulk at he seam. Once you sew the cuff to create a loop, grab your sharpest scissors and make a cut as close to the stitch as possible without, of course, snipping the stitch.

That little snip will make it so easy to please the seam allowances on opposite sides when you sew fold the cuff. In doing so, you will have so much less bulk at the seam, your serger will thank you! 🙂

*Place your sleeve inside the cuffs

Mark the quarter points on the sleeve (or leg) opening as well as the cuffs. I find that for the smallest of sizes, marking just the half point is sufficient.

To make sure you will not have your seam allowance on the outside of your sleeve (or ankle) 😉 place the right side of your sleeve inside the cuff and match the quarter (or half way) points.

*Sew or serge with the presser foot inside the sleeve

Most of the time the sleeve opening is pretty small so I find that it is easier the place the presser foot of my serger (or sewing machine) inside the sleeve as opposed to stitching on the outside. This is especially important when you make Baby Bear Joggers or and kids shirts with cuffs, like the Jolly Roger Raglan or the Yo Ho Henley.

*Do not topstitch.

As opposed to necklines, I find that cuffs and waistbands look a lot better if you do not topstitch them down. I do encourage you to press your garments when you finish sewing it, including the cuffs.

There you have it! 7 easy tips to follow when adding cuffs to your favorite P4P knit patterns. My boys are both rocking the JRR with add on cowl neck from the pack and faux layered sleeves from the blog.

Which one will you be making first? Make sure you post your creations in the P4P group and let me know if adding cuffs is now an easier “task”. 🙂


Filed Under: Frequently Asked Questions, P4P University, Sewing with Stretch, Knit Fabrics, Uncategorized 6 Comments

Walk the Plank PJ Bottoms :: New Pattern Release!

September 27, 2017

Oh man.  Not only is today a release day, but it’s also a day that I get to make a fun announcement.  Or rather, TWO fun announcements!  Are you ready for this?

First, let’s talk about our newest pattern, and the final pattern in the P4P Summer of Wovens.  The Walk the Plank PJ bottoms are super easy to make, even easier to wear, pajama bottoms that are a unisex pattern and available in sizes 3M – adult Plus 3X.  Both the adult and youth patterns include three lengths (short shorts, knee length, and pant length).  The adult sizes have a differing mens and womens rise, as well as varying inseams (30″ / 32″ / 34″ / 36″ ).

The Walk the Plank pant truly is a quick sew!  All sizes were drafted to fit on a 44″ wide fabric, so you can easily use your favorite flannel or quilting cotton.  The patterns feature no side seam, and no waistband piece, as well as a quick elastic installation.  **Plus 3X were drafted with an extra side seam, so those sizes can use 44″ fabric as well.

Here’s a quick peek at the lengths:

SHORT SHORTS

KNEE LENGTH

PANT LENGTH

We have been running a contest over the last week.  You can read up on P4P’s Next Top Tester HERE if you’re interested in the process.  We had 650 (give or take) applicants that we invited into our Top Tester group.  These ladies went through some work for us!  They didn’t know what they were signing up for, but we had them all test the Walk the Plank PJ Bottoms for us!  Everyone did amazing, even amidst all of the chaos that testing in a group that size can bring.  And guess what?  We have a winner!

Well, we have four winners.  These testers did an incredible job, on all levels of testing.  It’s not just about taking pretty pictures.  It’s about providing feedback, supporting fellow testers, being around to ask/answer questions, and help with marketing.  We are so happy to have them on board with us!

Congratulations to our first ever Patterns for Pirates’ Next Top Tester: Amber Jones Zelenay 🎉🎉🎉
Our Second Place winner is: Karen Grimshaw
AND congratulations to the Runners Up: Bethany Tolman and Michelle Tobey


Want to know the best part about this pattern?  It’s FREE!!  We wanted to have a little end-of-summer celebration and thought this would be a fun way to party with you all.  Plus, it’s perfect timing with the holidays right around the corner.  Family Jammies Photo Op?  I think so!

Grab your copy of the Walk the Plank PJ Bottoms in UNISEX ADULT or UNISEX YOUTH today!

**Want to learn more about how to measure yourself for this pattern?  We’ve got you covered with an in-depth blog HERE.  And in case you’re new to Patterns for Pirates and PDF patterns in general, we have a great blog full of new user tips HERE to help you get started!  And, as with all of our current releases and updates, the pdfs now include our layers feature and can be found in Letter, A4 and A0 sizes.

If you’re still needing more inspiration, be sure to head over to the Patterns for Pirates Facebook Group Albums for the Walk the Plank PJ Bottoms to see what our amazing testers have sewn for themselves.  Don’t forget to tag us on Instagram (@patternsforpirates | #patternsforpirates) and to share your finished items over in our Facebook group!  We love to see what you make!

Happy sewing, friends!

Filed Under: Announcement, Contest/Giveaway, Free Pattern, Pattern Release 23 Comments

Featured Patterns

  • Loosey Goosey Loosey Goosey $12.00
  • Loosey Goosey- Youth Loosey Goosey- Youth $10.00
  • Loosey Goosey - Bundle Loosey Goosey - Bundle $20.00
  • Everyday Shirt Everyday Shirt $12.00
  • Everyday Shirt- Youth Everyday Shirt- Youth $10.00
  • Privacy Policy
  • Refund Policy
  • Affliliate Program
  • Contact Us
  • About

Copyright © 2025 Patterns for Pirates

Copyright © 2025 · Genesis Framework · WordPress · Log in