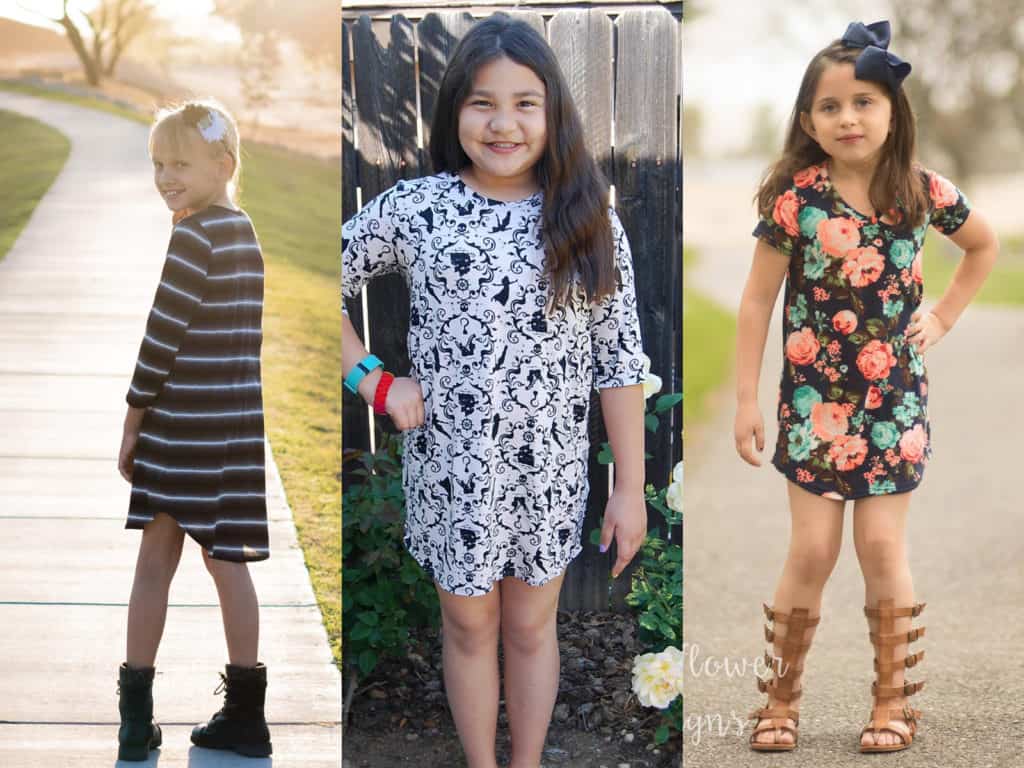
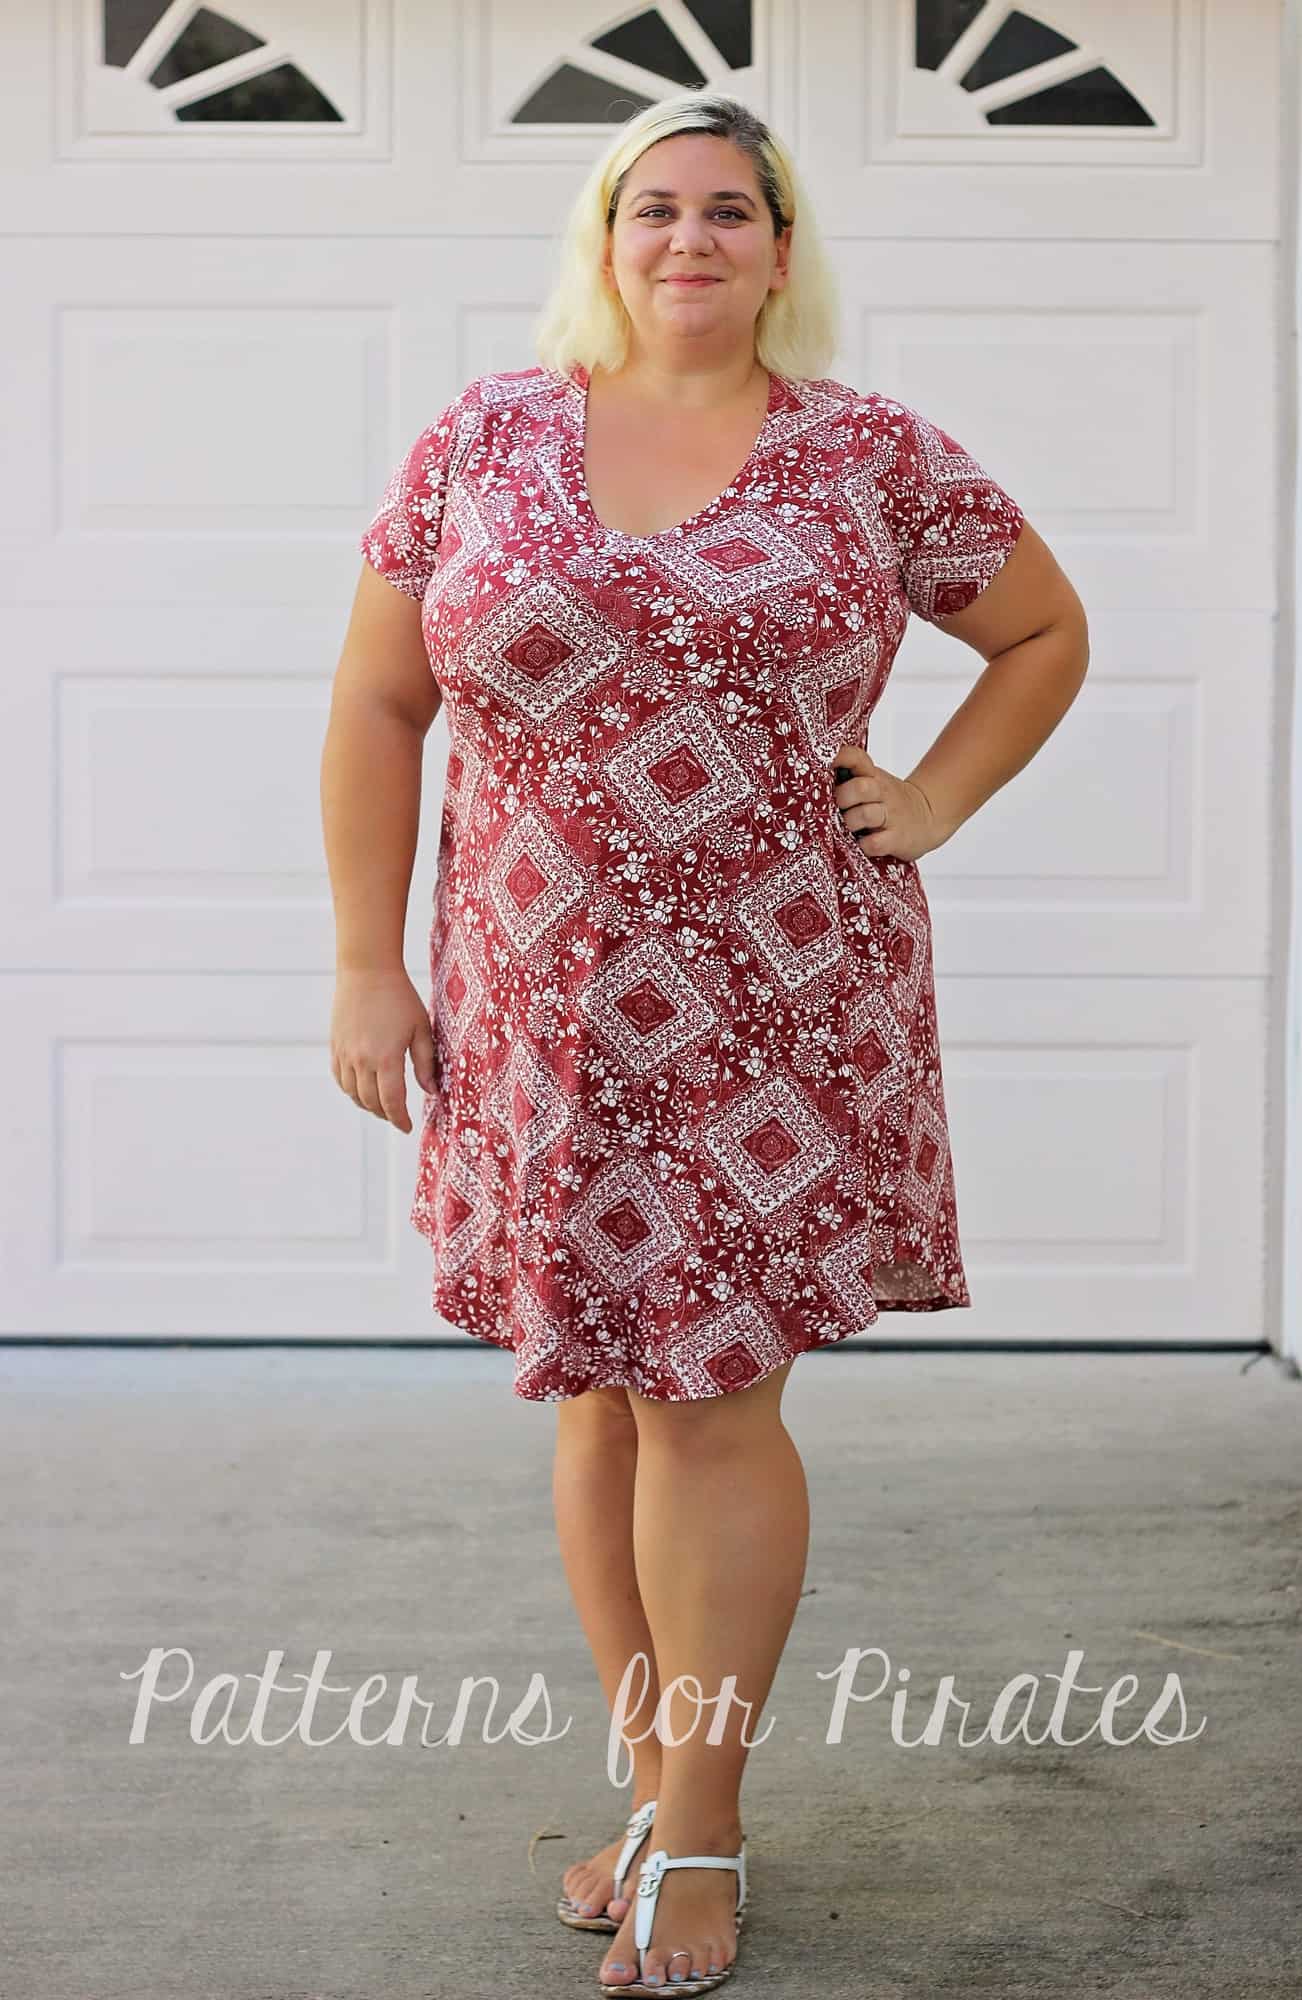
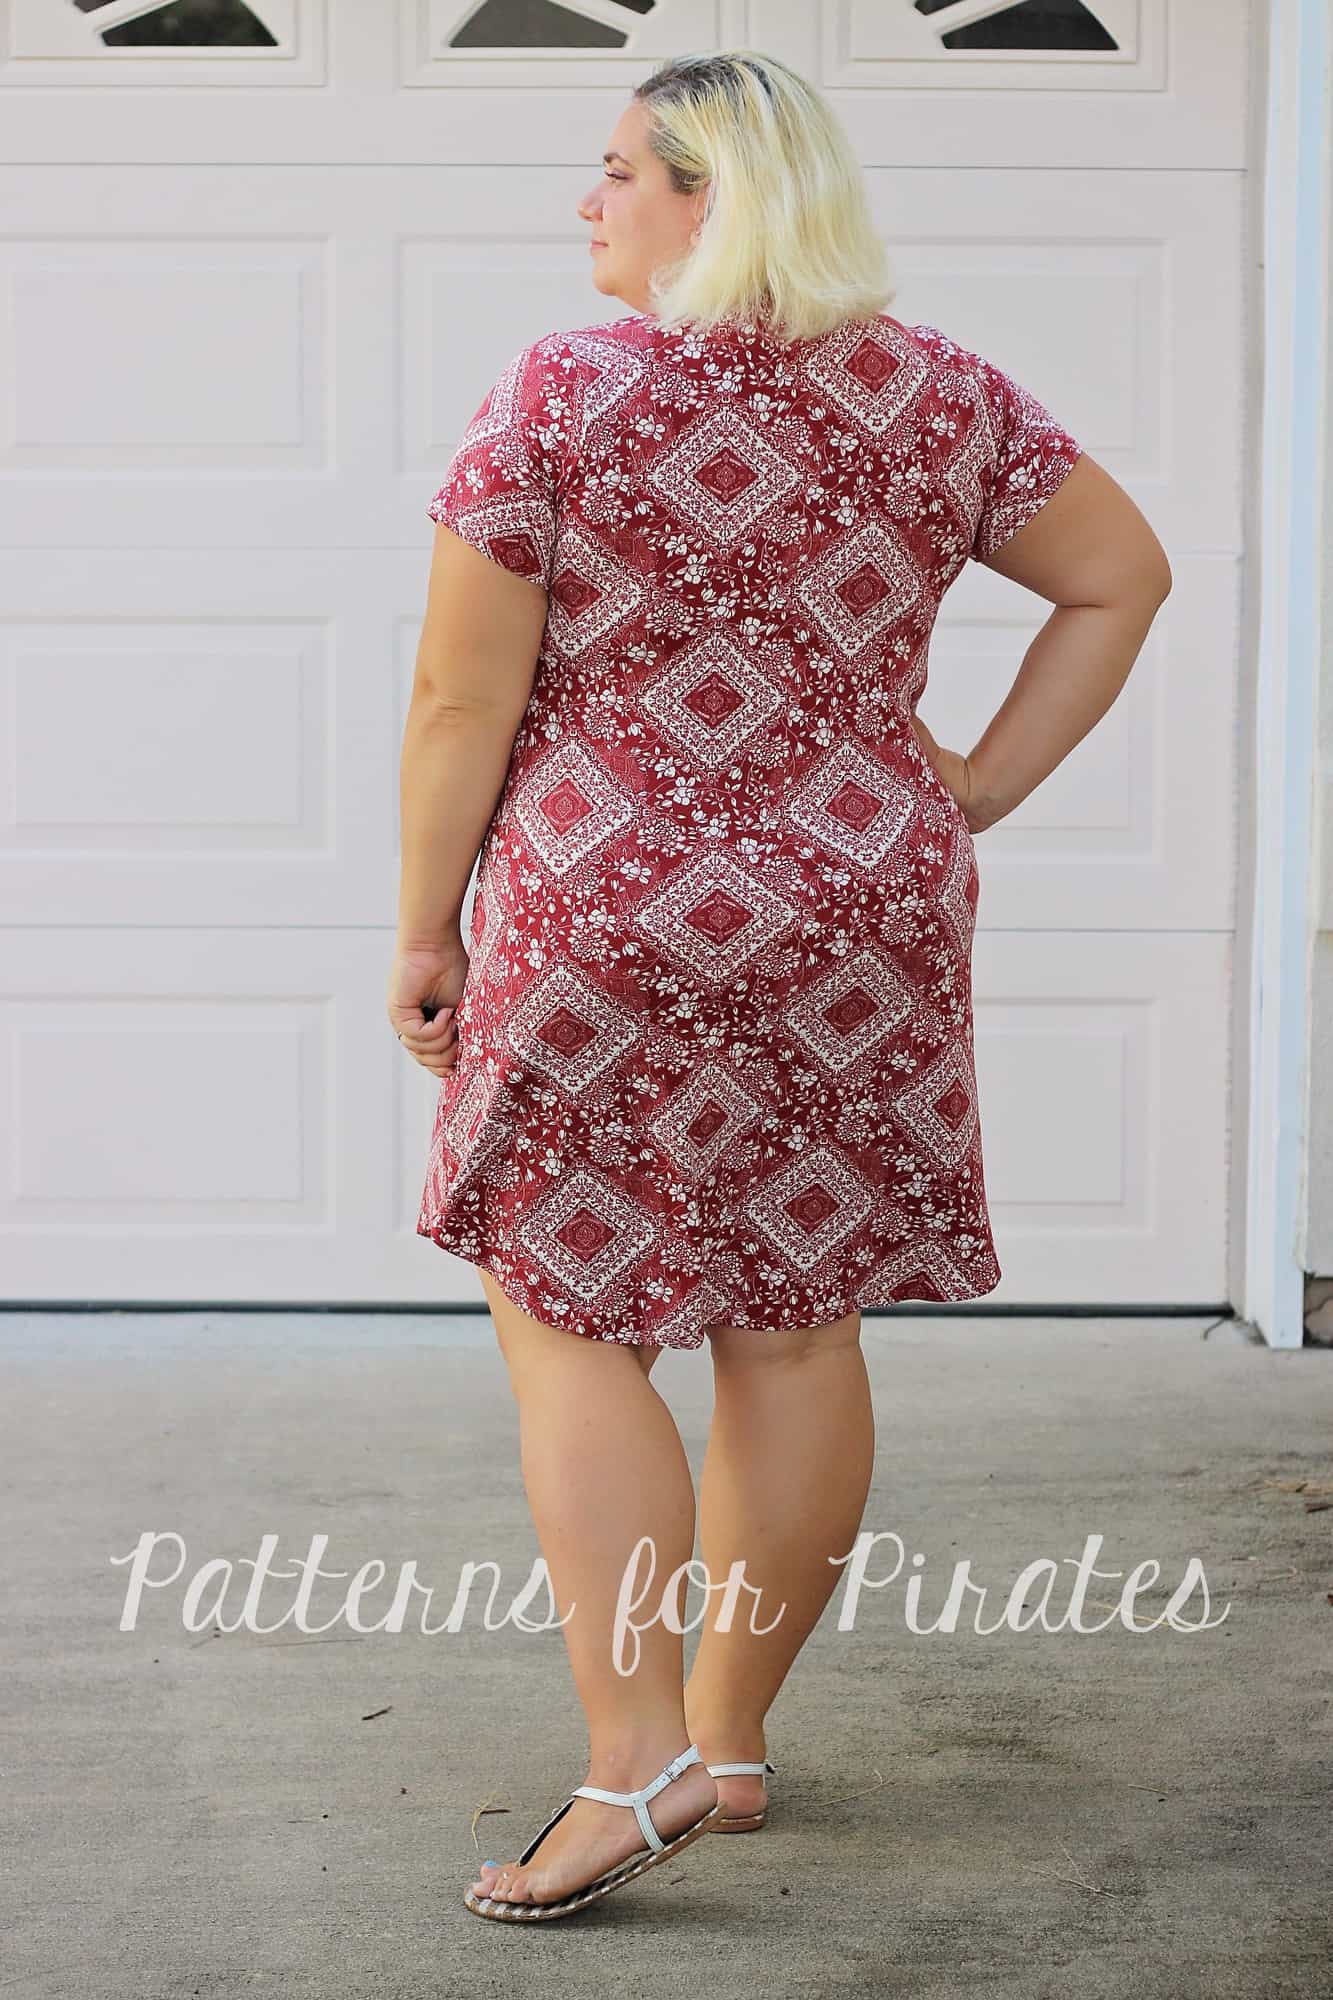
Ahoy, Pirates! Welcome to day 5 of our Favorite Tee and Fav Tee Sew along. Today we’ll be hemming the bottom or adding the bottom band if you’re doing that option.
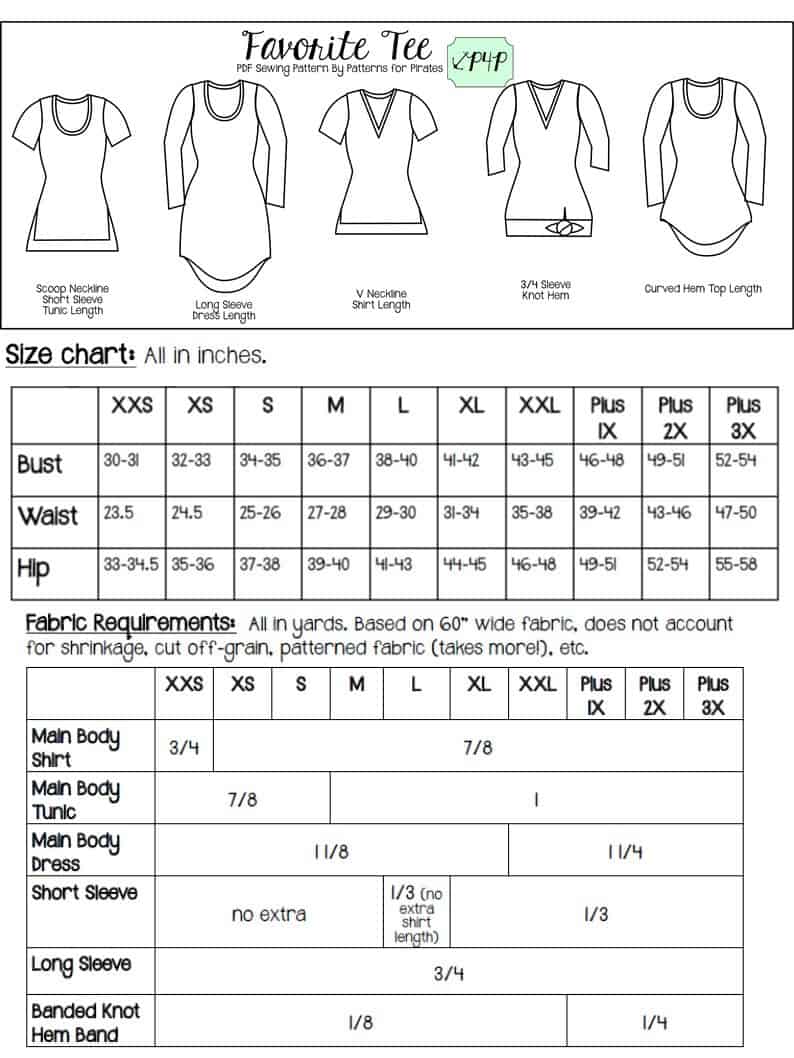
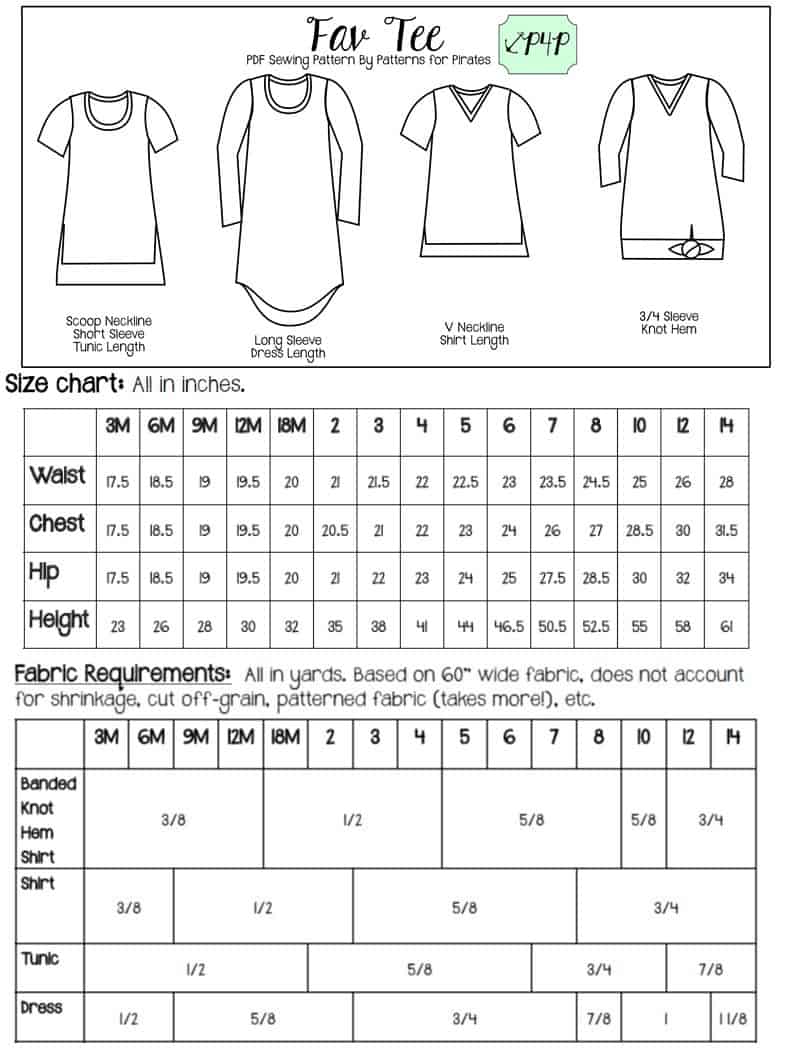
As you remember from day 2, the bottom band has 4 pieces for sizes 1x to 3x and 2 pieces (cut on fold) for sizes xxs to xxl. Construct and add your band according to the tutorial, making sure you add all necessary notches!
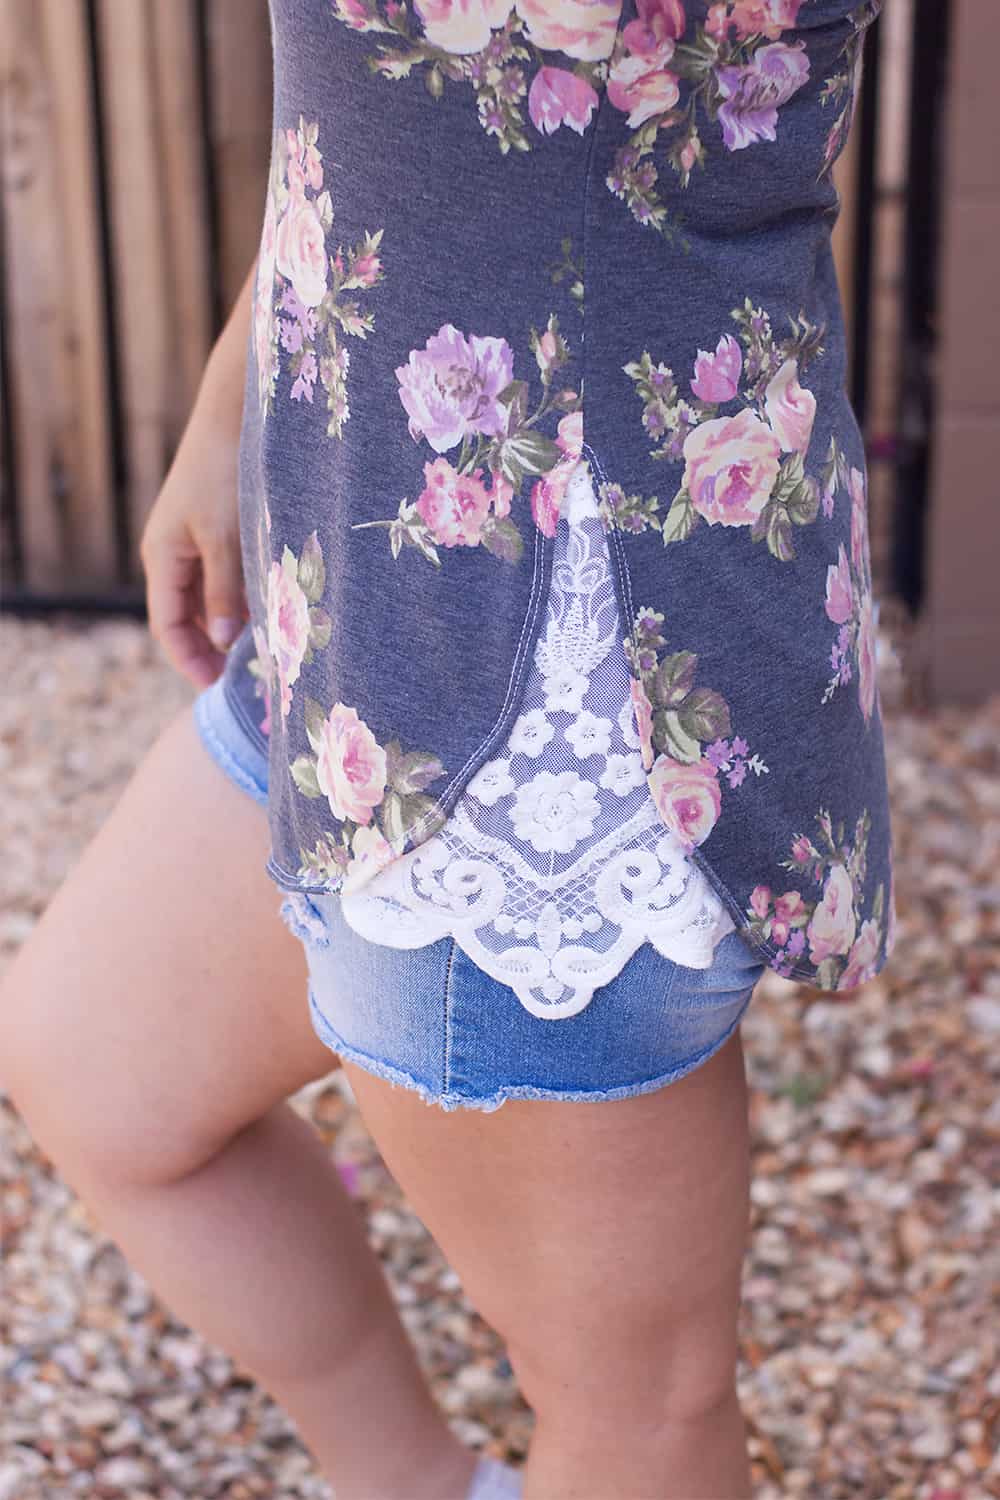
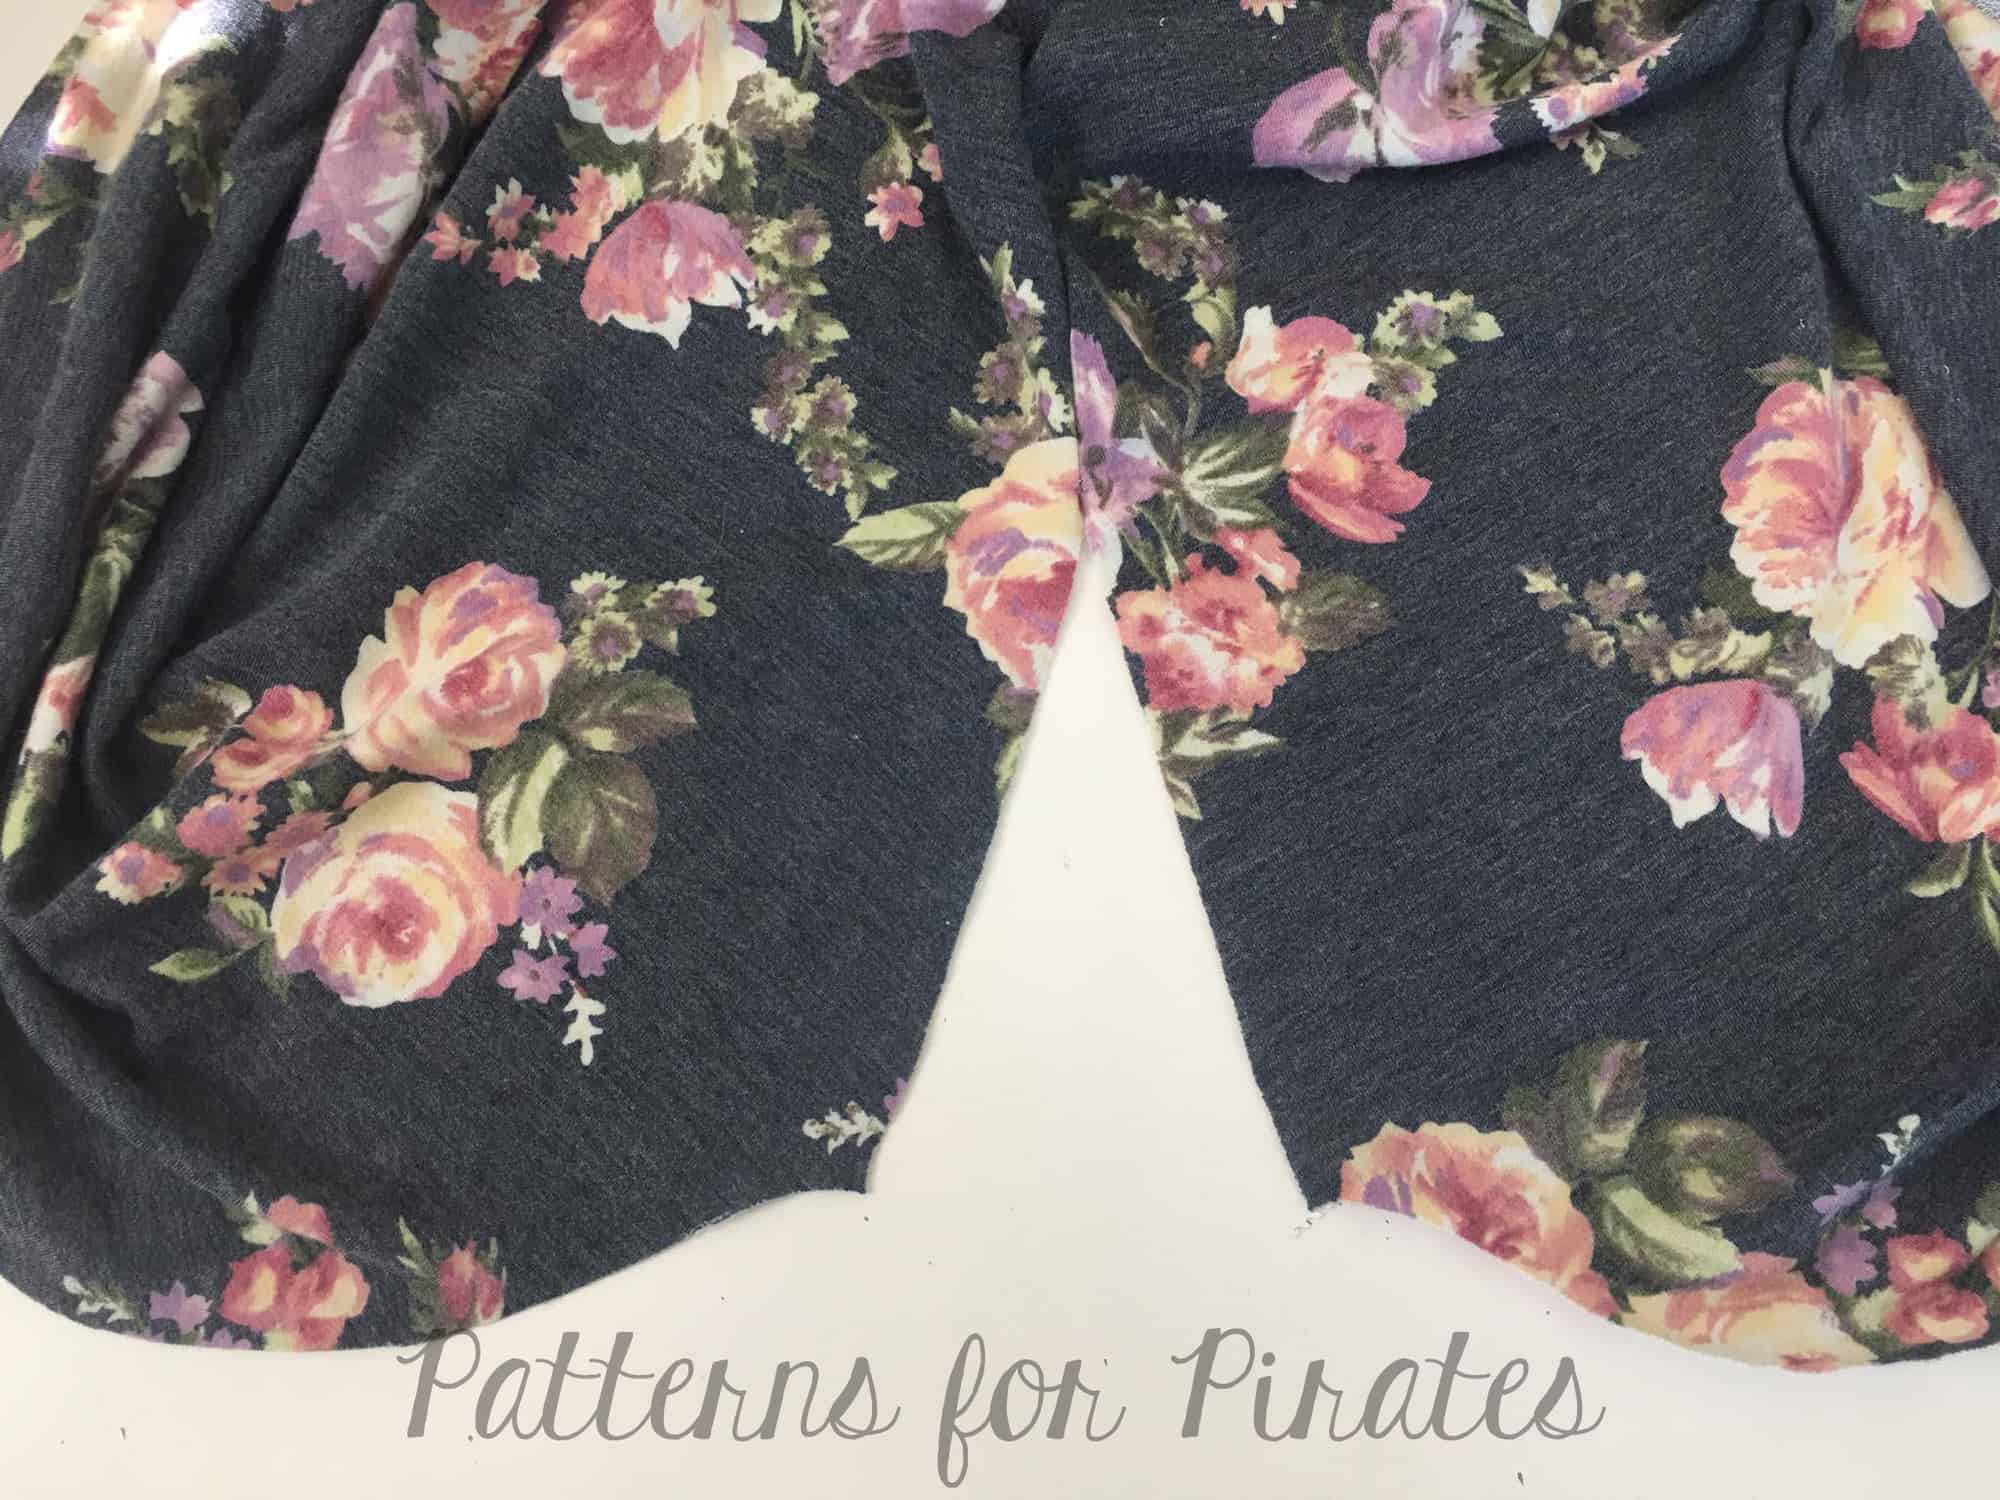
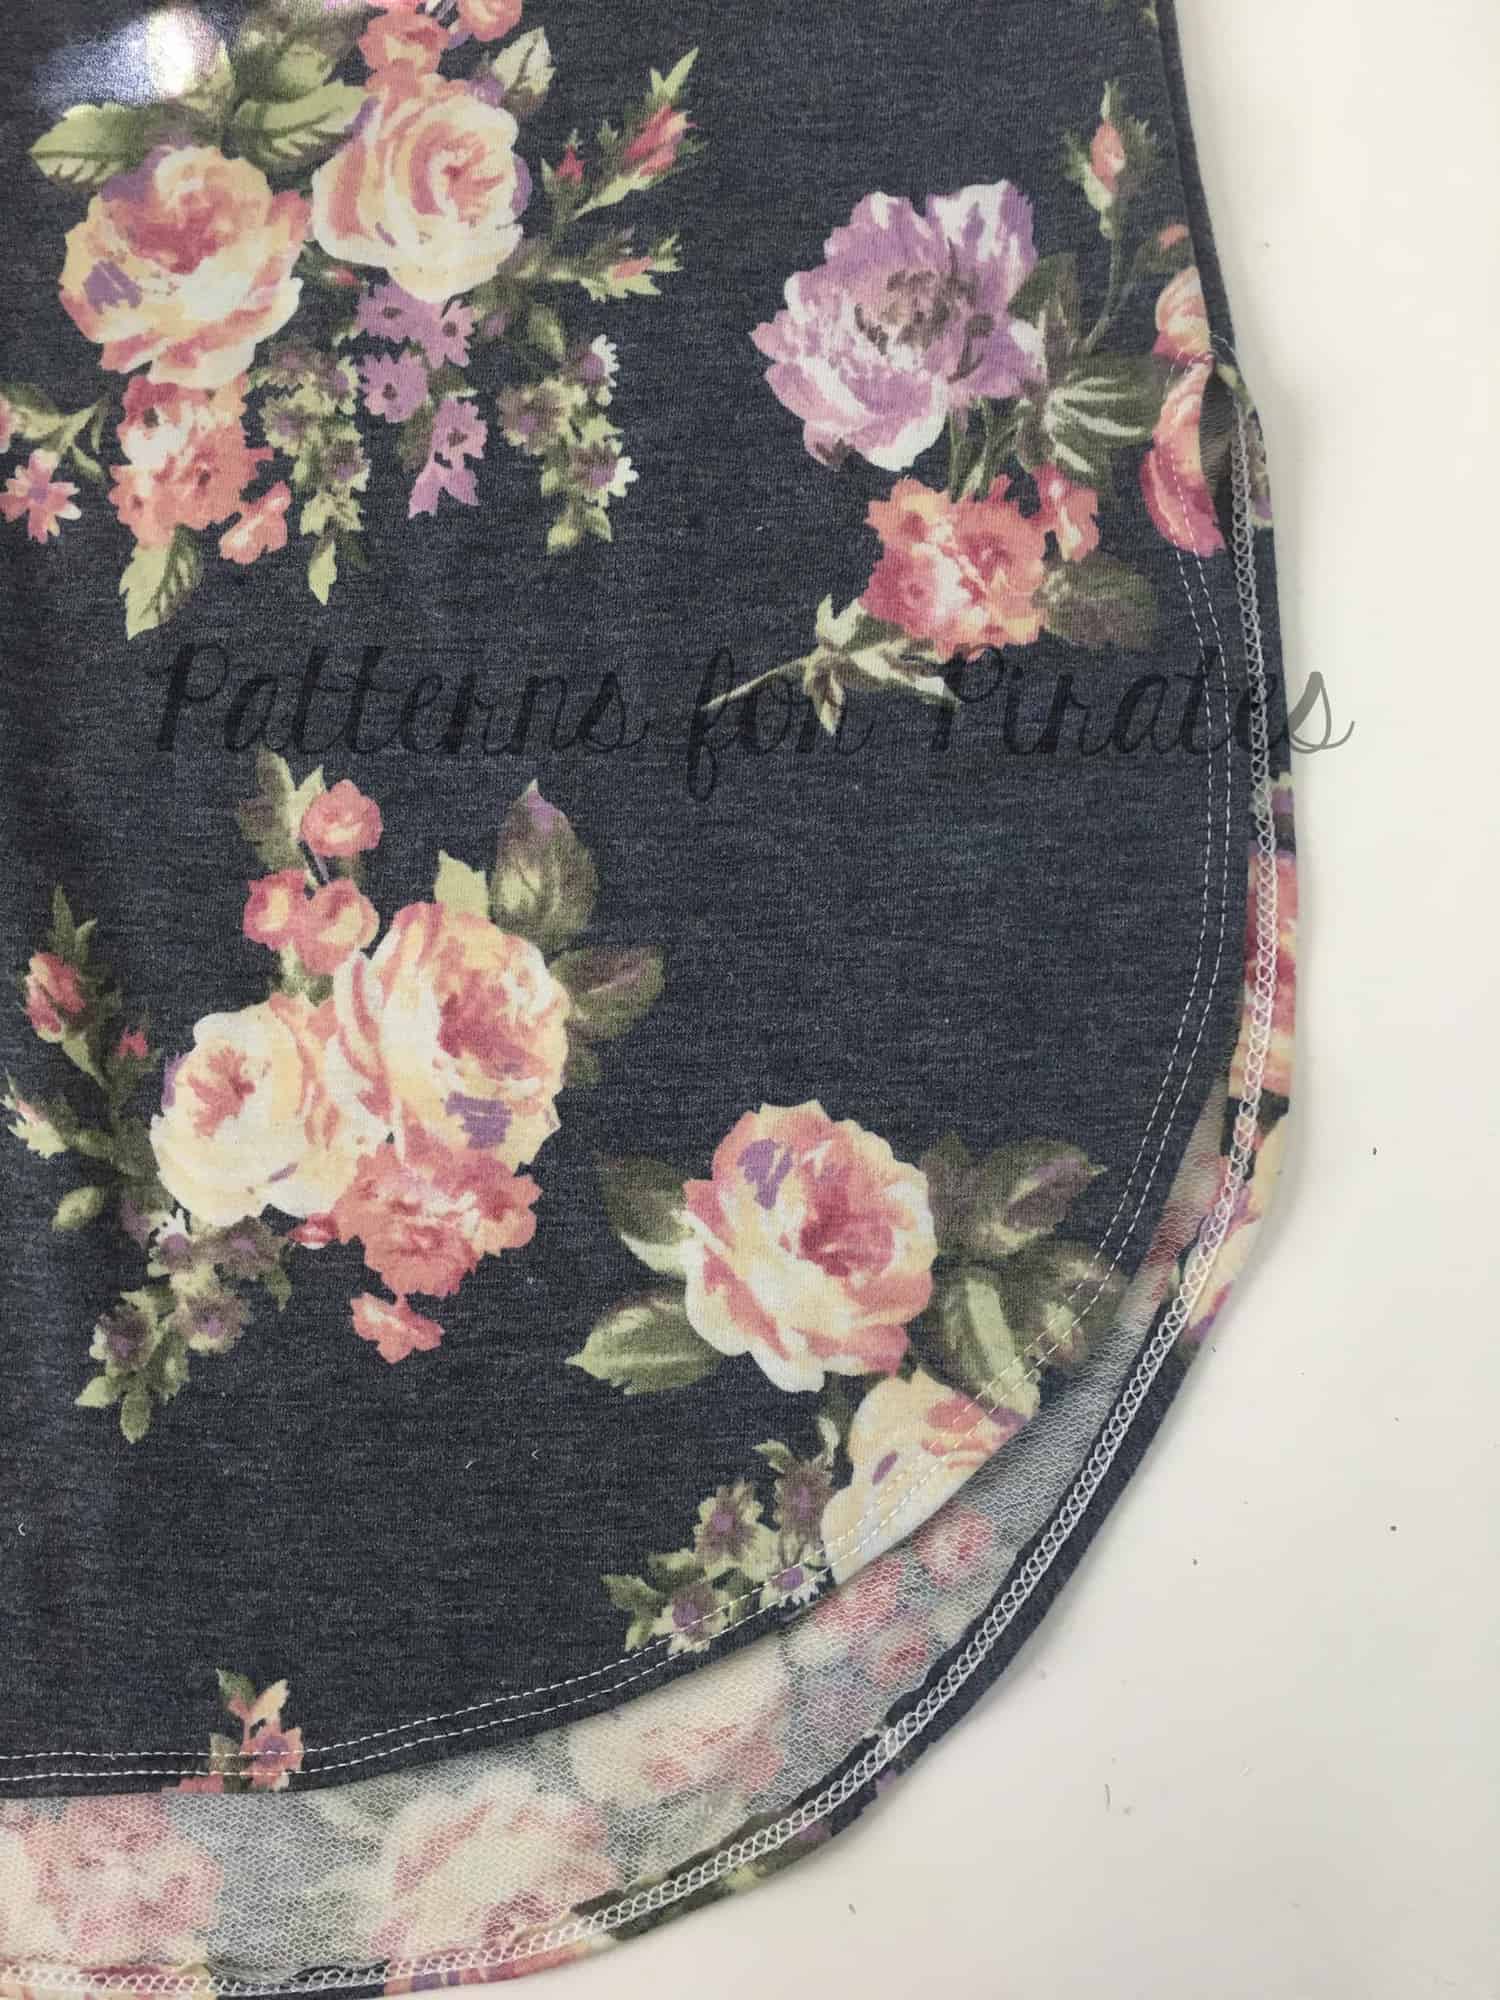
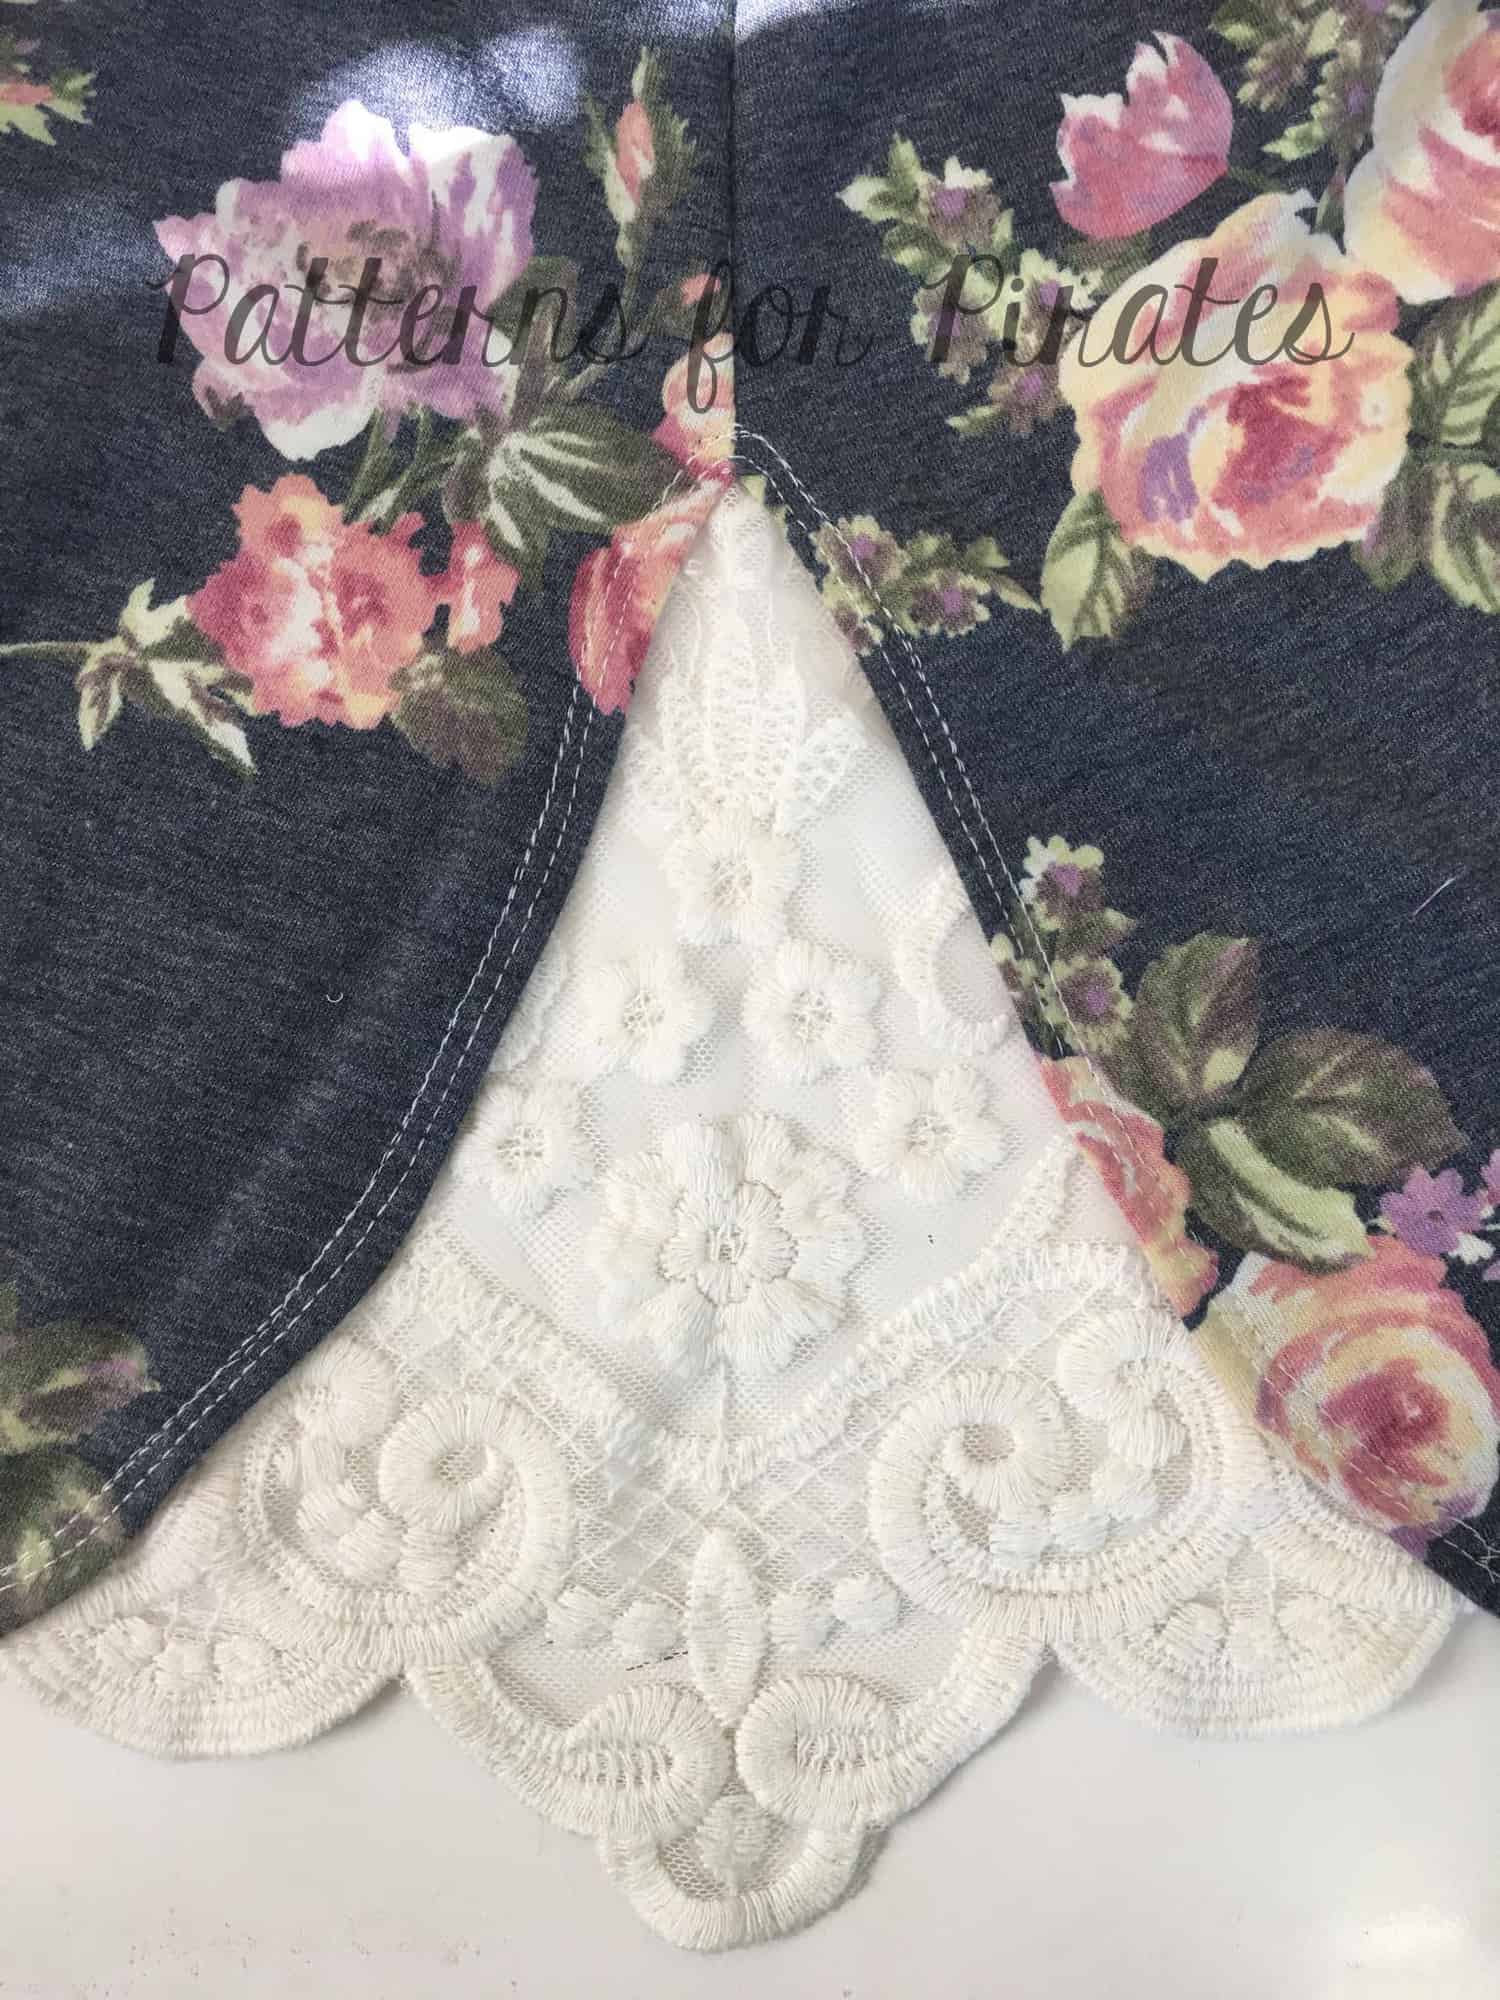
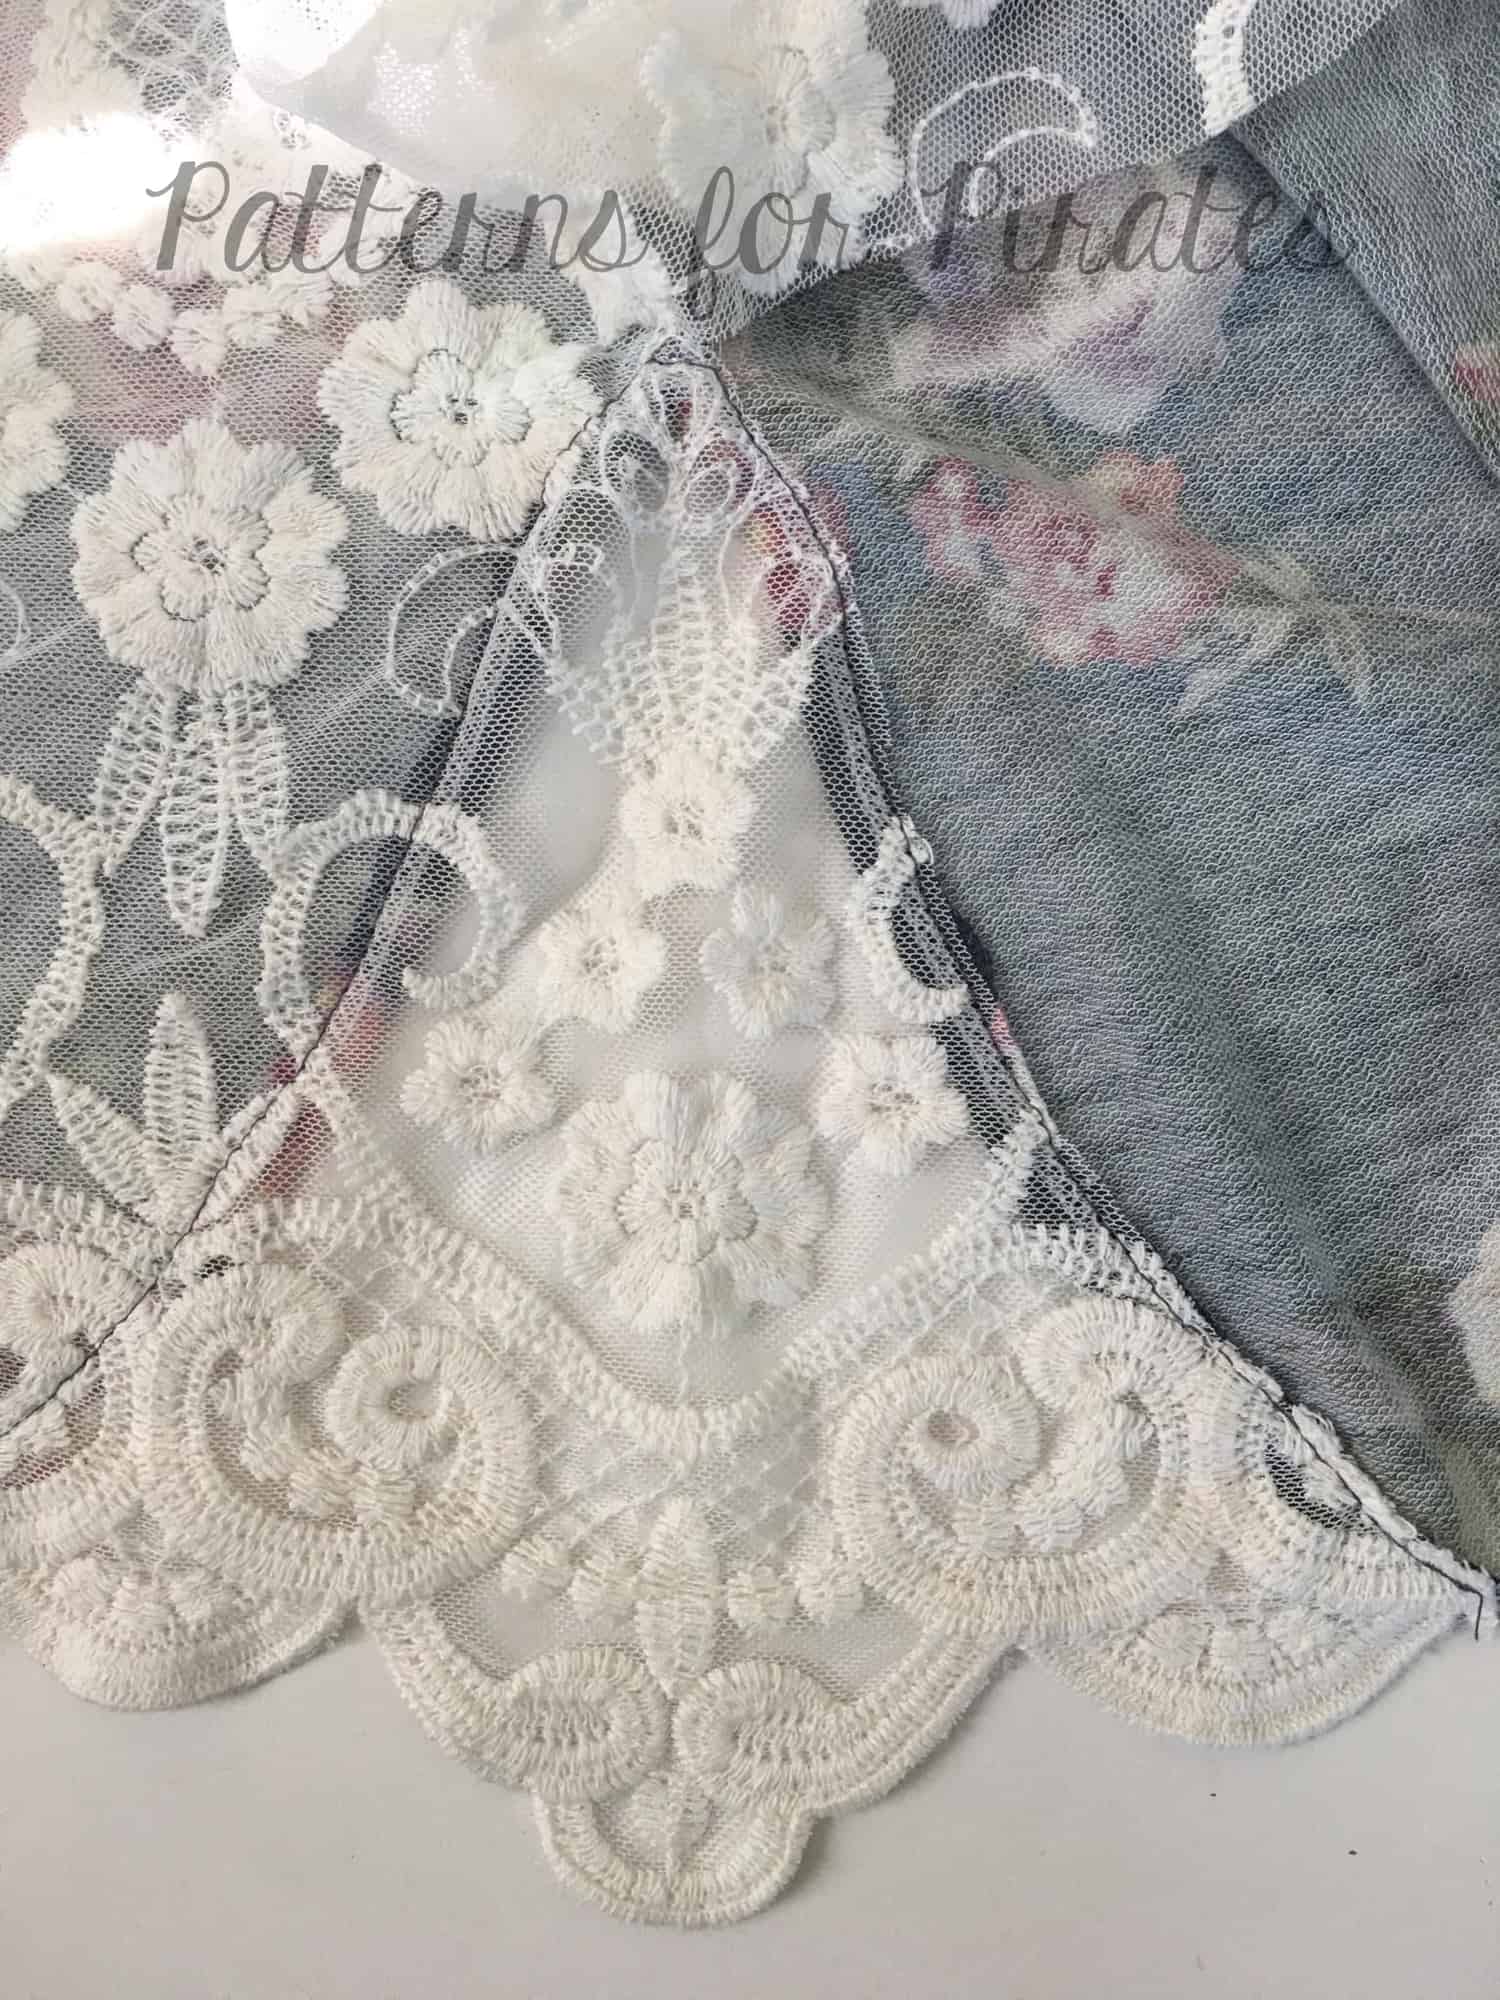
If you chose the hemmed option, you can do that using your sewing machine, twin needles or your coverstitch as I have. Before you start, take a look over our Hemming blog because we have a few tips for easy and successful hemming. If you are finishing the bottom hem using twin needles, a good refresher blog is the P4P University Twin Needles Tips.
In the Day 5 video below I am showing you how easy it is to hem the curved dress option. Check it out and once you finish your day 5 steps, be sure to post a picture of your progress in the comments of the Day 5 picture. Can’t wait to see!
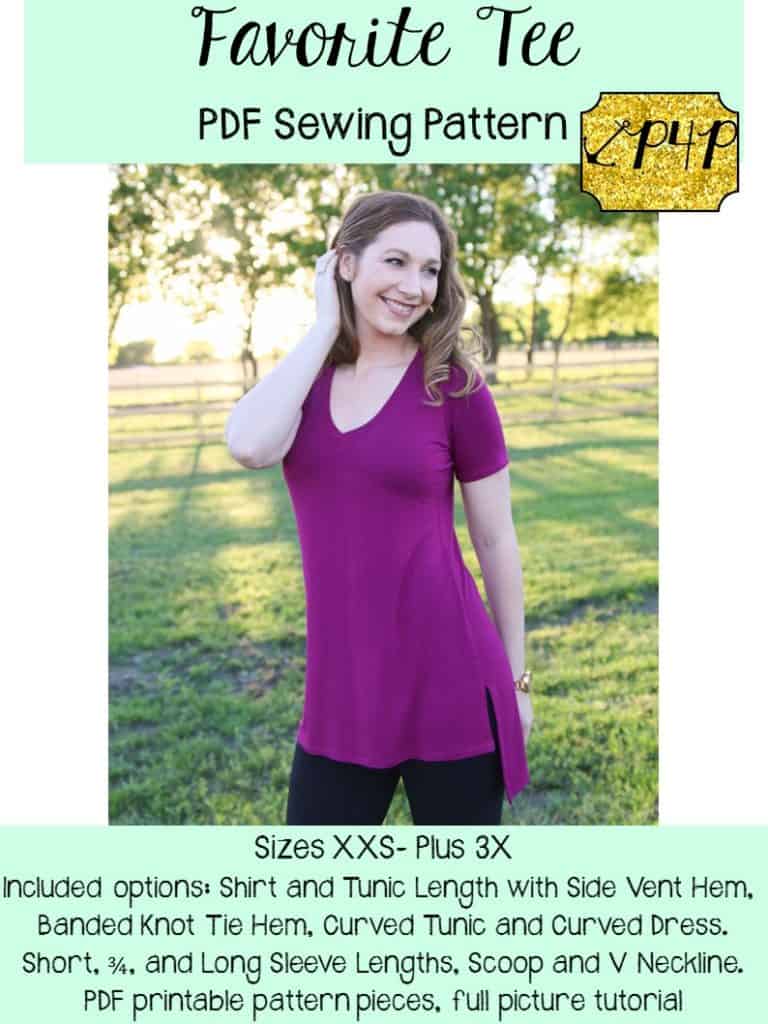
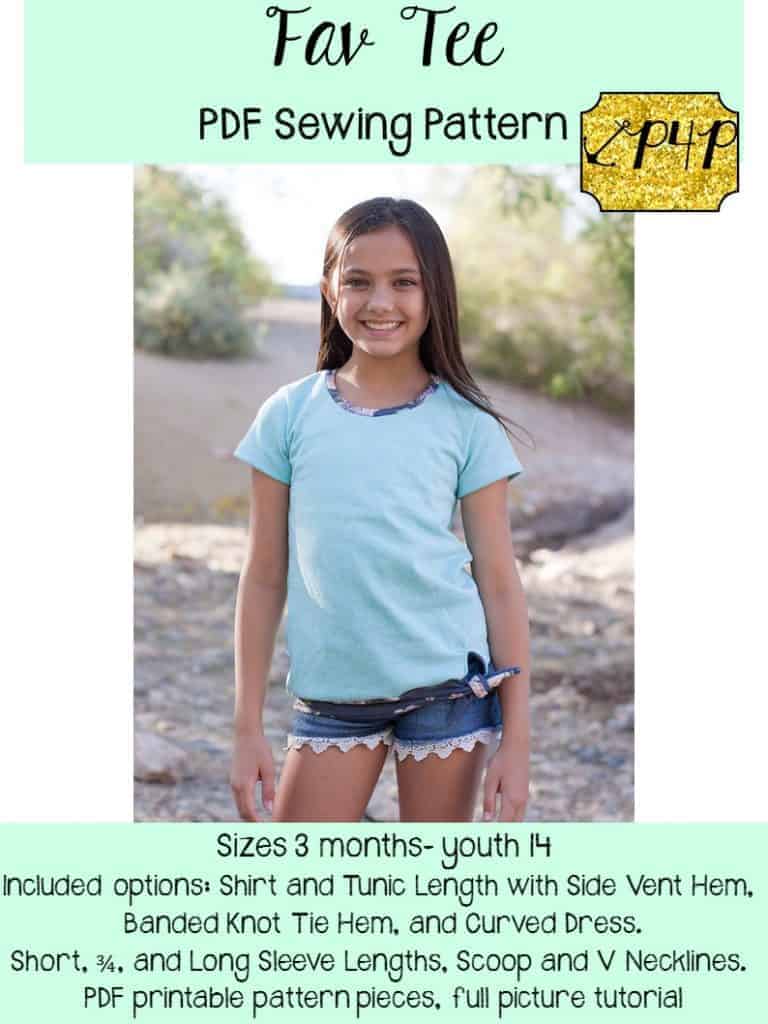
Favorite Tee & Fav Tee SAL
Day 3: shoulder seam + attach sleeves
Day 4: side seam + hem sleeves


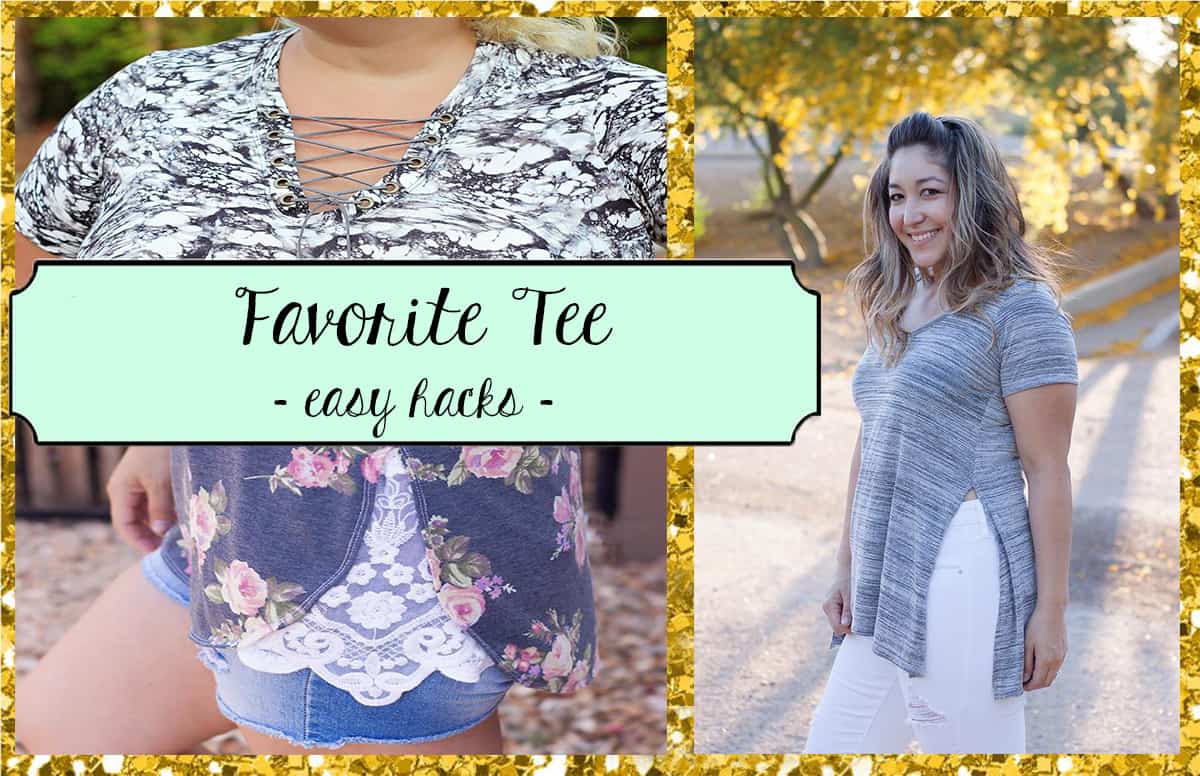
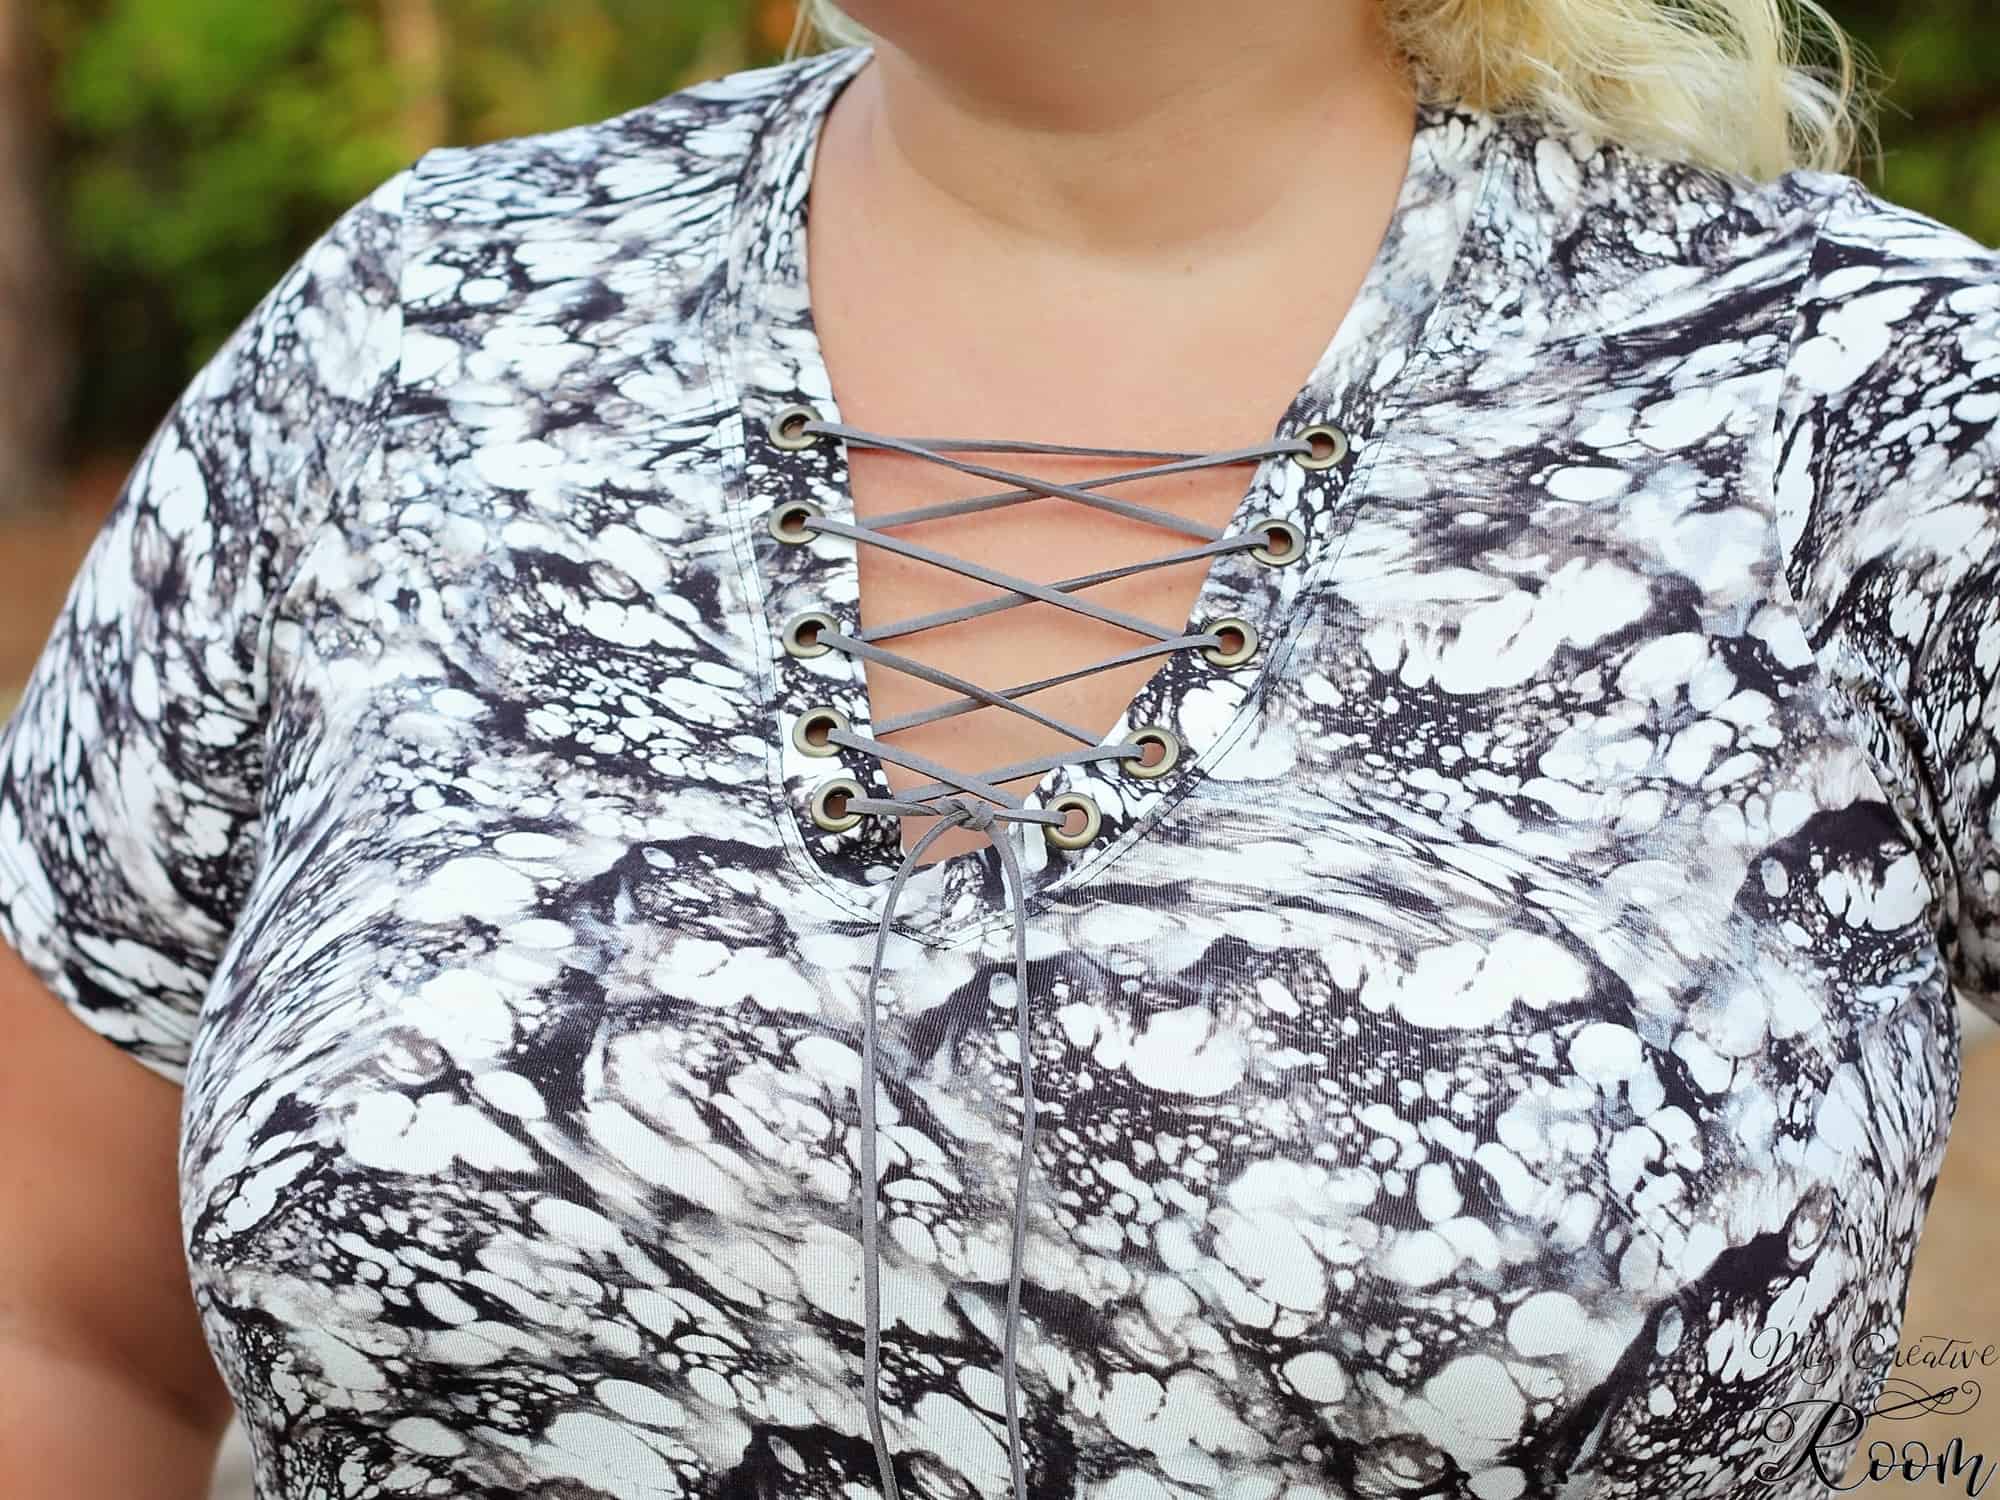
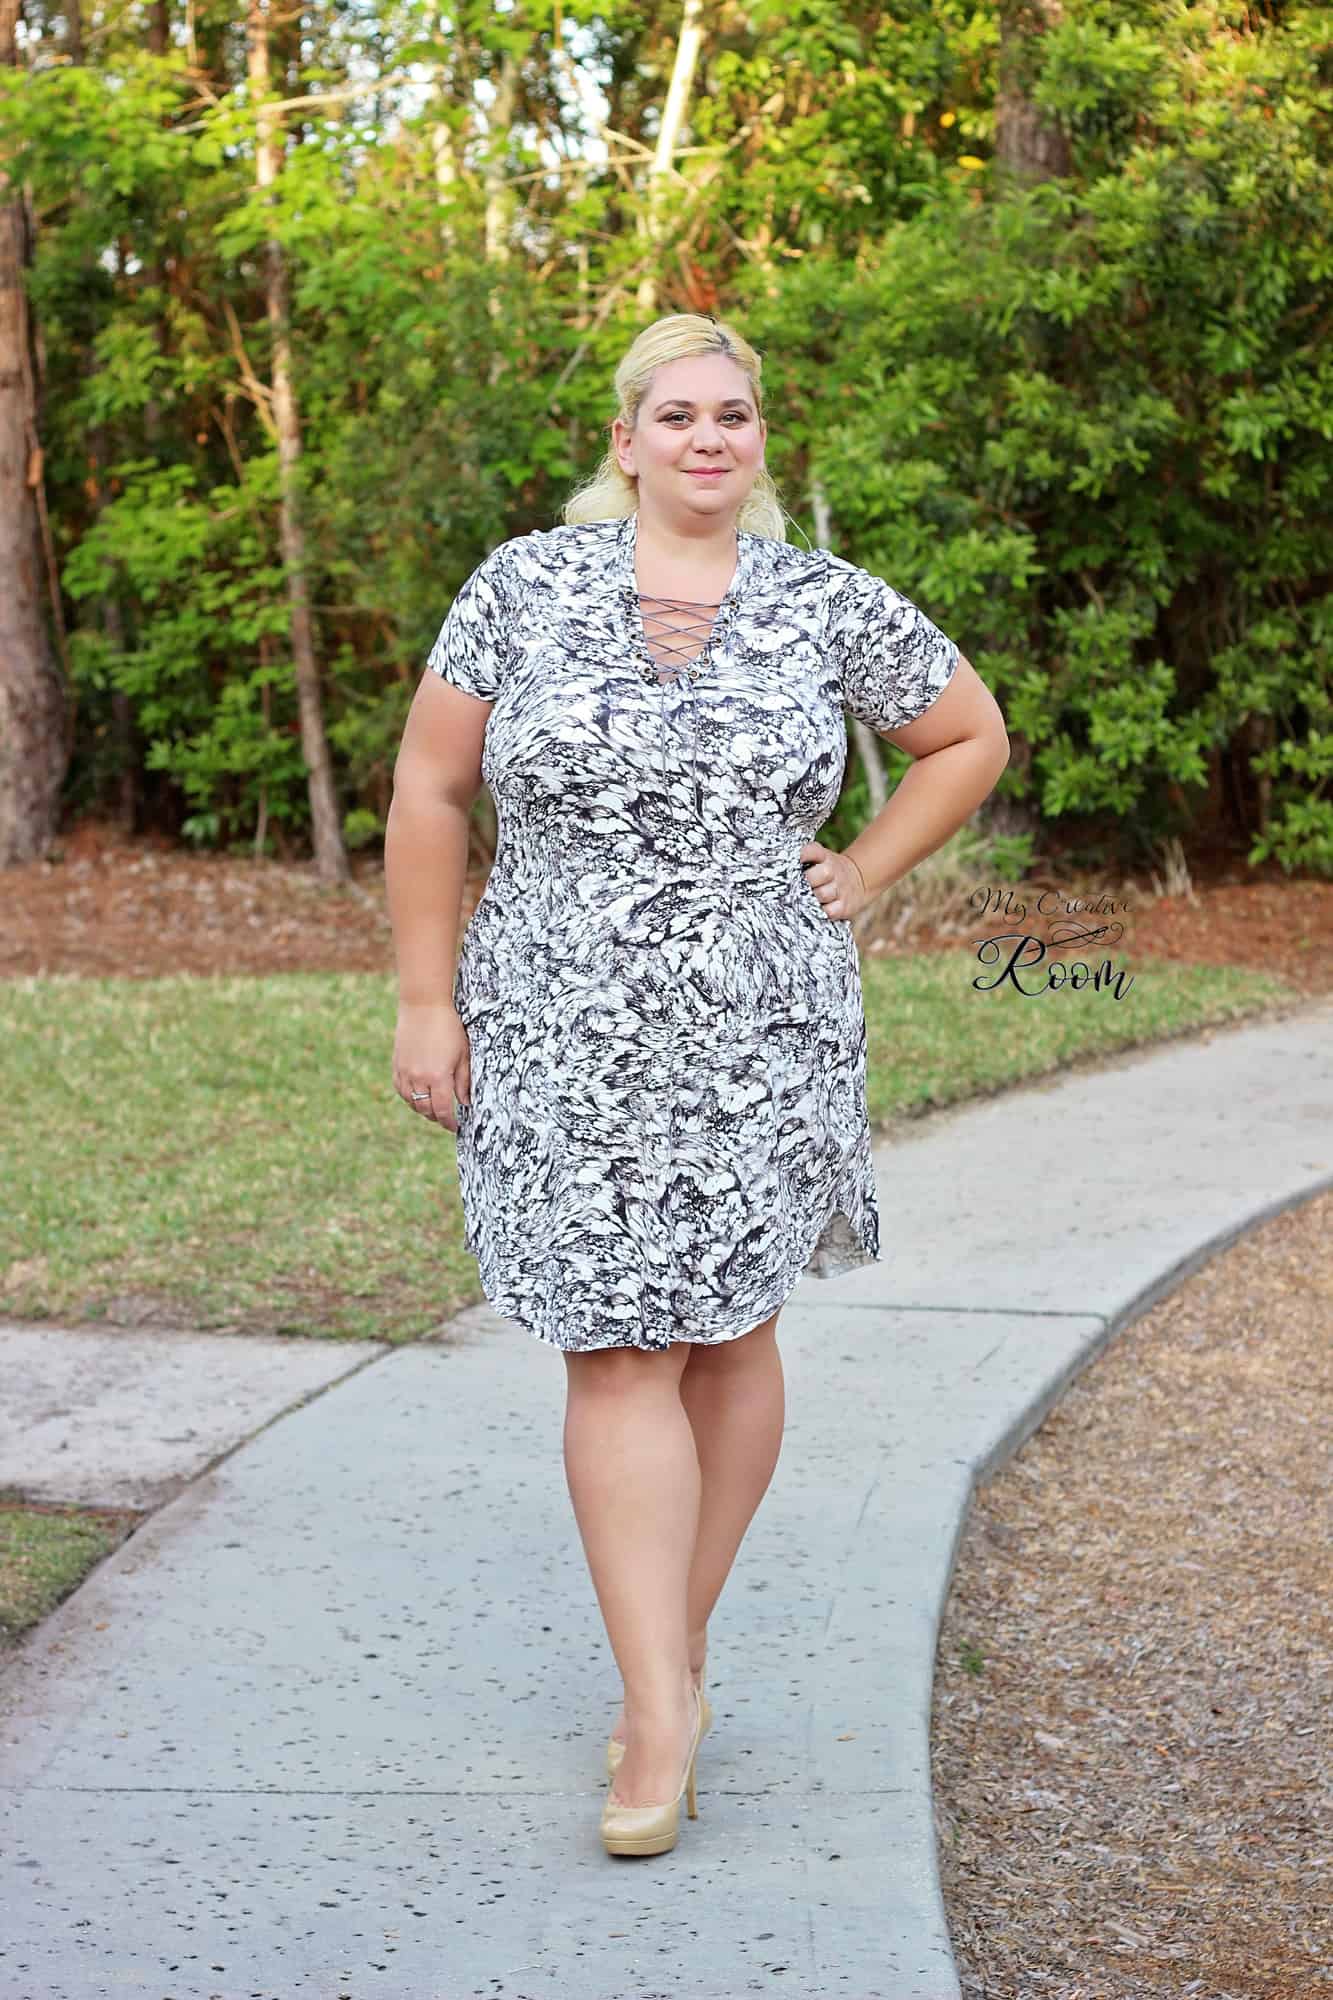
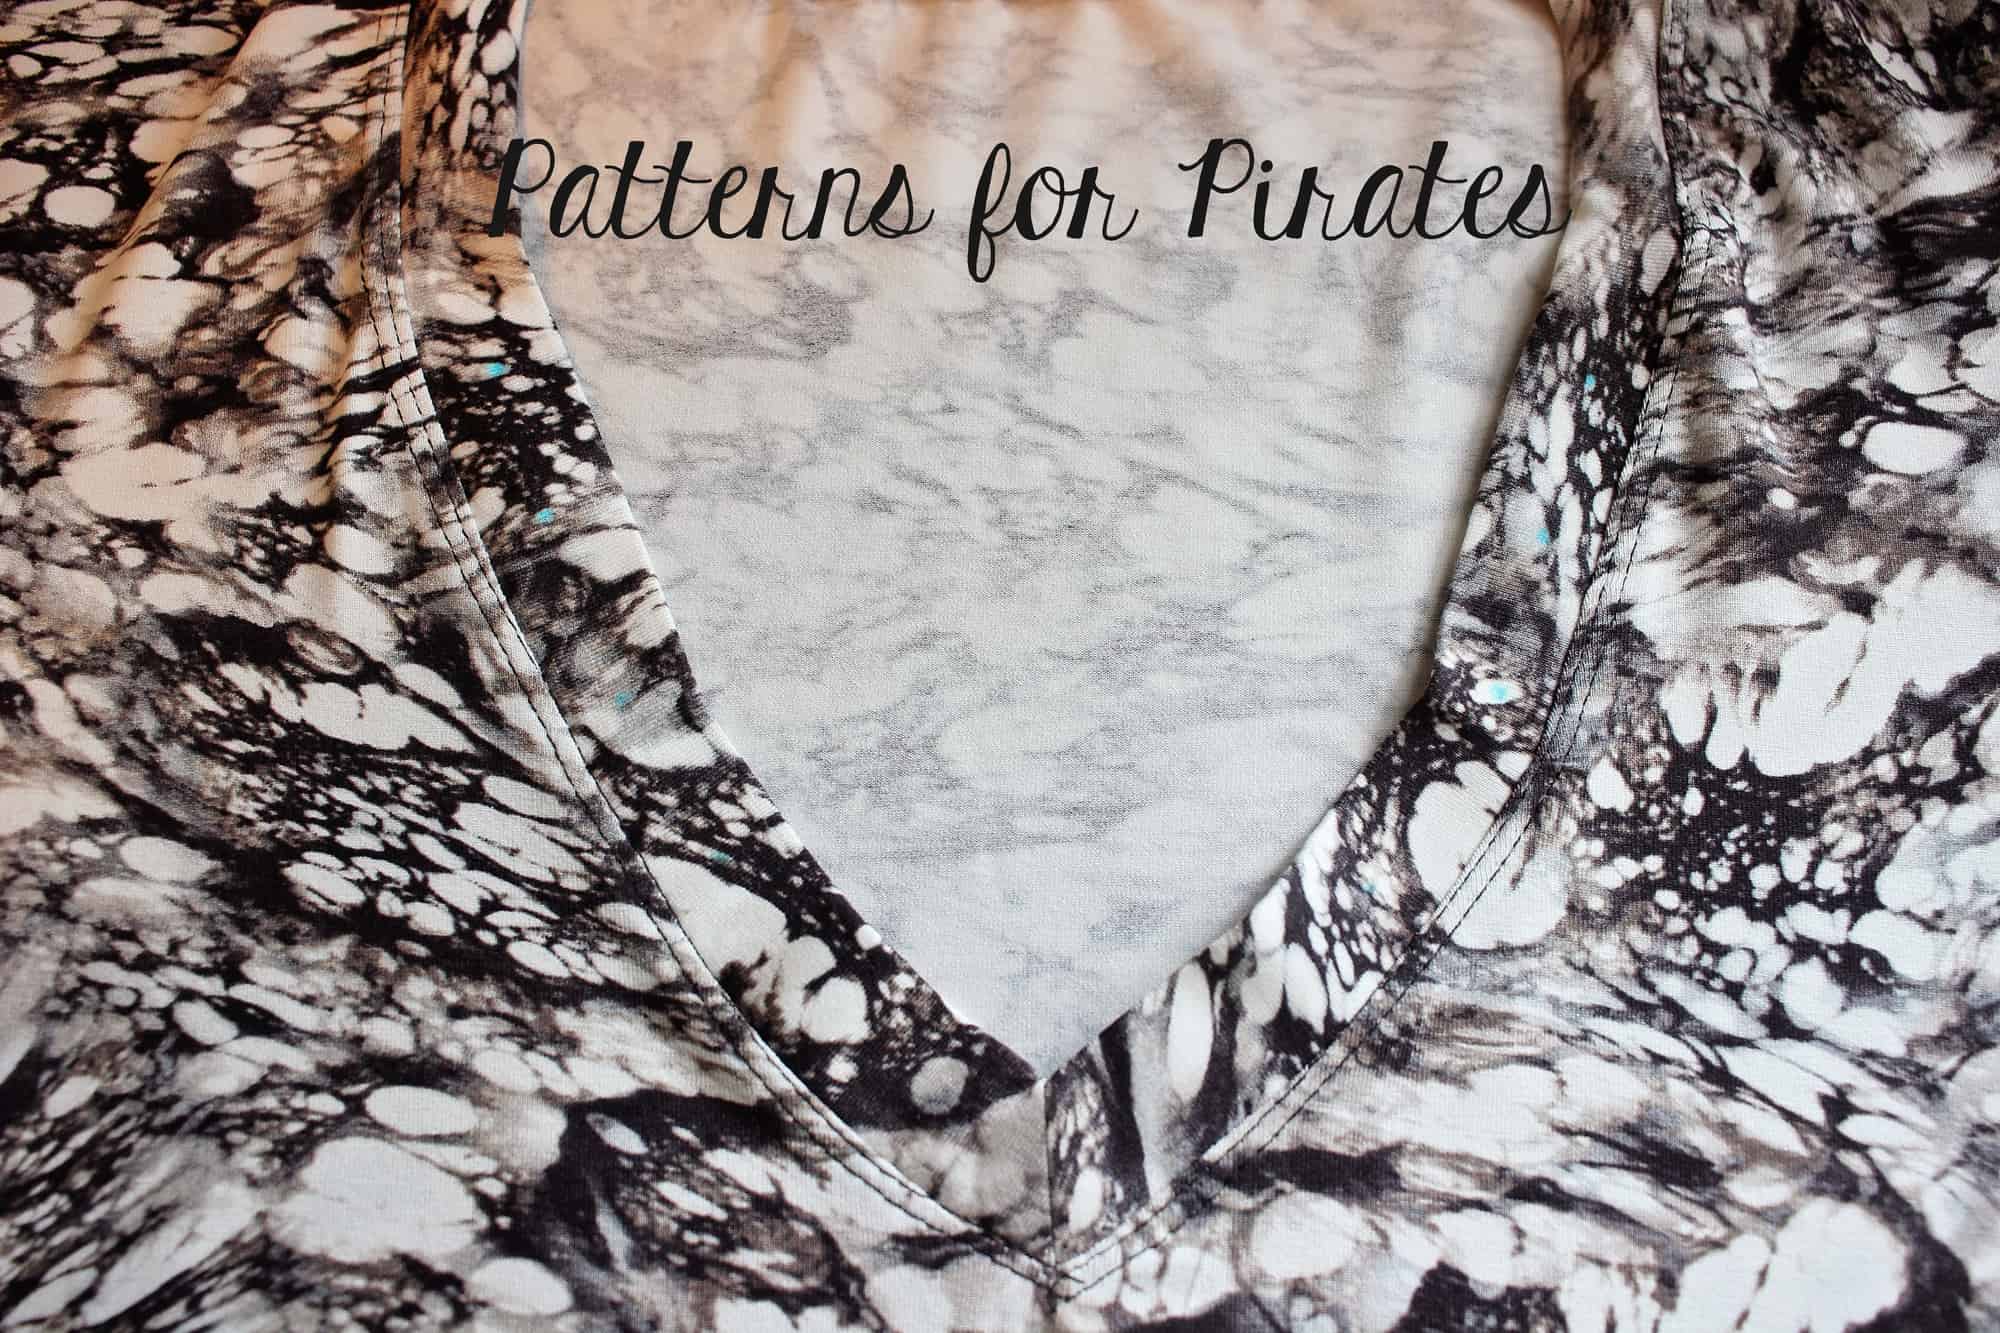
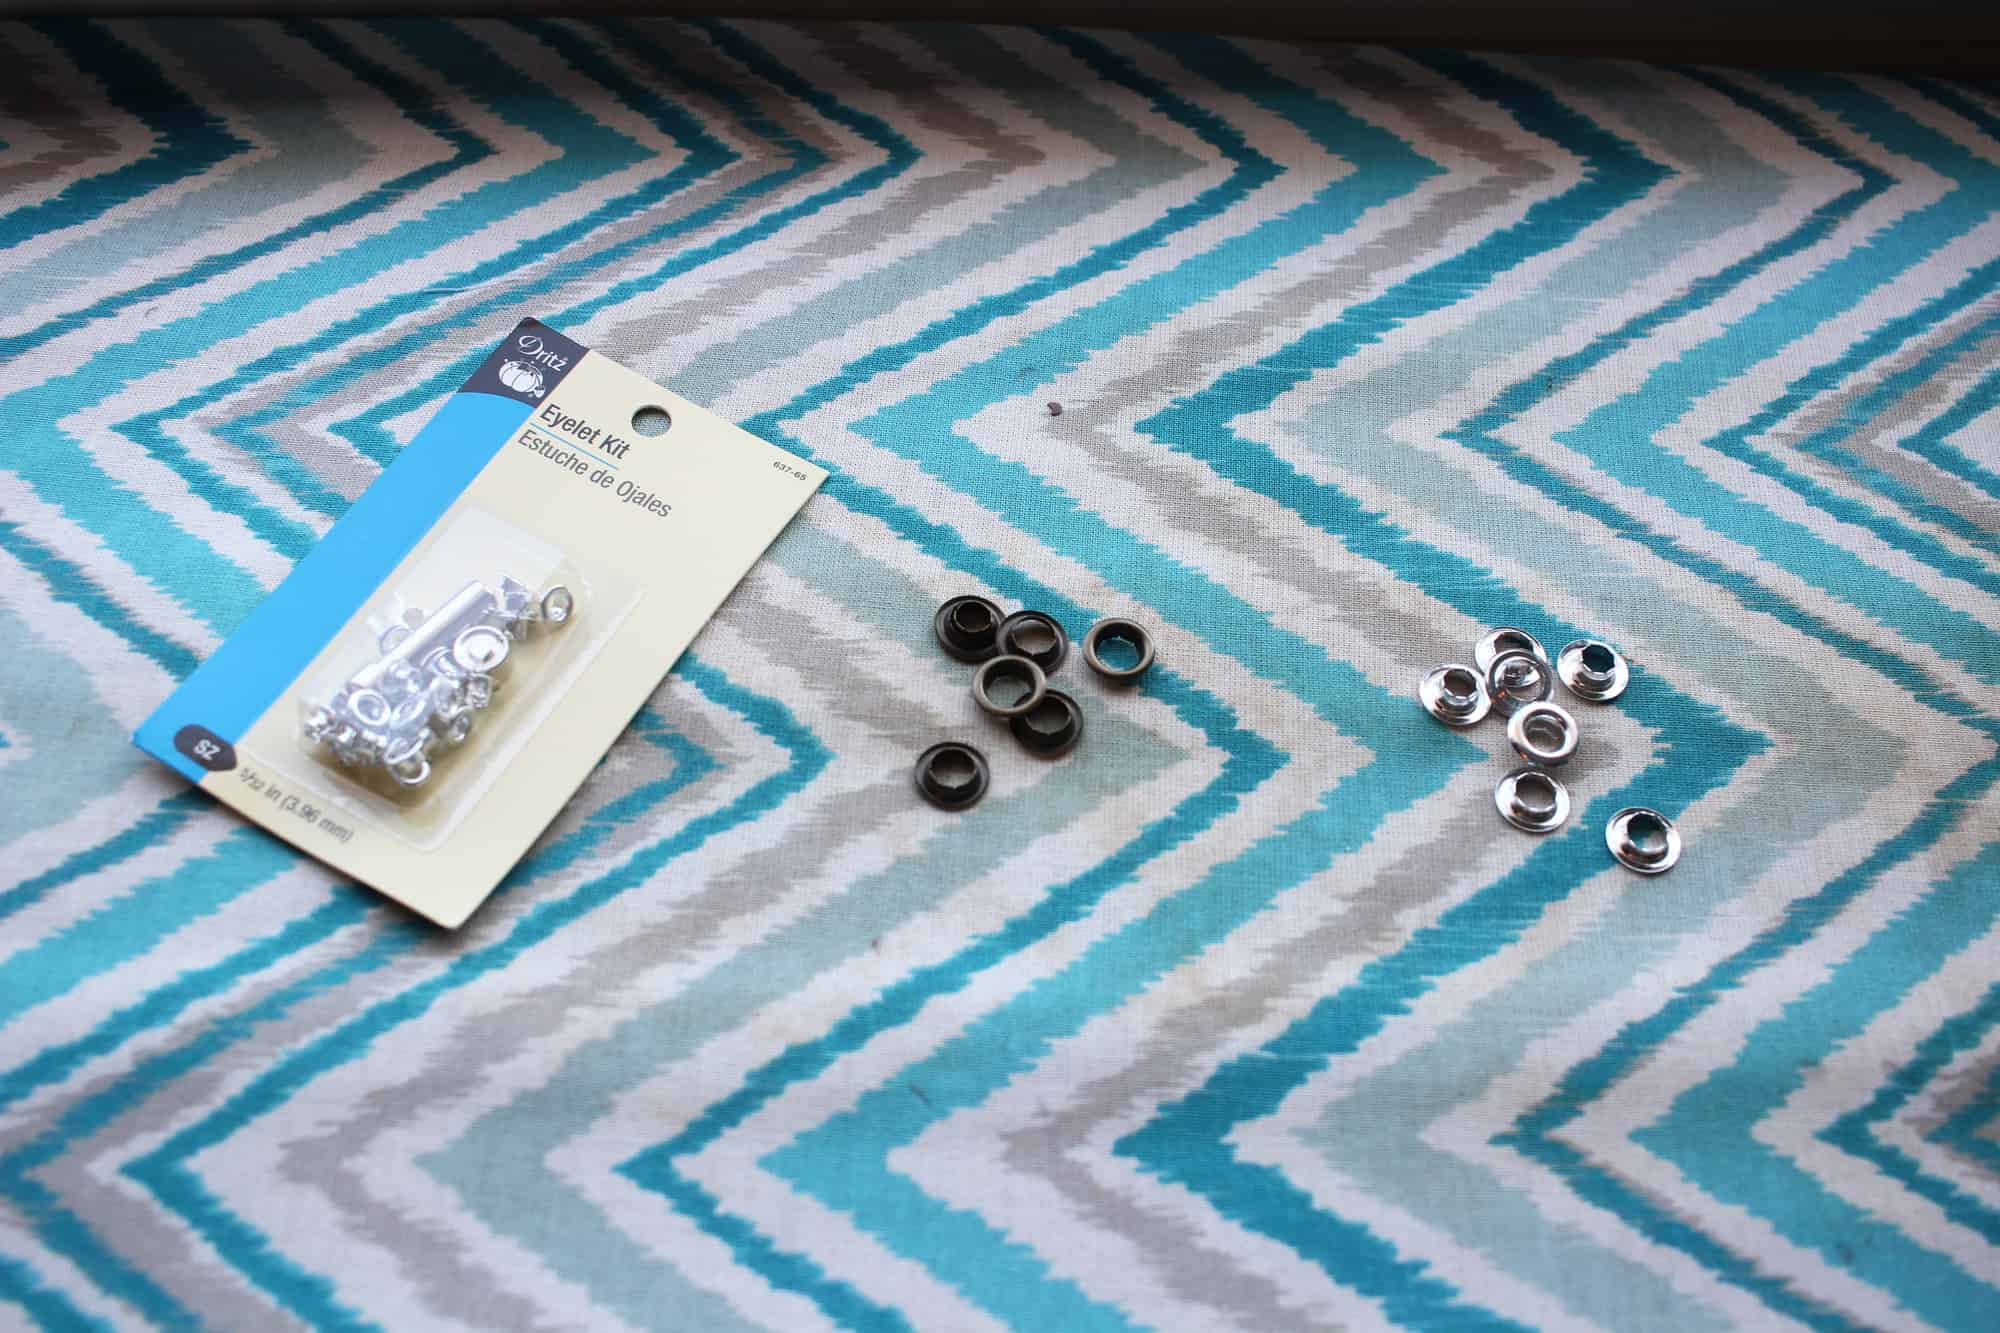

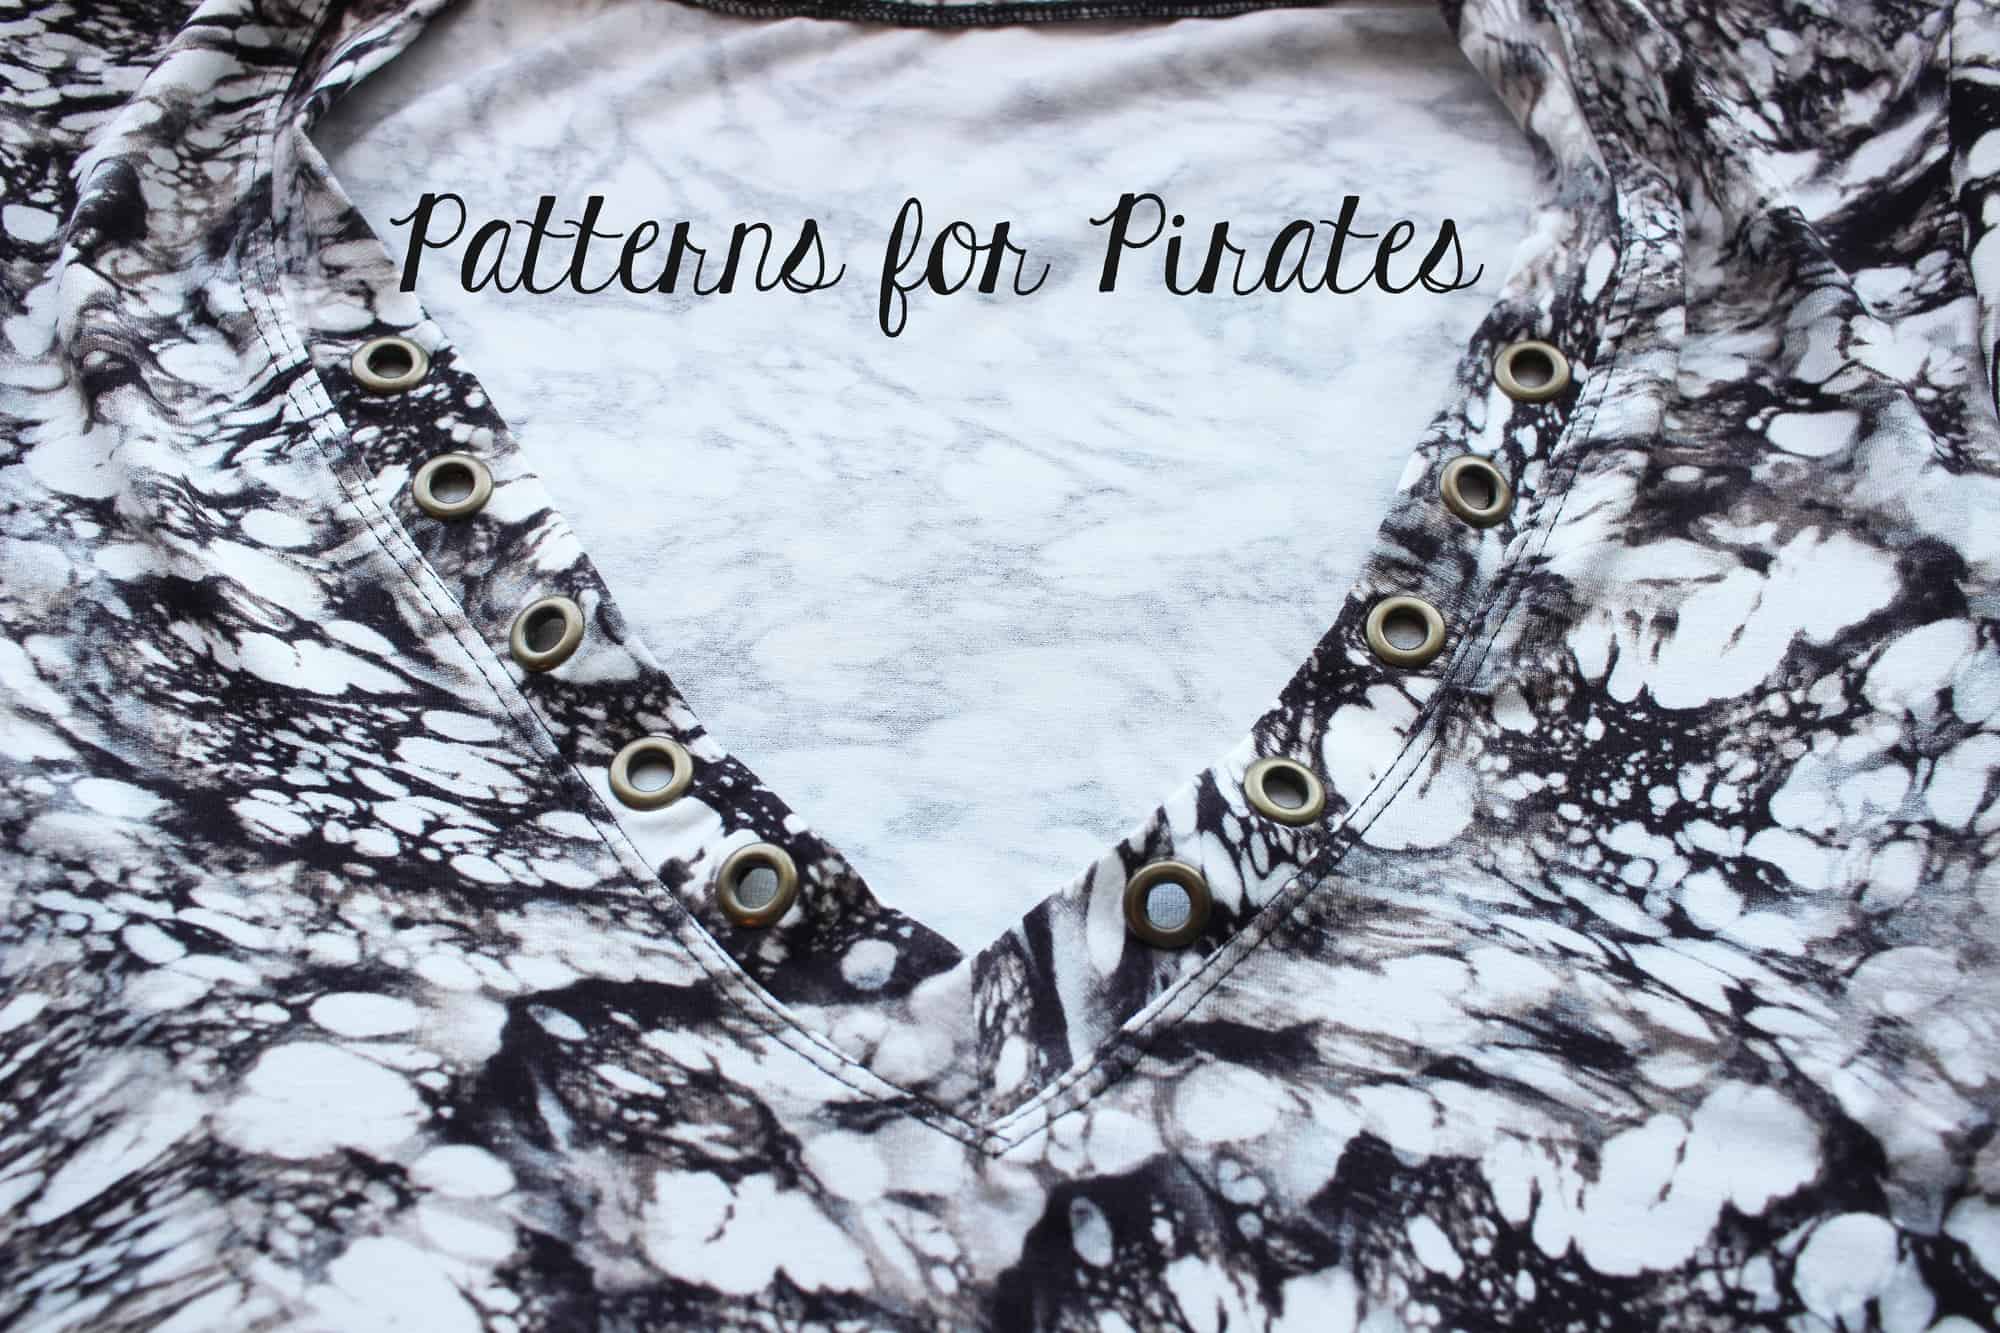
 For a more edgy look you can make a faux leather binding and thread it through the eyelets.
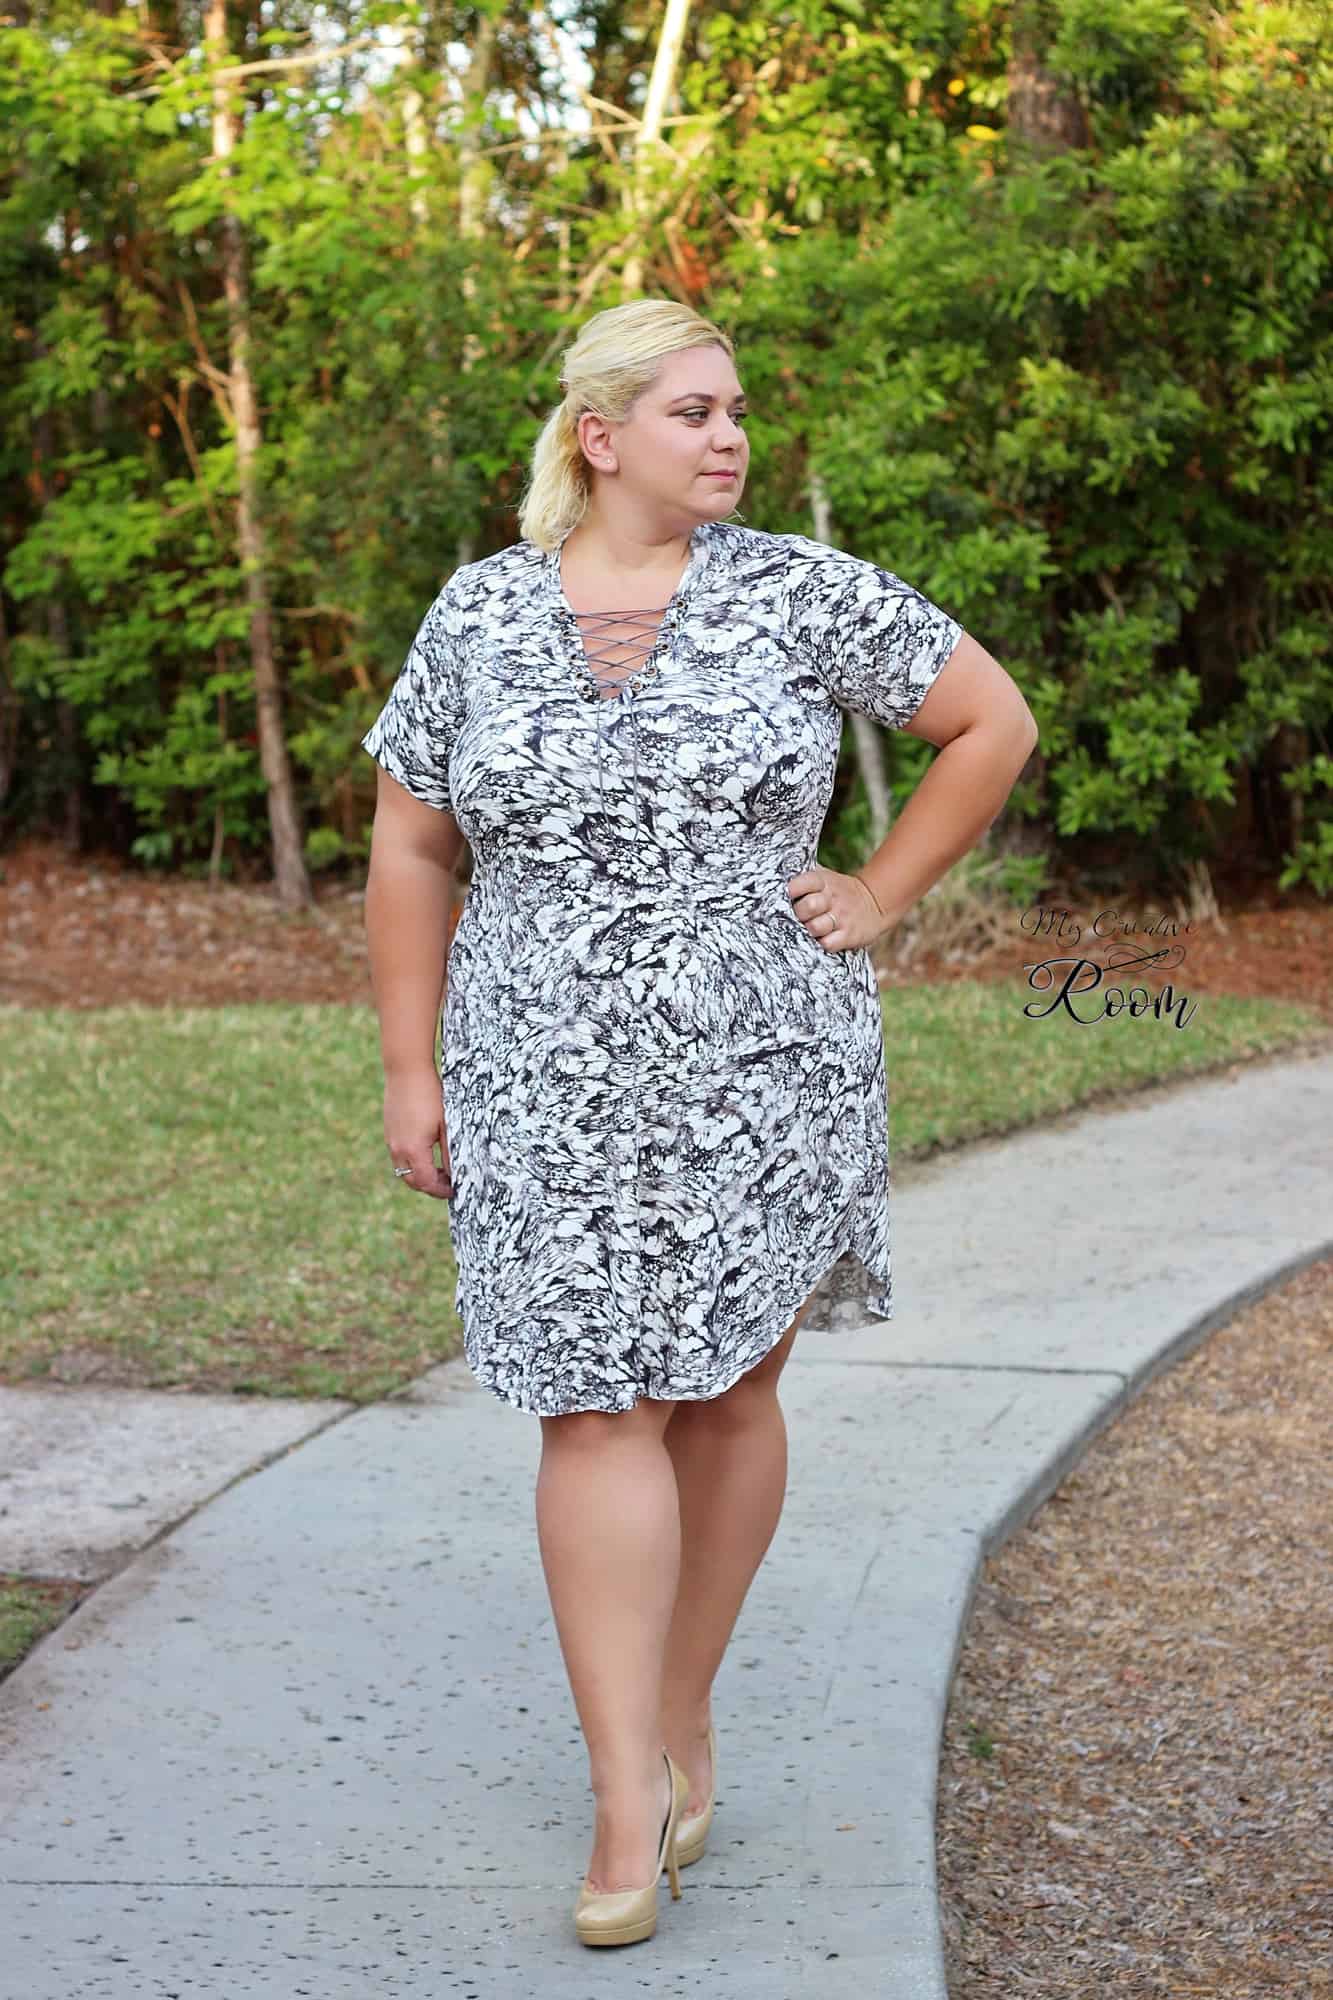


 BANDED KNOT TIE HEM