Patterns for Pirates

P4P stylish, modern, wearable patterns

  • Home
  • Blog
    • Frequently Asked Questions
    • Pattern Releases
      • Free Patterns
    • P4P University
      • Fitting
      • Sewing with Stretch, Knit Fabrics
      • Sewing with Woven Fabrics
      • Sewing Machines
    • Sew-A-Longs
    • Fabric for Pirates
    • Pattern Hacks
    • Announcement
      • Blog Tours
      • Contest/Giveaway
  • Shop
  • Bundle Discounts
  • Flash Friday
  • Gift Cards
  • My Account
  • Cart

Lumberjack Sew Along – day 7

February 1, 2022

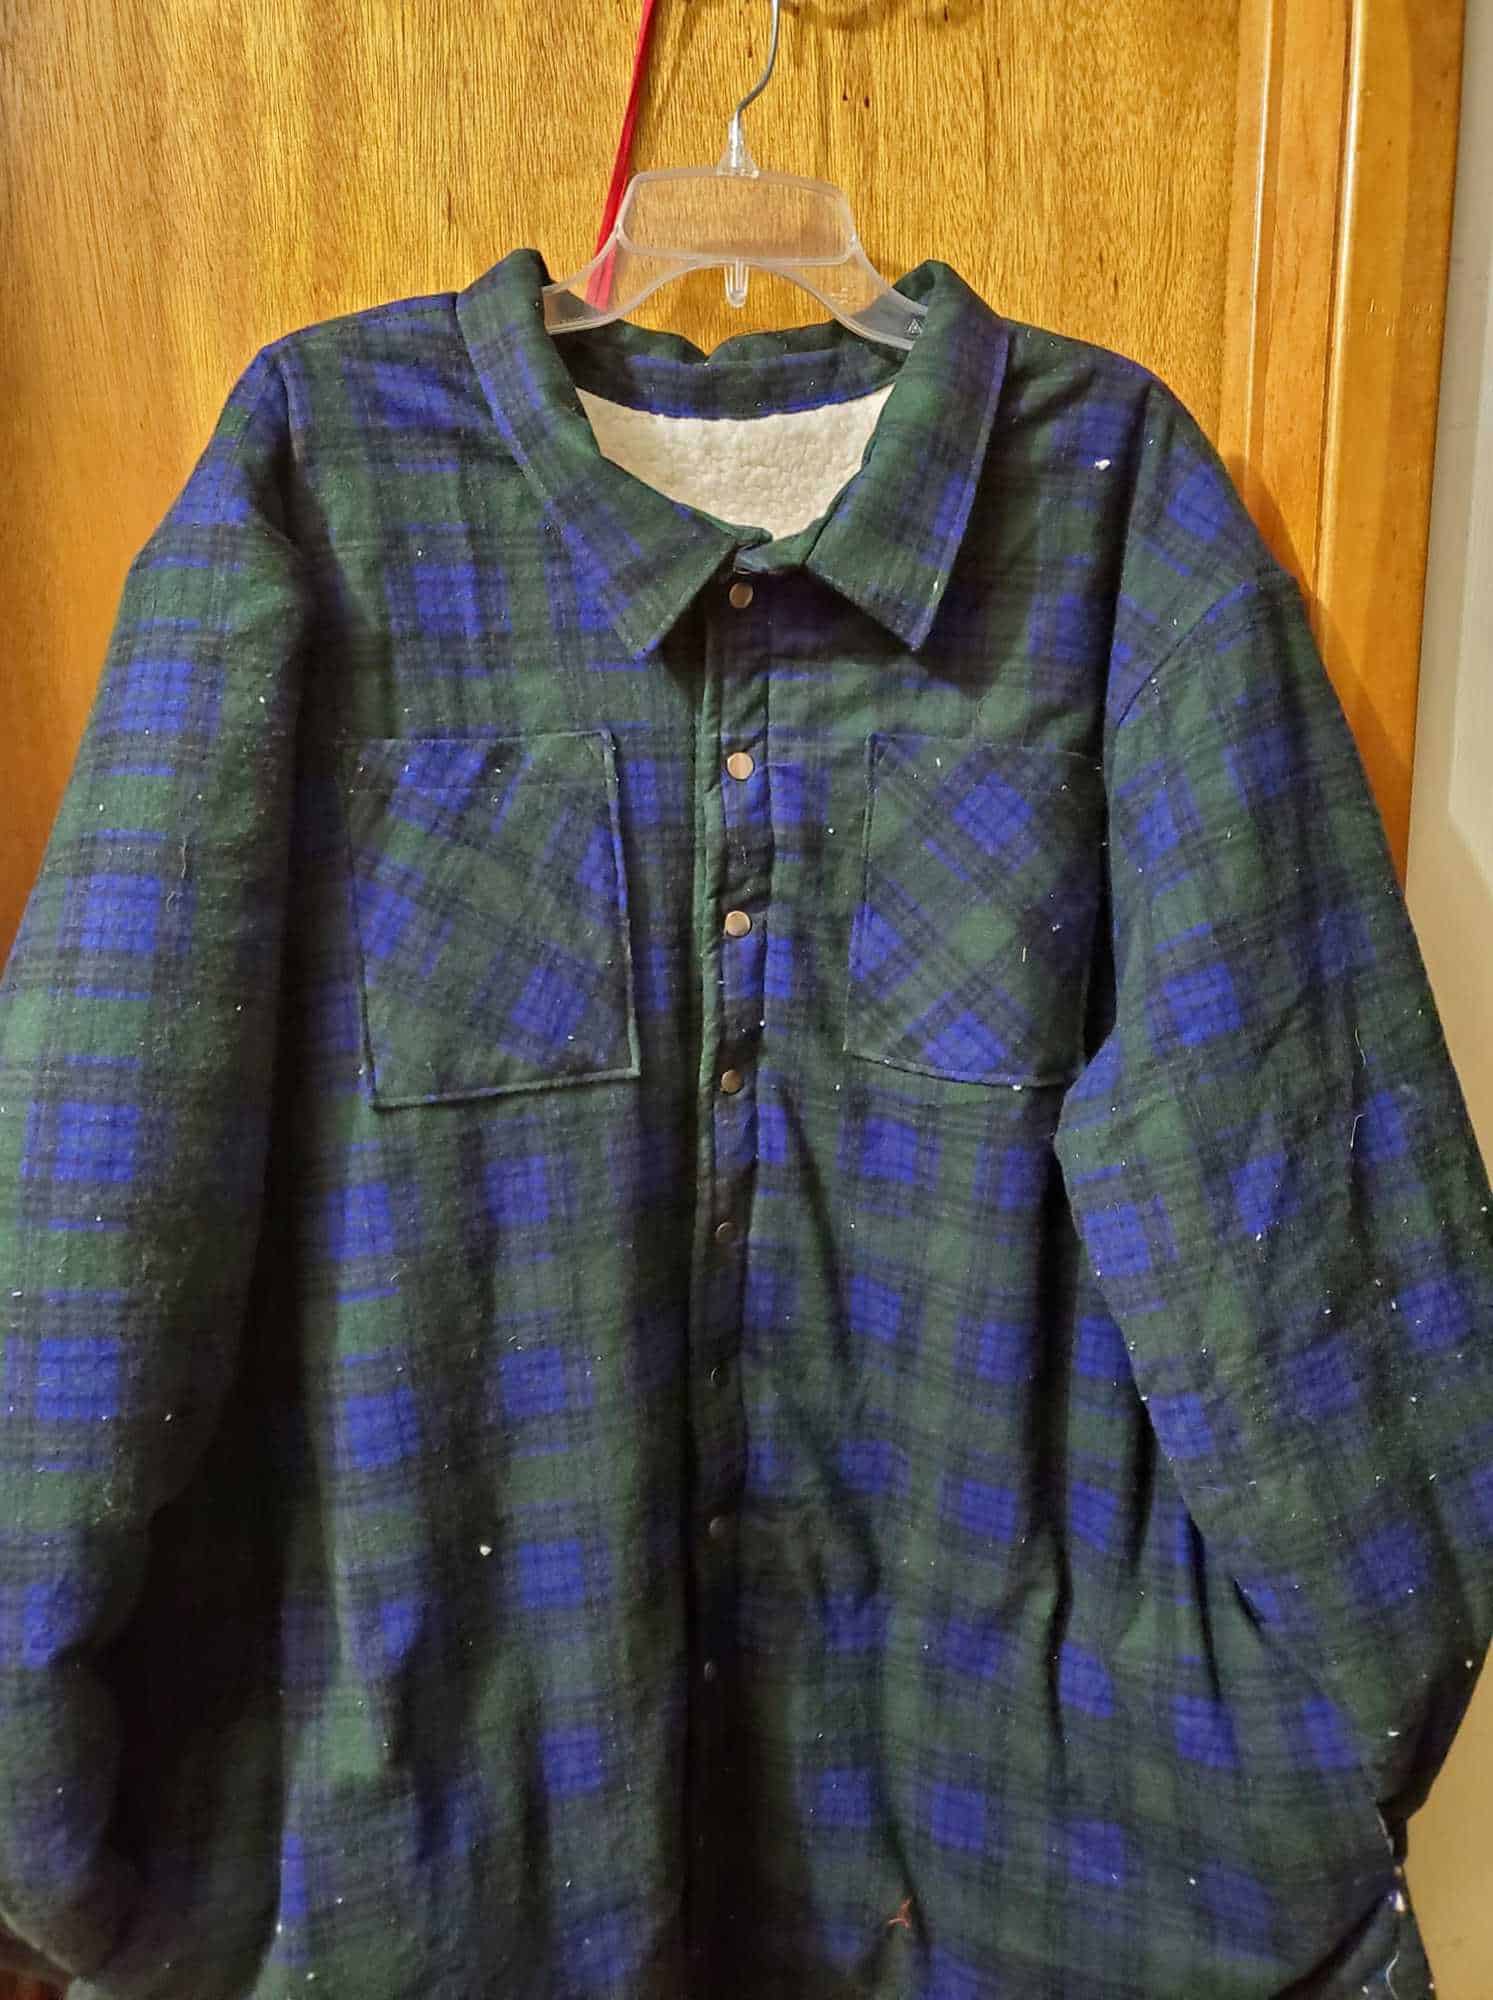
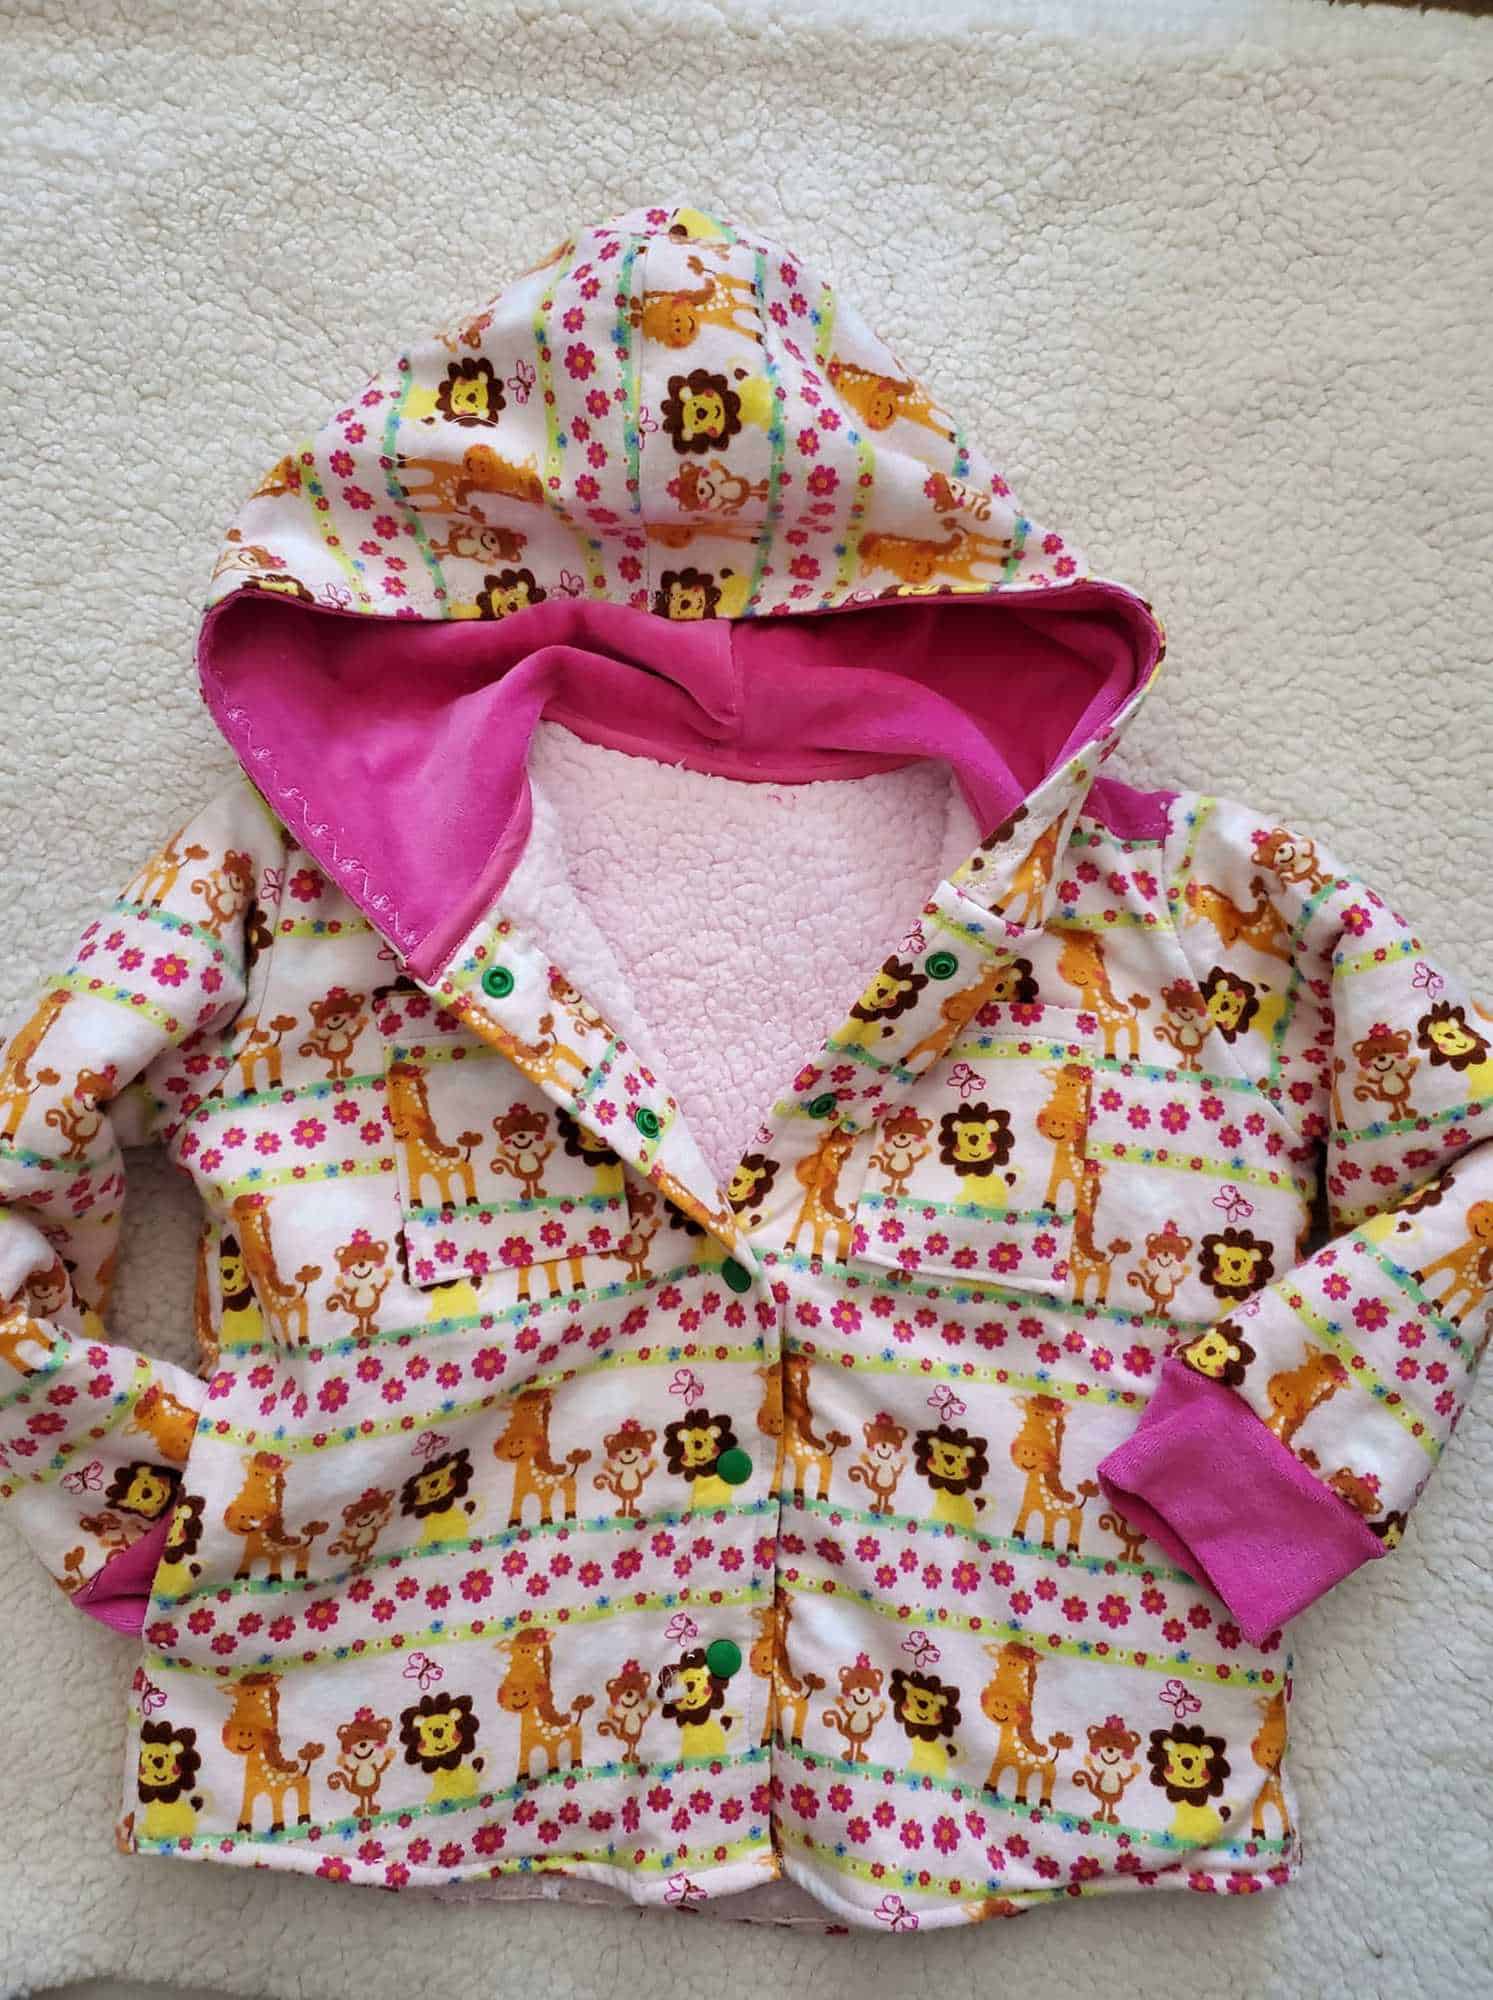
Wow!! I am so in love with all your Lumberjack shirt! You have outdone yourselves this past week. My little one said this was one of his favorite sew alongs I did. Could it be because he was the recipient of this shirt? 😉 “Mom, it’s so cool. I’ll wear it today at school!” This Lumberjack shirt was less than $9 in materials. Score!


But enough about me! Let’s give out some prizes!

First winner is Tammy Richards! Tammy won a $20 gift card from Patterns for Pirates and a mystery Fabric 4 Pirates package. Look at these 3 ( yes, THREE!) beautiful Lumberjack shirts she made for her loved ones. 


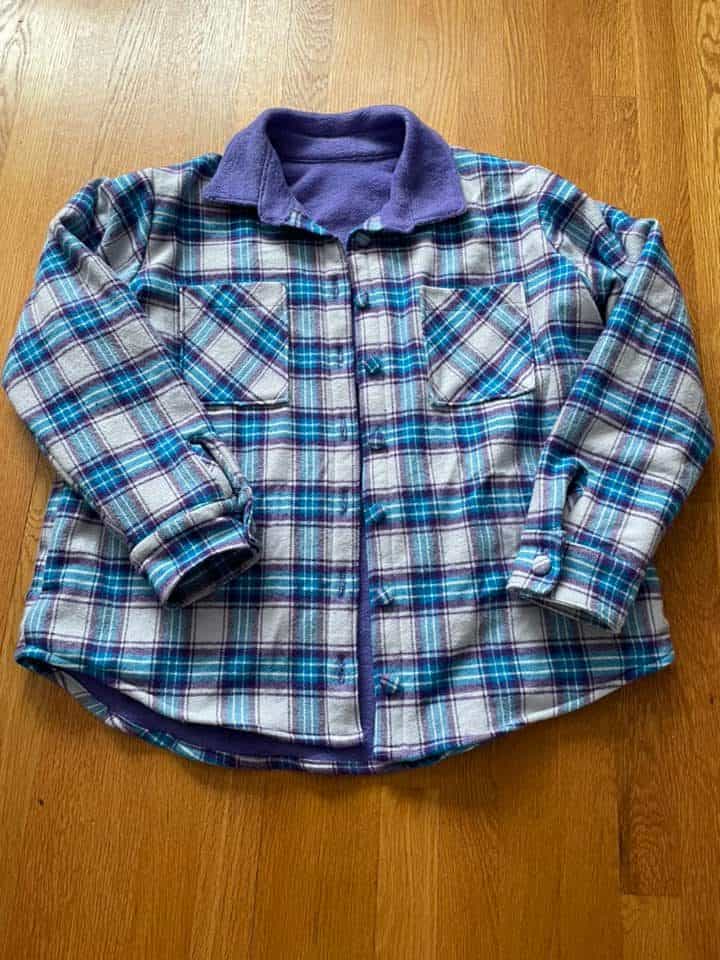
Our runner up is Barbara Wong. Barbara won a $20 gift card from Made for Mermaids. The Lumberjack she made looks so cozy and those covered buttons are mighty cute!


Thank you so much for joining the P4P sew along for January. I pass the baton to Colleen for the February SAL. See you back here in March! 

Lumberjack Sew along – day 1 | cut fabric

Lumberjack Sew along – day 2 | chest pocket, shoulder seams

Lumberjack Sew along – day 3 | sleeves, side seams

Lumberjack Sew along – day 4 | cuffs

Lumberjack Sew along – day 5 | hood/collar

Lumberjack Sew along – day 6 | hemming, closures

Lumberjack Sew along – day 7 | winners announcement

Filed Under: Fabric for Pirates, Frequently Asked Questions, Sew-A-Long, Uncategorized Leave a Comment

Lumberjack Sew Along – day 6

January 29, 2022

Good morning friends! You did it!! You made it to the last sewing day. All we have left to do today is to hem the bottom and add the closures.

HEMMING

The Lumberjack features a 1/2″ hem allowance and a curved hem. Since the shirt is woven, I find it easier to run a serger stitch along the raw edge and press 1/4″. Stitch down then fold again 1/4″. Sew with a slightly longer stitch going very slow where the front plackets are. That part is pretty bulky. Give your hem a good steam press so that you eliminated any waviness from sewing the curved hem.

CLOSURES

Time to put the finishing touch on your Lumberjack. Choose your favorite closure and mark the placement. The pattern includes a marking guide that you can print, no additional tools needed. If you add buttons and buttonholes, take a look over our  Buttons 101 P4P University blog. I give you some tips and tricks for a smooth process. For my Lumberjack I opted for metal spring snaps. I love the look of these metallic snaps and how easy they are to install. You can see how I added them in the video below. 

Great job!! All you have left to do is add your final photo to the comments of day 6 photo in the Lumberjack SAL album. That’s where the team will pick the two winners. There is still time to catch up. Winners will be announced on Tuesday. 

Lumberjack Sew along – day 1 | cut fabric

Lumberjack Sew along – day 2 | chest pocket, shoulder seams

Lumberjack Sew along – day 3 | sleeves, side seams

Lumberjack Sew along – day 4 | cuffs

Lumberjack Sew along – day 5 | hood/collar

Lumberjack Sew along – day 6 | hemming, closures

Lumberjack Sew along – day 7 | winners announcement

Filed Under: Frequently Asked Questions, Sew-A-Long, Uncategorized Leave a Comment

Lumberjack Sew Along – day 5

January 28, 2022

Hello, friends and welcome to day 5 of the Lumberjack Sew Along! We are almost there! I love seeing all the beautiful shirts being created this week. Today we tackle the collar or hood. 

Hood

For a more sporty look and “easier” construction you can add a hood to your Lumberjack. The hood can be made of either knit fabric or woven so you can get really creative with it. Line the hood with sherpa for a super cuddly one or line it with a fun minky print for an extra little something. Once you sew the hood pieces right sides together along the curve, place the lining and main right sides together. Sew along the face opening, turn right side out and top stitch. All you have left to do is attach the hood to the neck opening and finish the raw edge with single fold bias tape. I highly encourage you to use store bought bias tape, it will save you so much time. In a pinch, you can certainly create your own. 

Collar

Oh the dreaded collar! Let me guess! It’s the “scariest” part of shirt! I hope I can convince you today that collars can be fun and not so difficult. The key to a great looking collar is making sure that the seam allowance is correct throughout. Another advice I have for when creating the collar is to press as you go. Remember to fuse the interfacing to the lining pieces of both the collar and the collar stand. If you added woven cuffs yesterday, you will find that the process is pretty similar today. Do not skip pressing 1/2″ hem on the collar stand bottom lining! Just as for the cuffs, prepressing this fold helps tremendously when enclosing the raw edge of the neckline in the collar. 

You can see in the day 5 video how I added the woven collar to my Lumberjack. Once you finish your collar or hood, post a picture of your progress in the comments of day 5 photo of the Lumberjack  sew along album. 

Lumberjack Sew along – day 1 | cut fabric

Lumberjack Sew along – day 2 | chest pocket, shoulder seams

Lumberjack Sew along – day 3 | sleeves, side seams

Lumberjack Sew along – day 4 | cuffs

Lumberjack Sew along – day 5 | hood/collar

Lumberjack Sew along – day 6 | hemming, closures

Lumberjack Sew along – day 7 | winners announcement

Filed Under: Frequently Asked Questions, Sew-A-Long, Uncategorized Leave a Comment

Lumberjack Sew Along – day 4

January 27, 2022

Welcome to the 4th day of the Lumberjack sew along. Today we finish the sleeves with either cuffs. 

Knit cuffs

The simplest way to finish the sleeves is with a knit cuff. Make sure that the fabric you use has great recovery and stretch. My favorite bases for cuffs are cotton spandex, rib knit and french terry. It is very important that you follow the grain of the fabric when cutting the cuffs. Lastly, press! Press and press some more! You will love the finished cuffs much better if you press throughout.

Woven cuffs

I opted for the woven cuffs for my Lumberjack. I love the classic look. If you have not done the vertical slits marked on the pattern pieces, now is the time to add them. You will now bind the opening with the fabric piece that is cut on the bias. Remember, the lining is the interfaced piece. 

Tip: Do not skip pressing the lining 1/2″ along the bottom. It will make a world of difference when you stitch the cuff on. 

If you need any visual help, take a look over today’s video. I show you step by step how to add  woven cuffs to your Lumberjack shirt. Once you finish the steps, post a photo of your progress in the comments of day 4 photo of this sew along album. 


Lumberjack Sew along – day 1 | cut fabric

Lumberjack Sew along – day 2 | chest pocket, shoulder seams

Lumberjack Sew along – day 3 | sleeves, side seams

Lumberjack Sew along – day 4 | cuffs

Lumberjack Sew along – day 5 | hood/collar

Lumberjack Sew along – day 6 | hemming, closures

Lumberjack Sew along – day 7 | winners announcement

Filed Under: Frequently Asked Questions, Sew-A-Long, Uncategorized Leave a Comment

Lumberjack Sew Along – day 3

January 26, 2022

Ahoy, pirates! Today, on day 3, we add the sleeves and sew the side seams.

Sleeves

Start by running a basting stitch along the curve of the sleeve. Gently and ever so slightly pull on the basting threads so it creates a faint gather. This will help when easing the sleeves into the sleeve opening. Pin the sleeves to the bodice, matching the shoulder seams with the notches. Stitch down with a 1/2″ seam allowance making sure that there are no puckers or folds along the curve. 

If you are doing the unlined option, finish the raw edge with your serger or a zig zag stitch. If you are sewing the lined option, repeat these steps for the lining. 

Inseam pockets

Before you sew the side seams you have to add the pockets. You will notice that the pattern features two different pocket shapes depending on whether you line or not your Lumberjack. While the unlined pockets may seem “odd” they, are drafted this way so they will be stitched into the front placket. This will ensure that the pocket won’t peek out from under the shirt when worn. 

Make sure that you add the pocket placement slits/marking from the pattern pieces! It’s highly important that you follow the marking instructions. 

Side seams

Once the pockets are sewing in the side seams, place the shirt right sides together matching the underarm points. Sew with a 1/2″ seam allowance. If you opted for the unlined style, finish the raw edge with your serger. If you are doing the lined style, sew the side seams of the lining as well. Place your lining into the main, wrong sides together. Going forward you will treat this as one piece. 

Front placket

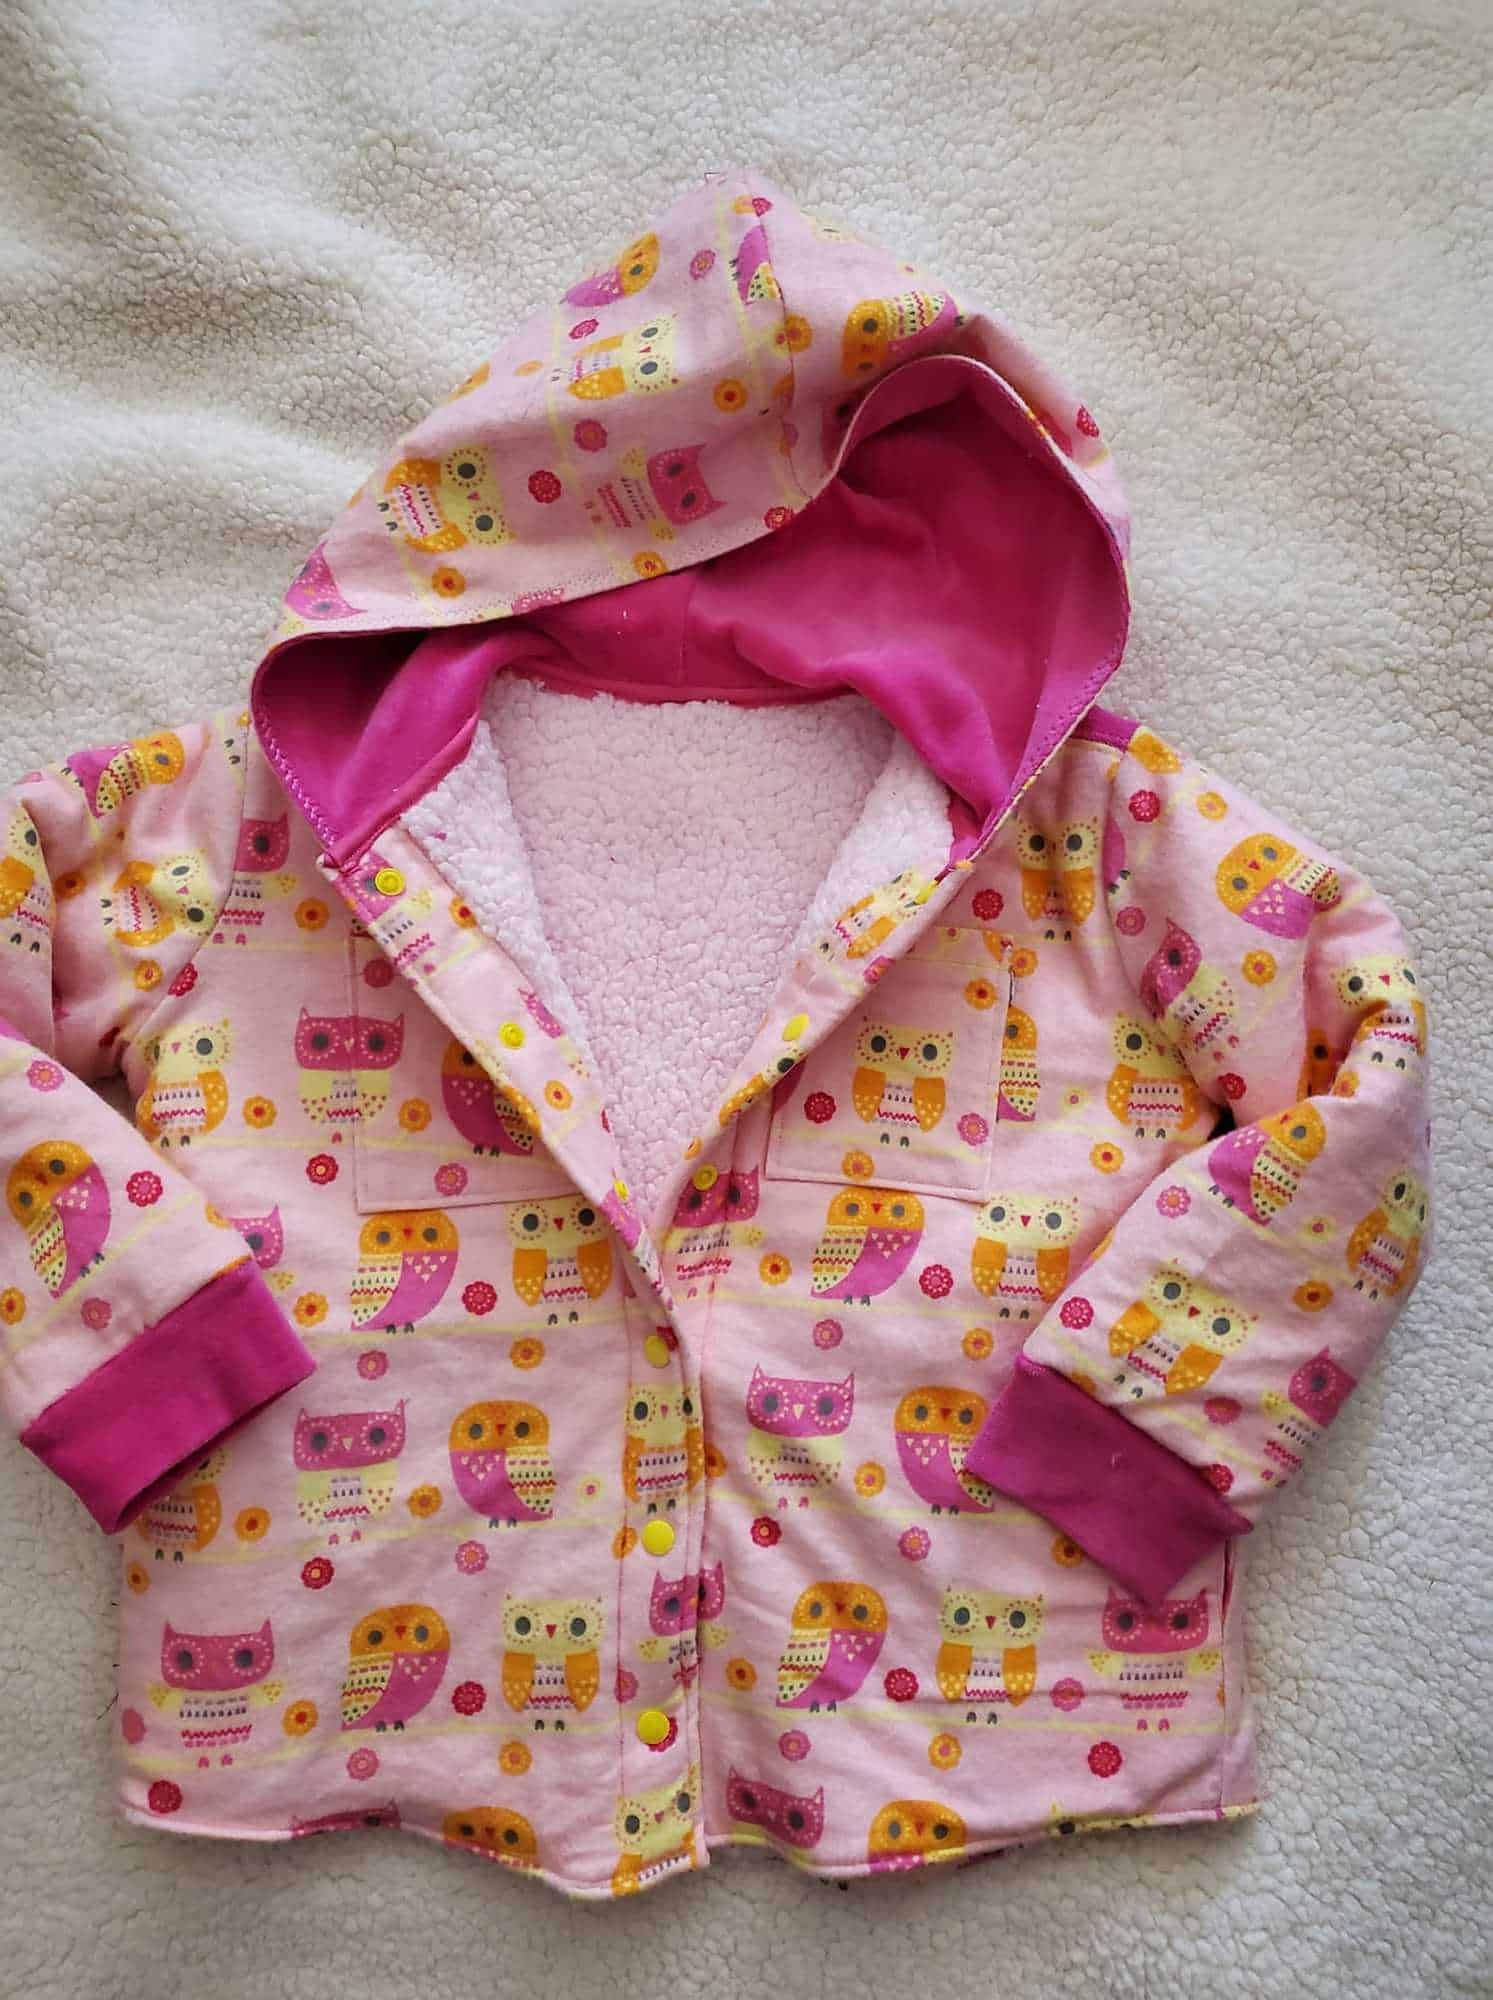
Press the front placket along the first fold line, then along the second one. Pin the lining front or the unlined option pockets in the front placket fold. Stitch down and press. 

You can see today’s video below. Once you complete the steps, post a photo of your progress in the comments of day 3 photo of the Lumberjack SAL album. See you back here tomorrow when we will sew the cuffs. 

Lumberjack Sew along – day 1 | cut fabric

Lumberjack Sew along – day 2 | chest pocket, shoulder seams

Lumberjack Sew along – day 3 | sleeves, side seams

Lumberjack Sew along – day 4 | cuffs

Lumberjack Sew along – day 5 | hood/collar

Lumberjack Sew along – day 6 | hemming, closures
Lumberjack Sew along – day 7 | winners announcement

Filed Under: Frequently Asked Questions, Sew-A-Long, Uncategorized Leave a Comment

Lumberjack Sew Along – day 2

January 25, 2022

Welcome to day 2 of the Lumberjack sew along. Today we create and sew the chest pockets and the shoulder seams. This shirt features two optional chest pockets that tie the lumberjack look together. I would not skip them. Judy is showing you some tips to help you sew the chest pocket below.

I sew my chest pockets slightly different so definitely check out today’s video as well. I give you my tips and tricks for achieving a beautiful looking chest pocket. Once you added the chest pockets to the two front pieces, you are ready to sew the shoulder seams. 

If you are doing the lined option, you will be sewing the shoulder seam right sides together of the lining pieces as well as the main. I opted for the unlined style for my Lumberjack shirt so we will be sewing the shoulder seams using the burrito method. First, place the outer yoke and back piece right sides together. Now sandwich the back piece in between the right sides of the outer and lining yoke. Stitch in place and top stitch. Roll the back piece into a “burrito” and bring it up so that the front shoulders are sandwiched in between the RTS of the back yoke lining and main fabric. Stitch and optionally top stitch. 

You can see all these steps in today’s video. Once you complete day 2 steps, post a photo of  your progress in the comments of day 2 photo of the sew along album. See you back her tomorrow for day 3! 

Lumberjack Sew along – day 1 | cut fabric

Lumberjack Sew along – day 2 | chest pocket, shoulder seams

Lumberjack Sew along – day 3 | sleeves, side seams

Lumberjack Sew along – day 4 | cuffs

Lumberjack Sew along – day 5 | hood/collar

Lumberjack Sew along – day 6 | hemming, closures
Lumberjack Sew along – day 7 | winners announcement

Filed Under: Frequently Asked Questions, Sew-A-Long, Uncategorized Leave a Comment

Lumberjack Sew Along – day 1

January 24, 2022

Welcome to the Lumberjack SEW ALONG! 

Let’s get the Lumberjack party started! If you have not purchased the Lumberjack pattern(s) you can grab them here:

Lumberjack Youth

Lumberjack Hourglass 

Lumberjack V figure

And of course, our bundle for the whole family

Before you select which style you are sewing along, take a look at the Round Up Blog where we show you all options available.

Now that you have the patterns it’s time to select which file format you would like to use. Both the Youth and the Adult come in A4 and Letter format to print at home, A0 format to print with a plotter or at a copy shop AND a projector file. If you use the projector file you will not have to print anything!! That’s definitely my favorite way! You can see in today’s video how I use the file to cut the fabric. 

Note: The tutorial is now a separate file from the pattern pieces. 

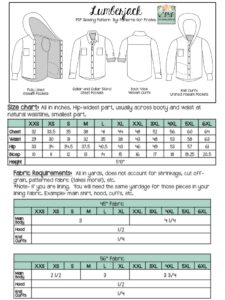
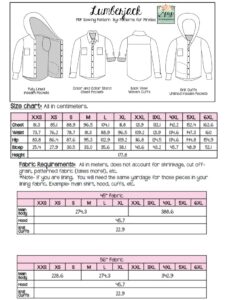
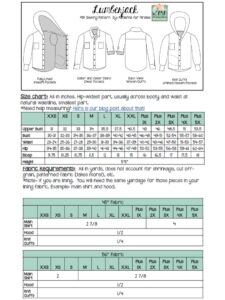
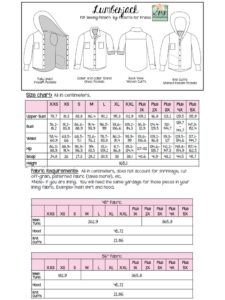
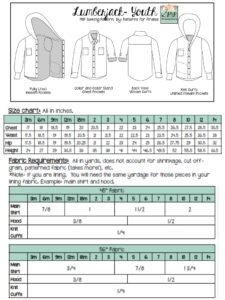
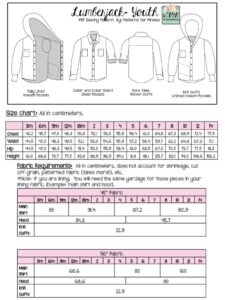
Let’s start by taking the measurements needed for the best fit. P4P has an amazing blog that gives you tips for accurately taking your measurements. You can read all about it here. If your measurements put you in a different size for chest/waist/hips be sure to check out our P4P University blog and grade to achieve the perfect fit. All 3 Lumberjack shirt patterns have straight side seams and relaxed fit so it is a little more giving when it comes to grading for the waist. 

Let’s talk fabric! The Lumberjack pattern is drafted for woven fabrics like flannel, light weight denim, light weight wool or medium weight cotton woven. For the lining you can use minky, fleece, flannel, french terry, sherpa…pretty much your preferred soft, cuddly fabric. For this sew along I am using a brushed flannel that I got from Joann fabrics. For the closures I am going to add spring snaps. Buttons are an option too 😉


Day 1 video is posted below. Check it out and once you are done cutting your fabric post a picture of it in the comments of the Day 1 photo of the Lumberjack SAL album in the M4M & P4P Sew Along group. If you sew more than one,  post each one in a separate pic!

Lumberjack Sew along – day 1 | cut fabric

Lumberjack Sew along – day 2 | chest pocket, shoulder seams

Lumberjack Sew along – day 3 | sleeves, side seams

Lumberjack Sew along – day 4 | cuffs

Lumberjack Sew along – day 5 | hood/collar

Lumberjack Sew along – day 6 | hemming, closures
Lumberjack Sew along – day 7 | winners announcement

Filed Under: Frequently Asked Questions, Sew-A-Long, Uncategorized 1 Comment

P4P Cardi Week :: Carefree Flannel + Vest Hack

January 28, 2017

cardi week template2

The Carefree Cardigan is such a great drape cardigan and as it has a nice loose fit you can easily use it to make a vest and because of the shape of the cardigan it will work in woven. Yep I said it you can make this vest in woven!

This is a super quick hack, start by cutting your 2 front pieces and back out of your flannel and you are going to want to choose the longer length of the two length, you aren’t going to need any of the band pieces for this. Depending on your height you may want to remove or add length. I’m a shorty so I remove a couple of inchs from the bottom and also from the front side as the drape is quite long on me.

Sew your shoulder, skip the sleeves and sew the side seams as per the directions.  Now instead of adding bands we are going to hem the armholes and all the way around your neck, down the front and across the bottom.  I serged all the way around first to finish the edges. The serged edge gives me a perfect 1/4 inch to flip and iron and then I flipped it one more time so my serged edge was hidden and hemmed all the way around as close to the fold as you can.  Another tip is to trim your corners, it just makes them a bit less bulky to hem.  Do the exact same process to your armcycles and voila you have perfect draped flannel vest! If you don’t have a serger just use a zig zag stitch to finish the edges.  Another cute option would be to fringe the front of your cardigan, you would still need to hem around the neck and down the sides but you can easily just pull the threads along the front and or the bottom till you have the amount of fringe that you would like.

IMG_6525[1]IMG_6526[1]

IMG_6527[1]IMG_6528[1]IMG_6549[1]

IMG_6542[1]

I live in Canada so I really like the extra layer that sleeves add so for this second version I cut the back and sleeves out of a knit and then cut the front pieces in a flannel.  I used the exact same construction as above with no bands and just hemmed all the way around and I have another cute cardigan but got to use my warm flannel!

20151220_132817

Now go sew up all that gorgeous plaid flannel that you have been hoarding!  – Angela Newman  

Take a look at our jam-packed schedule of cardigan love!

Saturday, January 21: #P4PCardiWeek Announcement

Sunday, January 22: Cocoon Lace Hems & Butterfly Ruffle

Monday, January 23: Ribbon Tie Closure Hack

Tuesday, January 24: Carefree Cardigan Fringe Hack

Wednesday, January 25: Duster-Length Adjustment

Thursday, January 26: Kimono Ruffle Sleeves + Hem

Friday, January 27: Varsity Sweater Style Hack

Saturday, January 28: Carefree Cardigan Flannel + Vest Hack

Monday, January 30: #P4PCardiWeek Winner Announcement

You can follow along on the blog here, or in our Facebook group.  Search #P4PCardiWeek to be able to find our posts all over social media.  And please feel free to sew-along with us on one or all of the days.  The more the merrier!

But wait, there’s more!  We wanted to create a friendly pirate-y competition with our P4P Cardi Week!

Between tomorrow and Saturday, January 28, sew up a Patterns for Pirates cardigan using one of our hacks, or by keeping the pattern as-is.  Share your photo with us on Instagram or in our Facebook group and use the tag#P4PCardiWeek We will pick our favorite and the winner will win a free P4P pattern of choice AND be featured on this blog.  Fun right?

To make it even better we have put all the cardigan patterns in the shop on sale all week (no code needed)!

Now get out there and sew some cardigans, matey!

Filed Under: Contest/Giveaway, Pattern Hacks, Uncategorized 1 Comment

Flannel Kimono with pockets

October 28, 2016

img_2004

It is officially fall! The crisp morning air should make its appearance soon and what better way to embrace it than by treating ourselves with a cozy flannel top. For my blog today I’ll show you how you can take the Summer Kimono into fall and I’ll also give you some tips for working with flannel.

img_2008

You will need your printed and cut kimono pattern pieces. You can chose any of the styles, I went with the curved hem because it’s my favorite. 🙂 Now grab your Grandpa Cardi pattern and print just the pocket piece. It’s on page 22-23. img_1918

Sew your pockets according to the instructions. I opted for the band pocket but you can certainly use the non banded option too. Remember to press the bottom of the pocket too! You’ll now stitch them on to your two front pieces. Placement it’s a matter of personal preference so I’ll show you where I stitched mine on but you can certainly move them higher or lower. I placed the pocket about 4 inches from the center and about 2 inches from the bottom (remember the bottom is not hemmed yet). Sew the pockets on the front pieces.

img_1927You will now start assembling your kimono according to the instructions. Something very important to keep in mind, especially if you are sewing sizes L and up is that most flannel fabrics are 42-44 inches wide. Your fabric may not be wide enough to cut the entire length of the sleeve so in this case you have a few options. You can either do what I did and just shortened the sleeves length by 2.5 inches or so and either add the sleeve band (as per the pattern) or just hem it. The other option would be to attach additional fabric to the selvage and cut the pattern pieces as they are. You could use the same fabric as the main one or even coordinating/contrasting fabric for a colorblock look. Get creative!

TIP: When sewing a curved hem on woven fabrics I like to first serge the raw edge, making sure I don’t cut any of it with my serger knife.  This will basically give me the 1/4 inch mark and make the fabric more stable. Press the 1/4 inch hem, and then press again another 1/4 inches and sew in place. Wasn’t that easy? That’s the magic of serging the raw edge first.

img_1931

I know a lot of you have asked in the Facebook group is the Summer Kimono can be made with flannel fabric so now you know it can…and it’s pretty cozy on top of that! As always, don’t forget to show off your creations and tag me if you have any questions!

Alex

img_1988-1

img_1991 img_2013-1

Filed Under: Frequently Asked Questions, Pattern Hacks, Uncategorized 2 Comments

Featured Patterns

  • Loosey Goosey Loosey Goosey $12.00 Original price was: $12.00.$10.50Current price is: $10.50.
  • Loosey Goosey- Youth Loosey Goosey- Youth $10.00 Original price was: $10.00.$8.50Current price is: $8.50.
  • Loosey Goosey - Bundle Loosey Goosey - Bundle $20.00 Original price was: $20.00.$18.00Current price is: $18.00.
  • Everyday Shirt Everyday Shirt $12.00
  • Everyday Shirt- Youth Everyday Shirt- Youth $10.00
  • Privacy Policy
  • Refund Policy
  • Affliliate Program
  • Contact Us
  • About

Copyright © 2025 Patterns for Pirates

Copyright © 2025 · Genesis Framework · WordPress · Log in