Welcome back to another day of The Peg Event! We hope you are loving our newest release of the Peg Legs – Colorblock Pack and update to the beloved Peg Legs, and Peg Legs – Add-On Pack!
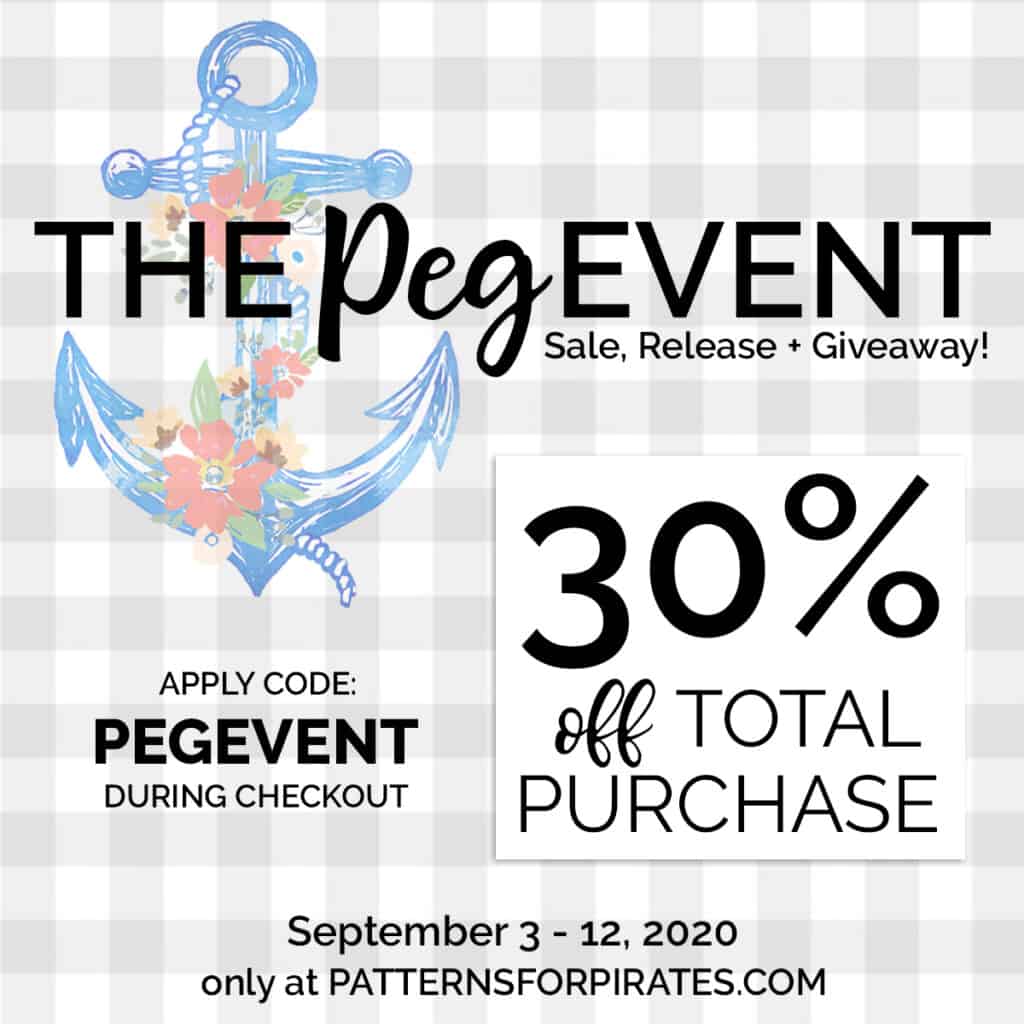
Before we get to the main event, I’d like to remind you that we’ve got a sitewide sale happening from now until Saturday, September 12. In addition to that, we’ve got an awesome giveaway happening, with 14 amazing prizes (and 14 amazing prize winners)! You can read all about The Peg Event HERE.

Our Fabulous Group Admin + Tester Extraordinaire, Dana Cole, is being extra amazing today and bringing us an easy hack for the new Peg Legs – Colorblock Pack. Take it away, Dana!
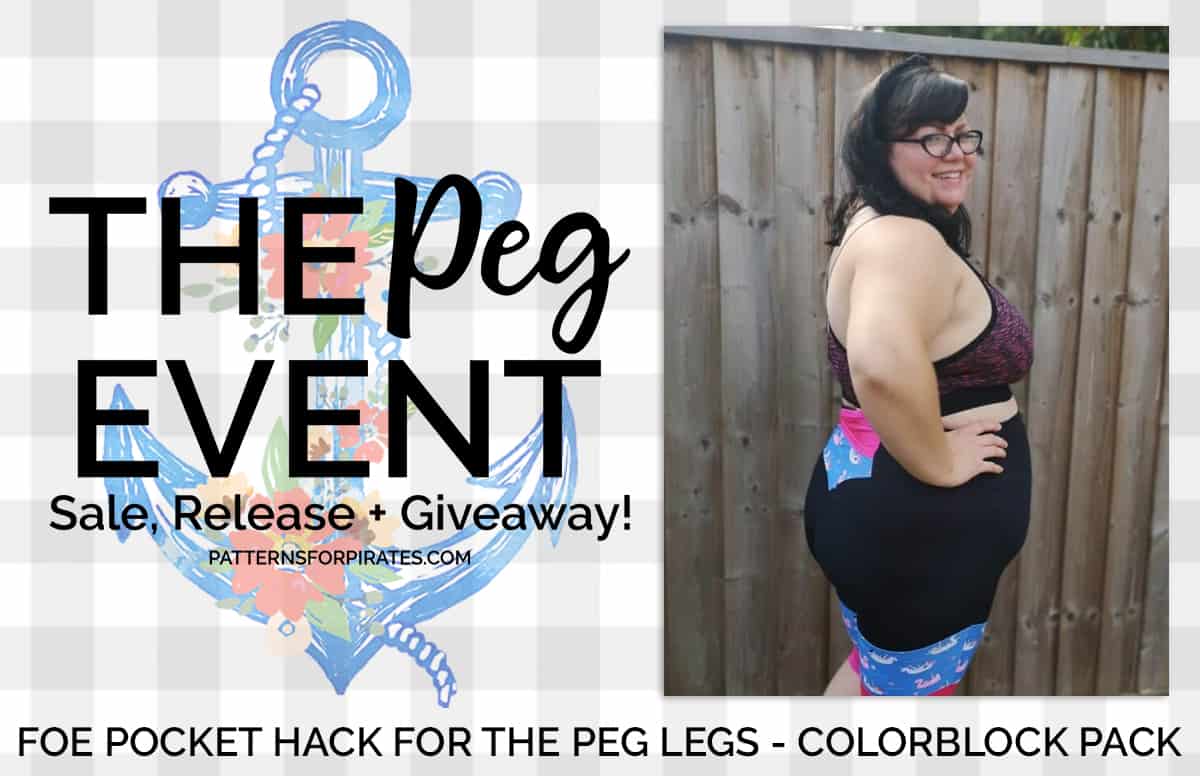
FOE Pocket Hack for the Peg Legs – Colorblock Pack
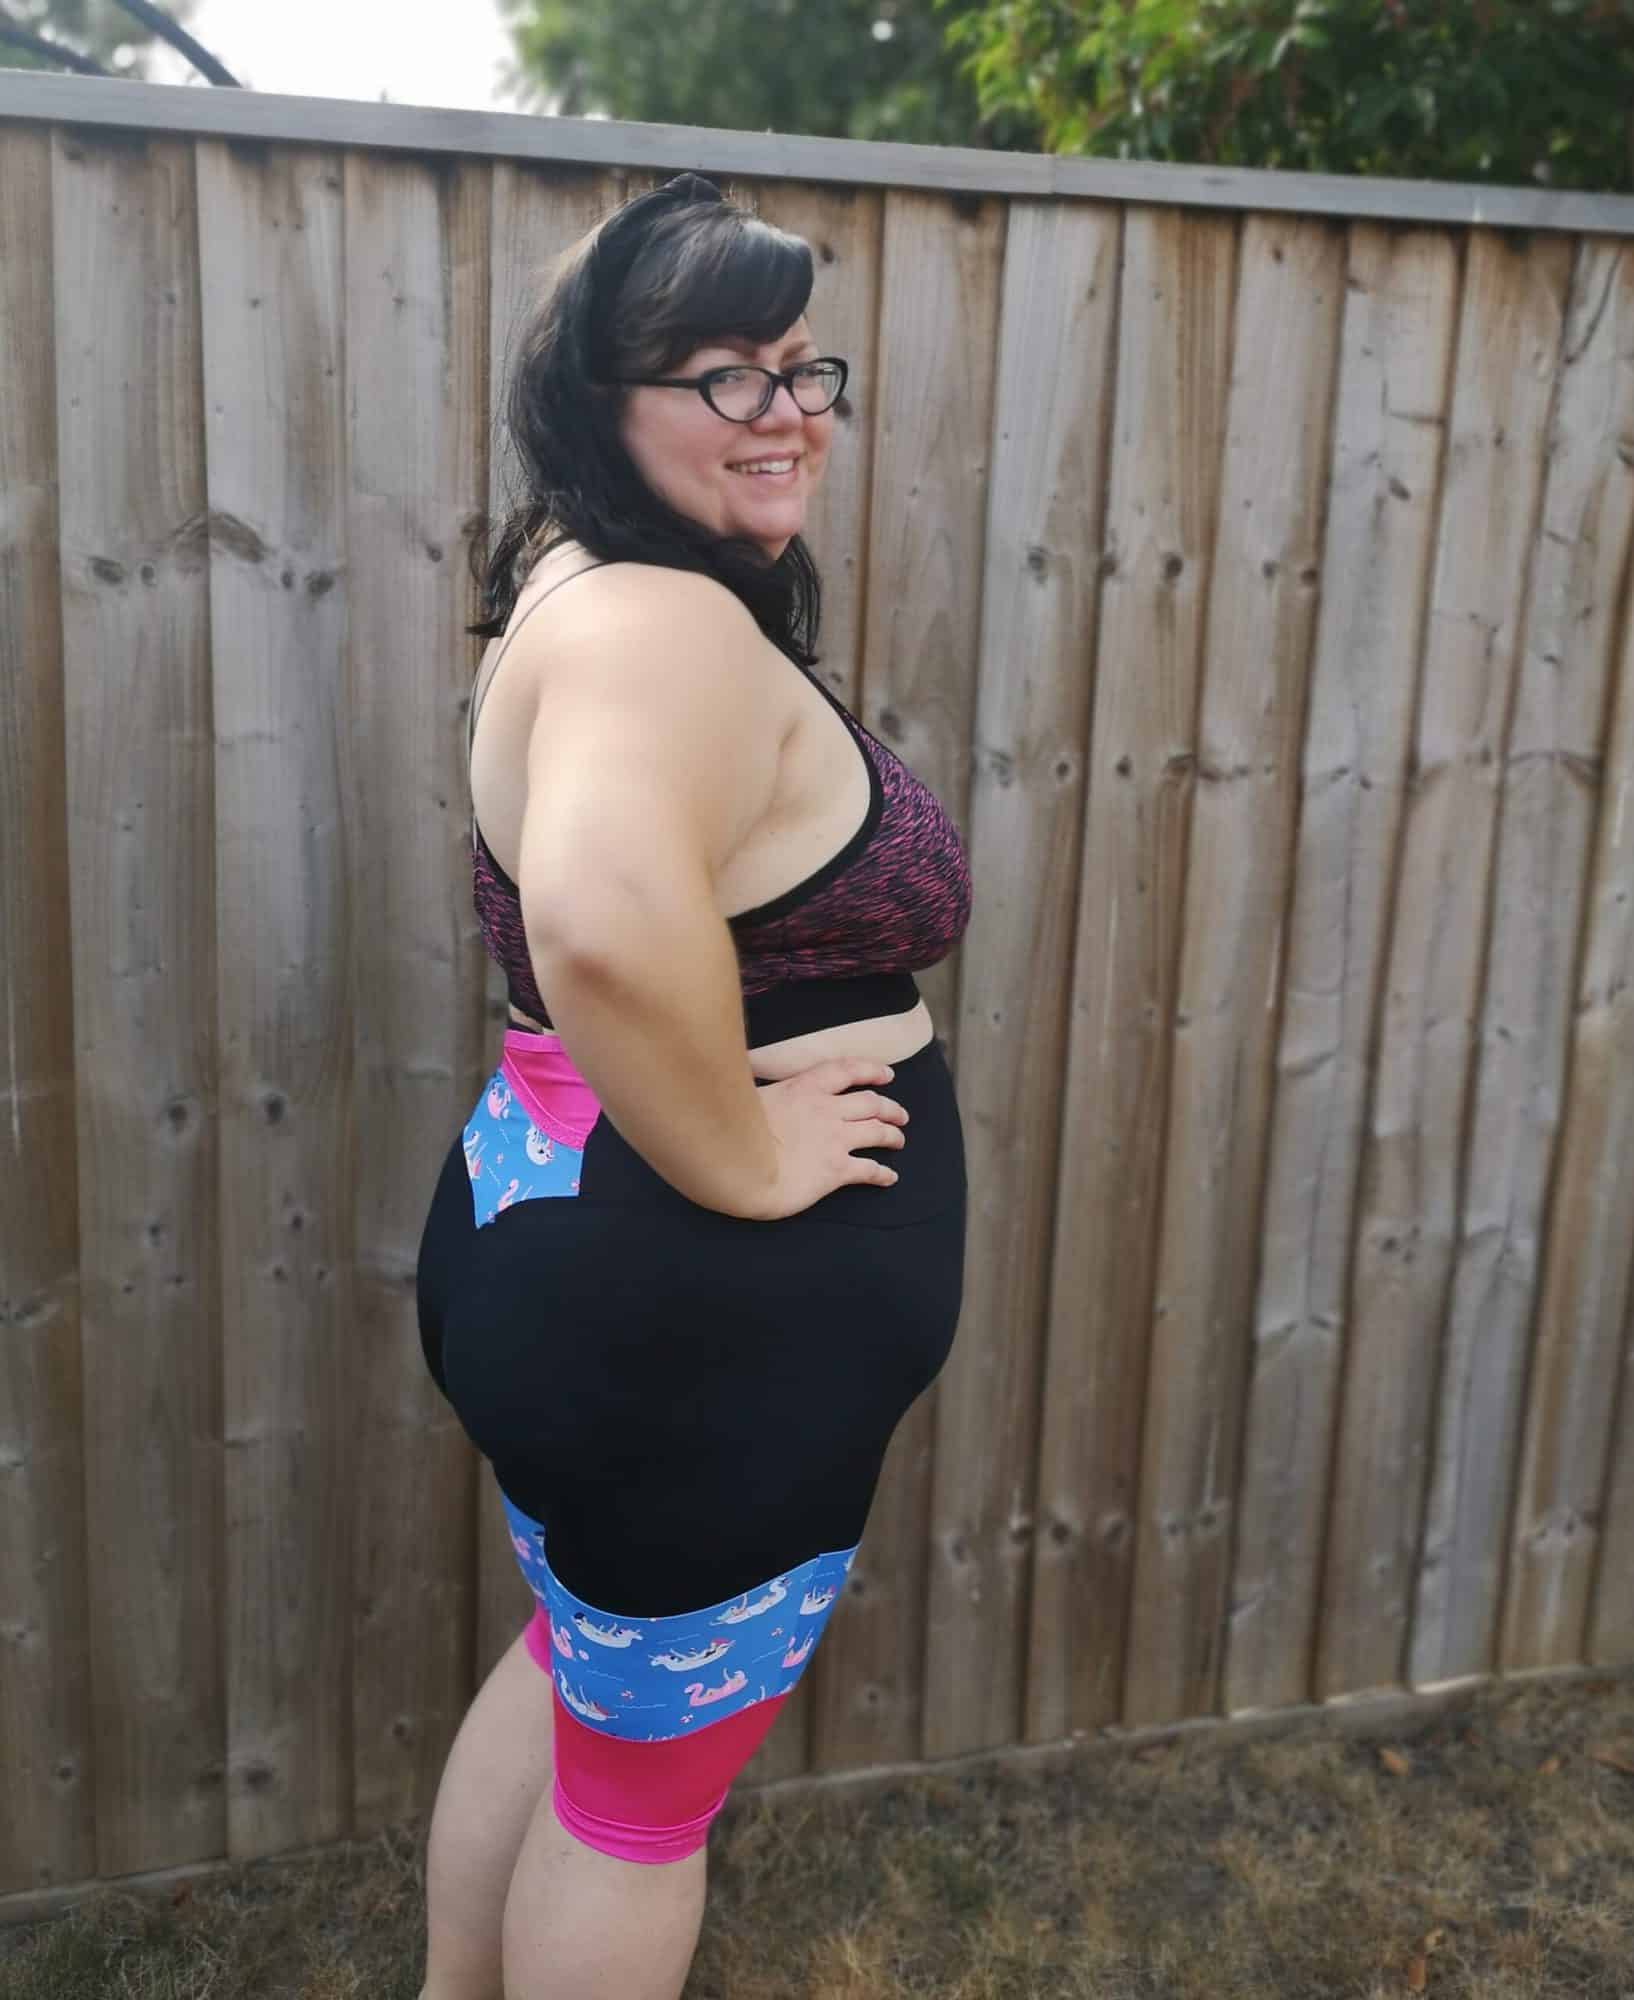
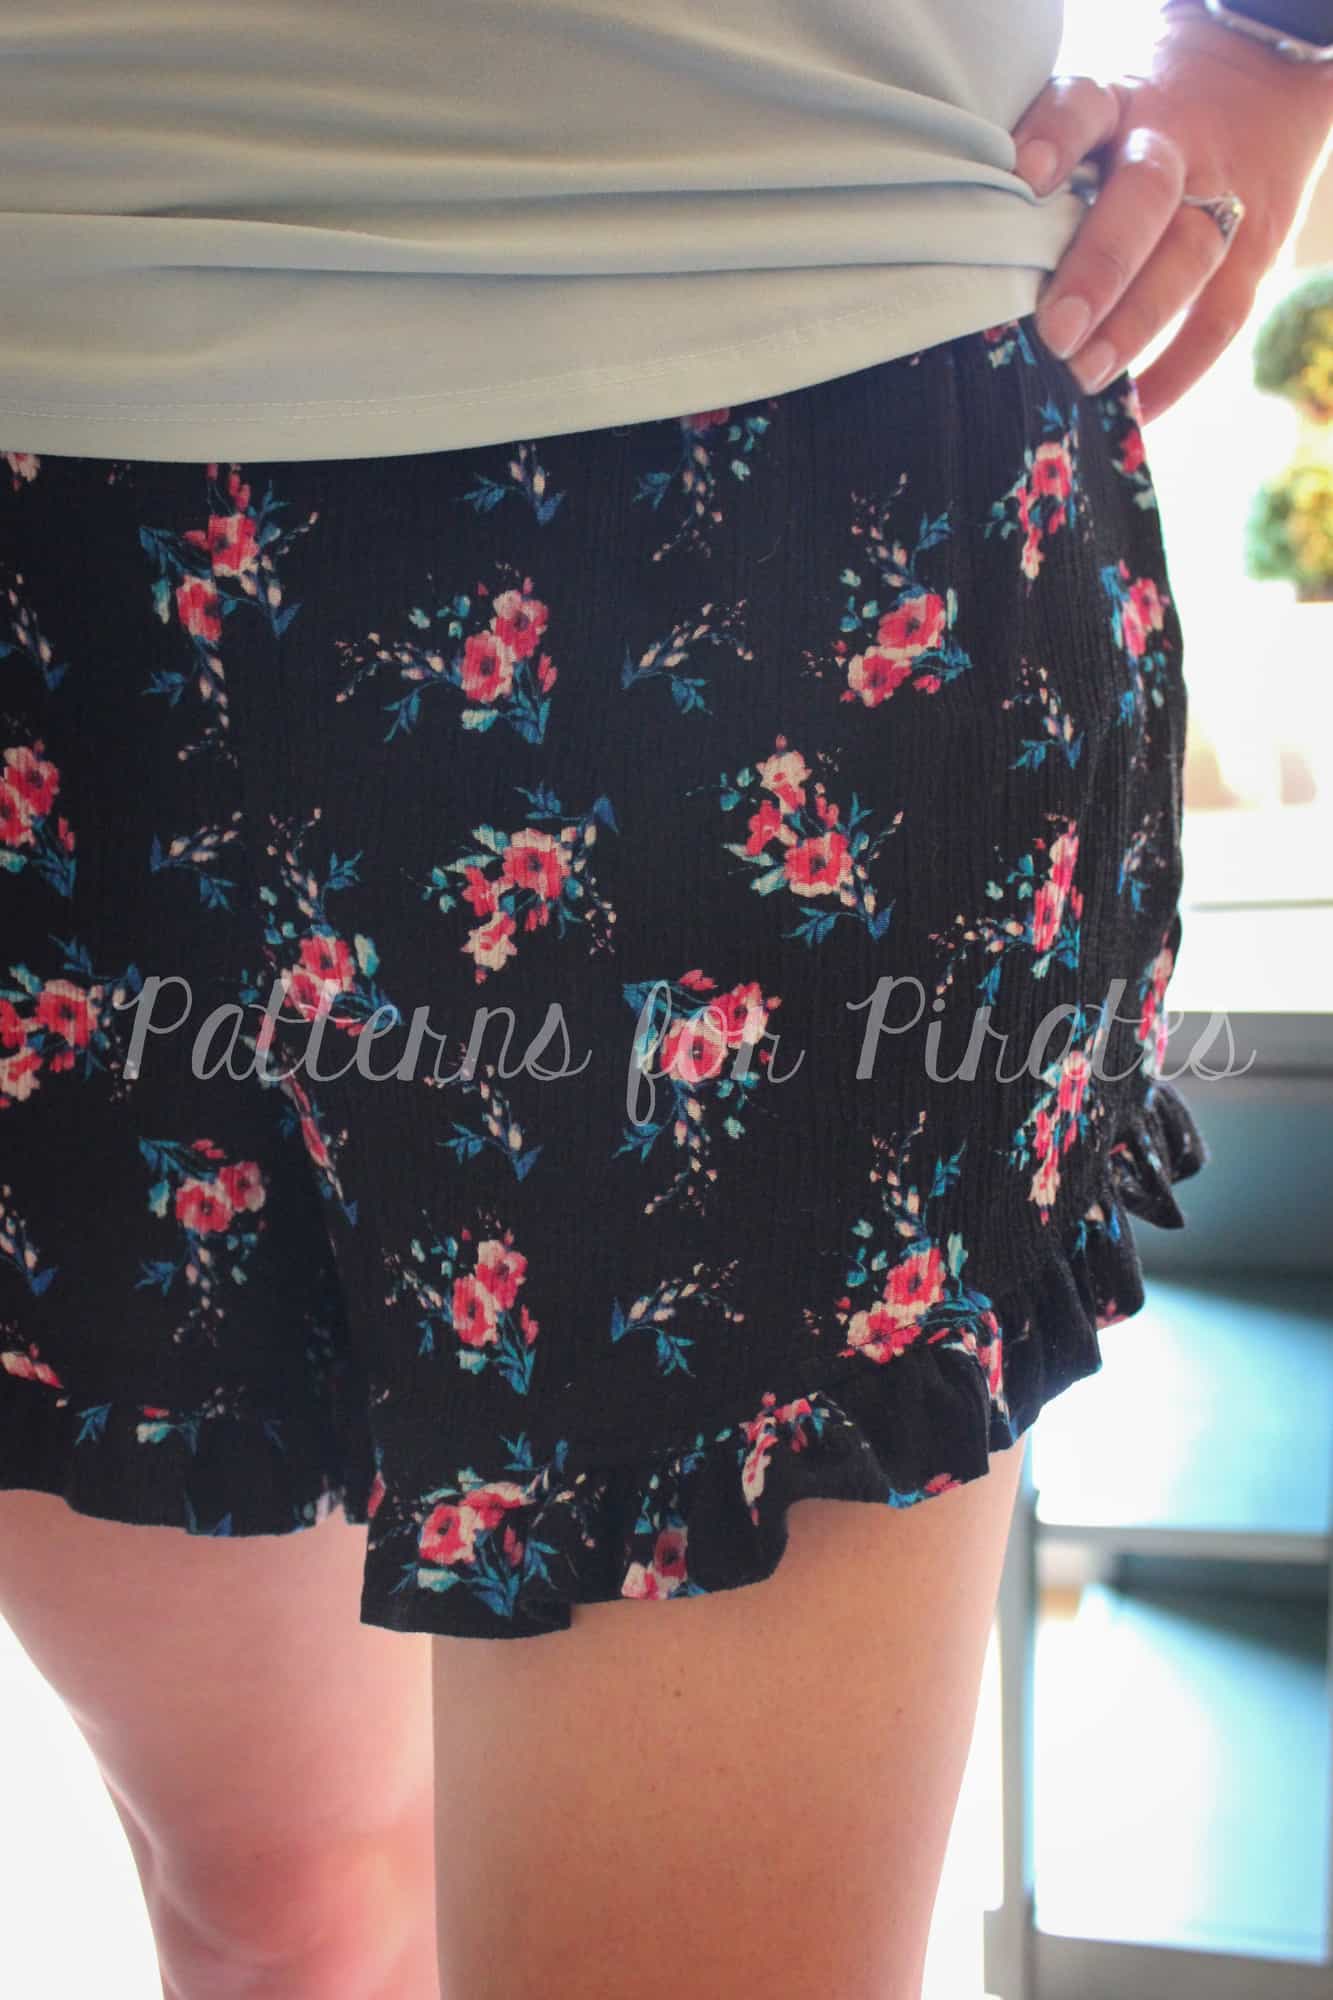
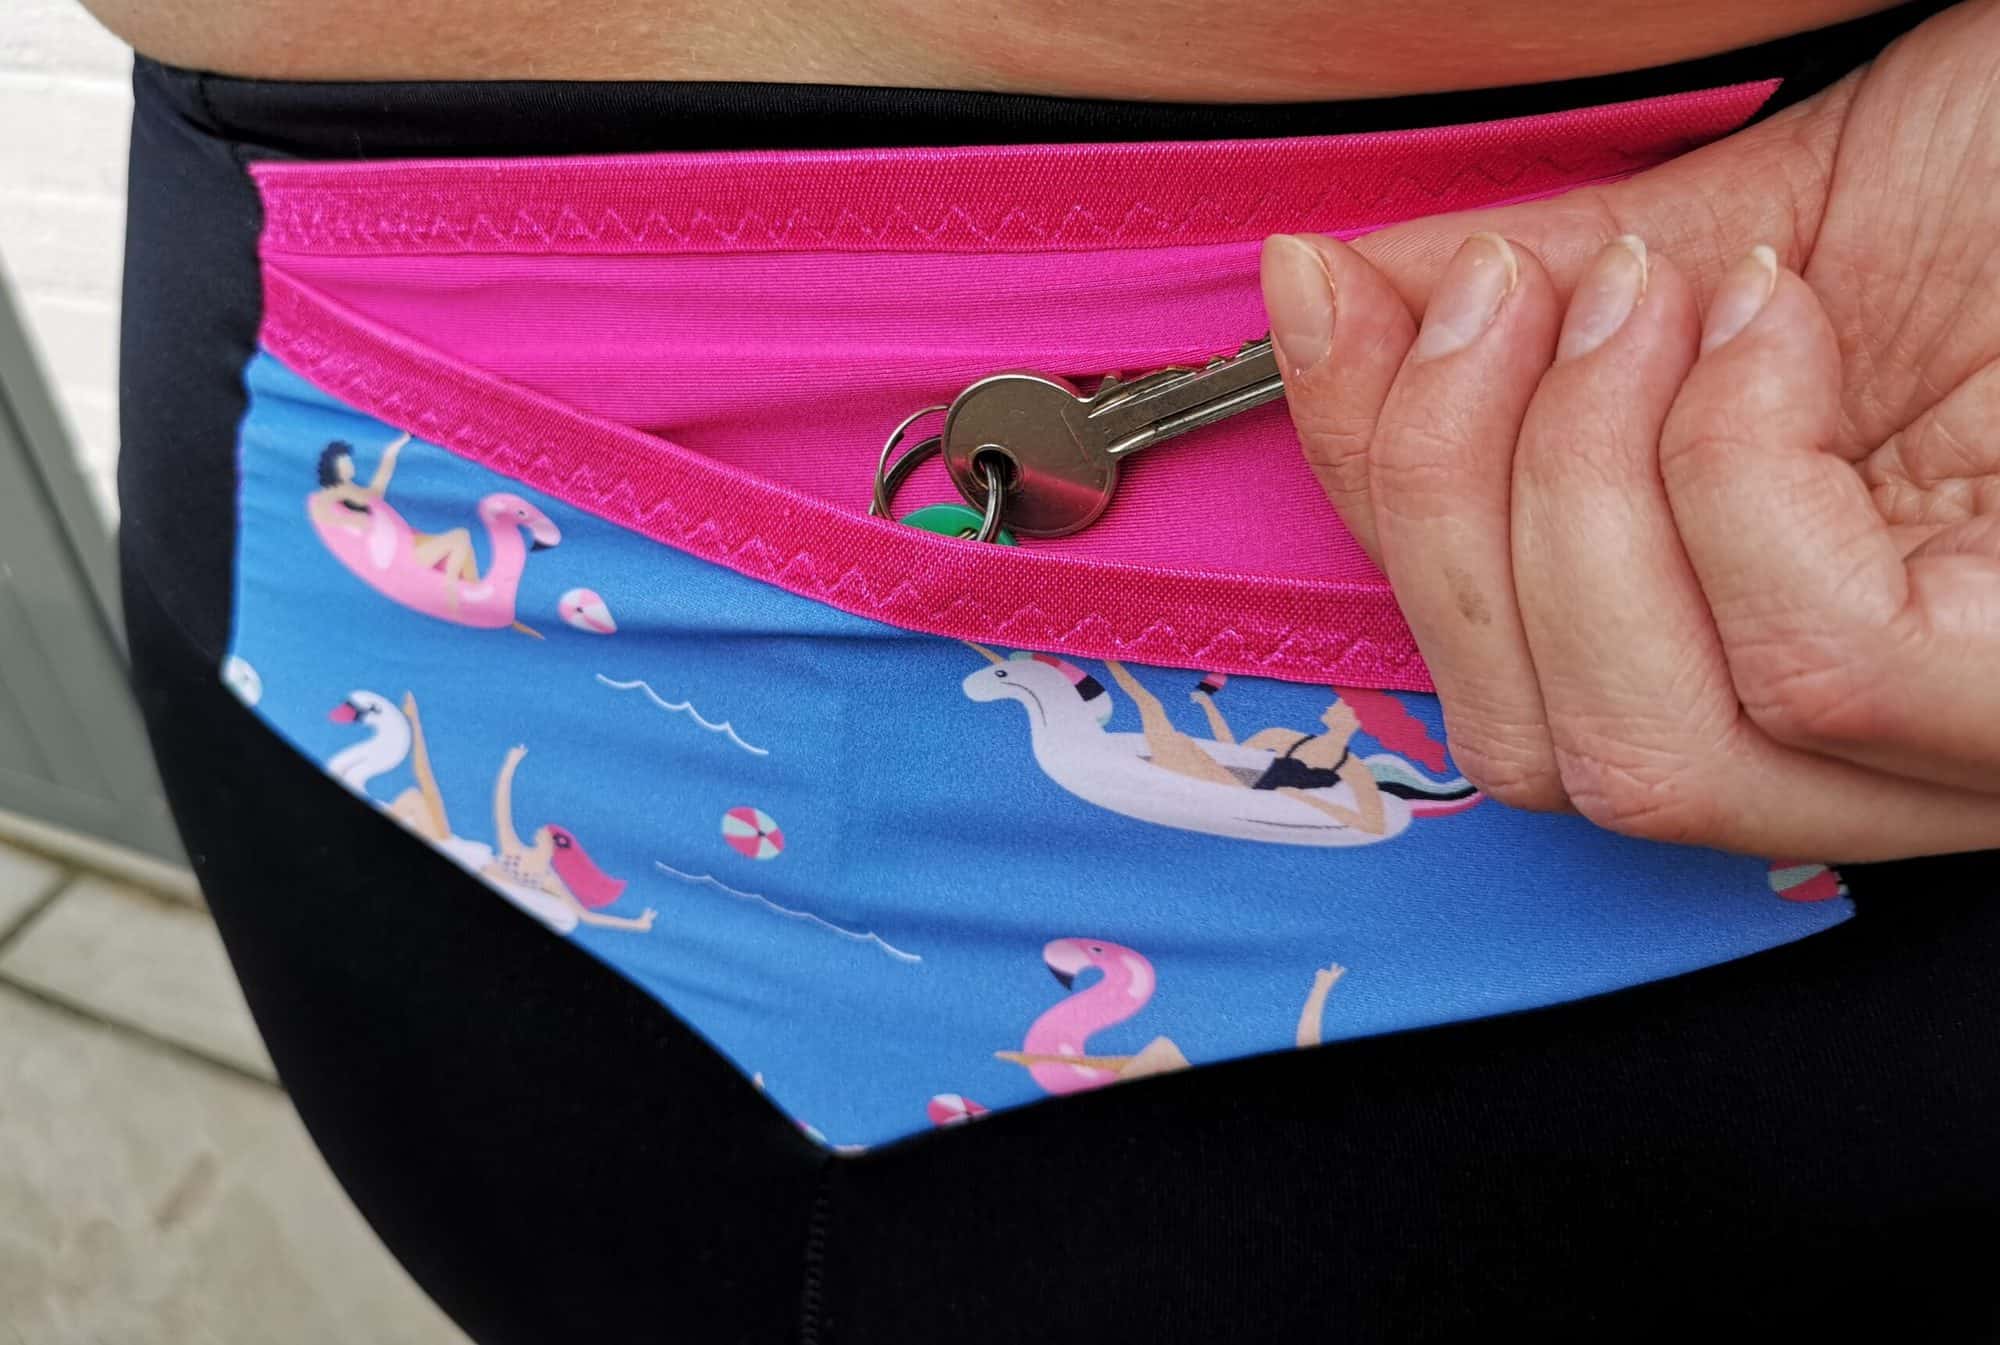
If, like me, you made about a million Fierce Bras you probably have lots of leftover bits of Fold Over Elastic (FOE) hanging around in your elastics box. Using FOE to bind the top of the pockets in the new v-contour waistband, or the side pockets of the side colour-block Pegs released during the previous update helps give them even greater stability. I have been for several runs in my new Peg Legs with my phone in the pocket and it has stayed secure the entire time. It’s so easy, here’s how to do it.
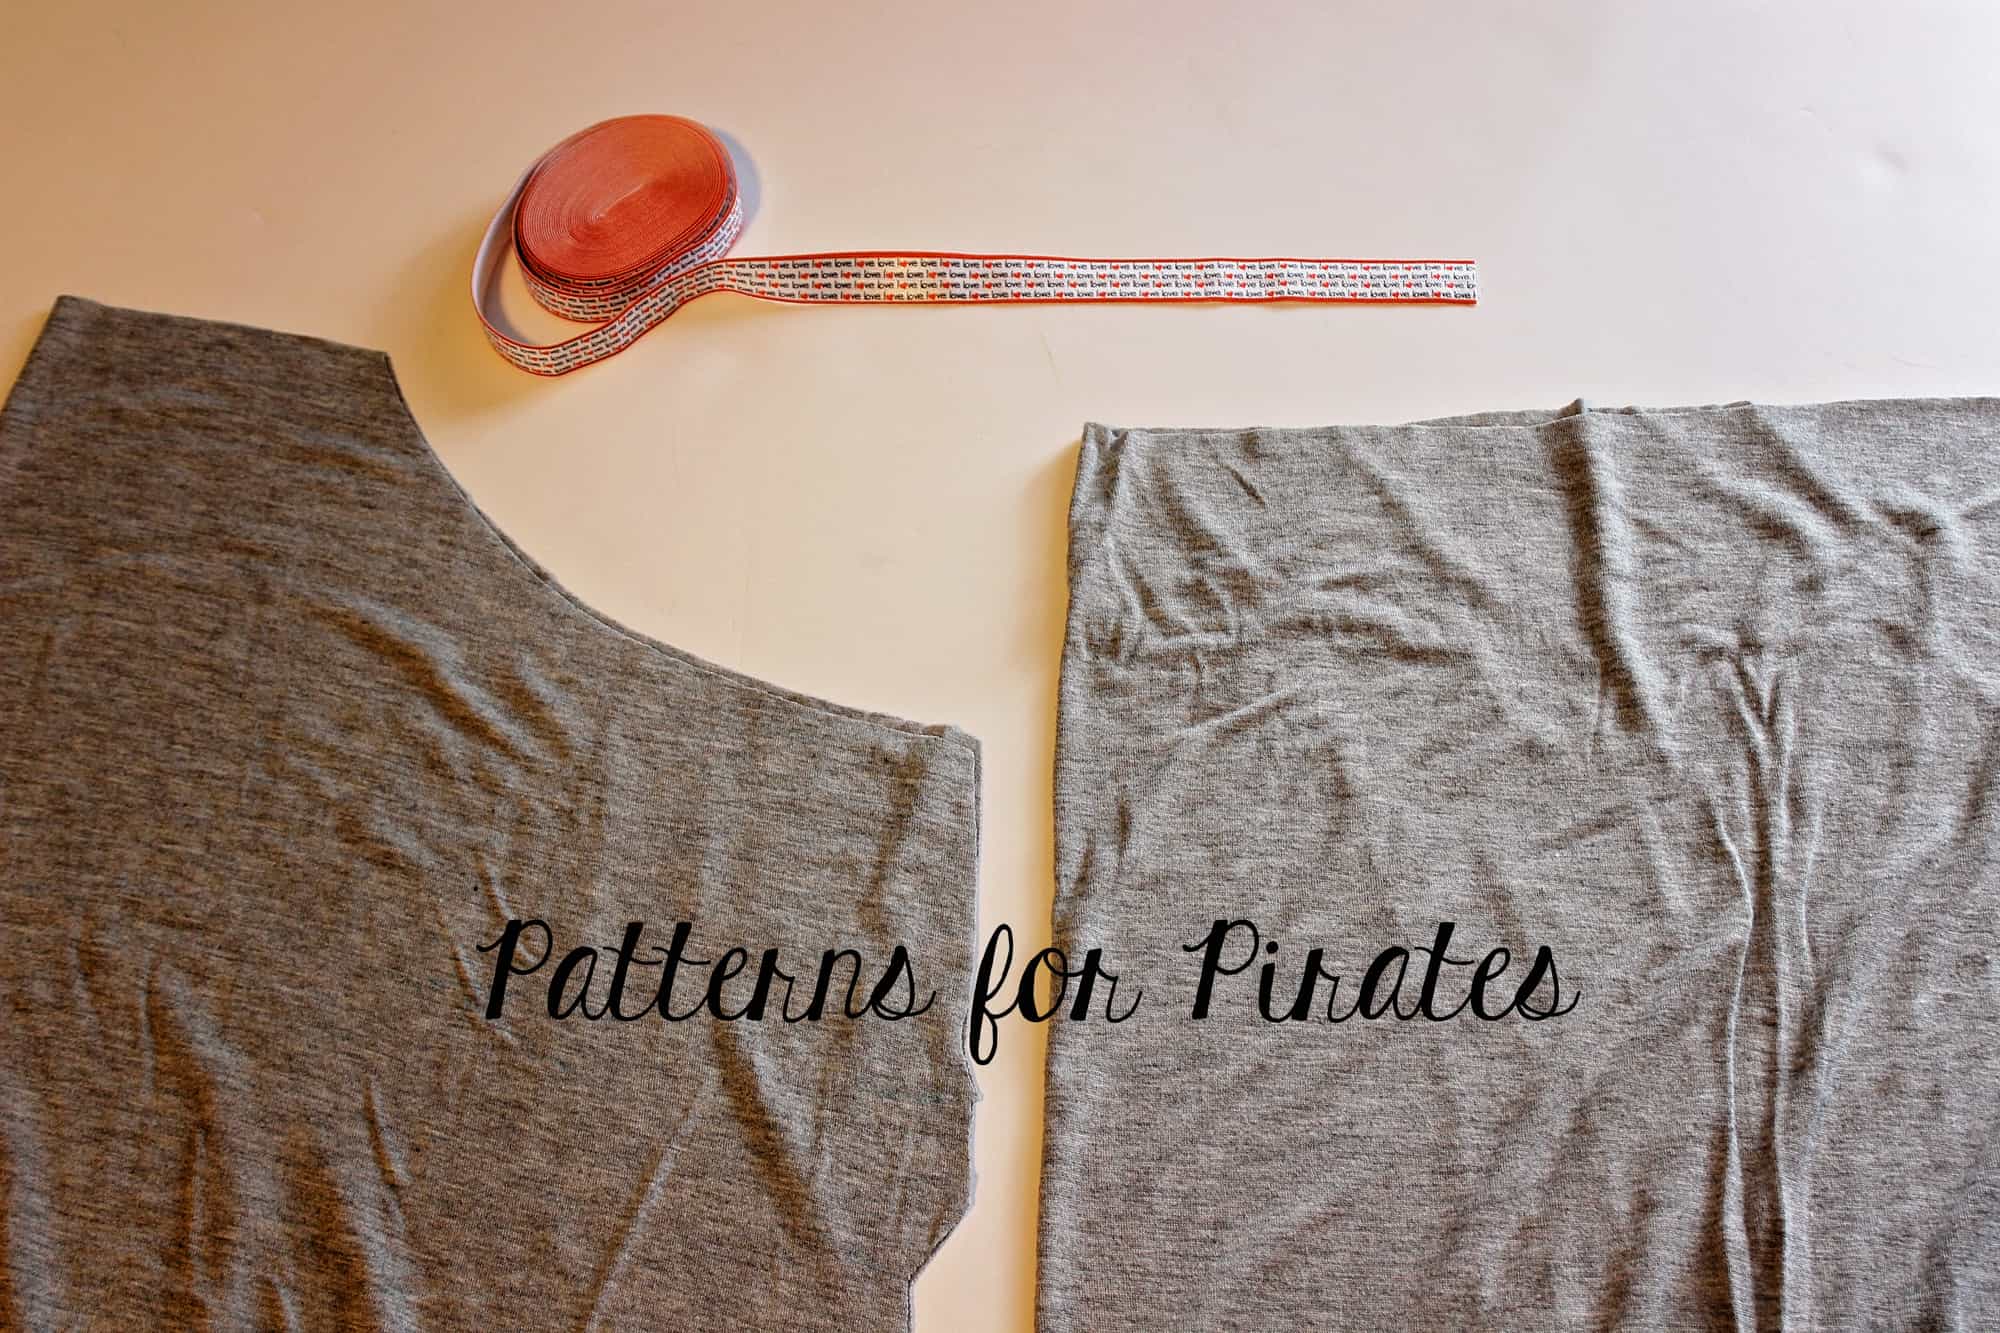
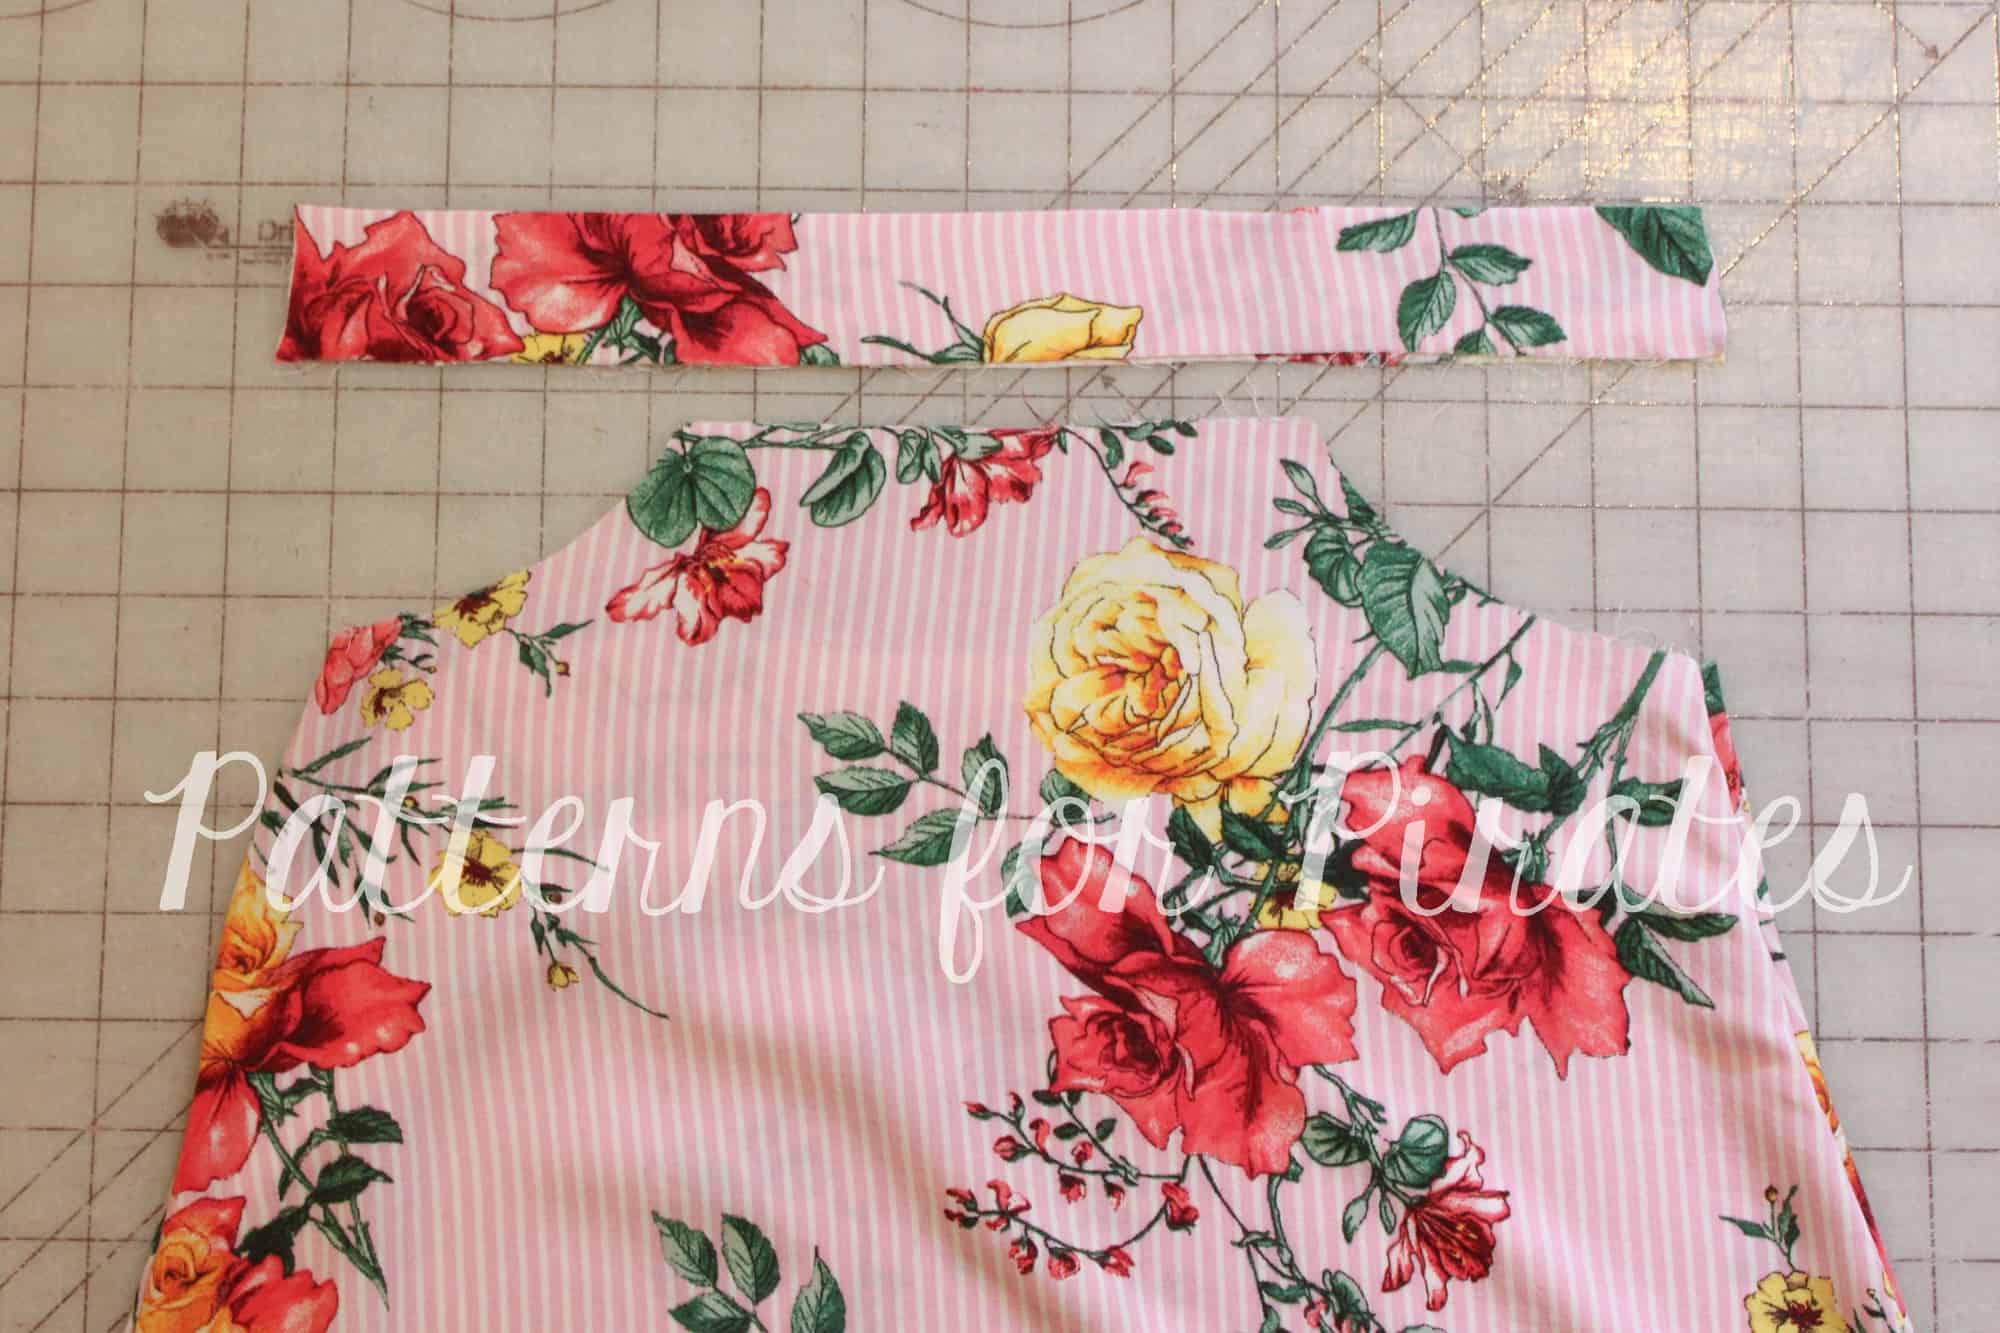
First cut out your pattern pieces as normal and then grab your FOE. I used ½” here but you could use a ¼” if you have that too.
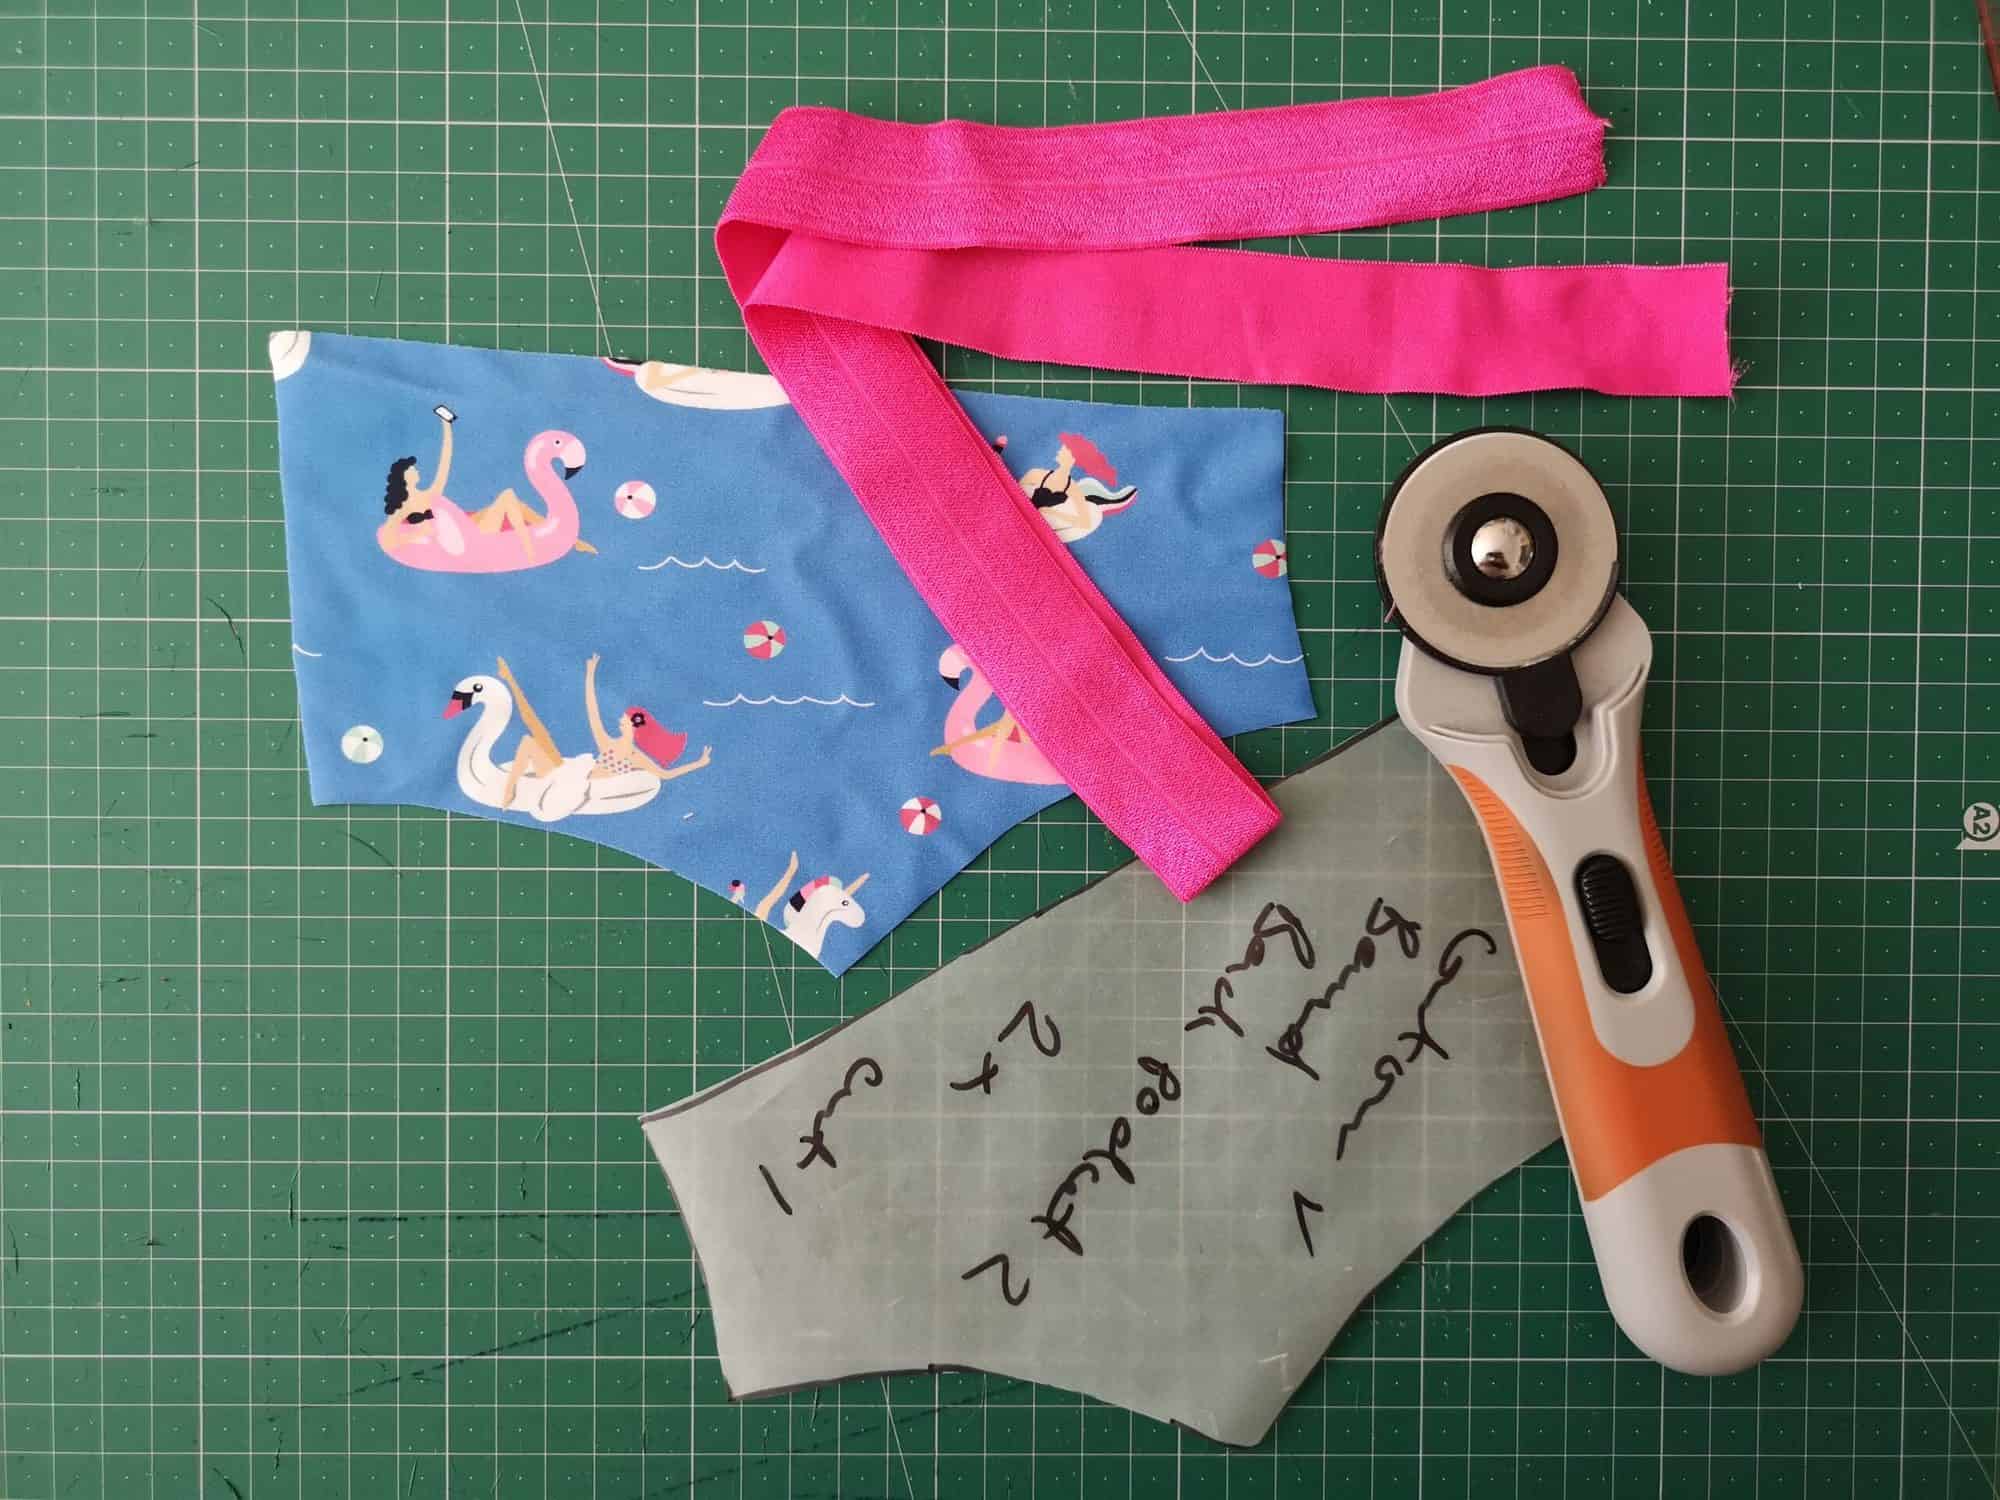
In the new v-contour waistband there are two pockets which sit on top of one another over the centre back panel piece. I am using the smaller pocket, which sits on the outermost layer for our example today. The fabric is a swim knit, which I love to use for running Pegs.
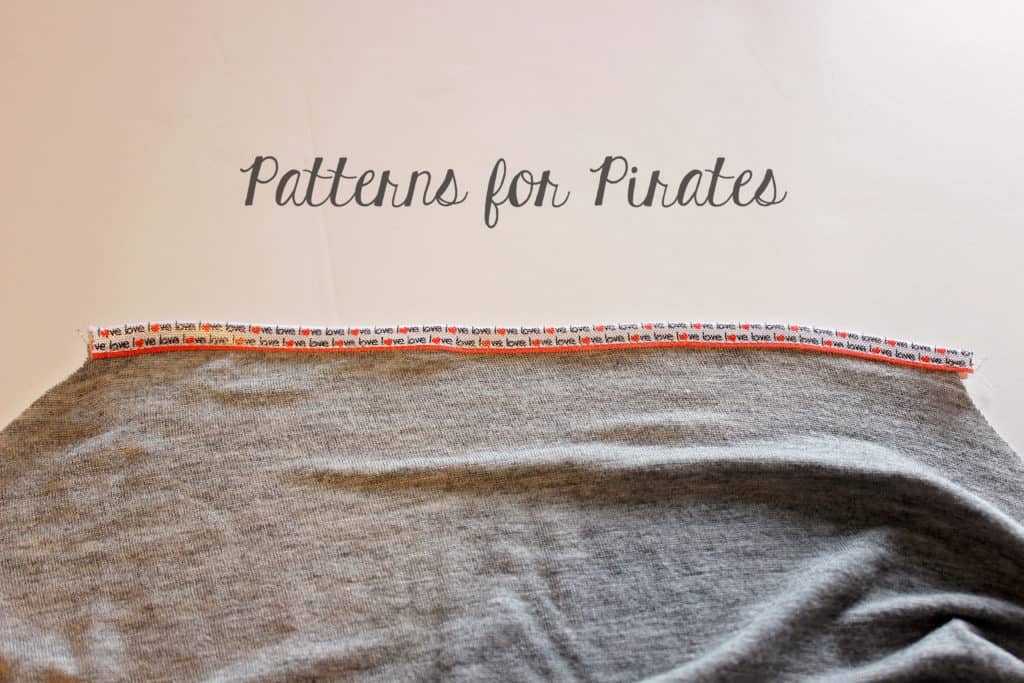
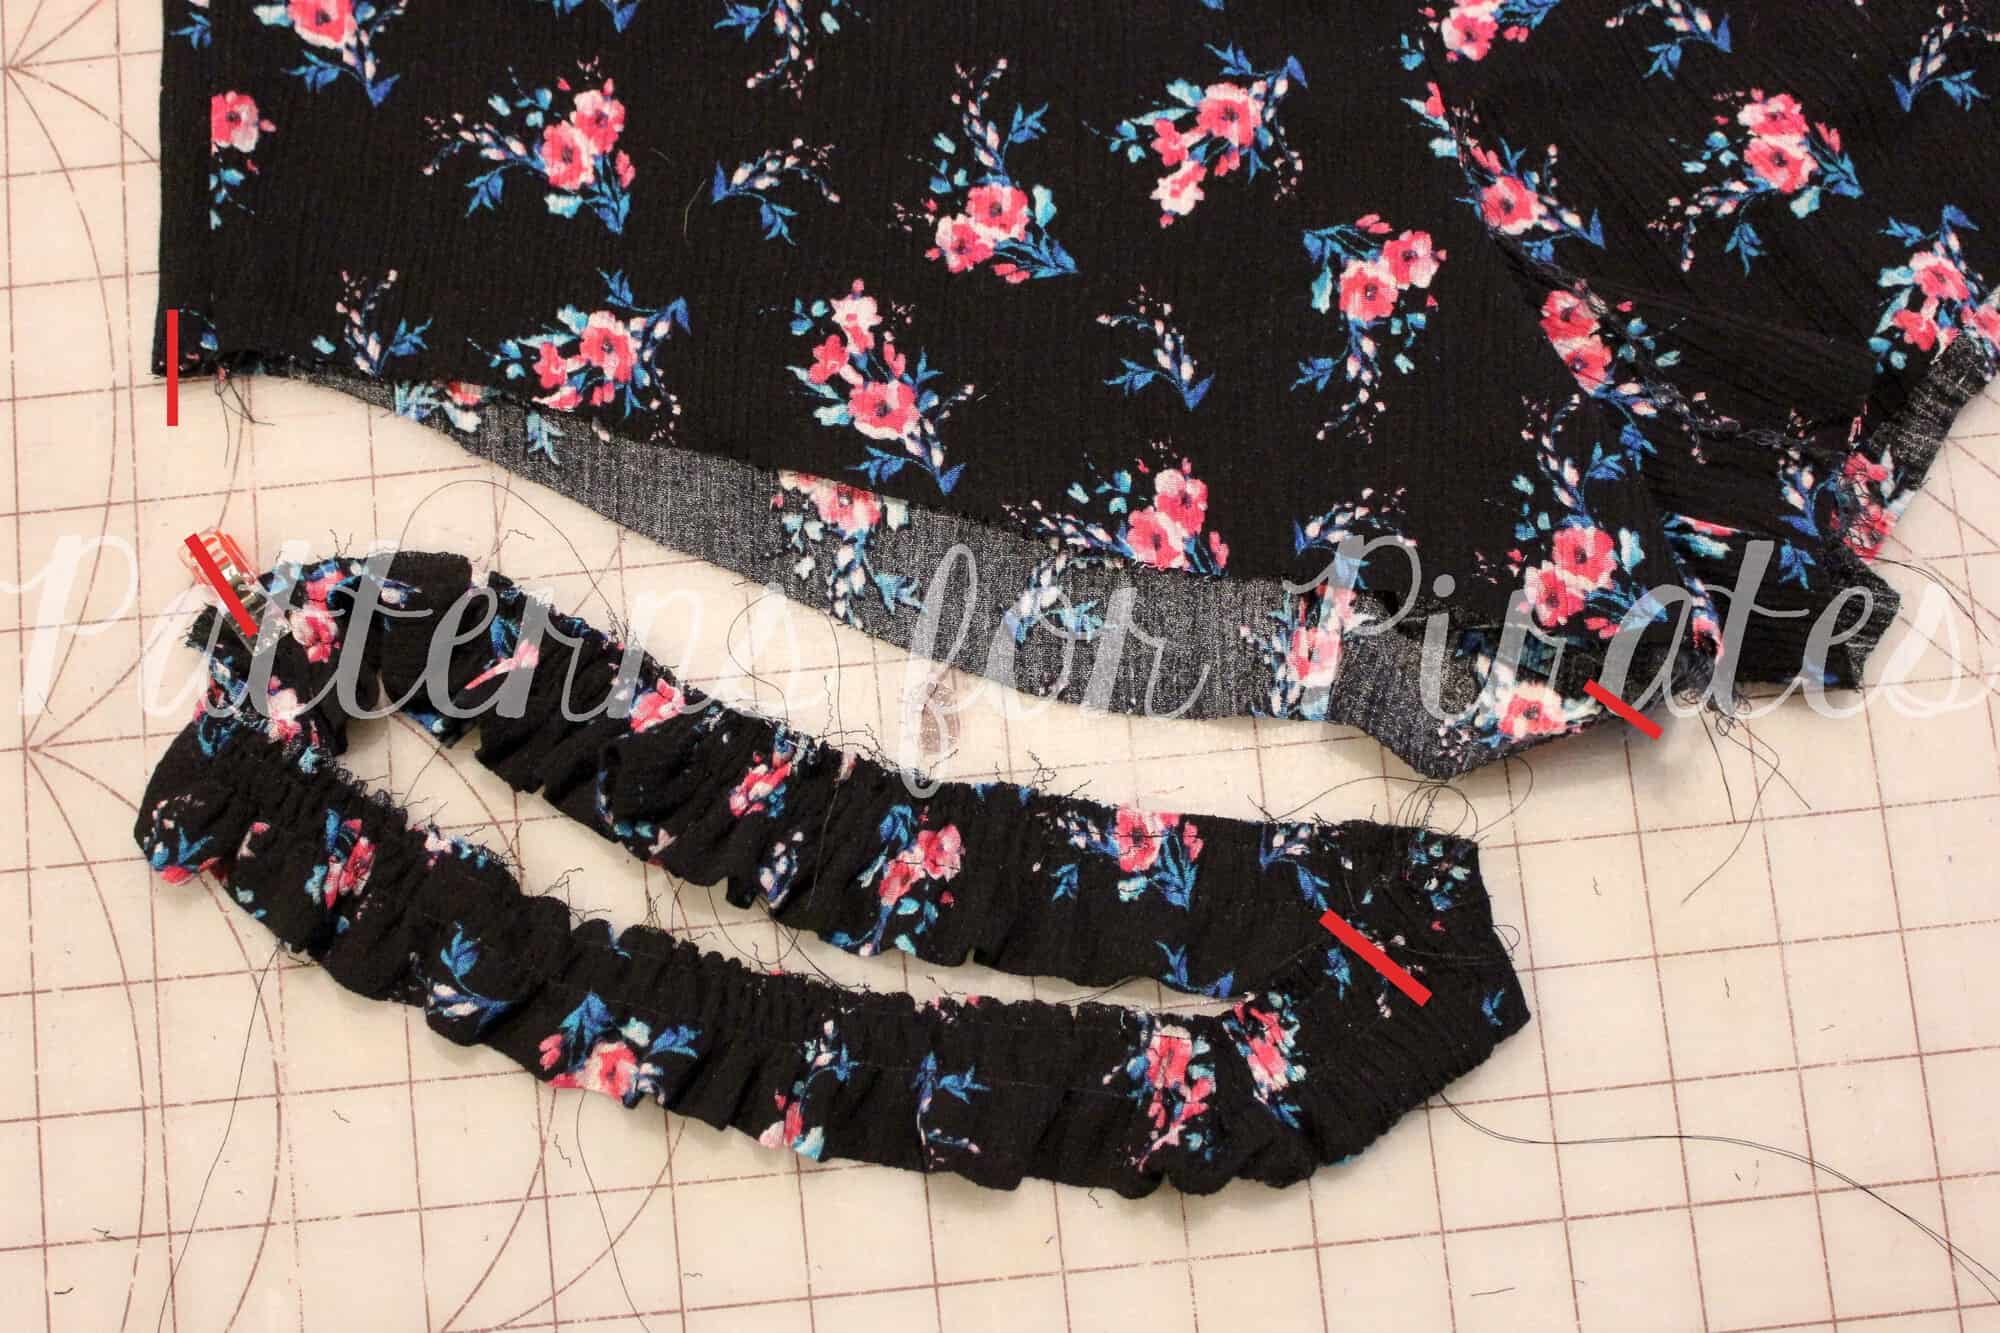
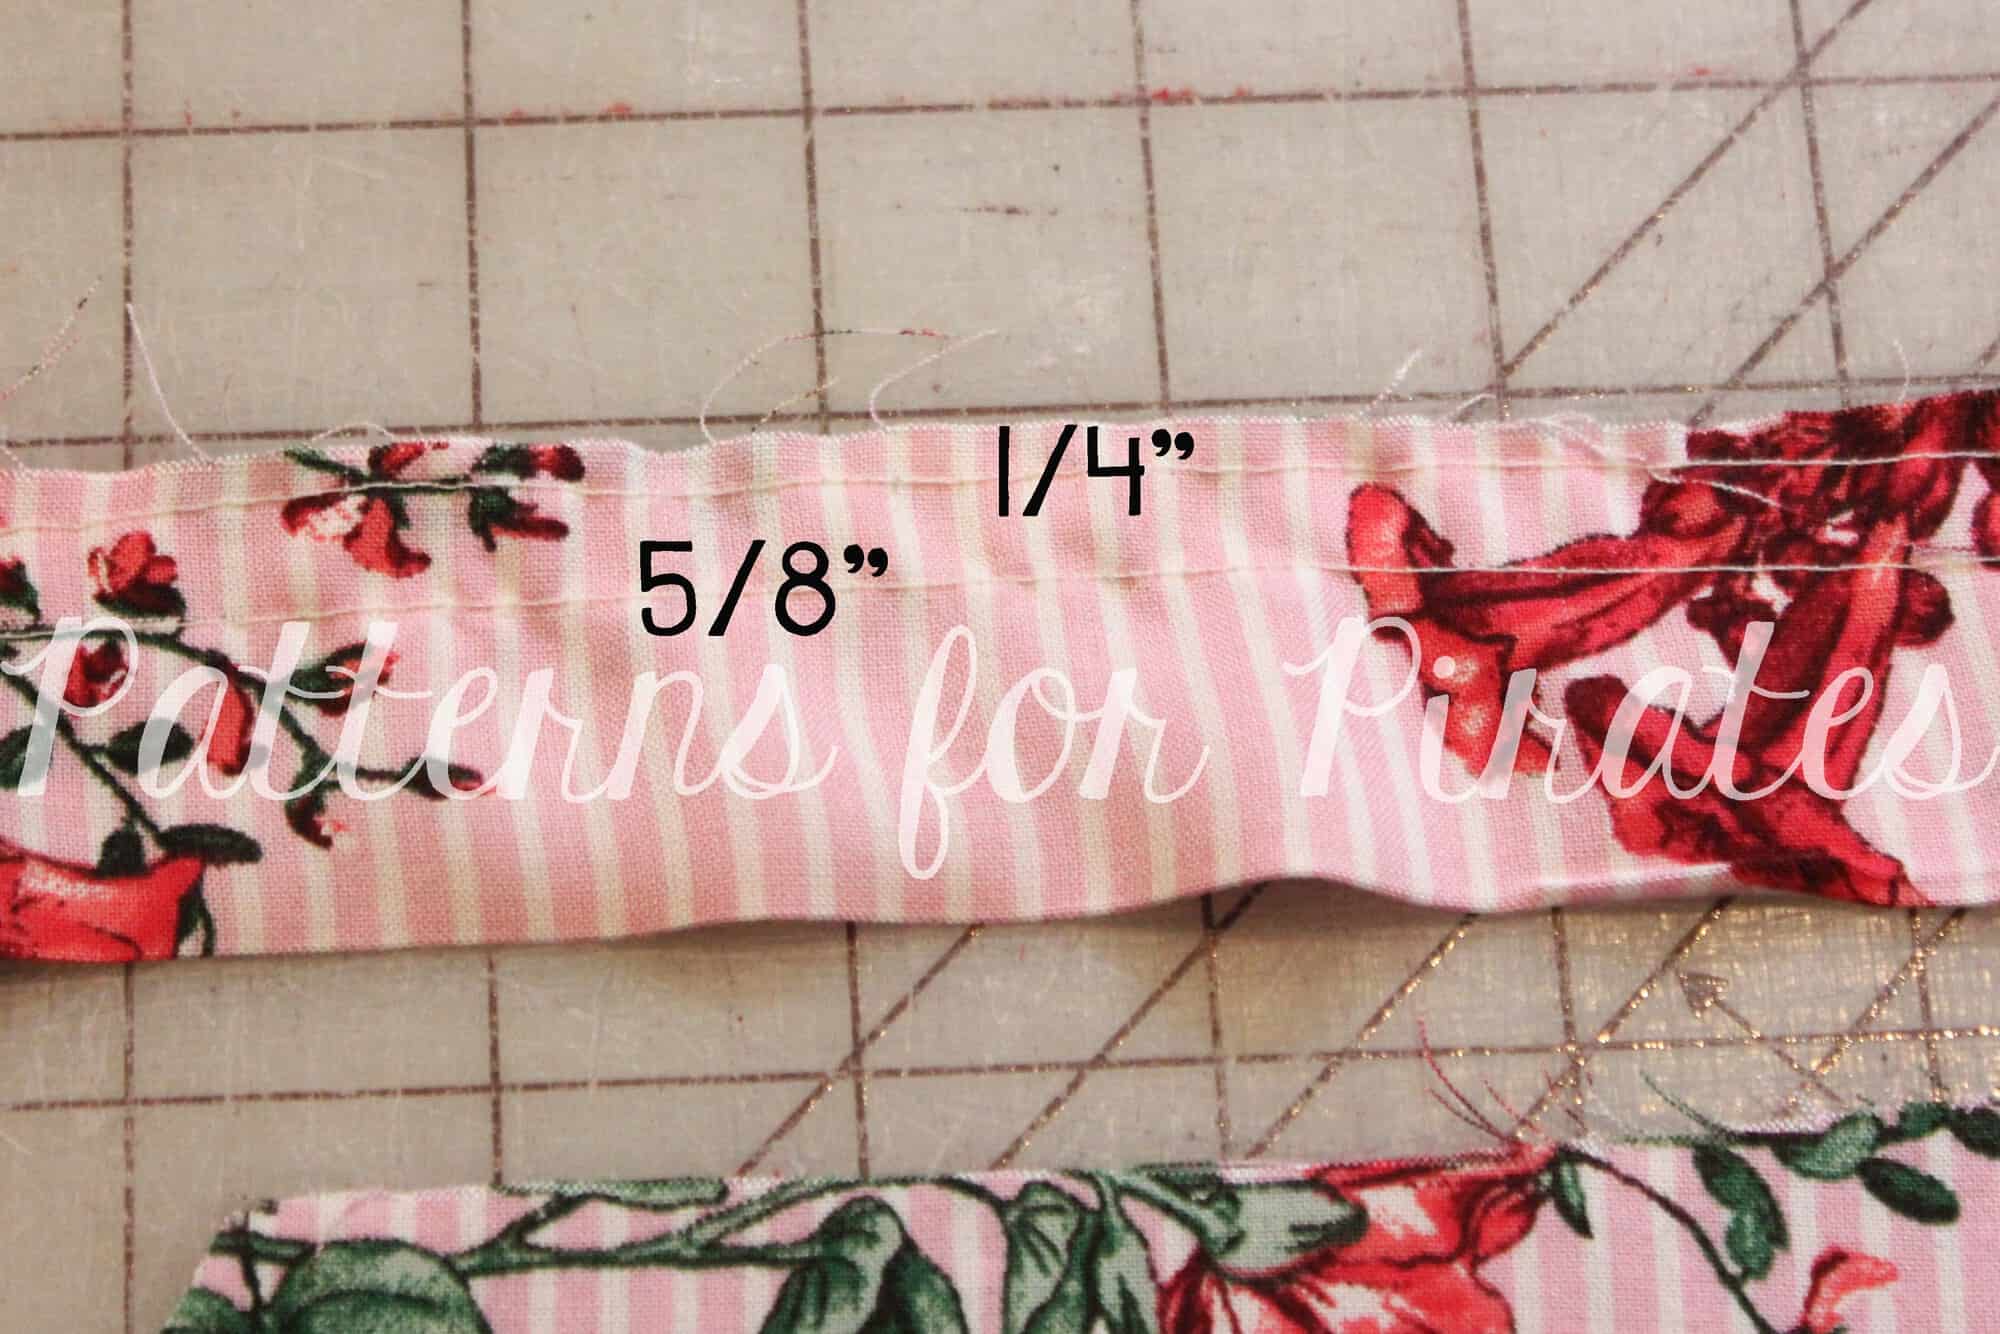
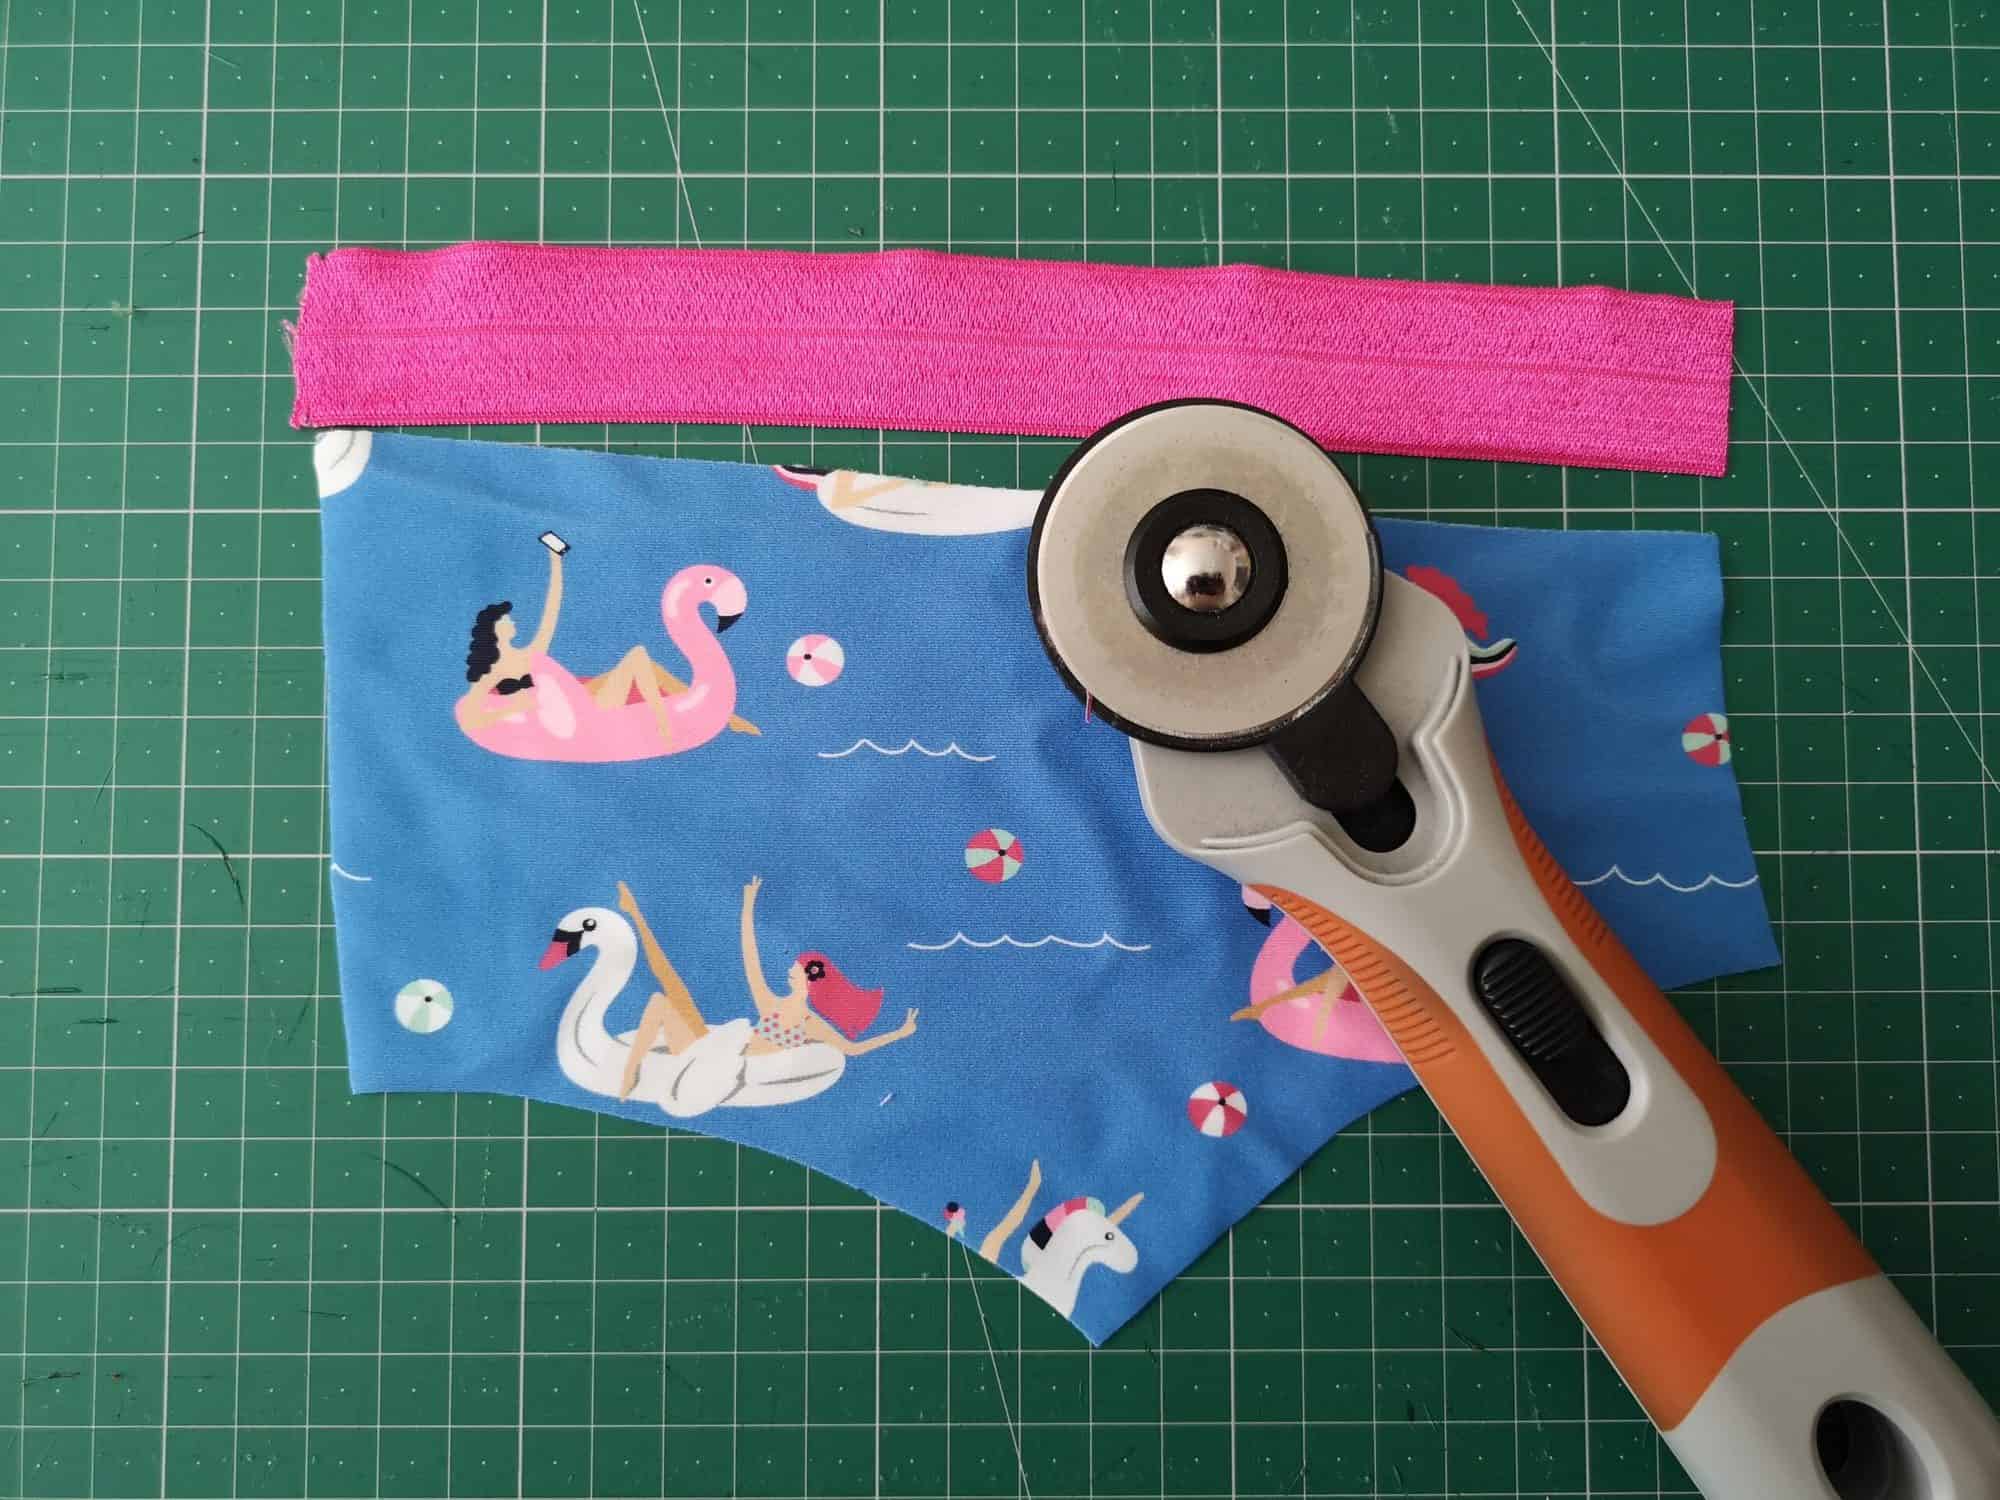
Make sure you exercise your elastic really well. Then lay it down next to the top of your pocket and cut it to the same length.
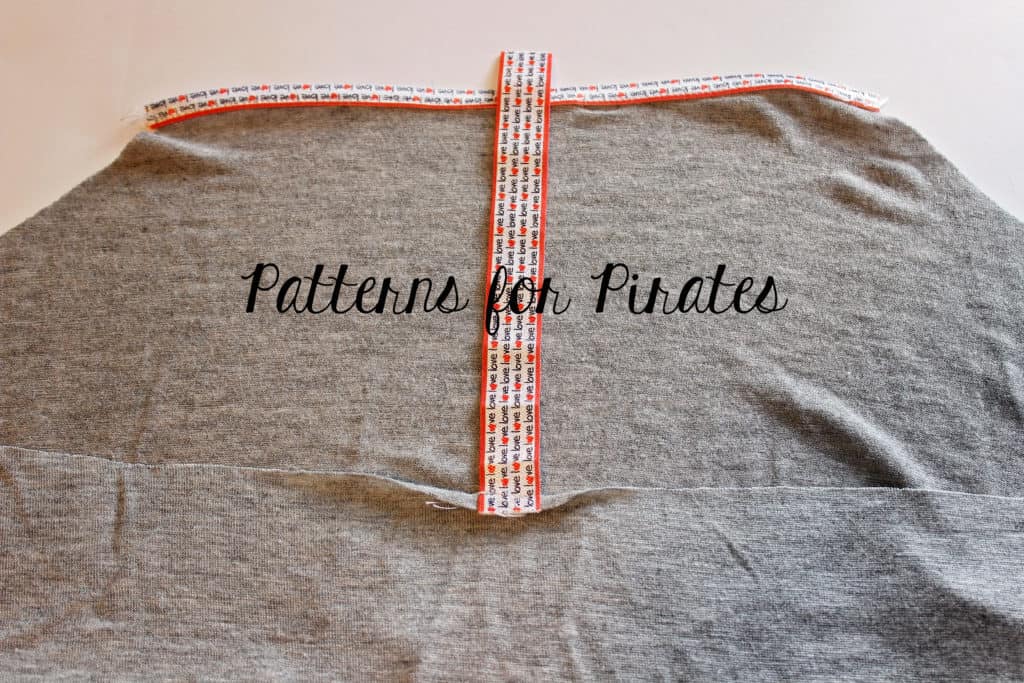
Then sandwich the raw edge of the top of your fabric inside the FOE, so the FOE folds down over the top and covers the front and back equally.
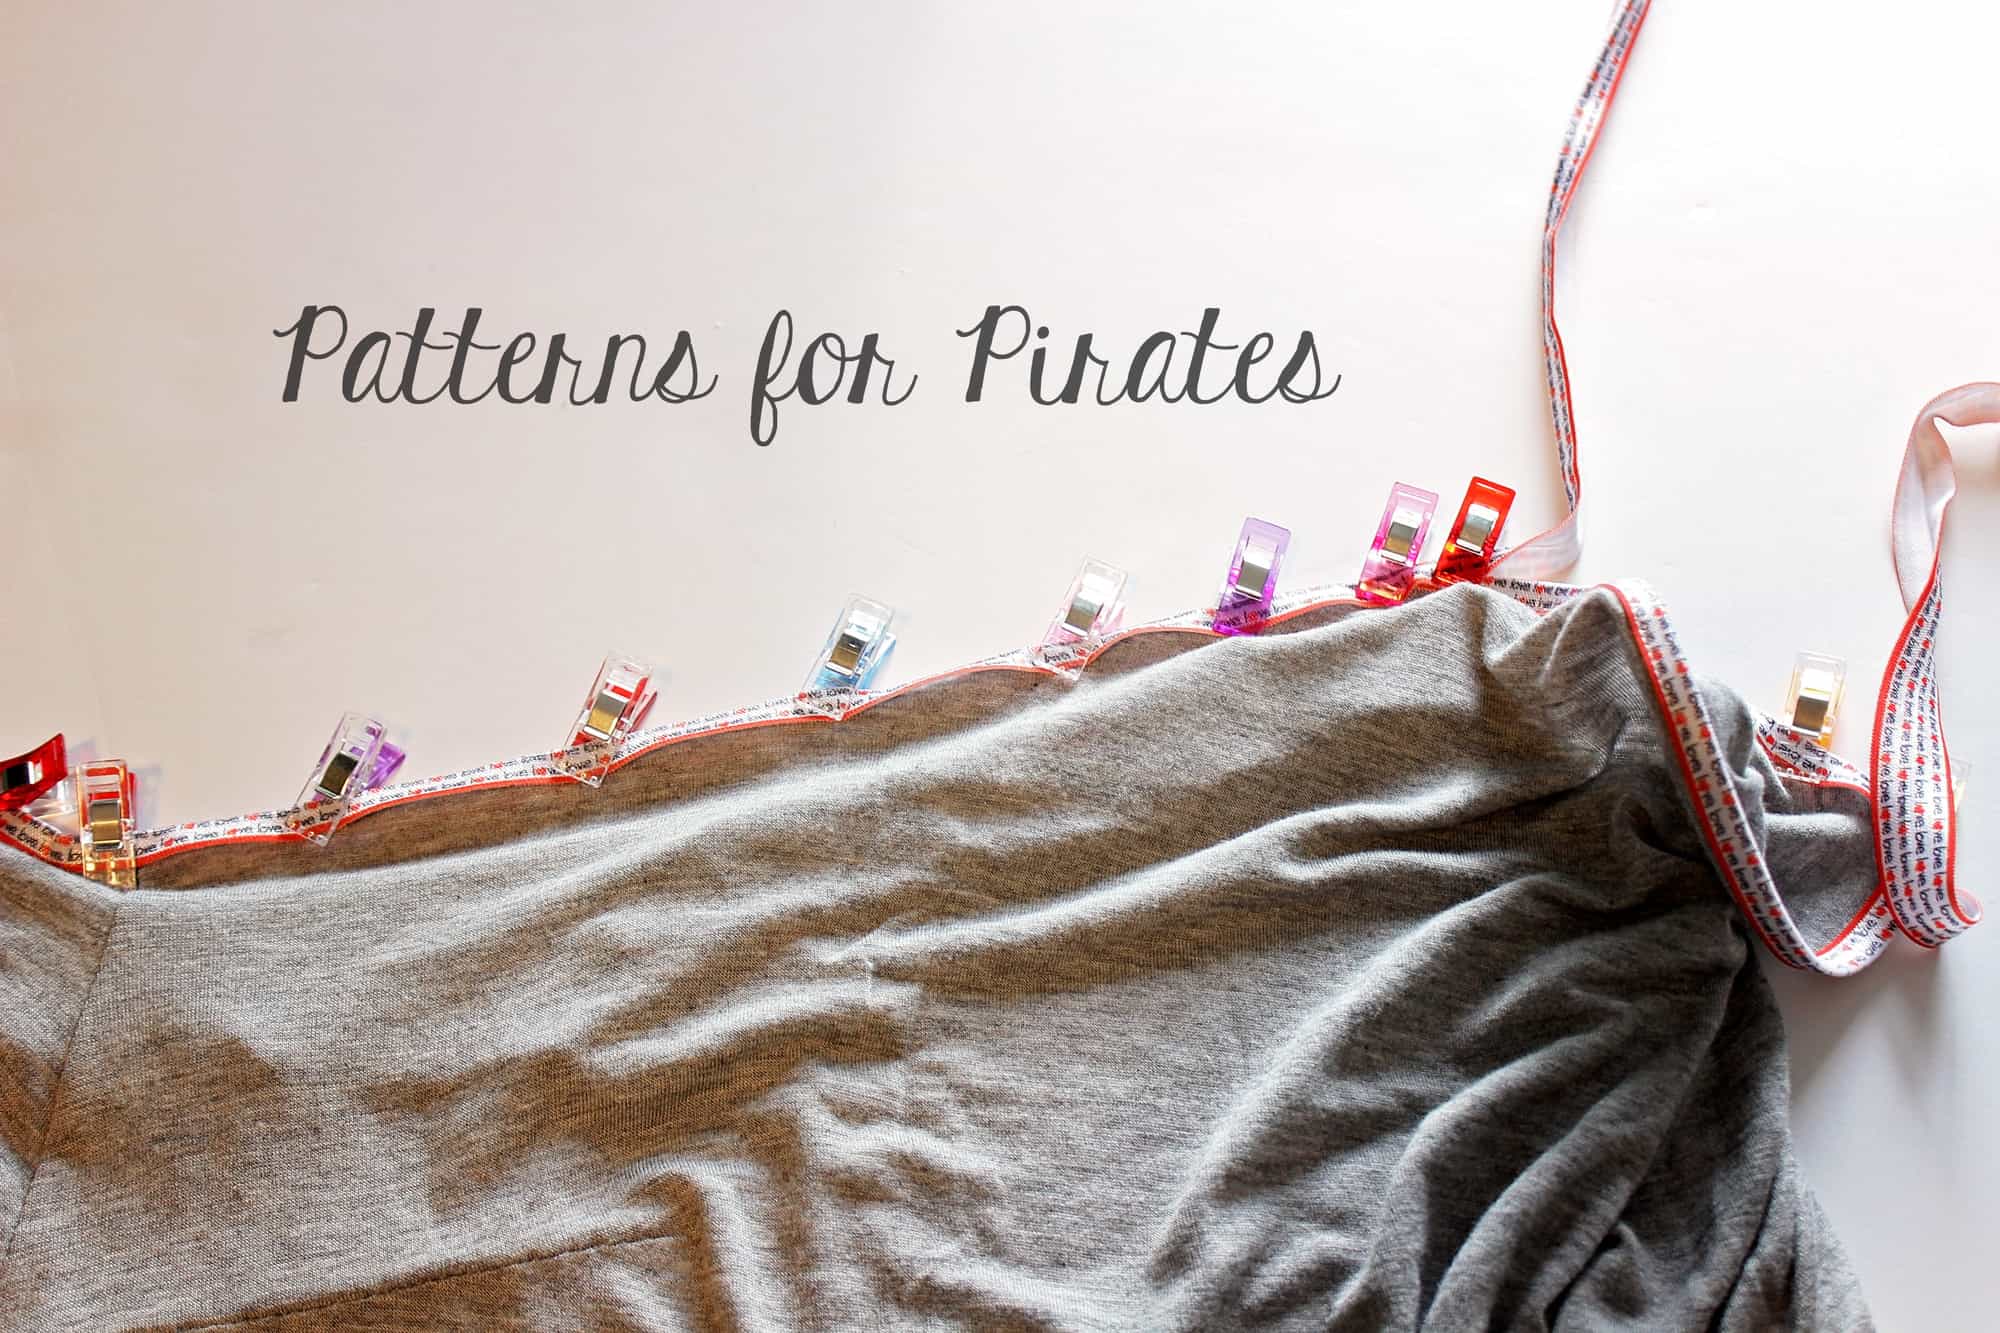
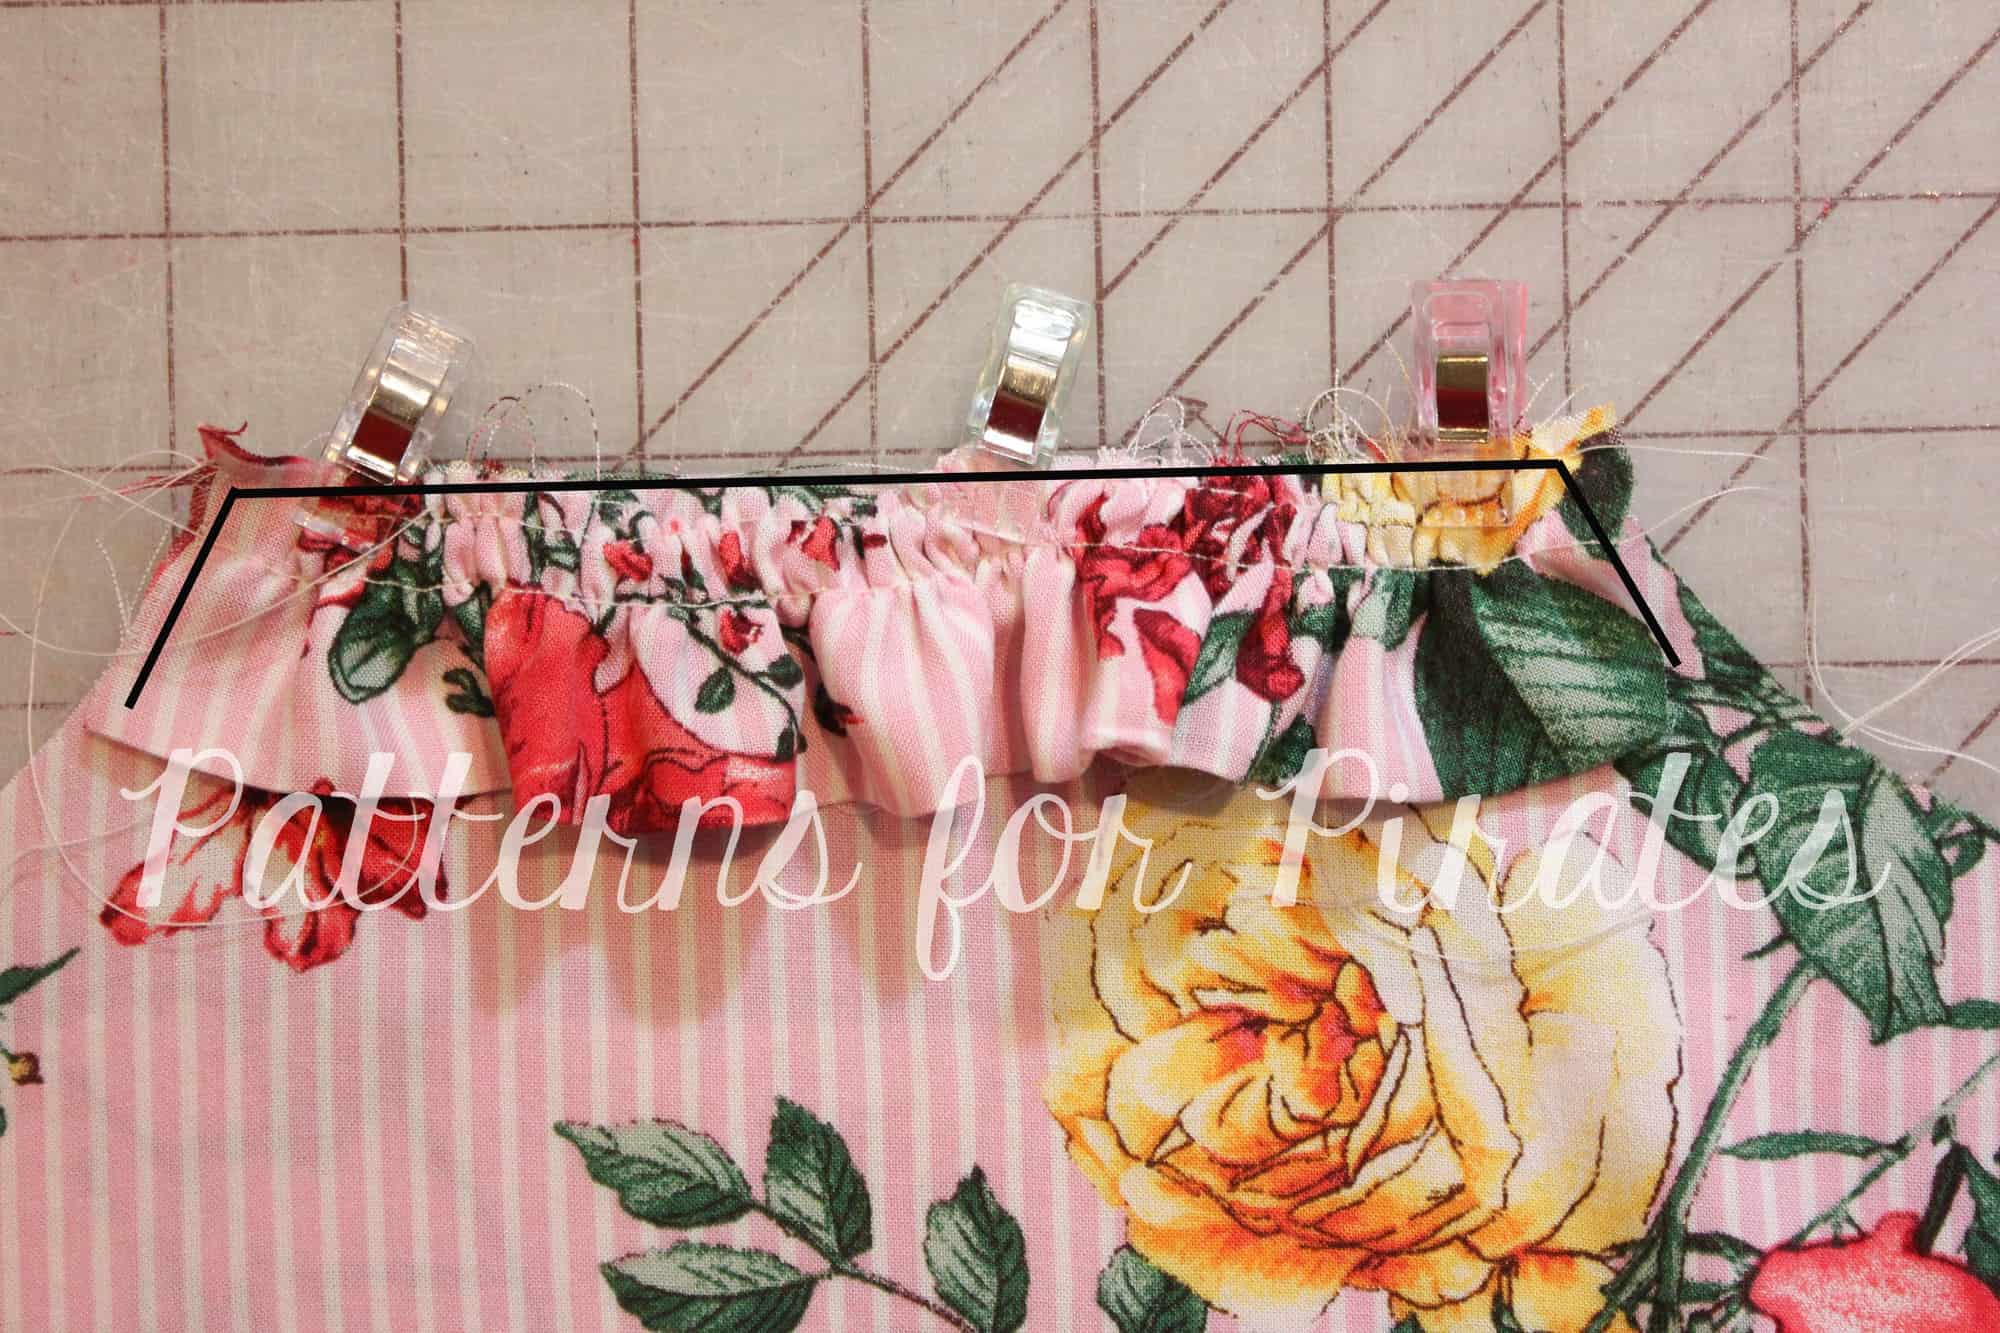
Pin/clip in place. I like to use a glue marker here at either end to stop the elastic from shifting when you start to sew and remove the pins/clips. I use these all the time when sewing slippery or delicate fabrics.

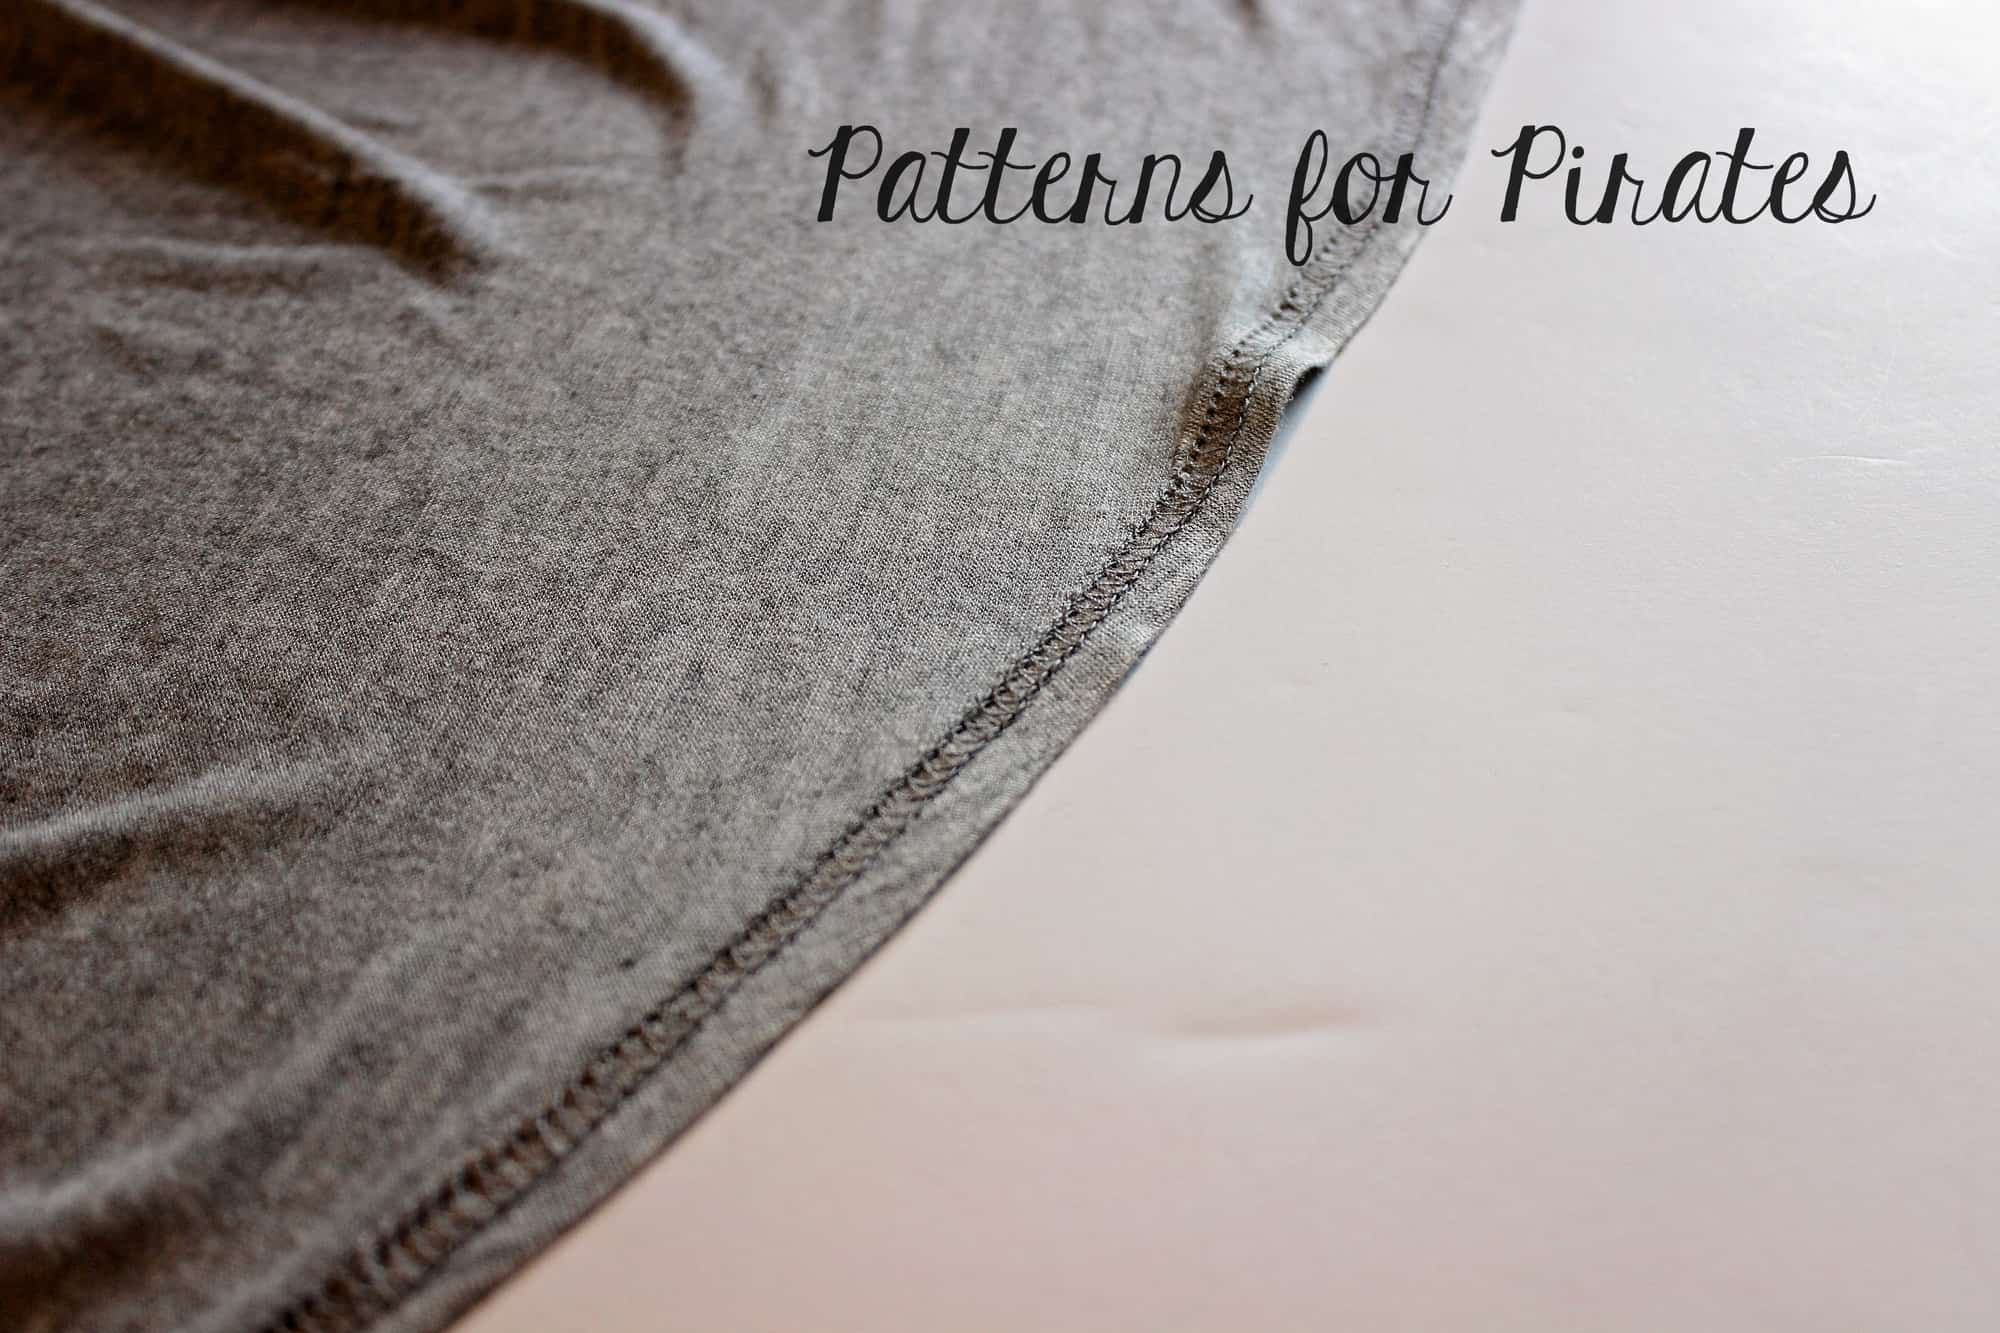
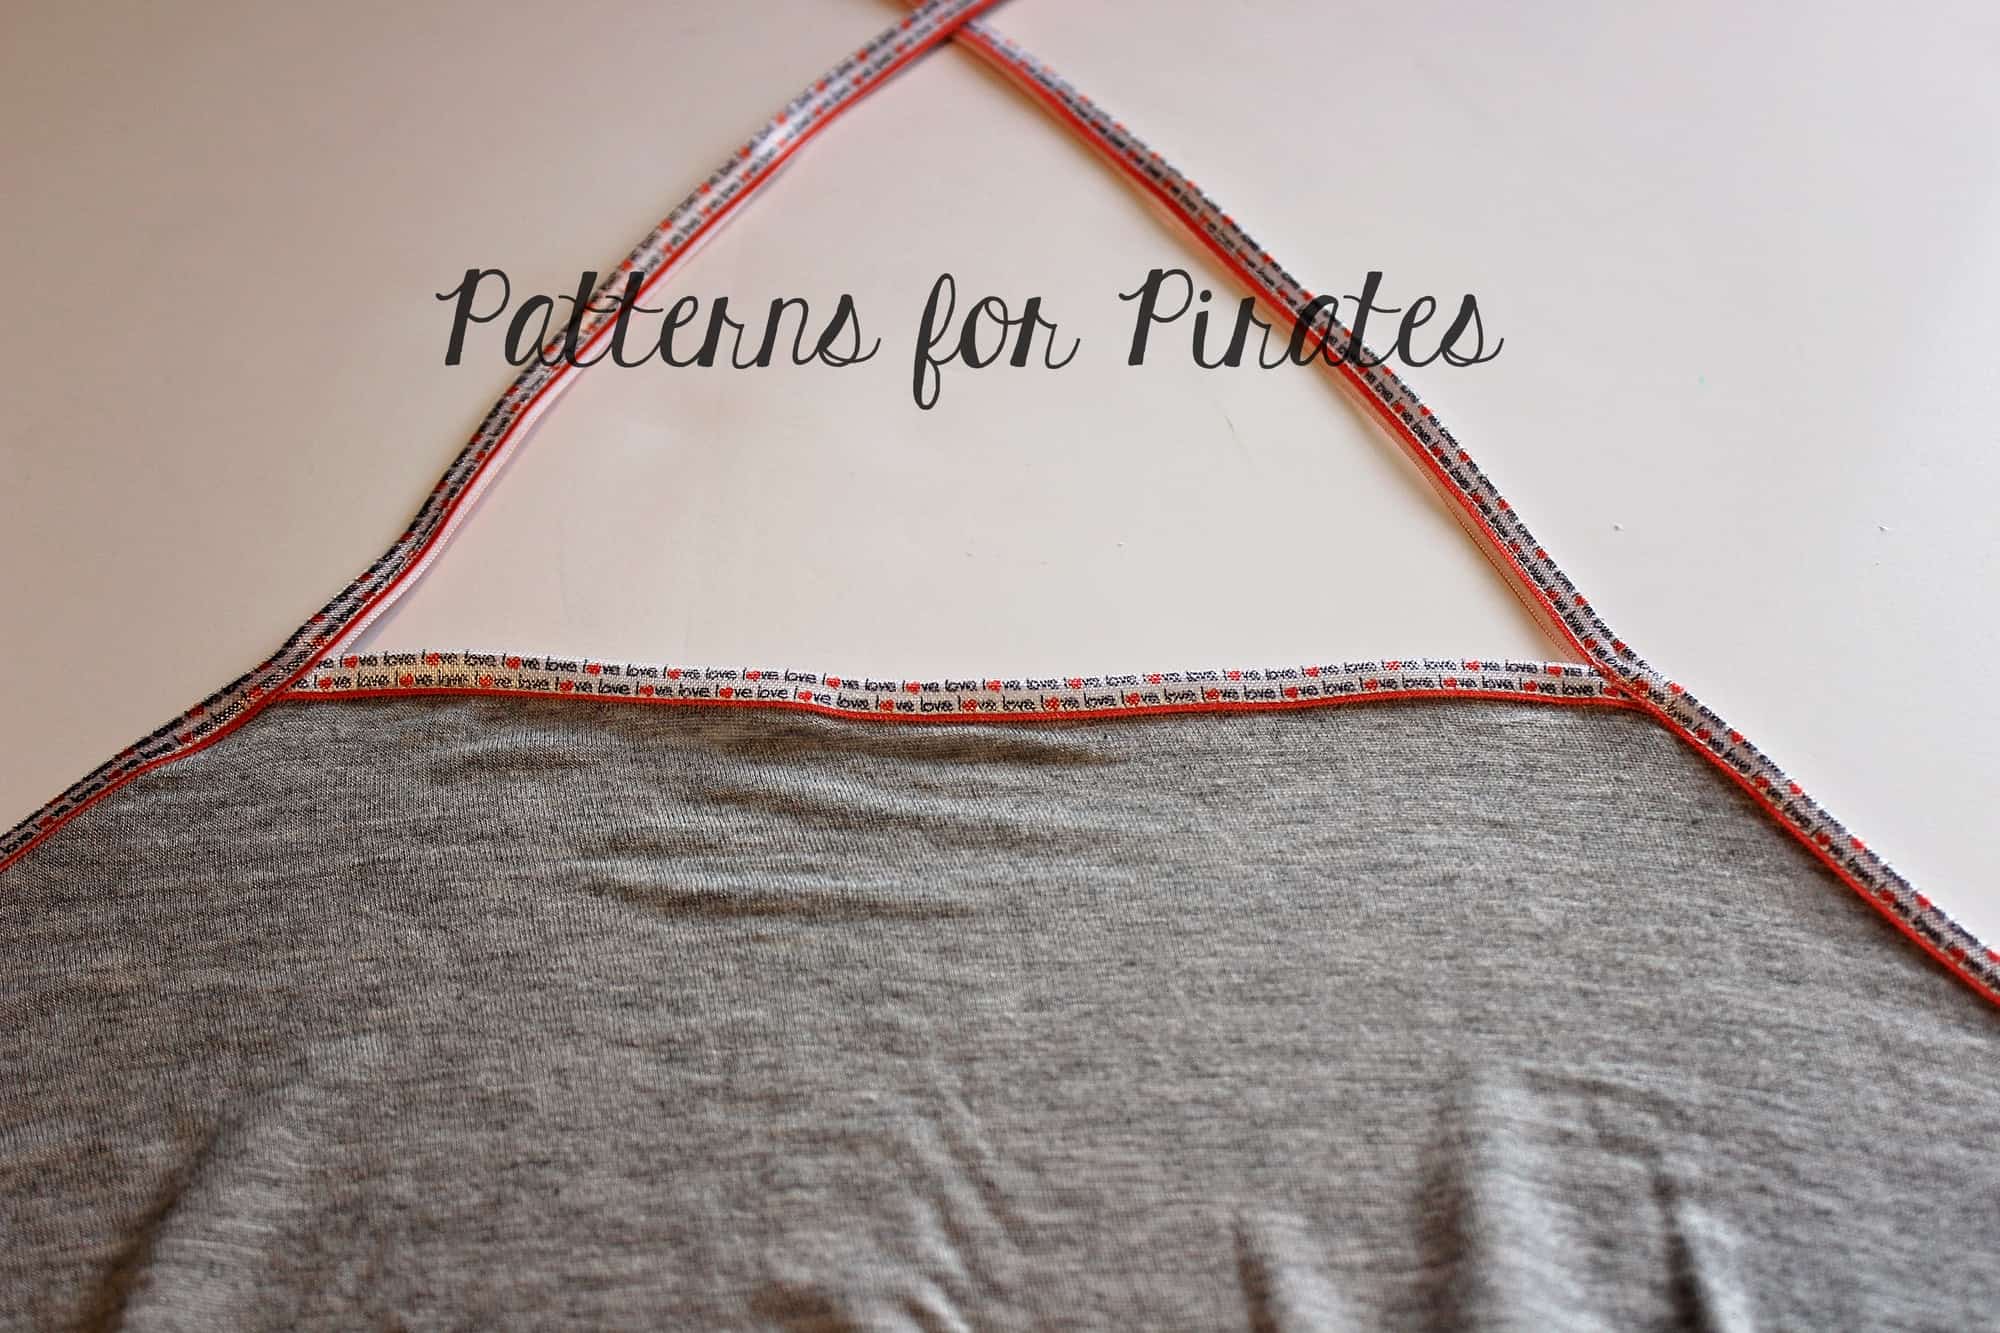
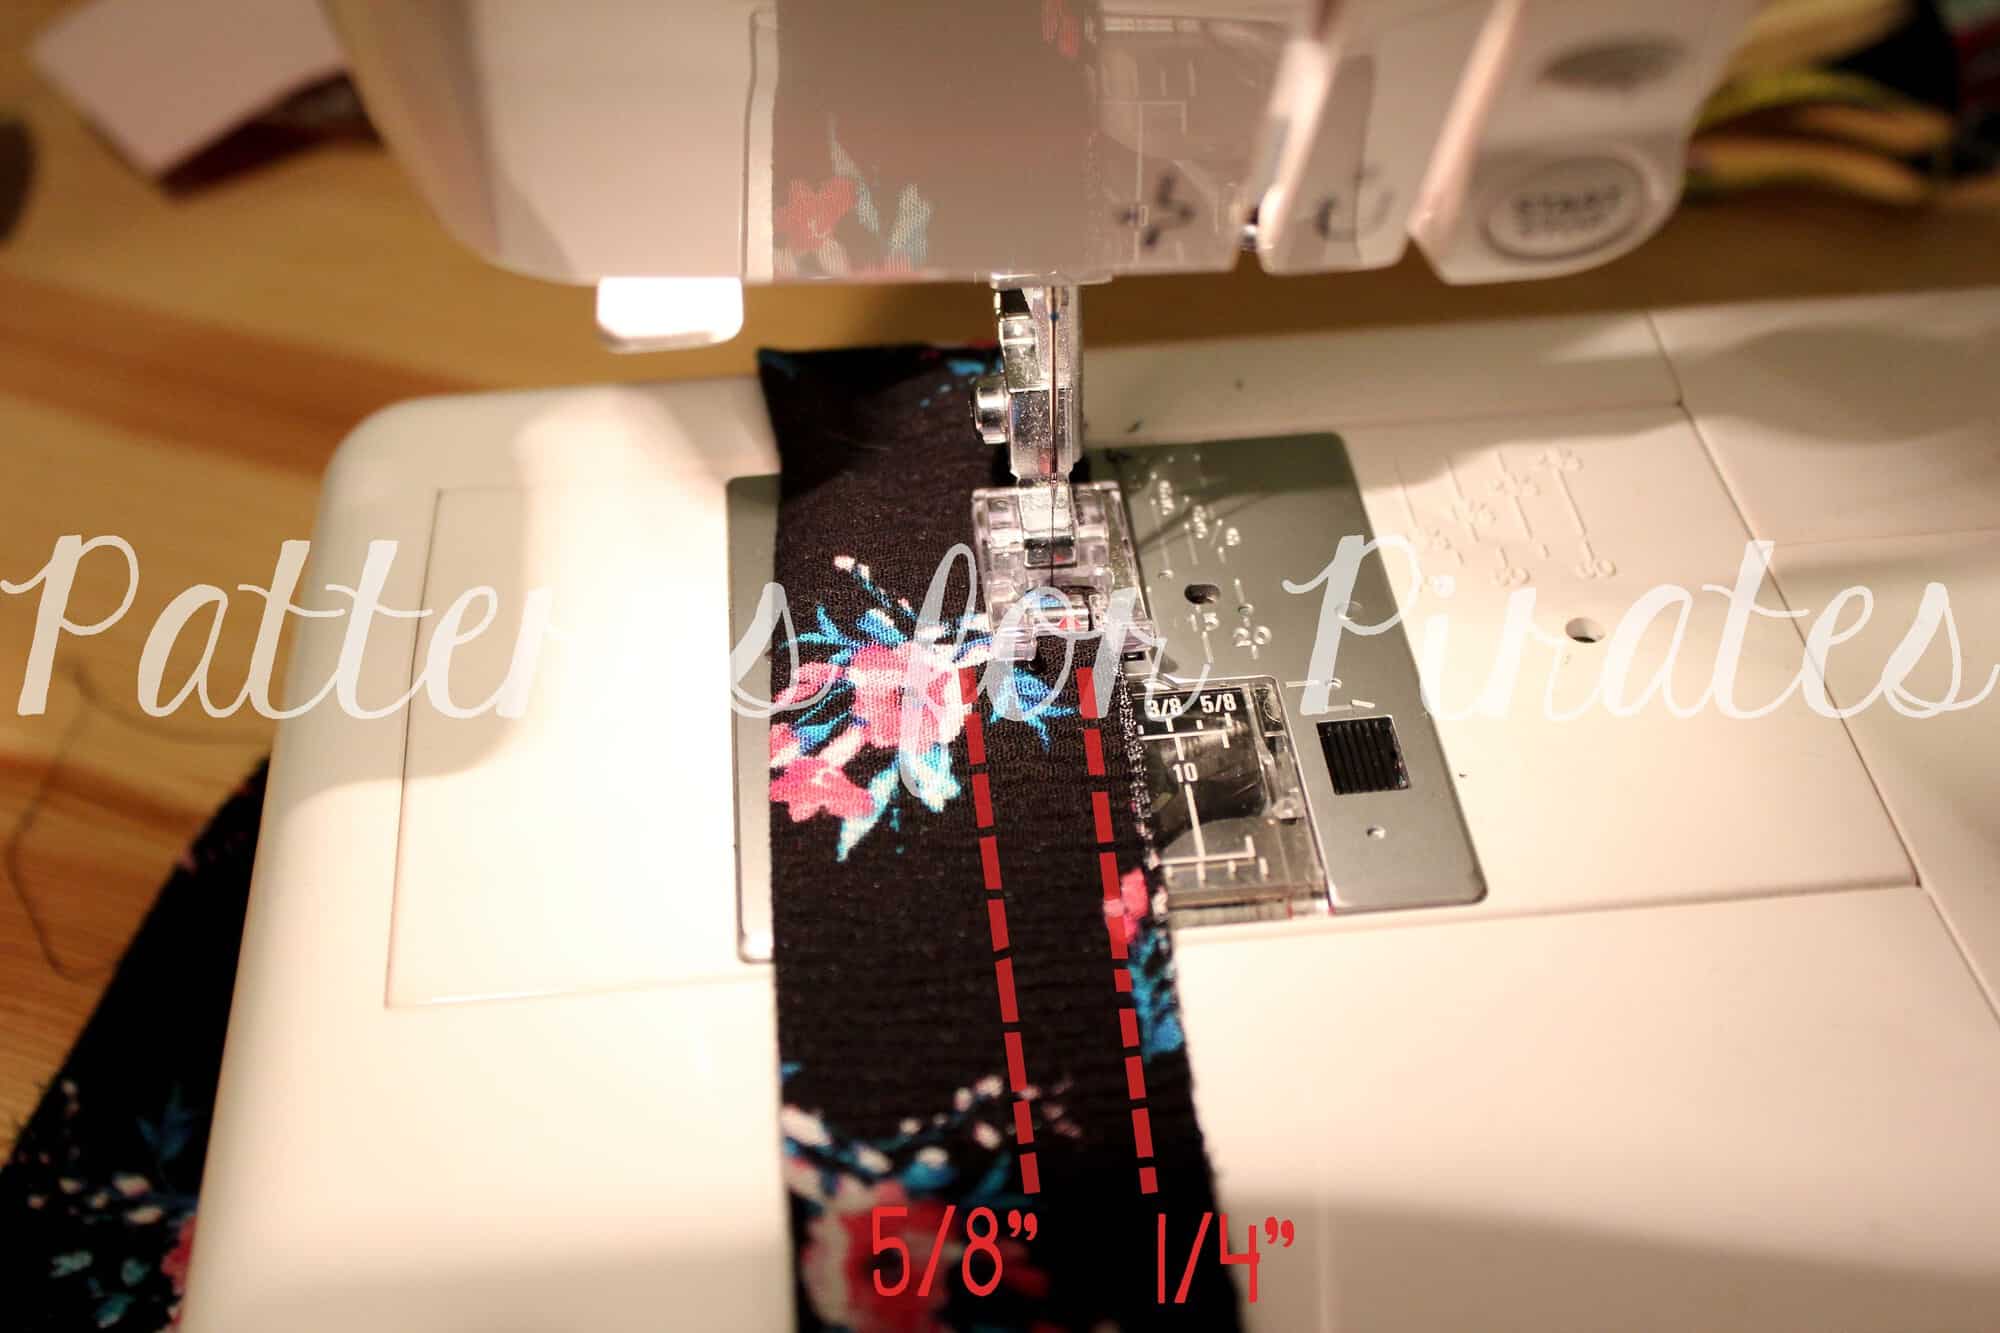
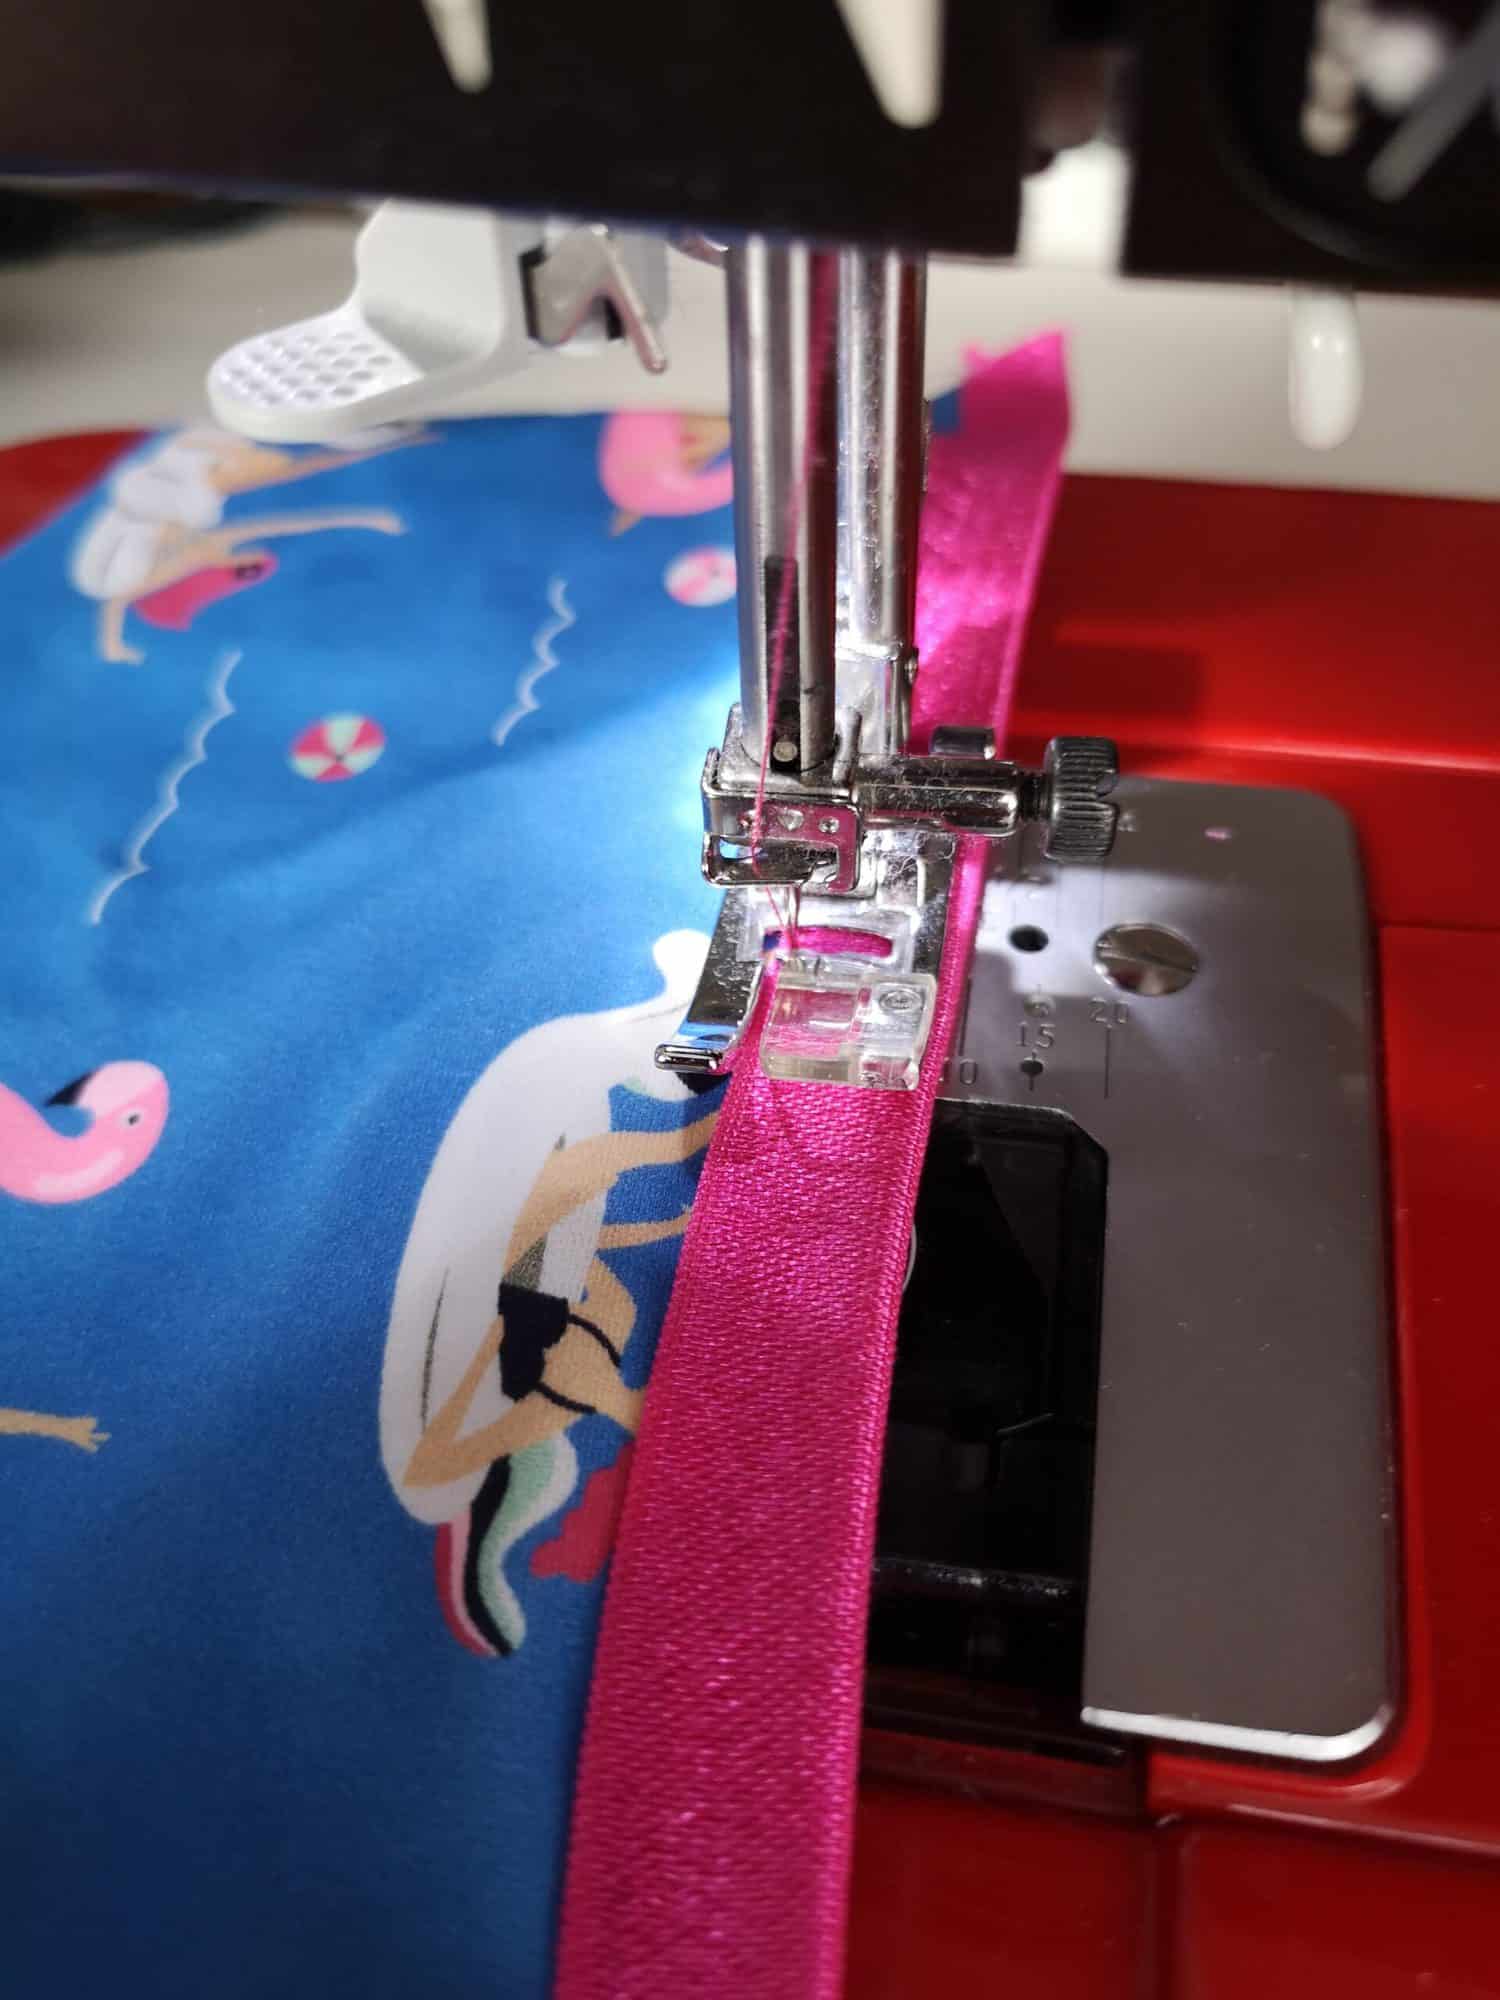
I like to use a triple zig zag stitch when topstitching elastic on swimwear, sports or lingerie. It’s not only a great stretchy stitch but because it is so wide it also helps keep that elastic down and stops it from flipping up, which is what happens if you don’t sew close enough to the edge.
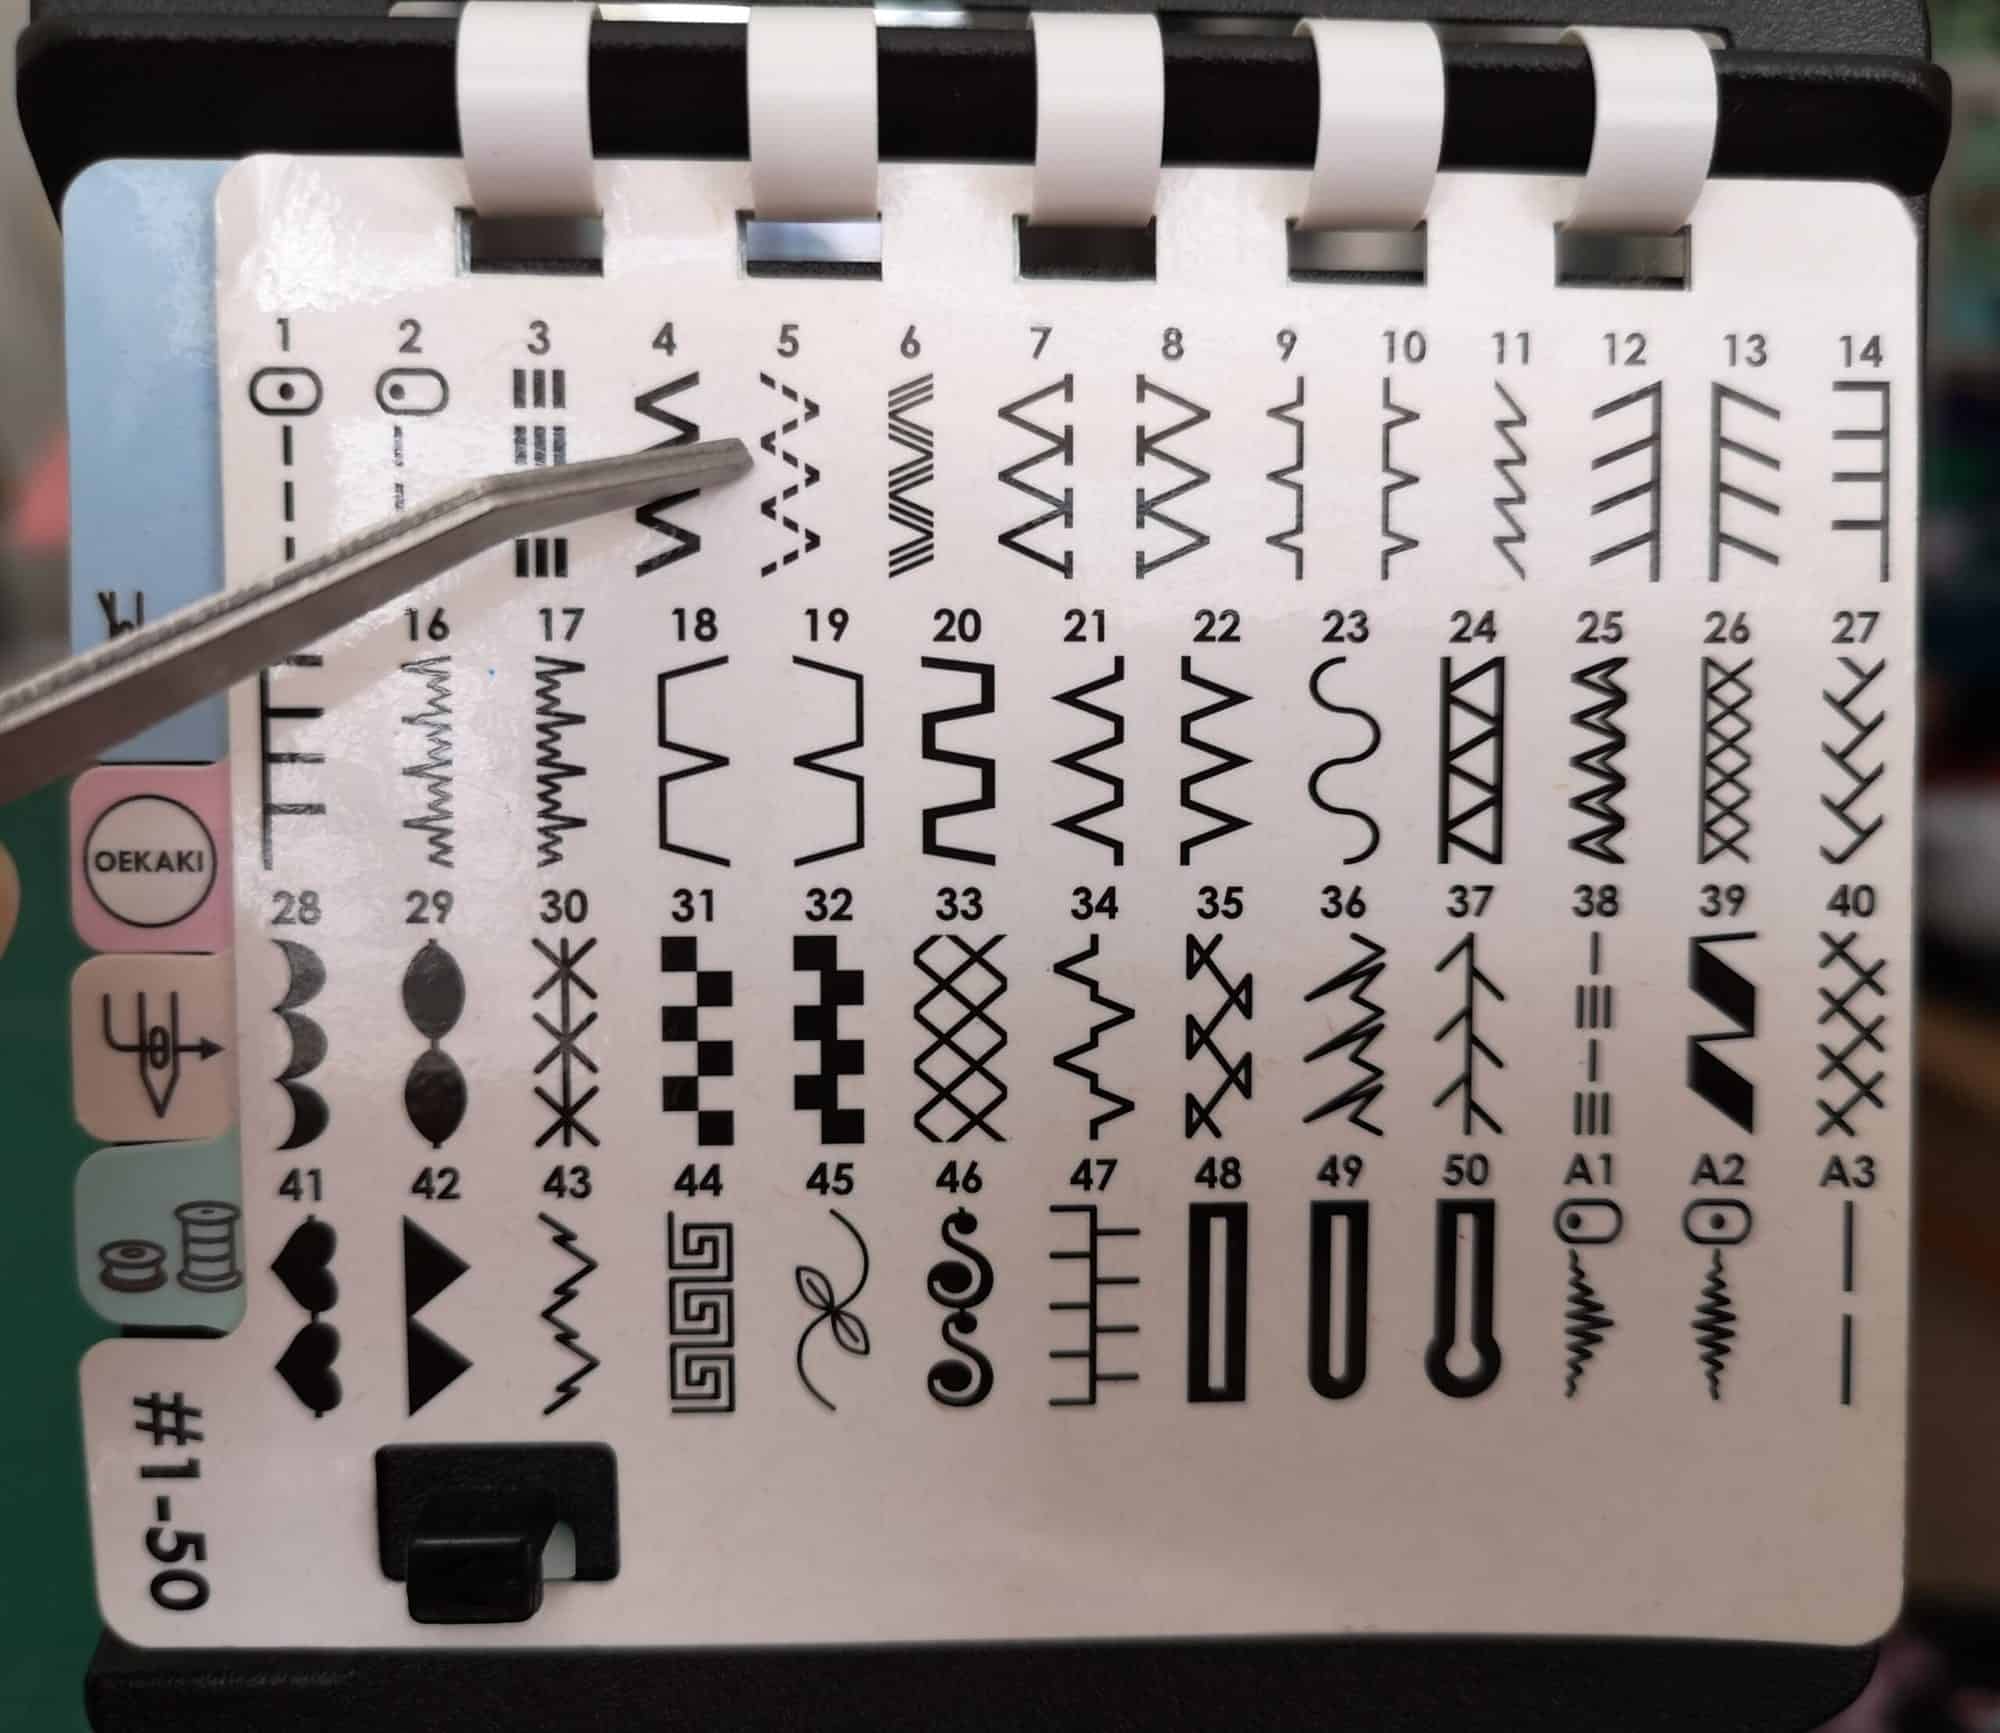
Make sure your needle when it swings to the left comes right to the edge of the elastic. This helps stop it flipping up too.
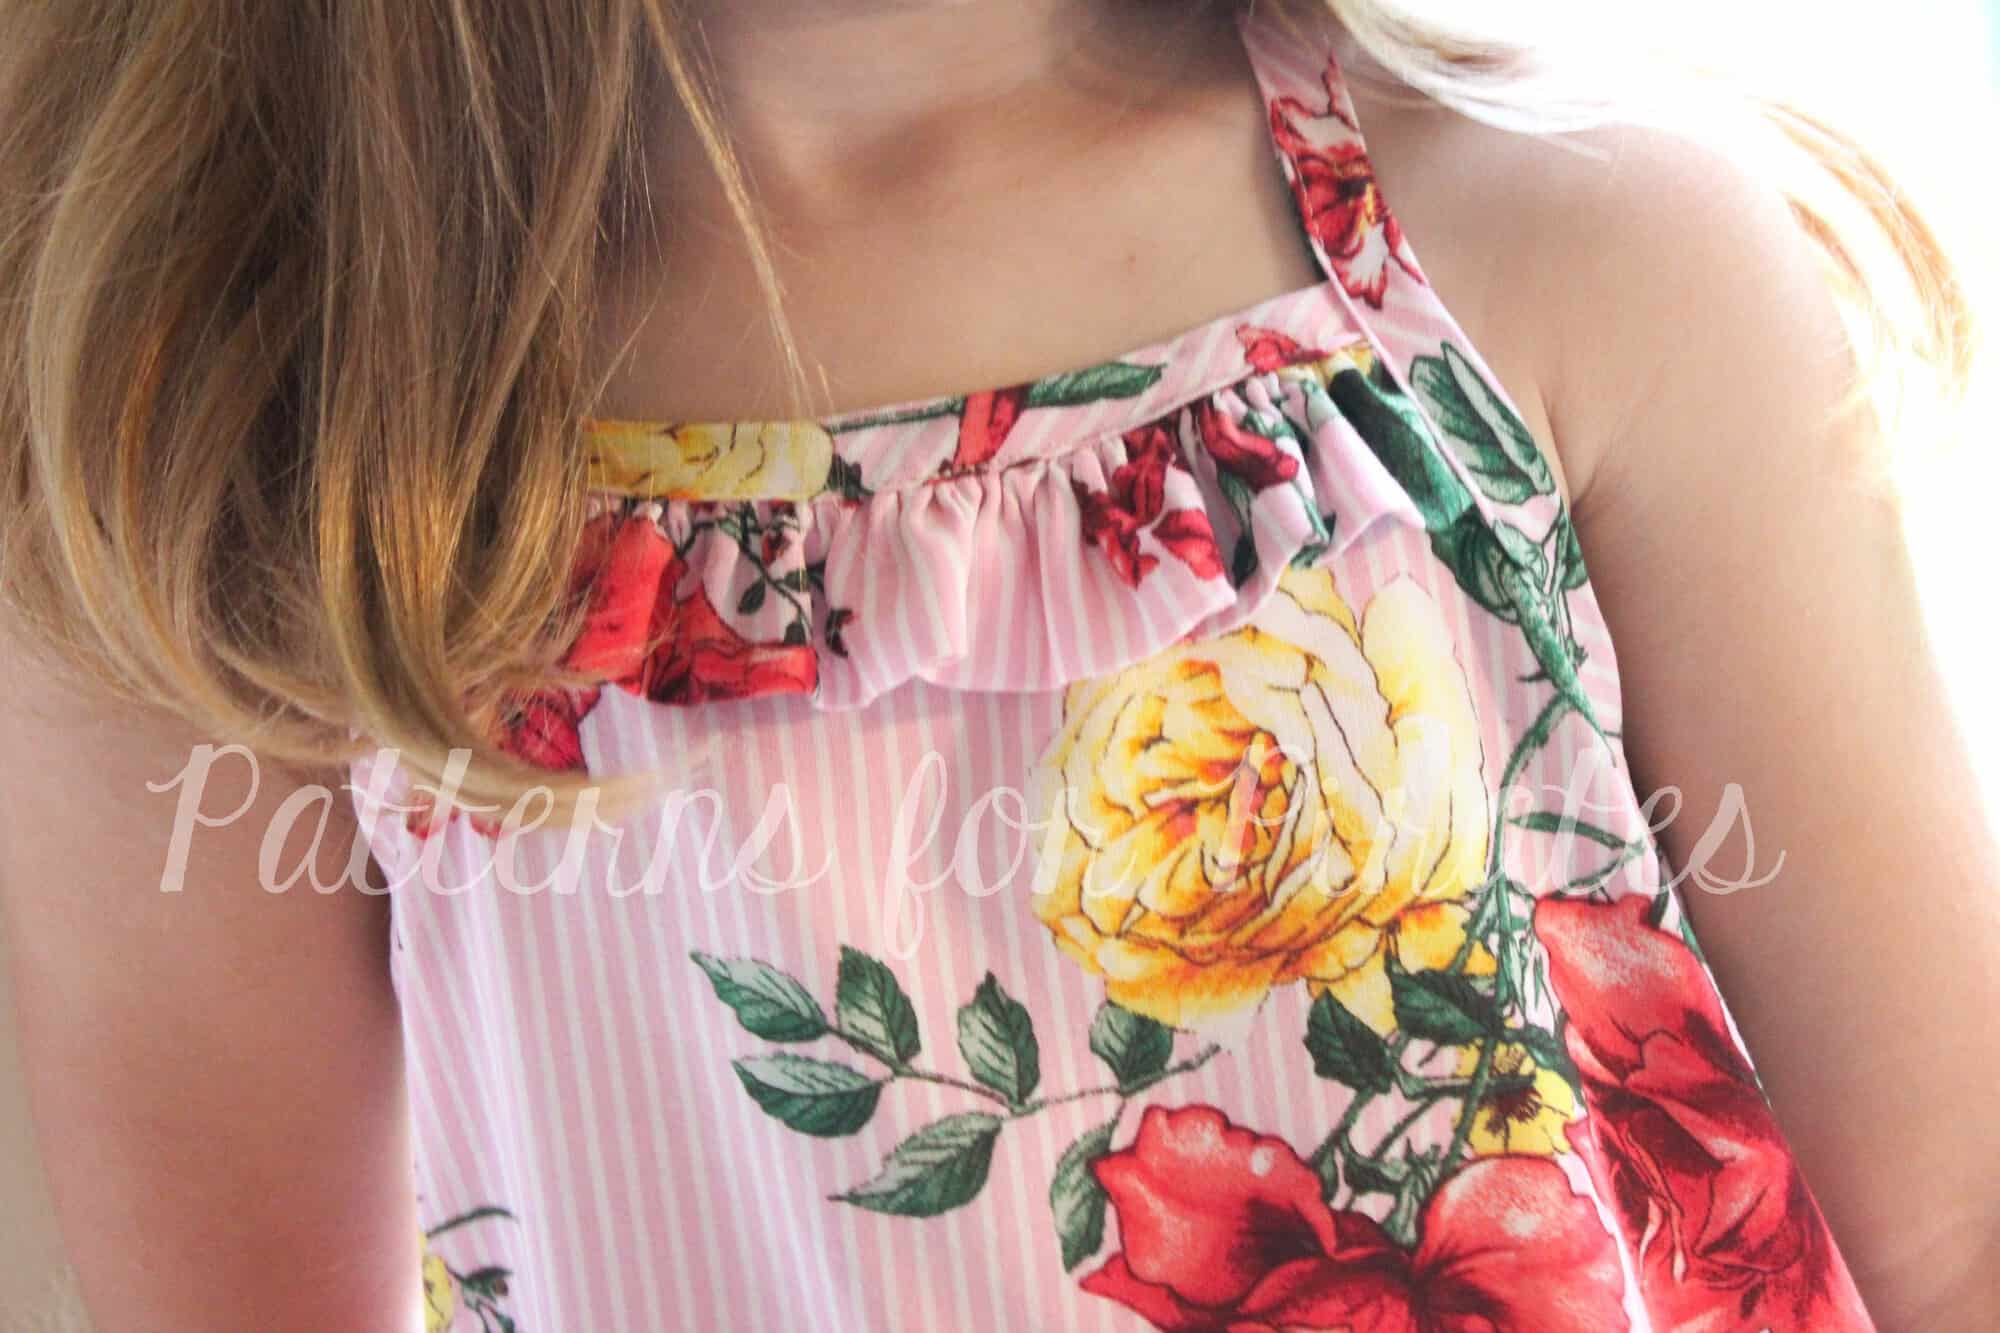
All done! Now just assemble your other pocket, if you are using it, the same way and then construct the rest of your Peg Legs as per the tutorial.
Enjoy your new Pegs!!
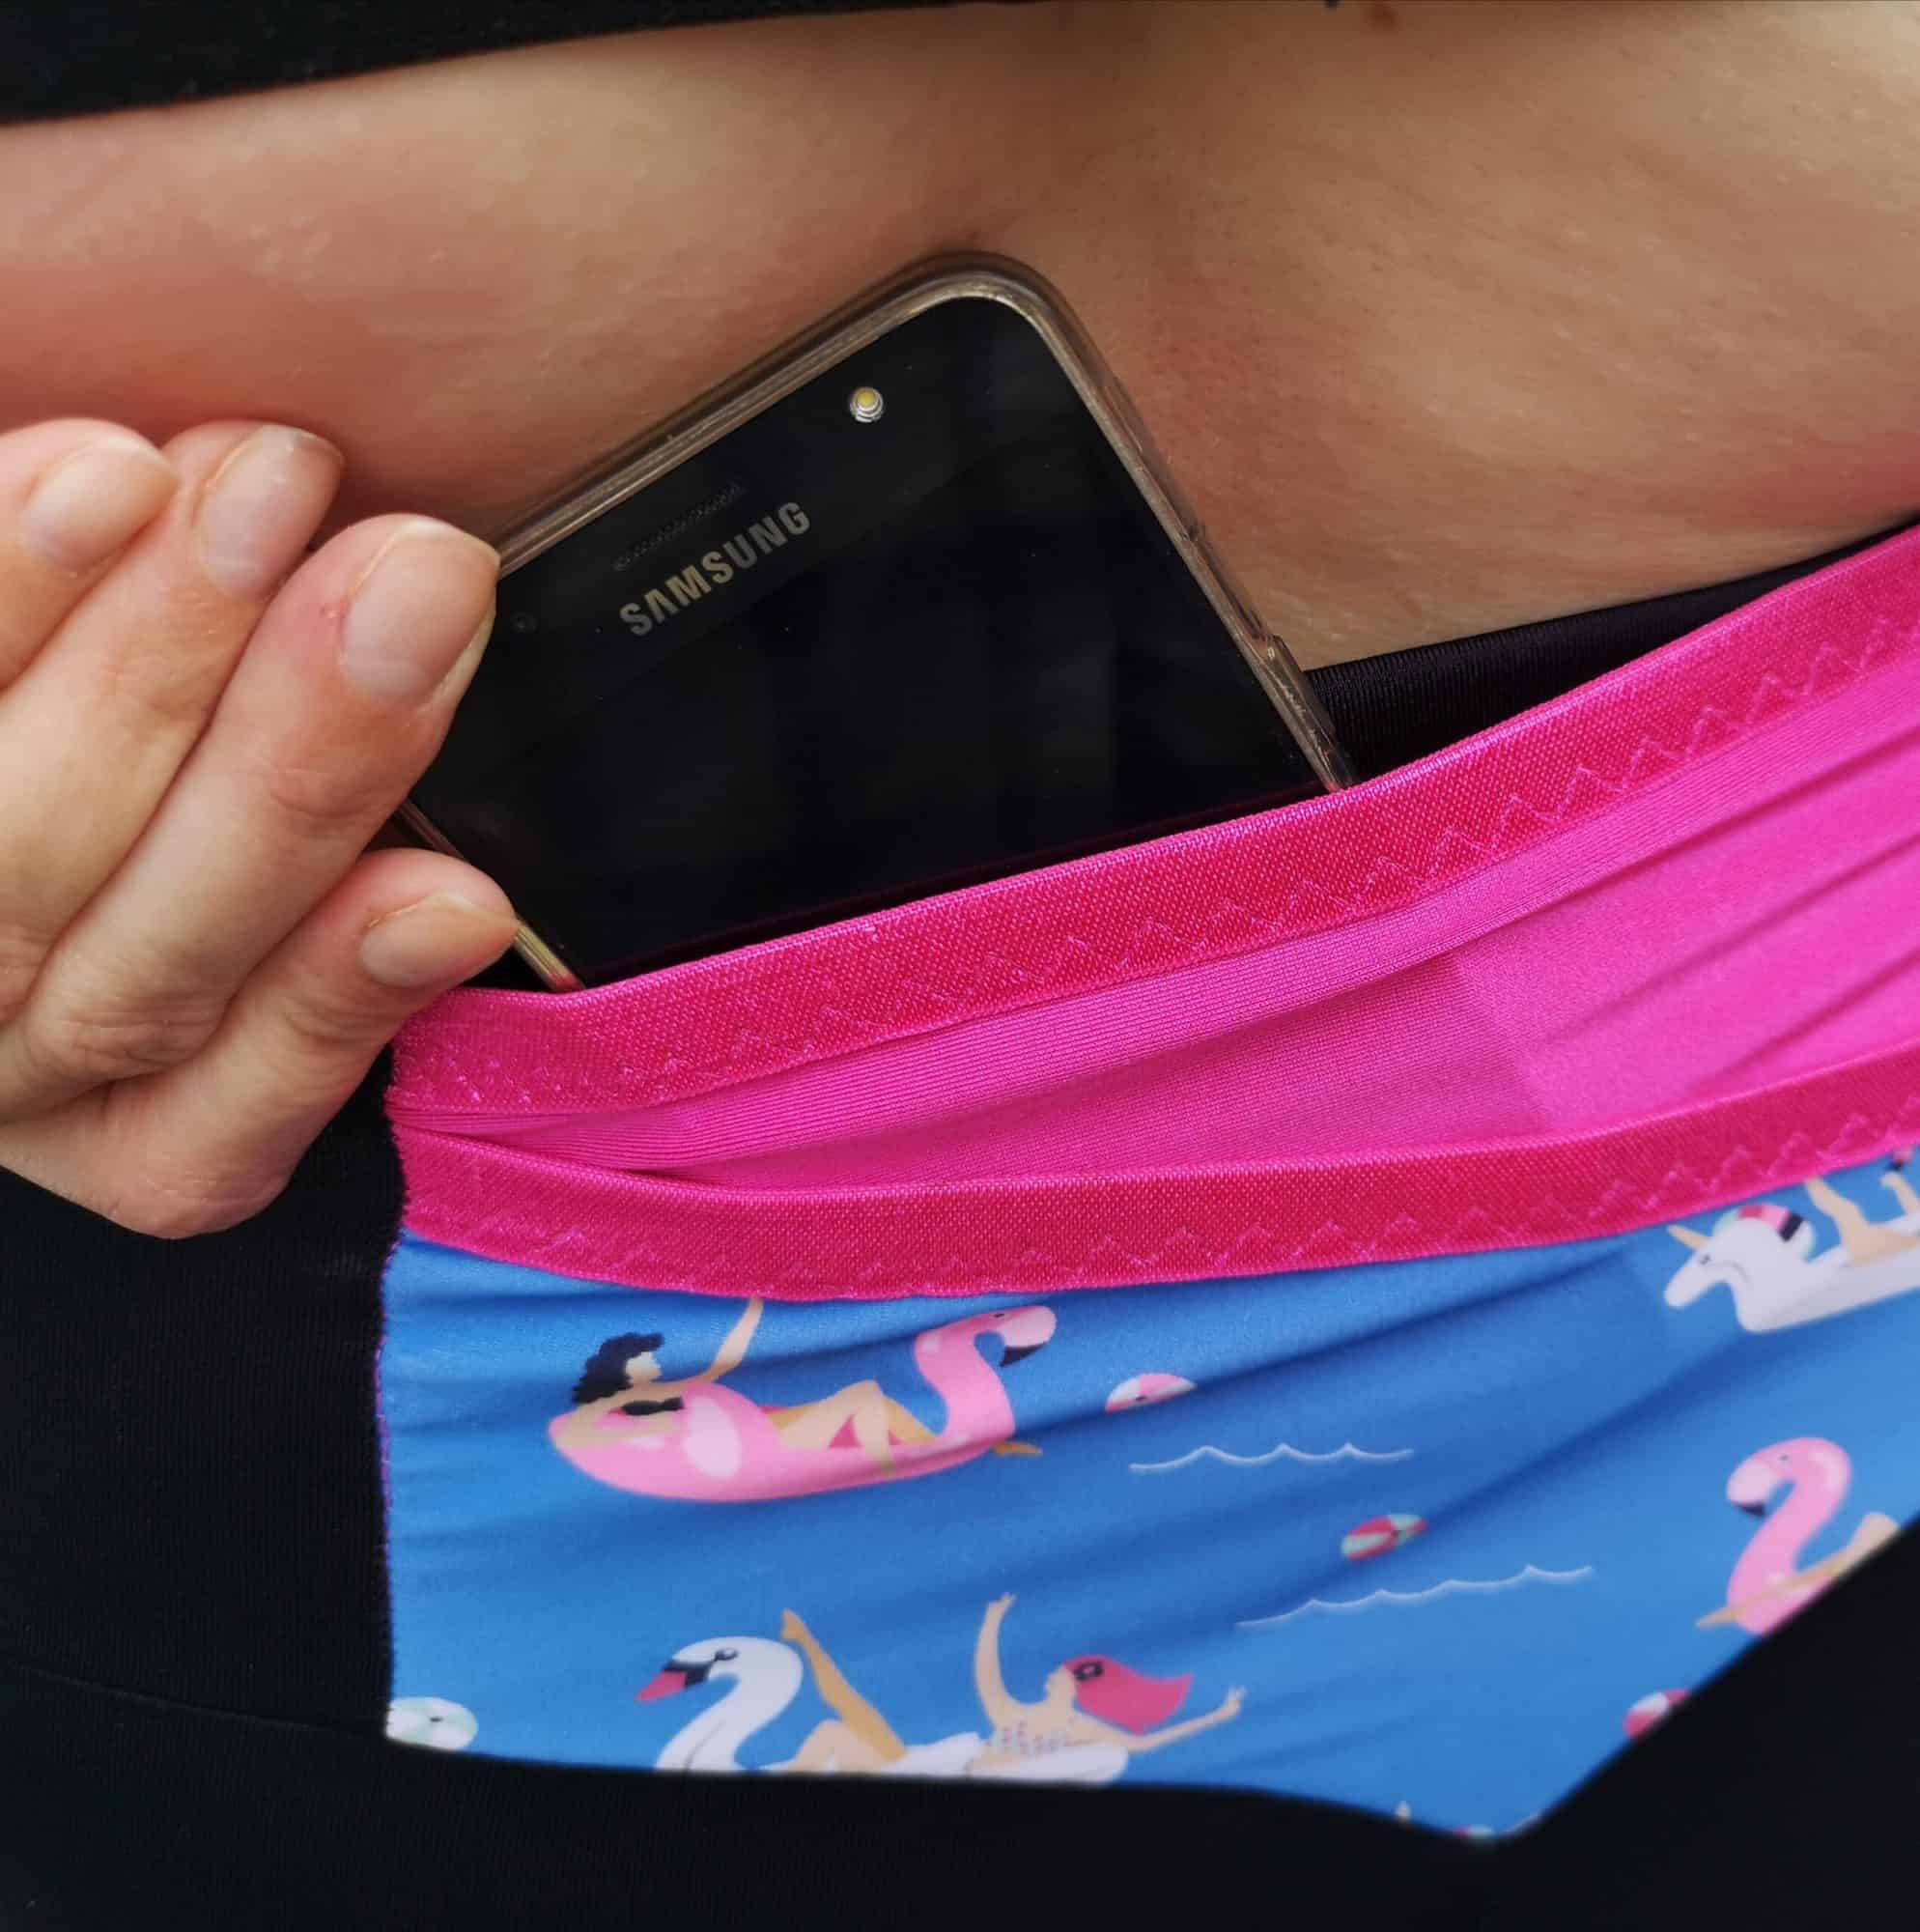
I like this one for my phone…and this one for my keys!
Thanks and happy sewing, Dana xx
Here are some links to all of our FREE leggings patterns, so you can get to sewing!
PEG LEGS | PEG LEGS – ADD-ON PACK | PEG LEGS – COLORBLOCK PACK
But wait! There’s more! We’ve got a giveaway prize to tell you about! Sponsoring today’s portion of The Peg Event is a fabulous fabric company!

SLY FOX FABRICS – www.slyfoxfabrics.com
INSTAGRAM | FACEBOOK GROUP
Sly Fox Fabrics is the best source for affordable, luxurious apparel fabrics. We offer a range of apparel fabrics, including buttery soft Double Brushed Poly which is perfect for soft, cozy Peg Legs!
One lucky winner will walk away with a $50 Gift Card to their shop! And on top of that, you can enjoy a 20% Discount thru 9/12/20 by using the code: PegLegMania
The two fabrics featured in the image above can be found here: Heavy Double Brushed Poly Solid – Black | Double Brushed Poly – Field of Dreams
**Daily and Grand Prize winners will all be announced together on Sunday, September 13.