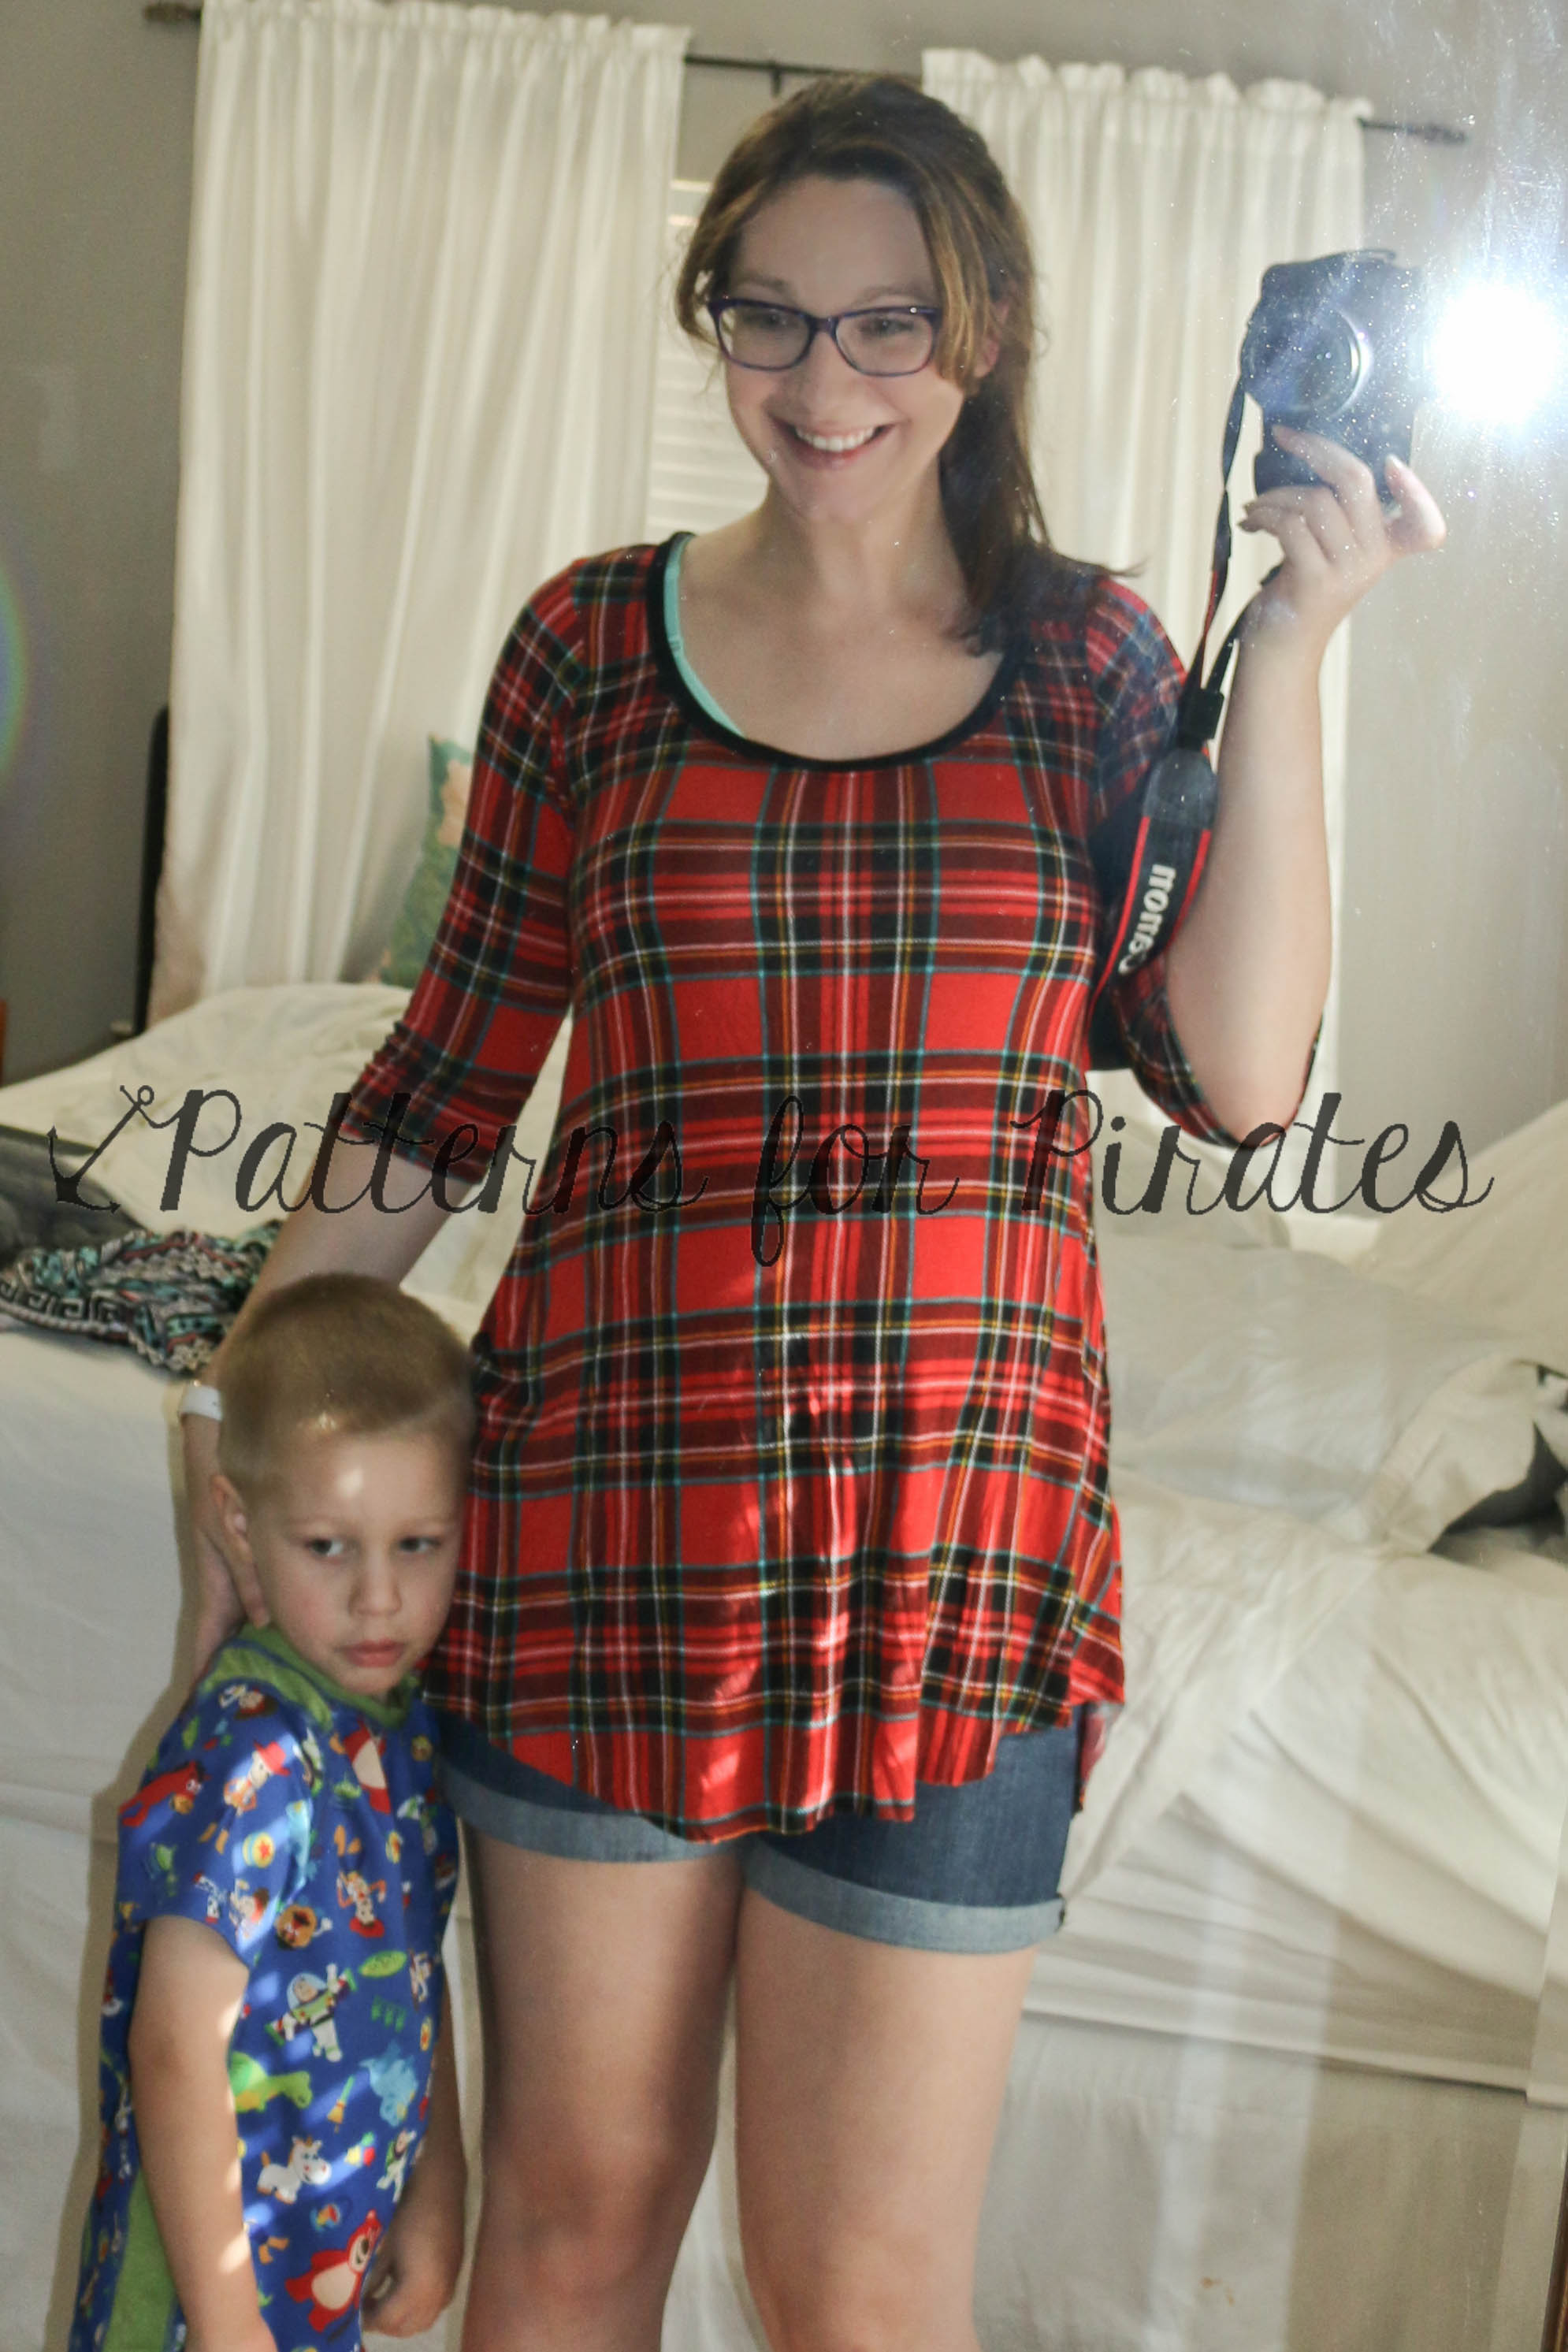
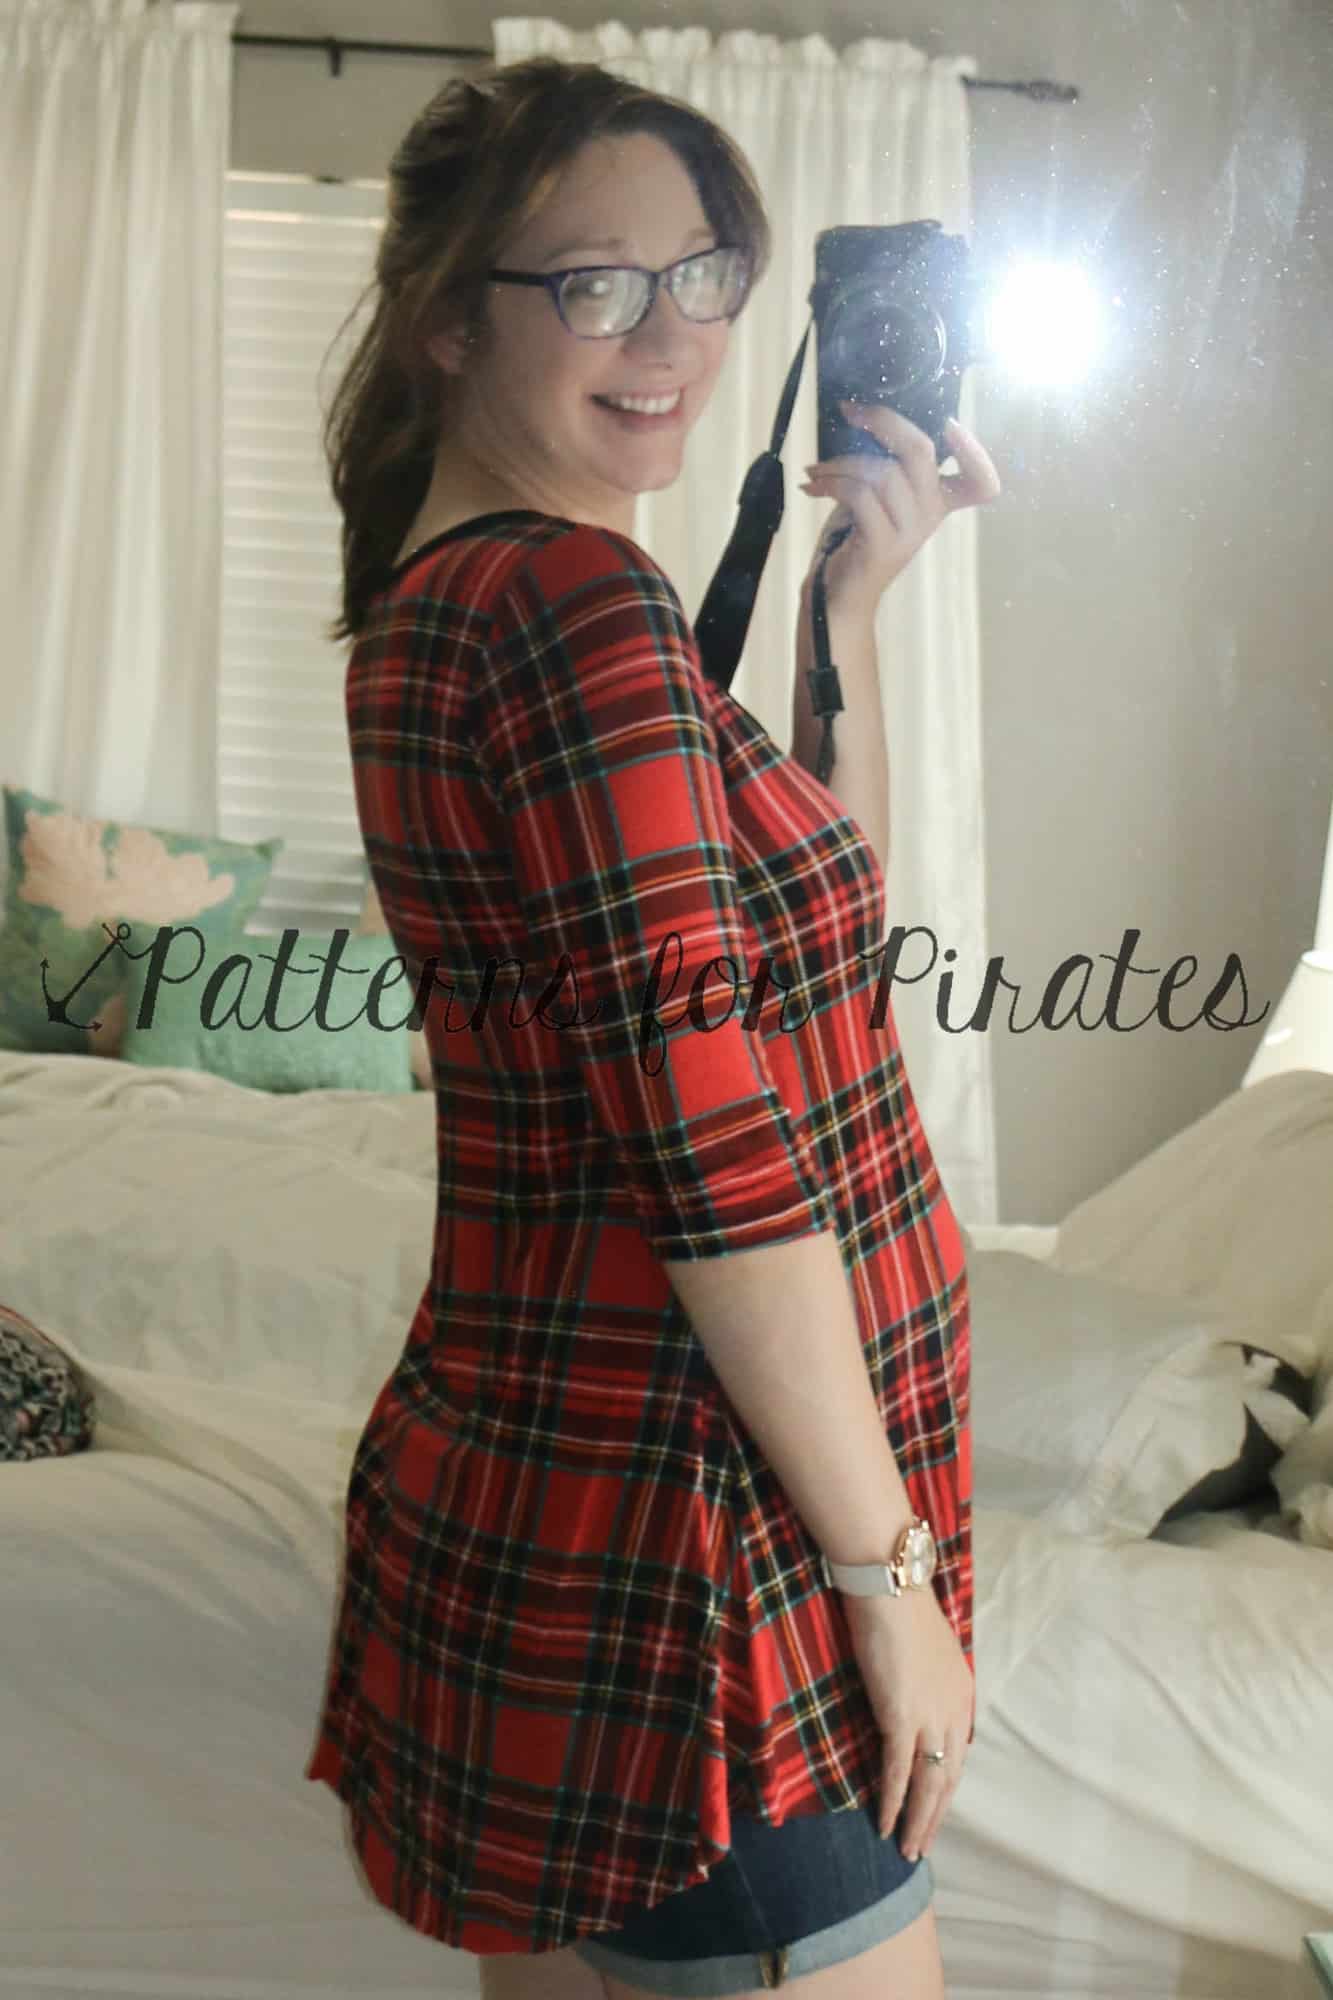
I love the FST and LMU mash for after baby. It makes me feel stylish, put together and comfortable! The loose aline look hides any left over baby belly and the tighter top doesn’t feel you leaving frumpy.
For this hack I essentially did a double layer body. I can lift up the top layer and have the bottom layer covering my back/belly during nursing. And it looks like a perfectly “normal” everyday shirt! 🙂

I made mine completely doubled because we are going into winter here and I didn’t mind the added warmth. If I was making this for spring or summer months I would probably tinker with a faux double layer for the back piece.
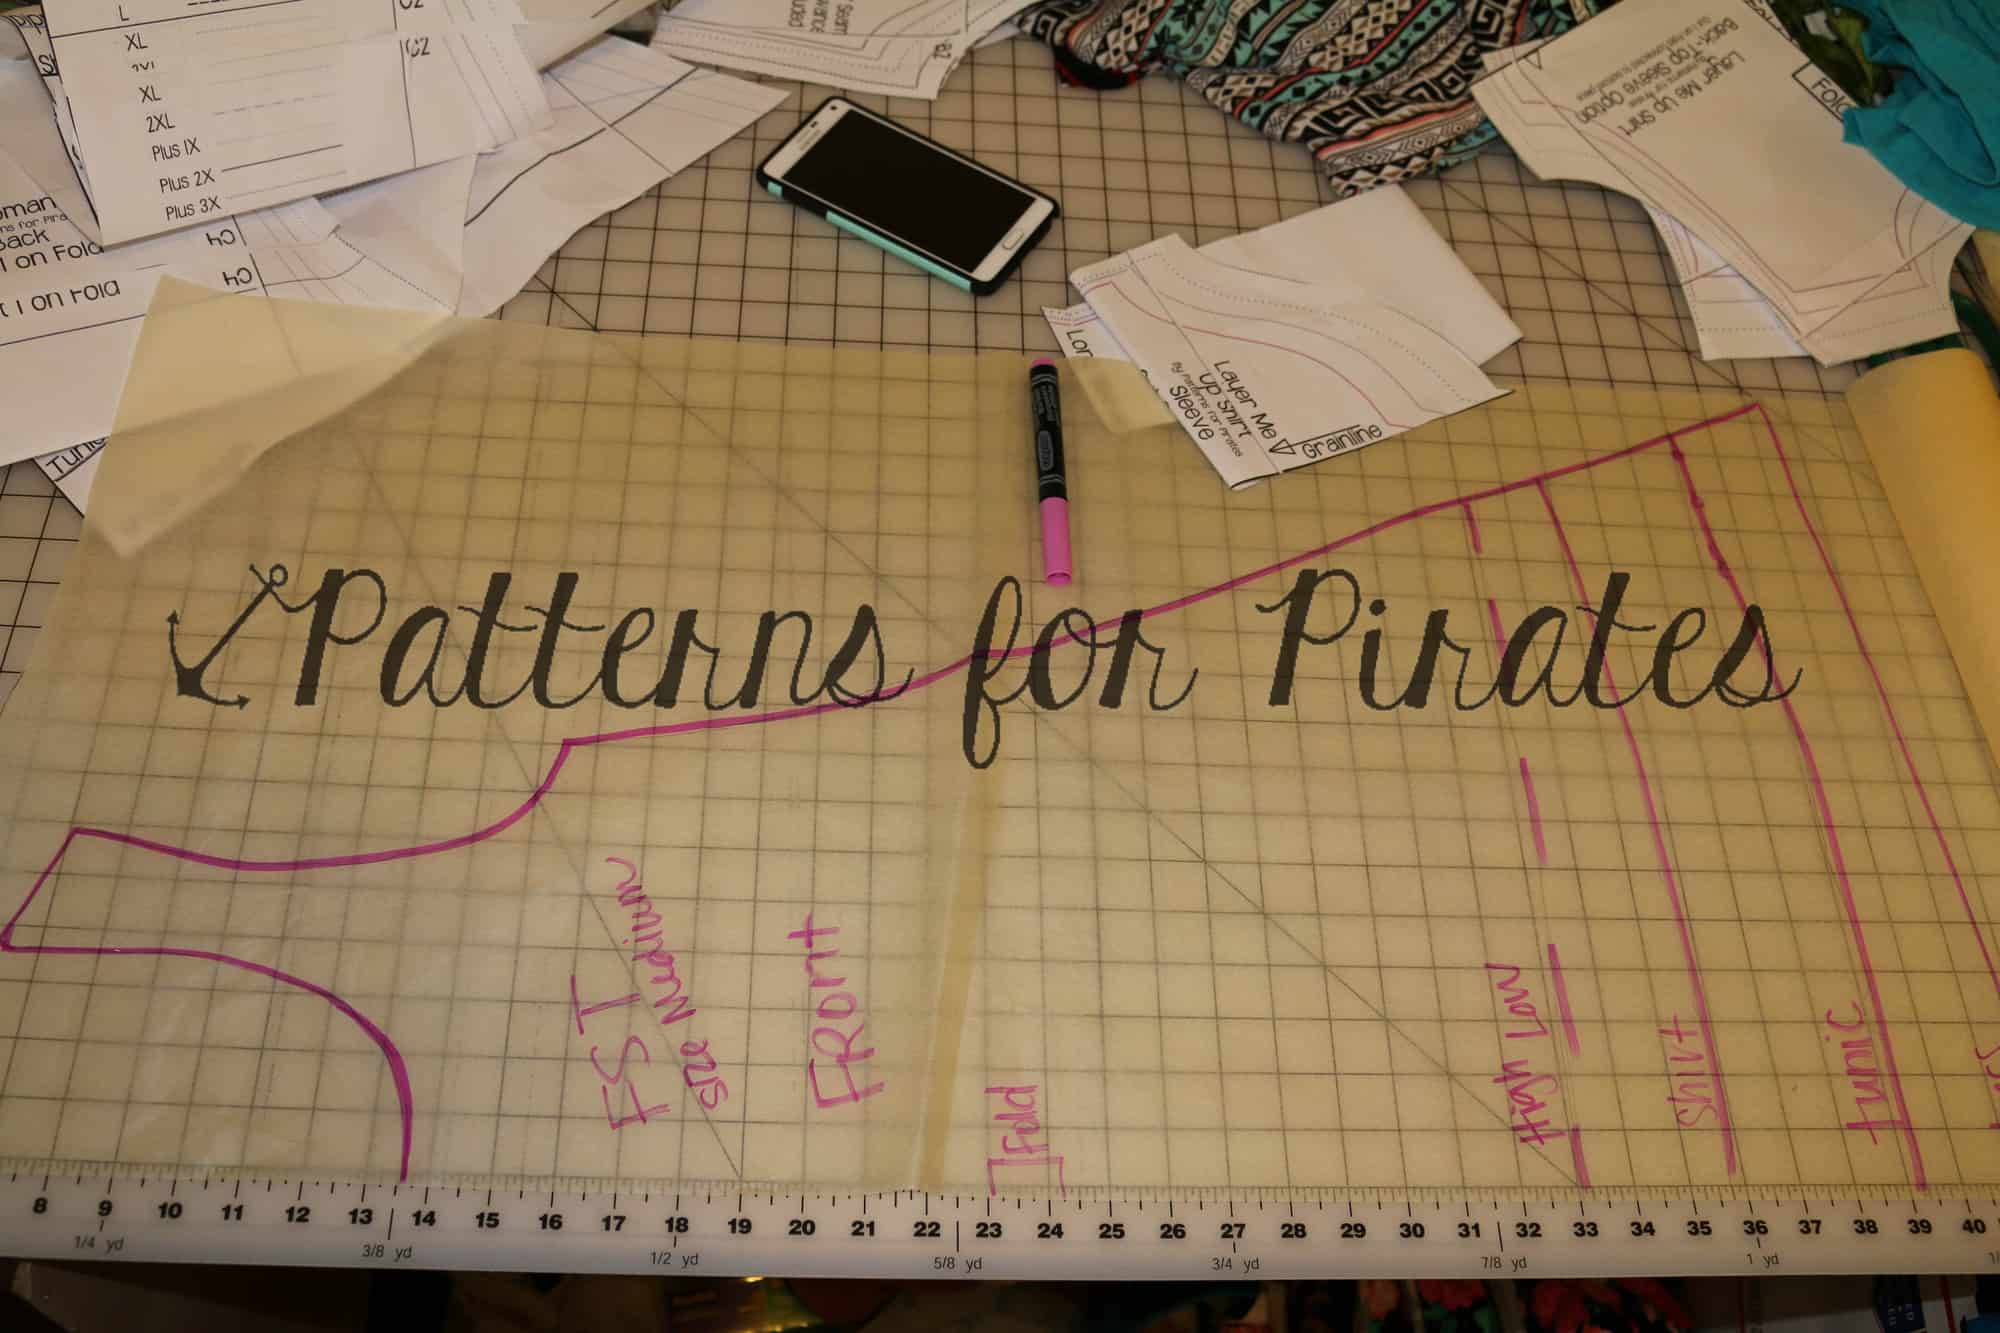
I cut 2 front and back pieces.

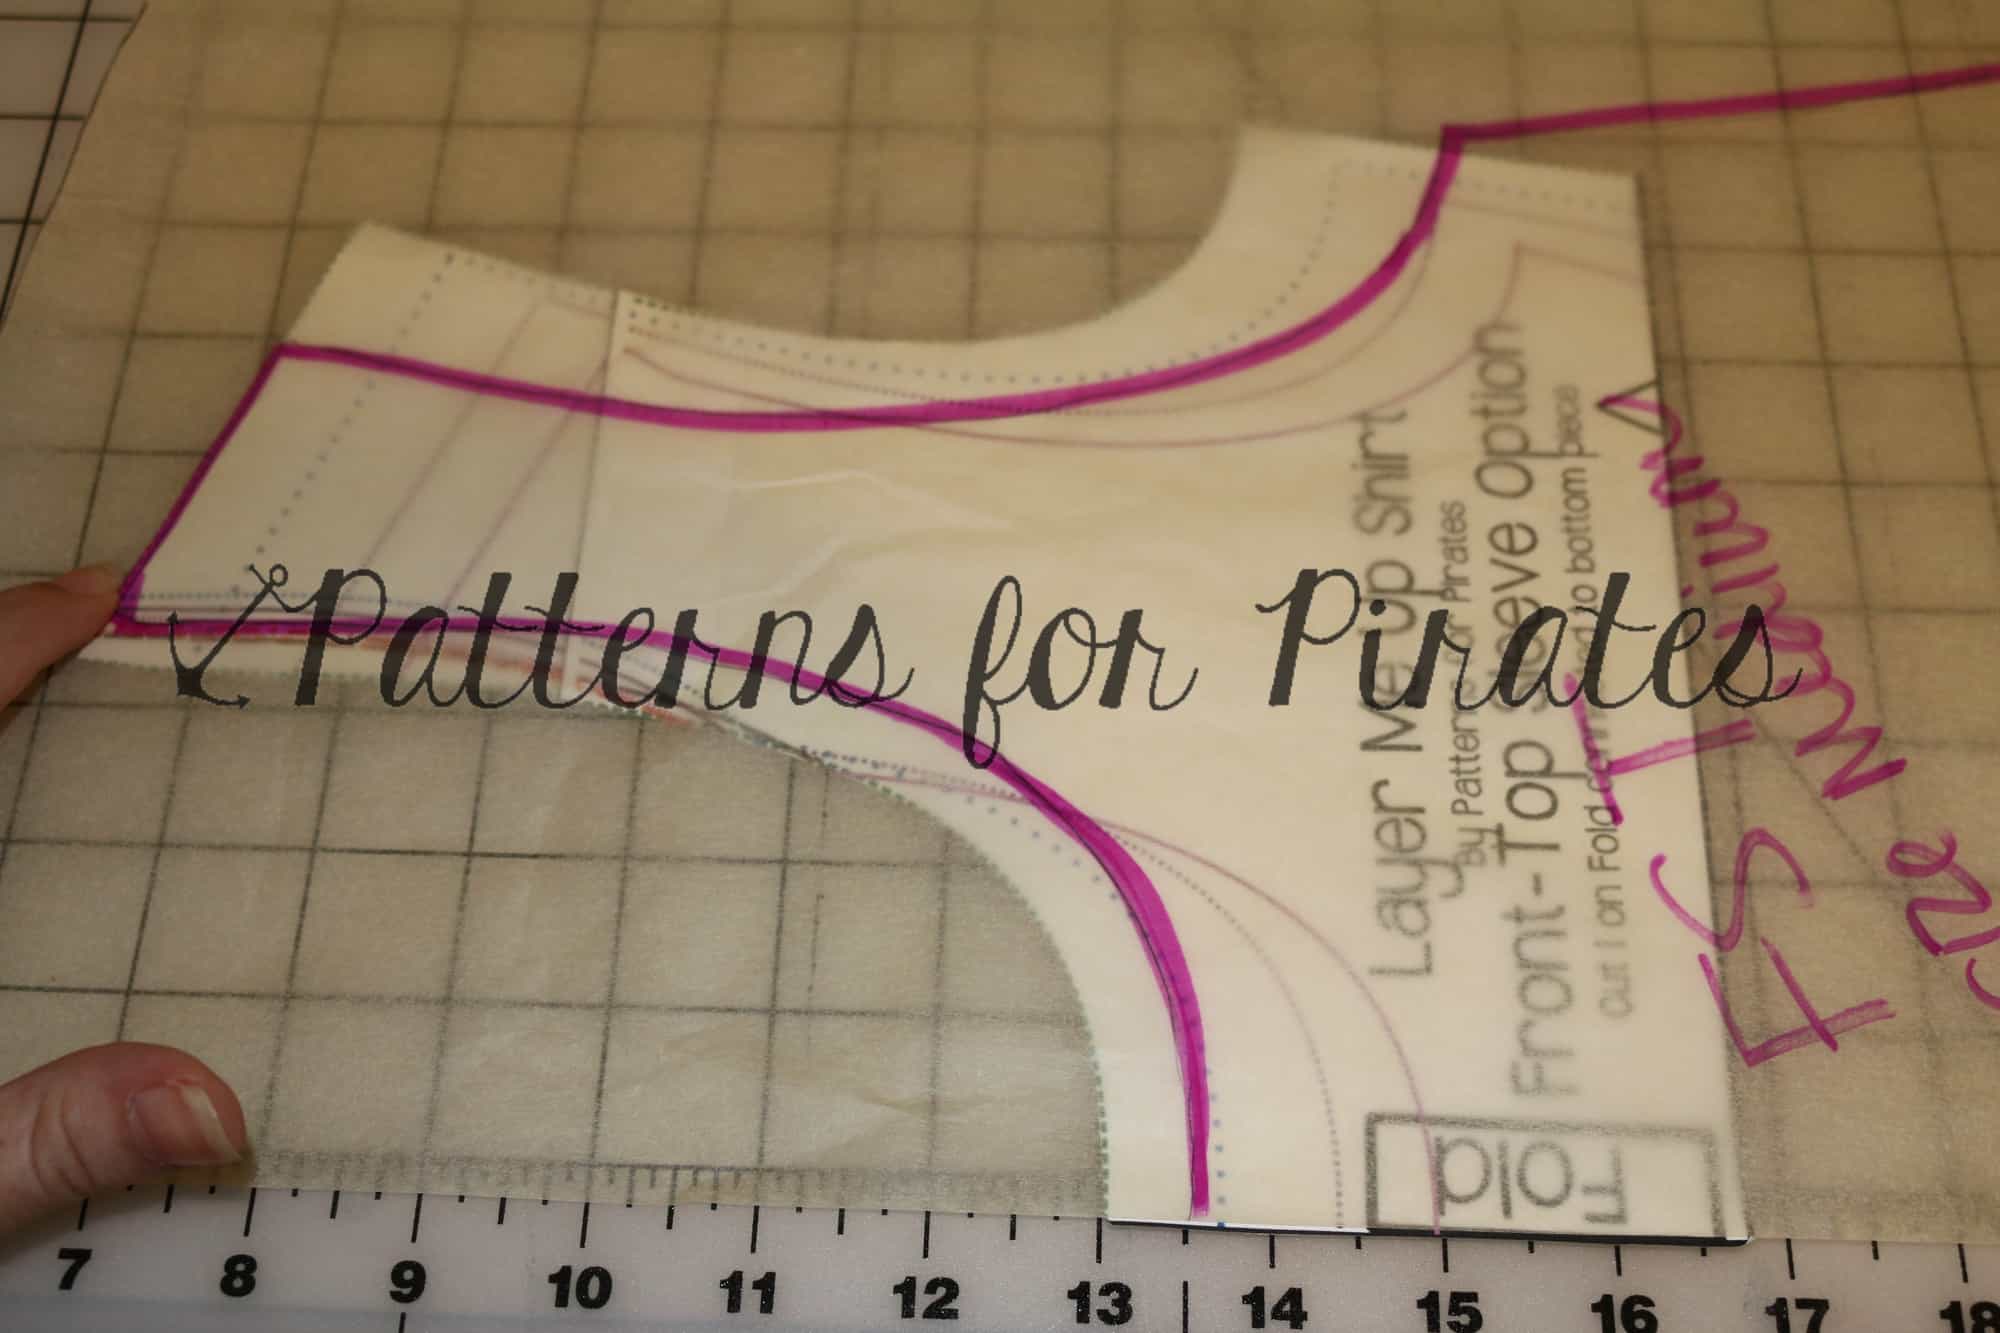
Then took 1 front piece to modify for the under layer. I measured on myself from the neckline to under my bust (I did happen to have on the same shirt, so I didn’t even need to guess where the neckline hit ;)). Then I transferred that measurement to the front center and curved up to the armpit.


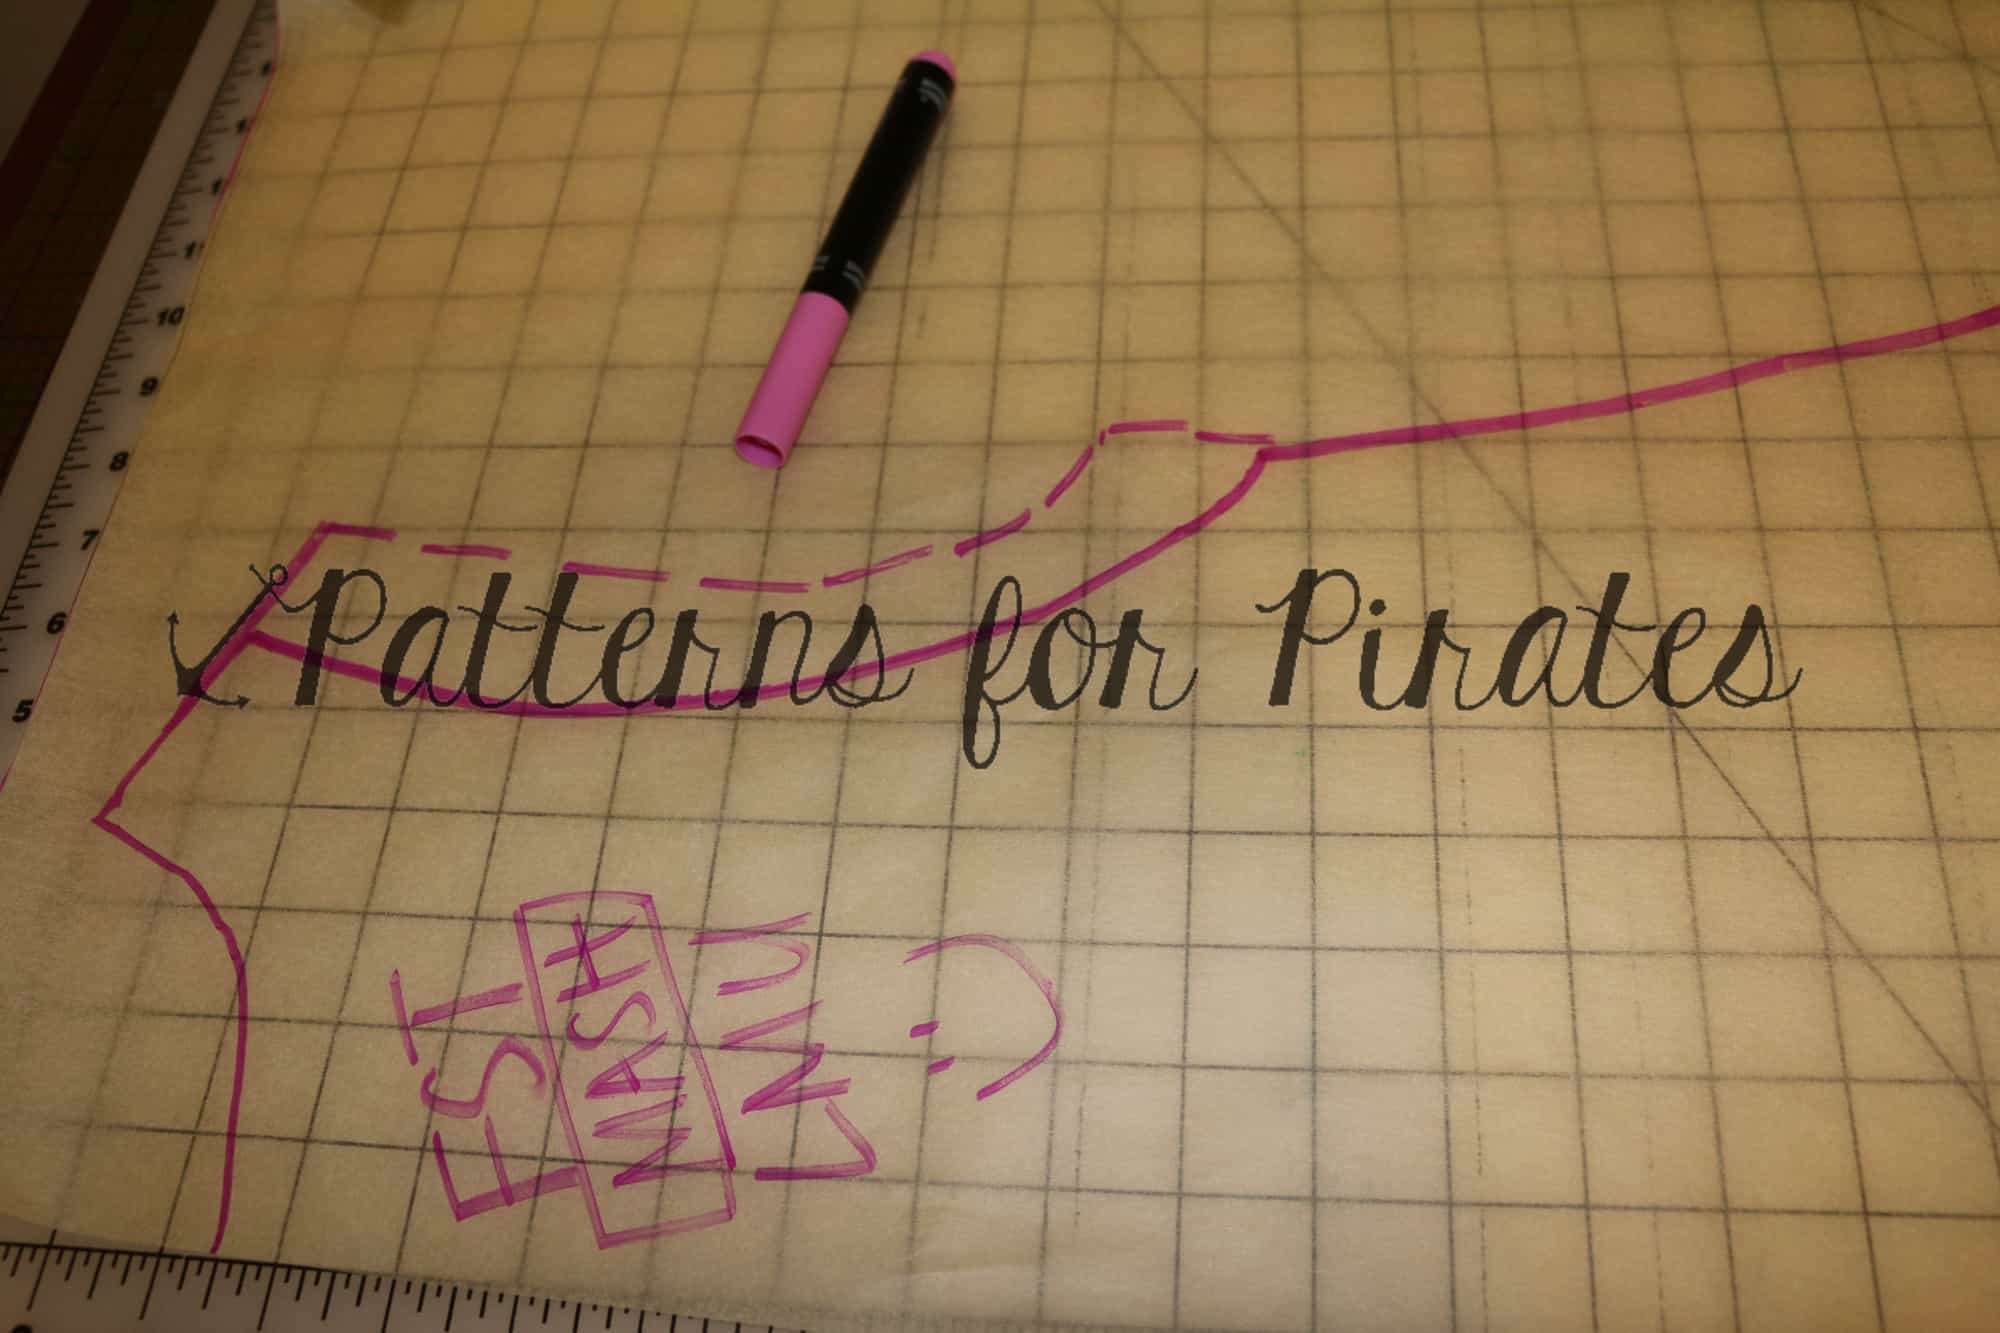
Since the FST flares out under the bust it was a little loose there. So I added a thin elastic to the raw edge. I just held the elastic taute (not tight) on my body from seam to seam (again, I happen to be wearing this shirt, so there was no guessing!). This way the two layers would have the same finish length–without the elastic holding up the center it would droop lower then the top layer. As well as not worry about holding it up while nursing–bonus :).

I choose to put my elastic on the right side of my under layer, because I didn’t want to feel it against my skin. But you can put it on the wrong side so that it is hidden when you nurse– whatever you prefer! You will need to stretch the elastic to fit the curve. I serged mine on, but any stretch stitch will work! It will line up right at the armpit.

I sewed the shoulder seams and sleeves on like normal. Then when going down the side seams I kept the main body layers seperate (so you can lift the top layer freely). It is a bit tricky right at the armpit, but just go slowly and remember you wont be showing anyone the inside of your armpit seam! 😉


Now for hemming, I choose to hem the top layer completely normal with a 1″ allowance.
For the under layer I choose to add a pretty lace trim to stick out longer then the top layer. I wanted the seam hidden, so I trimmed off 1″ from the bottom.

I serged my lace on right sides together trimming off about 1/2″ of both shirt and lace (the top of the lace that was blank).

Then flipped up and top-stitched (I didn’t want that seam flipping and showing through the dainty lace trim!). So, I trimmed 1″ and took off another 1/2″. This means my seam on the under layer should be 1/2″ above the hemmed edge of my top layer and the lace will peek out below.


I attached the neckband normally catching both layers on the back piece and top layer of the front piece.


Tada! I love my new warm winter nursing friendly shirt! It screams fashionable and not I’m nursing! 🙂 When you’re done nursing you can still wear it as is… or cut out the under layer!